535i "Project Sepang" build -08/05/18 update
-
- Posts: 1007
- Joined: Feb 12, 2006 12:00 PM
- Location: Toronto, Ontario, Canada
- Contact:
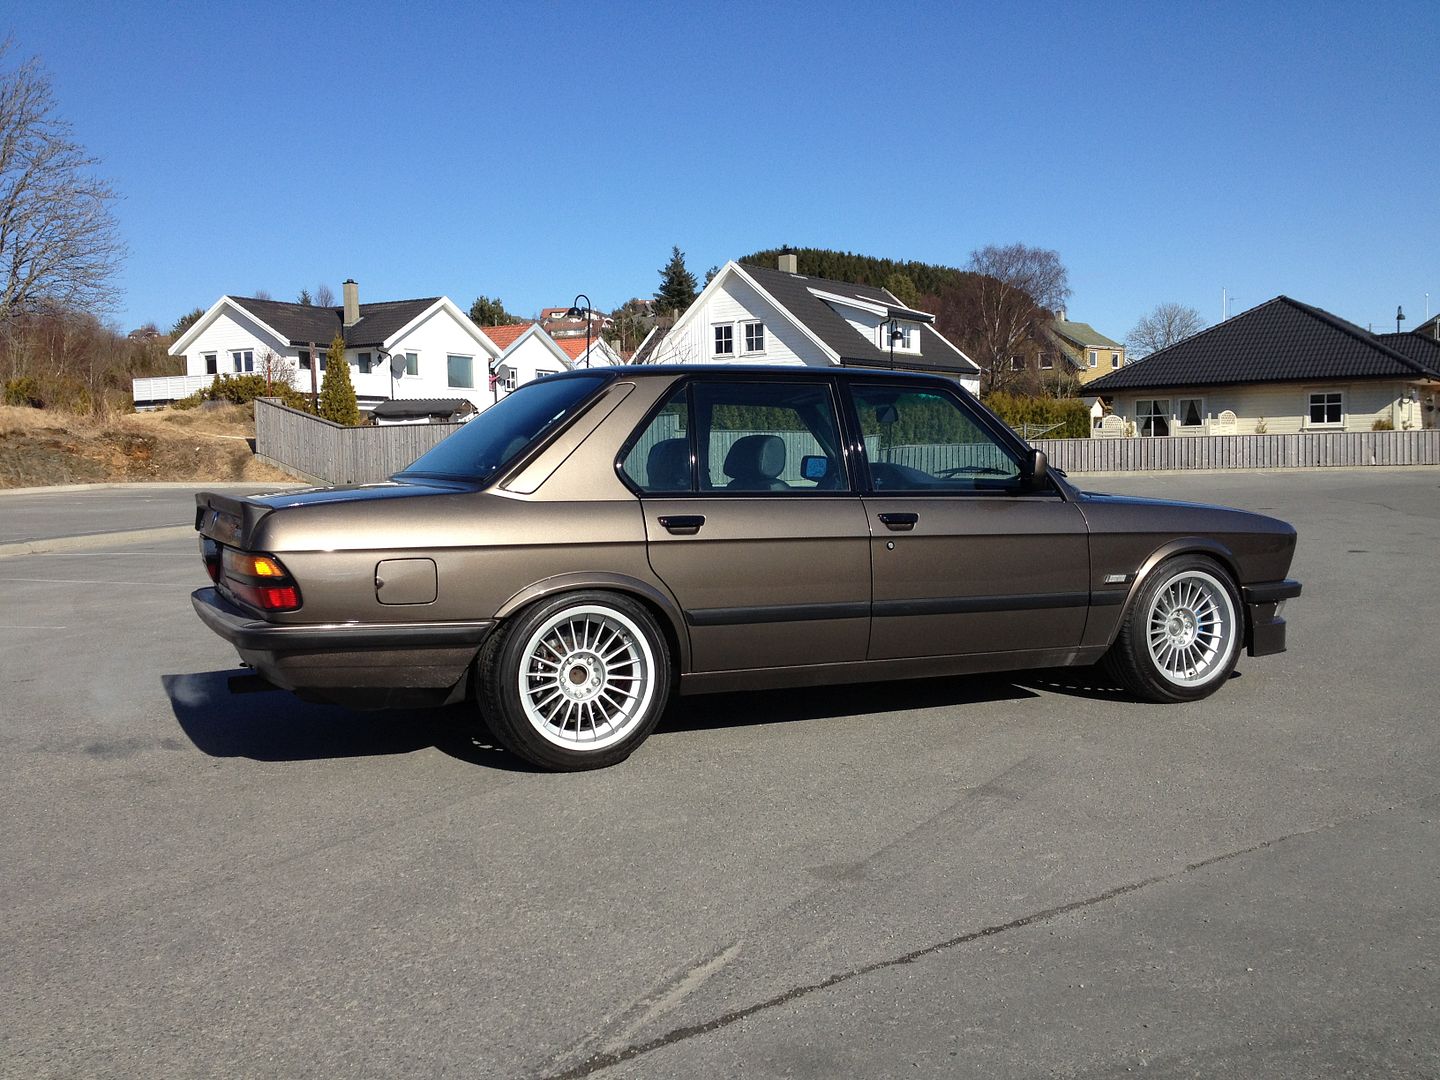
You’re welcome Roy. It was my pleasure.RoyW wrote:My good friend Eddie (from T.O.) did a great rendering of what my 535i project car will look like when its completed... right down to the bumpers, trim, wheels, TCD turbo, and two-tone paint scheme it will have. It going to be bitchin' He calls it "Project Sepang"... I think I like that and will adopt that moniker during the build phase.
-RoyW
I’m happy that I was able to reproduce your vision.
You’ll have one fine, classy machine when you’re done. It will fit in just perfect alongside your other stunning vehicles in your barn/stable.
I’d like to send out a thank you to Saliya for providing me with a photo he took and allowed me to use as a base to implement the extra touches to make this one unique and classy E28.
-
- Posts: 109
- Joined: Dec 07, 2012 1:27 PM
- Location: Ontario, Canada.
-
- Posts: 1007
- Joined: Feb 12, 2006 12:00 PM
- Location: Toronto, Ontario, Canada
- Contact:
-
- Posts: 1007
- Joined: Feb 12, 2006 12:00 PM
- Location: Toronto, Ontario, Canada
- Contact:
Thanks for clarifying.beliq wrote:The color name is after a track - the Malaysian F1 track which is in the town of Sepang as well (Sepang International Circuit).
Just like Daytona, Imola, Laguna, Dakar - i believe that in the late 90s BMW moved away from the traditional German names of colors to the track named ones.
Now I know
-
- Posts: 109
- Joined: Dec 07, 2012 1:27 PM
- Location: Ontario, Canada.
Well, I (we) finally got back to doing some work on the "Project Sepang" car after taking most of April off, i.e., TX trip, PA car show, some detailing jobs, etc., etc. I did meet Todd (TCD) on my way back from the PA show and picked up my TCD Stage 2 turbo kit from him... about 10 boxes of parts...awesome!!
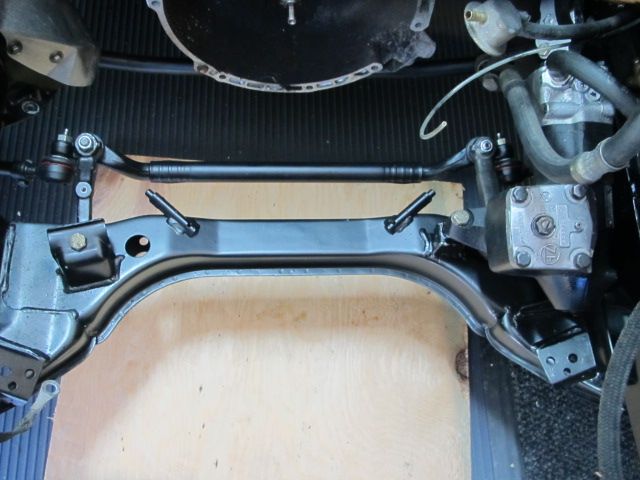
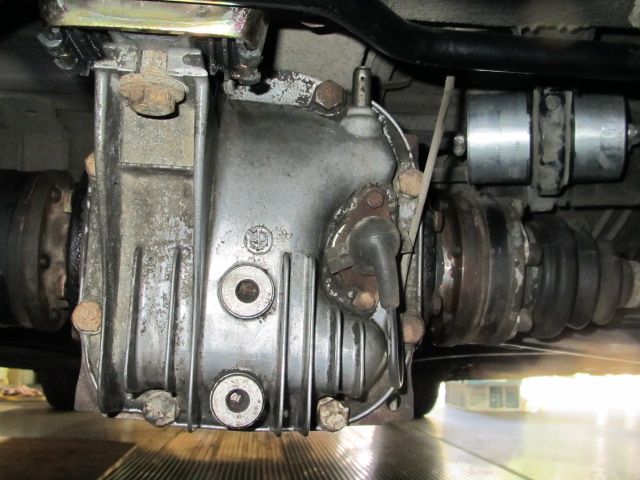
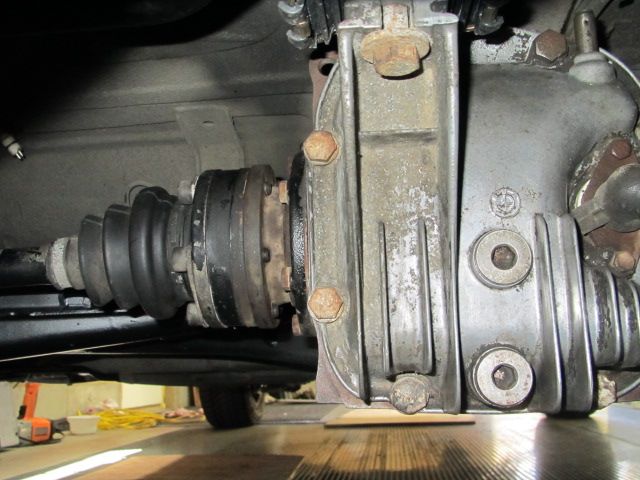
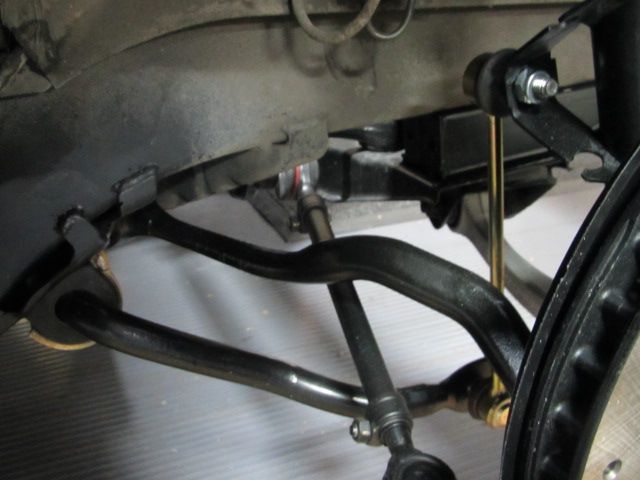
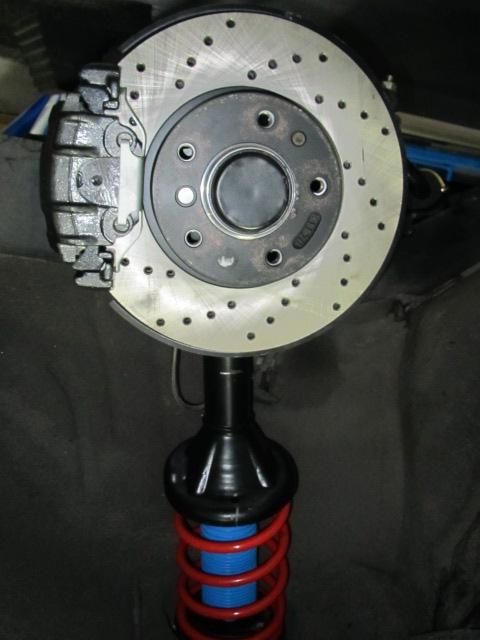
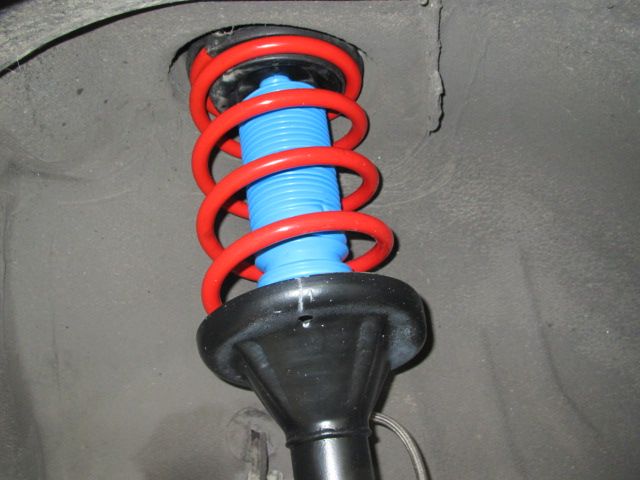
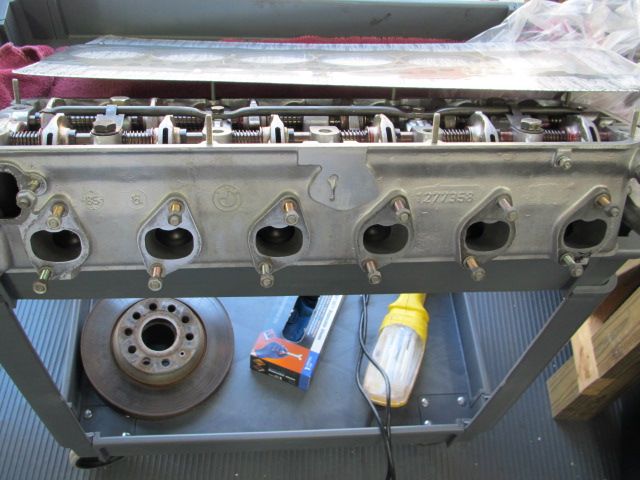
While I was out of town for the TX roadtrip, the car was up at VSR for R&R of the full suspension (upgraded) and steering components, plus a general clean-up of the rear and front sub-frame parts. VSR also modified the rear sub-frame for adjustable camber and toe-in; installed new M5 rear diff mount; R&R center support bearing: reinforced front sub-frame at the steering box bracket; installed M5 steering limiters on front sub-frame; installed new M5 front & rear sway bars with new welded-in M5 brackets & bushings; replaced all brake lines with SS ones; R&R e-brake shoes, cables, and associated hardware kit; replaced fuel filter. I also picked-up the refurbished head at VSR and the oil pan and filter housing with their new "fittings" for the oil lines.
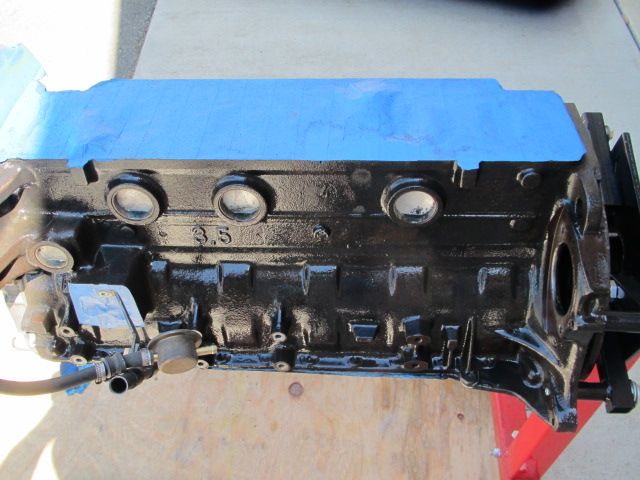
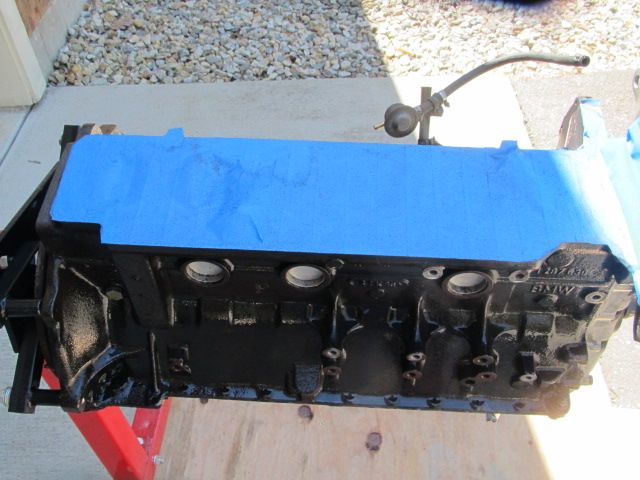
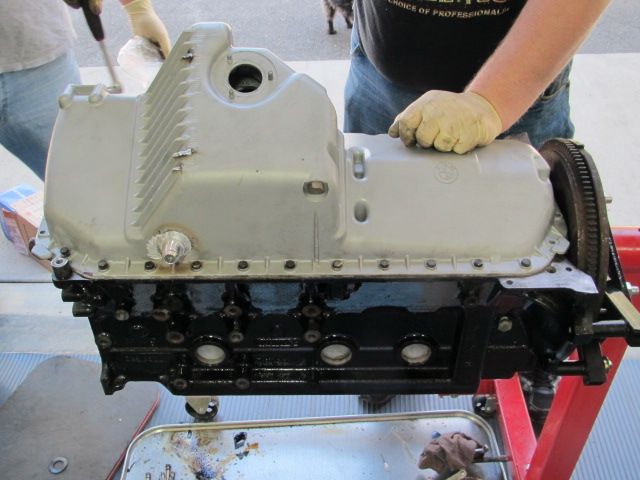
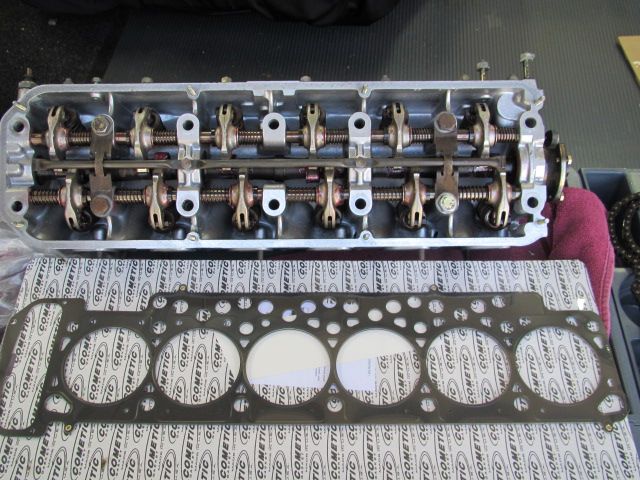
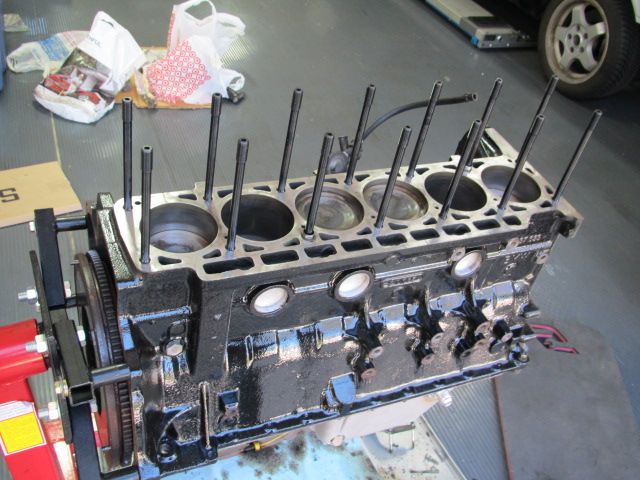
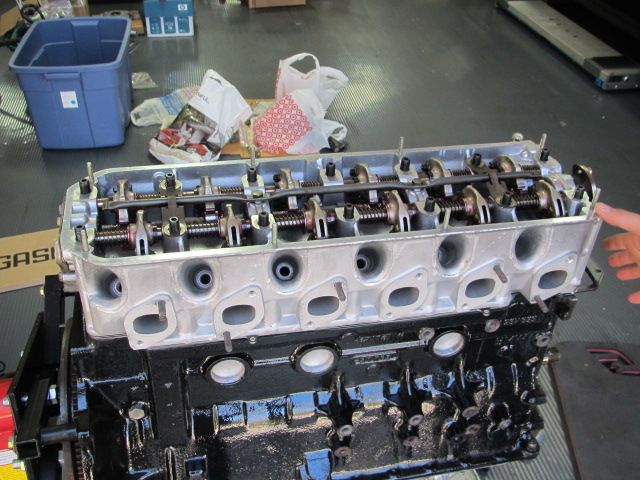
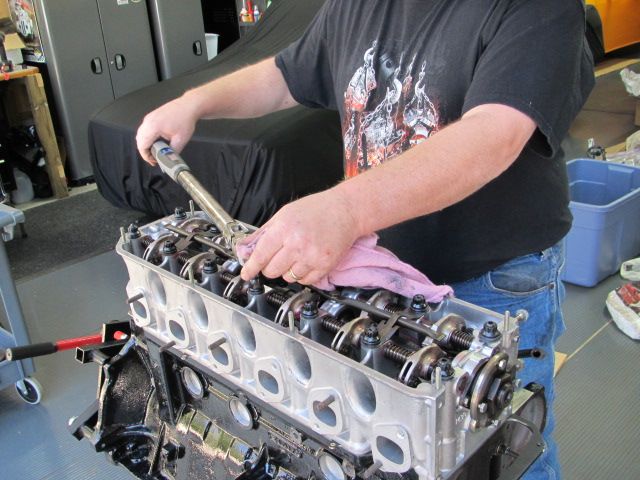
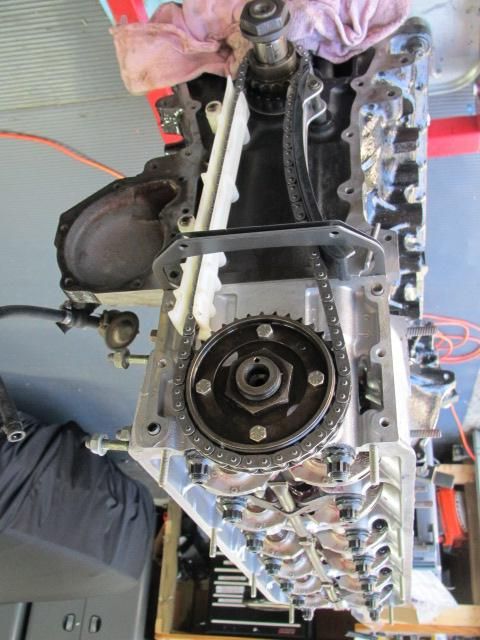
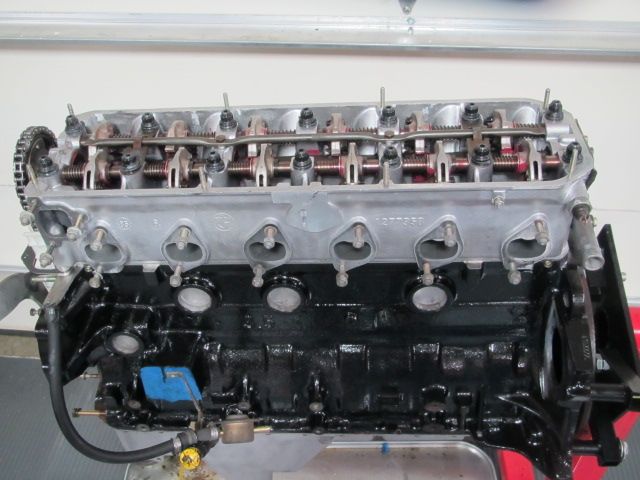
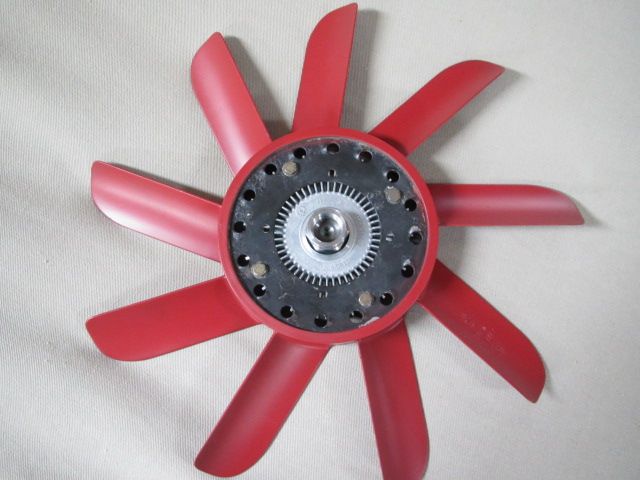
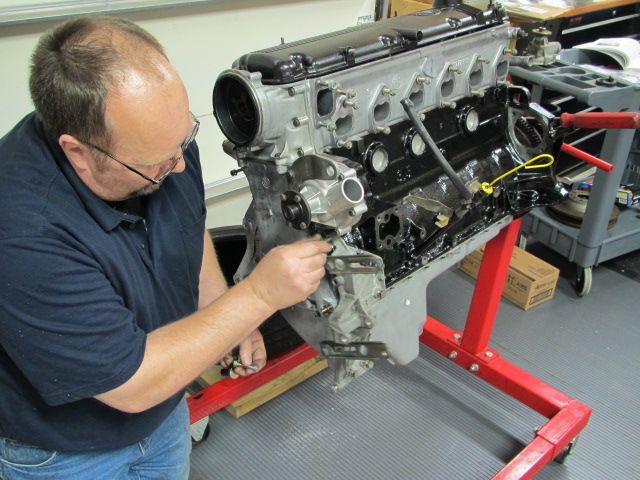
Got the car back to my barn at the end of April and I finished cleaning-up and painting the block. Then, last weekend my "mechanic" friend Steve, my nephew Brad, and I got the timing components all replaced with new ones (finally got the hub to come off... with a proper gear puller!); installed the fan clutch in the newly painted red fan that I scored over the Winter (I used SEM to refresh the red fan); installed the oil pan & gasket; and, installed the head with the ARC bolts set and the head gasket from the TCD turbo kit.
Finally, we went to install the brakes and discovered that I had two left rear calipers (no right one!), so that ended that attempt to complete the upgraded brakes on all four corners When I get the "right" rear one (and return the extra left one) I'll be painting up another caliper! If you look at the picture I previously posted in this thread of all 4 calipers after I had painted them, you'll see the mirror image front ones and the exact same rear ones (two lefts)... surprised no one noticed that, including me, at that time!!
Next on the agenda (in a couple weeks) is the install of the filter housing (needed to order that gasket, and a few other engine gaskets/seals, which I discovered I had not done); lots of gasket/seal replacements; installation of the M5 lightweight flywheel and TCD kit clutch; installation of some more turbo kit bits; and anything else that's easier to do while the engine is still on the stand. Then, it'll be time to drop the M30 back in the car! Hope to get this all done by mid-June...we'll see!
-RoyW
It didn't start out this way in my plan and in my head (I was thinking more clean, euro-look DD with a "boost"), but as things tend to happen over time and as plans evolves, etc., etc., I think this has the potential to be one of the coolest, fastest, resto-mod e28s on the planet... when all is said and done!!leadphut wrote:
-
- Posts: 1120
- Joined: Feb 12, 2006 12:00 PM
- Location: Atlanta Georgia USA
-
- Posts: 1007
- Joined: Feb 12, 2006 12:00 PM
- Location: Toronto, Ontario, Canada
- Contact:
Roy, this thread is very inspiring. I just picked up a 85 635csi 5spd with the intent on doing a resto mod. Recent home roof leak and renovations put it own the back burner. I bought it non running for cheap and got it fired up in a weekend with help from a friend. It hadn't been running in 2.5yrs. How did you come up with that color choice? I'm anxious to see the end result tho it won't be cooler than your old track car .
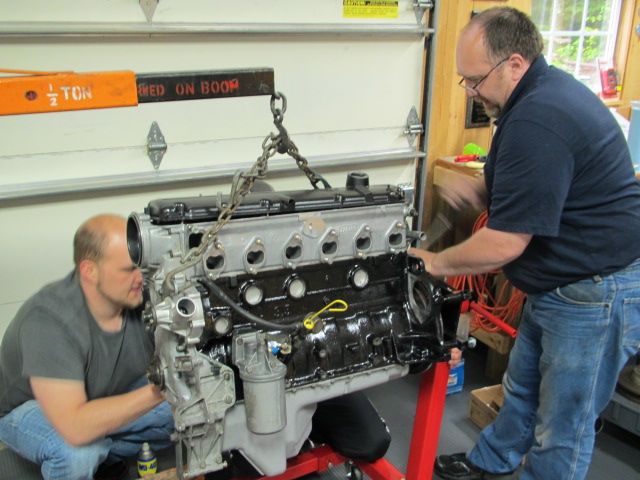
Had a good wrench-fest yesterday with three friends over to continue work on the "project car". Joining my "chief expert" Steve (my BMW ace-mechanic friend) was Brad (my nephew) and Ian (a turbo expert, master tech, and one of the best stereo installers on the planet)
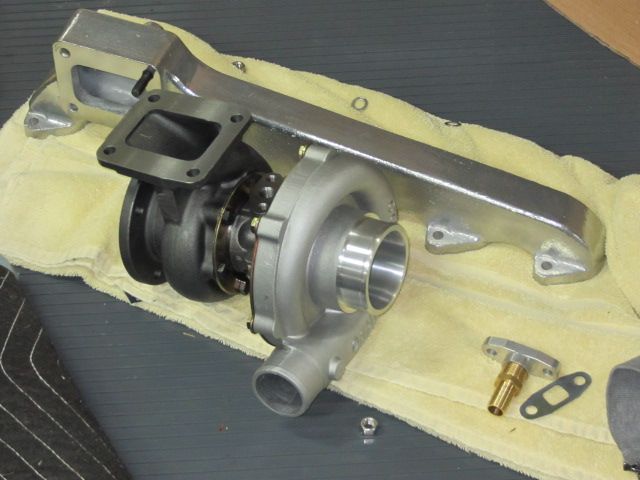
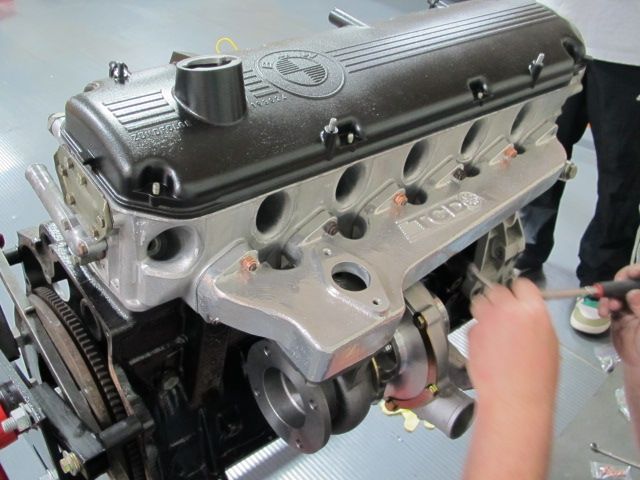
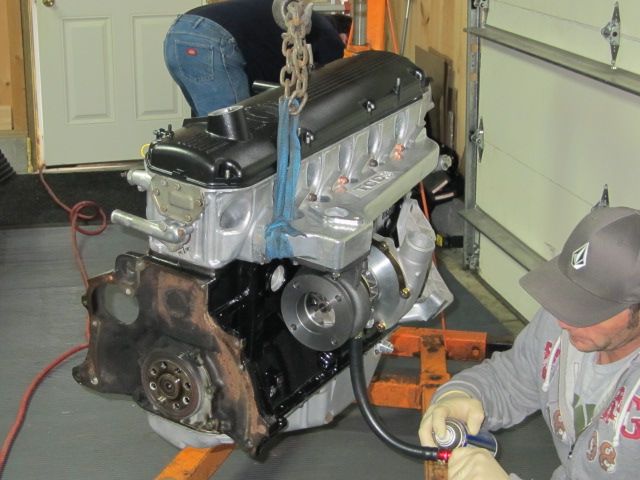
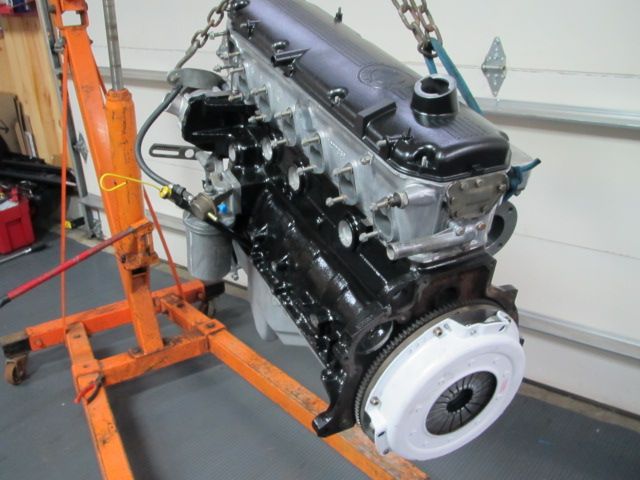
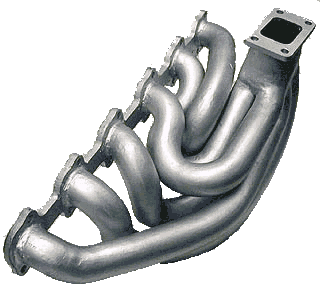
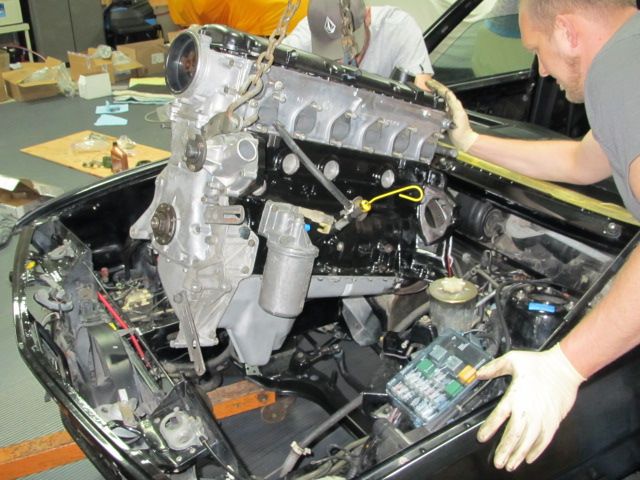
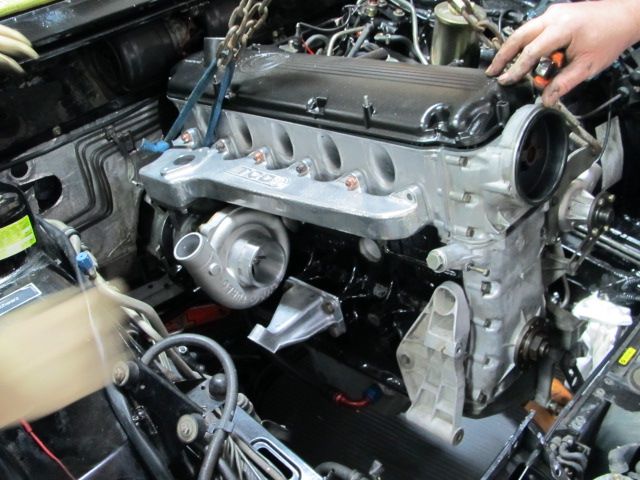
We had a good day, getting a fair amount accomplished, including: getting the front end (upper & lower timing case) of the engine resealed and put back together; resealed the rear of the engine, along with installing the re-surfaced M5 lightweight flywheel and a Clutch Master HD clutch; installed oil filter housing with turbo oil fitting; installed new water pump; installed new motor mounts and associated brackets; installed new starter; put together and mounted the TCD turbo and TCD exhaust manifold; and lastly, put the engine back in the engine bay. We were planning to install the upgraded rear brakes, but couldn't find the caliper bolts!
Next Saturday we plan to button things up and install the other ancillary engine items along with the remainder of the TCD Stage 2 kit, plus finish up the rear brakes. Then we'll be ready for the Megasquirt stand alone engine management system and MSD stuff. Still hoping to get the car up to VSR for paint in the Summer.
Here are some pictures from yesterday's work.
-RoyW
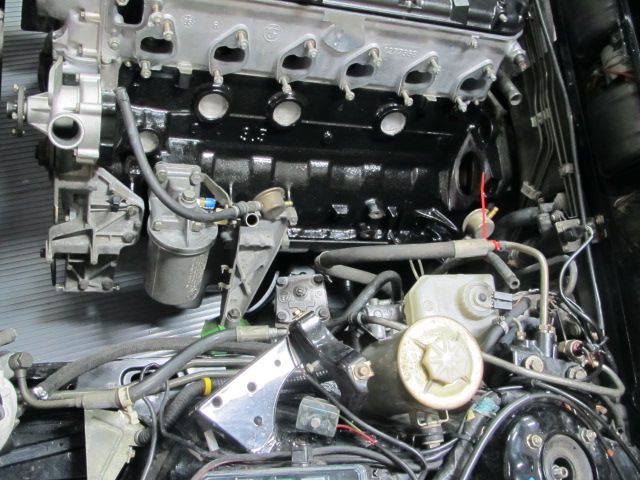
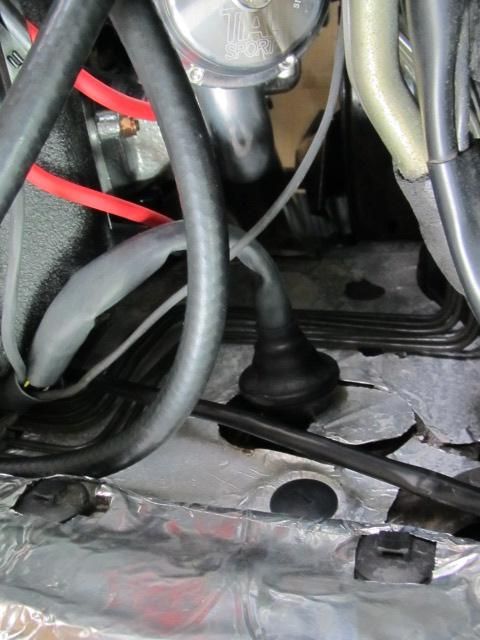
Below are a few pictures from the day's work.
We had a good day, getting a fair amount accomplished, including: getting the front end (upper & lower timing case) of the engine resealed and put back together; resealed the rear of the engine, along with installing the re-surfaced M5 lightweight flywheel and a Clutch Master HD clutch; installed oil filter housing with turbo oil fitting; installed new water pump; installed new motor mounts and associated brackets; installed new starter; put together and mounted the TCD turbo and TCD exhaust manifold; and lastly, put the engine back in the engine bay. We were planning to install the upgraded rear brakes, but couldn't find the caliper bolts!
Next Saturday we plan to button things up and install the other ancillary engine items along with the remainder of the TCD Stage 2 kit, plus finish up the rear brakes. Then we'll be ready for the Megasquirt stand alone engine management system and MSD stuff. Still hoping to get the car up to VSR for paint in the Summer.
Here are some pictures from yesterday's work.
-RoyW
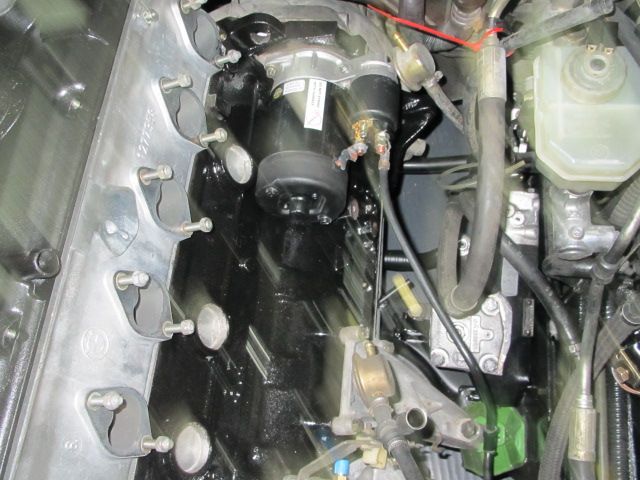
Below are a few pictures from the day's work.
Well, things have slowed down on the project car, as my schedule and those of my very capable helper haven't been lining up. But last weekend a couple of us did make a little progress.
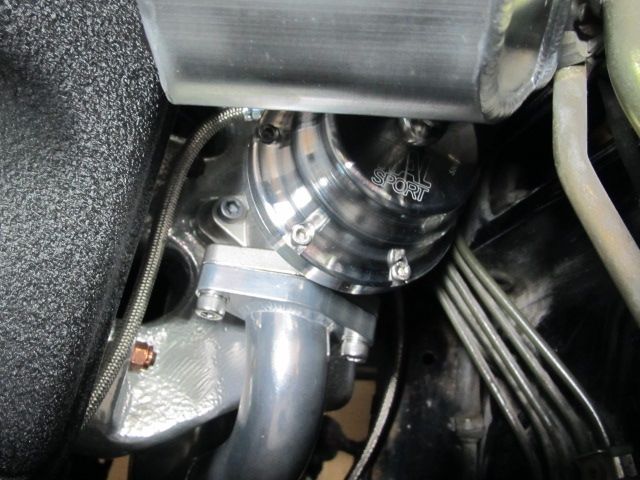
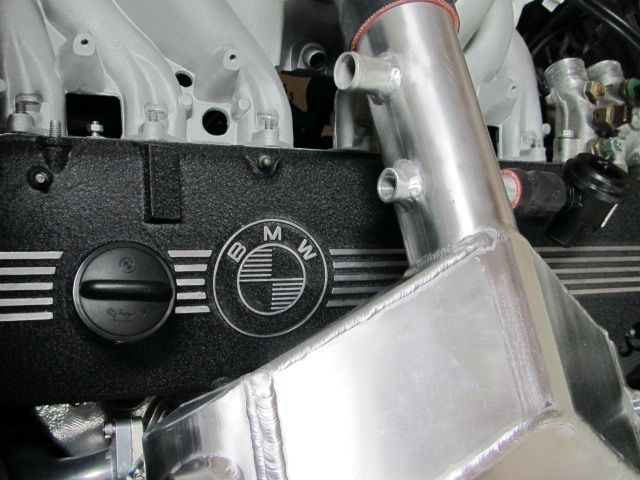
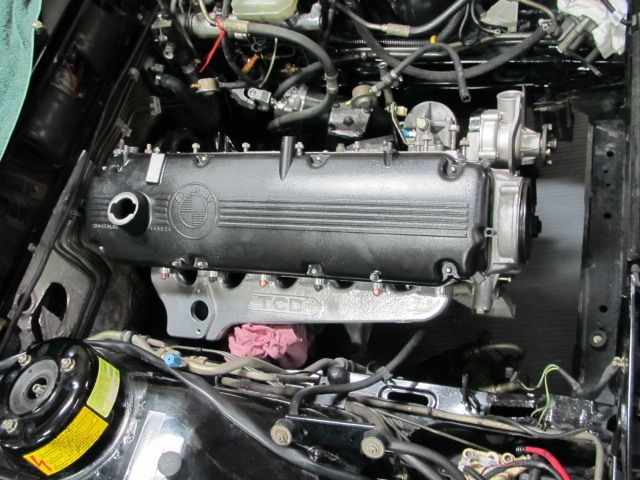
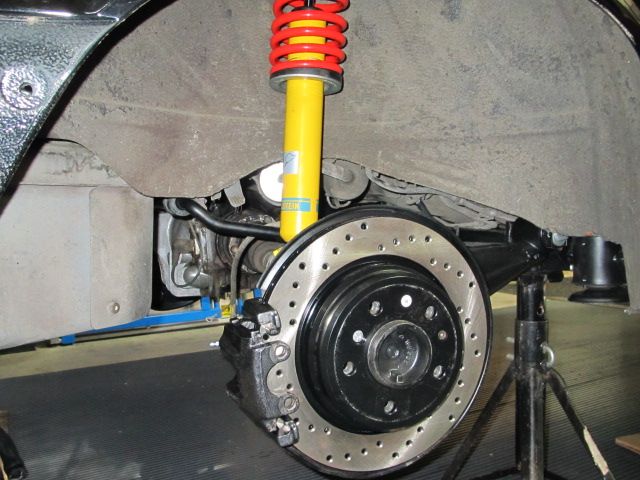
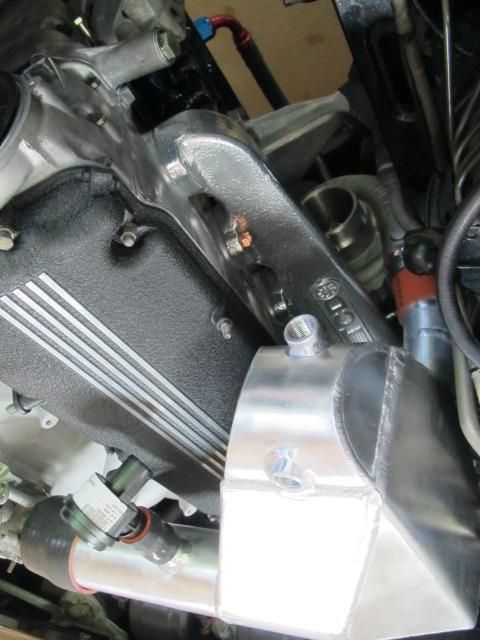
Here's a summary of what we did (and a few pictures below):
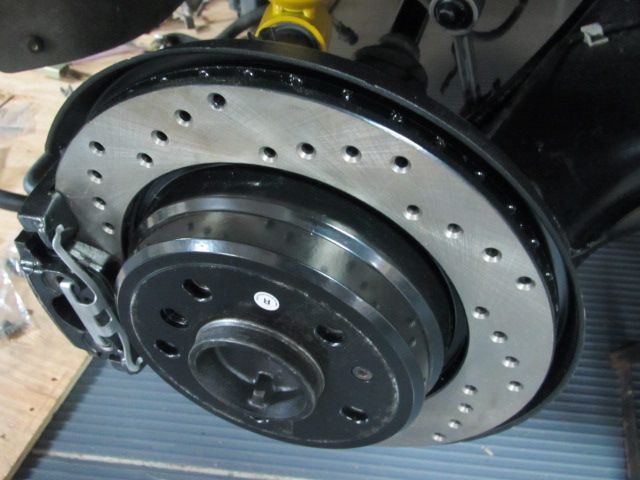
- got the new rear caliper bolts and did up the rear brakes.
- got the new missing nuts and o-ring to complete the install of the oil sensor in the oil pan.
- installed new spark plugs
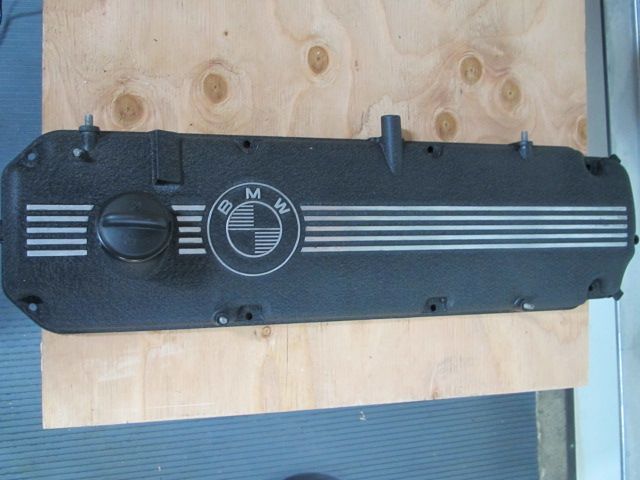
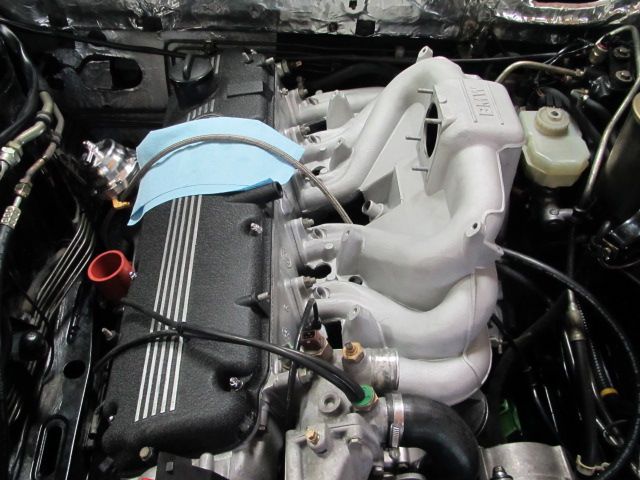
- installed the freshly powder-coated valve cover with new gasket
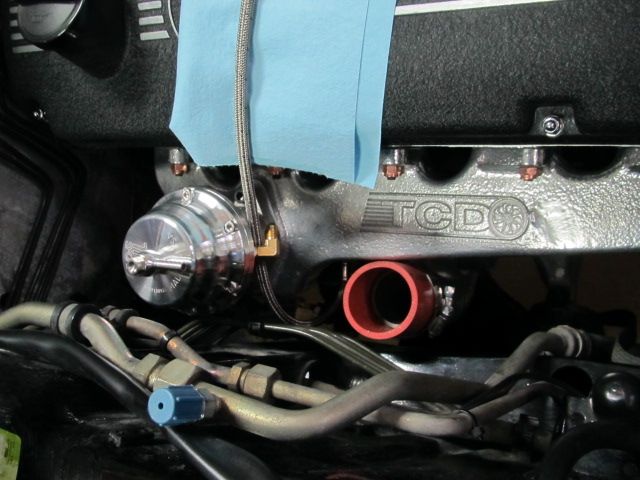
- and, most importantly, got the right oil fitting from TCD for connecting the oil supply line (from the oil filter housing) to the turbo, and then we got that installed... it was not an easy job with the turbo and manifold already on the block!
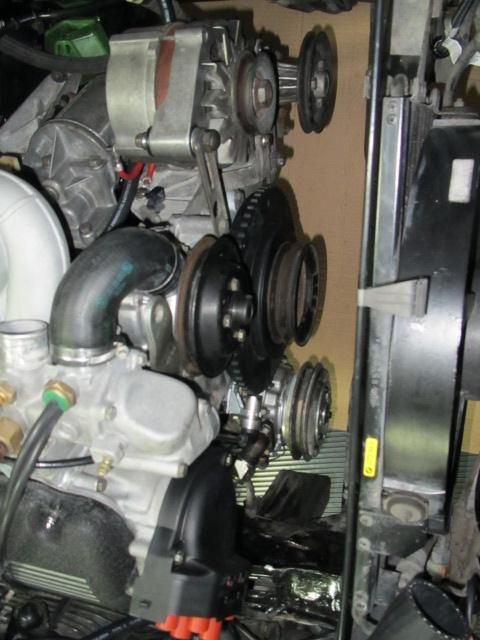
- also got the waste-gate installed and mocked up the inter-cooler and intake to see and try to figure out where all the line, hoses, etc., needed to go
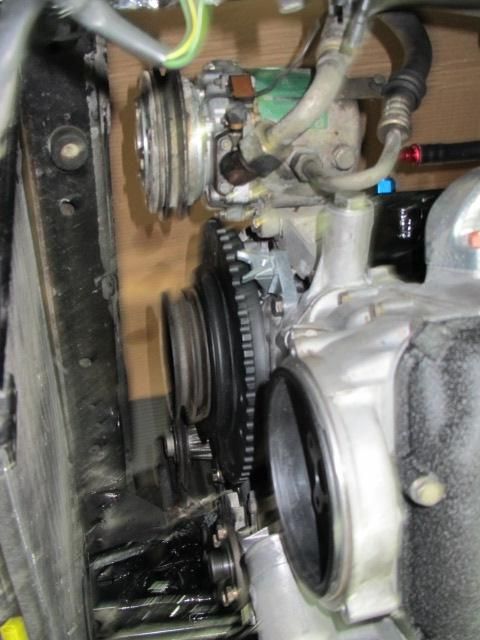
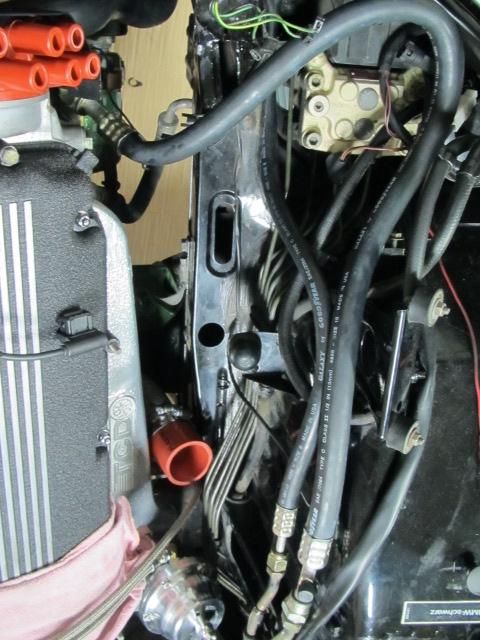
- removed A/C lines to make room for turbo piping (will replace these hard lines, with flexible lines from the TCD kit)
- next, we tried to figure out where the two small oil coolers could mount, but with no front-end on the car, didn't make much progress. The euro bumpers and euro valance make it a little more difficult to figure out where to locate them, as the U.S. fog light area in the U.S. valance is generally where they'd go. I may have to sacrifice A/C and use the area where that radiator sits for a single larger oil cooler?? We'll decide on our next project car wrench-fest on June.29th what to do here?
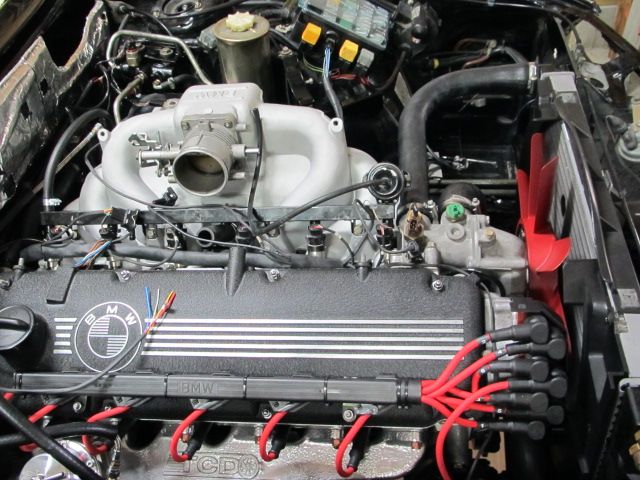
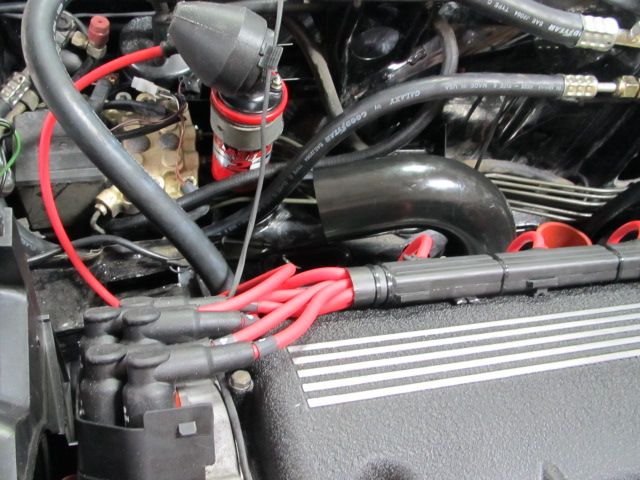
Meanwhile, I'm planning to order up next week the MegaSquirt system, custom wiring harness, wide-band O2 sensor, MSD components, plug wire-set, etc., as I'm hopeful that installation step will be happening sometime in July.
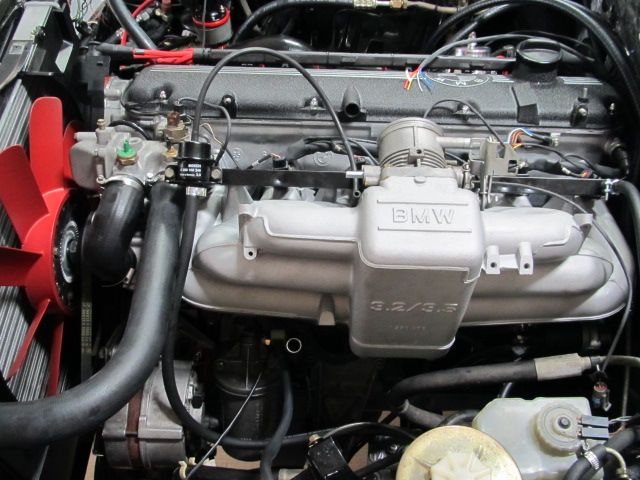
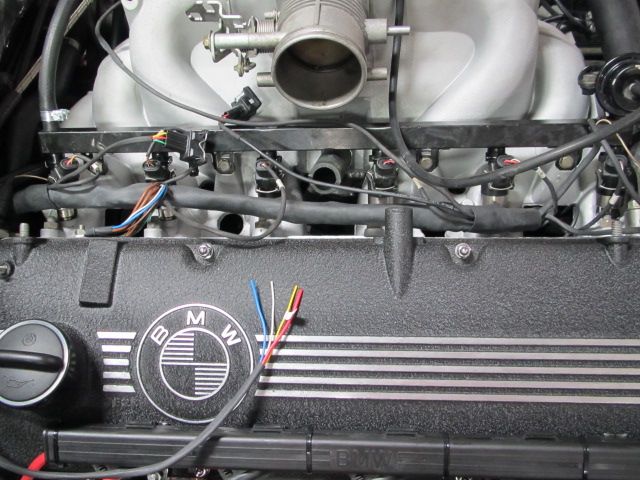
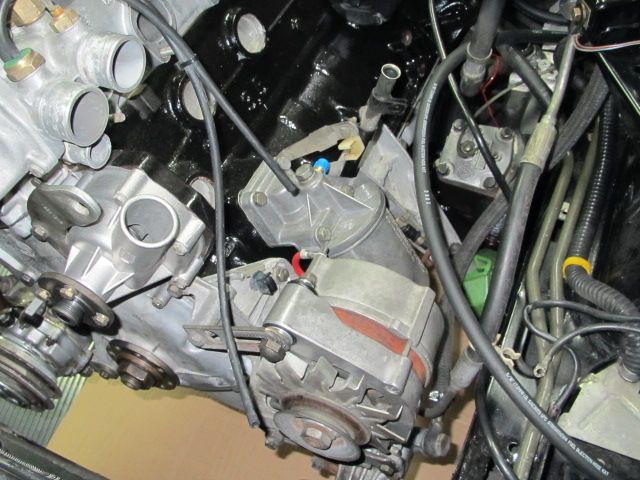
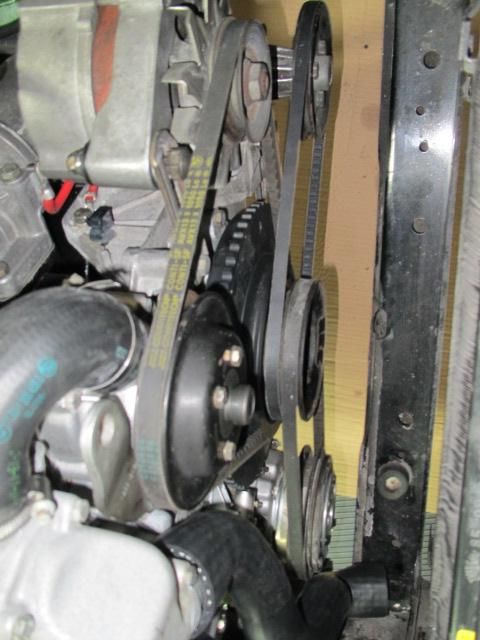
A week from tomorrow, we plan to put all the ancillary engine parts back on the engine, e.g., alternator, power steering pump, A/C condenser, fuel rail, injectors, intake, radiator, fresh hoses, etc, etc. Then go to work on the turbo system install to the extent possible, contingent on decision on oil cooler(s) location.
That's it for now... slow but sure
-RoyW
Last edited by RoyW on Jun 15, 2013 11:02 PM, edited 1 time in total.
-
- Posts: 17638
- Joined: Feb 12, 2006 12:00 PM
- Location: Nasty Orleans------> Batten-Rooehjch------>More Souther LA