It's been a while. I bought a
Euro E28 M5 which took the entire operating budget for the M535i and then some. Then, pretty much at the same time, I began work on a relatively extensive E28 sorting project. That project was finished up just after the first of the year, so it was then time to get back onto the E12 M535i, which hadn't been touched since August. It's been in the garage with sheets over to keep dust and dirt to a minimum.
They dropped a '77 530i at a yard west of Phoenix. I decided that I needed to get that firewall insulation, so I went out there. I removed the dash, AC, heater, pedals, brake master and booster, etc and discovered that there was no way to remove this in either one piece or a series of pieces that would remain usable. Oh what fun.
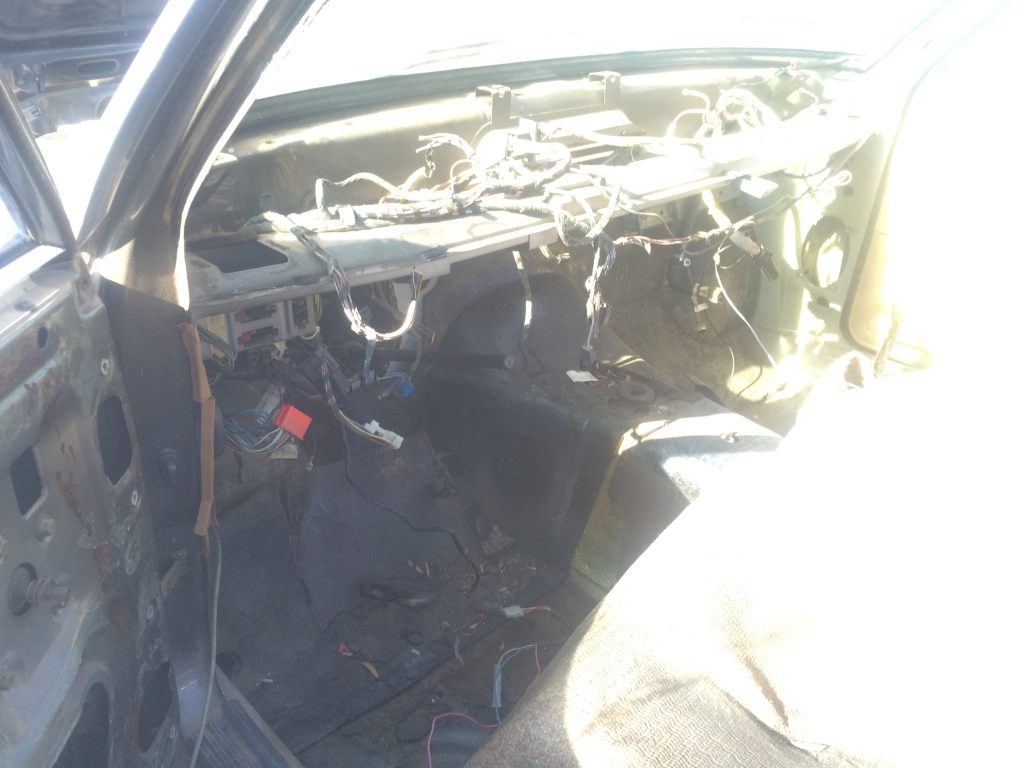
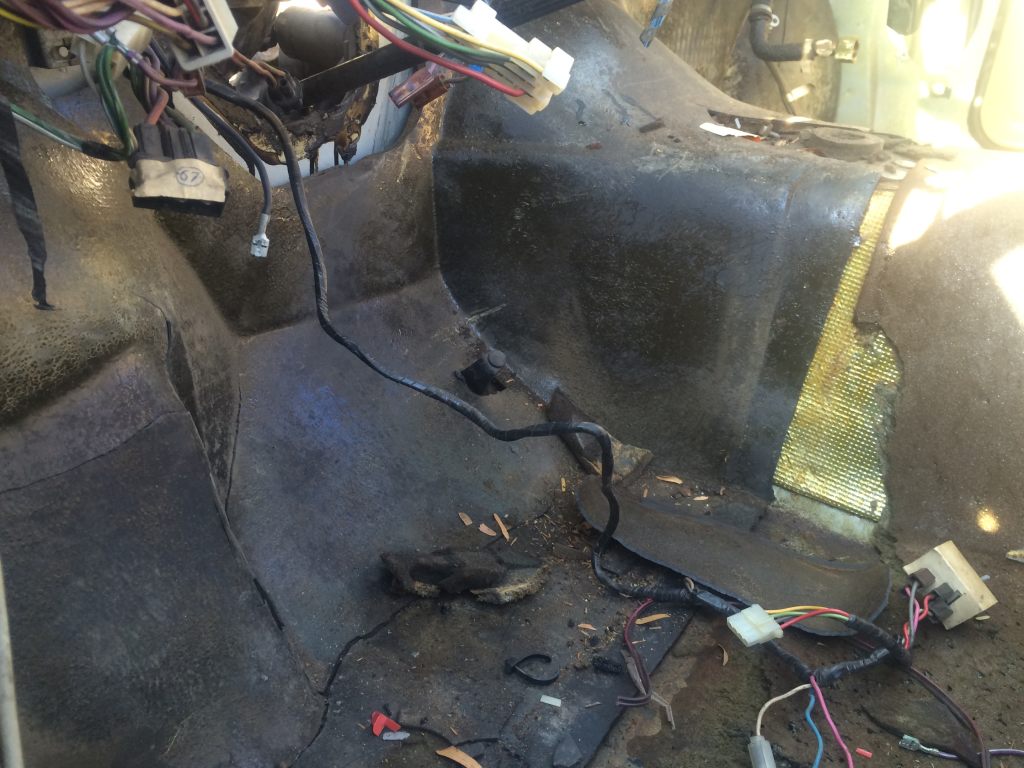
I started talking with my mechanic about working on the M90. We worked out a plan (though that has gotten delayed a bit). I decided to tear the motor down to the longblock.
The first thing I did was stance my dolly. No point in trying to work on a motor properly supported. It sucks to roll hard, bro.
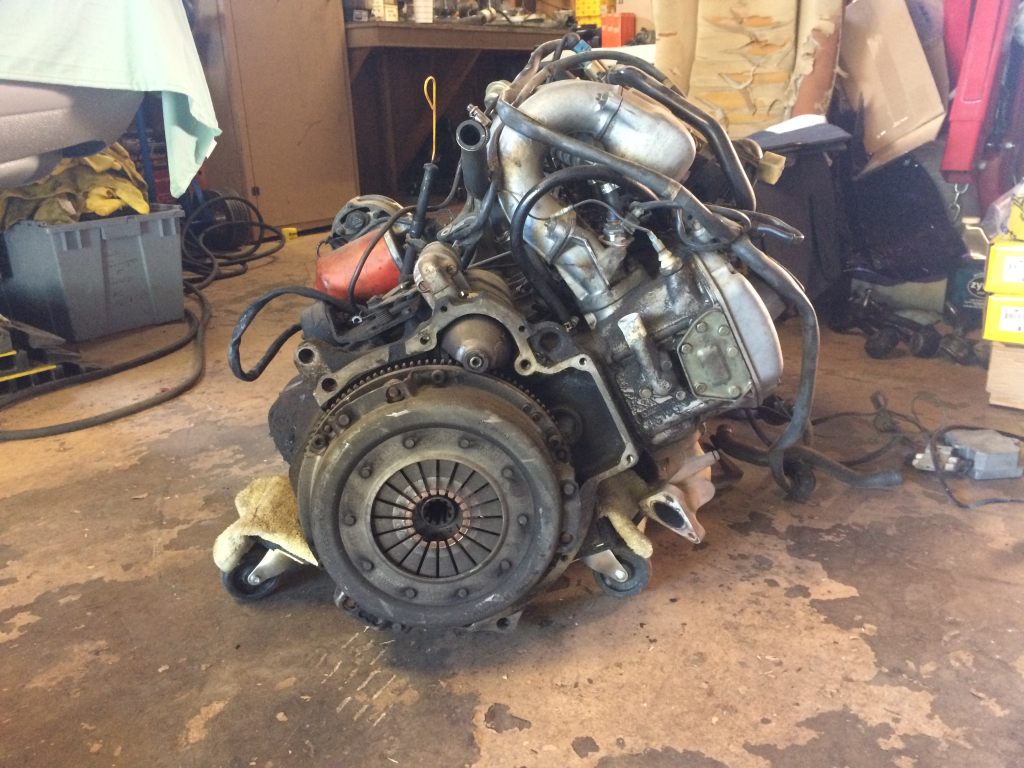
It helps that when you drain the fluids from the motor, don't forget to also drain the filter housing. The unexpected stancing caused a mess in that regard.
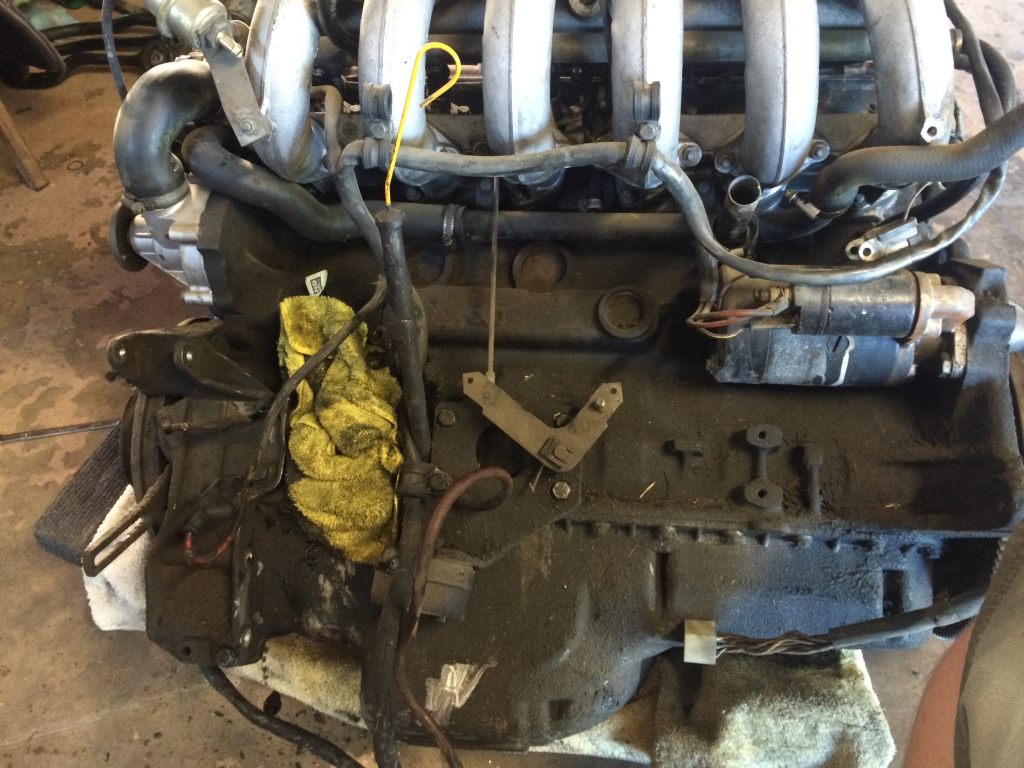
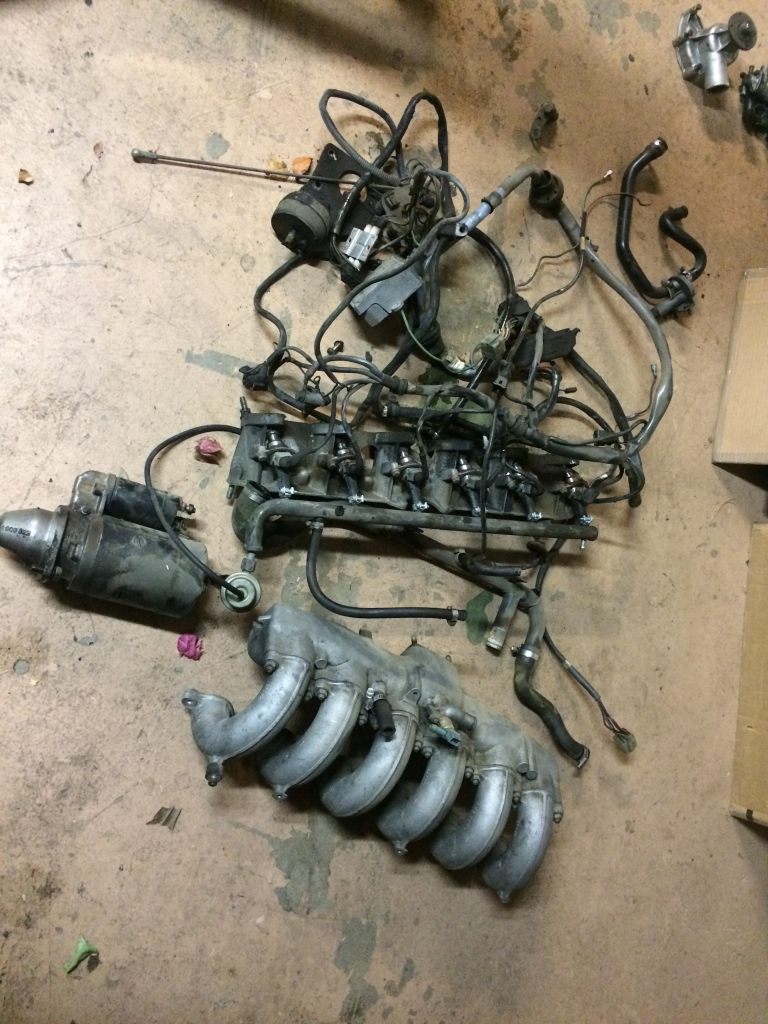
Here's a bunch of stuff removed:
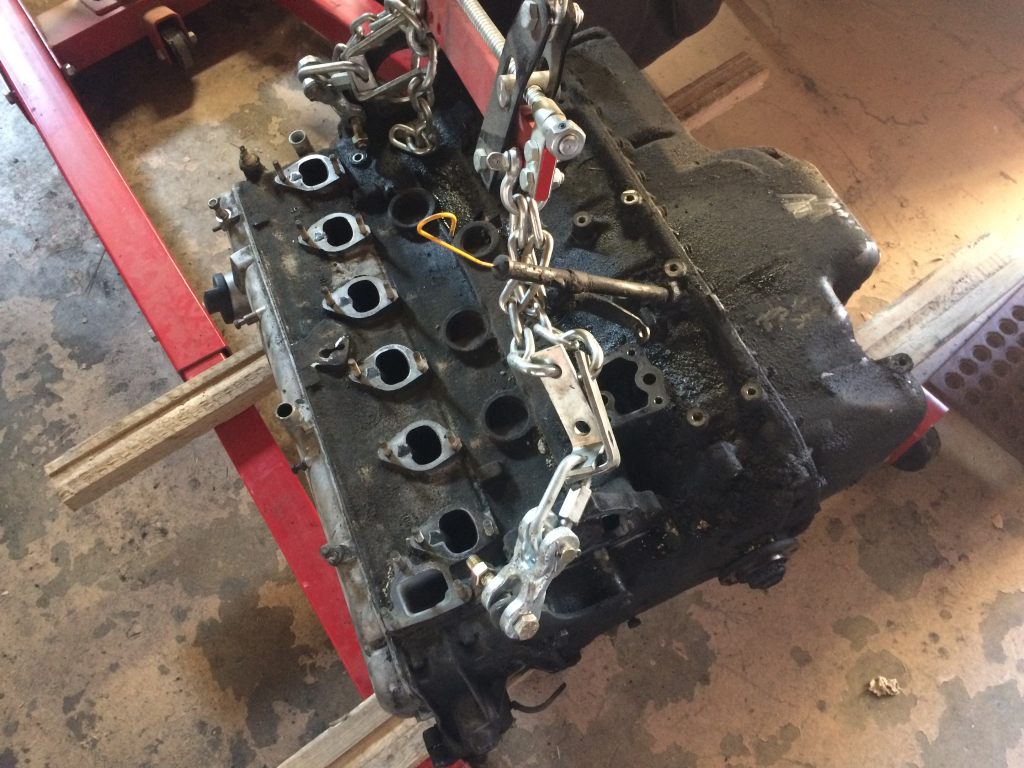
Here it is ready for transport:
One thing I did work on over that time was trying to get some trim refinished. There are a few pieces of the brightwork that are NLA or the currently-available part is useless (as is the case for the front lower windshield trim). I found a local polishing shop that had been getting good reviews in the hot rod community, so I swung by and he quoted me a reasonable price for 9 pieces of trim. I dropped these pieces off in early August. I happened to see a sign in the office suggesting they do chrome as well. There are only a couple of chrome pieces on an E12. Tail light surrounds and the door handles. I had an excellent set of tail lamps, but of the multiple sets of door handles I have, I had a good set, but it's just a good set. Interestingly, the best set I have ever gotten came off of THIS car. So, I asked about the chrome and he has a connection with a chrome shop in Tucson. New handles are $144 ea, which doubled in price from when I first considered them in 2010. I scoffed at the price then and did the same now, though I was actually ready to pay the $70 ea for them. Go figure. Well, several months went by. Sometime in October, I think, I swung by to see what was happening and the chrome guy was there with my door handles. I checked them out and they looked good, but I saw a spot on two of them I didn't like, so they went in to be redone. I still don't have them. Finally, in mid-December, I got the polished pieces. The polisher suggested I just use the Blue Magic metal polish. I explained that these pieces have to resemble the new trim on the car. I understand matching it is impossible since the original process is a bright-dip anodize that I cannot replicate between the five anodize shops here in Phoenix. I need a coating to take some of the punch out of the polished aluminum and to protect it. I didn't unwrap anything, instead, I took it all straight to the powder-coater I use. They do lots of firearms stuff and specialty coatings, so I wanted to have them do the ceramic clear that a shop in CA uses. They didn't stock it and had to order it. About three weeks went by and I got to see a sample. They used the piece that goes between the tail lamps on the tail panel. It was terrible. The "world's strongest clear-coat" can only be removed by blasting, according to the manufacturer, once the cure time has been reached. Ugh. They did another sample for me and it was better. I called the manufacturer and they gave me some tips, but the shop kinda wrote them off saying "we go back and forth with these people all the time." I gave them a suggestion and a few days later, I had the rest of the pieces. They stripped the tail panel test piece, had it re-polished and re-coated it. Of all the pieces they did, it was actually the nicest. It was by far the worst piece of trim when the process started, though.
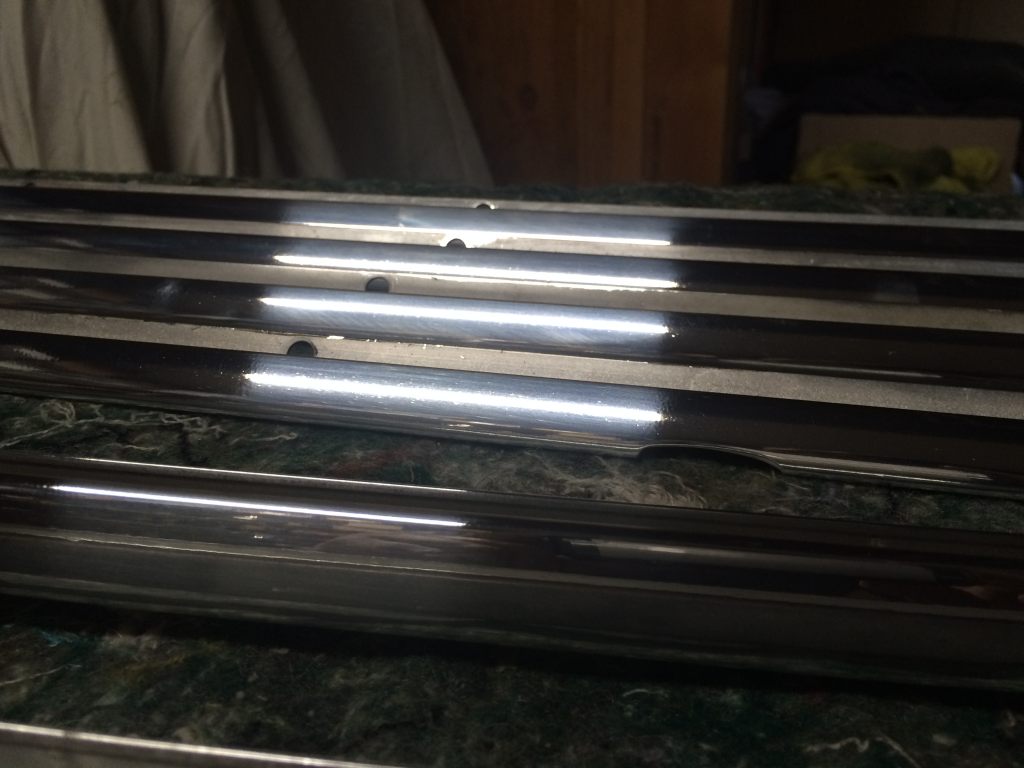
At this point, I was pretty excited to have these pieces back. I got to thinking about what to do next. I started by installing that piece of trim.
I figured I needed to get going on these harnesses. Starting with the ones behind the firewall, I figured out there were three separate harnesses. First is the standard harness, second is central locking and since my car is plagued with power windows, it has one of those too. The central locking was in primo shape, so I left it alone. The other two had areas where the tape was coming off, so I re-wrapped those with friction tape. Unfortunately, the friction tape is too wide for the skip-wrapped harnesses, so I split it down the middle and wrapped it that way. I think it came out well. Once they were situated, I started running them through the car.
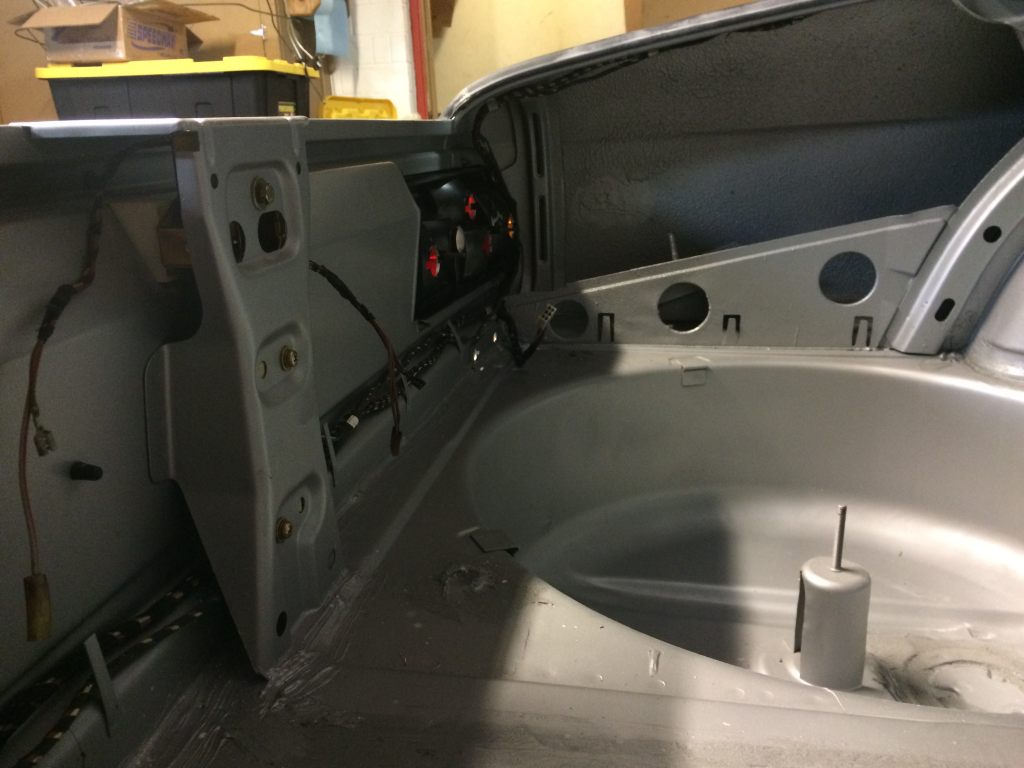
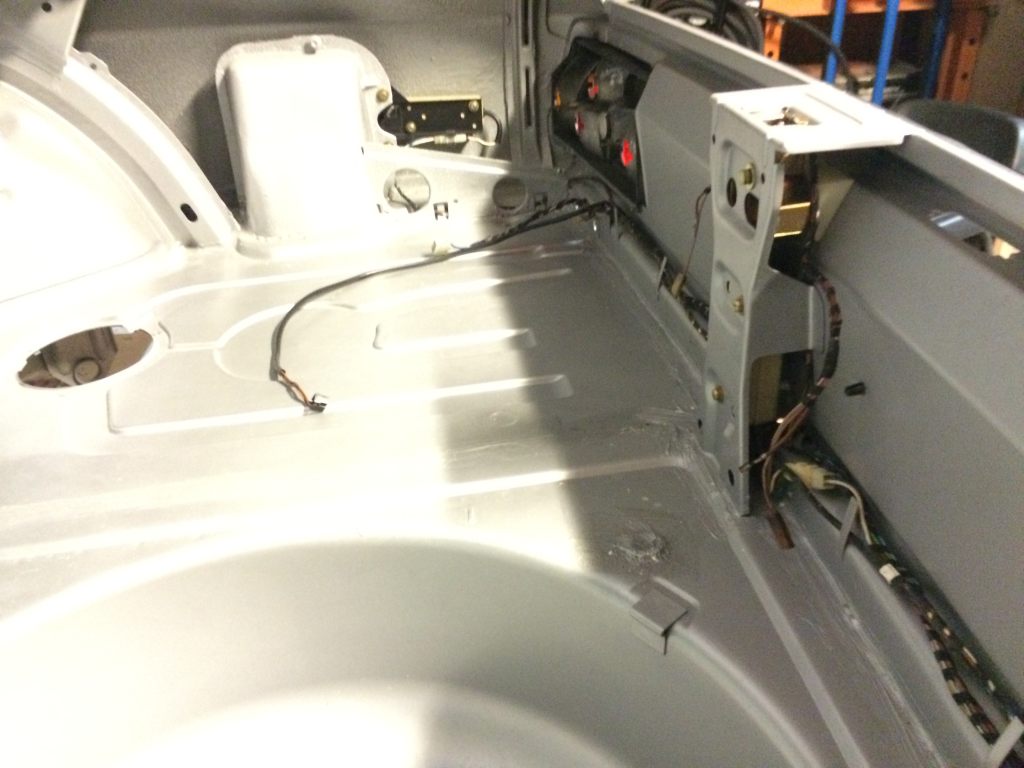
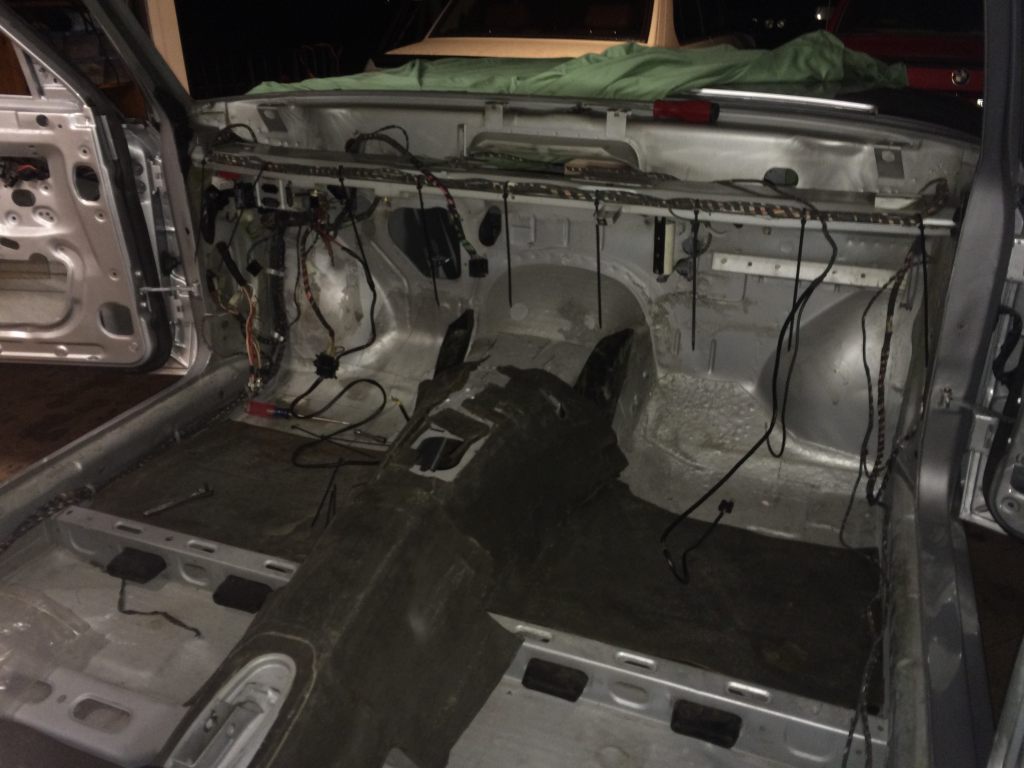
Until I'm satisfied everything is right where it needs to be, I'll sinch up the zip ties and cut the tails off. There are lots of wires that end up in the left front corner of the cabin. I can't start tidying this stuff up until I run the forward harness into the car.
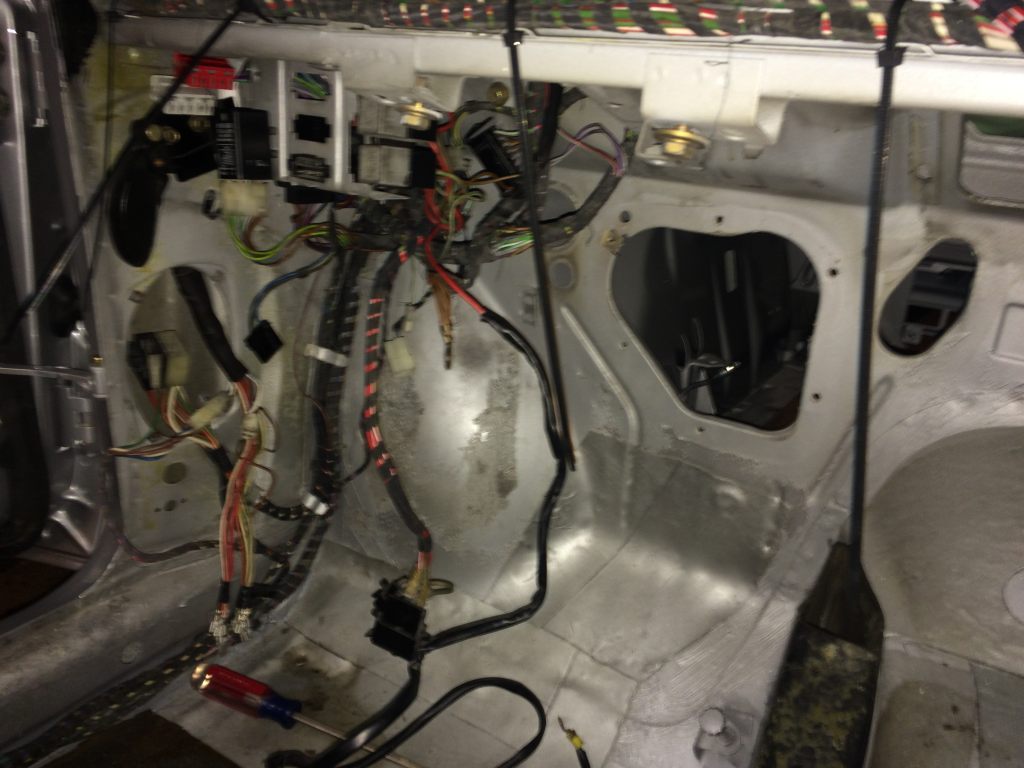
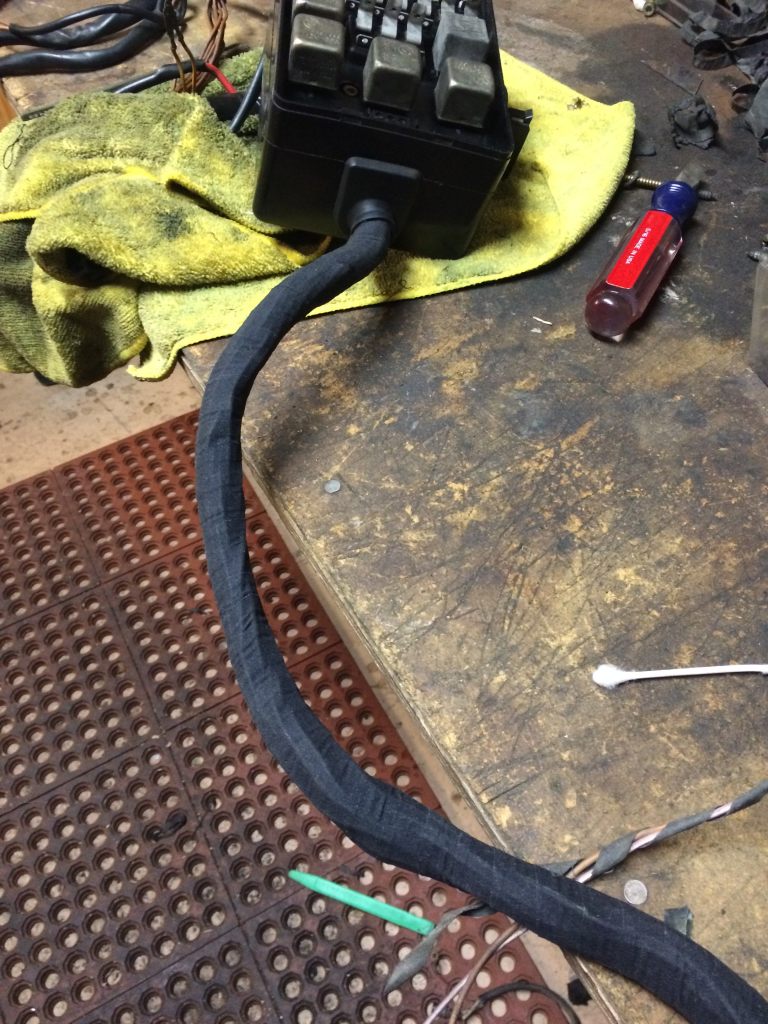
I started work on the forward wiring harness. There are several areas where it was Federalized and those wires need repair. I started with re-wrapping the main harness and also replaced the fusebox grommet with a mint one from the Super Eta.
This is the wiring for the left front turn signal. It was cut short and replaced with a red ground wire and black positive wire. No connector. The ends were soldered to the tabs on the lamp.
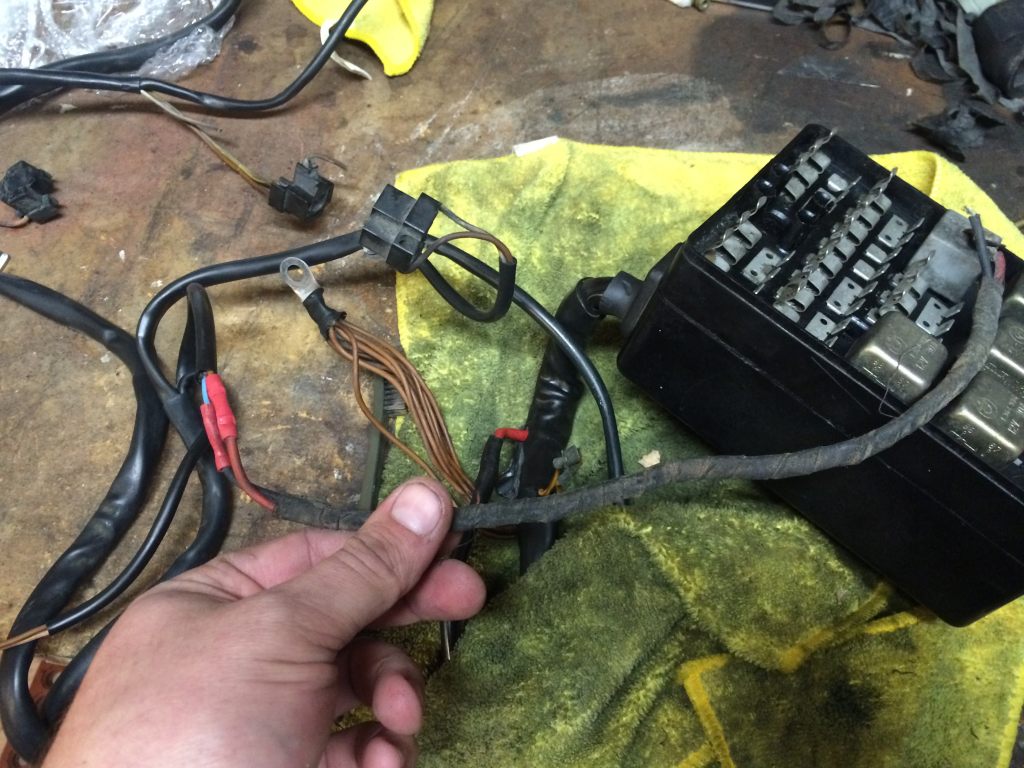
I ordered some of the correct terminal connectors and a proper German crimping tool ($$$). While I waited for them to show up, I decided to just start installing all of the parts I've been buying and storing since 2010.
I started with the rear bumper. All brand new parts. Pretty frustrating to assemble since you swear you're going to break the seam covers getting them into position. Installing the strips is an aggravating experience too since they go in a specific order and have very tight tolerances. I also had two "complete" hardware sets and found that neither set had everything needed, but it was a start. They're NLA now anyway.
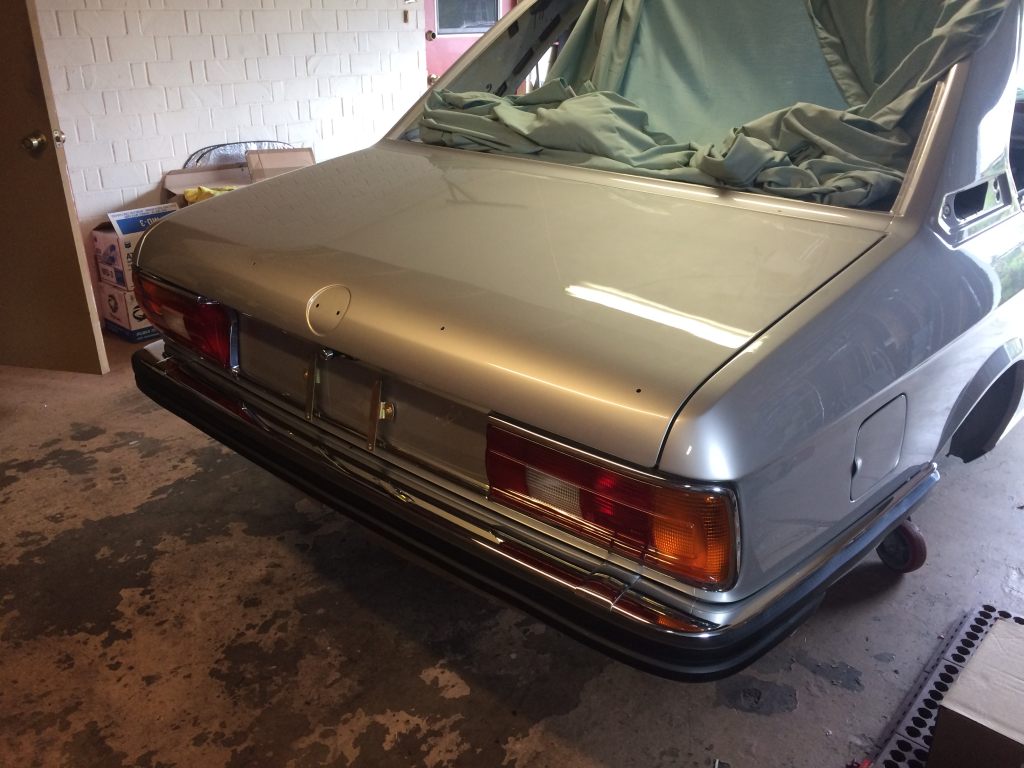
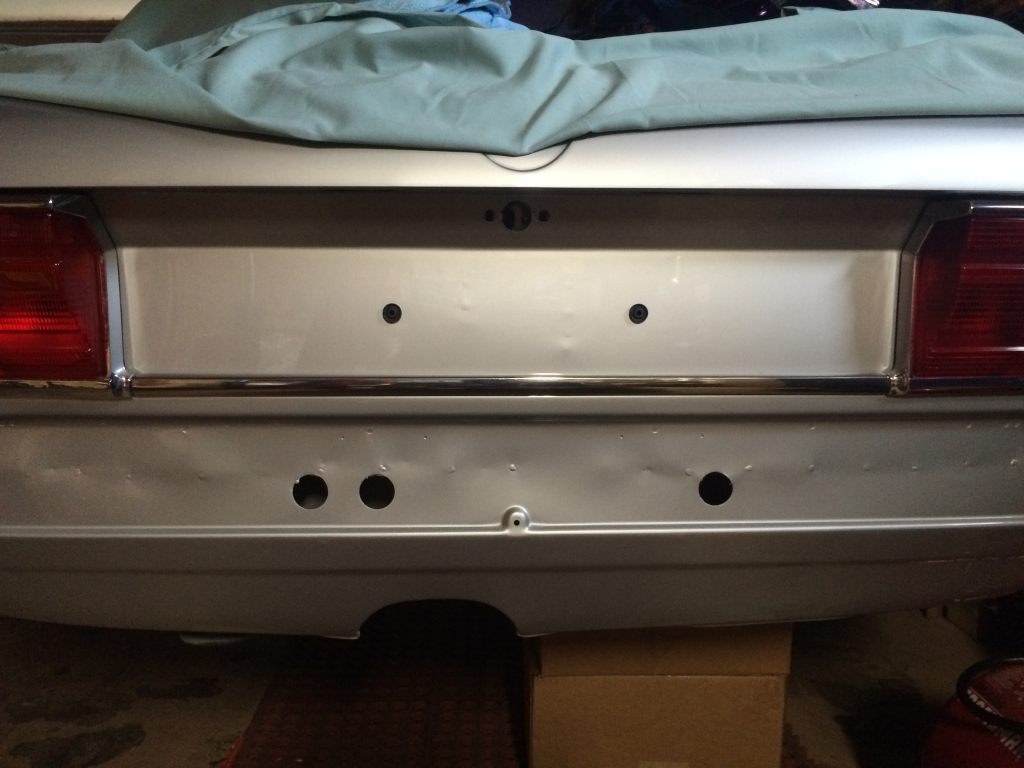
Once I saw that, I decided I had to just see what the back of the car was going to look like, so I set the spoiler on the trunk and put the license plate on.
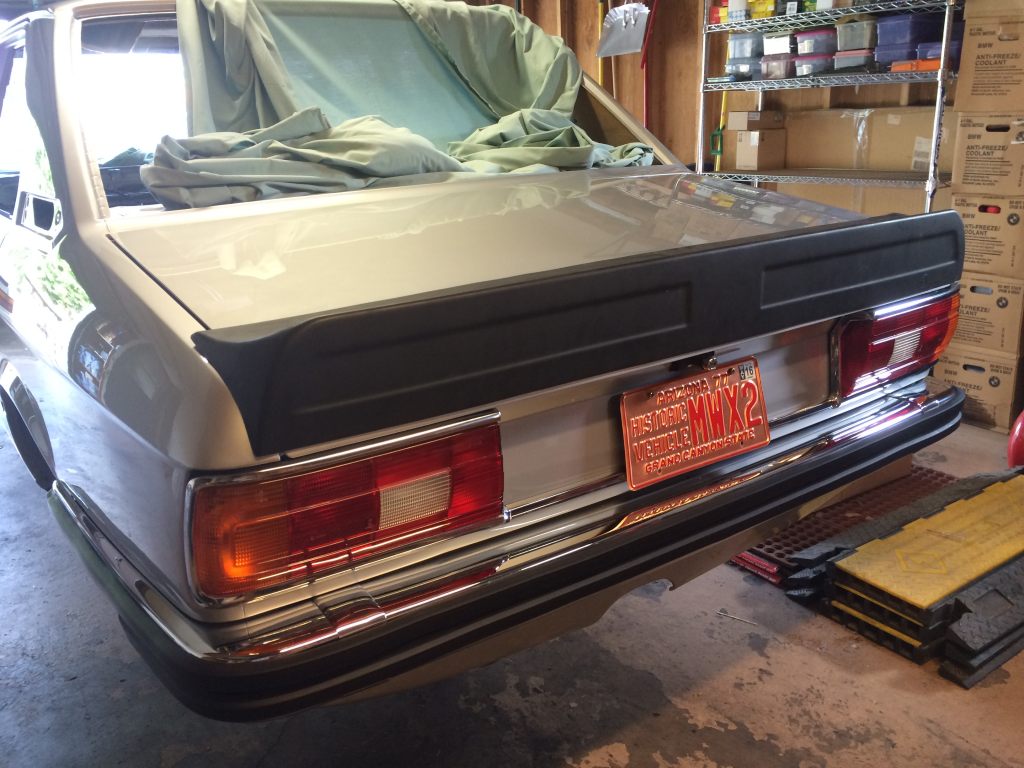
It's still registered!
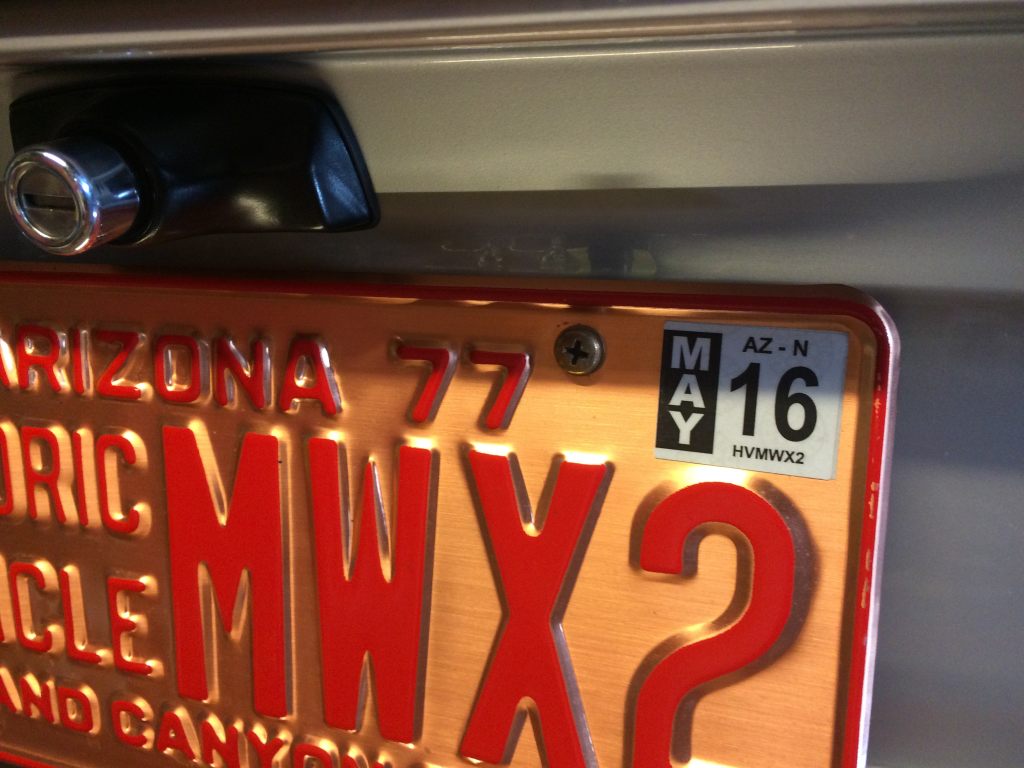
I also completely disassembled the trunk lock, painted the surround and used o-rings to replace the seal. Unfortunately the o-rings don't have the lubricidity the nearly-missing seal did, so it's a little tight. I might revisit that later, but it is functional nonetheless.
I moved on to assembling the doors. I had just done all of the window weatherstripping on the E28, so the process was still fresh. I had everything new, which can be tricky to fit since it all likes to take up too much space. The rear guide rail was refinished with the other trim pieces.
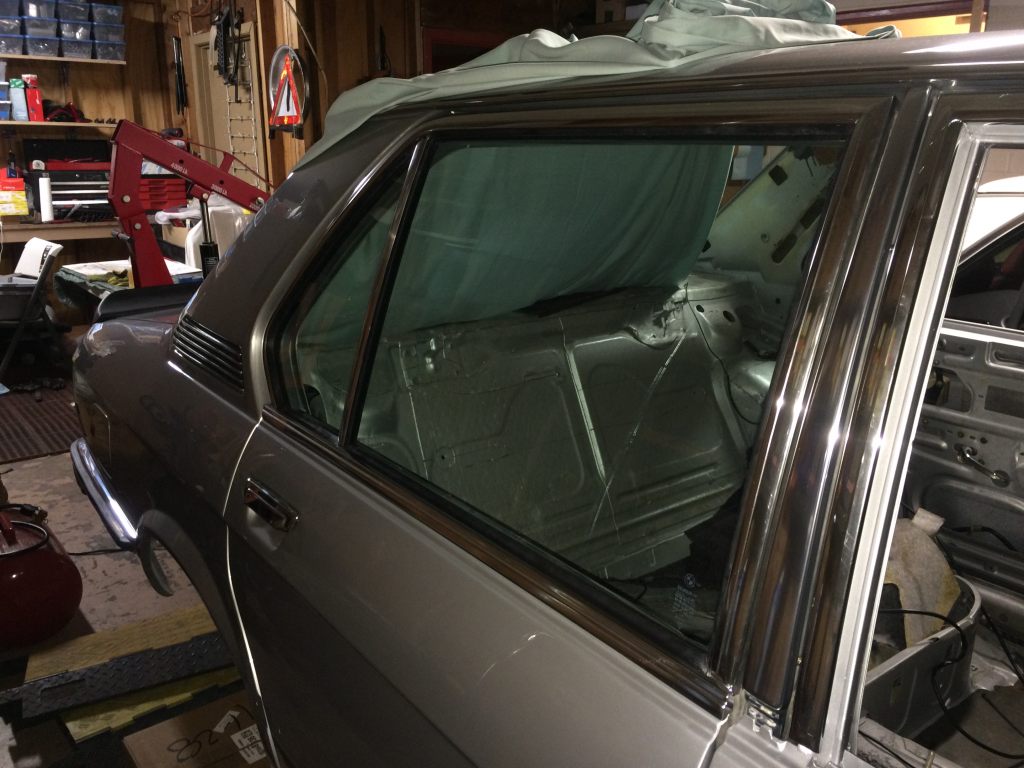
I went to the other side:
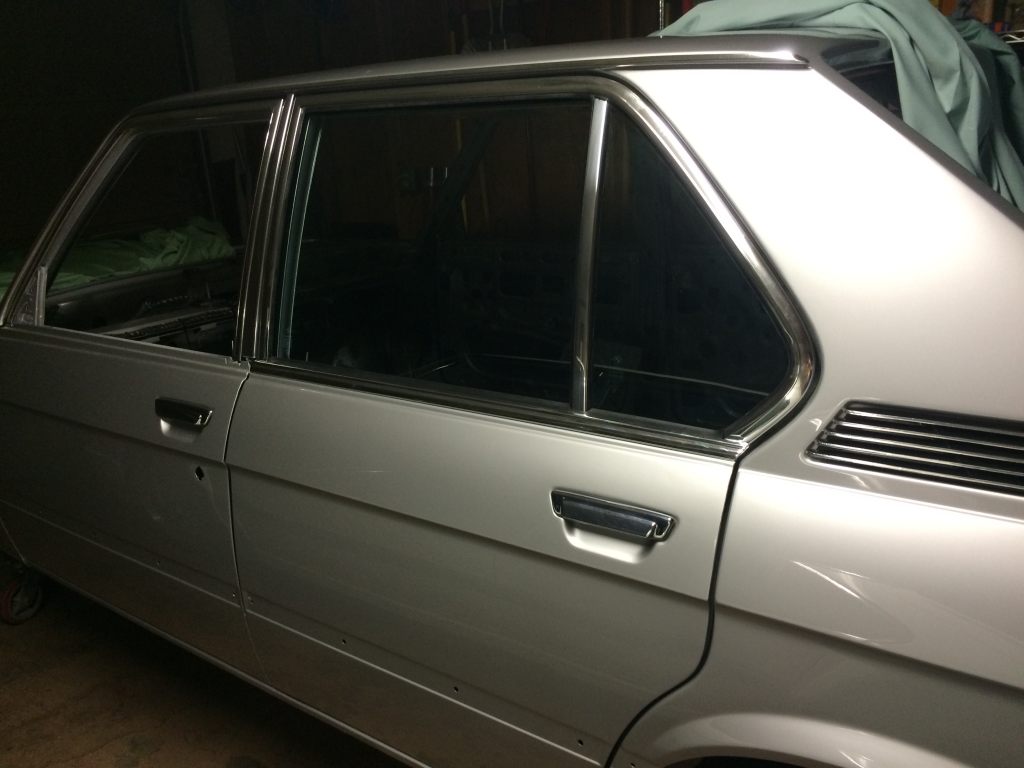
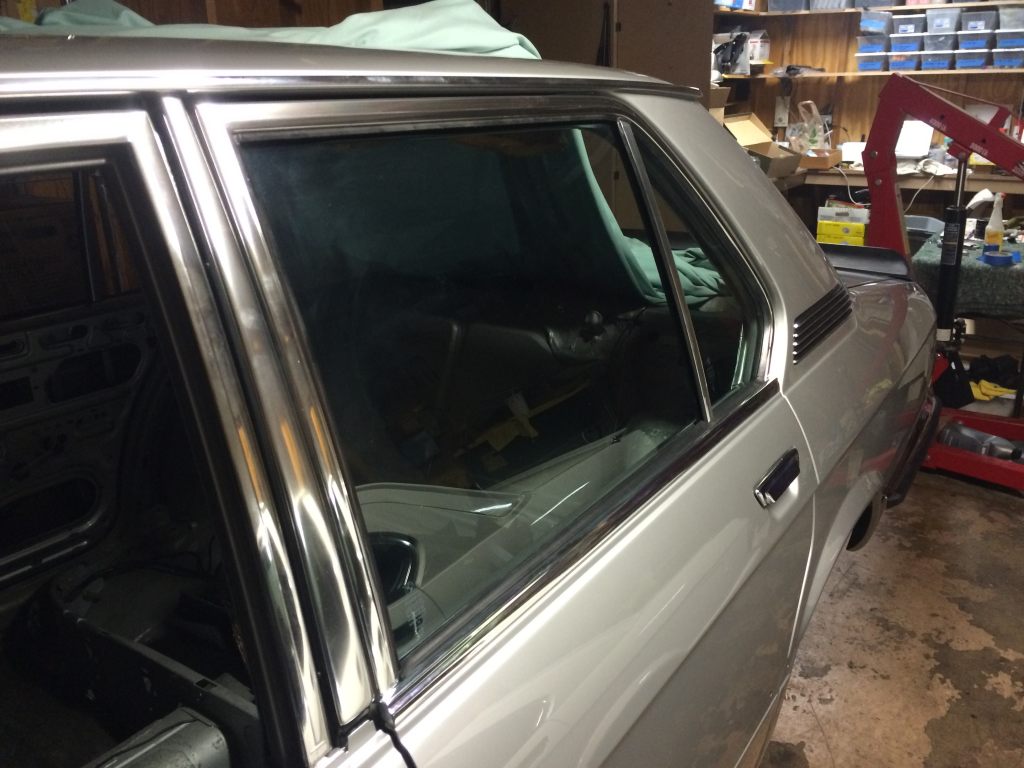
Right front door done and I then decided to install the belt line trim, too. Rocker trim will come later. Mike didn't make the holes in the fenders. It's something I could probably do though.
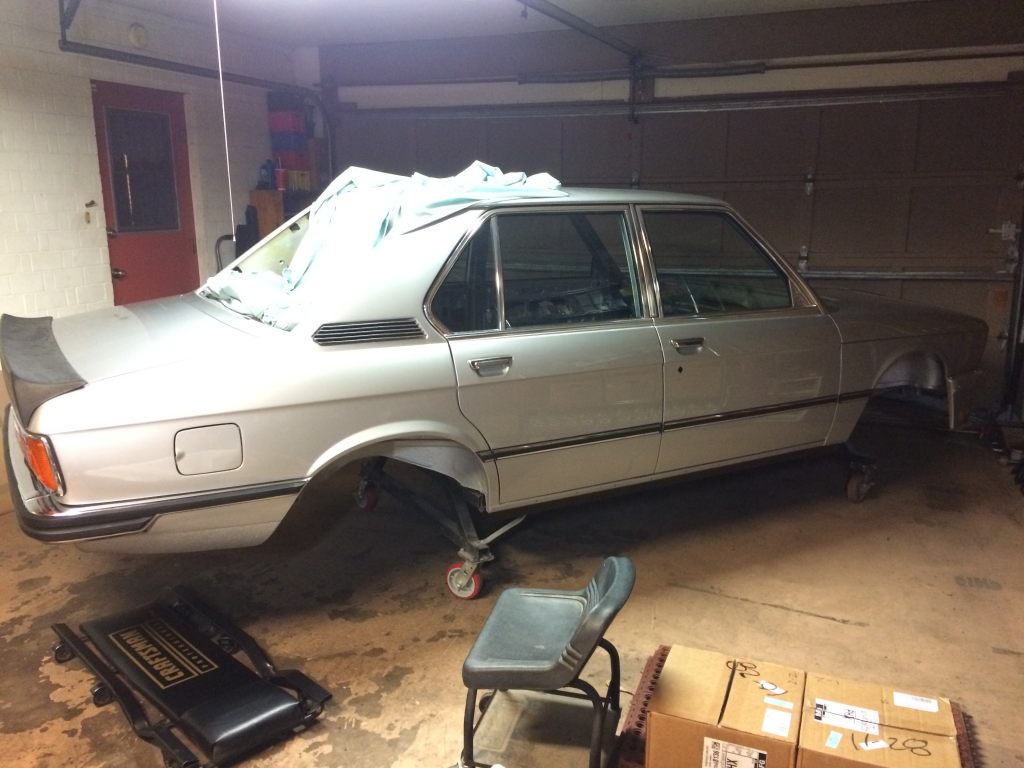
And here's the left side:
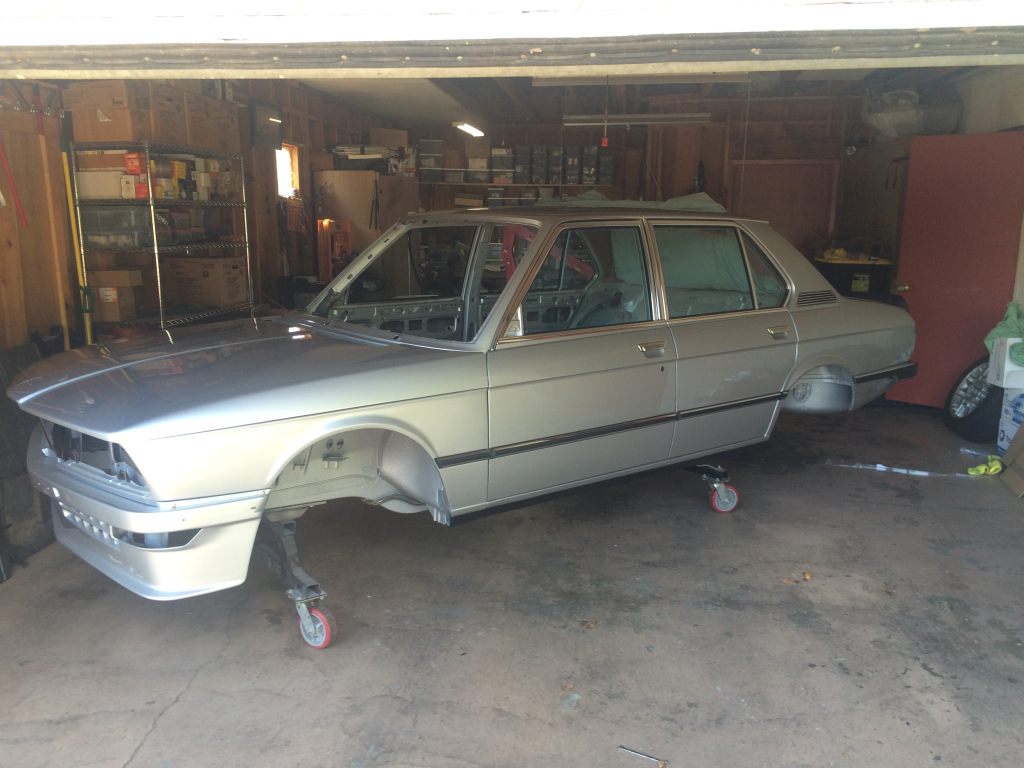
At this point, I was very happy with the hood alignment. I got that thing installed right on the first try. Still, I can't know for sure unless I try out the grilles to make sure they sit properly relative to the hood and fenders.
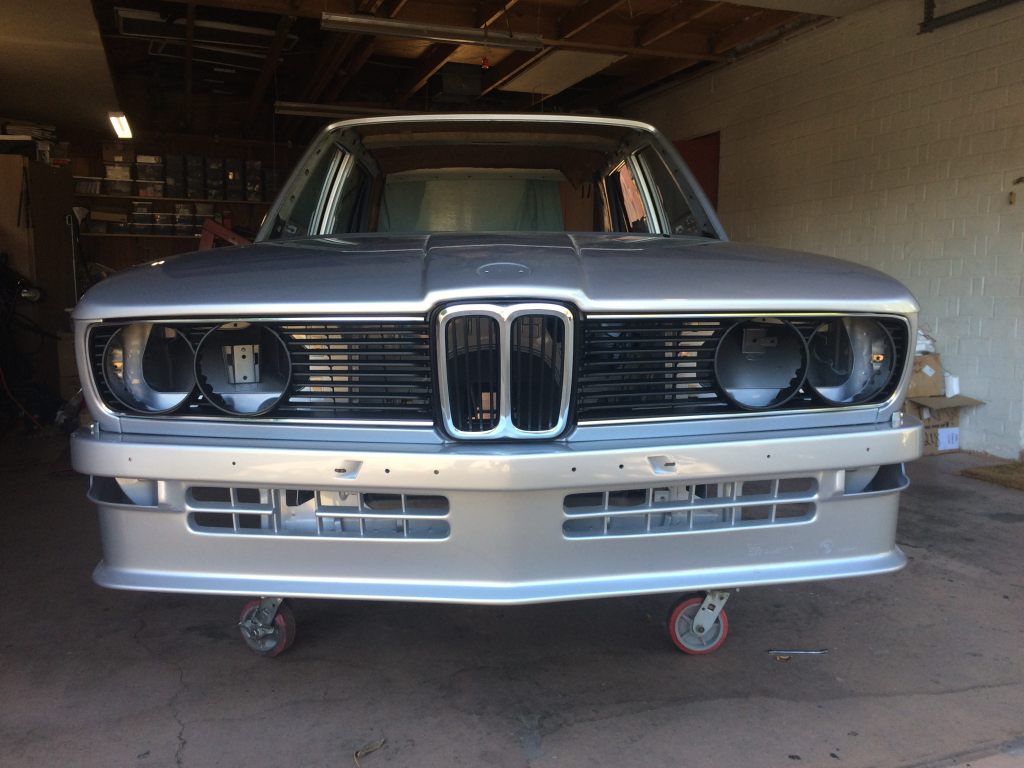
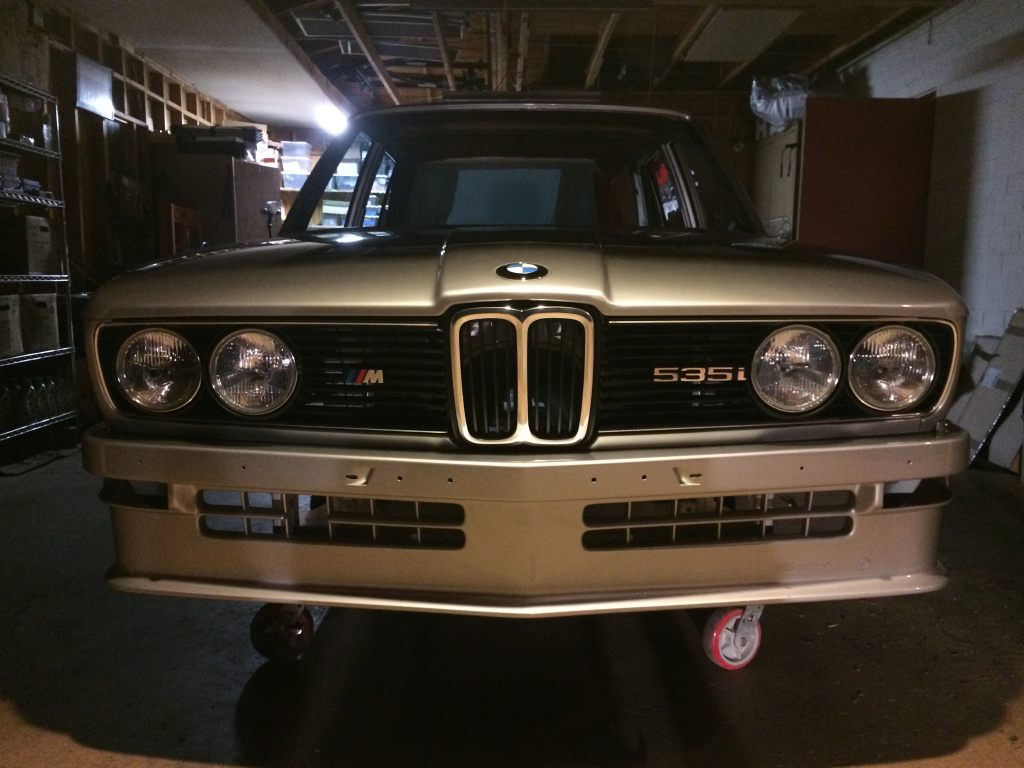
Good. Unfortunately, it looks kinda stupid. I have completely new headlamps. Why not check those out too?
Sadly, I happened to catch a glimpse of the garbage fuel hard lines I paid insane money for and noticed that they were starting to accrue and undesirable amount of surface corrosion. I was never told that the lines were bare steel. For what I paid, they should have been stainless, but I was given junk. Junk which didn't fit properly.
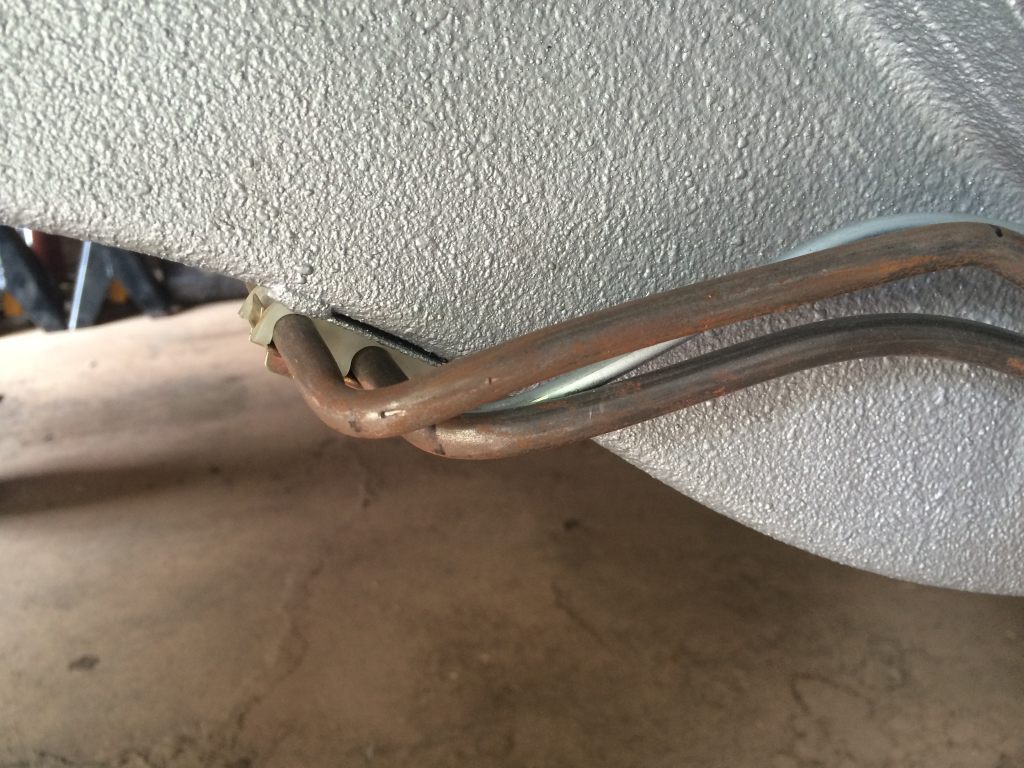
After getting extremely upset, I considered my options. I decided to refinish the original lines since they fit properly and are actually in pretty nice shape. I did much sanding and decided to go with a silver finish. The originals were plated but that's not an option now due to their size.
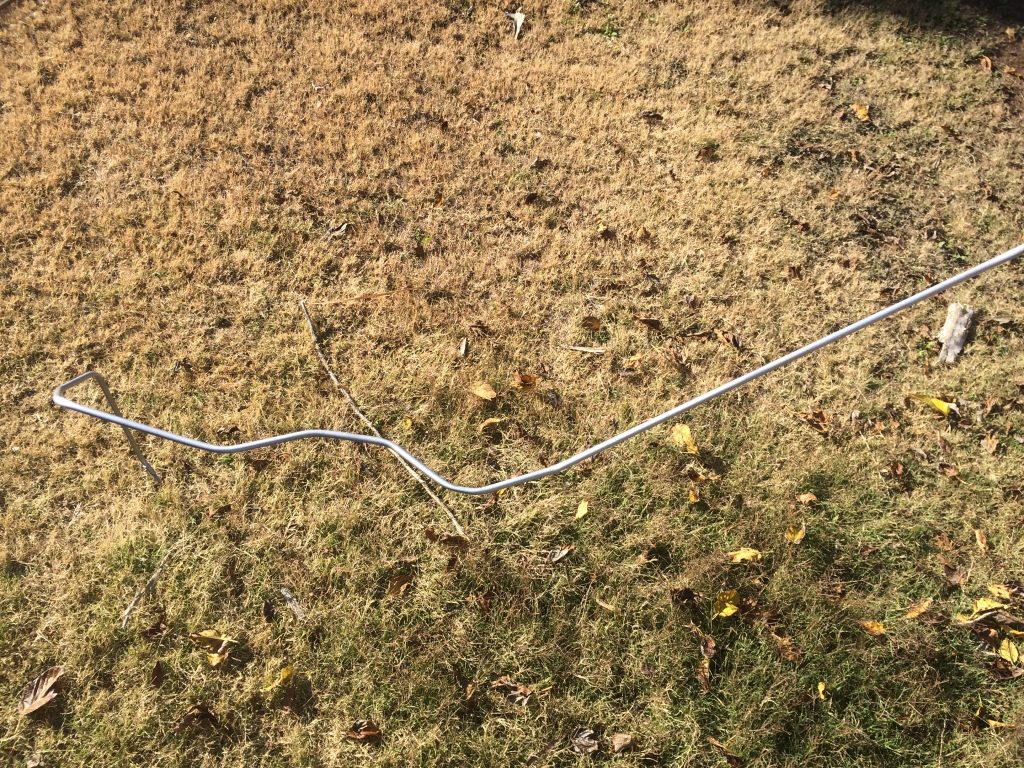
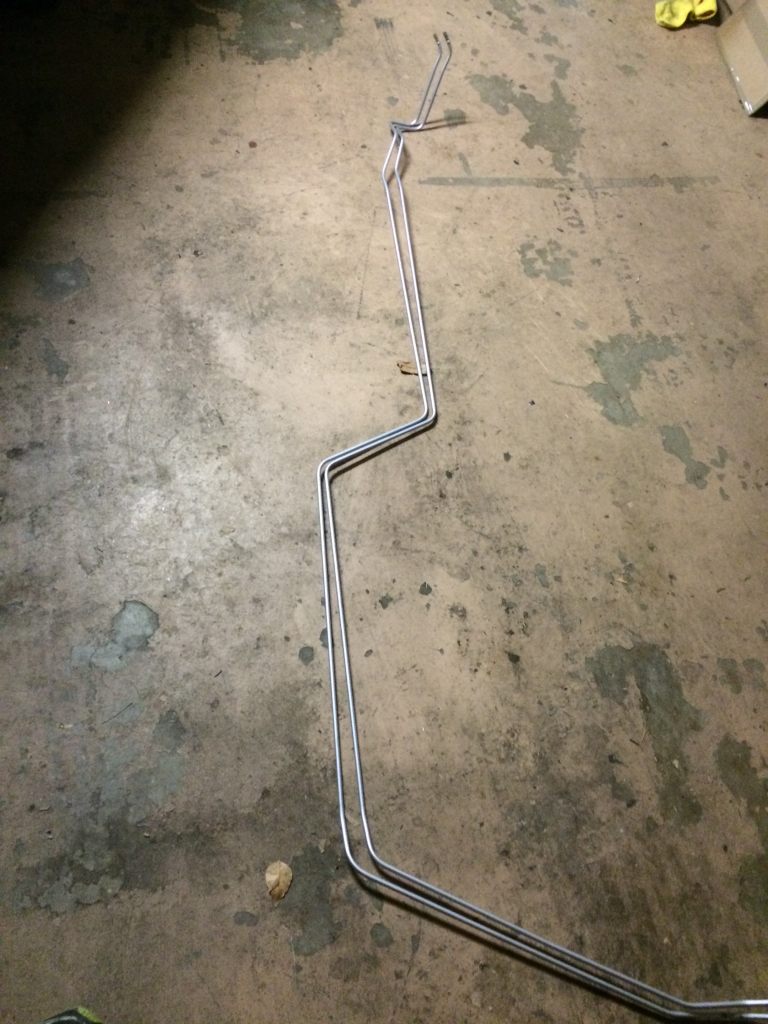
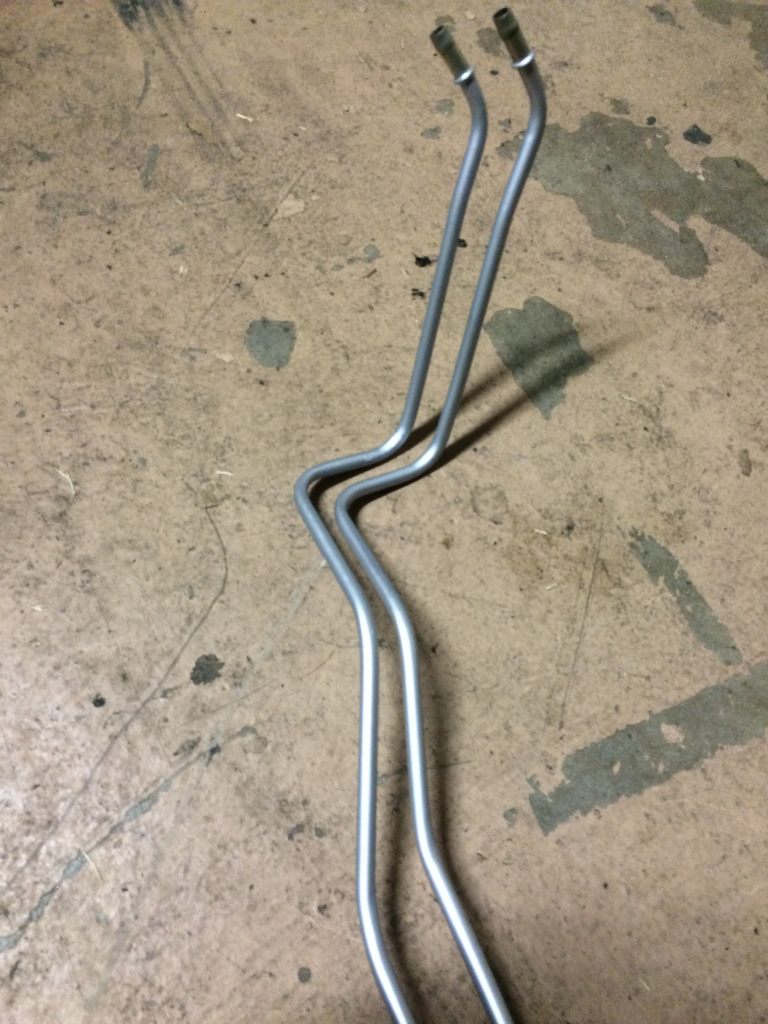
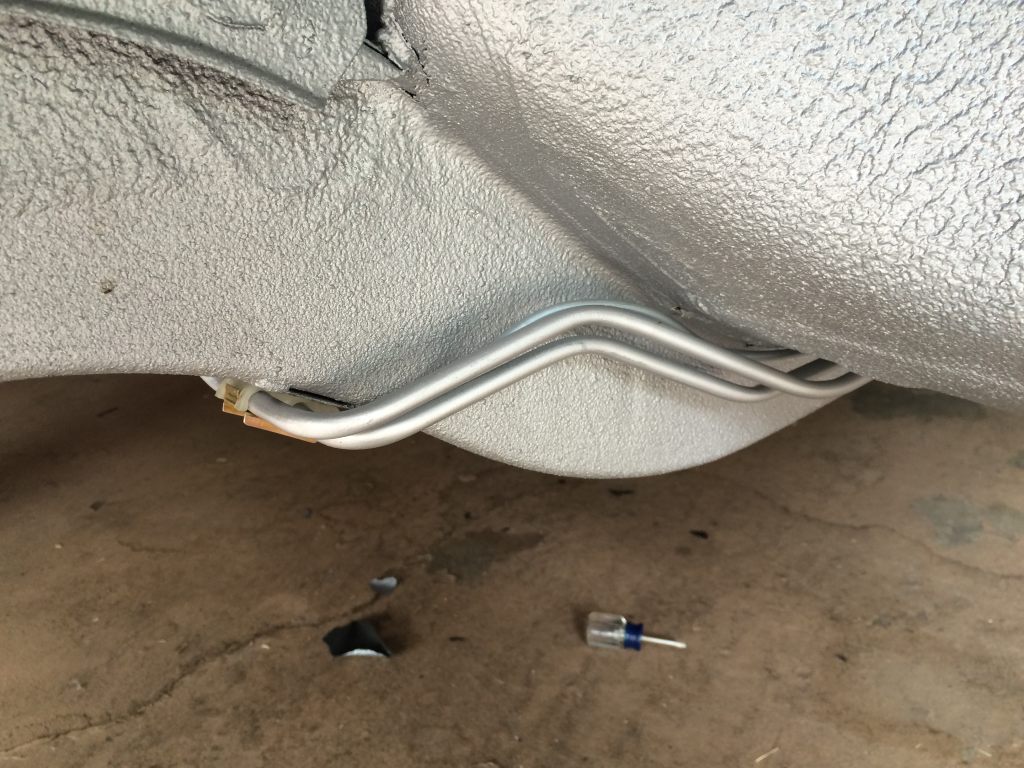
Once that was done, I realized that I should have waited to install the new lines until I did the firewall insulation. I was very lucky and was able to get ahold of a brand new piece of firewall insulation a few years ago. I found it was particularly tricky to fit. It took nearly 90 minutes to get into position. I installed the pedal bracket as well.
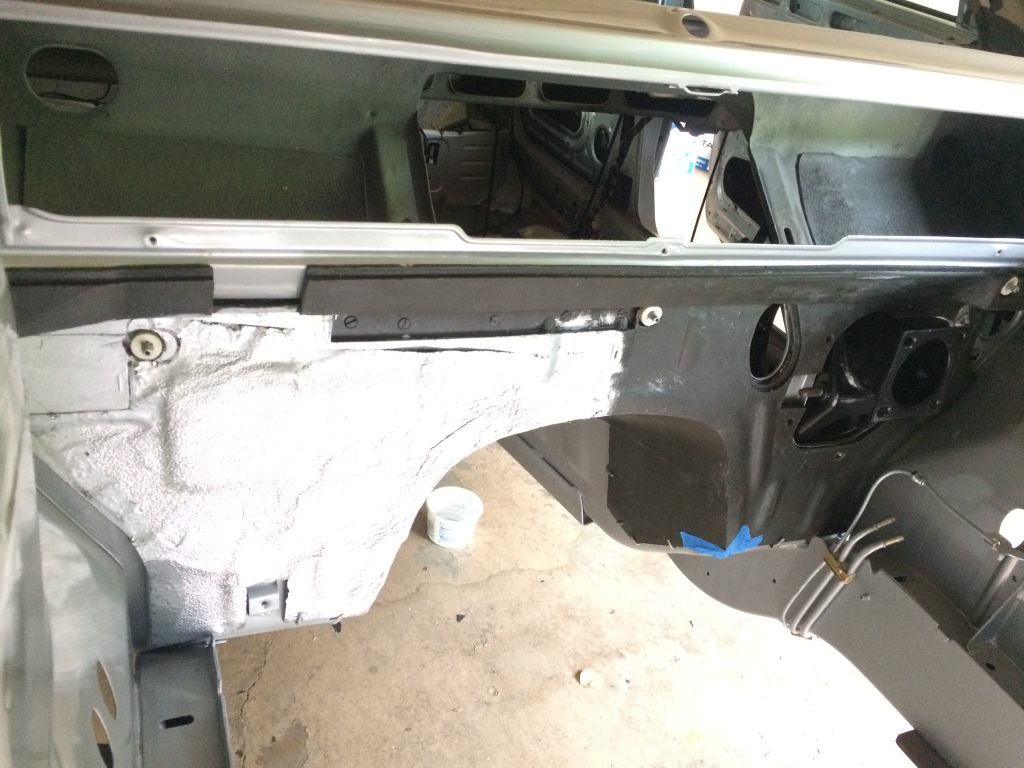
Now that the insulation was installed, I could then run the brake lines for the right front, which run across the firewall. I found that they were made about as well as my fuel lines.
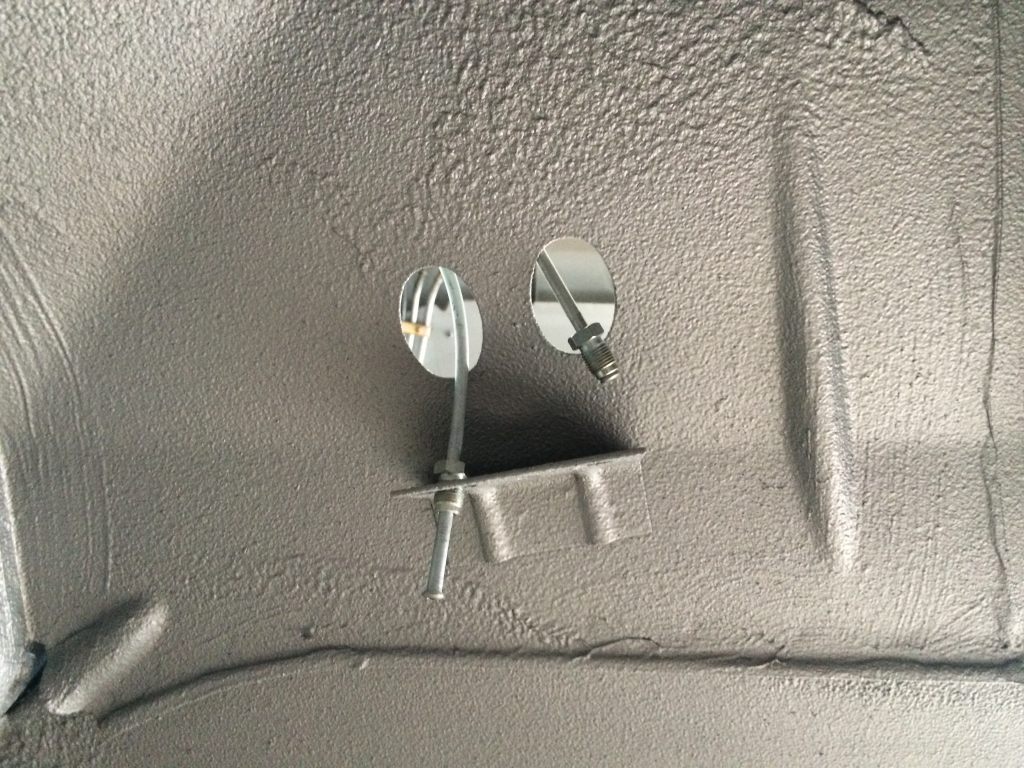
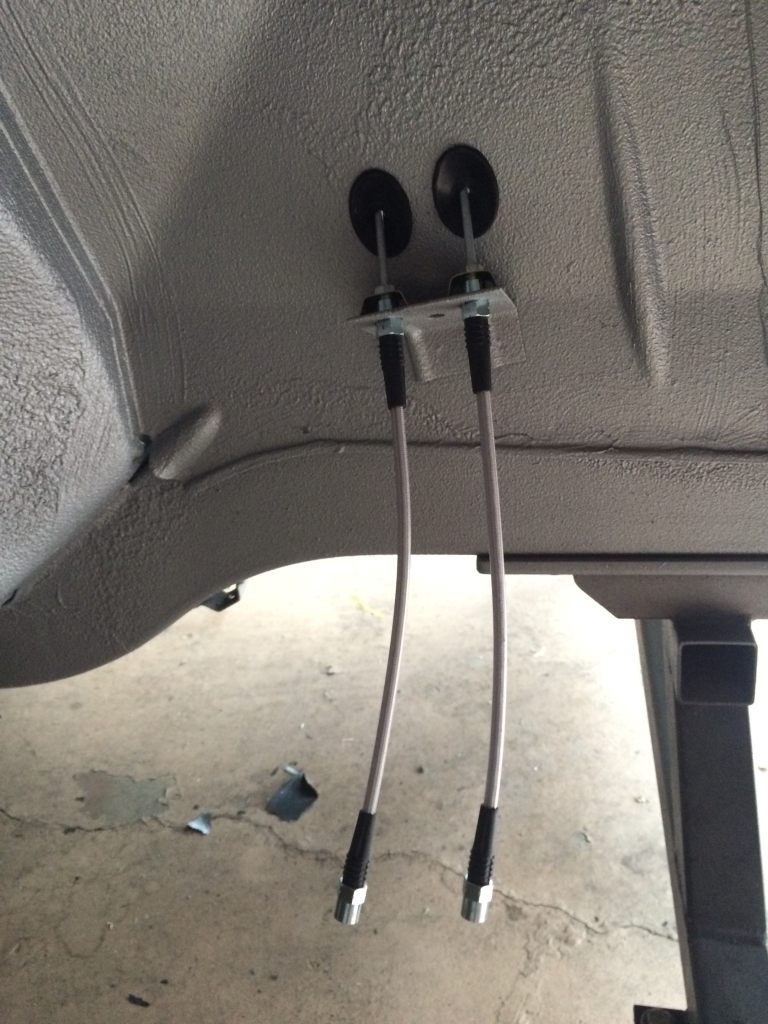
After about two hours of adjusting, bending, and installing and reinstalling, I finally got it.
I hadn't decided what to do with my rebuilt brake booster. I was debating just having Mike paint it but I thought this is something I could handle myself. At first, I thought it had a paint on it, but given how my hands smelled after handling it and some sanding, I found it was bare metal. Great. I bought a 2K epoxy primer by SprayMax and a 2K Hot Rod Satin Black, also by SprayMax. I primed the booster. Here it is hanging out to dry at a cool 98.8º.
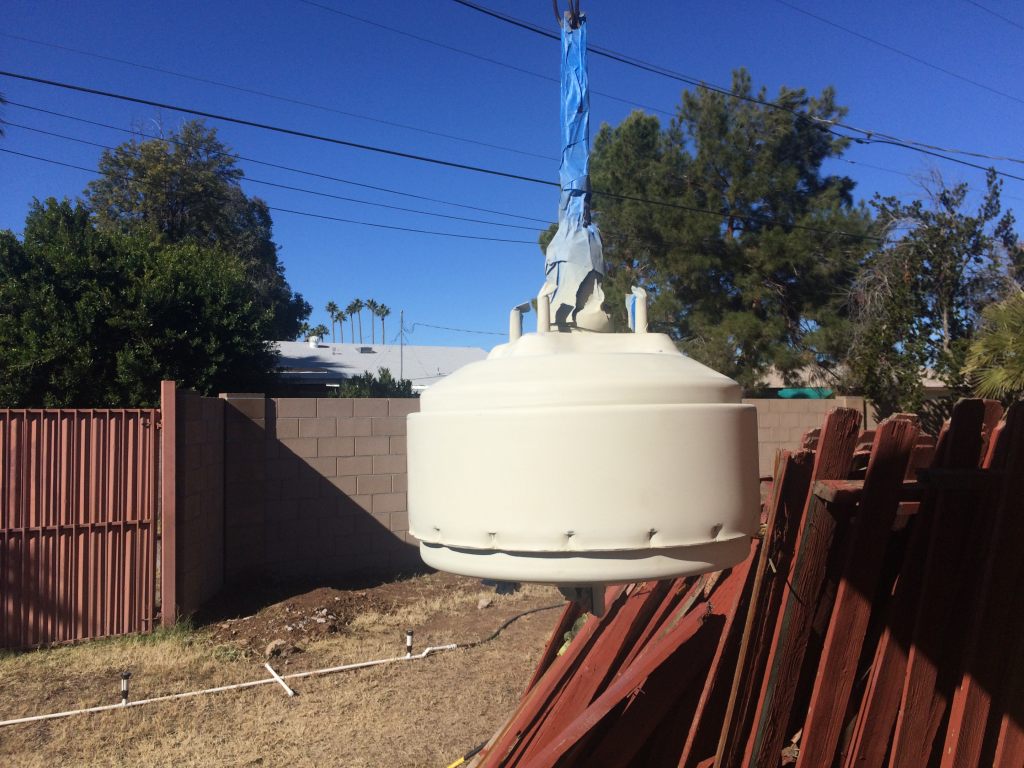
I sanded the primer with 400 grit dry paper and sprayed it with the black next day. I ended up with a poor result because I didn't put the coats on heavy enough. As a result, I had to wet-sand that and buy another can. I used the entire can on the booster and it did come out pretty well, I think.
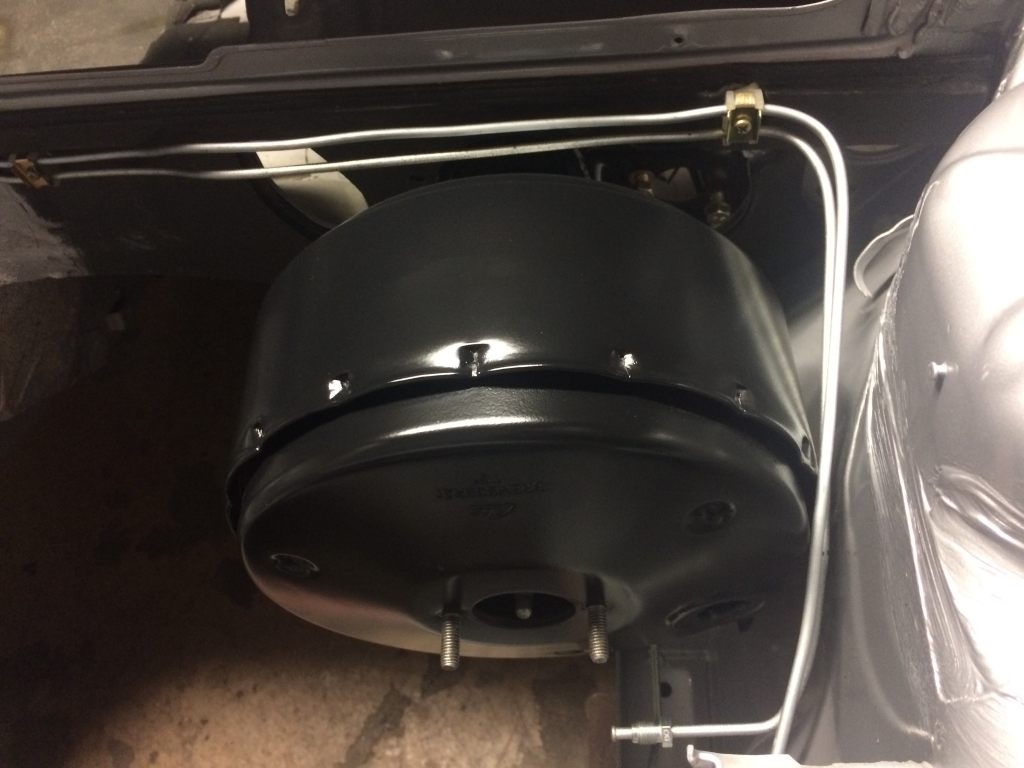
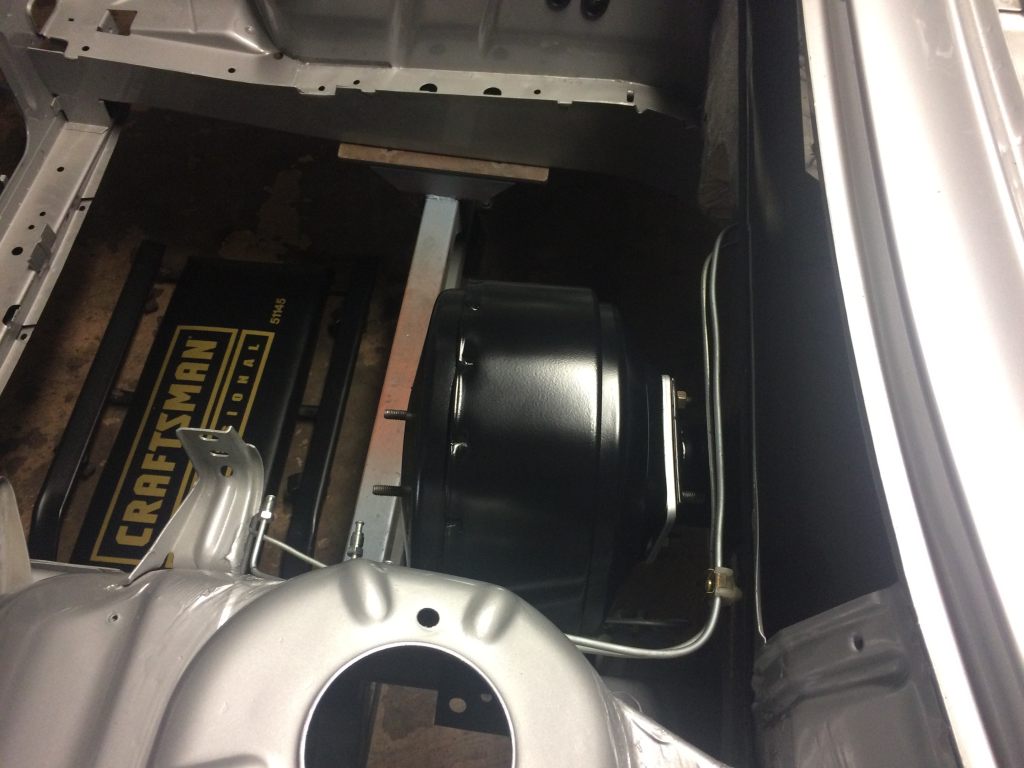
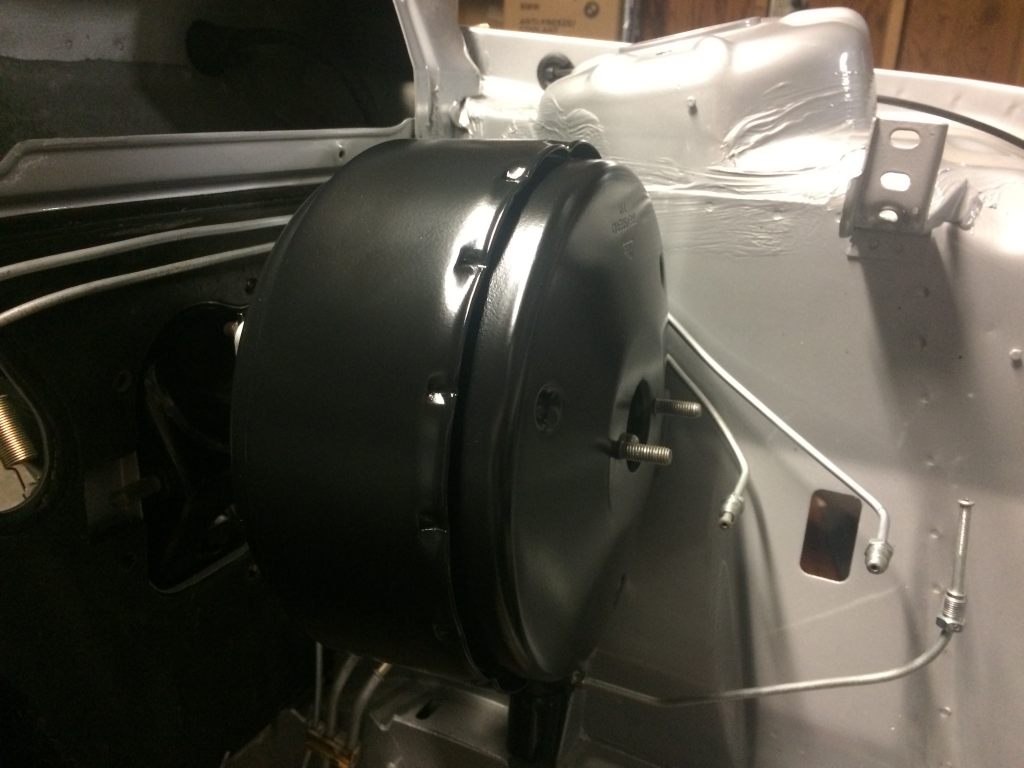
Thursday, after work, I started repairing the harness. I had some issues soldering, so after some guidance from those who know more than I, I got that nailed down Friday morning and finished the repairs. That evening, I was able to feed the connectors in through the firewall and route the harness on the inner fender. With that done, I installed the clutch master cylinder on the pedal bracket, the brake booster and the master cylinder. I had already mocked up all of the lines before painting the booster. Surprise, they all needed to be adjusted or re-bent from scratch. Once that was done, we ended up with this:
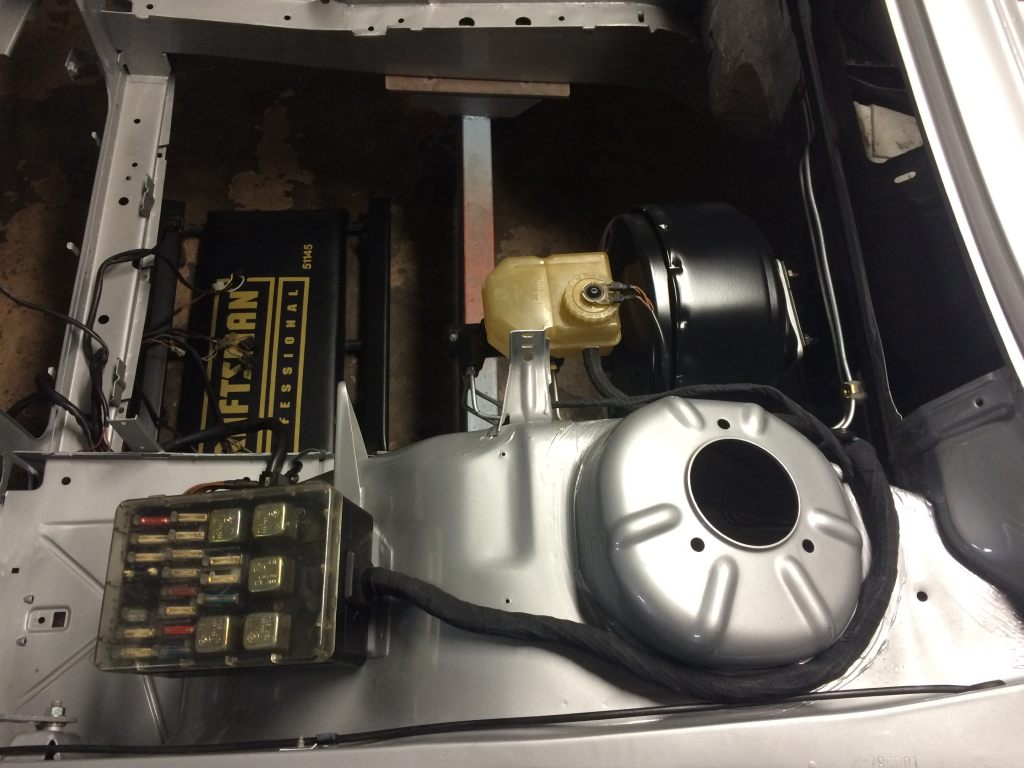
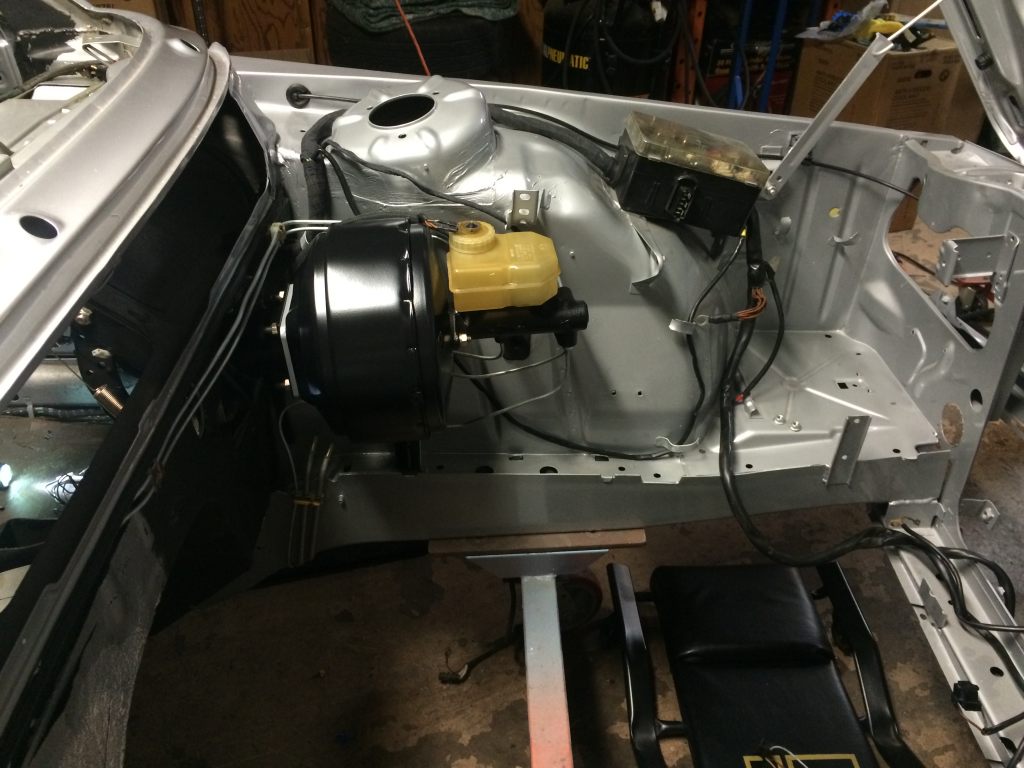
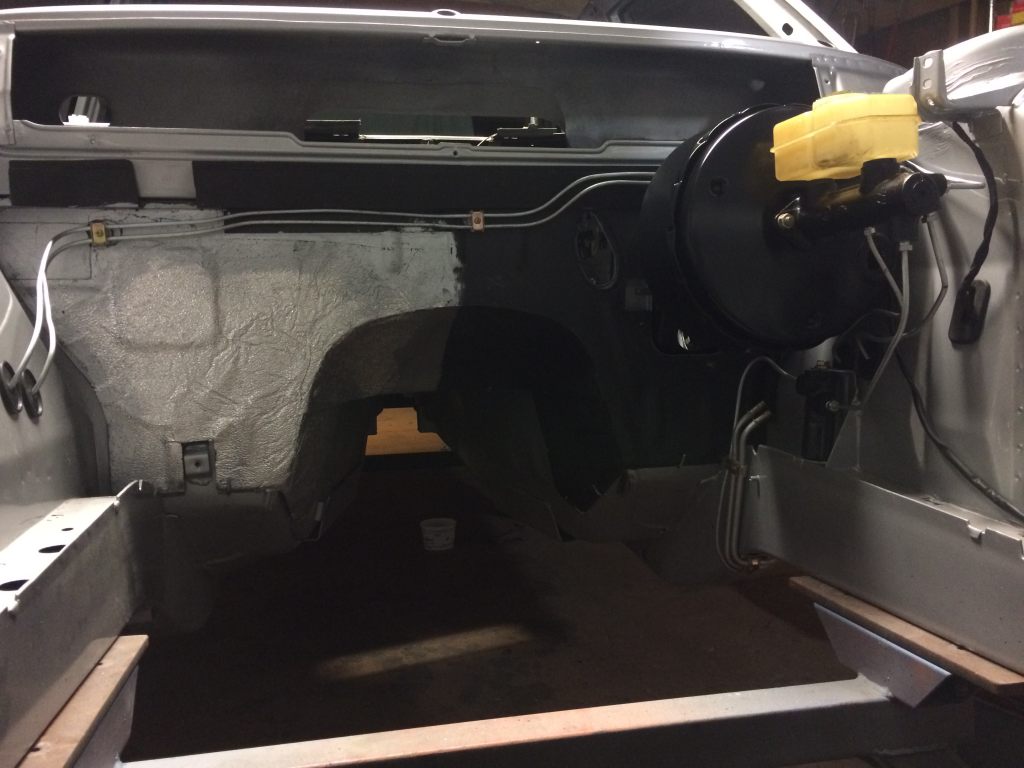
I picked up a bunch of new parts today including my heater core, new heater valve and some various other pieces. I need to get all of the wiring situated in the car. I have everything I need to get the subframes in the car and will probably work on that soon.
