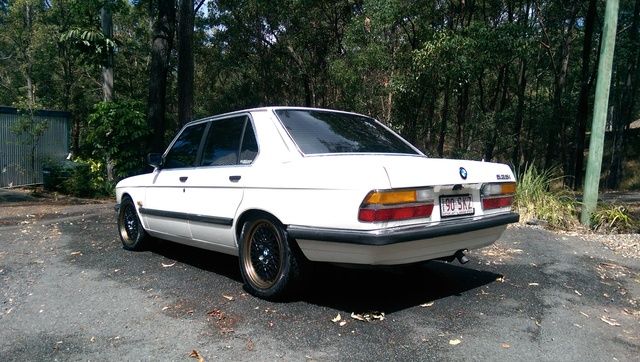
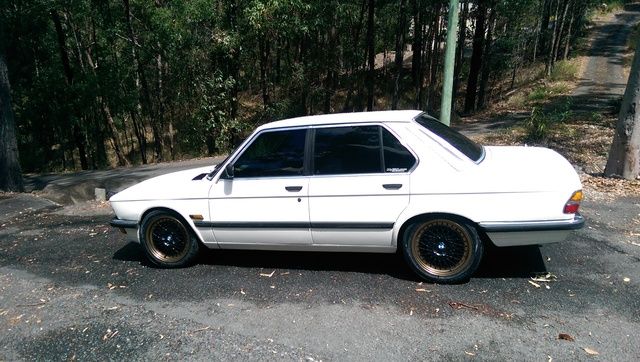
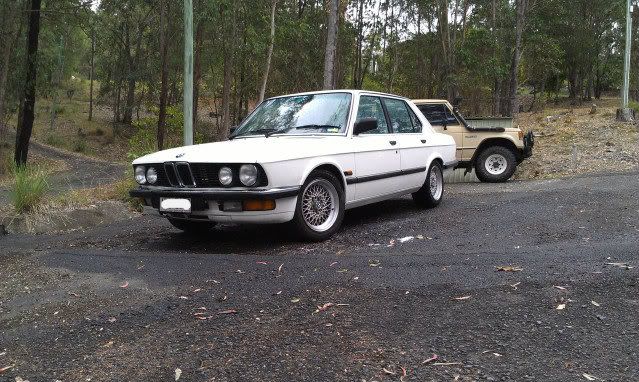
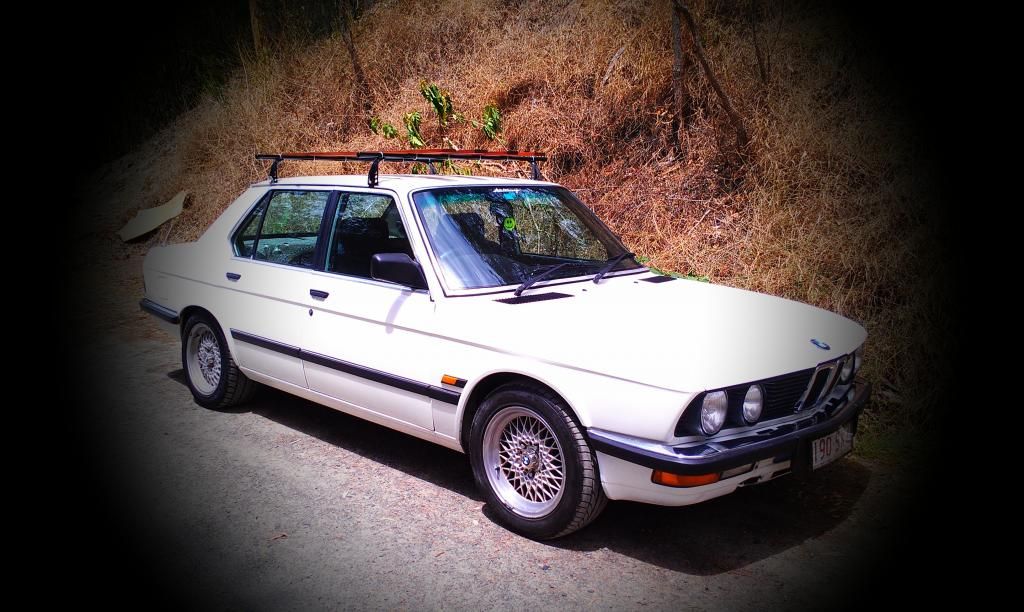
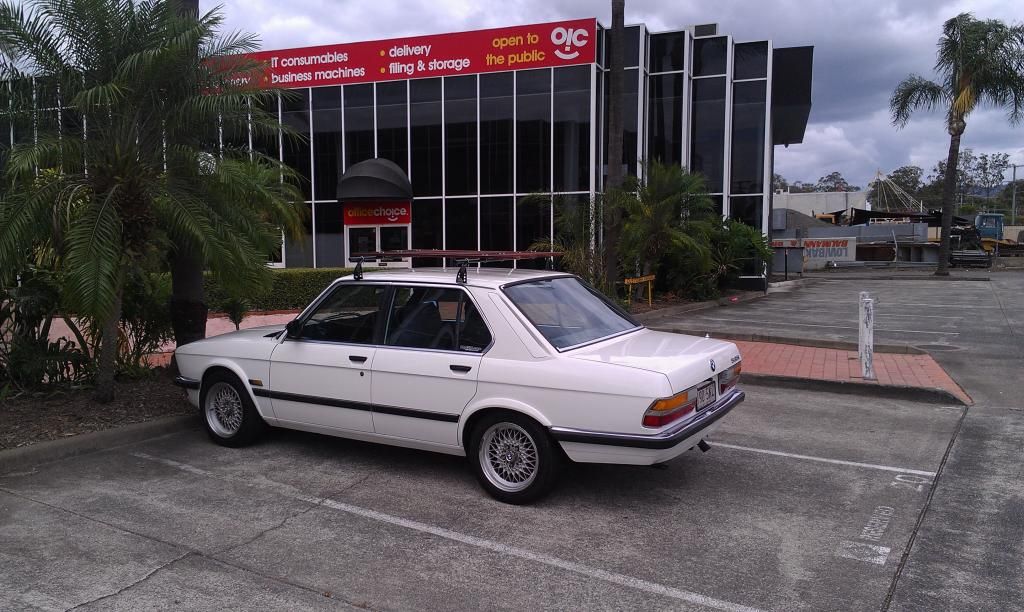
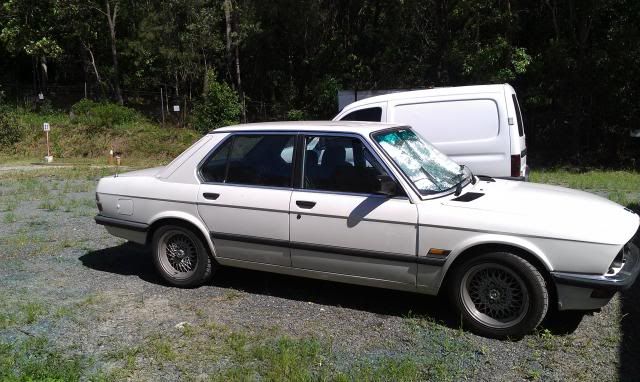
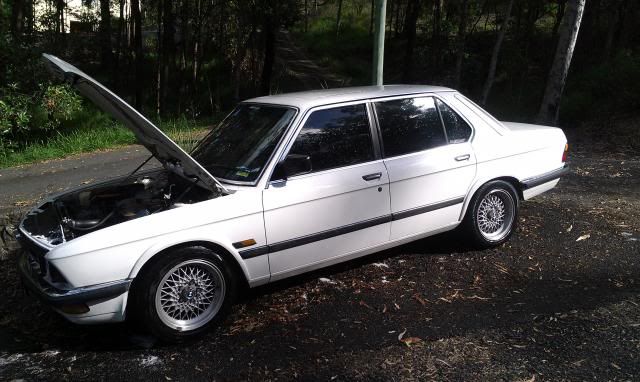
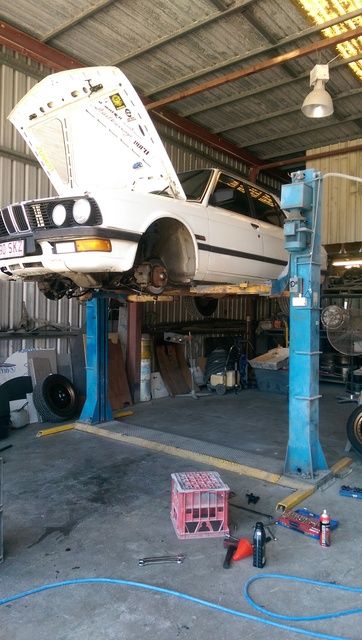
First BMW, 87' 535i . 2021 Update

Post your photos and videos here!
euronewbie
Posts: 84
Joined: Mar 15, 2012 9:59 AM
Location: Australia

Post by euronewbie »

Had the car on the road as a daily driver for a couple of months now.

Had zero problems so far (touch wood), just kept a really close eye on things for the first couple of weeks to make sure.

Now all the preventative maintenance and doing the 'ill get round to it jobs'. Love driving the old girl though! sunroof open cruising the highway effortlessly- such a change from my previous cars!

Image

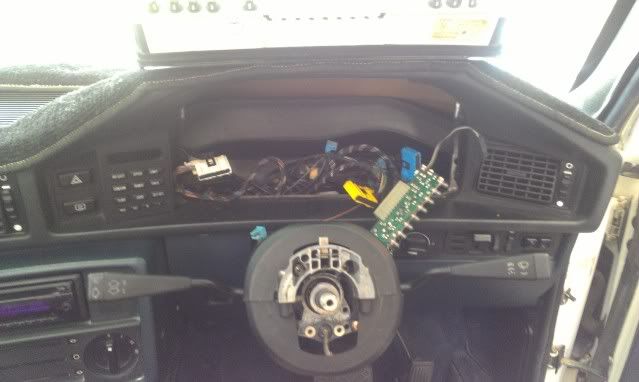
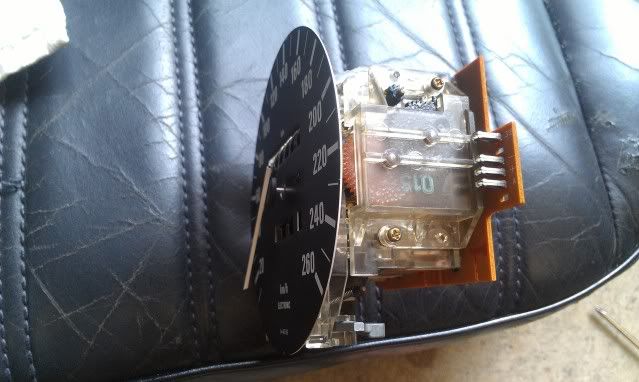
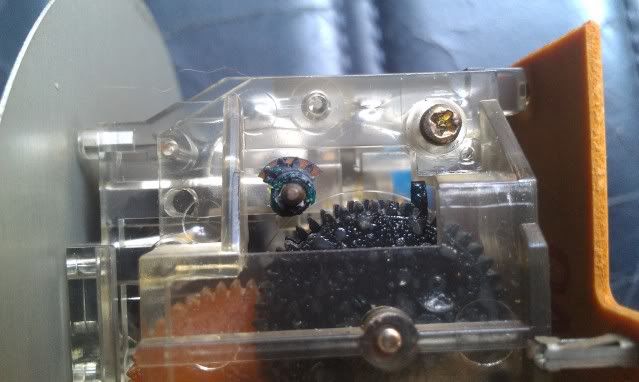
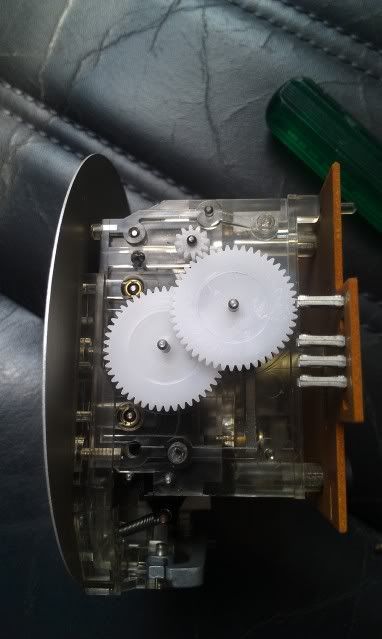
Odometer gear replacing was first on the list, heaps of info on the net, took all of 30mins if that.

Took the steering wheel off to make it a bit easier
Image
Image

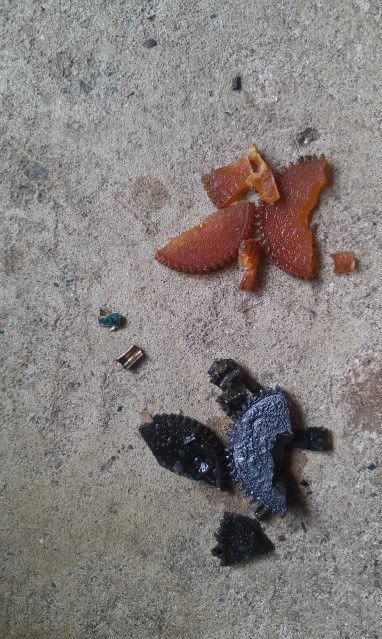
Not much left
Image
Image

Done
Image

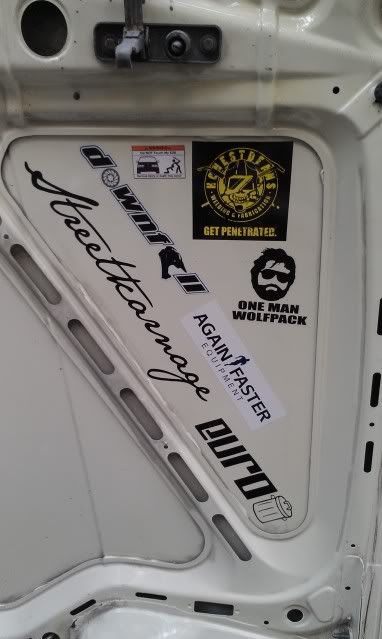
Not a fan of outside stickers but under the hood is fine
Image

Although there is an exception :D
Image

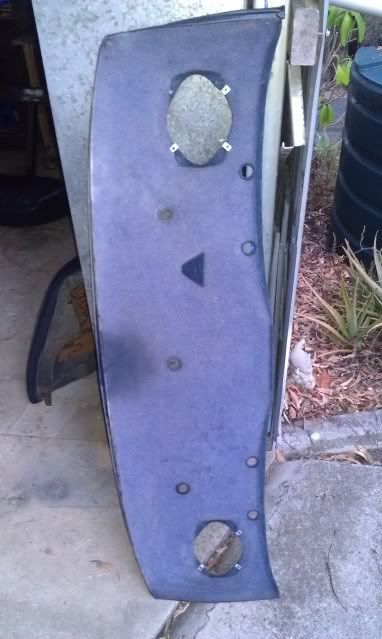
Parcel shelf was all busted and warped.
Making a new one out of 12mm MDF, I'll will carpet it in black and it should tidy up the back of the car nicely. Also replacing the original rear window brake light with a slimmer LED version too.

Image

Rough template marked out
Image

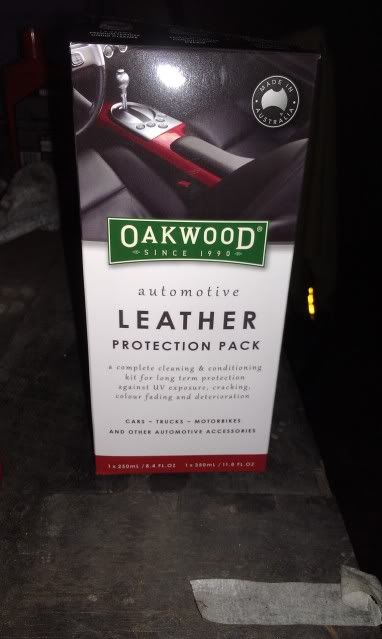
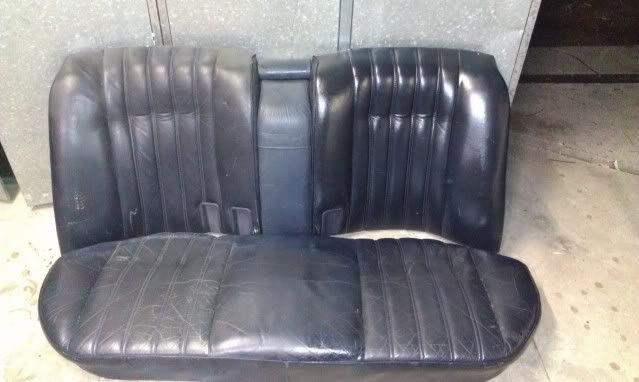
Keeping the leather looking good!
Image

Did a couple more 'going's over' after this one and the leather seems to still be getting softer :D
Image

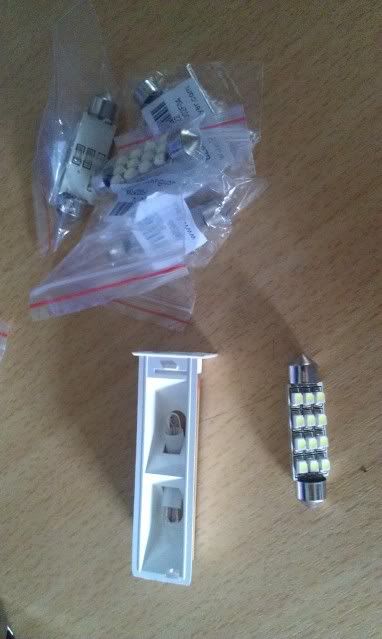
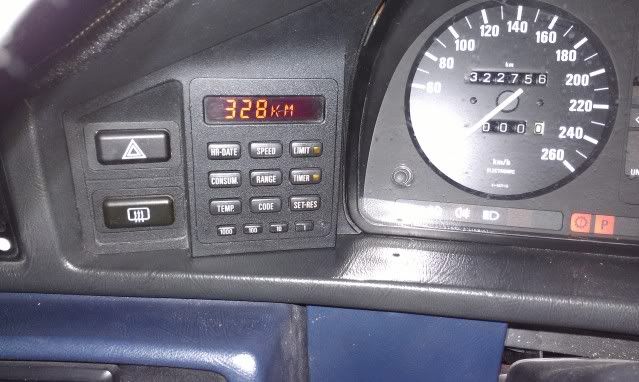
New OBC light bar and LED festoon lights
Image
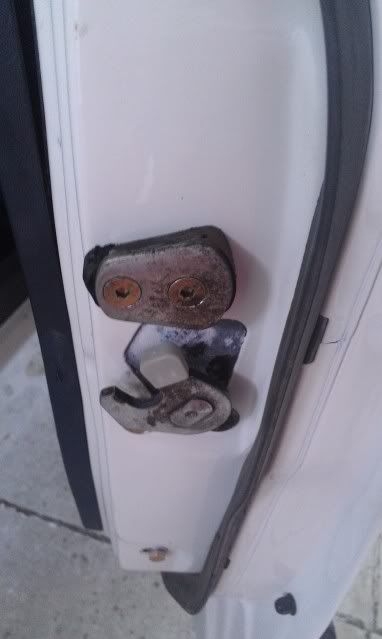
Fixed
Image


New door buffers fitted, From memory there was only 1 left on the whole car
Image


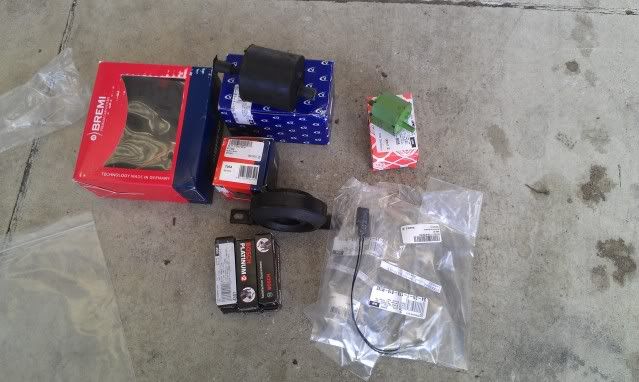
and finally some more new goodies for underneath.
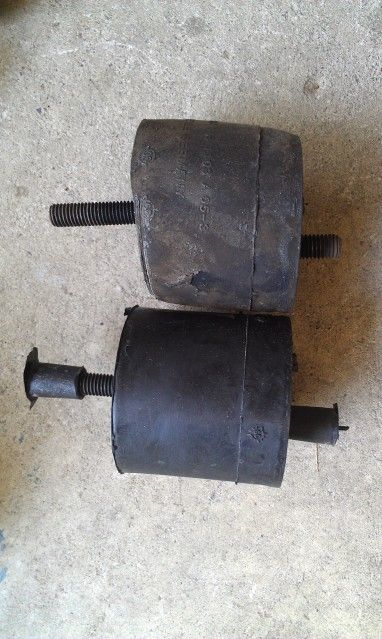
-engine mounts (Aus Euro spec)
-auto mounts
-center bearing
-brake pad sensors
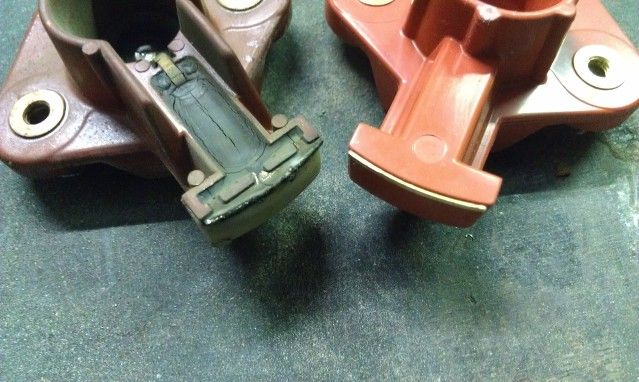
-distributor cap
-distributor rotor
-platnium plugs

Image


Still waiting on:
-leads
-coil
-rear strut tower mounts
-rear sway links and bushes
-new mylar for rear window

Then ill be happy that im on top of things
Cheers
Coldswede
Posts: 6859
Joined: Oct 10, 2008 1:48 PM
Location: Back U.P. North,. Where the water's blue, the wind is free and seasons four.

Post by Coldswede »

Then ill be happy that im on top of things

Umm, No. No, you will not be! Trust me, there is no such state with an E28. :rofl: But, that is one of the reasons we love these things.

You've done such a great job on this car. A big "Job Well Done" to you. :up:

Now go drive it!
TimPOLLY528I
Posts: 3
Joined: Oct 25, 2012 5:52 AM
Location: Australia

Post by TimPOLLY528I »

great job m8 ,you have inspired me too get of my ass. well done :)
kzolee
Posts: 346
Joined: Jan 12, 2011 5:10 AM
Location: Hungary
Contact:

Post by kzolee »

euronewbie wrote: Image
Fantastic work! :bow:

Needs some black paint to finish. ;)

Image
euronewbie
Posts: 84
Joined: Mar 15, 2012 9:59 AM
Location: Australia

Post by euronewbie »

Coldswede wrote:
Umm, No. No, you will not be! Trust me, there is no such state with an E28. :rofl: But, that is one of the reasons we love these things.
You've done such a great job on this car. A big "Job Well Done" to you. :up:
Now go drive it!
Yeah... but at least i think that i am. :rofl:
reat job m8 ,you have inspired me too get of my ass. well done smile
Cheers, hows yours coming along?
Fantastic work! Bow
Needs some black paint to finish. Wink
Thanks mate. Yeah im in two minds about that.
I originally wanted the black repainted when i got it resprayed, to keep it looking all original.
But after a chat with the panel beater i decided to leave it and see how it turned out. I was suprised how it changed the look of the car. I think it looks a bit 'longer' and dosen't split up the car as much.

Id also like to add some subtle lips to it at some point so at least at the moment im going to leave it as is.


*mega photo dump*

Replaced the engine/gearbox mounts and center bearing. The mounts didnt seem to be that bad at all no splits/cracks and all in all the were an easy fix.
The center bearing was a bit more stuffing around but the old bearing was very notchy and now there is no more 'shimmy' at the top end of each gear. Stoked

Image

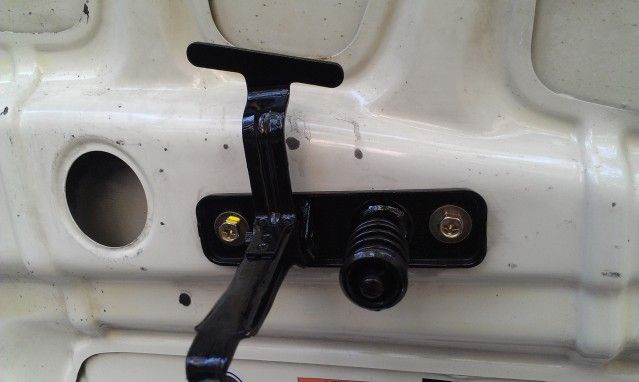
Spent some more time on a heap of little jobs like sanding back and painting the boot and bonnet latches.
Image

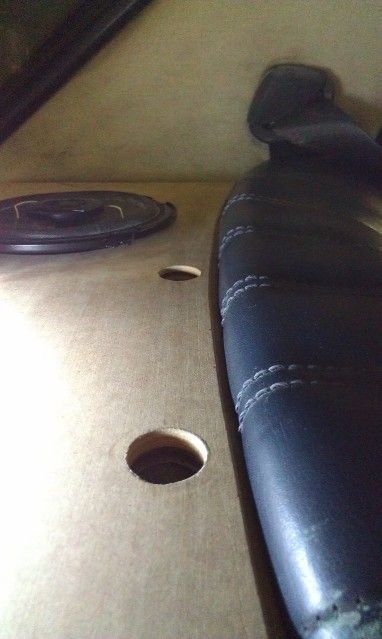
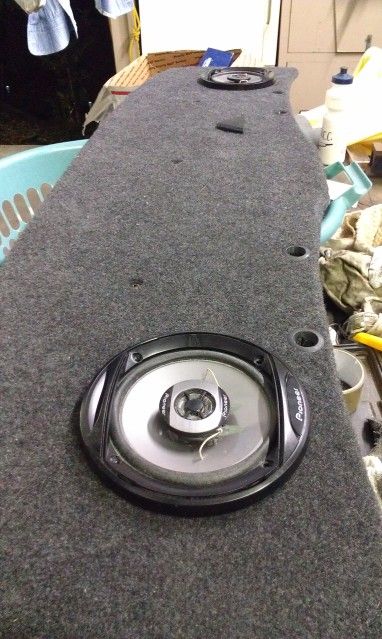
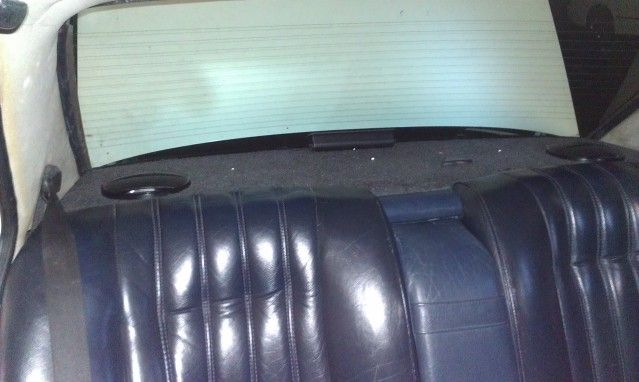
Finished off the parcel shelf. Covered it in backless grey carpet and am in the middle of wrining in my new LED back light. Really happy with how it turned out.

One of the million test fits. Took ages to get the spacing right as the new parcel shelf is 12mm and doesnt tuck under the seat like the old one.
Image
Image

All done. The parcel shelf is bolted down through the 3 child restraint mounts. Nice and solid

Image


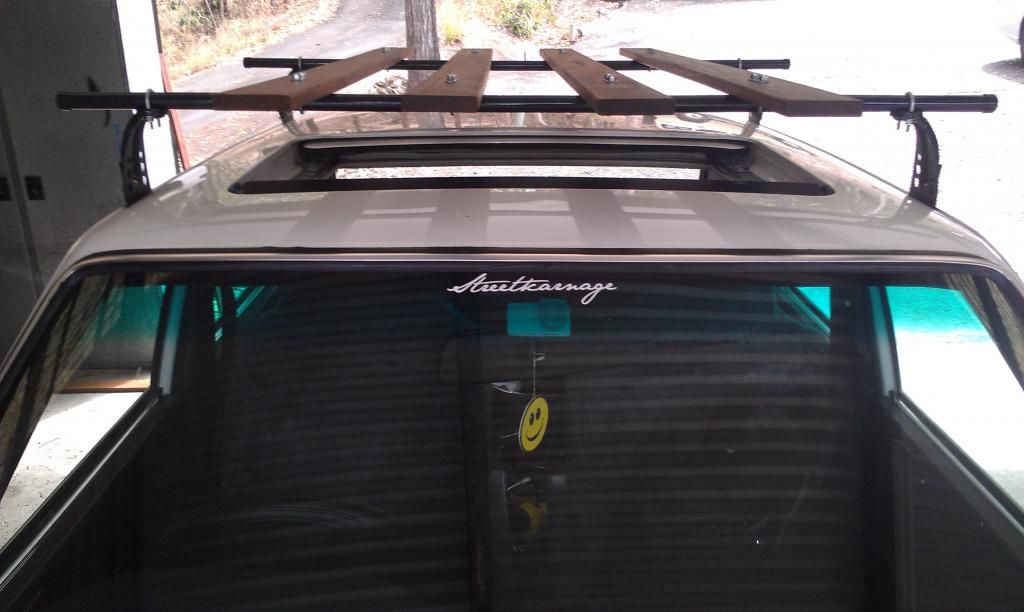
Also found some old busted roof racks in the shed at home and thought i would clean them up and see how they look on the beemer. Had to sand them all back and paint them up. Two of the gutter mounts had the bolts rusted in so i had to drill and tap them out.

Painted
Image

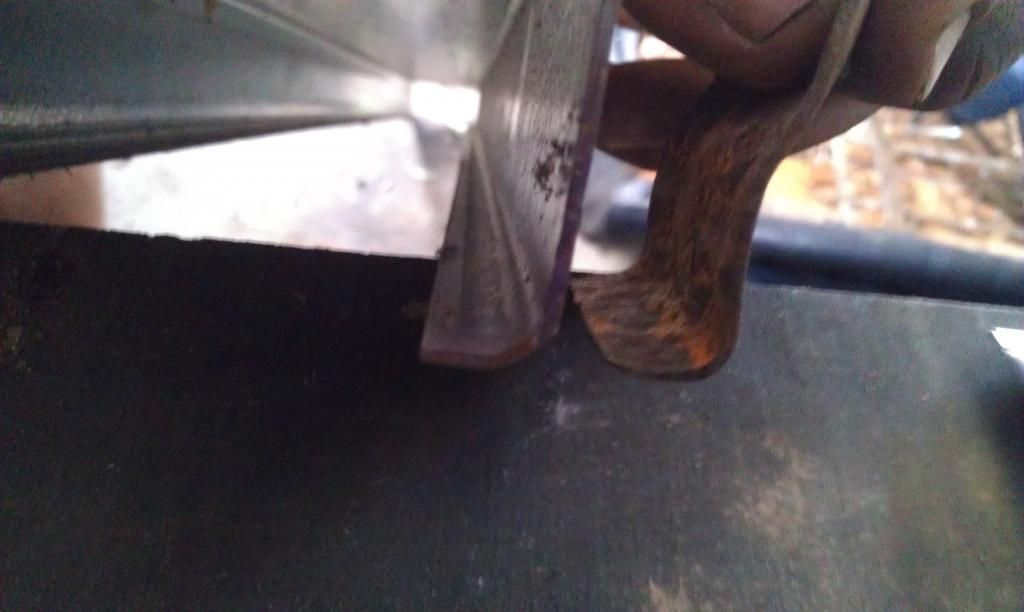
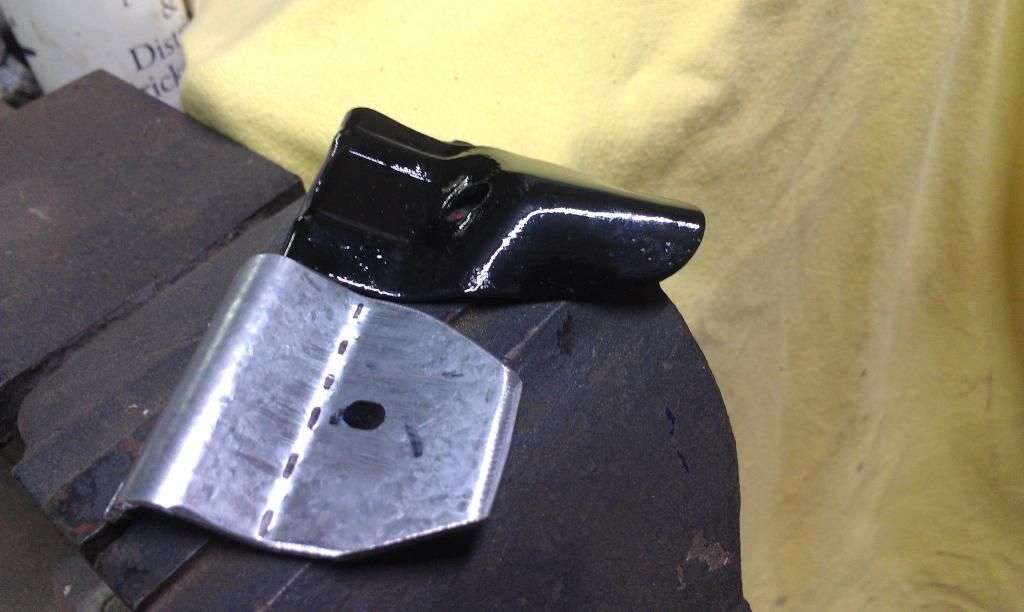
Making new 'feet'. Two of the old ones were rusted away to nothing. Cut up an old section of 'c' channel that was the right size.

Image
Image

Then sanded and oiled up some old decking we had lying around.
All done, a set of new roof racks for under $50 :D

Image
Image
Image

Really loved the look of them and the fact i dont have to completely strip my downhil bike to take it anywhere, but the noise on the highway with the sunroof open pissed me off so at the moment they aren't on the car.

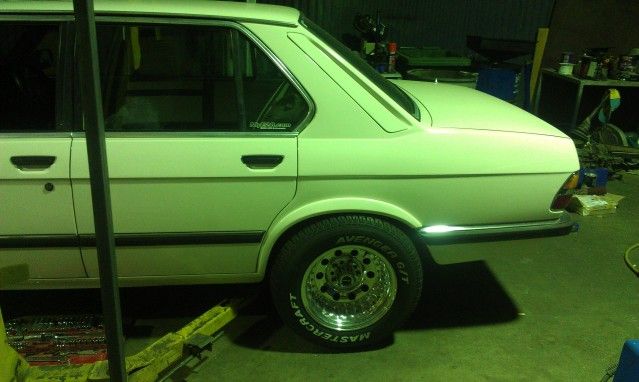
Playing around with wheels at a mates shed. :P
Image
Image
Das_Prachtstrasse
Posts: 5616
Joined: Sep 10, 2006 7:06 AM
Location: Melbourne, Doooown Under

Post by Das_Prachtstrasse »

I wouldn't have gone with the platinum plugs, but everything else: well done! You're definitely doing the right thing as far as priorities go, you'll do well.

Your car is coming along nicely, few and far between down here. Drive it down sometime, so I can marvel at how much nicer it is than my own ;)
euronewbie
Posts: 84
Joined: Mar 15, 2012 9:59 AM
Location: Australia

Post by euronewbie »

Das_Prachtstraße wrote:I wouldn't have gone with the platinum plugs, but everything else: well done! You're definitely doing the right thing as far as priorities go, you'll do well.

Your car is coming along nicely, few and far between down here. Drive it down sometime, so I can marvel at how much nicer it is than my own ;)
Really? How come? I hadn't heard anything bad about them. Curious.

Cheers mate, much appreciated. Still got heaps on the to-do list, but i spose with these things you never really finish.

Yeah i reckon a road trip wont be that far off. Ive still got some family down that way so you never know
euronewbie
Posts: 84
Joined: Mar 15, 2012 9:59 AM
Location: Australia

Post by euronewbie »

Another Update on the old girl.

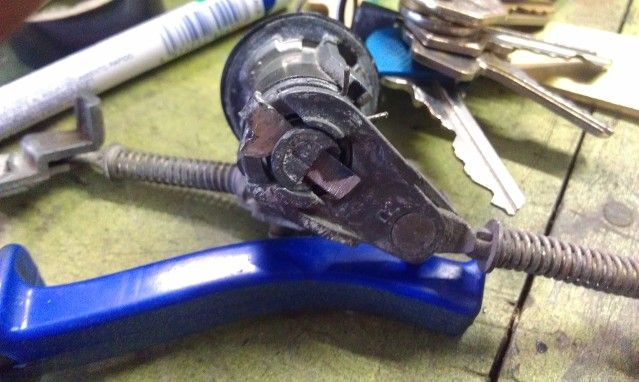
Had some dramas with the locks, first off they werent working- i figured it might have been the little flat pin holding the lever thing to the back off the lock cylinder(good guess) then another problem appeared- the central locking would spaz out and lock/unlock the door multiple times when you would open the door but in no predictible way.

So i fixed the lock and made a new (very dodgy) pin out of some spare steel in the shed. Also the top part of the lock has had a part of it break away so ill see if can find a new one at some point.

Image

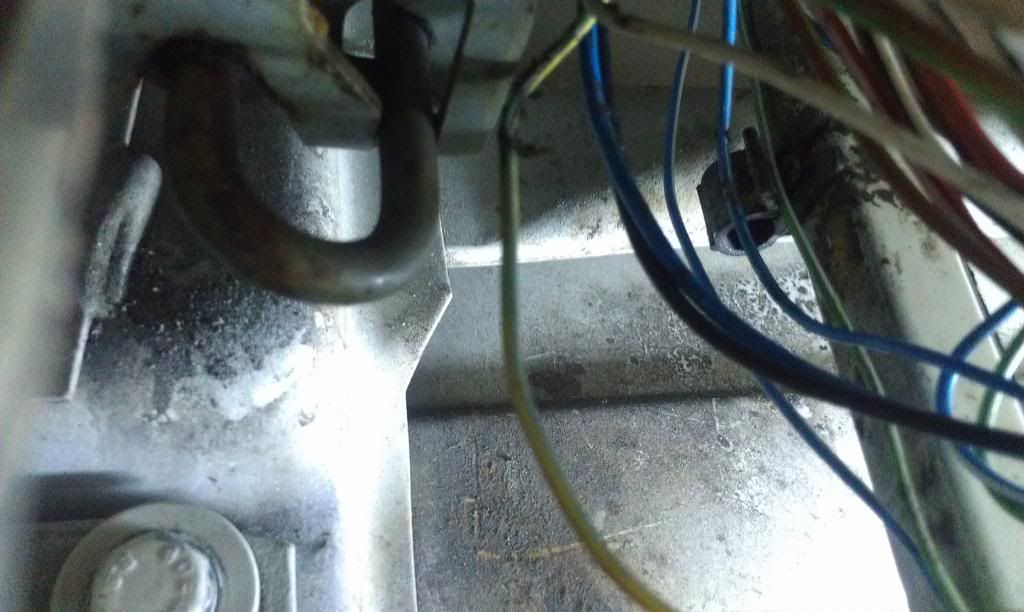
Then found the casue of the lock freak out. It was a stray wire from the loom that comes into the door. It had got away from the other wires and got stuck in the lock, so whenever i opened the door it would earth out and the locks would go spaz. So i fixed that and cable tied everything back out of the way.

Its the yellow wire, I had to untie the rest of the loom so i could get enough slack to fix it.
|Image

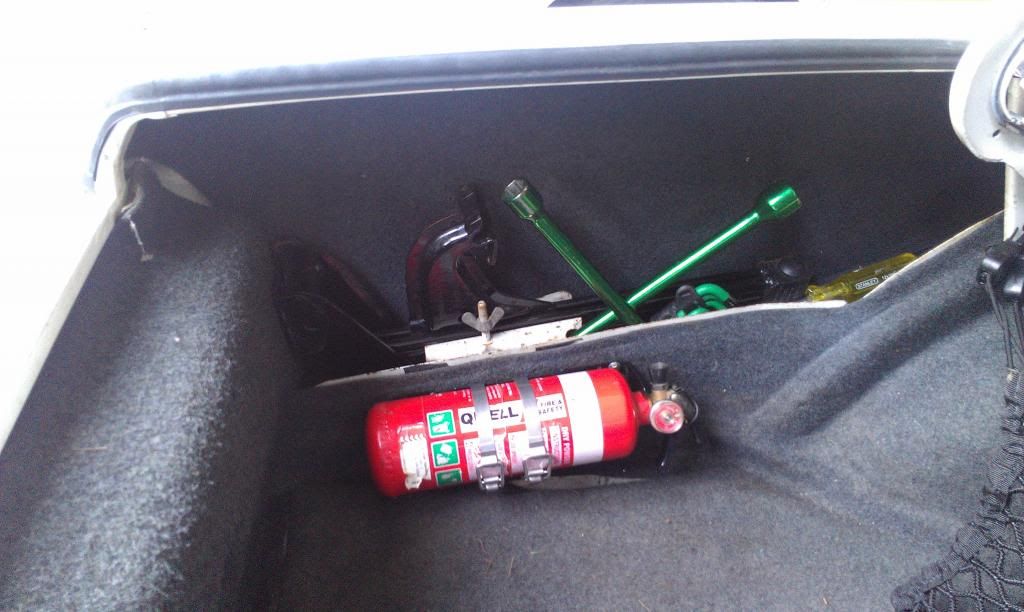
Mounted a spare fire extinguisher in the boot
Image

Also glad i changed out the old ignition gear for some new stuff. The dizzy cap and rotor were looking old.
Image

Image


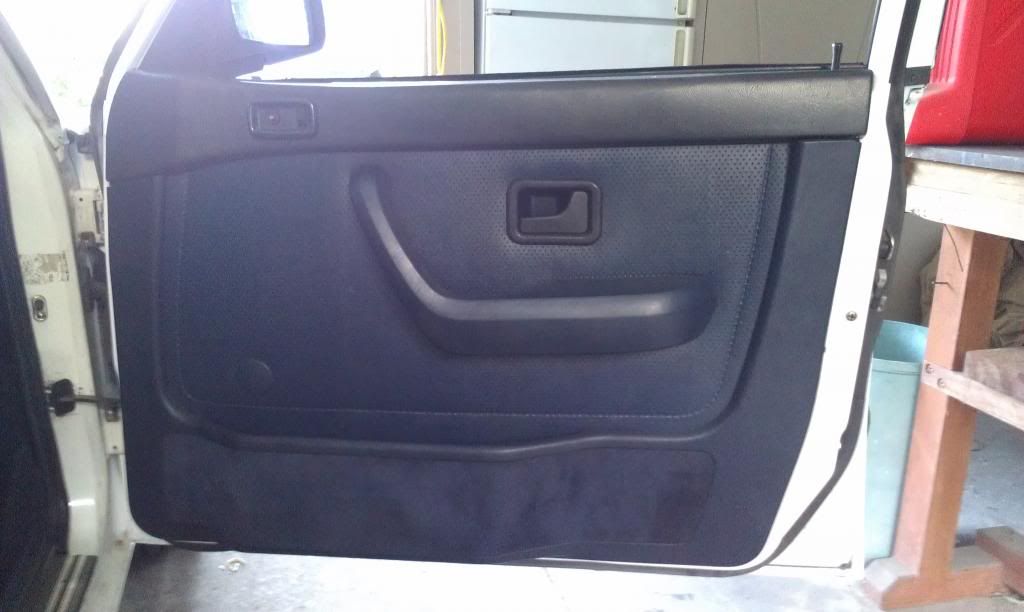
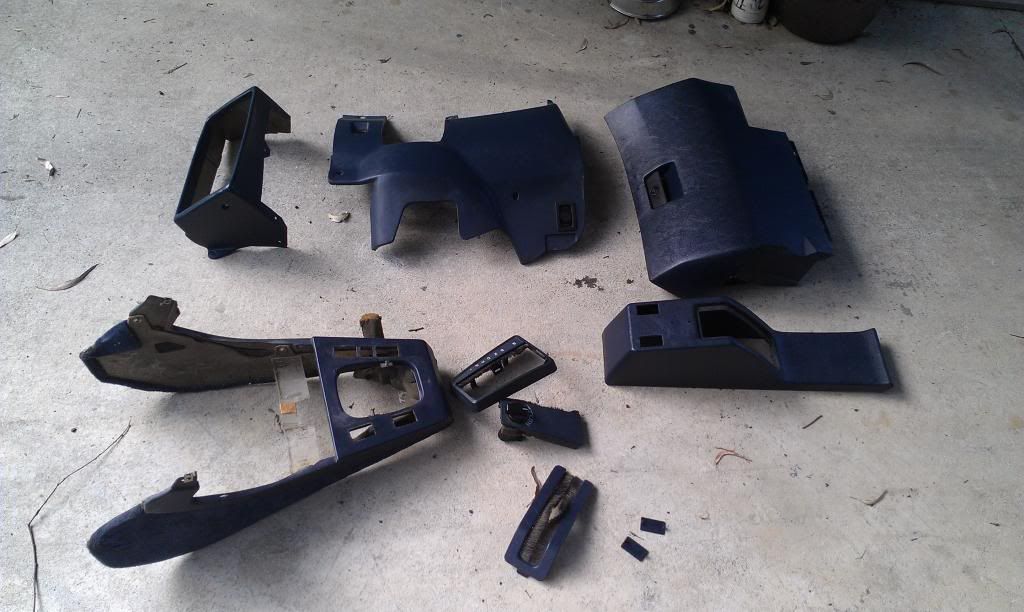
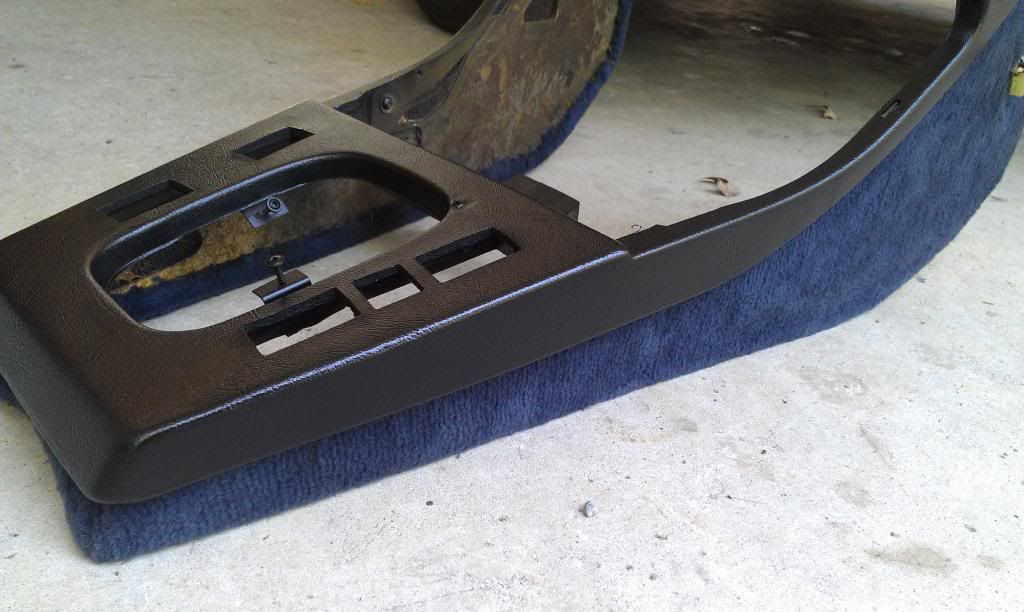
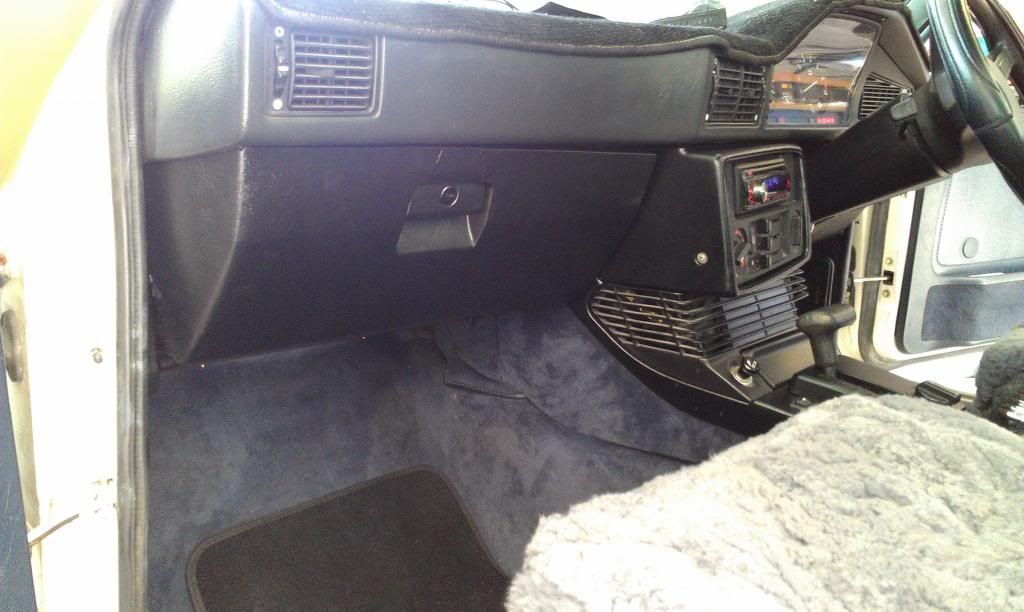
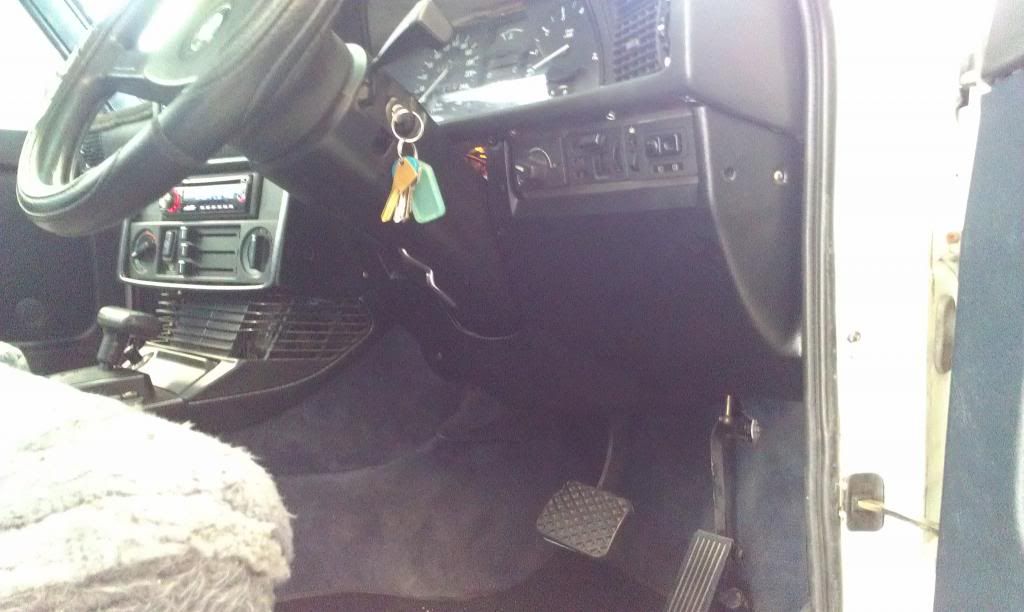
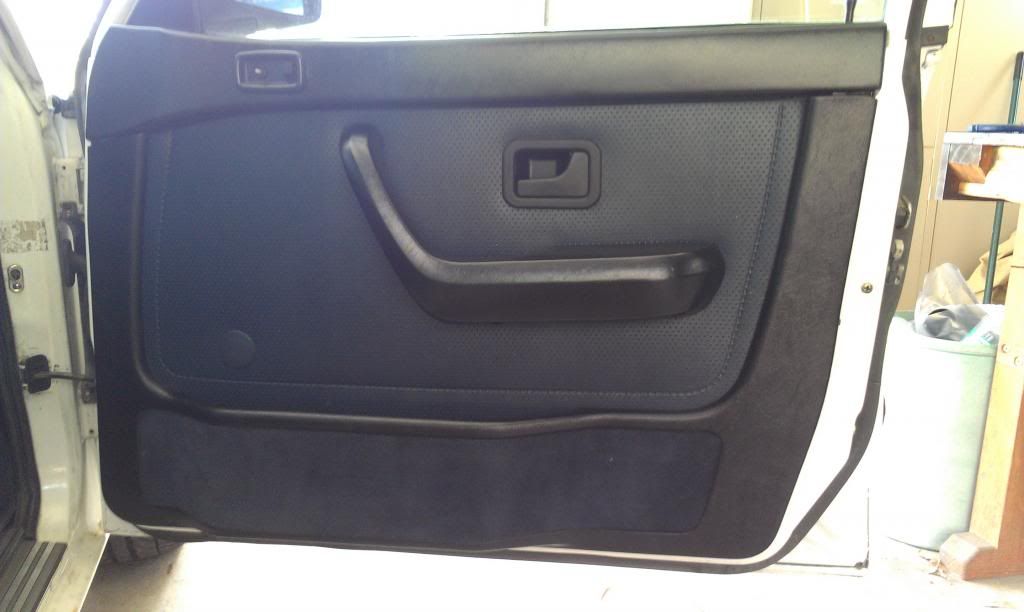
I also wanted to play around a bit and see if a bit of vinyl paint would tidy up the interior and make it look a bit more modern. Very happy with how it turned out. Took a bit of time pulling out the old pieces and cleaning them with some wax and grease remover so they would be good to paint. I dont mind the pacific blue interior but there is ALOT of blue.

Before
Image
Image
Image

All the bits out
Image

Looking good
Image

Done!
Image
Image
Image


Cheers
euronewbie
Posts: 84
Joined: Mar 15, 2012 9:59 AM
Location: Australia

Post by euronewbie »

Big Update time!

Been daily driving the crap out of the old girl and even had a couple of big 1000km(600mile)+ trips with no dramas.

Been also slowly getting around to fixing things/replacing broken bits etc. The shocks are stuffed and the back end gets a little bouncy becasue of this so springs and the like will be done real soon.

Jobs done since last update:

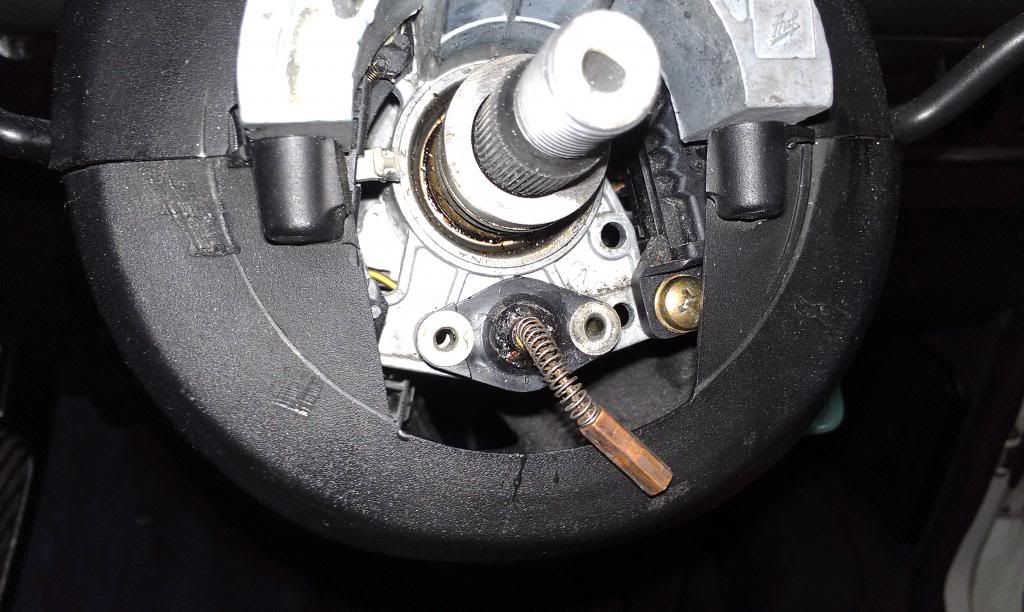
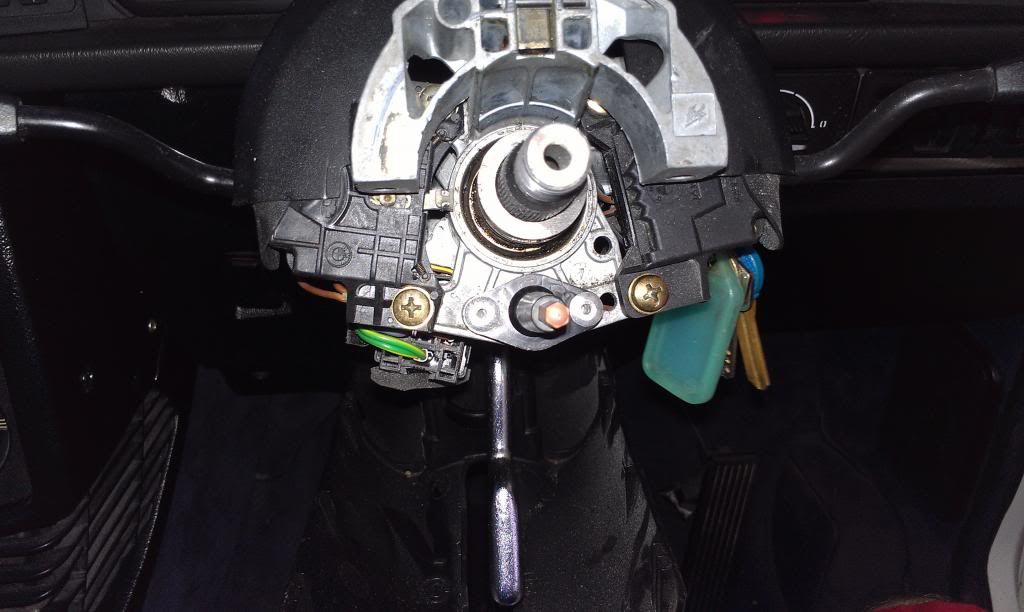
-Replaced the 'push' horn contact behind the steering wheel. The original looked like it had been glued back together several times. So a new one means i have my horn back.
Image
Image


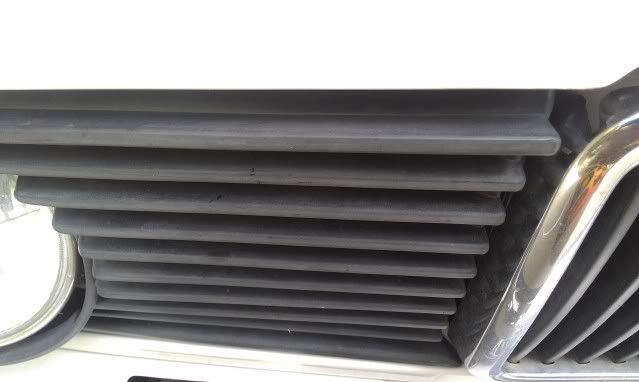
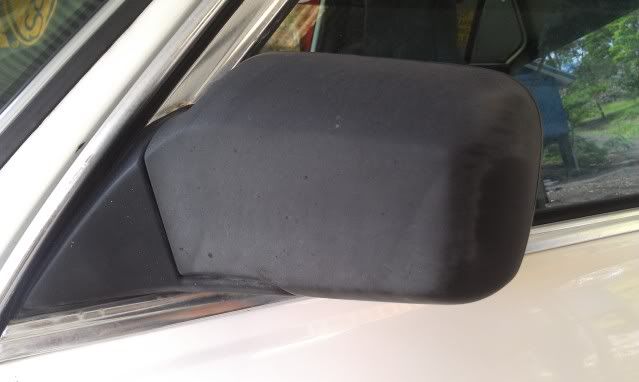
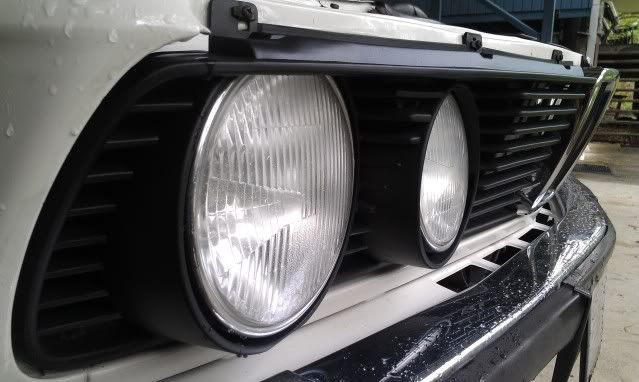
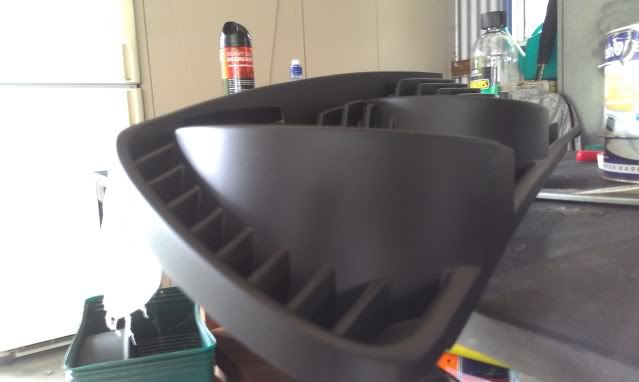
-Painted up the grill and mirror to a nice satin black as they had started to get that faded gray look. Took a bit of time to sand and prime them up but was worth it.

Before:
Image
Image

After:
Image
Image

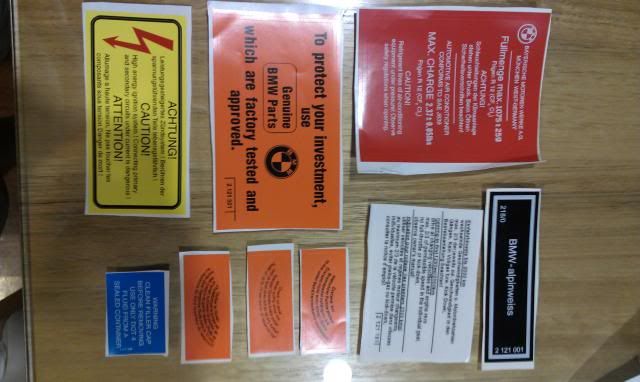
-Got an engine bay sticker kit, The majority of the stickers are e28 compatible. I just replaced the buggered ones in my engine bay with these. Looks great!
Image

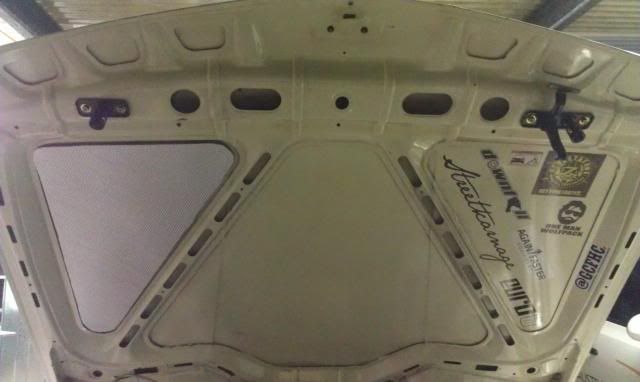
-Also started putting some foil insulation underneath the bonnet with some left over scraps we had a work. I spent ages making a template but stuffed up and cut it ass backwards so the bit would have only fitted the stickered side. Long story short that only left me with enough to do the left side. But ill do the middle once i can get some more.
Image


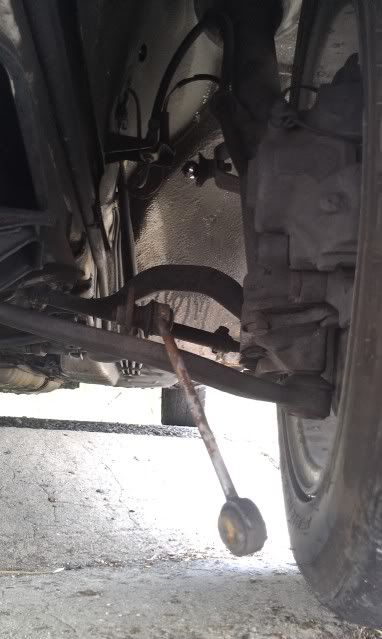
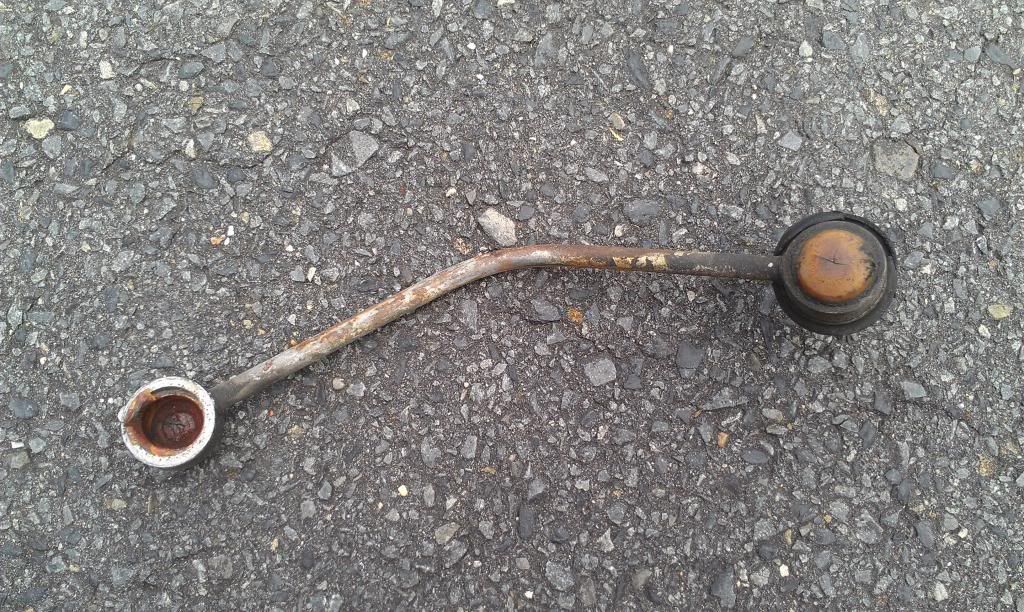
Also had my first unexpected failure too. Was just driving along (we have the shitest roads FYI) and started hearing some really loud banging in the front end. Pulled over and saw this! :O

Image
Image

Unbolted it, checked the other side. Then checked again. Nothing else got damaged as far as i could tell. Lucky.

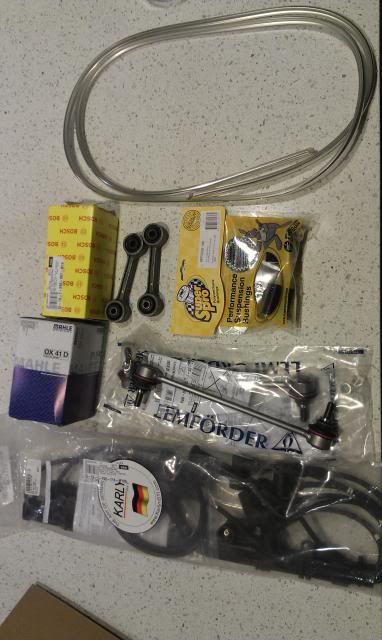
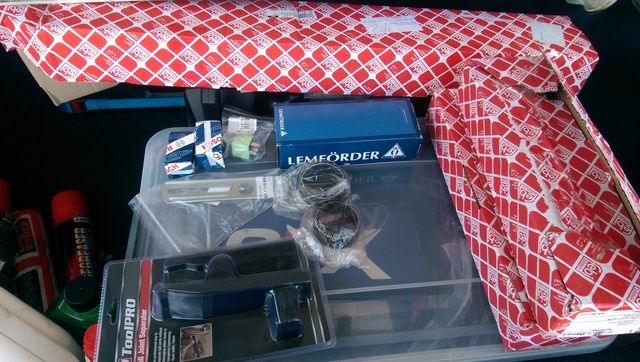
That lead to another big ordering of goodies along with some front and rear lemforder sway bar links.

Image


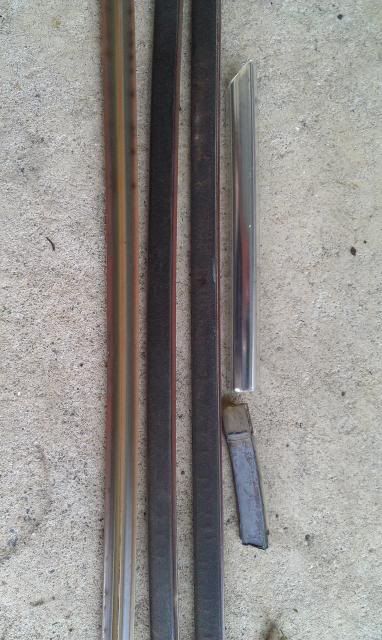
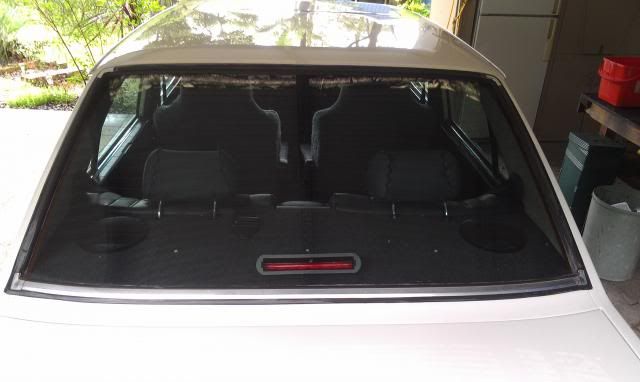
The old mylar locking strip for the rear window had gone really old,yellow and brittle. The front one was replaced with new one as the orignal strip broke up into millions of pieces getting it out.
looking at rear strip after seeing the chrome front one really bugged me so i ordered a new front piece and cut it into three. Really tidied up the back end

Old vs new:
Image
Image


Also finally got around to getting the window tinted. Was sick of it being an oven inside the car after work etc. Very very happy with how it turned out. Alot cooler and looks pretty nice too

Before:
Image

After:
Image


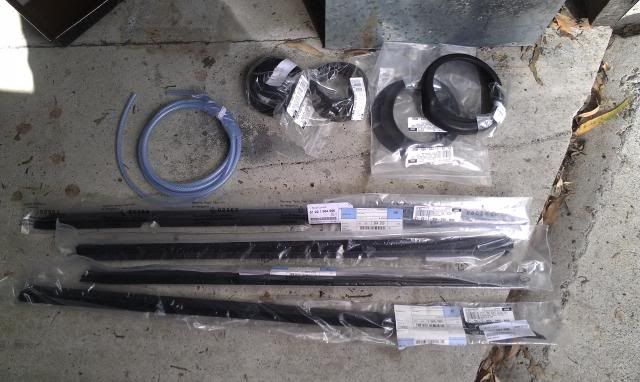
Once again another package of goodies. Slowly collecting parts so i can do the springs/shocks etc all in one hit. Also got some out side window rubbers and some window washer line.
Image

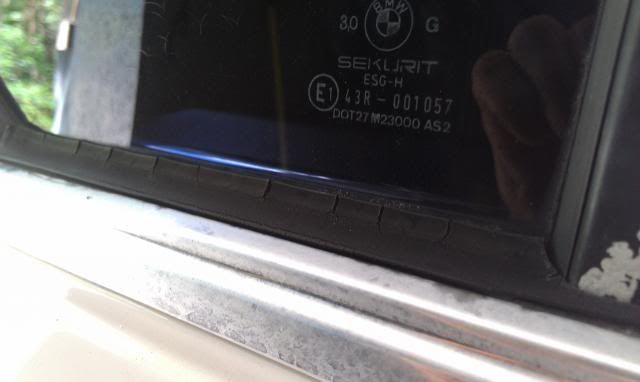
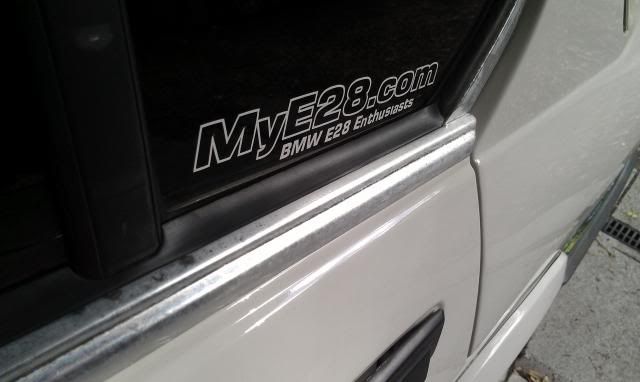
The outside window rubbers are very cracked and look really bad. Particularly now the windows are tinted.

Old cracked rubers:
Image

New rubbers installed:
Image

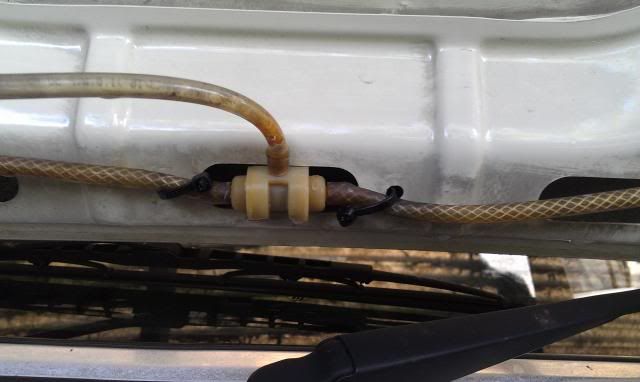
I also got some window washer line so i can tidy up this nasty mess(got to get rid of those cable ties):
Image

Anyway thats about it so far.
Cheers
VTR1000SP2
Posts: 109
Joined: Dec 07, 2012 1:27 PM
Location: Ontario, Canada.

Post by VTR1000SP2 »

Car is coming along really well. I personally thank you for doing what you've done, it's motivated me to consider a few changes to my own E28.

Are those Cheviot wheels?
euronewbie
Posts: 84
Joined: Mar 15, 2012 9:59 AM
Location: Australia

Re: First BMW, 87' 535i .20 Sep 2014 Update

Post by euronewbie »

Well its been ages since ive updated this thread. Work as per usual has been hectic.

But not to worry work hasn't stopped on the old girl. just slowed down.

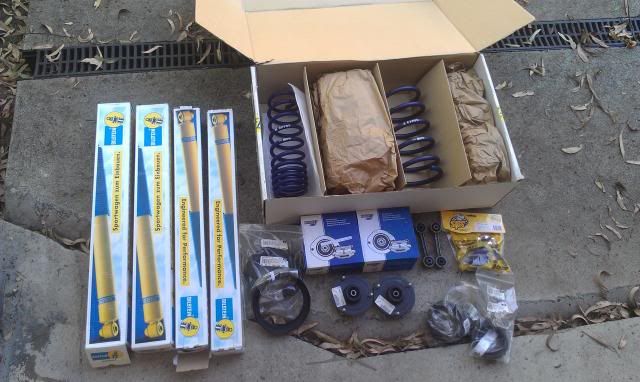
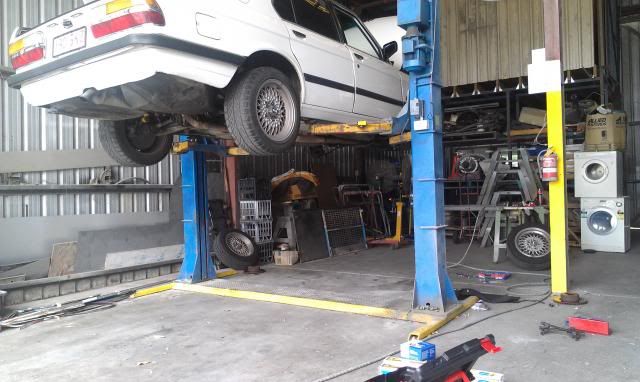
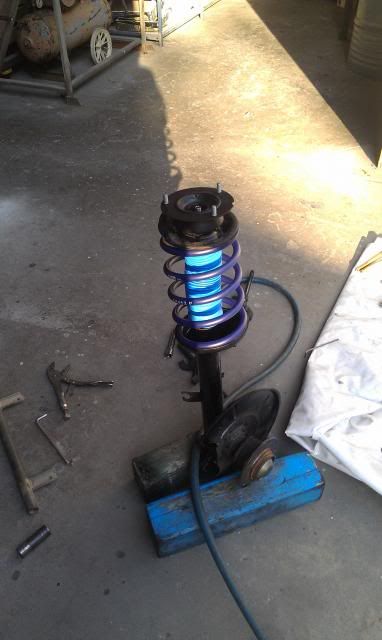
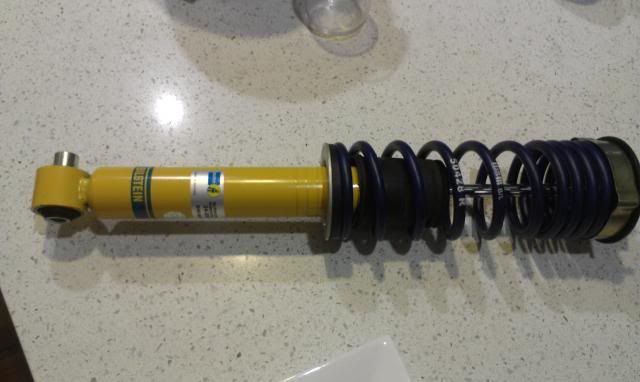
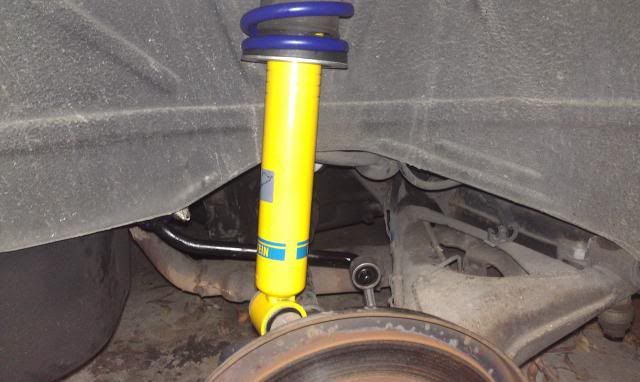
Anyway i finally got around to putting in new shocks and springs and lowering the old girl. The change was night and day compared to the old stuff. No more bouncing around on busted shocks and the modest drop in height is actually quite noticeable. I ended up going with H&R sport springs and Bilstein sport shocks from turner motorsports in the states. Even trying to get any springs or shocks in Aus was near on impossible and when i found places that did i was paying a good 500-600 more for the whole lots of springs and shocks. So ordering from the states worked out well.

Goodies
Image

About to start the whole show
Image

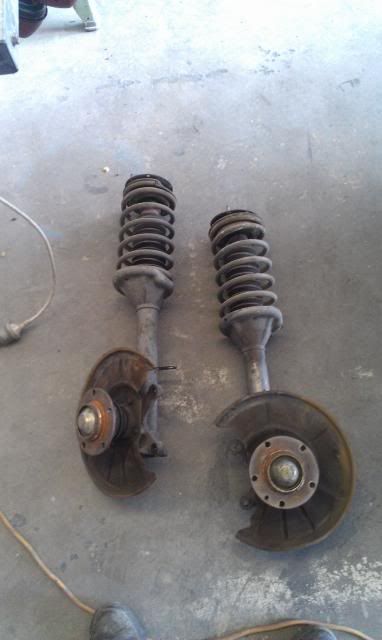
Fronts out
Image

Image

Fronts all back together
Image

Rears back in
Image

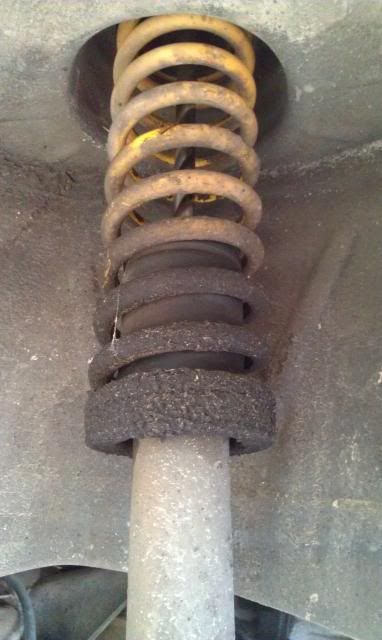
You can see how busted the old shocks were, pretty sure all the oil the shocks had were on the outside.
Image

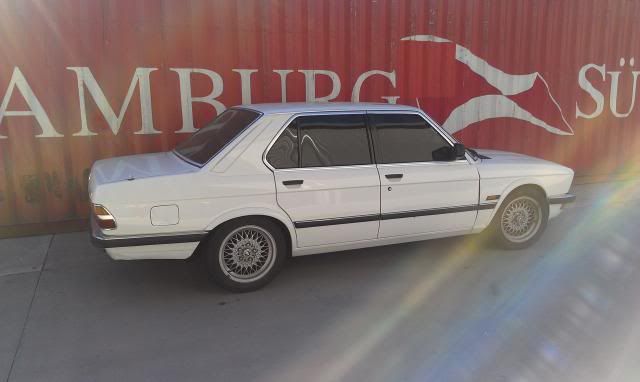
Not the best photo showing the change, but this is an after shot.
Image

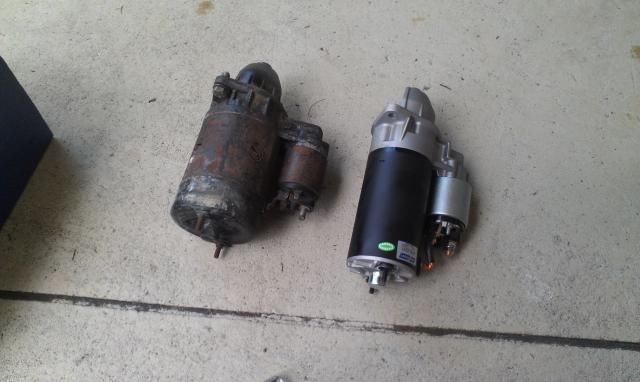
Old vs new starter motor
Image

Thats all ive got so far fellas.
Cheers!
bkbimmer
Posts: 5867
Joined: Mar 02, 2007 2:33 AM
Location: Portland, Or.

Re: First BMW, 87' 535i . 1/5/2013 Update

Post by bkbimmer »

Nice project, keep up the good work.
fventura03
Posts: 35
Joined: Jul 09, 2014 12:37 AM
Location: Alexandria, VA

Re: First BMW, 87' 535i . 1/5/2013 Update

Post by fventura03 »

Looks great, love the attention to detail :). did you ever finish the heat shield on the underside of the hood?
bmcf1lm
Posts: 2
Joined: Oct 07, 2014 11:33 AM
Location: Tennessee

Re: First BMW, 87' 535i . 1/5/2013 Update

Post by bmcf1lm »

Very nice car you have got there! I actually am making a purchase of the exact same model, but in red this weekend. Its good to know this model is still cared about so much.
euronewbie
Posts: 84
Joined: Mar 15, 2012 9:59 AM
Location: Australia

Re: First BMW, 87' 535i . 1/5/2013 Update

Post by euronewbie »

Well i know its been ages..... way too long. Work being the usual problem.

But ive had some time lately and slowly been chipping away at the big 'to do' list i've got written up for the old girl. I've had the parts sitting in the garage for ages. Just finally been able to put them on.

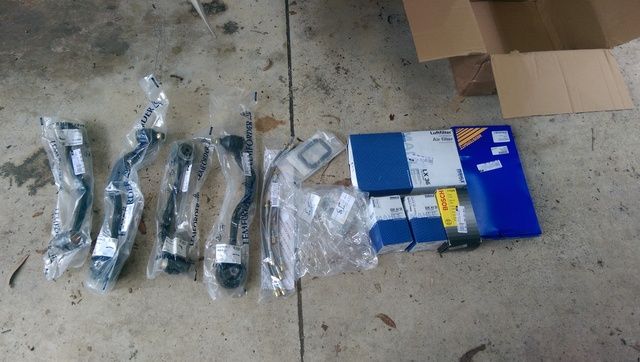
Goodies.Control arms, braided brake lines, oil,fuel and auto filters,
Image

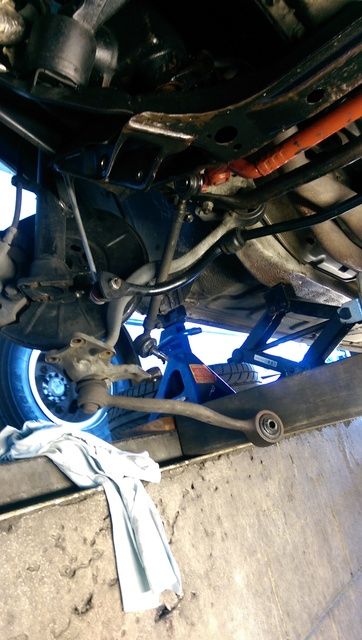
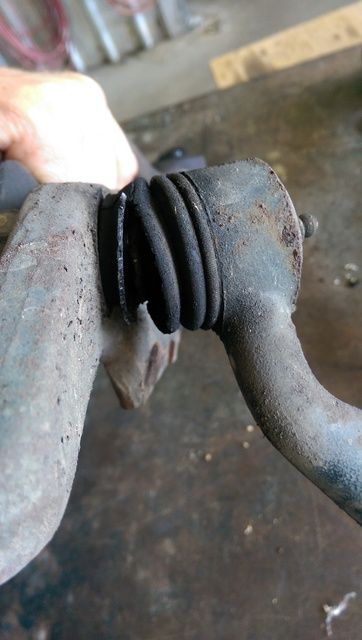
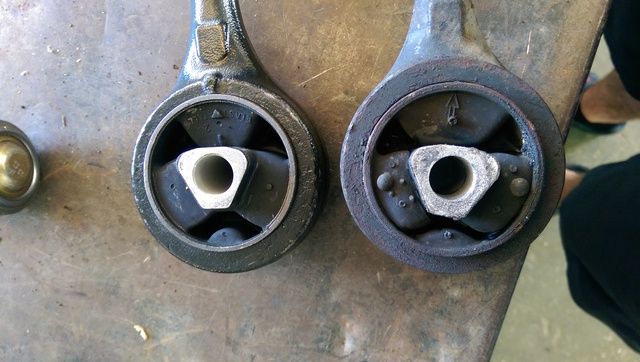
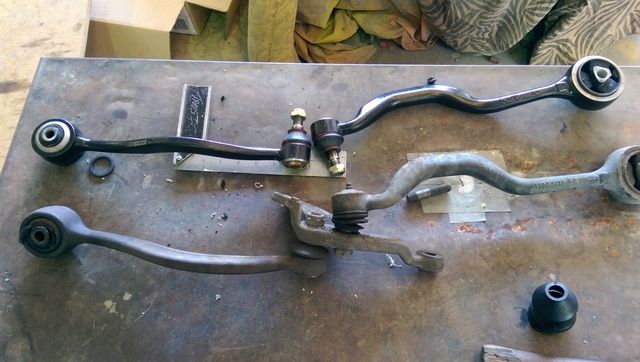
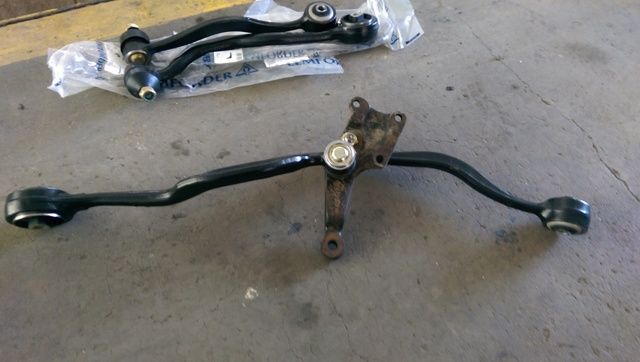
First to be changed was the control arms, the old ones were a bit dodgy and the balls joints had some movement, plus having replaced the suspension i was keen to replace these awell. Paid a bit more and got the Lemforder arms. I really dont want to replace them again

Image

Image

Image

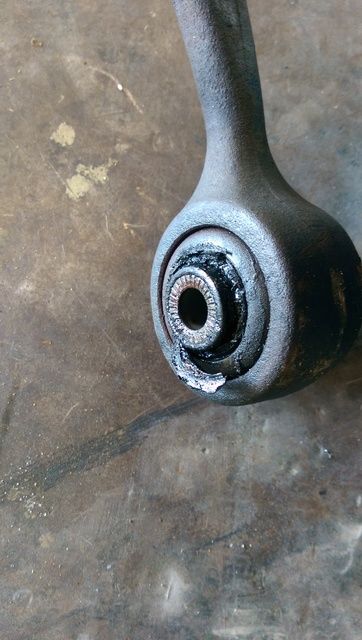
This shows just how much the rubber has deformed and how the 'center' of the bush isnt the center of the arm
Image

Image
Image

The control arms themselves were actually not that hard to install, just had them loose until the car was back under its own weight, then a quick bounce and settle before tightening them up properly and checking everything.

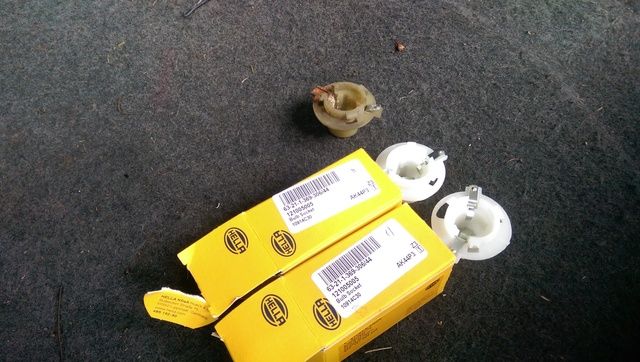
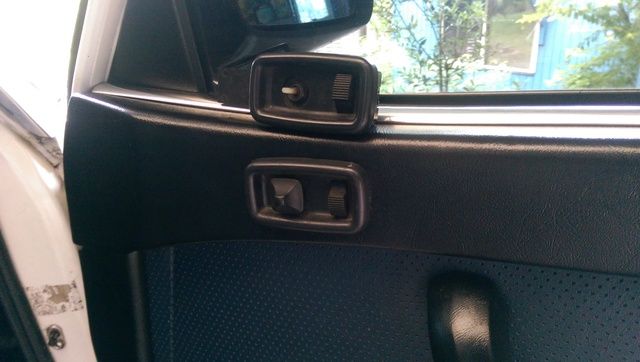
Also chasing up little jobs like swapping over the bulb holders for ones with actual functioning contacts (read not rusted away :D) and swapping out old electric mirror switches
Image
Image

Hopefully there will be alot more updates this week
cheers
tig
Beamter
Beamter
Posts: 9233
Joined: Mar 18, 2013 6:25 PM
Location: Durango
Contact:

Re: First BMW, 87' 535i . 1/5/2013 Update

Post by tig »

Nice work.
euronewbie
Posts: 84
Joined: Mar 15, 2012 9:59 AM
Location: Australia

Re: First BMW, 87' 535i . 1/5/2013 Update

Post by euronewbie »

More work on the old girl.

Job one:
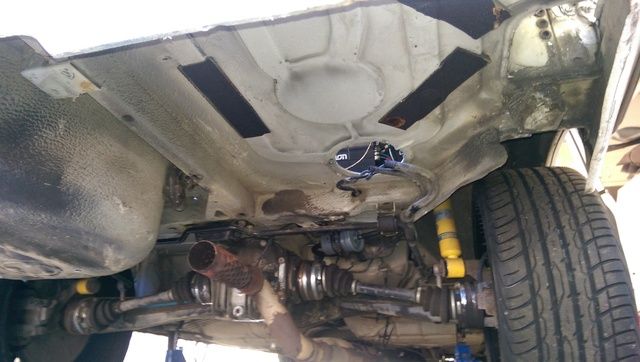
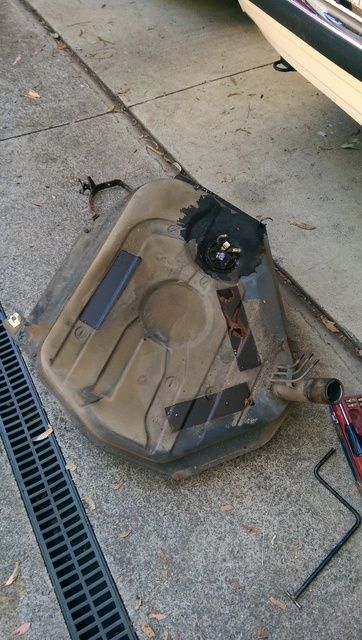
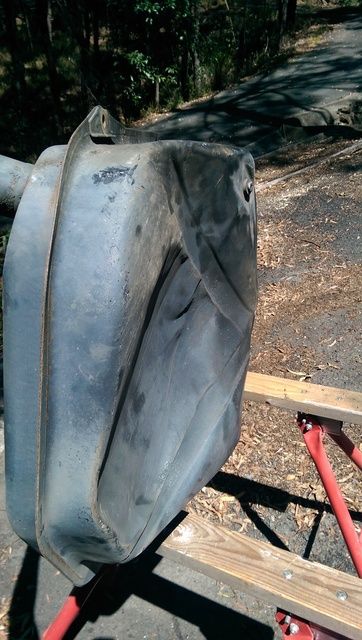
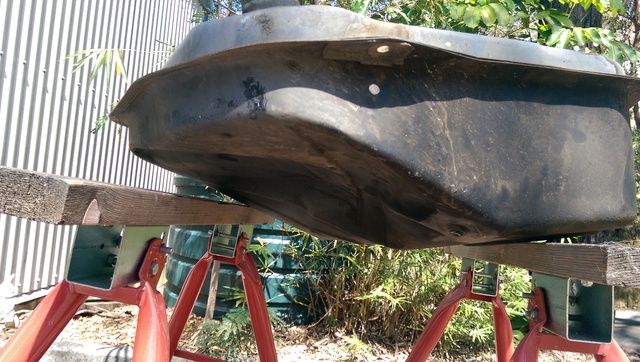
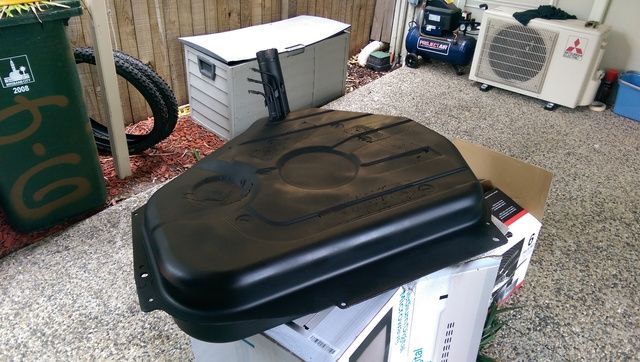
Replacing the old and badly dented fuel tank. The fuel tank has been like this since i bought the car. Ive always just had other jobs on the car that i wanted to do first, plus it wasn't leaking so i figured all i was losing was some fuel capacity. So with a bit of time off work i got myself a 'new' tank from the wreckers, cleaned it up, painted it and put it in. upon filling it up i realized that i'd gained about 10-15l back in fuel tank capacity :P

Yep i know that my exhaust shouldnt come apart like that.. trust me its on the list of shit to fix. Ill be replacing the whole lot soon.
Image
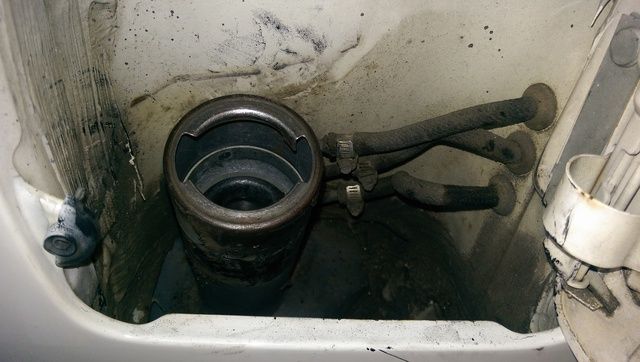
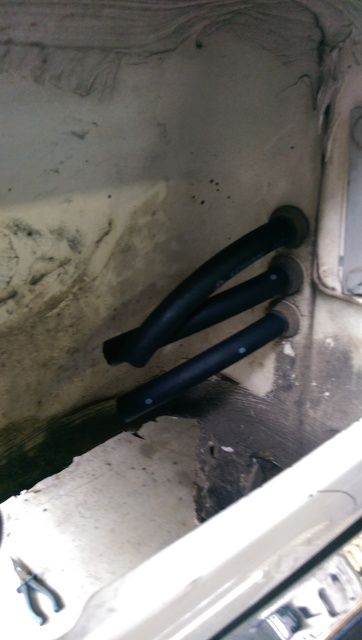
...yep so thats where that fuel has been coming from
Image
Image
Image

Showing the breather hoses
Image

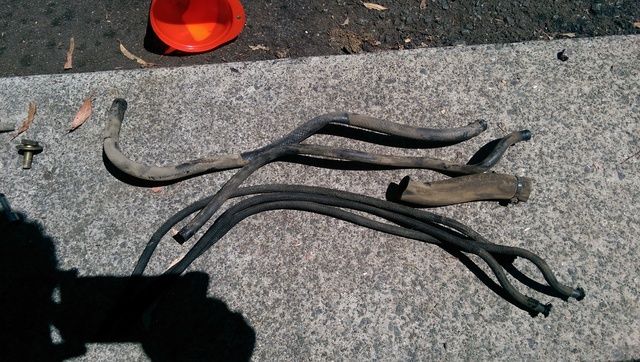
Old hoses off.
Image

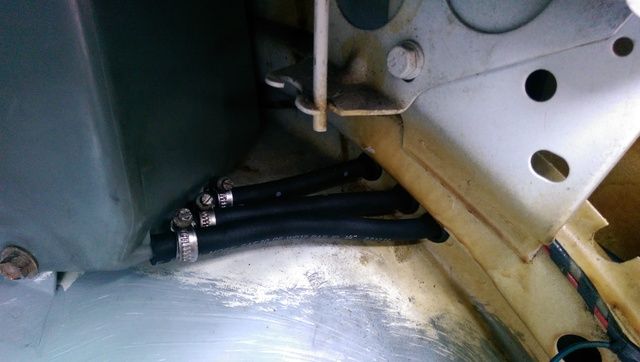
Alll new. Figured id gone to a bit of effort replacing all the other hoses so id just do the lot.
Image

Image


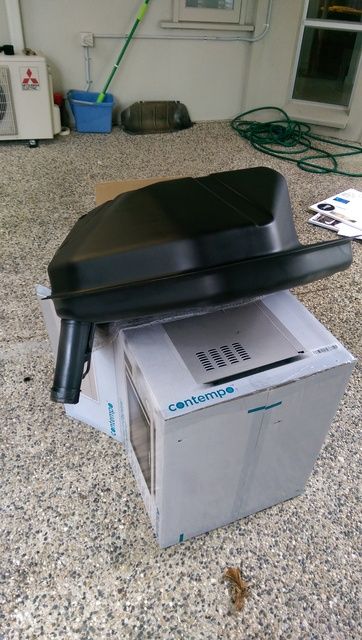
New tank. All flushed out with new fuel to get rid of any cr*p that was chilling around the bottom of the tank. Also cleaned it up and gave it several coats of an epoxy enamel.
Image
Image

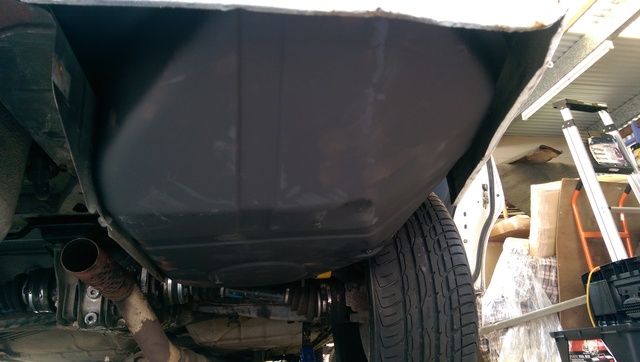
All in. The little dent in the bottom was there when i got it. Really doesn't bother me, im just happy to have a 'full' tank back.
Image
tig
Beamter
Beamter
Posts: 9233
Joined: Mar 18, 2013 6:25 PM
Location: Durango
Contact:

Re: First BMW, 87' 535i . 1/5/2013 Update

Post by tig »

Really nice work.
euronewbie
Posts: 84
Joined: Mar 15, 2012 9:59 AM
Location: Australia

Re: First BMW, 87' 535i . 1/5/2013 Update

Post by euronewbie »

Nice work
Cheers mate. There's a lot more updates to catch up on.


Job two:

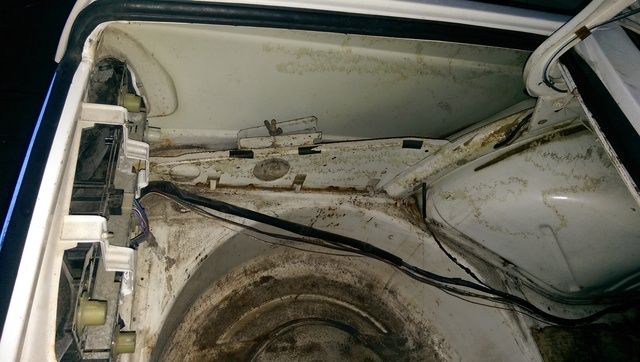
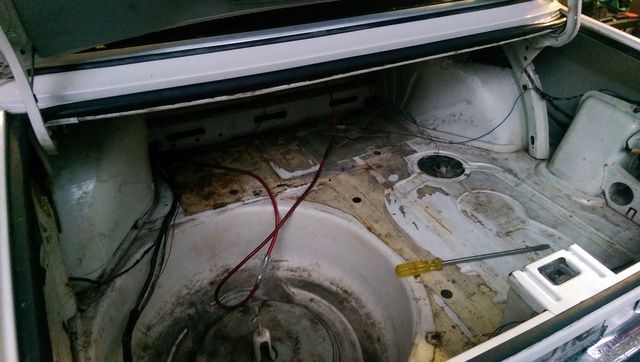
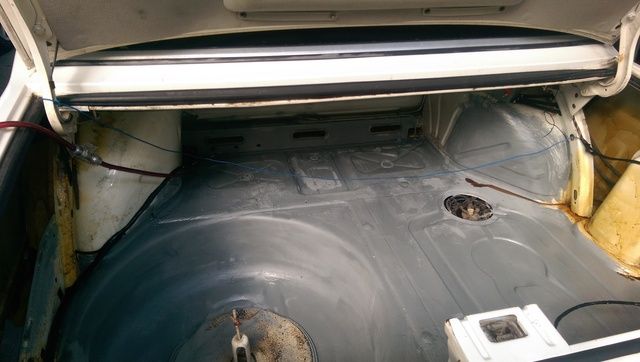
Tidy up the boot and get rid of any surface rust before it gets too bad.
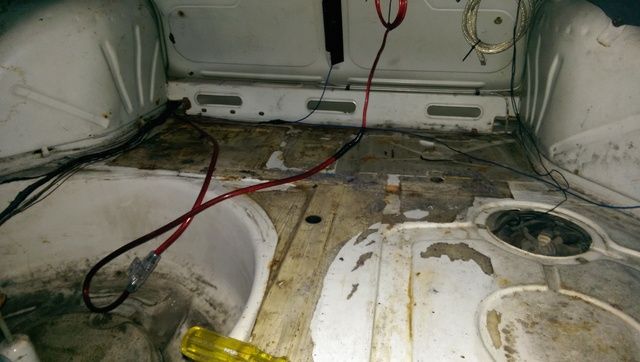
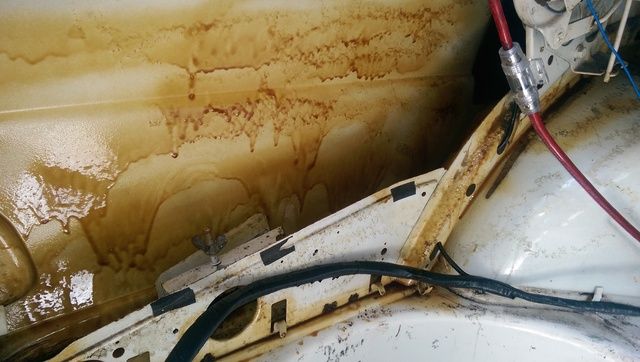
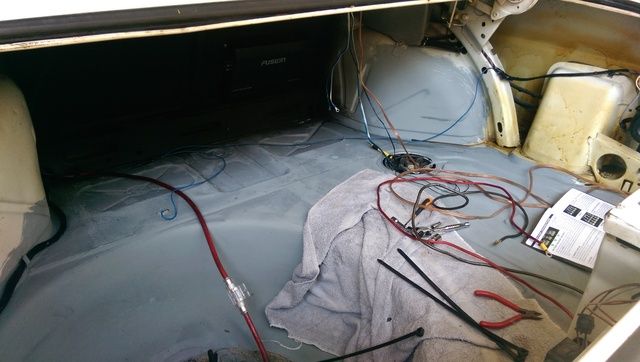
It had always been a bugbear of mine seeing how 'messy' it was under the carpets in the boot. little bits of rust starting everywhere, no rust protection in the rear quarter panels either. So when the tank was out i decided to fix it. It was no means meant to be a 'pretty' repair just hopefully more of easy preventative maintenance. Was also a good chance to tidy up some wiring etc.
Image

sub-wiring and random stuff everywhere
Image
Image
Image


It took several hours of vacuuming, scraping, wire brushing and wiping until all the dirt, loose and surface rust was gone. I then rust converted all the rusty stuff and painted an epoxy cold gal over the floor of the boot.
Image

I also cleaned out the rear quarter panels and sprayed some tectyl down into the hard to reach places to hopefully prevent any rust from starting up from that way.
Image

--------------------------------------------------------------------
Job Three:
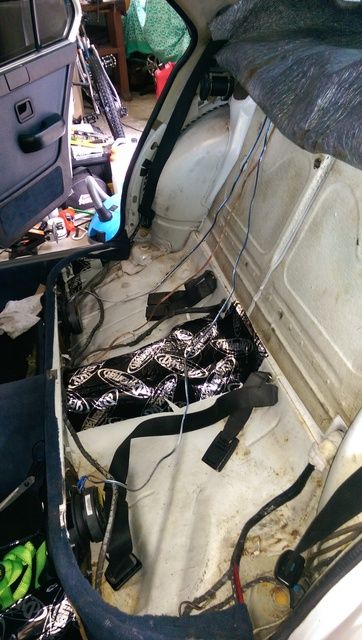
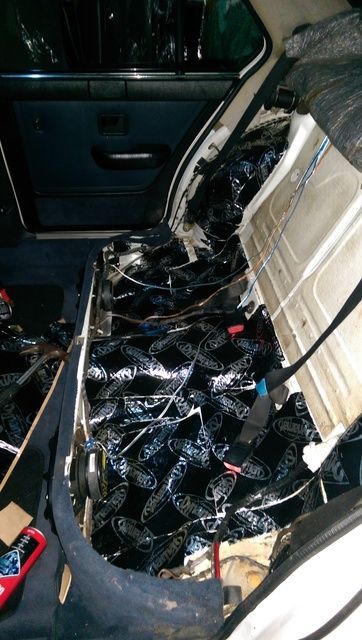
Dynamatting the rear seat well and finally installing my sub.

Ive had a sub and a 4 channel amp sitting in the shed for a good 6months now. It had always been a 'when i get time' job.
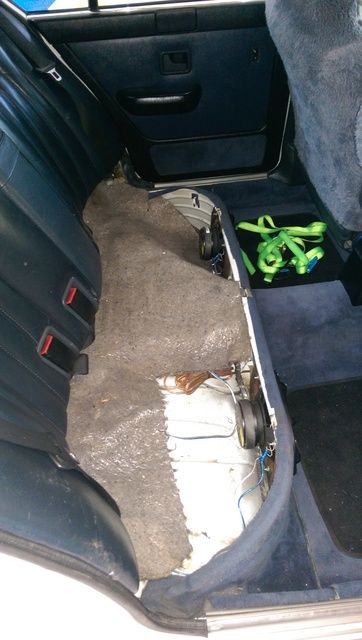
The standard 'fibre'... i dont even know what it is insulation from behind the rear seat was getting in the way of the 6x9's ive got installed under the rear seat. I wanted to go the dynamatt route because it would be better insulator, tidier, even block out some outside noise.

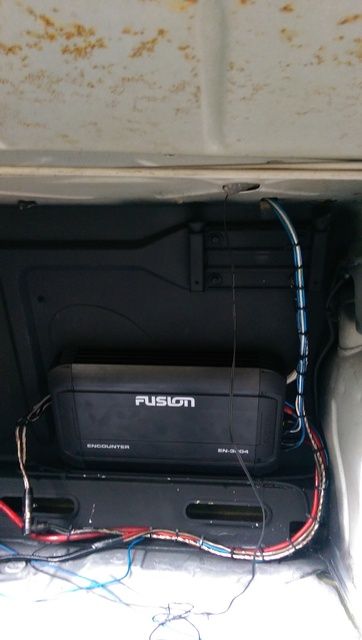
I installed the amp on the boot side of the rear seat back. Sorting the wiring.
Image
Image


The standard insulation
Image

Image
Image

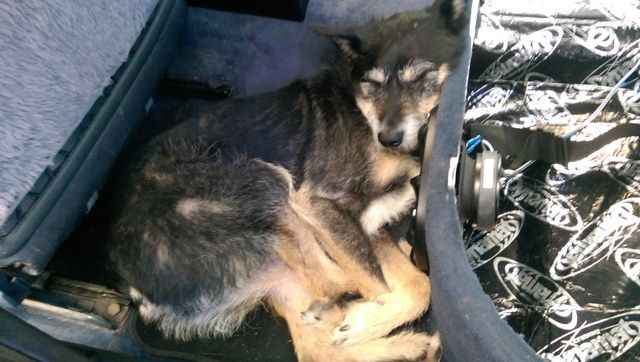
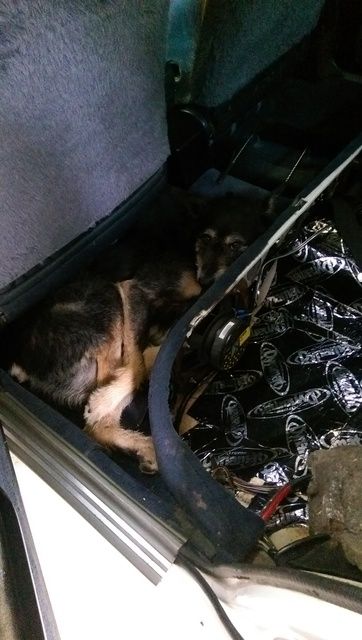
My pup decided that my car was the perfect place to sleep for a couple of days.
Image
Image

I really wish i had put the sub in earlier, So much better.
euronewbie
Posts: 84
Joined: Mar 15, 2012 9:59 AM
Location: Australia

Re: First BMW, 87' 535i .16/11/2015 Update

Post by euronewbie »

Job four:

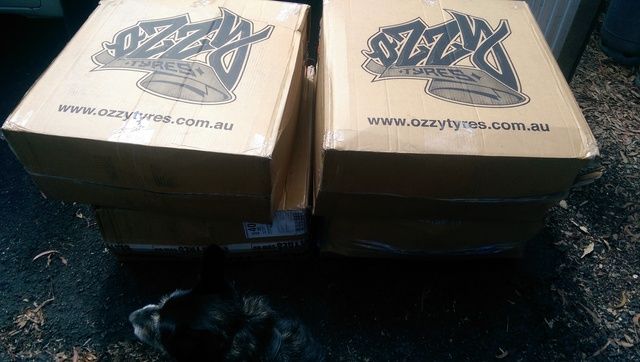
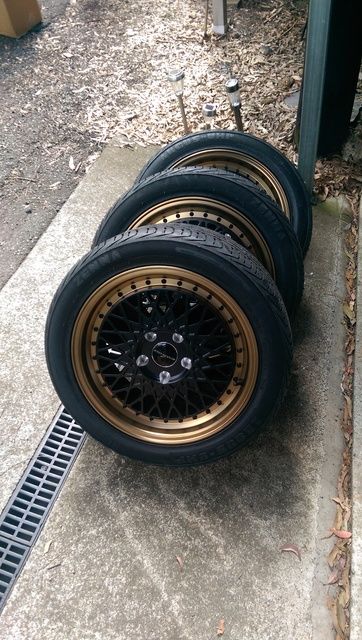
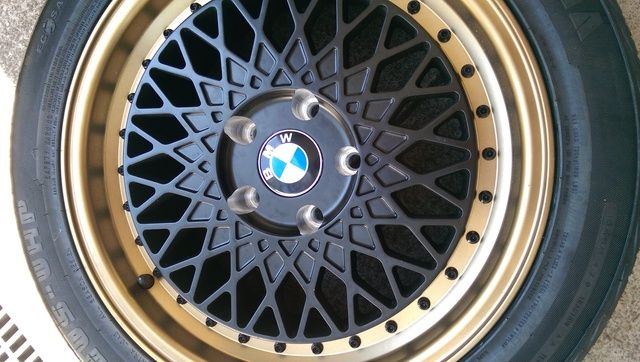
New wheels!
My old wheels had some big dings/warps in them since day one. Once again they had been on the 'to do' list for a while. I looked for while hoping to pick up some genuine BMW wheels that suierd my car (Style 5's etc) but with no luck. I ended up finding a place in AUS that would ship tyres and rims already mounted and balanced for a good price for the rim style i was chasing. The quotes i got for fixing my original rims and then getting new tyres was more than getting four new rims with new tyres, plus the new rims are 17's opposed to my original 16's... but the rolling diameter is only like 2% bigger (that tyre/rim size calculator on this forum was a godsend!)


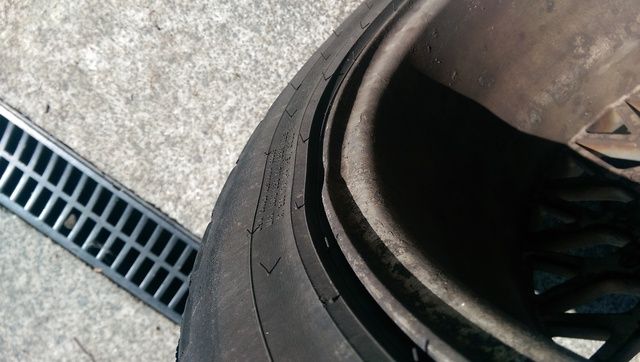
Lots of these on my rear rims, plus a sizeable warp on DHS rear.
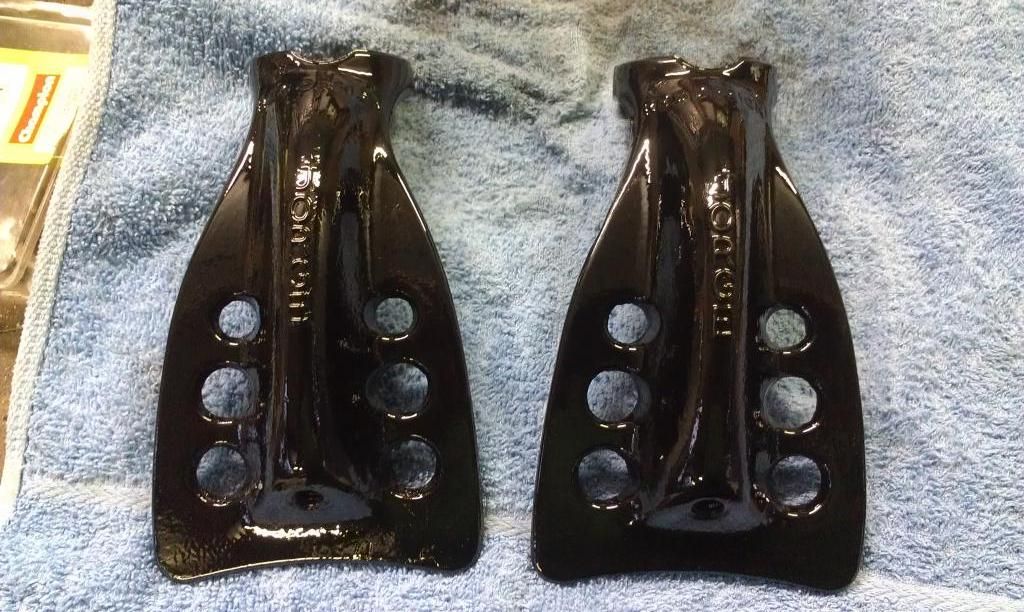
Image


Image
Image

With some BMW hub cap covers
Image

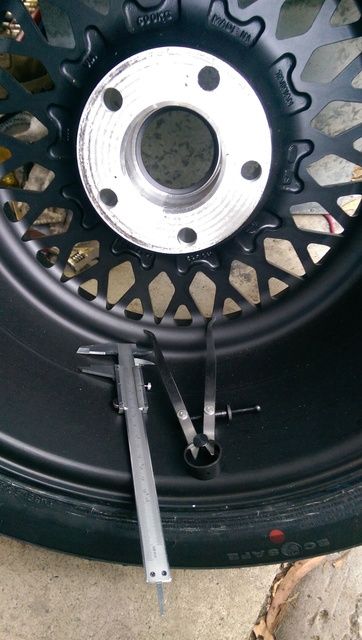
The hubcentric rings supplied were the wrong size. So a bit of measuring and double checking and i found an ebay store with Aluminium rings with my exact size for only like $25 for four! win
Image

They fit great, no rubbing even when fully loaded. plus i think they look great.
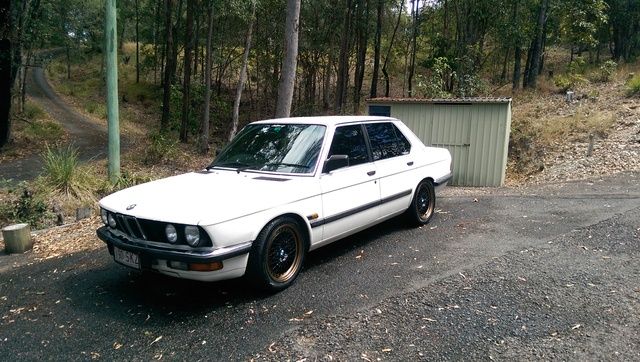
Image
Image
Image


--------------------------------------------------------------------------
Job Five:

Fix (again) my driver side lock.
Ive fixed the lock on the drivers side several times, but it has only been successful for a short time before something has gone wrong with it. So i got my self a brand spankers drivers lock (LHD- this gets important later). I was going to simply swap out the mechanism with the old lock so i could use all the new bits but keep one key. I stupidly assumed that LHS and RHS would just be interchangeable. Idiot.

So it went form a little swap to a full tear down and swap so it would work ok in my RHD car.

New lock and key
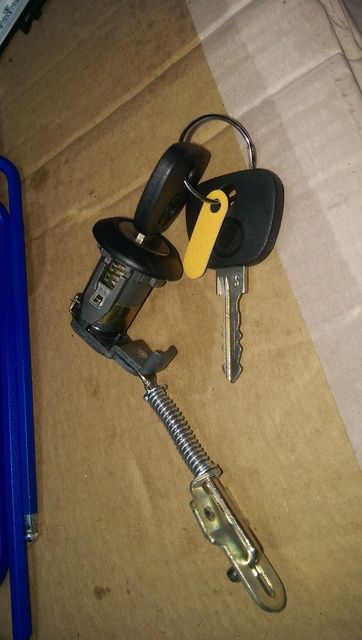
Image

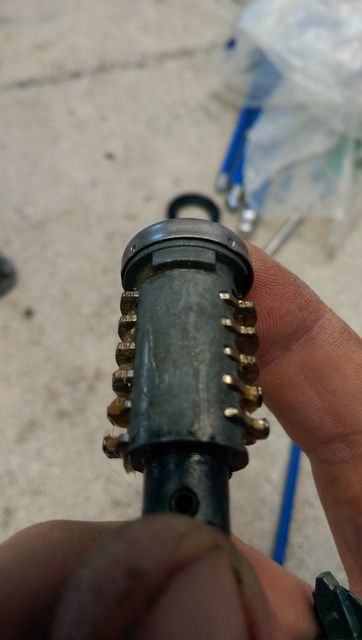
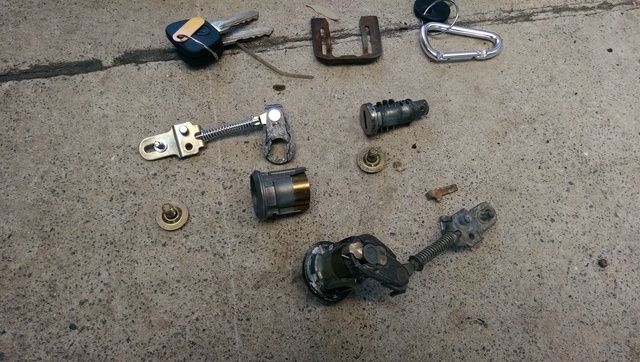
LHS is the LHD lock, RHS is the RHD lock. notice the stud on the (no idea on its actual name) bottom piece of the arm with the spring. LHD has the stud on the top, RHD has the stud on the bottom. This makes it pivot differently... this is when i figure out that a straight swap wasn't going to happen
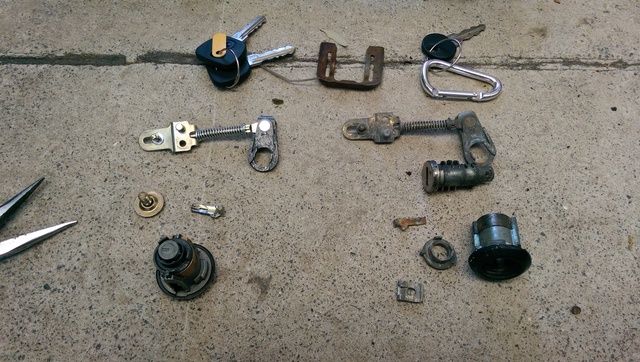
Image

No dramas. All i was really chasing was a crown (bottom right of the above photo, directly opposite to the lock body) because my one had broken off and the locking piece that goes over it and holds it all together wasn't able to work properly becasue of that.

Notice how the lock has a 'keyway' up near its head and thus will only go one way into the lock body.
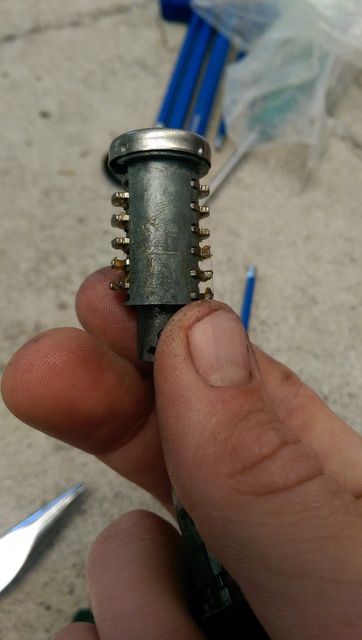
Image
Image

The lock body only allows the lock to go in one way (the 'keyway' from above photos). Its a bit hard to see in this photo but two of the lugs are recessed enough to allow the lock to turn.
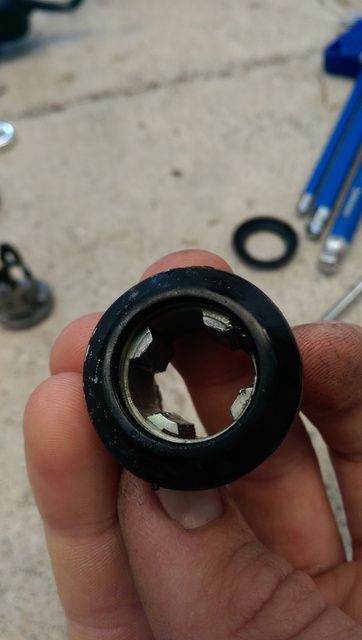
Image

If you look hard enough you can just see the shine of two ball bearings in the new lock. they are in the 'channel' made by the ring.
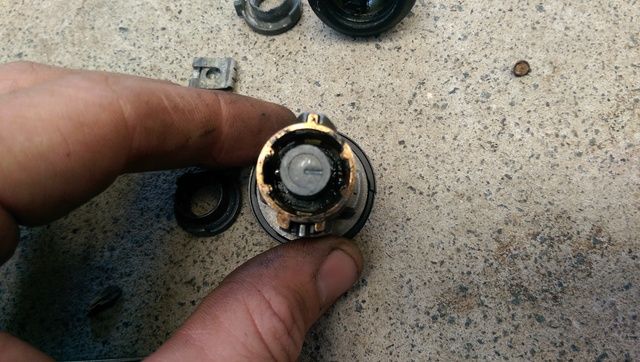
Image

The 'new' crown coming off the 'new' lock. Its a bit hard to make out but the crown above it in the photo is my 'old' one that has a bit snapped off it. you can just make it out in the photo.
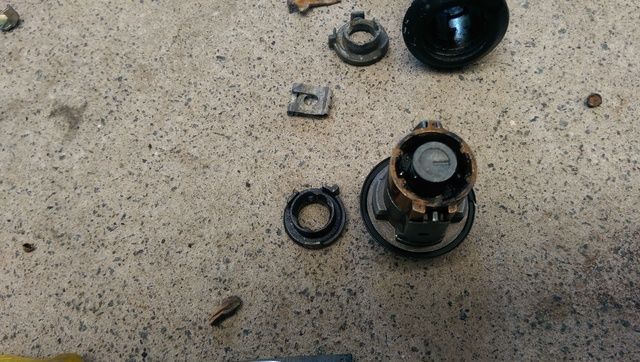
Image

Also notice the LHS of the lock body, with almost an arrow shape. and the RHS with almost a T-shape. This will only fit one way to the hole in your door.
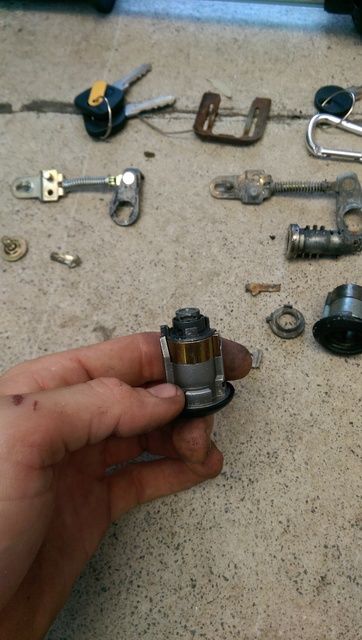
Image


Rebuilt as best i could with a mish mash of bits. Used the new crown and ball bearings/ring. It was definitely a bit of stuff around but ive got a working door lock so its all good.
Image
euronewbie
Posts: 84
Joined: Mar 15, 2012 9:59 AM
Location: Australia

Re: First BMW, 87' 535i . 16/11/2015 Update

Post by euronewbie »

More work.

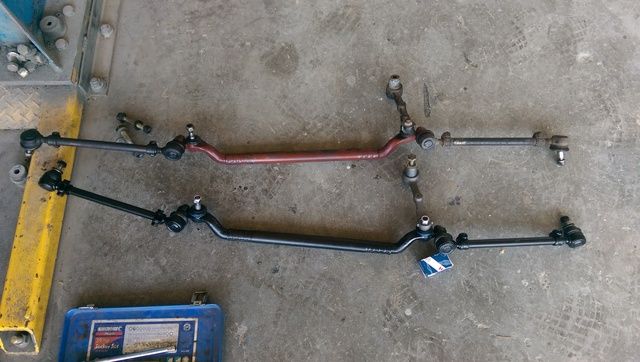
Id really hoped to do the control arms and all the steering linkages at the same time and only have to get one wheel alignment. But with car parts and spare cash always seeming to be far apart i only got to change out the steering linkages a couple of weeks after putting the control arms in... a bit of a bummer seeing that shes a daily driver.

Image
Image

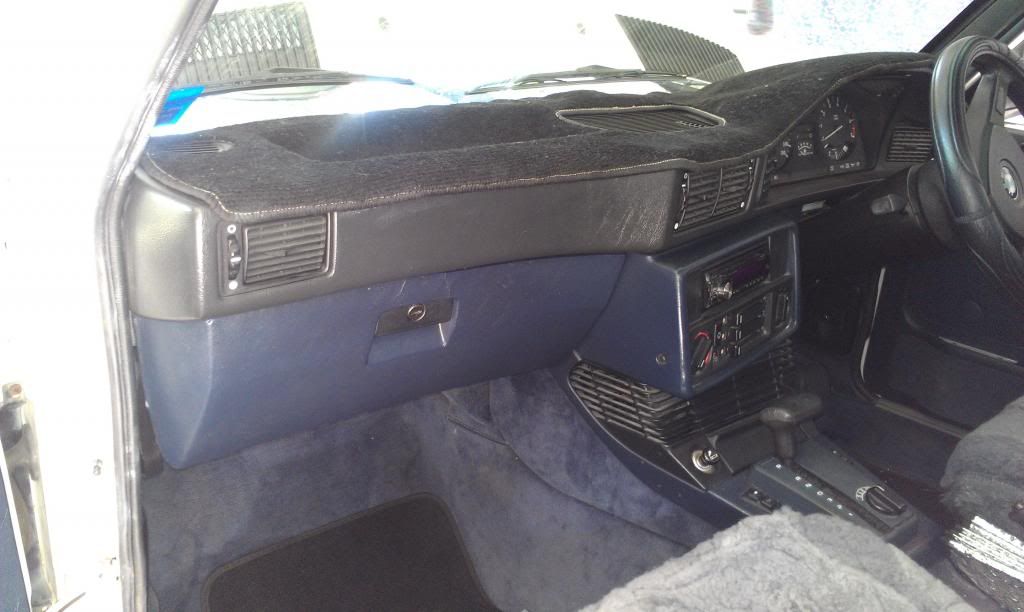
Tie rods, center rod and pitman arm all replaced.
Image

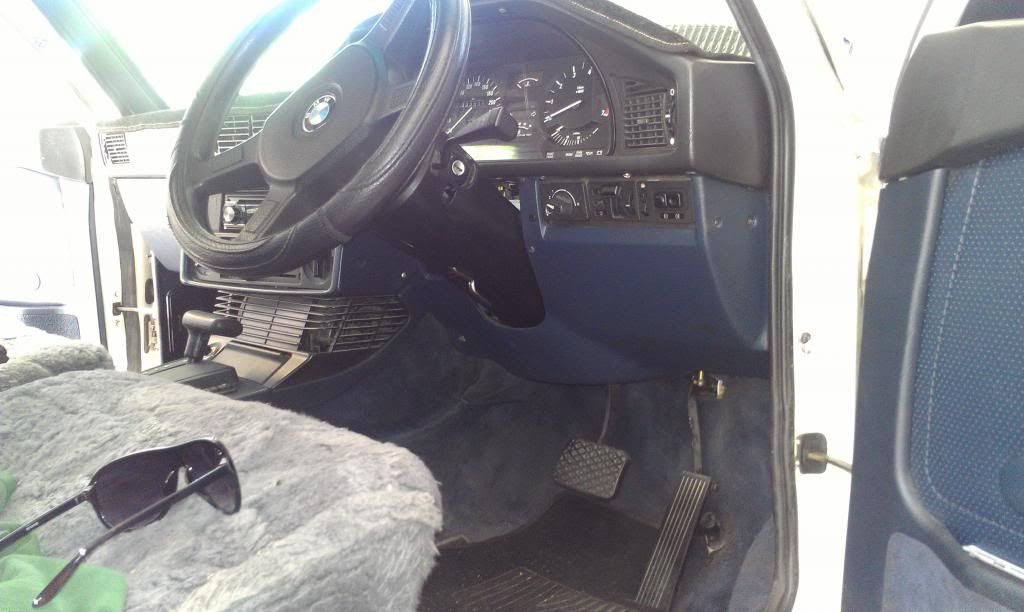
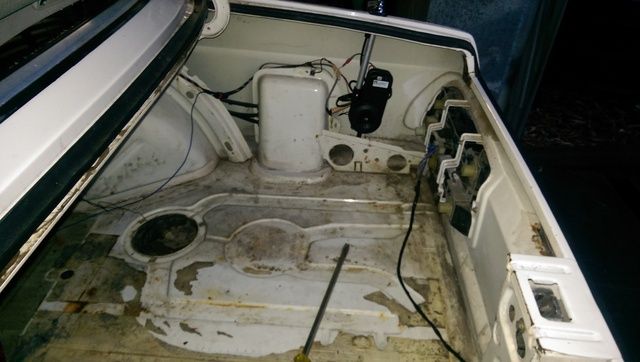
So apart from the steering box everything in the front end has been replaced. and after the wheel alignment she drives so so so much better than i would have thought a 28year old car should.
stoney
Posts: 119
Joined: Aug 22, 2015 9:16 PM
Location: Coffs Harbour, NSW, Aus

Re: First BMW, 87' 535i . 16/11/2015 Update
Post by stoney »

You've really brought this back from the dead!

Great job mate
Ordnator
Posts: 552
Joined: Aug 31, 2015 7:34 PM
Location: Halifax NS

Re: First BMW, 87' 535i . 16/11/2015 Update

Post by Ordnator »

Really good job.

When you change out the steering and suspension the difference is like night and day.

I found this out back in 1998 when I had my first E28, a 520i. Now I bite the bullet and conduct a complete steering, suspension, ball joints and rubber mounts refresh in one hit. It is like having a new old car.

Keep up the good work.

Regards,

Mick
euronewbie
Posts: 84
Joined: Mar 15, 2012 9:59 AM
Location: Australia

Re: First BMW, 87' 535i . 16/11/2015 Update

Post by euronewbie »

stoney wrote:You've really brought this back from the dead!
Great job mate
Thanks mate. Still a long way to go but definitely getting there.

Really good job.
When you change out the steering and suspension the difference is like night and day.
I found this out back in 1998 when I had my first E28, a 520i. Now I bite the bullet and conduct a complete steering, suspension, ball joints and rubber mounts refresh in one hit. It is like having a new old car.
Keep up the good work.
Regards,
Exactly! I couldn't believe the difference. I knew they were a bit 'tired' but i spose with everything being tired it all added up in a sluggish vauge steering/feel.

Ive got some more parts coming too. So there will be a little more work to do on the holidays which should have most of my menta; 'to do' list all done
euronewbie
Posts: 84
Joined: Mar 15, 2012 9:59 AM
Location: Australia

Re: First BMW, 87' 535i . 19/08/2016 Update

Post by euronewbie »

Its been a while since the last update. But rest assured alot....yes quite a bit more work has been done to the car.

Mostly just maintenance and as per usual getting around to the 'Ill do it later jobs' . In saying that I've been consistently clocking up around 300-500km (180-310 Miles) per week on the old girl and it has been awesomely German-ly reliable.

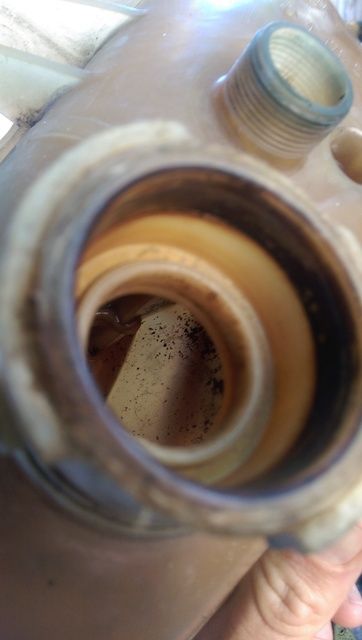
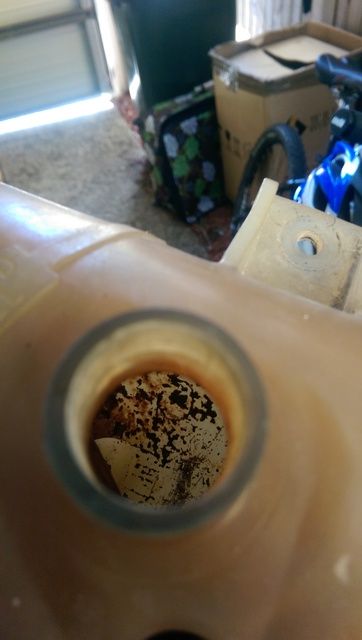
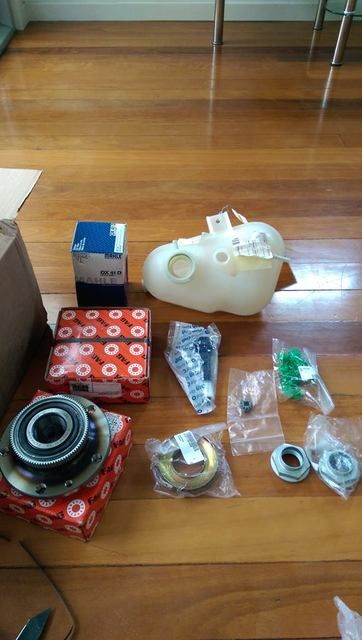
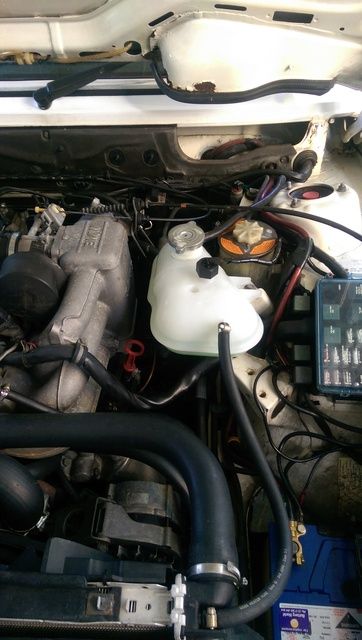
Easy job one. Swapped out the old/cruddy radiator overflow bottle with a brand new OE one.

Old one, even several removals and hose outs struggled to get rid of crud on the bottom of this
Image
Image[/URL]

Goodies
Image[/URL]

New overflow and coolant level sensor in
Image

Theres still heaps of updates to go!
Last edited by euronewbie on Aug 20, 2016 4:05 AM, edited 1 time in total.
Post Reply