
E28 M5: Bringing it back to life (UPDATED 8/14/16)
Re: E28 M5: Bringing it back to life (UPDATED 12/13/15)
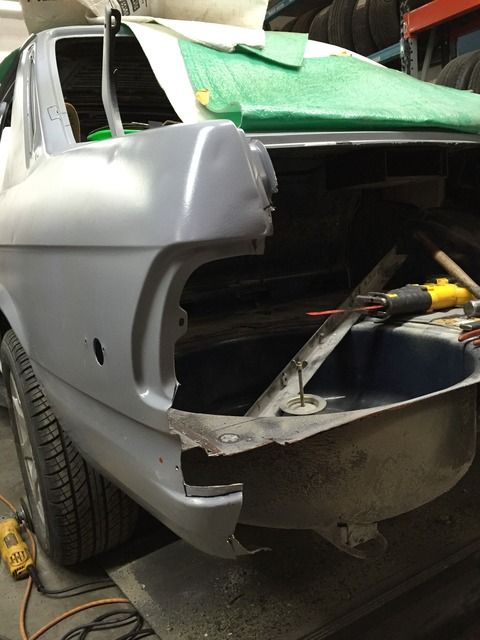
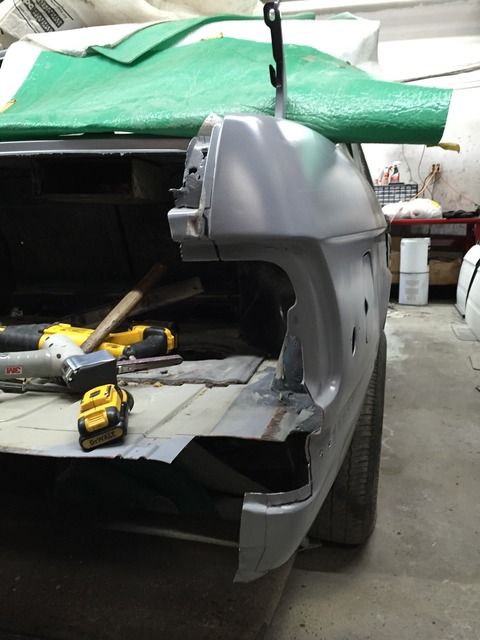
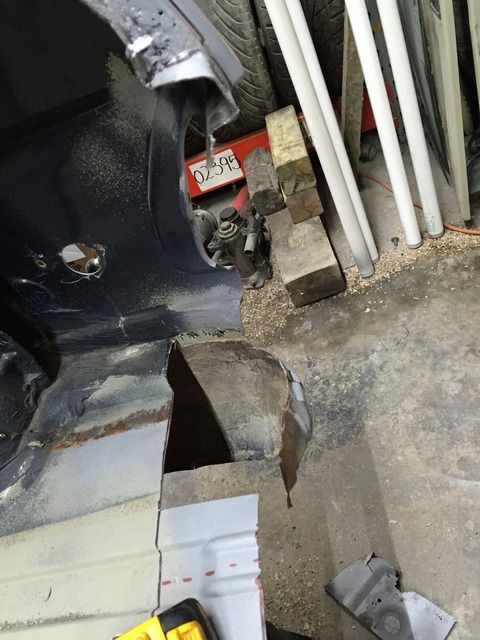
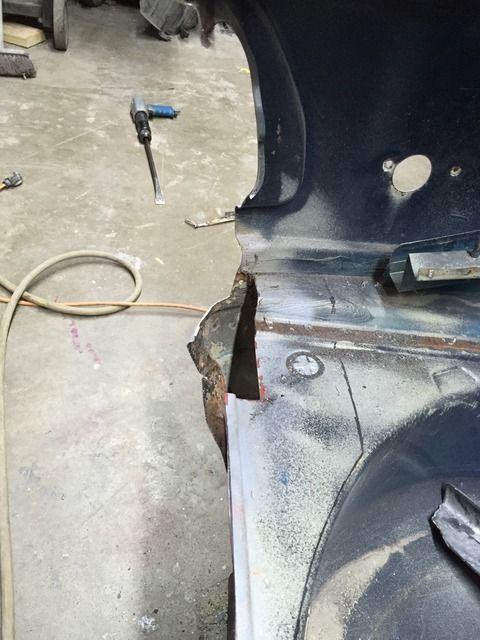
Removed the tail lamp panel off the M5 body to gain access to the floor pan. Will be cutting and welding the a floor section into euro body for the rusted area that needs replacement


Last edited by MilanoFc on May 03, 2016 2:43 PM, edited 1 time in total.
Re: E28 M5: Bringing it back to life (UPDATED 12/13/15)
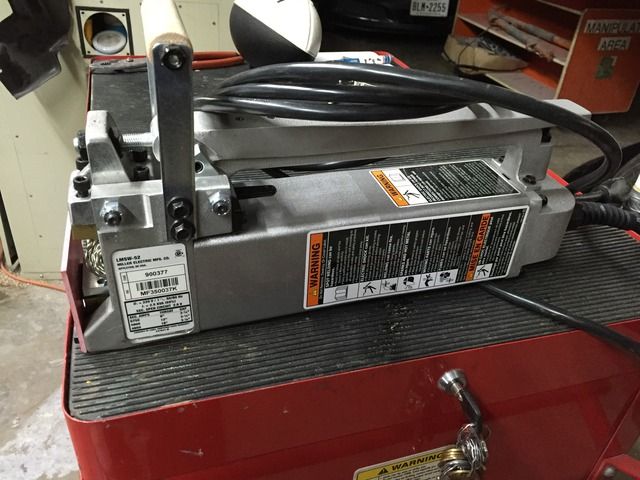
So I took advantage of the days off and started the cutting and trimming on both car. I also received the spot welder for when the new tail lamp panel and the roof goes back on.
On order I have the driver fender and trunk that I should be getting soon. On the roof, I figured that trying to remove the one off the M5 would be a hit or miss. So I went ahead and ordered a new one. Dealer told me that it would take 3-4 weeks, so now to play the waiting game for it to come in. But I will go ahead and use that down time to move on with other tasks. Planning on having the rear floor/ tail lamp panel completed this week hopefully so I can start the underbody process
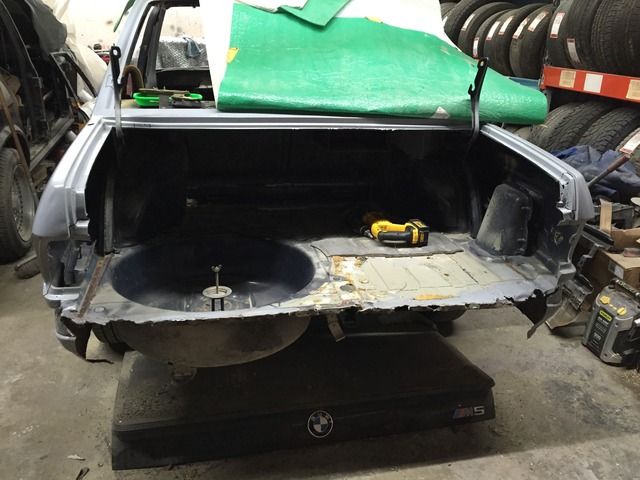
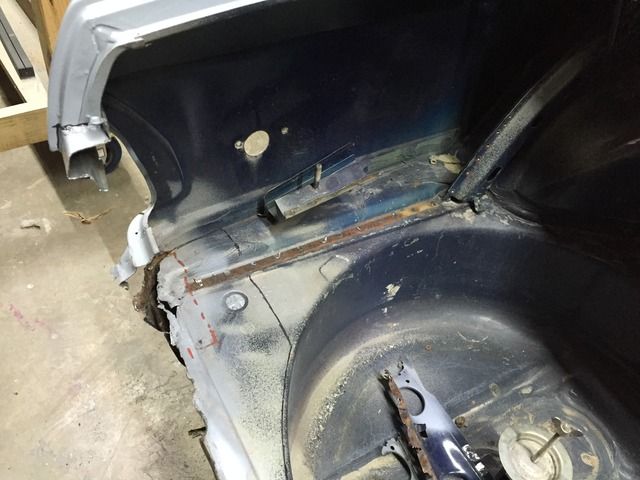
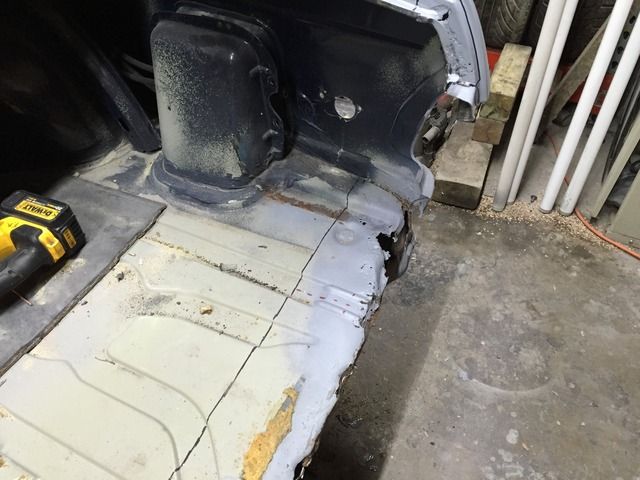
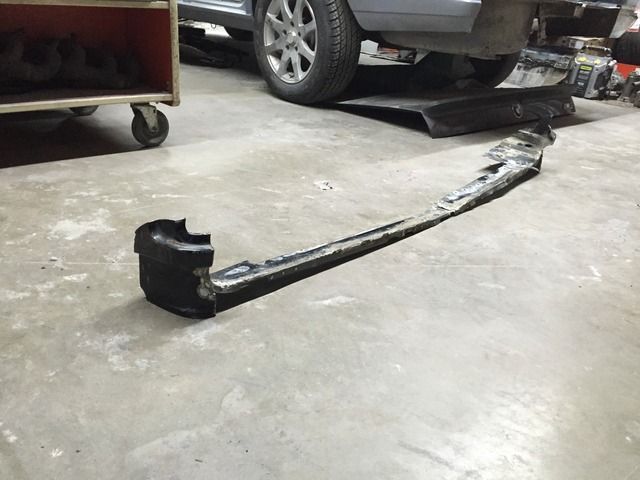
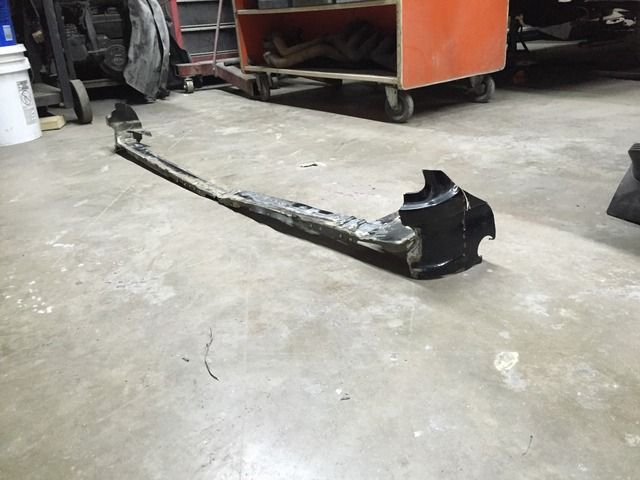
On order I have the driver fender and trunk that I should be getting soon. On the roof, I figured that trying to remove the one off the M5 would be a hit or miss. So I went ahead and ordered a new one. Dealer told me that it would take 3-4 weeks, so now to play the waiting game for it to come in. But I will go ahead and use that down time to move on with other tasks. Planning on having the rear floor/ tail lamp panel completed this week hopefully so I can start the underbody process


Last edited by MilanoFc on May 03, 2016 2:44 PM, edited 1 time in total.
Re: E28 M5: Bringing it back to life (UPDATED 12/13/15)
Got some action today. Got the right side of the floor welded in. Not bad for a Monday!
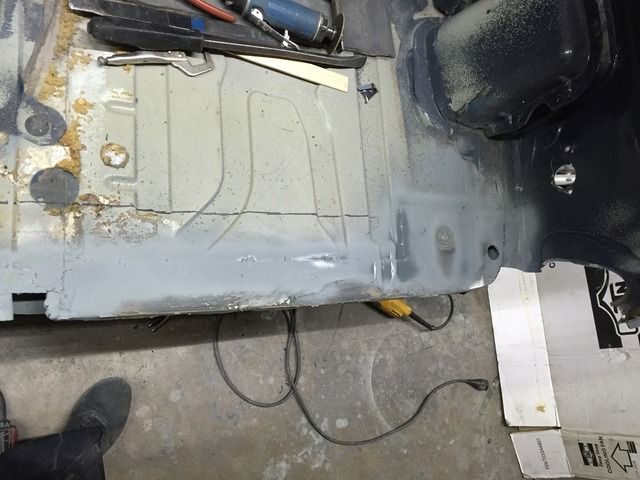
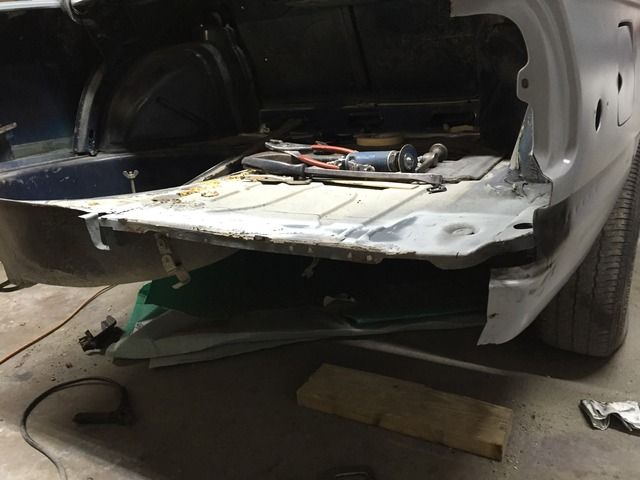
Plus I got the M fabric reproduction that a fellow member is selling.
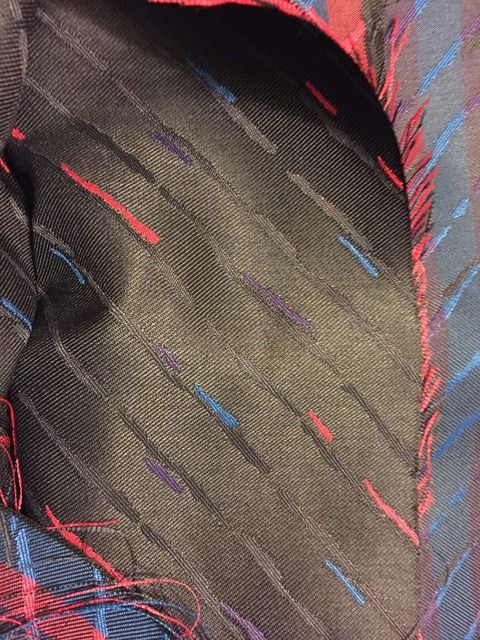


Plus I got the M fabric reproduction that a fellow member is selling.

Last edited by MilanoFc on May 03, 2016 2:44 PM, edited 1 time in total.
Re: E28 M5: Bringing it back to life (UPDATED 12/13/15)
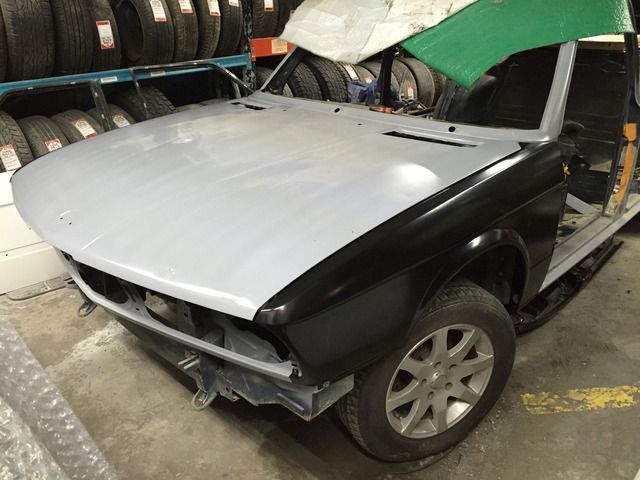
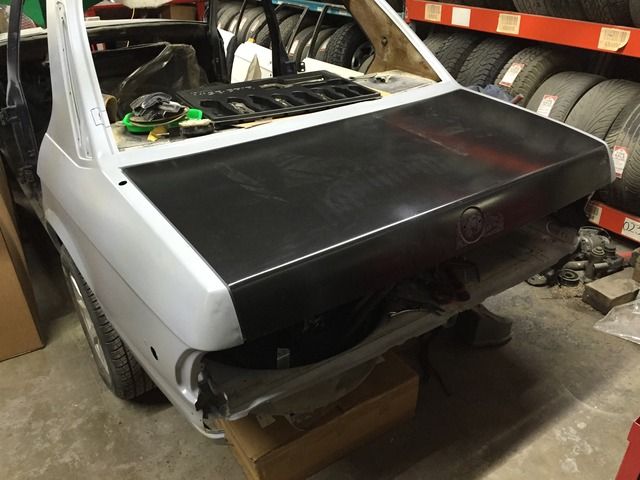
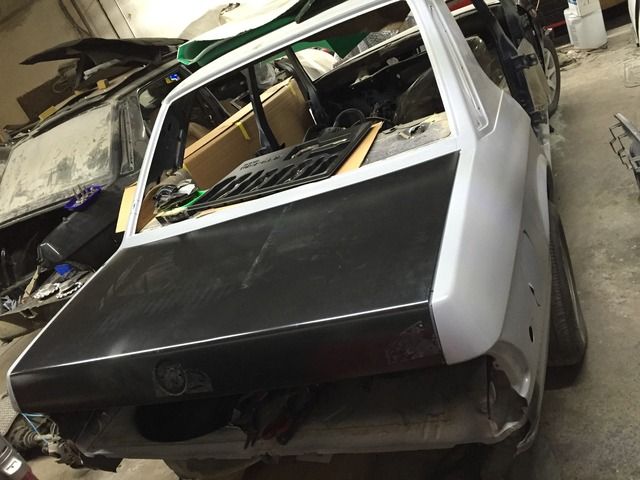
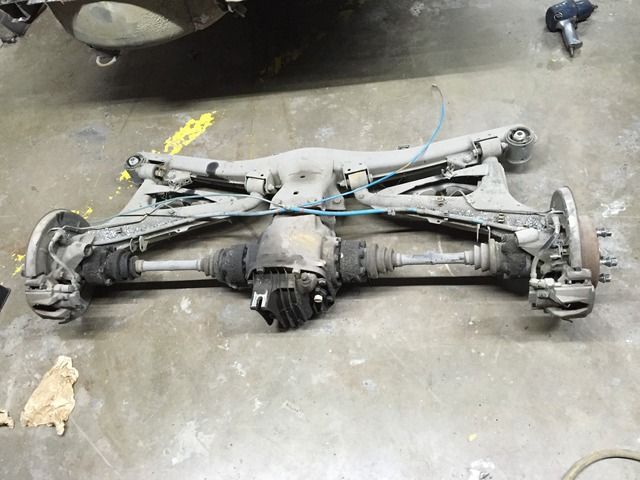
After the floor and side reinforcements were welded in, I decided to hold off on welding the tail lamp panel into place. Being that I did not have the trunk I did not to move on because I wanted to make sure on the fitment of the tail lamp panel, lights, and quarter corners that we will be welding in place. So after waiting 3 weeks I get the trunk and the fenders that were on order. Now all I have to wait for is the roof. And while I was waiting on that, I went ahead and removed the rear subframe as well to get it prepped for the camber/toe kit so I can send it off to the powder coat.
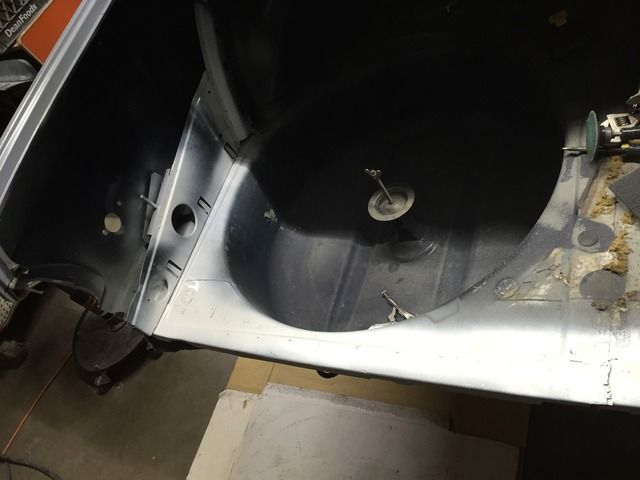
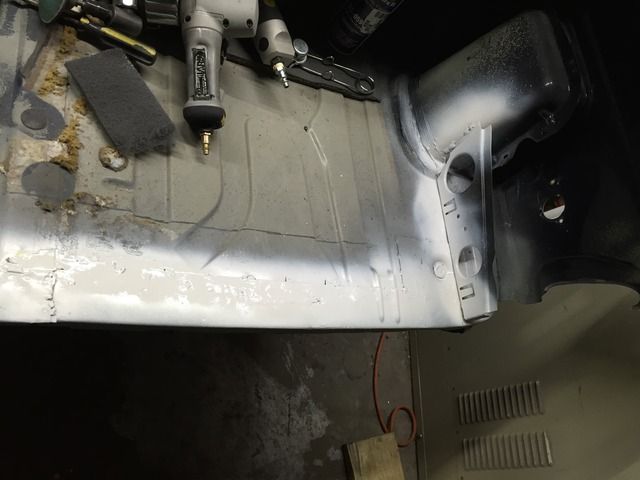
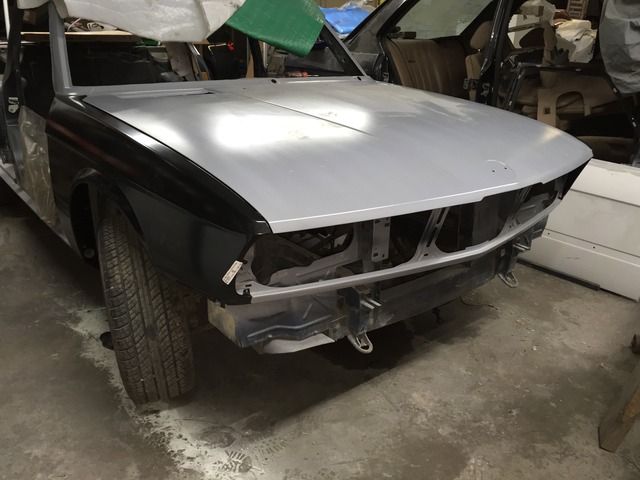


Re: E28 M5: Bringing it back to life (UPDATED 12/13/15)
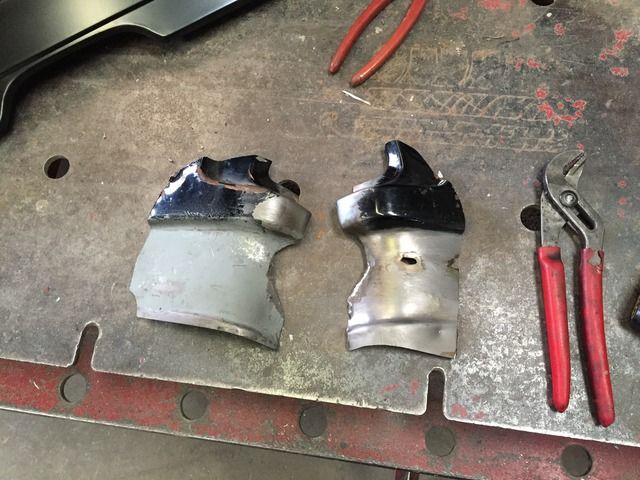
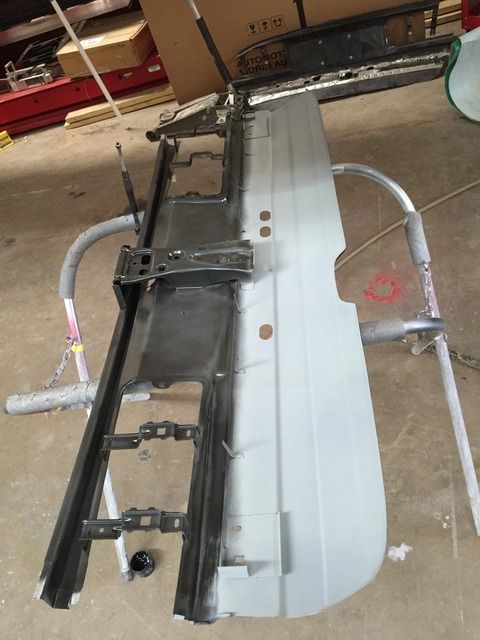
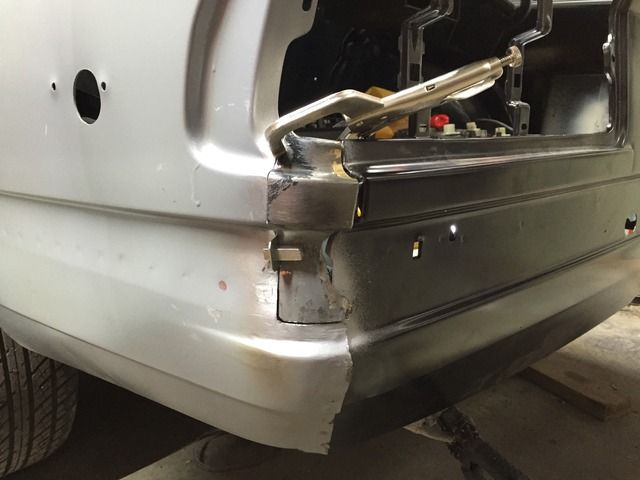
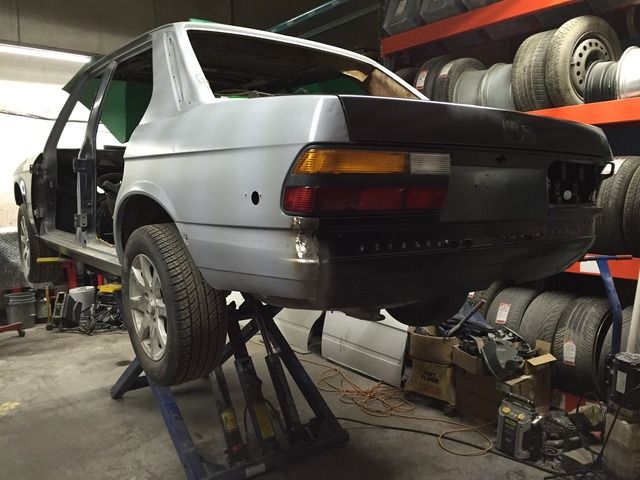
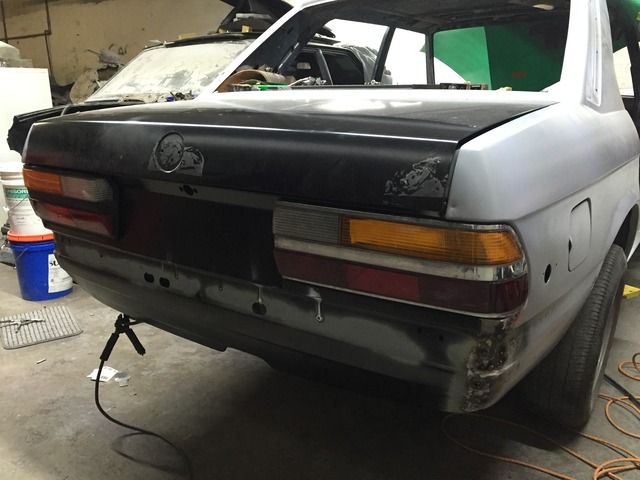
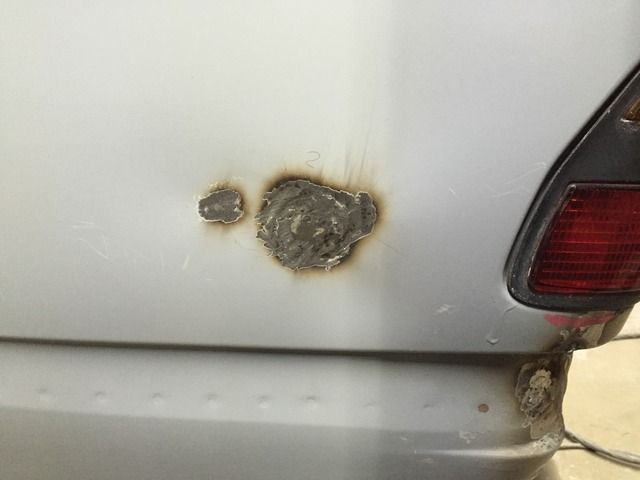
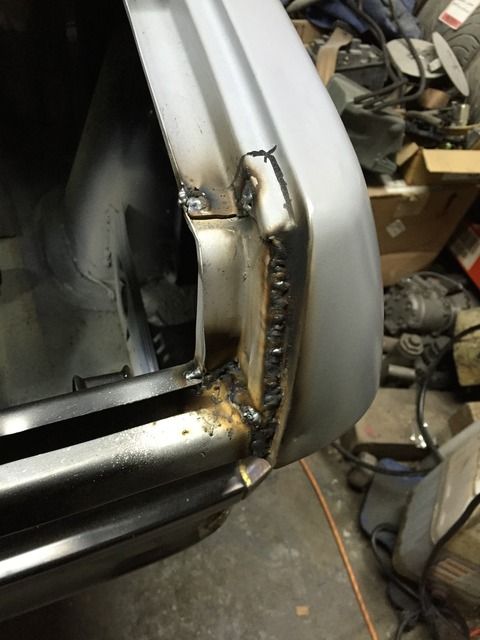
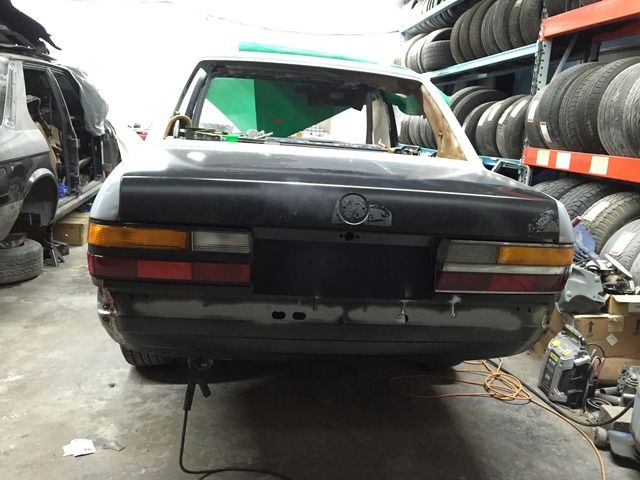
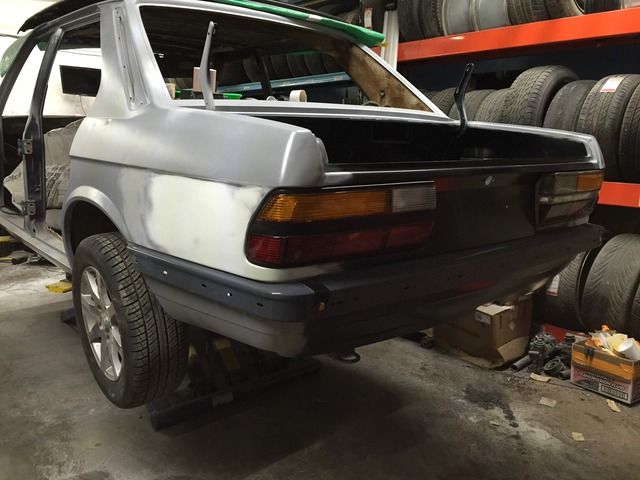
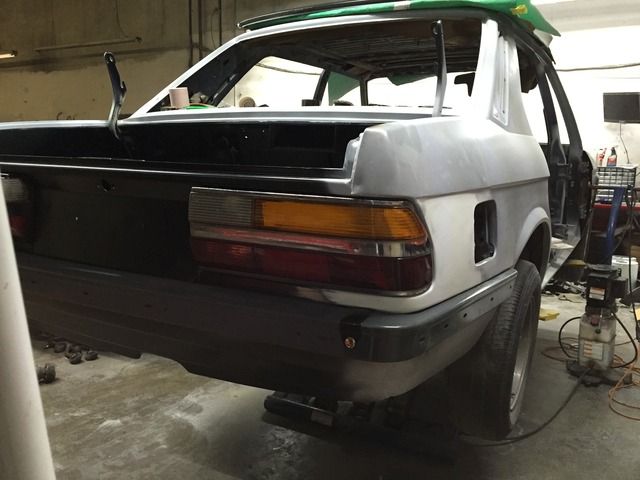
Back for an update! Finally got the tail lamp panel, quarter inserts, side marker holes, and quarter gutter welded in. Have to clean up the welds to get going on the rest of the body work. Finally looking more like a E28. Will let the pics do the rest of the talking!
Lastly, got the valve cover and penlum from Carl at Korman. Thanks for the great work!
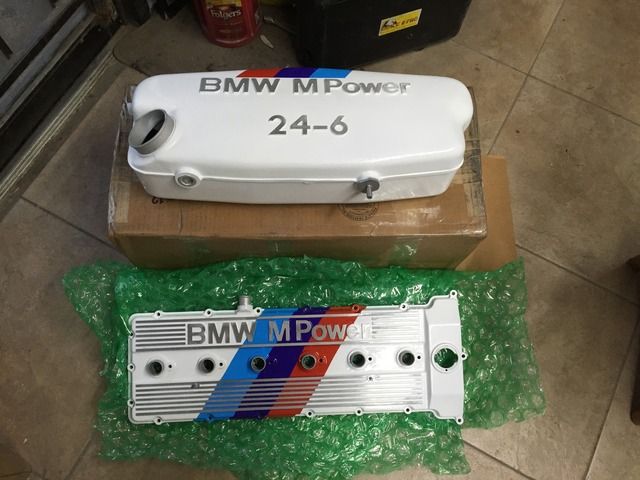


Lastly, got the valve cover and penlum from Carl at Korman. Thanks for the great work!

Last edited by MilanoFc on May 03, 2016 2:45 PM, edited 1 time in total.
Re: E28 M5: Bringing it back to life (UPDATED 12/13/15)
holy thread revival. forgot about this car.
great to see you're back. looking forward to progress. love the new engine pieces; they'll look great.
great to see you're back. looking forward to progress. love the new engine pieces; they'll look great.
Re: E28 M5: Bringing it back to life (UPDATED 12/13/15)
Very cool project, can't wait to see it at TexFest!
Re: E28 M5: Bringing it back to life (UPDATED 12/13/15)
Thanks guys!.. So far I have finished welding in the tail lamp panel. Its brazed in like the factory and seam sealed up the openings, all that needs to be done is file in the line on the tail lamp panel for the OE look to finalize it. Also decided to take apart the rear subframe to remove all the bushings and add the alignment kit so I can hopefully send it in to powder coat next week. I also got the missing piece to the puzzle by surprise! Time to really get this going since i don't have an excuse to say I can't move on.
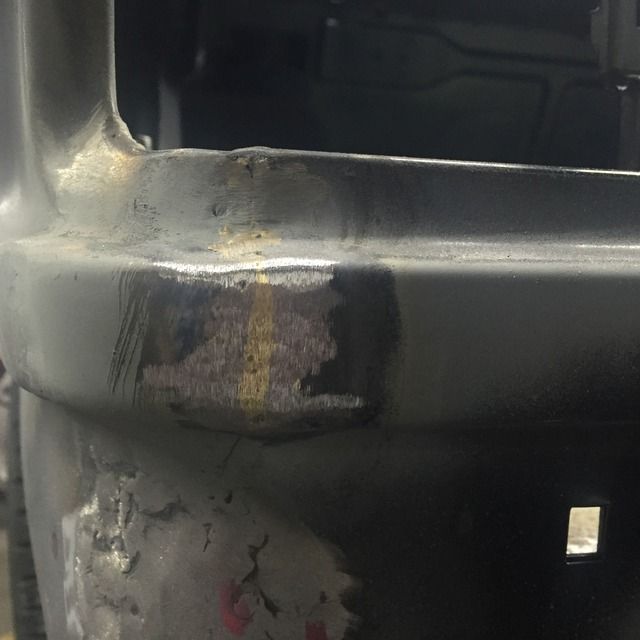
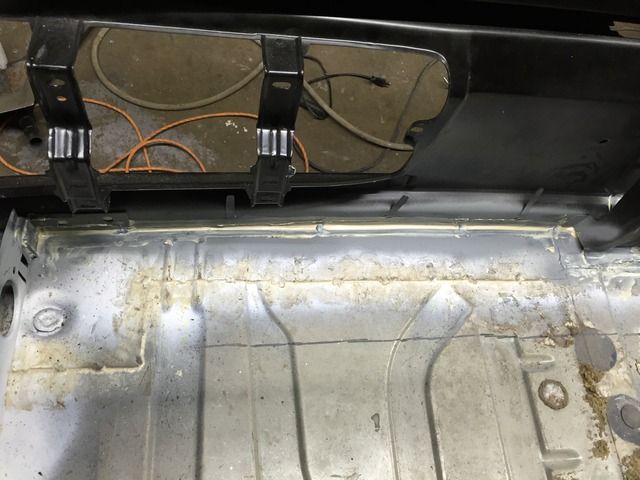
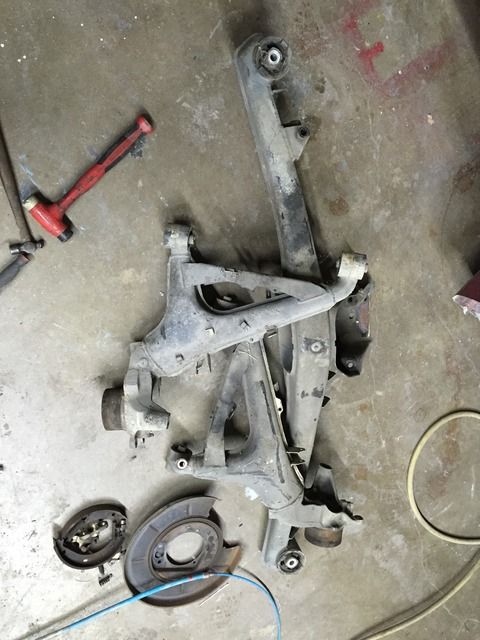


Last edited by MilanoFc on May 03, 2016 3:08 PM, edited 1 time in total.
Re: E28 M5: Bringing it back to life (UPDATED 12/13/15)
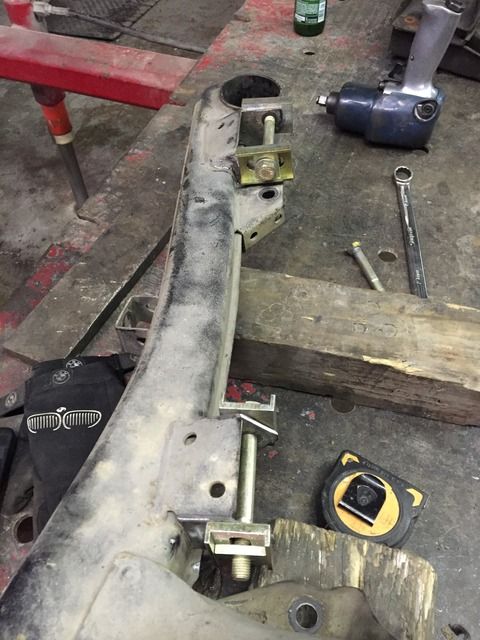
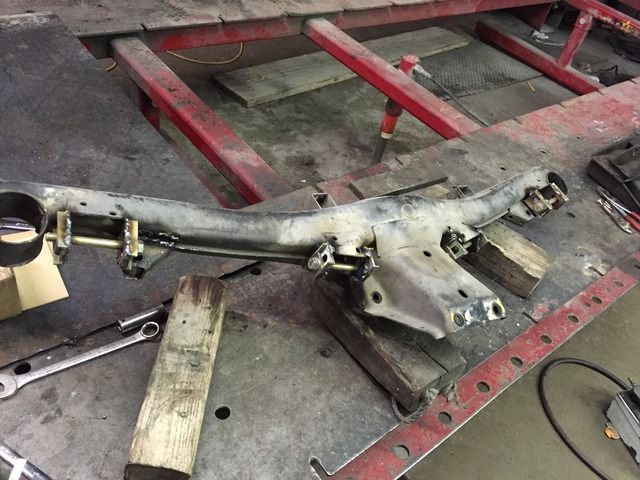
Got the rear subframe ready. Now just need to remove the trailing arm bushings and hub bearing to drop them off for PC. Bodywork has started on the quarter panels so its starting to look more like a E28. I will be attempting to have roof panel installed by Sunday, but I also have engagement photo shoot that day so who know now 
Measuring and welding
Grinded and slotted
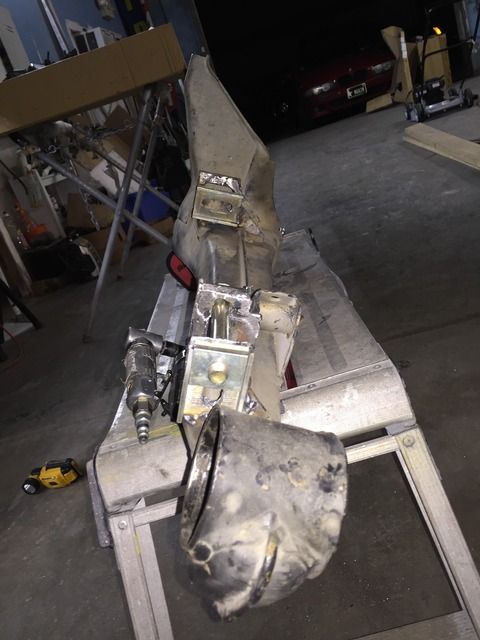
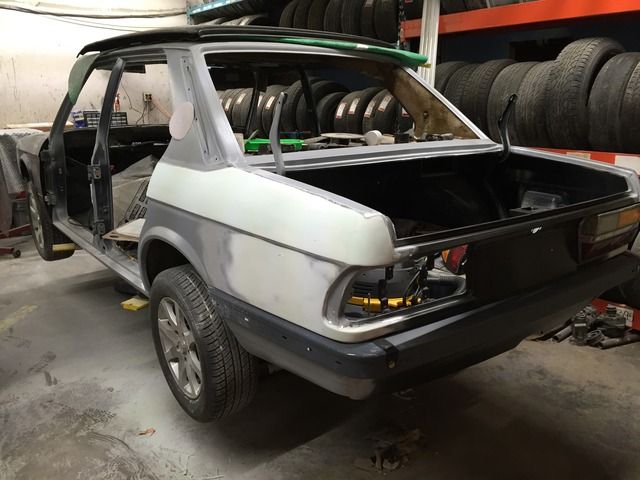
Measuring and welding


Grinded and slotted


Last edited by MilanoFc on May 03, 2016 2:47 PM, edited 1 time in total.
Re: E28 M5: Bringing it back to life (UPDATED 12/13/15)
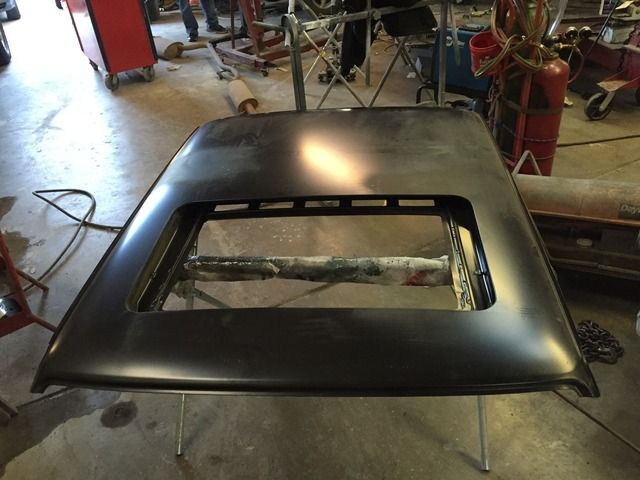
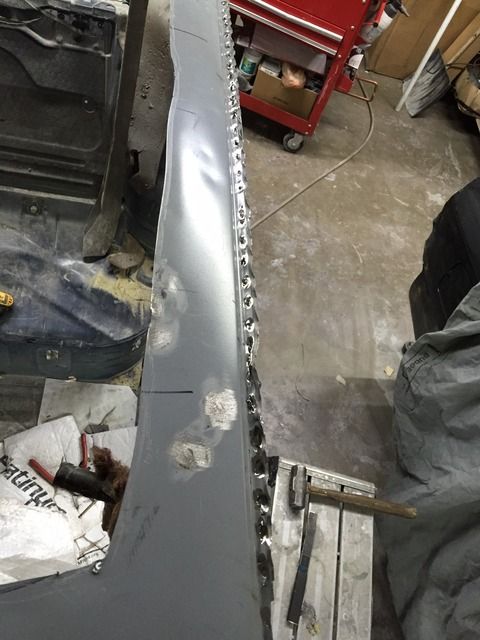
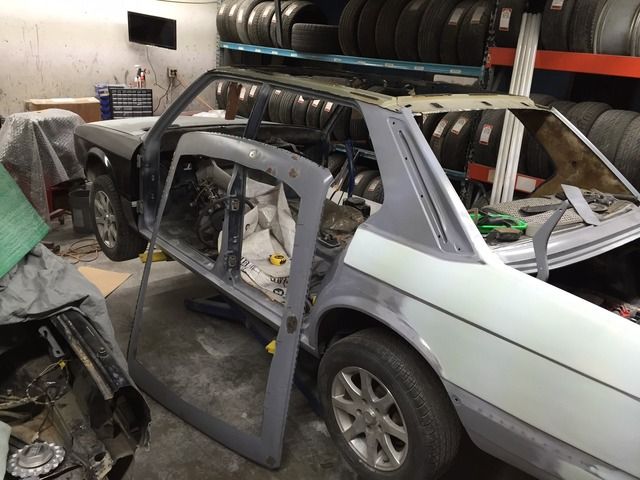
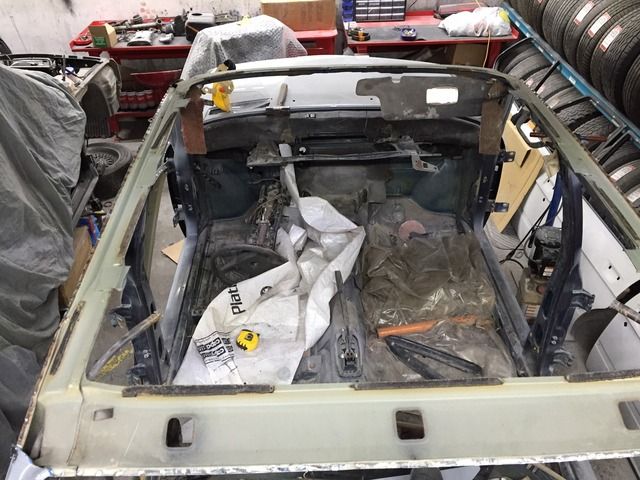
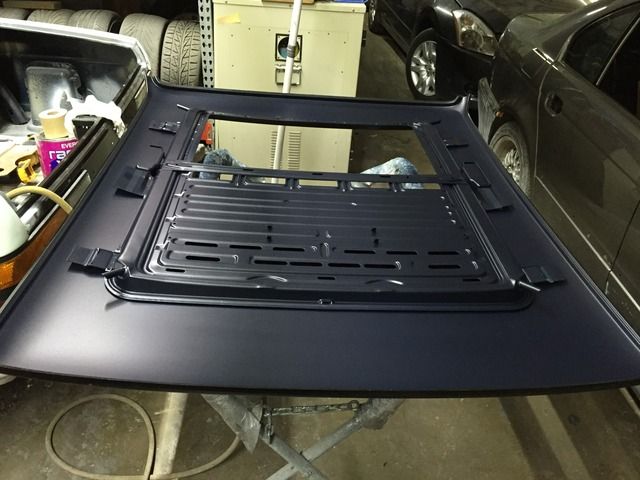
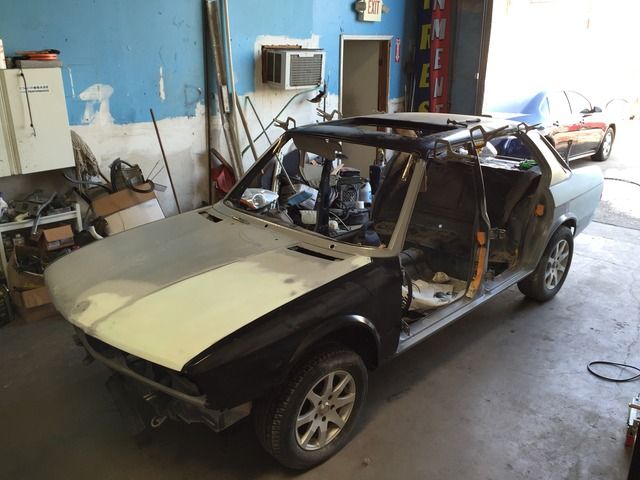
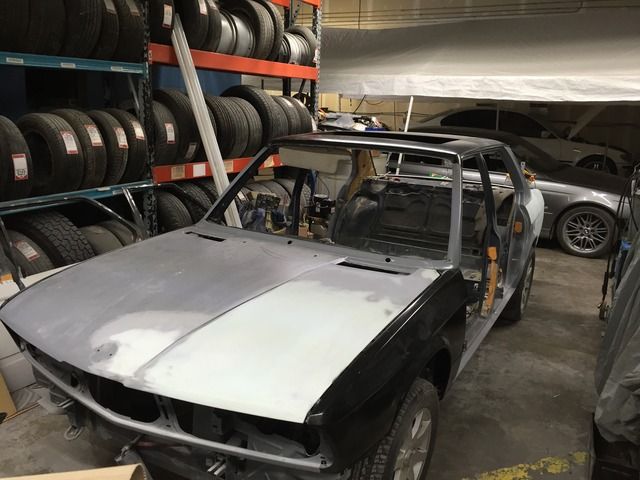
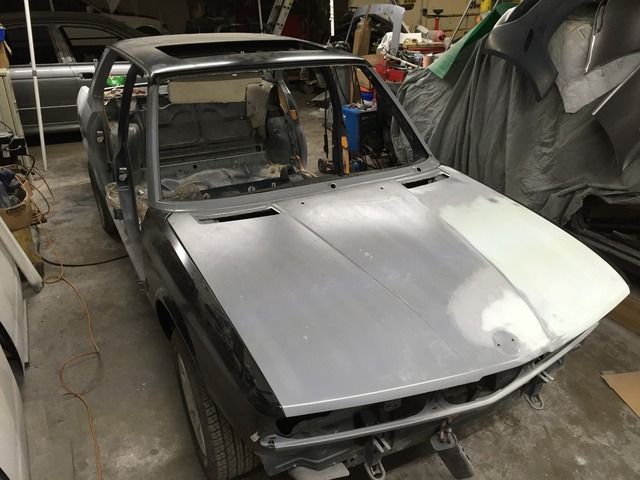
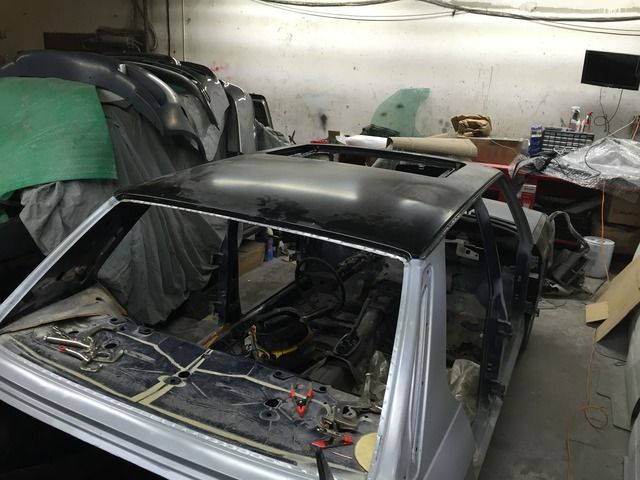
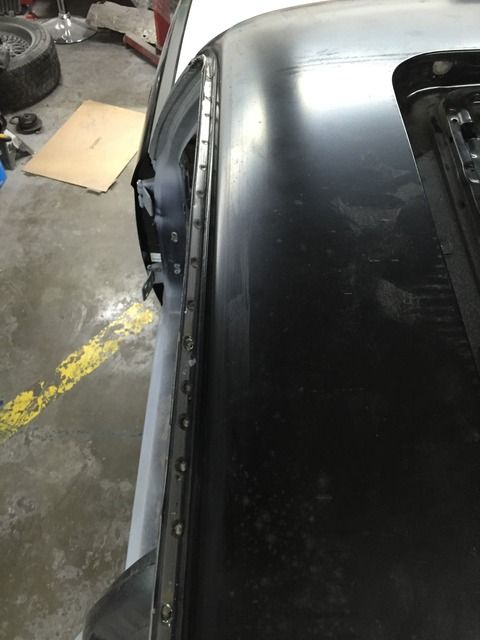
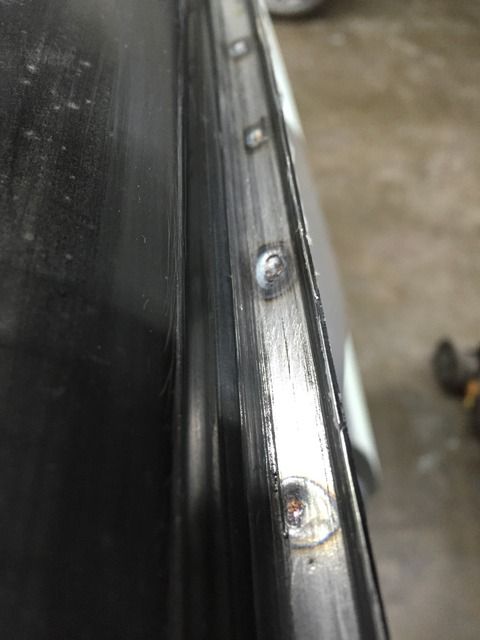
Well it has been a busy week. Roof is done! Let me just say that it was a PITA to remove the roof panel. I counted 53 spot welds on the driver side gutter, which I had to carefully grind all spot welds to separate the panel since I wanted to leave the inner sheet metal intact so I could spot weld the new panel in. Other than that the install was a breeze with all thats left is to mig weld the 6 sunroof brackets and braze the 4 corners. Finally its a true shell.
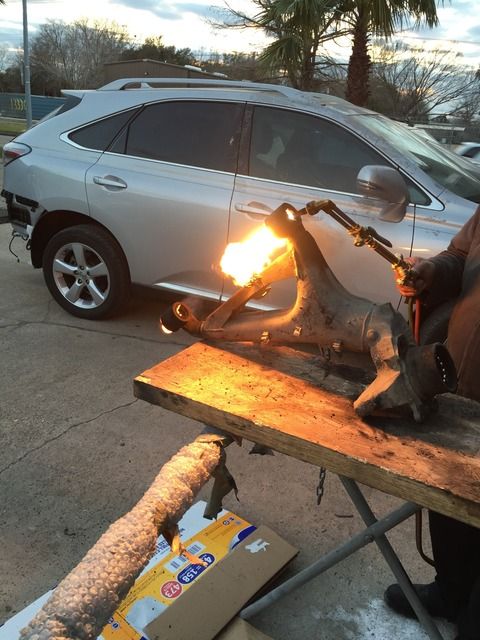
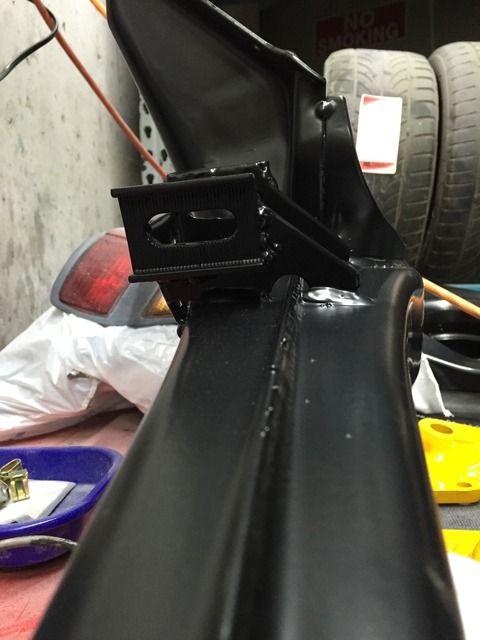
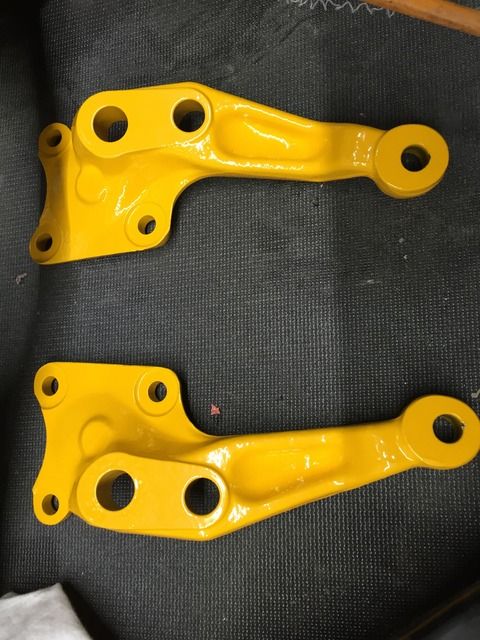
Other progress that was done was sending in the suspension parts to powder coat. Removing the trailing arm bushing was a royal pain. Attempted several ways to remove them and none would budge. Final we just decided to burn out the rubber and air chisel out the outer sleeve. After 2 tips it was done. Second set was done in 20 mins compared to the 2 hours when we tried the first arm. Special thanks to Mark @ Royalty Medal Finishing. Overall finish is outstanding and the turnaround time was superb.
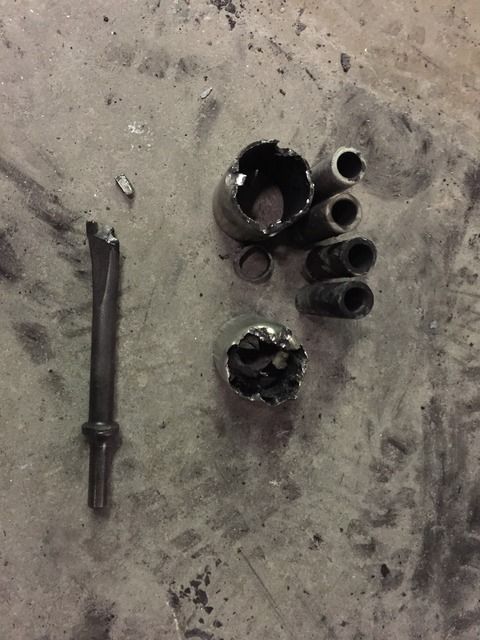
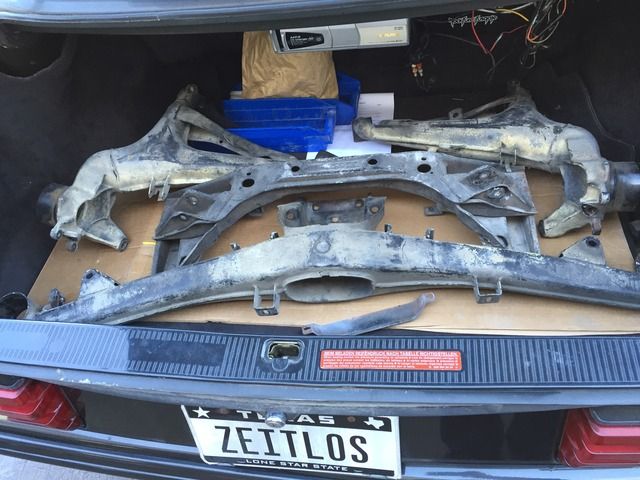
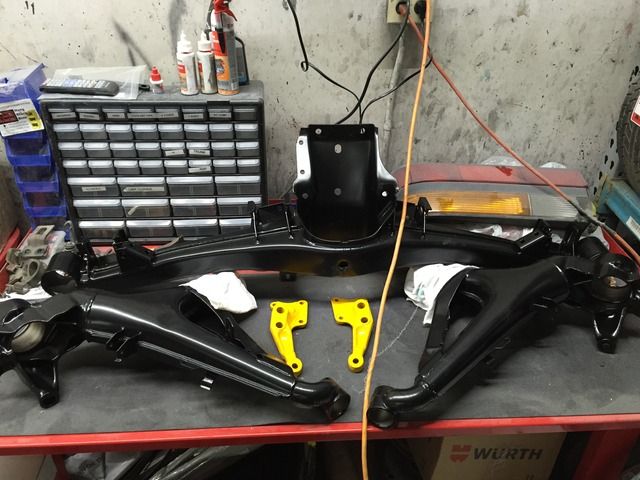
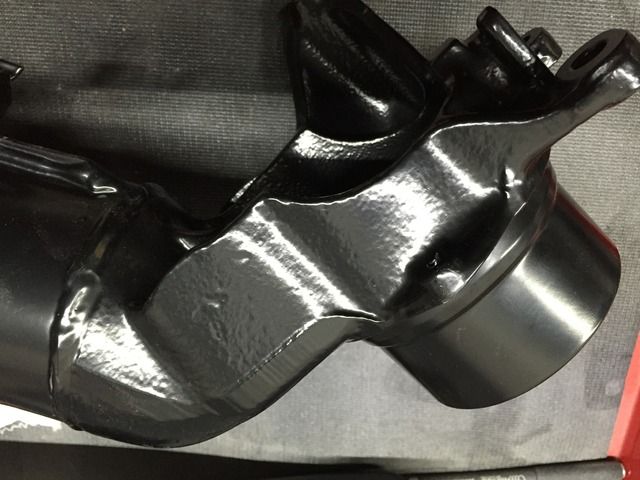
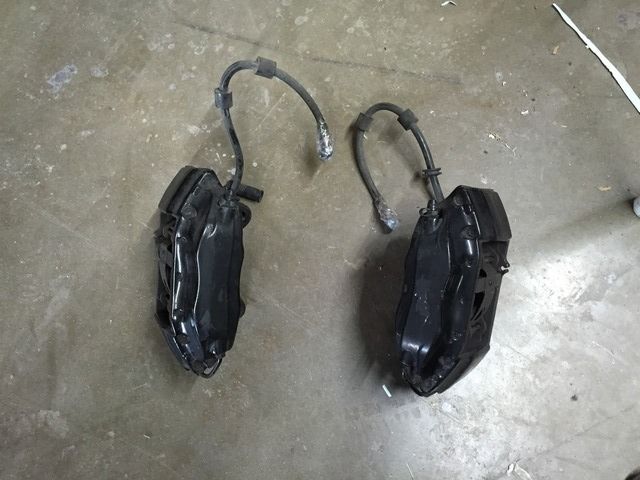
I also got my E31 calipers in, so thats in the works as well. Still debating what color/ finish to go with.


Other progress that was done was sending in the suspension parts to powder coat. Removing the trailing arm bushing was a royal pain. Attempted several ways to remove them and none would budge. Final we just decided to burn out the rubber and air chisel out the outer sleeve. After 2 tips it was done. Second set was done in 20 mins compared to the 2 hours when we tried the first arm. Special thanks to Mark @ Royalty Medal Finishing. Overall finish is outstanding and the turnaround time was superb.


I also got my E31 calipers in, so thats in the works as well. Still debating what color/ finish to go with.

Last edited by MilanoFc on May 03, 2016 3:12 PM, edited 1 time in total.
-
Kyle in NO
- Posts: 17638
- Joined: Feb 12, 2006 12:00 PM
- Location: Nasty Orleans------> Batten-Rooehjch------>More Souther LA
Re: E28 M5: Bringing it back to life (UPDATED 12/13/15)
People out there are wanting the euro cars with no sunroofs, and here you are installing one!
Re: E28 M5: Bringing it back to life (UPDATED 12/13/15)
Yea, you're definitely crazy. If you don't own that body shop, I'm sure that's a 10k bill before paint.
I wish you picked a better shell, even a 525i. This is crazy cool, take more pics!!!!
I wish you picked a better shell, even a 525i. This is crazy cool, take more pics!!!!
Re: E28 M5: Bringing it back to life (UPDATED 12/13/15)
Euro body originally had a sunroof. I actually tried to get a non sunroof panel, but they are NLA.Kyle in NO wrote:People out there are wanting the euro cars with no sunroofs, and here you are installing one!
Re: E28 M5: Bringing it back to life (UPDATED 12/13/15)
Haha, good thing we own the body shop ( father and I). Shell was actually not that bad. The reason why I got it was because I knew exactly what I was getting myself into when I bought it. It was bare so everything was visible and was better off than buying another shell and finding surprises as I was tearing it down. Plus I like to challenge myself86GT635 wrote:Yea, you're definitely crazy. If you don't own that body shop, I'm sure that's a 10k bill before paint.
I wish you picked a better shell, even a 525i. This is crazy cool, take more pics!!!!
Re: E28 M5: Bringing it back to life (UPDATED 12/13/15)
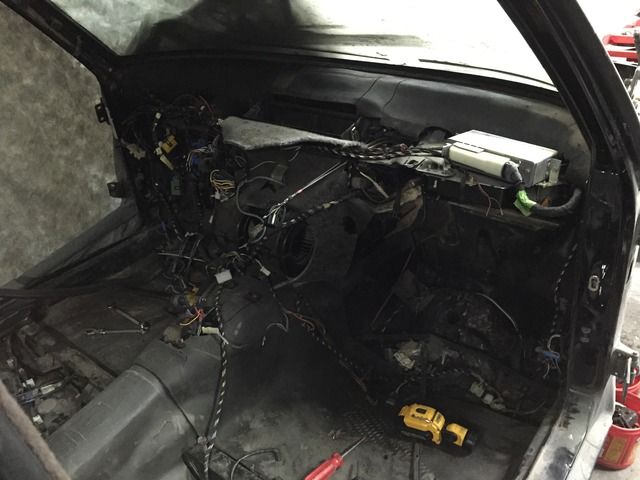
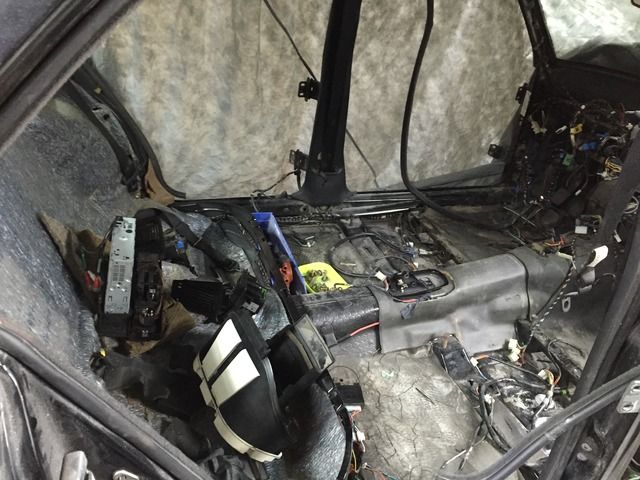
Small update. Body is looking more promising. Getting close to getting this step done with and to get going with the fun stuff!
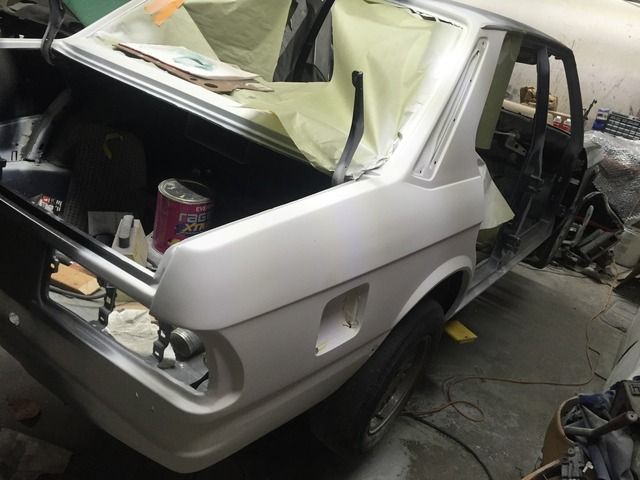
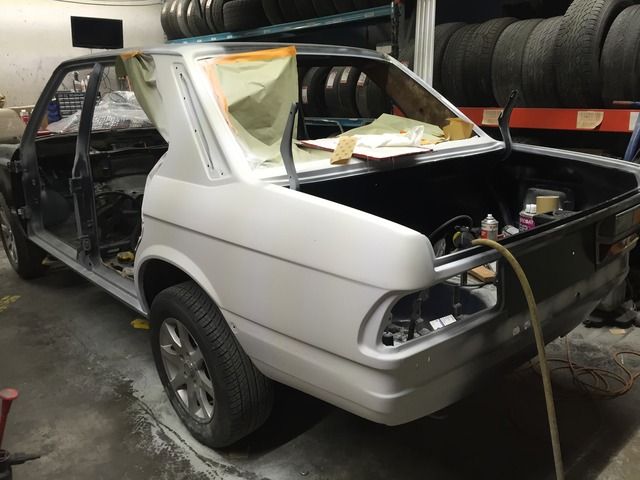
Removed the interior out and took it home to keep it safe and clean
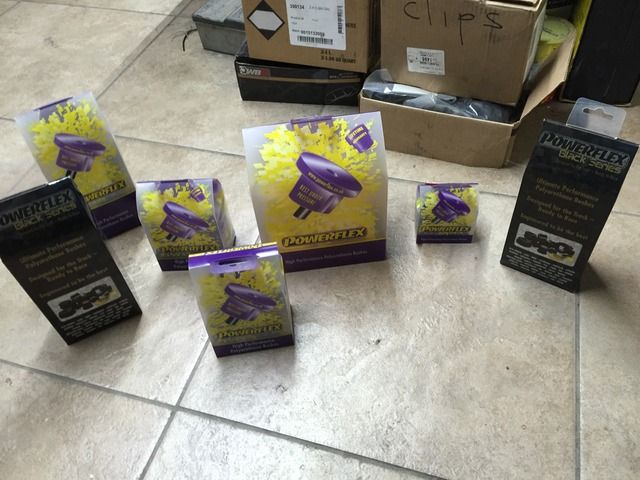
Also got my power flex replacement bushings


Removed the interior out and took it home to keep it safe and clean


Also got my power flex replacement bushings

Last edited by MilanoFc on May 03, 2016 2:48 PM, edited 1 time in total.
Re: E28 M5: Bringing it back to life (UPDATED 12/13/15)
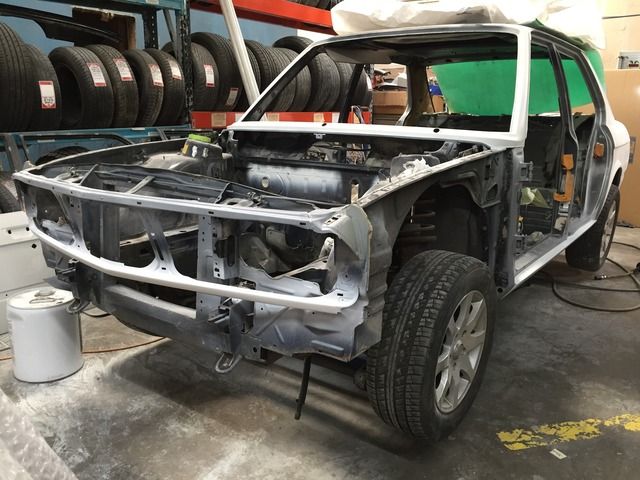
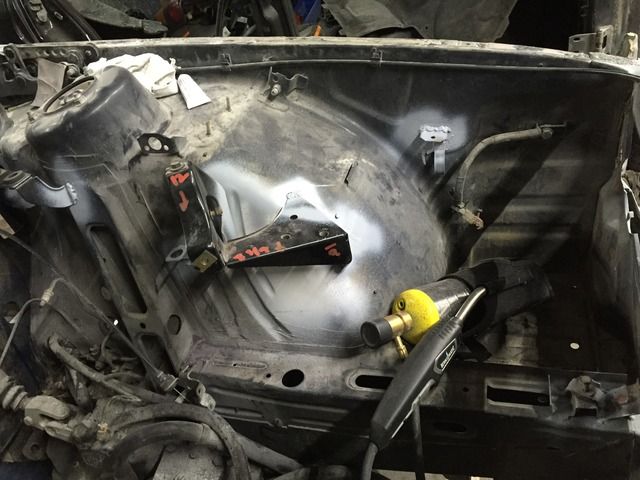
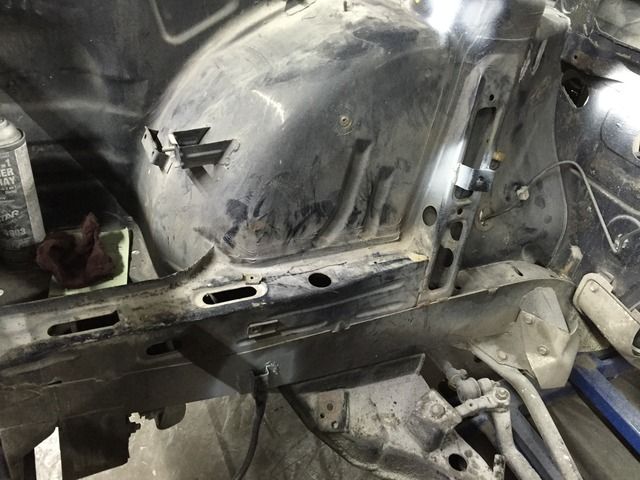
Body work is 90% completed. Every panel that needed attention is done and primed. The focus is on getting the engine bay, trunk area, and underbody ready so I can install the suspension, brakes, and harness. First I needed to transfer the M5 brackets that the euro body did not have. I'm also waiting on the stud welder to come in so I can weld the studs for the battery cable, brake lines, and misc brackets.


Last edited by MilanoFc on May 03, 2016 2:49 PM, edited 1 time in total.
-
EventuallyAyrton
- Posts: 975
- Joined: Oct 12, 2015 11:47 PM
- Location: Wherever the E28 happens to be parked- Morrisville, NY
Re: E28 M5: Bringing it back to life (UPDATED 12/13/15)

You're doing an amazing job and I can't wait to see the finished product! Keep the updates coming
(Blue brake calipers would be interesting. You could match them to the rest of the paint)
Re: E28 M5: Bringing it back to life (UPDATED 12/13/15)
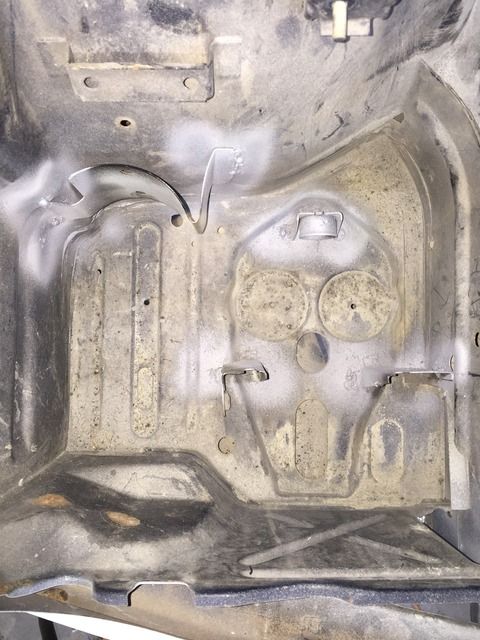
It has been almost a month of not being able to work on the car since I had two customer jobs I had to attend to. So yesterday we pushed the body out of the shop so I could pressure wash the sand off from the blasting and degrease the engine bay. Starting this week its to the two post lift and began the removal of all the underbody components to get it undercoated and paint the engine bay/ trunk area to start putting in all the wiring, suspension and brake components.
During the time I was also able to pick up a stud welder (to be able to hold down the batt cable and brake lines like factory) and purchased all the remaining suspension parts. Time to hustle as I have roughly 4 months to get this done
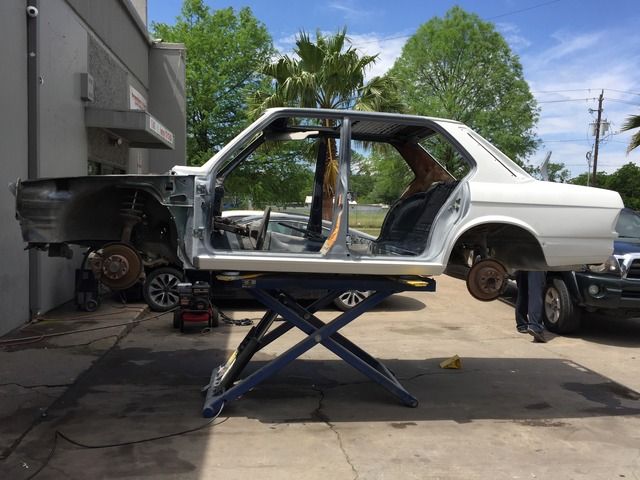
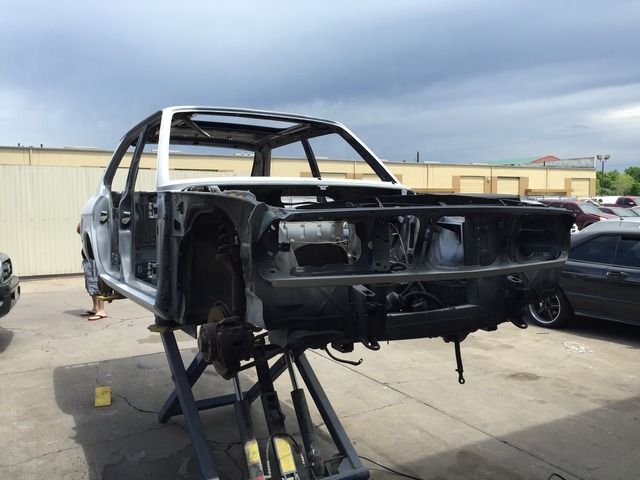
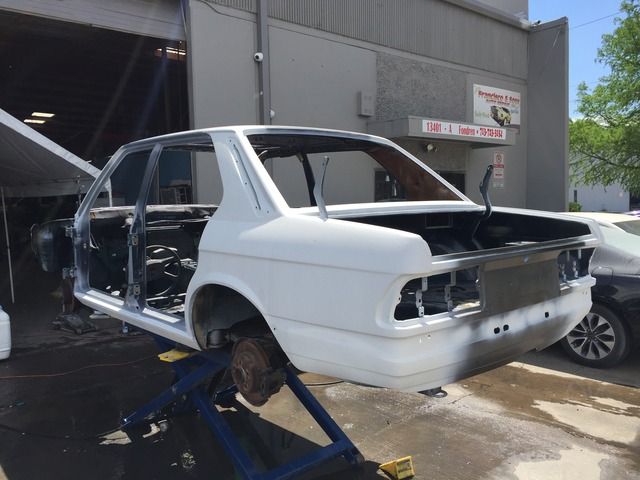
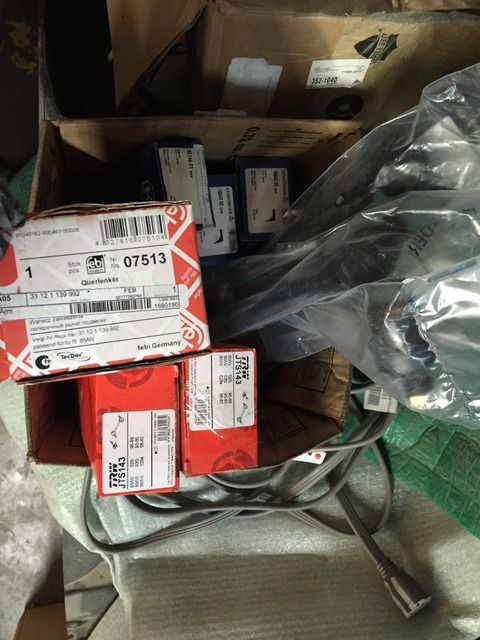
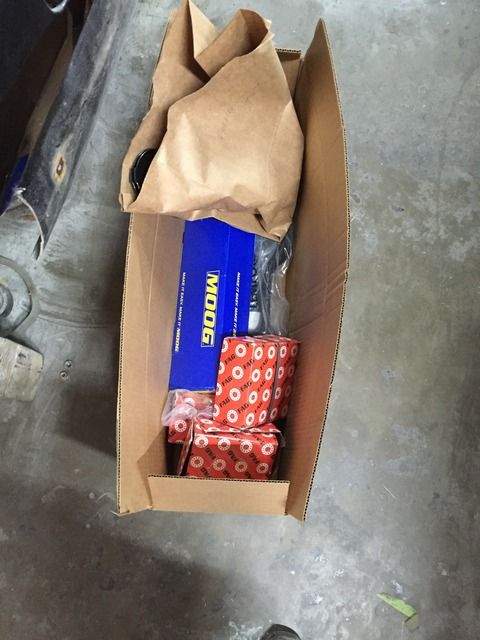
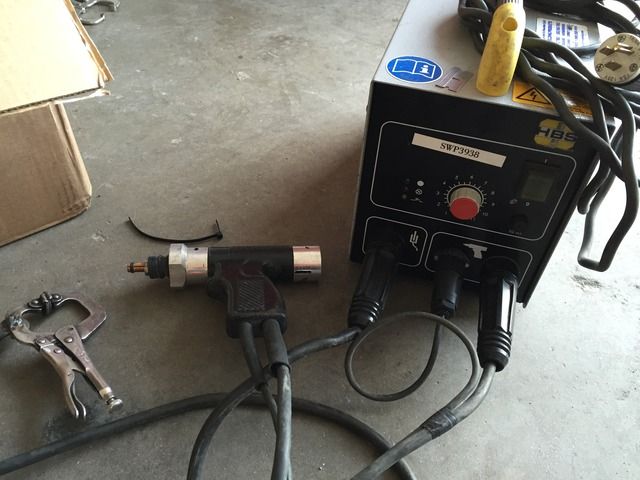
During the time I was also able to pick up a stud welder (to be able to hold down the batt cable and brake lines like factory) and purchased all the remaining suspension parts. Time to hustle as I have roughly 4 months to get this done


Last edited by MilanoFc on May 03, 2016 3:08 PM, edited 1 time in total.
Re: E28 M5: Bringing it back to life (UPDATED 12/13/15)
Get it man! Rooting for you.
Re: E28 M5: Bringing it back to life (UPDATED 12/13/15)
Oh wow didn't pay attention that this is happening in Houston. 
Following now. Scrolled back in the past and recognized the euro shell.
Following now. Scrolled back in the past and recognized the euro shell.
Re: E28 M5: Bringing it back to life (UPDATED 12/13/15)
I've, we've, if you're interested, gotta make a trip out there.Pavel wrote:... recognized the euro shell.
Re: E28 M5: Bringing it back to life (UPDATED 12/13/15)
Thanks!86GT635 wrote:Get it man! Rooting for you.
Pavel wrote:... recognized the euro shell.
Pavel, it's actually happening in your backyard if you stay in Sugar Land, Im off 90s & BW8. Feel free to stop by. Sherman is due to come out and check it out.1st 5er wrote:I've, we've, if you're interested, gotta make a trip out there.
Re: E28 M5: Bringing it back to life (UPDATED 12/13/15)
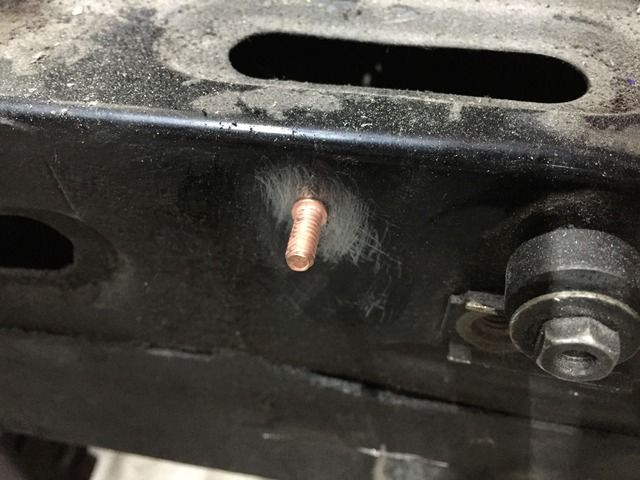
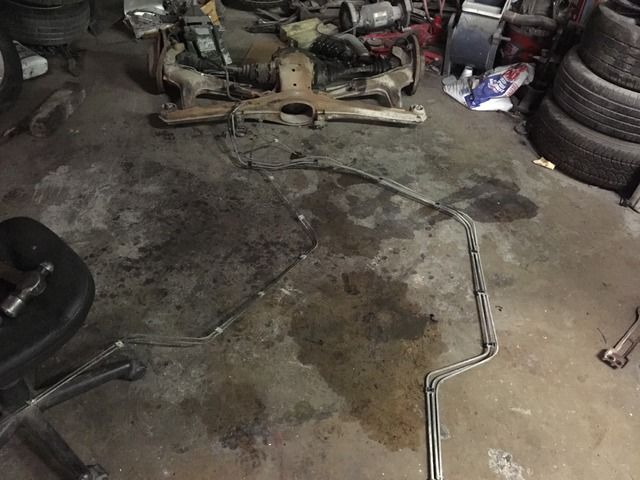
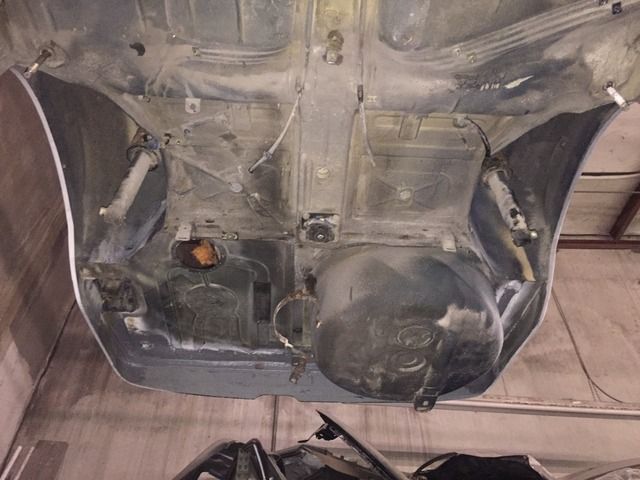
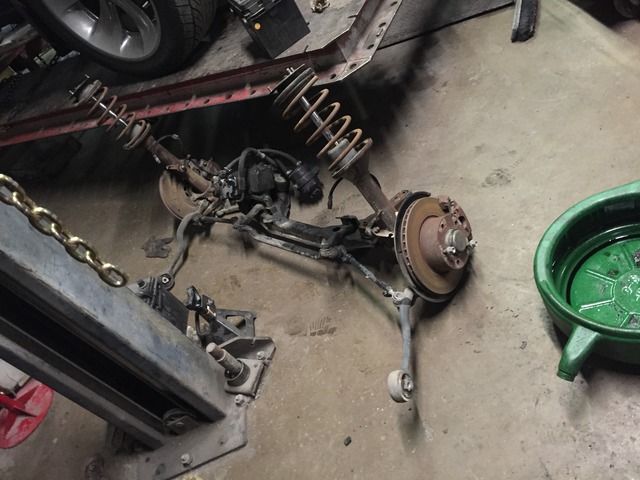
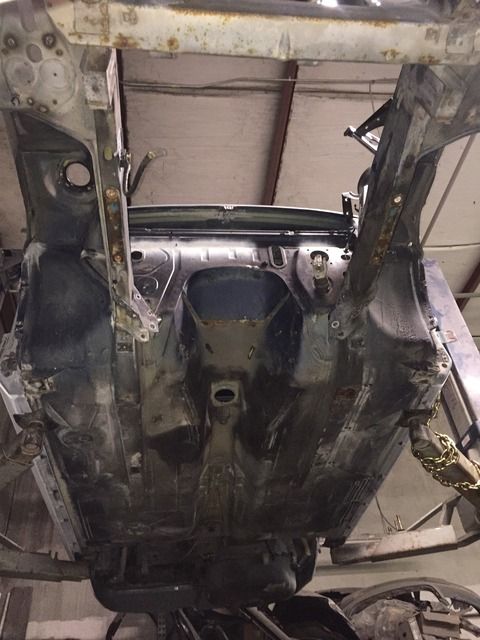
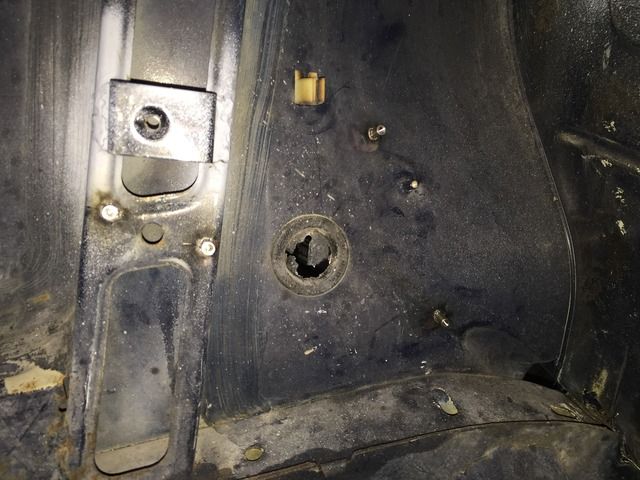
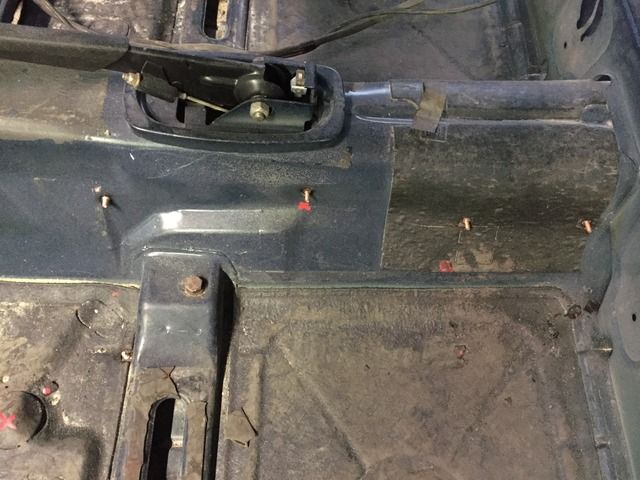
So shell has made it to the lift and got straight to business. Out with the old and started getting it ready for the new. Got my CD studs in today and went right at it. I am so glad I invested in the welder. My biggest worry of the whole body transfer was figuring out how to hold all the extra harness and brake lines. Well that has been figured out and I feel like I've accomplished a milestone.
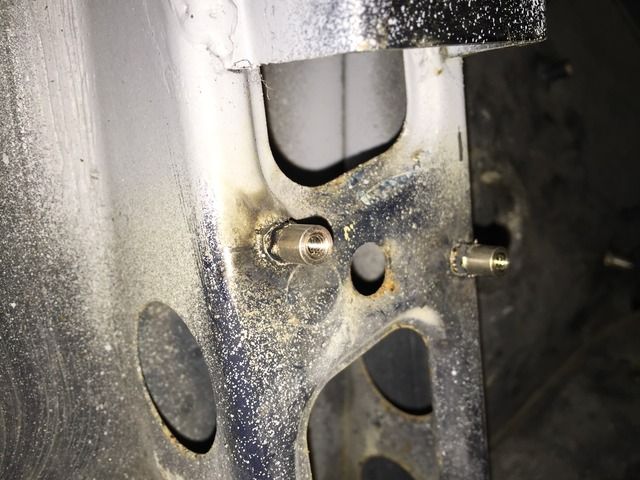
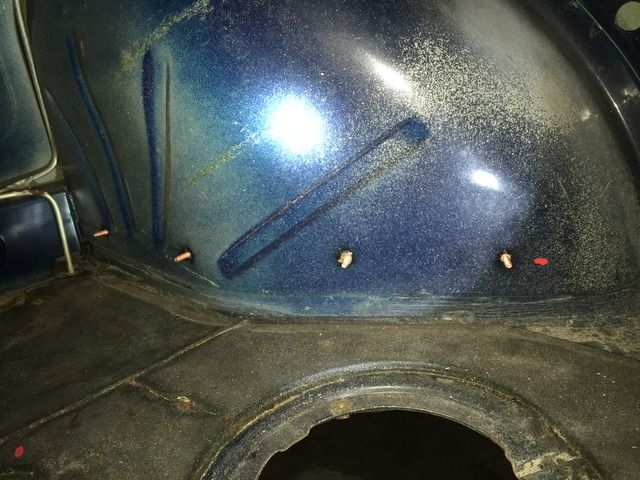
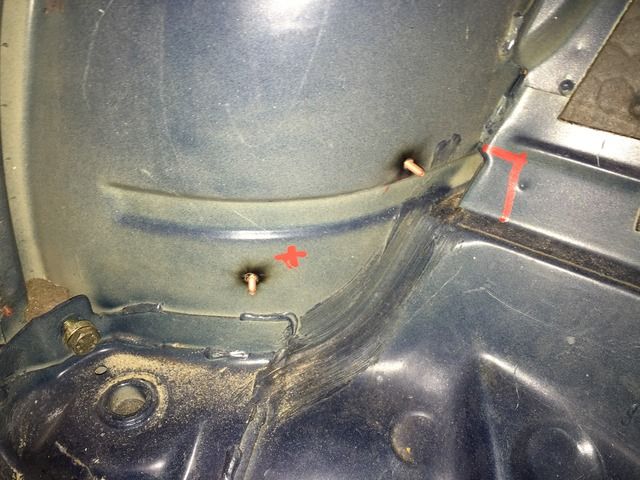
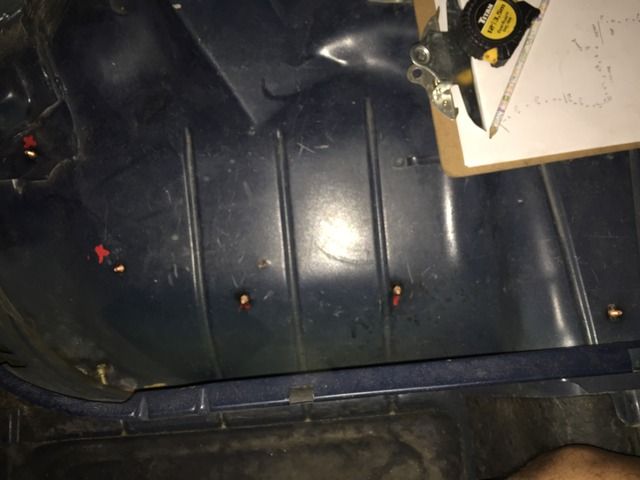


Last edited by MilanoFc on May 03, 2016 3:13 PM, edited 1 time in total.
Re: E28 M5: Bringing it back to life (UPDATED 12/13/15)
Add me to the roster1st 5er wrote:
I've, we've, if you're interested, gotta make a trip out there.Pavel wrote:... recognized the euro shell.
Re: E28 M5: Bringing it back to life (UPDATED 12/13/15)
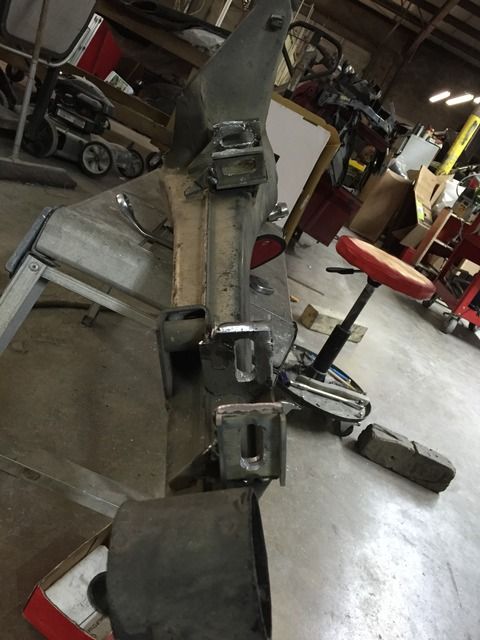
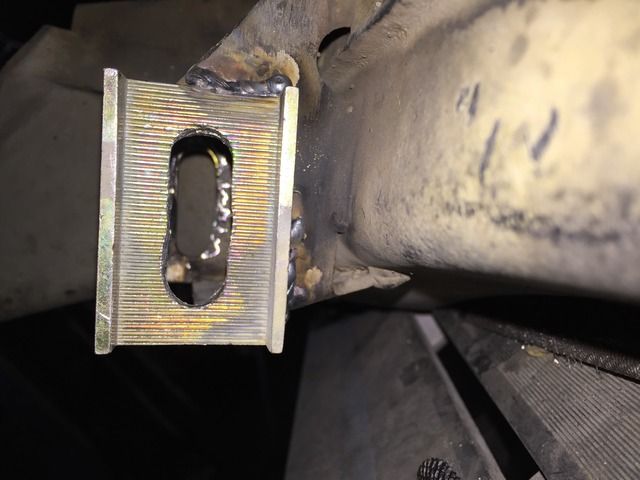
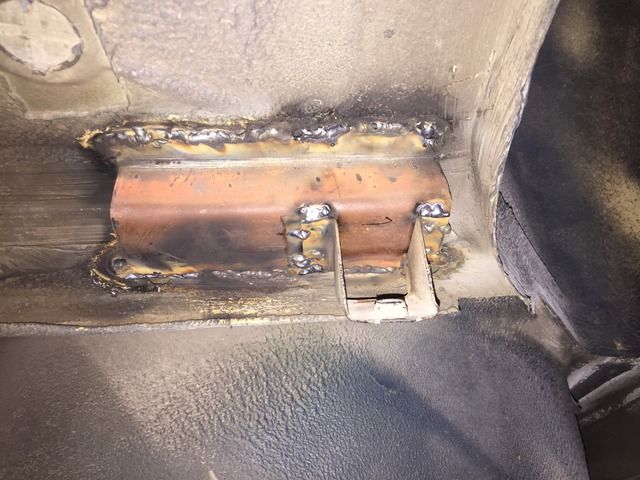
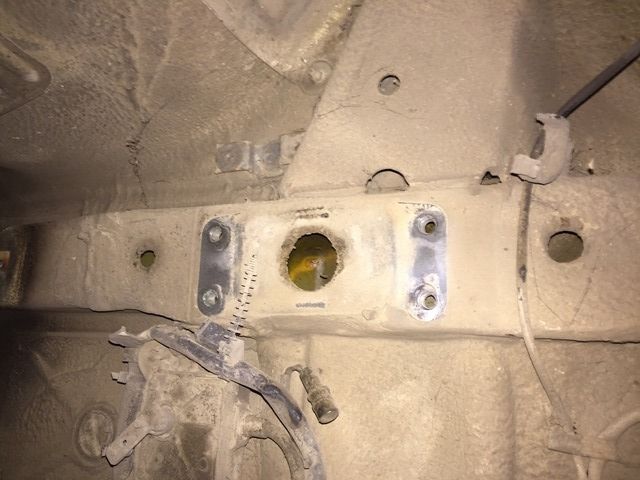
Okay guys, I have hit a wall and need some help/ input. Before starting I was aware of "all" the differences on the 2 bodies. Well yesterday I noticed the biggest obstacle, the rear floor crossmember. At first I thought it was just to swap the rear sway bracket and done. Well we needed to fabricate the base with a angle to expand the difference in length. That was done and I felt relived, but than I questioned the differential mount and compared them to find out I have an issue. Come to find out Pre-85 have a different xmember to 85- up. My thought is to do the same as we did with the sway brackets and make a bracket to shift the diff mount. So my question is, has anyone ran into this before and/ or what are my alternatives. Much thanks in advance. Pic for reference below.
Fabricated Stab mount base
Pre- 85
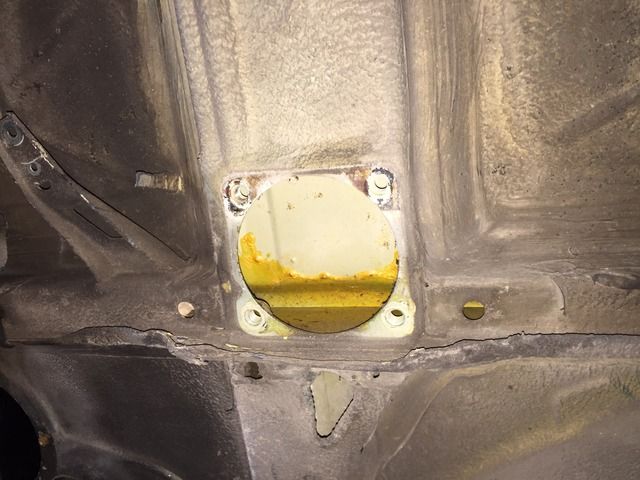
Post- 85
Fabricated Stab mount base

Pre- 85

Post- 85

Last edited by MilanoFc on May 03, 2016 3:14 PM, edited 1 time in total.
Re: E28 M5: Bringing it back to life (UPDATED 12/13/15)
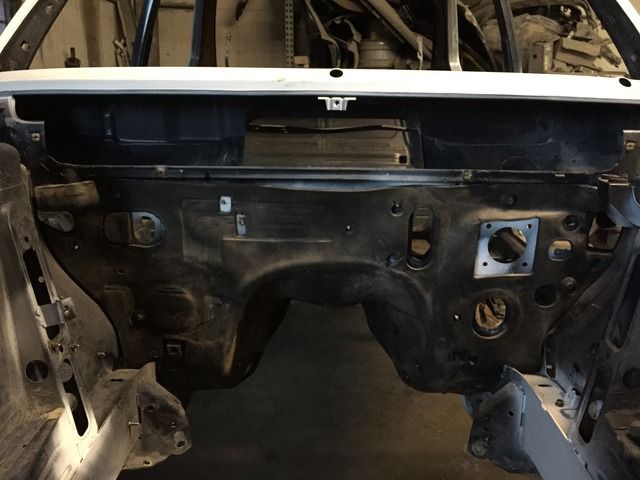
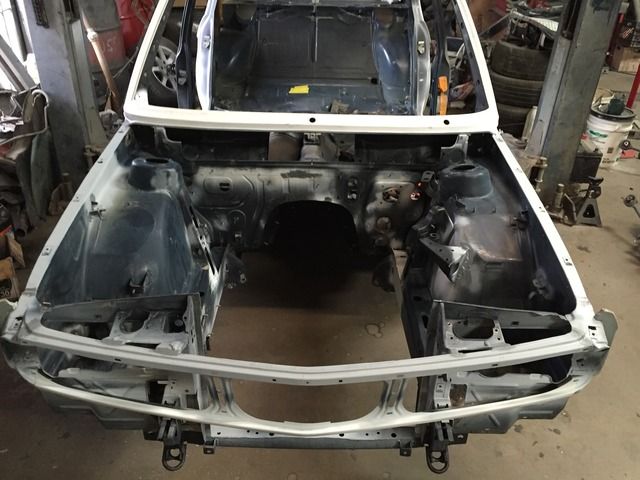
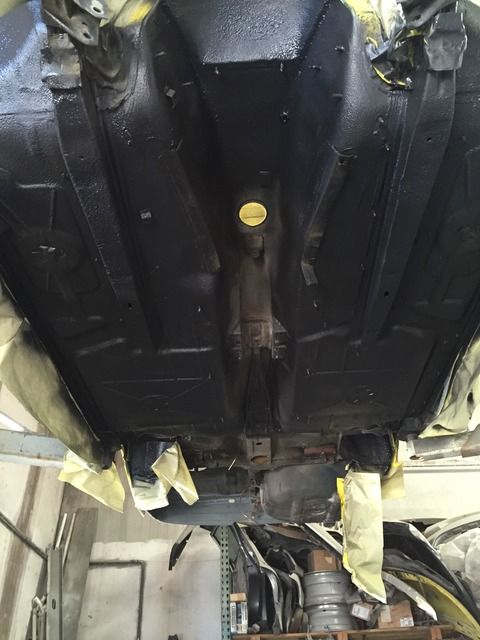
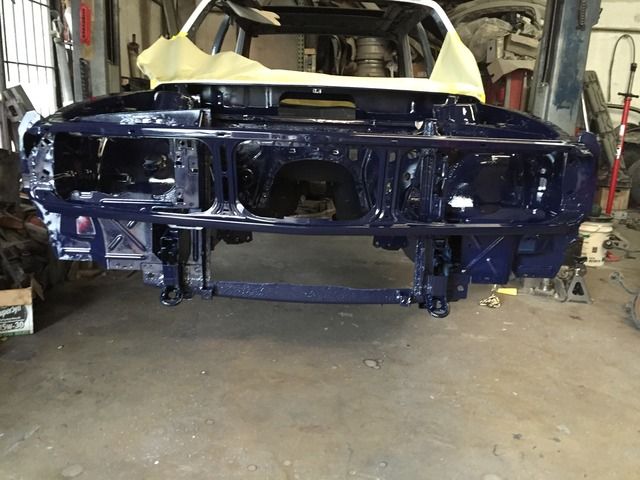
Well I decided to give myself a break on the rear end and figured I would jump to the front and underside so I could run the wiring and firewall components since it would be the most time consuming task due to the amount of items that run through it. So between yesterday and today I finished undercoating the wheel wells and underside up to the rear seat area(used Wurth SKS), painted the engine bay, and radiator support. So 1/3 of the car is painted! 
Before:
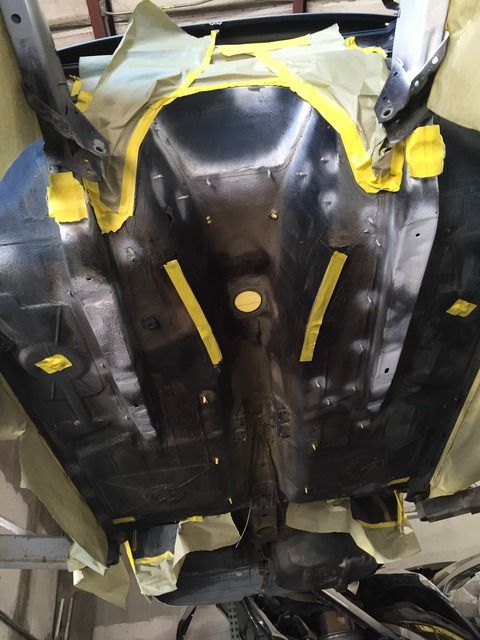
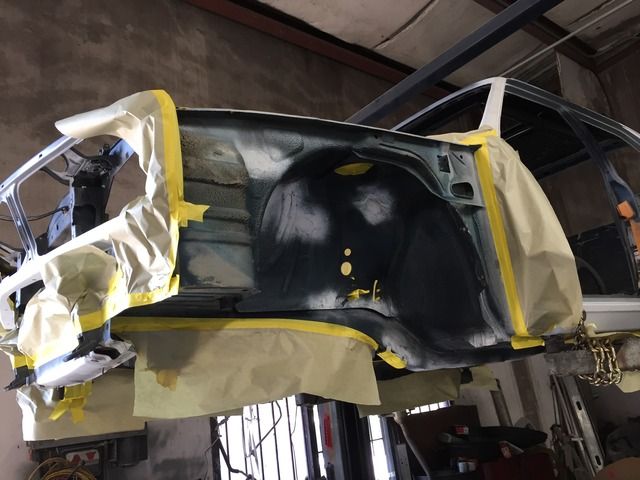
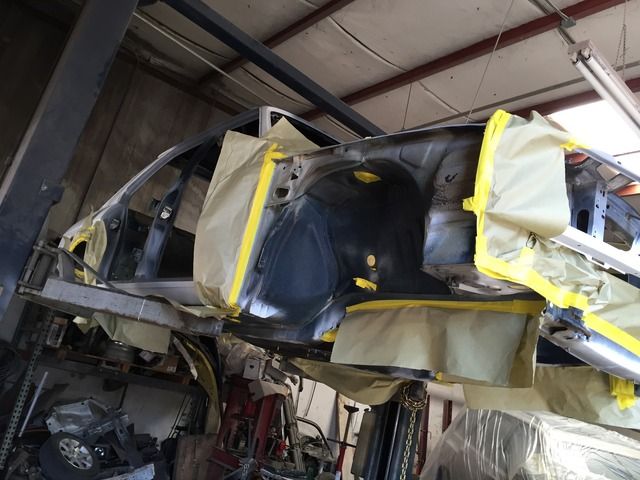
After:
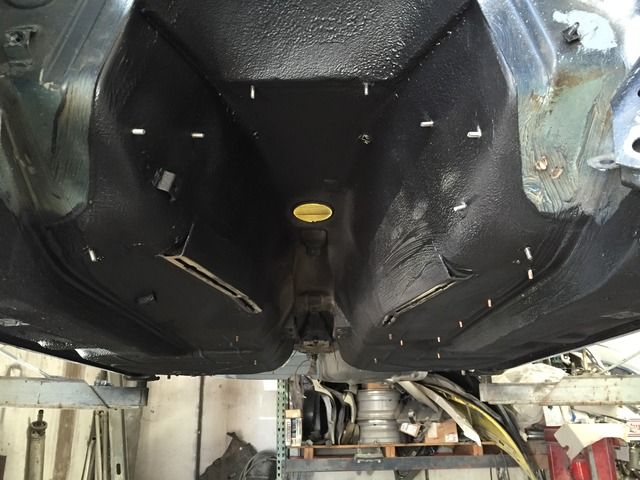
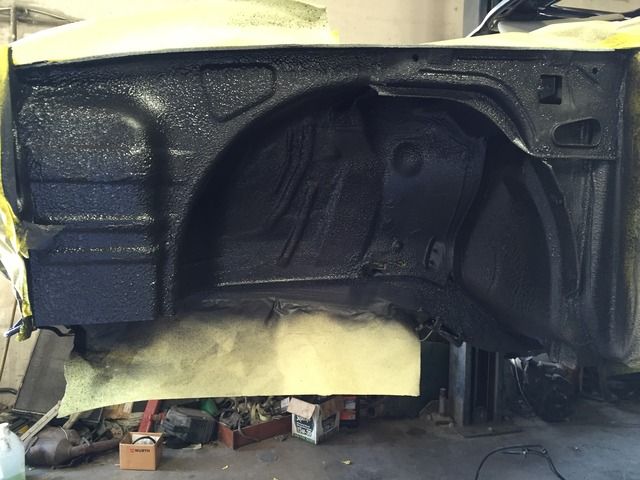
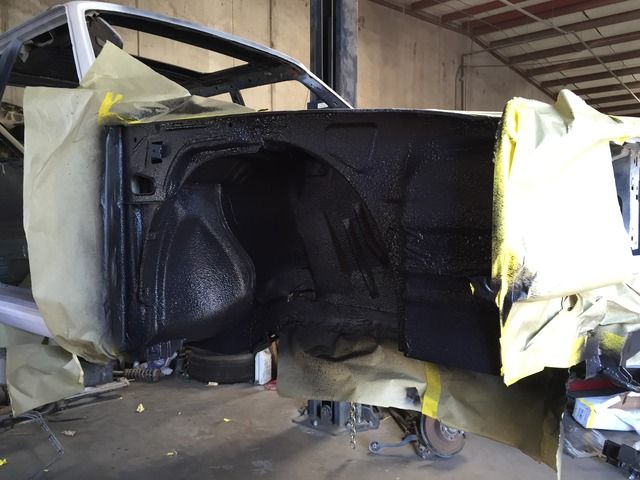
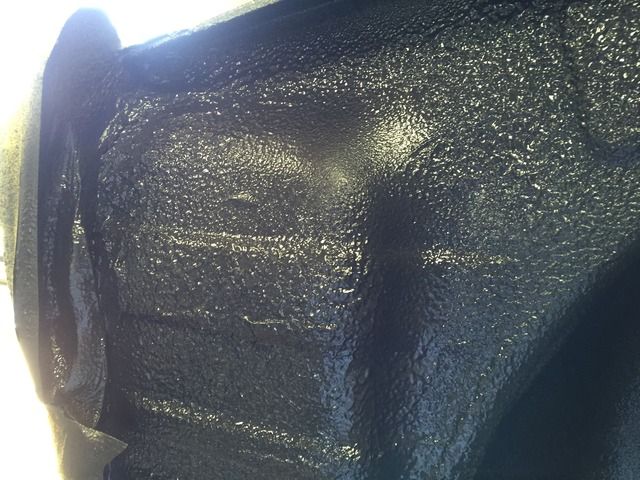
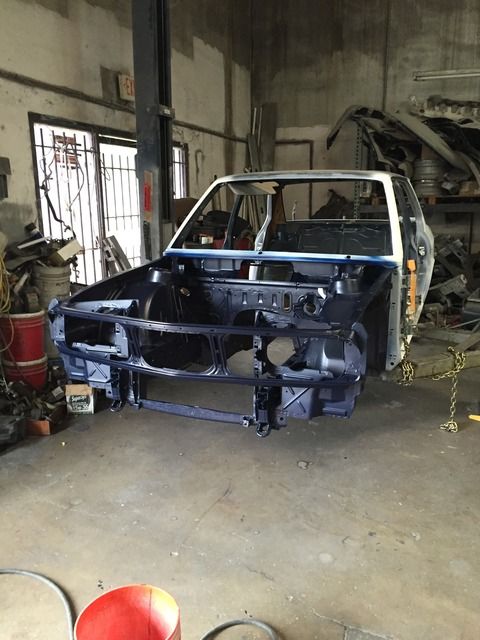
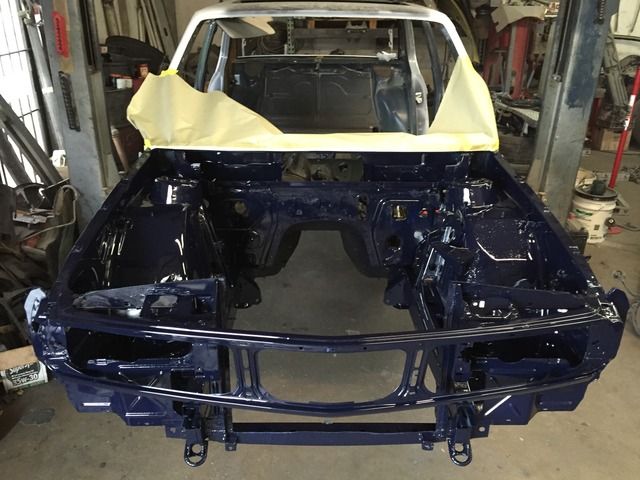
Before:


After:


Last edited by MilanoFc on May 03, 2016 2:30 PM, edited 1 time in total.
Re: E28 M5: Bringing it back to life (UPDATED 12/13/15)
Is that lapis blue?
Re: E28 M5: Bringing it back to life (UPDATED 12/13/15)
Yes it is.86GT635 wrote:Is that lapis blue?
Re: E28 M5: Bringing it back to life (UPDATED 12/13/15)
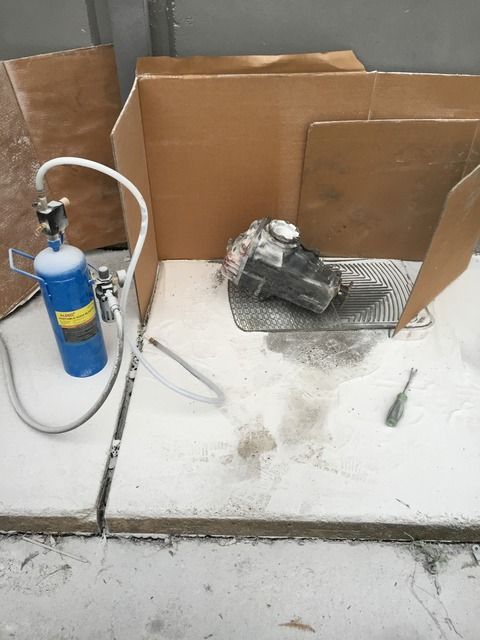
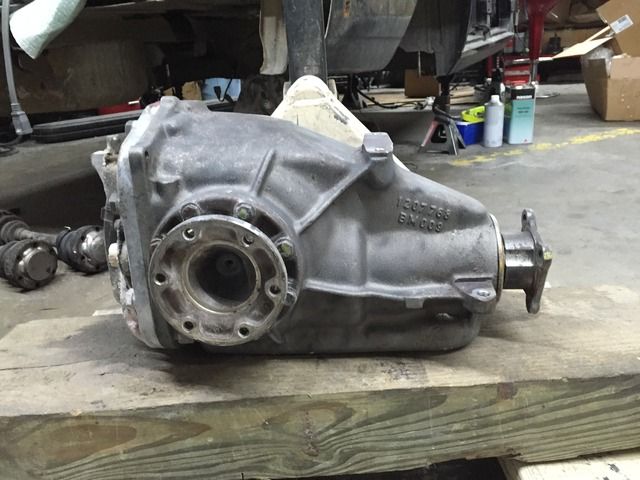
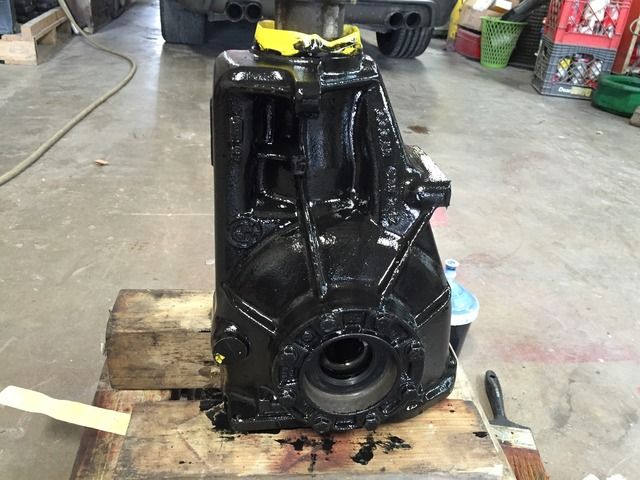
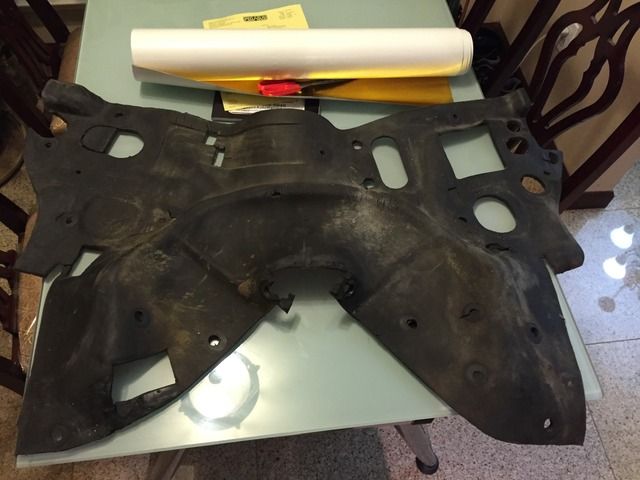
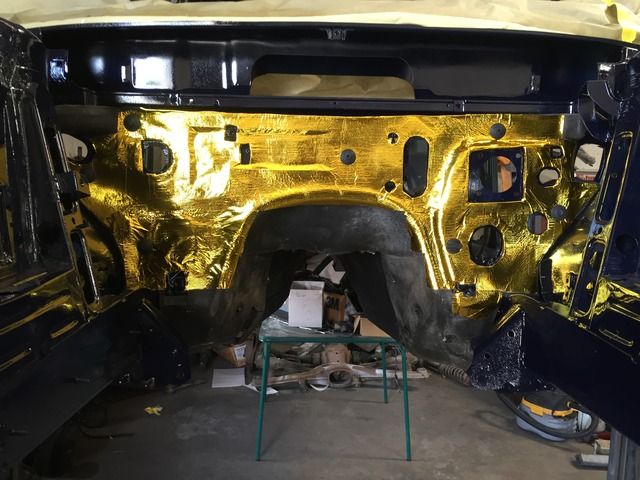
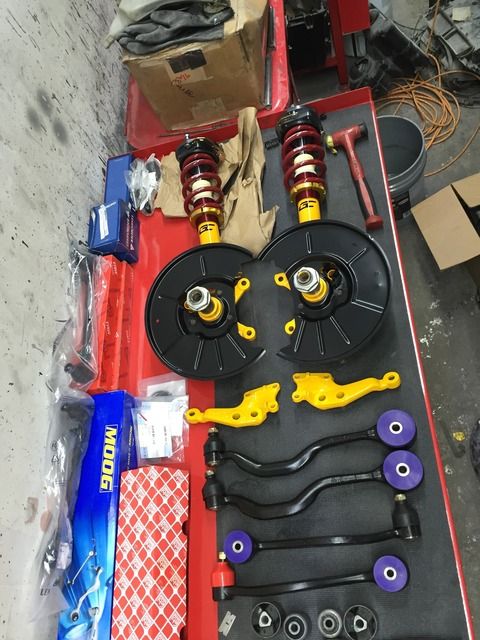
Small update. Just trying to button up all the suspension and have it ready for when we are done with the rear diff mount. Sand blasted the rear diff earlier this week and painted it today with POR15 top coat. Cleaned up the firewall insulator and decided to add some heat reflective film from Pegasus to preserve it. It really helped to firm it up so I'm happy with the results. I am still debating if I should stop where I did or do the complete insulator to the tunnel. All the suspension bushing have been installed and I'll be going in tomorrow to assemble the rear diff plus to install the hub/ bearings on the 4 corners.


Re: E28 M5: Bringing it back to life (UPDATED 5/1/16)
Holy smoke!
And yes I am very close by. I will stop by soon!
And yes I am very close by. I will stop by soon!

