E28 M5: Bringing it back to life (UPDATED 8/14/16)
Re: E28 M5: Bringing it back to life (UPDATED 5/1/16)
Please be sure to remove the paint in the joint between the bottom of the strut housing and steering arm. Nice work, really stoked to see how the lapis will look.
Re: E28 M5: Bringing it back to life (UPDATED 5/1/16)
Pavel wrote:Holy smoke!
And yes I am very close by. I will stop by soon!
I talked to Marc yesterday about doing a TF mini meet at his place so we could all (all that want to attend) slobber all over his masterpiece, and then go grab burgers in LSB&F style.
He said Sundays were best, so grab a calendar.
Re: E28 M5: Bringing it back to life (UPDATED 5/1/16)
Yes please I'm following and would love to go. Road trip...
(I had no idea the tail piece was so complex - I'll eventually need one on mine I'm afraid *sigh*)
(I had no idea the tail piece was so complex - I'll eventually need one on mine I'm afraid *sigh*)
Re: E28 M5: Bringing it back to life (UPDATED 5/1/16)
86GT635 wrote:Please be sure to remove the paint in the joint between the bottom of the strut housing and steering arm. Nice work, really stoked to see how the lapis will look.
Thanks! I test fitted them before putting them on the car and had to file the paint off some.
Re: E28 M5: Bringing it back to life (UPDATED 5/1/16)
1st 5er wrote:Pavel wrote:Holy smoke!
And yes I am very close by. I will stop by soon!
I talked to Marc yesterday about doing a TF mini meet at his place so we could all (all that want to attend) slobber all over his masterpiece, and then go grab burgers in LSB&F style.
He said Sundays were best, so grab a calendar.
Let me know what date you guys come up with. Just make sure it isn't the next two following Sunday's as I have those planned already. ( Fiancee's graduation ceremony and friend 's B-day Boil).
Re: E28 M5: Bringing it back to life (UPDATED 5/8/16)
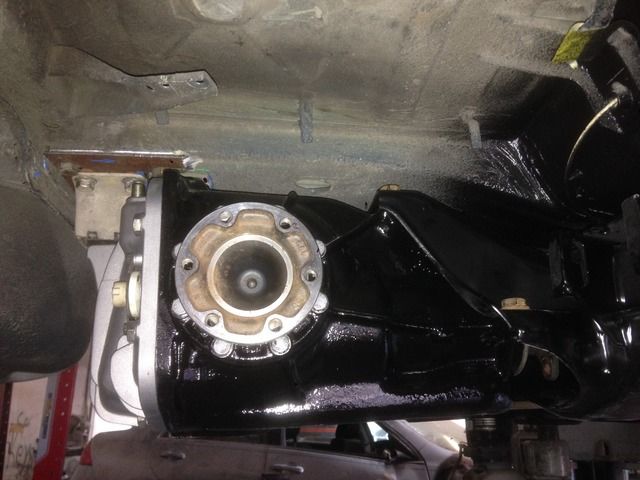
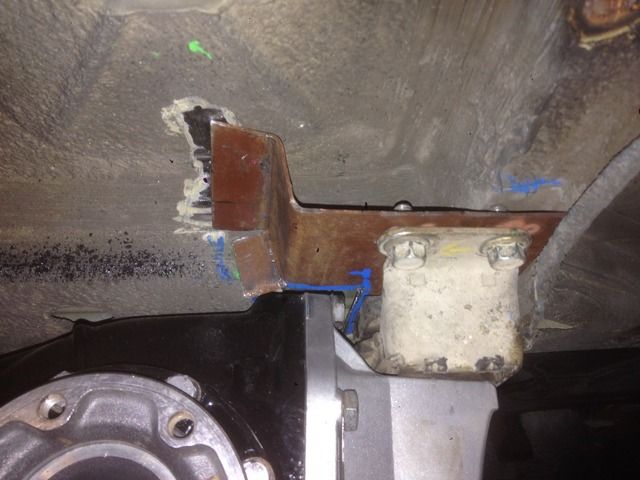
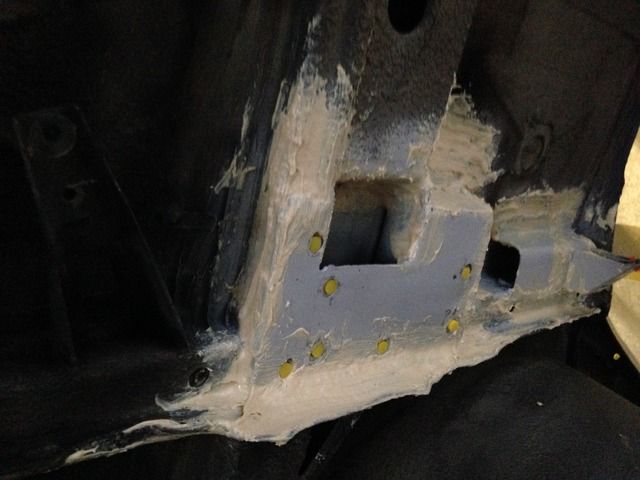
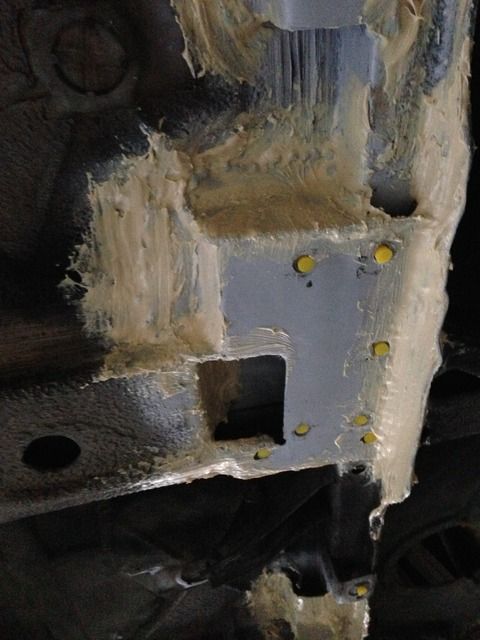
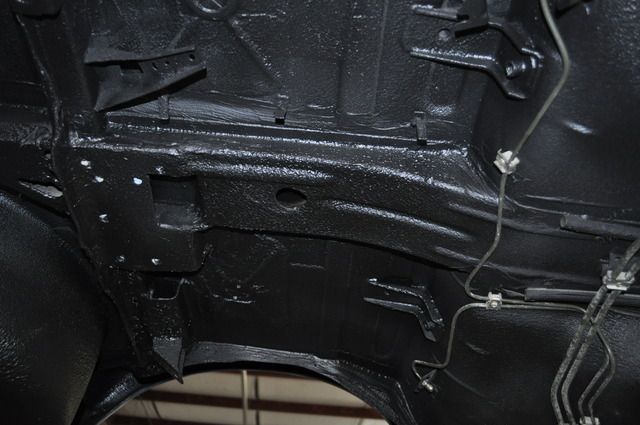
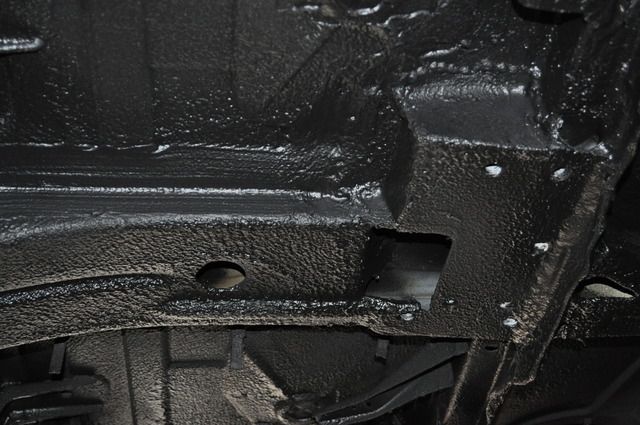
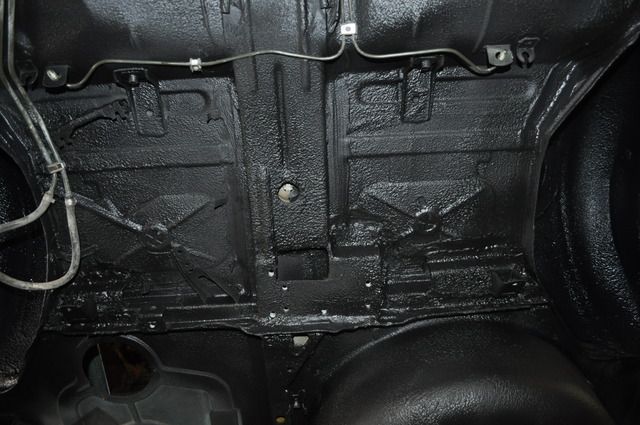
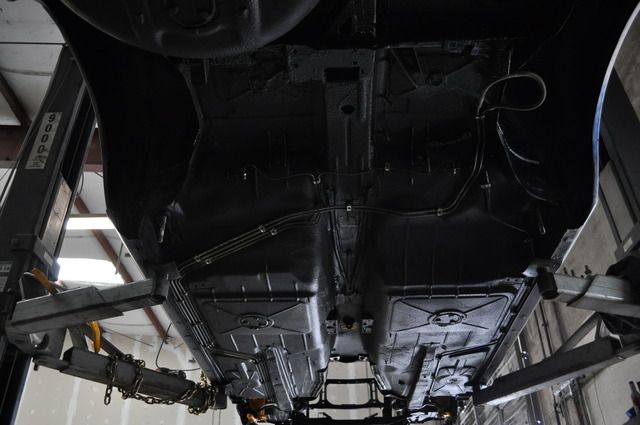
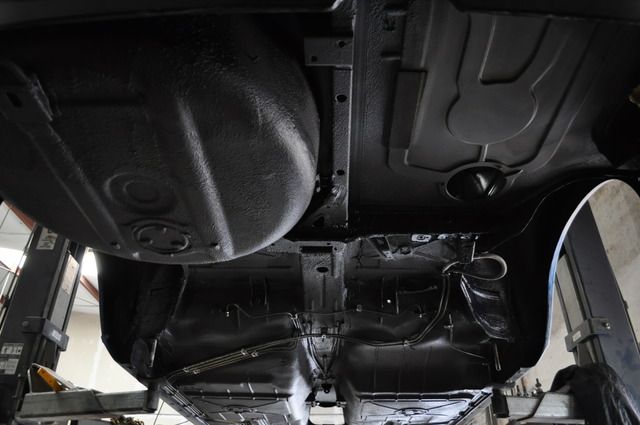
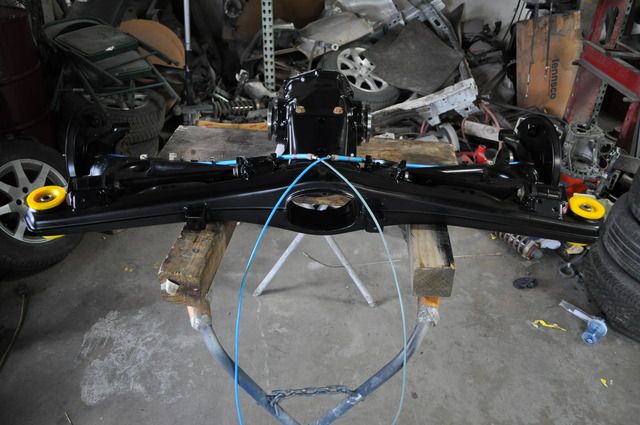
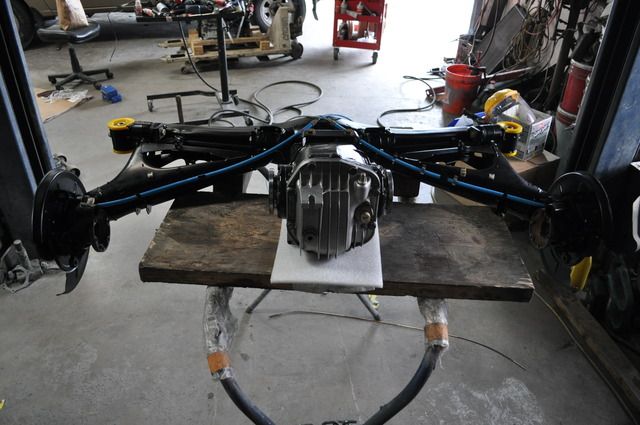
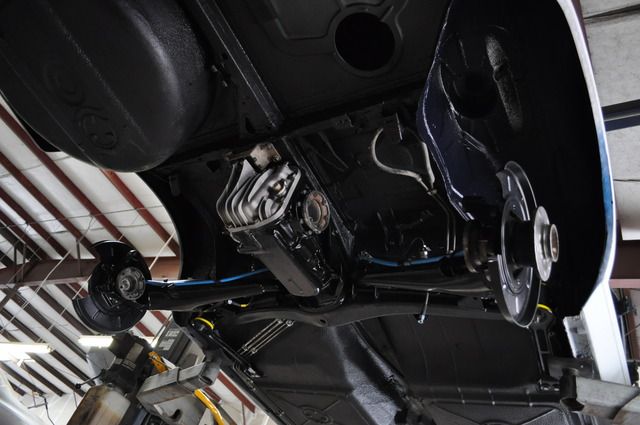
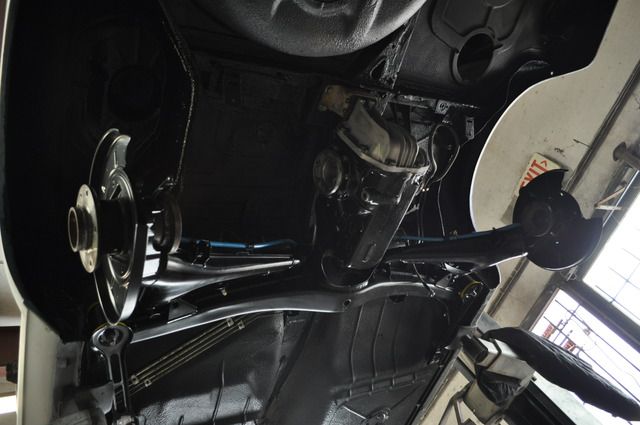
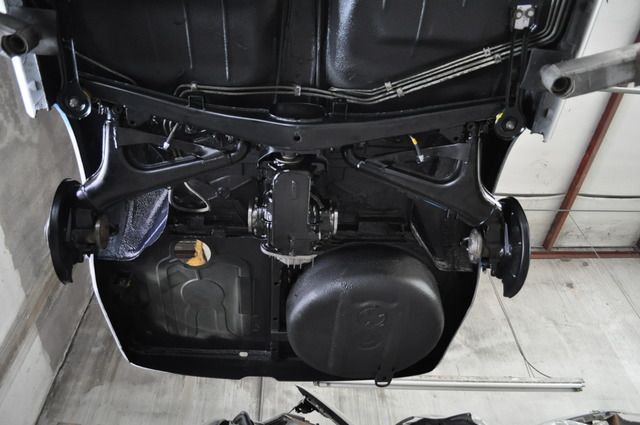
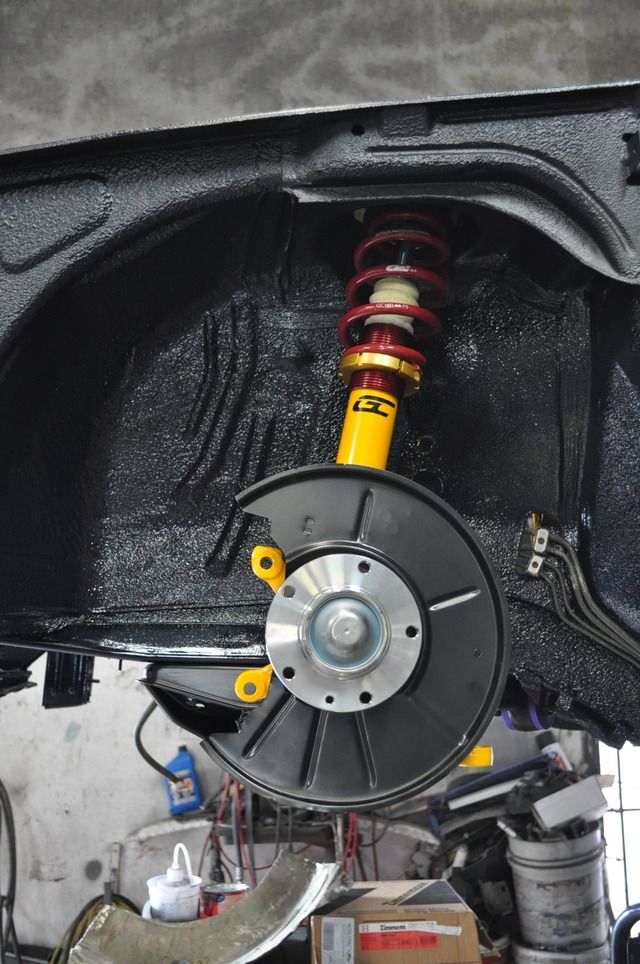
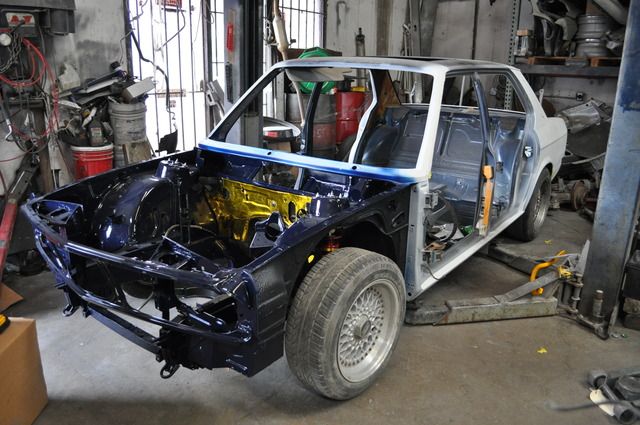
After much R&D for the diff mount, its finally completed and the vehicle has touched ground as of today! 
Once that was completed my mission was to finish up the rest of the undercoating, install all the lines that run underneath, and install the rear suspension. I have pictures of the during and after of the mount we fabricated. Once the undercoat was applied it looks as if it was like that from the factory. Very happy with the results.
Next phase will be to start transferring all the wiring from the M5 over. Slowly its starting to take its form.


Re: E28 M5: Bringing it back to life (UPDATED 5/8/16)
Great googly moogly, you are committed. I'm more impressed you remembered to bump your old thread!
Re: E28 M5: Bringing it back to life (UPDATED 5/8/16)
Thanks!JLav211 wrote:Great googly moogly, you are committed. I'm more impressed you remembered to bump your old thread!
Re: E28 M5: Bringing it back to life (UPDATED 5/8/16)
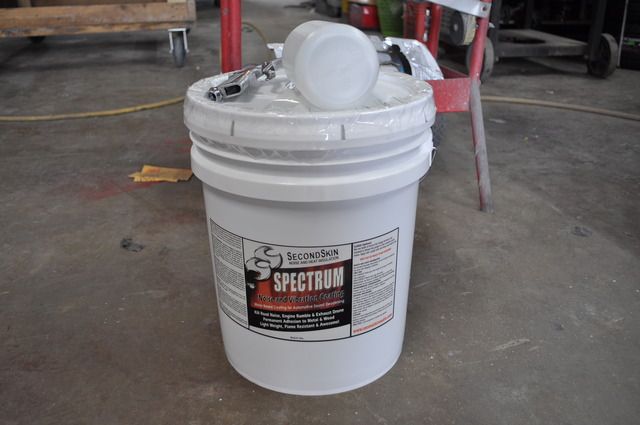
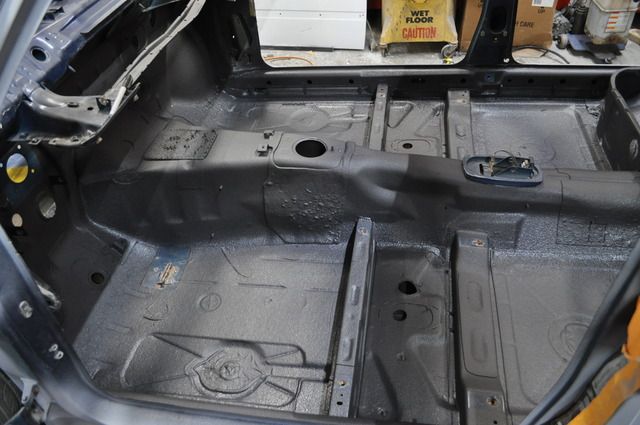
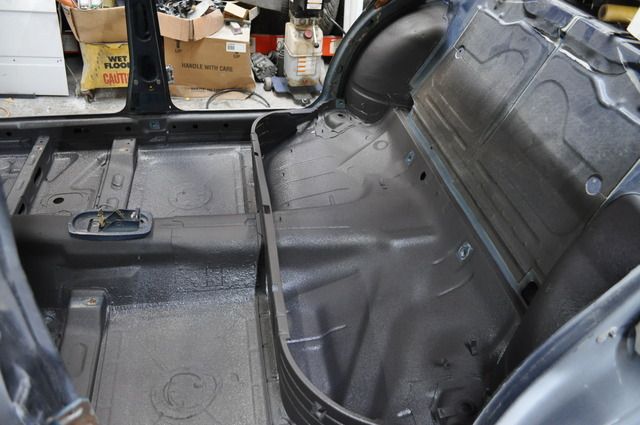
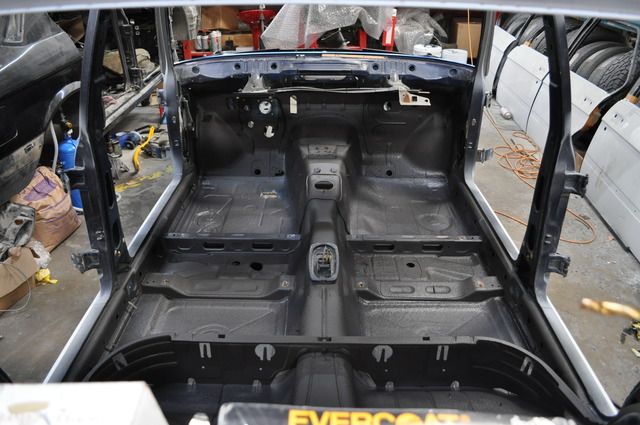
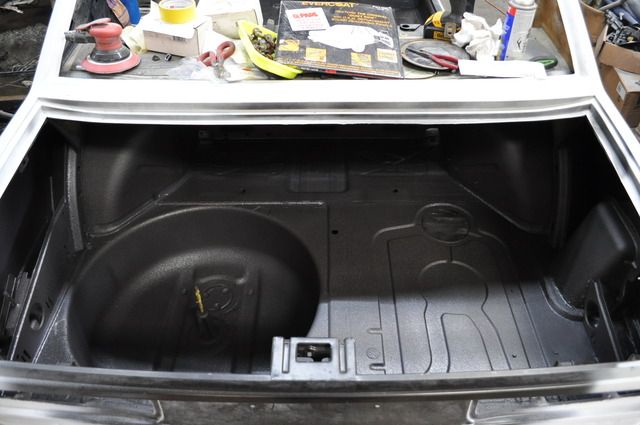
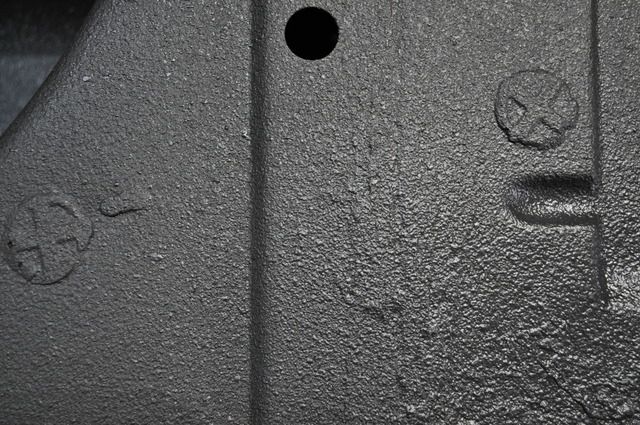
My plan last week was to have the wiring in by the end of this weekend. Well being that the interior was bare and I wanted to remove the sound deadening pads from the trunk area before paint, I figured why not just do the complete floorboard. I had the idea to remove the complete padding in the cabin area, but decided to just remove the cracked ones and leave the ones intact alone. Once that was done I looked into installing new padding on the complete floor for additional sound deadening. For starters that would've cost lots of time to do it neatly. So a friend suggested to looking into the sprayable sound deadening, cost would've been almost the same but much quicker to do. So we looked into it and on order we had the Second Skin Spectrum on its way! I srayed 3 coats and I must admit I'm happy with the results! The panels have a significant change in the way sound travels through it when you tap on it. Eliminates the sound also immediately and the finish is great! I originally wanted to paint the trunk area, but with the second skin applied I don't think its necessary.
Before:
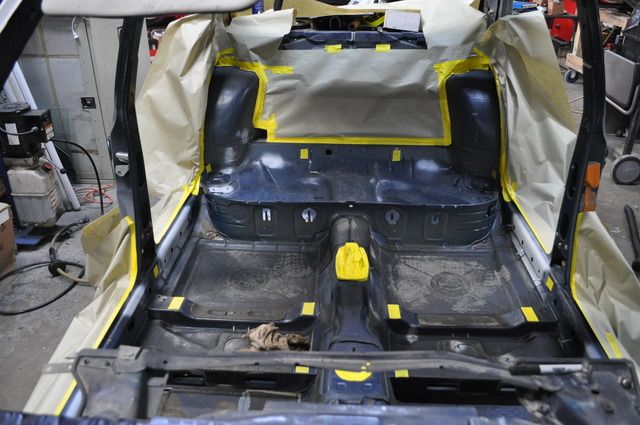
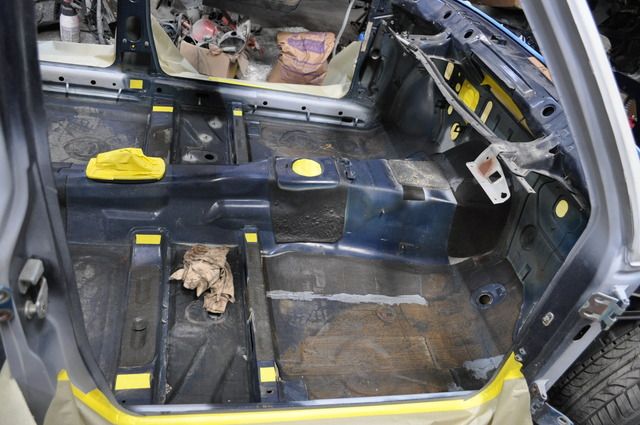
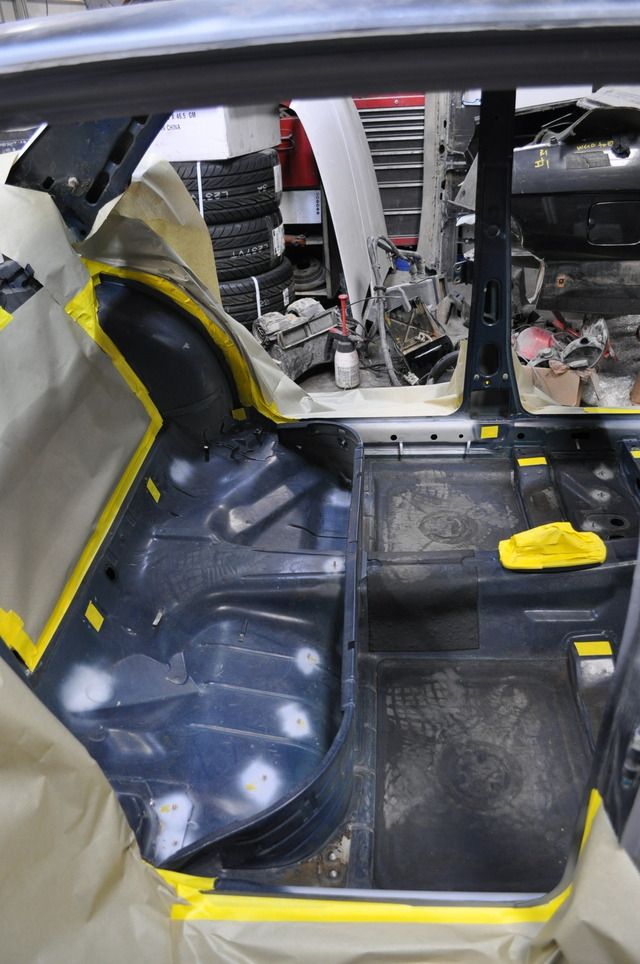
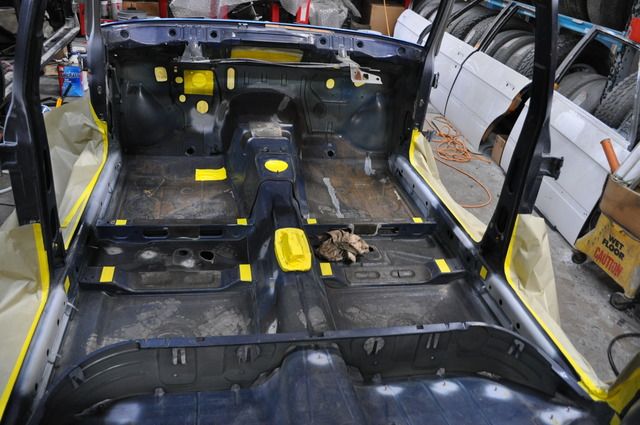
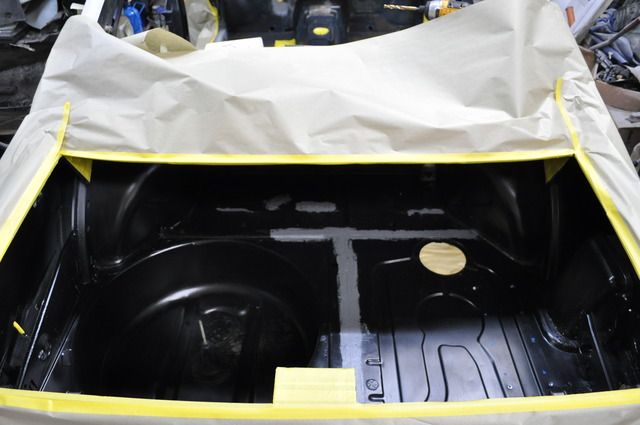
After:
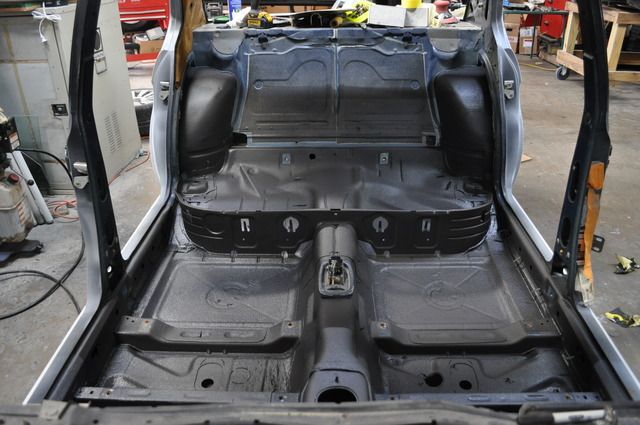
Before:


After:


-
trevmmeister
- Posts: 847
- Joined: Mar 02, 2014 9:20 PM
- Location: Newnan, GA
Re: E28 M5: Bringing it back to life (UPDATED 5/8/16)
Love every bit of it.
Re: E28 M5: Bringing it back to life (UPDATED 5/8/16)
So this week was very successful. I was having cold feet once I started removing the wiring harness, but I got myself together and went to town on it. At the end it came out great and was just a big scare. Once I had removed all the components off the firewall, I noticed the a/c unit drain and mount brackets for abs module weren't on the other body. So I measured, test fitted, and stud welded the mounting studs that weren't on the body for the a/c and I removed/installed the brackets for the abs using body adhesive to bond onto the firewall since I did not want to mess with the welder anymore being that I have sprayed the floor already.
My biggest issue was the firewall insulator. It pretty much came apart in my hands so after doing some research and trying to find a solution my options was to try to find one, but knew that was a slim chance, or fabricate one. I contacted Second skin and he had my solution. They have a foam with hard vinyl backing that is similar to the OE insulator, which is call luxury liner pro. Comes in a roll so you have to cut to fit. I though it was going to be a hassle, but I'm happy with the end result and will be buying more of it to finish off the floor area. My main concern was to install the firewall insulator at the moment since I wanted to run the wiring while it was fresh in my head. (Please excuse some of the pic quality as I'm using my old phone since I broke mines and keep forgetting my camera chip)
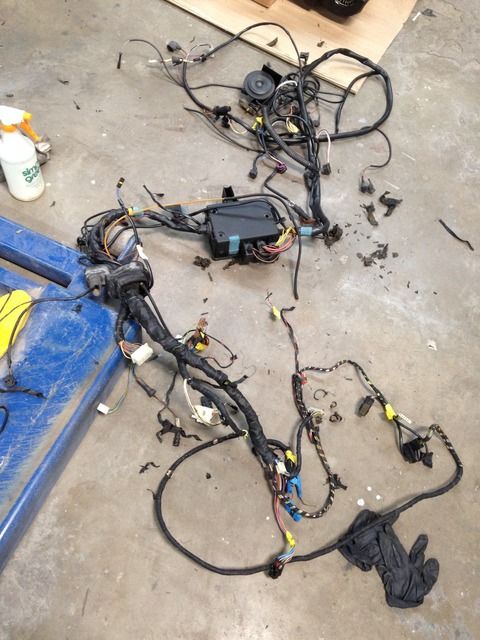
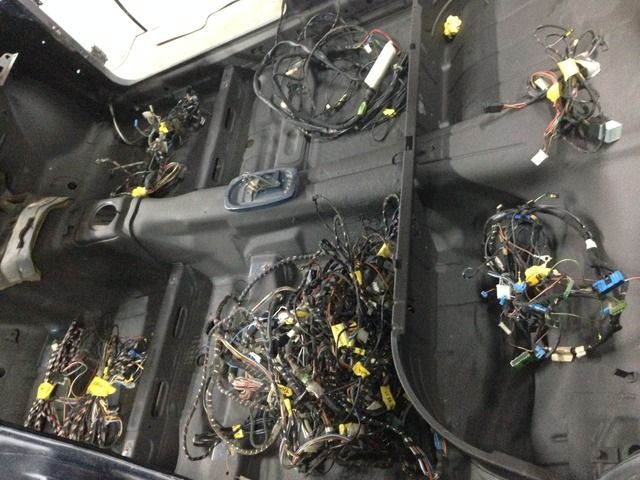
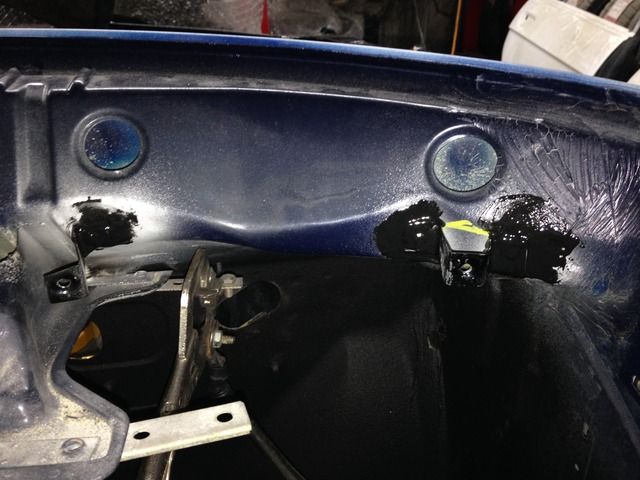
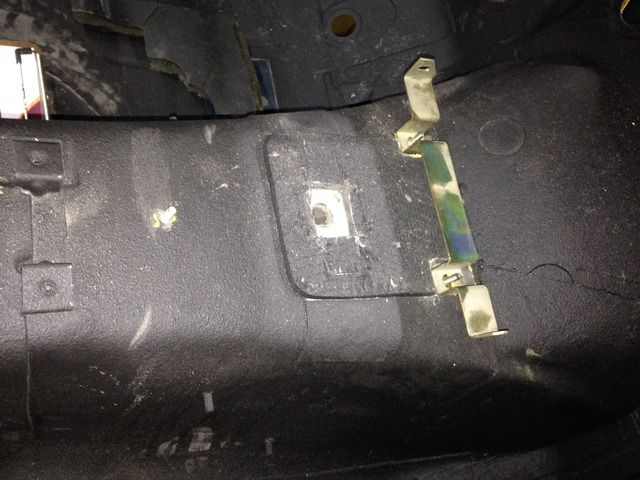
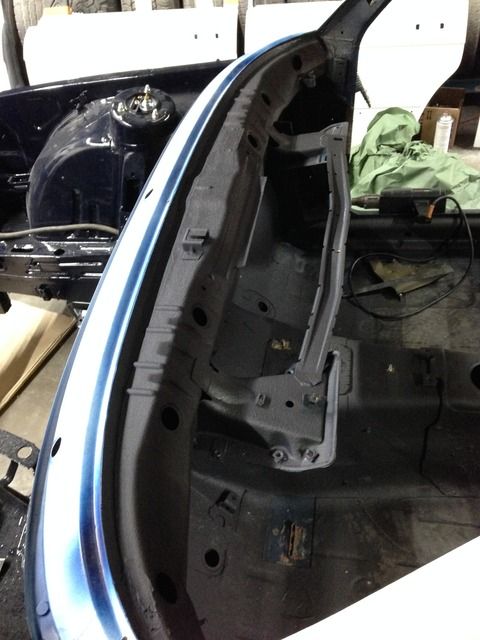
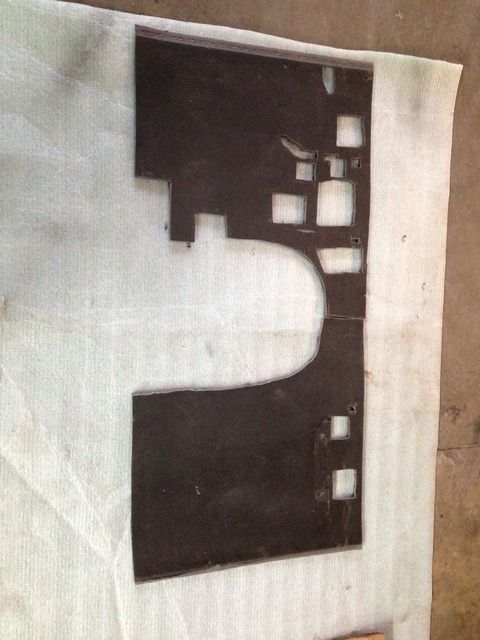
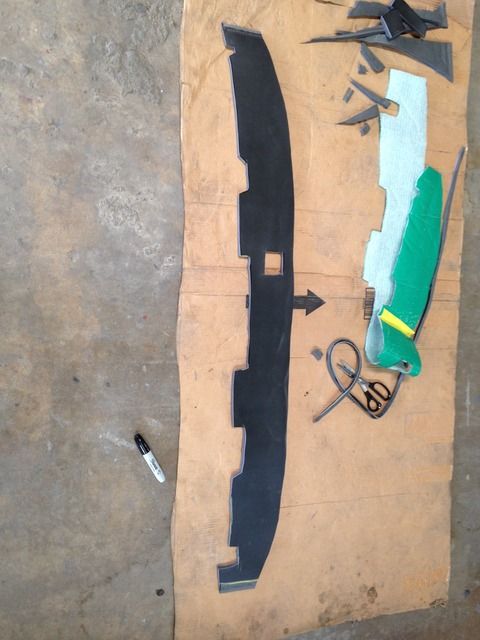
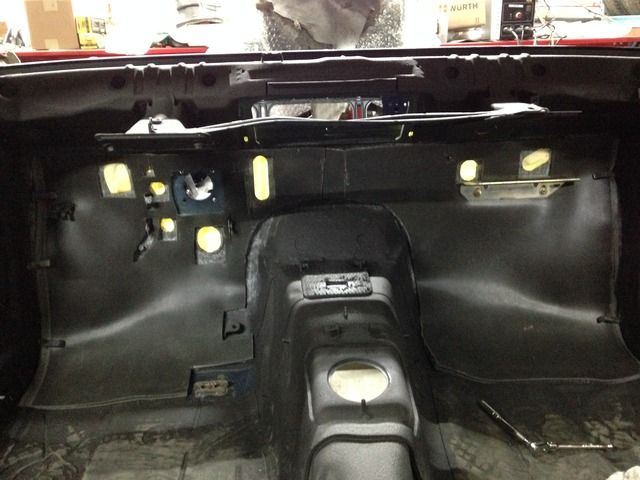
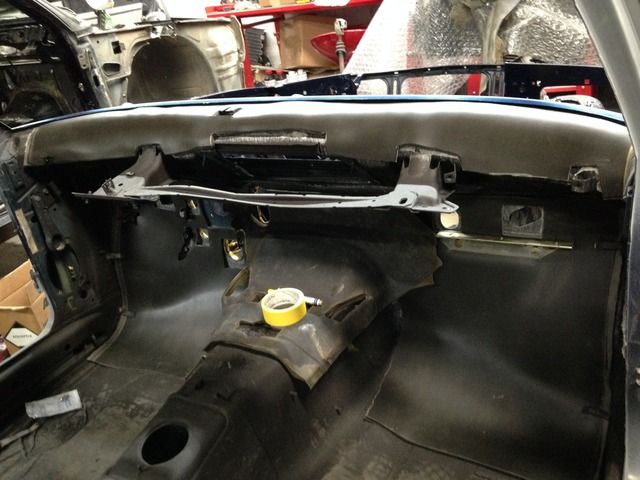
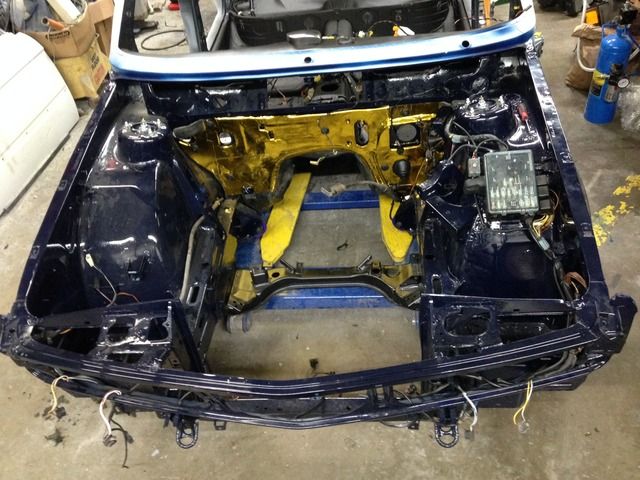
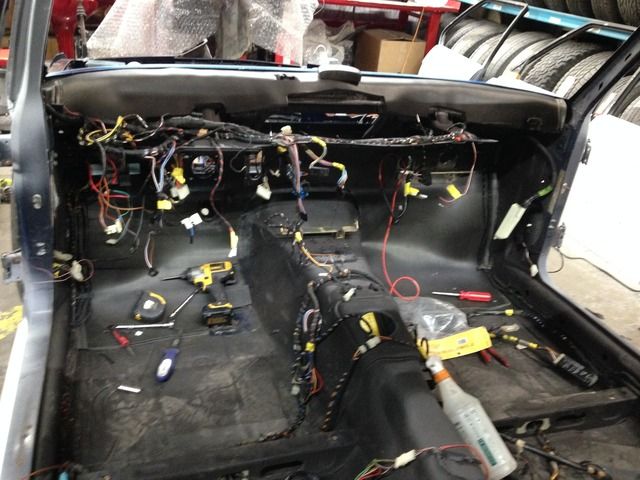
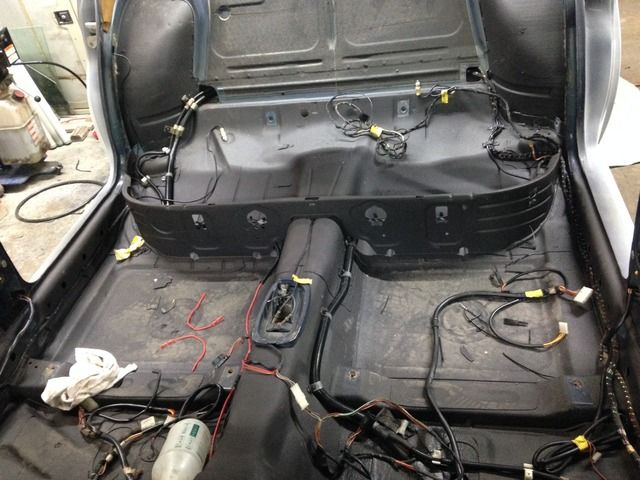
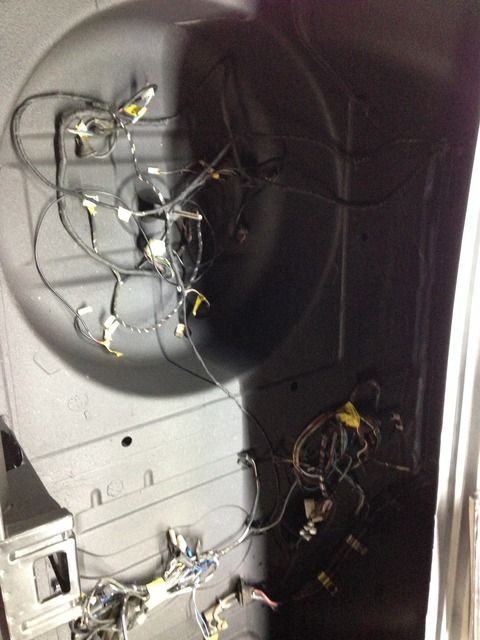
My biggest issue was the firewall insulator. It pretty much came apart in my hands so after doing some research and trying to find a solution my options was to try to find one, but knew that was a slim chance, or fabricate one. I contacted Second skin and he had my solution. They have a foam with hard vinyl backing that is similar to the OE insulator, which is call luxury liner pro. Comes in a roll so you have to cut to fit. I though it was going to be a hassle, but I'm happy with the end result and will be buying more of it to finish off the floor area. My main concern was to install the firewall insulator at the moment since I wanted to run the wiring while it was fresh in my head. (Please excuse some of the pic quality as I'm using my old phone since I broke mines and keep forgetting my camera chip)


-
white chocolate
- Posts: 428
- Joined: Sep 21, 2011 9:44 PM
- Location: Canton, Ohio
Re: E28 M5: Bringing it back to life (UPDATED 5/8/16)
That's an incredible amount of work!
Keep it up, excited to see it finished.
Keep it up, excited to see it finished.
Re: E28 M5: Bringing it back to life (UPDATED 5/8/16)
Hopeful to get to see it in the metal this Sunday. 
Fingers crossed.
Fingers crossed.
-
Adam W in MN
- Posts: 5053
- Joined: Feb 12, 2006 12:00 PM
- Location: Don't waste my motherf***in' time!
- Contact:
Re: E28 M5: Bringing it back to life (UPDATED 5/8/16)
This is amazing.
Re: E28 M5: Bringing it back to life (UPDATED 5/8/16)
Wow… just WOW!
Re: E28 M5: Bringing it back to life (UPDATED 5/8/16)
This is really coming together. Nice work so far!
Re: E28 M5: Bringing it back to life (UPDATED 5/8/16)
Nice seeing the progress and you Marc.
Thanks for hosting.
Thanks for hosting.
Re: E28 M5: Bringing it back to life (UPDATED 5/8/16)
Thank you sir! means a lot coming from you.wkohler wrote:This is really coming together. Nice work so far!
Likewise Sherman and thanks for making it happened. And a huge thanks to the ones that could make it out, support was great and much needed.1st 5er wrote:Nice seeing the progress and you Marc.
Thanks for hosting.
Re: E28 M5: Bringing it back to life (UPDATED 5/8/16)
Thanks for letting us see it.
Re: E28 M5: Bringing it back to life (UPDATED 5/8/16)
I am glad you could host us! Impressive work.
I need me a lift like that now.
Let me know when you are ready for some S38 work.
I need me a lift like that now.
Let me know when you are ready for some S38 work.
Re: E28 M5: Bringing it back to life (UPDATED 5/8/16)
No problem. Glad you could make it out.LeiseyJr wrote:Thanks for letting us see it.
Anytime, thanks!Pavel wrote:I am glad you could host us! Impressive work.
I need me a lift like that now.
Let me know when you are ready for some S38 work.
Haha! Group buy?!
Ill get in touch with you once I get to that stage.
Re: E28 M5: Bringing it back to life (UPDATED 5/8/16)
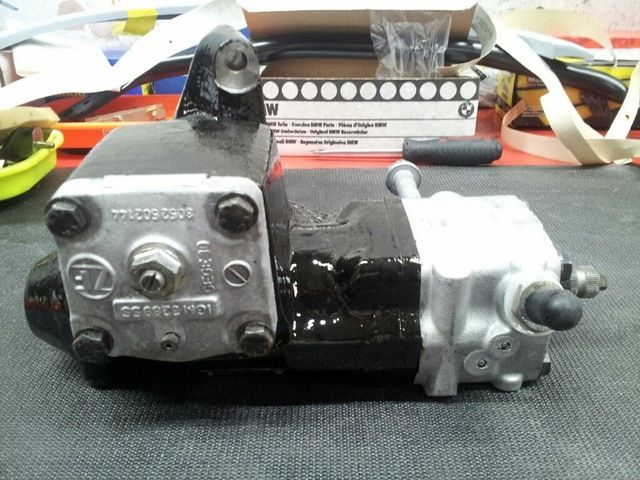
So on Monday I went in for 4 hours and decided to get my steering box painted to get that out of the way. I noticed the paint does not really stay on the aluminum pieces so I decided to leave them alone and just painted the body itself. I de greased it, soda blasted, and brushed it with POR15. POR15 looks bad when brushing it on, but it levels nicely once it starts curing.
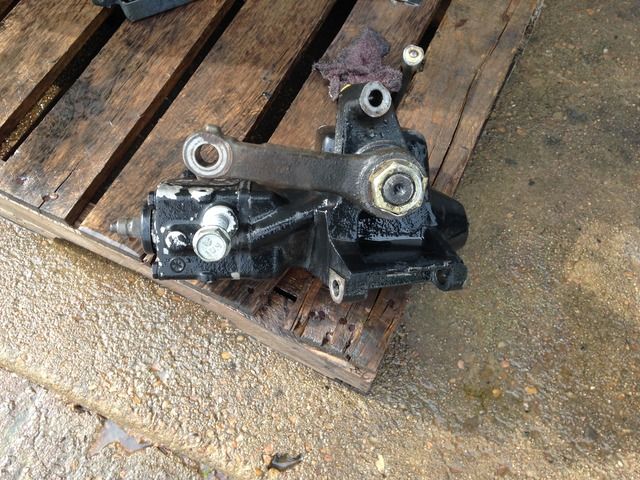
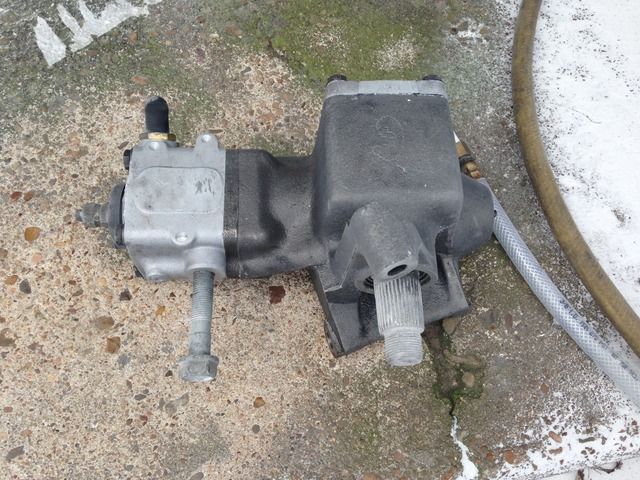
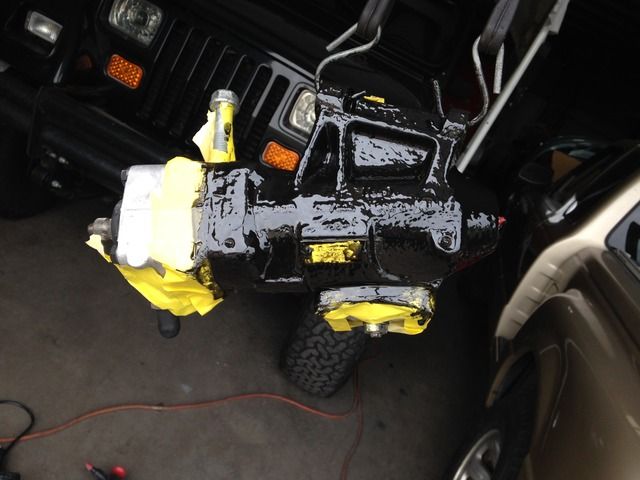
I also installed the front flares and will be moving to the rears (still hesitant on drilling into the quarter ) but will finalize that today so I can get started on prepping the body for paint.
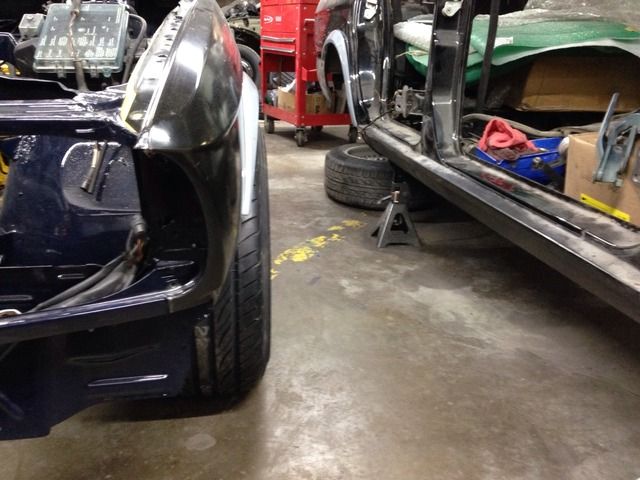
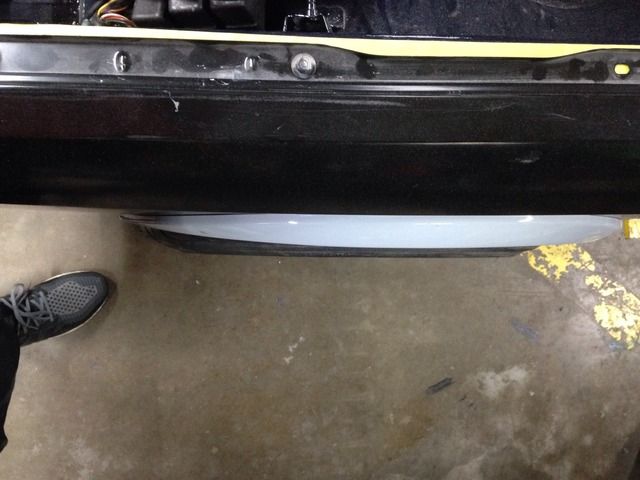
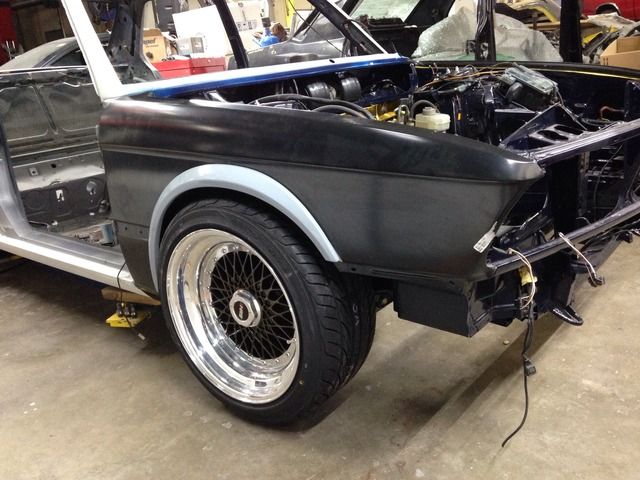
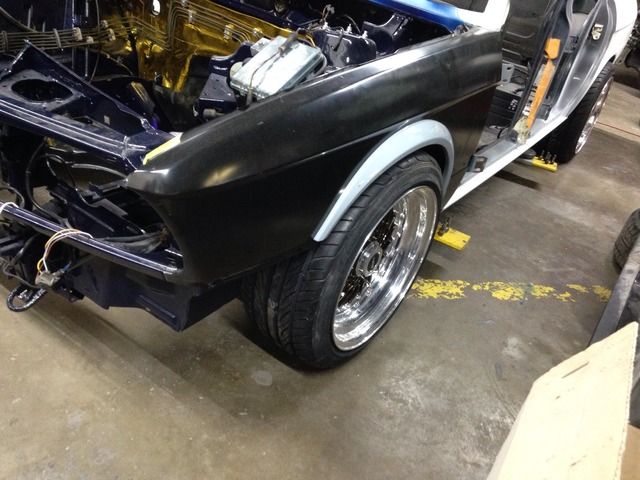


I also installed the front flares and will be moving to the rears (still hesitant on drilling into the quarter


-
EventuallyAyrton
- Posts: 975
- Joined: Oct 12, 2015 11:47 PM
- Location: Wherever the E28 happens to be parked- Morrisville, NY
Re: E28 M5: Bringing it back to life (UPDATED 5/8/16)
Awesome work as always. I love the fender flares, I can't wait to see what the rears will look like
Re: E28 M5: Bringing it back to life (UPDATED 5/8/16)
Thanks. Ask and you shall receive!EventuallyAyrton wrote:Awesome work as always. I love the fender flares, I can't wait to see what the rears will look like
Front yes. Rears are 10"86GT635 wrote:17x9s?
Re: E28 M5: Bringing it back to life (UPDATED 6/2/16)
So I went ahead and bit the bullet. I put the templates aside and with a clear mind, patience, and a measuring tape I drilled the quarter to fit the clips for the flare. I mocked up the template first and marked the holes it says to drill. Than I mocked the flare and installed the clips after to measure the distance from clip center to edge of flare. Voila! got them on the first try. On one of the pics you can see the difference in distance of the template to my measuremets.
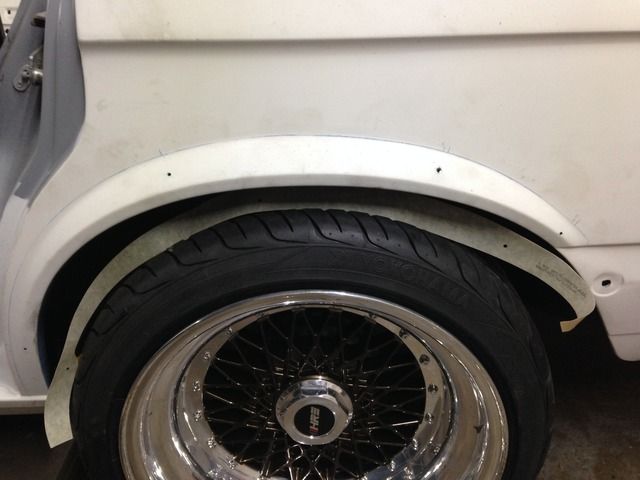
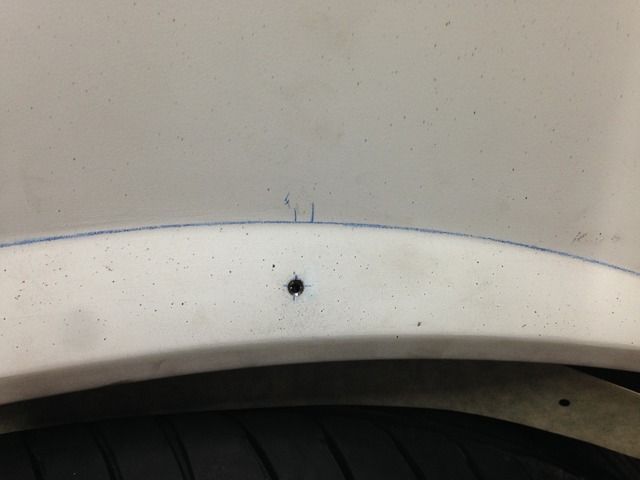
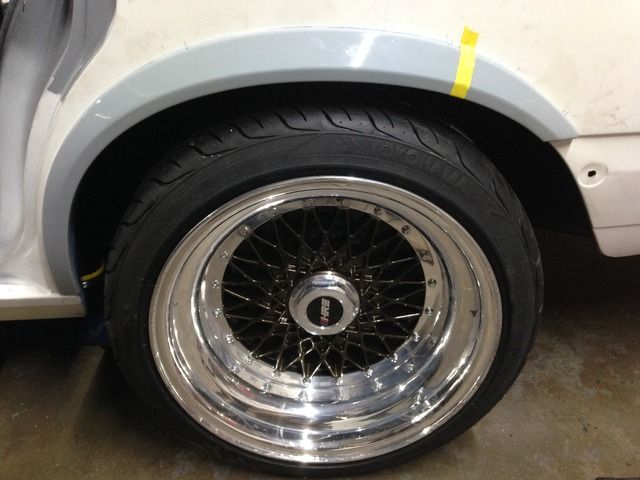
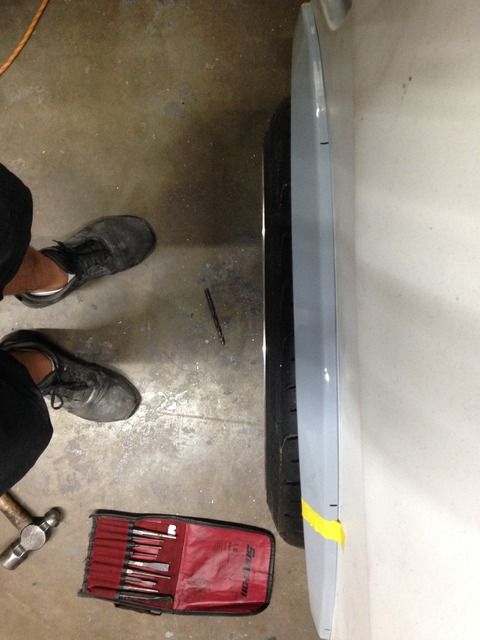
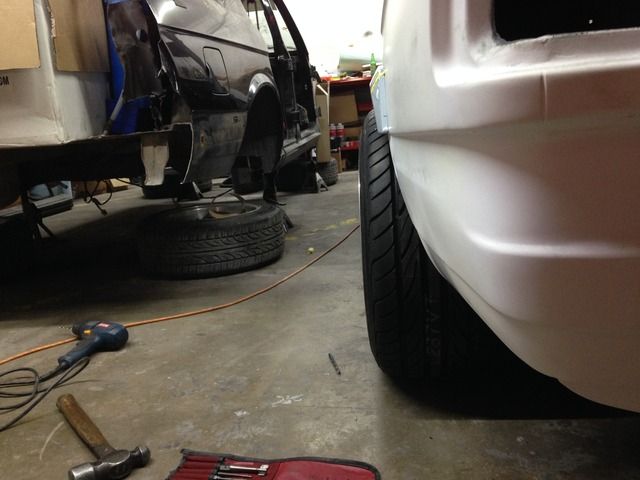
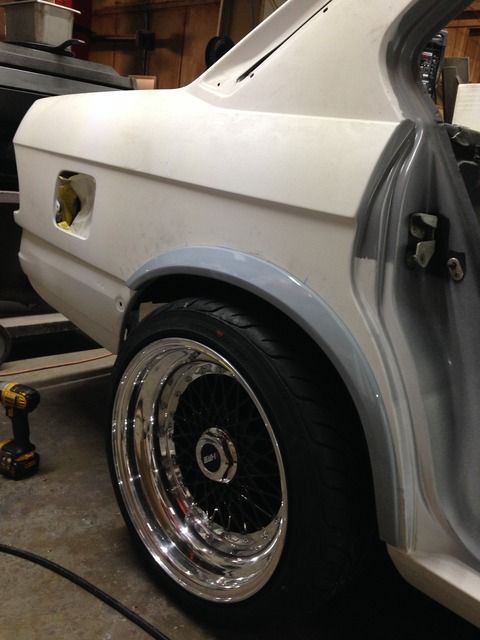
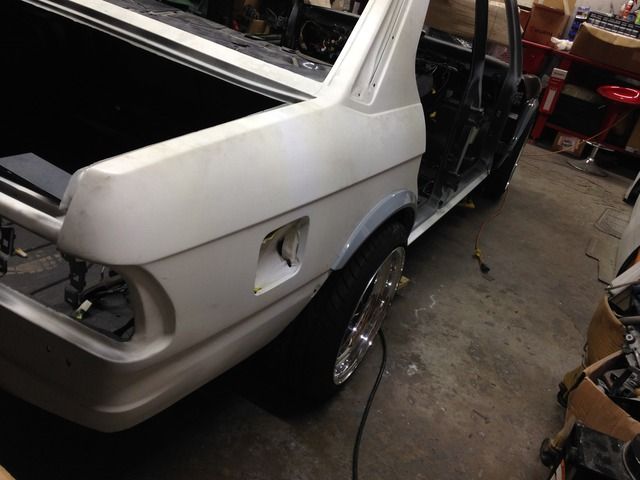
Adjustment to suspension will be done once the body is reassembled.


Adjustment to suspension will be done once the body is reassembled.
Re: E28 M5: Bringing it back to life (UPDATED 6/6/16)
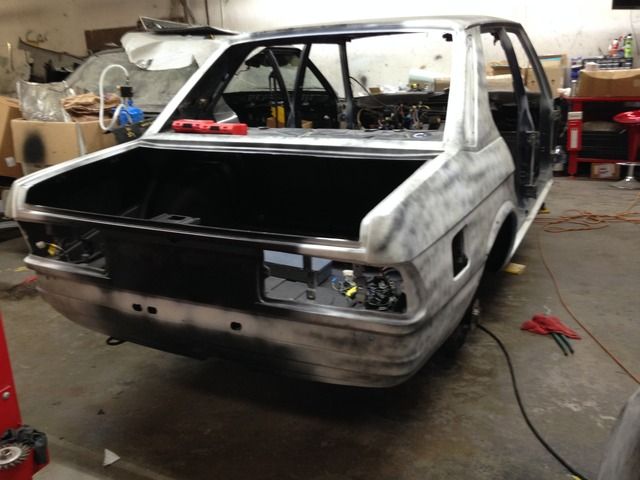
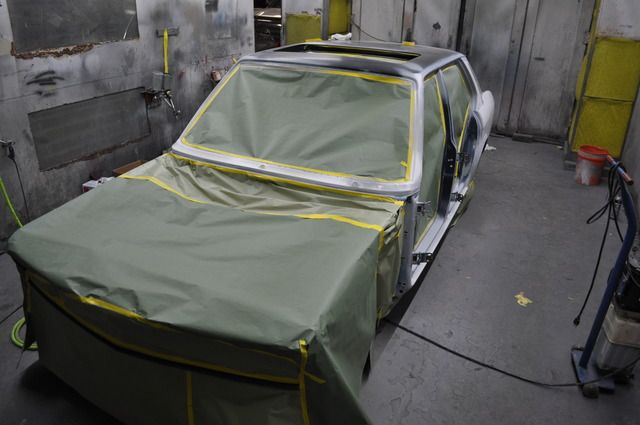
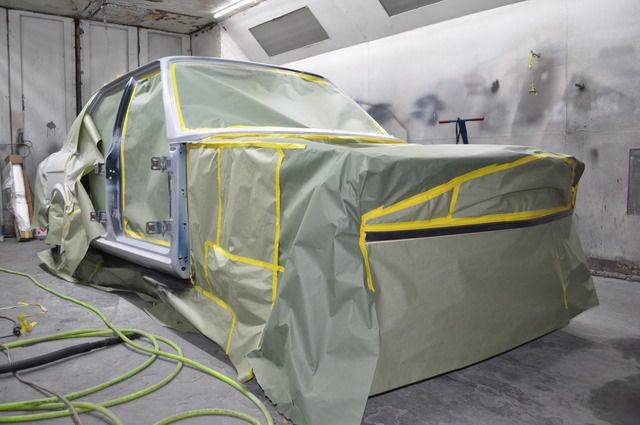
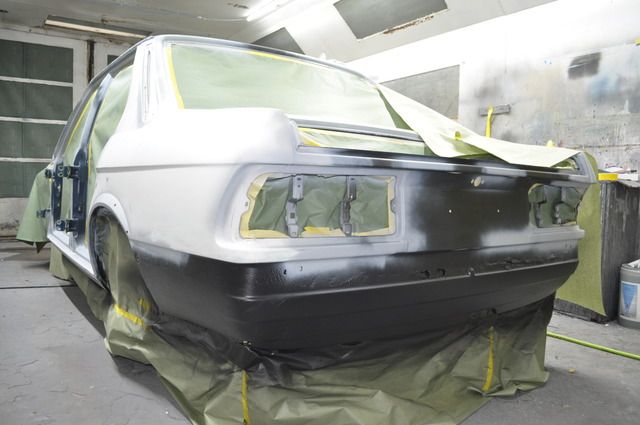
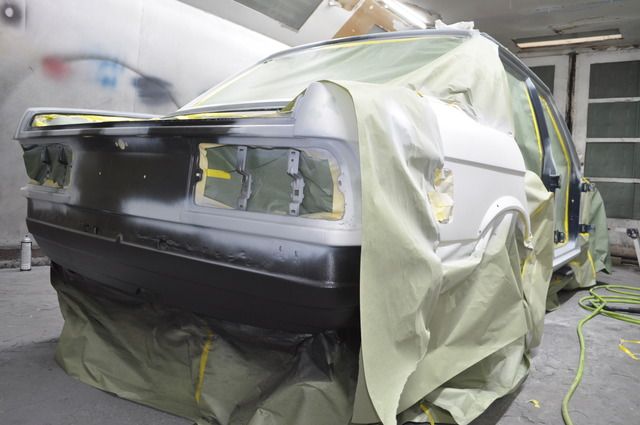
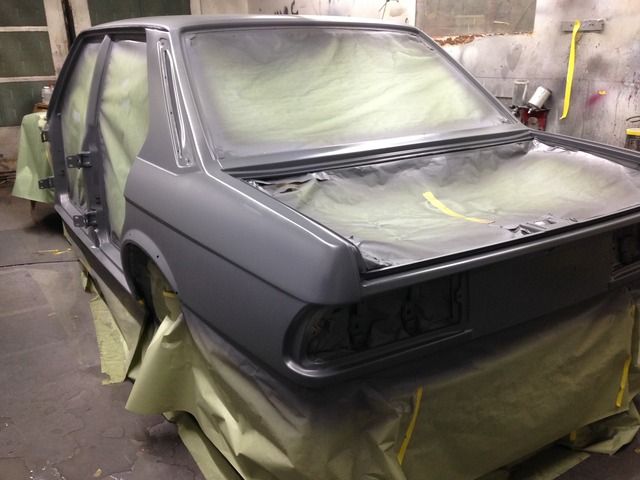
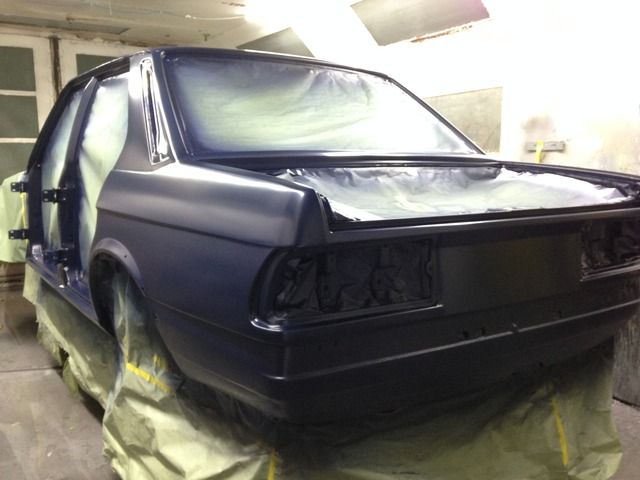
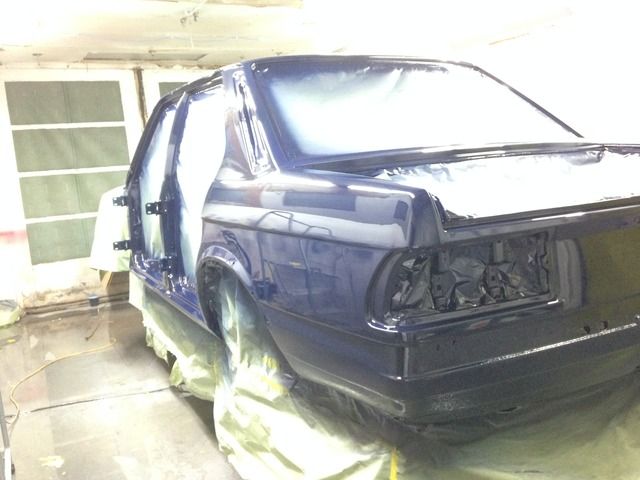
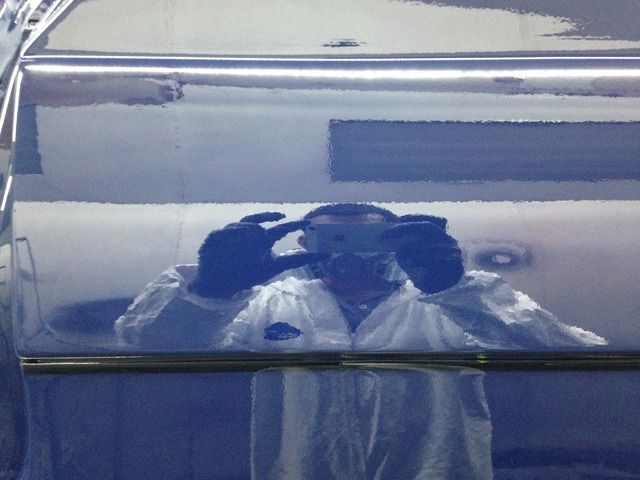
Ill keep it short and sweet as this was just completed. Figured Ill get the body painted first as its the main piece to the puzzle. With that out of the way the interior and etc can start going in. Painting the remaining parts should be a bit more easier. My plan was to have it sprayed yesterday, but a dent was created on the quarter attempting to sway the rear end while pushing it into the booth. That set me back a day but the deed has been done! Enjoy!


Re: E28 M5: Bringing it back to life (UPDATED 6/6/16)
That's right keep that momentum going! 
Re: E28 M5: Bringing it back to life (UPDATED 6/6/16)
Pavel wrote:That's right keep that momentum going!
Re: E28 M5: Bringing it back to life (UPDATED 6/16/16)
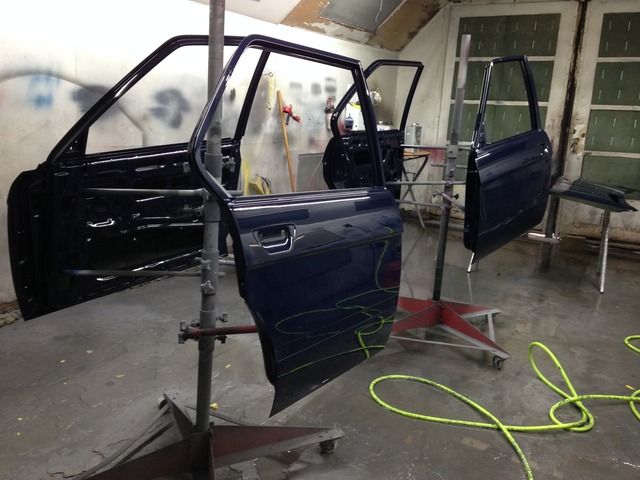
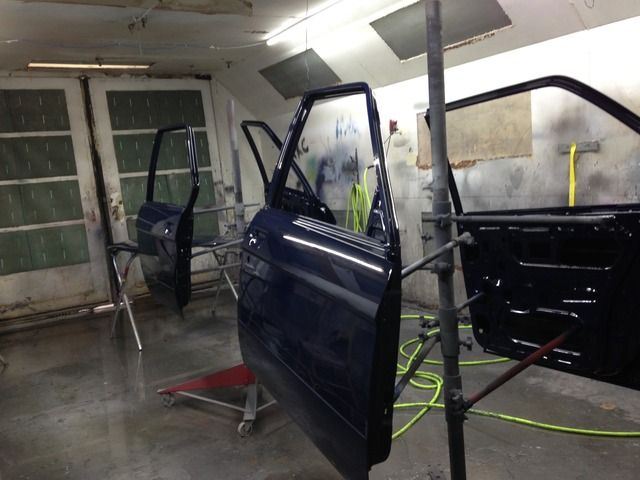
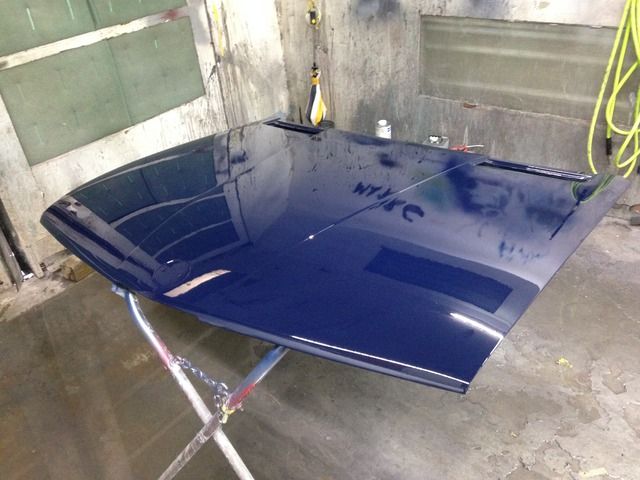
So I've been working on it more later into the day now that sunset is around 8:30 and weather is also cooler at that time. Last weekend I painted the doors and hood, with now all thats left for painting is fenders, trunk (which I will be doing this Sat), and the rest of attachment part which I think I will leave towards the end since they are mostly all new parts and prepping will be quicker. I don't want them to get damaged either while I work on other stuff.
Other tasks I've completed this week is finally getting around painting the calipers, installing the pedal assembly, took Sherman's advise on replacing the heater core, and ordered more parts that I should be receiving tomorrow from BMW. Saturday I will have a good friend and coworker prewire my audio so I can begin to install the interior. Aside from that, I got in touch with Ivo to scout me some goodies on his end of the pond. Enjoy!
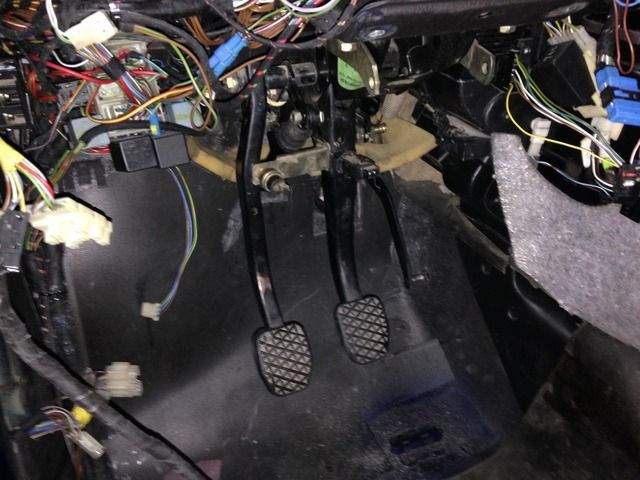
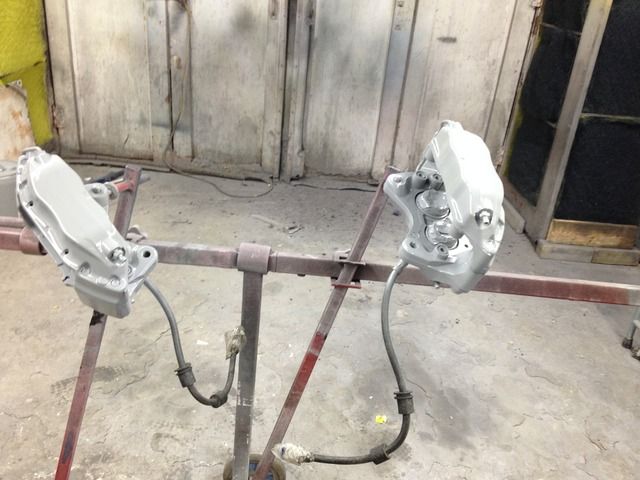
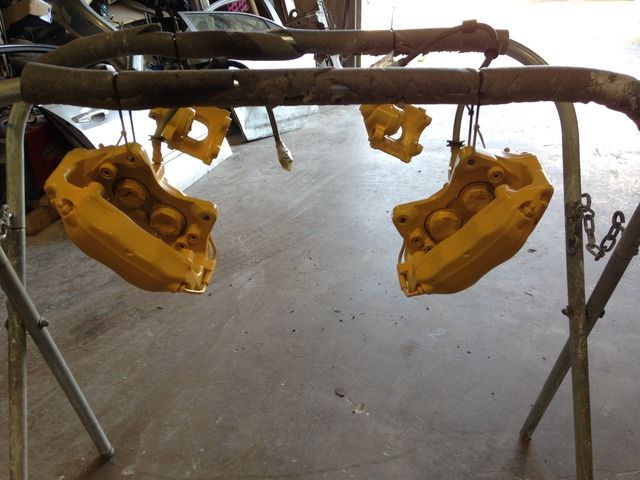
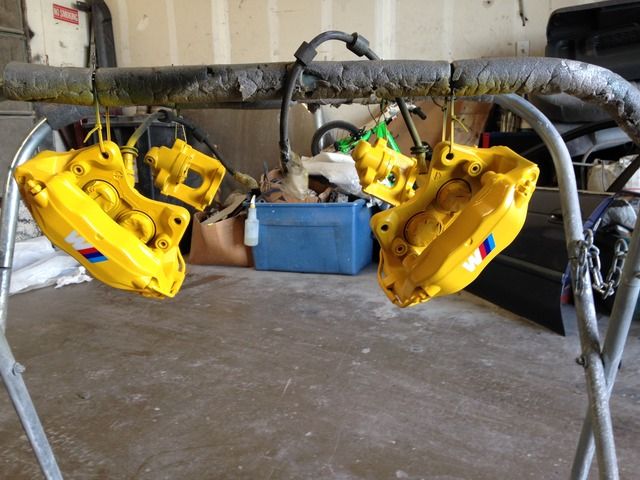
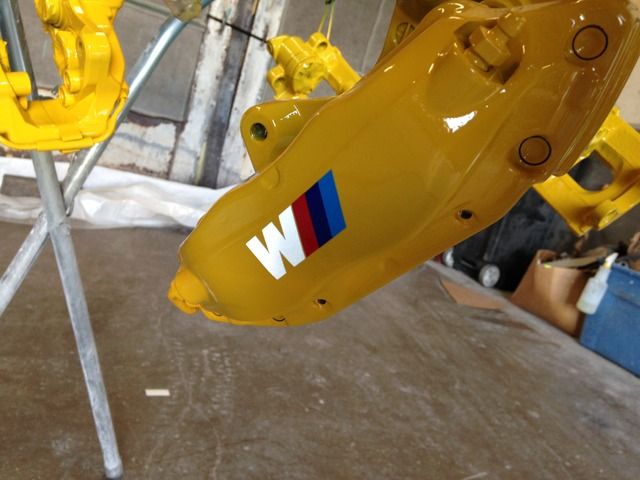
Other tasks I've completed this week is finally getting around painting the calipers, installing the pedal assembly, took Sherman's advise on replacing the heater core, and ordered more parts that I should be receiving tomorrow from BMW. Saturday I will have a good friend and coworker prewire my audio so I can begin to install the interior. Aside from that, I got in touch with Ivo to scout me some goodies on his end of the pond. Enjoy!


