Rebuilding My 1988 US-spec M5

Post your photos and videos here!
jhh925
Posts: 917
Joined: Jul 11, 2015 12:23 AM
Location: Reno

Rebuilding My 1988 US-spec M5

Post by jhh925 »

So, let me say at the outset that I started writing this build thread back in June 2019 when I started the project. But for some dumb-ass reason, I never actually put my write-up onto the forum here .. lazy, worried that I'd screw it up, not sure. So what that means is that this build thread will initially be all the posts I wrote up along the way and *meant* to post, but never did. So likely this will be a couple dozen "updates" over 8 months of time without anything else. Oh well. Better late than never. Here goes ...

-----------

I had so much fun the first time, I've decided to do it again! Short version of the backstory: I've always been a bit obsessed with the E28 and back in 2015 or so I finally bit the bullet and got a 535. Totally rebuilt it from the ground up. More recently, I find myself in a position where I can afford an M5 and have the time to invest in the project.

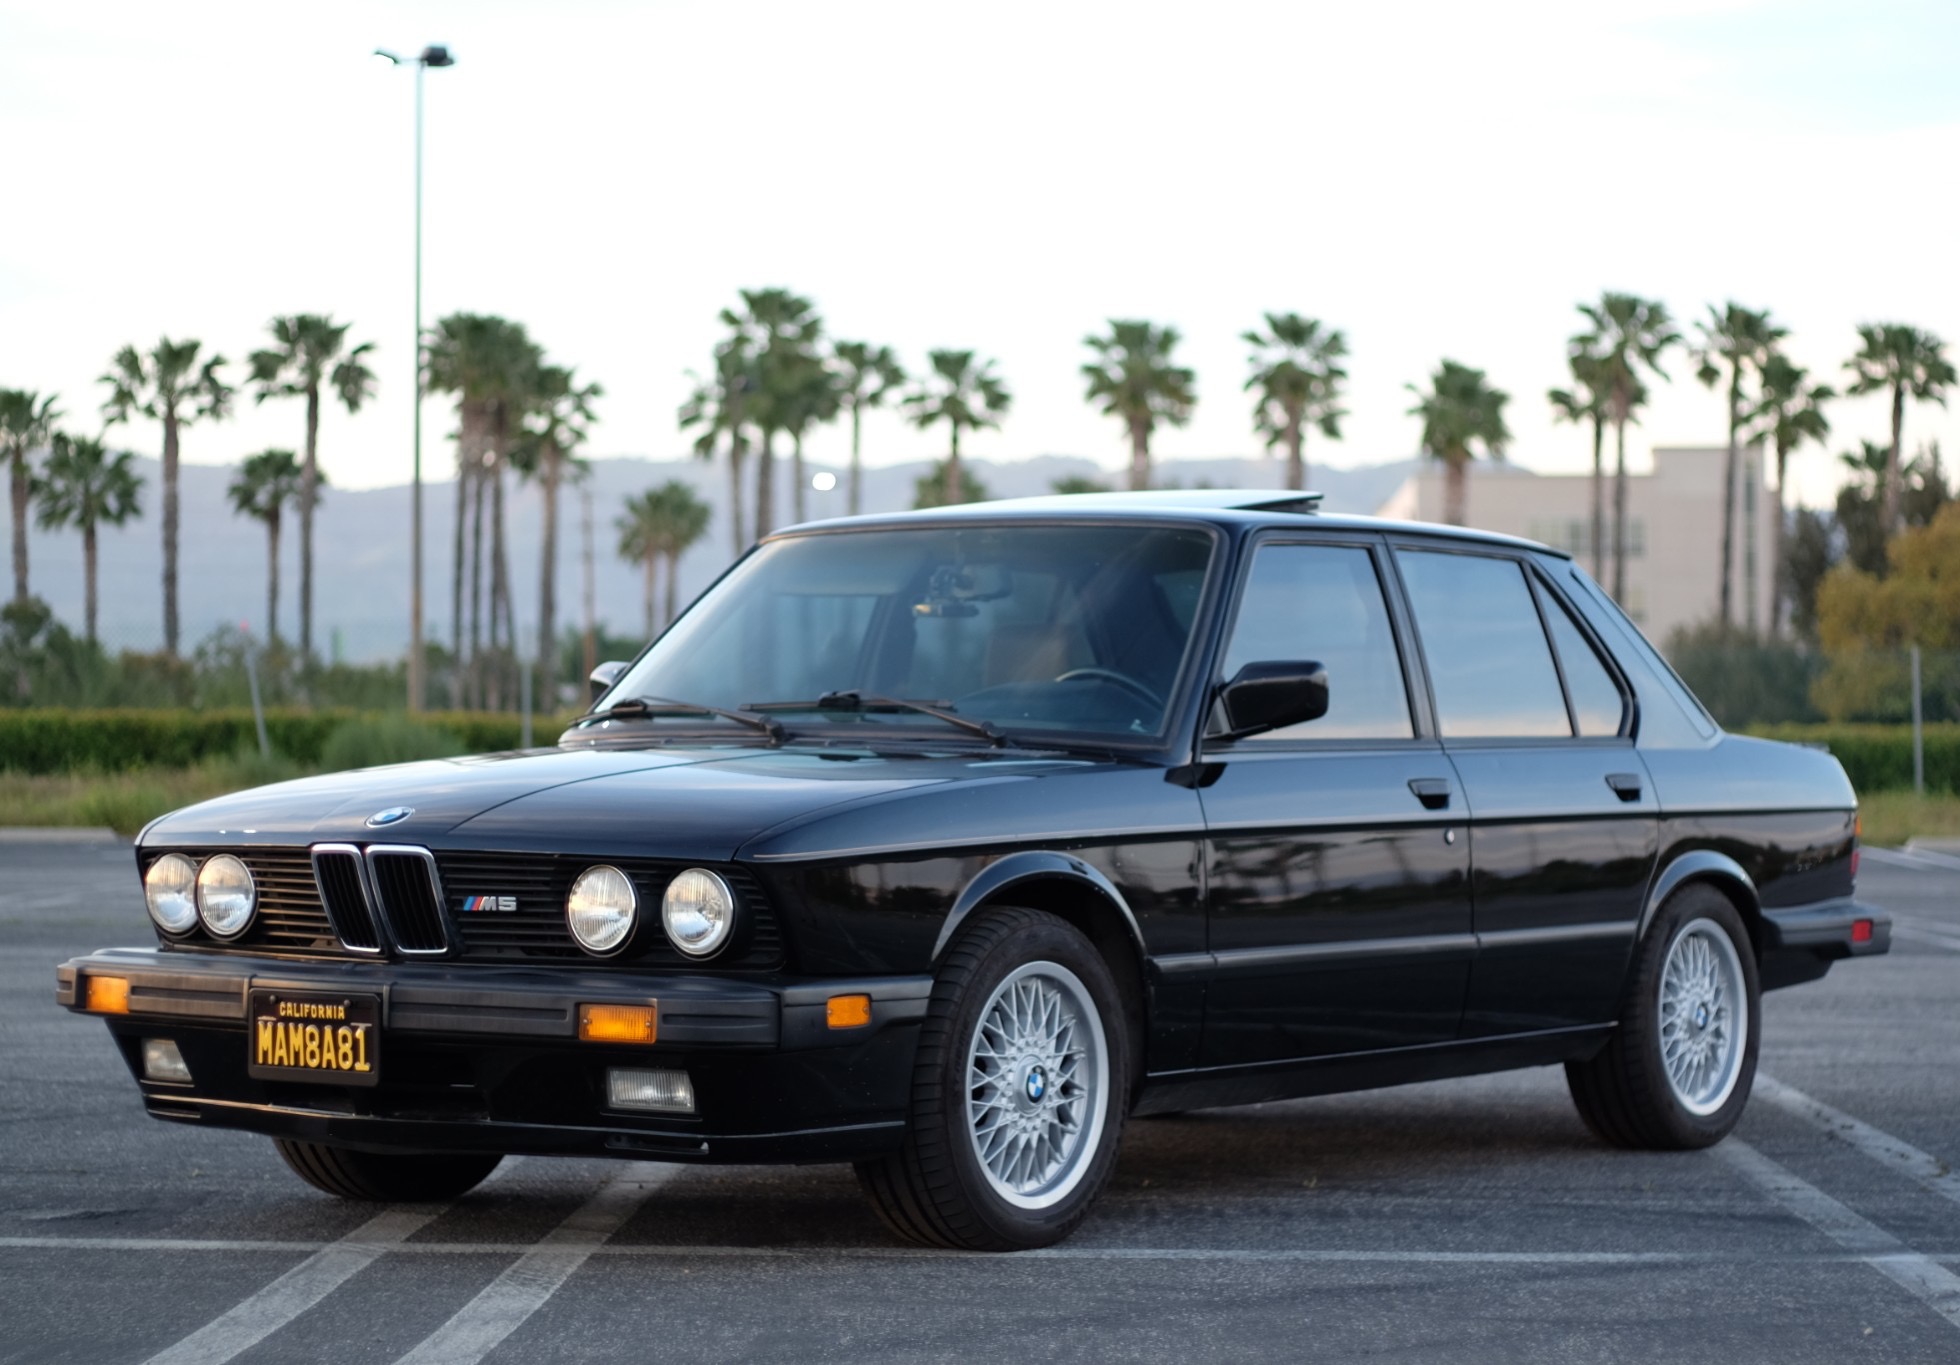
Poor planning on my part results in me winning this BaT auction in April 2018. This was "poor planning" because I still hadn't quite finished the 535 and I didn't have a readily available garage space to store the M5 in. I took the leap anyhow. Luckily, my parents had recently downsized and had a spot open up in their garage not too long after I acquired the car, so I drove my new toy straight from Van Nuys (where I'd picked it up from the seller) to their garage where it has sat until recently.

Before pic - not my photography:
Image

Having bought this M5, my plan was to sell the 535, then start the process all over again by rebuilding & restoring the M5 from the ground up pretty much as I had done with the 535. Of course, smog issues delayed the start of that plan for months. But after I got the 535 smogged, the two cars swapped places, the 535 got prepped for auction at BaT (where ended up selling), and I started in on the M5.

With the 535, I touched pretty much everything with maybe the exception of the seats, which was only because the PO had already gotten them reupholstered. The game plan on the M5 is pretty much to do the same, with the exception of the paint. I'm really, really - really - hoping not to have to repaint this car. One of the reasons that I bought this (I drove down to SoCal and inspected the car before the auction ended) is that the body was in overall very good condition. It has a few "battle scars" (as ahab described it after seeing the pics) that I'm hoping can be fixed without having to do a full re-spray. But other than that, the plan here is to redo the car from the ground up.

More specifically, here's what I'm planning on doing:

Engine, engine management, exhaust
- Do a complete rebuild on the motor. Head will be rebuilt at Memphis Motorwerks, and the bottom-end will be checked & blue-printed at Star Machine in Emeryville.
- Mild performance upgrades including B36/B38 cams for both intake & exhaust, S14 ("EVO") exhaust cam gear, new pistons with increased CR (leaning towards 10.5:1, might go 11.0:1)
- Convert engine management from Motronic 1.1 to Motronic 1.3, including using a '179 ECU with custom mapping
- Take out the Miller and K&N stuff and go back to the original AFM and air filter
- PO did a custom after-market exhaust starting right after the Cats. I'll be replacing the aftermarket stuff with new OEM. I will need to add a second O2 bung right before the cats.
- Put real M5 tips on the exhaust outlets
- New powder-coating on cam cover & intake plenum - I'm inclined to do a flat black instead of the crinkle stuff. Yes, I know, I'm a heathen.
- Powder-coat or ceramic coat (see below) the coolant pipes

Tranny, Final Drive
- As is, the current tranny shifts like cold molasses - or maybe closer to frozen peanut butter. I'm not sure yet why that is, but while gearing up (literally) for this project, I've managed to pick up two additional M5 transmissions. It's totally possible that somewhere along the line someone put some "high performance" gear oil (aka, the wrong stuff) in there, causing the synchros to perform poorly. Anyhow, with two spares, I'm thinking I'd take them all in to a local machine shop (I have a recommendation from the guys at GAS) and have them evaluate the existing tranny and, if it's bad, build at least one good tranny from my collection of three.
- Replace clutch, etc.
- Machine and lighten flywheel (not sure about this one)
- Replace input & output seals, replace all linkage bushings
- Replace all the seals on the diff
- Paint & polish the rear diff
- Rebuild half-shafts
- Might have the LSD rebuilt as well

Interior
- Reupholster all the seats
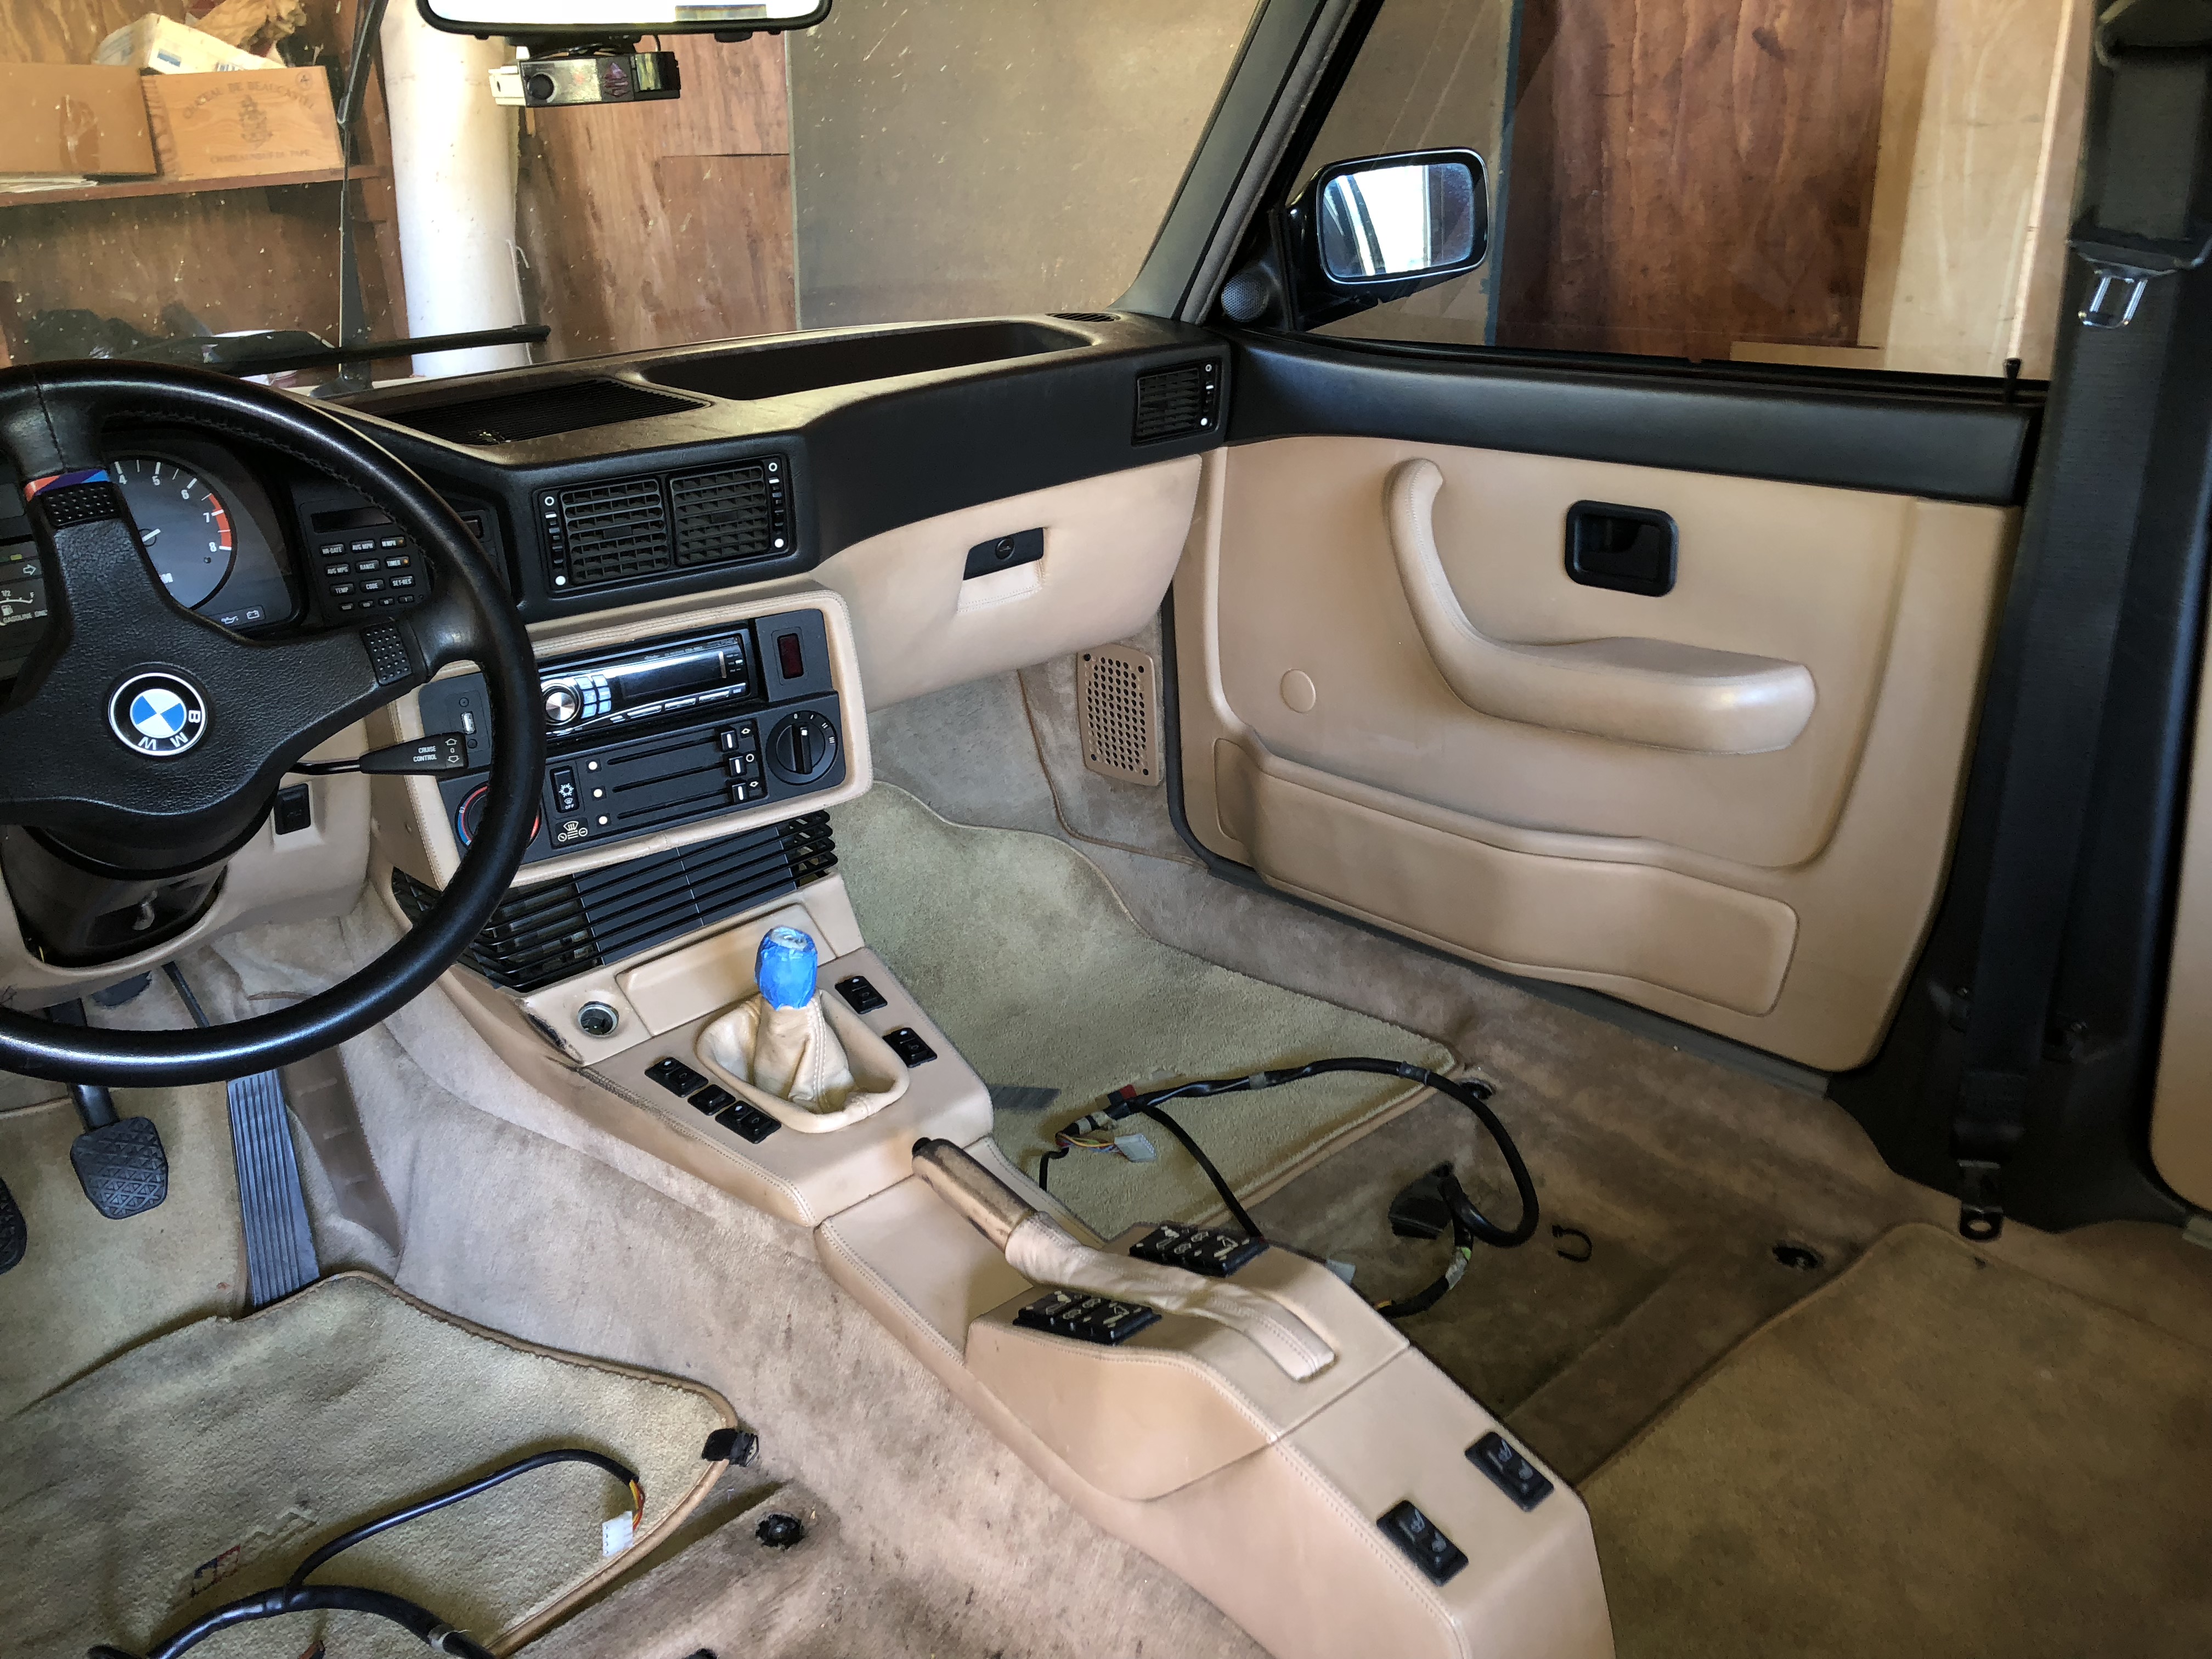
- Replace all other interior parts (dash, door cards, door caps, armrests, all center console sections, etc) with non-M5 stuff that's been re-upholstered & covered in the correct color of leather (that is, anthracite at the door caps & above, nature below them). My logic on this one is ... funky. Here's the idea: The interior currently is original OEM M5 parts that are mostly tired or worn. I'm thinking I'll preserve the original M5 stuff as is, put it in storage, and then essentially replace the entire interior with parts that have been re-covered in the style of my 535, but using the correct color leather (graphite on dash & door caps, 'natur' on everything else). Everything will be covered in leather or Alcantara in such a way as to match the original scheme, but the materials will be new, and I'll have preserved the original OEM parts as well - just in case.
- Do something a bit original with the door cards. I'd really wanted to cover them in a big hounds-tooth woolen tweed like this [pic], but I haven't been able to source a good material. I thought that look would be akin to the houndstooth / check pattern that was so common on Euro E28s and the brown / tan color of tweed would fit perfectly with the rest of the interior. As it is, so far I've sourced this fabric [pic] ... nice color & texture, but slightly plain.
- Add rear headrests
- Athrazit Alcantara on headliner and A & B pillars, black Alcantara on headliner front cover
- New door seals & fuzzy edge protectors
- New headunit - likely a Continental unit, maybe that new Blaupunkt

HVAC
- Clean & refresh everything - new o-rings, new evaporations valve, new foam, etc.
- Re-charge the AC & convert to R134a
- New AC compressor (maybe ... it looks like the current unit might be a reman unit? Which would be weird given that the whole system was pretty much empty - why go to the trouble of getting a new compressor and then just let the refrigerant leak out?)
- I won't be converting to a larger PF condenser. I explored this with the 535 and came to the conclusion that the original design is good enough for me, and I'd prefer to keep the original condenser & brackets up front

Suspension, Brakes & underside
- Full suspension refresh - all bushings, control arms, steering linkages, sway bar bushings,
- Make a decision on the SLS (see below)
- Swap in BBS 061 wheels
- Powdercoat all the big suspension parts - front & rear subframes, strut housings, sway bars, etc.
- Rebuild and re-paint or powder coat the calipers
- Clean the shit out of the underside and make everything down there look real purtty

Body
- Euro bumper conversion with Euro M5 chin
- Euro headlight conversion
- Weld up a big hole in the forward trunk bulkhead (seriously, why why why do people have to cut all these big holes to try to installed big ass aftermarket stereo stuff?!? Why?!?)
- Fix the small dents, dings & scratches, fix the dents in the rockers at the two rear lift points. I don't have a bodyshop lined up for this yet, so this could be the major timing issue. I'm hoping to have this same bodyshop do the welding work on the rear valance for the Euro bumper conversion, and getting all that done correctly will be a tall order
- Swap in an original BMW glass moonroof
- New lock strips for front & rear windshields

Trunk
- So, going way back to when I purchased the 535, that car showed up with a crap-ton of parts in the trunk, including a complete set of M5 trunk liner parts. Big Dummy (that's me) decides to revert to original E28 liners and I firkin sell the entire set that came with the car. That set was probably a 7 or 8 out of 10? Oooops.
- The trunk liners in this car are ... rough. I haven't seriously tried yet to source replacements, but my current plan is to fab my own stuff with new carpeting, etc. I'm sure it will end up being more complicated than this, but my sense is that I can mimic the original M5 stuff pretty well given that in an M5 these parts are all pretty flat.
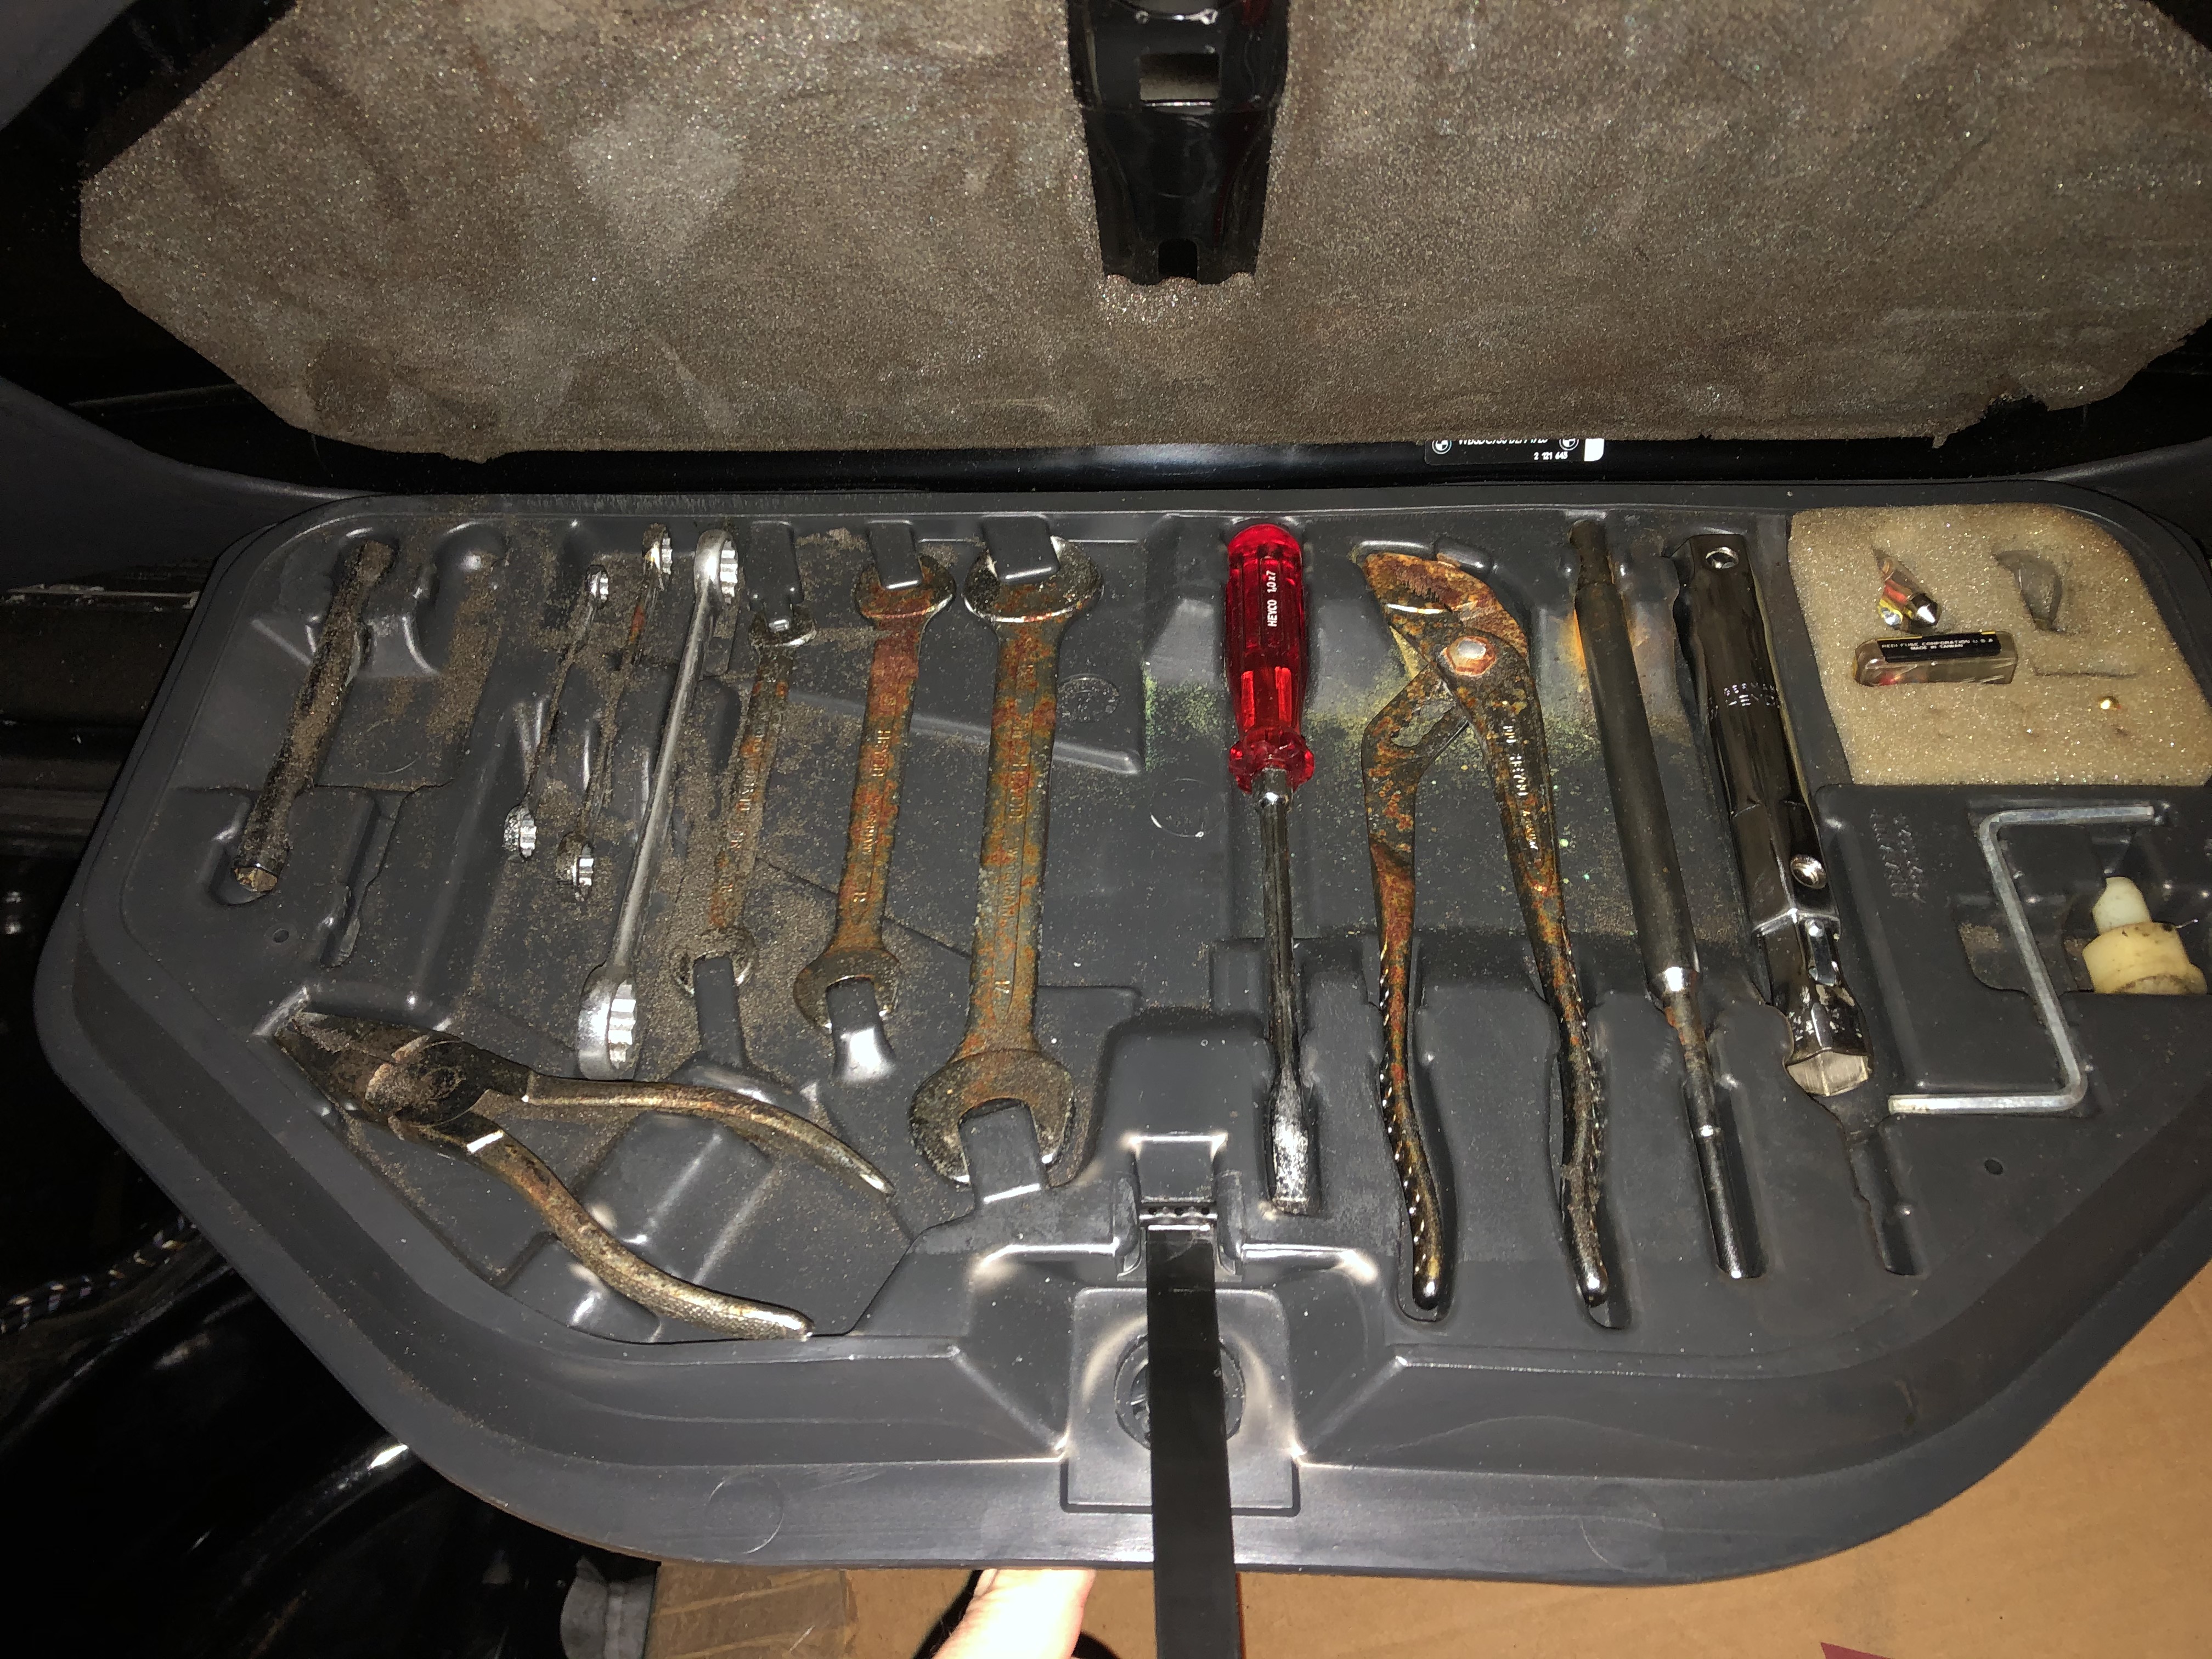
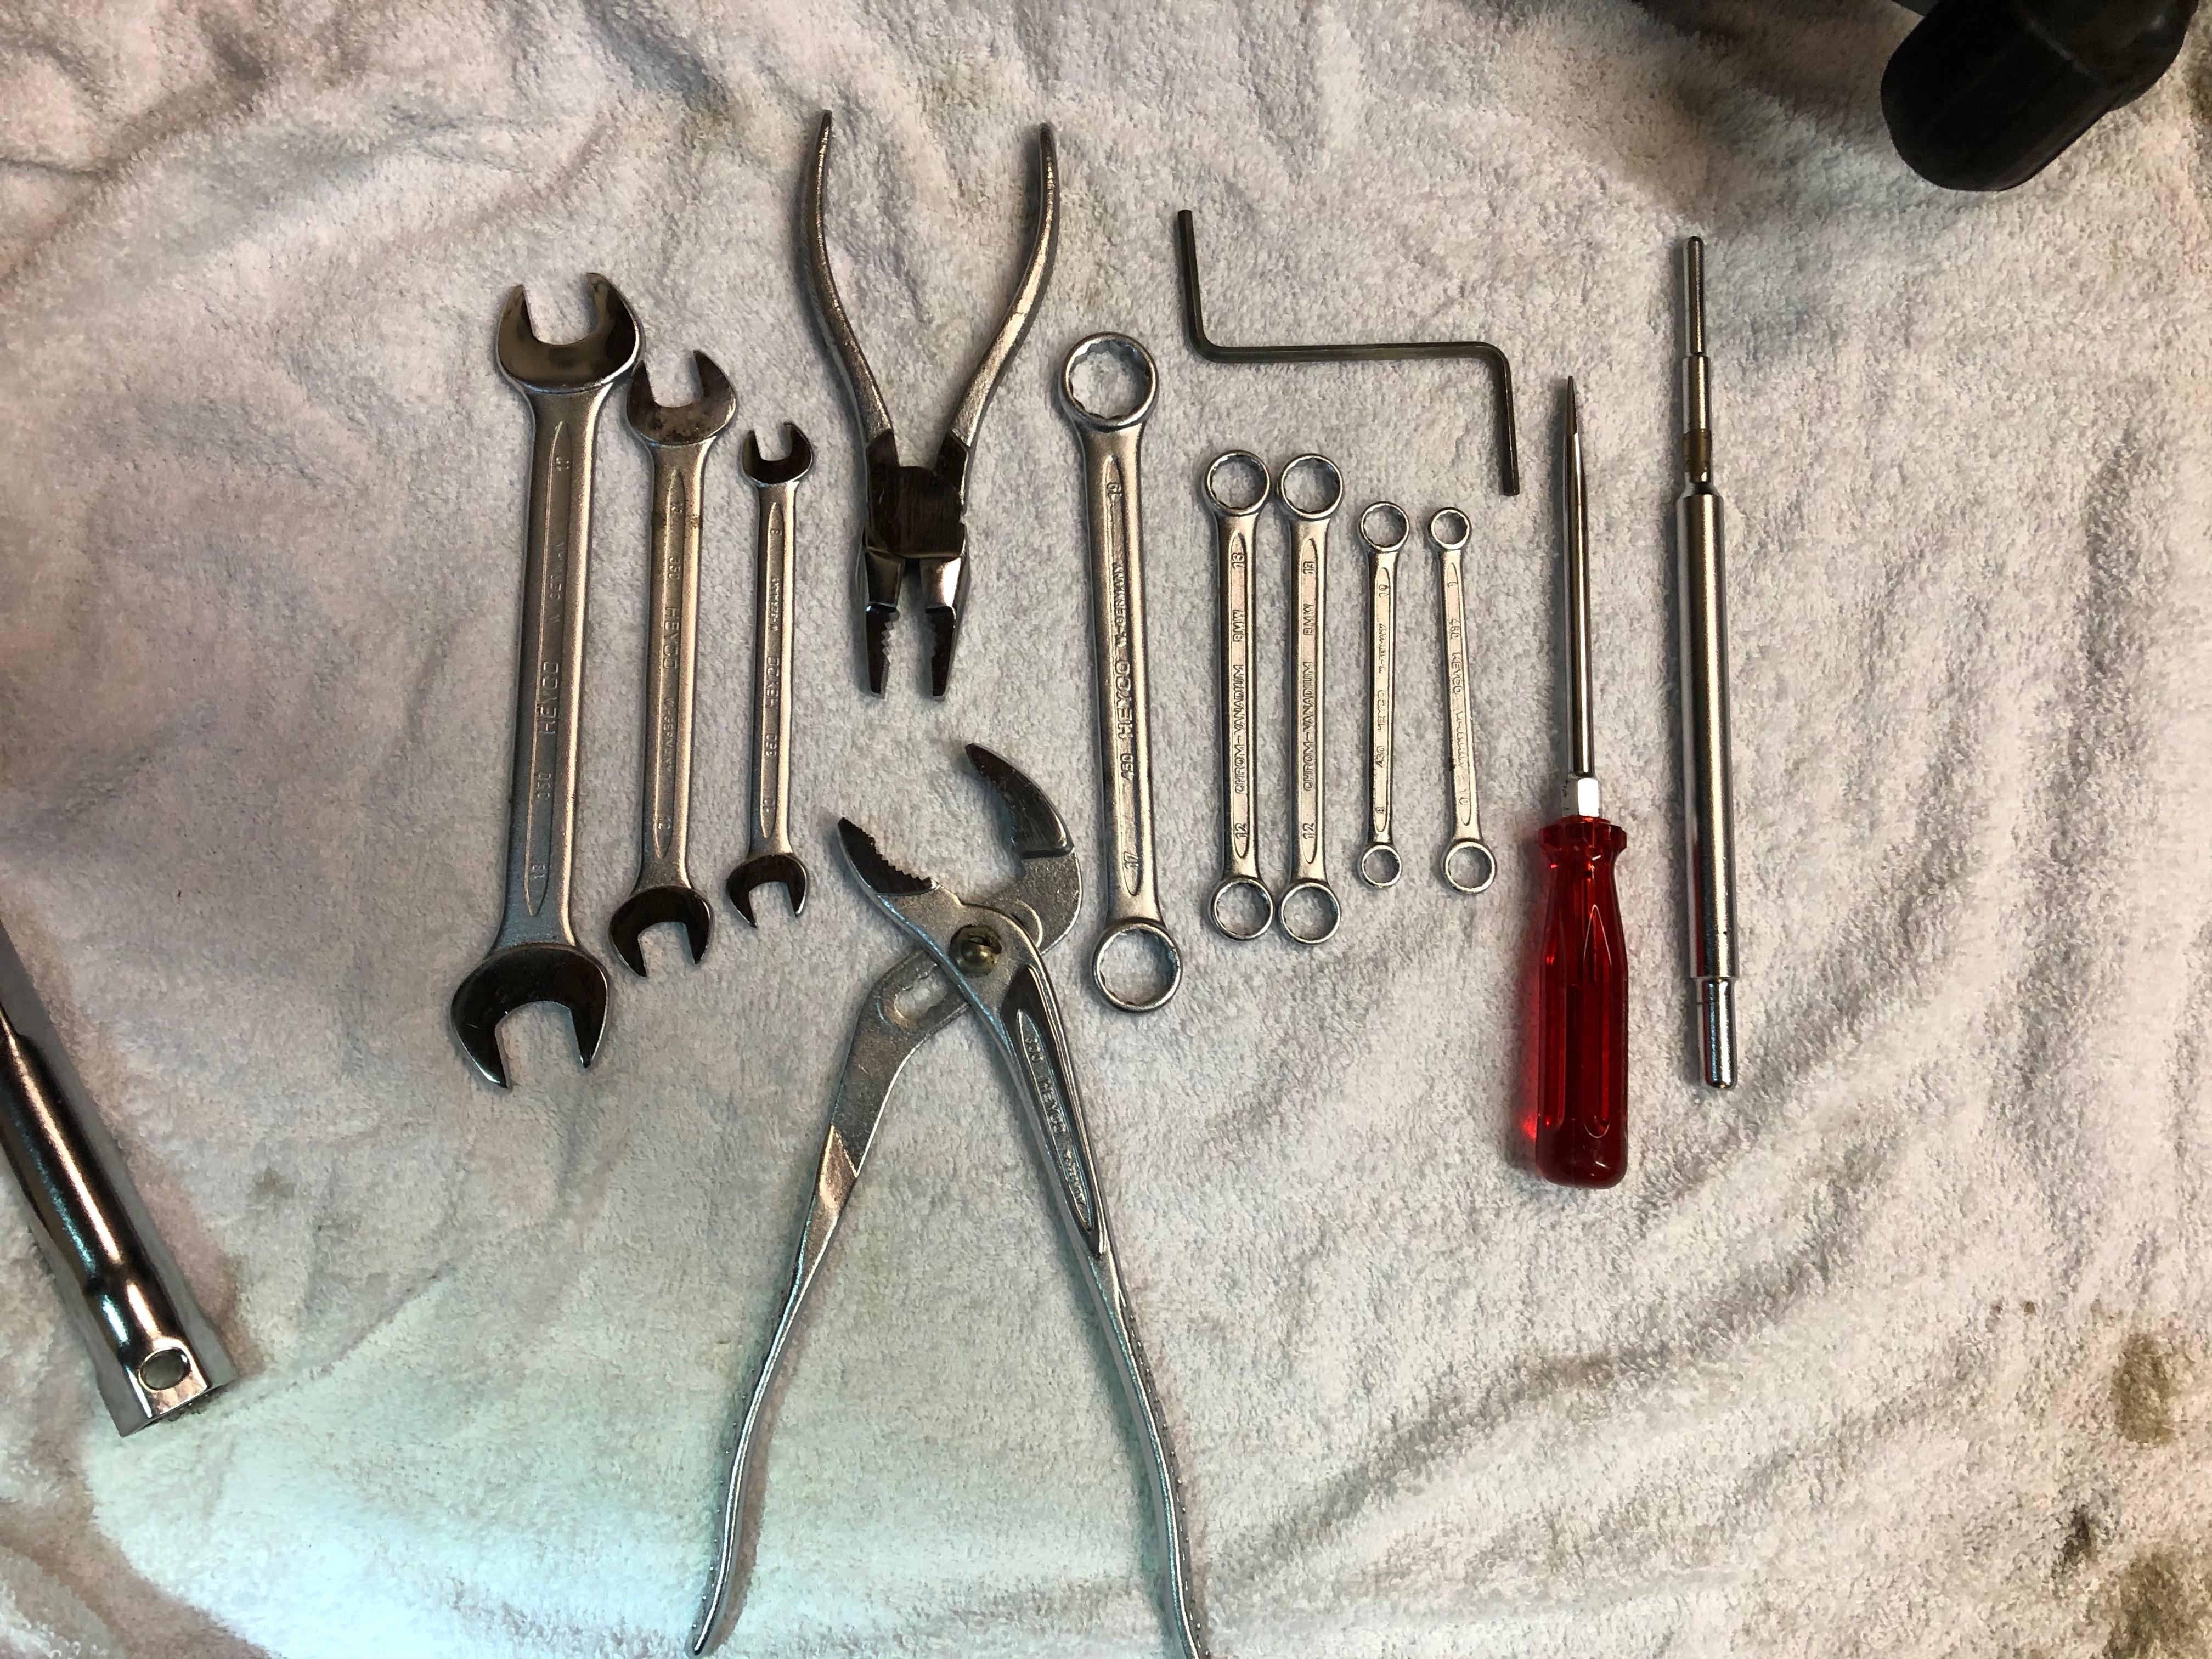
- The tools have lots of surface rust. I'll need to replace them or re-plate what I have. I'm inclined to do the former because I think that the surface rust is bad enough that the rust dimples will show.

Other
- Rip out the current stereo
- Rip out the Viper
- Rip out all the wiring mods under the dash that are related to the stereo & the Viper
- Cad plate all the fun parts under the hood
- Replace all the standard nuts & bolts with new stuff
- New window tint all around

Major questions:
- The SLS on this car works great. No leaks currently, and the PO had some work done there IIRC. But, do I do an SLS delete?
- Closely related to the SLS delete, do I try to source appropriate Bilstein shocks? Do I swap in aftermarket springs? Lower the car slightly?
- I need to understand ceramic coating vs powder coating - which do I do on the coolant pipes?
- The headliner is in OK condition. That said, I may be an outlier here, but I like the non-M5 style a lot more (foam sections instead of the one big cover). Should I replace the M5 cover with the standard foam sections?
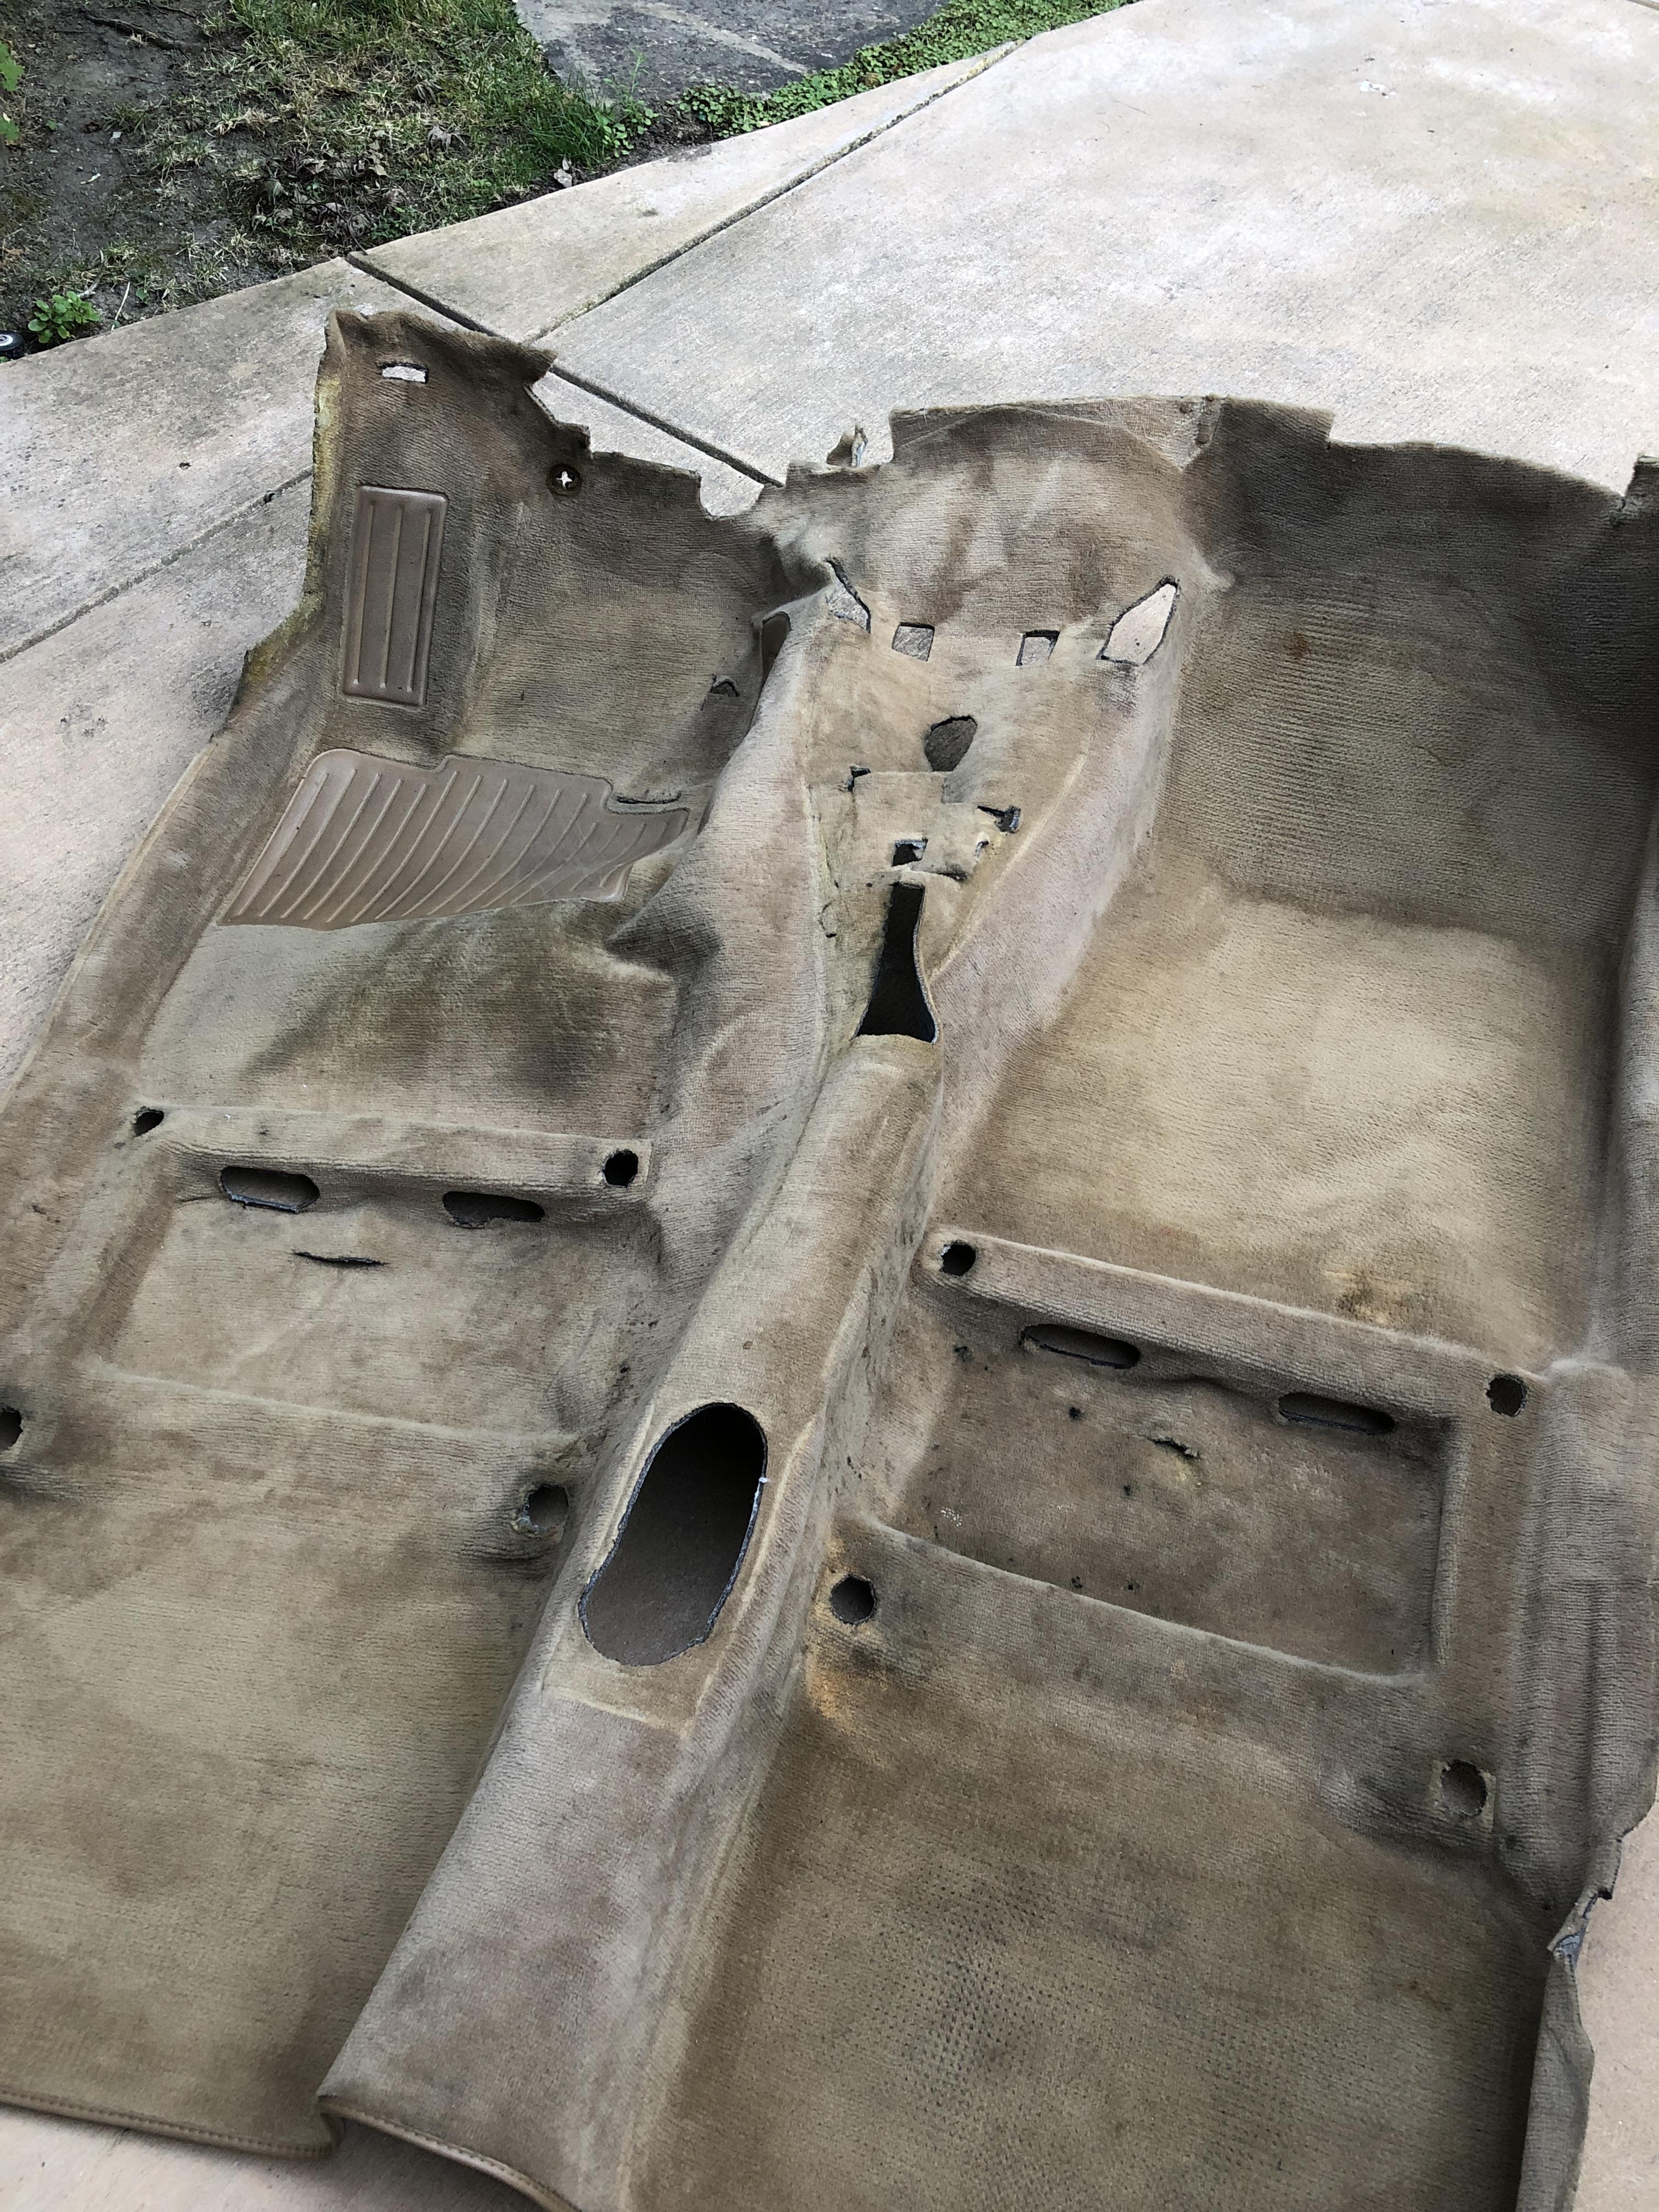
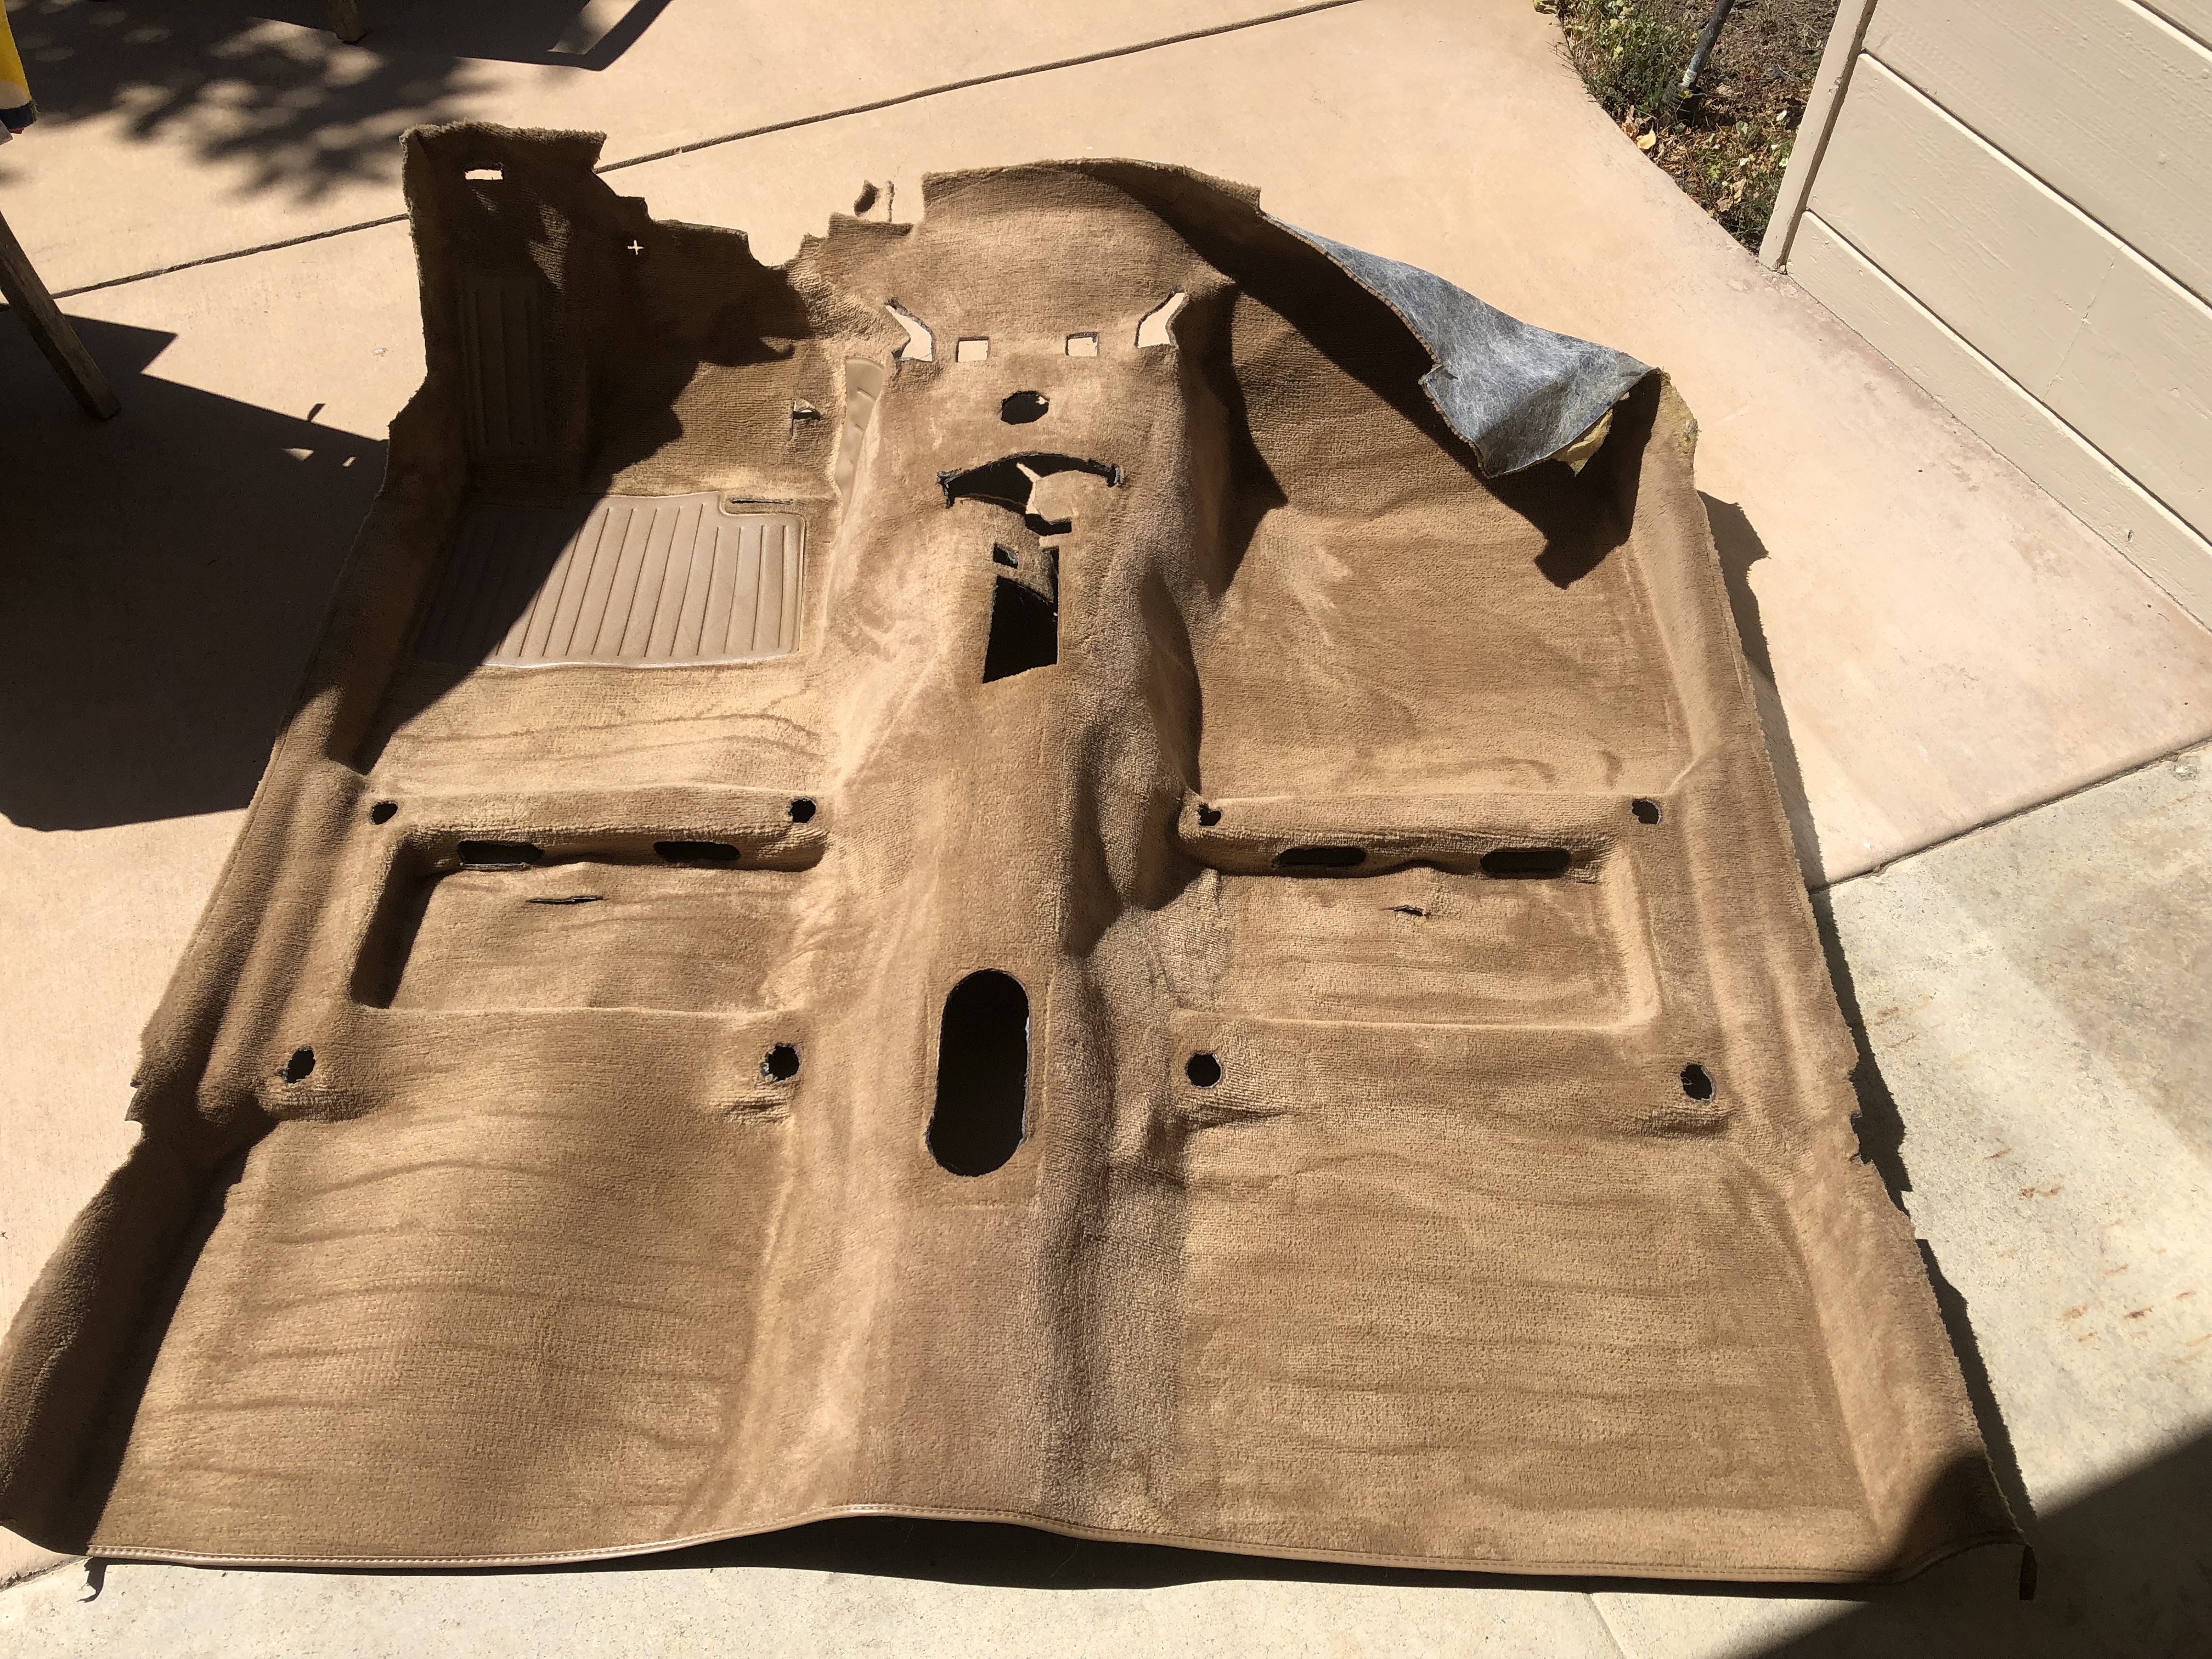
- Interior carpet is rough, not sure it will clean up adequately. I know there have been a bunch of threads about this recently, but I need to look into getting a good aftermarket replacement.
- As with pretty much every E28 I've been in, the front seatbelts don't retract well. I'd love to get the retractors refurbished ... is that doable? Or is there someone out there who does that kind of work? I've experimented with other spare mechanisms, but the coil springs just explode on me.

Goals:
- Get this done & drive it to St. Paddy's Day 2021, or maybe 5er West 2021 at the latest. But for the engine tuning, this should be totally doable
- And do this all for $5 or $10 bucks ... give or take a some zeros.

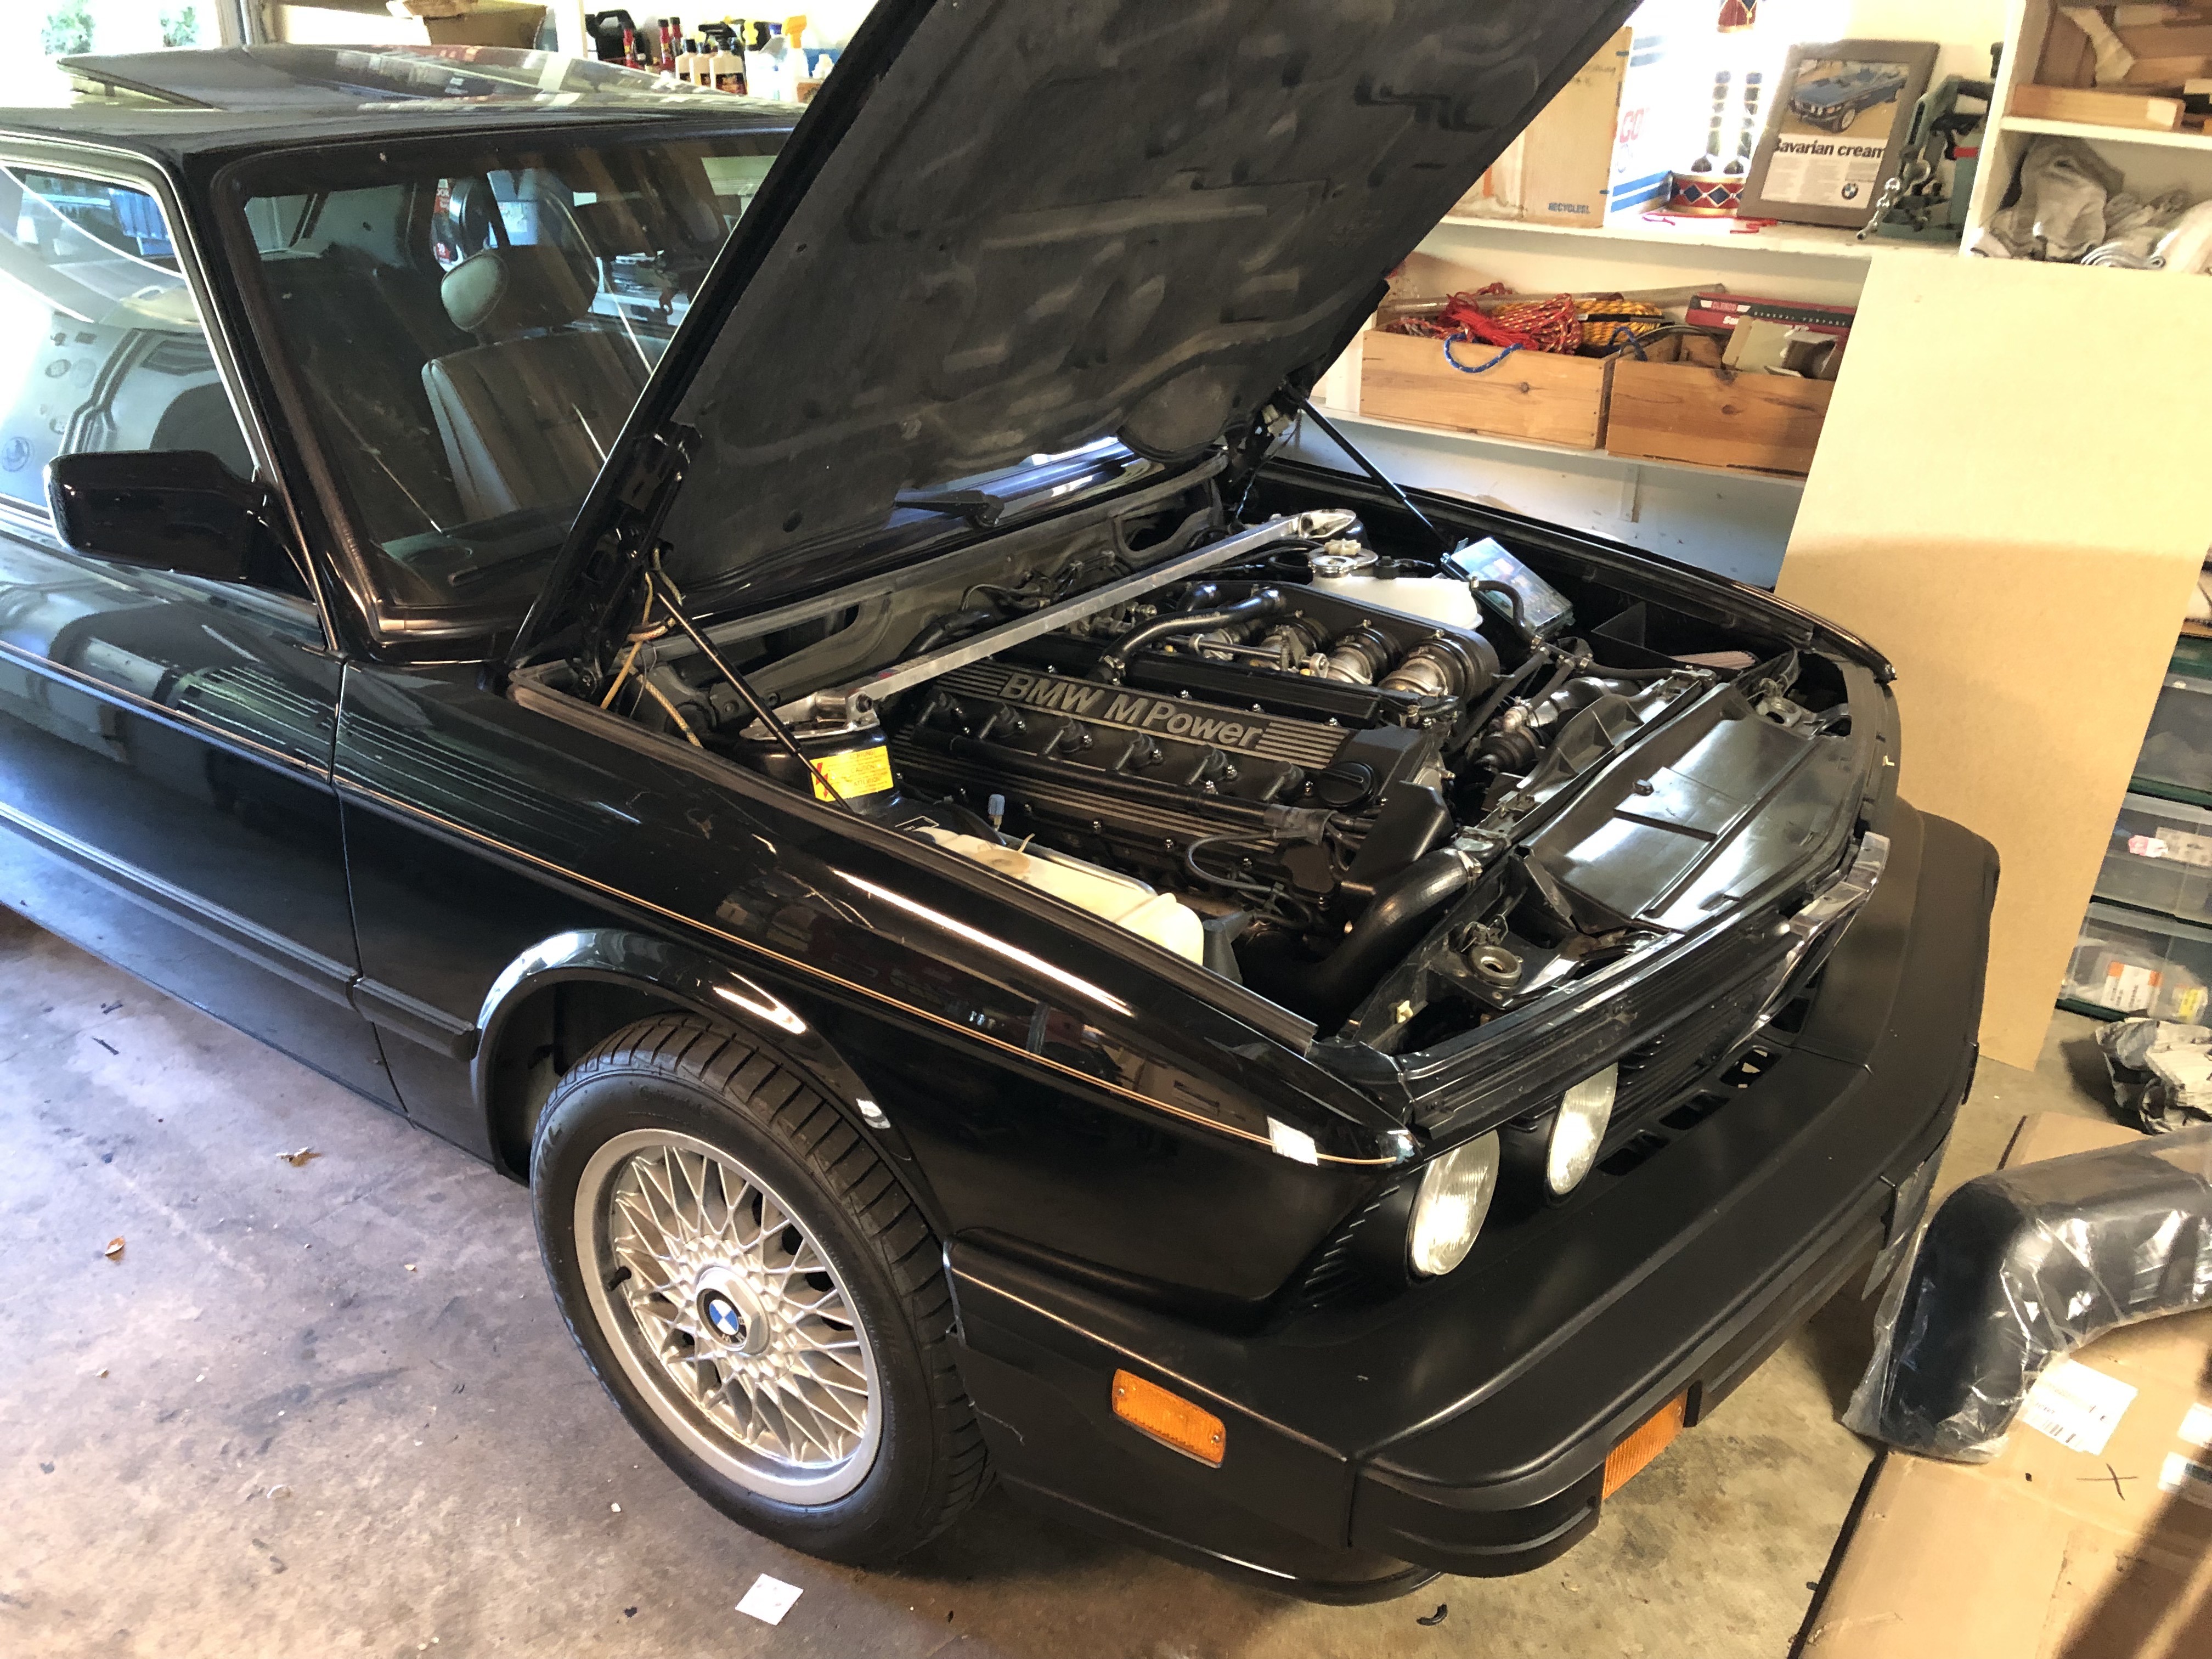
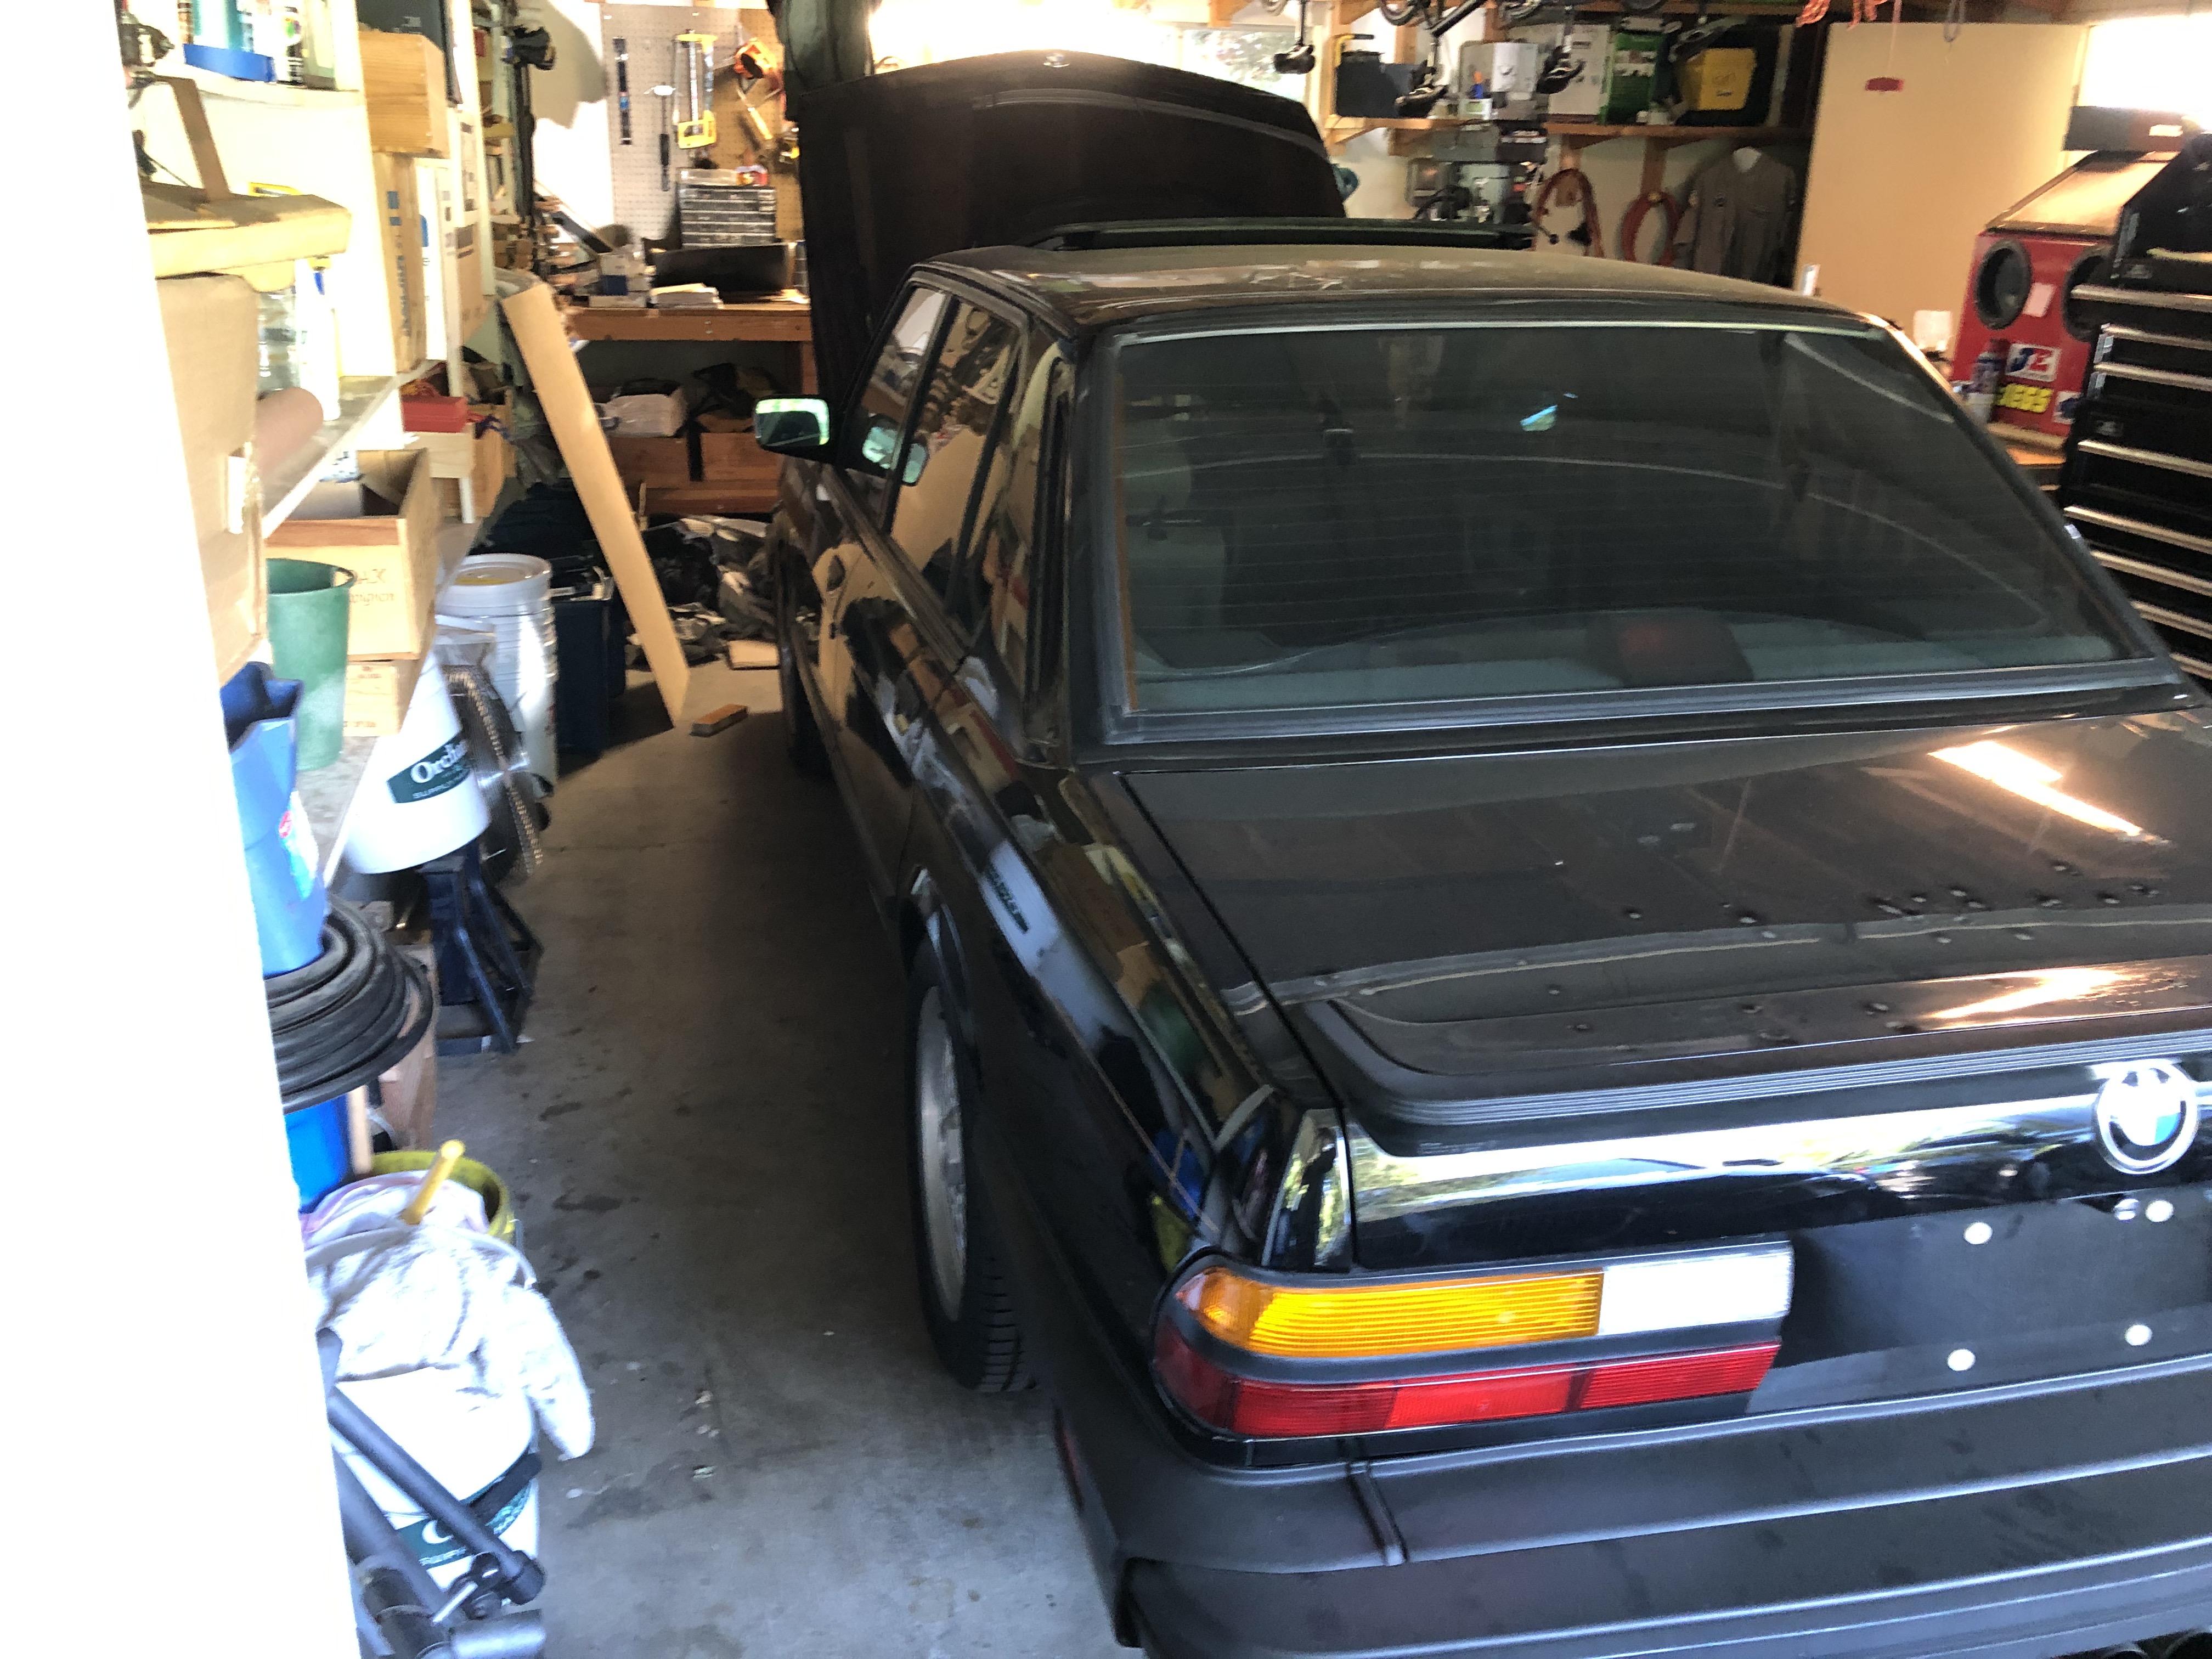
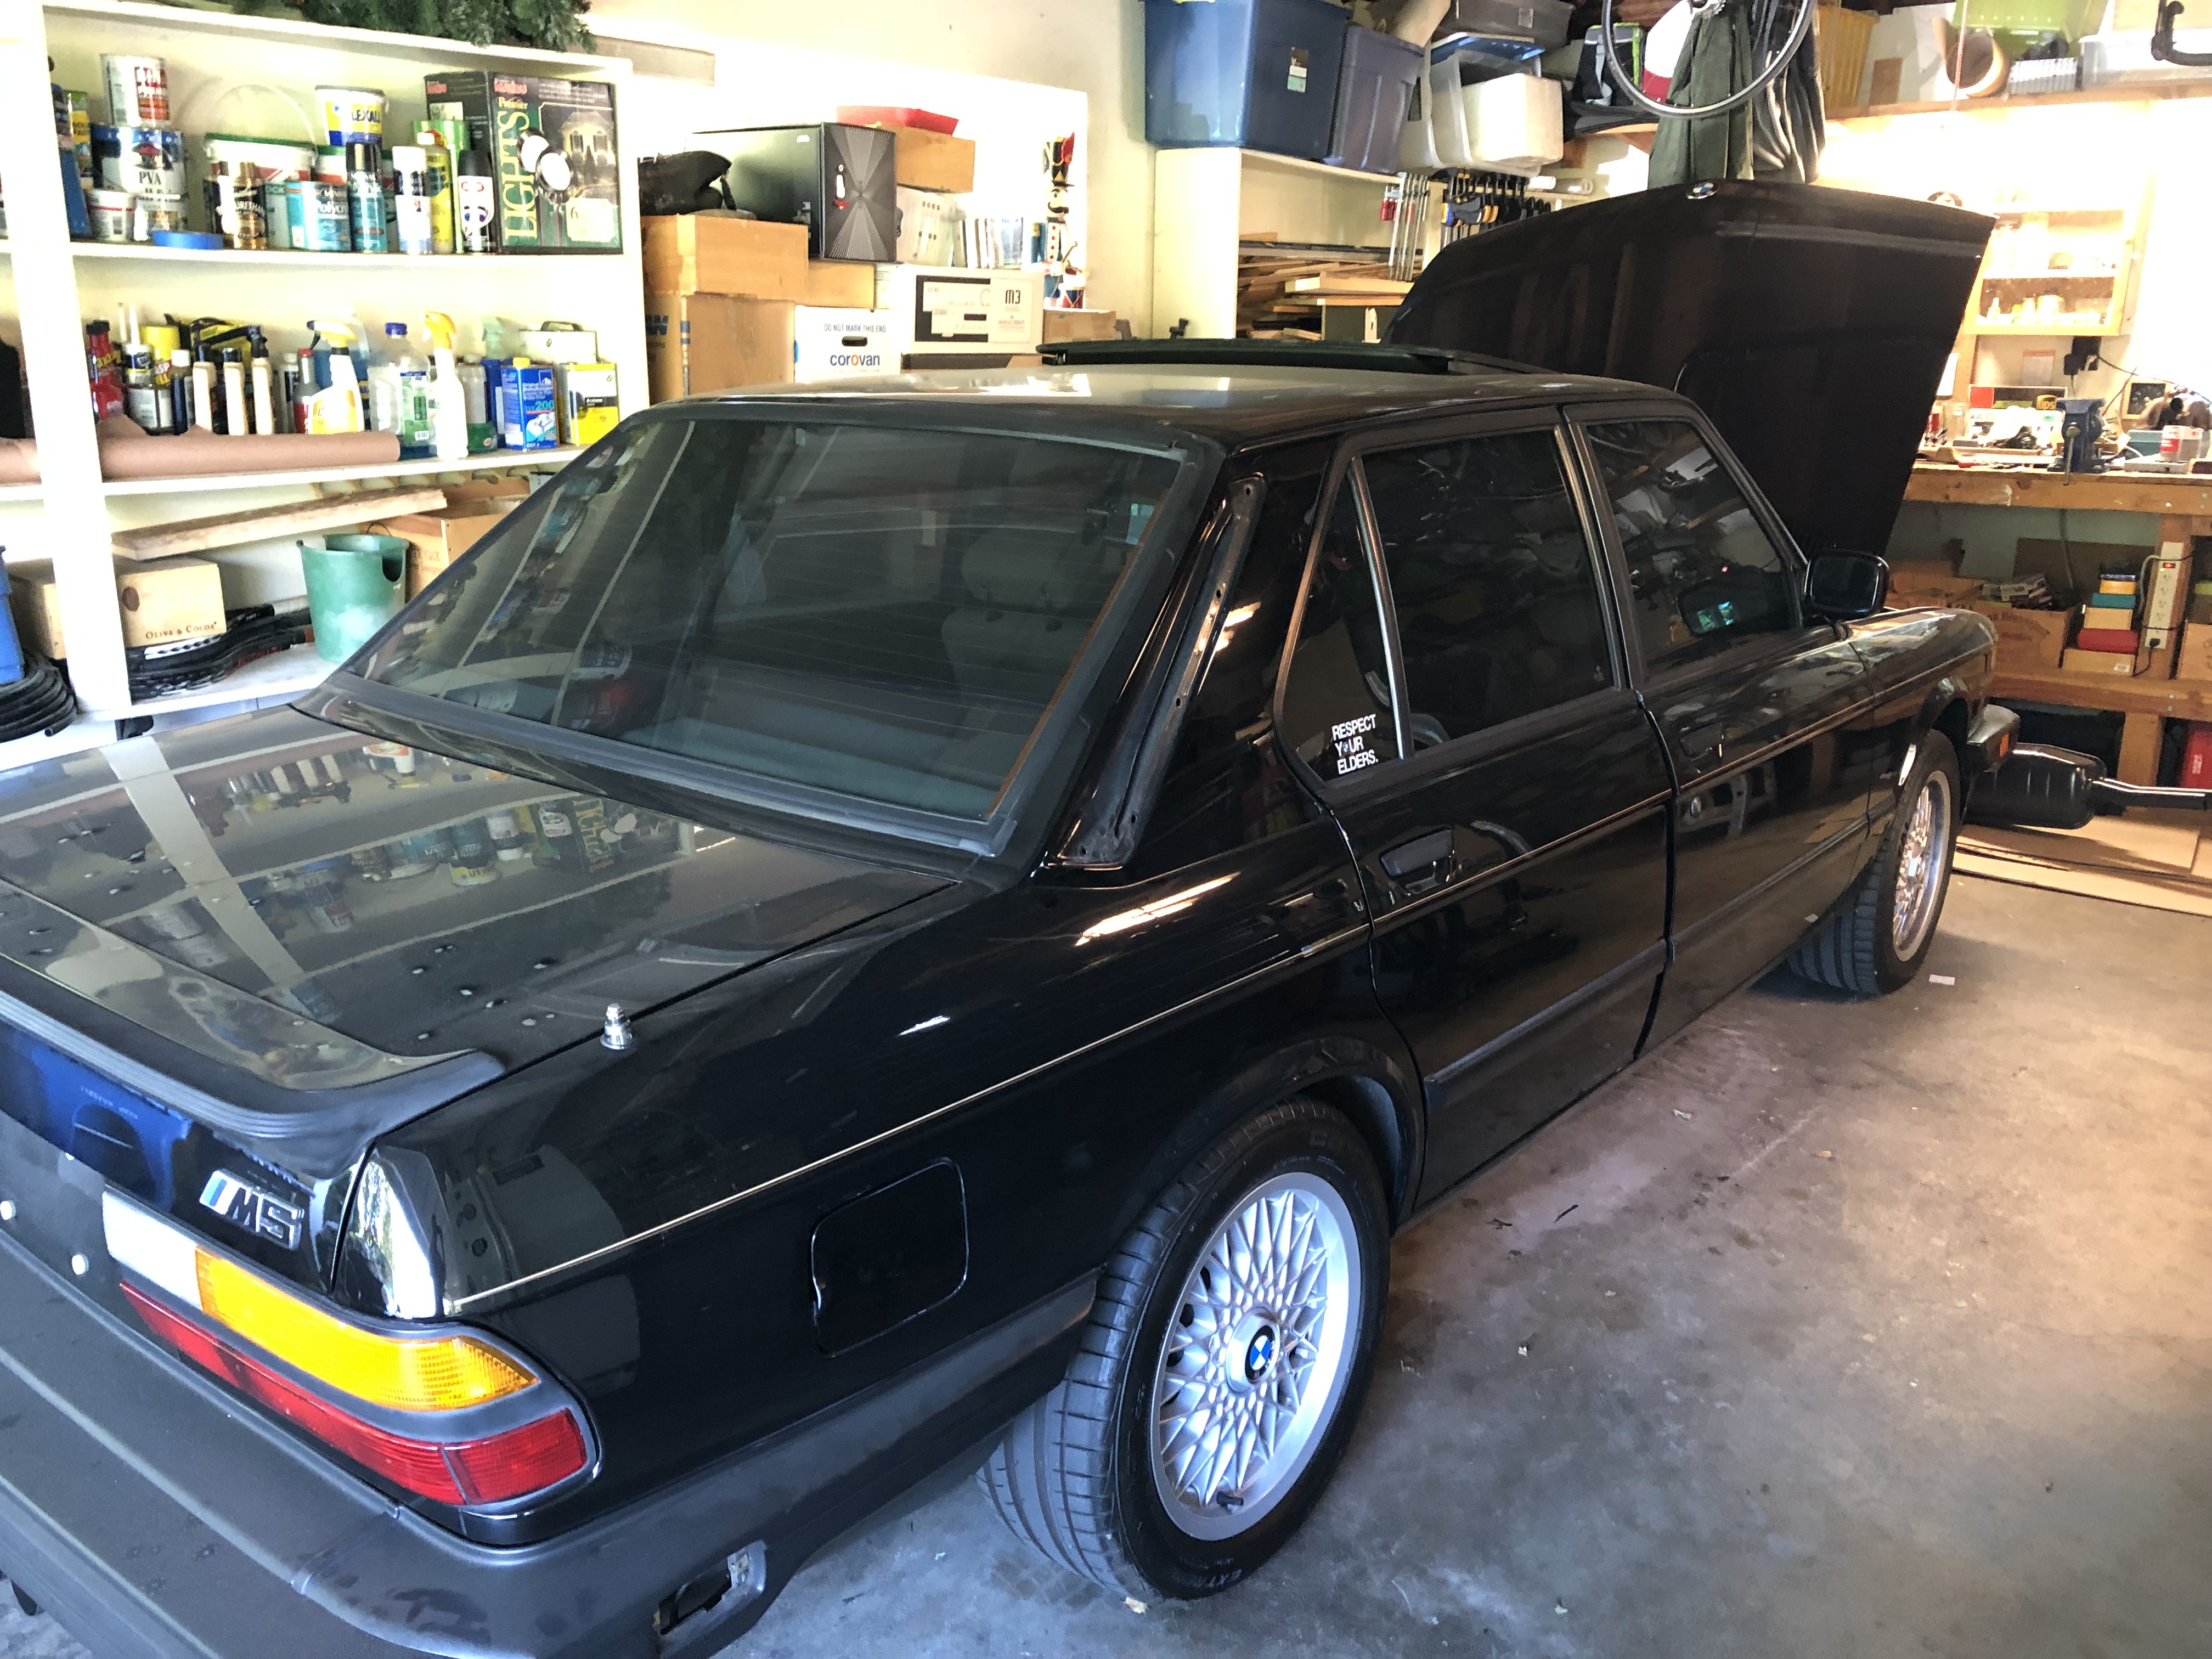
A few pics as I'm starting:
Image

Image

Image

Image
jhh925
Posts: 917
Joined: Jul 11, 2015 12:23 AM
Location: Reno

Re: Rebuilding My 1988 US-spec M5

Post by jhh925 »

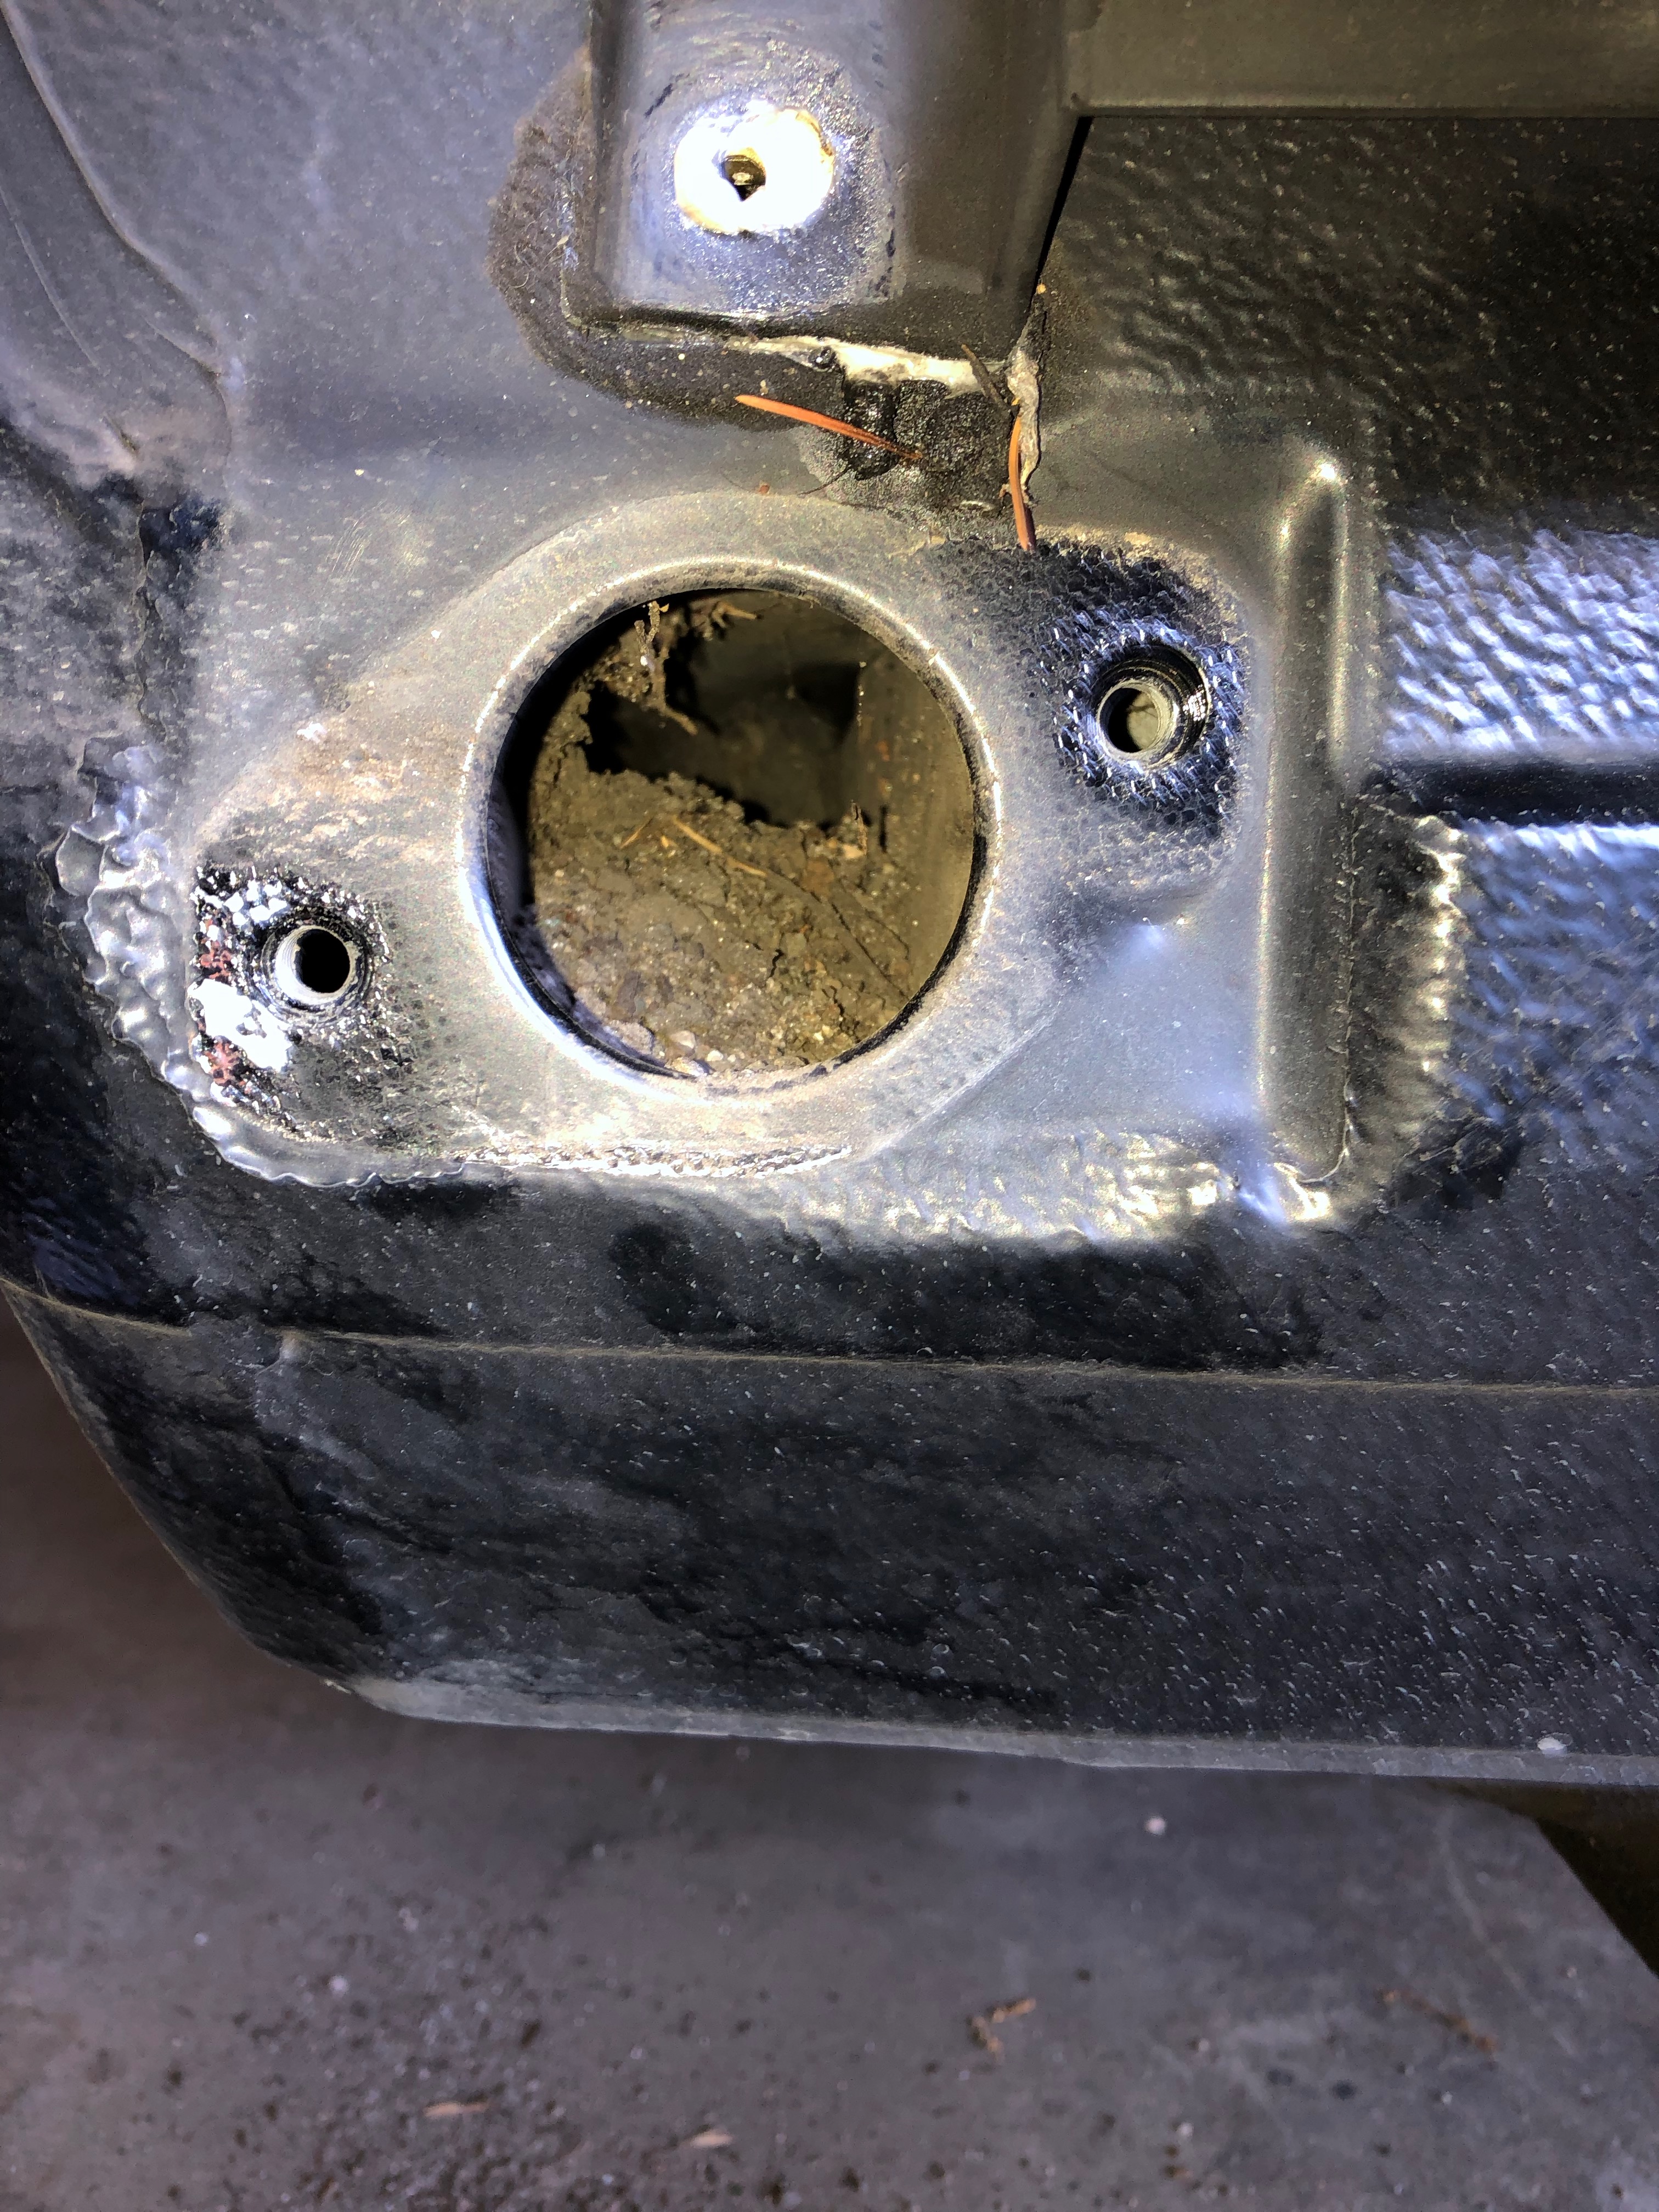
So far, there are lots of pleasant surprises on the body. Or maybe I should say that the positive surprises are outweighing the negative. In taking off the rear bumpers, I found (as is typical) about a cup of accumulated mud caked in the rear bumper mount tunnels. After cleaning all that crap out, I find not a molecule of rust. Yay! Oh, also, both front & rear bumpers have the original VIN stickers. CarFax at least got something right on this car.

Image

Image

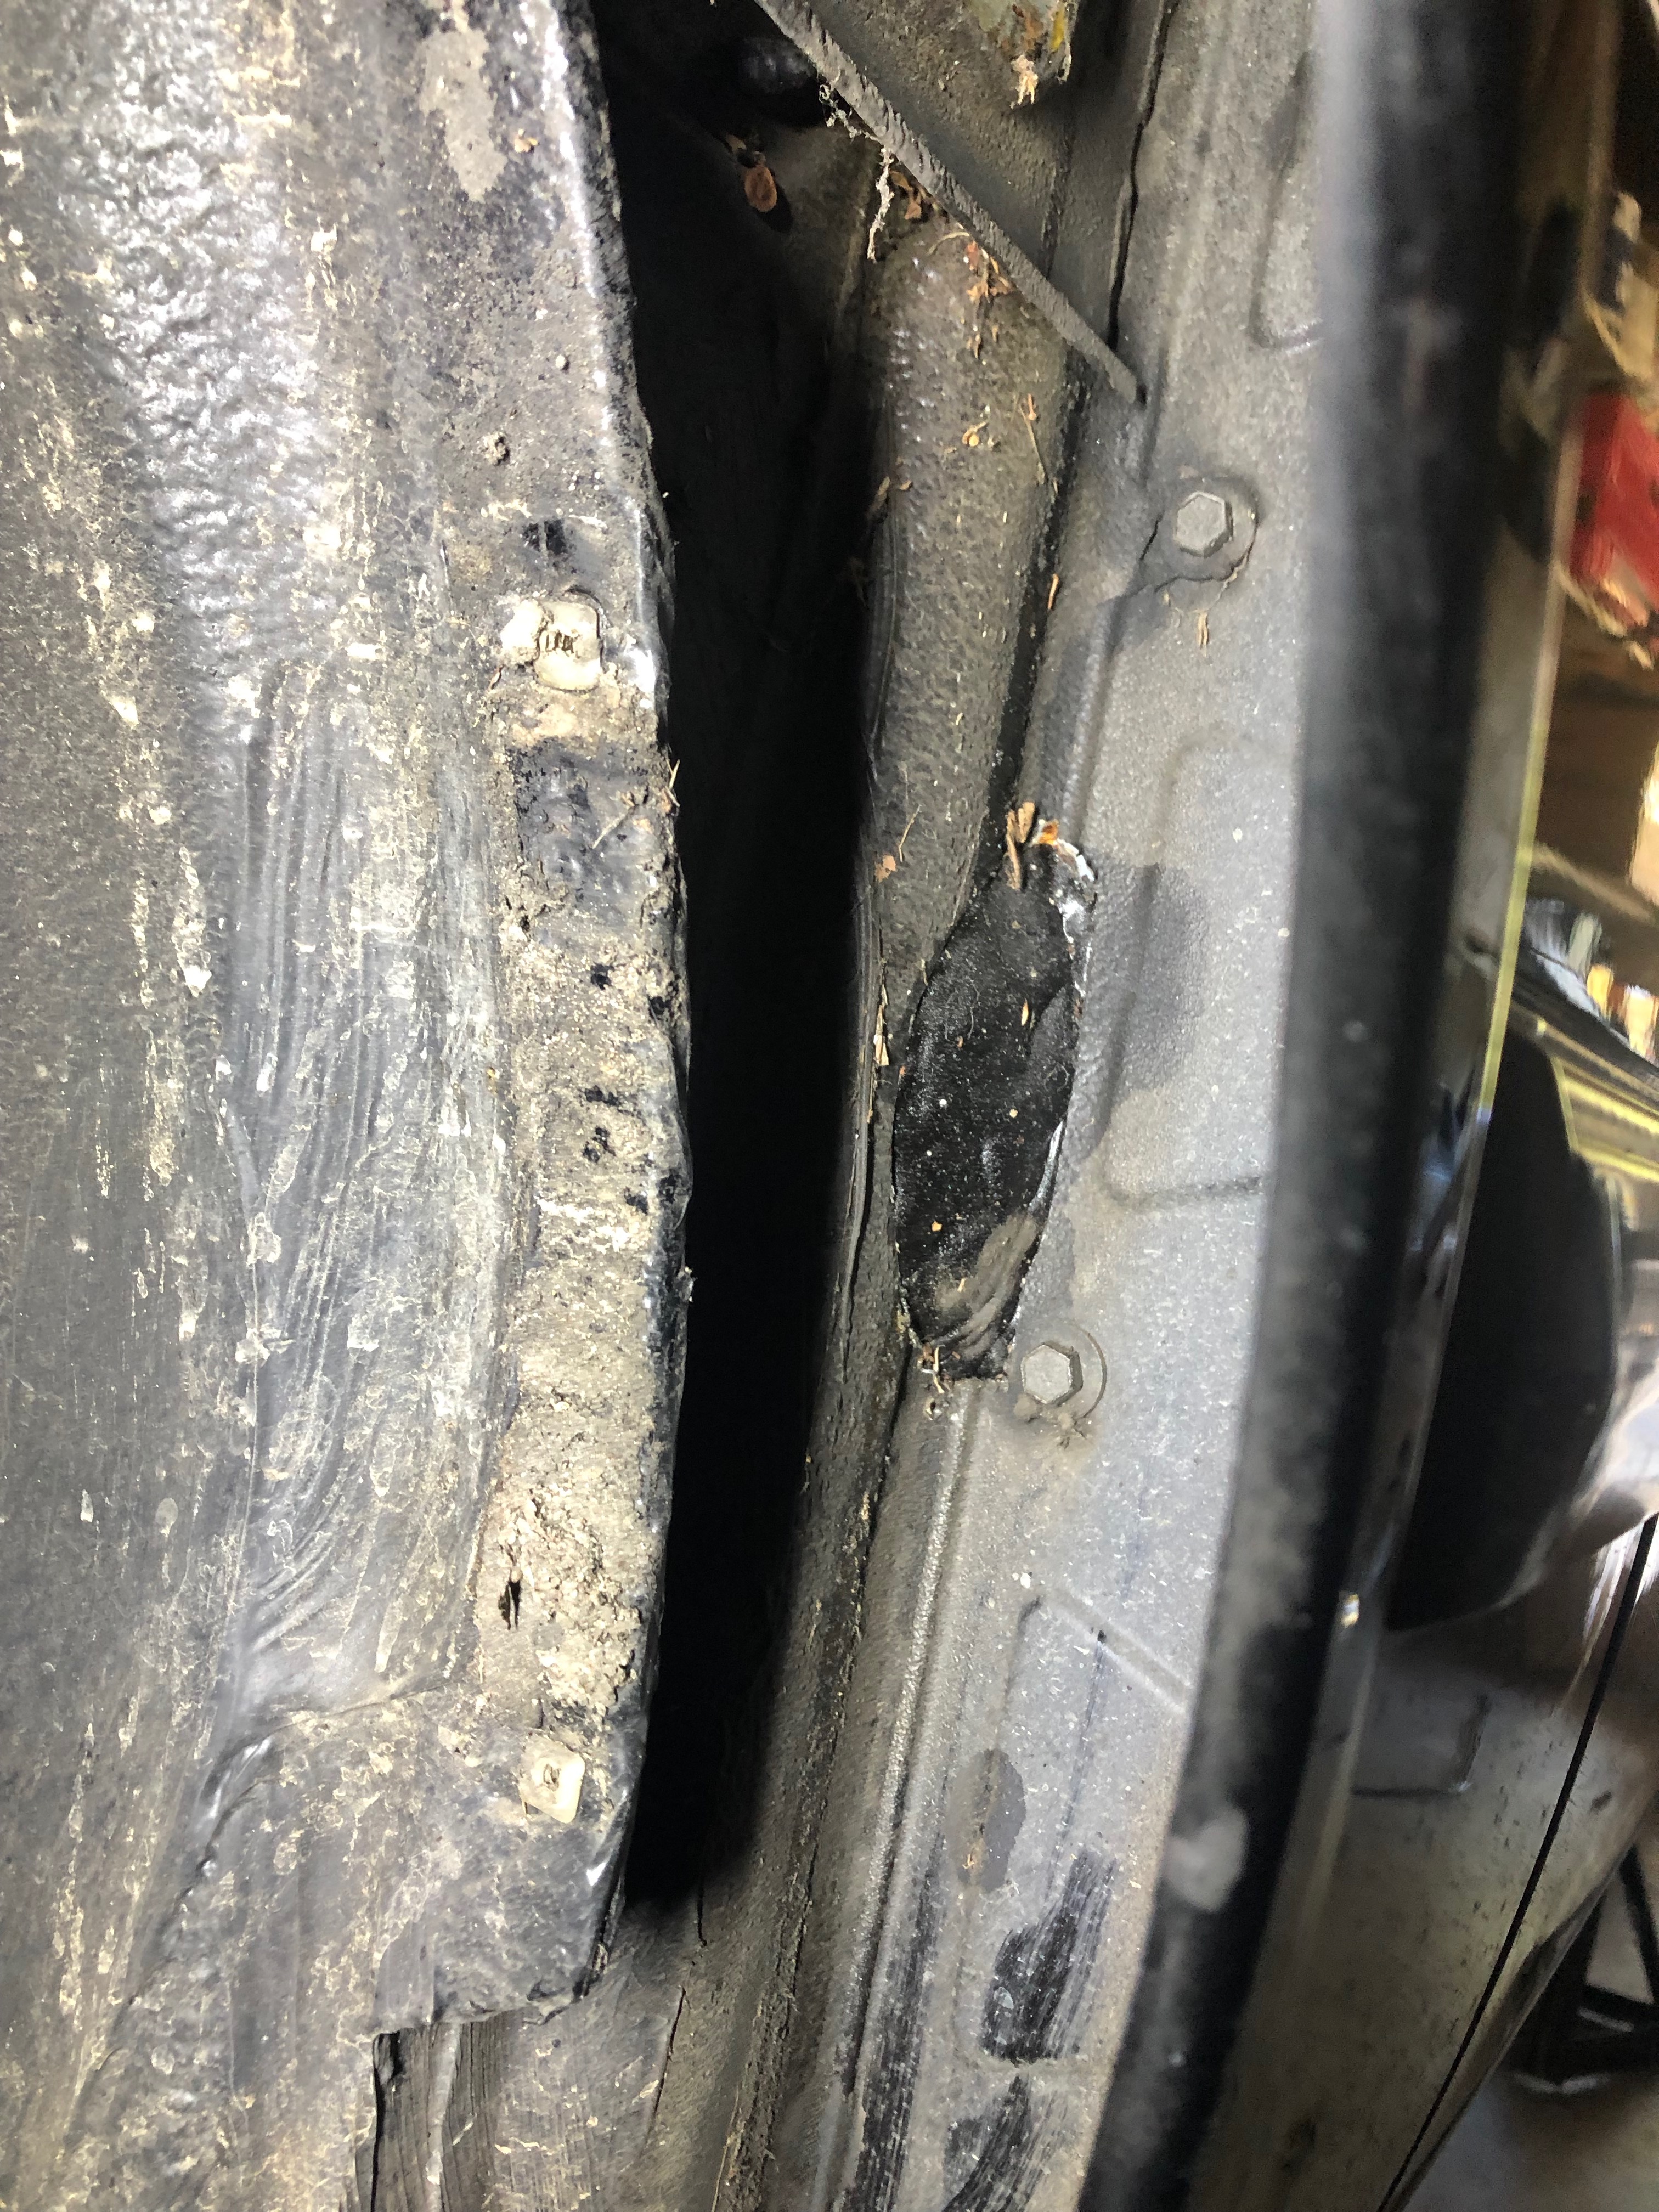
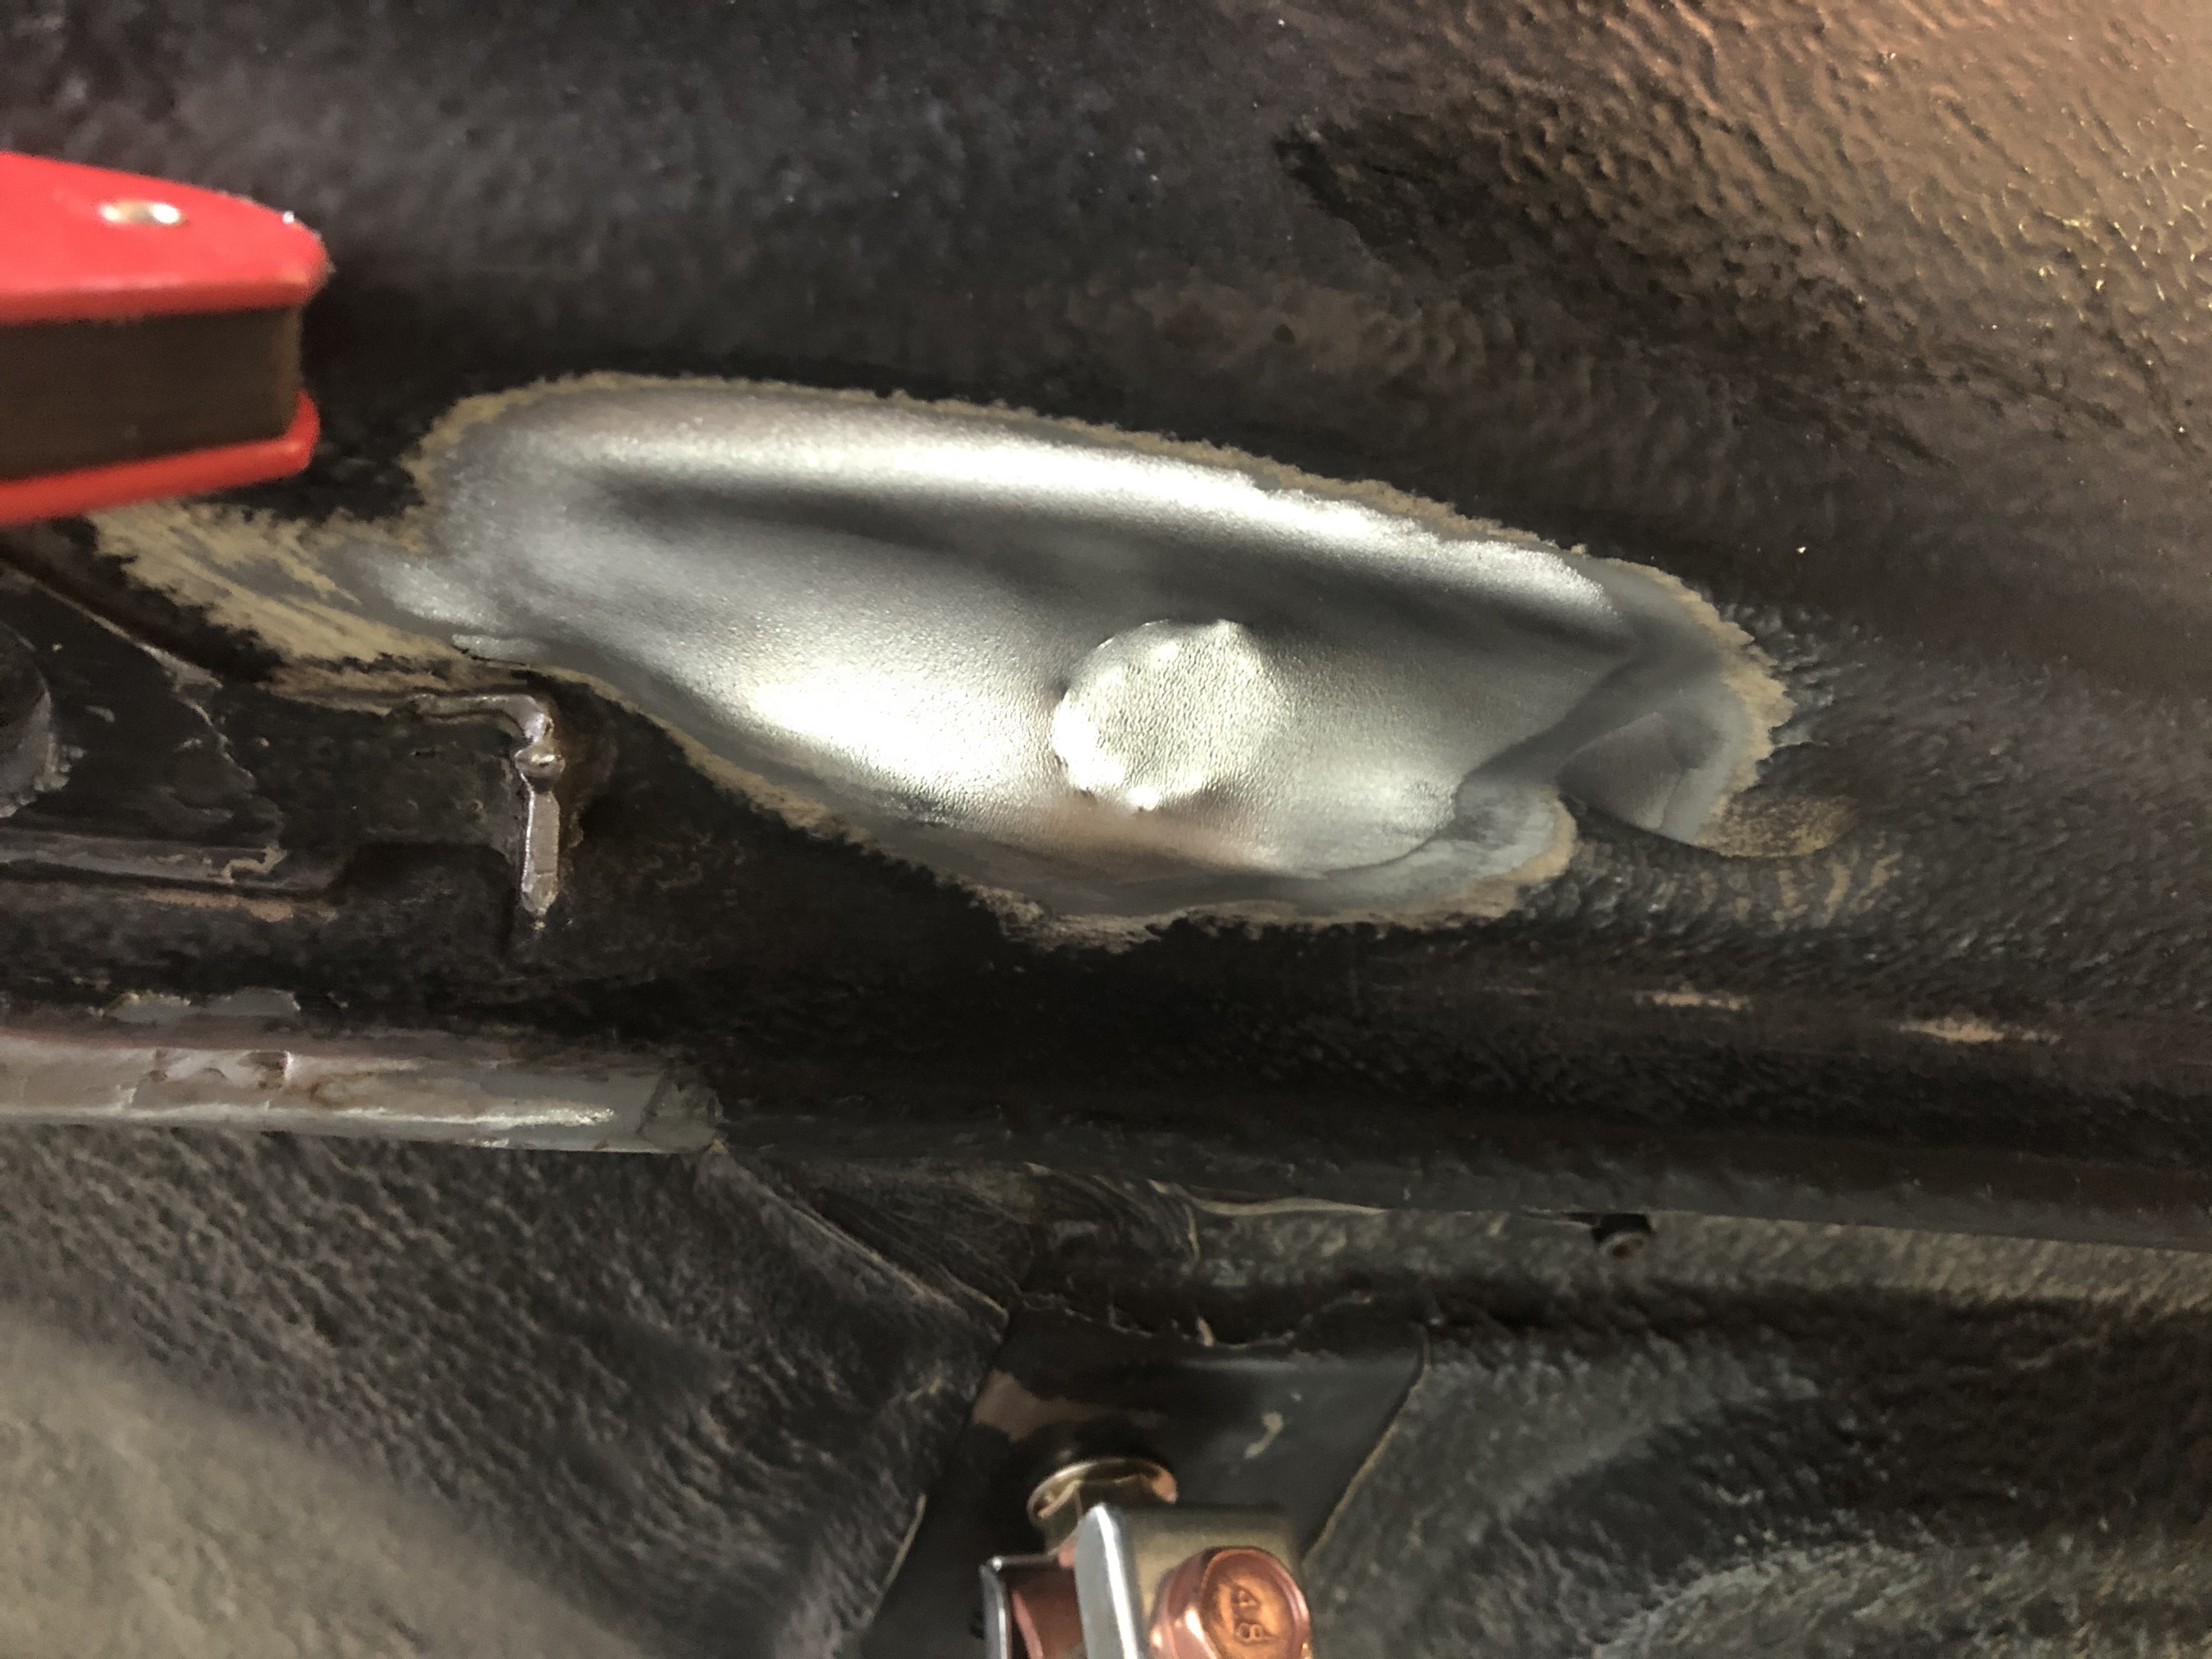
And for negative surprises ... any guess on what this "bubble" is? This picture was taken from inside the front wheel-well looking to the rear. If this were an X-ray, you'd be looking right at the driver's left knee.

Image

I can almost imagine exactly what happened. The stereo shop upsells one of the prior owners on a kick-ass thumpin' set up. They charge up a couple thousand on the guy's Amex. Then they drive the car out back where some monkey with a sawzall starts trying to figure out how to fit in the new front speakers that the sales guy promised would fit just fine. They start cutting the inside wall. They figure if they could just take a little bit out of that back wall, the speaker would fit so much better. Oh, wait. The monkey sees dirt. The monkey sees fender liner. The monkey panics. The monkey gets creative. The monkey sticks Dynamat over the hole they just cut in the frame, and then congratulates the customer on the sound deadening material they decided to throw in for free just cause this set up is so bitchin' ... At least they caught themselves before they cut the frame on the passenger side.


Speaker hole is also butchered. Plan is to source an unmolested version of that section of sheetmetal around the speaker & weld that in, and weld a new patch over that cut hole. Then primer, seam seal & undercoat.
jhh925
Posts: 917
Joined: Jul 11, 2015 12:23 AM
Location: Reno

Re: Rebuilding My 1988 US-spec M5

Post by jhh925 »

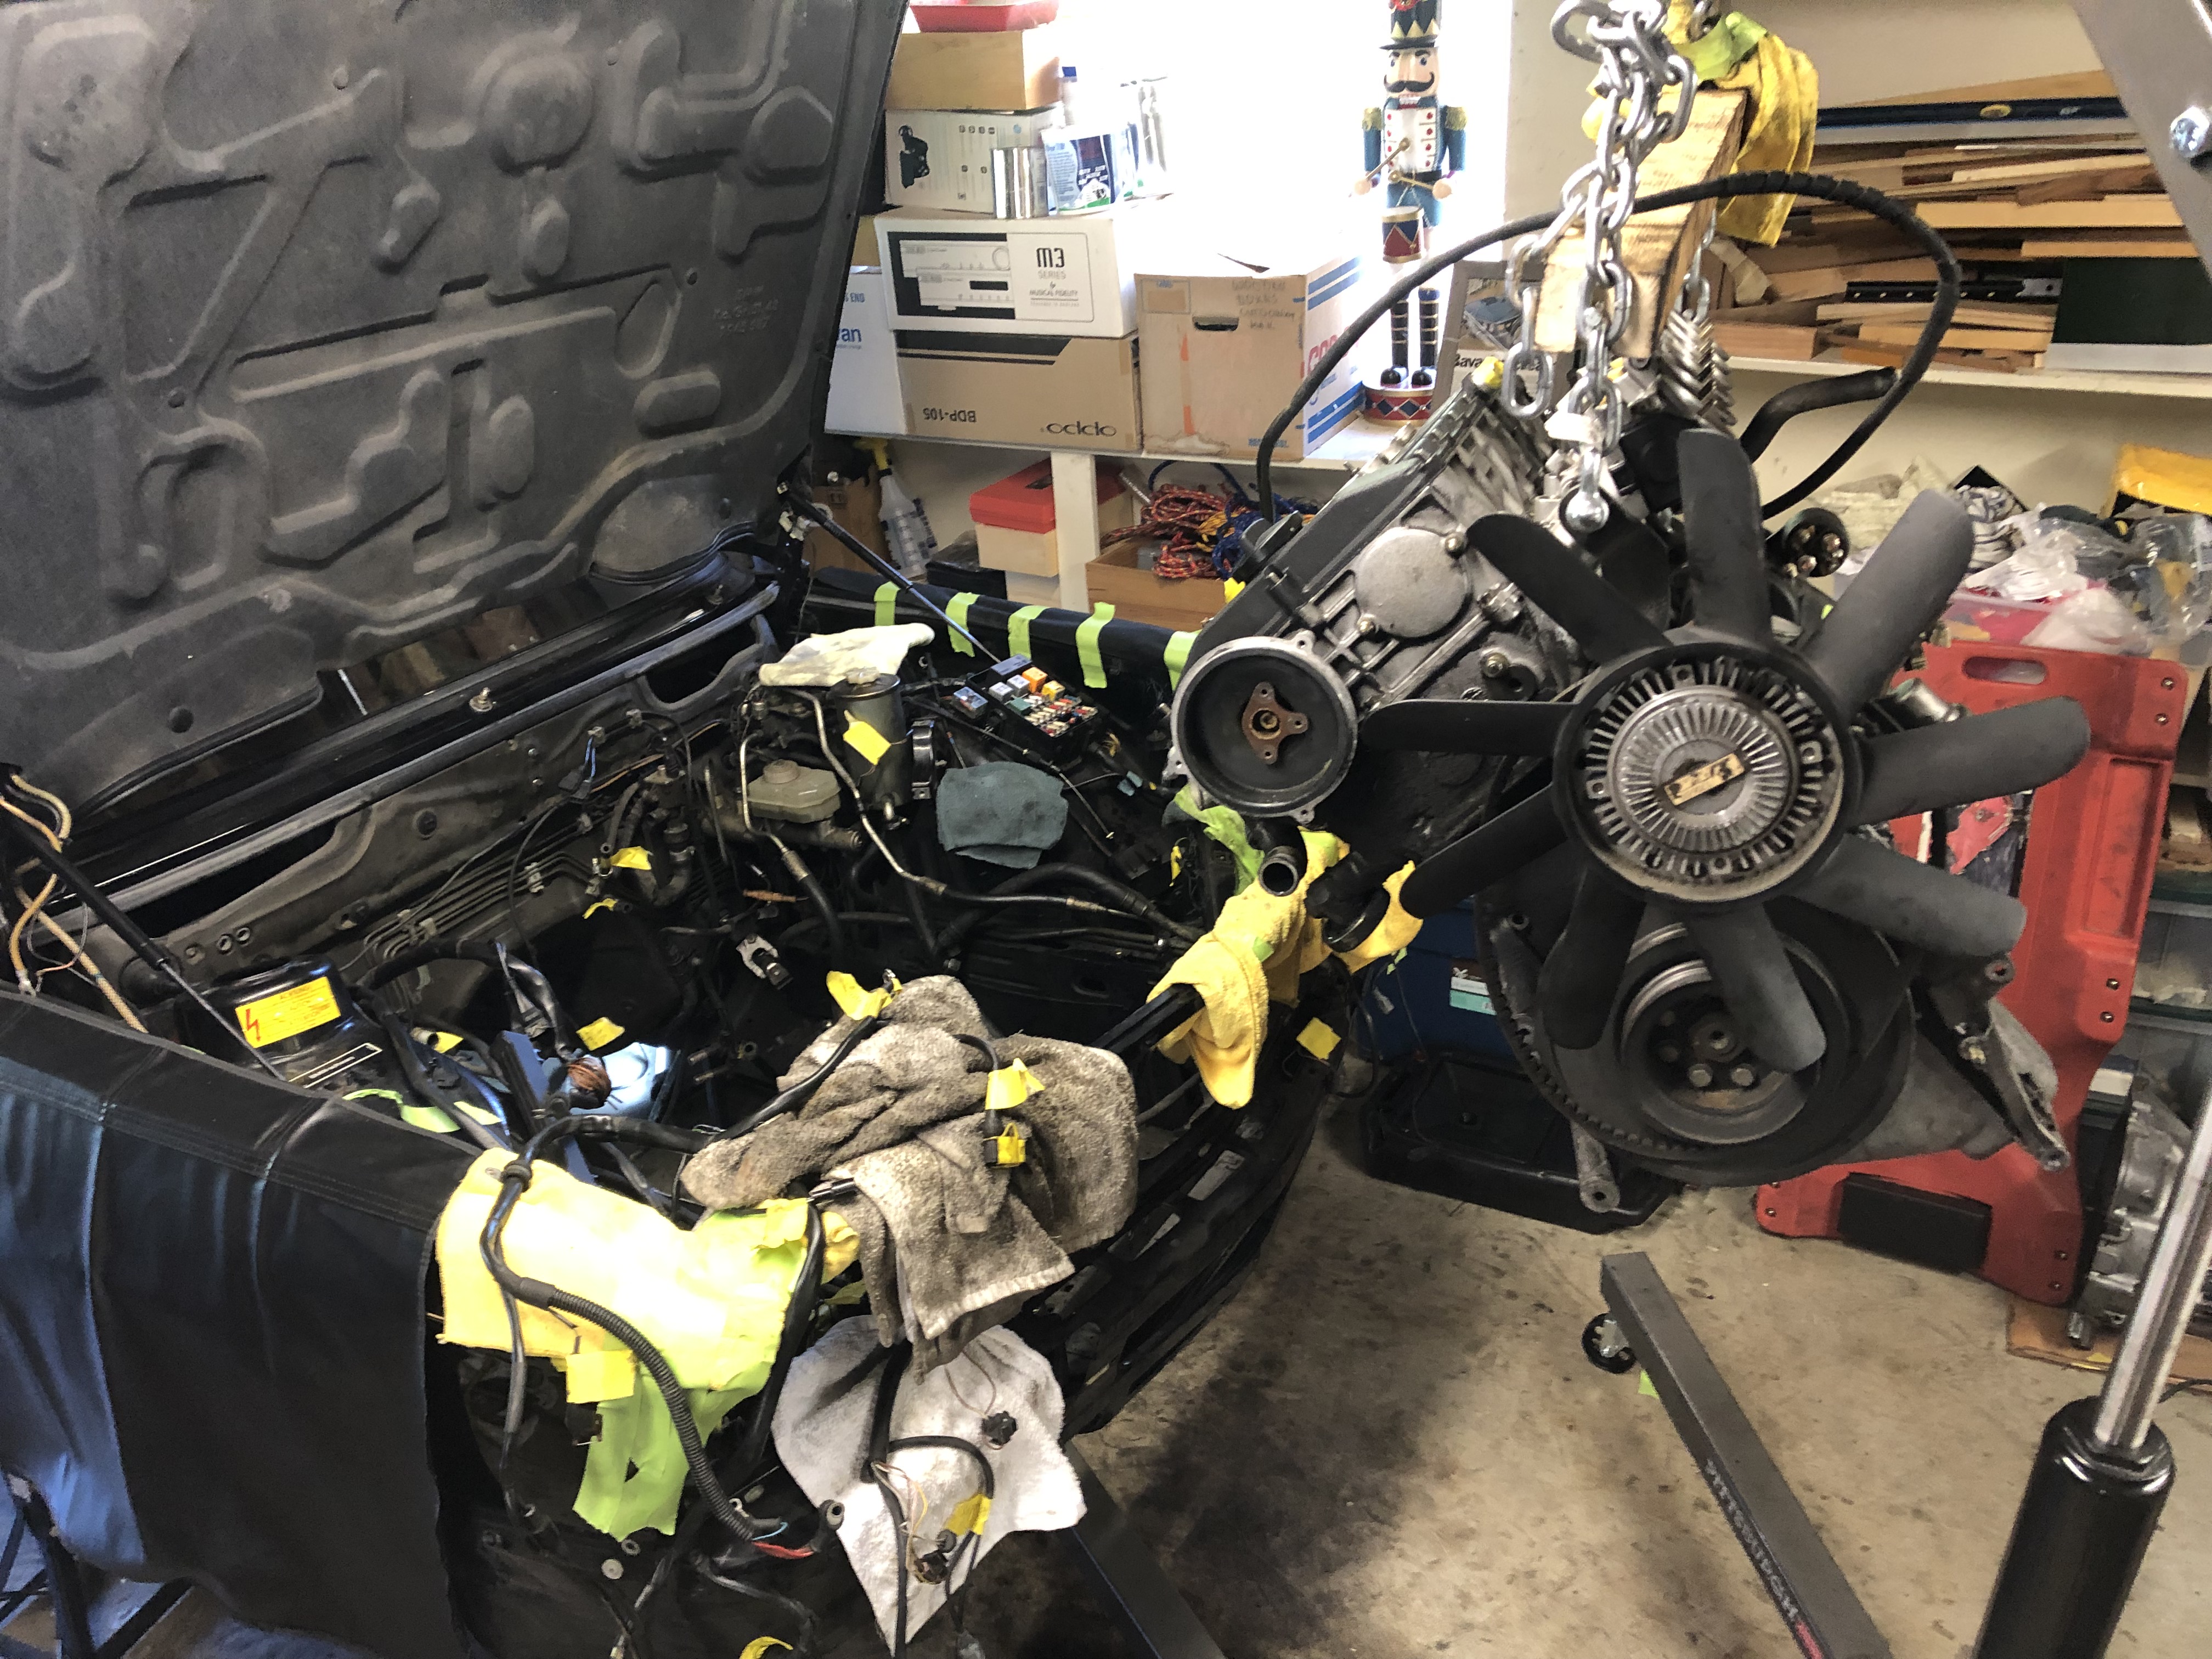
Motor is out

Image

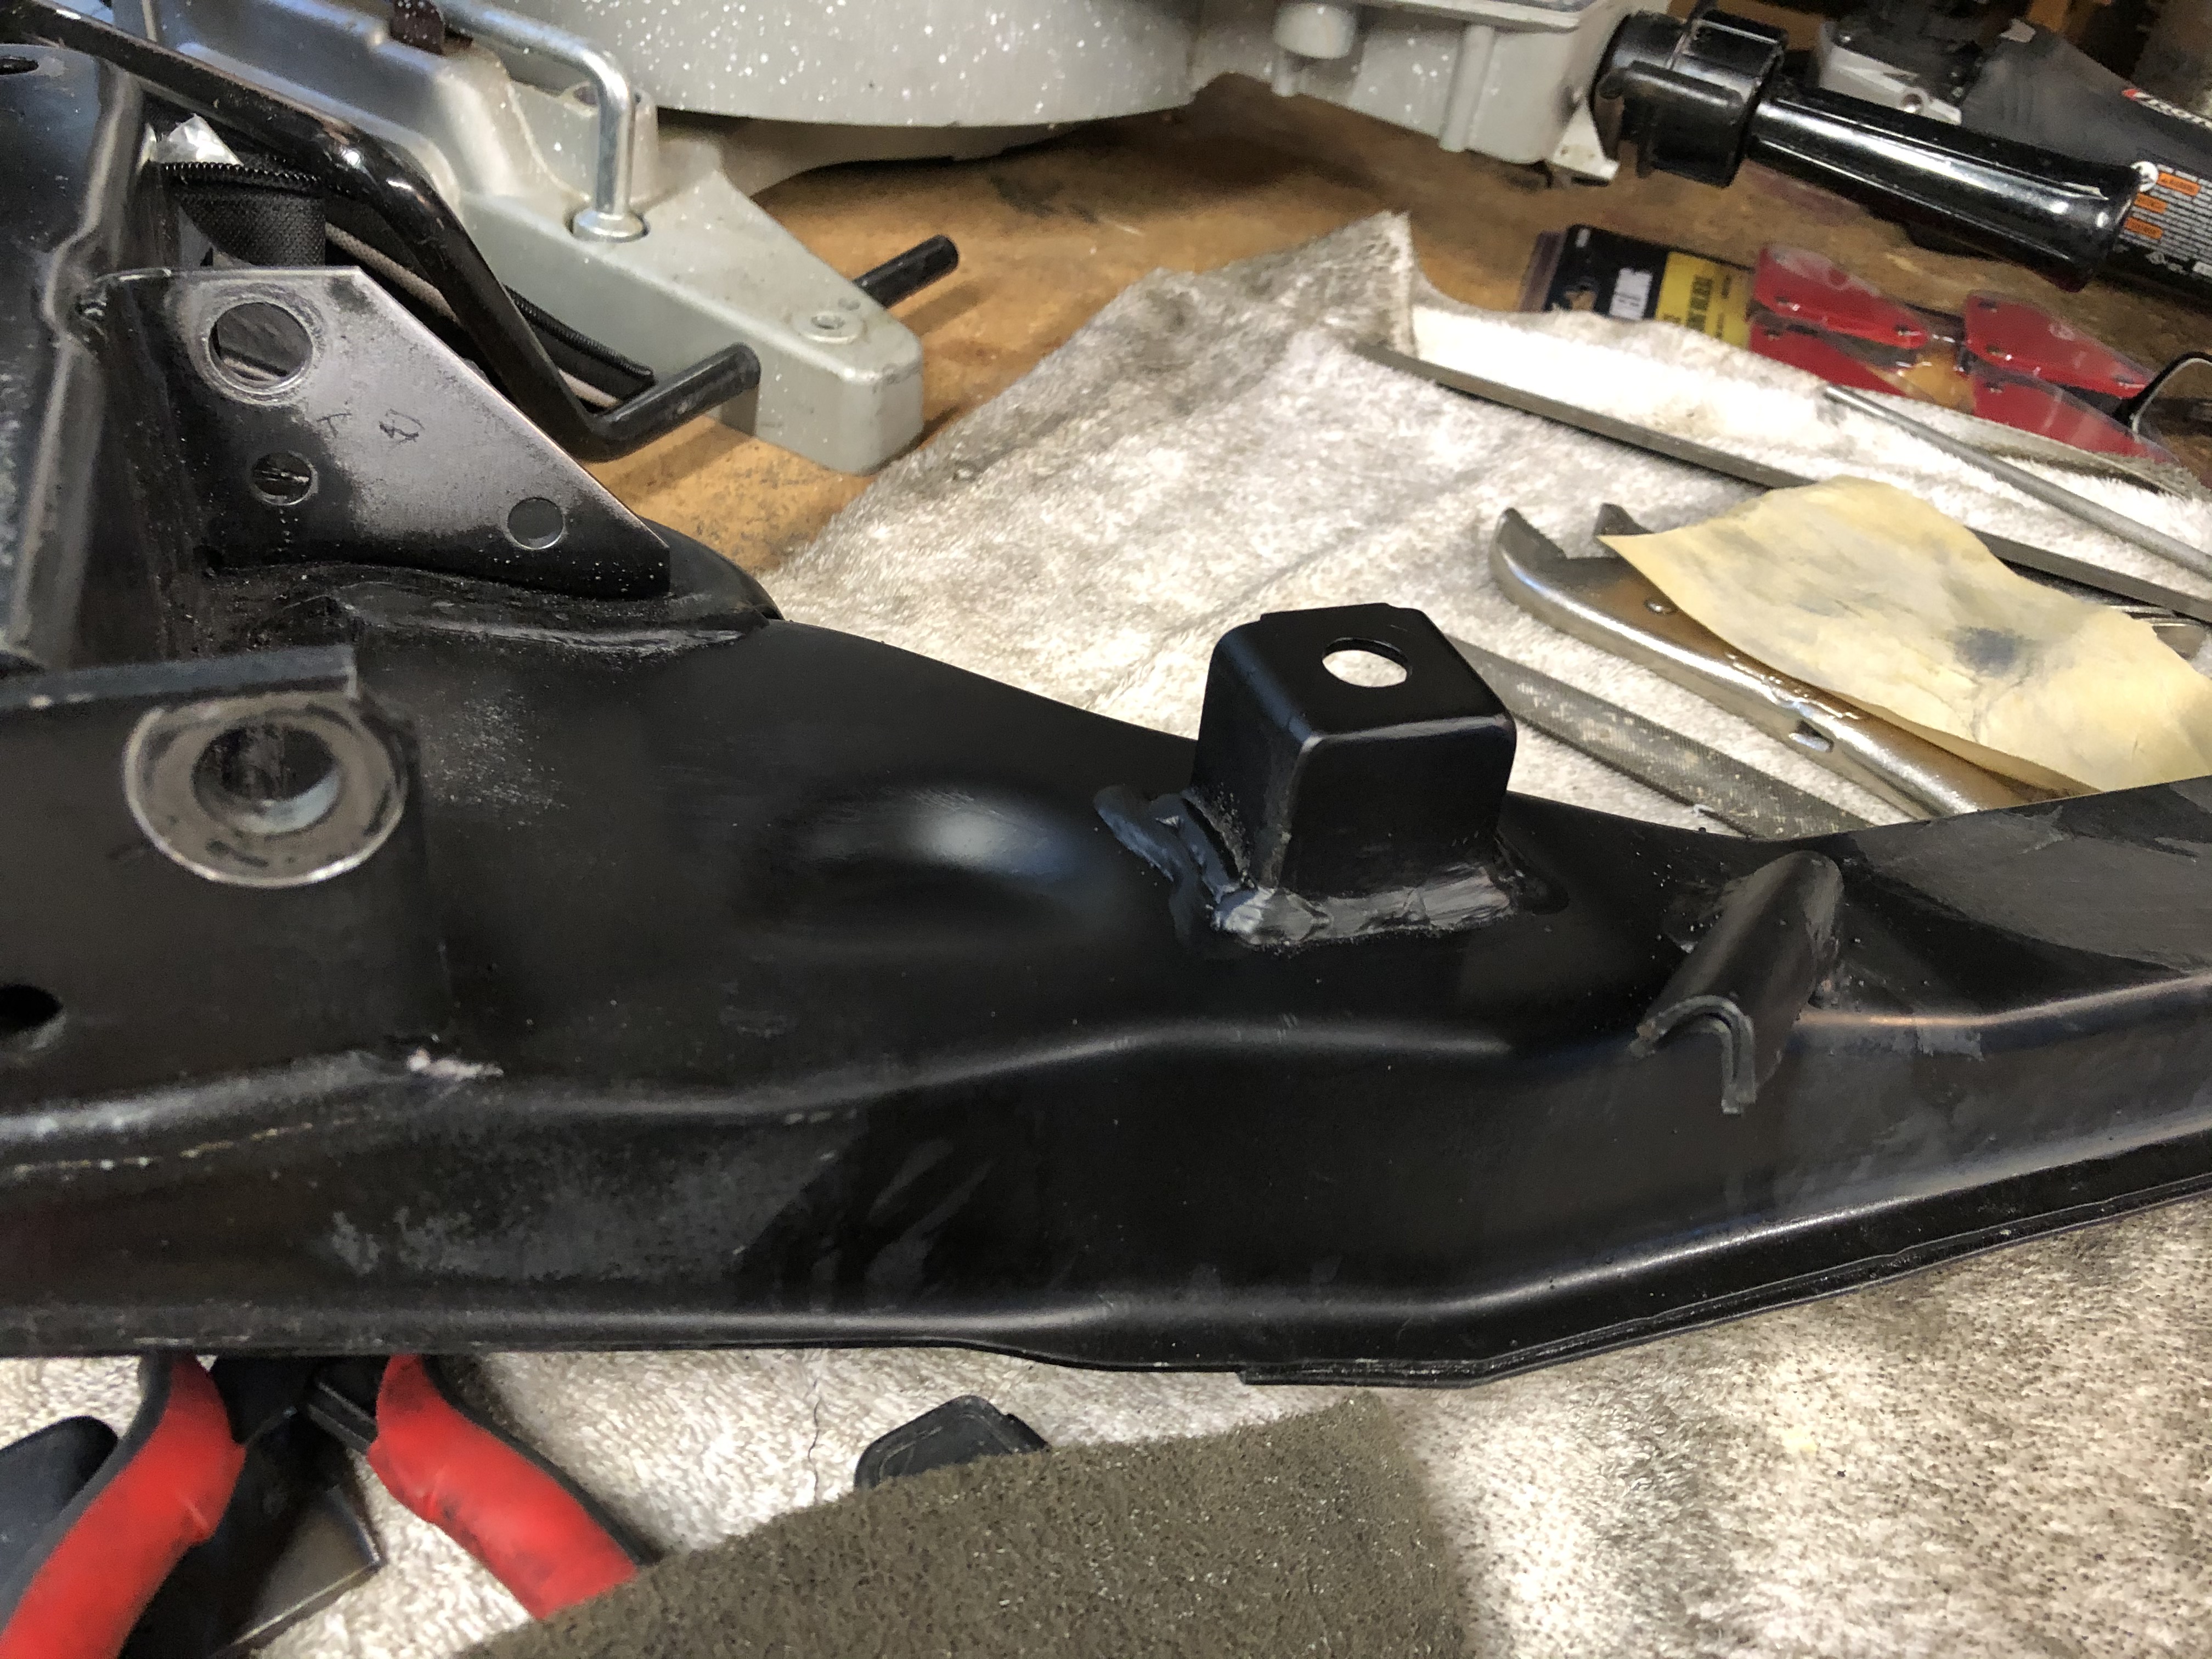
Steering box mounting bracket is clean snapped off ... Find a spare reinforcement part? Learn to weld?
jhh925
Posts: 917
Joined: Jul 11, 2015 12:23 AM
Location: Reno

Re: Rebuilding My 1988 US-spec M5

Post by jhh925 »

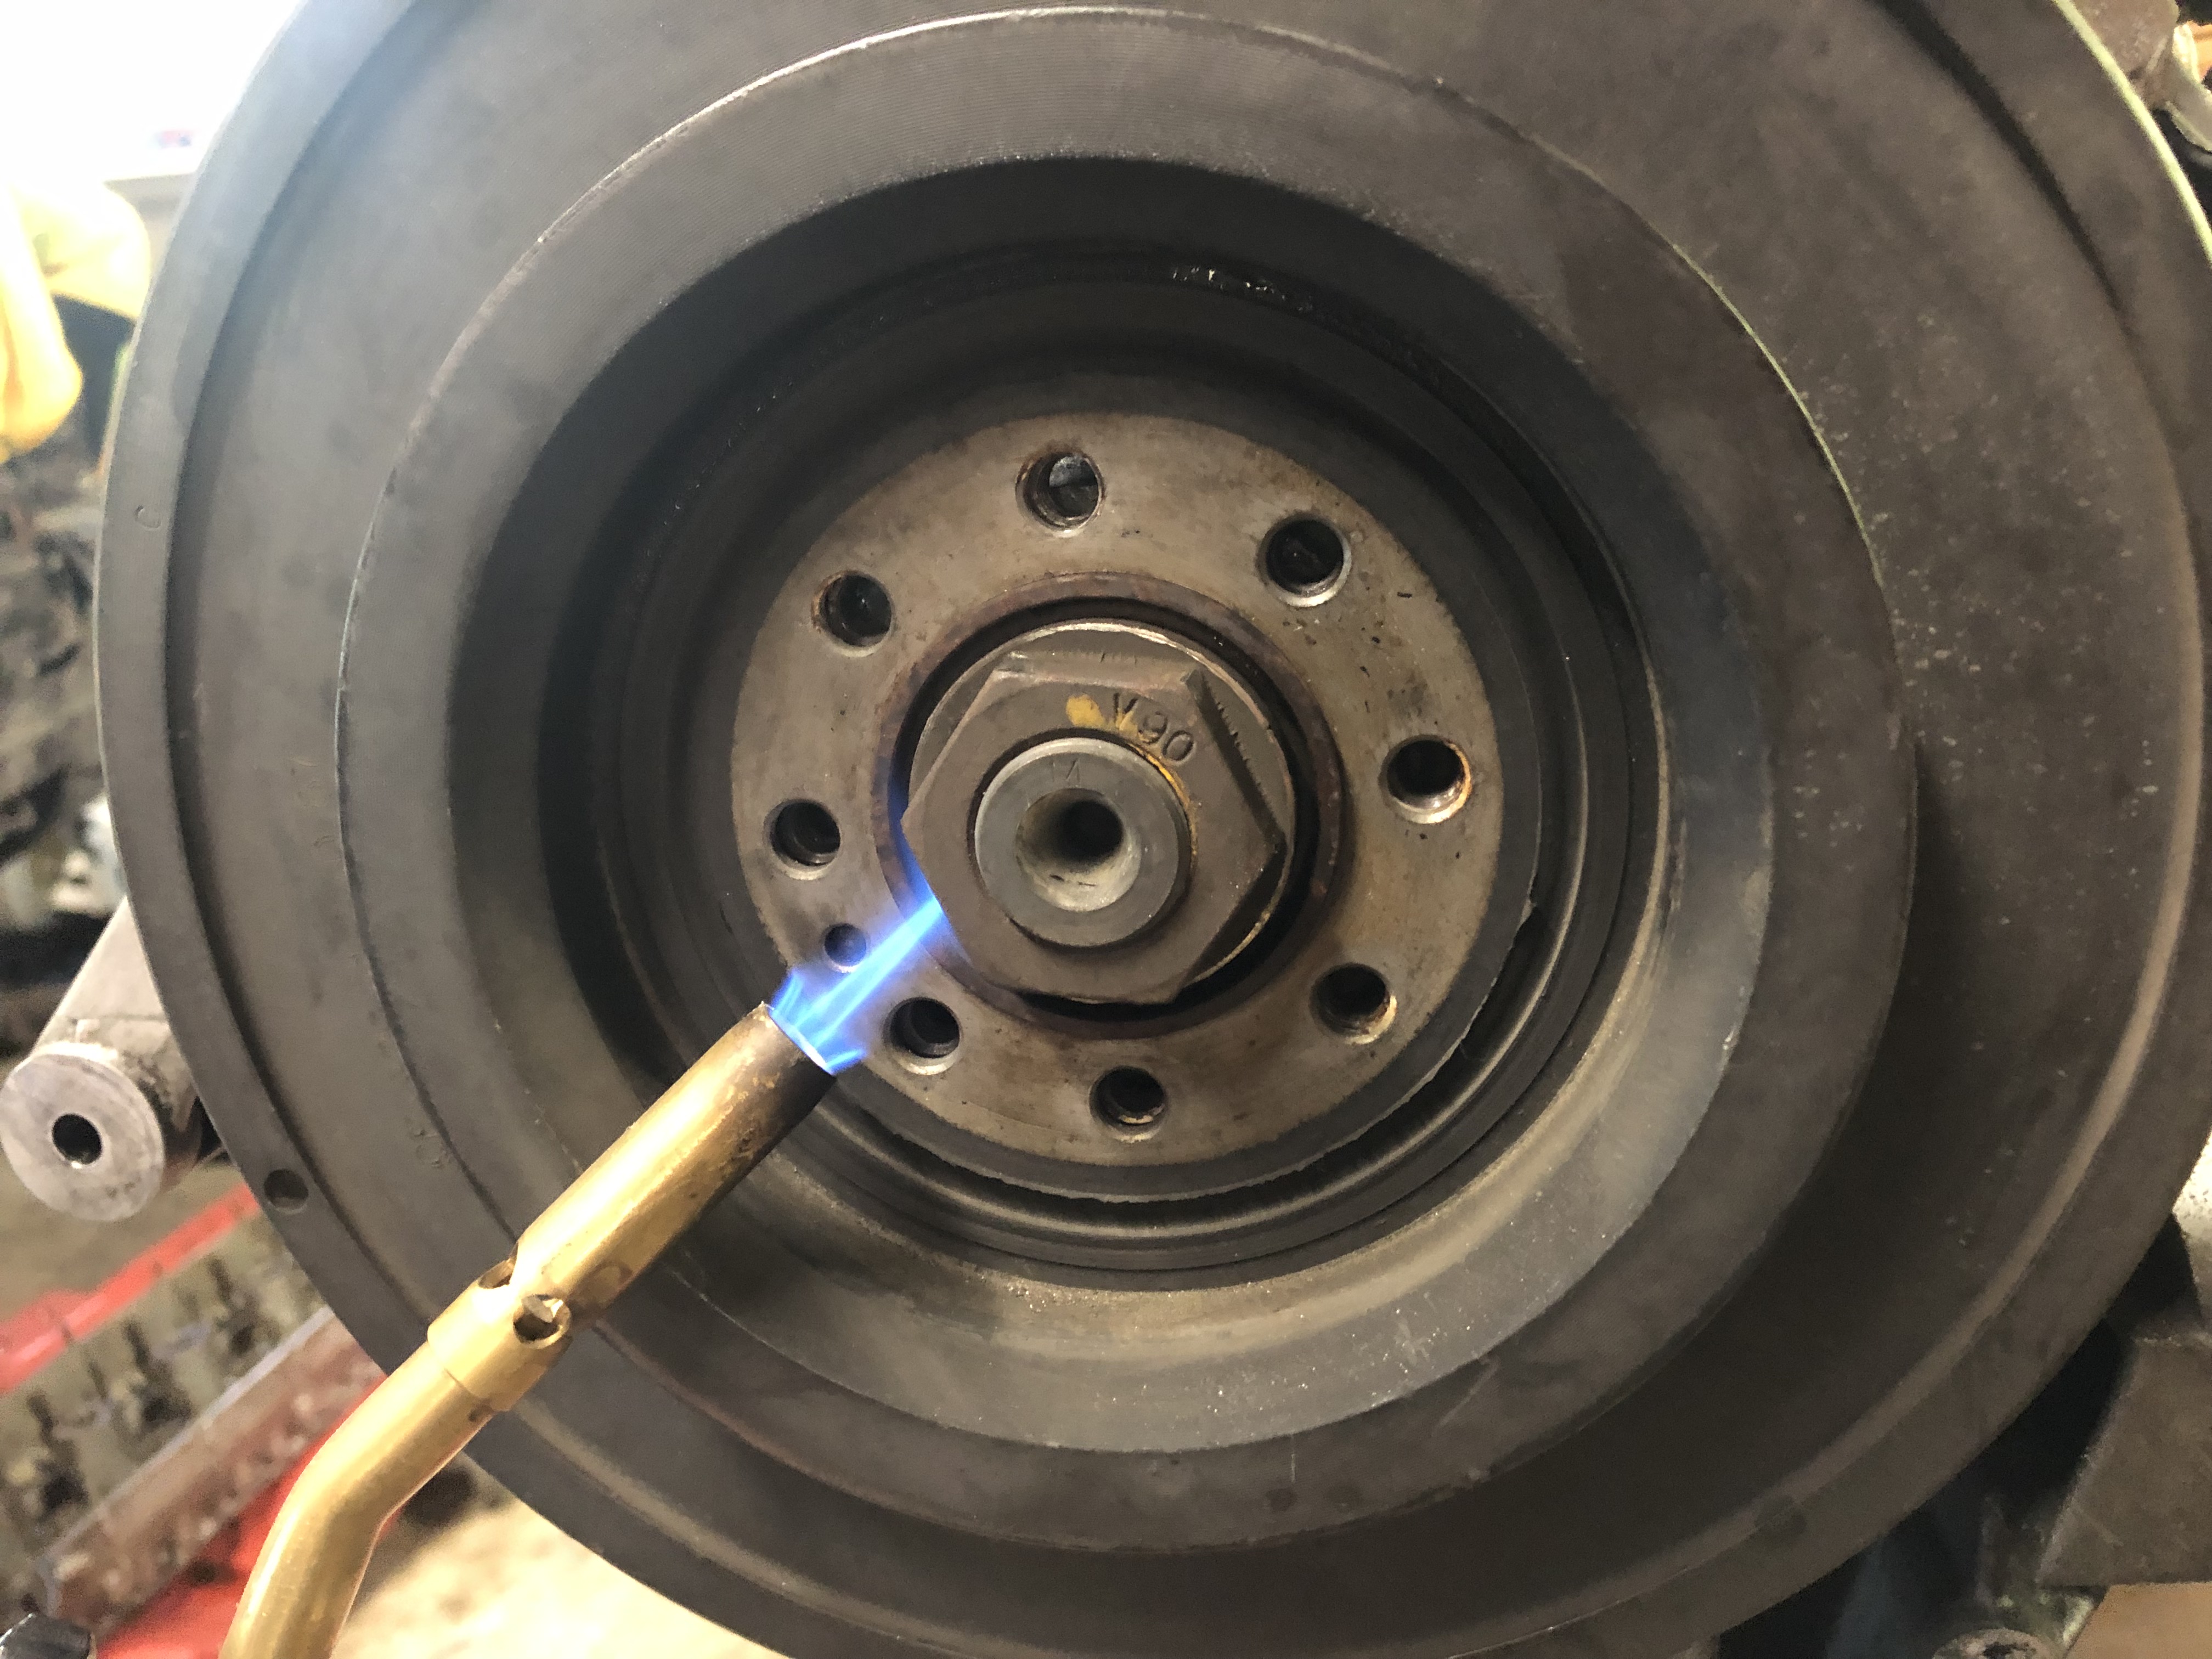
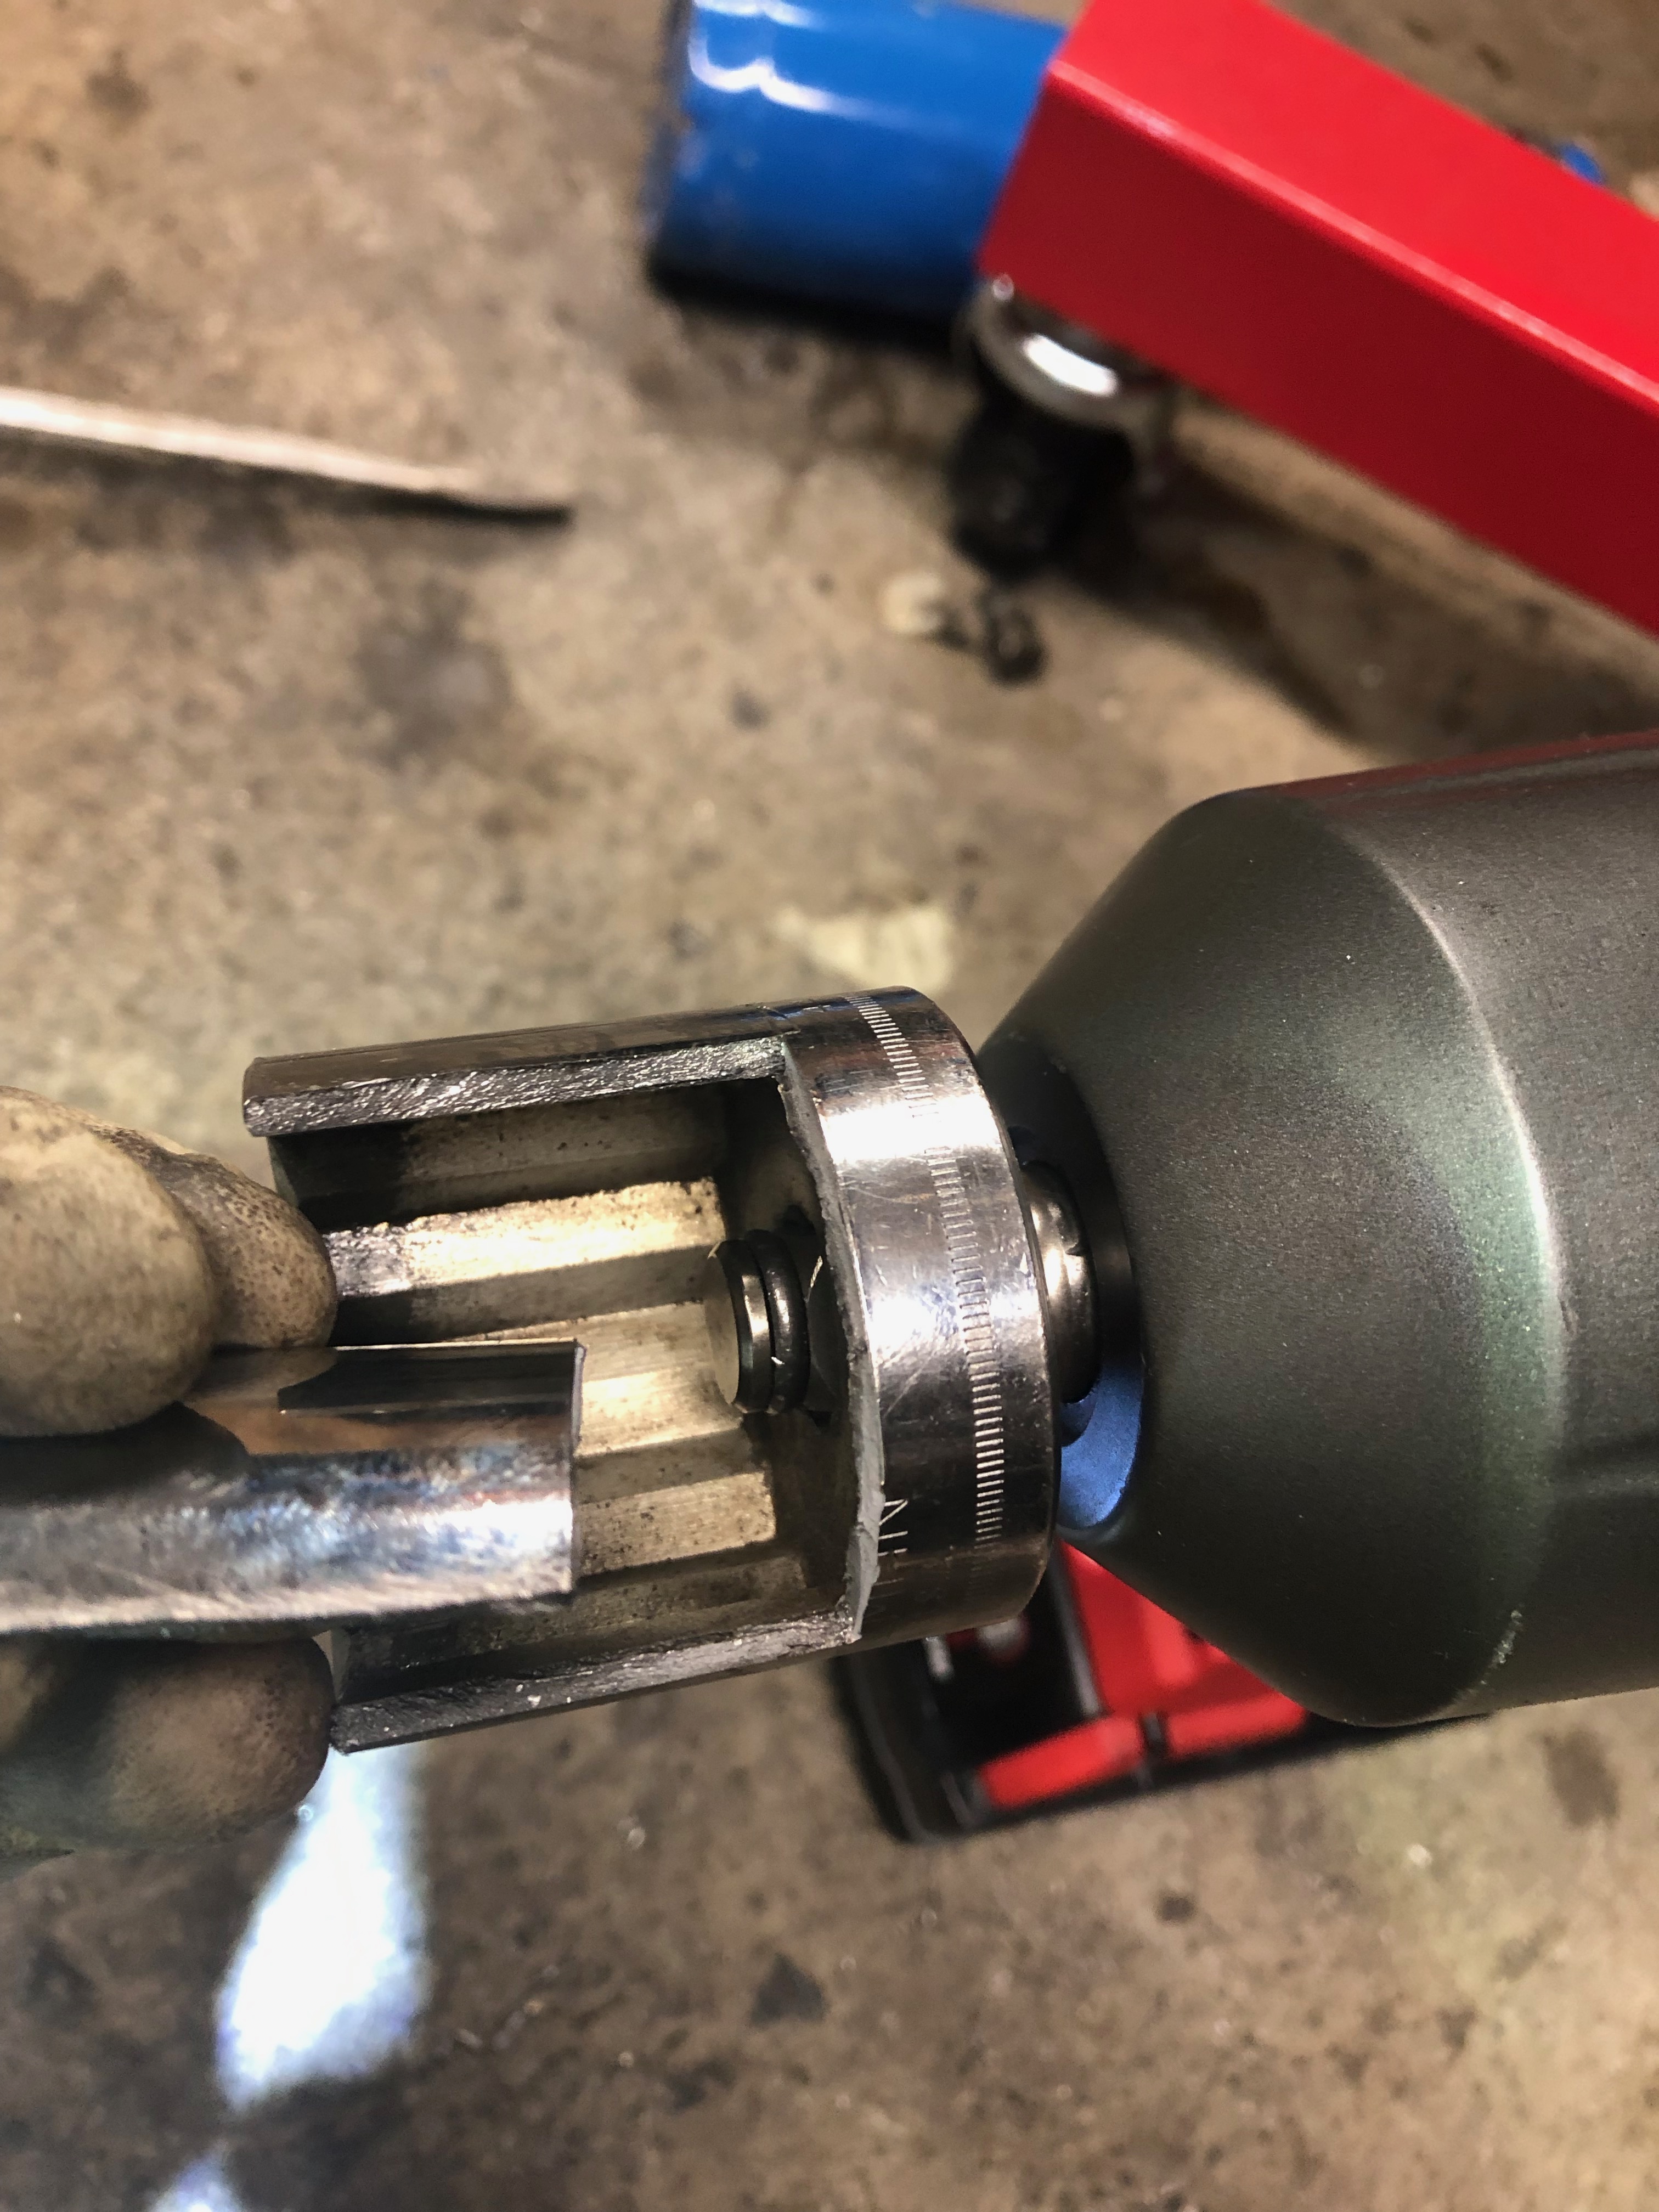
Jeezus nut is off. What a total PIA. I bought a new Milwaukee 1/2 impact gun just for this job. "1,400 foot pounds of nut busting torque!" Right, 1,400 pounds my ass. Nuts may have been busted, but not on my crank.

"Why didn't you loosen it while the motor was still in the car?" Yeah, maybe I should have, but the thought that keeps going through my head is that the socket or breaker bar will slip loose and I'll end up with a cheater-pipe shaped dent in the right front fender.

Image

Busted a nice socket trying to get this PIA off. Yes, I know. It's not an impact socket. It's what I had in the toolbox. Progress delayed as I wait for a good impact socket to arrive from Amazon.

Image
jhh925
Posts: 917
Joined: Jul 11, 2015 12:23 AM
Location: Reno

Re: Rebuilding My 1988 US-spec M5

Post by jhh925 »

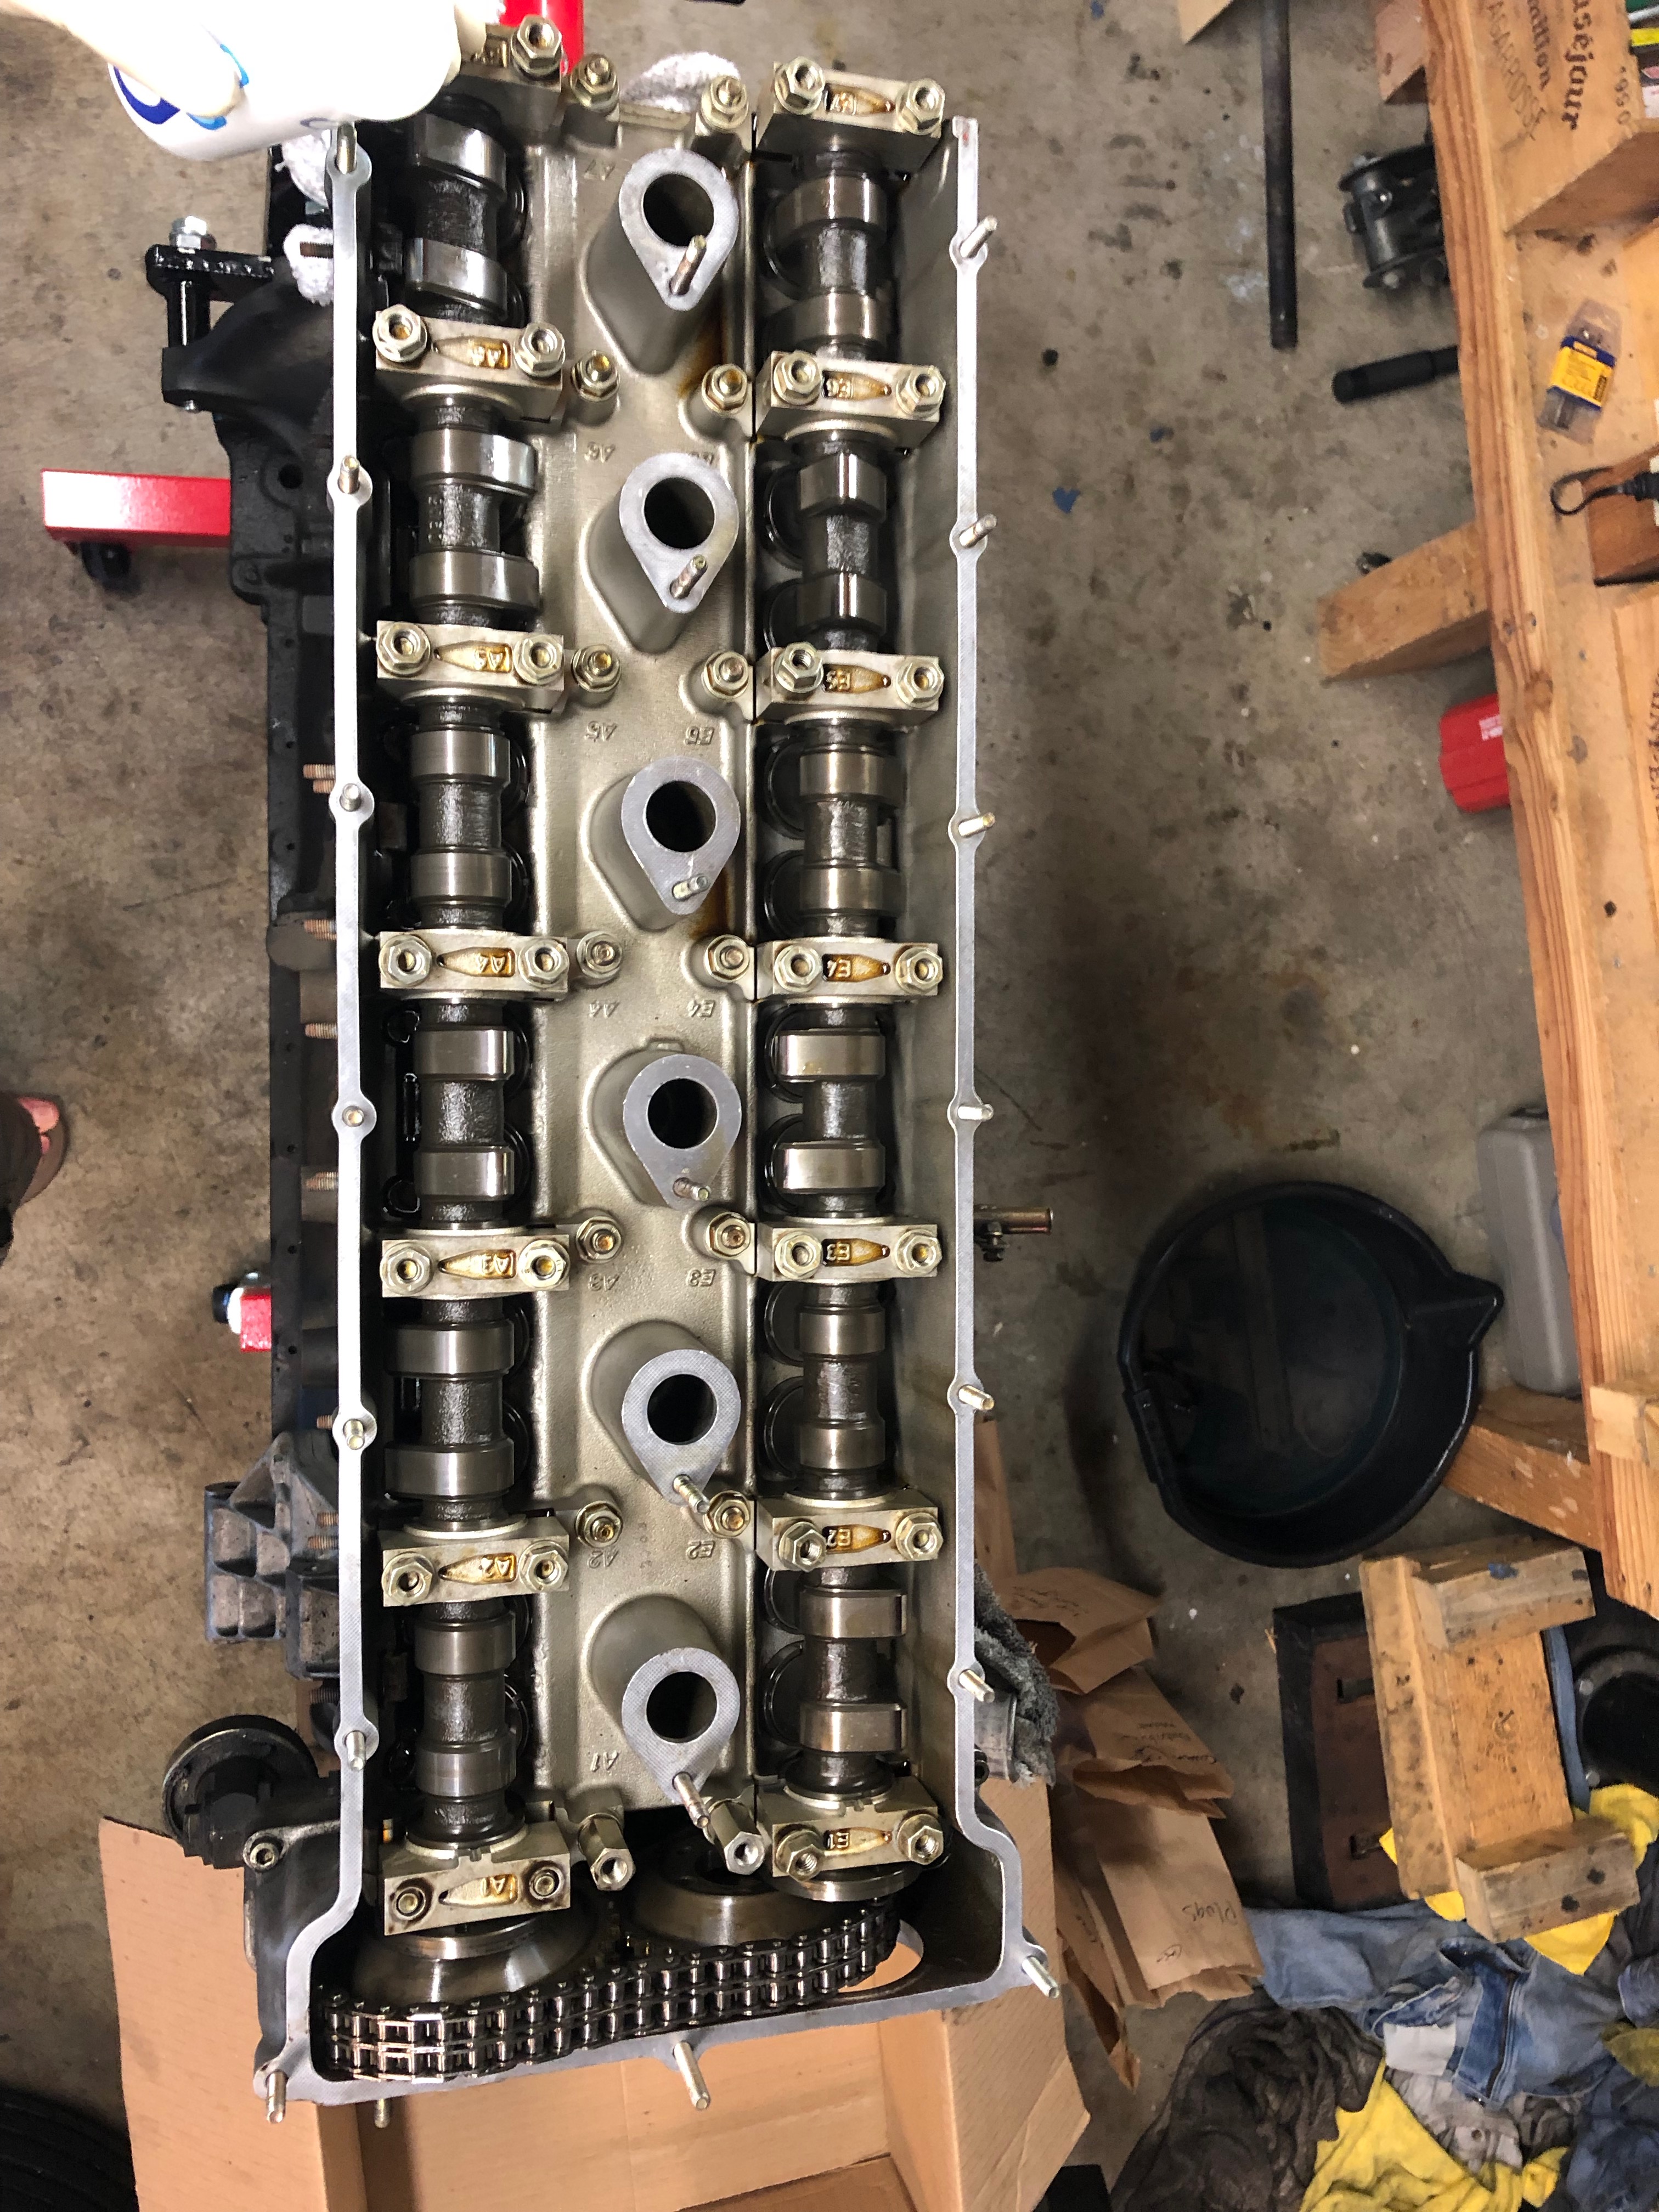
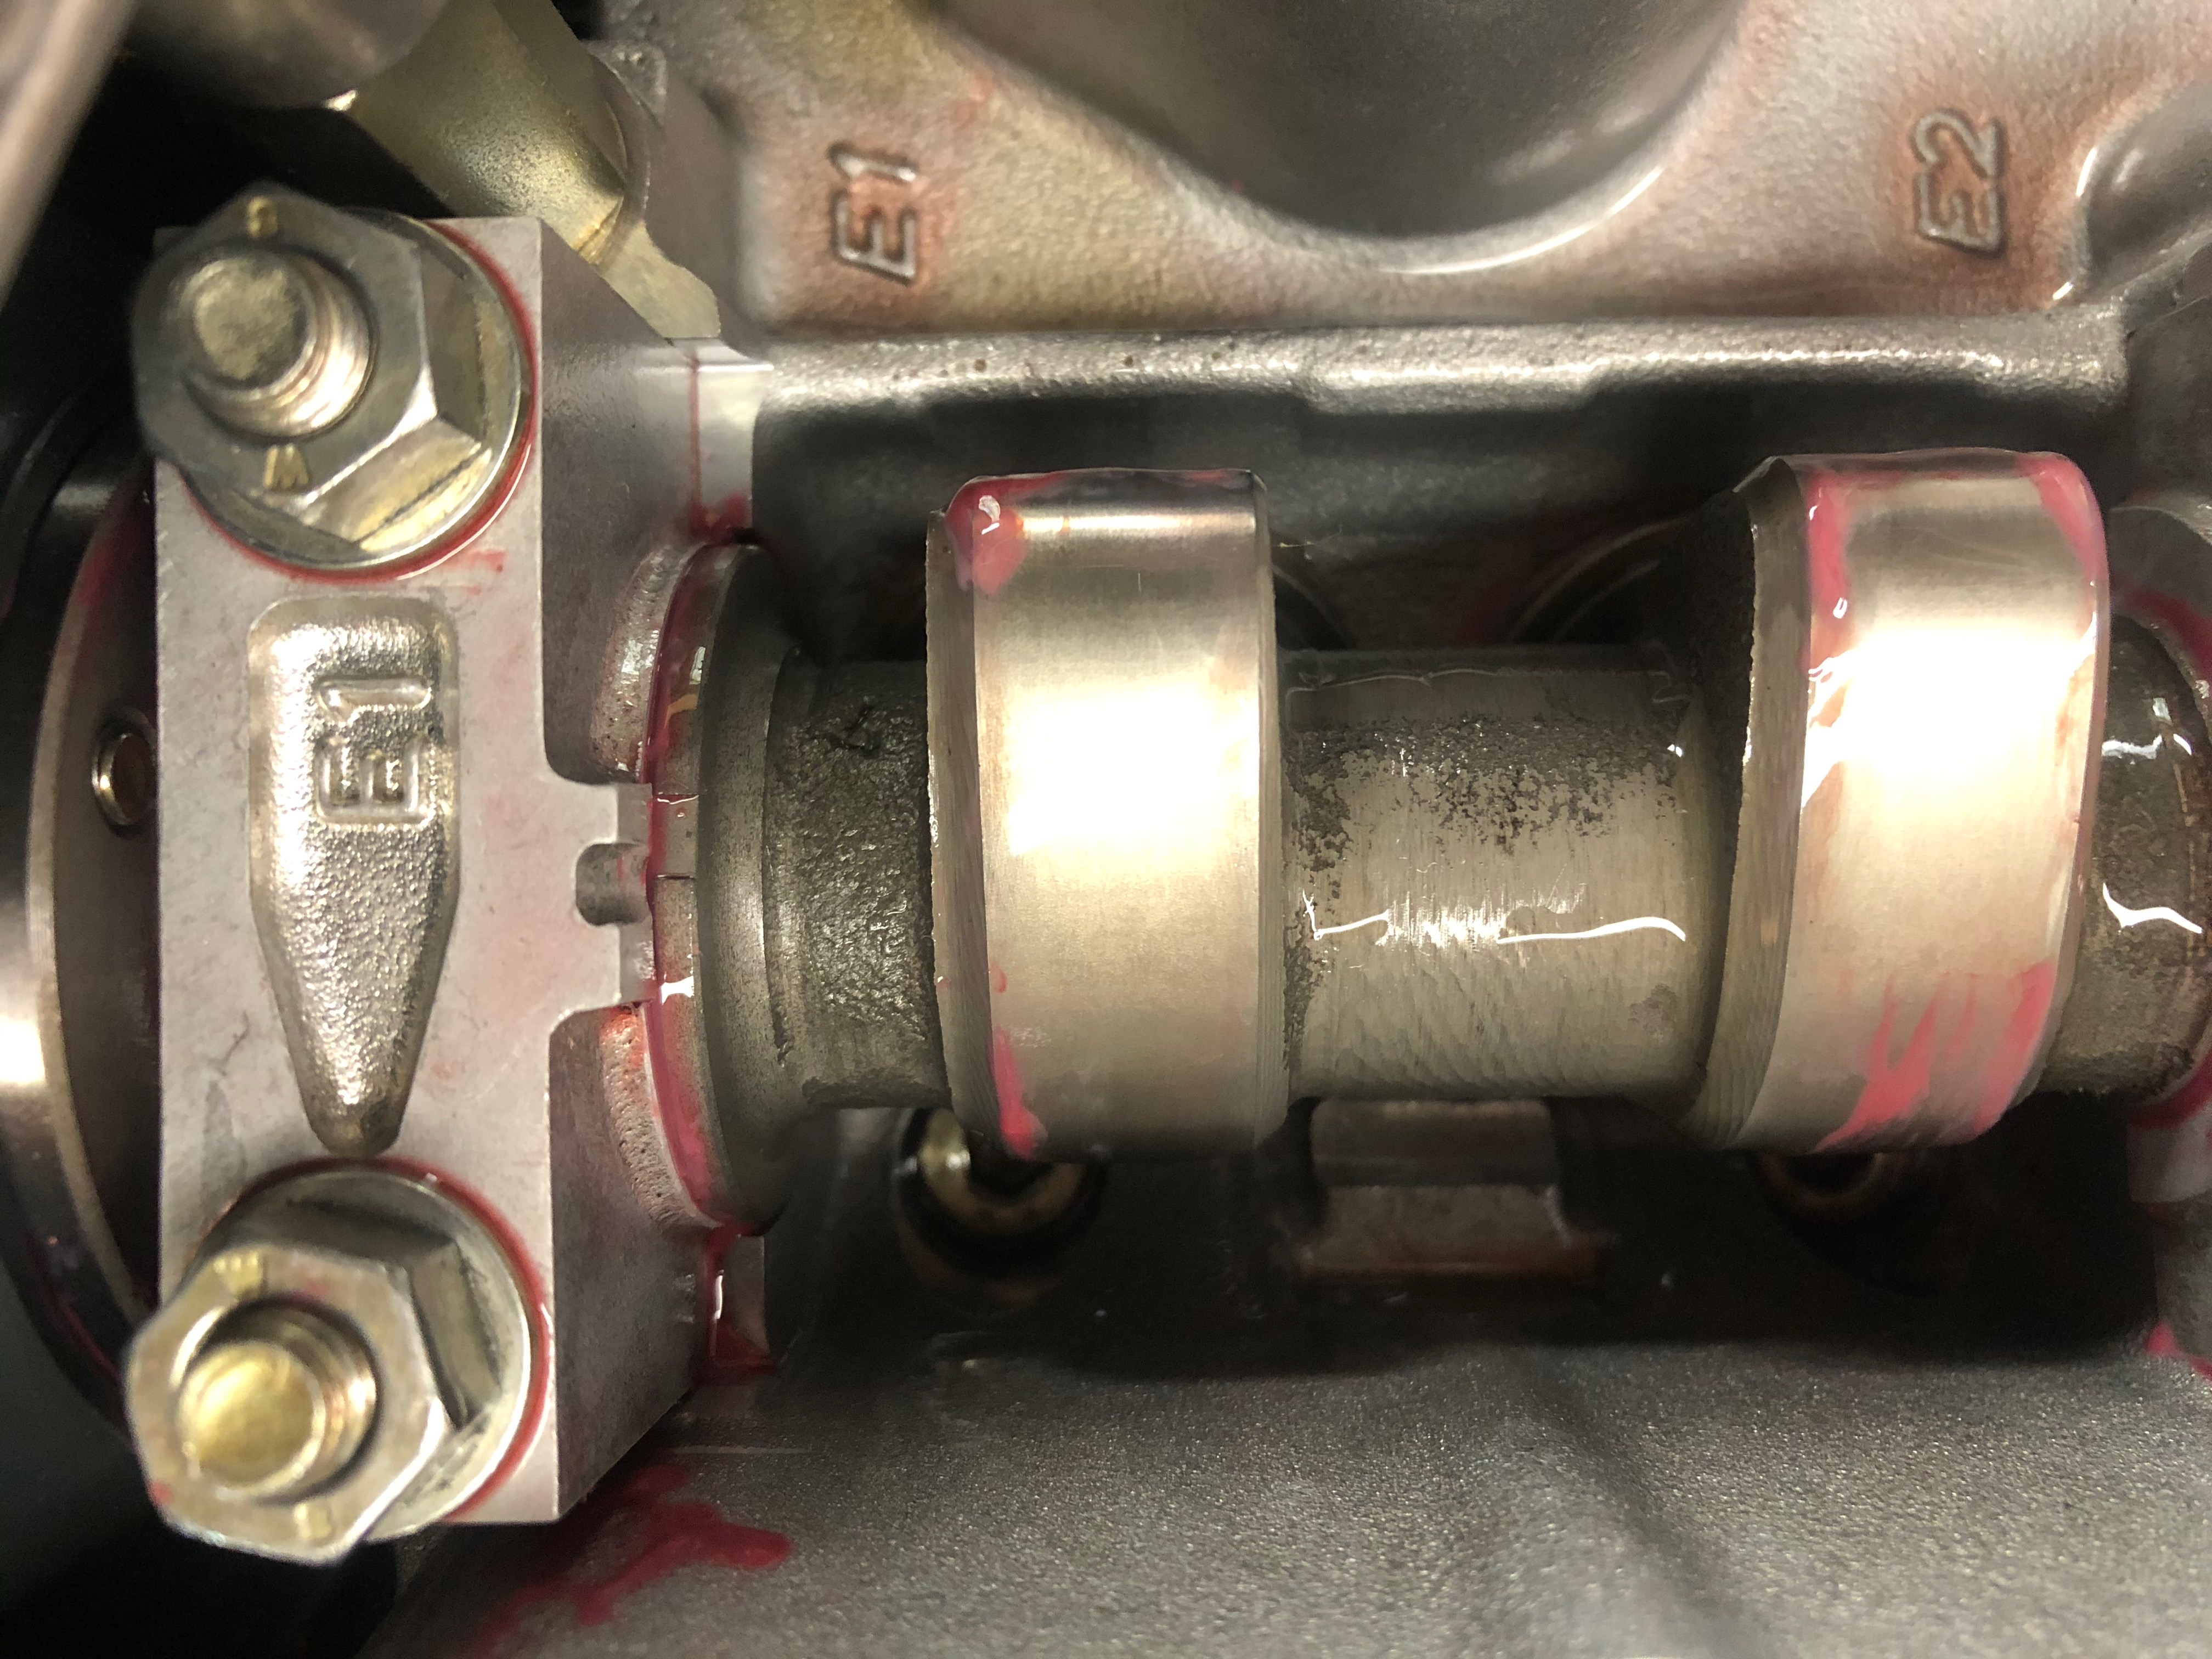
Cams & cam tray look pristine. Has this motor been rebuilt already? The original BaT description says only that a valve adjust was done at about 148.000 miles, but the cam tray & these cams look pristine.

Image

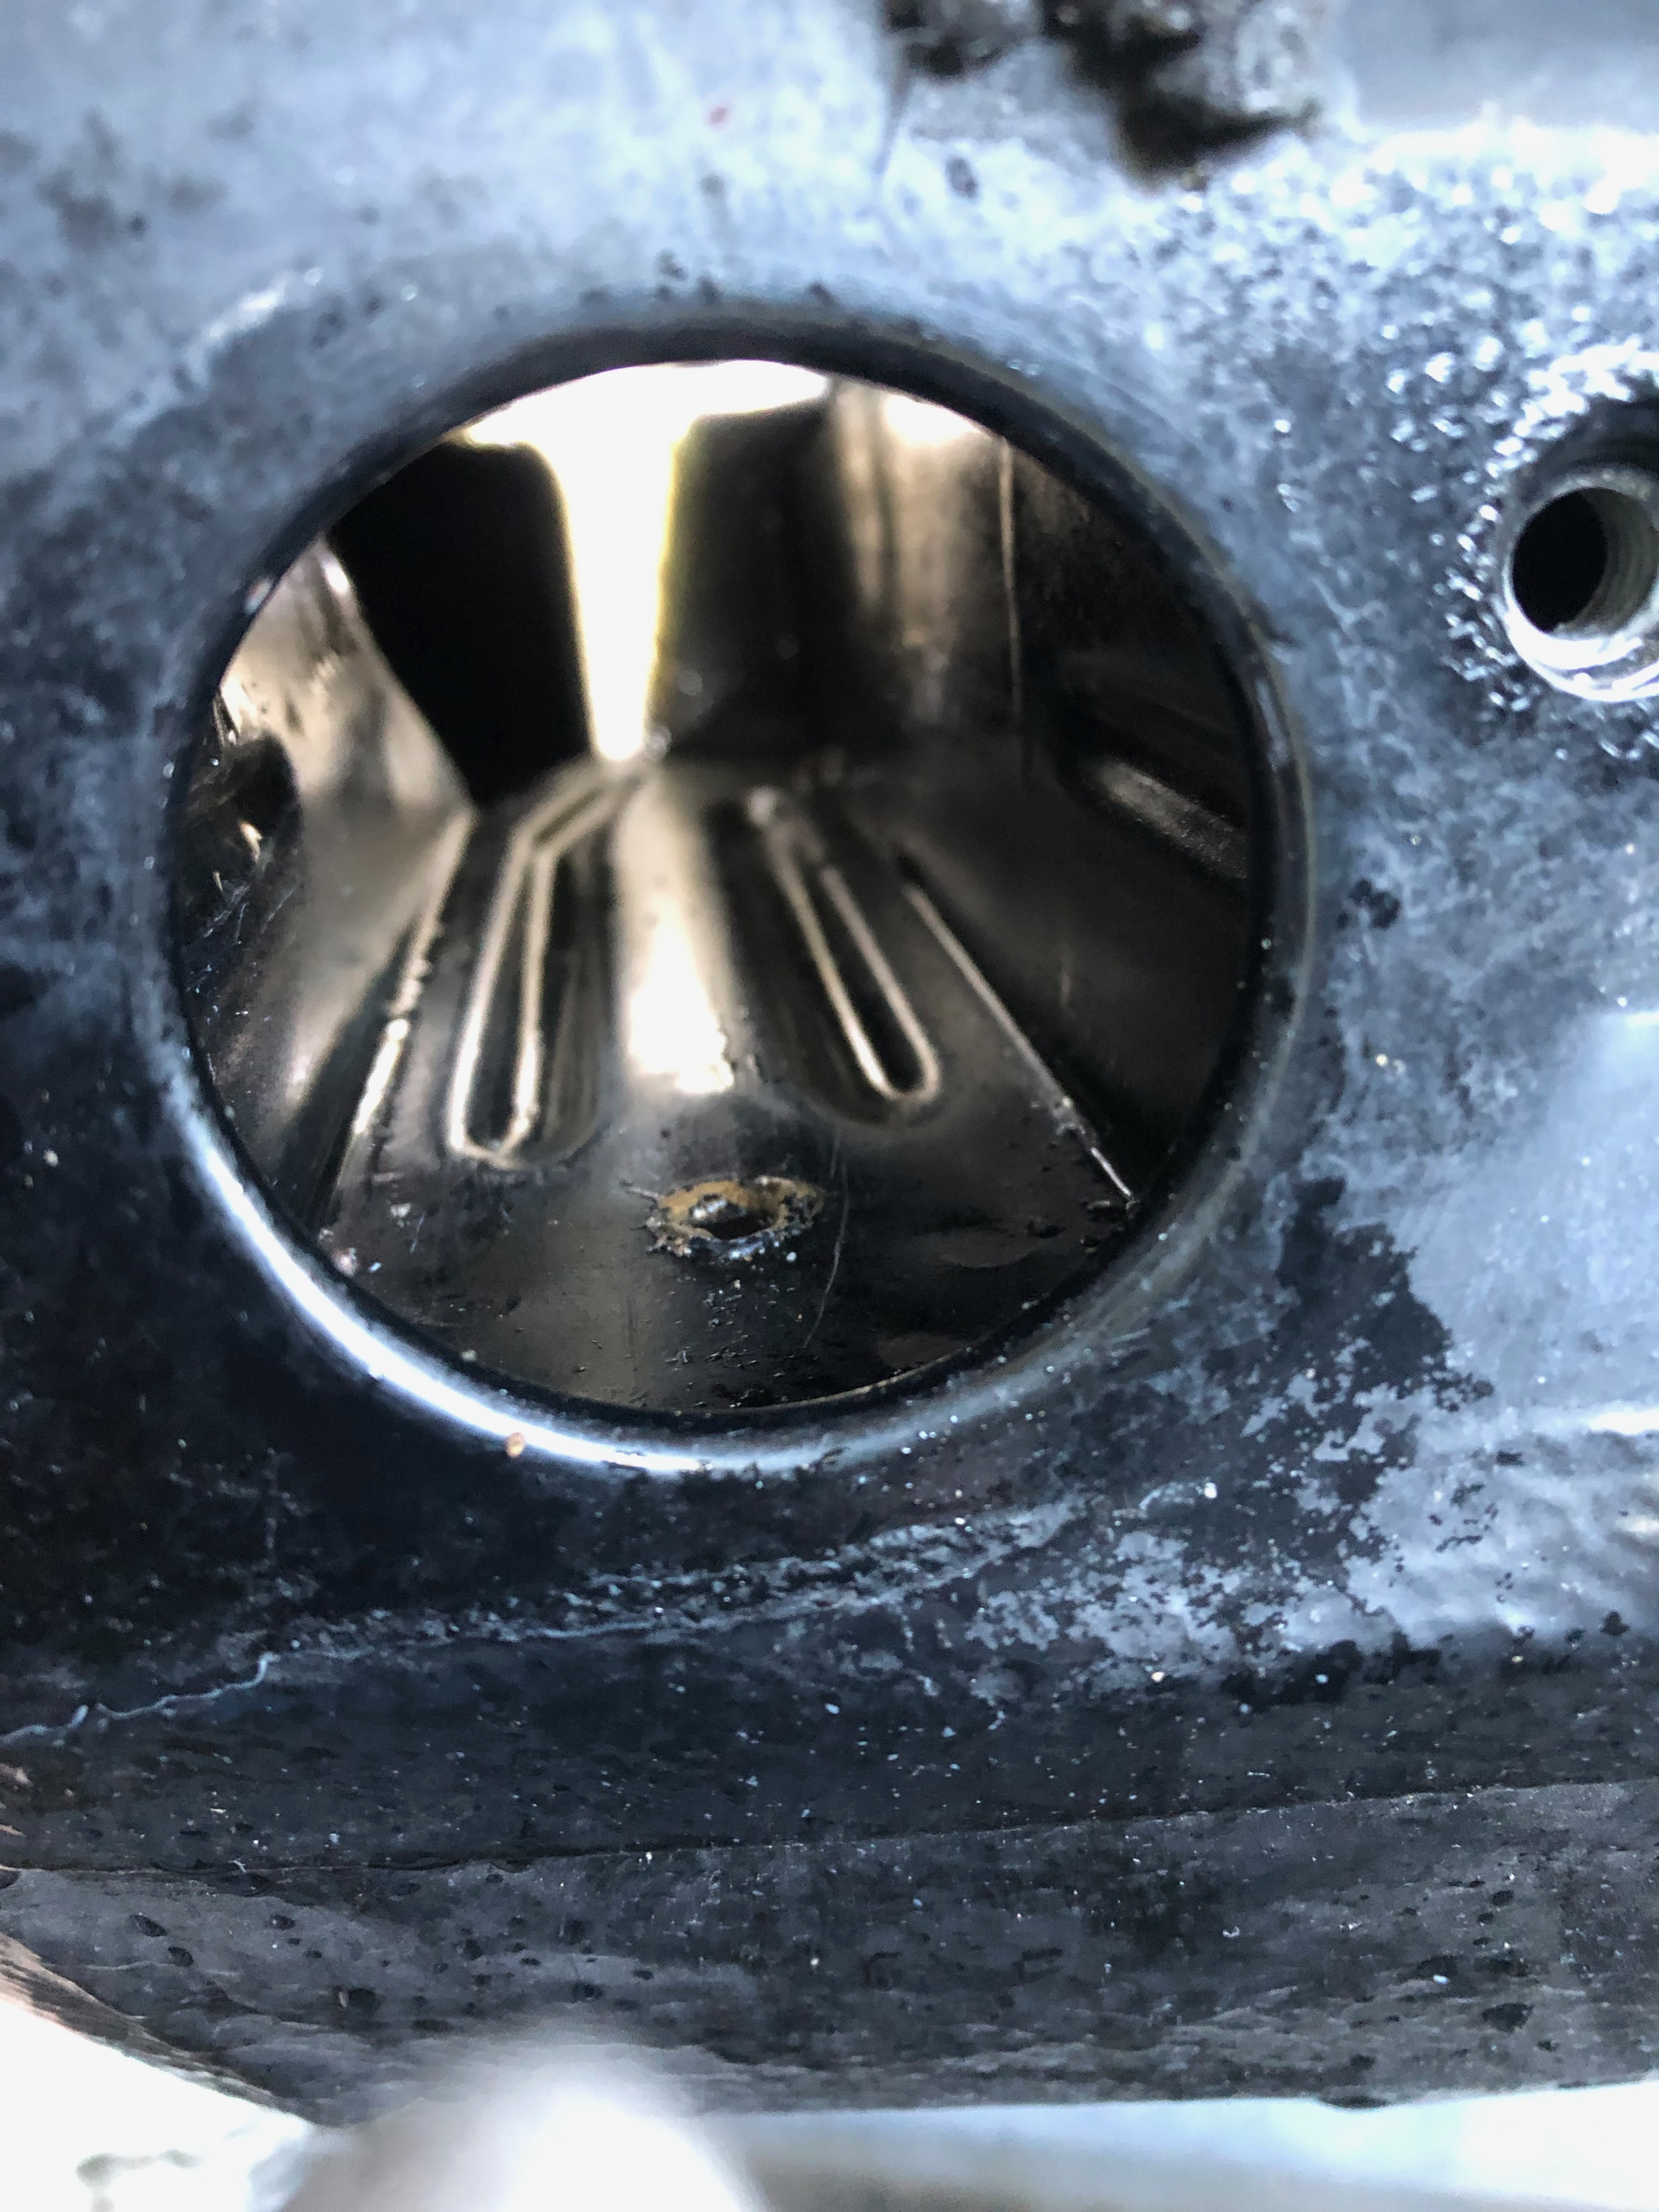
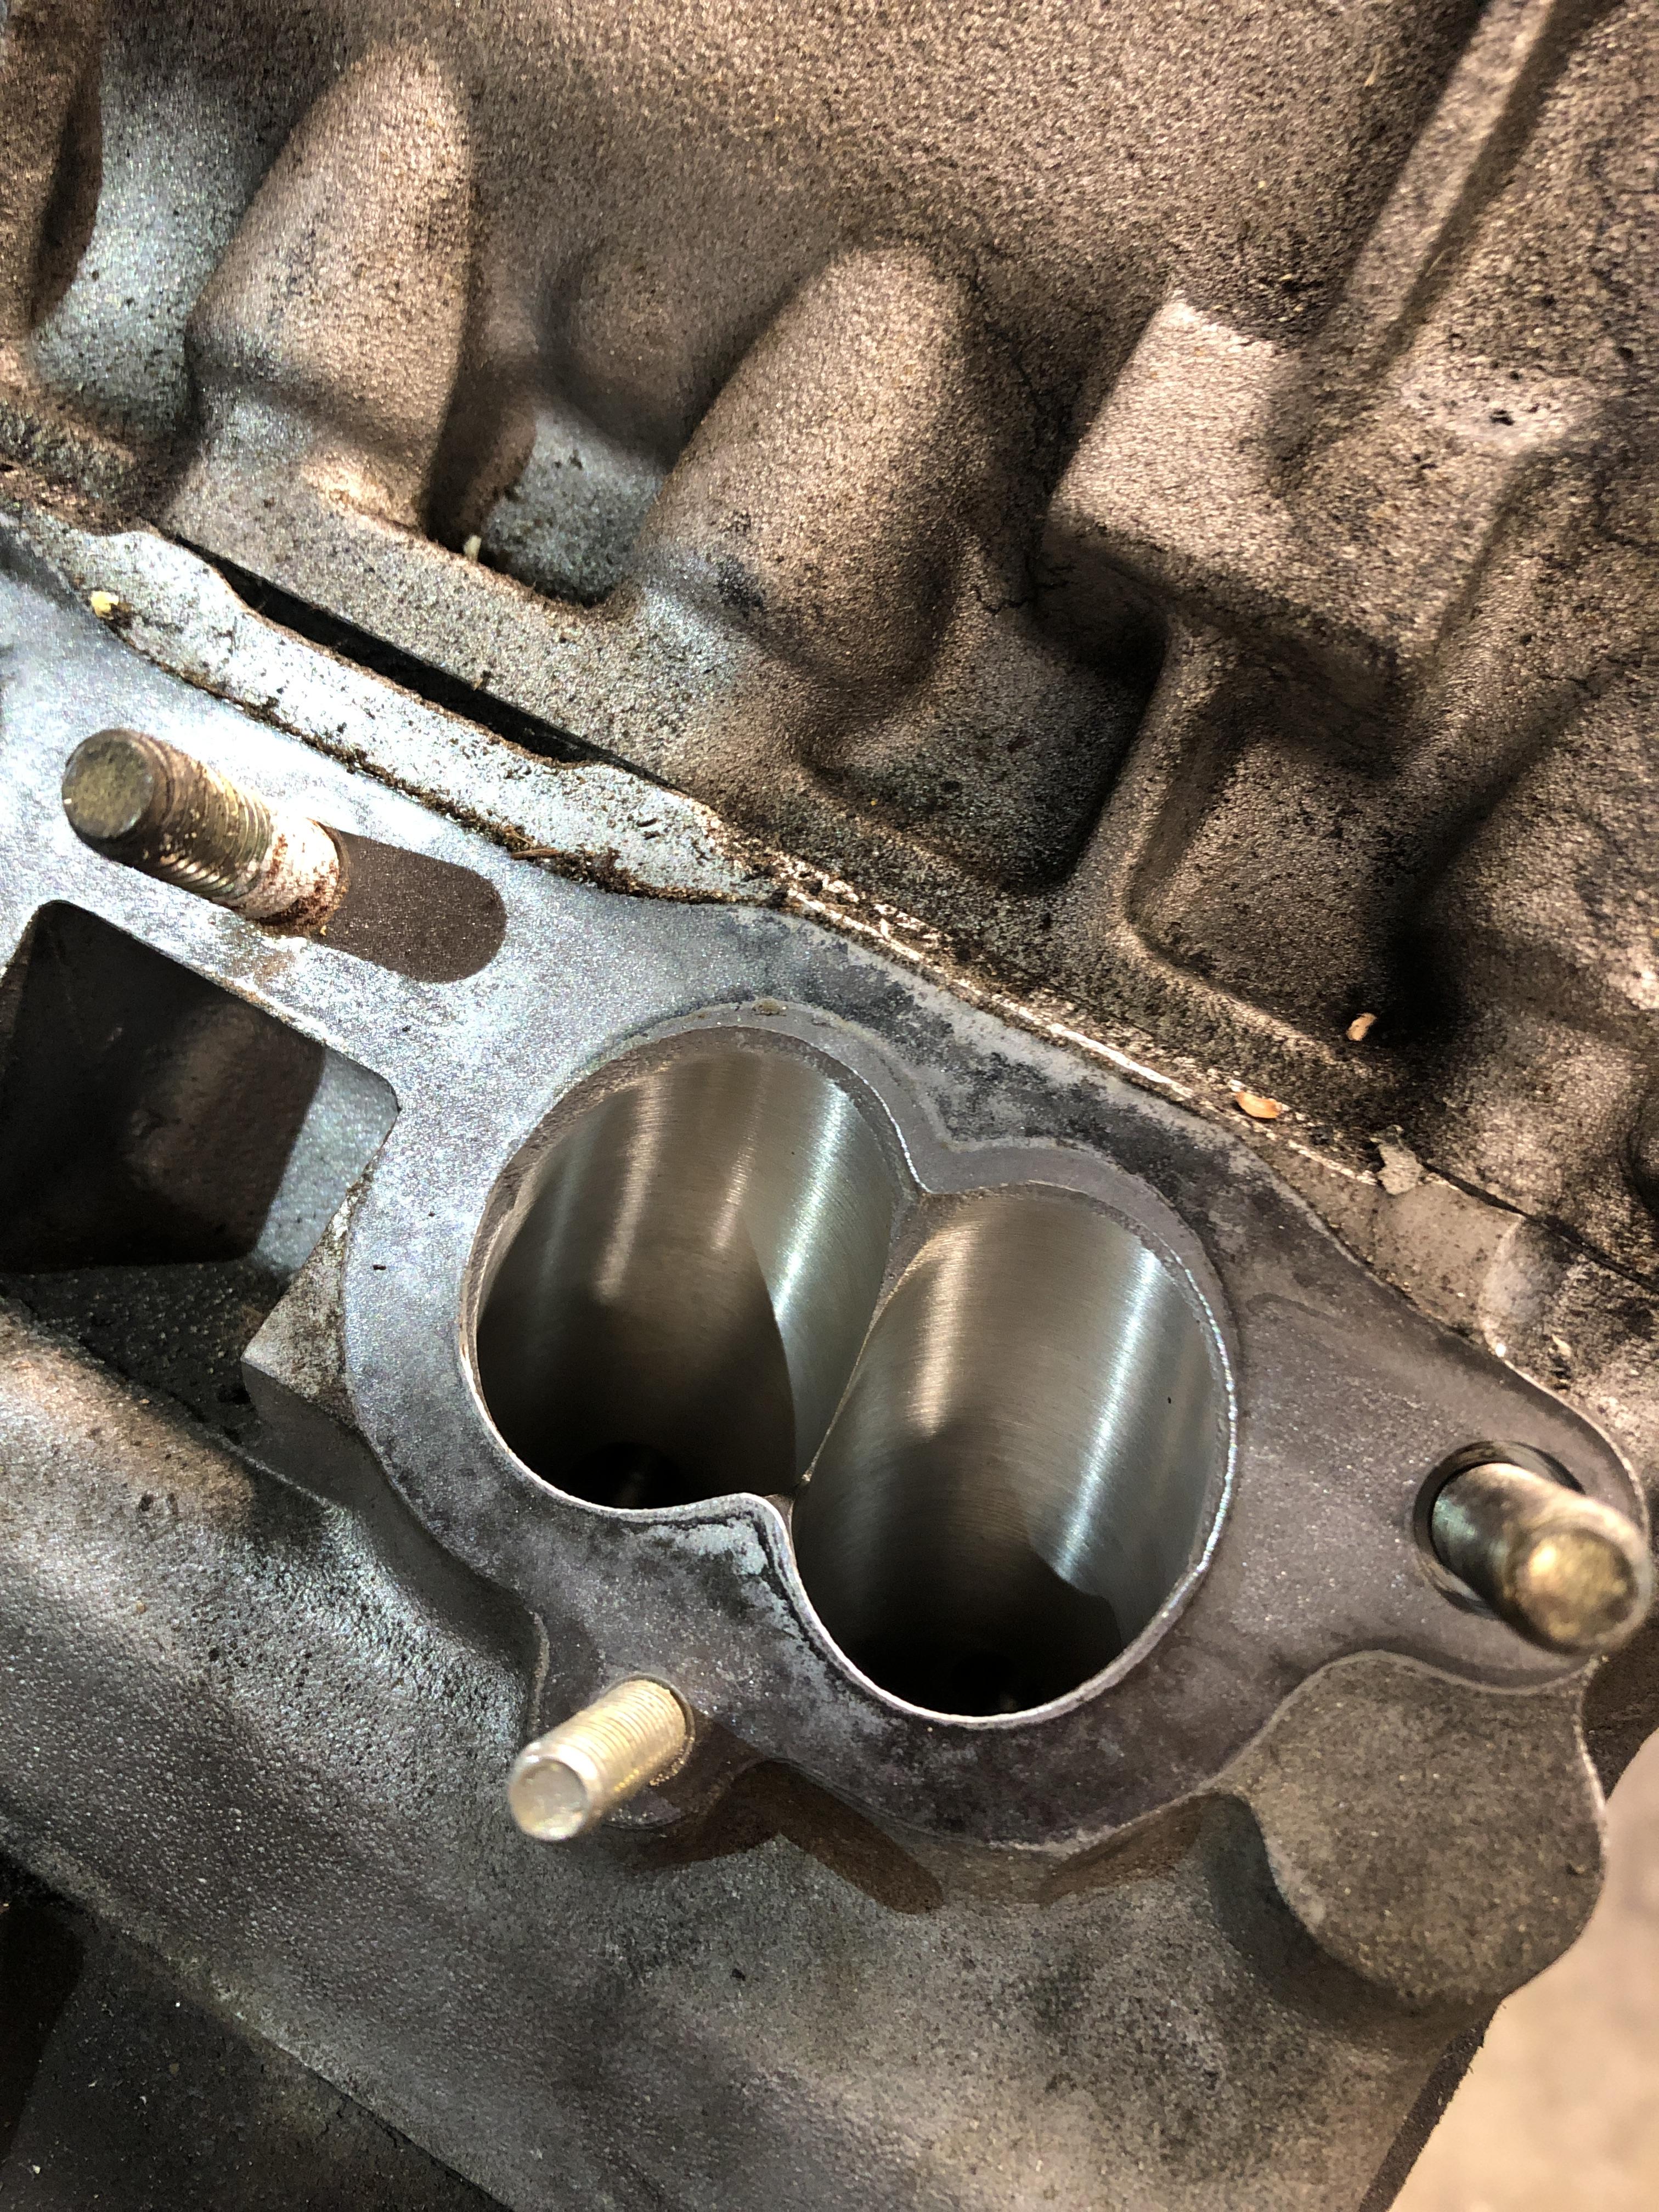
Polished ports? Or is this the way they came?

Image
jhh925
Posts: 917
Joined: Jul 11, 2015 12:23 AM
Location: Reno

Re: Rebuilding My 1988 US-spec M5

Post by jhh925 »

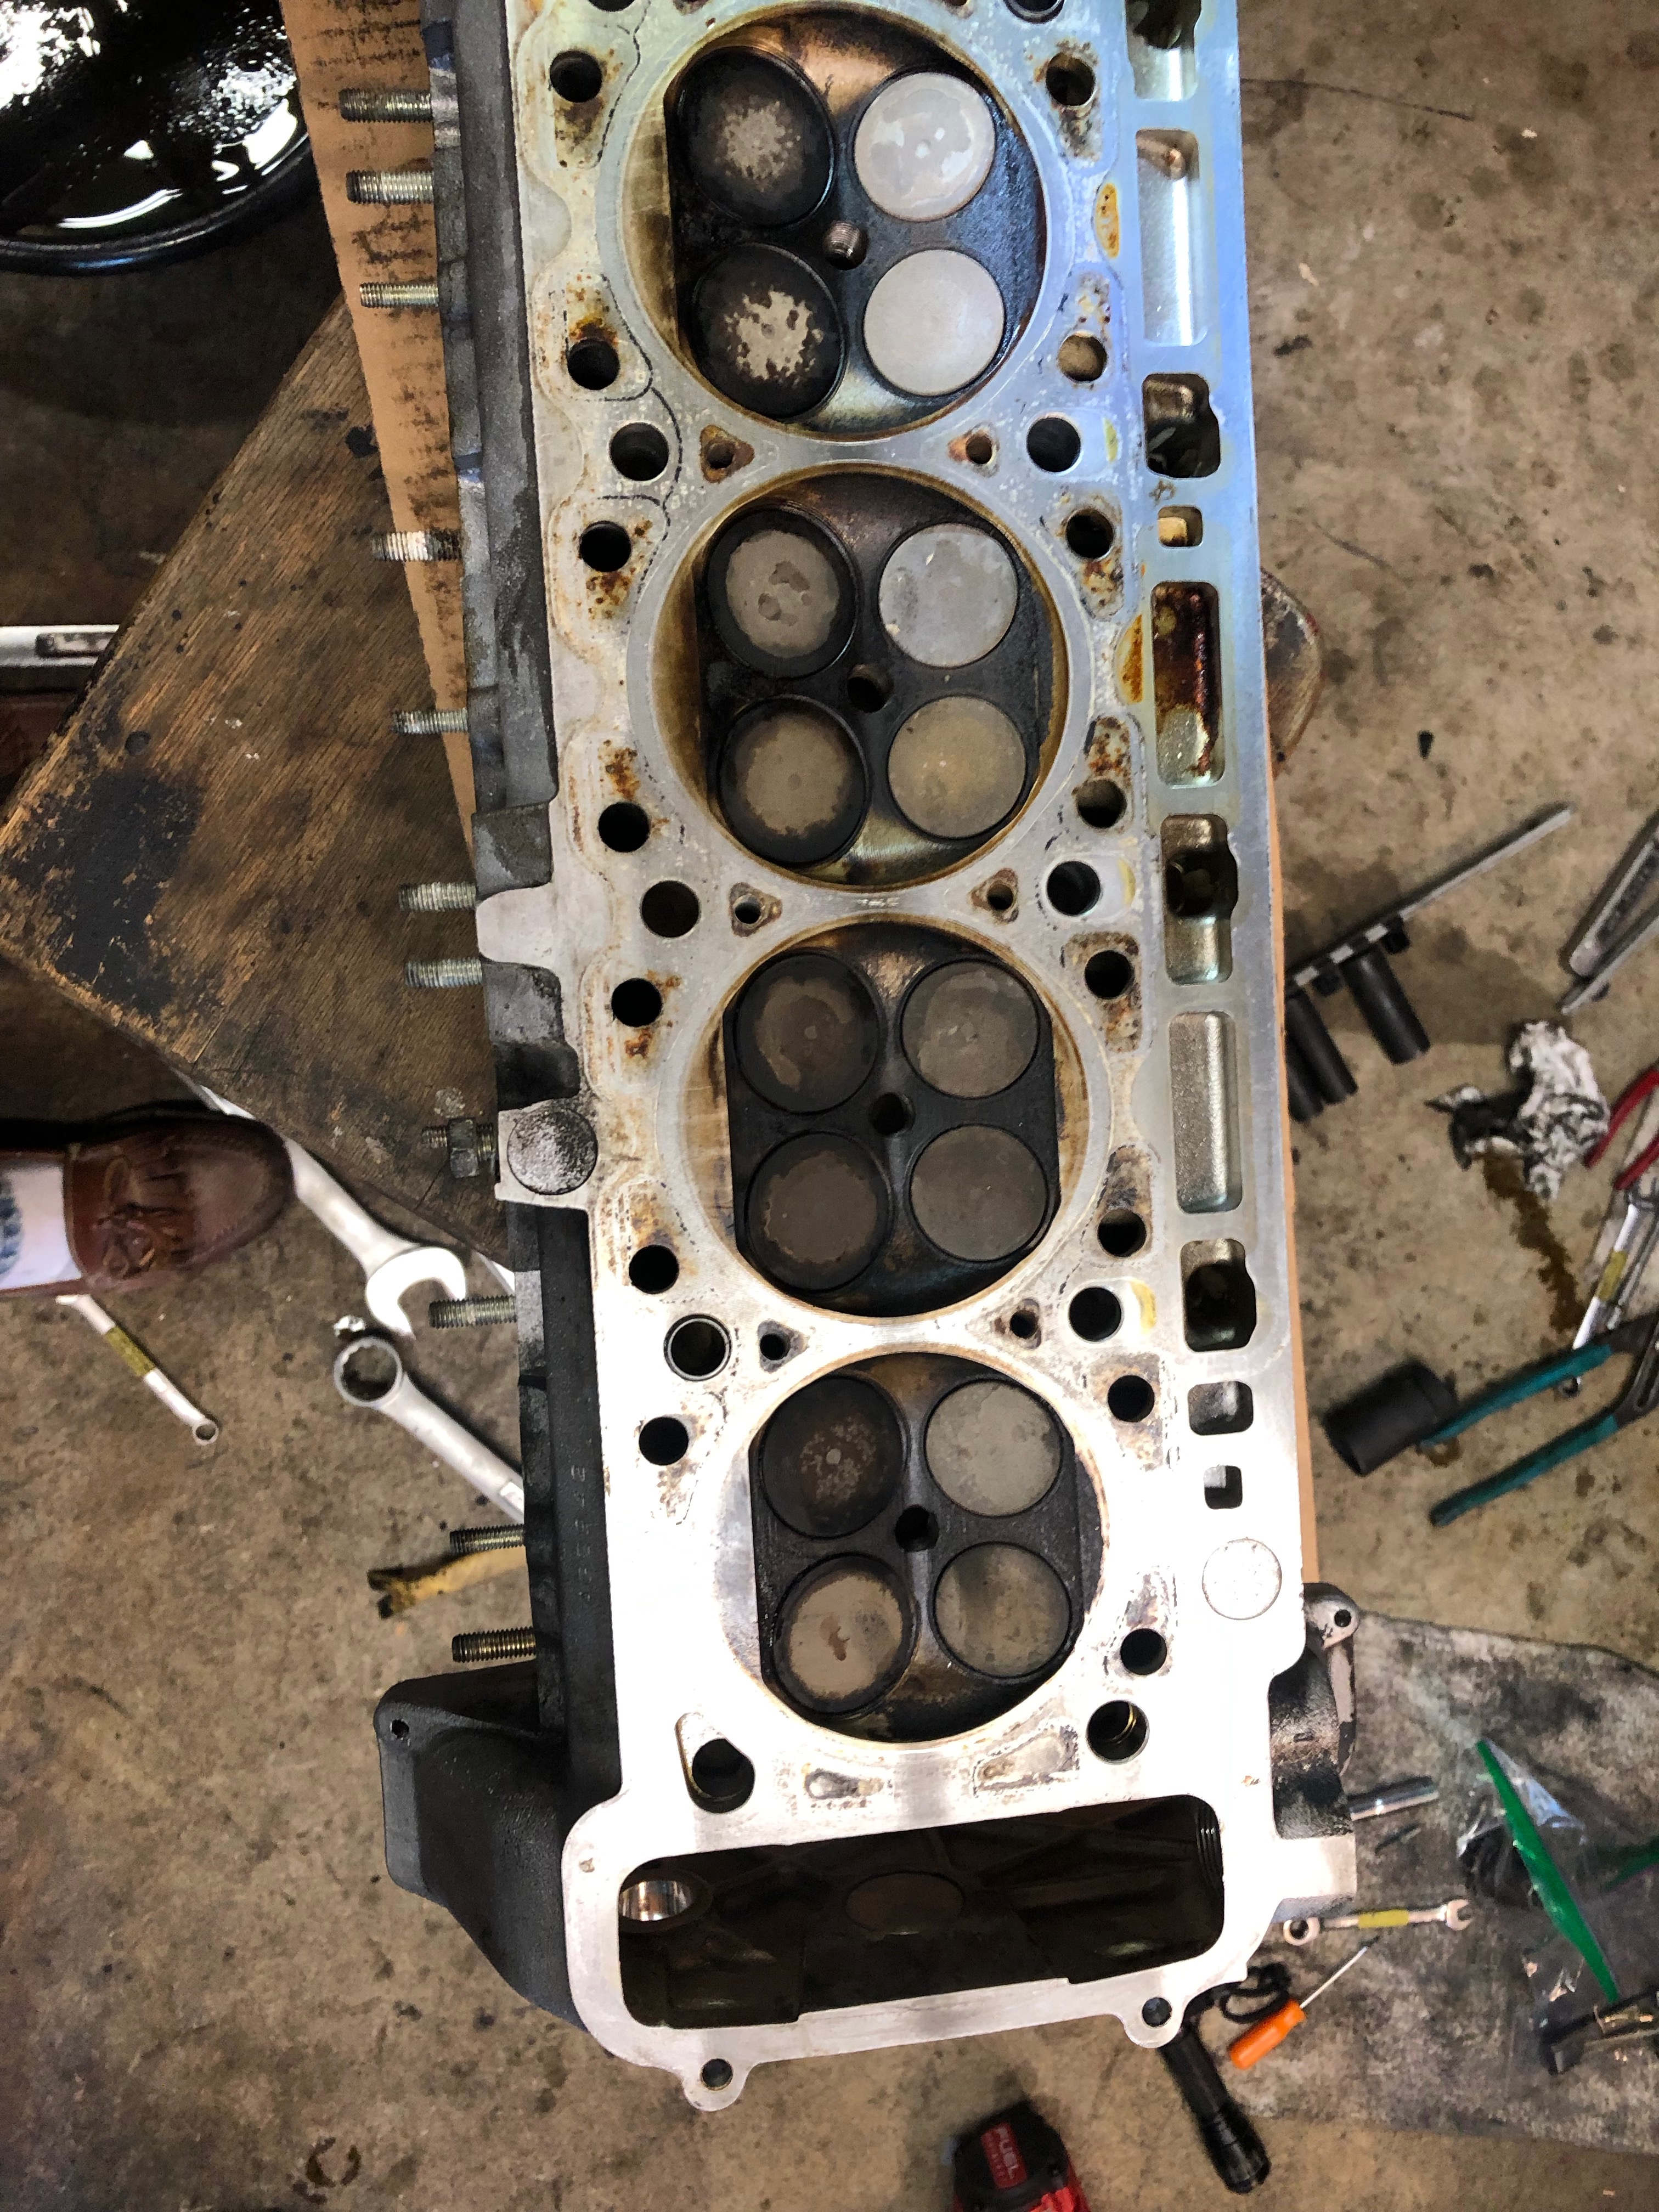
Cylinder bores look pretty good for 155,000 miles. I'm having trouble getting a good pic, but the walls still have what appears to be the original factory cross-hatching. I'm not seeing any scoring or burns, with only the typical exhaust residue below the level of piston-bottom-dead-center on the forward & aft surfaces. There's no edging at the top or bottom of the ring travel.

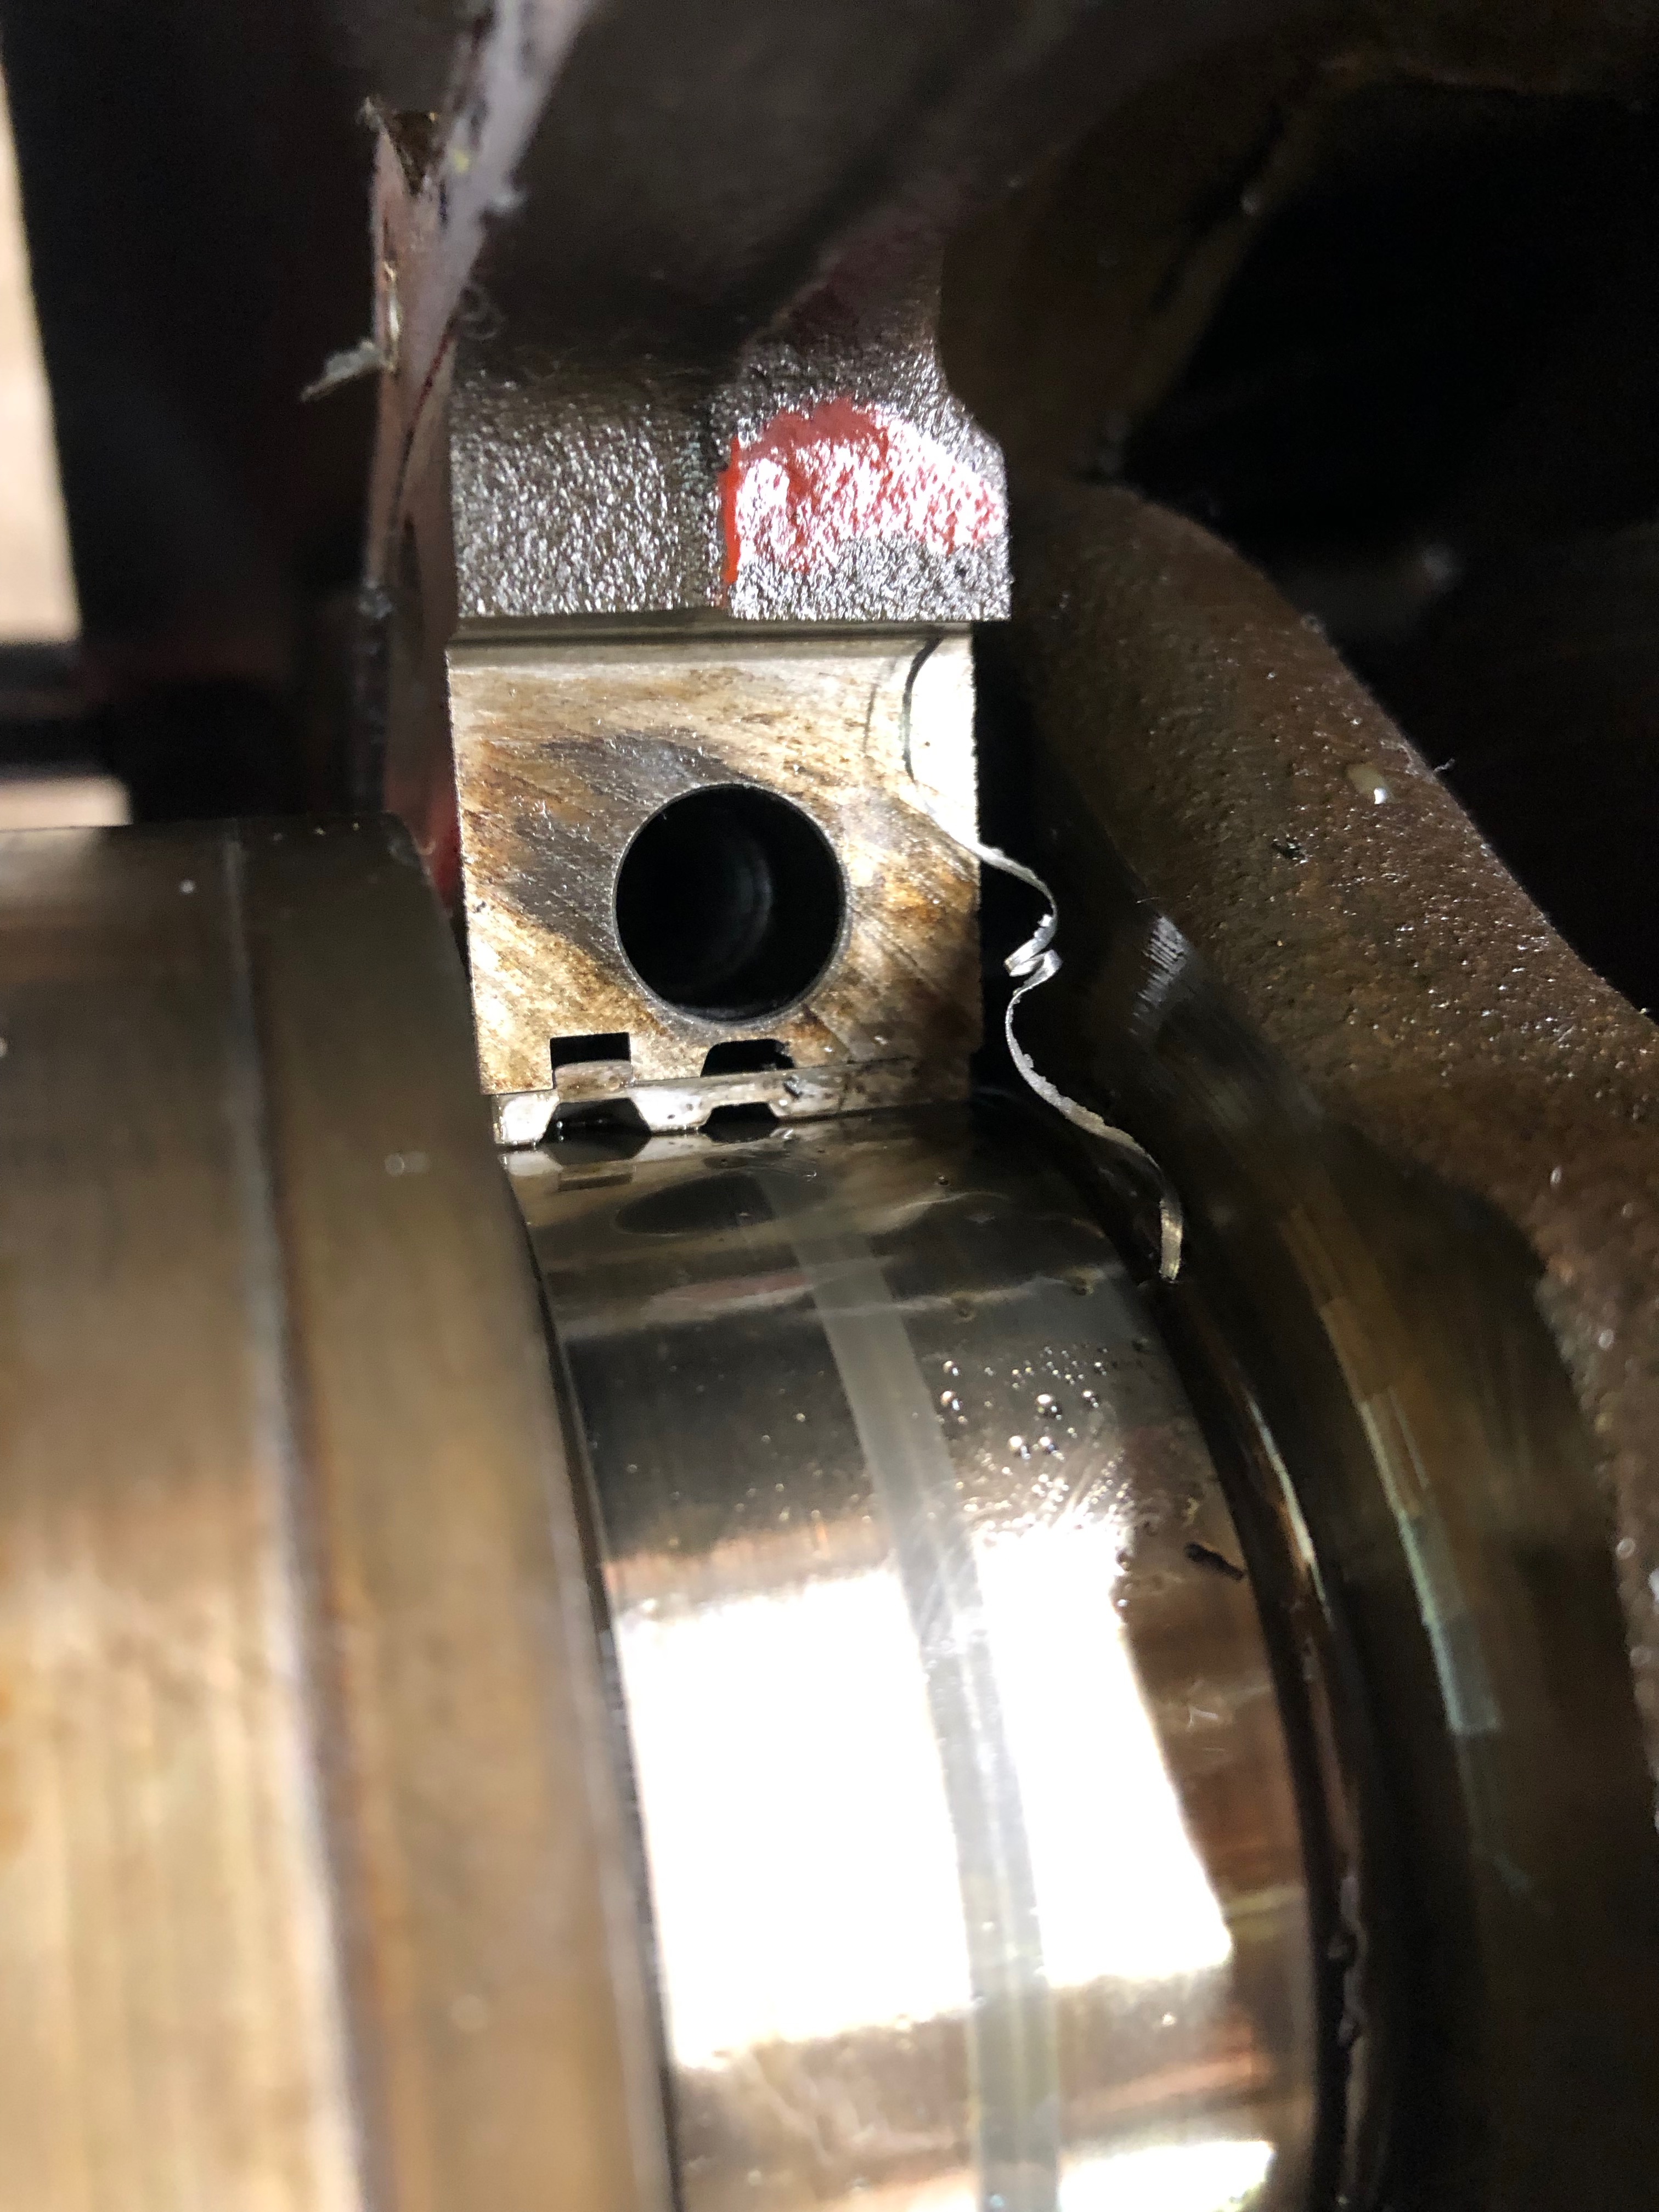
Found some shavings just between the aft main bearing & the rear main seal ... wut? Also shows some slight scoring on the last main crank journal.

Image

Valves & piston tops look normal.

Image

Overall, everything inside seems to look pretty good so far.
jhh925
Posts: 917
Joined: Jul 11, 2015 12:23 AM
Location: Reno

Re: Rebuilding My 1988 US-spec M5

Post by jhh925 »

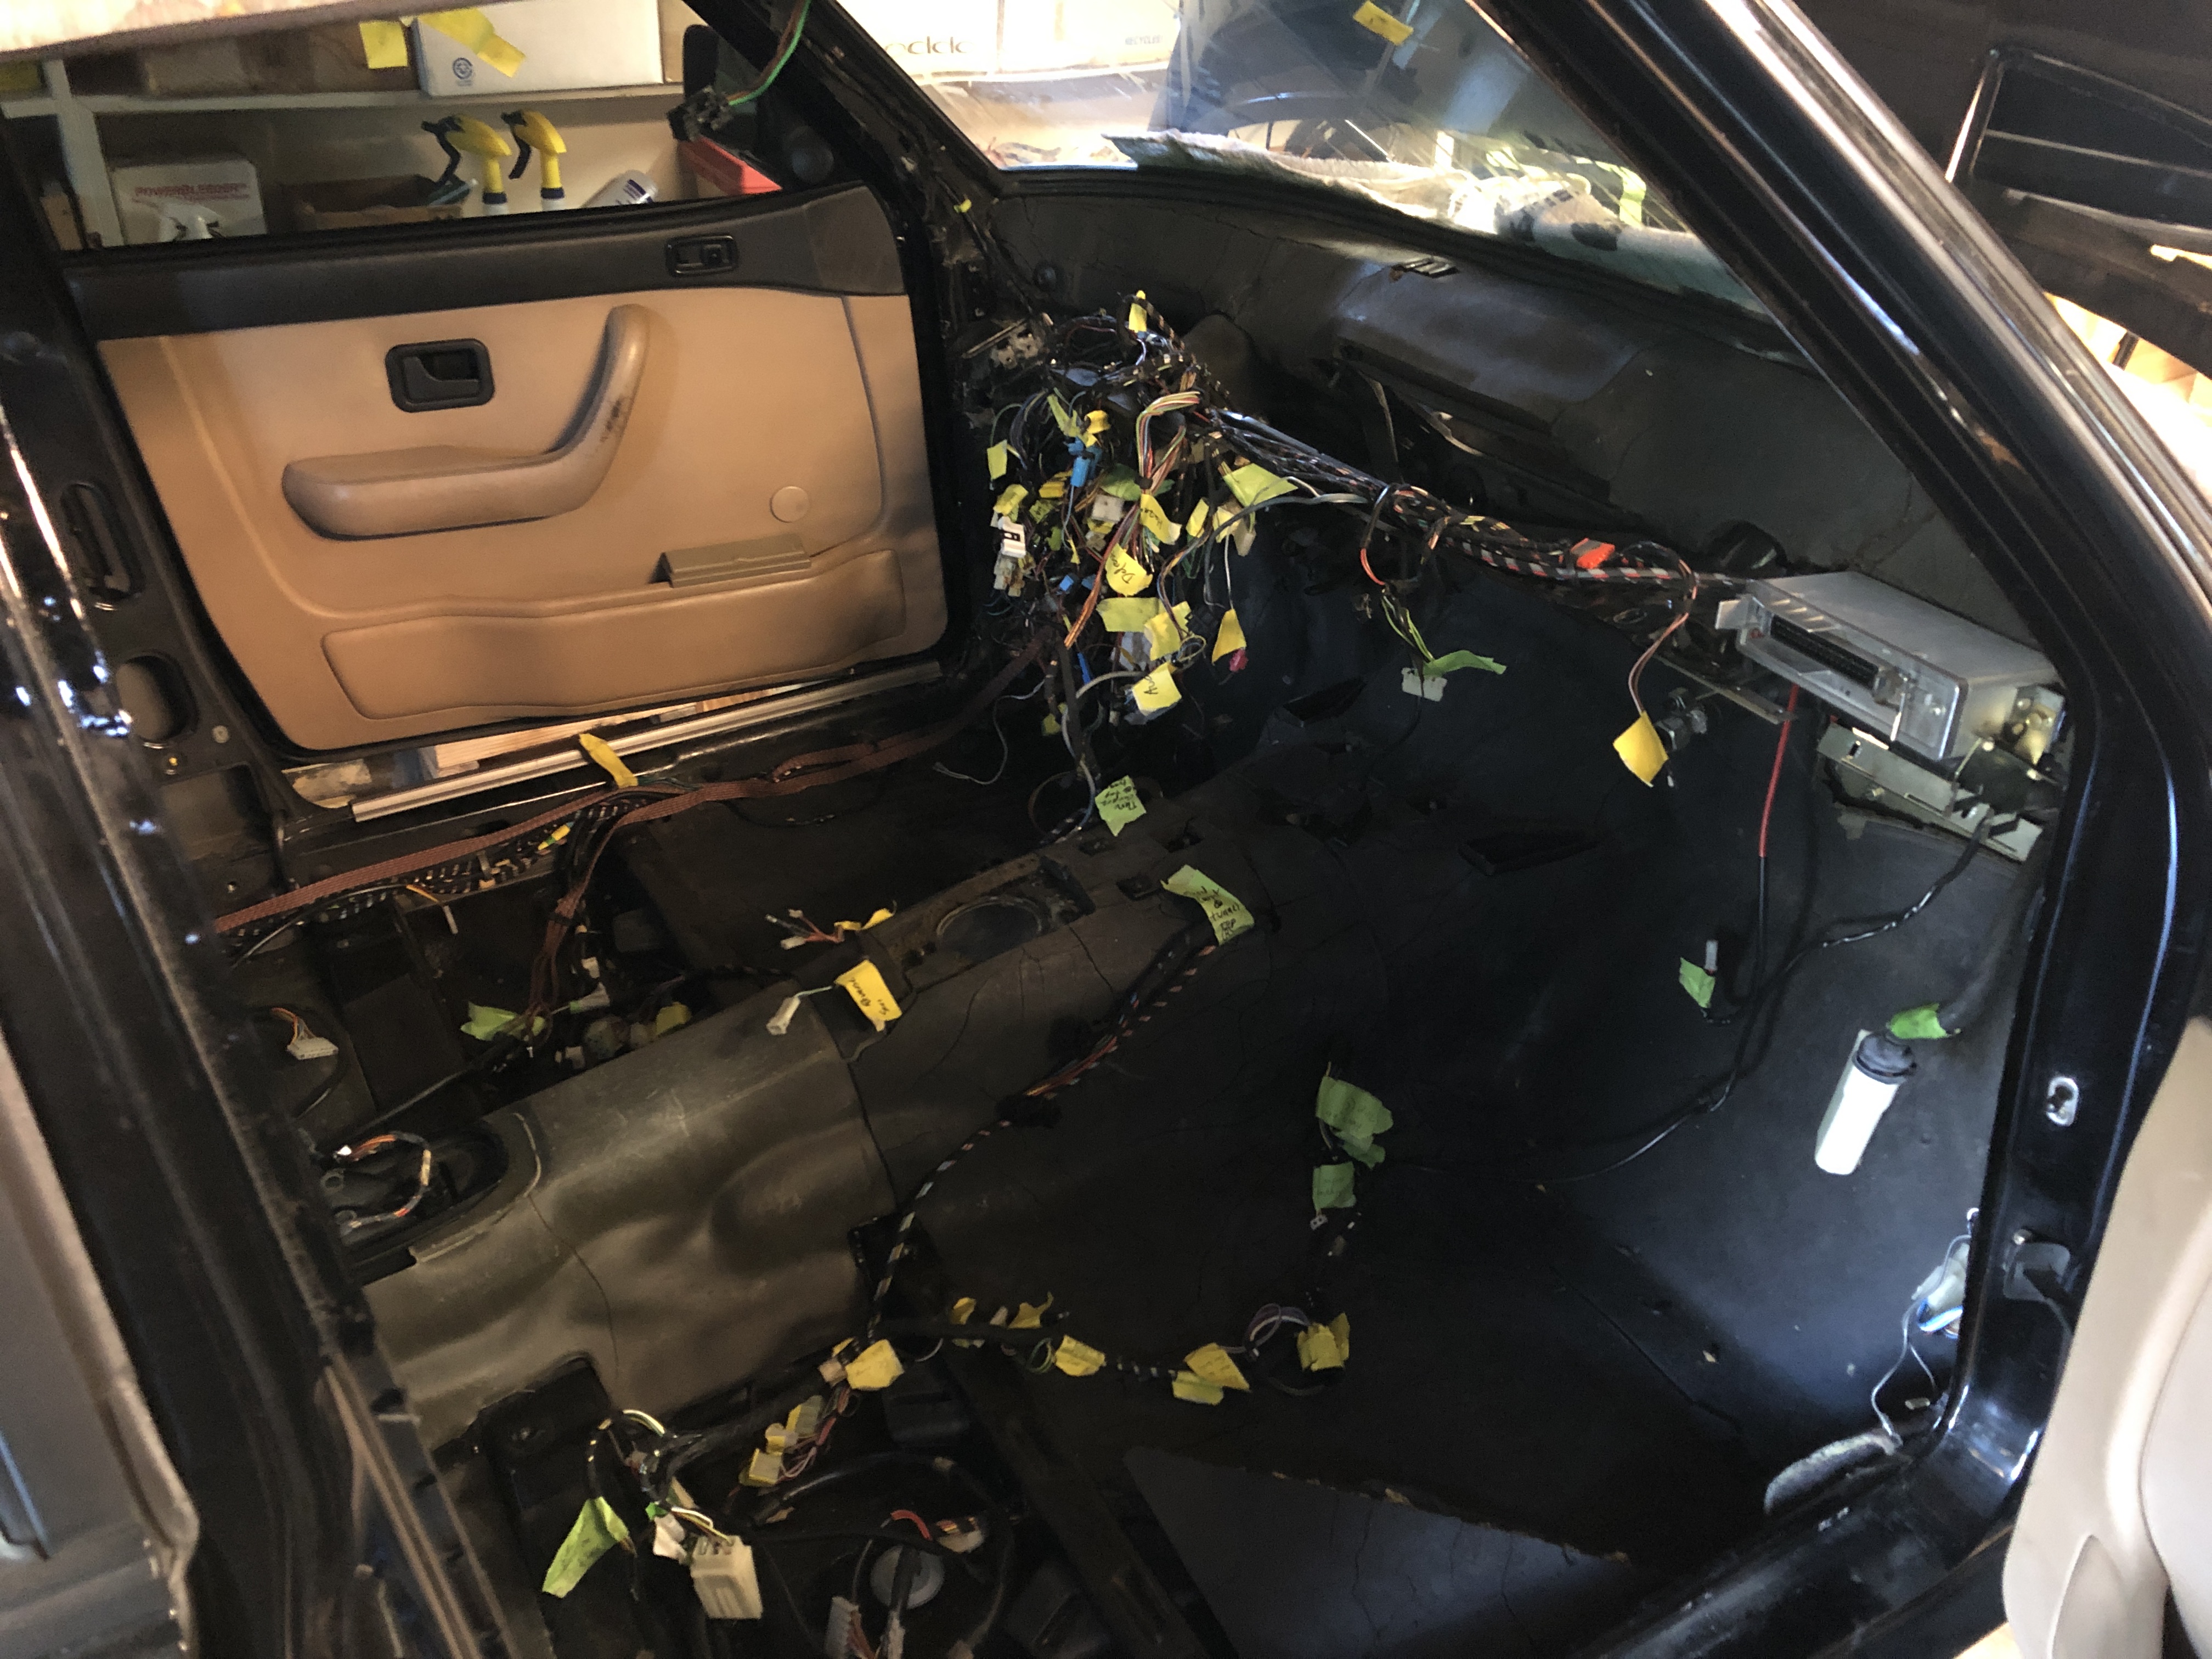
Interior is coming out nicely.

Image
jhh925
Posts: 917
Joined: Jul 11, 2015 12:23 AM
Location: Reno

Re: Rebuilding My 1988 US-spec M5

Post by jhh925 »

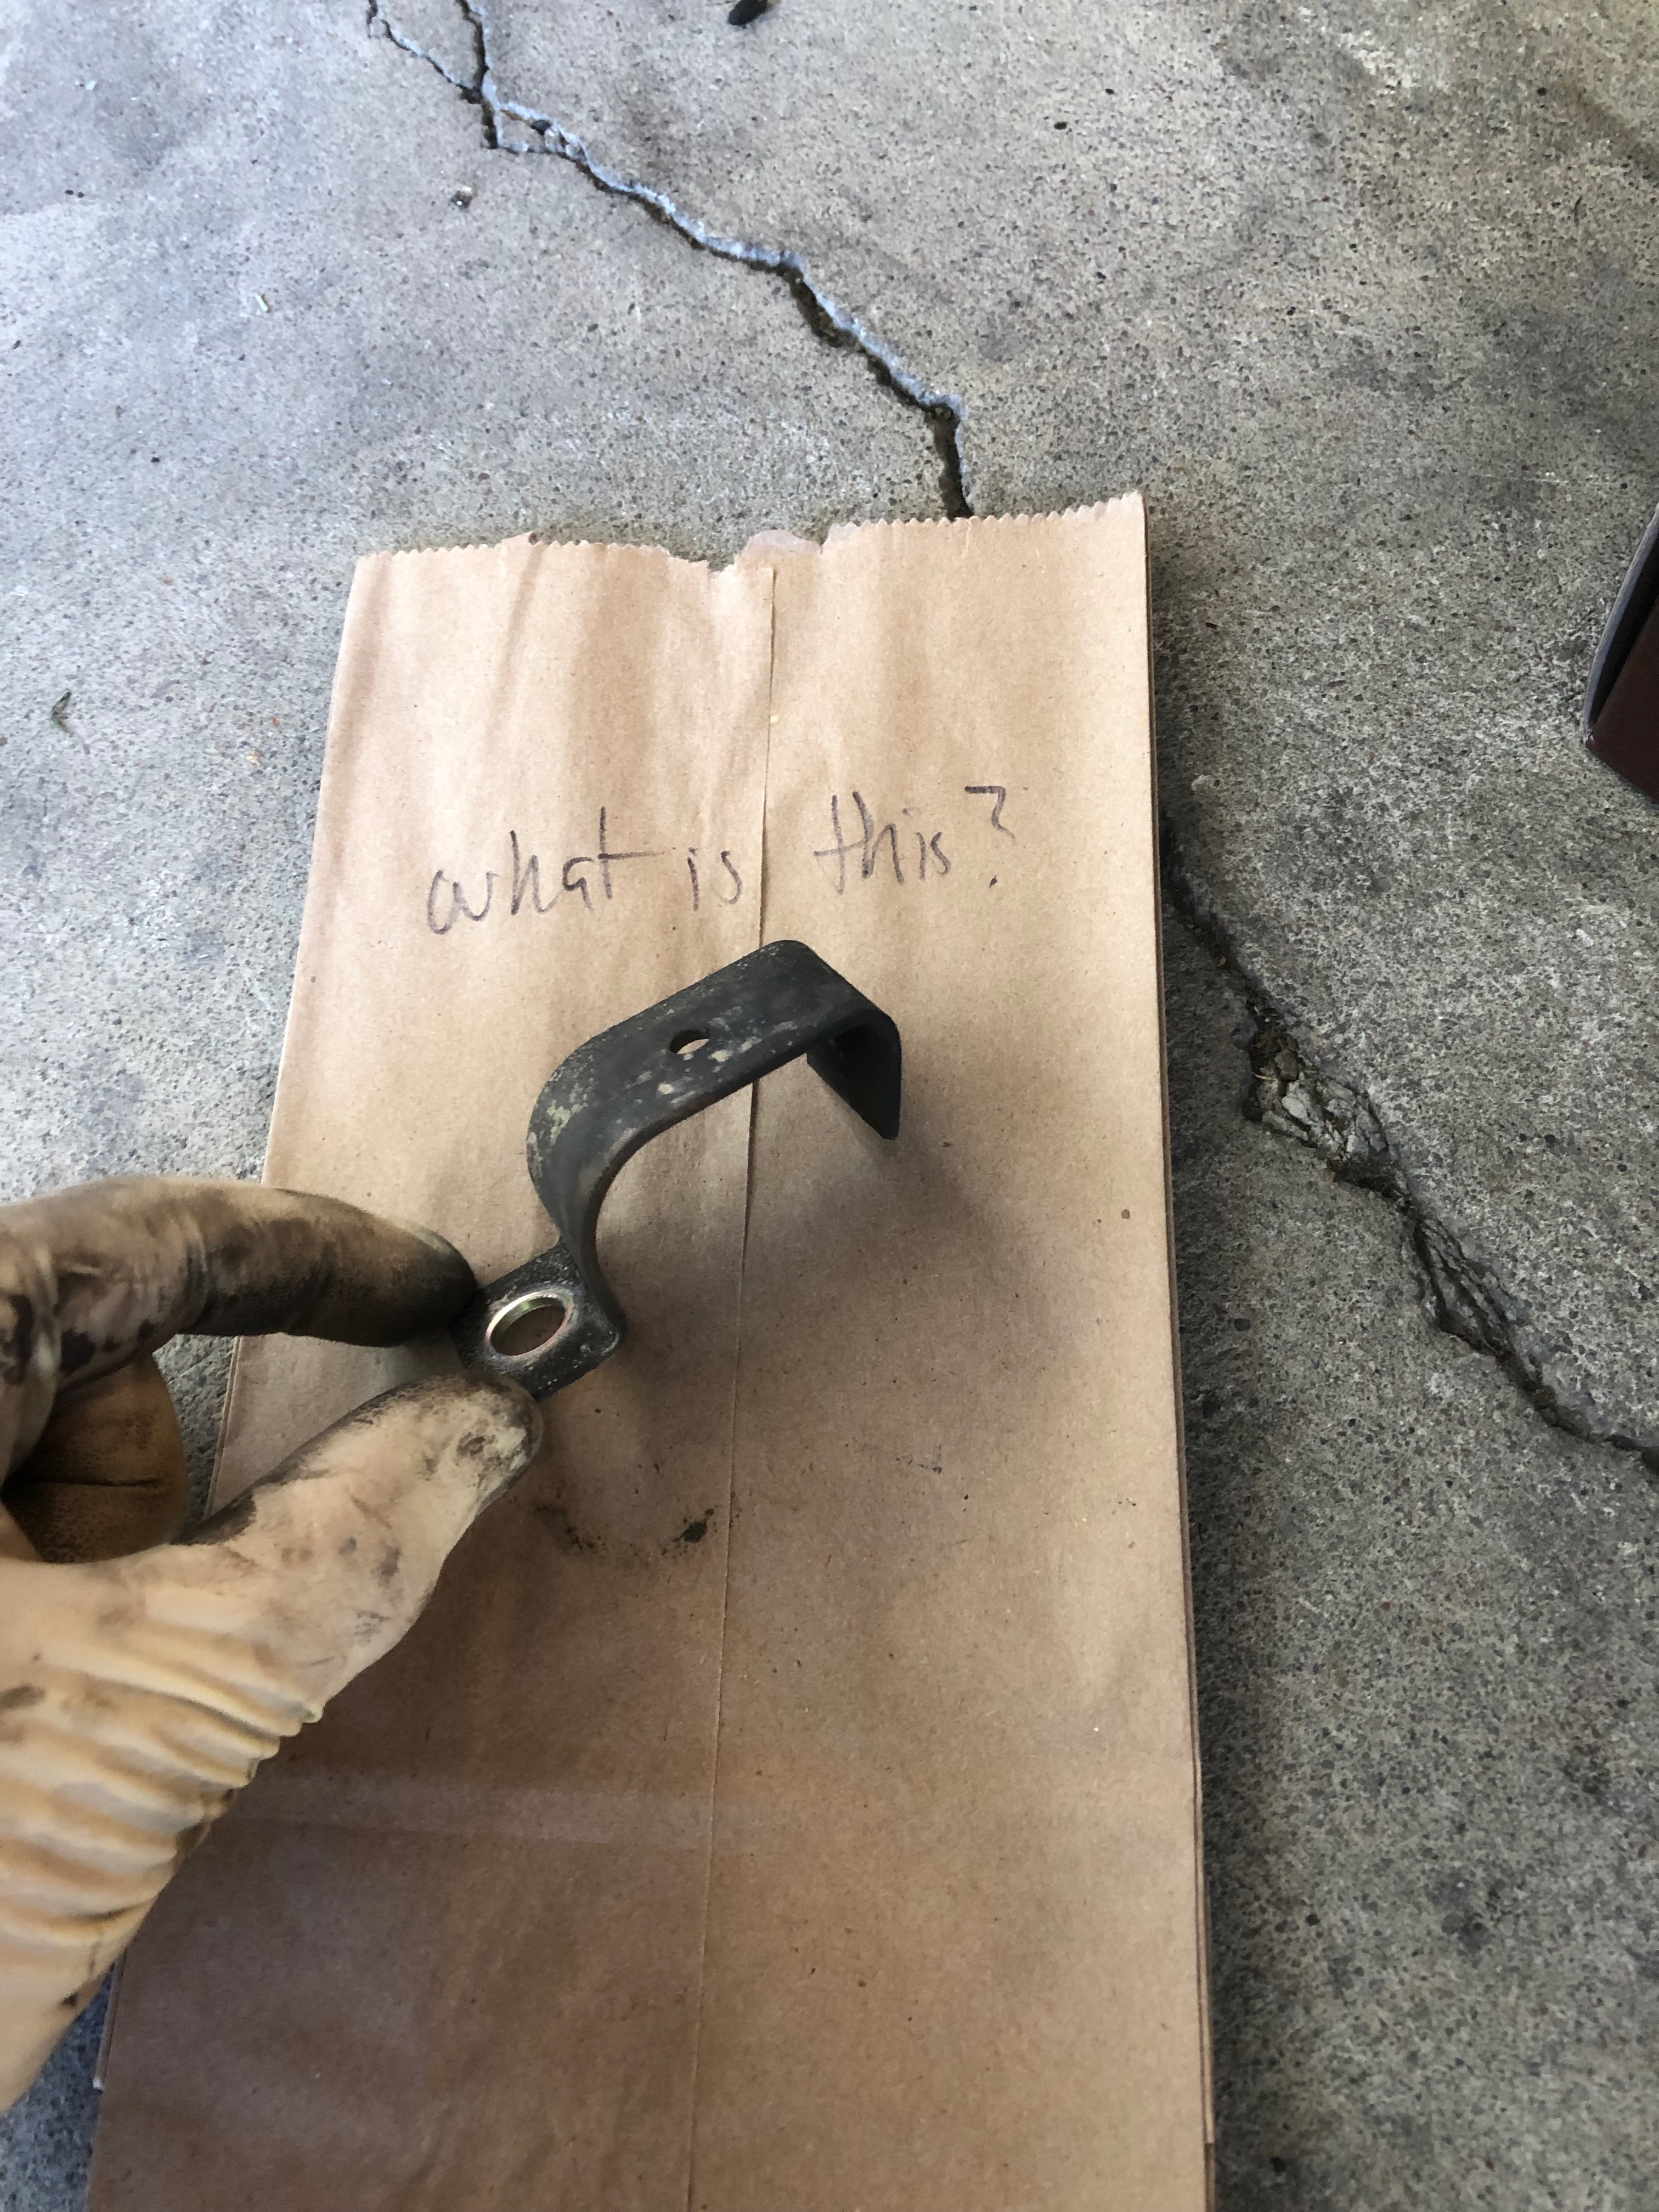
Anyone know what this is? It fell off when I took off the rear sway bar.

Image
jhh925
Posts: 917
Joined: Jul 11, 2015 12:23 AM
Location: Reno

Re: Rebuilding My 1988 US-spec M5

Post by jhh925 »

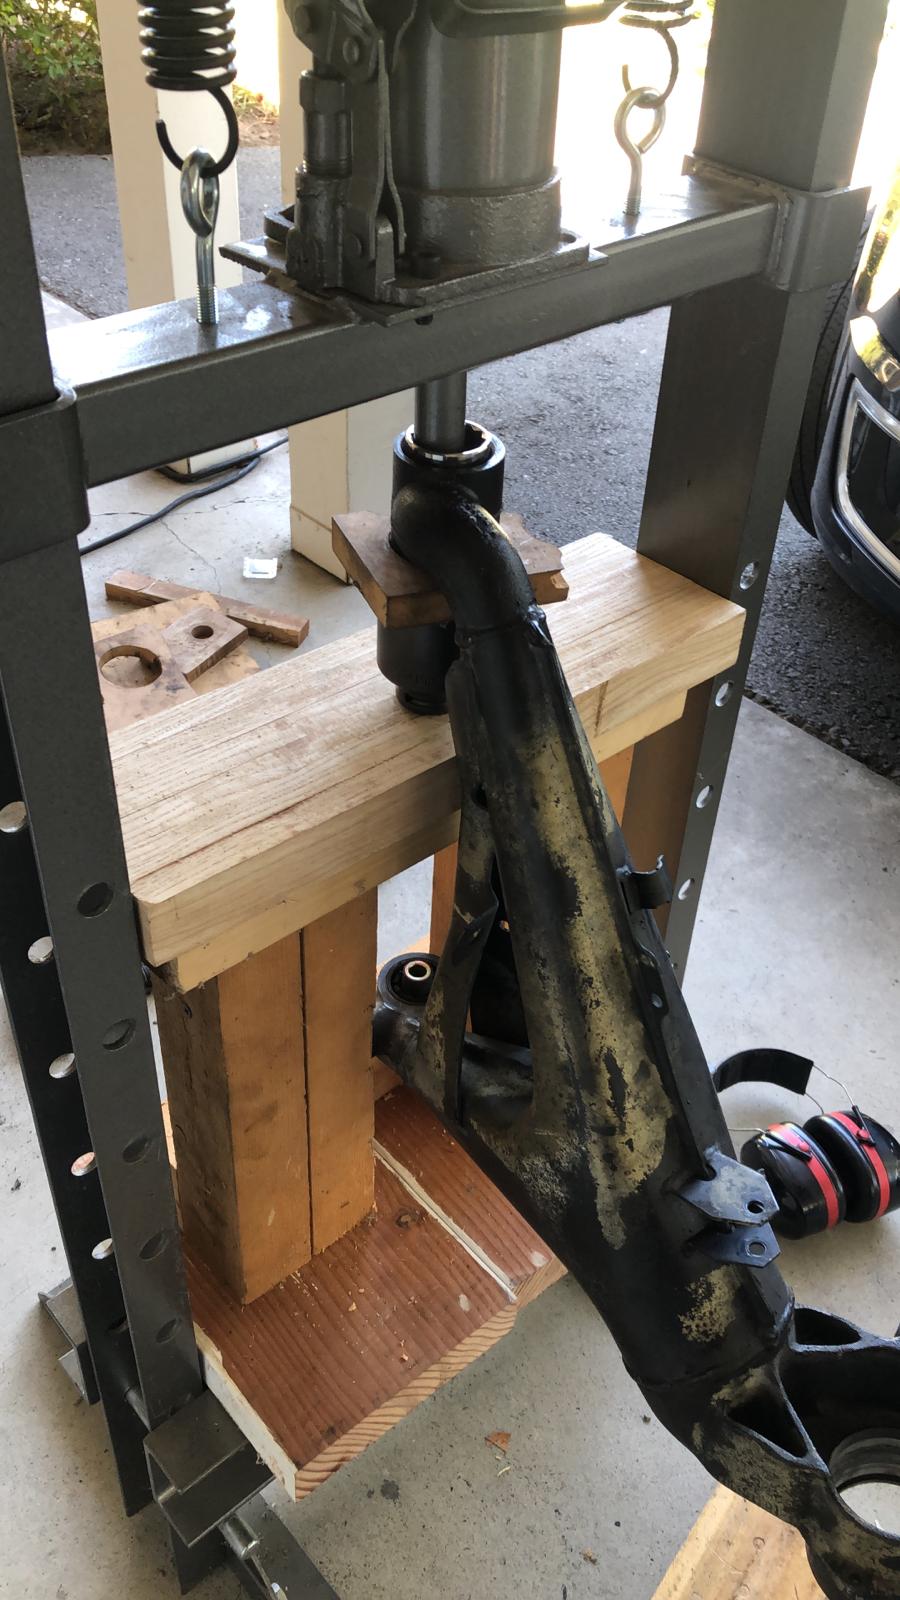
Spent what felt like nearly an entire weekend (but was really only a day and a half) getting the rear wheel bearings, plus the RTA and rear subframe bushings pressed out. Here's my rig for getting the RTA bushings out. I still needed to notch them pretty good with the Sawzall before they budged, though

Image

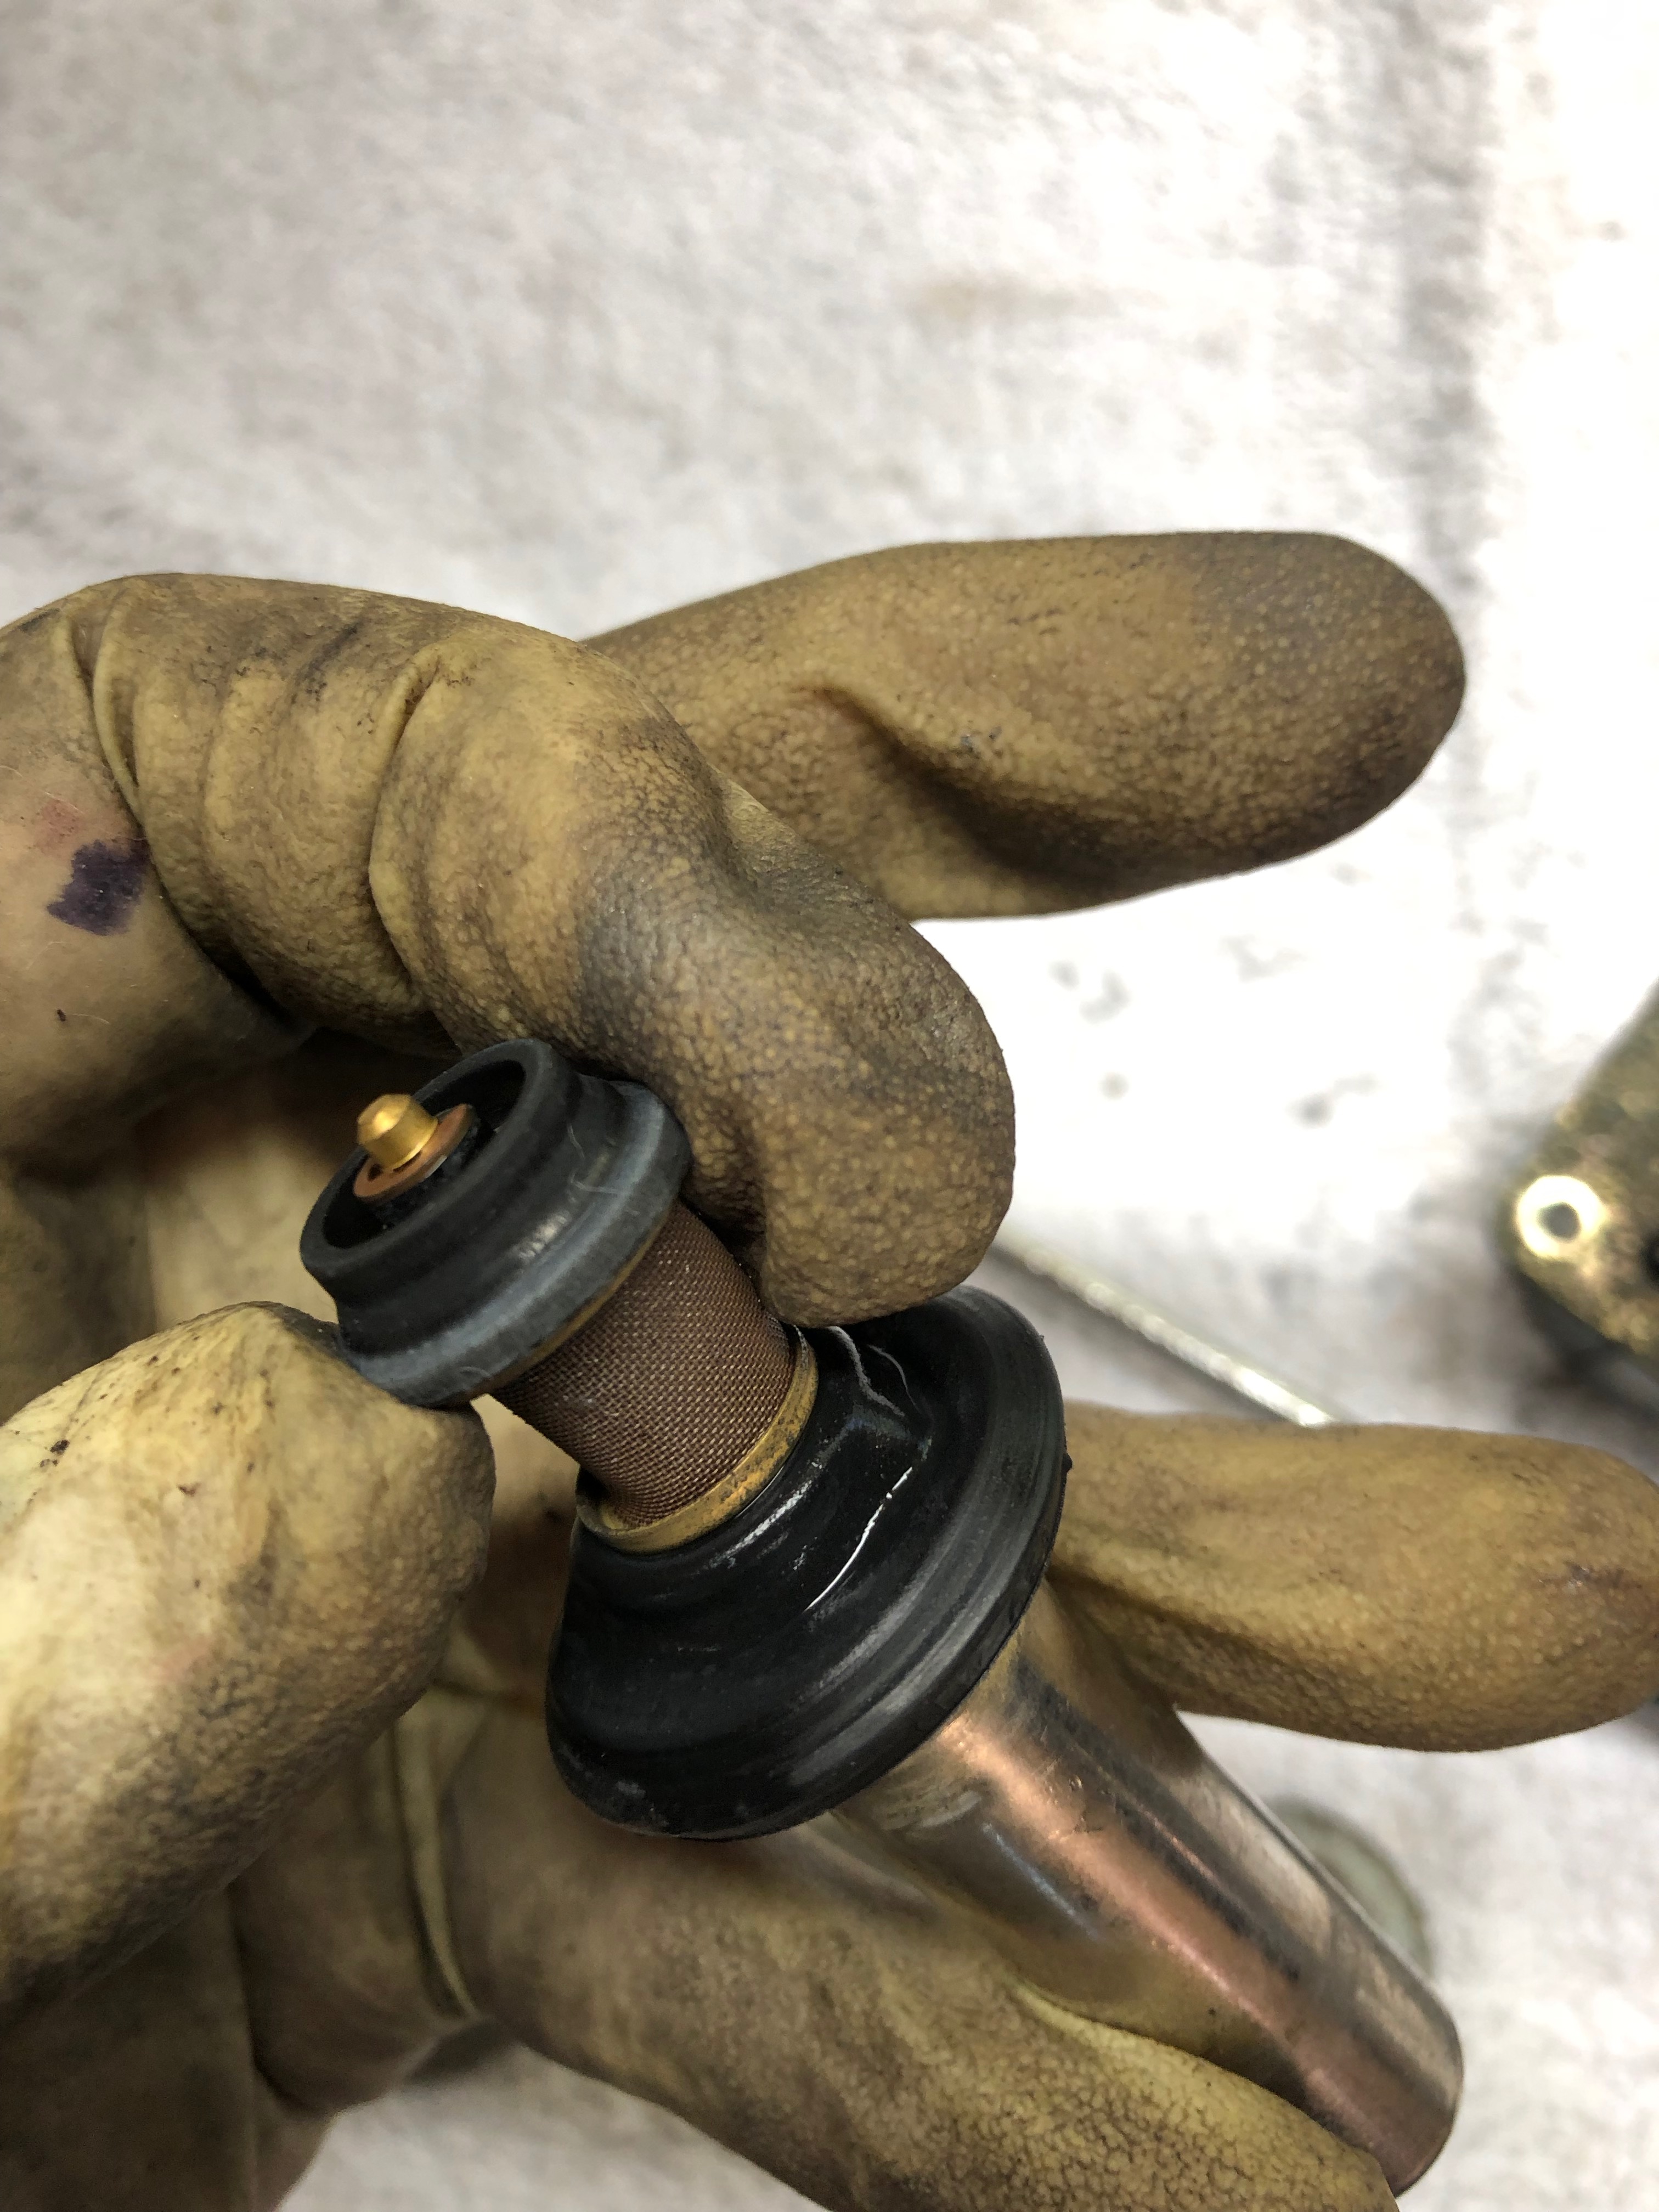
Another piece of fun news ... the valve body in the heater control valve looks to be in perfect shape. I can't remember if it worked right when I drove the car. I brought it home in April? May? Can't remember, but it was mild enough that I never turned the heat on and never even tried the AC (which wasn't working anyhow). I don't think the vents were blowing hot when I was idling at a stoplight? Regardless, the membrane is intact, and there's a very small "MB" molded onto its edge, so I think this is likely one of the good Bosch MBz parts - saved $150 - "So, O got that going for me, which is nice."

Image
jhh925
Posts: 917
Joined: Jul 11, 2015 12:23 AM
Location: Reno

Re: Rebuilding My 1988 US-spec M5

Post by jhh925 »

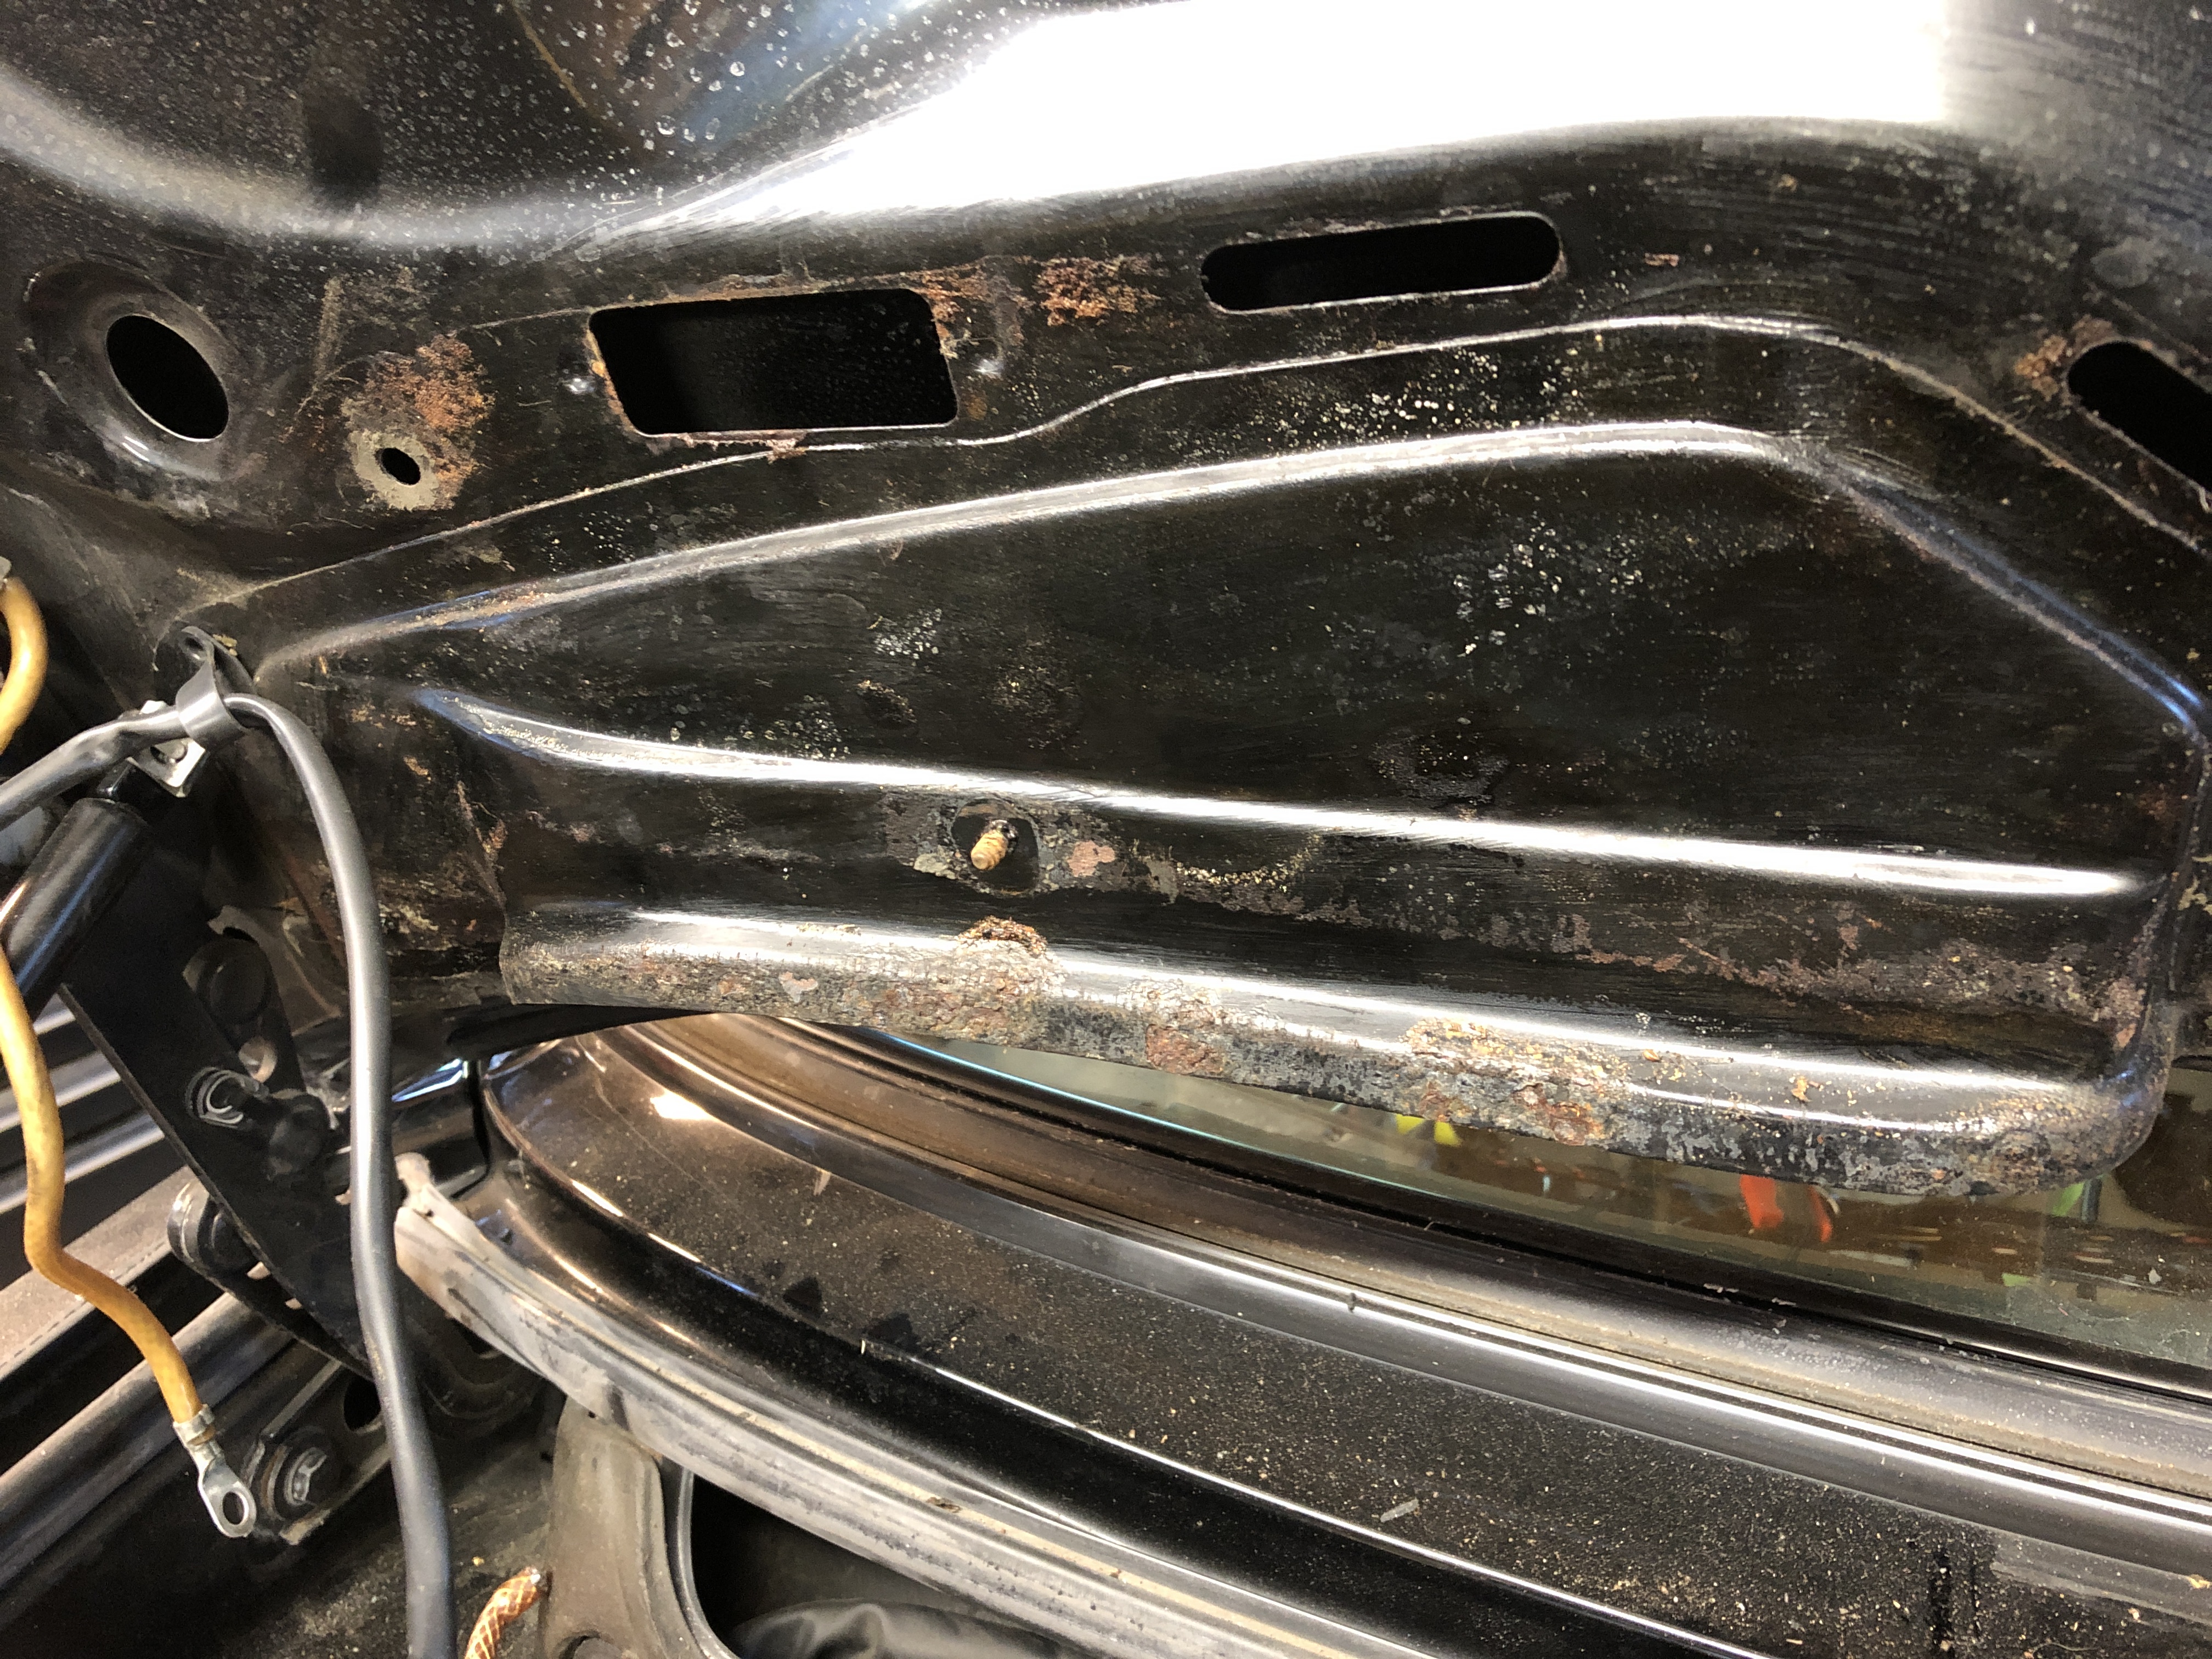
Well, fuck. I guess the news has been so good for so long that I had to find something, right? Luckily it's only surface rust and there are no through-holes. Some cleanup and POR-15 treatment and we should be good to go.

Image

That said, my old 535 had no such issues, and the rust here is on the engine-side of the cowling. And there's plenty of white spray on the underside of the hood. That white spray looks like it started at the leading edge and was blown along the surface to the rear. Just a guess here, but is it possible that at some prior point water or coolant accumulated between the hood and the hood liner? And then that got blown to the rear as the car was driven? And that the moisture then collected in those cowl covers and rusted the cowling? I know that the M5 has the full hood liner, but I'm seriously tempted to replace the M5 liner with jus the standard three-piece foam inserts ... I think they look better and there's less chance of moisture being trapped. Thoughts?
jhh925
Posts: 917
Joined: Jul 11, 2015 12:23 AM
Location: Reno

Re: Rebuilding My 1988 US-spec M5

Post by jhh925 »

Carpet cleaning:

Image
Image

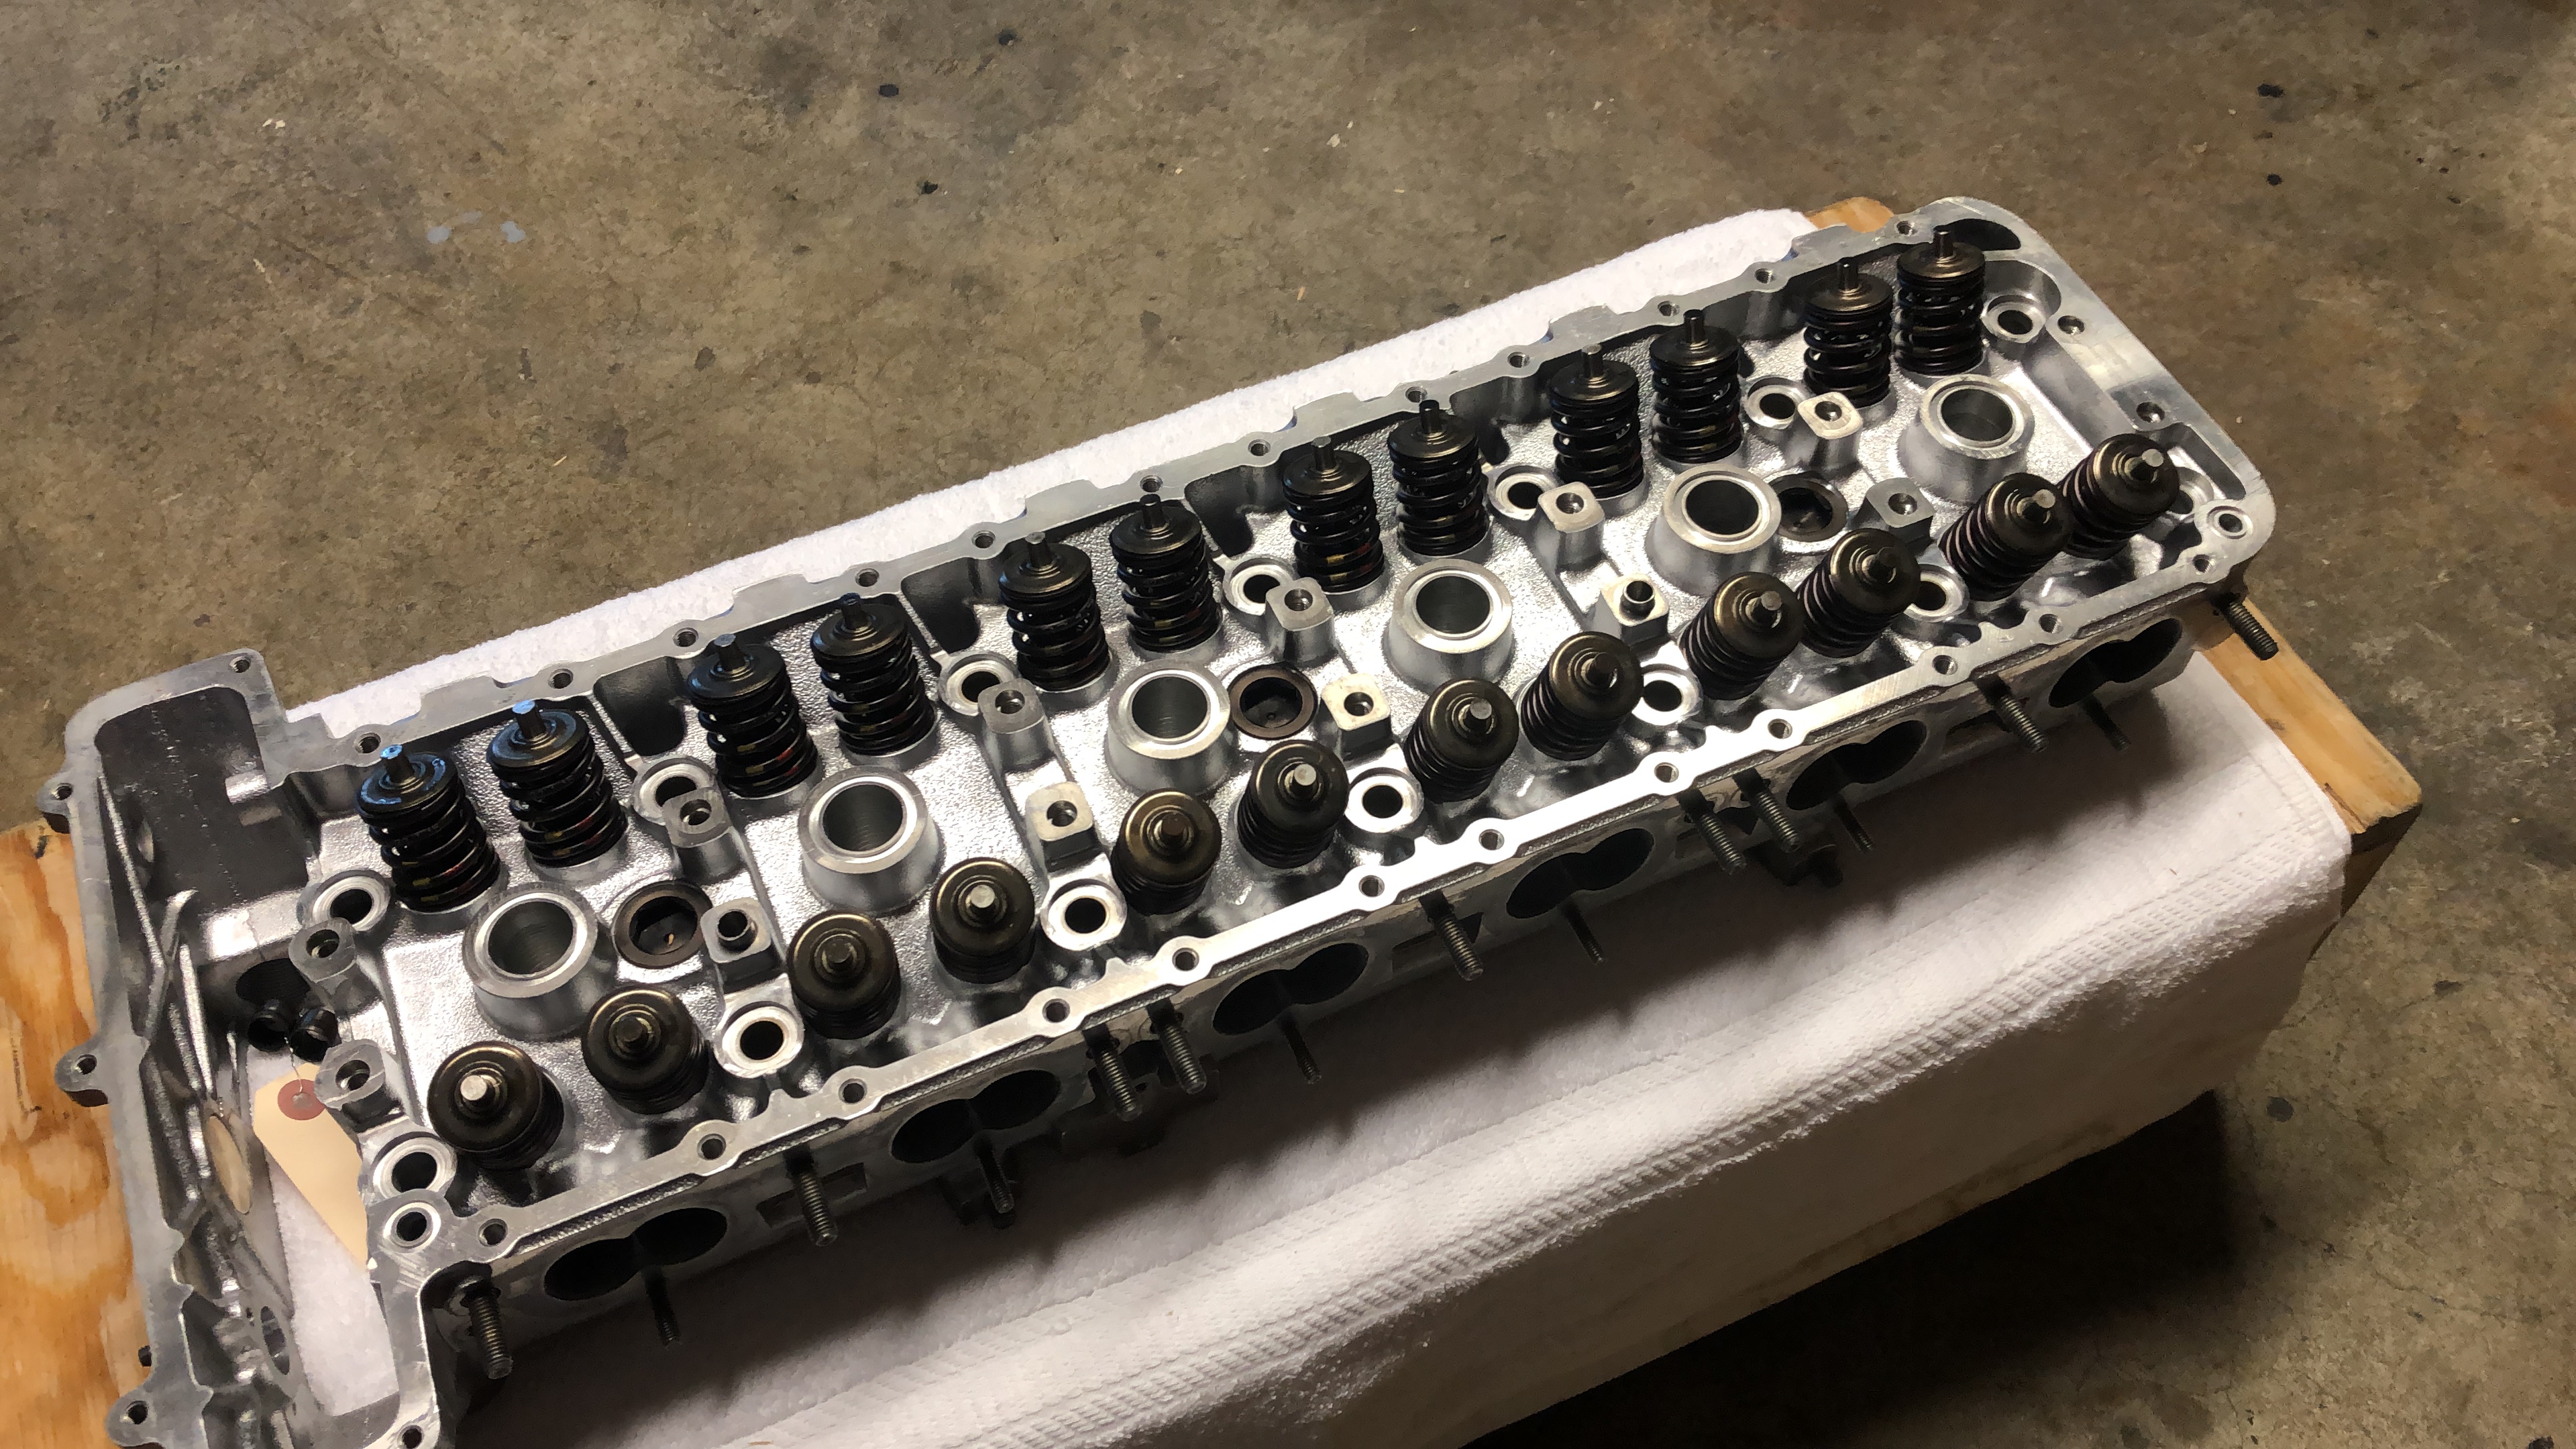
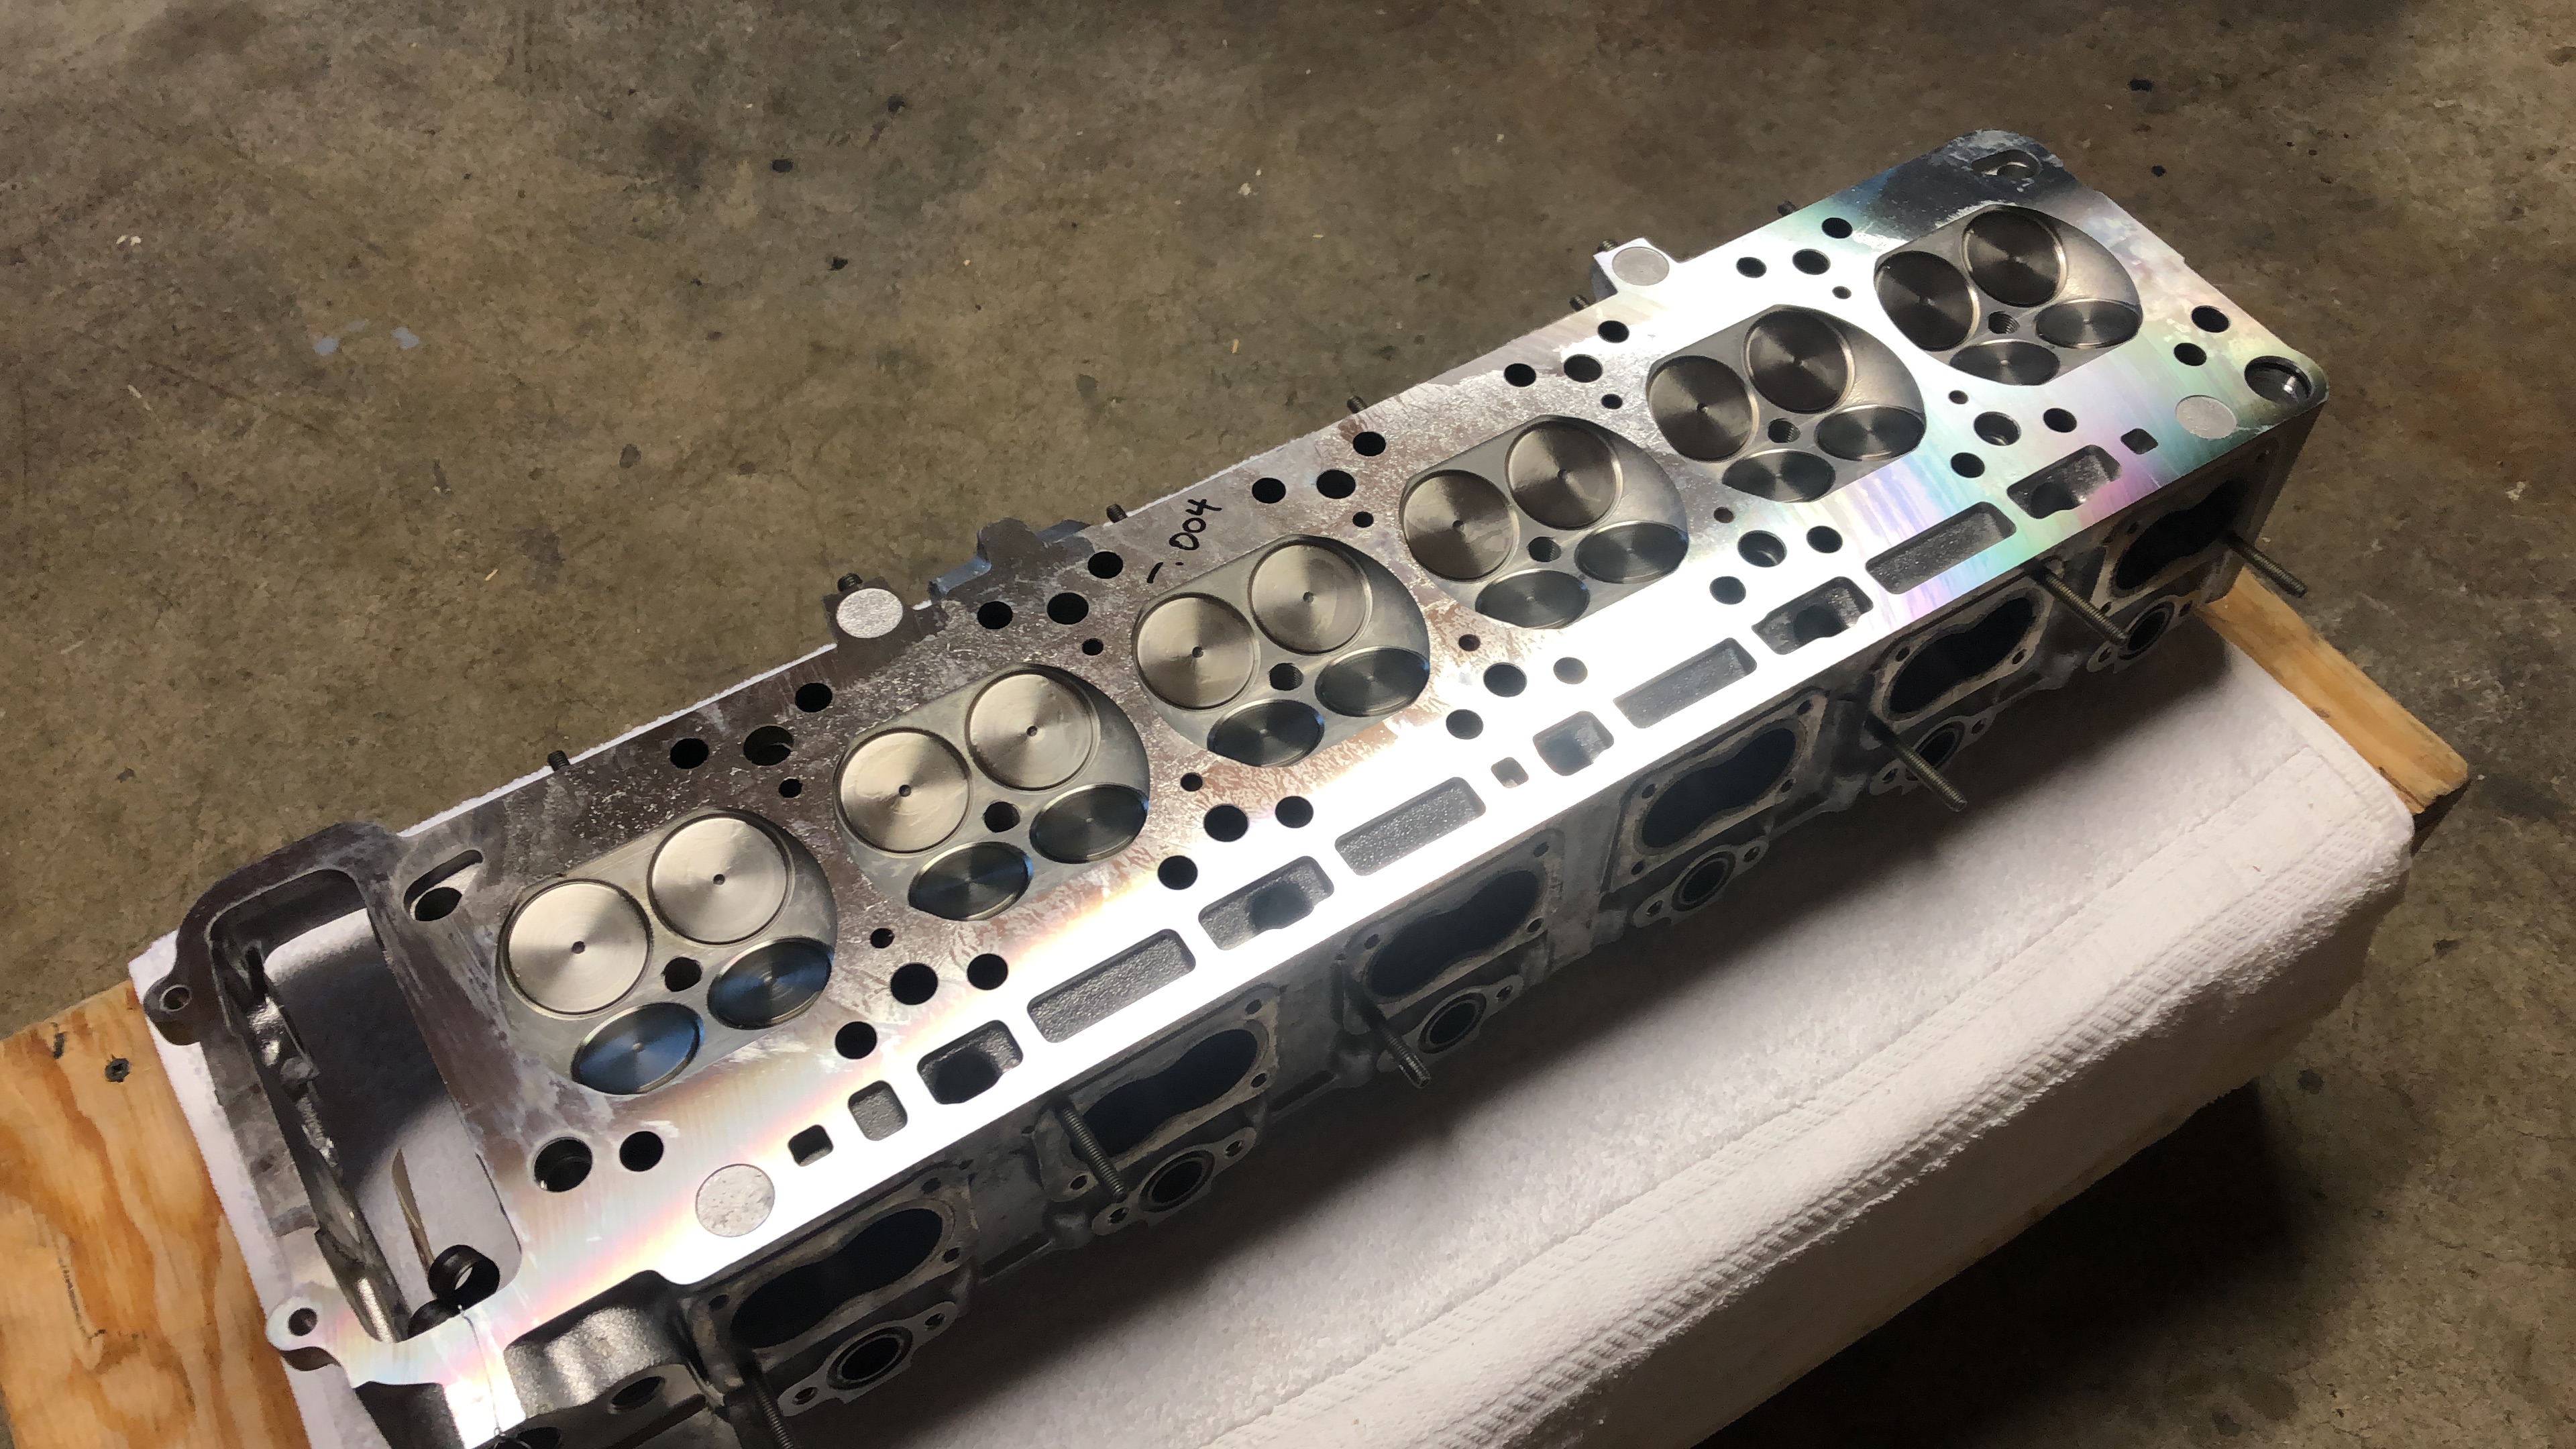
Head is back from Memphis Motor Works:

Image
Image

Three angle grind. New springs. Head was in good shape. No warping!
jhh925
Posts: 917
Joined: Jul 11, 2015 12:23 AM
Location: Reno

Re: Rebuilding My 1988 US-spec M5

Post by jhh925 »

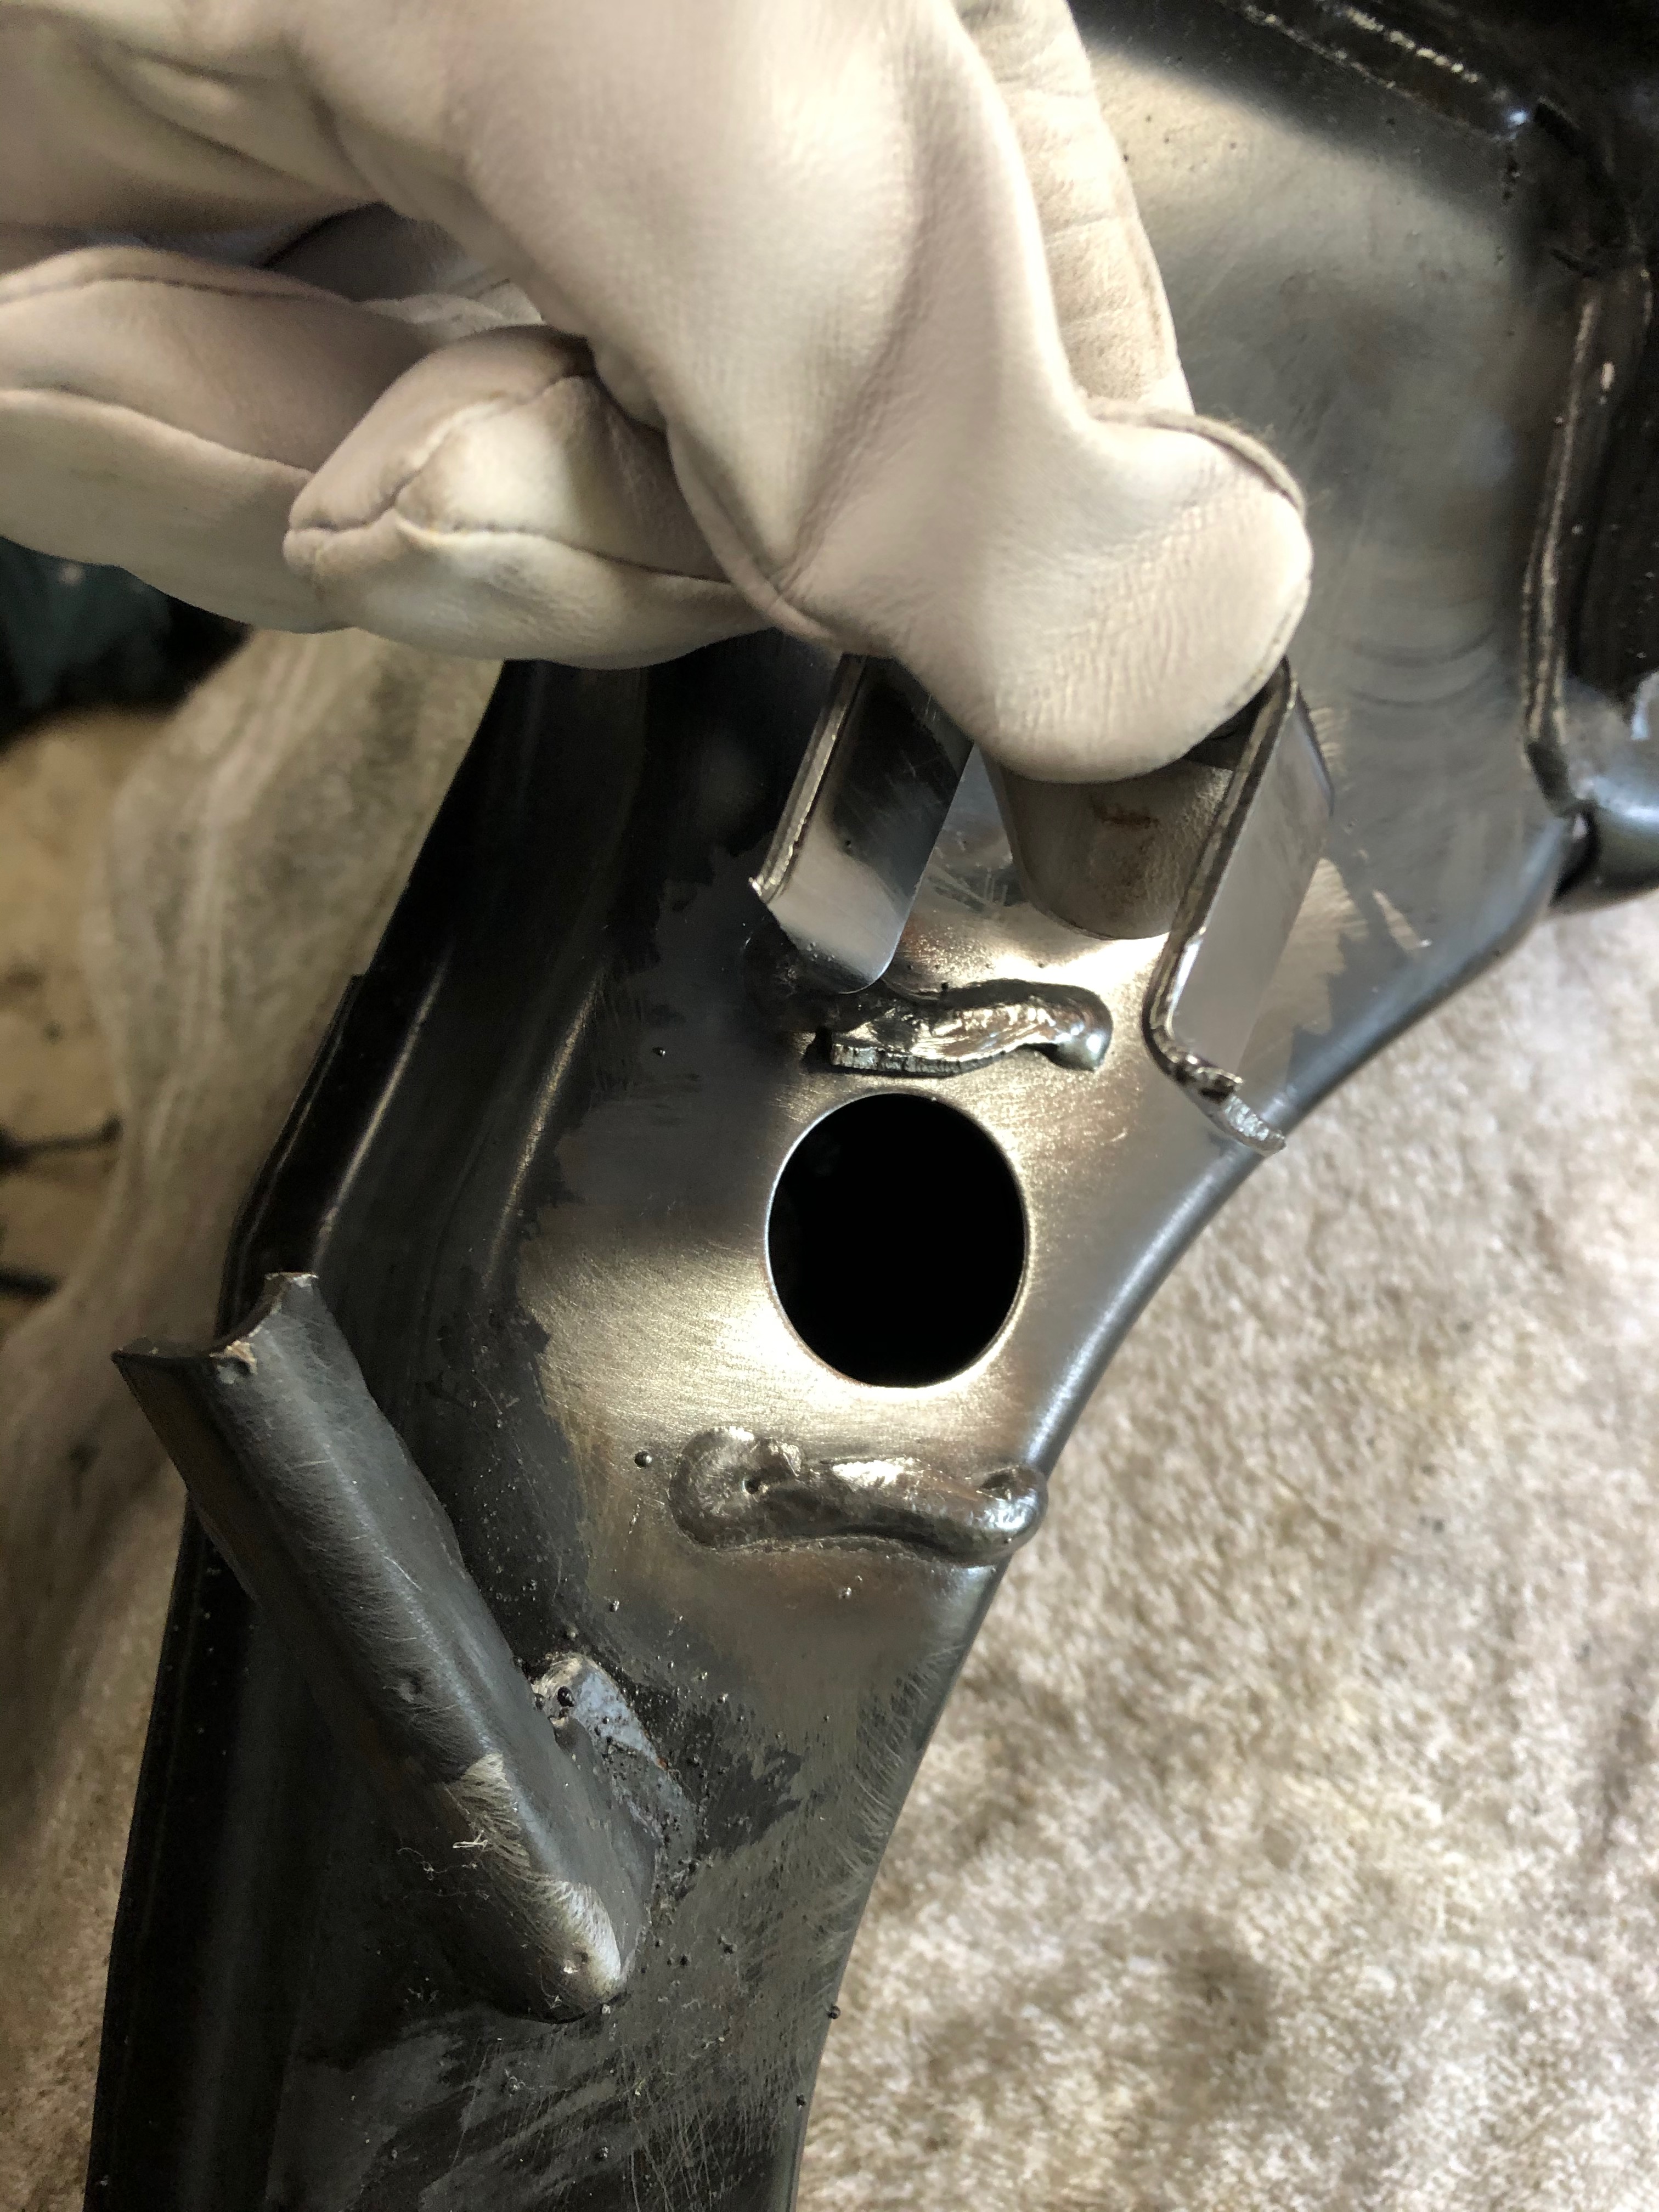
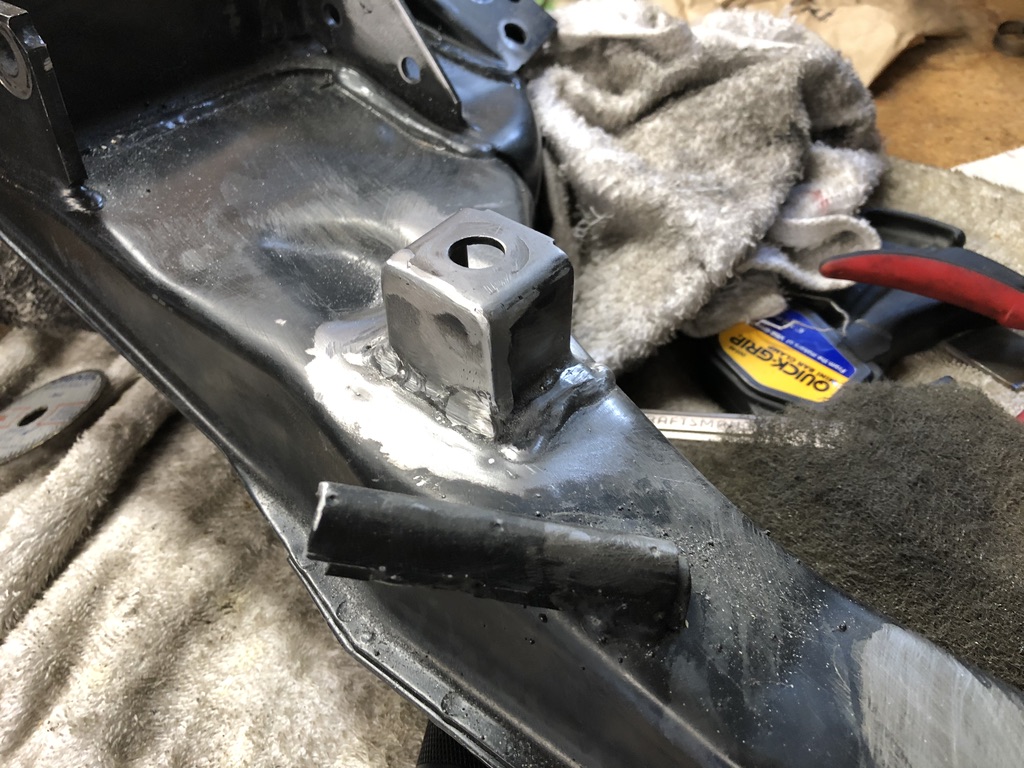
Learning to weld on my steering box support:

Image

Image

Image
jhh925
Posts: 917
Joined: Jul 11, 2015 12:23 AM
Location: Reno

Re: Rebuilding My 1988 US-spec M5

Post by jhh925 »

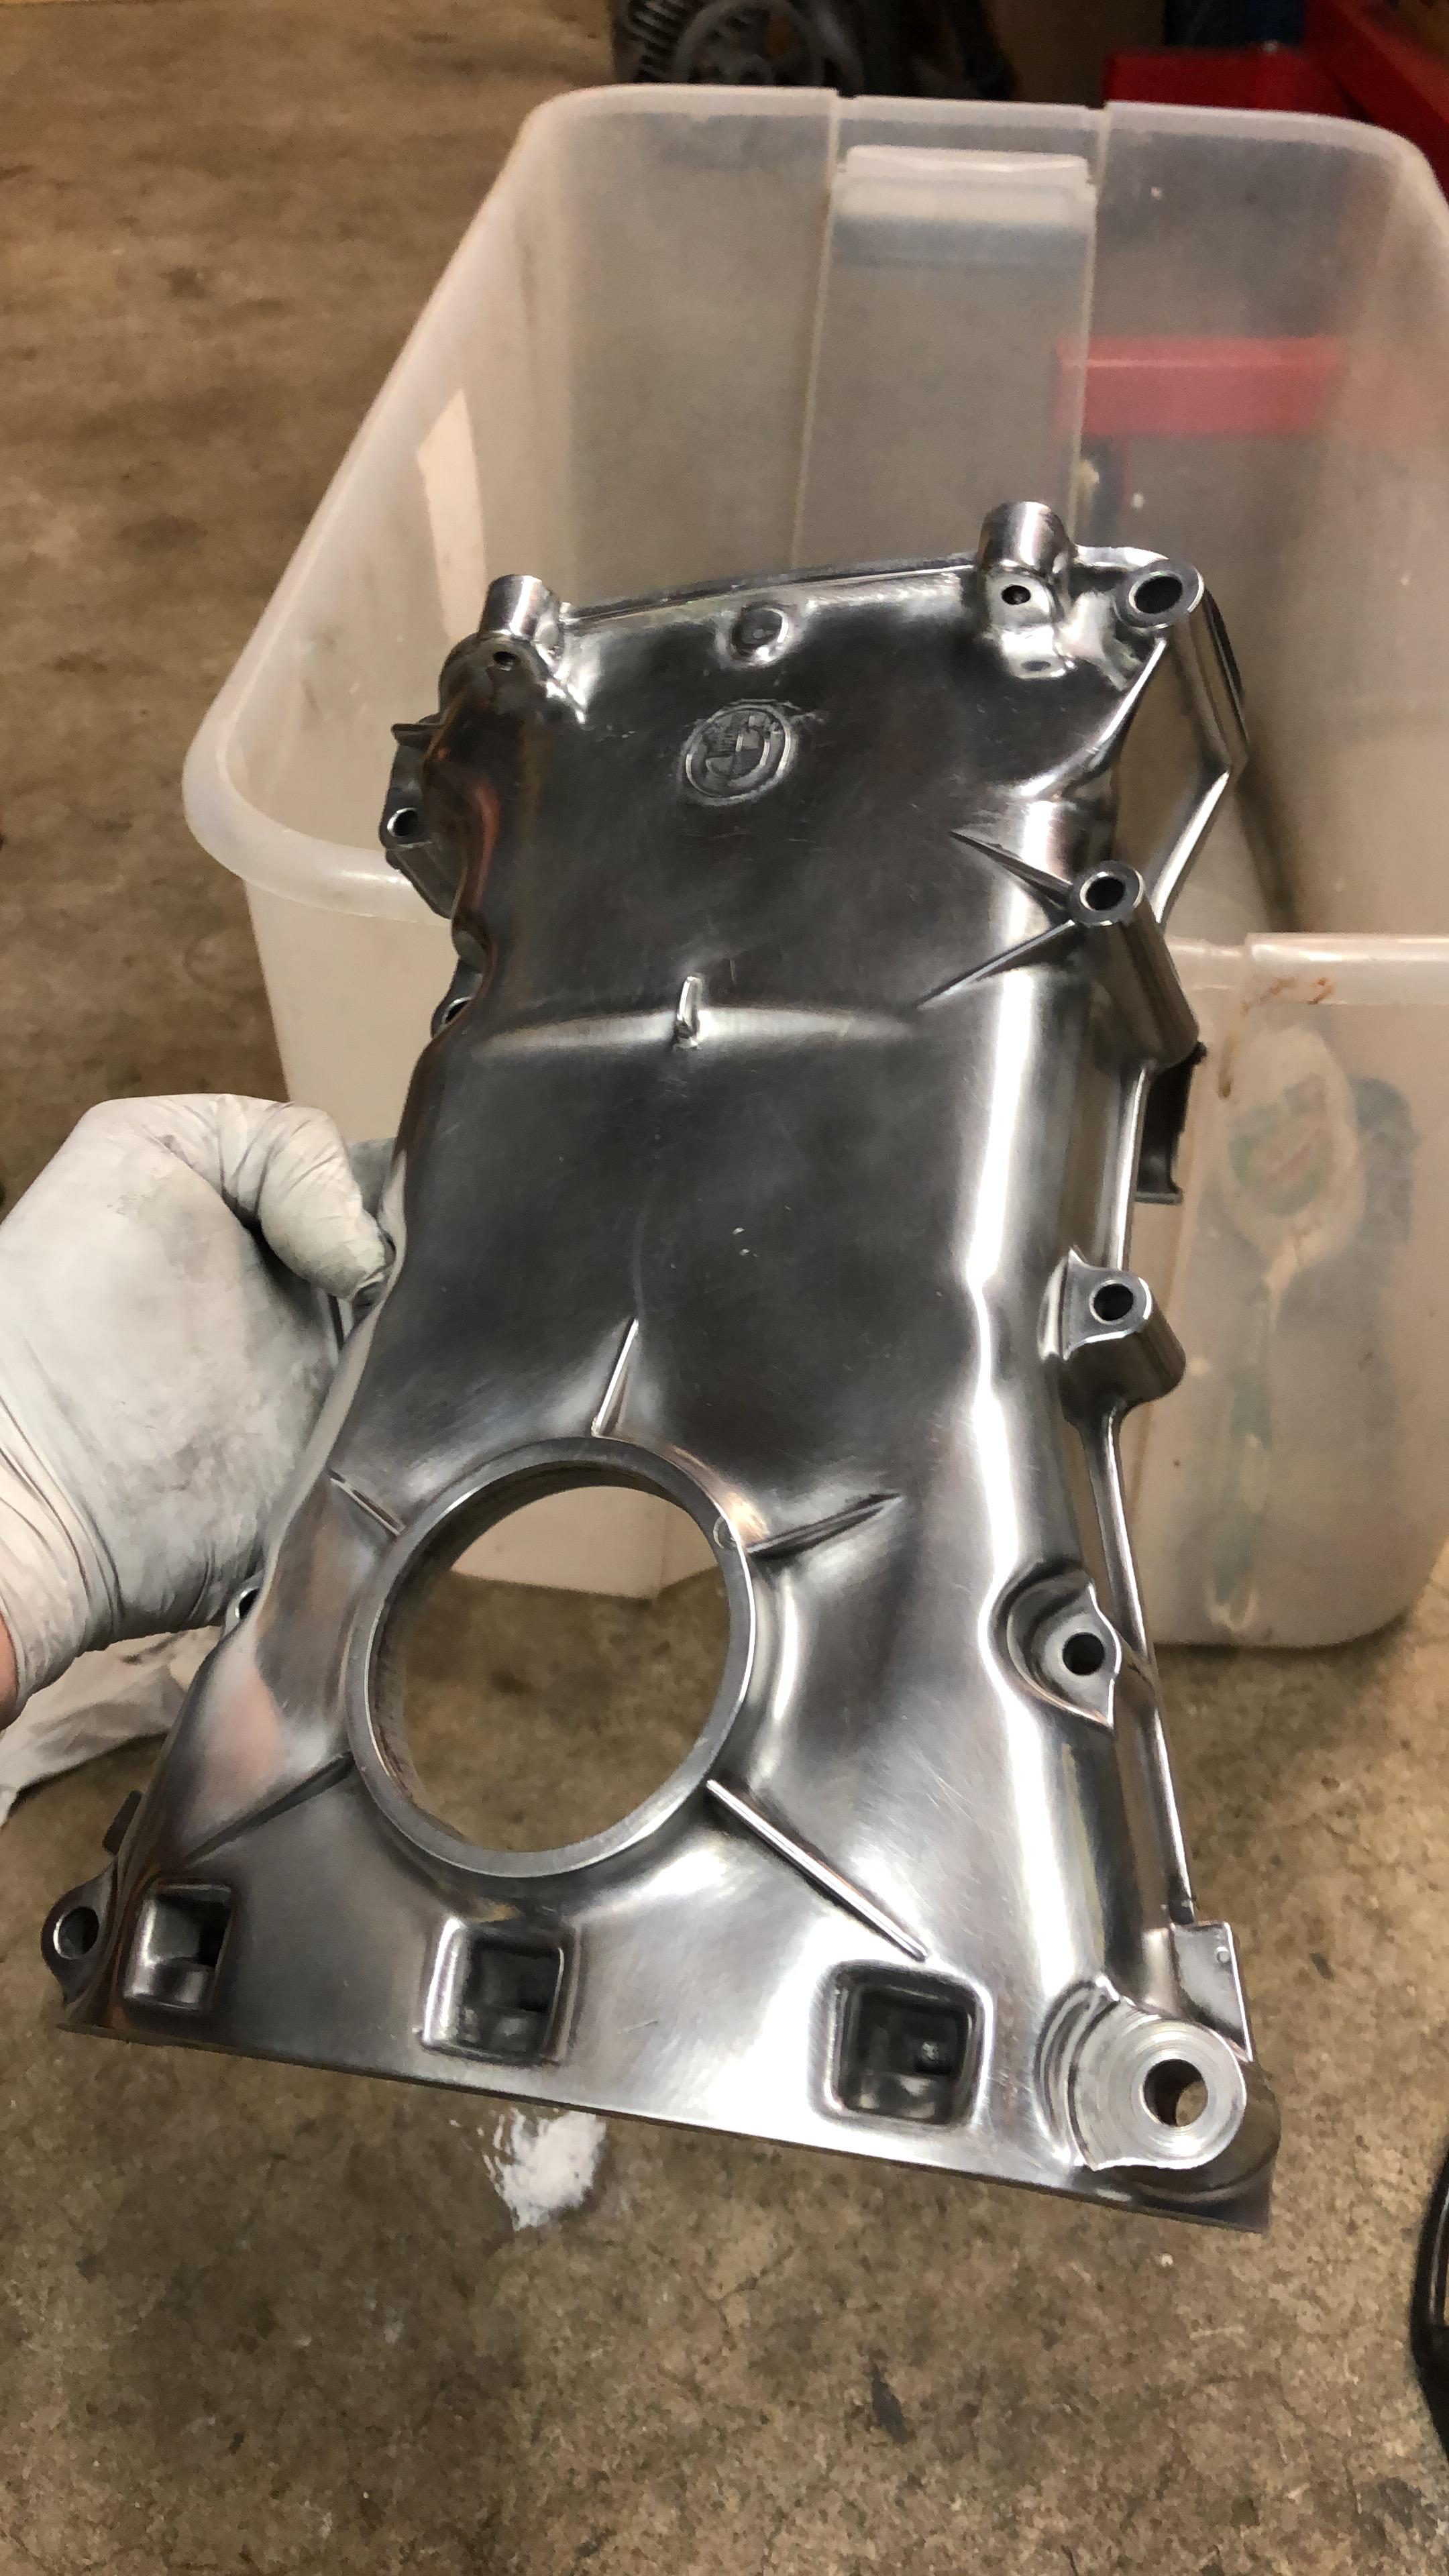
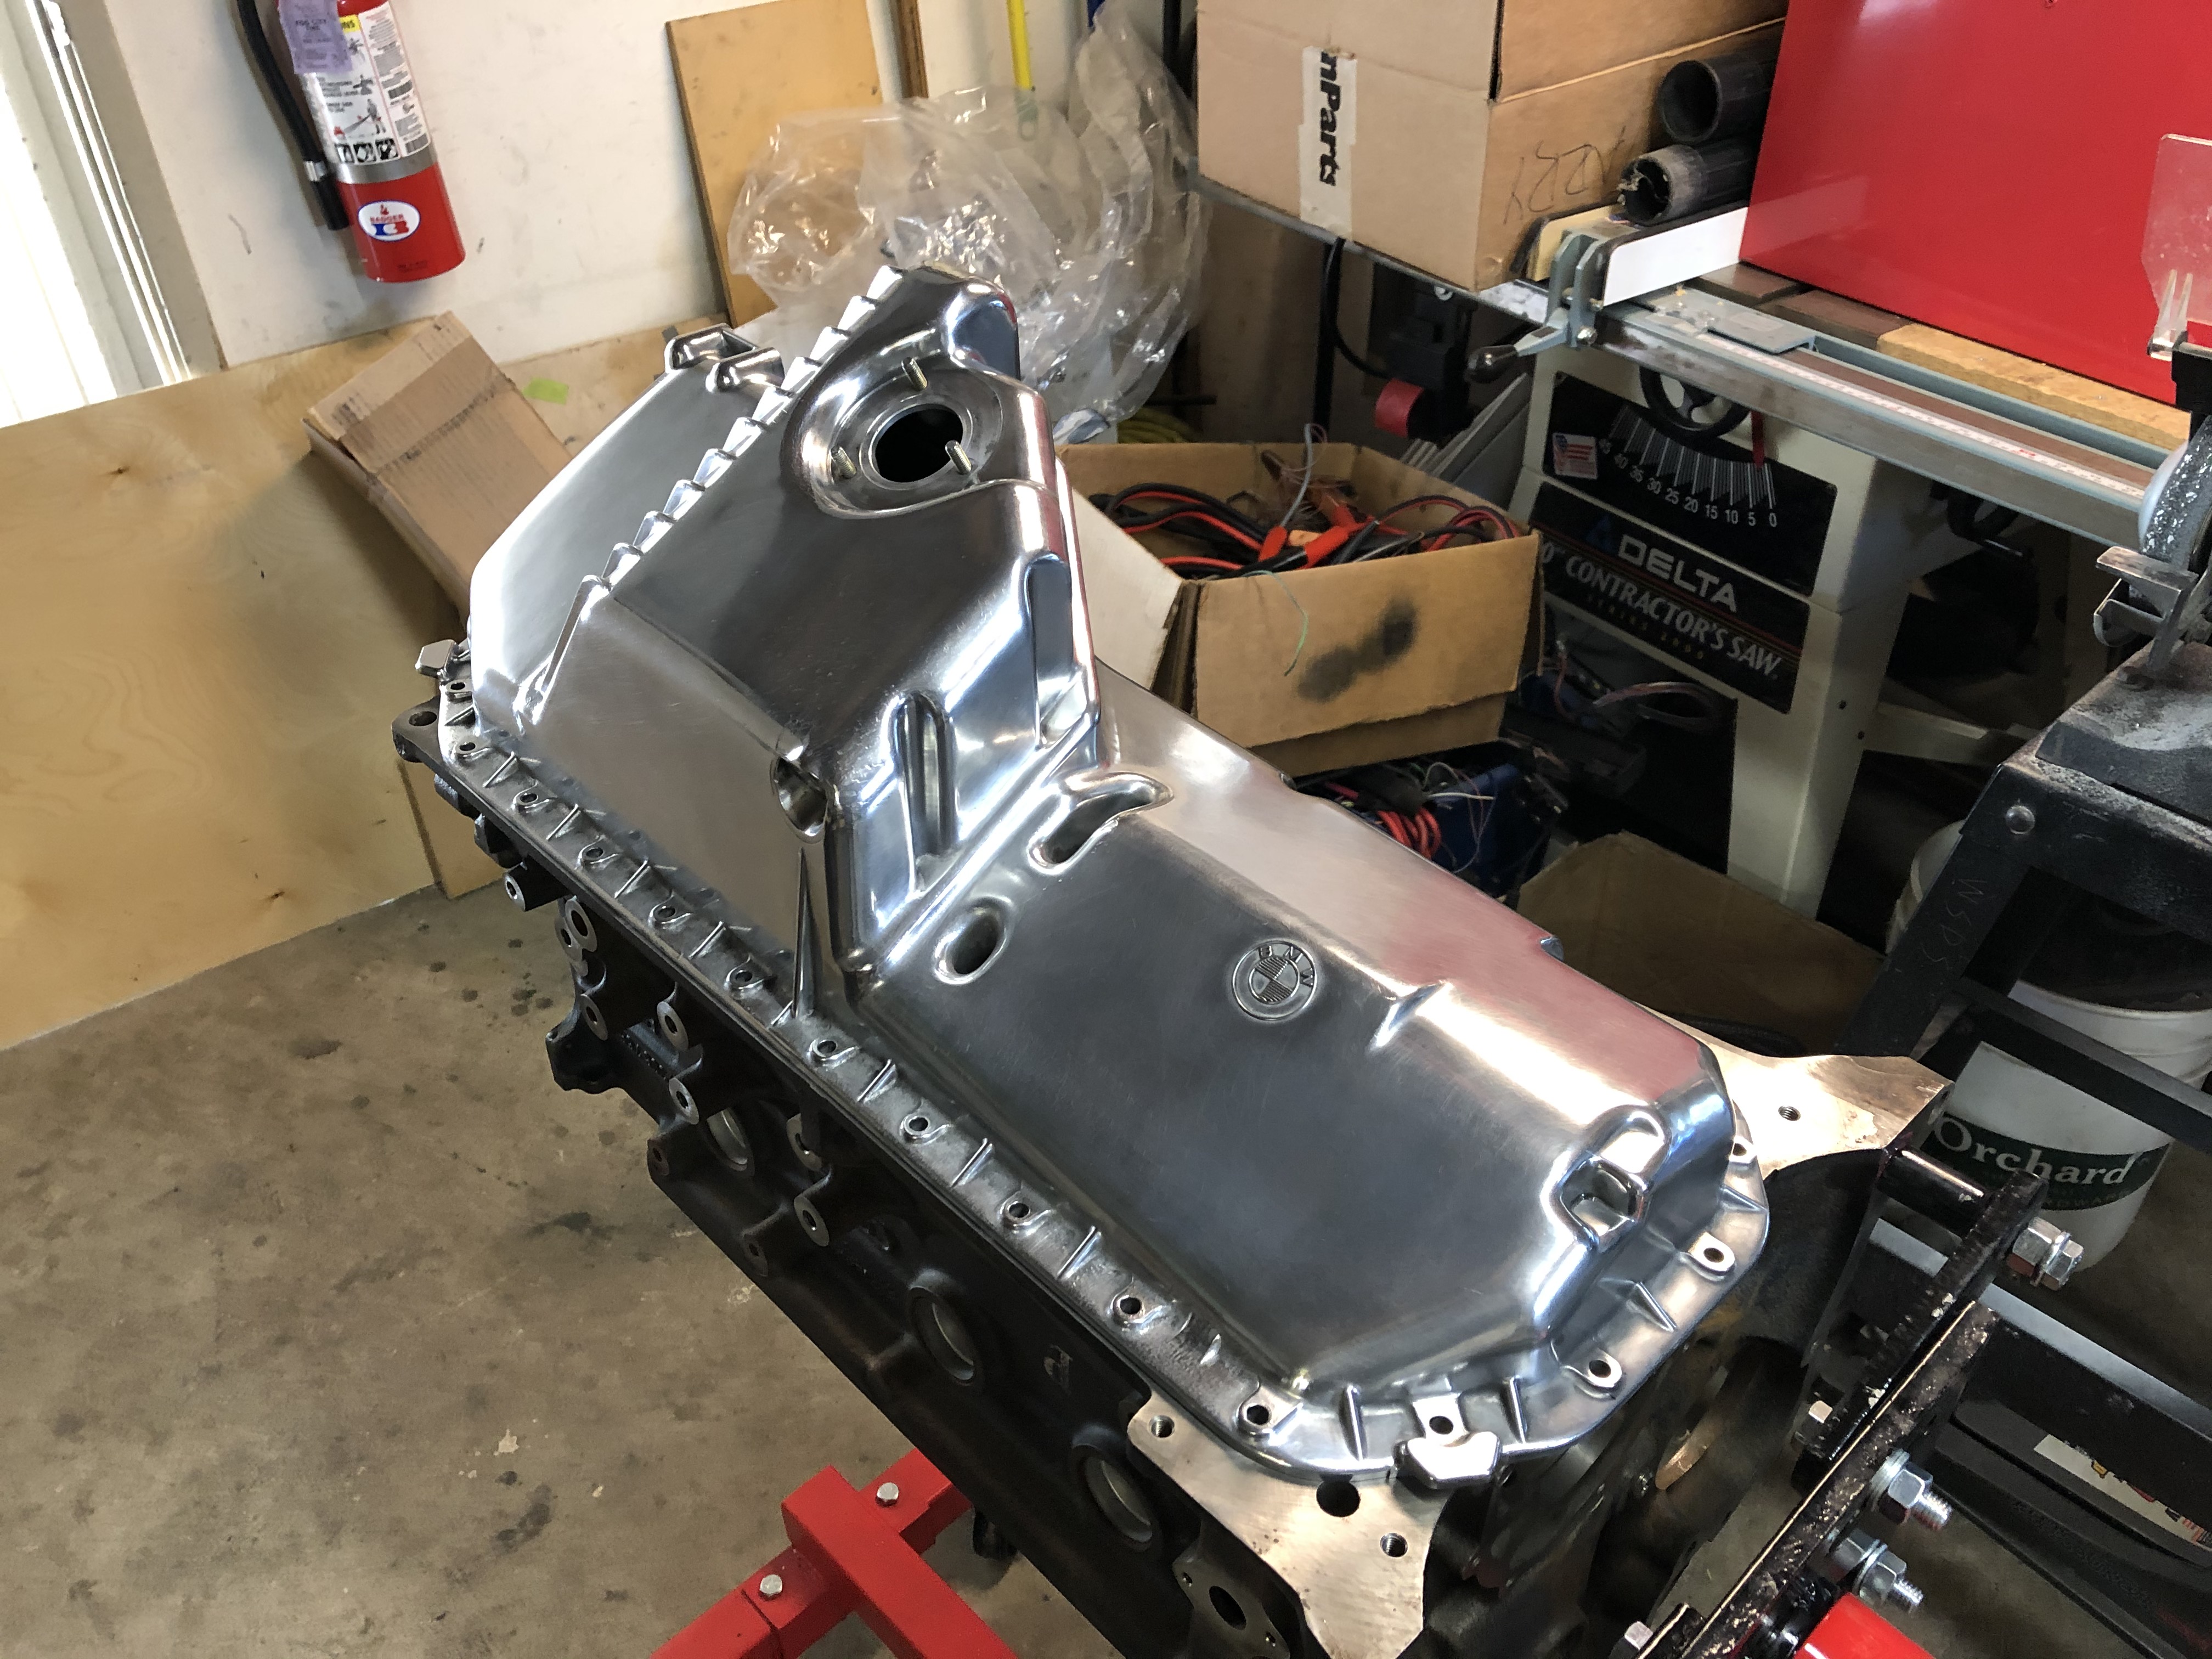
Polished the sump cover and timing chain cover. Totally useless, but I like the way it looks.

Image

Image
jhh925
Posts: 917
Joined: Jul 11, 2015 12:23 AM
Location: Reno

Re: Rebuilding My 1988 US-spec M5

Post by jhh925 »

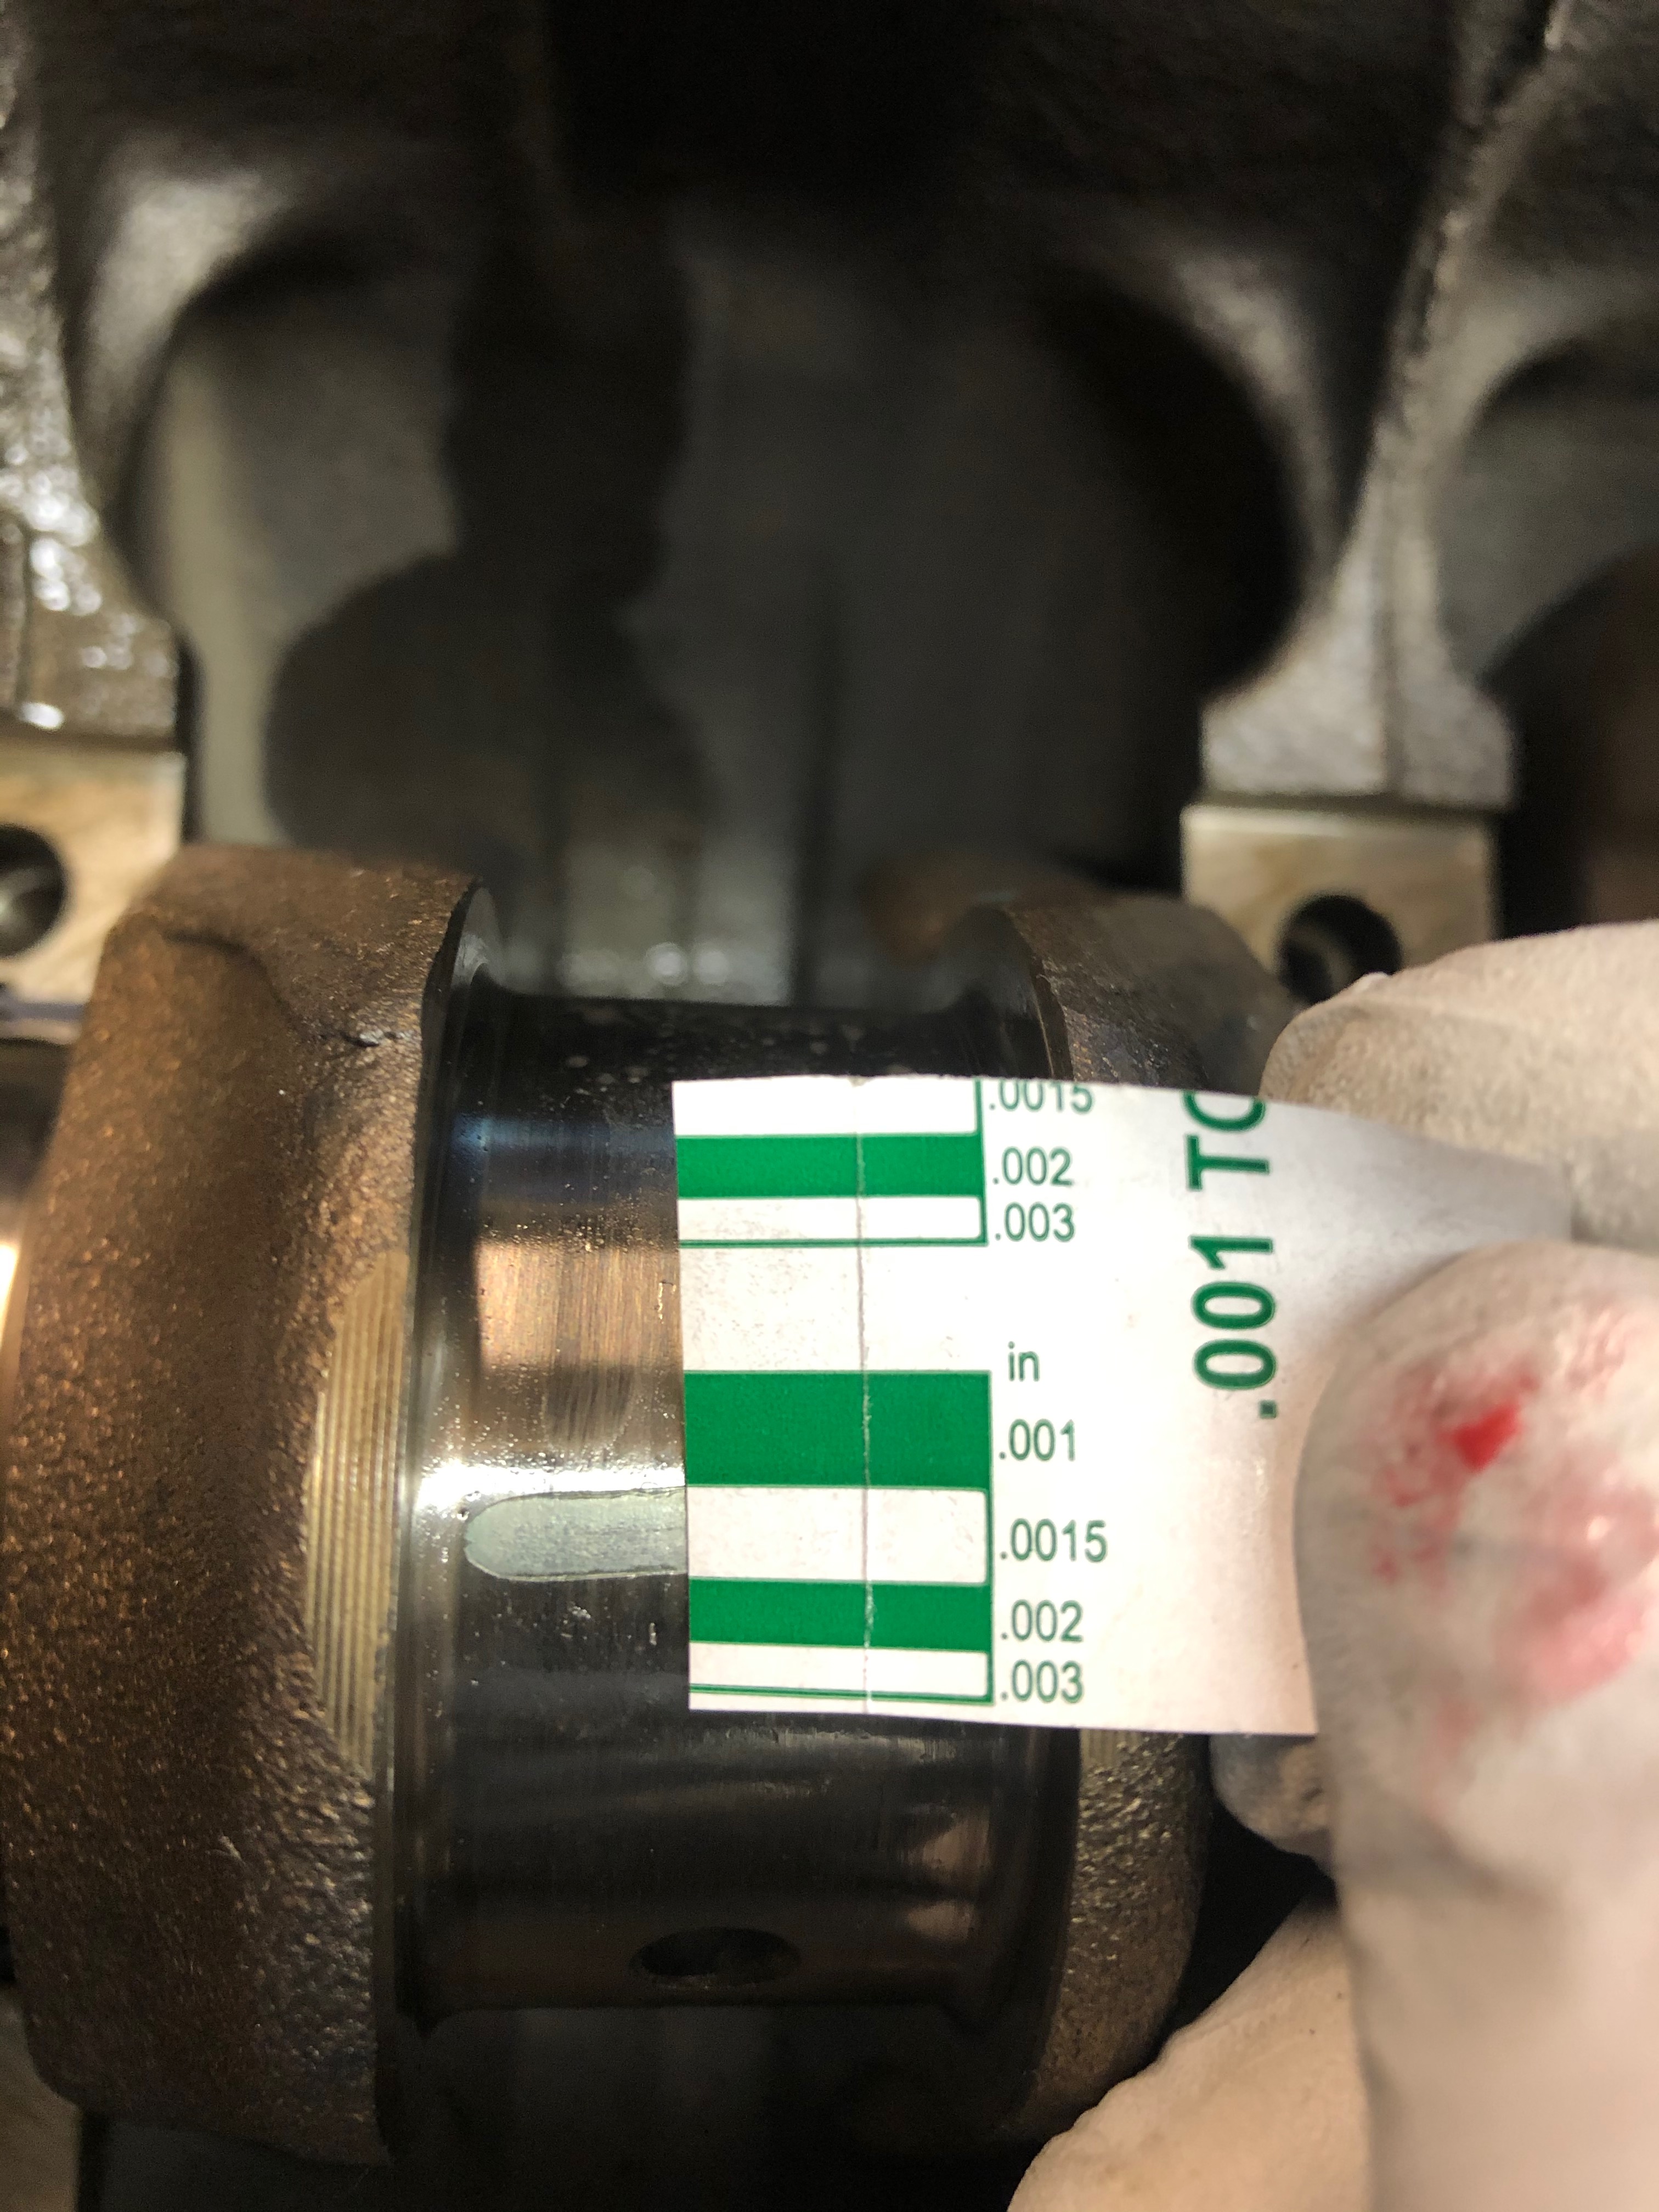
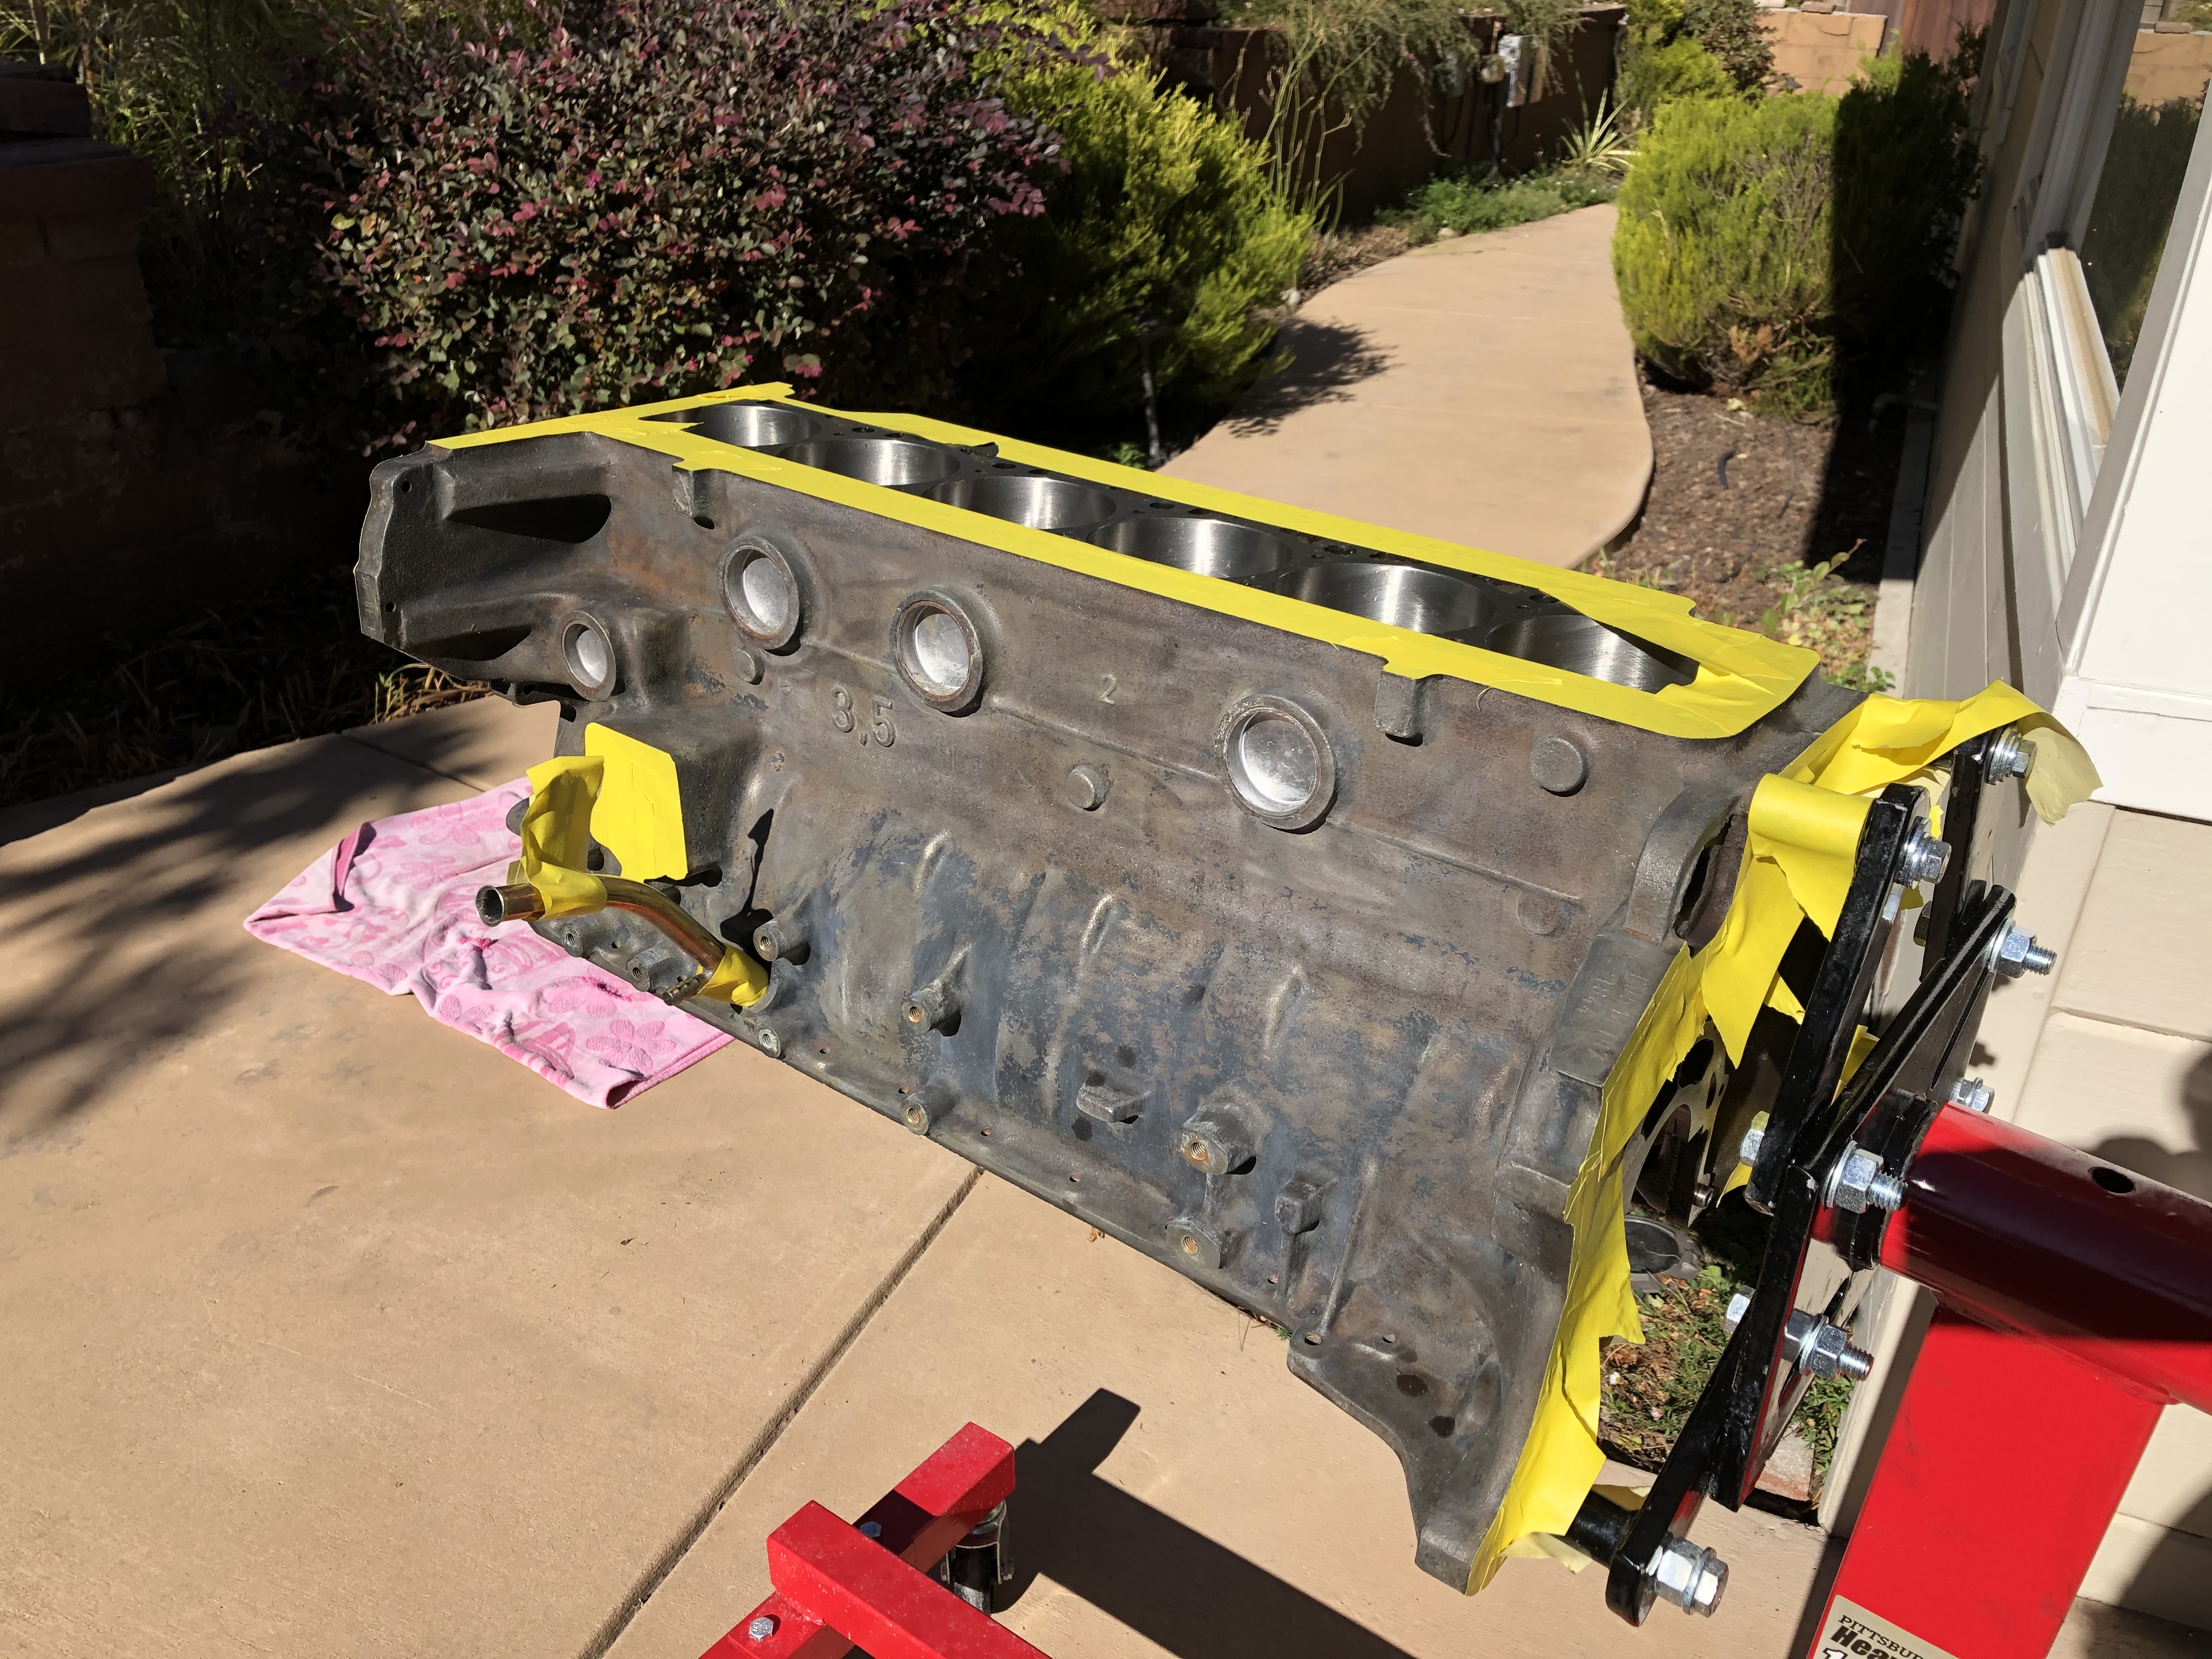
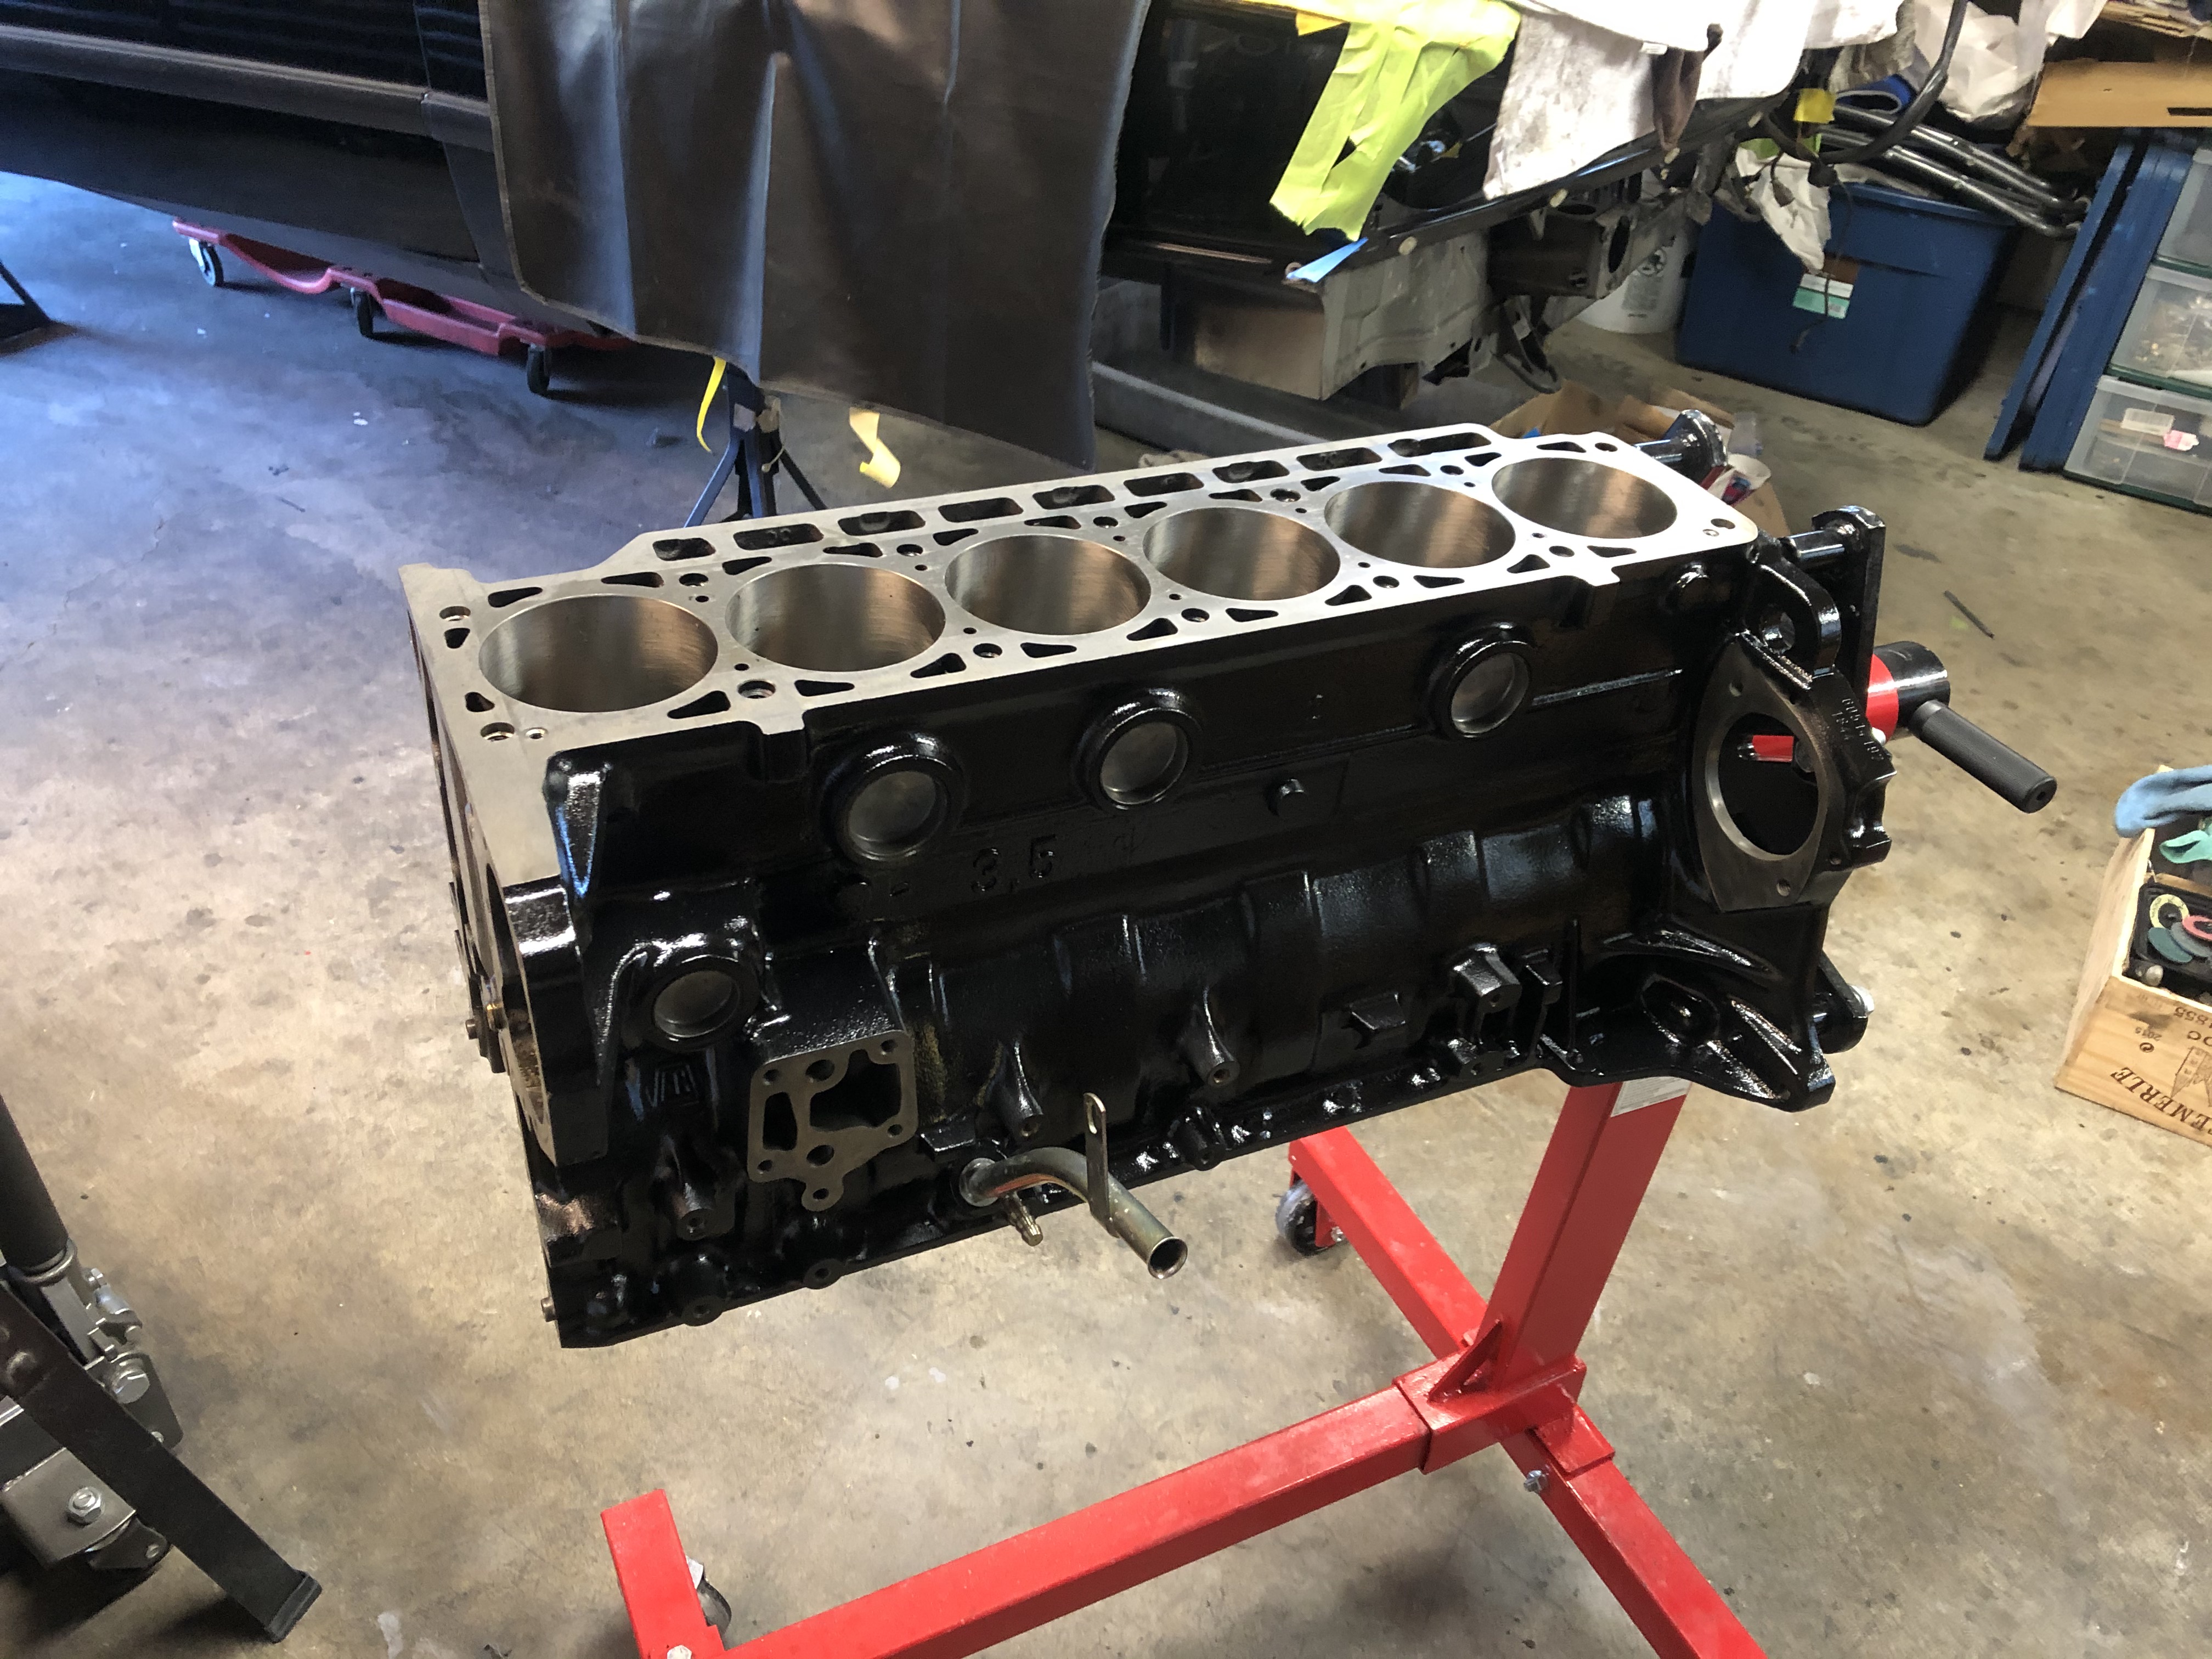
Block & crank back from machining. Everything was in good shape and didn't need more than a hone. Plasti gauge says gap is right on.

Image

Painted the block:

Image

Image
jhh925
Posts: 917
Joined: Jul 11, 2015 12:23 AM
Location: Reno

Re: Rebuilding My 1988 US-spec M5

Post by jhh925 »

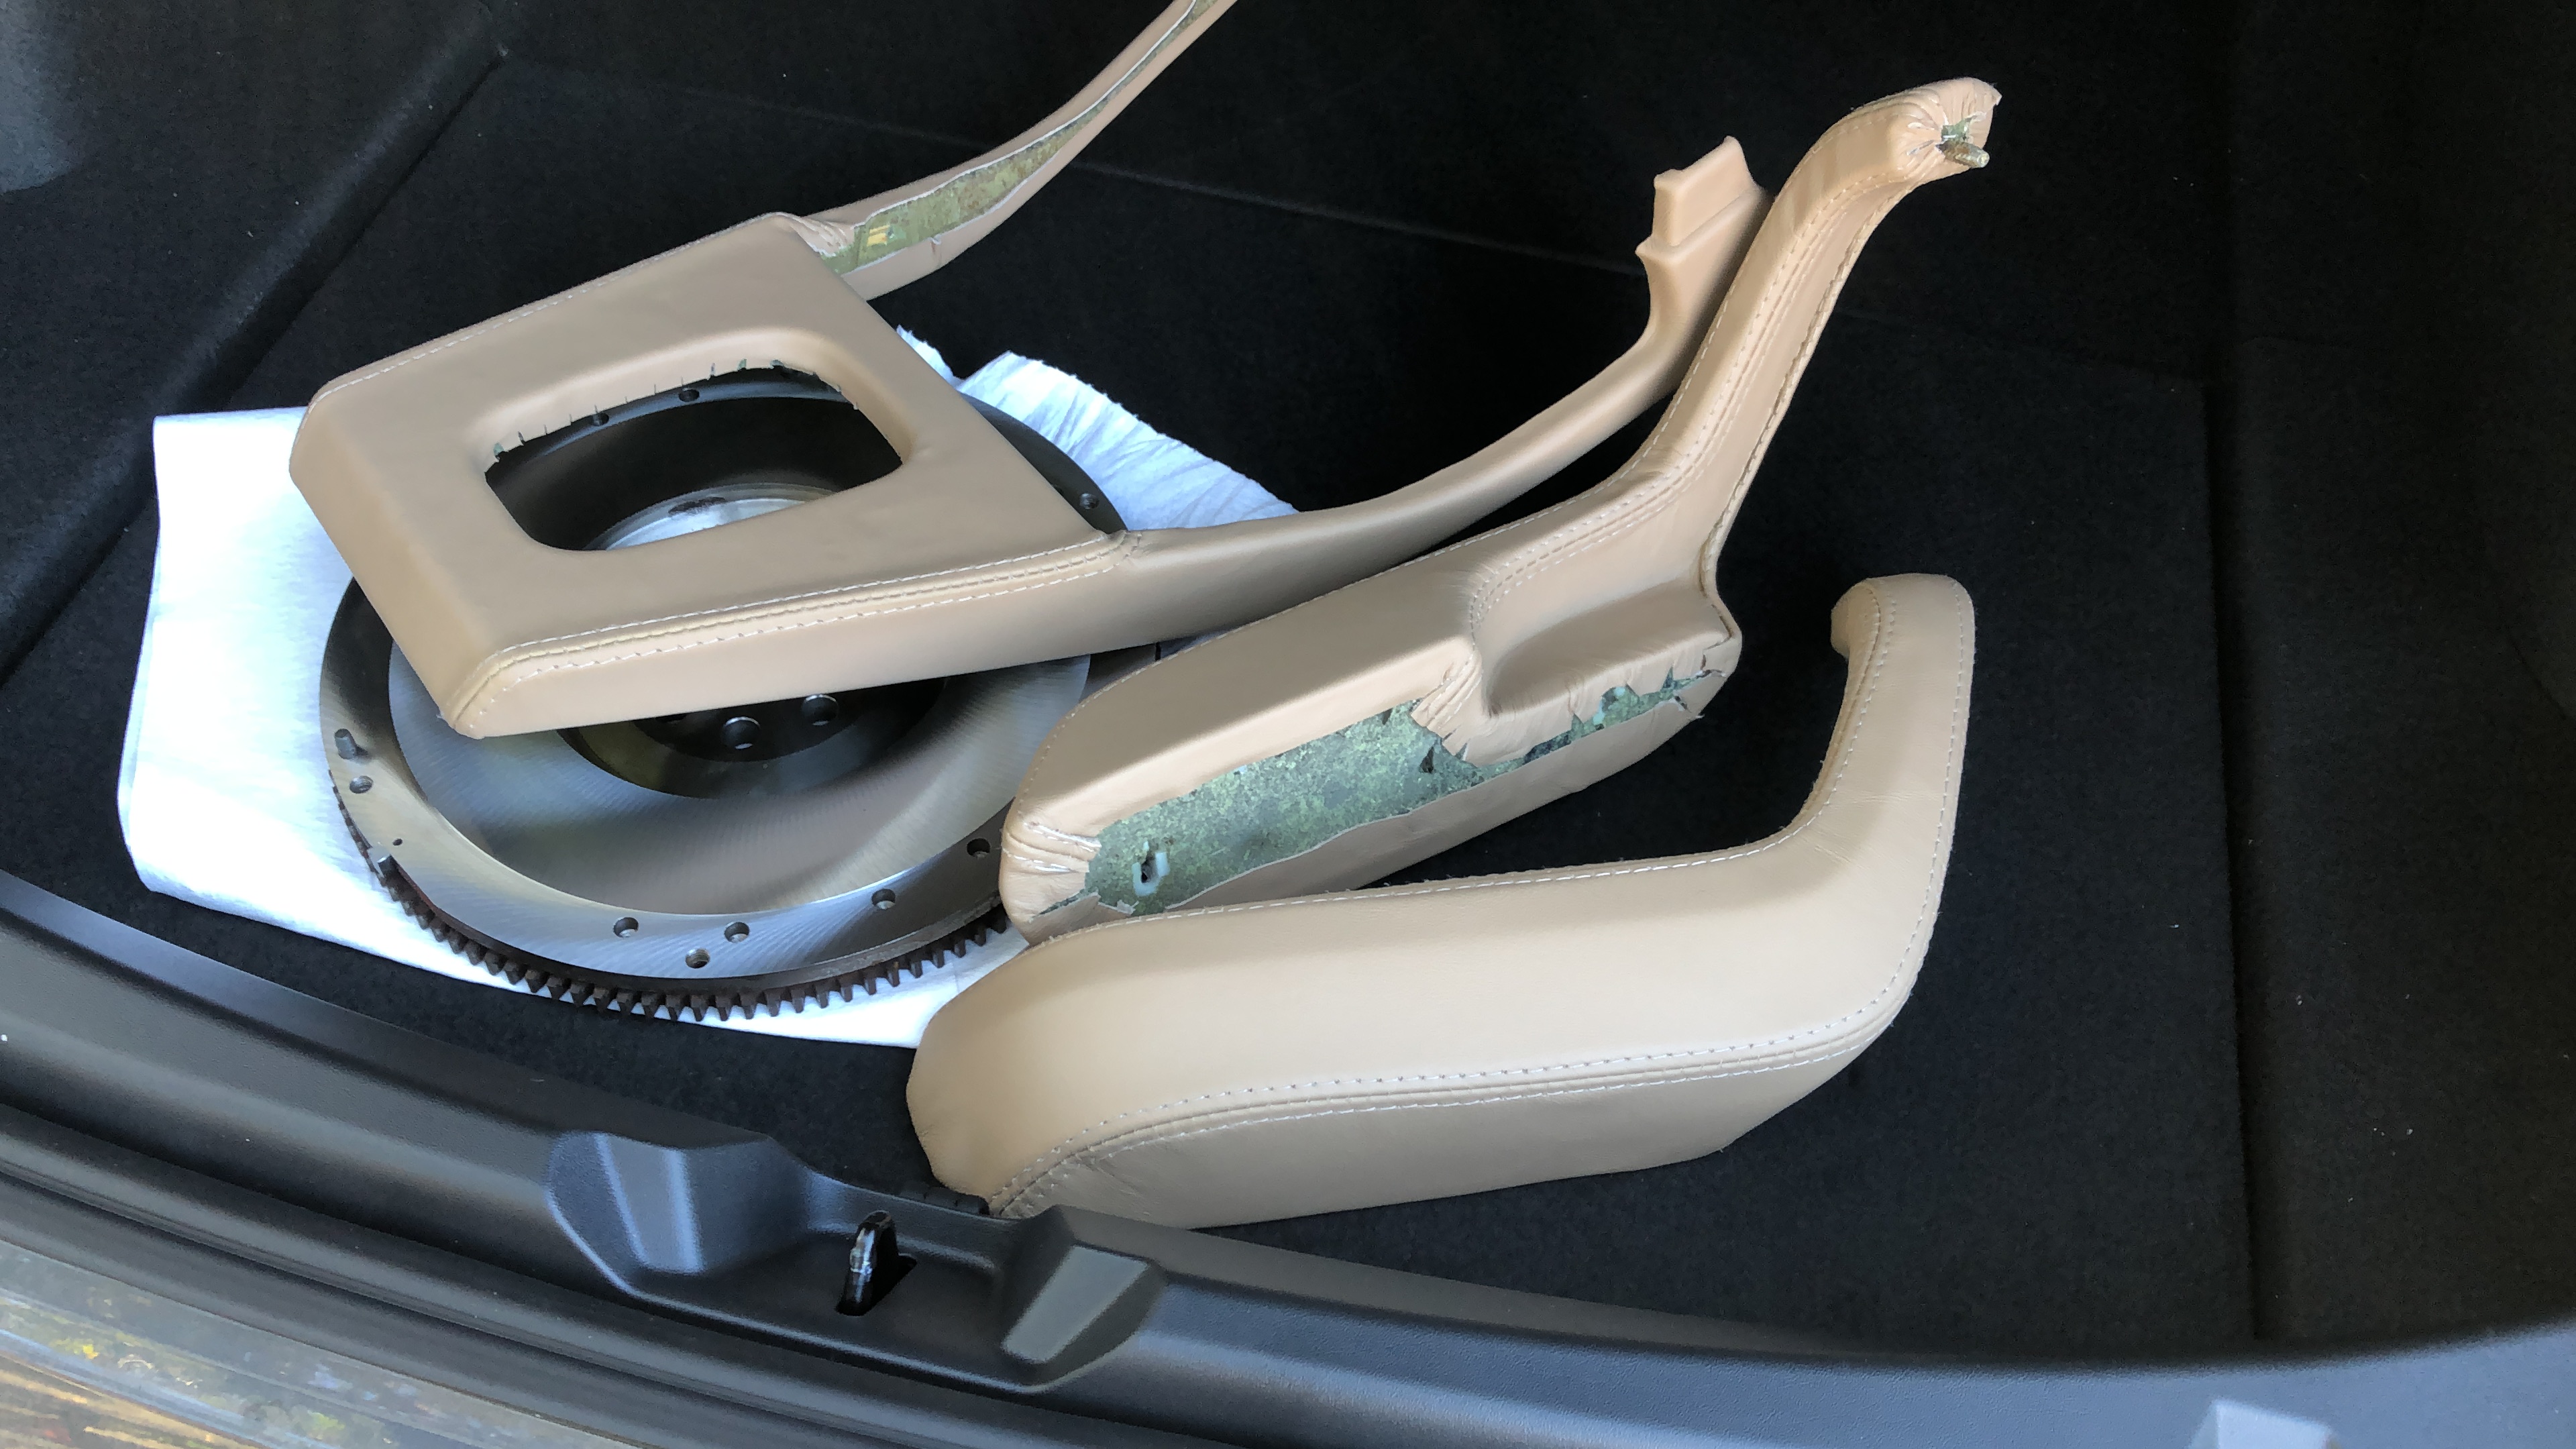
First few parts back from the upholsterer. Freshly machined flywheel in the background.

Image
jhh925
Posts: 917
Joined: Jul 11, 2015 12:23 AM
Location: Reno

Re: Rebuilding My 1988 US-spec M5

Post by jhh925 »

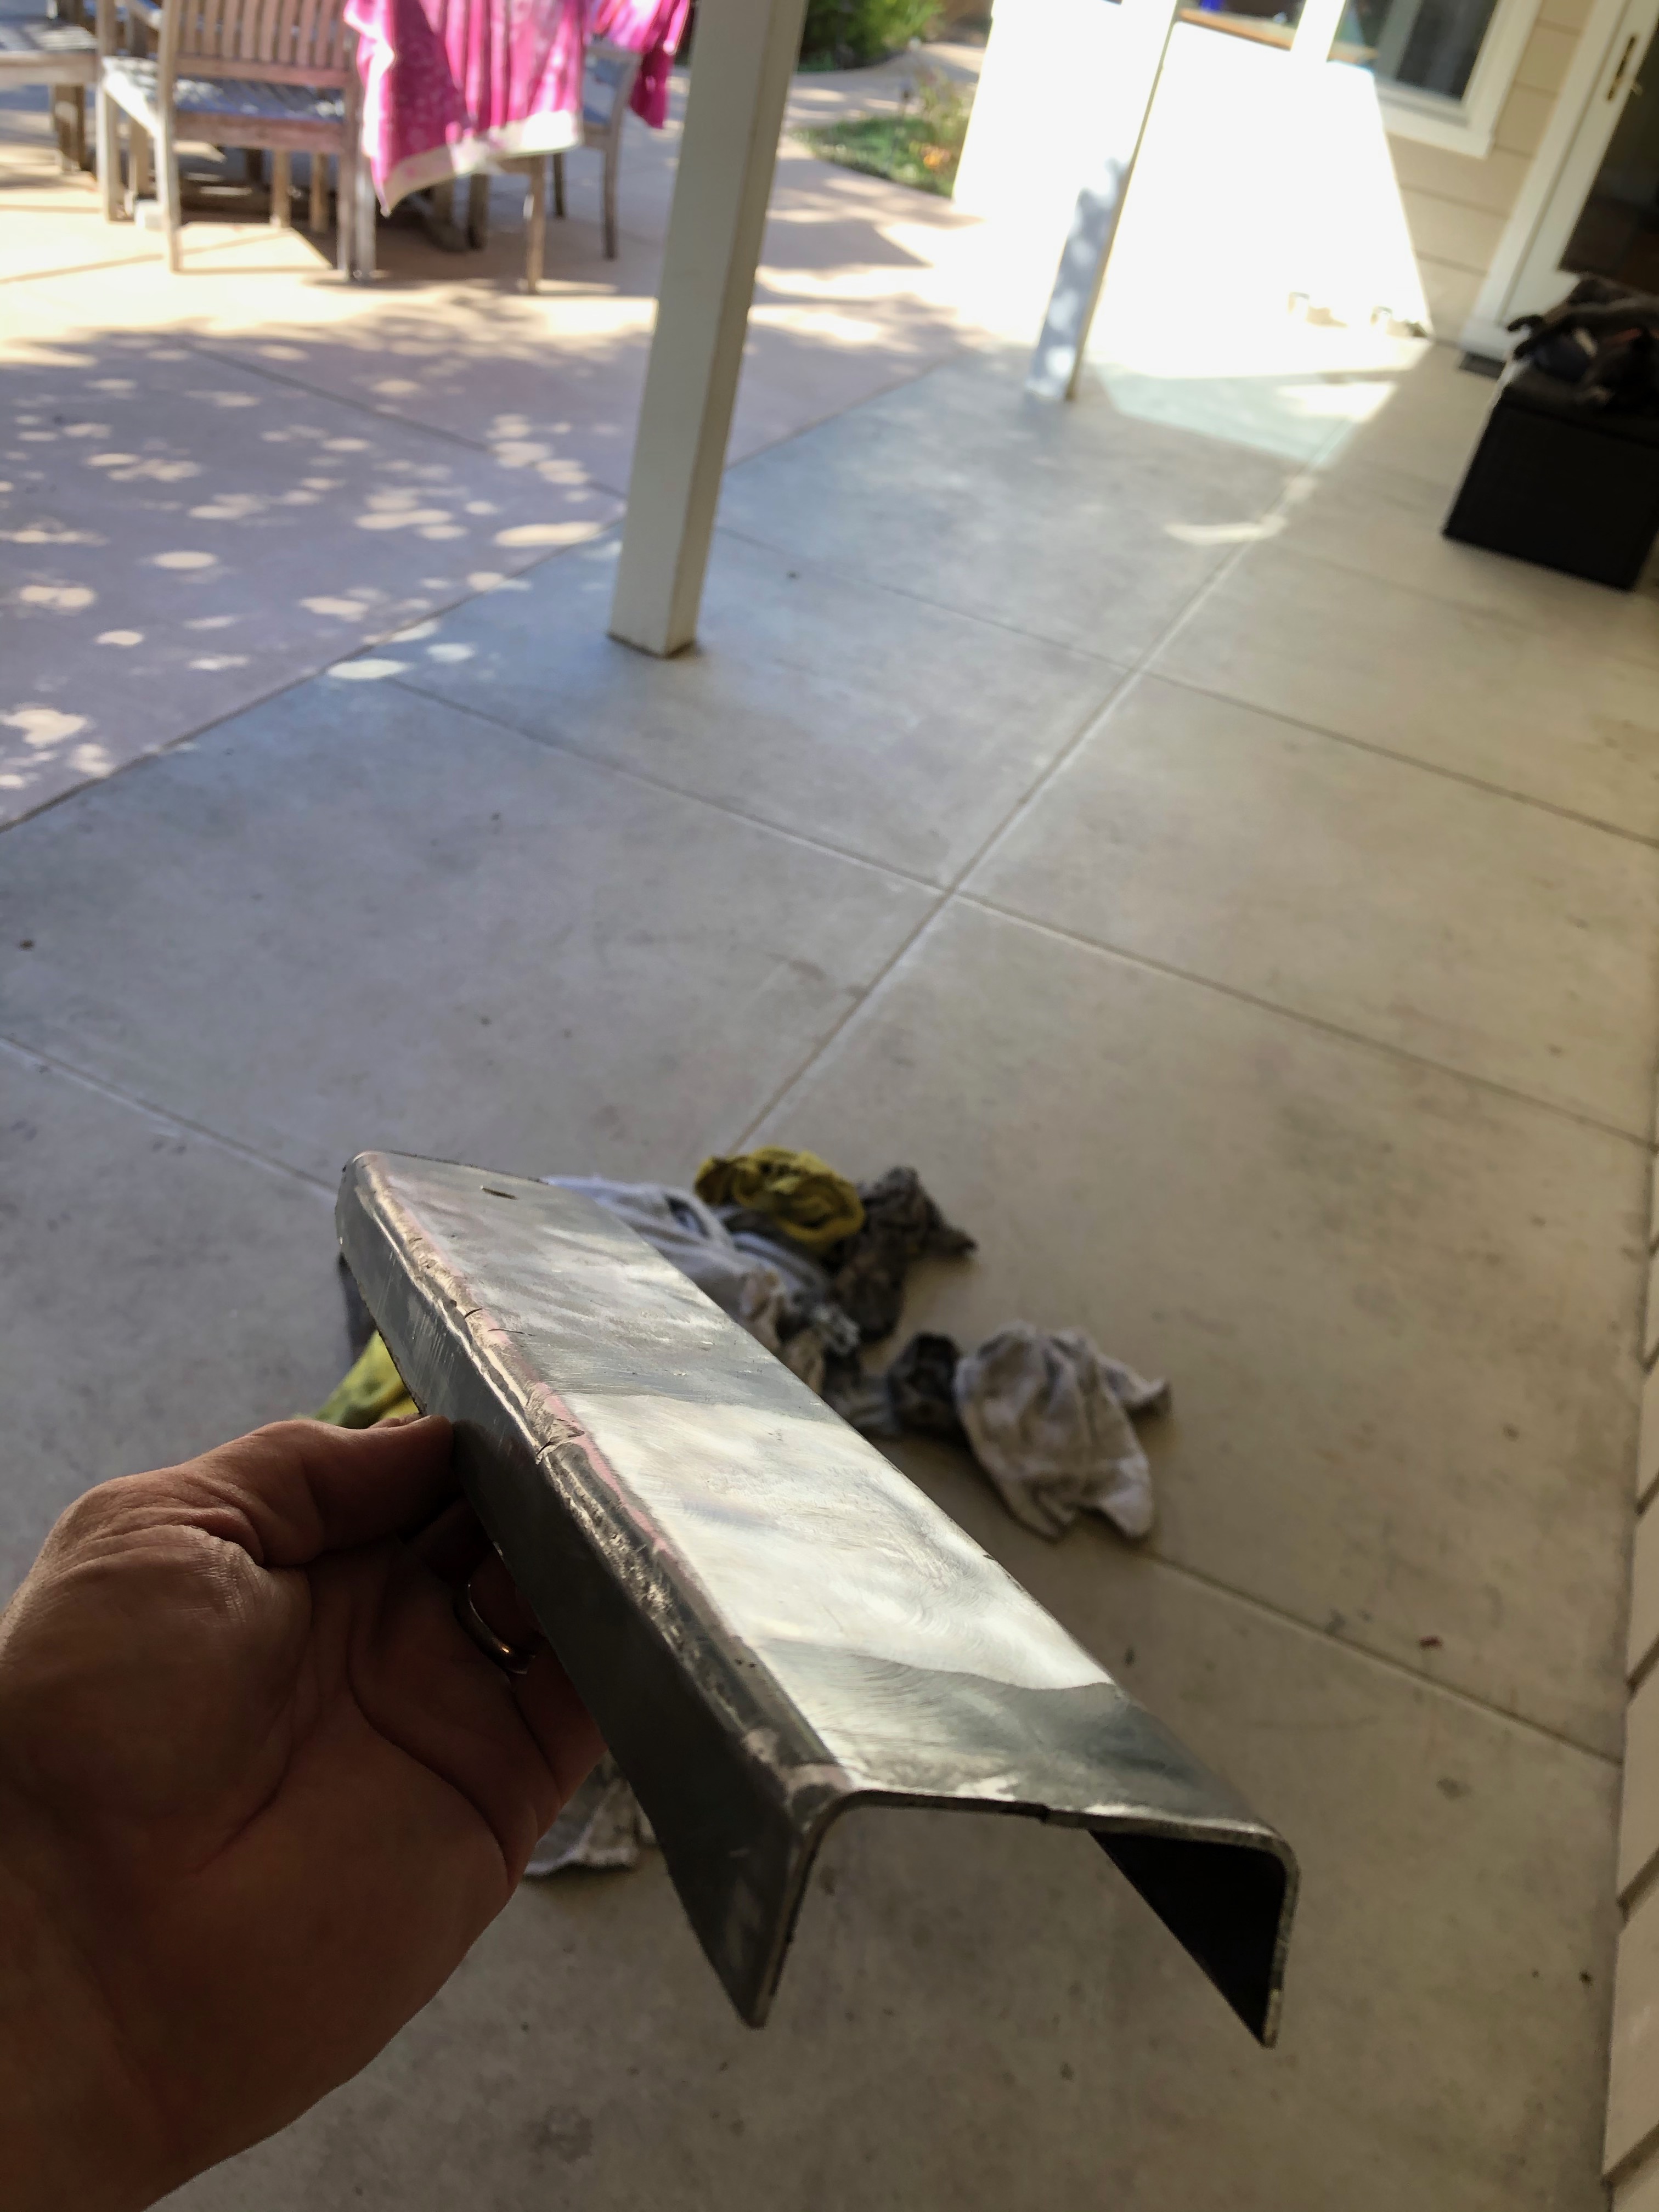
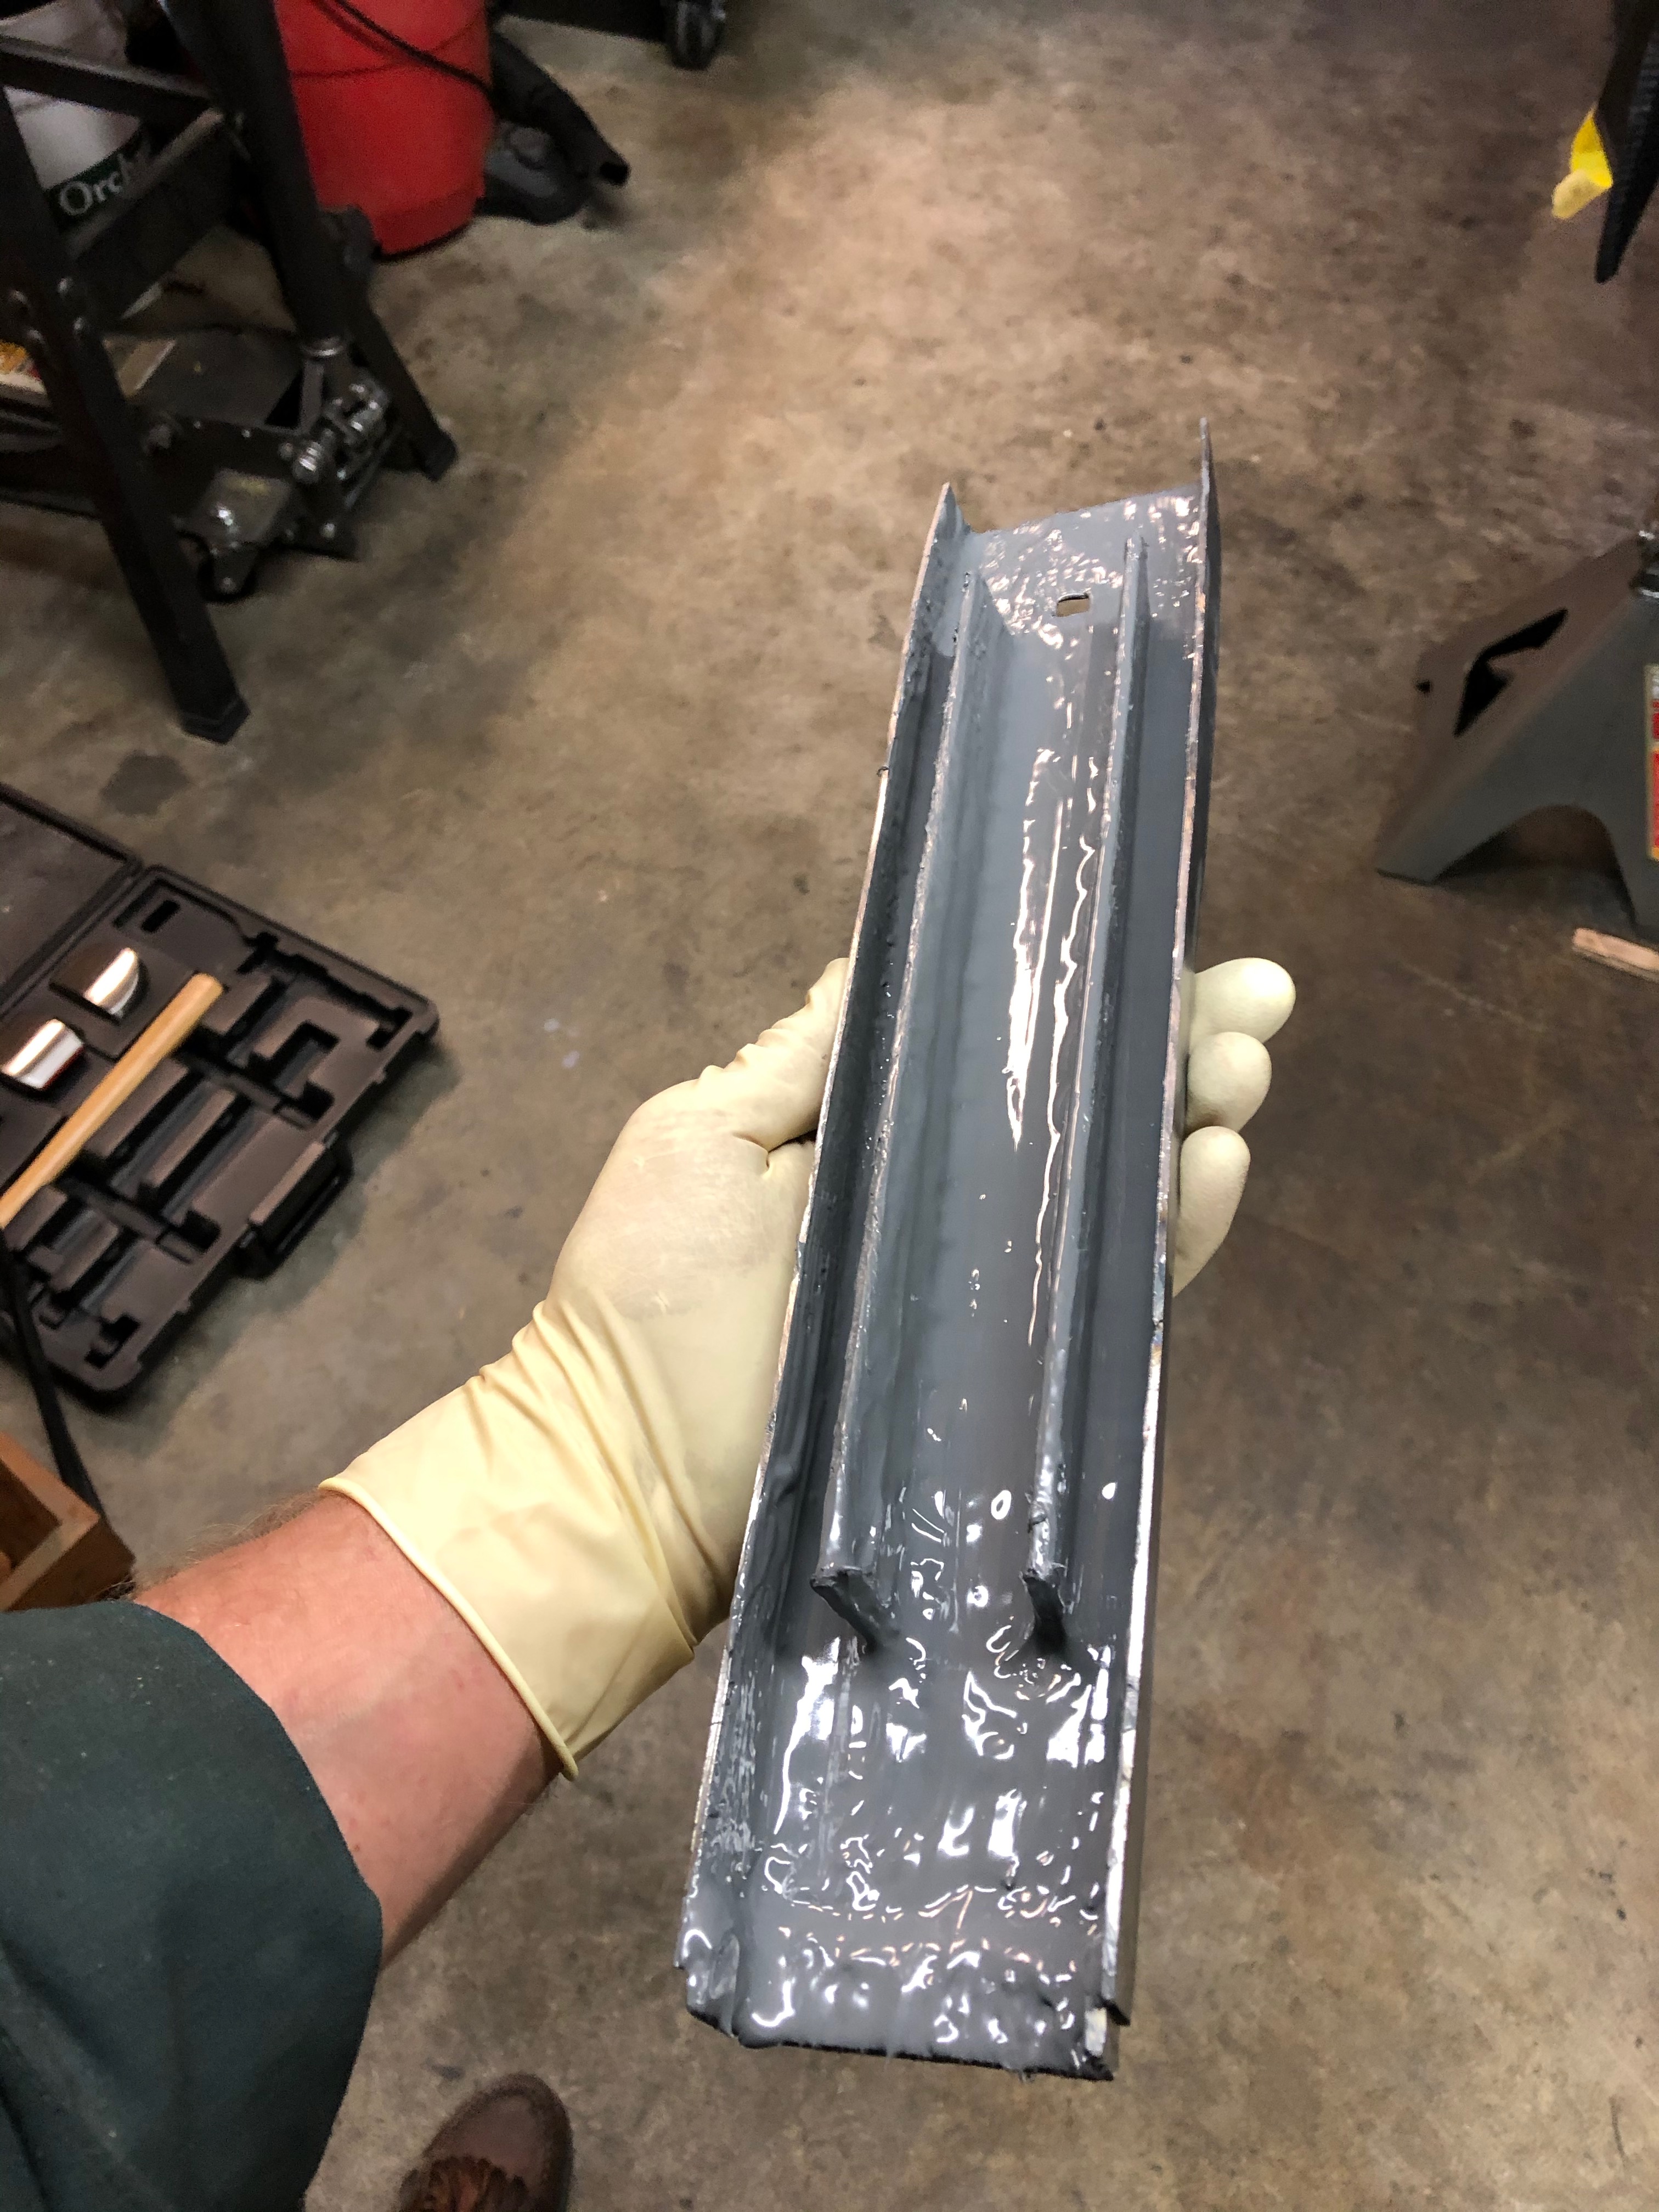
The frame rails were mashed in the usual spot. I cut the bent parts out, straightened out the removed section, reinforced it and welded it back in. I'd initially tried to weld on studs to pull the dent out, but the metal wouldn't budge. A bit of research suggested the "cut-straighten-weld" method works better here.

Image

Image

Image

Image
jhh925
Posts: 917
Joined: Jul 11, 2015 12:23 AM
Location: Reno

Re: Rebuilding My 1988 US-spec M5

Post by jhh925 »

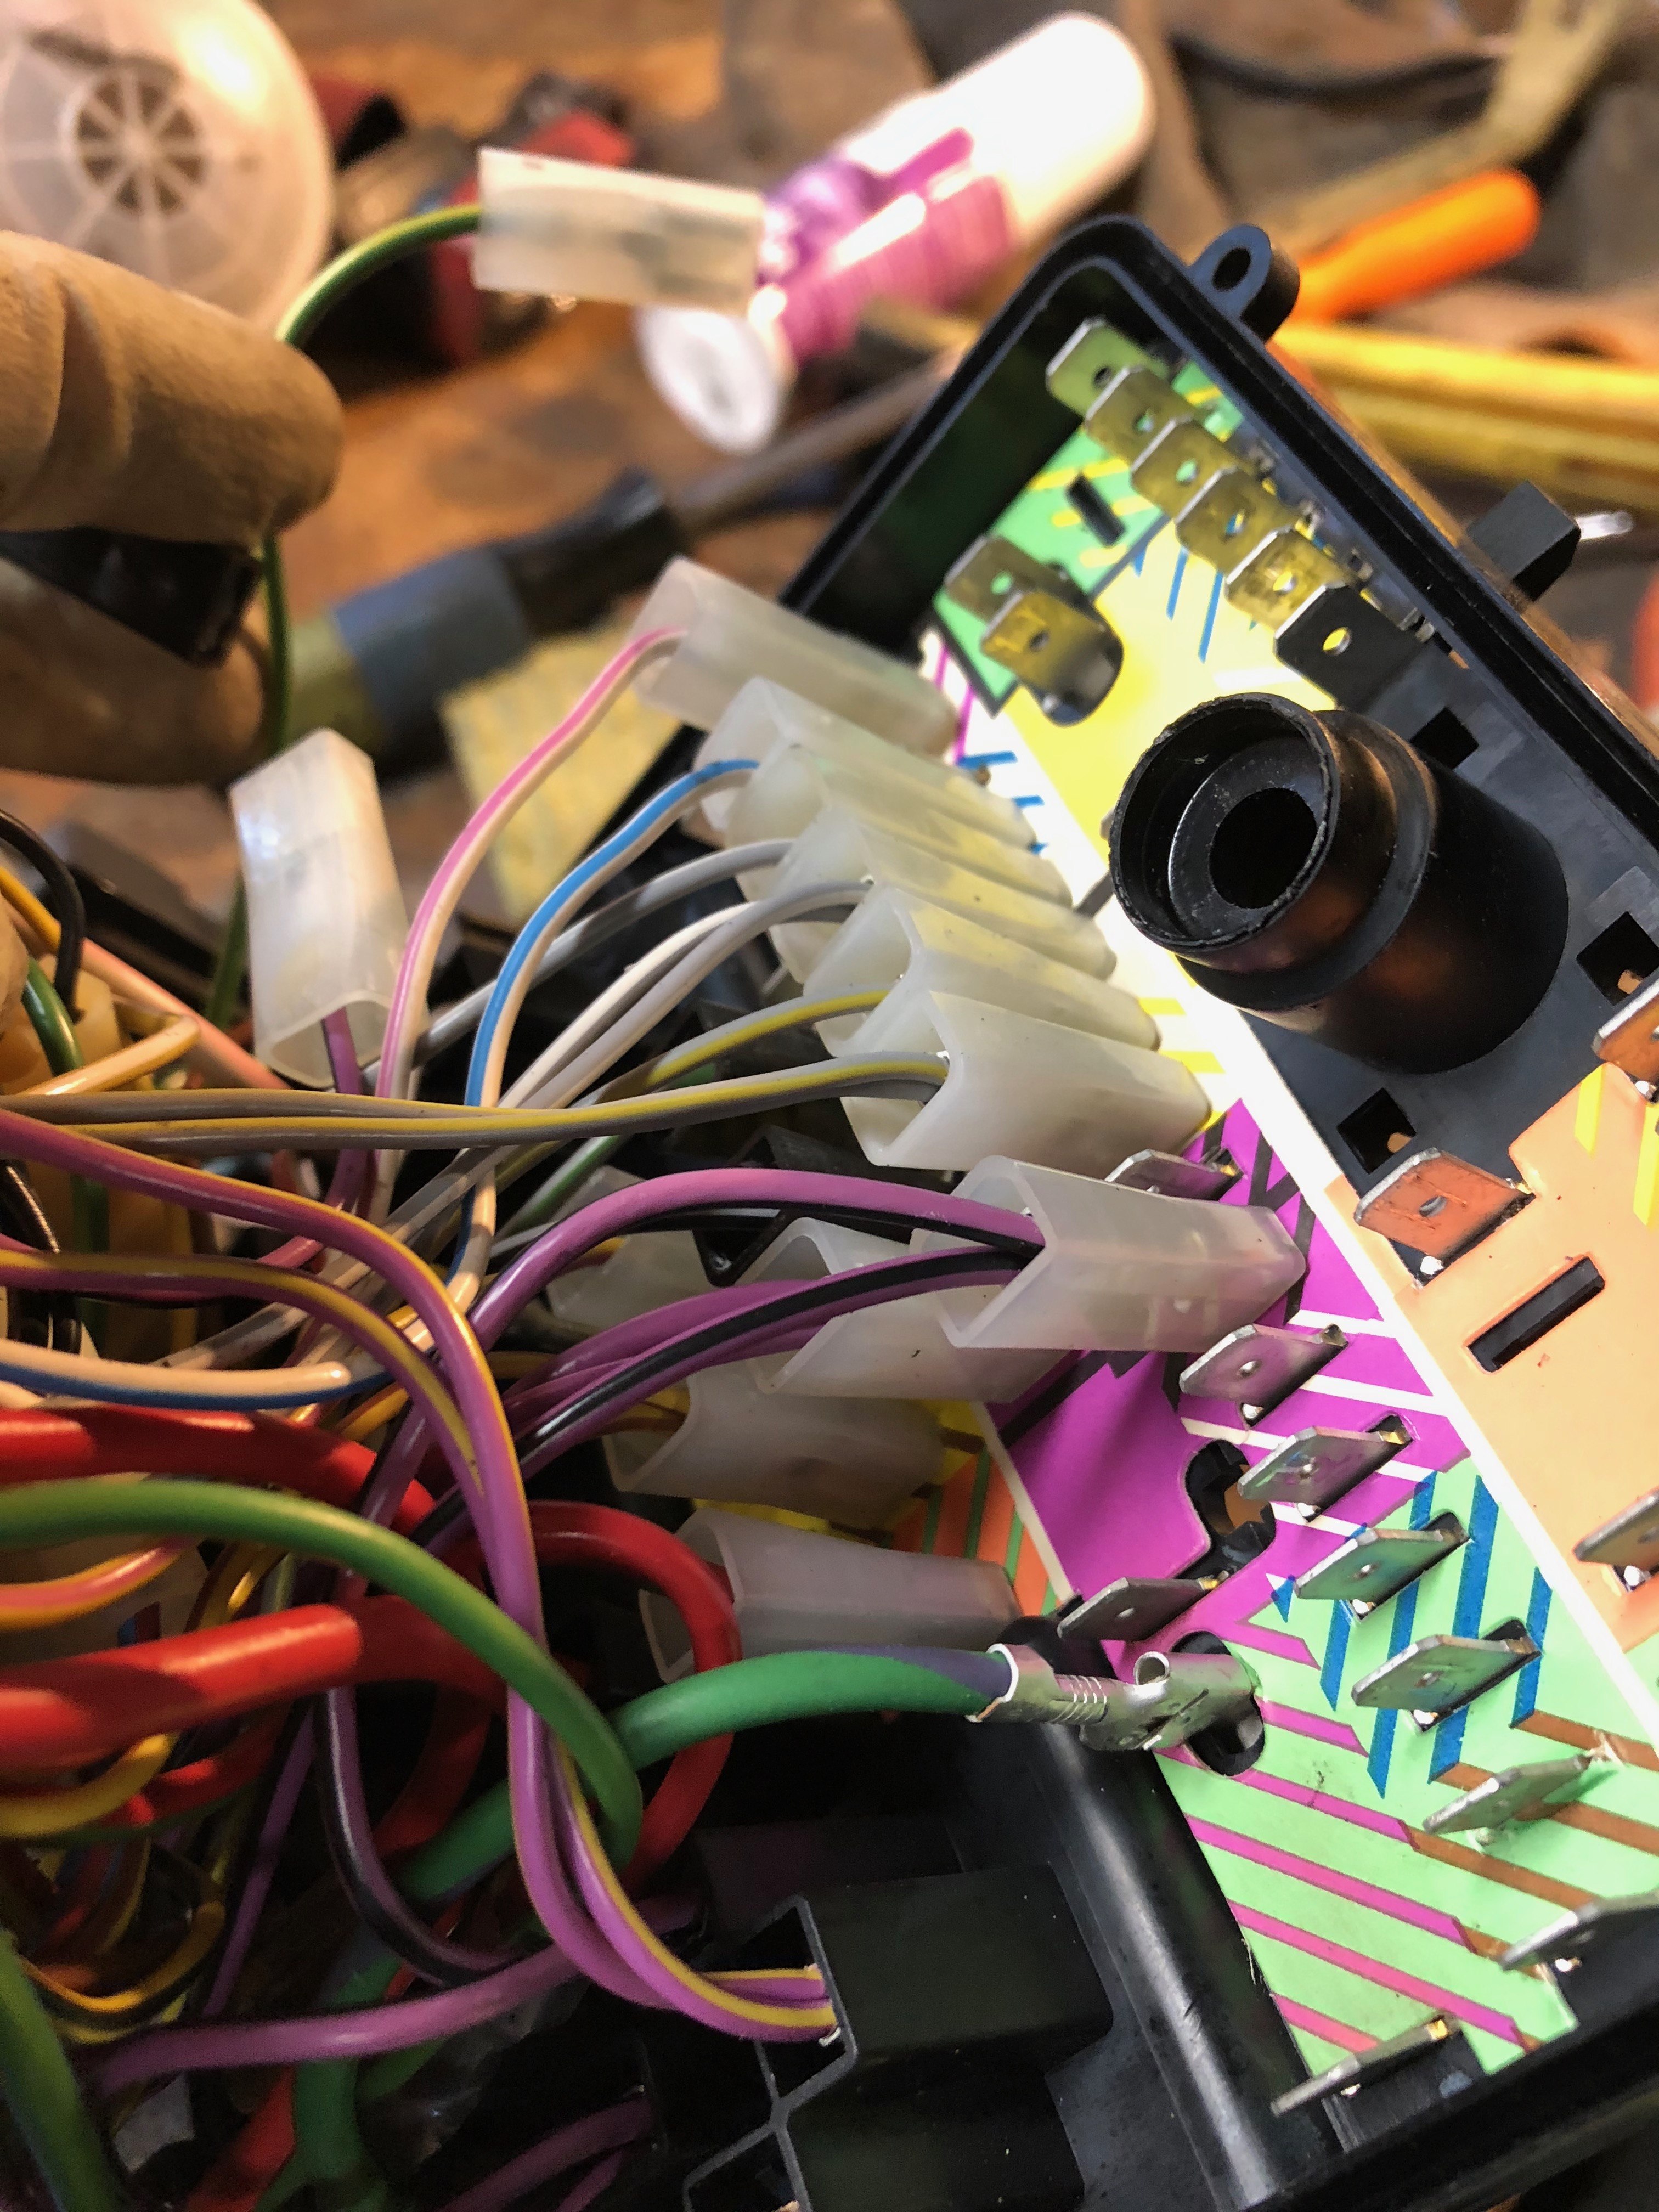
In the course of cleaning up the engine compartment, I discovered that one of the fuse holders seemed to have melted, so I sourced a new fuse block. I figured this would be a straight plug-n-play swap (literally). There's no way to show it in pics, but I found some home-brew rewiring inside the box, and as I started plugging in the new block I found that some of the wires had not been hooked up to the correct places. The one neat thing I did discover is that the fuse block was designed with color-coded stickers that match the color patterns of the wires that are supposed to go onto the connector tabs adjacent to the stickers. Here's an example.

Image

The wiring is pretty dense in there, but the color-coding made the swap more doable.
jhh925
Posts: 917
Joined: Jul 11, 2015 12:23 AM
Location: Reno

Re: Rebuilding My 1988 US-spec M5

Post by jhh925 »

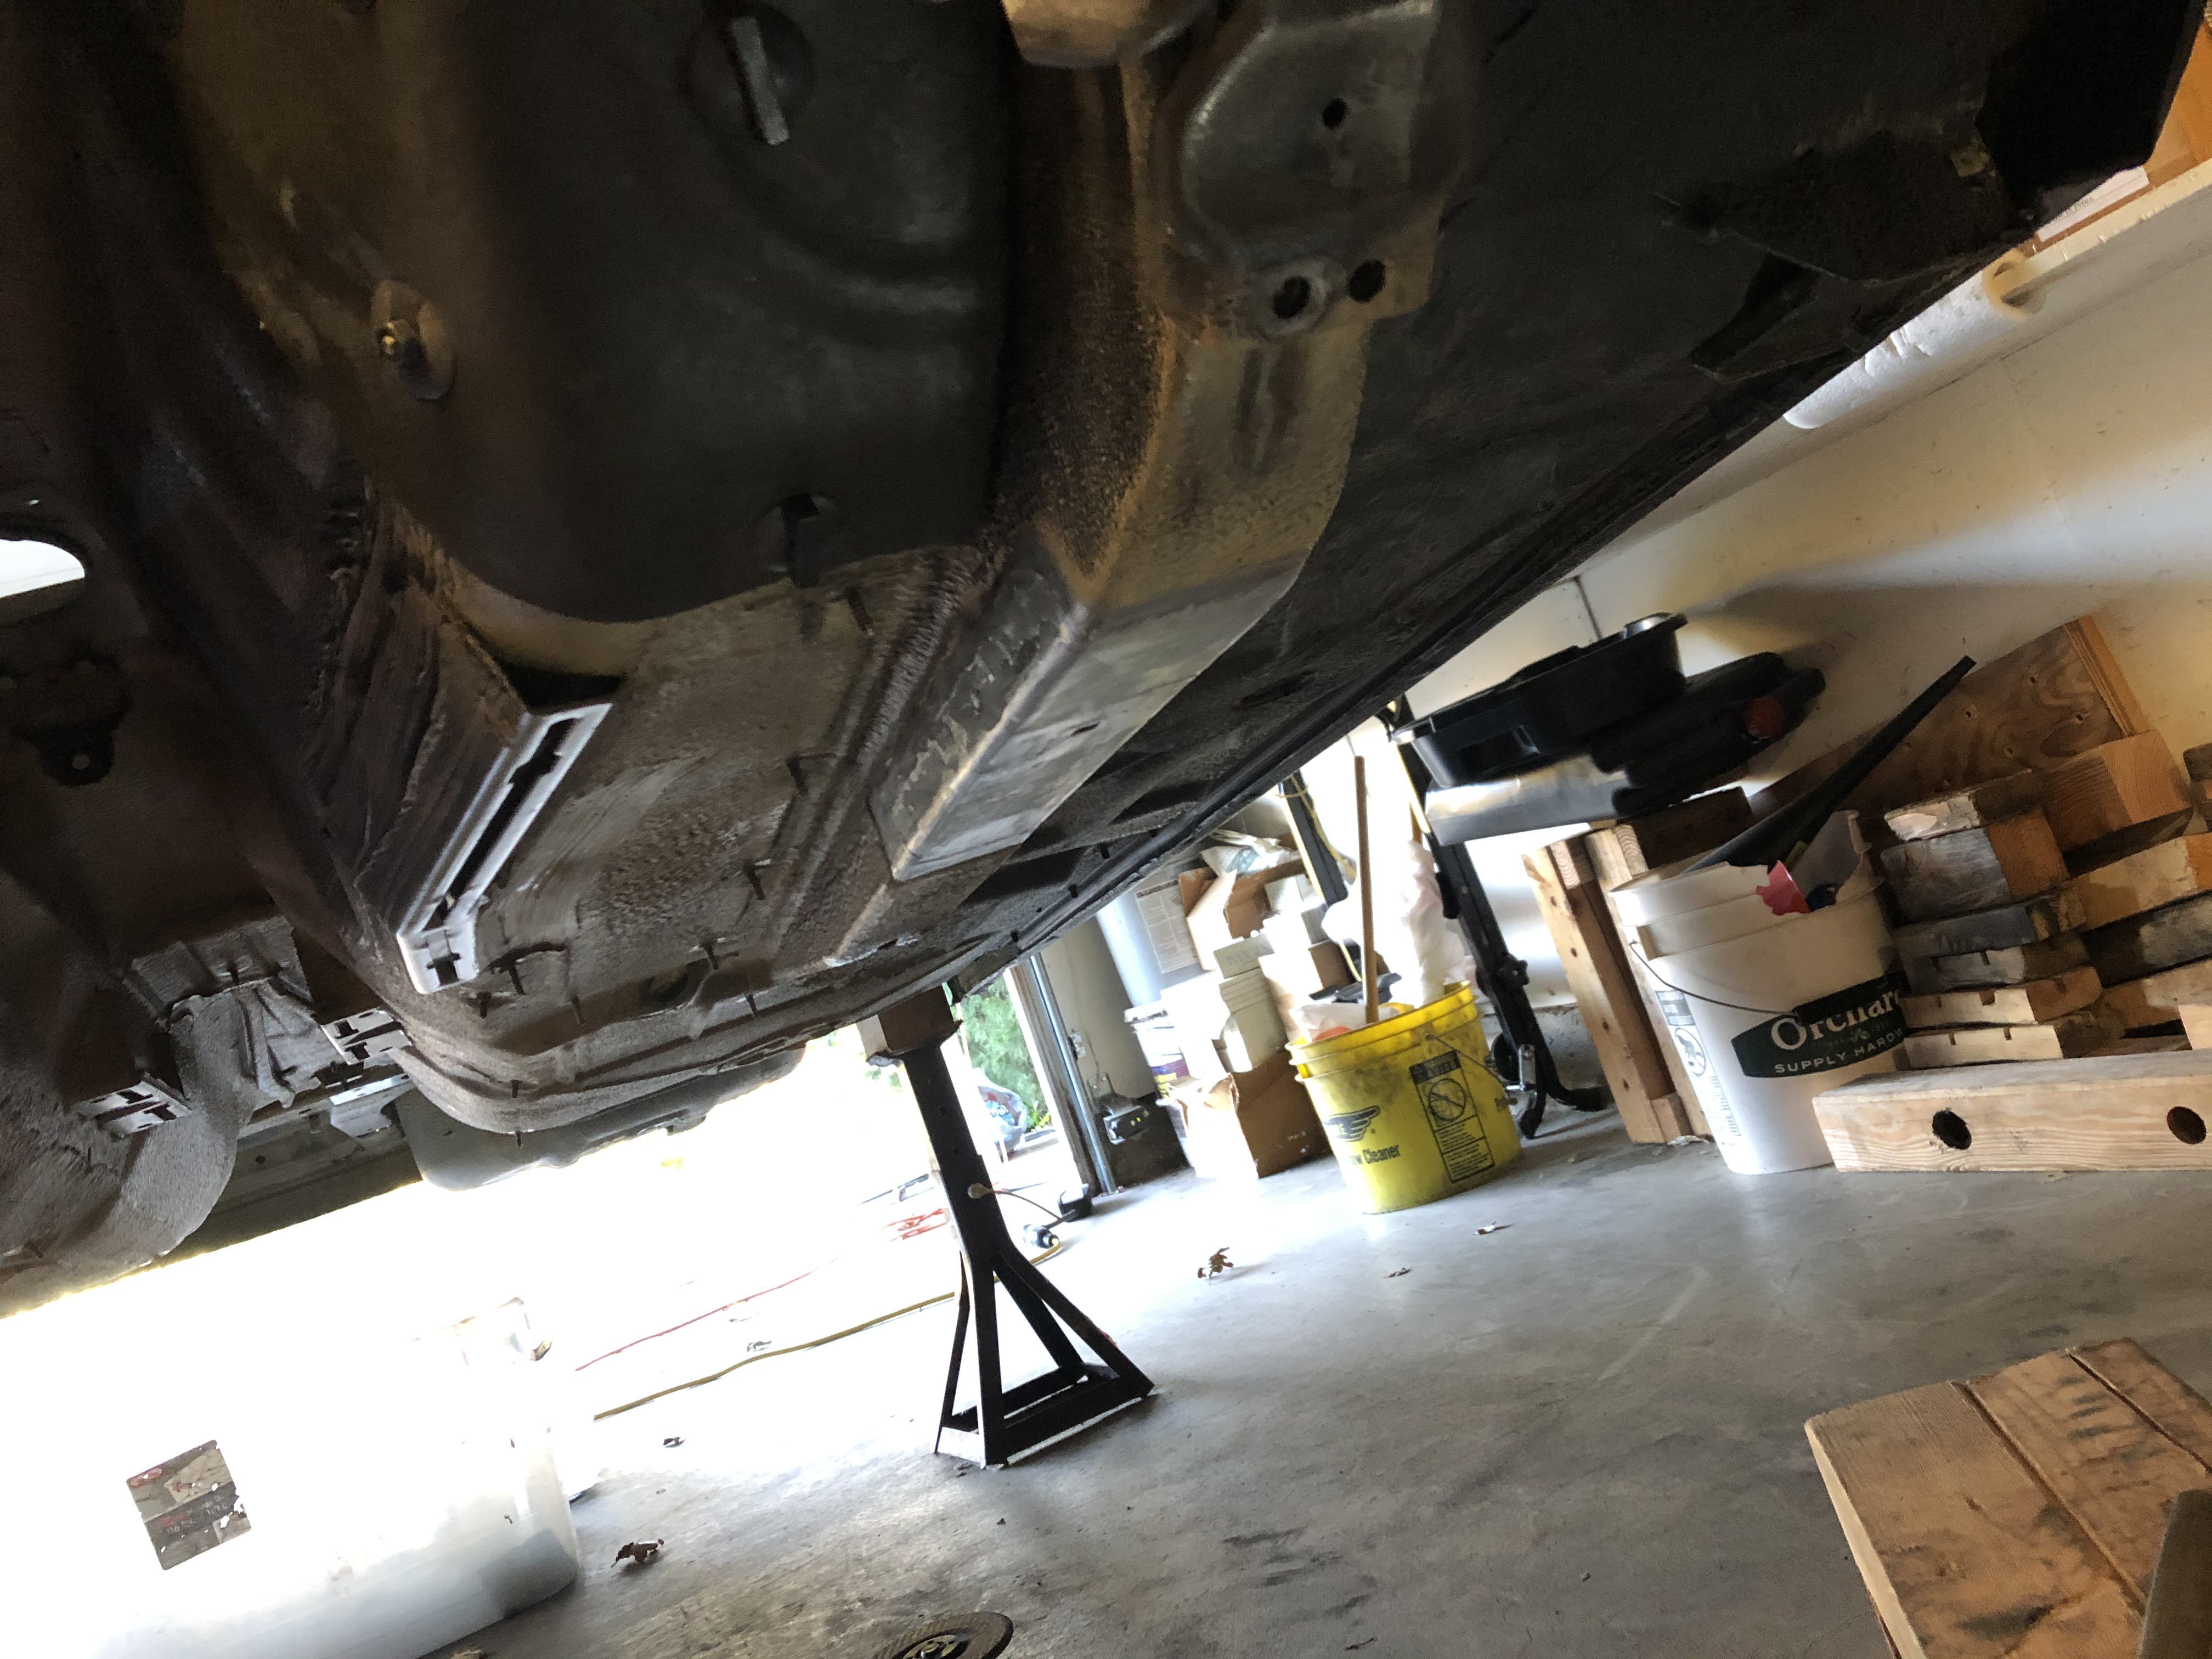
Rocker panel damage from a PO. From the pattern visible after the rock guard was removed, it looks like someone actually tried to jack the car up with a bottle jack into the sheet metal. Seriously, WTF.

Image
jhh925
Posts: 917
Joined: Jul 11, 2015 12:23 AM
Location: Reno

Re: Rebuilding My 1988 US-spec M5

Post by jhh925 »

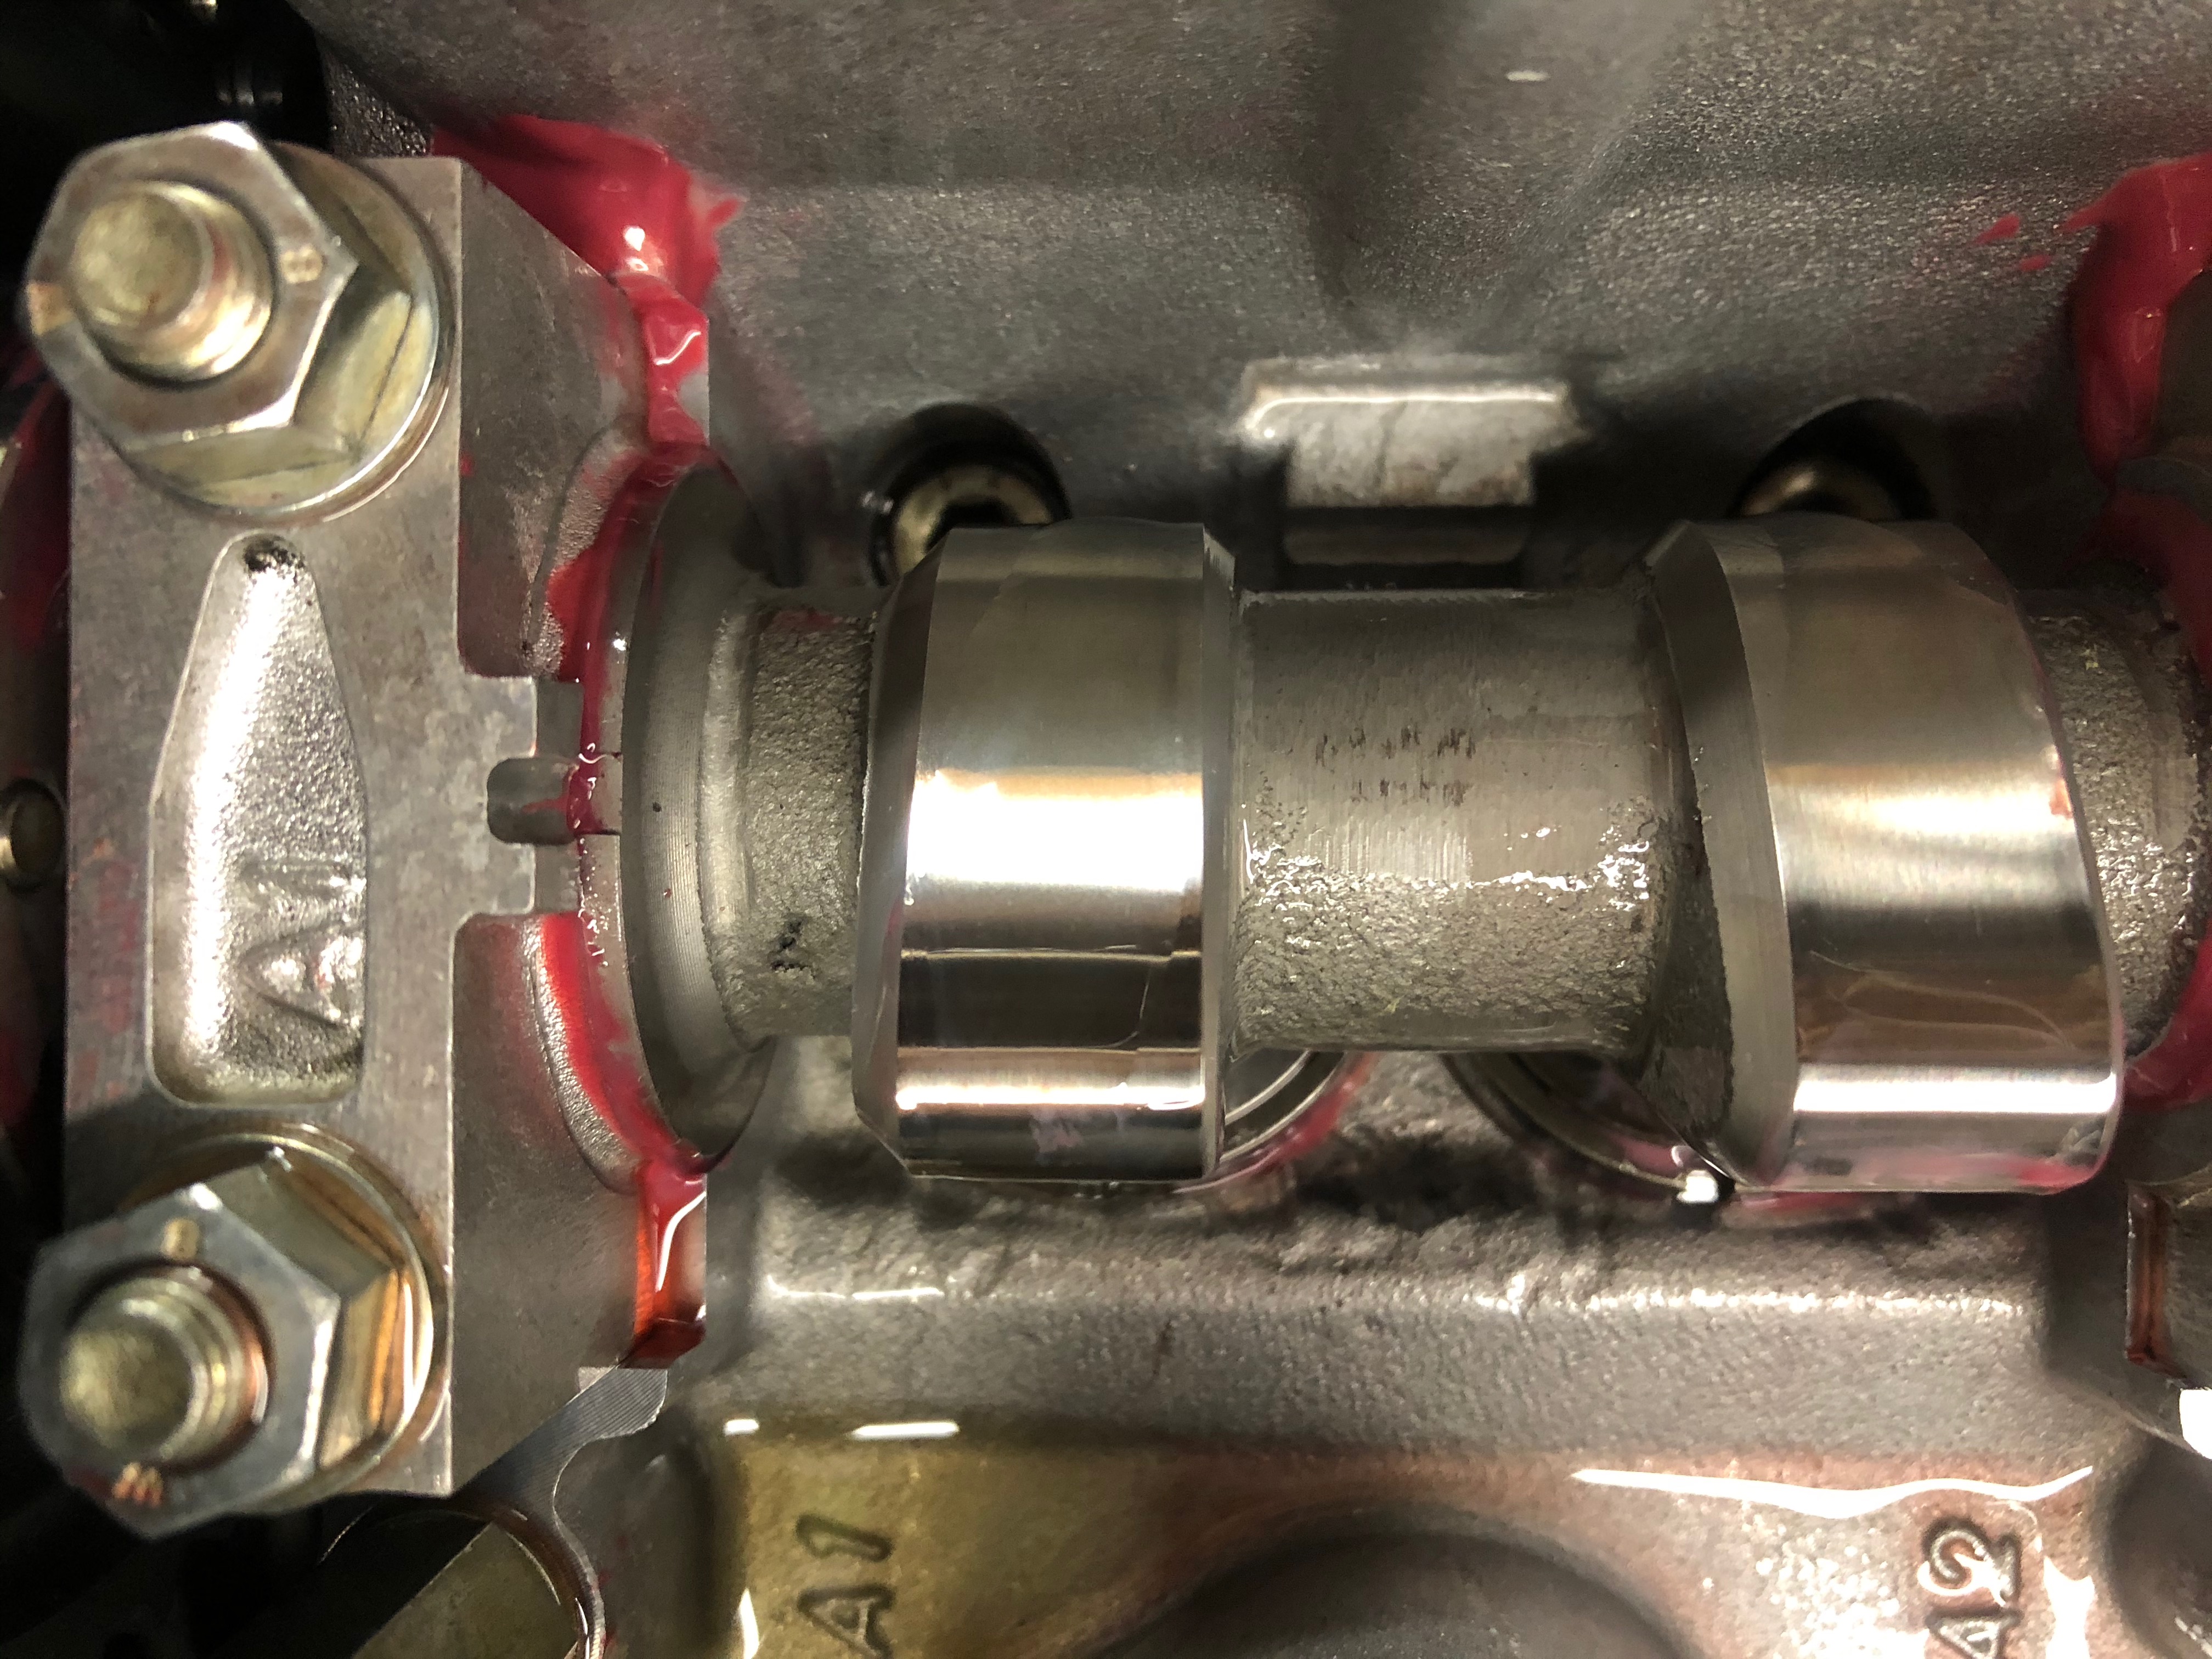
Working on putting motor back together. This is camshaft alignment at TDC. These are the S38-B26 cams connected to B34 cam sprockets. Intake is retarded by on-half tooth, which should decrease valve overlap and increase low-end torque by a bit.

Image
Image
jhh925
Posts: 917
Joined: Jul 11, 2015 12:23 AM
Location: Reno

Re: Rebuilding My 1988 US-spec M5

Post by jhh925 »

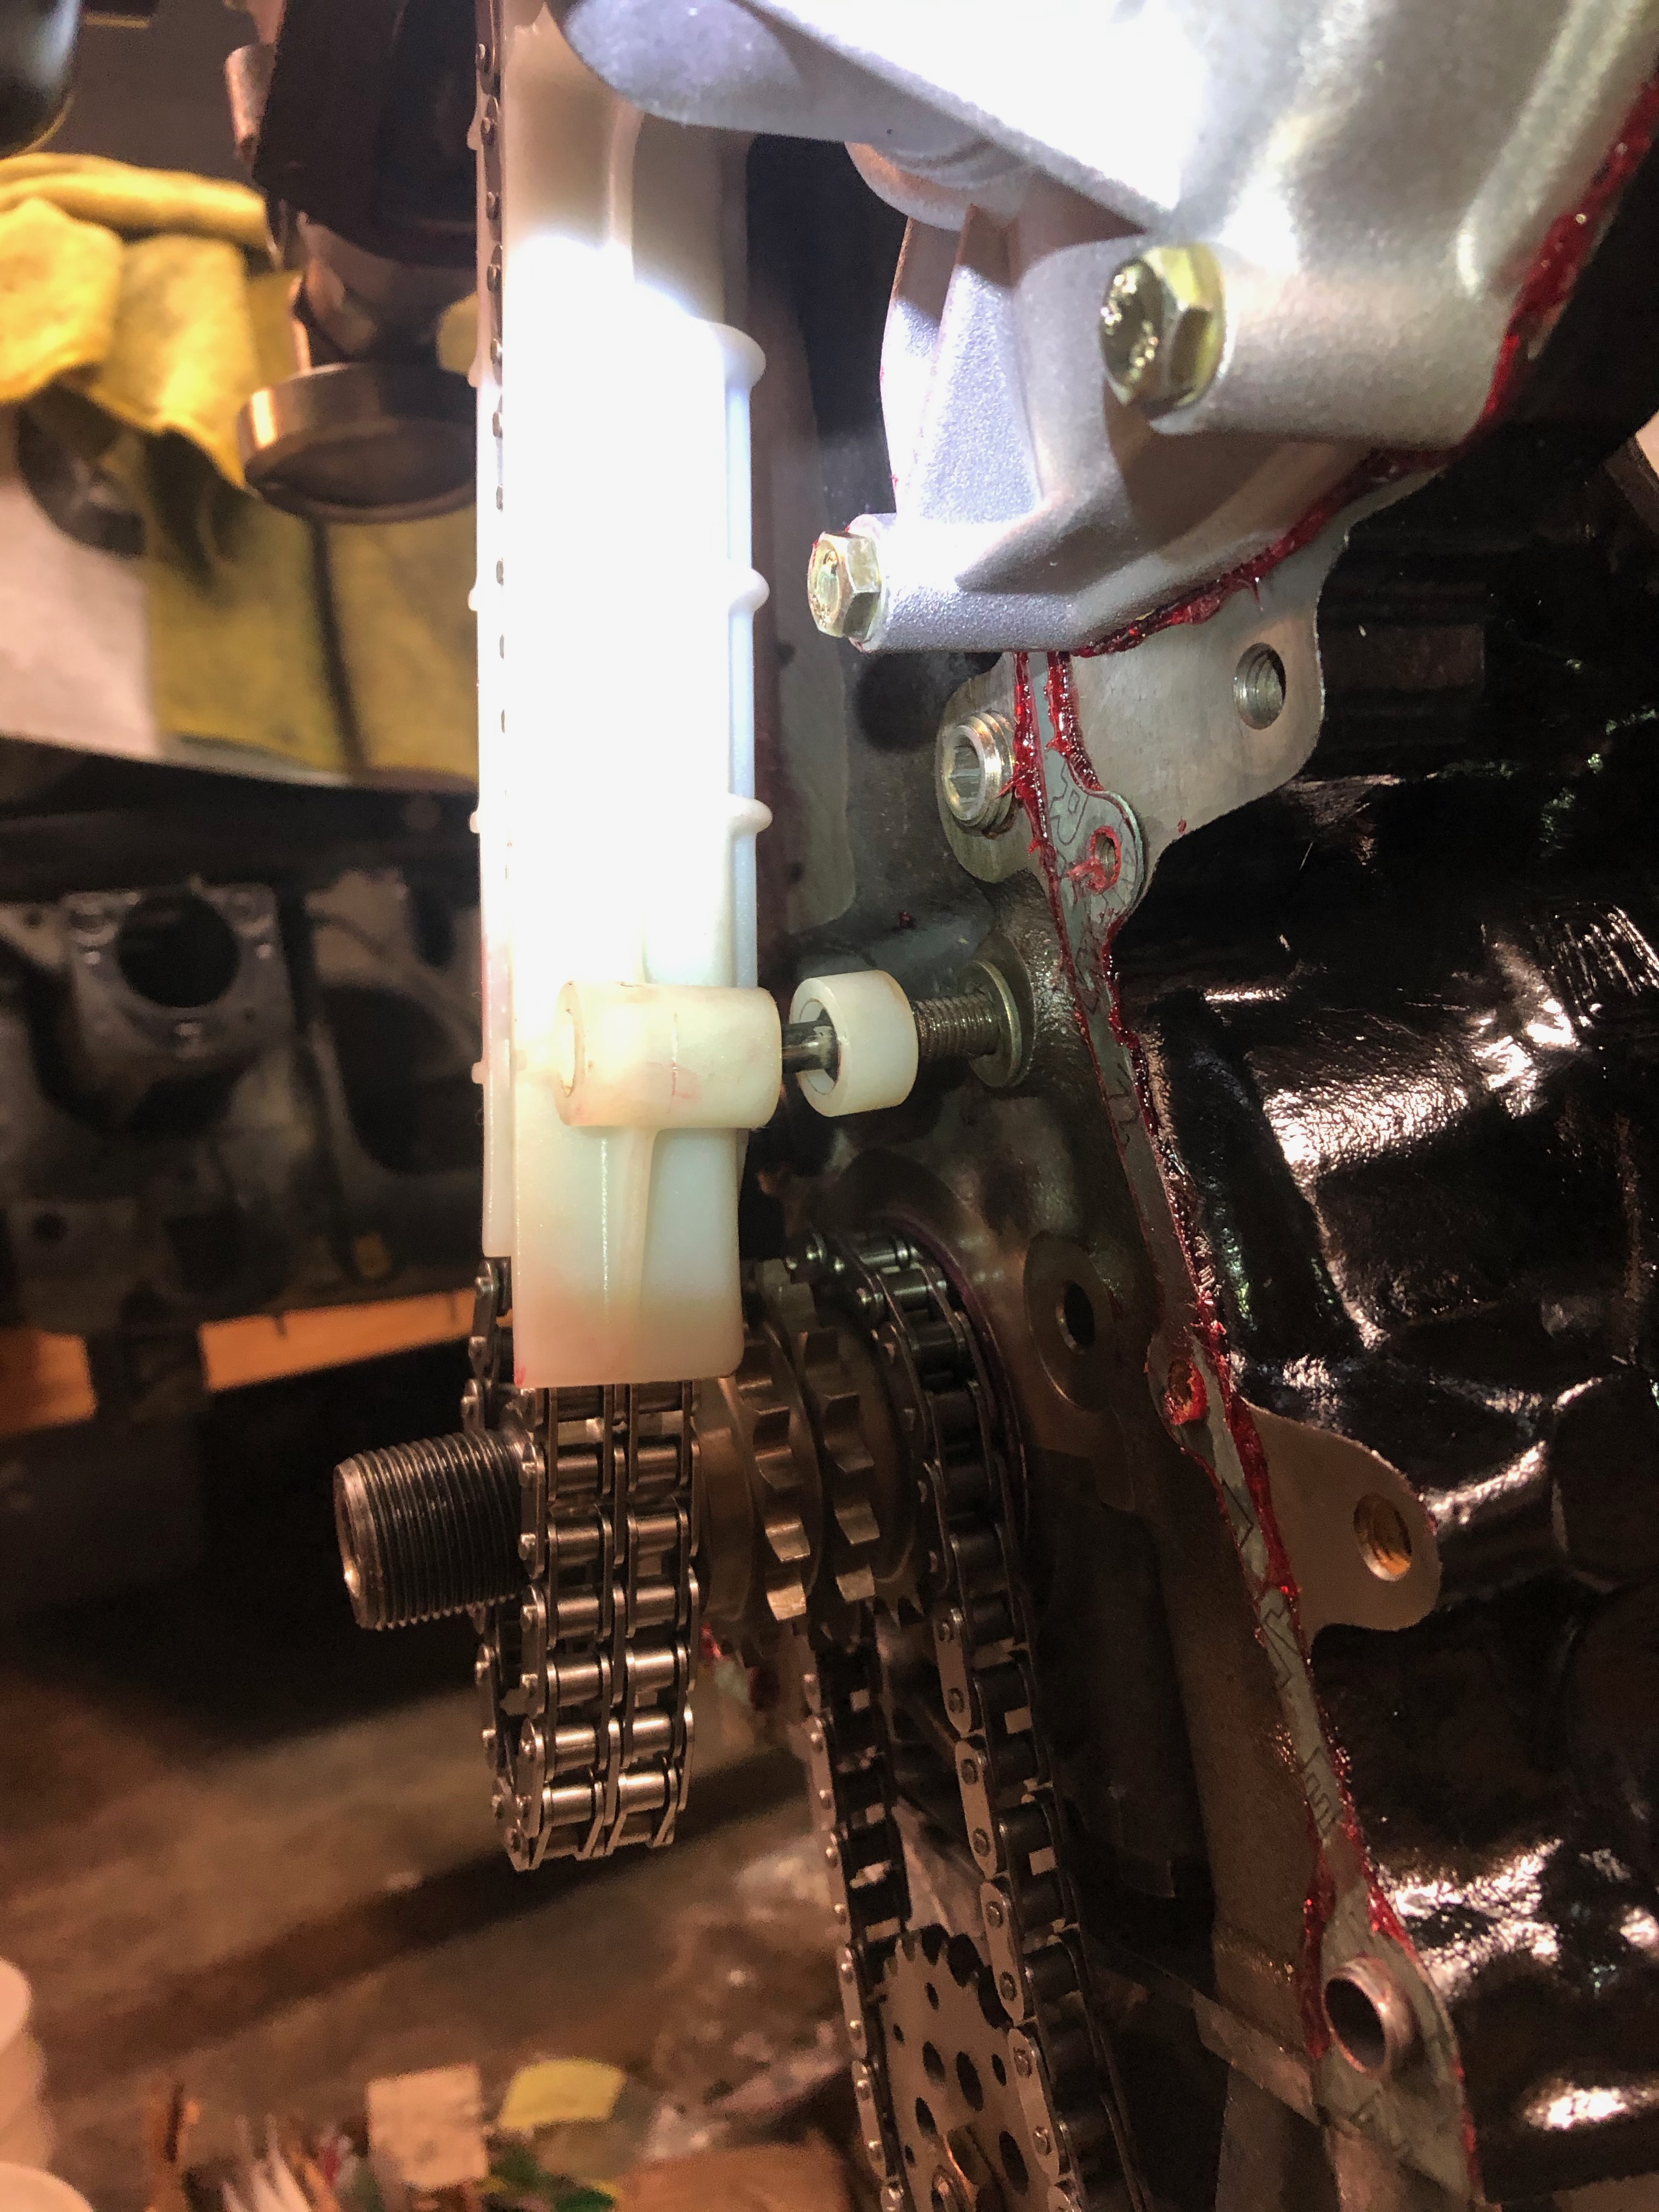
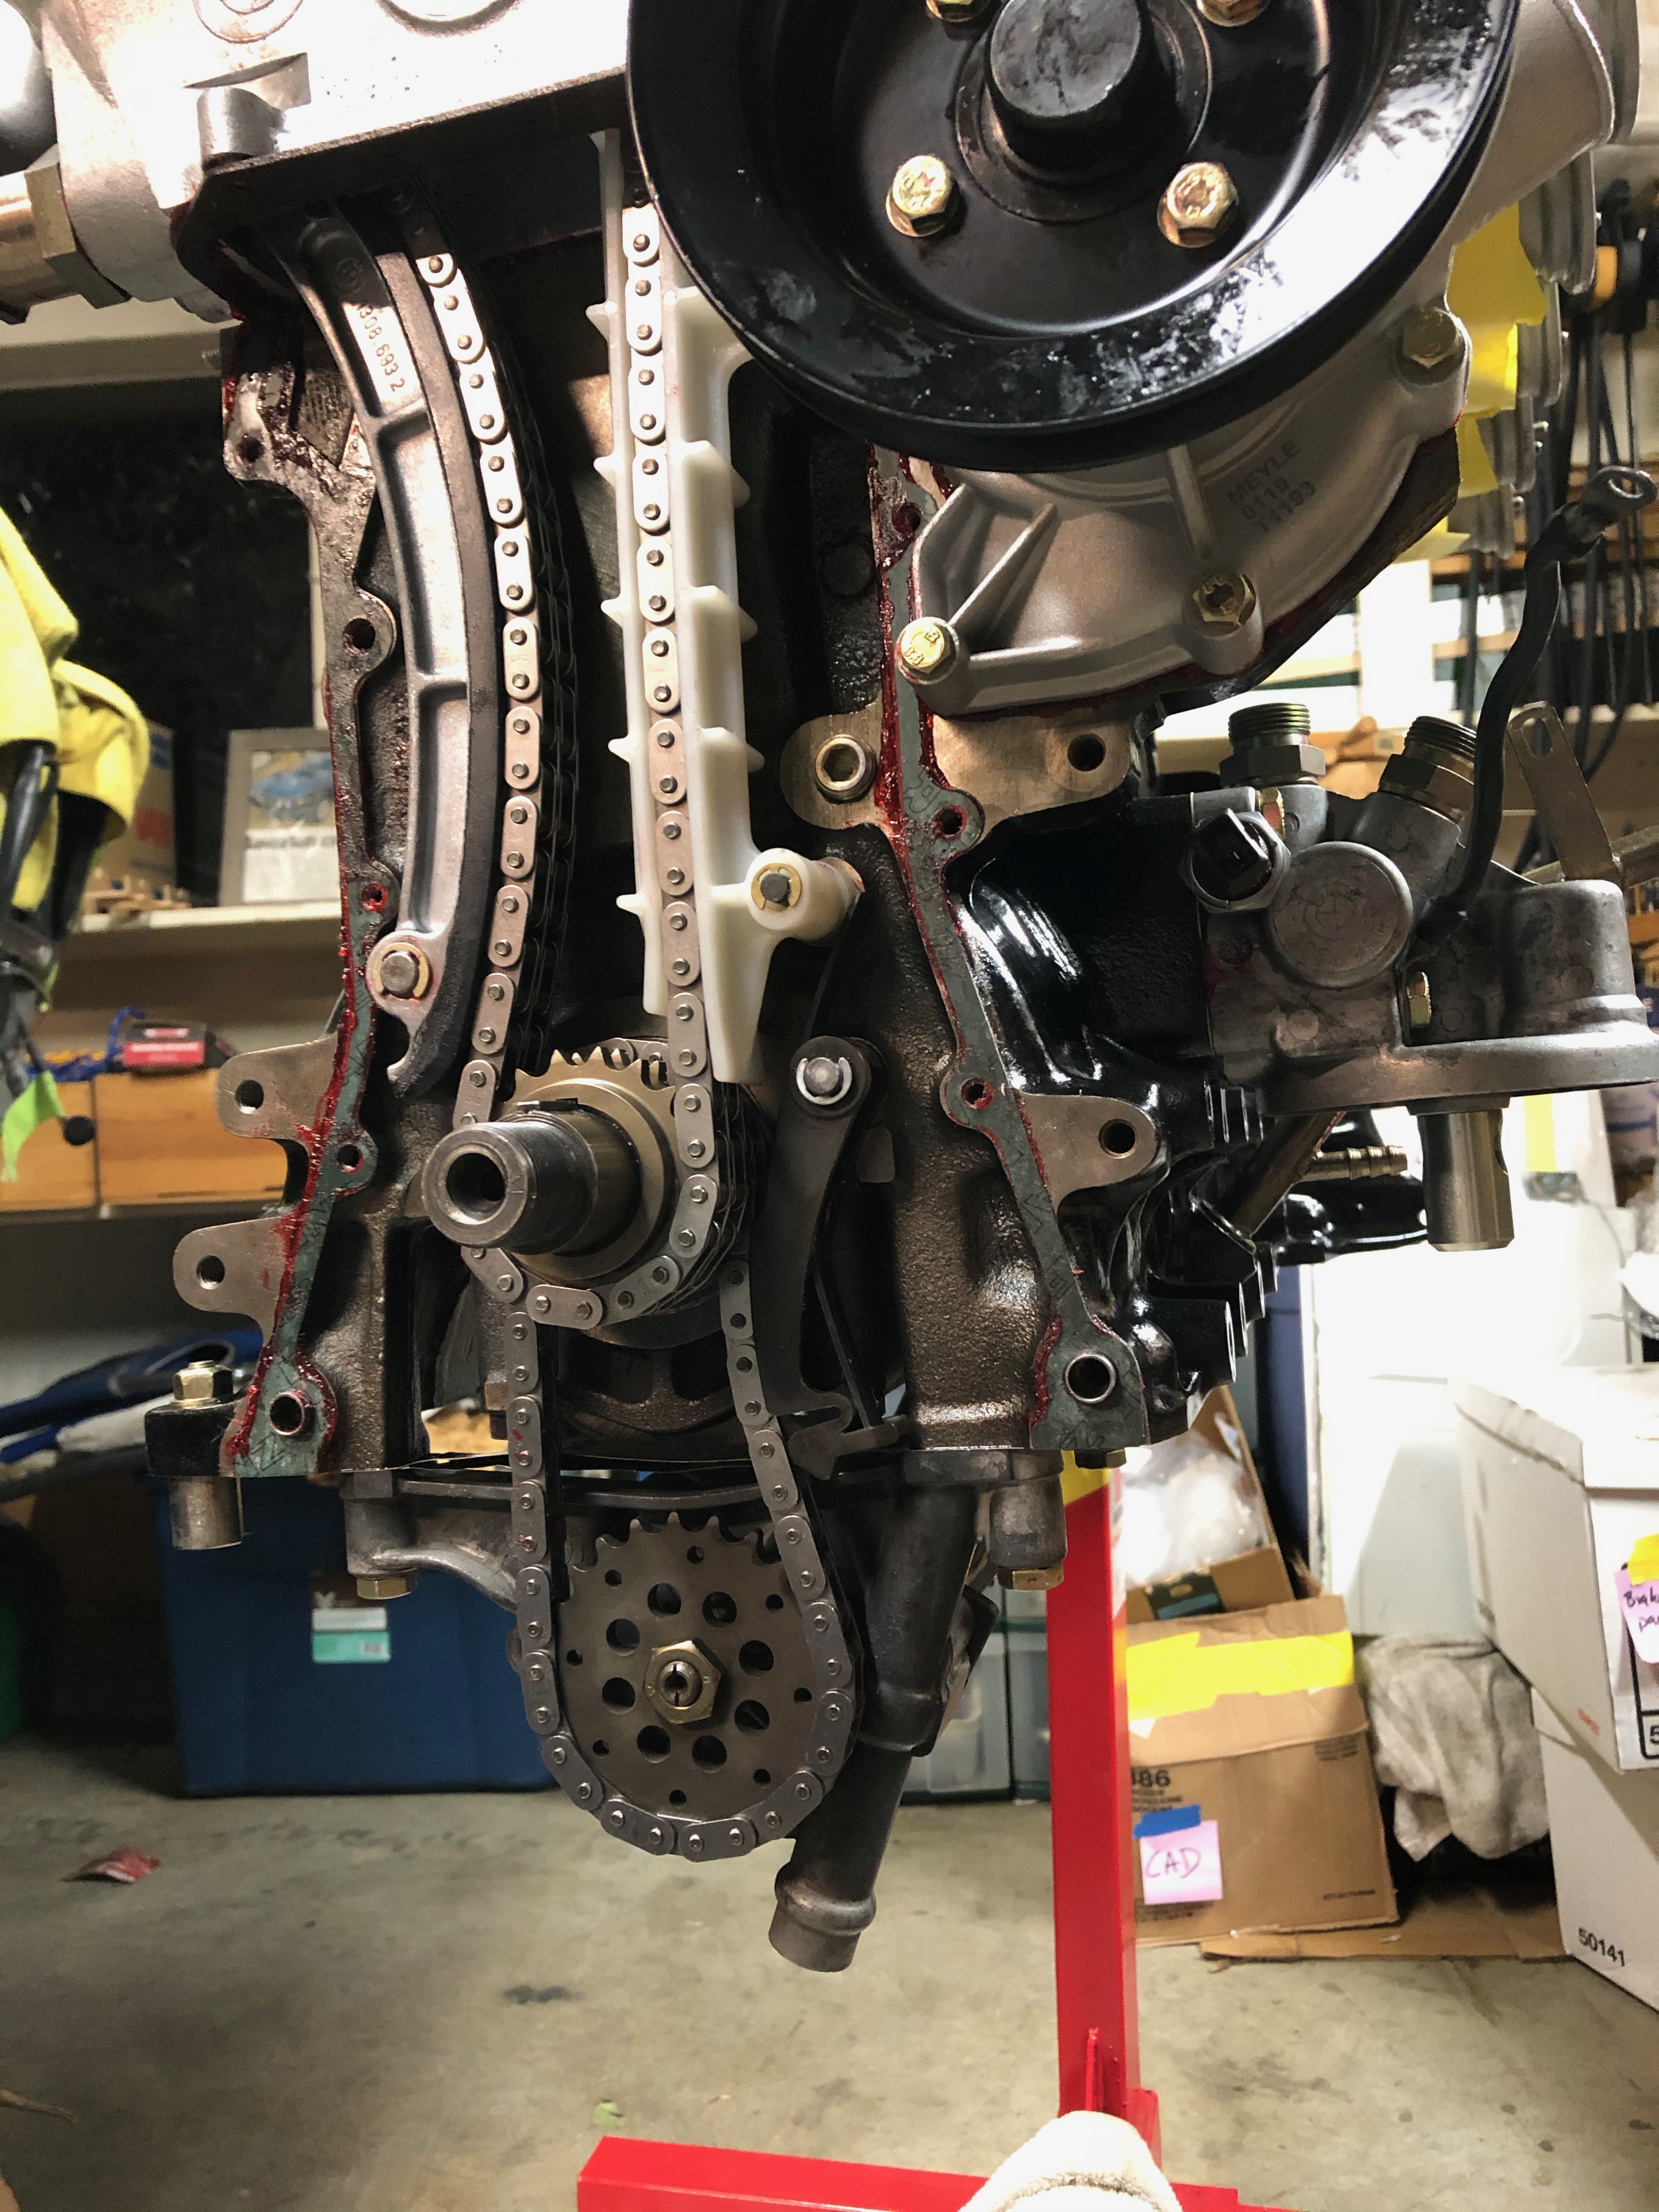
On reassembly, it looked to me that the oil pump chain (new style: 44 link with smaller sprocket) was too loose, so AFTER having already installed the head & new timing chain assemblies, I decided to retrofit the oil pump chain tensioner. Turns out you CAN add the tensioner without removing the timing chain, but it wasn't straightforward:

Image

Image

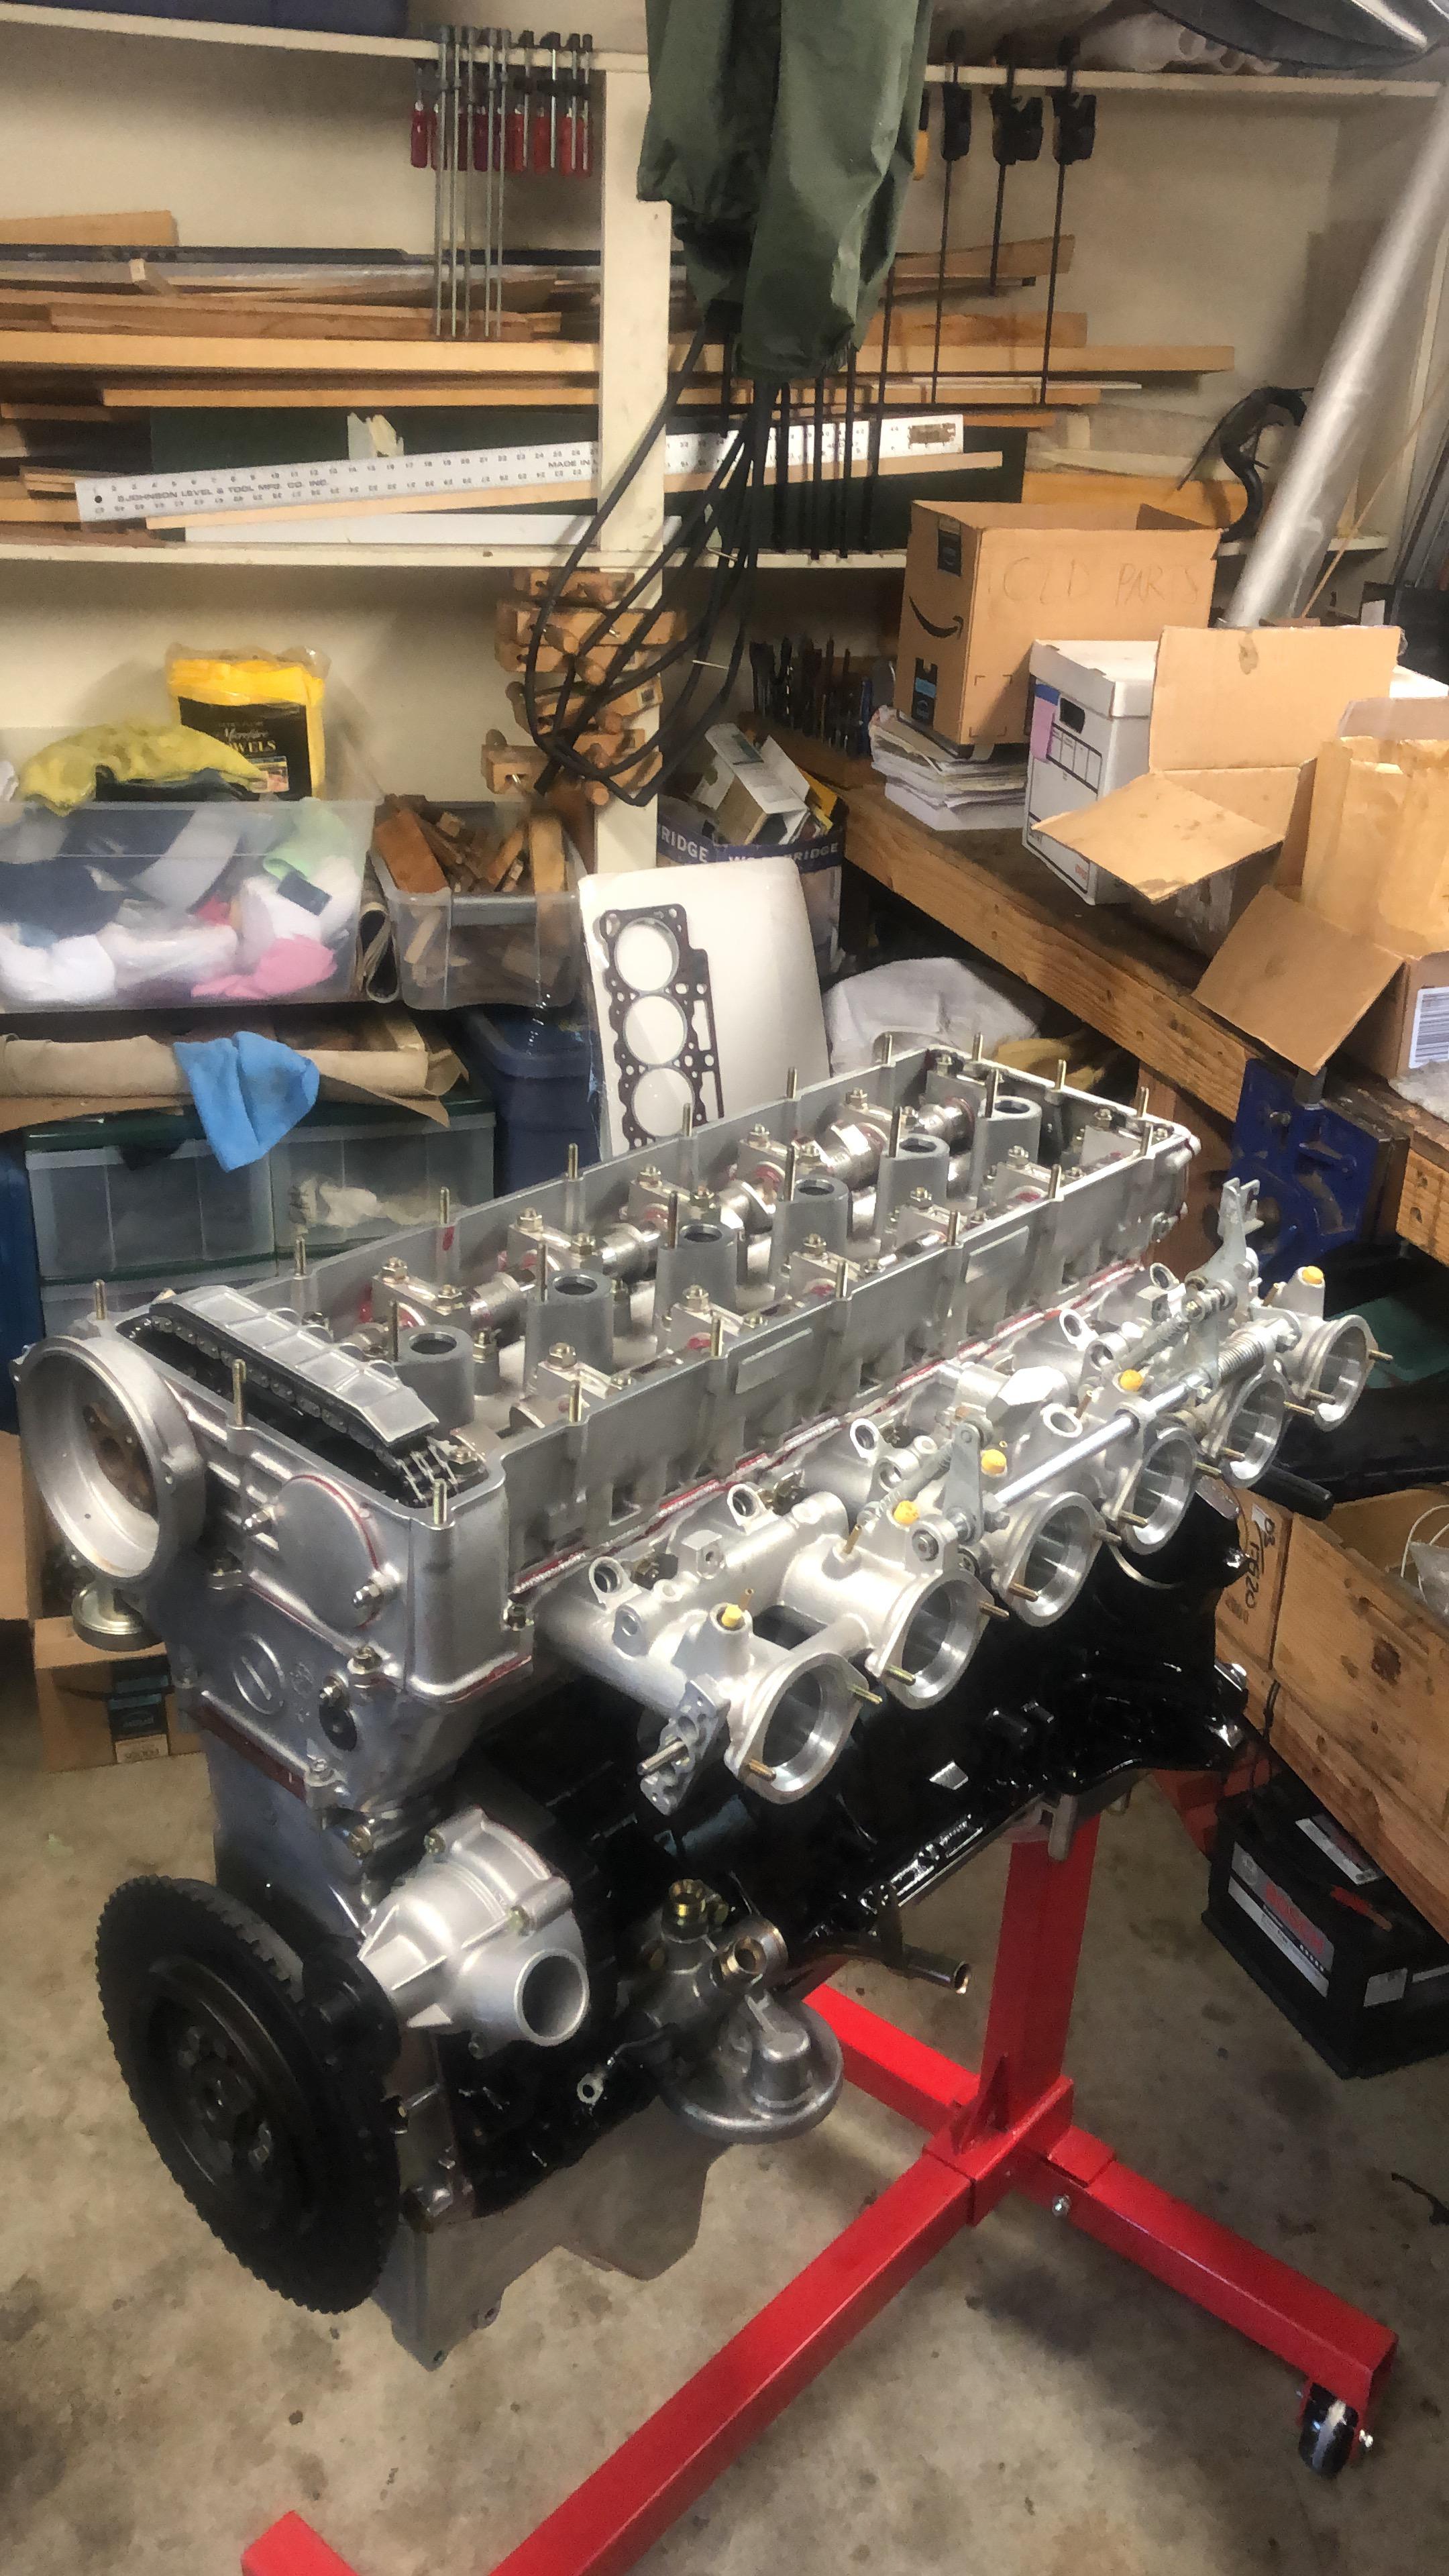
Engine progress so far:

Image
jhh925
Posts: 917
Joined: Jul 11, 2015 12:23 AM
Location: Reno

Re: Rebuilding My 1988 US-spec M5

Post by jhh925 »

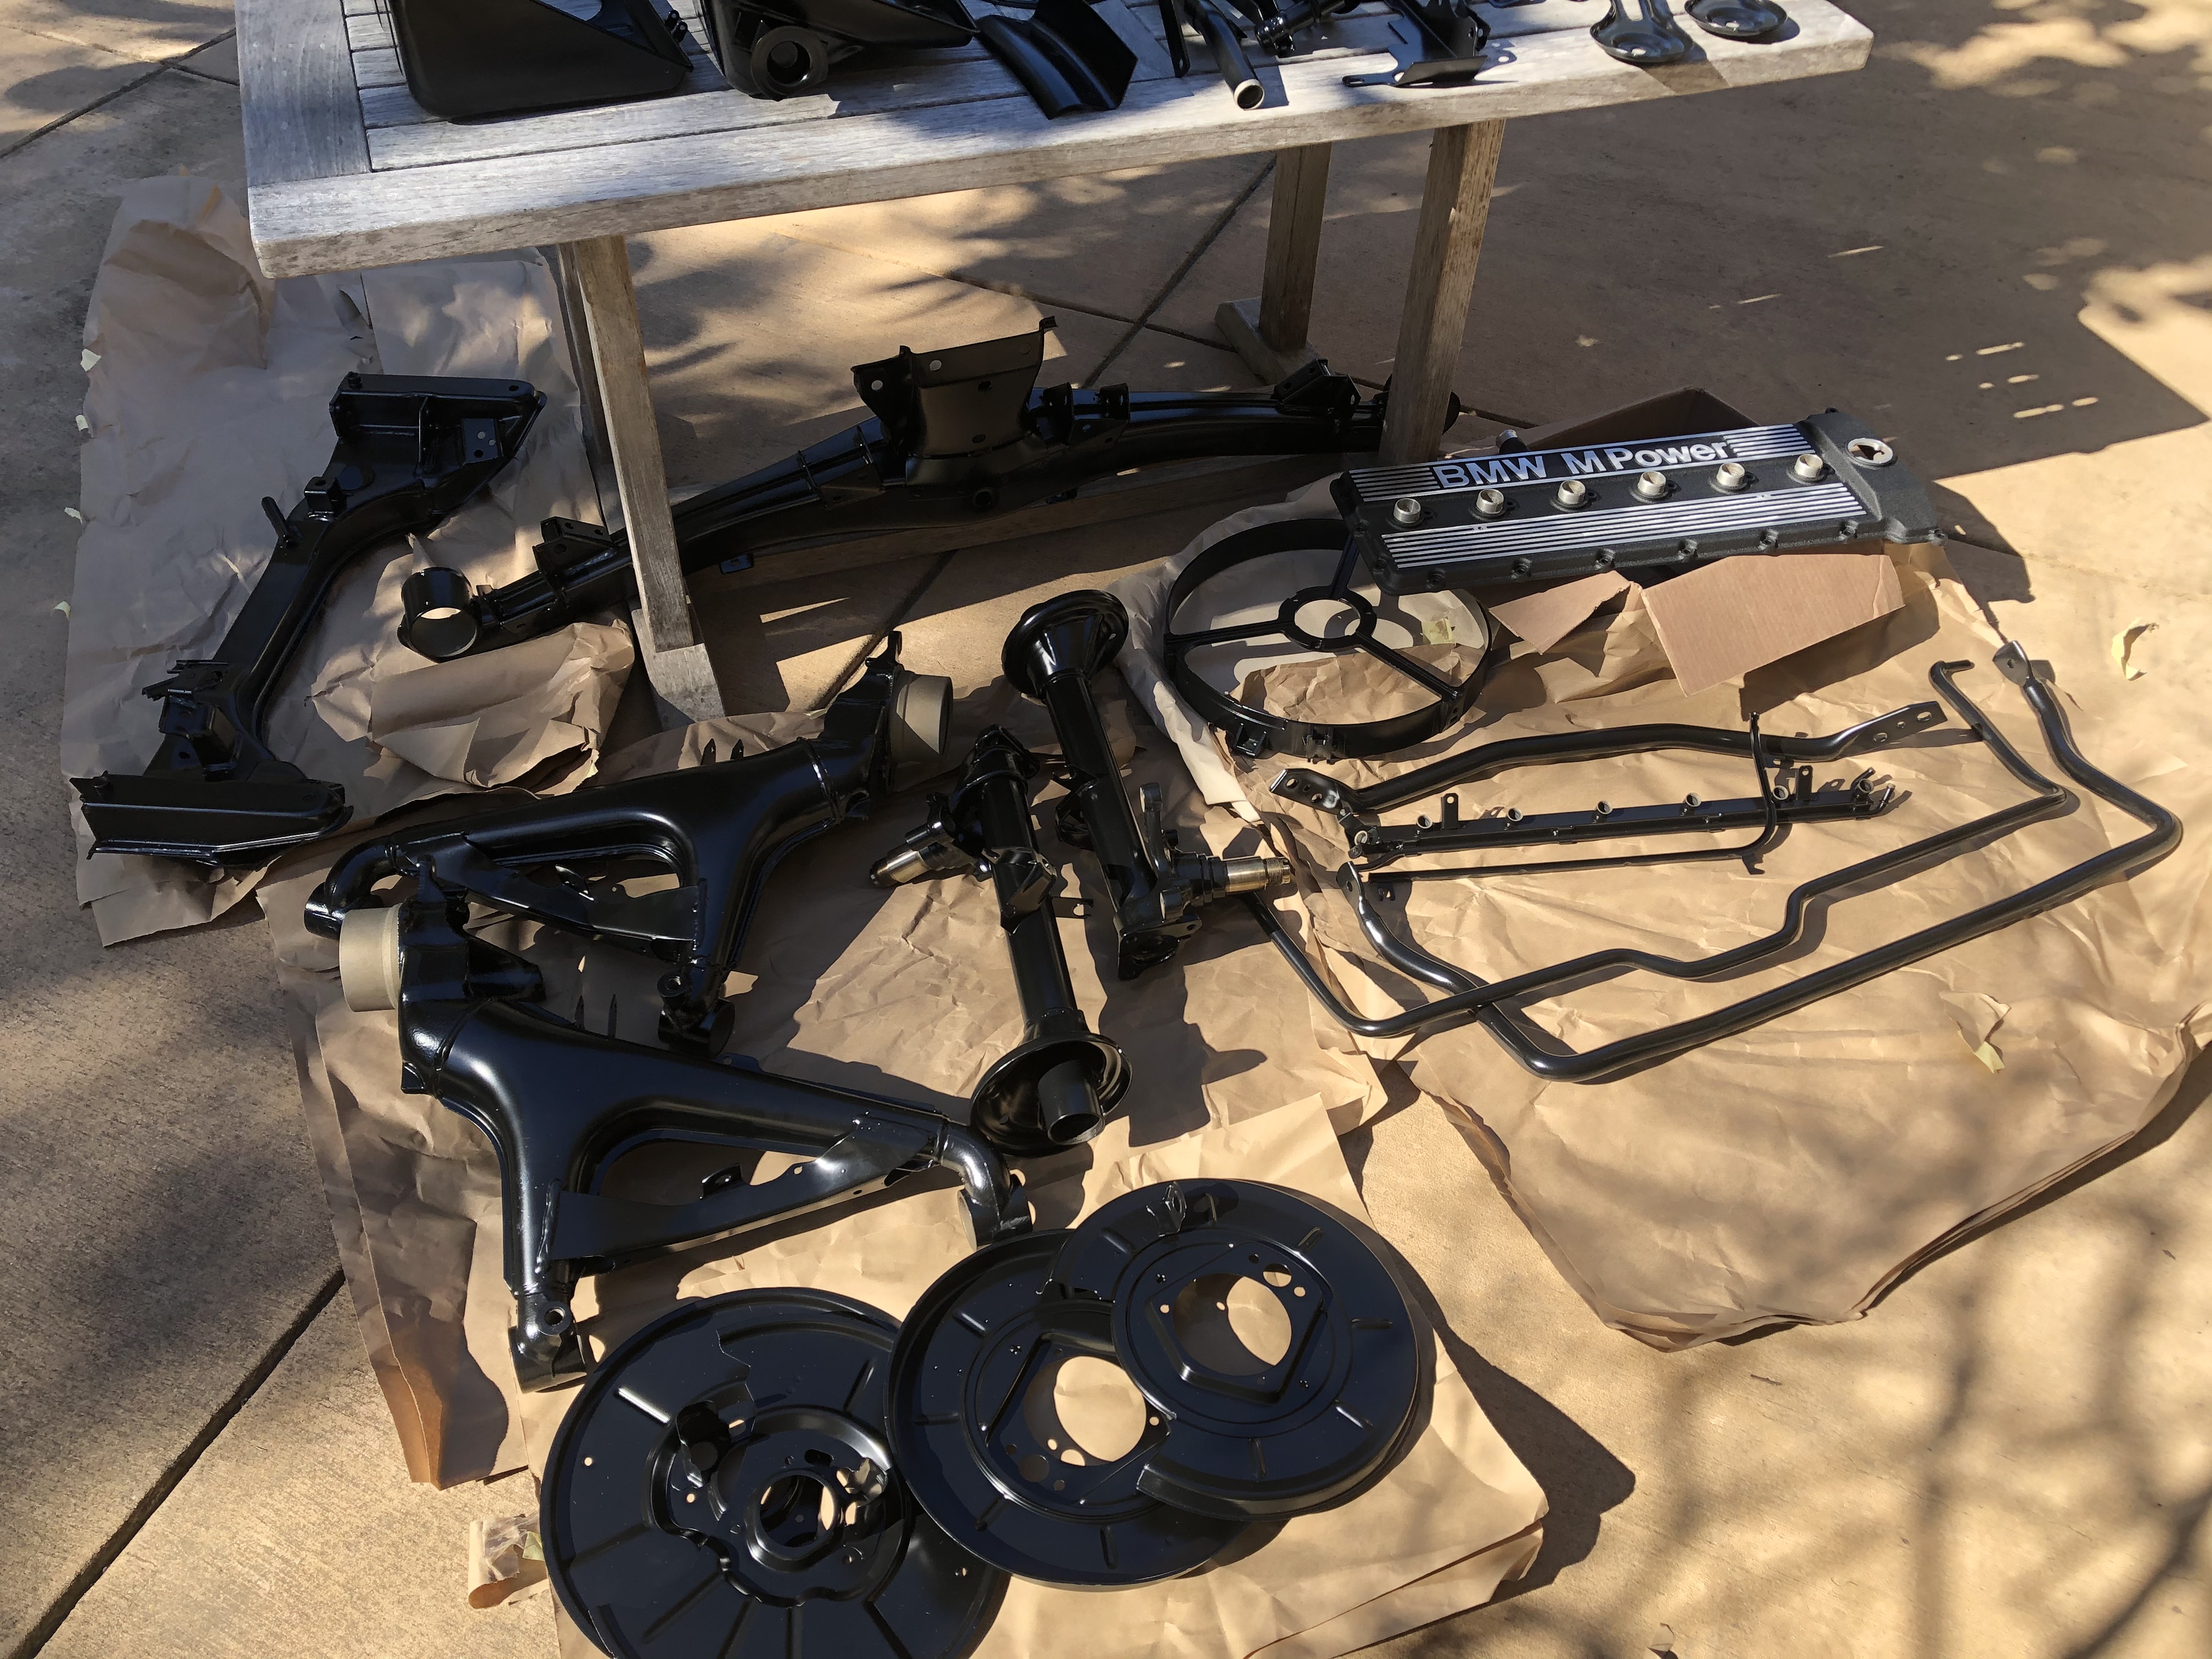
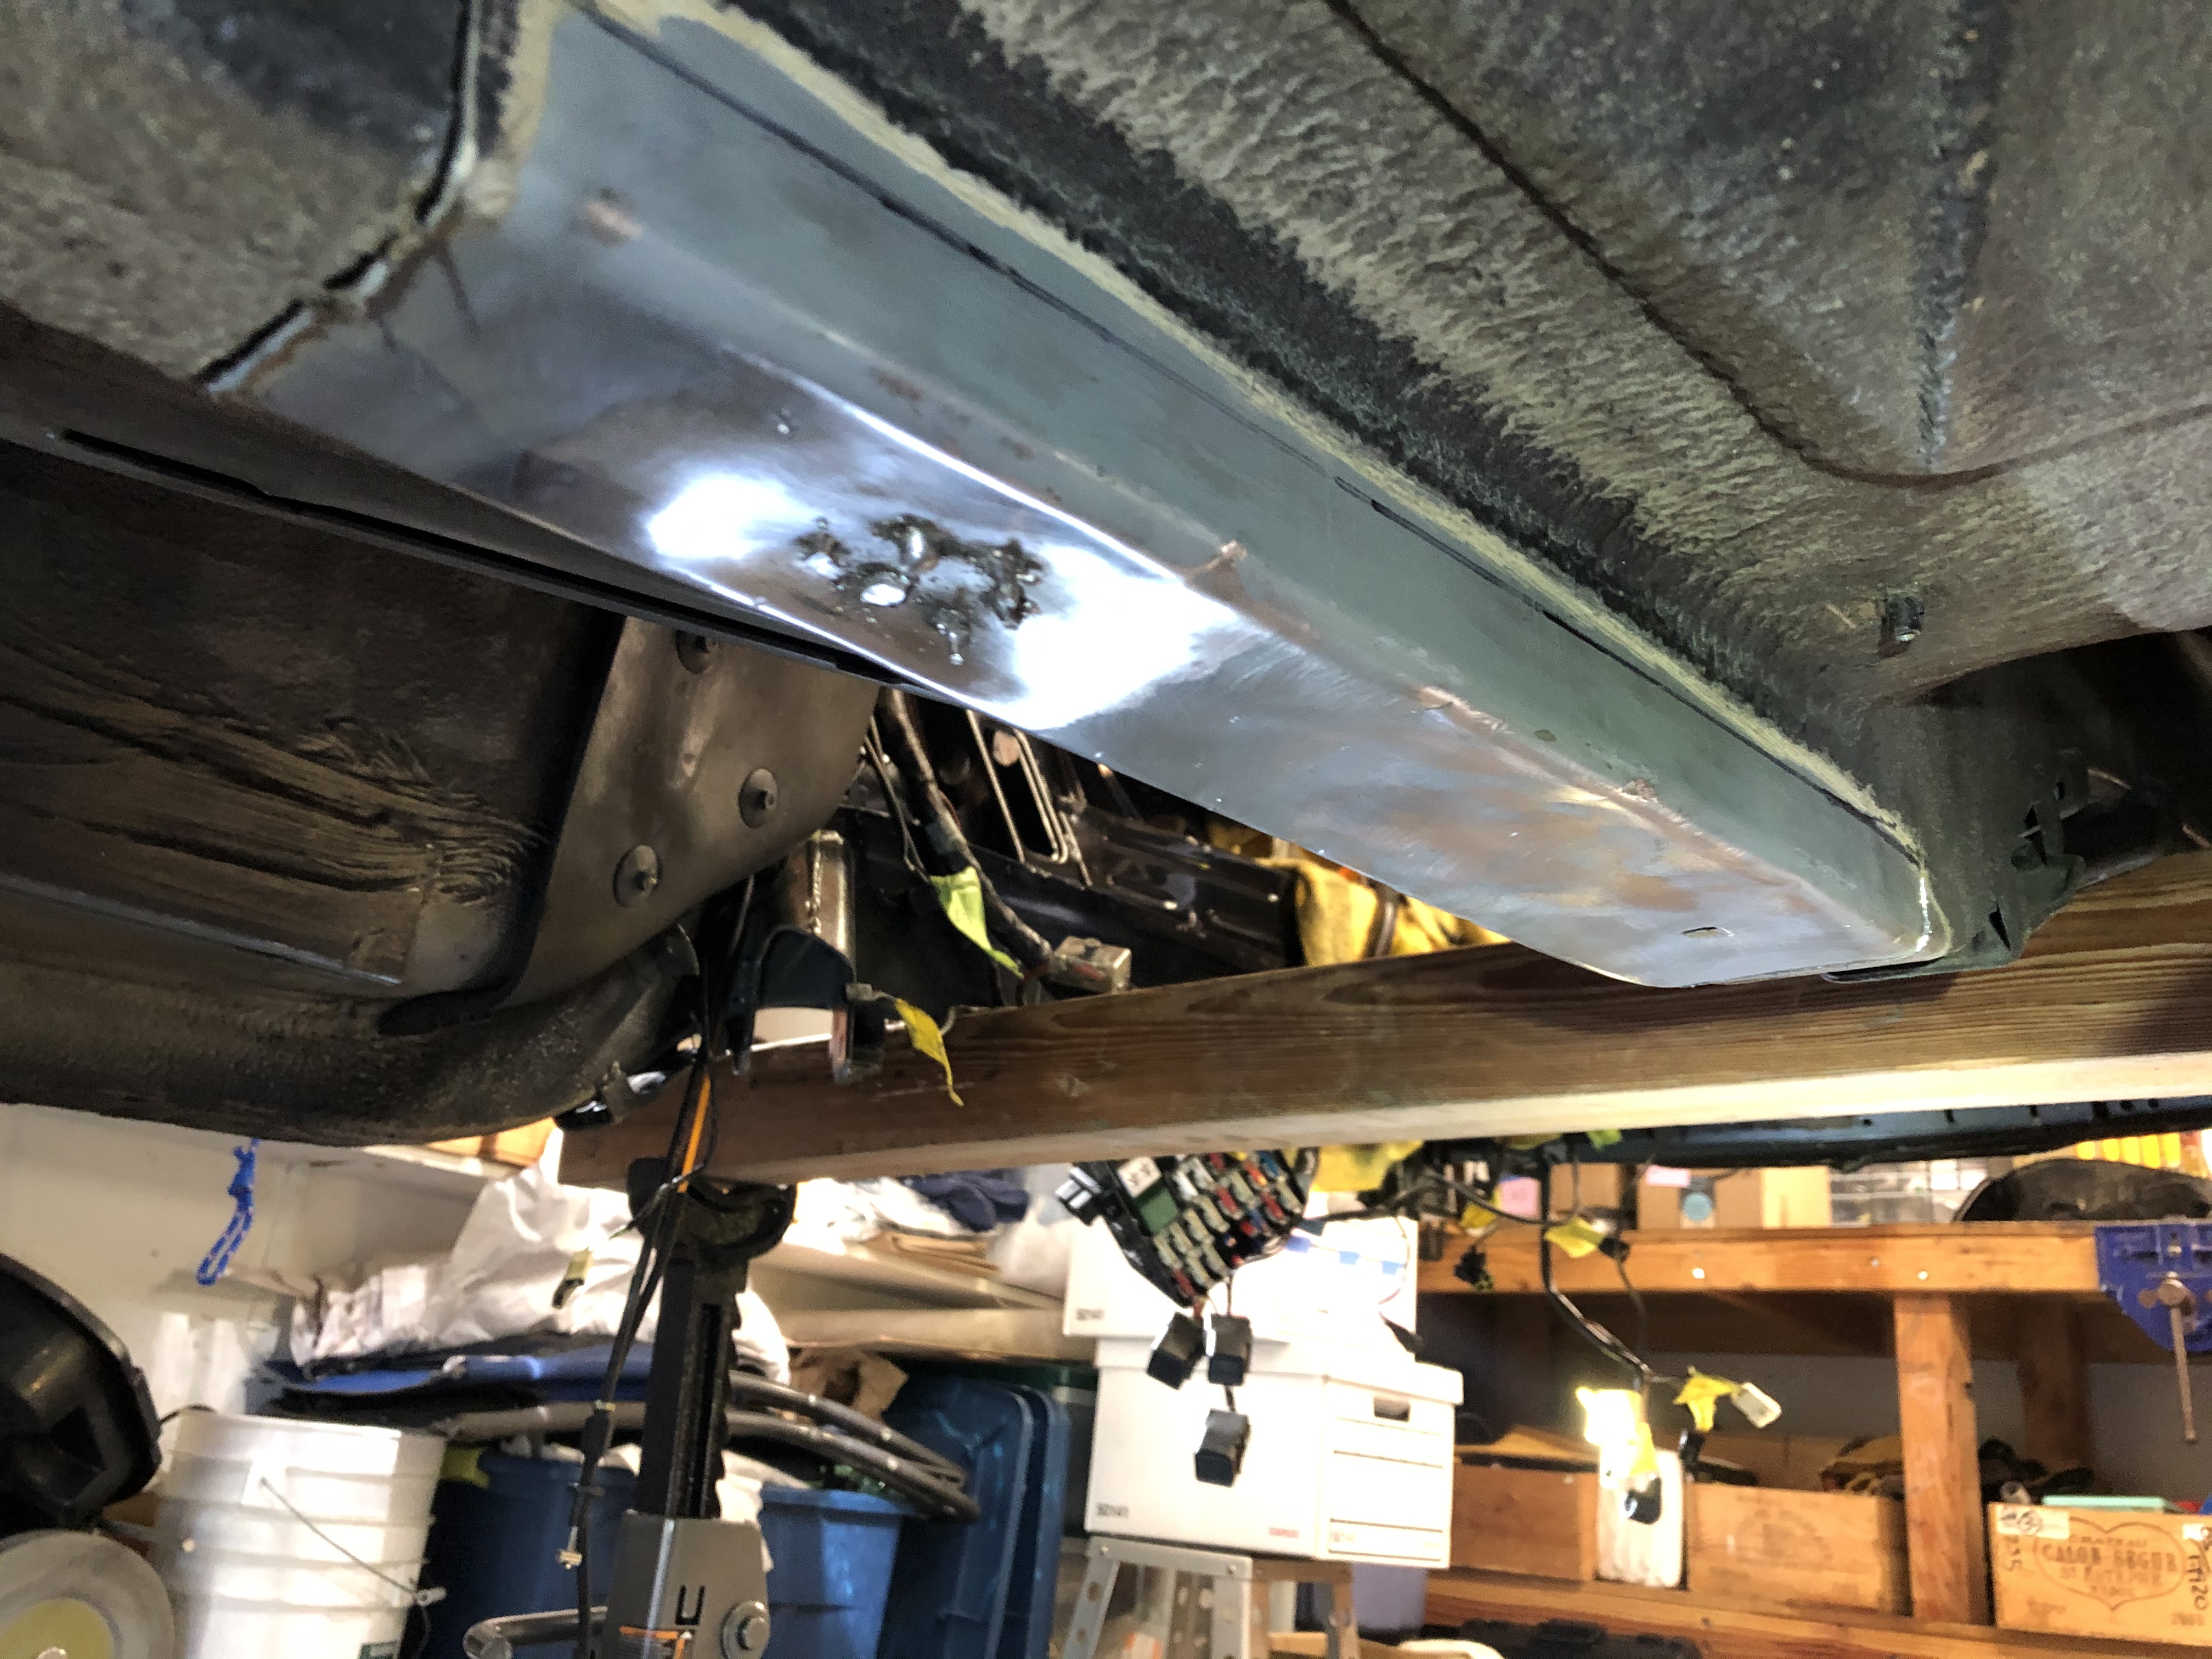
Slew of parts back from powder coating:
Image

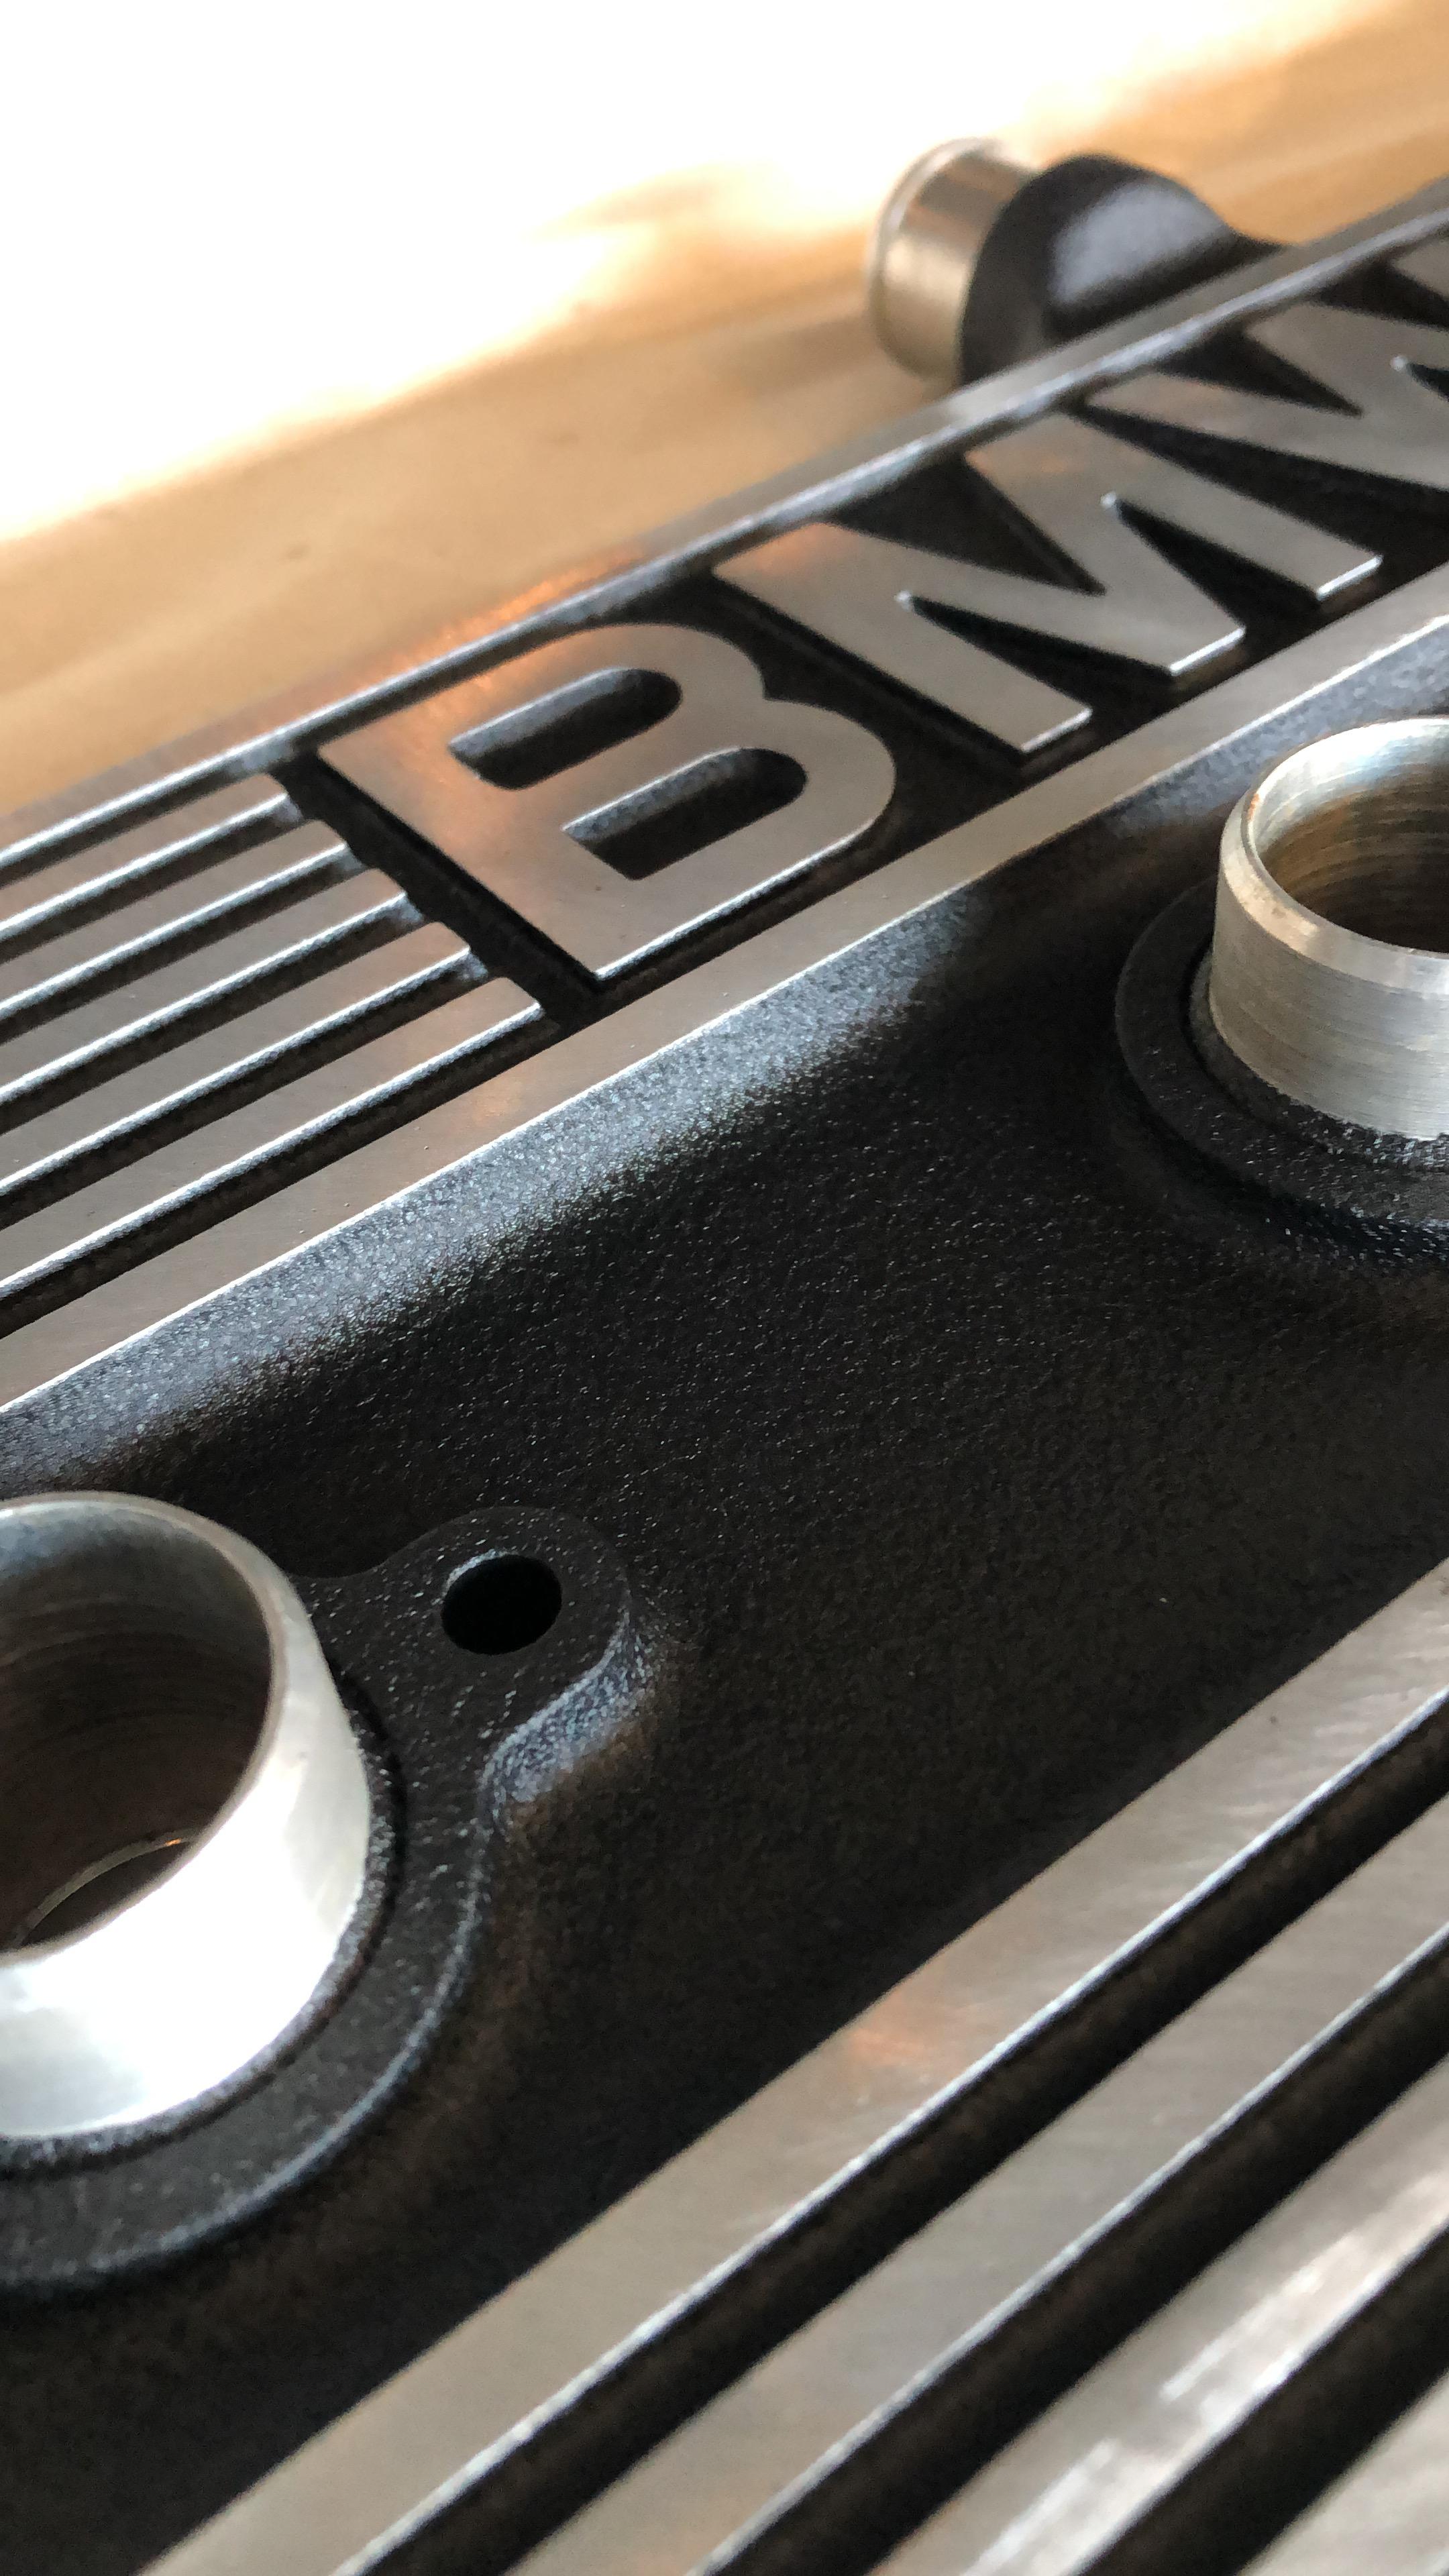
Valve cover & plenum were both redone in crinkle. Really happy with how it turned out.

Image
jhh925
Posts: 917
Joined: Jul 11, 2015 12:23 AM
Location: Reno

Re: Rebuilding My 1988 US-spec M5

Post by jhh925 »

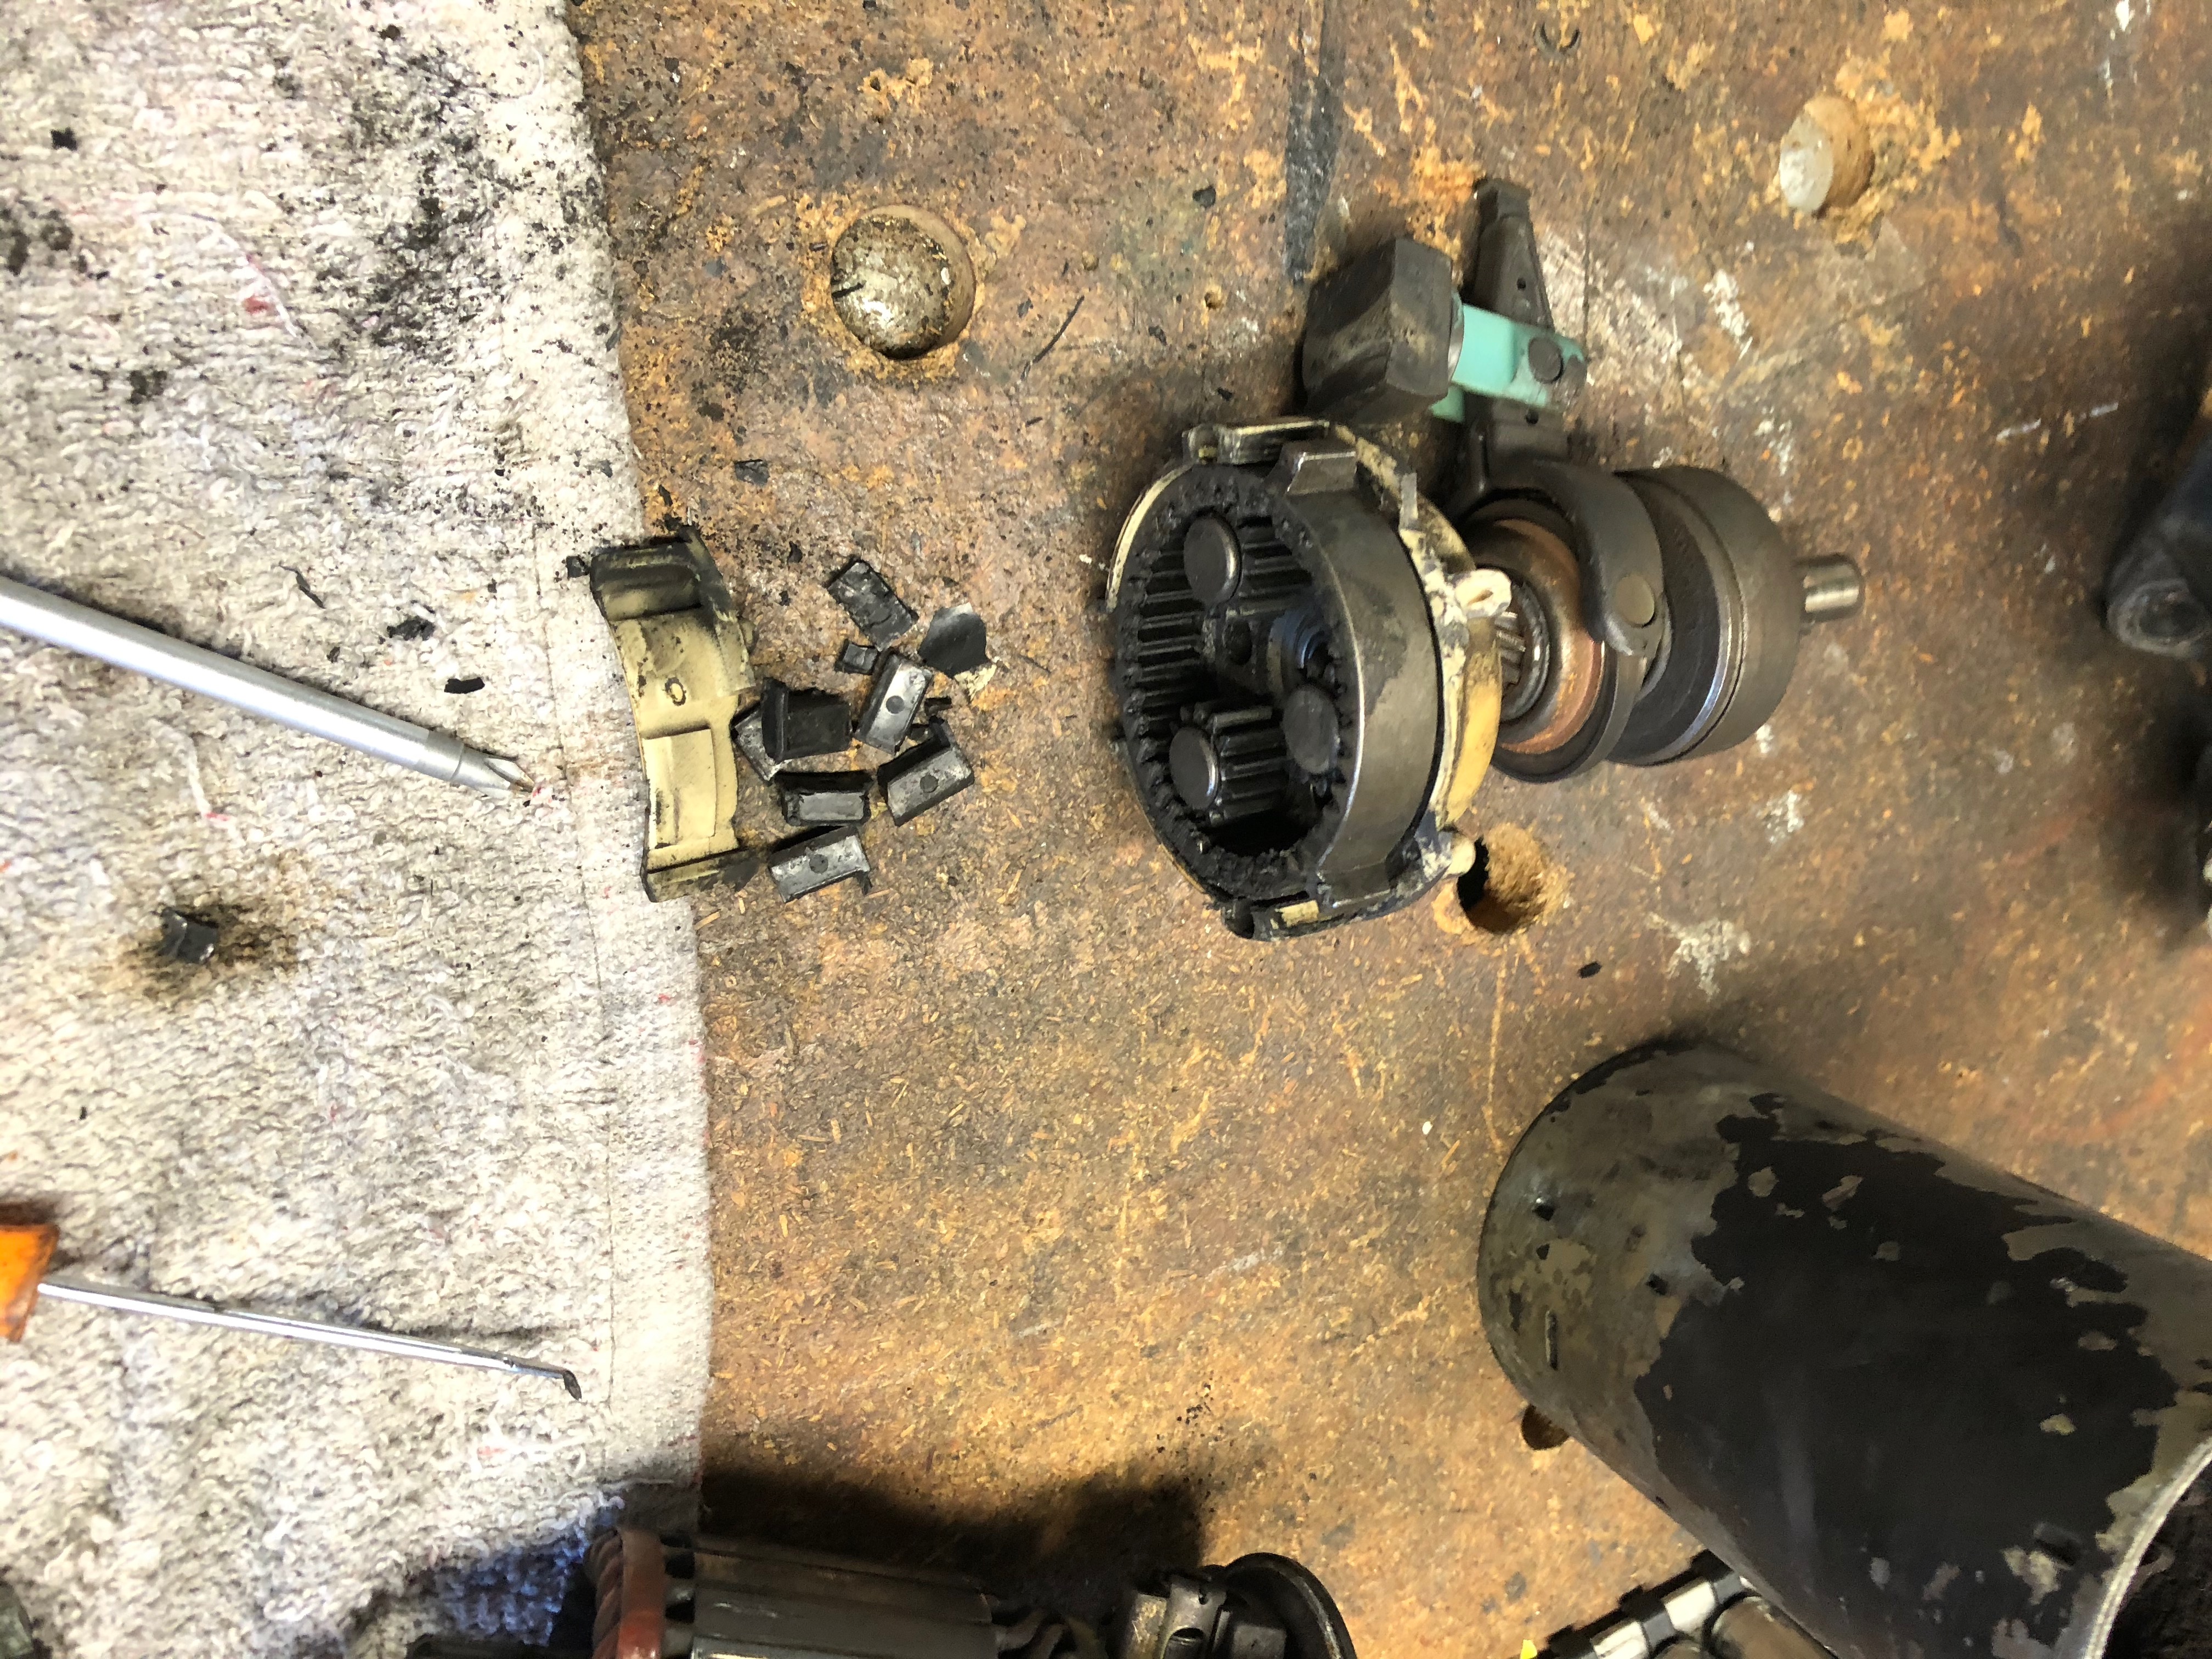
... And that starter ain't gonna work.

Image

Oh, well. Reman Bosch starter is inbound, and this will be my core. Plan is to replace the larger, lower power starter with the later 1.7kw (?) M30-B35 starter.
jhh925
Posts: 917
Joined: Jul 11, 2015 12:23 AM
Location: Reno

Re: Rebuilding My 1988 US-spec M5

Post by jhh925 »

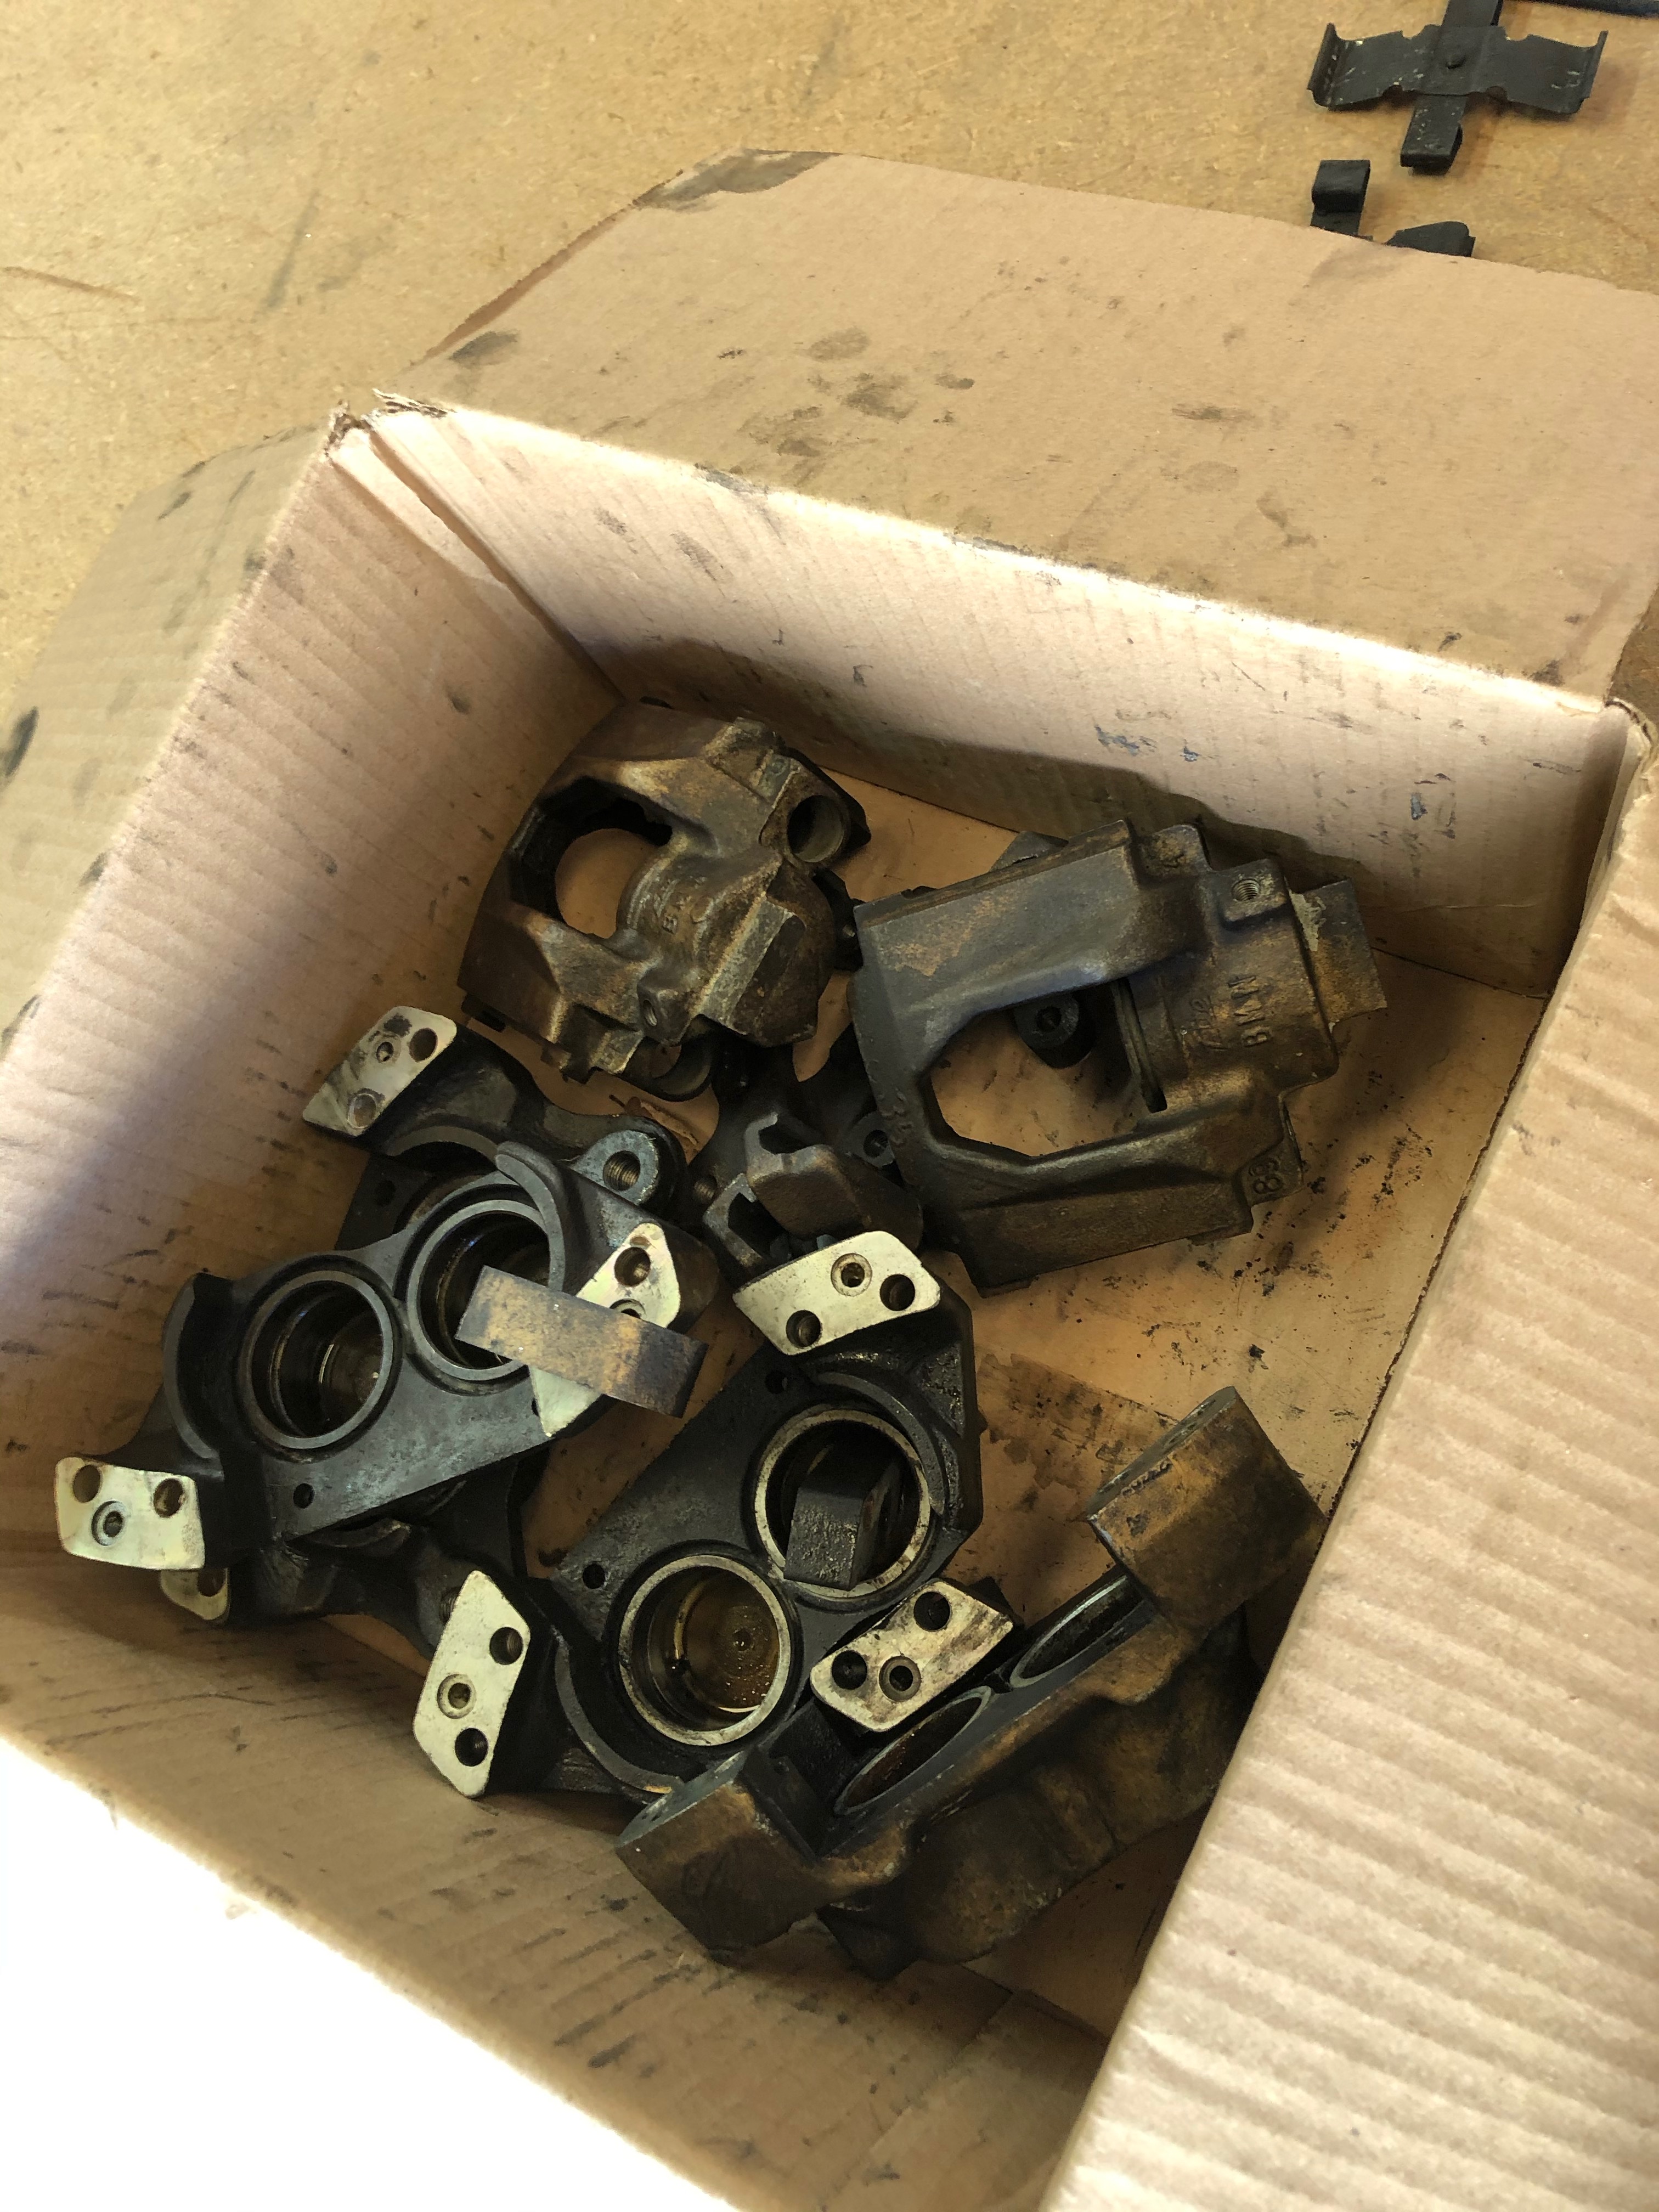
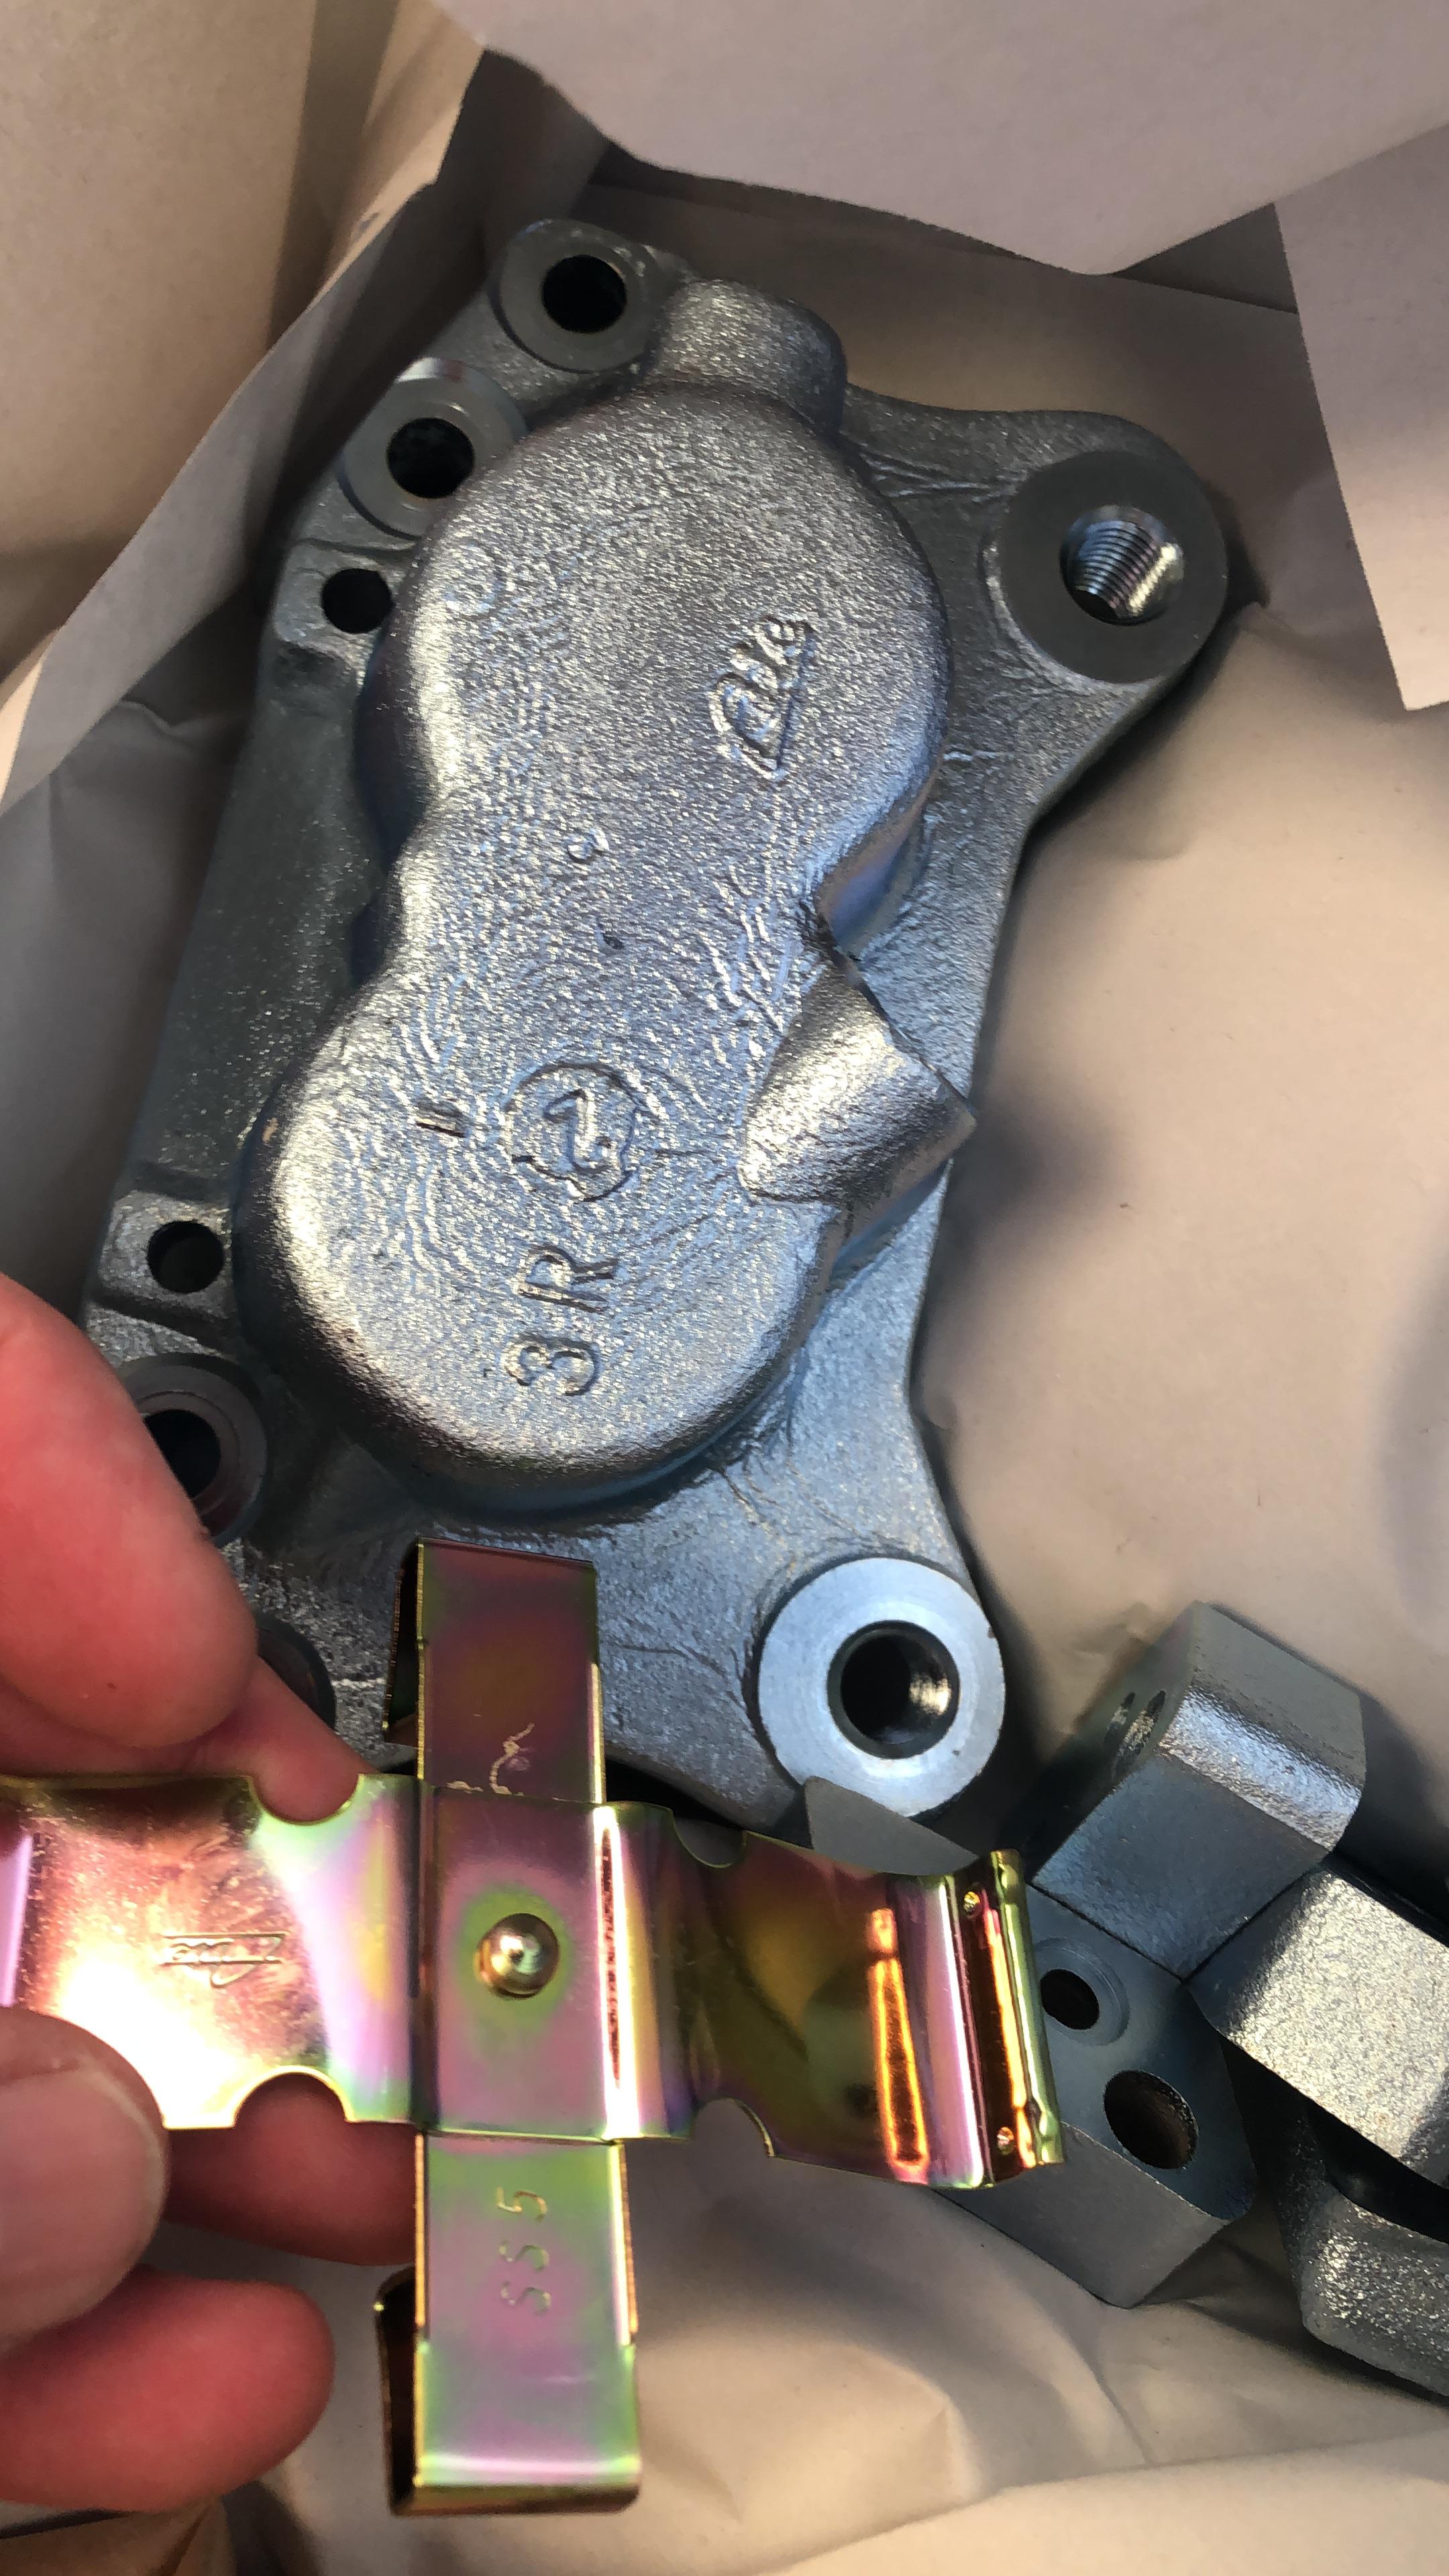
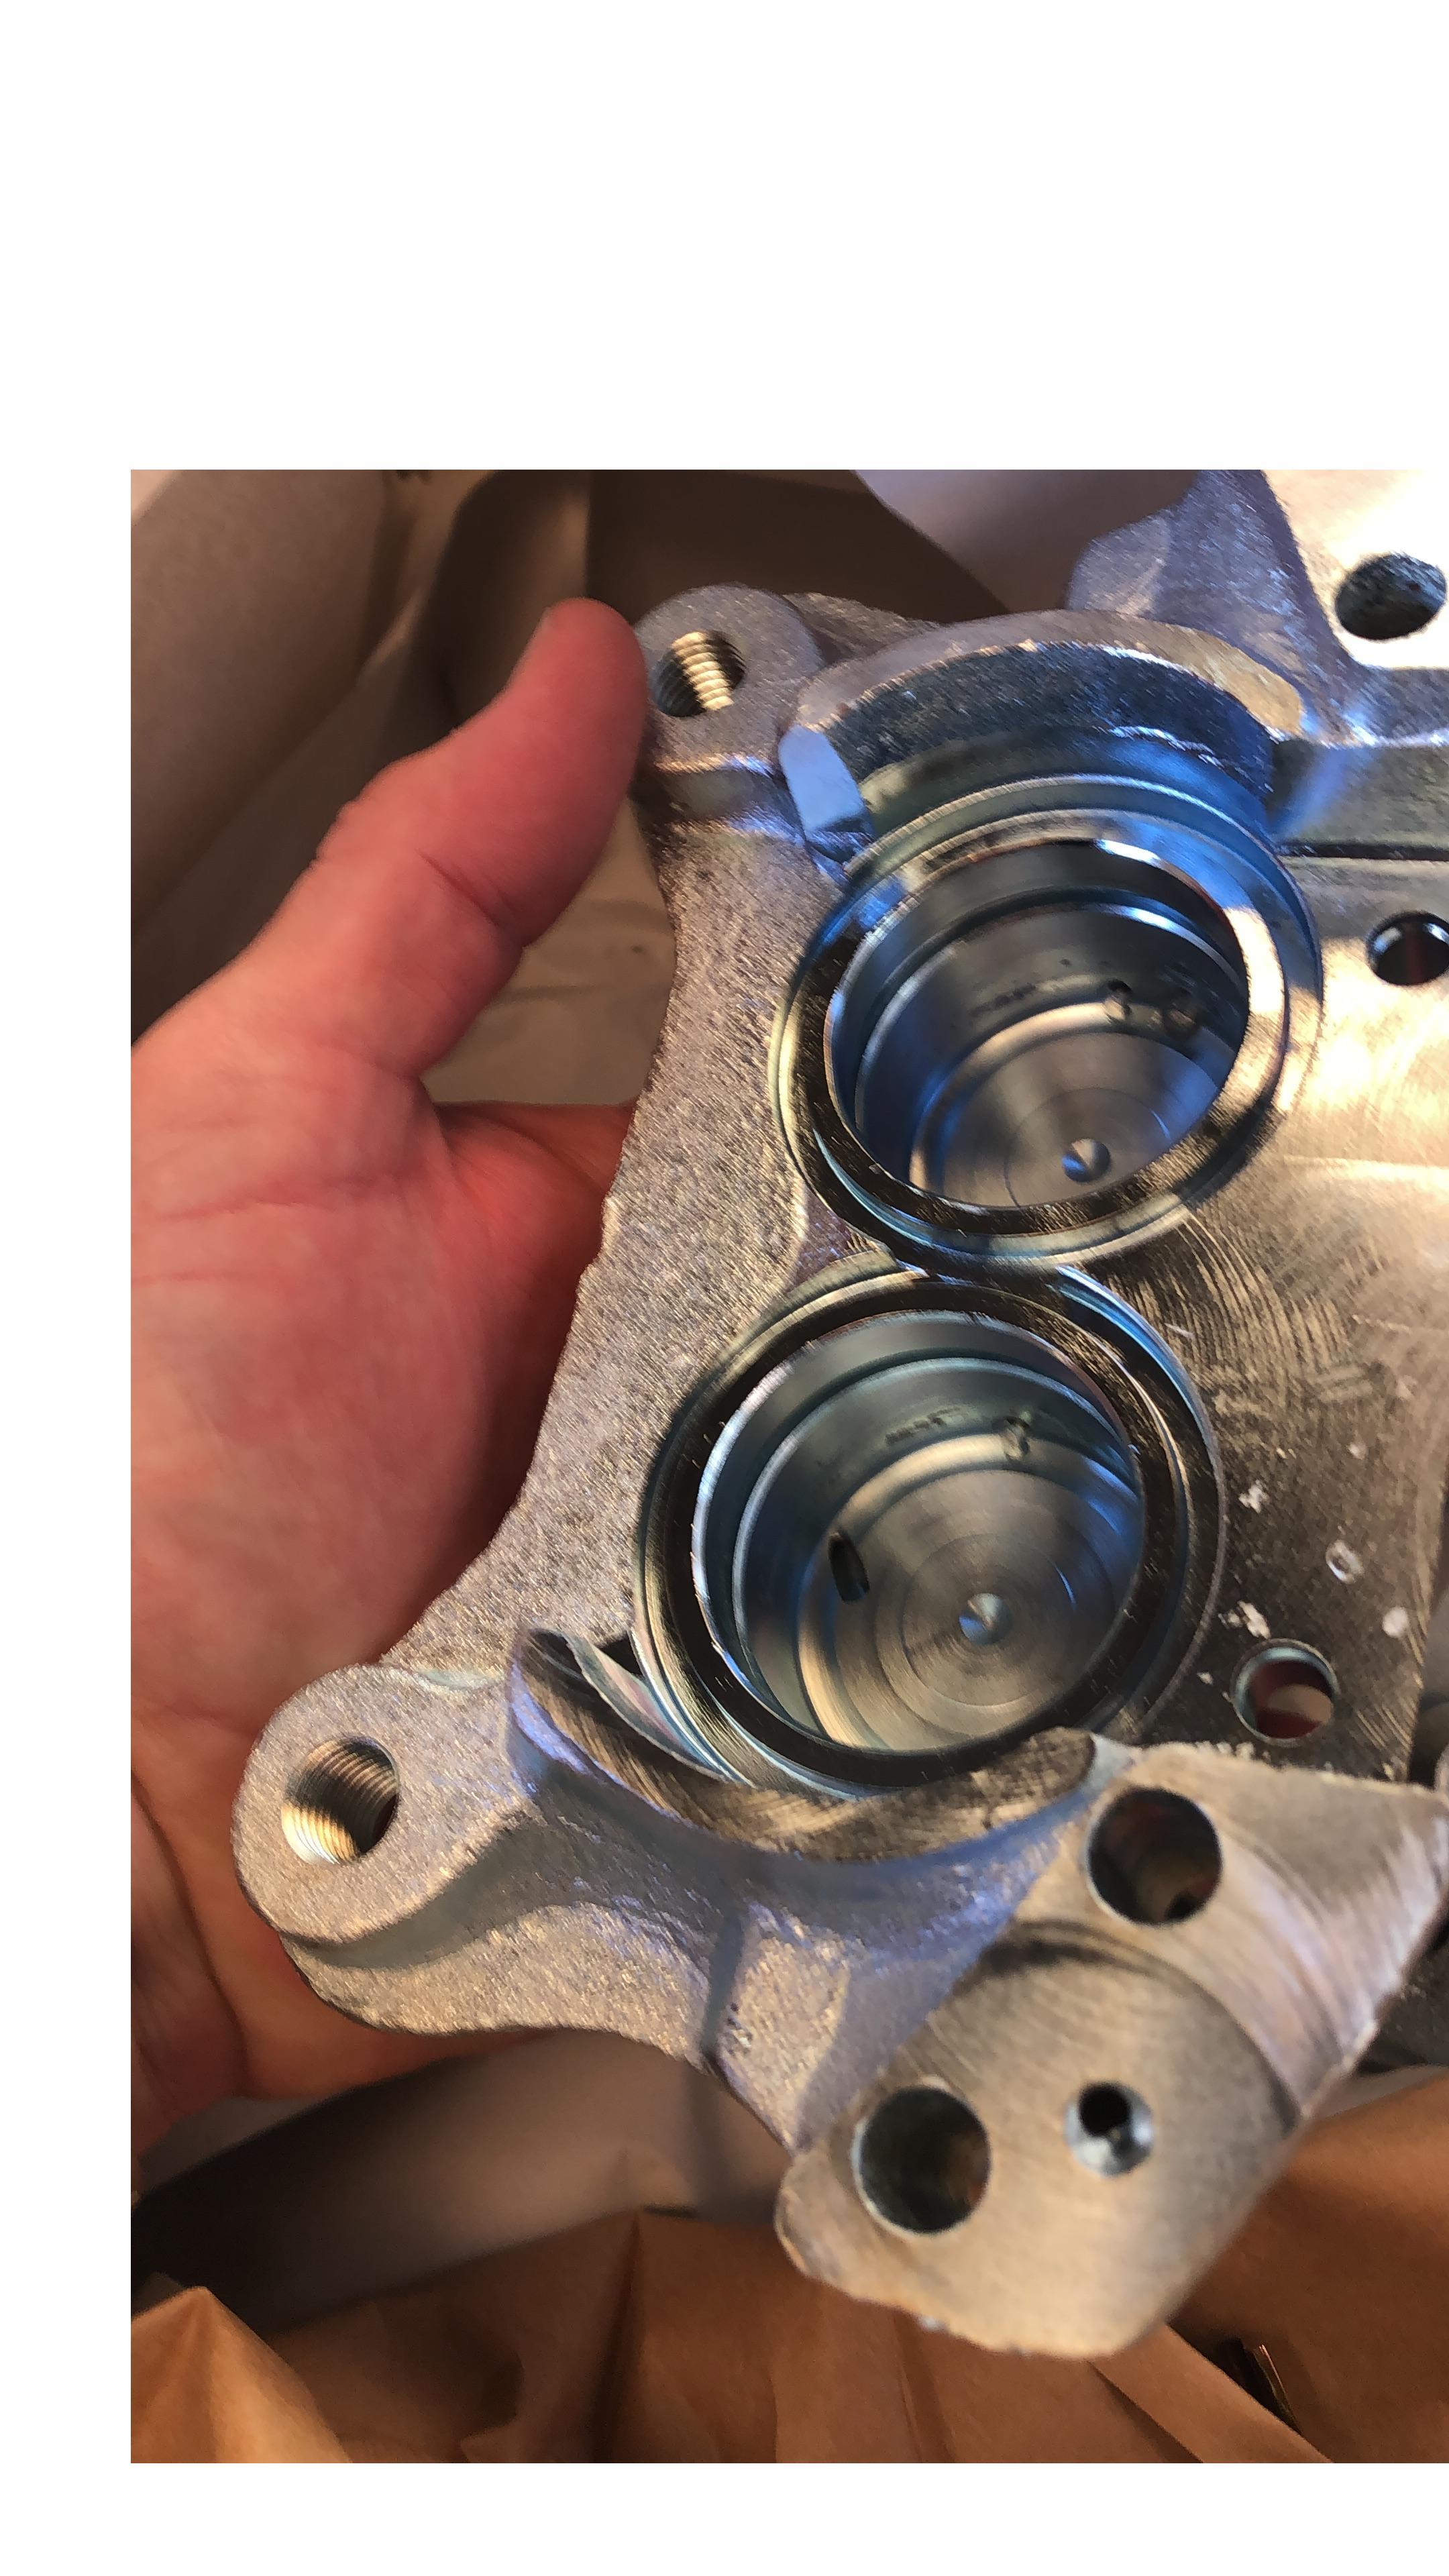
Making a lot of progress on the brake caliper rebuild. Here's the "before" pic:

Image

And is one of the front caliper halves & pad clips back from plating. I'm really happy with how this is turning out.

Image

Image

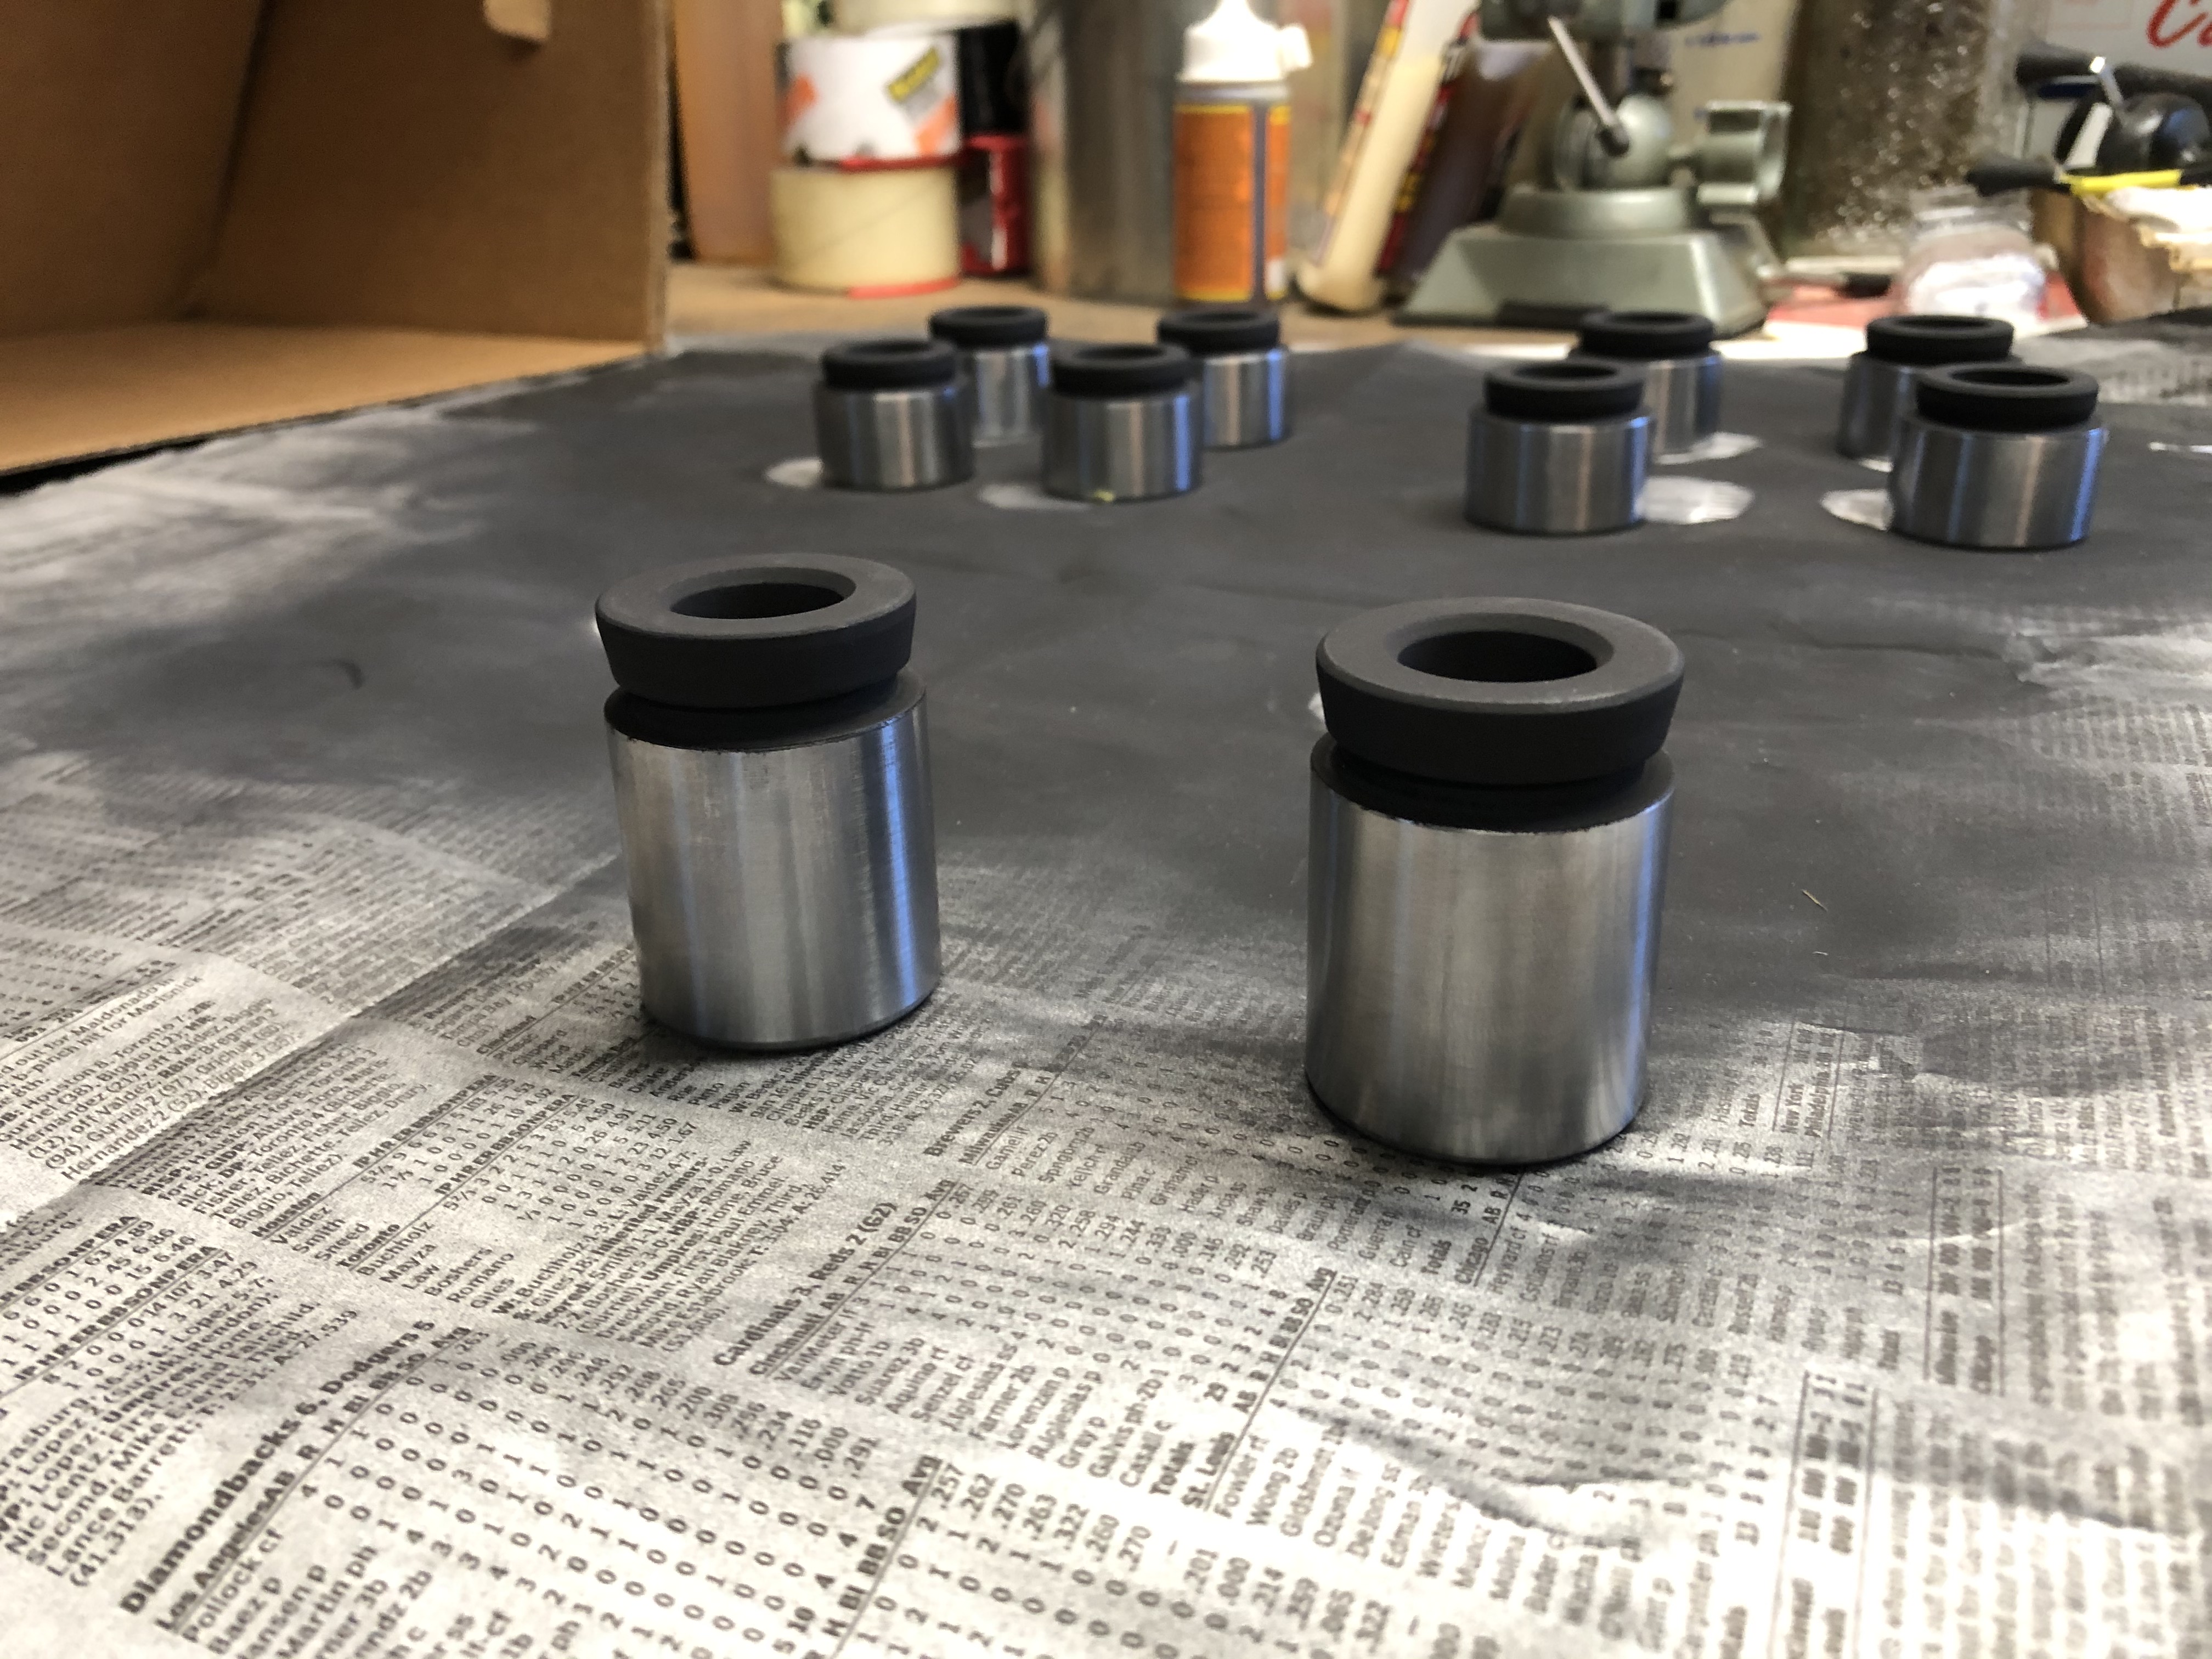
For the pistons, I media-blasted the insides, lightly scrubbed the outsides, and then repainted the tops & Insides:

Image

Oh, and in case you're interested, I ordered new "O" rings for the caliper spacers from PMB Performance - a buck a piece, can't beat that.
vinceg101
Posts: 4886
Joined: Jun 20, 2007 2:40 AM
Location: Los Angeles, CA

Re: Rebuilding My 1988 US-spec M5

Post by vinceg101 »

I got a hint of this a few months ago. Fantastic progress.
Can't wait to pick you up on the way to Portland next July.

In for the Epic thread. :popcorn:
muleskinner
Posts: 1340
Joined: Sep 08, 2007 11:17 AM
Location: John Graham ATL

Re: Rebuilding My 1988 US-spec M5

Post by muleskinner »

Comments from the BaT auction:

"Excited to have won this one. I went drove down to LA this weekend to look at the car in person and drive it. From my non-pro mechanic’s POV,"....

Coulda fooled me. Looks pretty damn professional.
austin8753
Posts: 1492
Joined: May 16, 2010 1:37 AM
Location: Portland, Oregon, USA

Re: Rebuilding My 1988 US-spec M5

Post by austin8753 »

Awesome, subscribed.
jhh925
Posts: 917
Joined: Jul 11, 2015 12:23 AM
Location: Reno

Re: Rebuilding My 1988 US-spec M5

Post by jhh925 »

muleskinner wrote:Comments from the BaT auction:

"Excited to have won this one. I went drove down to LA this weekend to look at the car in person and drive it. From my non-pro mechanic’s POV,"....

Coulda fooled me. Looks pretty damn professional.
HAHAHA. A pro would do the work and end up with more money in their pocket. I do the work and the money just flies away.
milarsky
Posts: 521
Joined: Jan 26, 2013 11:19 AM
Location: NYC

Re: Rebuilding My 1988 US-spec M5

Post by milarsky »

Fantastic work. Subscribed!!!
Pavel
Posts: 1488
Joined: Jan 02, 2012 2:07 PM
Location: Sugar Land, TX

Re: Rebuilding My 1988 US-spec M5

Post by Pavel »

:cool: looking forward to how this transforms.
jhh925
Posts: 917
Joined: Jul 11, 2015 12:23 AM
Location: Reno

Re: Rebuilding My 1988 US-spec M5

Post by jhh925 »

Not a huge update on progress, but I'll file this one under "small victories." When this car was originally up for auction at BaT, a number of commenters noted the "rusty" tools and surmised that there must be rust in the trunk, because the same moisture that rusted the tools would have rusted stuff in the trunk. At the time, I'd gone & looked at the car personally, and I didn't see anything in or around the trunk area to give me concern. As far as the tools were concerned, I'd sort of just mentally added to my list that I should be on the lookout for a new - scratch that - replacement set on eBay.

After watching eBay for a while and realizing that buying replacements was going to be an expensive PIA, I decided to see if the existing tools would clean up.

Before:

Image

After:

Image

Not perfect, but I had a "wow" reaction. I sprayed the tools with the POR-15 "metal prep" product (I think it's basically a rust remover?) and scrubbed them a bit with a green Scotch-Brite sponge and also with a brass brush while they were soaking.

I'm pretty sure most of the brown spots that looked like rust in the BaT photos were actually stuck-on foam from the trunk pad that had disintegrated and stuck to the tools - maybe heat caused it a bit? As it turned out, there was actually very little rust on the tools. Winning!

I still need a small red-handled screwdriver ...
Post Reply