Valve Cover Candy - Redux page 2
-
beanzermin
- Posts: 405
- Joined: Feb 18, 2010 4:17 PM
- Location: Las Vegas, NV
-
Das_Prachtstrasse
- Posts: 5616
- Joined: Sep 10, 2006 7:06 AM
- Location: Melbourne, Doooown Under
-
Das_Prachtstrasse
- Posts: 5616
- Joined: Sep 10, 2006 7:06 AM
- Location: Melbourne, Doooown Under
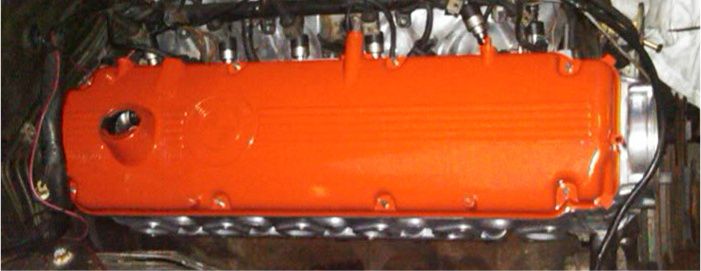
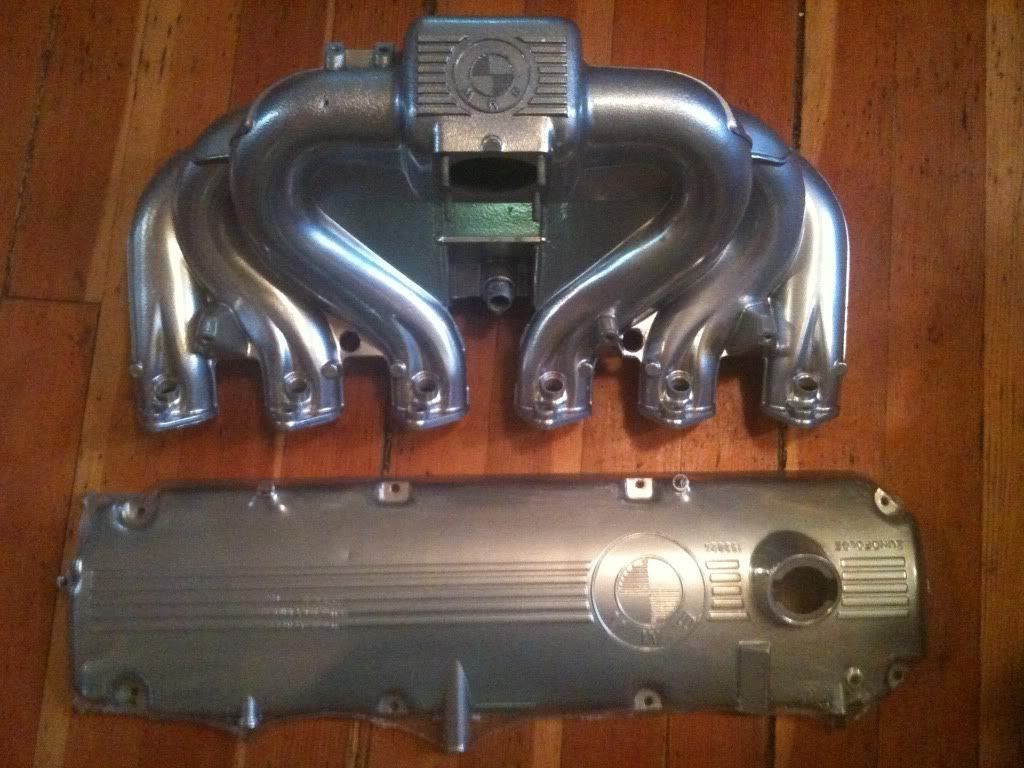
Yeah, with my valve cover i prepped the raised sections the same as i did the rest of the piece, and the paint was a bit of a bitch to remove clean/straight. With the plenum i polished those bits before painting, and it was a lot easier to remove the paint afterward, back to the polished finish. And yes, you're right. Can't really tell. Looks very nice nevertheless!Dinan e28 wrote:I did it on my polished valve cover. The powder coater recommended doing it before powder coating.
You cant really tell in the pic.
-
Das_Prachtstrasse
- Posts: 5616
- Joined: Sep 10, 2006 7:06 AM
- Location: Melbourne, Doooown Under
-
grey ghost
- Posts: 3038
- Joined: Feb 12, 2006 12:00 PM
- Location: Falls Church VA
Looks great.
I plan on redoing mine in the same red.
As you know or may have read, the hard time I had with my build required me to have the valve cover off many times thus killing the finish.
There are oil smudges on it all over.
Suffice to say it doesn't look like this anymore.
I have an attraction to red stuff under the hood.
Seeing how great yours looks after sanding the raise areas, I will be doing that for sure next time.....

-
Slow_Ballin'
- Posts: 1425
- Joined: Nov 15, 2010 12:37 AM
- Location: Sacramento
-
Das_Prachtstrasse
- Posts: 5616
- Joined: Sep 10, 2006 7:06 AM
- Location: Melbourne, Doooown Under
Re: Valve Cover Candy - Redux page 2
Hate to necro such an old thread (I lie. It doesn't bother me at all) but I just wanted to thank the OP for his brief write-up.
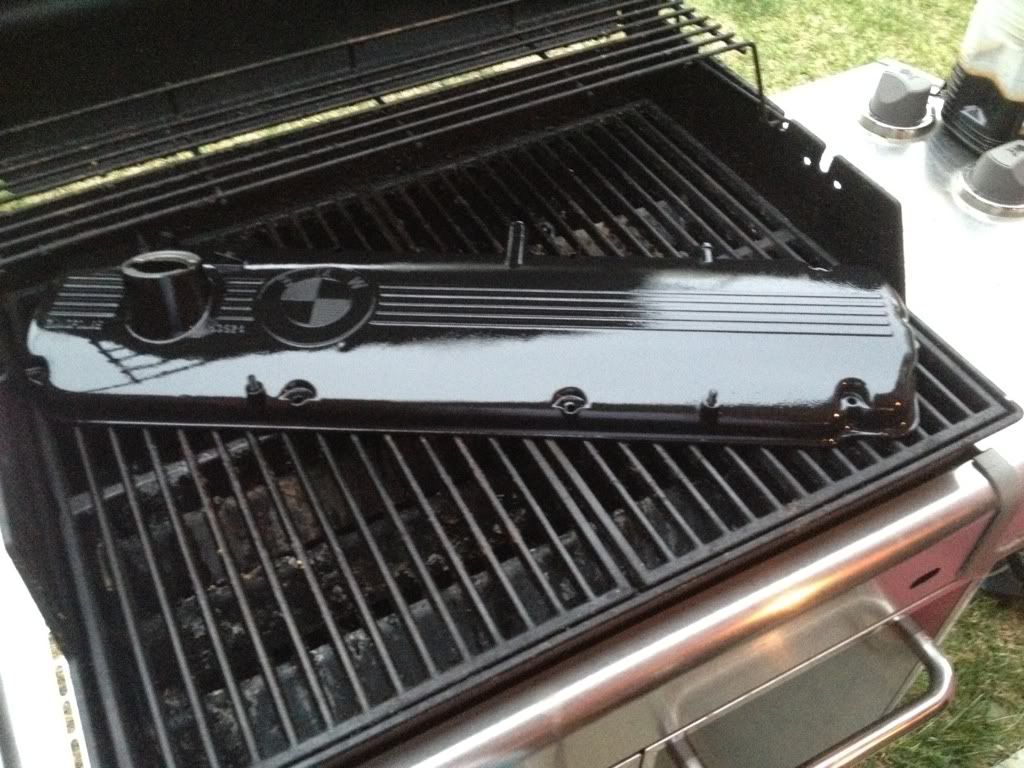
I'll probably do this when I pull my head for rebuild later in the summer when I just have to leave it on south-side patio for it to bake.
Won't actually do that, but I don't doubt it'd work. At 95F air temp in full sun, the blacktop is pushing 140-150F. Drop it out in the morning, pick it up at night cured.
-
Das_Prachtstrasse
- Posts: 5616
- Joined: Sep 10, 2006 7:06 AM
- Location: Melbourne, Doooown Under
Re: Valve Cover Candy - Redux page 2
Glad to have been of assistance/inspiration. I've got a small pit hole leaking oil through the wrinkle coat (which had held up perfectly since day one mind you, but after a small oil filled bubble appeared it's clear it needs attention), so will be repeating this again at some point soon. Just have to figure out how to repair the pitting in the surface first.
Re: Valve Cover Candy - Redux page 2
Leaking around the base of the cover? Like from around the cam cover gasket?
See if a shop will machine the gasket for you for a couple bucks and grab a new gasket. There shouldn't be any paint coming in contact with the gasket, I'd imagine..
See if a shop will machine the gasket for you for a couple bucks and grab a new gasket. There shouldn't be any paint coming in contact with the gasket, I'd imagine..
-
Das_Prachtstrasse
- Posts: 5616
- Joined: Sep 10, 2006 7:06 AM
- Location: Melbourne, Doooown Under
Re: Valve Cover Candy - Redux page 2
Not quite. There are pinholes all over the valve cover from corrosion which was why I only polished up the Hartge lettering in the first place. One of those pinholes must actually penetrate through the cover, so a tiny amount of oil weeps out under the wrinkle coating. I only noticed as I was studying how the coating had held up over time and saw the little bubble. After lancing it with a needle, a tiny amount of oil wept out. We're talking an eyedropper amount over the course of the last 4 years or however long it's been since it's been on the car, so it's not a great issue although it is lifting the wrinkle coating. When the new engine is finished and it comes time to re-paint the valve cover, I'll either fill and sand the entire surface with aluminium putty which will hopefully polish up well (and fill the pinholes), or just leave it as polished lettering only if I'm not happy.Owndapwn wrote:Leaking around the base of the cover? Like from around the cam cover gasket?
See if a shop will machine the gasket for you for a couple bucks and grab a new gasket. There shouldn't be any paint coming in contact with the gasket, I'd imagine..
-
Coldswede
- Posts: 6859
- Joined: Oct 10, 2008 1:48 PM
- Location: Back U.P. North,. Where the water's blue, the wind is free and seasons four.
Re: Valve Cover Candy - Redux page 2
You know Christian, 200*F is not very hot. You could build a plywood box big enough to fit your needs for the service your planning, insulate it with fiberglass and put a thermostat in it. You could use a hot plate or even a Halogen spot light for heat, just hook it in line with the thermostat.(get a line voltage T-stat).
Your a smart guy you could iron out any small details
Your a smart guy you could iron out any small details


