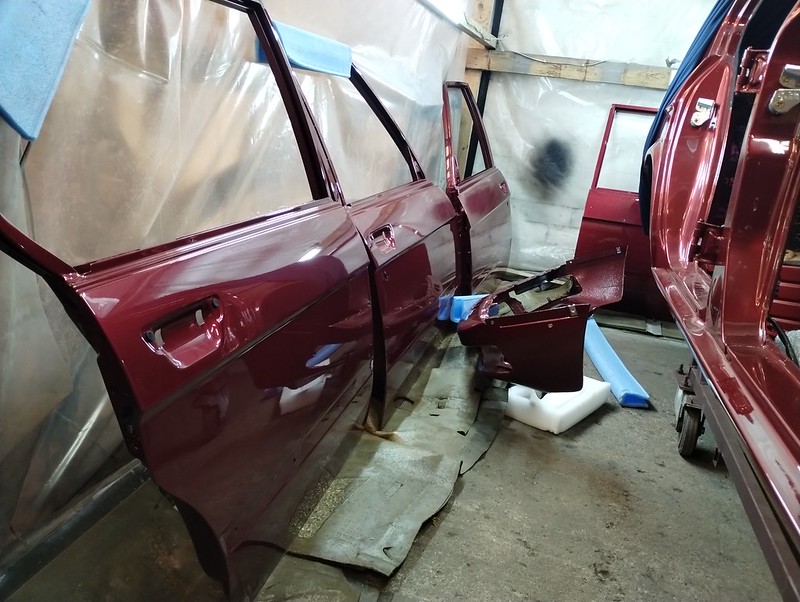
There have been some setbacks and delays but the project is still moving on!
Nov 2022 - May 2023
First, let’s continue where we left off.
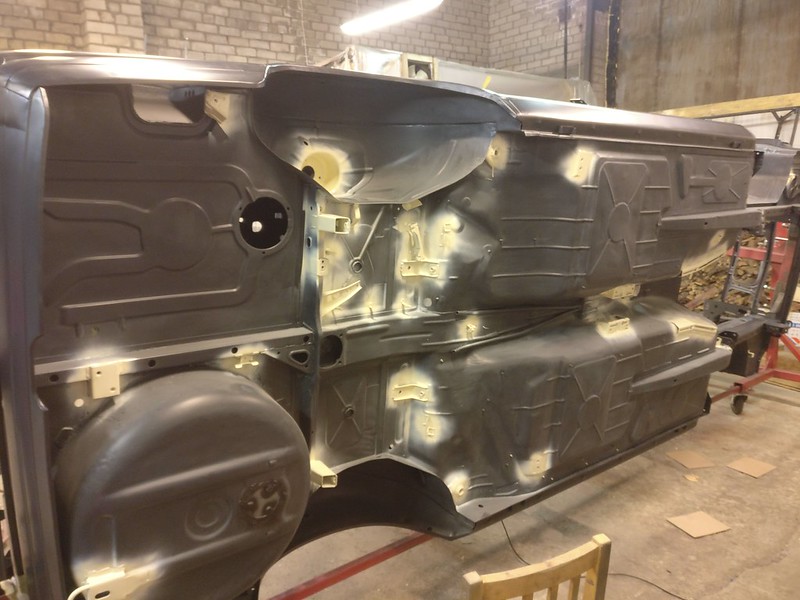
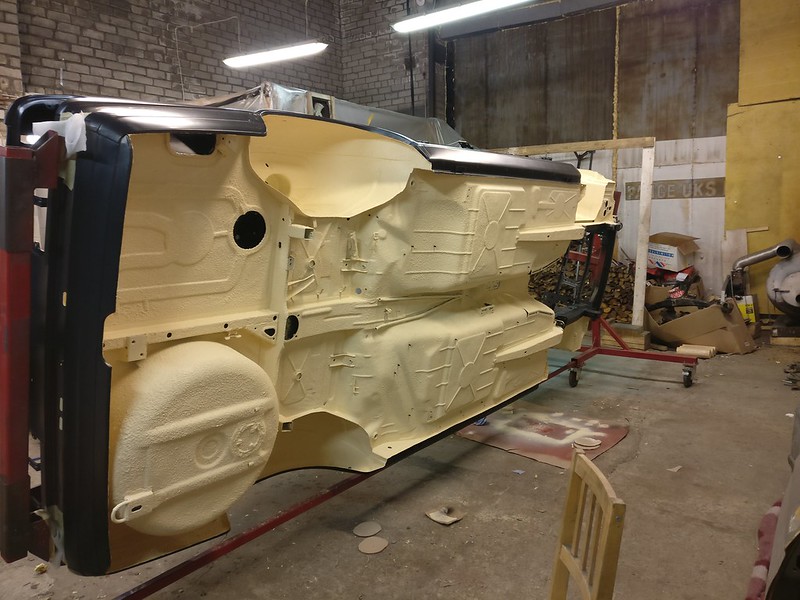
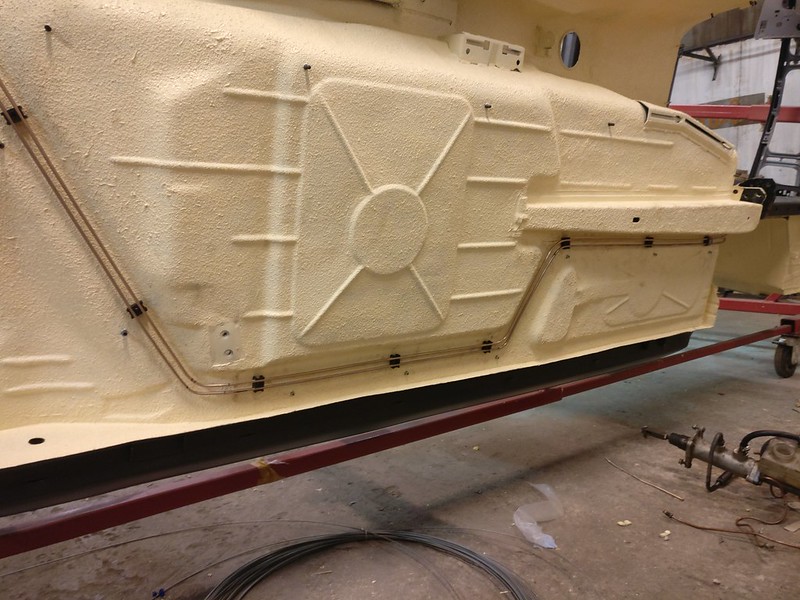
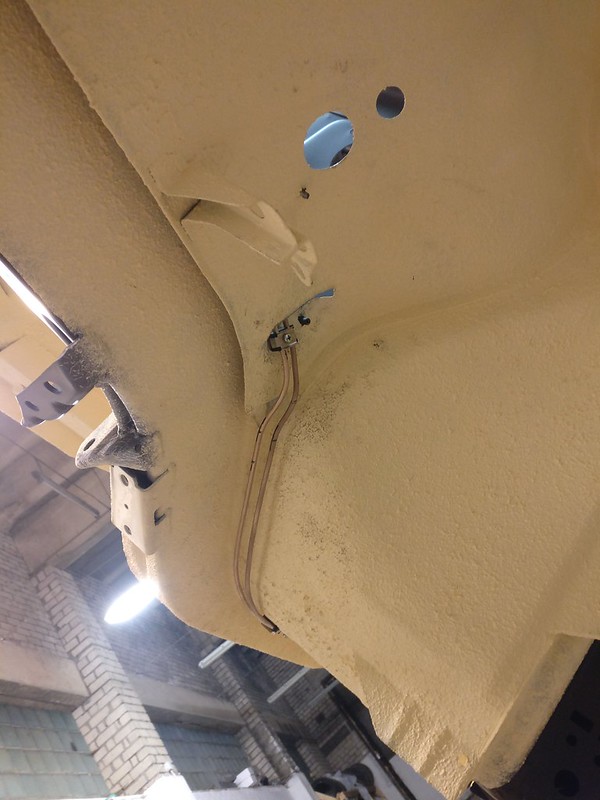
Applied seam sealer to the engine compartment and to all the small sections of nose frame. I decided to leave the edges of trunk, hood and doors for paint shop as they can probably do a better job replicating the look of factory seams.
Then installed hood vents. Since I had them primed separately for better access I opted for stainless pop rivets for installation. And of course a layer of seam sealer in between.
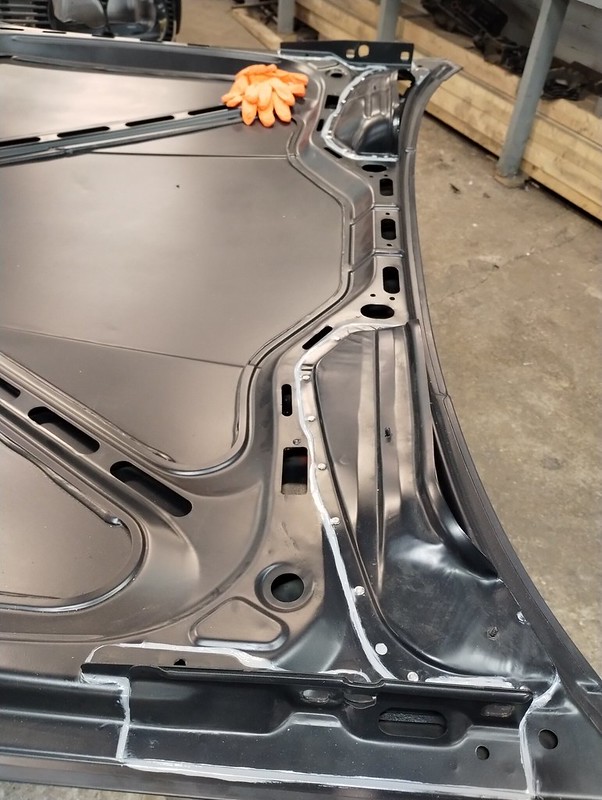
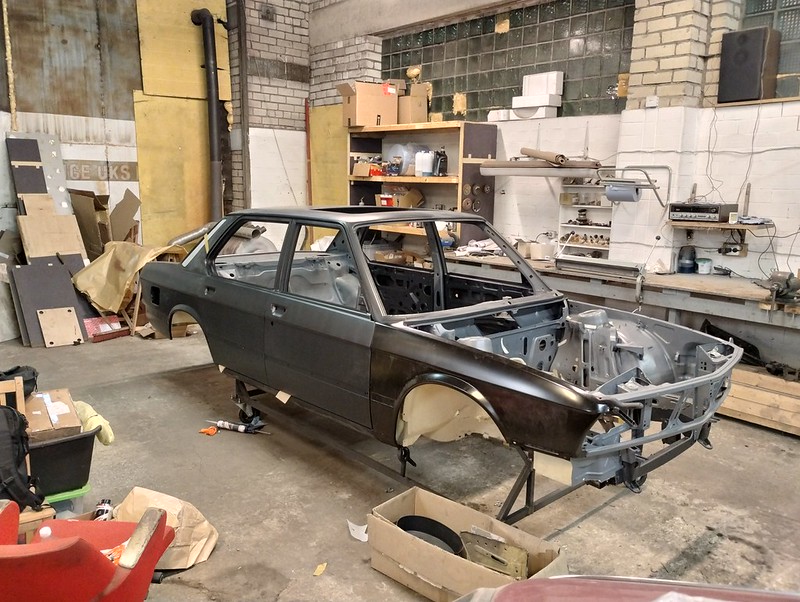
Before the final installation of front fenders I took my time to align everything properly.
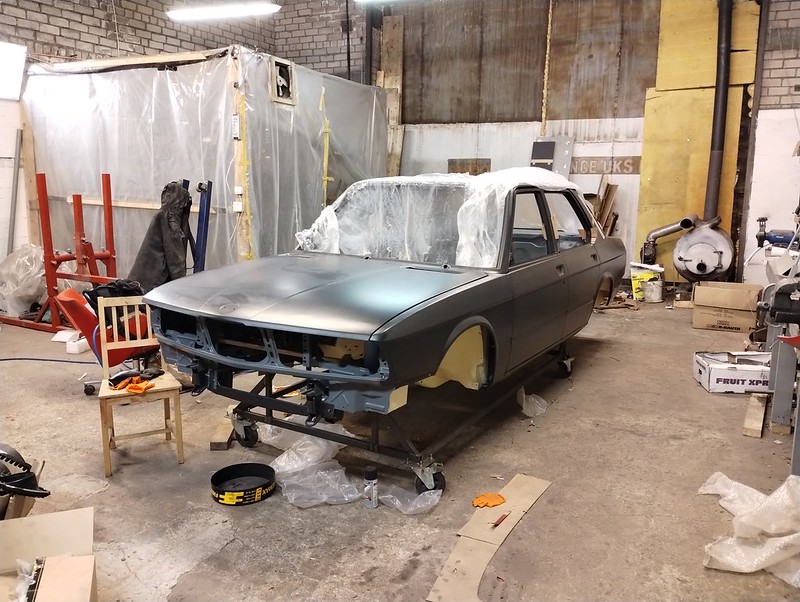
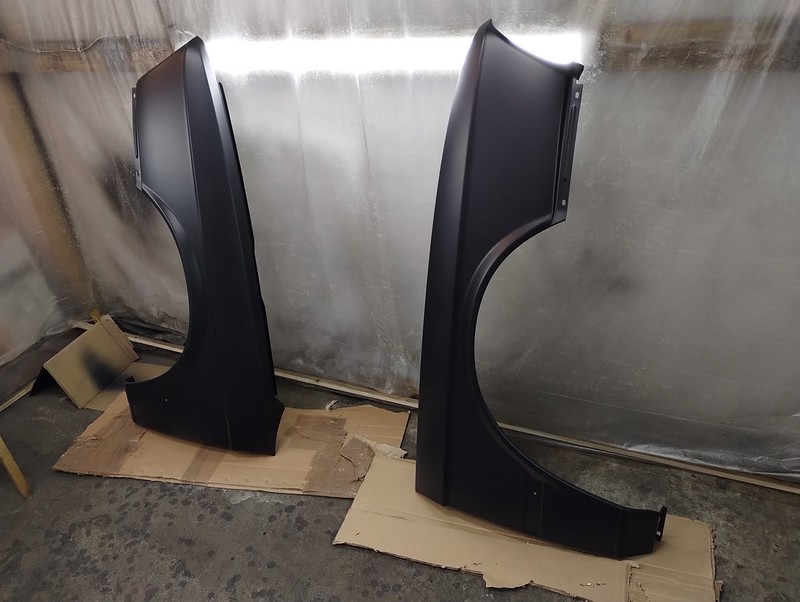
Getting the new fenders to fit took some effort. Actually, I tried to fit some used OE fenders I had lying around and they seemed to fit better than the new ones. Anyway, after some struggle I got them in place. Instead of this thick black goo they used in the factory I decided to use seam sealer to install them. My reasoning was that seam sealer would be more runny and make the installation easier; and it still has some adhesive properties to lock them in place.
That’s pretty much all done with the chassis. At some point in November a paint guy came to check the car. He seemed interested in taking on the job but I didn’t get a definitive answer for a while. After a couple months had passed by I decided to explore other options. Thankfully, a buddy of mine helped me find another paint guy and we managed to fix a date.
Meanwhile, I went back to some more tedious stuff like doing a proper inventory, sorting and cleaning all the parts and ordering what’s still missing. I’ll spare you the boring cleaning pictures (which I didn’t take) and rather get some shots from assembly in the future.
A while back I stole all the data for my car from realoem and imported it to a spreadsheet to have a better overview what needs to be replaced, fixed, blasted and where something is stored. I also bagged and boxed all the parts according to realoem diagrams so it would be easier to find parts later on.
Spreadsheet looks like this. There’s room for improvement and I’d probably do it a bit differently next time but it works for me and it’s super helpful. I can also do some basic queries there. E.g I can quickly find all the parts that need to get plated.

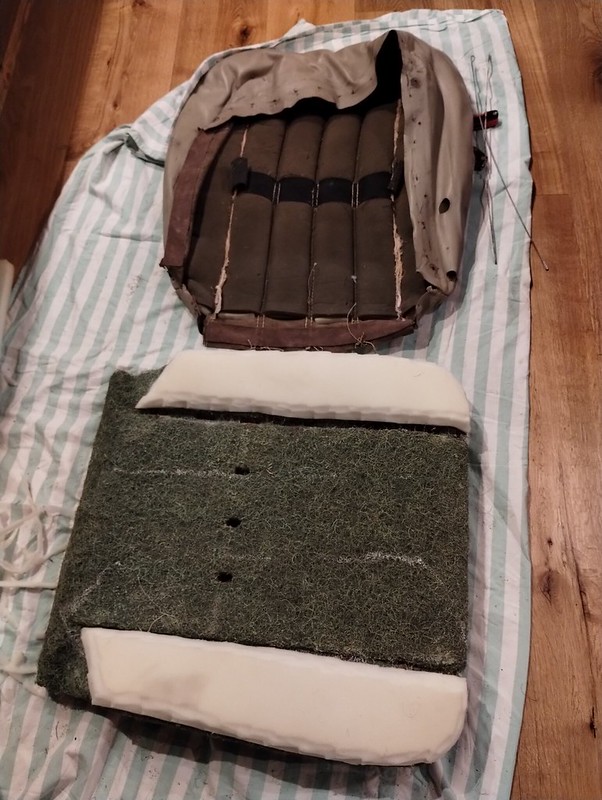
Some upholstery work. Added more foam to the front seat bottoms. You might notice, there’s also new foam ribs in between the old foam and leather. Installed the leather seat cover and did the leatherique treatment. Rear bench is still undone. These seats will have to do until I source some sport seats (from E28 or E34) and get them done professionally.
Scored a set of bronze glass (minus the windshield).
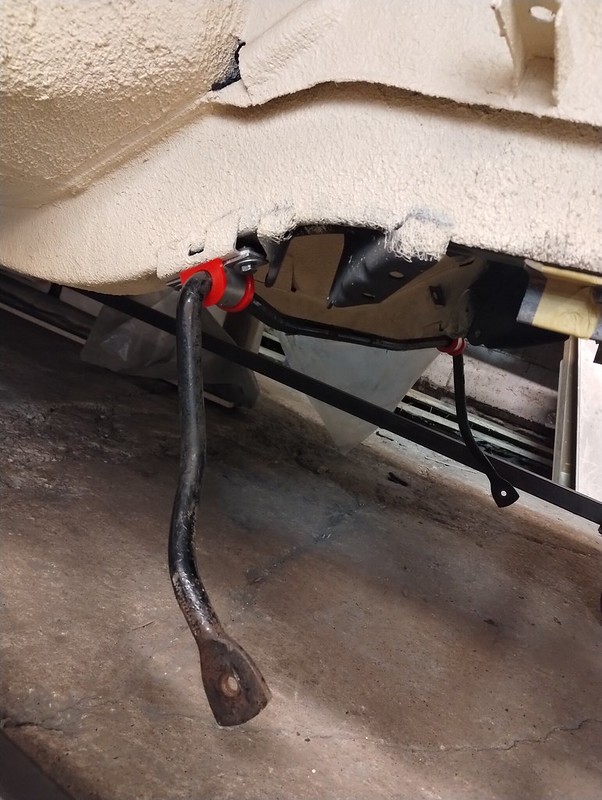
Made clamps for sway bars. The rear ones (bottom ones on the picture) I had made earlier seemed a bit too stiff with the poly bushings so I made another set. Fronts are from 3mm steel, rears 2mm.

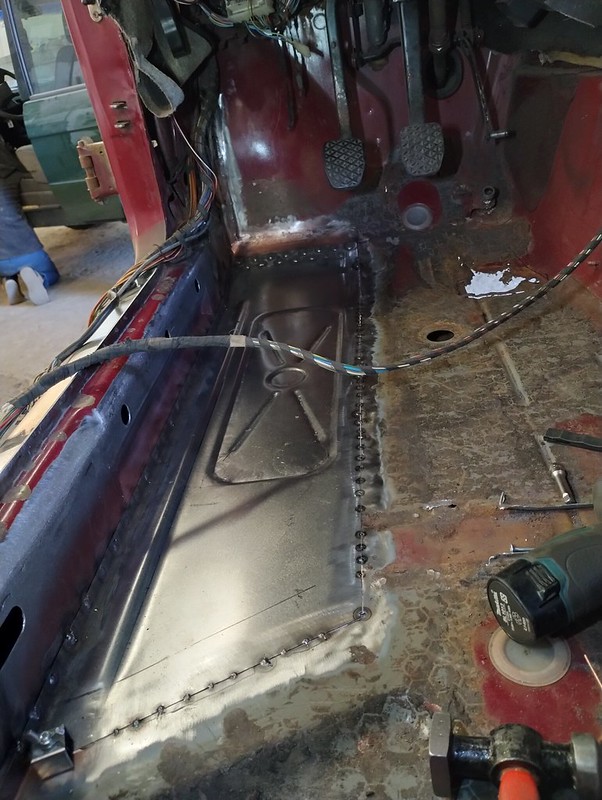
As a side project, I’ve been helping my buddy to fix up his E28. It’s more of a beater car so mostly some rough patches.


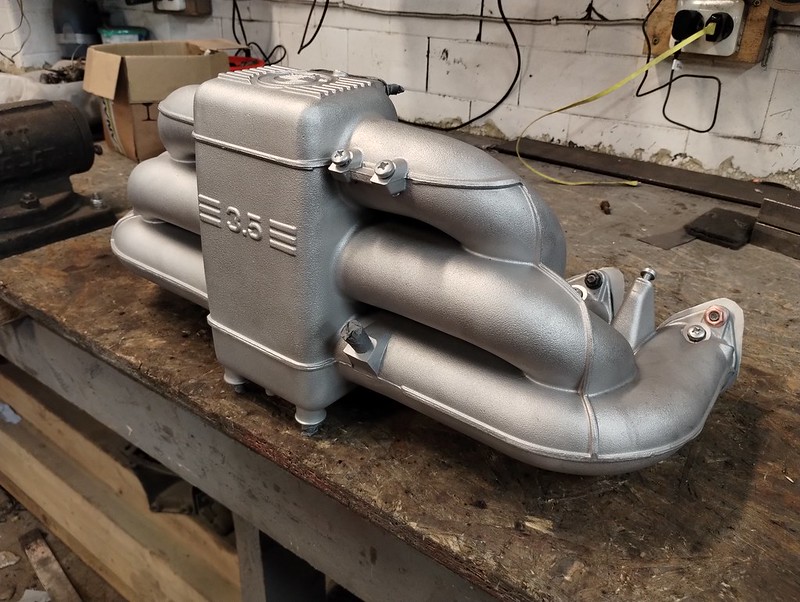
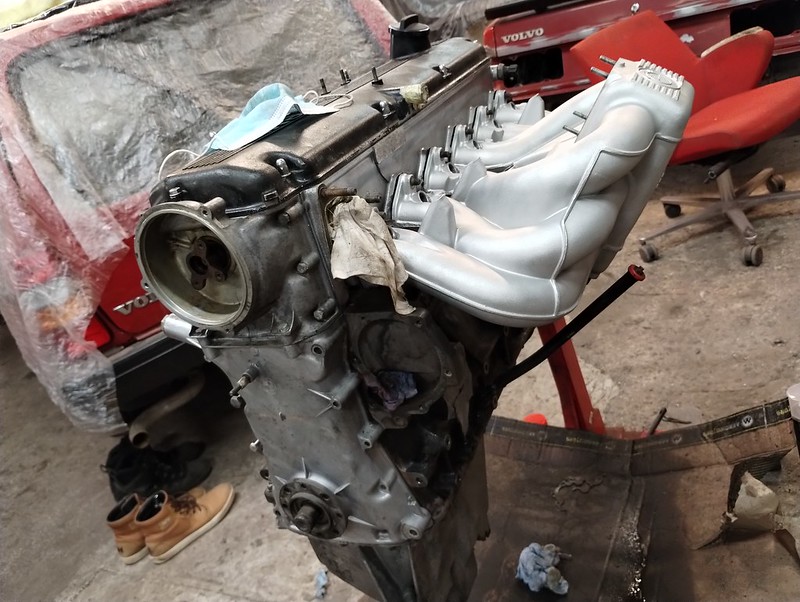
Did some upgrades to our blasting cabinet. A dedicated blast gun and pressure regulator and replaced sand with glass bead. And glass bead is the way to go in such cabinet. I can blast aluminum parts with it and it is still capable of taking care of rust. Furthermore, much less dust than with sand. Which means better visibility when working on something. Here are some results.

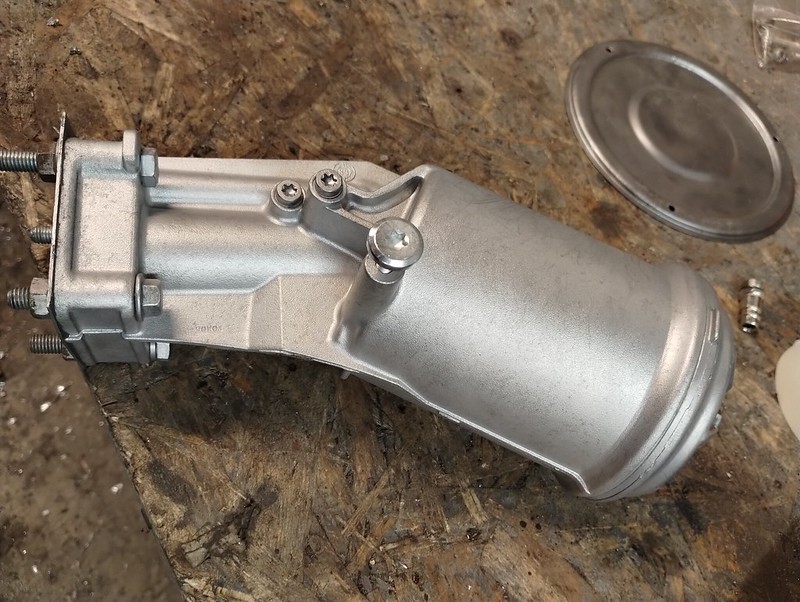
Before:

After:

My buddy took the intake manifold for a couple of cycles in the industrial parts washer. This removed some of the black paint from it.

Blasting took care of the rest
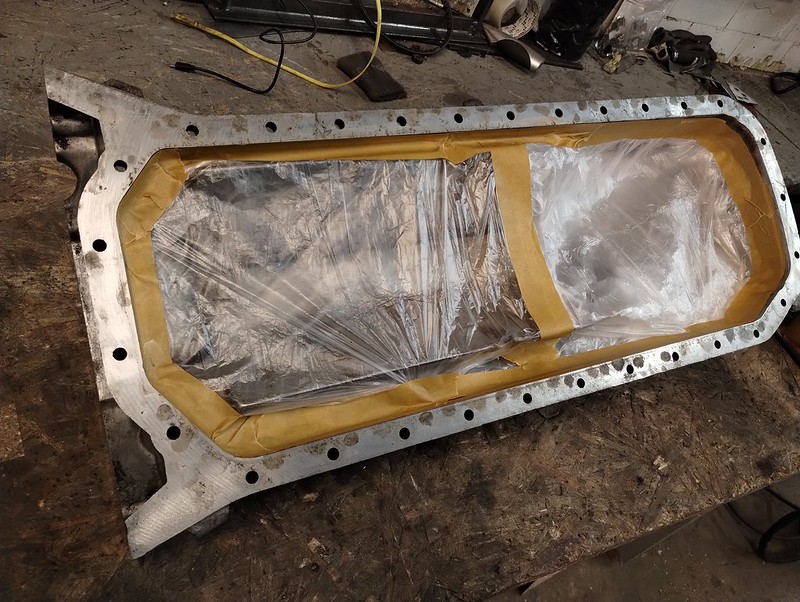
For most parts, I just cut out a sheet metal plate and bolted it down with gasket maker to seal up any holes I didn’t want the blasting media to end up in. With oil pan I went an extra mile and added an additional layer of tape and plastic sheet to all the openings. Then RTV-d a piece of plywood to the pan. It was a total PITA to remove but I am happy to report that I didn’t find any dust between the plastic and wooden backing after the blasting.

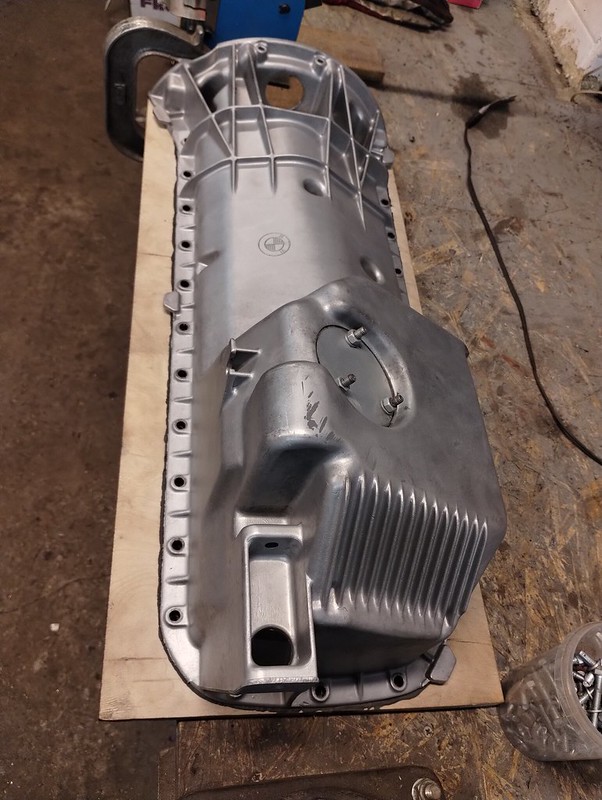
I did a wax treatment on all the blasted aluminum parts in the hopes it would keep them nice and shiny a bit longer. Not sure if it helps much but at least I can feel good about it.
As you might have guessed I’ve been slowly getting into the engine. My goal was to keep the head on, clean and reseal everything else. And then maybe down the road find another engine to build on the side. Many years ago I did a compression test on that engine and it was fine, not perfect but fine and even. About a year ago I had a leak down tester at hand. Audible leaks to crank case but numbers were rather good. So I assumed the engine will do for now.
Well, it doesn’t. When the oil pan was off, I went on and checked the rod and main bearings - all worn.

And off came the head with everything else.
Oil pump casing was scratched badly.
Crank was okay for the most part but one rod journal had a tiny scratch that caught the fingernail.
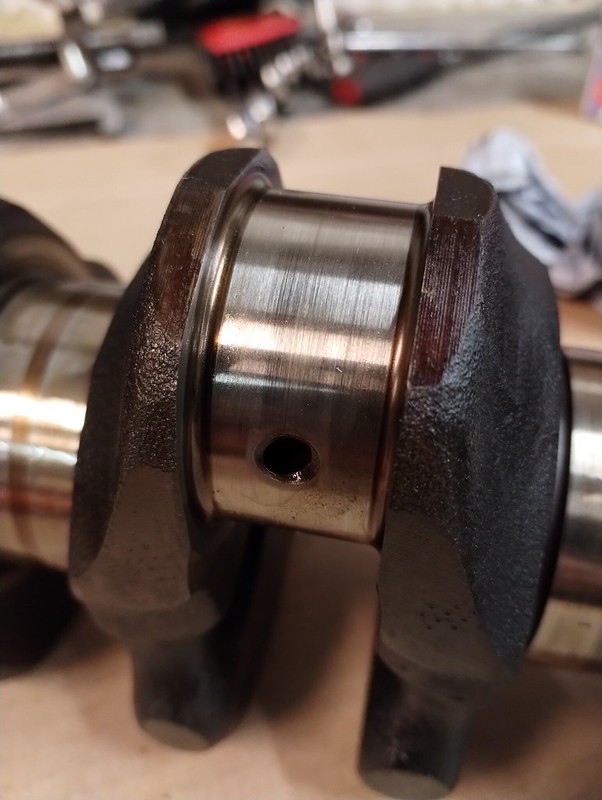
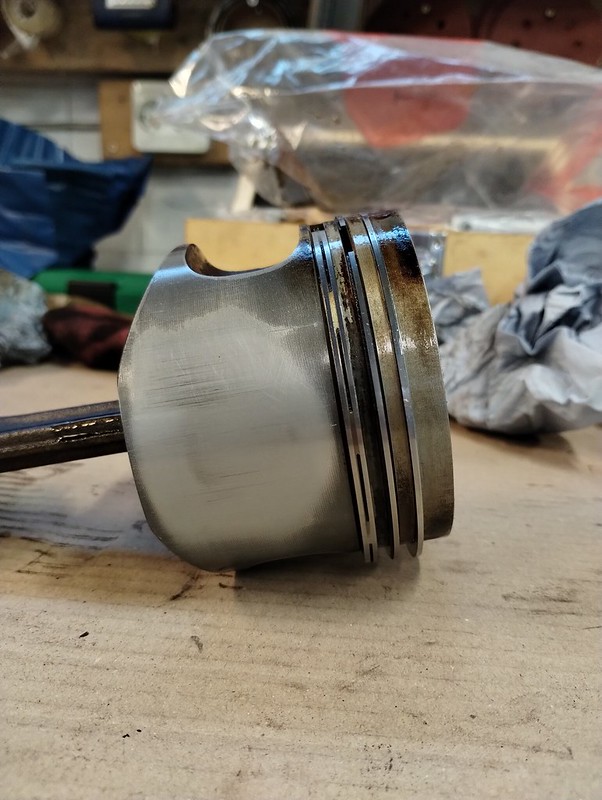
Pistons and cylinder walls were worn visibly.
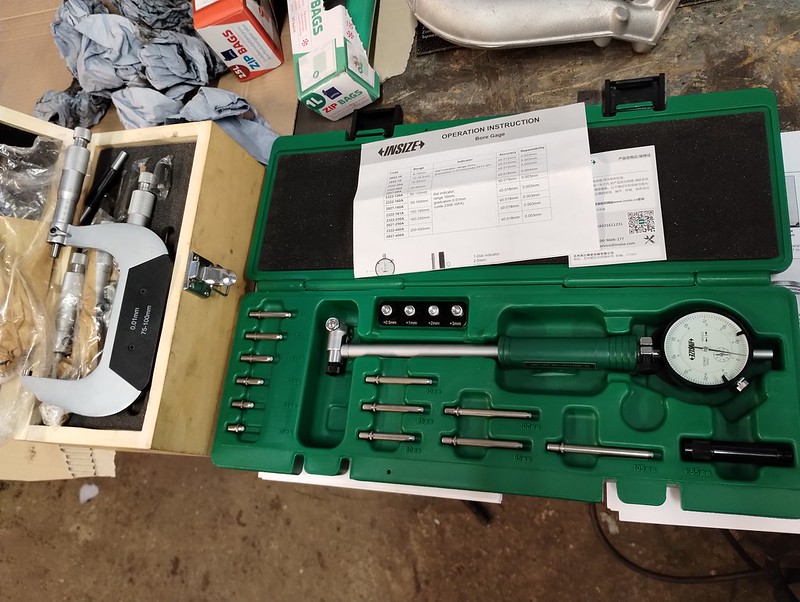
Borrowed some tools so I could take measurements.
Here are the results. All in mm. Cylinder bore measurements go from top to bottom.
| # |
Cyl long. |
Cyl trans. |
Piston |
| I |
92.06
92.07
92.05 |
92.05
92.02
92.03 |
91.89 |
| II
|
92.06
92.06
92.04 |
92.05
92.03
92.04 |
91.88 |
| III |
92.05
92.06
92.04 |
92.05
92.03
92.04 |
91.88 |
| IV |
92.04
92.05
92.04 |
92.04
92.04
92.04 |
91.88 |
| V |
92.04
92.06
92.05 |
92.03
92.03
92.03 |
91.89 |
| VI |
92.09
92.07
92.05 |
92.04
92.02
92.03 |
91.89 |
Now, another m30b35 just popped up for sale. It was advertised as a dirty high CR m30b35. So I pulled the trigger and brought it home. These engine are getting more and more expensive and rare in these parts of the world.
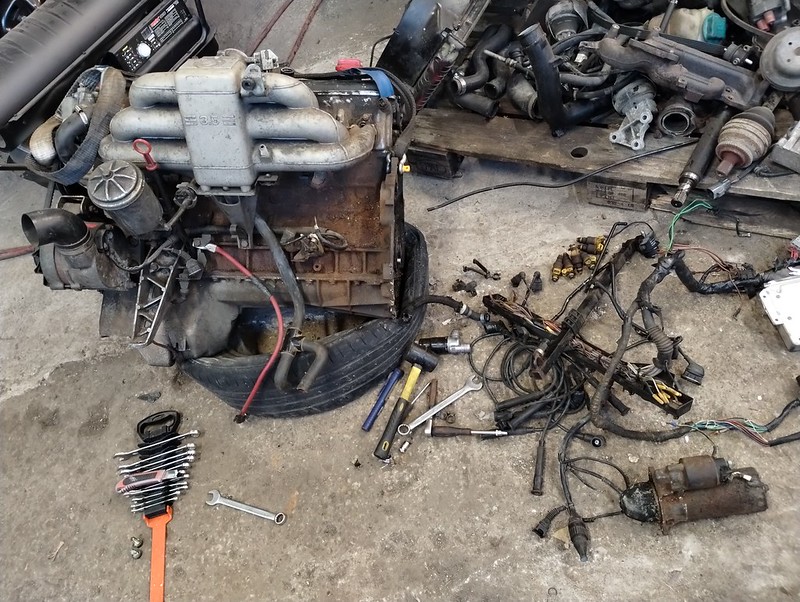
I begun the teardown right away and oh boy what I found.
My personal favorite is this one

Oil pump pickup full of RTV. And of course the casing wasn’t any better than the old one.

One of the rocker rods has been previously used as a pry bar. Other than the hose clamps and that rod the head was okay. I can reuse most of the rockers and cam is actually in much nicer shape than the other one.

Cylinder #6 is toast. Not that it matters since I found a major crack in one of the water pockets.

And while the pistons are in better shape than mine, these are not the advertised high CR pistons, just the regular m30b35 ones.
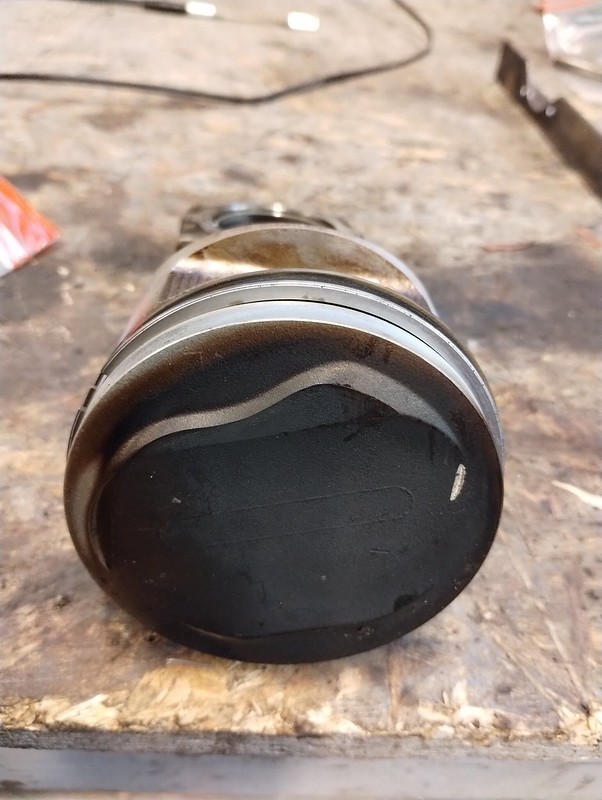
After finding all that I contacted the seller, we came to an agreement and he made me whole again. So my respect for that.
I’ll probably keep my eyes open for another engine. Or block, as I could probably run those pistons with a decent block. If nothing comes my way soon enough, I might just get a new oil pump, throw the new pistons into the “old” block so I could get the car moving again. Then find another engine down the road and do a proper rebuild. Buying oversized pistons and boring out the block is a bit too steep for me at the moment.
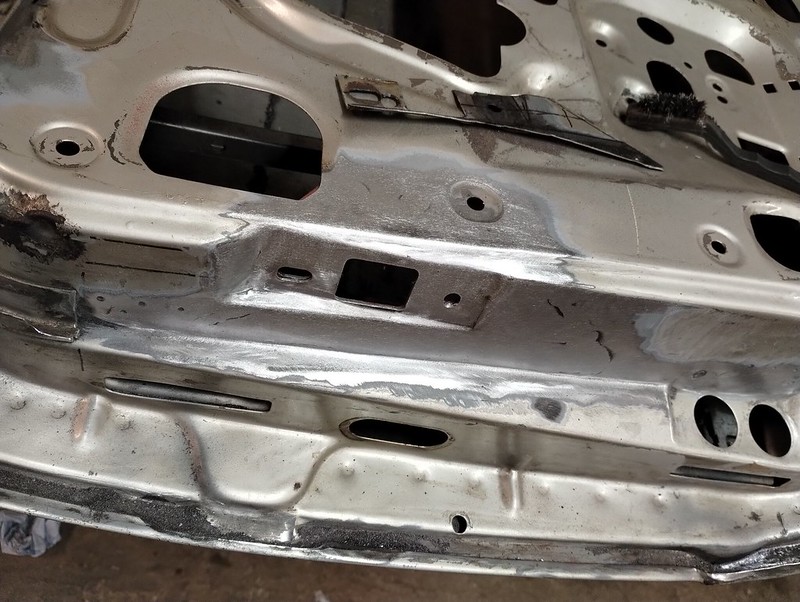
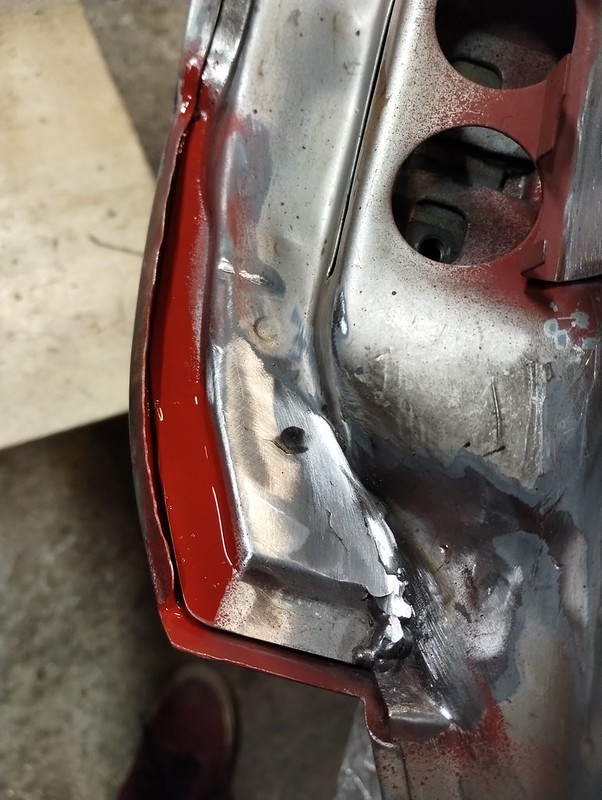
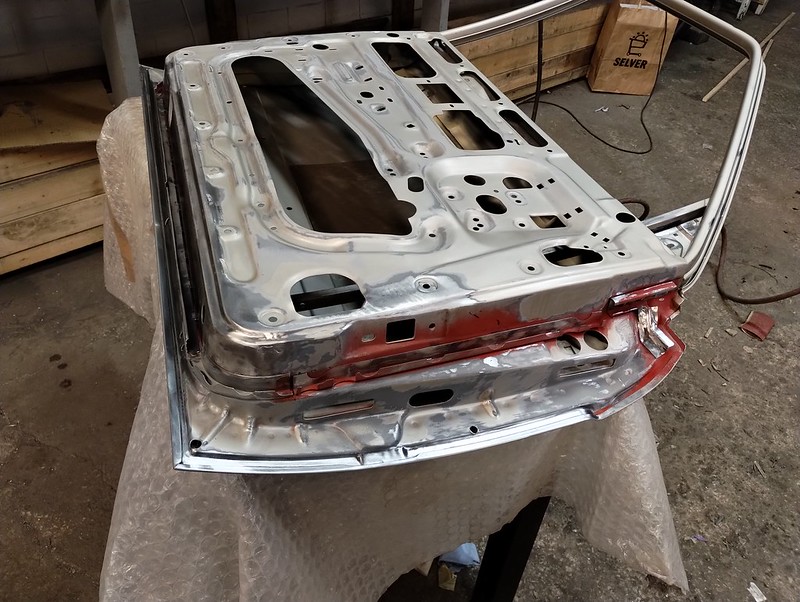
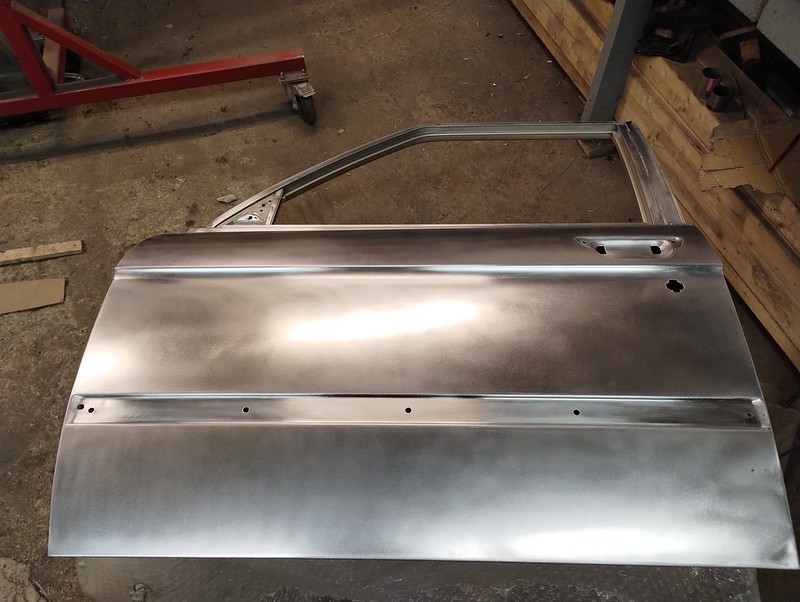
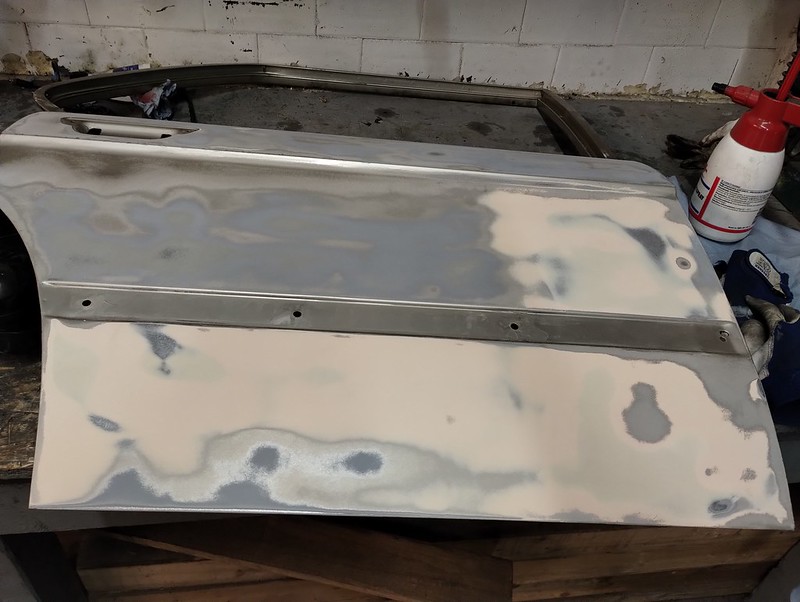
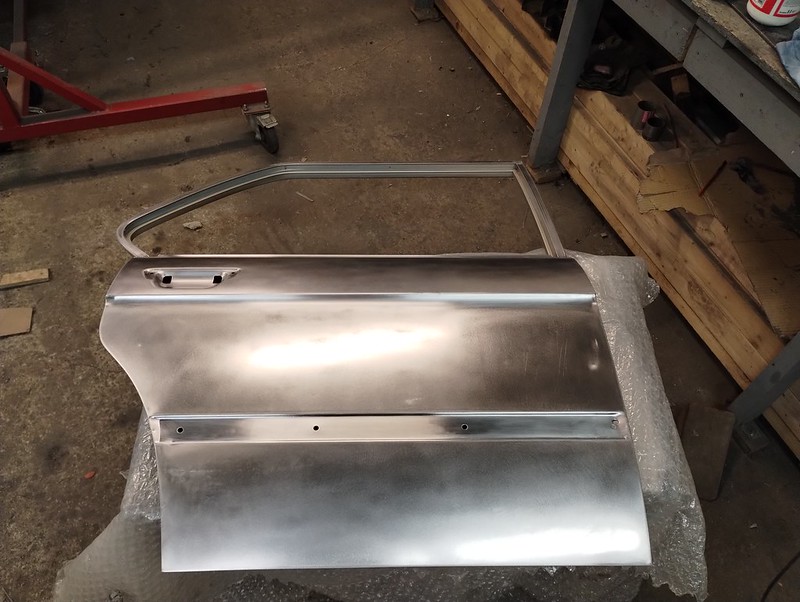
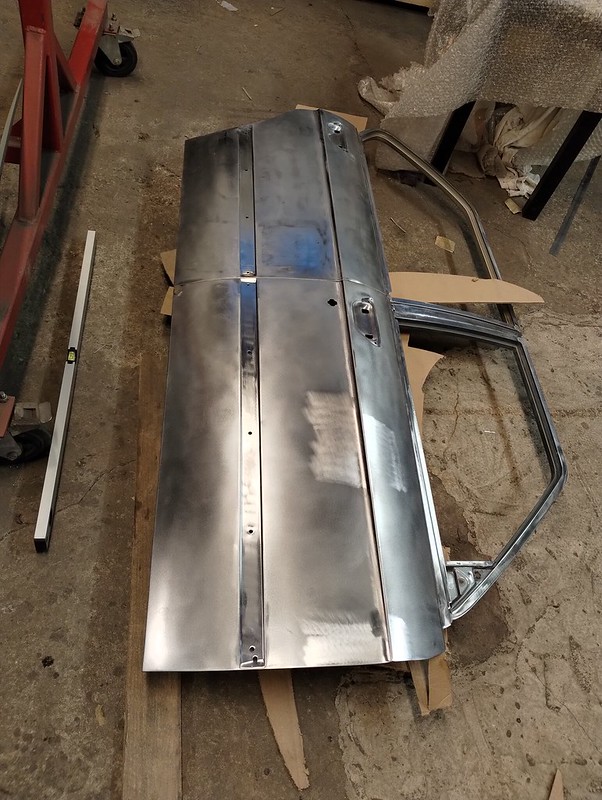
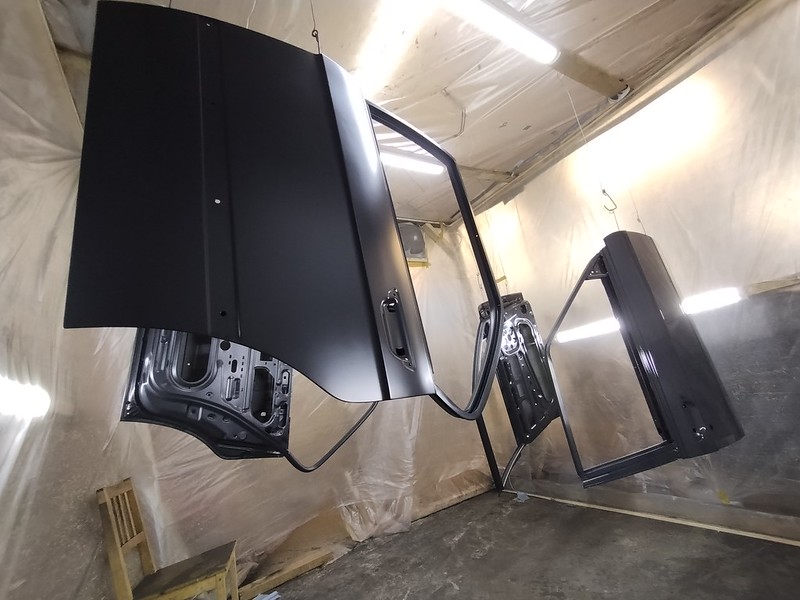
Back to more cheerful topics. My PDR guy went over all the doors, trunk lid and hood and smoothed out any small dents and imperfections he found.
Finished off the rear axle carrier by adding some reinforcements - a couple of tabs to support the trailing arm mounts and some additional plates for diff mount. Then last week I sent everything out for sandblasting.


Brand new OE brake backing plate

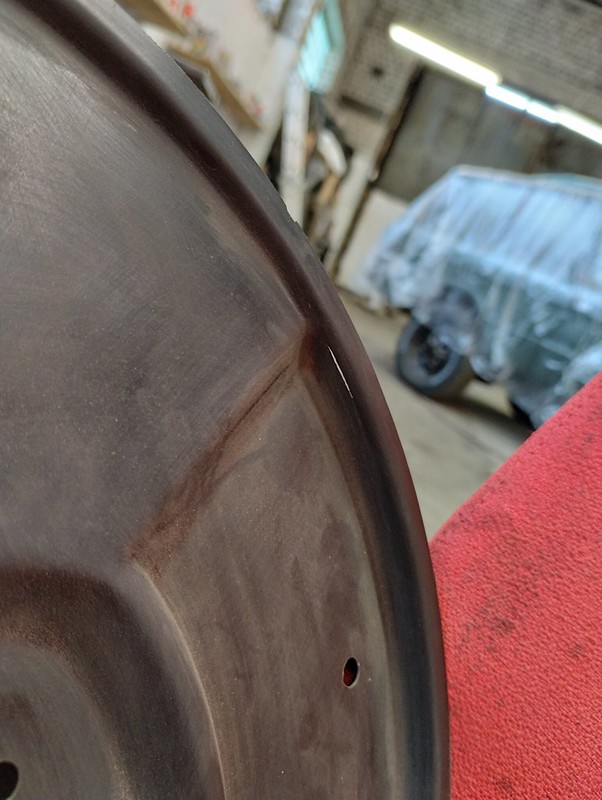
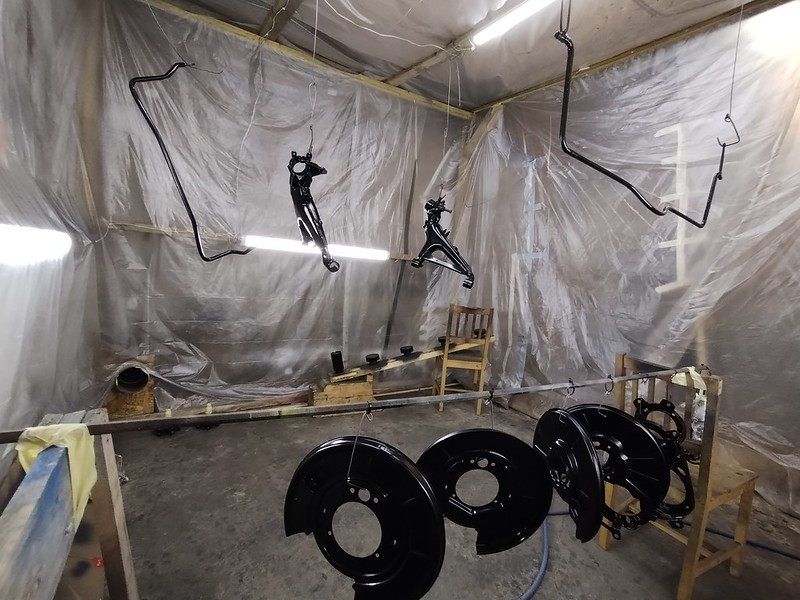
Went over all the blasted parts with wire wheel to clean up any residue. Then some epoxy primer and some paint.
Did the first batch myself

And my buddy took care of the second batch of parts
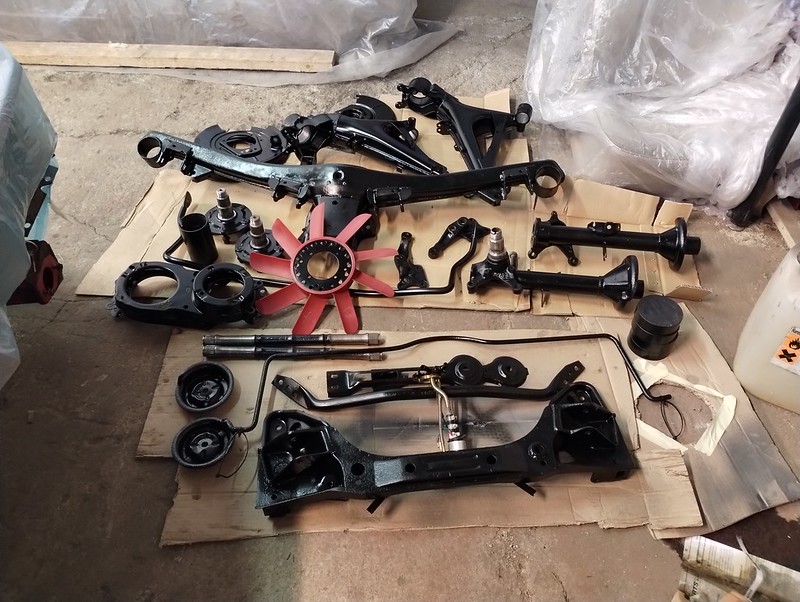
All the goodies
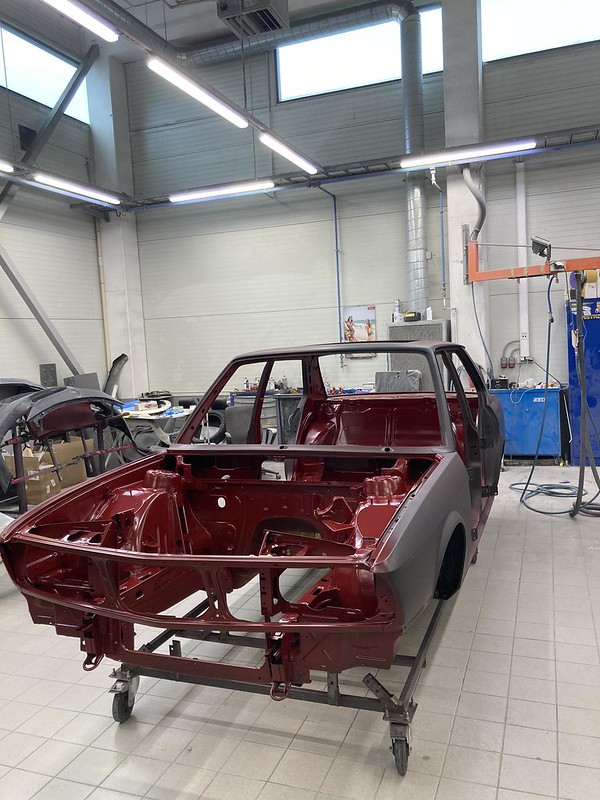
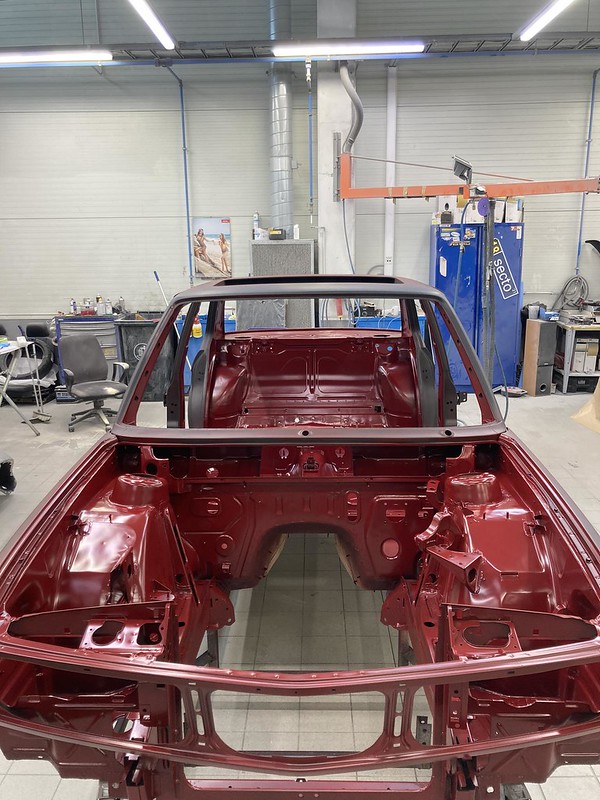
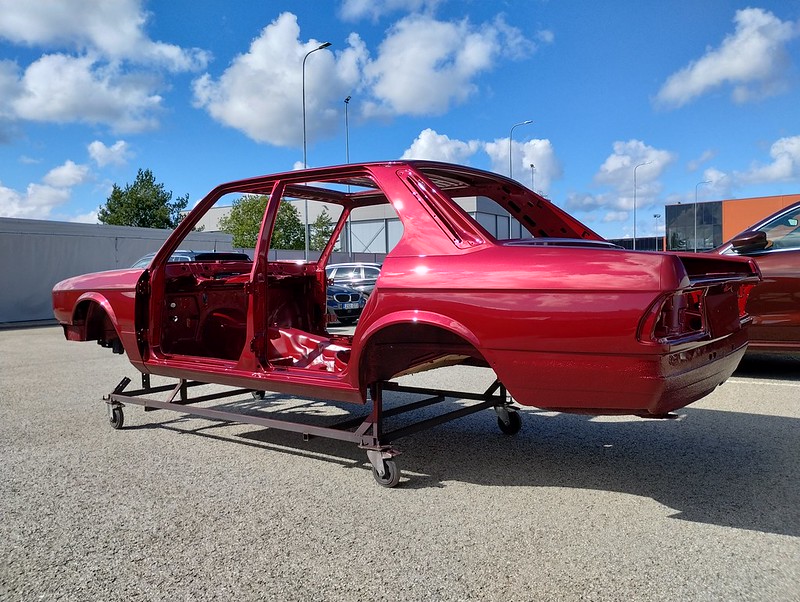
Finally, it was time to take the car to the paint shop! So, on Friday I loaded the chassis on a trailer and took it out for a drive.

Trip to the shop went as smoothly as expected.

Work should begin tomorrow, on May 23rd.
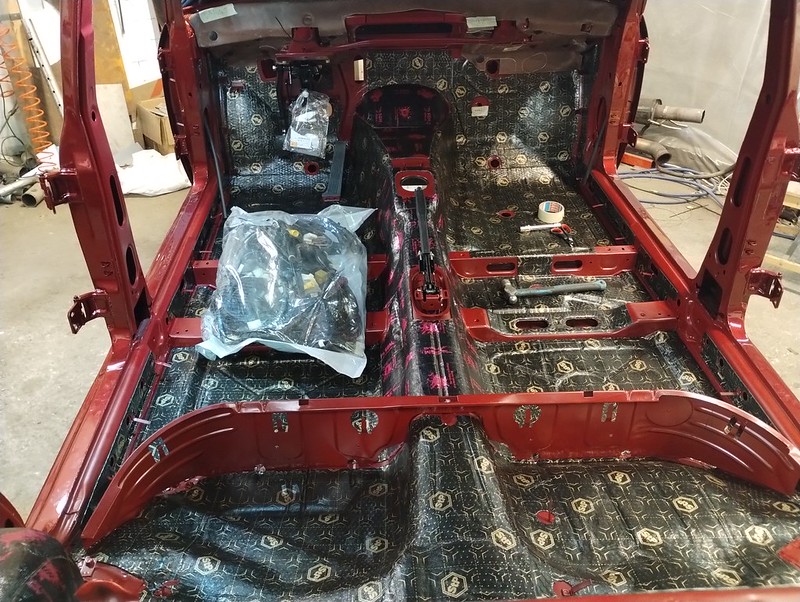
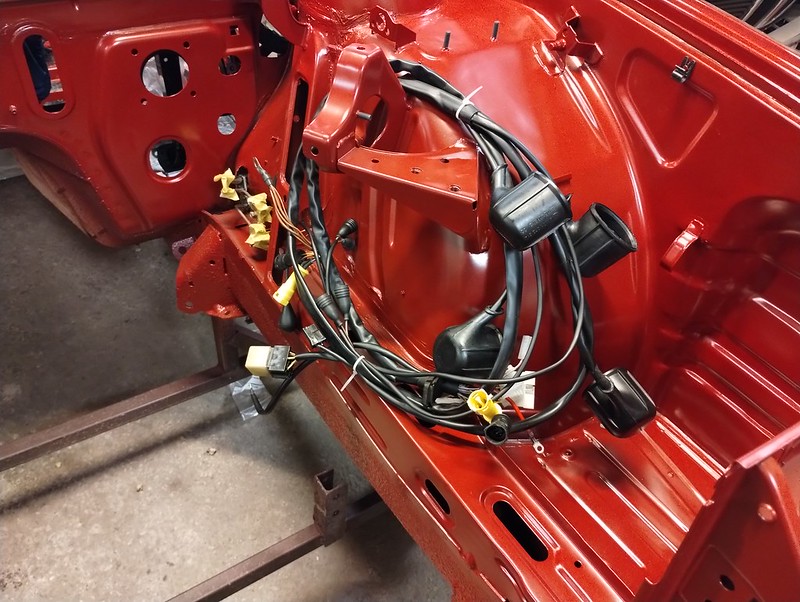
Next steps for me would be to get a new headliner made as this would be one of the first items to go back on the car, get a lot of stuff zinc plated, paint some other stuff and start to assemble what I can.
