Re: Rebuilding My 1988 US-spec M5
Posted: Jun 30, 2021 5:14 PM
What method did you use to install the rear glass?
As always, great work.
As always, great work.
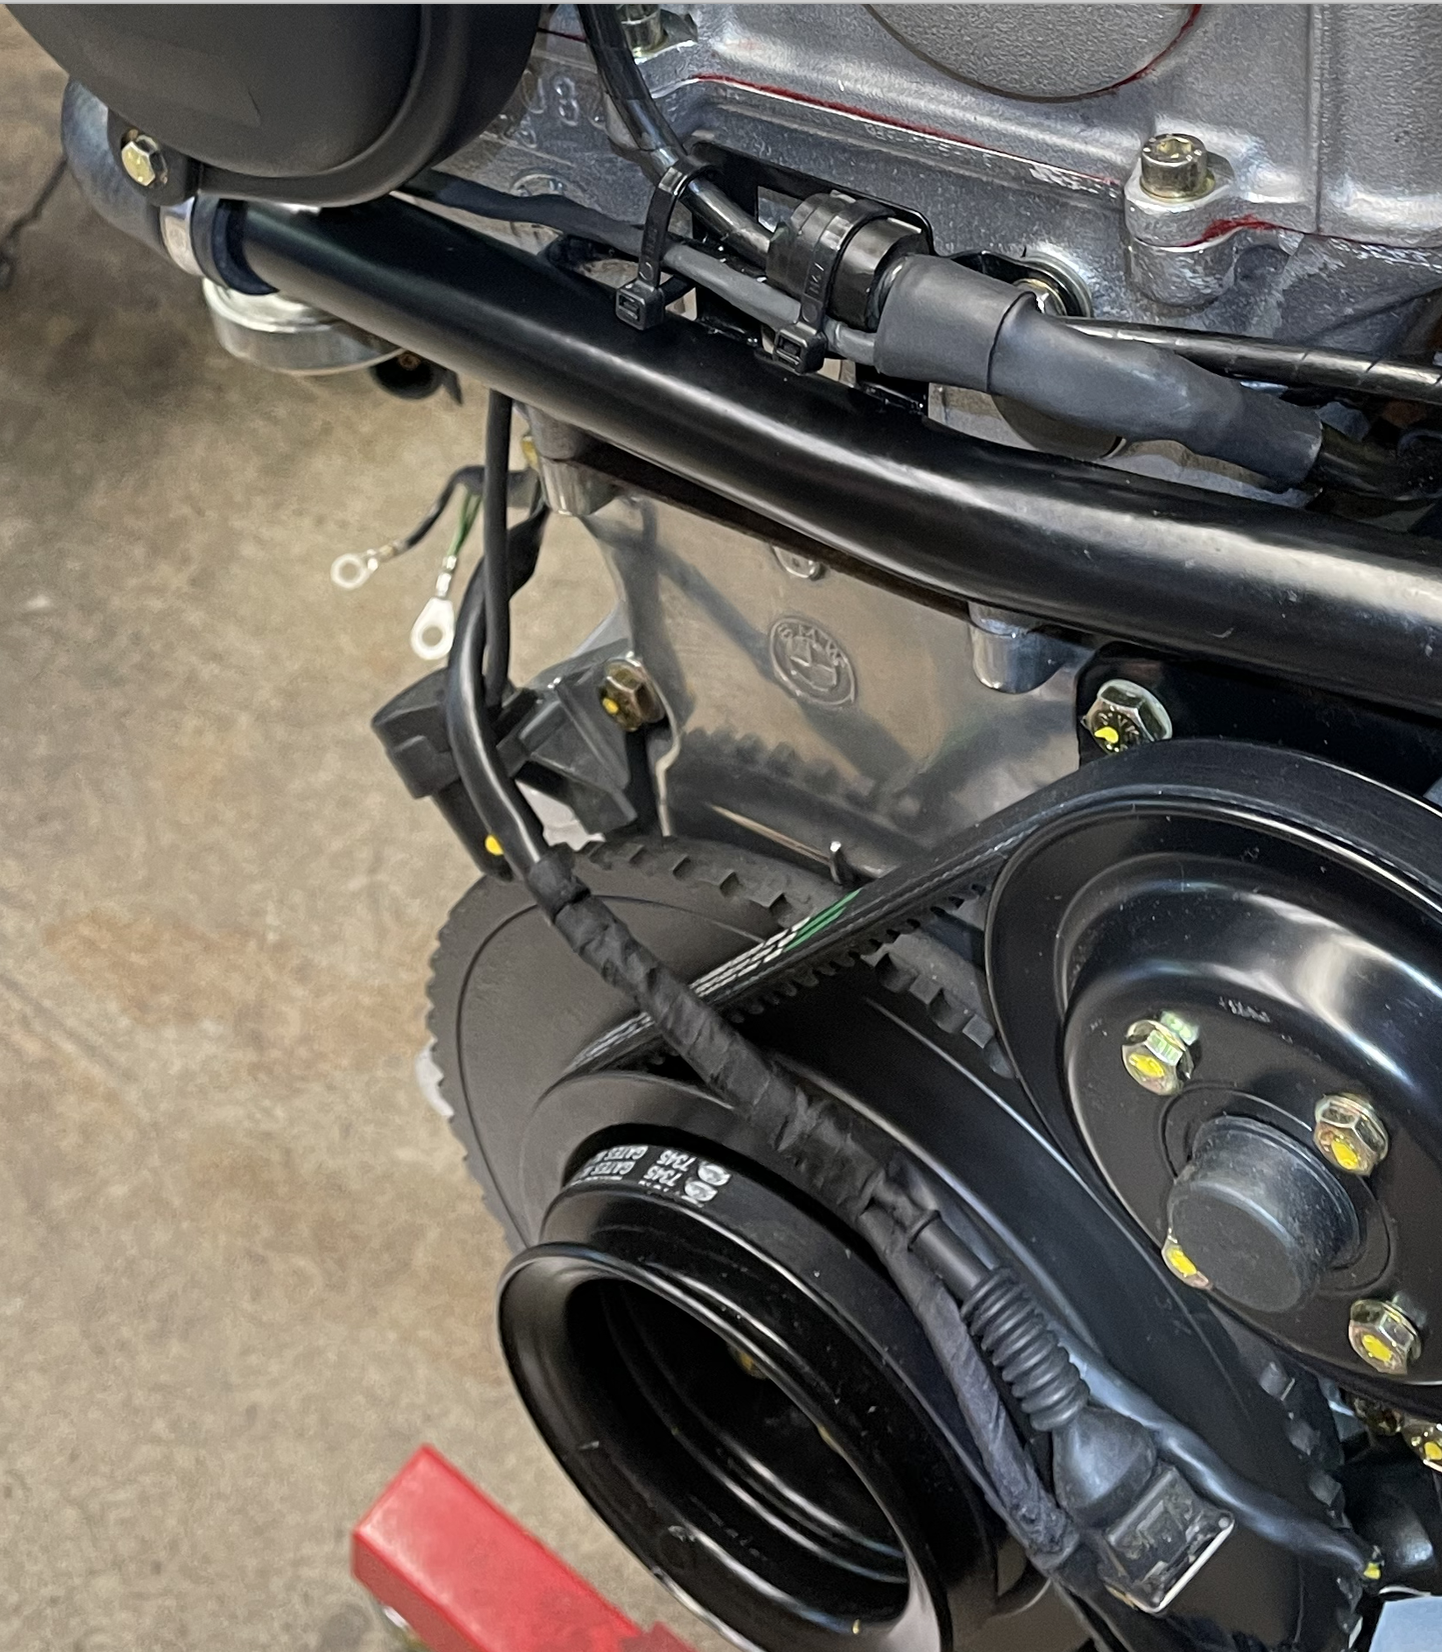
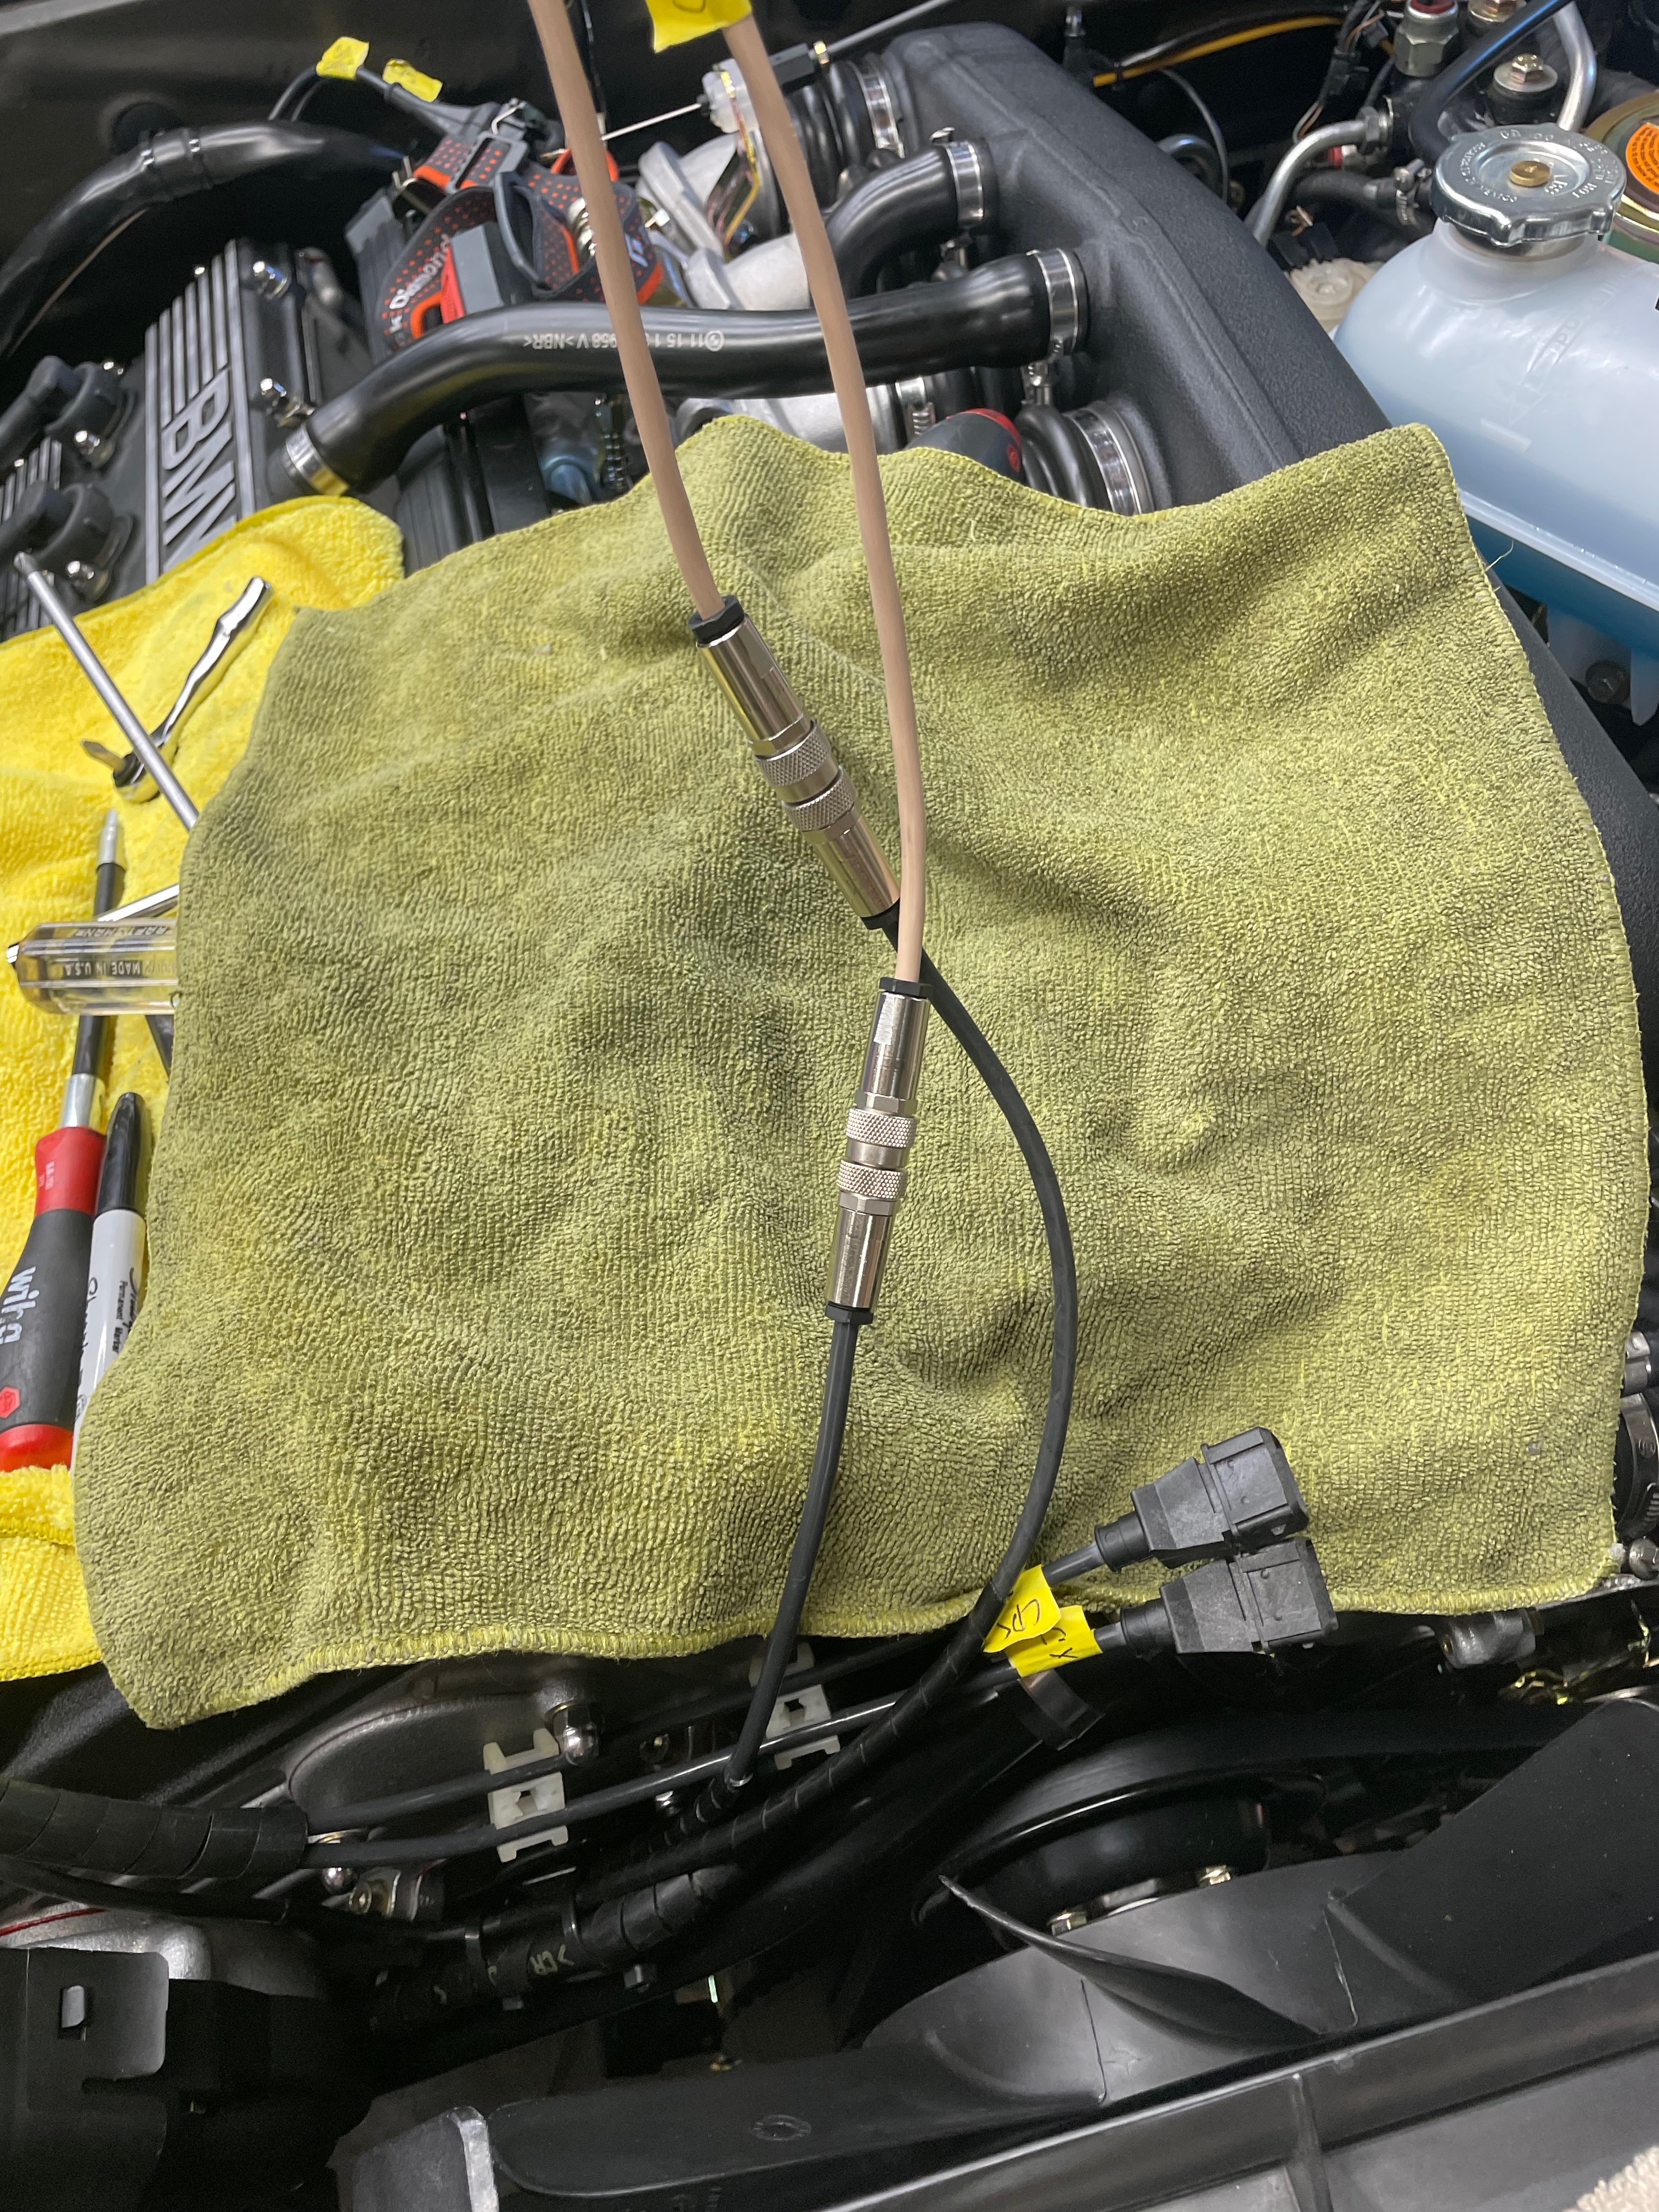
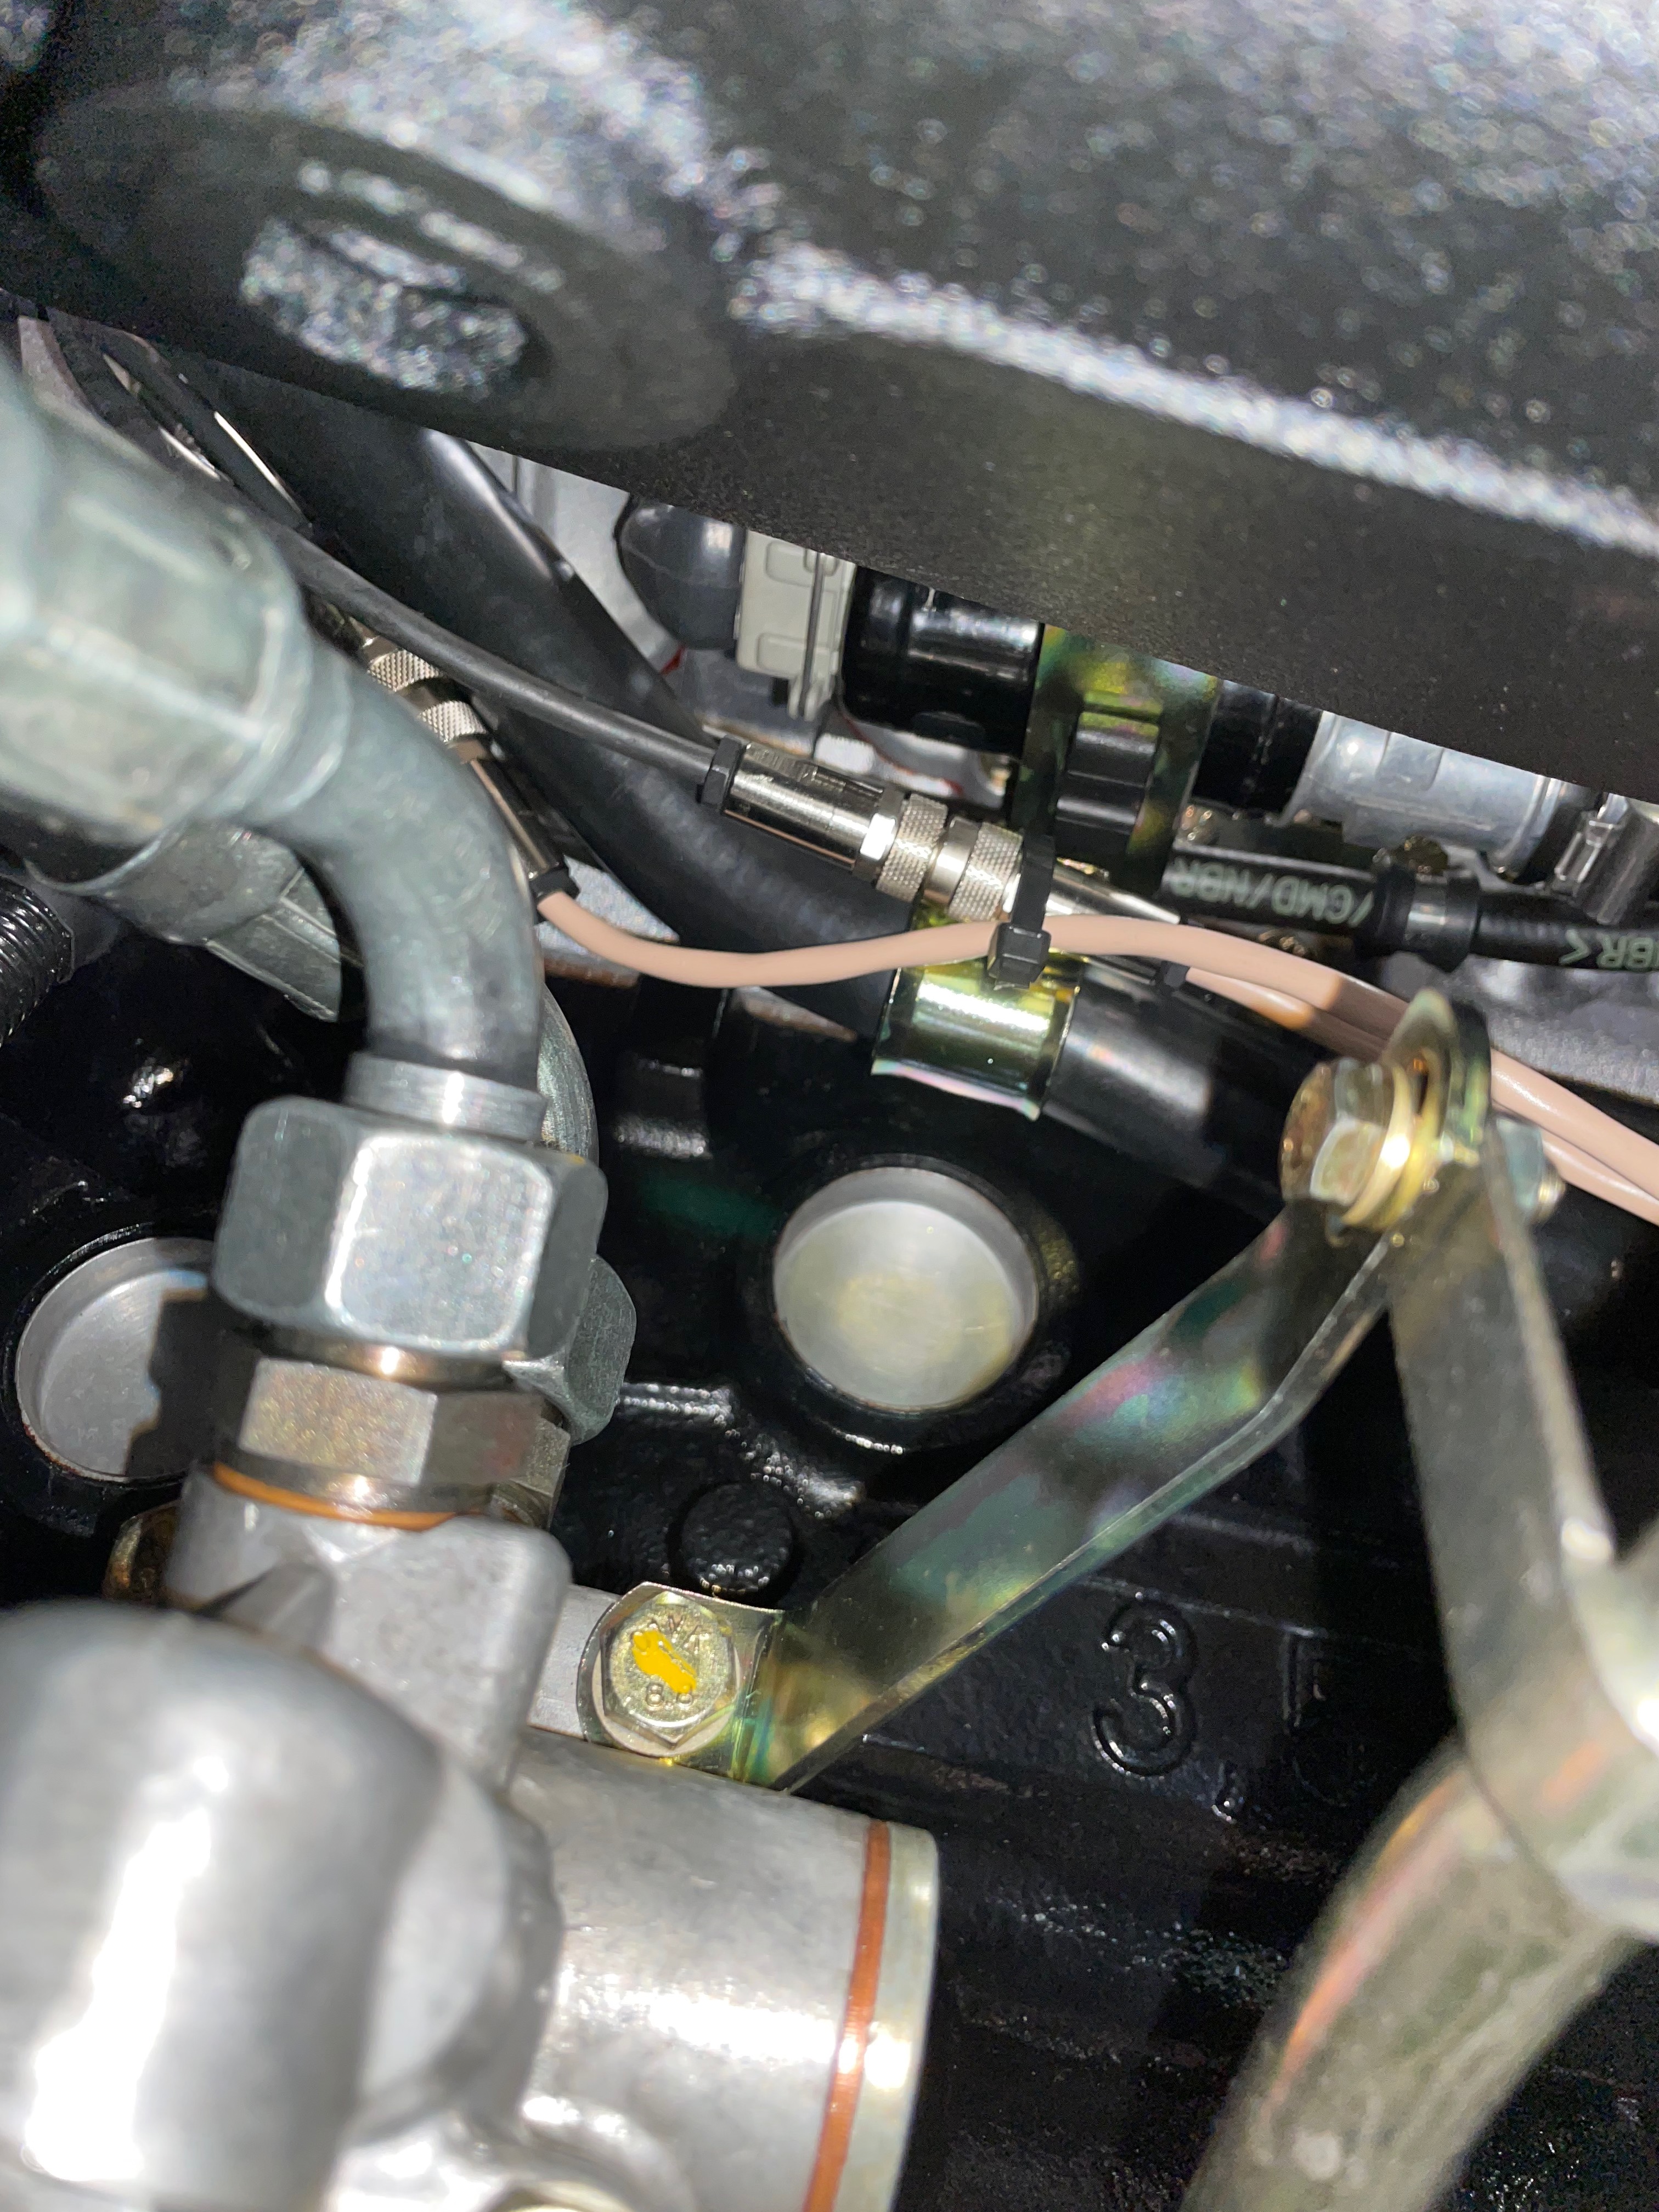
Stay tuned ... I'll do my update today or tomorrow and (assuming I understand your question correctly) I'll show you what I did.Ricky535 wrote: May 19, 2021 10:21 PM Which pulse generator bracket are you going to use for the 179 ECU, B34 or B35?
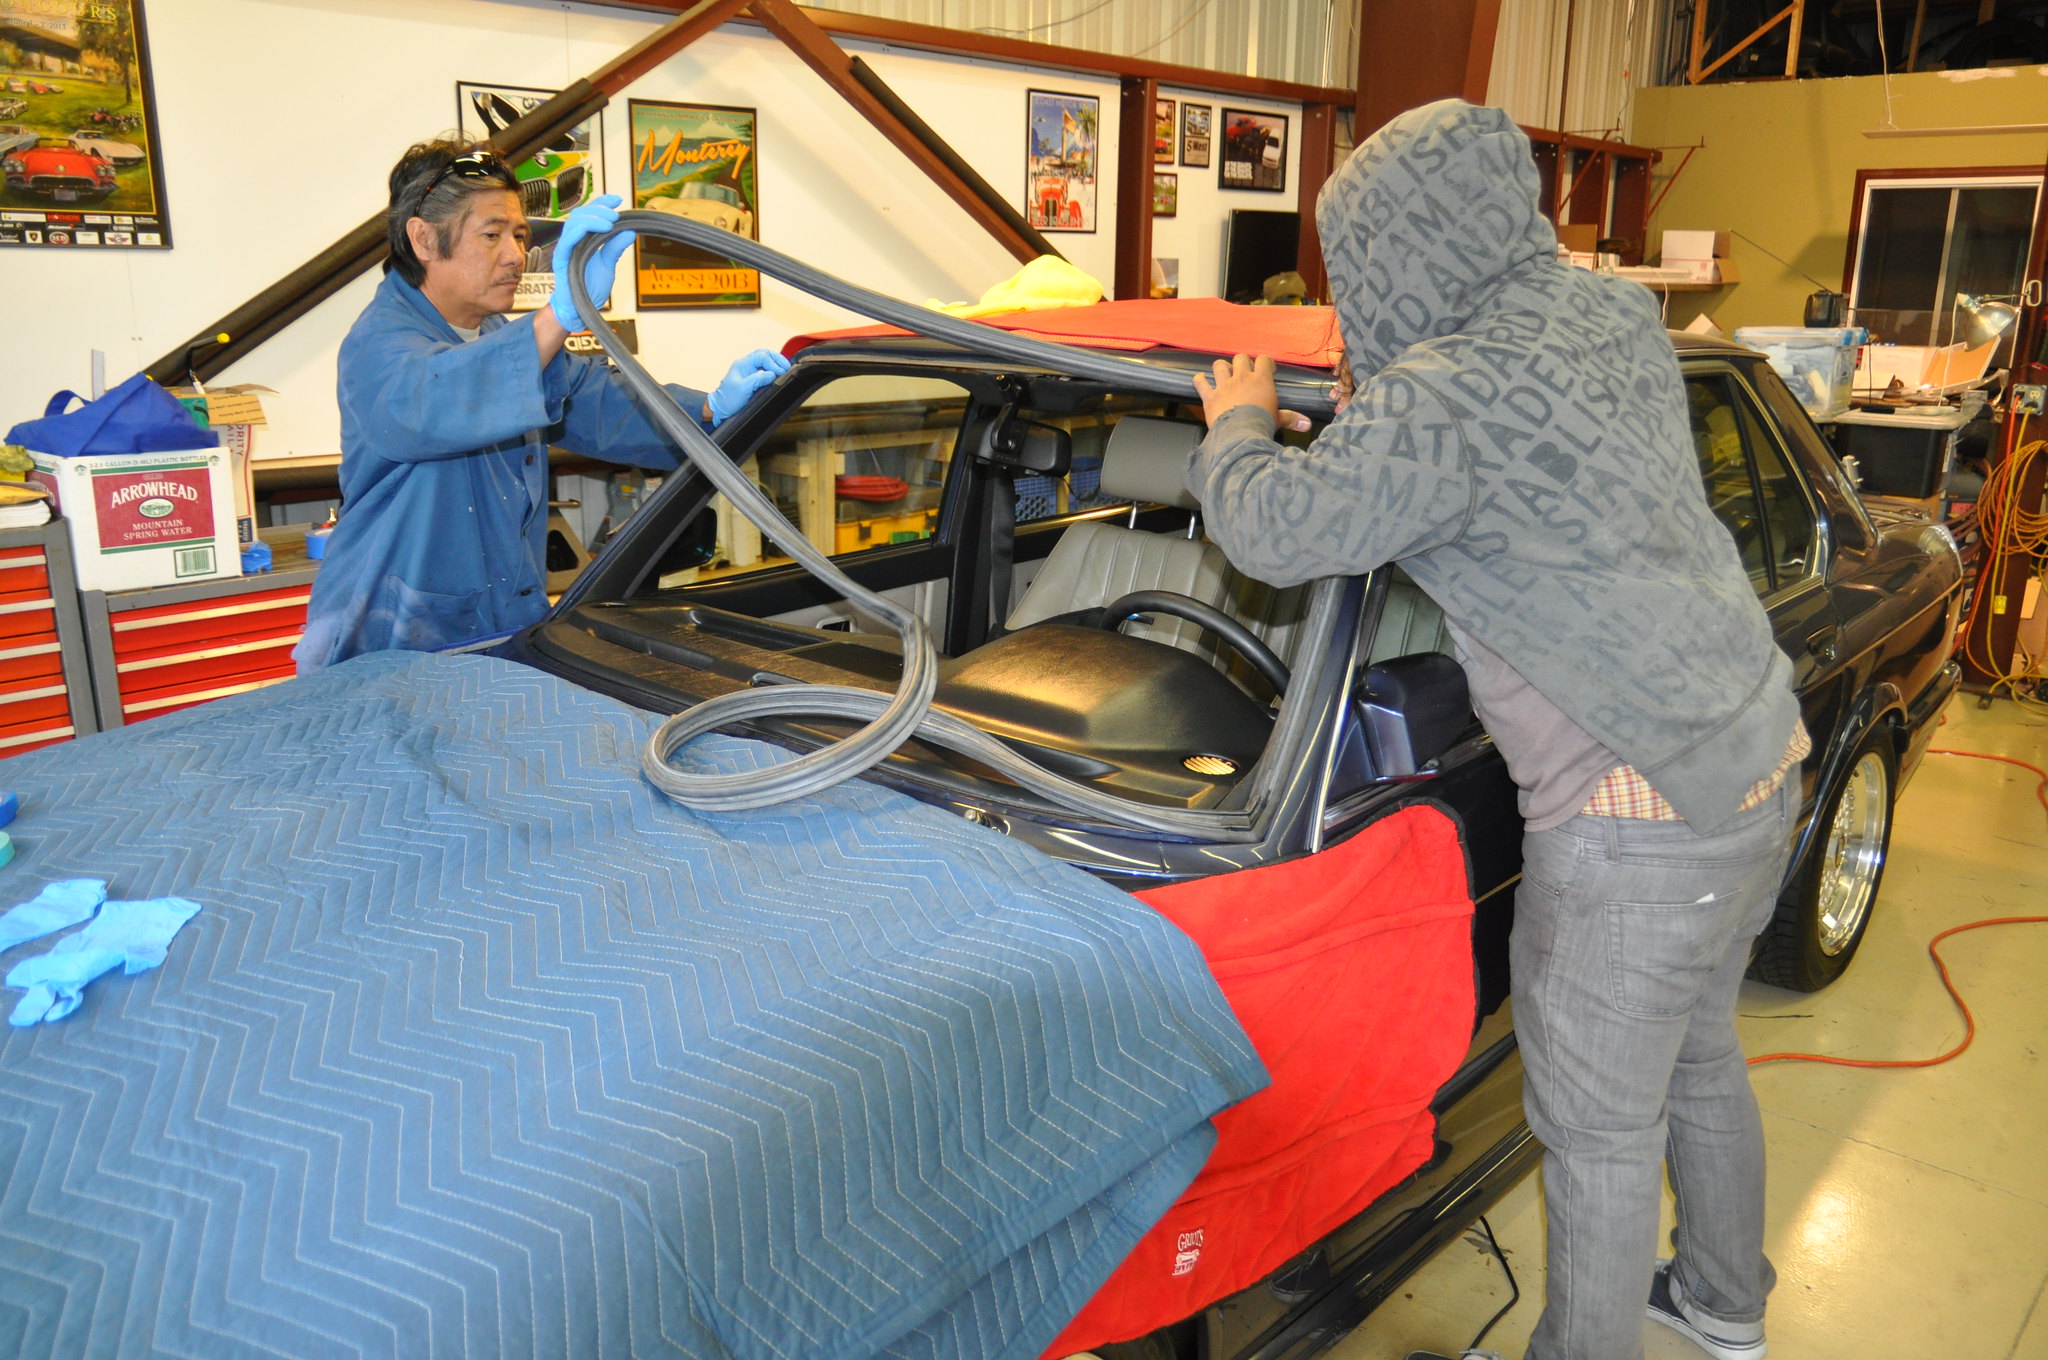
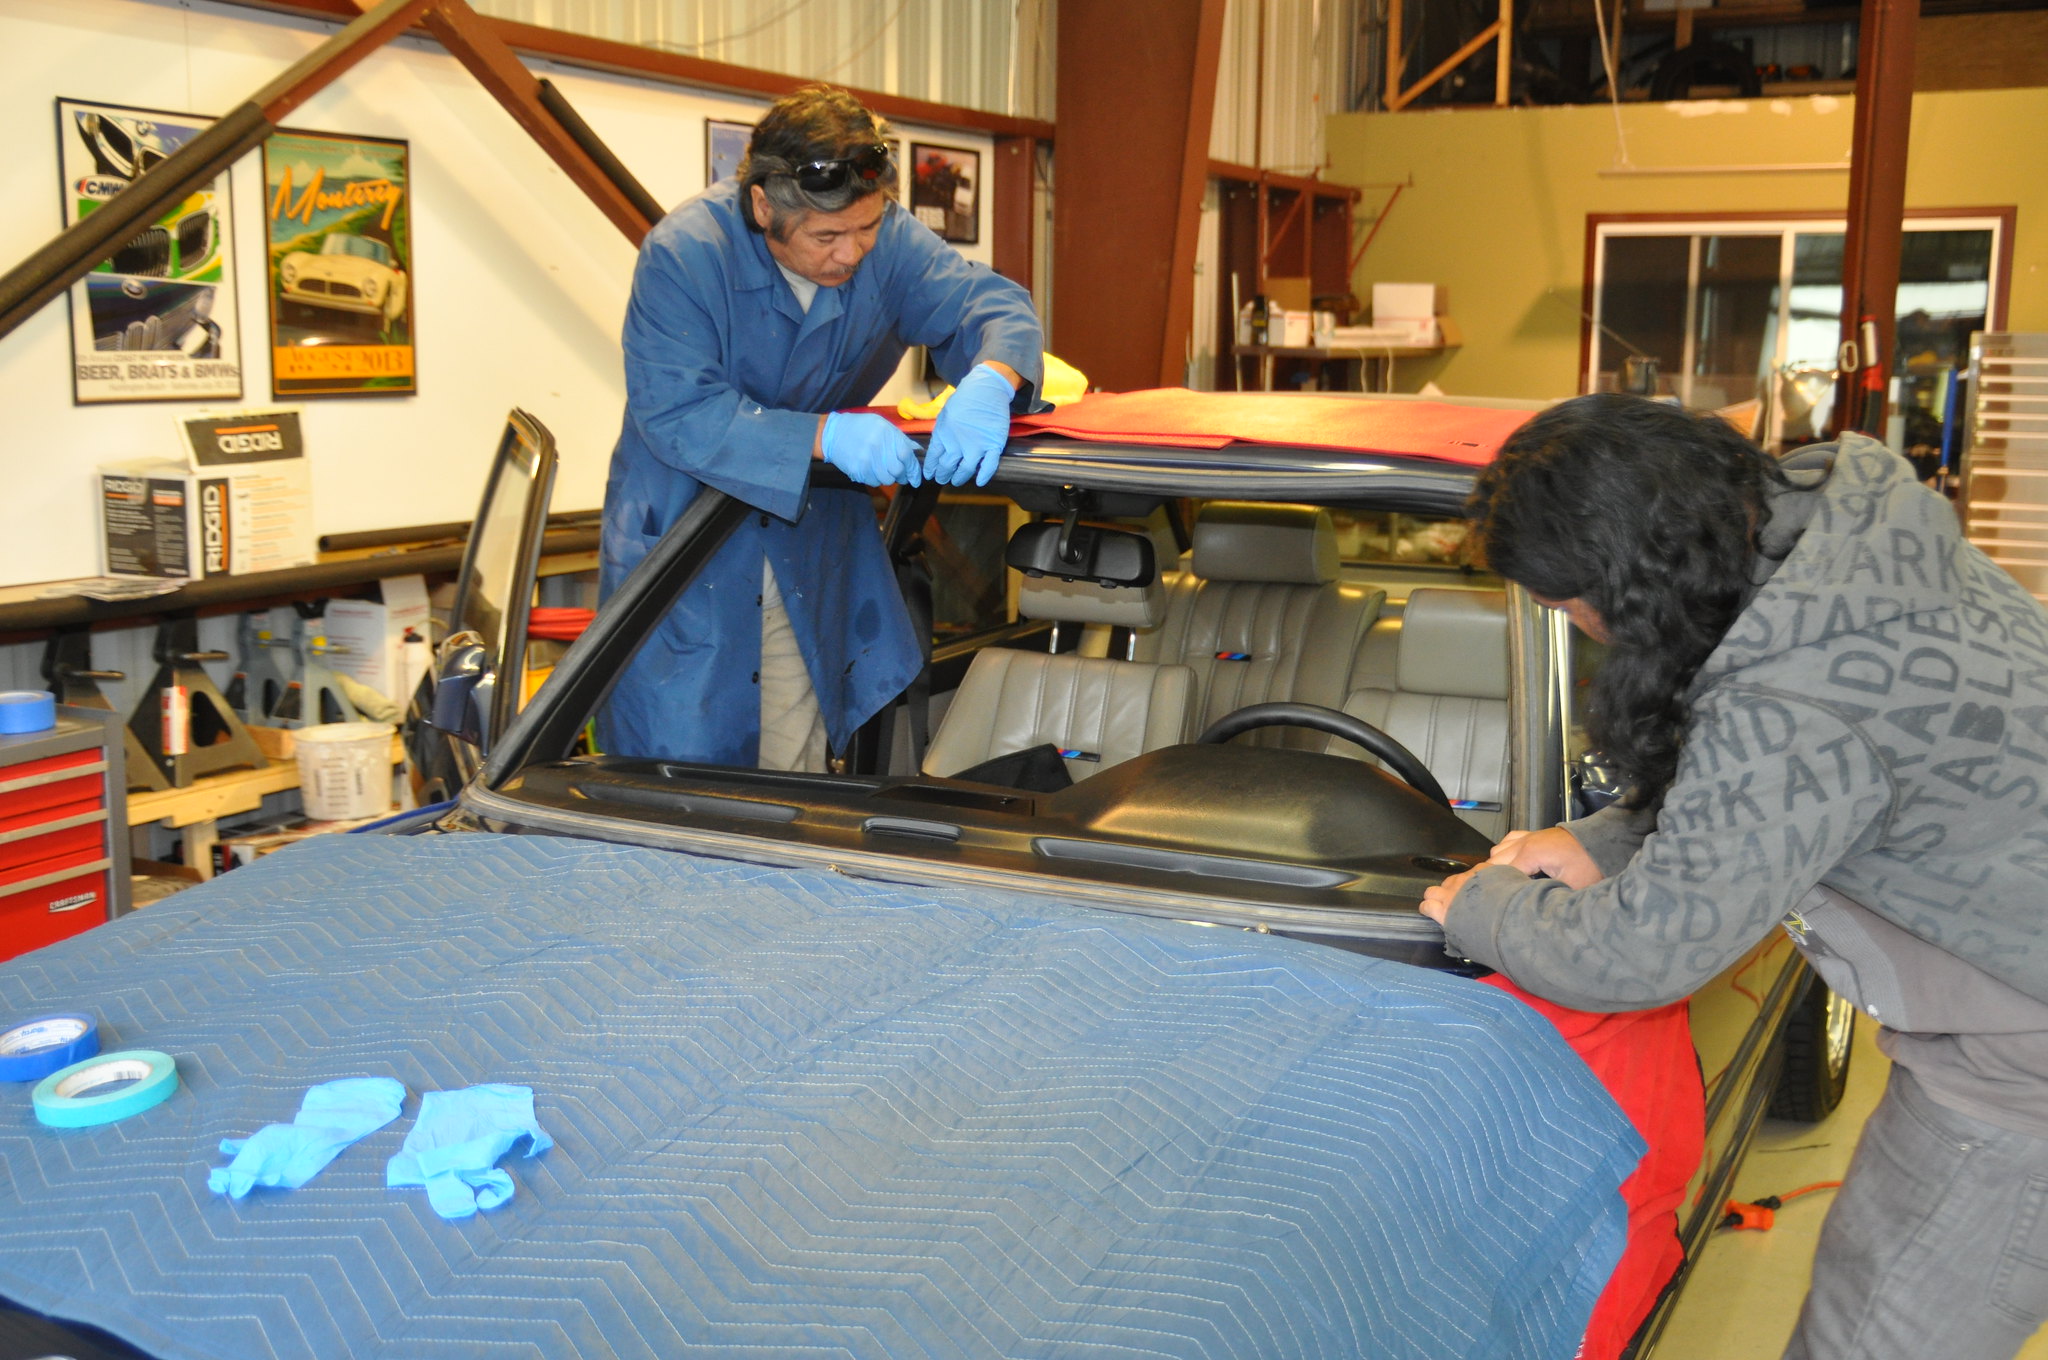
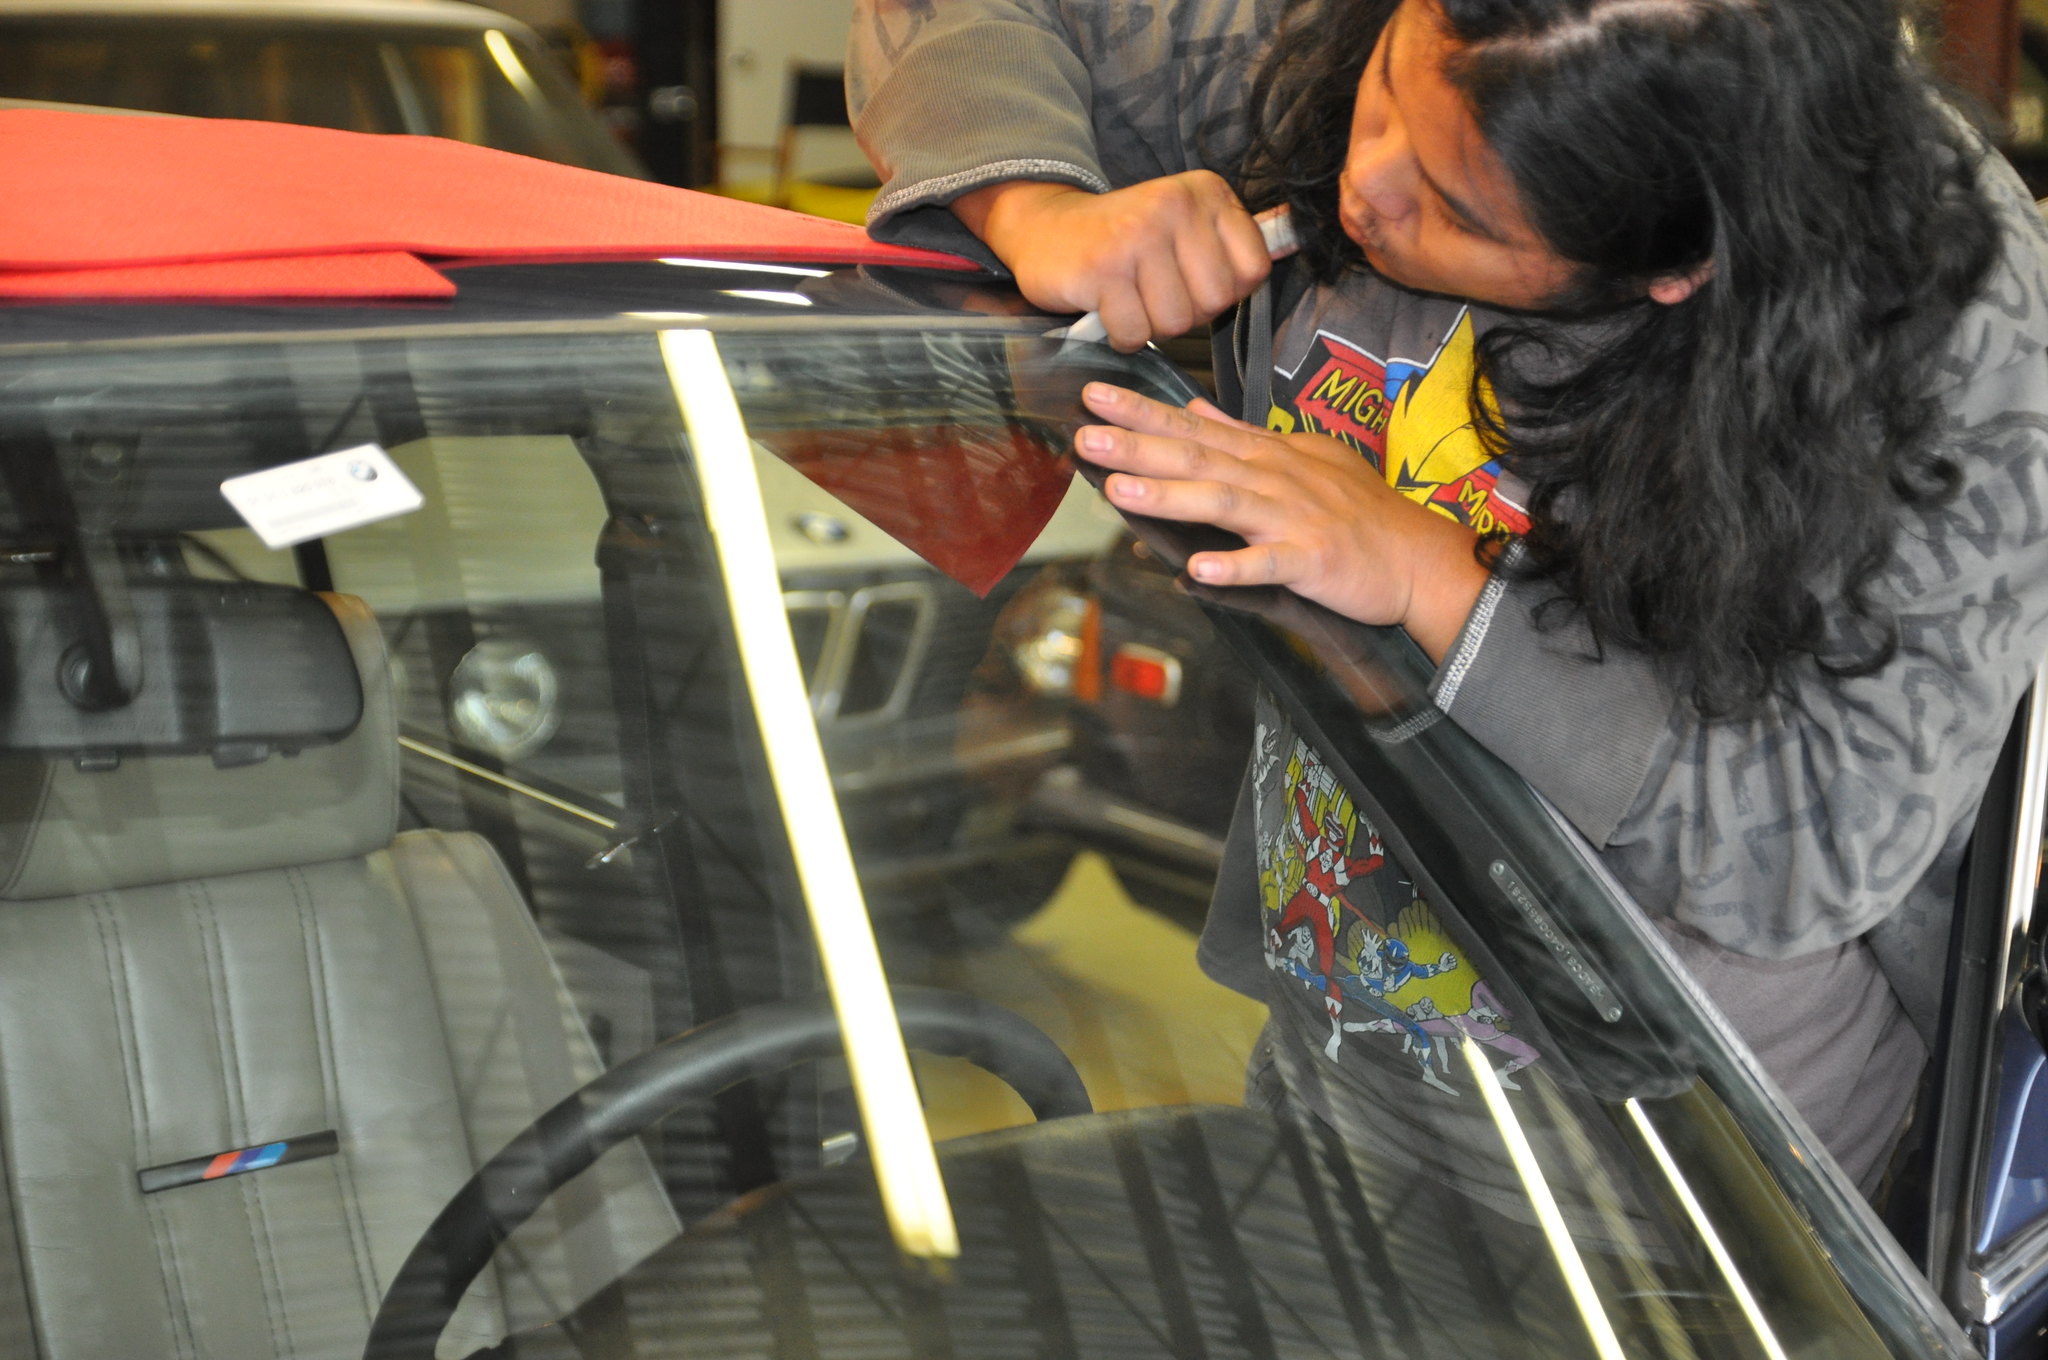
Put glass into the rubber gasket first, thread some nylon rope into the notch in the gasket where the body pinch weld will end up (making sure that the rope ends overlap and exit the gasket midway along the bottom edge), set the gasket+glass+rope into the body opening, and then start pulling the rope out so that it pulls the gasket up & over the pinch weld.Kapt wrote: Jun 30, 2021 5:14 PM What method did you use to install the rear glass?
As always, great work.
Actually, I don't trust myself to get my ass in gear and post an update here, and I want to be responsive.
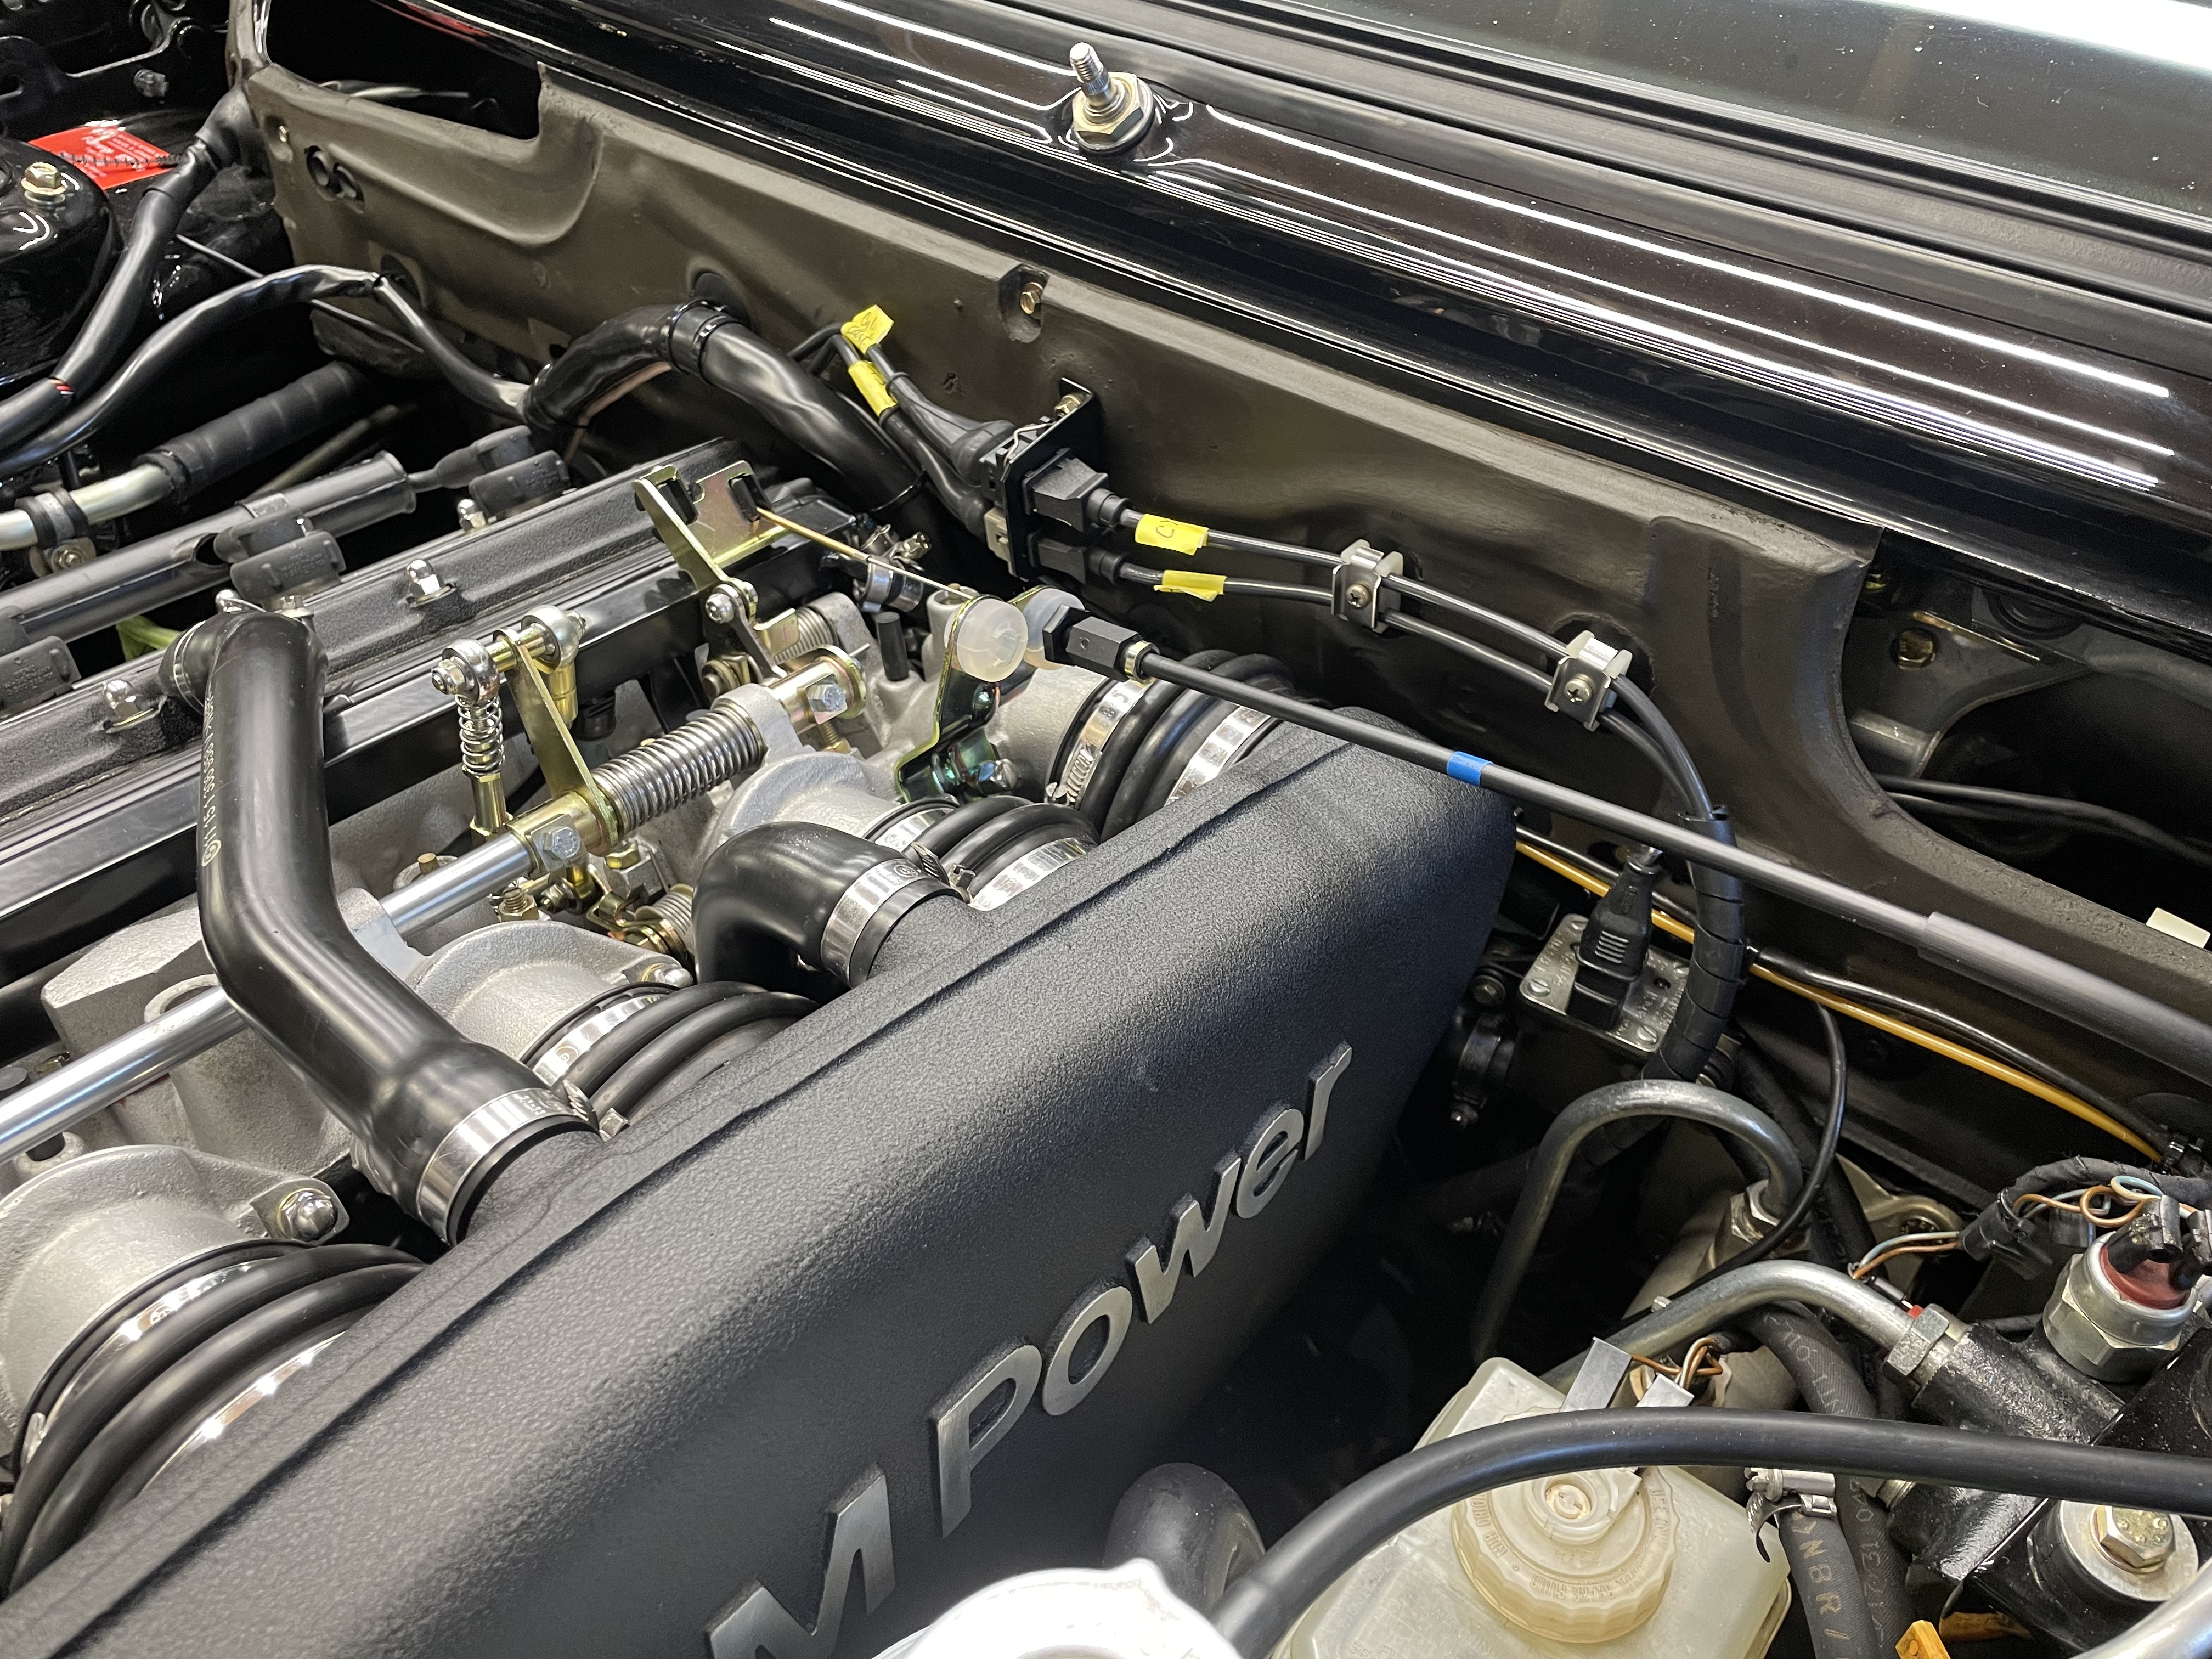
This is the method my installer used when he did mine; worked well. He had it in before I could more than a few photos of the process.jhh925 wrote: Jul 02, 2021 5:41 PMFor the front windshield, I set the gasket in first, then put the glass into the gasket starting at the bottom edge, then used plastic trim tools to pull the gasket up & over the glass. At one point I saw a video of BMW workers in the factory setting the front glass in in about 5-10 seconds using that method. Can't remember where I got the link to that vid.
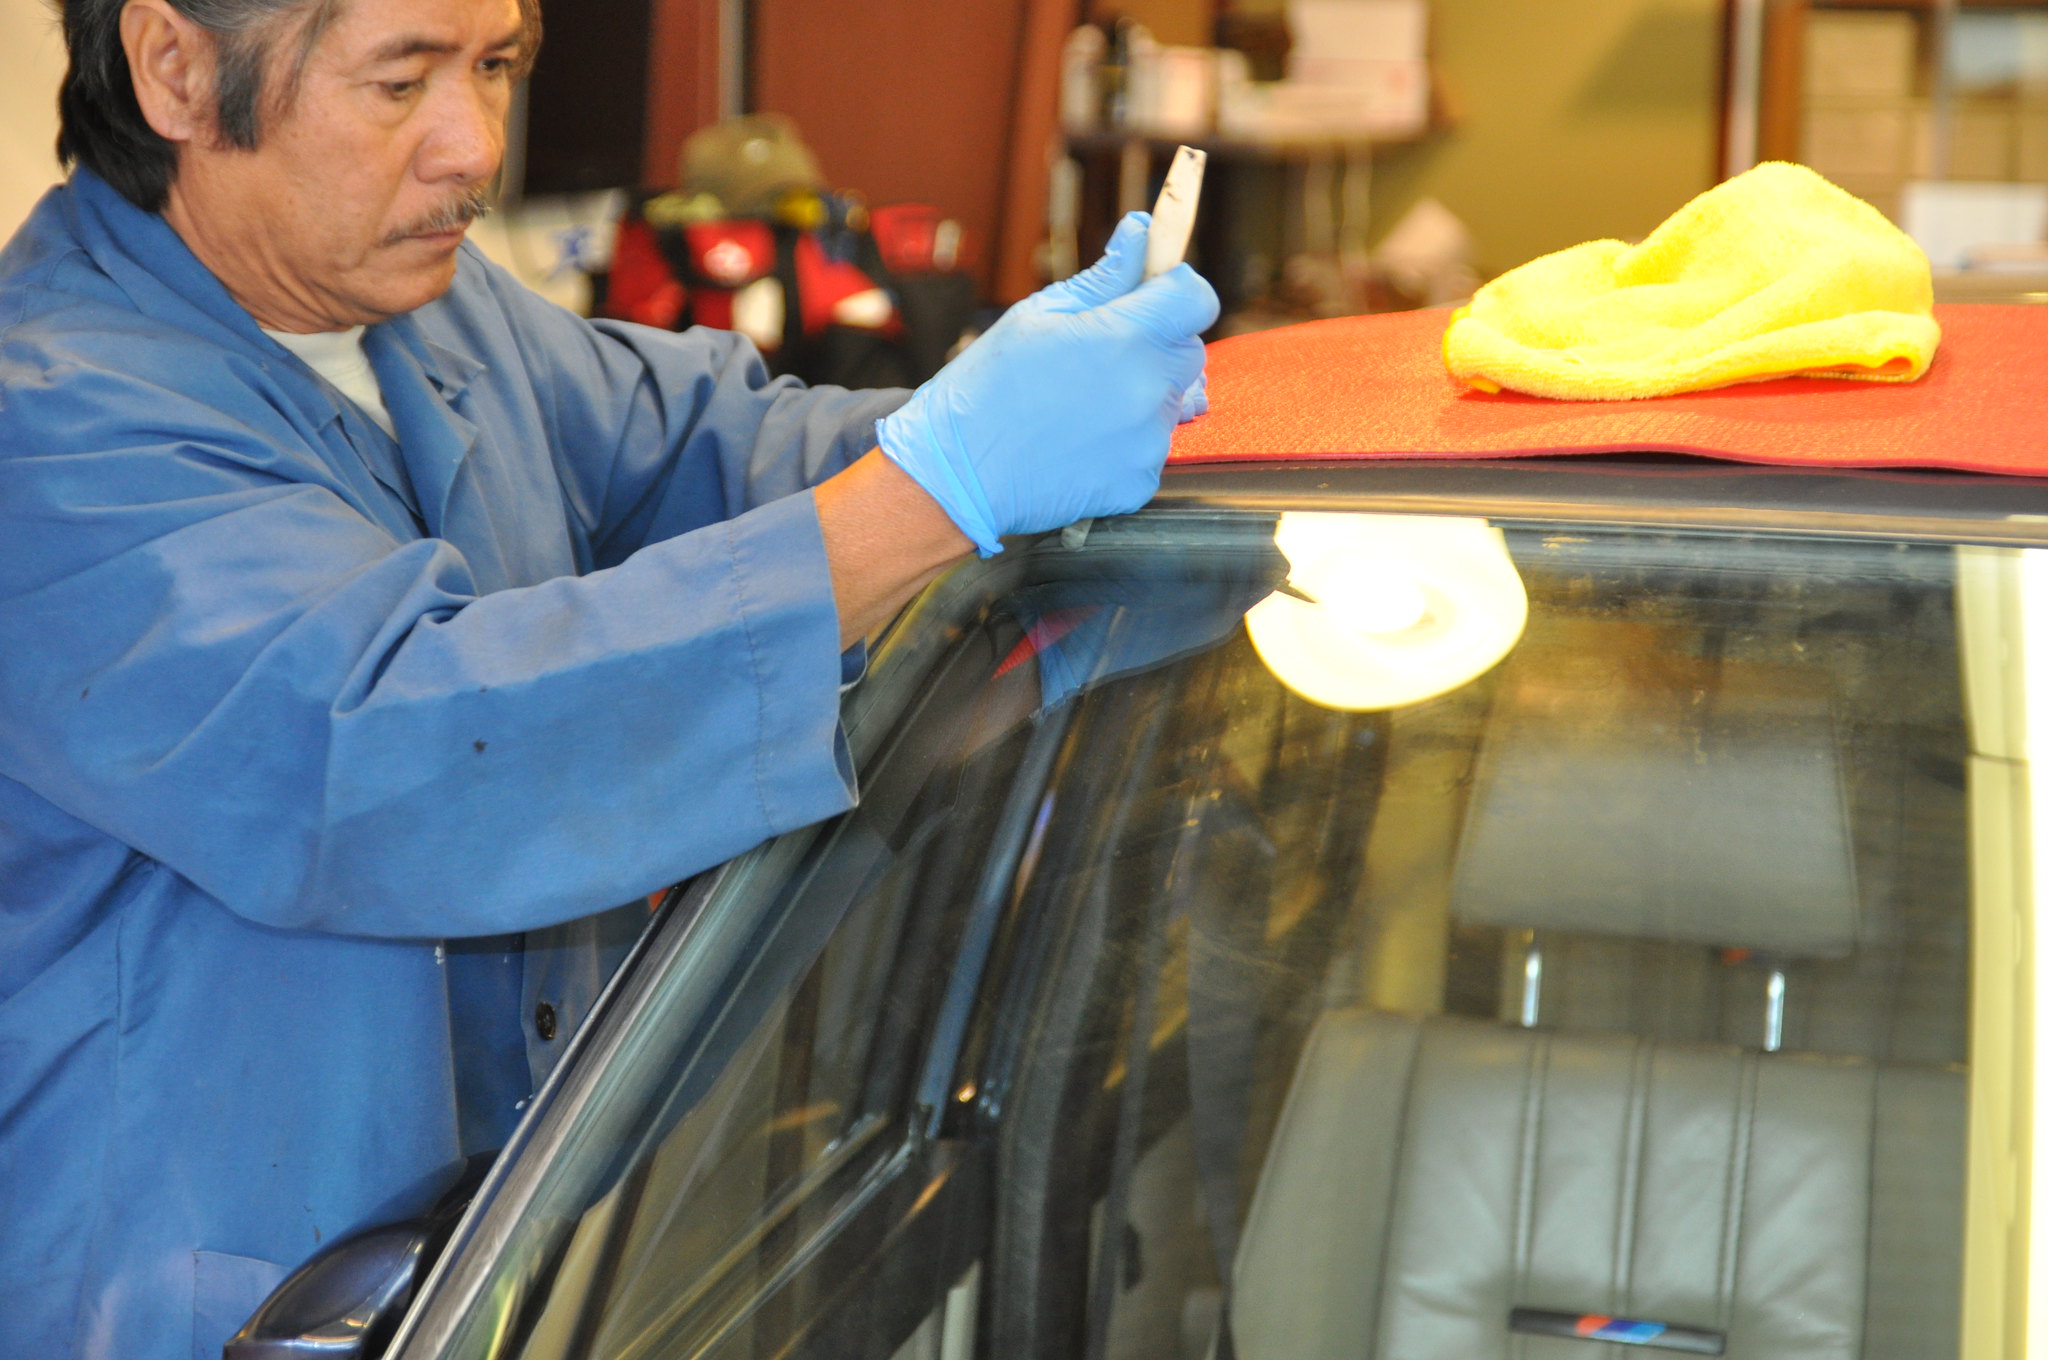
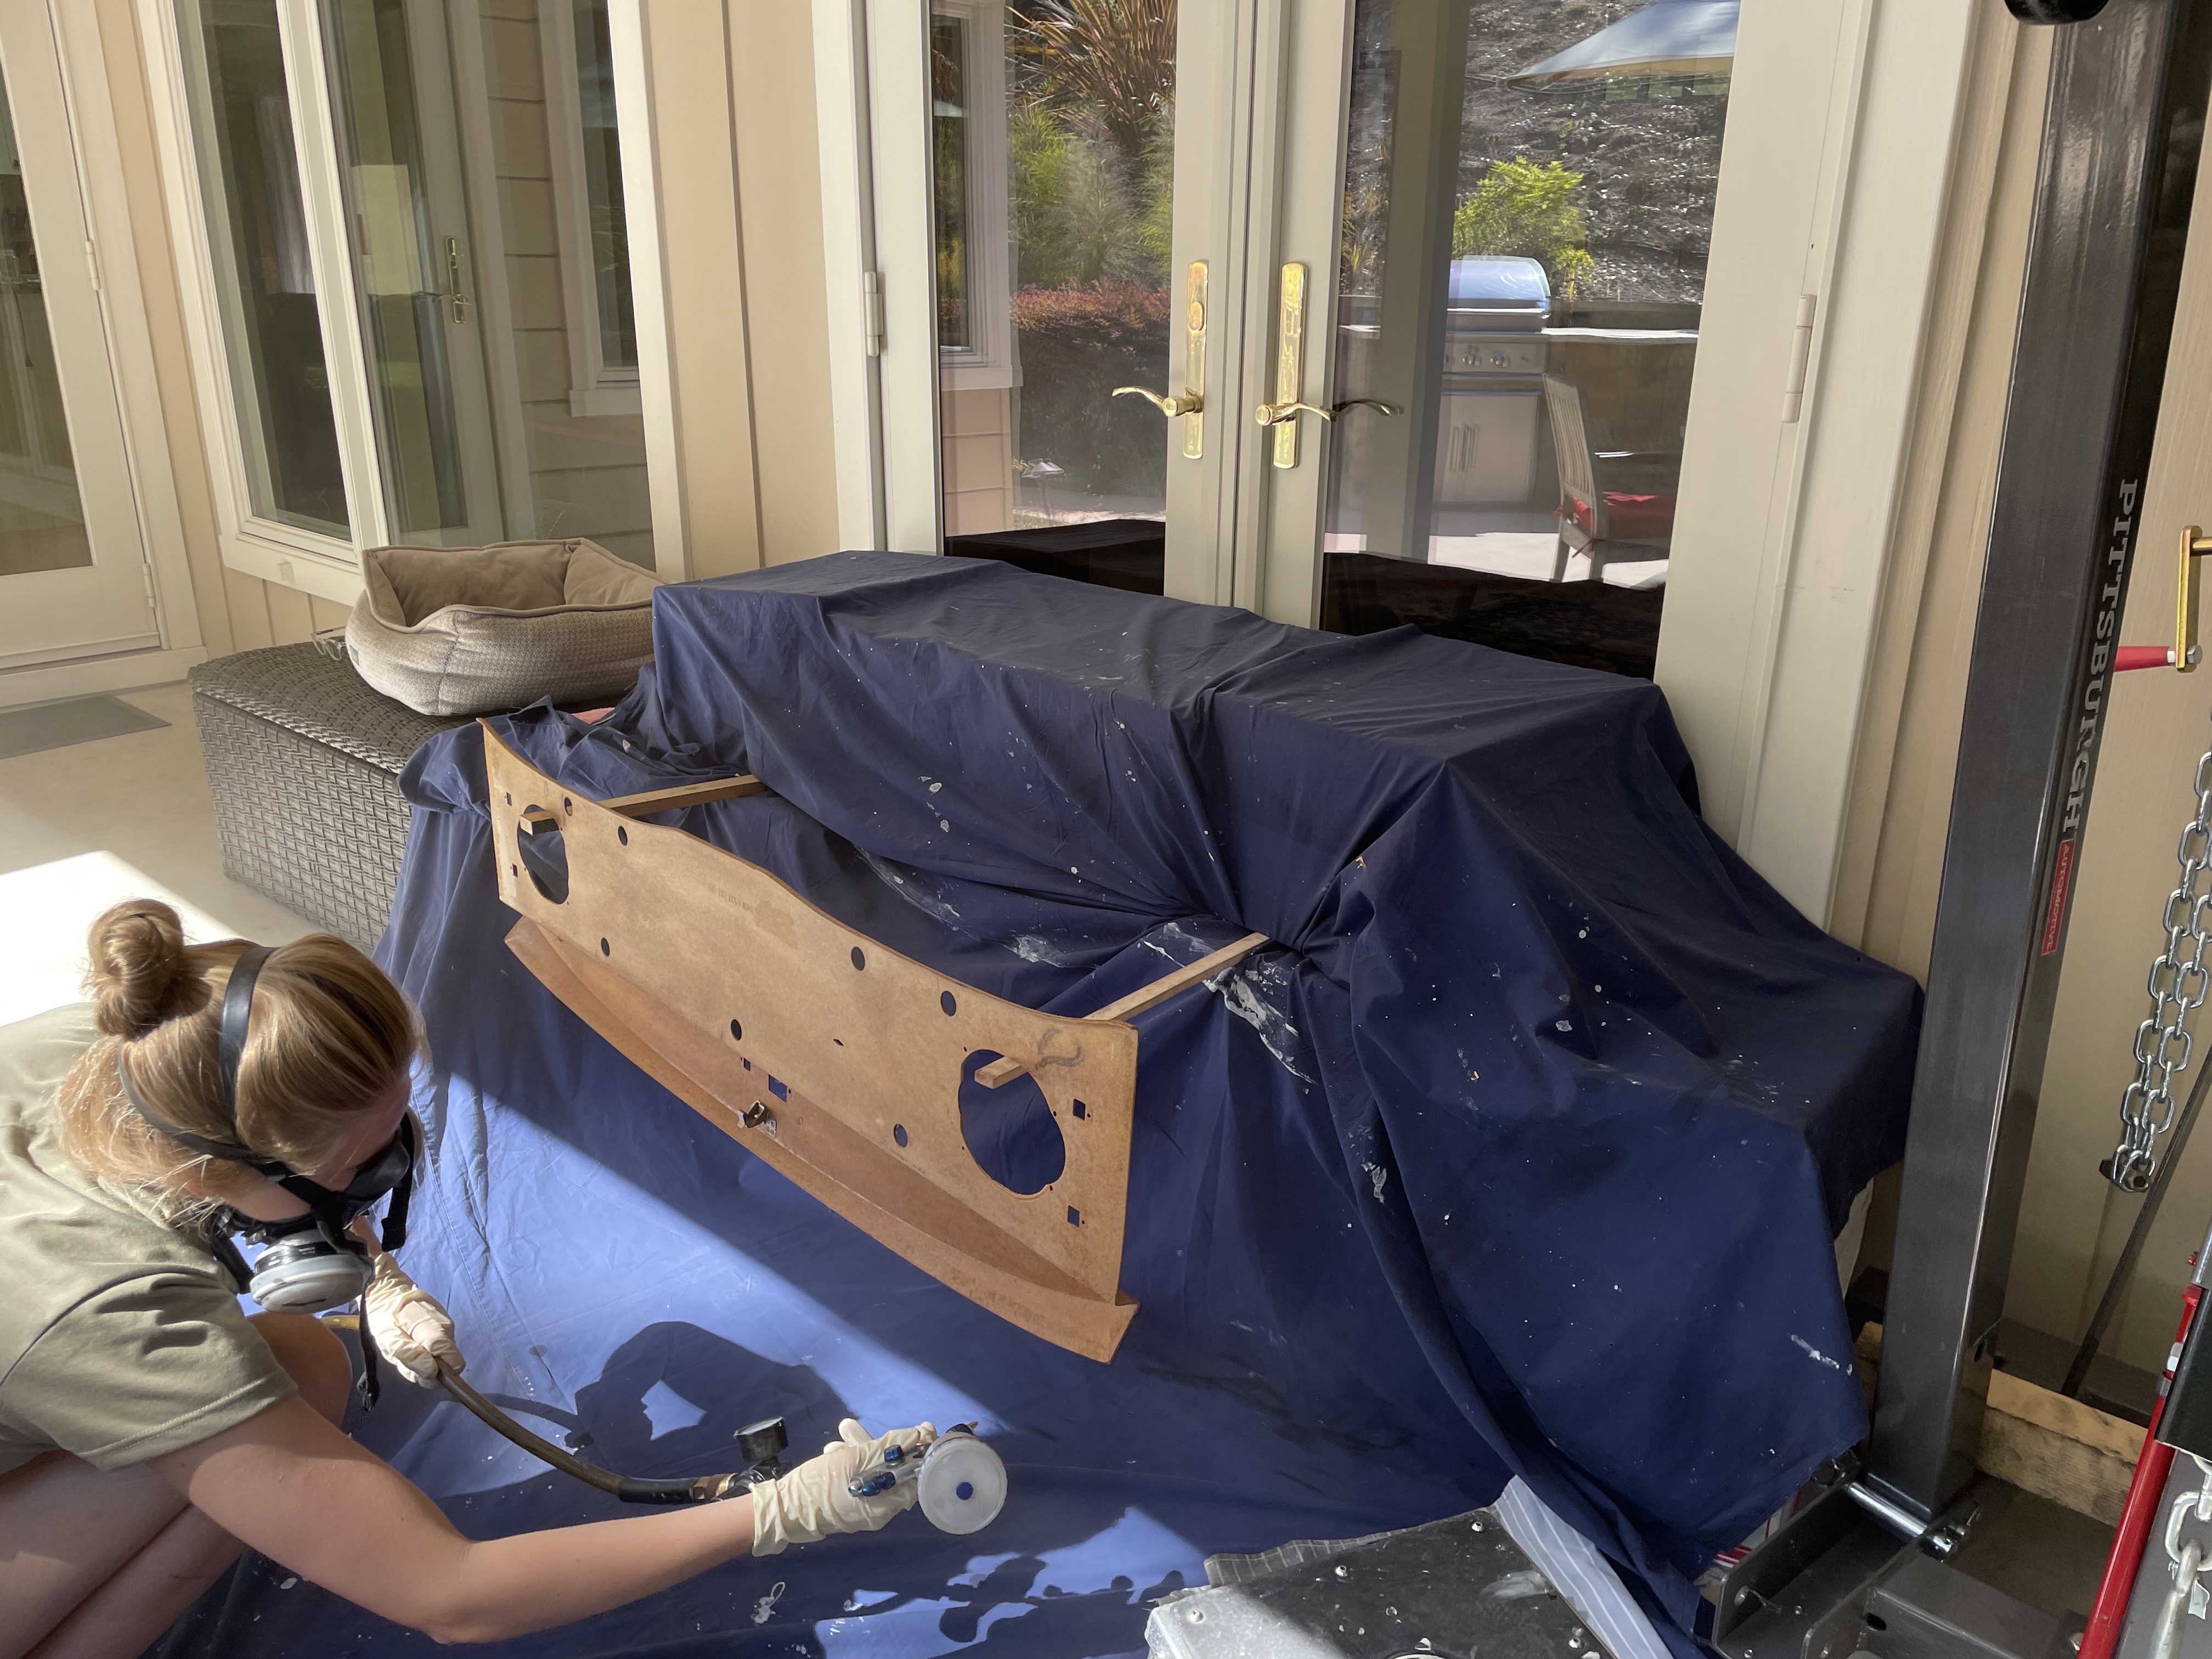
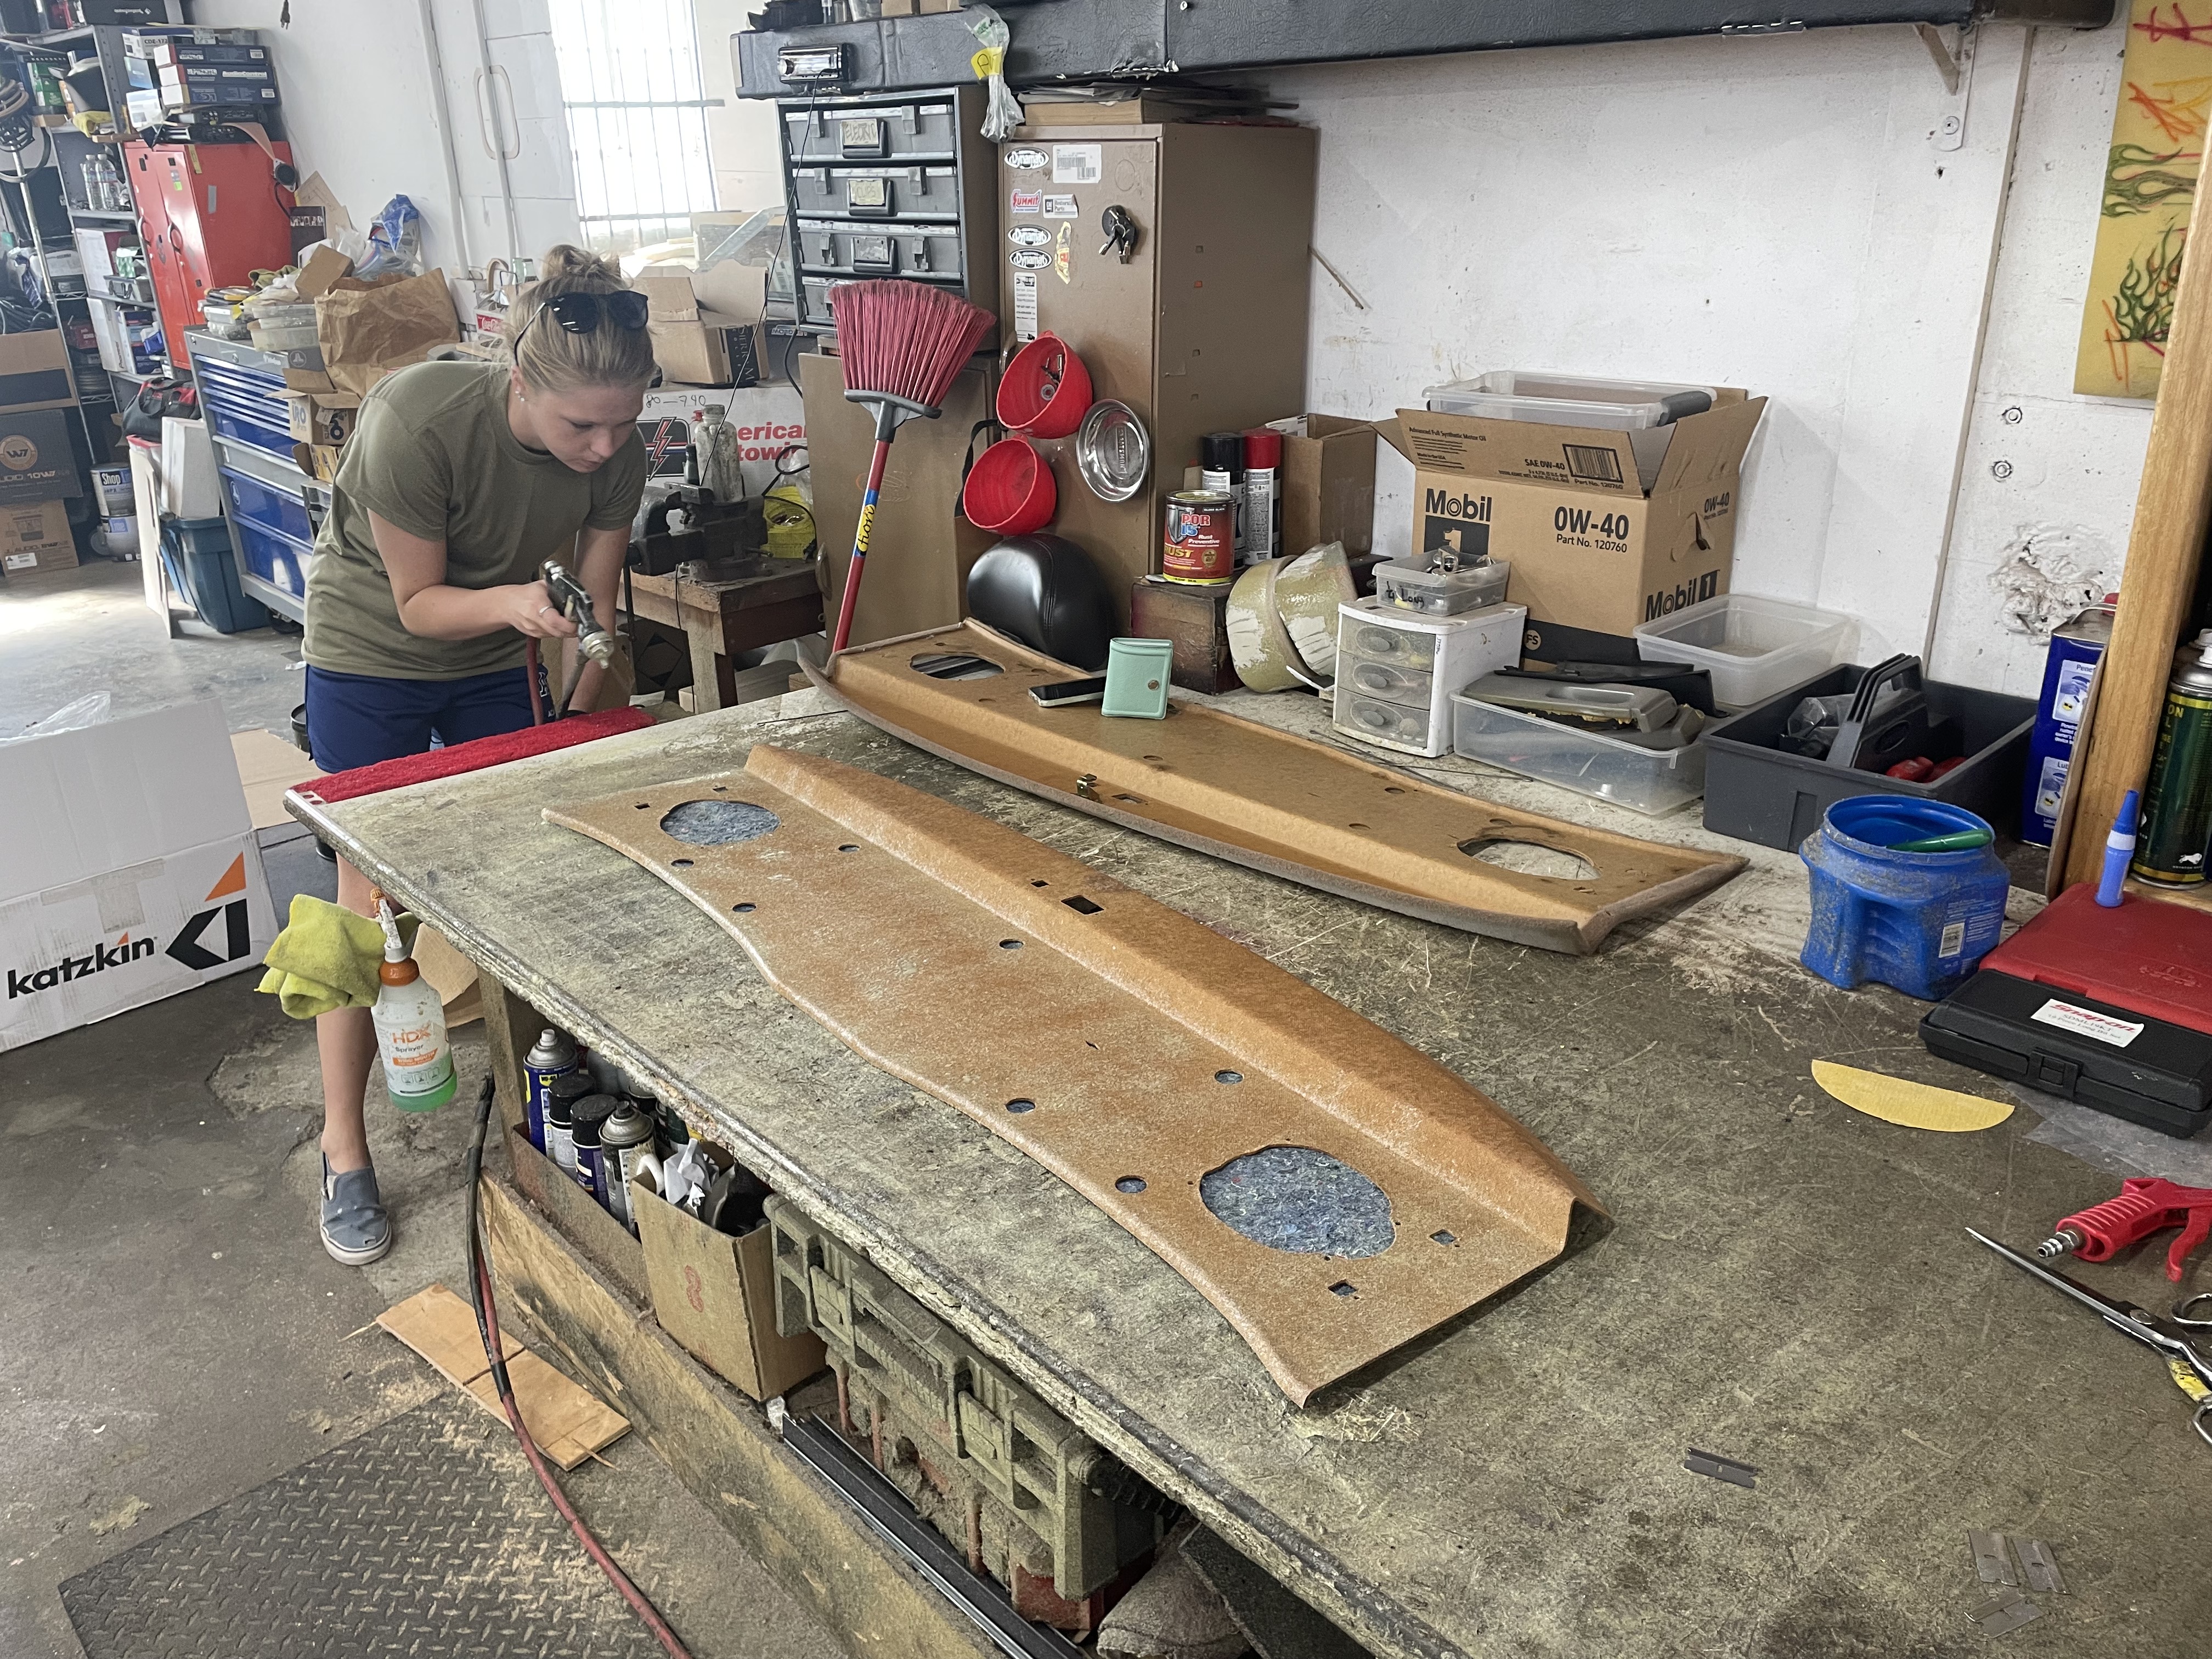
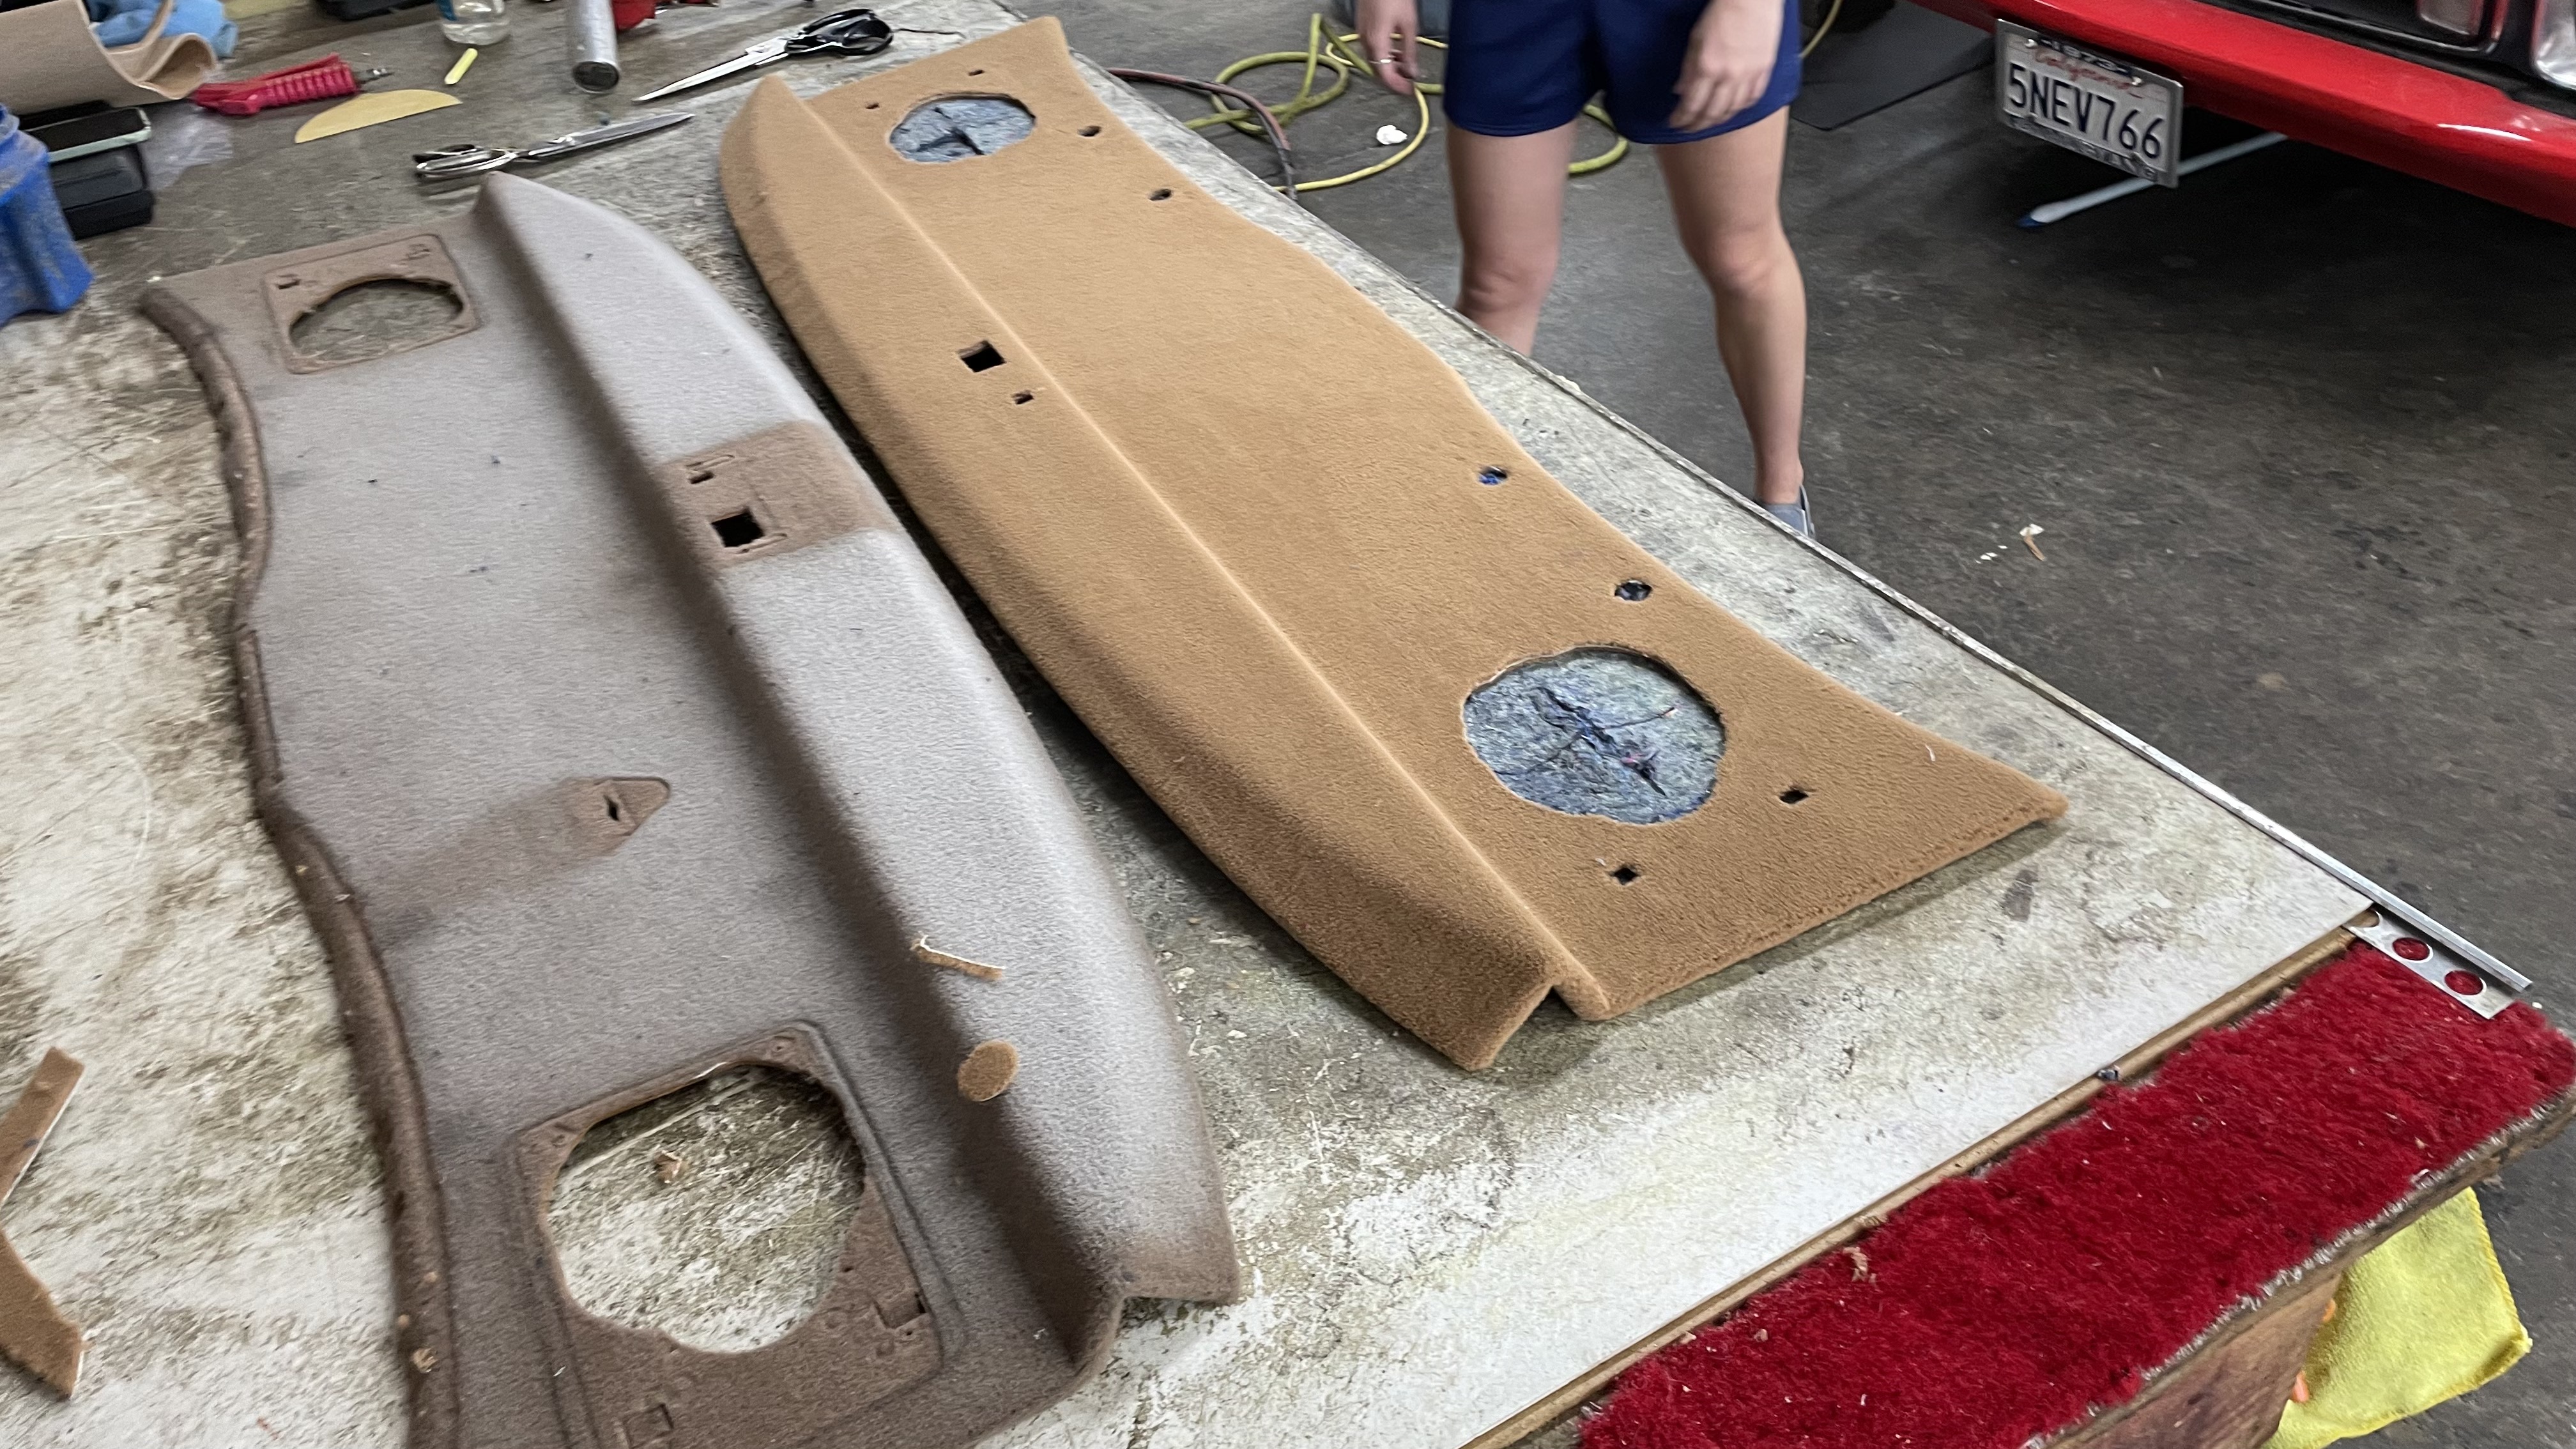
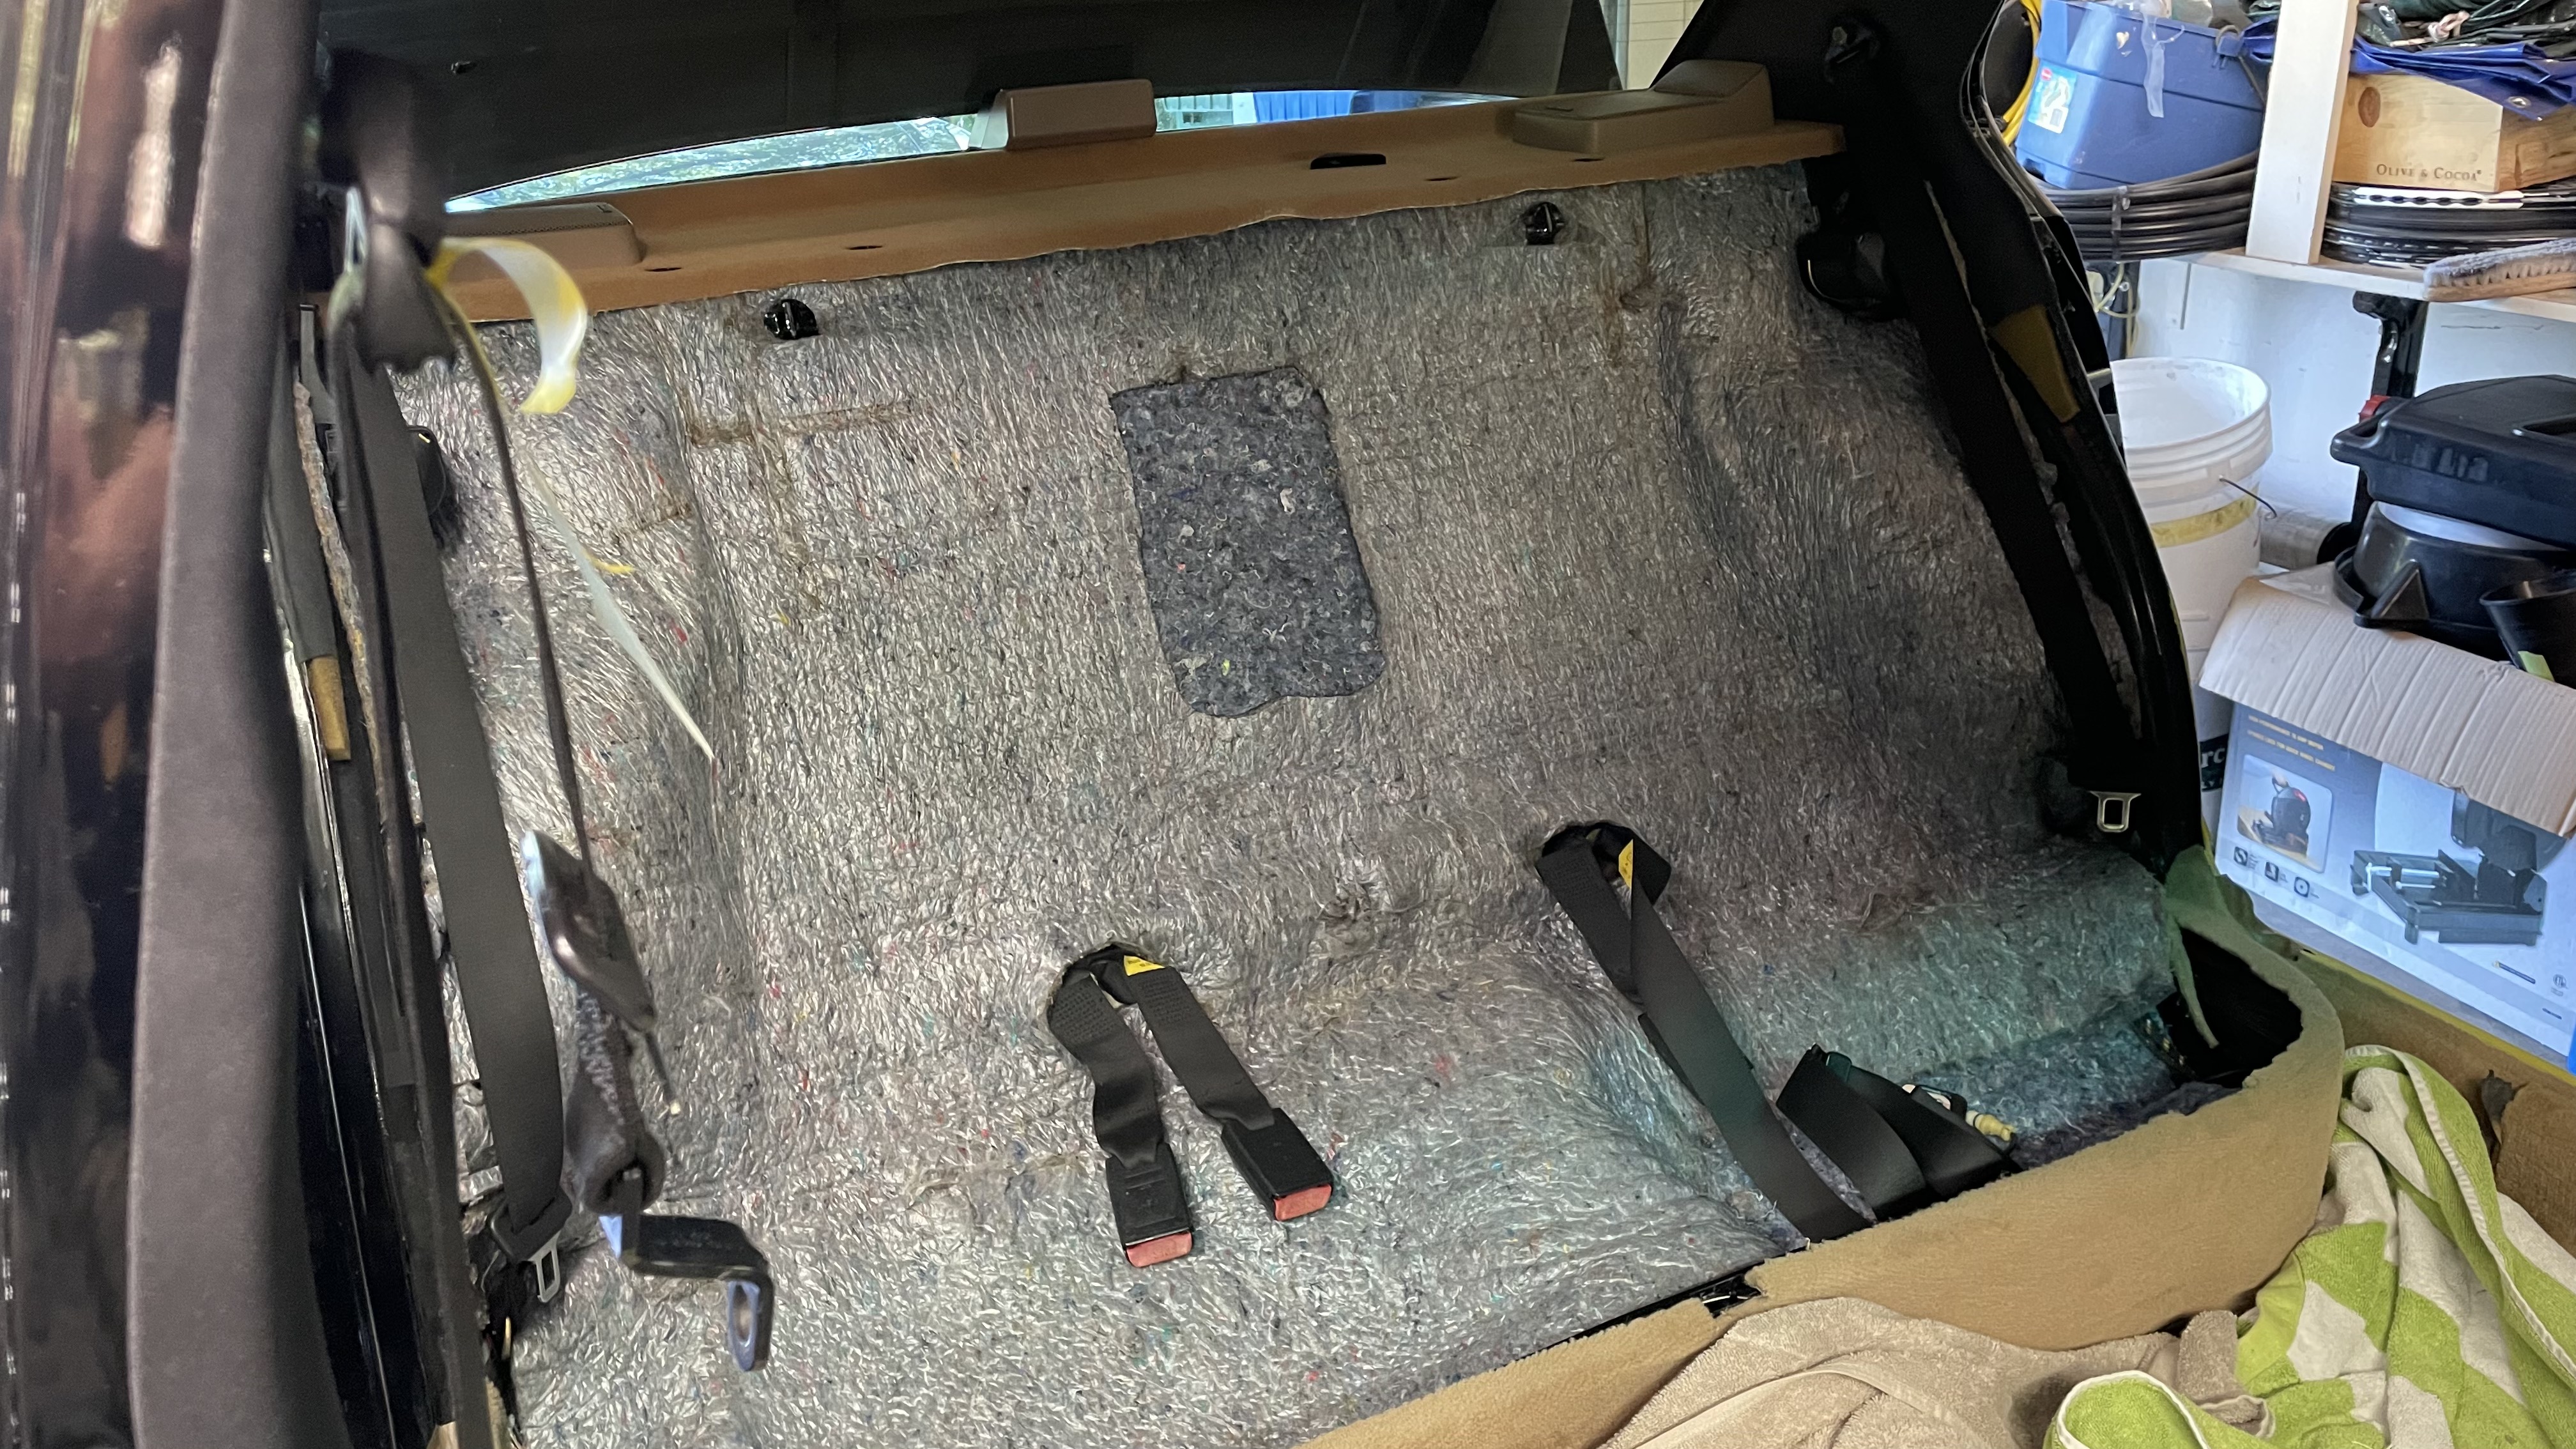
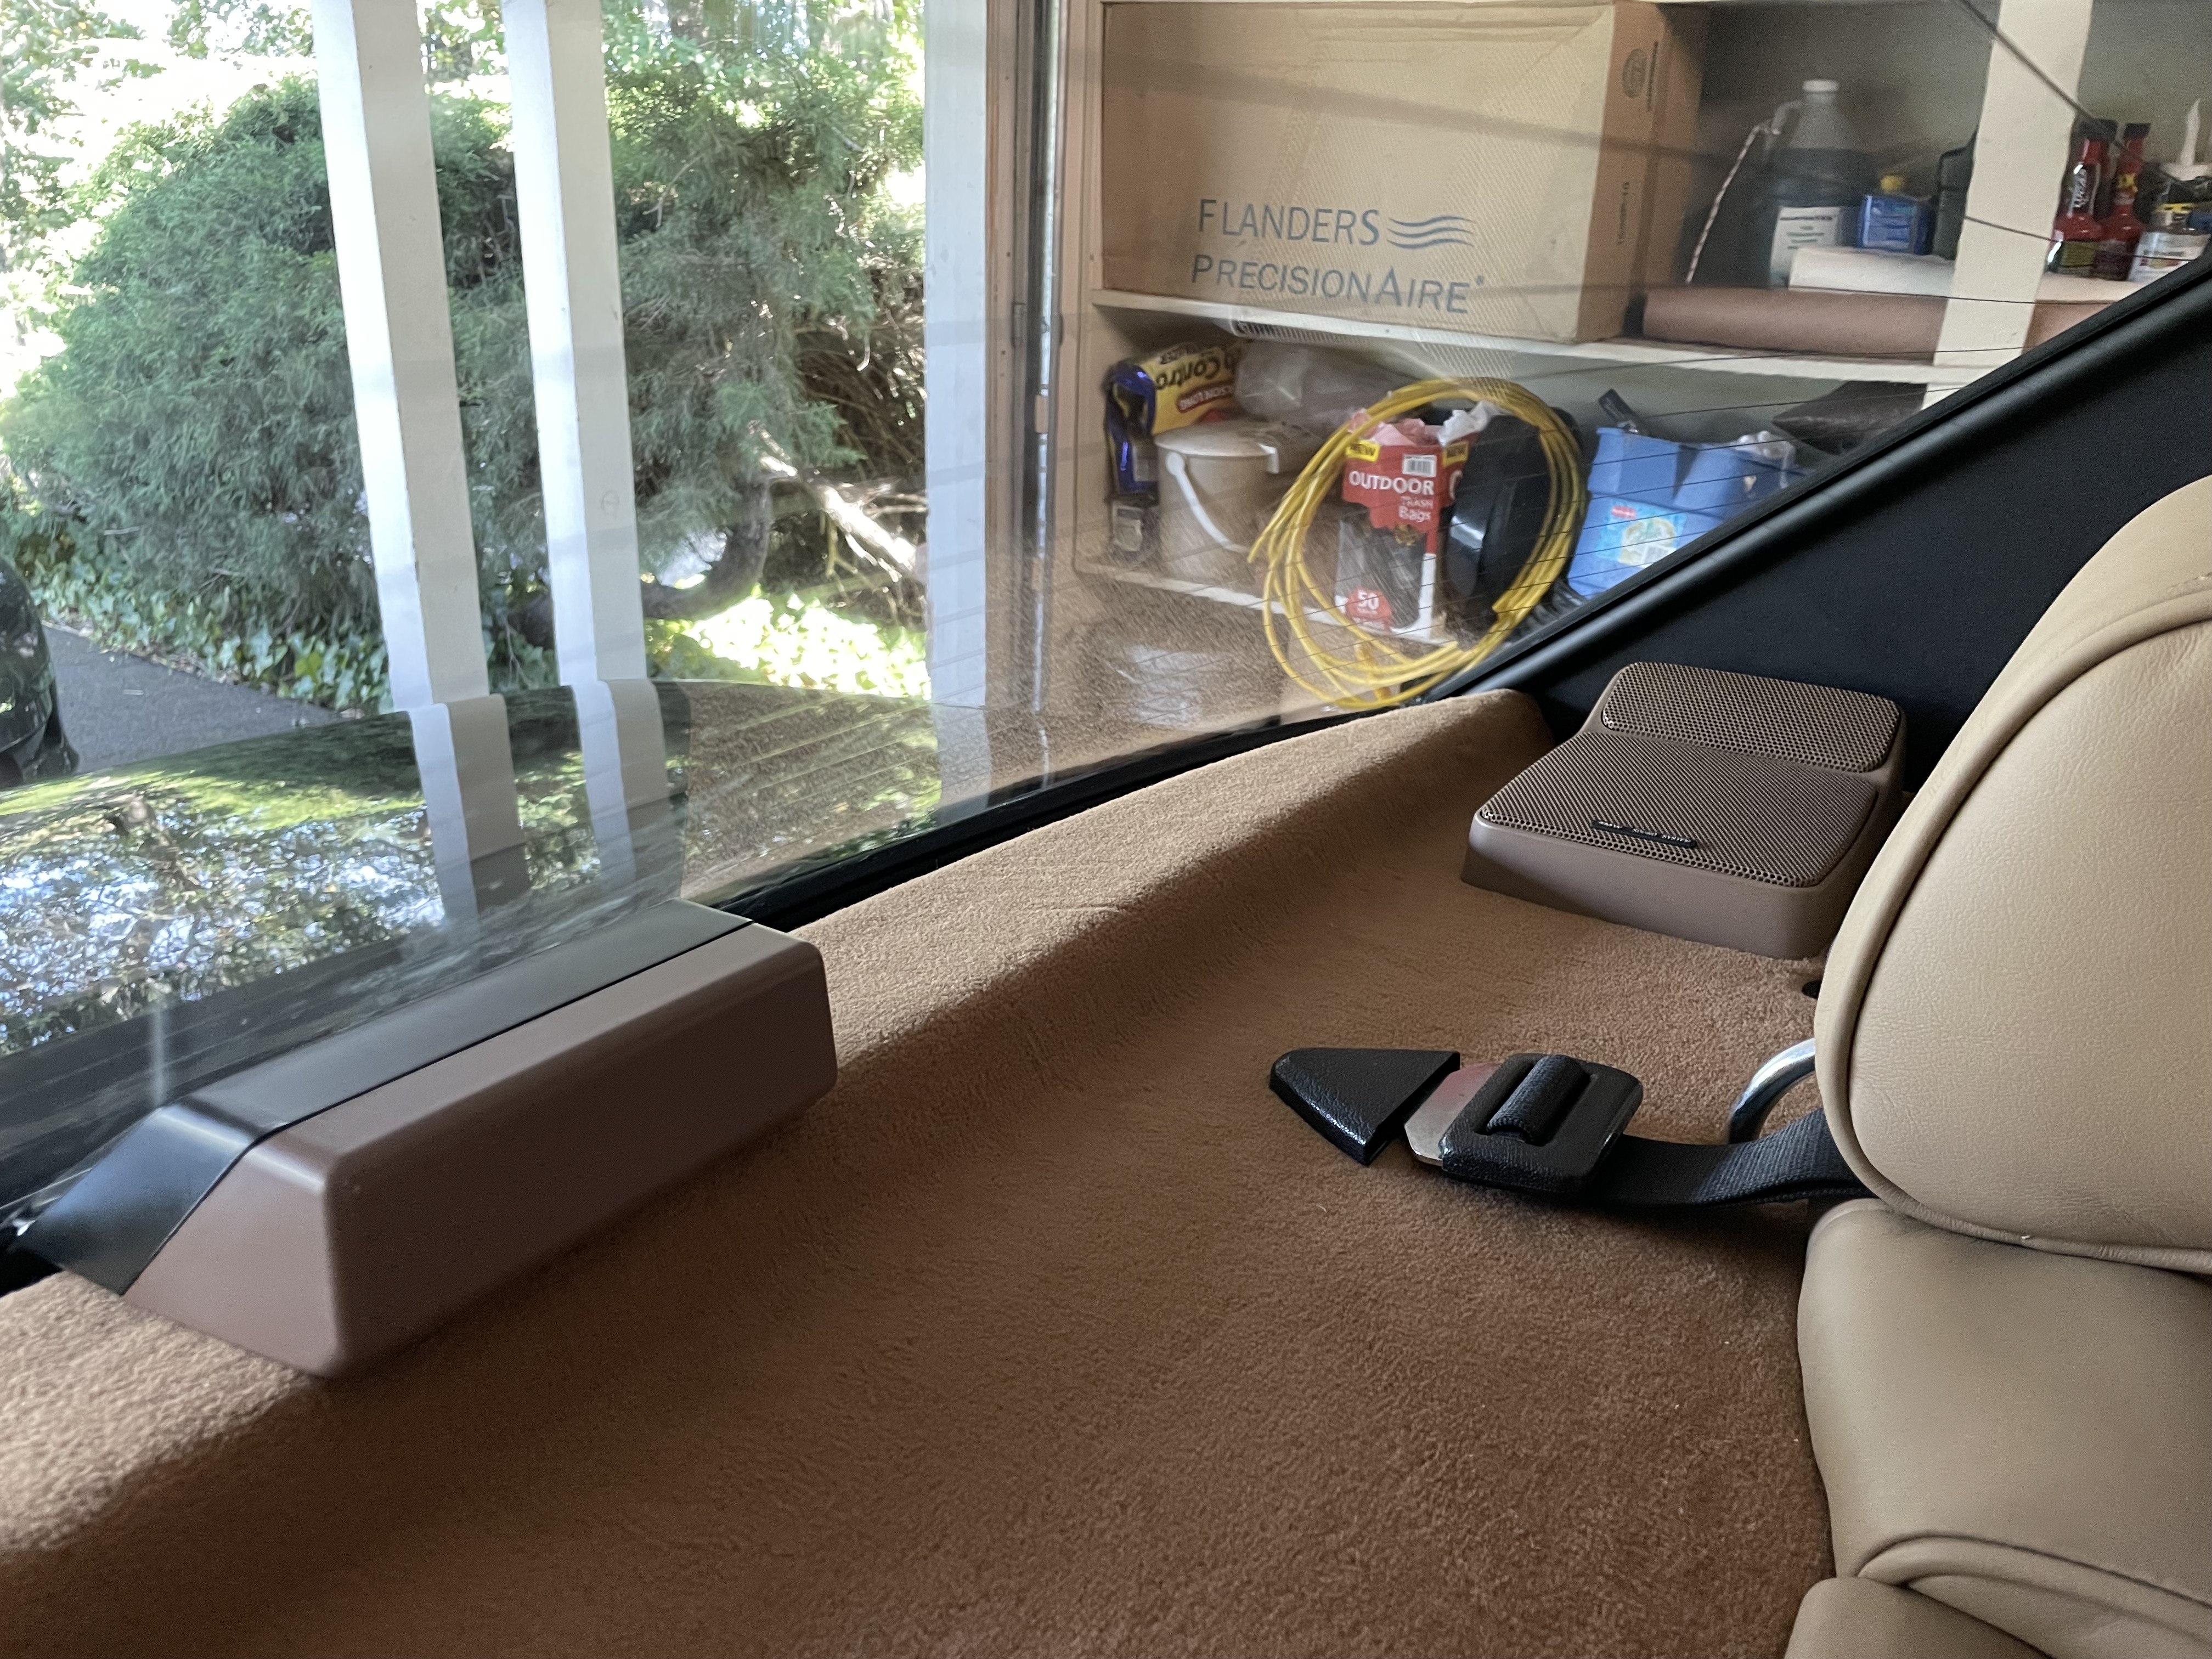
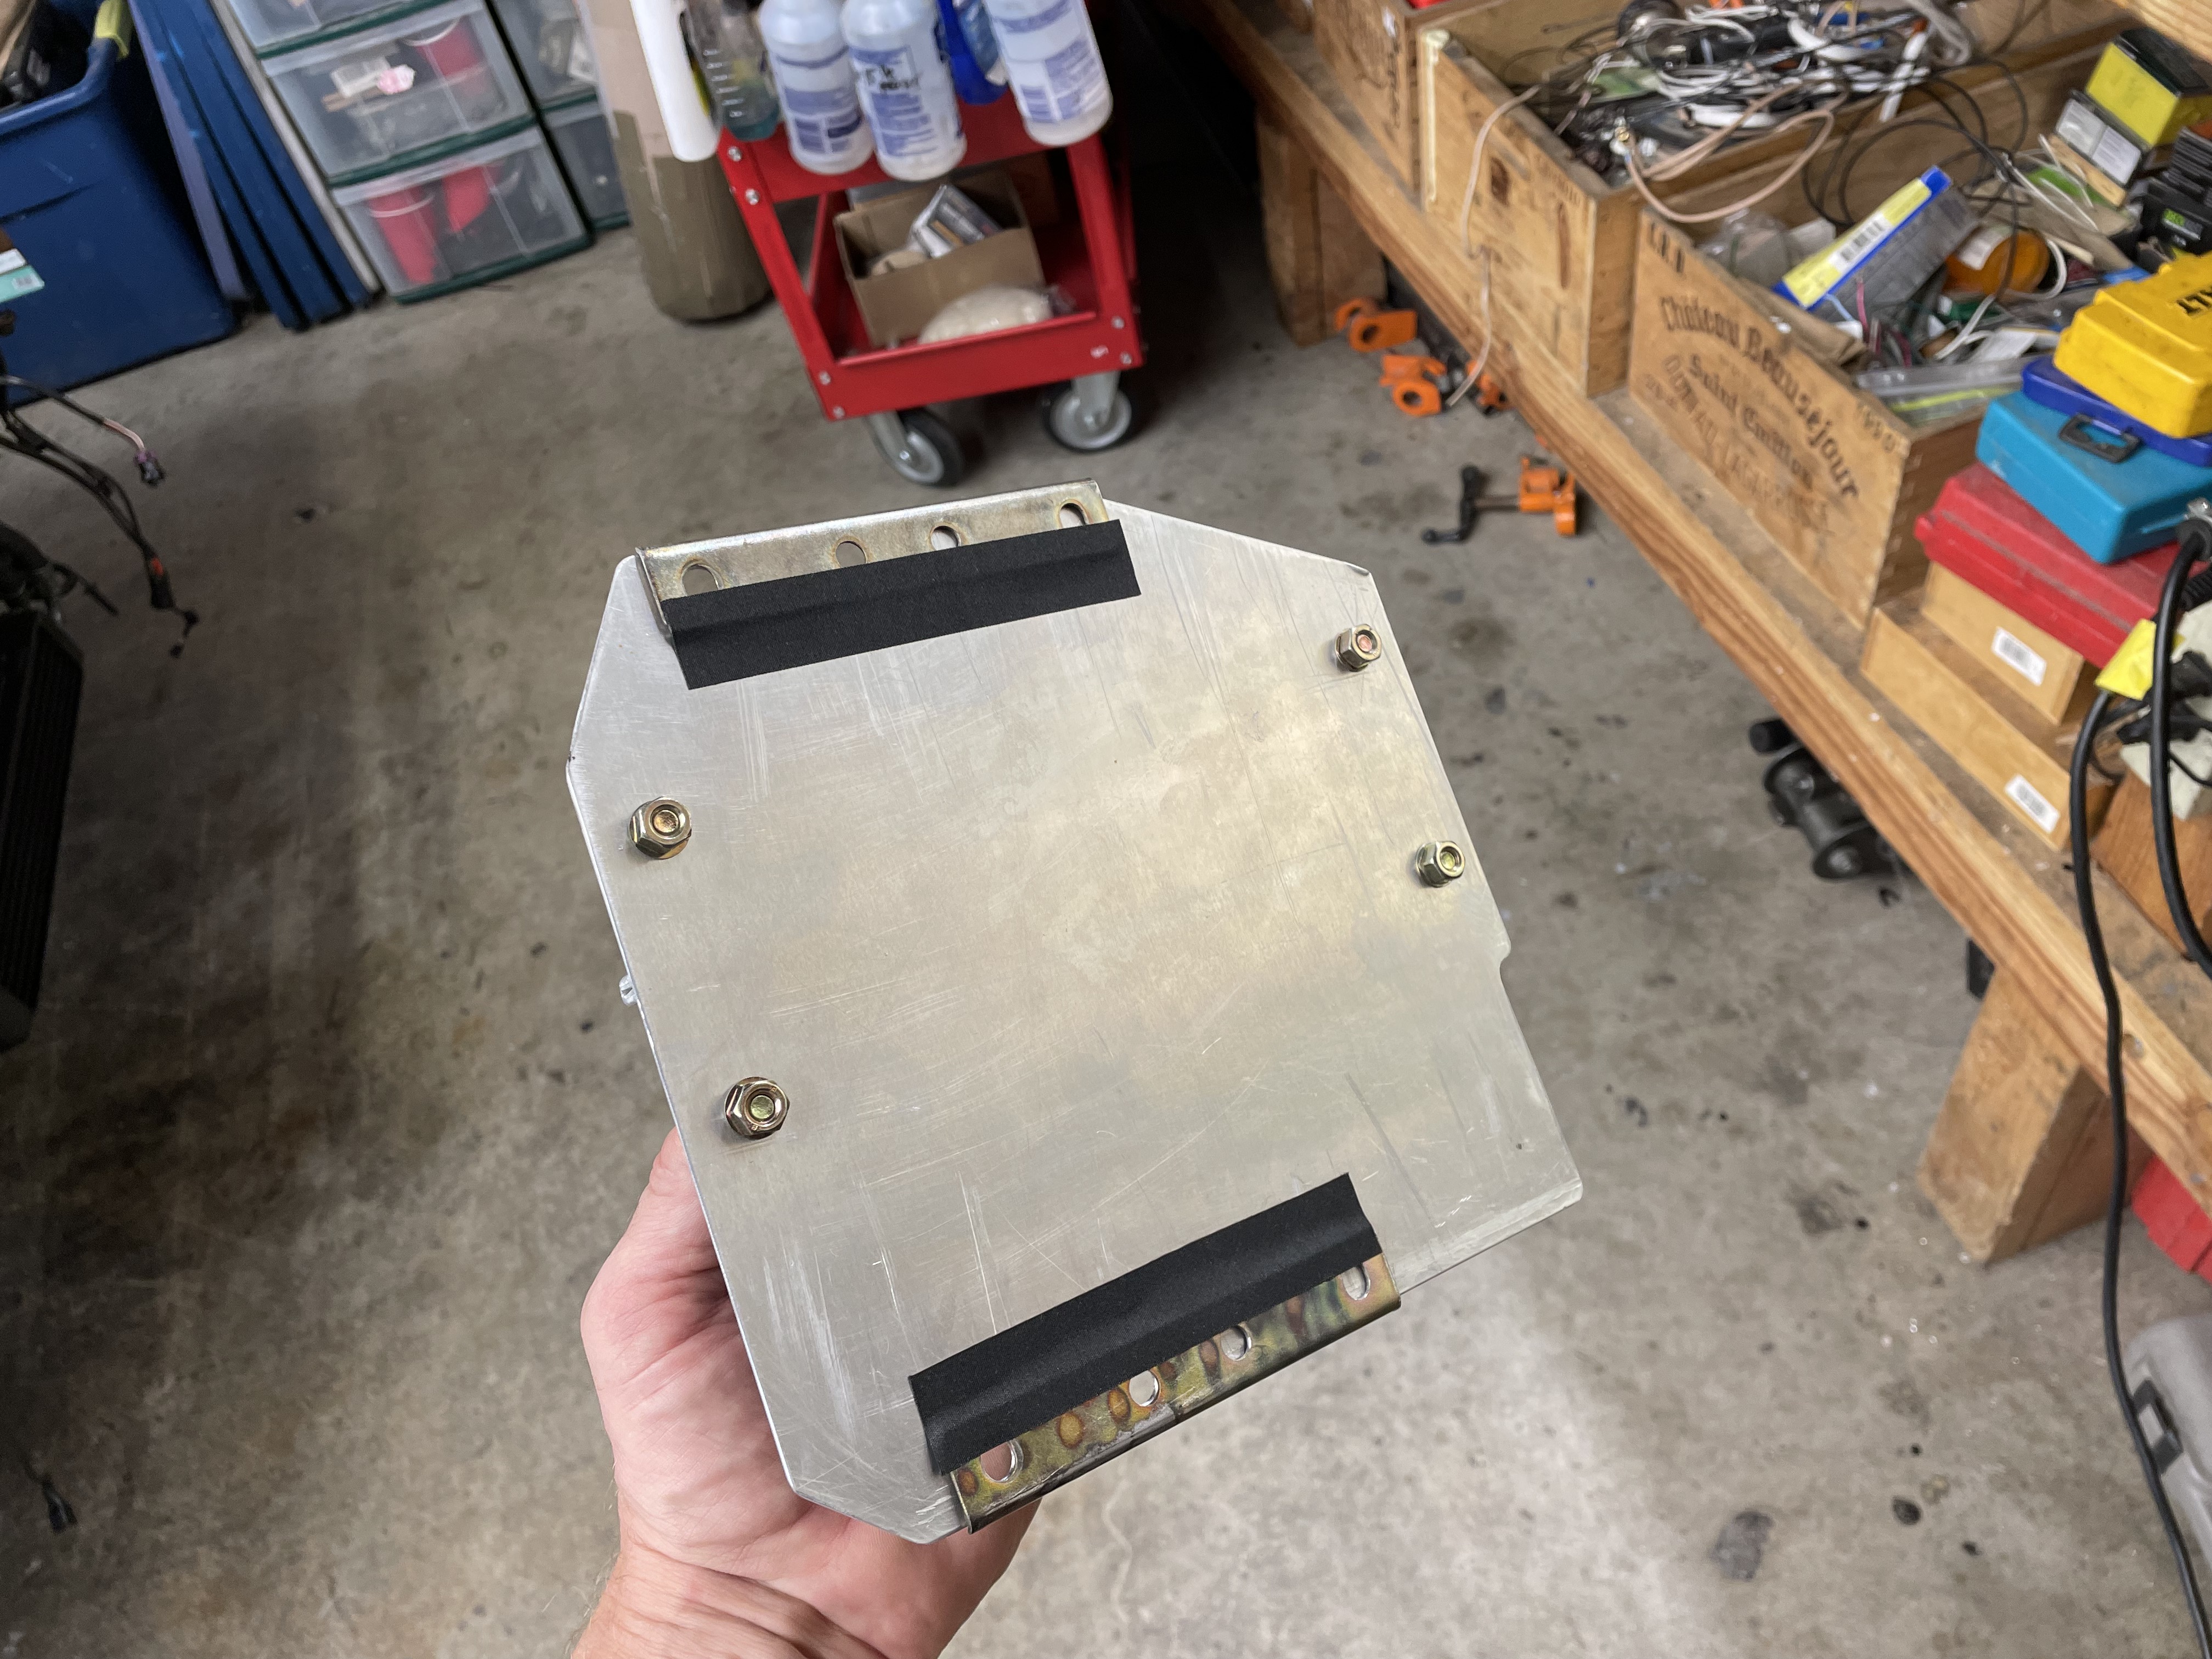
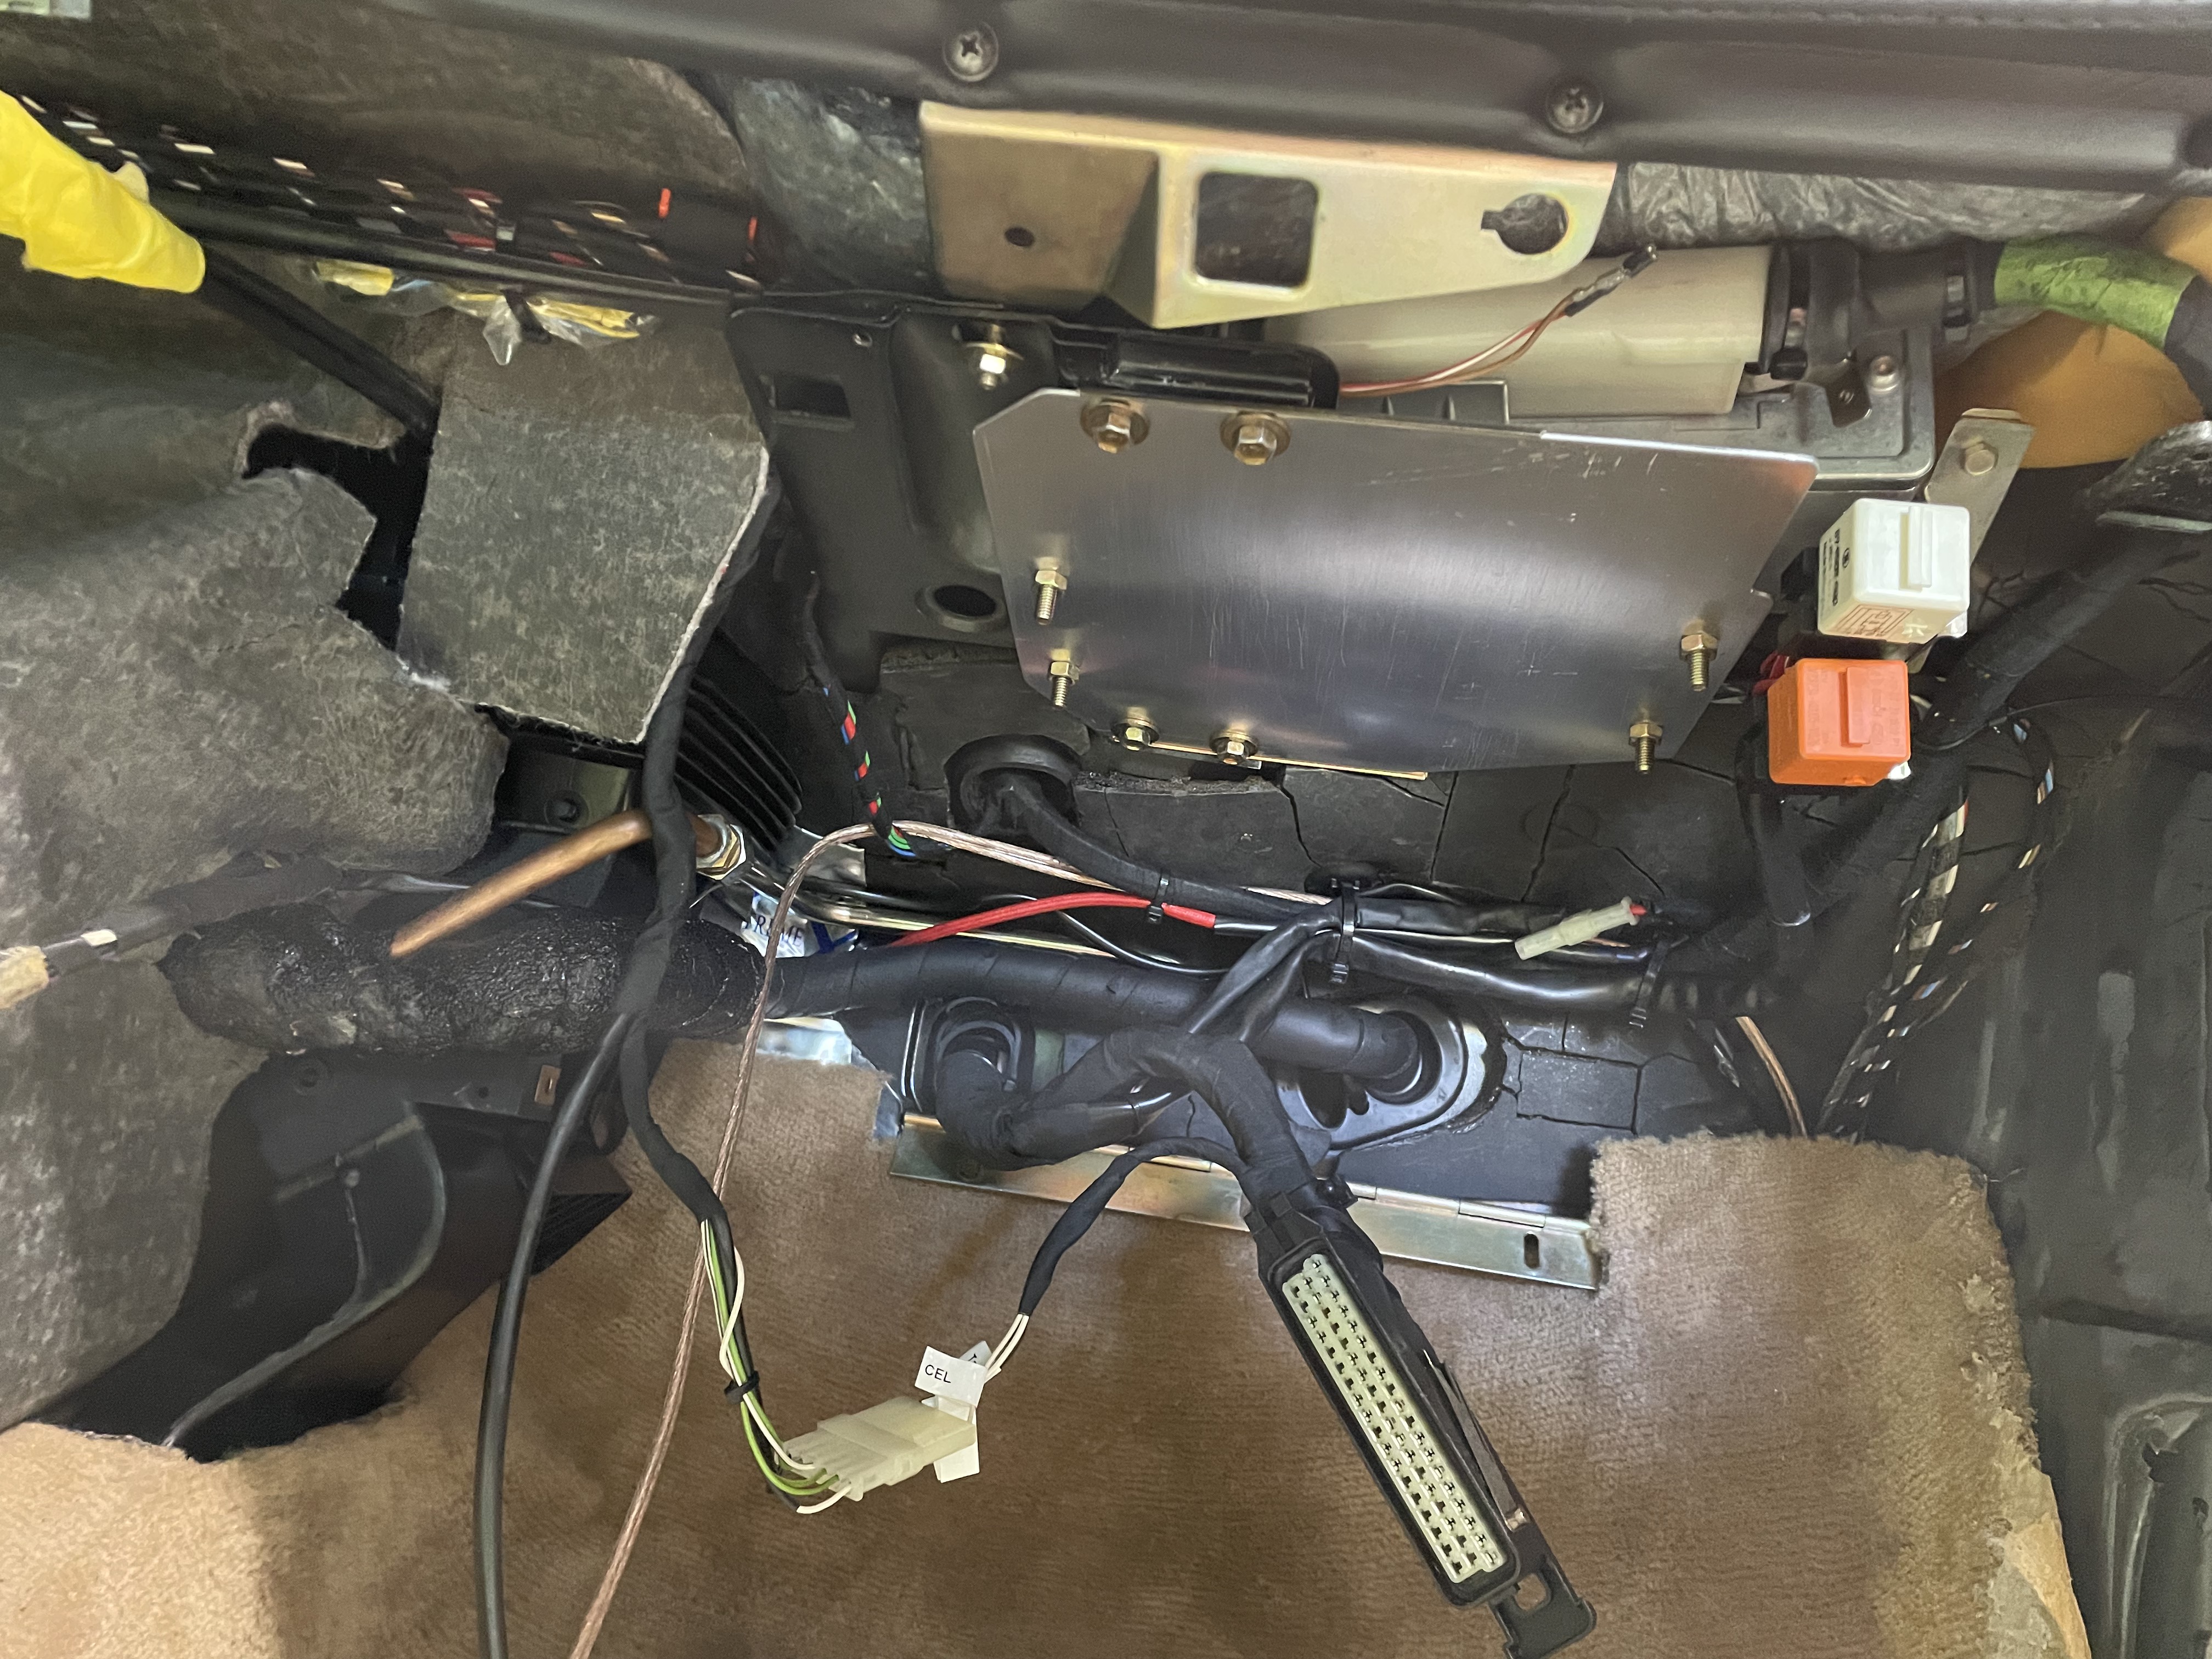
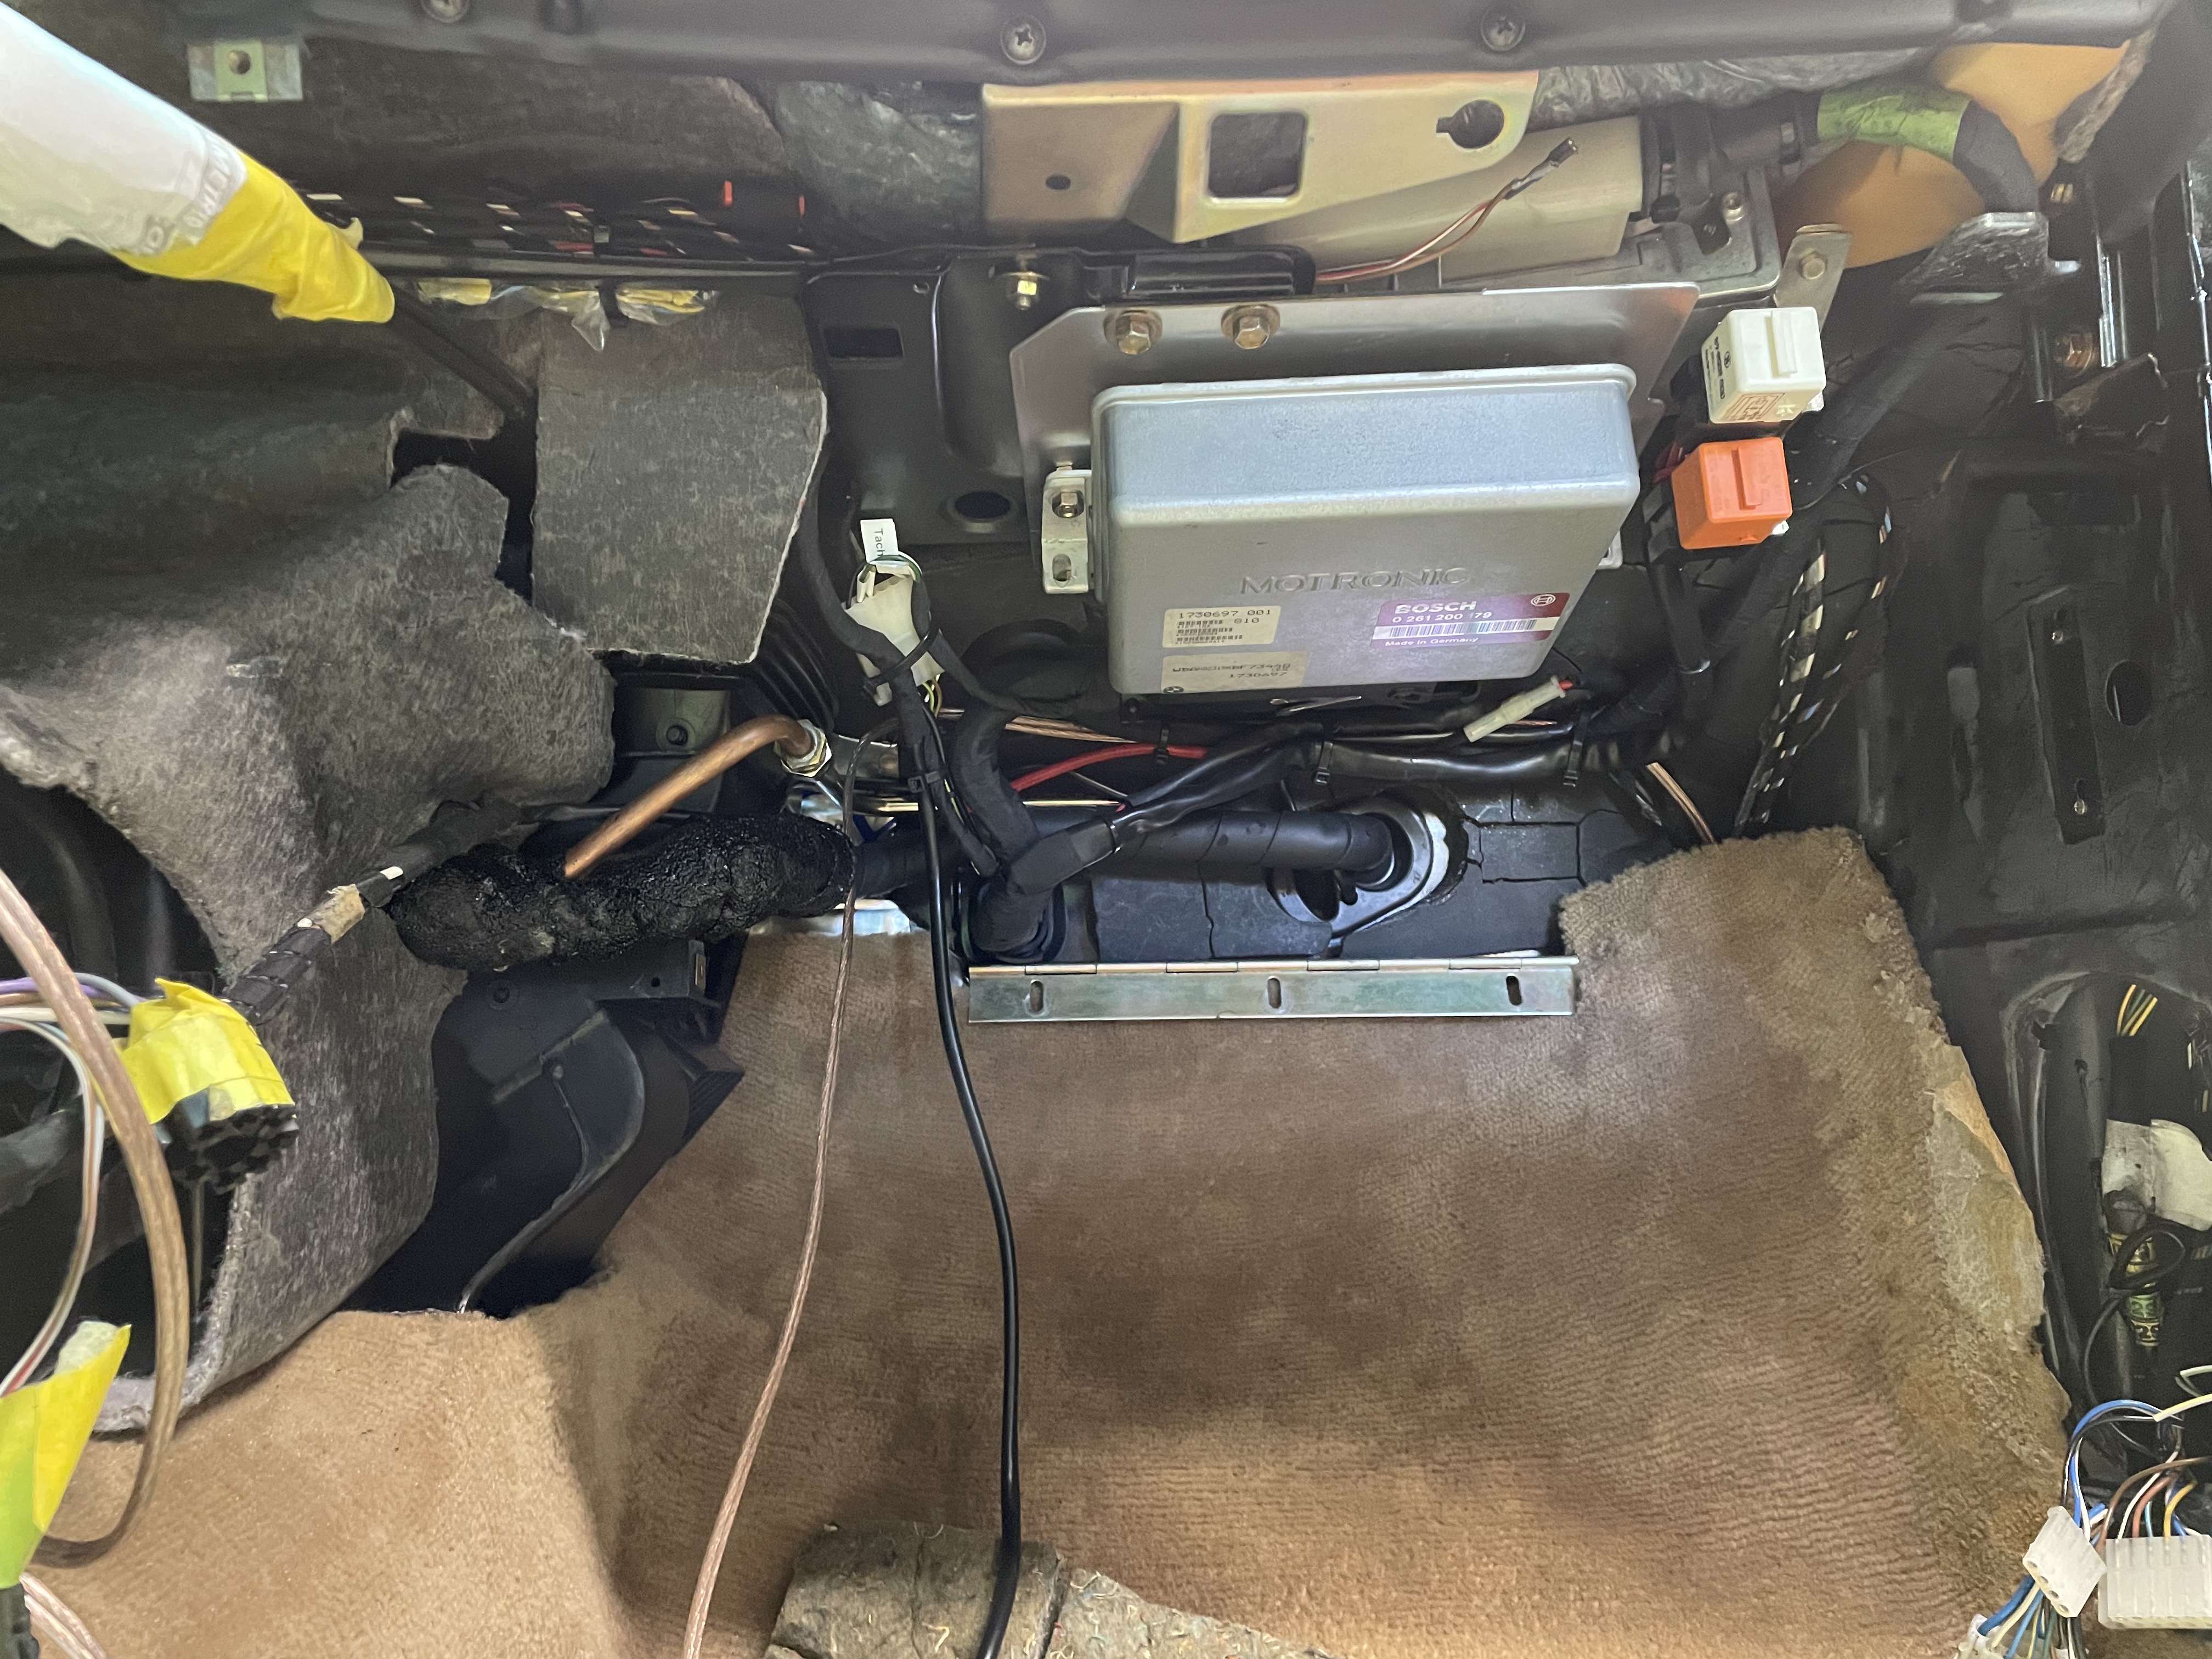
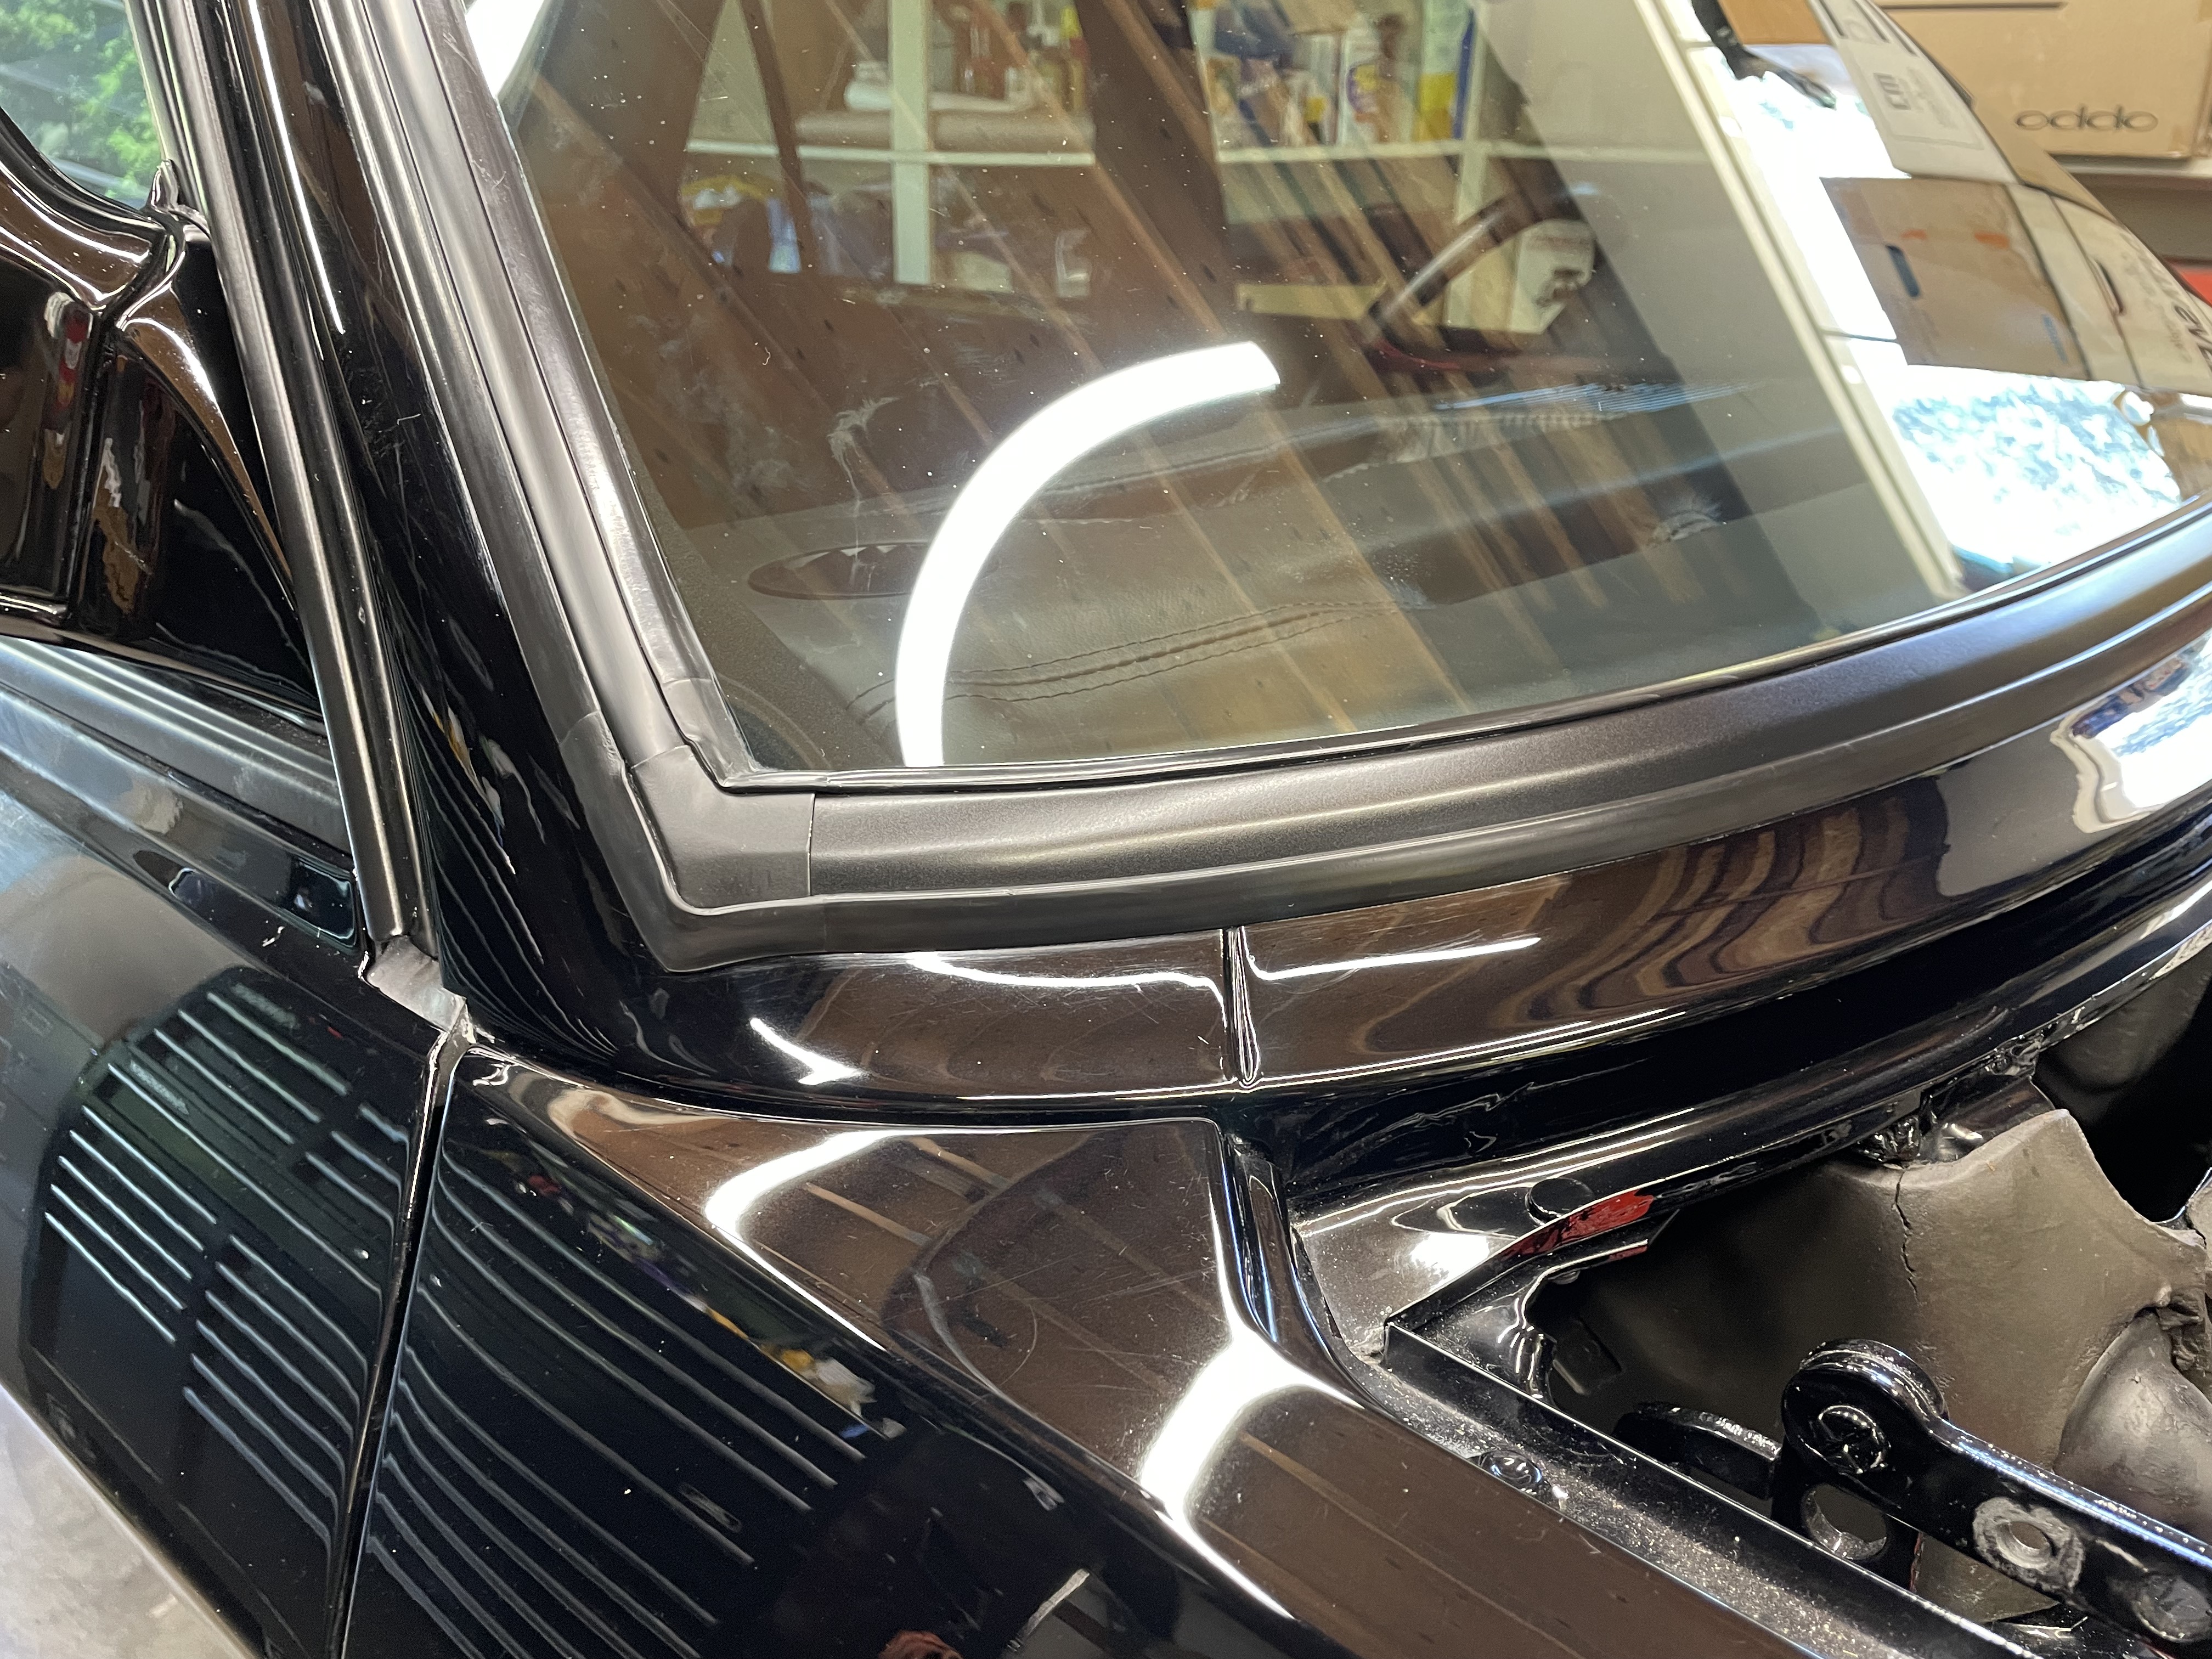
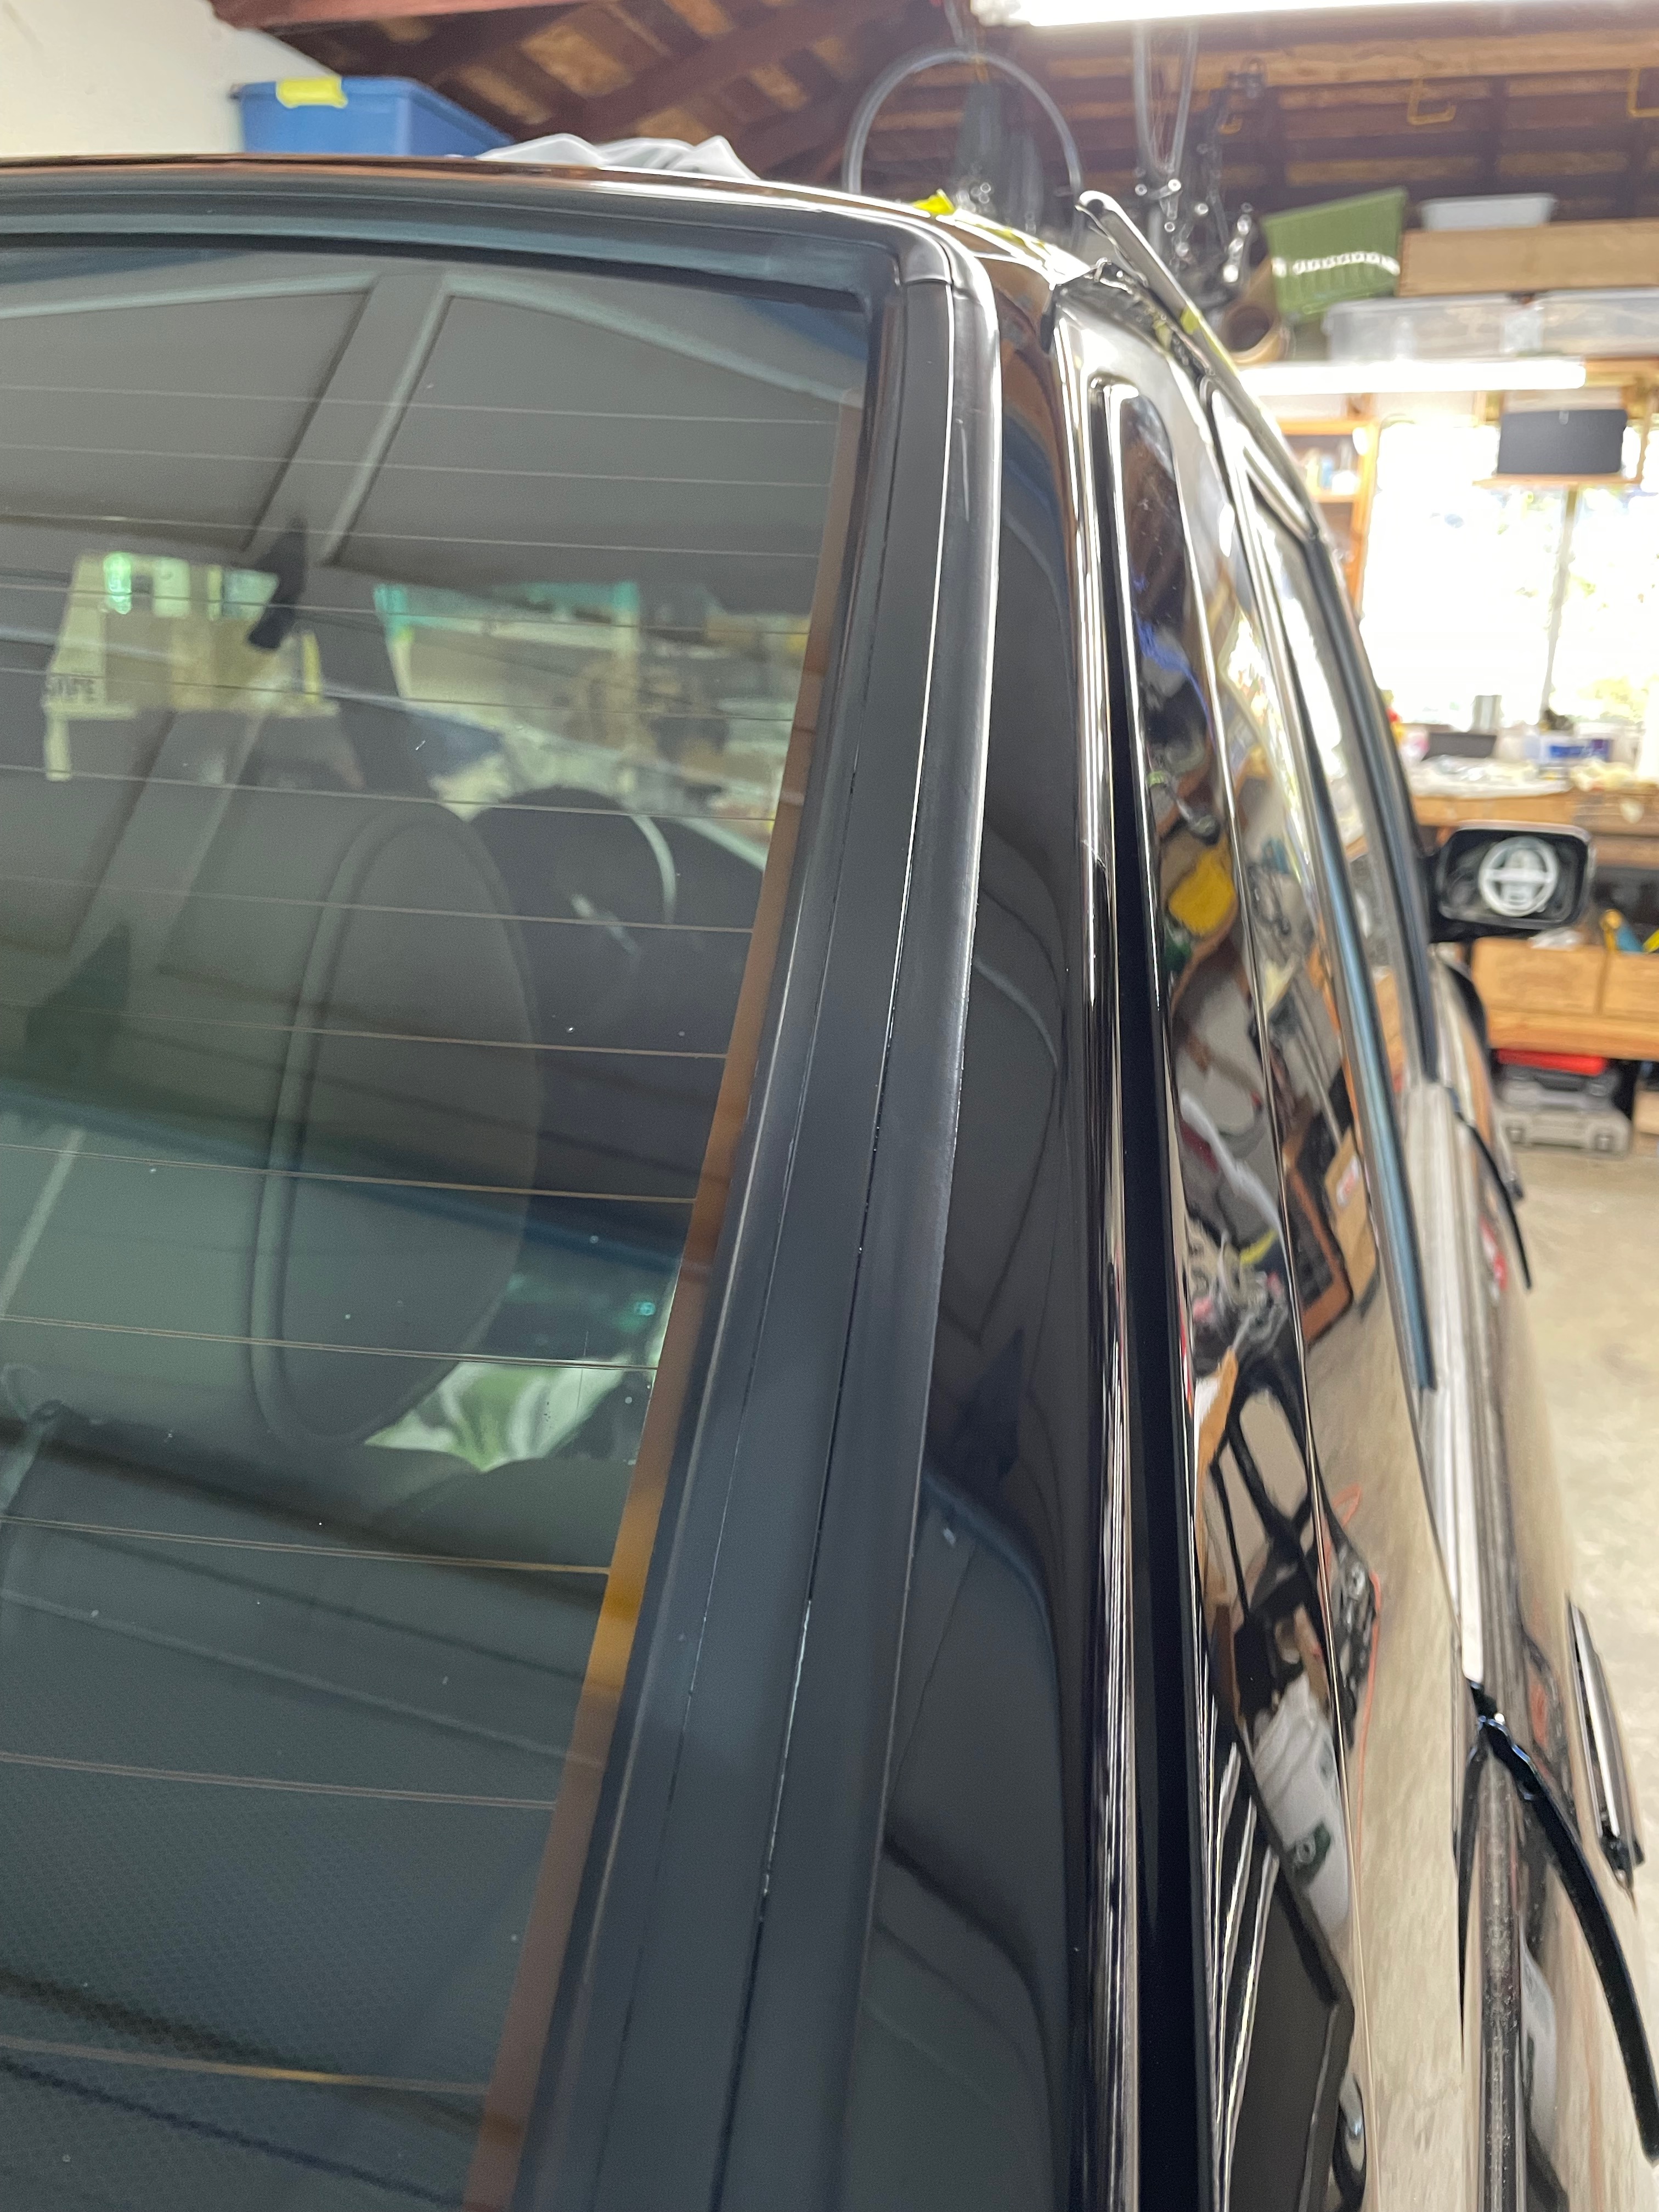
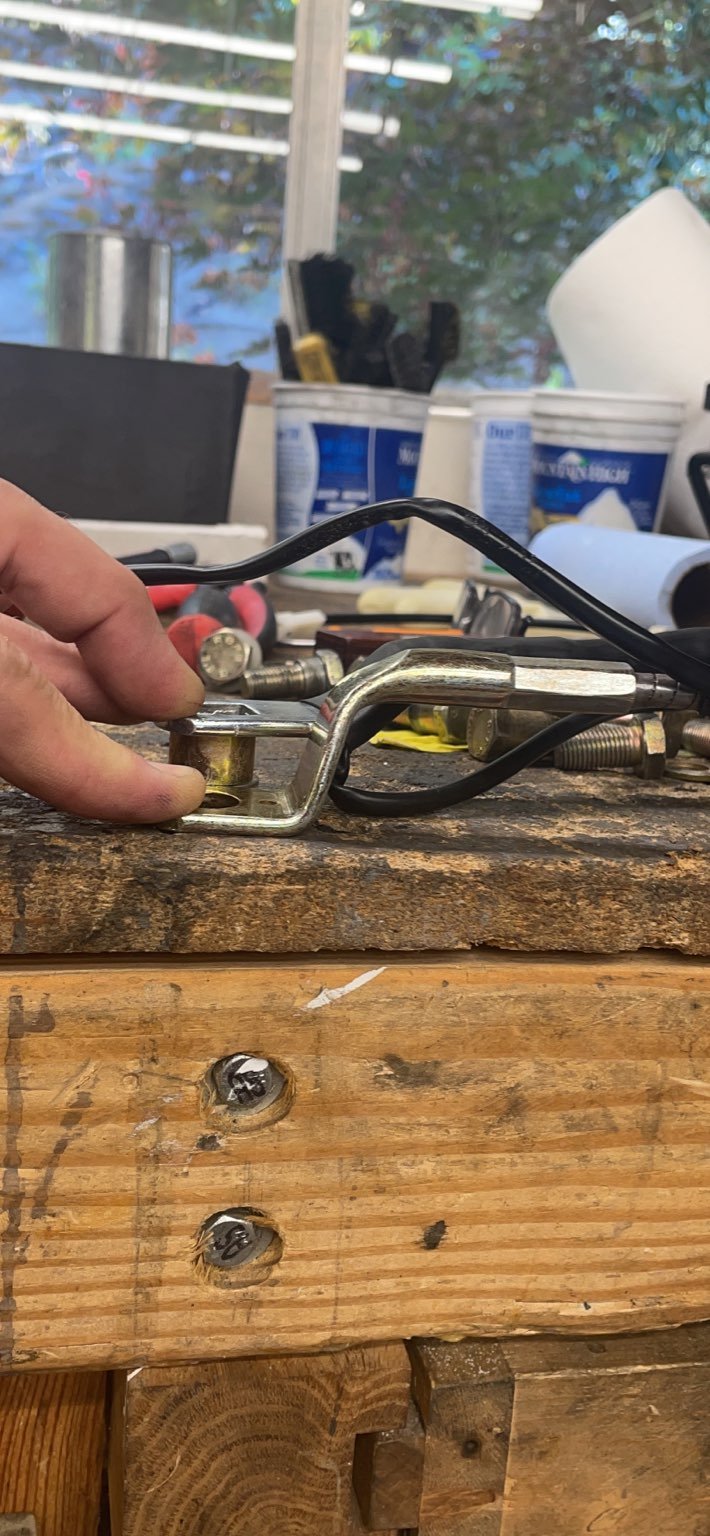
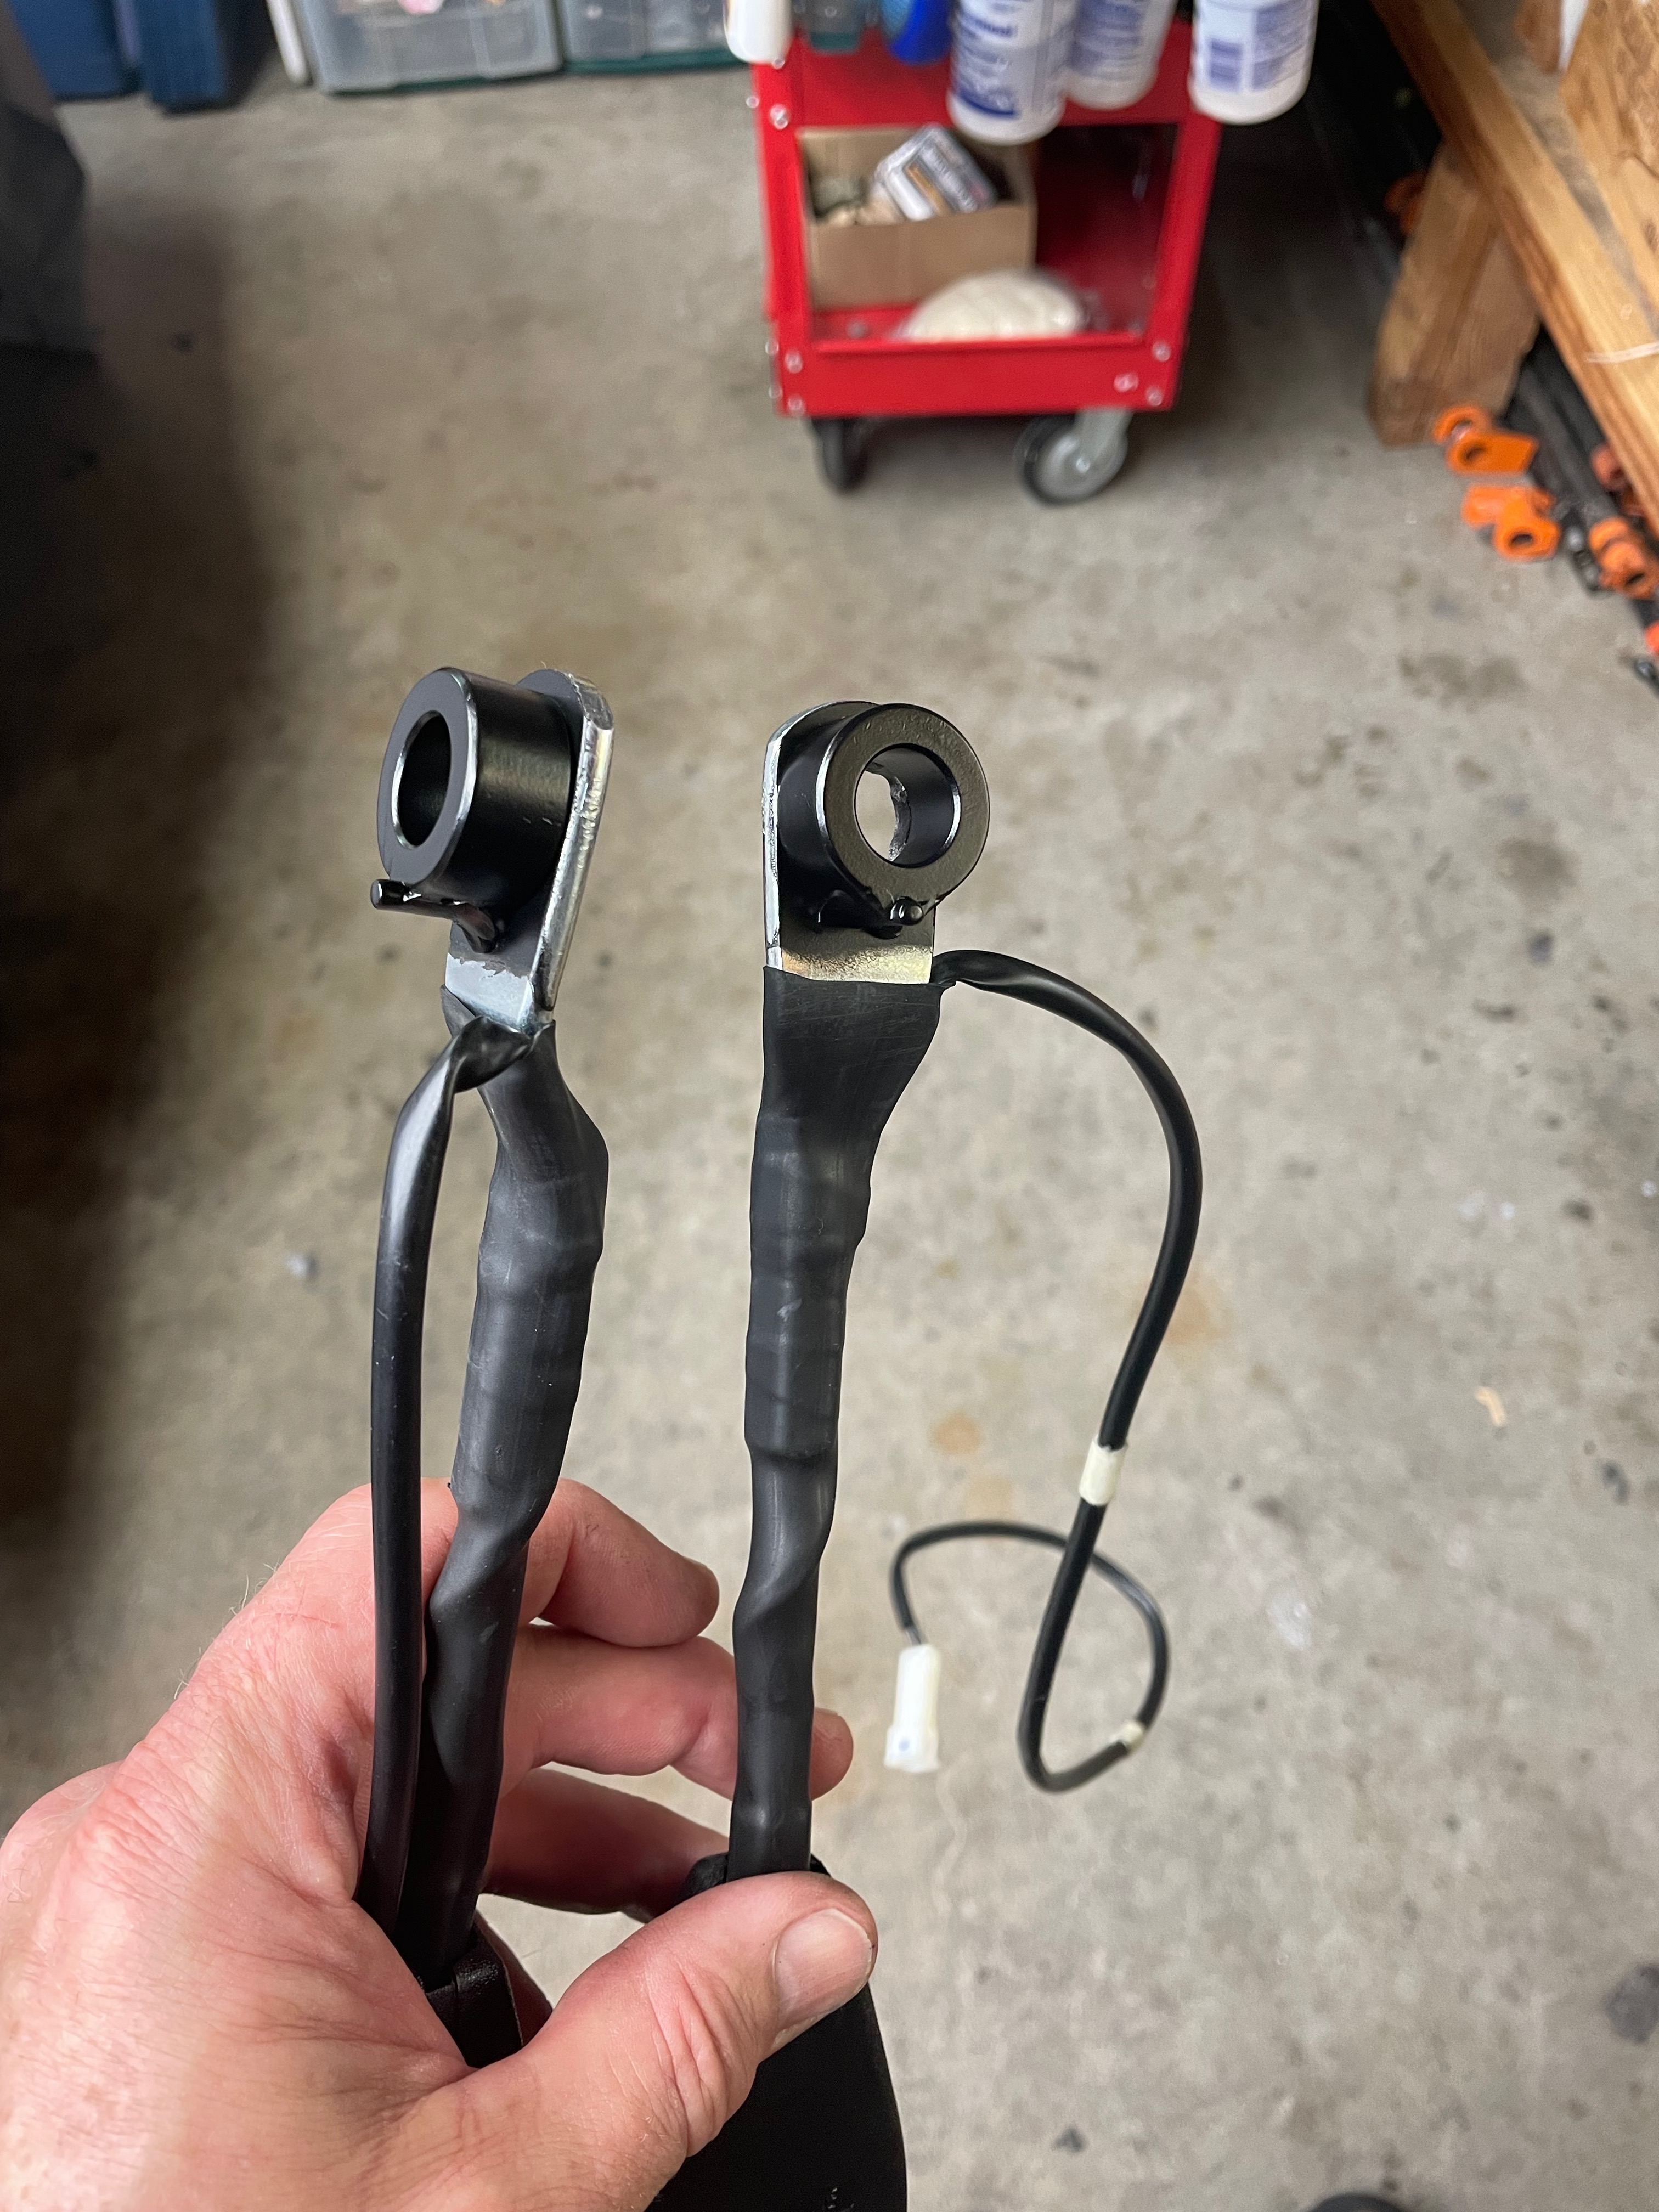
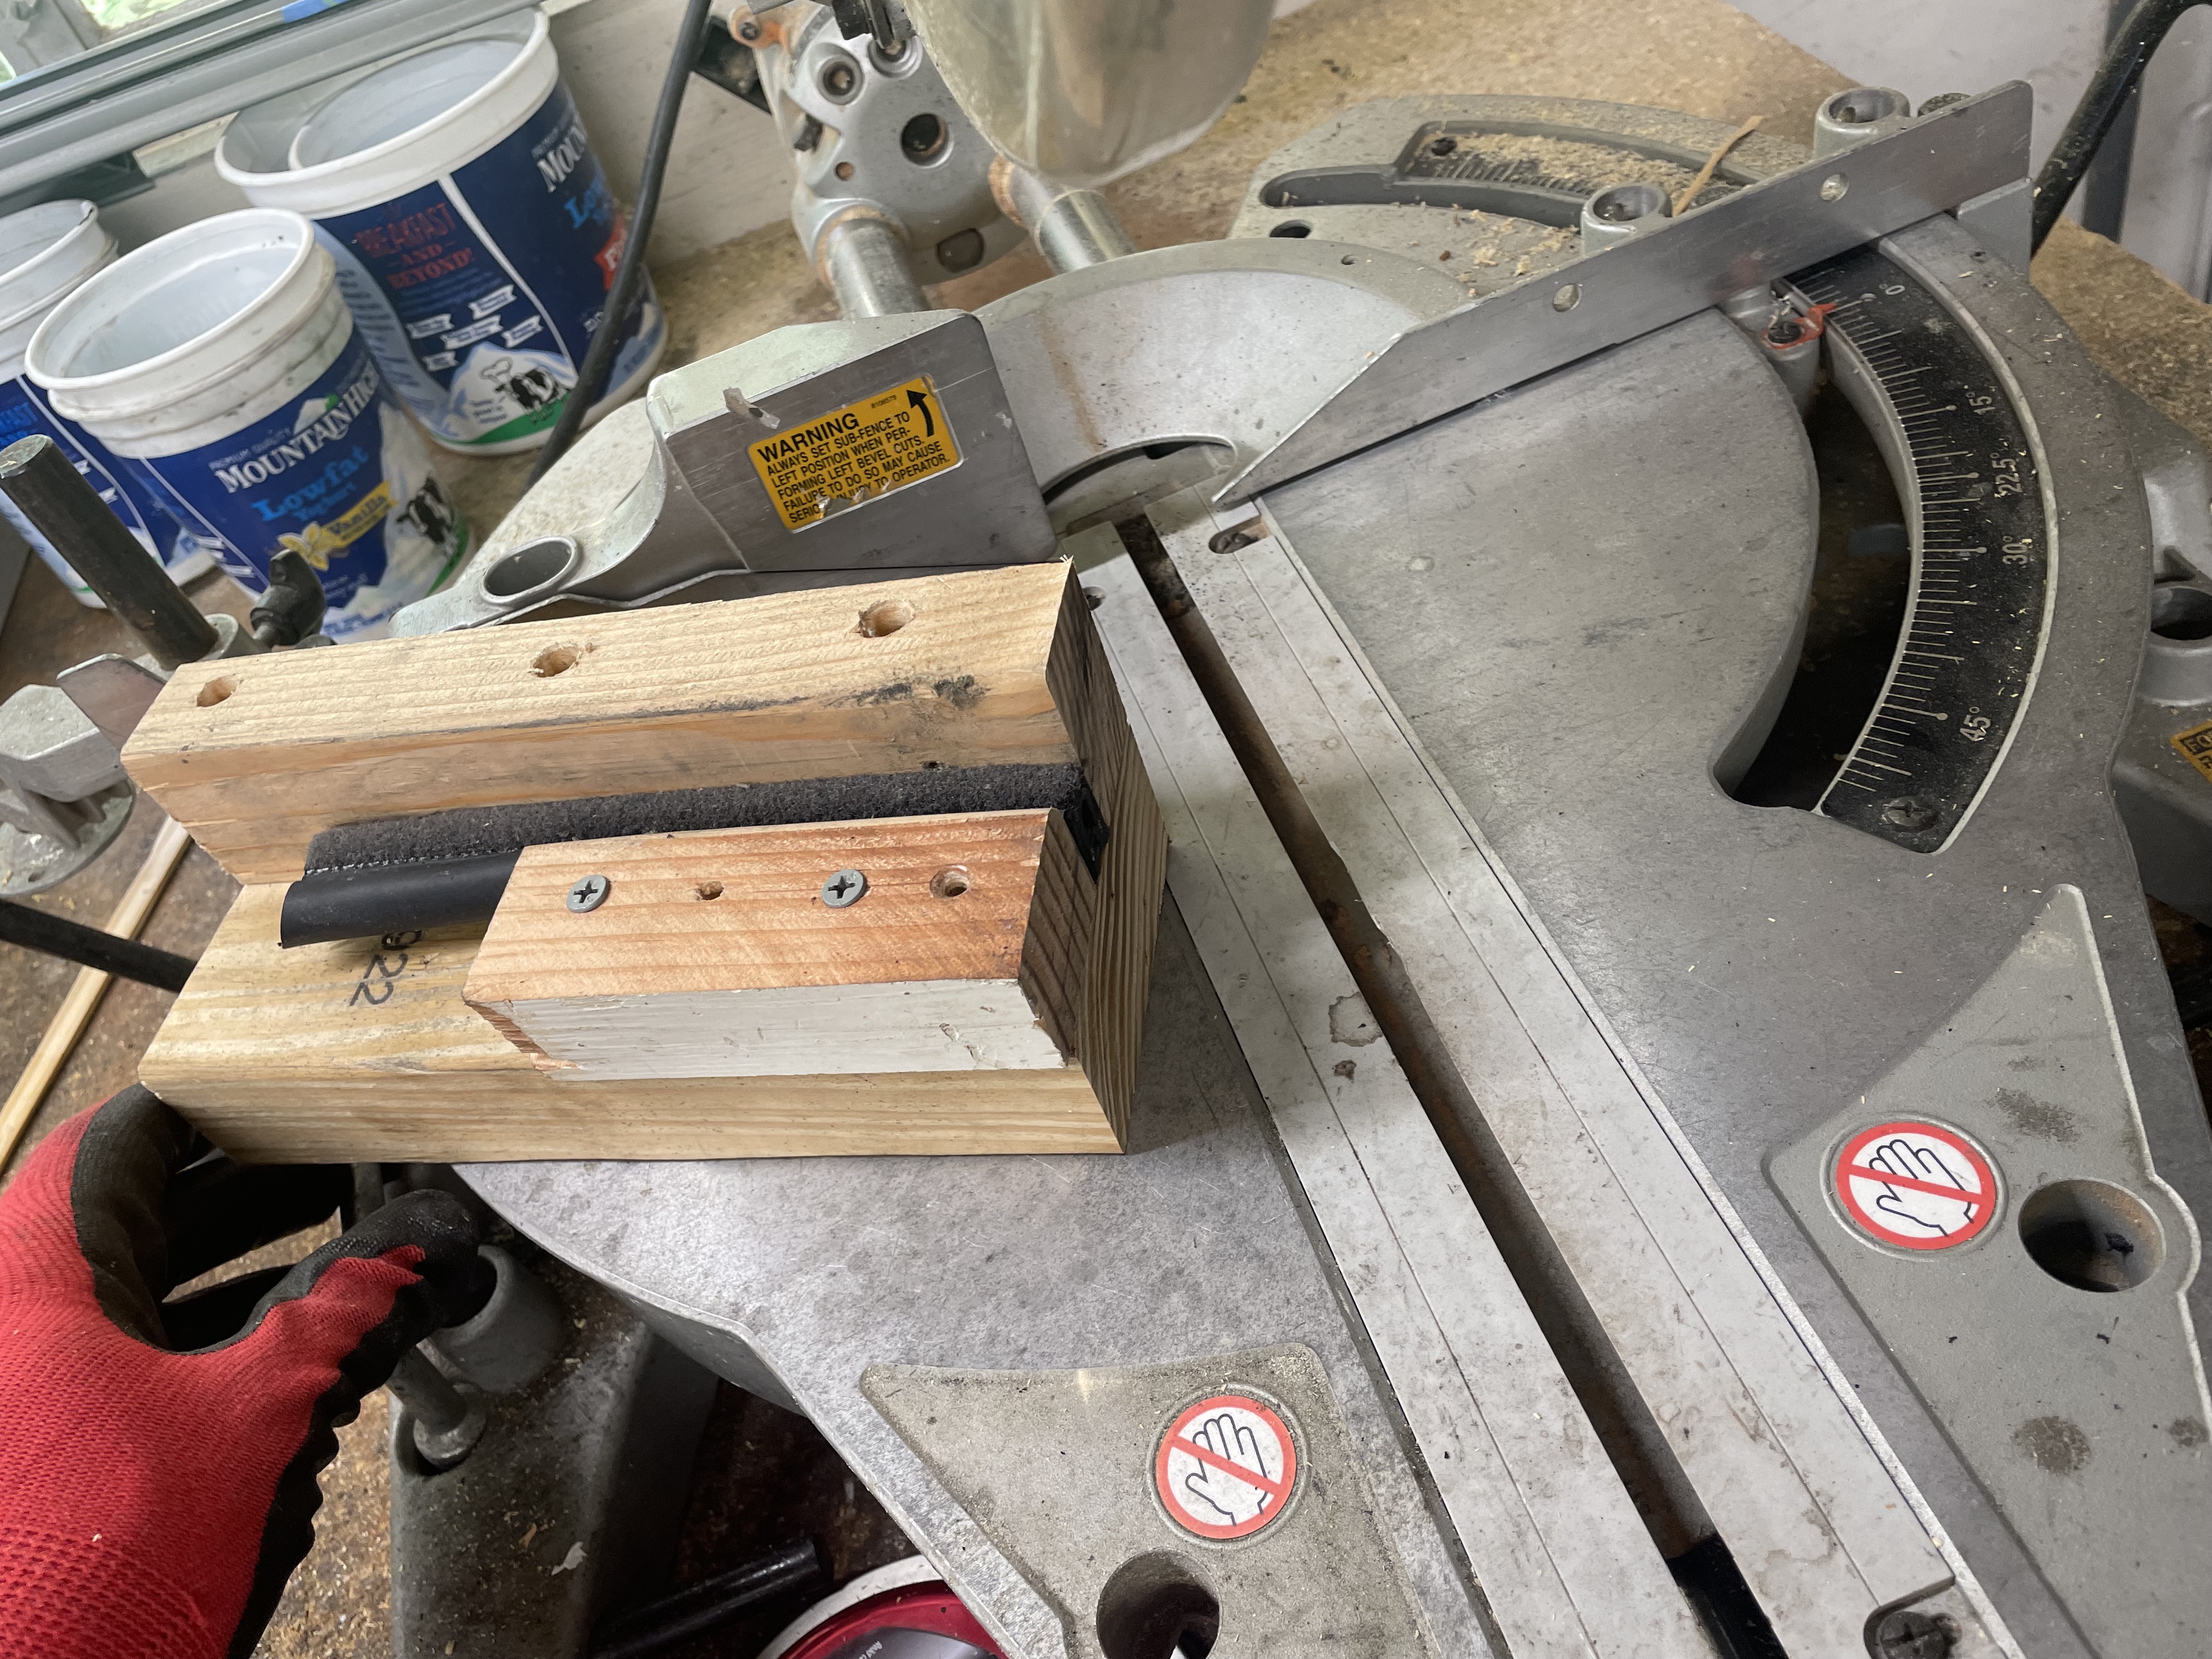
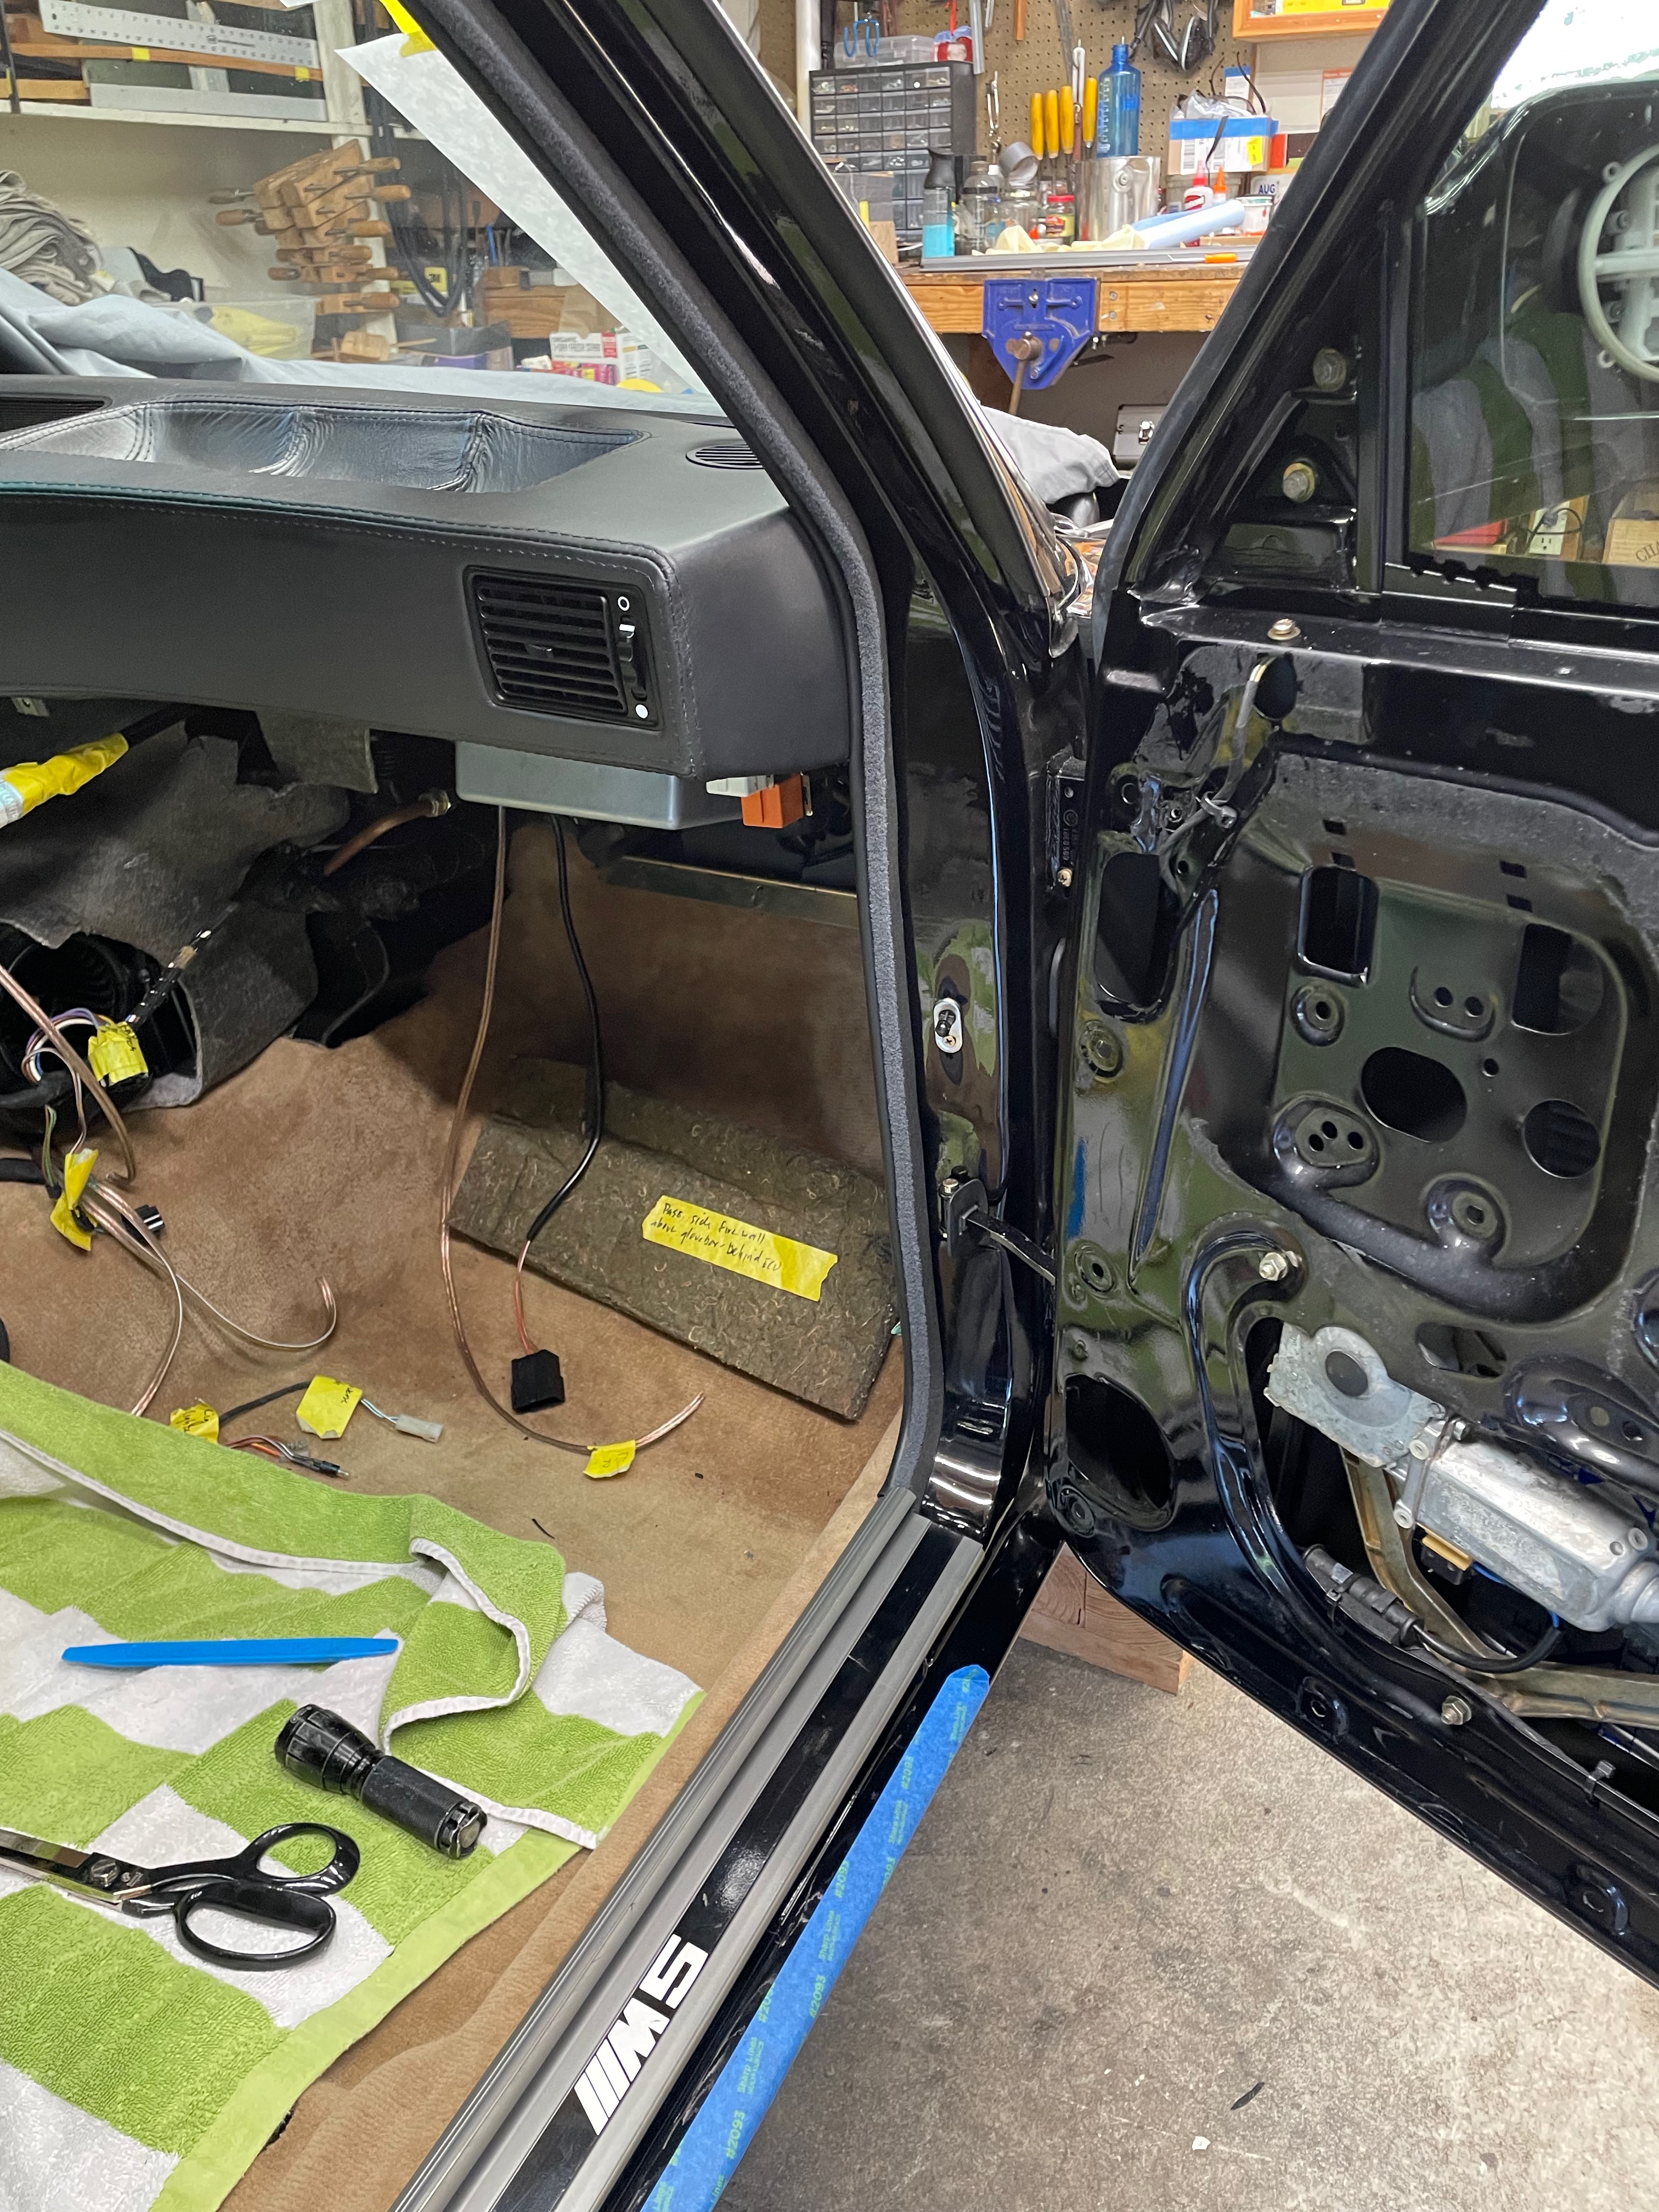
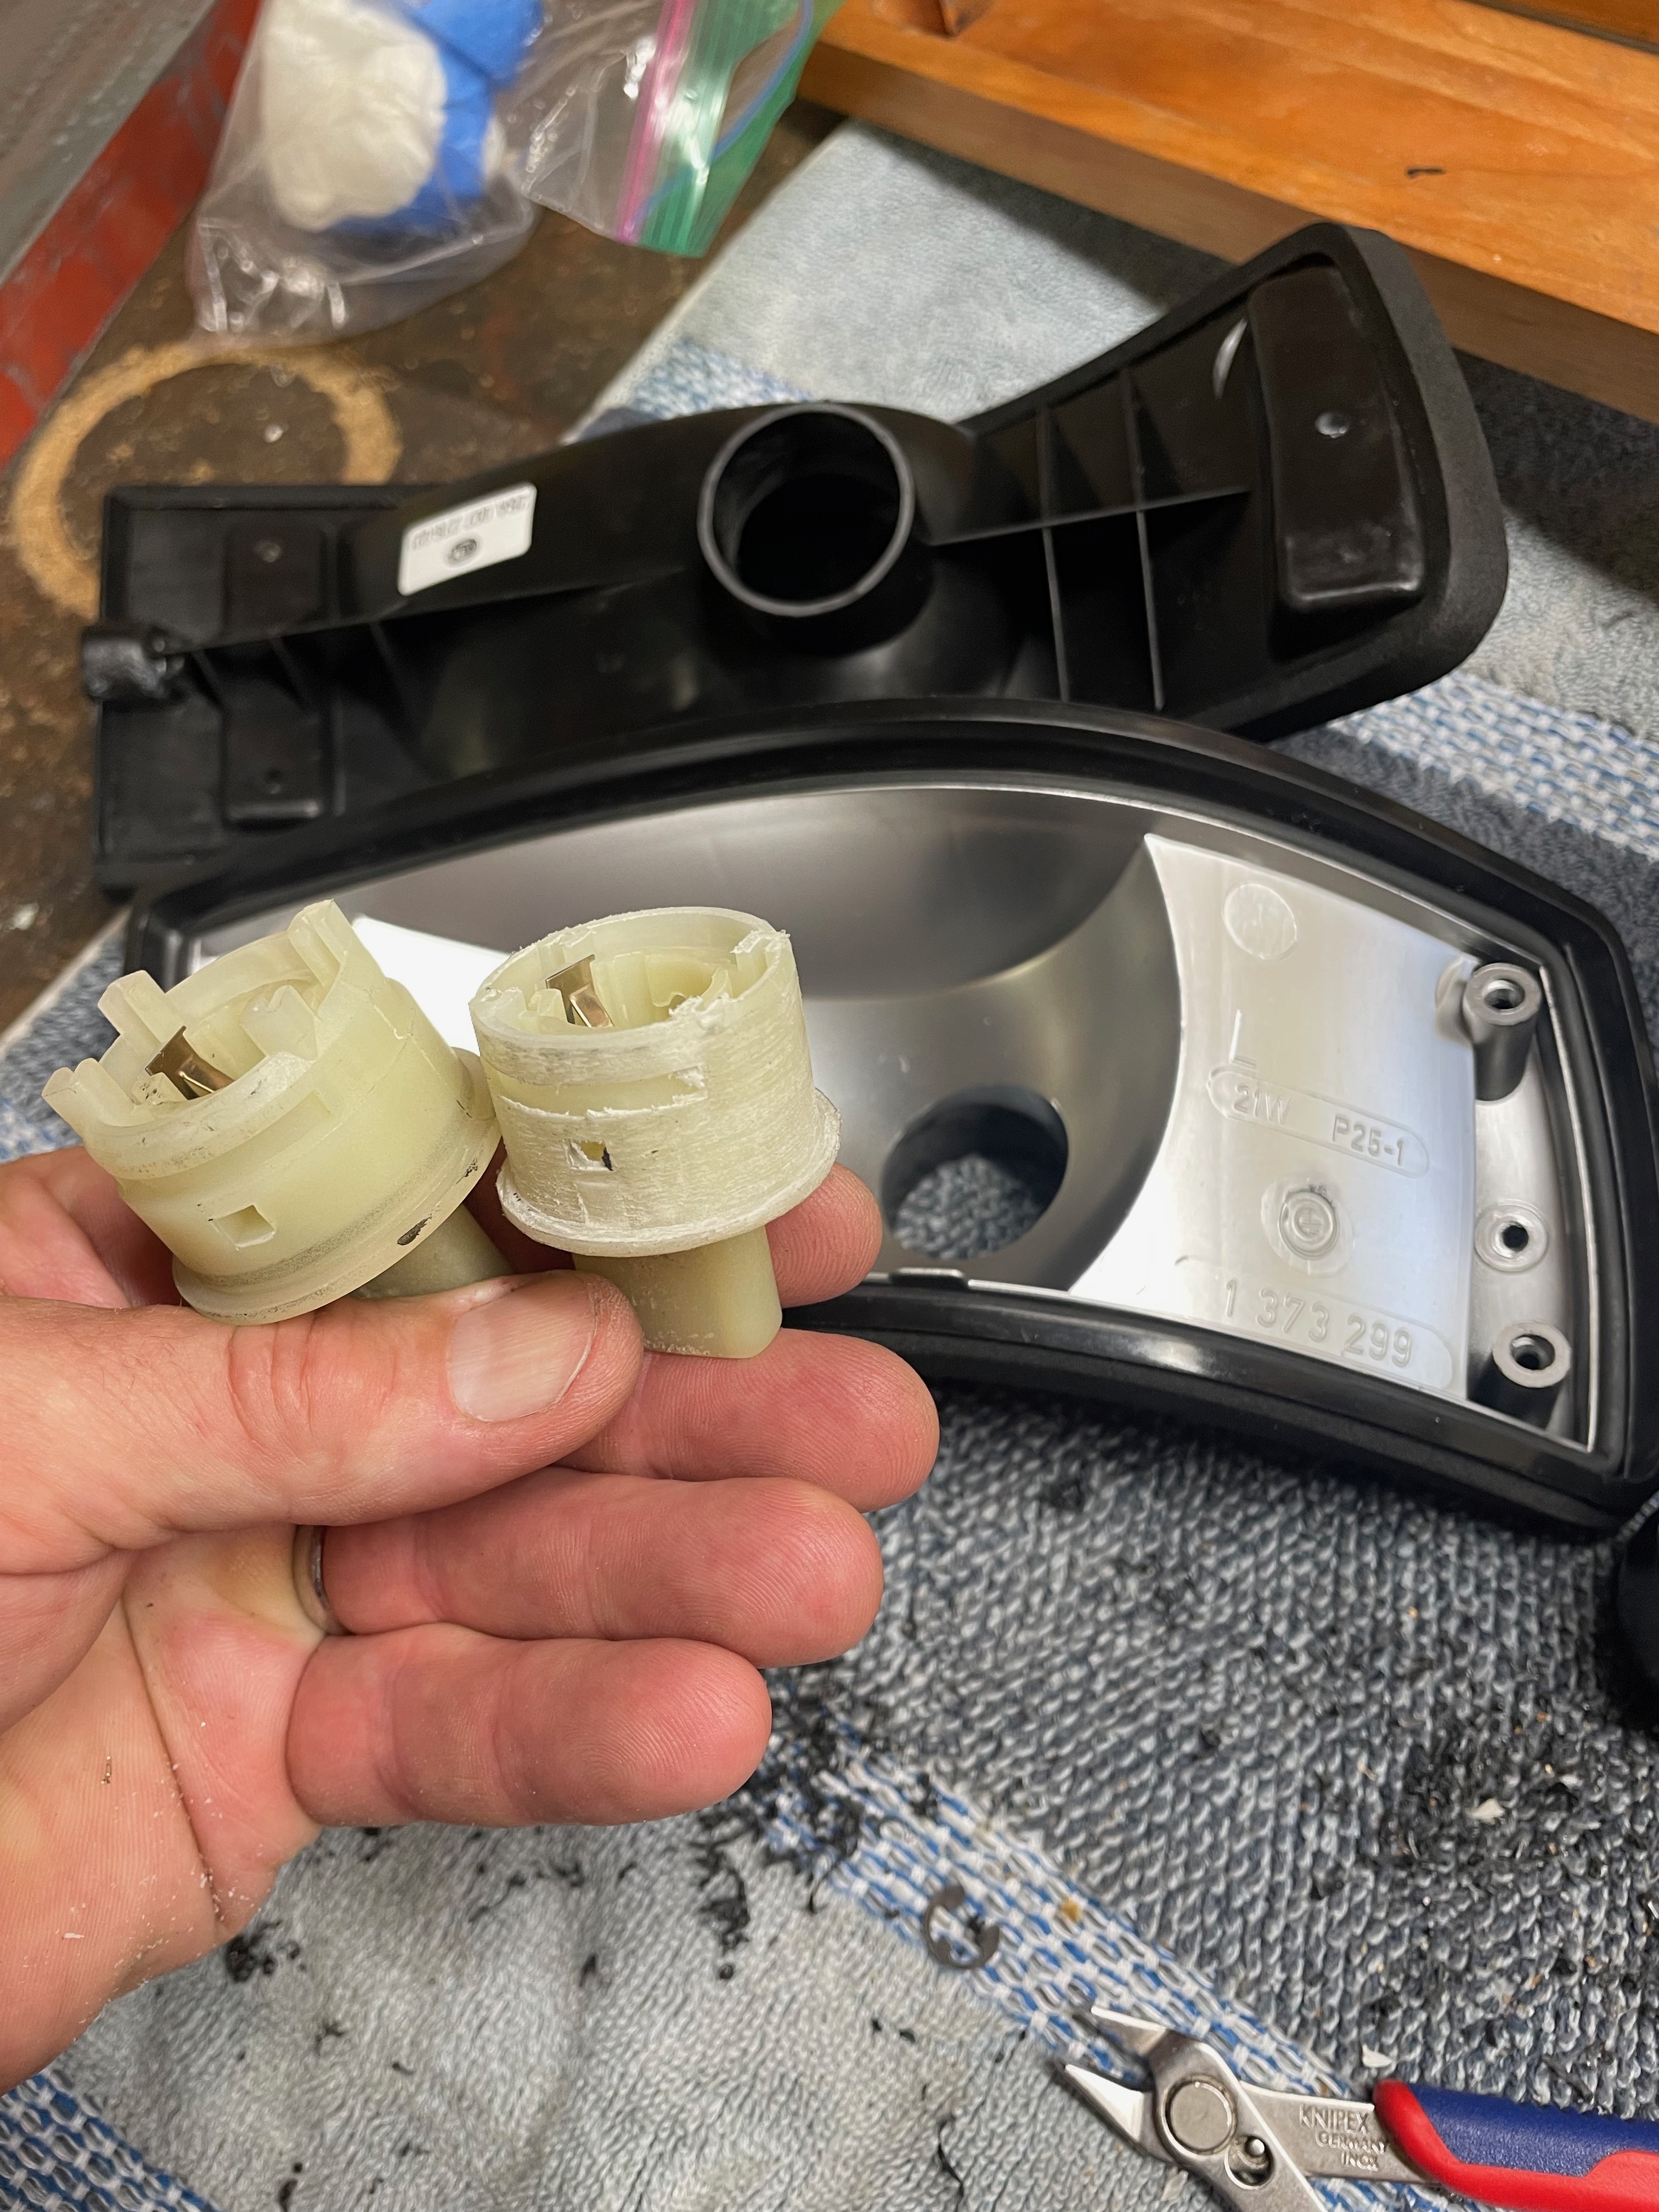
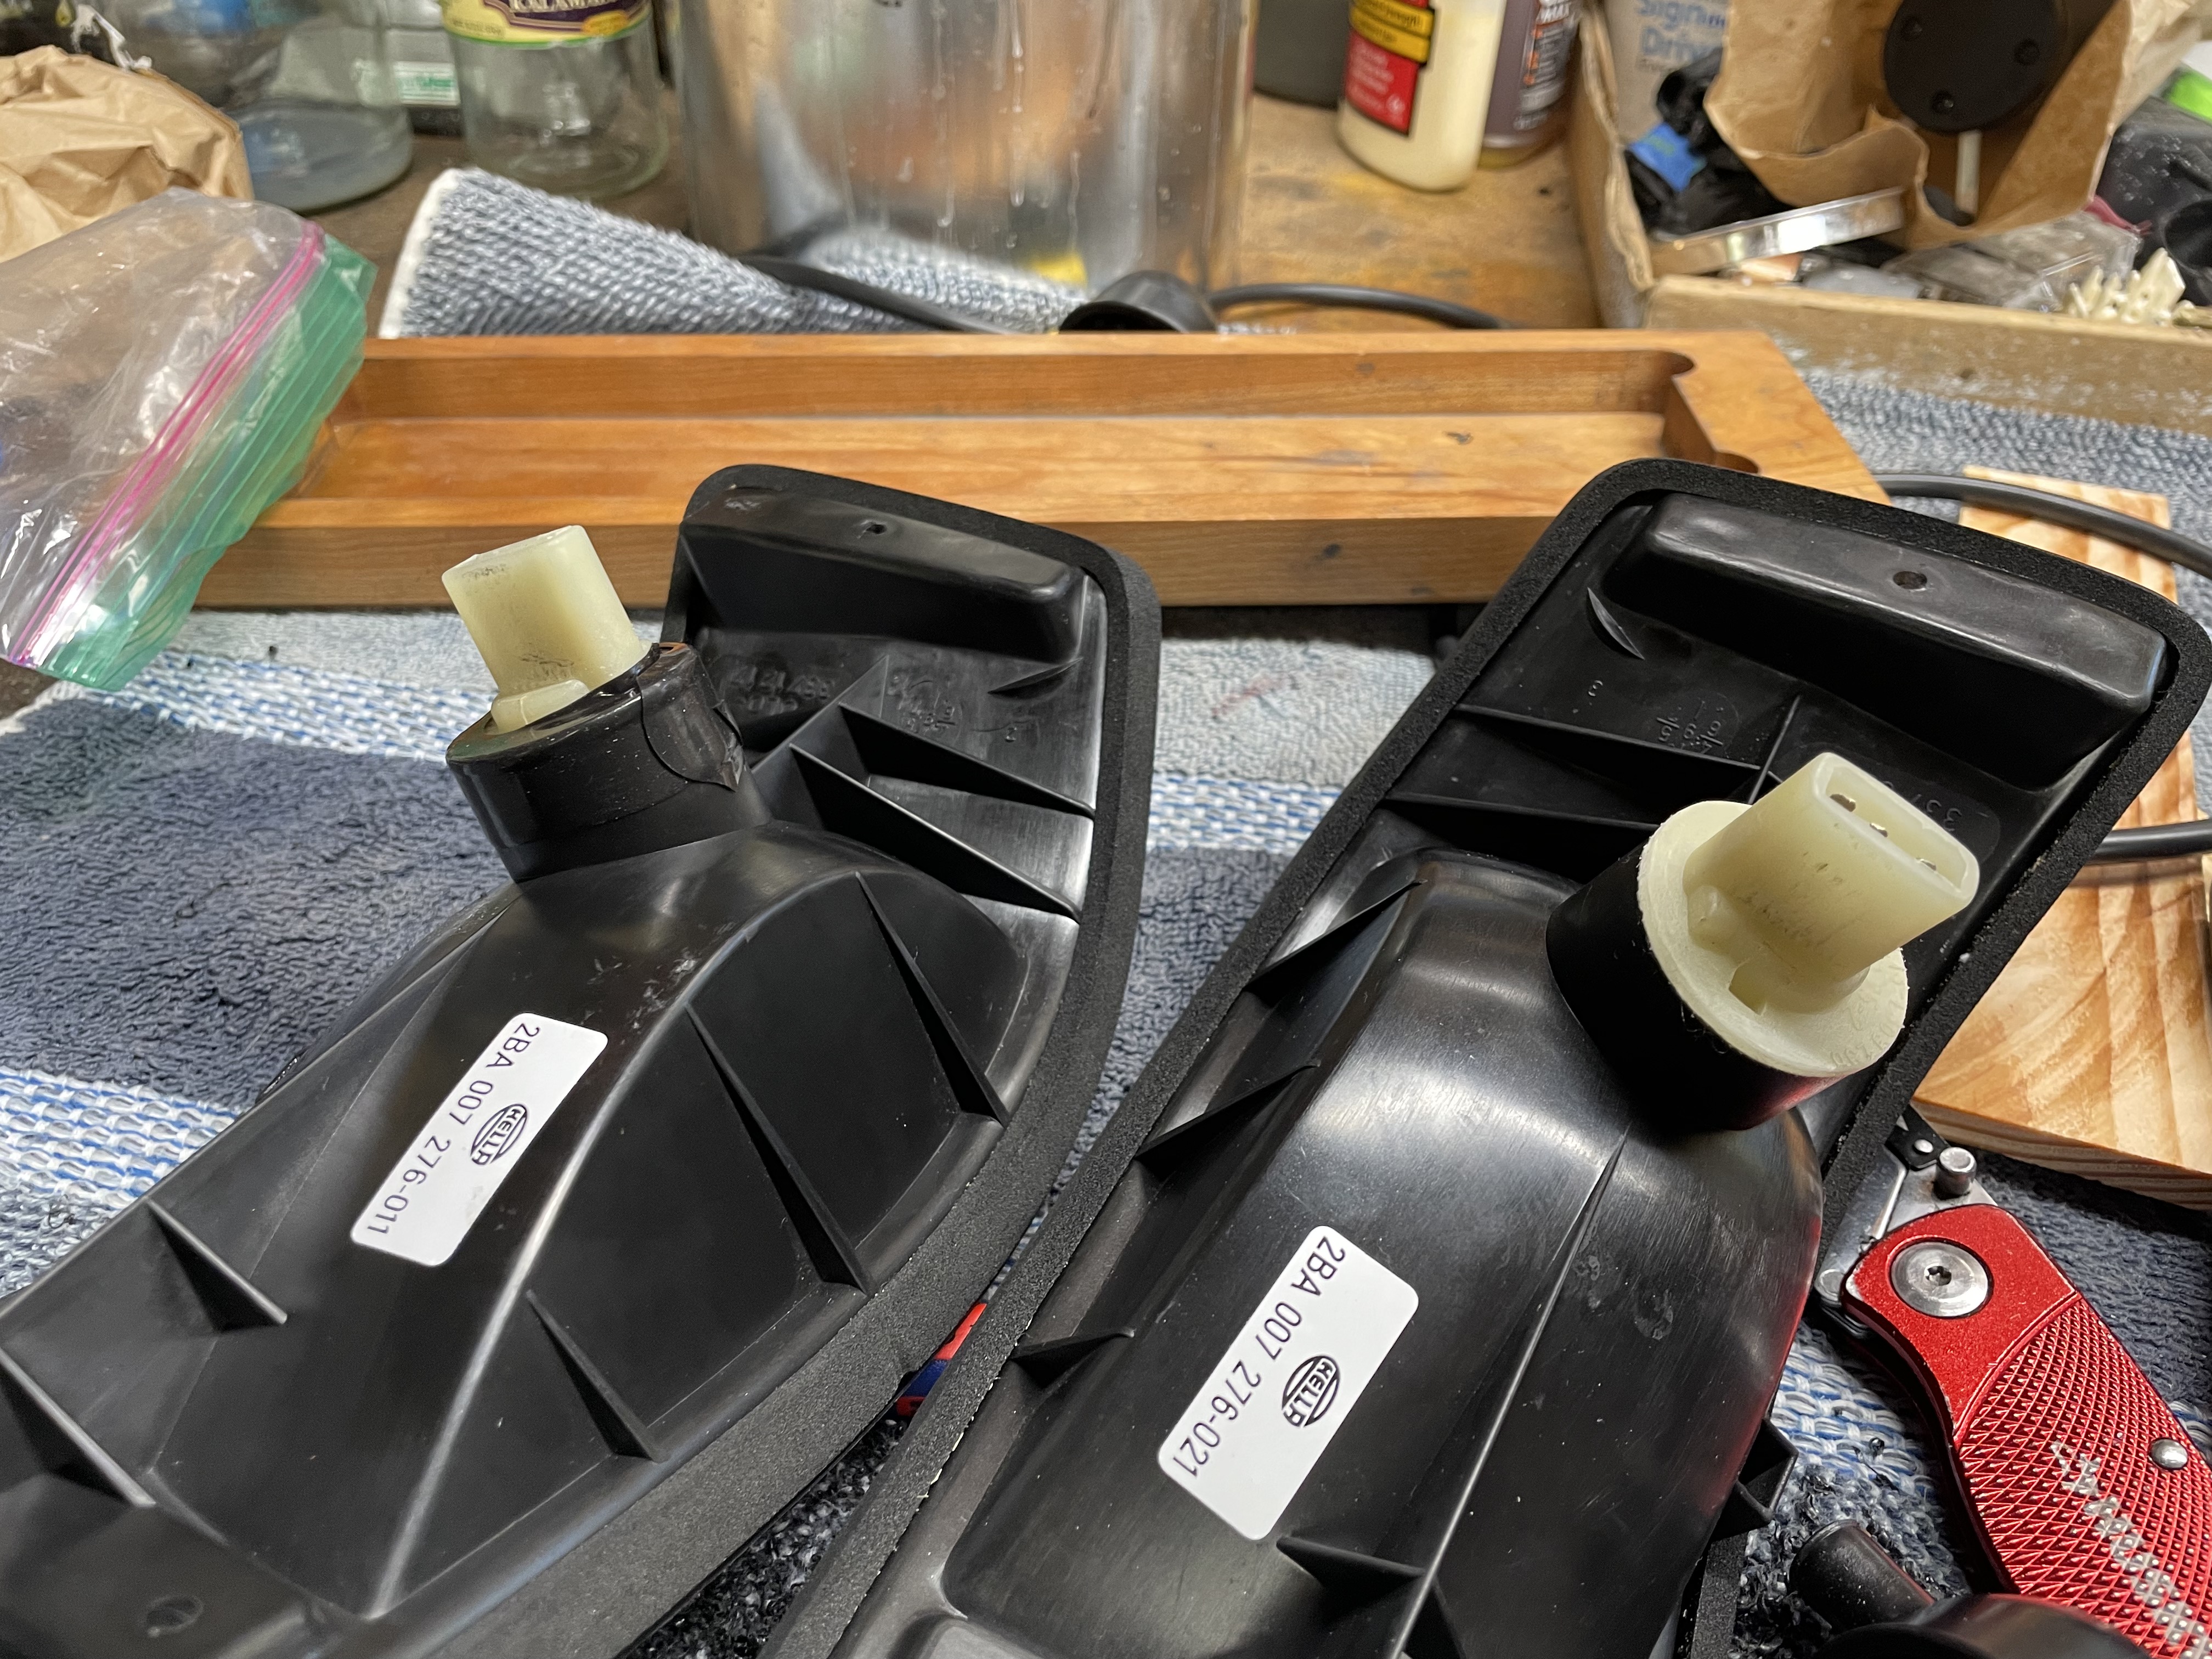
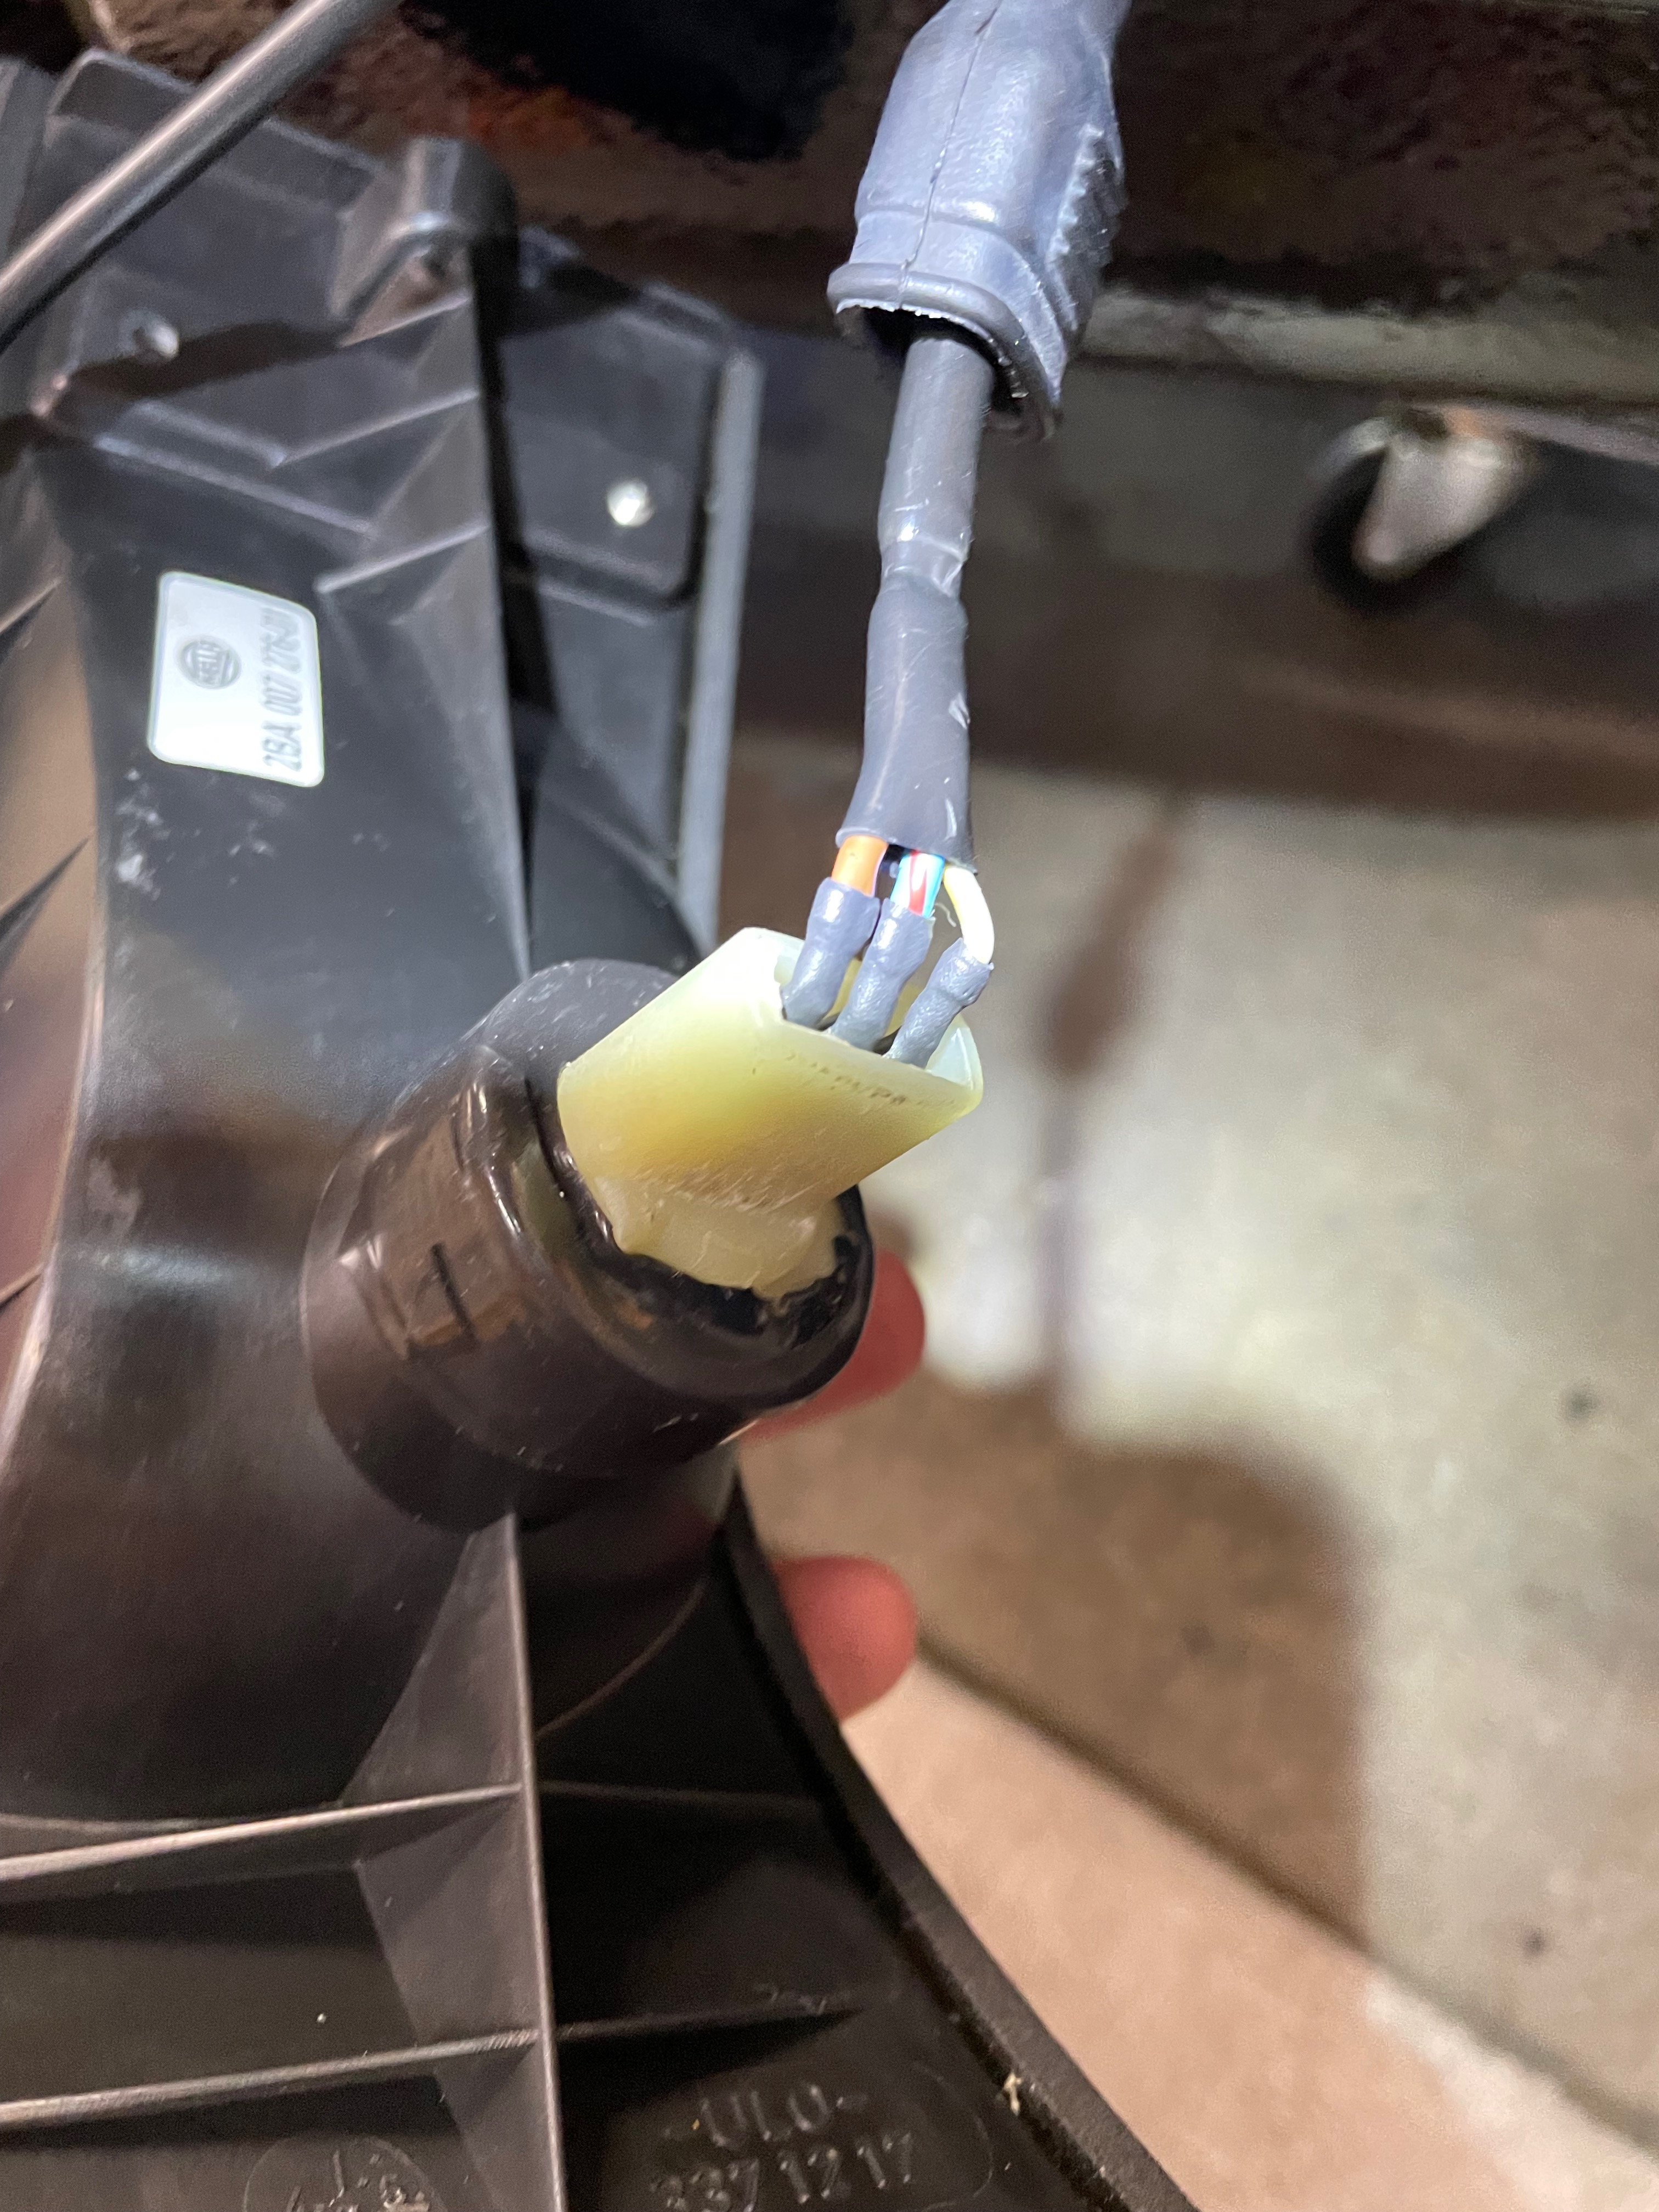
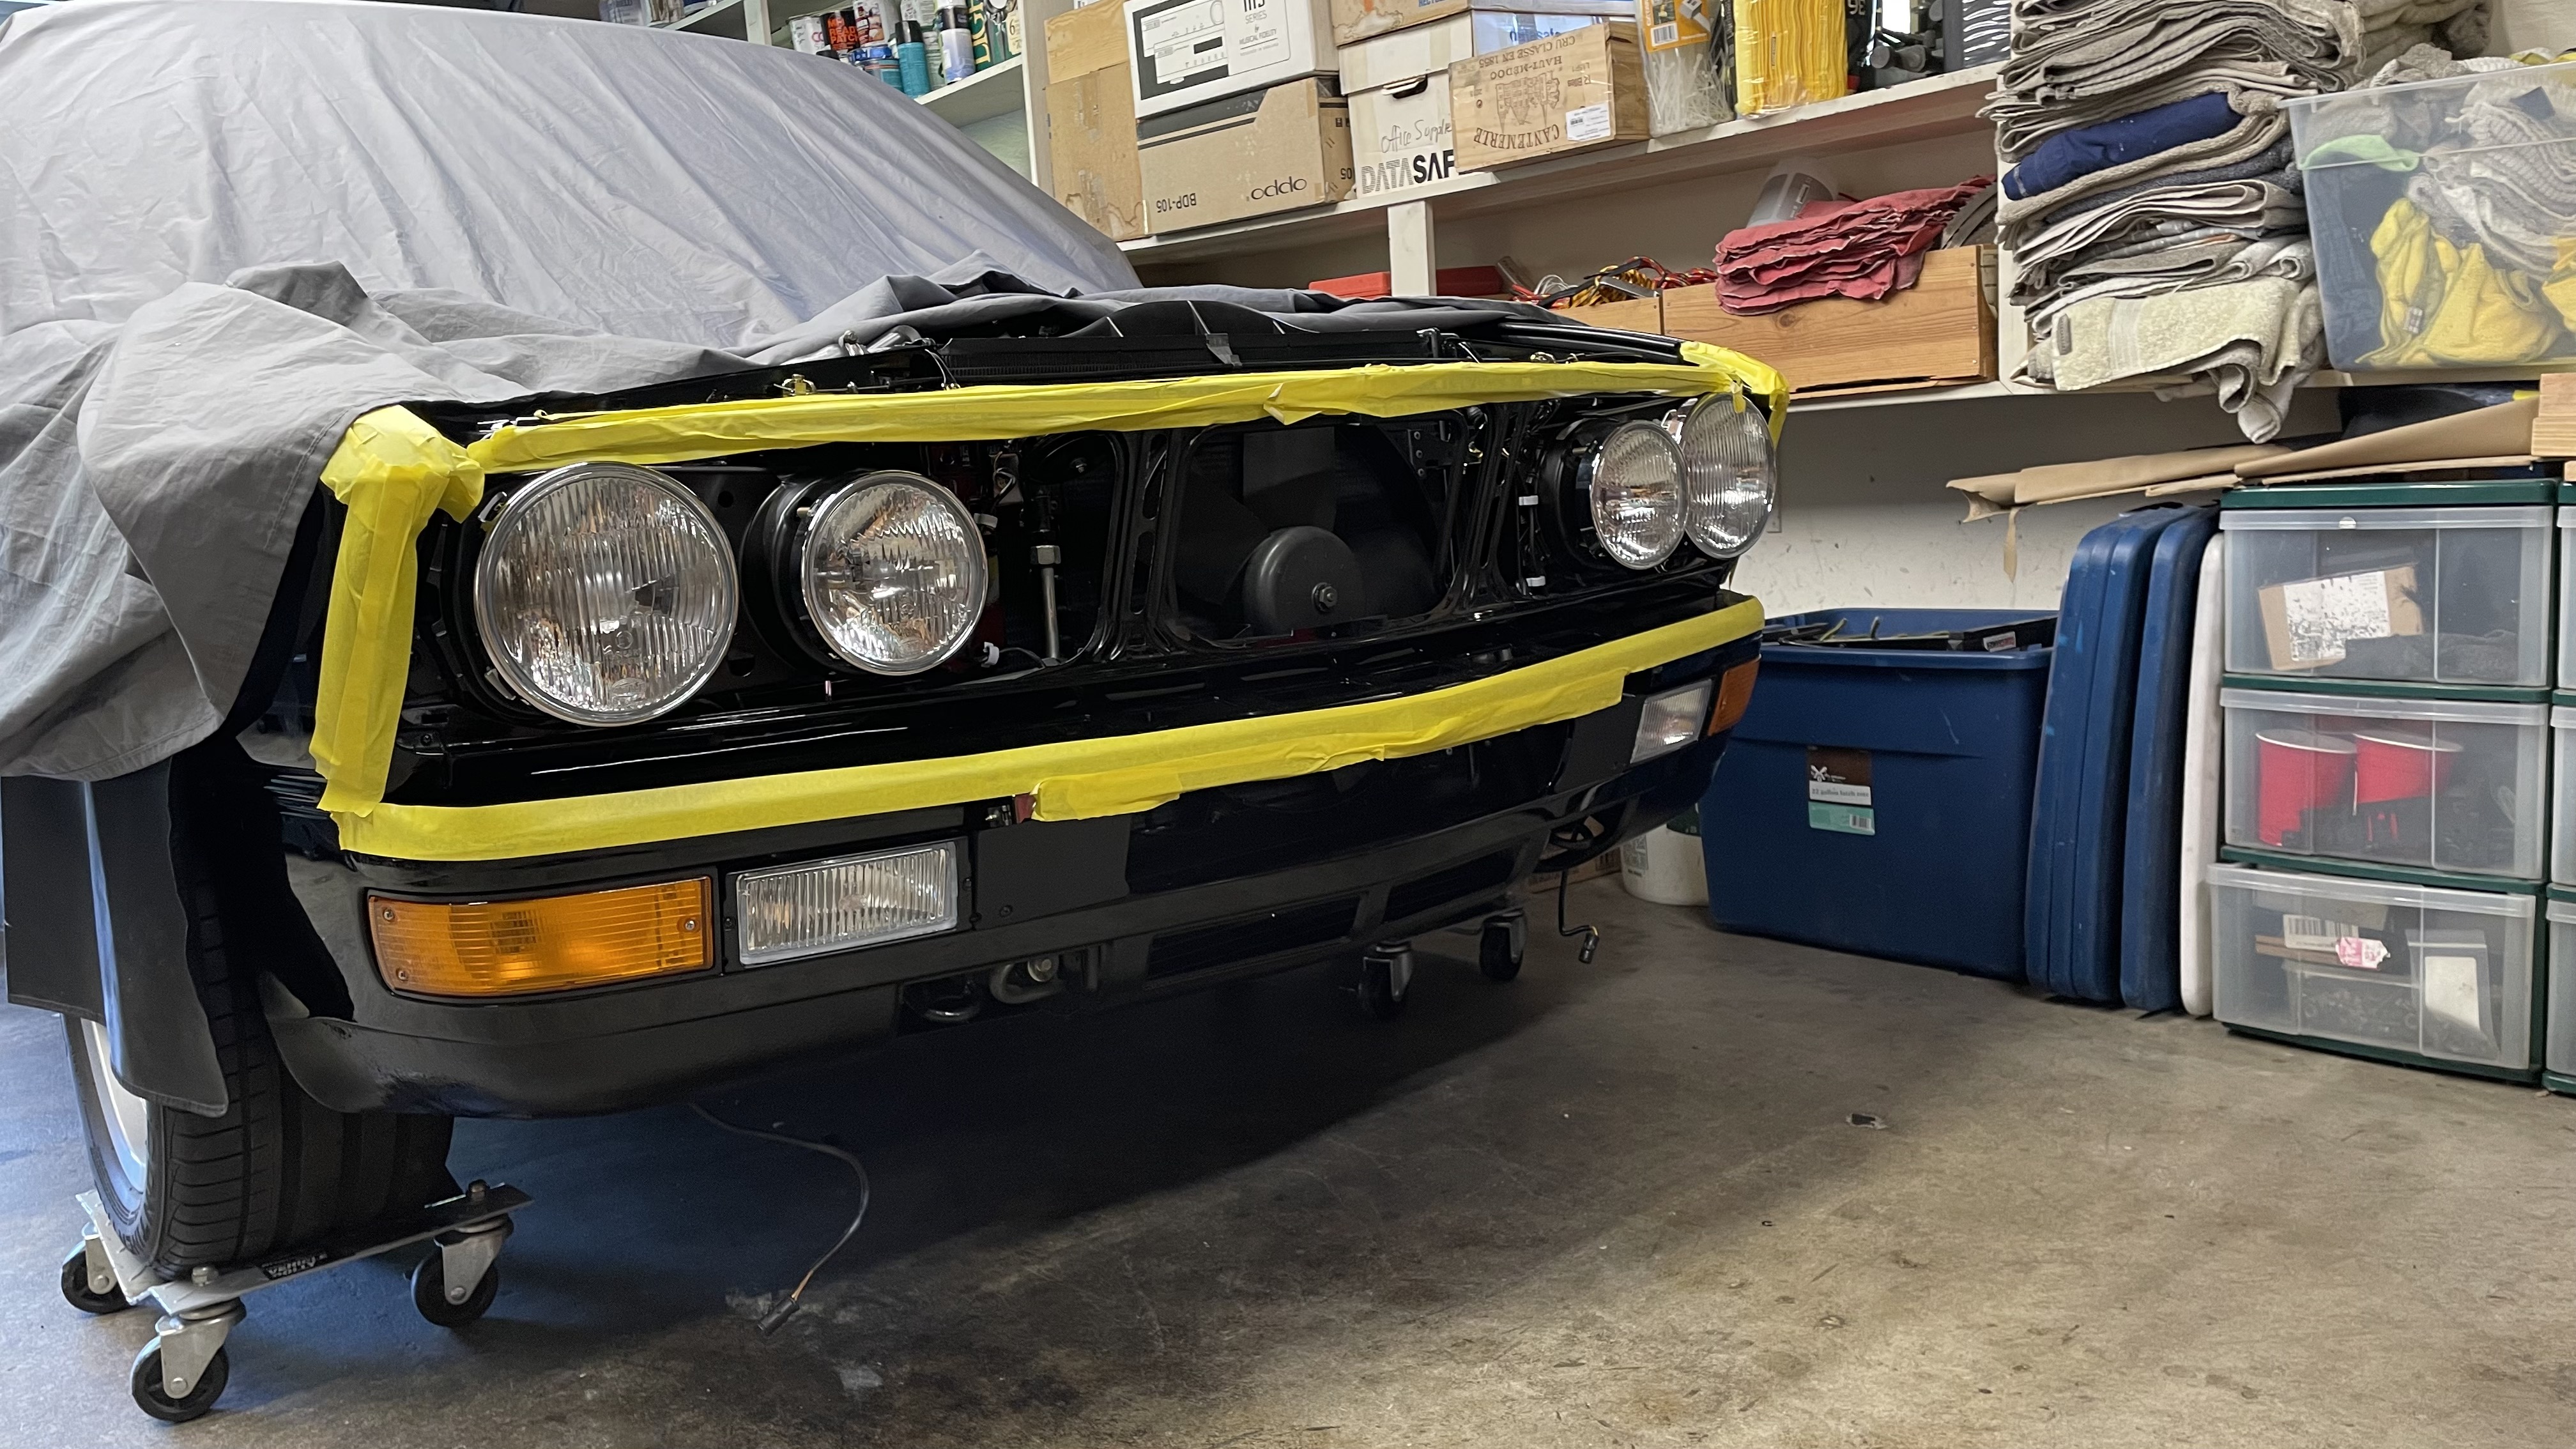
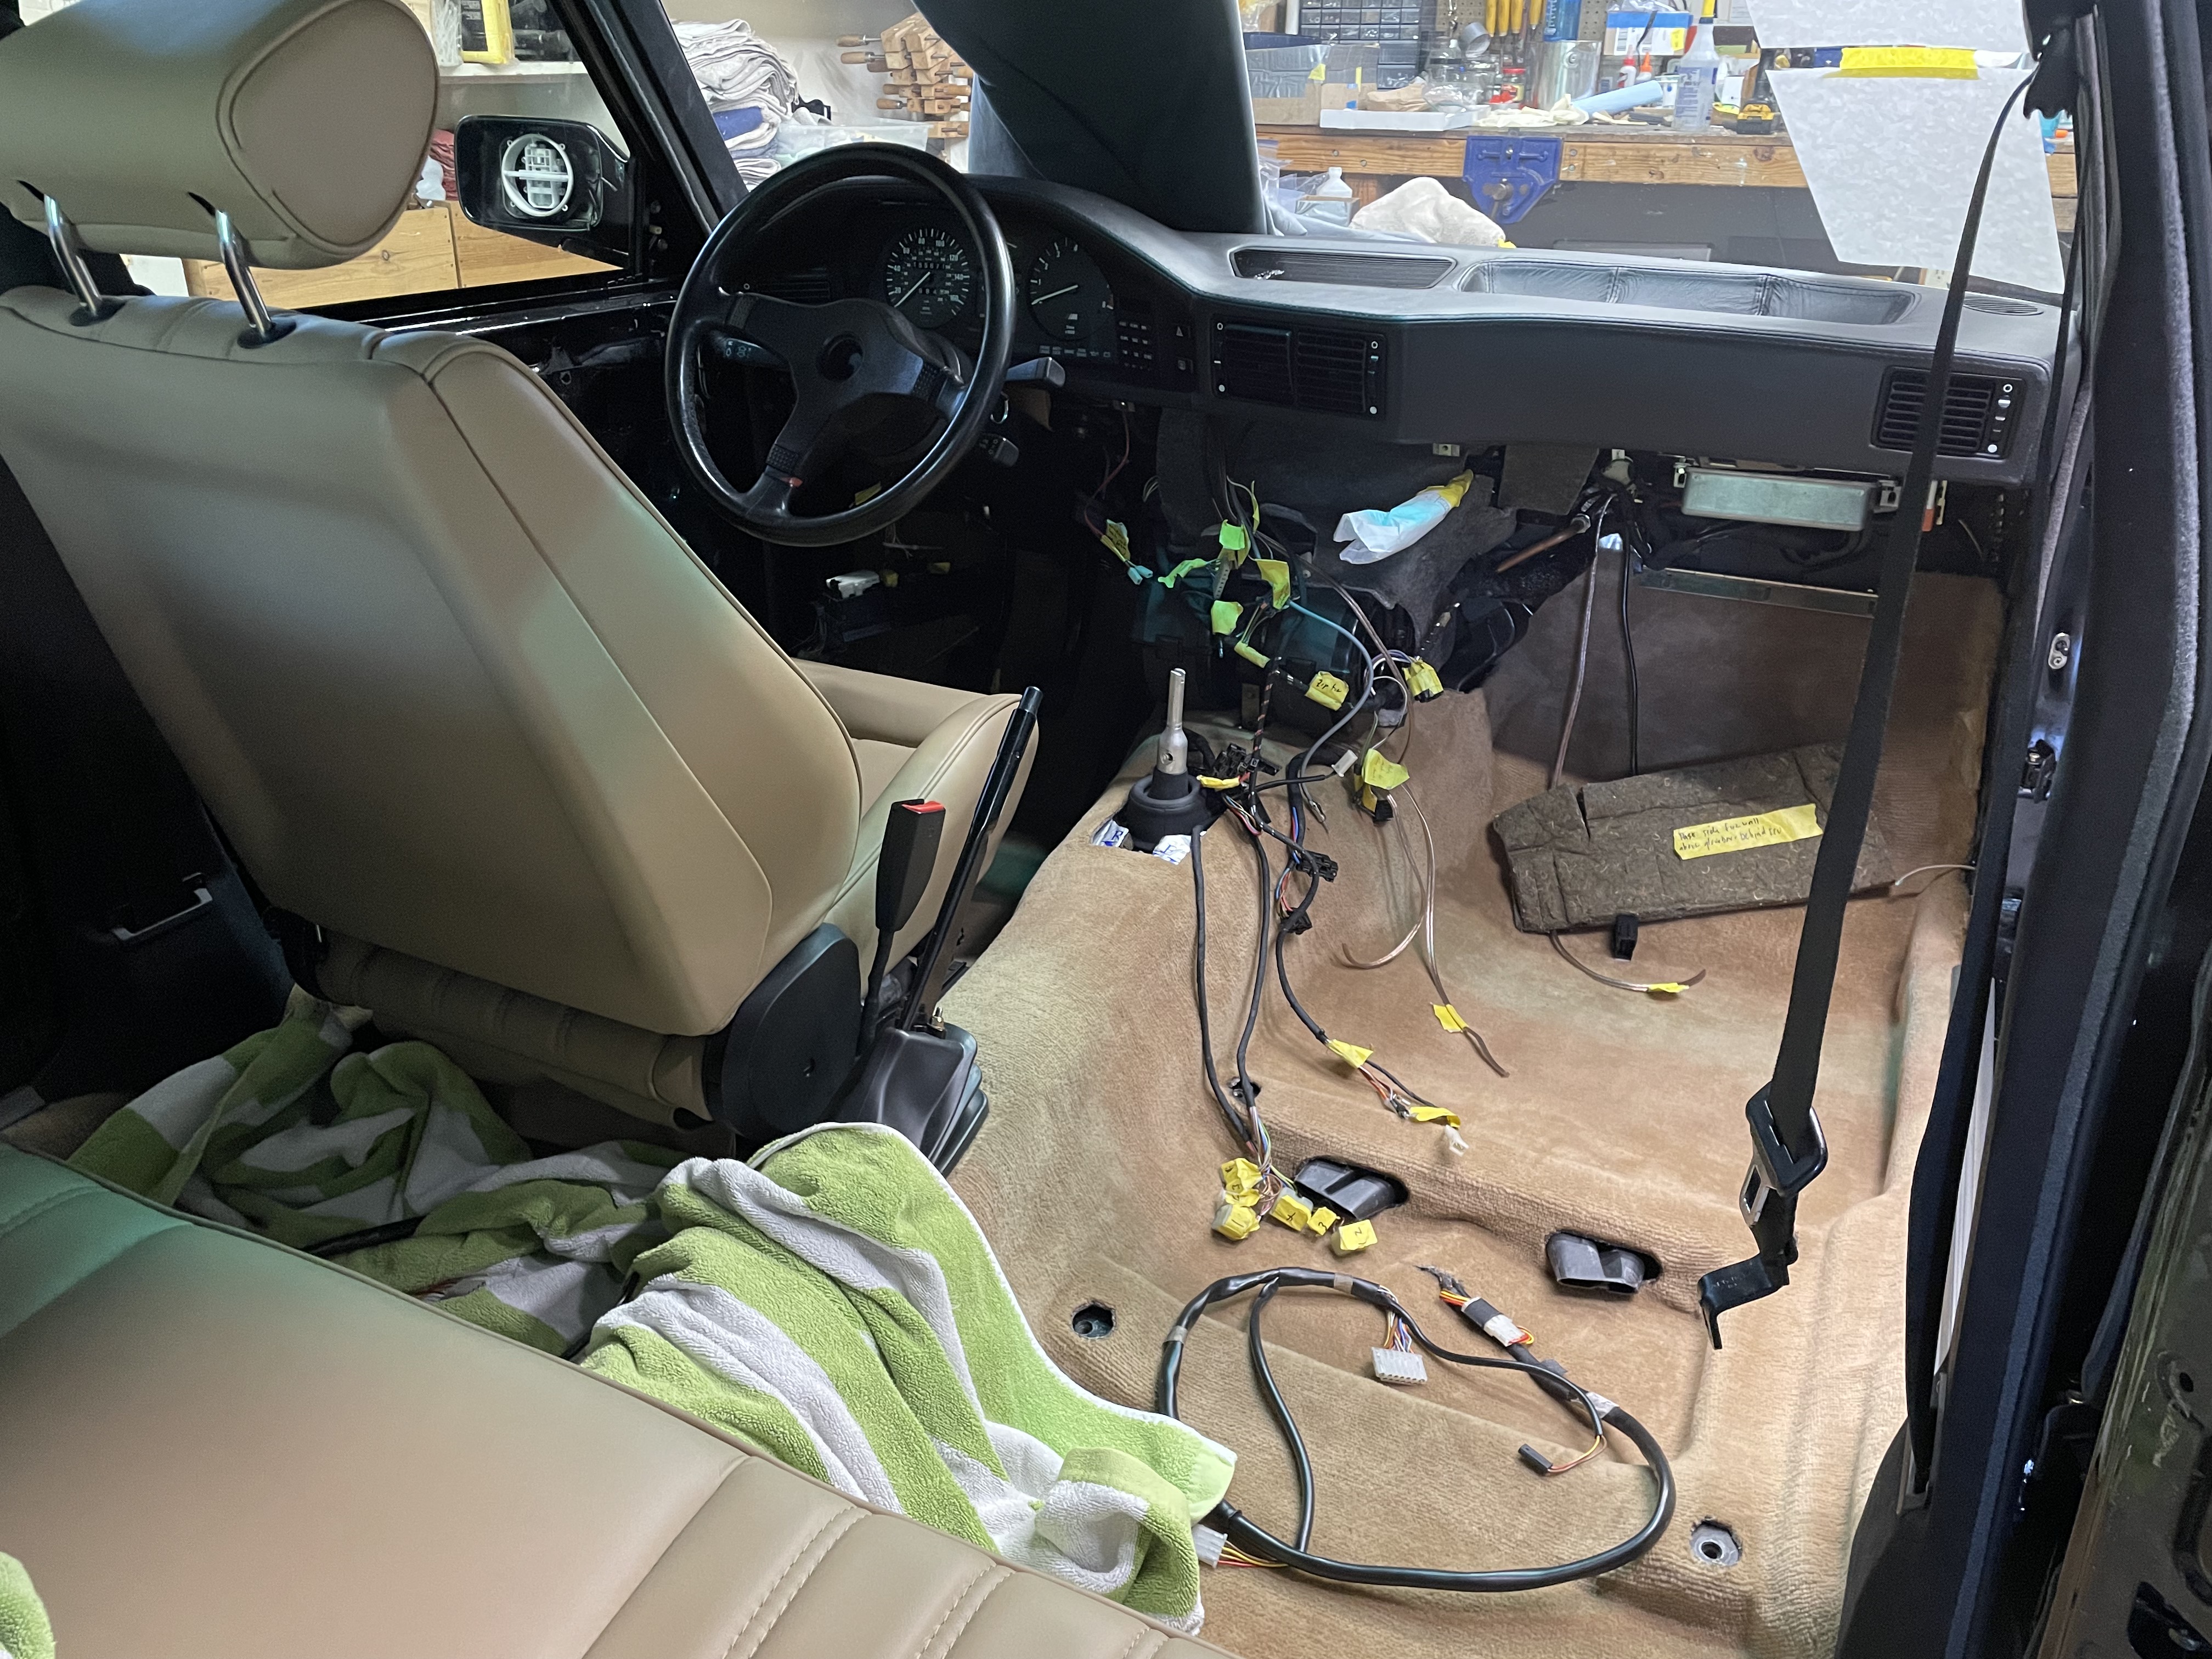
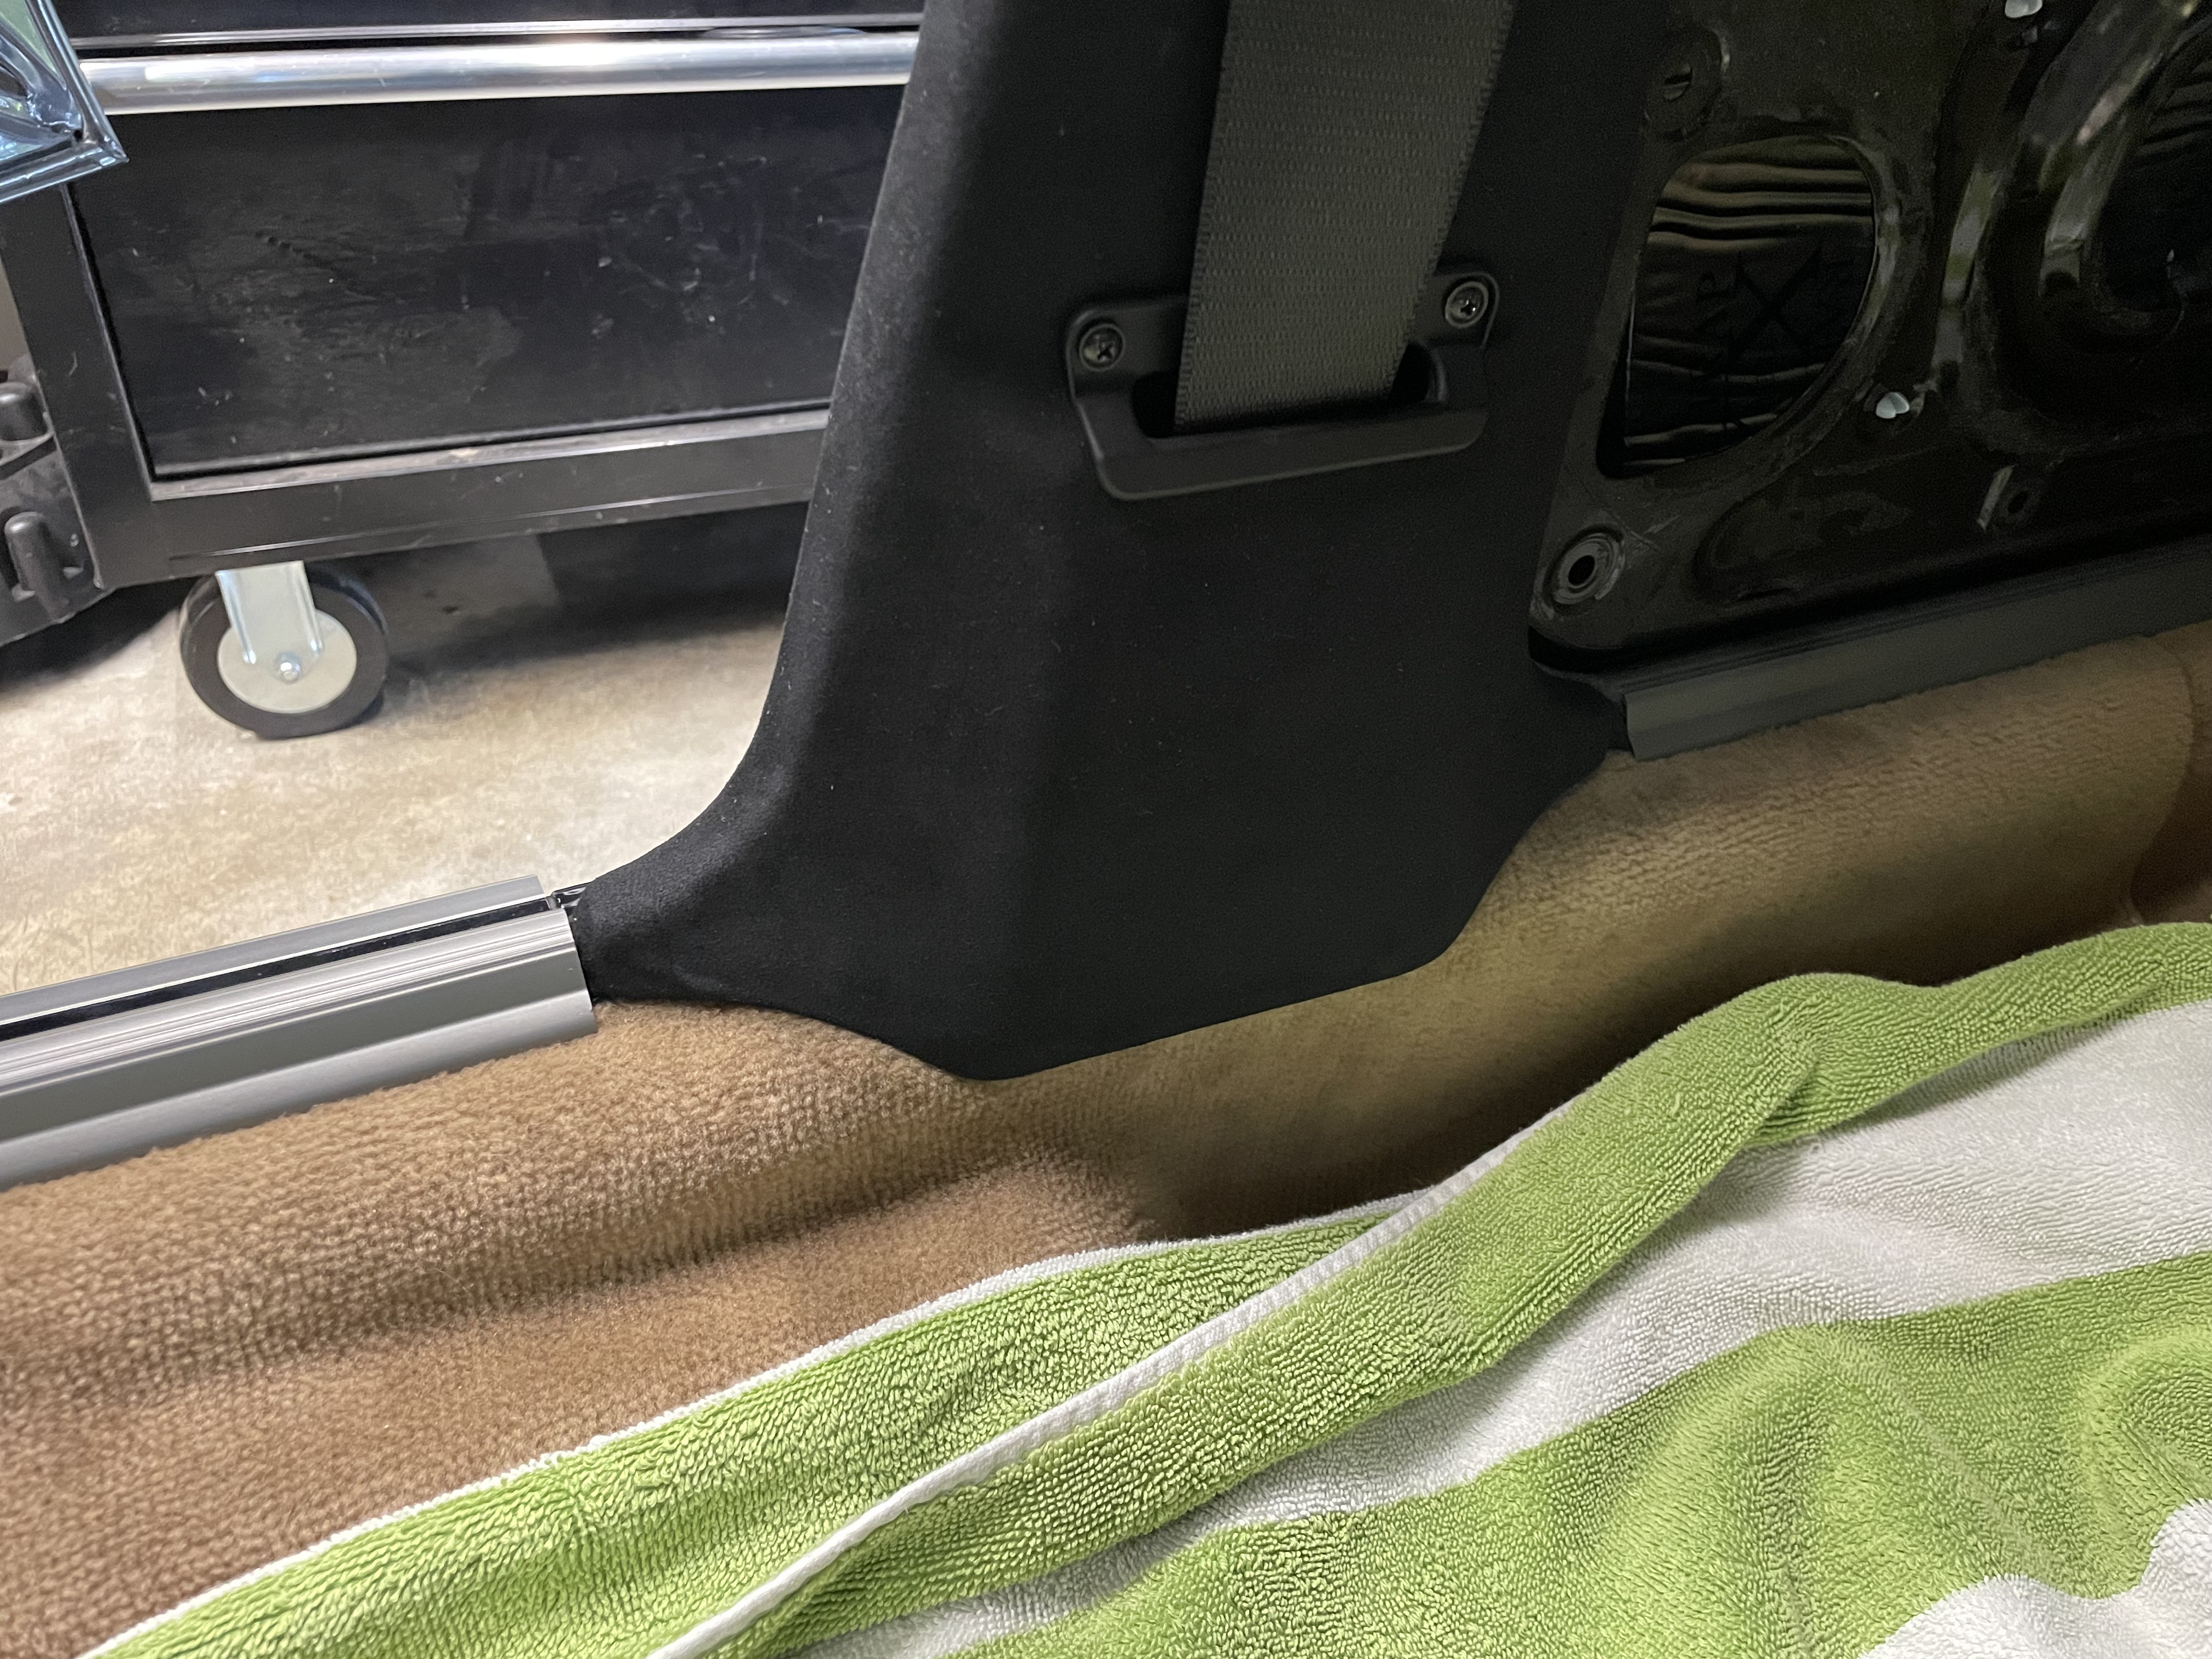
I was able to get a full set ... but that was 2-3 years ago. (Yes, I started buying parts early.) And IIRC, I had to go to at least three places to buy a full set of four seals?sanships wrote: Aug 17, 2021 6:42 AM Jhh925, nice build, where were you able to get the “fuzzy door seal”? Would like to get a complete set for my car.
Thanks
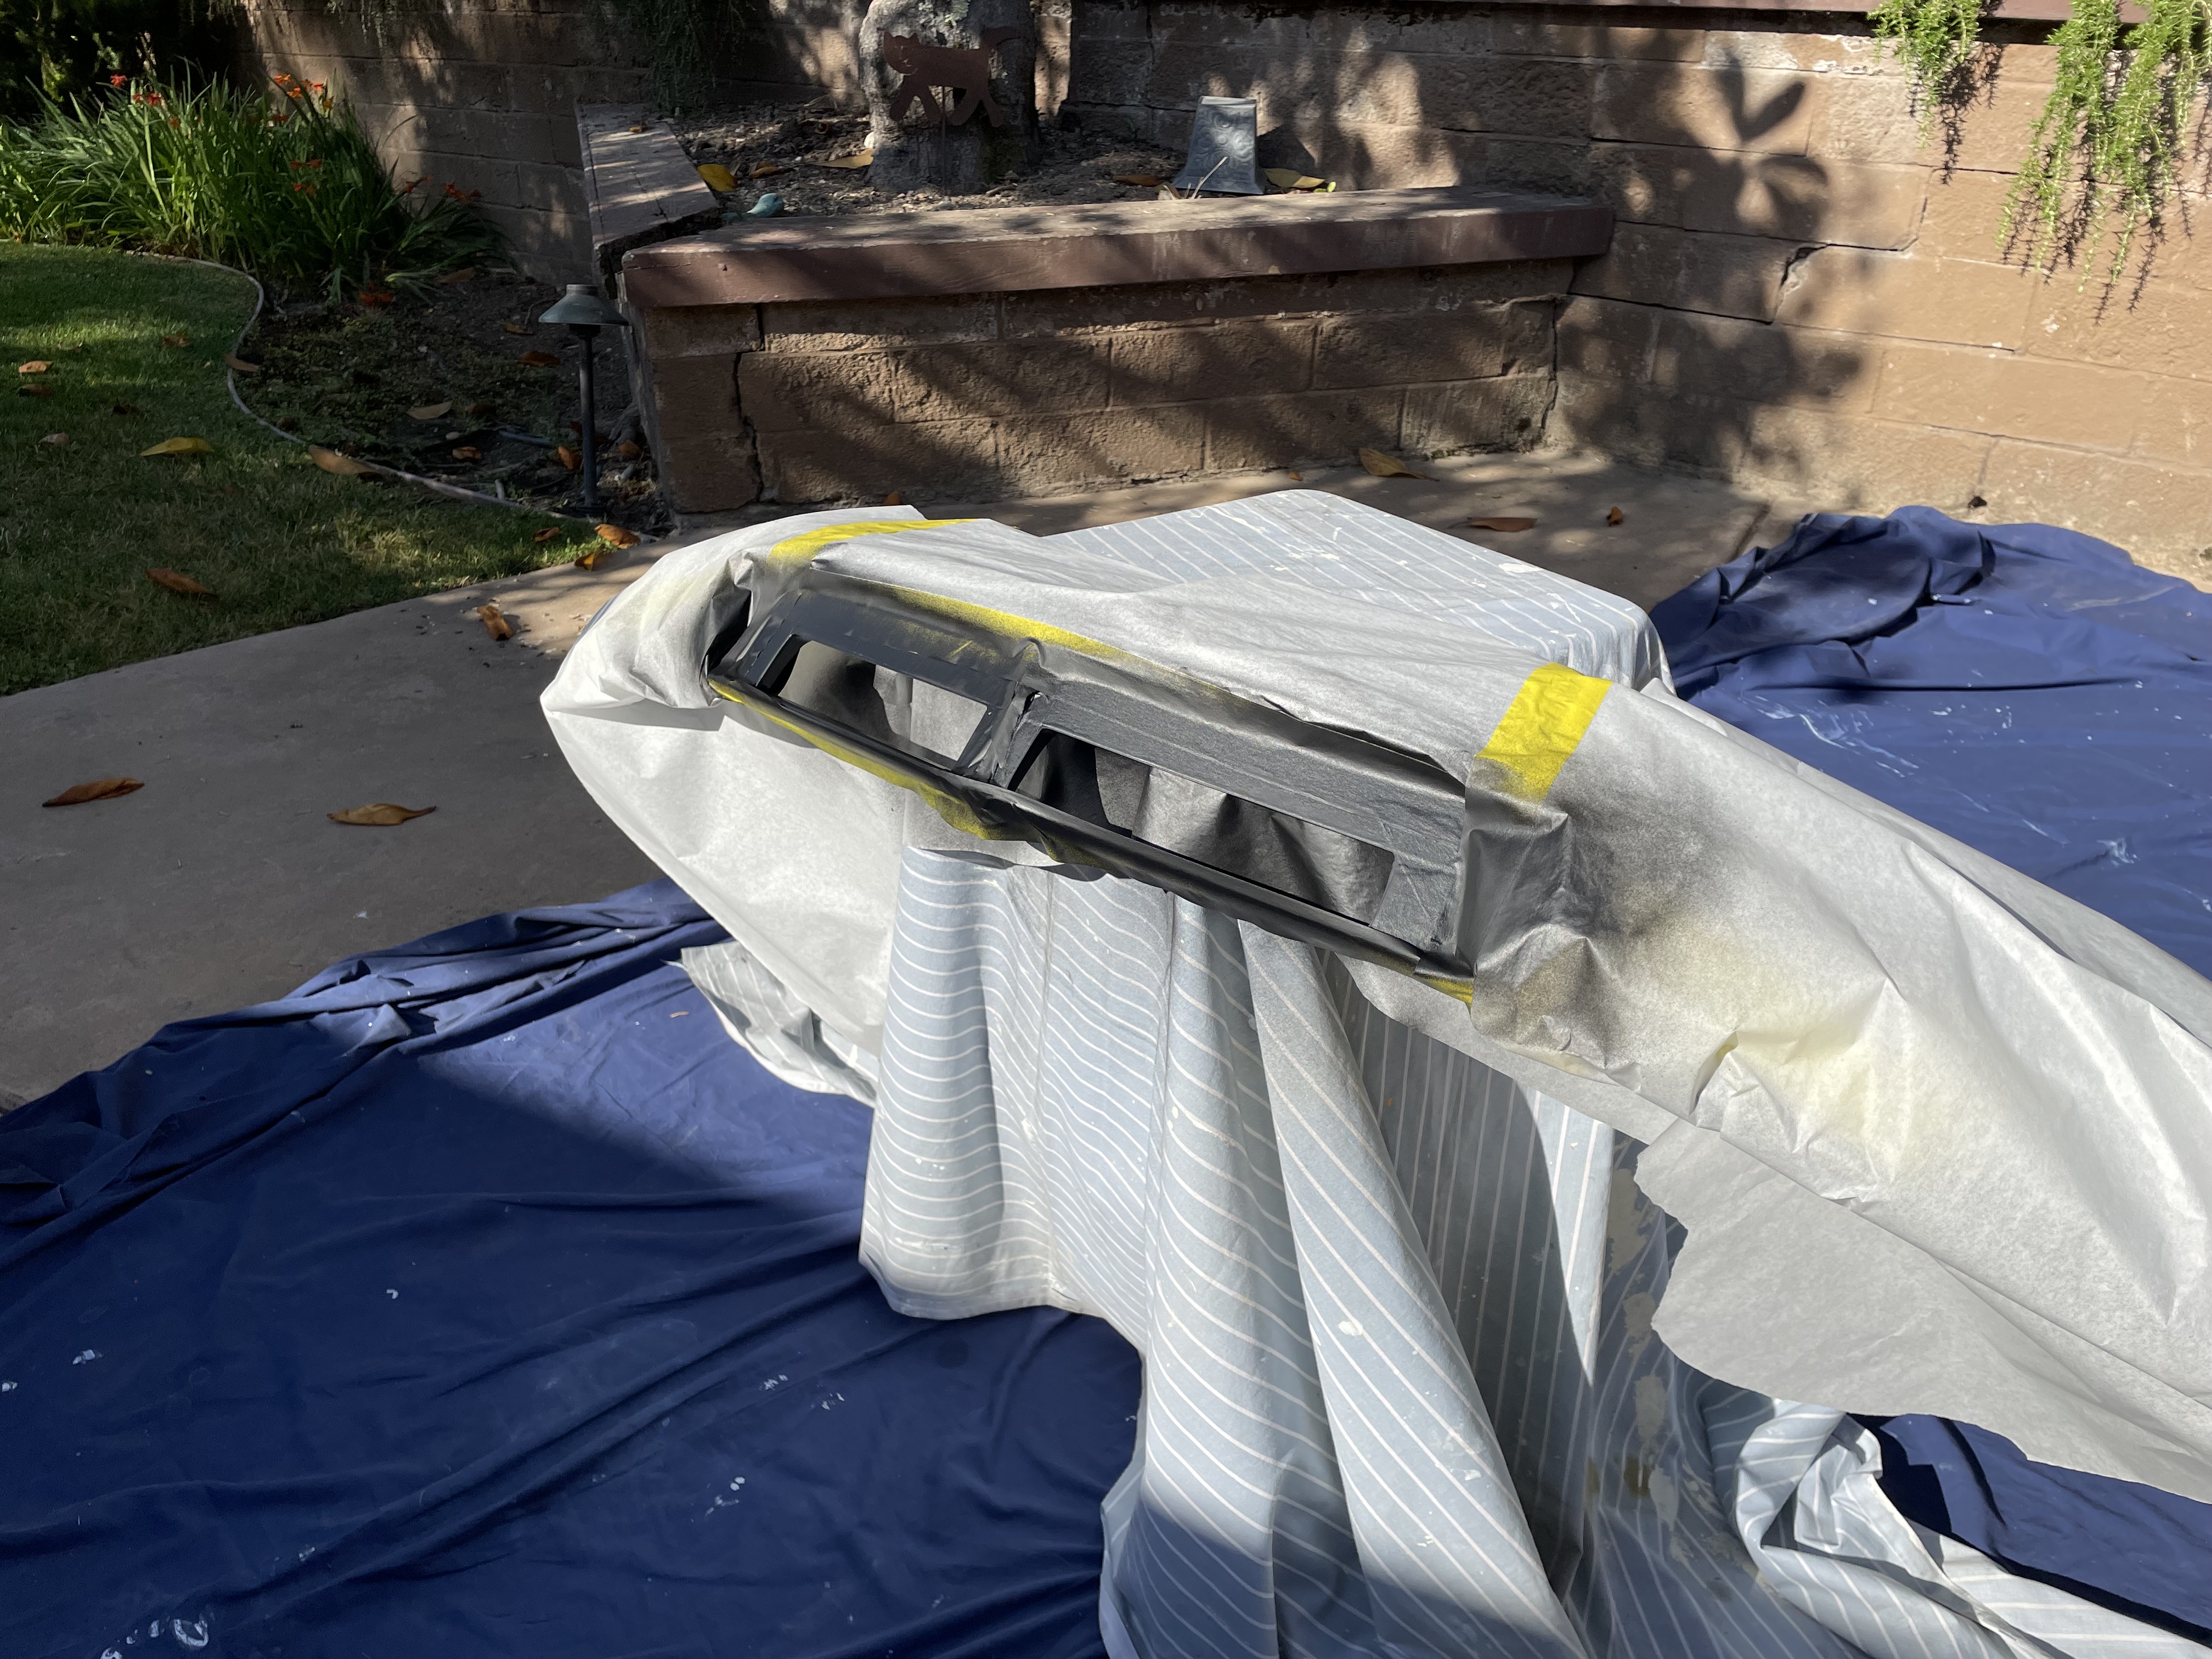
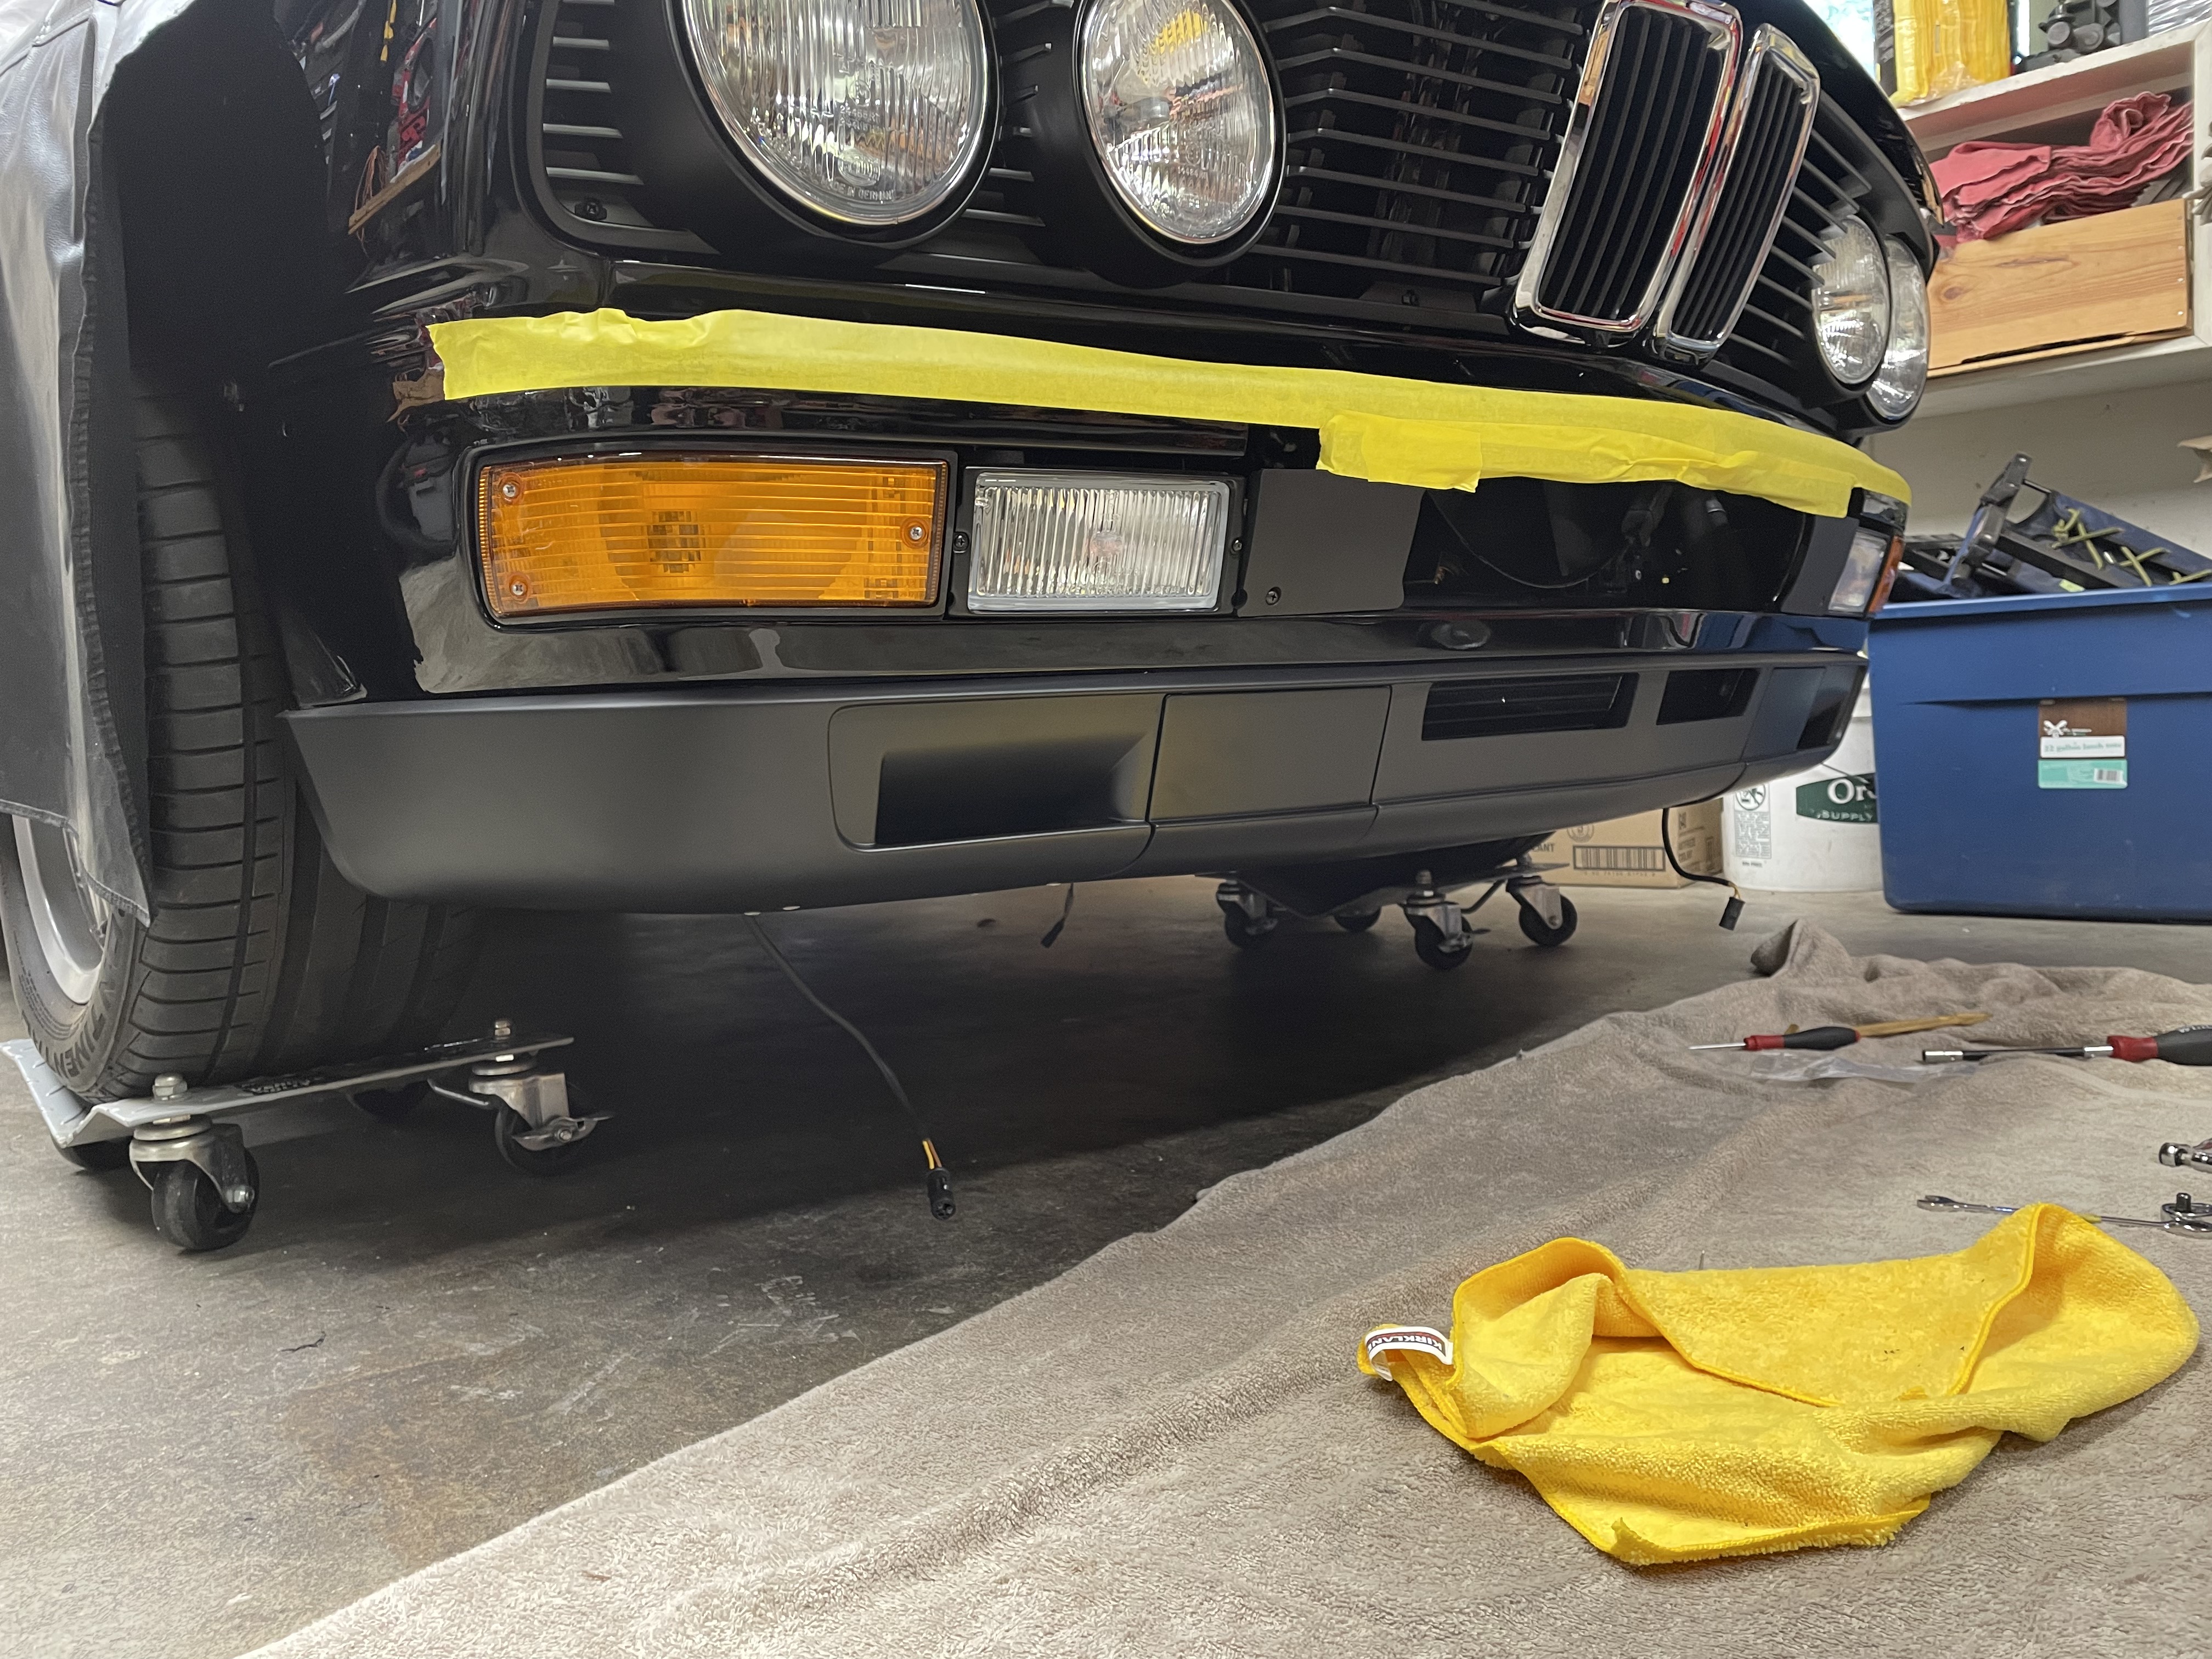
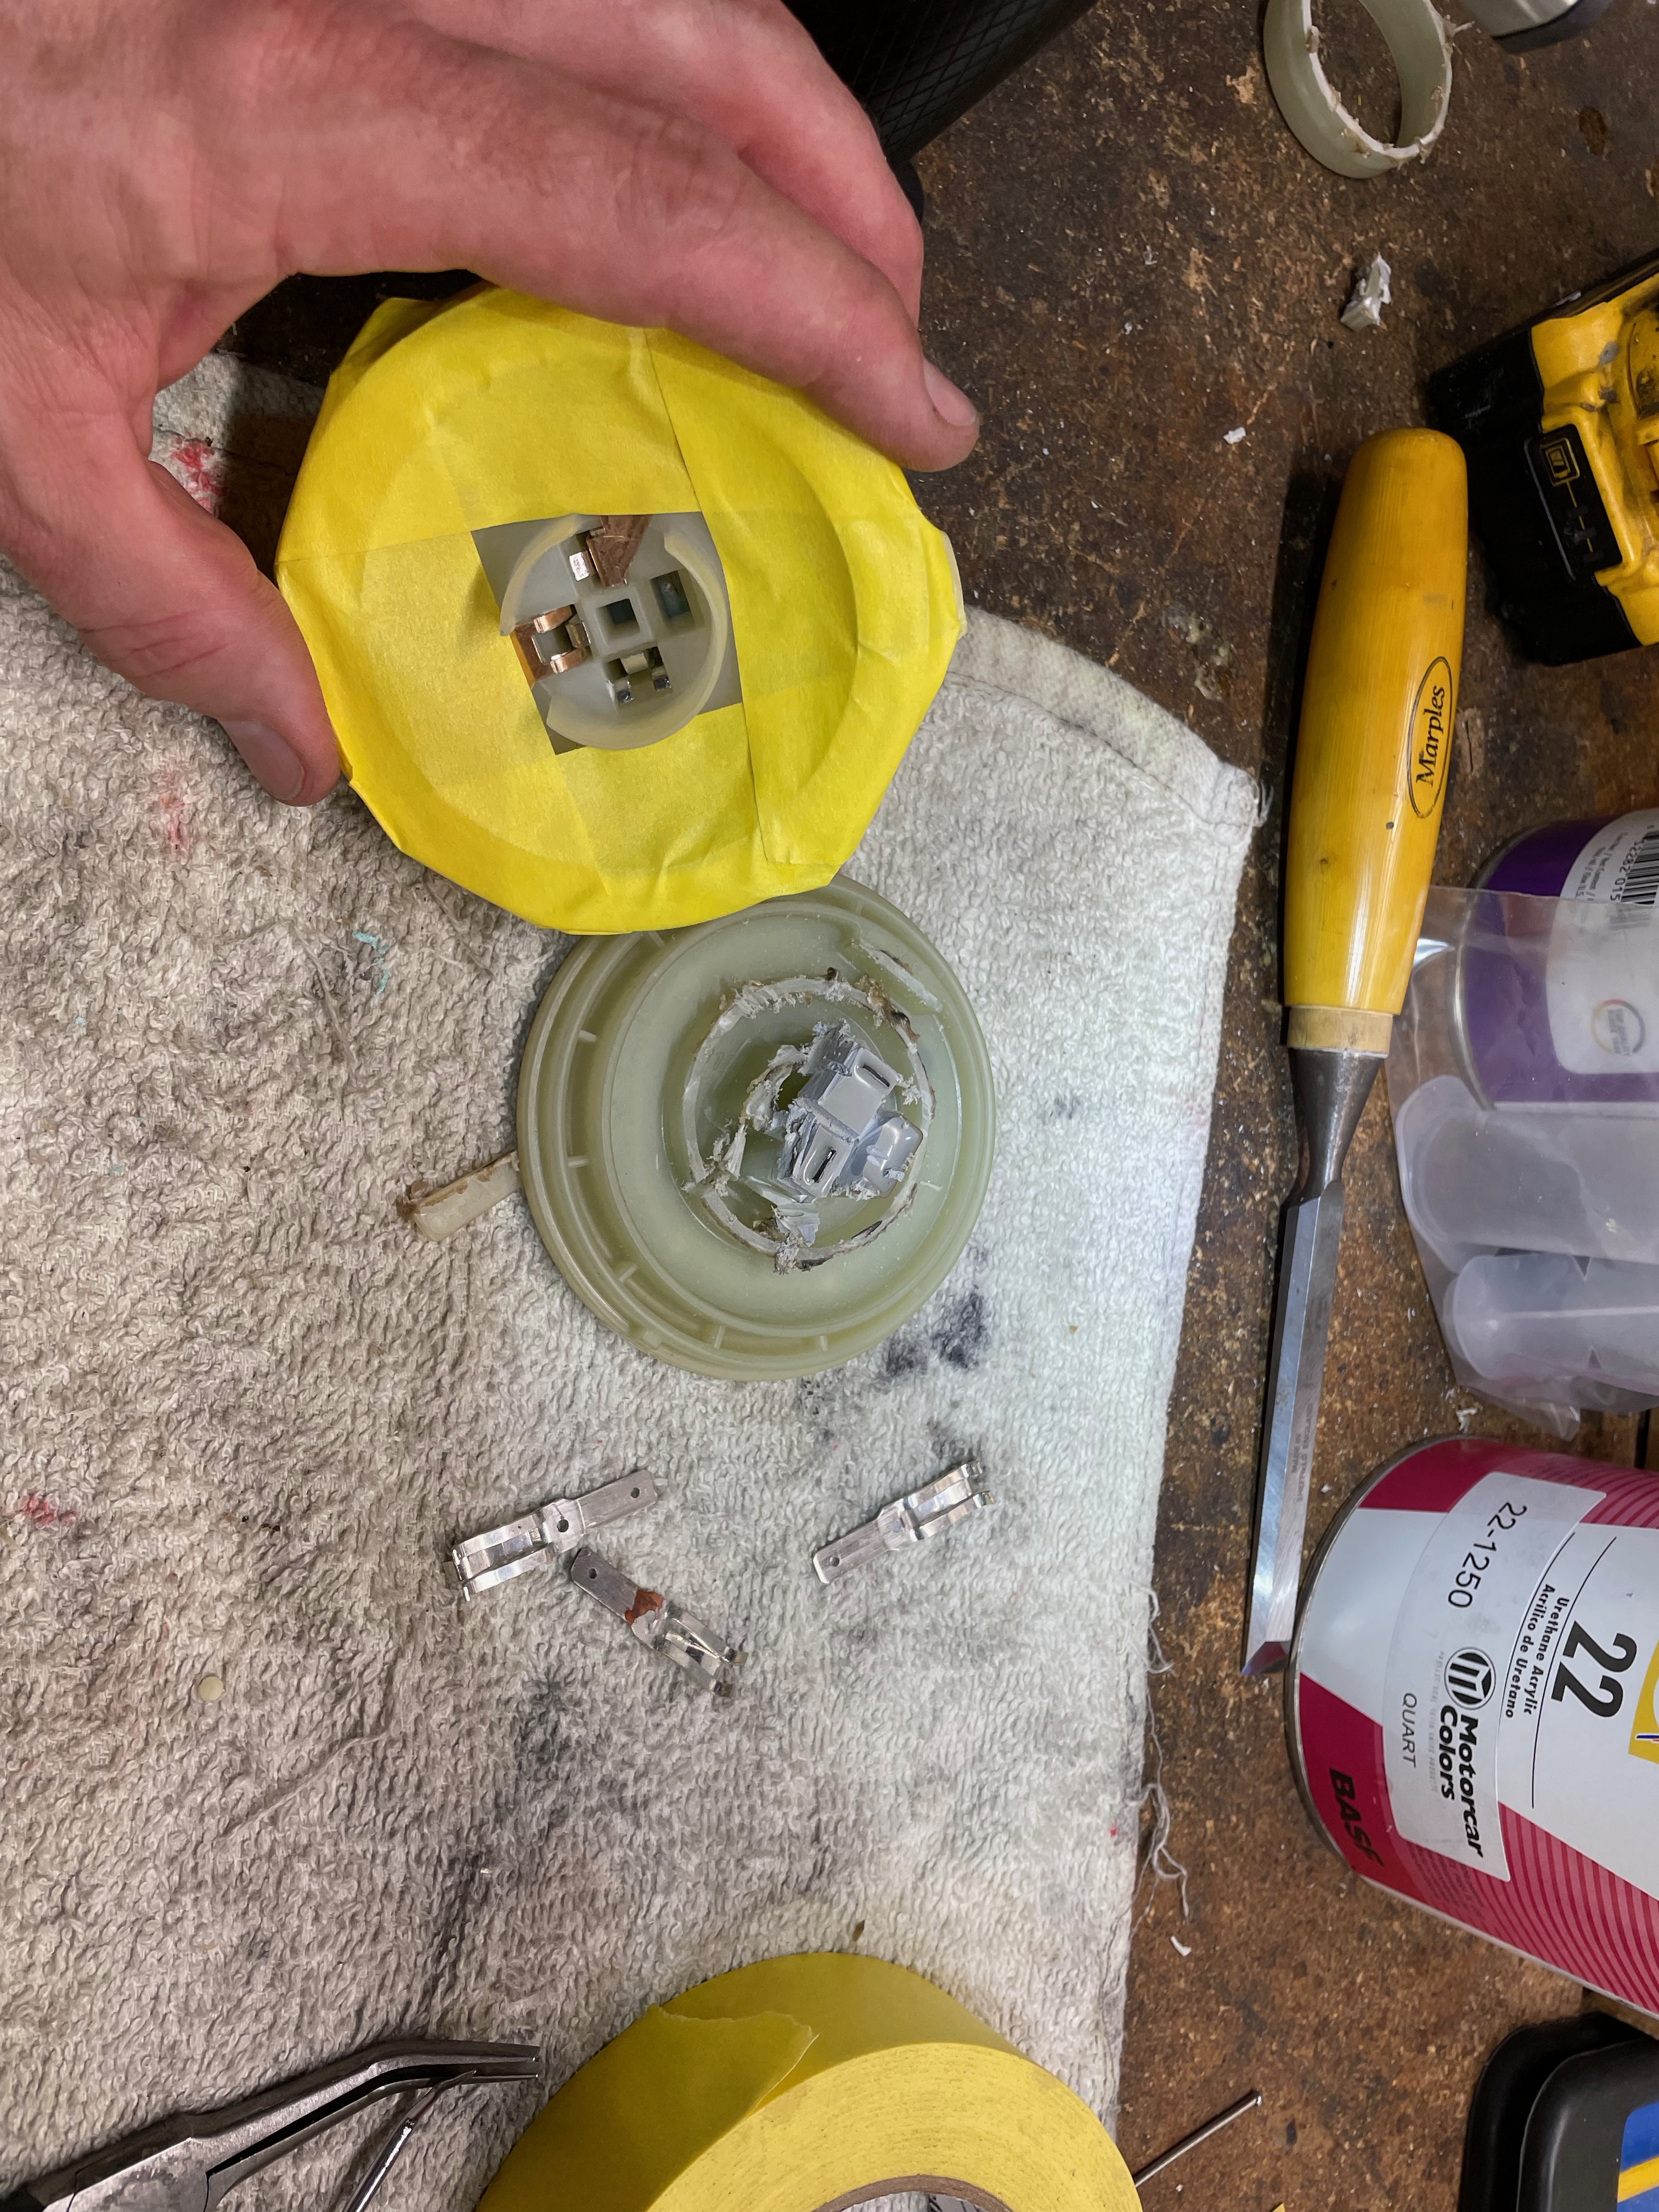
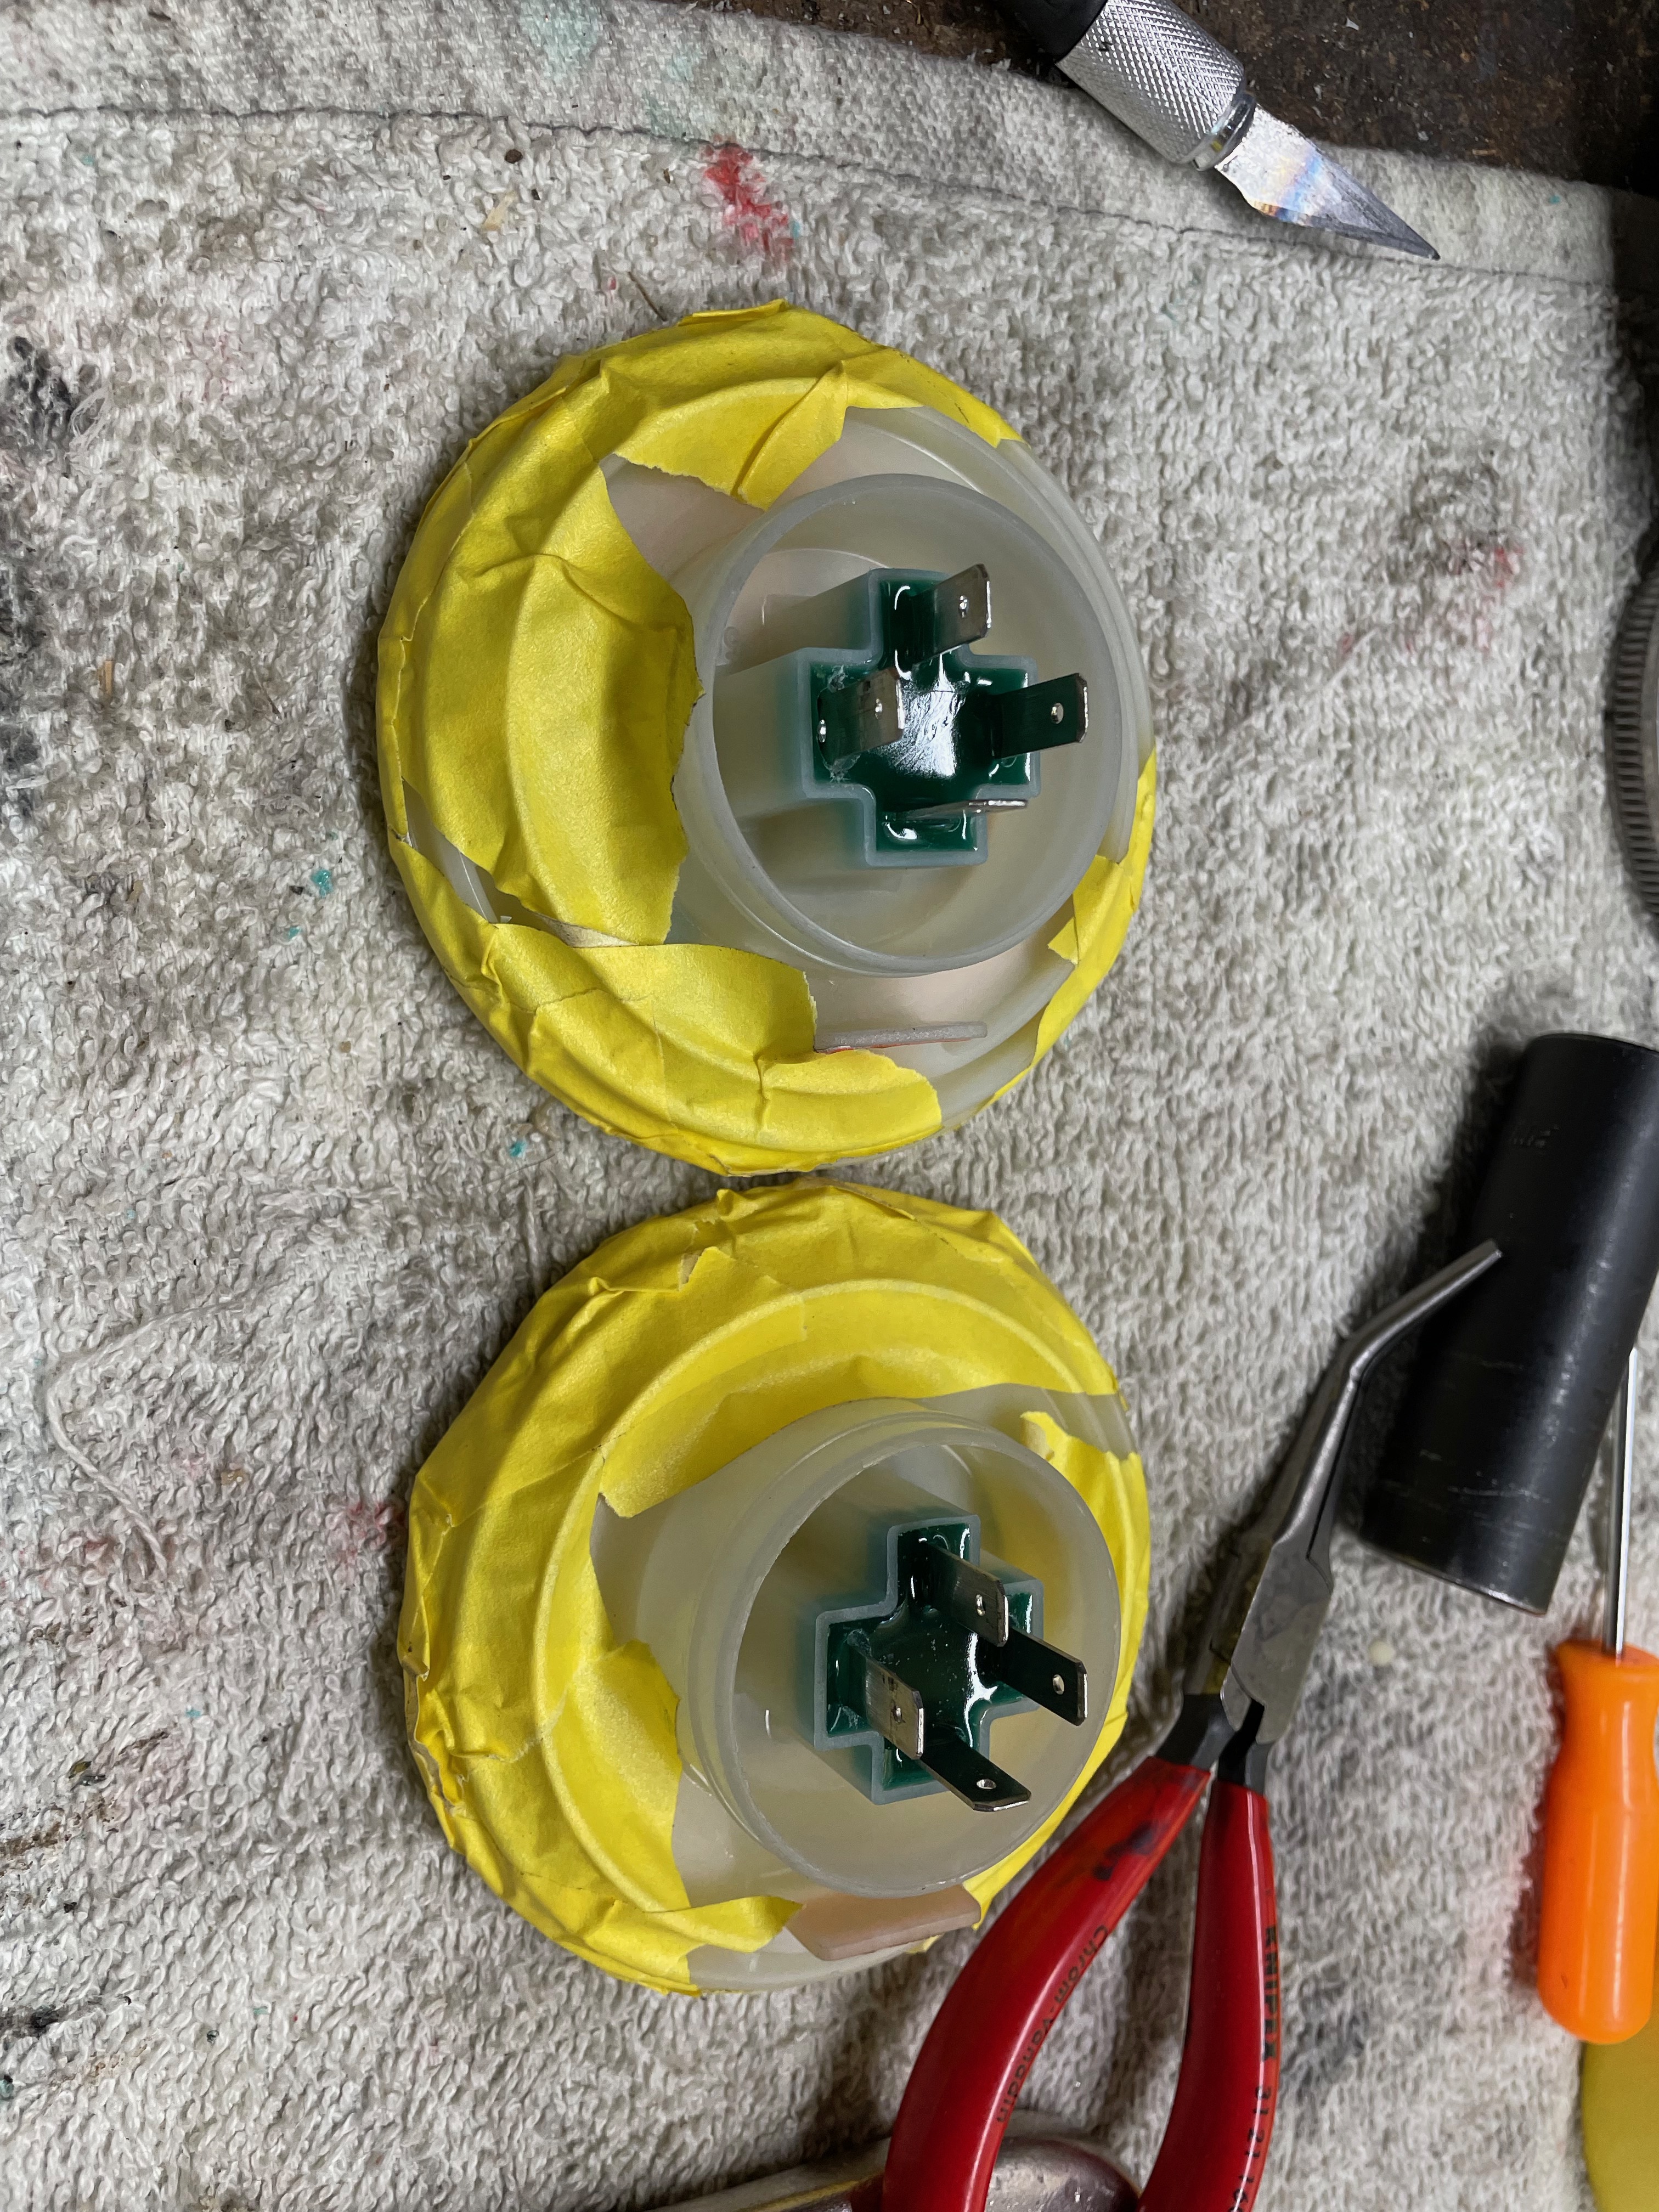
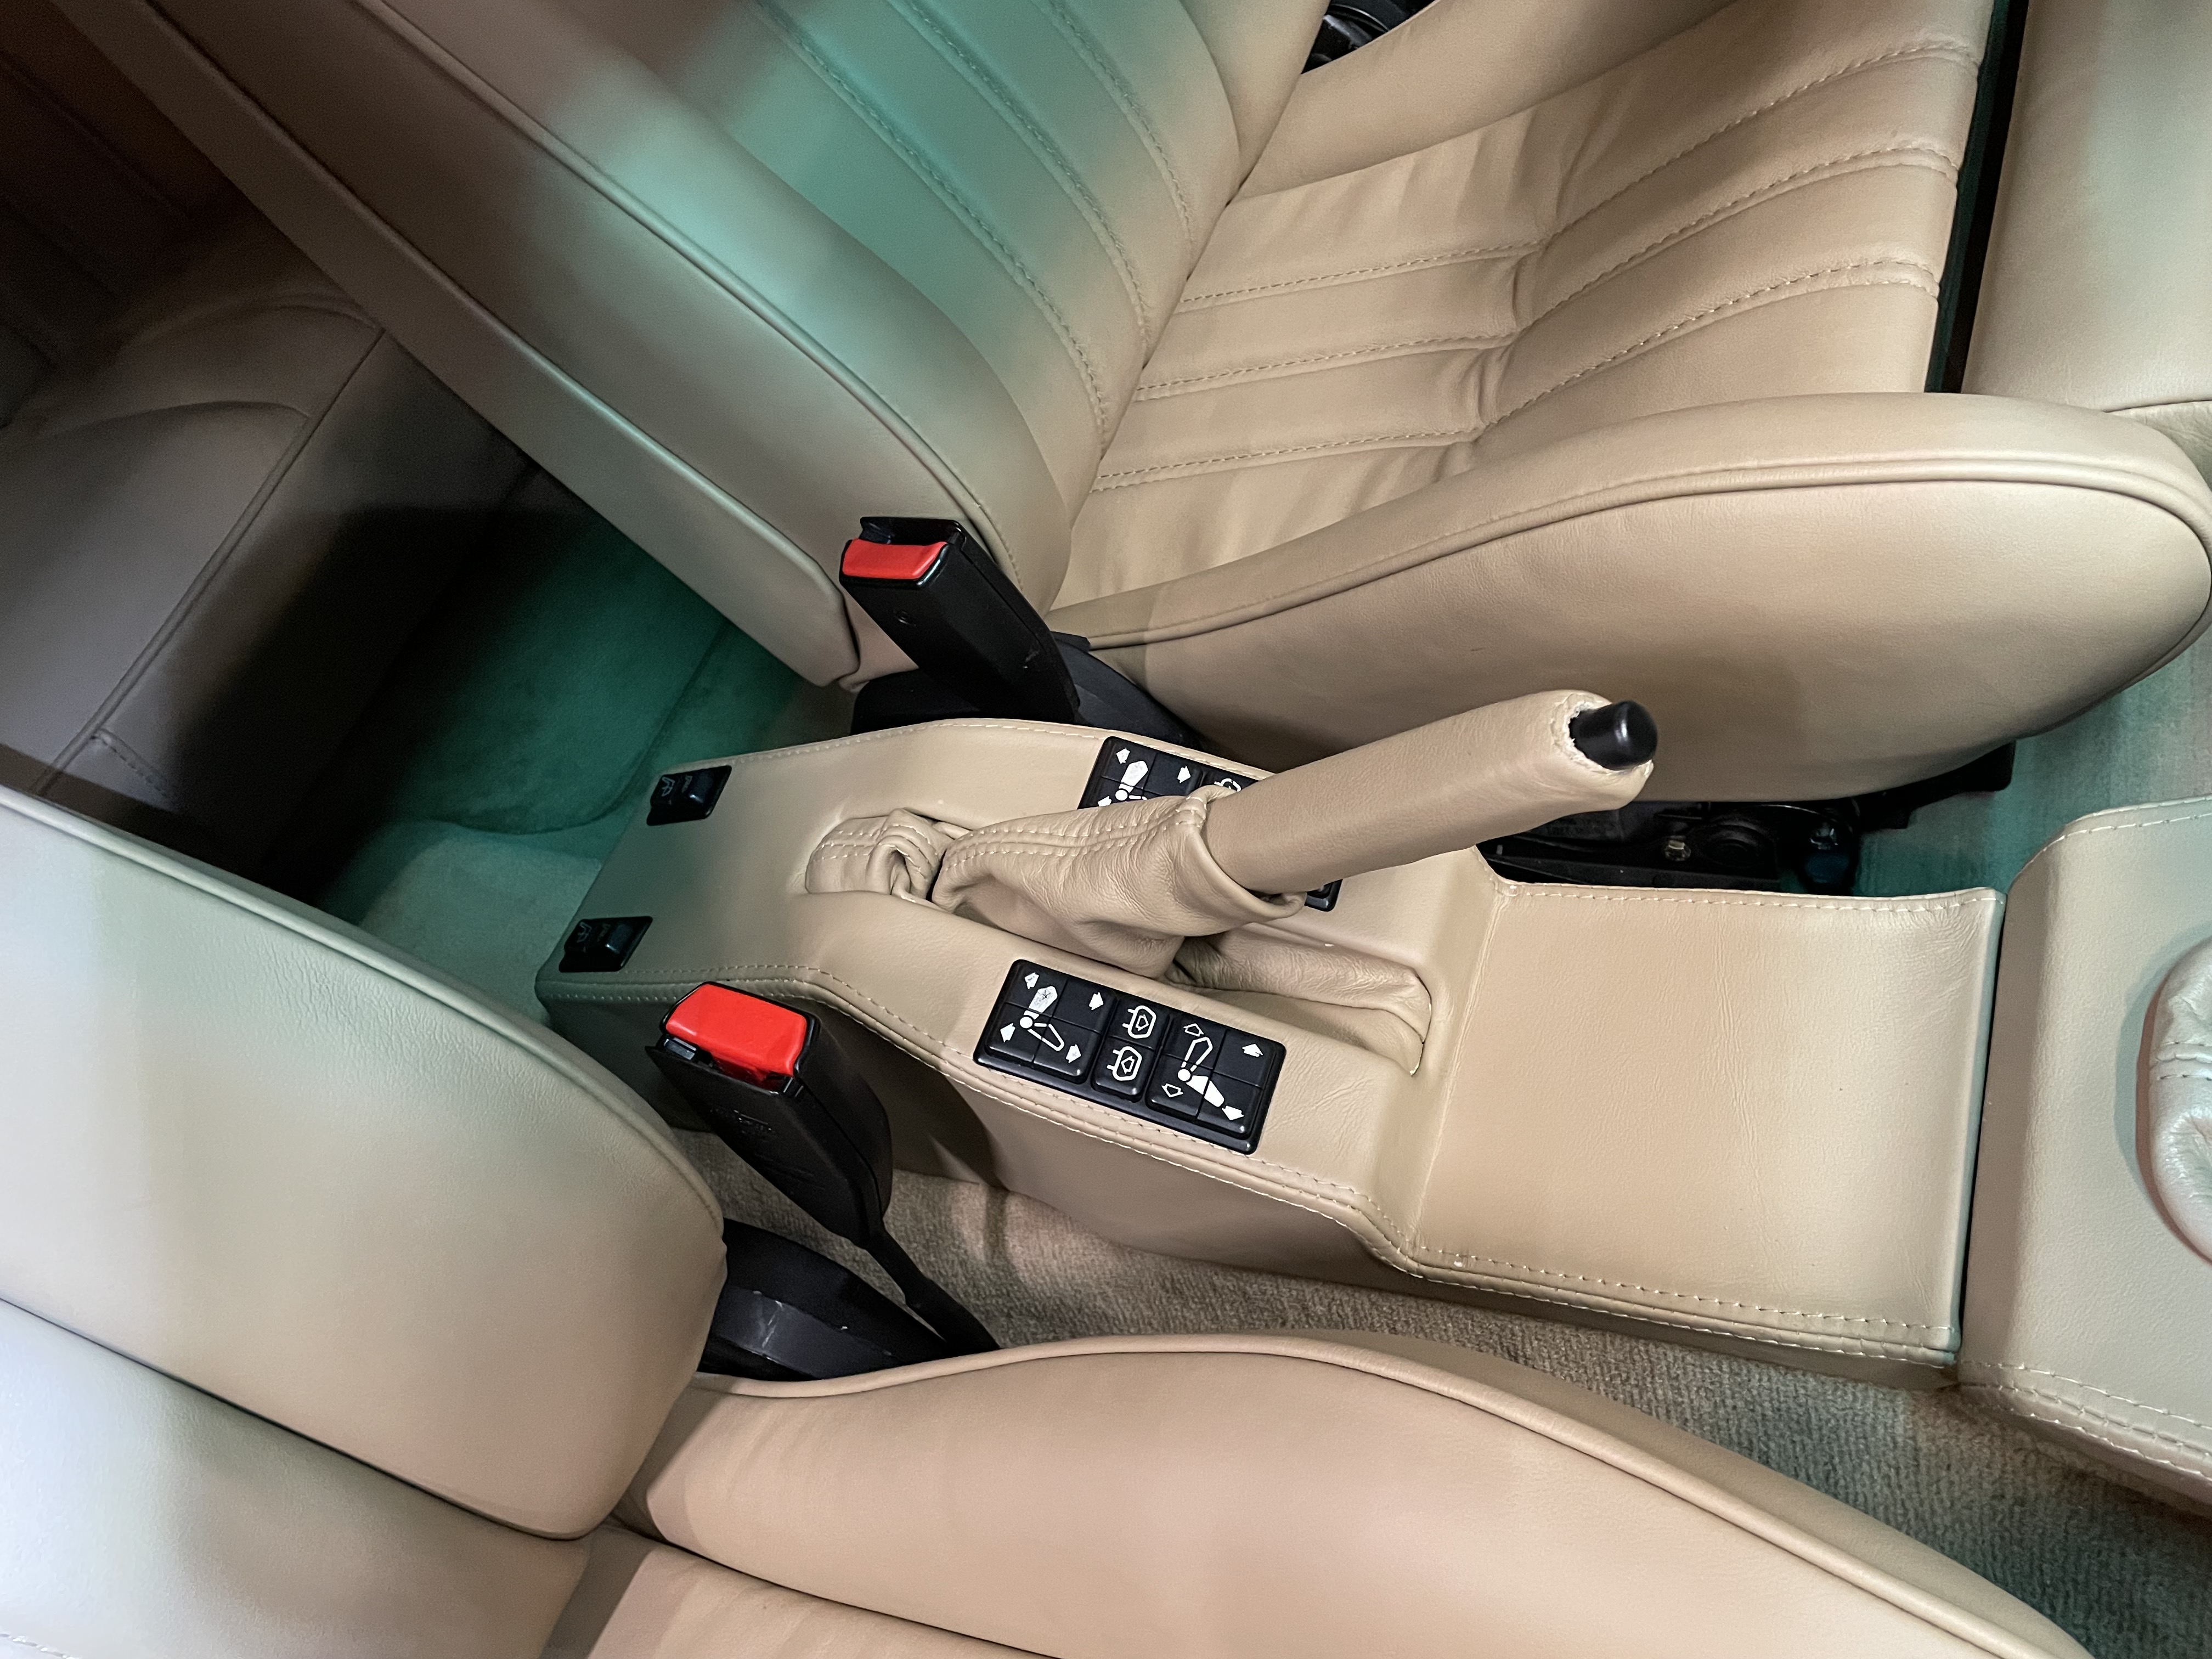
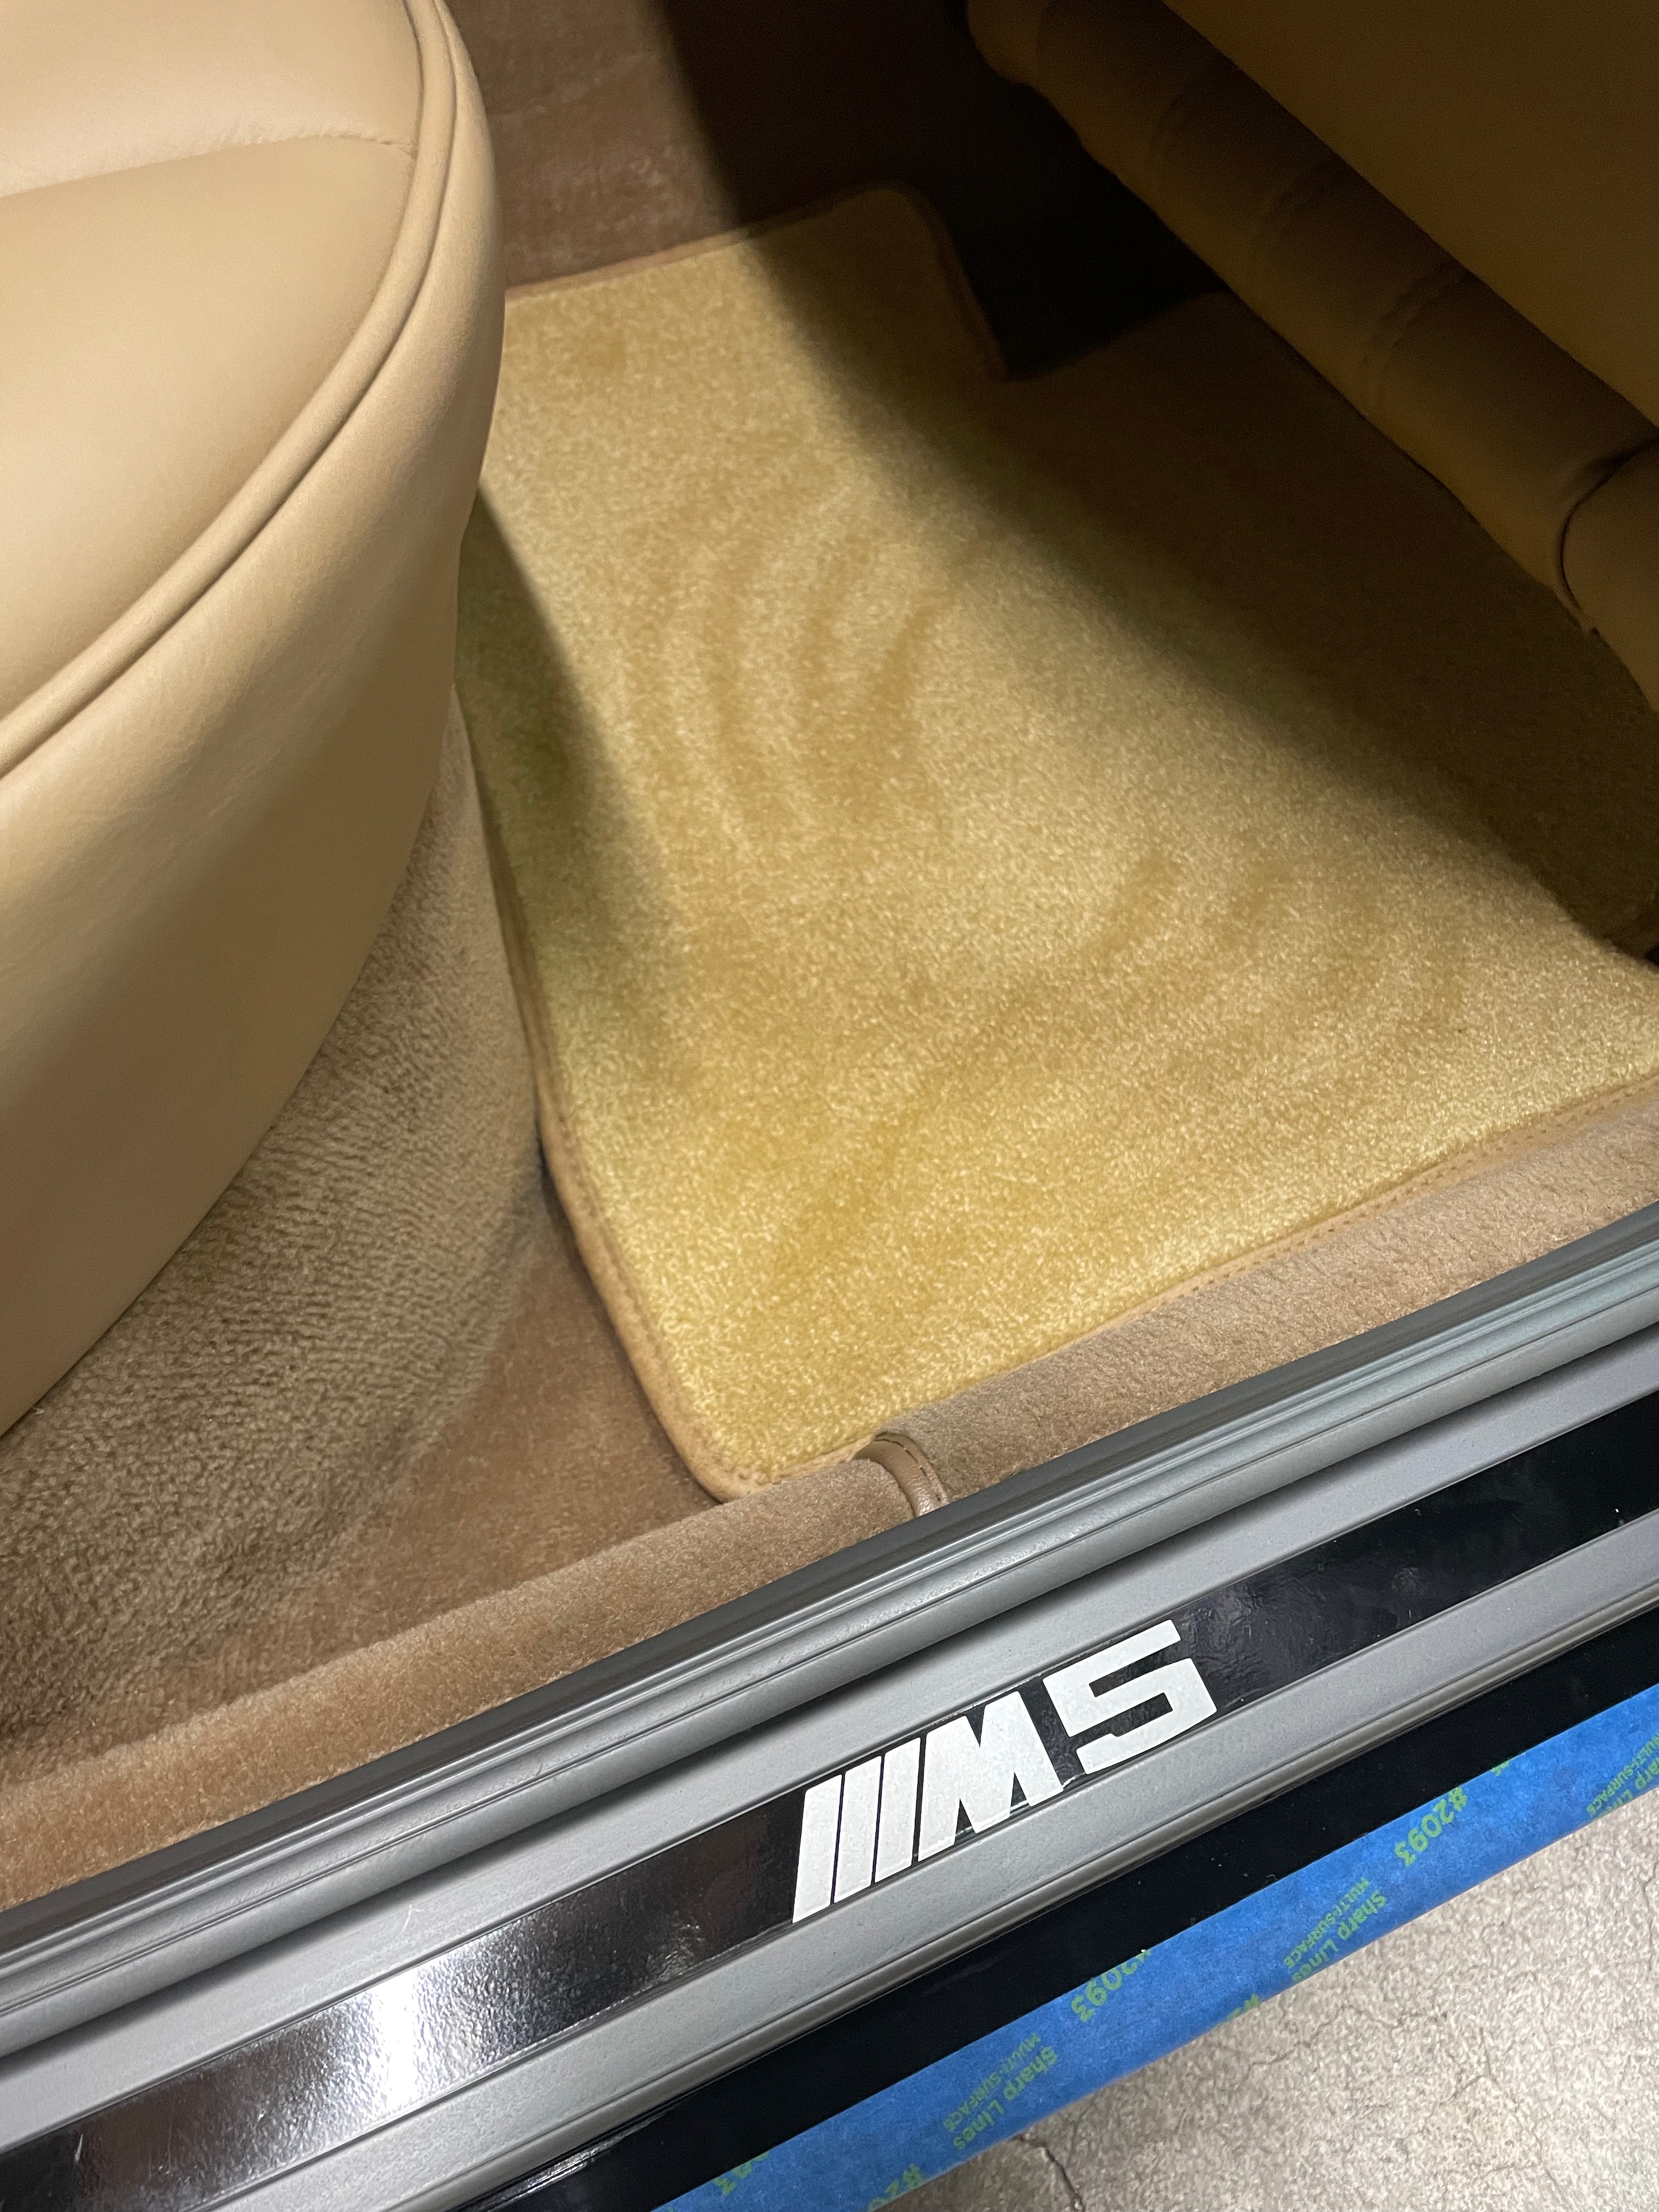
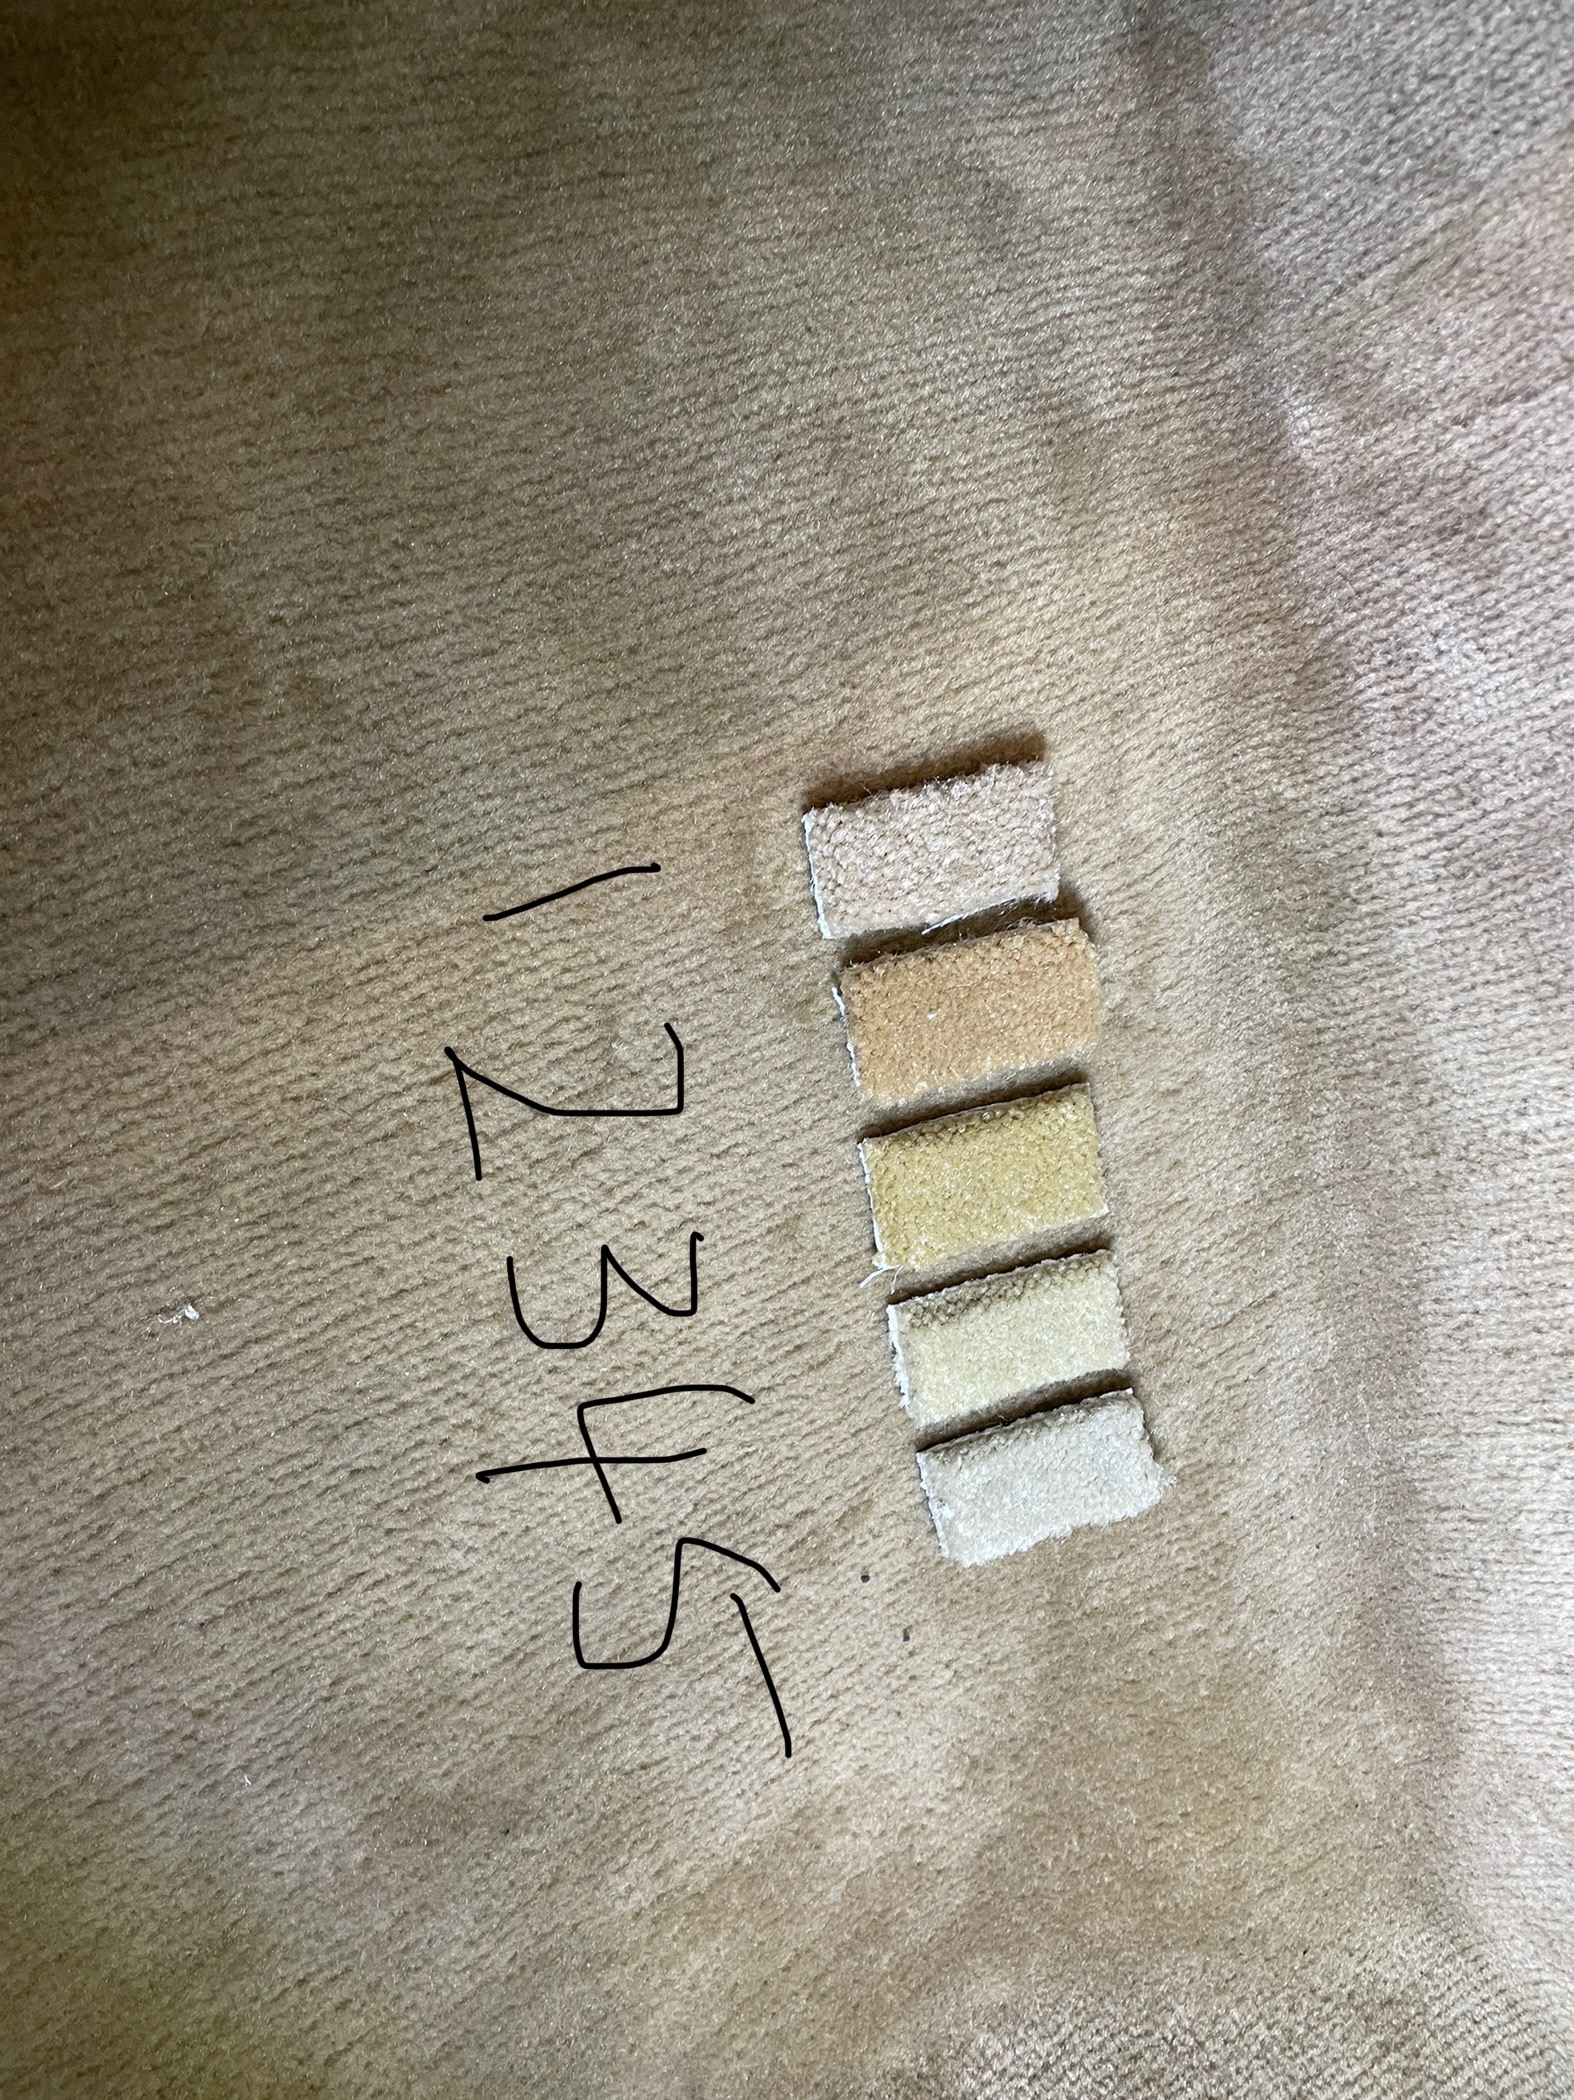
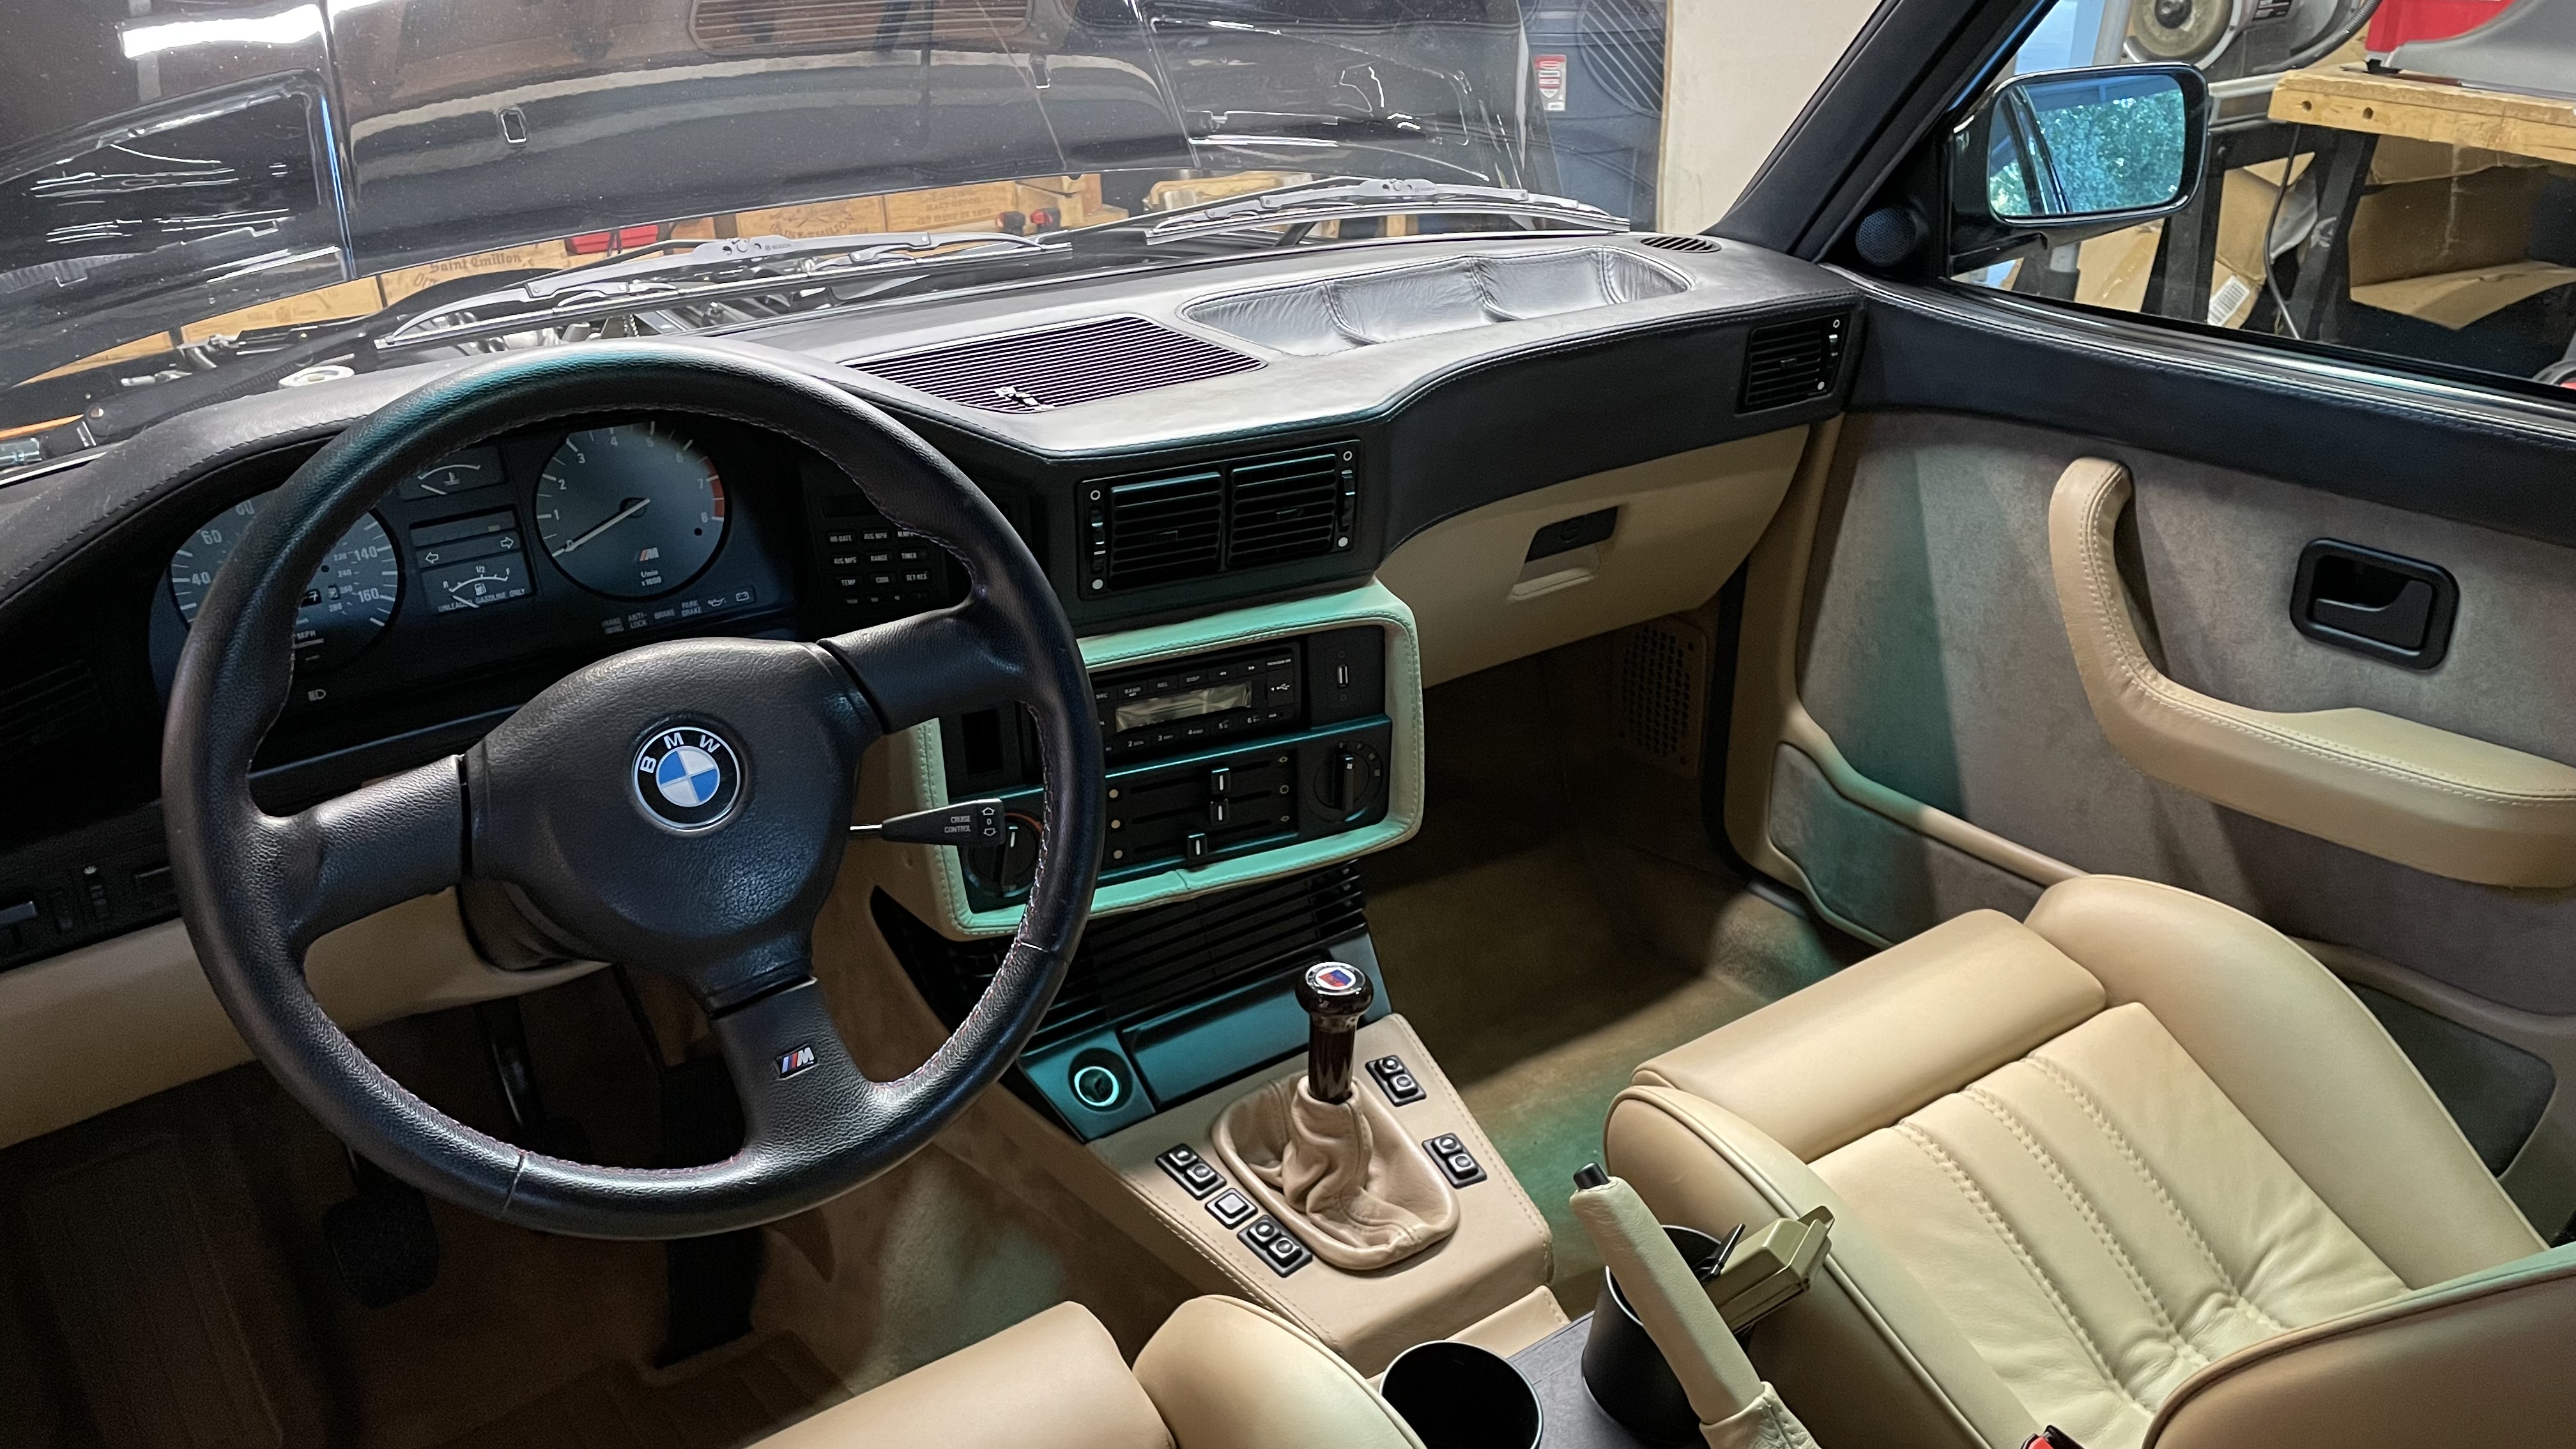
Good to know! I'm hoping not to have to upgrade wiring. In my case, I'm leaving the US system in pace (looking at just one side, I'll have one filament burning in the H4 for low beams, and one filament in the H4 and one in the H1 for high beams. I believe that should be the same wattage in each lens as the original US system (tho I have to admit I'm doing those numbers from memory) so it should be the same current draw. I'm not hoping to light both filaments in the H1 when I hit the high beams.Ordnator wrote: Sep 06, 2021 5:33 PM I believe that the E21 316 (single headlight variety) item 11 Covering Cap (63.12.1.358.819) will perform this function out of the box.
The E21 single headlamp had the low beam & high beam function within the single lens. I have read somewhere that this is what you need to turn your Euro E28 low beam into a low & high beam setup. There is also some wiring upgrade and control circuitry to manage the additional current draw with 4 x high beams and low beams combined.
https://www.realoem.com/bmw/enUS/showpa ... Id=63_0023
On my list of potential upgrades for the Eta's.
That's some nice work for sure. And yeah, that would be a hell of a ways to send all those parts. Who knows. In a few months I may be desperate: I just got a messafge back from the Bay Area shop I was hoping to have do the work and among other things they said, "We really only do pre-war cars." WTH, it's all just leather, isn't it??Ordnator wrote: Sep 06, 2021 5:33 PM
I had my Diamantschwartz Eta re-trimmed back in 2016 by these guys:
https://www.dclass.co.uk/
A long way to send your parts but this is the end result for my Eta:
https://www.dclass.co.uk/gallery_images/bmw-525e/
Dave is a real artisan and I recommend his work without hesitation.
My daily beater E28 looked quite out of place with all the exotic cars at his shop but Dave took on my work as his personal task. He loves working on "coil sprung horse hair filled proper seats not the modern foam filled rubbish"
He mentioned shaving the back of the leather to assure that when folded the piping would match the original size. He also shaves the leather when fitting over dashboards, kick panels, hand brake consoles, glove boxes etc.
He scoured Germany for the older style thicker thread again to match the original but in the new colour for the re-trim.
Top drawer work and a top bloke to boot.
Best regards,
Mick
Thanks. Unfortunately ... life. Project has been stalled. My sister and I finally convinced my parents to move into a retirement / assisted living place. The final straw involved a call my mom received from the "IRS" about an "unpaid tax bill" that my mother urgently had to pay. By cash. I'm OK laughing now because we managed to get the $9,500 back from UPS. Now, you might ask, "ninety-five hundred? Why didn't they ask for a nice round number, like ten grand?" Well, they did - and I'm sure that the "IRS" doesn't need to worry about factoring laws anyhow, but when we got the package back from UPS, there was only $9,500 in there. Apparently - and I'm dumfounded all over again as I write this - my mom enlists my dad's help to package up the money. Does he say, "Hey, honey, maybe this isn't such a good idea, maybe we should rethink this." NO! He palms $500 for himself - and then forgets where he stashed the money. So while my mom is getting ripped off by the over-seas branch of the IRS, my dad is ripping off my mom.Bret wrote: Oct 13, 2021 6:43 PM Very inspiring build. Discovered your 535i build from the BaT listing, and naturally ended up here. Can't wait to see more.
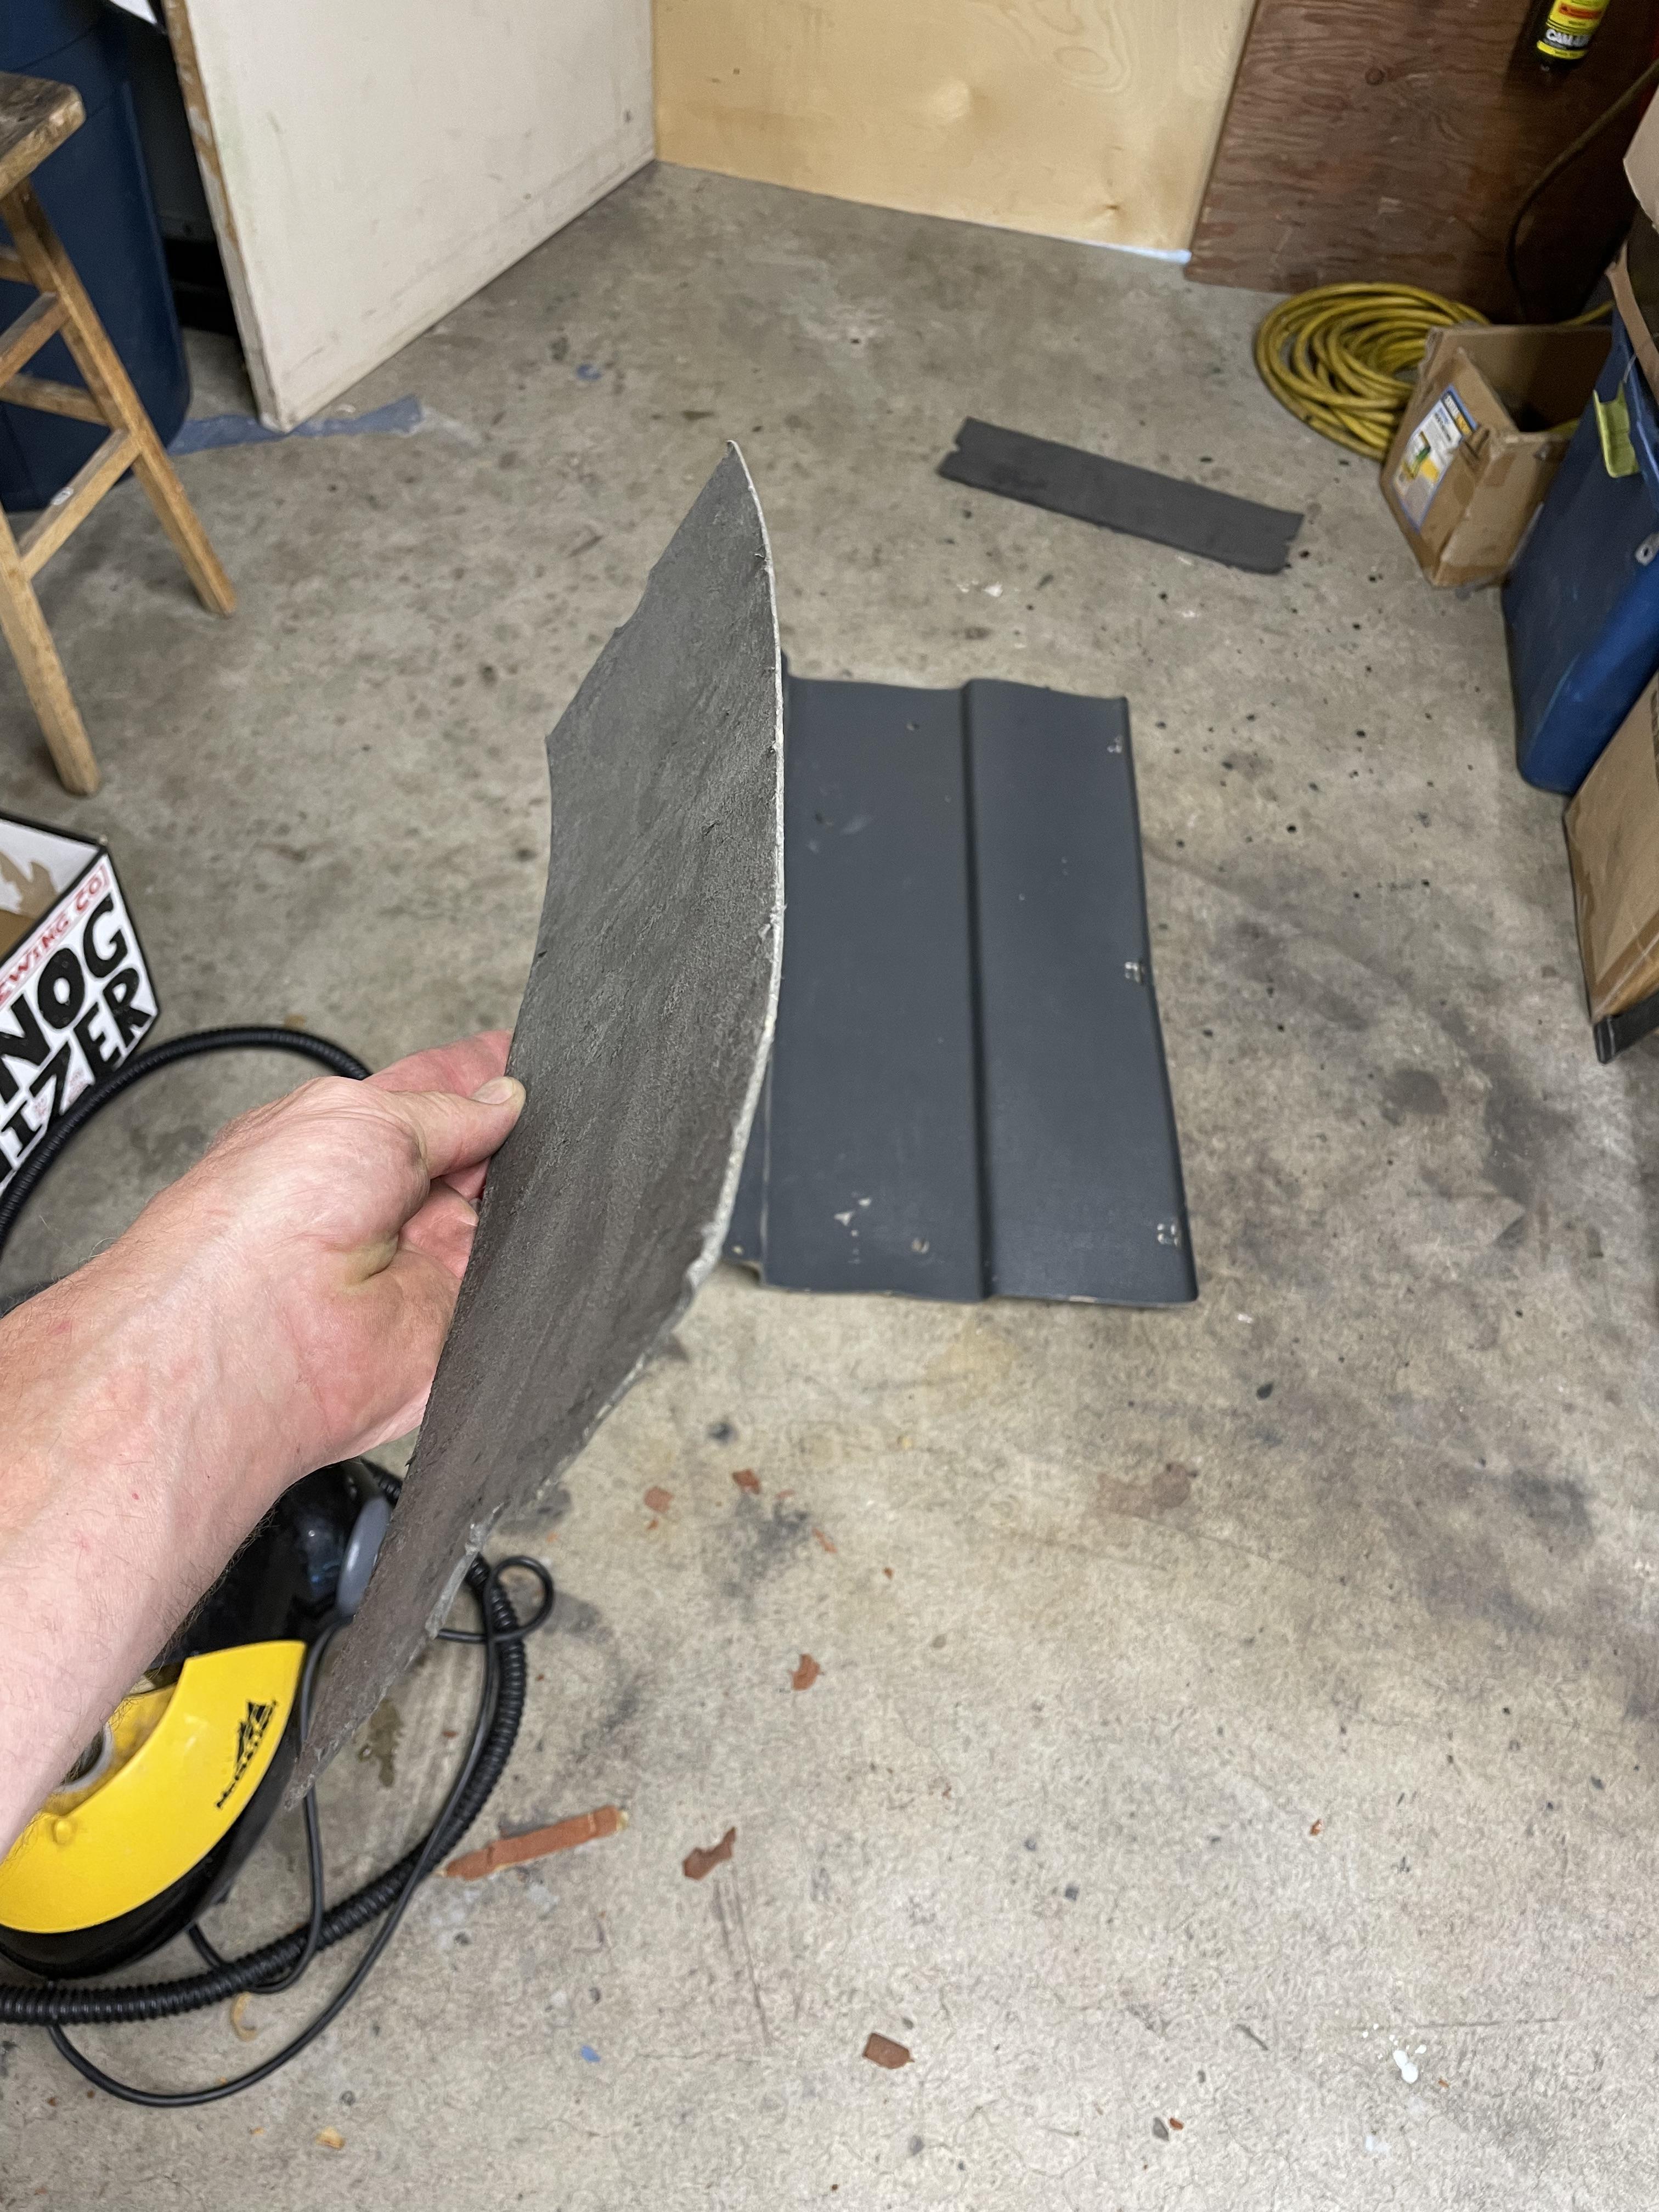
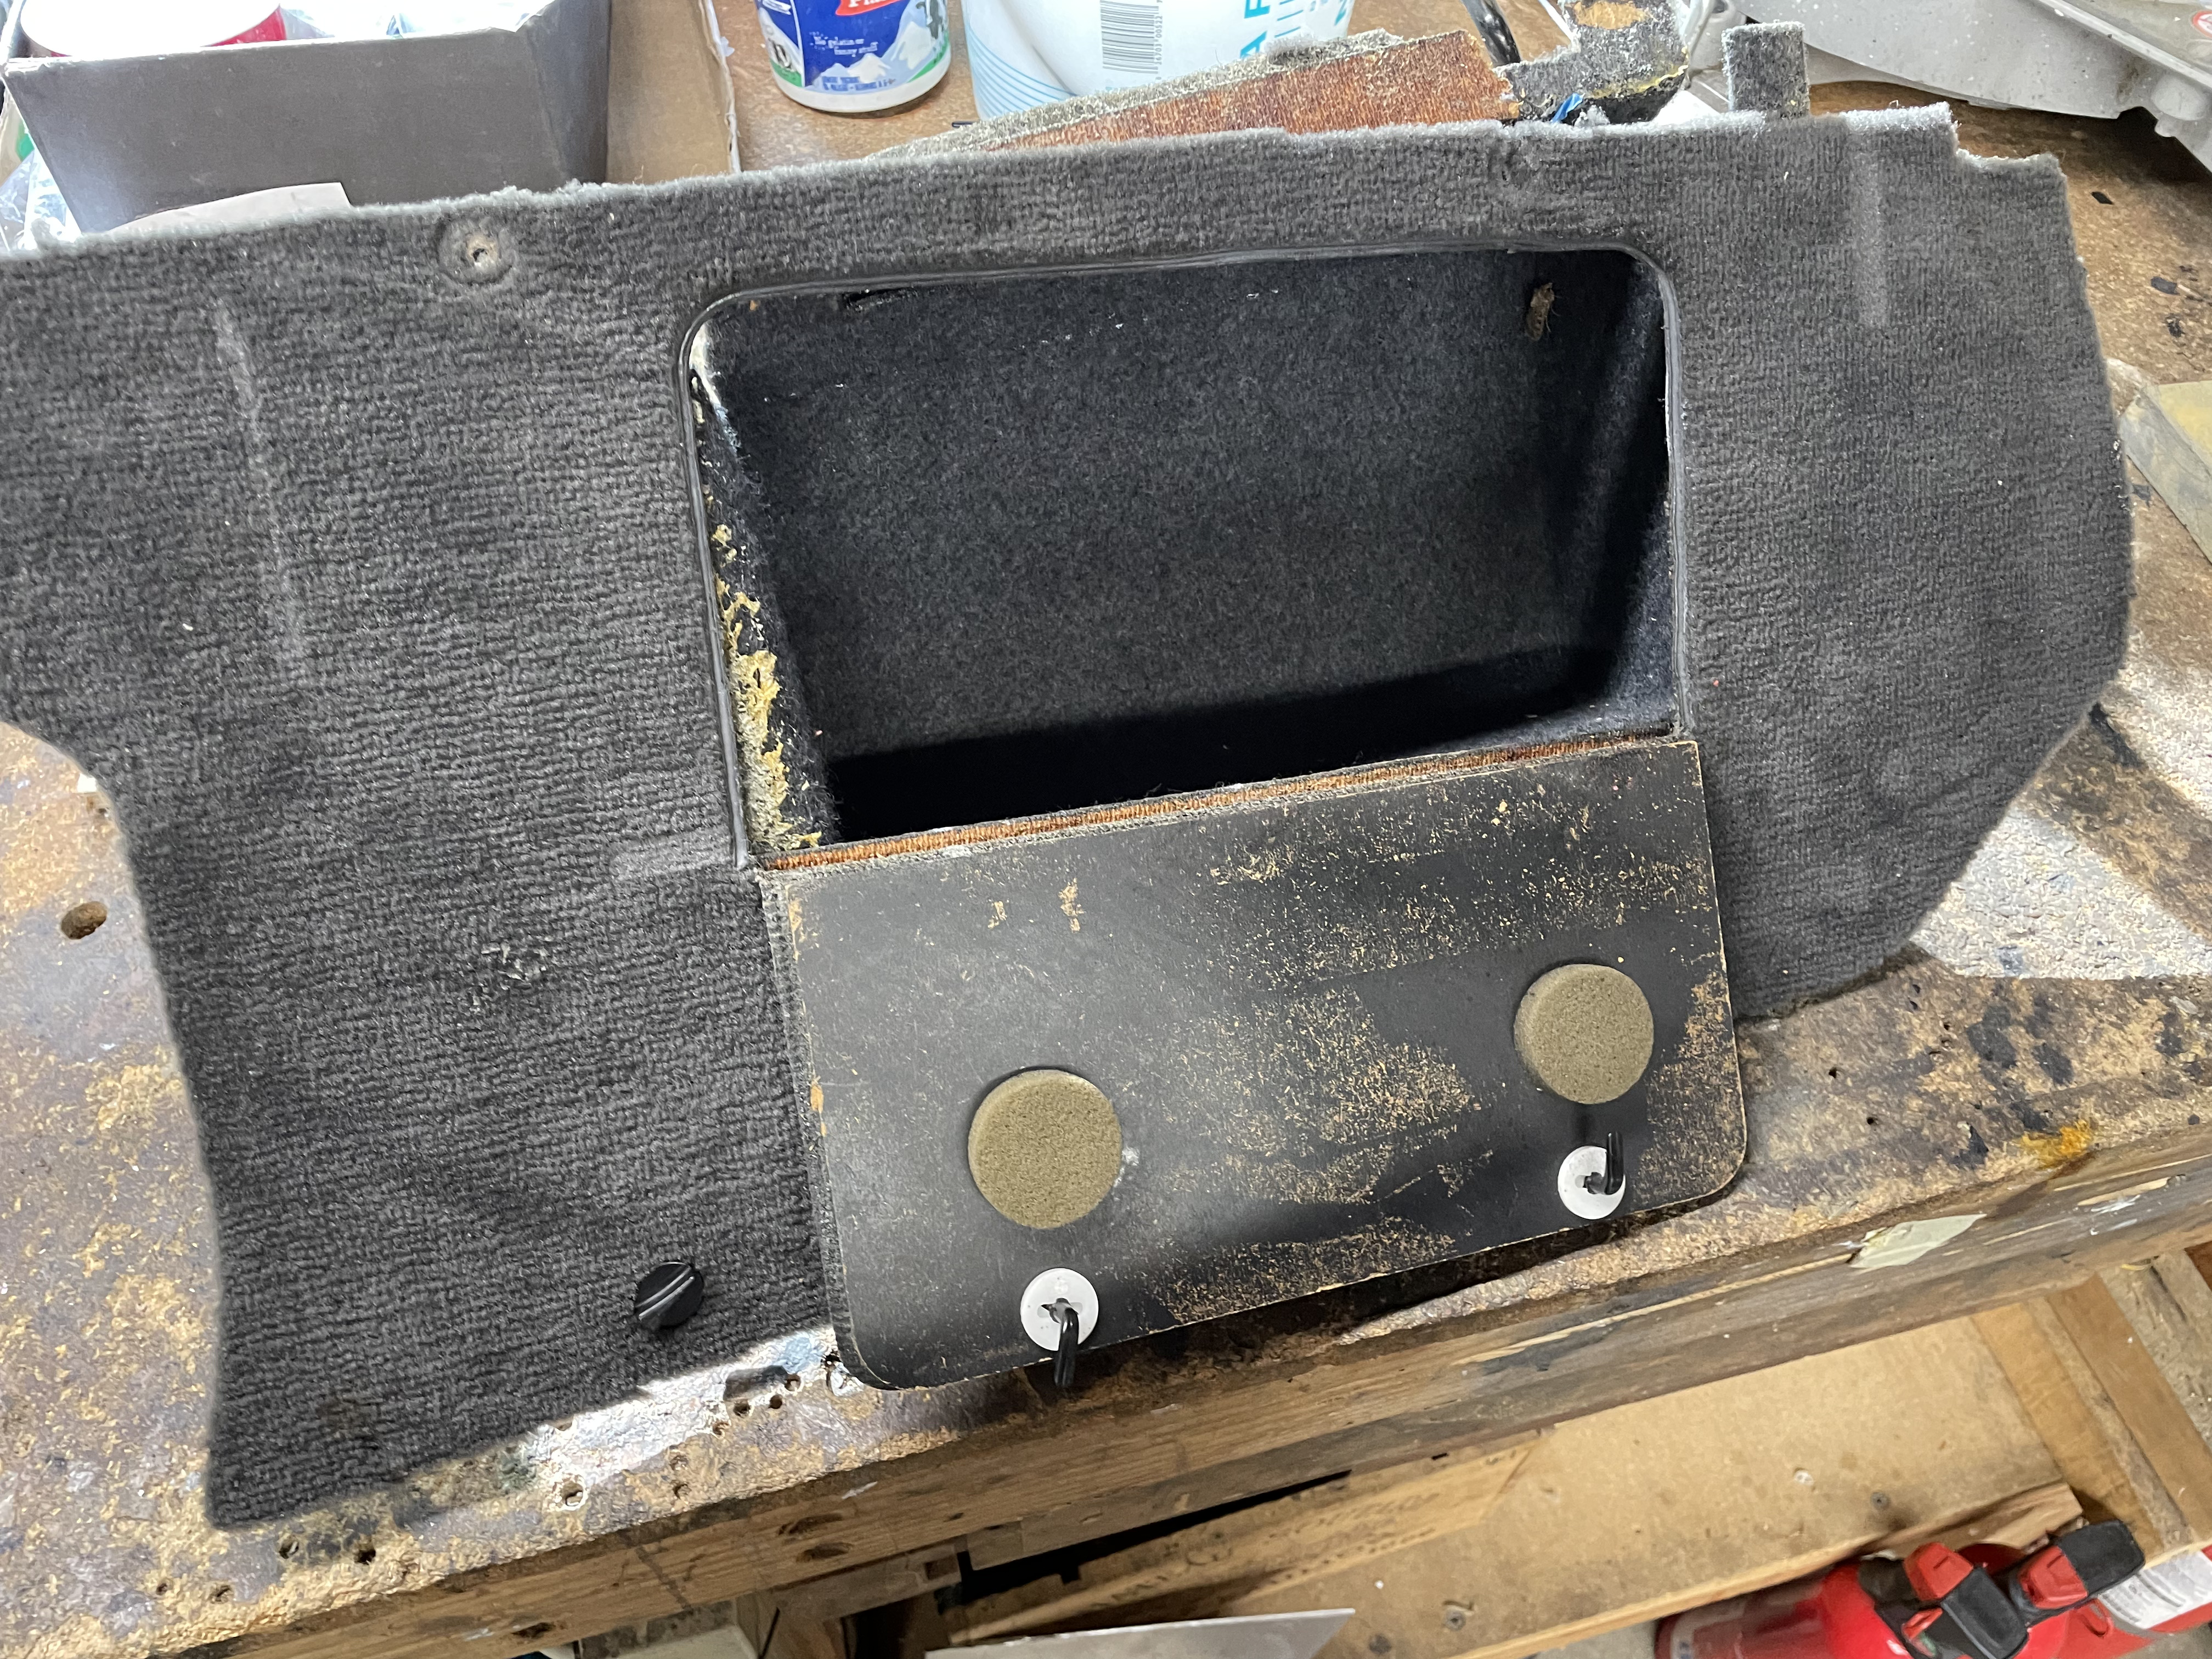
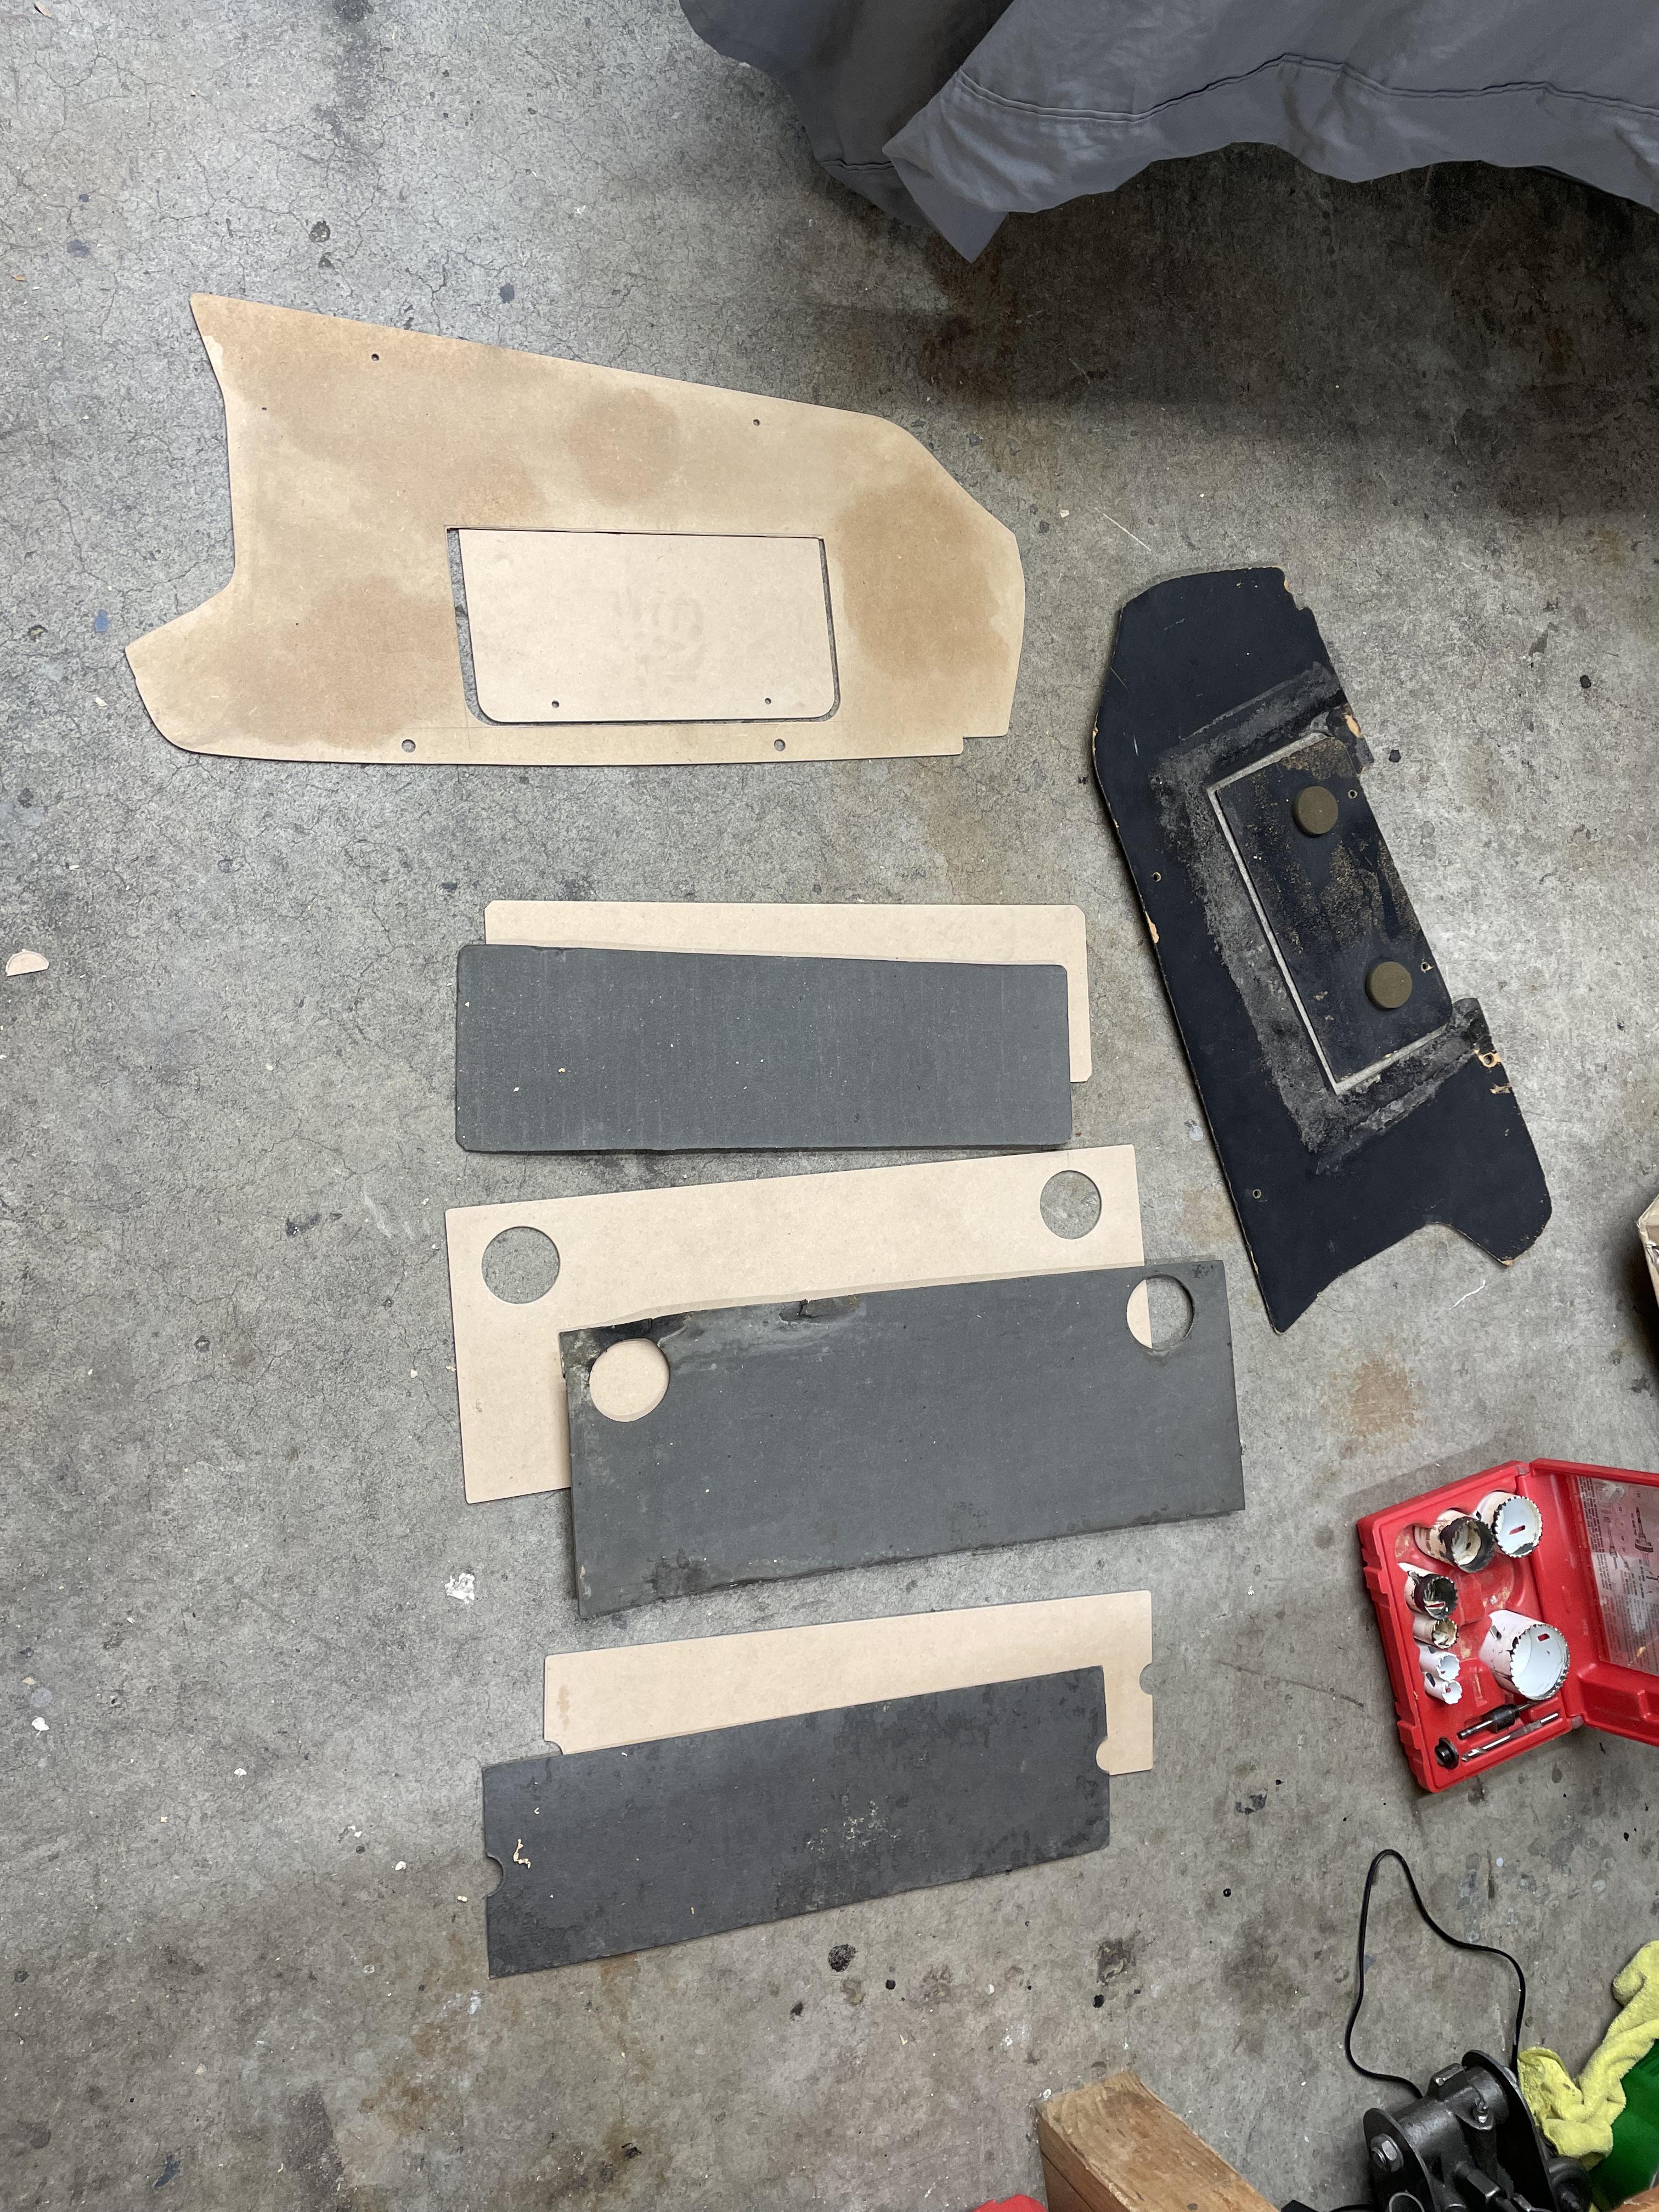
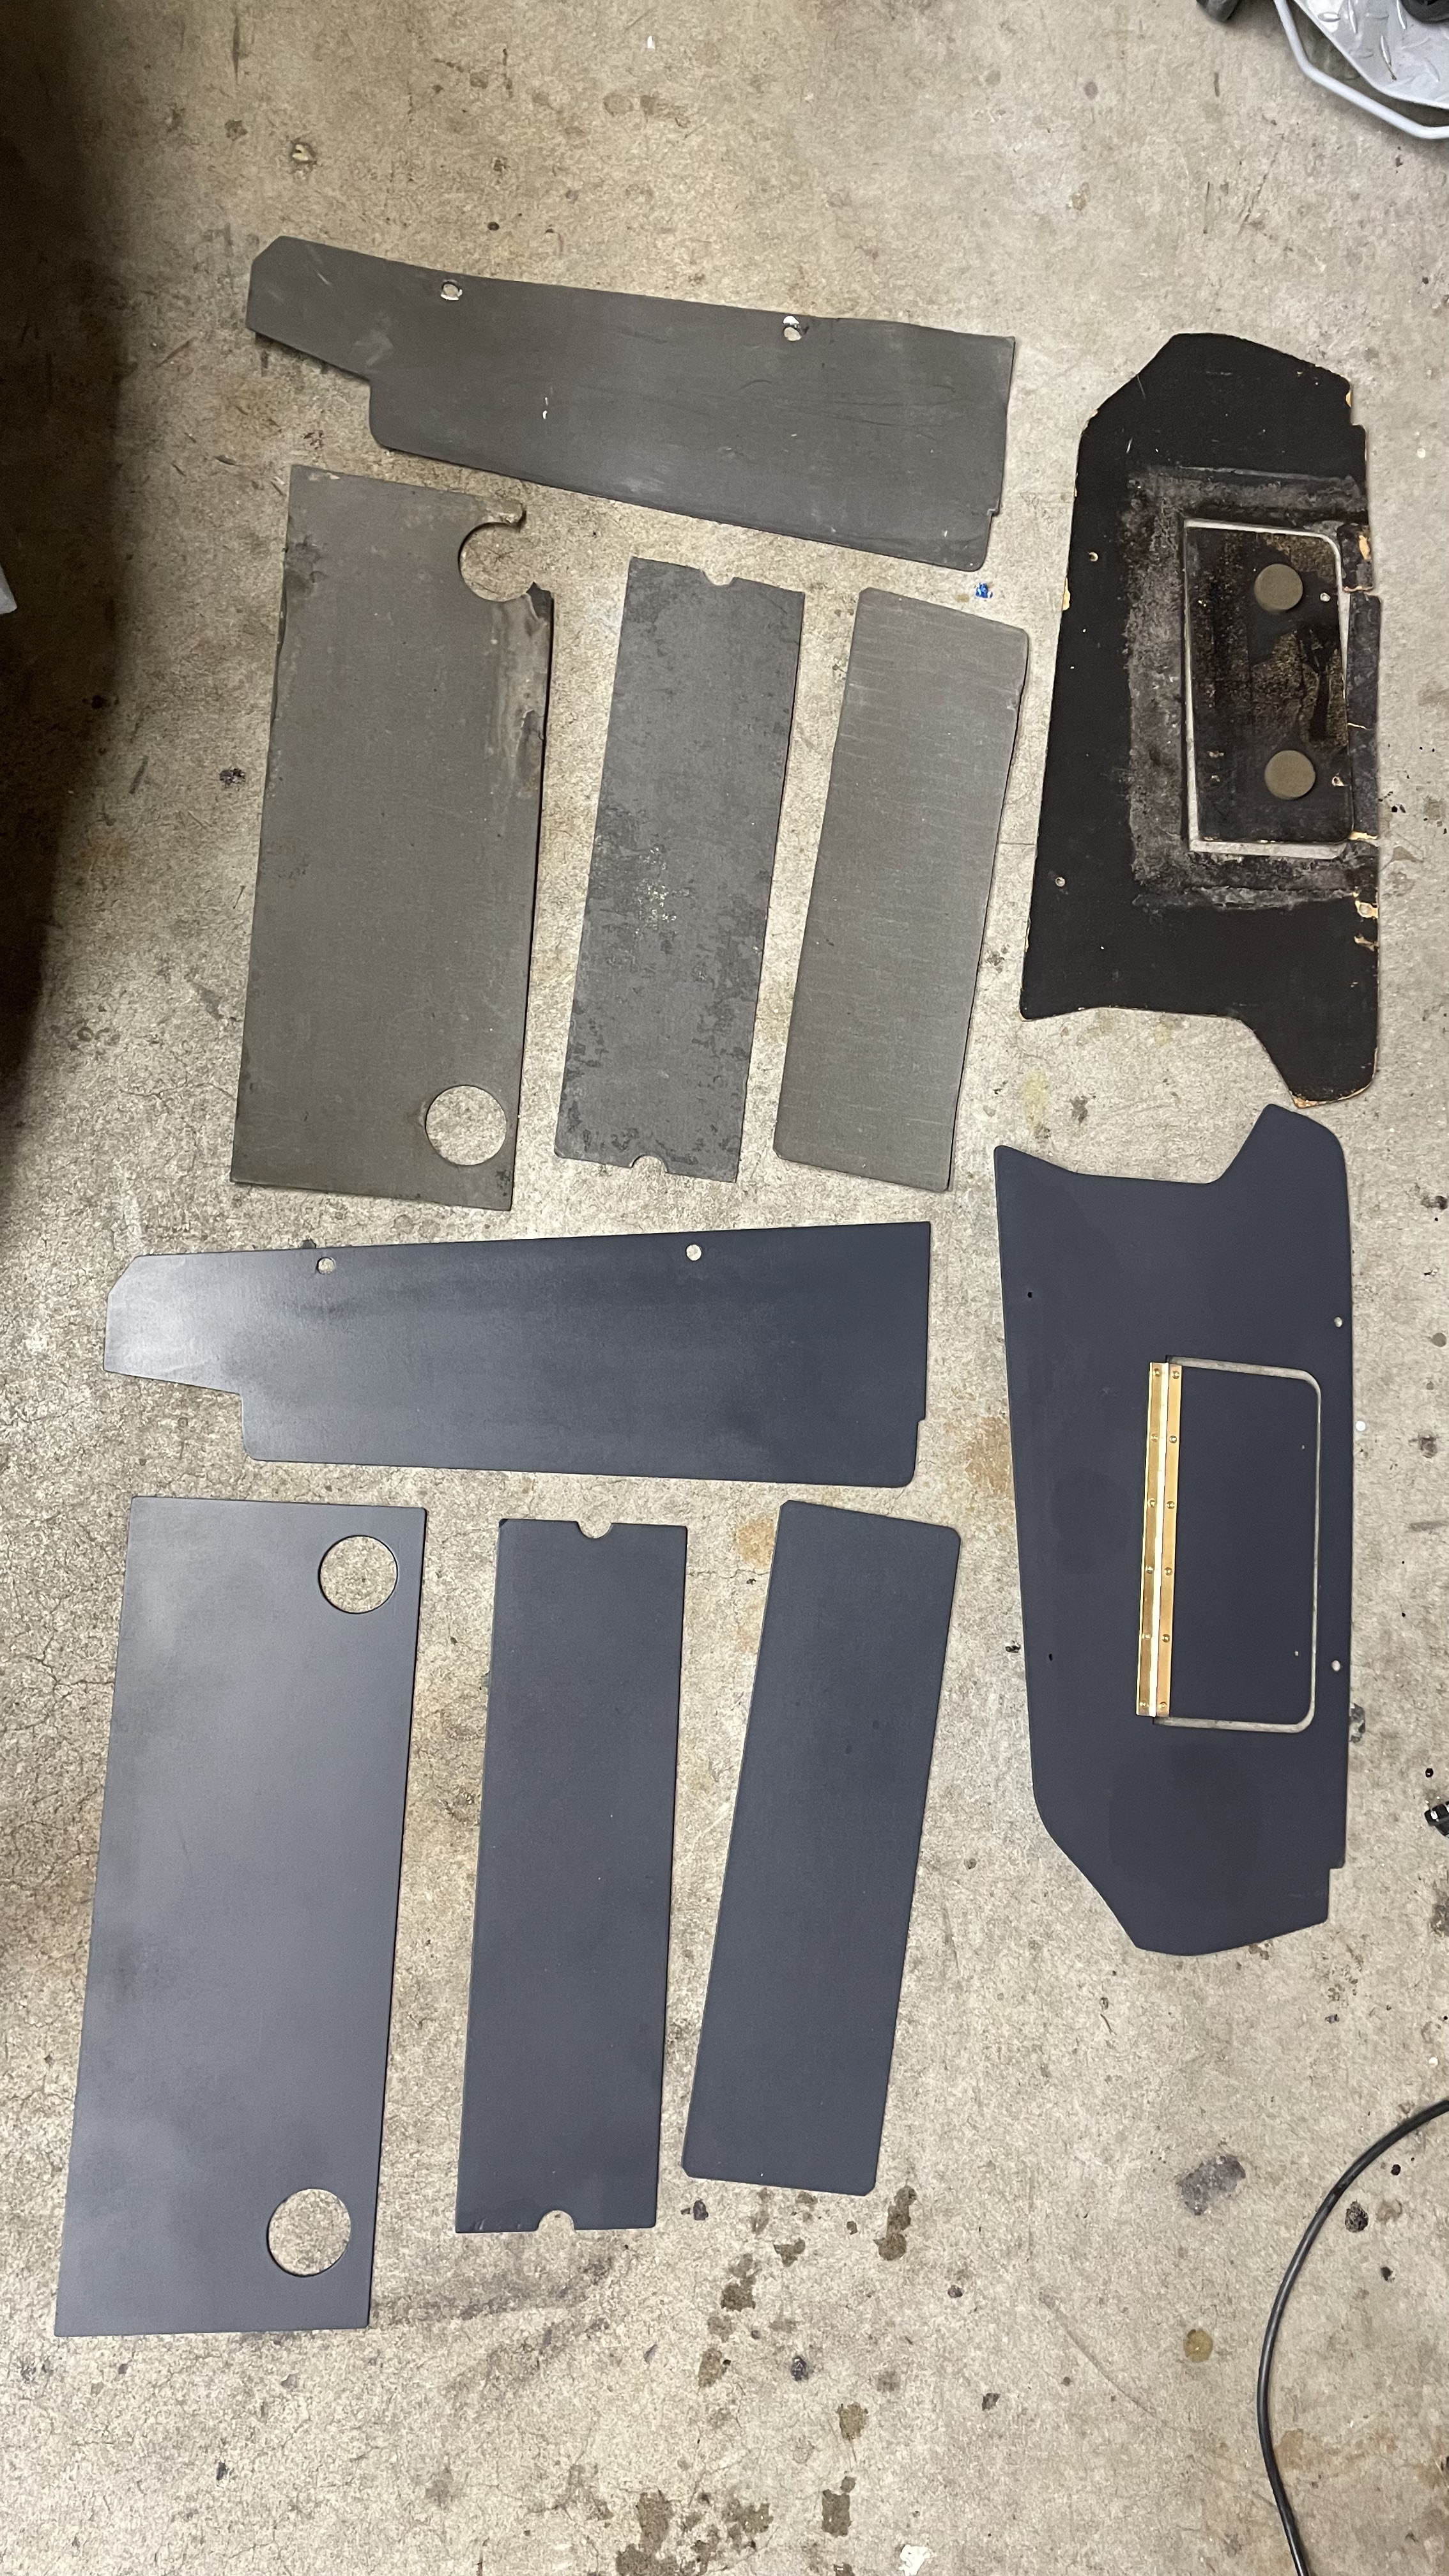
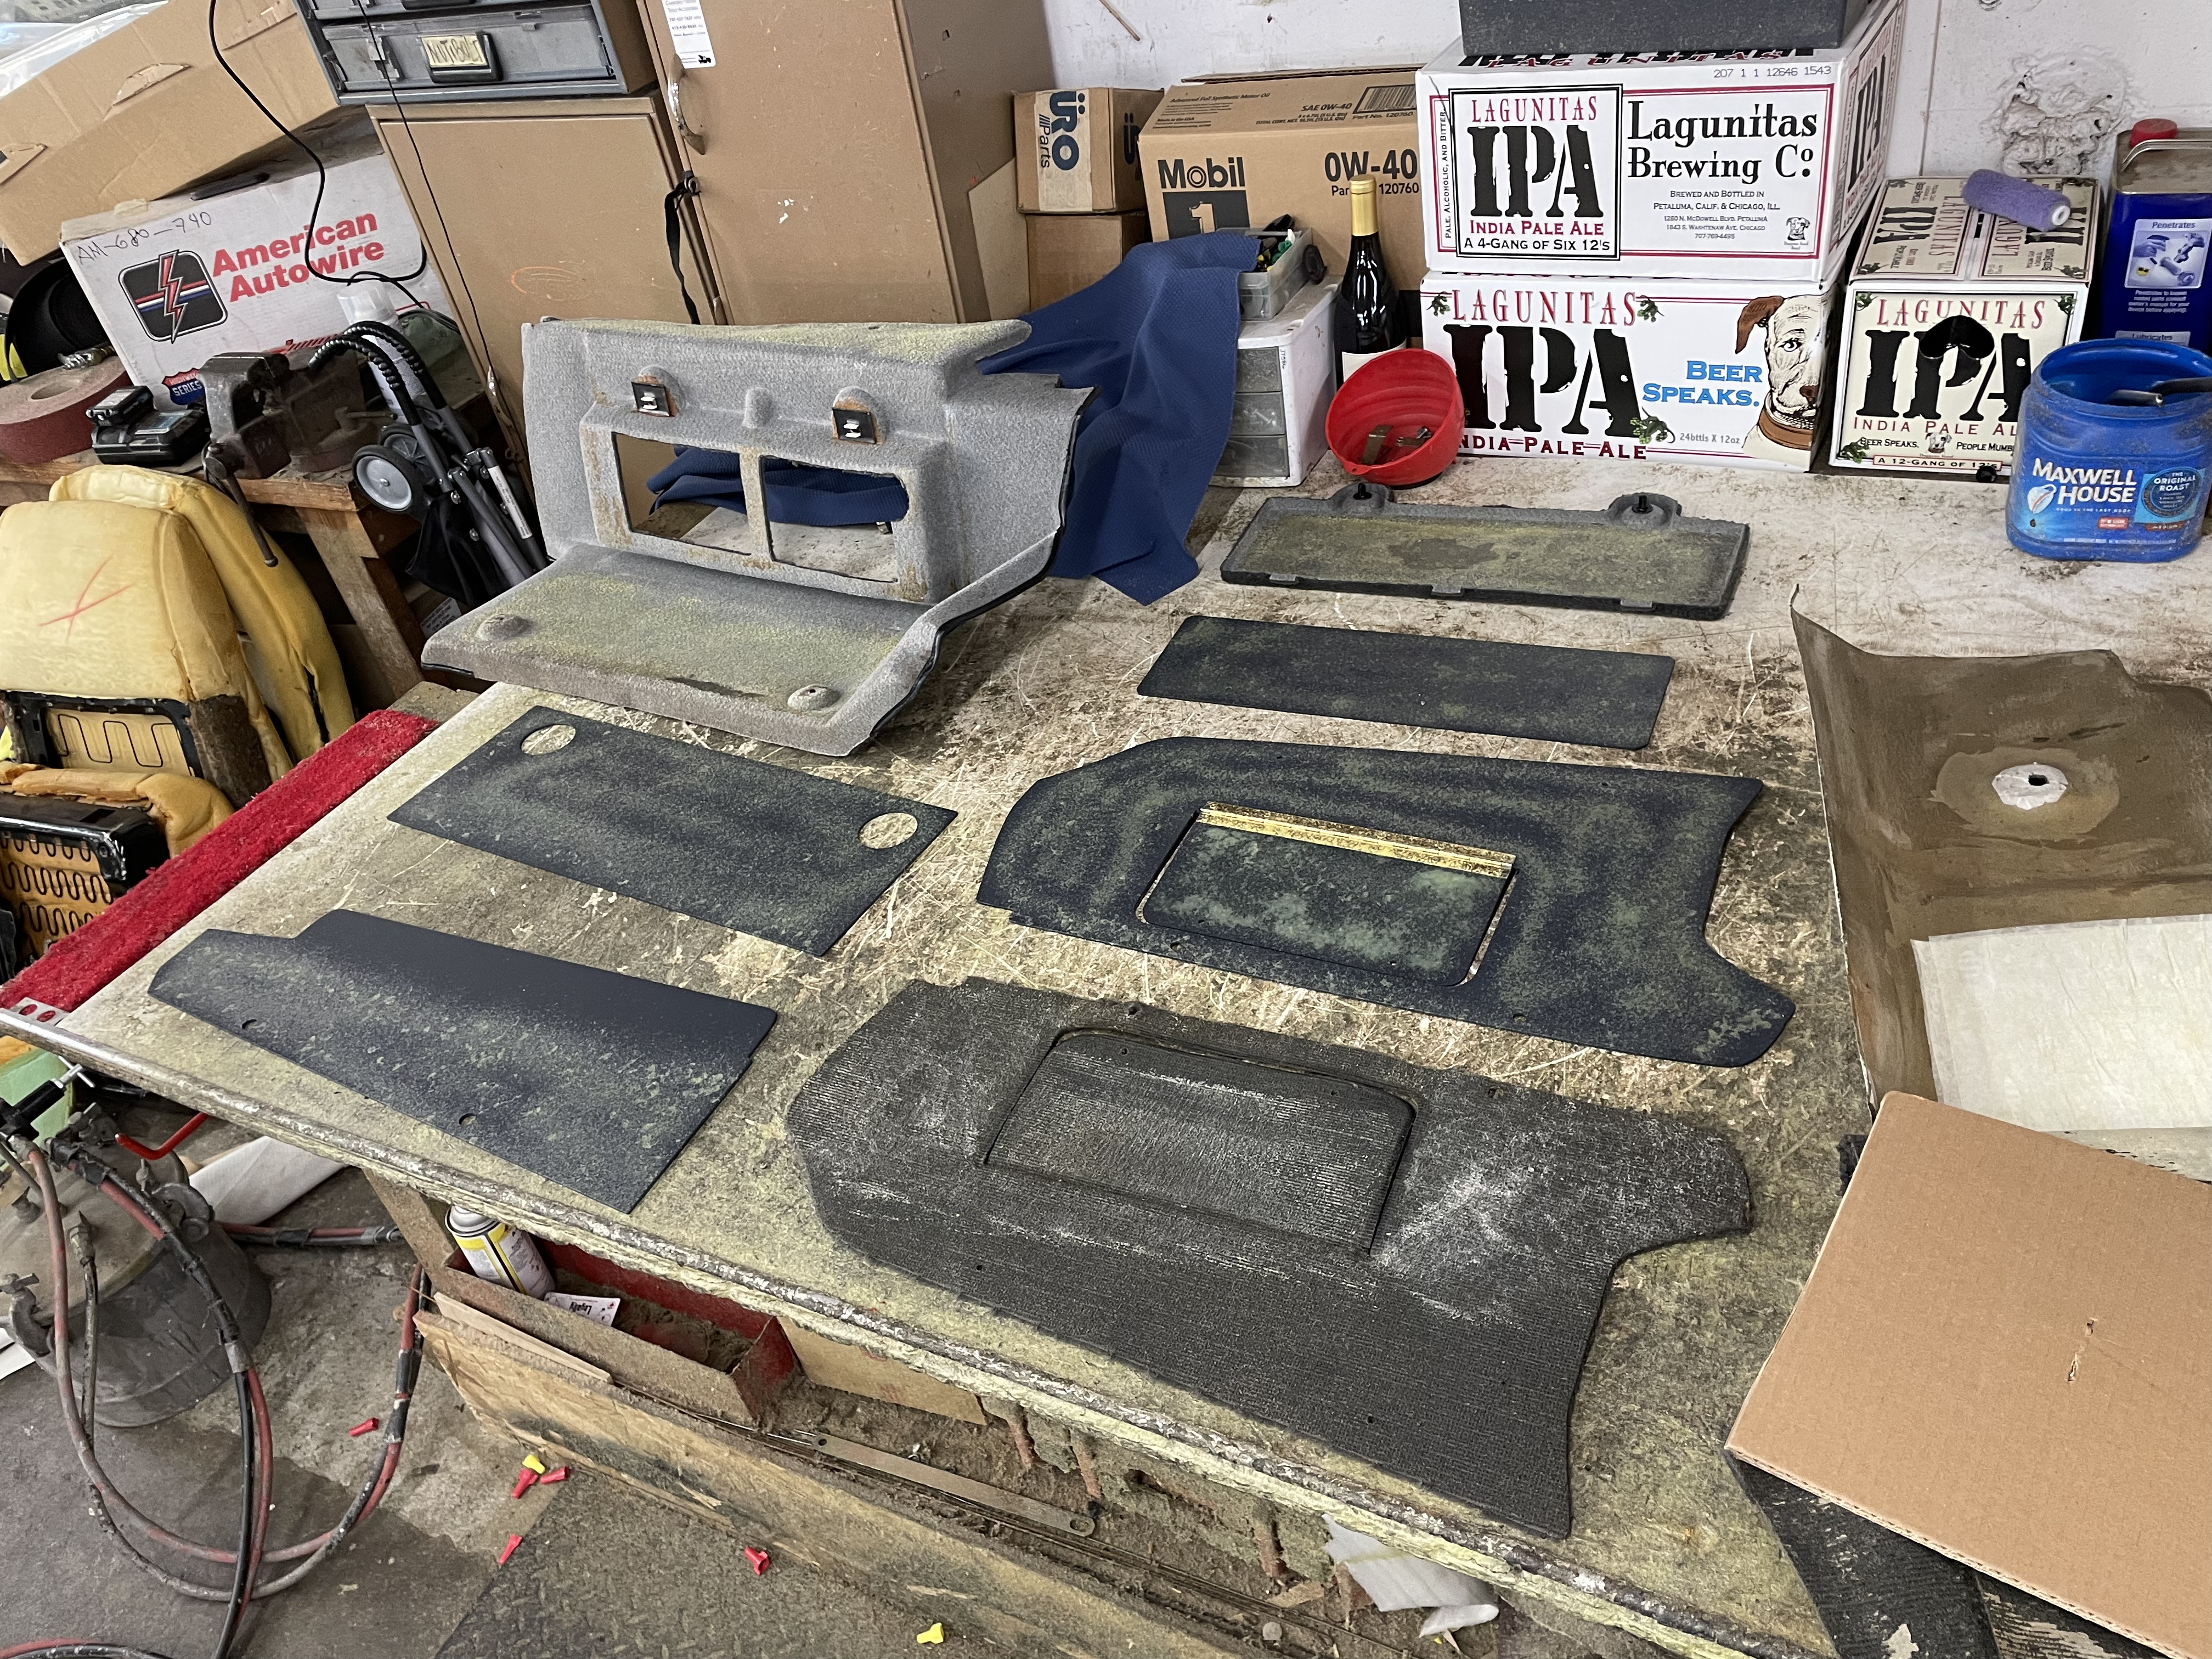
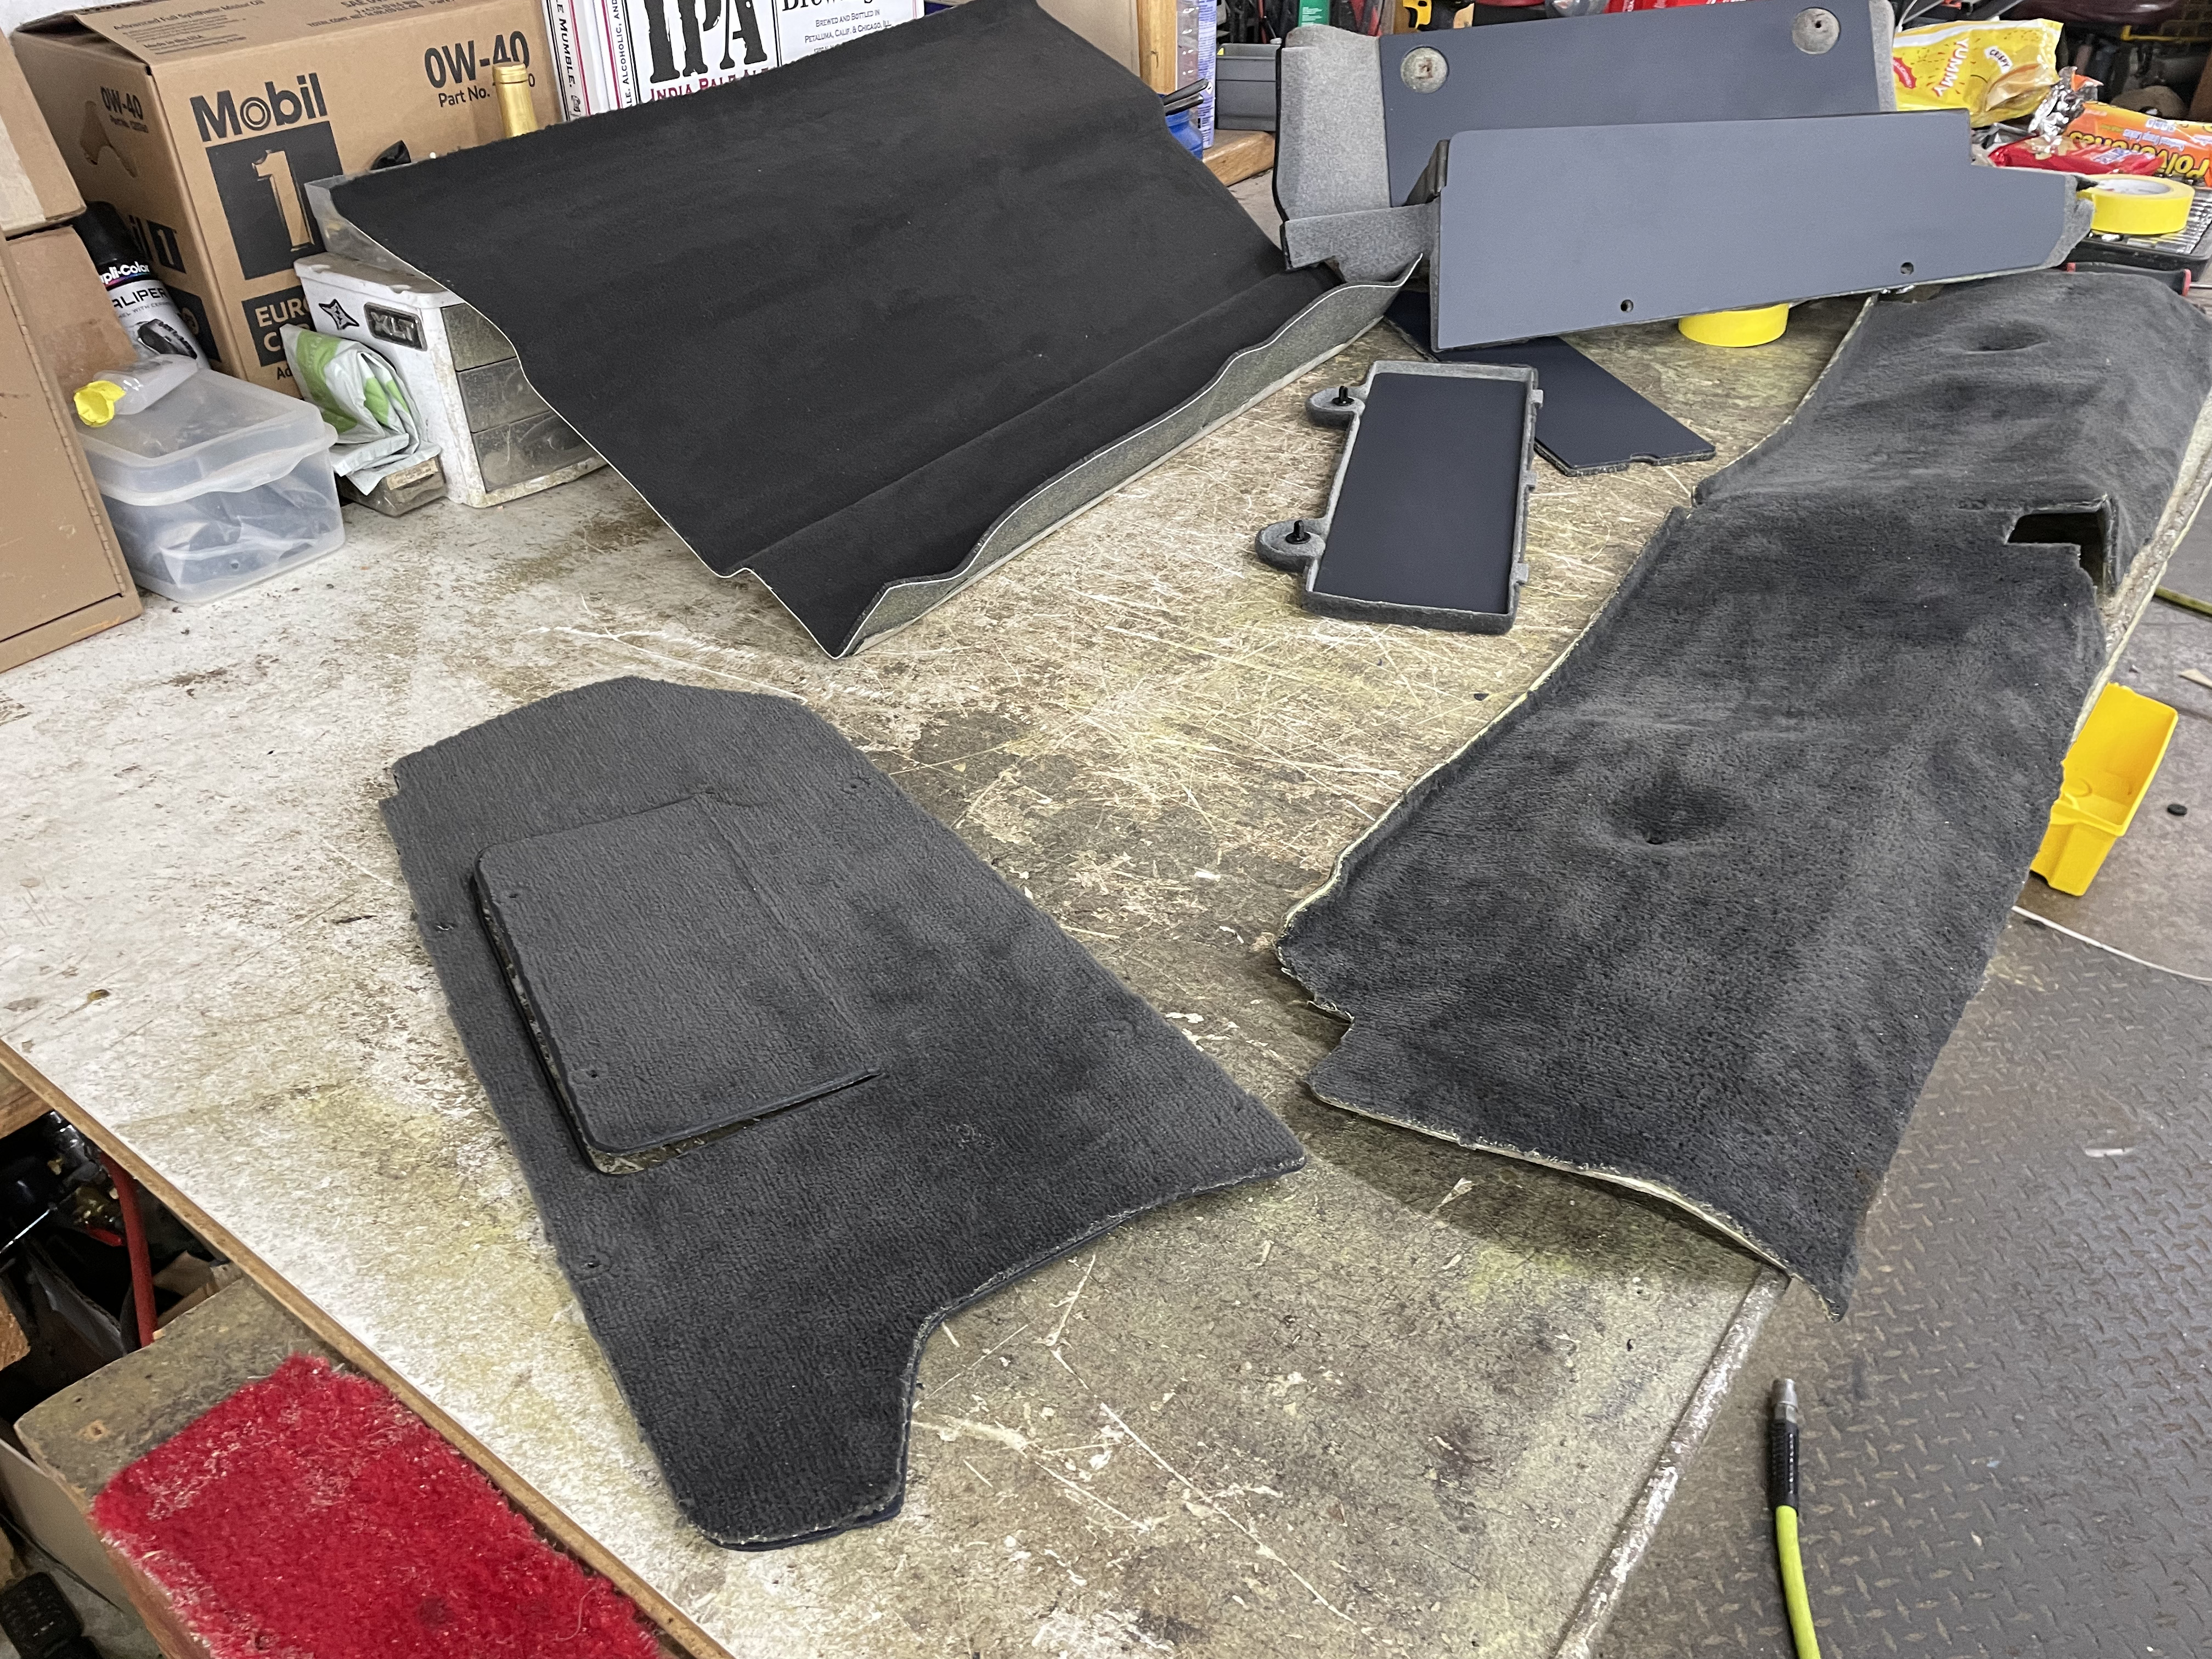
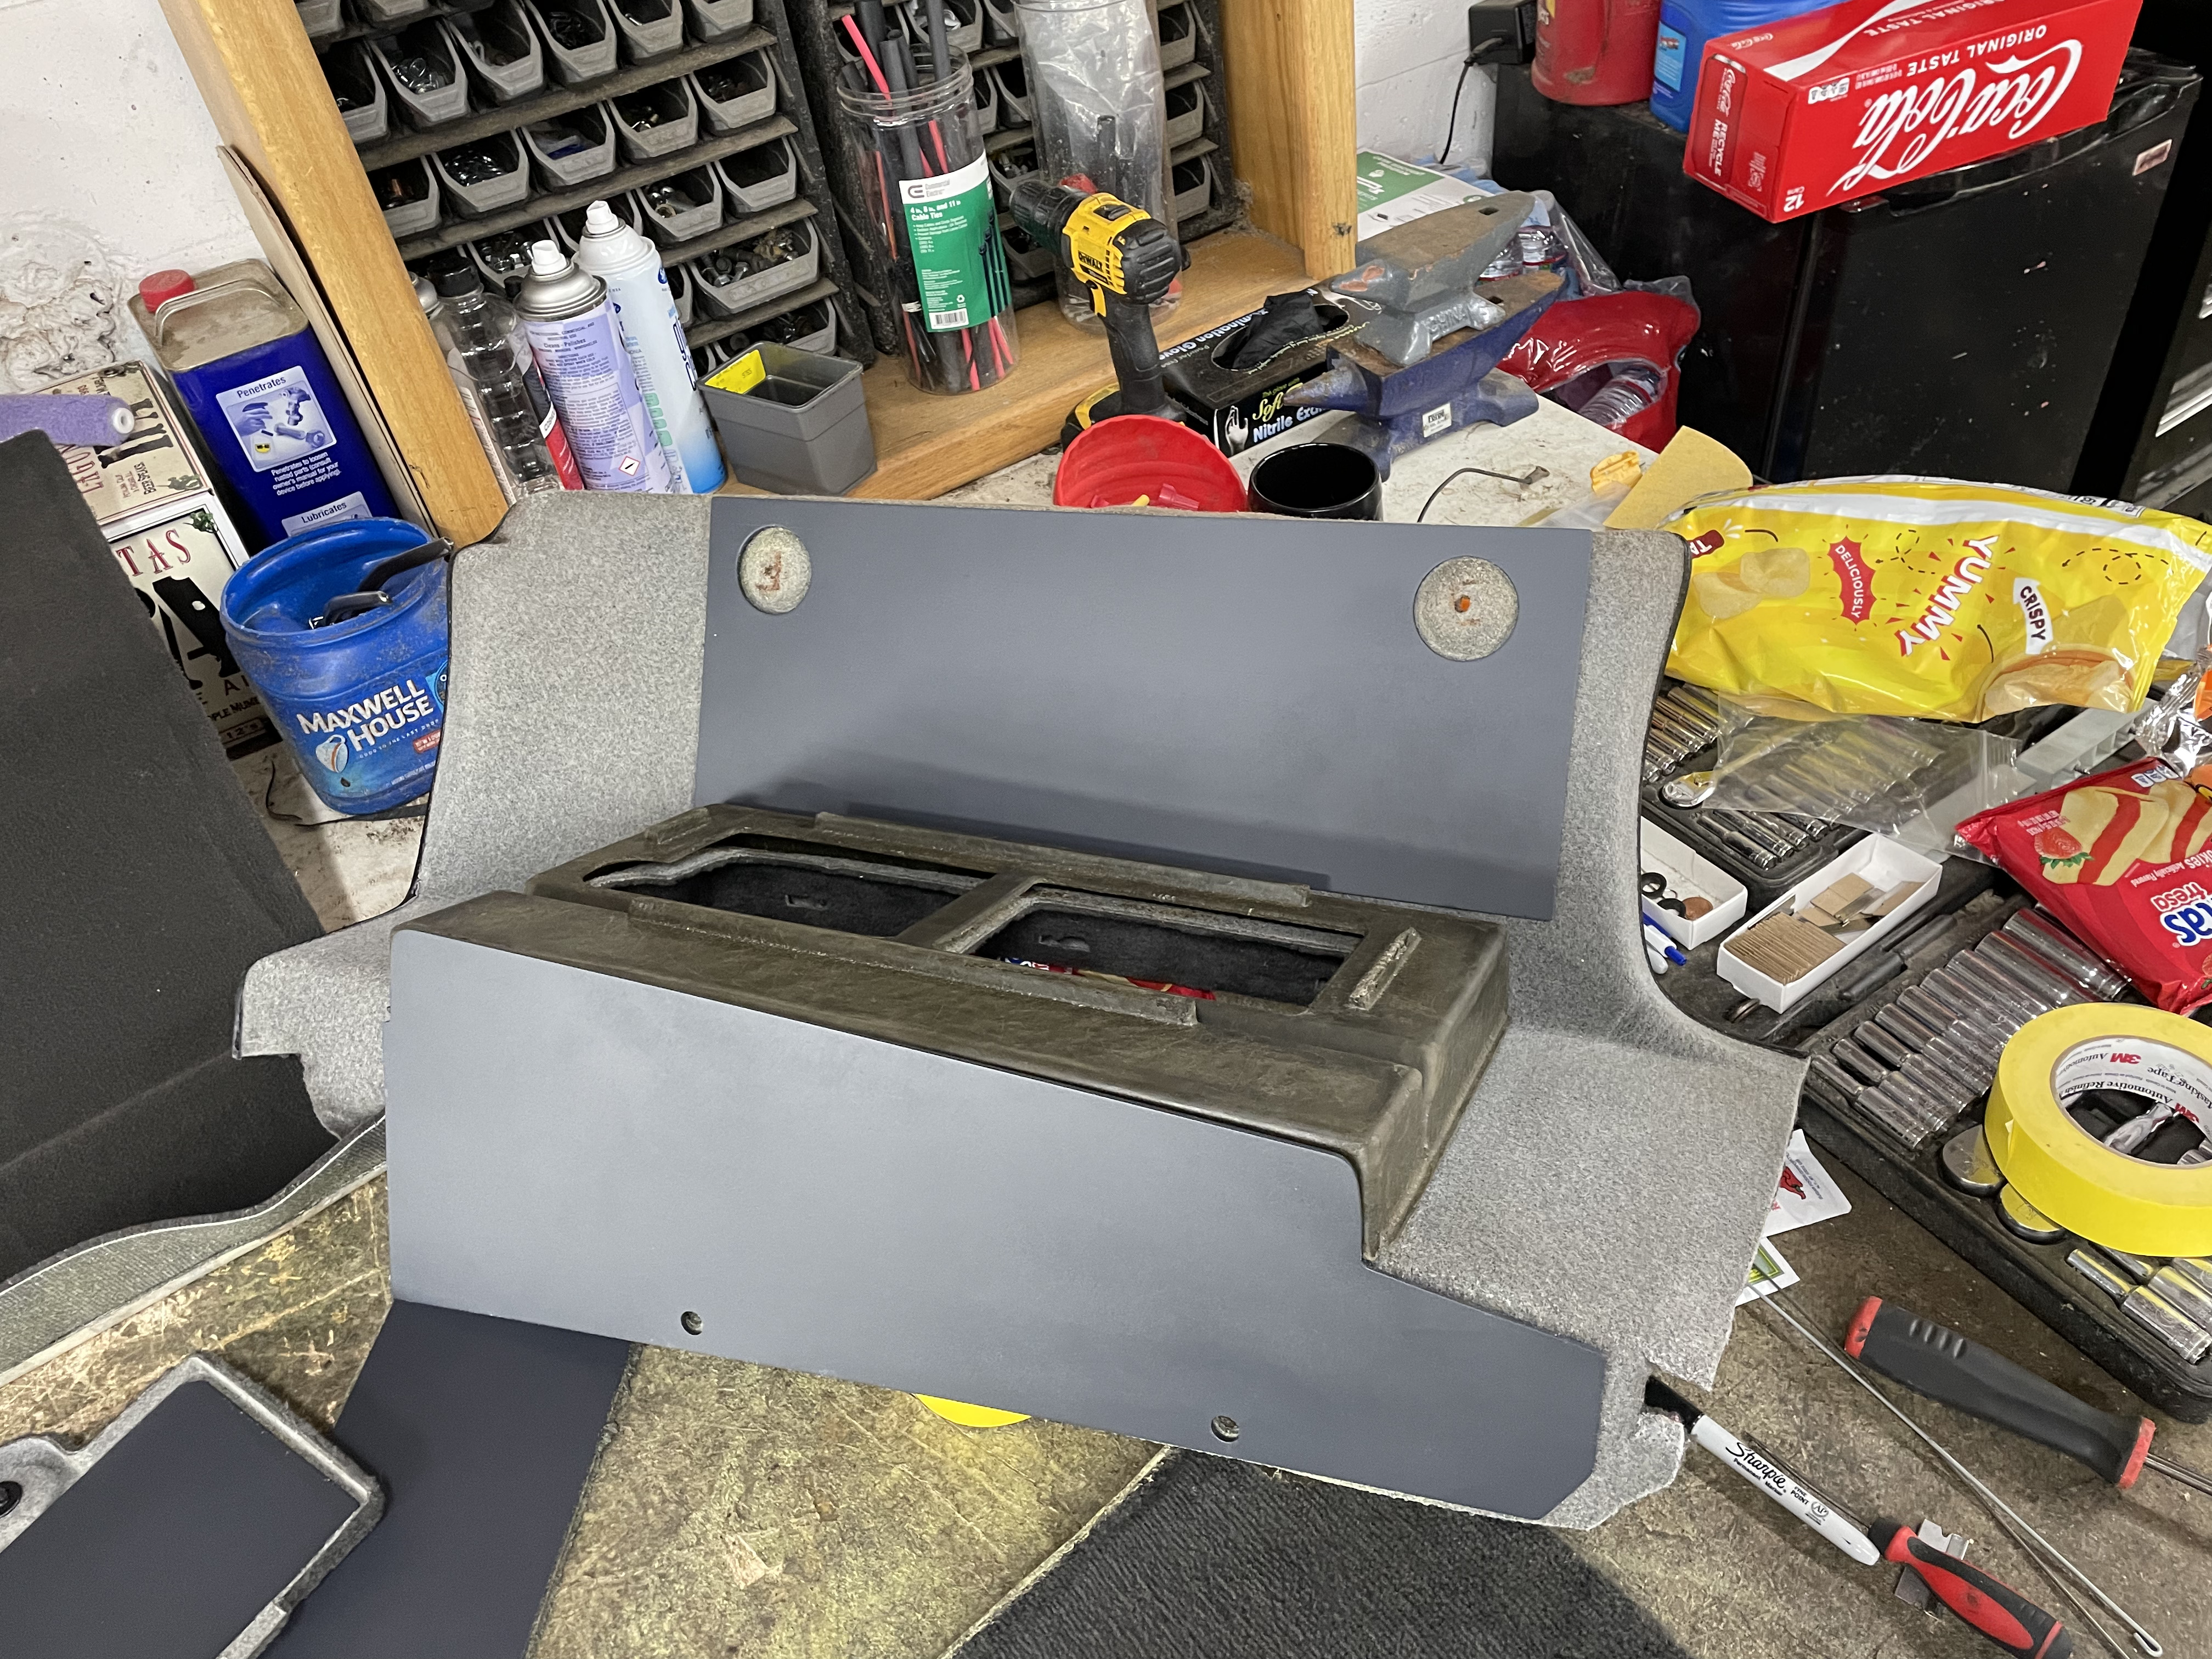
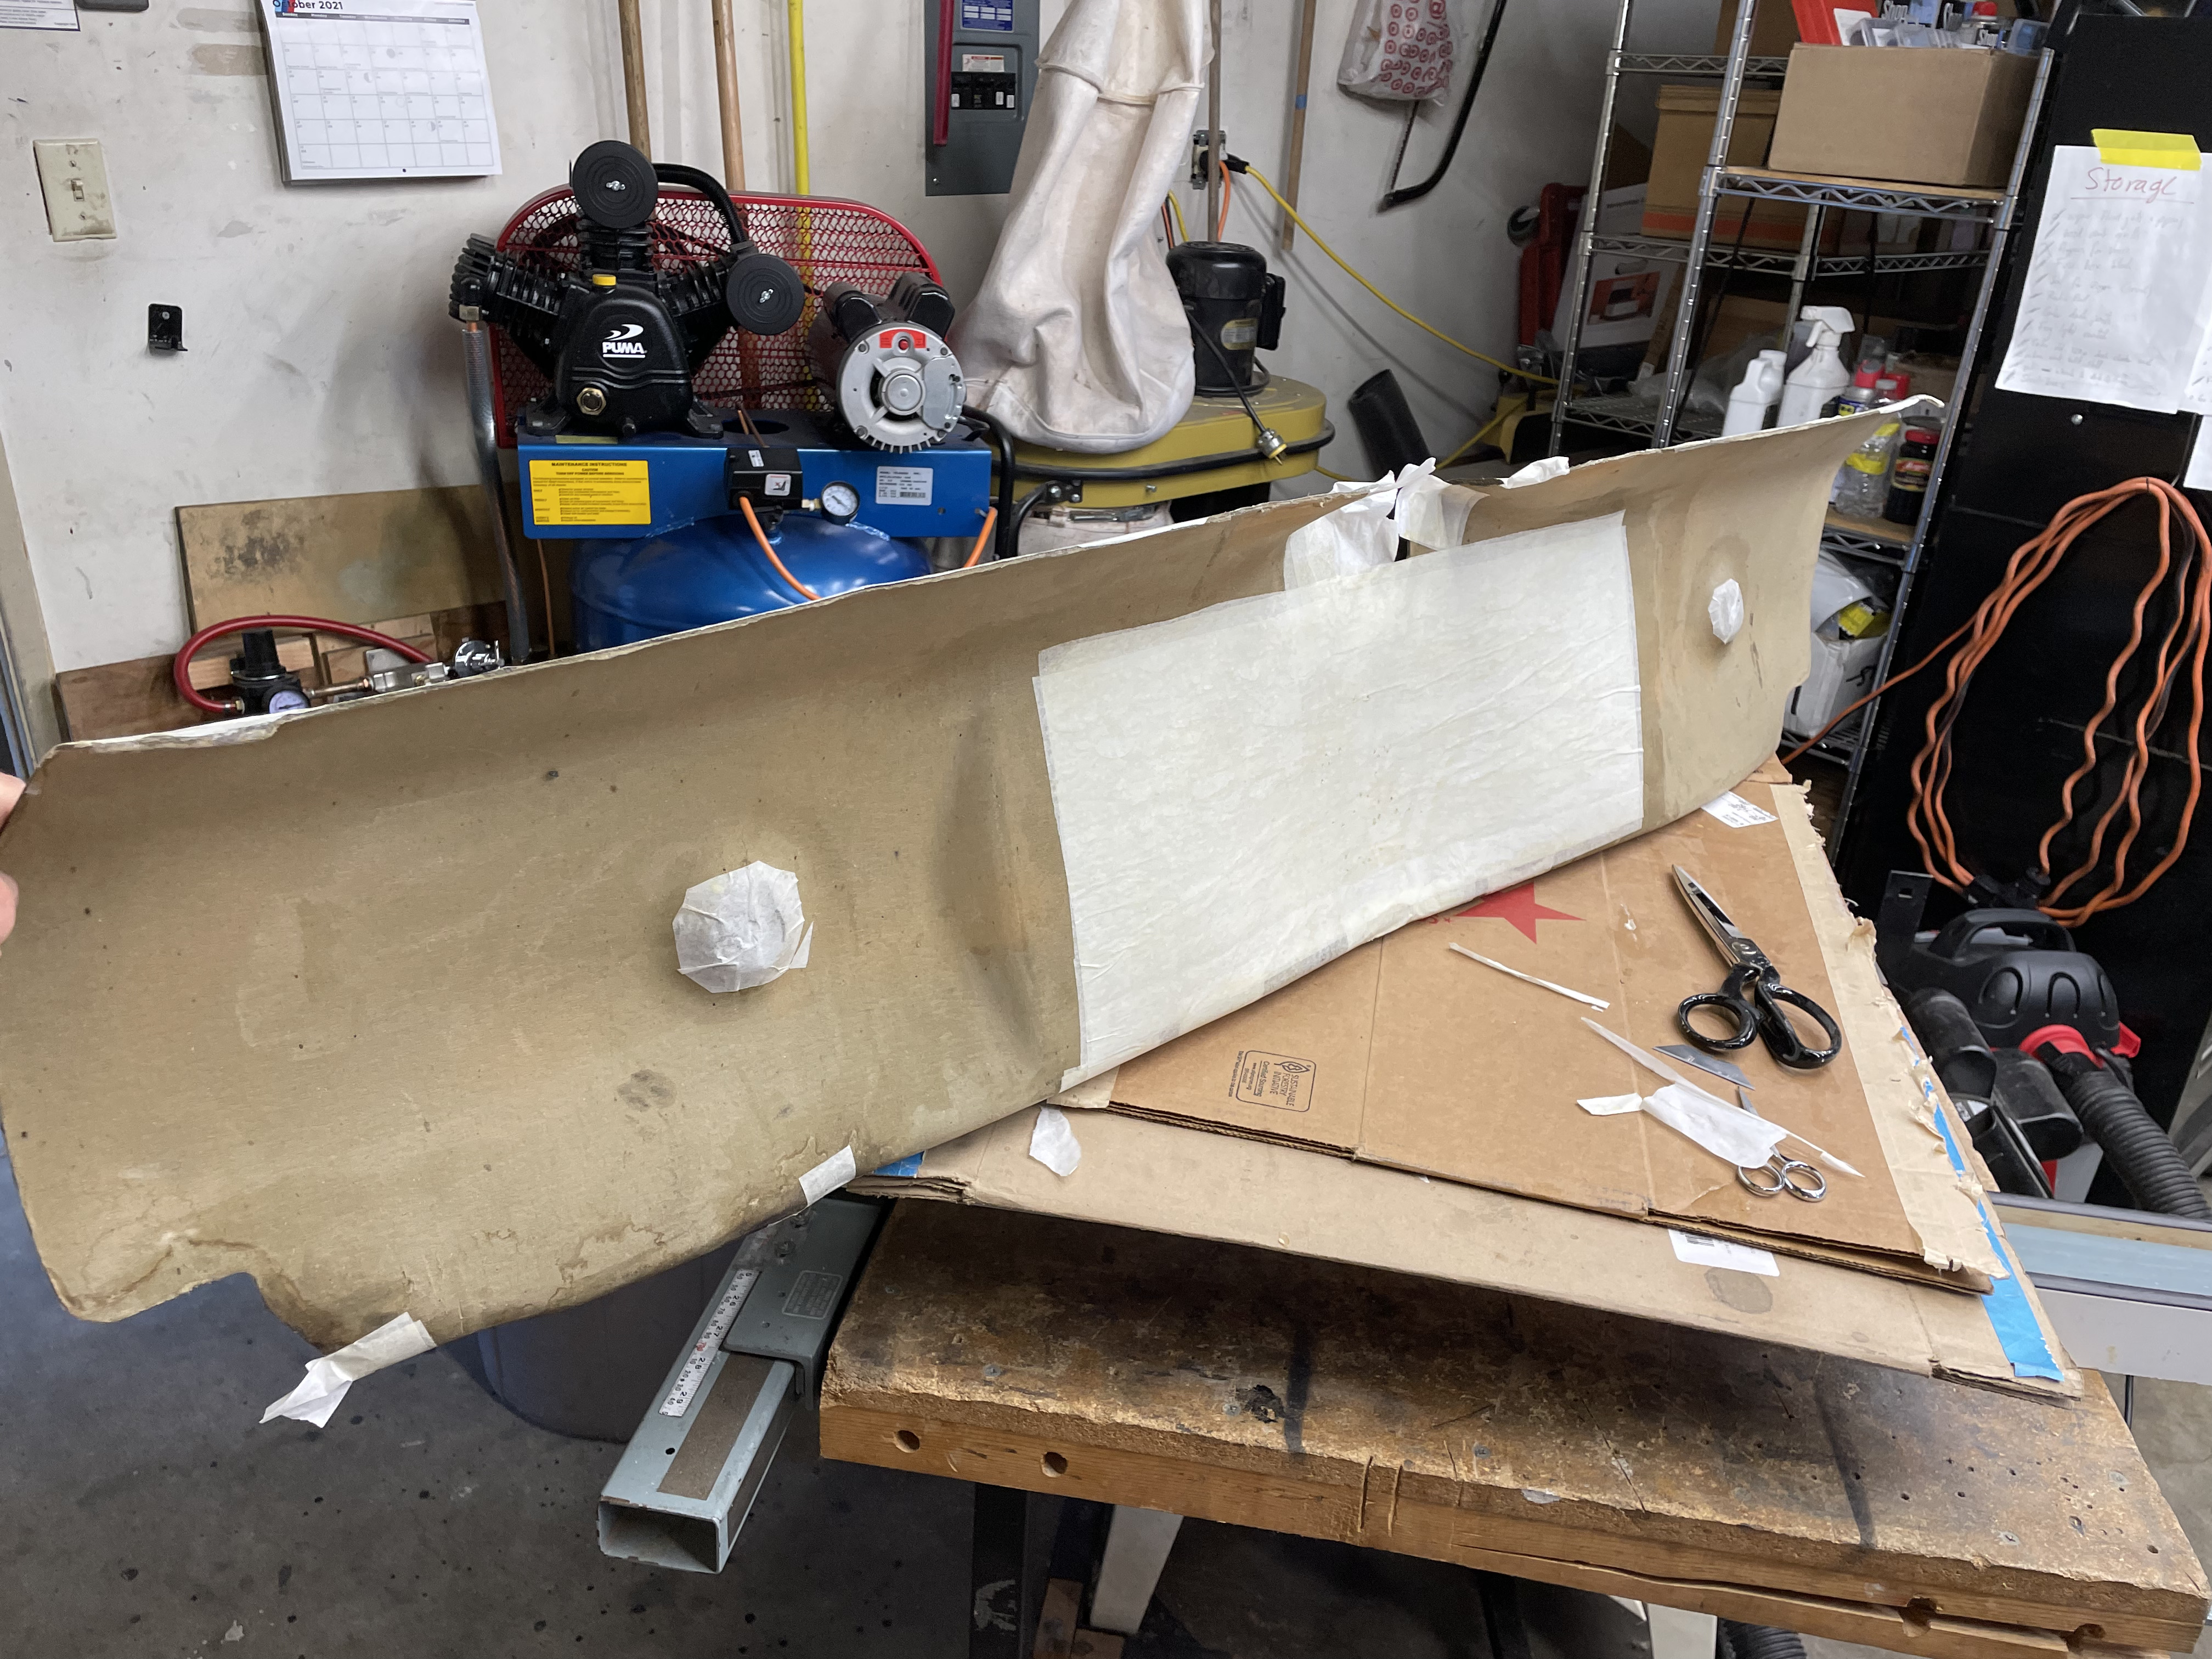
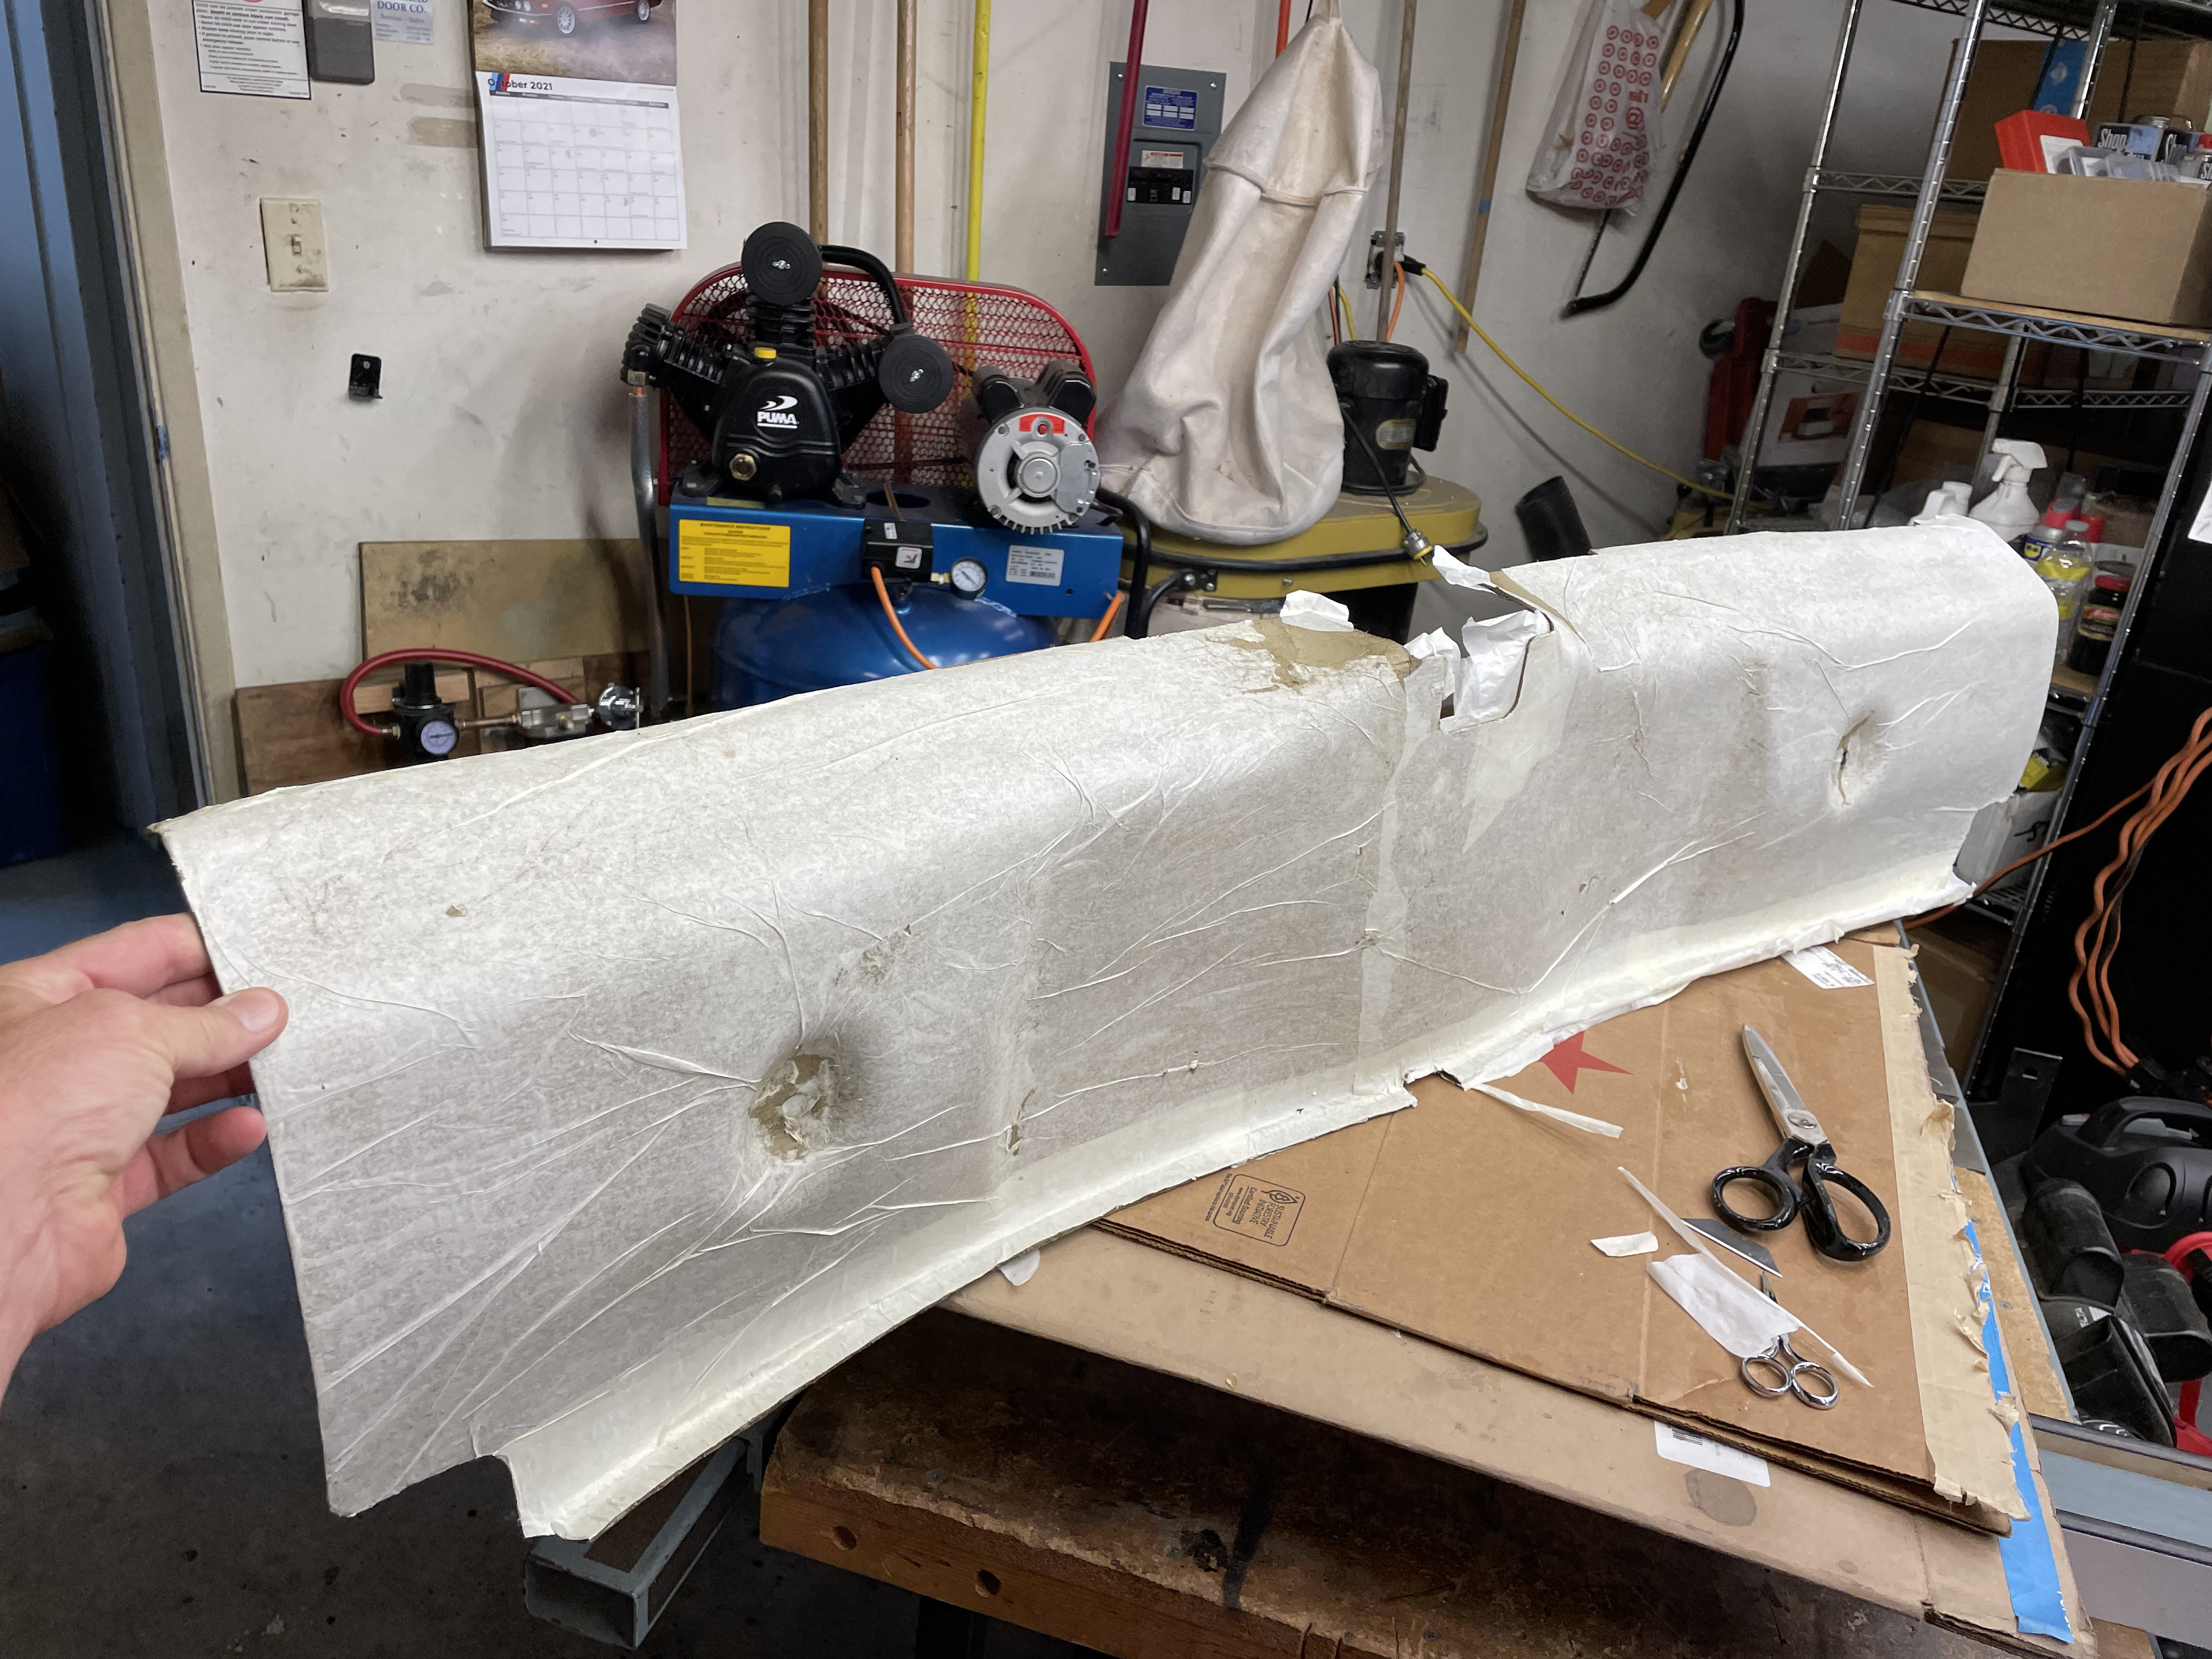
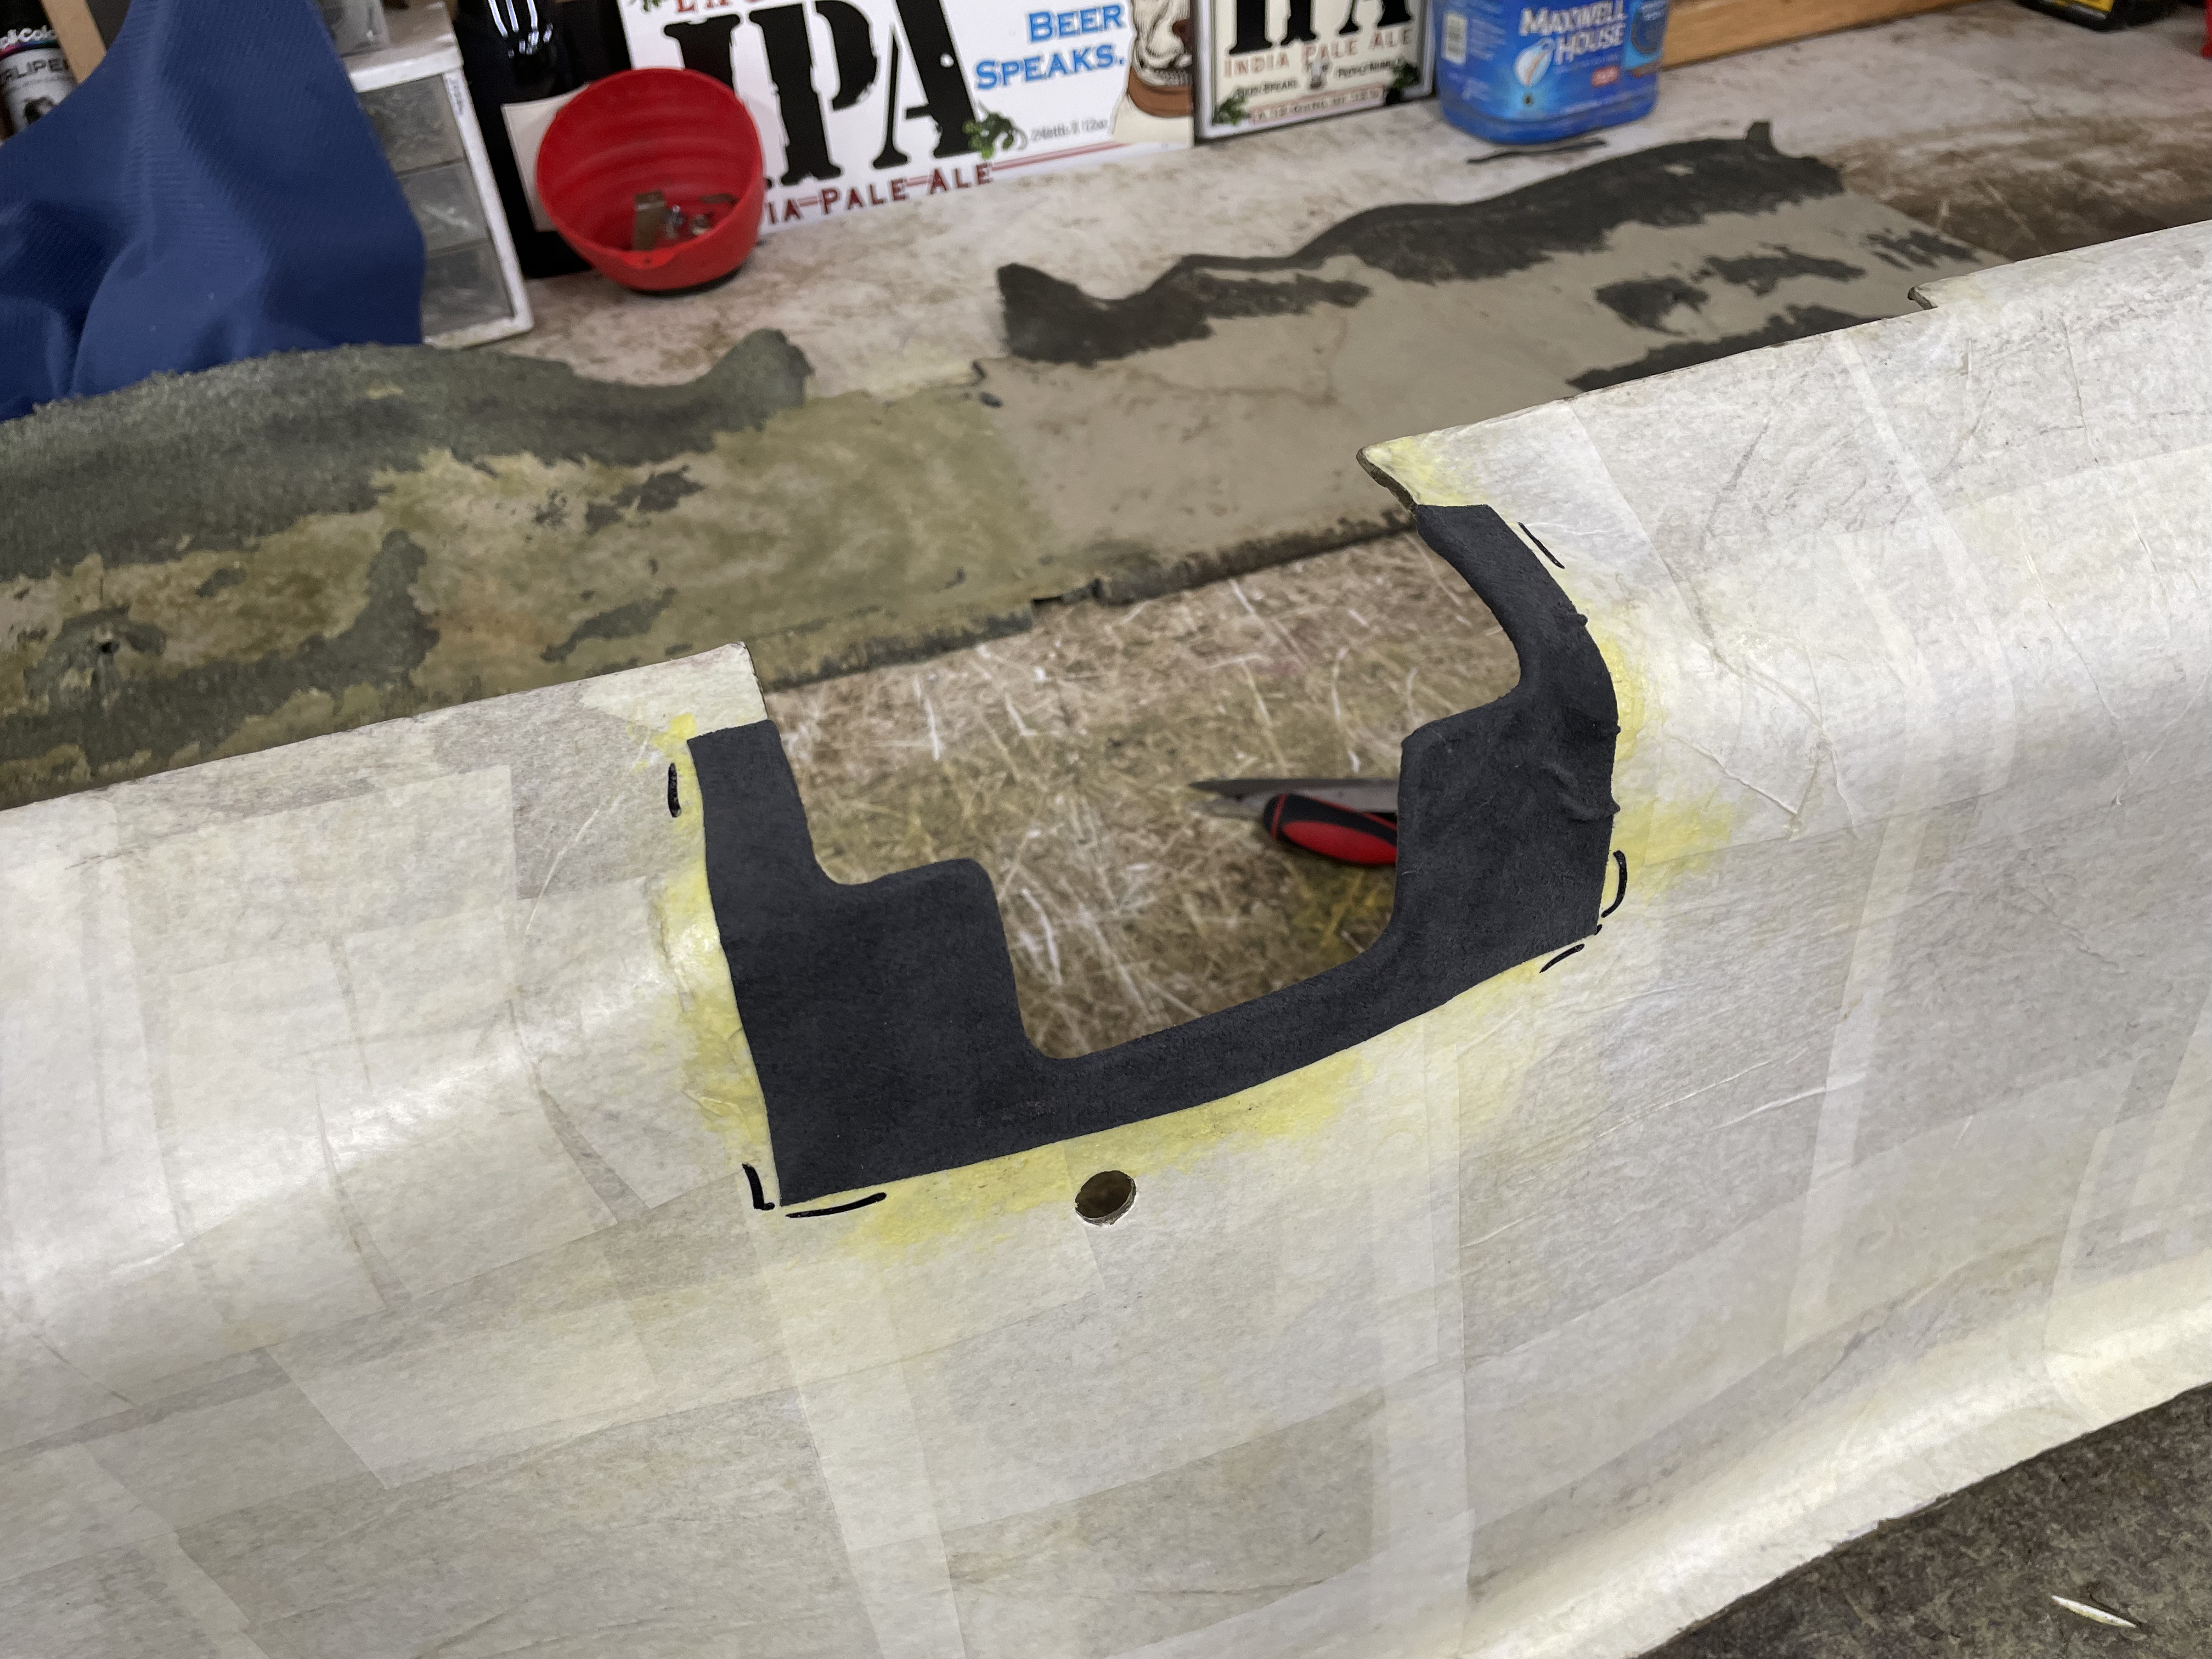
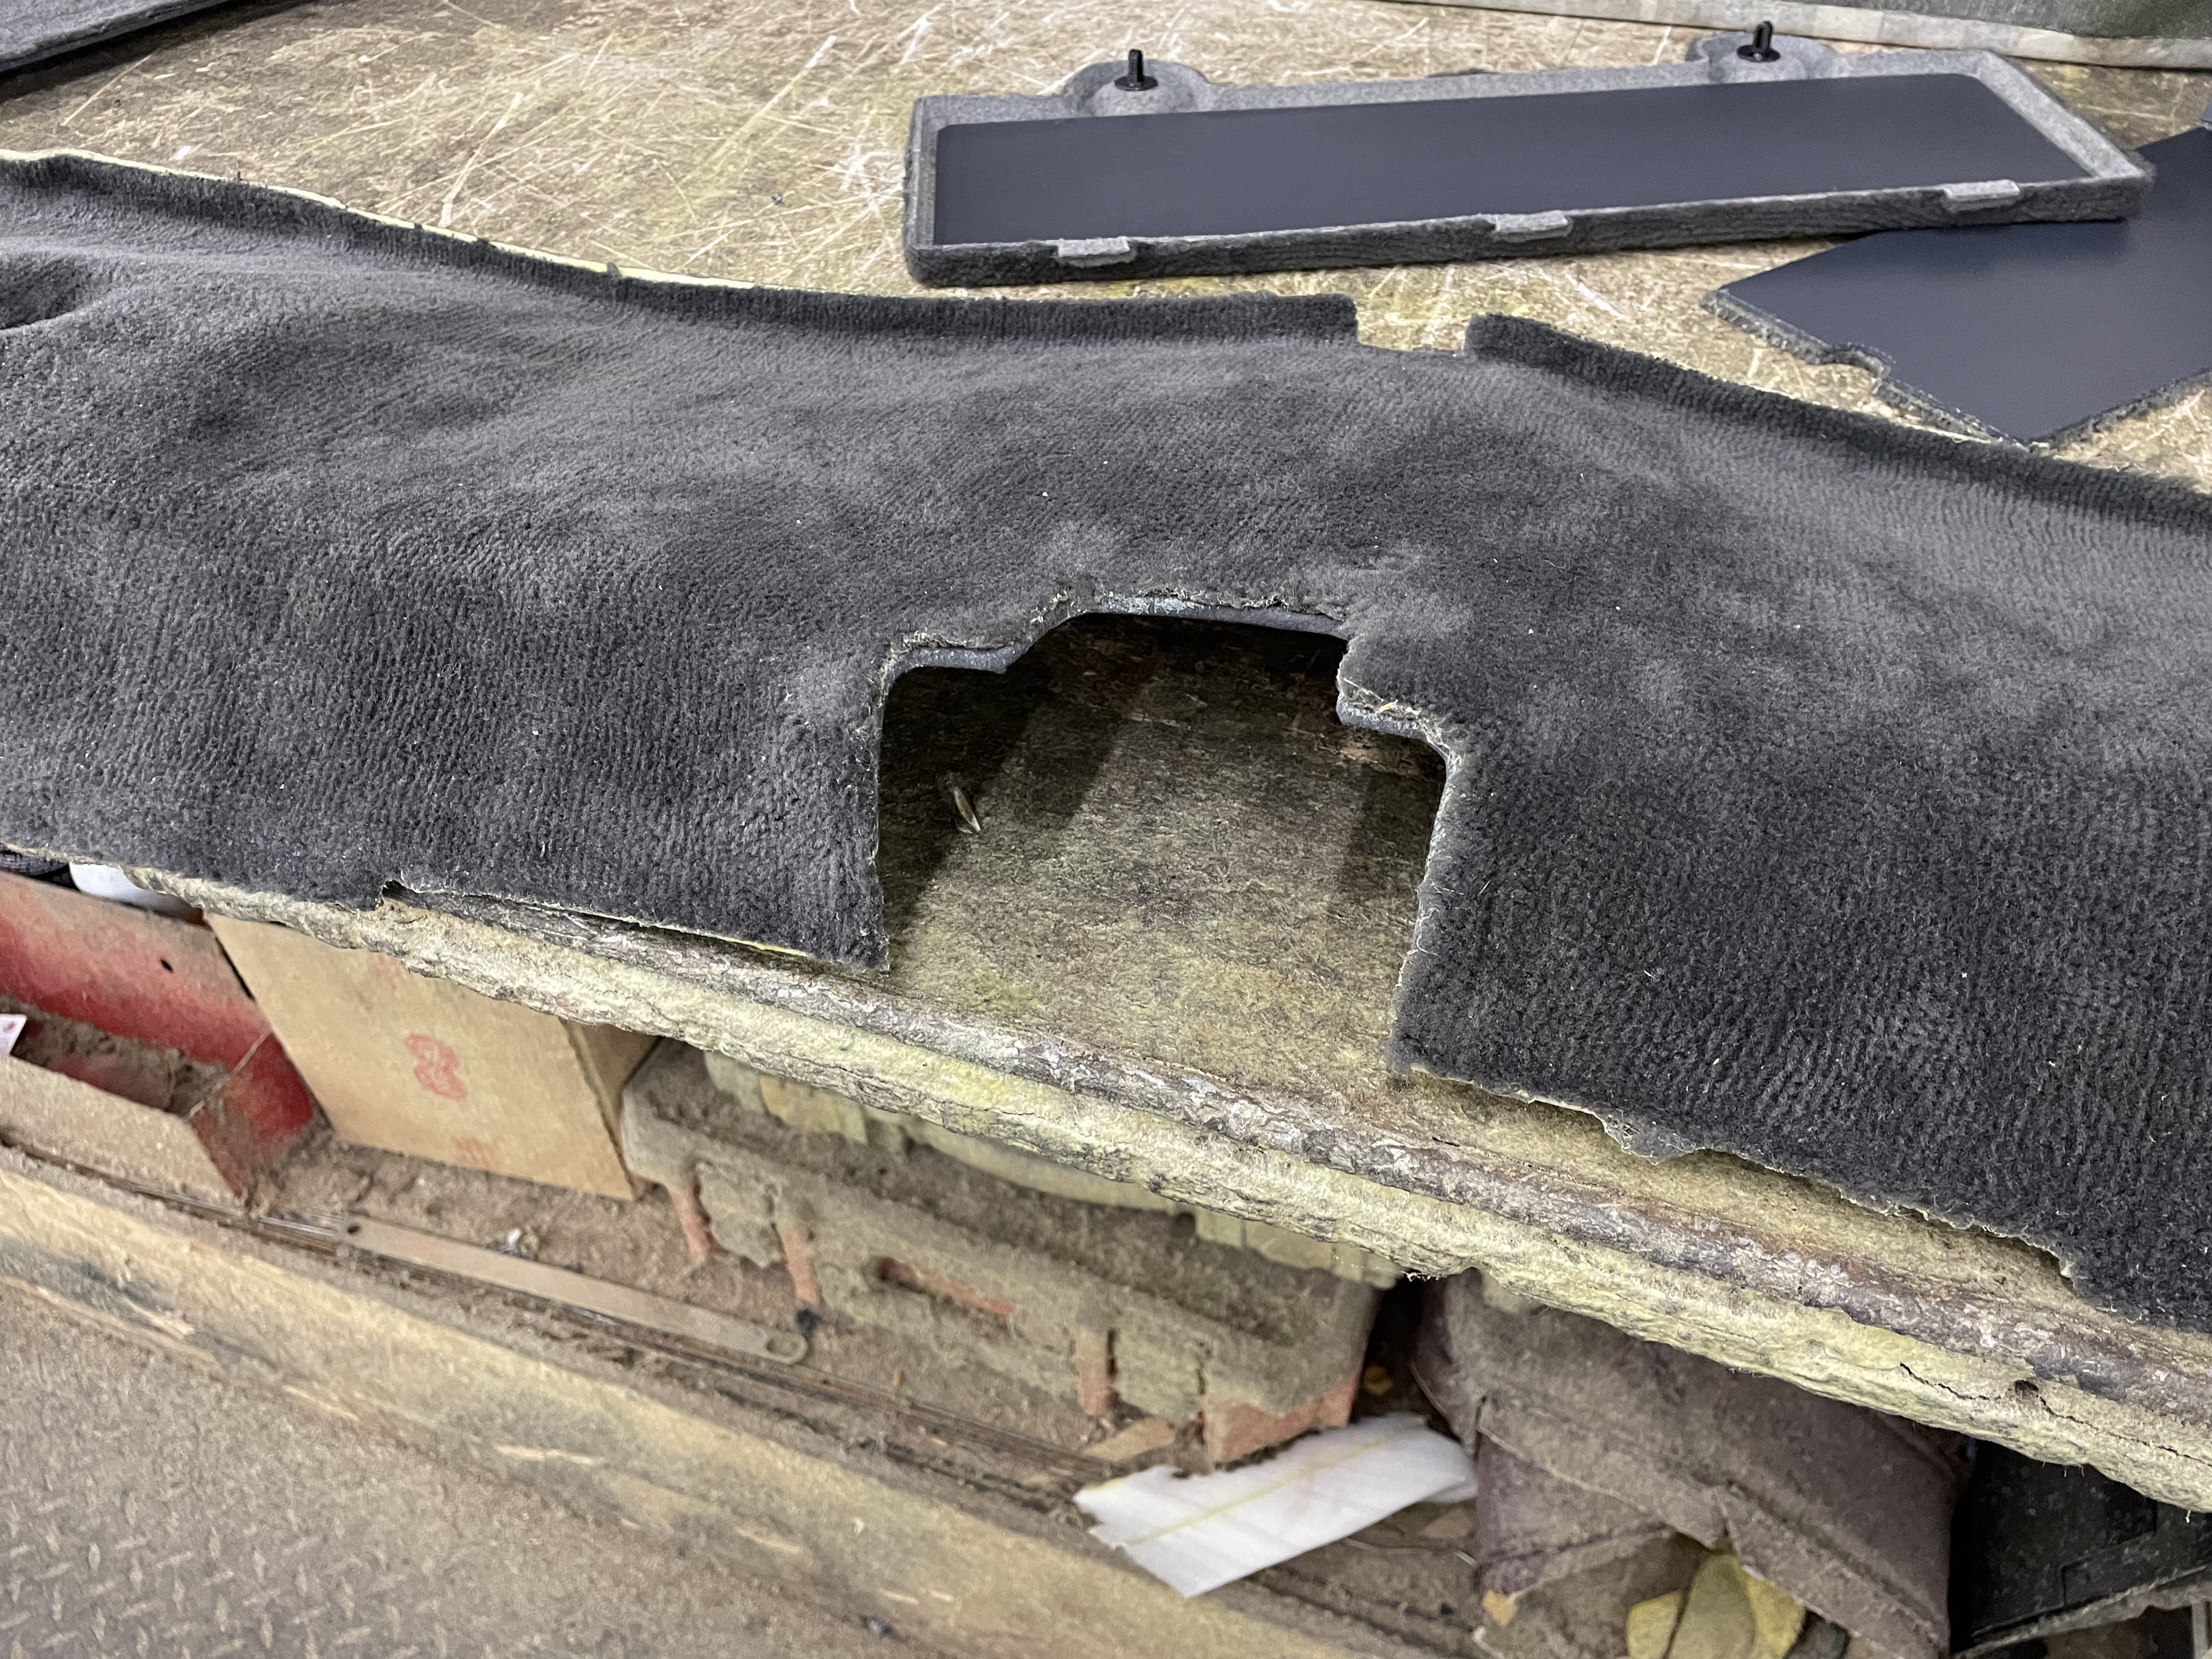
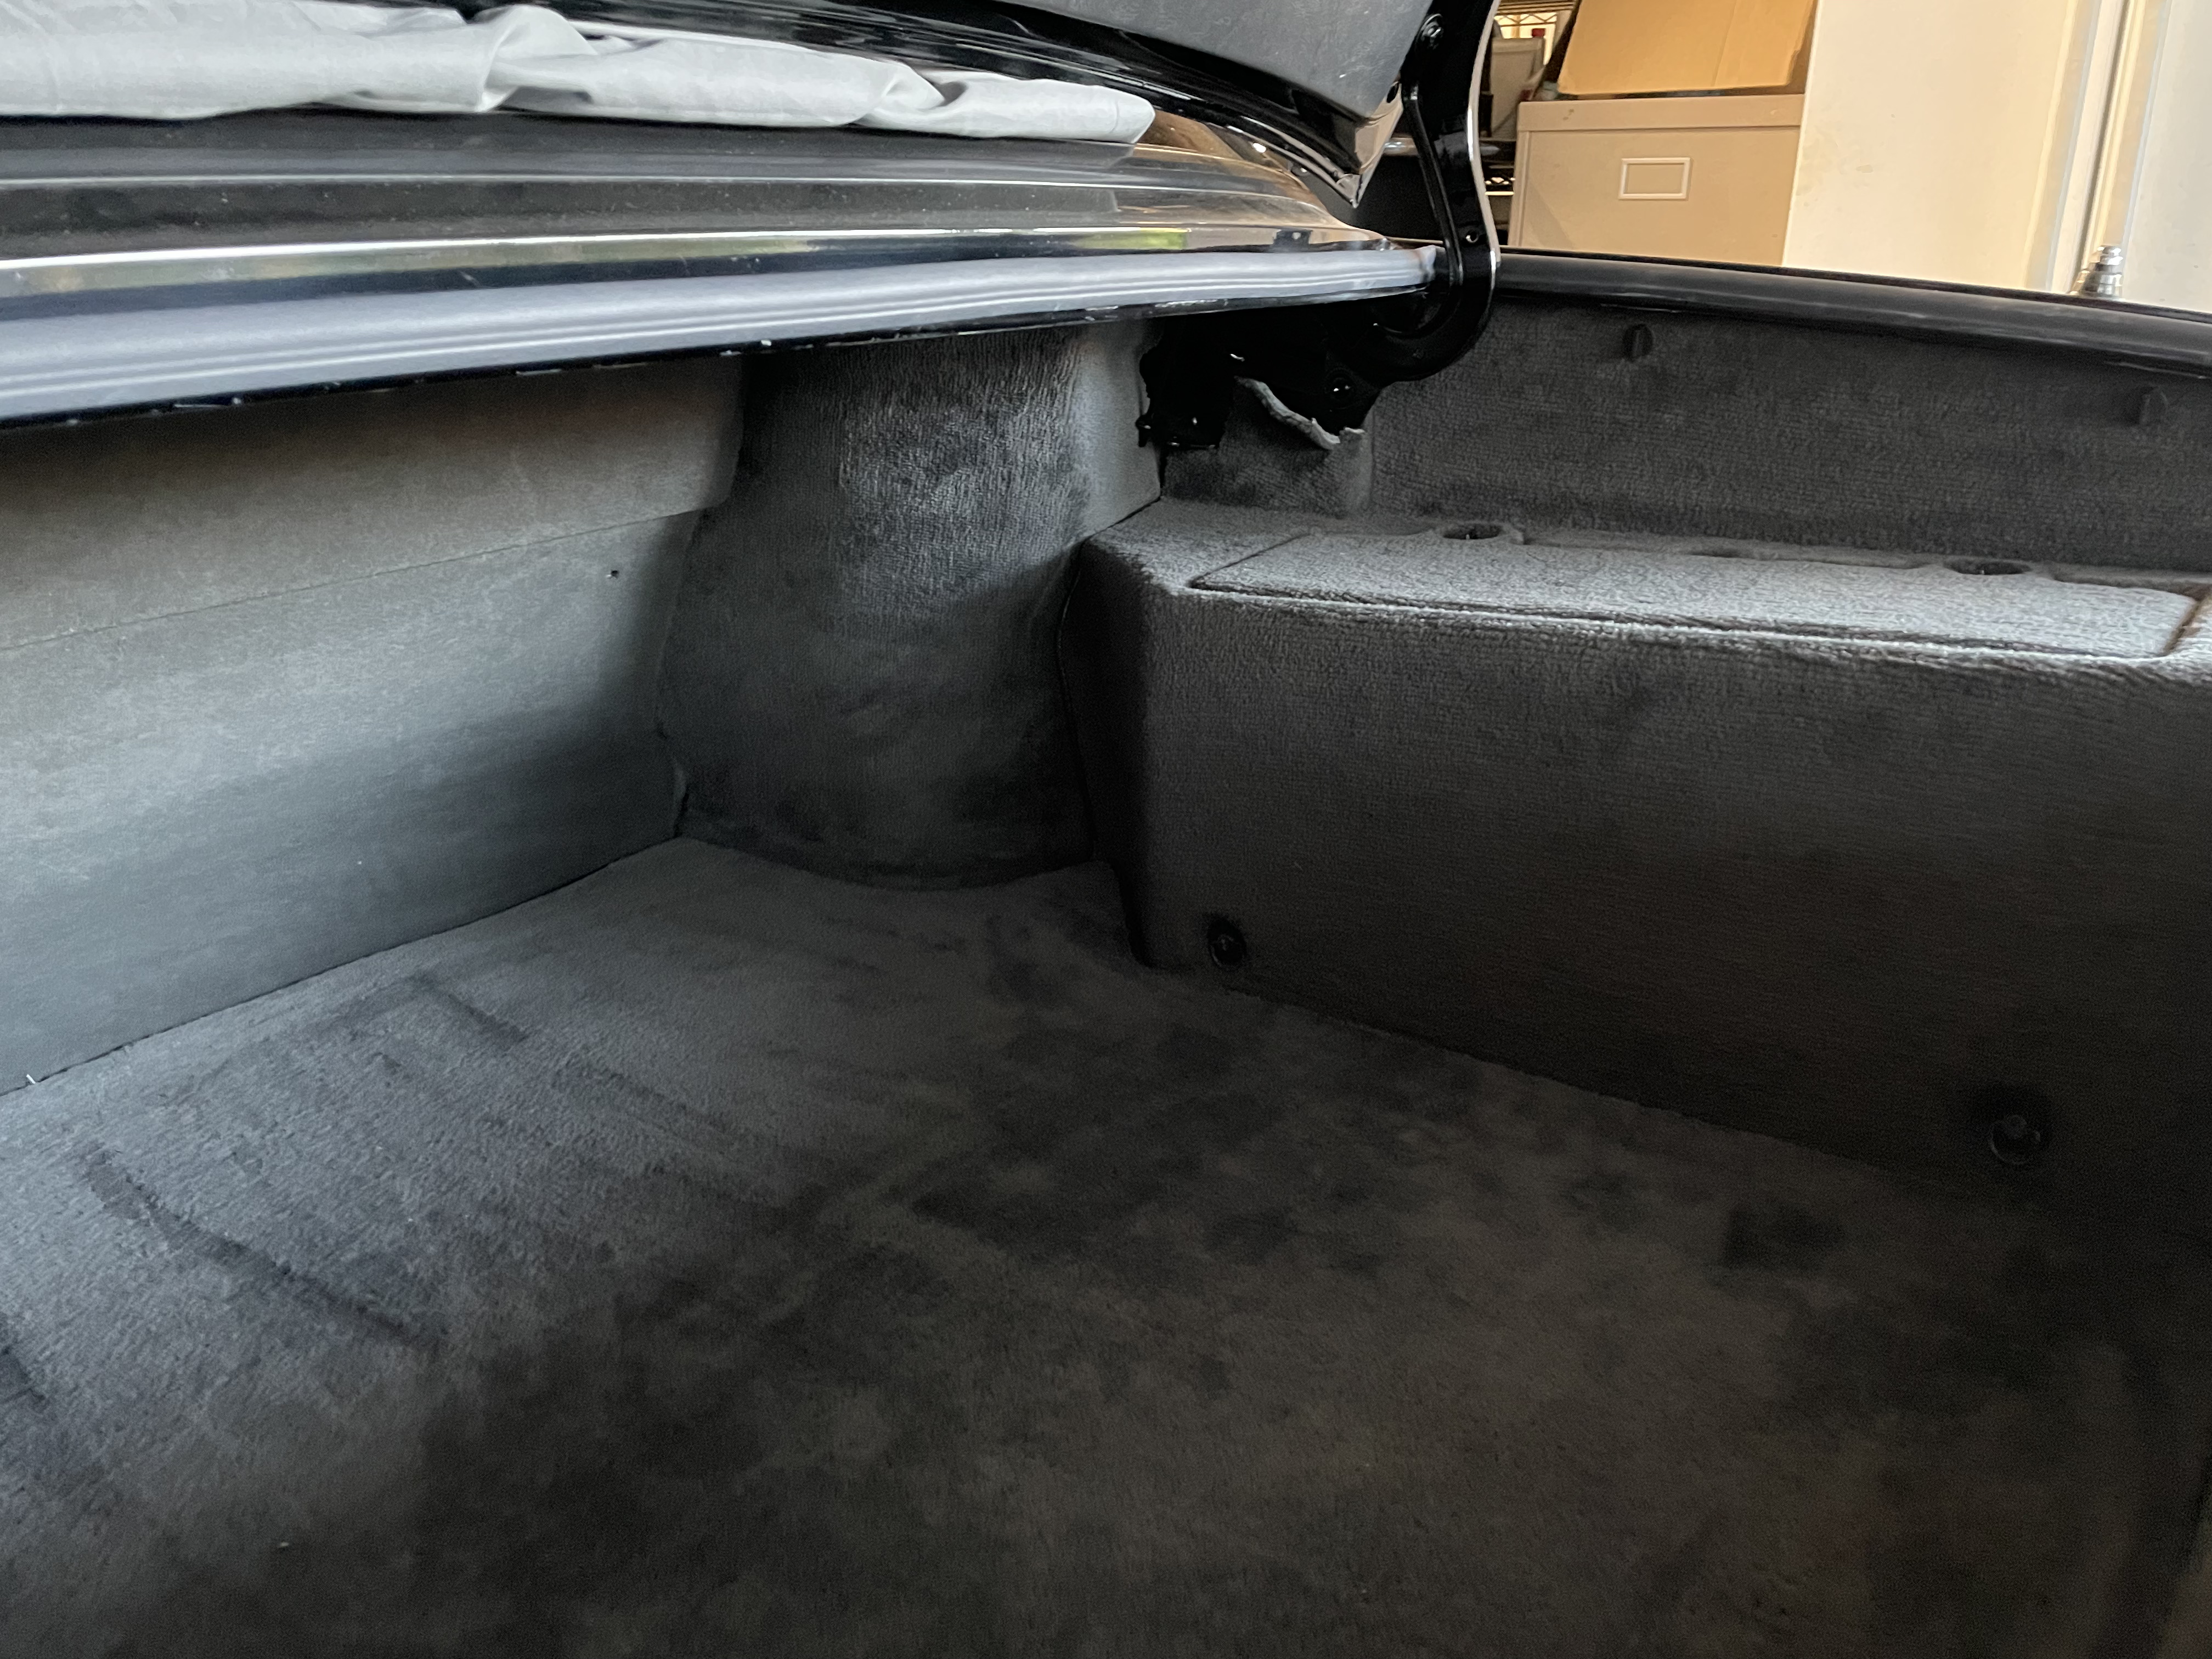
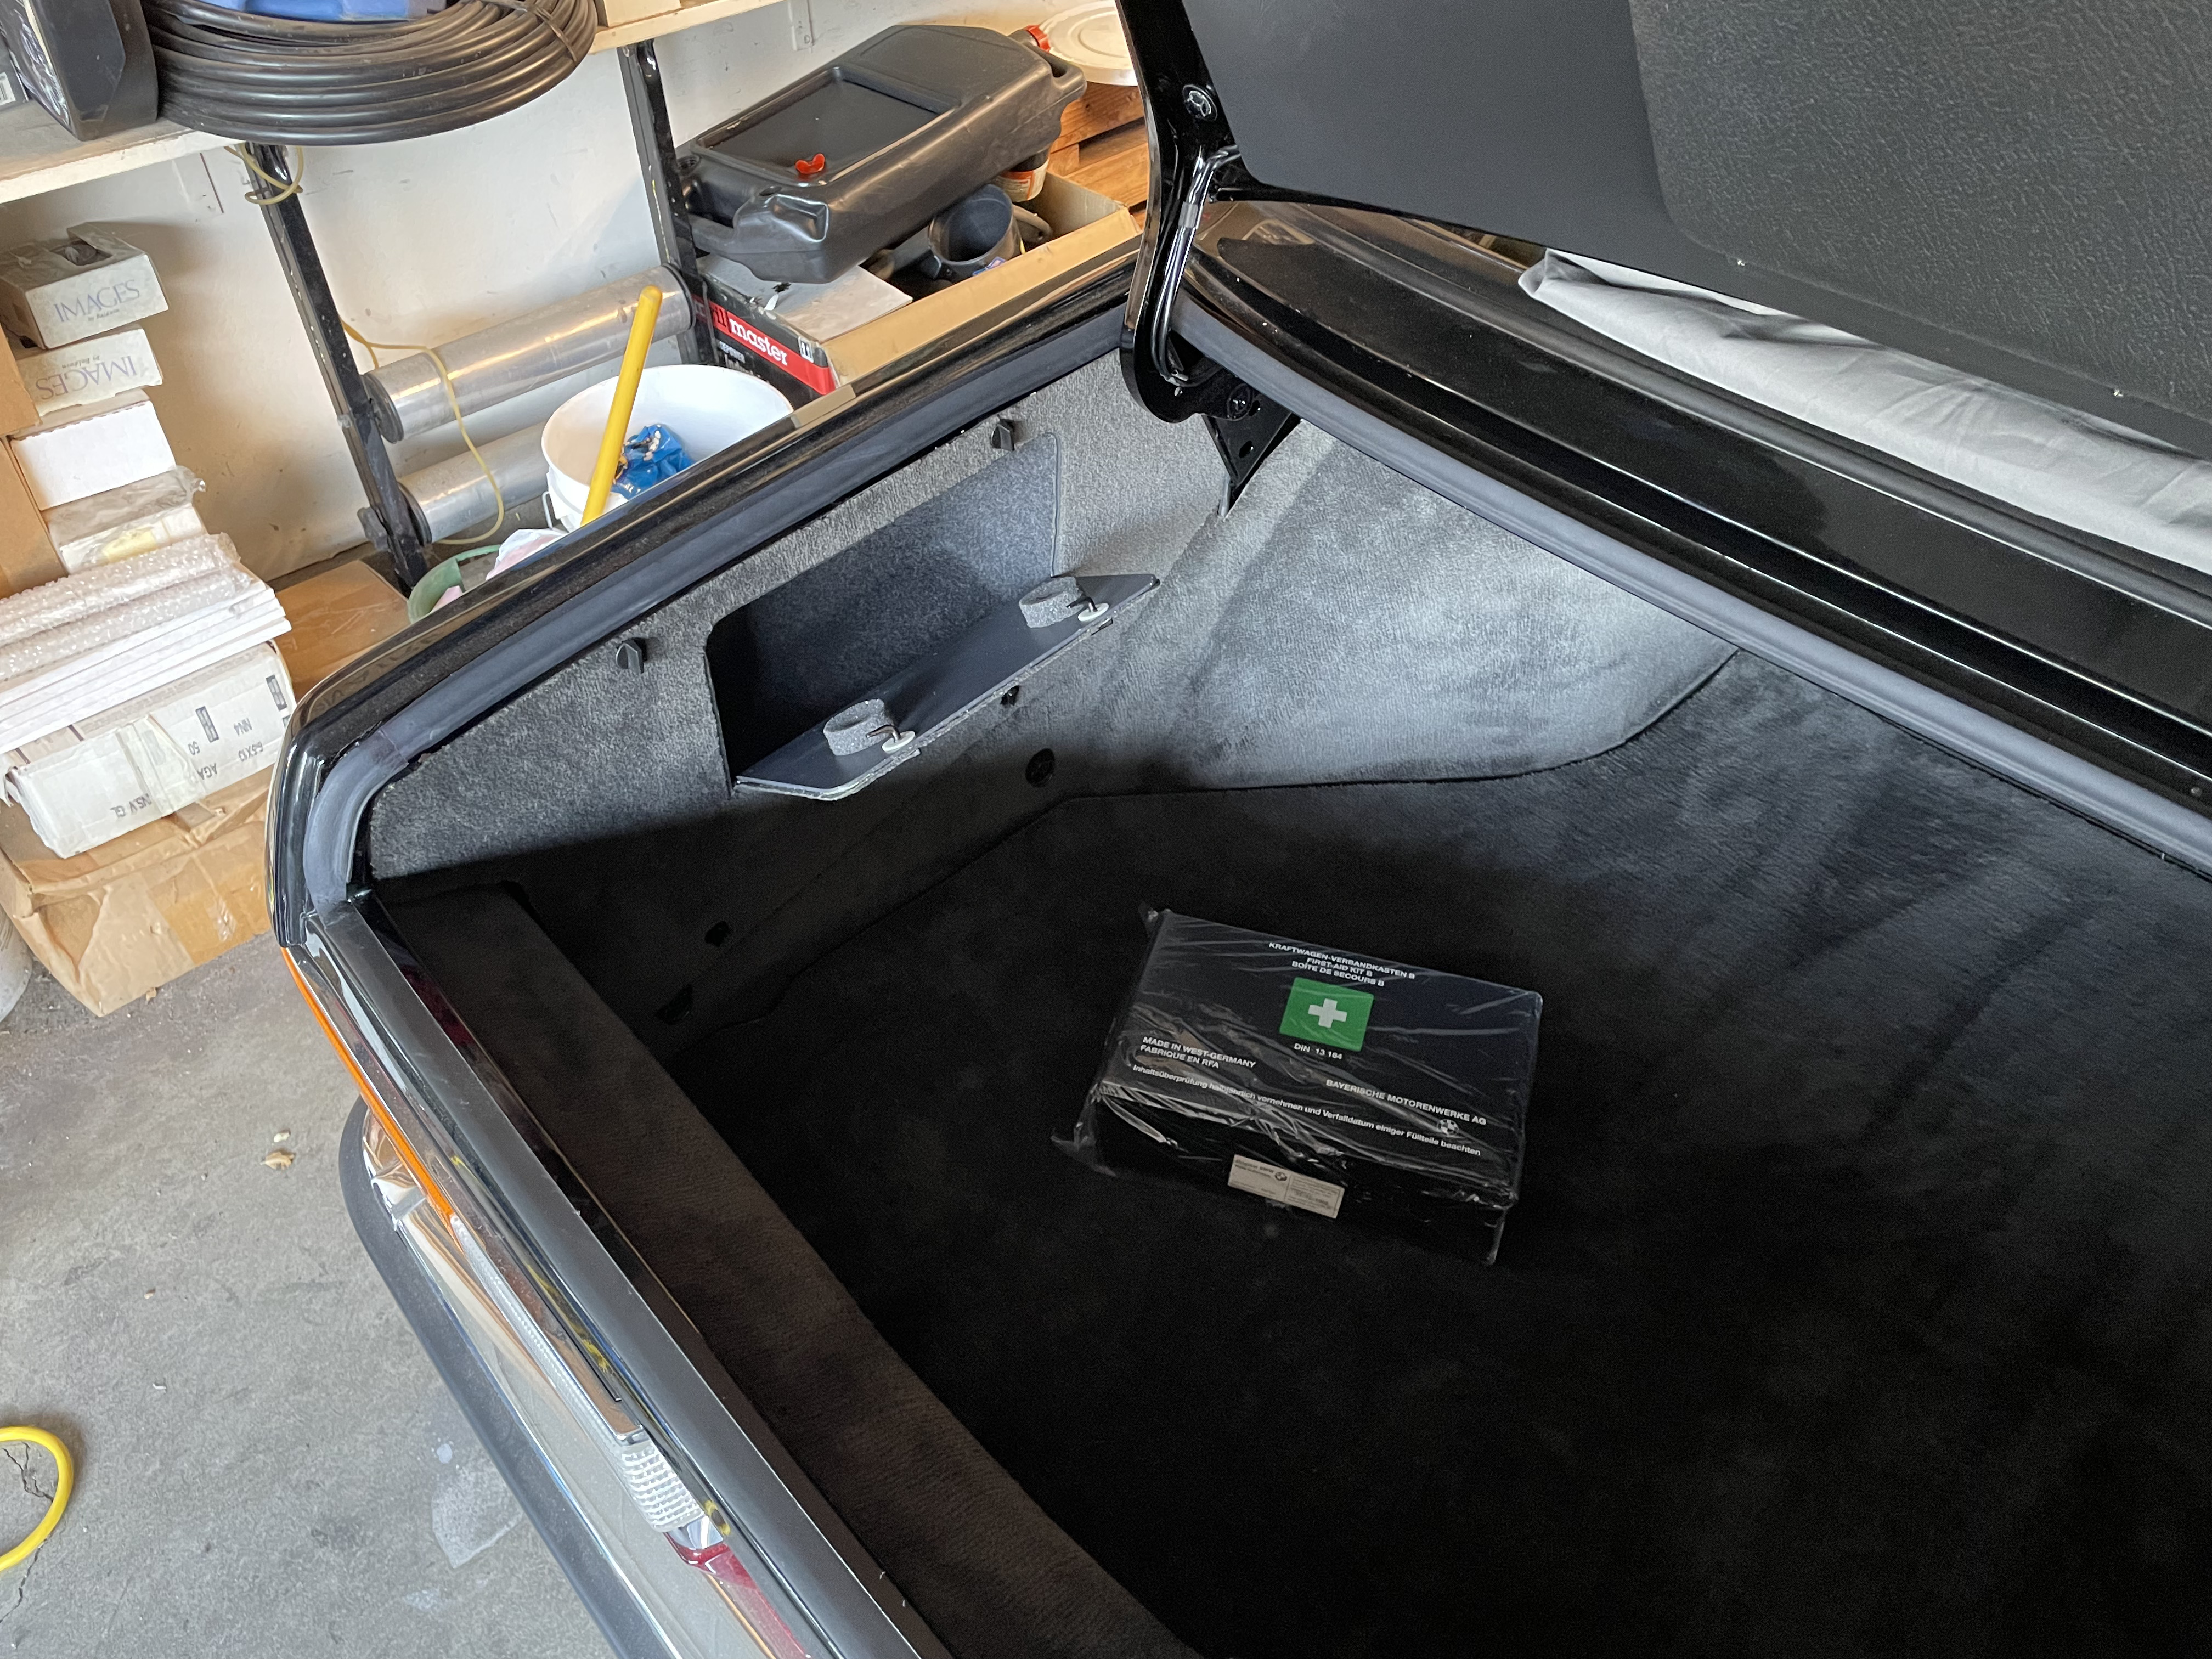
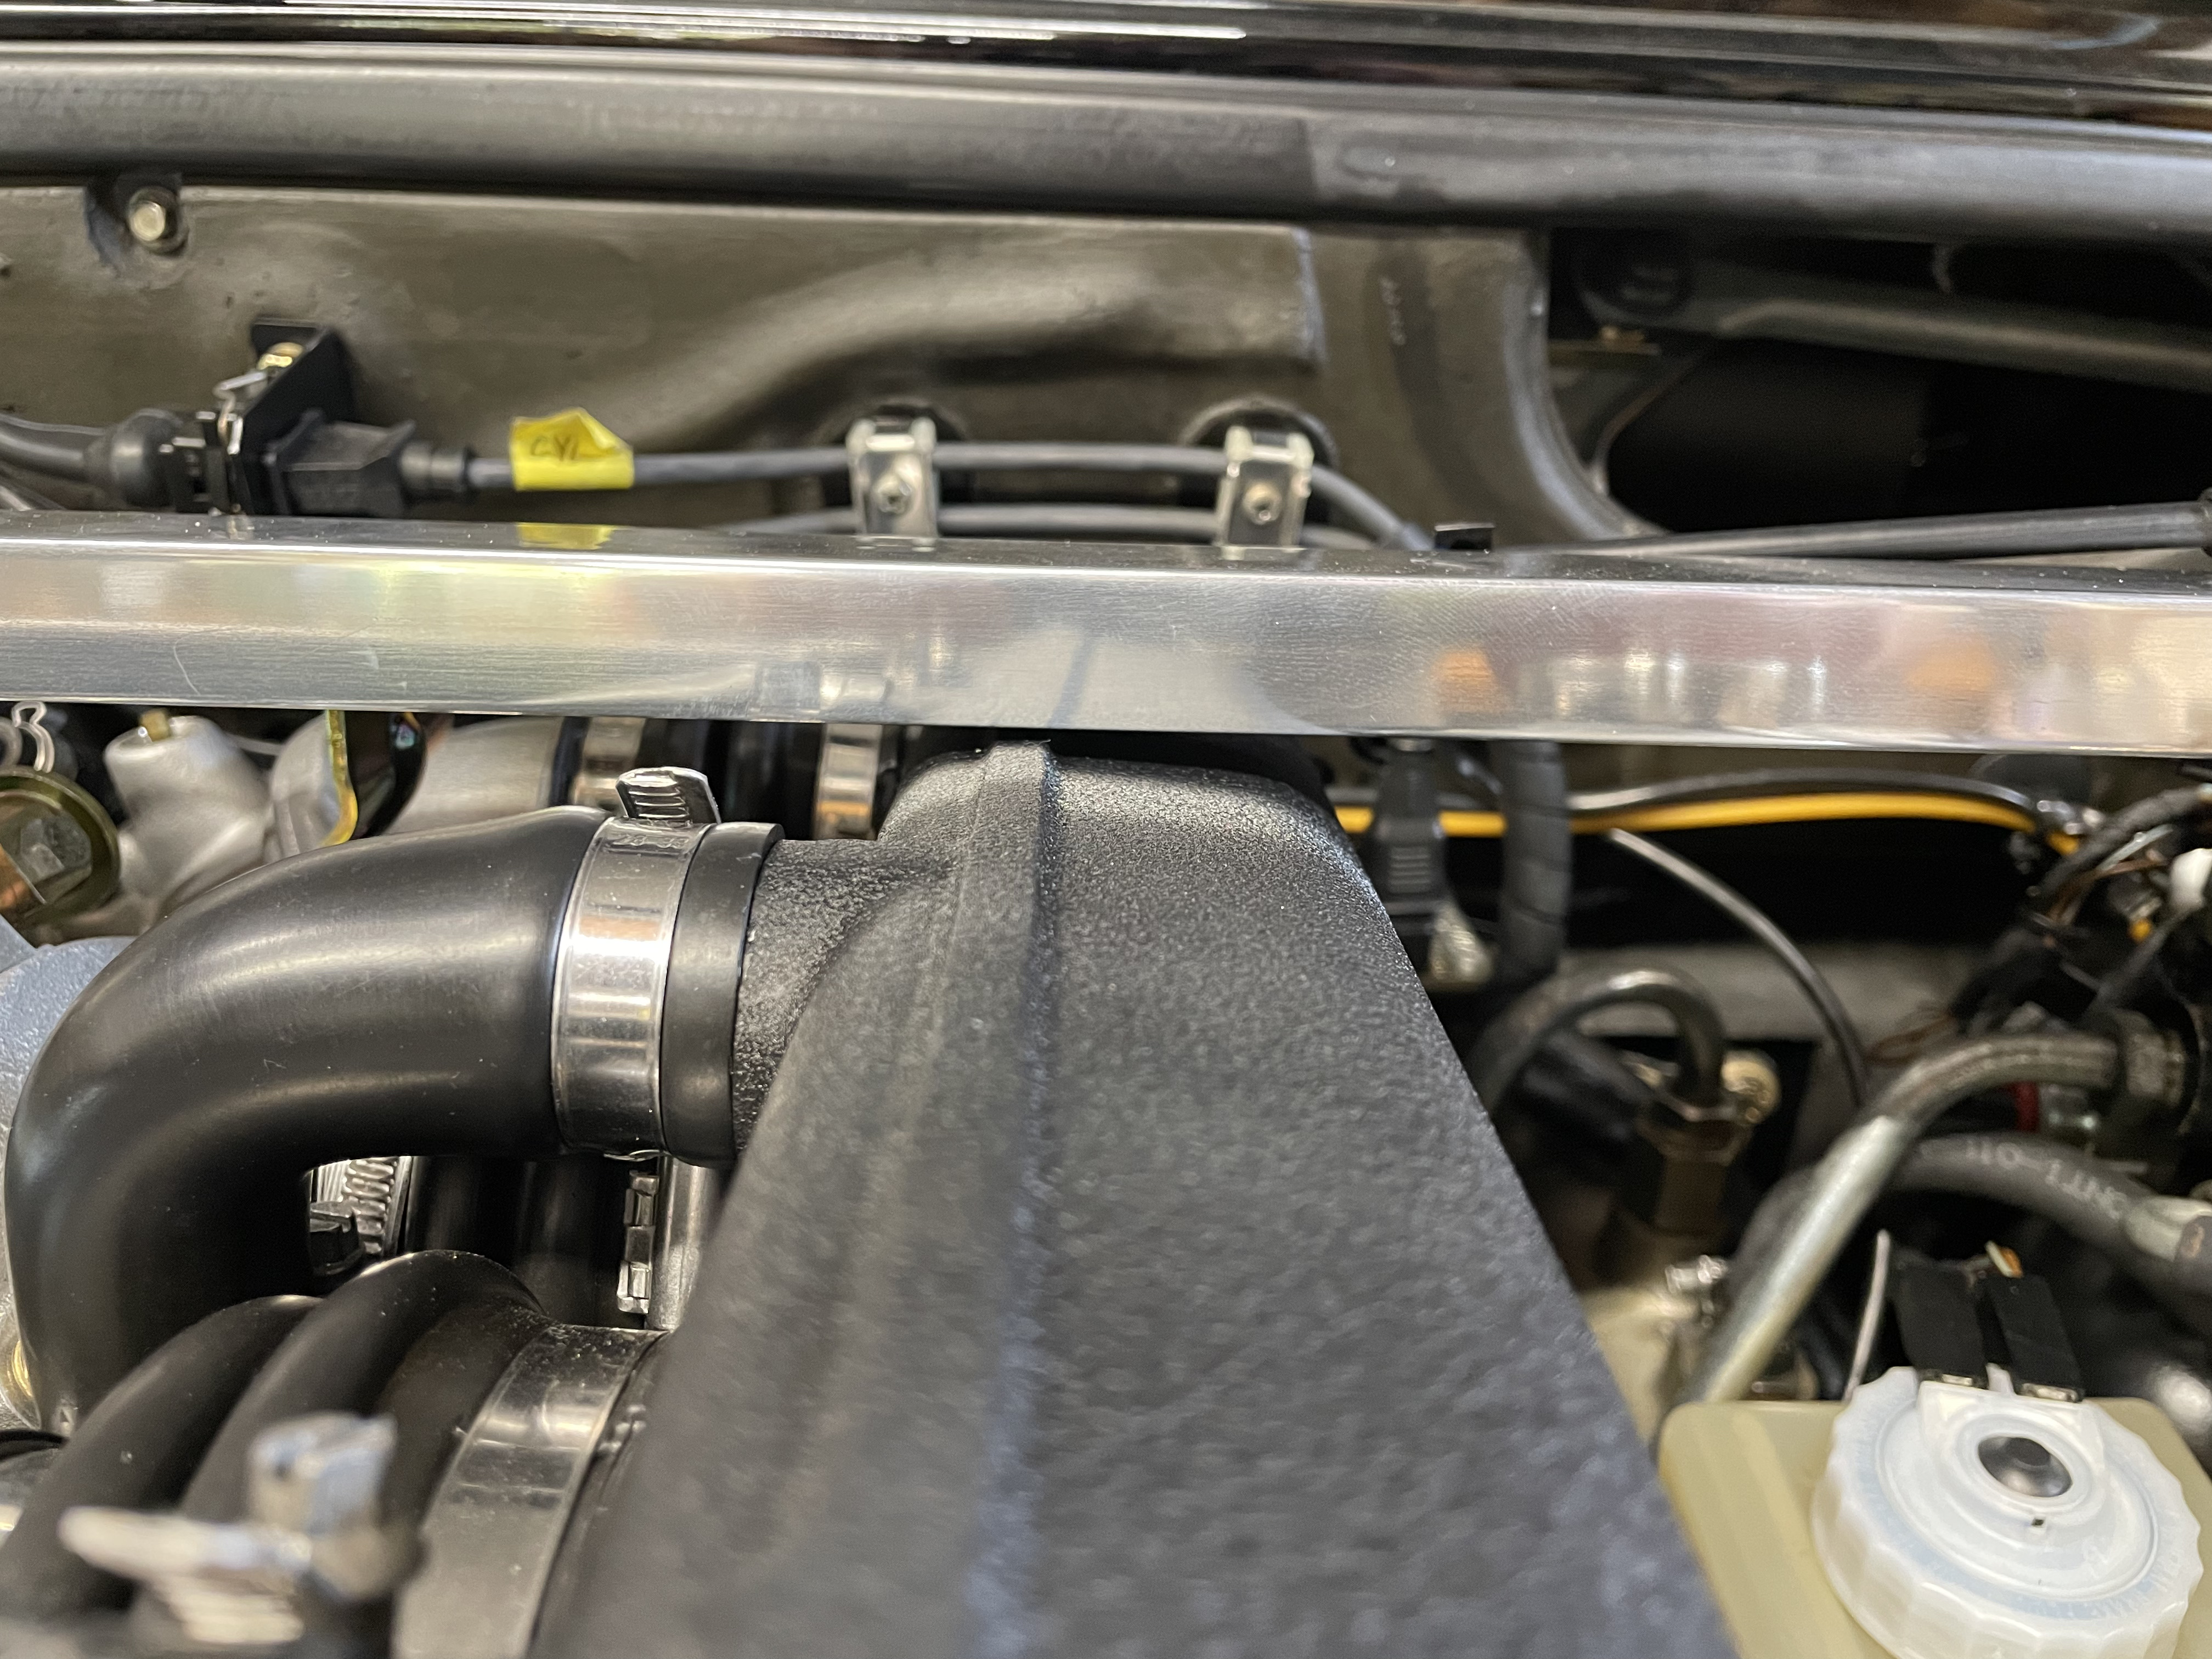
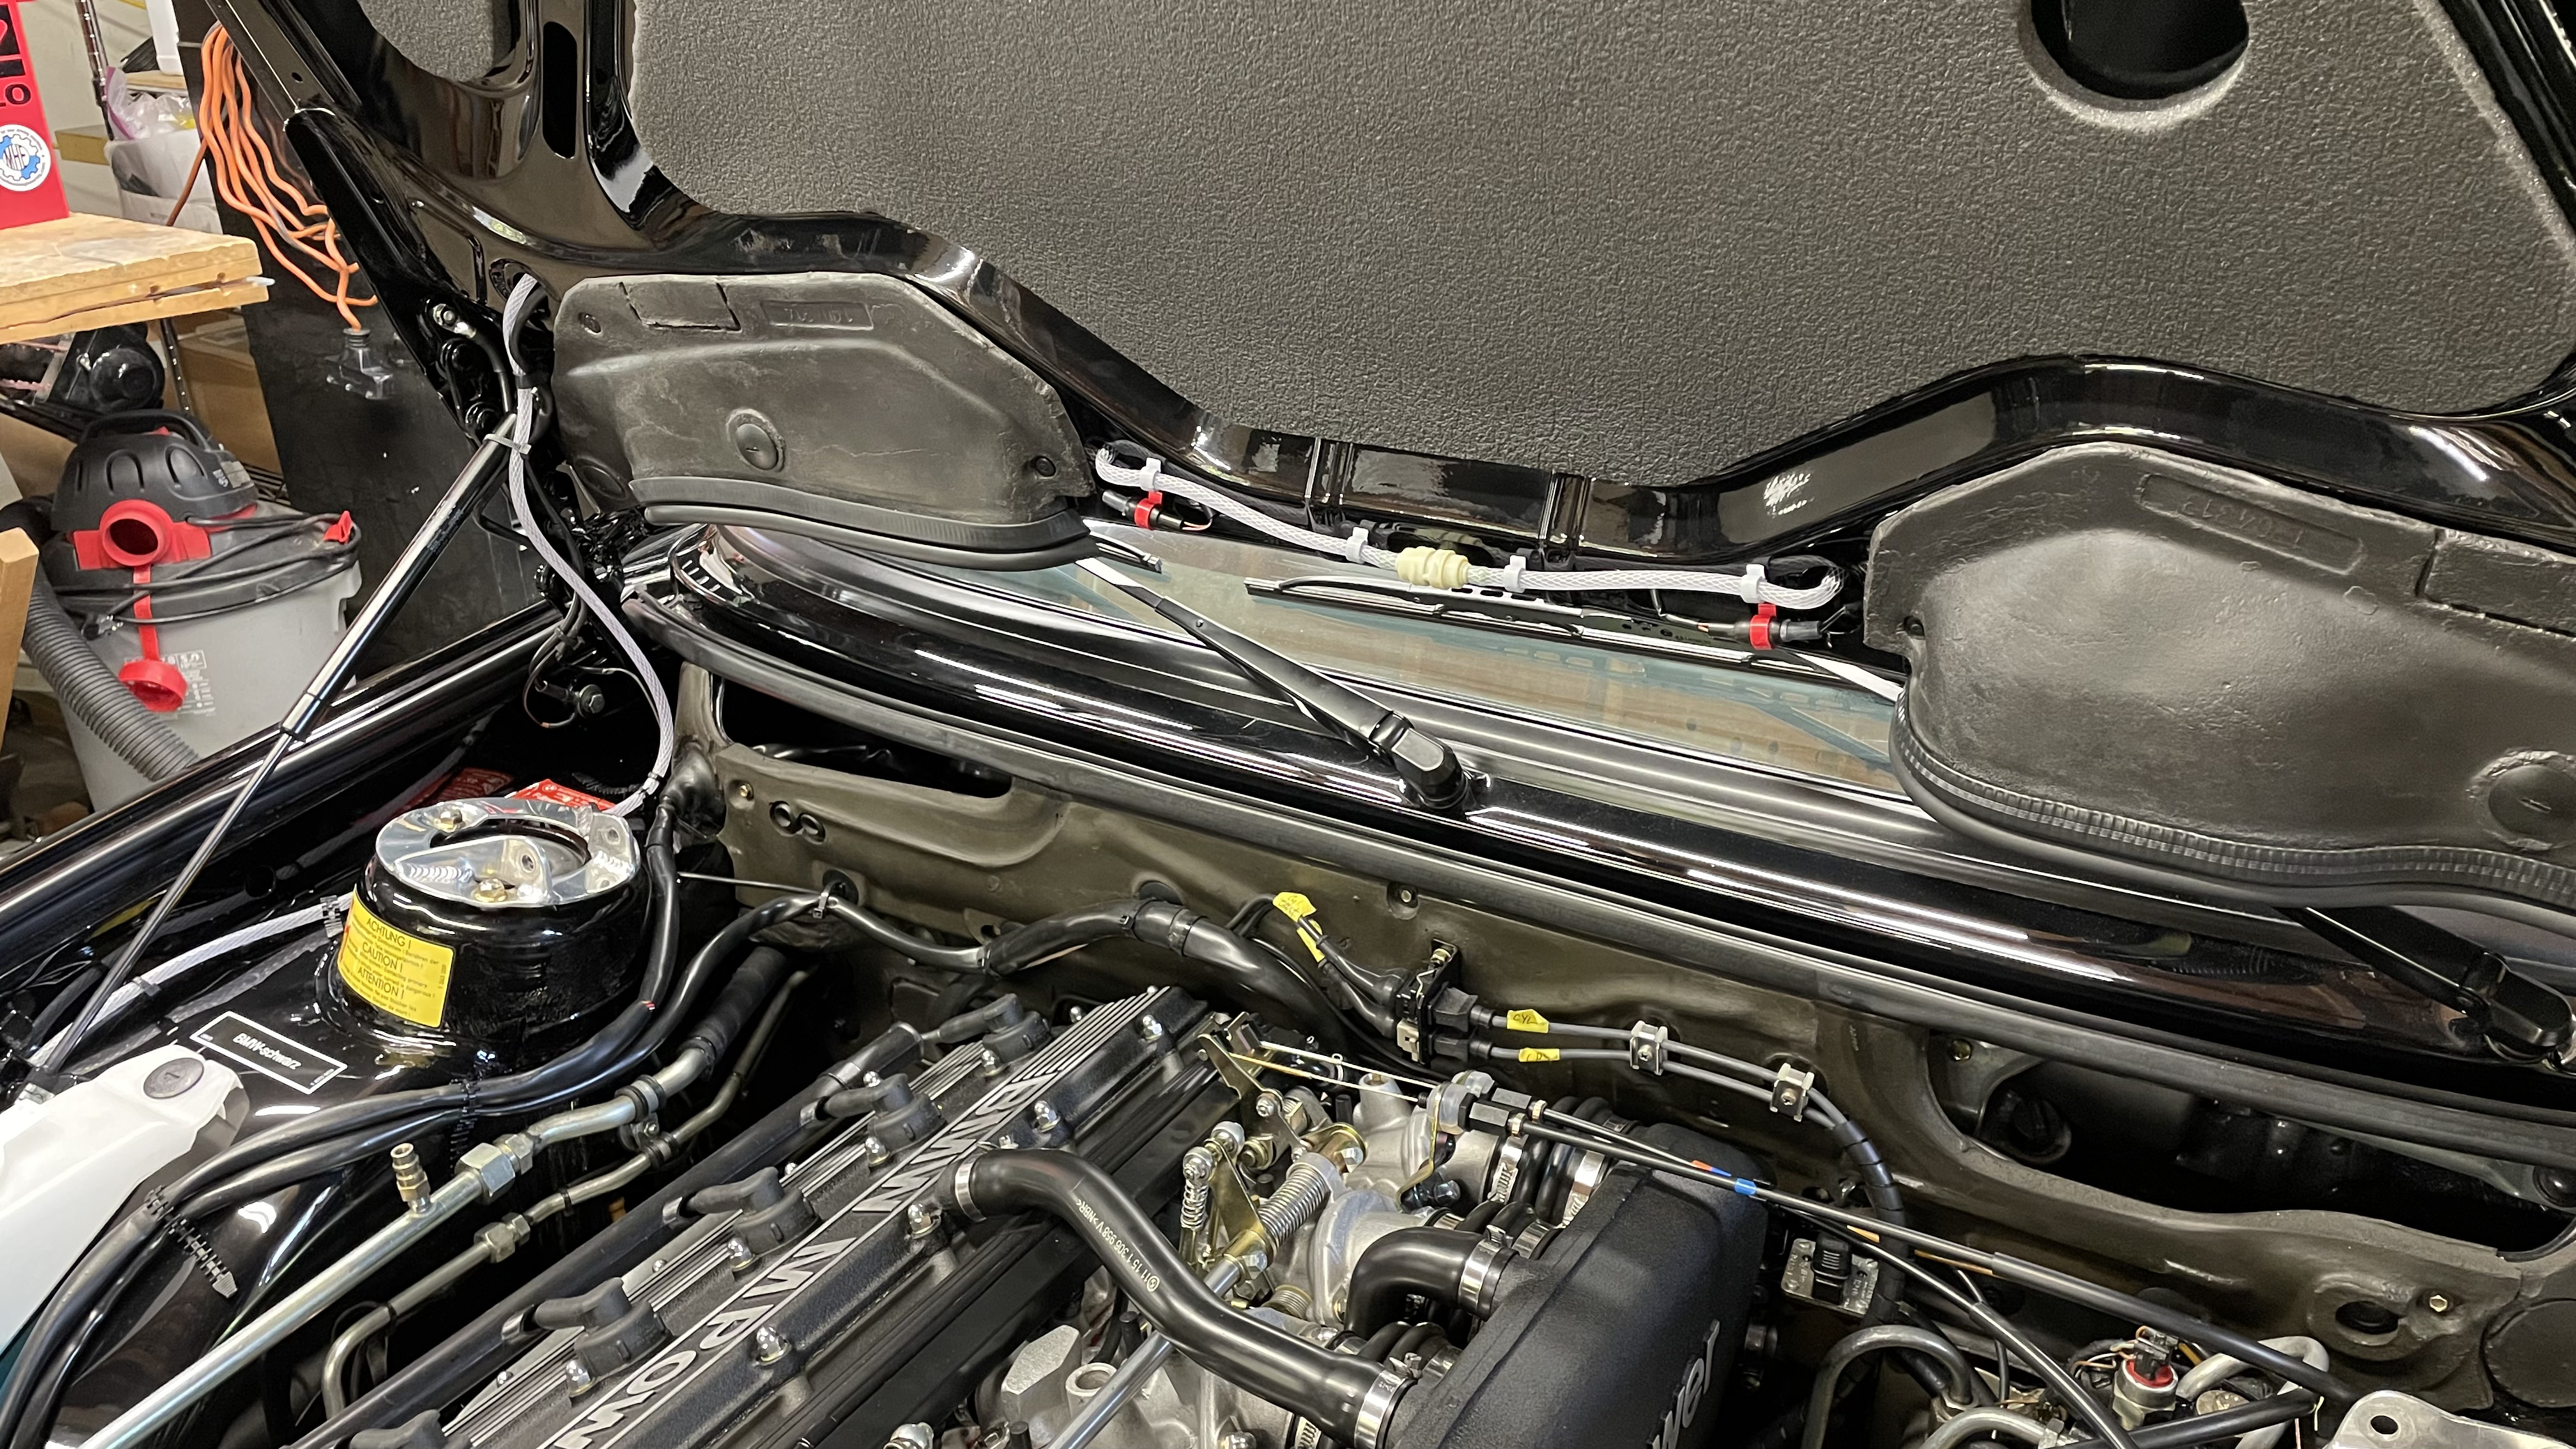
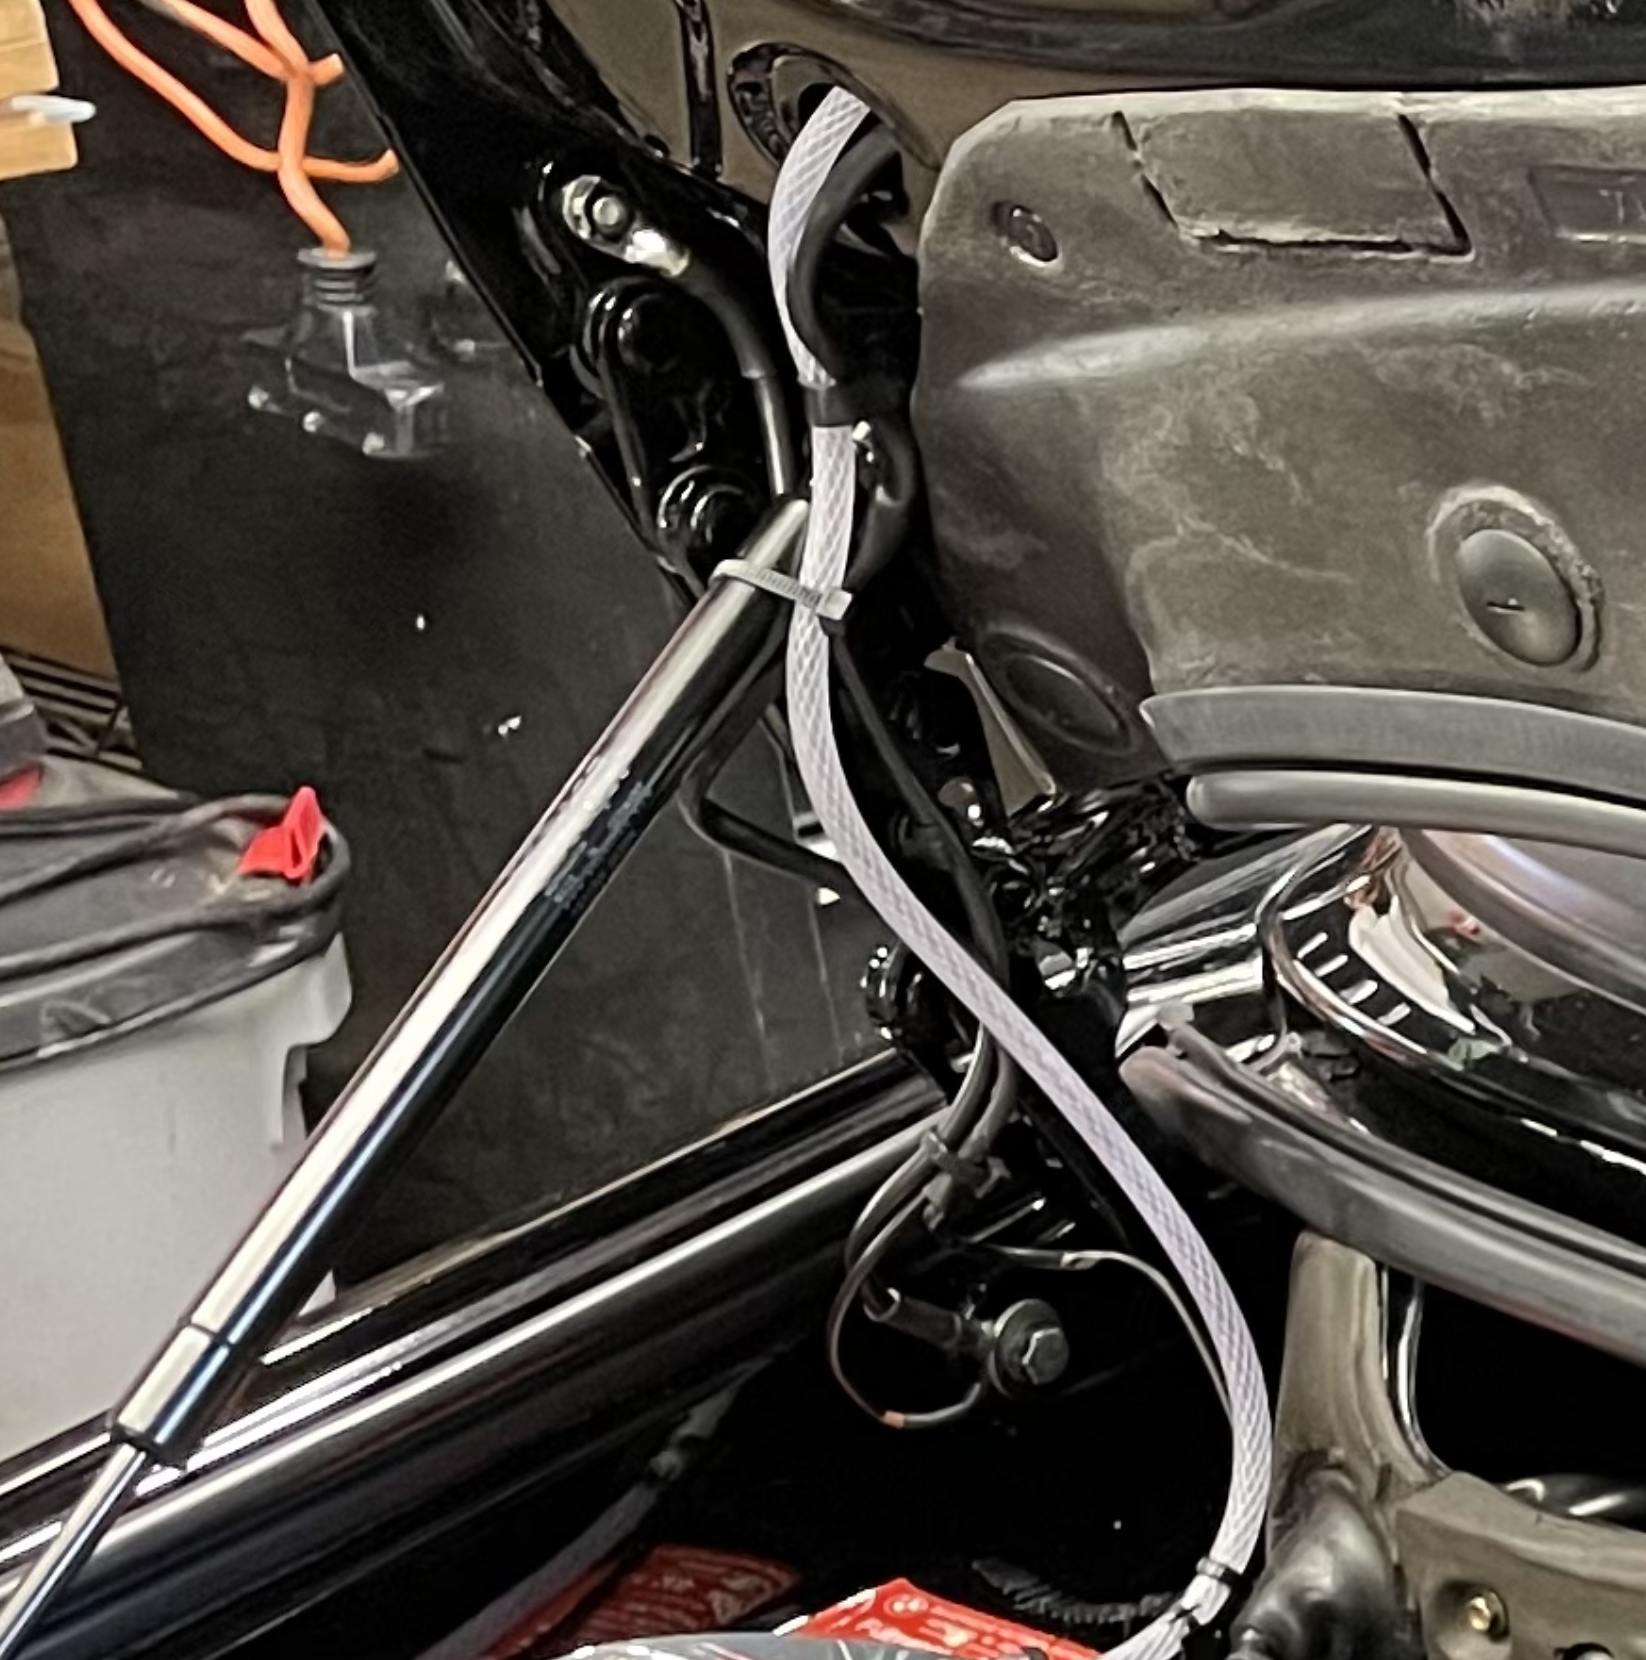
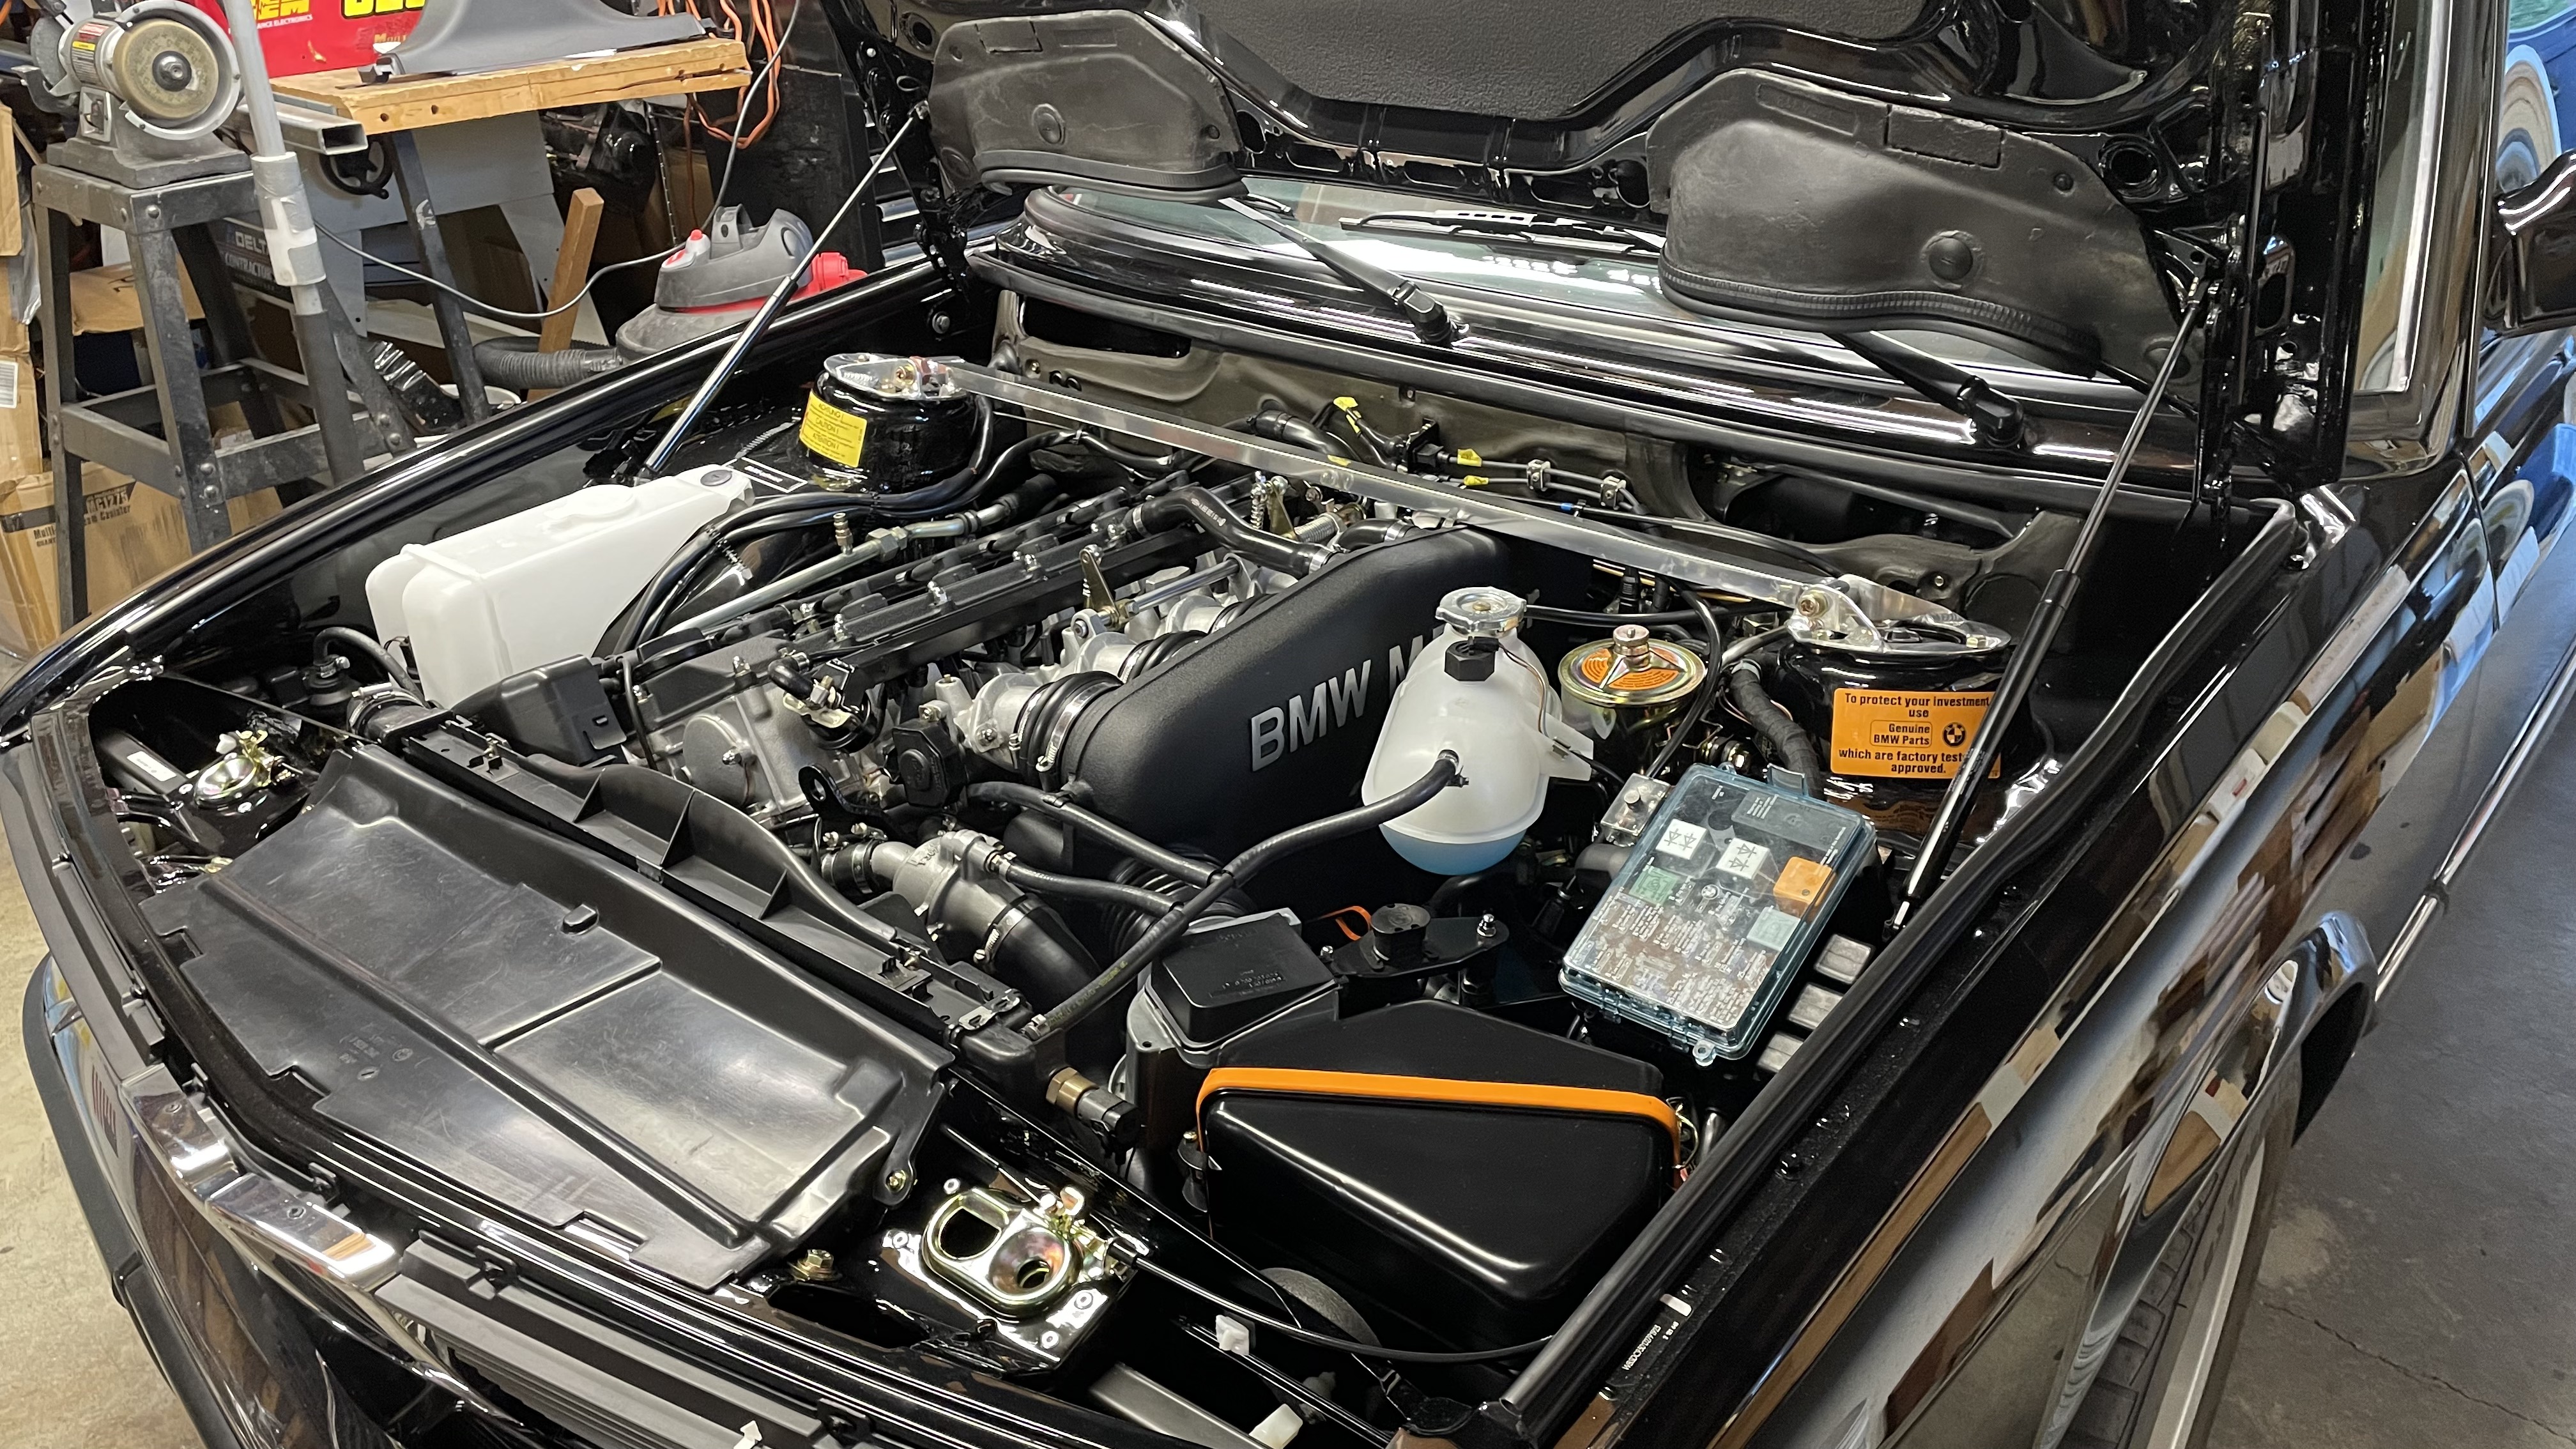
At the time, it was already late and I was out of time - the thought did occur to me then that "hey, maybe I should flip this over." This bar has an eccentric at one end that will only fit one way (IIRC), so at the time my thought was, "nope, can't flip it." But as I write this, it occurs to me that all I need to do is swap the mounting plates side-to-side. That should let me flip the bar the other way. Doh. Thanks for the mental prompt.Fanclutchnut wrote: Nov 21, 2021 8:04 AM Re: strut bar, I’m betting you tried this, but does flipping the bar help with clearance? It might be parallax in the photo but it looks bowed down. Also a spacer/washer under the bar mounting flange might give needed clearance.
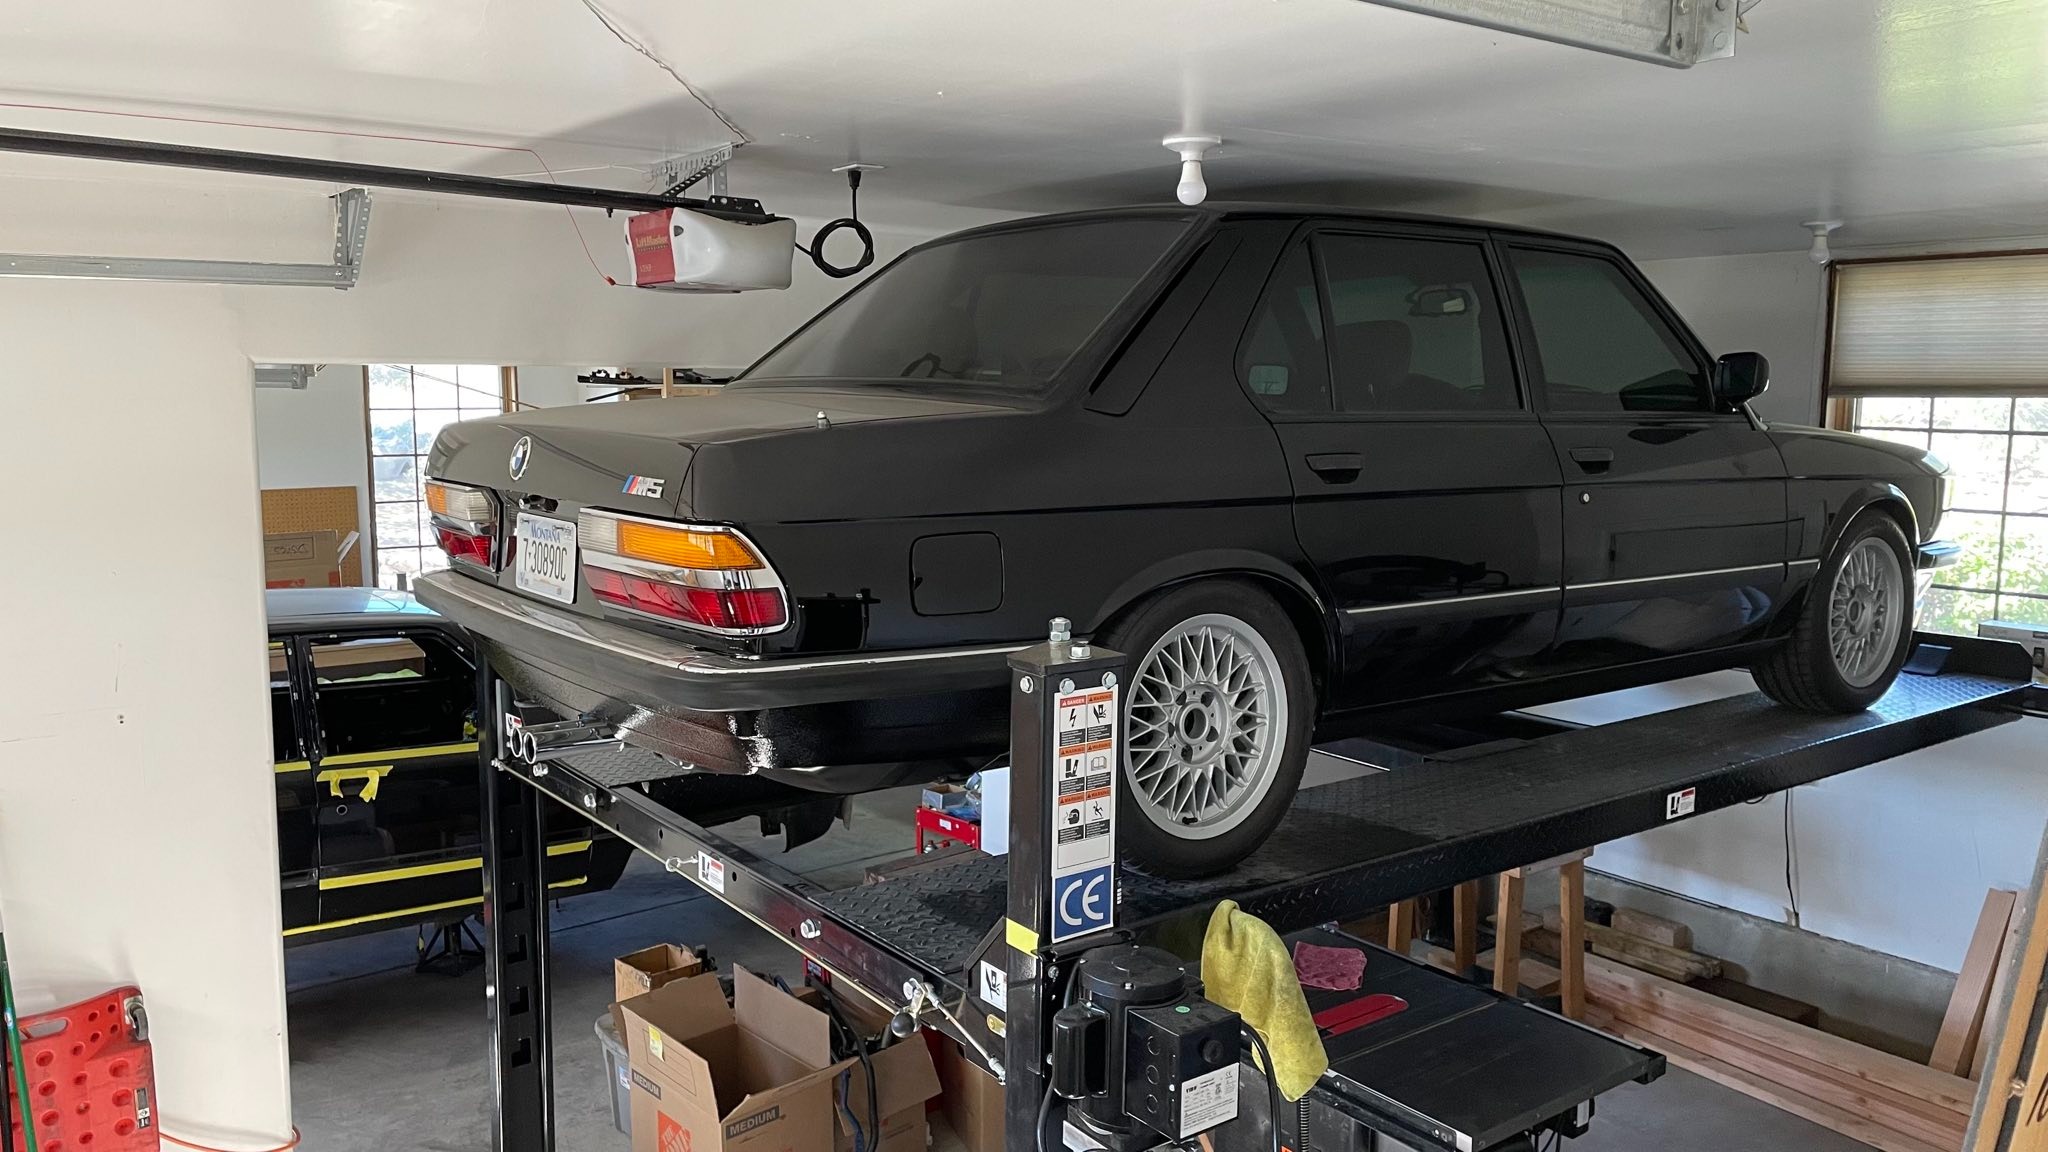
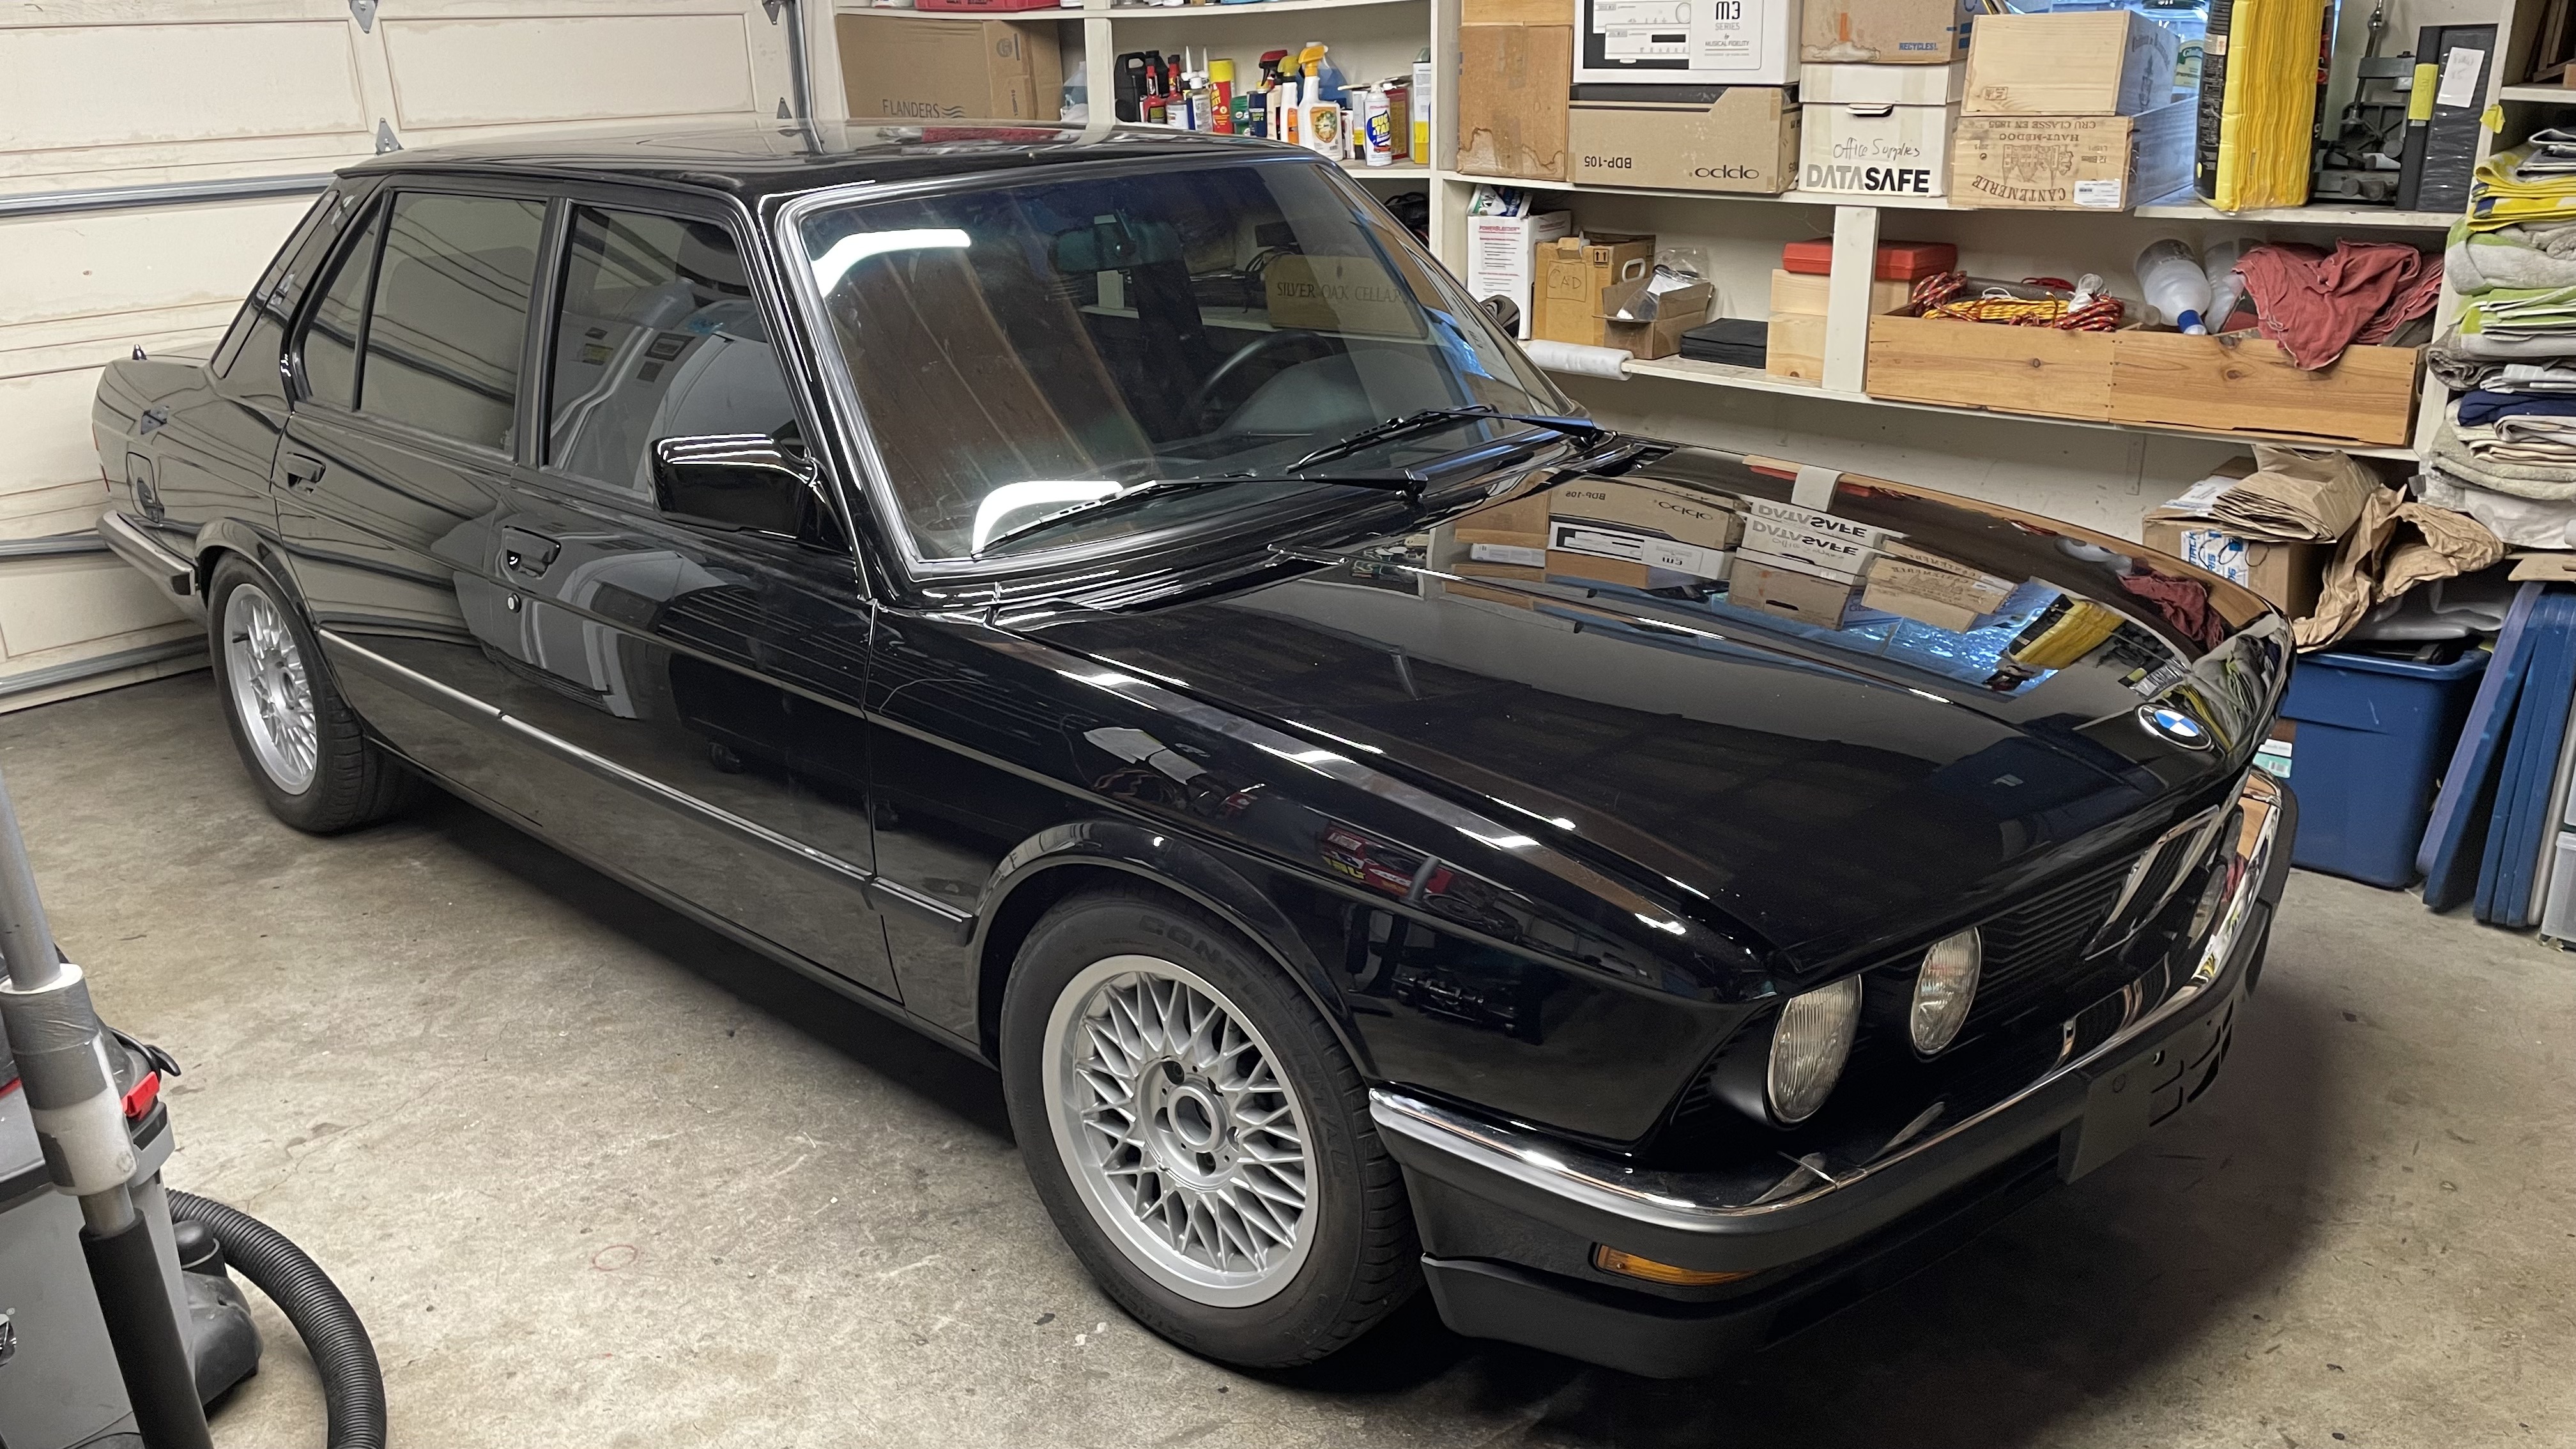
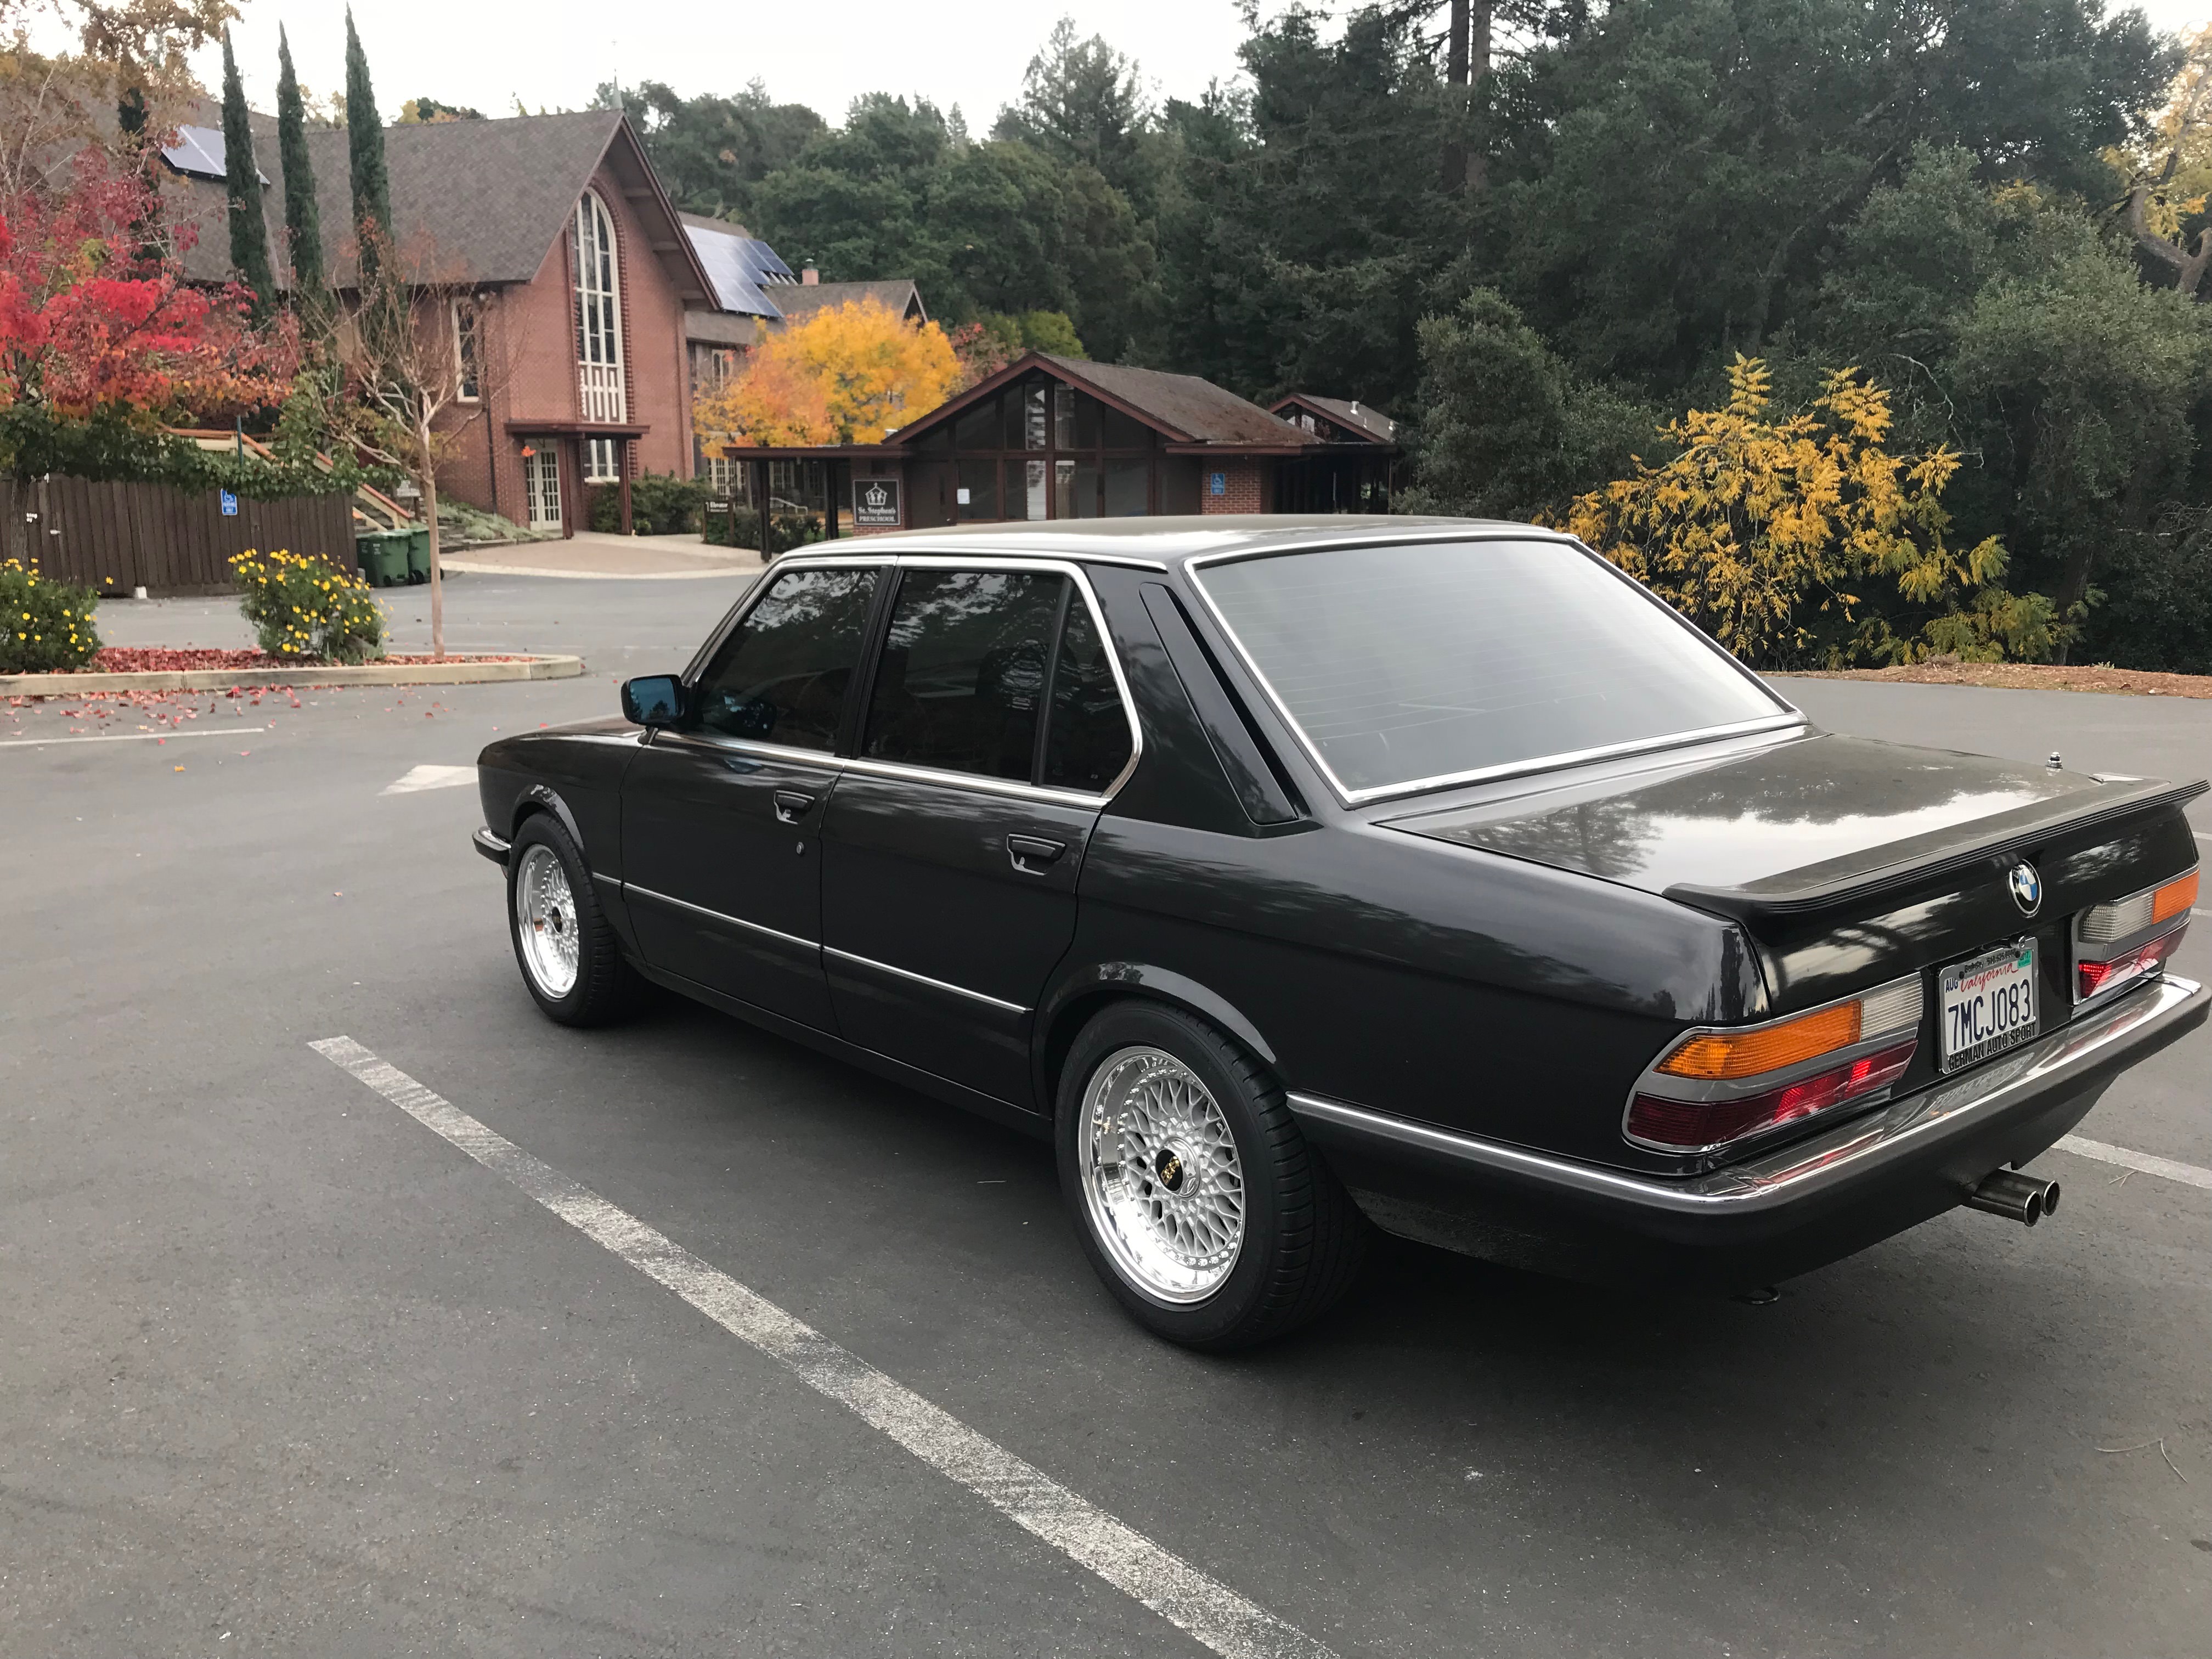
I just spent 30 min scrolling through years of pics on my phone ... I could have sworn at some point I took a pic. Regardless, they're refinished BBS Rs061 - so the correct size for the E28 M5. Refinished by FrankPoweder (lolz - I can't believe I managed to dodge that bullet). Here's a pic of BBS RS211 wheels on my old 535. The 061s for this car are finished essentially the same (maybe slightly darker centers).reesesboot wrote: Jun 14, 2022 1:13 PM Without knowing what BBS wheels you're thinking of putting on the car, I still vote for the originals. They really fit the understated vision of your build.
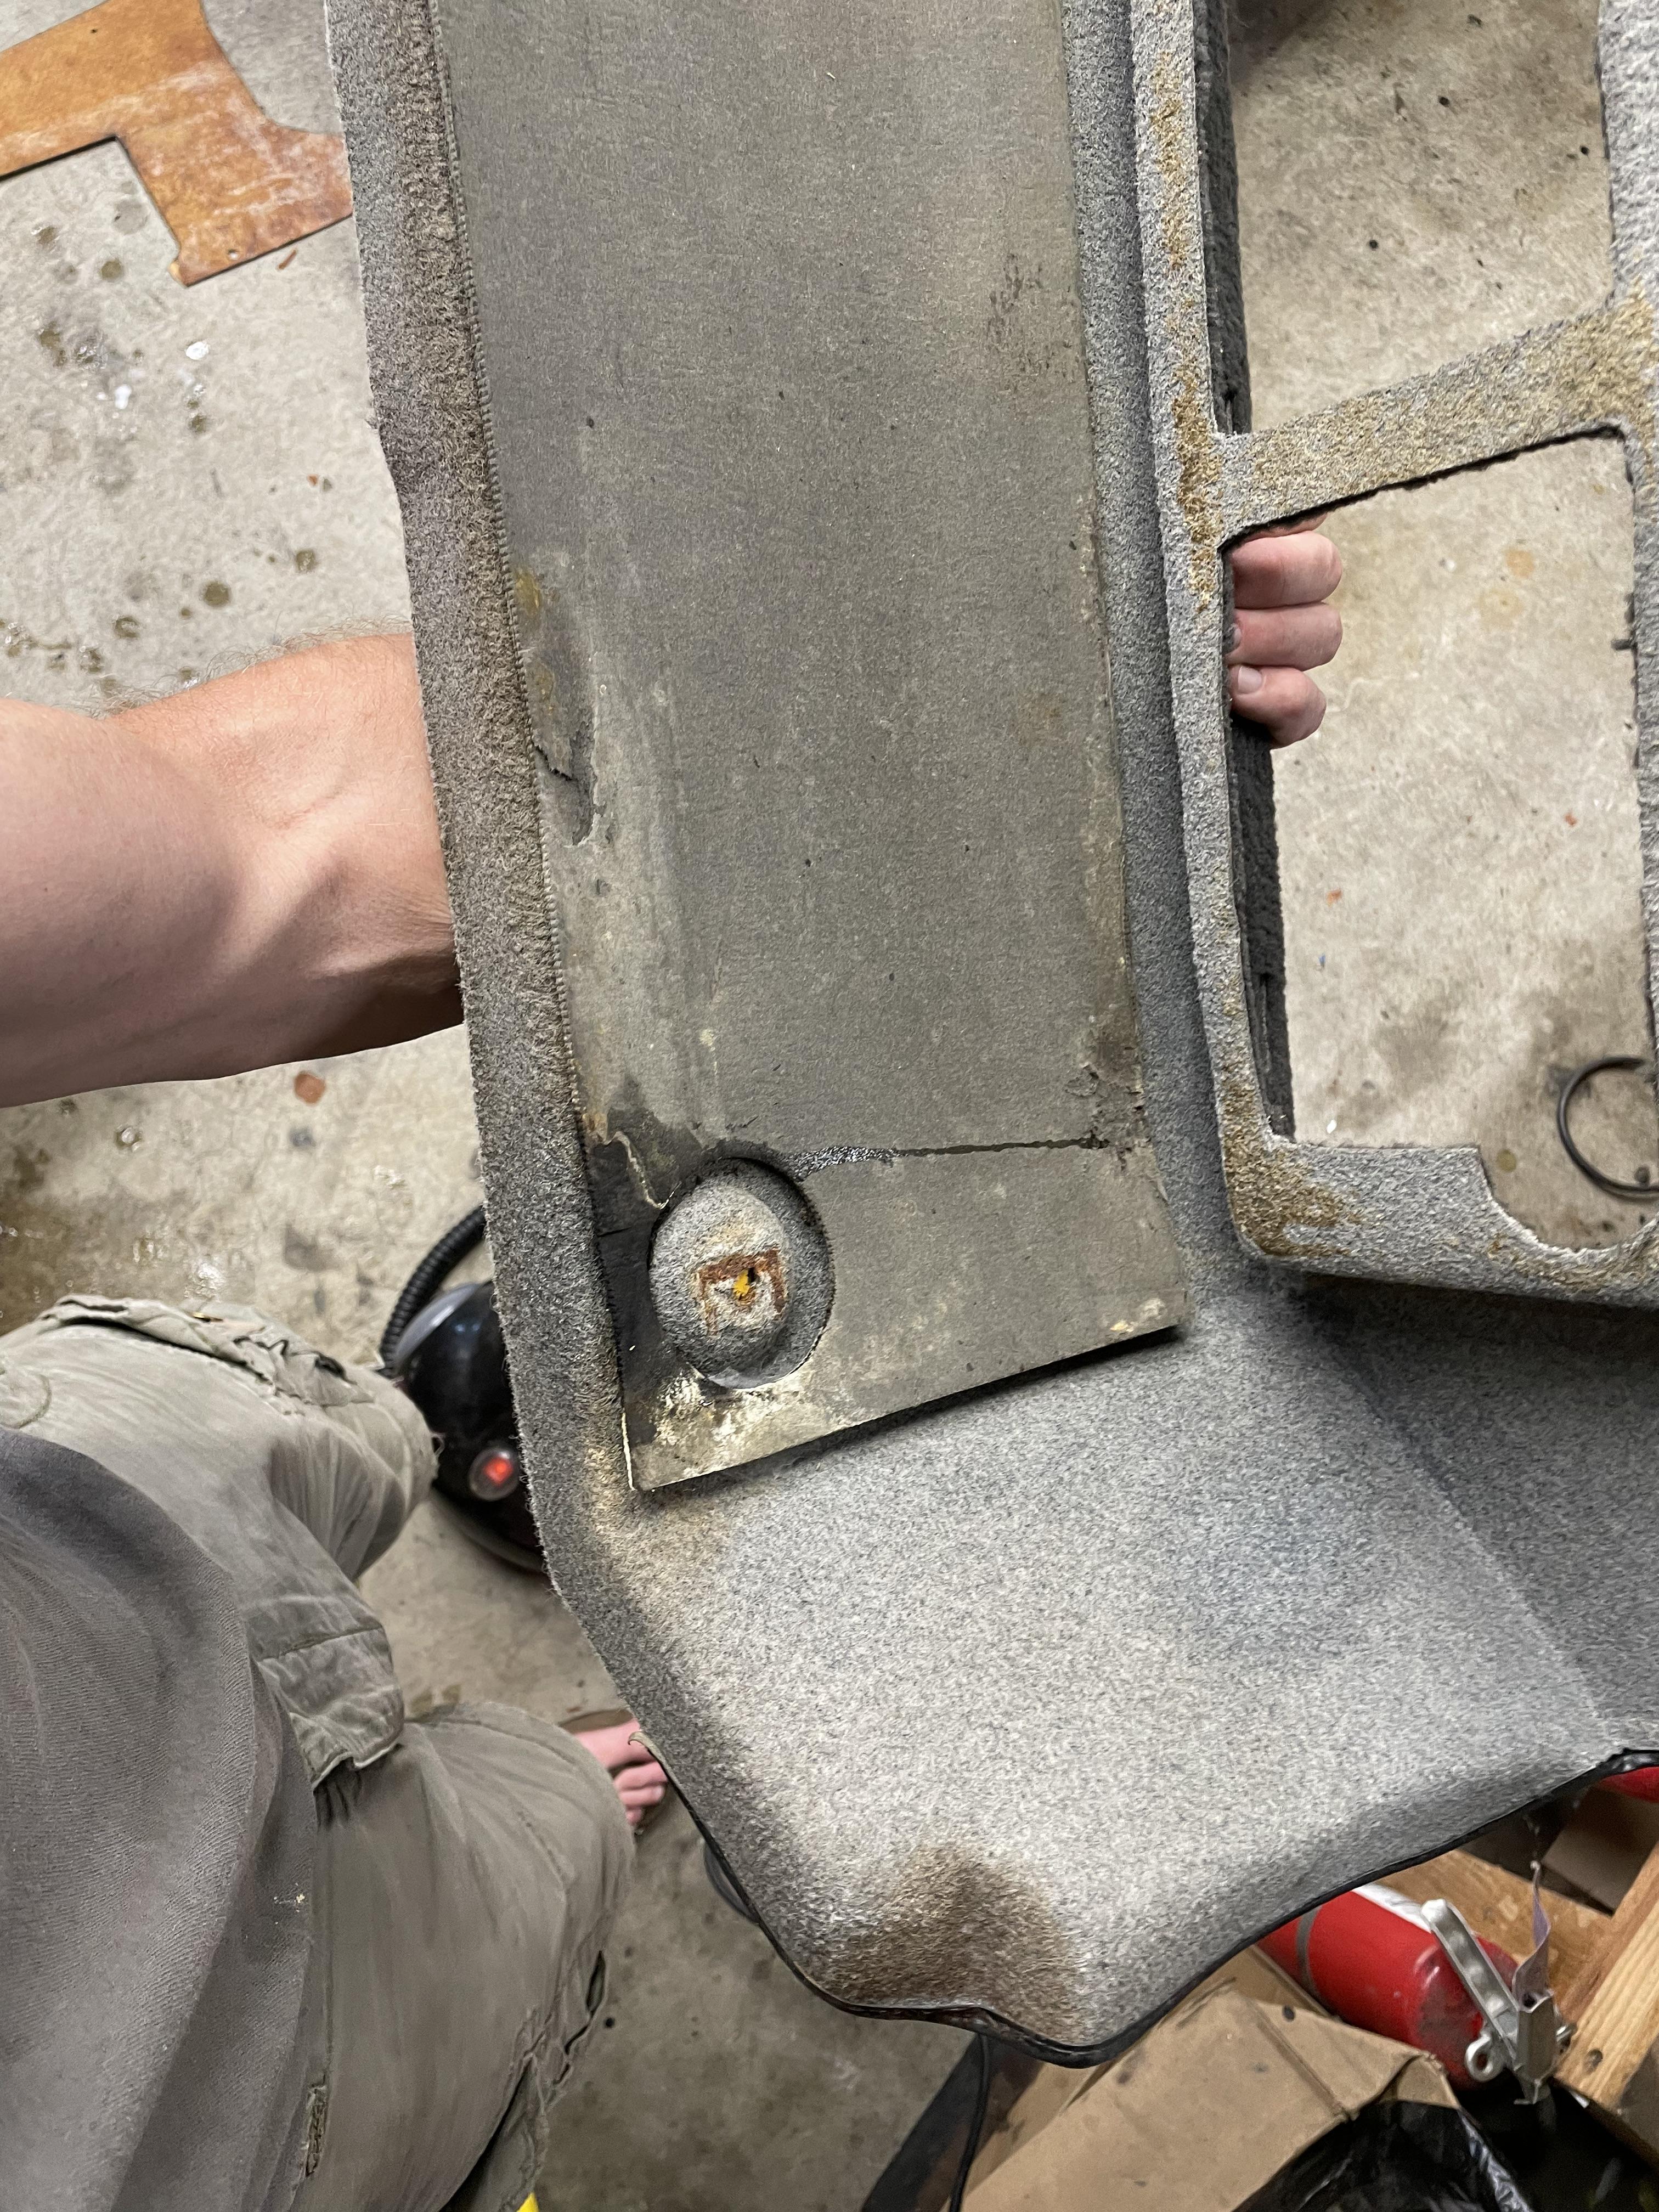
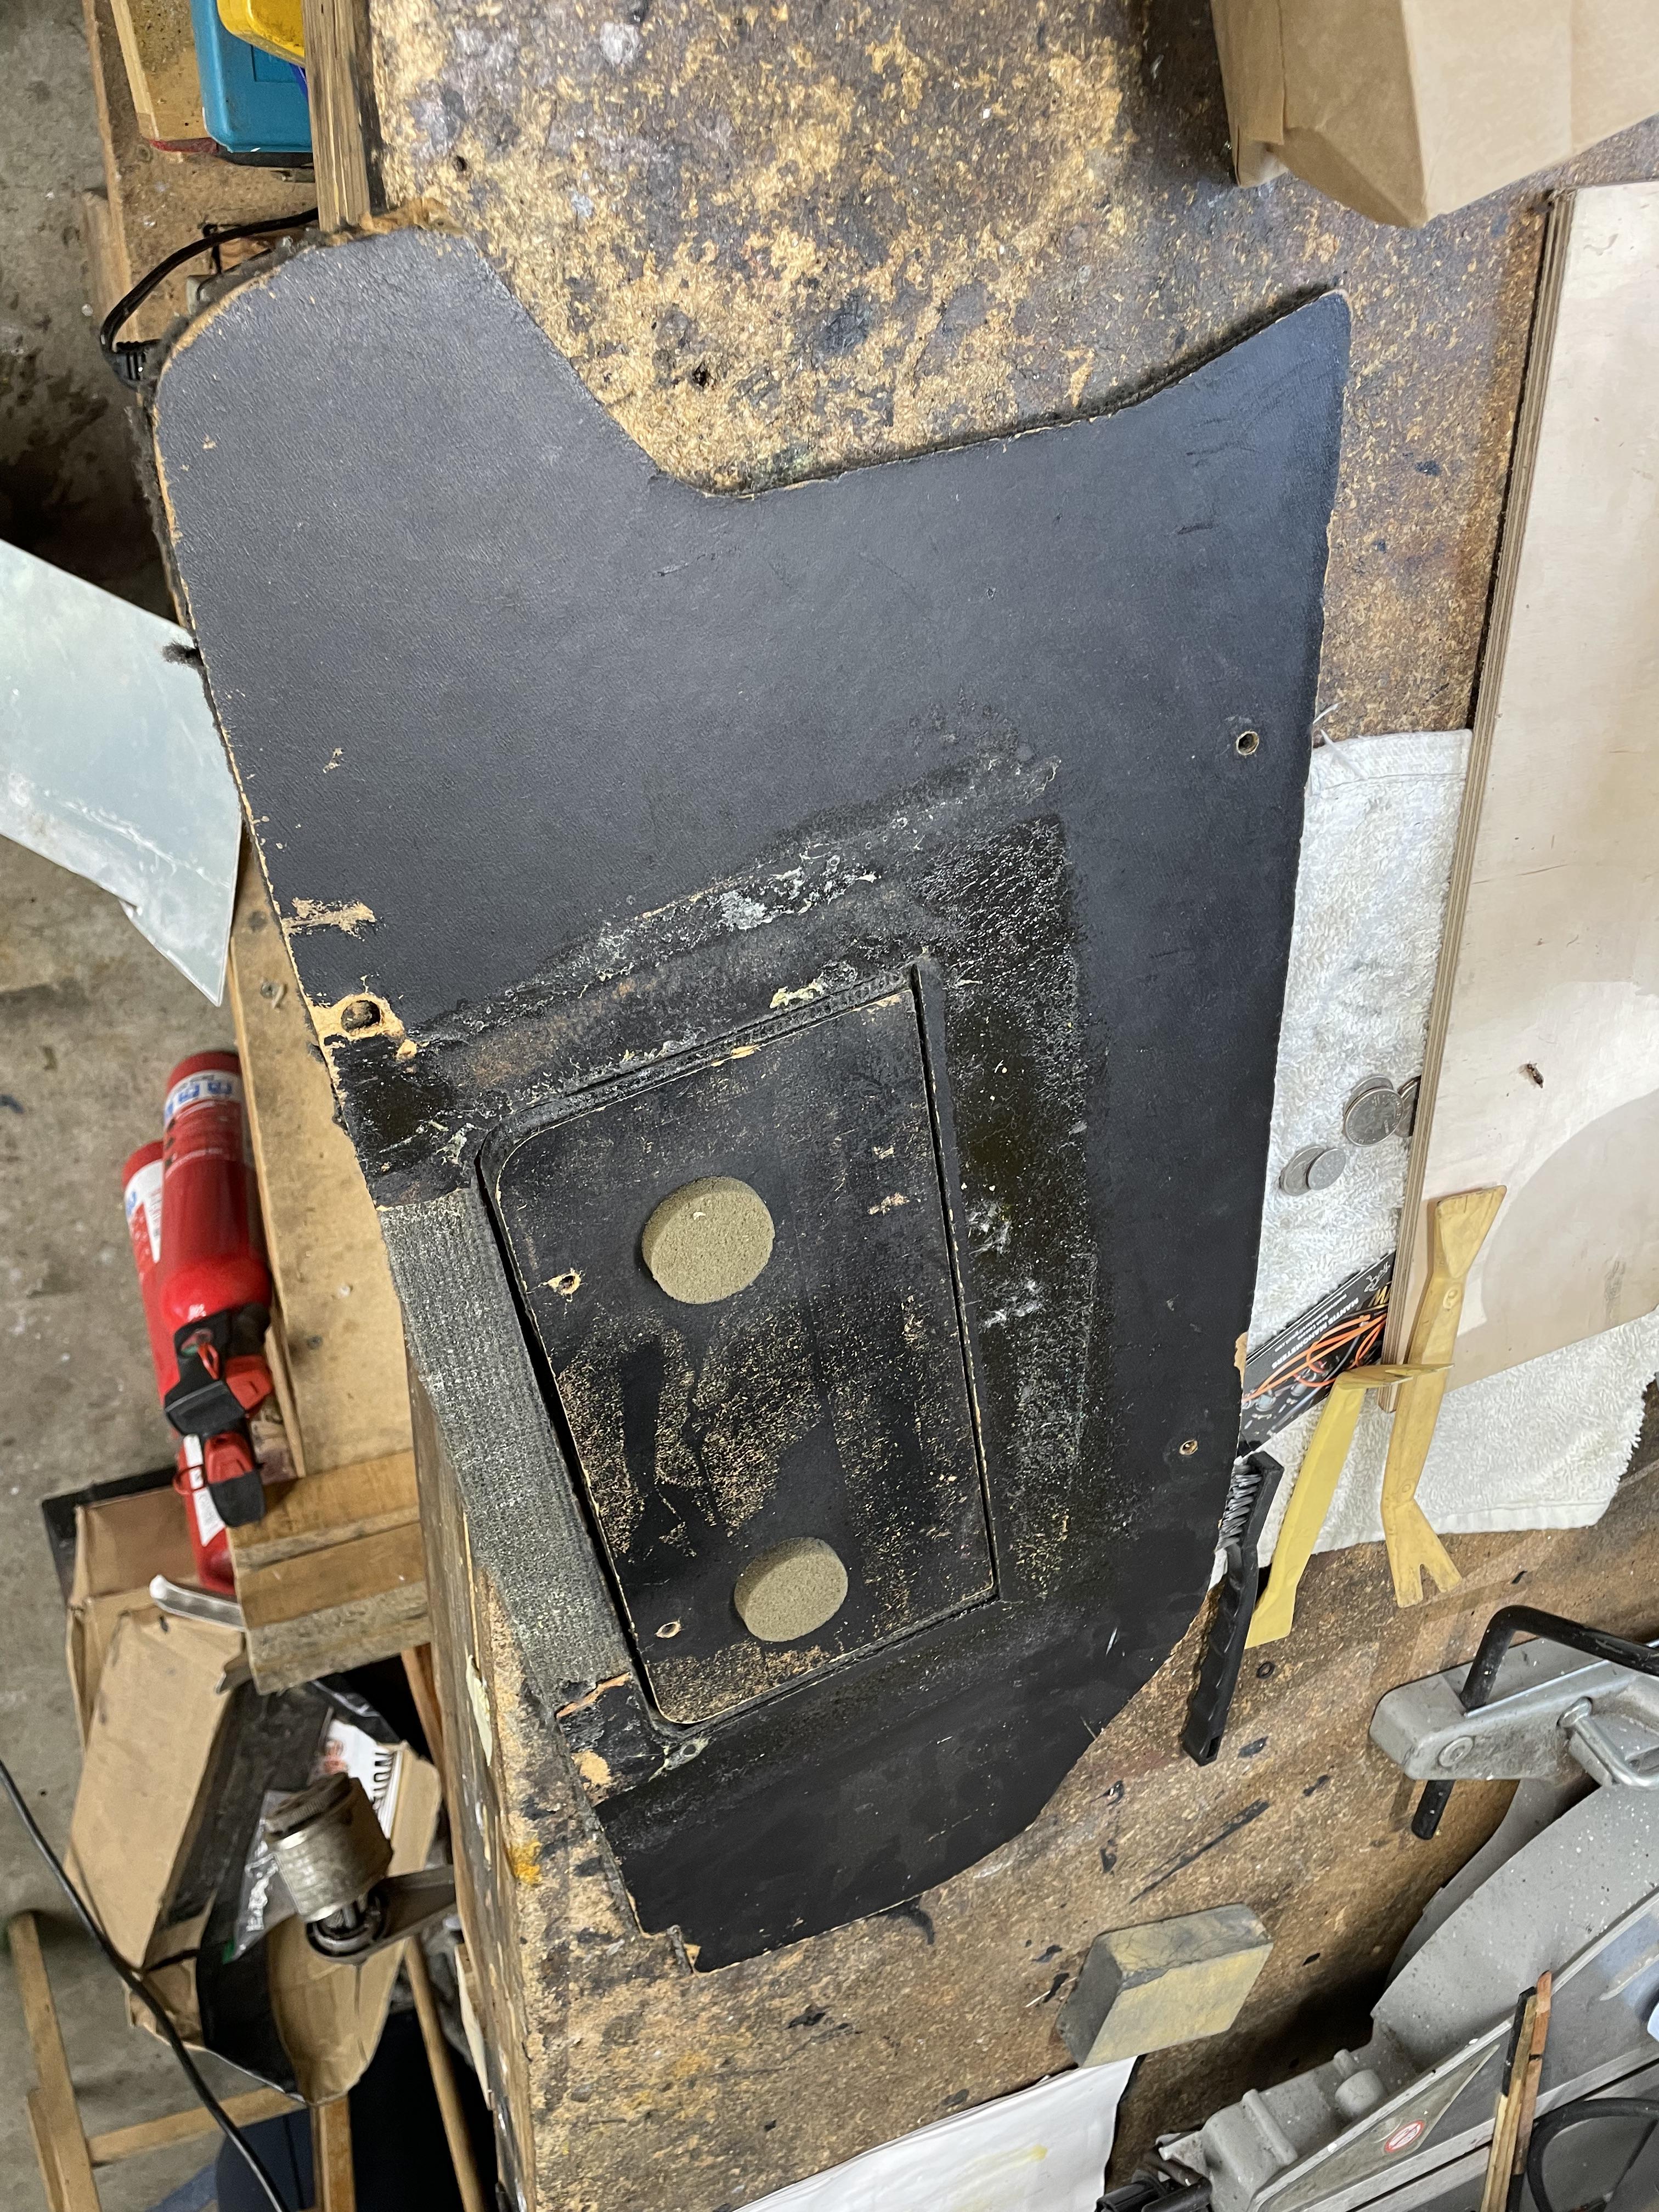
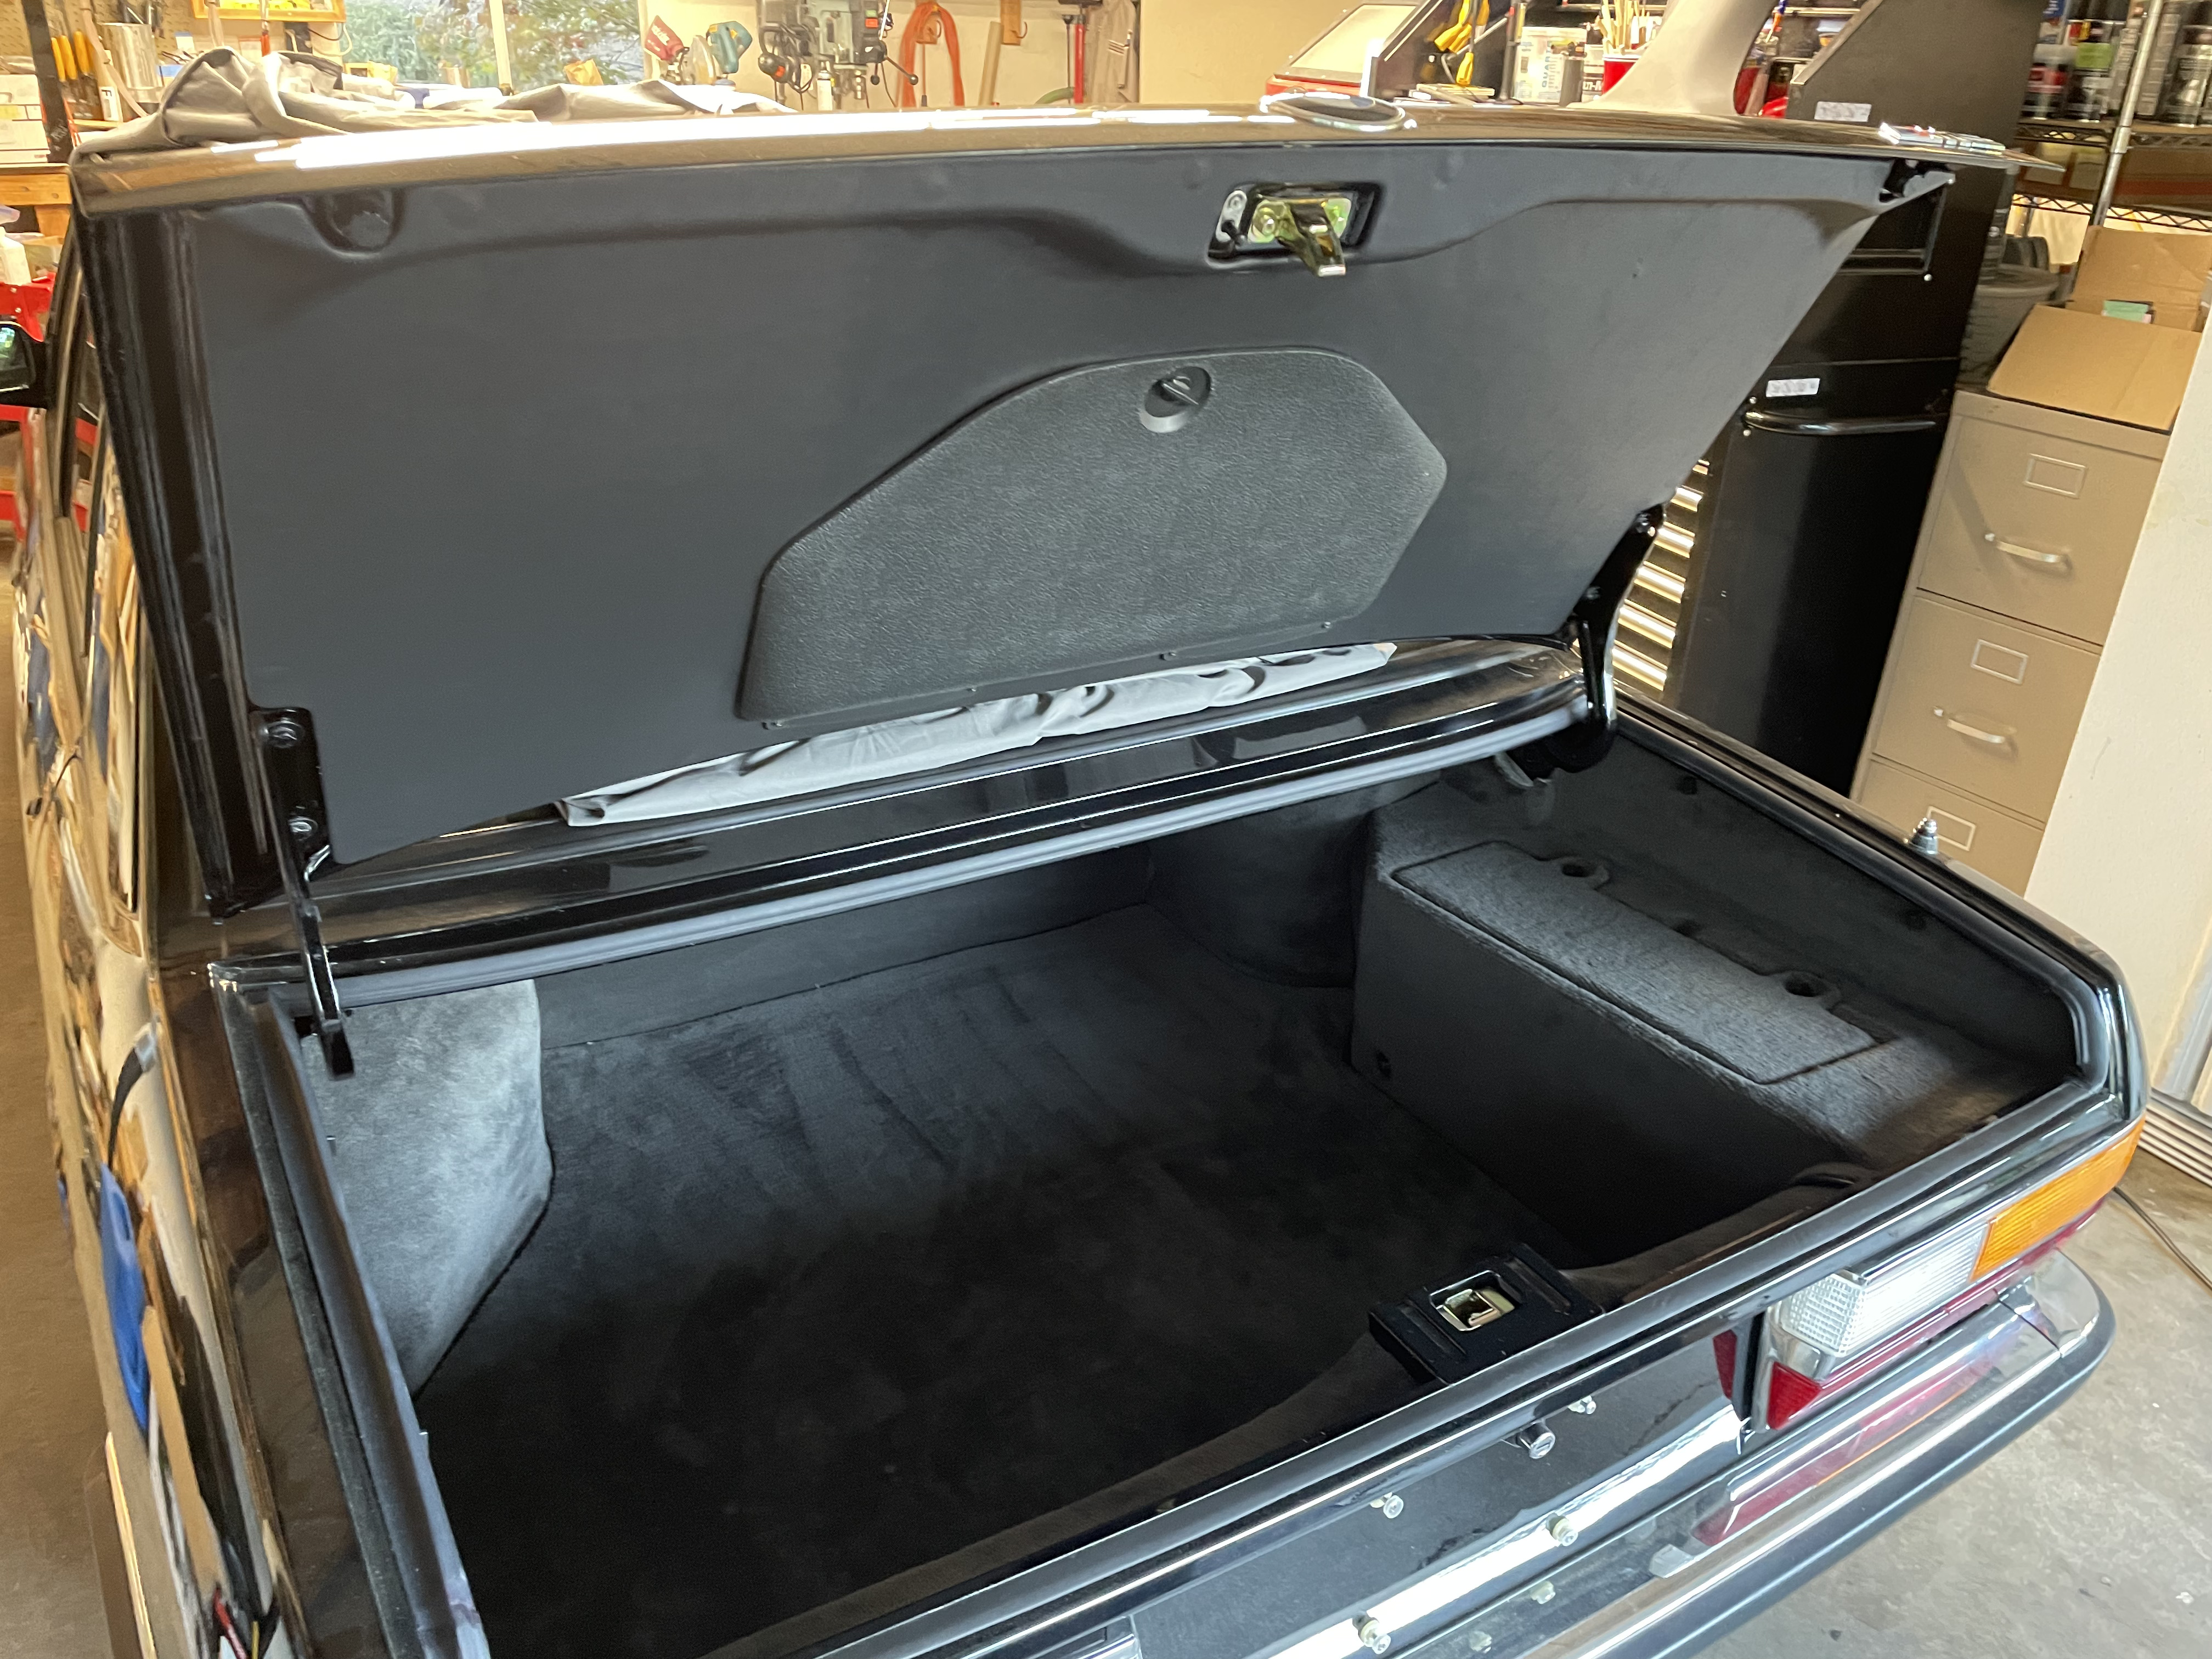
Not on Tetanus?!? Would a nice clean trunk go with that perfect name+aesthetic combo?BDKawey wrote: Jun 14, 2022 4:10 PM the trunk refresh came out awesome. my tail light carpet piece is in rough shape, could definitely go for the same treatment.