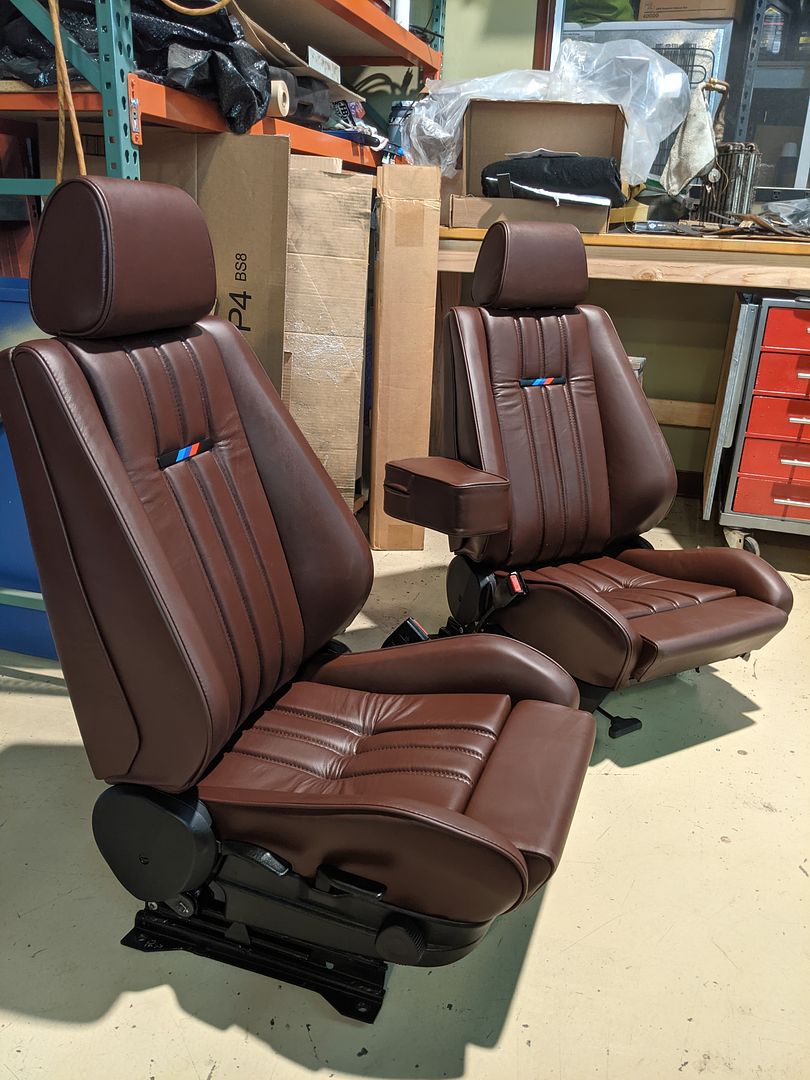
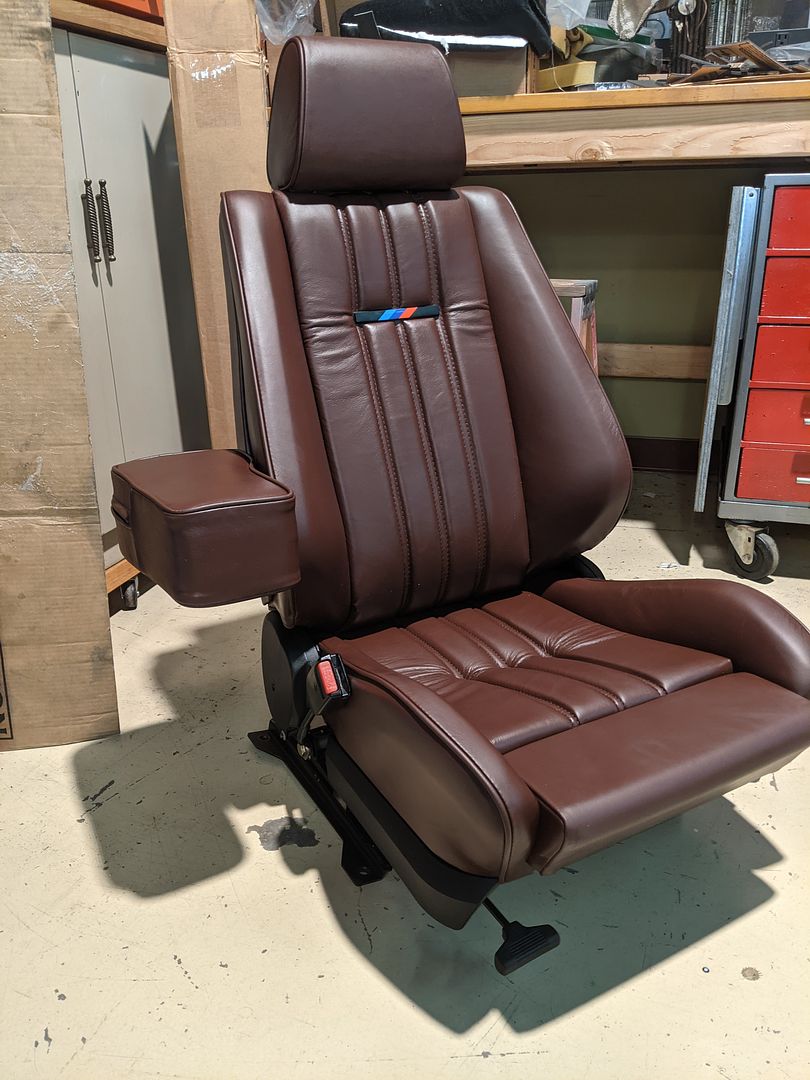
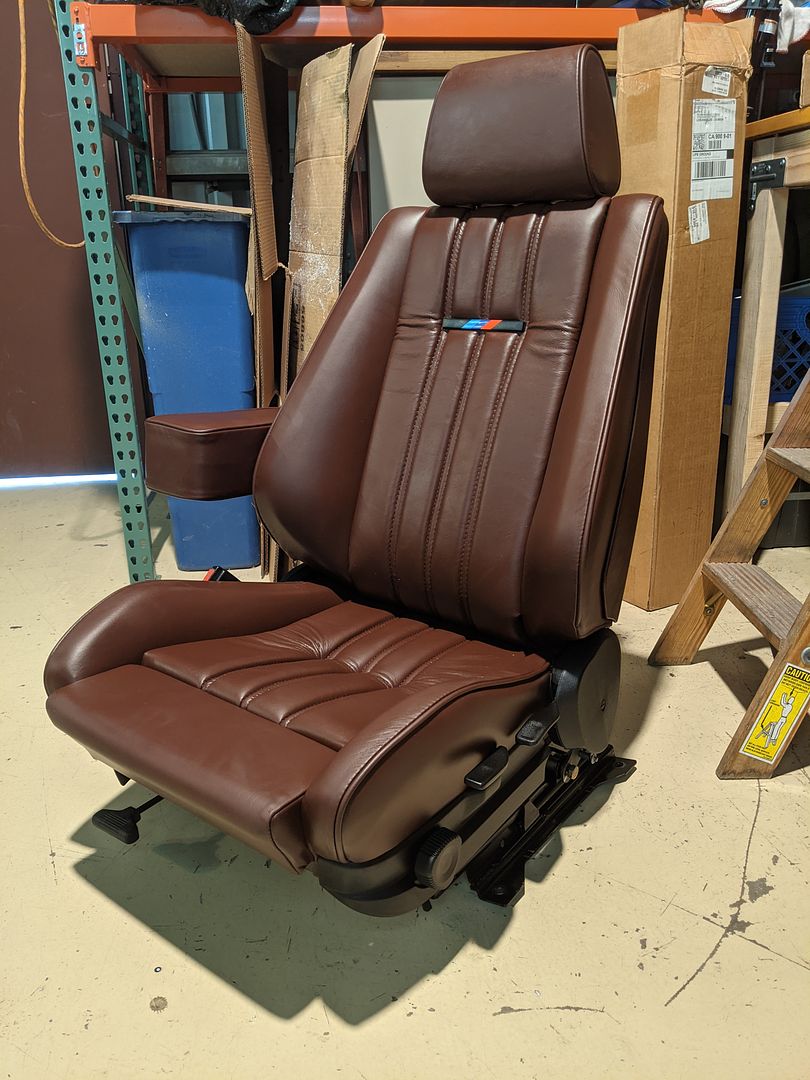
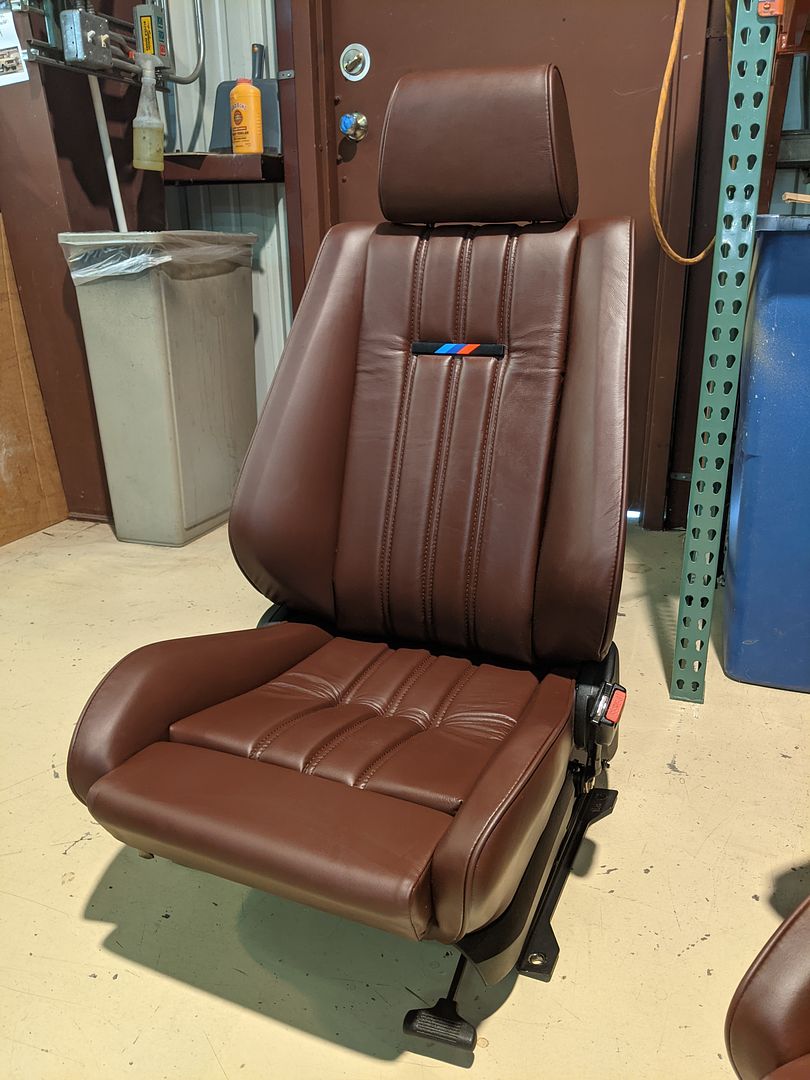
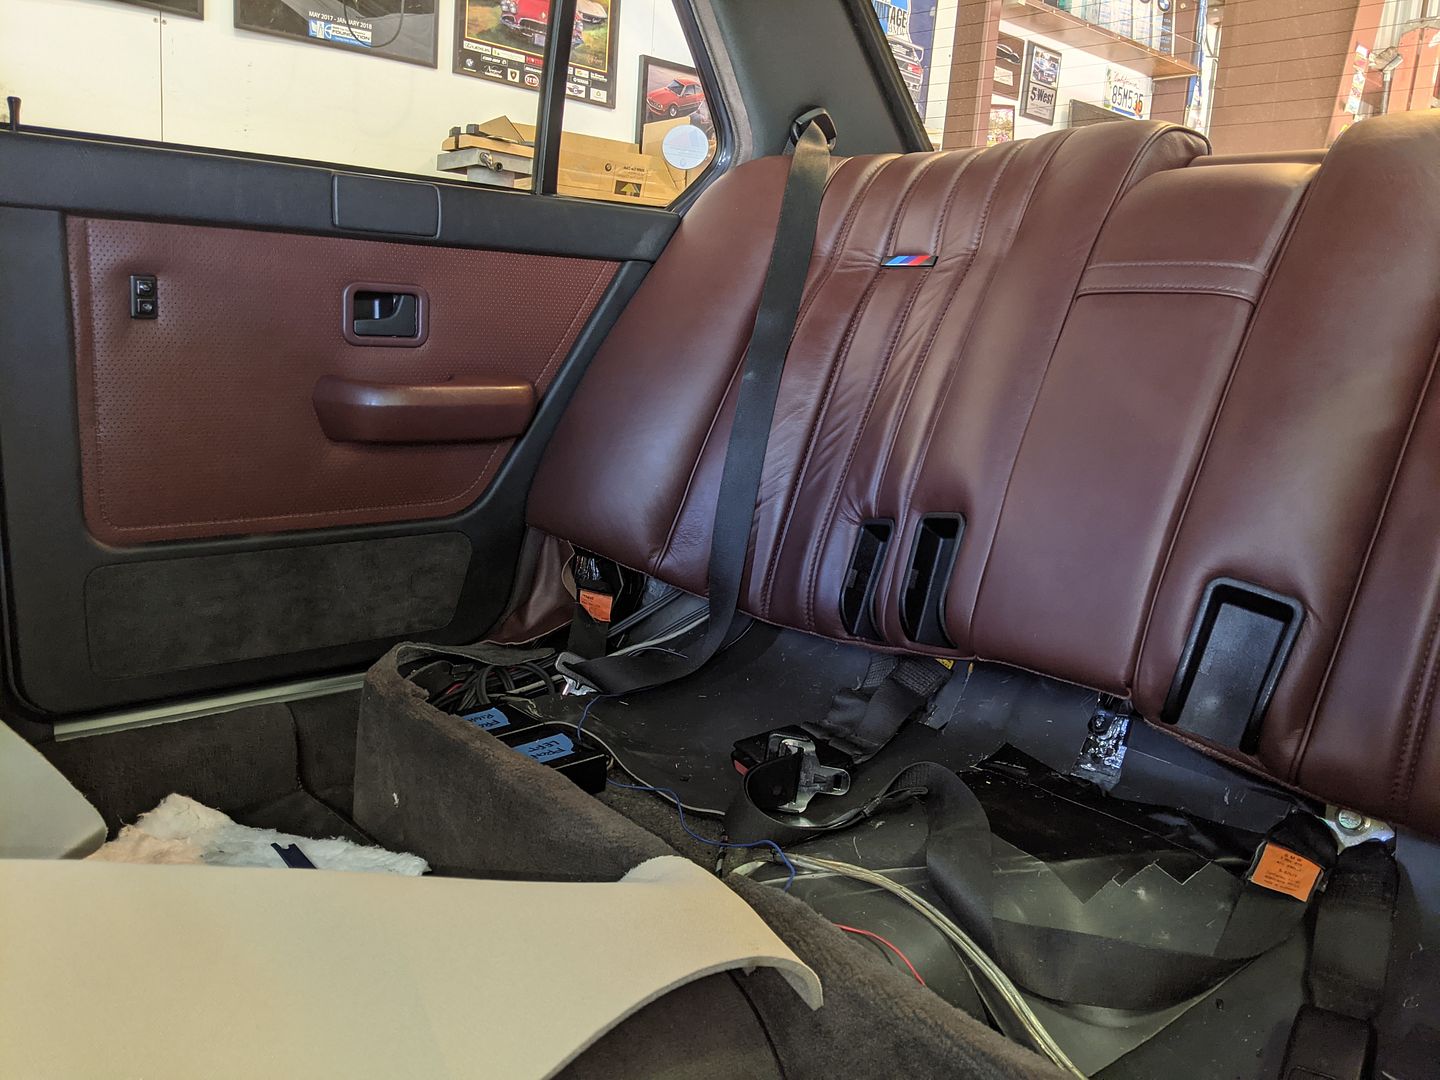
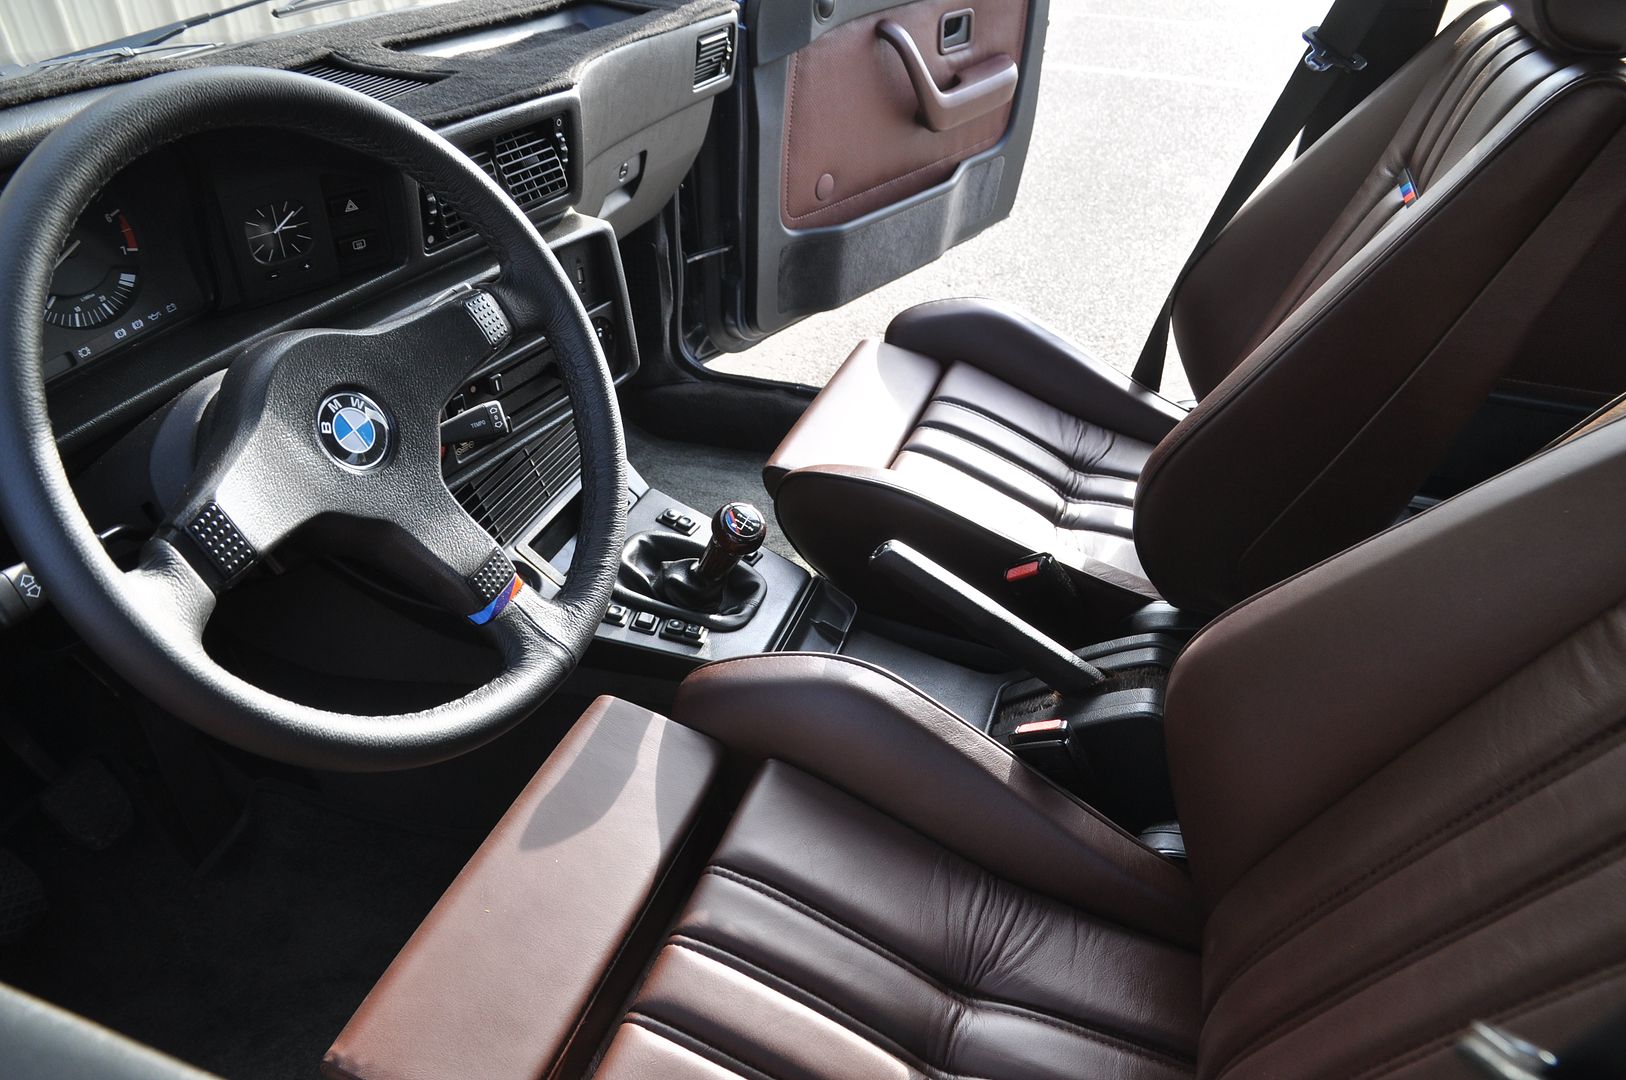
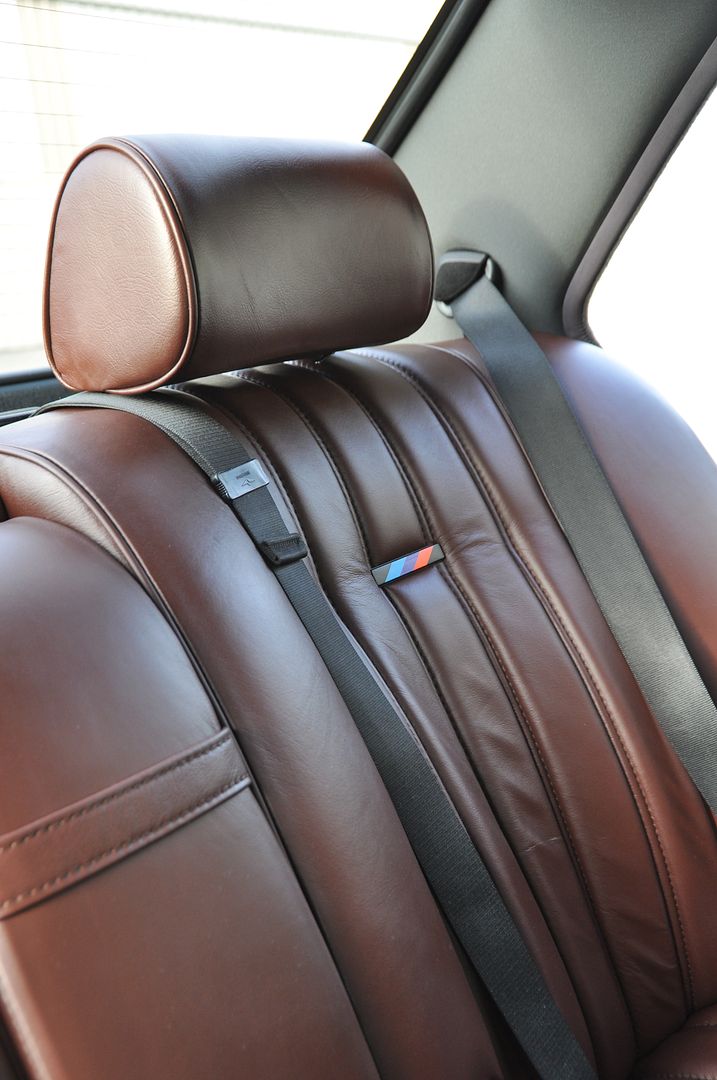
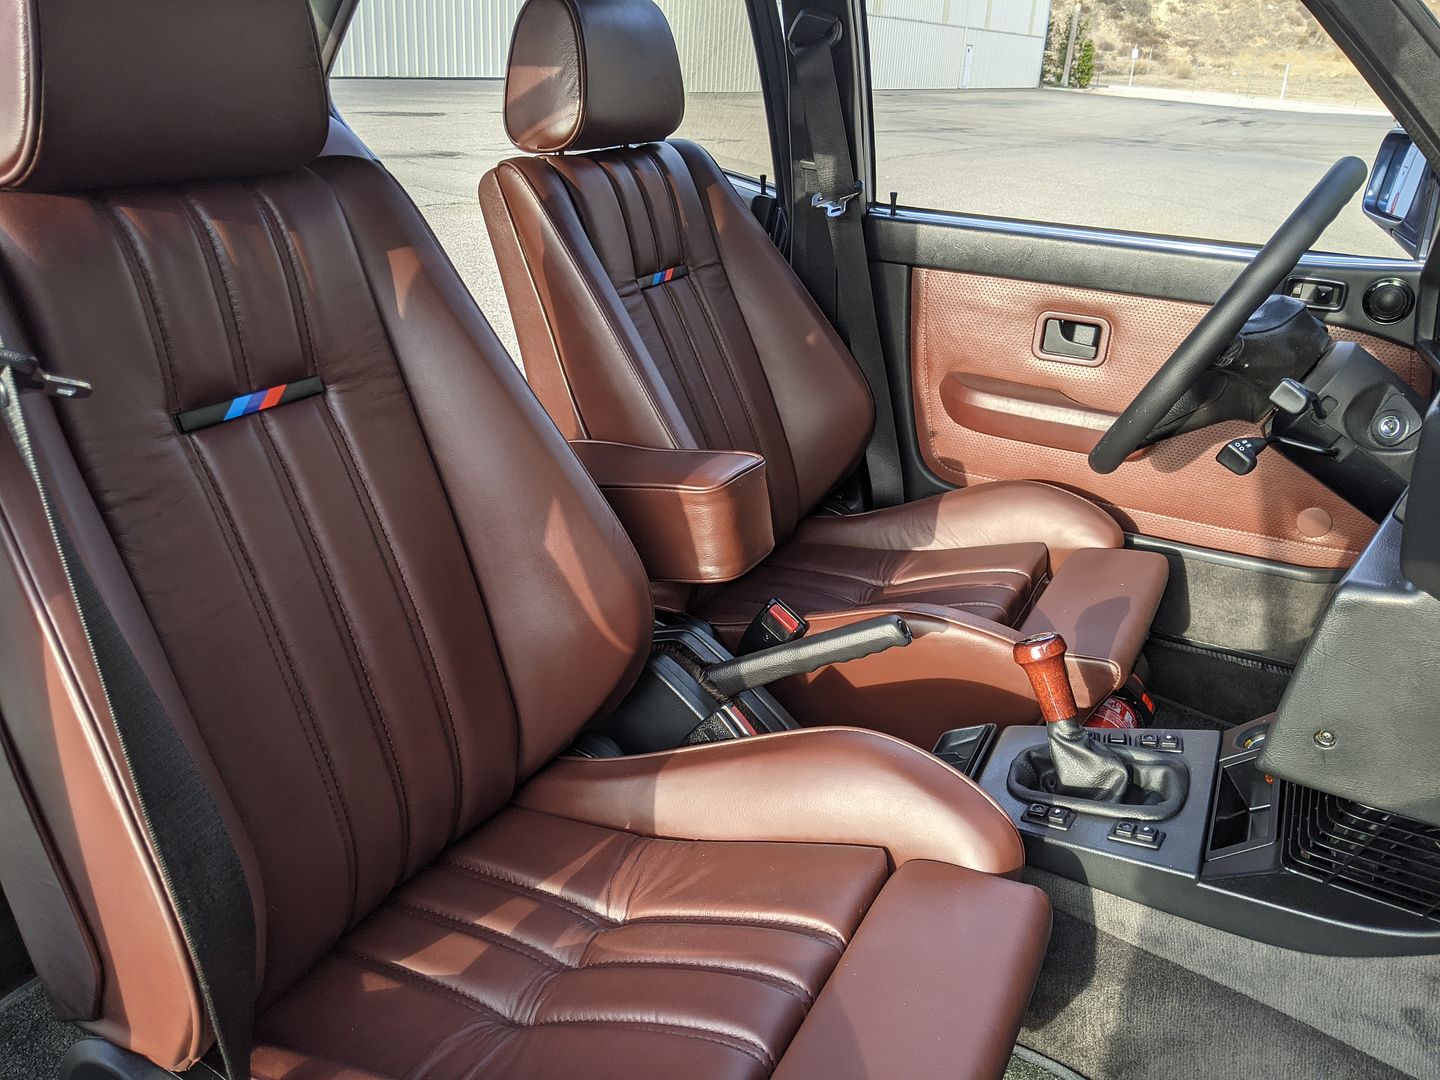
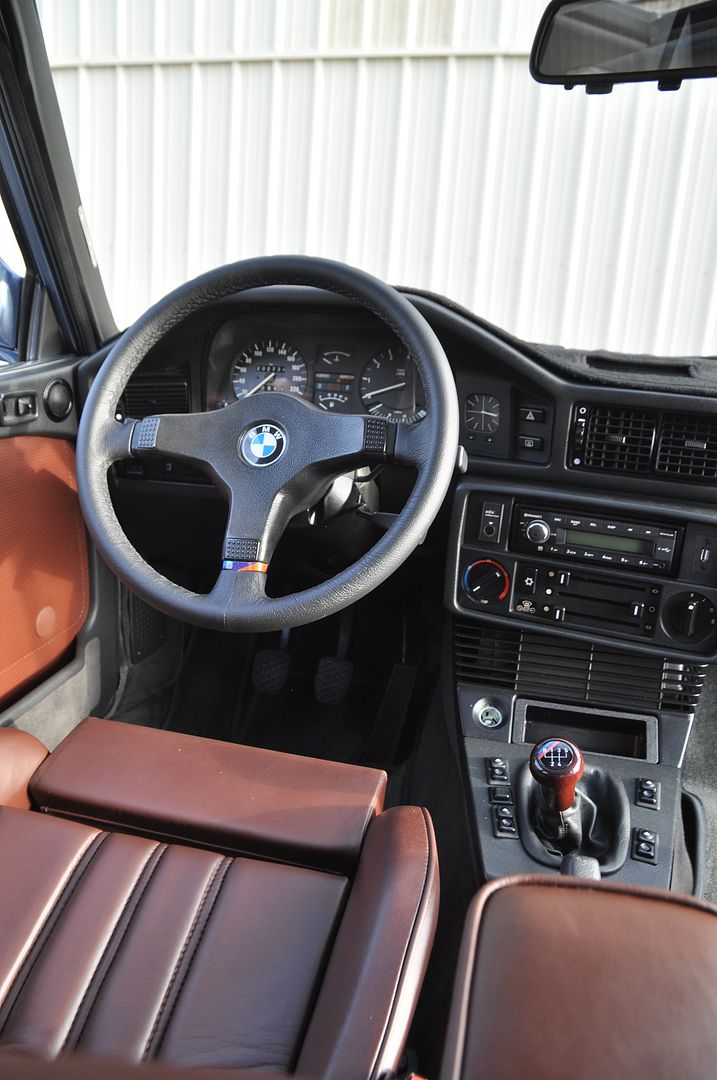
Okay,
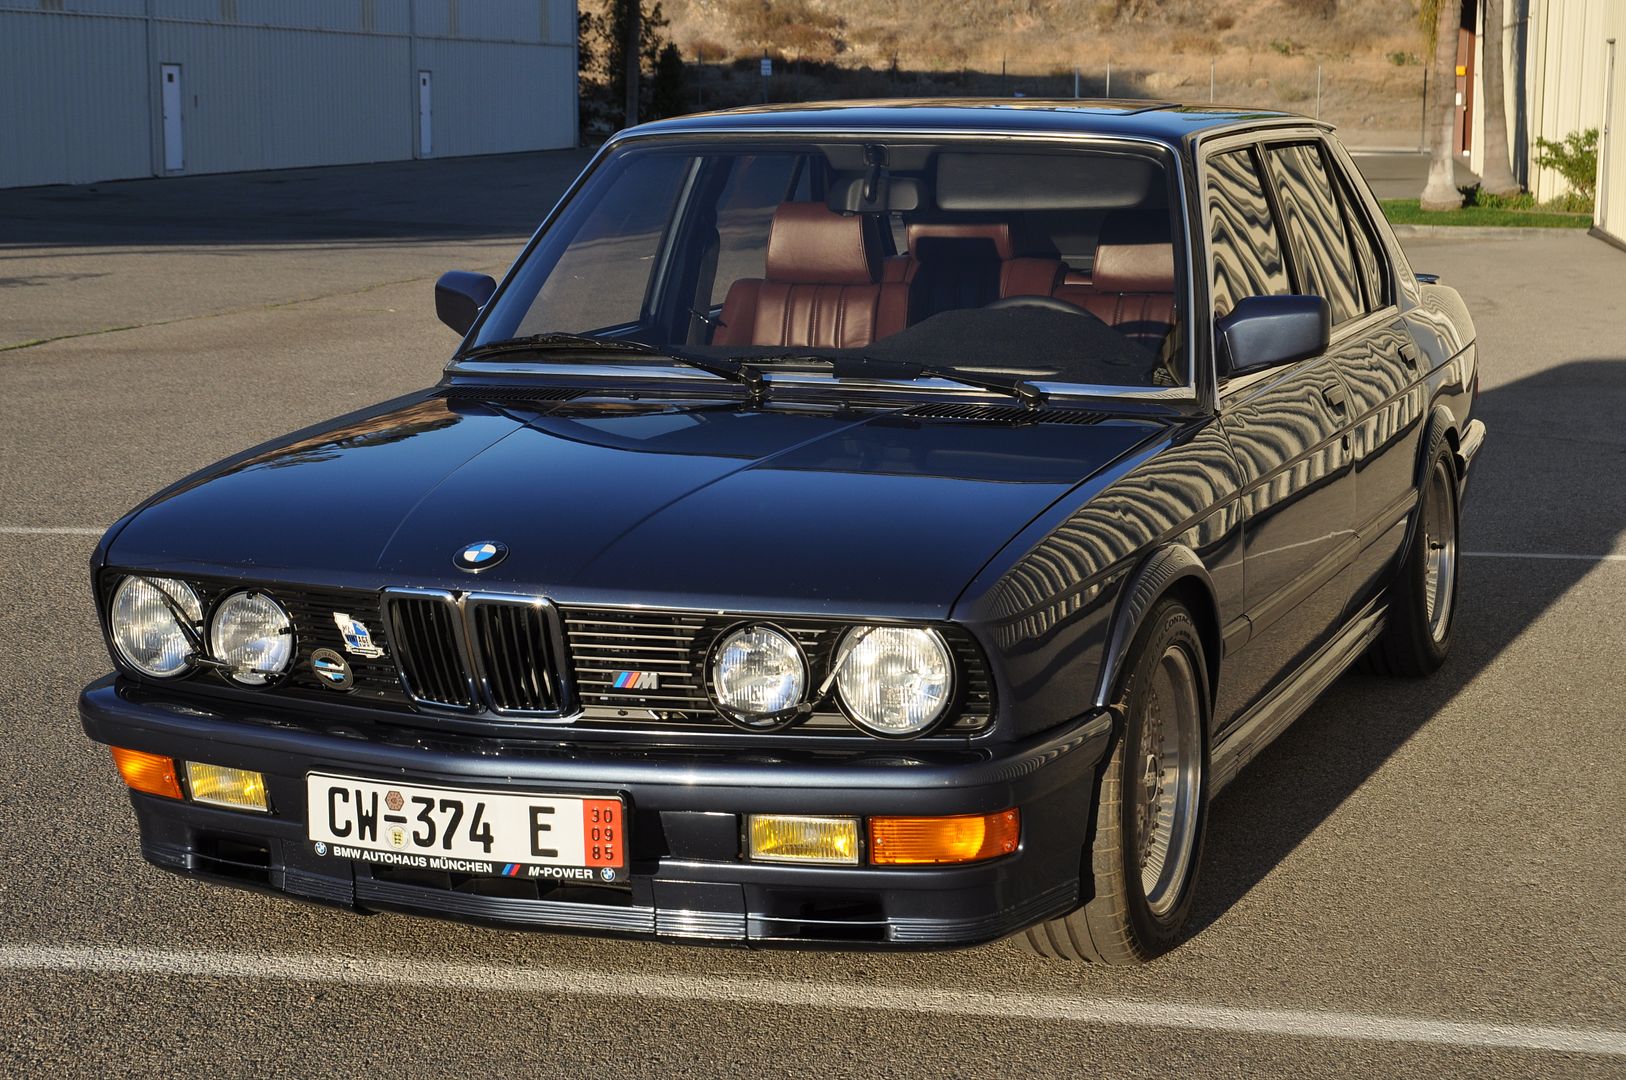
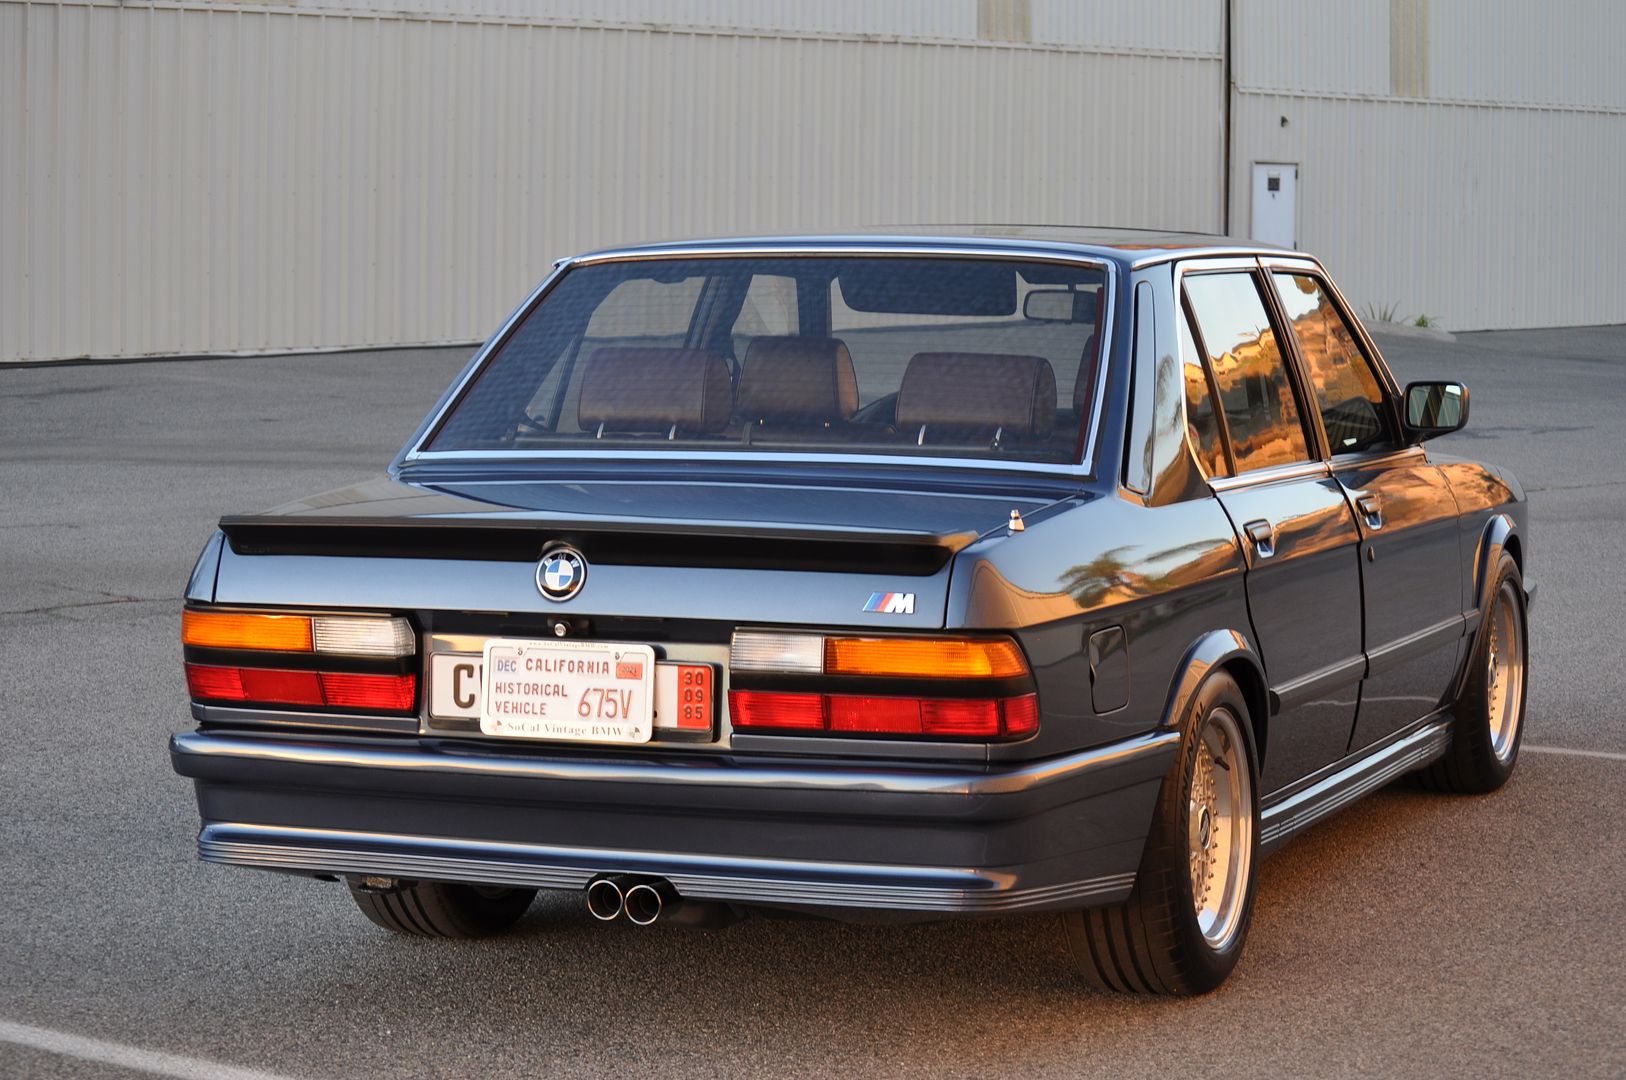
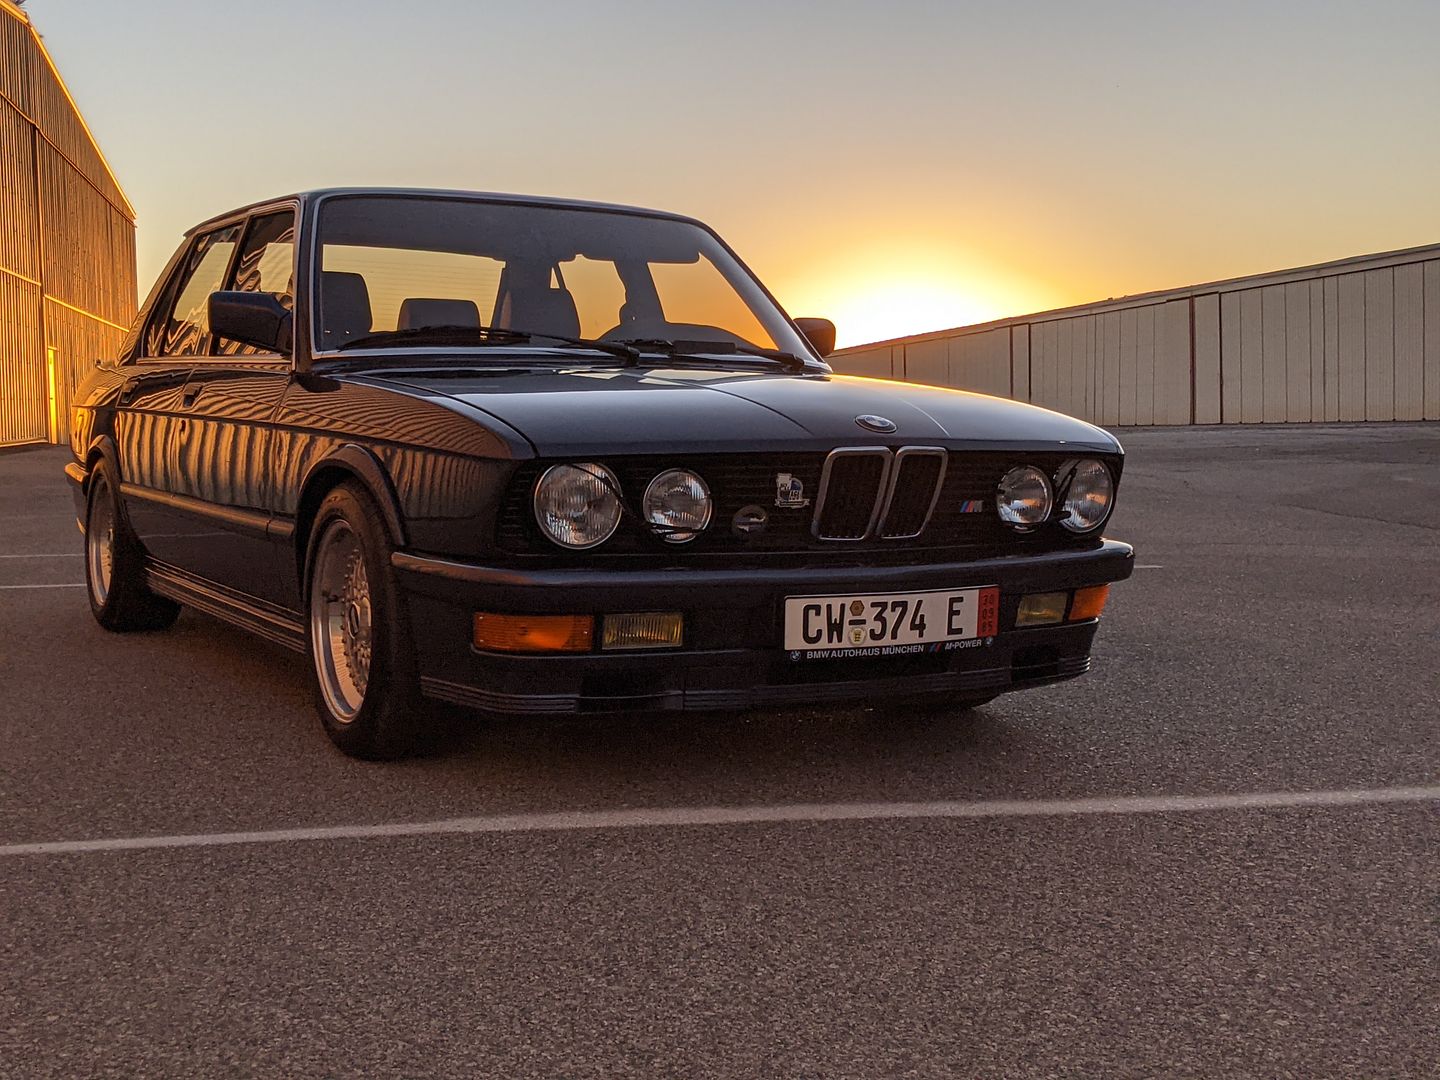
long overdue for an update but it’s been pretty hot and heavy in The Hangar these past few months (both in pace of work and in actual temperature). My self-imposed deadline or September 10th came up very rapidly and despite my best efforts to complete this for a sort of “unveiling” in Reno, it was not meant to be. Probably for the best as I learned from the previous project; this gives me the chance to complete everything I had in the scope originally (well, almost everything) and save my sanity. Even though imposing deadlines on projects like this is generally a bad idea, I feel with near certainty that it will be ready for the SoCal Vintage BMW Meet on November 6th.
These last few weekends have been…trying; both the HVAC system and Moonroof re-install have not been going swimmingly. But here has been the progress over the last month:
Headliner:
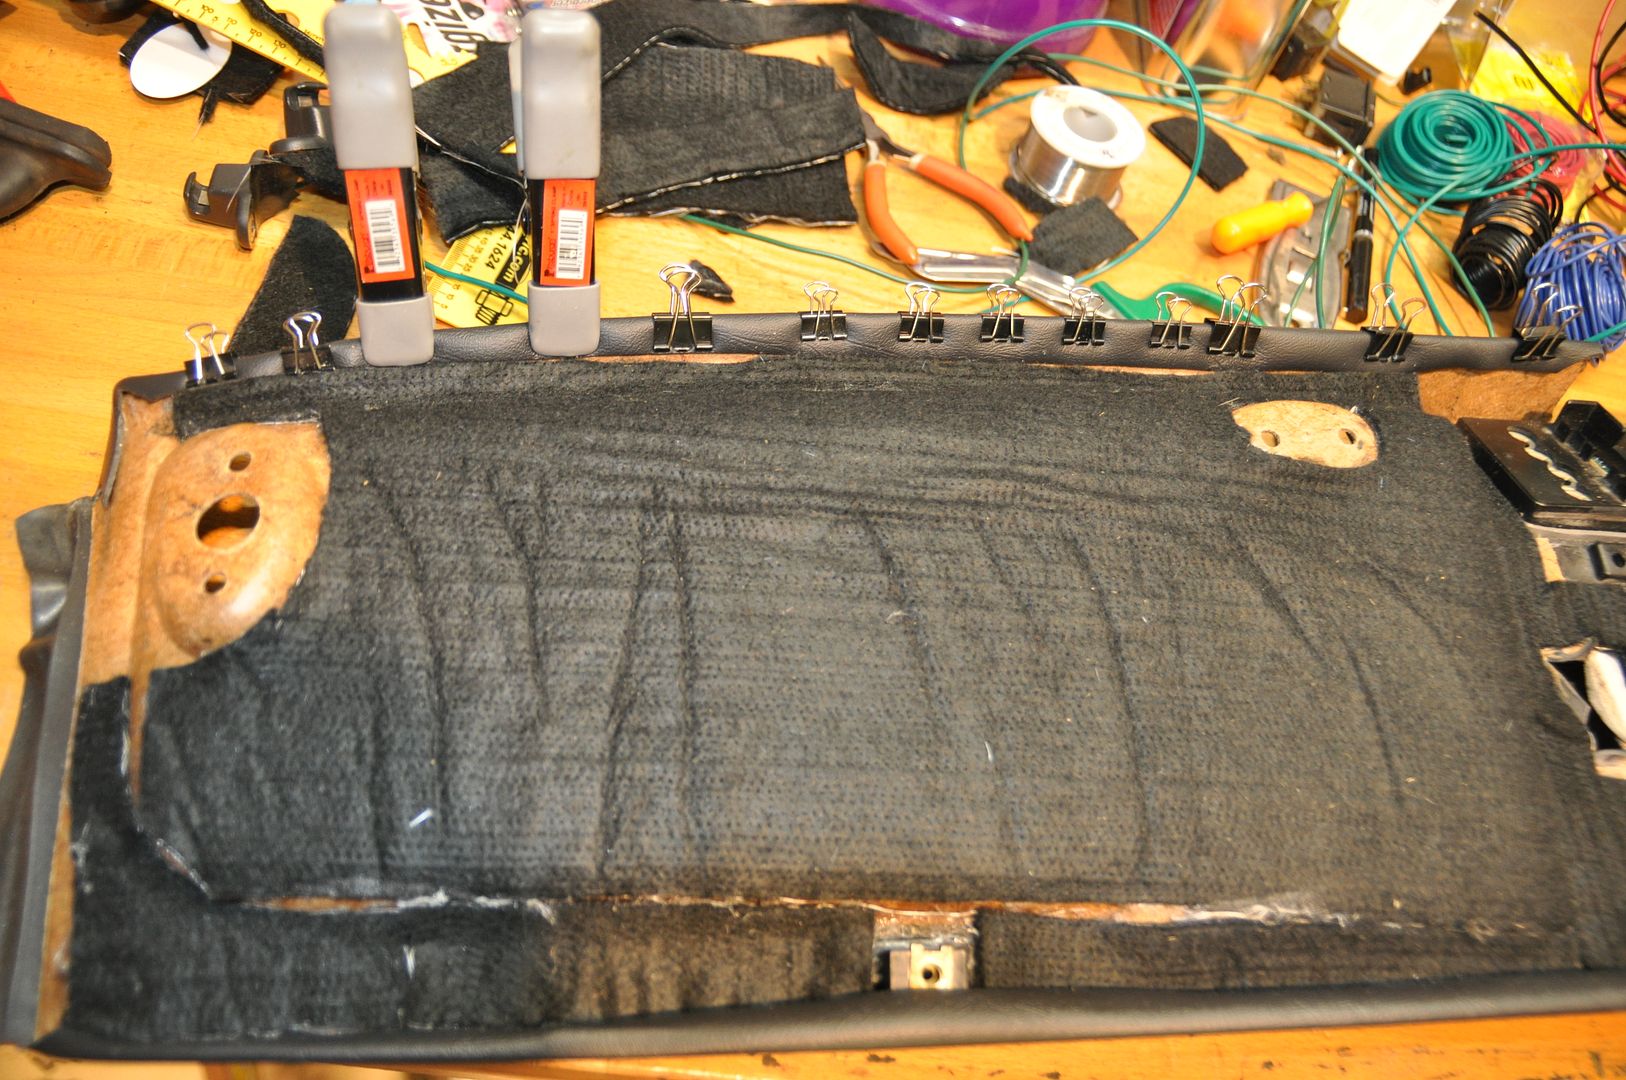
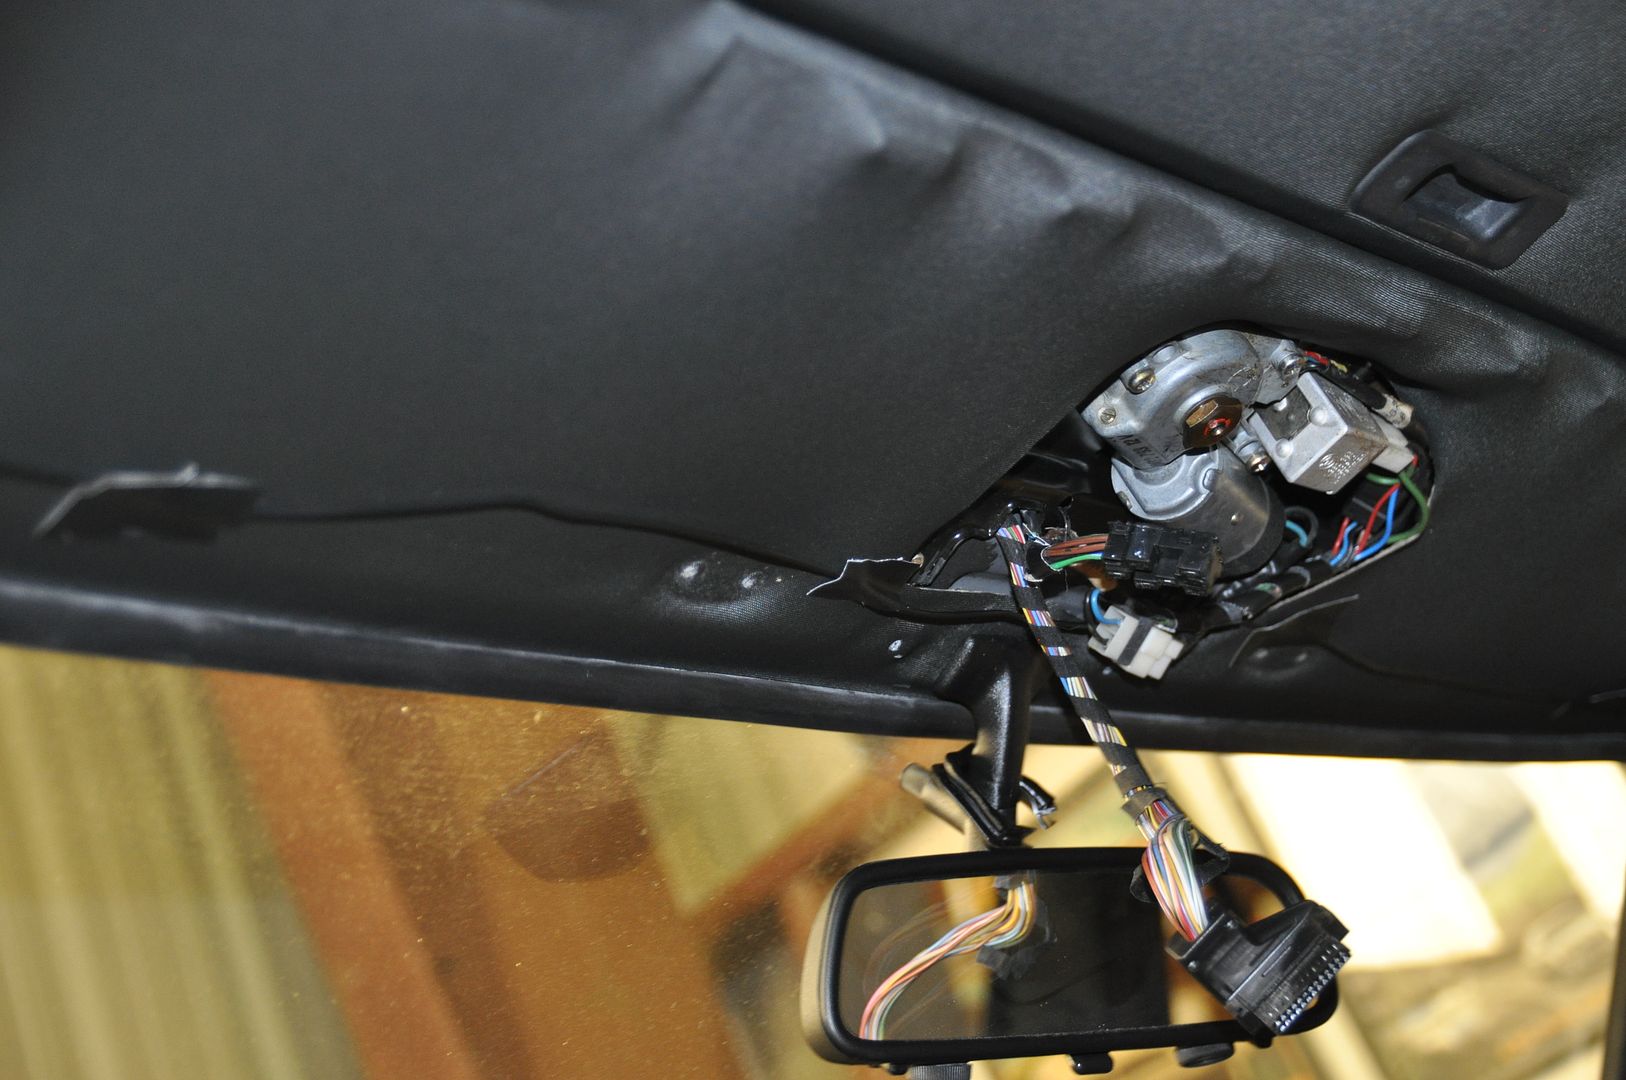
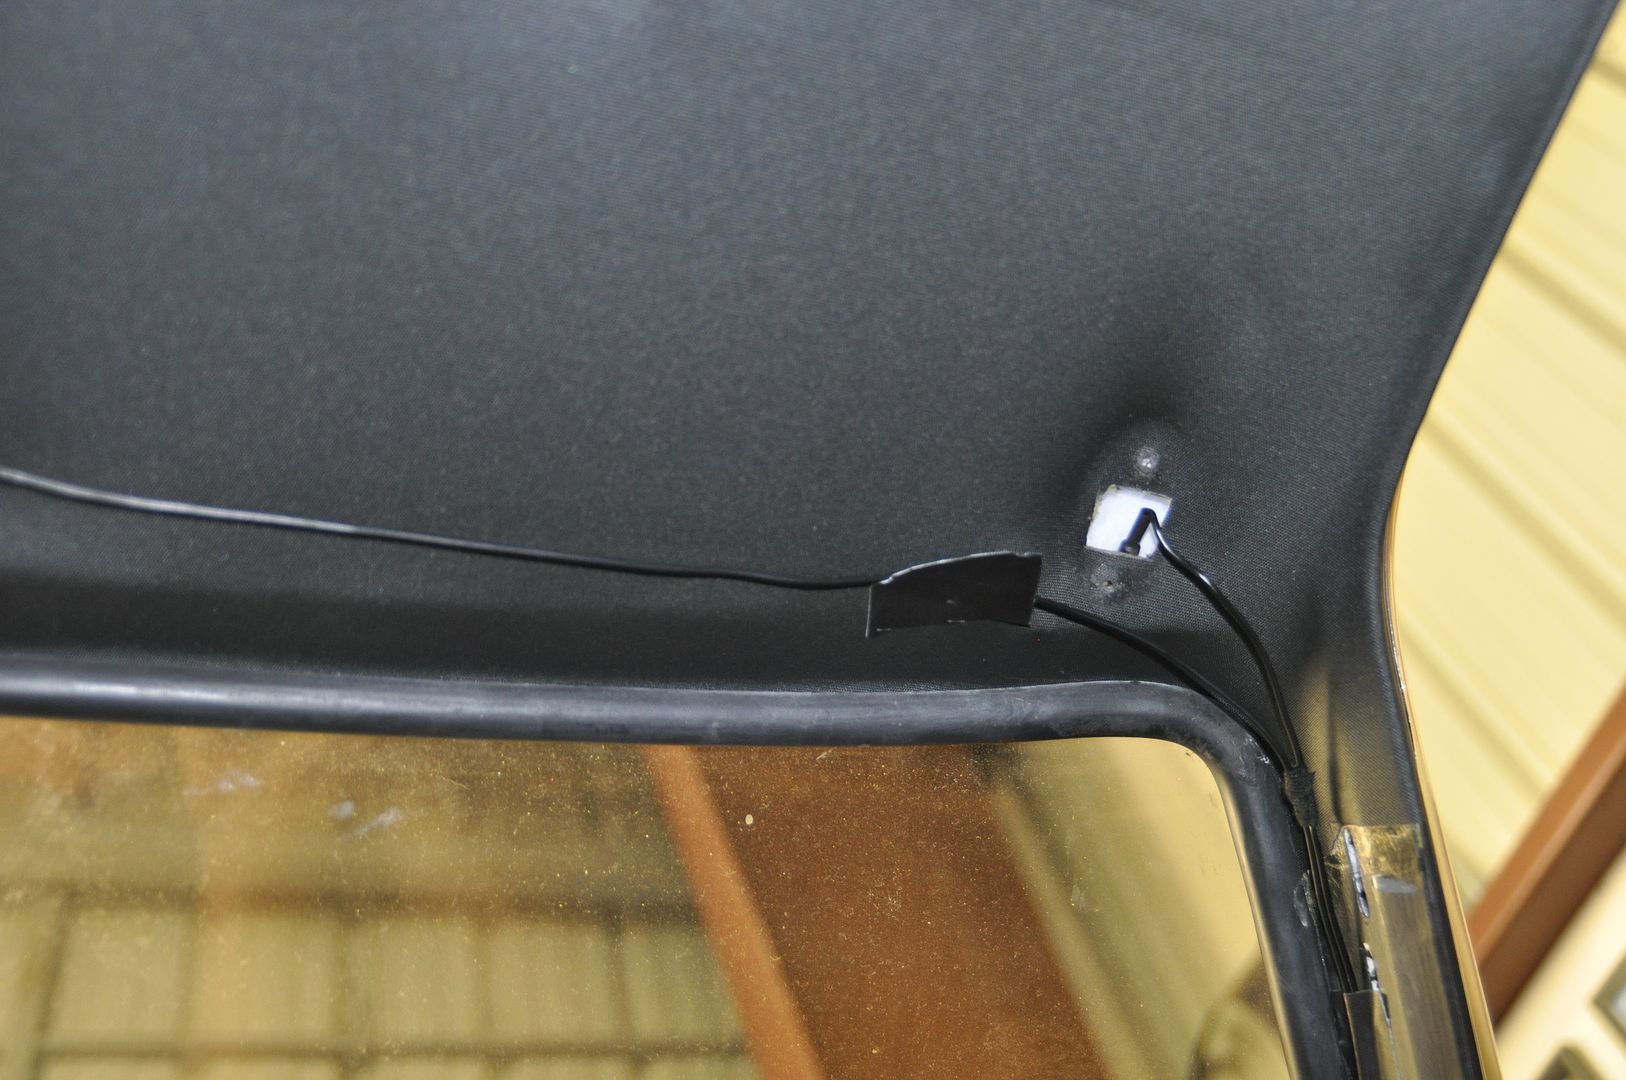
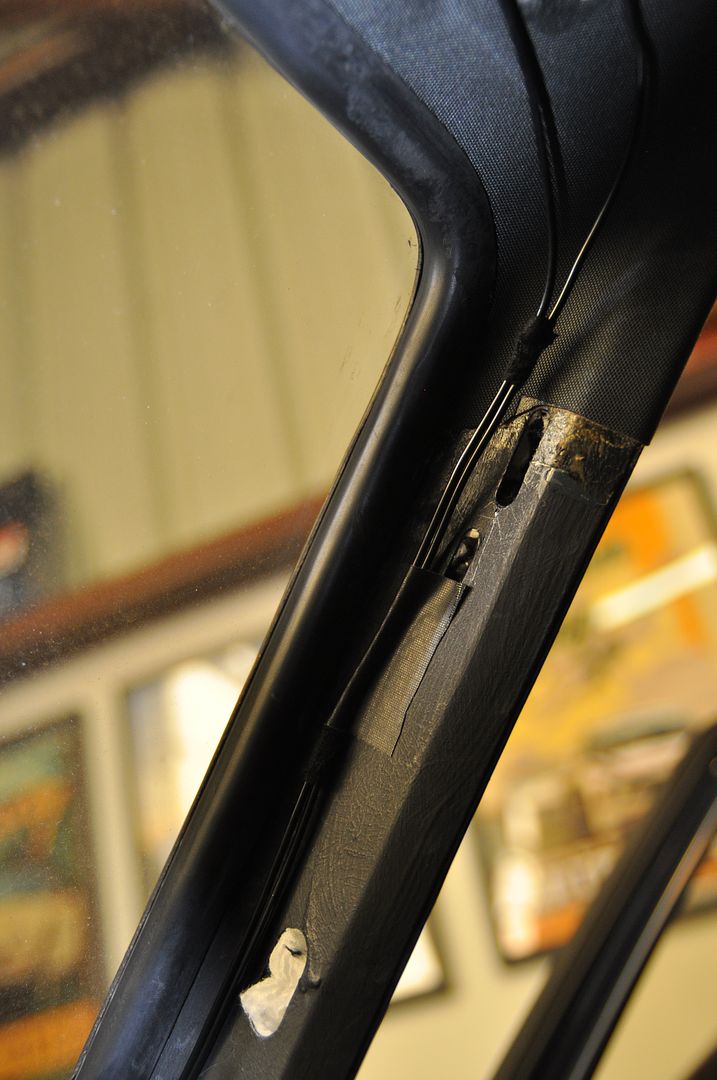
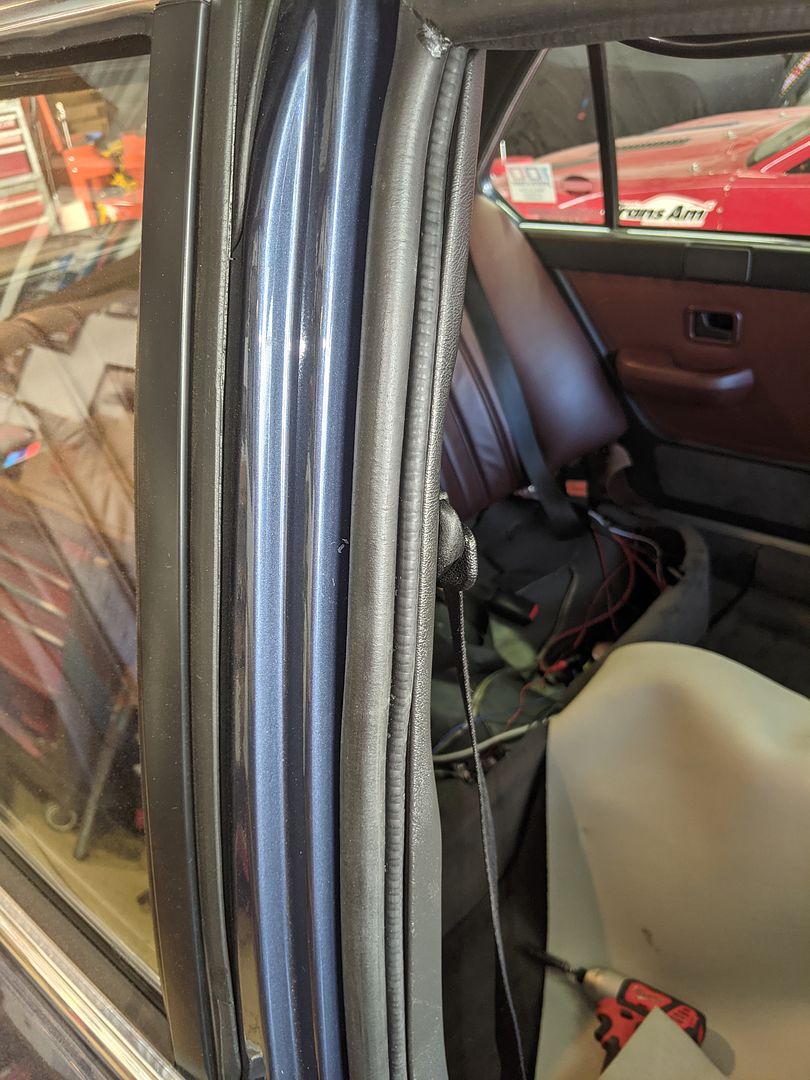
Juan progressed quickly with the headliner but the first thing we had to do was coordinate the mobile glass guy to meet us down at Juan’s shop. Frank Valiente (New Era Glass) is to the windshield world what Juan is to the upholstery world; maybe that’s a bit of hyperbole but he’s pretty damned good it. This makes the third time he’s worked on my front windshield and second for the rear window. I don’t have many pictures of the removal since it happened so fast, however as with these things, re-installation took a lot longer with much more aggravation. Here is Frank hard at work:
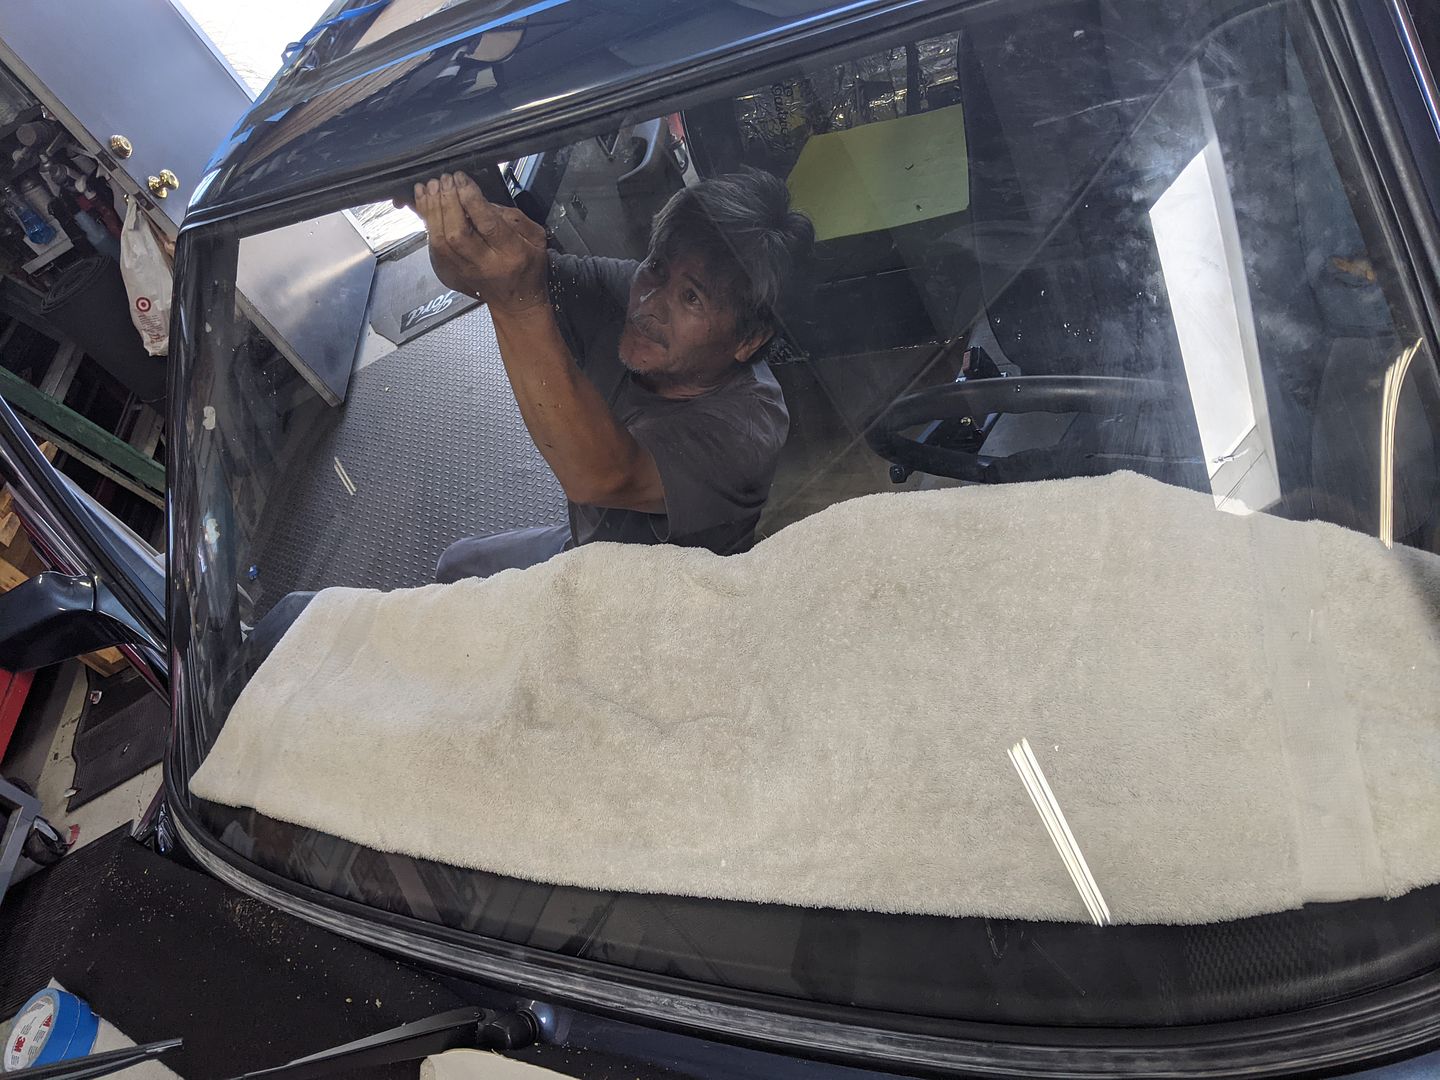
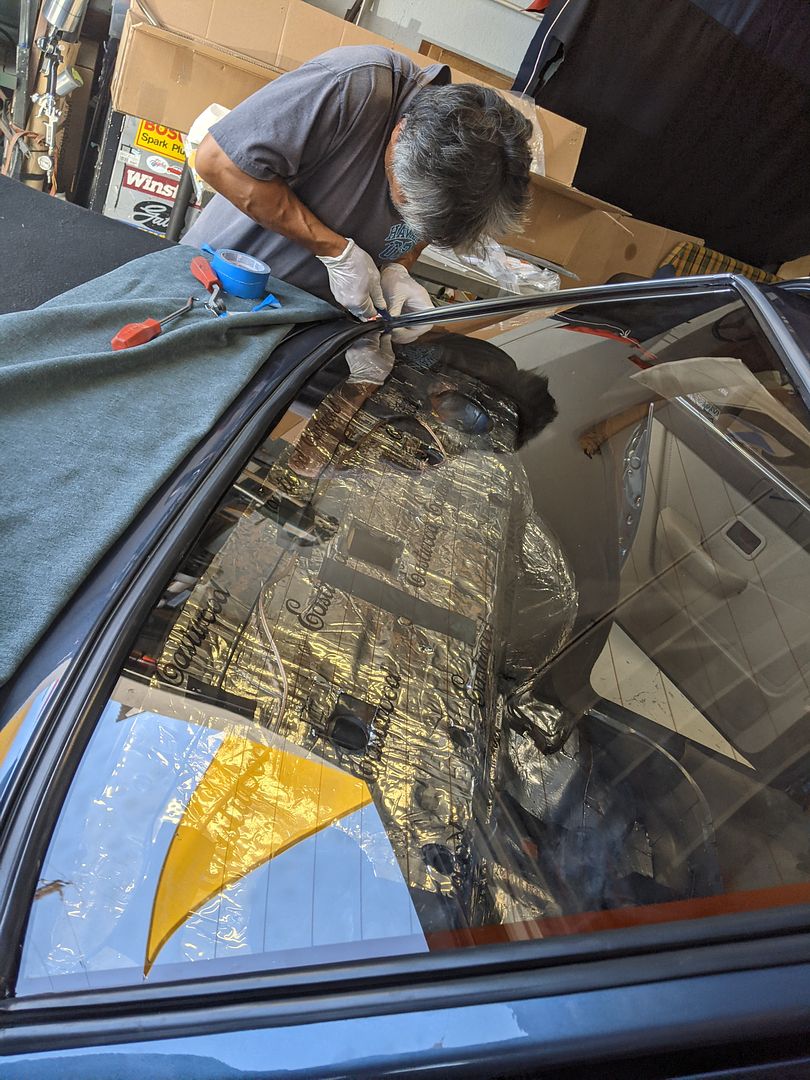
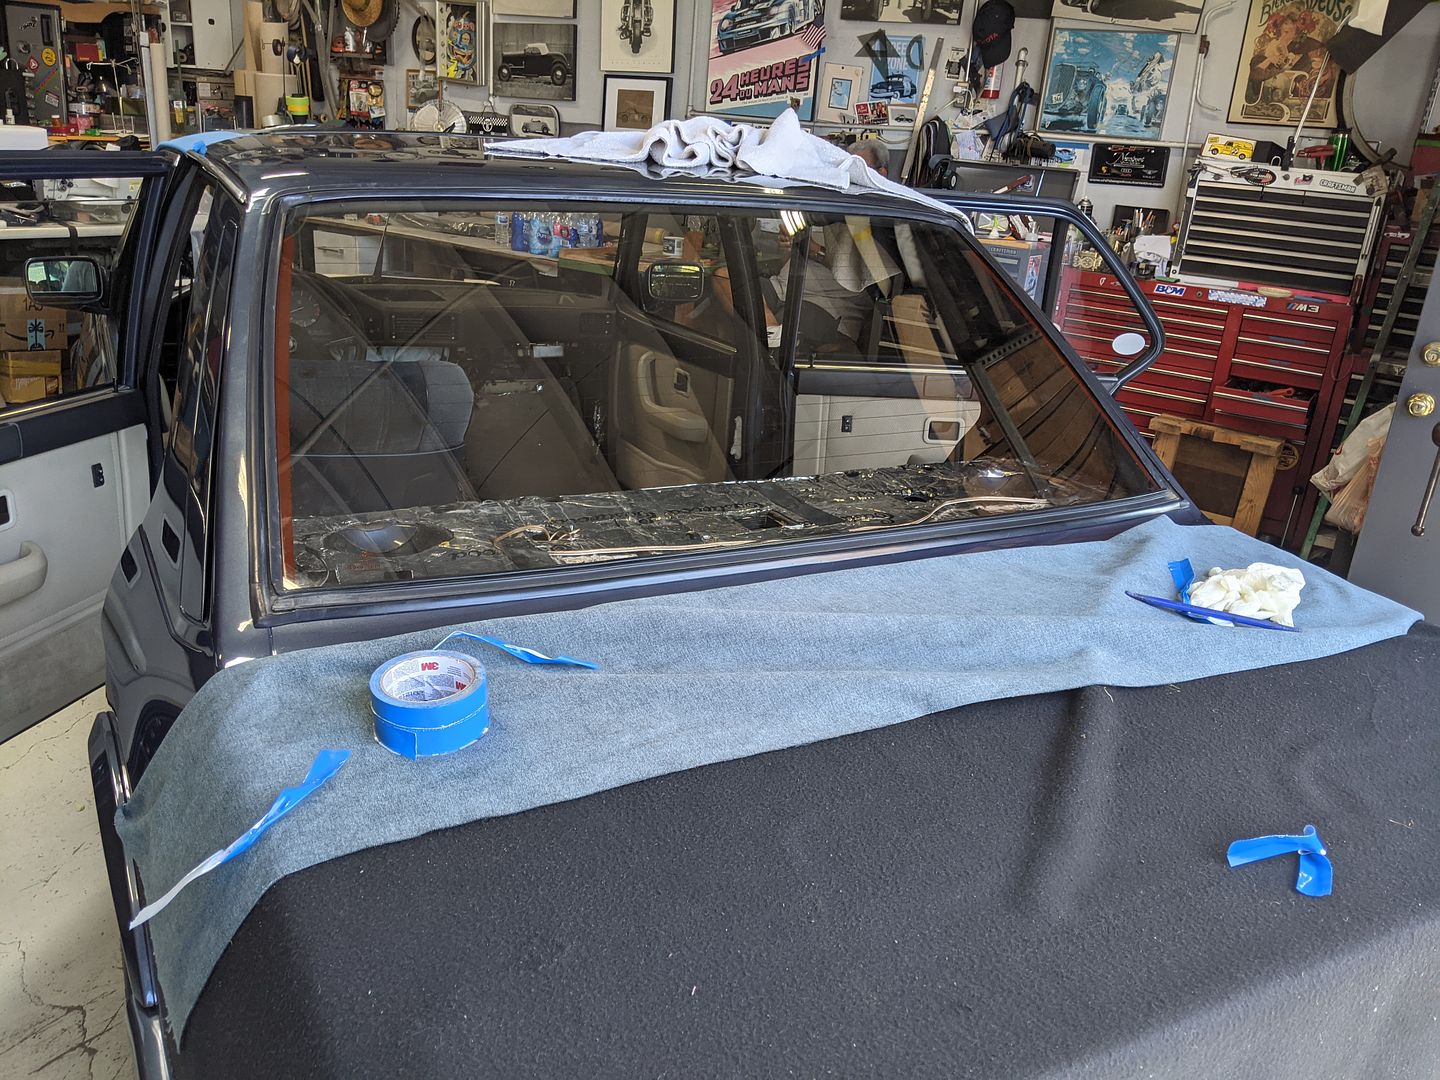
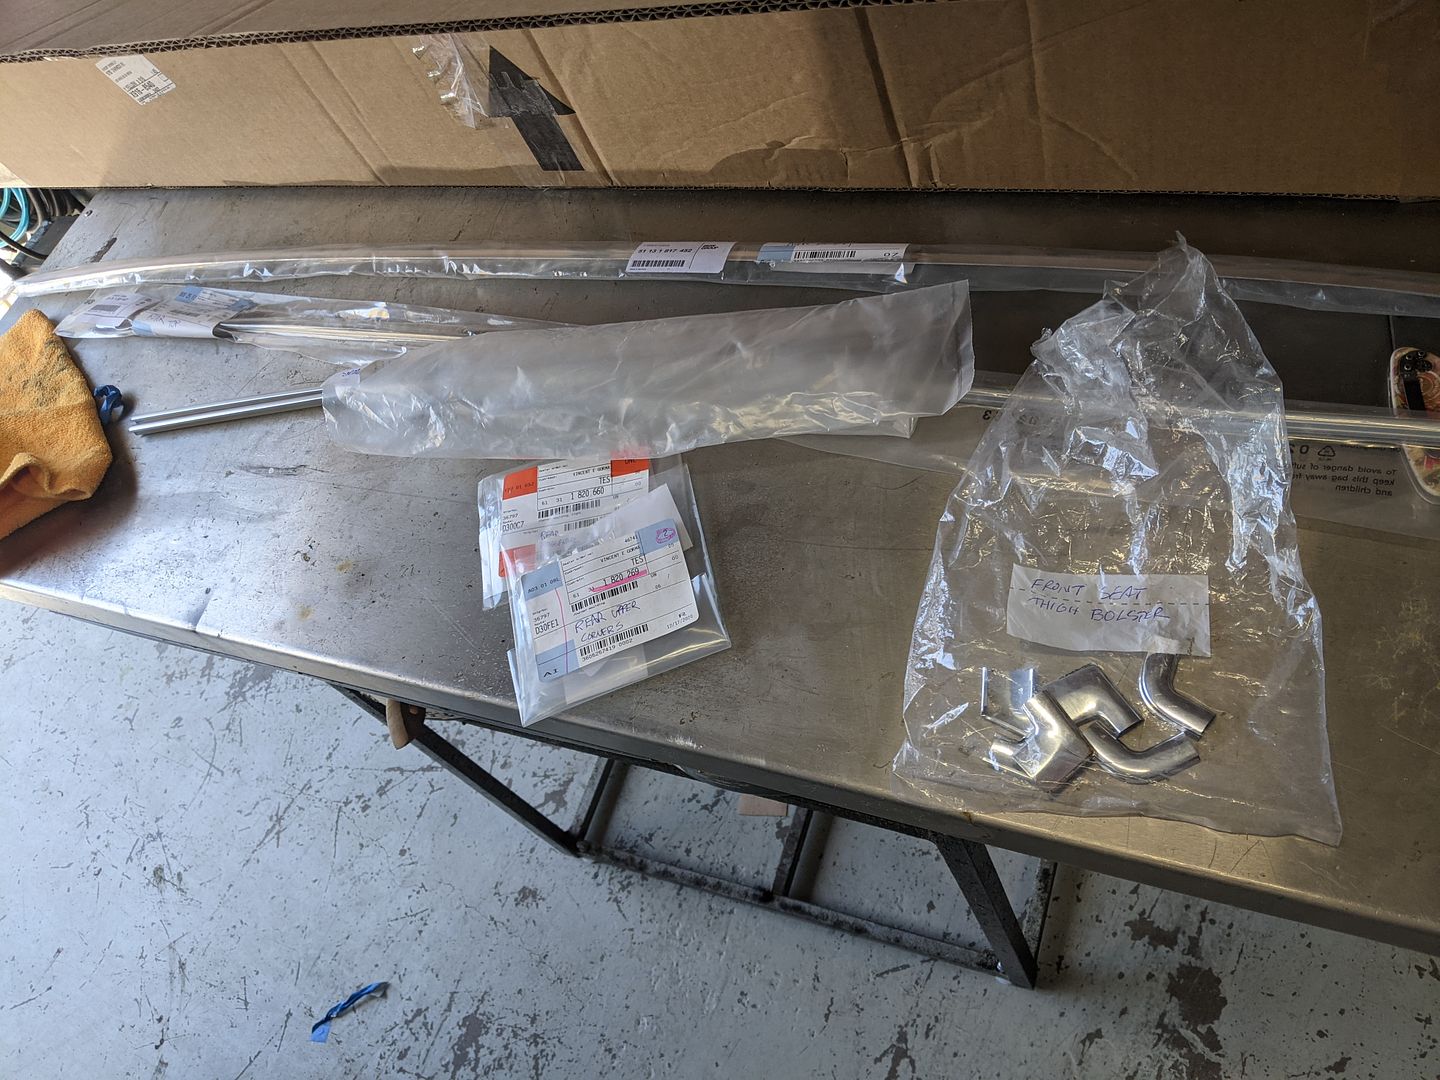
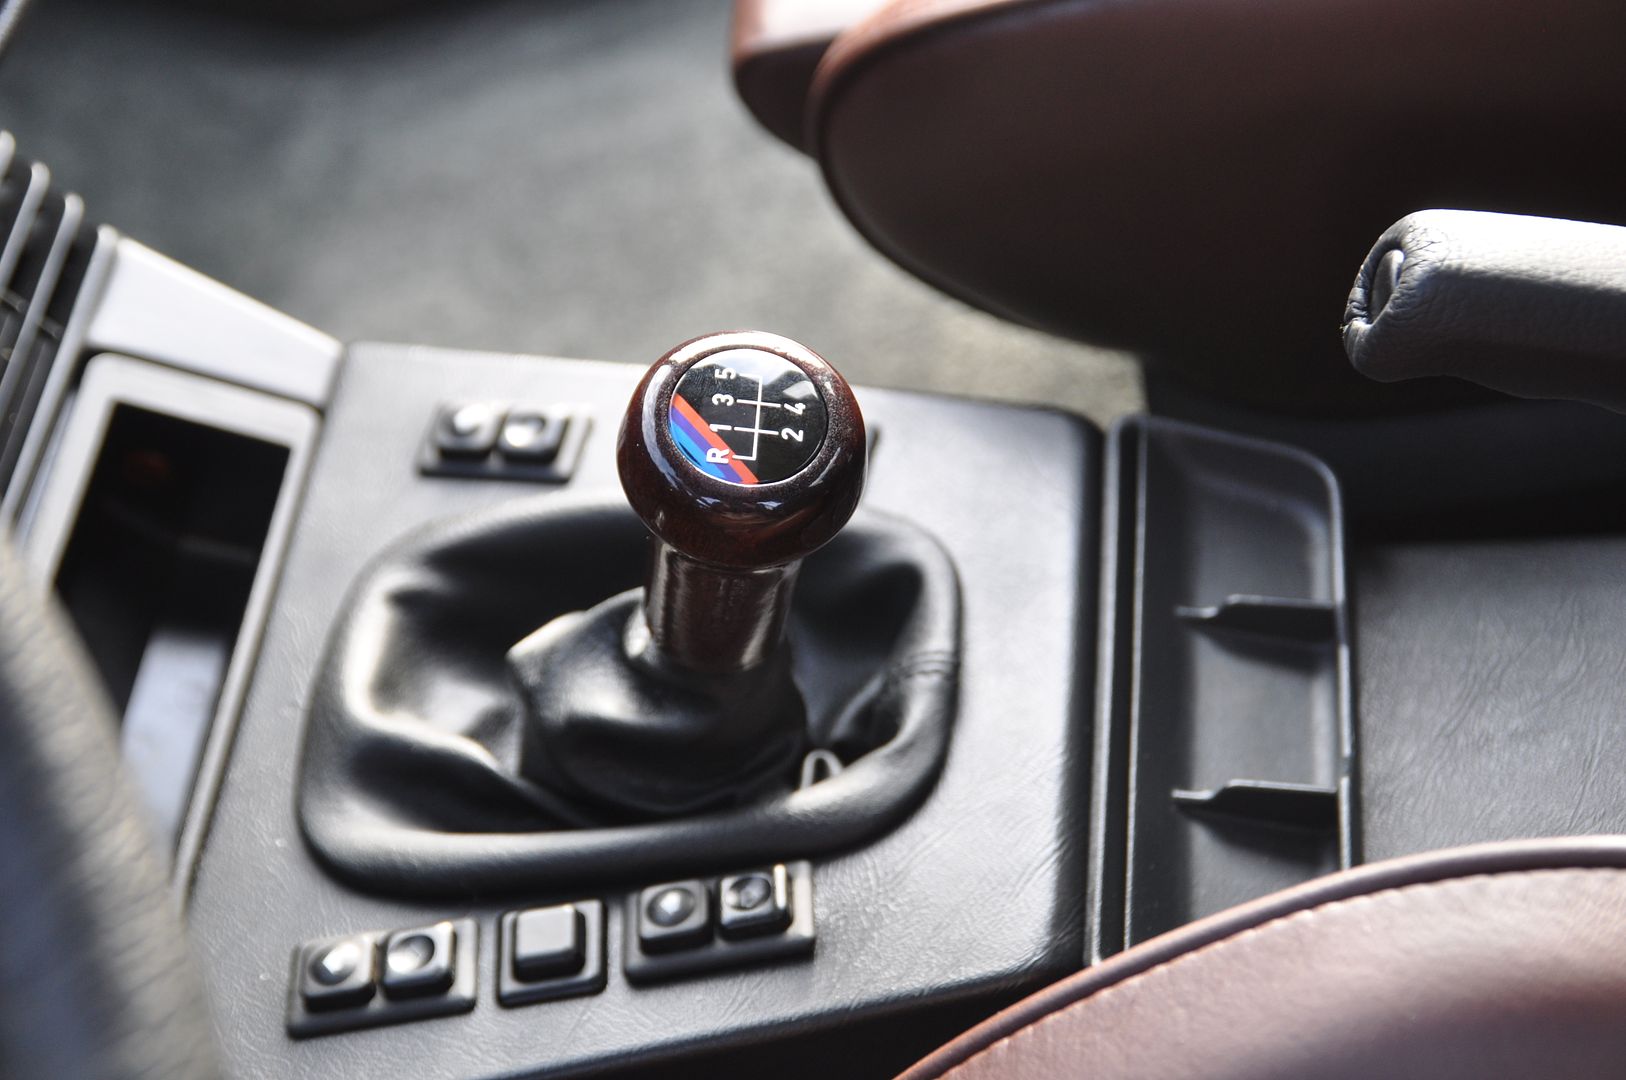
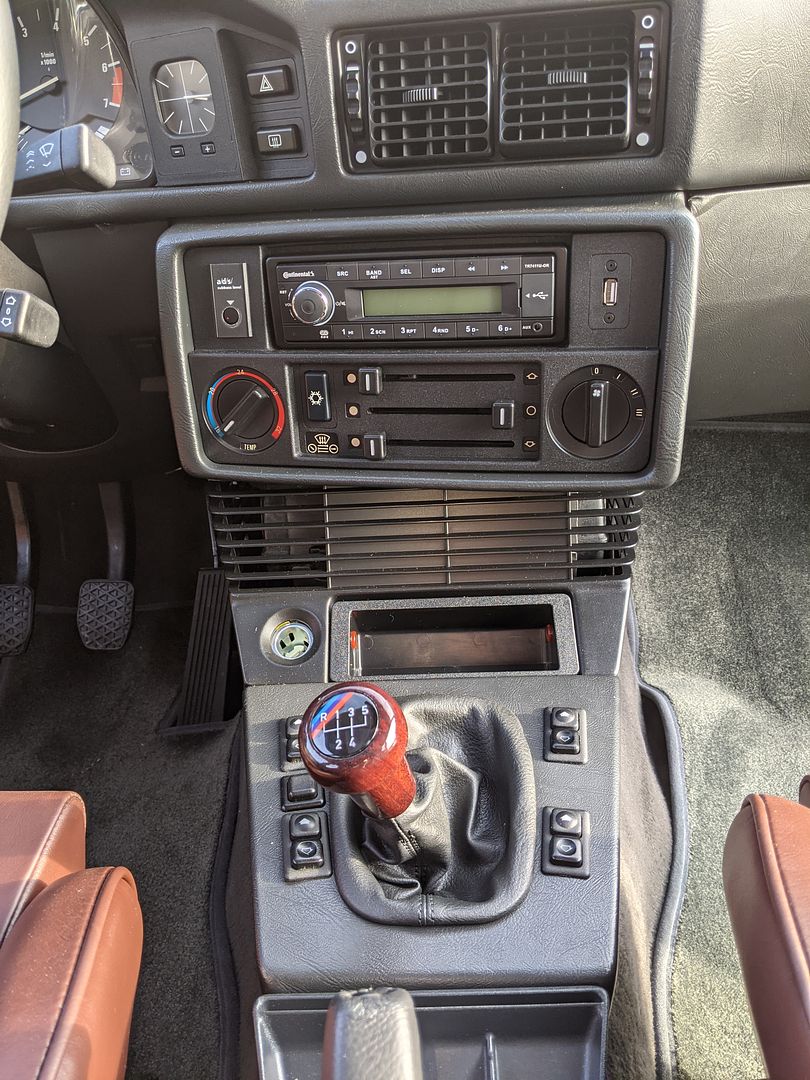
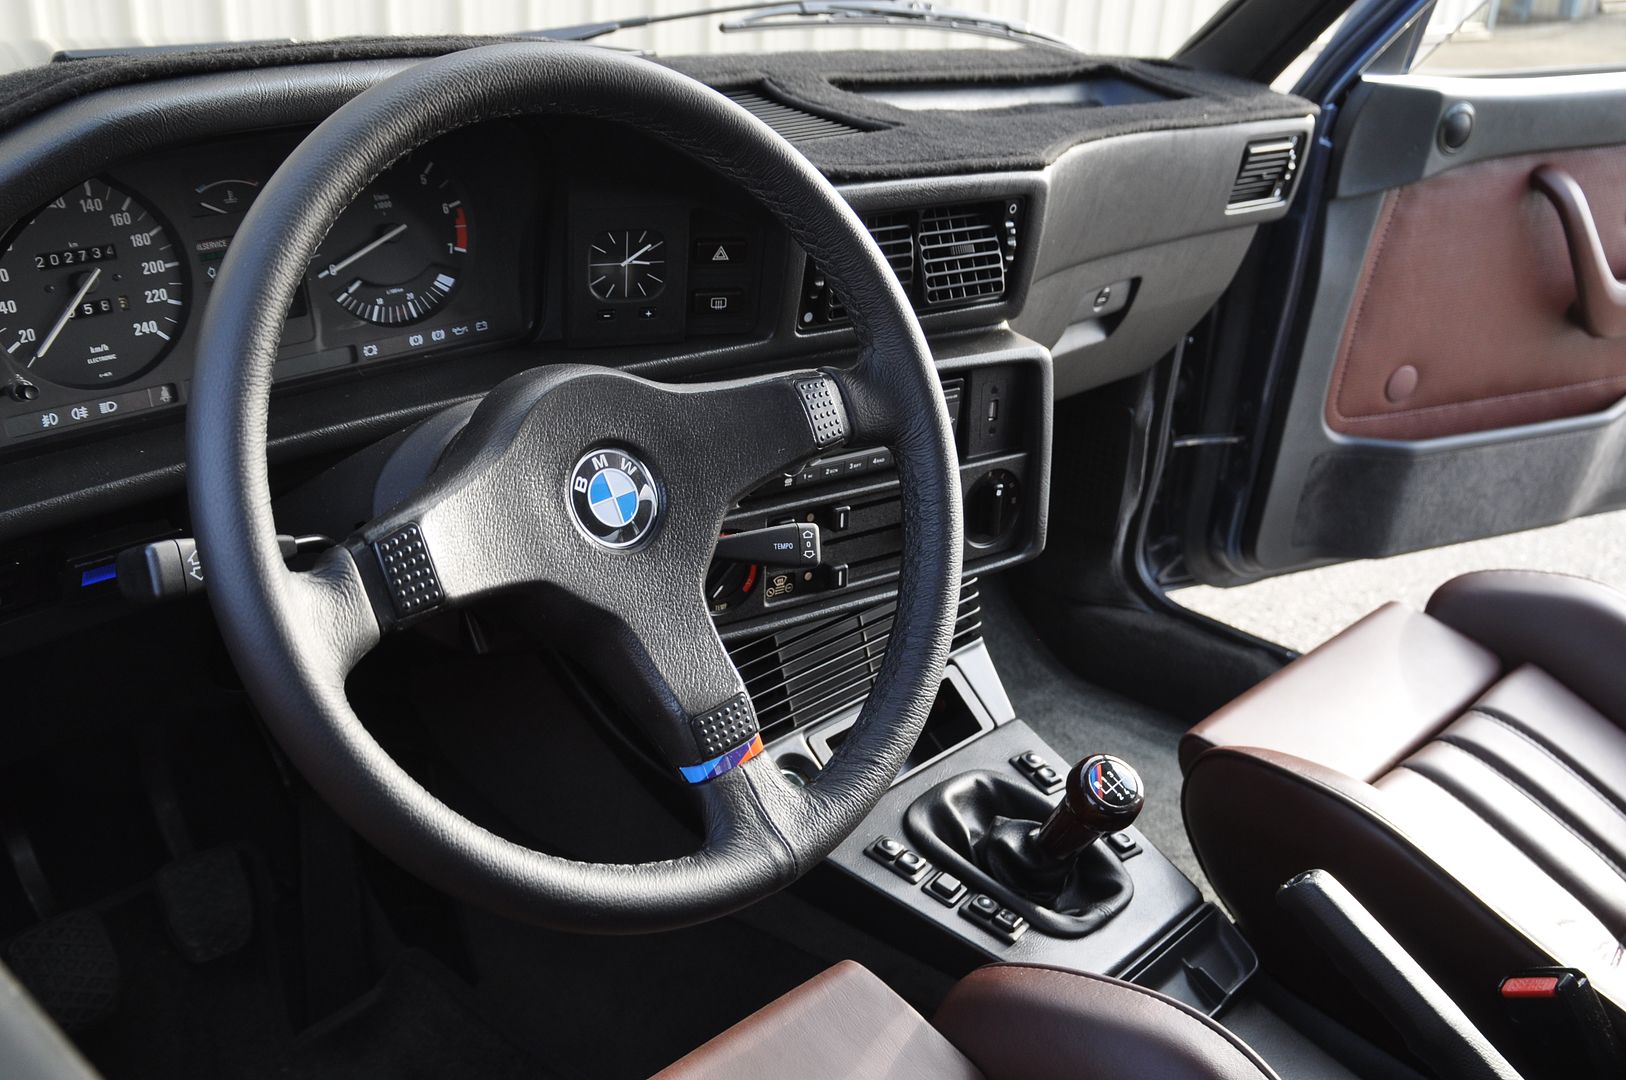
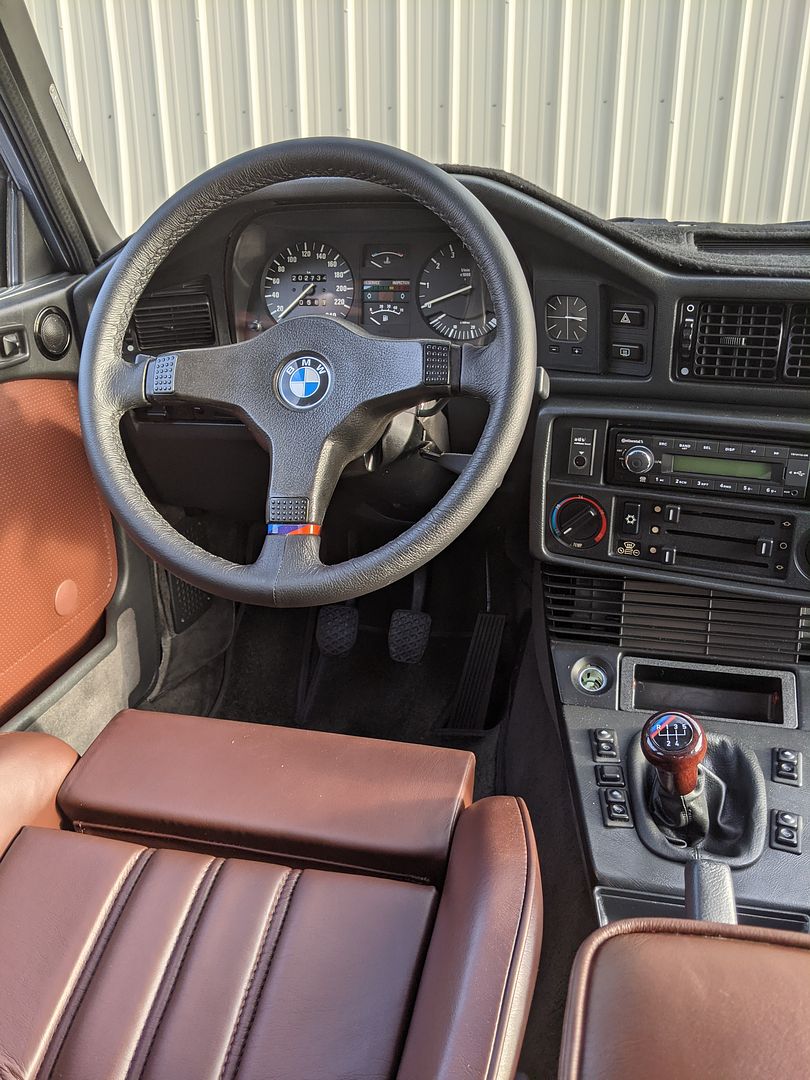
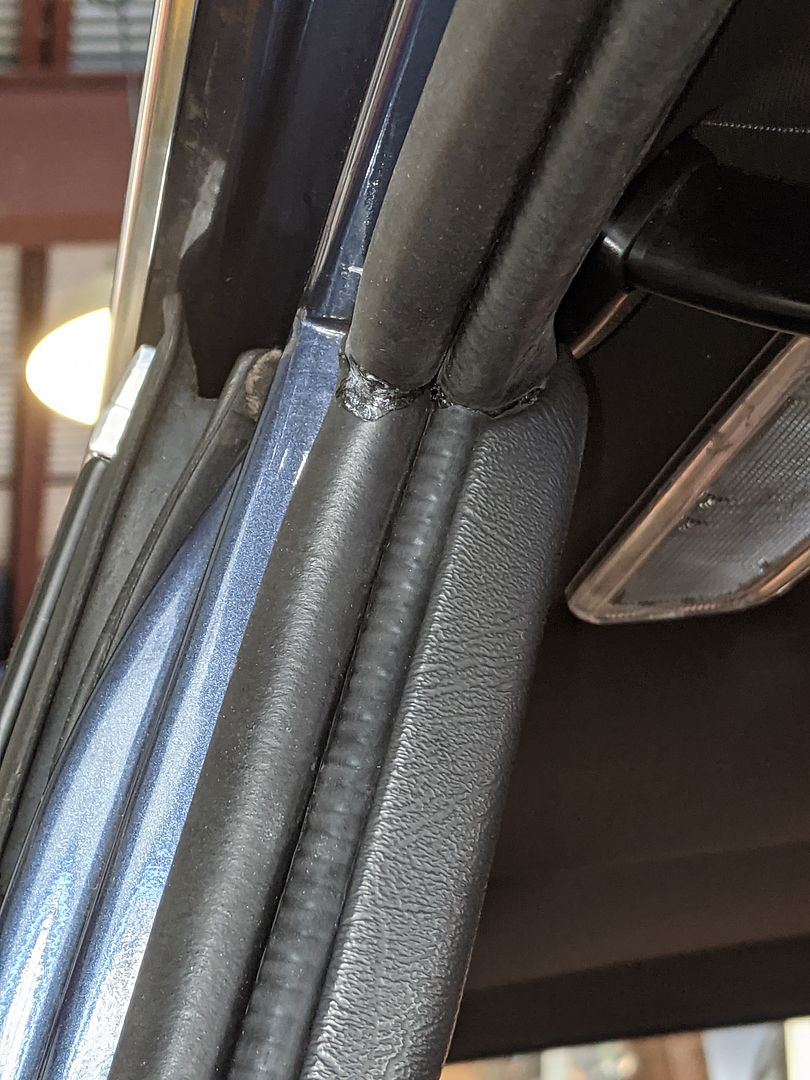
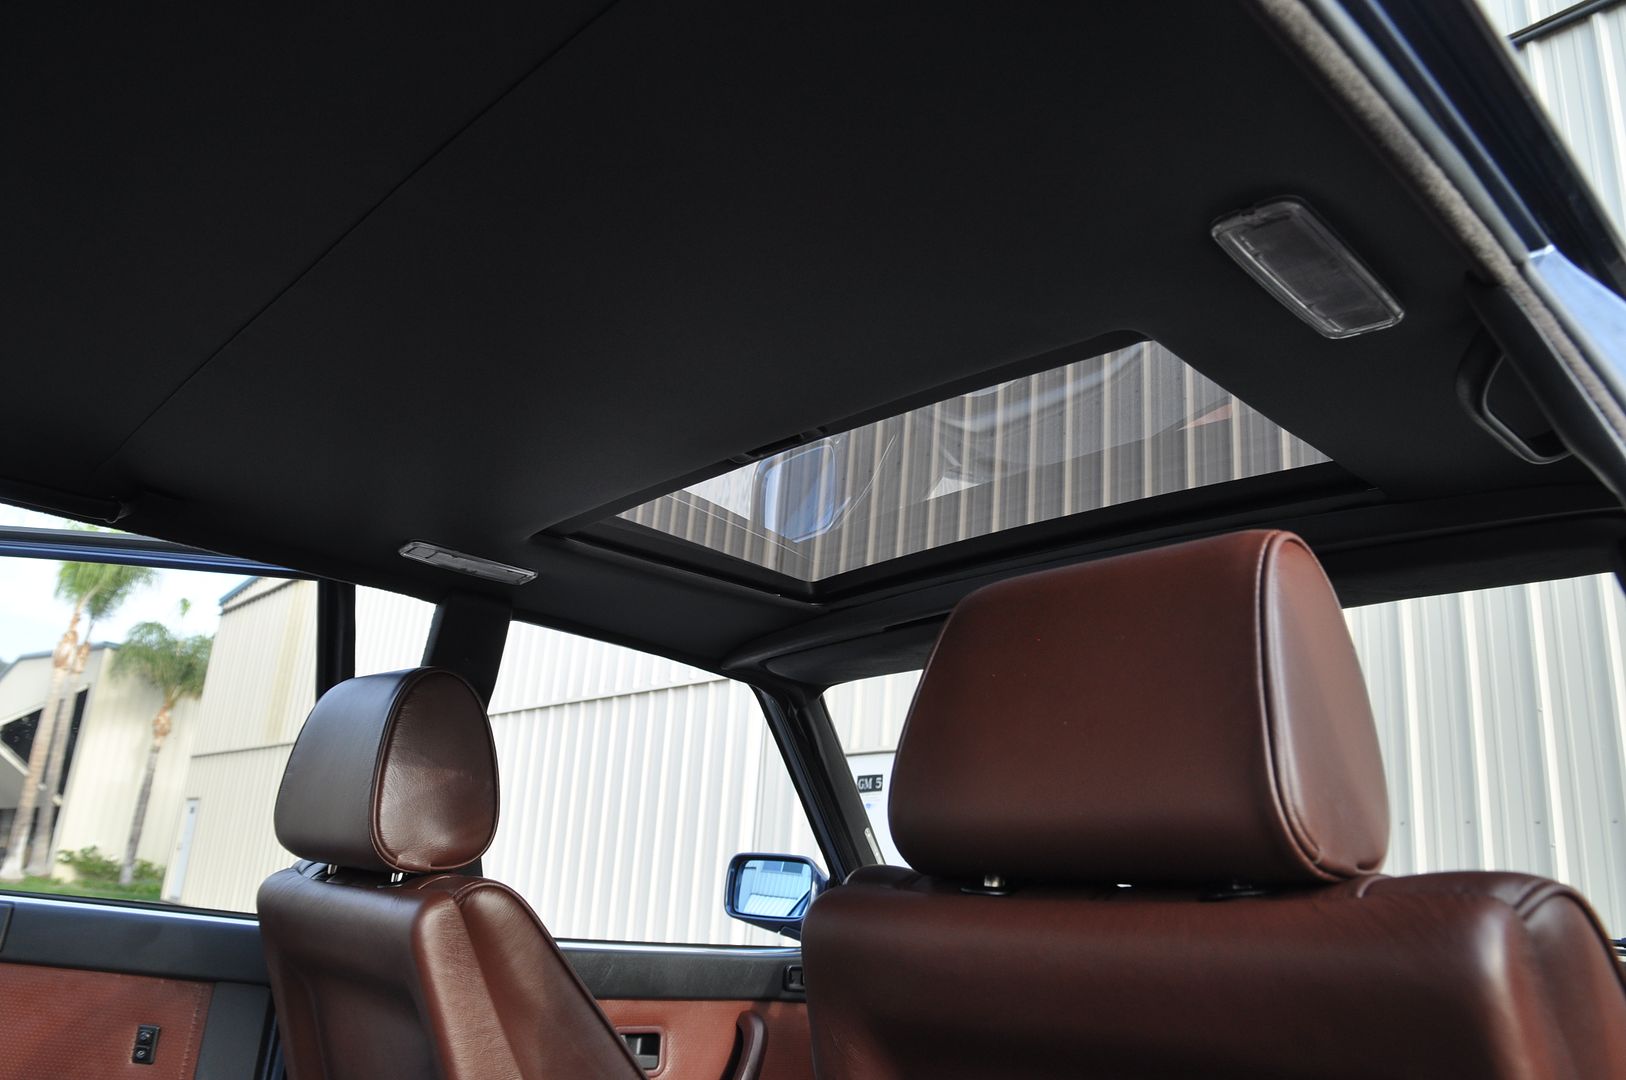
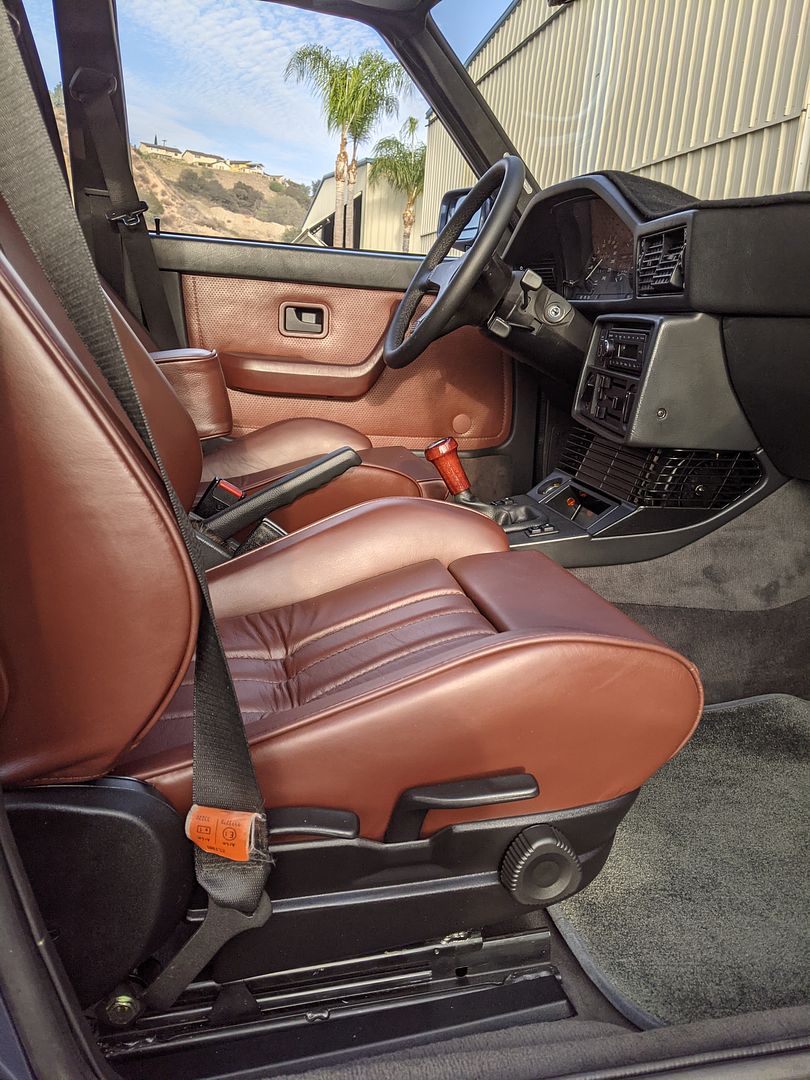
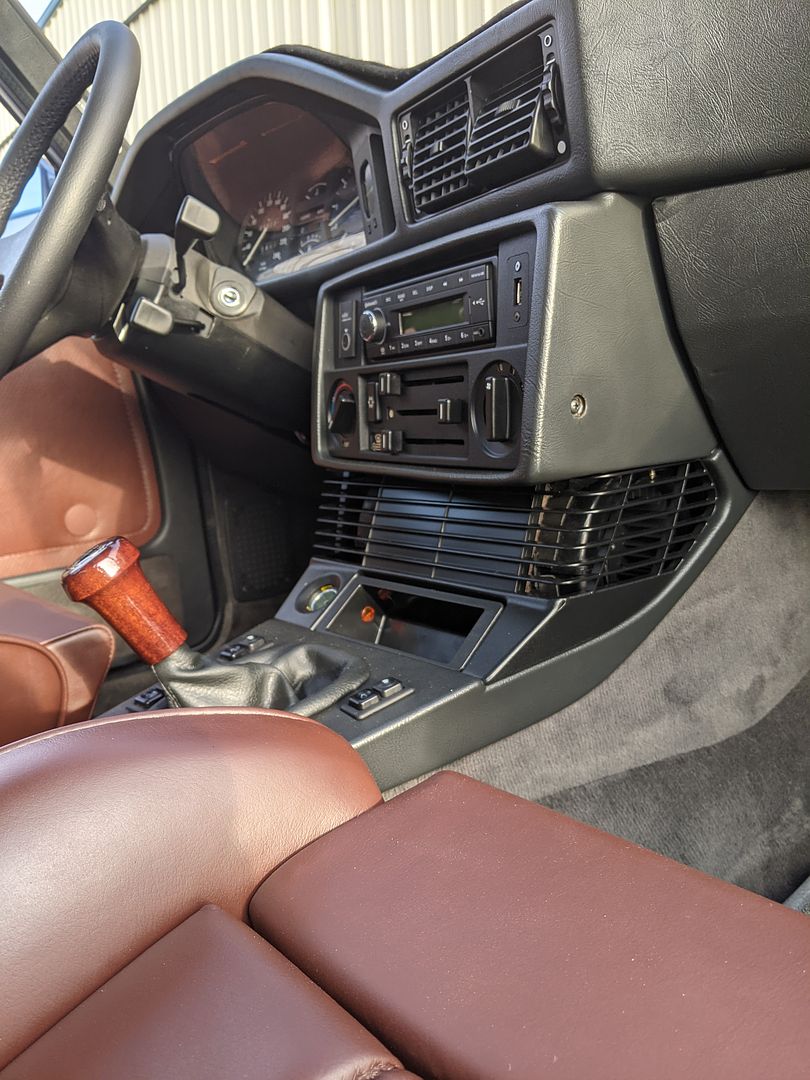
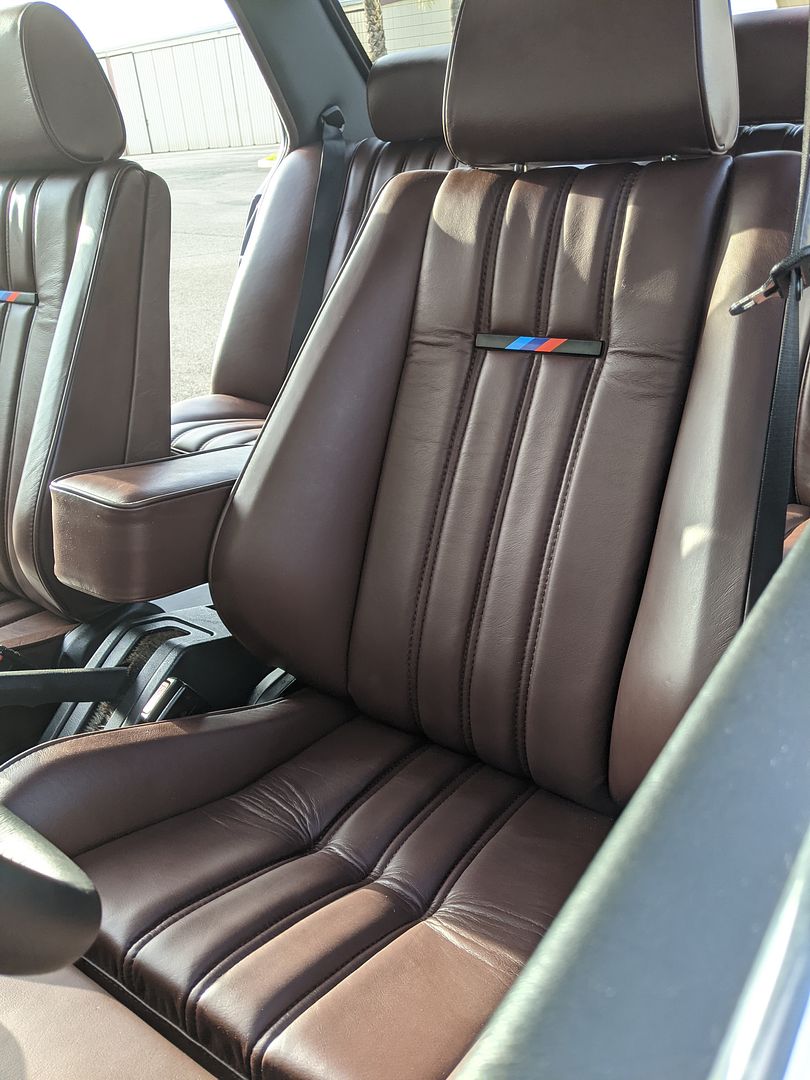
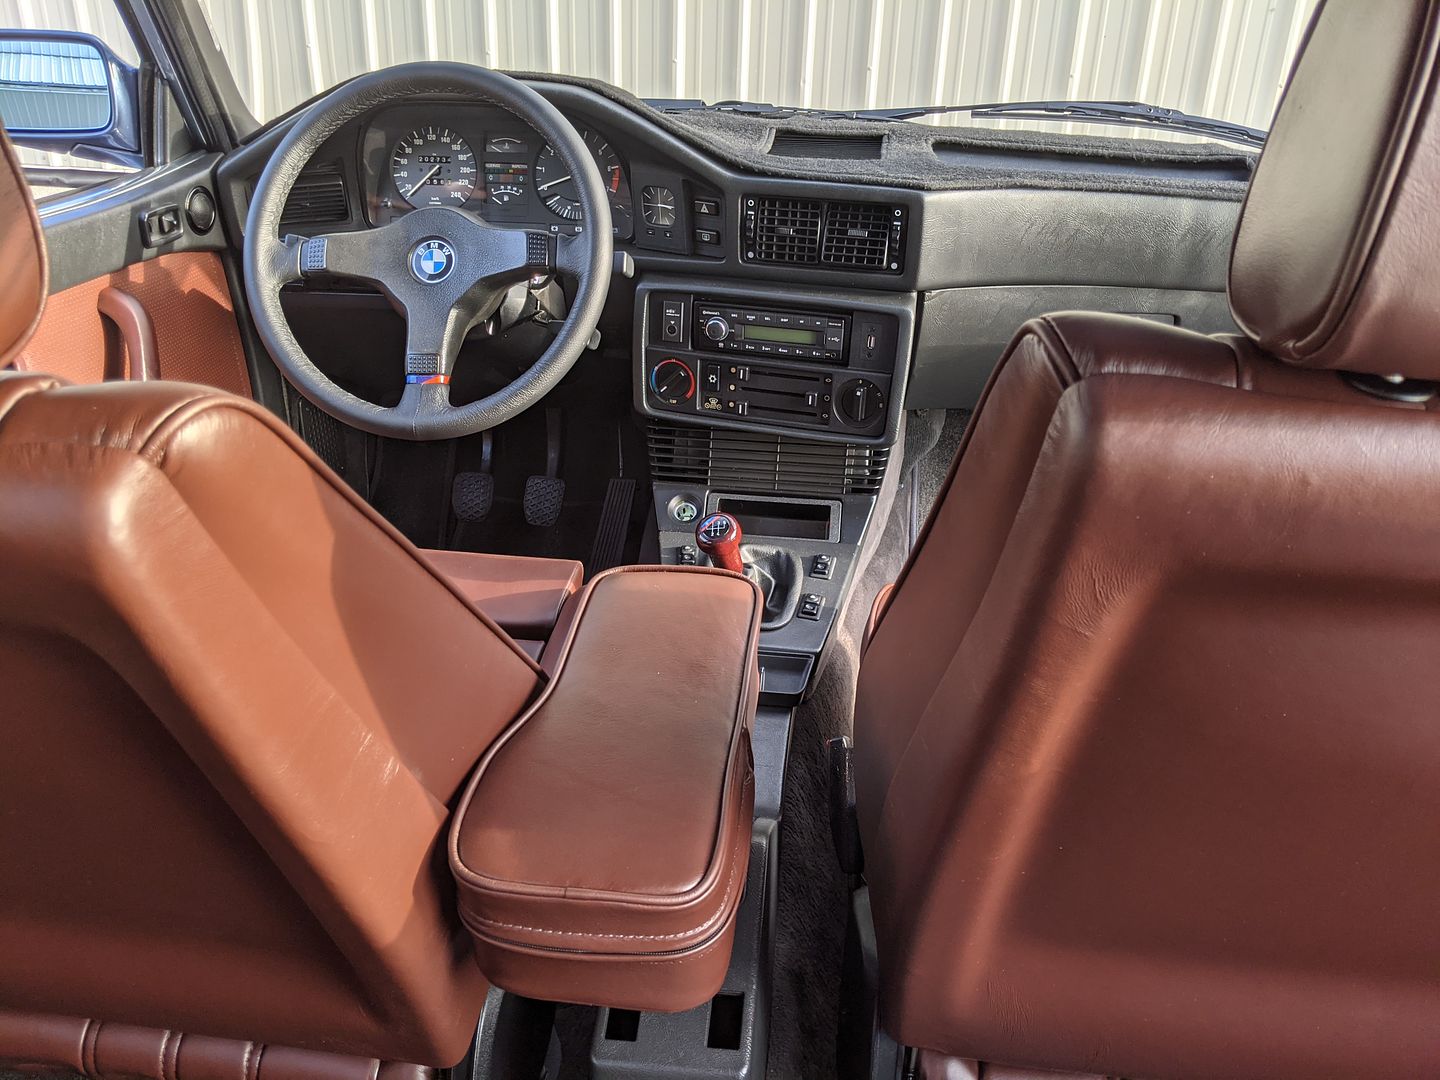
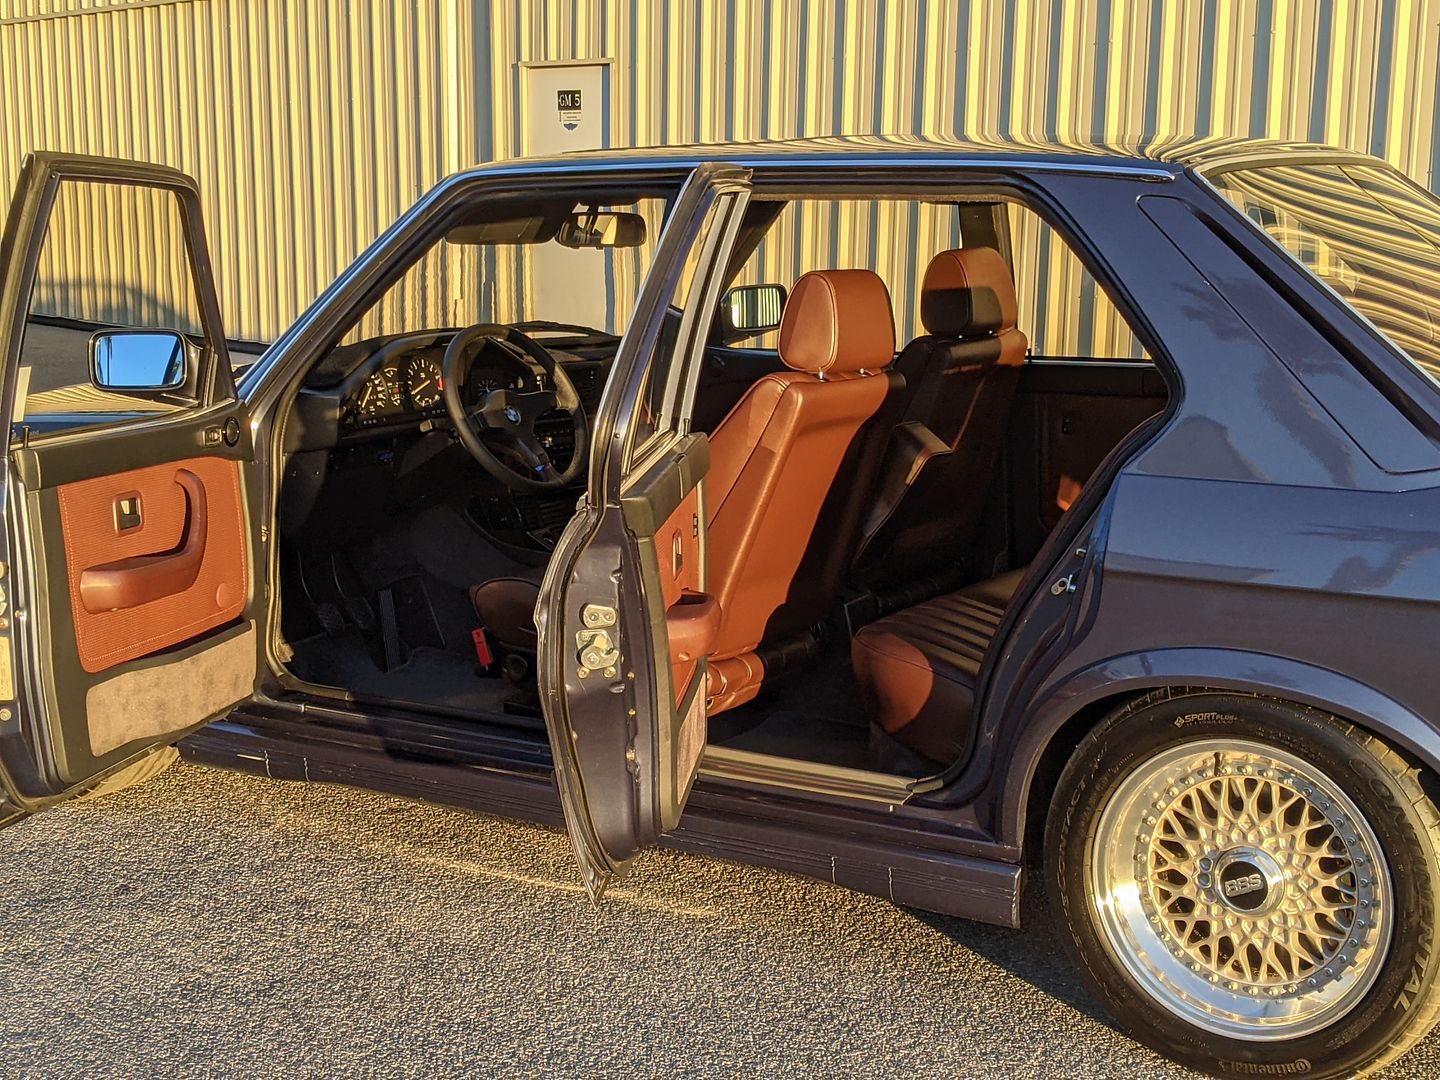
I have been holding off getting pictures of the headliner since I wanted to show it in context to the rest of the interior but I do have some photos of it when I got the car back from Juan (see below).
Material:
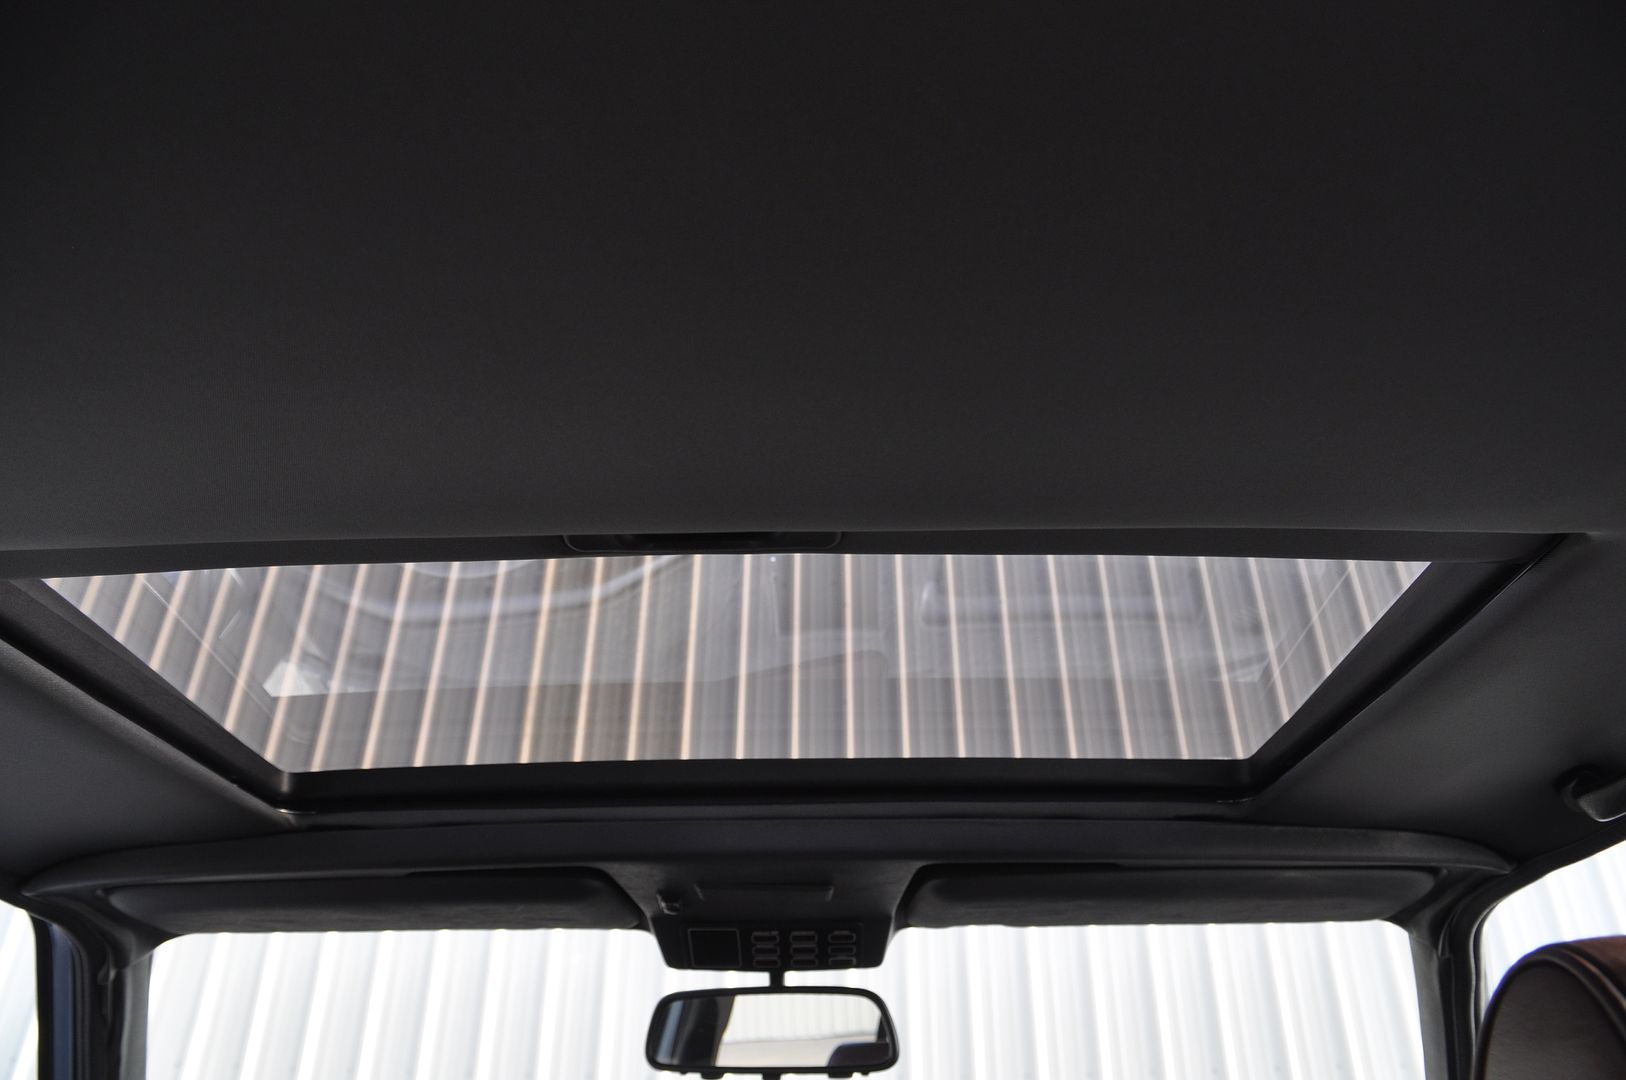
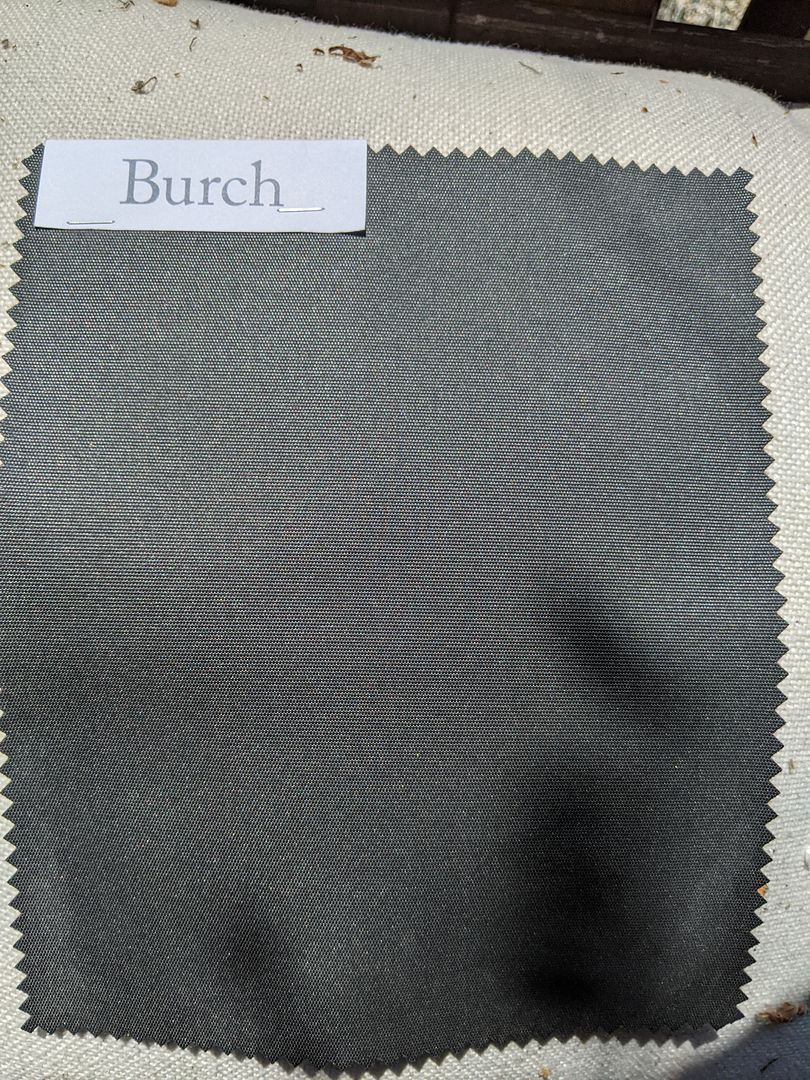
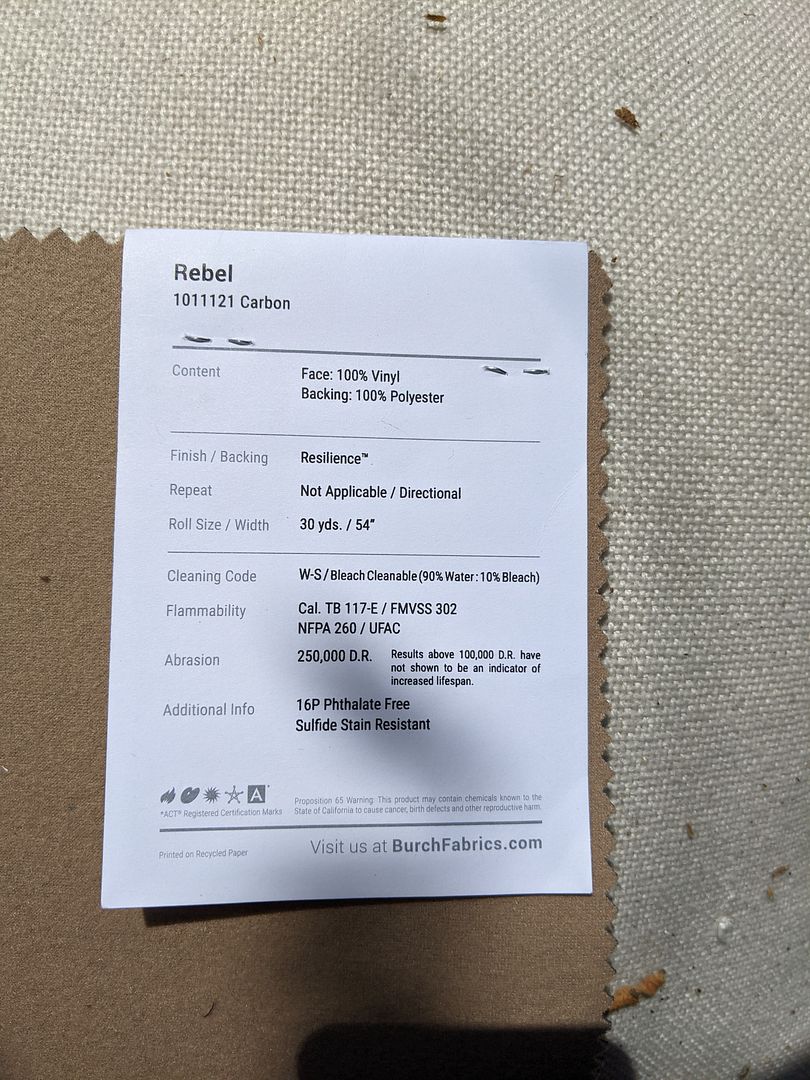
As with the leather, we searched long and hard for a suitable Anthracit/Black headliner material since BMW stopped making the M5 headliner long ago. The issue was two-fold (well, three-fold if you count cost): Fabric Bolt size and foam backing. In order to do an E28 Headliner you need material that is 54” wide minimum; it surprising how few black headliner bolts from the suppliers there are in 54”. Foam backing was also a deal-breaker since most headliner material is made with varying thickness layers of foam backing. While this sounds like a good thing, believe me after removing a 30+ year old disintegrated foam layer from the inside of this car, I can tell you that you do not want foam backed materials. Using material without the foam backing was what Juan recommended anyway; besides all that thermal and acoustic protection I put in behind the headliner will do way more than the thin layer of open celled foam. So, after countless searches and samples from Veteran, GAHH, World and a few others, Juan talked to a fabric salesperson/Interior Designer he deals with asking about a suitable vinyl material. She came back with two fantastic vinyl options for color, texture, no trace of foam backing and affordability. Sometimes it pays to look outside the automotive world for suitable materials:
Option 1: Burch Fabrics “Rebel”, Carbon
Option 2: Burch Fabrics “Motive”, Jet
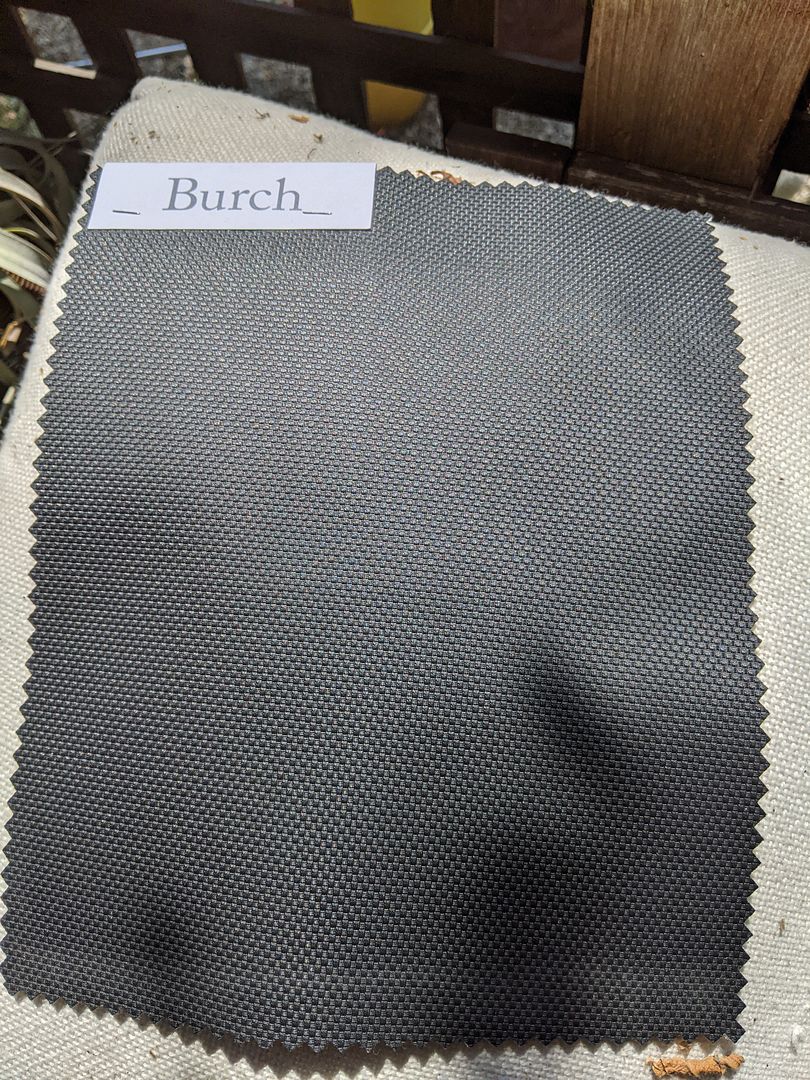
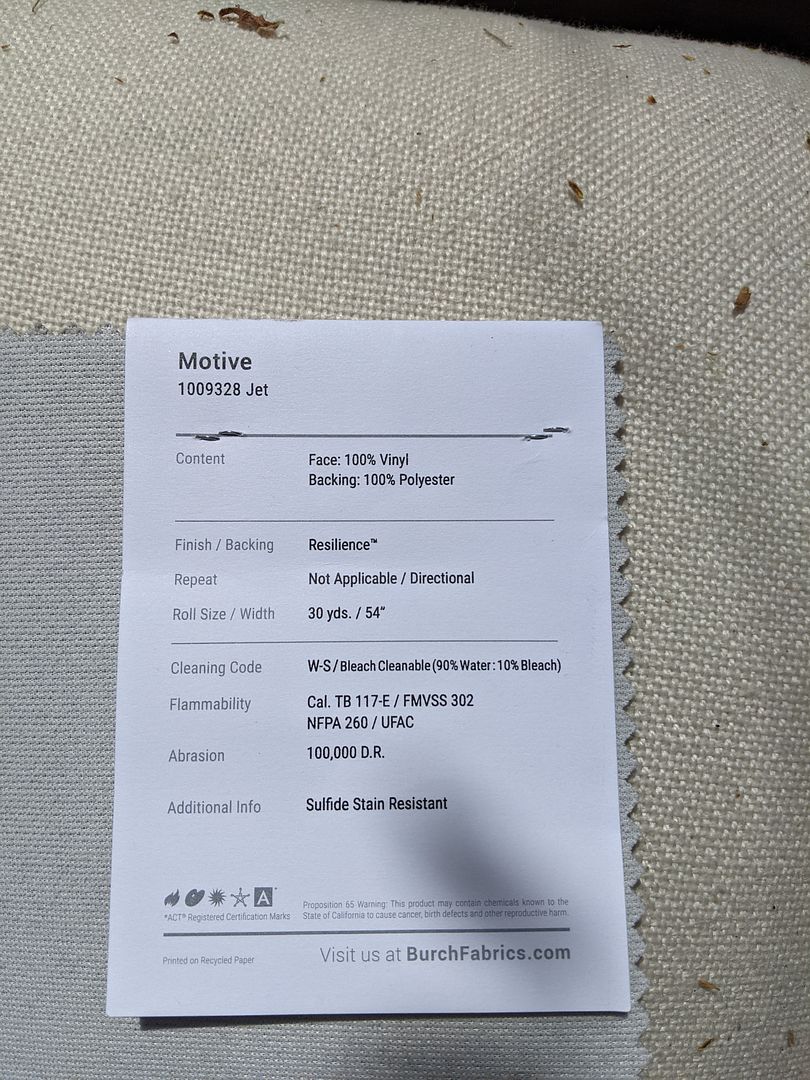
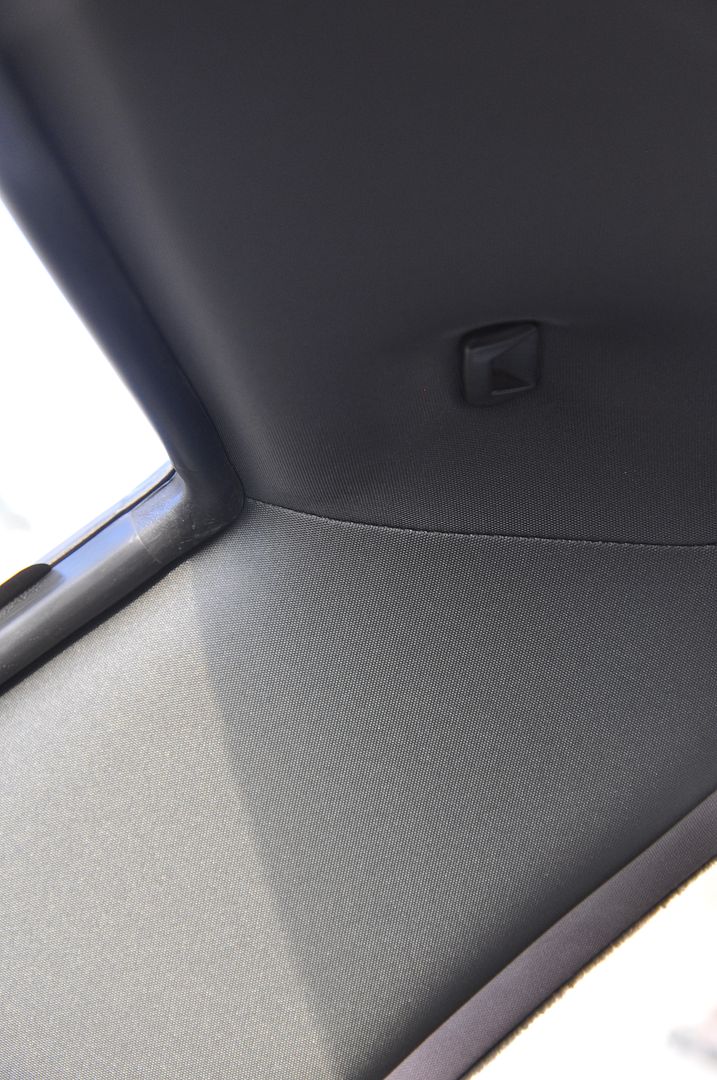
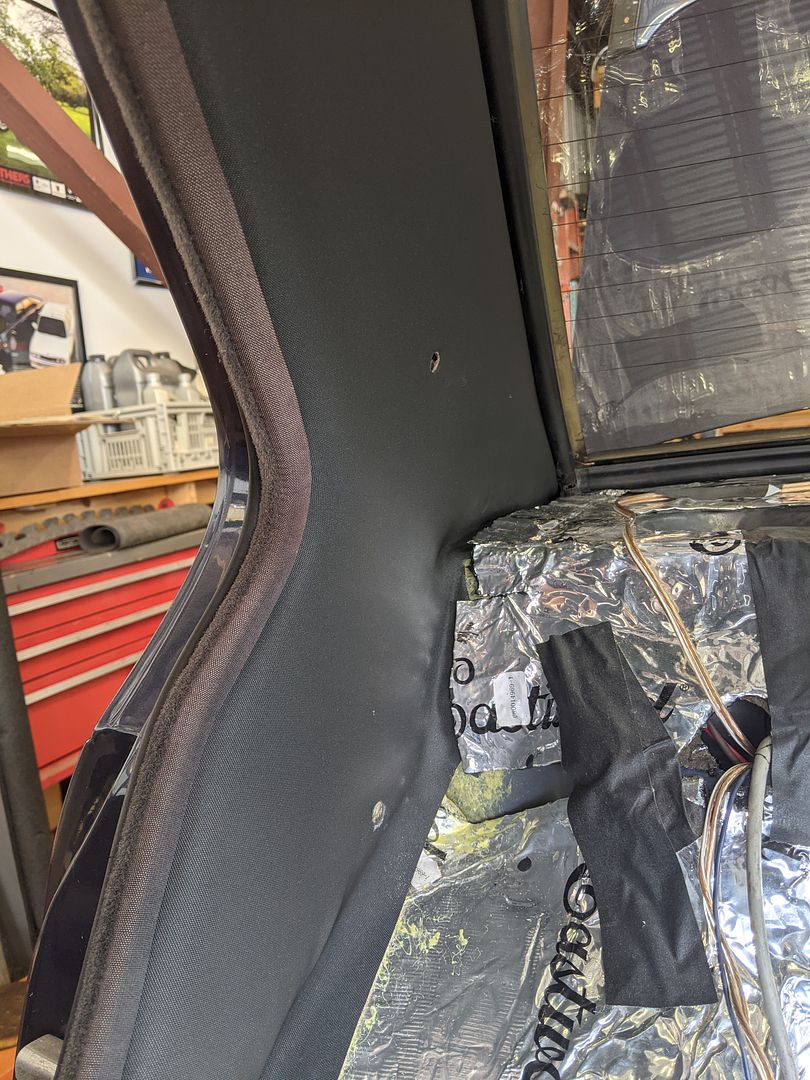
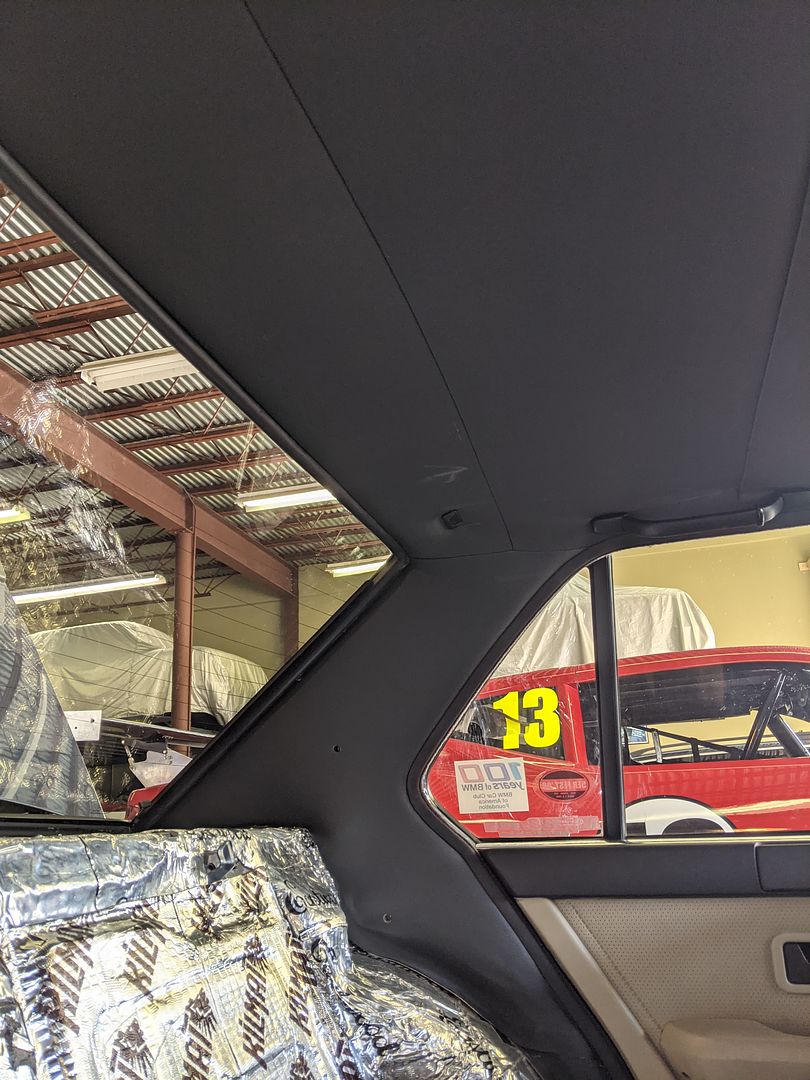
Even though I was intrigued by the weave and pattern of the second, I went with the first option since it was the closest in color to Anthracit and thought it would work the best with the carpet. Here are a few quick but not very good shots of it installed (I’ll get better ones once the whole interior is in):
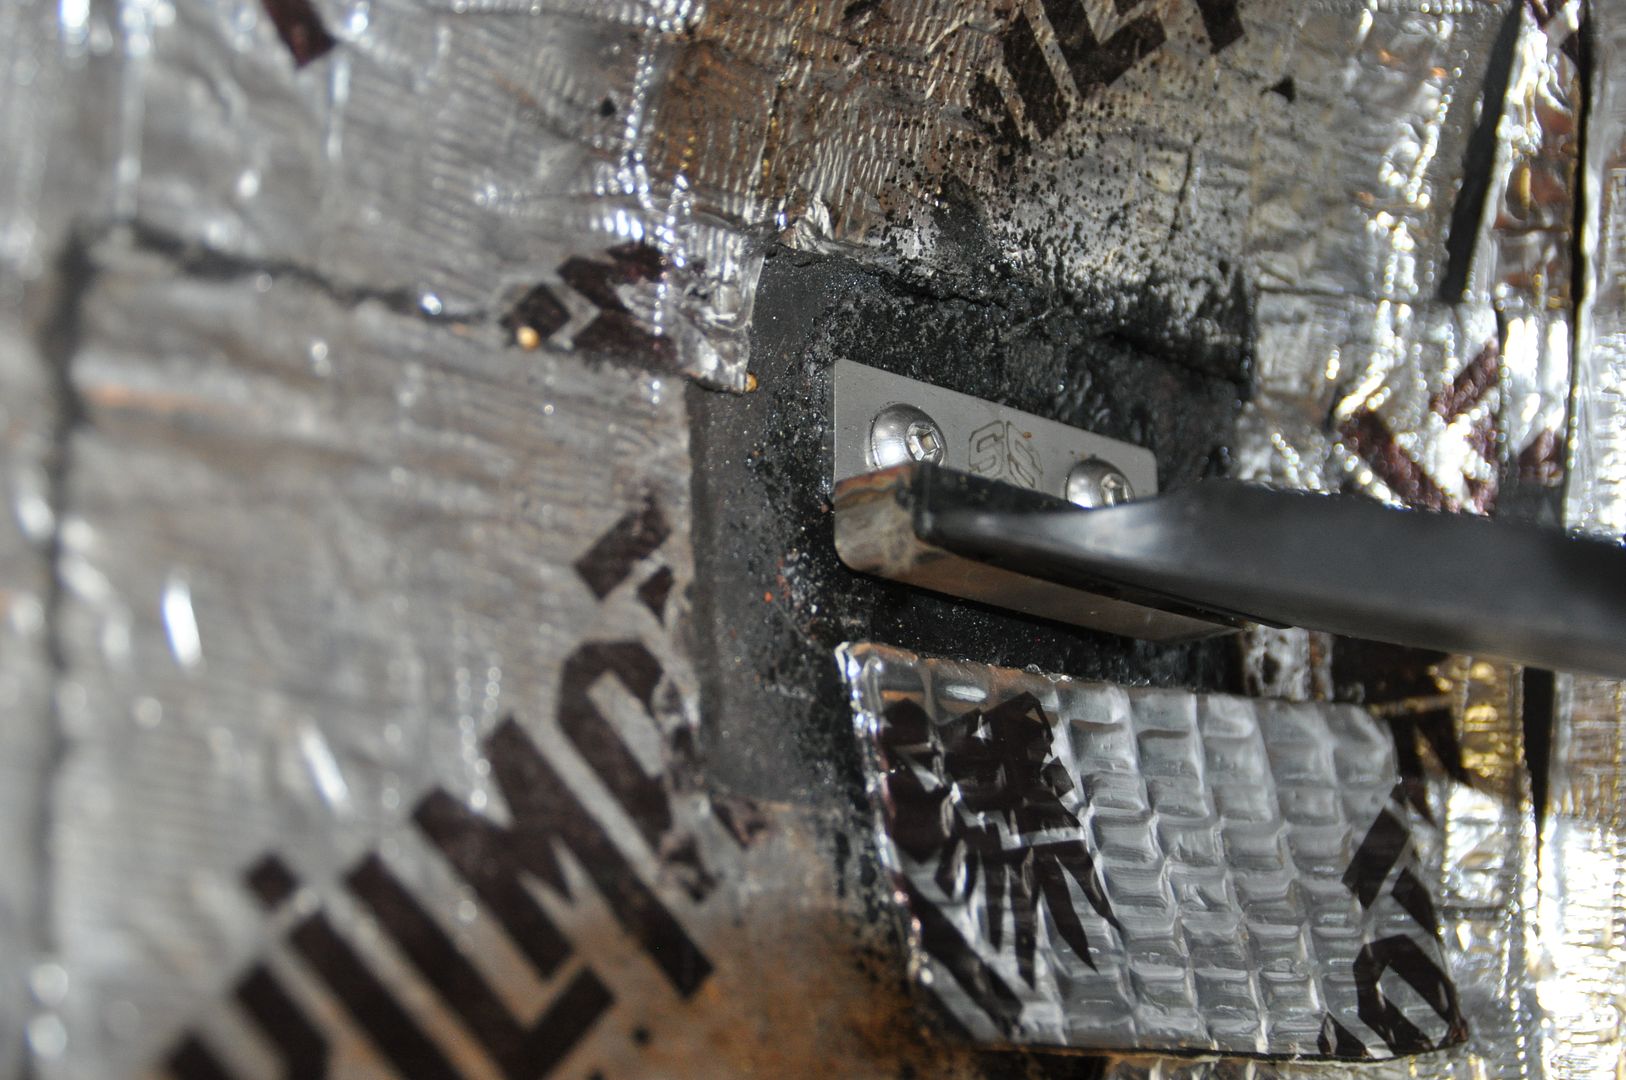
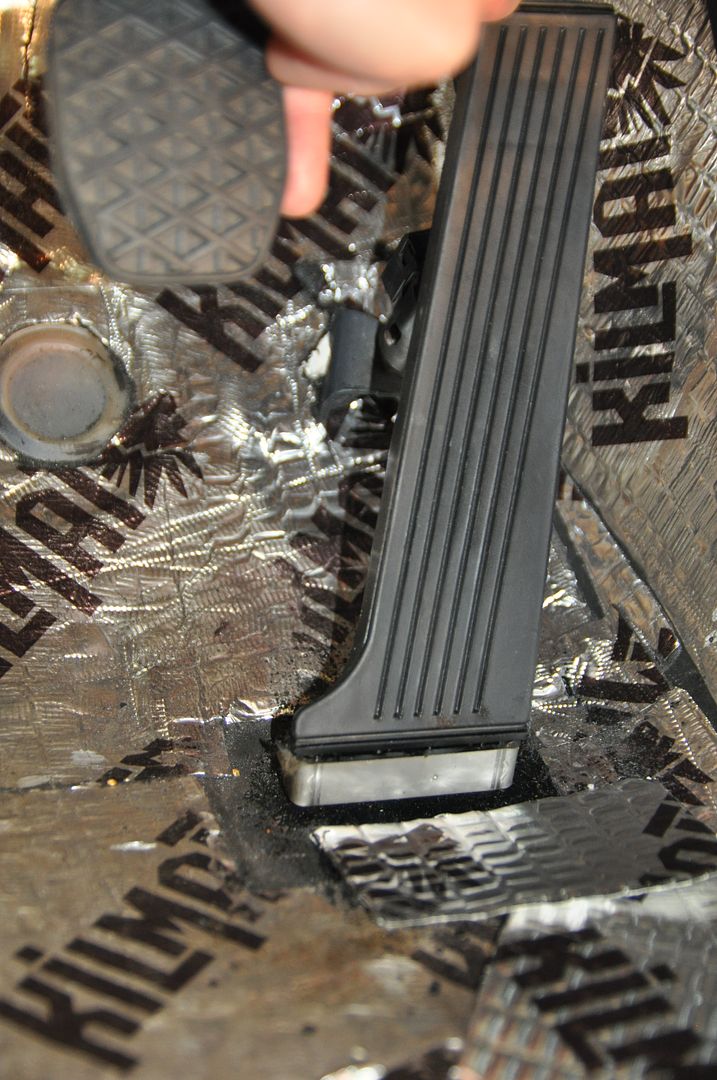
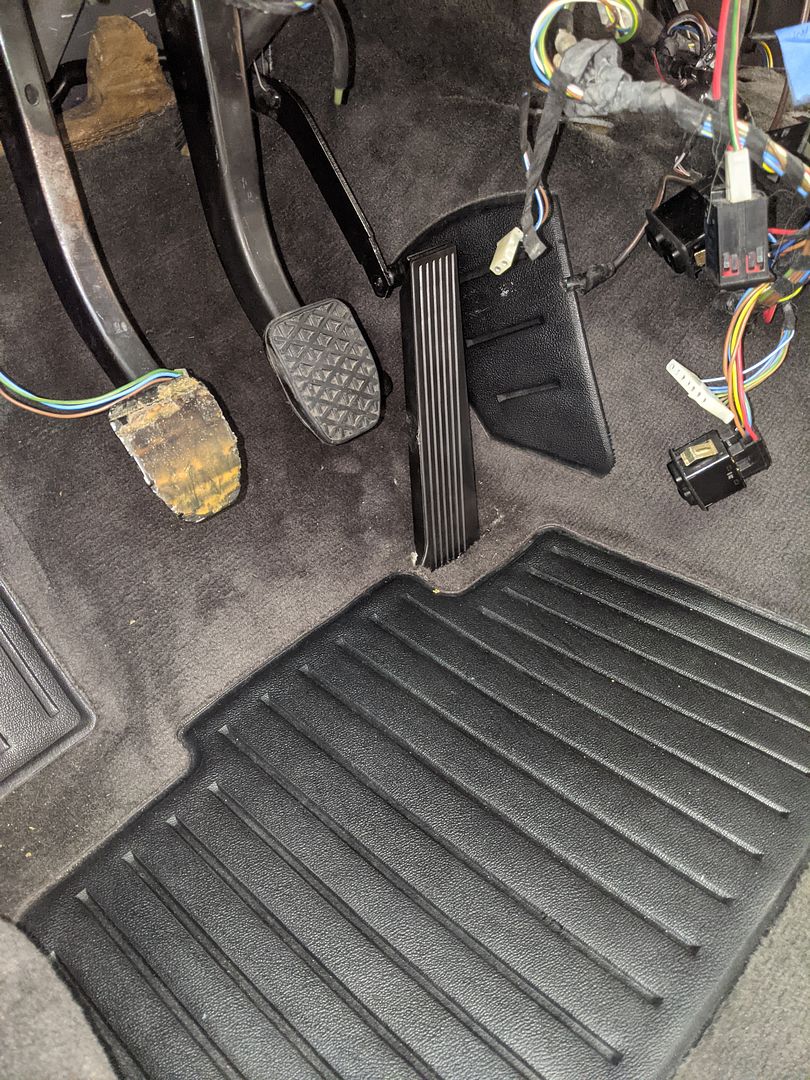
Once I got the car back from Juan, I had to ping-pong it back to the body shop to replace the Accelerator floor bracket before I could finish the floor work. I picked up this neat replacement unit from SRS Concept out of Canada which is designed to bolt through the floor (
https://srs-concept.com/product/gas-ped ... t-2-holes/). I didn’t want to do that since the source of some rust was the floorboard itself and I wanted to have some level of confidence that the floor wouldn’t fail under the pedal. Unfortunately, the body shop doesn’t/couldn’t weld stainless steel to the regular steel of the floorboard; he was trying to fabricate his own bracket out of regular steel but couldn’t get the forming and bending precise enough with his limited tools. So in the end he put in a new piece of floorboard reinforcing and bolted the SRS bracket through. (I don’t have a shot of underneath yet).
Immediately following that was to get back to the HVAC system and remove the existing Heater Box & Core.
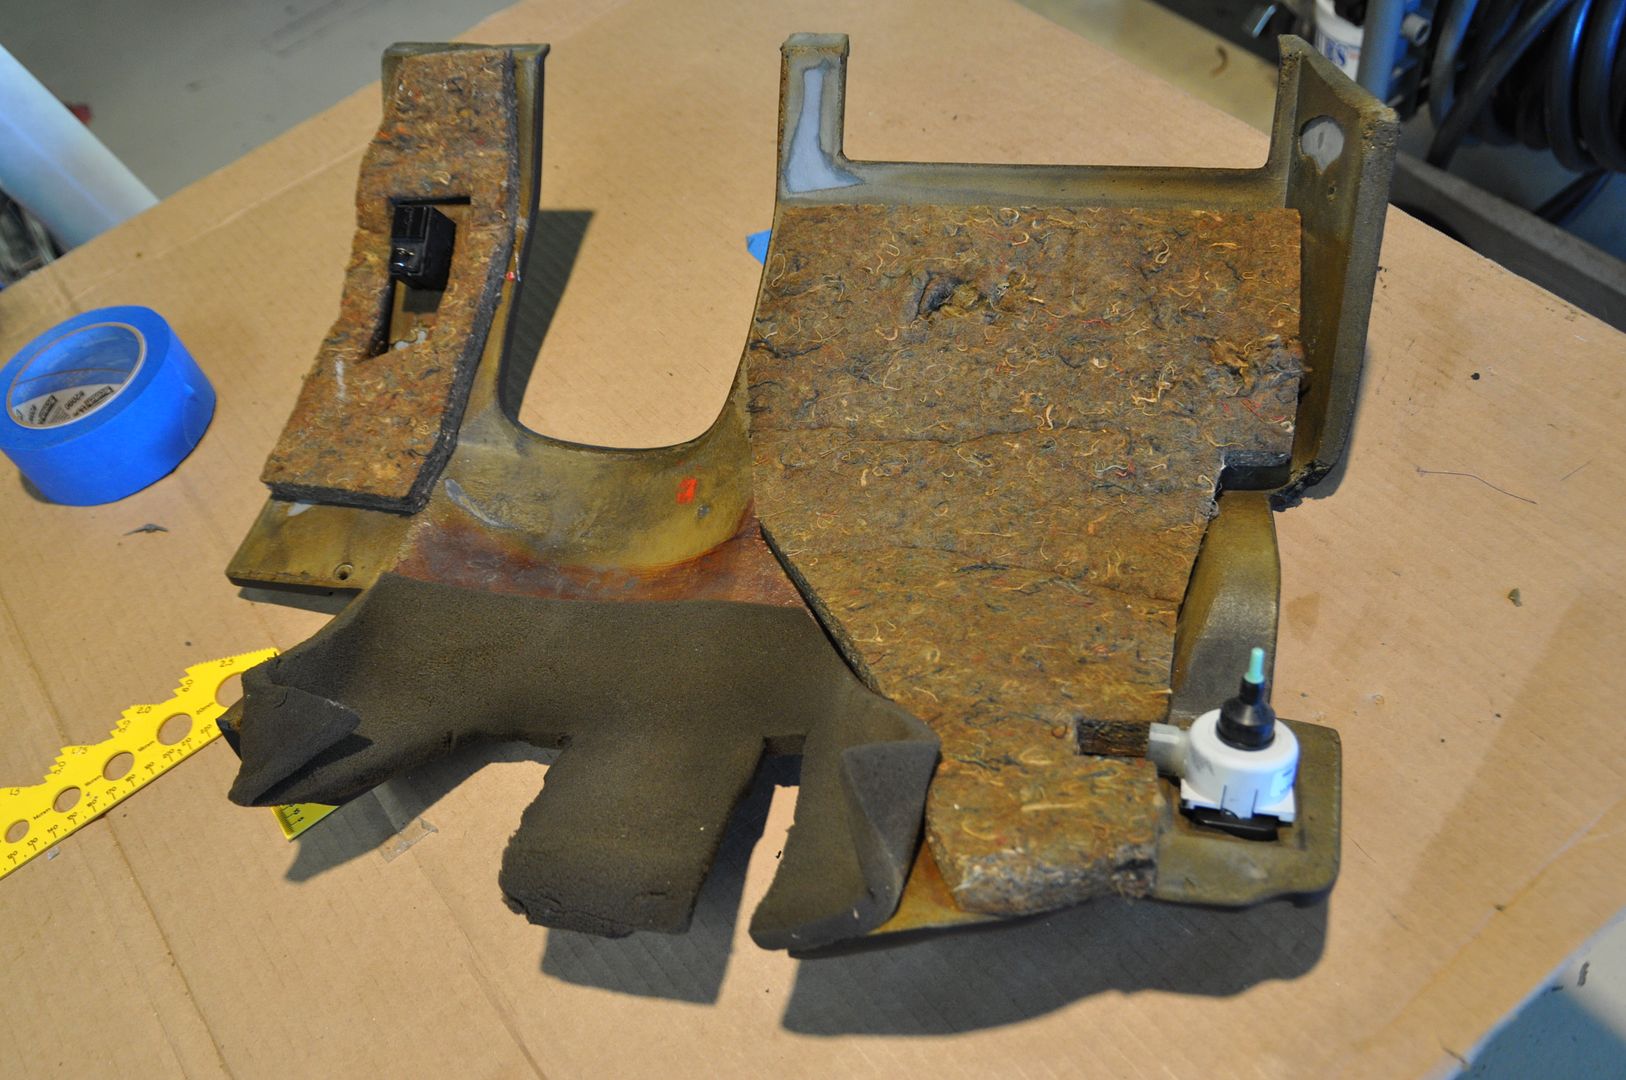
It all came out fairly easy (everything comes out much easier than when it has to go back in, doesn’t it?) and I set about rebuilding/refreshing the whole heating system. Once on the bench and pulled apart, I got to see, once and for all, the source of all that bird seed not to mention all other sorts of yuck:
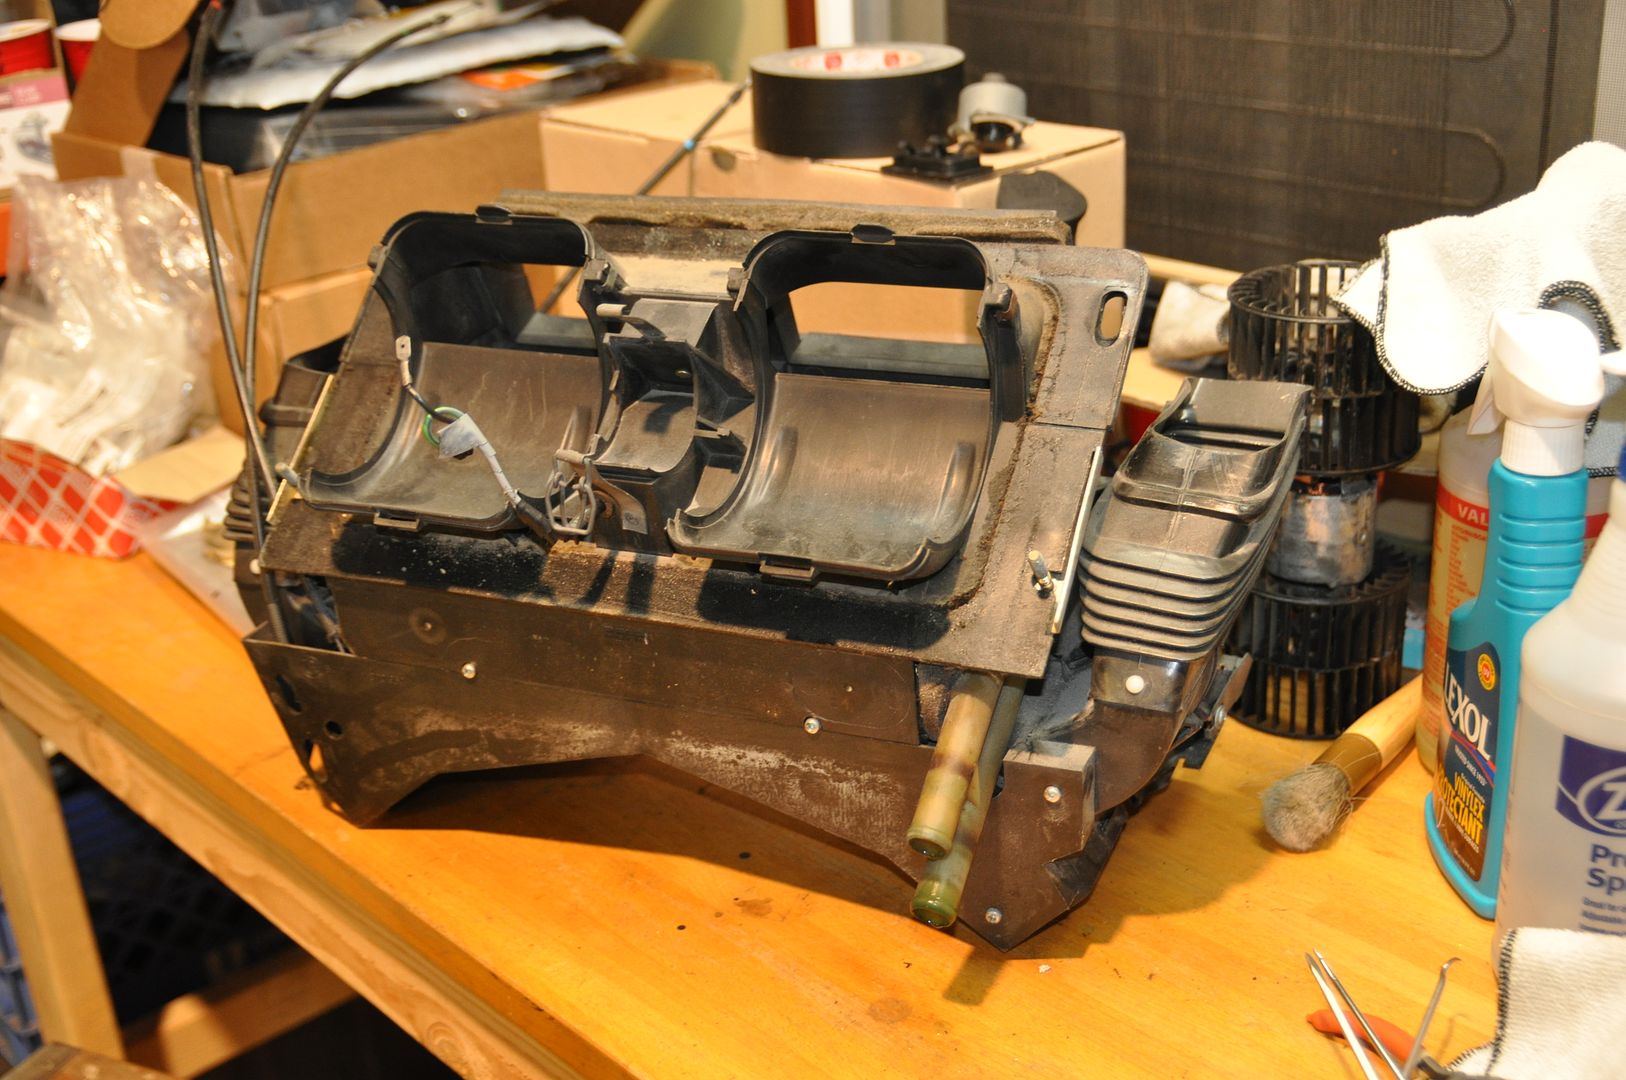
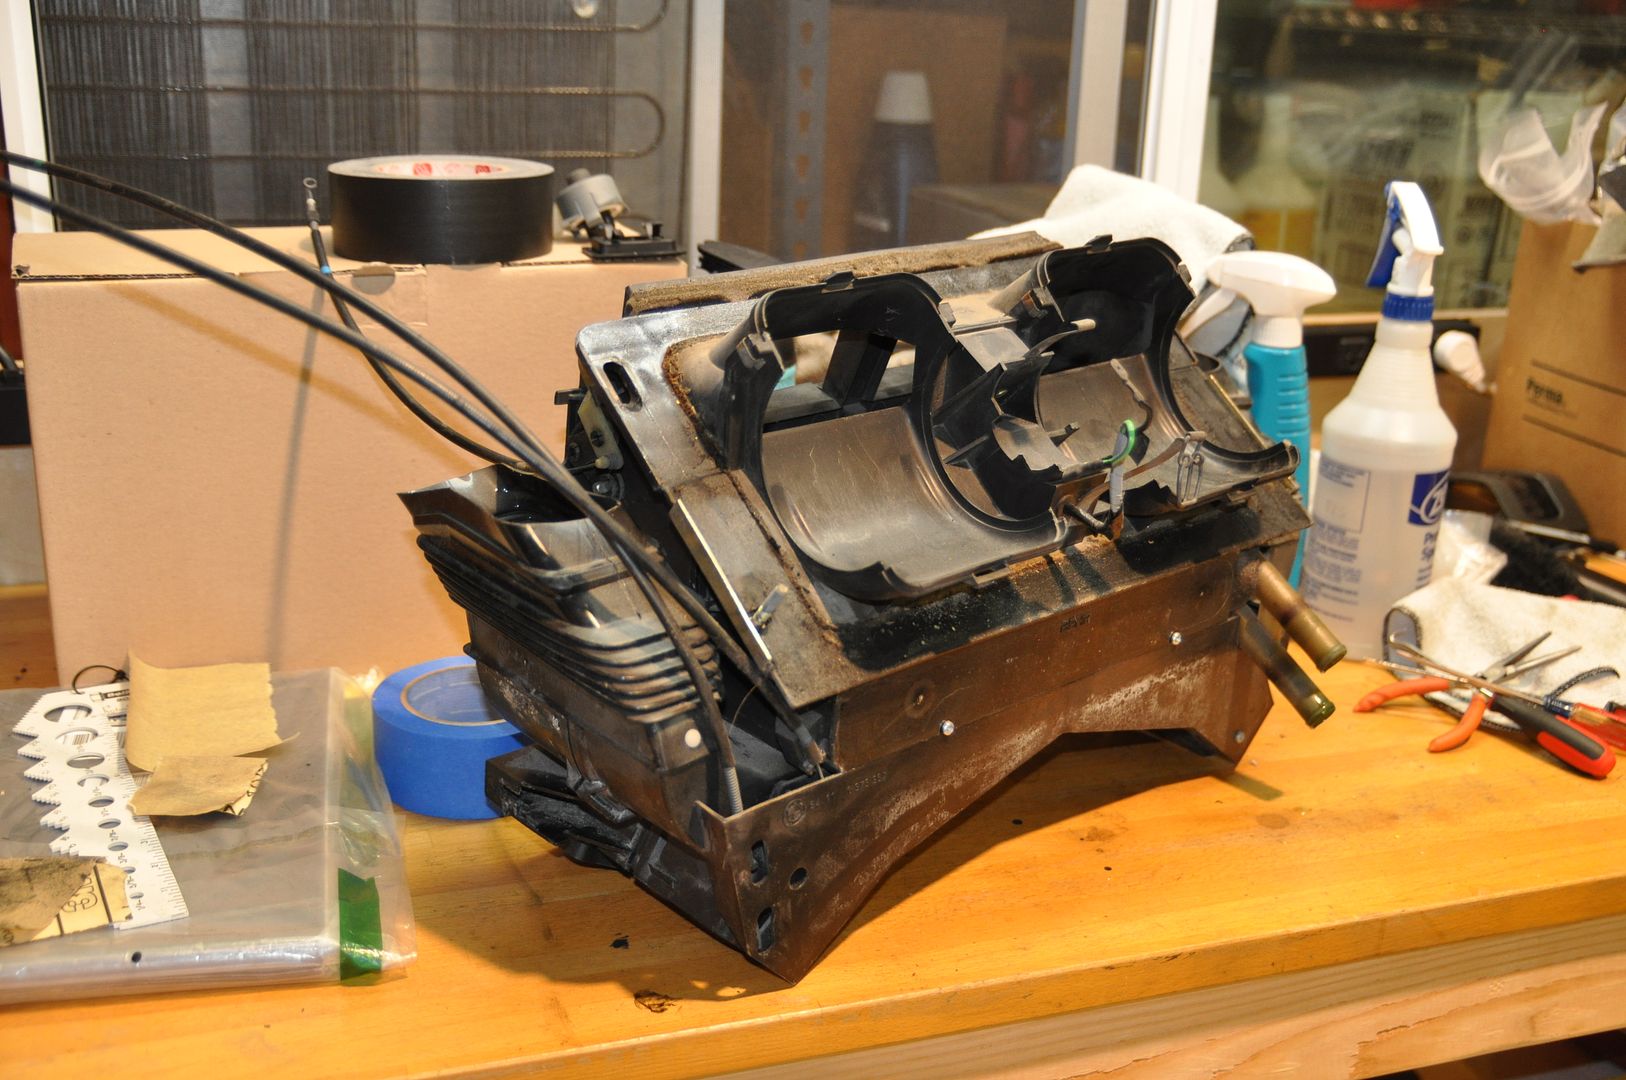
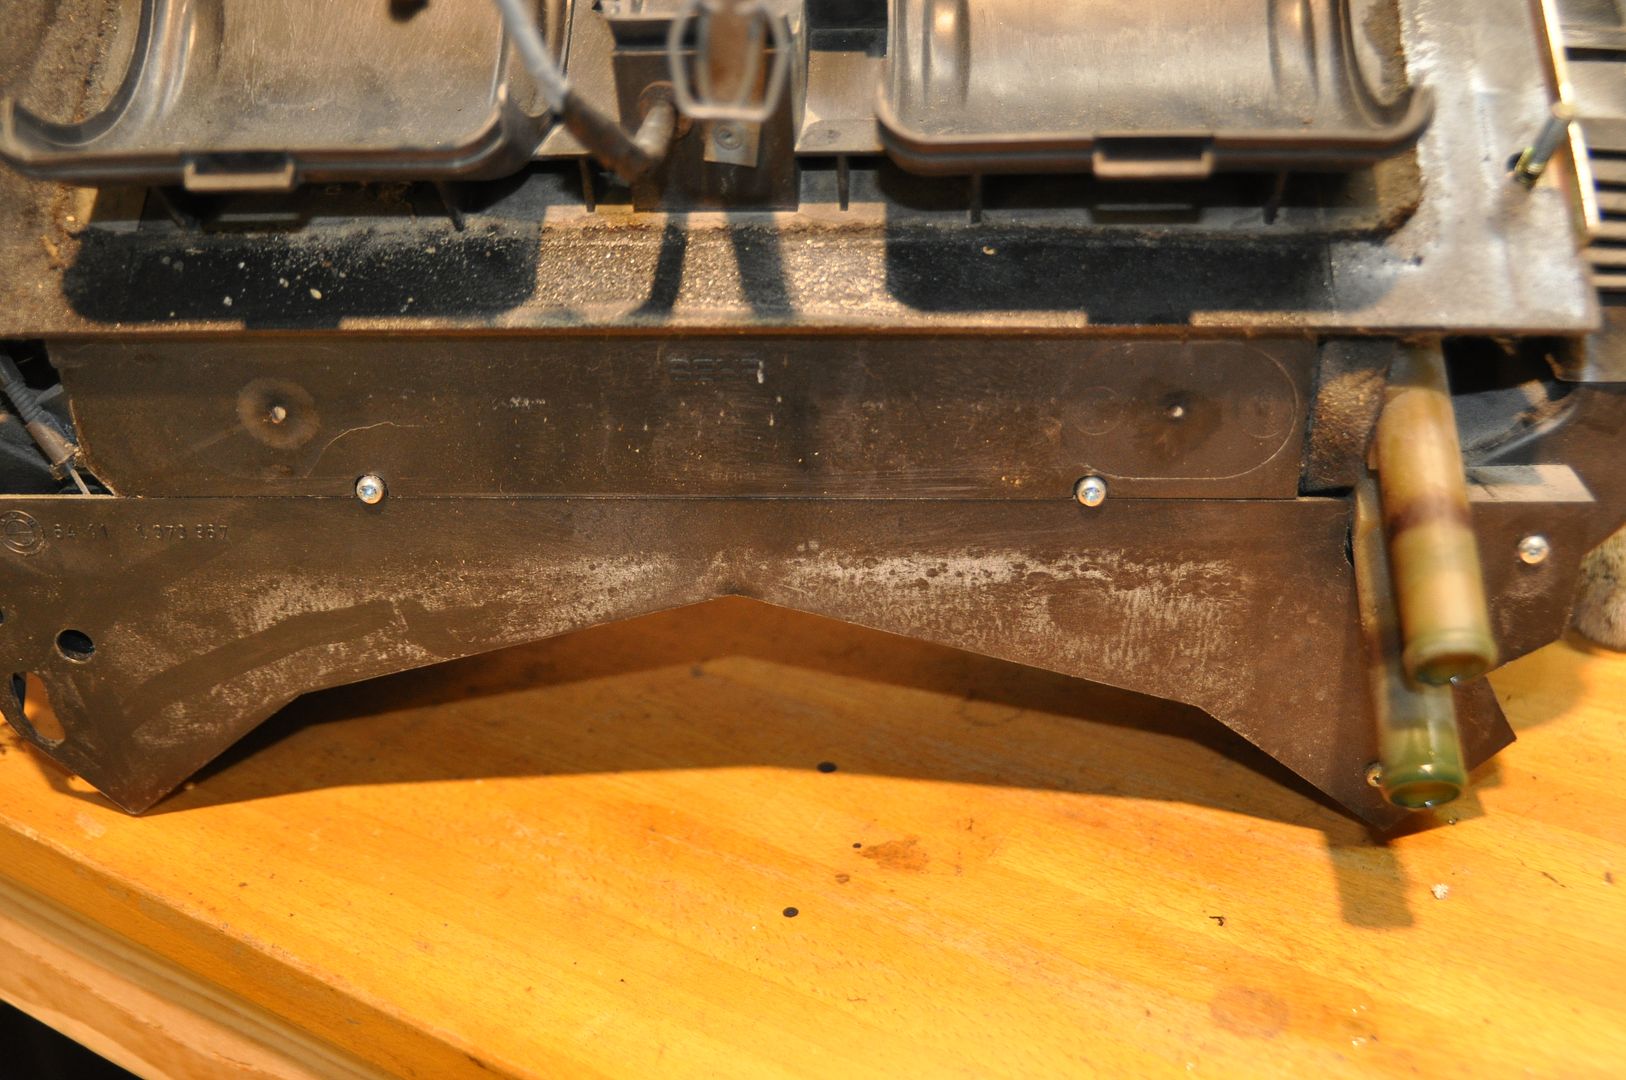
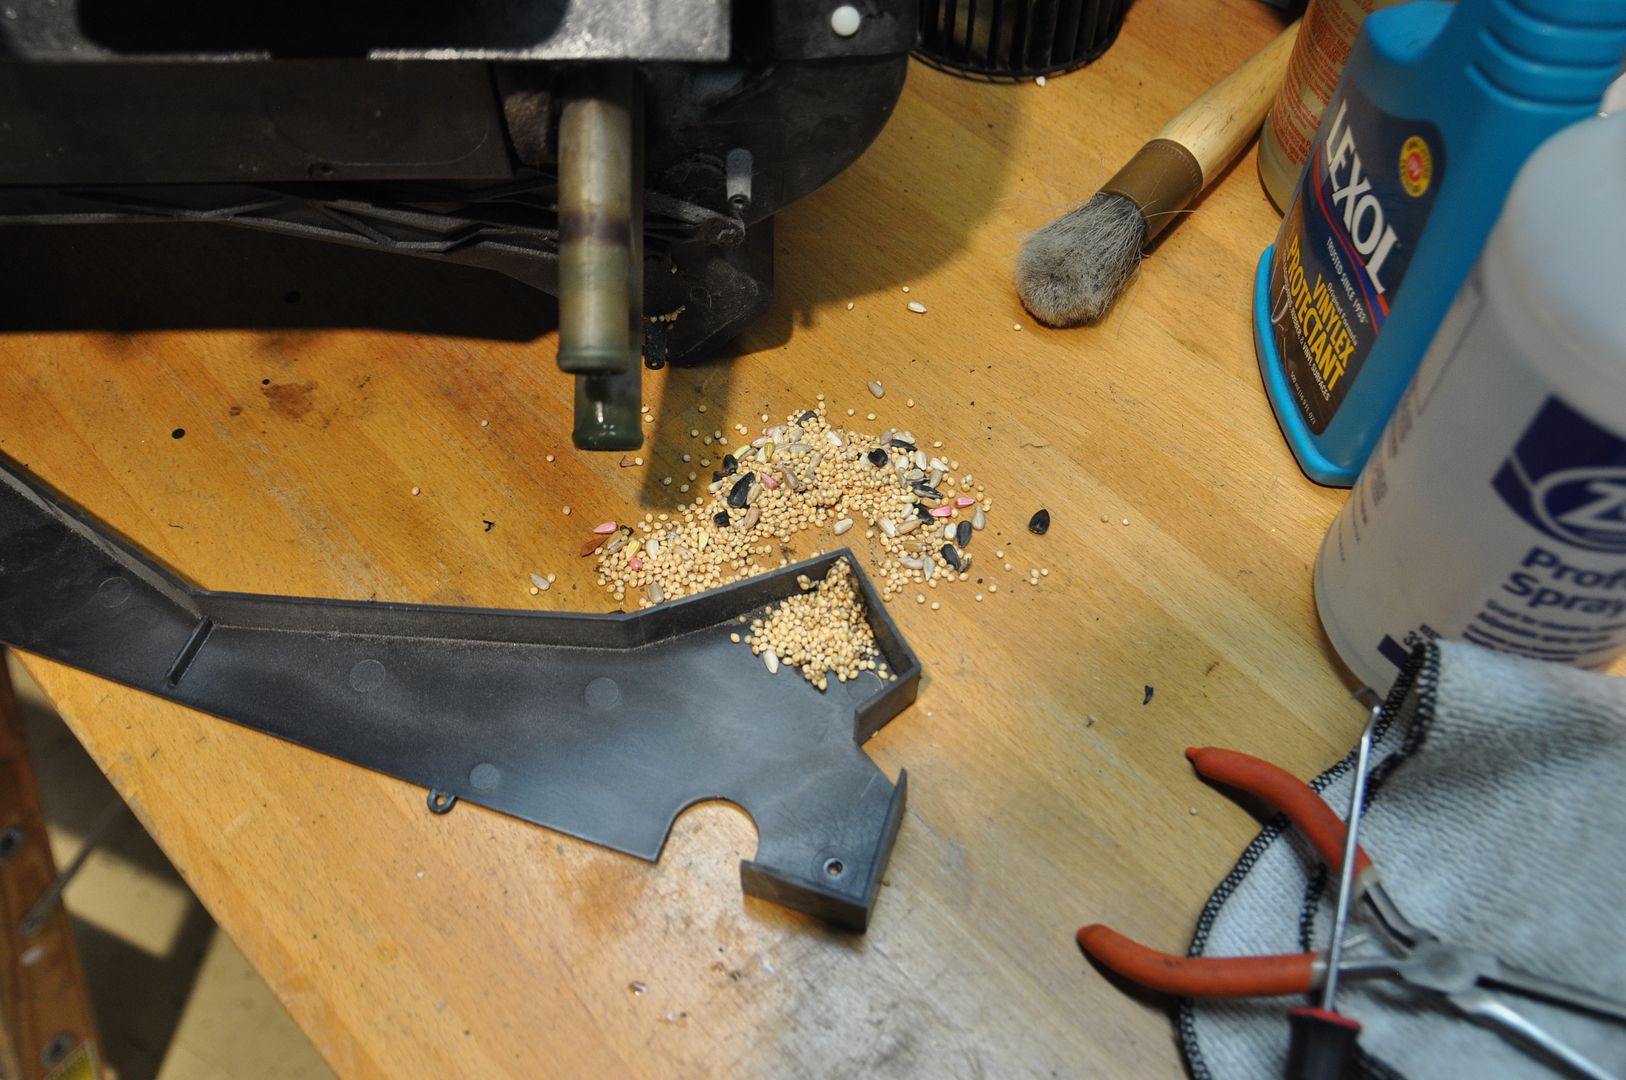
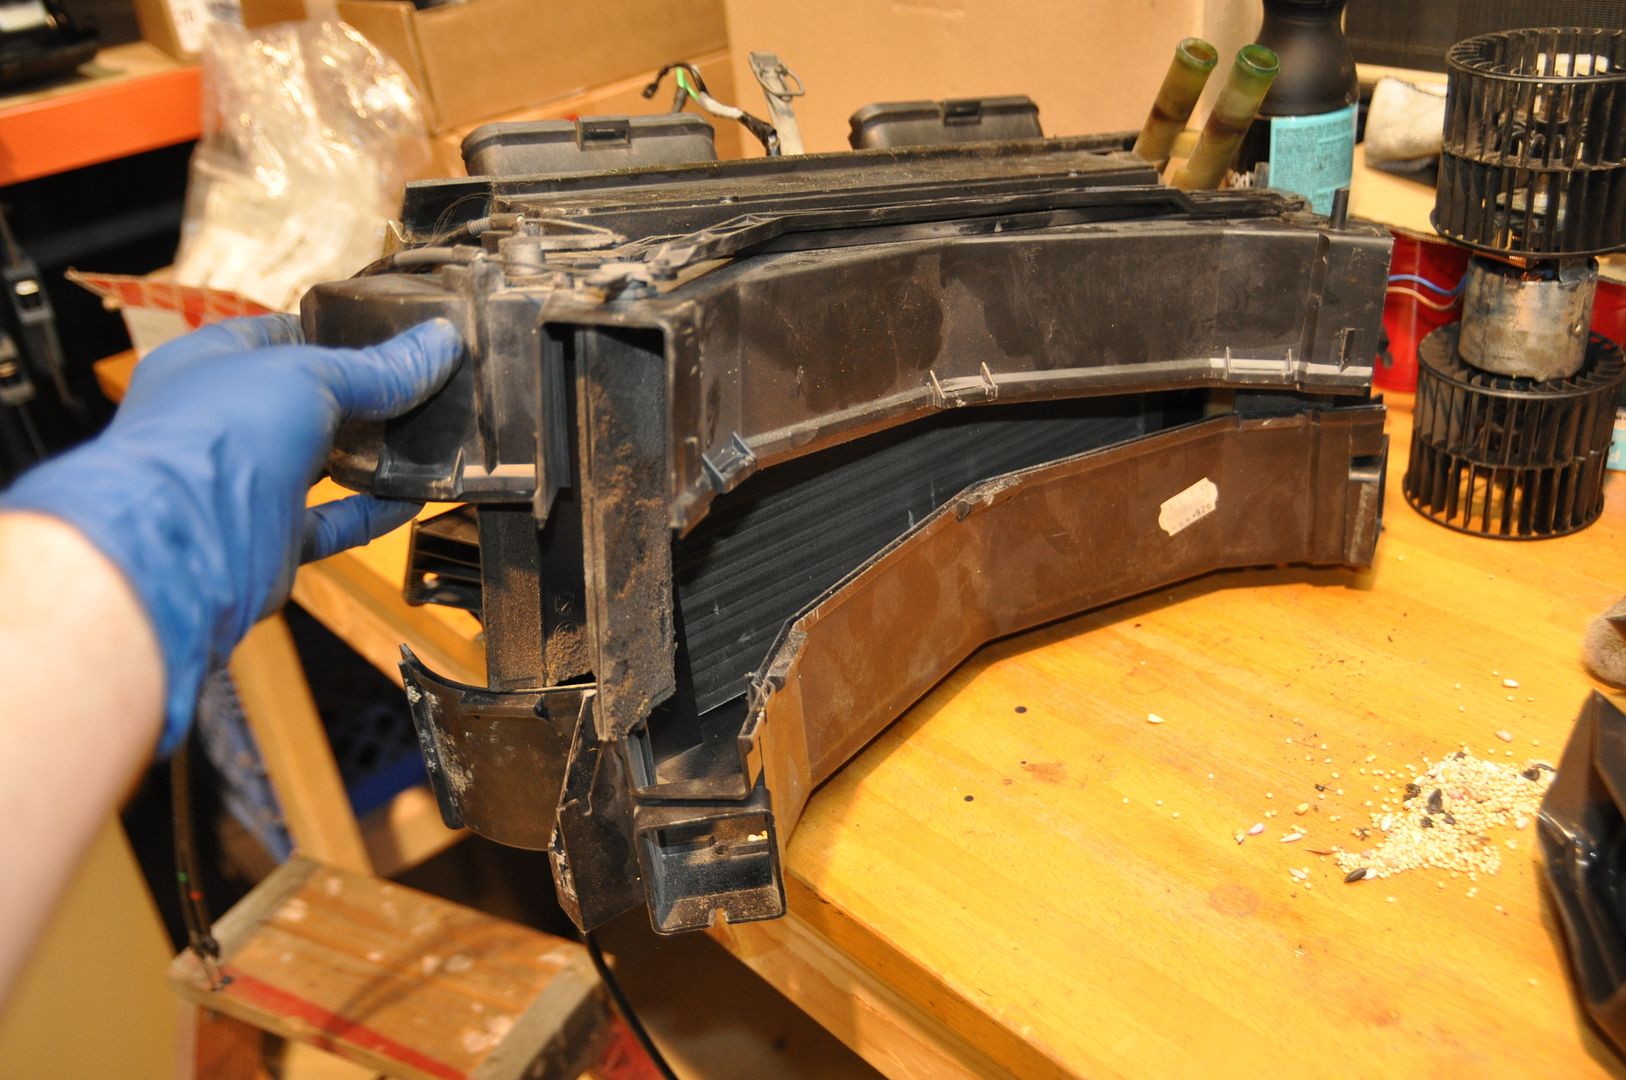
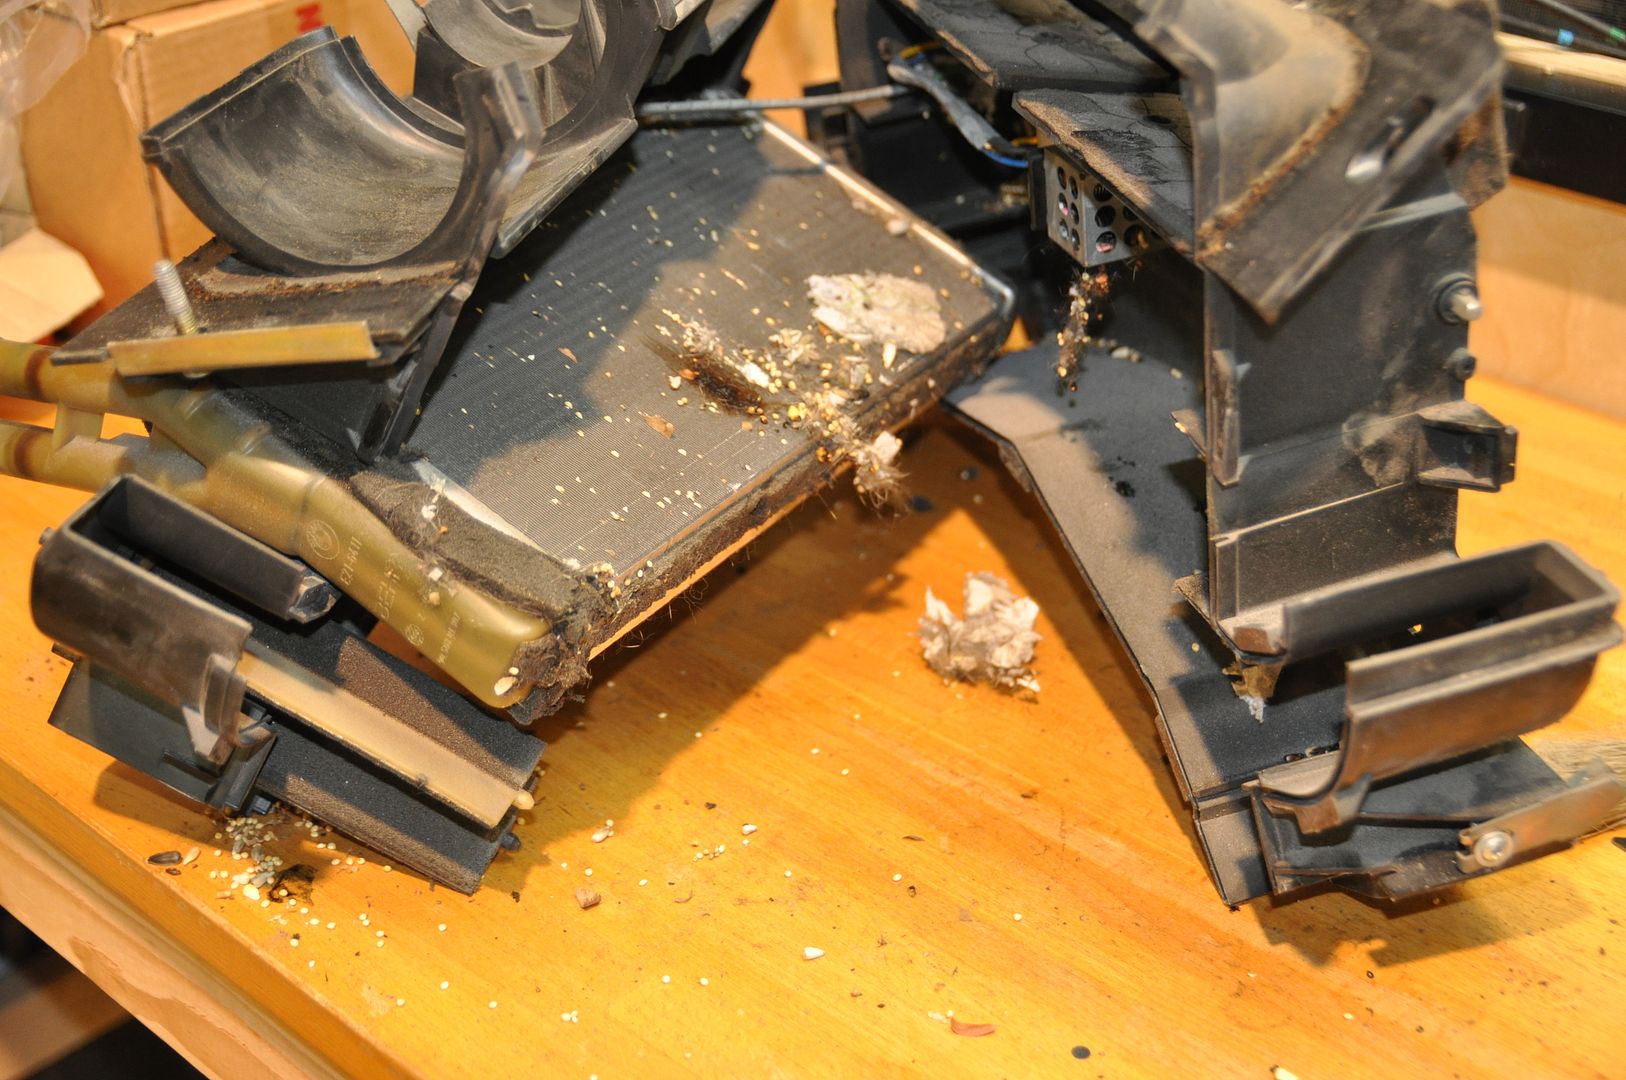
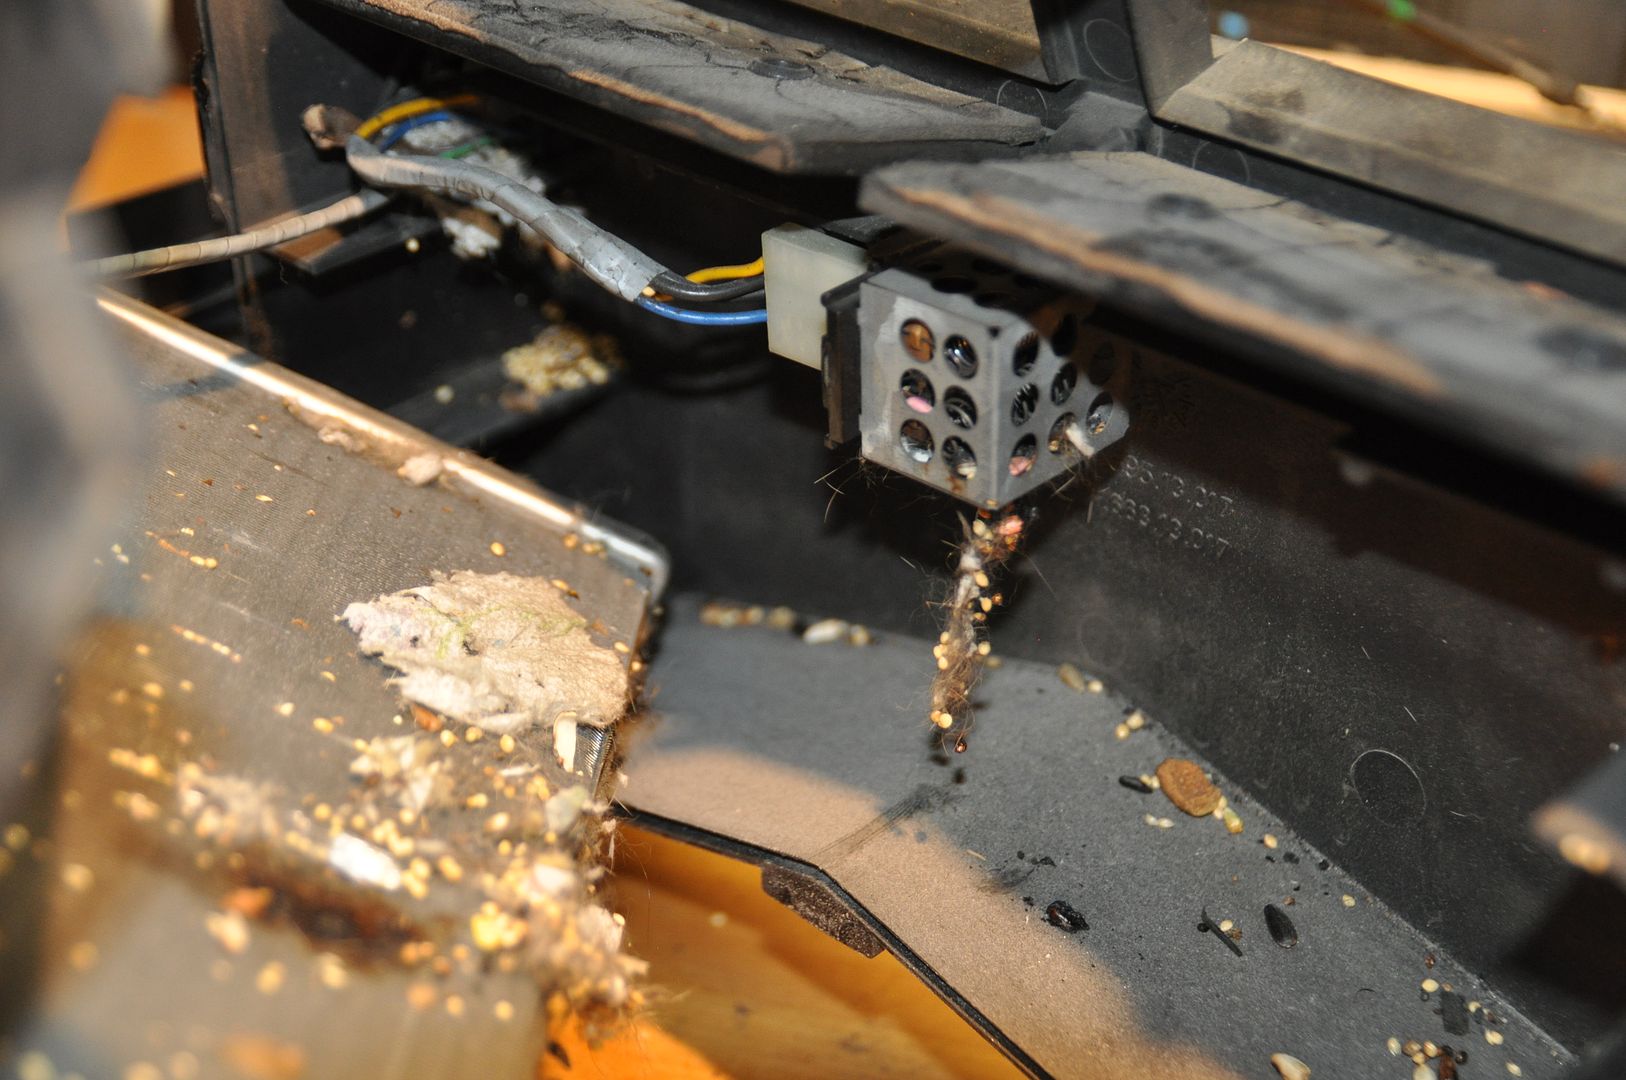
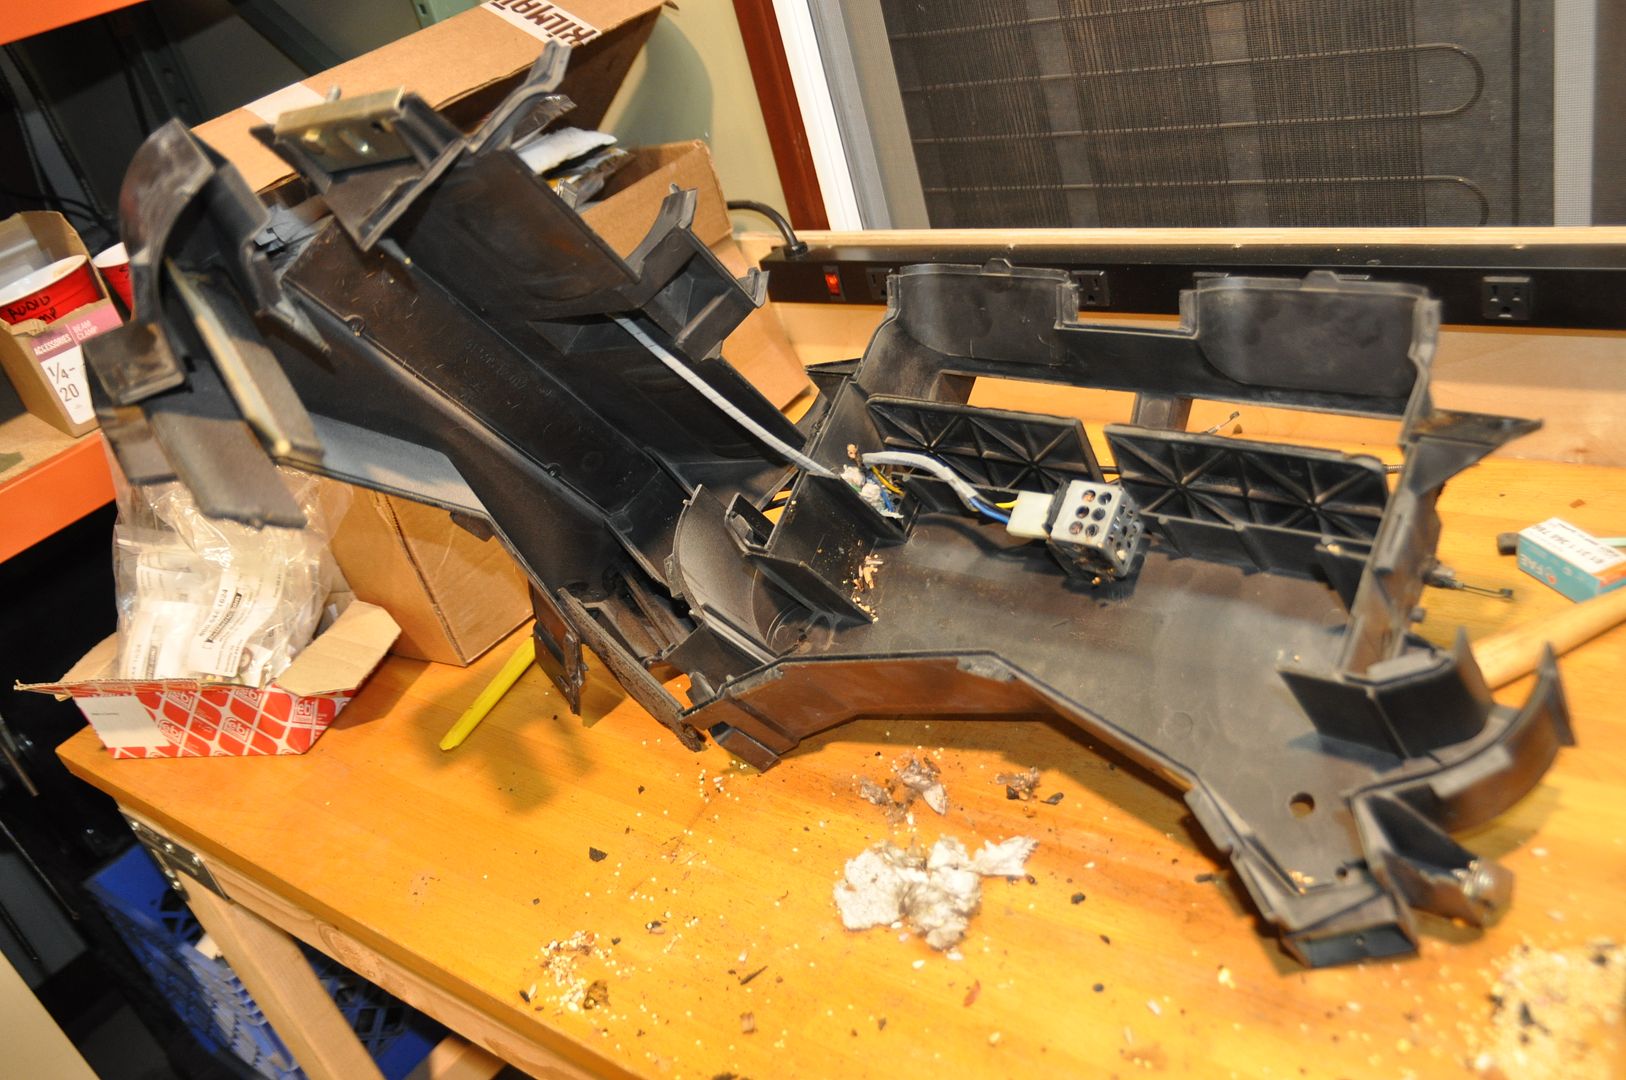
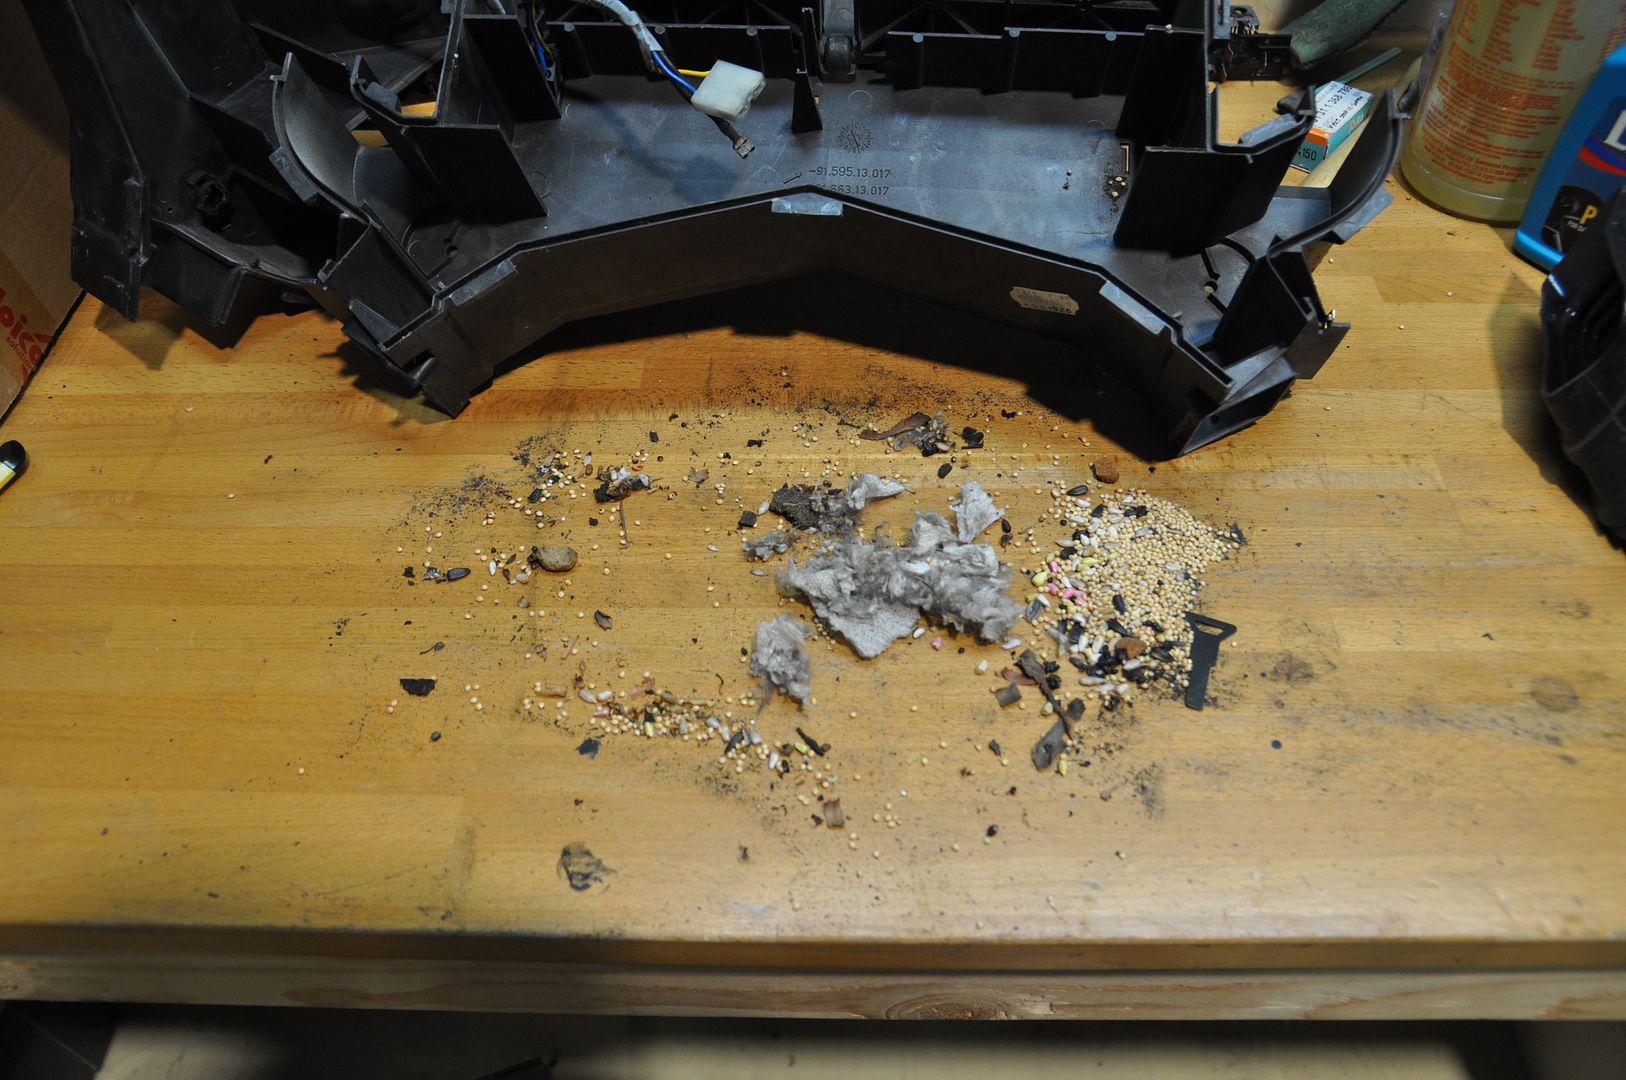
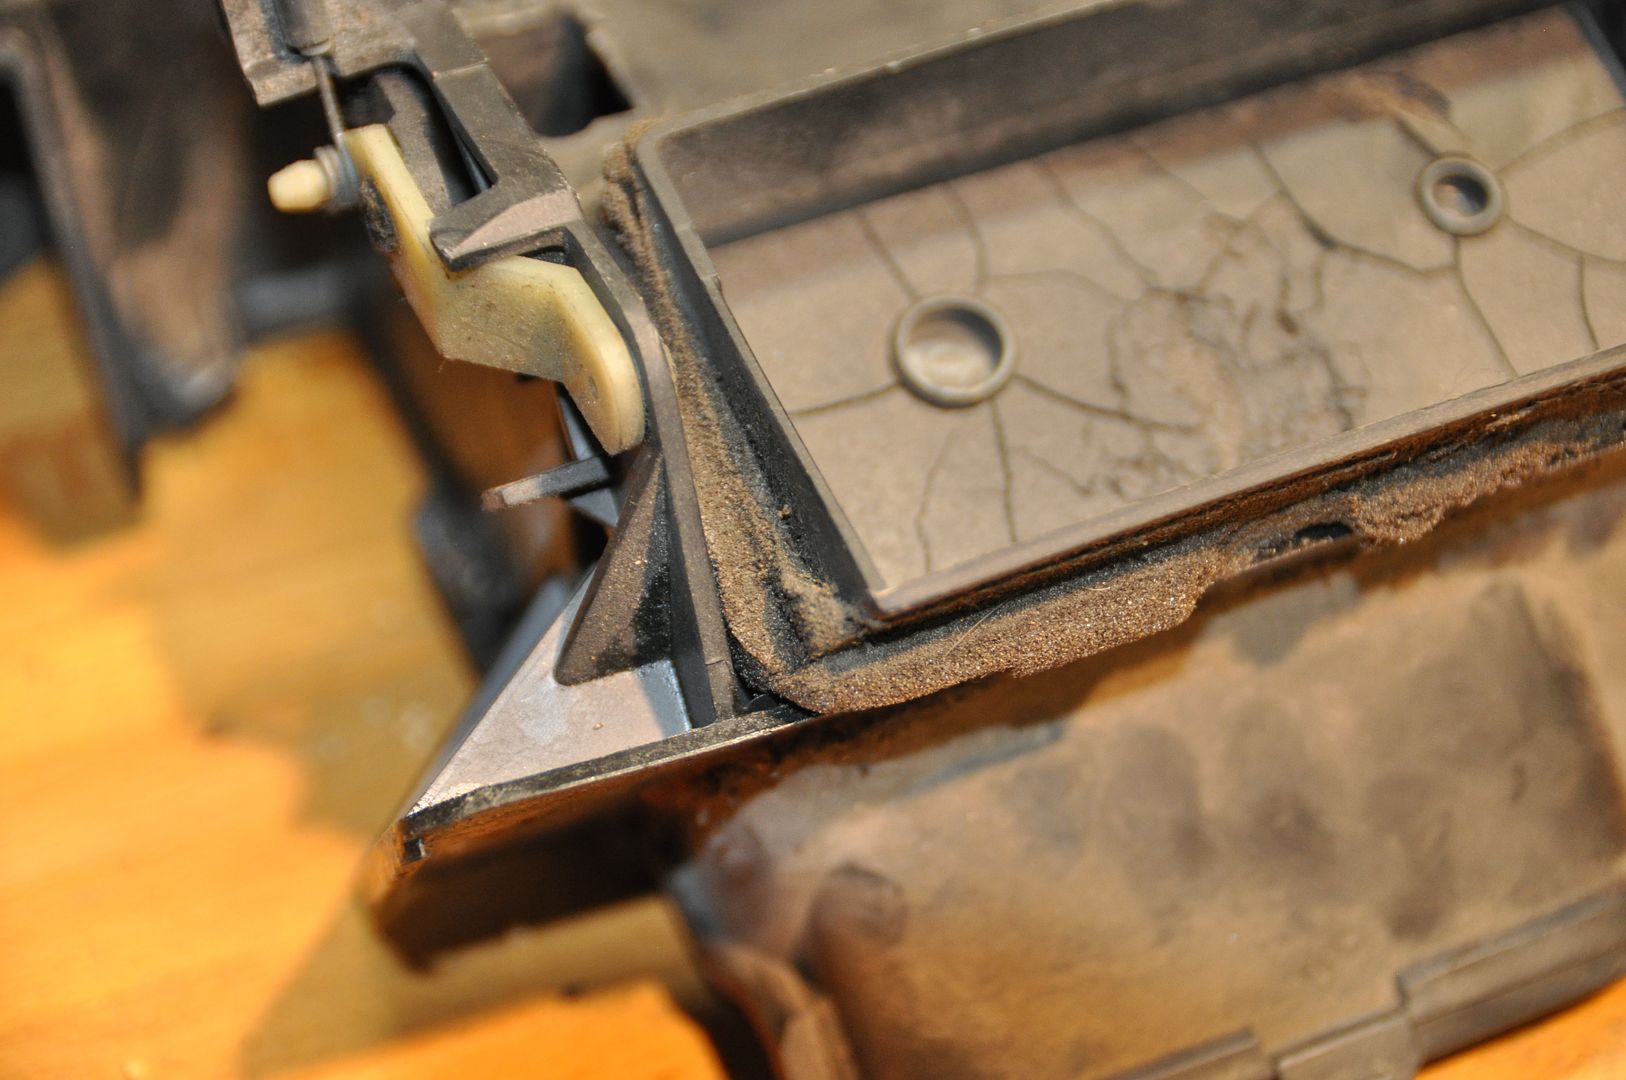
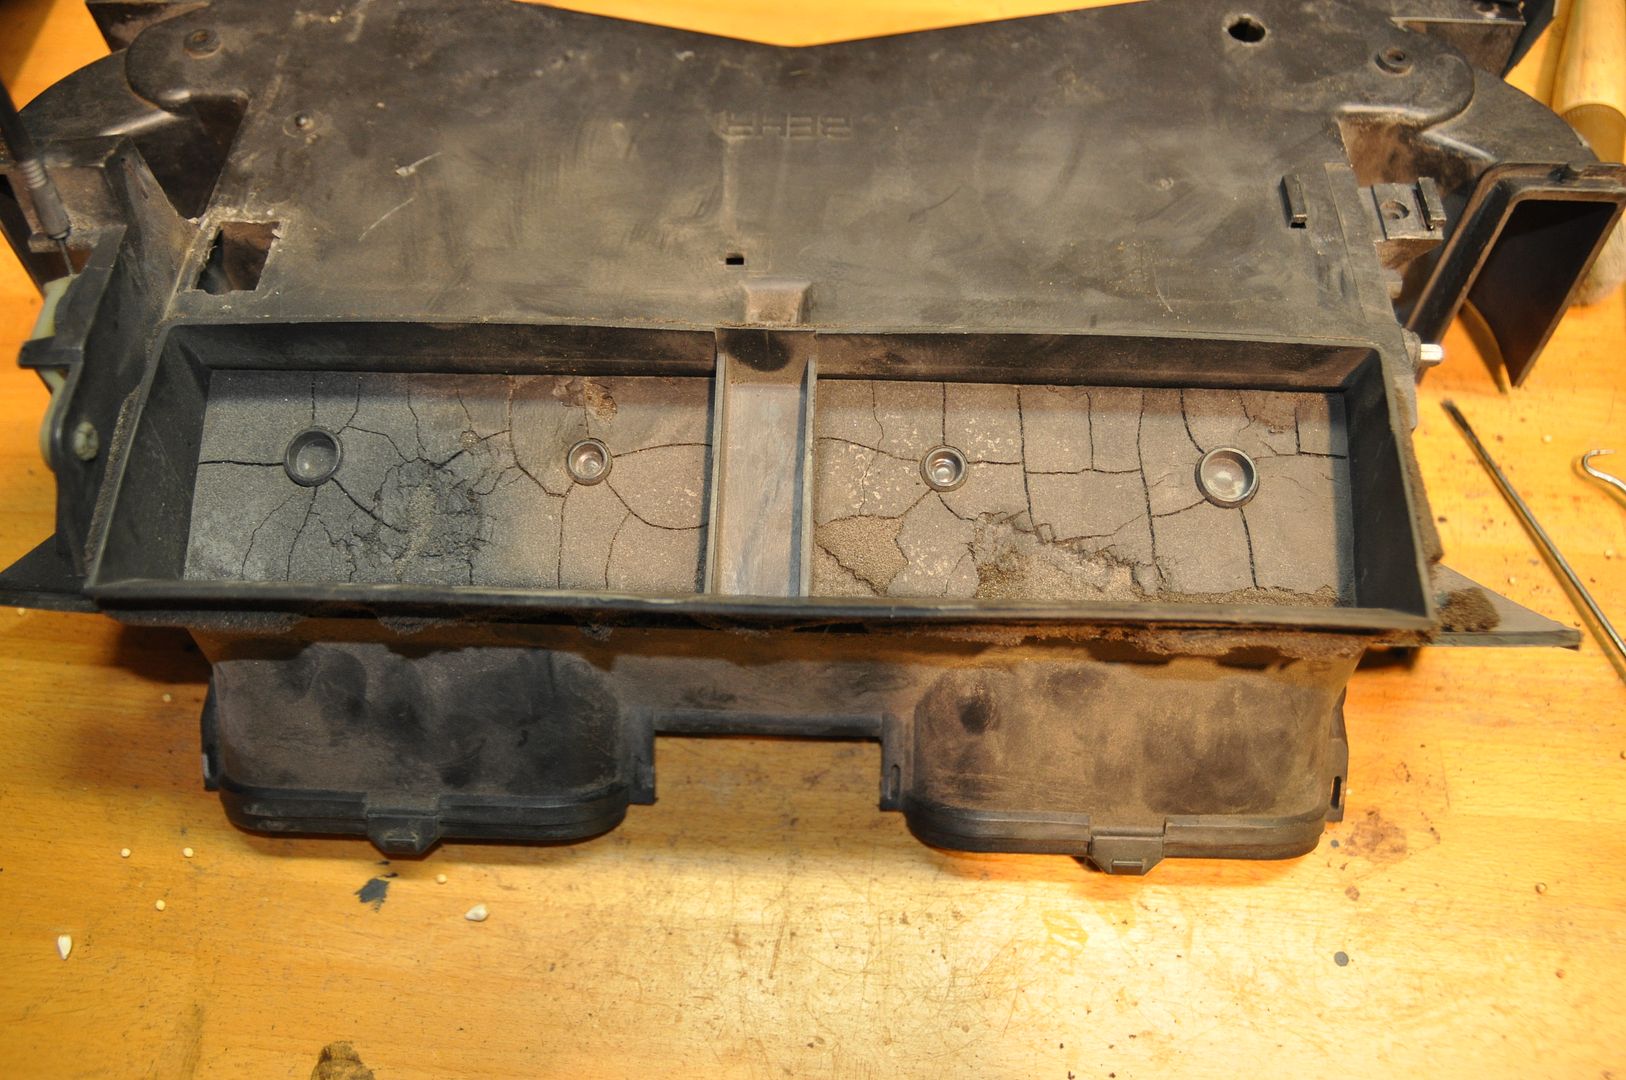
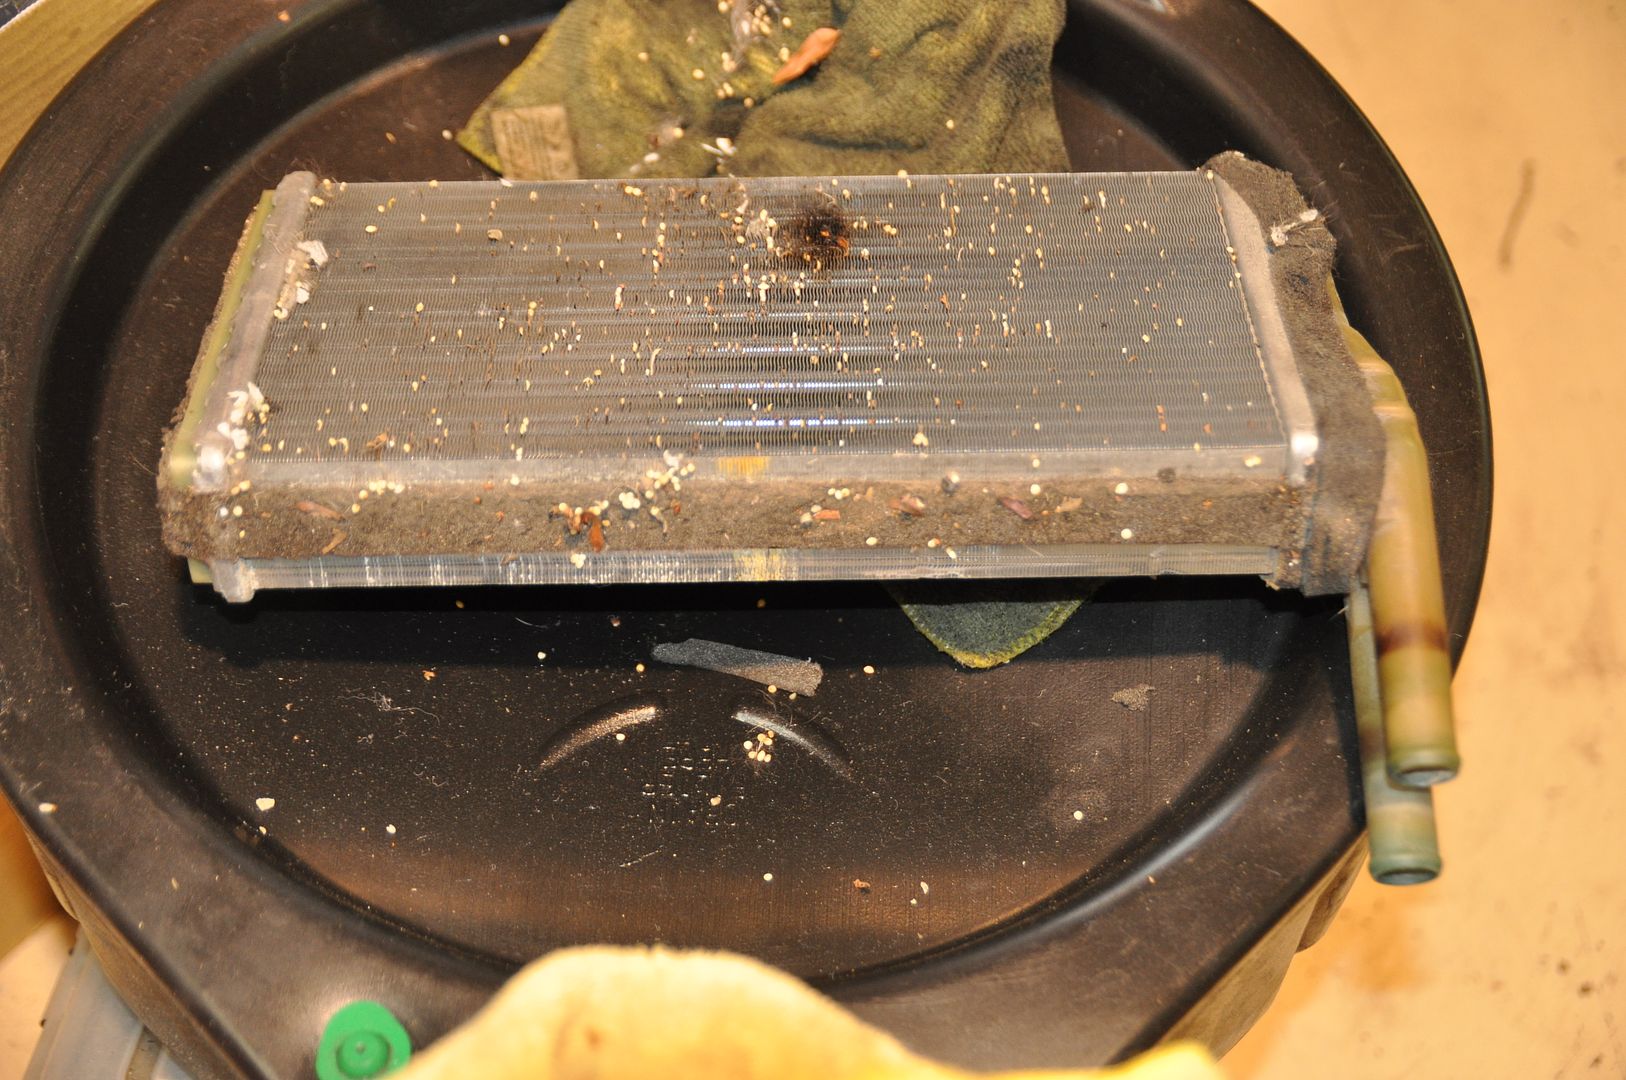
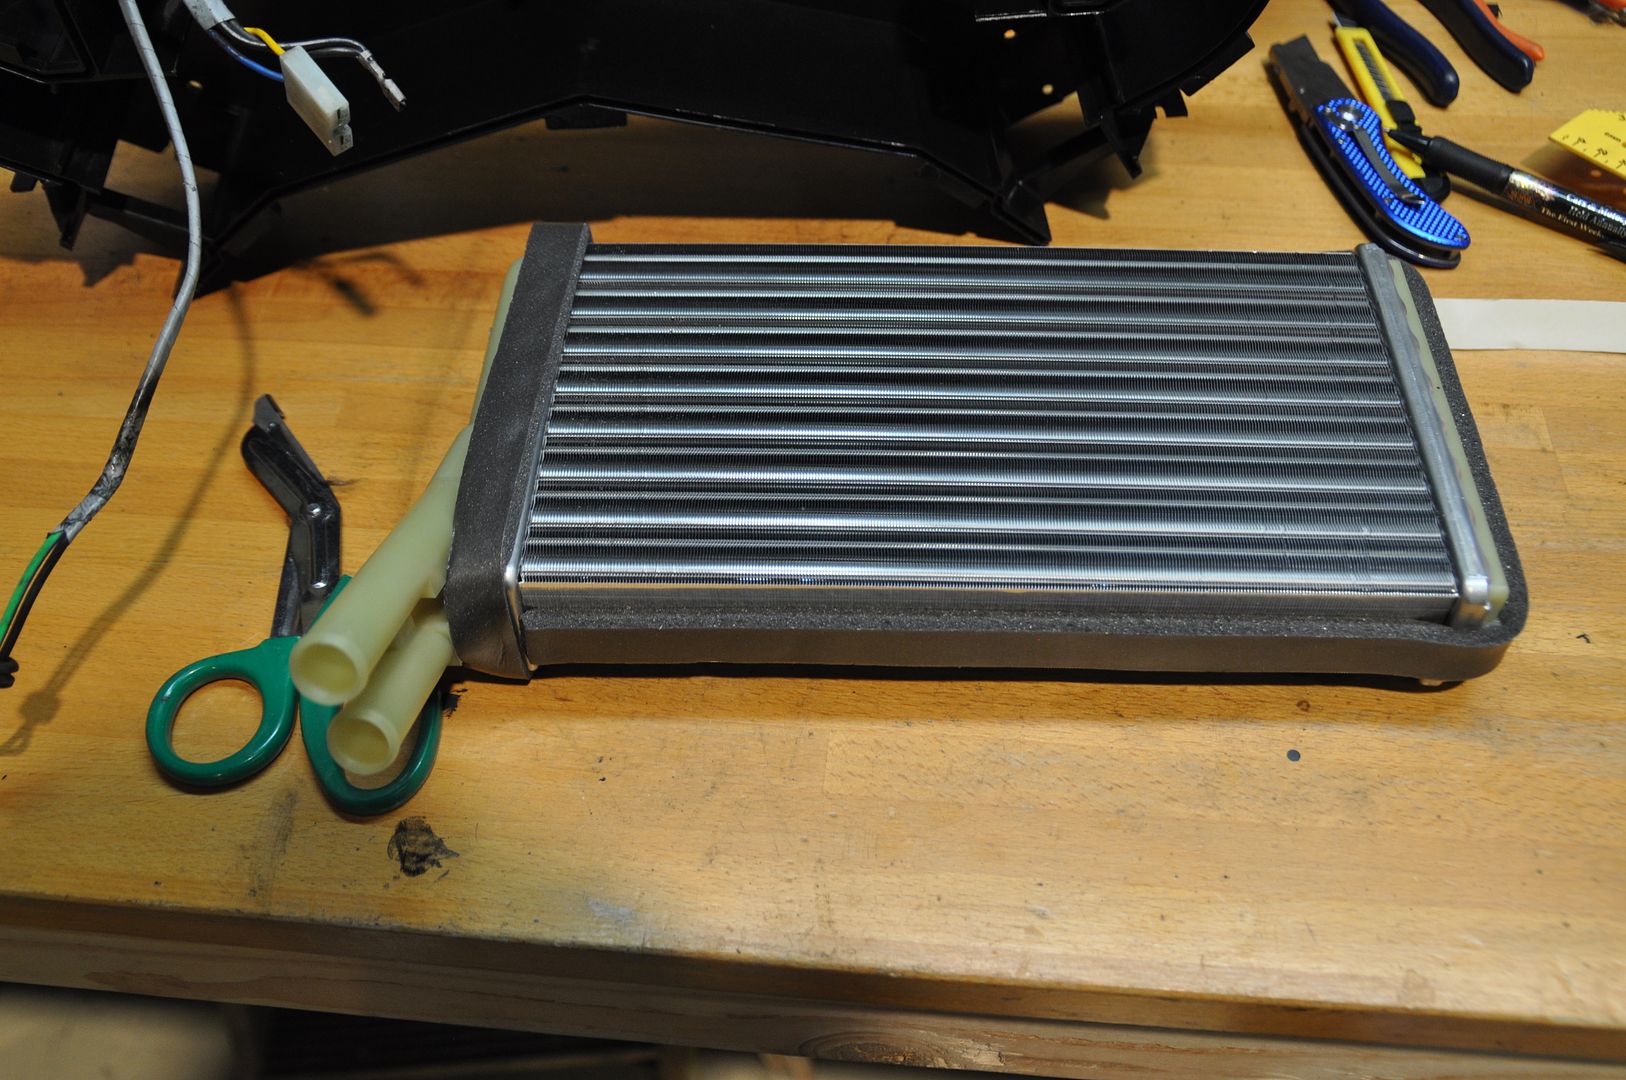
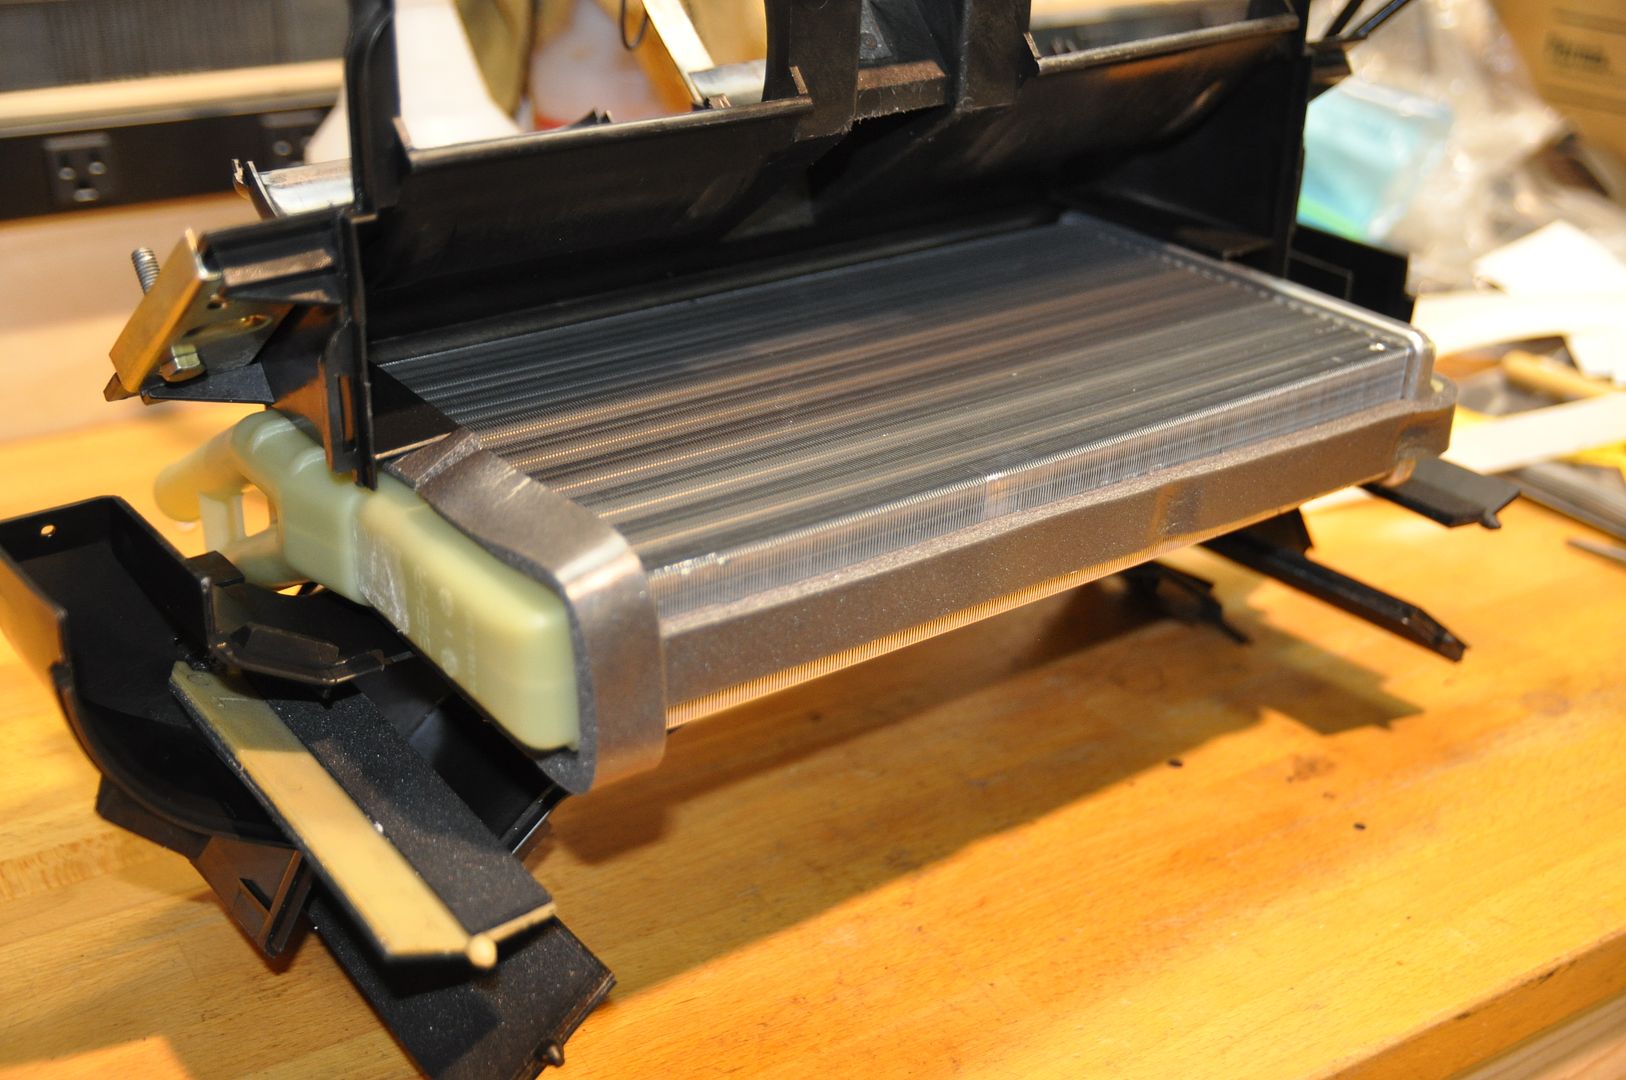
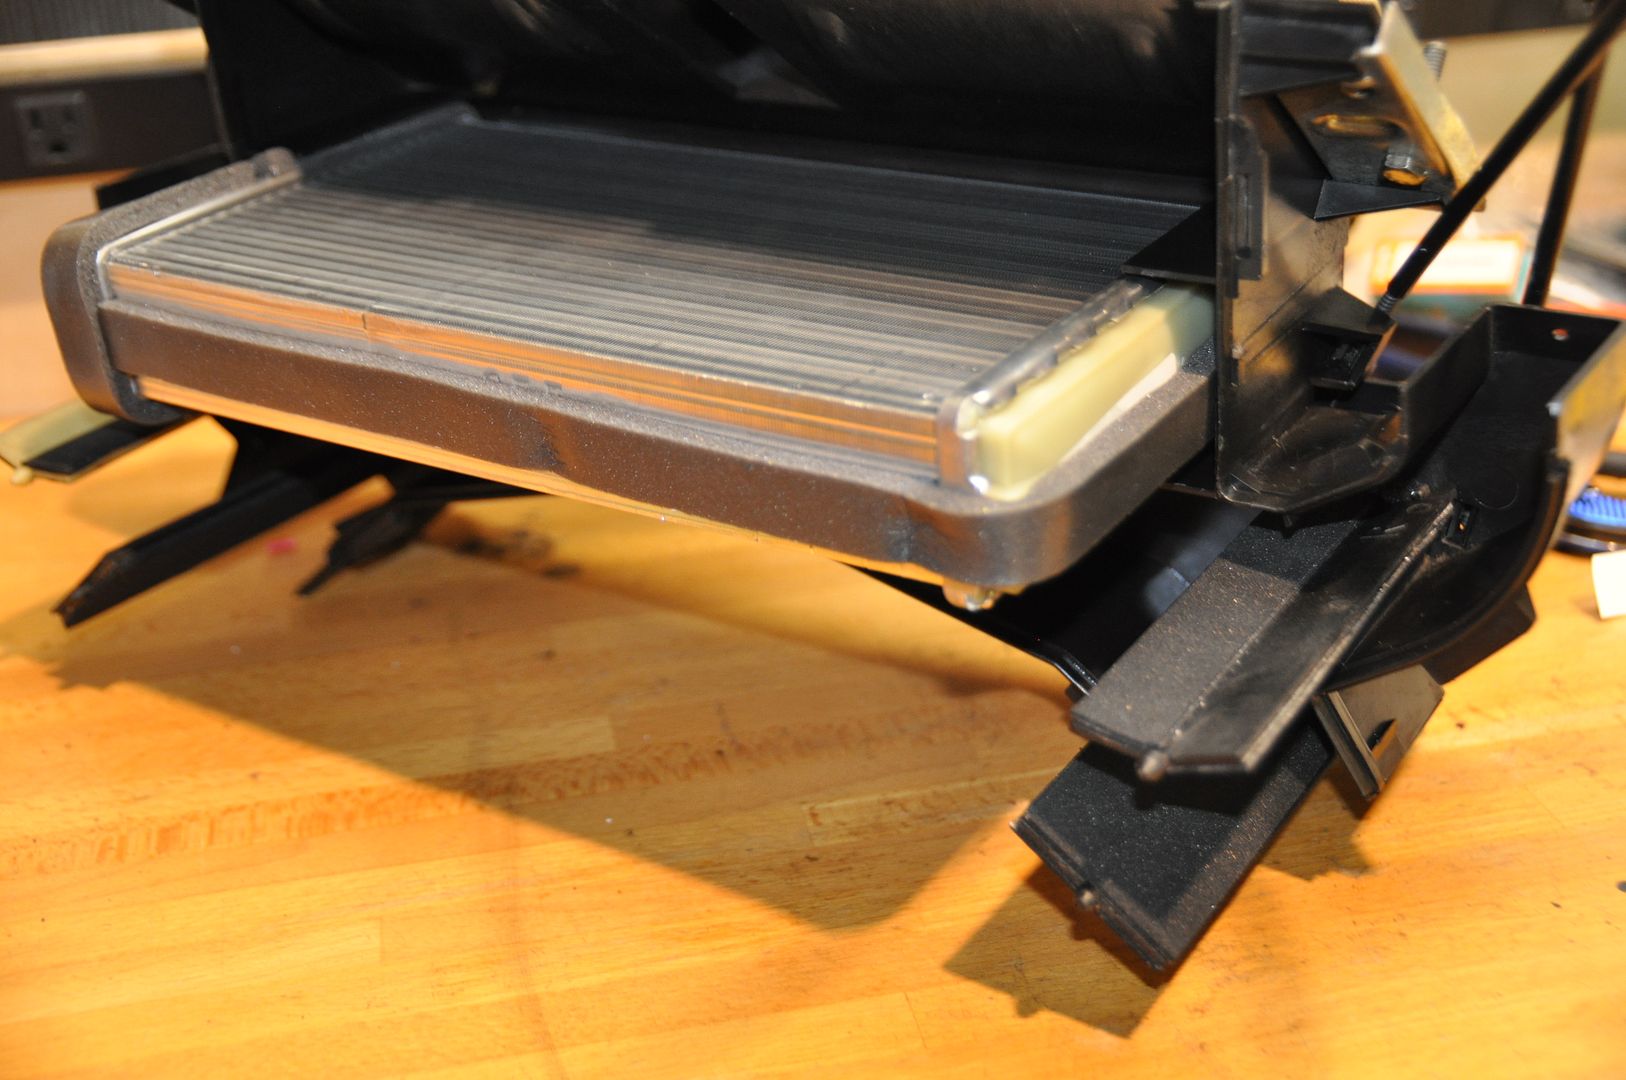
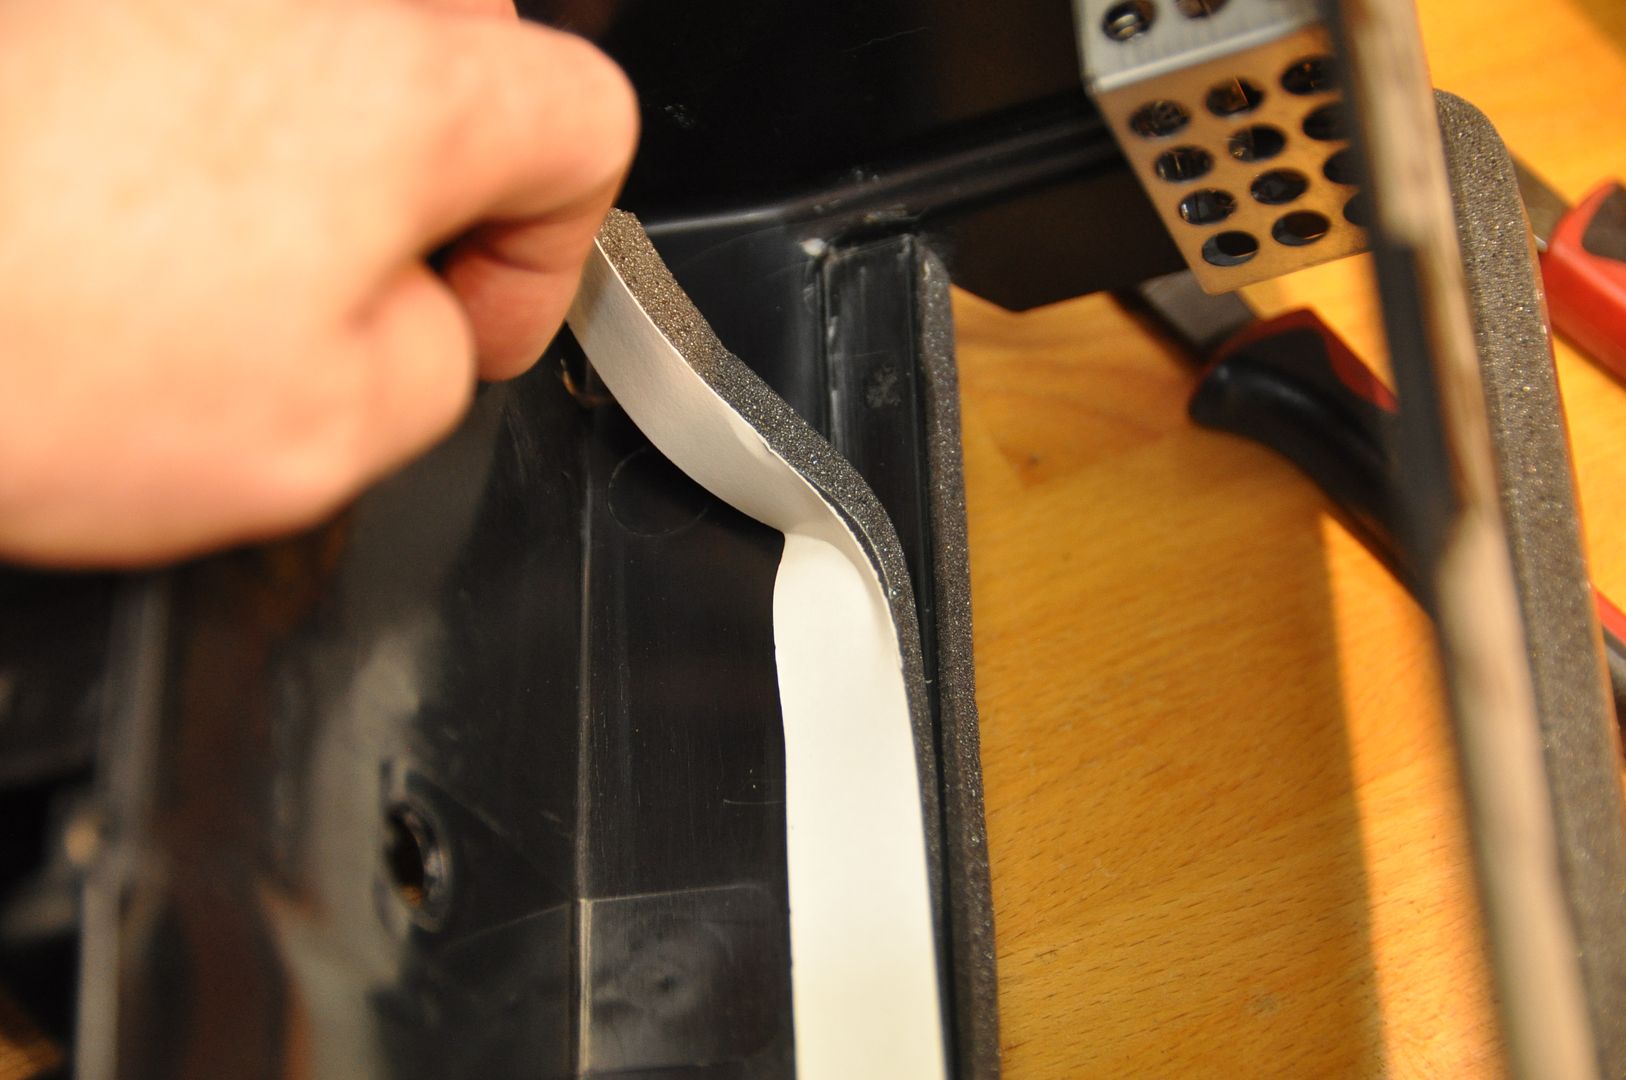
Cleaning and treating the box components were followed by refreshing the foam pieces along with prepping the new Heater Core:
These were a PITA to get cleaned up:
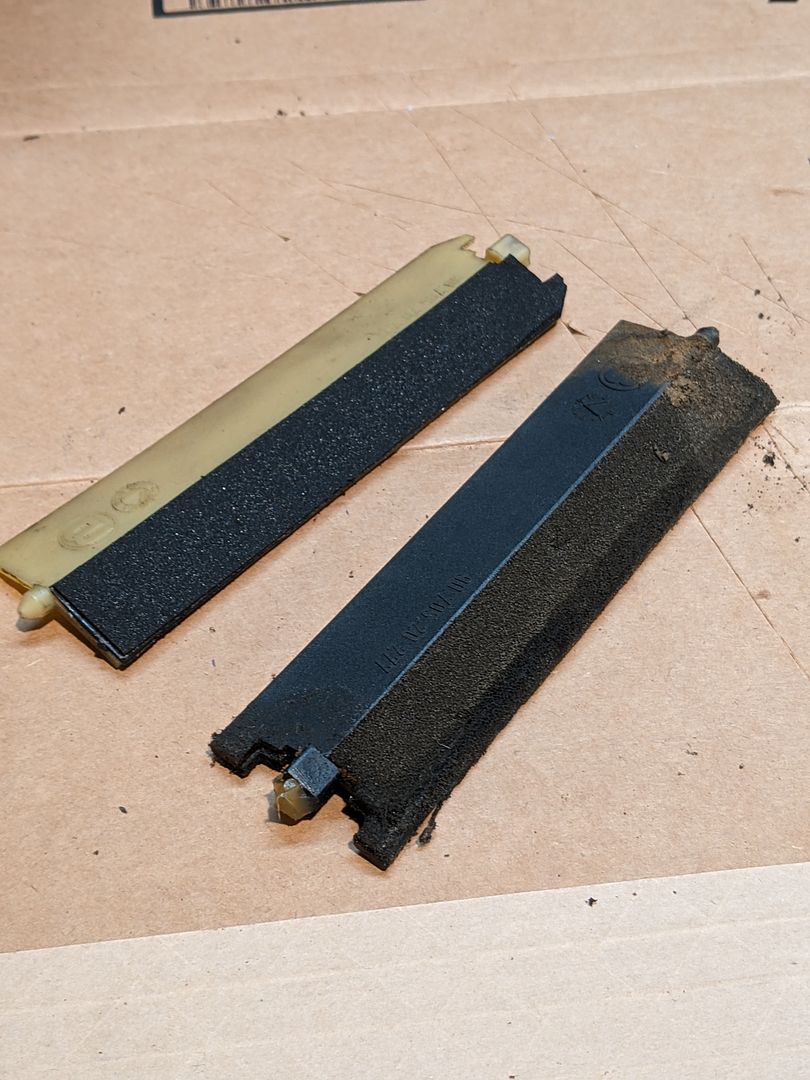
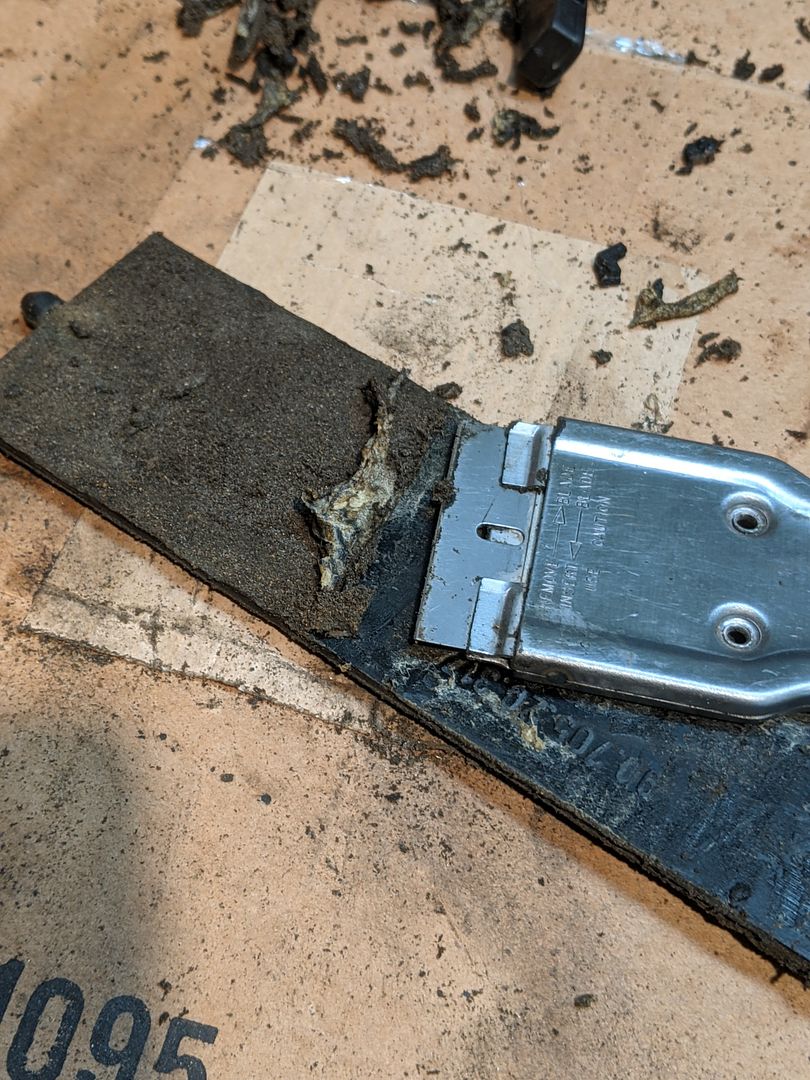
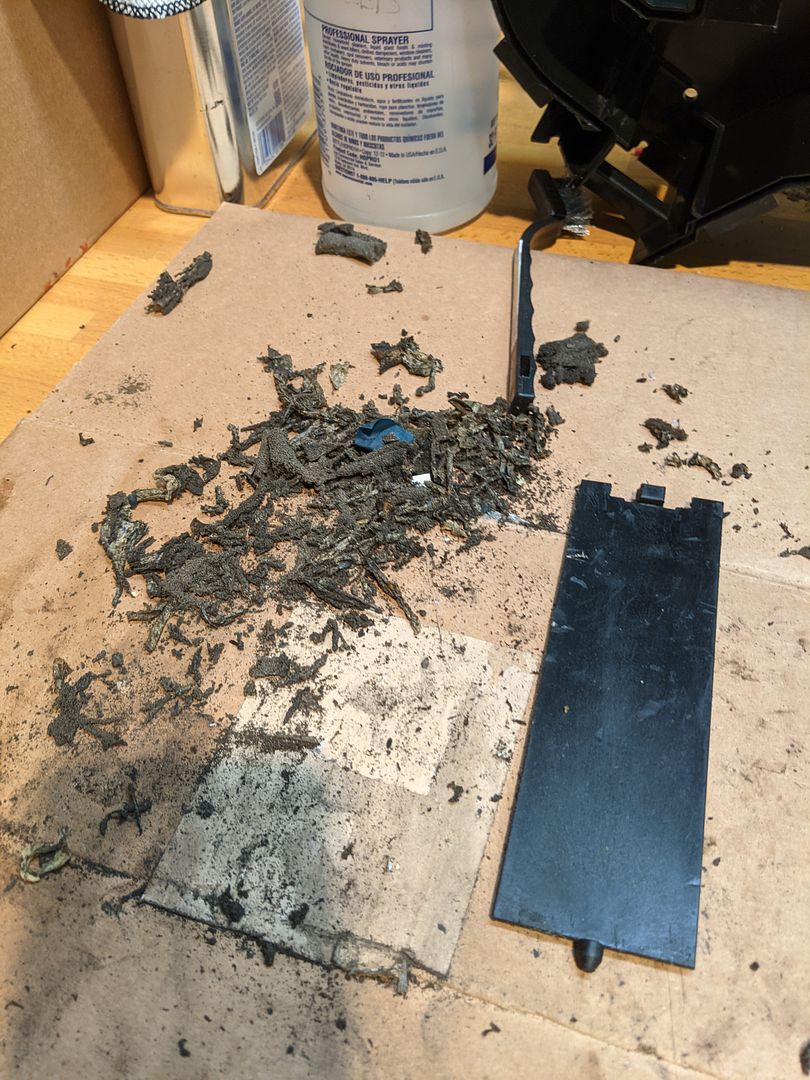
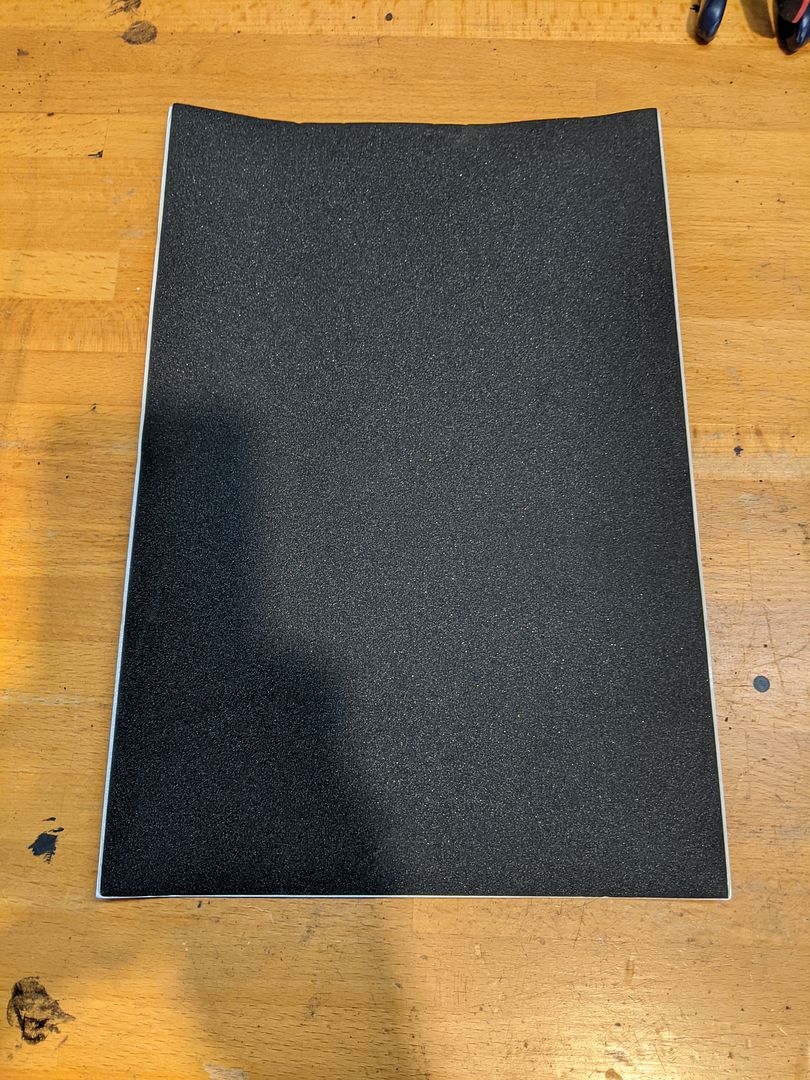
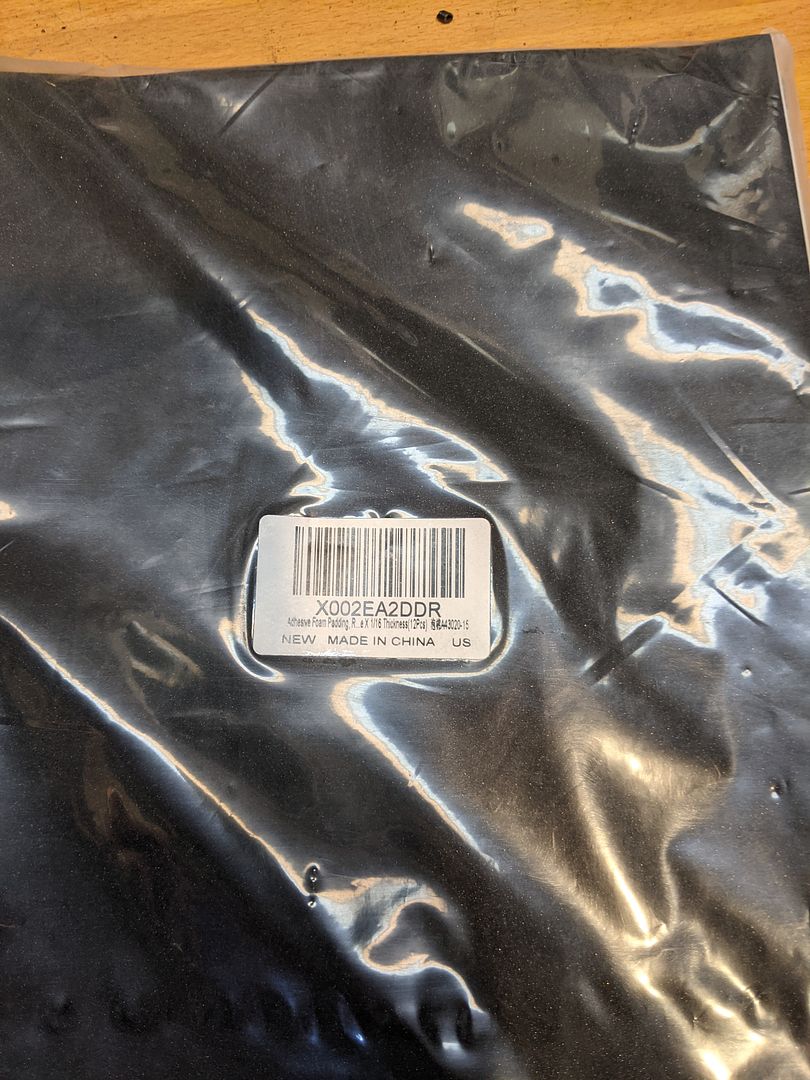
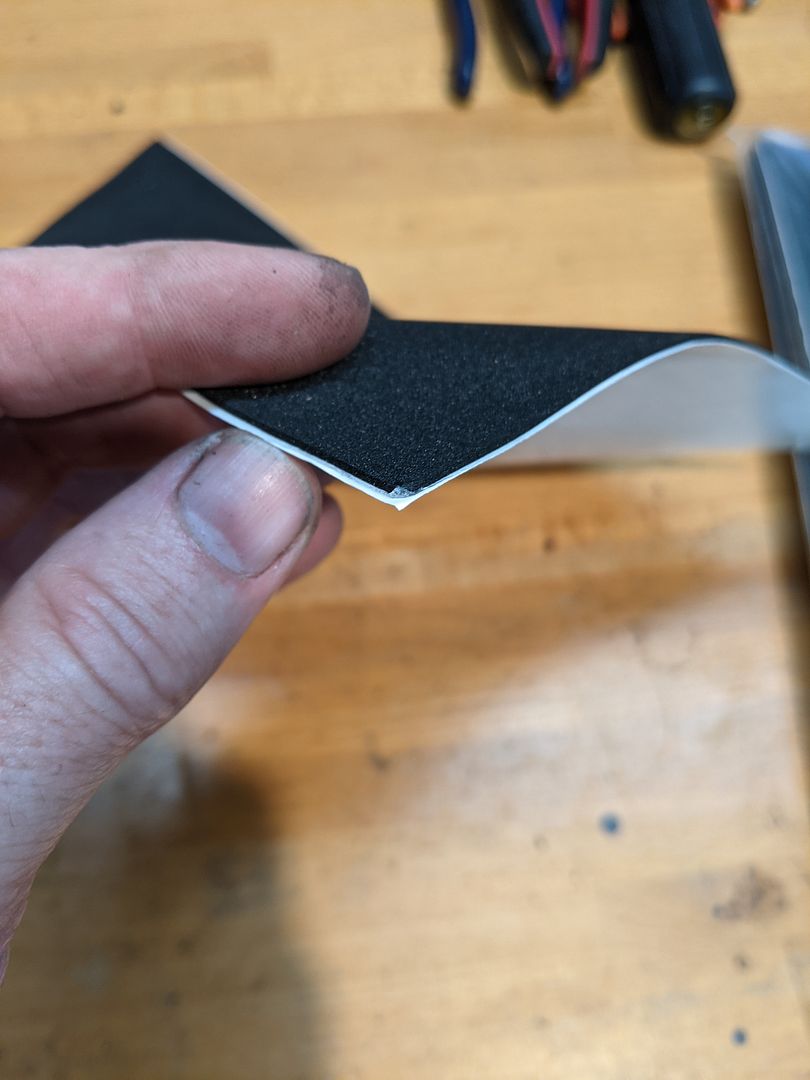
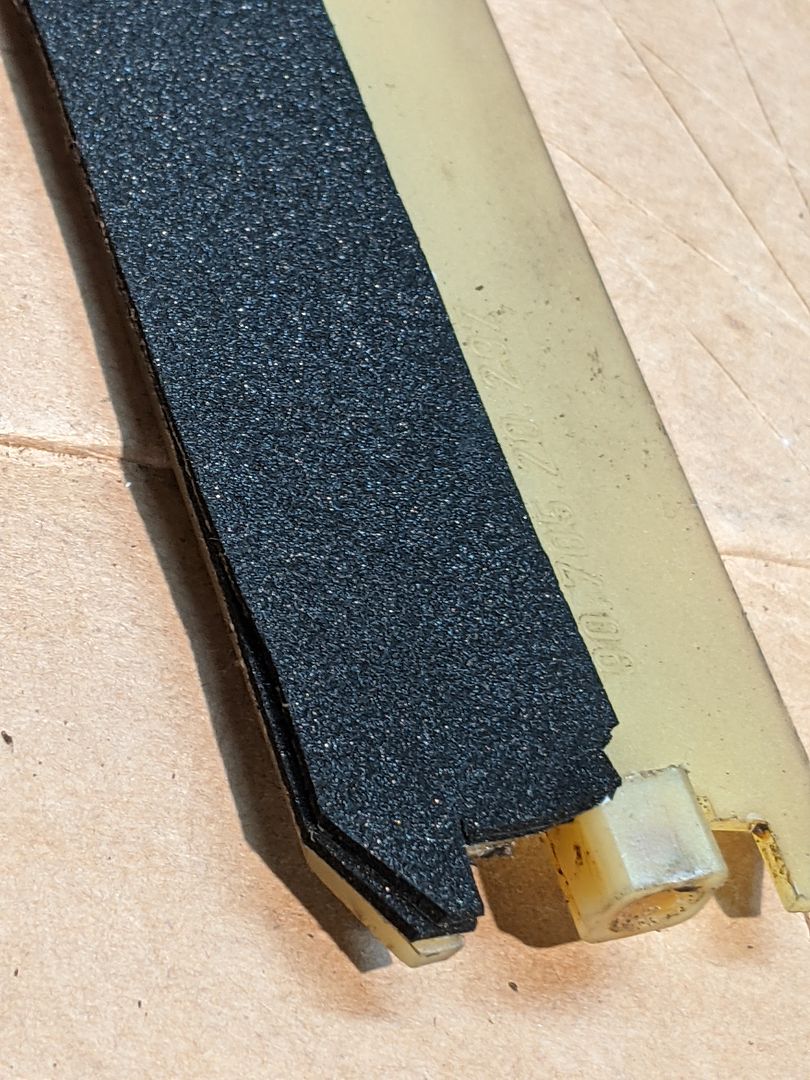
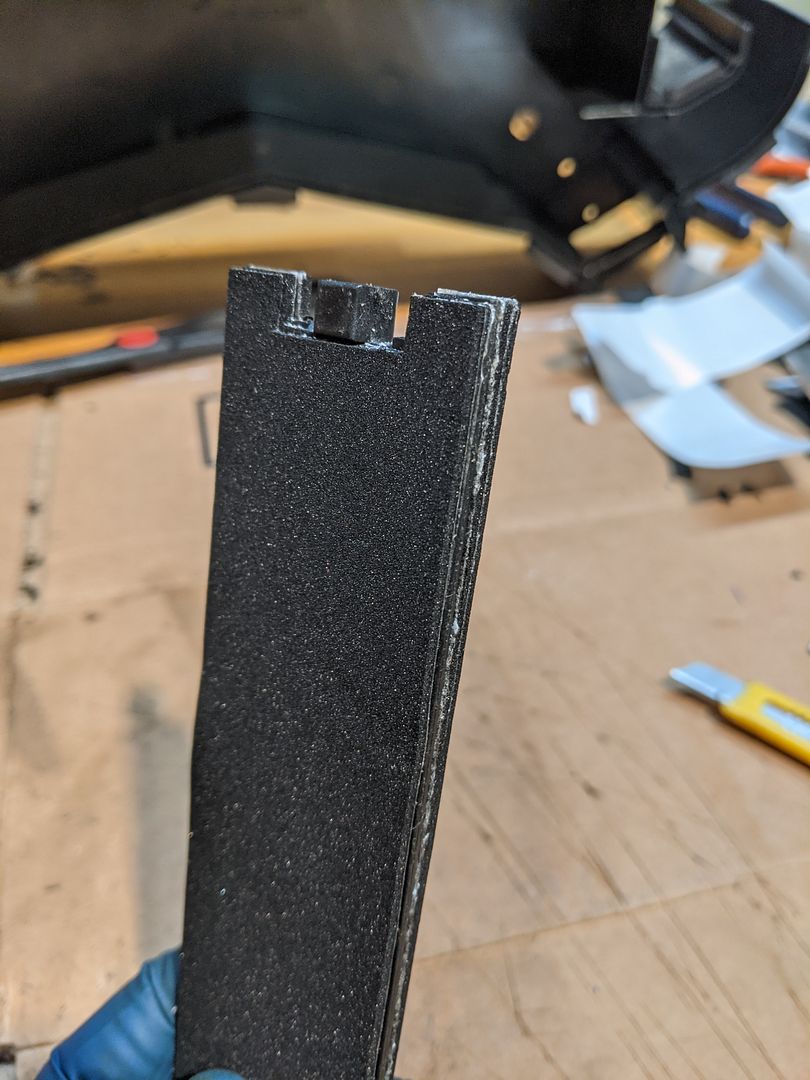
I found this really thin and dense foam and put down two layers to duplicate the original foam on these flaps:
And don’t forget the control unit (I did the first time which prompted me to have to remove the whole thing, disassemble and do the re-install all over again):
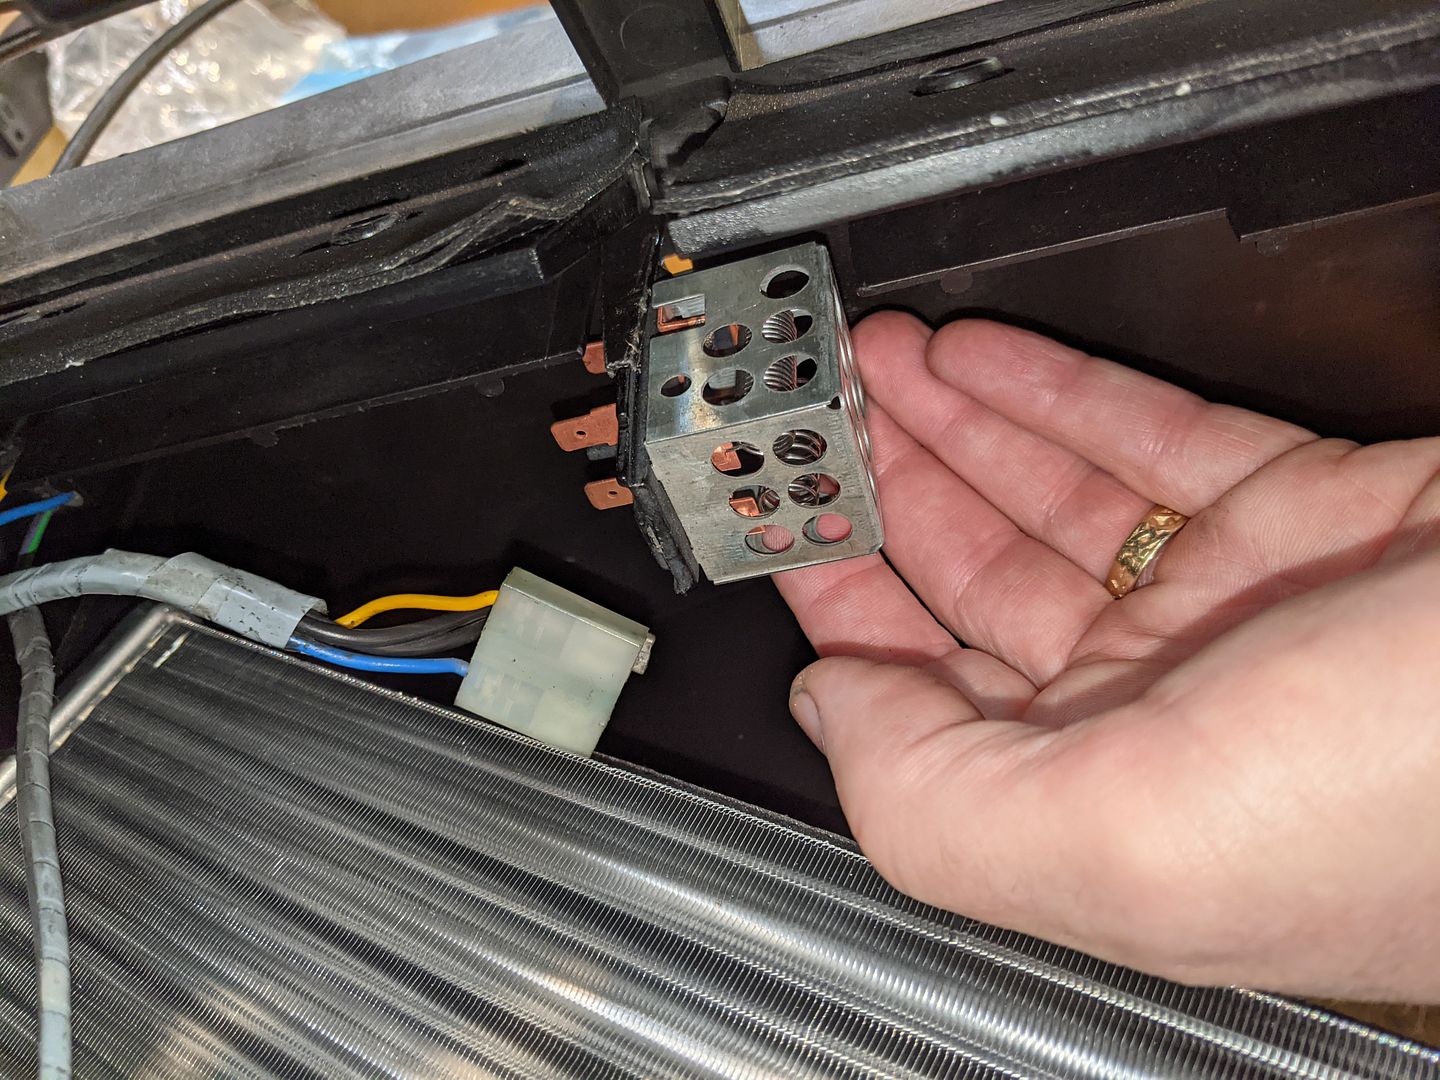
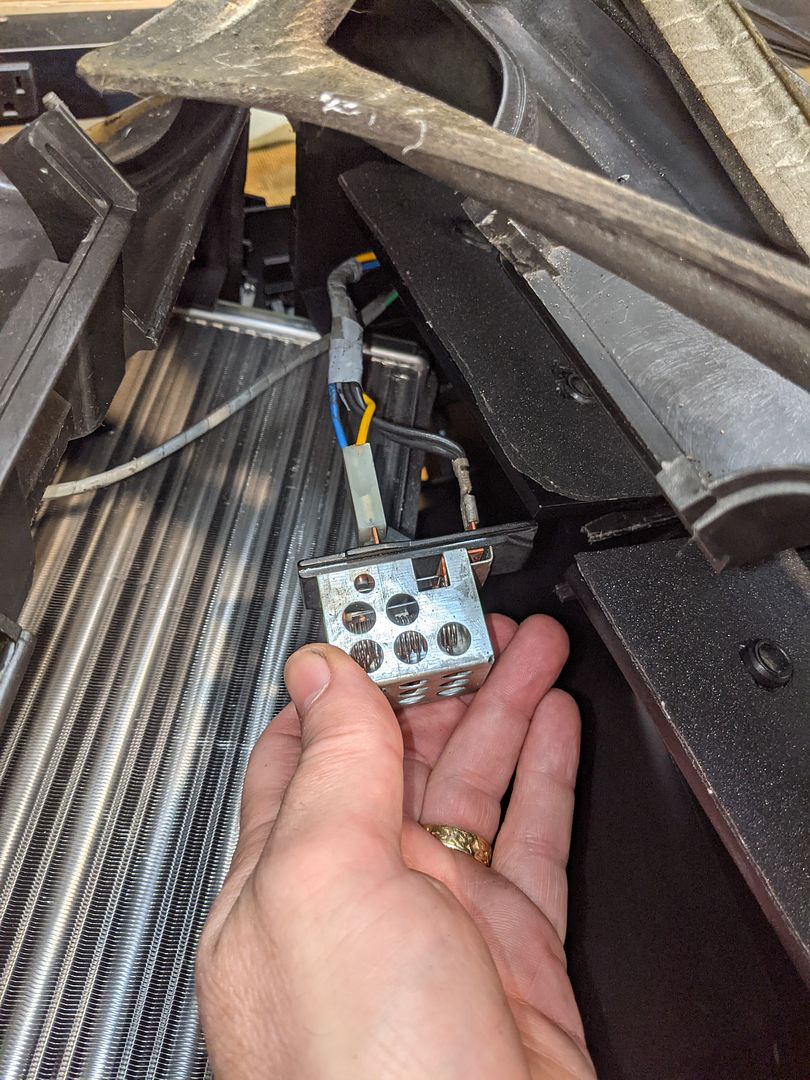
Final product ready for re-installation:
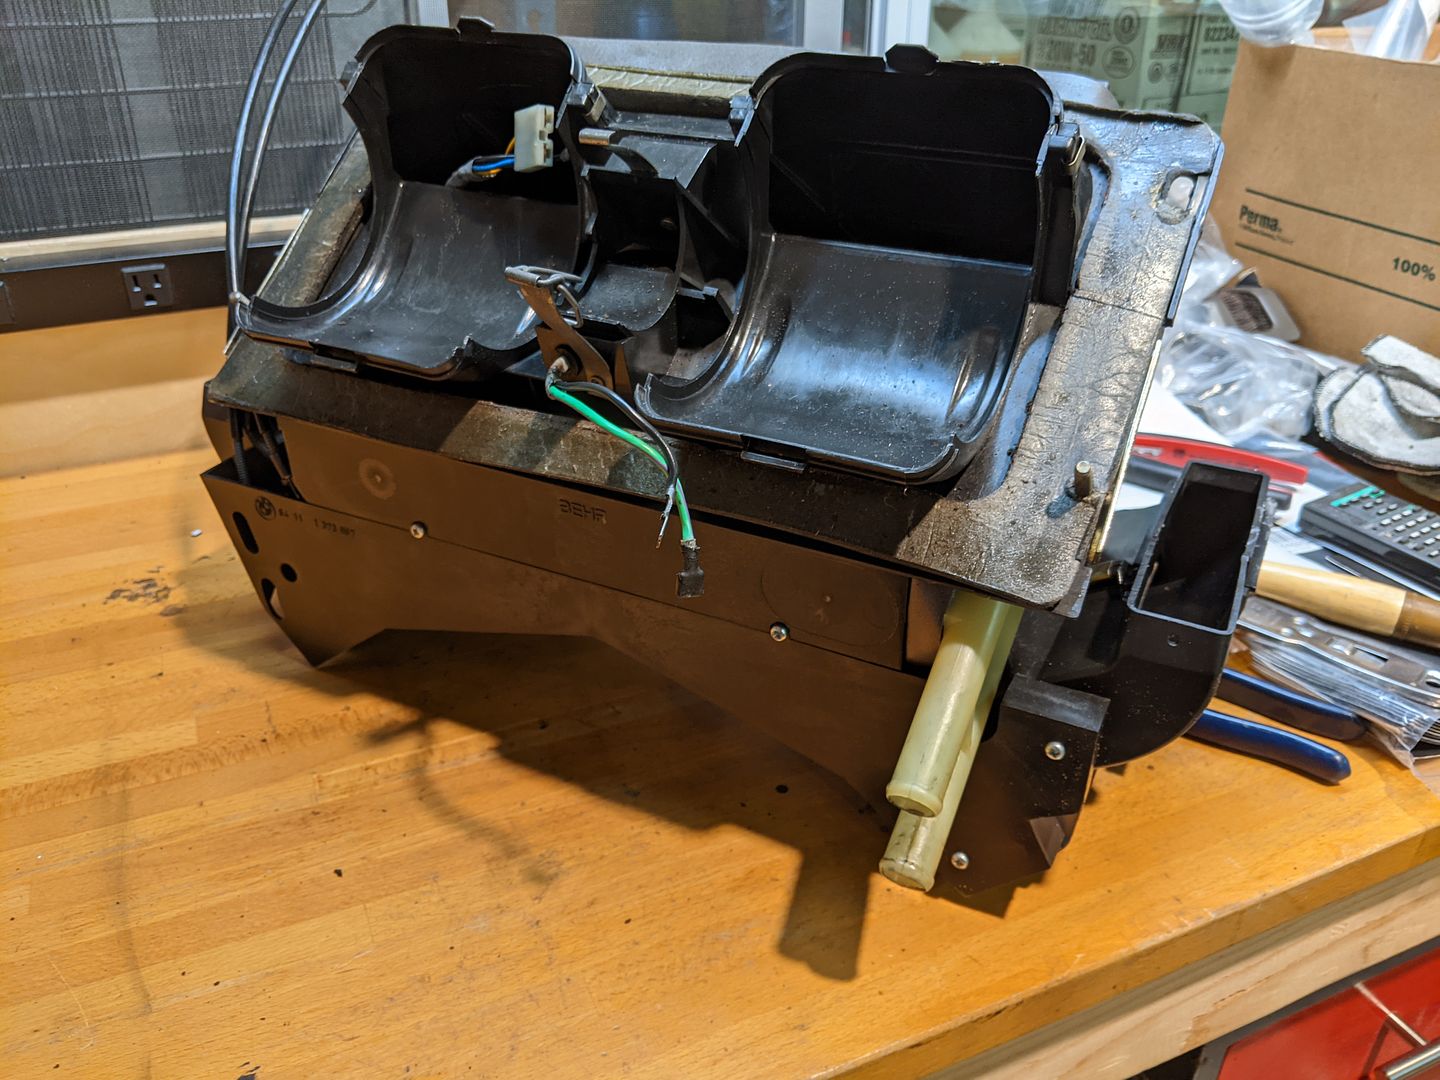
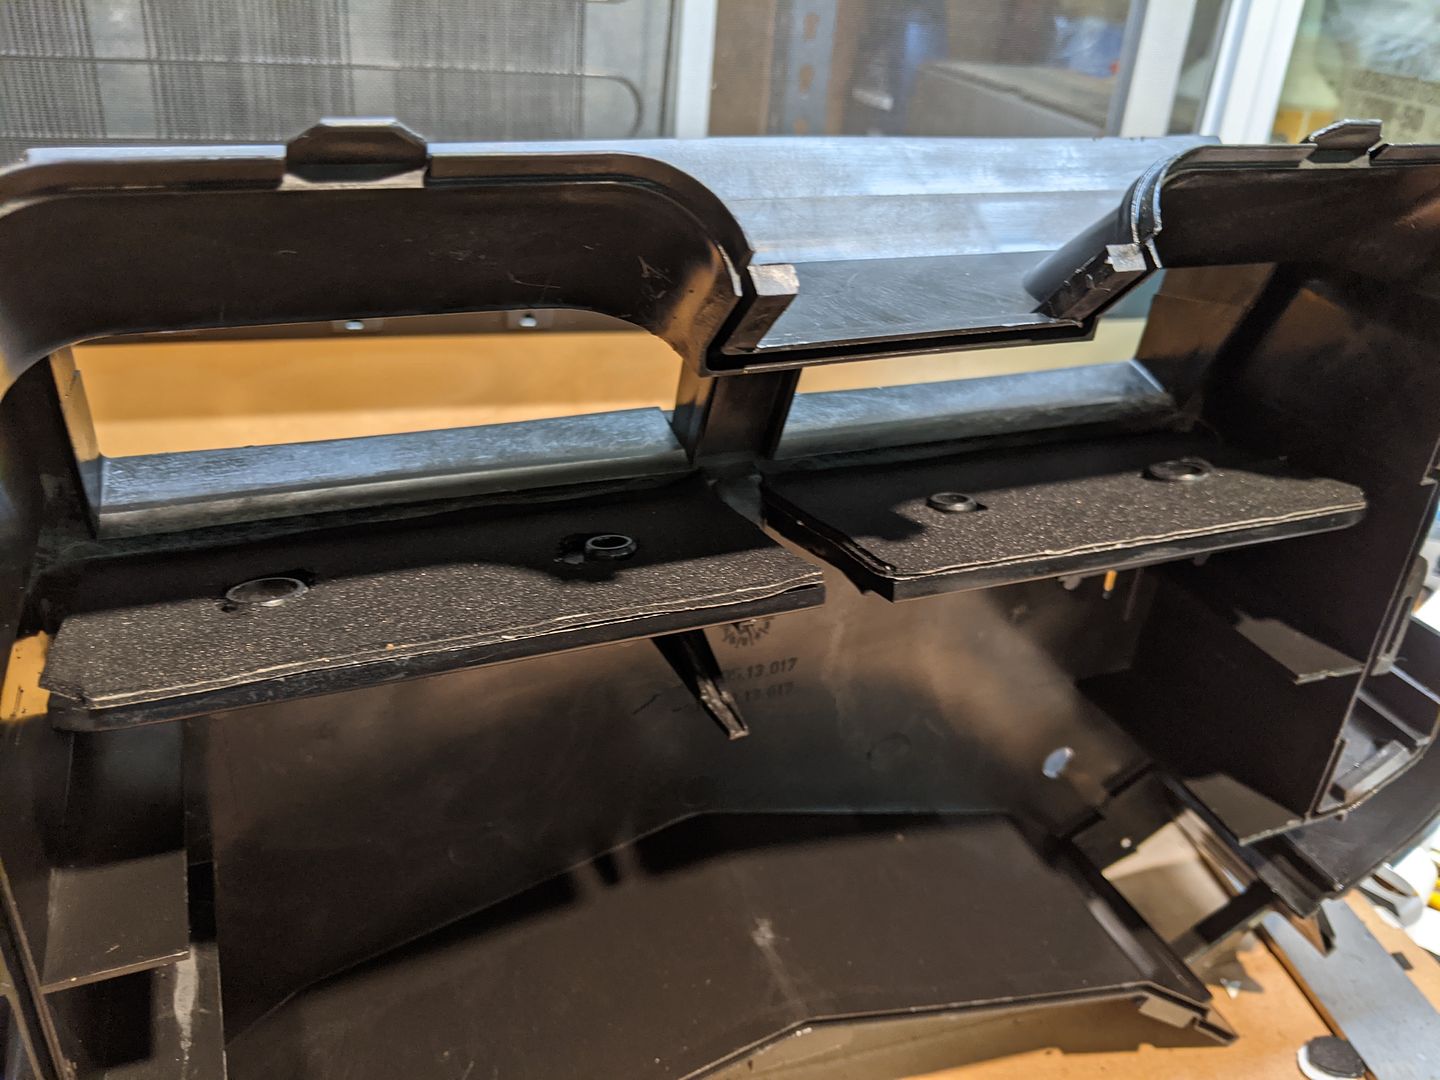
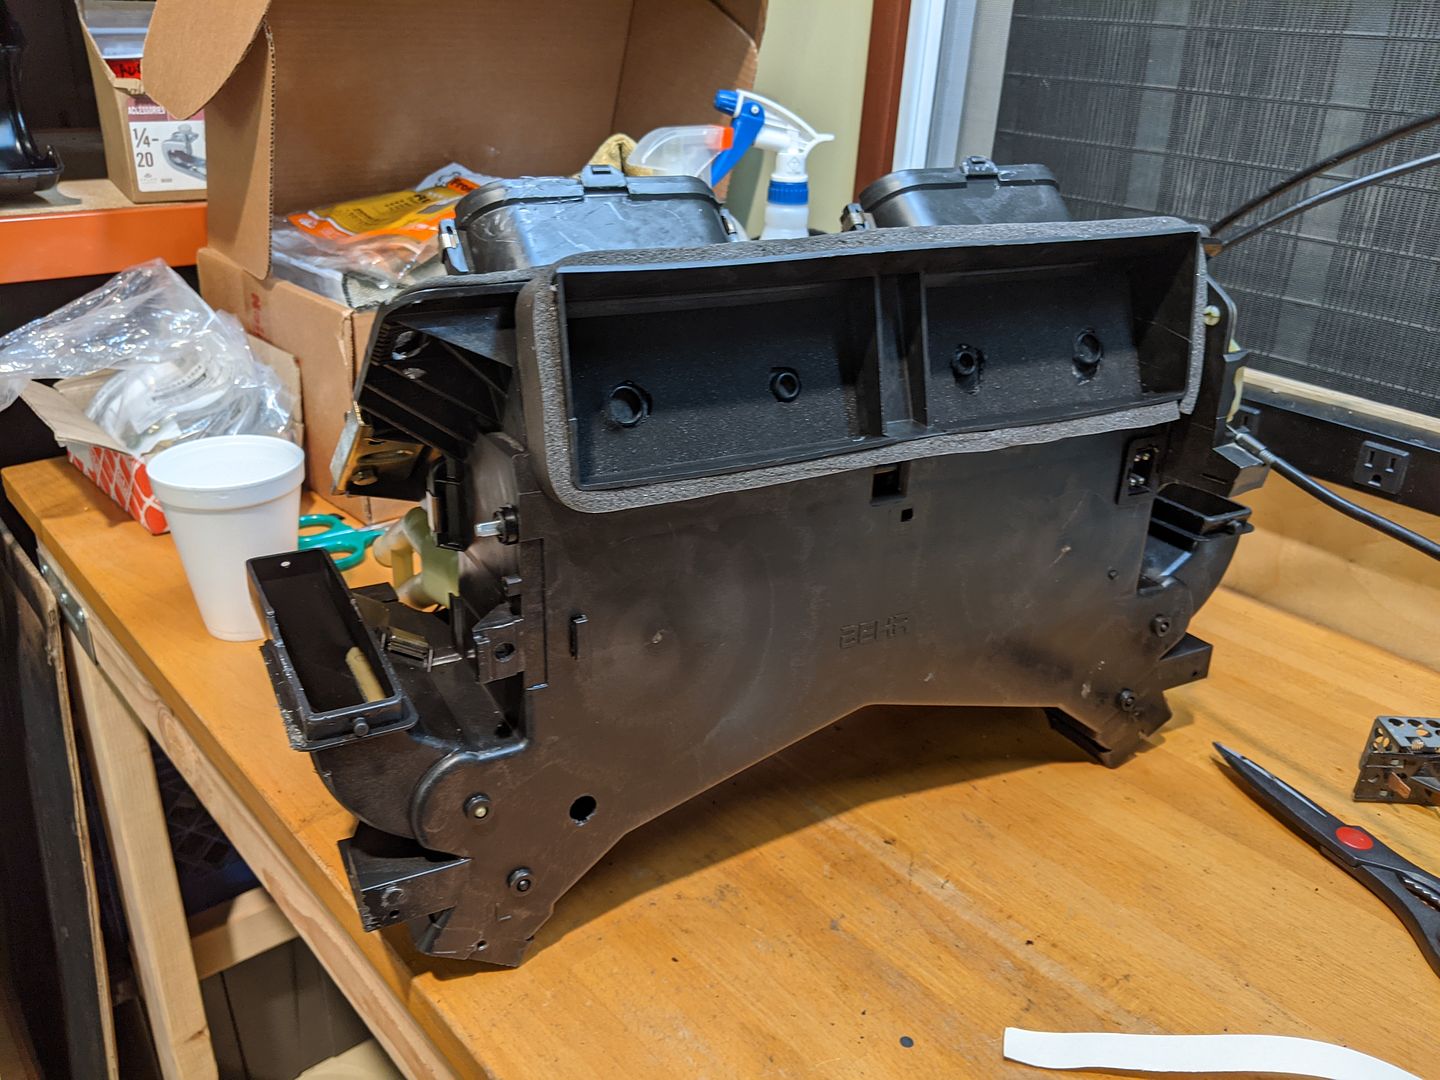
A bit out of sequence, but obviously before all that I had to remove the AC box and Evaporator Core; if you recall further back in this thread, I did that at the very beginning. Now it was time to go about refinishing that component and getting it ready to go back into the car.
First taking the Evaporator Box apart:
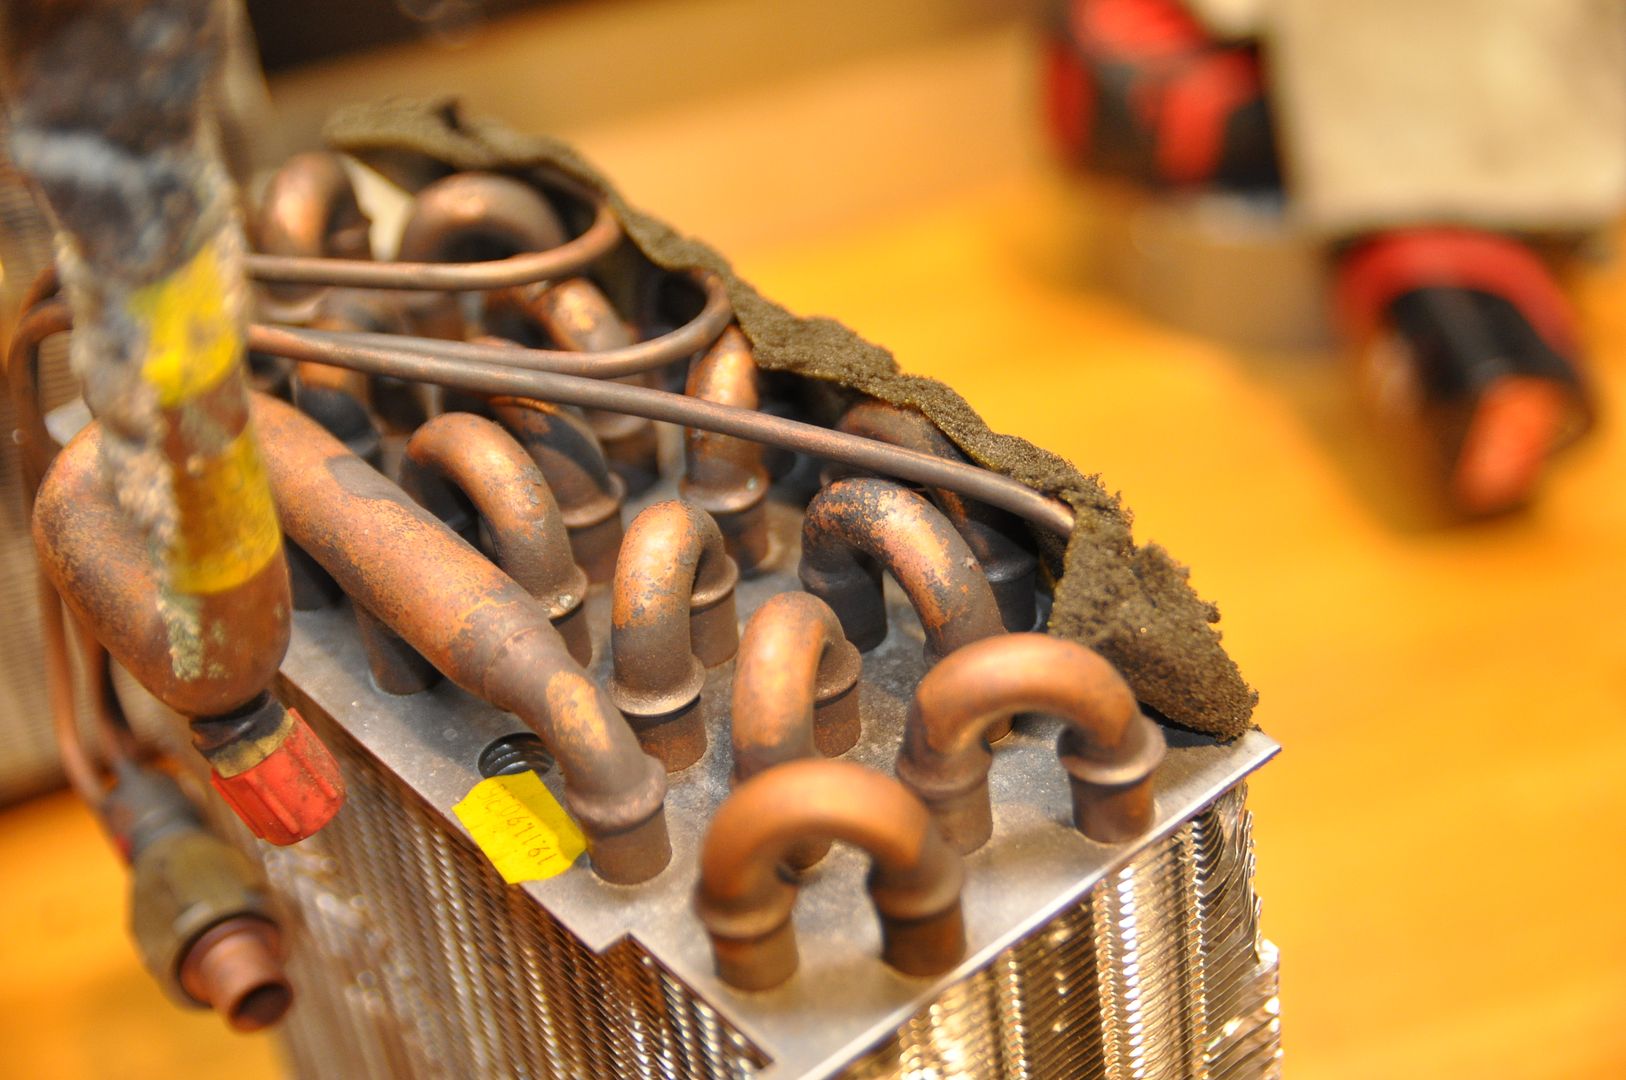
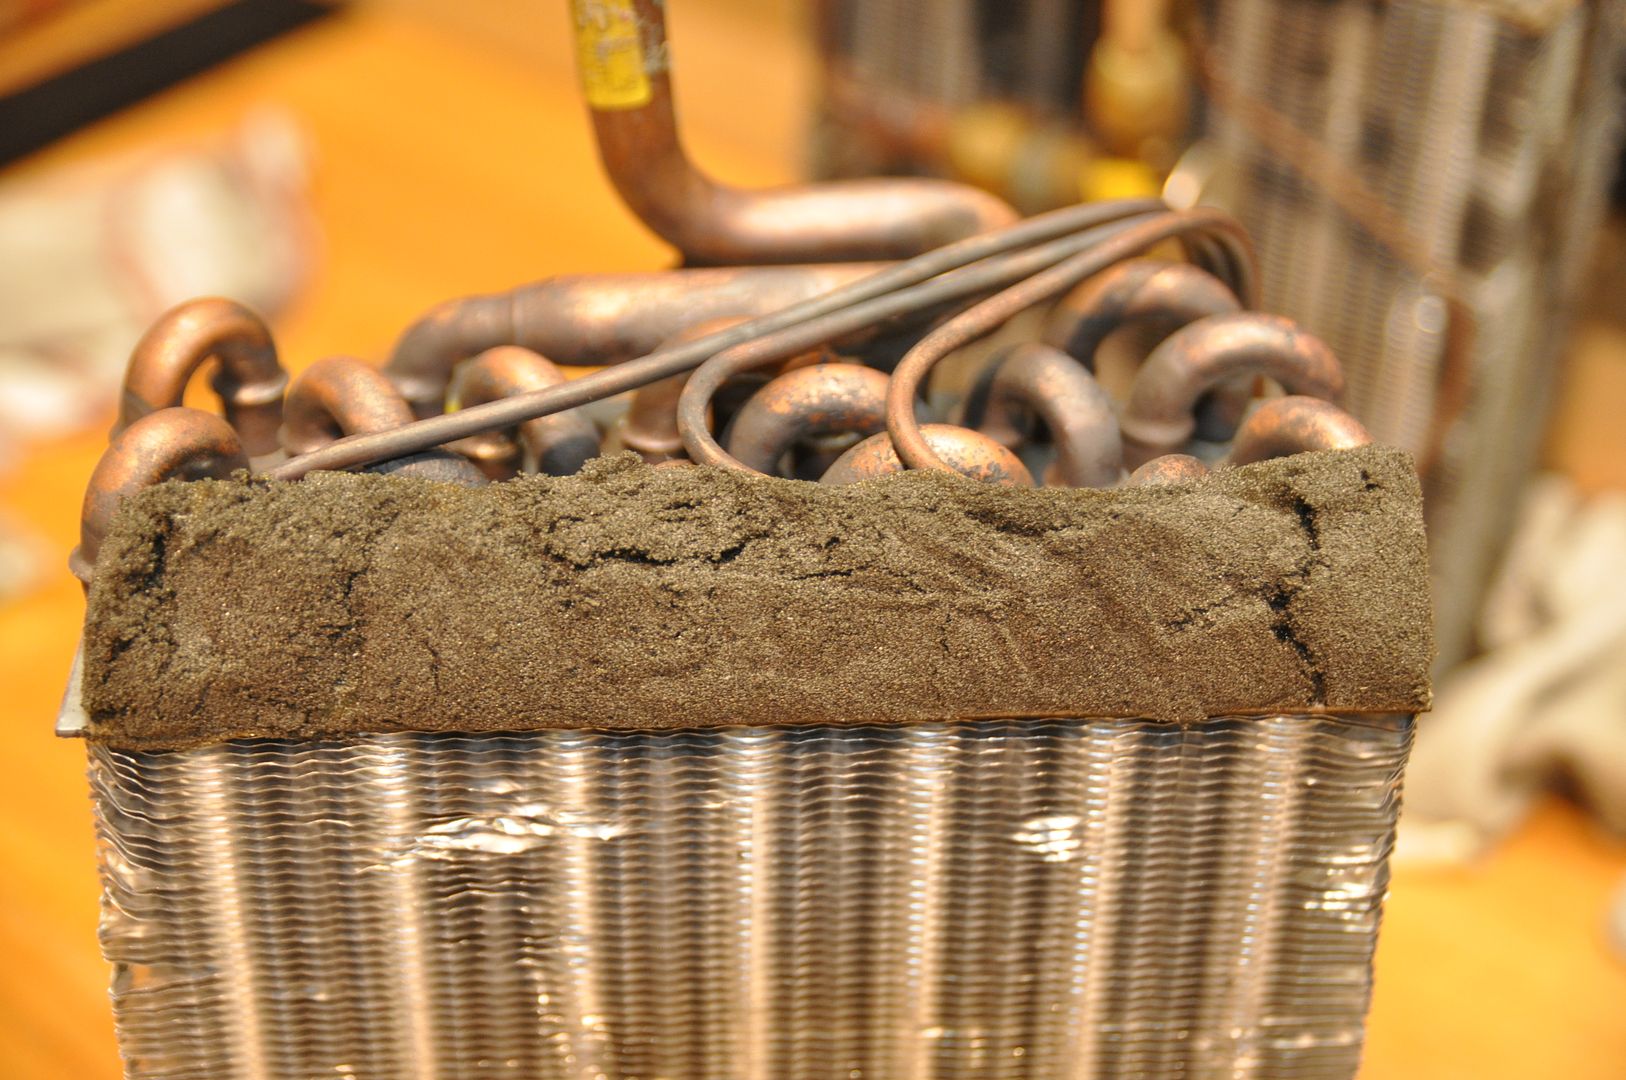
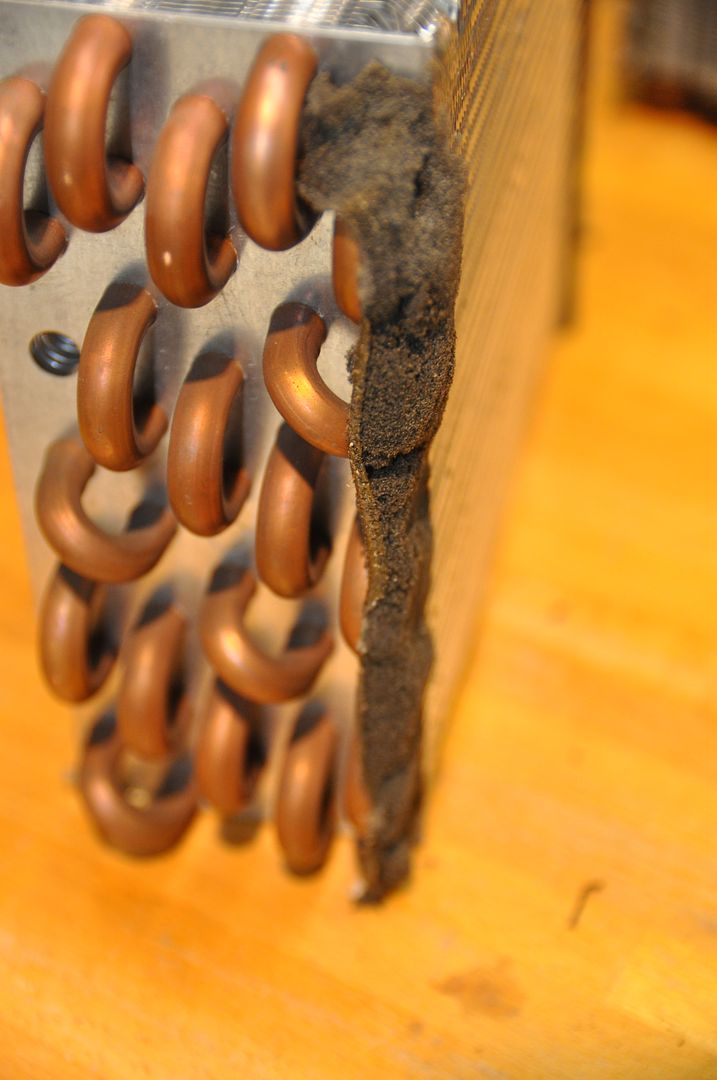
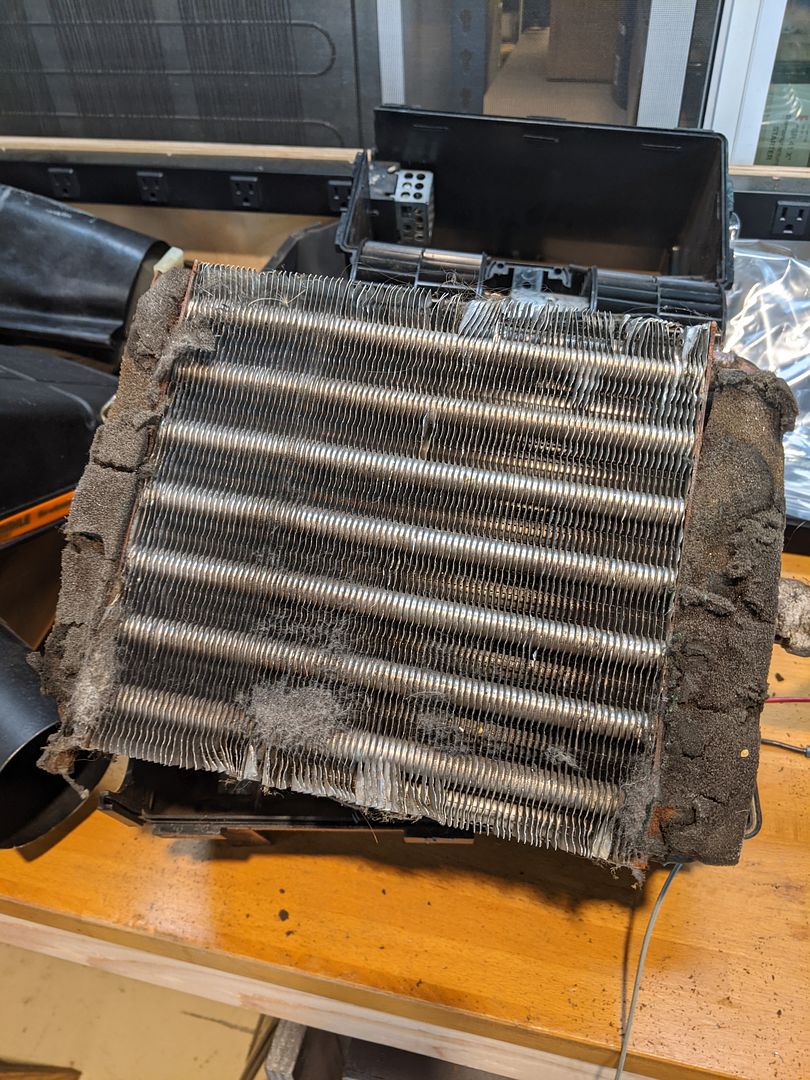
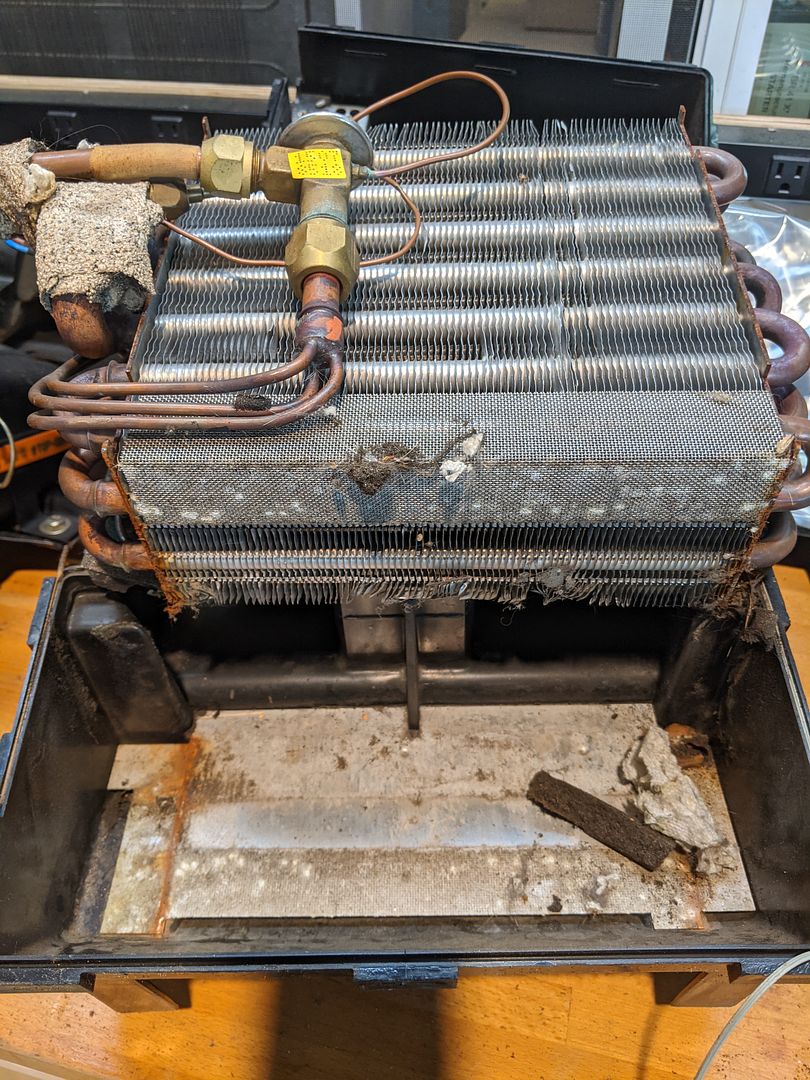
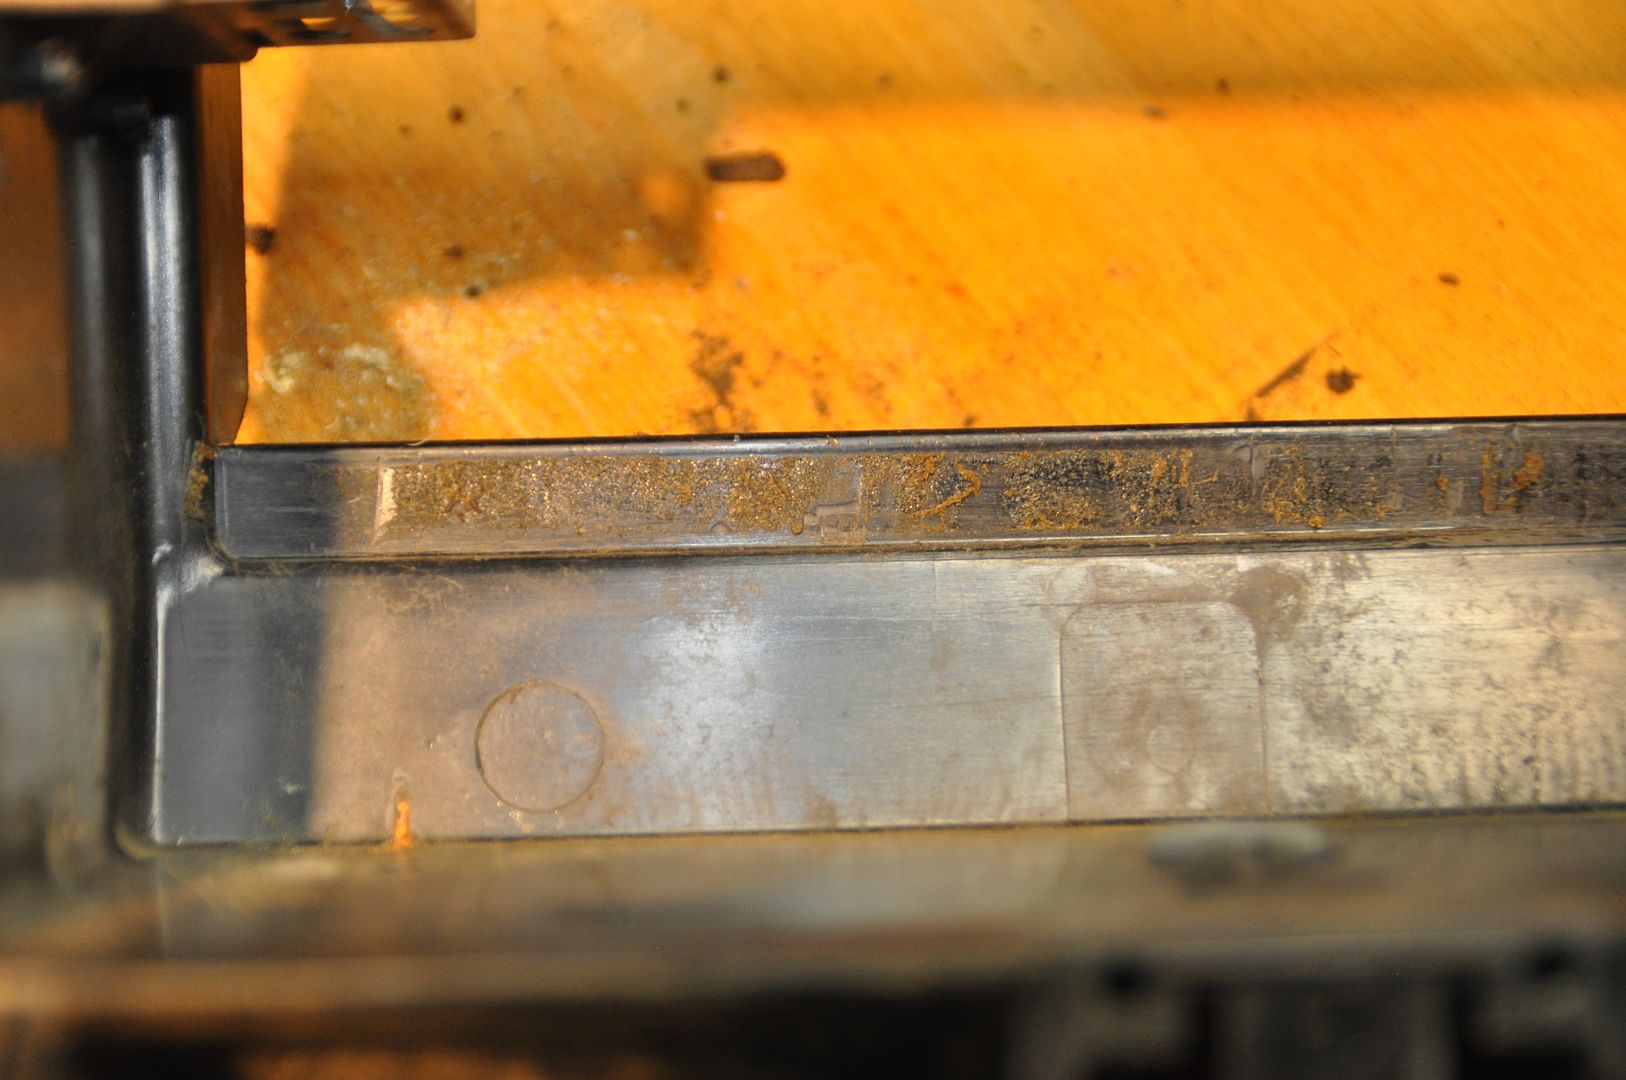
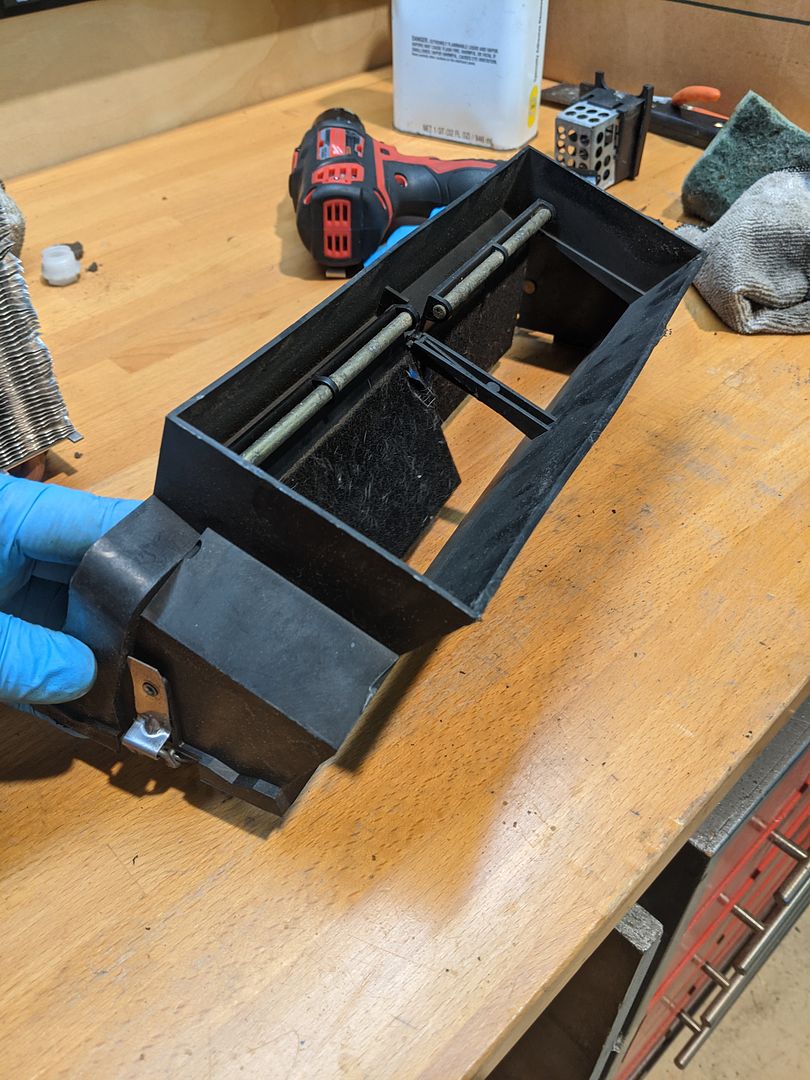
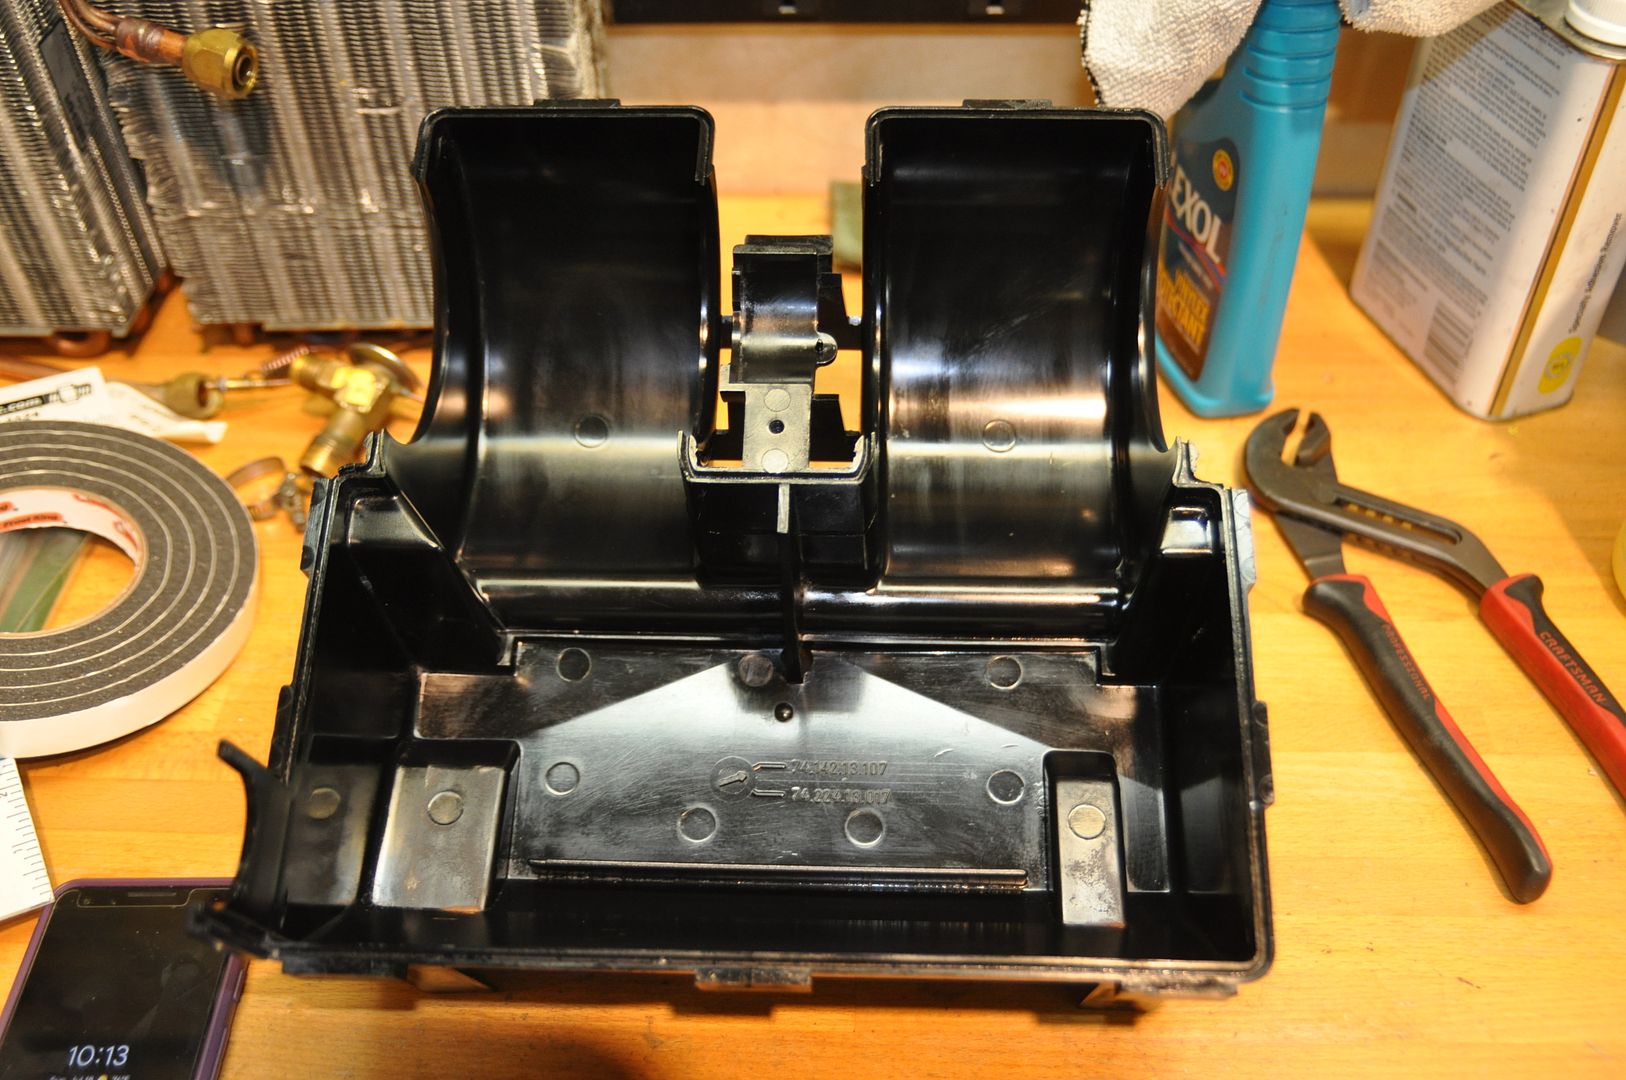
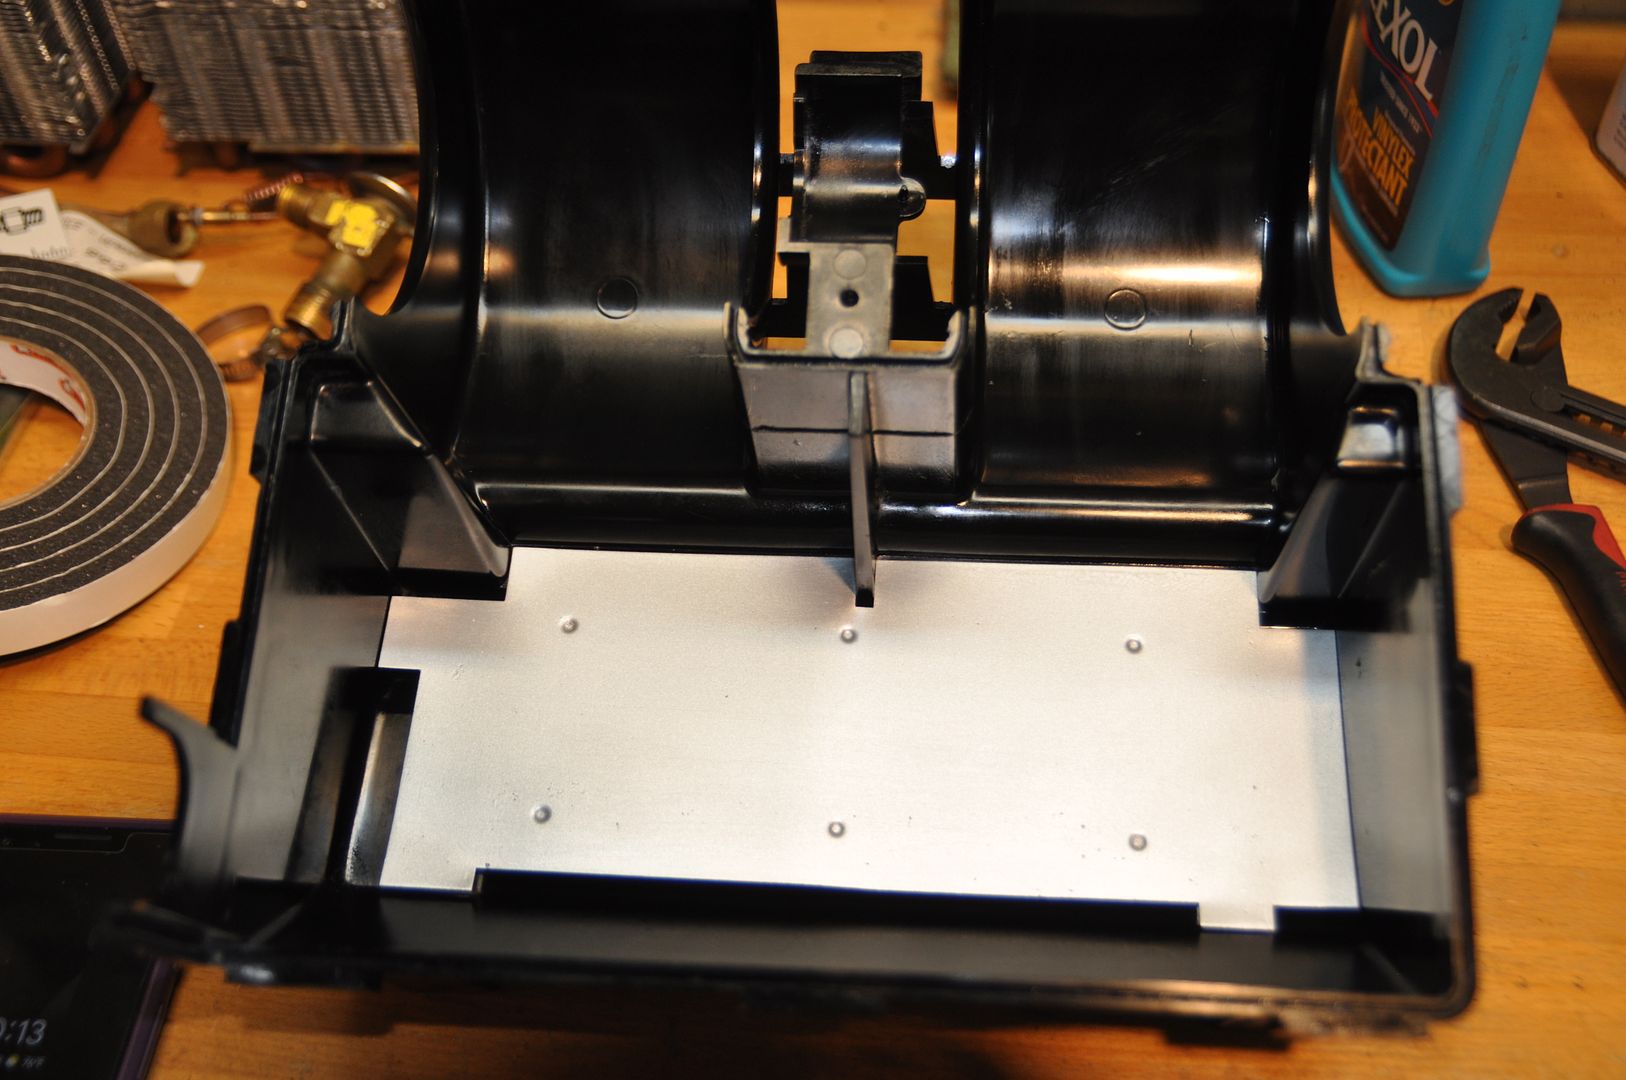
After a bit of gross-out and some rough cleaning, I got the components cleaned, old foam removed, and all the plastic treated ready for new parts:
[URL=
https://app.photobucket.com/u/vinceg101 ... a72716f538][IMG]https:
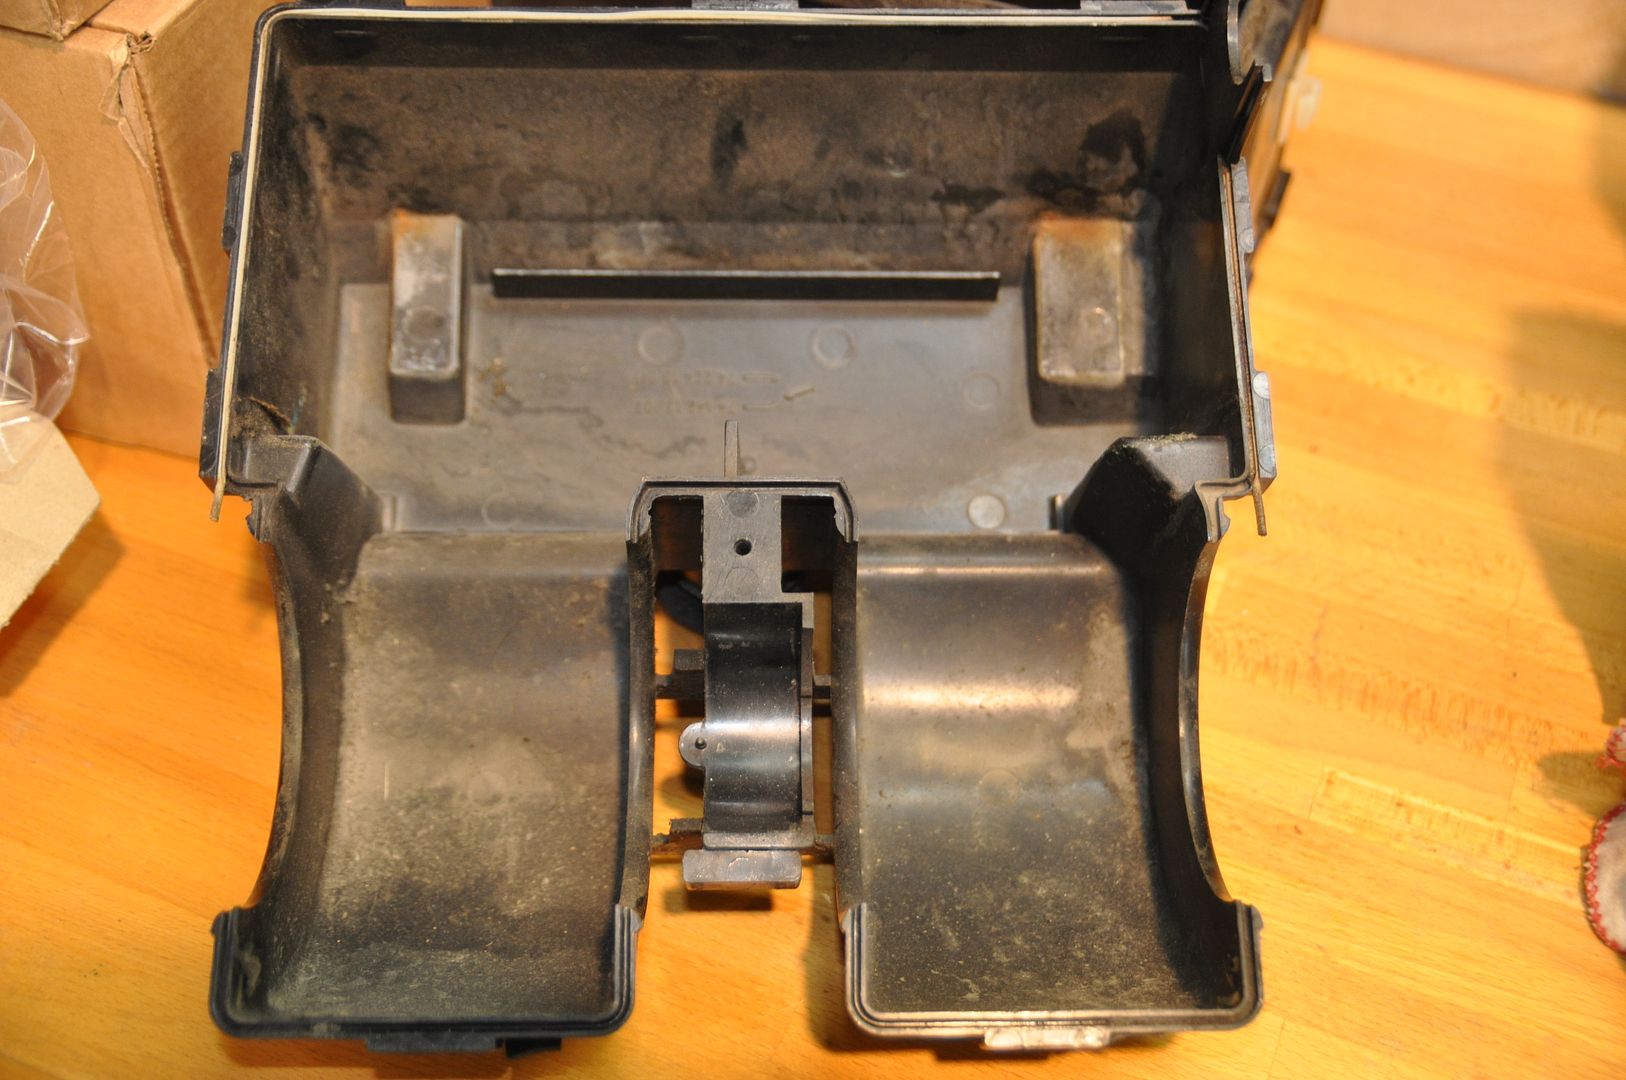
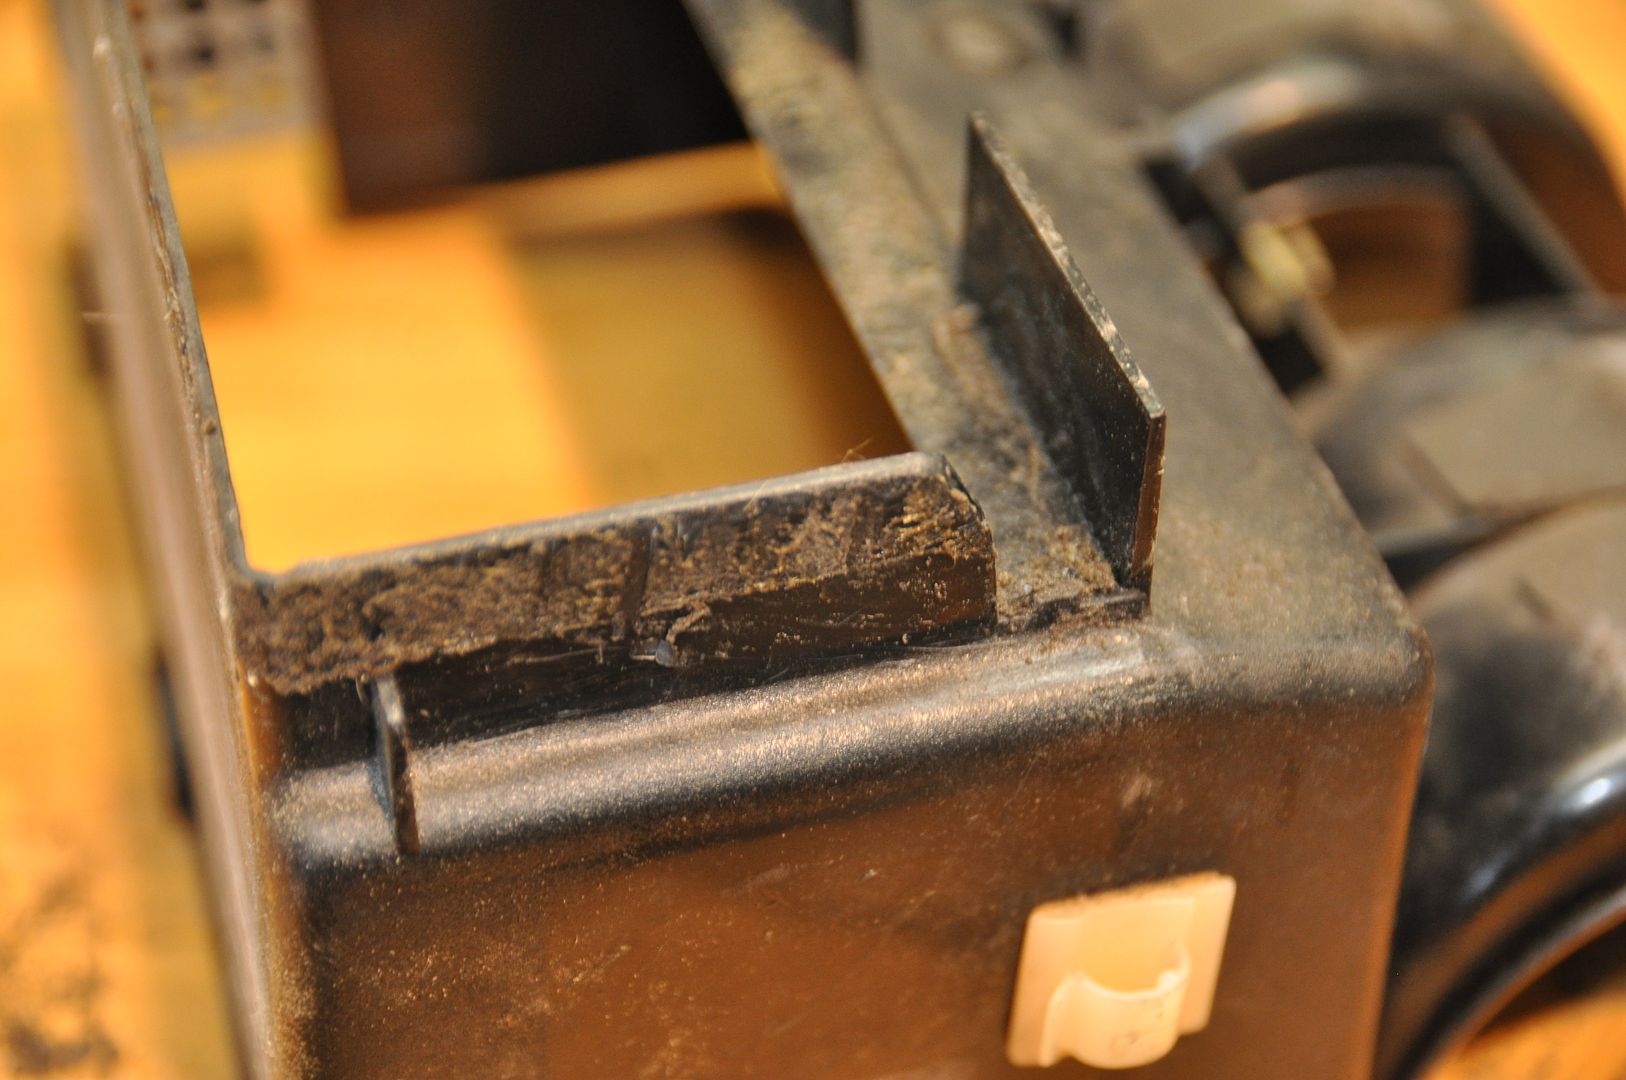
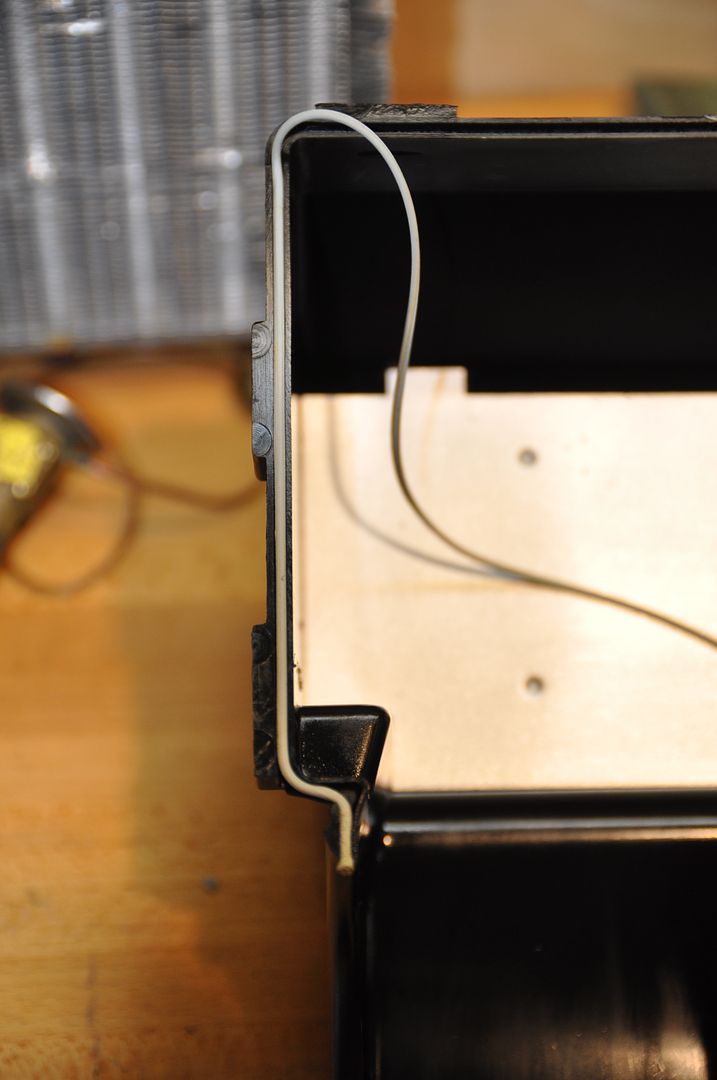
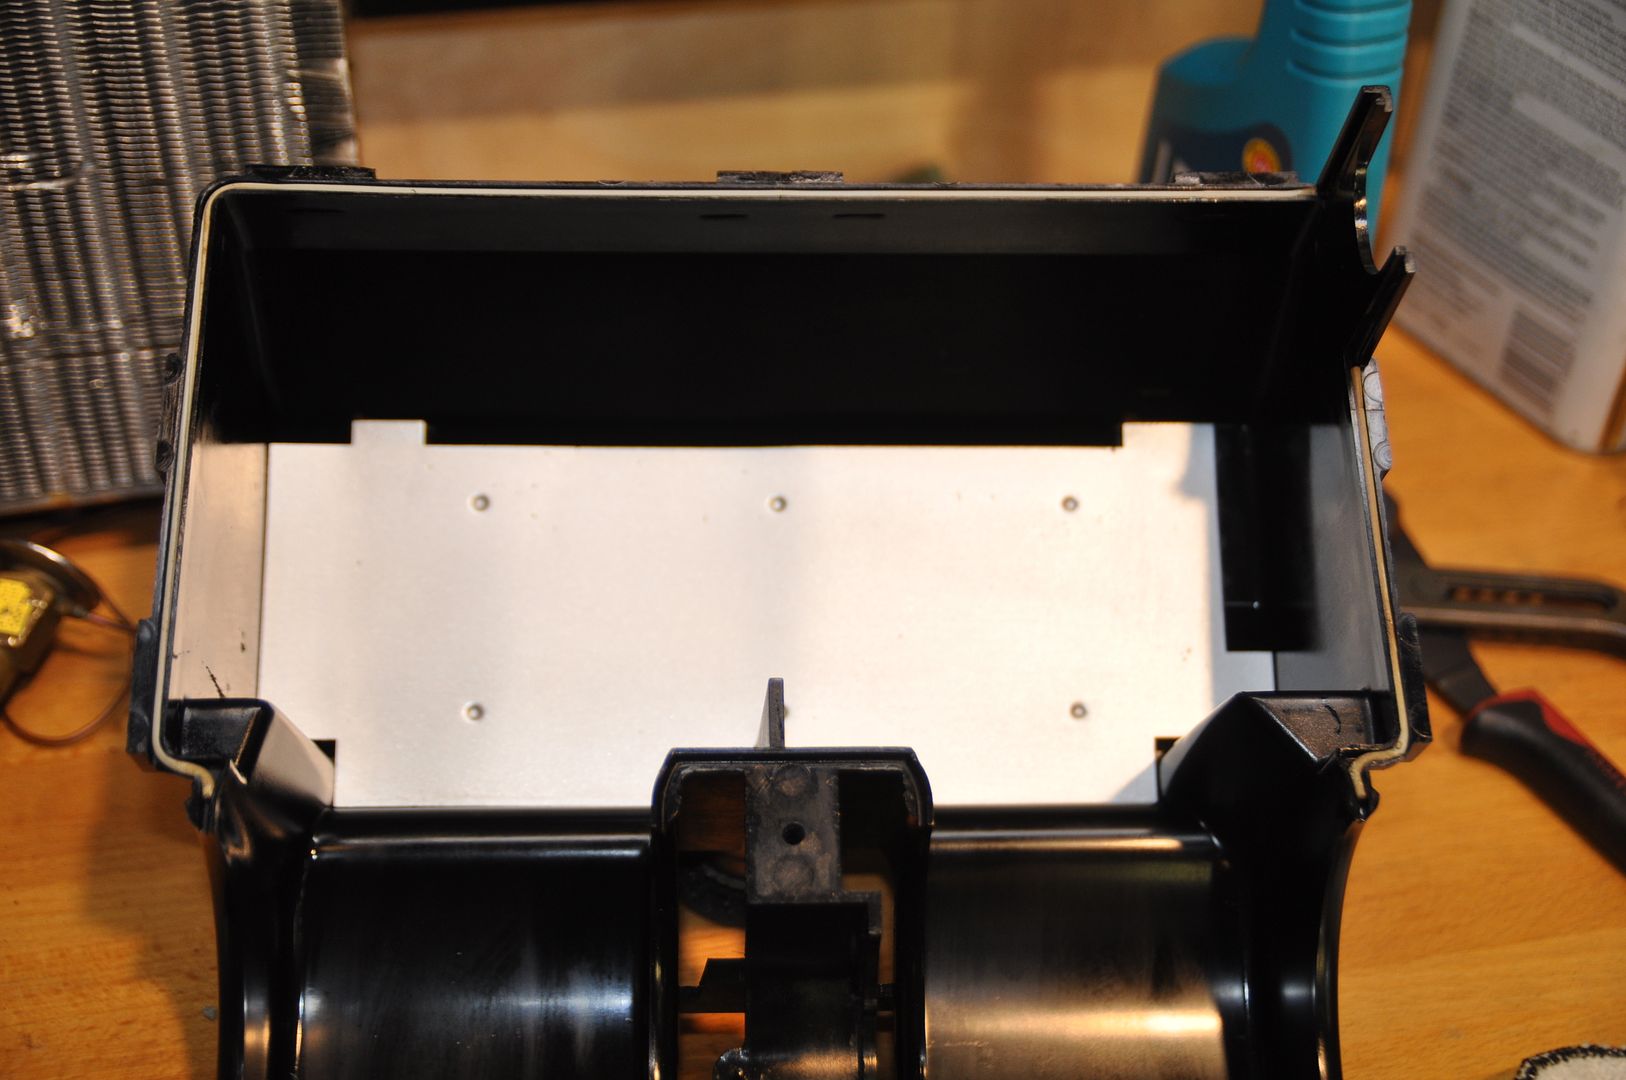
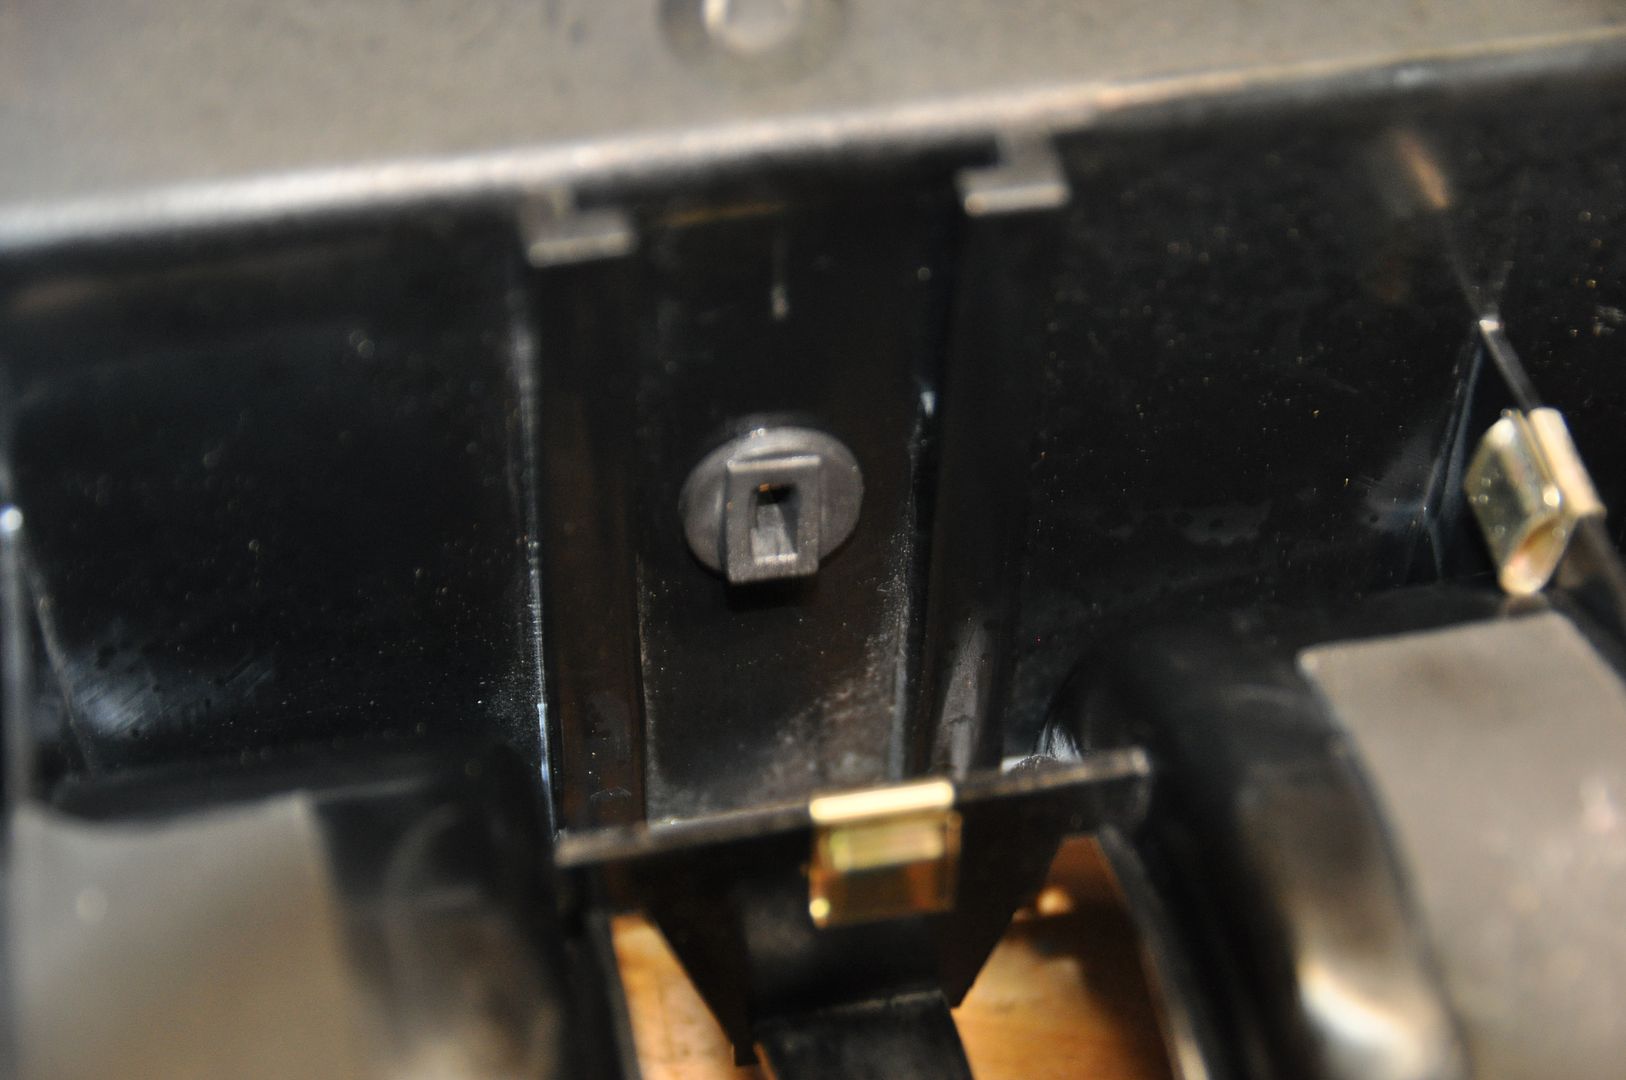
New foam and other parts:
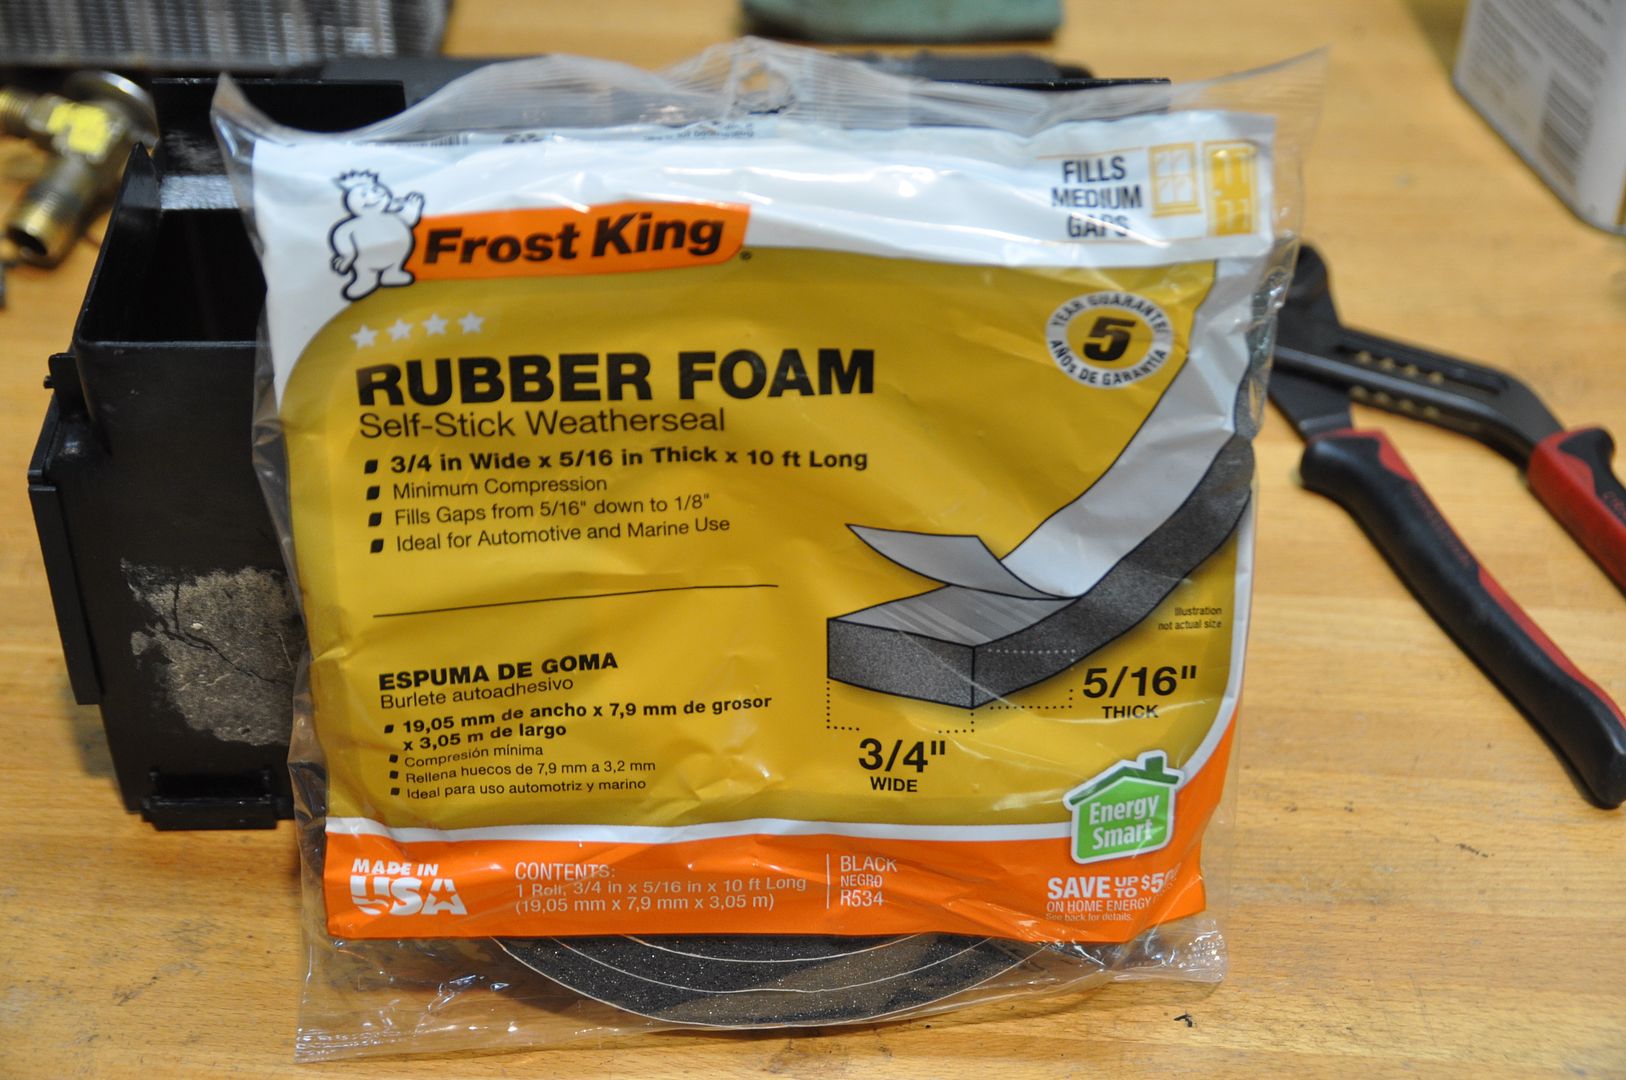
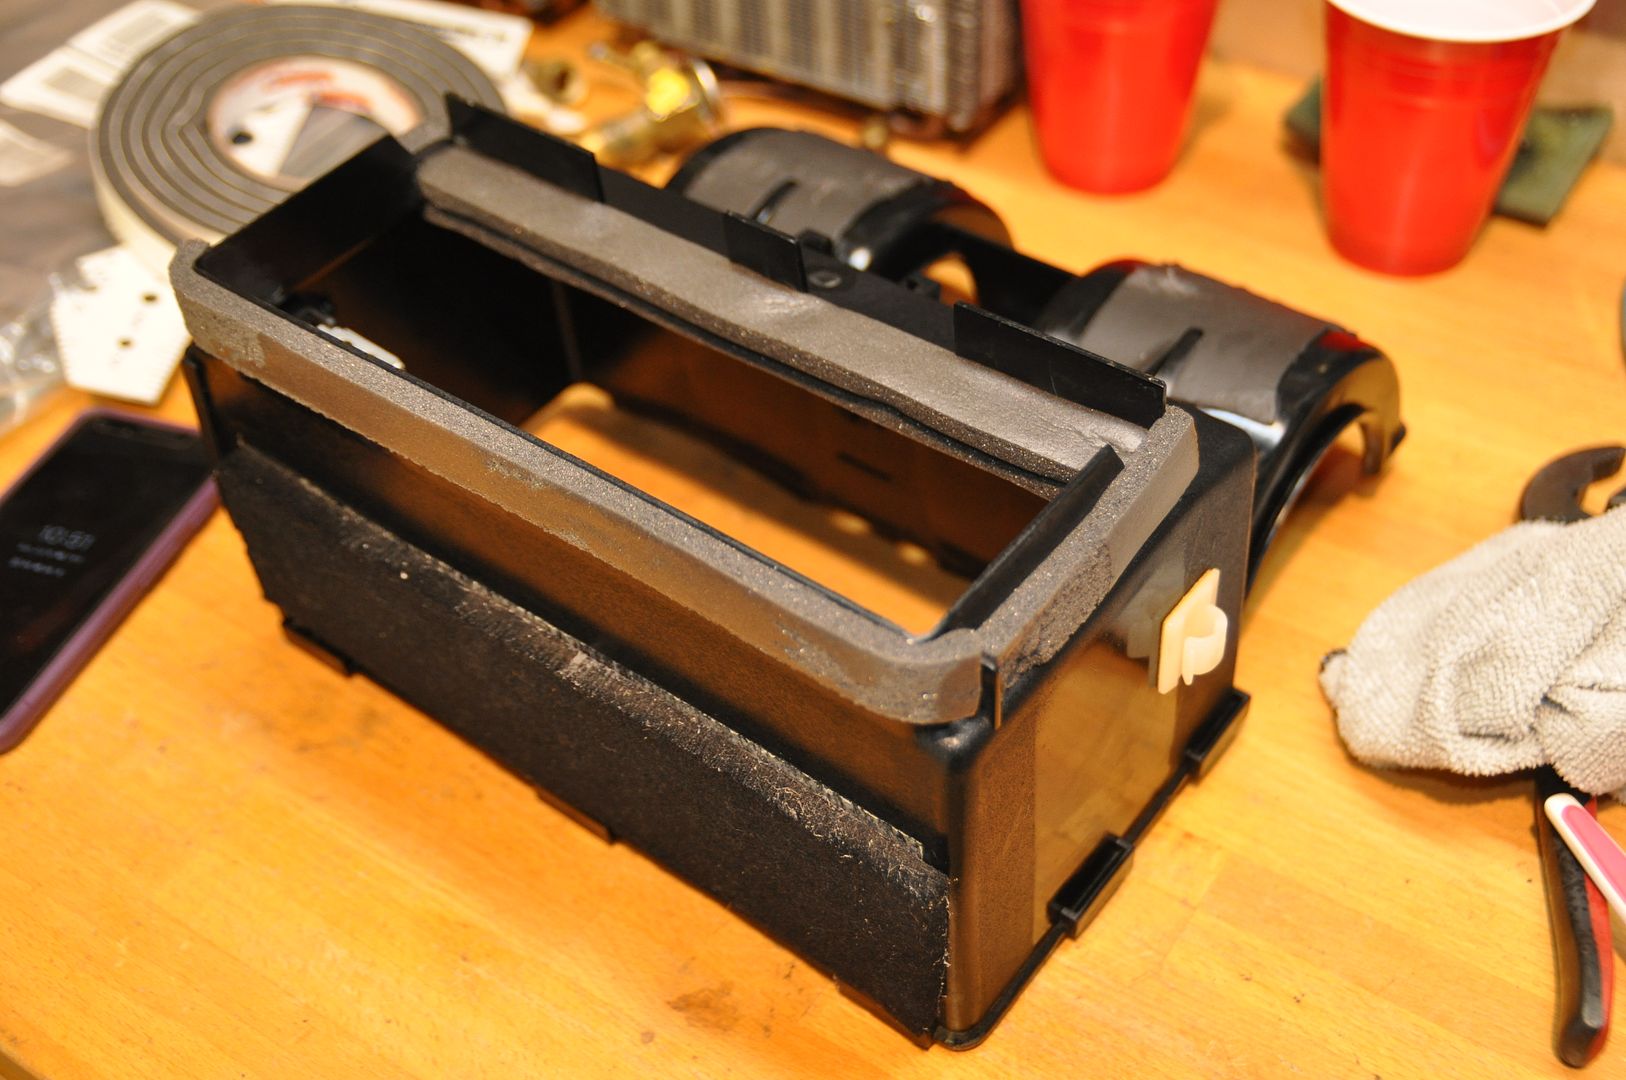
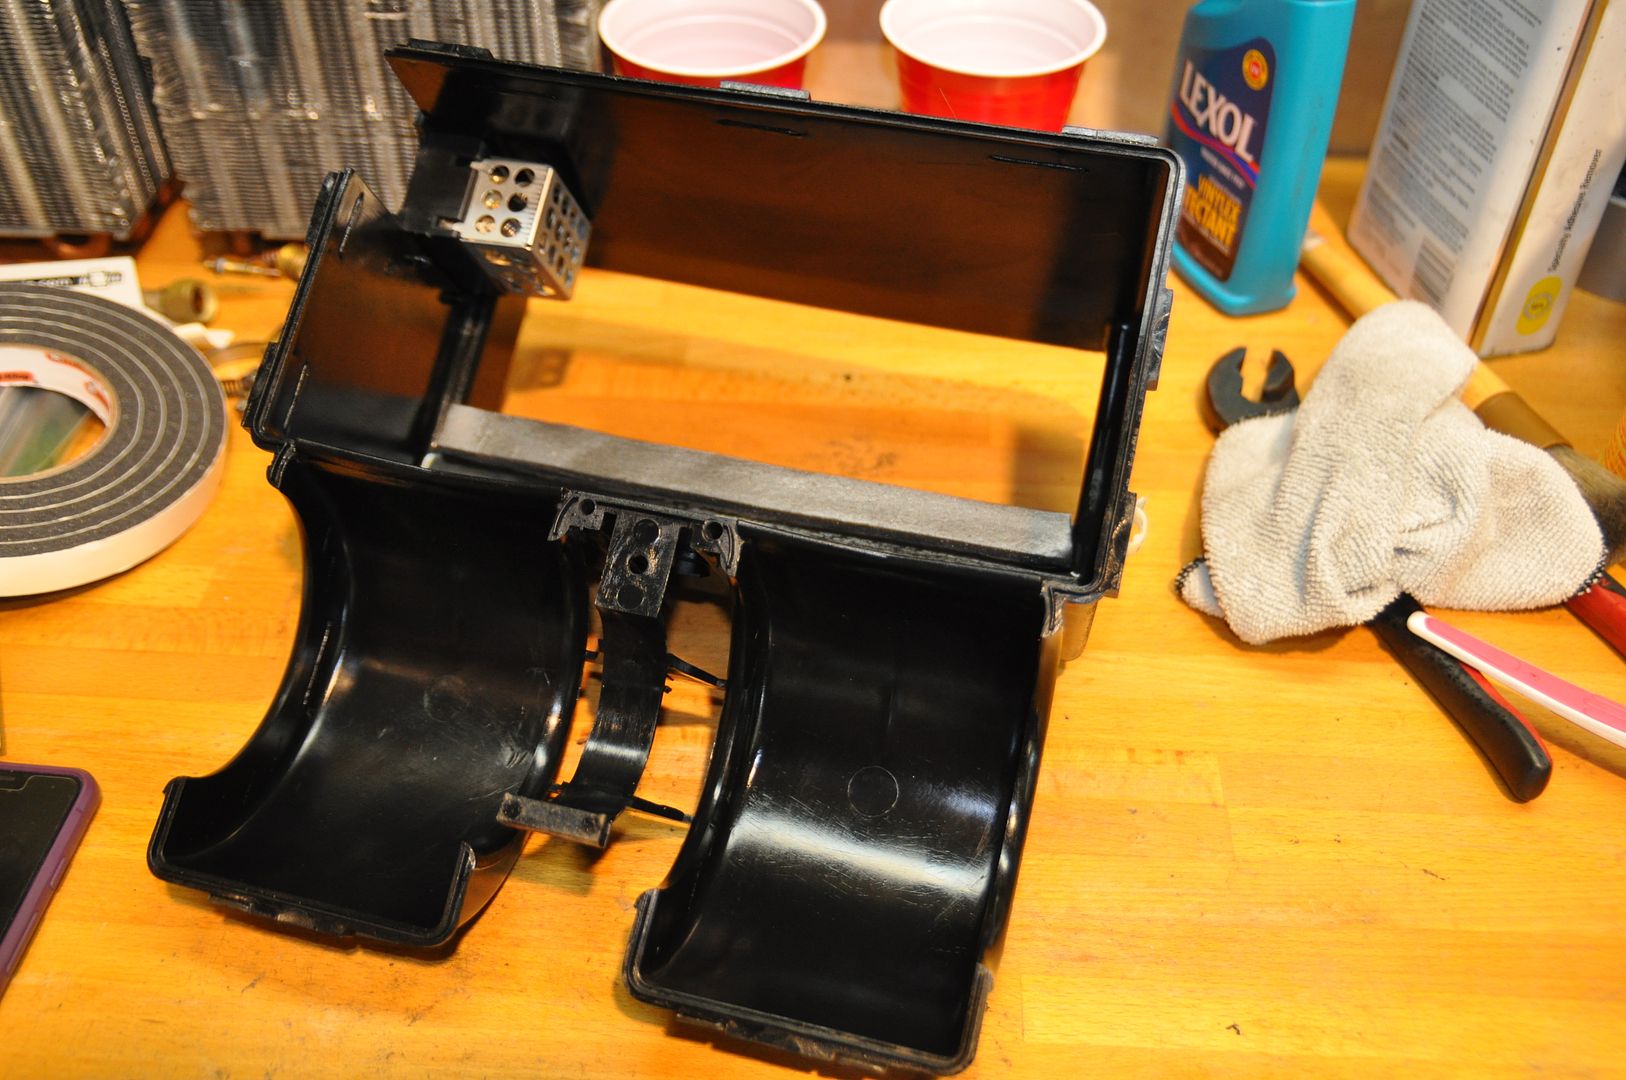
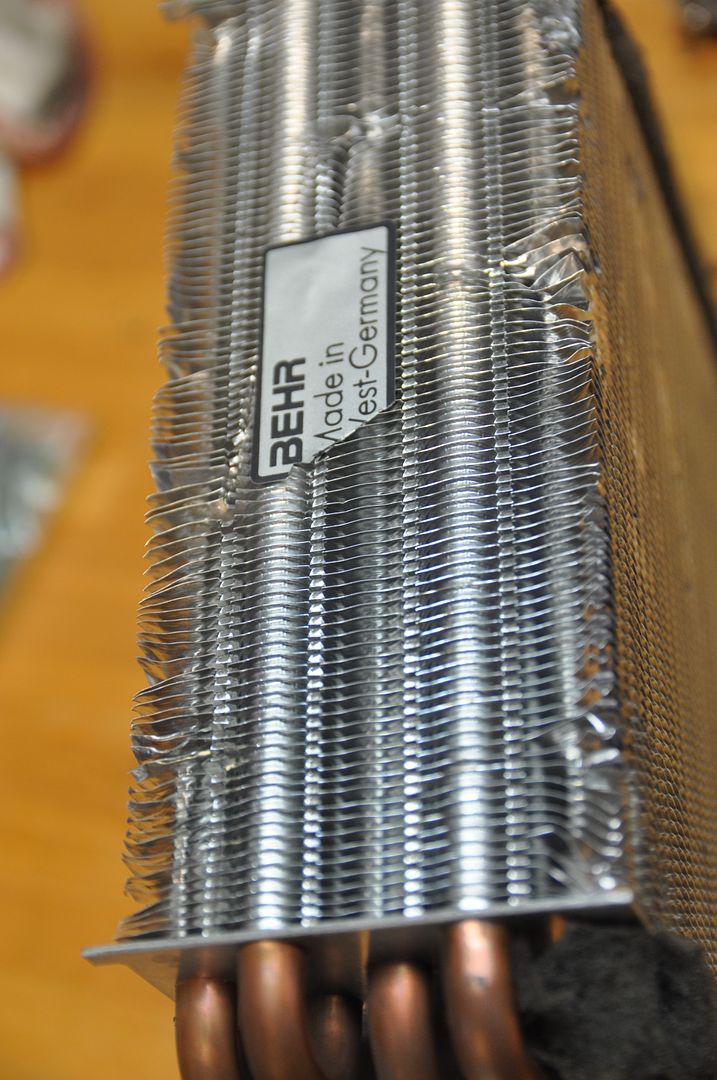
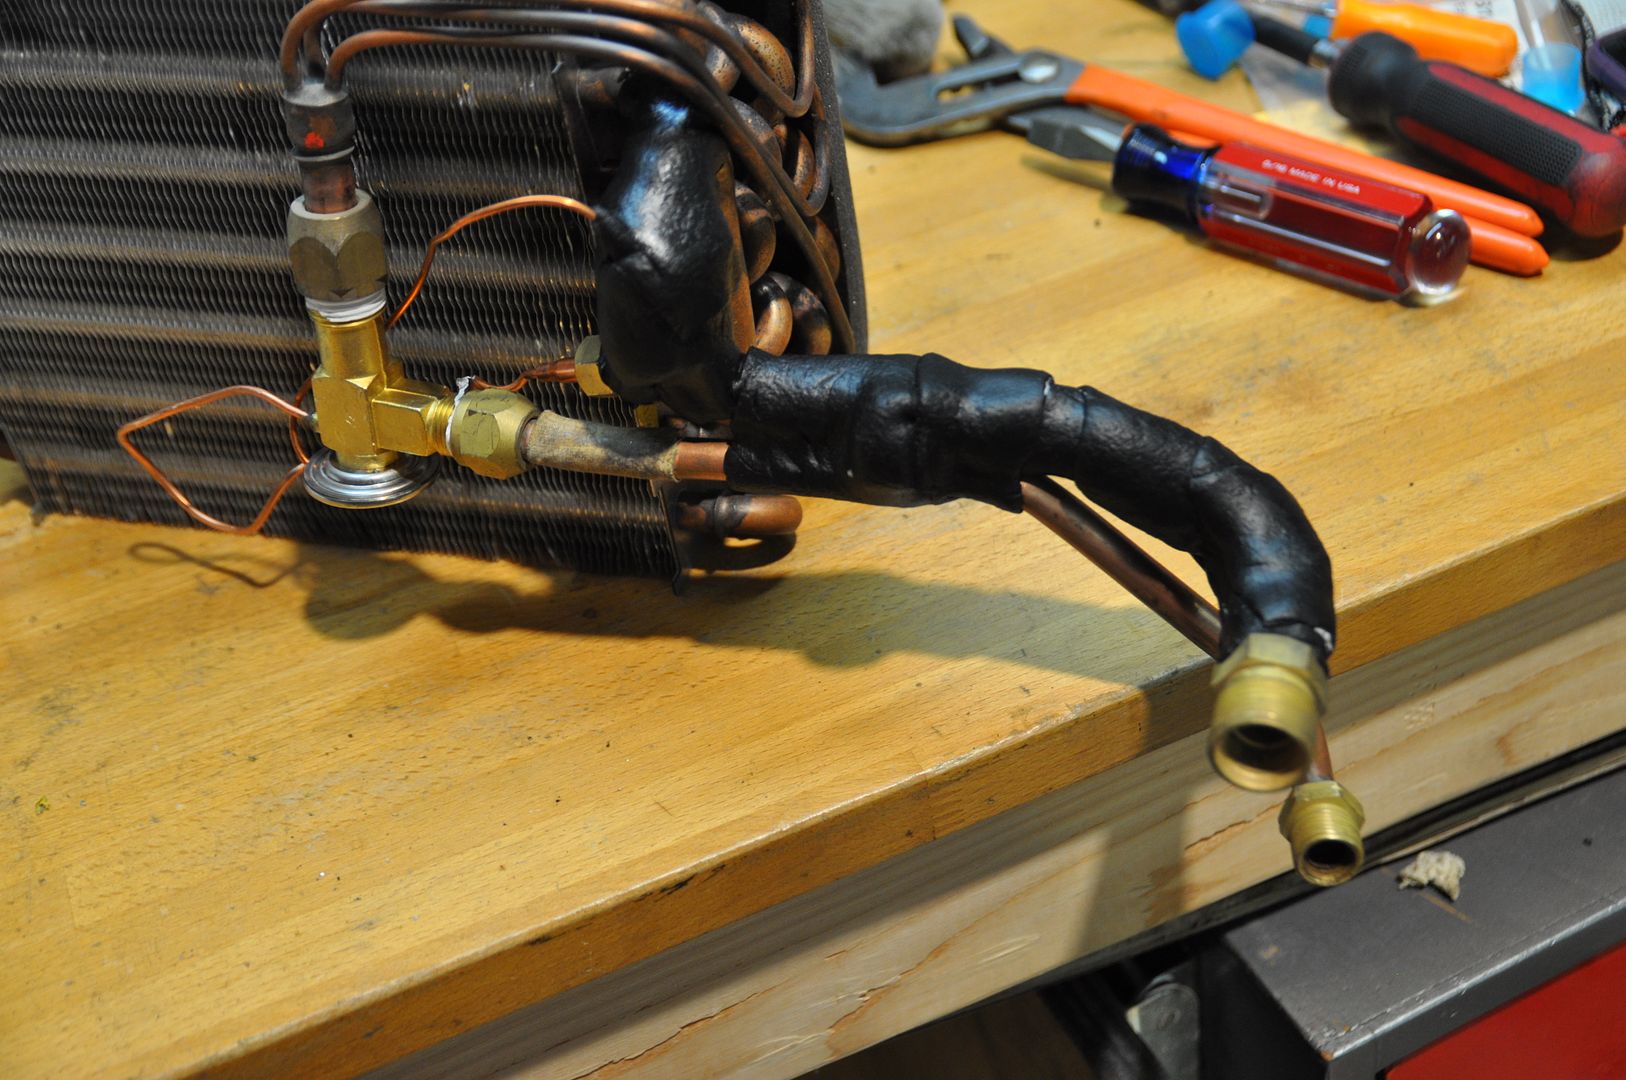
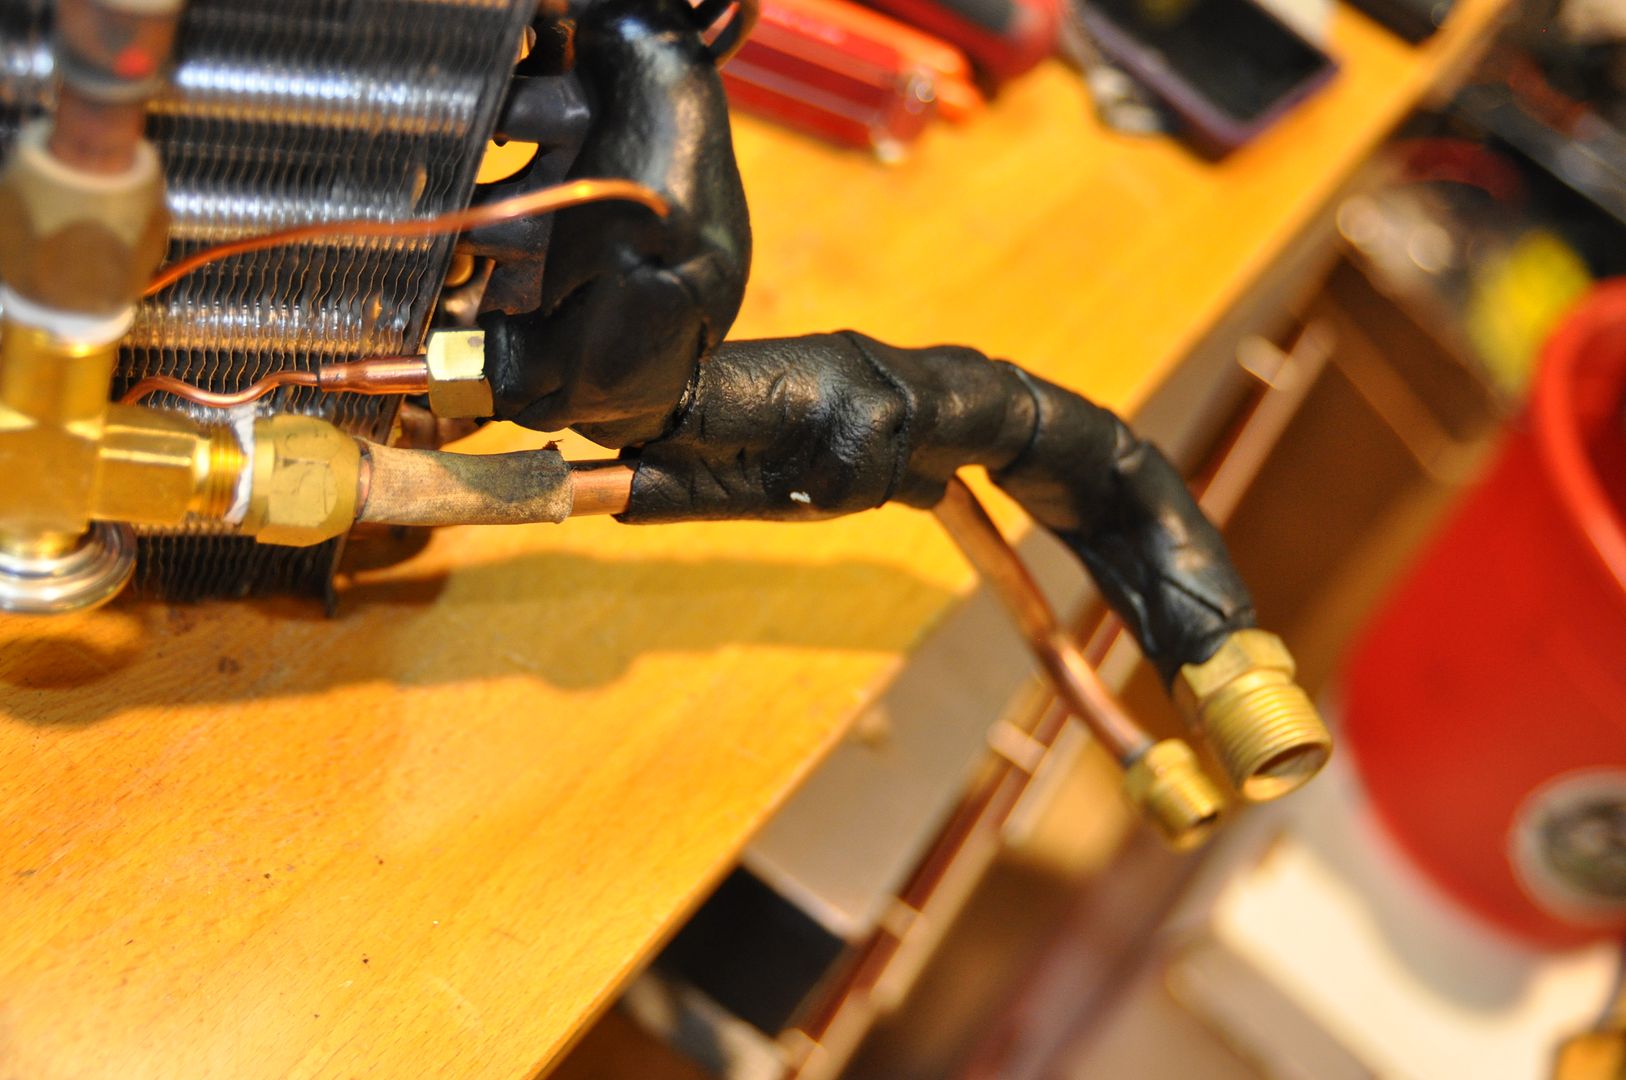
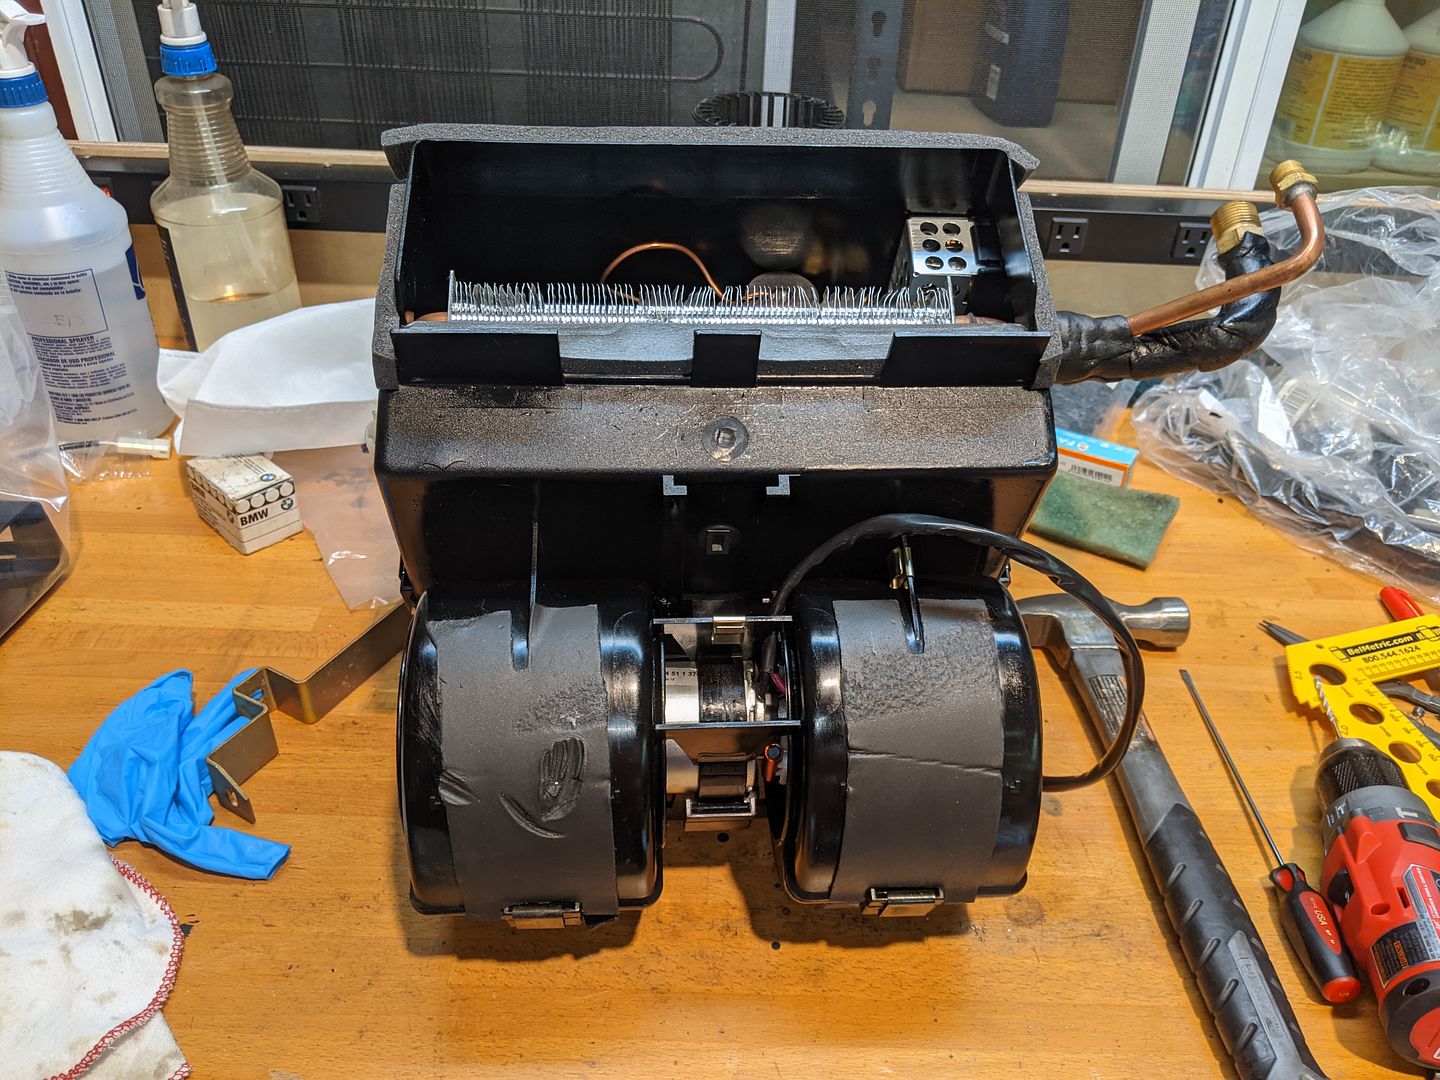
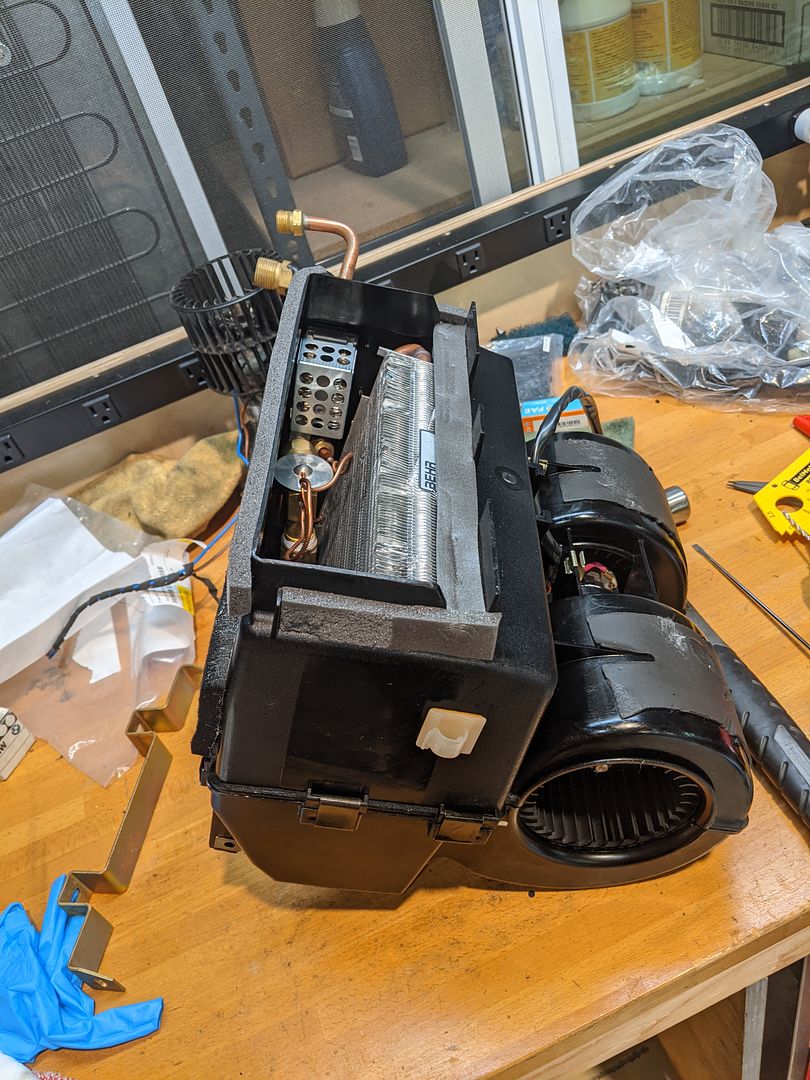
Onto the Evaporator itself. I picked up a NIB Behr unit from someone a few years back and had to get it ready. First was to install a new Expansion Valve and the ever-important O-Rings (thanks, Jens!). Before I got too much further, I spent some critical time straightening out those very fragile aluminum fins on the Evaporator (a very Zen exercise):
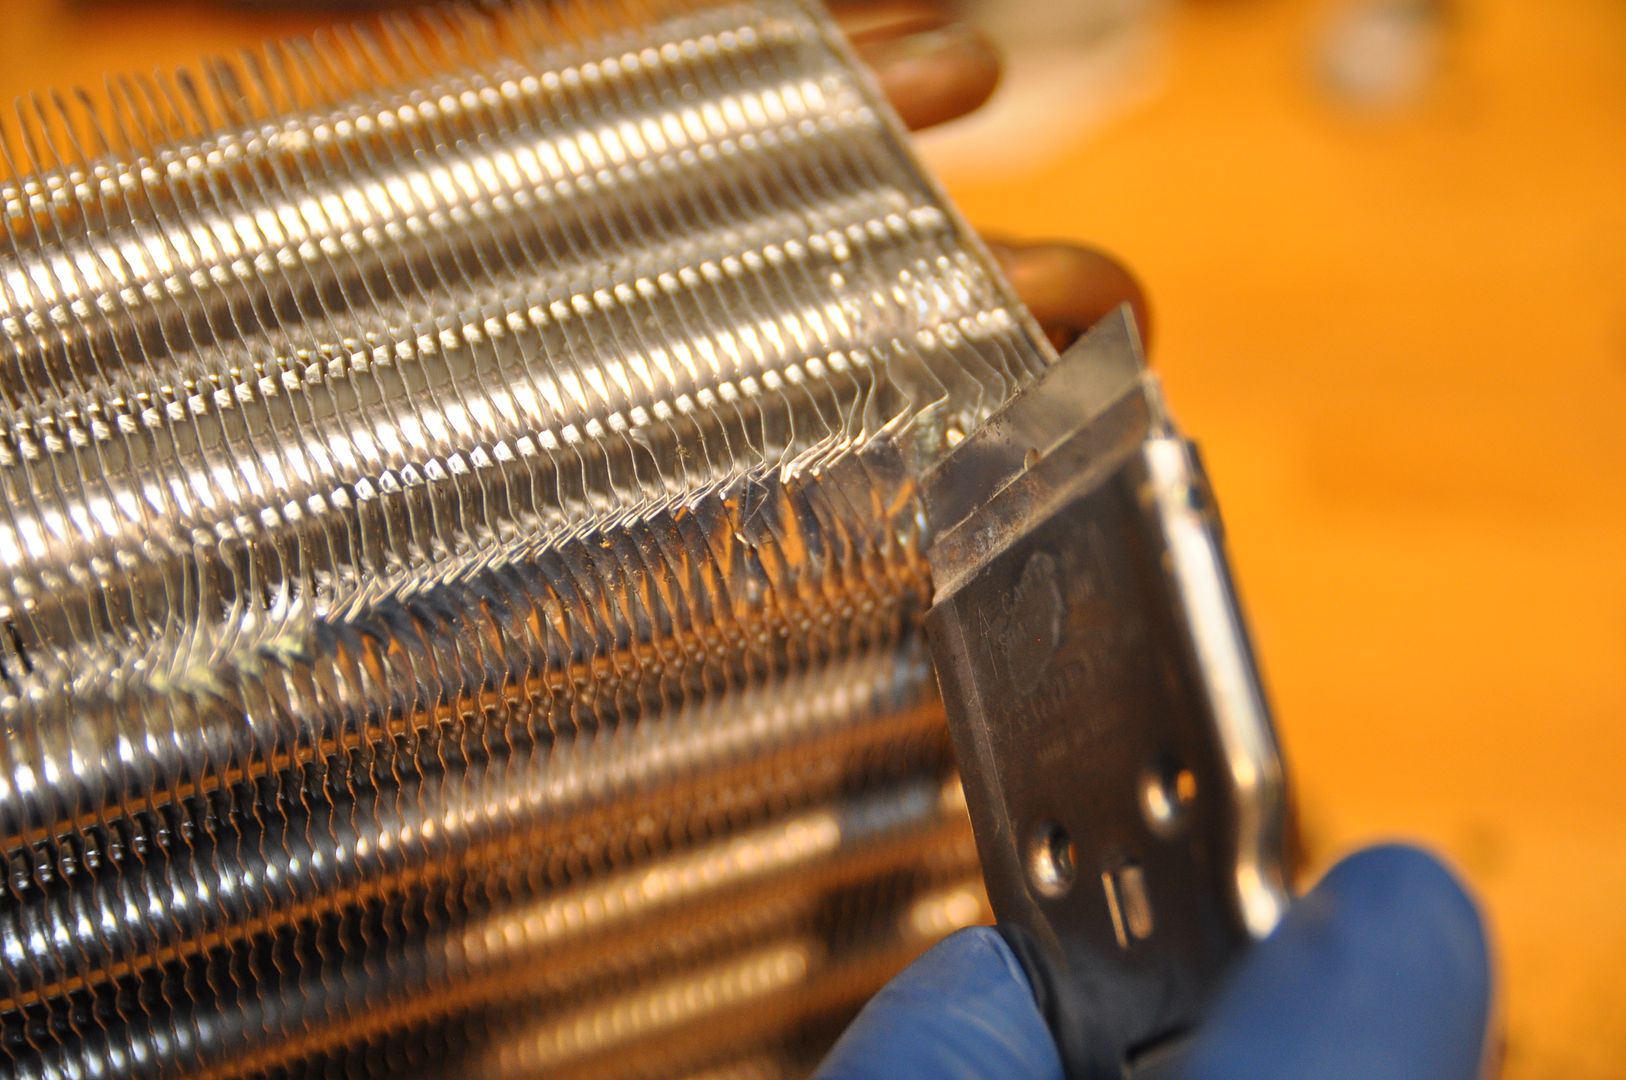
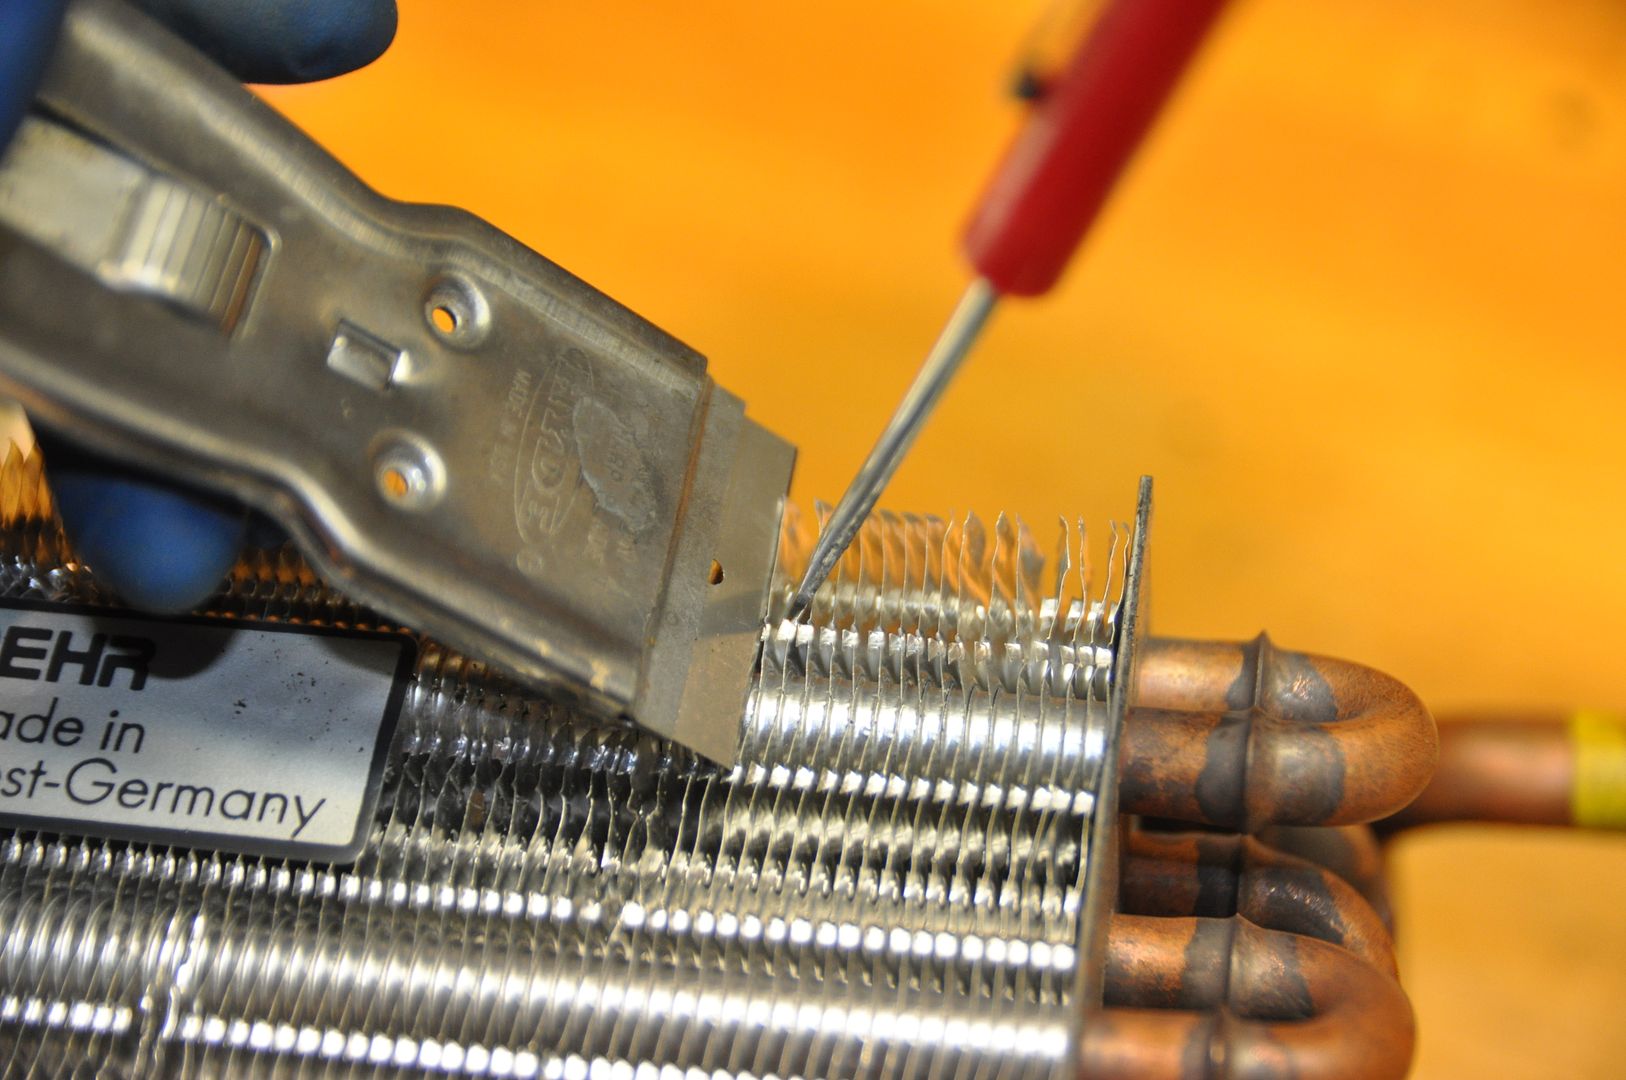
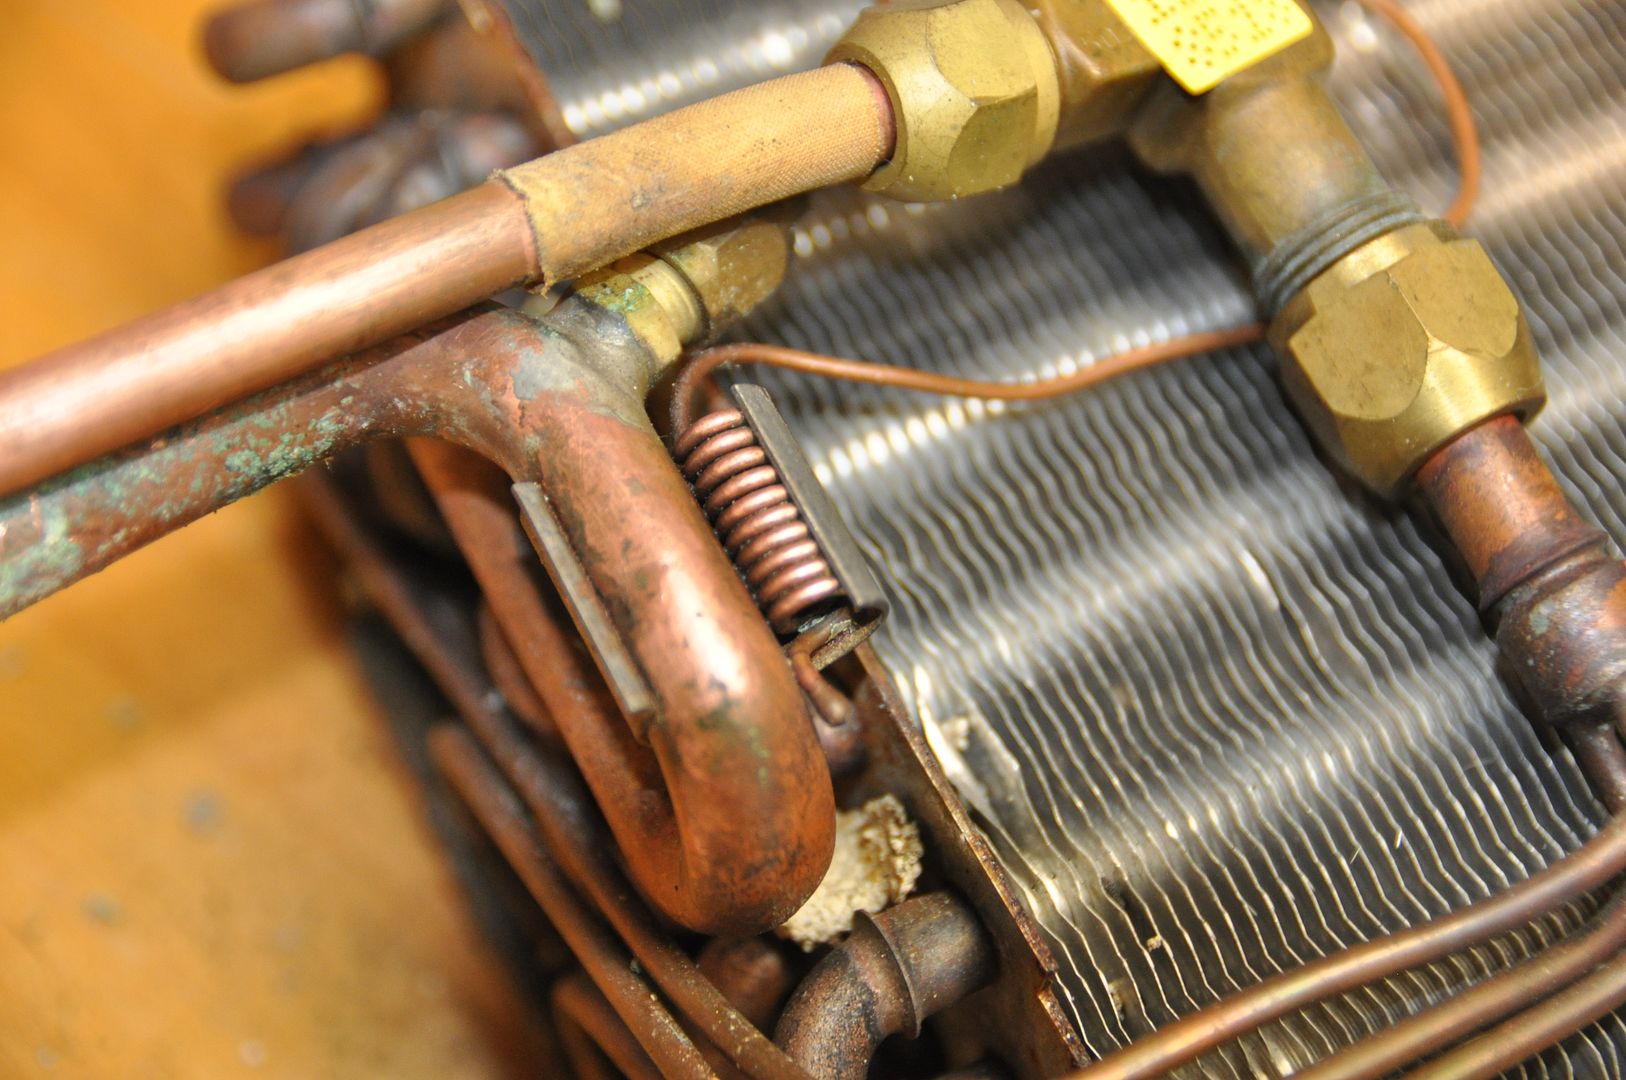
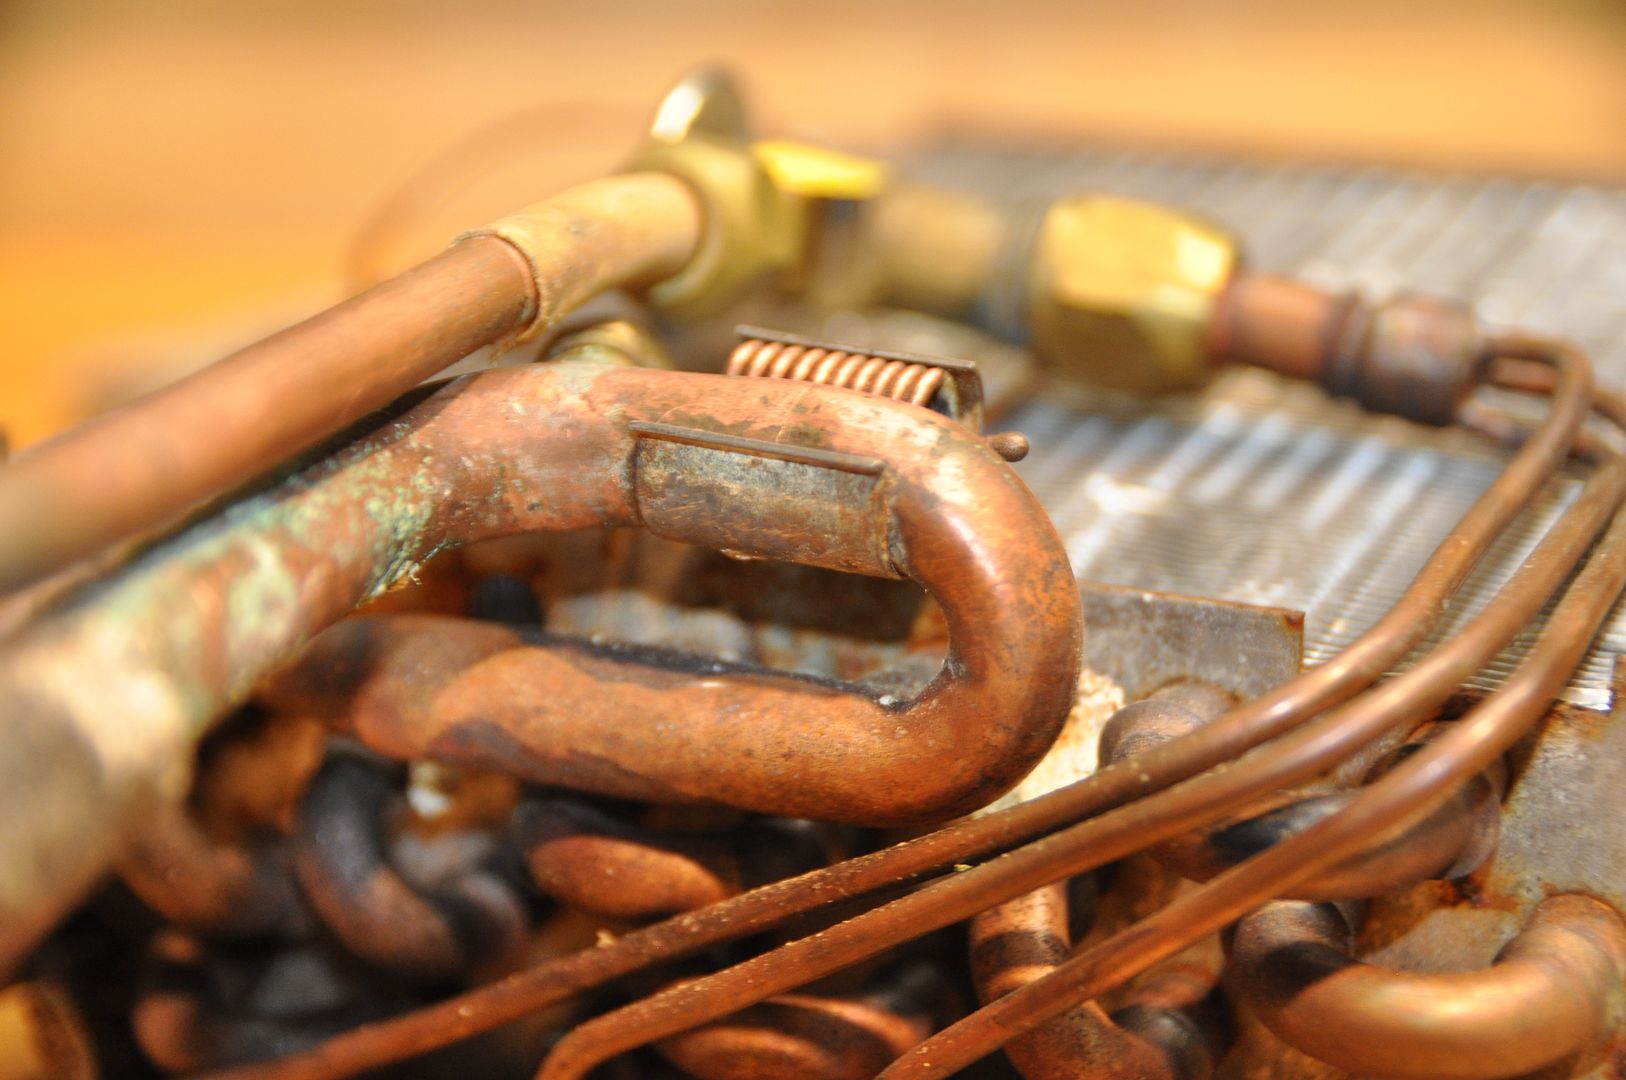
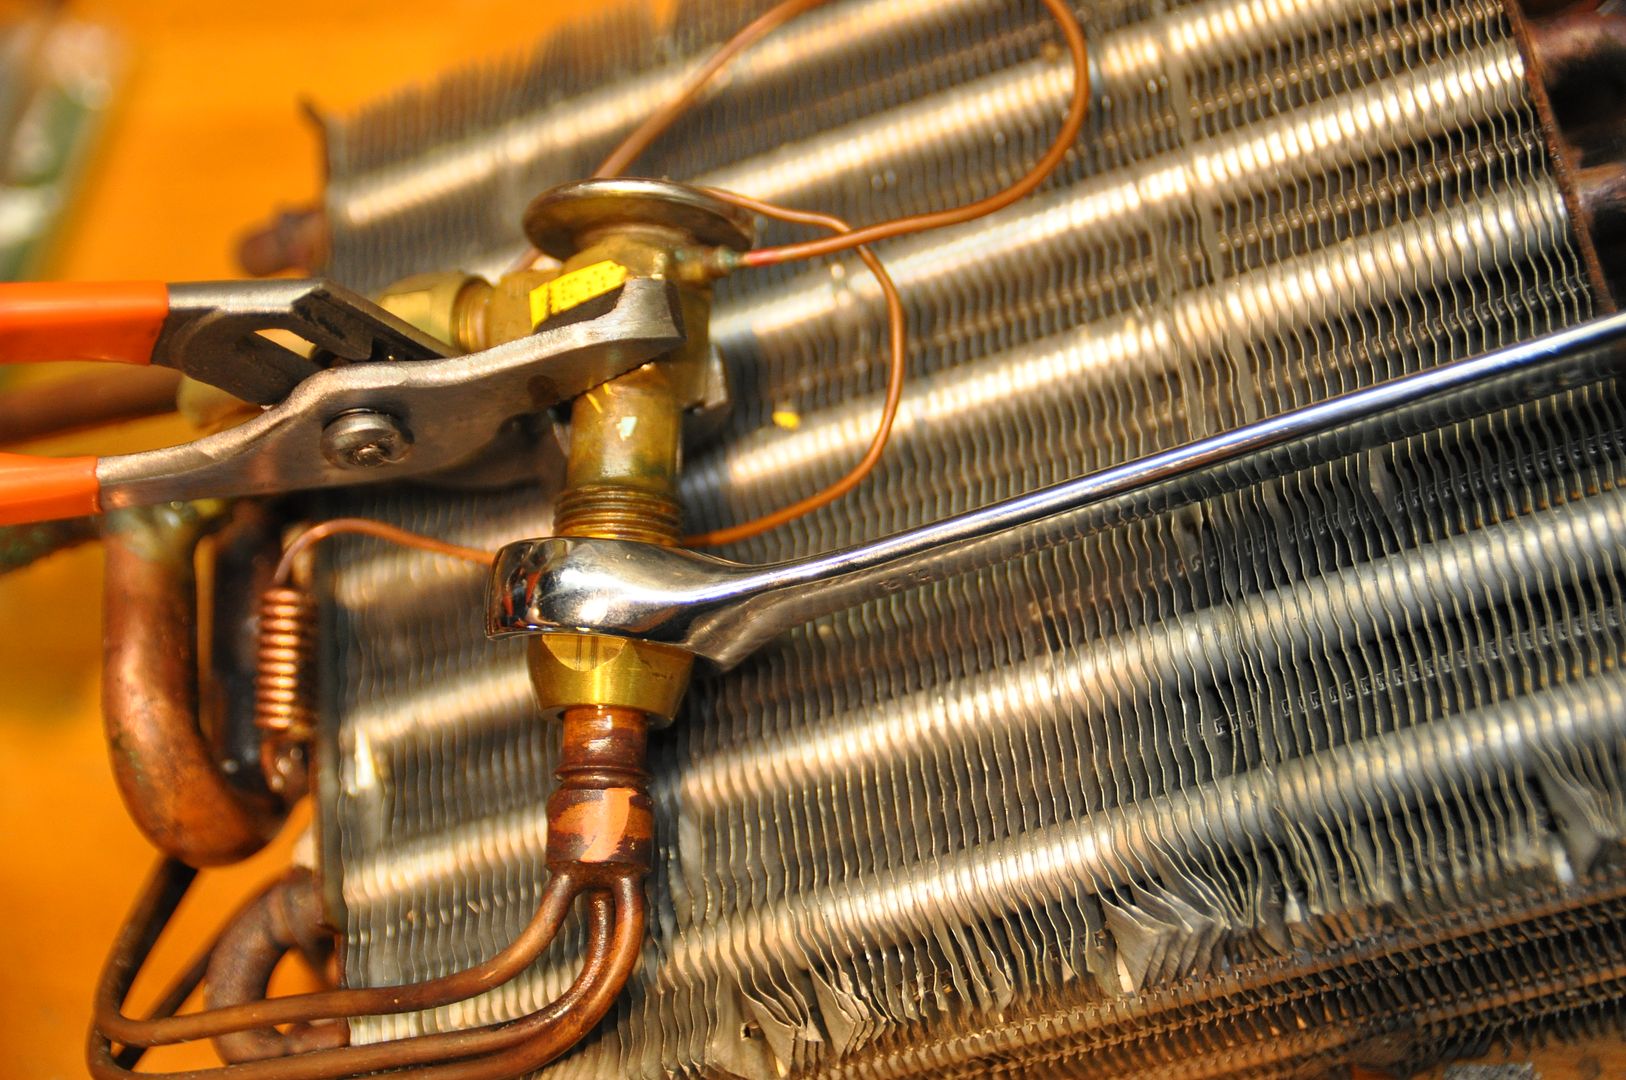
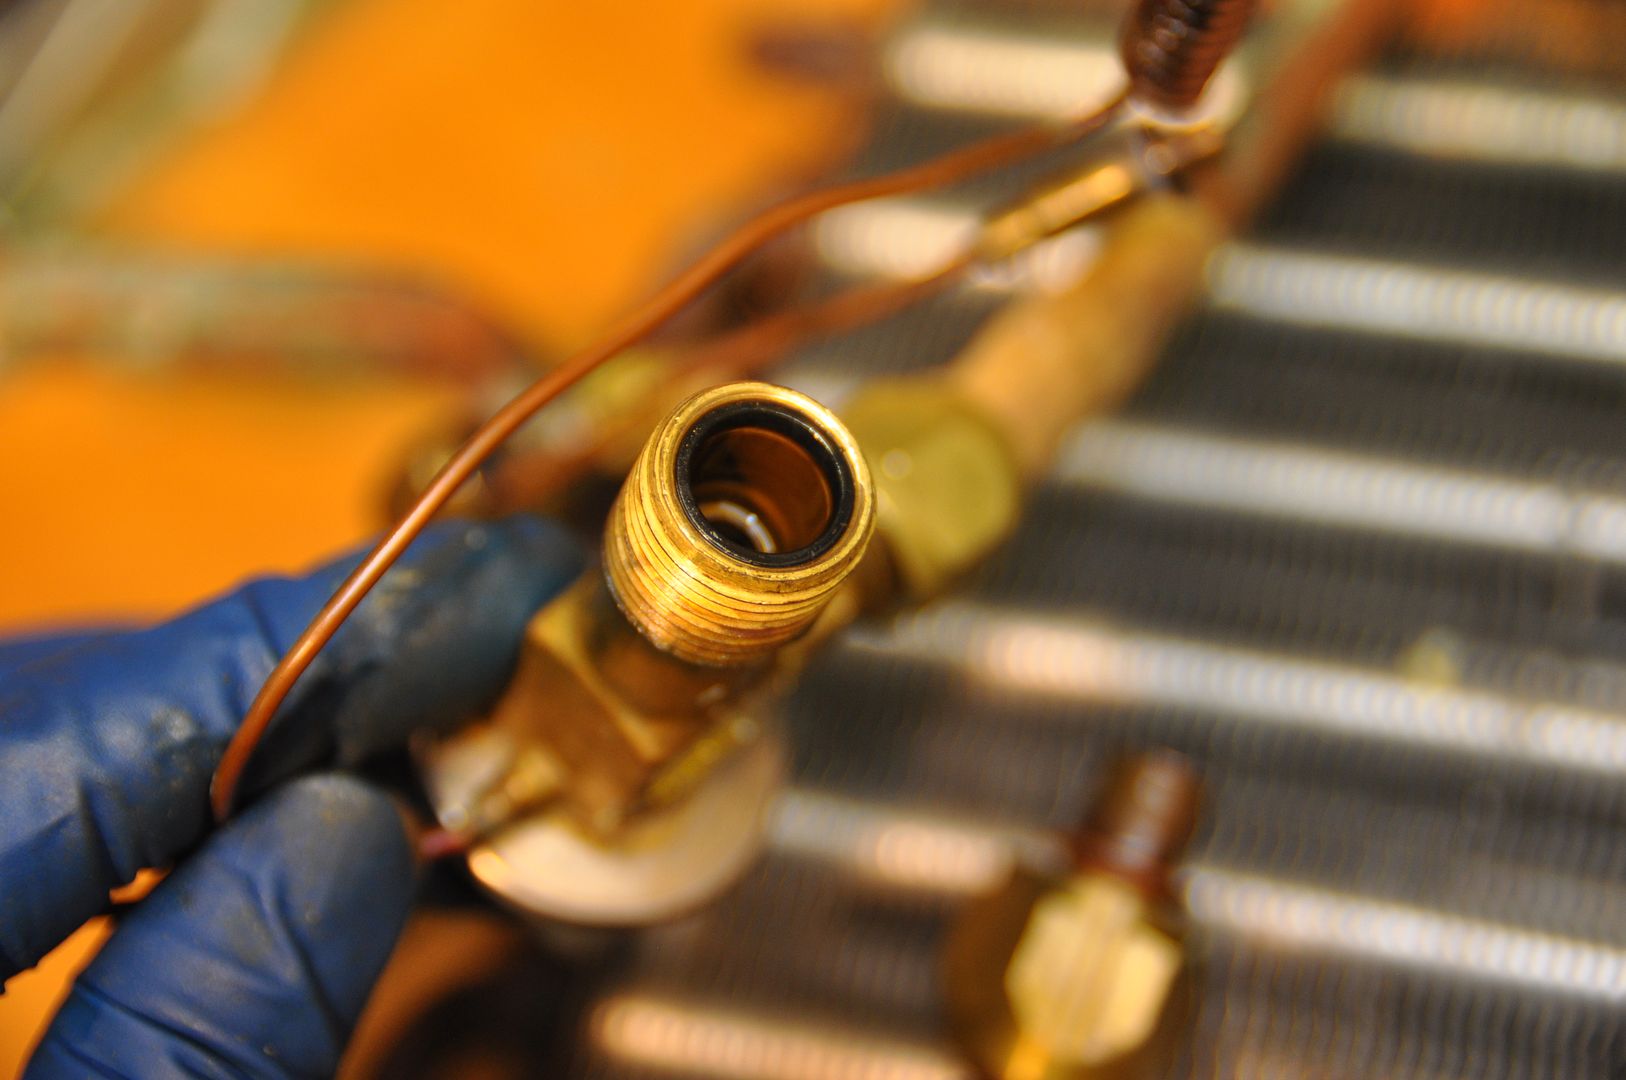
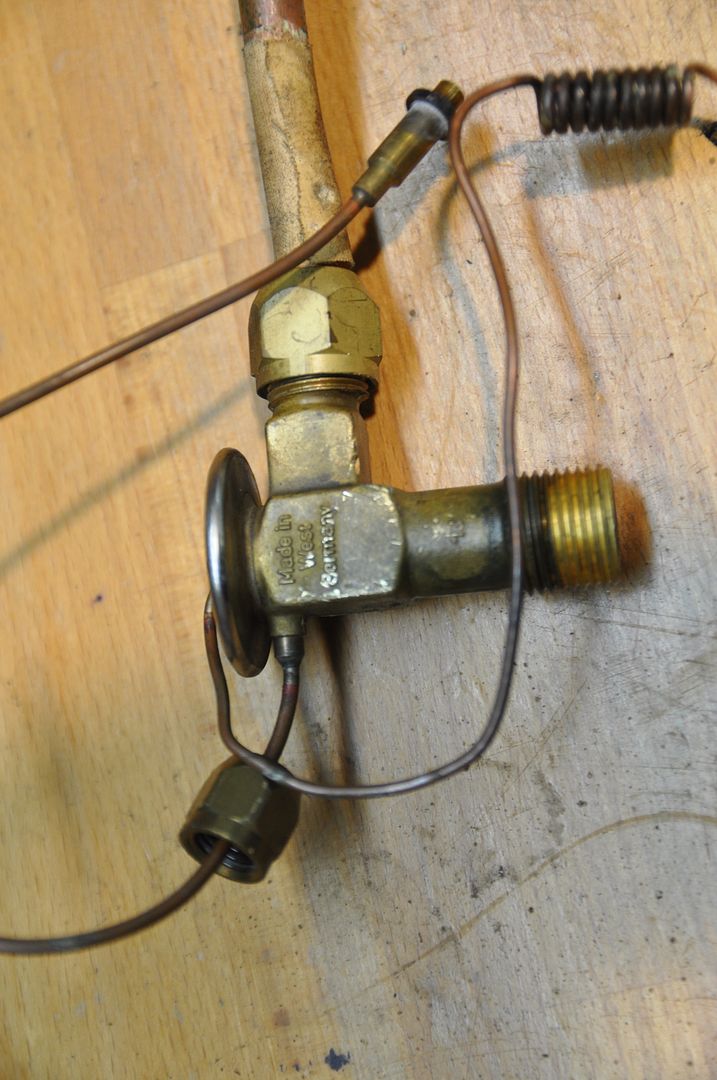
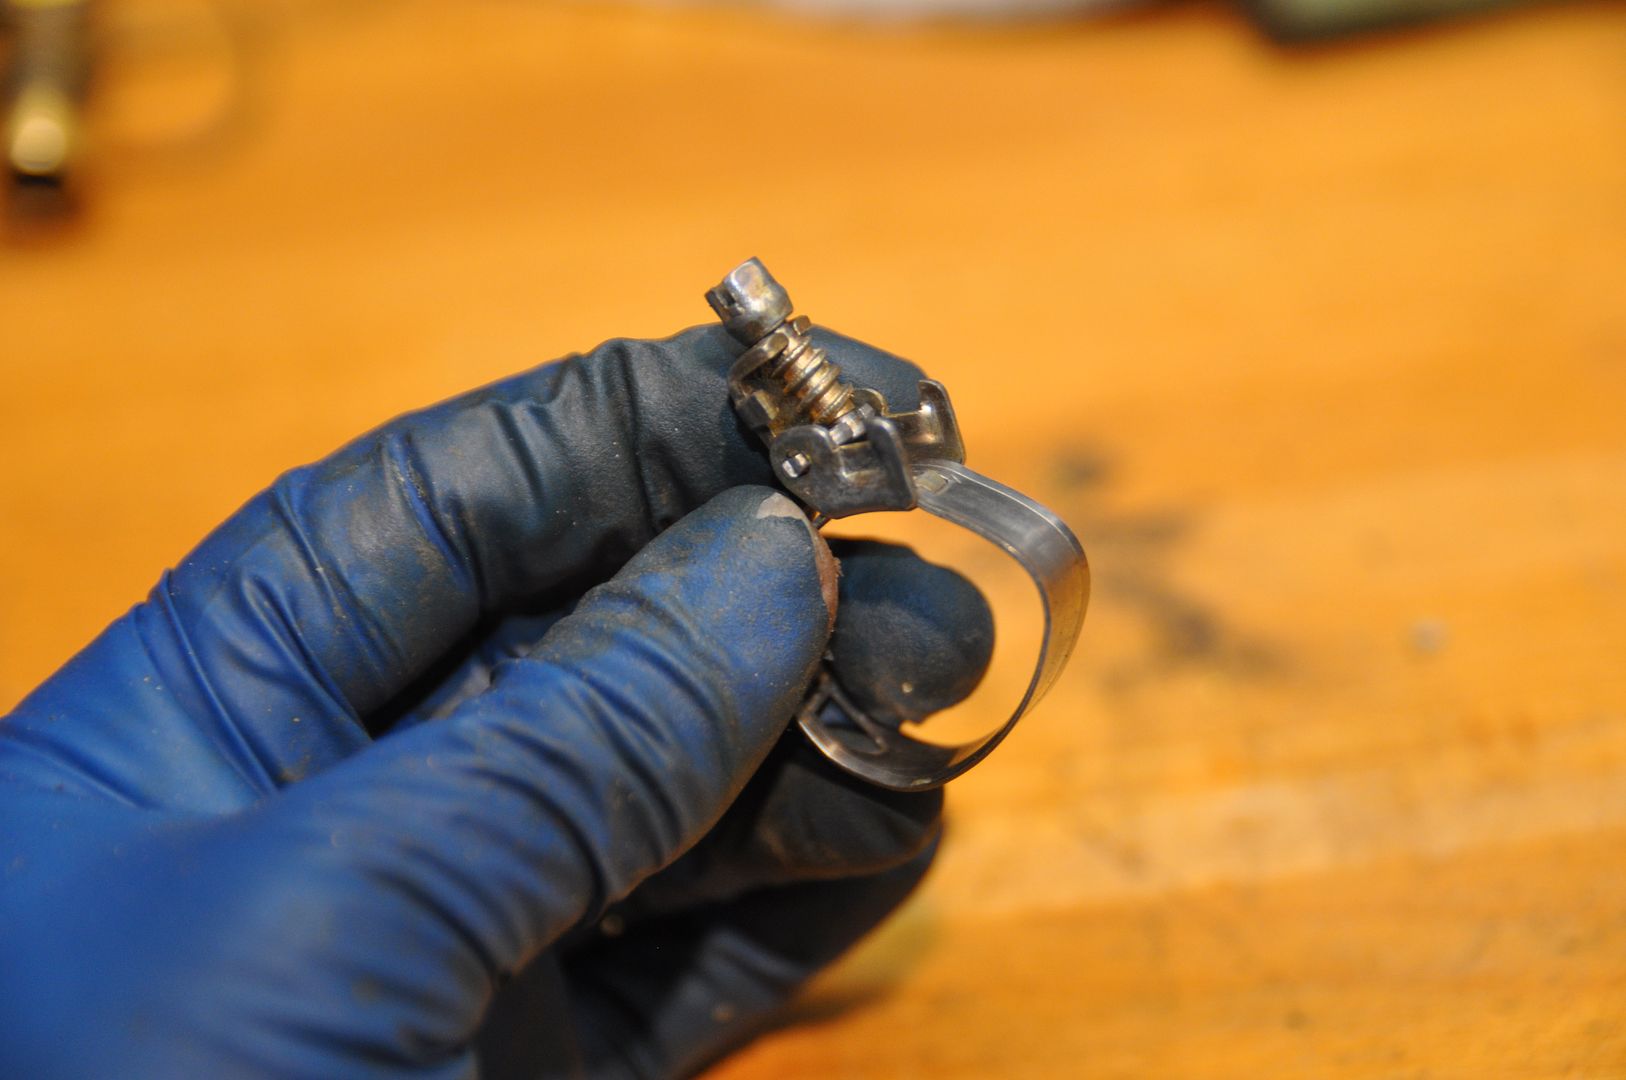
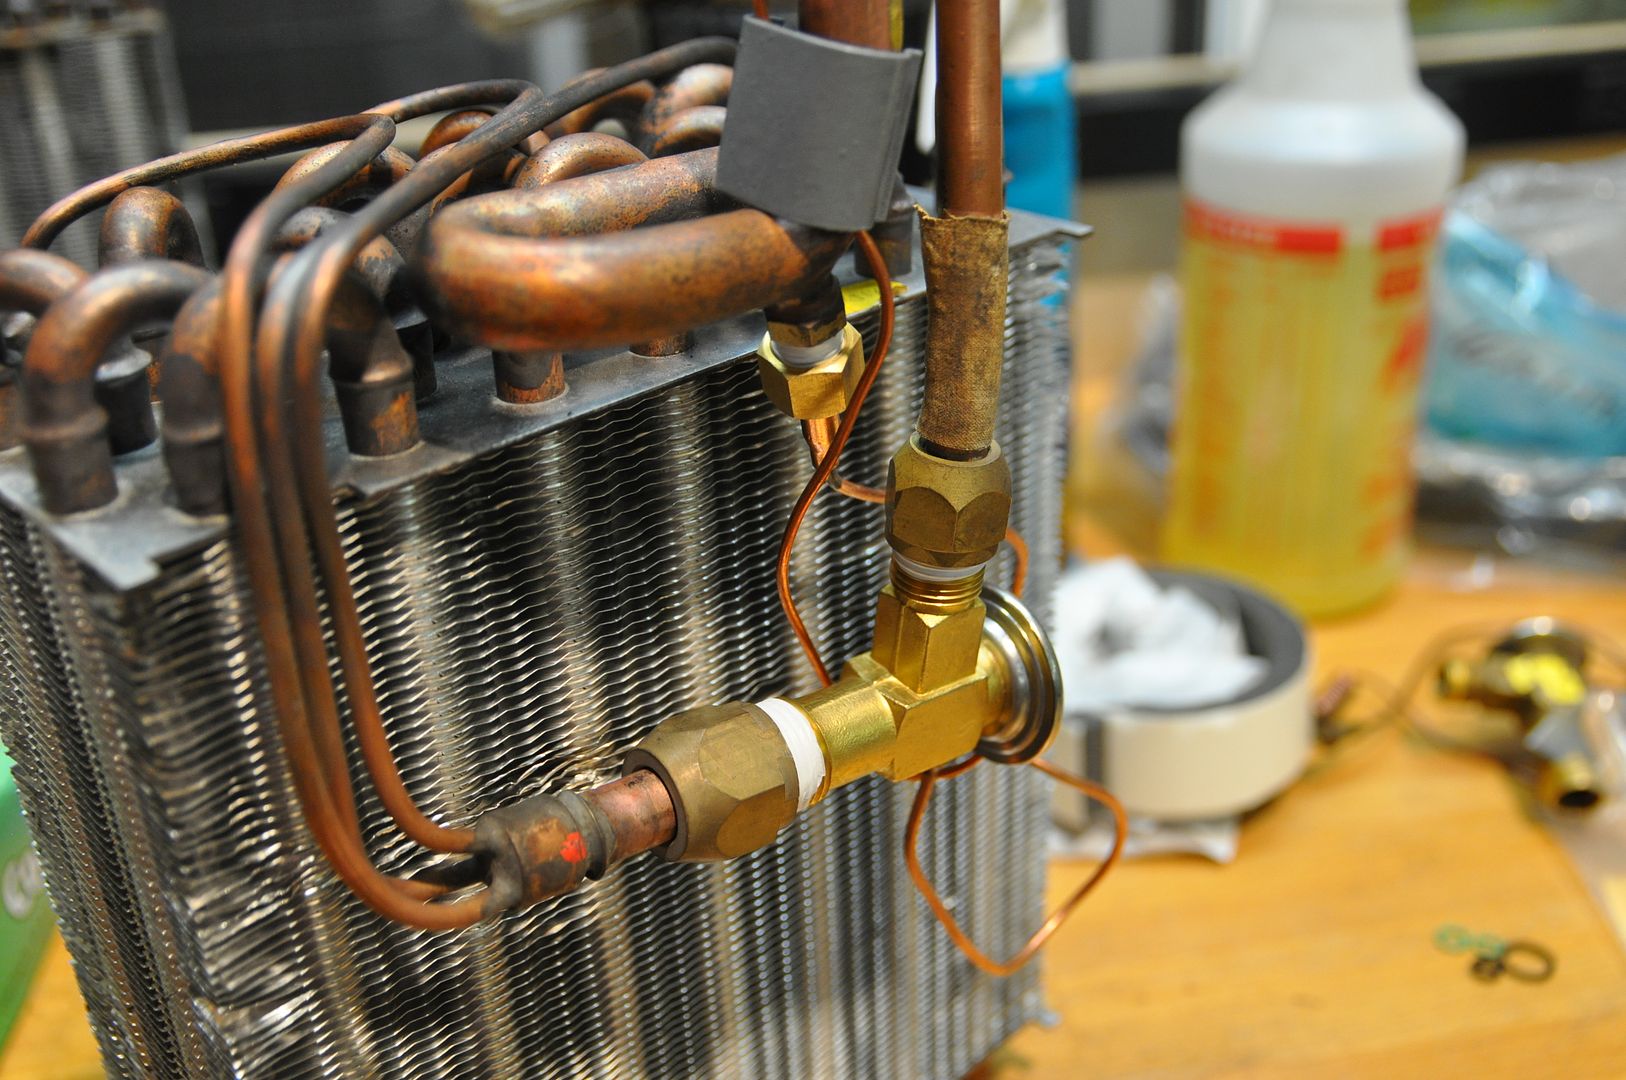
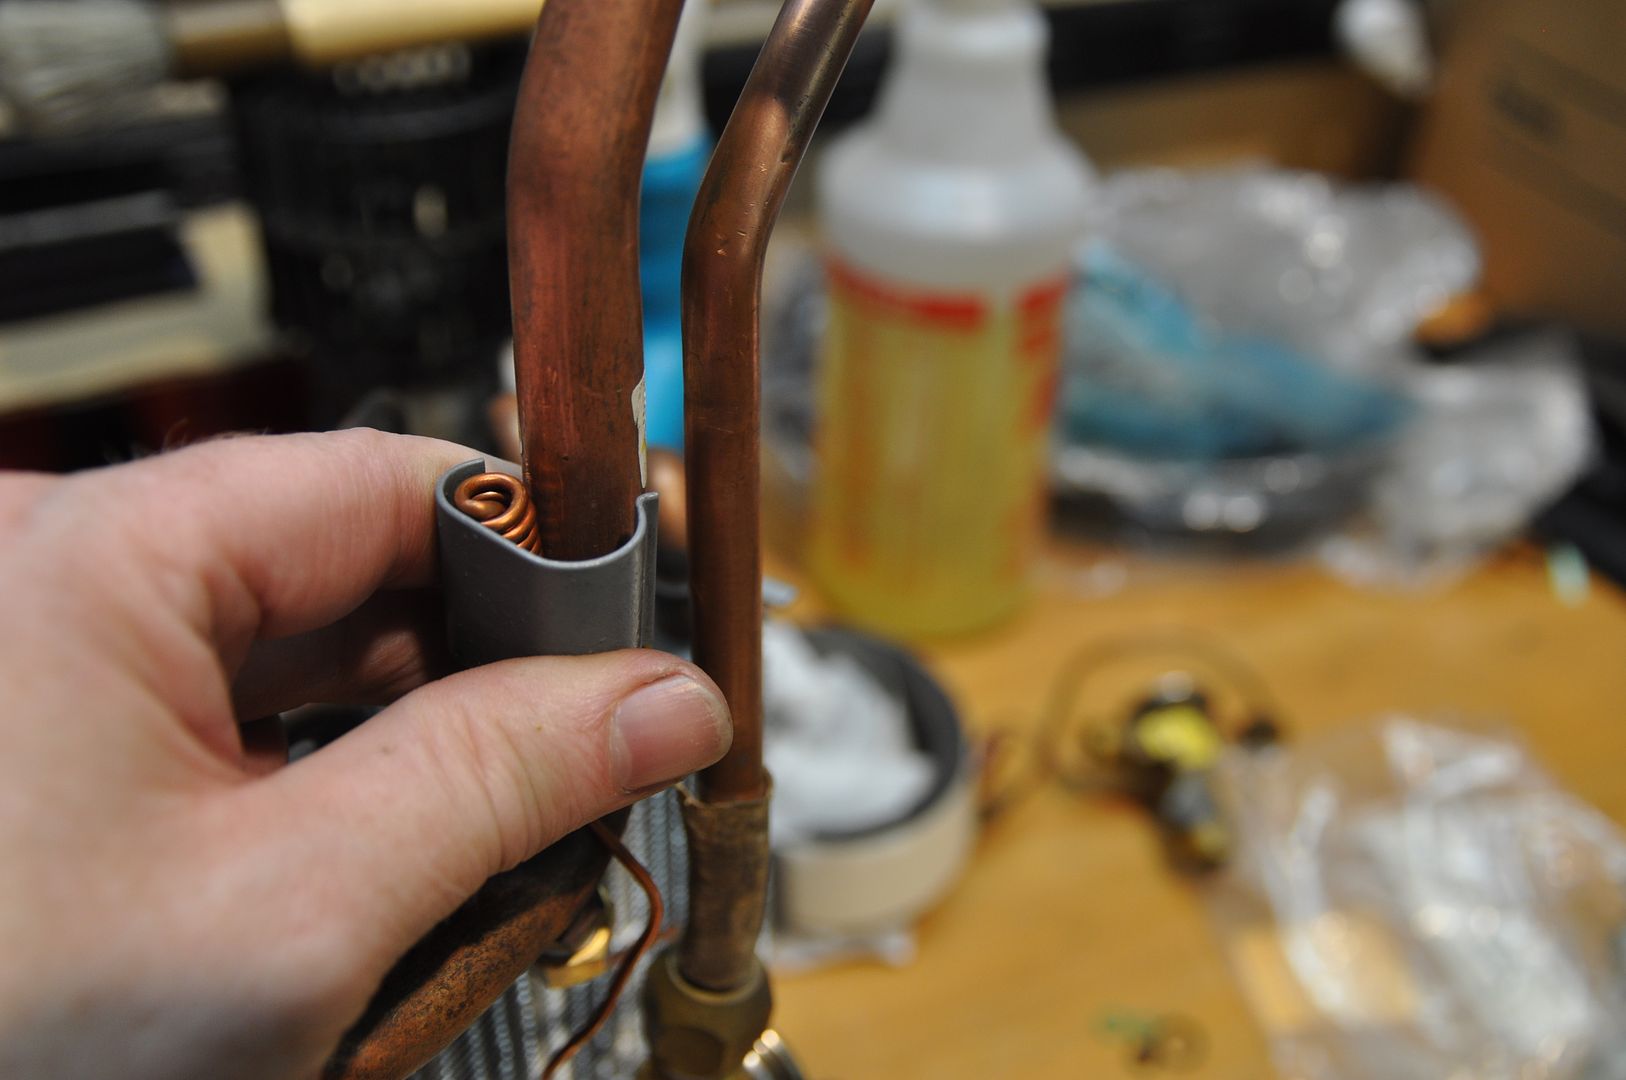
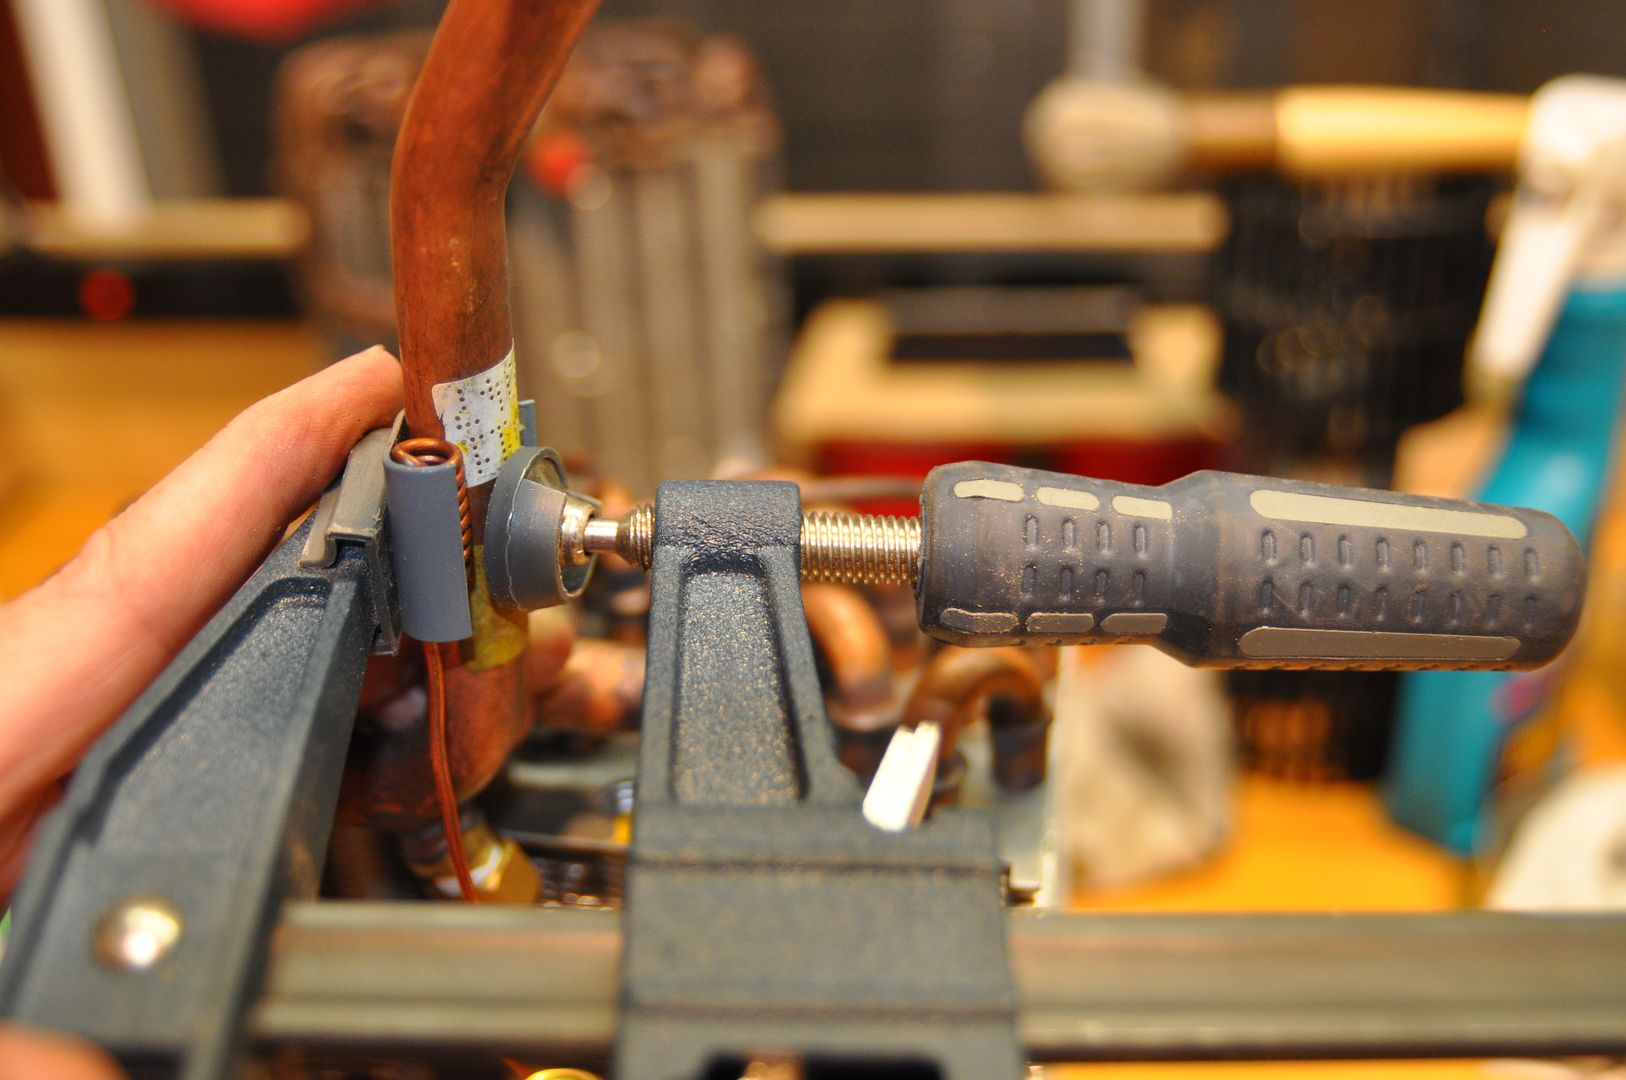
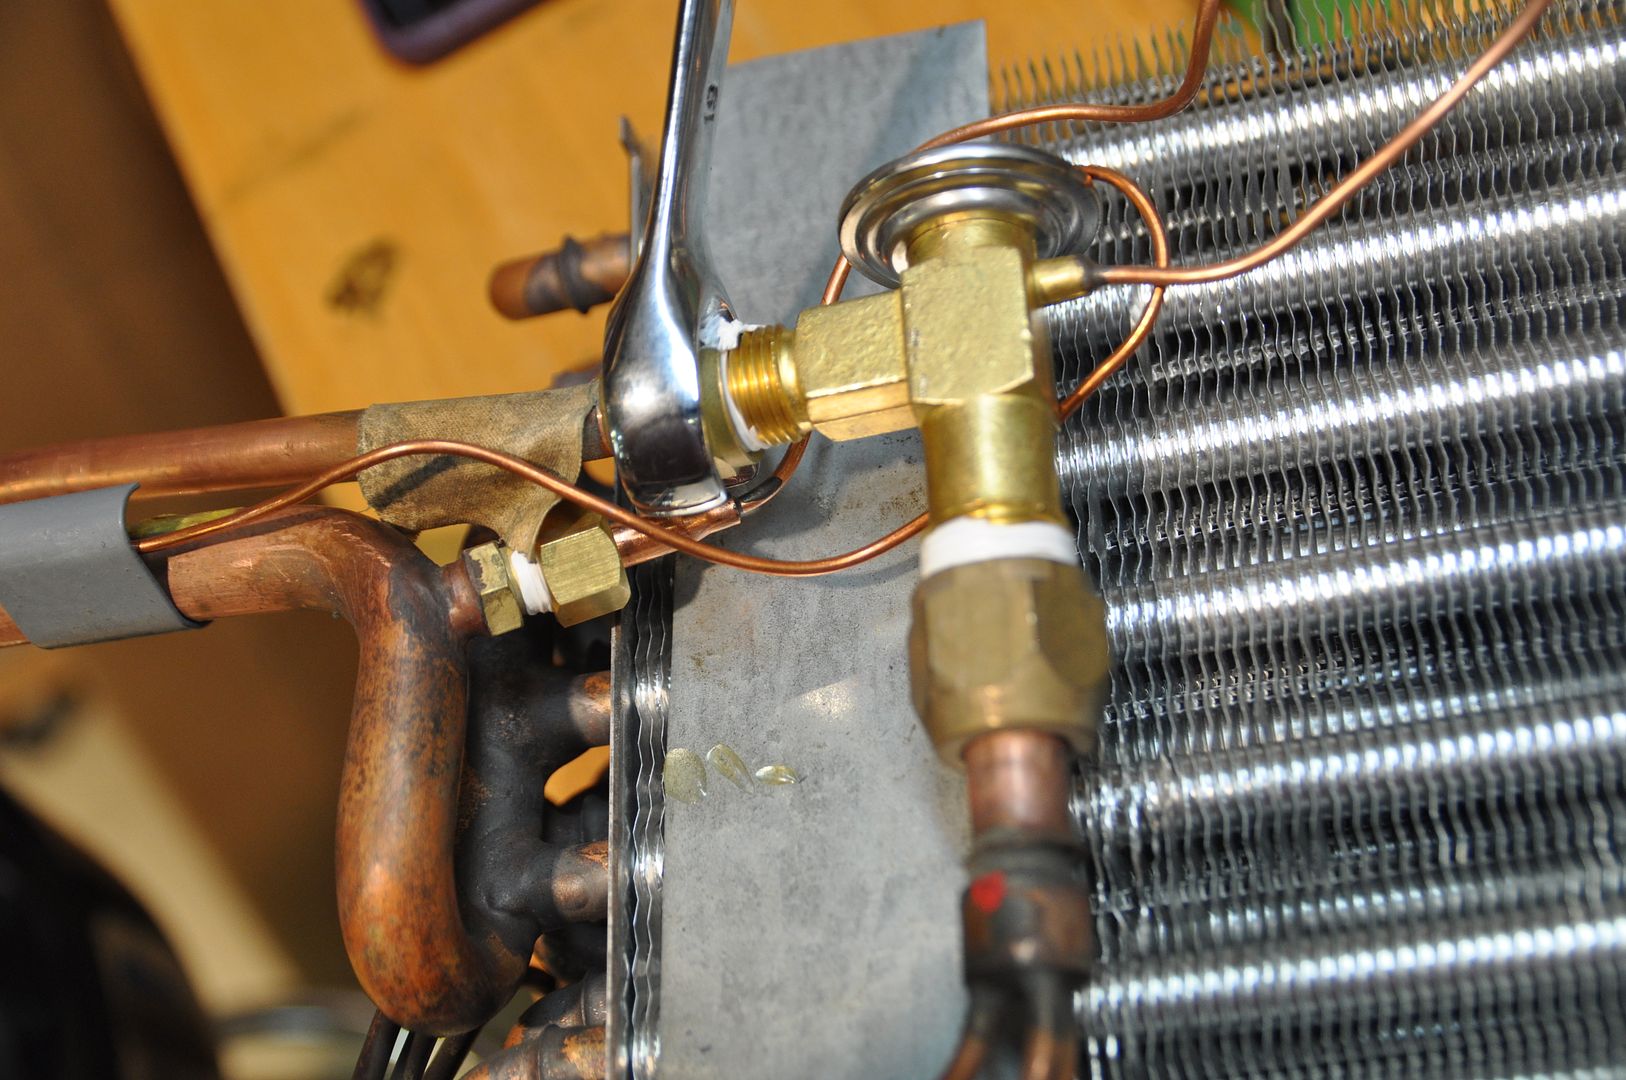
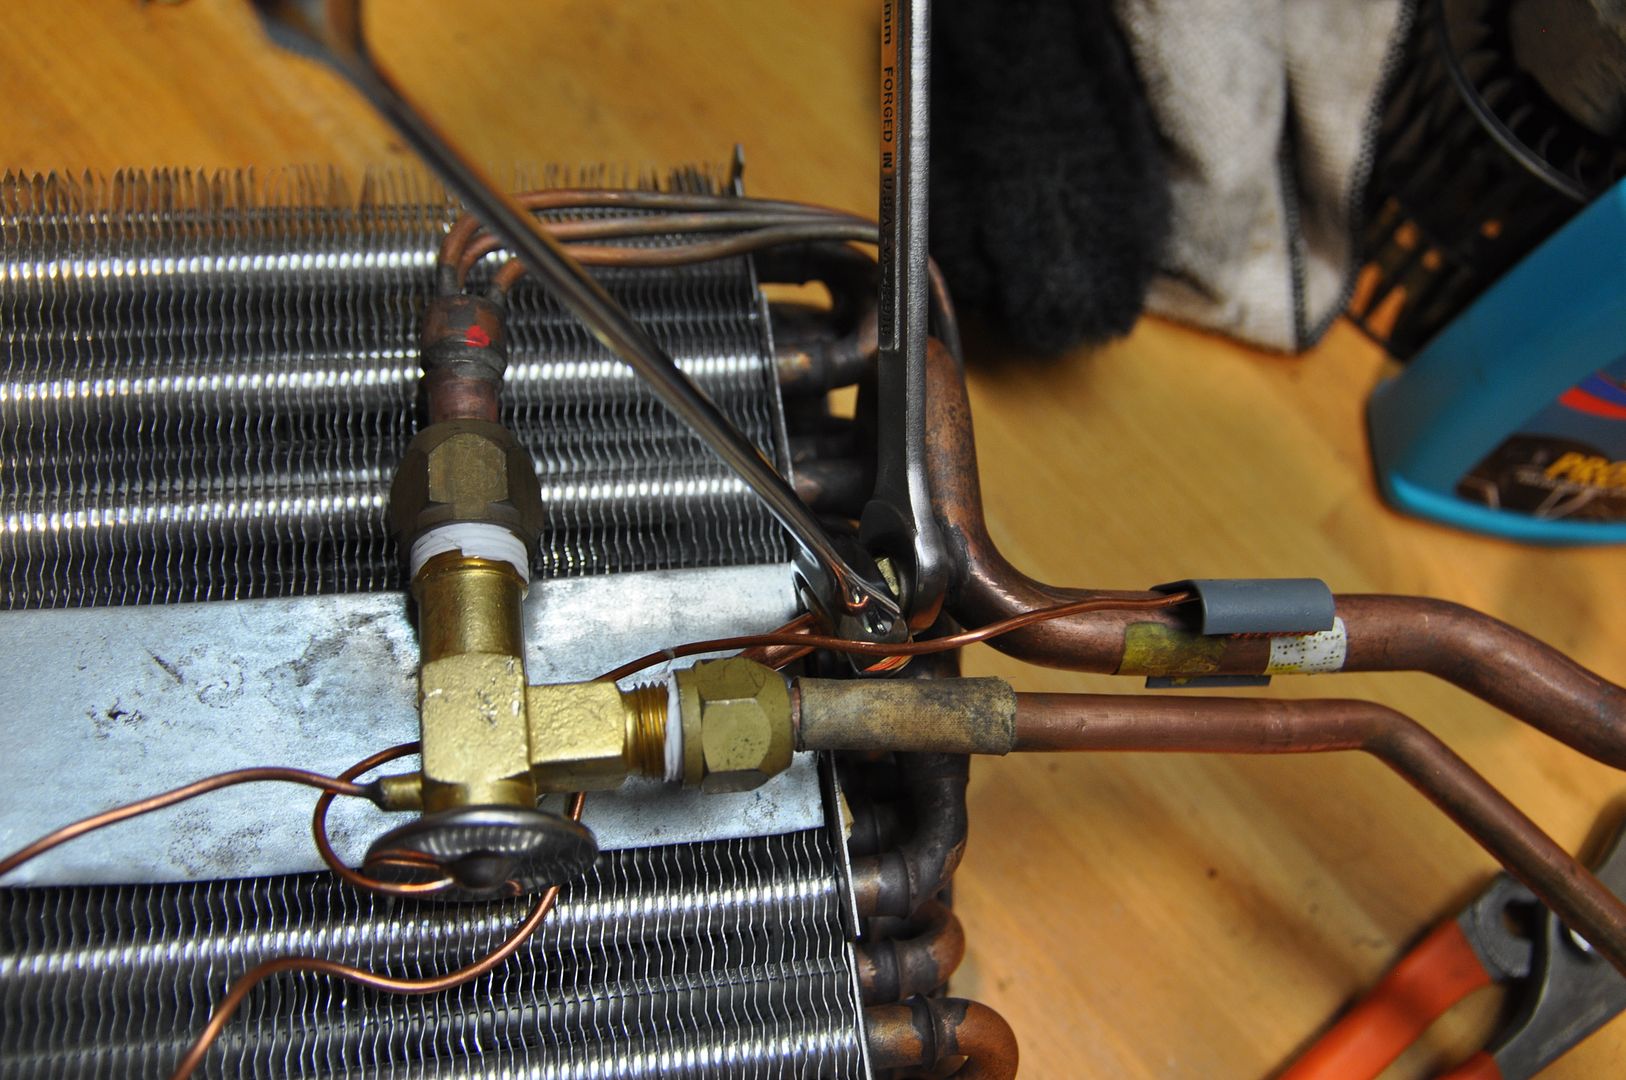
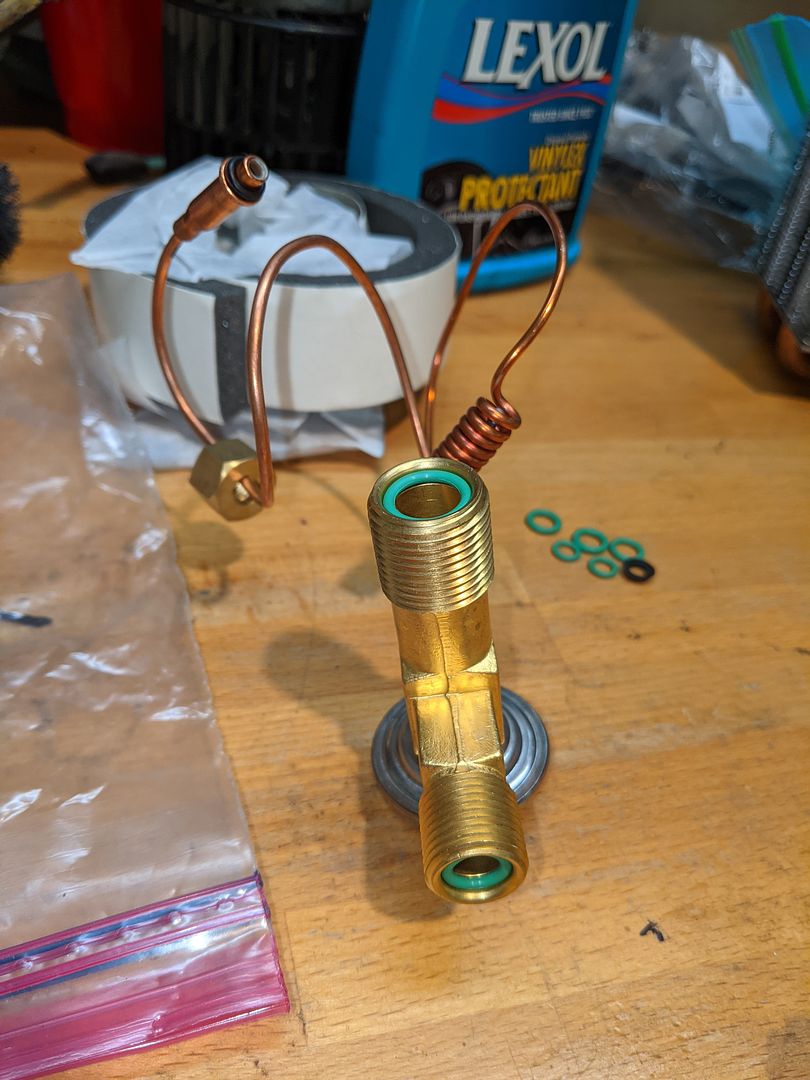
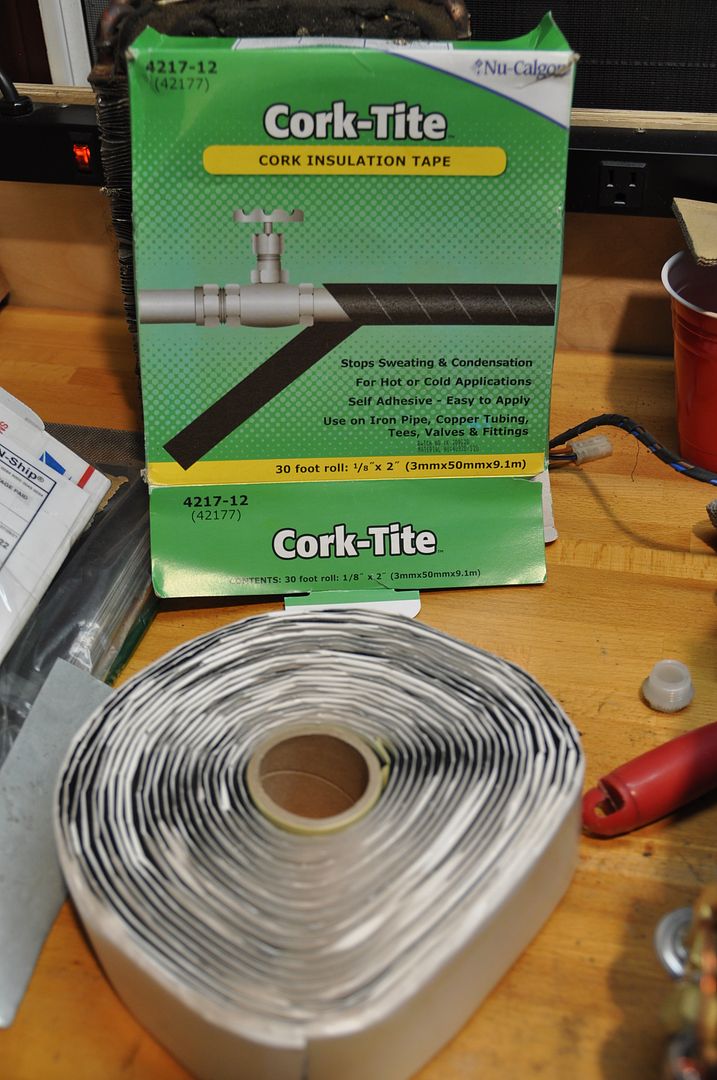
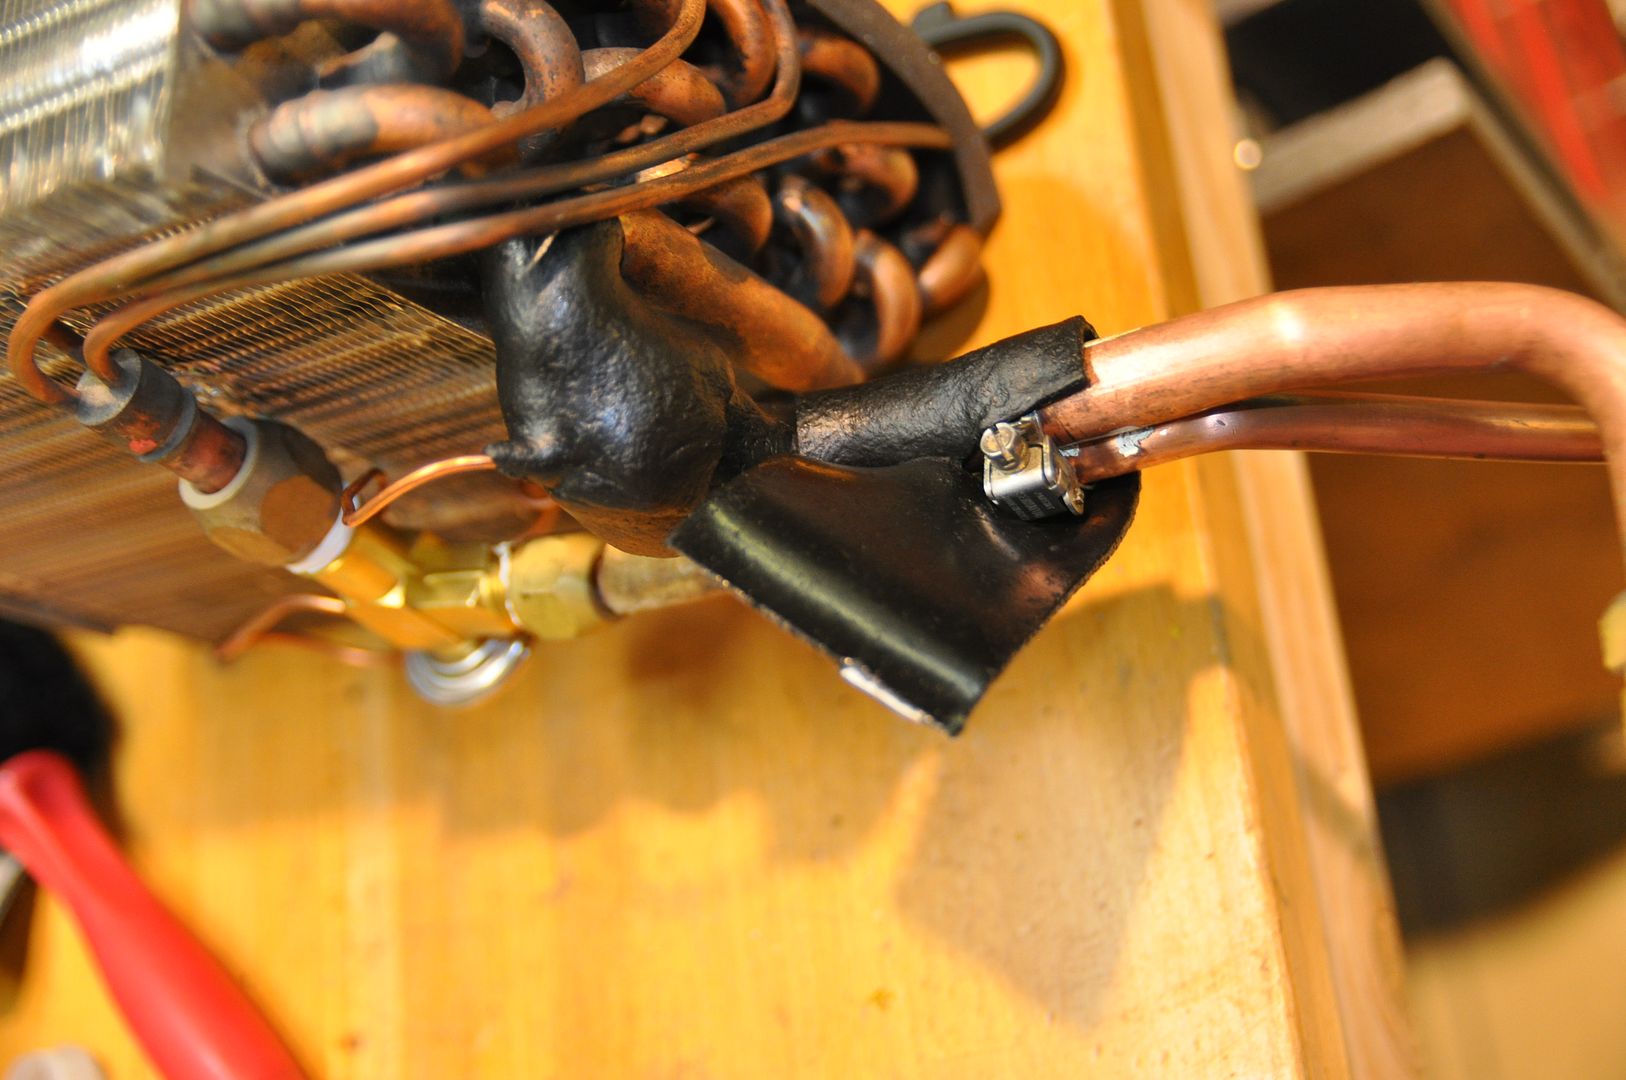
Then I installed a suitable replacement for the pipe insulation (again, thanks Jens for the tip). I sourced it from Grainger and seeds to do the trick:
One of my many frustrations at using new parts in older applications. It seems that BMW used a pin to locate and hold the blower fan in position in the Evaporator box. There is a corresponding hole(s) in the blower fan motor housing to receive said pin:
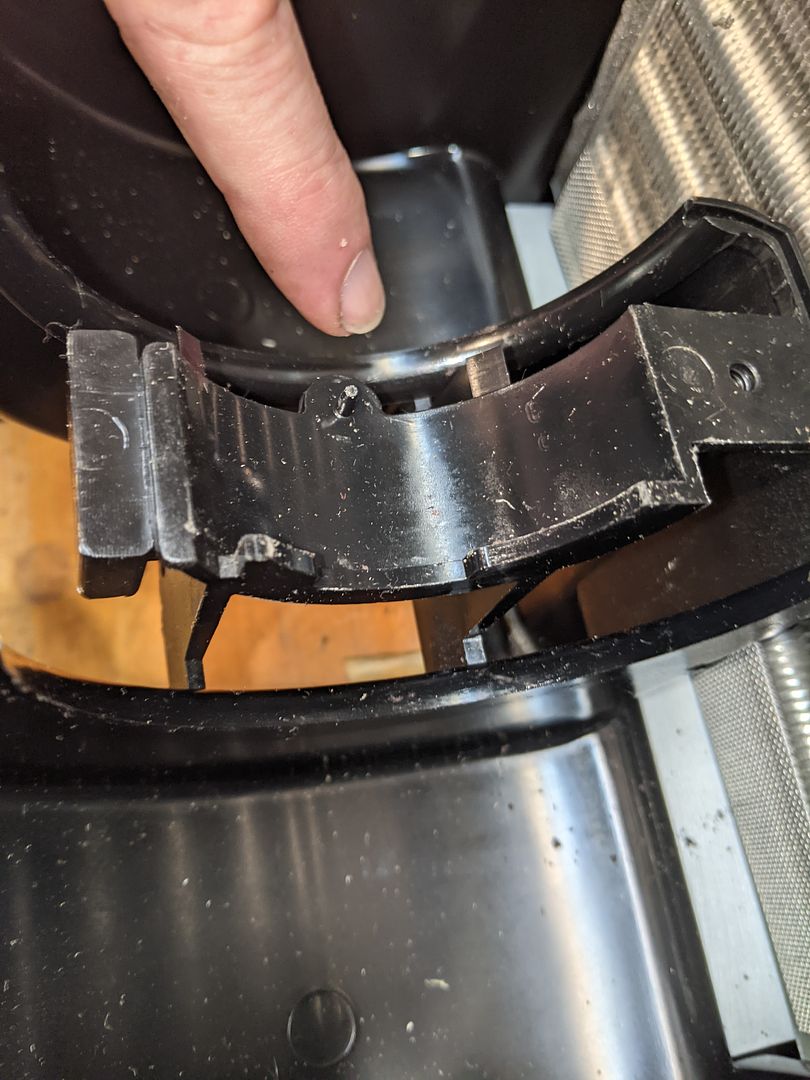
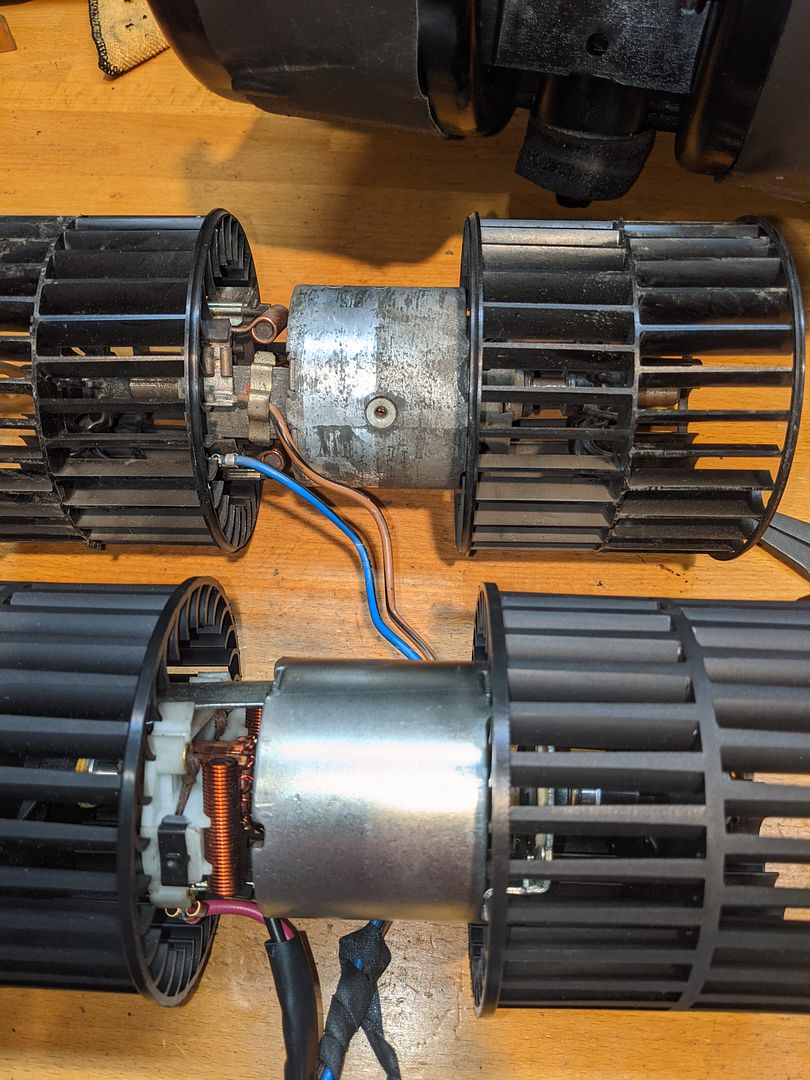
Well, Bosch seemed to forget to add this hole into the new replacement blower fan (

grrrr). So after some thinking I broke out the drill and made my own hole:
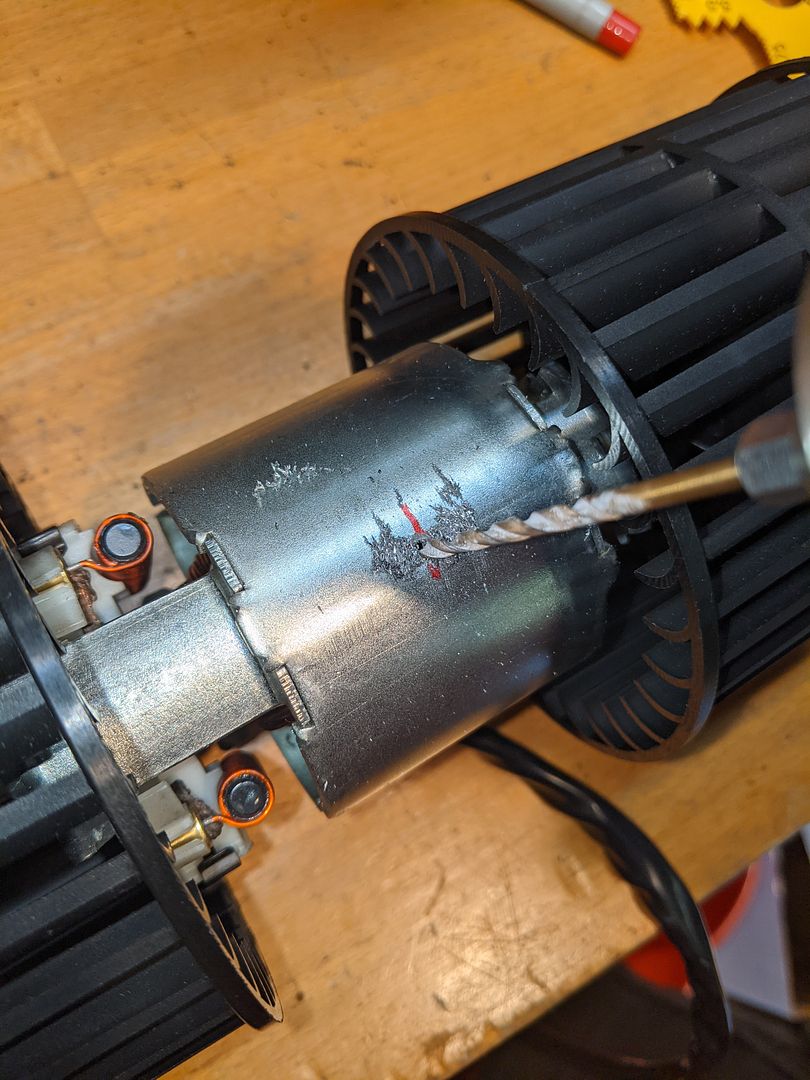
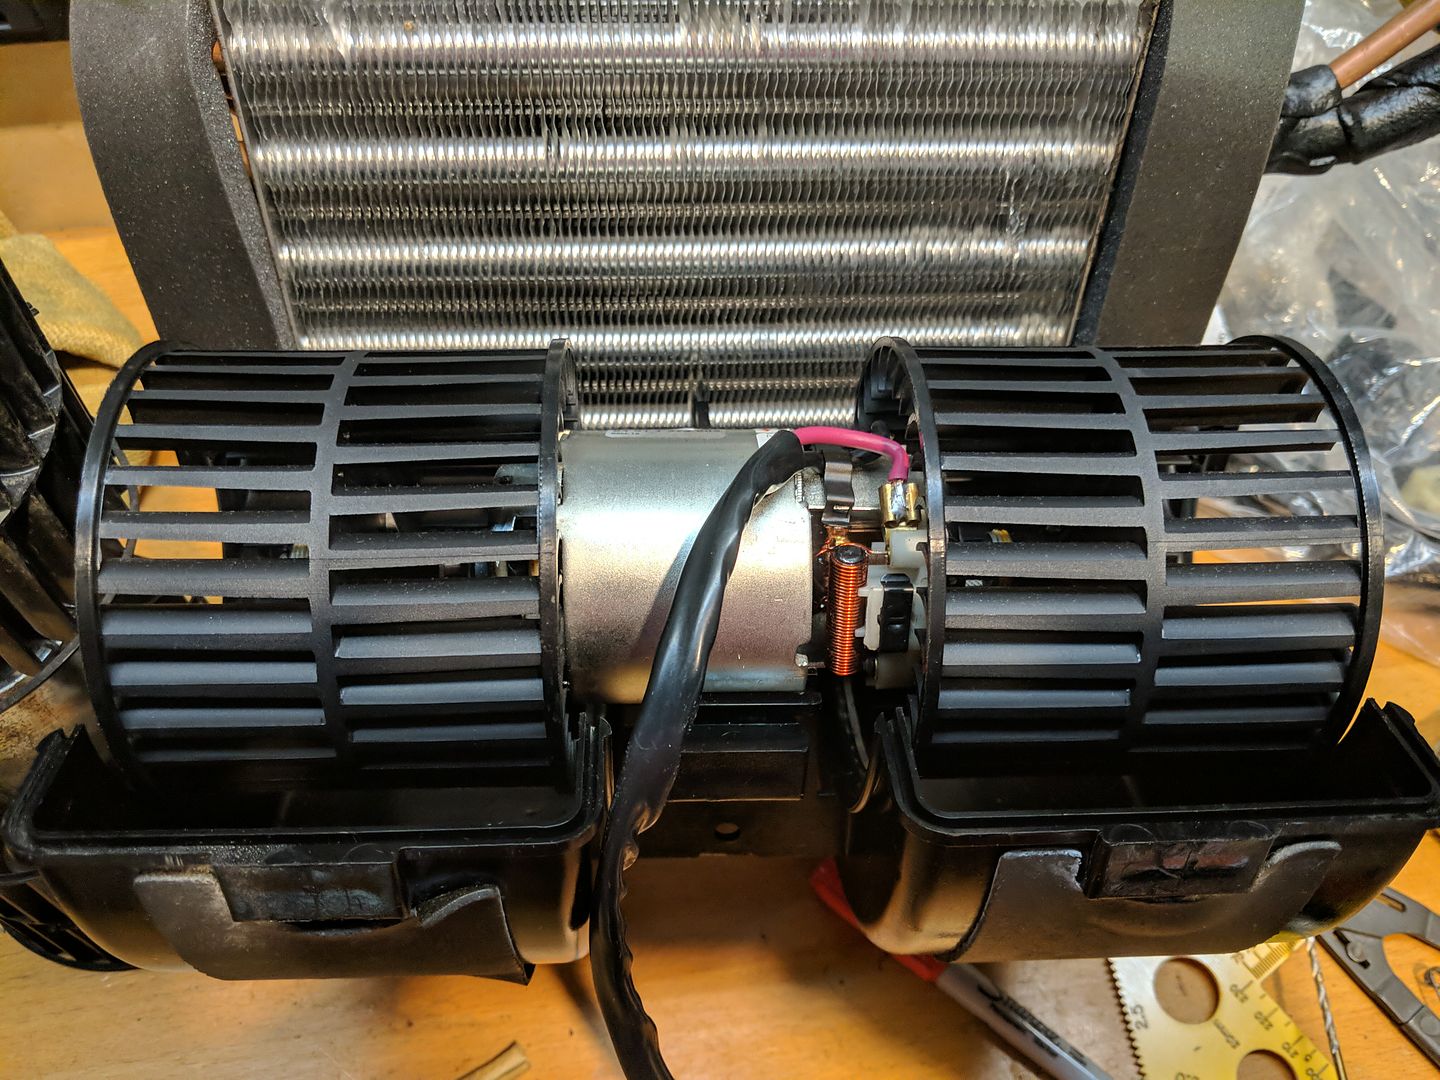
Once done it went on the shelf waiting for re-installation:
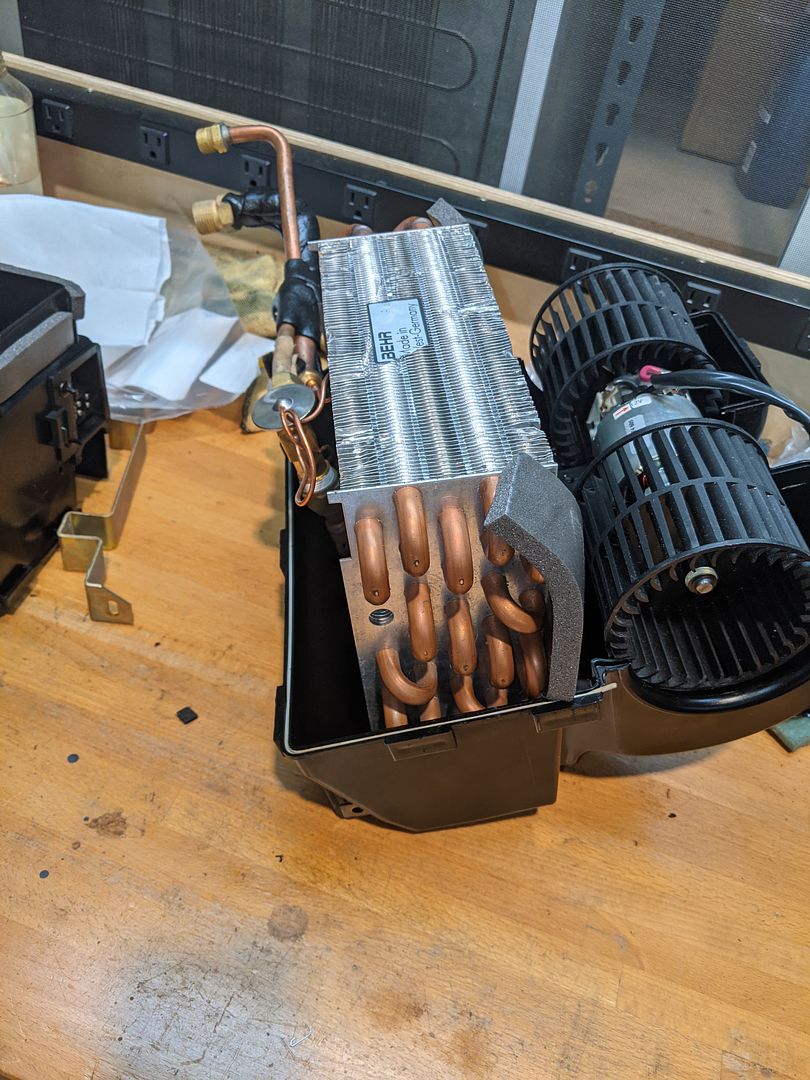
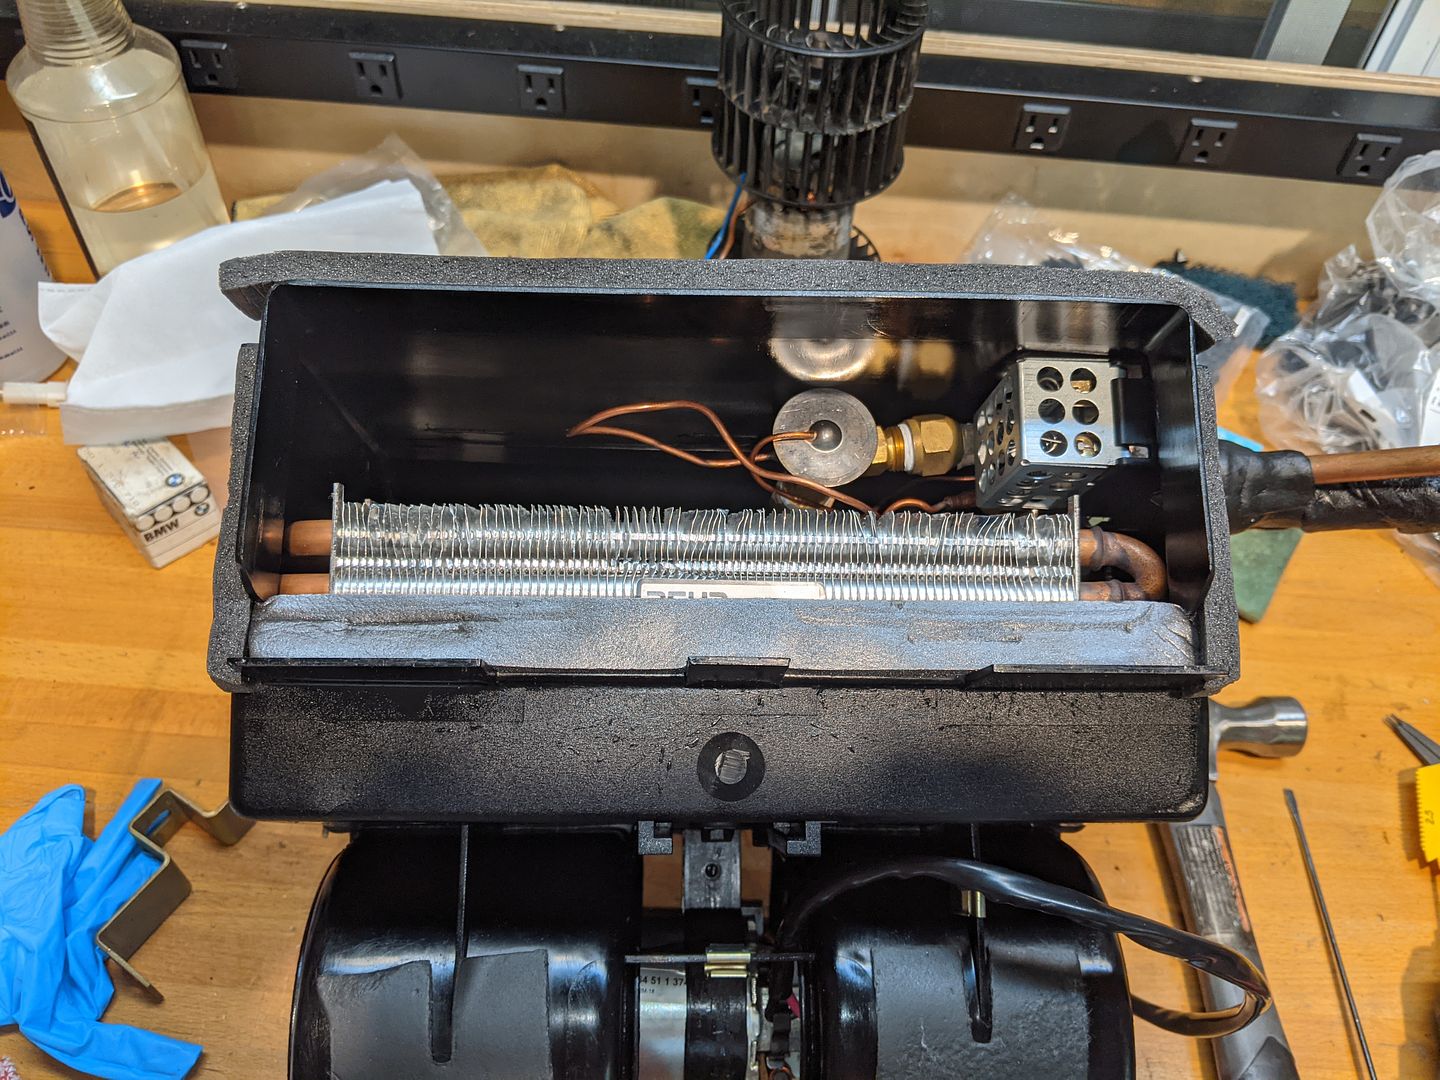
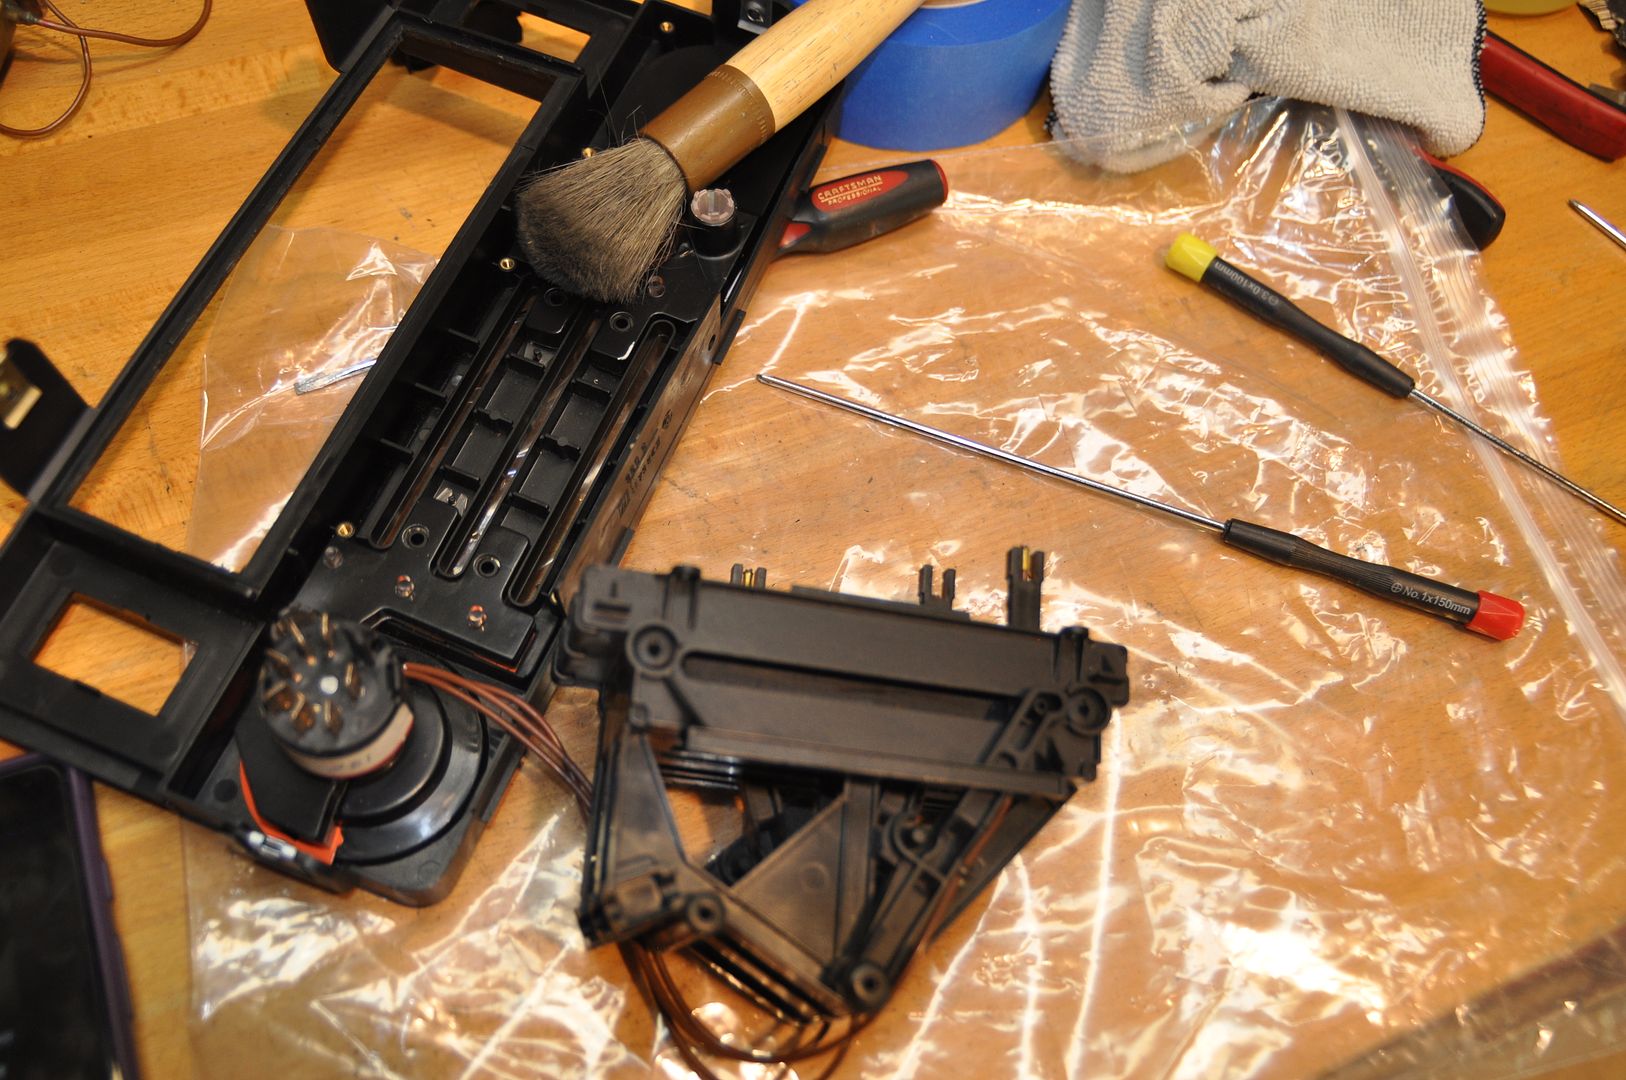
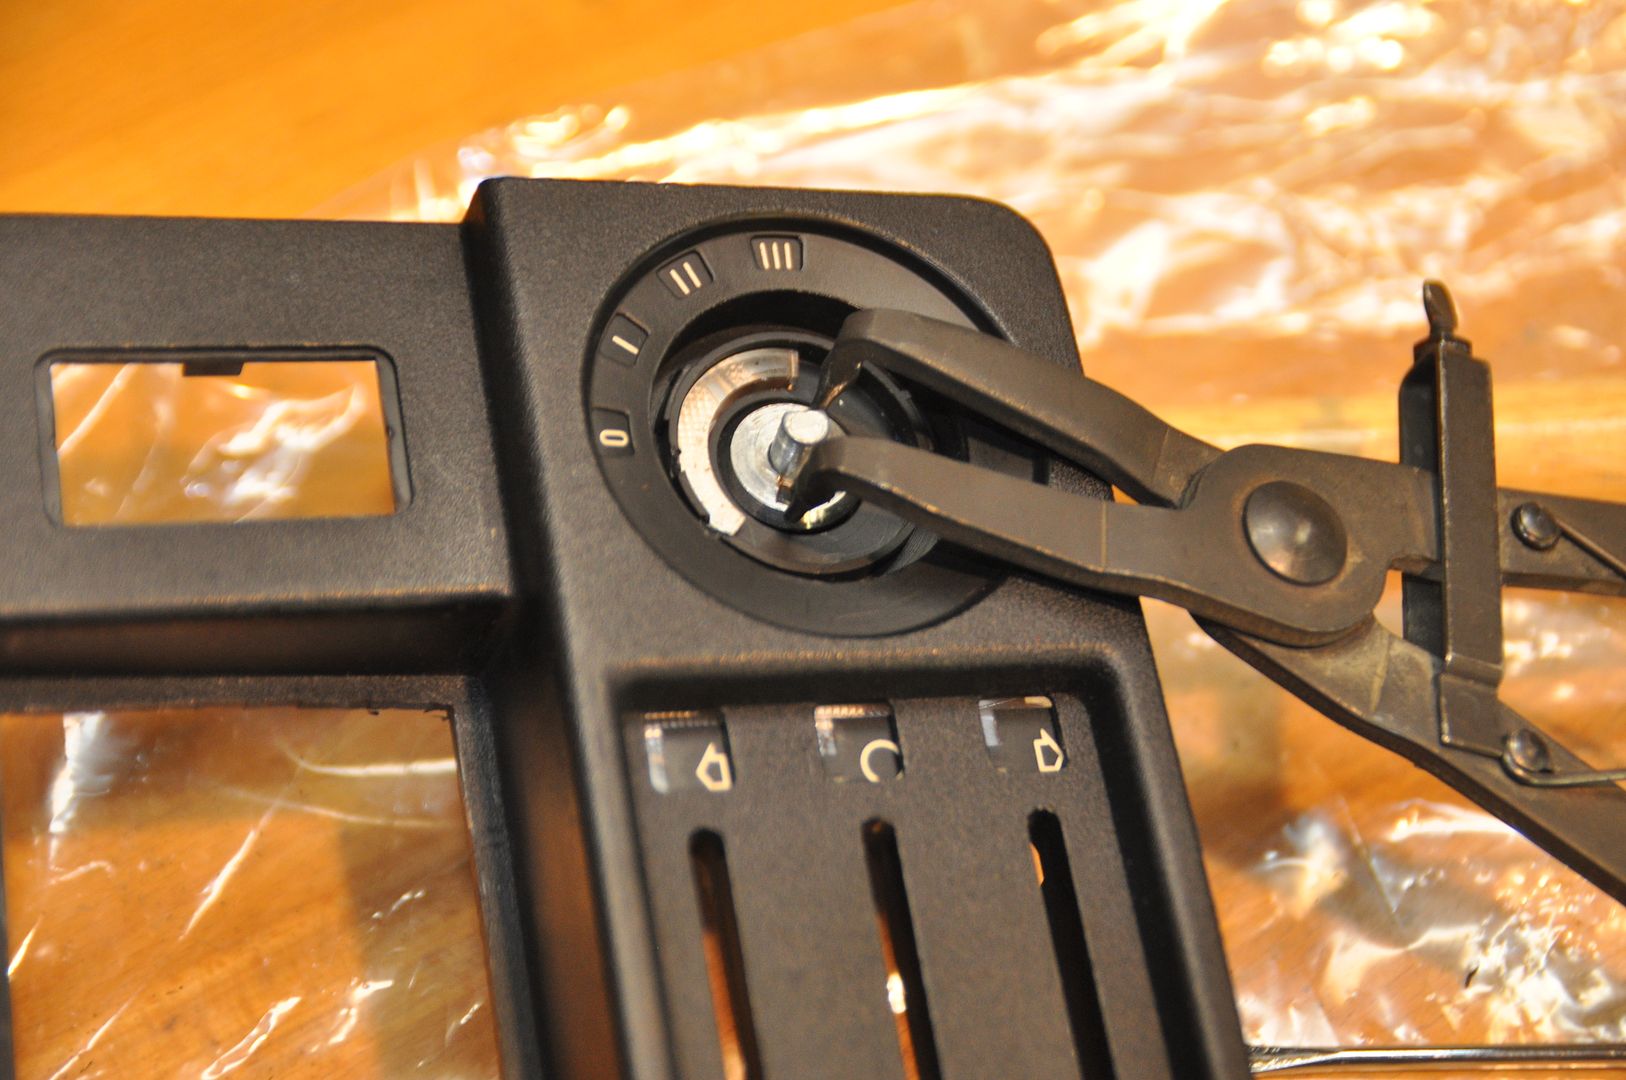
During that time I also decided to give the HVAC control interface some refreshment. This consisted of taking it apart, cleaning, lubricating, installing a new fan switch and installing new light bulbs:
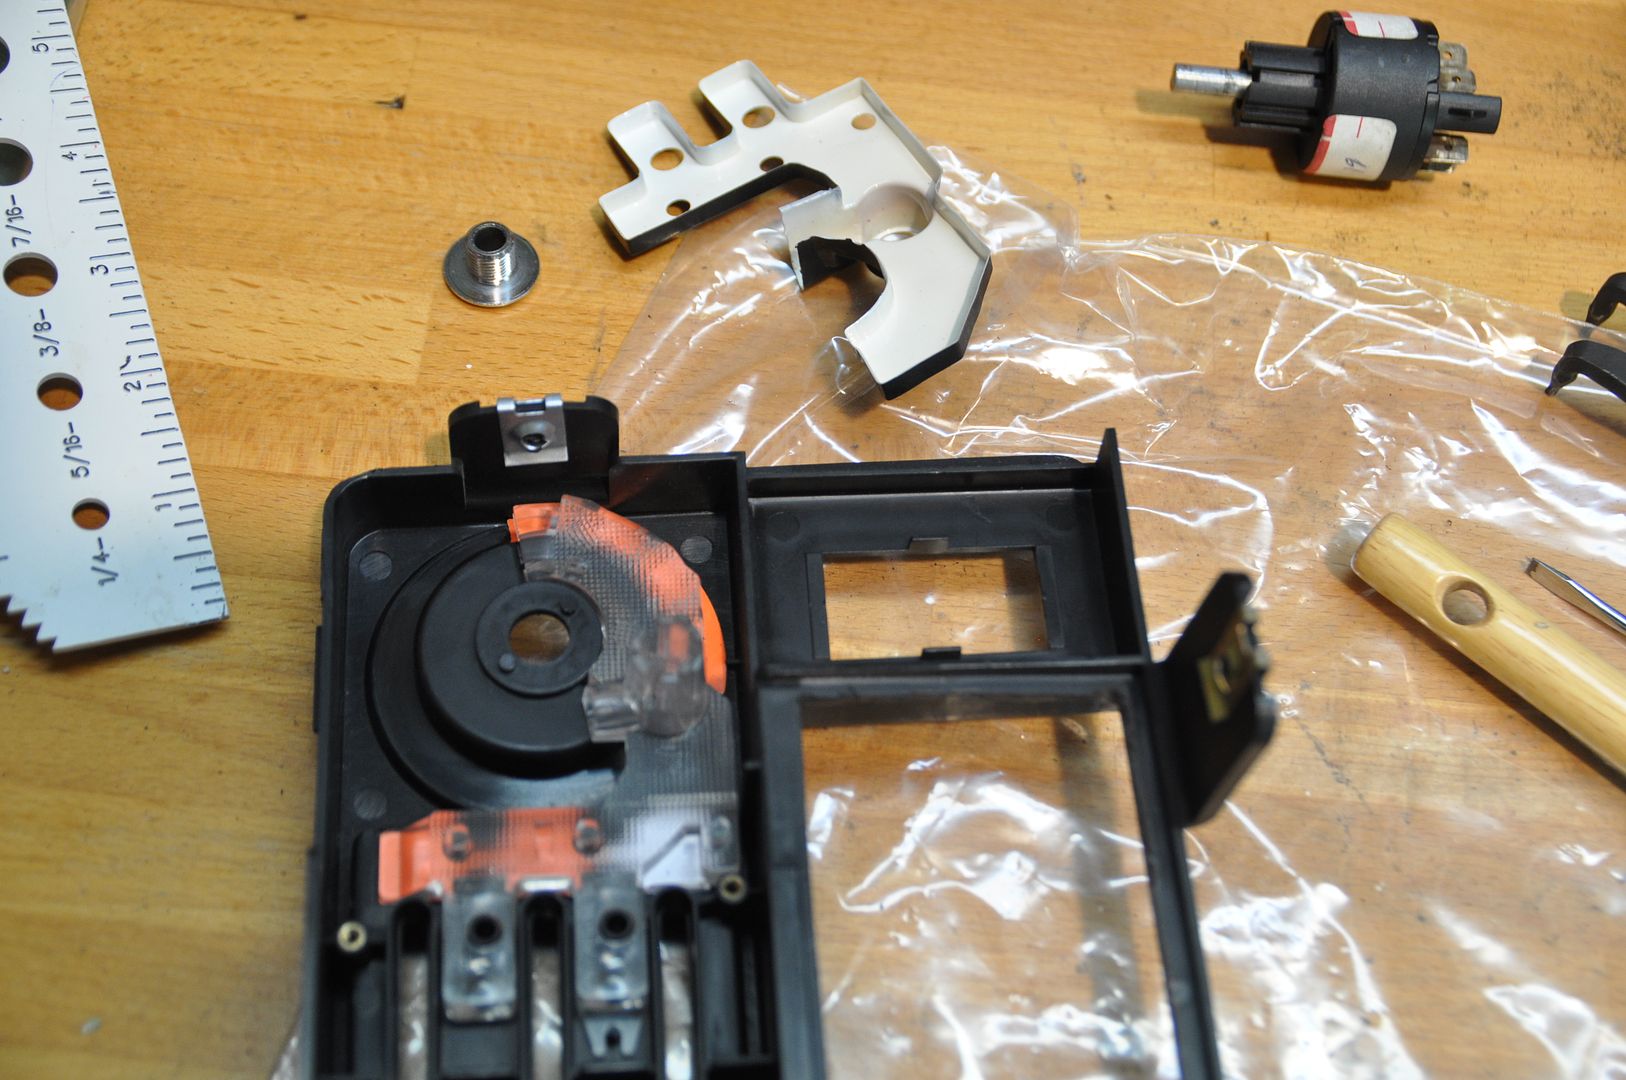
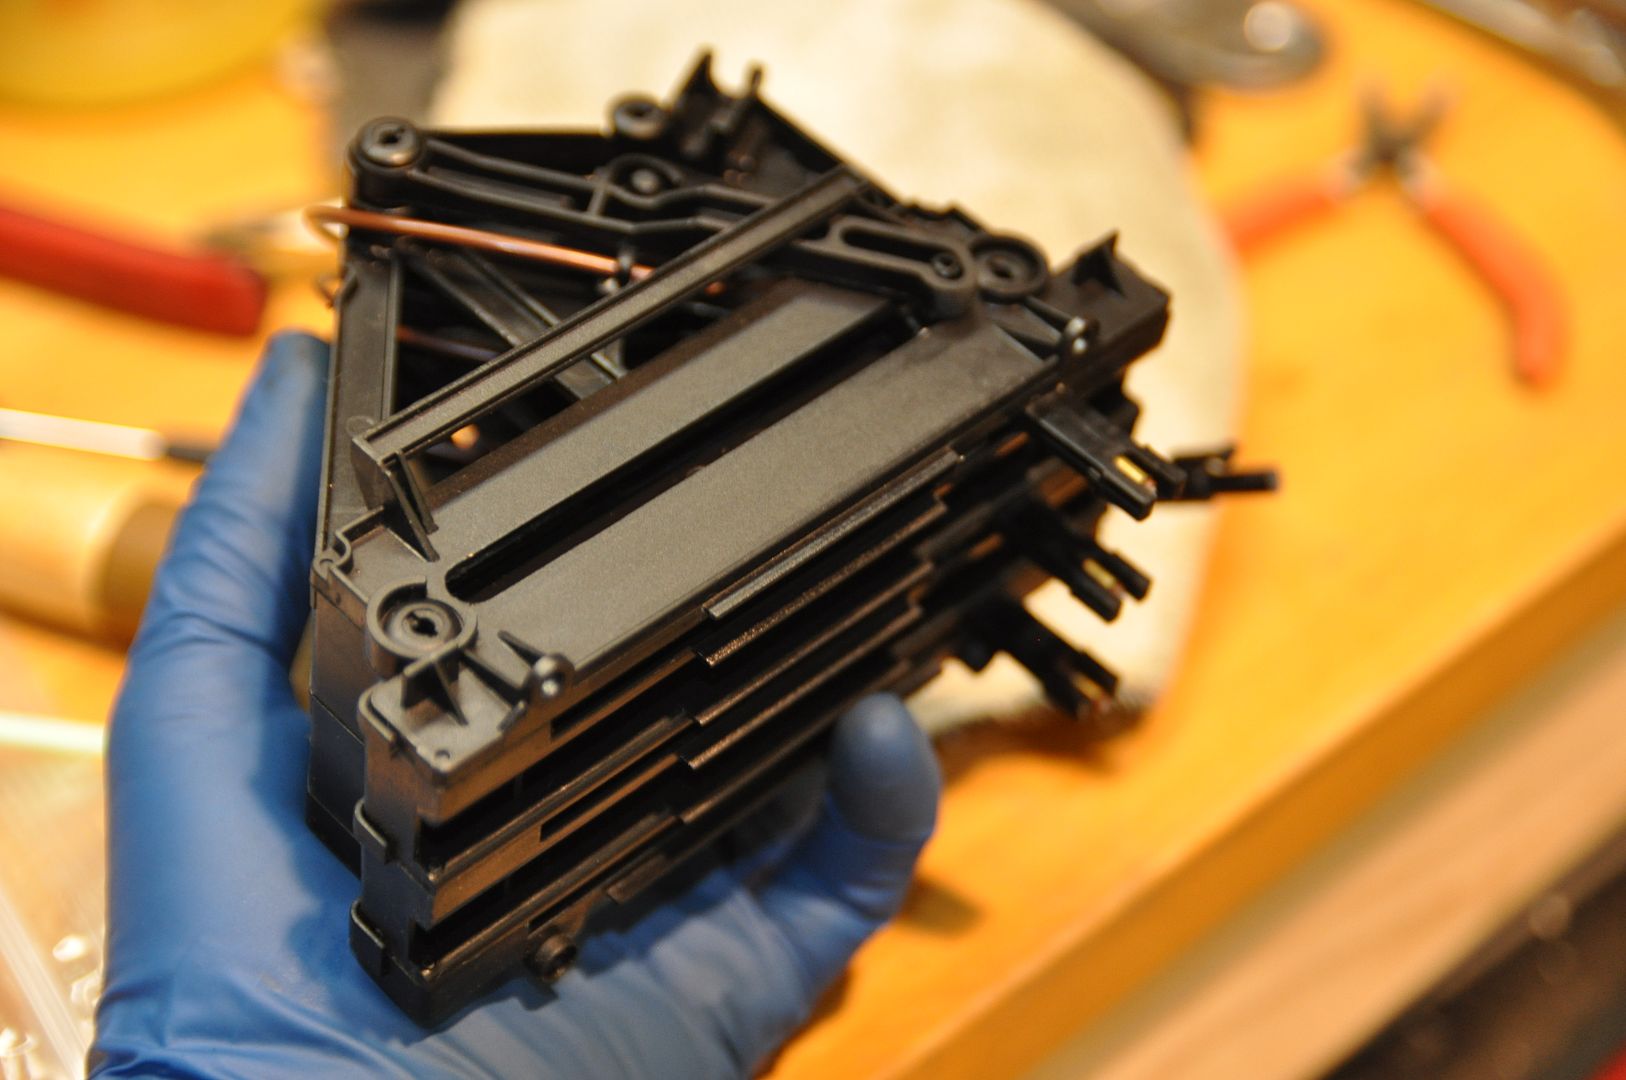
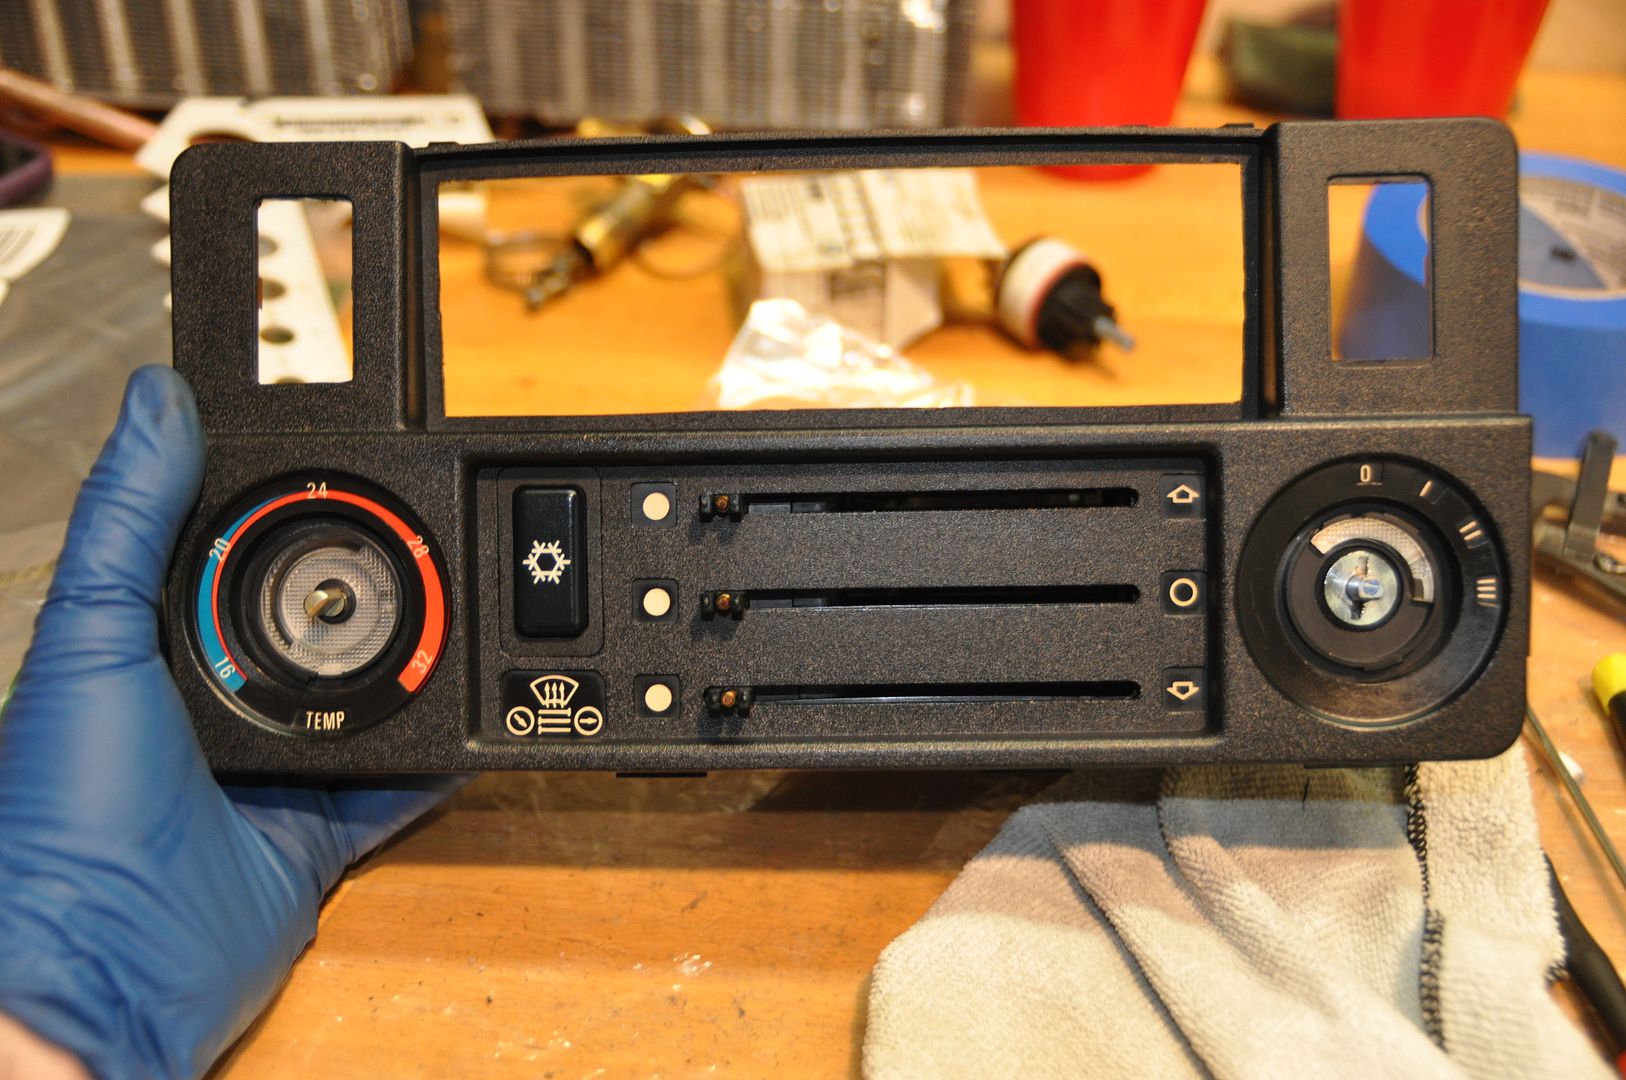
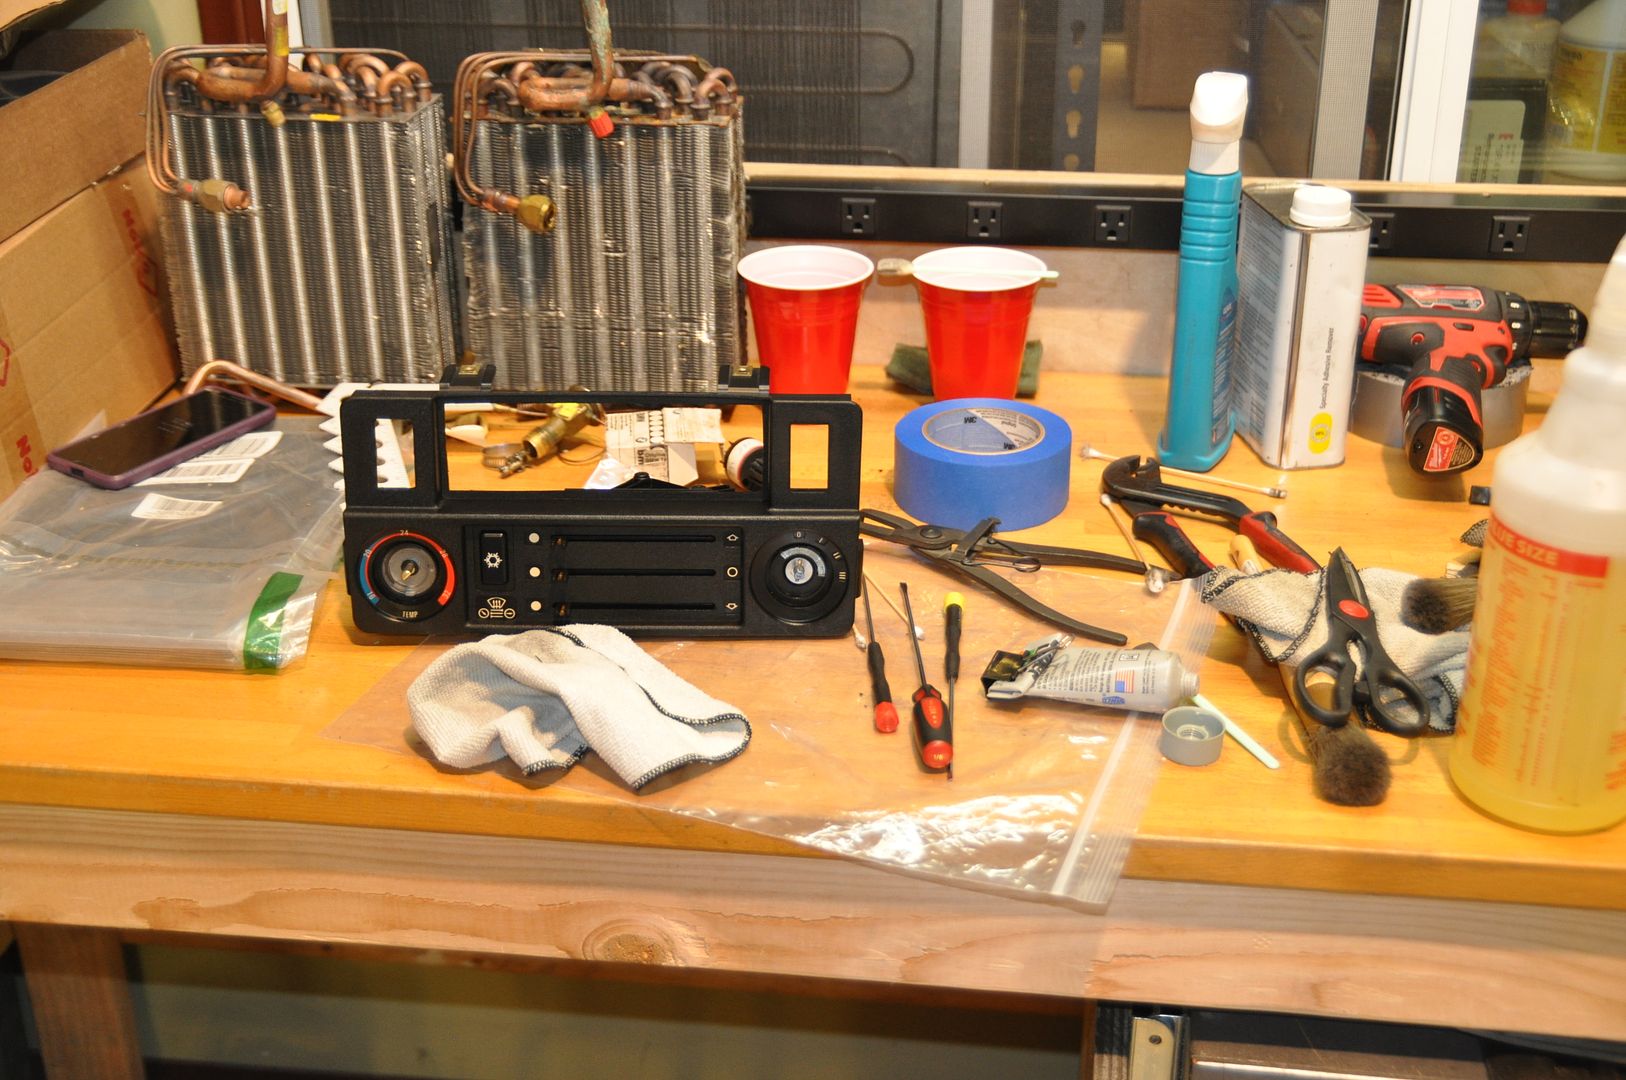
With all the HVAC components ready, it was time to wait for Carpet installation.
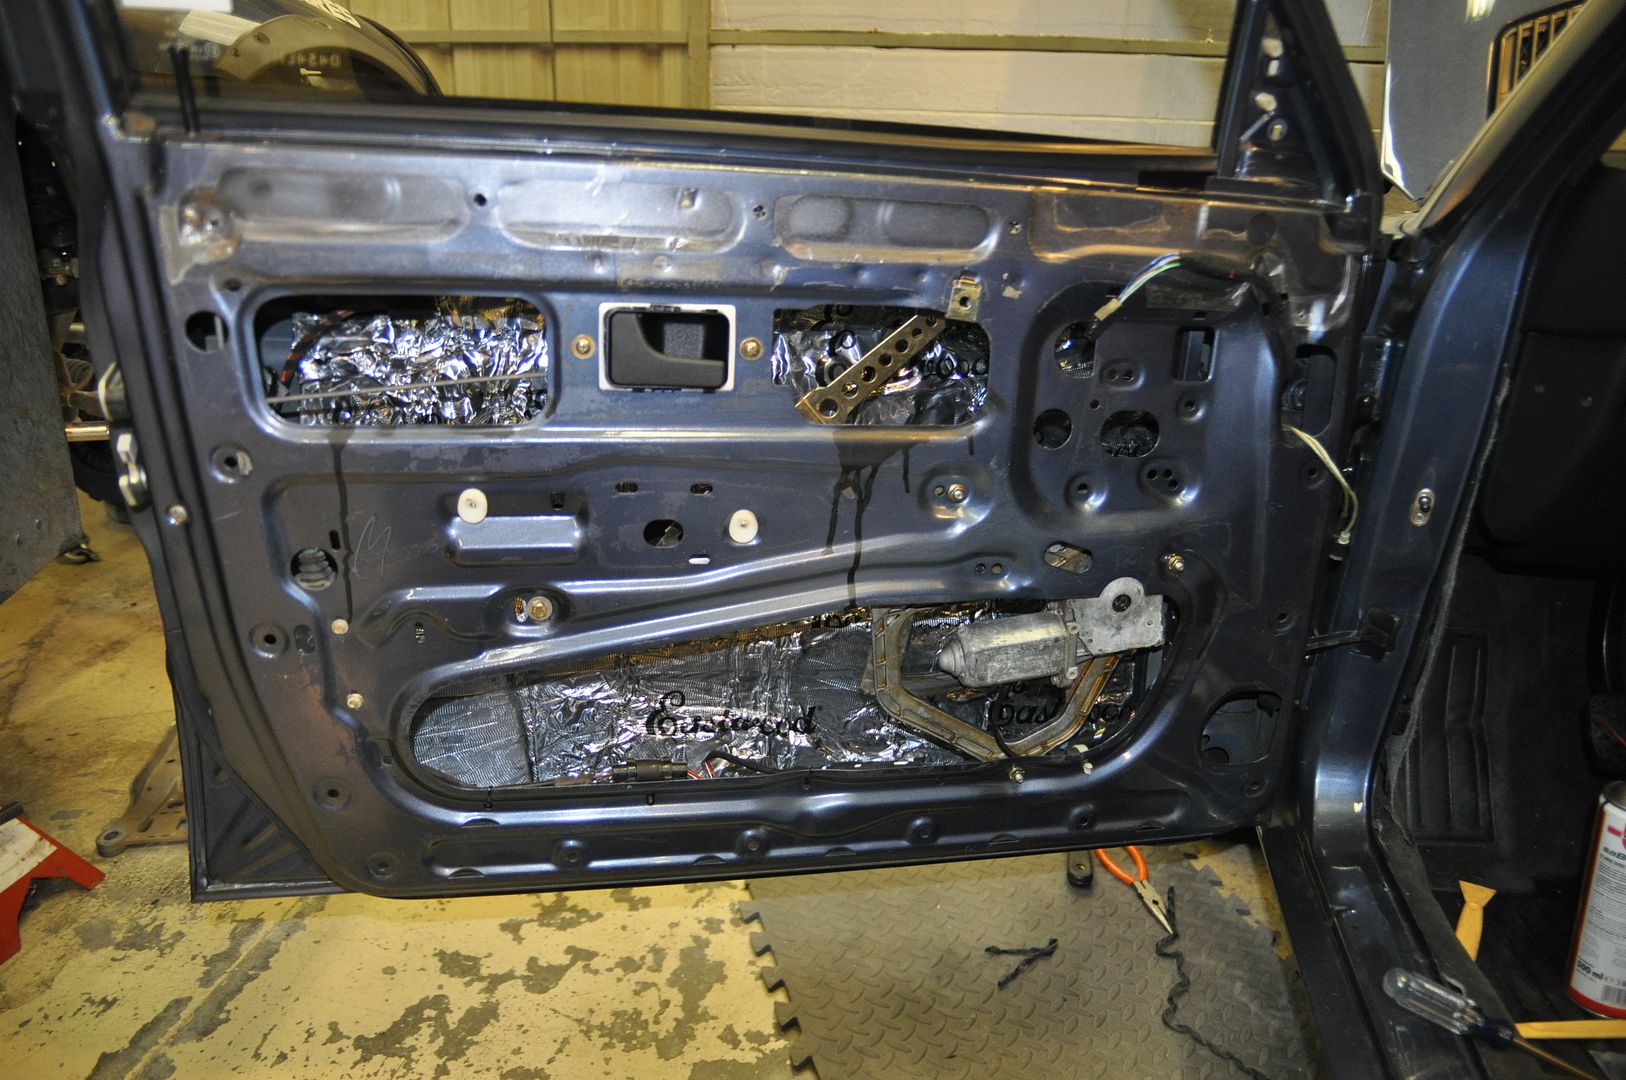
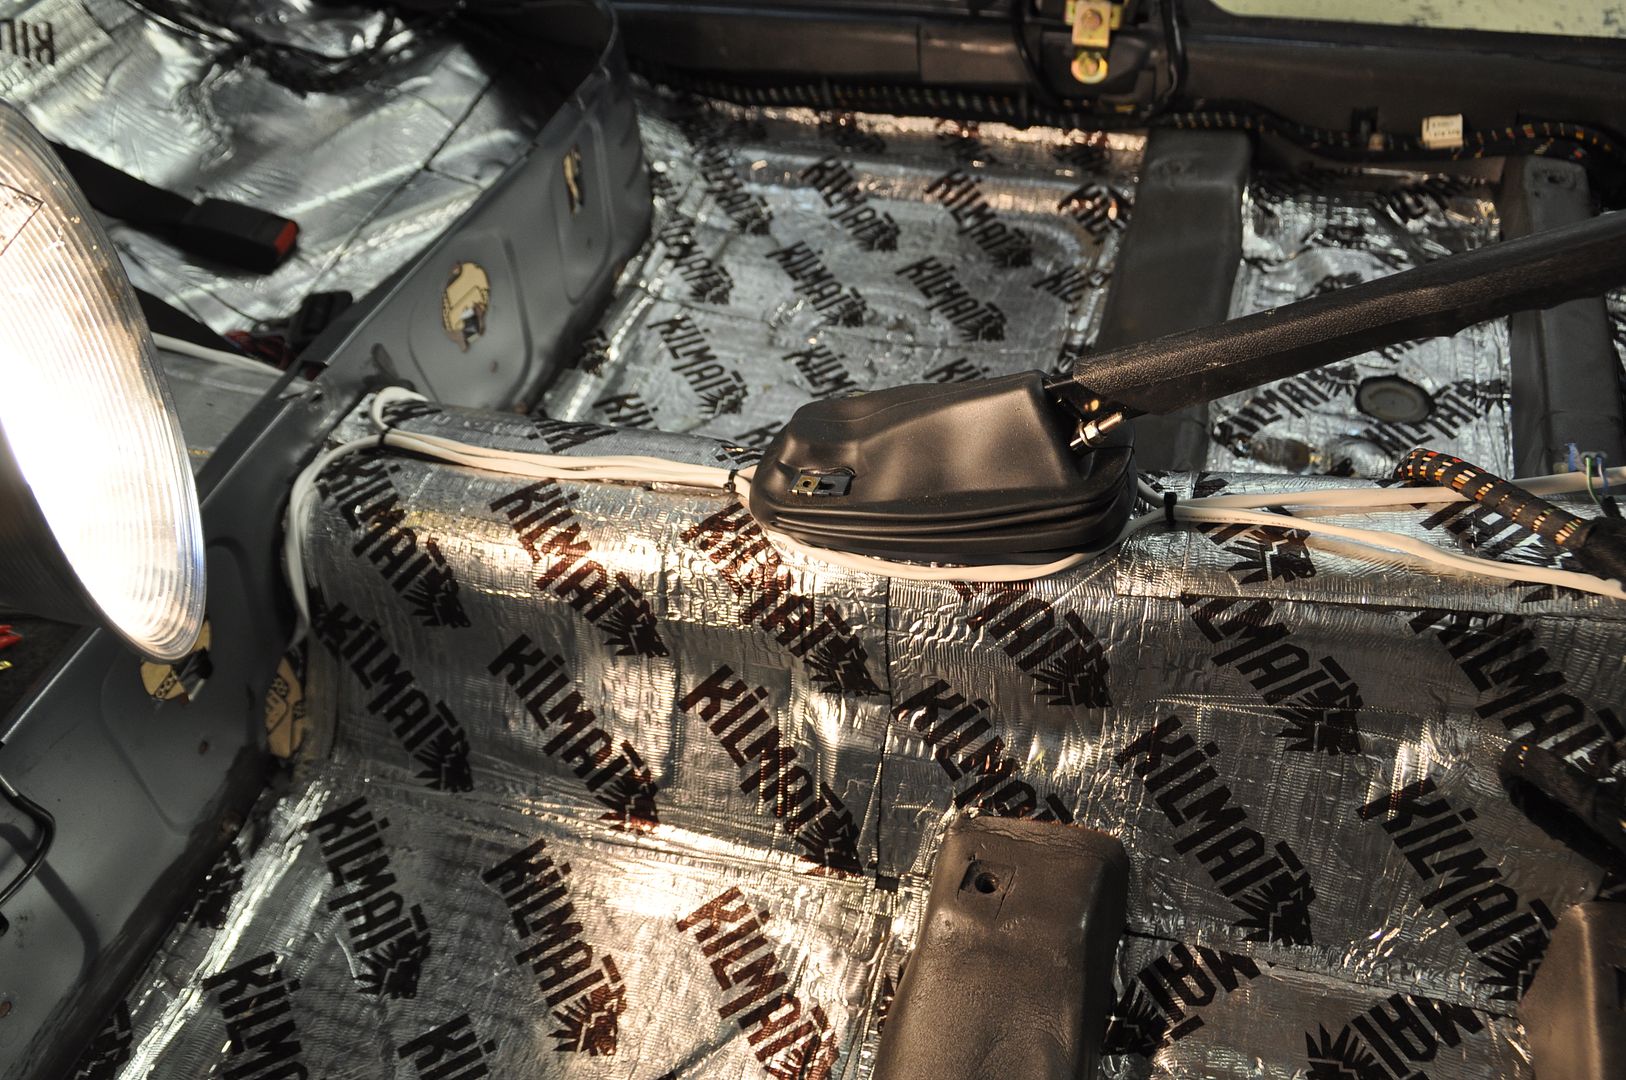
The next item on the list was completing the floor work which included the rest of the acoustic and thermal insulation/protection.
A layer of Heatshield db Stealth Thermal backing (same stuff I have on the roof under the headliner).
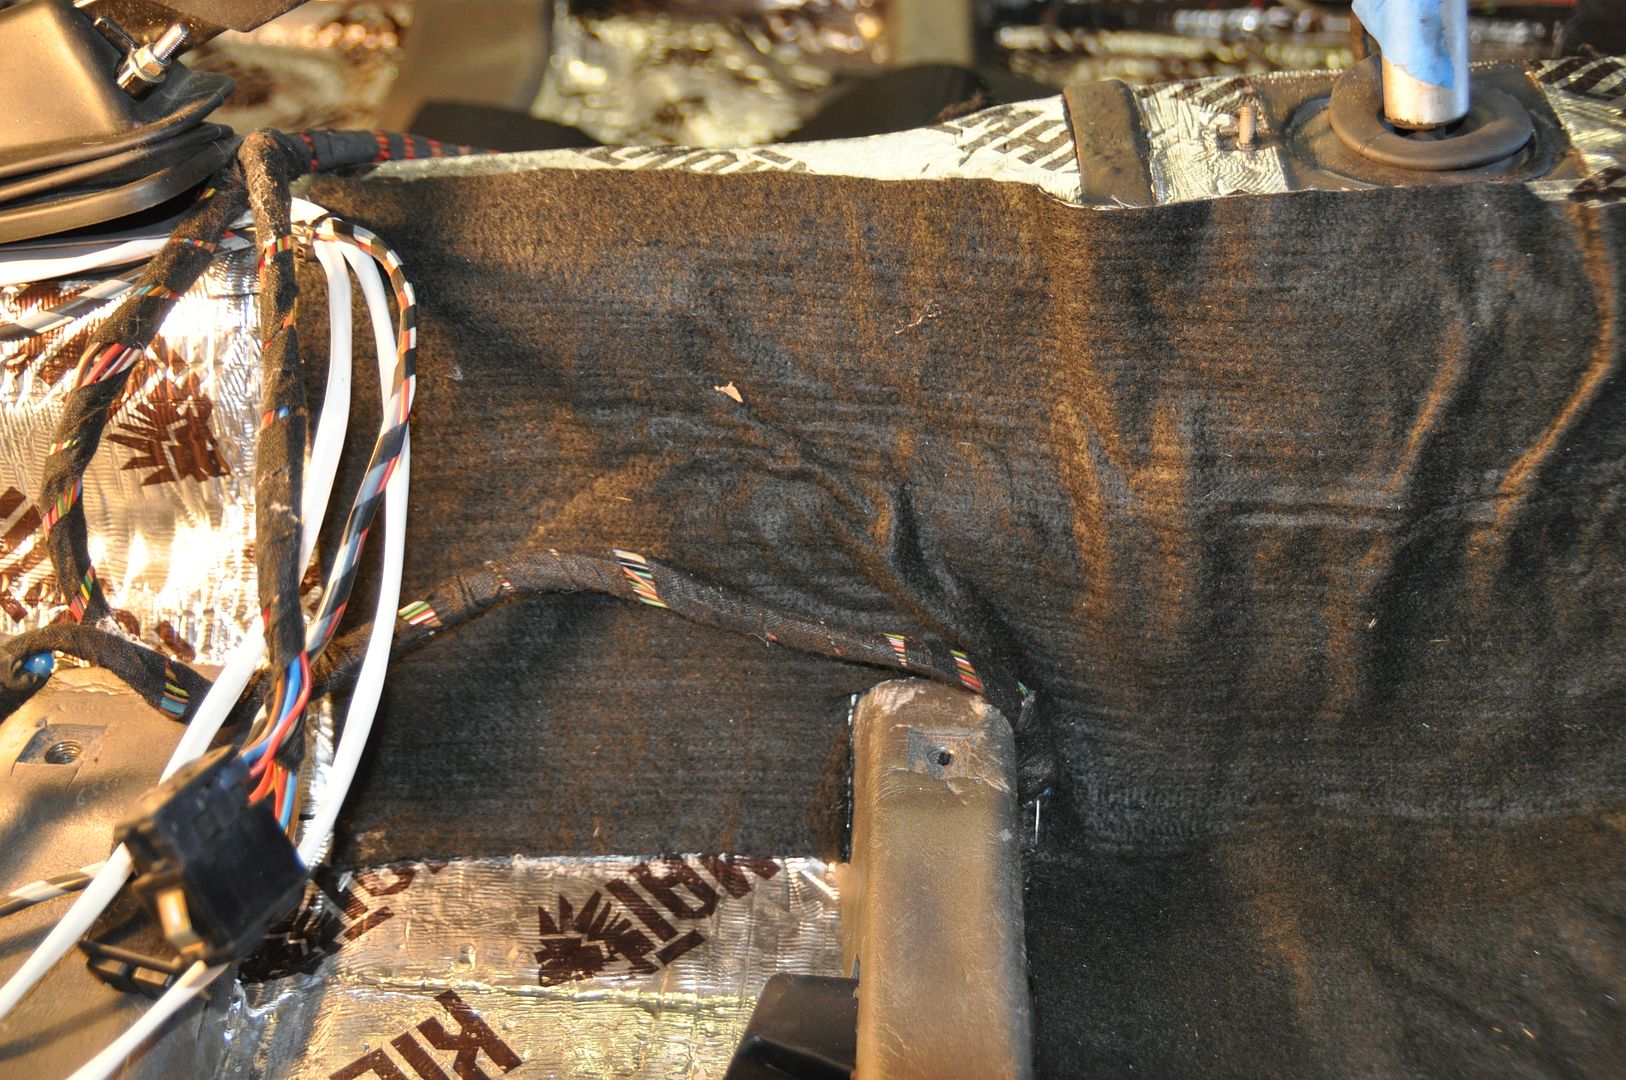
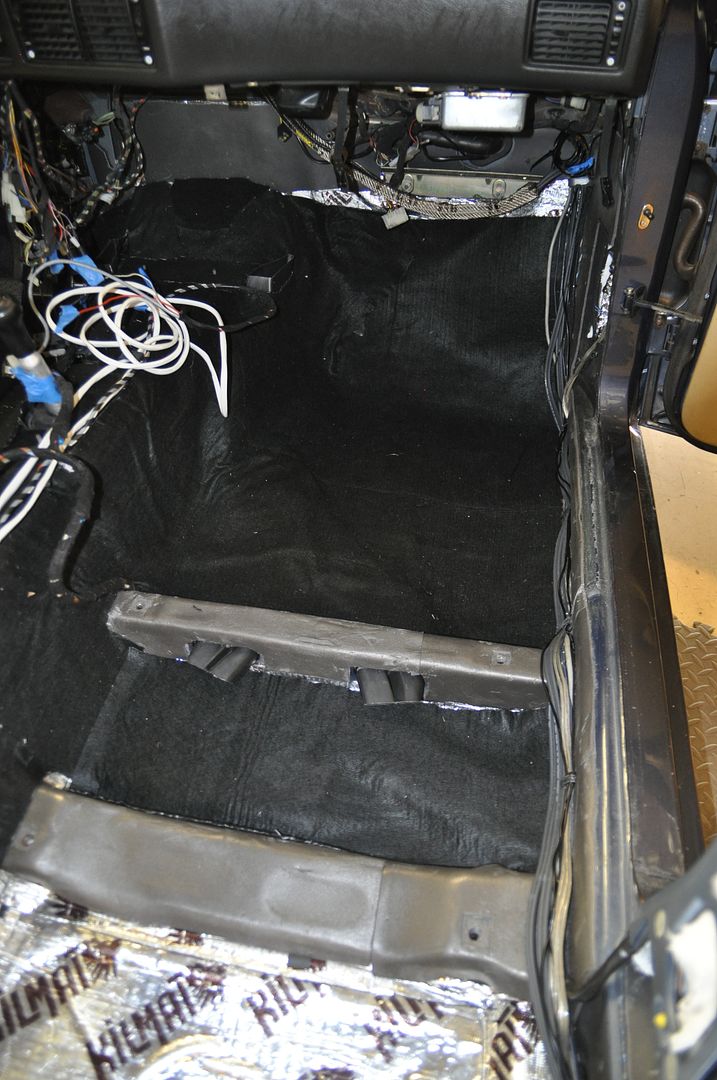
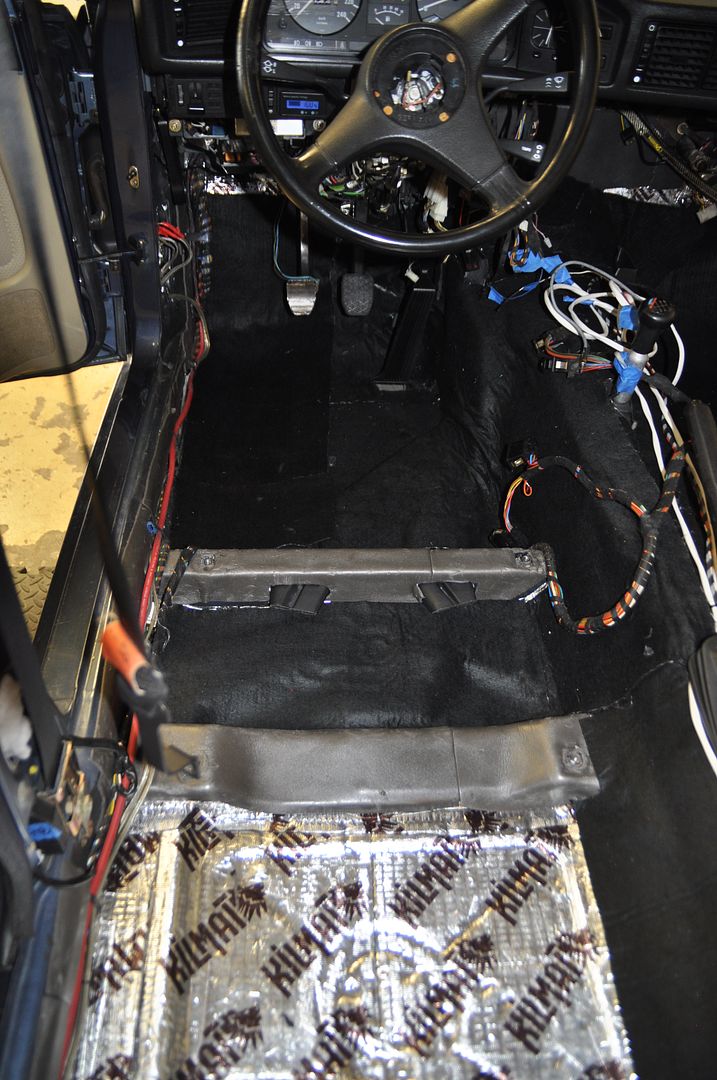
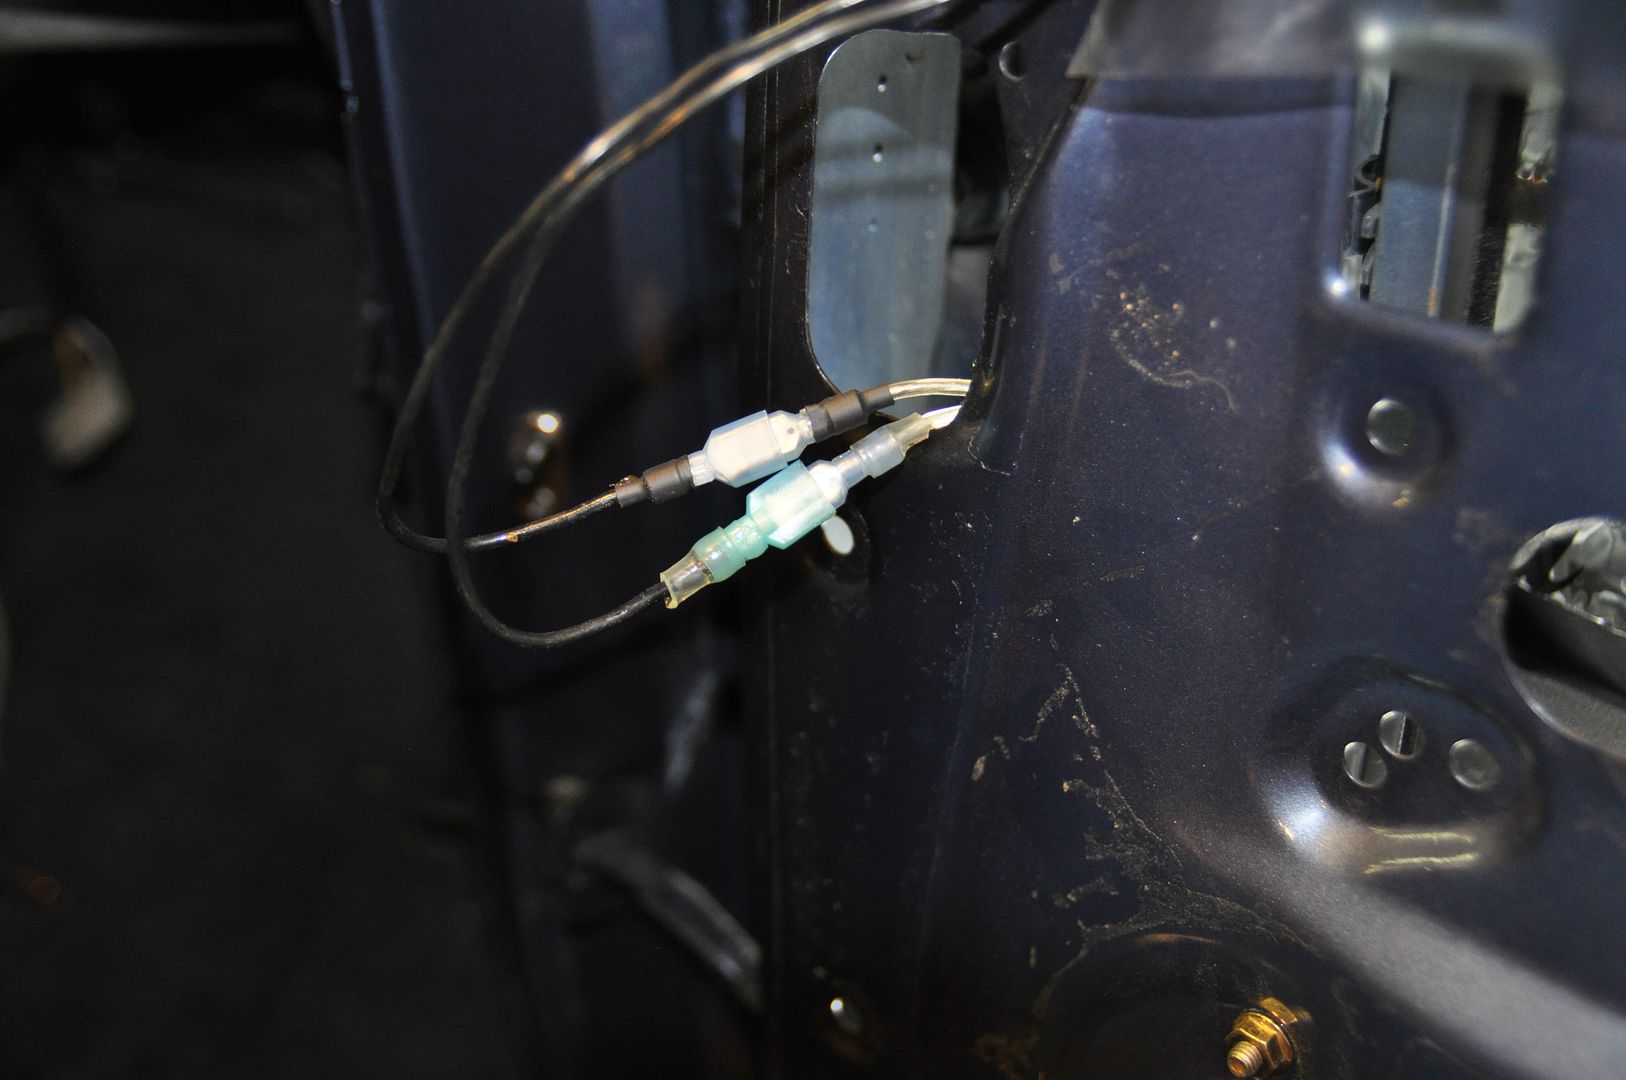
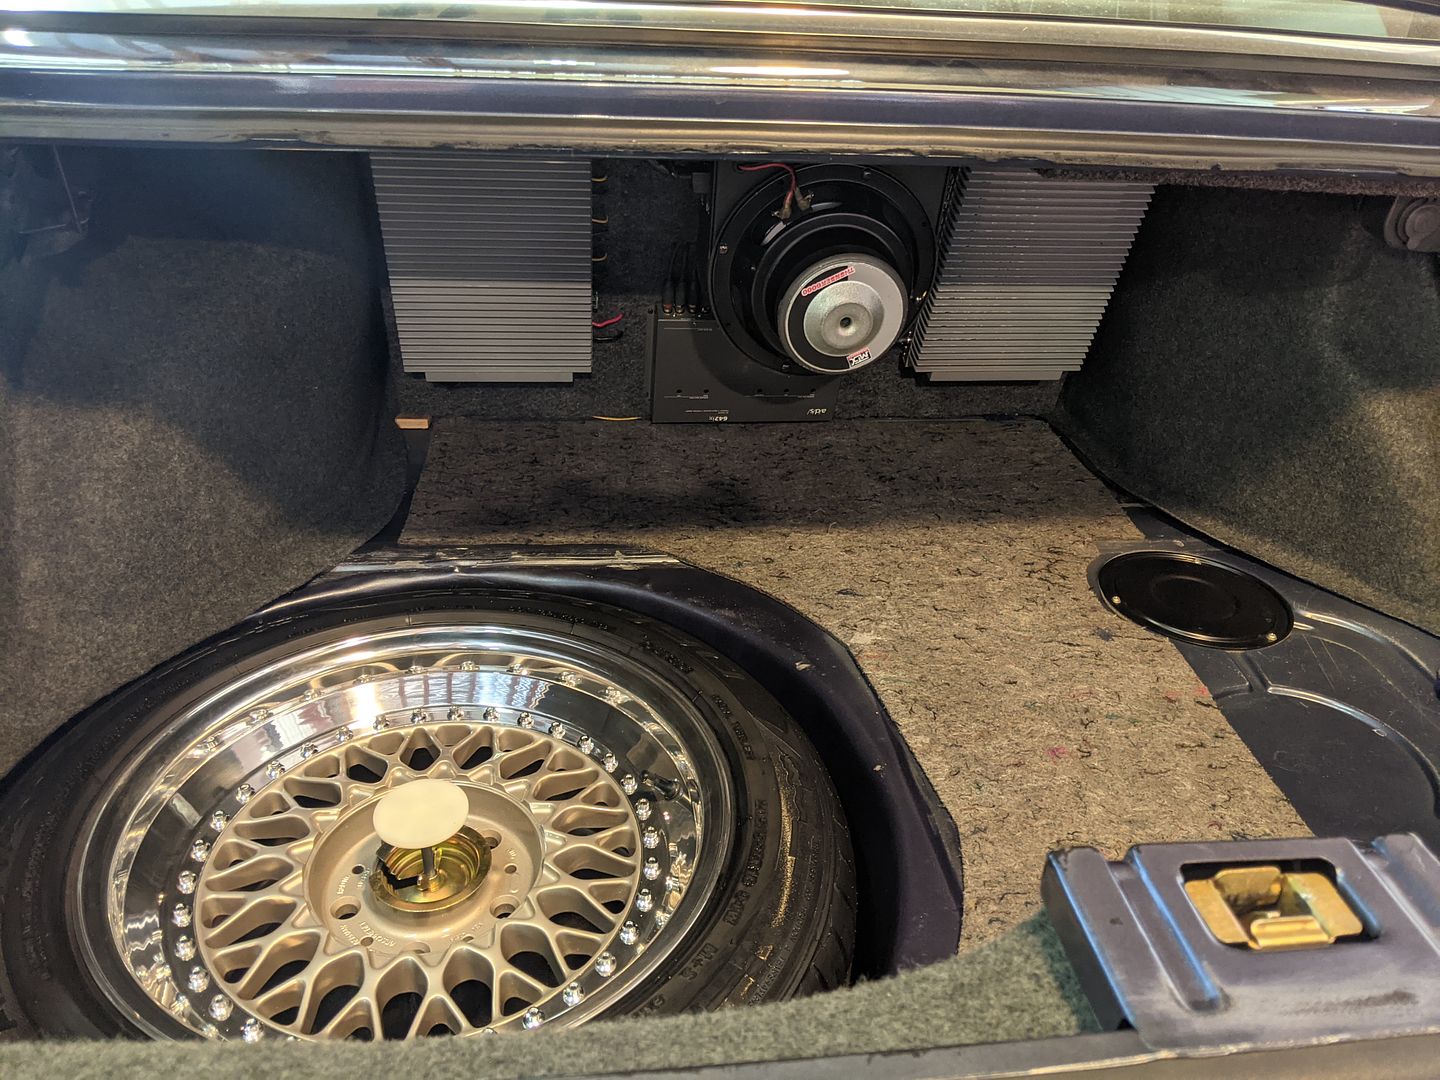
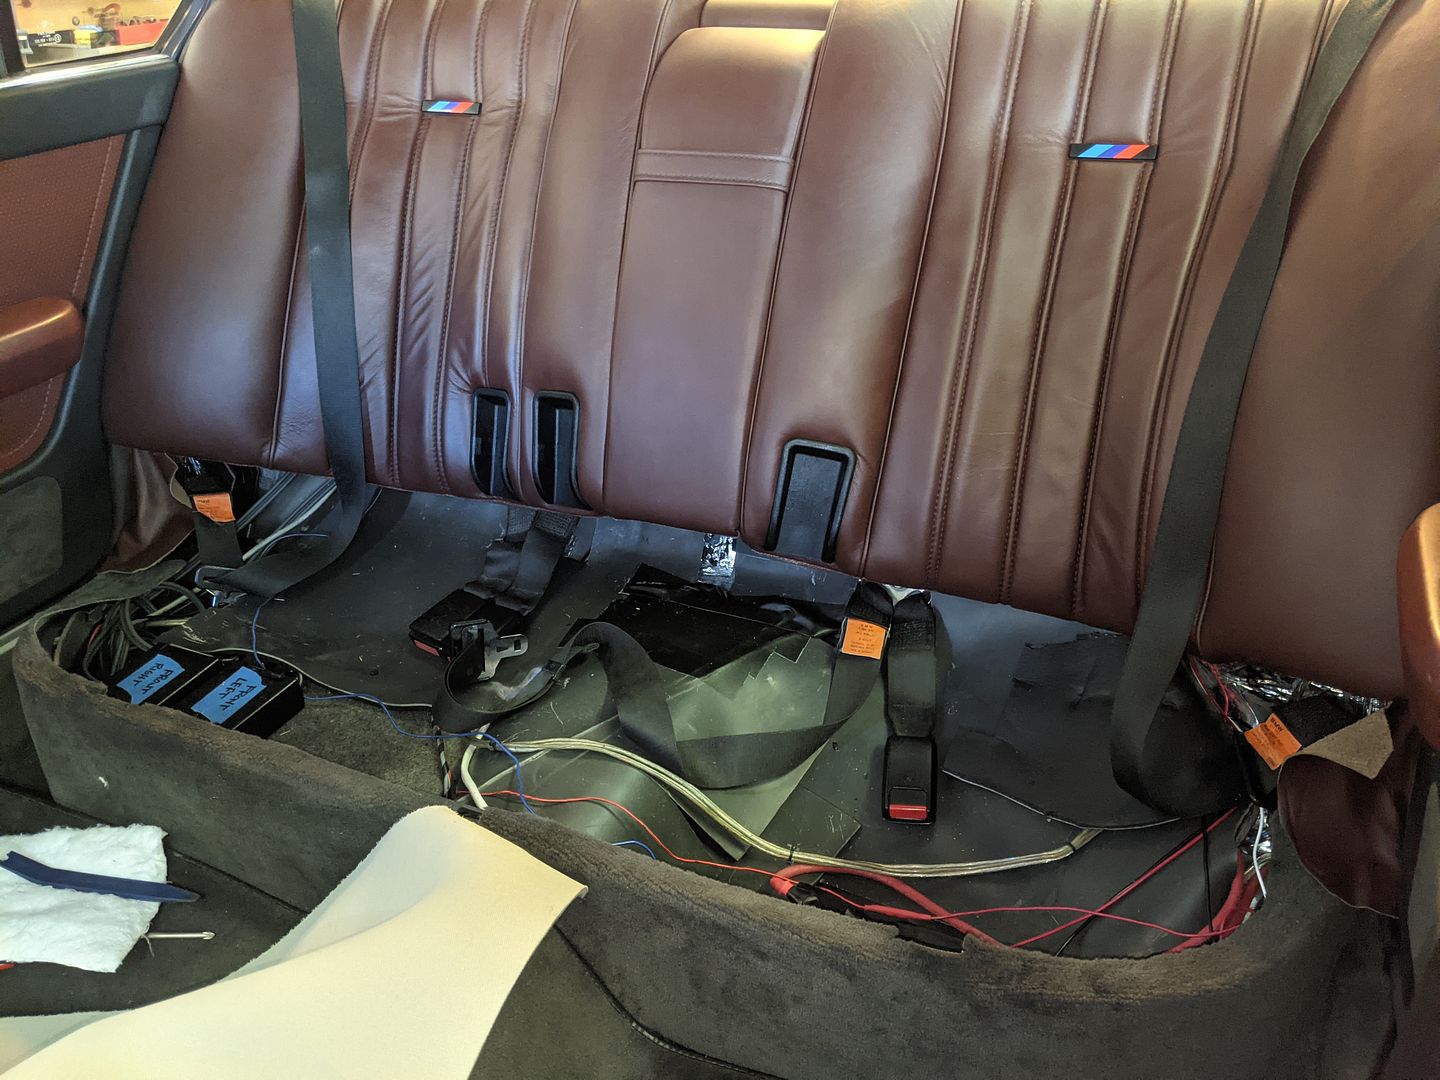
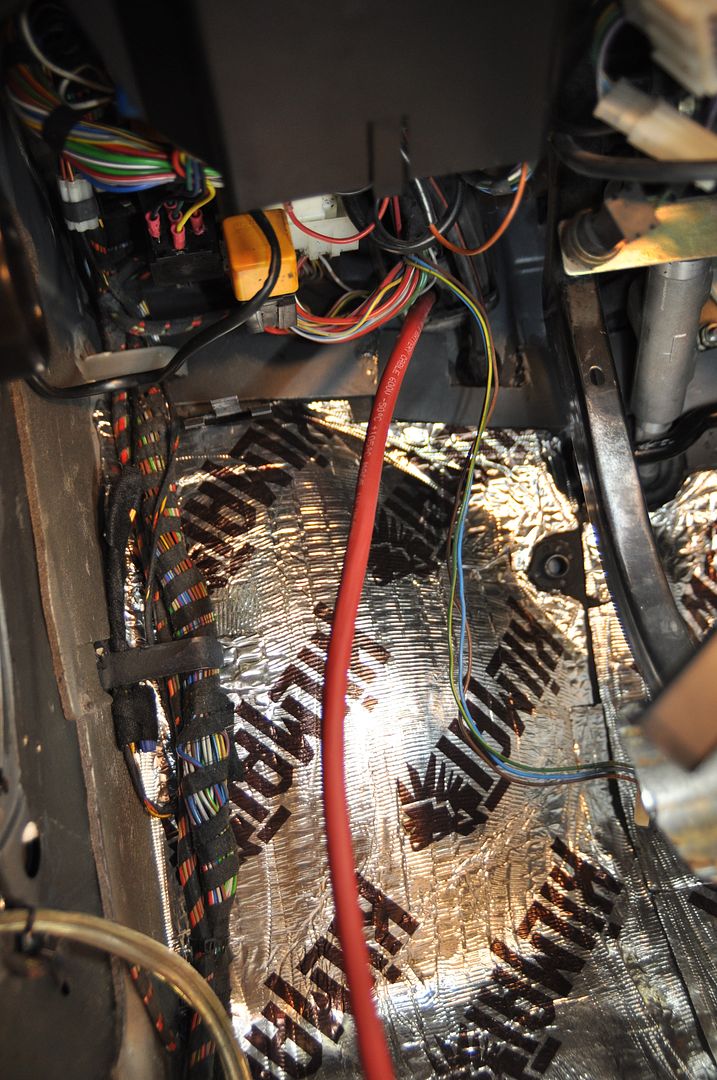
In between this and during this same time I was installing all my final audio wiring: RCA and speaker signal wires from the head unit to the trunk (up one side and the middle), speaker wires from the rear seat well to the front speakers:
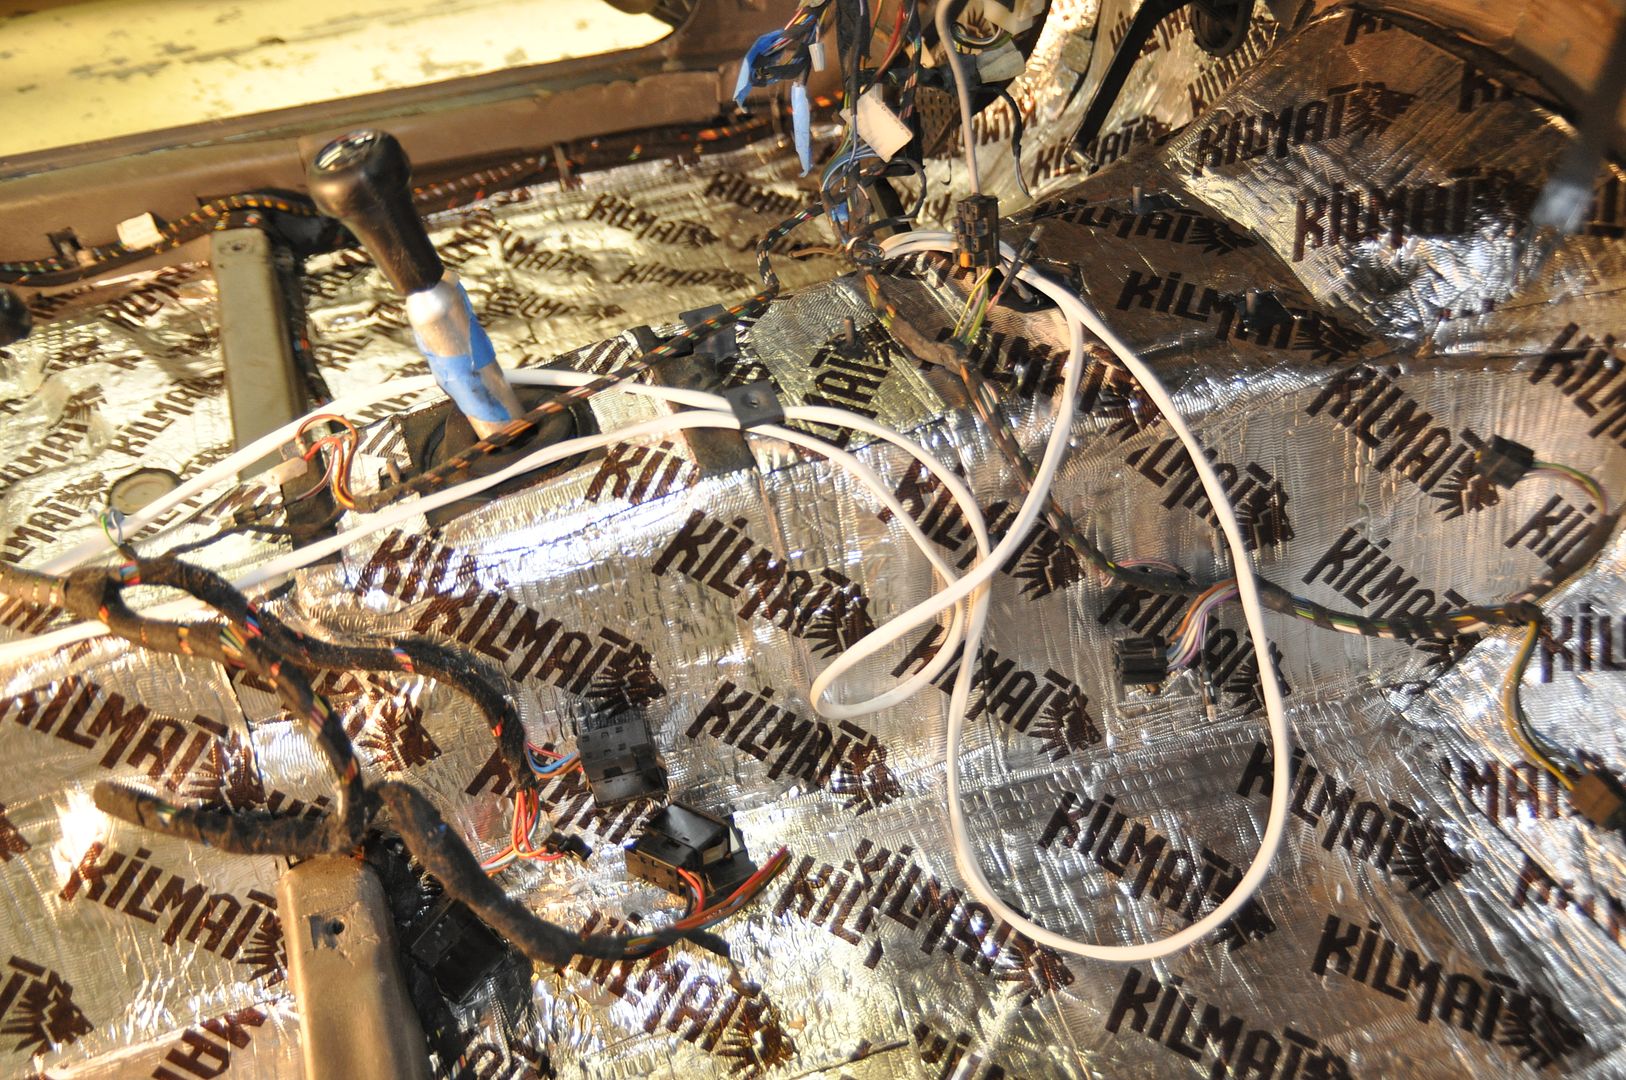
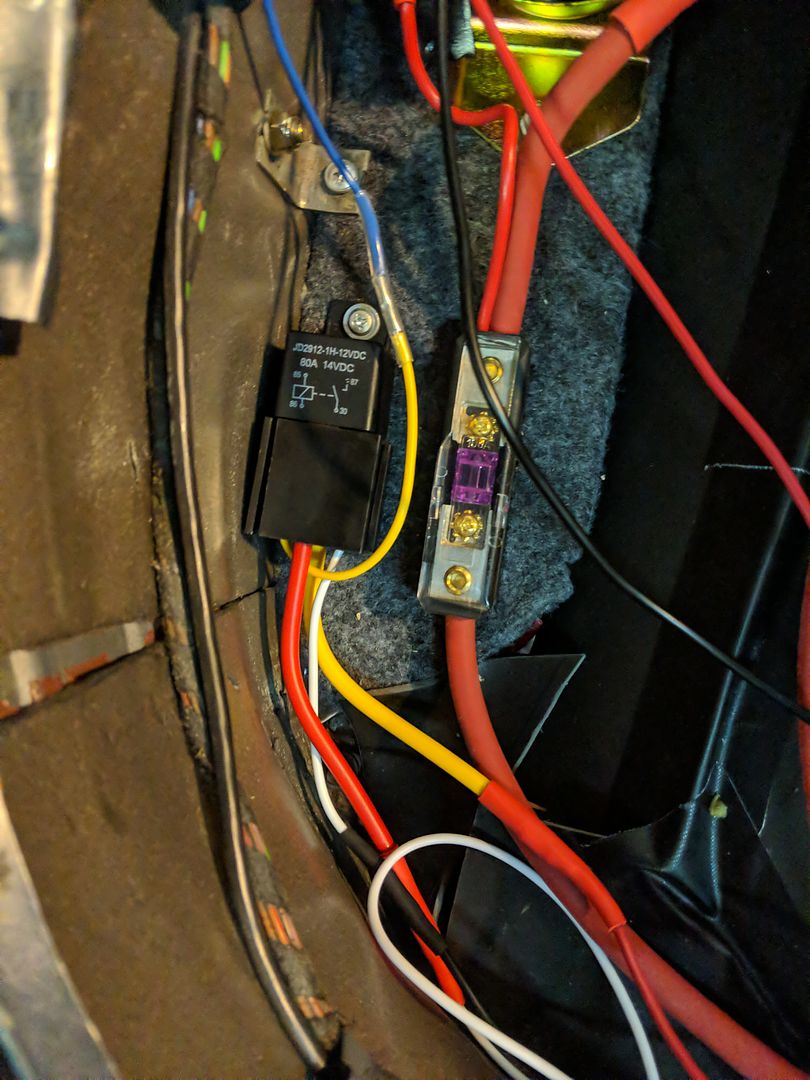
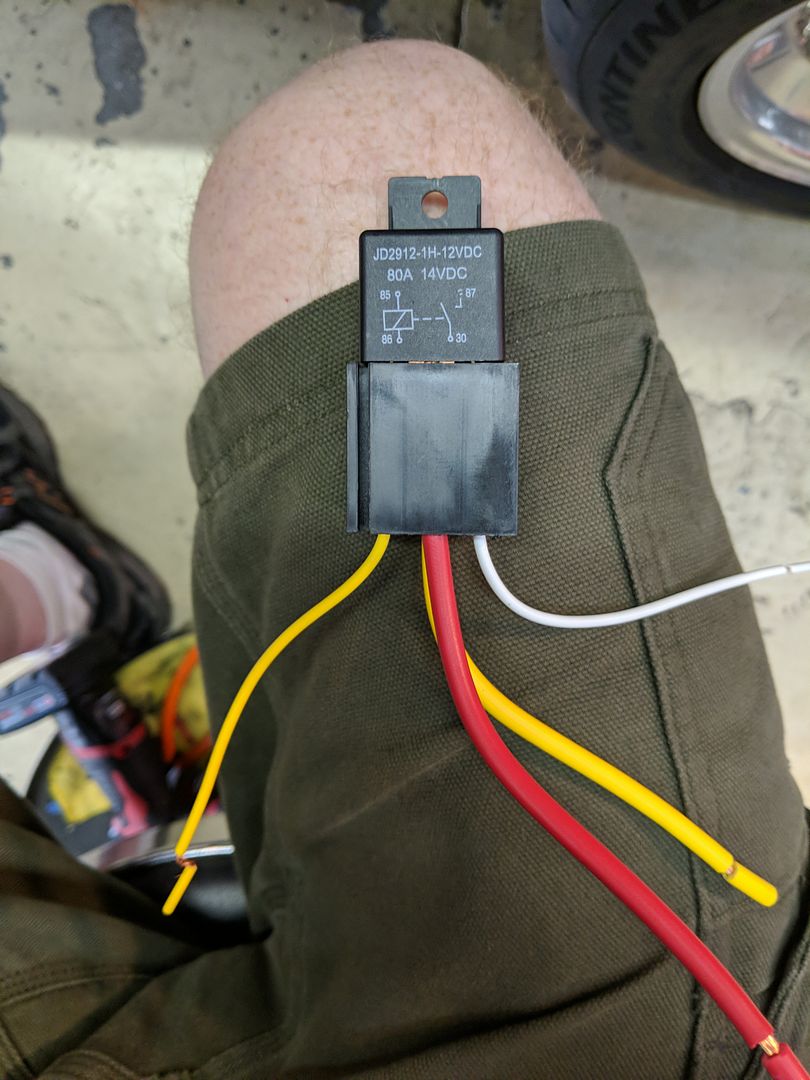
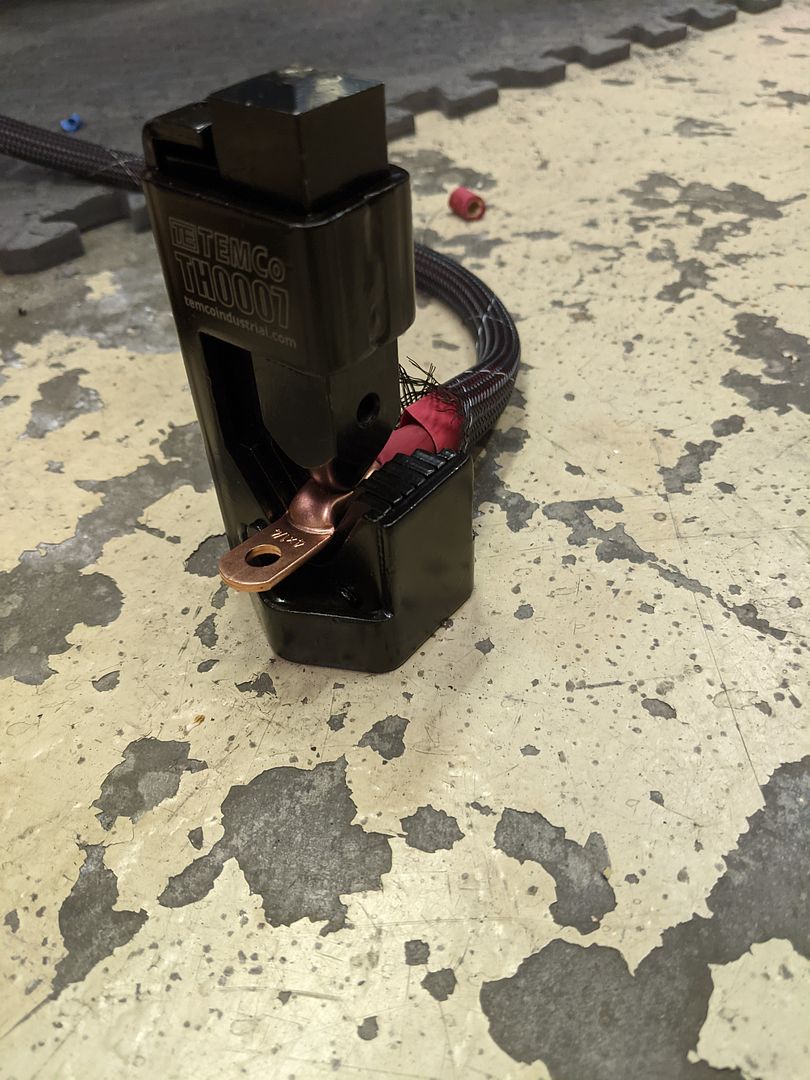
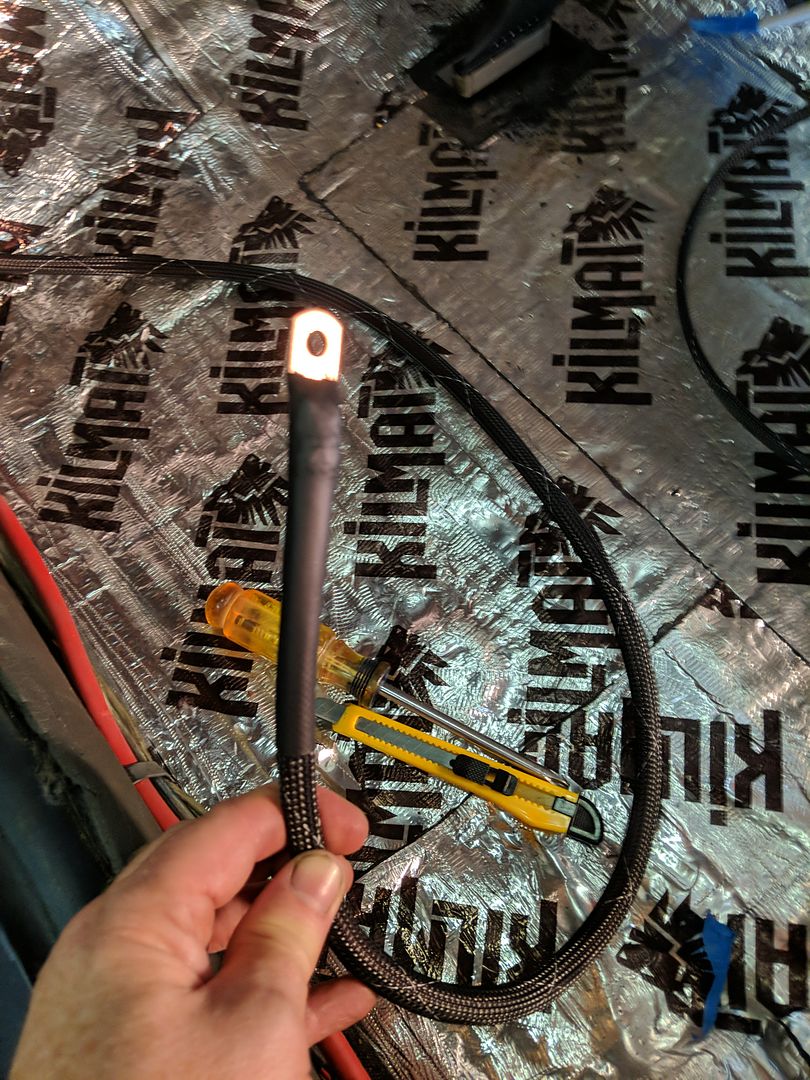
One new thing I’m trying is a remote power cut-off switch for the entire trunk, the primary object there being the audio amp board (I have a few other items running off the big battery lead cable as well). I have suspected since I put this amp board in that it has been vampiring my battery in a big way. Even after putting in a brand-new AGM battery, it would pull down a full charge pretty quick sitting there in the hangar. This was fairly proven out to me because since I have had the amp board and large cable disconnected, my battery has been perfectly happy. After a bit of Big A research, I came up with this cutoff switch with a remote trigger switch that I will put discreetly in the glove box. Admittedly it was a lot larger than I thought it was going to be, but it fits nicely under the rear seat:
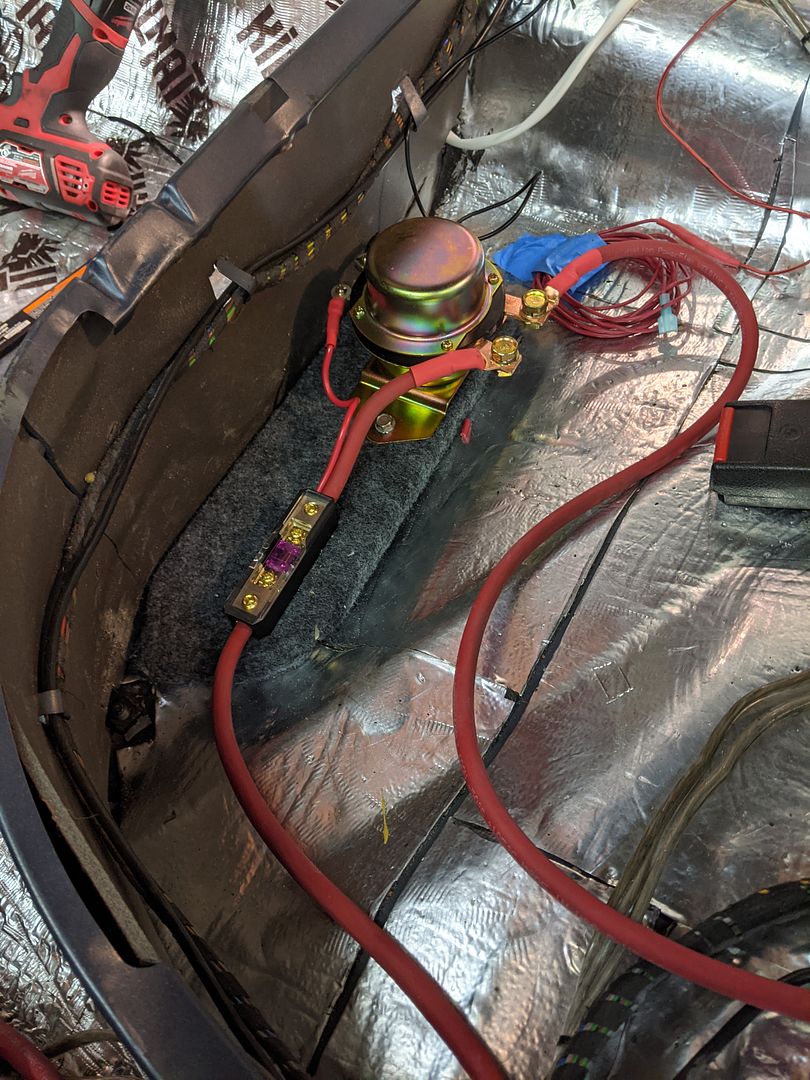
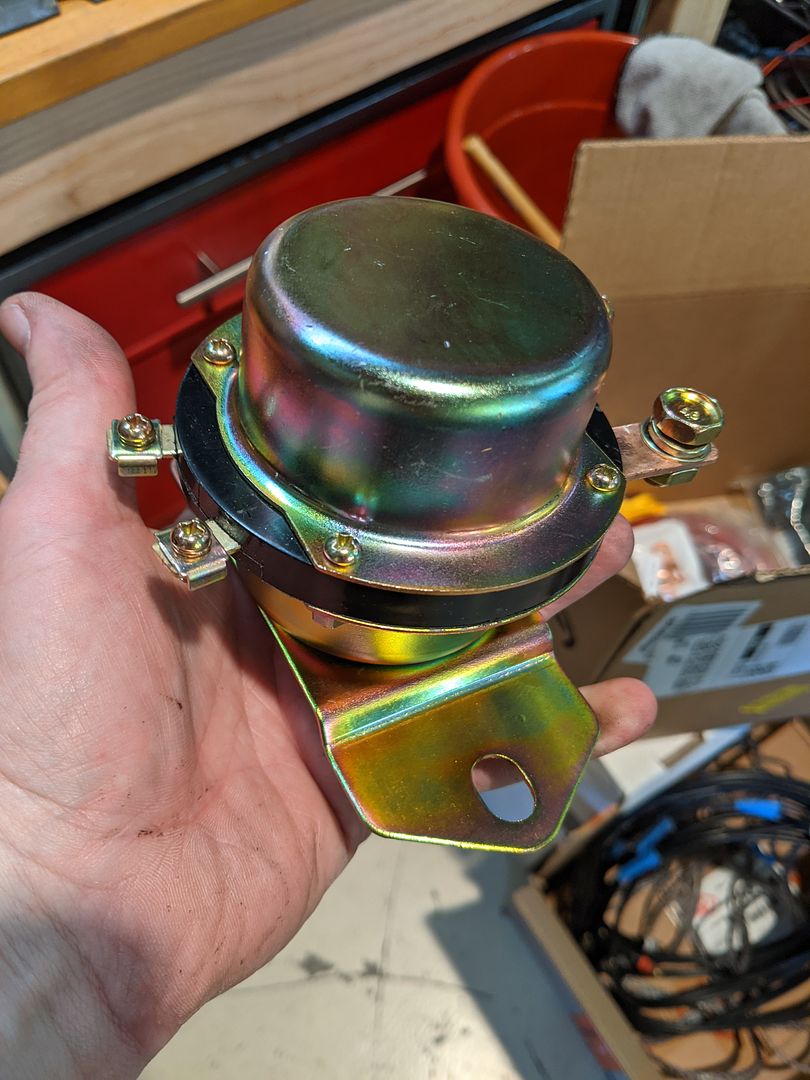
I ran a new 4ga copper wire from the battery to the rear seat well and then into the trunk. I haven’t connected it yet nor tested it, but I did get the amp board and rest of the trunk power network put back in this past weekend so it’s ready for testing.
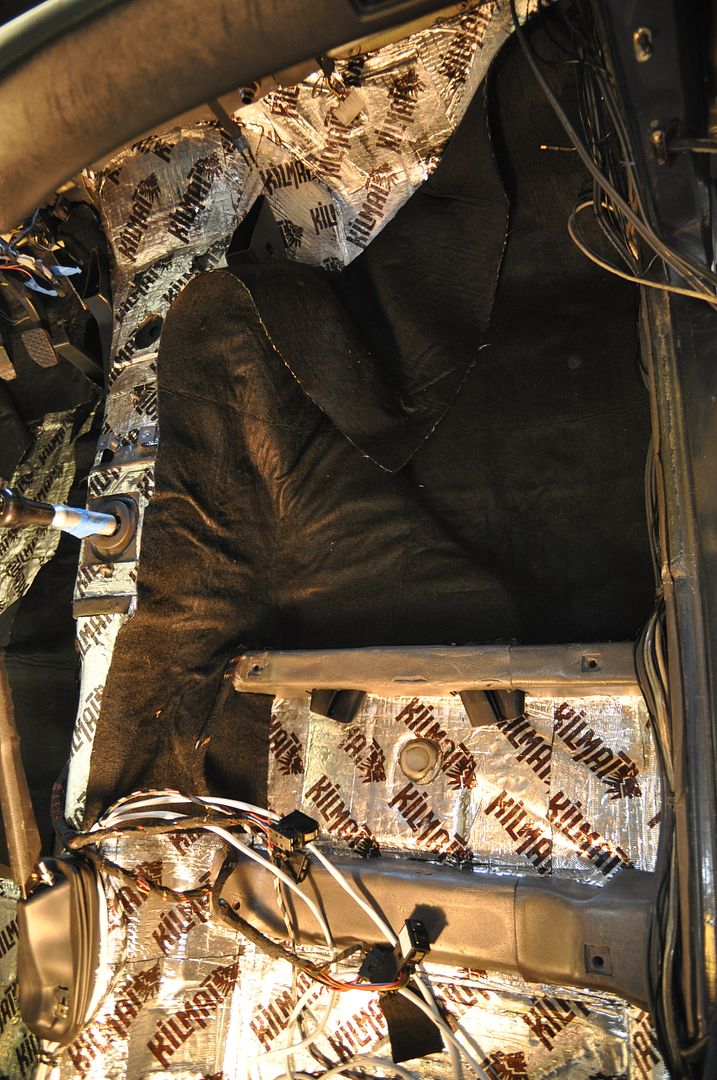
So once all that was squared away, it was time for the main event: Carpet installation.
I was used to working with the older style non-backed carpet which was much easier to man-handle single handily than this newer backed version. Of course, the db Stealth wasn’t helping things much but it wasn’t very thick, however it did add friction which made it harder to push it around and get it to line up to things.
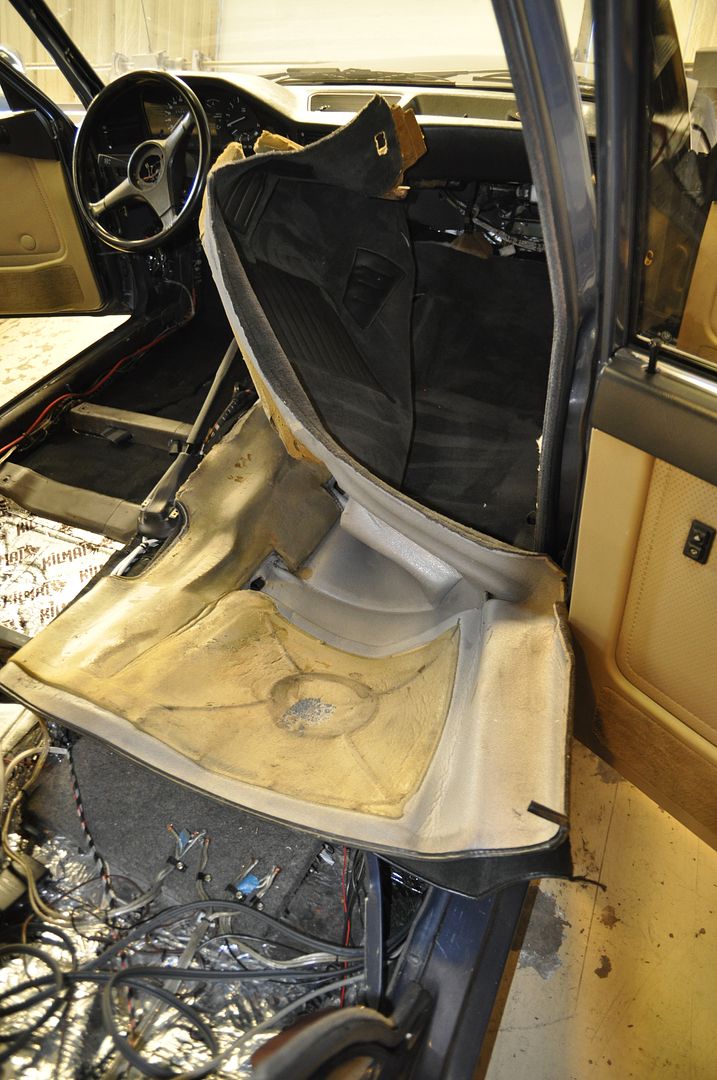
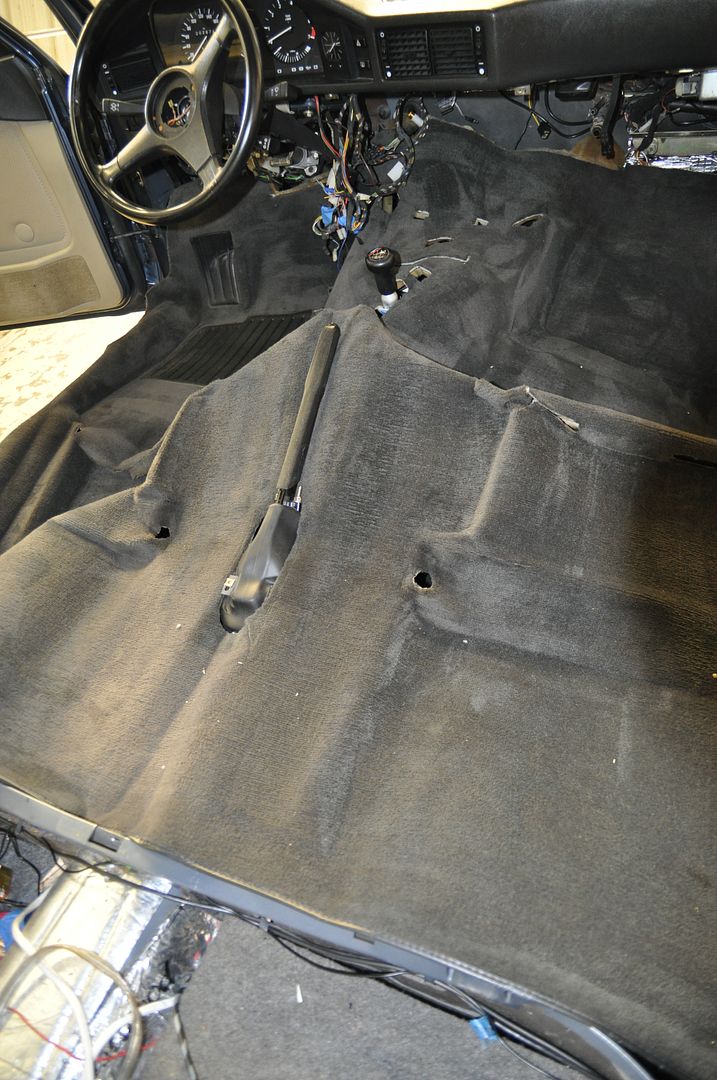
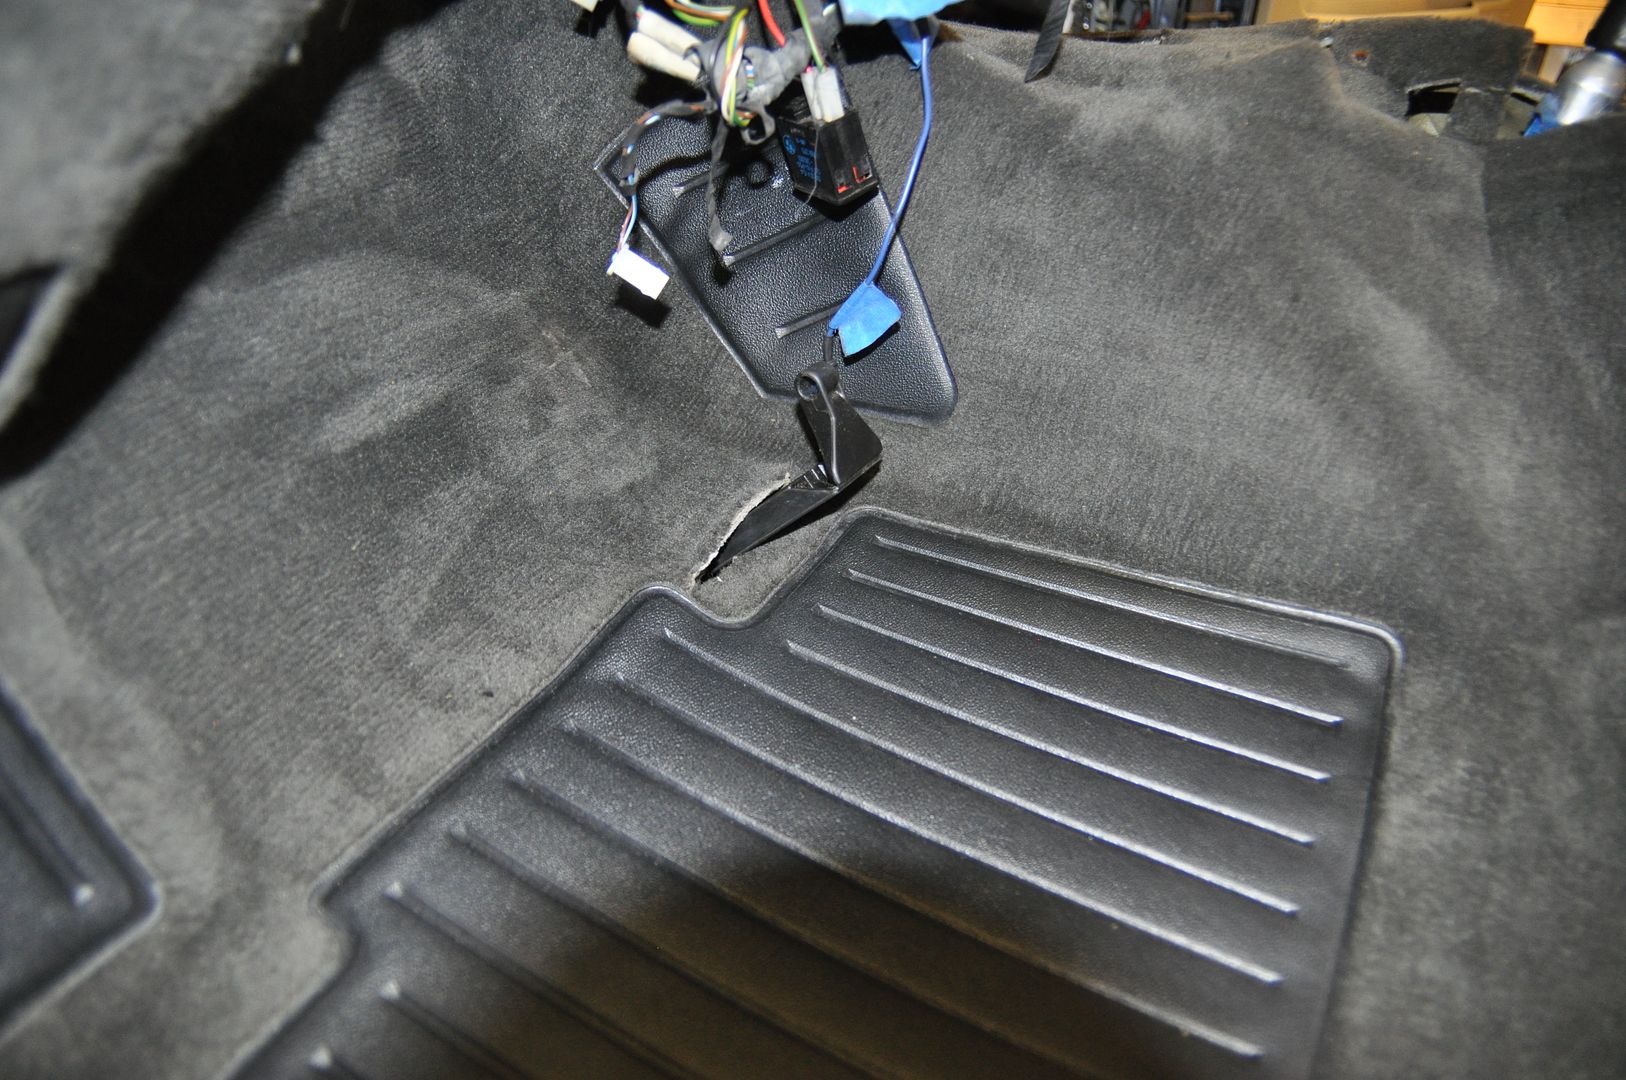
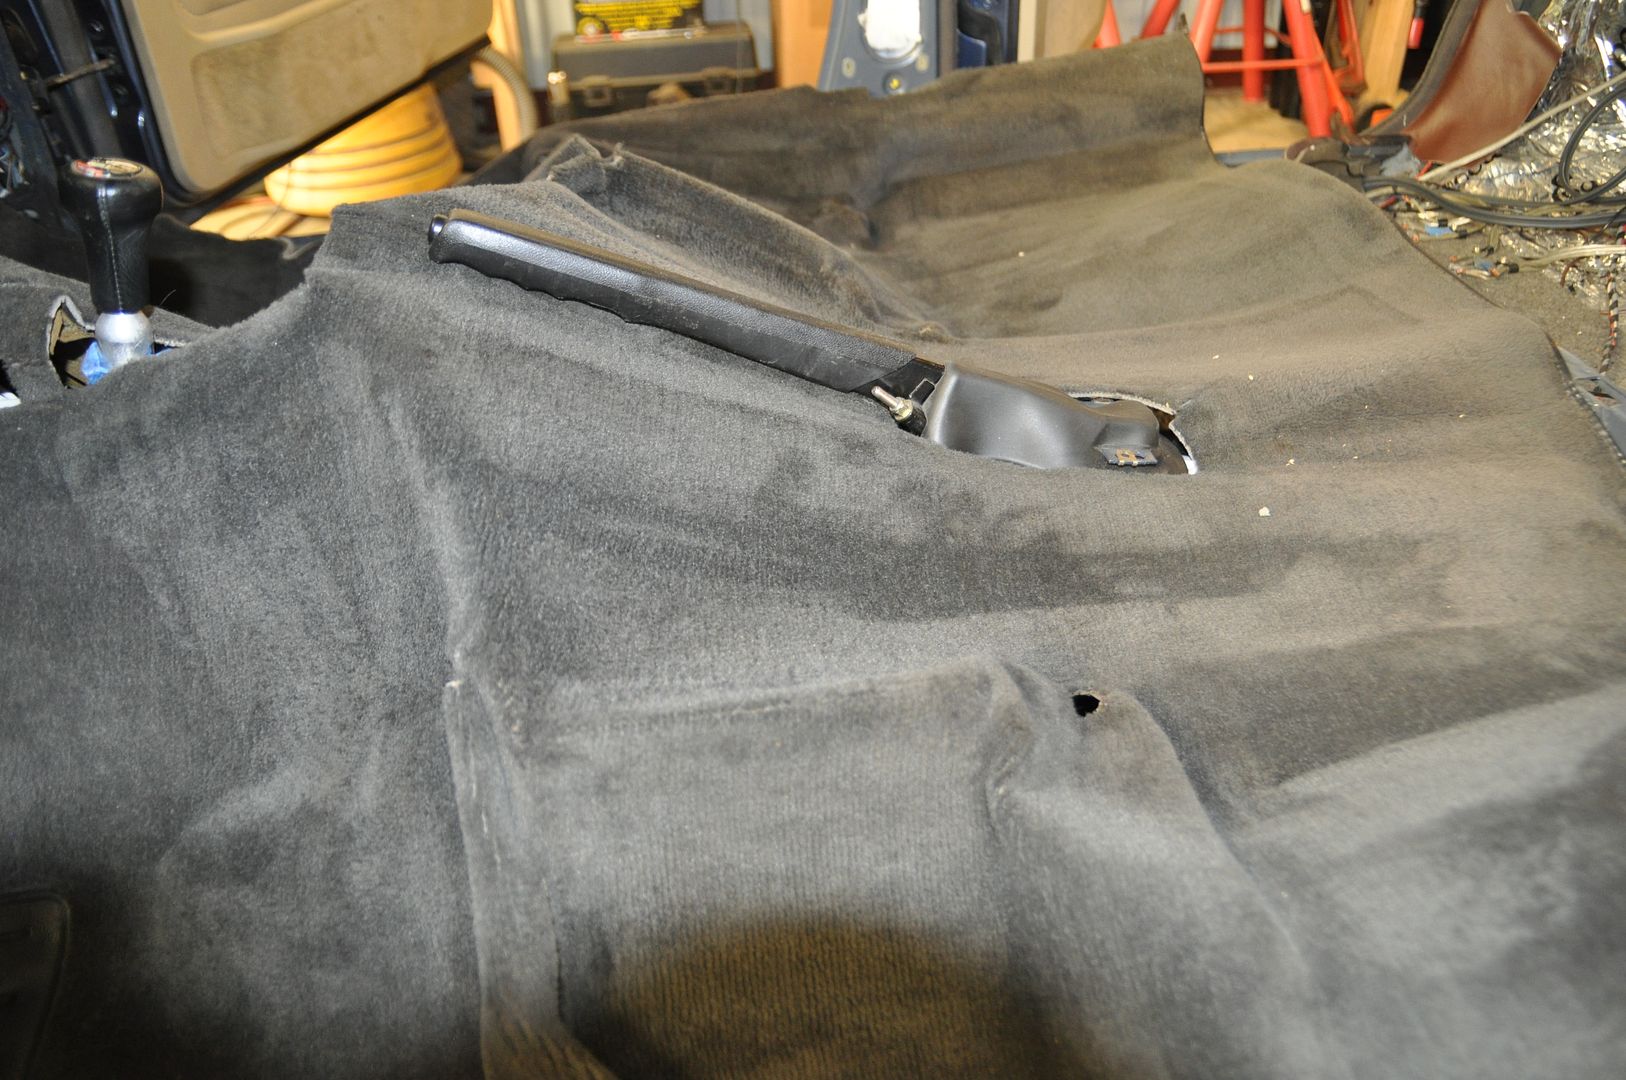
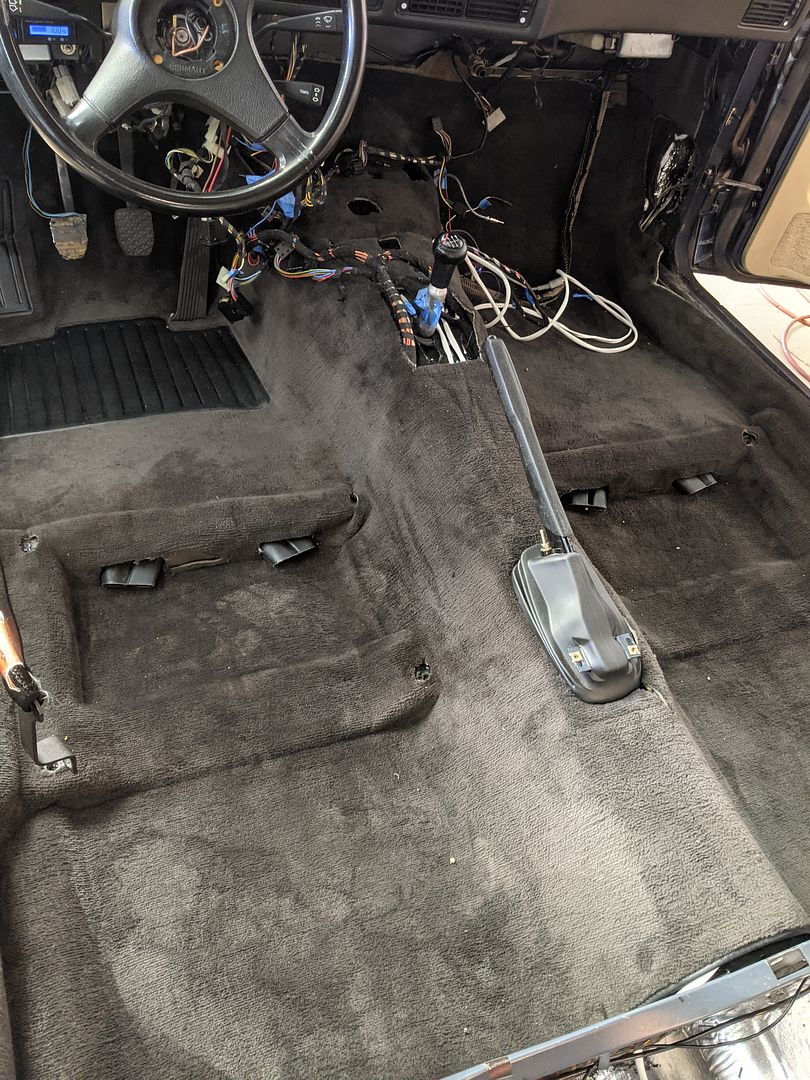
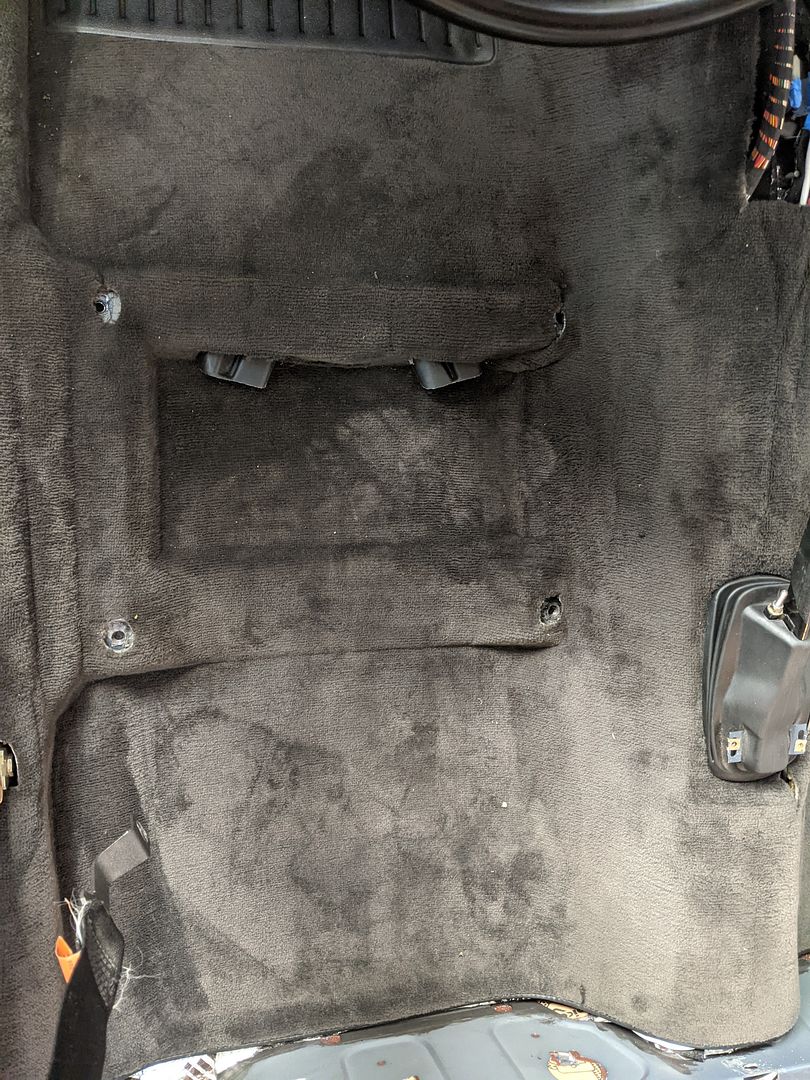
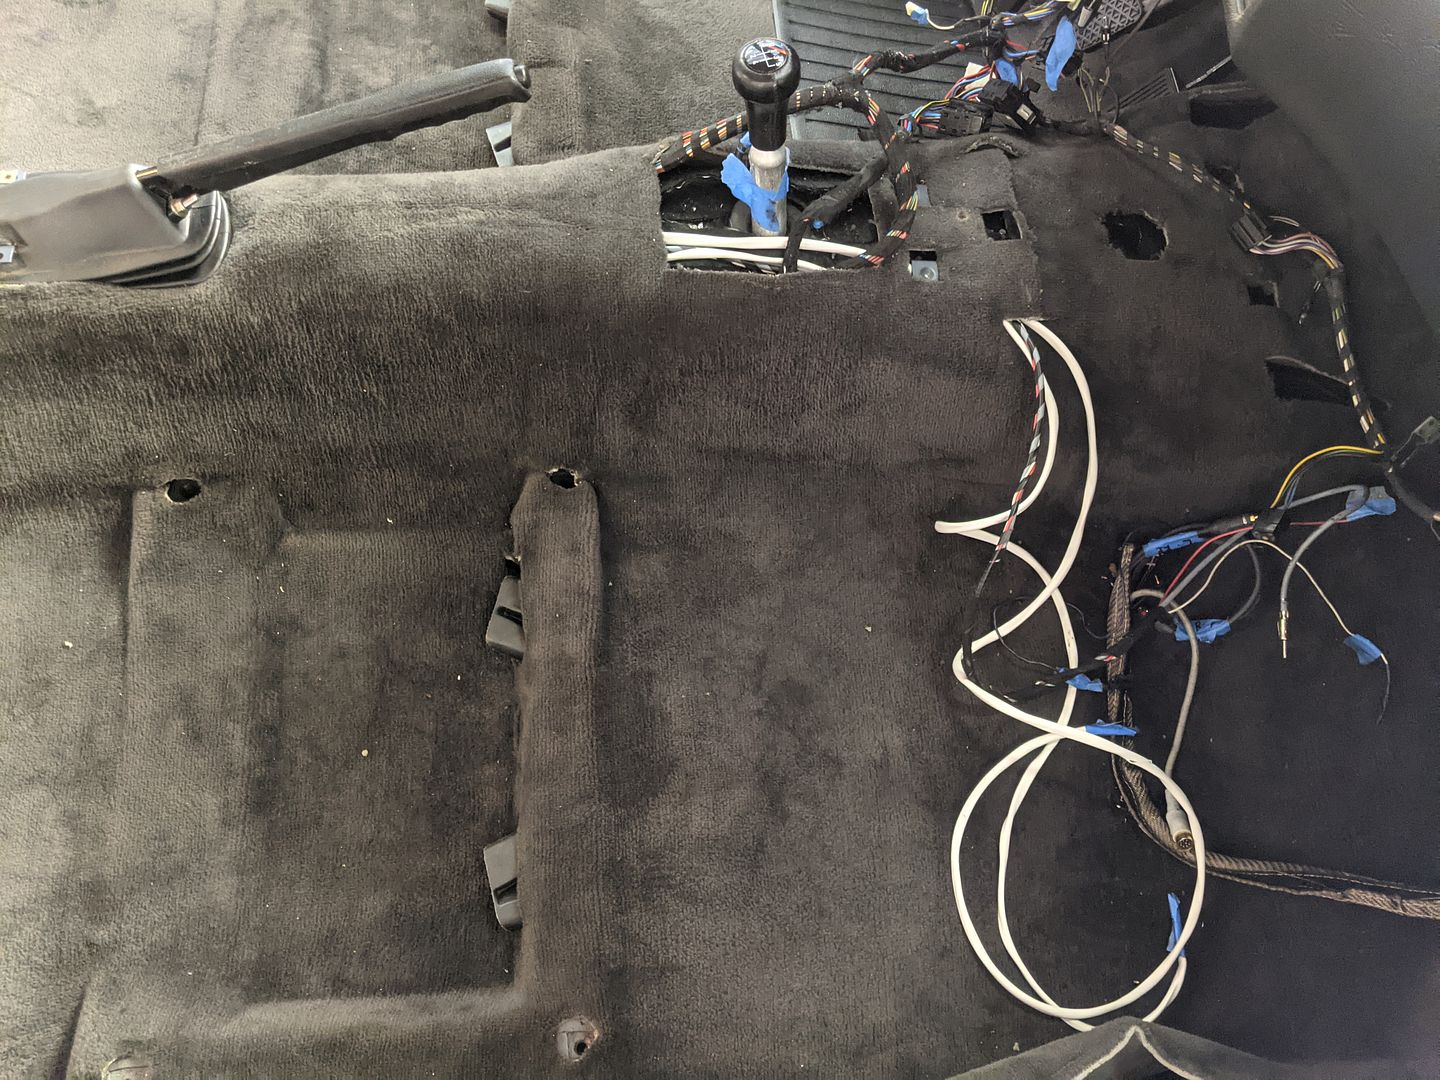
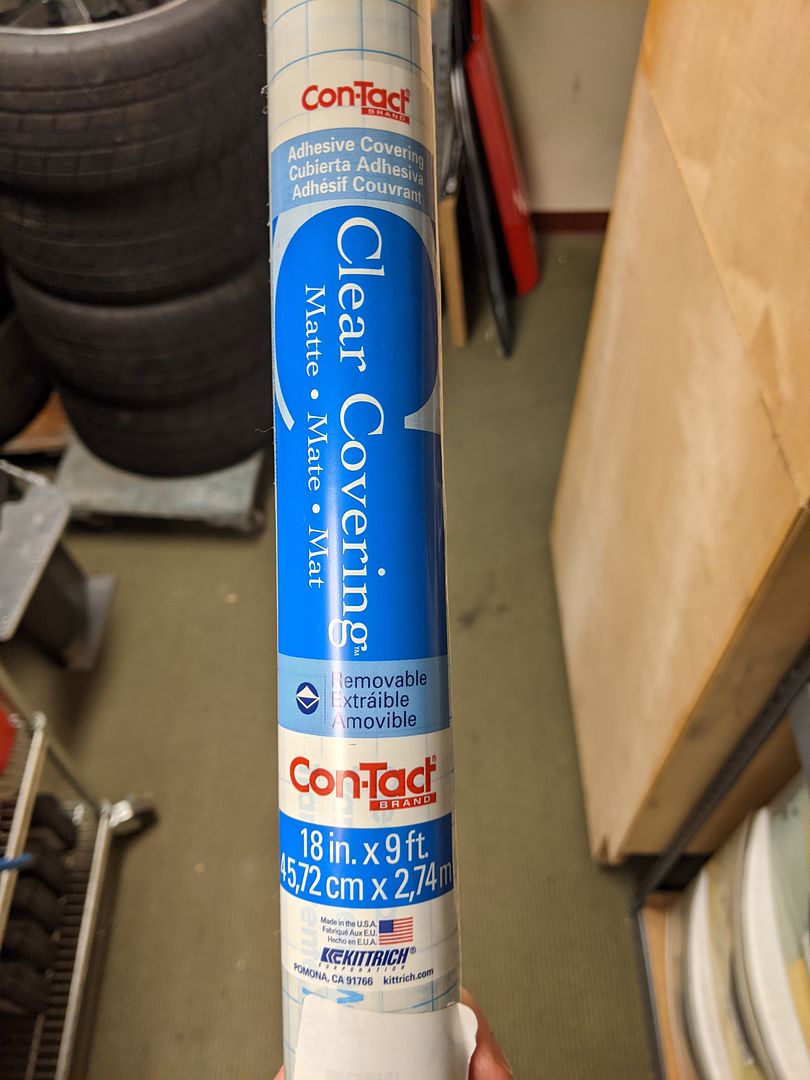
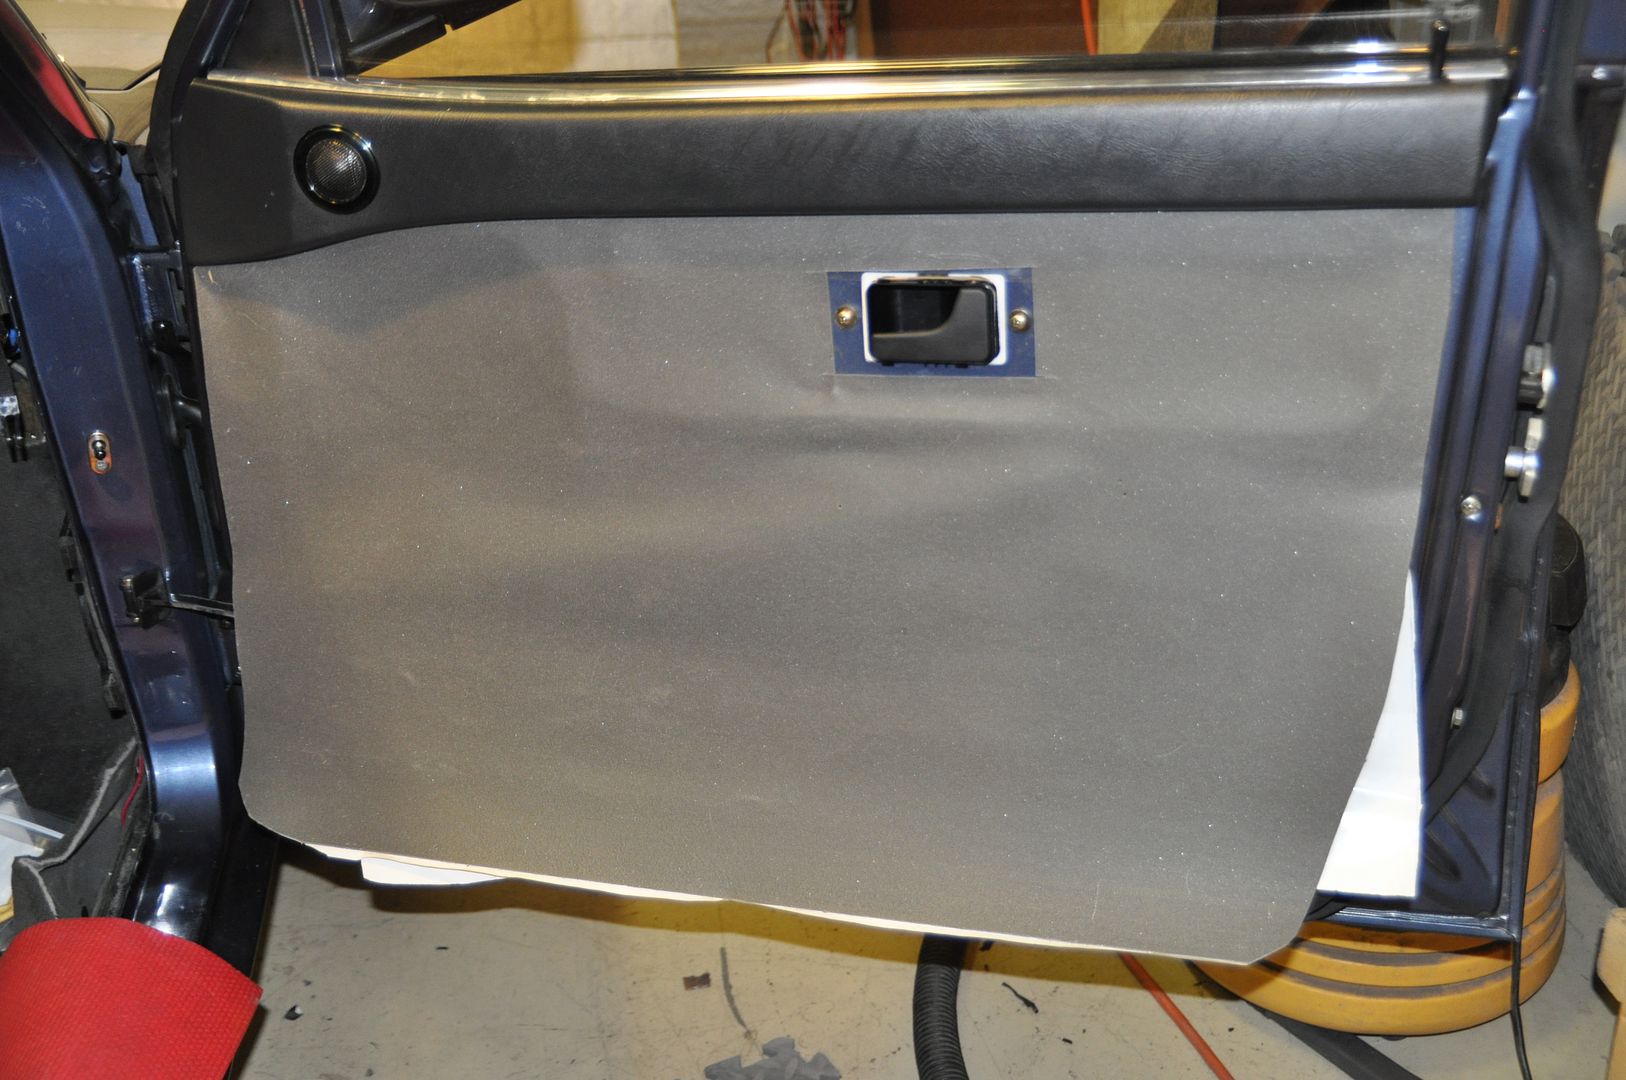
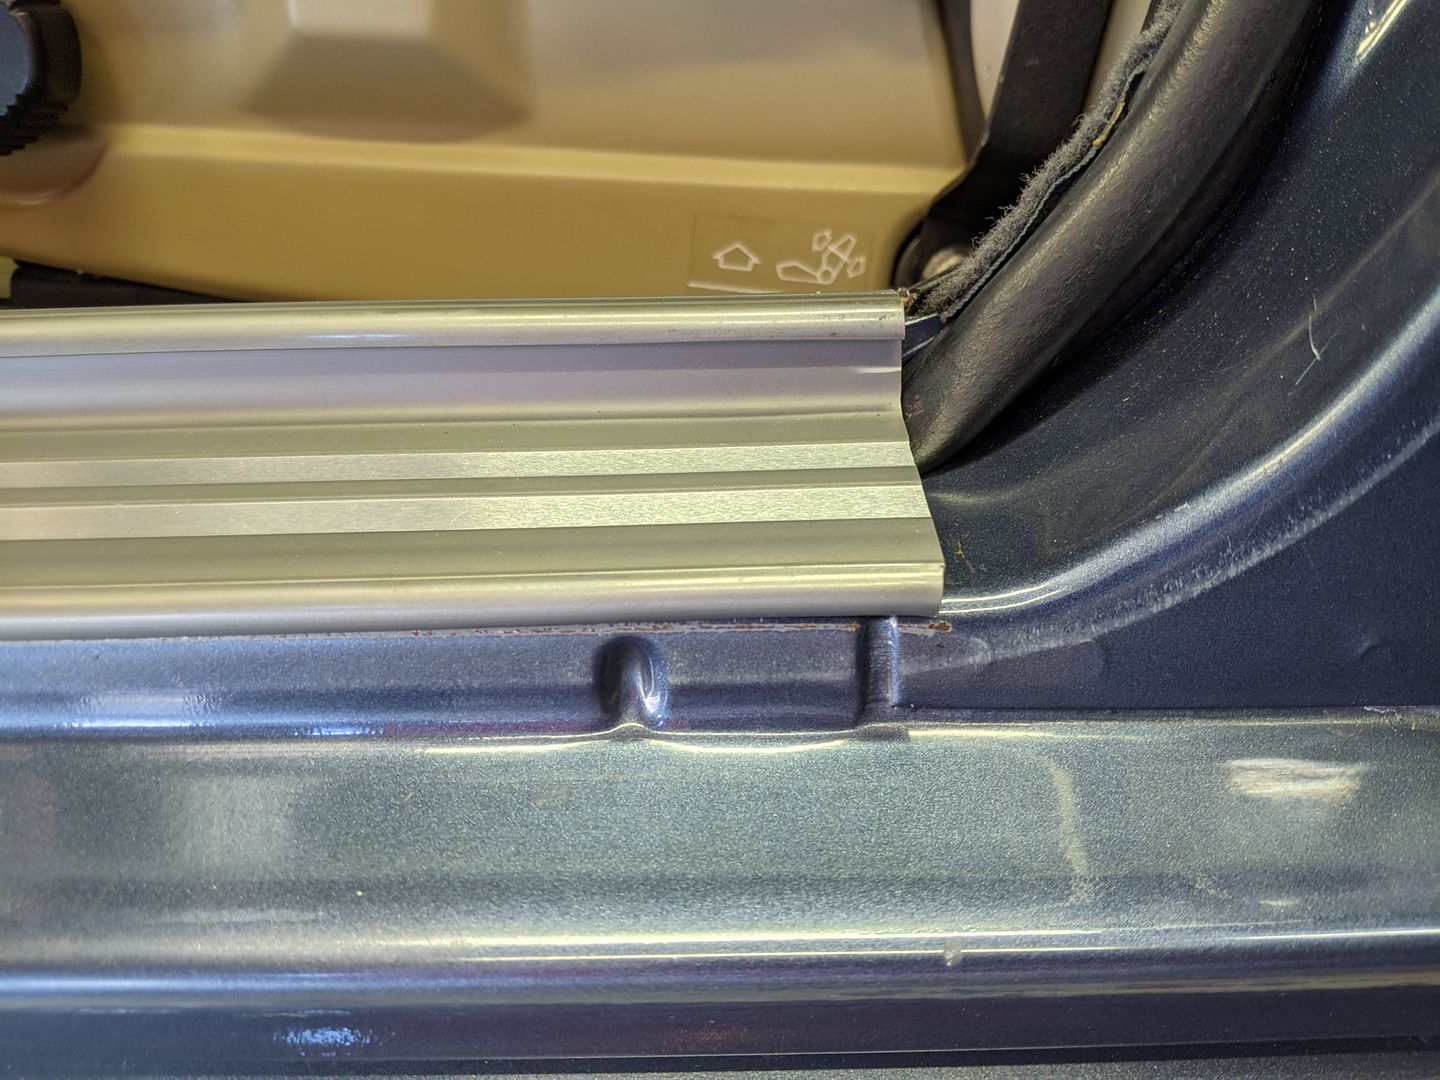
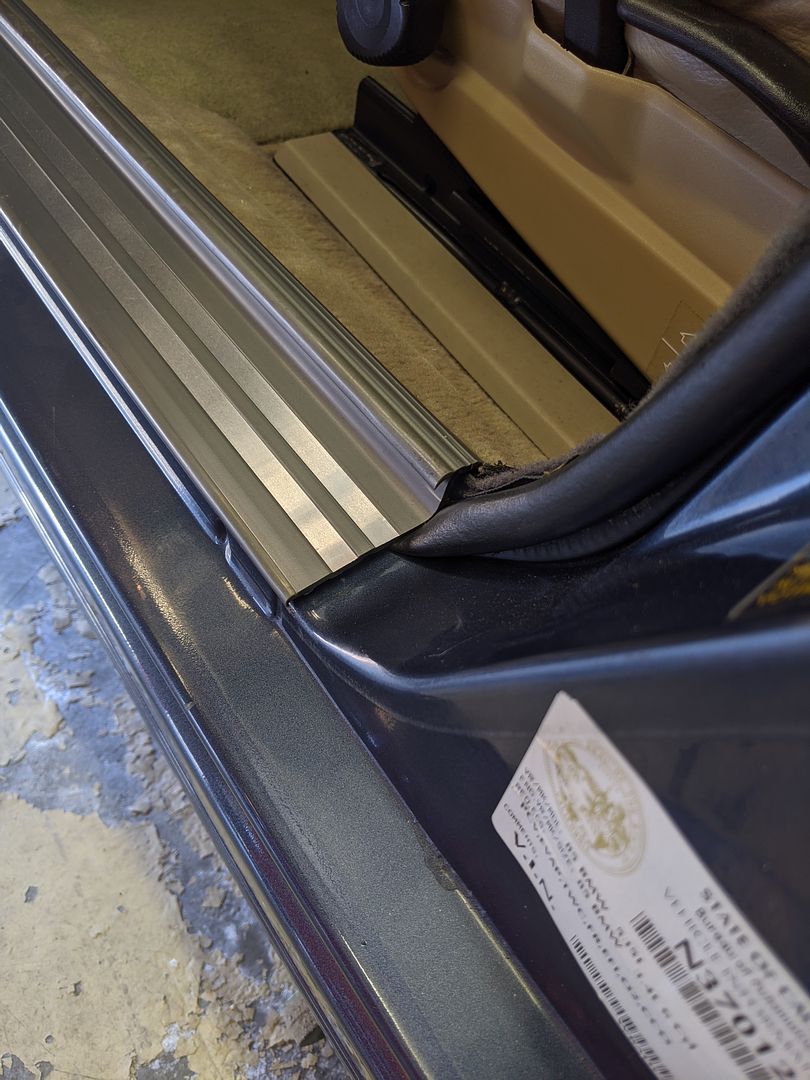
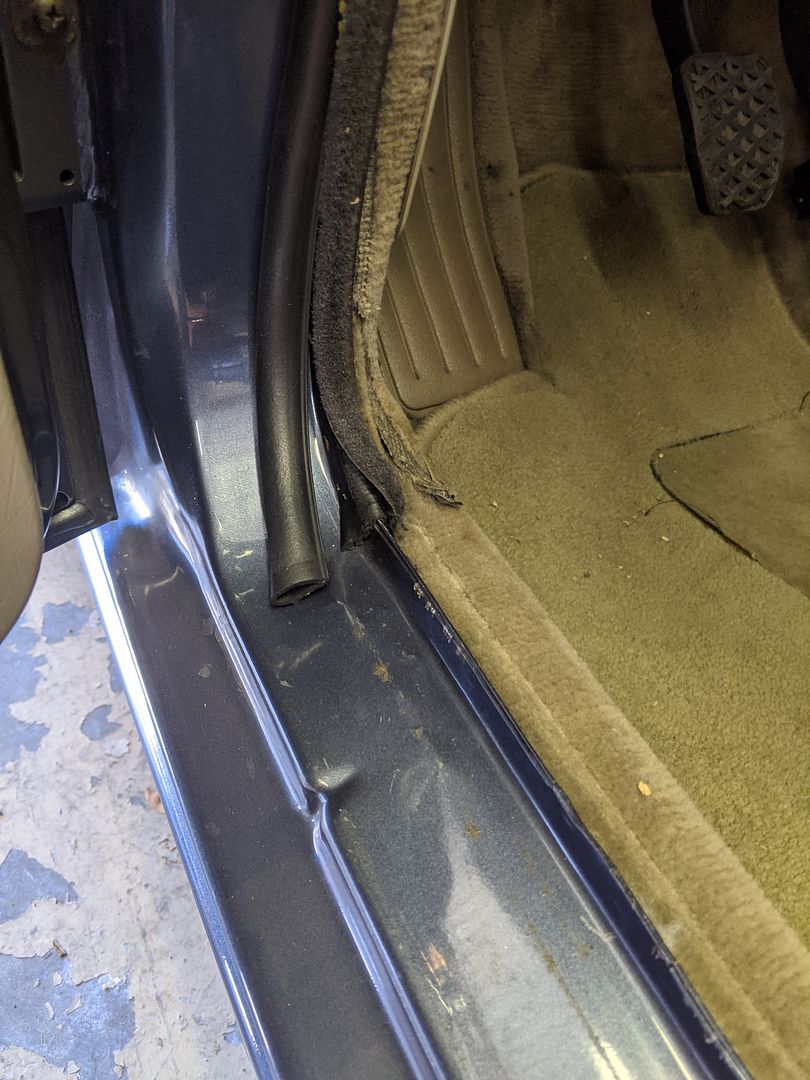
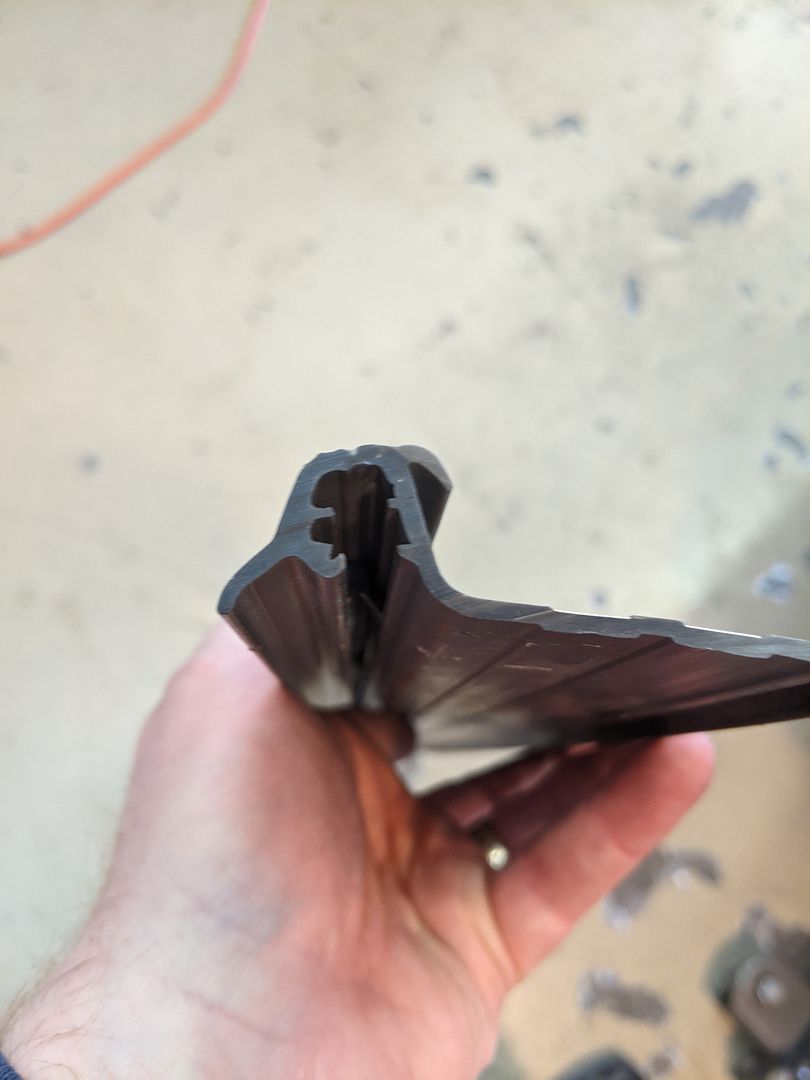
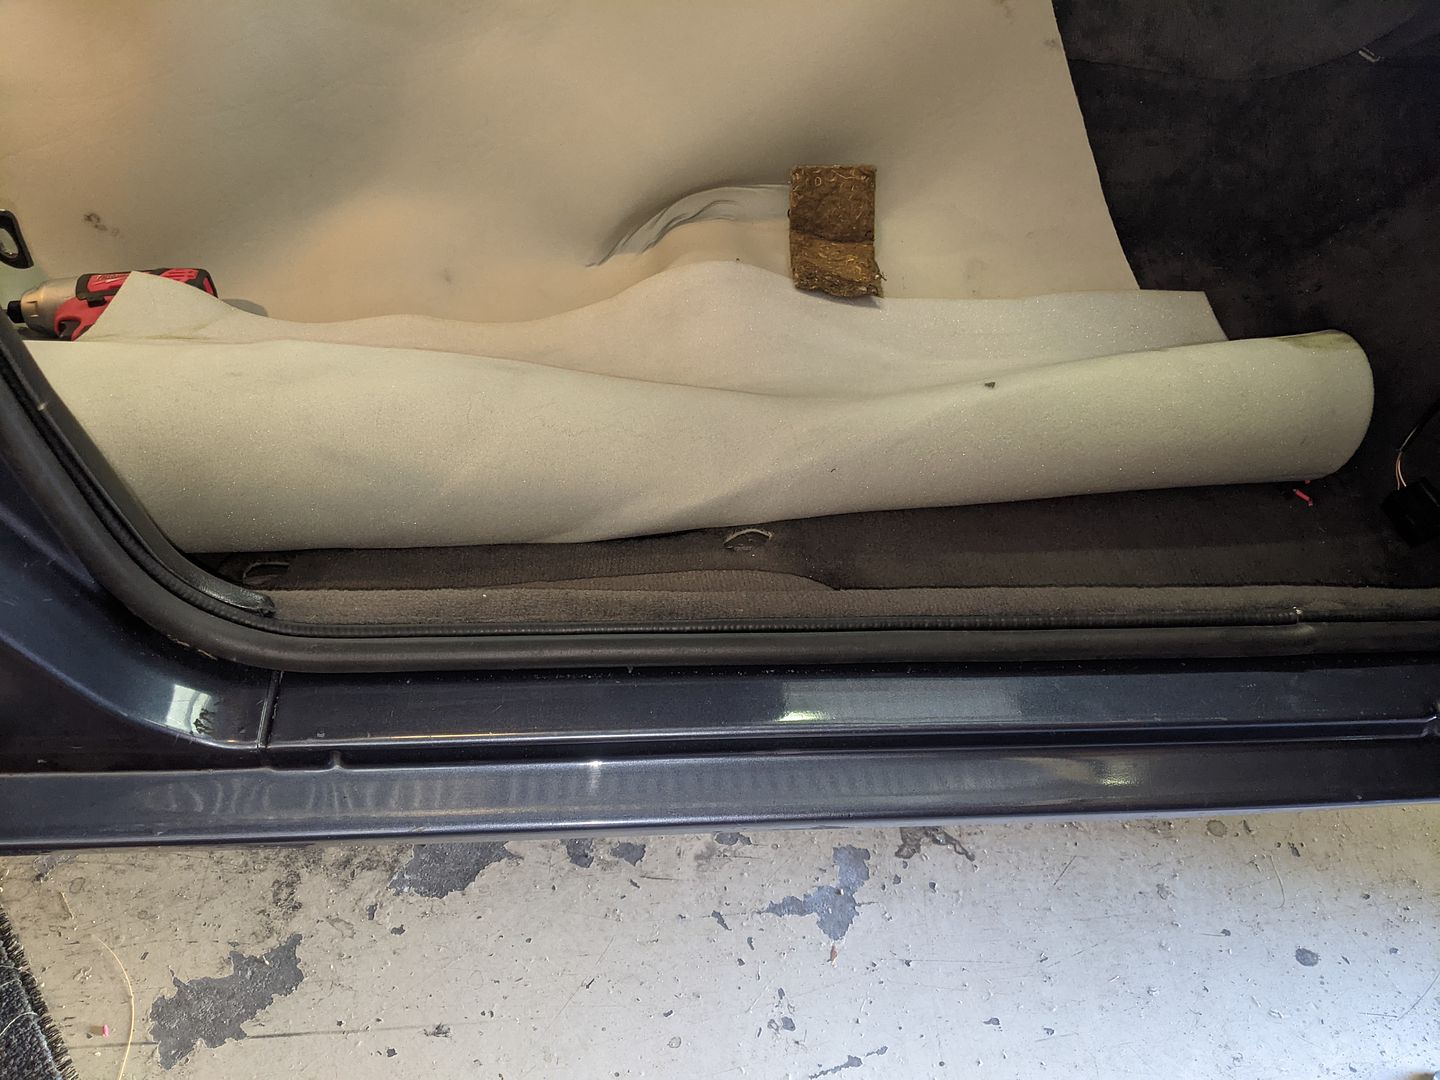
In the end it’s about 99% to where it should be, I have little work to do at the door sills but I’m managing that. The carpet had mostly enough padding to replicate what was down on the floor with the original two-piece carpet set, but it felt a little thin in the back floor areas. I added a layer of the Heatshield db Sniper Acoustic mat (it’s a ¼” thick with high density closed-cell foam and a heavy mass-vinyl cover on one side). It’s the same stuff I used on the rear bulkhead and seat well also.
With all that down, it was time move back to the HVAC system and its’ re-installation. First I want to say how much of PITA it was/is to get both boxes back into the car. You will struggle, you will curse, you will sweat and you will come back with bloodied hands. Getting the engine side blower portion of the Heater box back through the firewall while at the same time lining up the heater core pipes to go through the firewall grommet is something I don’t recommend if you’re either a) tired, b) stressed, c) short on time, d) low on blood sugar, or e) any combination of the above. You will break something, either before or after you have thrown a tool across the shop. It took me hours to get it in the first time (notice I said “first time”), but due to a complete oversight (I forgot the control module inside the heater box,

) the second time it took me less than an hour to both remove and re-install it. Go figure.
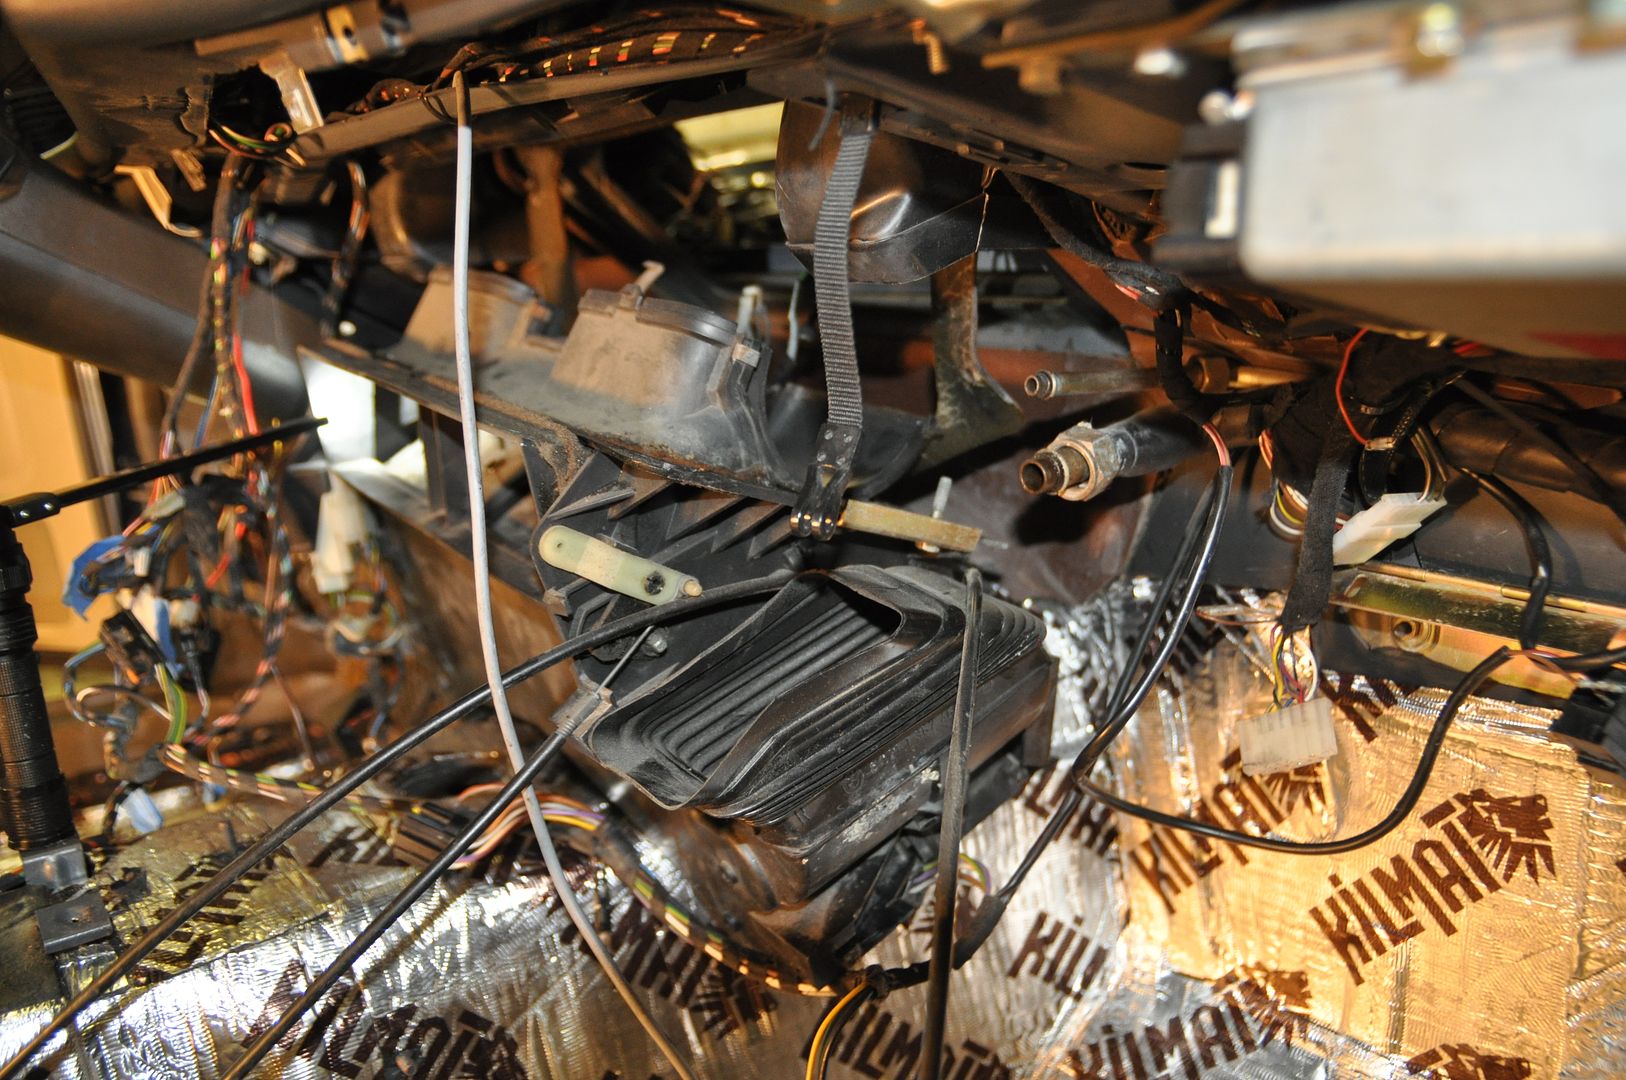
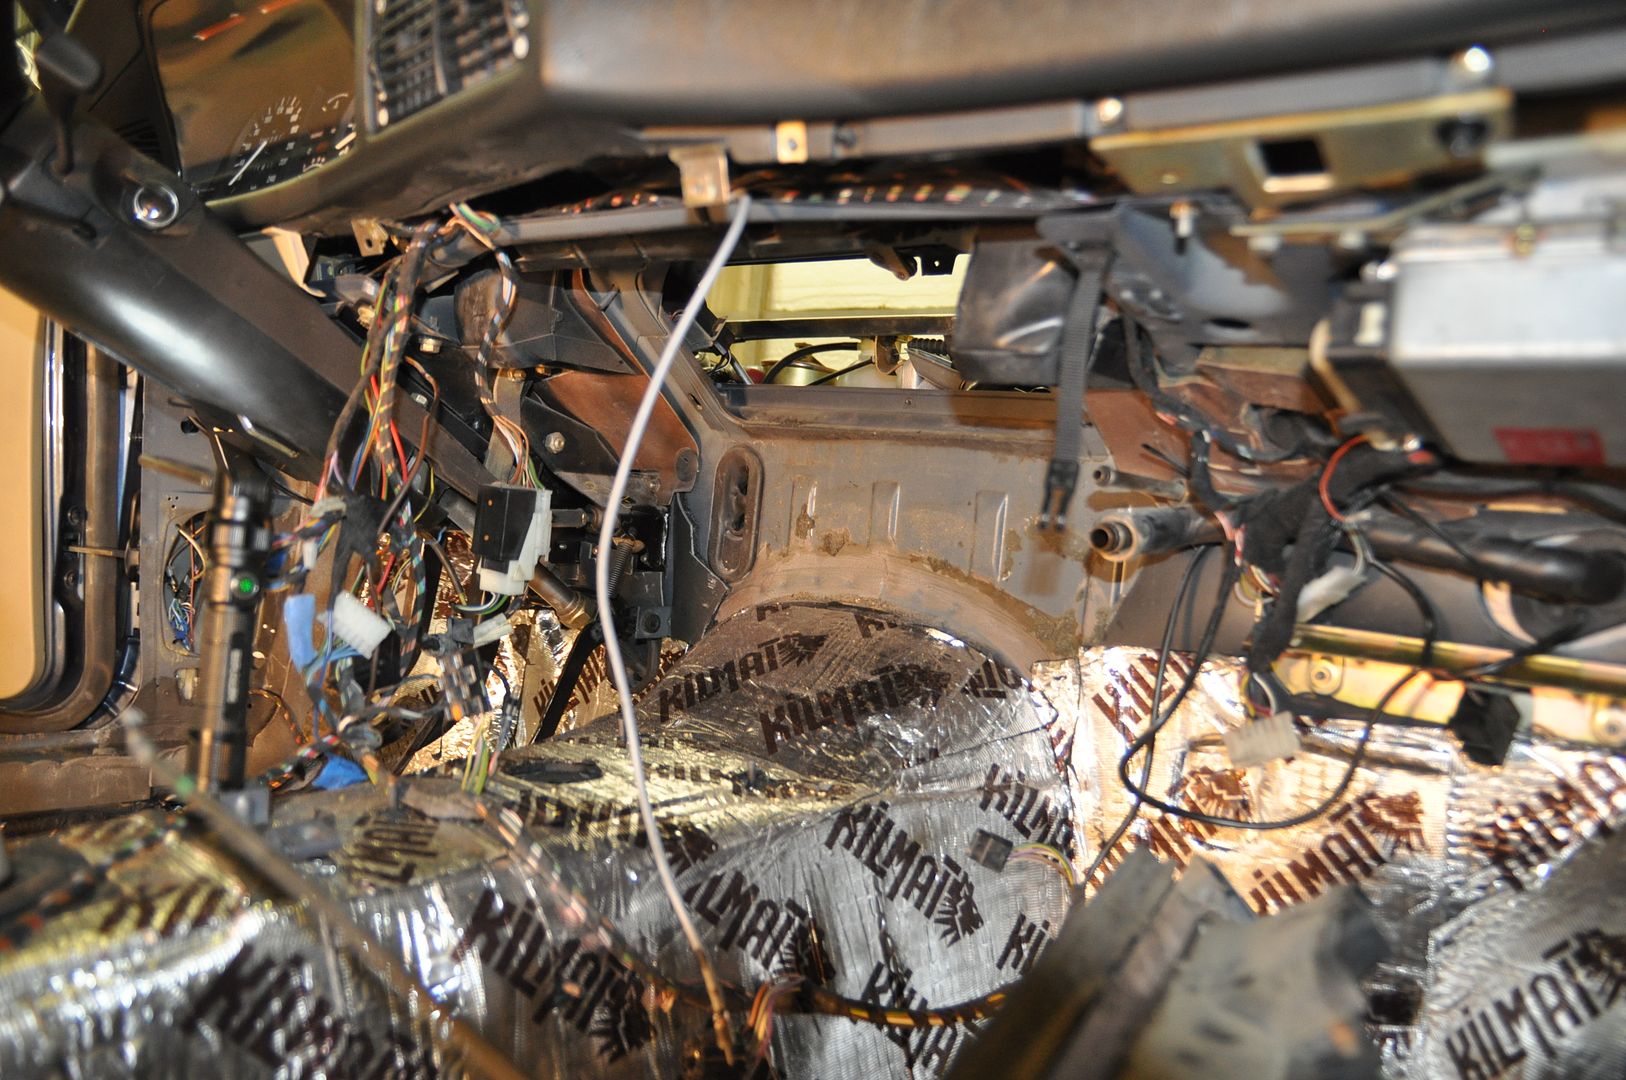
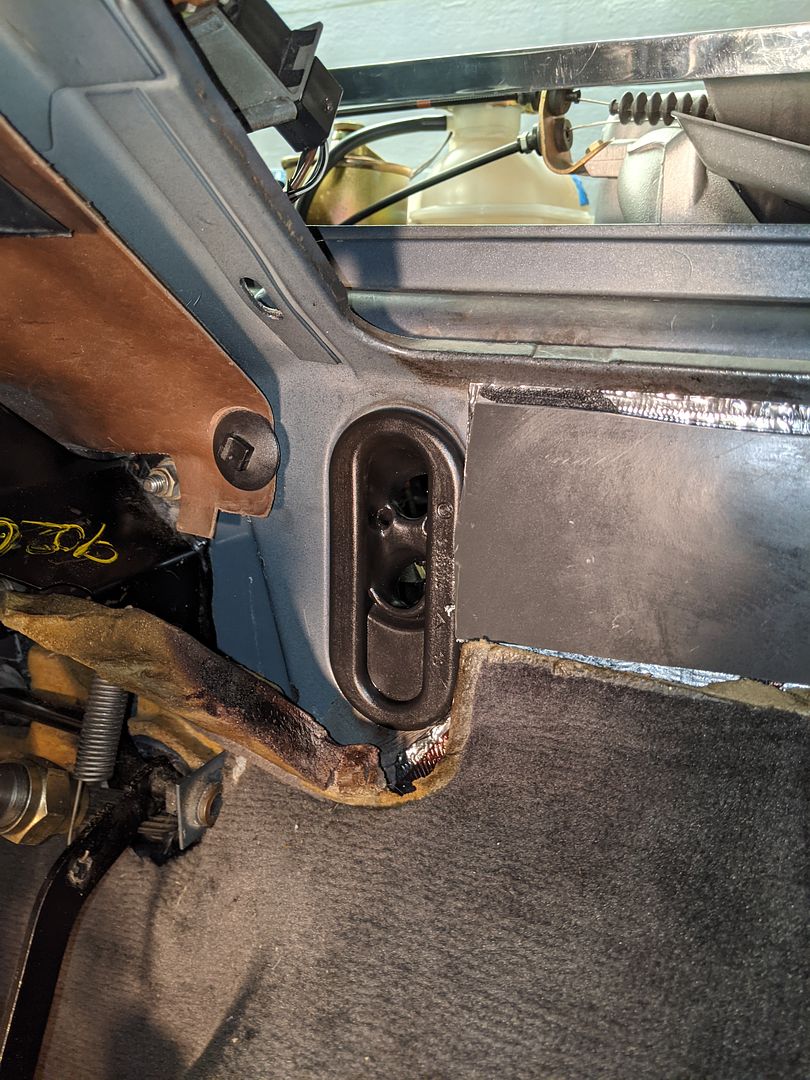
Don't forget these guys:
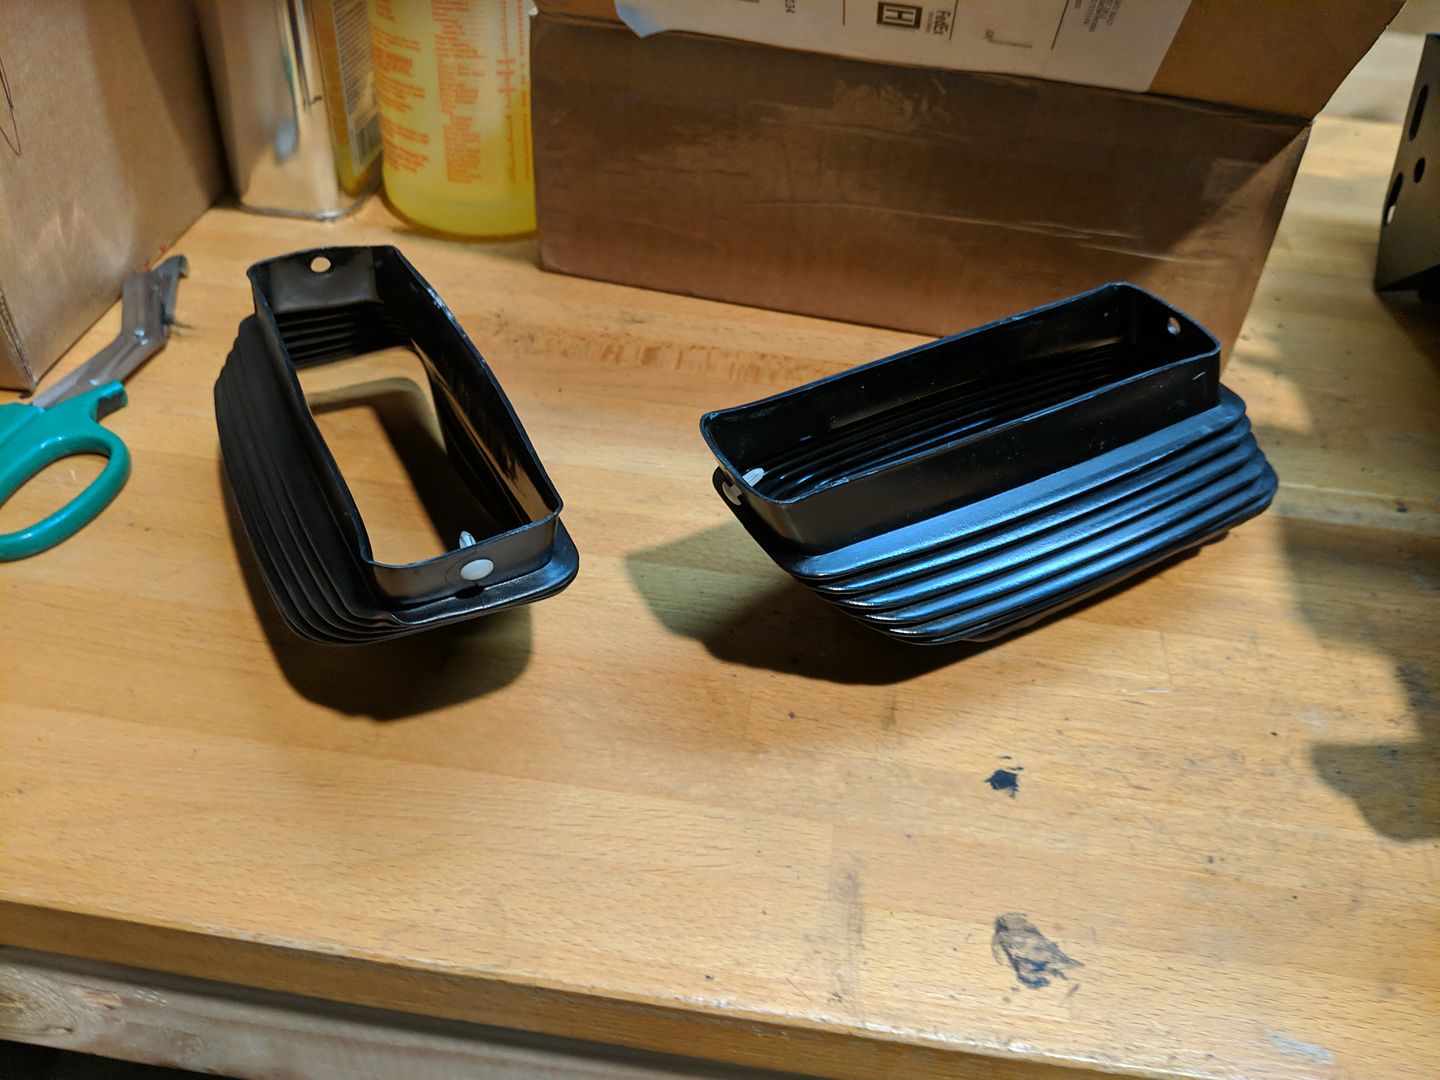
Because putting them afterwards is near impossible:
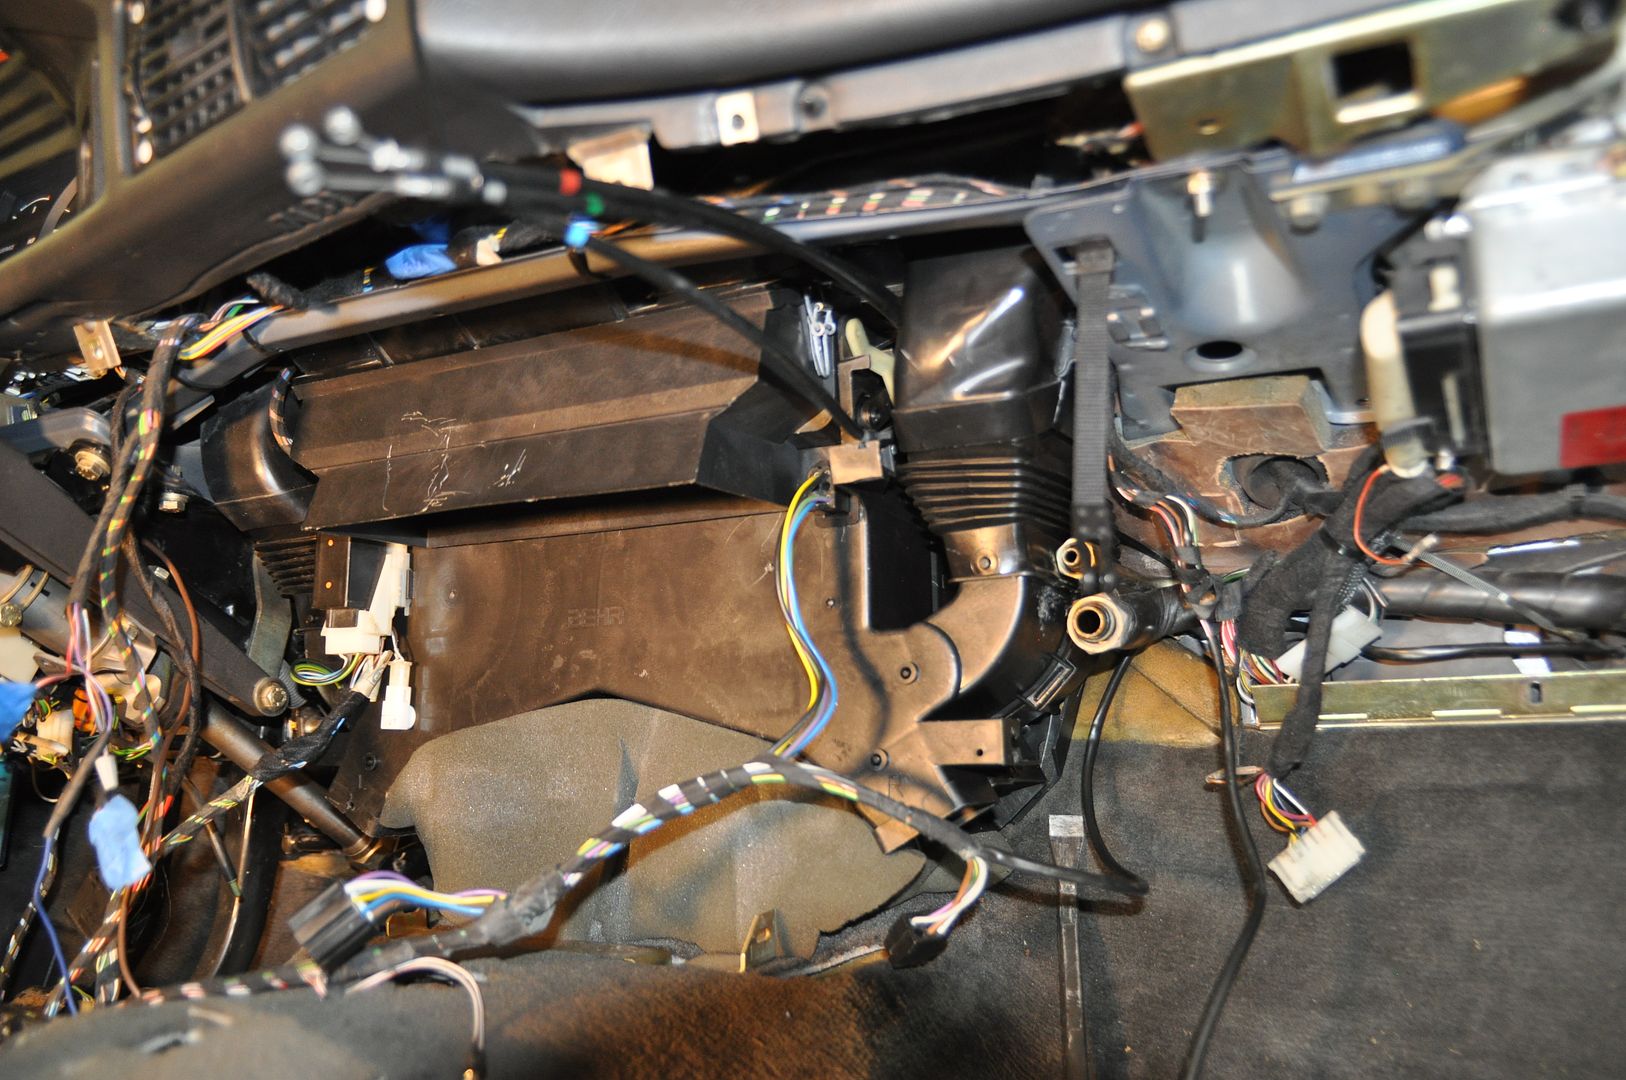
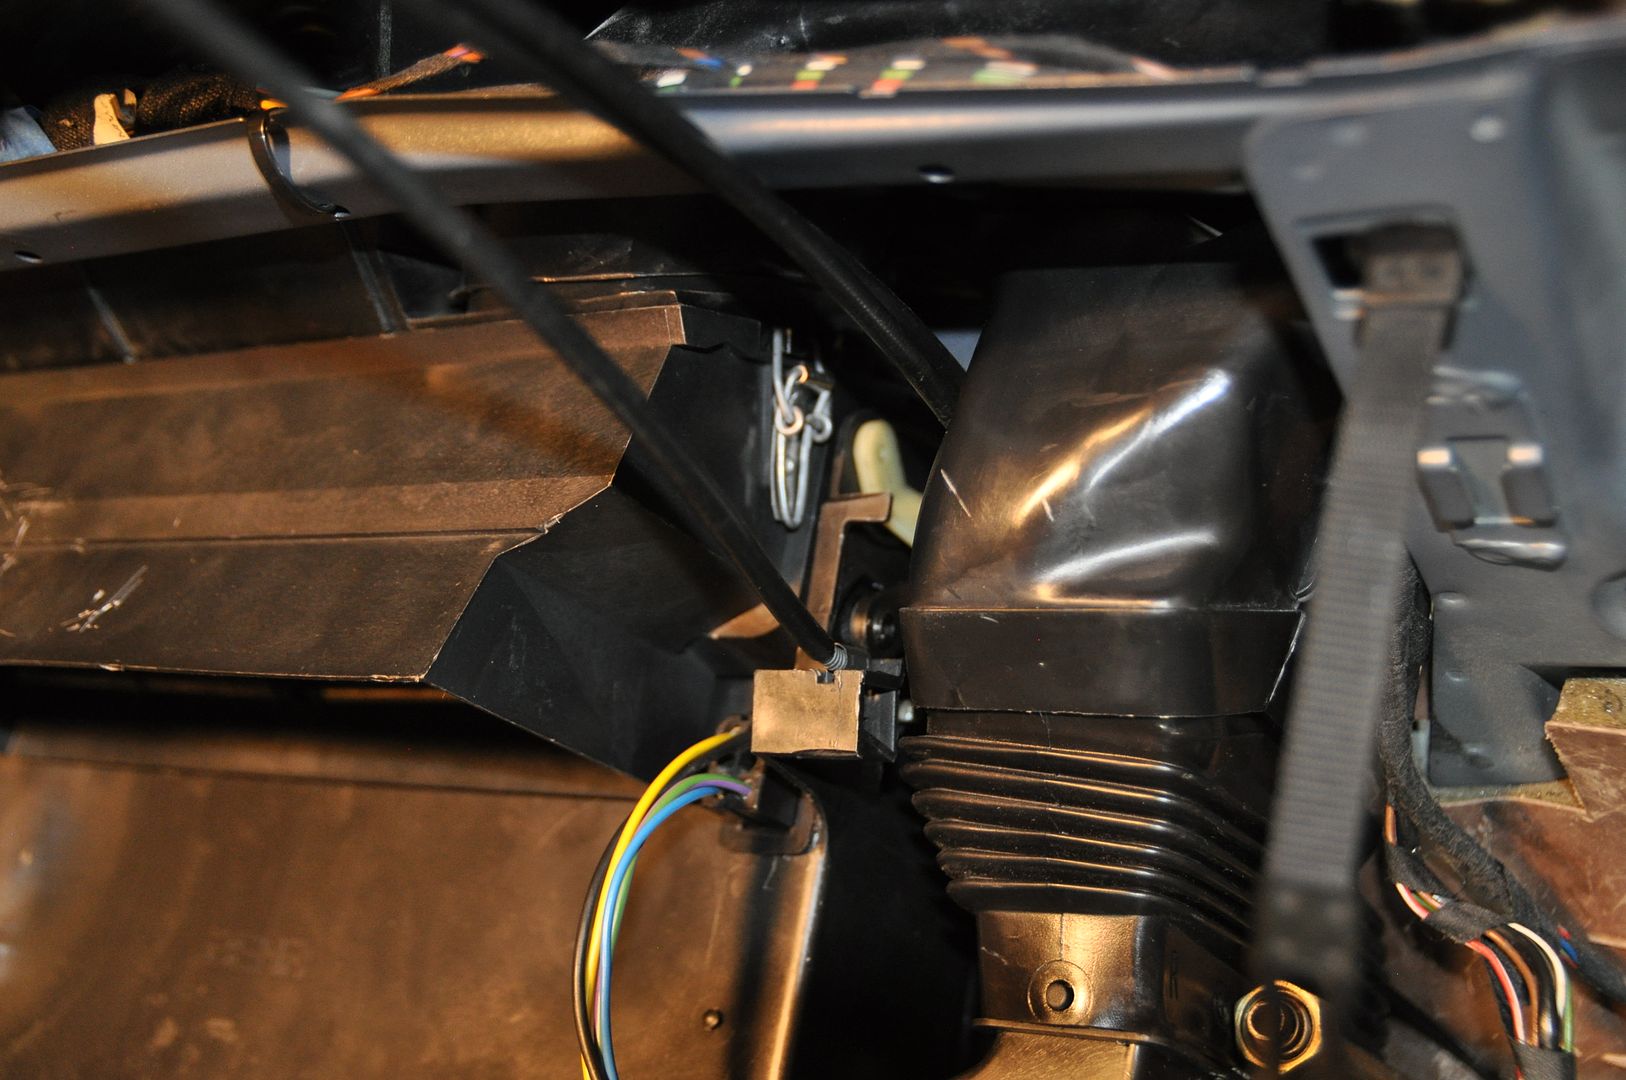
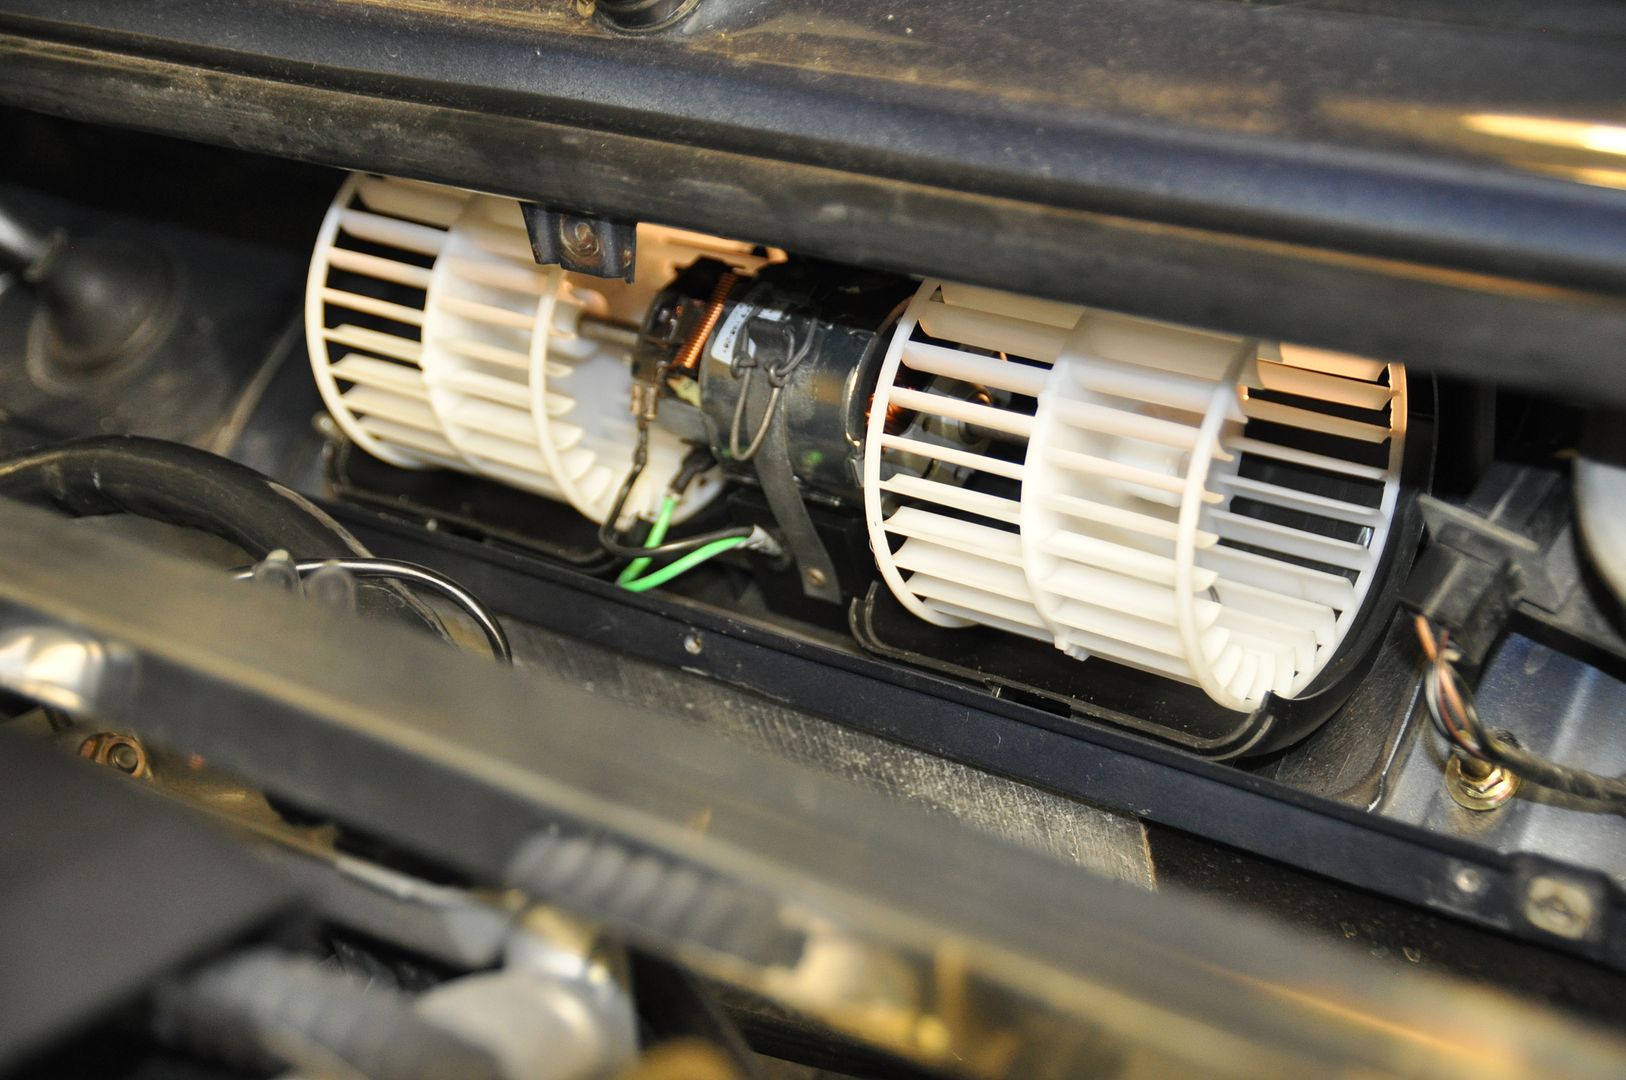
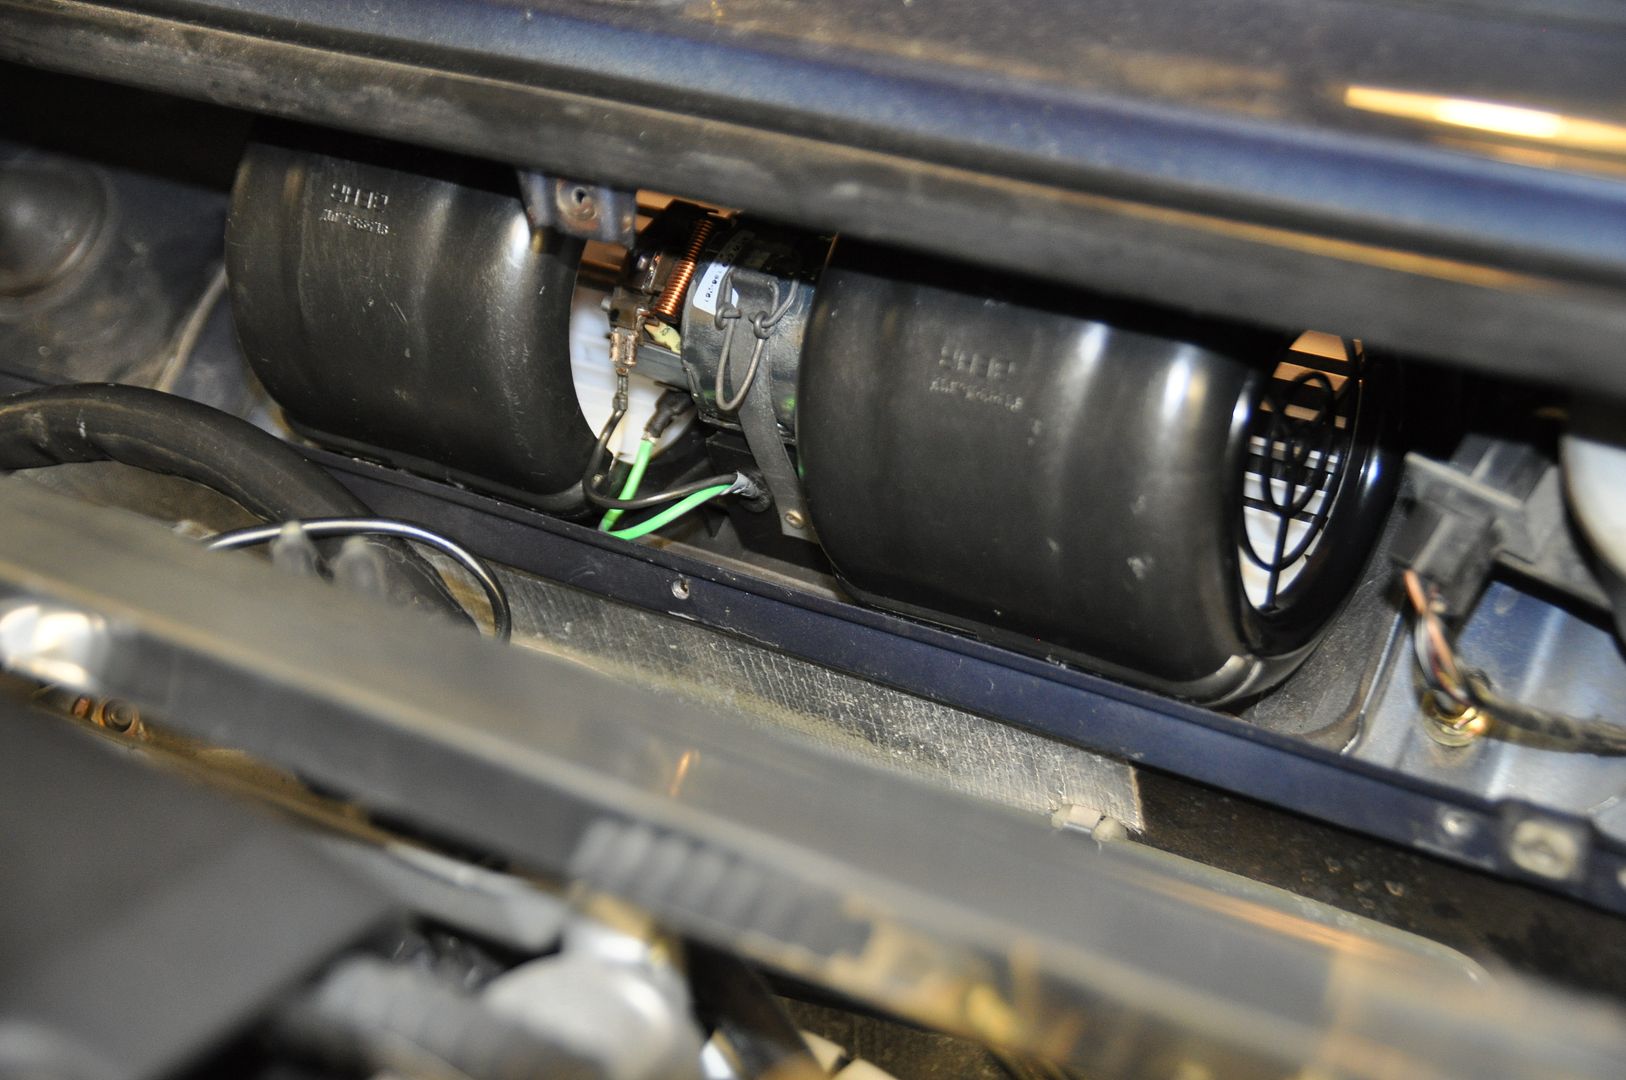
Then it was onto the fun part: the AC & Evaporator box. This too tried my patience since there were more components to line up that made it seem like it was impossible to accomplish this. Between the upper dash opening, the dash ducting, the coolant pipes, and the condensate drip hole & nipple, I didn’t think I would ever get that thing back in. In the end it took a lot of brute force to push it in; once you get the condensate nipple into the hole, the entire thing just “clicked” into place. Make sure you reconnect everything to its’ right location (you did label everything, right?), you should be good for the next element:
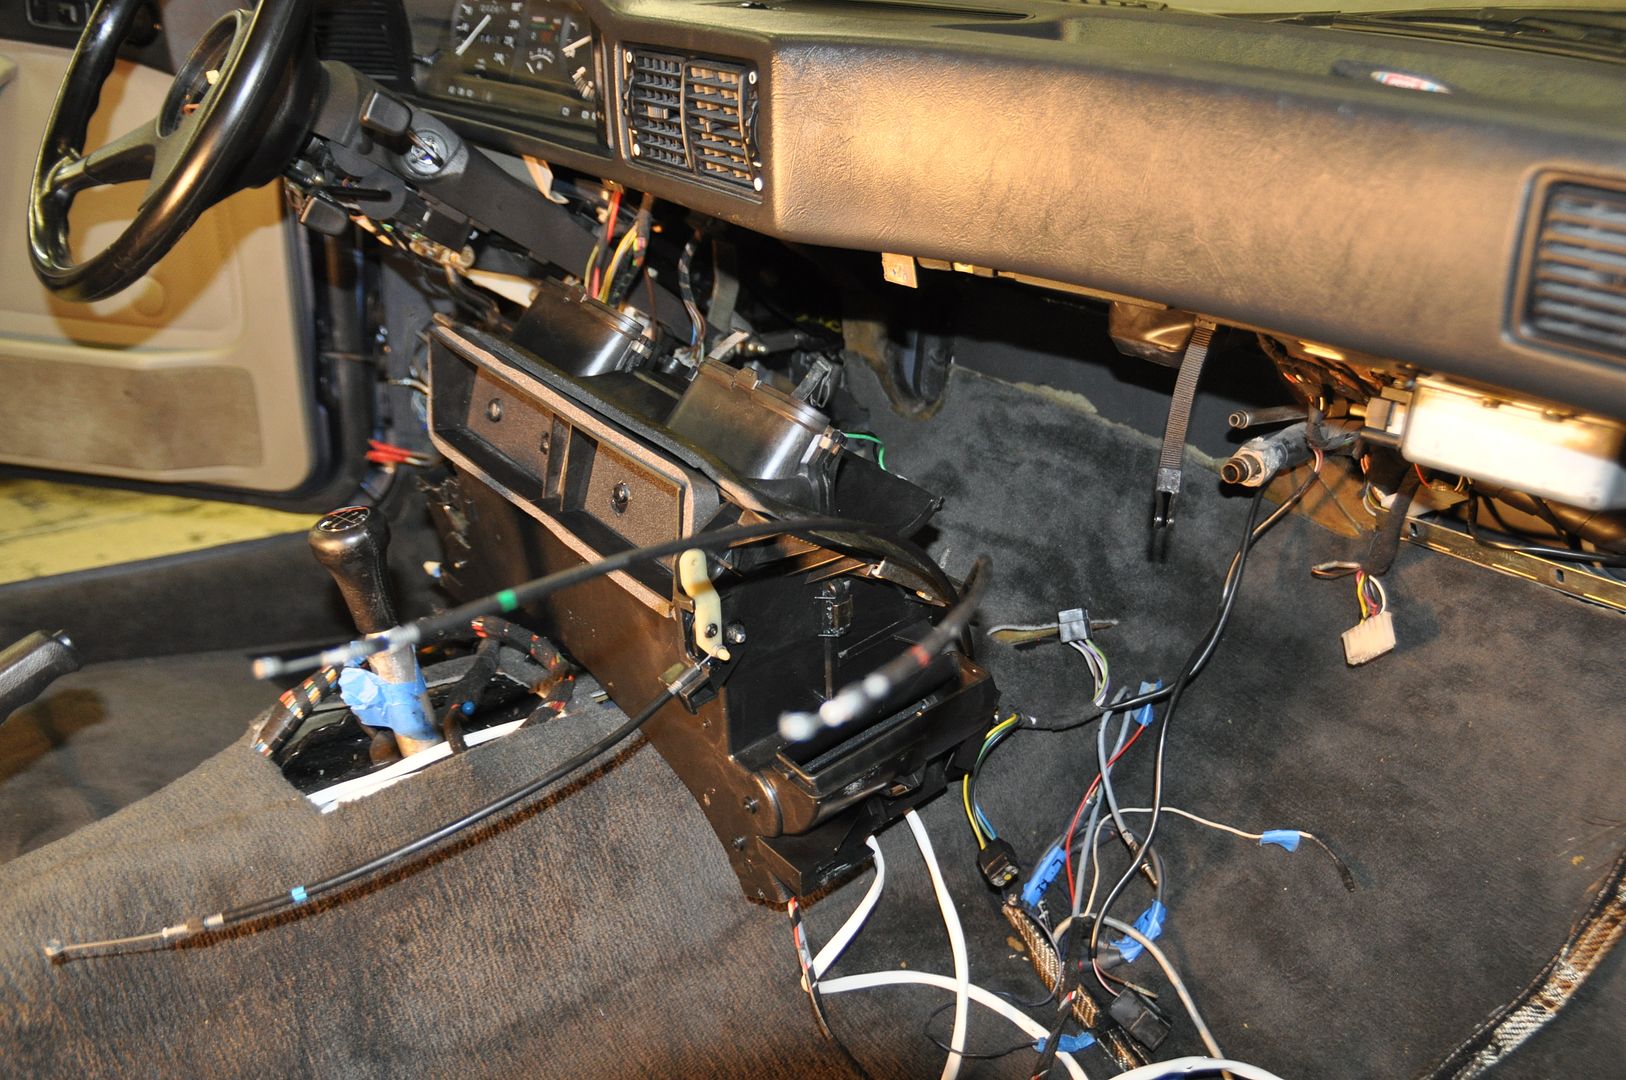
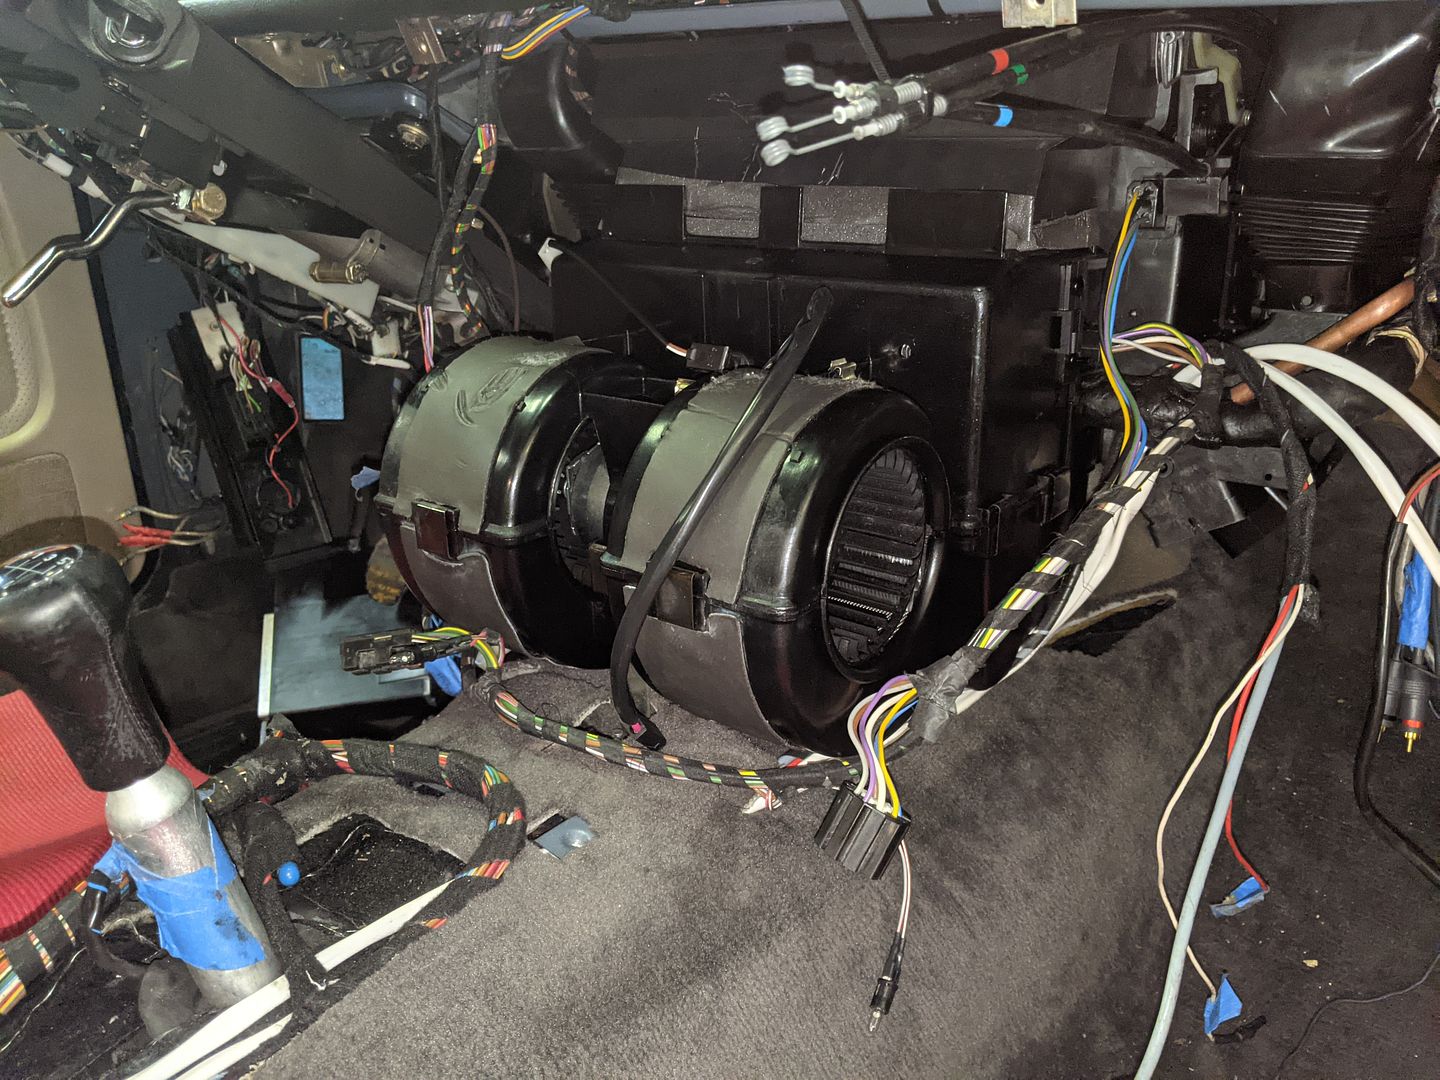
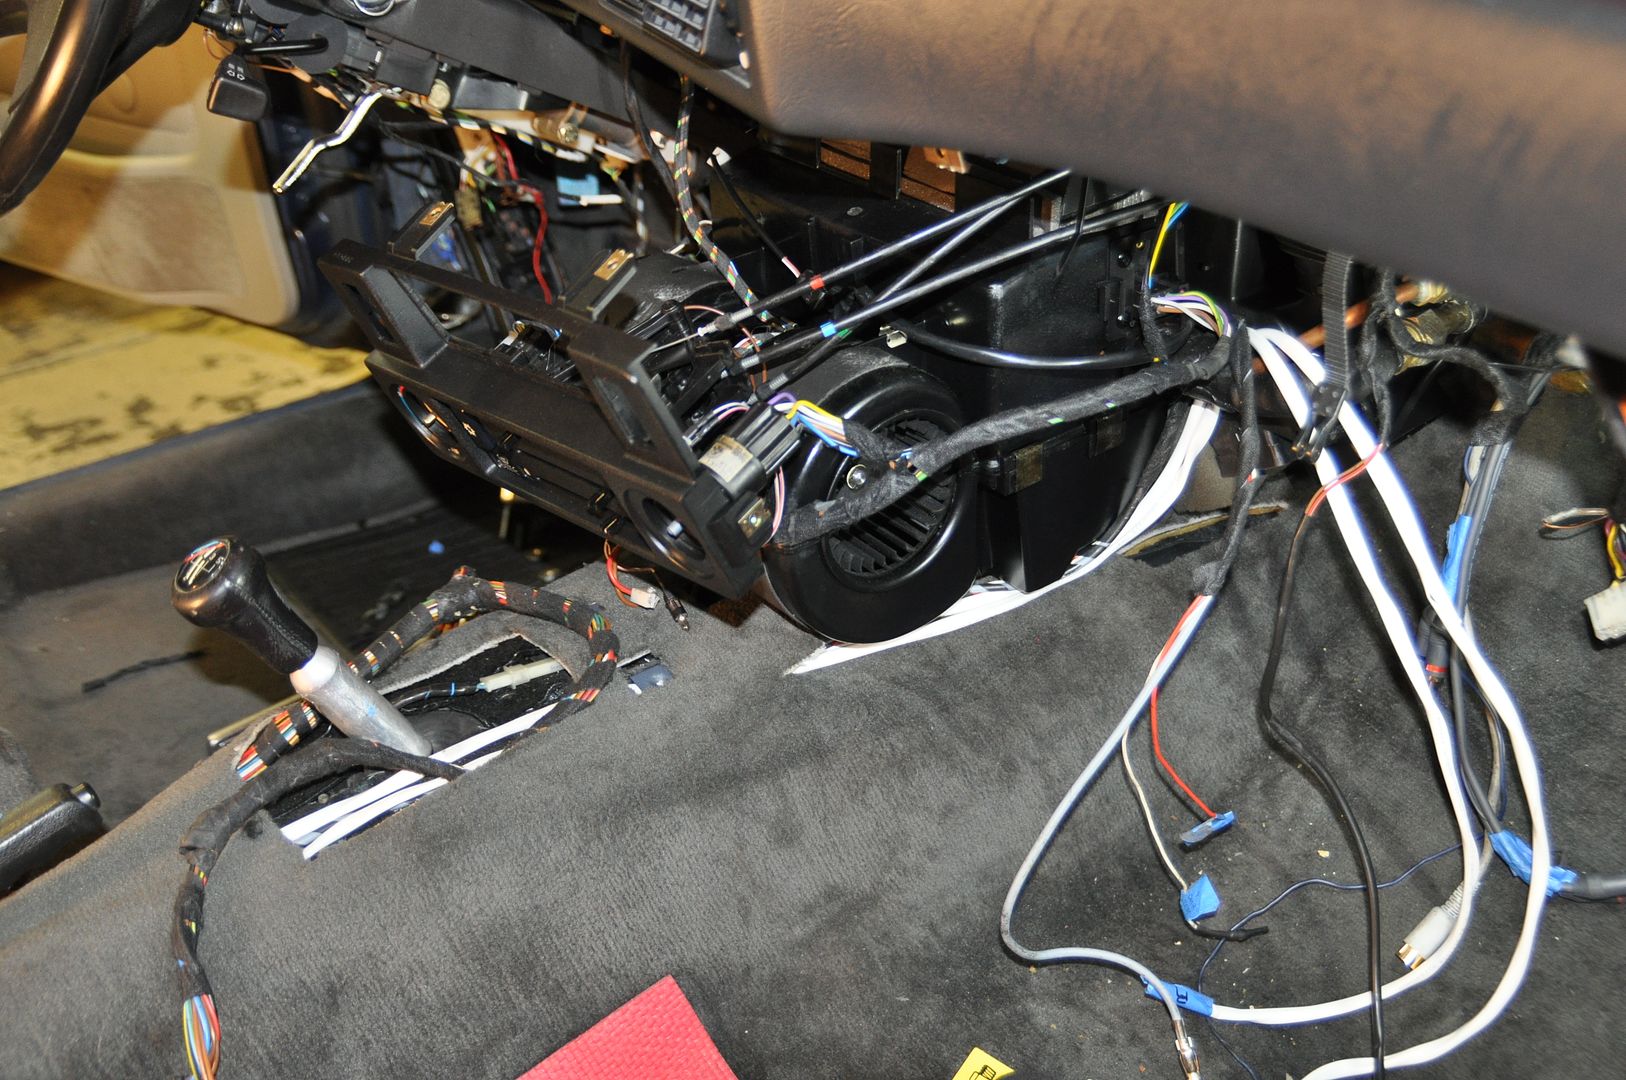
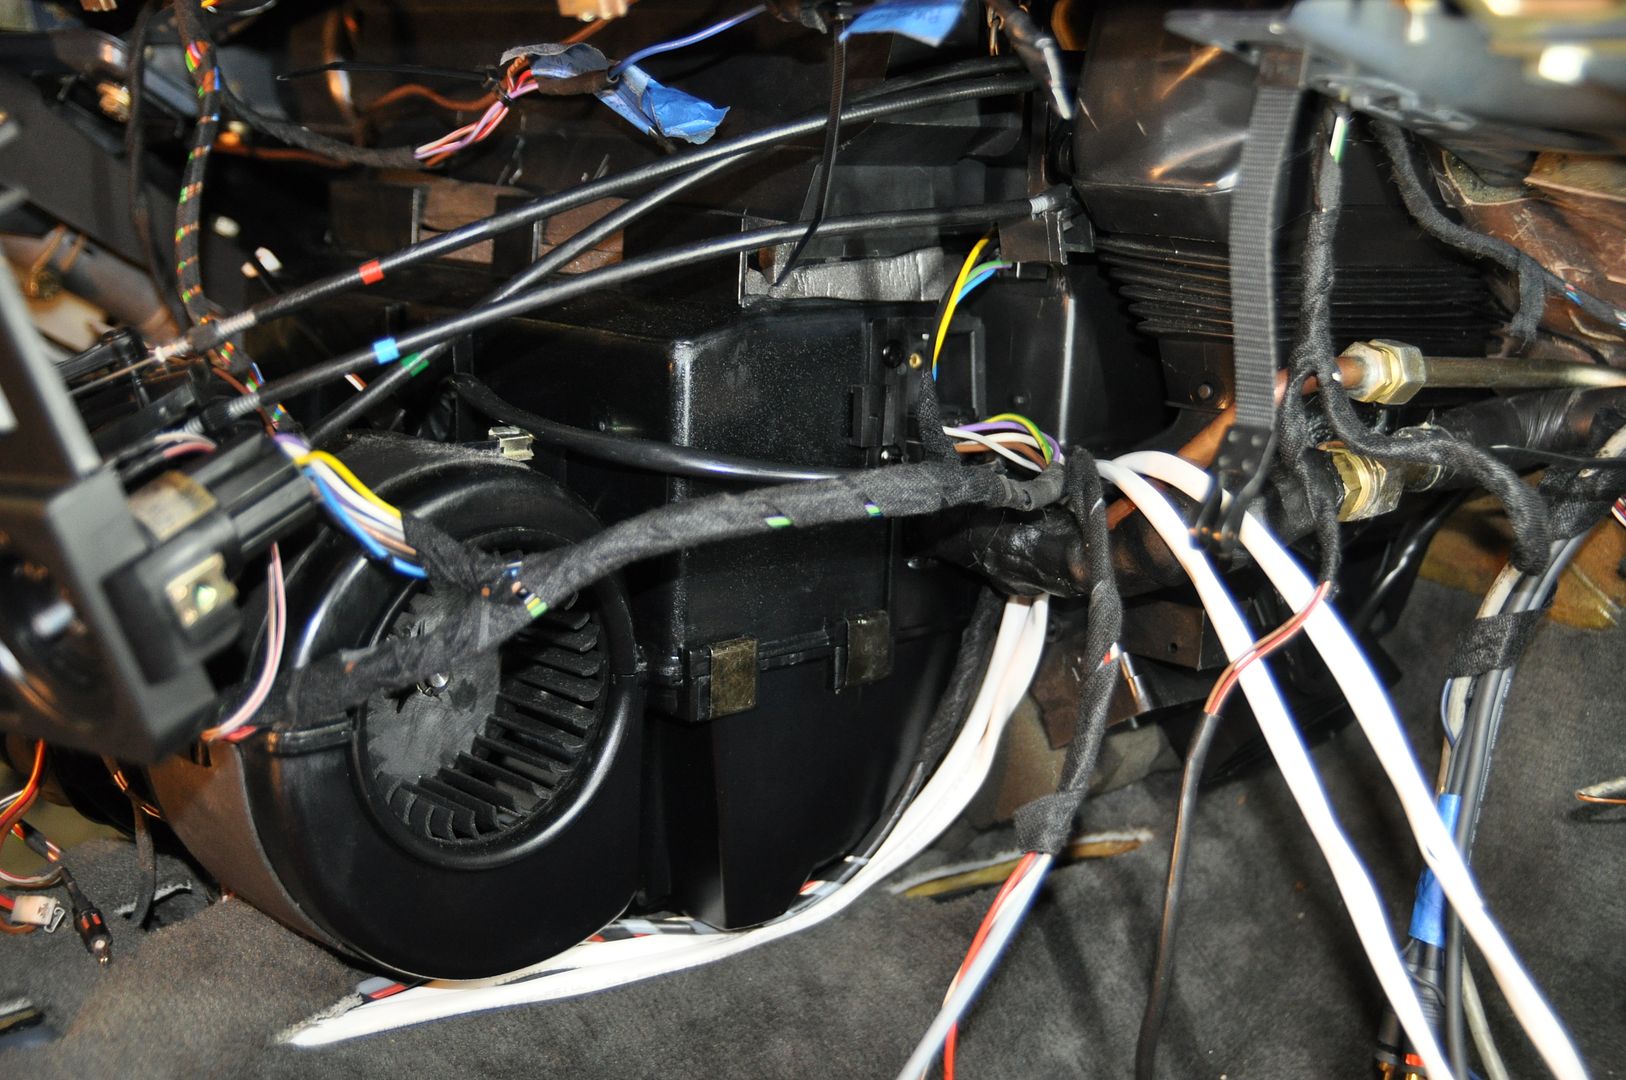
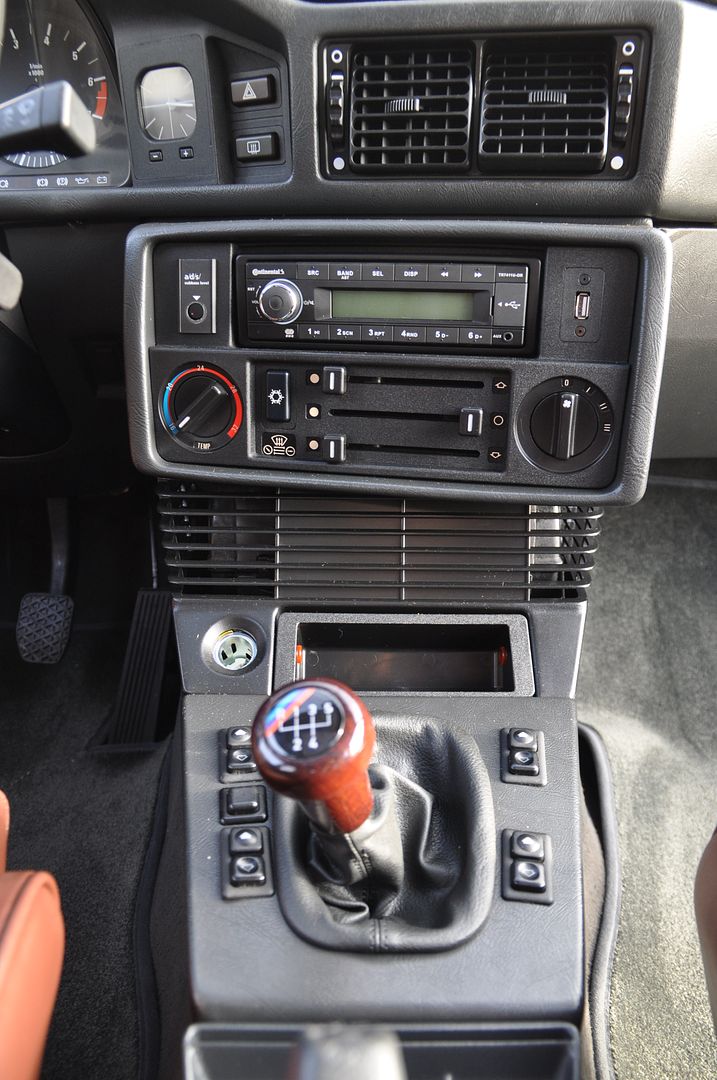
In my case it was the center console and HVAC controls. This was necessary to do now because Ralph and I wanted to tackle re-charging the AC the following weekend and all that had to be in for that to happen:
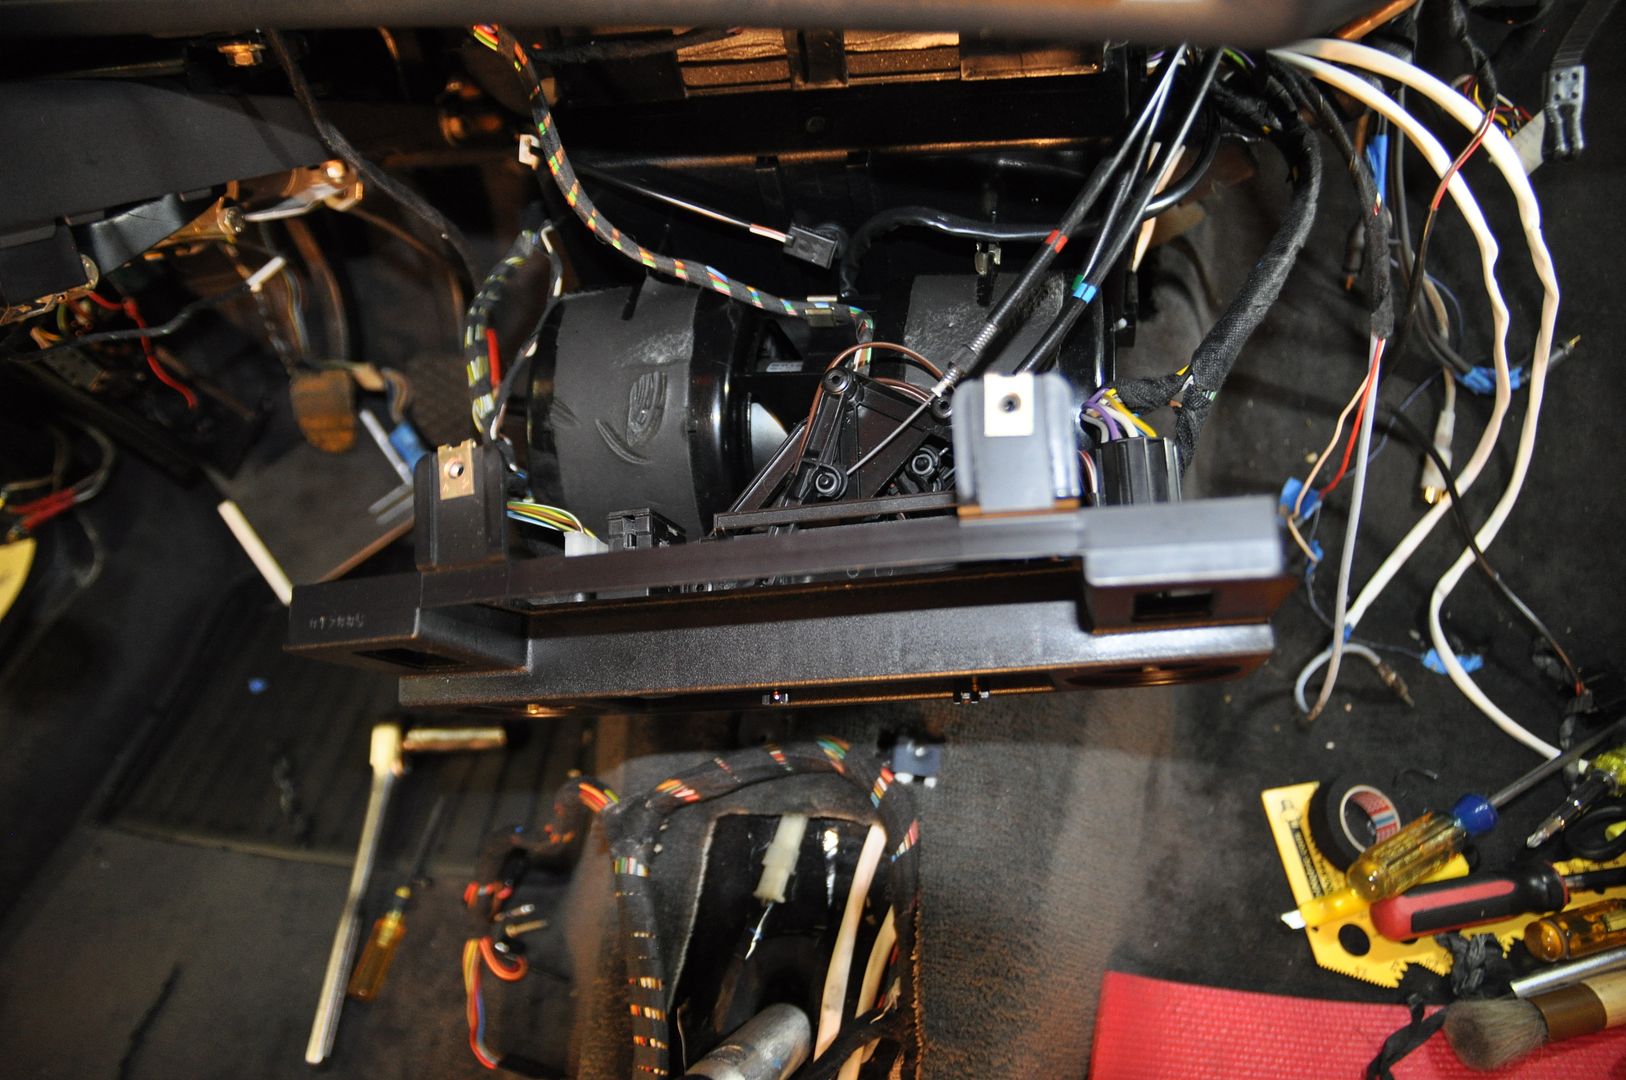
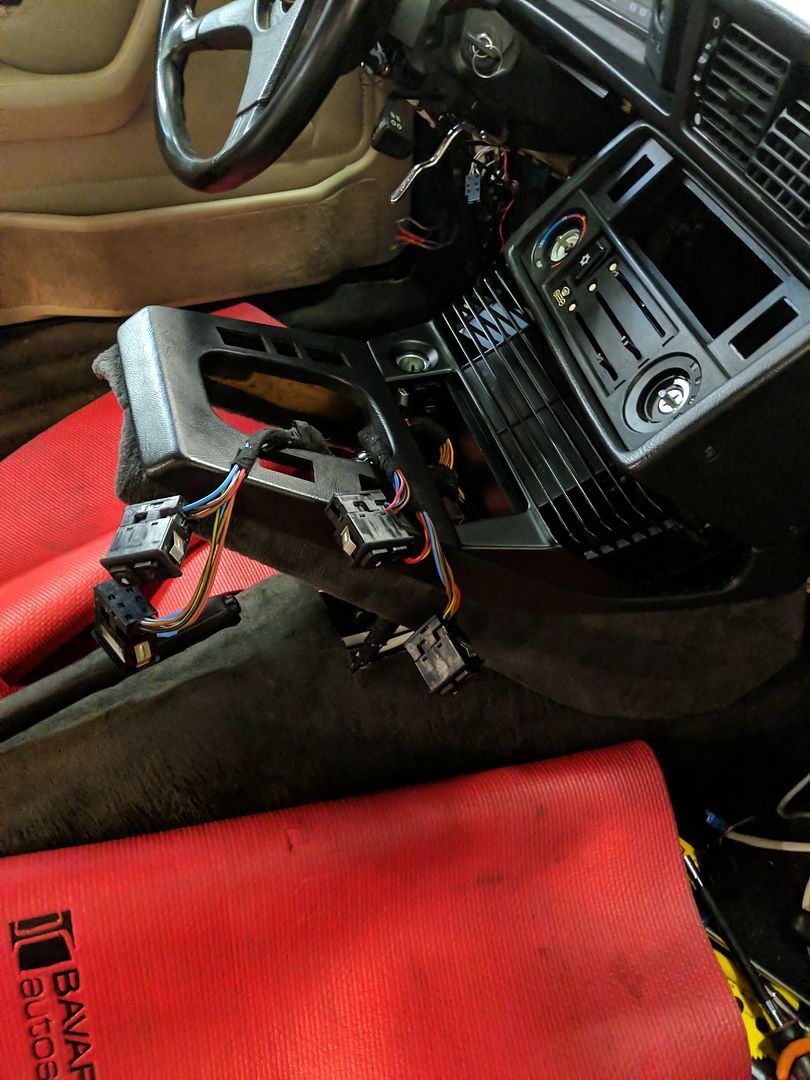
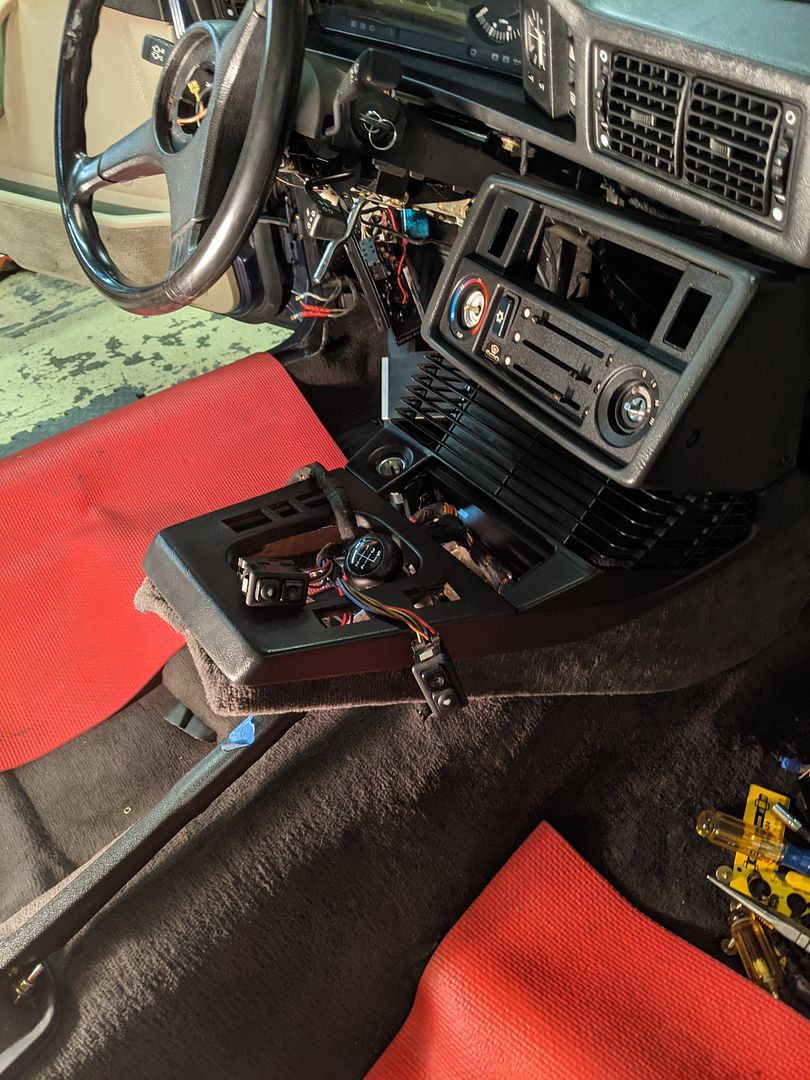
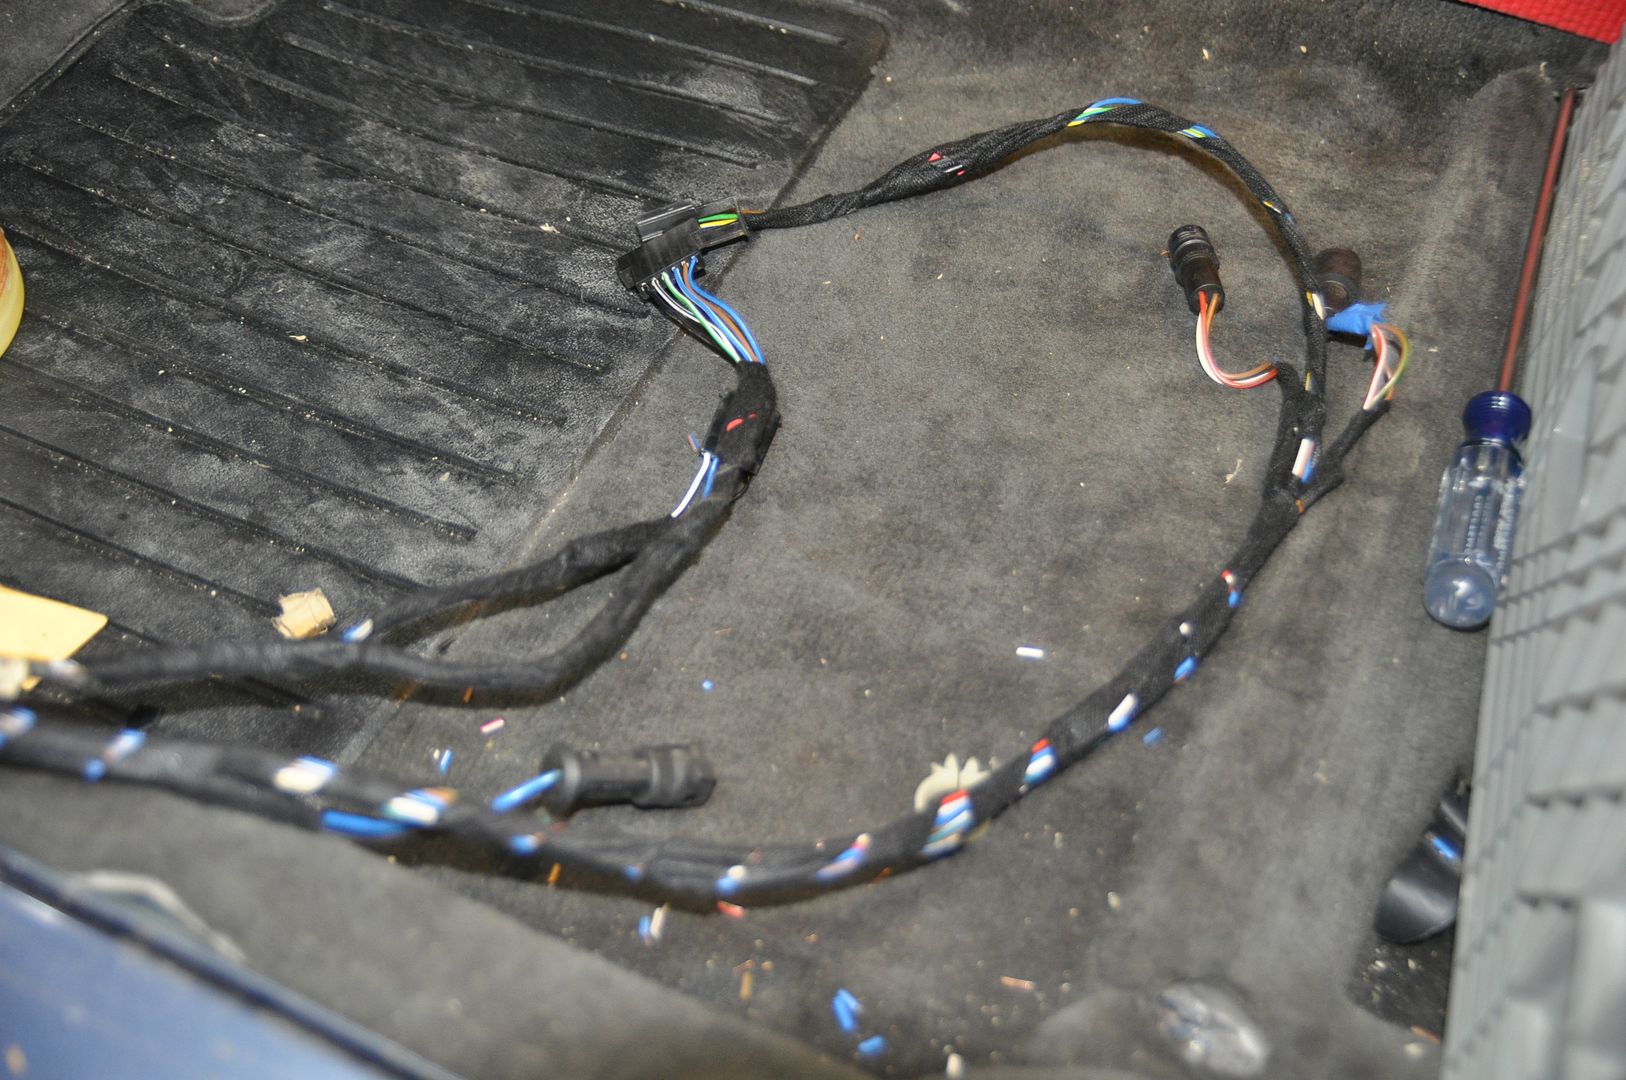
There is a lot of “stuff” going on in this area; between window switch looms, AC and heater control harnesses, the gear shifter and my own audio wiring, there is not much maneuvering room. This task may be better served with another (smaller) set of hands.
In the end, everything got back together and the AC actually worked (small miracles). I can't say it's very cold (it is an R134A conversion), but that was at idle on a hot day; I haven't had a chance to run it while driving at speed yet, so time will tell if all those new components are actually working:
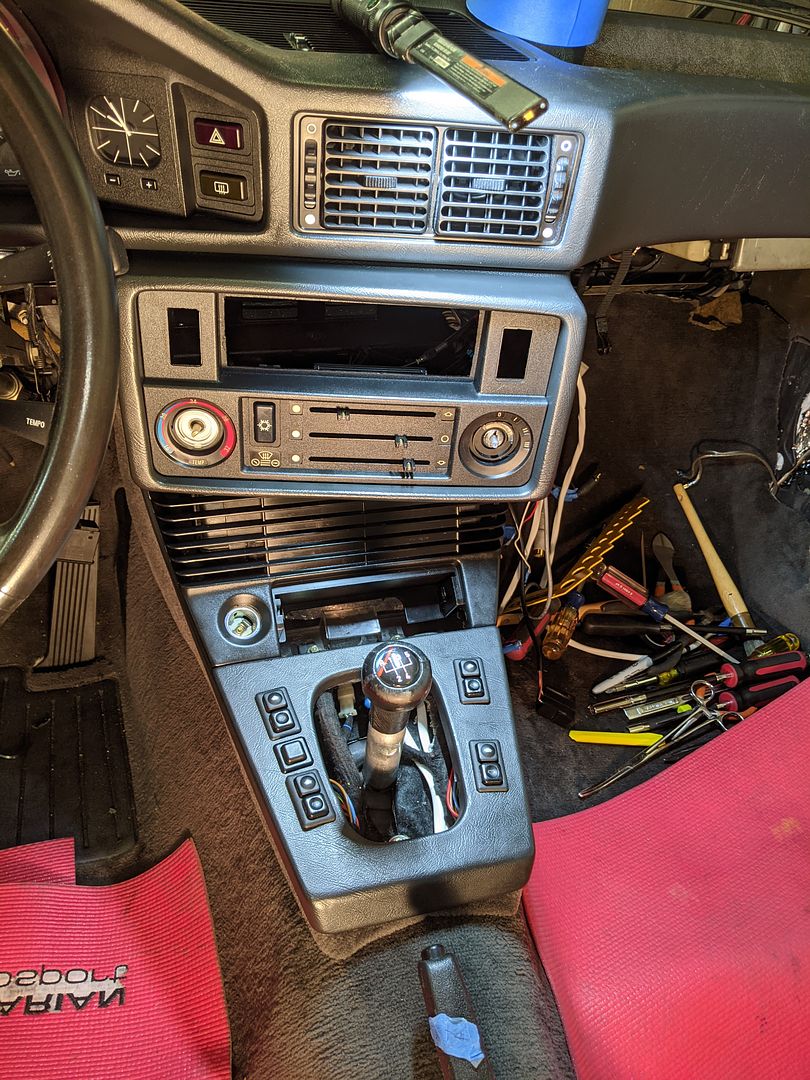
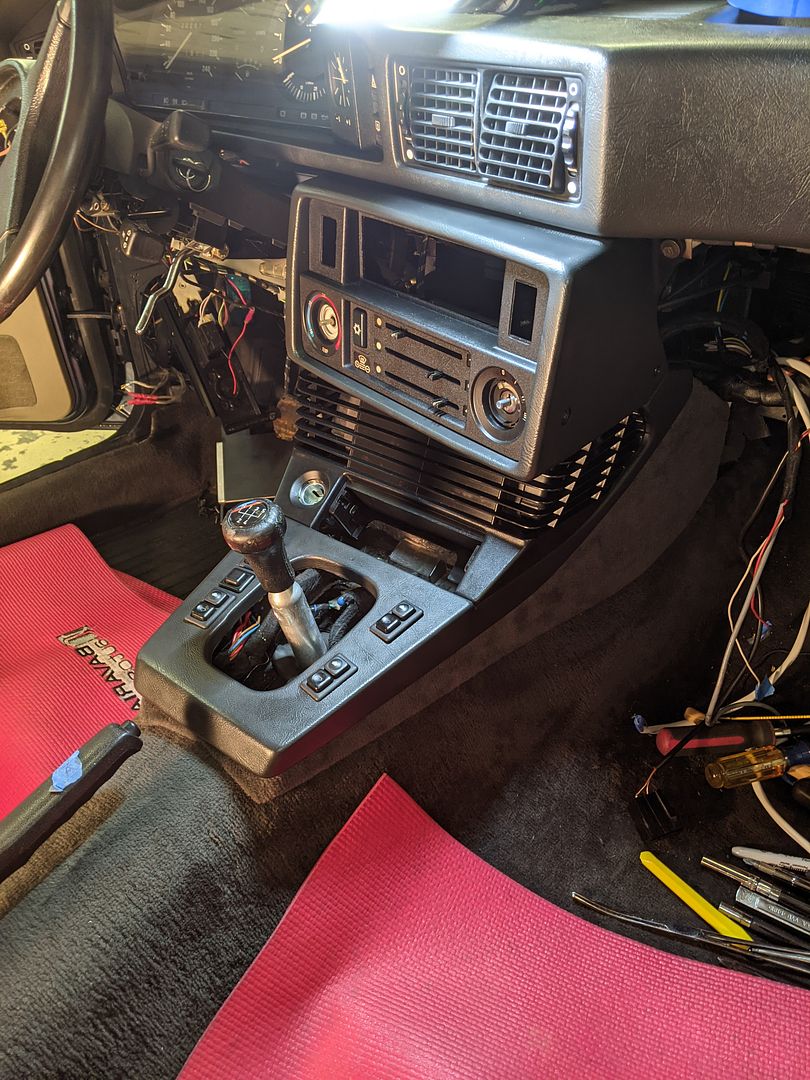
Now it was onto the other really big elephant in the hangar: re-installing the Moonroof. Any road trip, near or far, depended on whether or not we could get the factory glass Moonroof back in and working. This task is not for the faint of heart and really requires having someone who knows what they’re doing (or at least has done this before a few times).
Ralph and I removed this back in June in preparation of sending this down to Juan for the headliner. Removal was super easy in my opinion; whole thing only took about 30 minutes:
-Fully open Moonroof
-Drop motor to release the cables
-Remove the top cover tracks and front cover cap and pull the cables out of the copper tubes (be sure to capture the cables and cover them since they’re covered in grease and will whip about getting it everywhere. Also be sure to protect the roof and front windshield.)
-Manually pull the whole glass panel assembly forward and lift out of the roof
-Pull the privacy shade forward and lift out of the tracks
-Proceed to remove the rest of the tracks
Voila, you now have a hole in your roof. This is critical for a new Headliner since the material is lapped up and over the hole in the roof with the tracks securing down on top of it (from the removal many months ago):
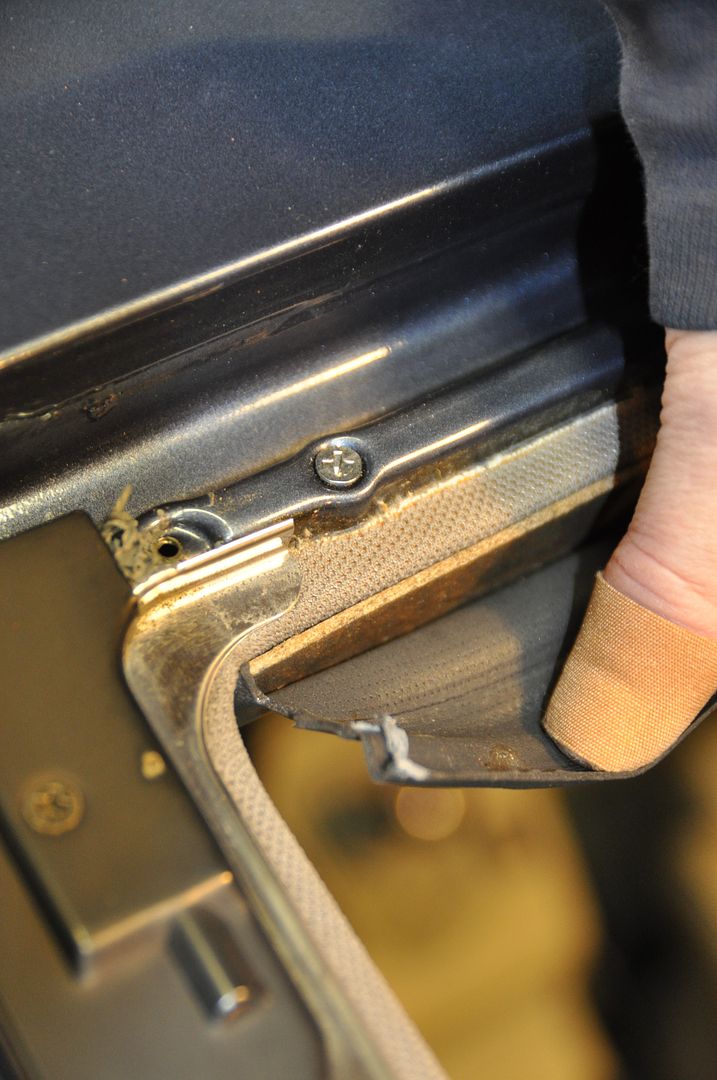
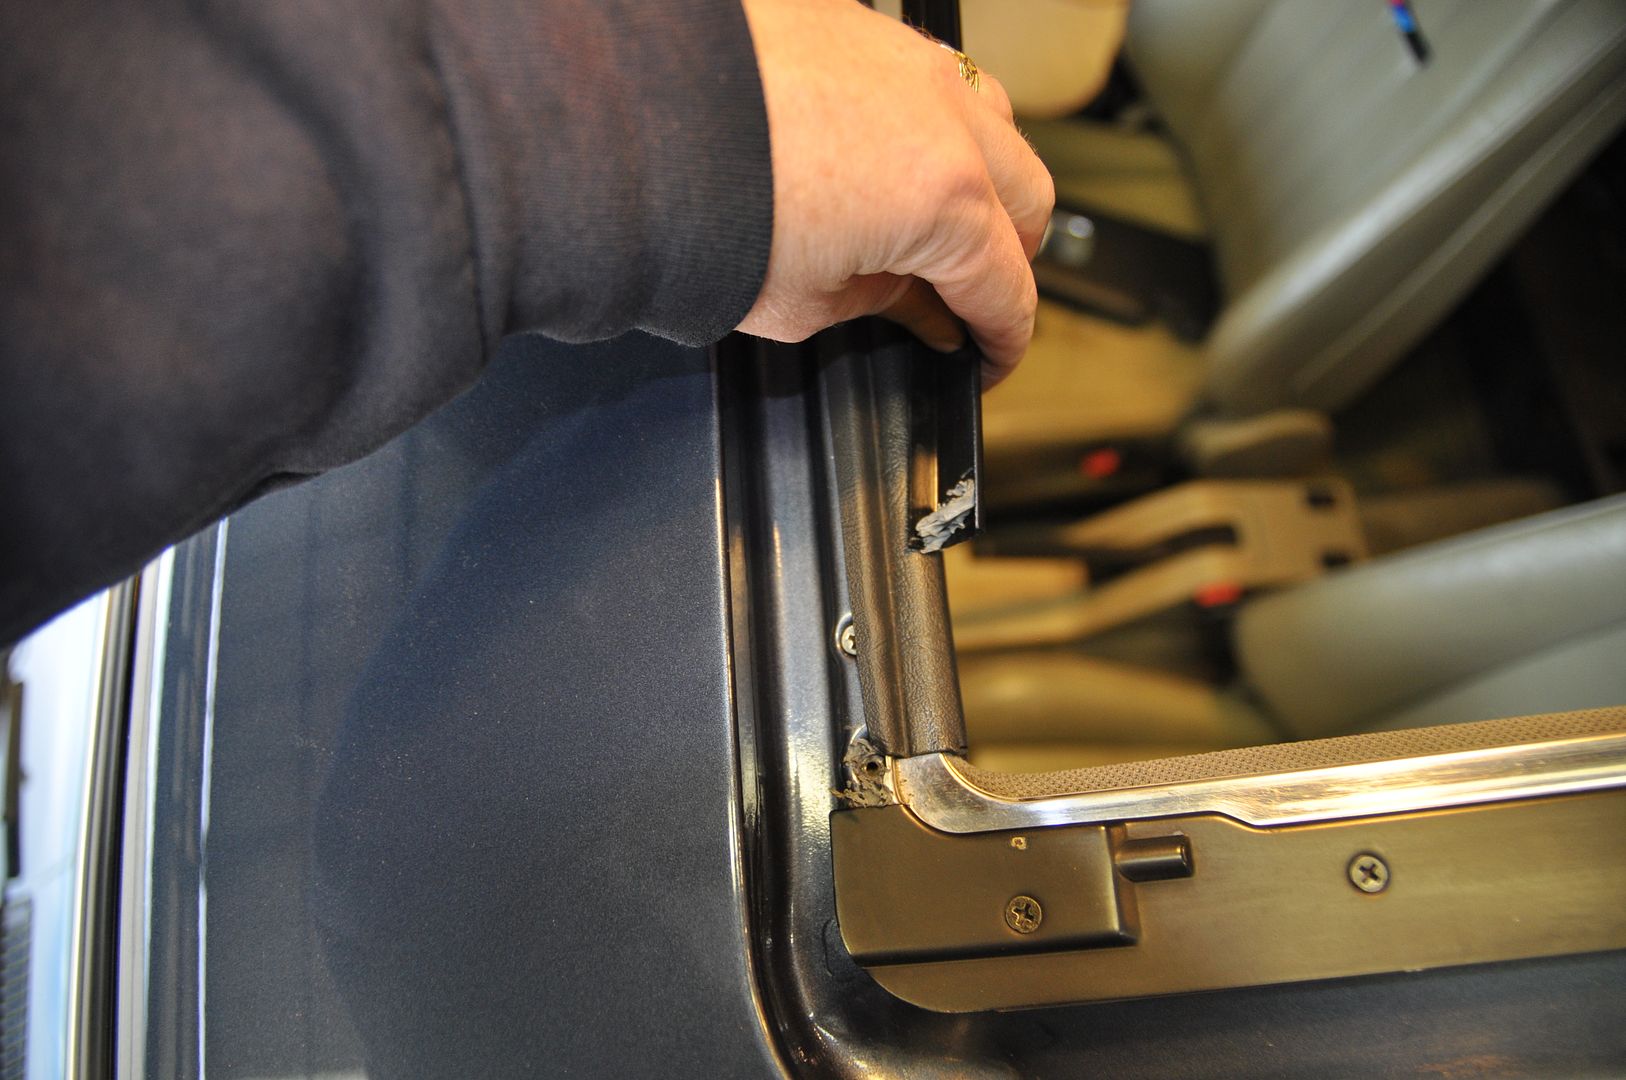
So you would assume that re-installation is the opposite, right? Well in theory you would be right, however in practice it’s another matter. It mostly follows that logic but something always goes wrong whether intentional or unexplained. In our case, it was a bit of both. It all seemed to go well as we got the assembly back in, connected and ran the motor when it would stop about 3 inches from fully closing. We couldn’t figure out what was going on but when we removed the whole thing again we found that the left side track had one of its’ rails deformed and bent. Great.
To add insult to injury, we also broke one of the really small plastic spring guides that helps the panel slide along the rails. Terrific.
It’s a good thing Ralph has parts cars, all of which had sunroofs. Luckily the rails bolted to the roof are universal for Sun and Moonroofs (at least so we thought, at least within a year range). After a week delay, Ralph returned with replacement parts.
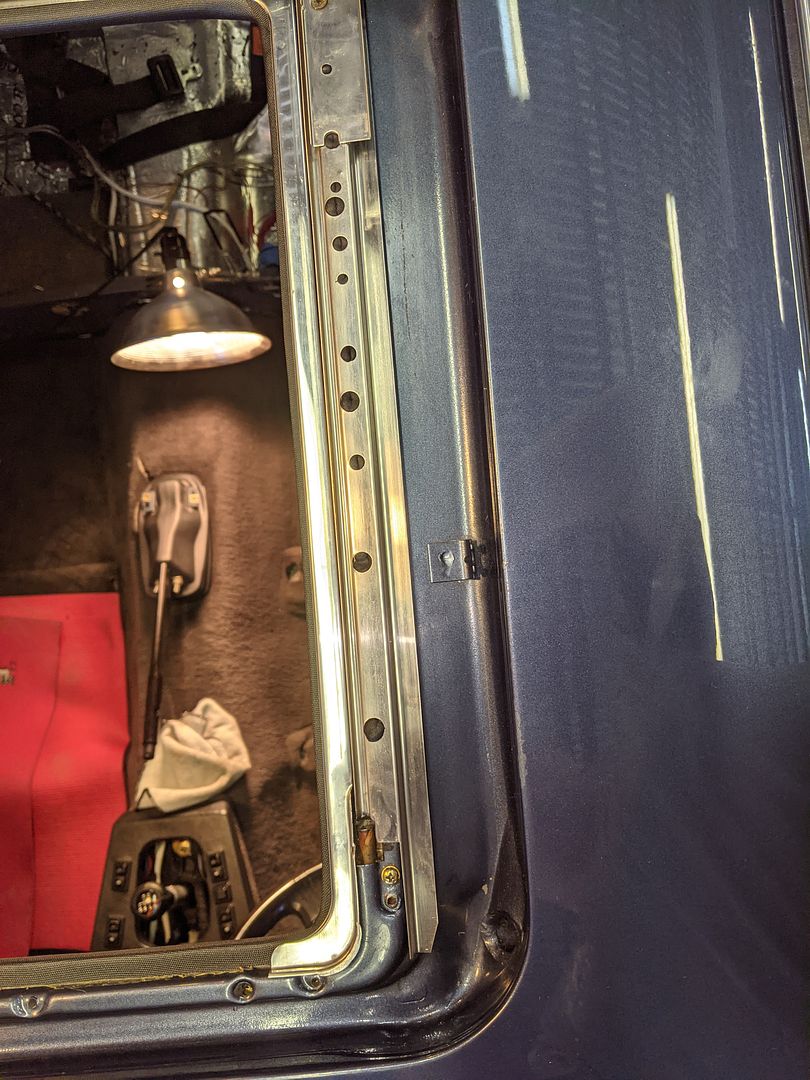
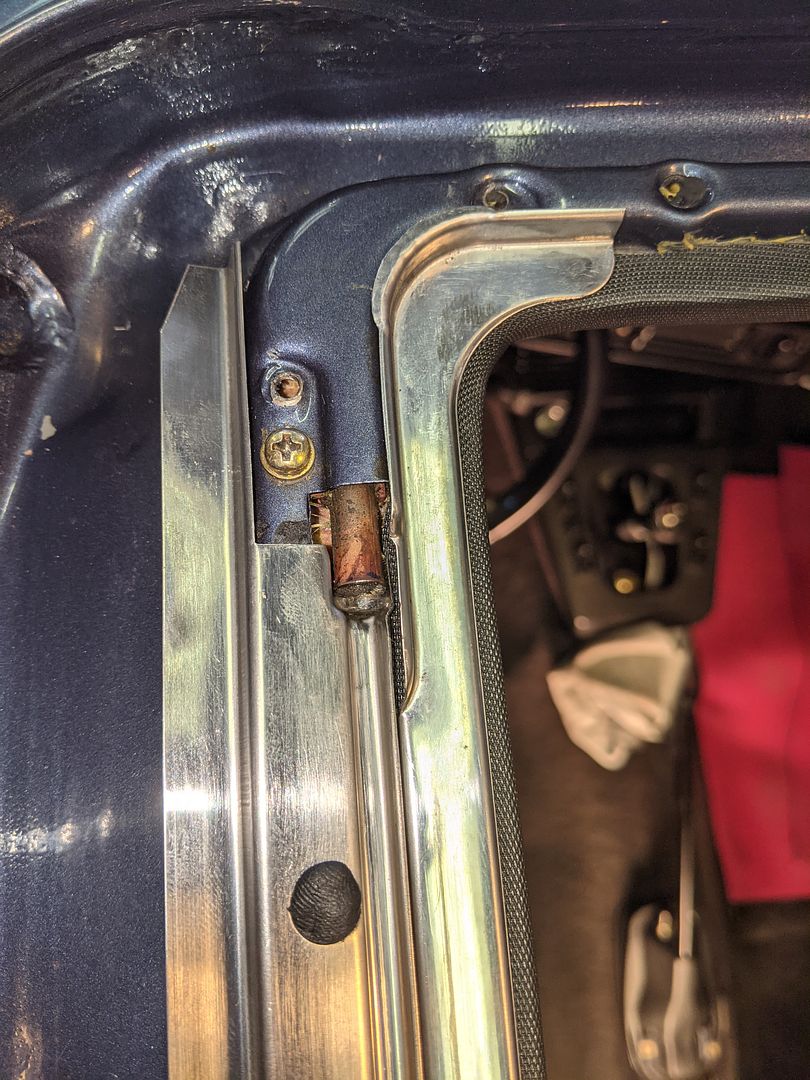
Second there was me installing too much of this stuff: 3M Strip Caulk. It’s a fairly obnoxious black Butyl weatherproofing element that is delivered in narrow strips that once is secured and “squished” into place, doesn’t want to come off without the fight of a lifetime. This seemed to raise the height of the tracks and was forcing all sort of things to go where they shouldn’t have.
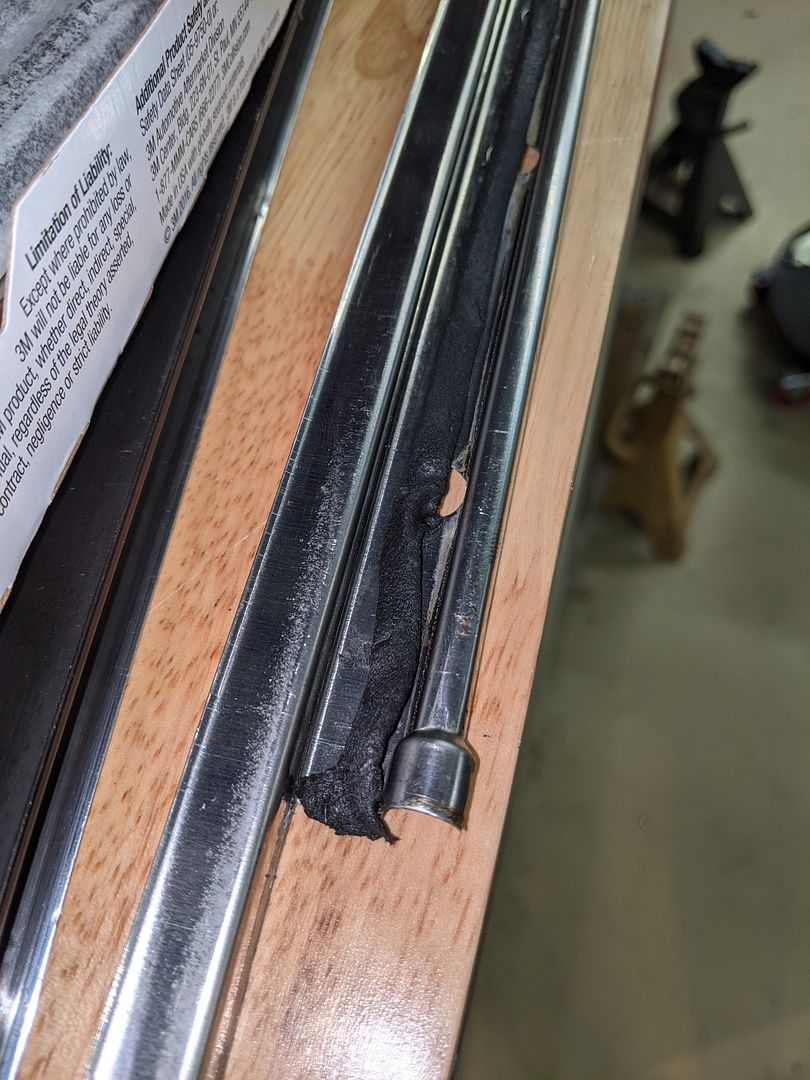
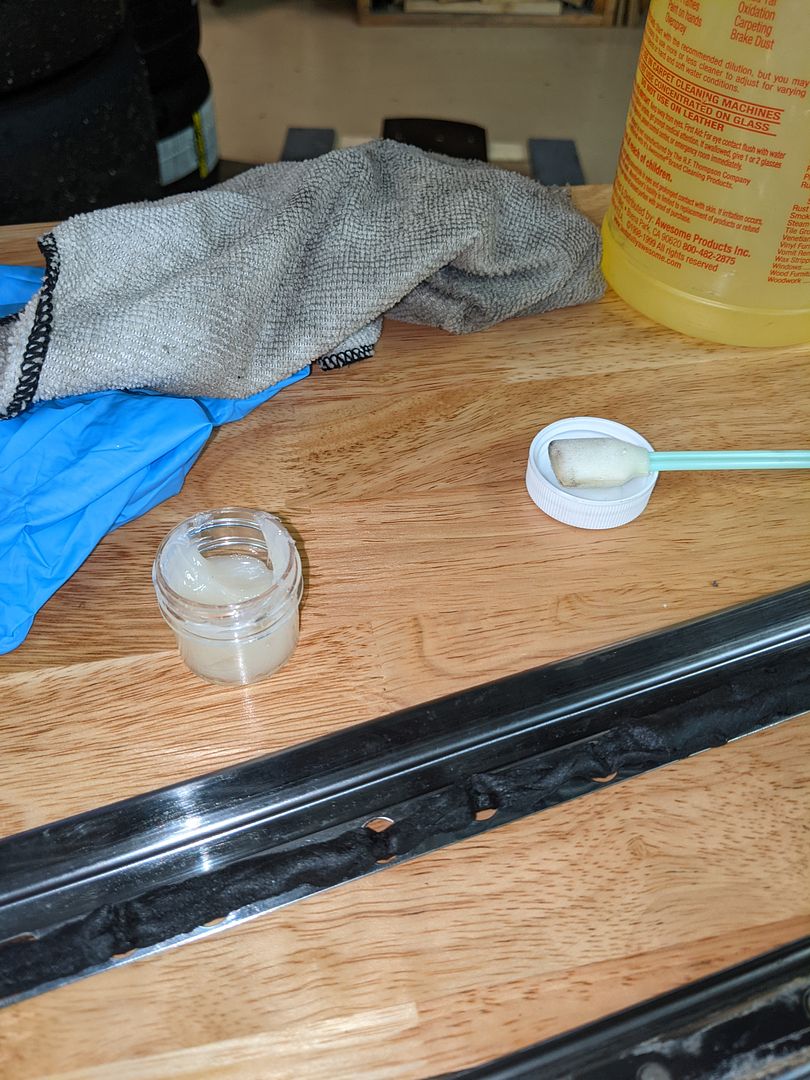
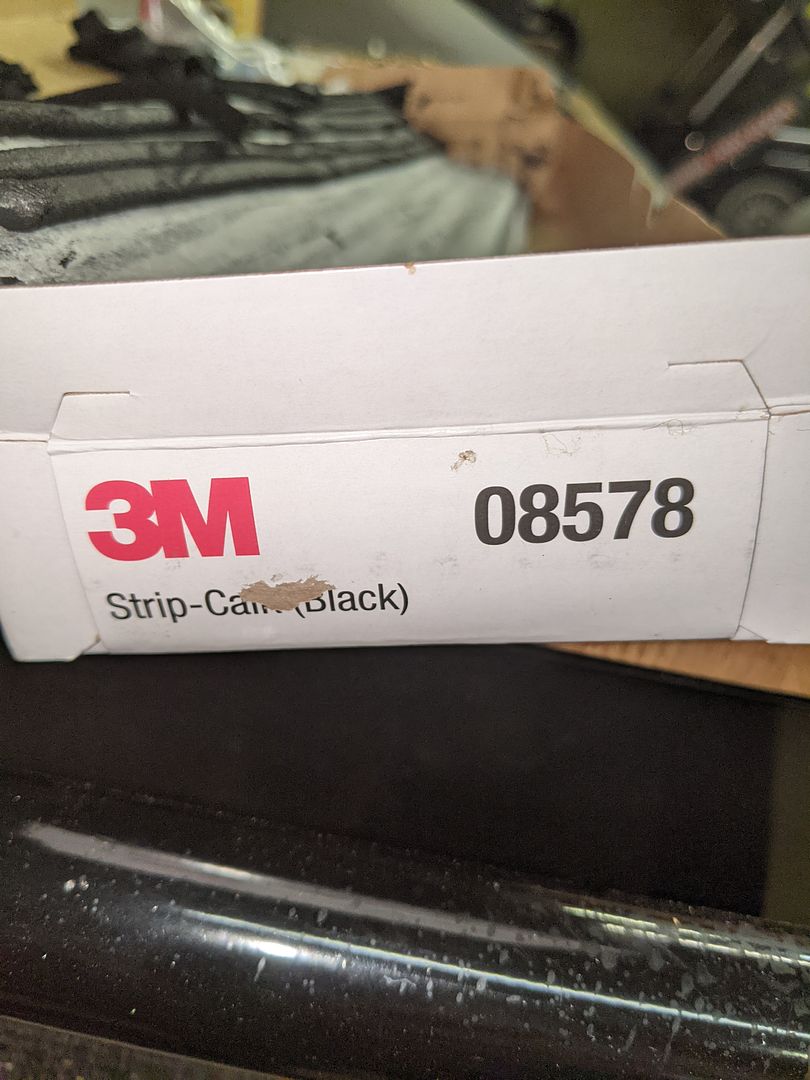
After hours of two of us removing as much of this as we could, reinstalling everything we tried again to get the panel to close.
Again, no joy. The motor was aligned in the correct position so that wasn’t the issue. This time it seemed to be my original bearing blocks
(Sorry pictures to come later)
These little devices along with the equally finicky cable trucks that the cables are attached to control the whole movement of the panel. When moving forward to close, the trucks will hit the bearing blocks, forcing the panel upward to seal it closed. As you are aware, if you keep the button pressed the back end will tilt up to the vent position. Well, for whatever reason, my original bearing blocks seemed to be preventing the panel from fully closing. Ralph brought the bearing blocks from the donor car and we discovered they looked very different (it was an ’82 eta). With it now nearing 7:00pm on a Sunday and us being out of options, we decided “What the hell, let’s try the ’82 bearing blocks.” We were getting to be semi-pros R&R’ing this Moonroof by now, so out it all came, swapped the bearings, re-installed it all in less than 30 minutes. *POOF* the panel fully closed on its’ own without any trouble after that. No explanation why as of yet, since there shouldn’t have been an issue with the existing bearing blocks. The replacement rails from the ’82 were identical to the original ’85 rails so that shouldn’t have been an issue either. Once we got it to close that night, we chuckled, swore out loud and both dropped our tools pronouncing it “Done”. It does open and close, albeit I’ll admit I’m too chickensh*t to fully open the Moonroof for fear of something going horribly wrong. Also, I’m not sure the vent function works(?) Again, too scared. It’s not like I use the Moonroof since I loathe having the sun bake my balding head.
(I don’t really have any photos of all that since I was too occupied actually doing the work not to mention my hands being covered in Butyl and cut up to handle a camera.)
One thing I can document is the privacy slider refinishing:
After removing this many months ago and taking it apart getting it ready for new Headliner material:
BMW in their infinite wisdom decided to assemble this with the smallest pop rivets and a couple of screws for the handle. As you can see there isn’t too much between you and the glass Moonroof over your head; I wanted to remedy that. New coat of paint on the frame and plastic cover and we’re back in business:
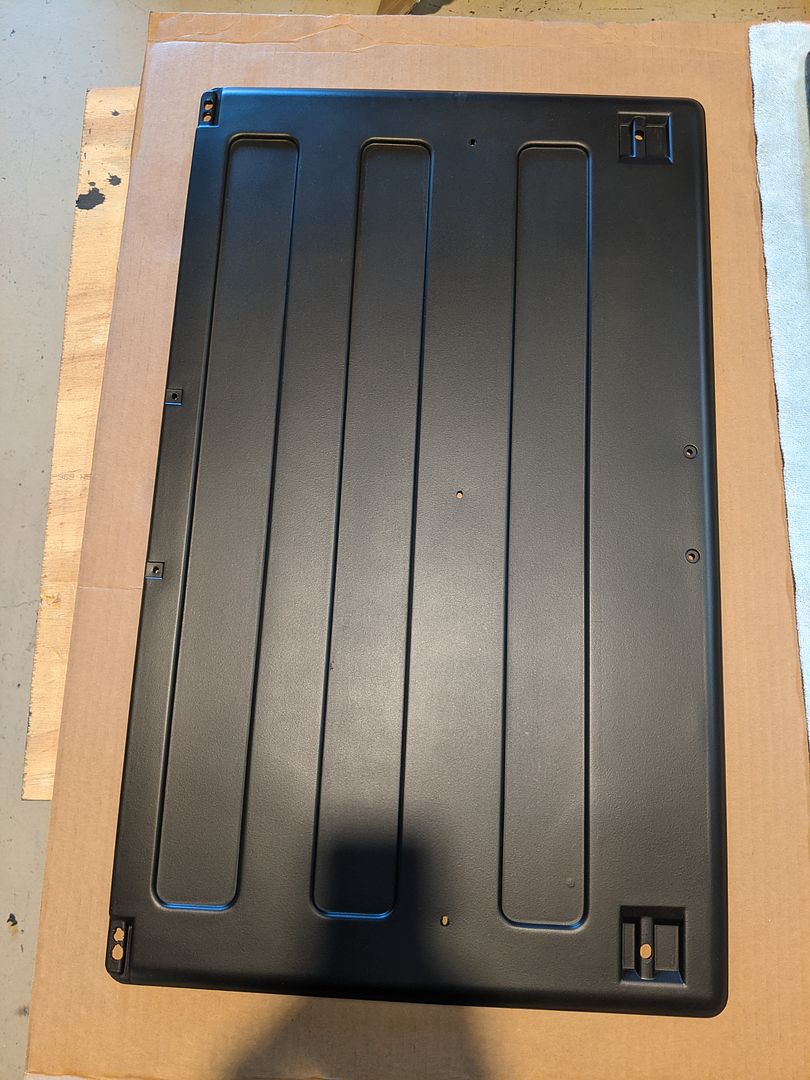
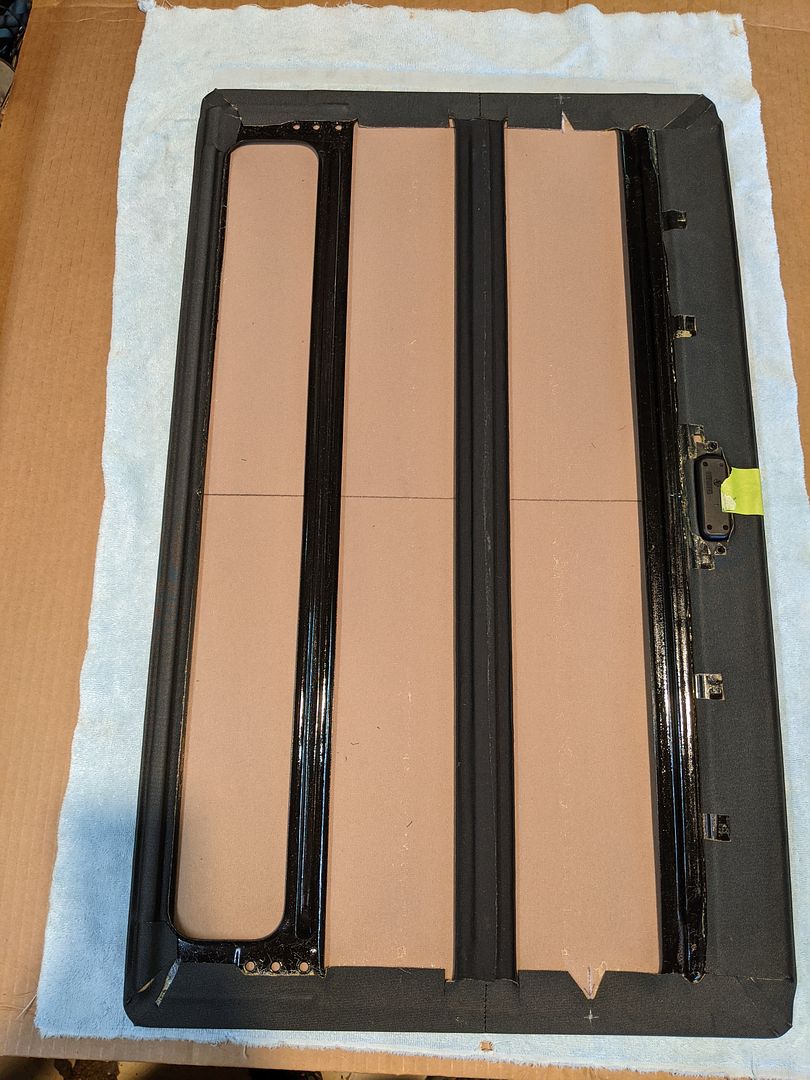
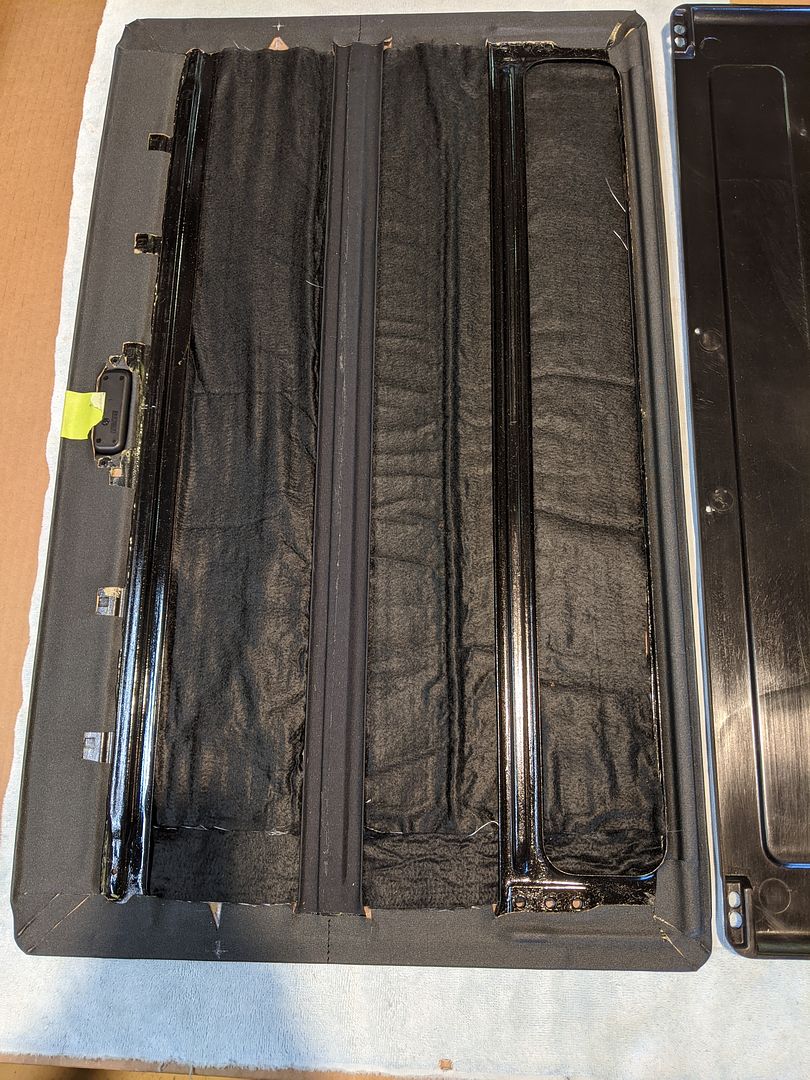
After I got the frame back from Juan with the new Headliner covering, I set about reassembling the slider. First was to add a layer of db Stealth in between the frame rails:
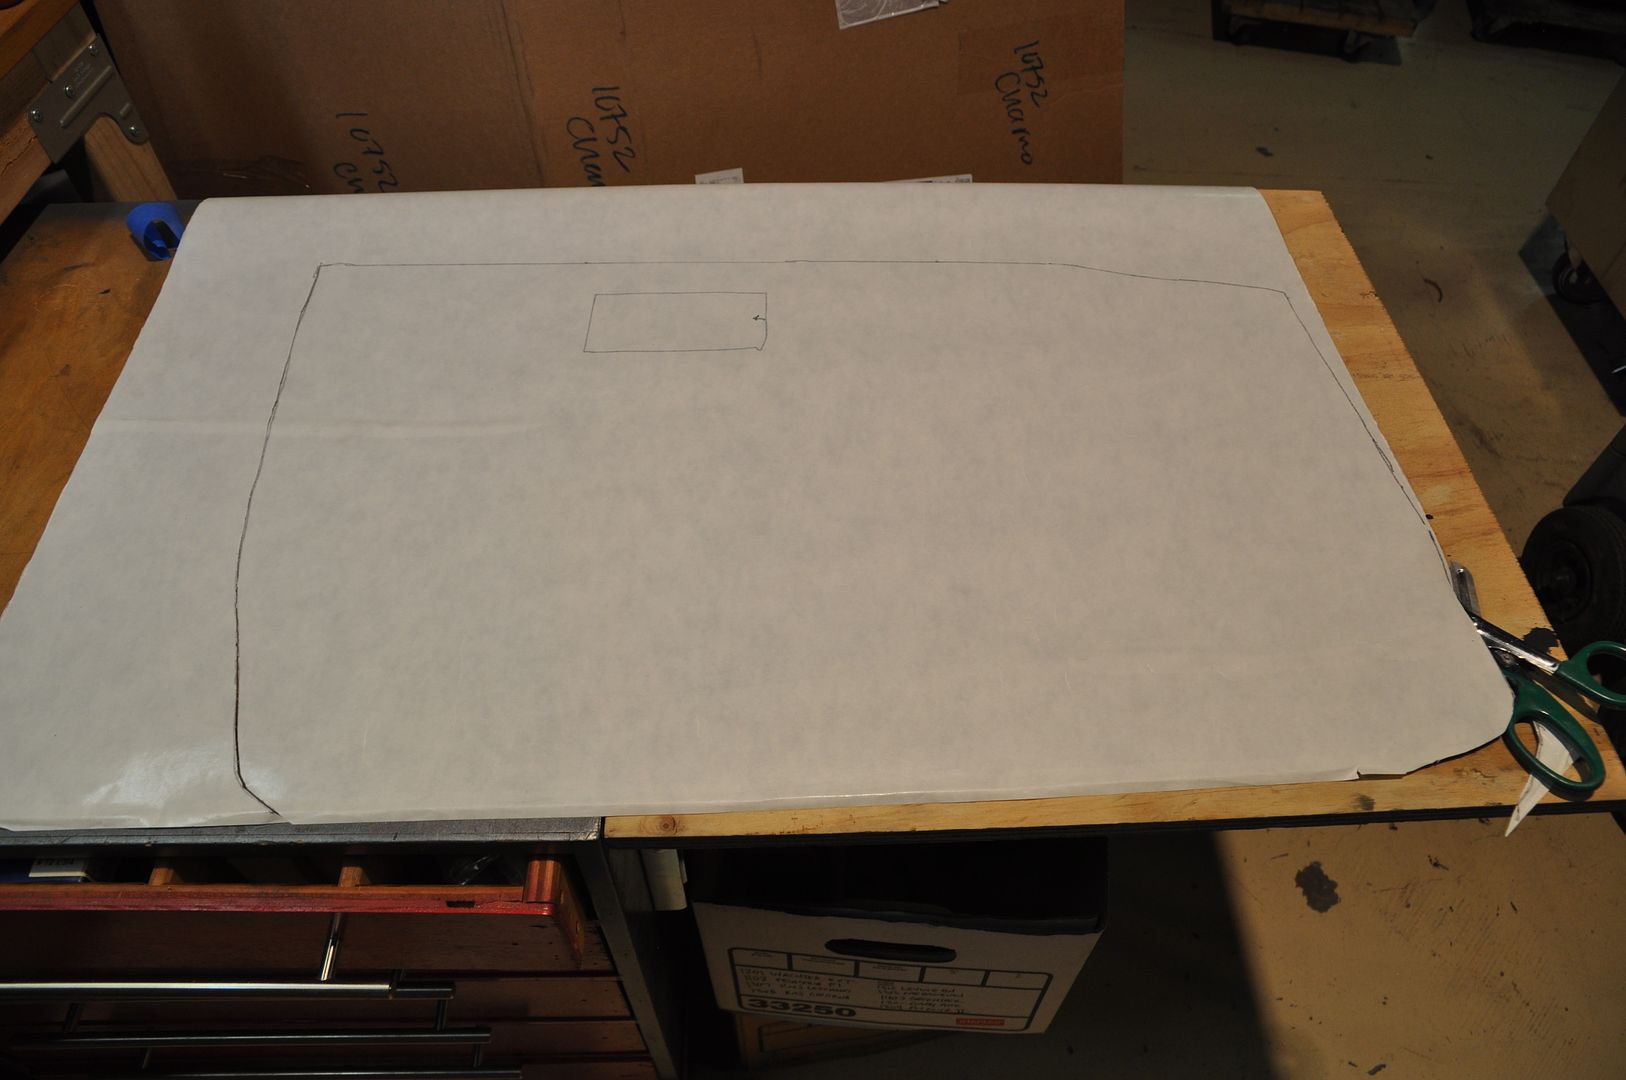
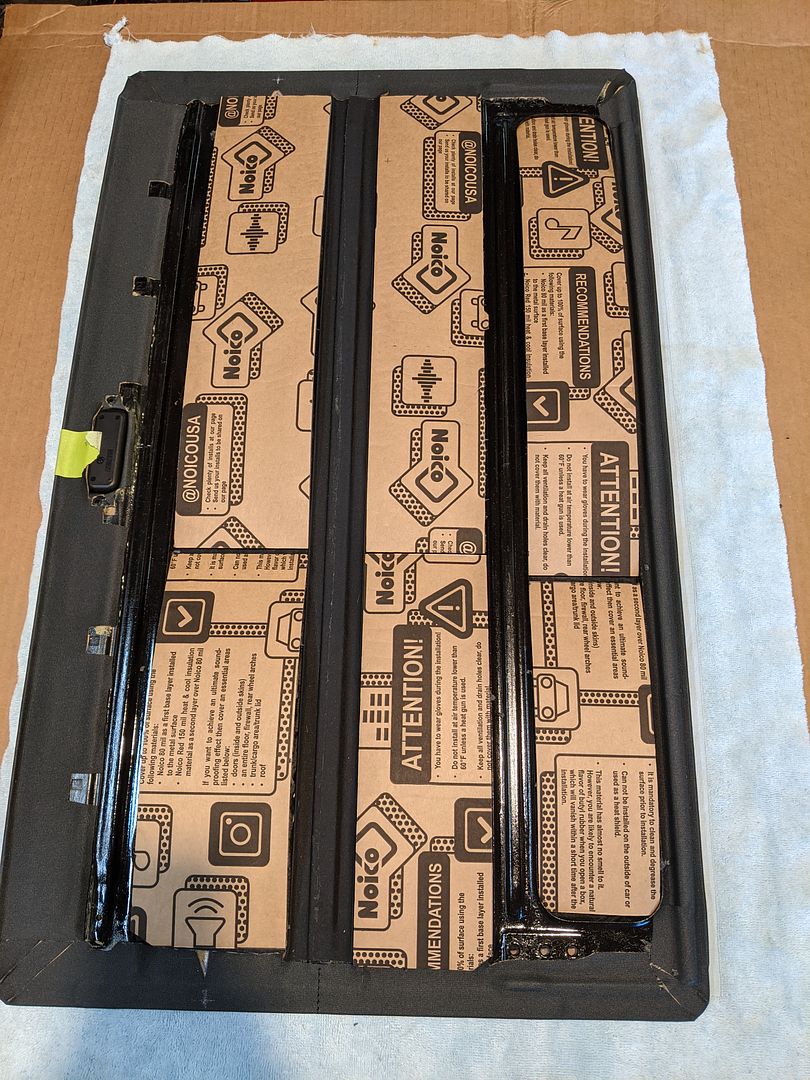
Then pattern a layer of Noico Red foam on top of that:
Then trying to put it back together. I got one or two rivets to hold but that was about all, in the end I used small screws especially on those rail guides at the rear.
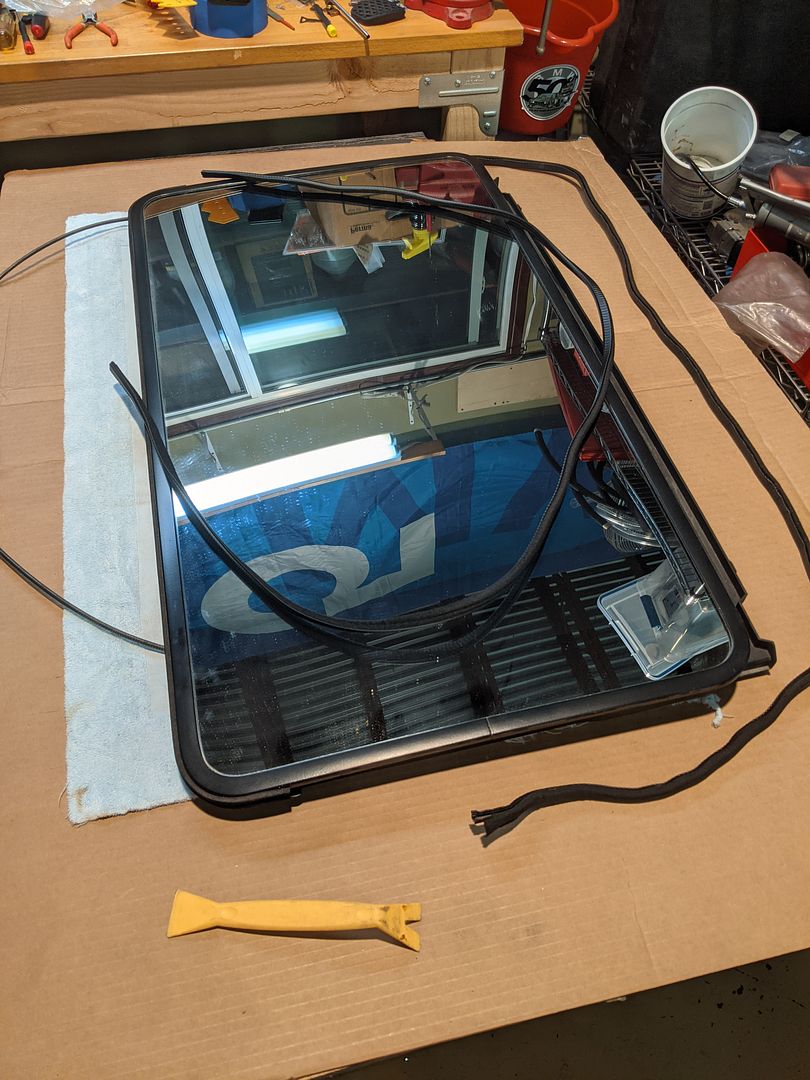
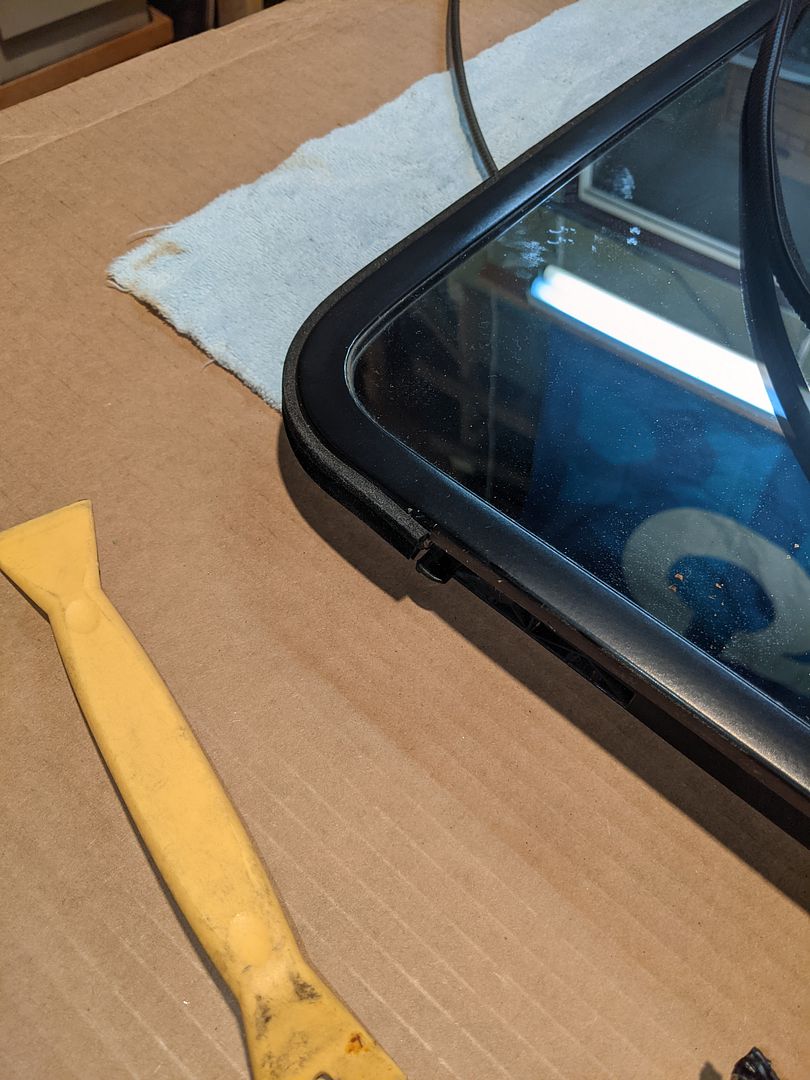
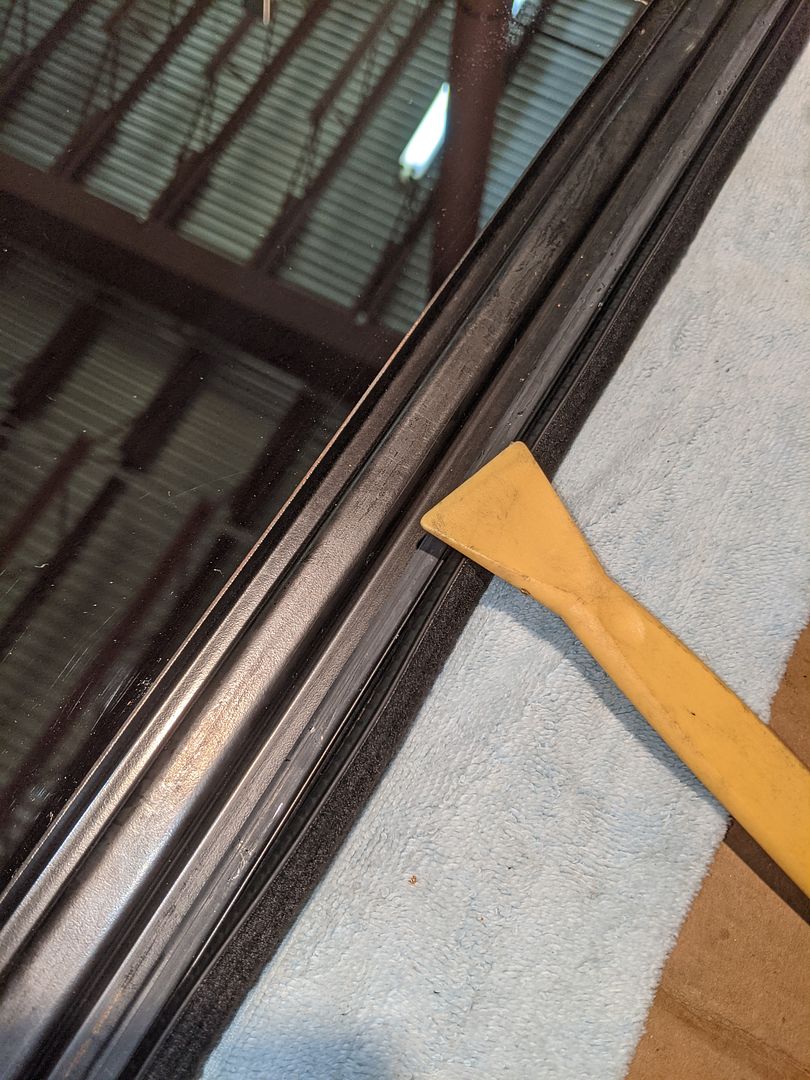
While the glass panel was out, I wanted to install a new edge seal; especially the rear portion since that one is the near impossible to do while the panel is in the car. I was lucky that I had a few of these NIB’s but unfortunately, I didn’t have the front portion (fortunately that is easy to do when it’s in the car, so for another time that one goes).
As the Reno event and my self-imposed deadline was fast-approaching, I had about one full weekend left to dedicate to this project and put the entire interior back together (along with trunk and audio system) before I had to focus on getting the car road-ready. I made for myself a very (very, very) aggressive schedule for the next weekend (including the Friday as well) to wrap it all up. It’s funny how much you think you can get done and are capable of when you sit behind a PC making out your daily schedules, especially when it’s just you. (I confess I do this all the time for work trying to juggle not only my offices’ schedules but those of all my consultants which invariably impact my schedule.)
Interior Trim:
One (of the many big) items left was the Rear Parcel Tray. Since an intact, pre-'86, Anthracit Parcel Tray with intact Sunshade was about as rare as intact M-Tech Manual Sport Seats in Taurusrot, I was left with transforming my existing Pearl Beige PT. After some research on the best methods, I settled on this stuff: spray carpet/fabric dye
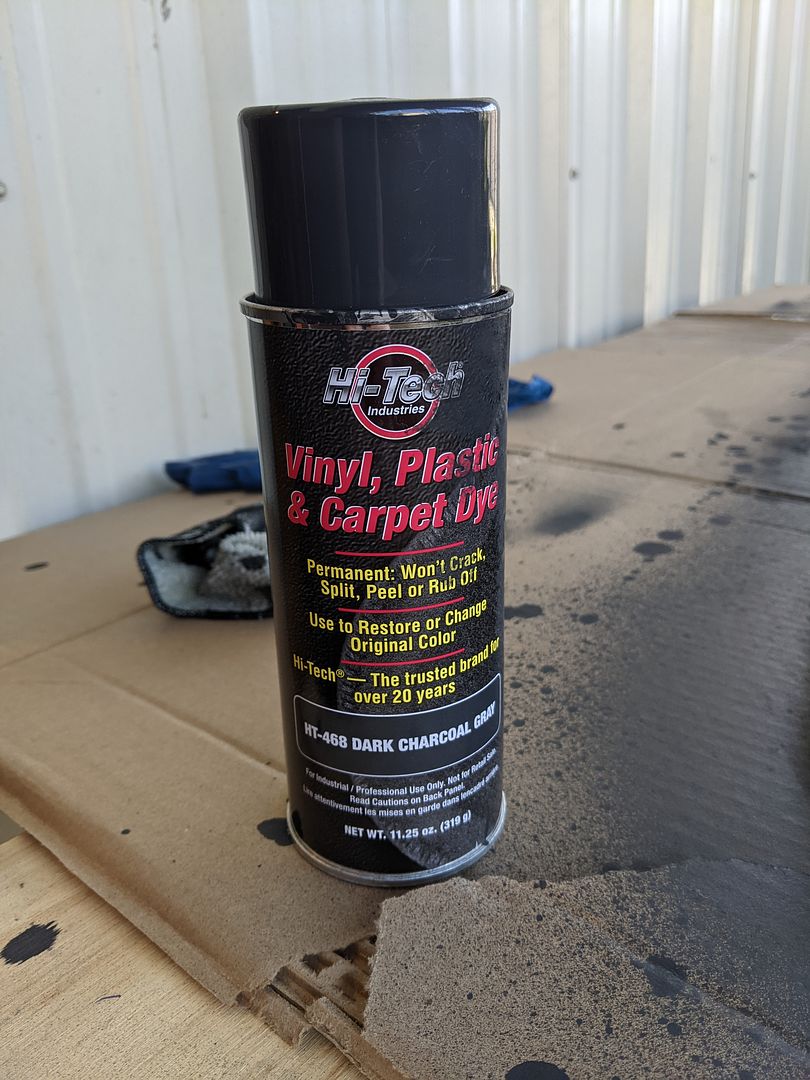
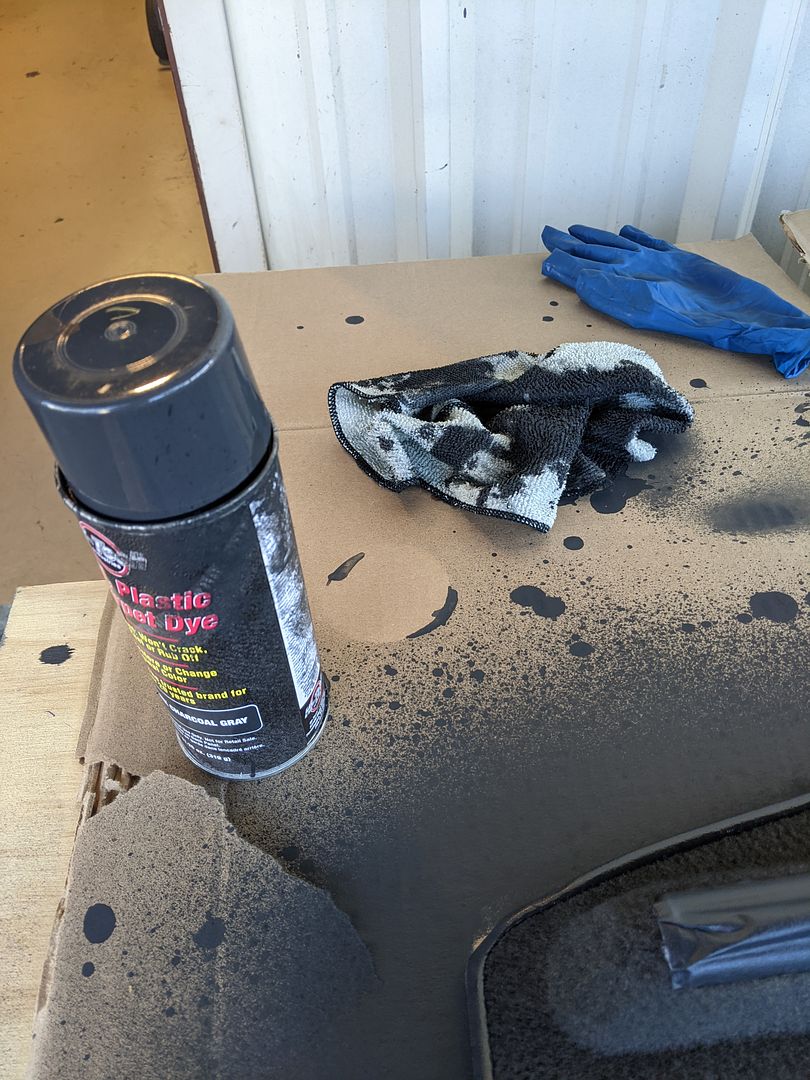
It's pretty messy to deal with as it wants to drip and run all over the place you really don't want it to. Prep the work area as much as you prep the receiving item.
Prepping:
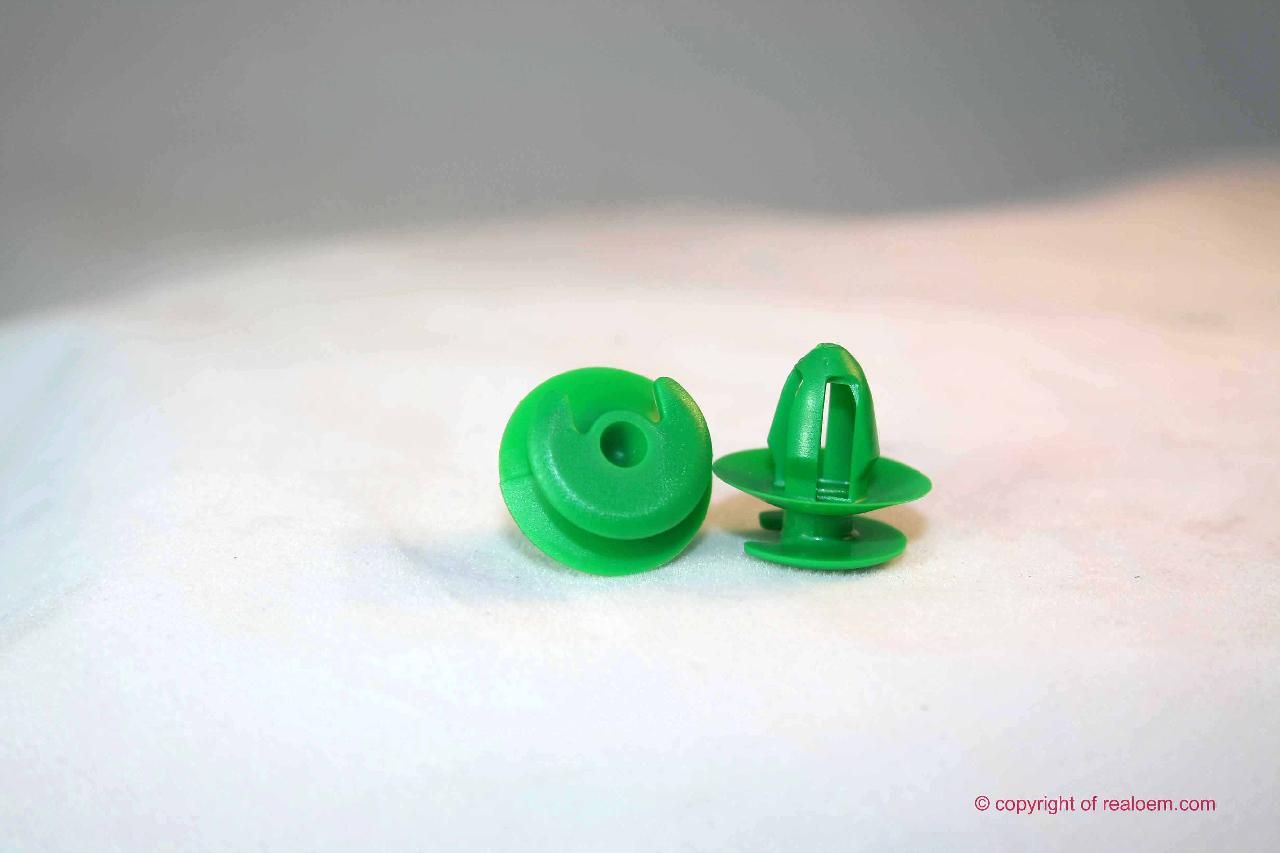
Pulled off the one plastic clip and masked off the Sunshade. Thoroughly cleaned (vacuumed, washed and dried) the carpet. Brushed the carpet completely and we were ready for prime-time:
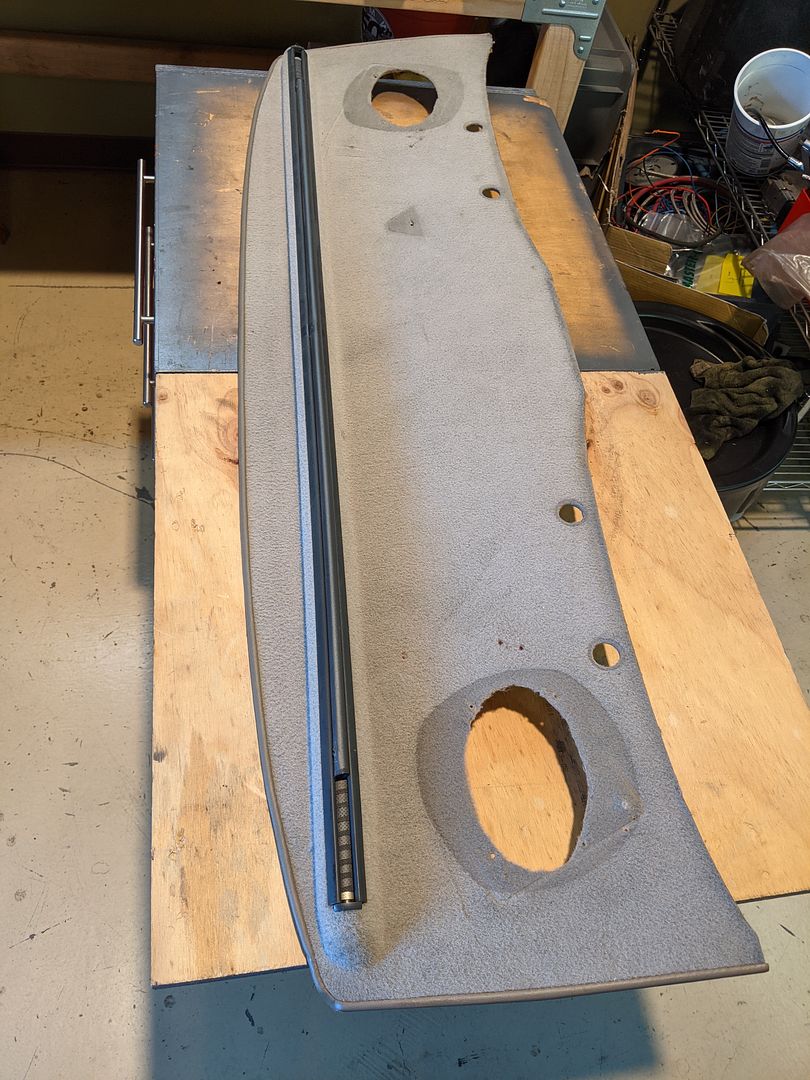
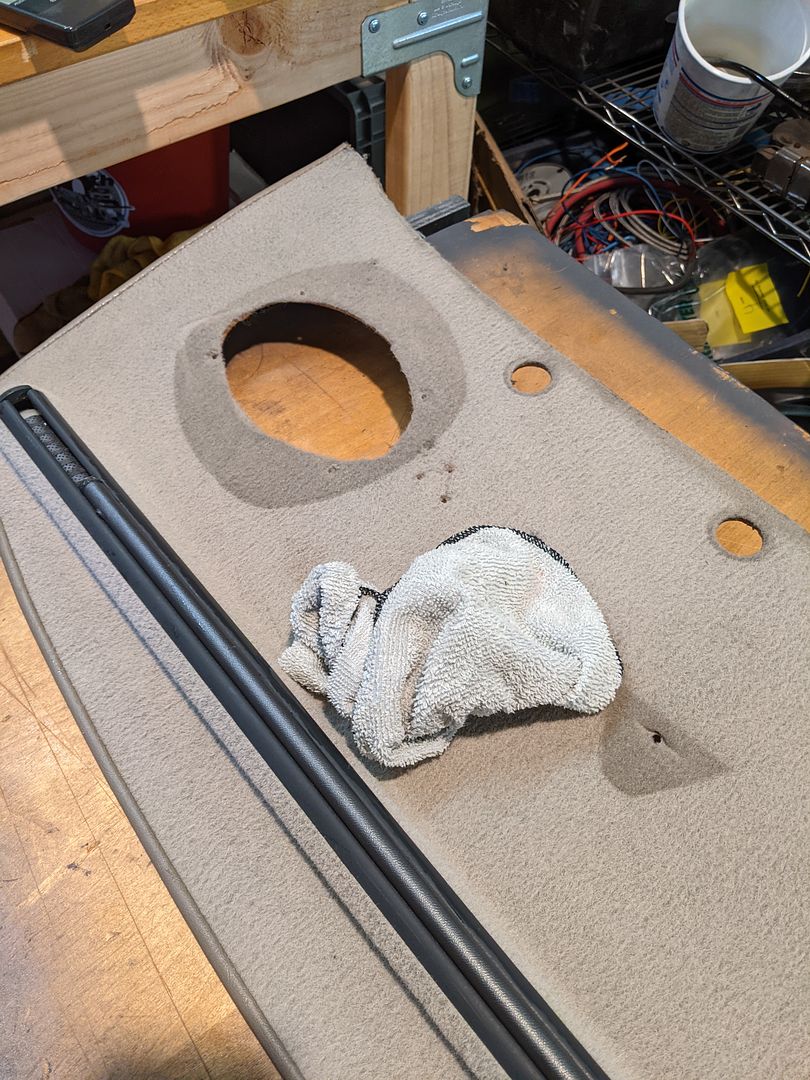
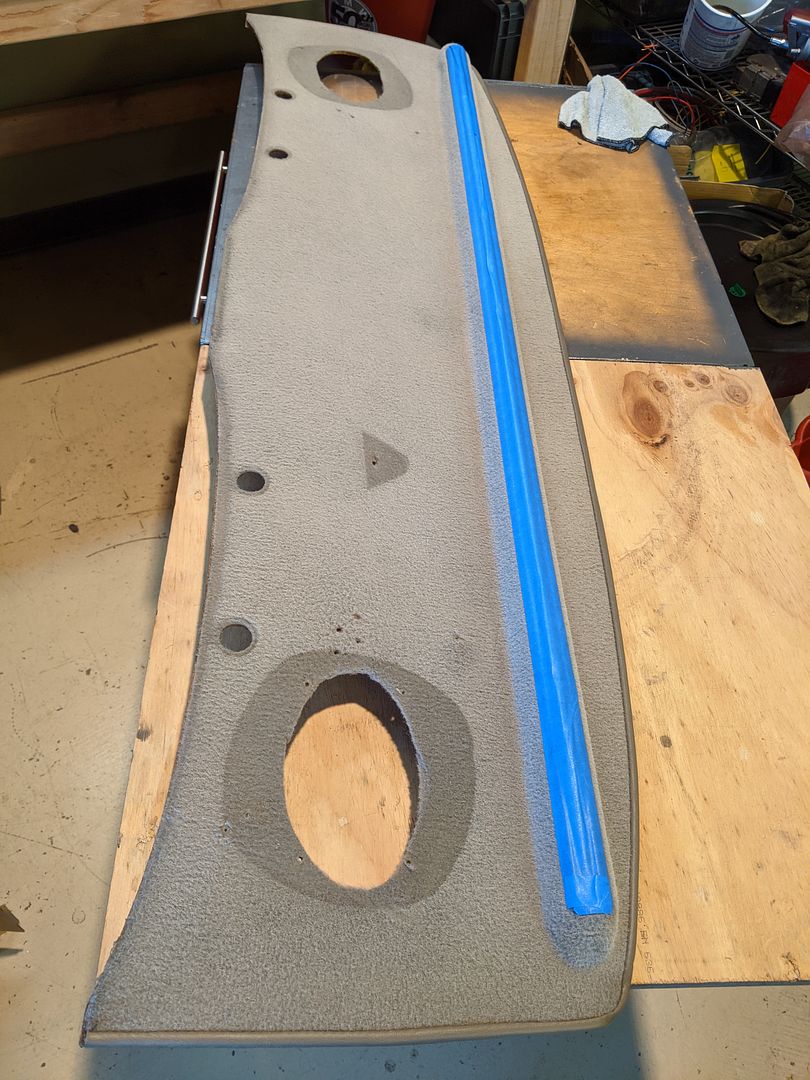
Successive layers of the spray dye with brushing in between:
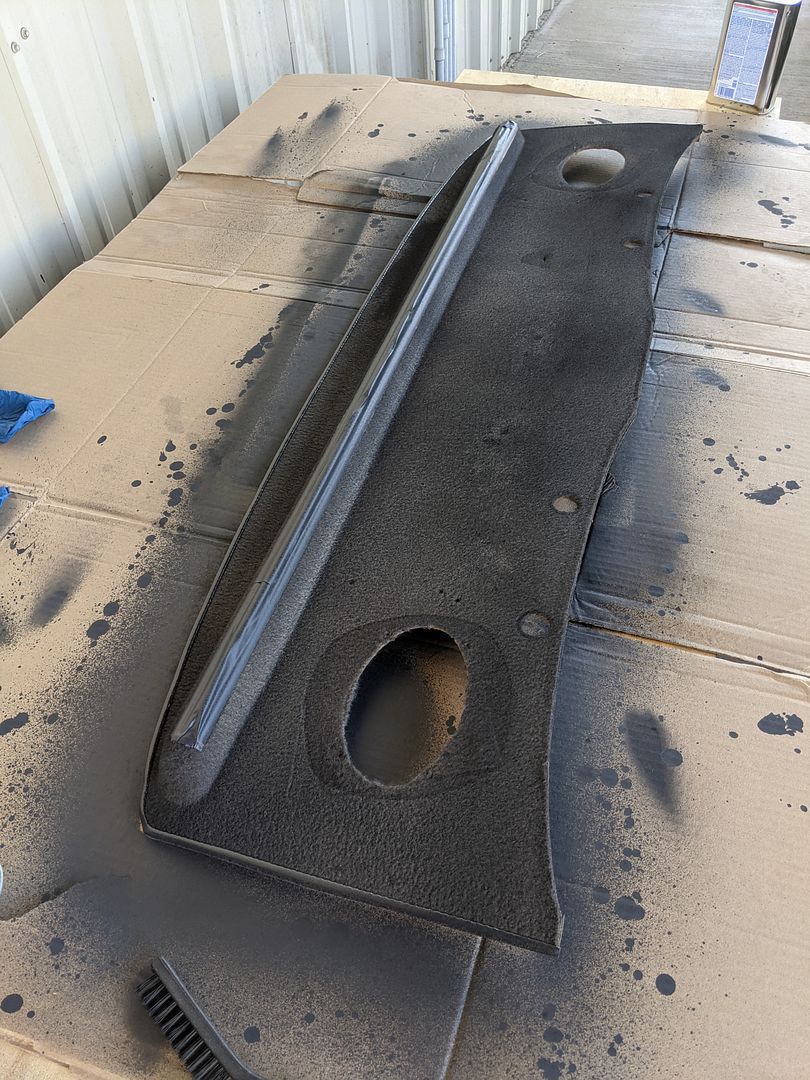
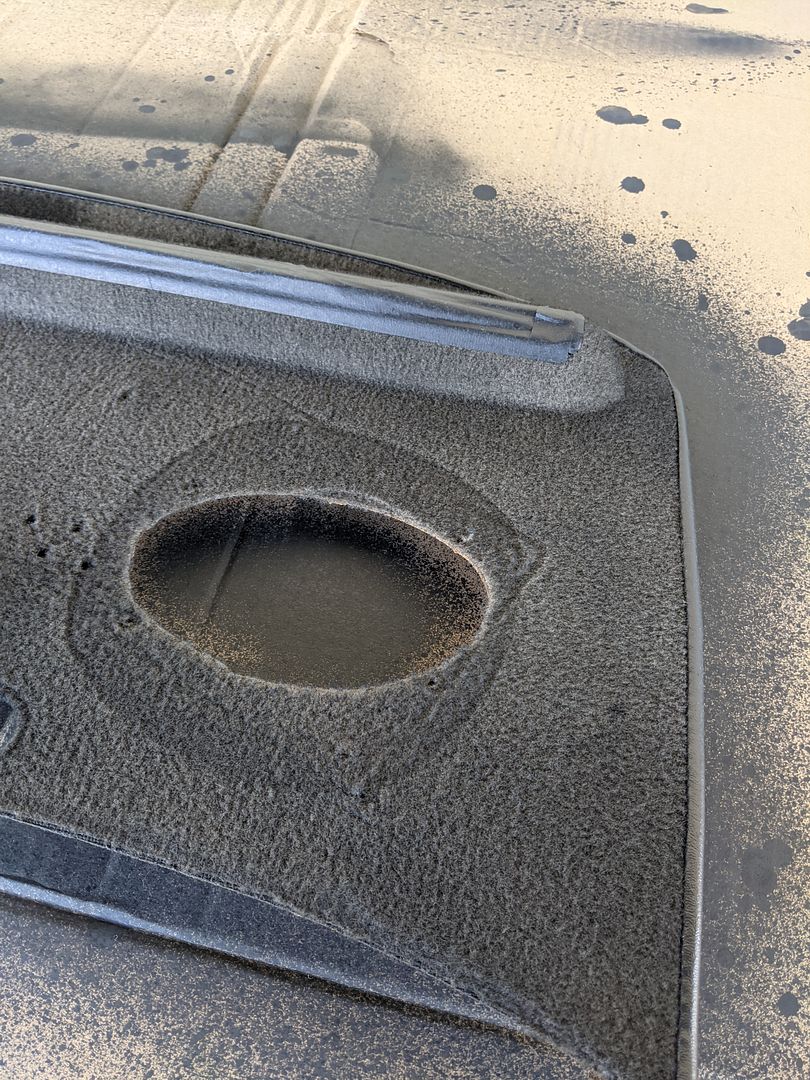
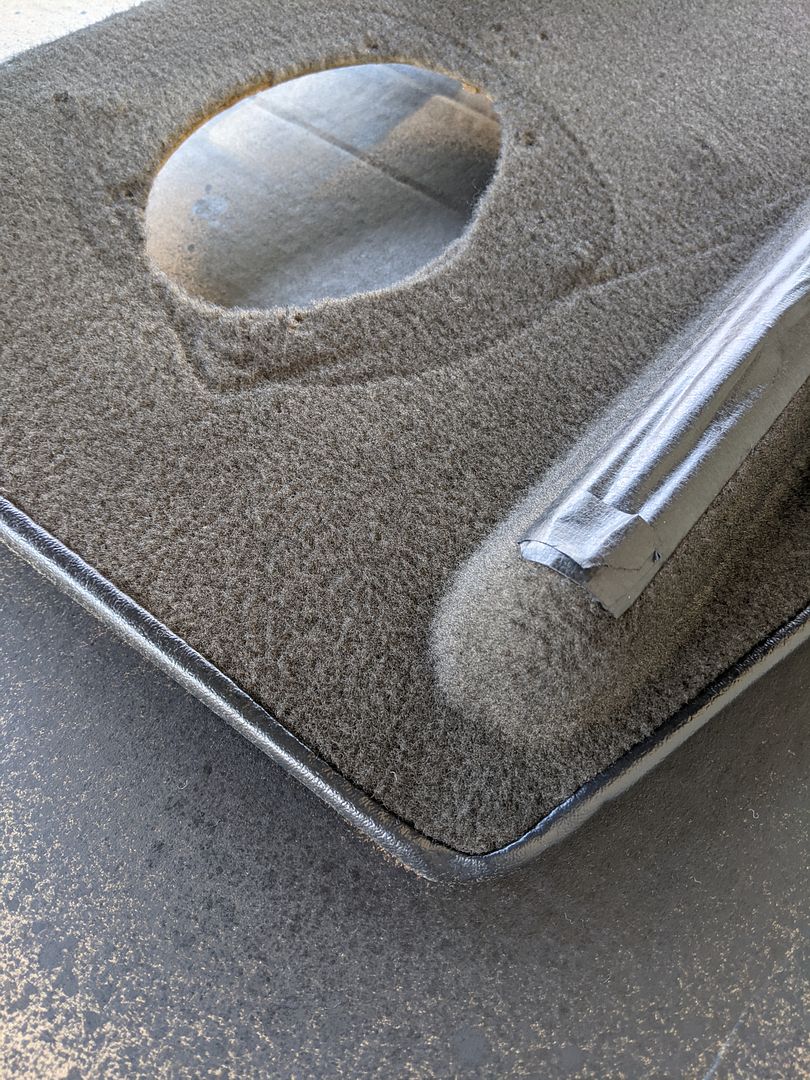
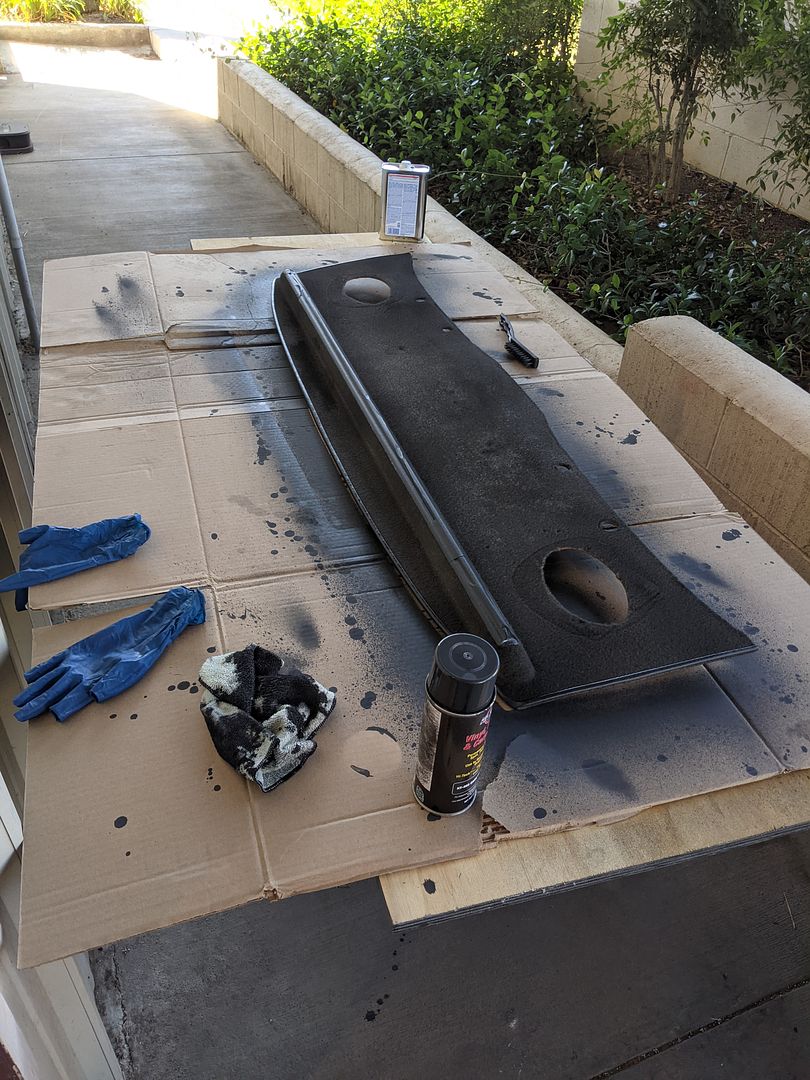
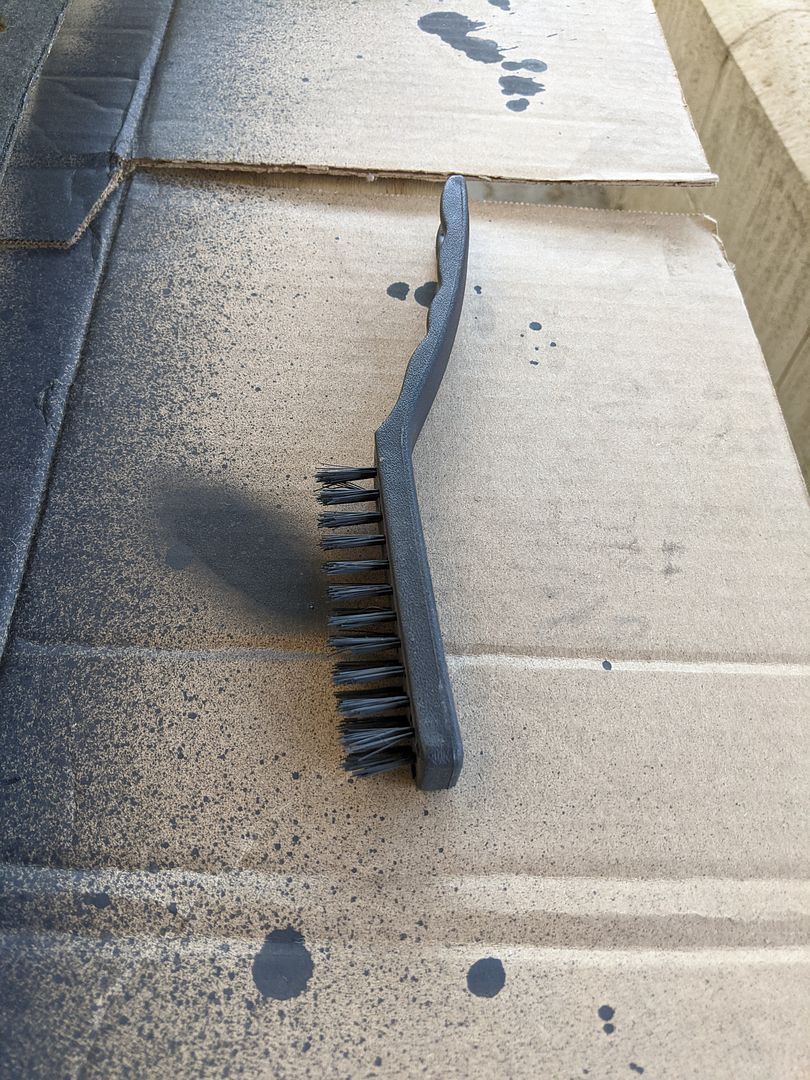
One of the issues with using products like these is that the fabric or carpet gets very stiff and brittle. I can't say this didn't do the same, but the carpet on the PT is a very low nap to begin with and takes the dye well. The secret is brushing the material in all directions to expose as much as you can so you don't over saturate the carpet in your attempts to get complete coloration. In the end it turned out pretty well after about 4 light coats and a 2nd can; I would recommend this product with all those caveats. (More final photos to come in the final update):
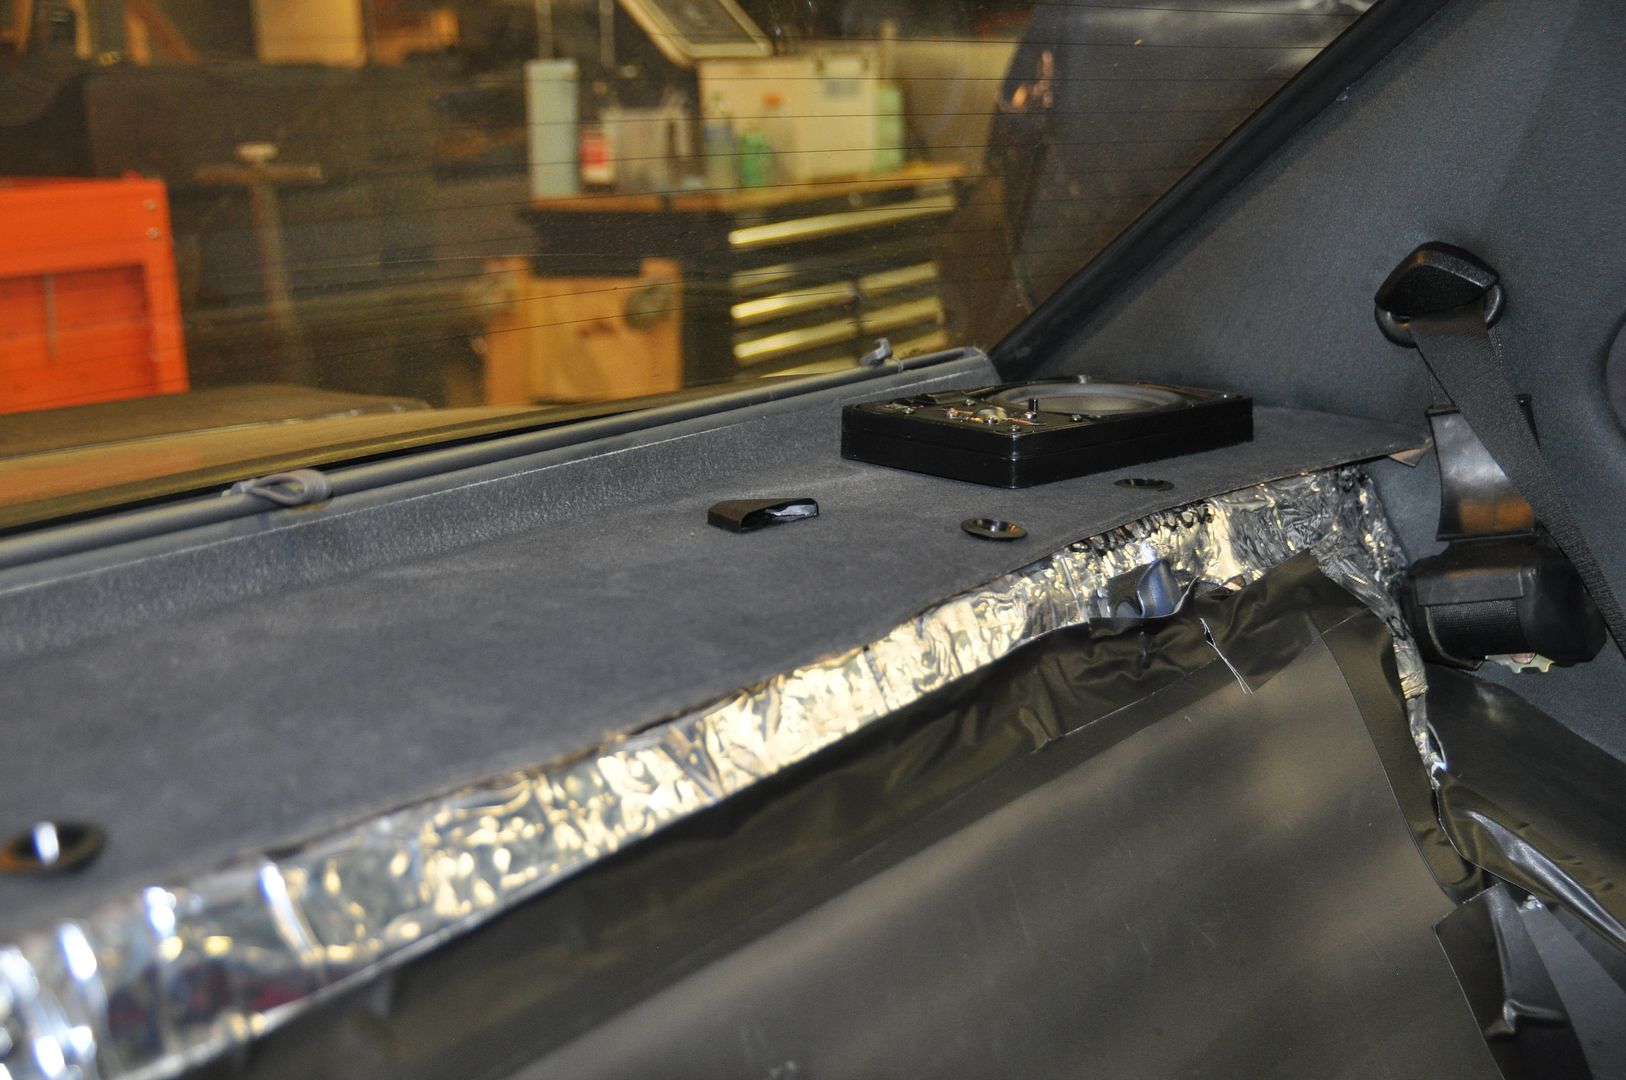
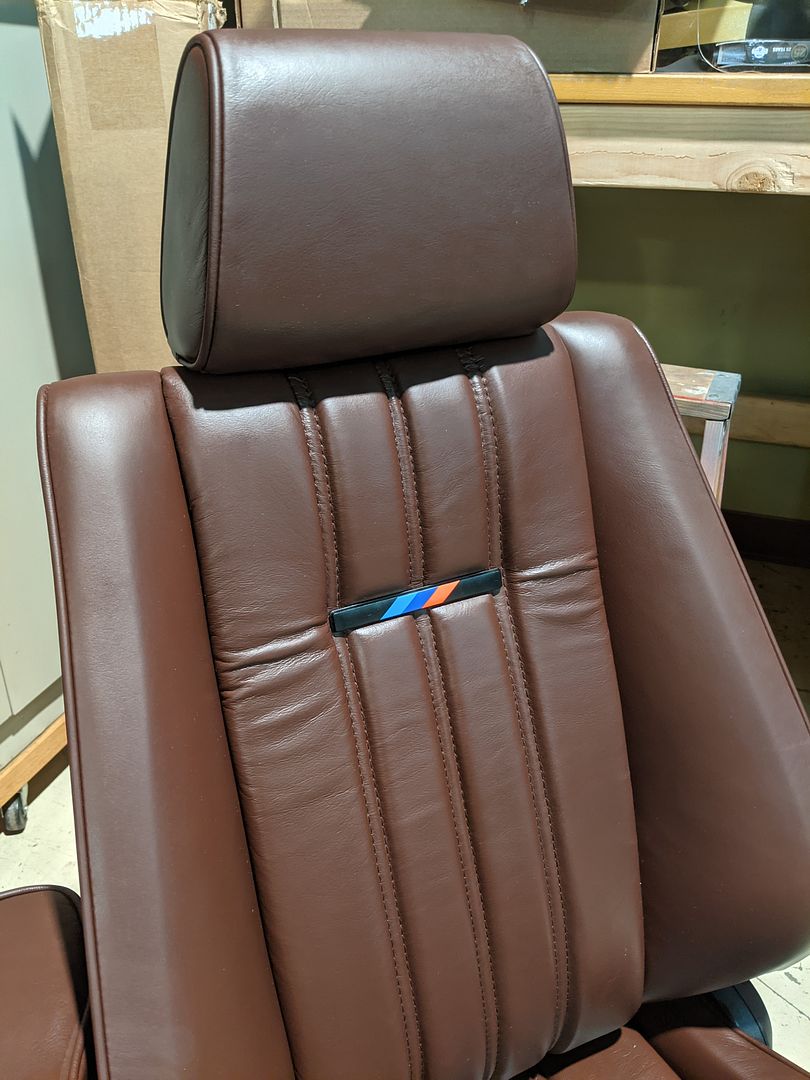
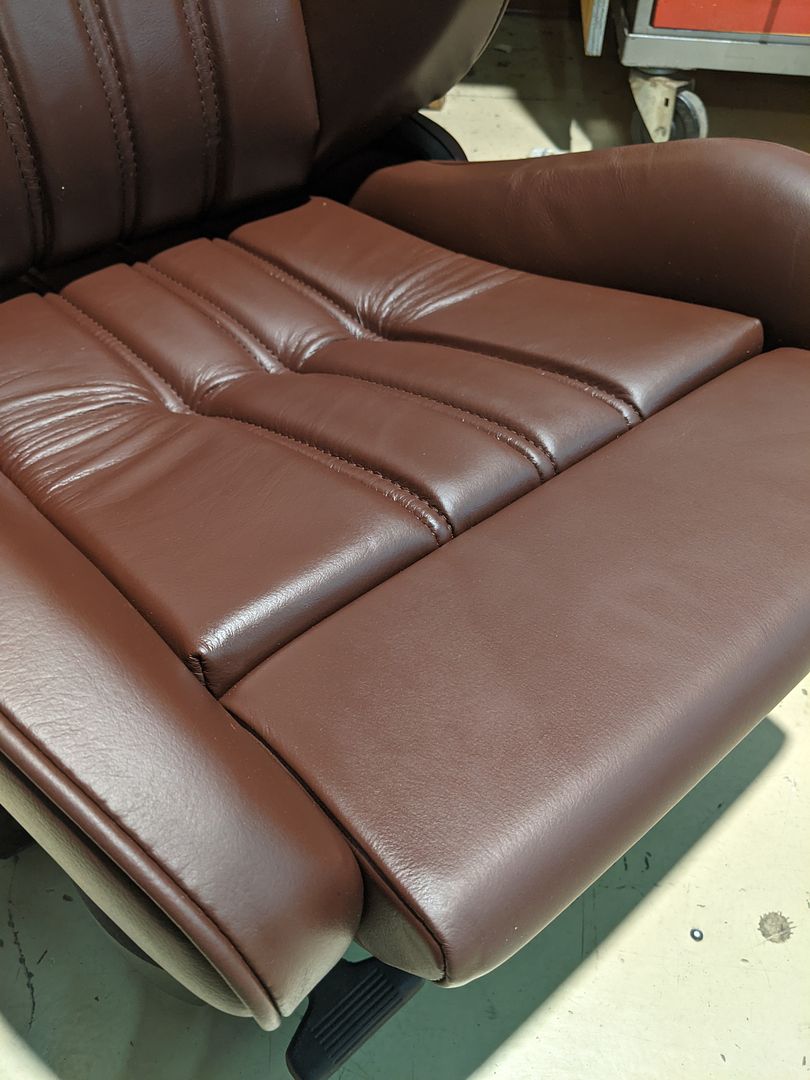
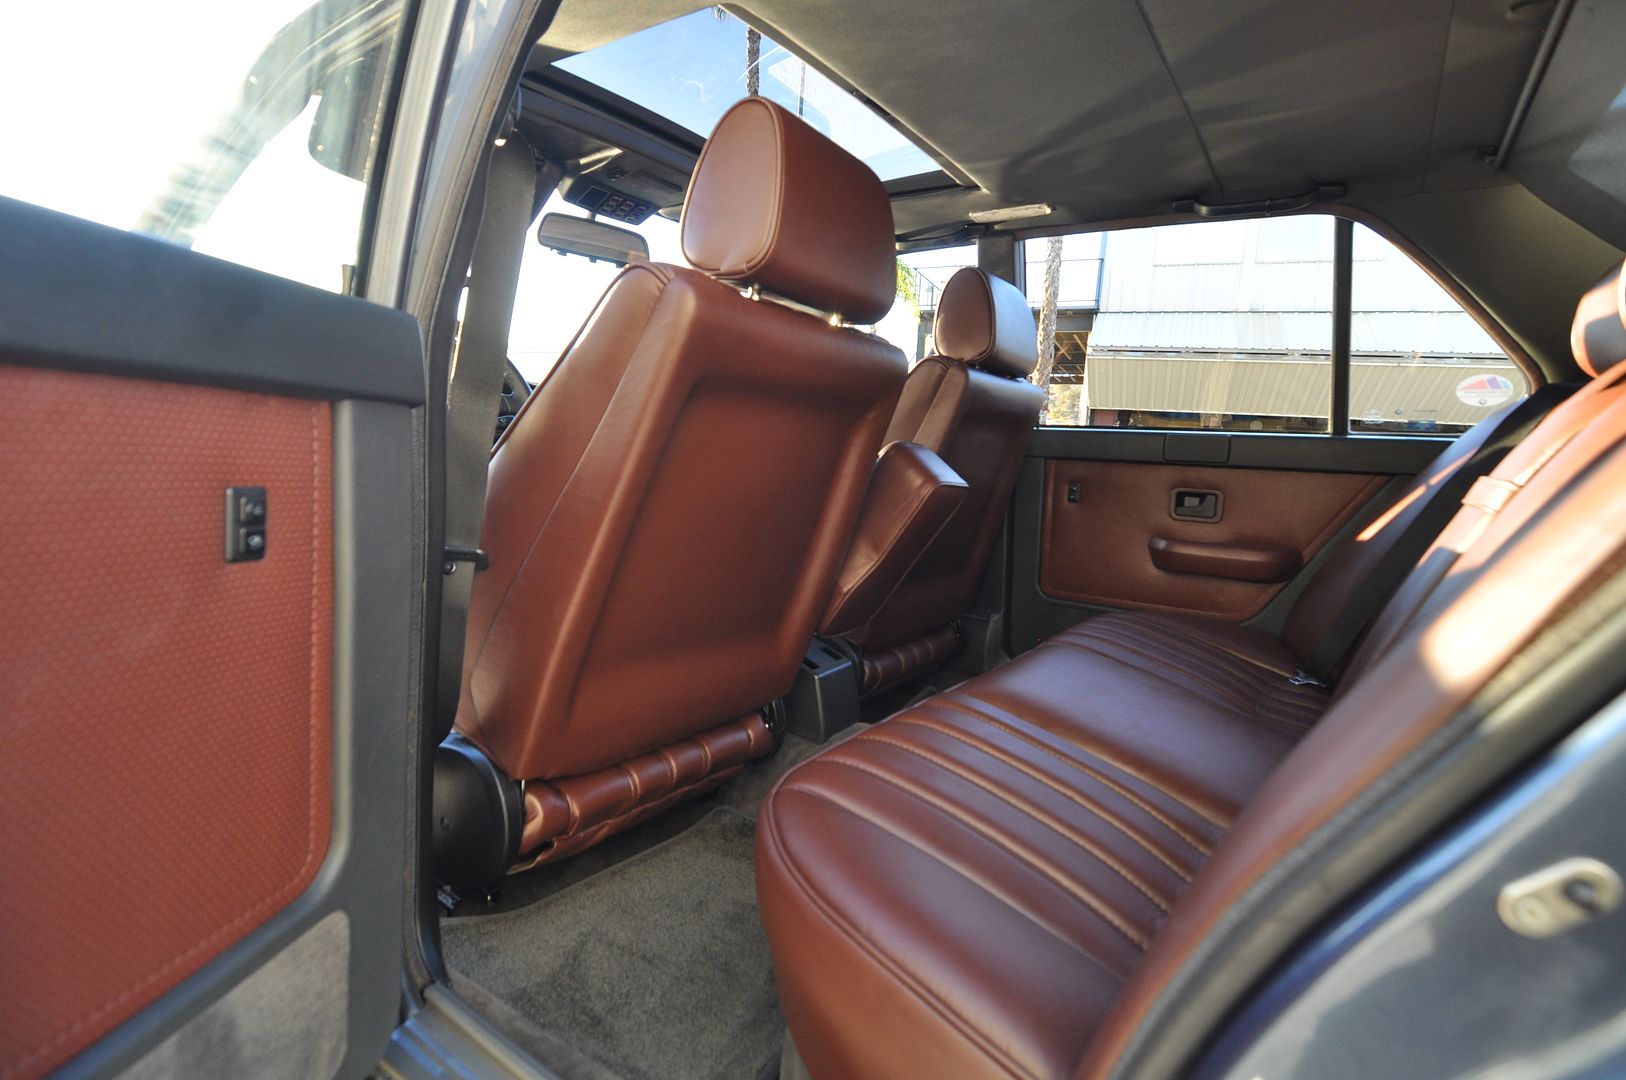
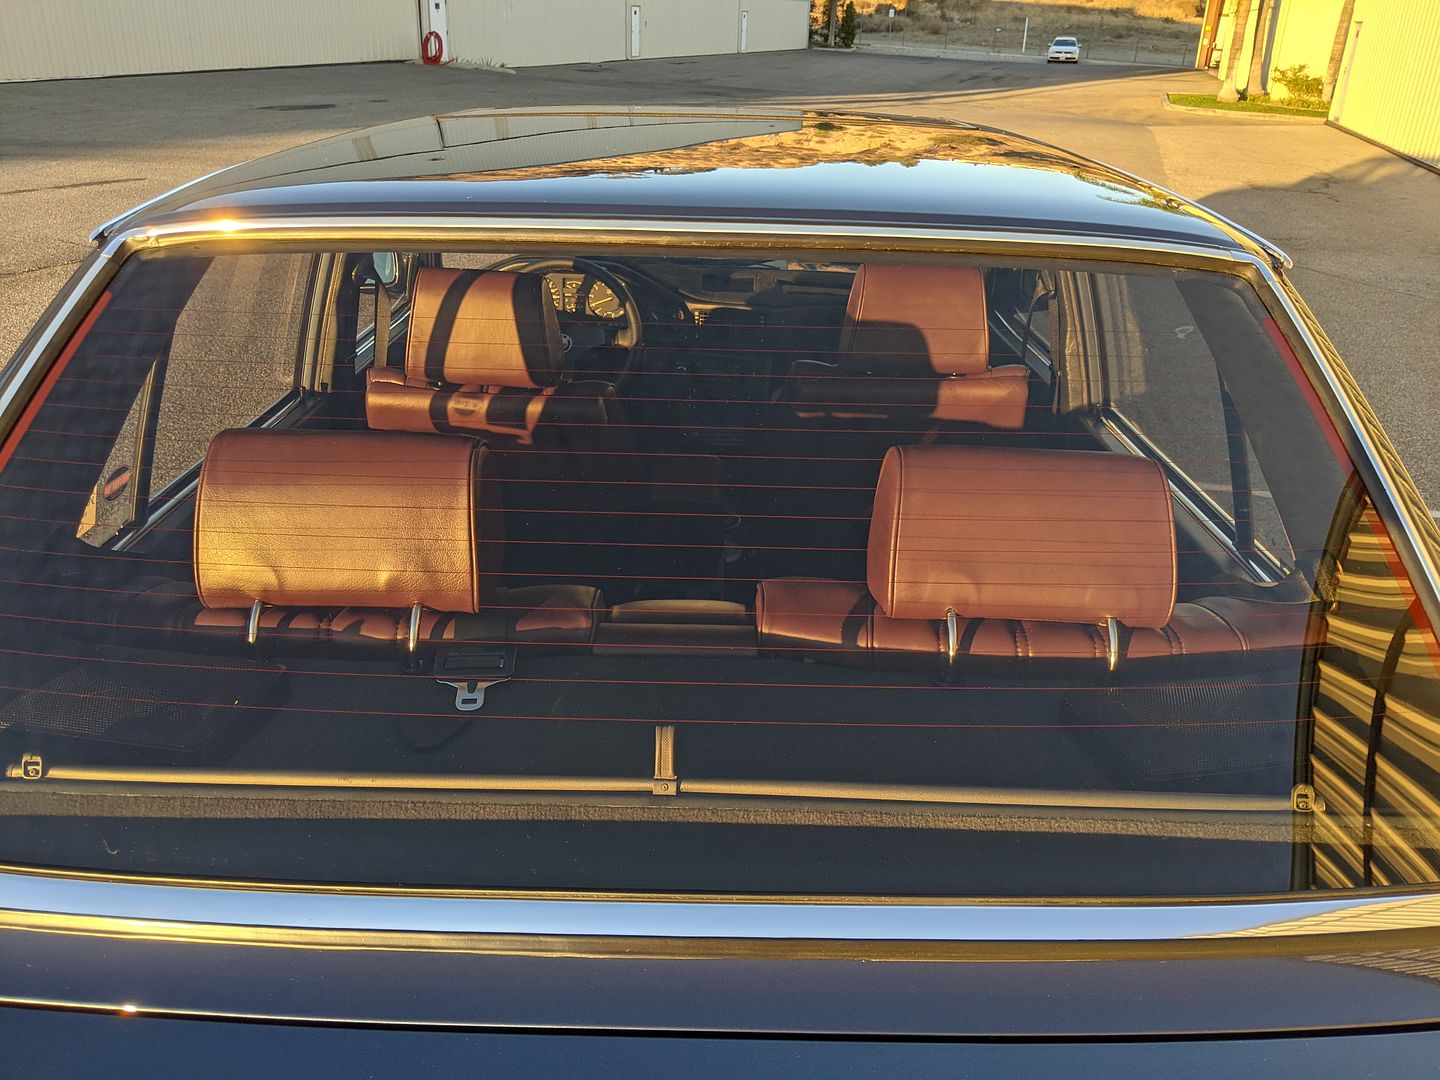
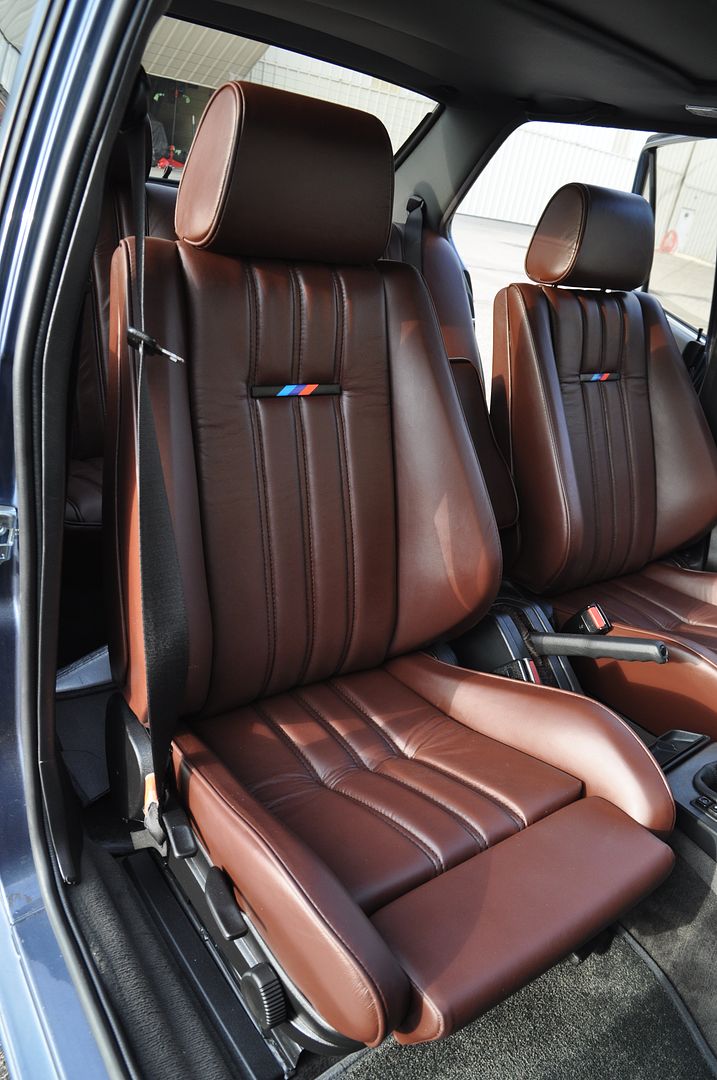
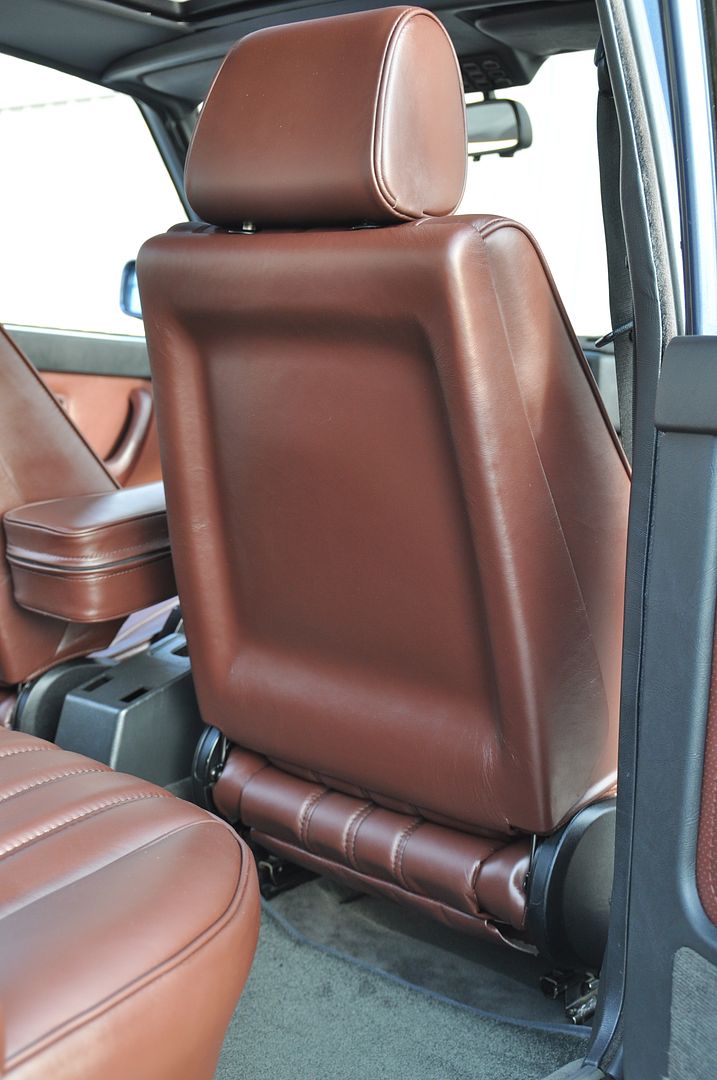
What was left was ostensibly just the interior trim components, putting the trunk back together and the leather seats.
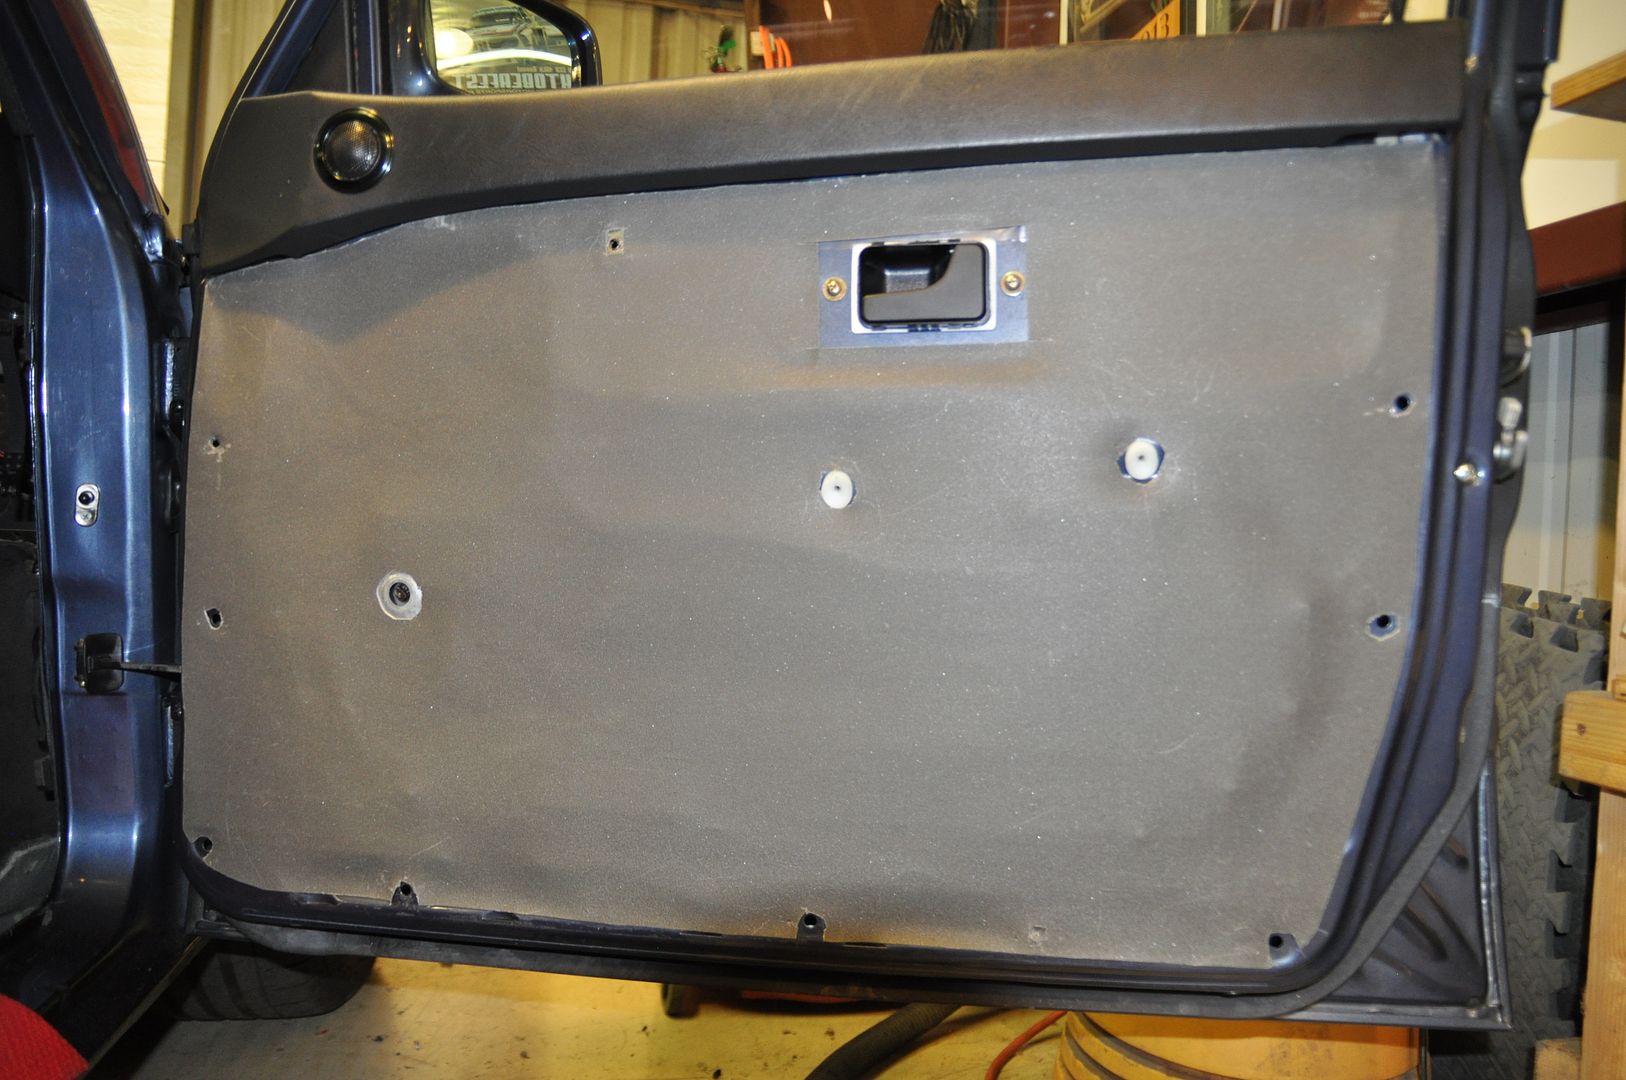
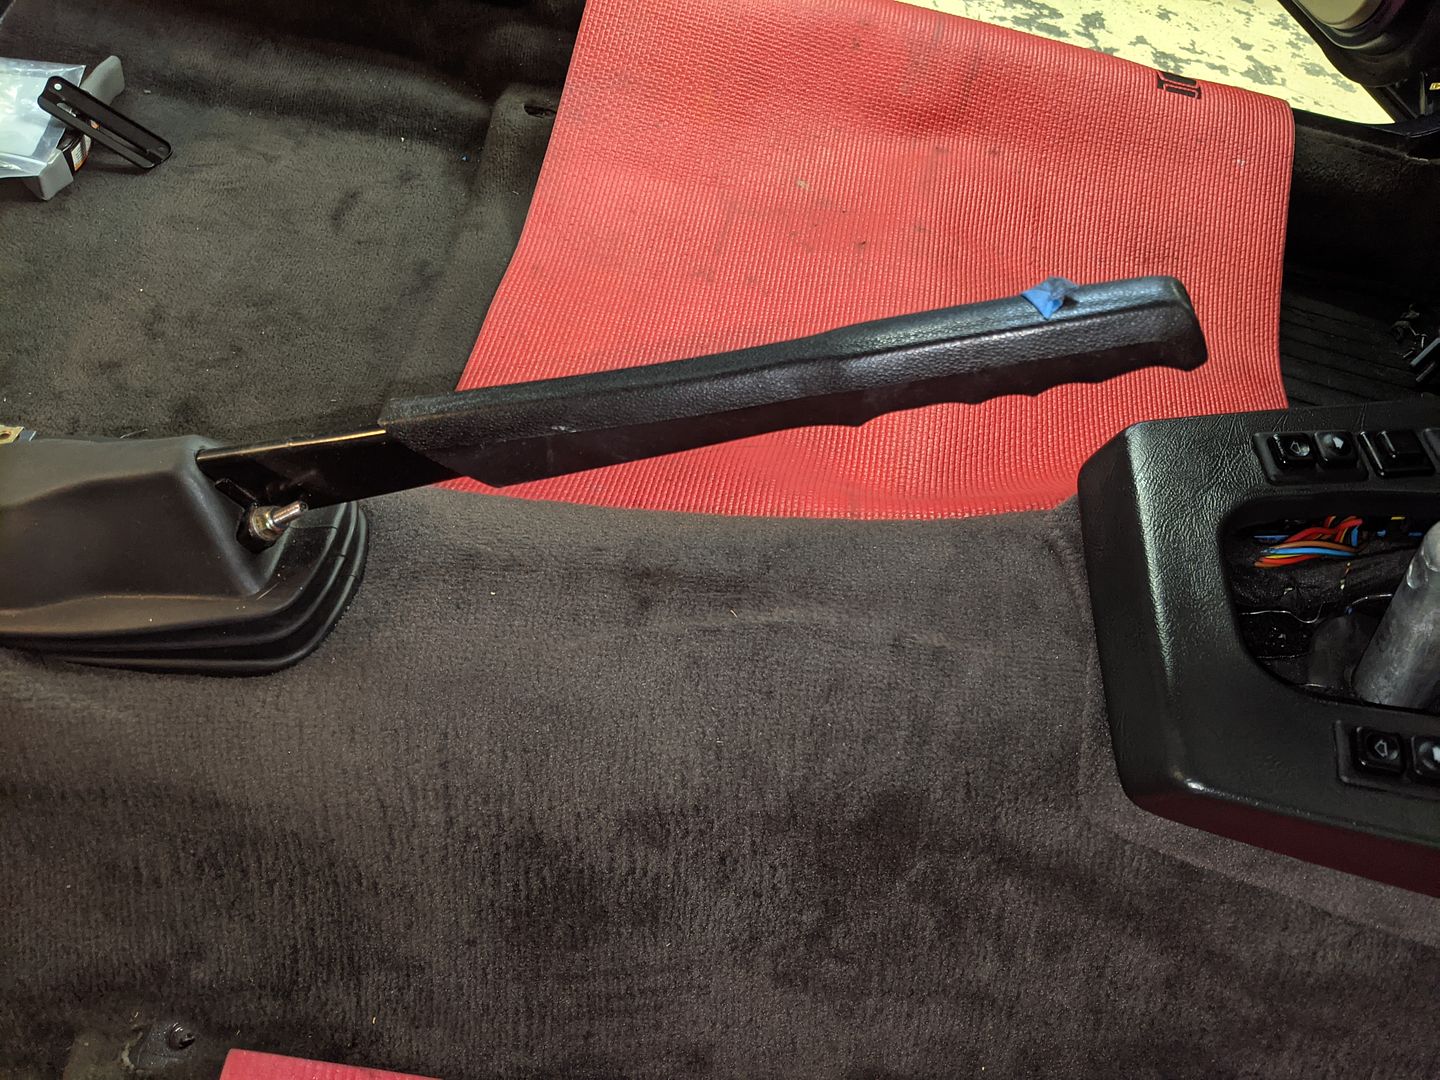
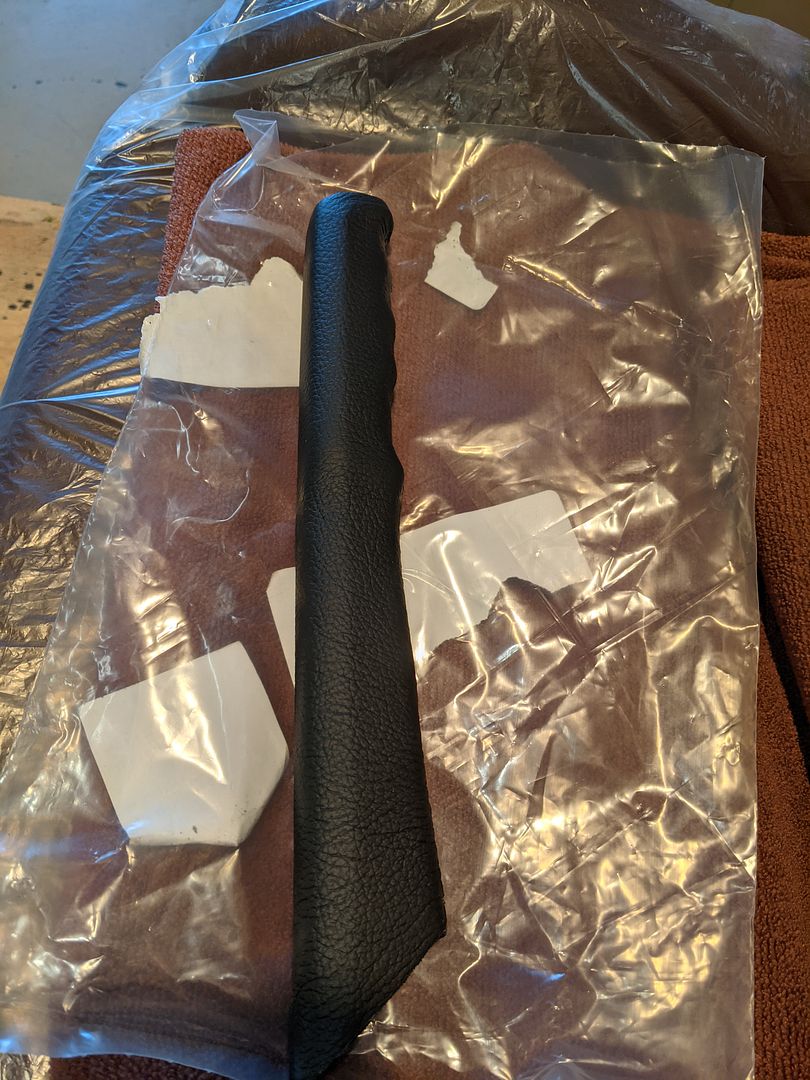
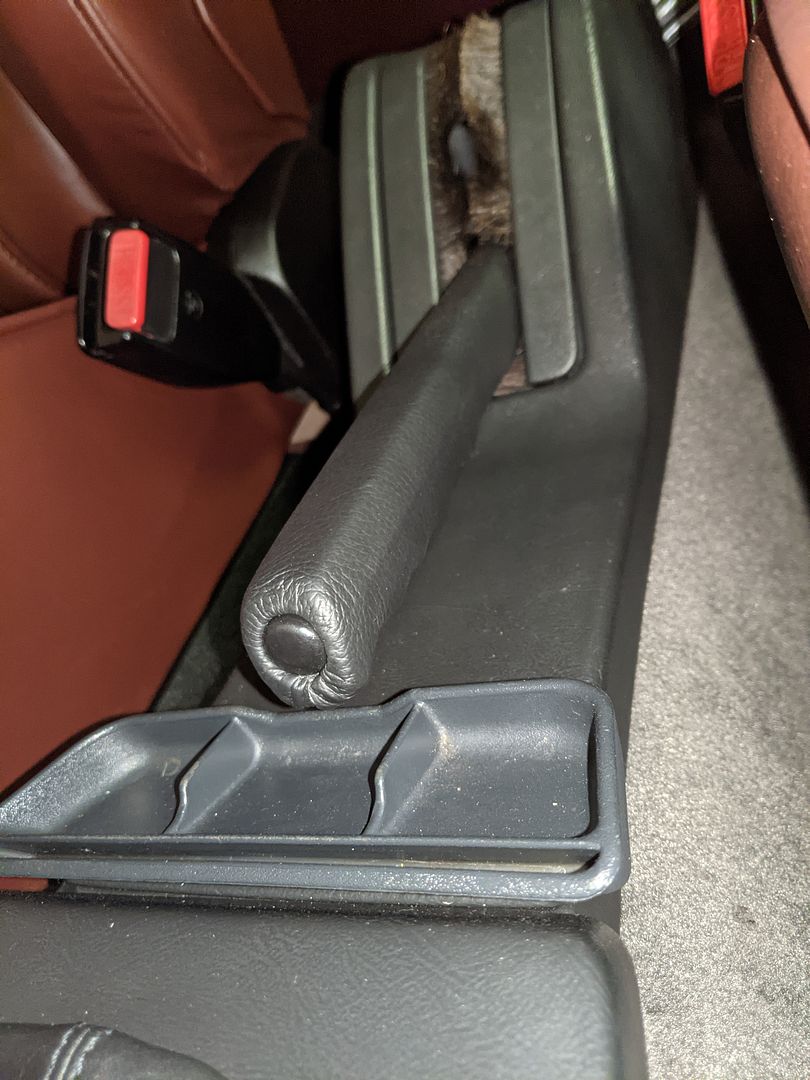
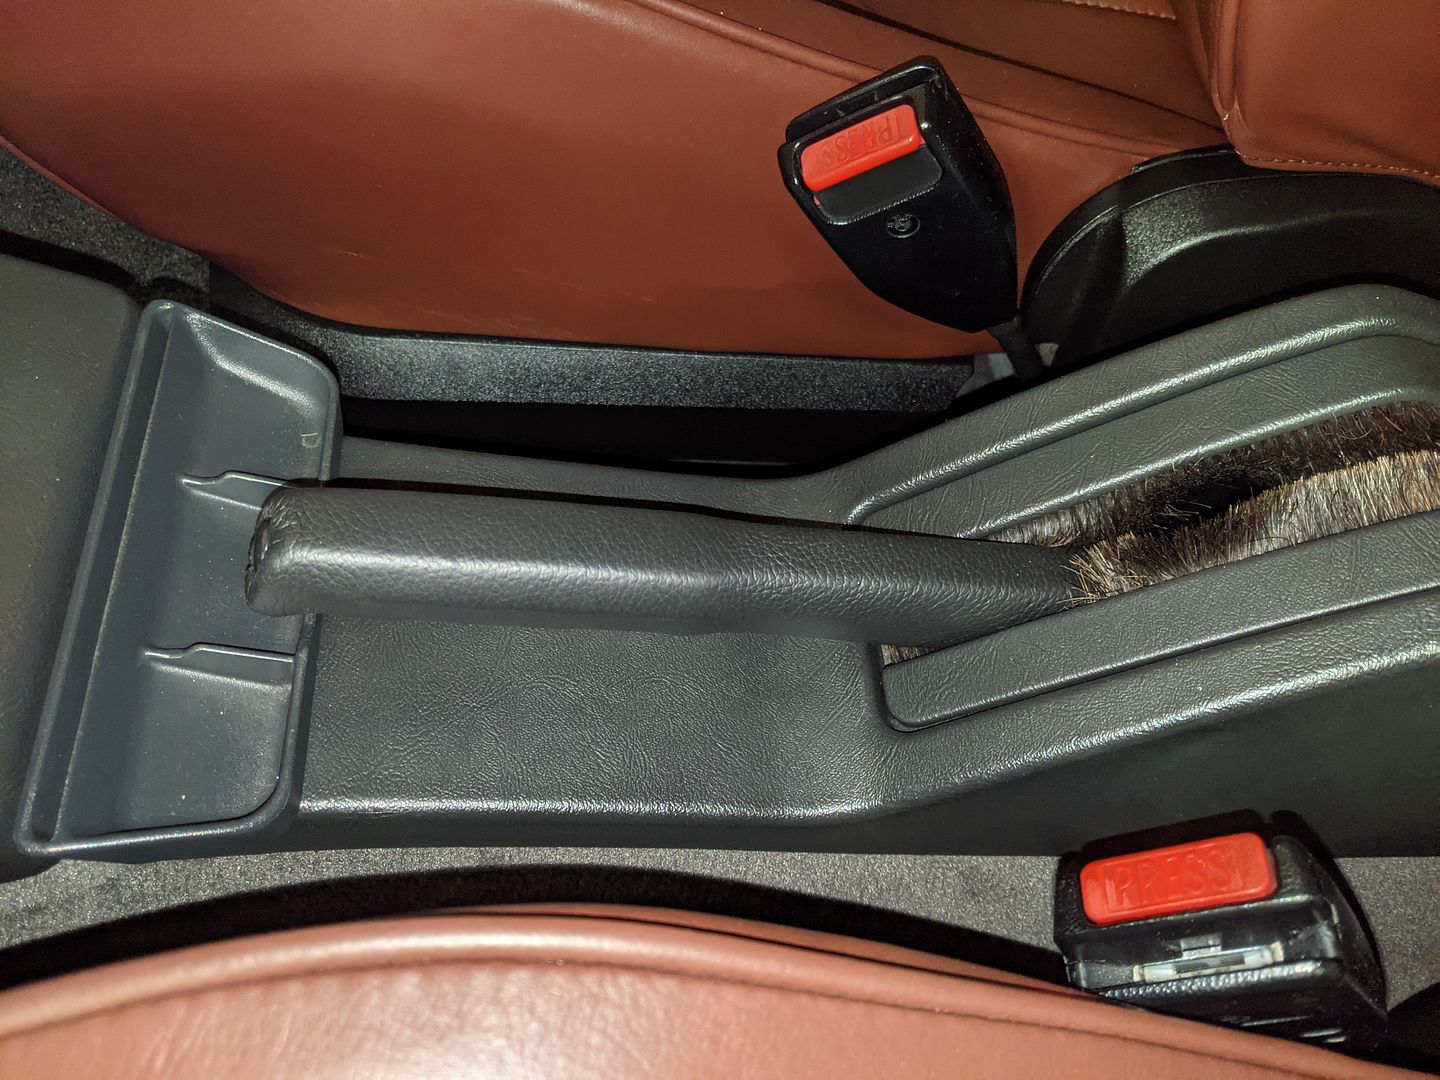
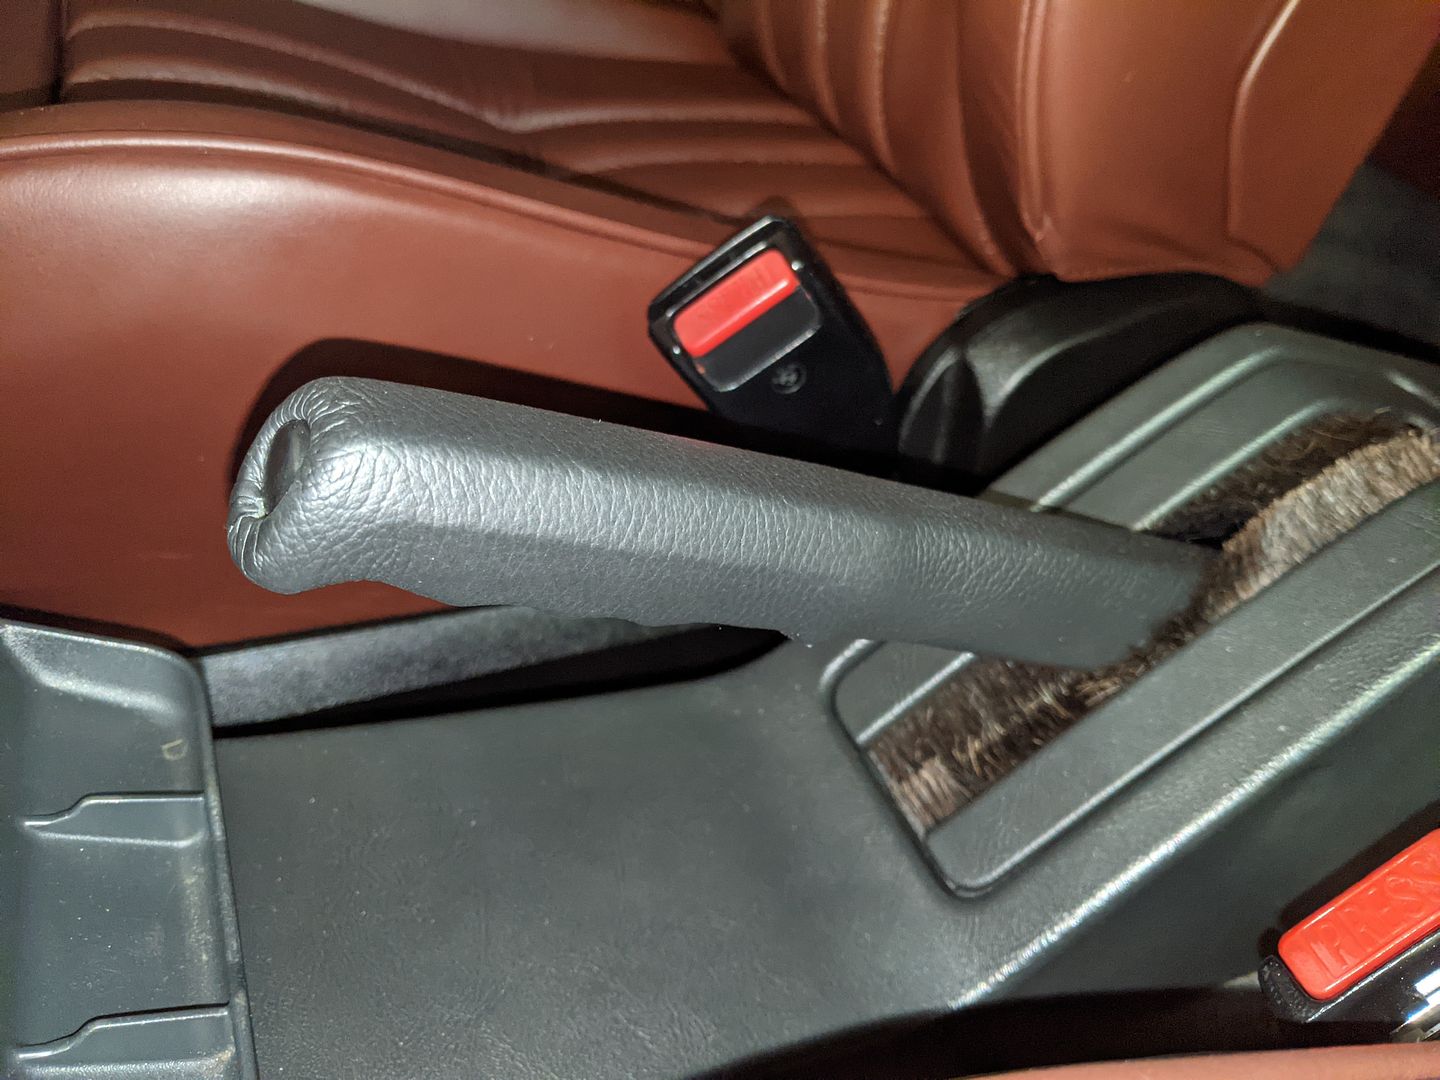
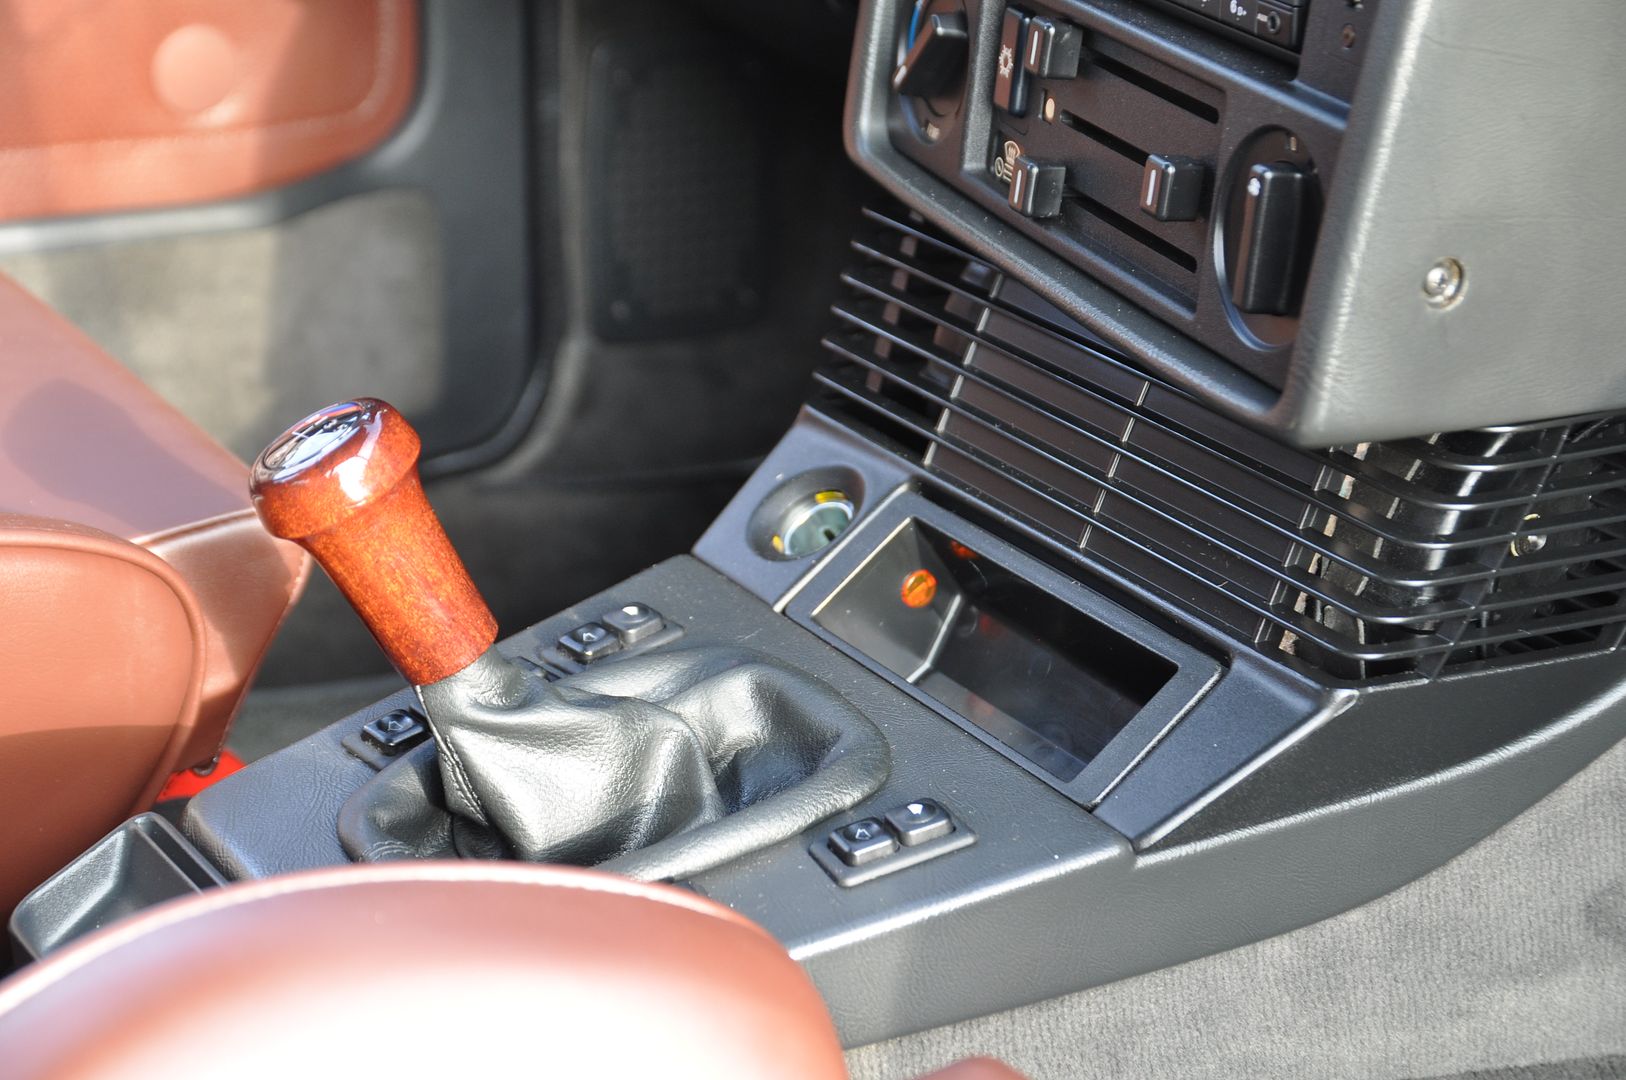
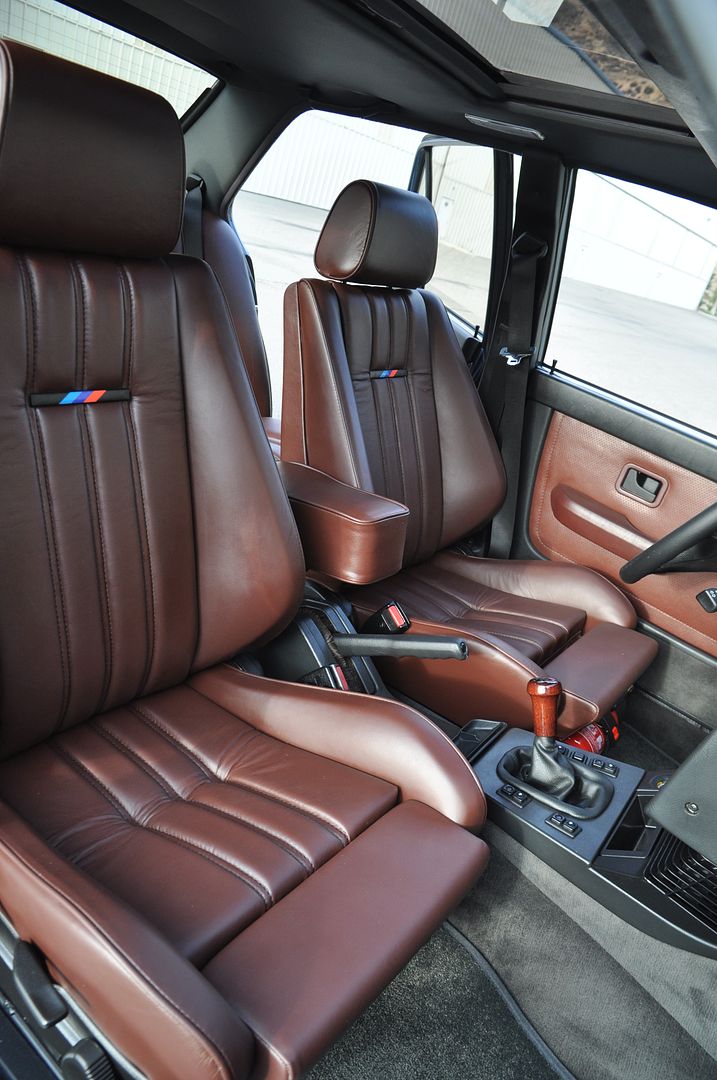
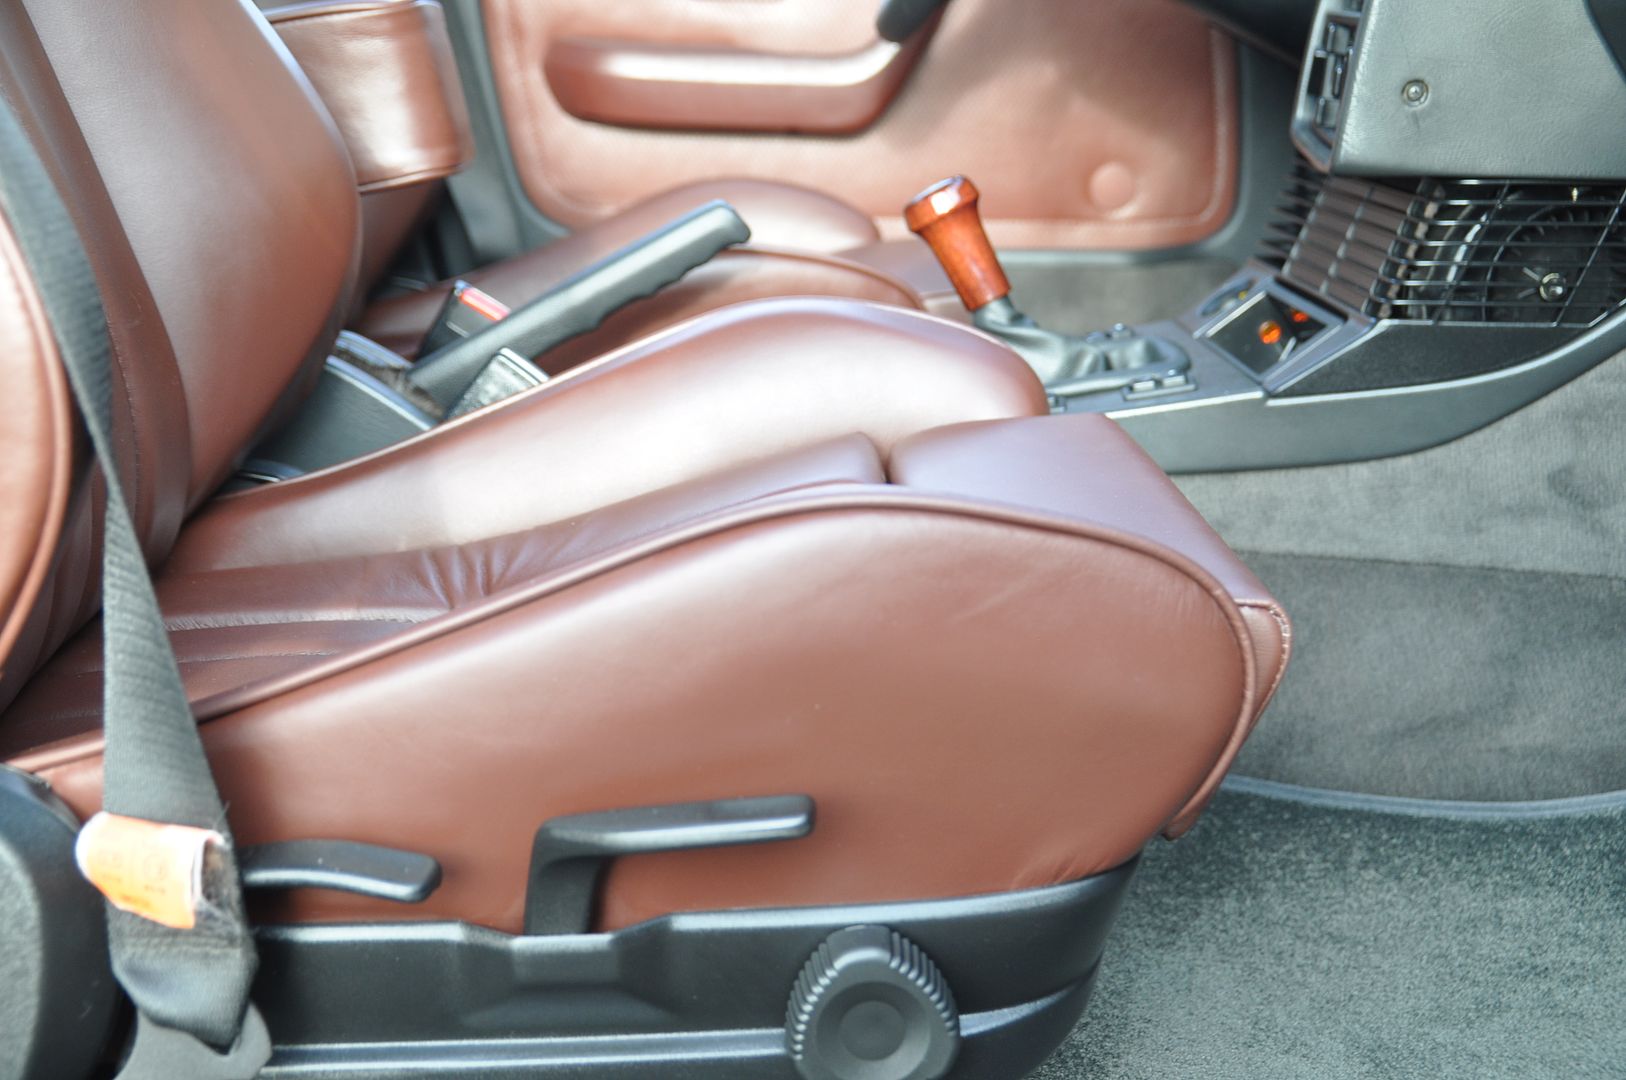
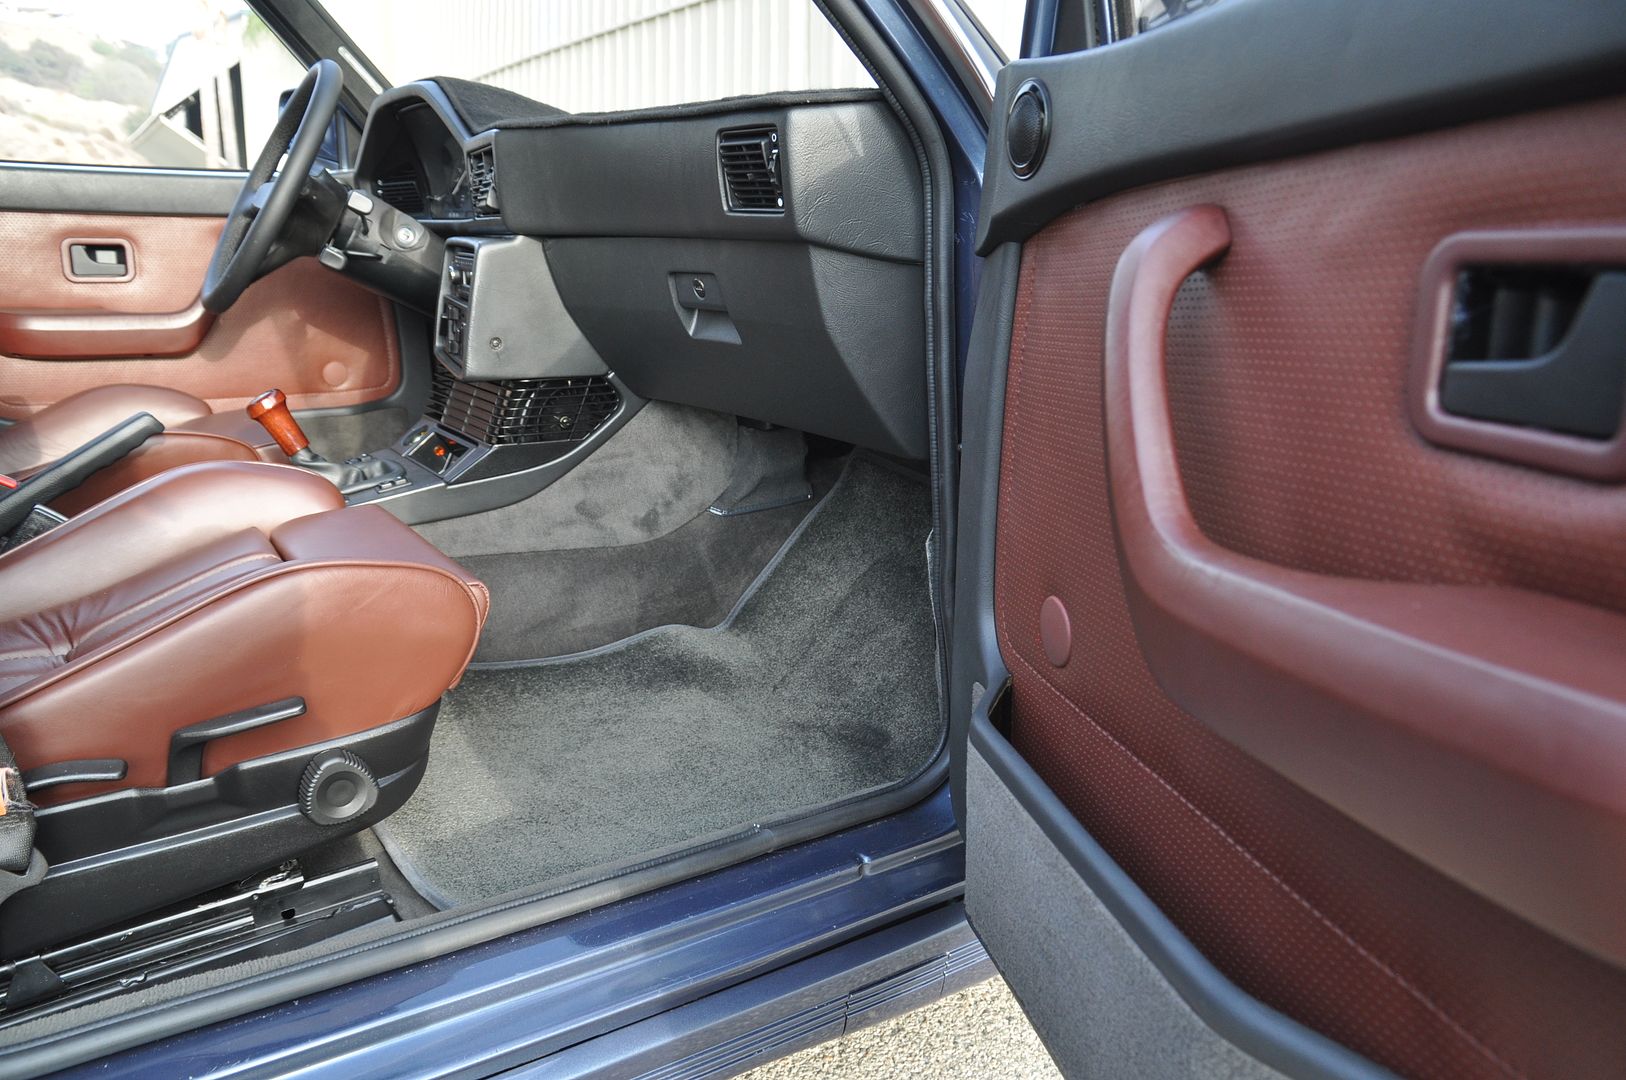
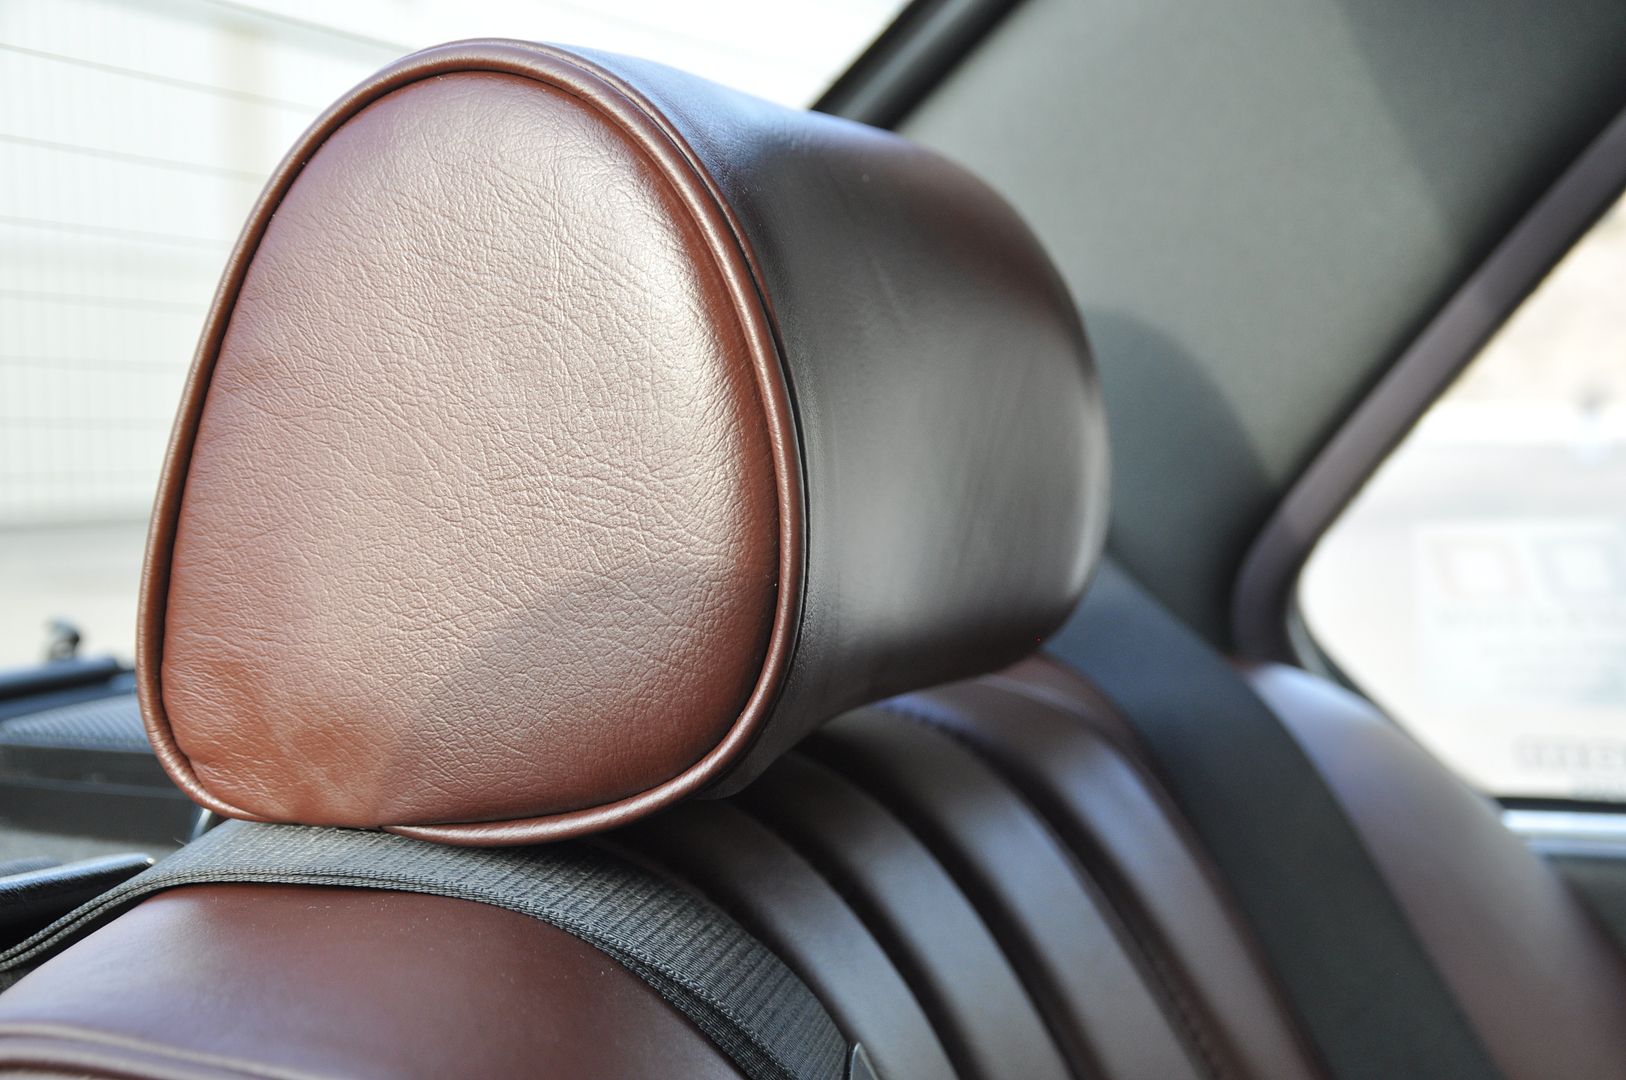
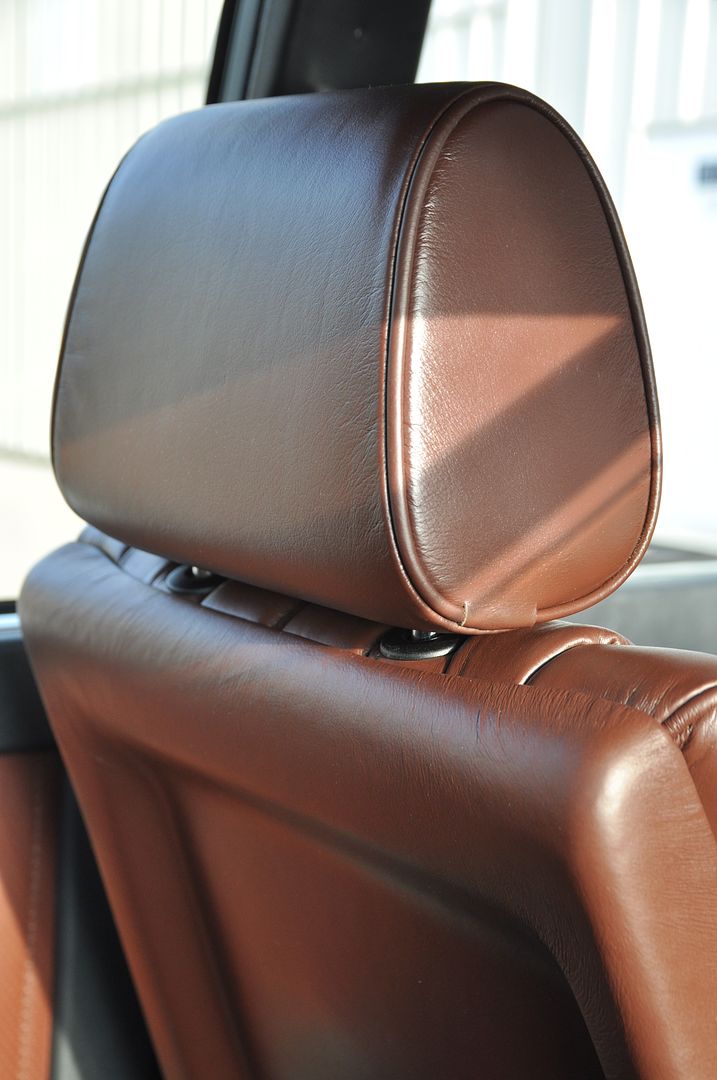
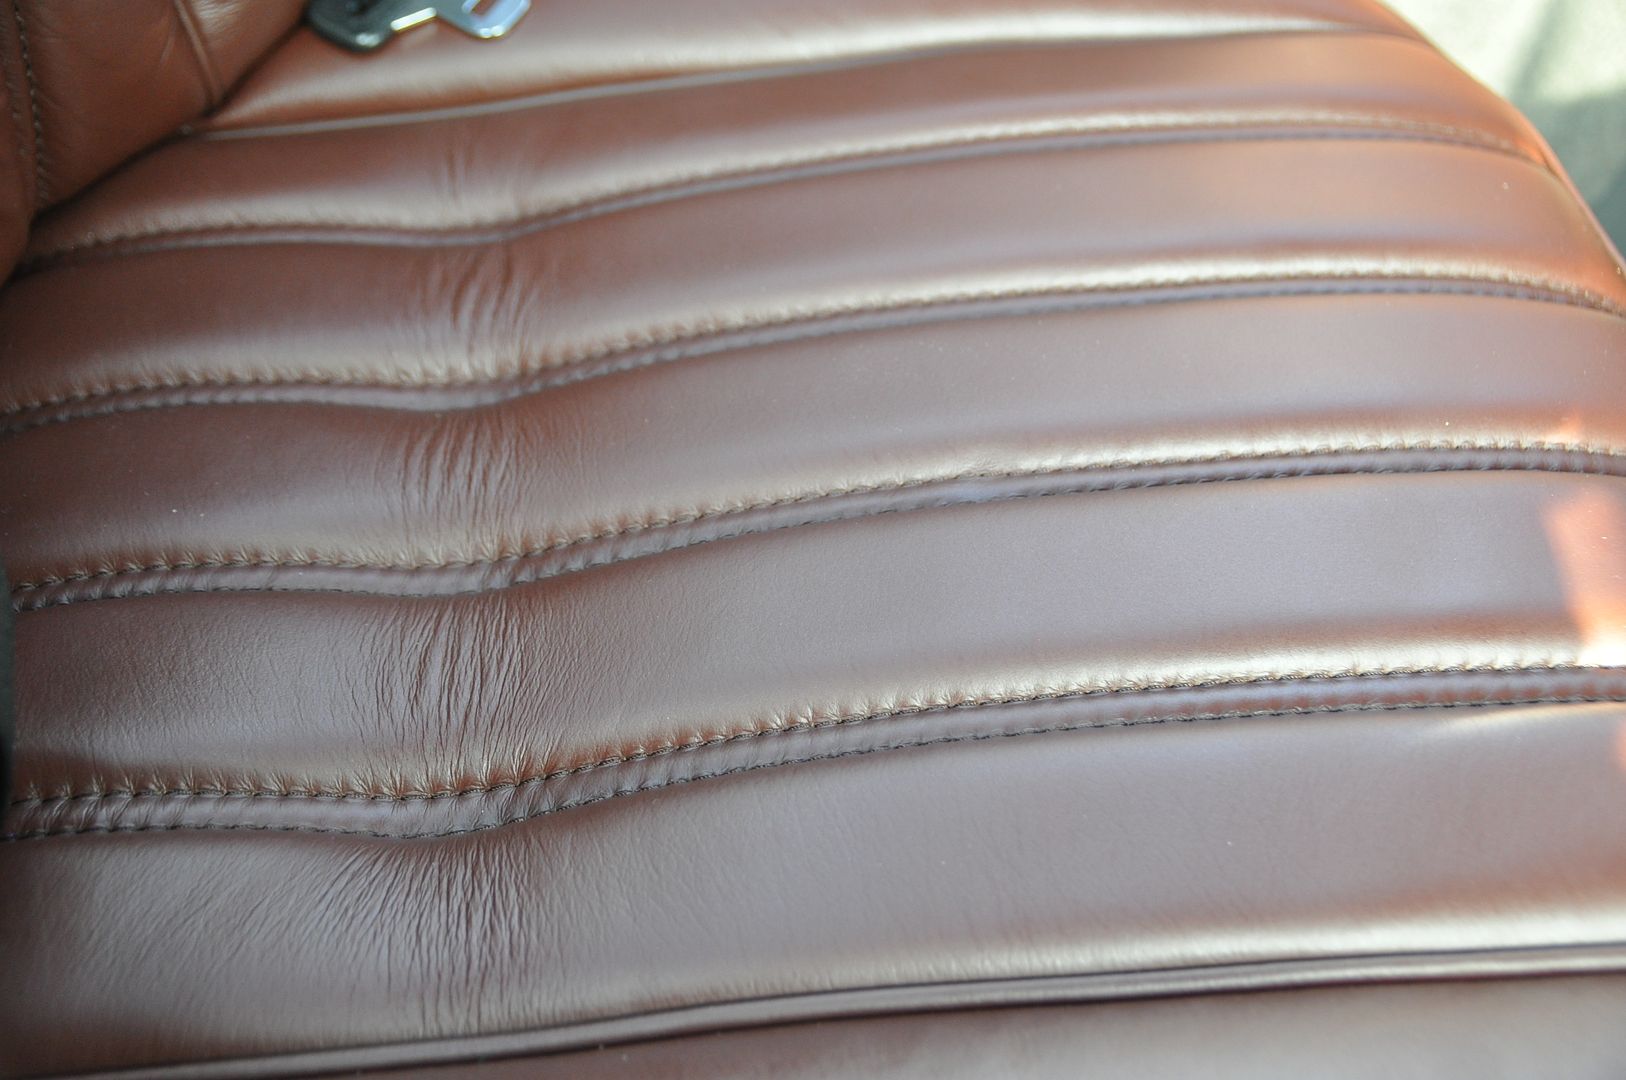
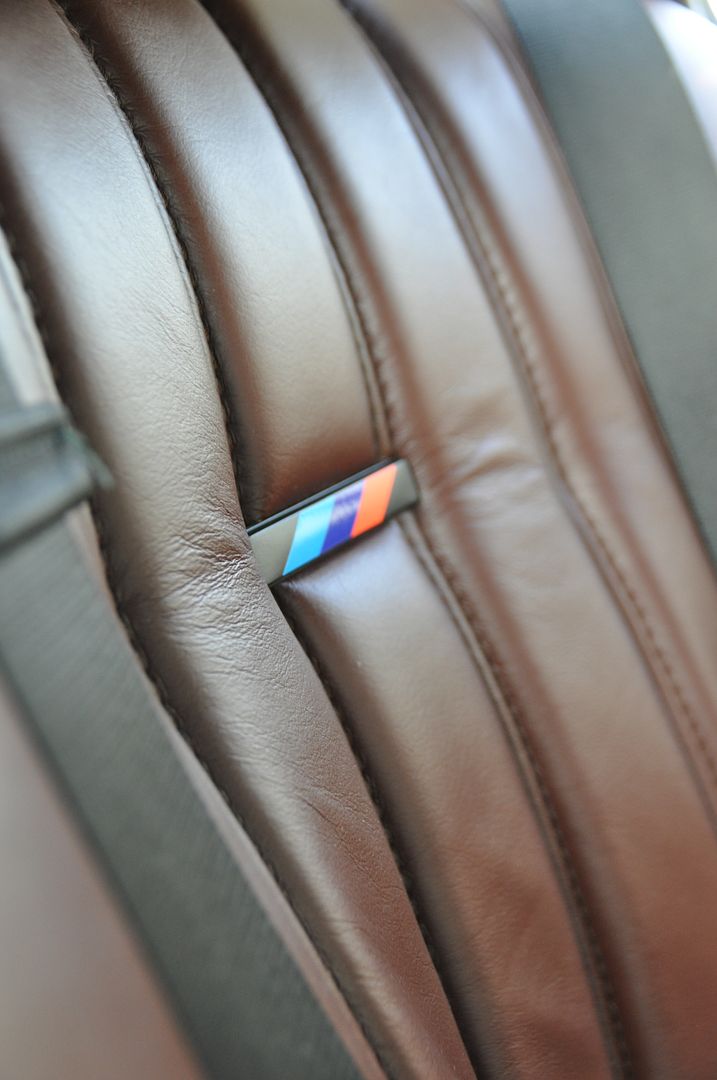
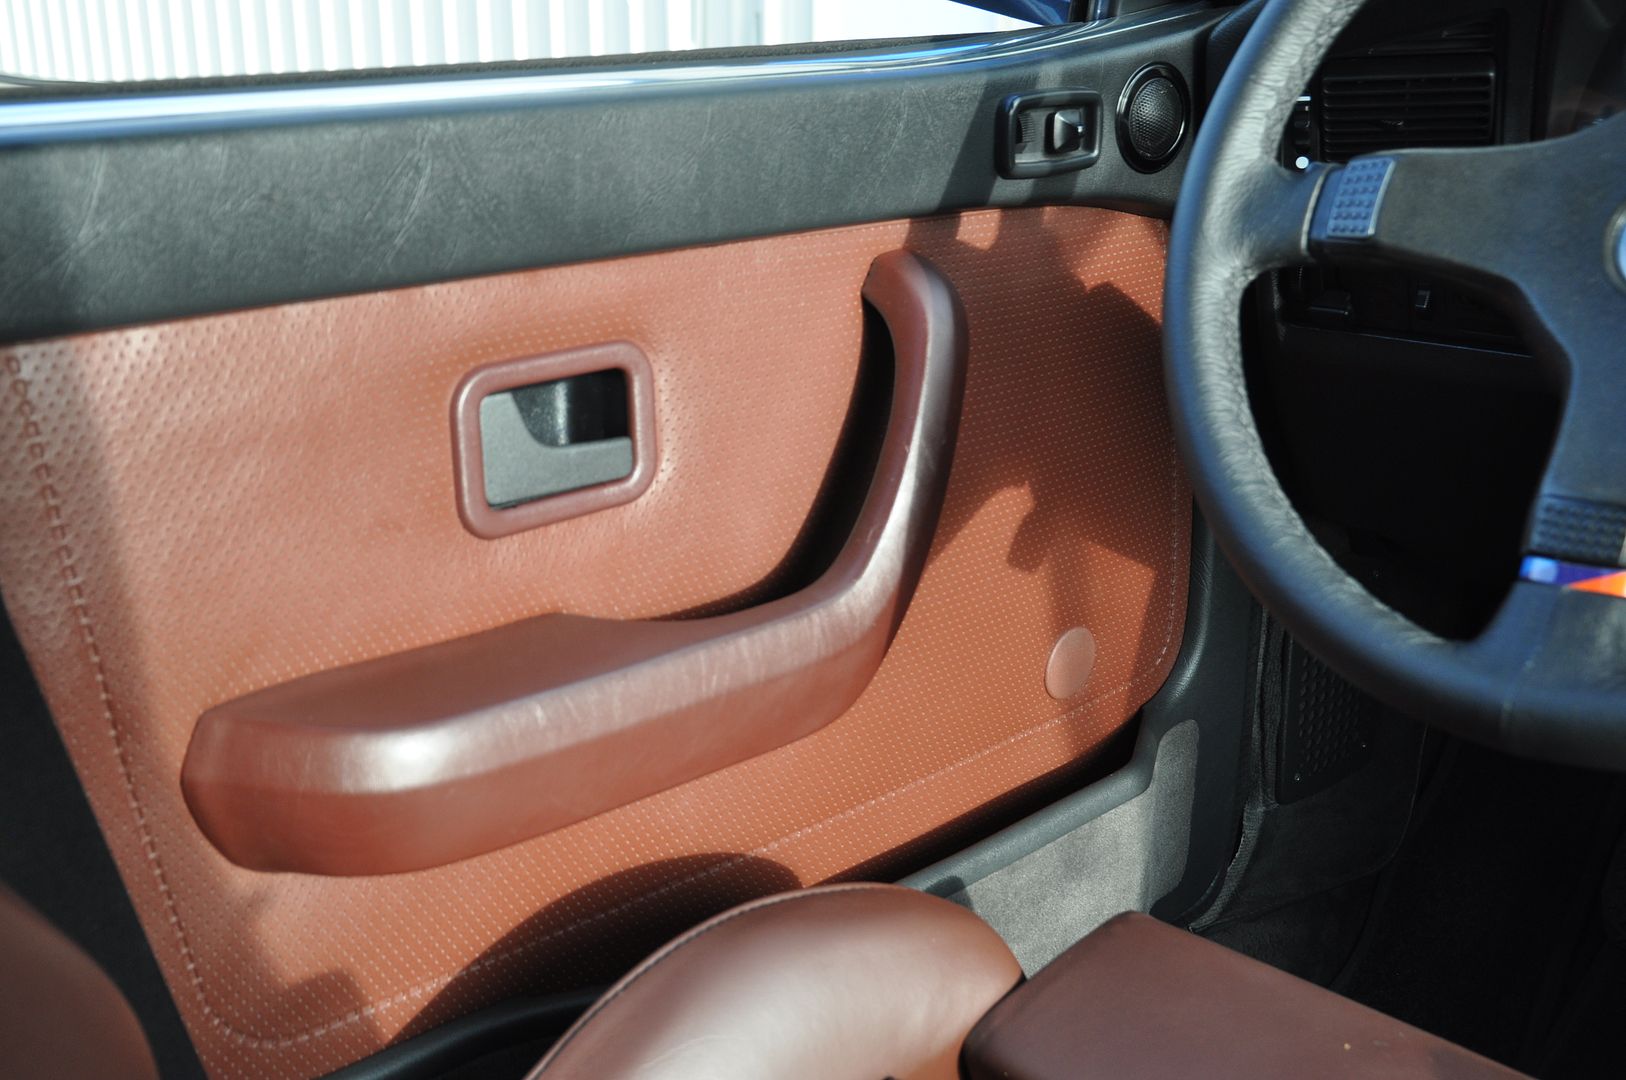
Here are some random shots covering various components:
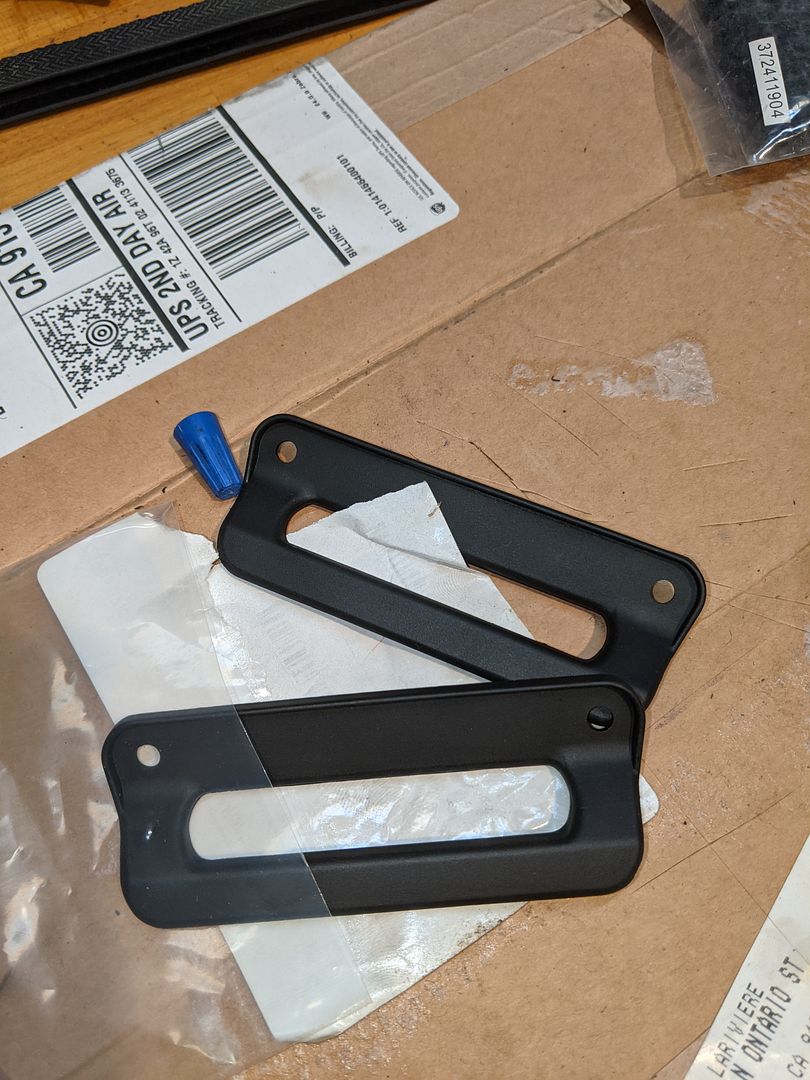
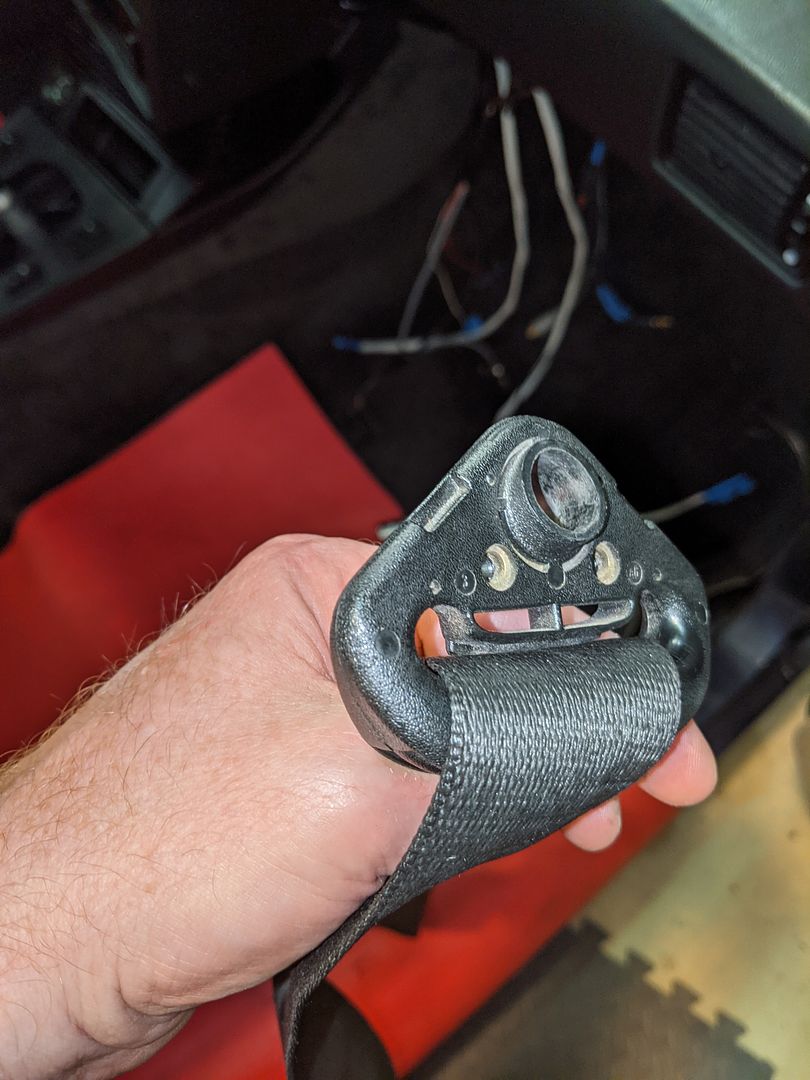
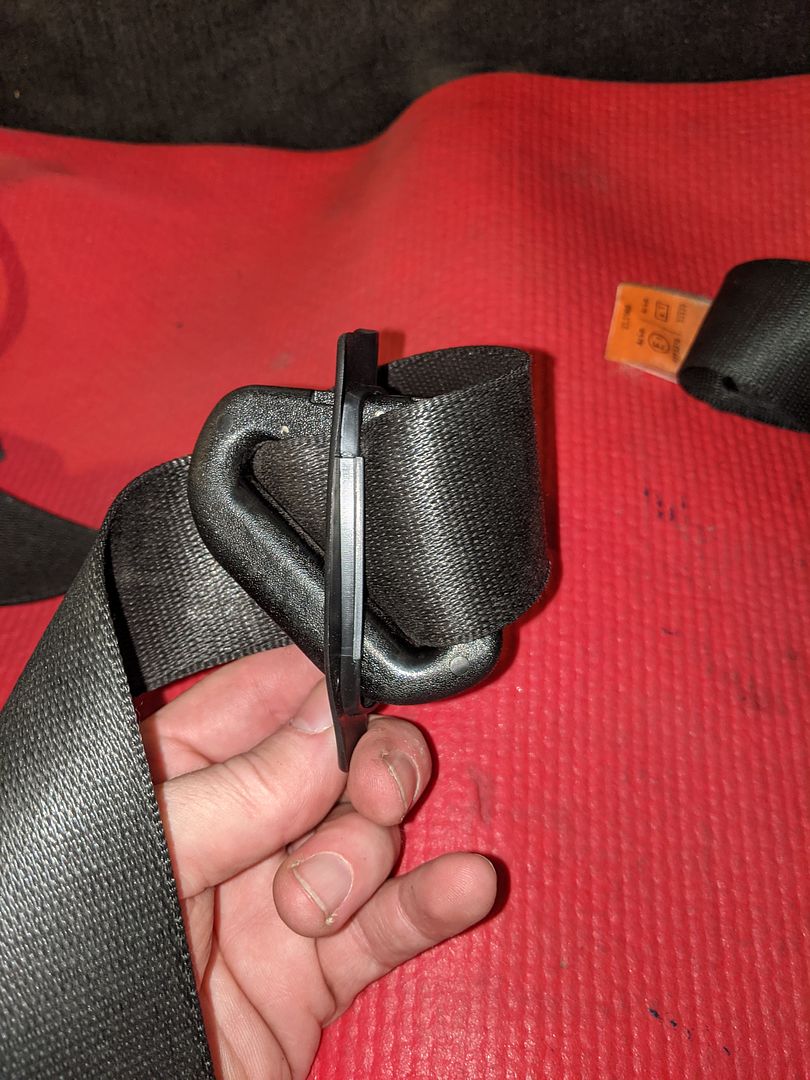
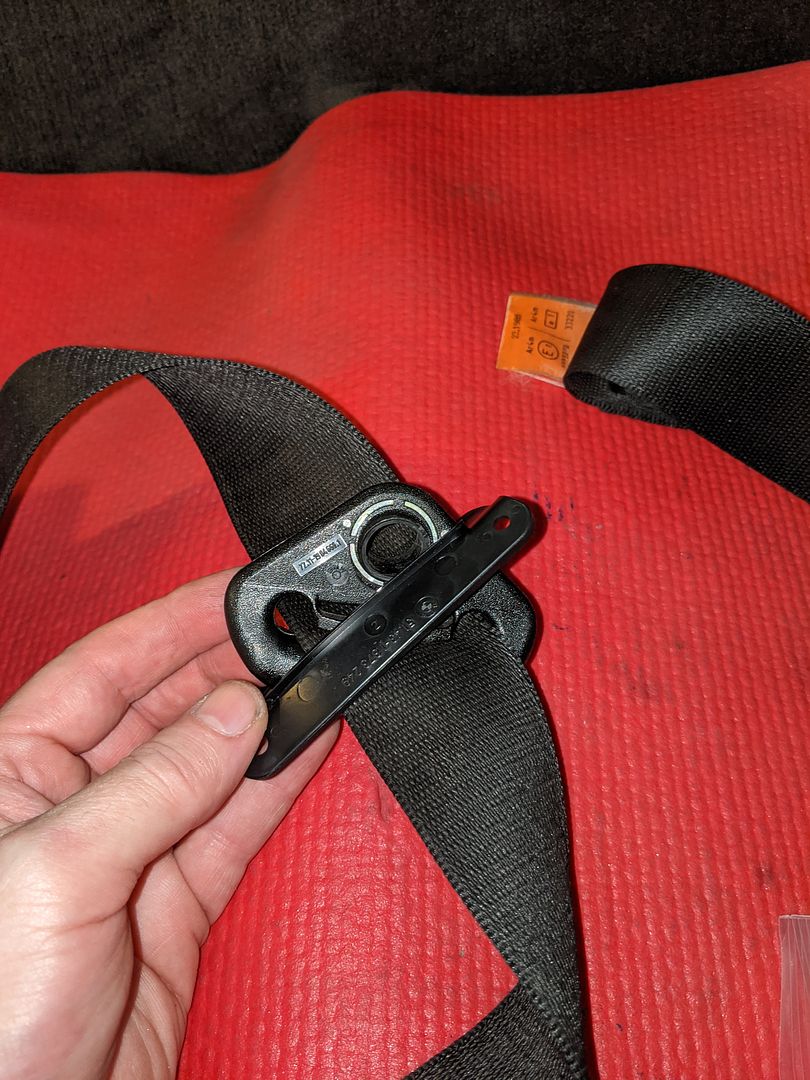
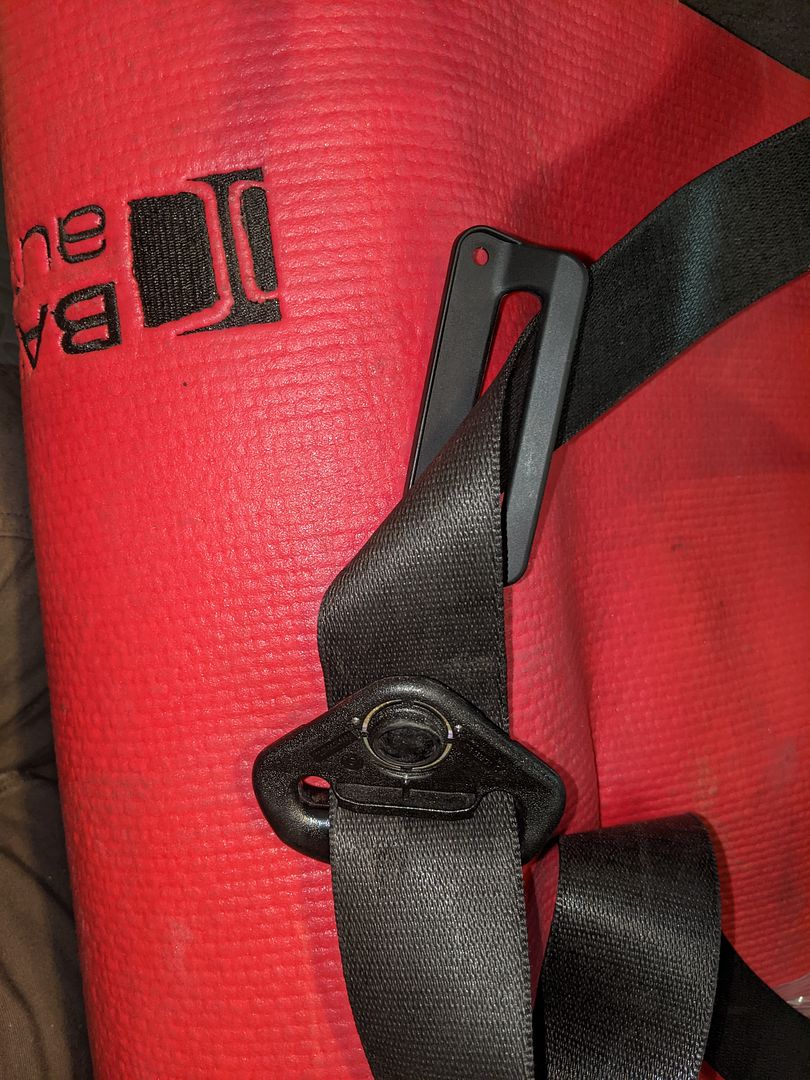
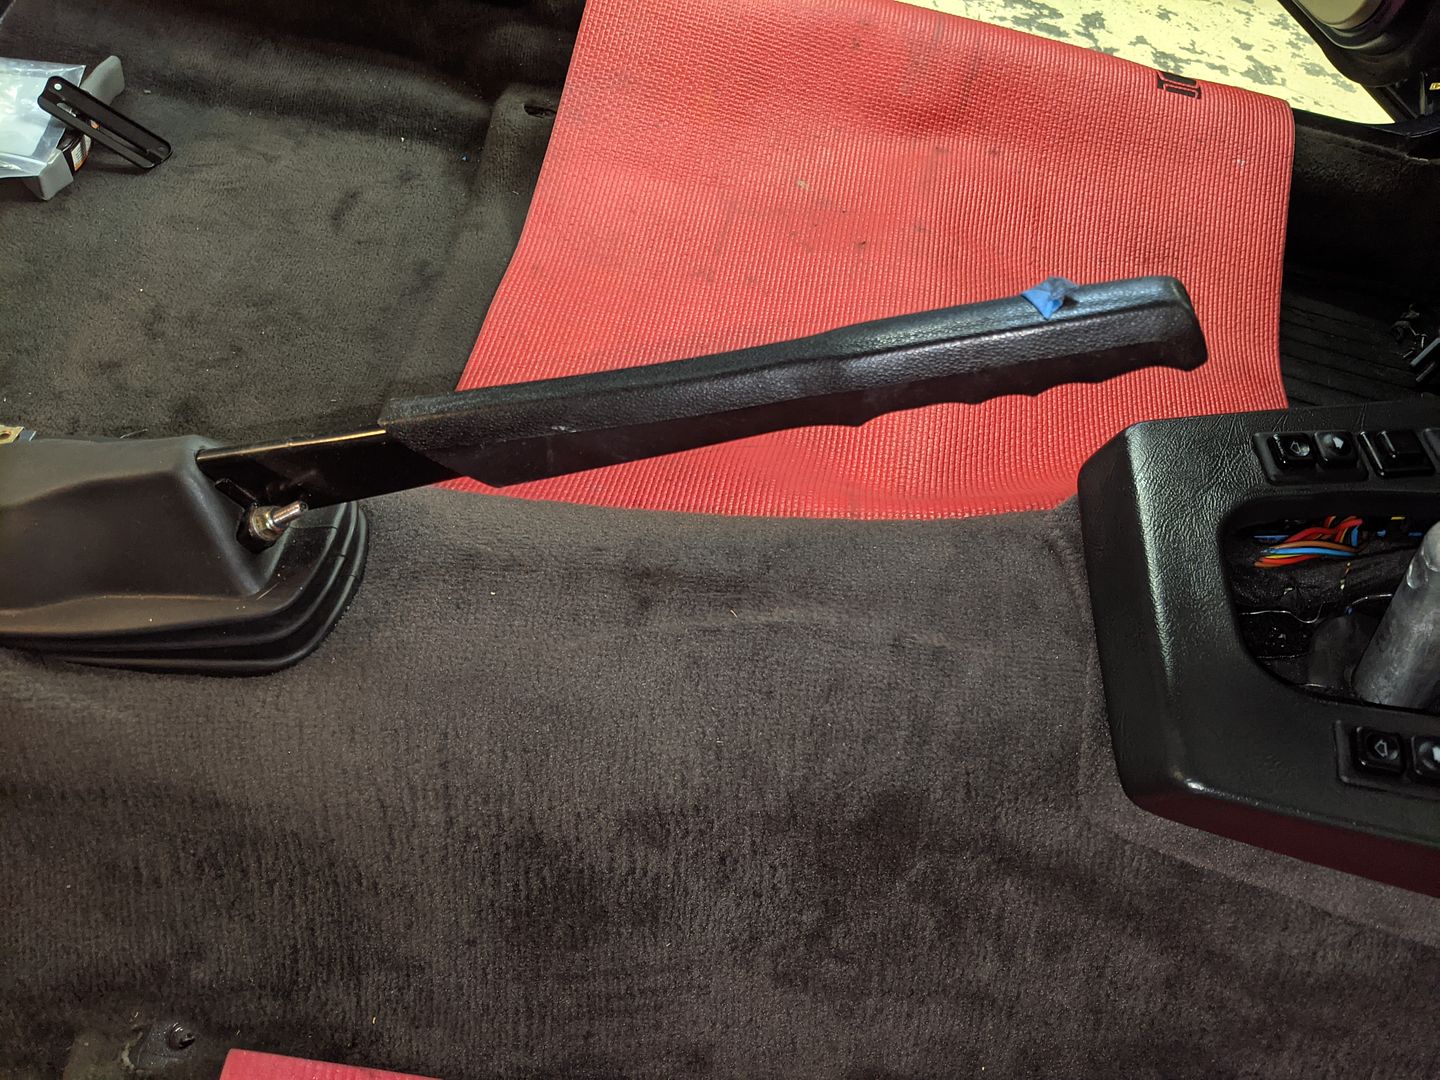
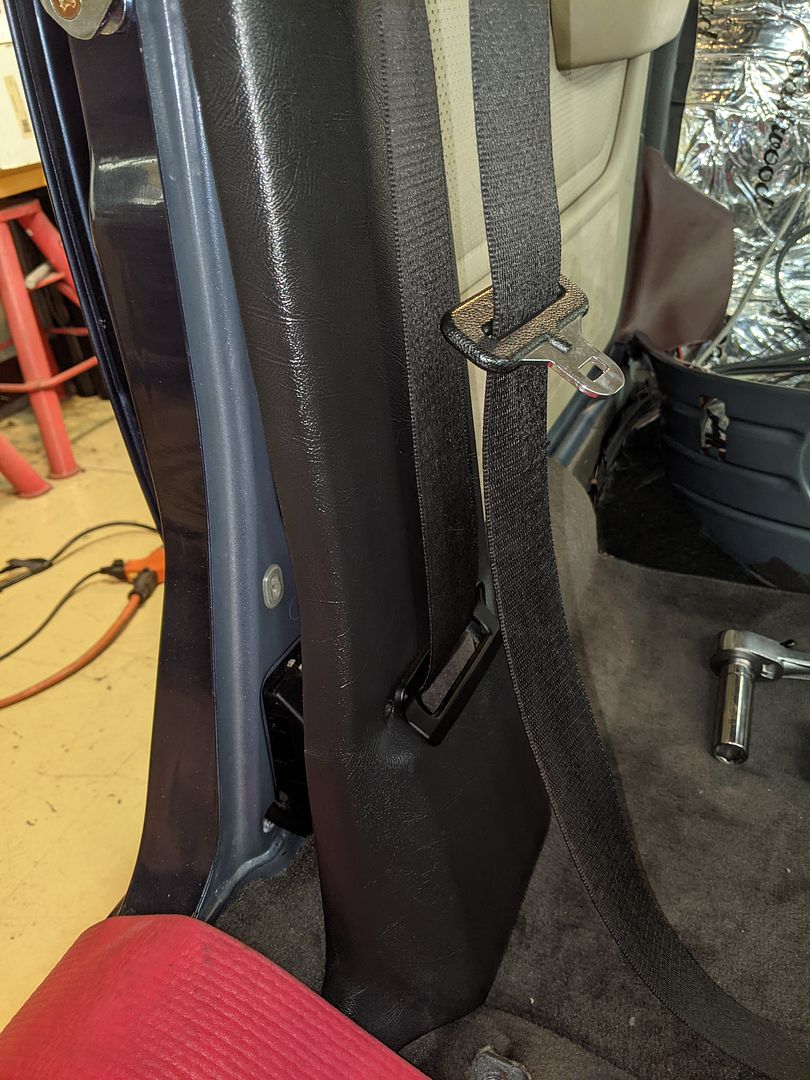
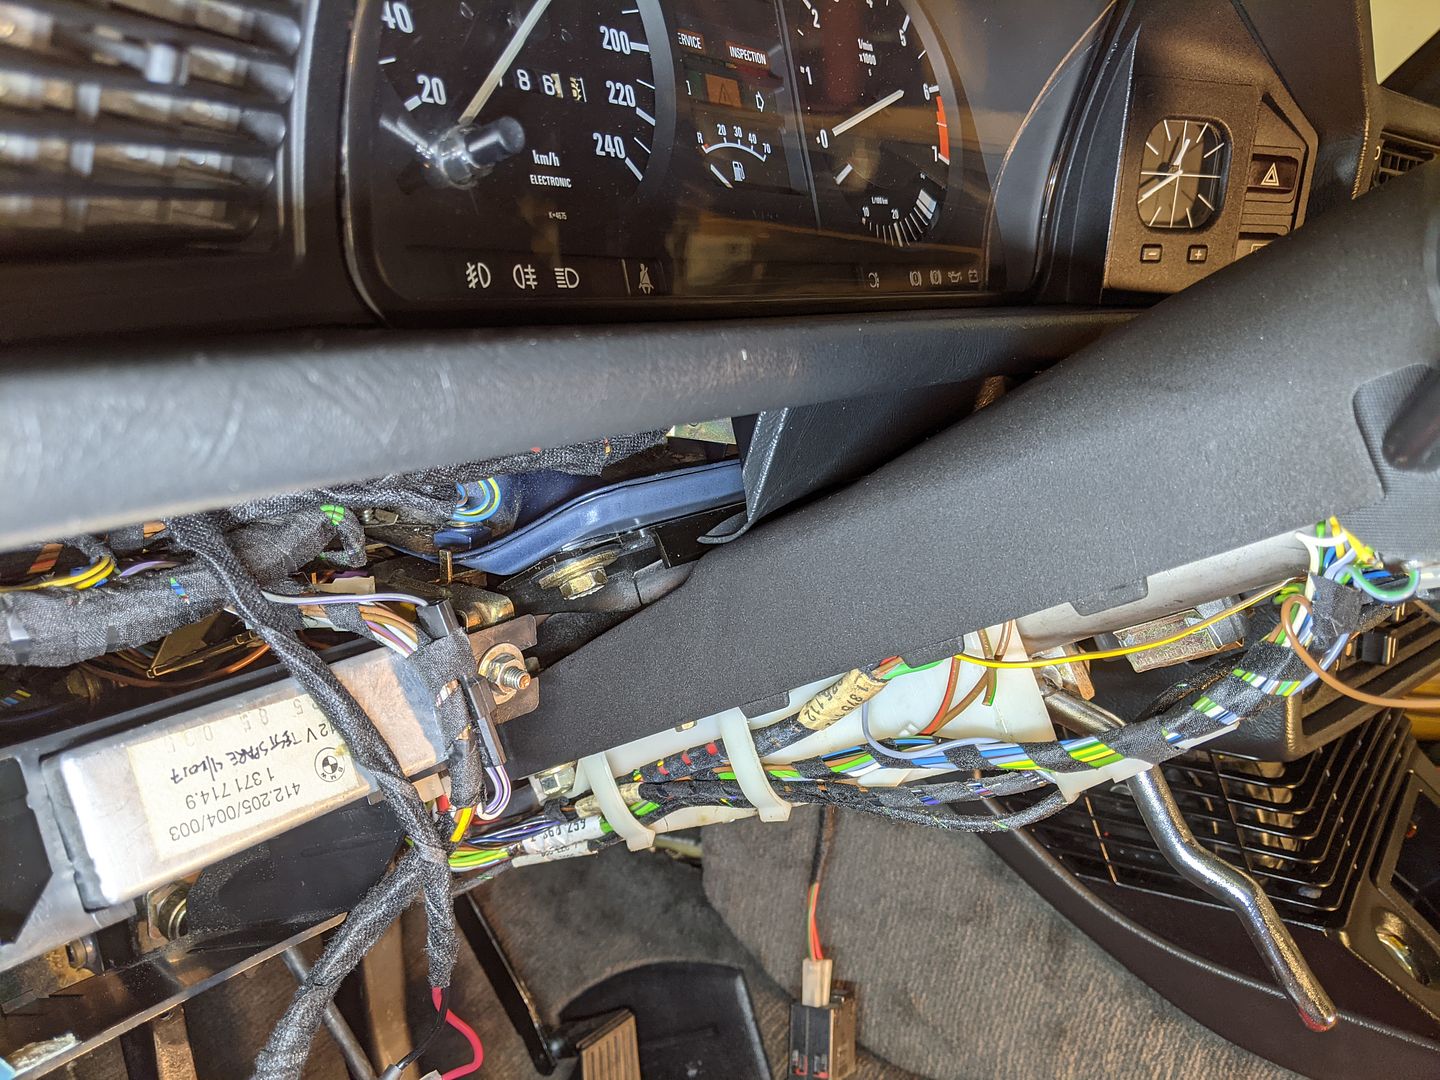
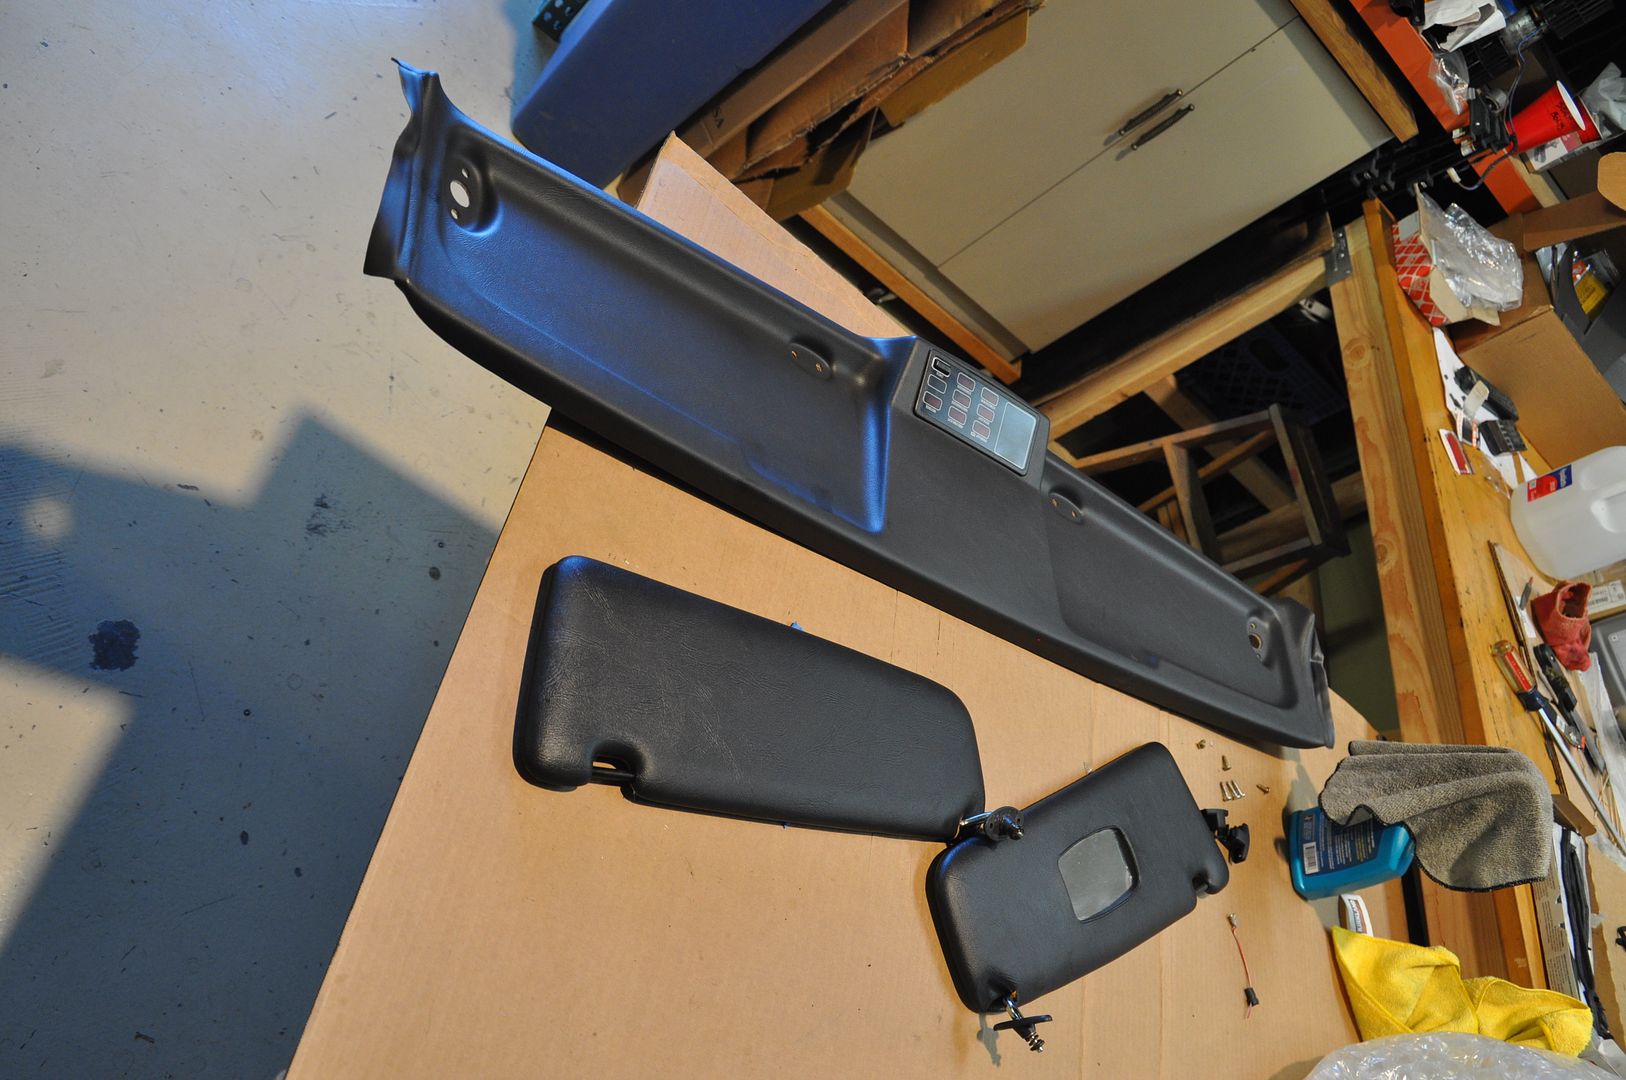
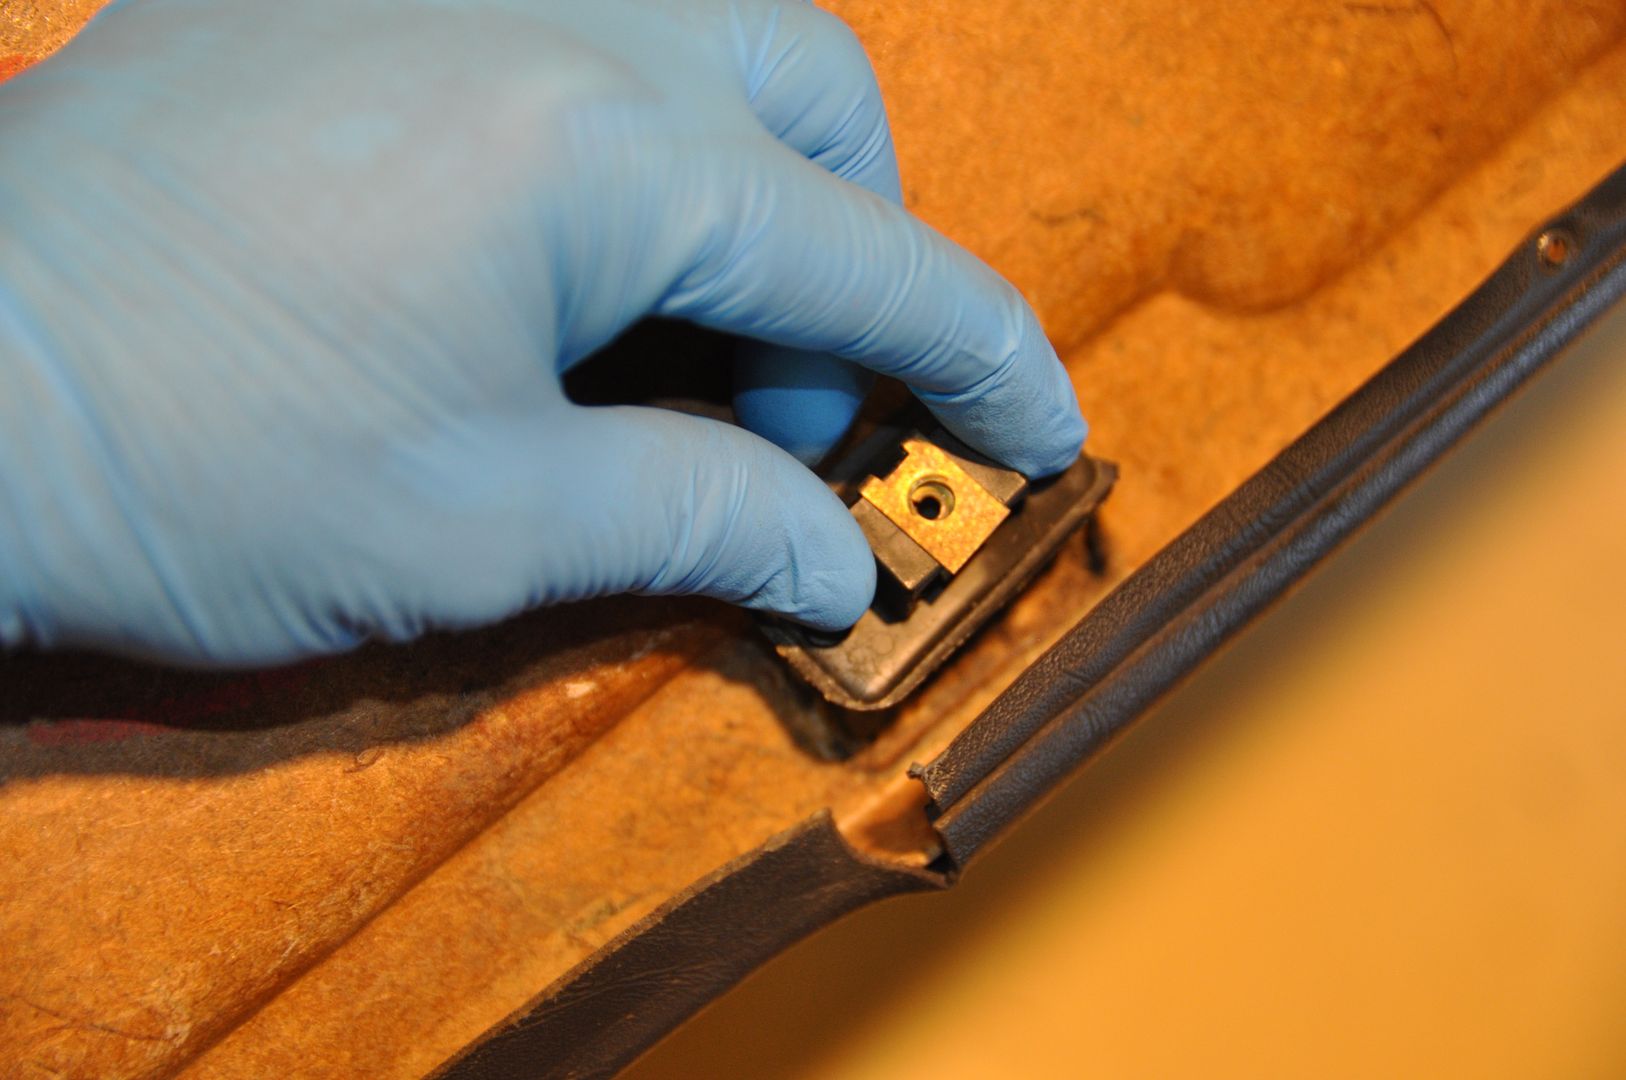
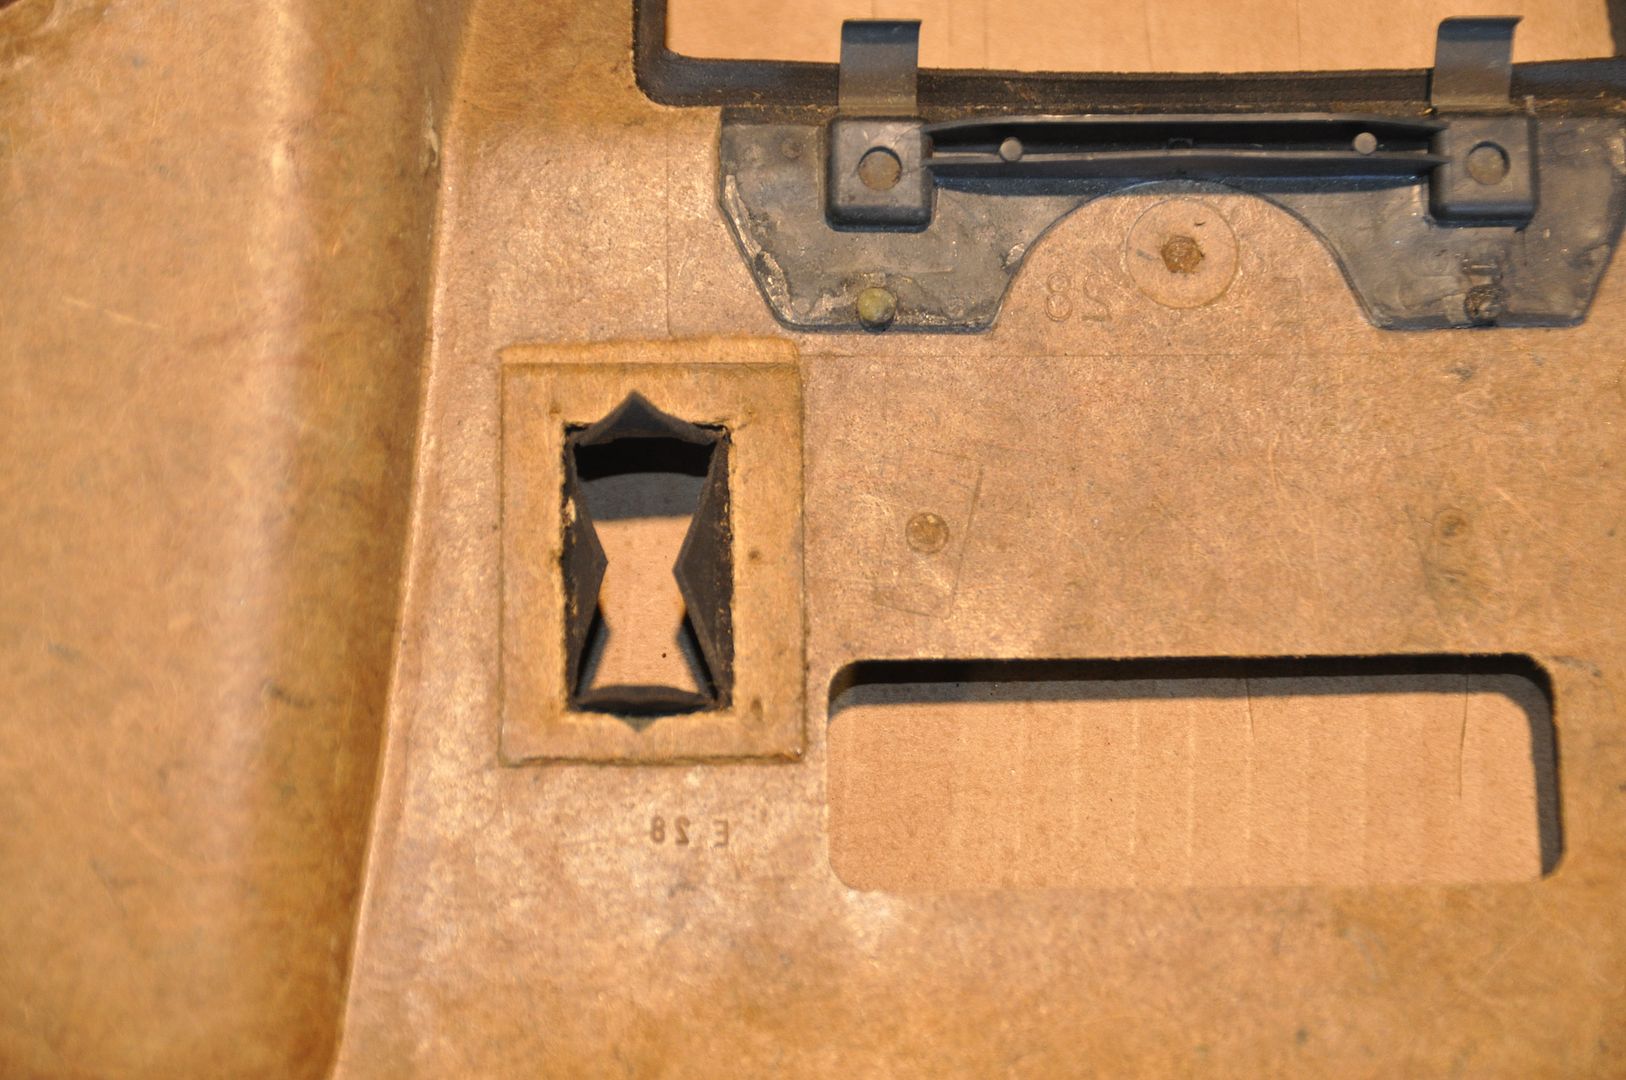
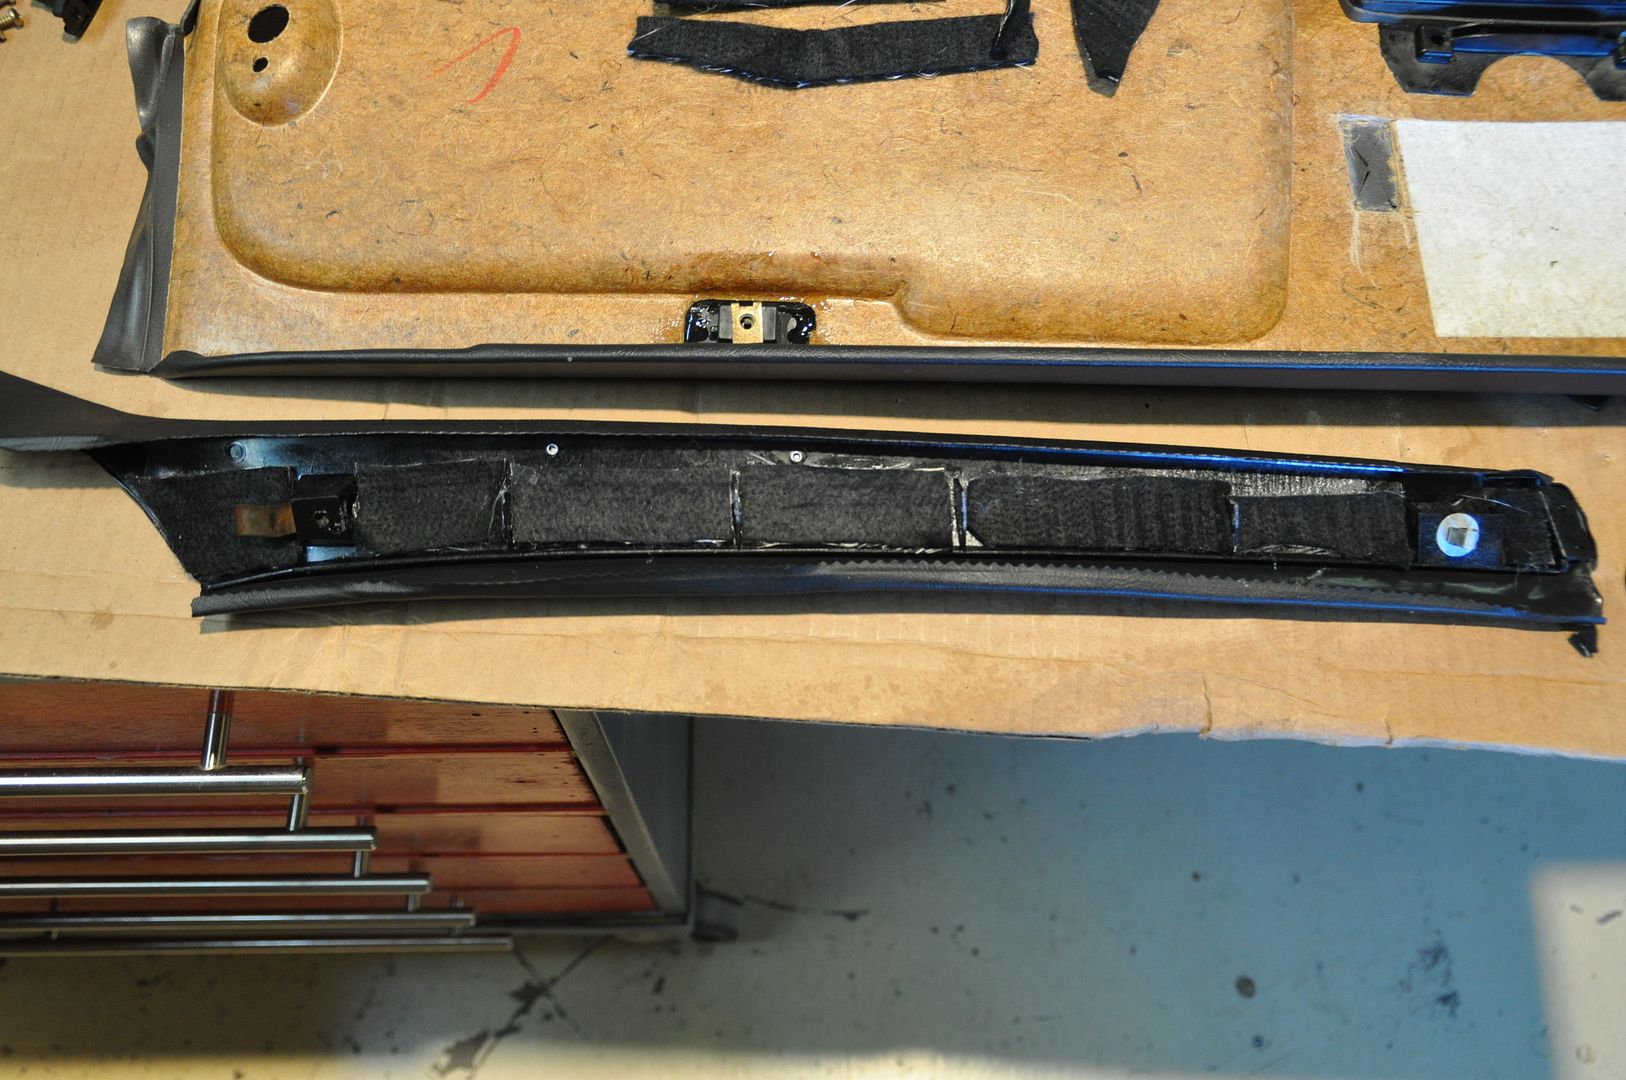
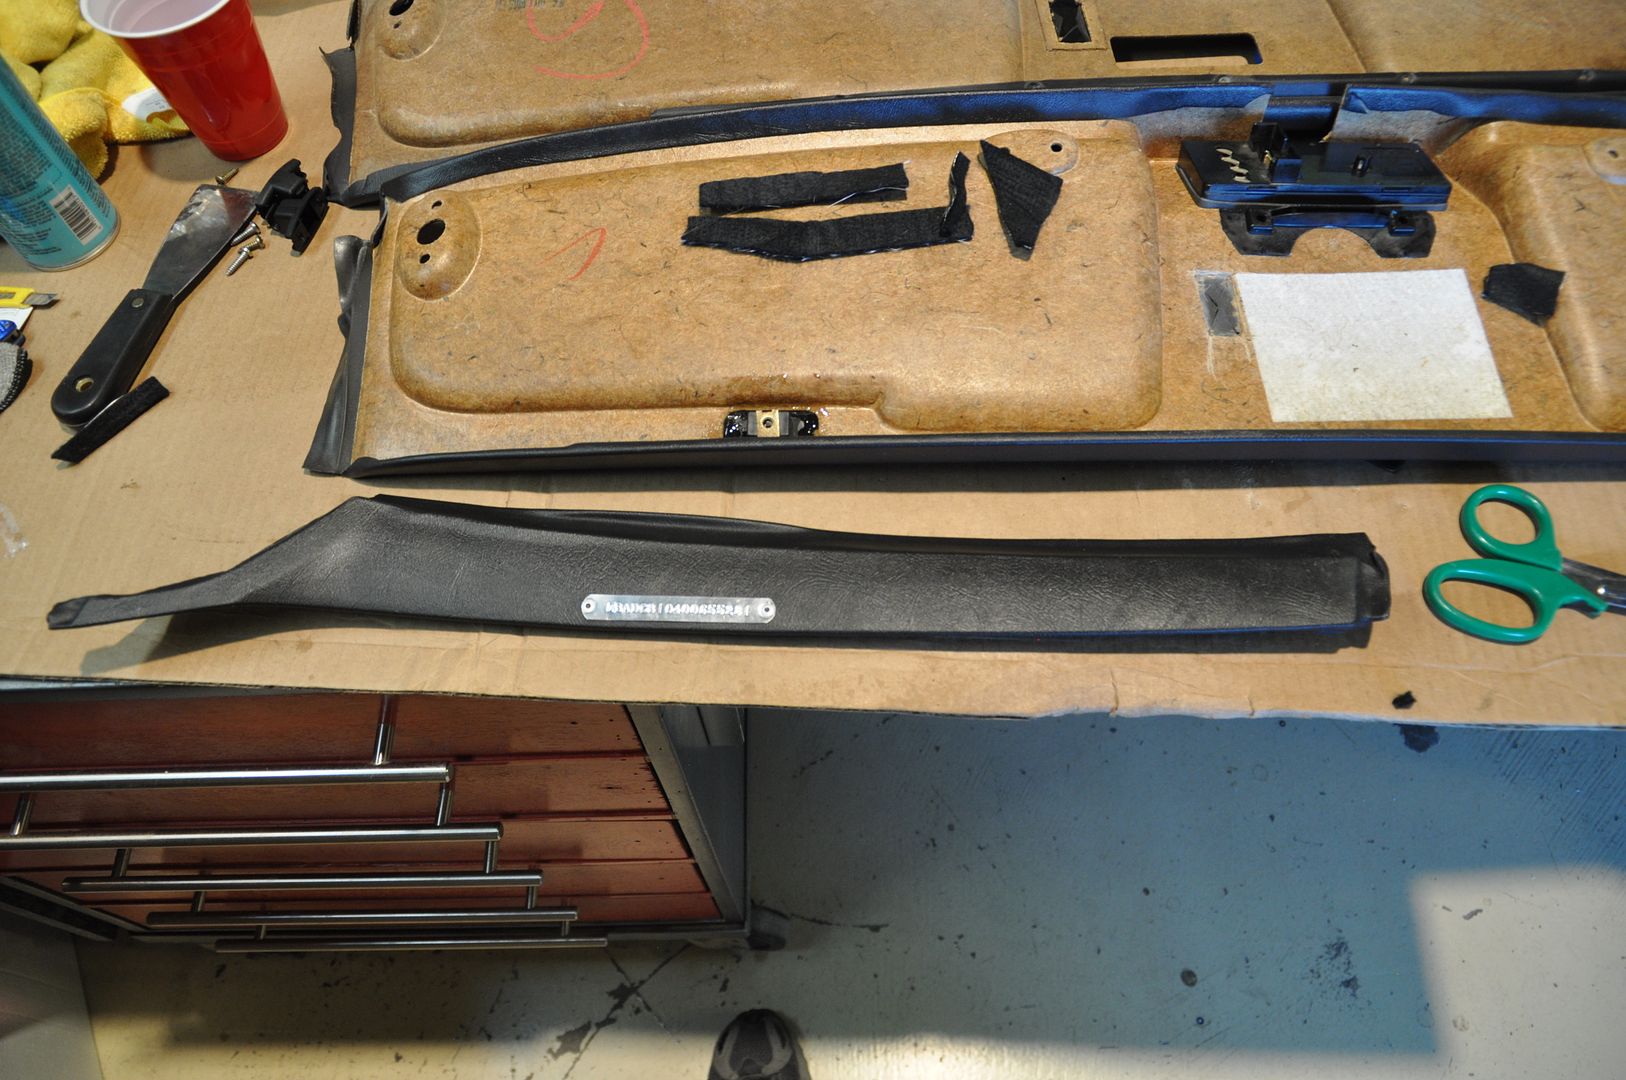
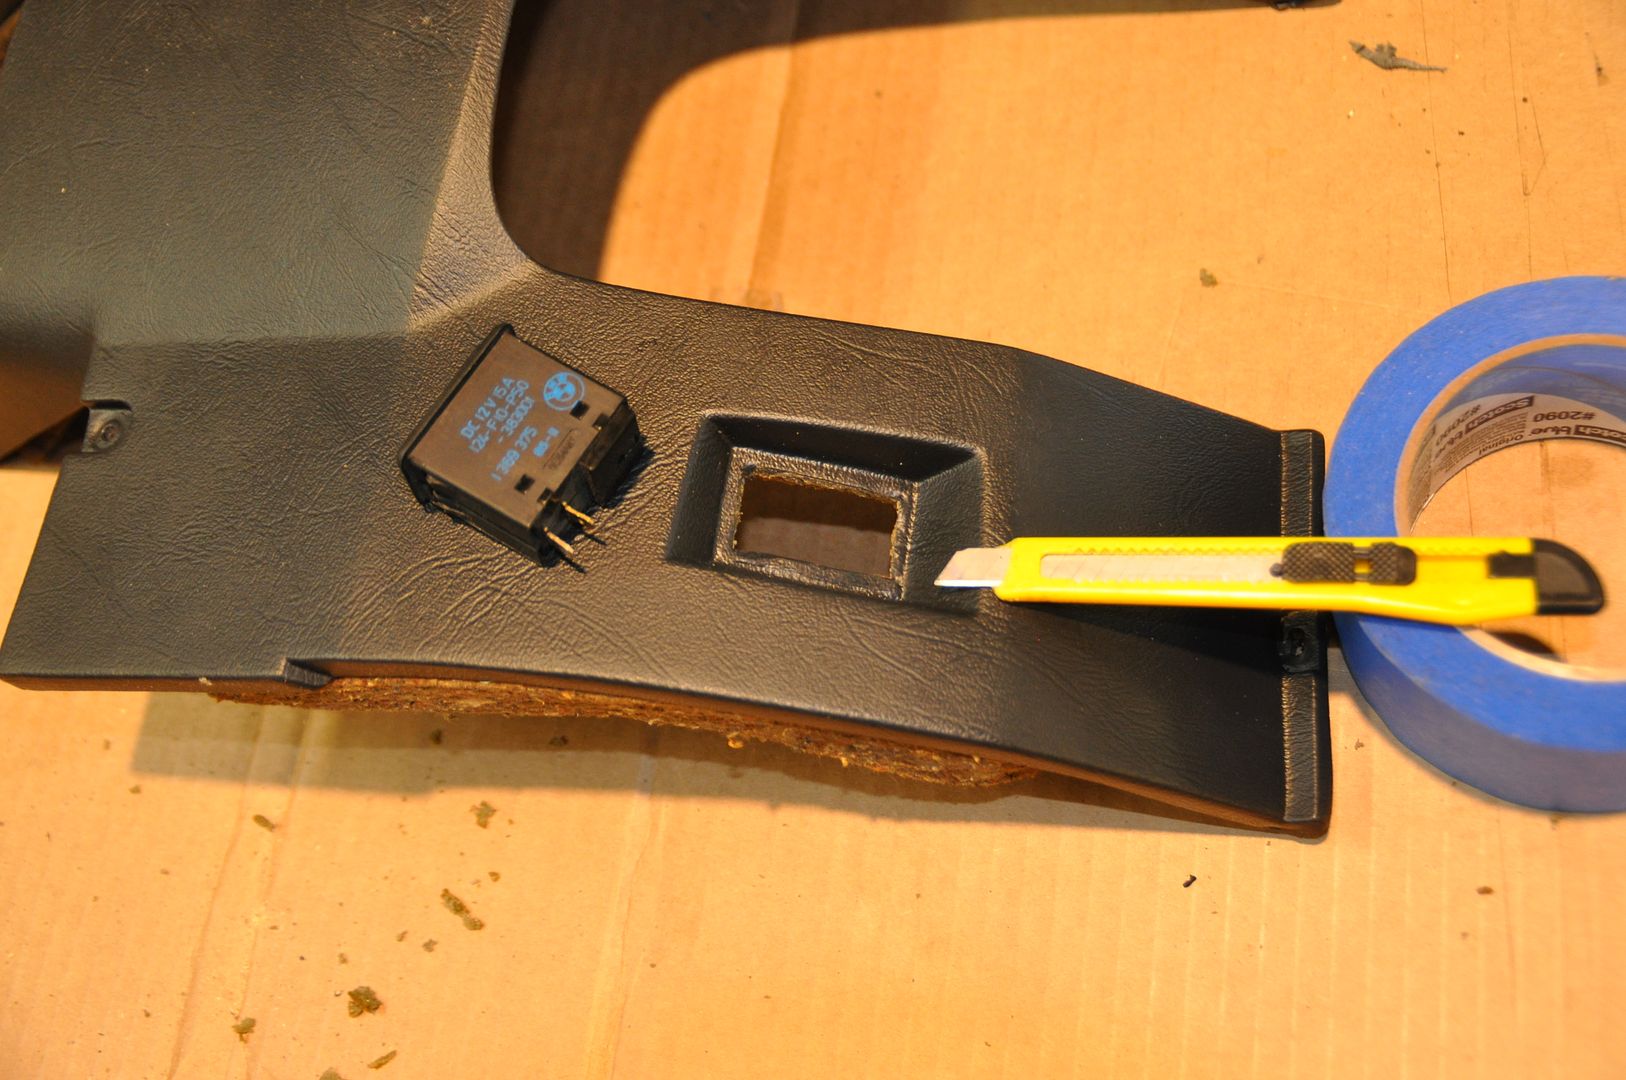
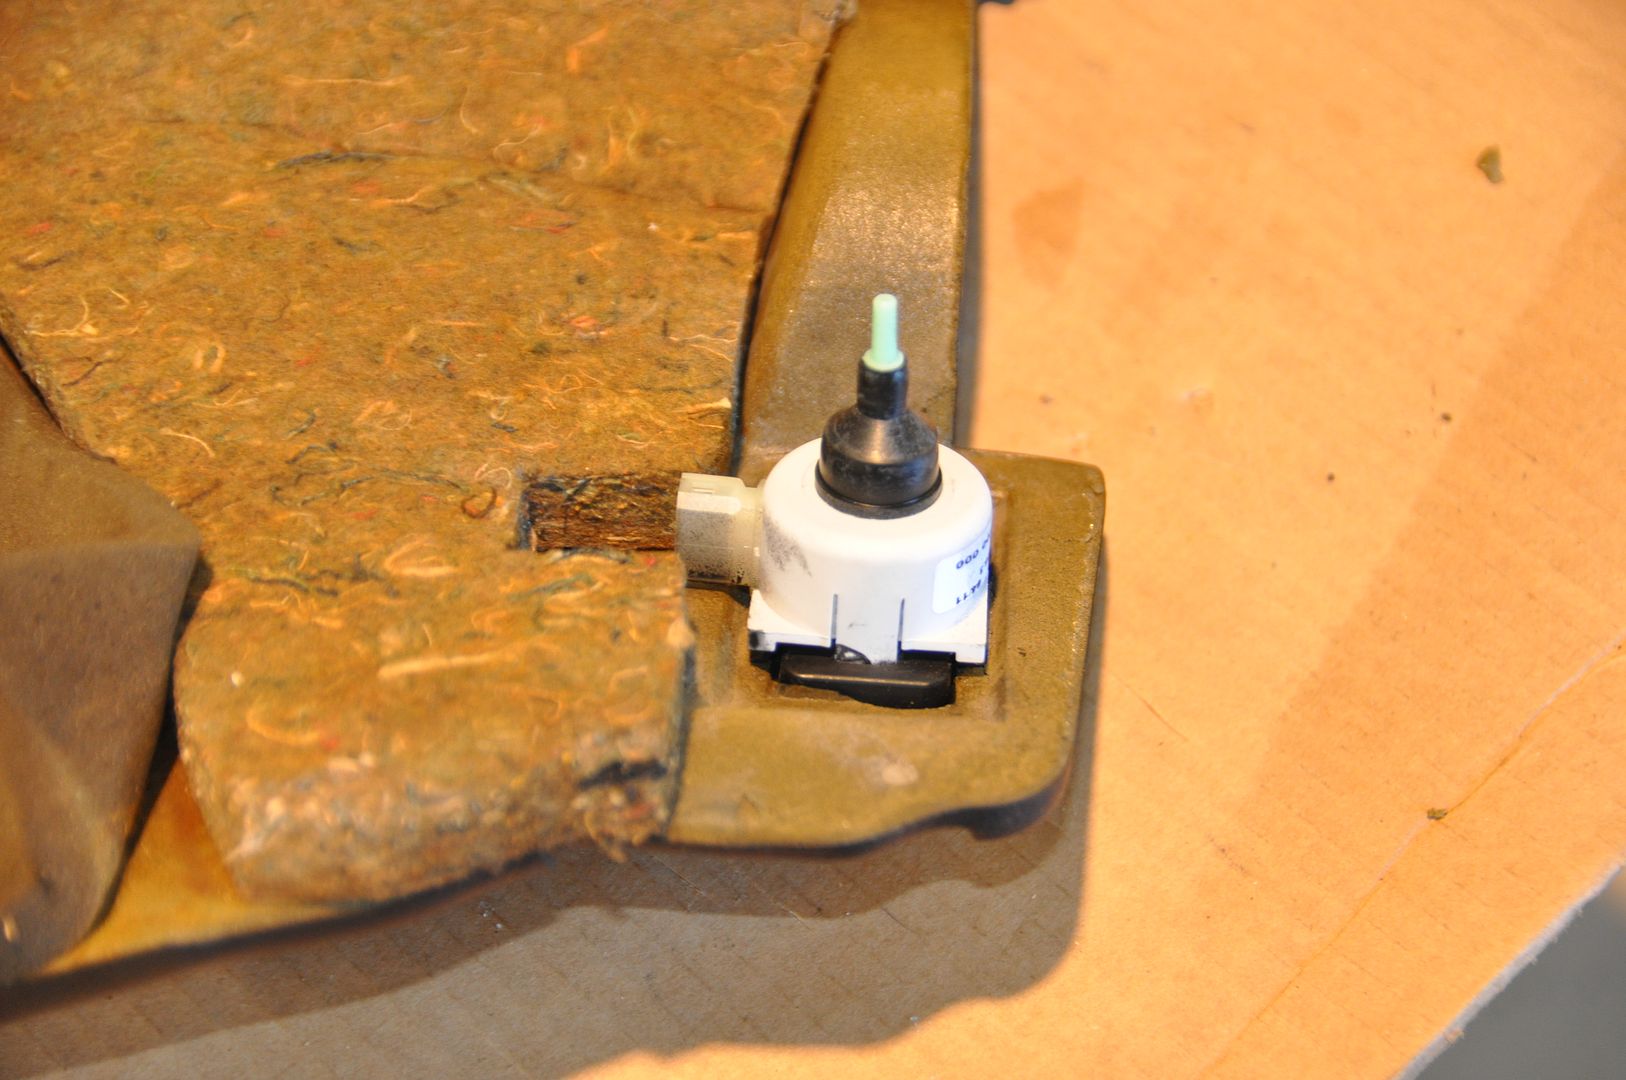
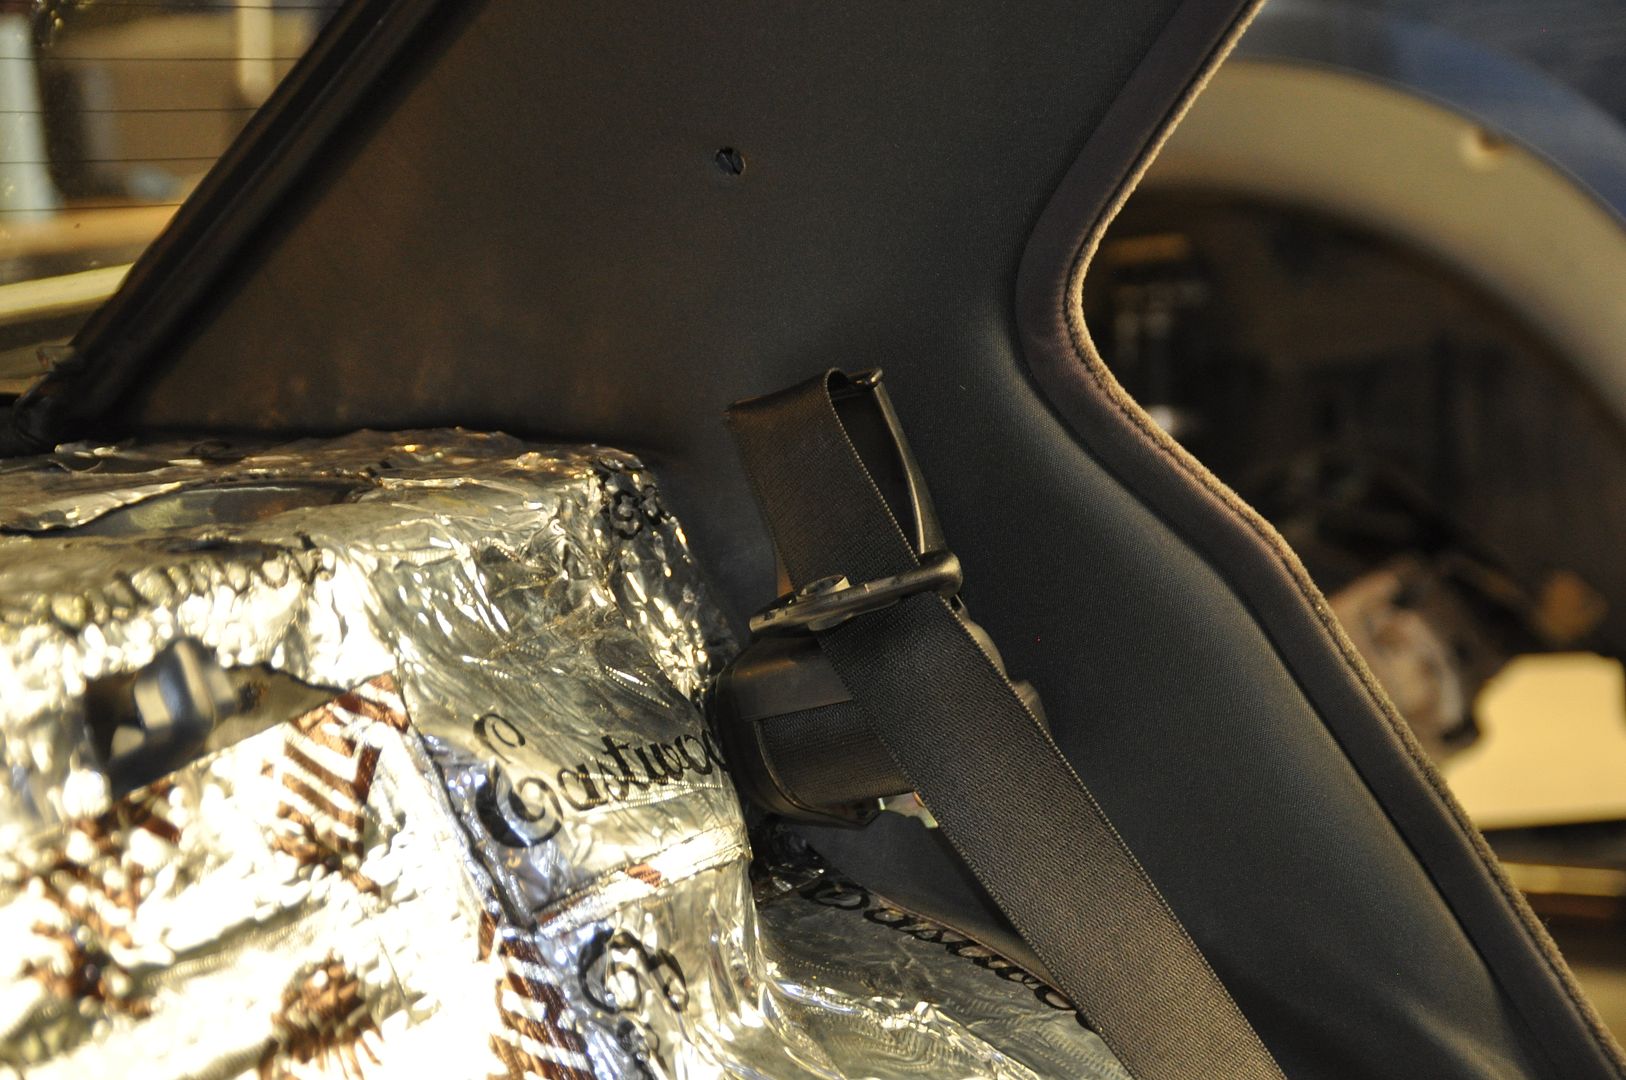
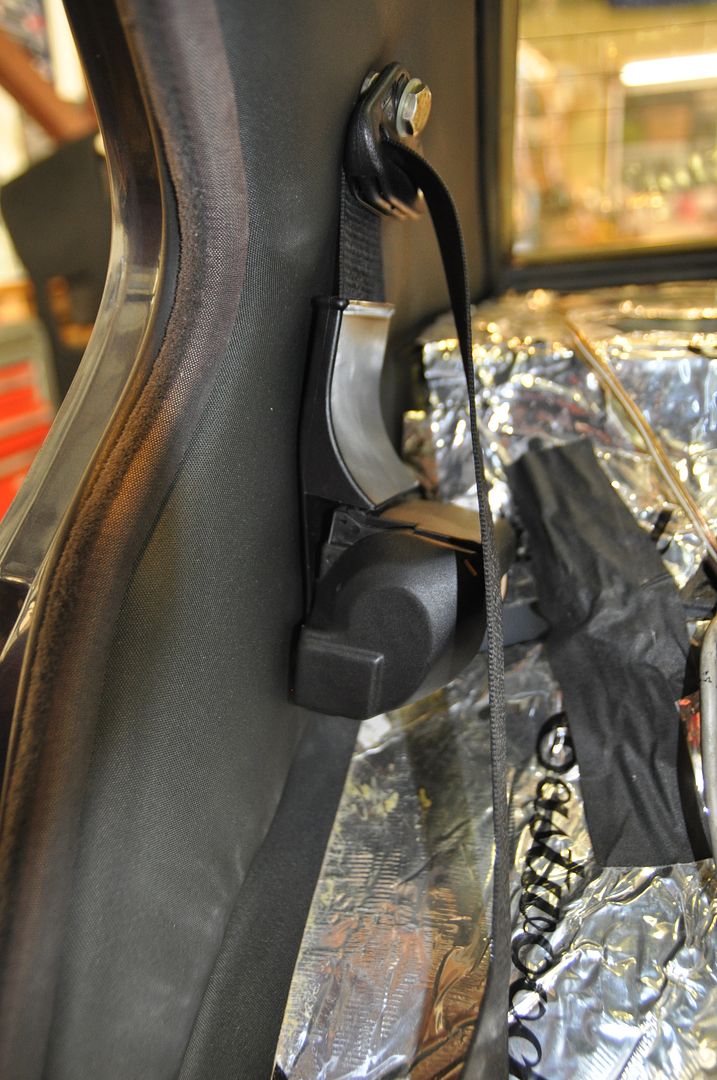
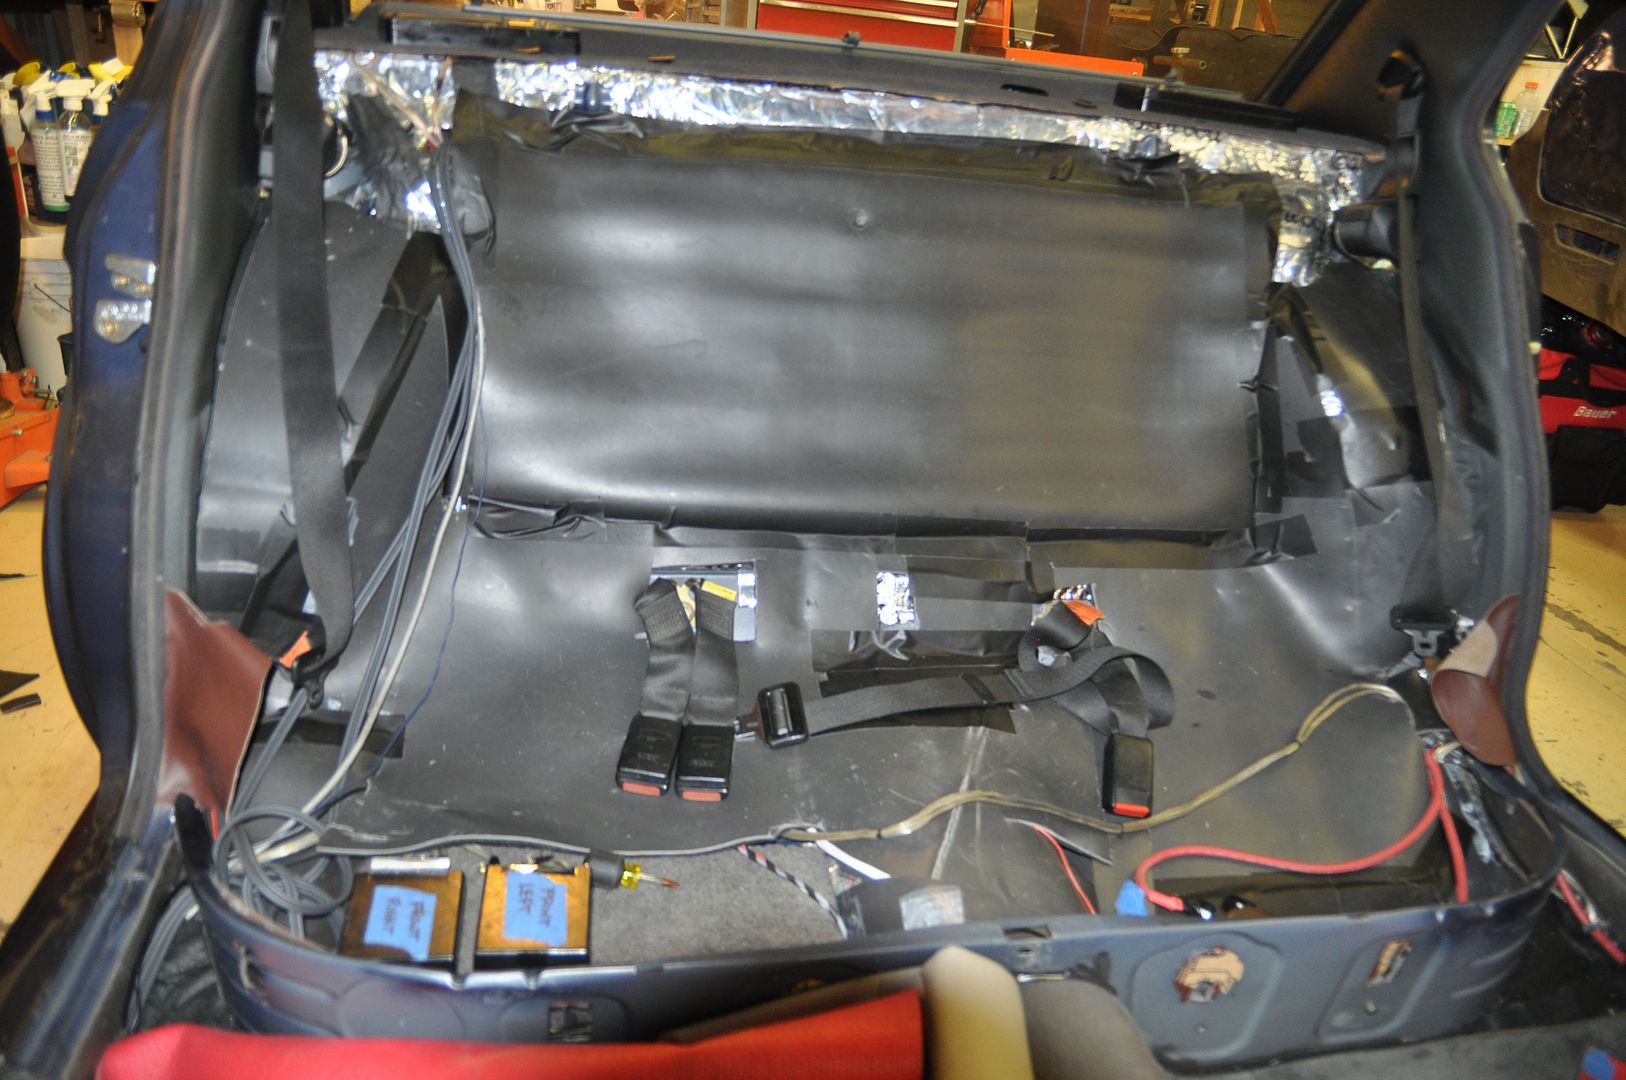
Well, while I was making significant progress in the first day and half, it became painfully obvious there was no way I was going to finish with time to get the car ready. This was not helped by even the smallest things fighting me all along the way. I had to make the decision Sunday that this was it, it was not going to be ready and to take a step back, regroup and instead focus on what was left, what I was leaving out due to tight schedule and plot a new schedule for completion. In this case, pushing everything to November 6th and the SoCal Vintage BMW Meet was a logical choice. I have been receiving very sage wisdom from lots of people saying don’t impose artificial deadlines on projects like these, and while I agree with that, I also know myself and know that I need a deadline structure otherwise this project will go on forever. While it is looking like 2021 isn’t shaping up to a whole lot better car-wise than the previous year with not a whole lot more on the calendar (at least here in the west), I do want this car ready for the new year in 2022.
So,there we stand. I spent this Labor Day weekend getting the E39 ready for a road-trip to Reno, NV. The M535i sits idle until I'm ready to dive back in (this Saturday) and re-start my Dining Room project (this Sunday;that was non-negotiable with the wife). I will pick up where I left off with my area punch lists in a few weeks and hopefully not take too long with the next update (which should be the final).


