OK, one more time...'72 '02tii refresh - 12/12 update
Re: OK, one more time...'72 '02tii refresh - 4/22 update
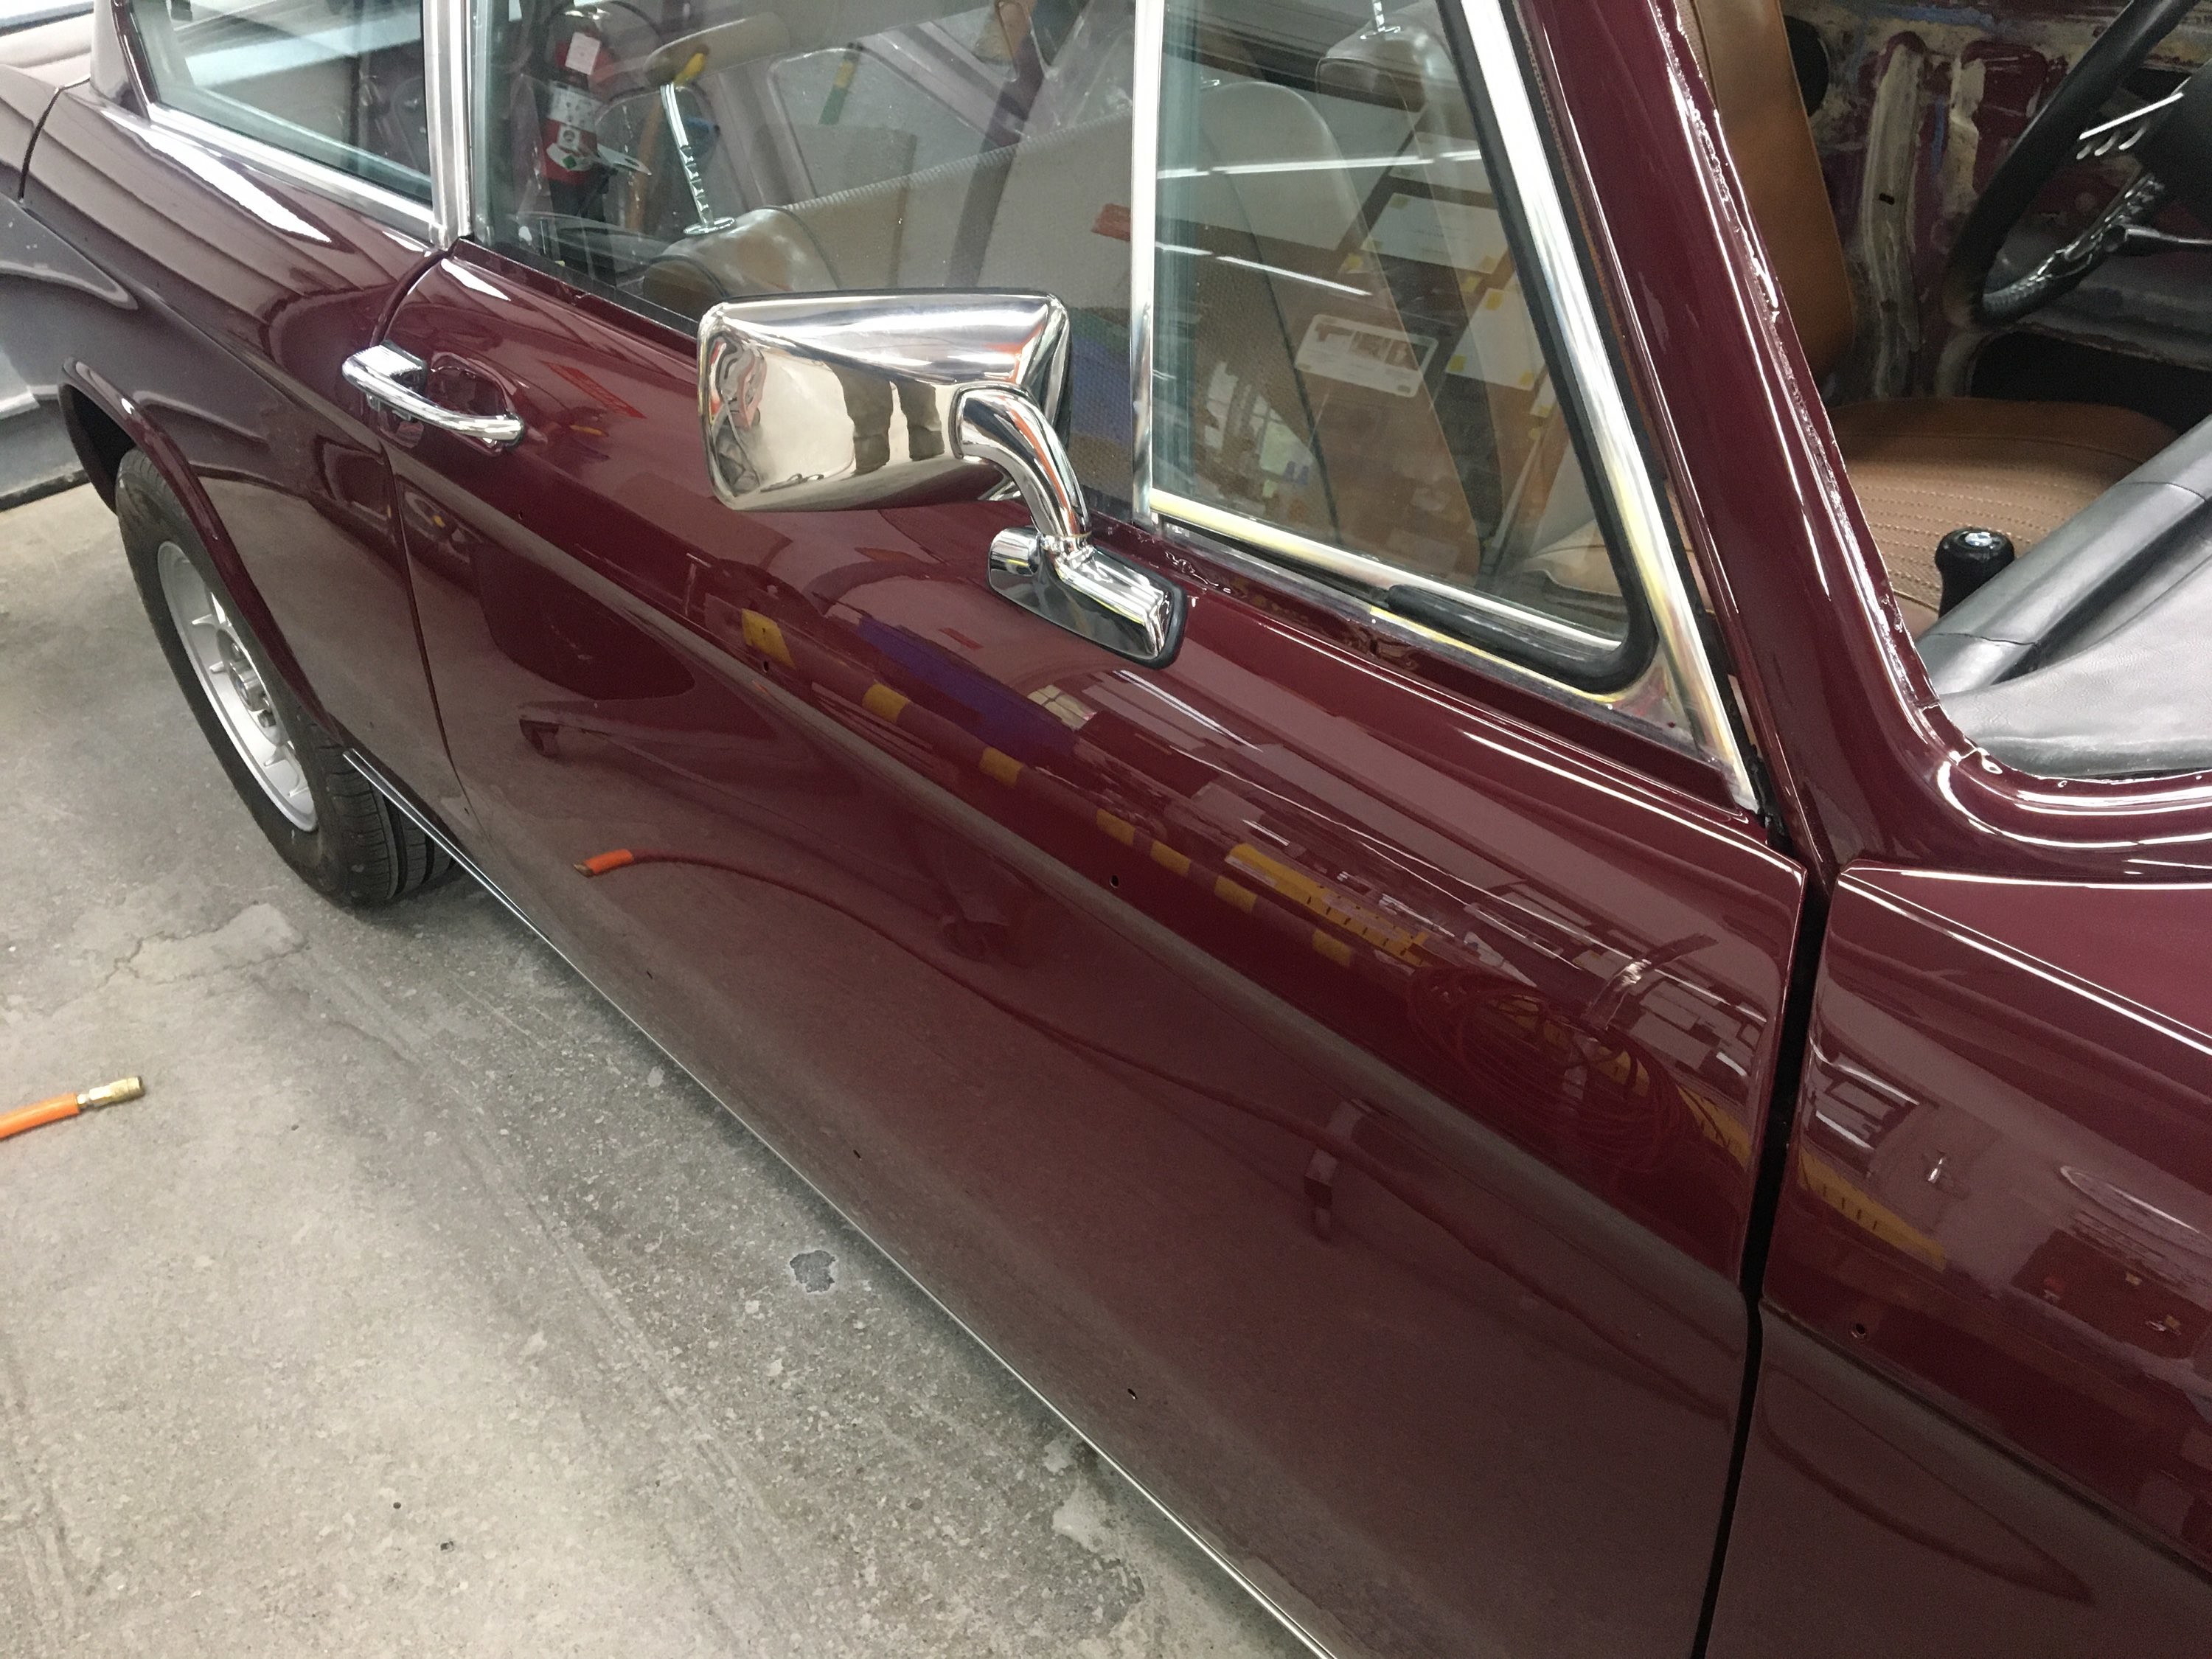
I stopped by the paint shop to see the '02 with the doors, hood, and trunk lid now all attached...looks terrific! The color is fantastic... so rich and deep already, and it's still not buffed out!. Things have slowed down regarding progress, due to an influx of regular non-project work at this shop, but I expect to pick the car up sometime in early May, after the under-coating is completed and repairs to the spare tire well are done.
Since the headliner guy isn't available until later in May or early June, I will take the car in early May, with the windows still out, to my mechanic's shop for the install of suspension parts, e.g., shocks, struts, springs, bushings, etc., and then back to my house/garage for re-assembly of all the trim. I'll then return the car to the paint shop for the headliner replacement and installation of the glass. Crazy schedule, but trying to keep things moving, while using the best people I know for the jobs. My goal is to have the car completed and on the road for Vintage at Saratoga in the Fall.... at least that's the plan
P4210198 by Roy Wicklund, on Flickr
P4210199 by Roy Wicklund, on Flickr
P4210200 by Roy Wicklund, on Flickr
P4210201 by Roy Wicklund, on Flickr
P4210202 by Roy Wicklund, on Flickr
Re: OK, one more time...'72 '02tii refresh - 4/22 update
Looking very nice!
Re: OK, one more time...'72 '02tii refresh - 4/22 update
She's all buffed out and the under-coating has been applied...yeah! I'm picking her up at the paint shop next Tuesday to have some new suspension bits installed at another shop, then to my garage for re-assembly of all the trim parts, etc. Still looking for a local headliner guy, and after that (assuming success with install of the NOS headliner) back to the paint shop for install of the front and back windscreens. Making progress... every so slow, but steady!
-RoyW
IMG_8579 by Roy Wicklund, on Flickr
IMG_8578 by Roy Wicklund, on Flickr
IMG_8577 by Roy Wicklund, on Flickr
IMG_8576 by Roy Wicklund, on Flickr
704981000(1) by Roy Wicklund, on Flickr
704980899(1) by Roy Wicklund, on Flickr
704980863(1) by Roy Wicklund, on Flickr
705528511 by Roy Wicklund, on Flickr
705528496 by Roy Wicklund, on Flickr
Last edited by RoyW on May 13, 2023 9:10 AM, edited 1 time in total.
Re: OK, one more time...'72 '02tii refresh - 5/12 update
Looks incredible!
Re: OK, one more time...'72 '02tii refresh - 5/12 update
Mmmmm...Malaga...yummy.
Re: OK, one more time...'72 '02tii refresh - 6/10 update
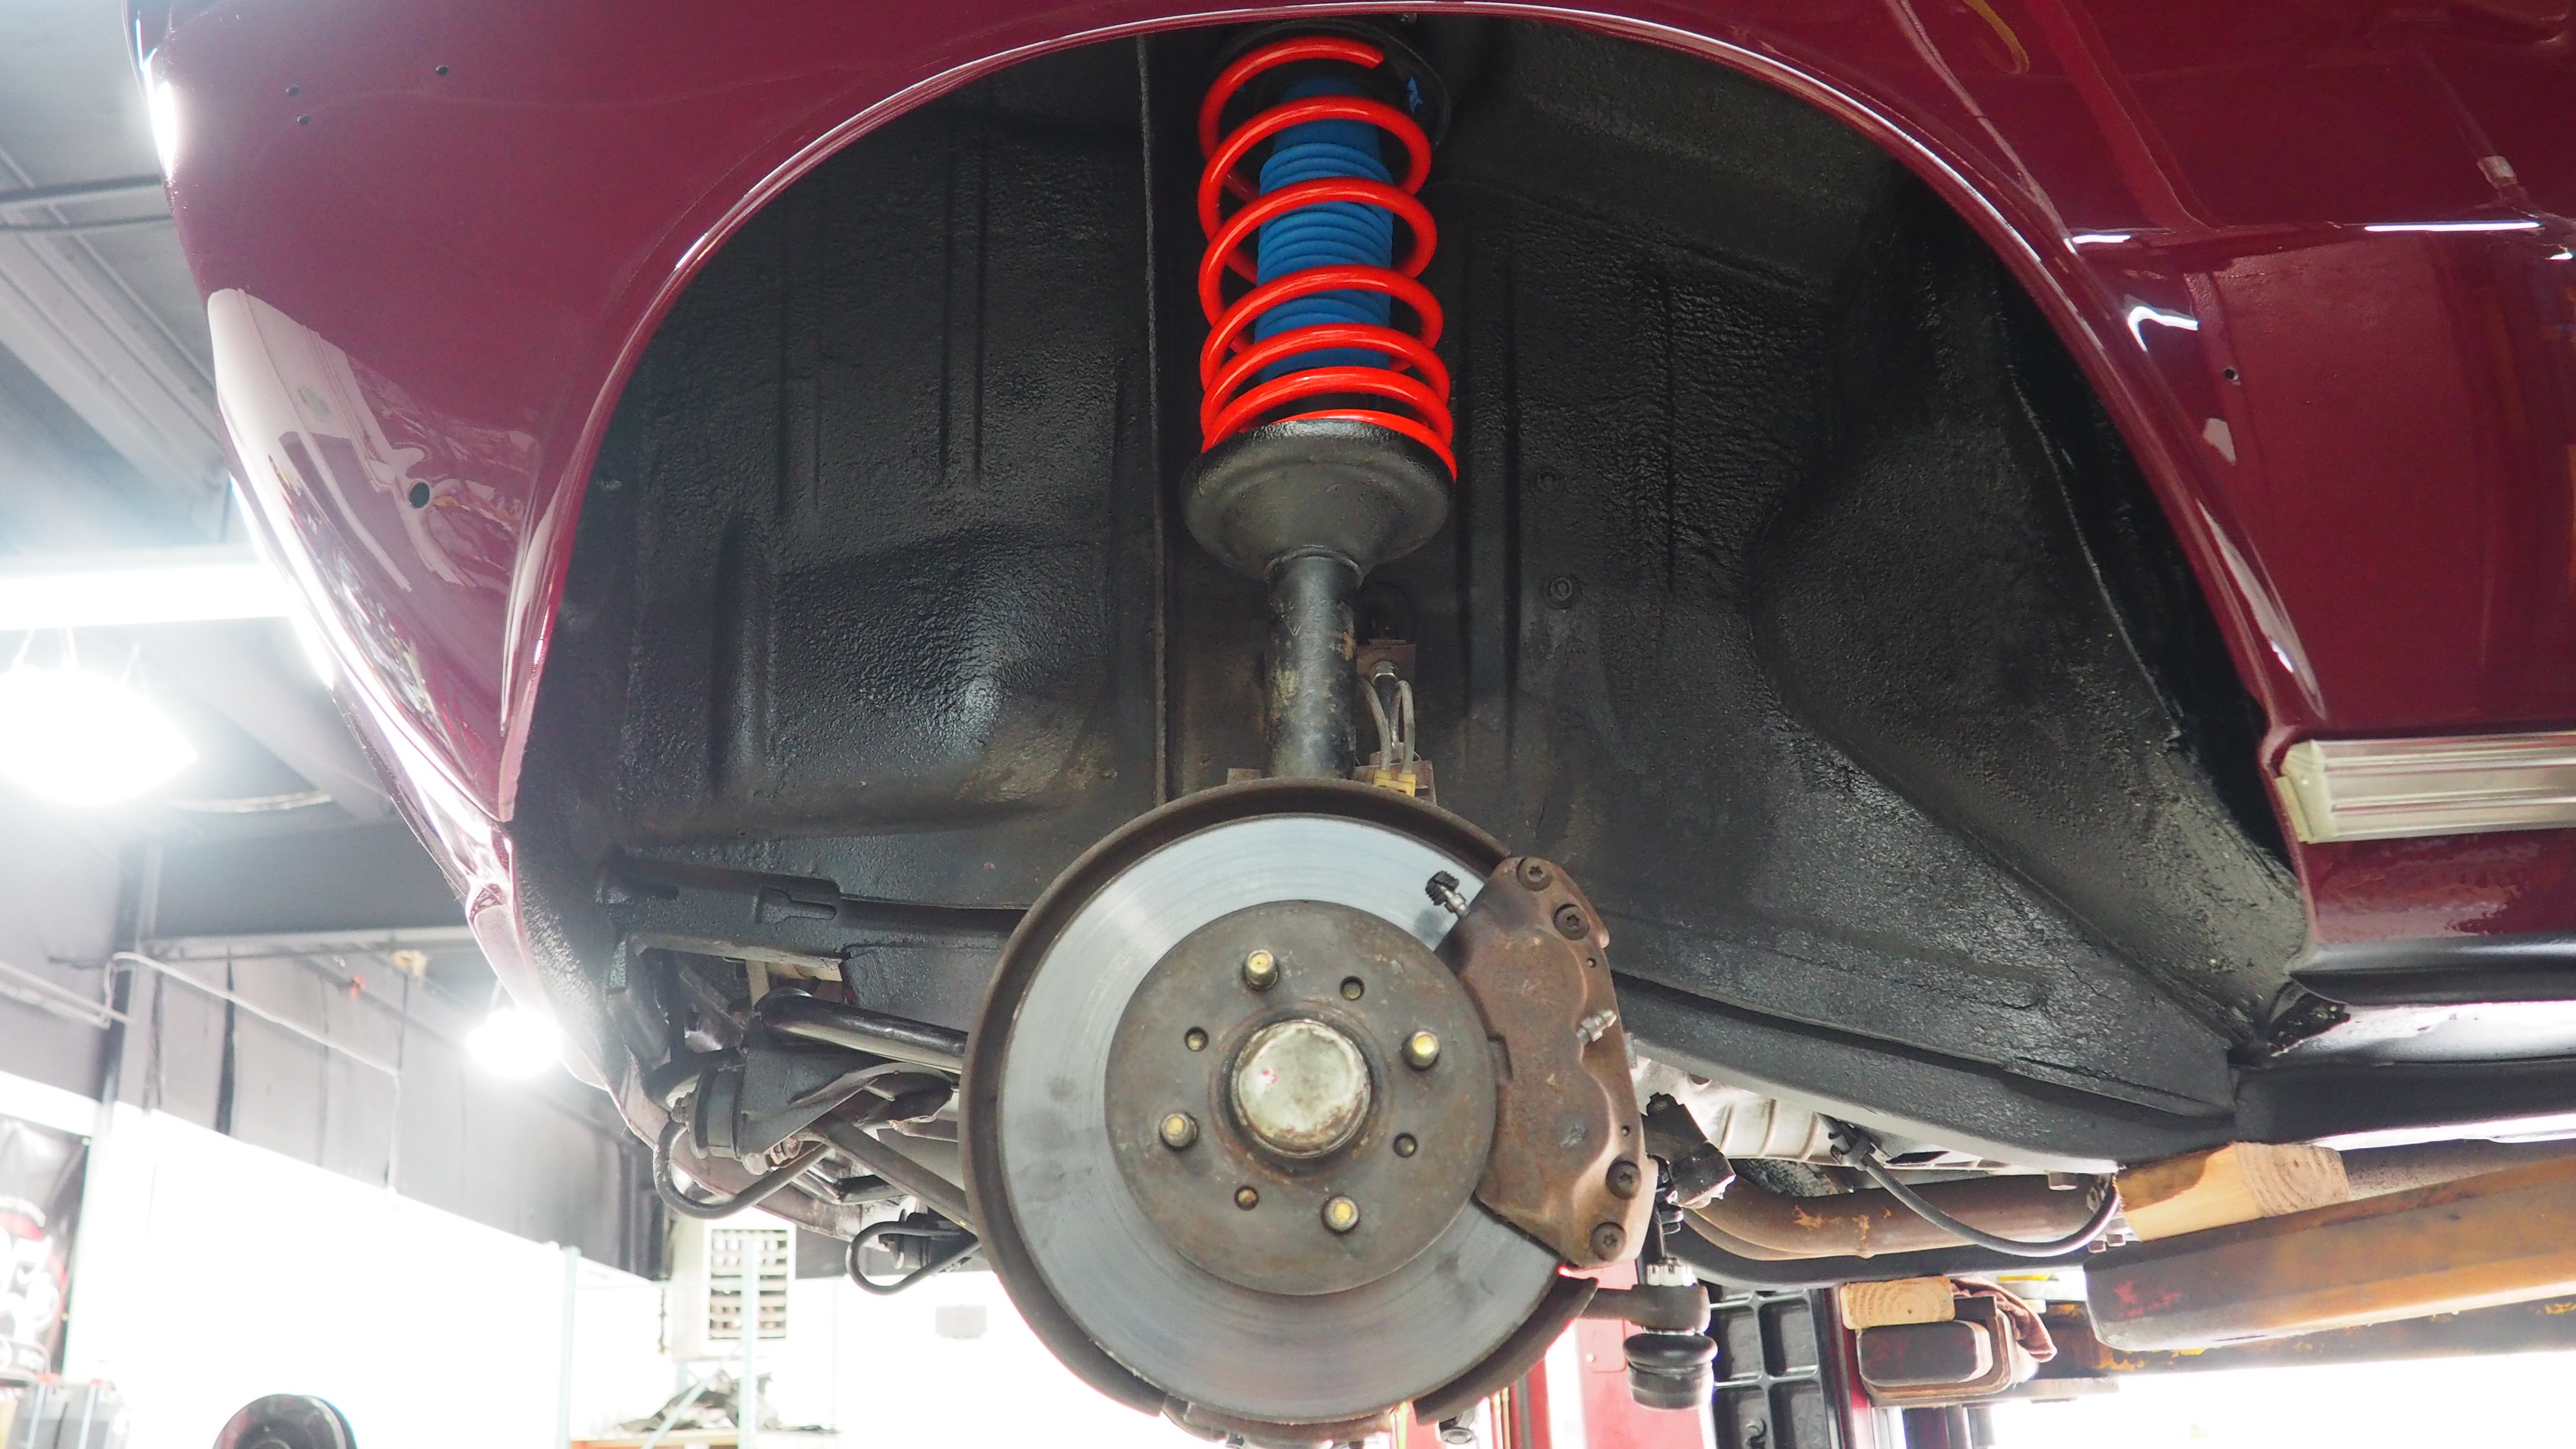
After a number of months of exceptional body & paintwork, I picked up the 2002 from the paint shop a couple weeks ago. From there, I trailered it straight to my mechanics shop for installation of new springs, shocks/struts, sway bars, and all bushings which I had purchased from BluntTech in the winter. While it was at the shop for a couple days, I stopped by to see how things were going and I took a few pictures (they were getting ready to install the rear suspension parts, while the fronts were already done, as you’ll see from the pictures below). At some point, I need to get the car back up on a lift and take more pictures of all the new suspension parts, and the fresh under-coating!
The car is now in my garage and next on the agenda is the re-installation of all the trim and other exterior parts, e.g., lights, bumpers, grills, rubber door & trunk gaskets, etc., that were removed for the body & paint phase. Fortunately, I have an experienced friend who will help me with this and I’m hoping we’ll complete this phase by the end of June or early July.
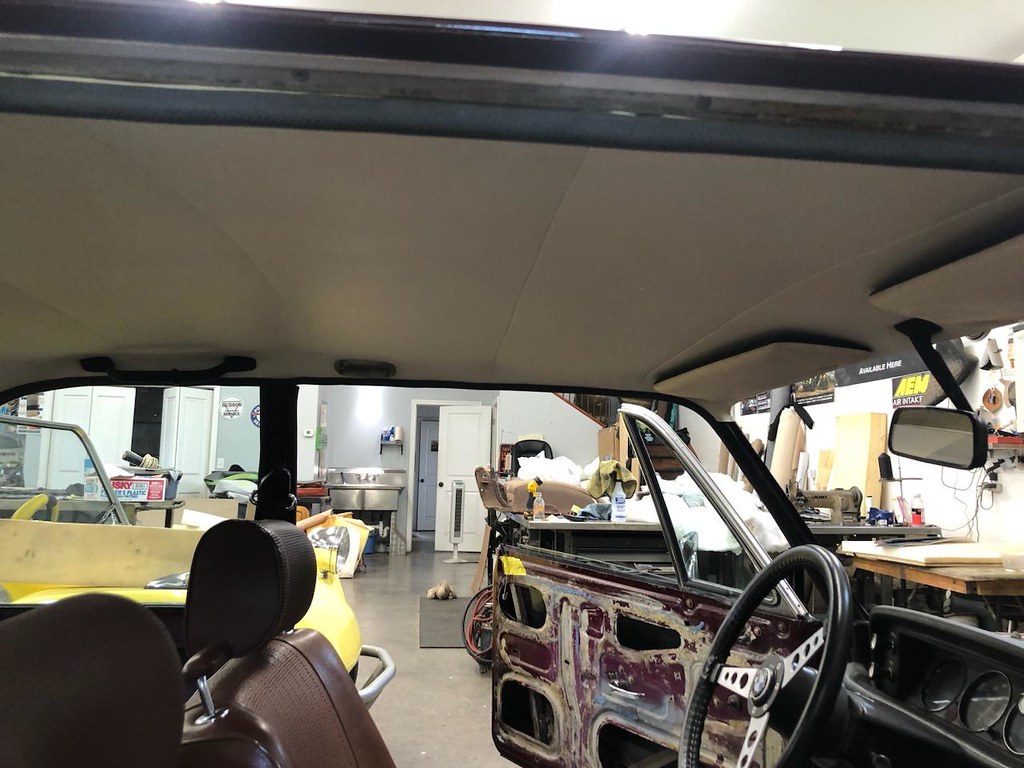
I was finally successful in finding a quality upholstery shop to install in the NOS headliner (in CT) and I have that scheduled for mid-July. Then the front and rear windows will be installed back at the paint shop (MA)…. my truck & trailer will get a real workout with this NY-CT-MA-NY travel itinerary!! That should finish up the exterior if all goes as planned.
Then, on to the interior re-install and some under the hood clean-up work… planning August for that phase. I’m sure there will be a few glitches along the way, so I’m trying not to get too far in front of myself, as past projects have taught me not to rush things or expect things to go as planned… they never do!
-RoyW
P5220223 by Roy Wicklund, on Flickr
P5220224 by Roy Wicklund, on Flickr
P5220225 by Roy Wicklund, on Flickr
P5220226 by Roy Wicklund, on Flickr
P5220228 by Roy Wicklund, on Flickr
-
- Posts: 1648
- Joined: Nov 08, 2011 11:02 PM
- Location: West Bro, MA
Re: OK, one more time...'72 '02tii refresh - 6/10 update
Coming right along, and looking great!
Re: OK, one more time...'72 '02tii refresh - 7/16 update
I made some more progress over the past several weeks on re-assembly and other related tasks on my '72 2002tii. Special thanks to my friend, Phil, for helping with much of this work!
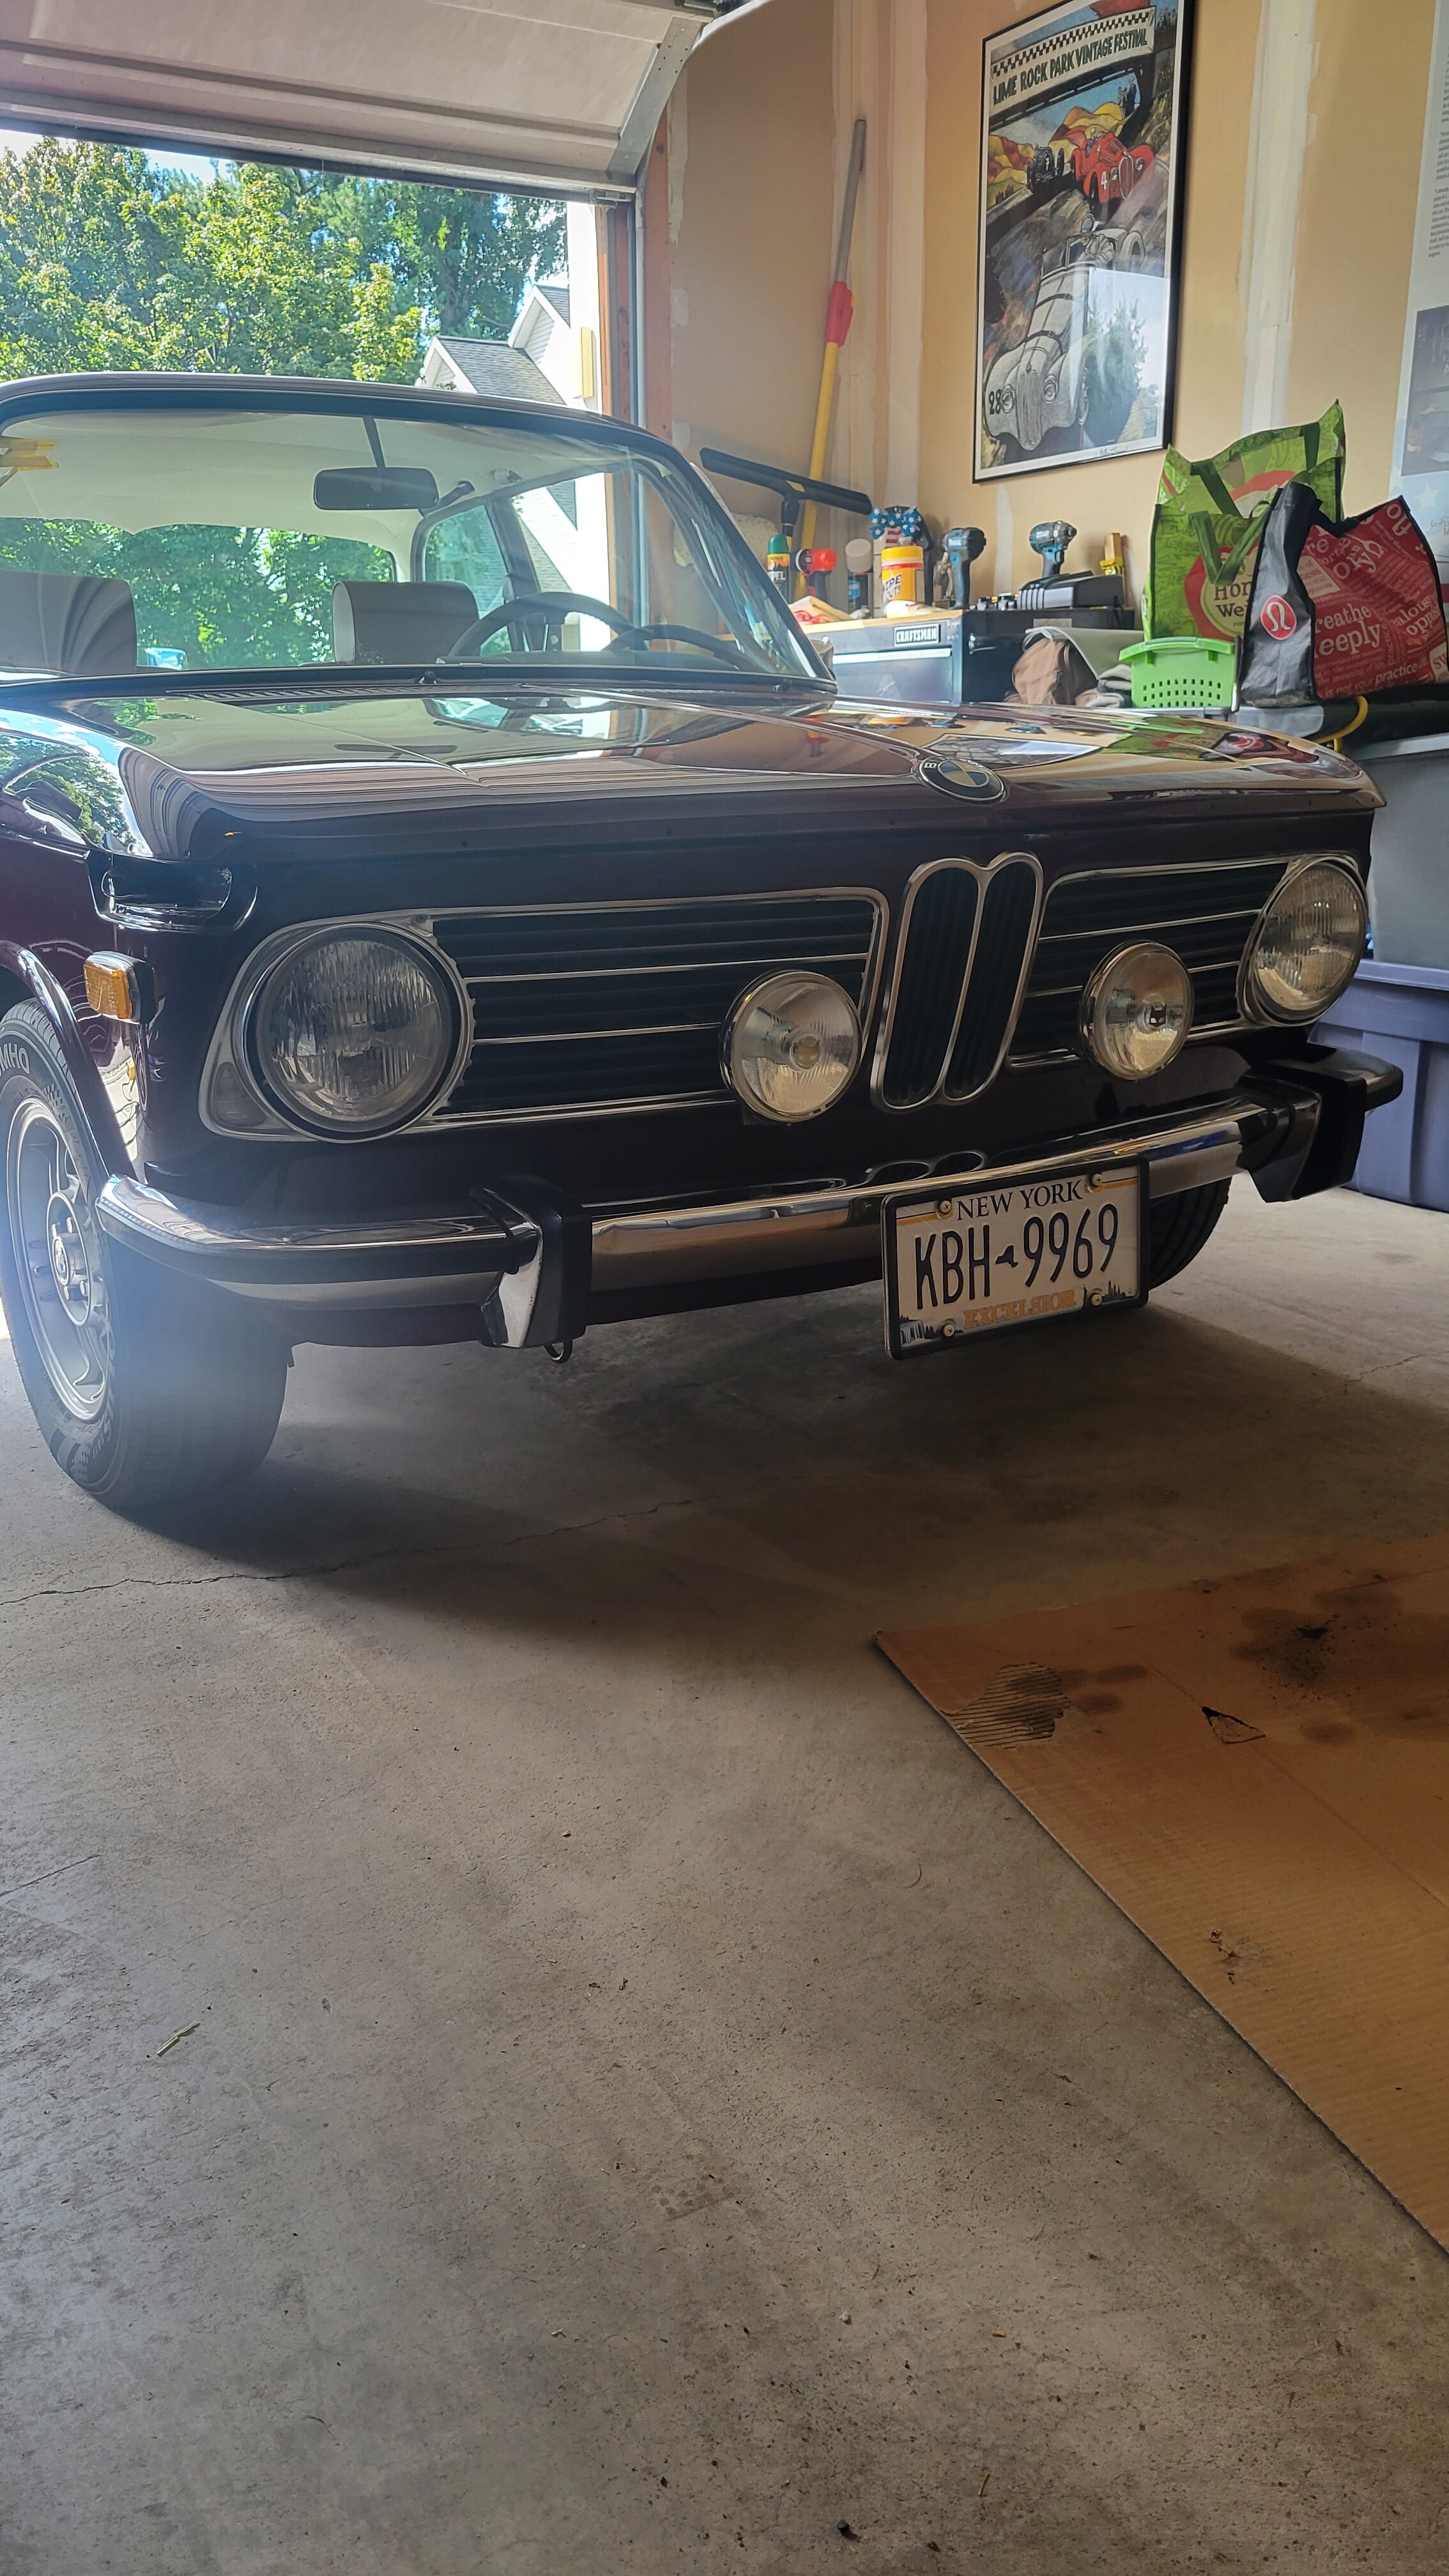
In summary, we got the rear bumper and trim on the car (except the belt trim, as that will be later). Also, we installed the front bumper (very scary proposition, what with fresh paint and not wanting to scratch anything) and the headlights, grills, and over-riders. The right-side grill is missing one of tabs that the screw goes thru to affix it to the body... so I need to figure out a solution for this problem (see pic of missing tab)?
Lastly, I installed new weather-stripping for the trunk... and that was a challenging project... lots of clips!!
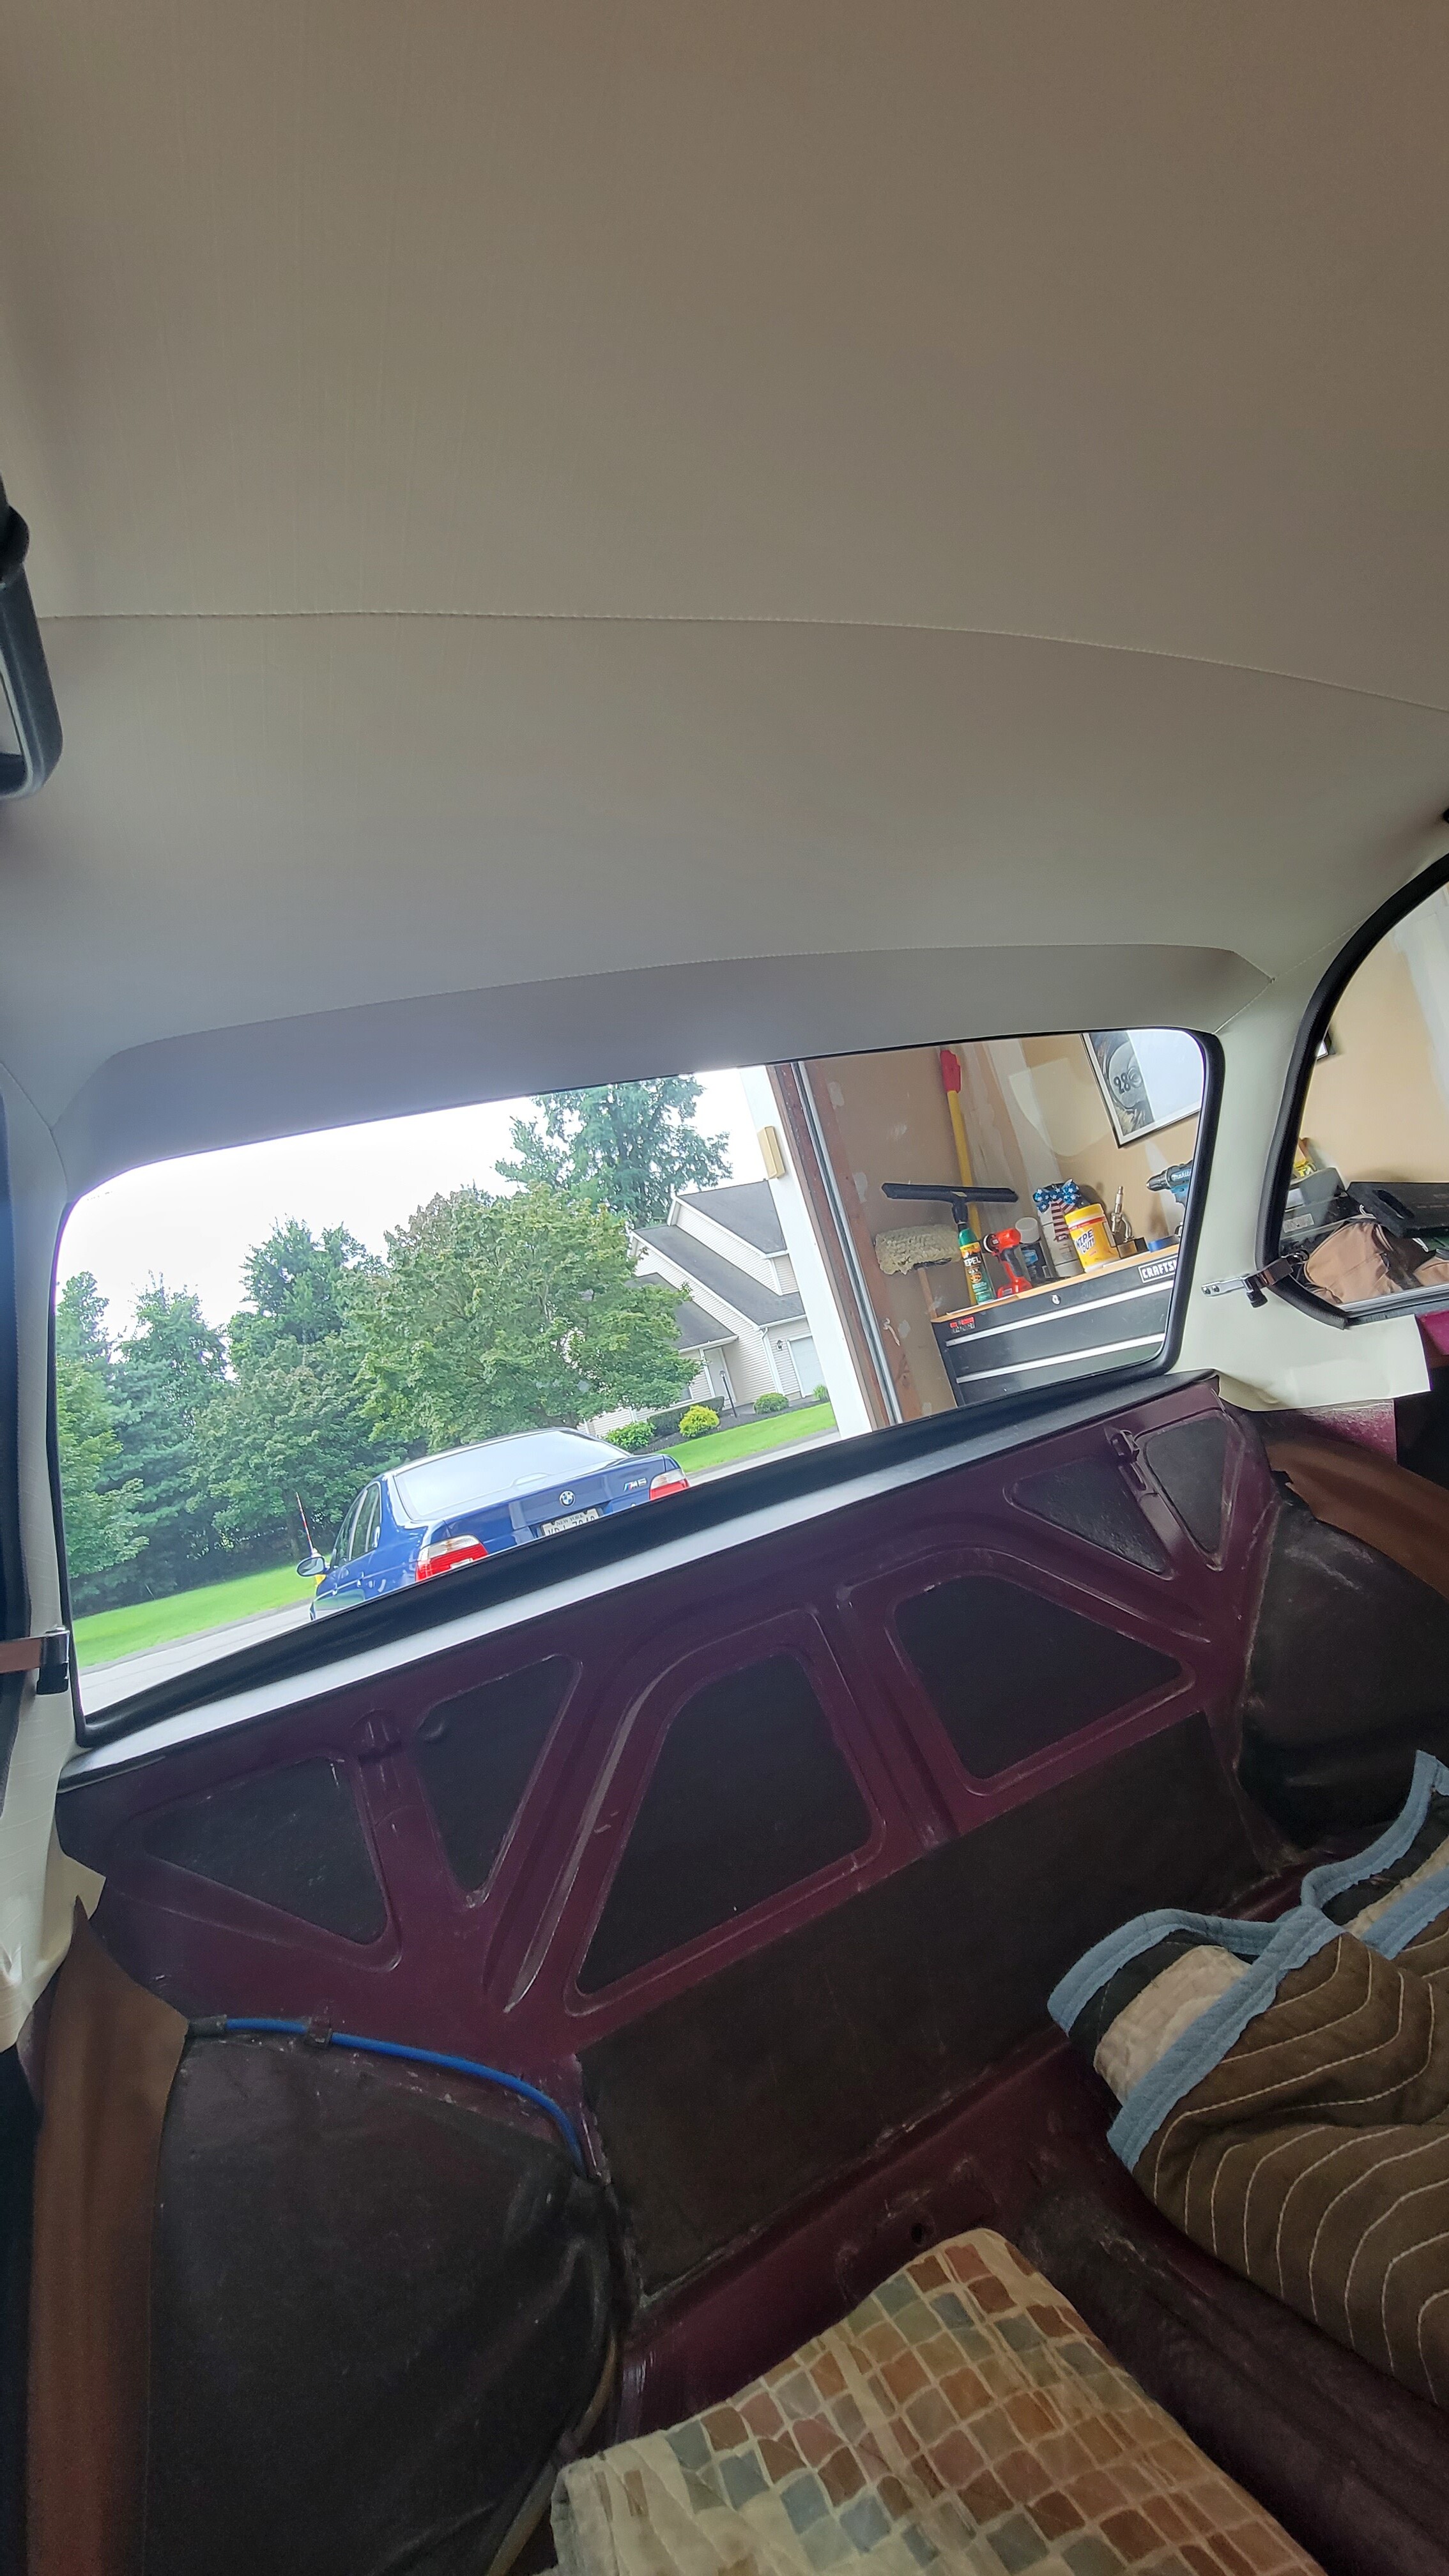
Last week I brought the car to an upholstery shop to have a new NOS headliner installed... I will pick it up tomorrow and trailer it to my body & paint shop in MA for installation of the new windshield, the old rear window, and associated new gaskets. From there, it's back home to finish up the exterior trim.
Here are some pictures of the completed work.
-RoyW
P7020040 by Roy Wicklund, on Flickr
20230708_130644 by Roy Wicklund, on Flickr
20230708_130657 by Roy Wicklund, on Flickr
20230709_144653 by Roy Wicklund, on Flickr
P6250036 by Roy Wicklund, on Flickr
IMG_3196(1) by Roy Wicklund, on Flickr
IMG_3197 by Roy Wicklund, on Flickr
IMG_3198 by Roy Wicklund, on Flickr
Re: OK, one more time...'72 '02tii refresh - 7/16 update
That really is a good looking car!
Re: OK, one more time...'72 '02tii refresh - 8/08 update
Over the past week I completed a few more items of the post-paint re-assembly process of the car’s exterior, as shown in the pictures below. They included install of the knee trim with new clips; install of a pair of Marchal driving lights; install of the radio antenna; and partial install of new door gaskets (URO weather-stripping) on both door frames. I am currently waiting on parts to install the belt trim around the car as well as the rain gutter trim on the roof… then I will start on the interior.
The adhesive on the newly installed headliner at the center of the back window started to come loose, so the installer made a trip out to my house to re-glue the entire back edge from side-to side… saving me a trip back to his shop in CT!
When trying to install the new clips for the knee trim, I had minimal problem getting them to go into the holes that had fresh paint on them, but getting the plastic pins that are suppose to push into the center hole of the clip to secure it to the car was near impossible… so, I used same size set screws that easily self thread into the holes using a 1/8” Allen key… seemed to work perfectly.
I struggled with the new URO door gaskets, but finally managed to get the upper portion on both doors into the aluminum channel’s groove and then only needing to use some 3M black gasket adhesive to secure the lower portions from the top of the window area down to the door threshold… this bottom portion is not going so well, as the first door I try is binding up at the A pillar corner and the door now won’t close. So, it’s back to the drawing board on this to figure out what I did wrong, etc??
Slow, but steady progress!
-RoyW
20230729_100914 by Roy Wicklund, on Flickr
20230729_104626 by Roy Wicklund, on Flickr
20230730_095334 by Roy Wicklund, on Flickr
20230805_081911 by Roy Wicklund, on Flickr
20230805_081923 by Roy Wicklund, on Flickr
20230730_105330 by Roy Wicklund, on Flickr
20230804_111326 by Roy Wicklund, on Flickr
20230804_111345 by Roy Wicklund, on Flickr
Re: OK, one more time...'72 '02tii refresh - 10/04 update
With the completion the of the waist trim installation last week, I am finally done with re-installing all the post-paint exterior trim (less one small piece that is on order and expected any day). YEAH!! I did replace a few pieces of trim, and used all new clips and fasteners, but for the most part all the original pieces went back onto the car… and they look pretty good against the fresh paint job… much to my surprise!
I had some big issues with the install of the waist trim clips, in particular the small plastic pins that need to be pushed into the center of the clip to secure it in place. The 50+ holes were ever-so-slightly smaller as a result of the 7+ coats of primer, color, and clear that were applied to the body in the re-spray… and while I could get the clips to push into the holes (with the aid of some lube) the center pin would not push into the clip to expand and secure the clip. So, after some think time and a few “MacGyver” experiments, I used some tapered plastic prism picks to do the job… they worked great and I have plenty left over for the olives that go into my martini glass!
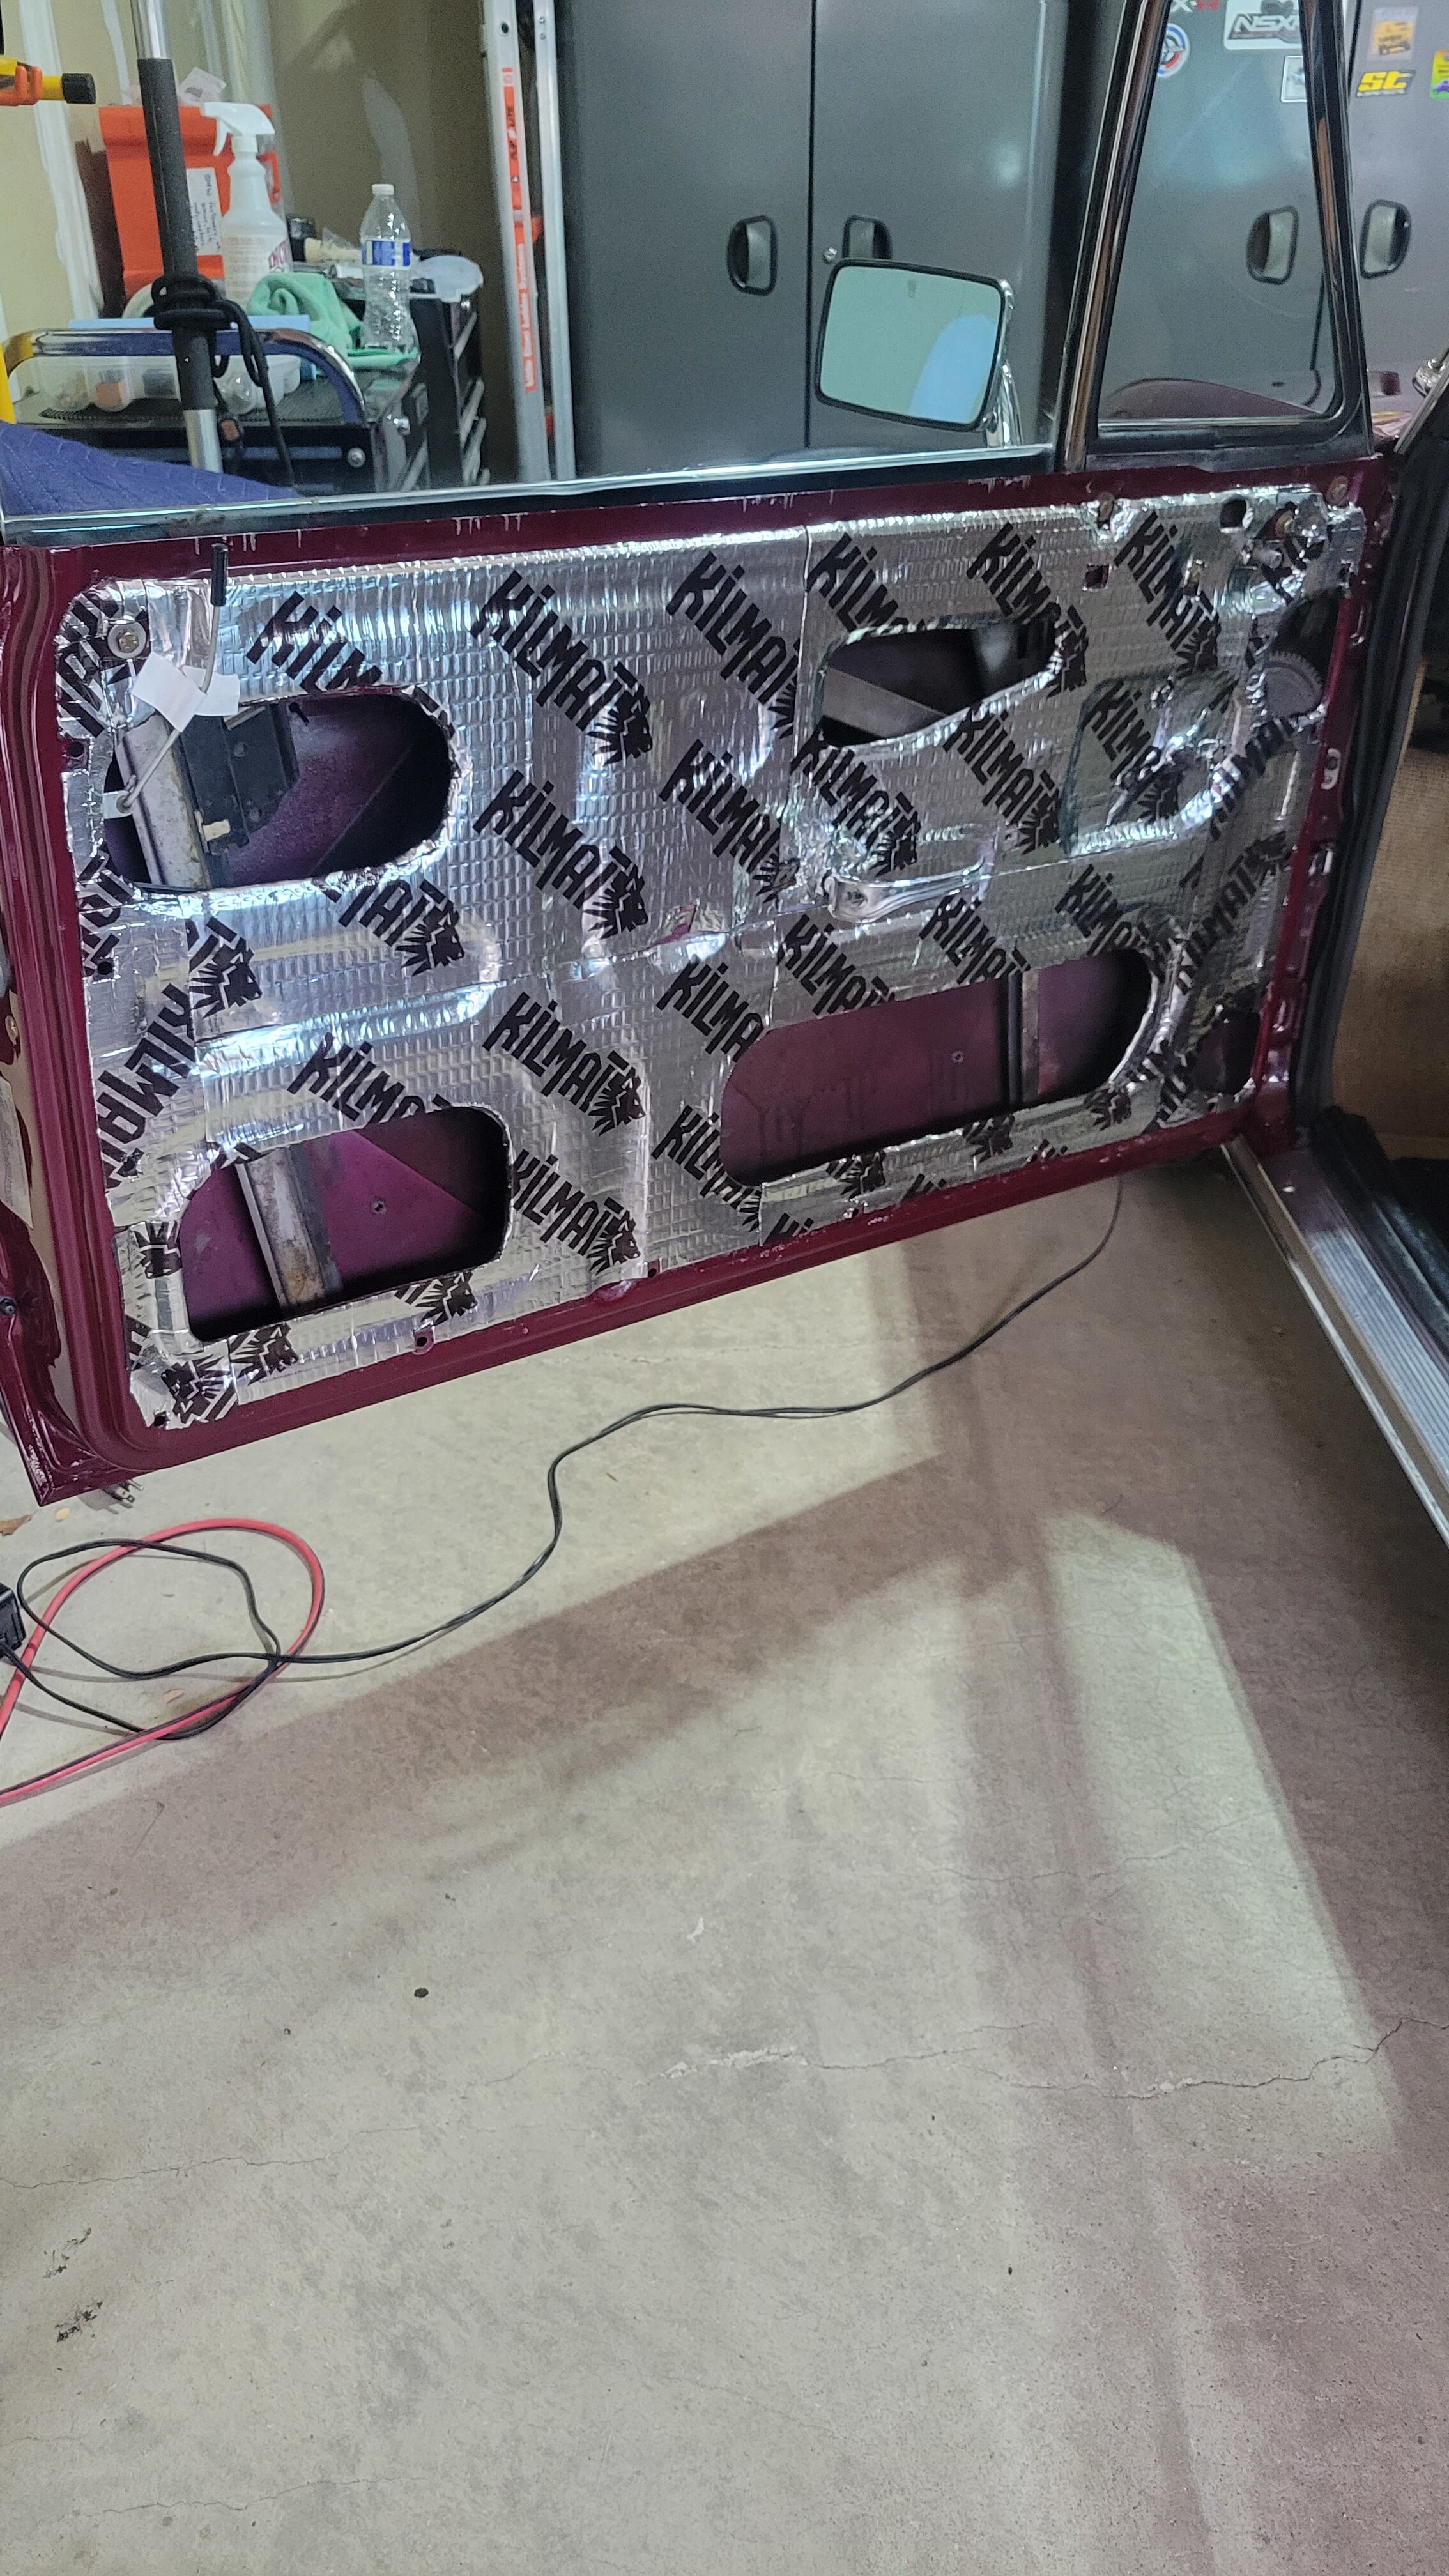
I also installed some sound & vibration insulation material (Kilmat) on the inside of the doors and the floor under the back seat. In addition, I put all the panels that I had cleaned and painted back into the trunk, as well as fabricated a few pieces to replace the totally disgusting ones that were at the back up against the rear firewall and along the bottom of each wheel well in the trunk.
This week I brought the car up to my mechanic to work on some engine tuning issues and a few other mechanical problems that need diagnosis and repair, e.g., brake lights not working, e-brake issue, heater fan doesn’t turn on, wiring up the driving lights, etc. When I get the car back I will continue with the install of the interior. So, I won’t be bringing it to Vintage at Saratoga this weekend, as was my goal, but, I plan to get a State inspection, and then do a little shake-down driving in late Oct and early Nov, before put her up for the Winter… looks like it will be next Spring before any public unveiling. Of course, I did find and buy a complete set-up for a 5-speed conversion, and that’s now on the agenda for 2024!! Project car are never done!!
20230905_104617(1) by Roy Wicklund, on Flickr
20230905_111928(1) by Roy Wicklund, on Flickr
PA030231 by Roy Wicklund, on Flickr
PA030232 by Roy Wicklund, on Flickr
PA030233 by Roy Wicklund, on Flickr
PA030235 by Roy Wicklund, on Flickr
PA030236 by Roy Wicklund, on Flickr
20230928_173727 by Roy Wicklund, on Flickr
20230926_150526 by Roy Wicklund, on Flickr
Re: OK, one more time...'72 '02tii refresh - 10/03 update
Terrific! Great job with the headliner, one of the hardest things to get correct.
Couple questions from a fellow 72tii owner:
Where did you source your carpets from?
And again, because I don't know, is the front bumper oem to your car? Looks like a 73, but again I don't know. Also not a criticism as I prefer the looks of your front bumper to mine.
Couple questions from a fellow 72tii owner:
Where did you source your carpets from?
And again, because I don't know, is the front bumper oem to your car? Looks like a 73, but again I don't know. Also not a criticism as I prefer the looks of your front bumper to mine.
Re: OK, one more time...'72 '02tii refresh - 10/03 update
Thank you! The headliner was done by a shop in CT that was highly recommended to me... I agree, he did a great job.gwb72tii wrote: Oct 05, 2023 5:52 PM Terrific! Great job with the headliner, one of the hardest things to get correct.
Couple questions from a fellow 72tii owner:
Where did you source your carpets from?
And again, because I don't know, is the front bumper oem to your car? Looks like a 73, but again I don't know. Also not a criticism as I prefer the looks of your front bumper to mine.
Yes, the front bumper is a '73. And, the carpet was in the car when I bought it, so I don't know the source, but it was done a long time ago... probably in the 90's?
-RoyW
Re: OK, one more time...'72 '02tii refresh - 10/03 update
The car looks fantastic to this point! I'm also smitten by the other two 02s in the shop with yours in one of the pictures above. Very cool pictures indeed.
Re: OK, one more time...'72 '02tii refresh - 10/03 update
It’s been a while since my last update, as life got in the way of progress on finishing up the car But, I did get some things done over the past few months and am nearing the finish line on this restoration project and looking to enjoy driving the car come Spring ‘24
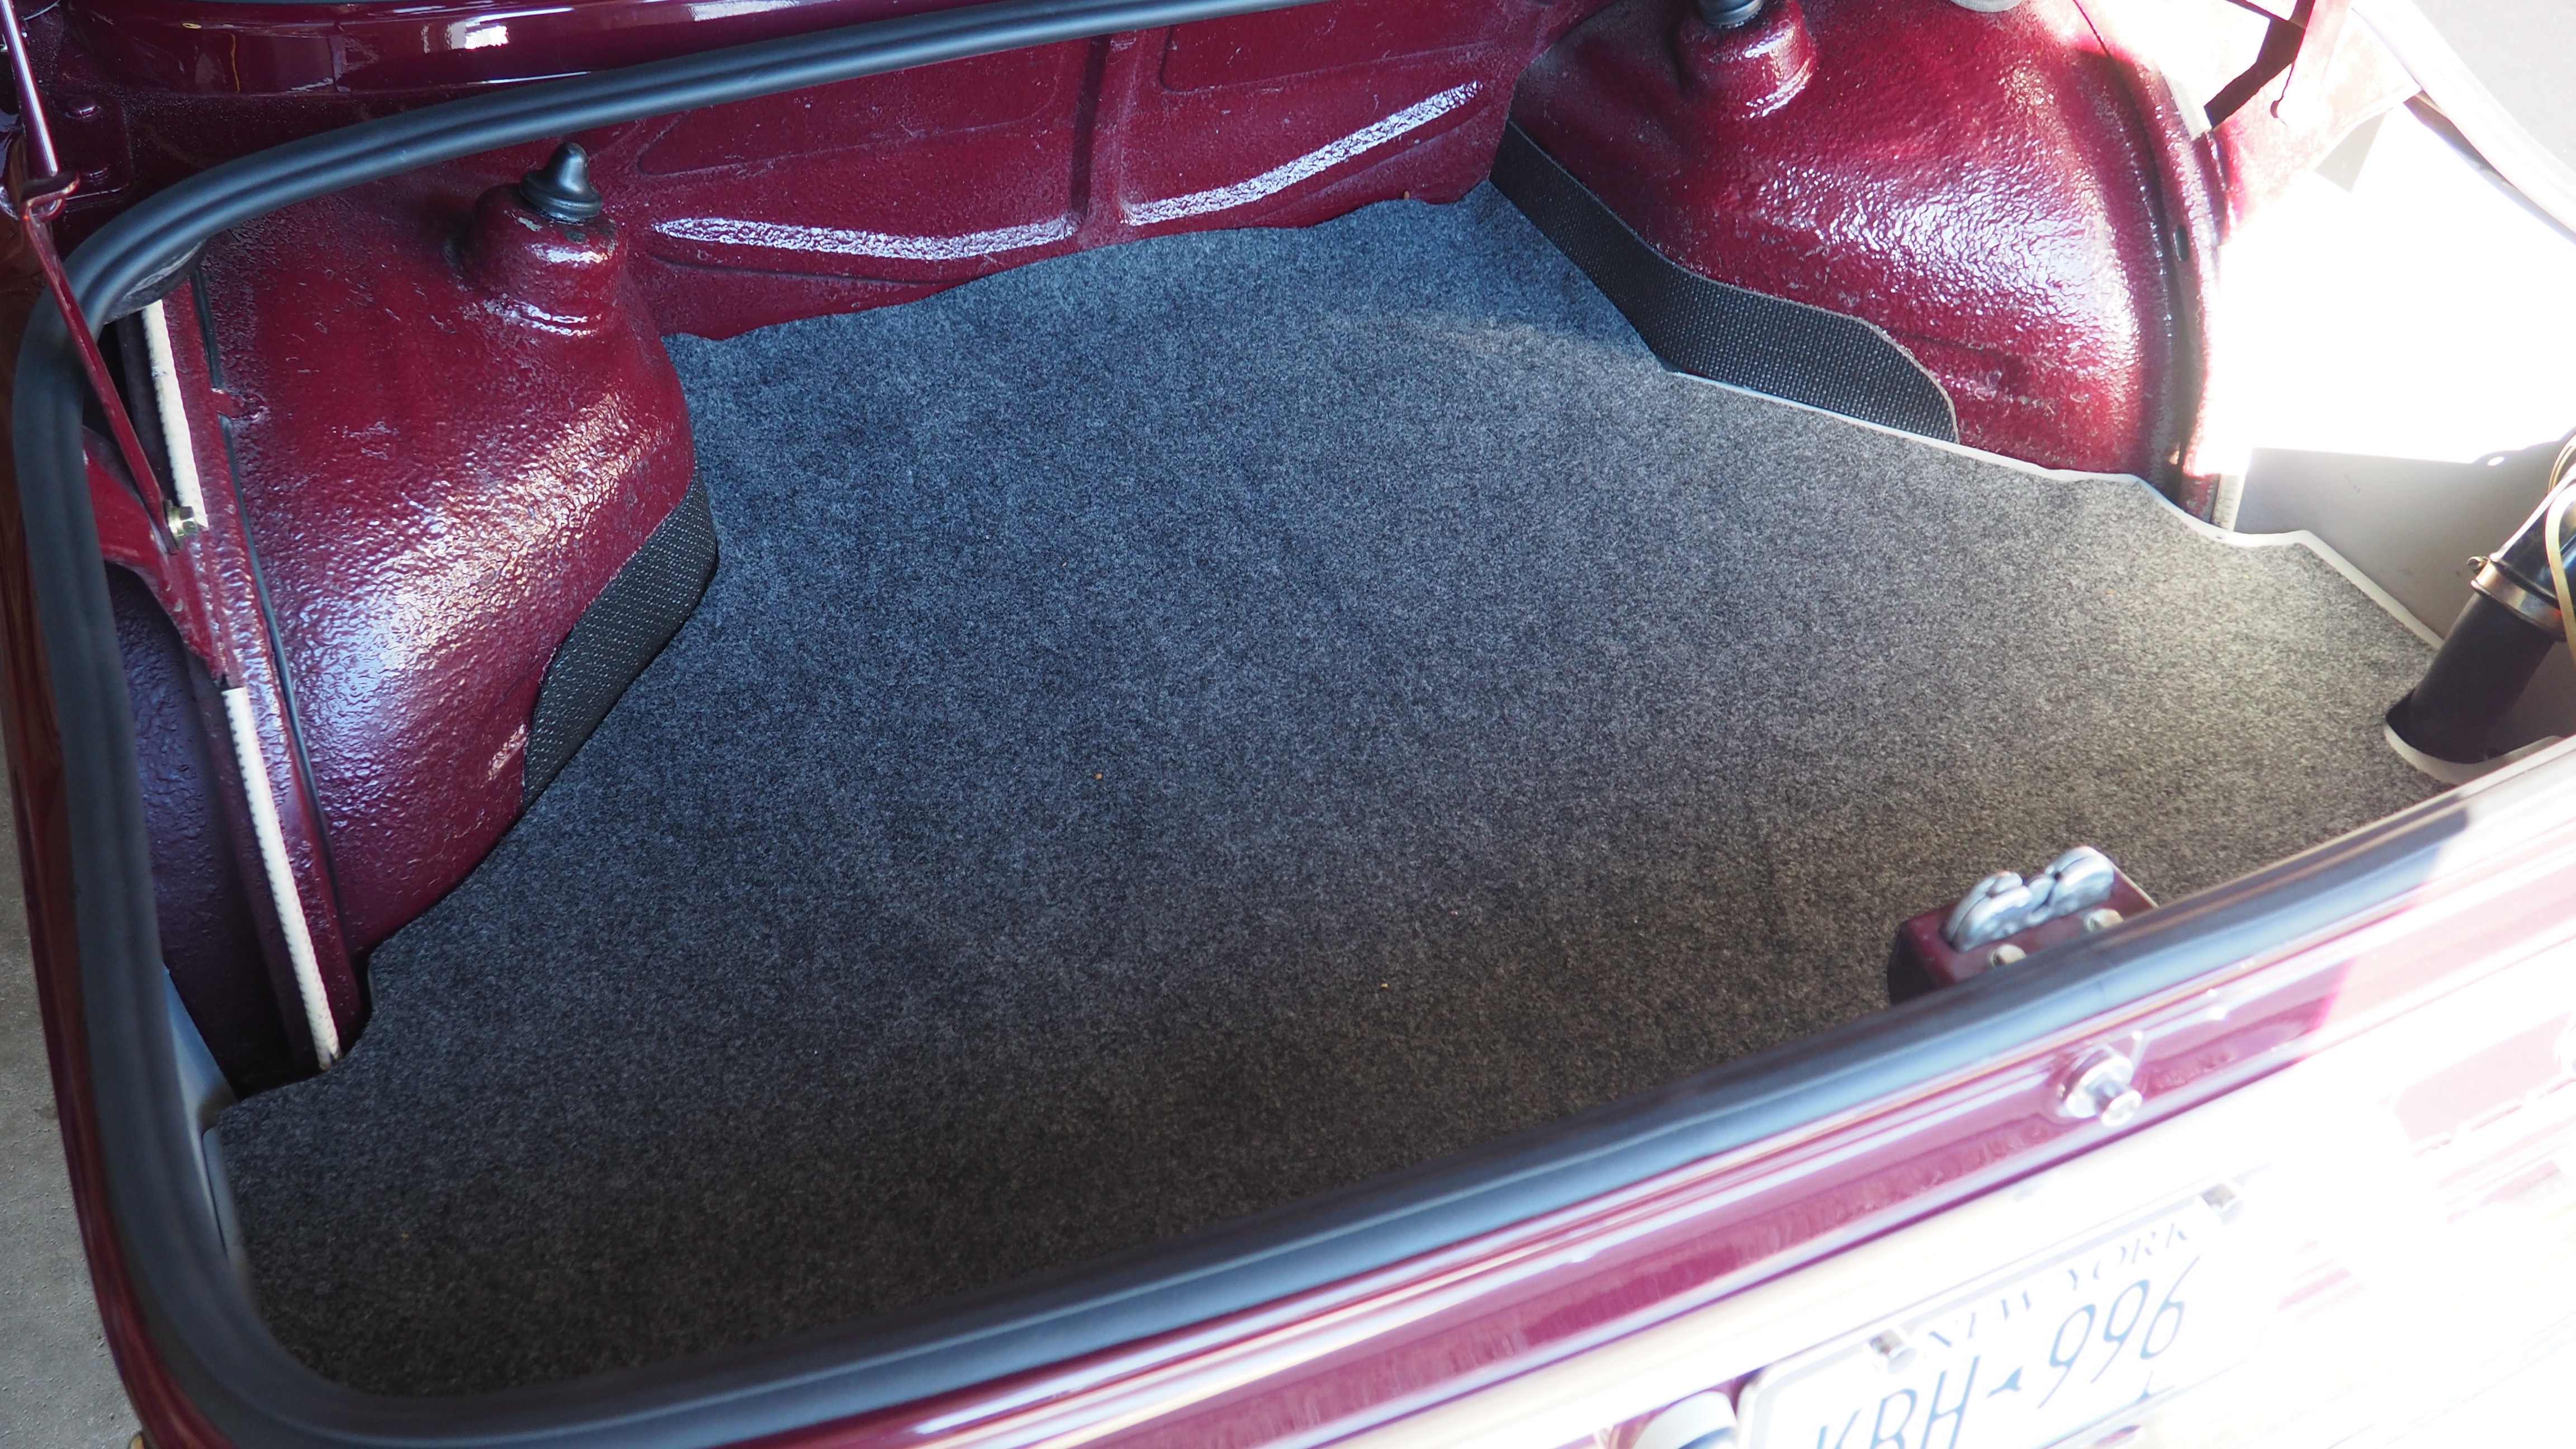
I finished up the trunk clean-up, put in the new spare wheel/tire, and also touched-up a few areas paint-wise, where needed. Then I installed the re-freshed original panels and found a pad to go over the panels… it is thin and cheap, but it fits the layout. I’ll be looking for a heavier duty pad or will fabricate one using the thin one as a template.
In October I trailered the car out to the 2002tii guru, Paul Wegwieser shop in PA (was on my way to visit family in Chicago), and had him go thru the engine and driveline, as well as fix a few control items that needed attention, e.g., in-op heater fan, in-op brake lights (replaced brake light switch), repaired e-brake handle assembly; replaced rear window vertical rubber trim, etc.
The major work Paul did was: a complete tune-up; a valve adjustment; repaired vacuum leaks; replaced the Warm Up Regulator; replaced linkage ball cup bushings; replaced misc. vacuum hoses; etc. The car/engine now starts, idles, and runs beautifully…. lots of zip and very smooth, like when it was brand new!!
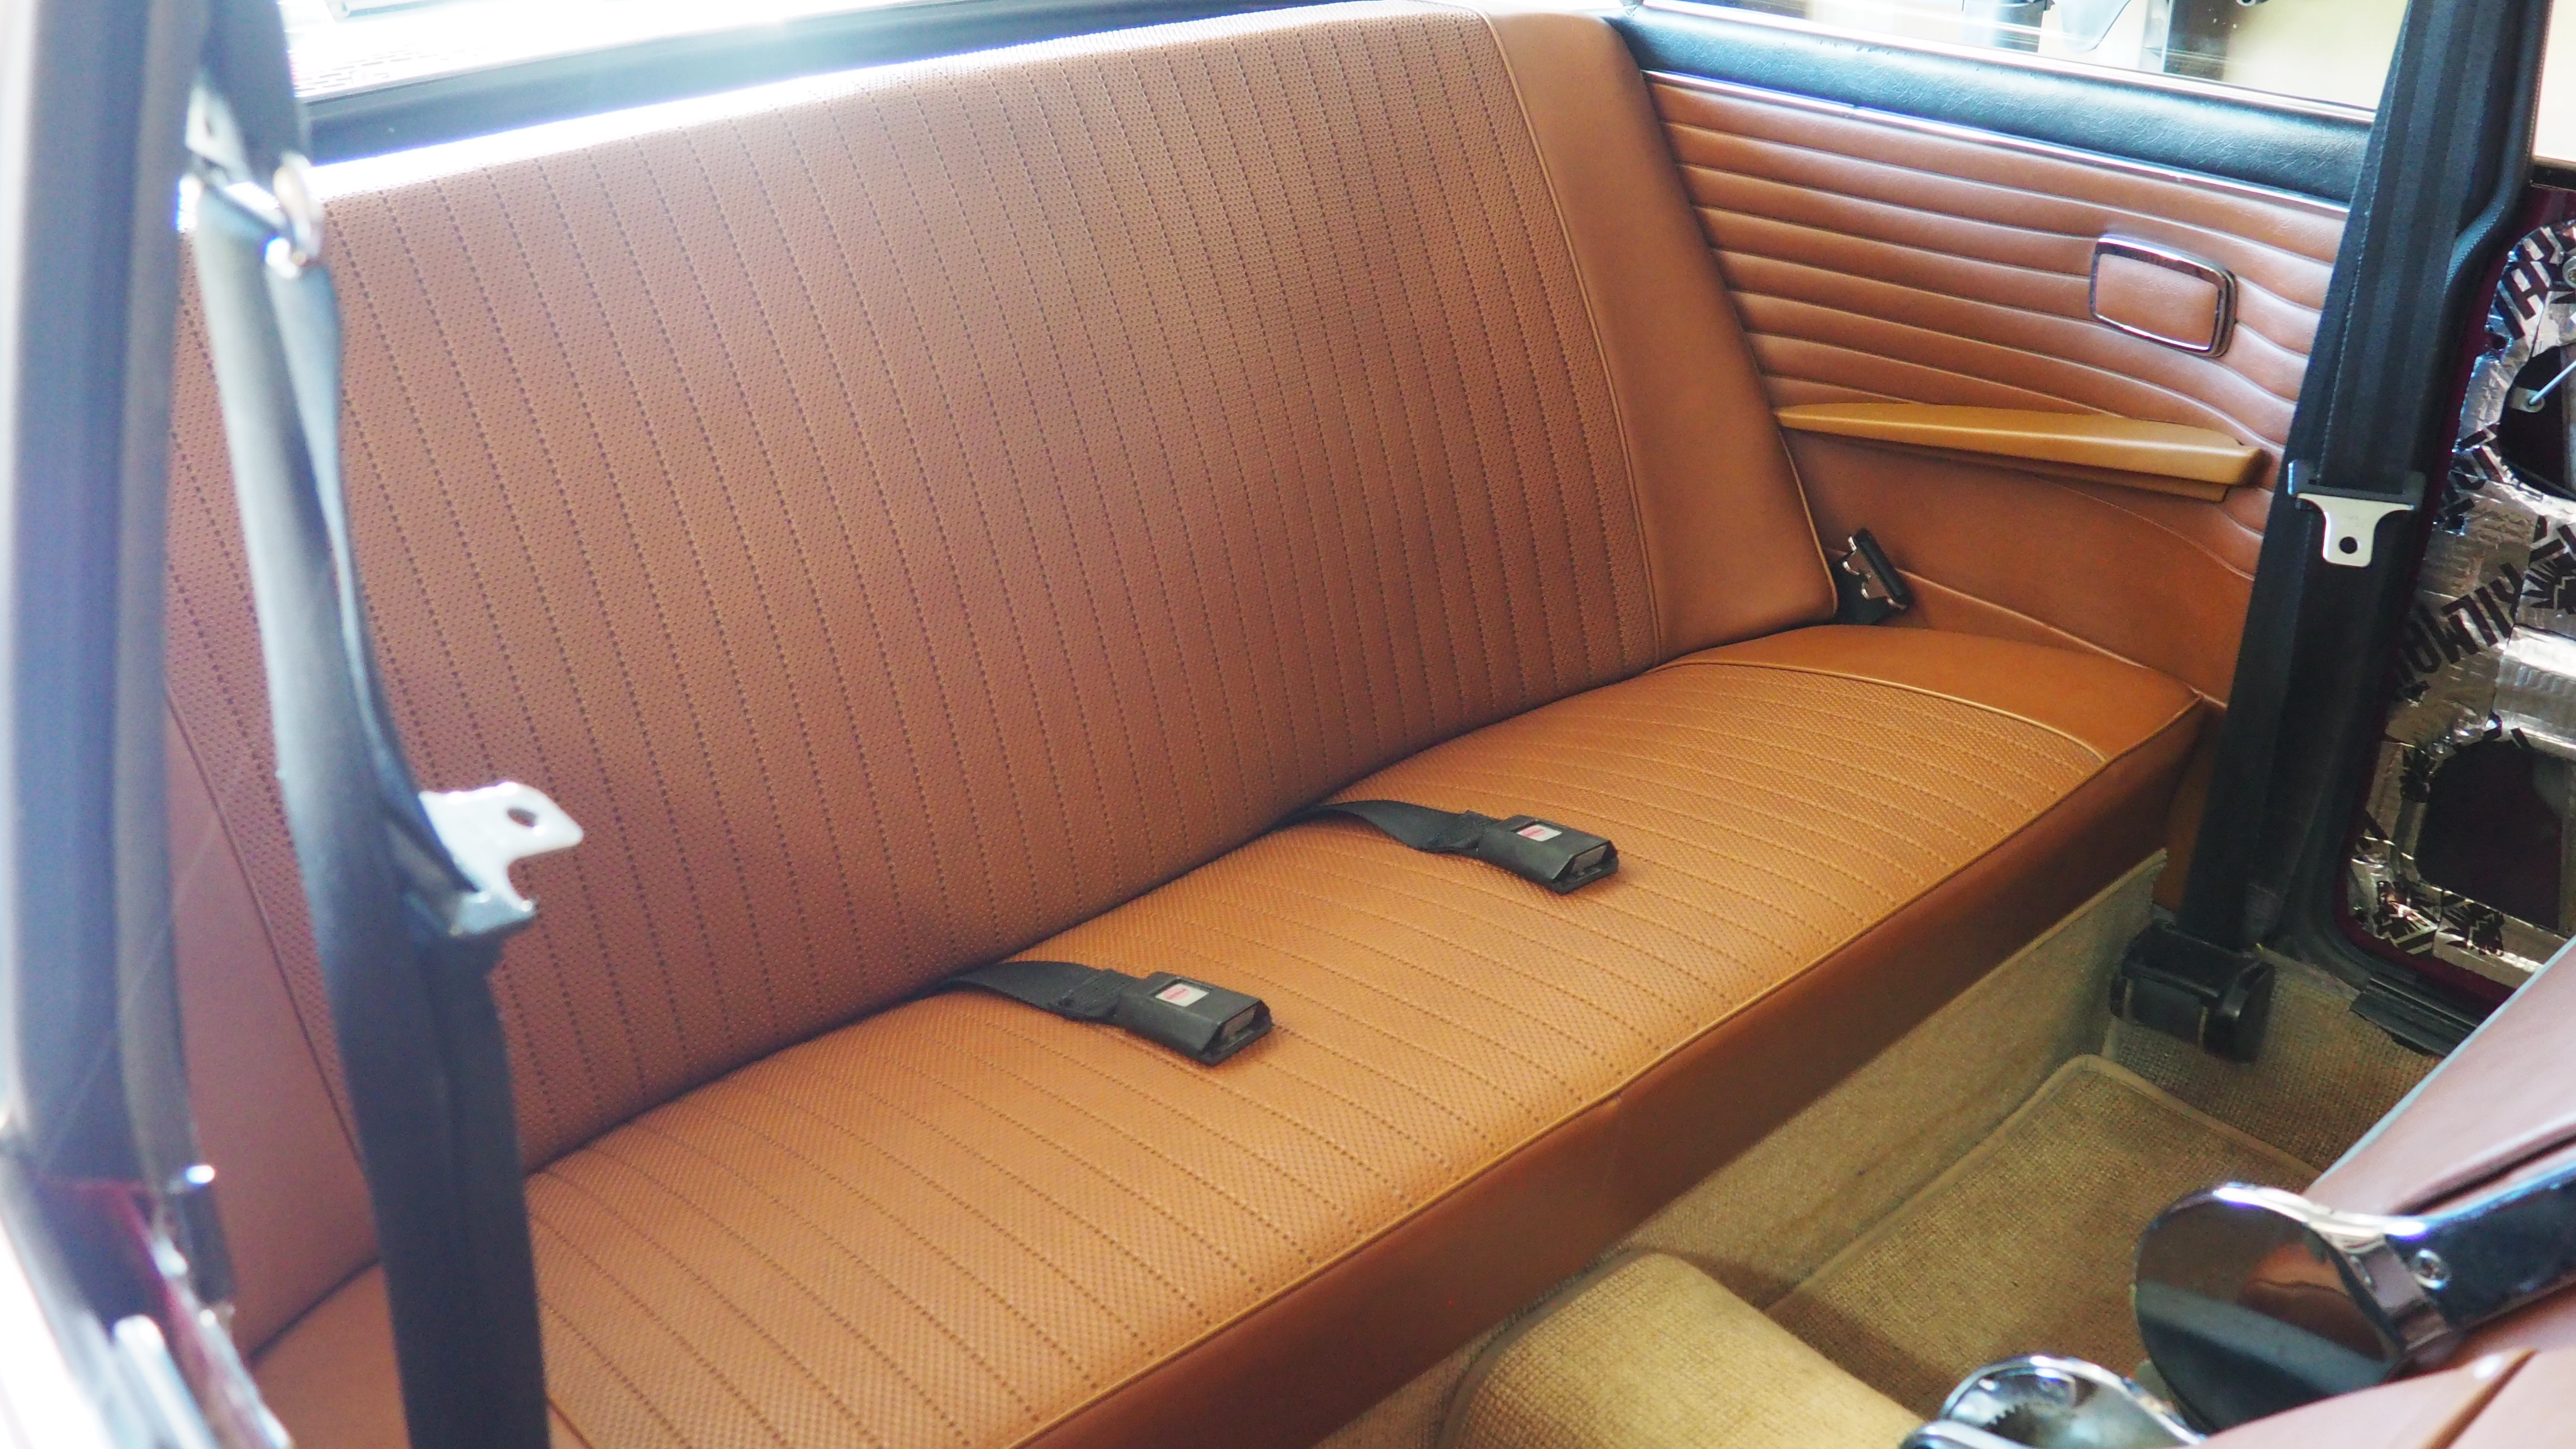
Since then I have installed the rear seats, seat belts, and side panels. This week, I will clean and greased up both window mechanisms and tracks, and then install fresh vapor barrier material on the doors, before installing the door cards. That should pretty much do it. She’s covered up for a Winter nap and will be ready for a débute in April… maybe a trip down to The Vintage in May!!
PC120244 by Roy Wicklund, on Flickr
PC120241 by Roy Wicklund, on Flickr
PC120242 by Roy Wicklund, on Flickr
PC120240 by Roy Wicklund, on Flickr
PC120239 by Roy Wicklund, on Flickr
PA030236 by Roy Wicklund, on Flickr
PA030231 by Roy Wicklund, on Flickr
PC120243 by Roy Wicklund, on Flickr
I finished up the trunk clean-up, put in the new spare wheel/tire, and also touched-up a few areas paint-wise, where needed. Then I installed the re-freshed original panels and found a pad to go over the panels… it is thin and cheap, but it fits the layout. I’ll be looking for a heavier duty pad or will fabricate one using the thin one as a template.
In October I trailered the car out to the 2002tii guru, Paul Wegwieser shop in PA (was on my way to visit family in Chicago), and had him go thru the engine and driveline, as well as fix a few control items that needed attention, e.g., in-op heater fan, in-op brake lights (replaced brake light switch), repaired e-brake handle assembly; replaced rear window vertical rubber trim, etc.
The major work Paul did was: a complete tune-up; a valve adjustment; repaired vacuum leaks; replaced the Warm Up Regulator; replaced linkage ball cup bushings; replaced misc. vacuum hoses; etc. The car/engine now starts, idles, and runs beautifully…. lots of zip and very smooth, like when it was brand new!!
Since then I have installed the rear seats, seat belts, and side panels. This week, I will clean and greased up both window mechanisms and tracks, and then install fresh vapor barrier material on the doors, before installing the door cards. That should pretty much do it. She’s covered up for a Winter nap and will be ready for a débute in April… maybe a trip down to The Vintage in May!!
PC120244 by Roy Wicklund, on Flickr
PC120241 by Roy Wicklund, on Flickr
PC120242 by Roy Wicklund, on Flickr
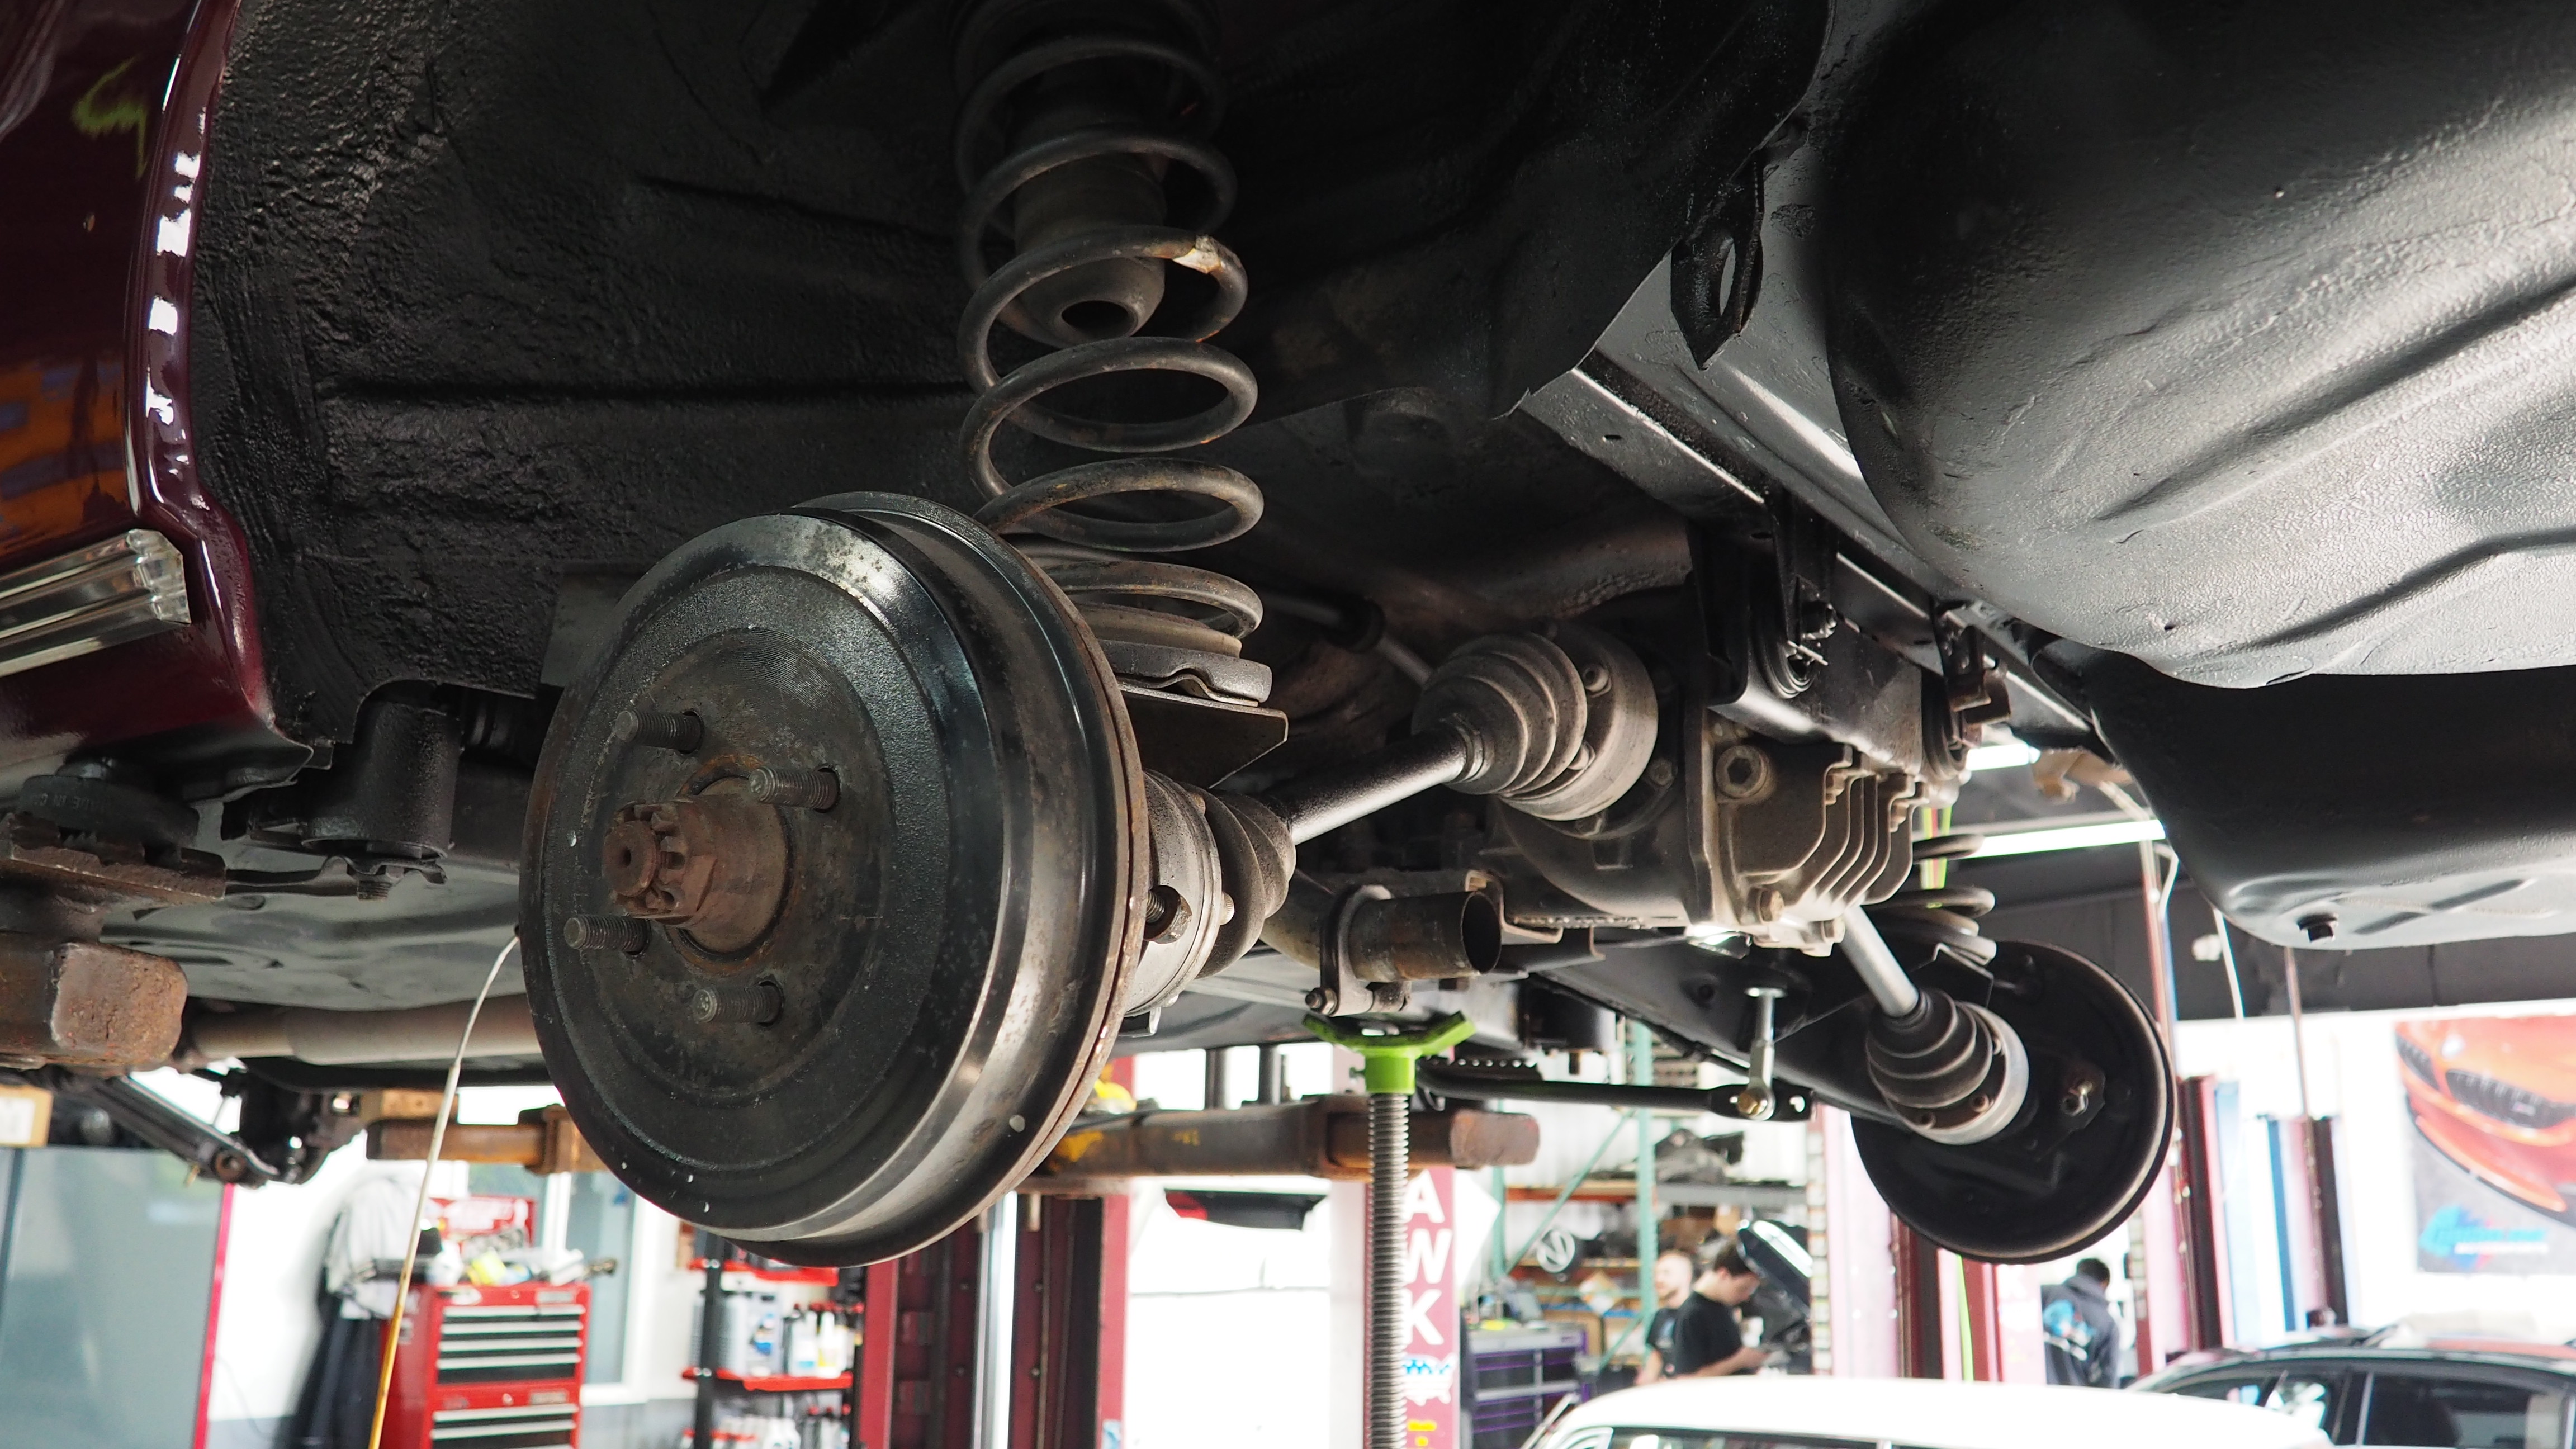
PC120240 by Roy Wicklund, on Flickr
PC120239 by Roy Wicklund, on Flickr
PA030236 by Roy Wicklund, on Flickr
PA030231 by Roy Wicklund, on Flickr
PC120243 by Roy Wicklund, on Flickr
Re: OK, one more time...'72 '02tii refresh - 12/12 update
Very nice, a very pretty car. Well done.