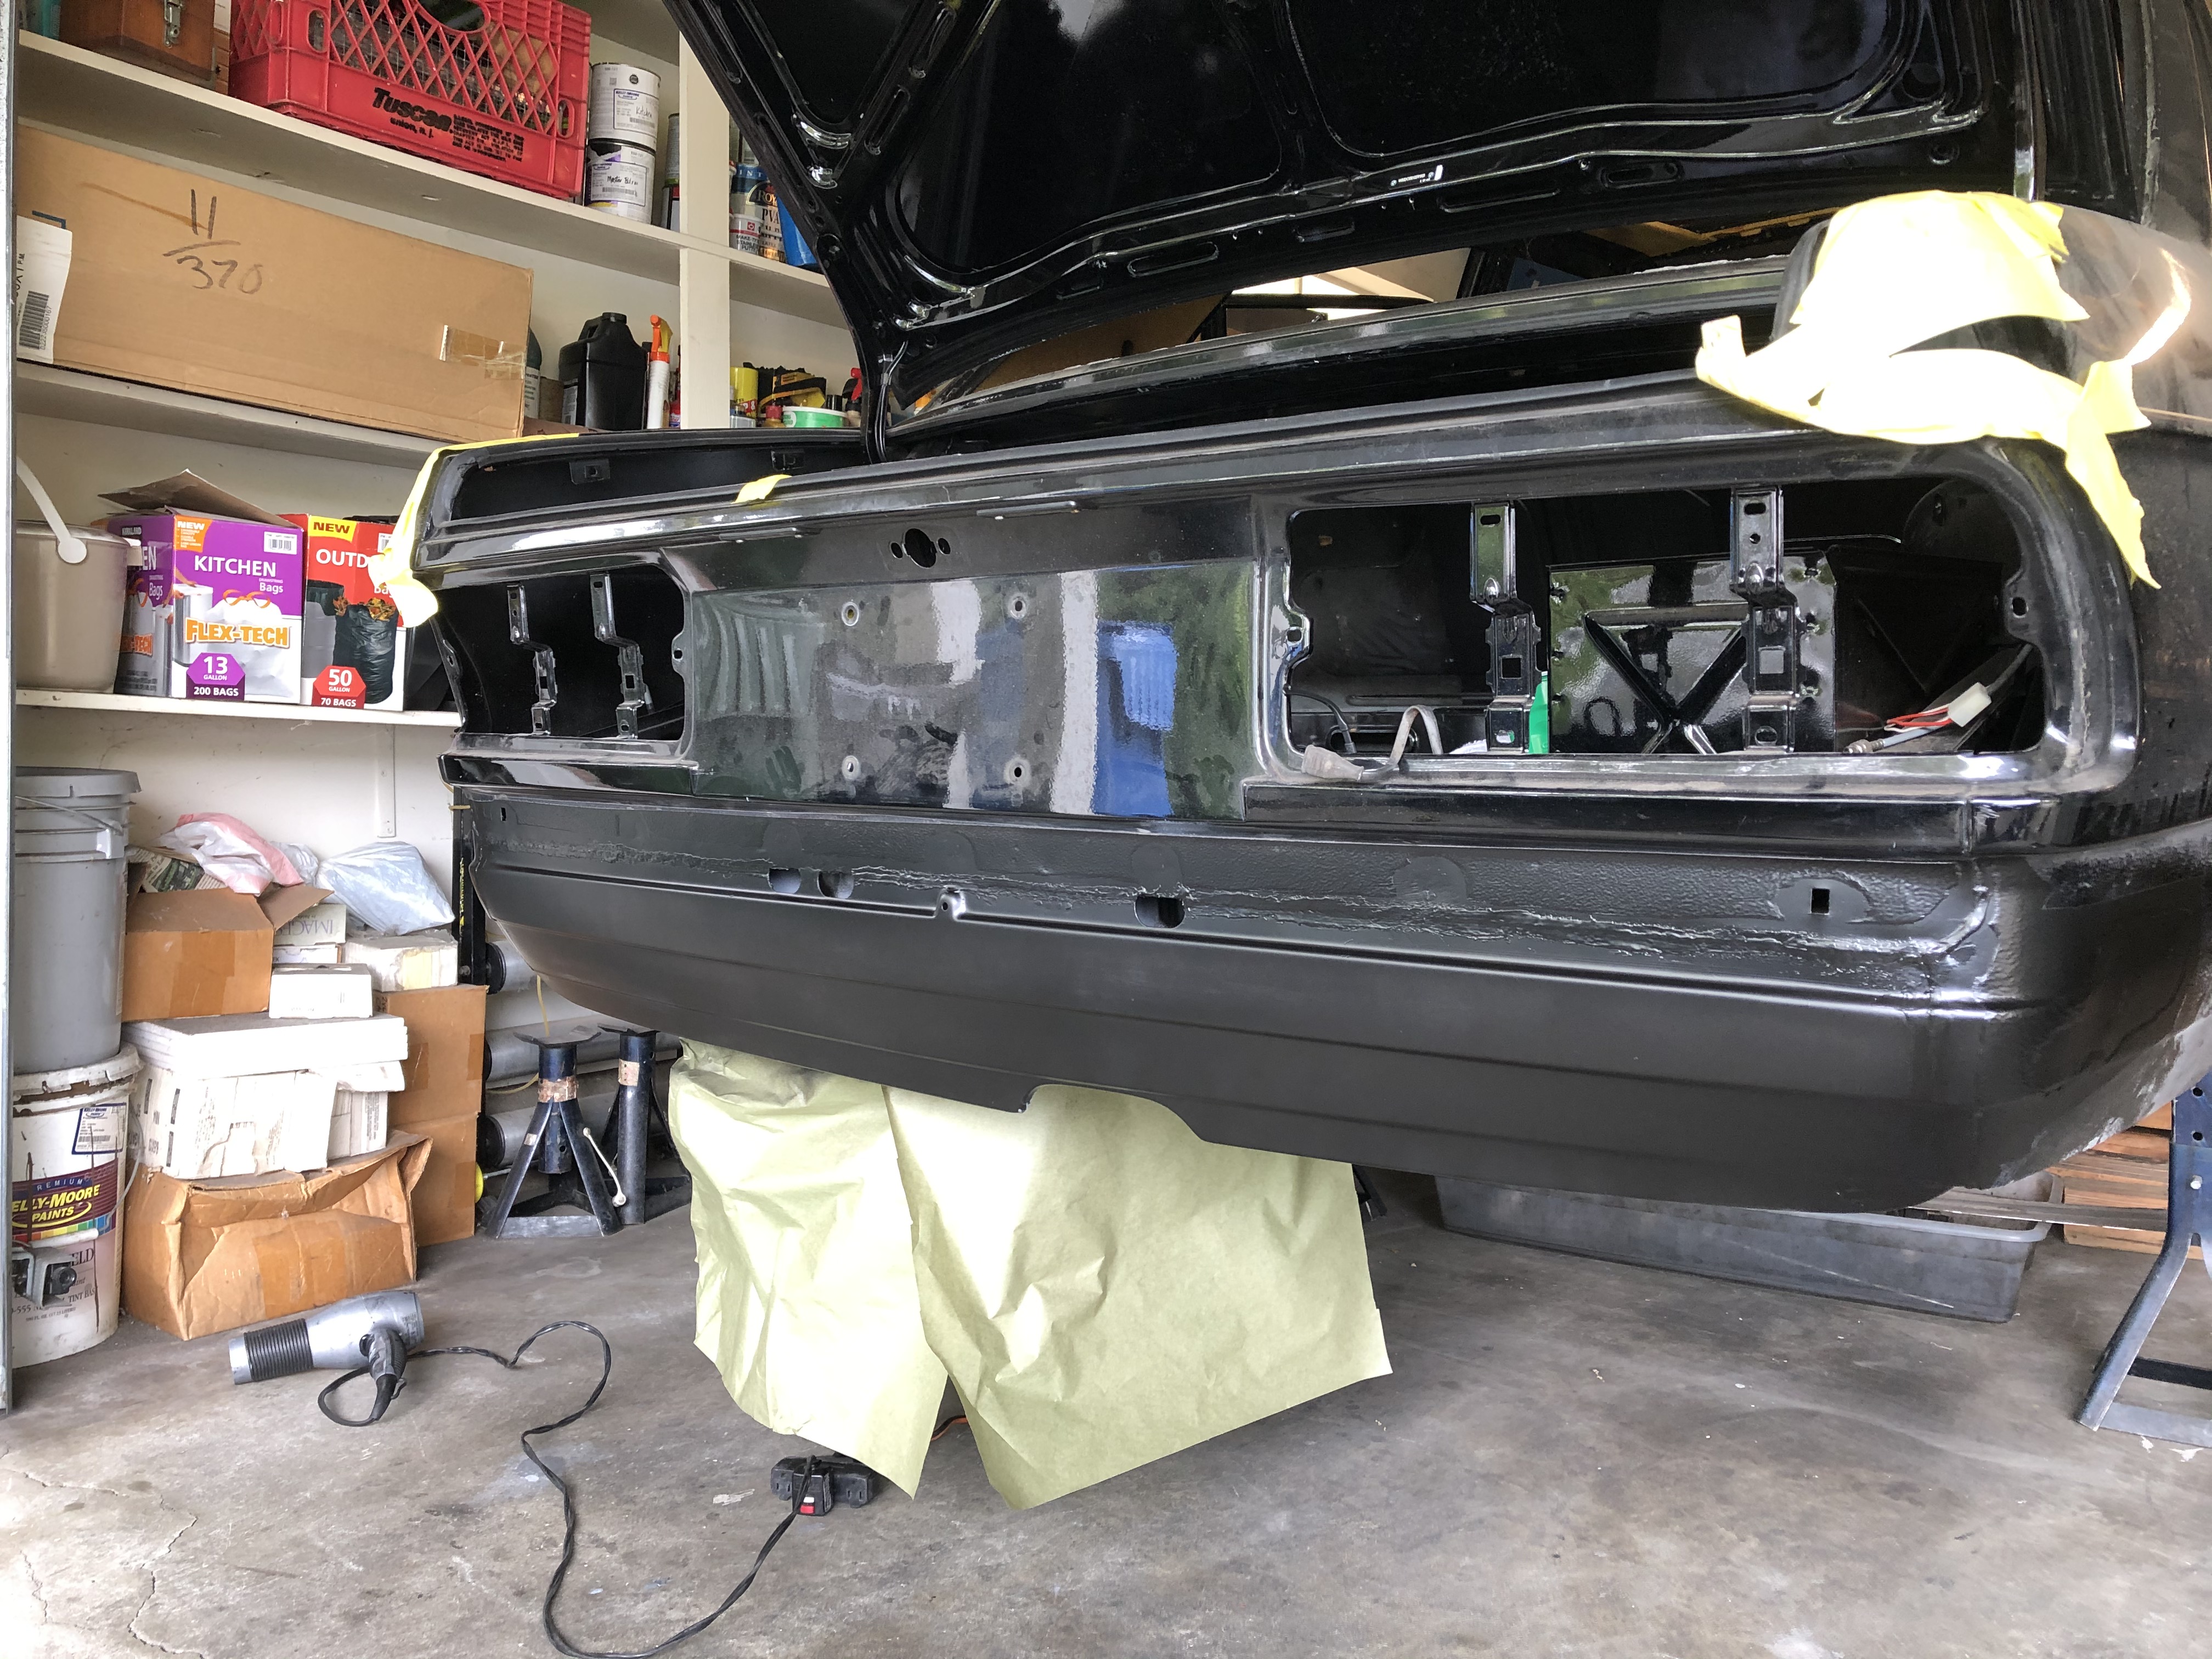
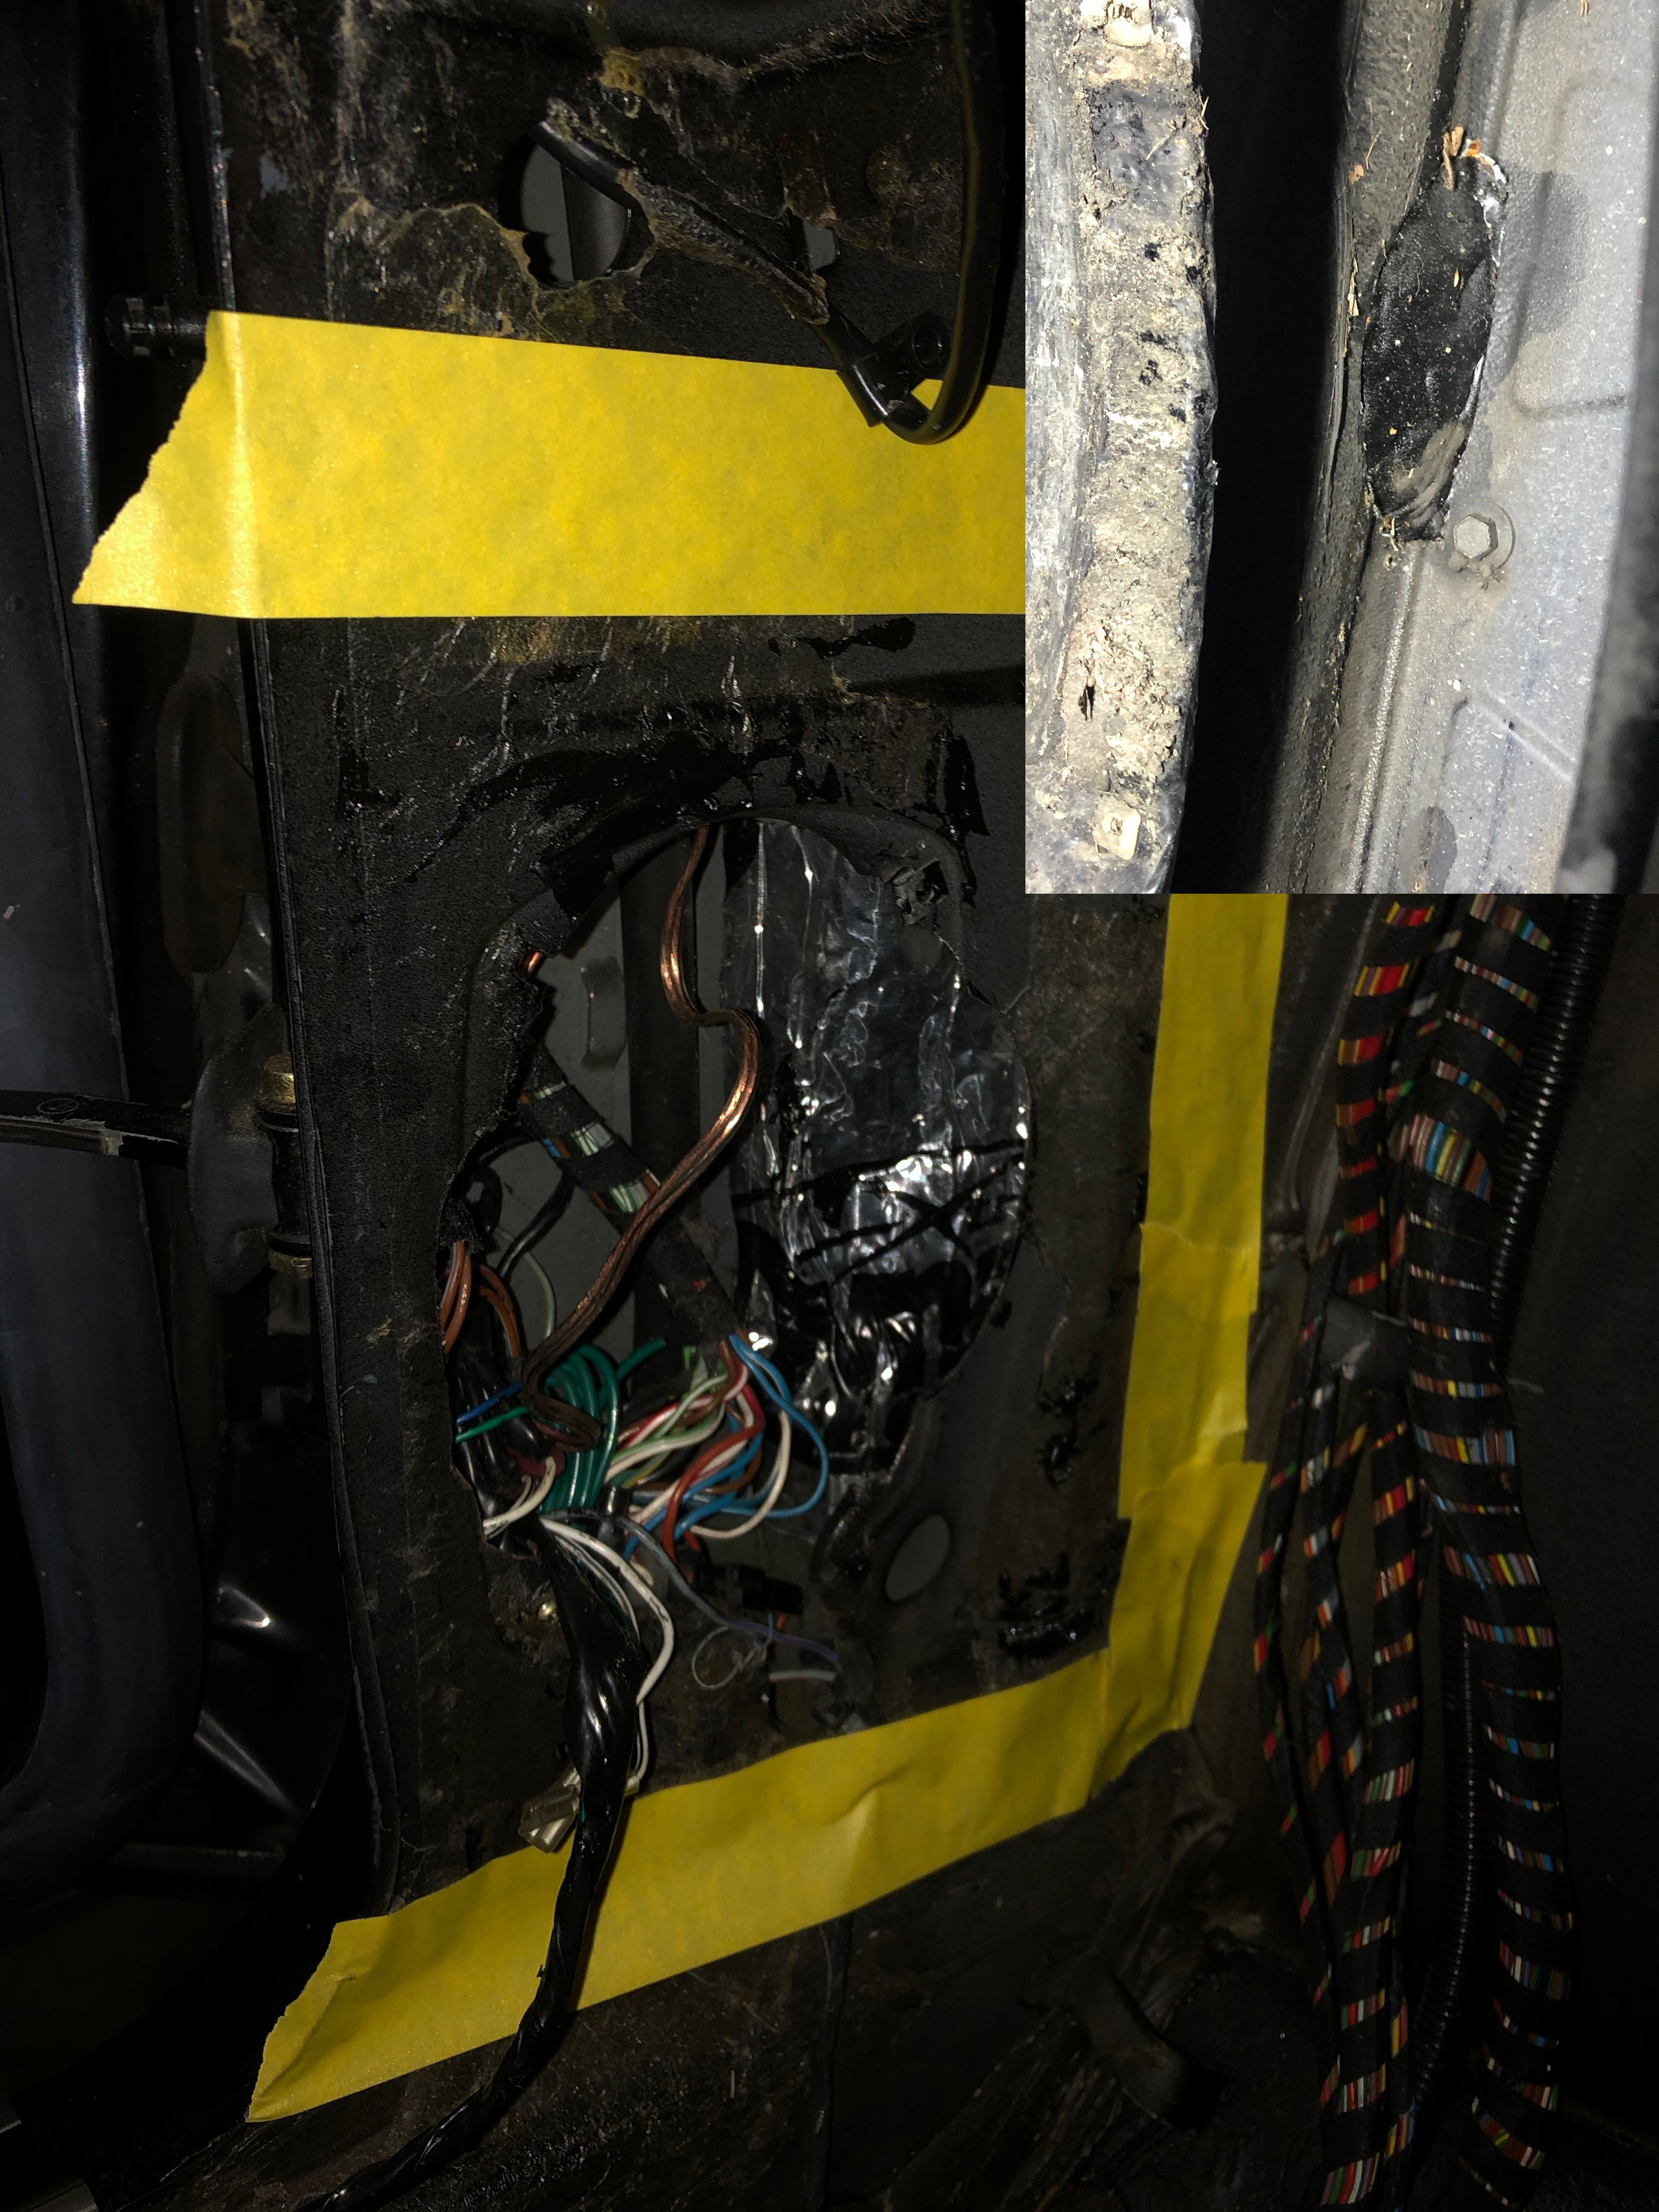
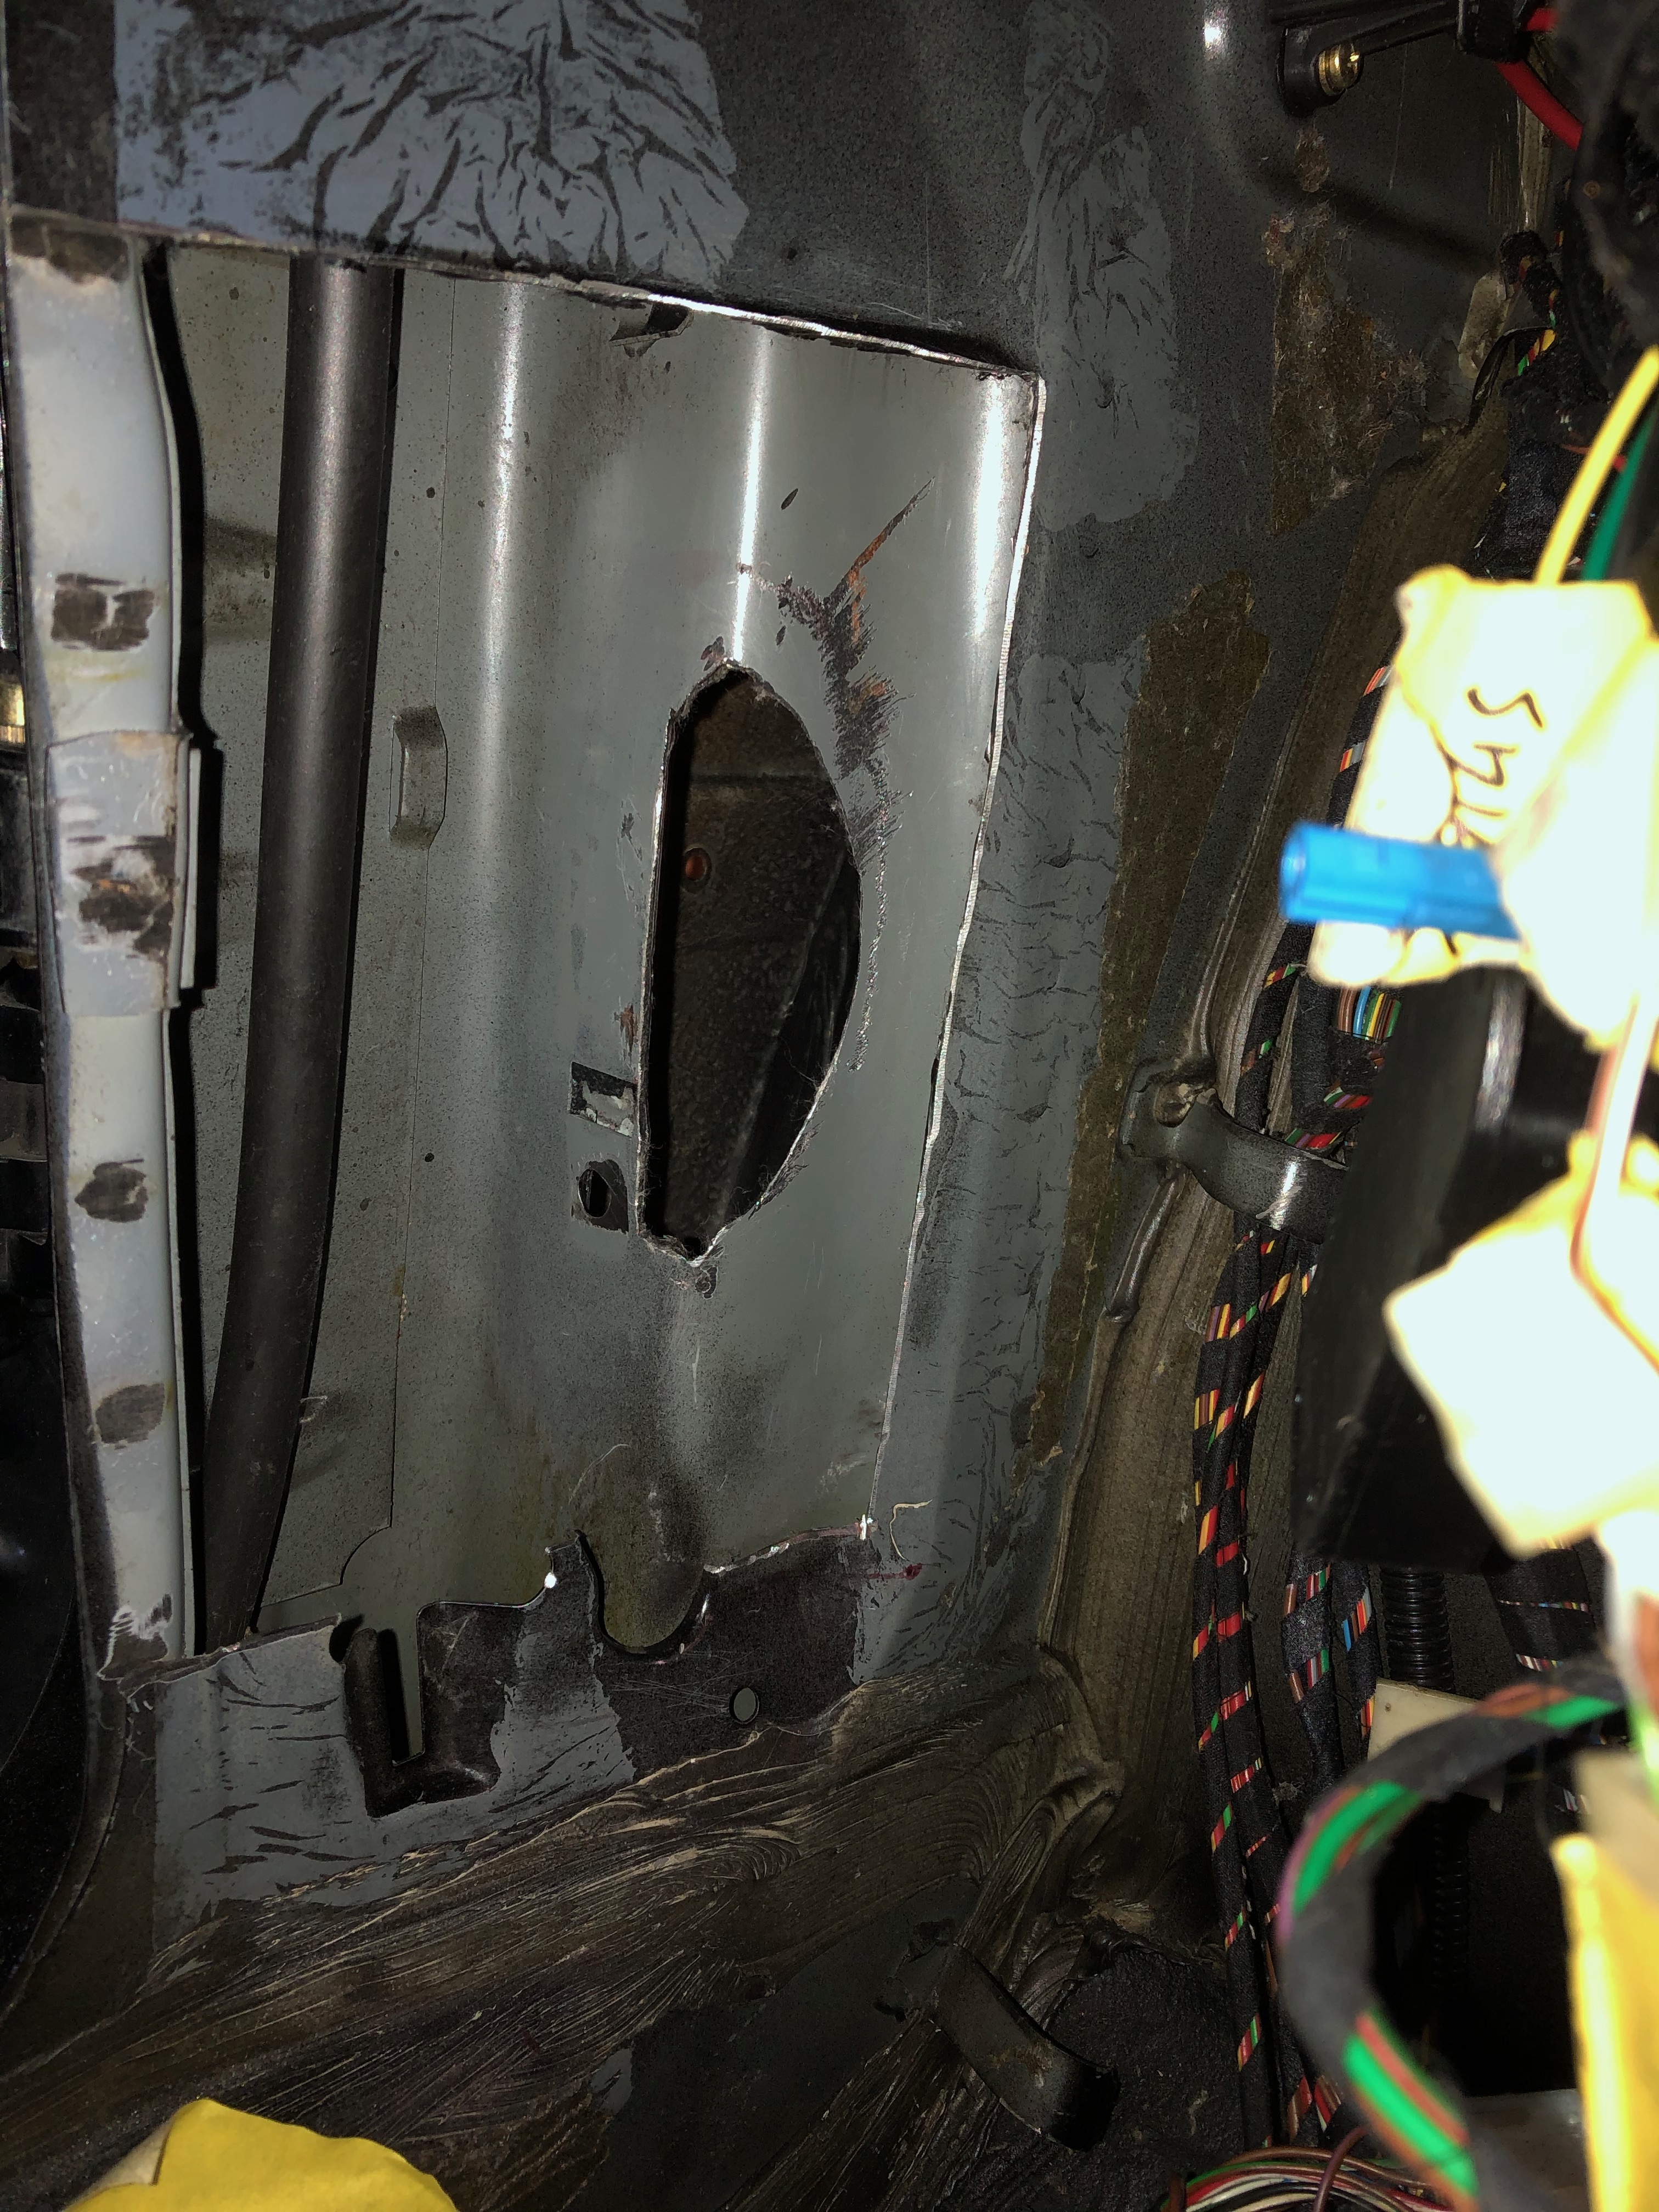
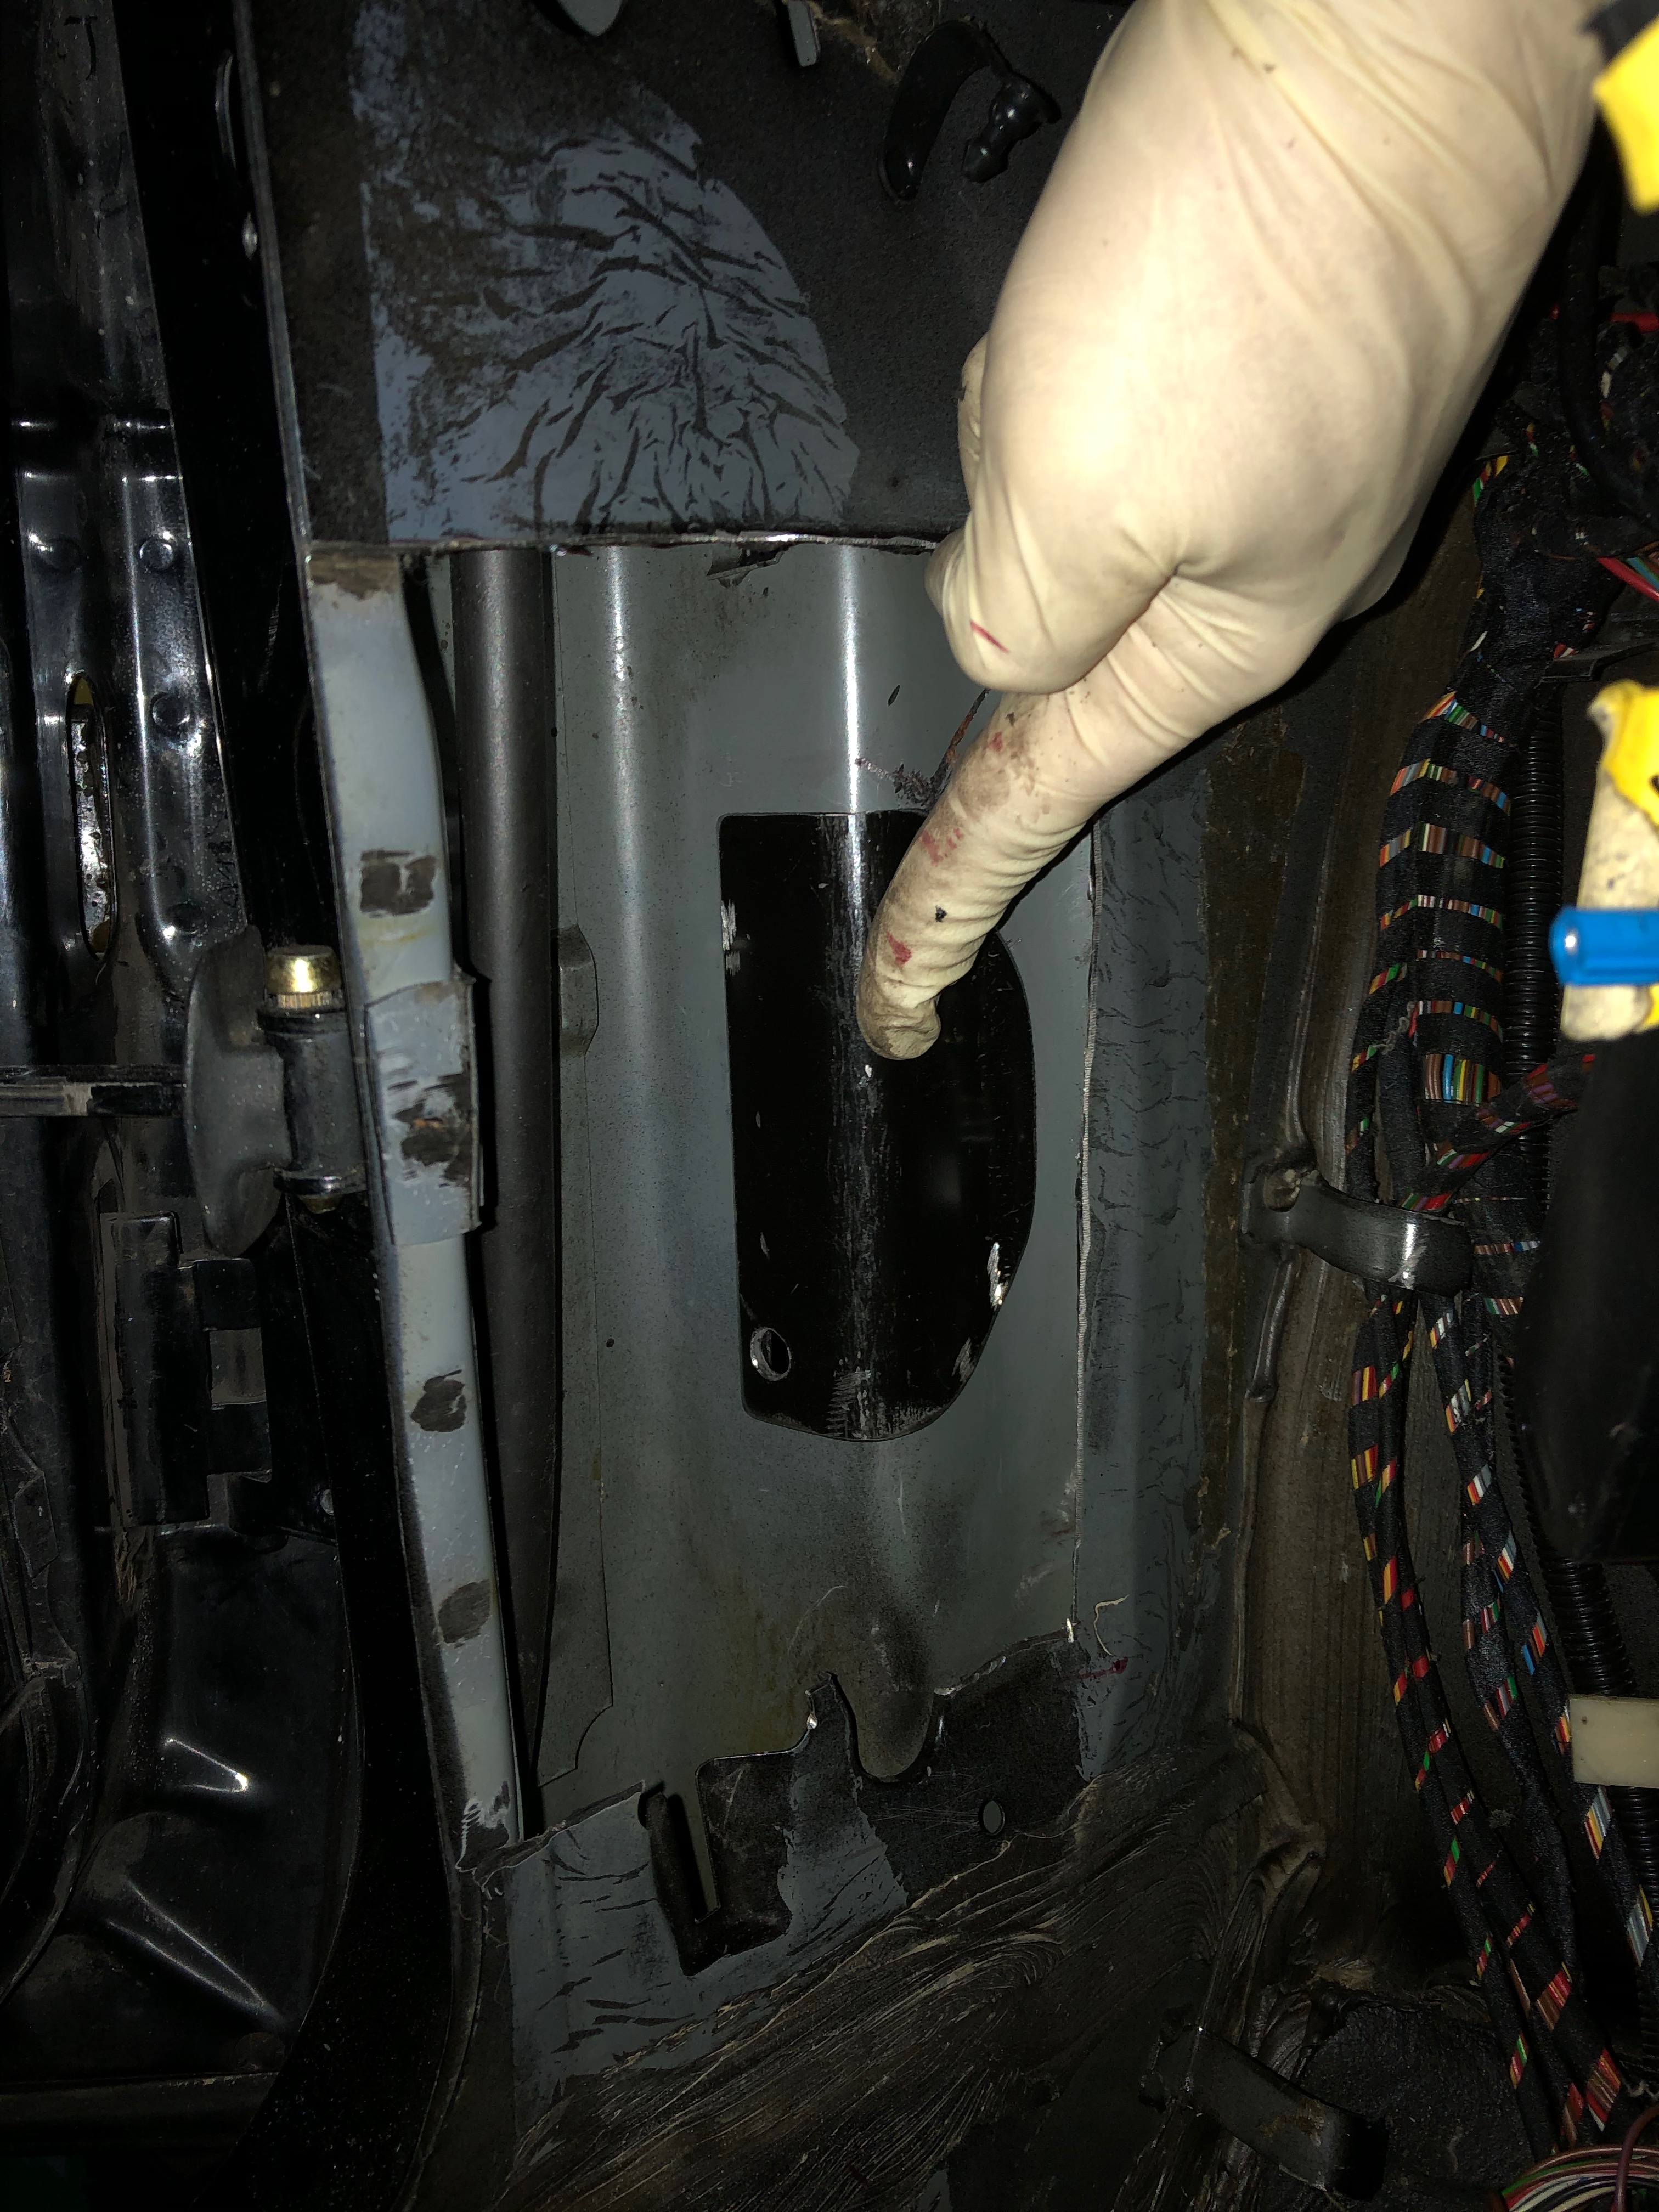
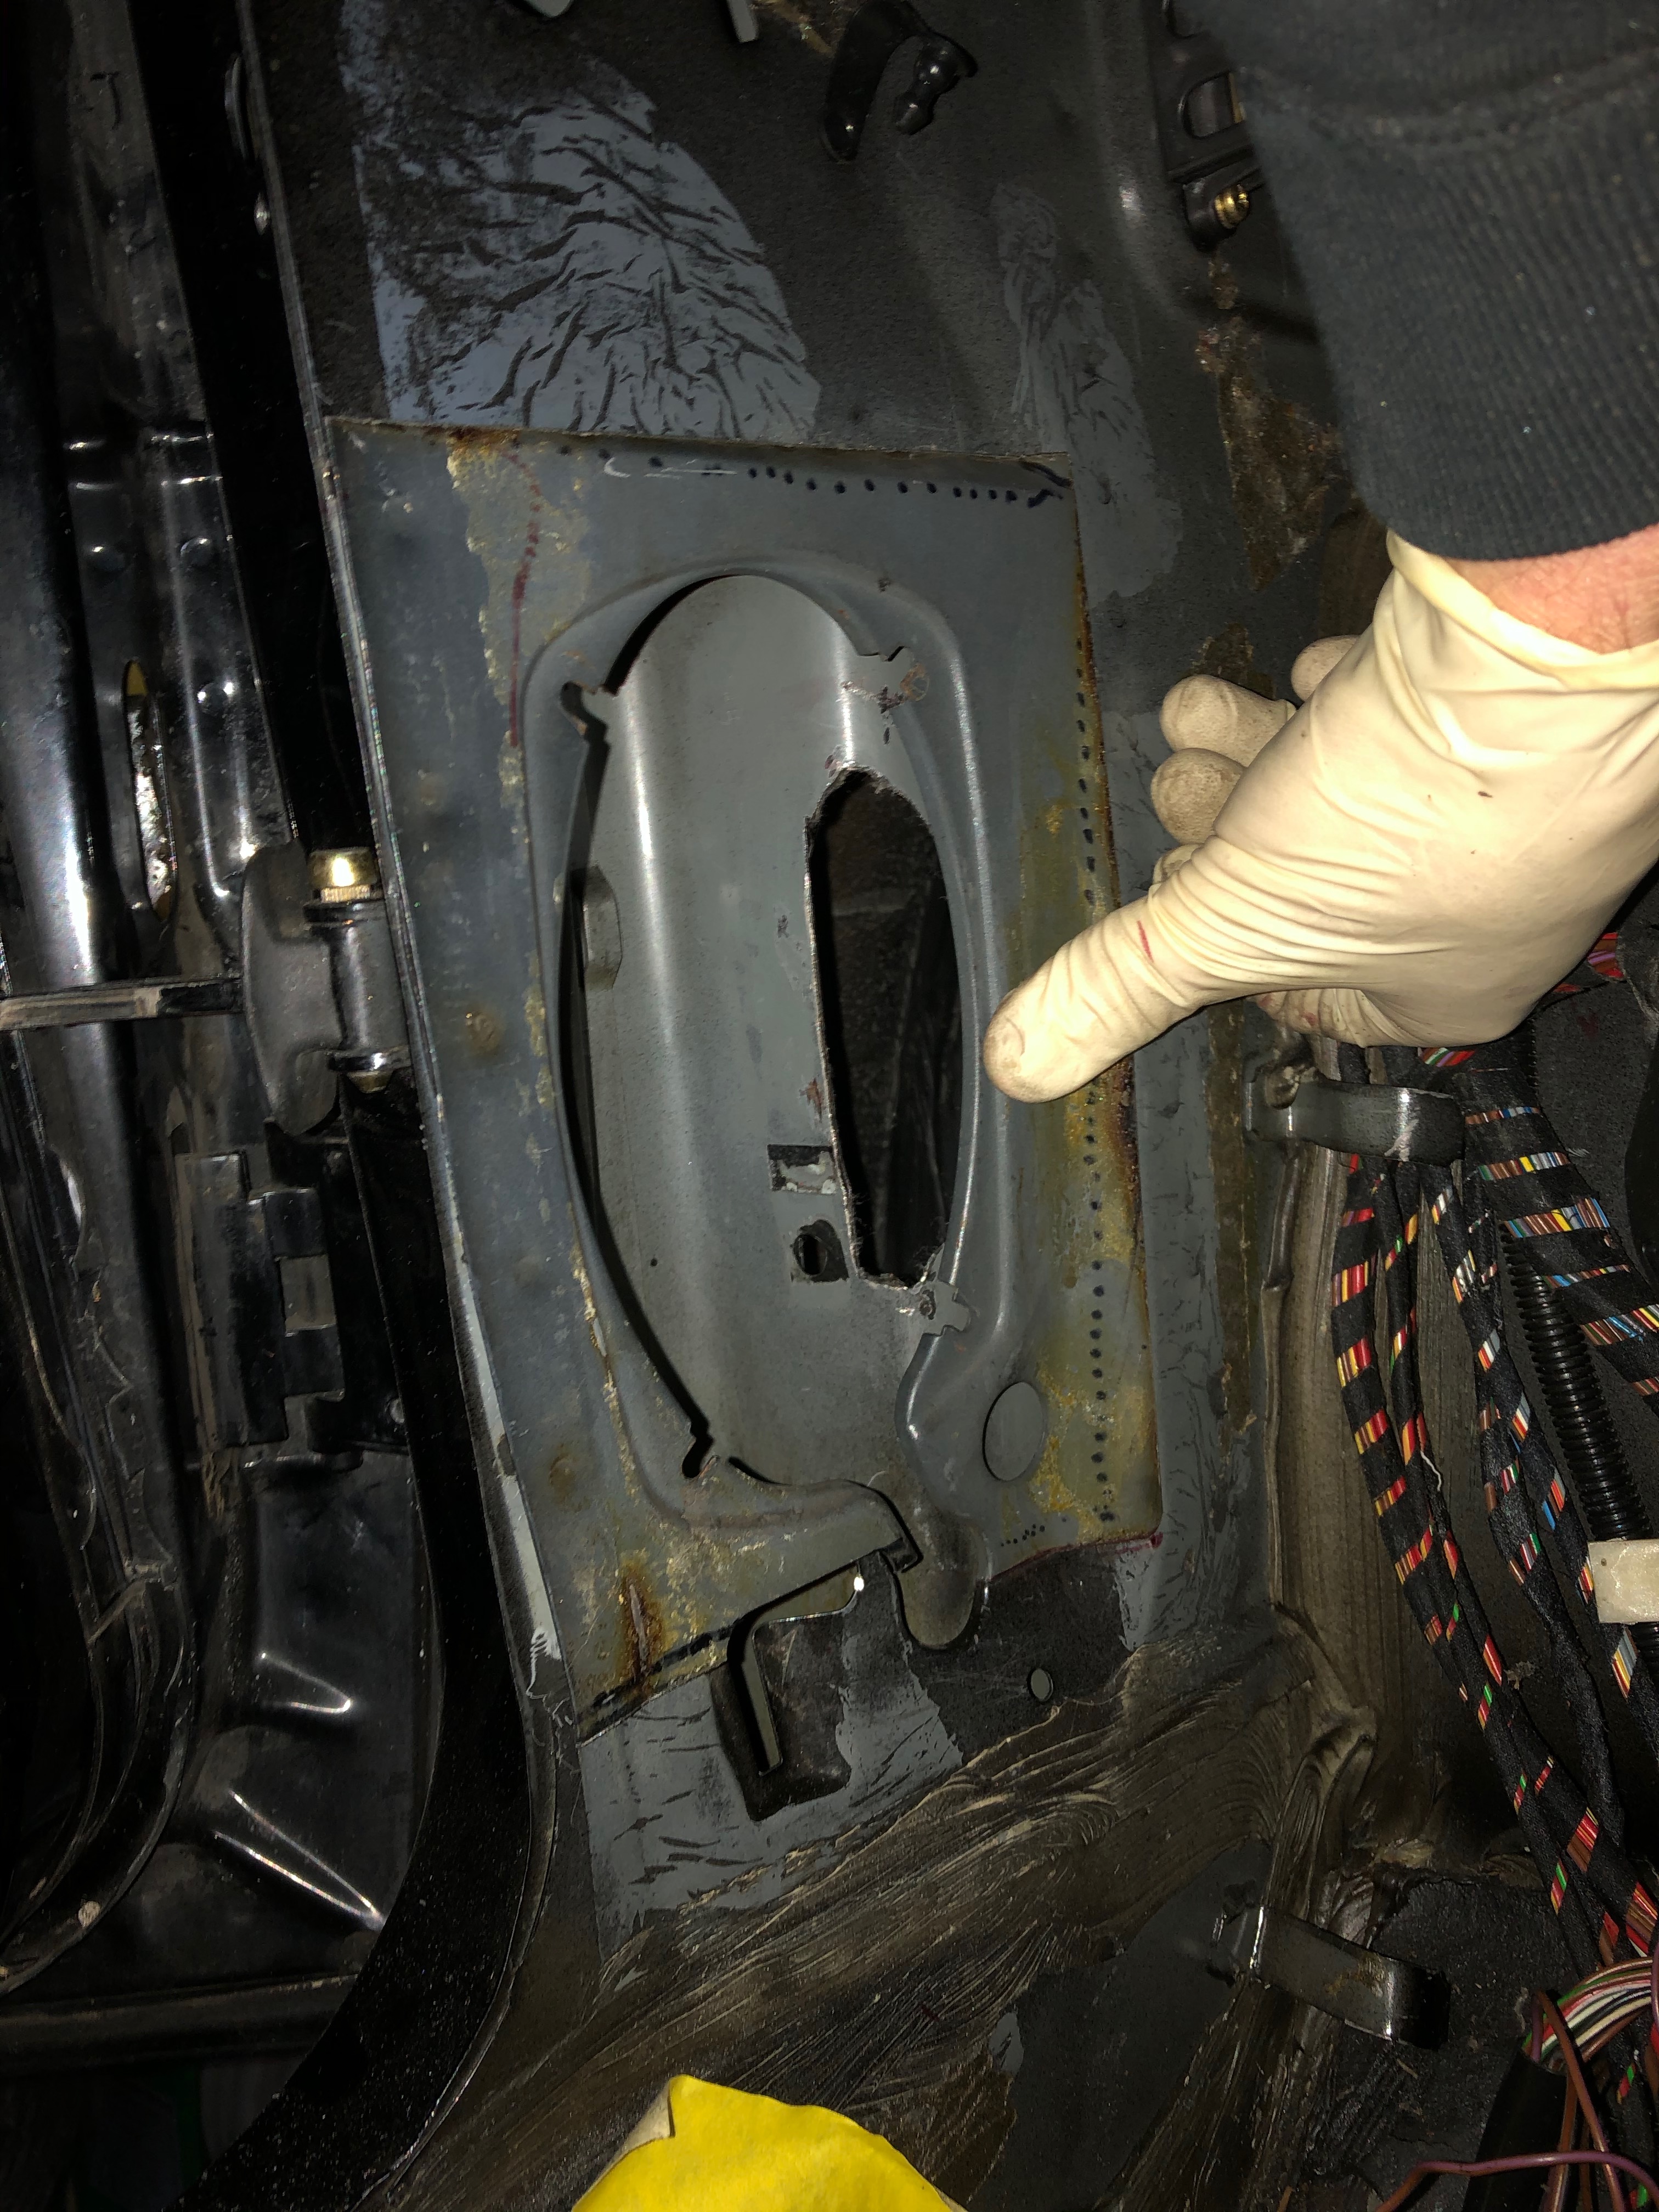
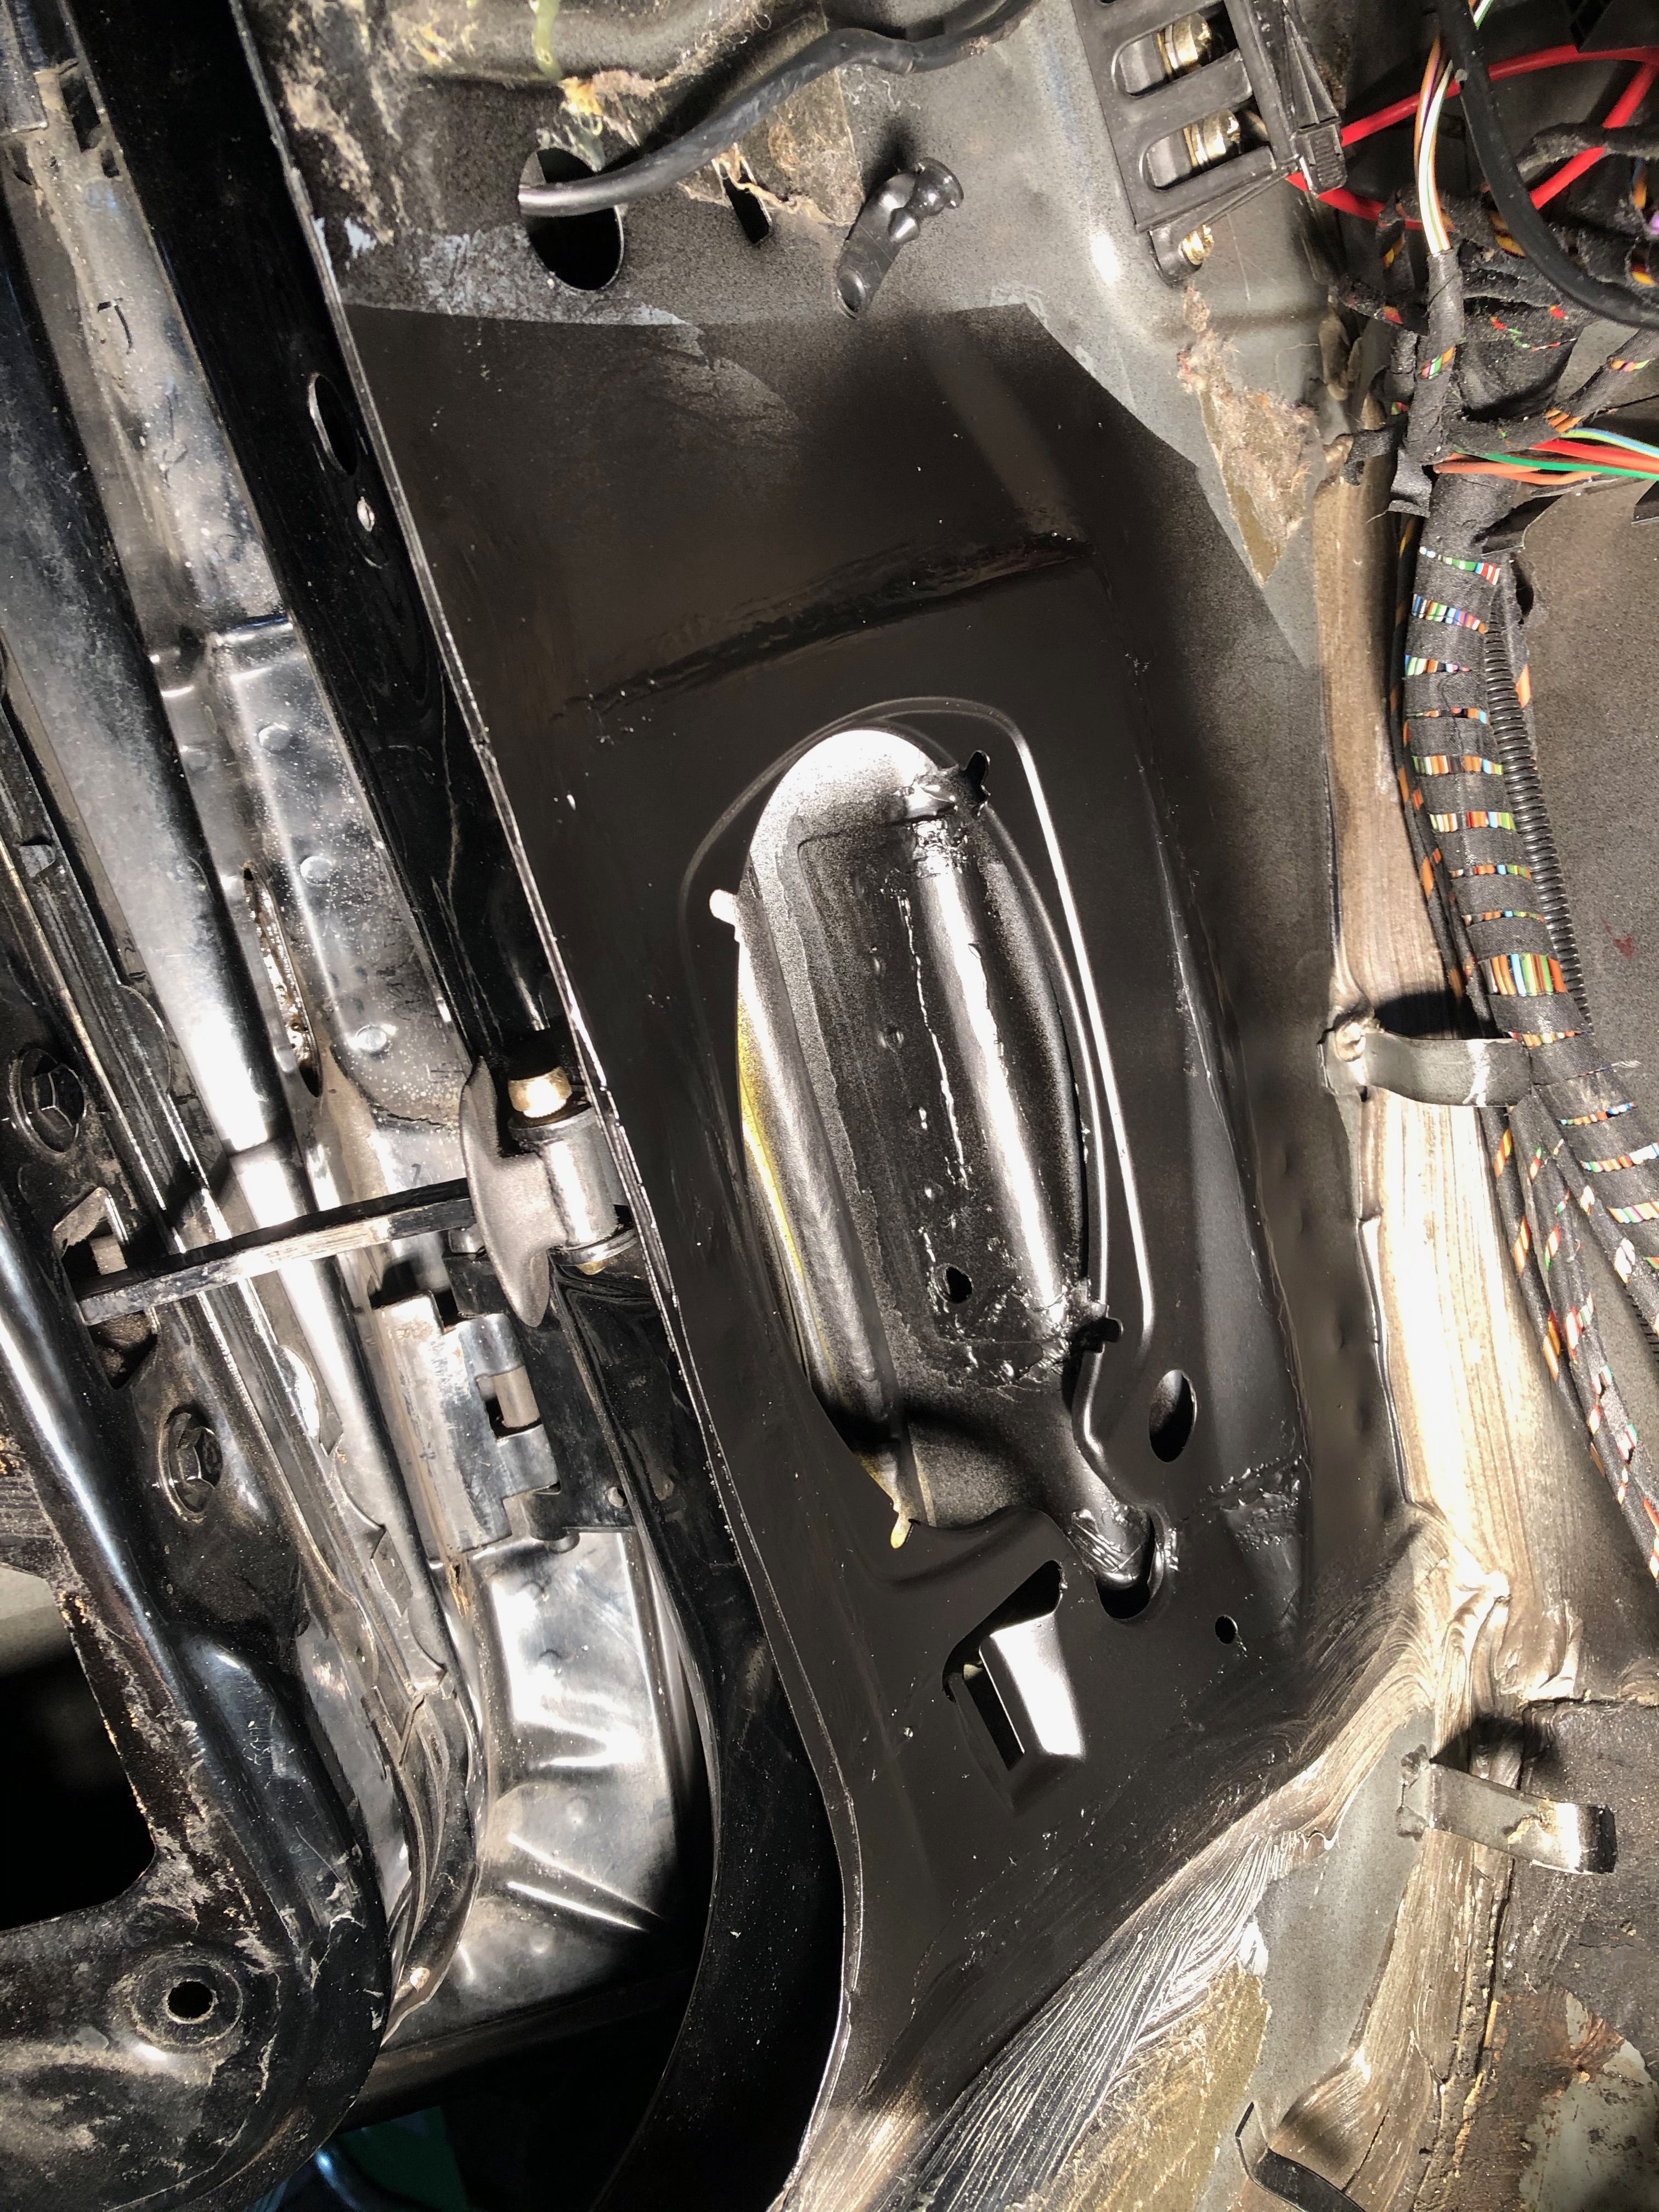
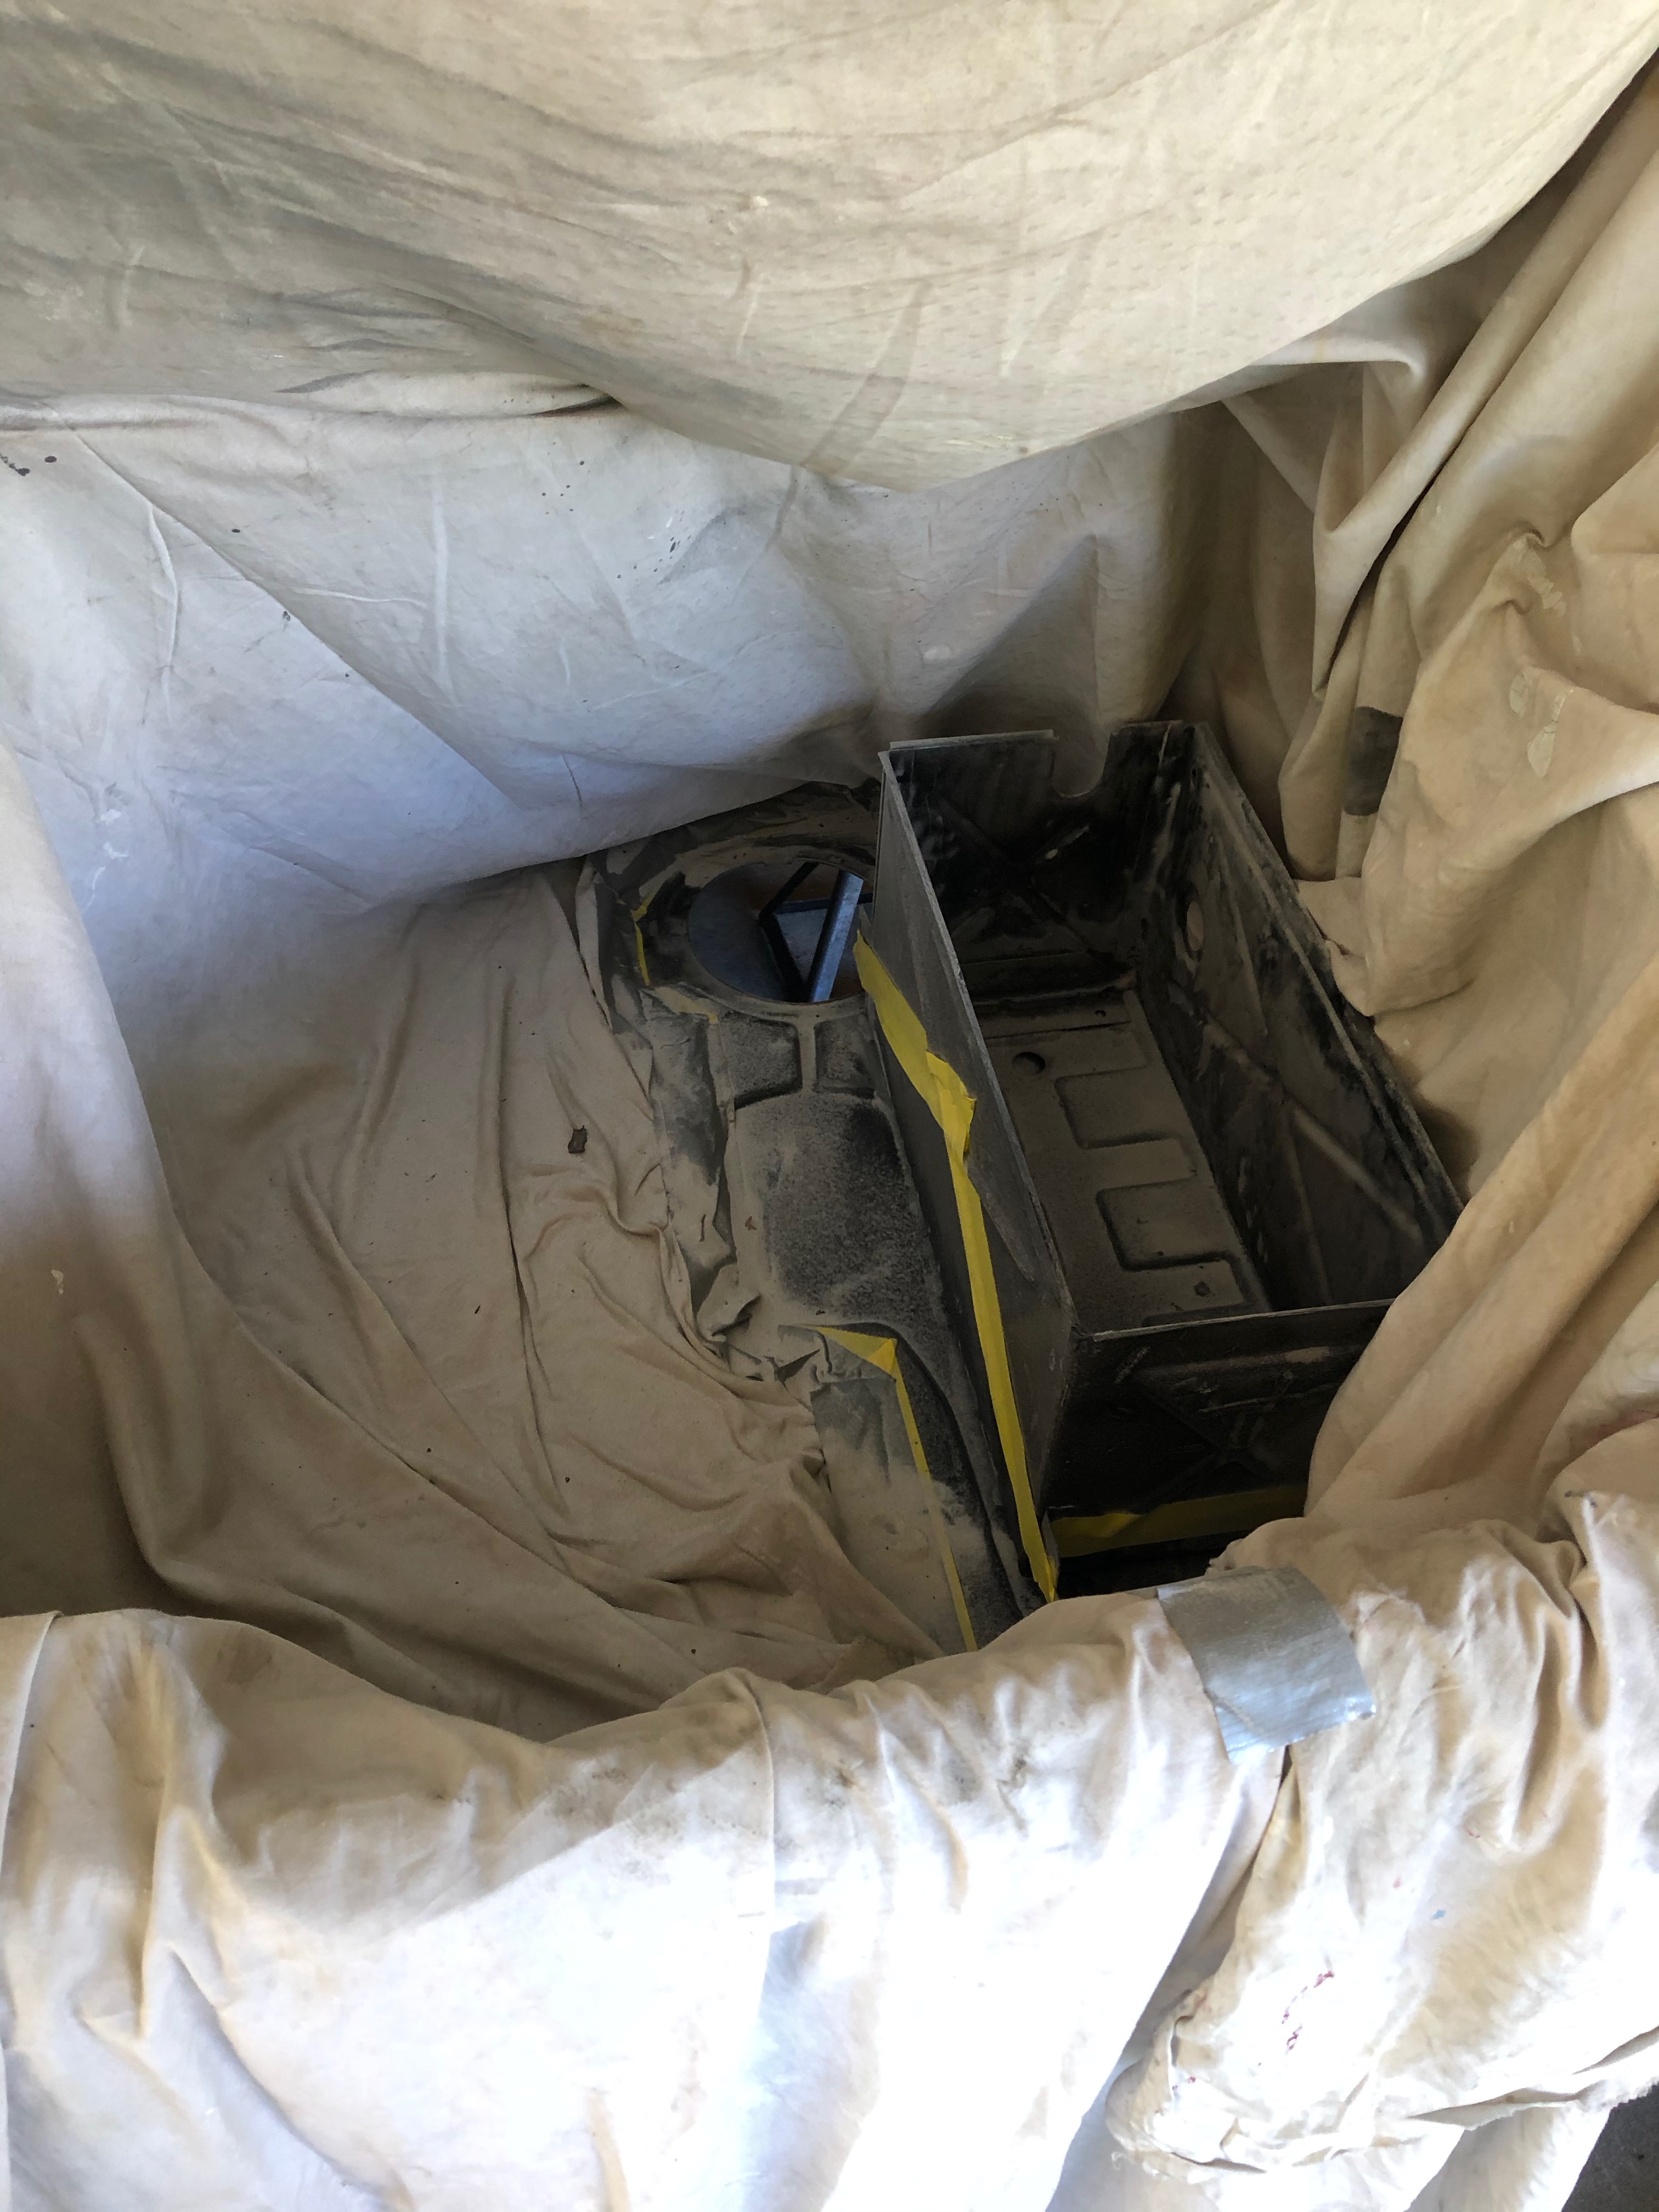
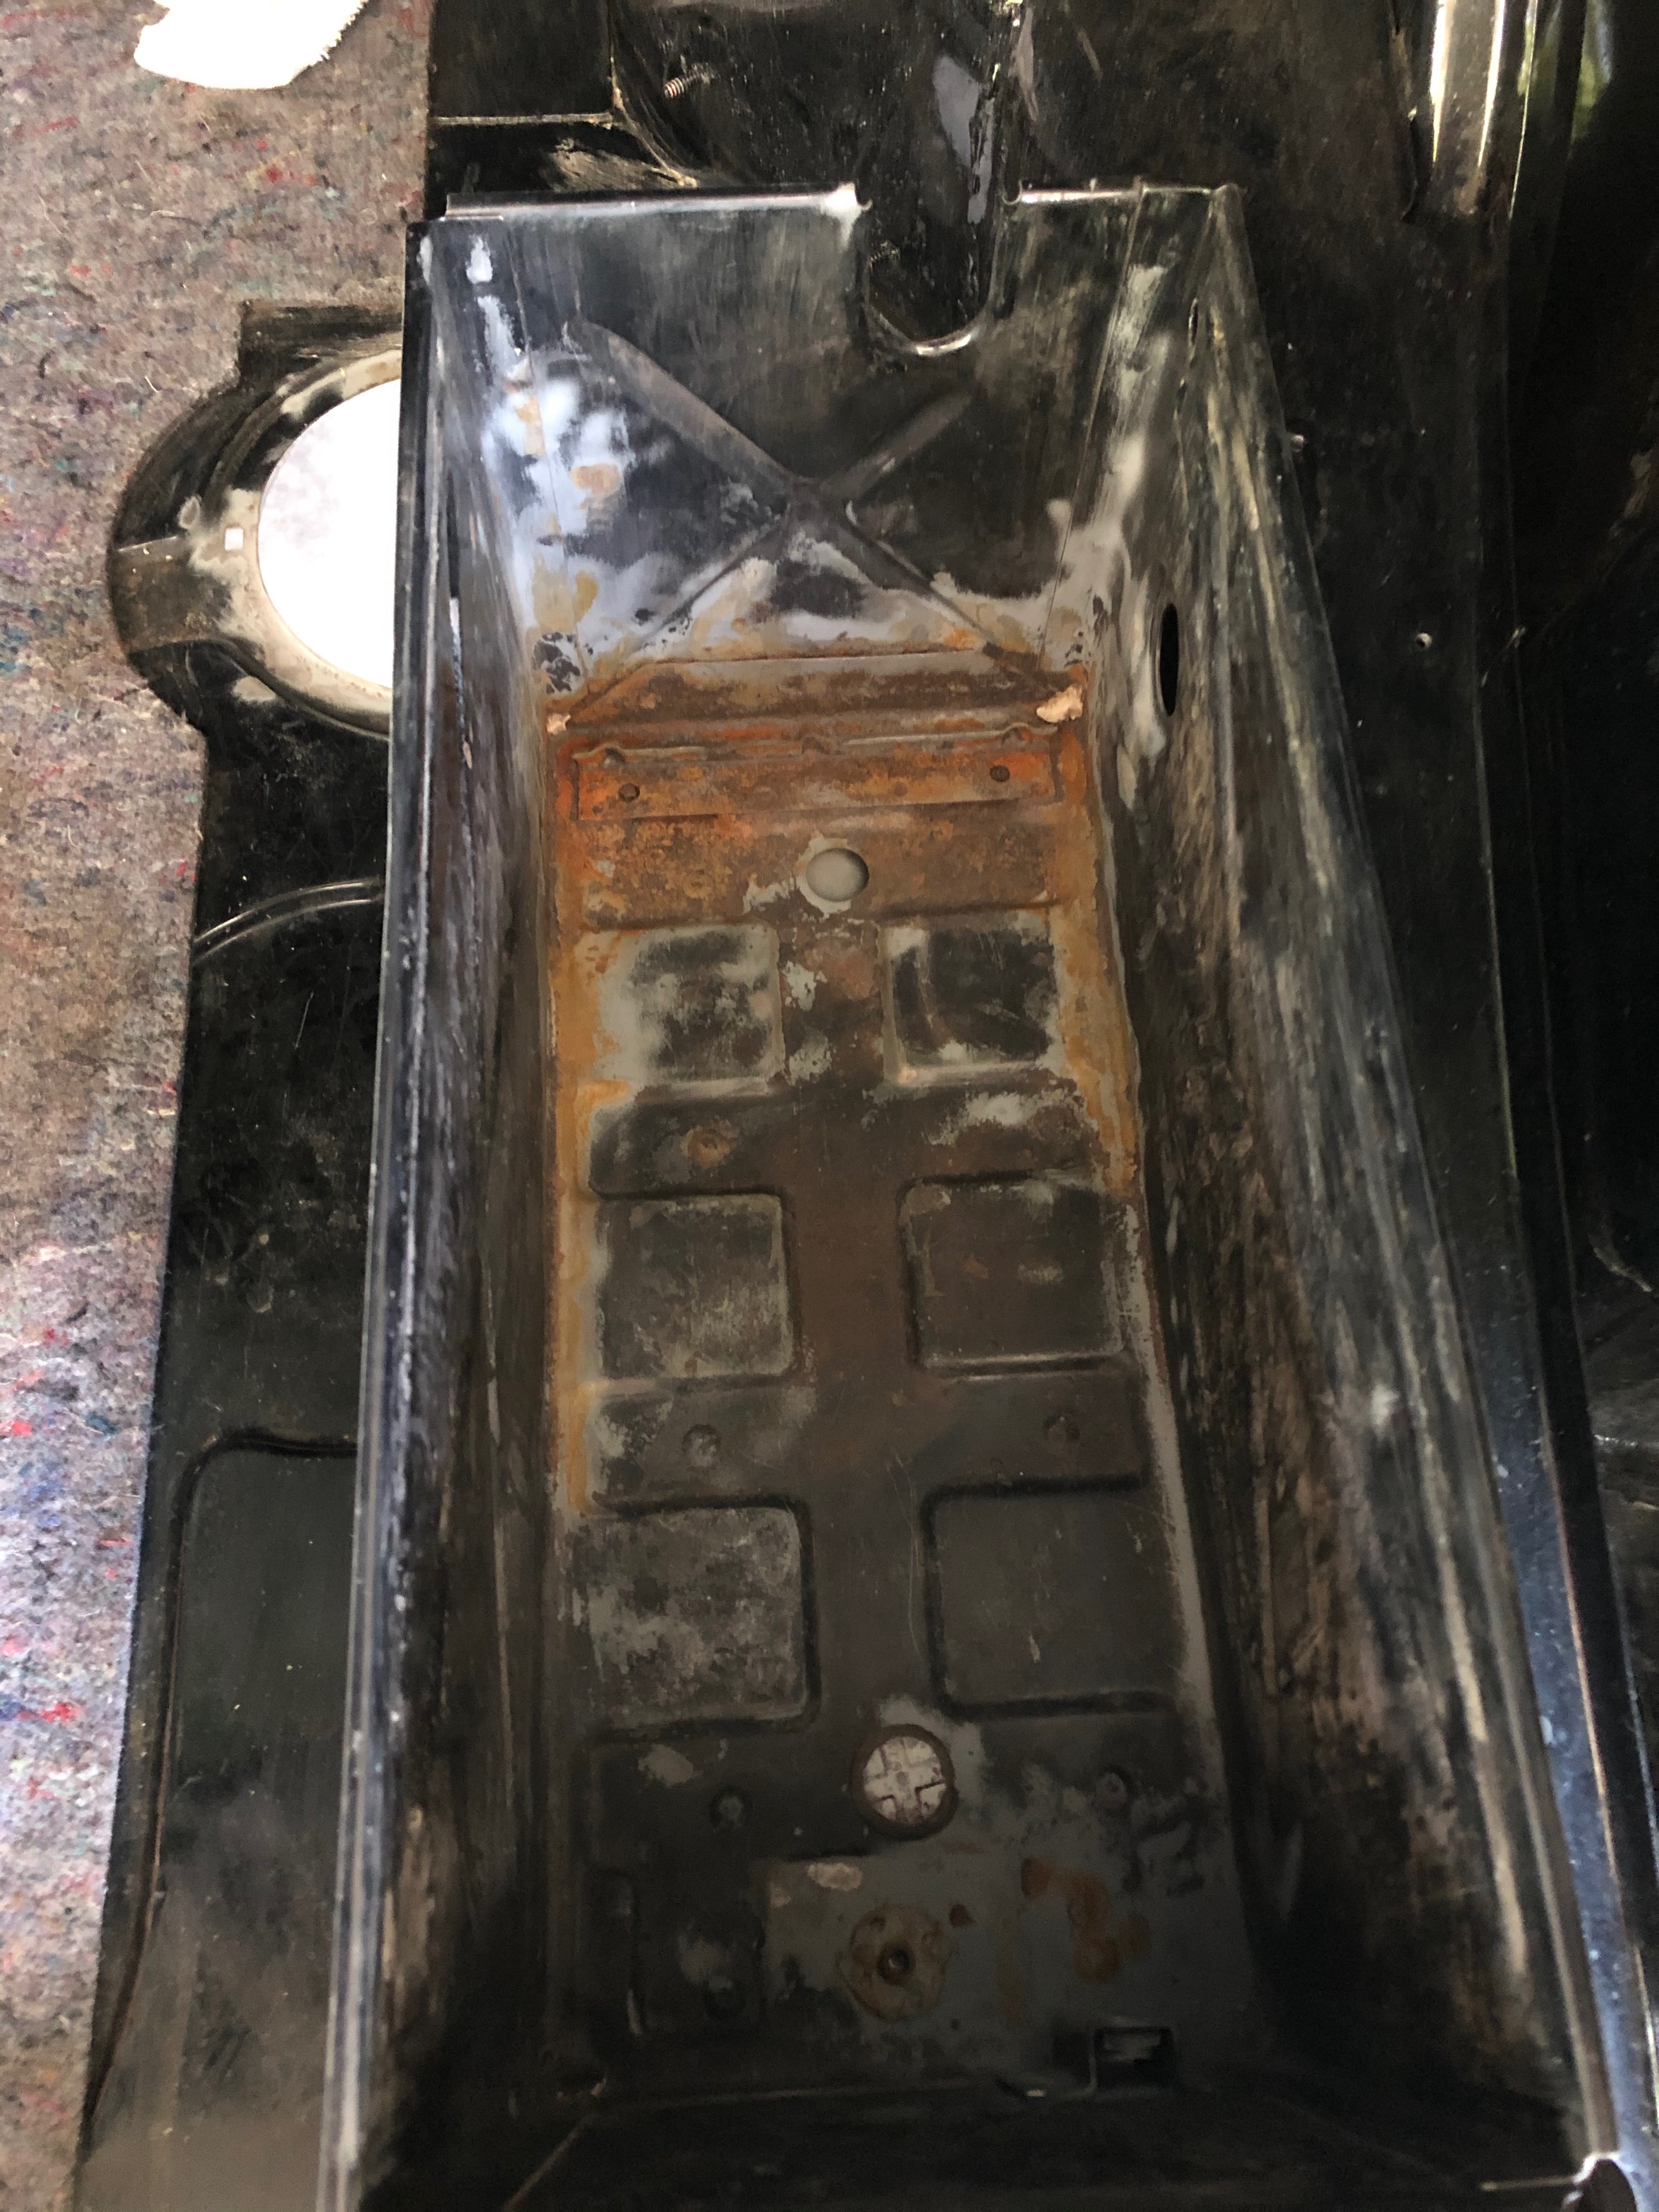
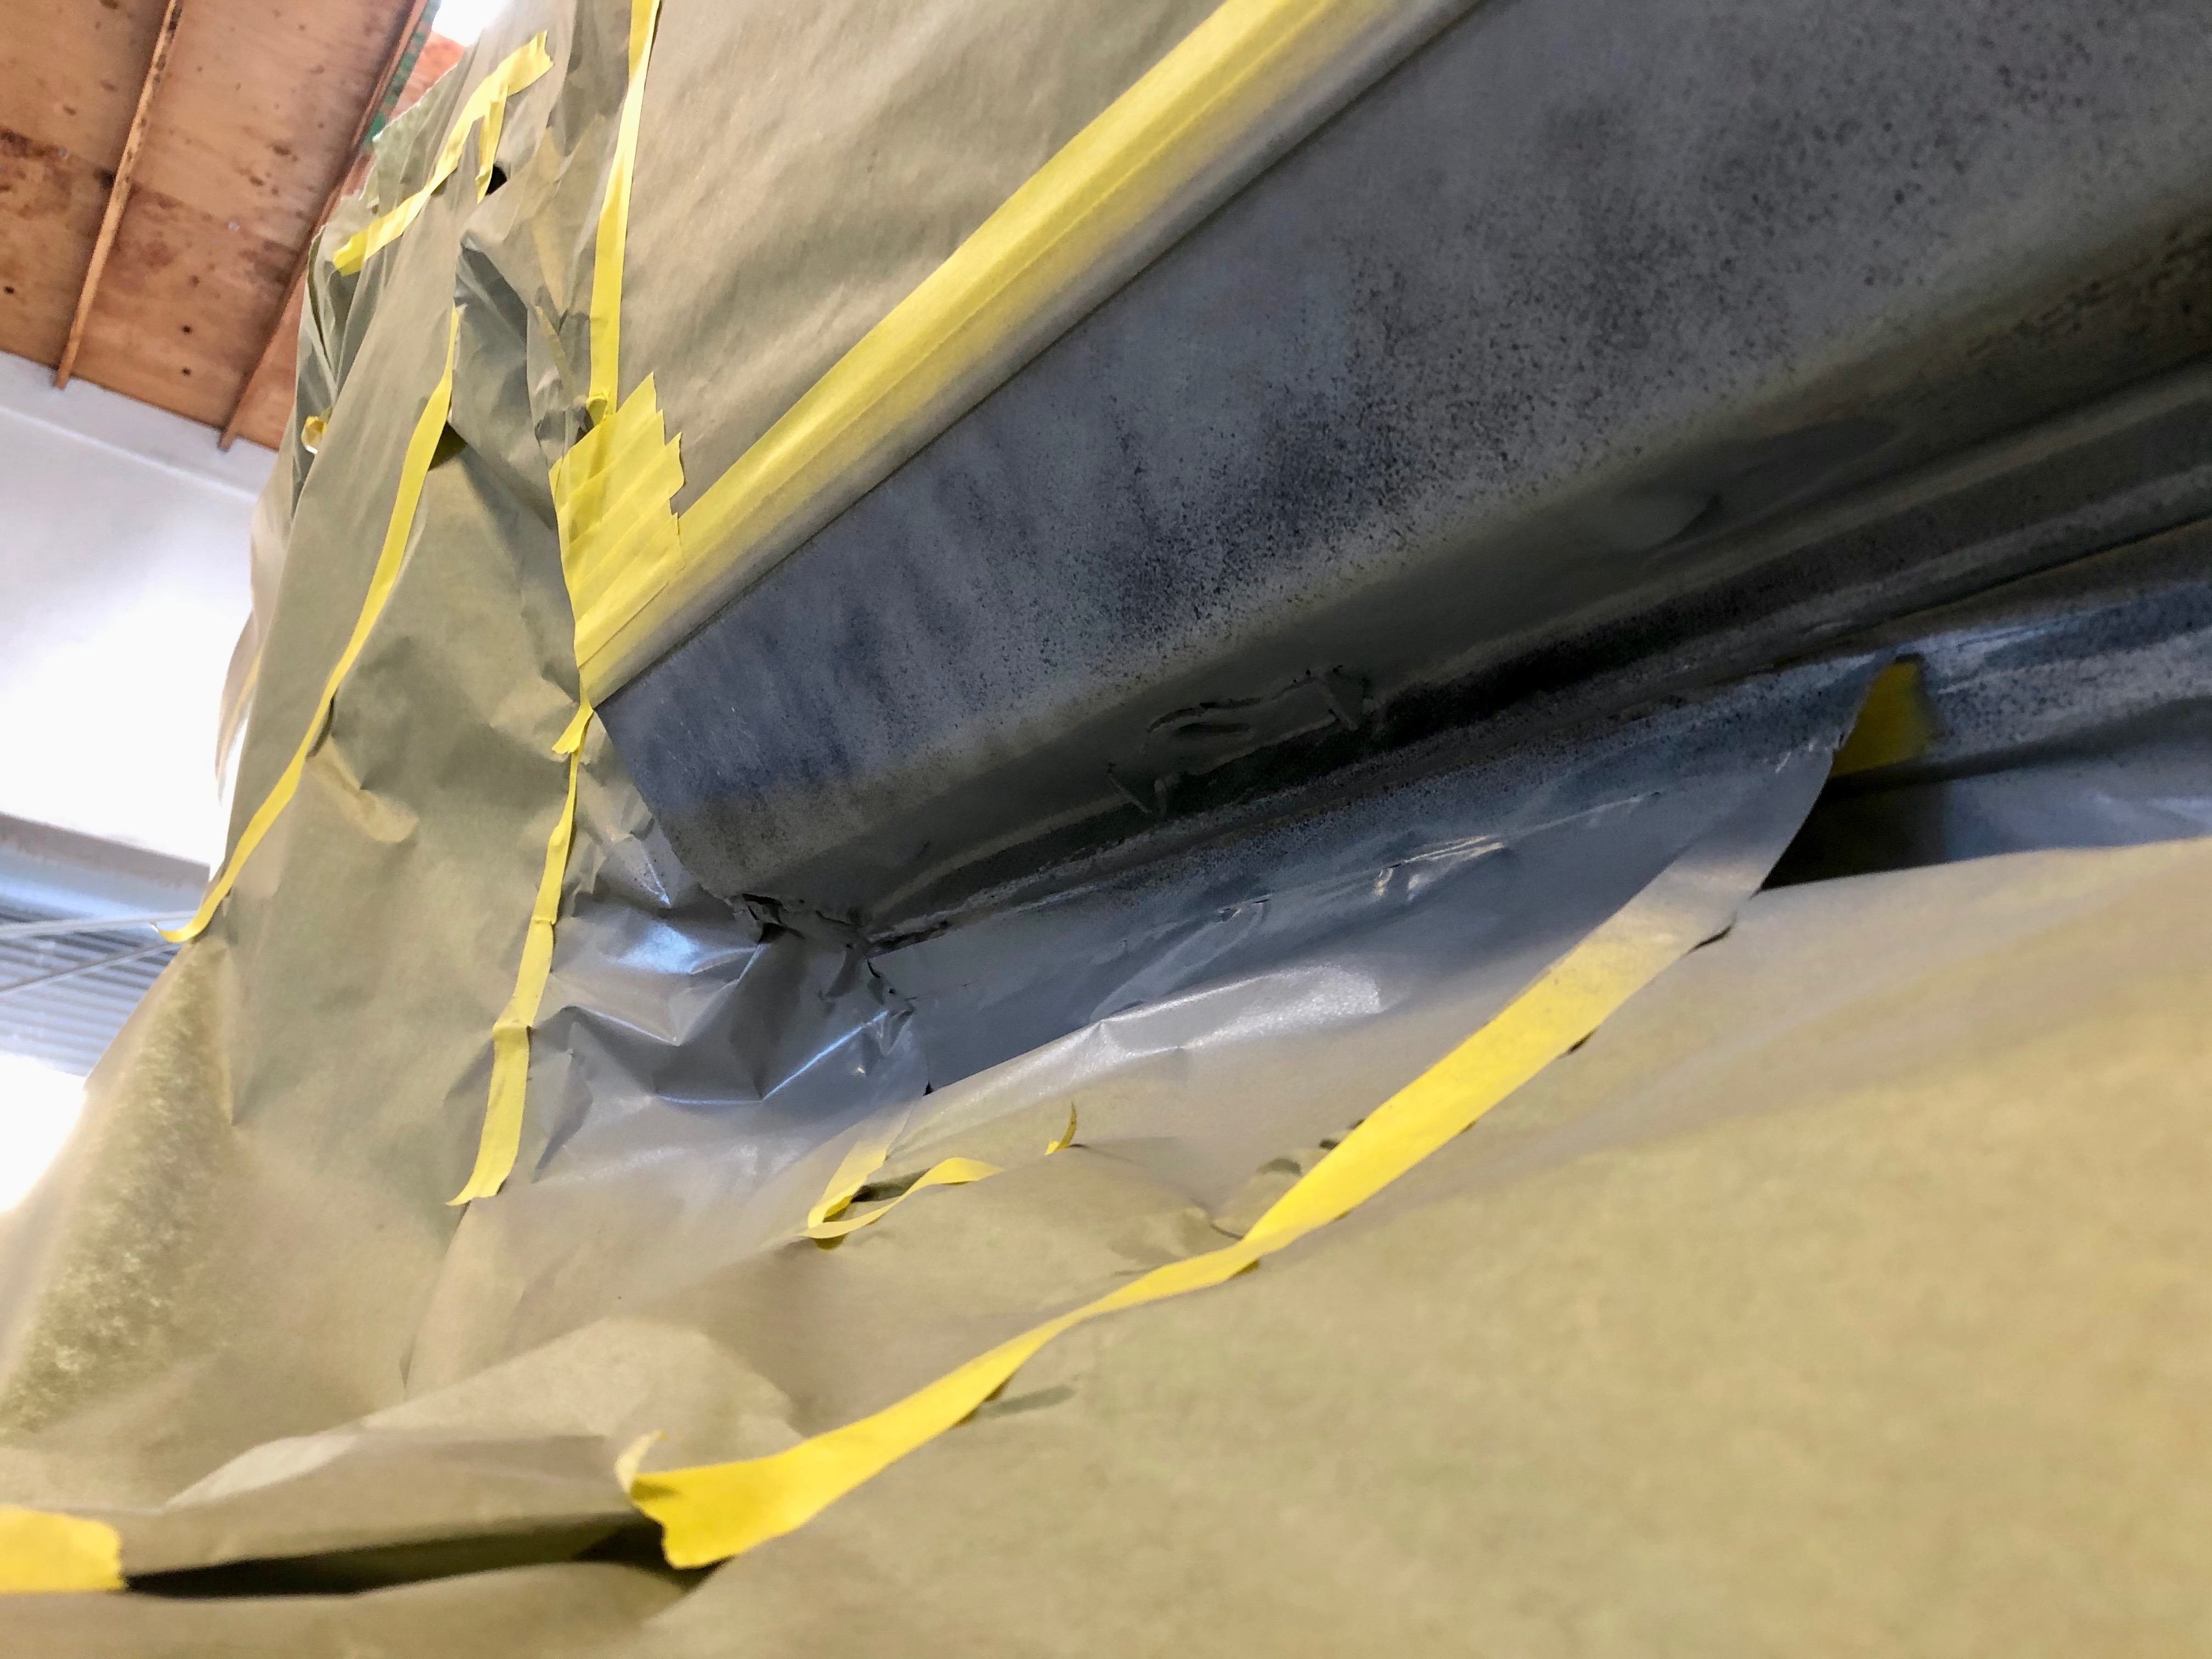
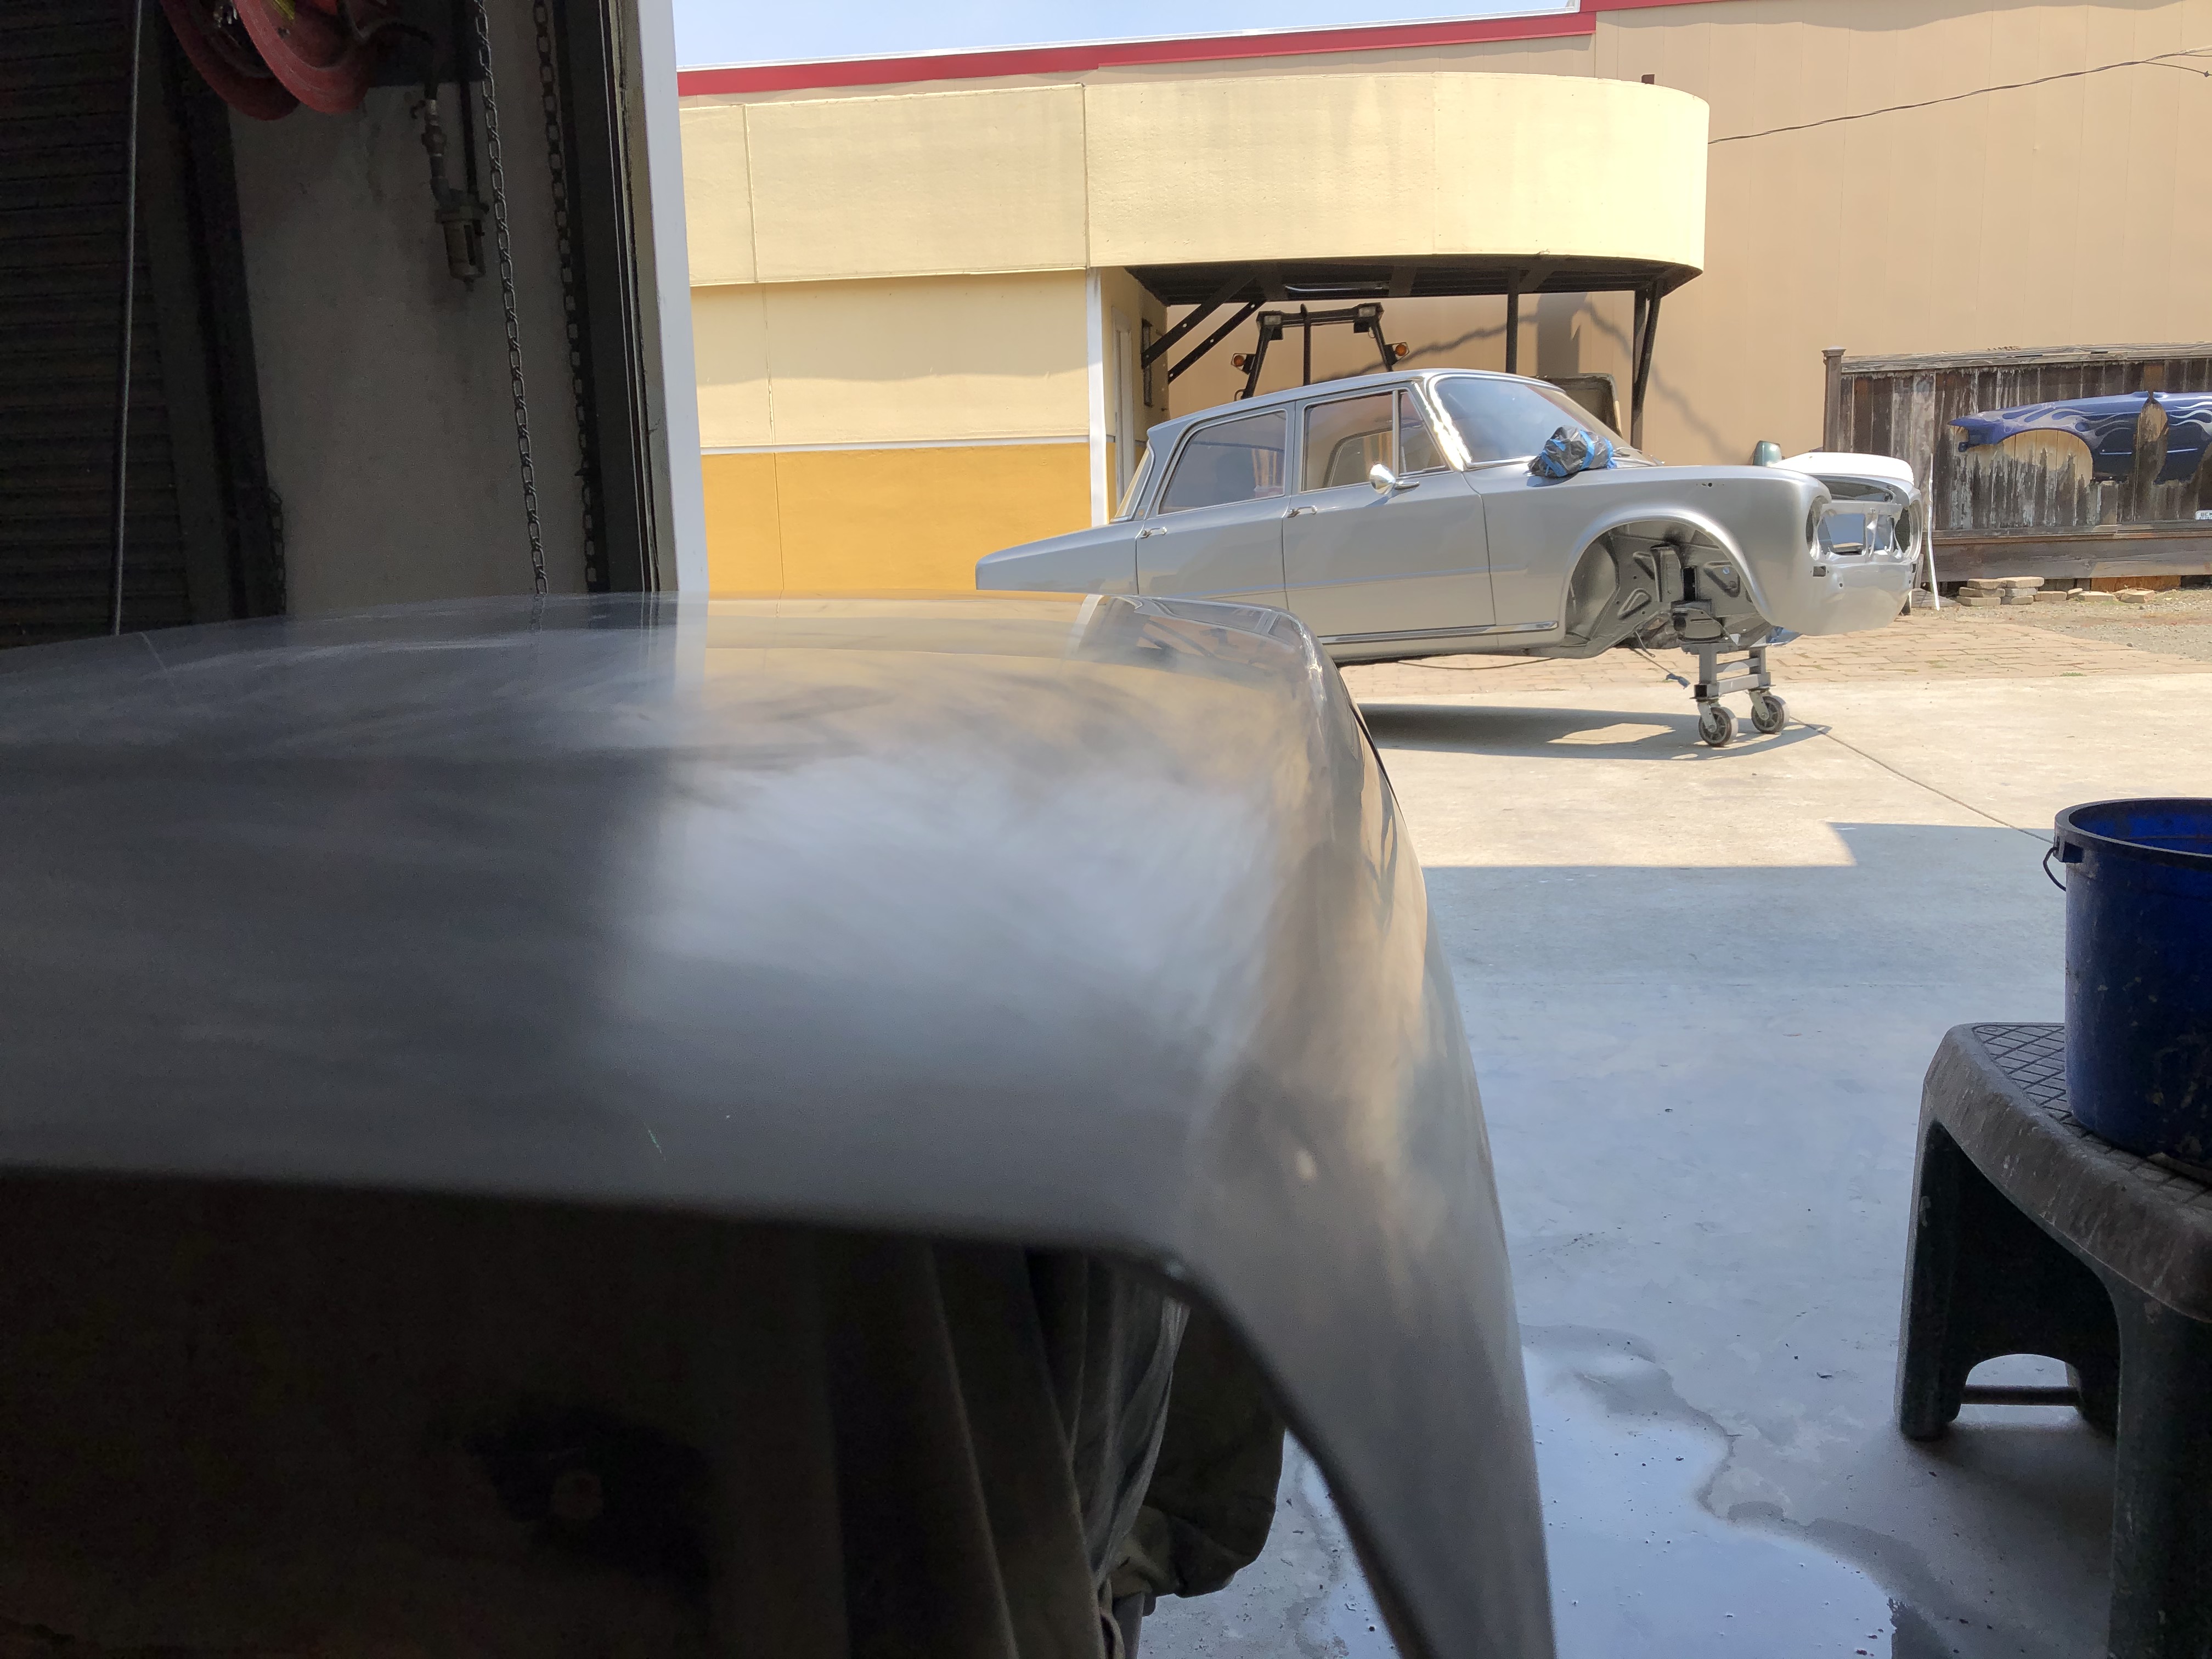
Vince: Yup, getting the inside of the battery box was a total pain. I used a wire wheel on my drill to start, but as you note, that won't get into the corners. I'd considered using a Dremel, but I don't think HF carries enough of those wire wheel bit kits in their entire inventory to get that job done. So ... I ended up media-blasting the box a couple of times and scrubbed in that gap under the box by threading small rags through that gap. I knew the media blasting was going to be super-unpleasant, so I hung sheeting & taped off as much stuff as I could. I still ended up wearing glass grit everywhere. But the box got clean! Then I did a couple of coats of POR15 and then primer. Haven't painted it yet, but my hope is to refresh the entire trunk and I'll complete the battery box at that time.
Speaking of refreshing the trunk,
if anyone knows of a good source for getting replacement felt padding (similar industrial look, similar thickness, wide enough to be able to cut the entire part without a seam), please let me know.
Also, great call on the Eastwood stuff. I think you may be taking about
EASTWOOD INTERNAL FRAME COATING? It comes with a hose so that you can snake it into nooks & crannies. I was planning on using it in the "C" channel behind the rear valance and in the rockers, but using it under the battery box is a great call as well.
In any case, I'm continuing to make progress. The irony of the COVID situation is that with the stay-in-place orders I have plenty of extra time to work on the car, but getting parts has become more difficult. FCP & ECS orders that used to take a few days are now getting stretched to a couple of weeks. I assume that various shutdowns in the supply chain are affecting all of this.
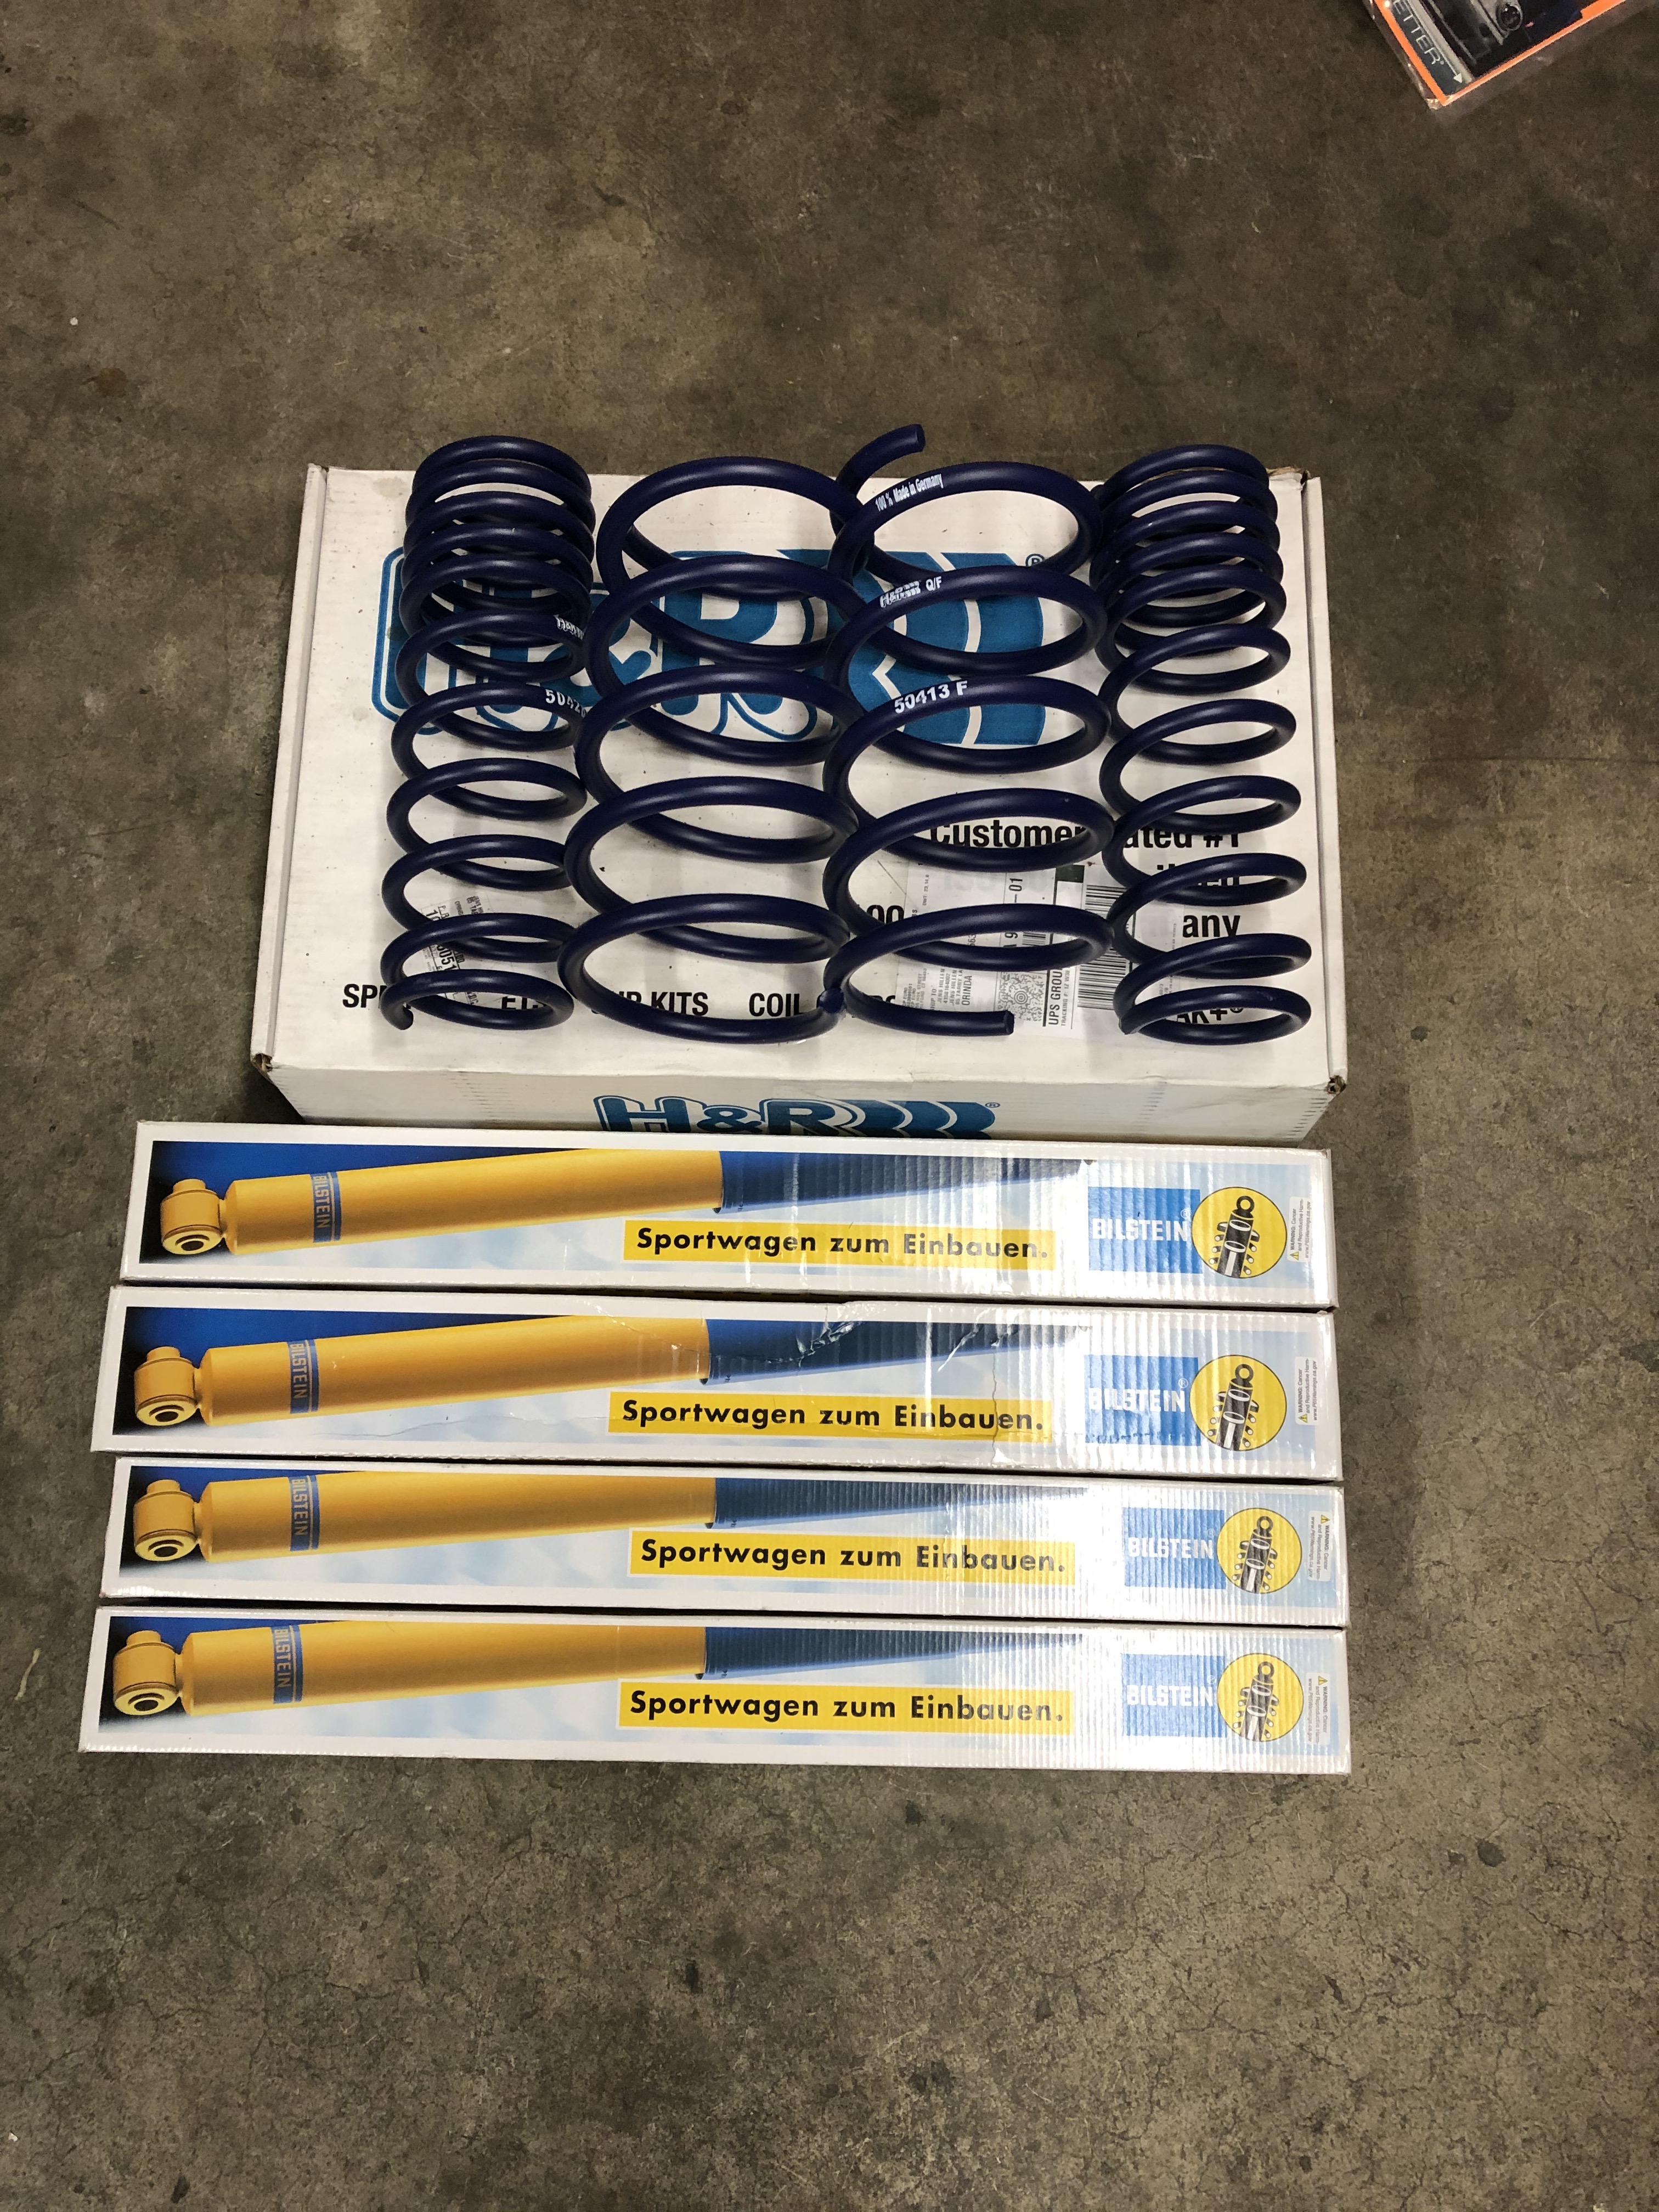
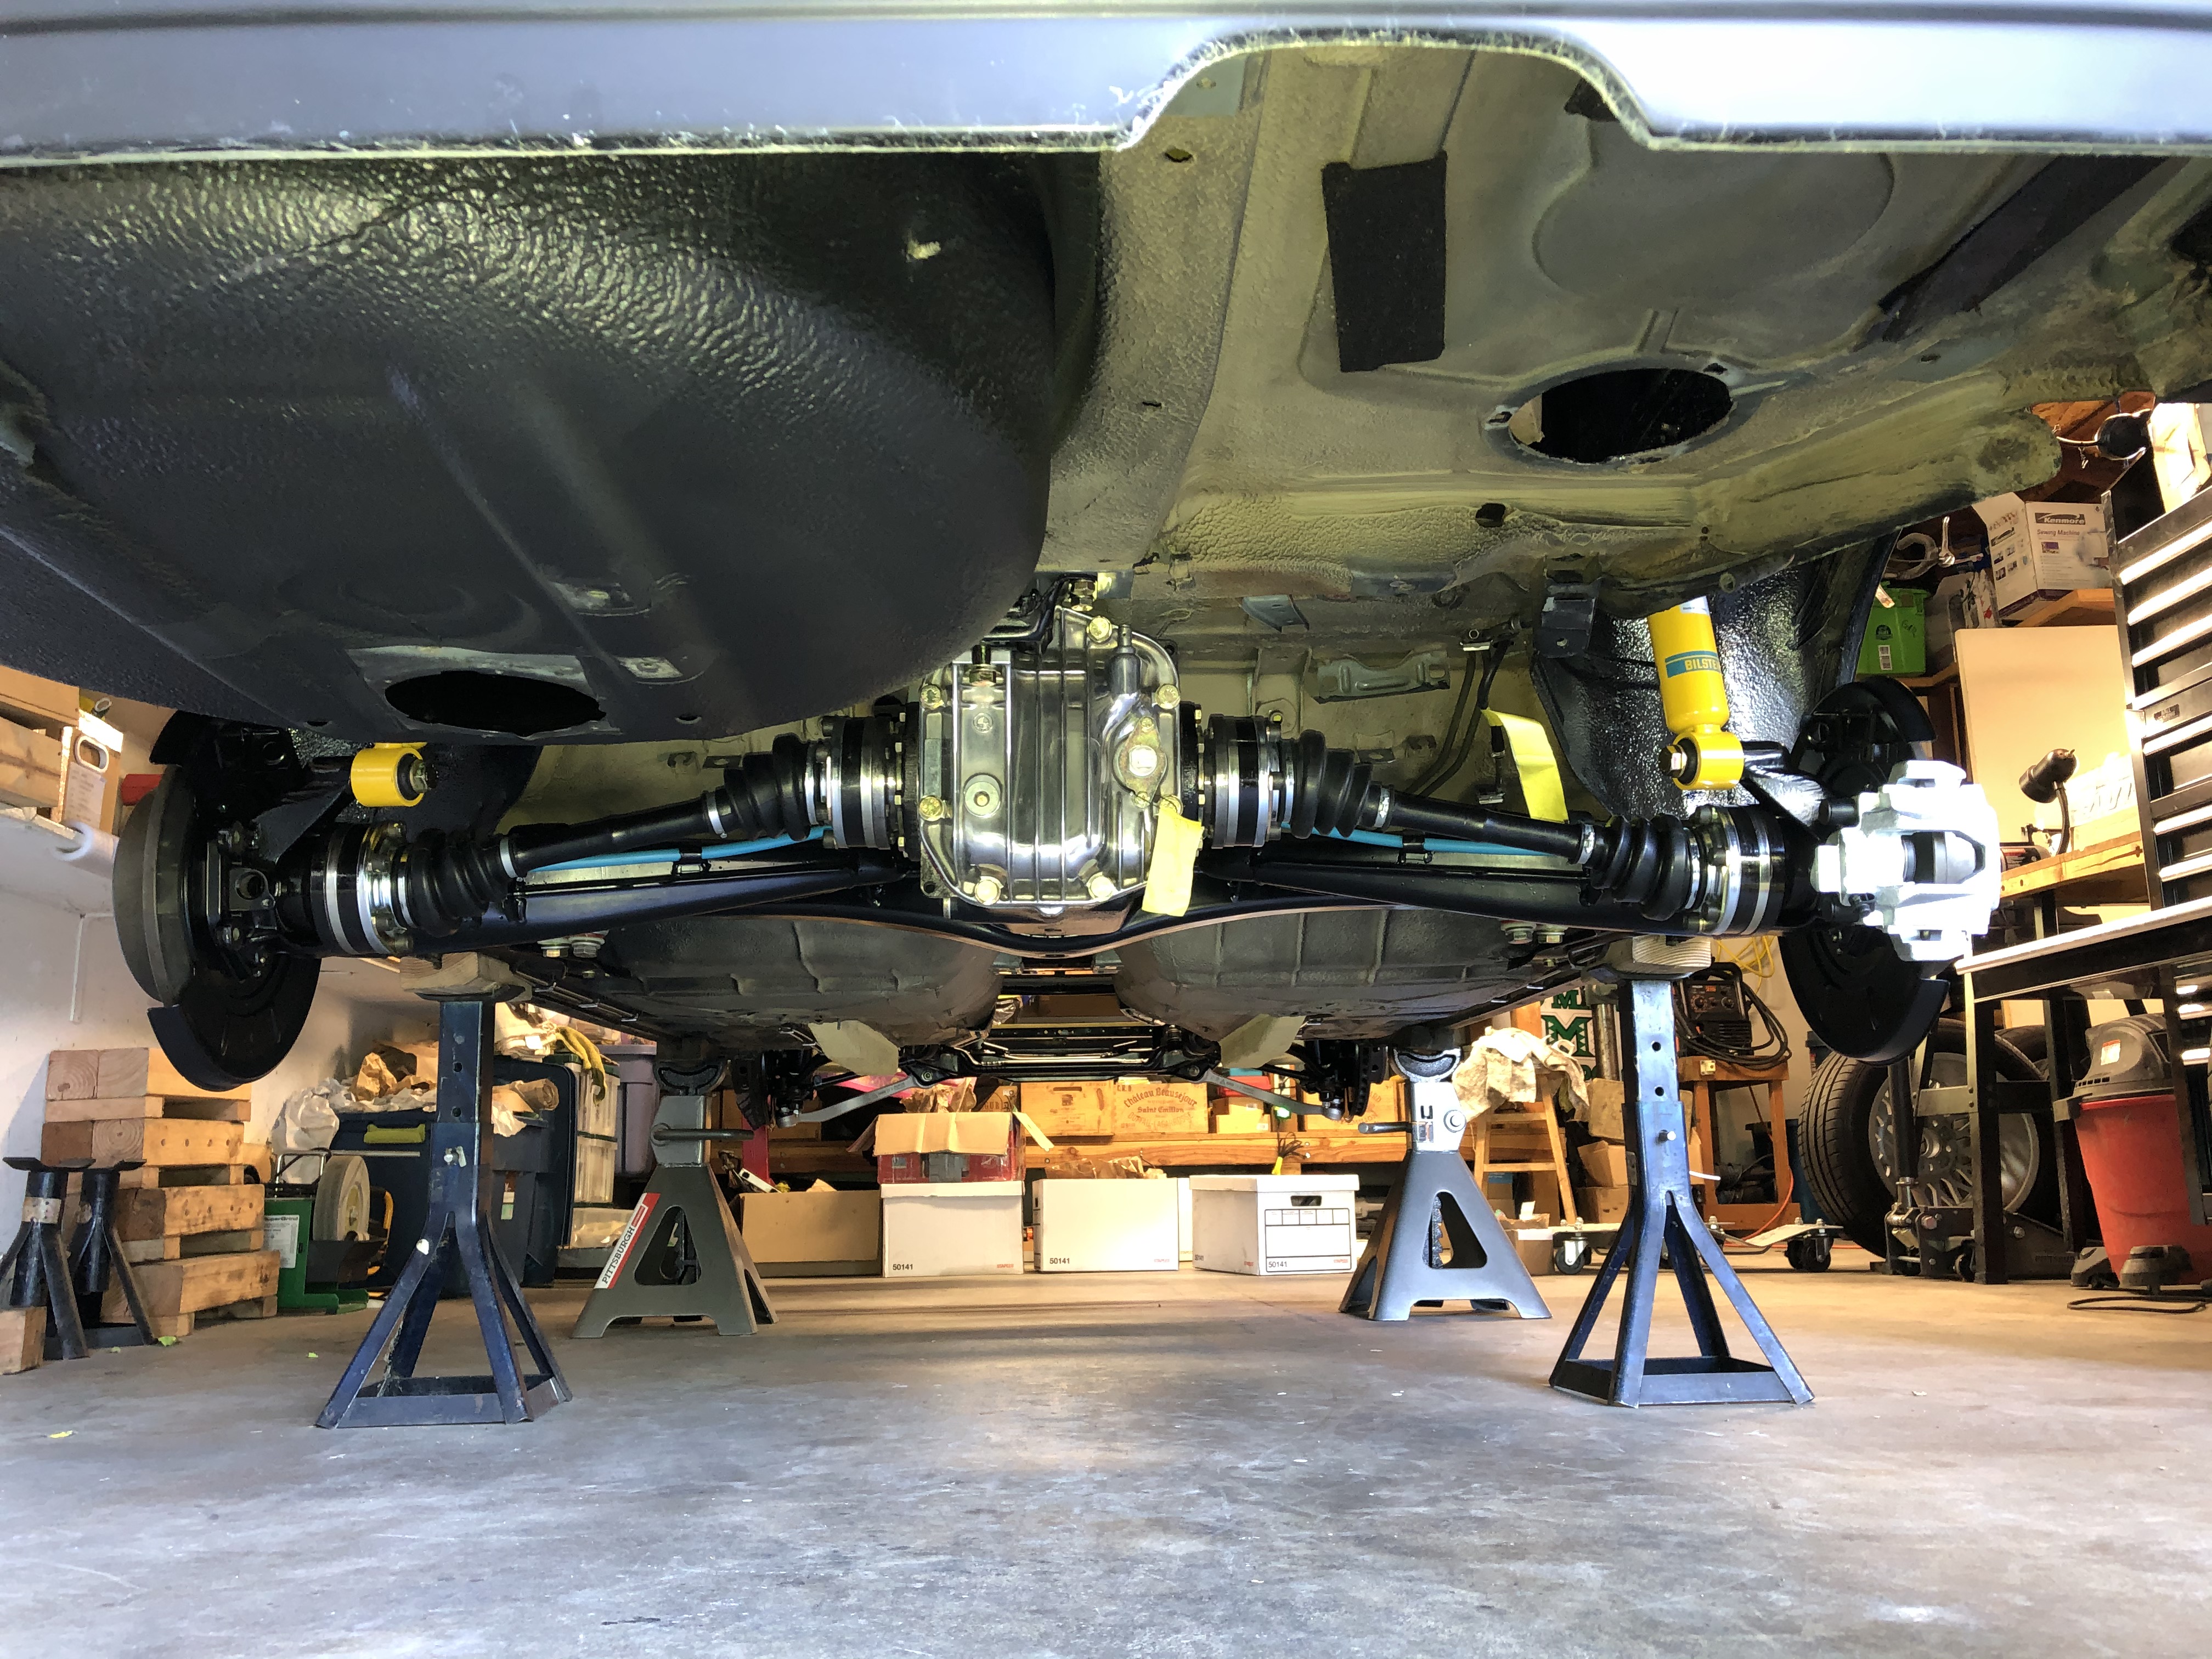
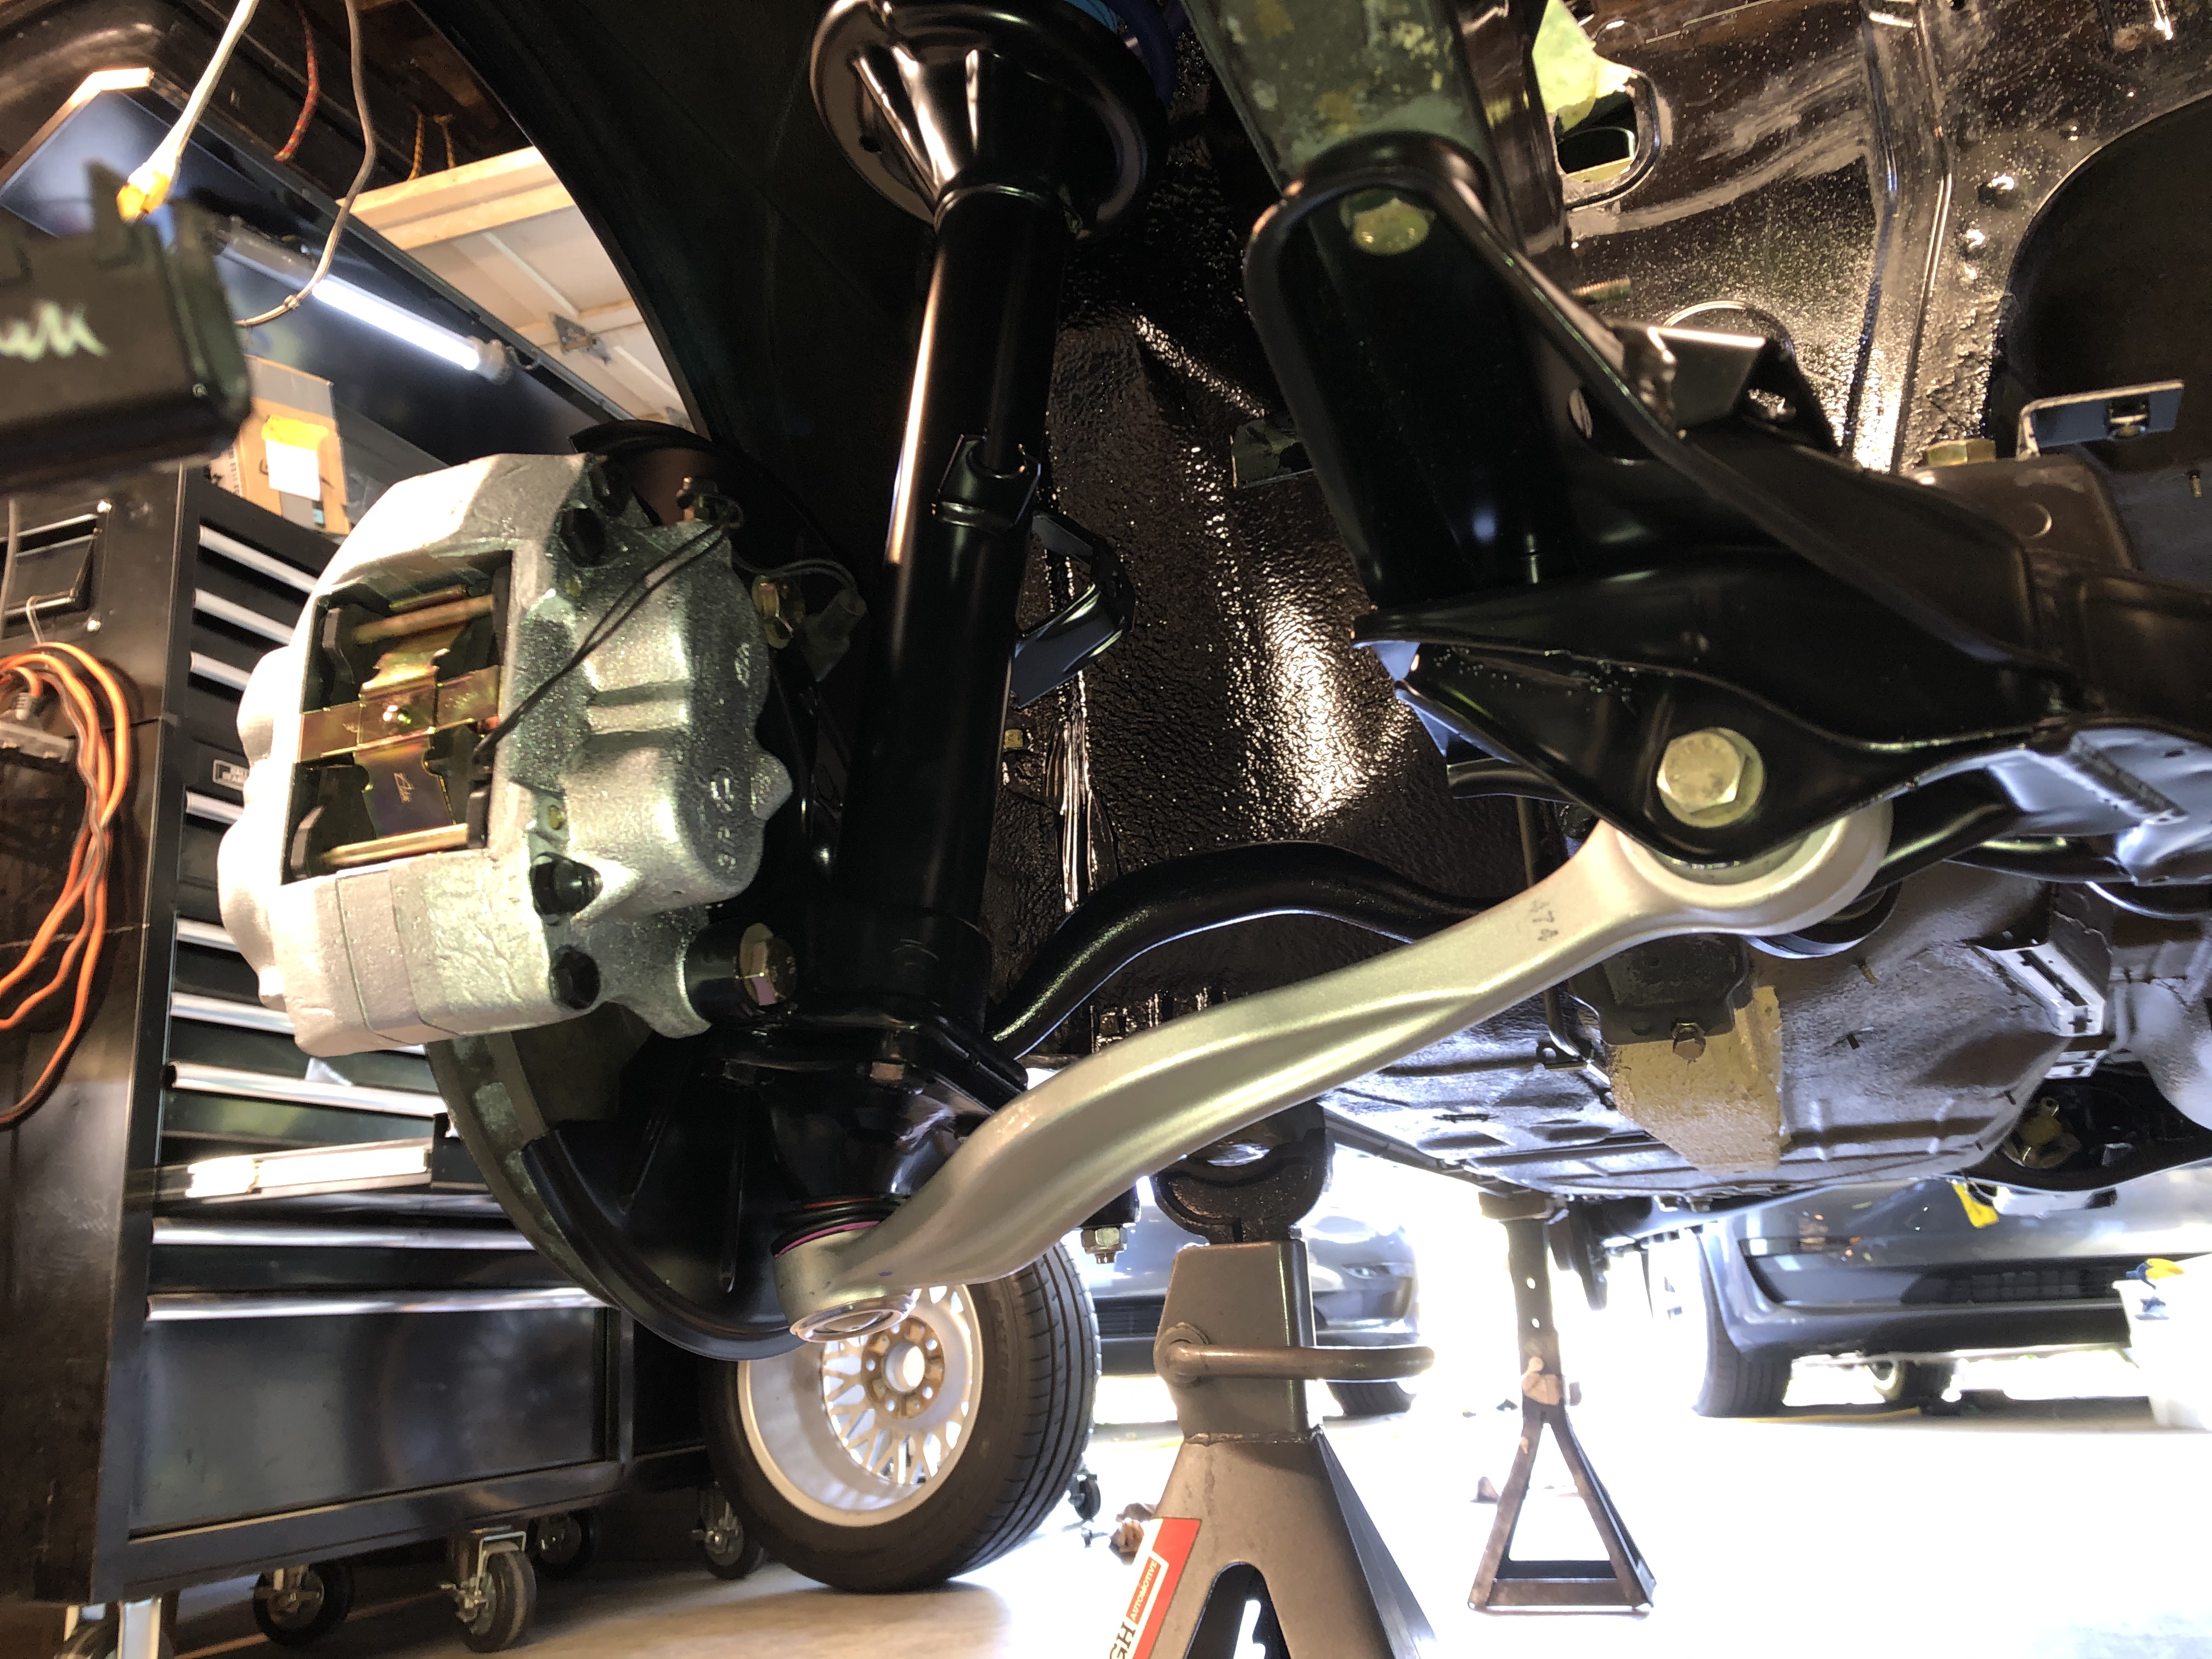
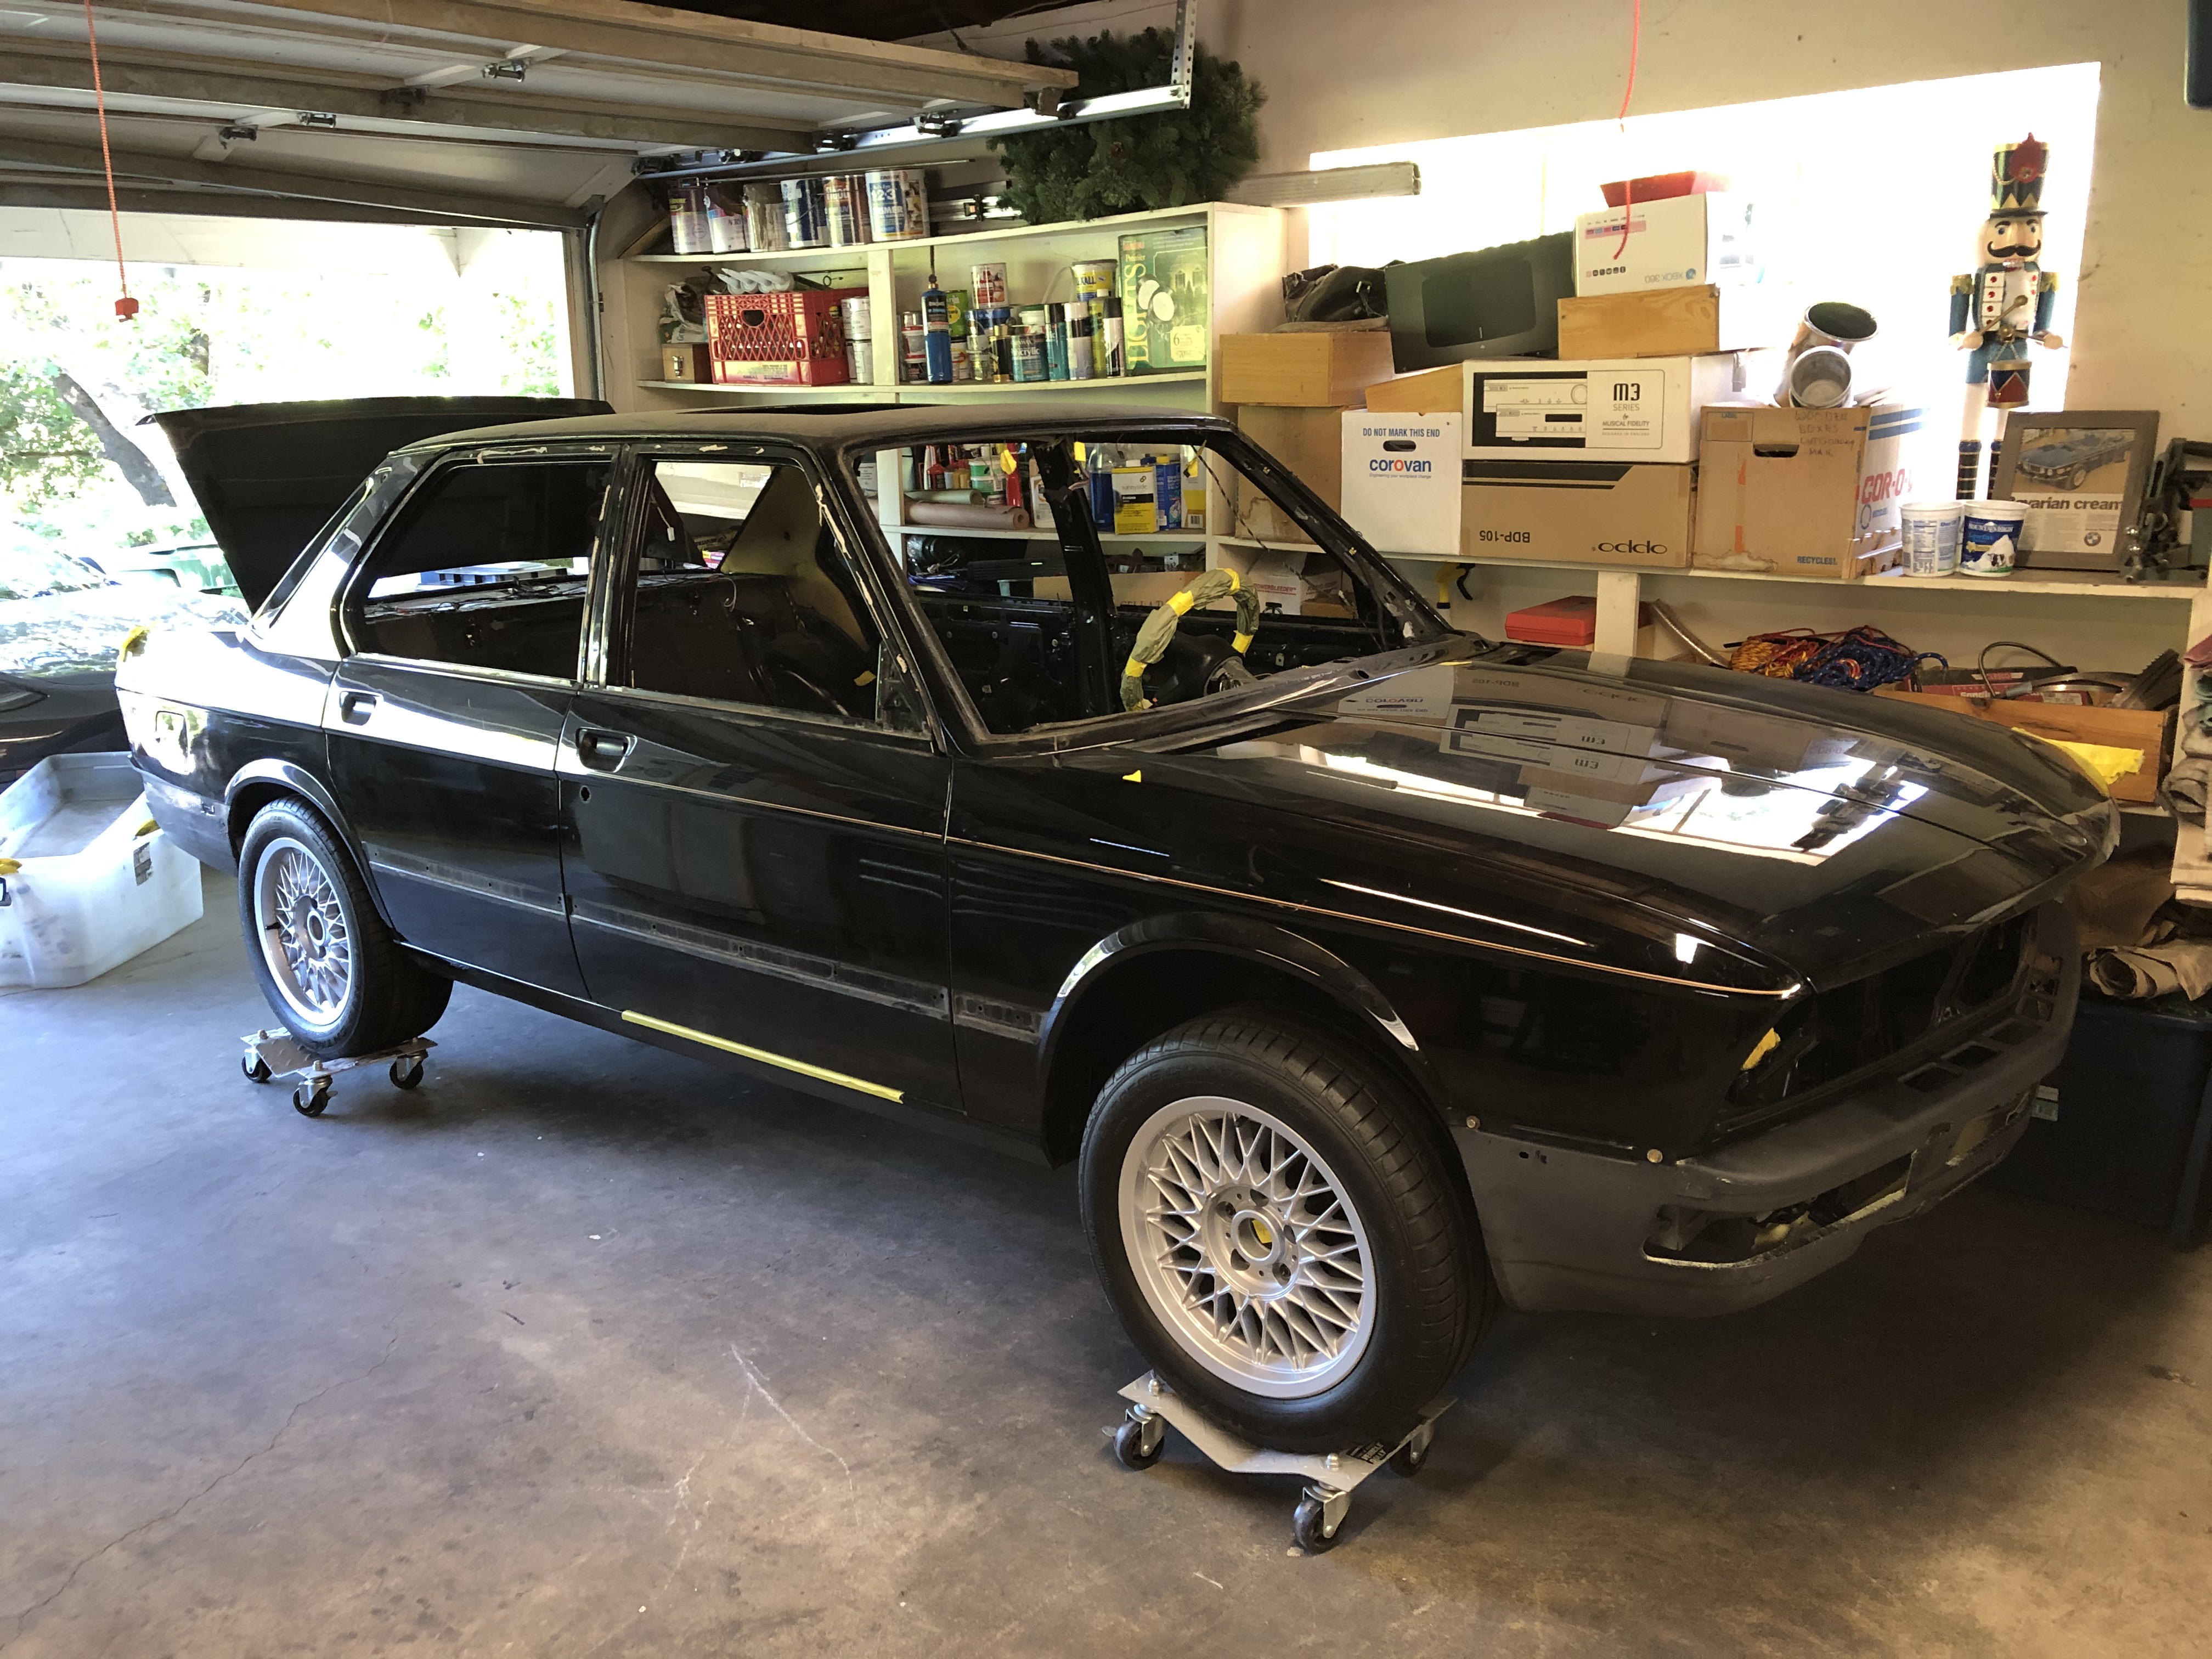
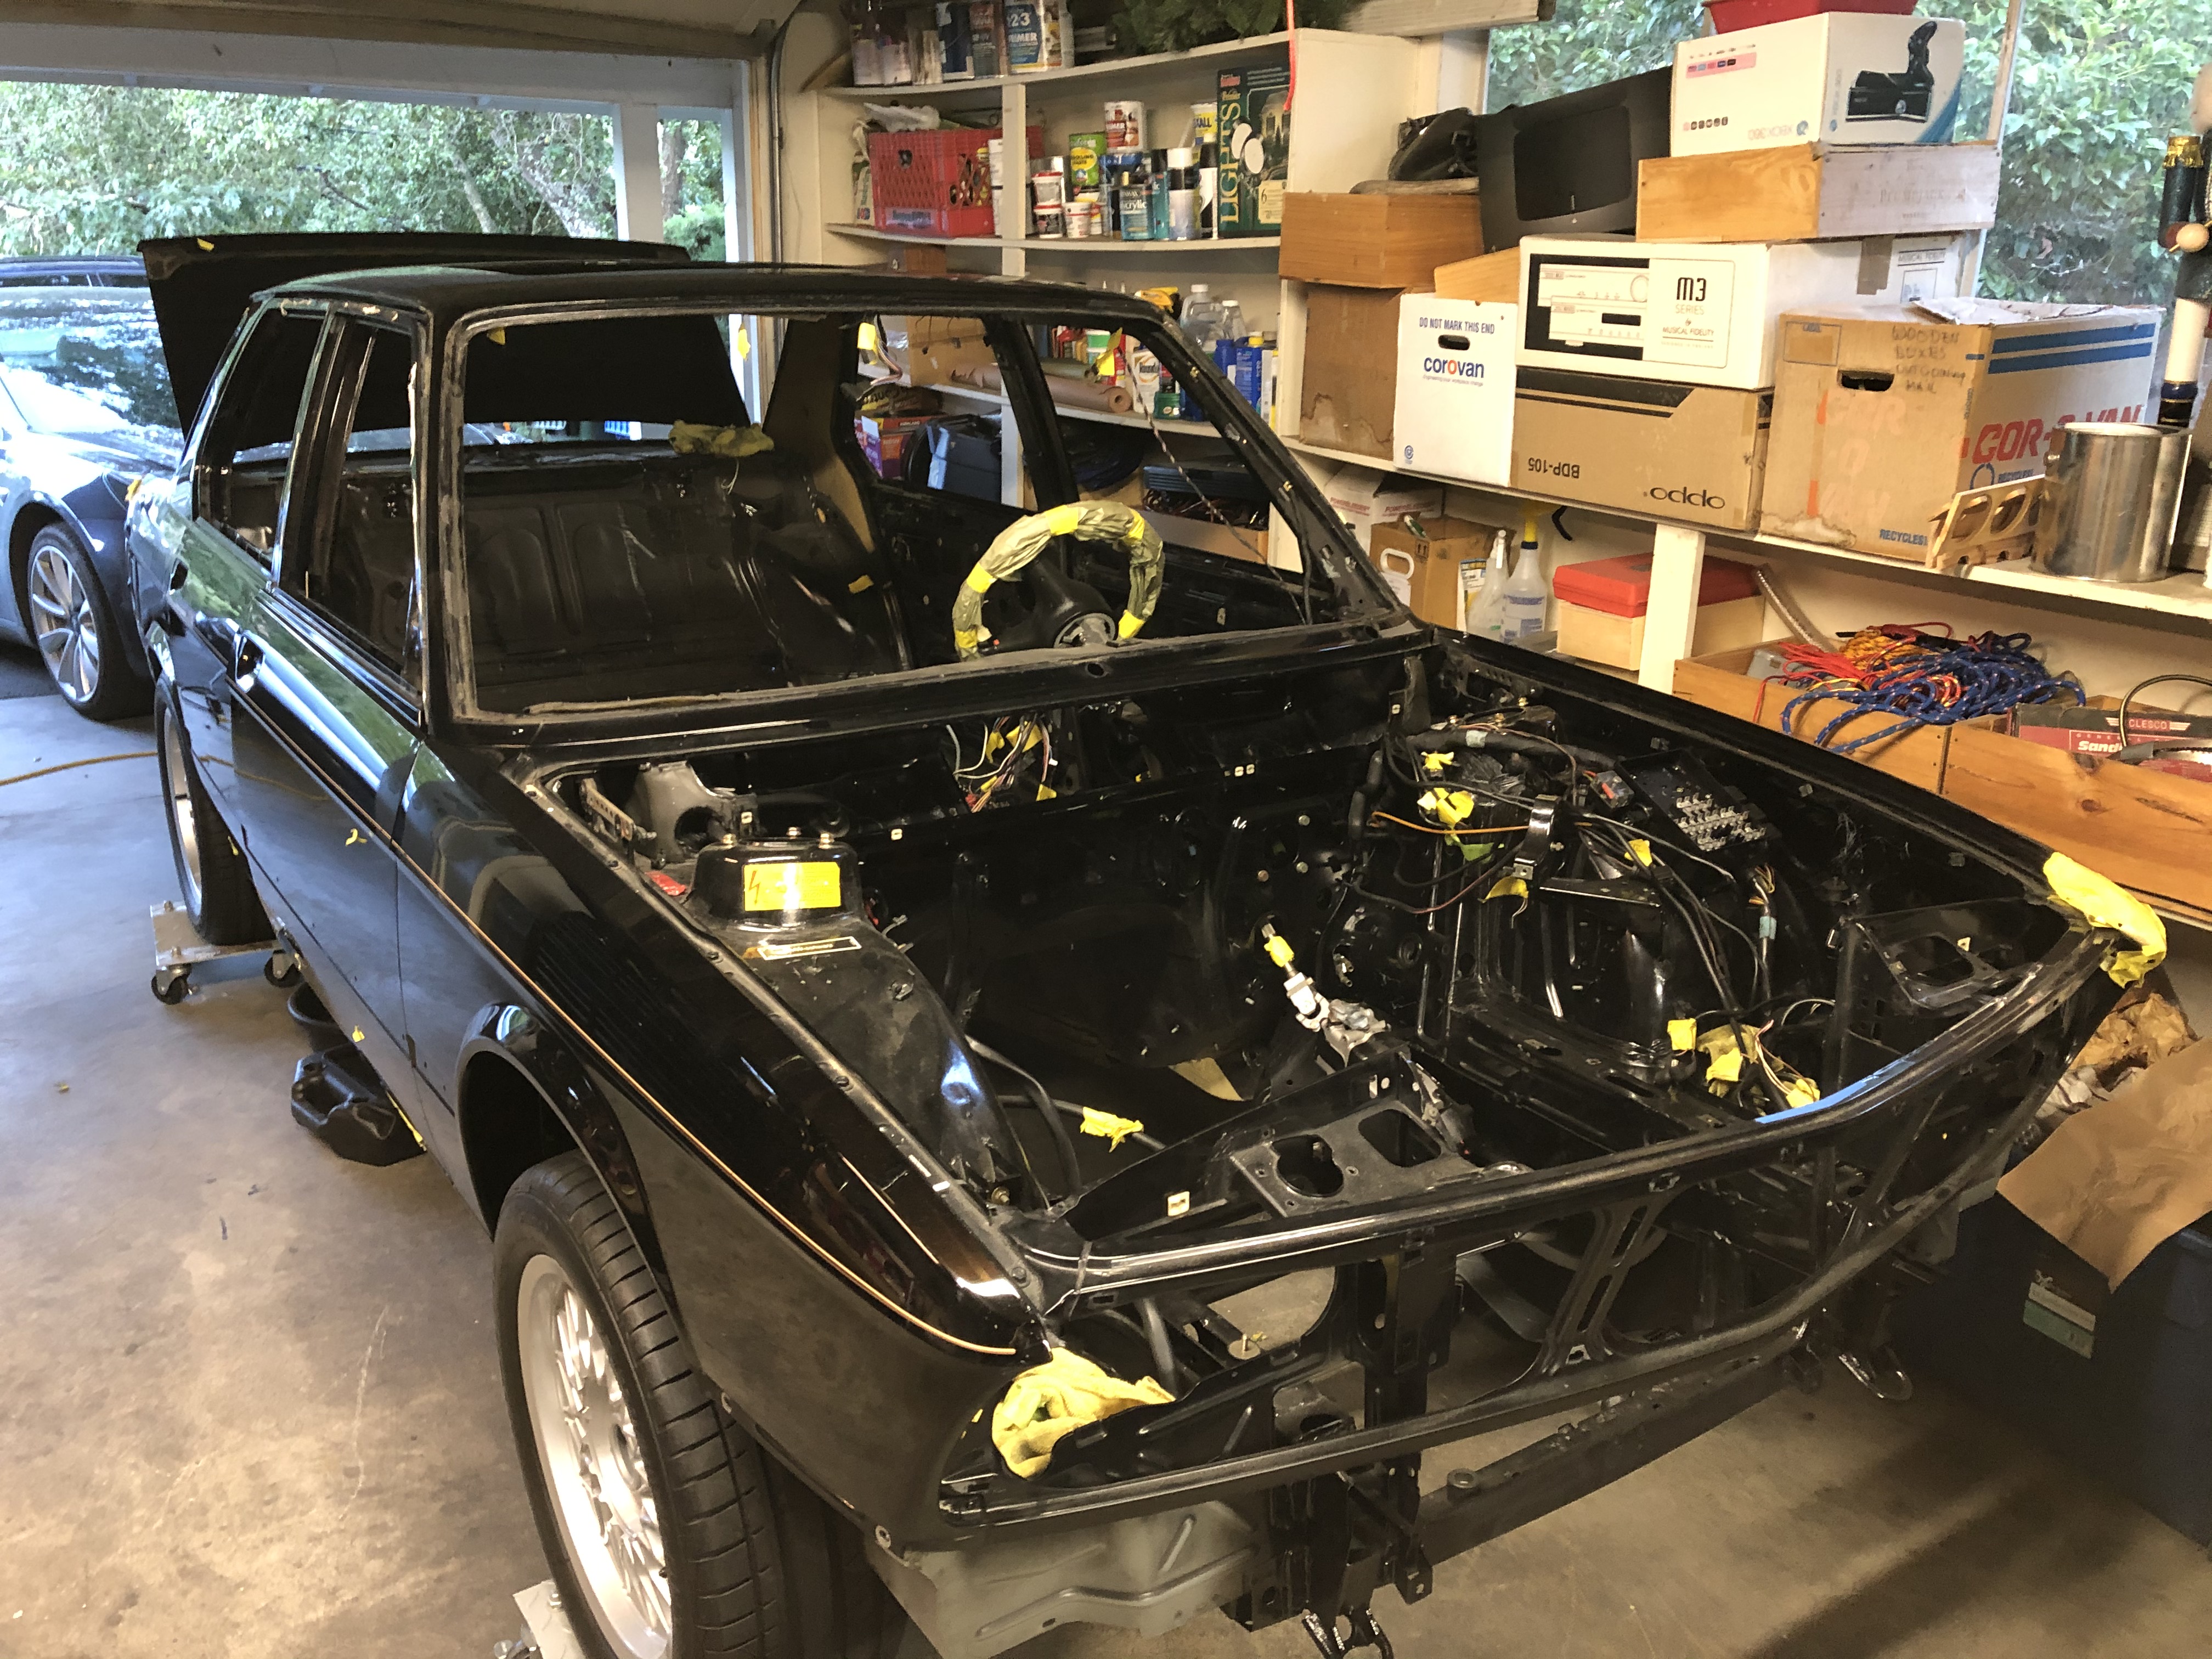
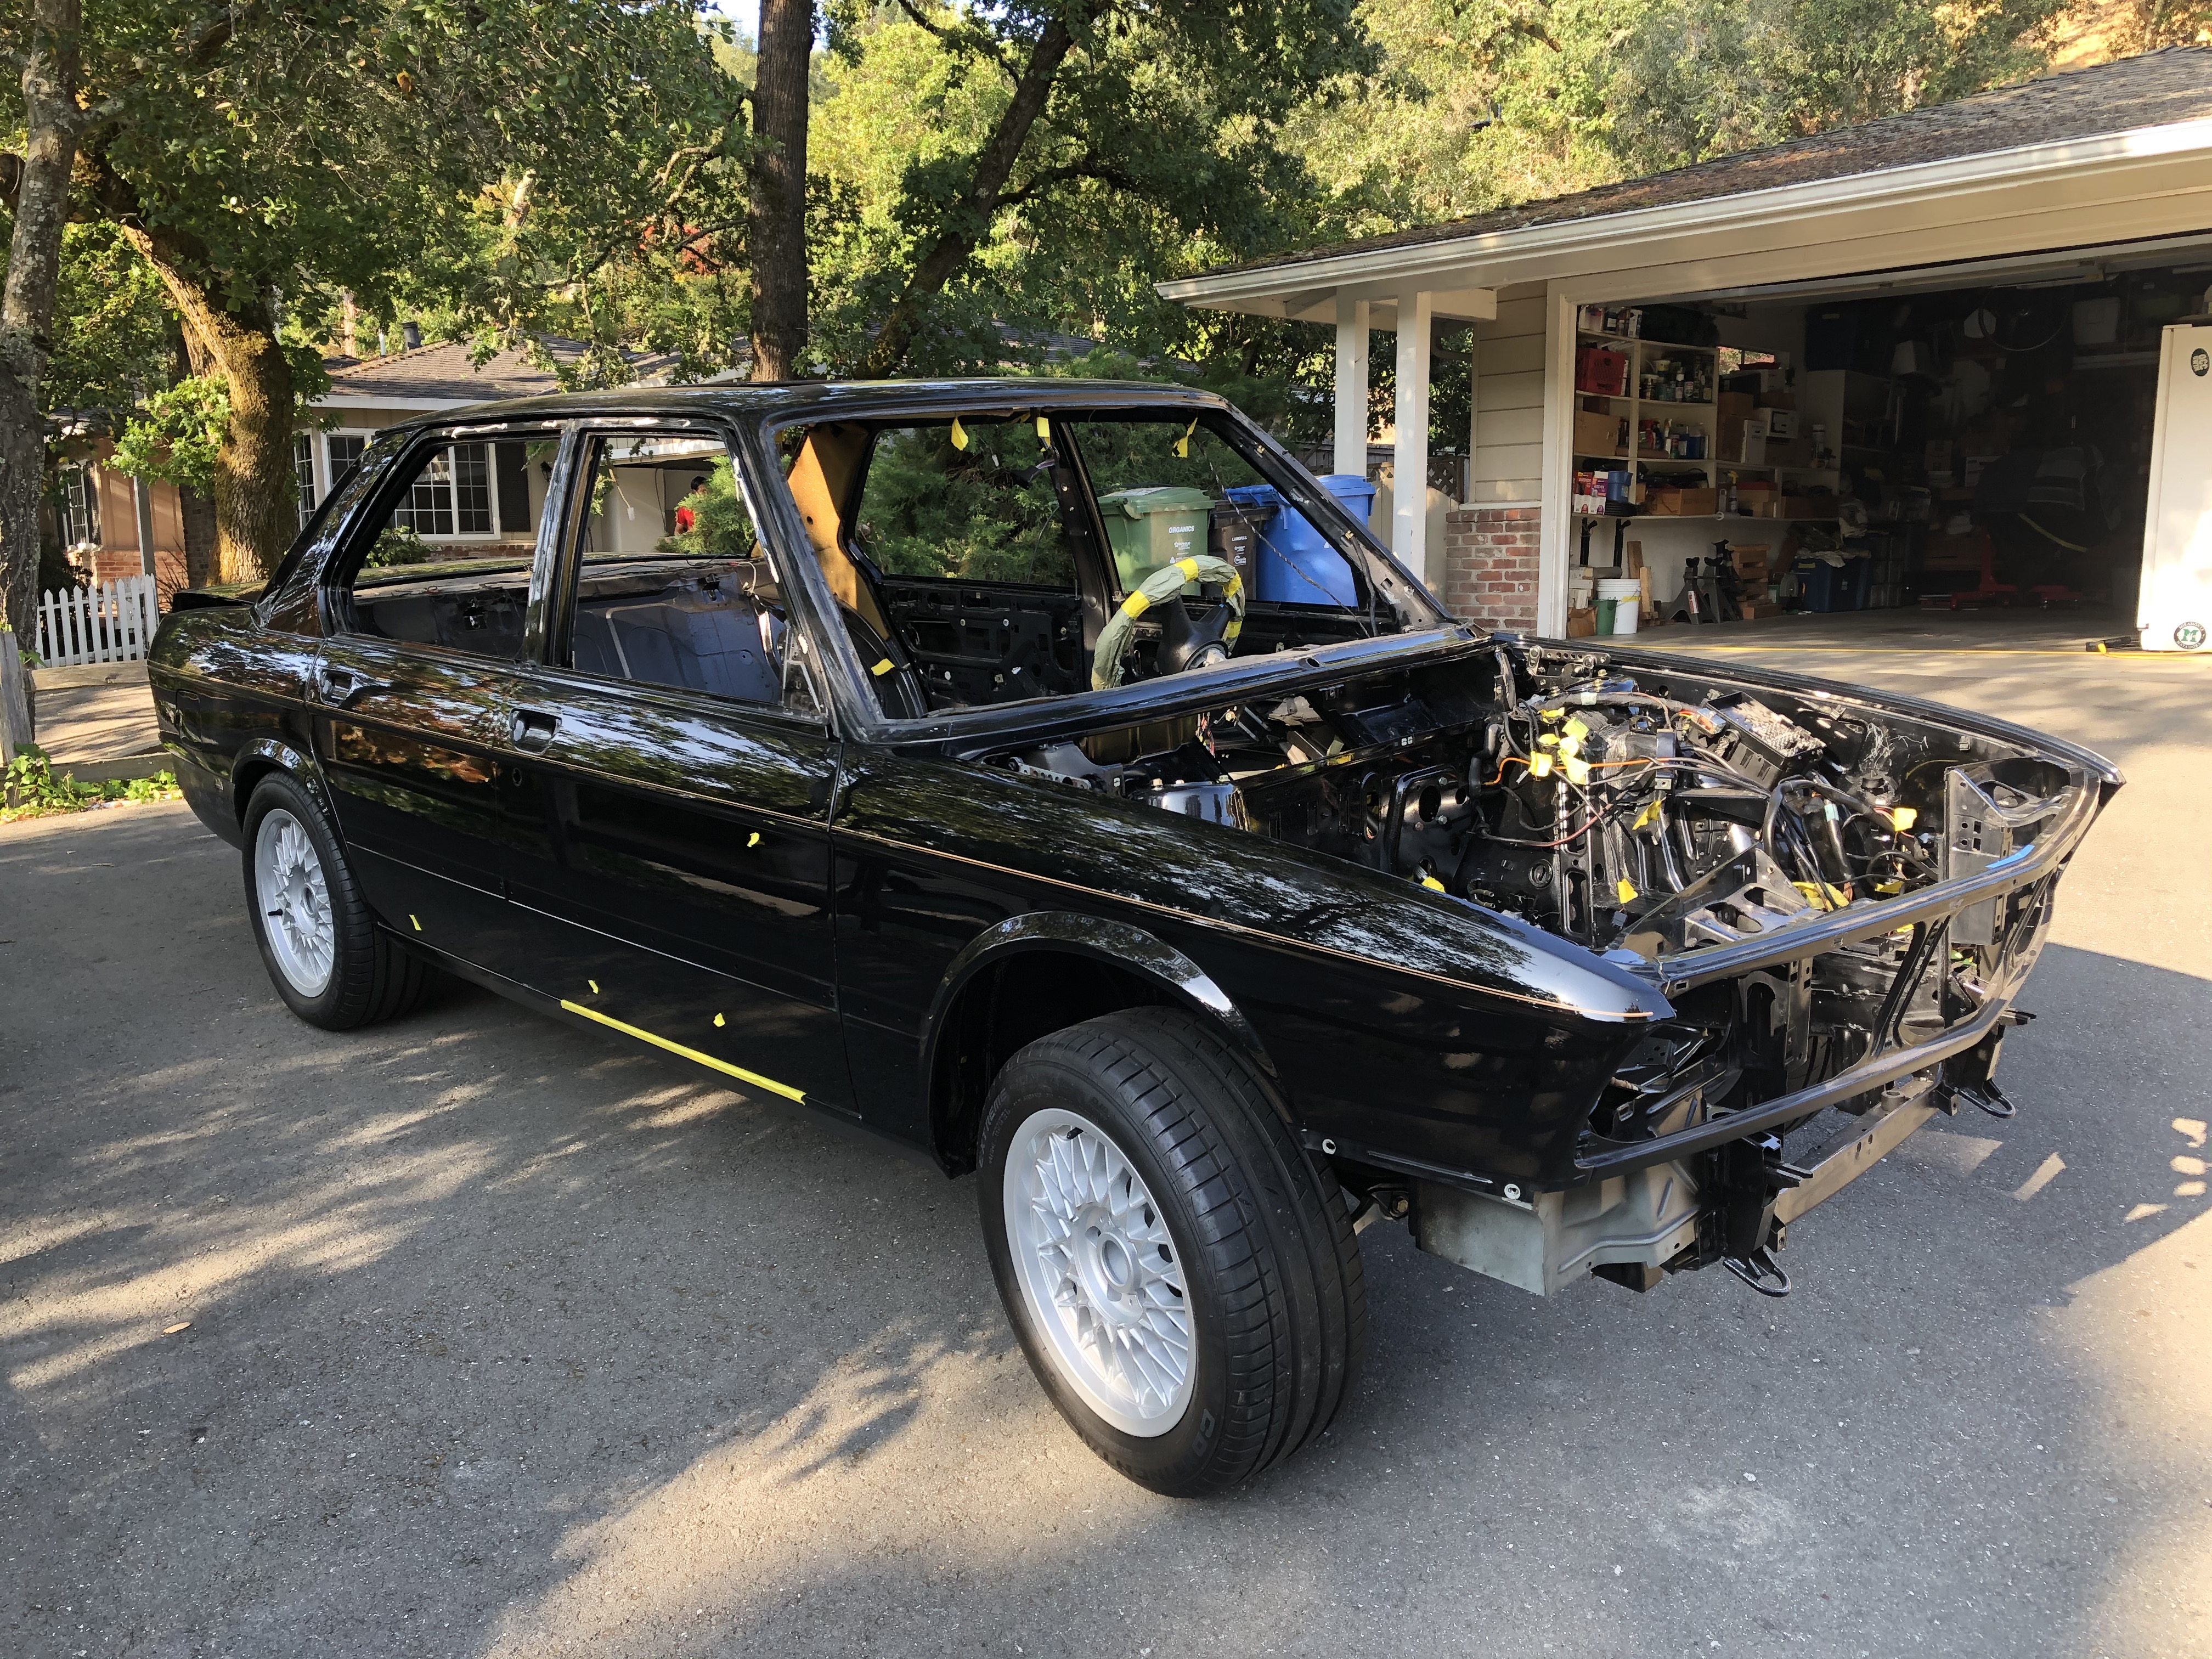
The practical result for me has been that I have had a bunch of sub-projects (front & rear strut assemblies, diff refresh, some painting projects, front euro bumper mounts) that have been just a part or two from completion. Most of that has resolved, so I should be able to start putting the suspension and undercarriage back on in the very near future. And that's key because ... I think I found a shop that can do a good job painting the whole car. But getting the car there means it has to be a rolling shell (including steering and the parking brake). I would
really like to get the car to them as soon as possible in the hopes that they can spend a bit more time & attention on my car while their business is slow.
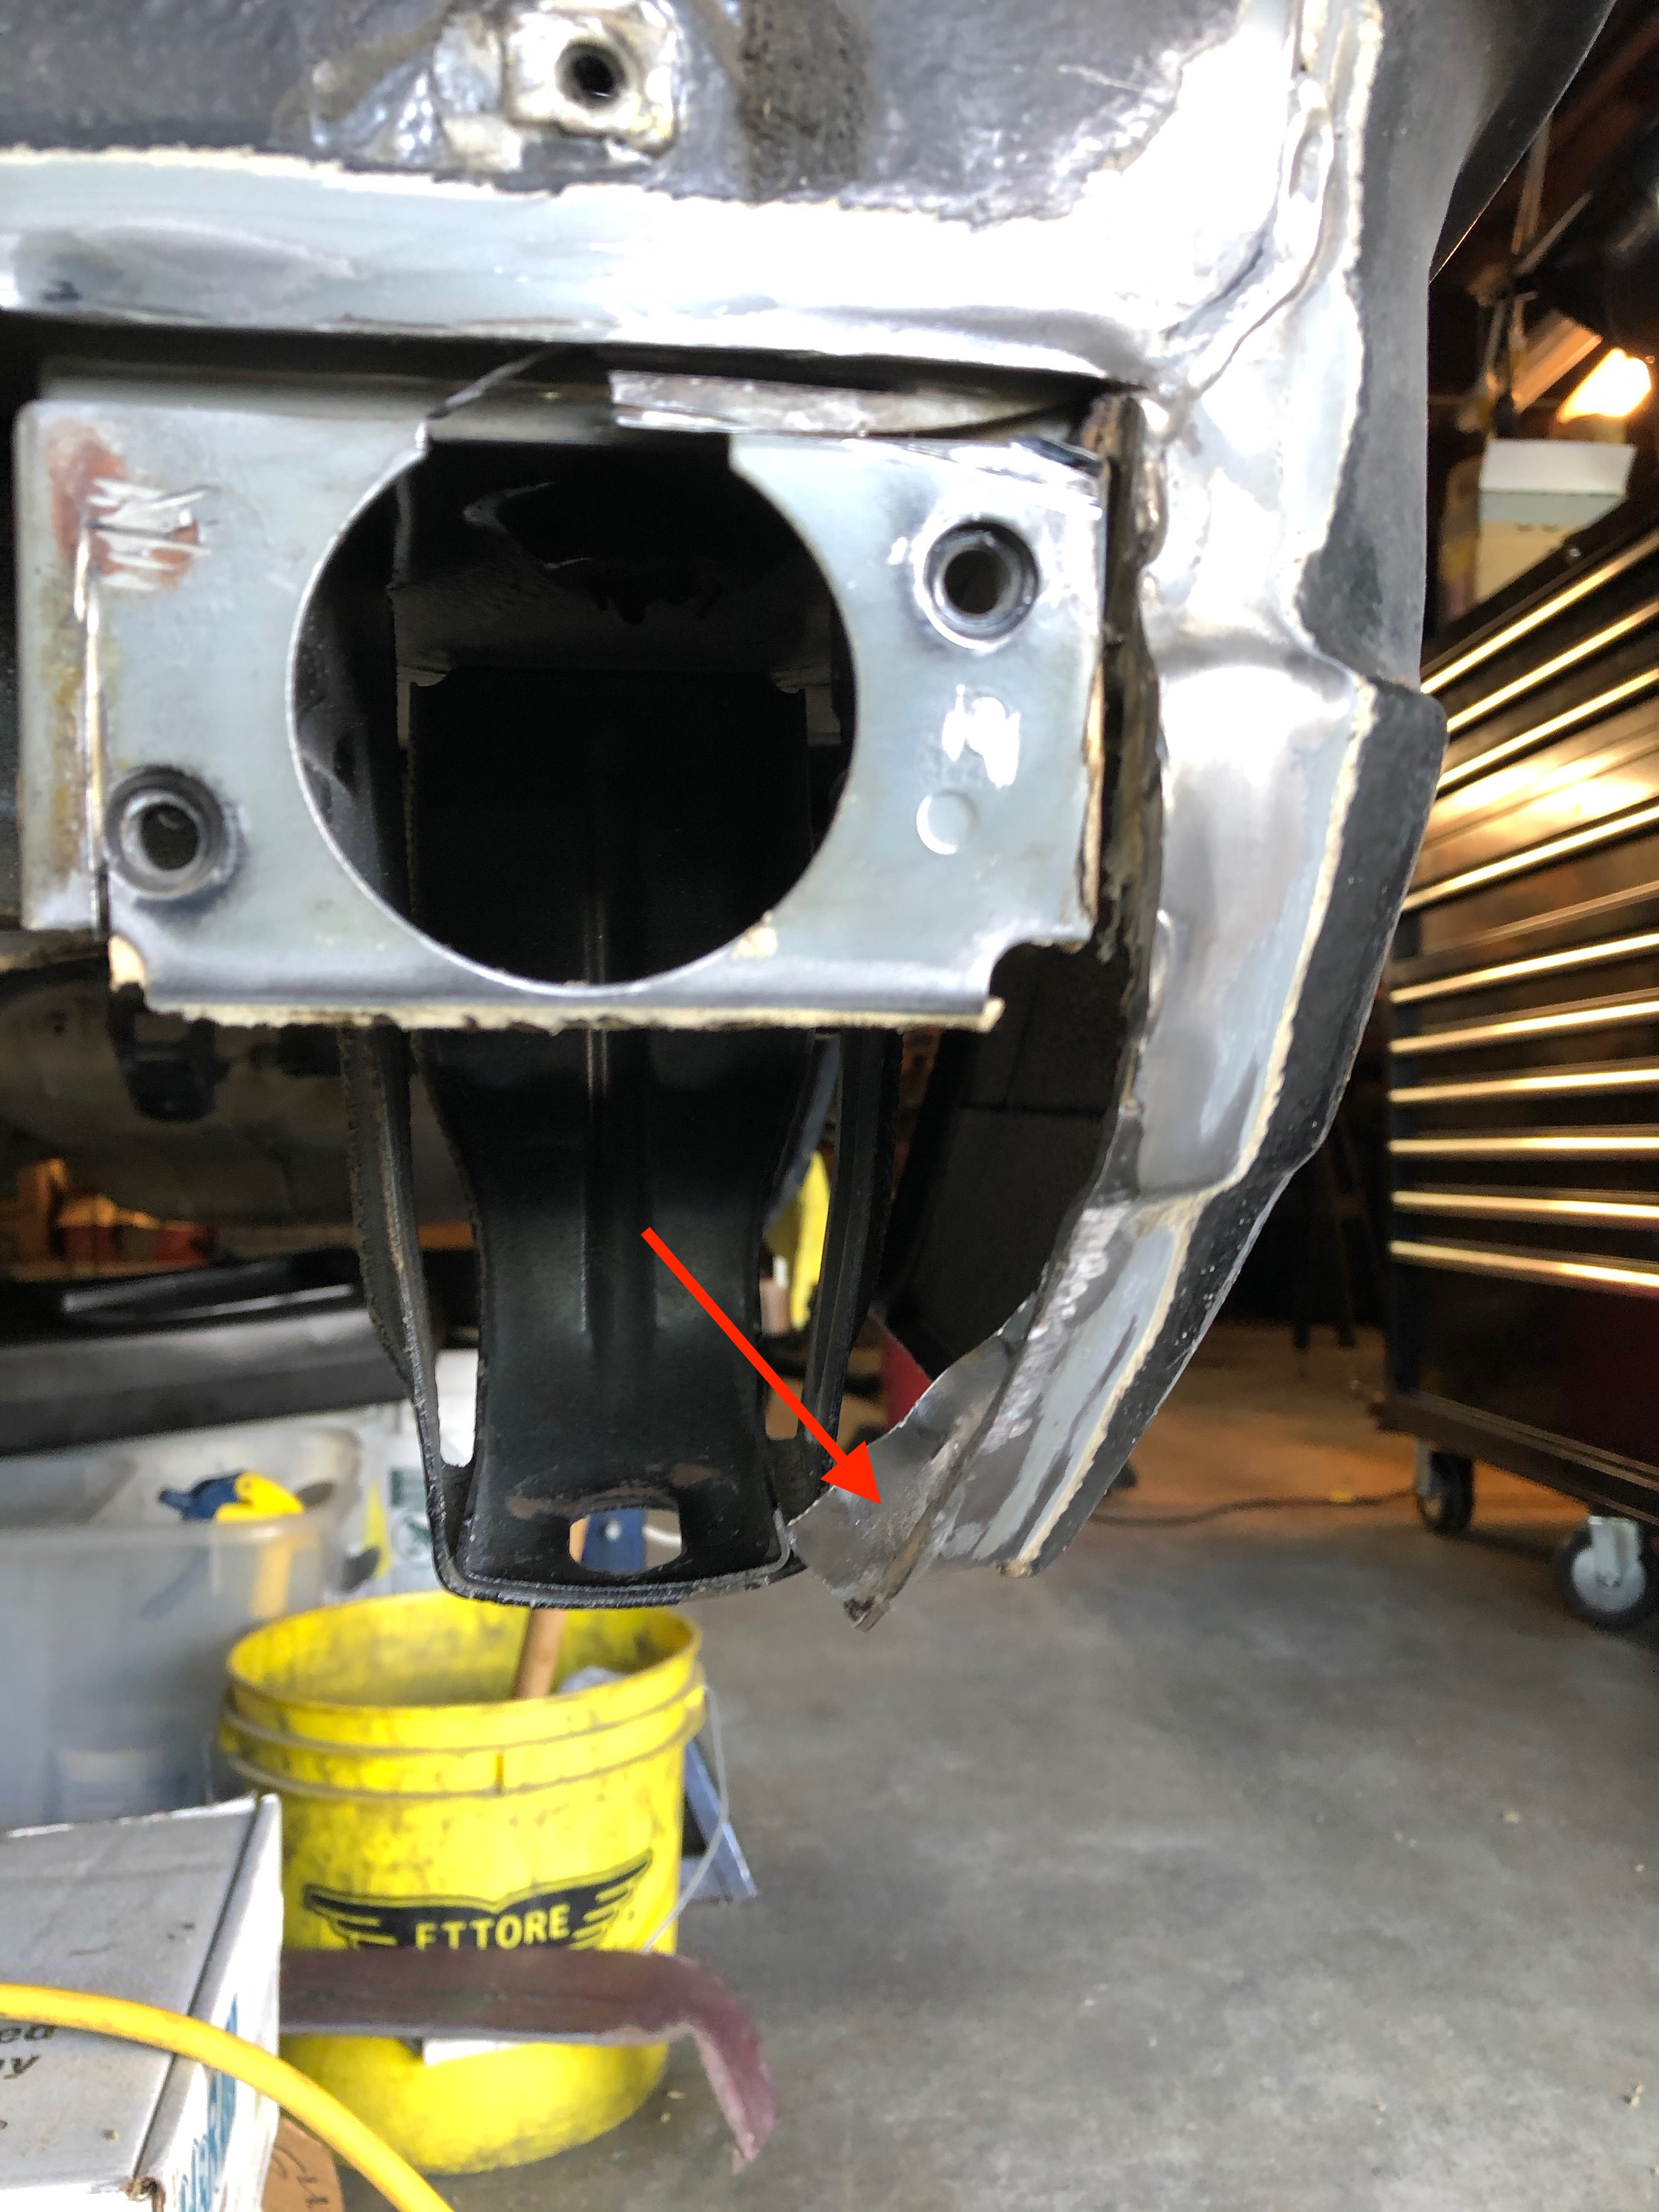
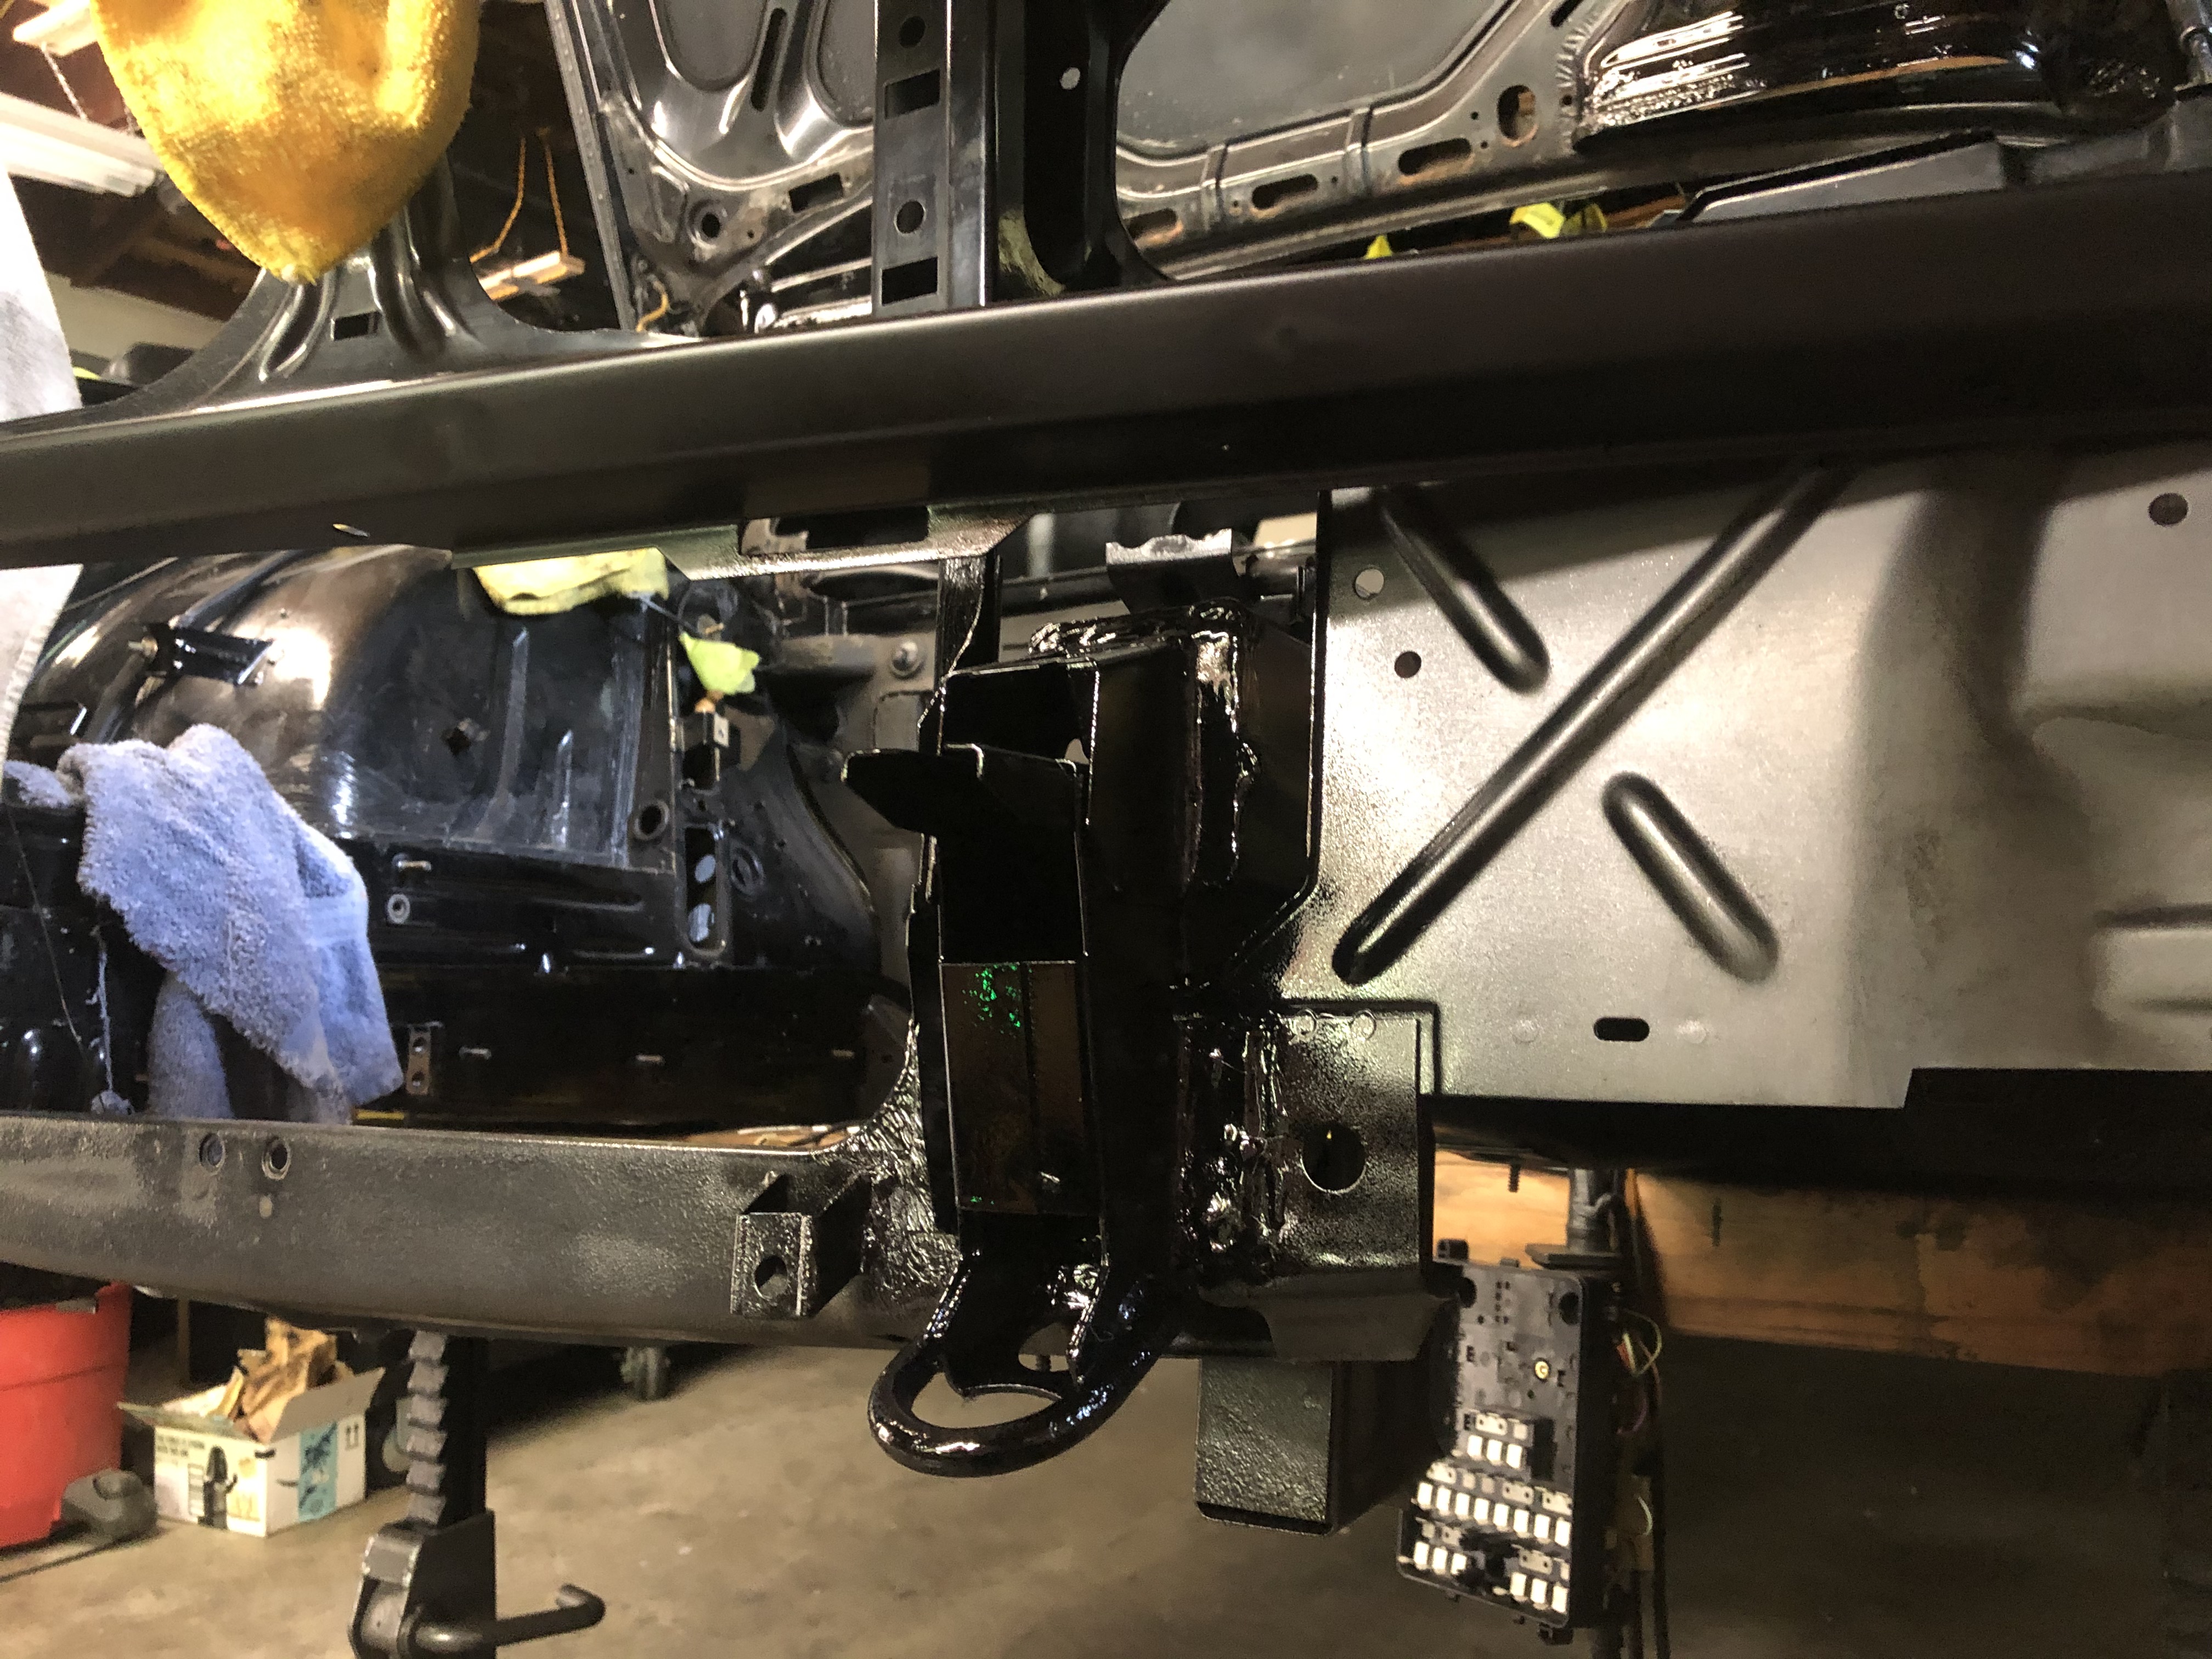
Here's the install of the front euro bumper mounts. First, these are the donor mounts that took forever to get here (literally three round trips between here & AZ; thanks USPS).
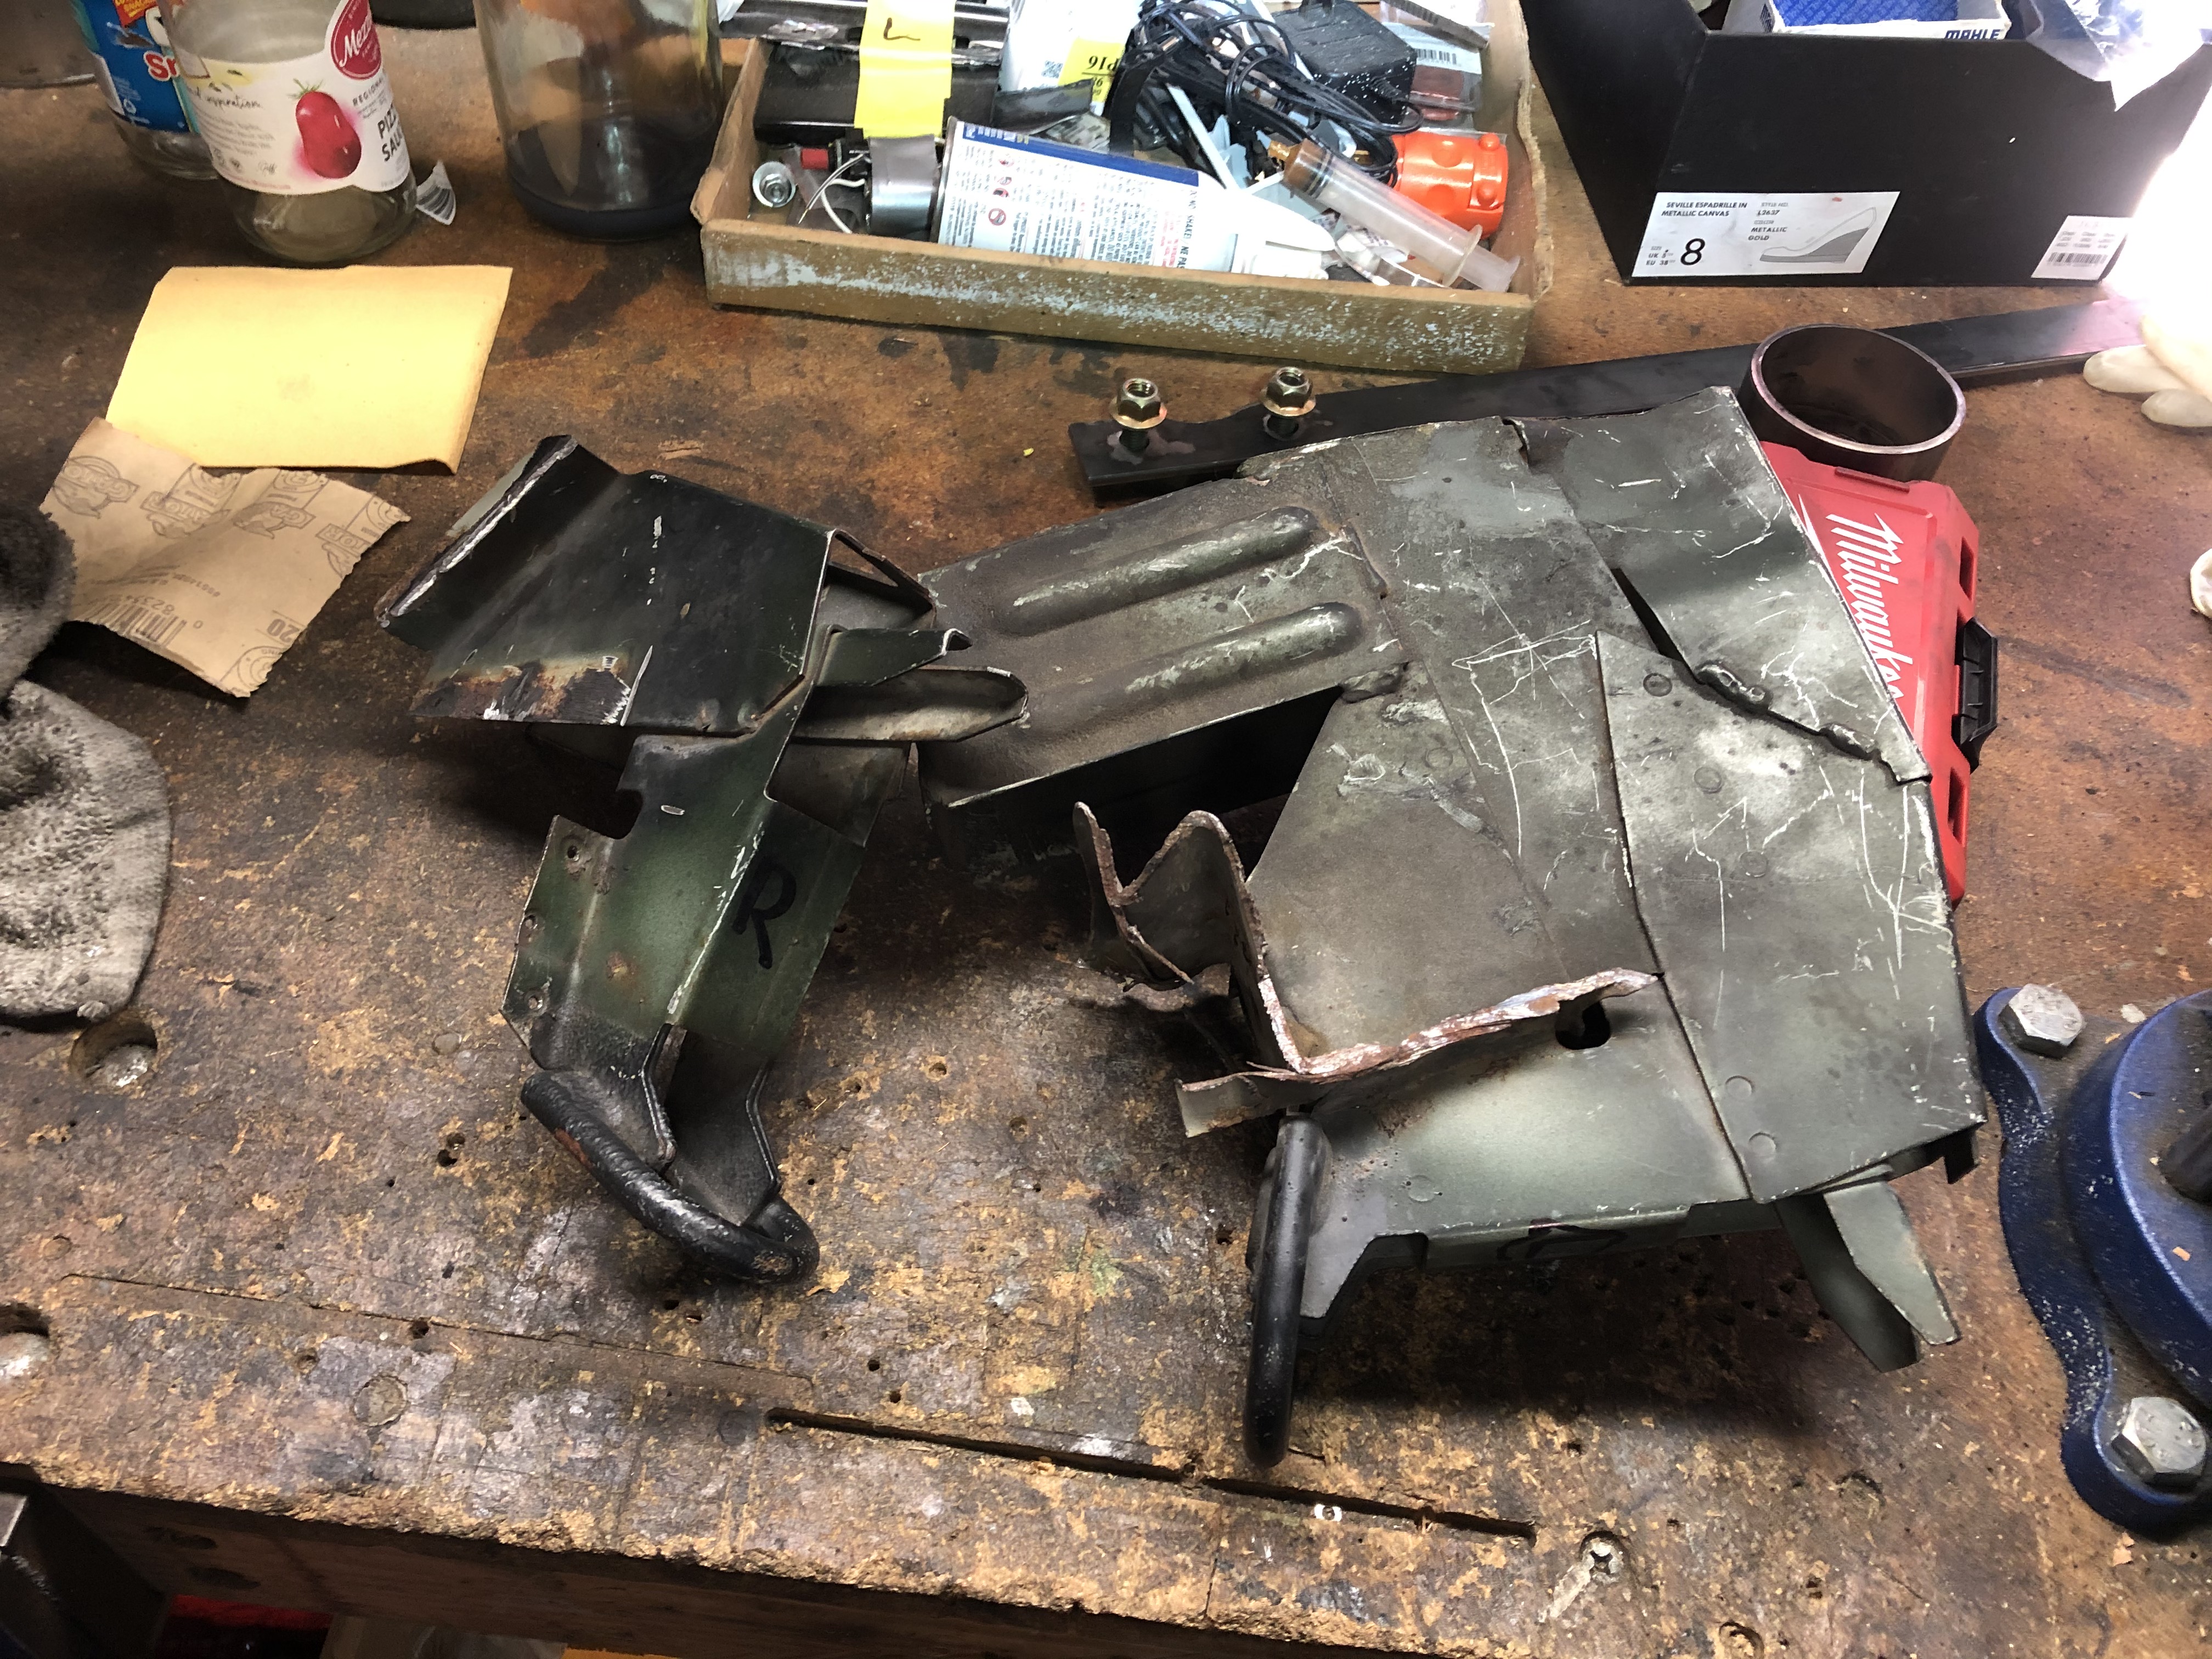
US bumper shock tubes cut off and front tow hook assemblies removed:
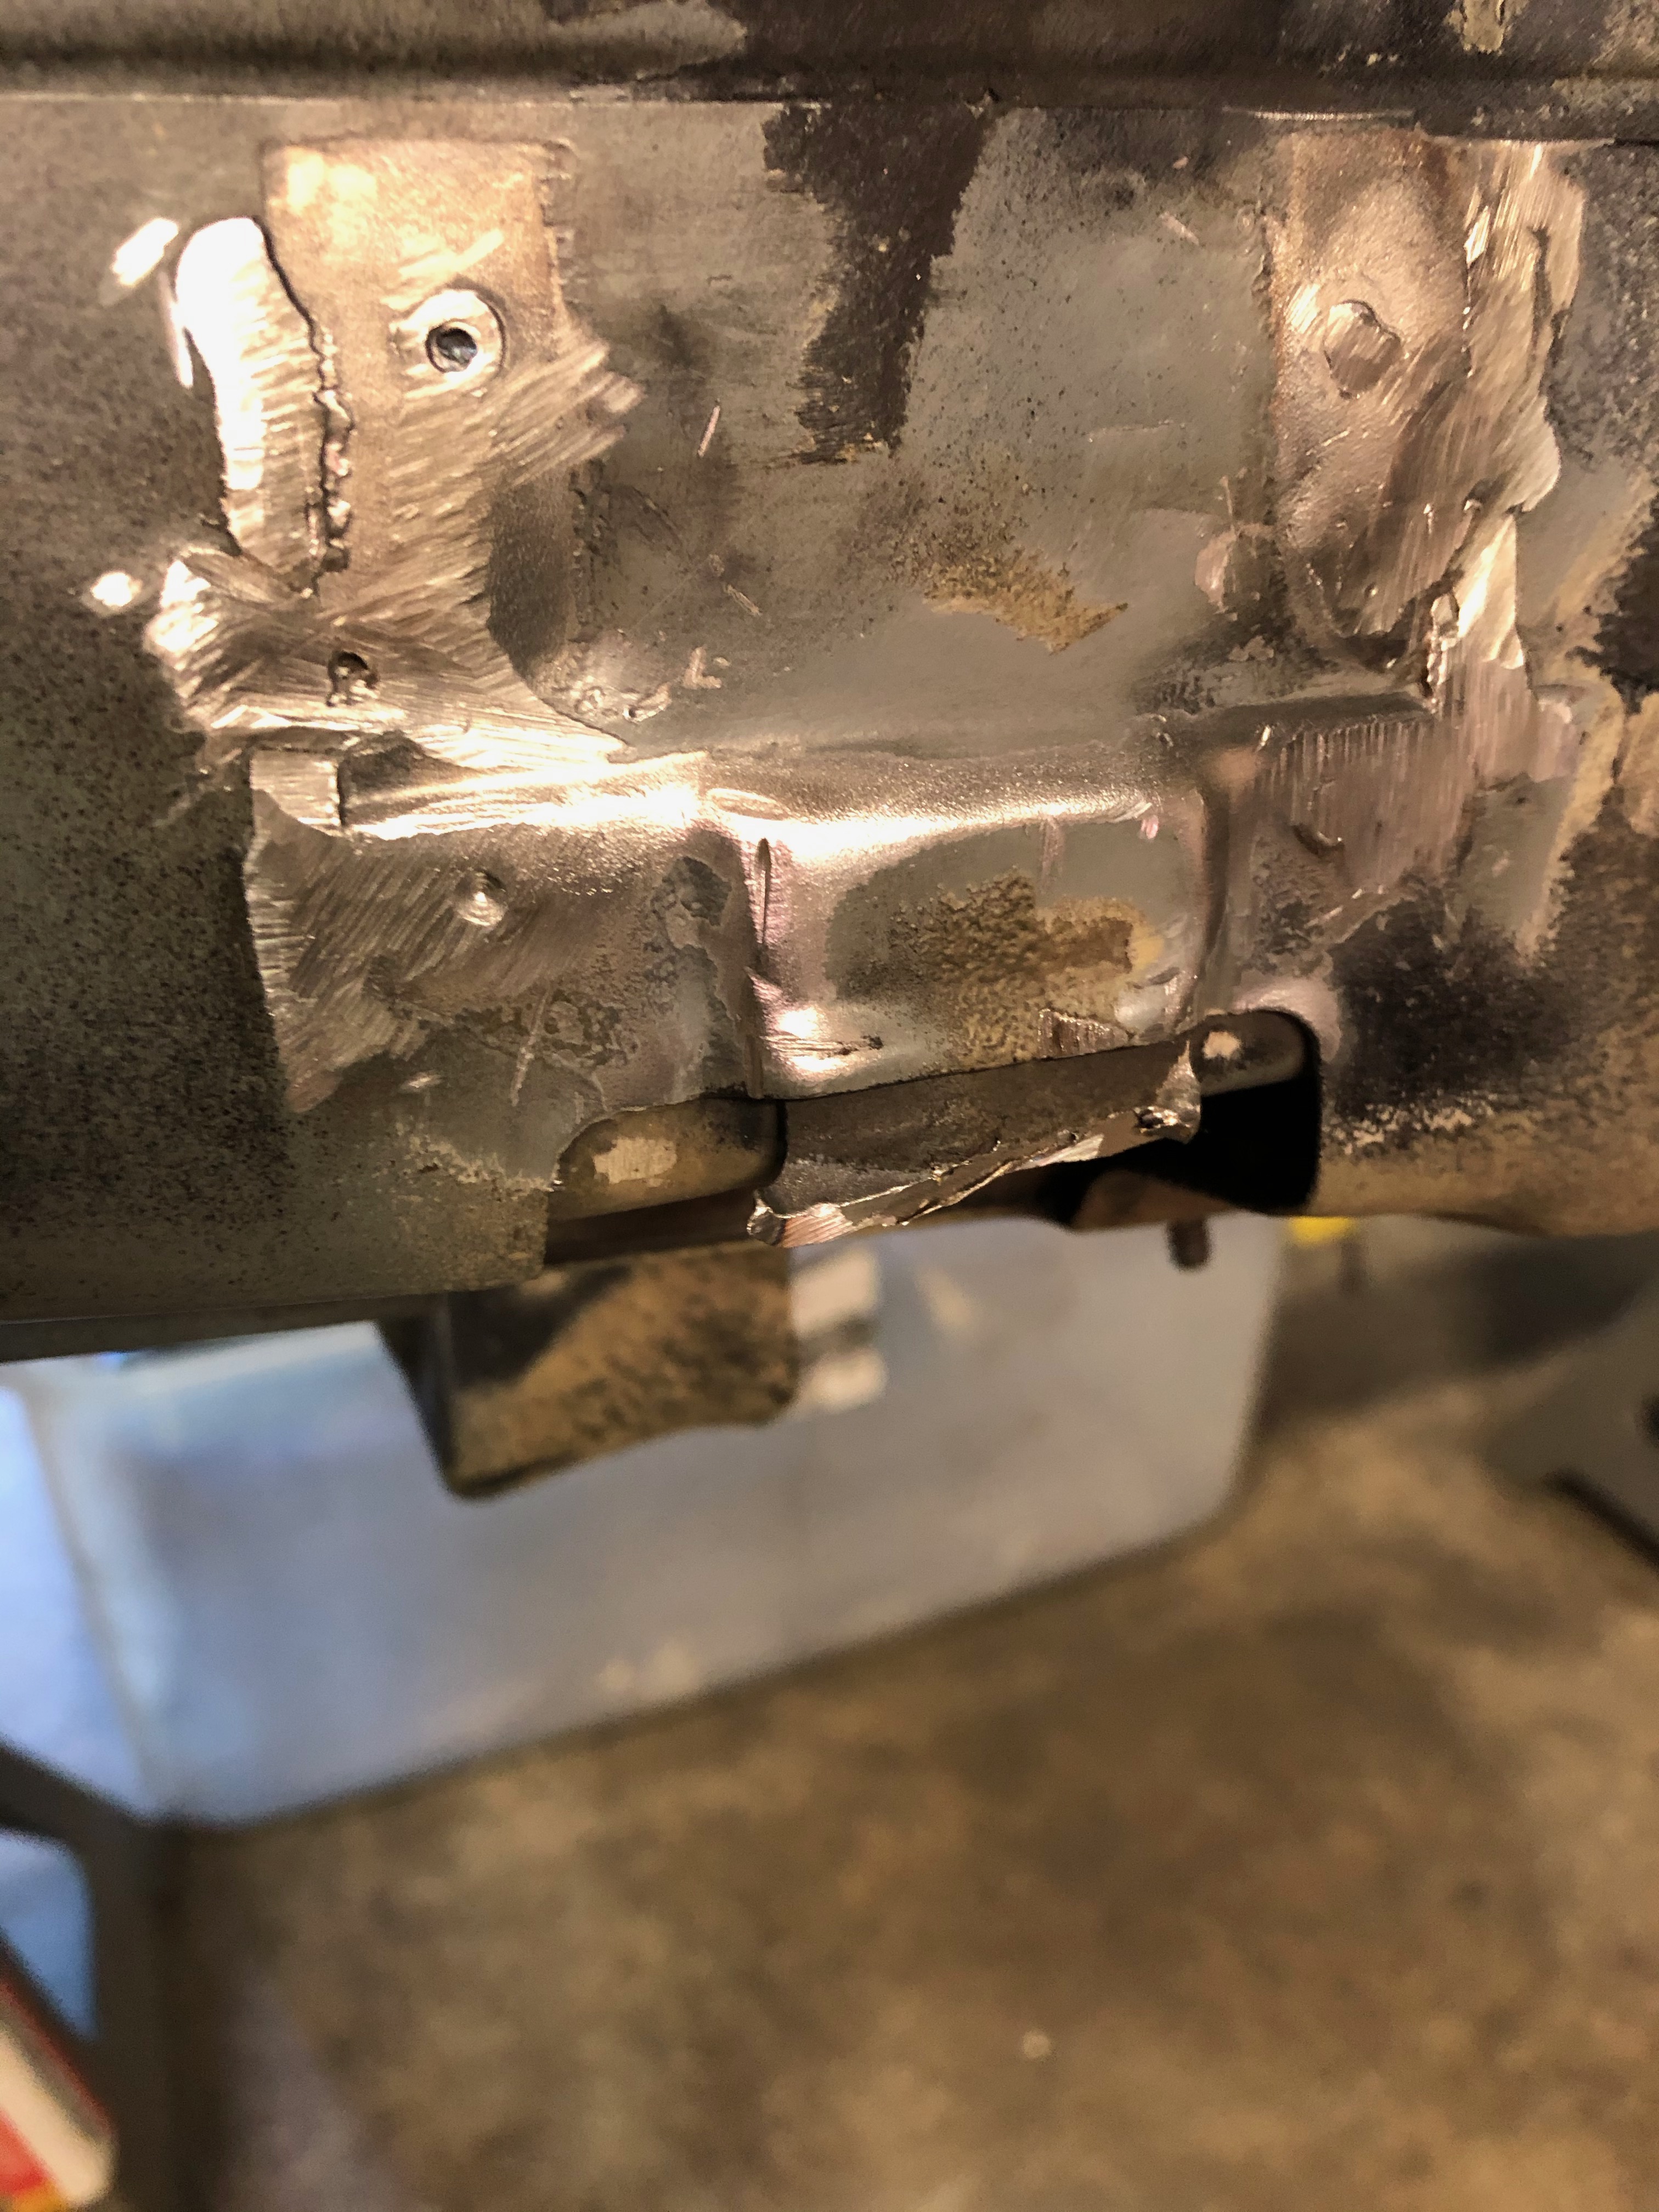
Euros welded in:
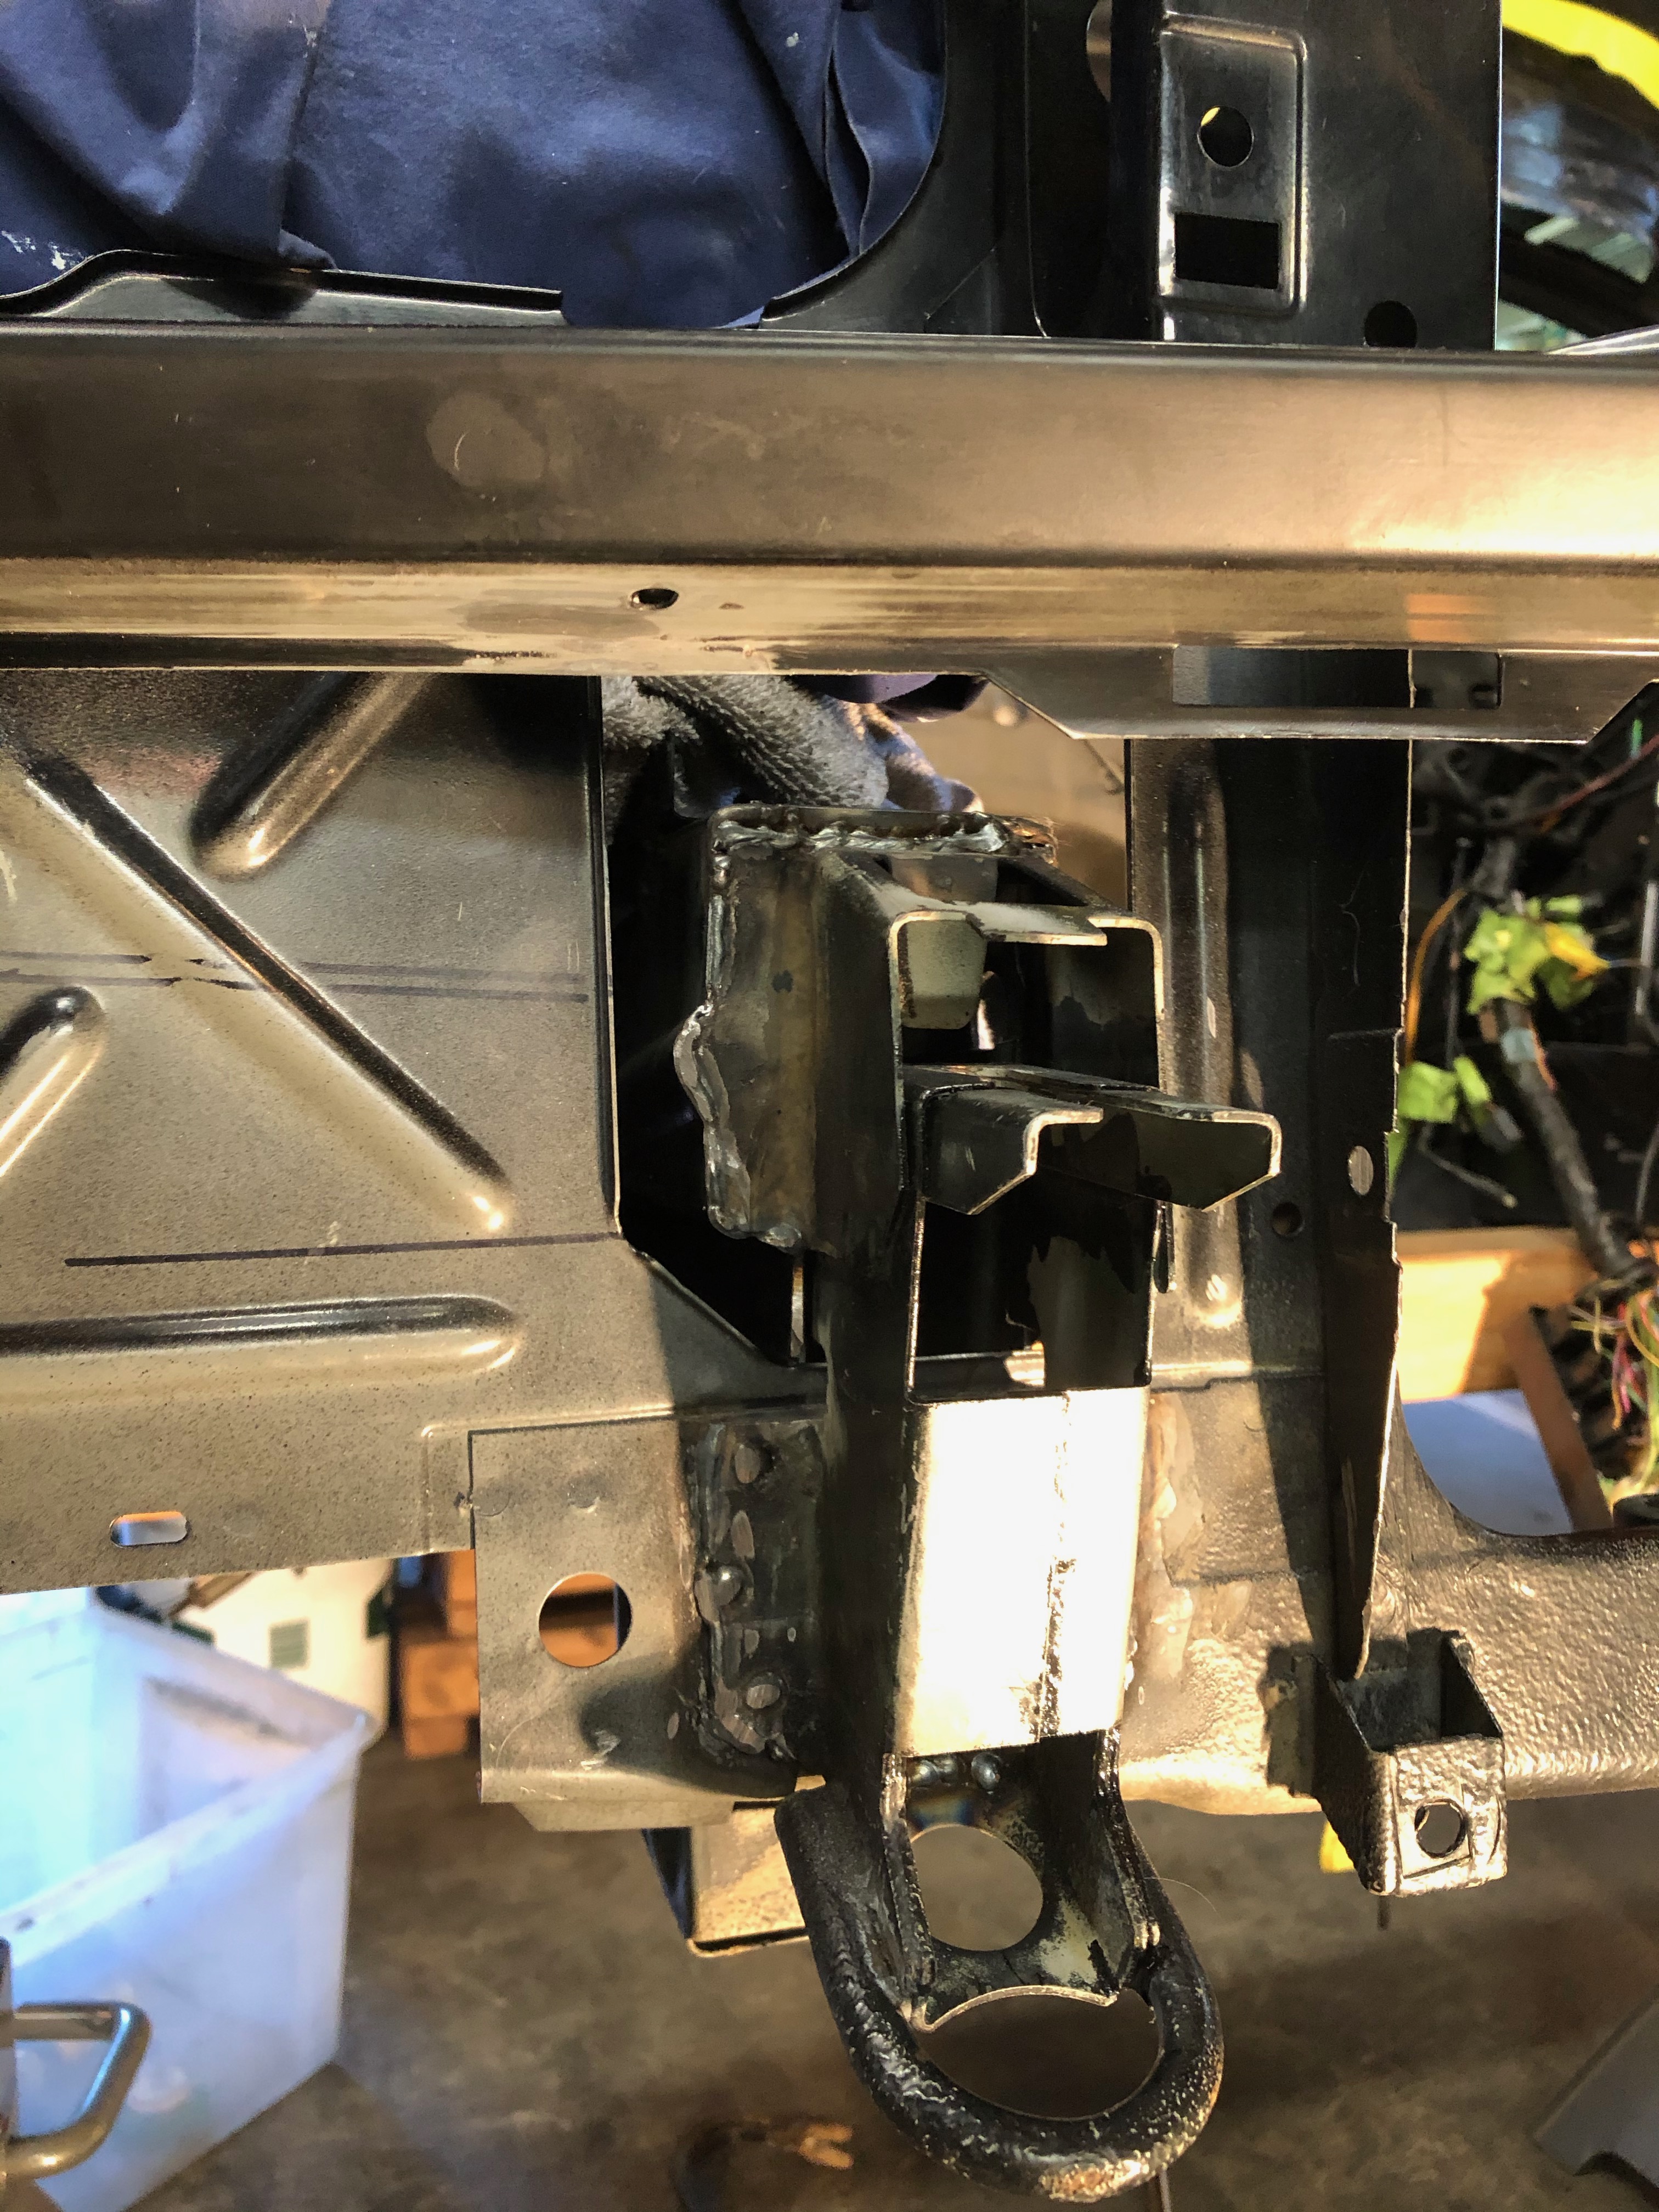
And after seam sealer, primer & paint (actual 2k BMW 086 Schwartz!):
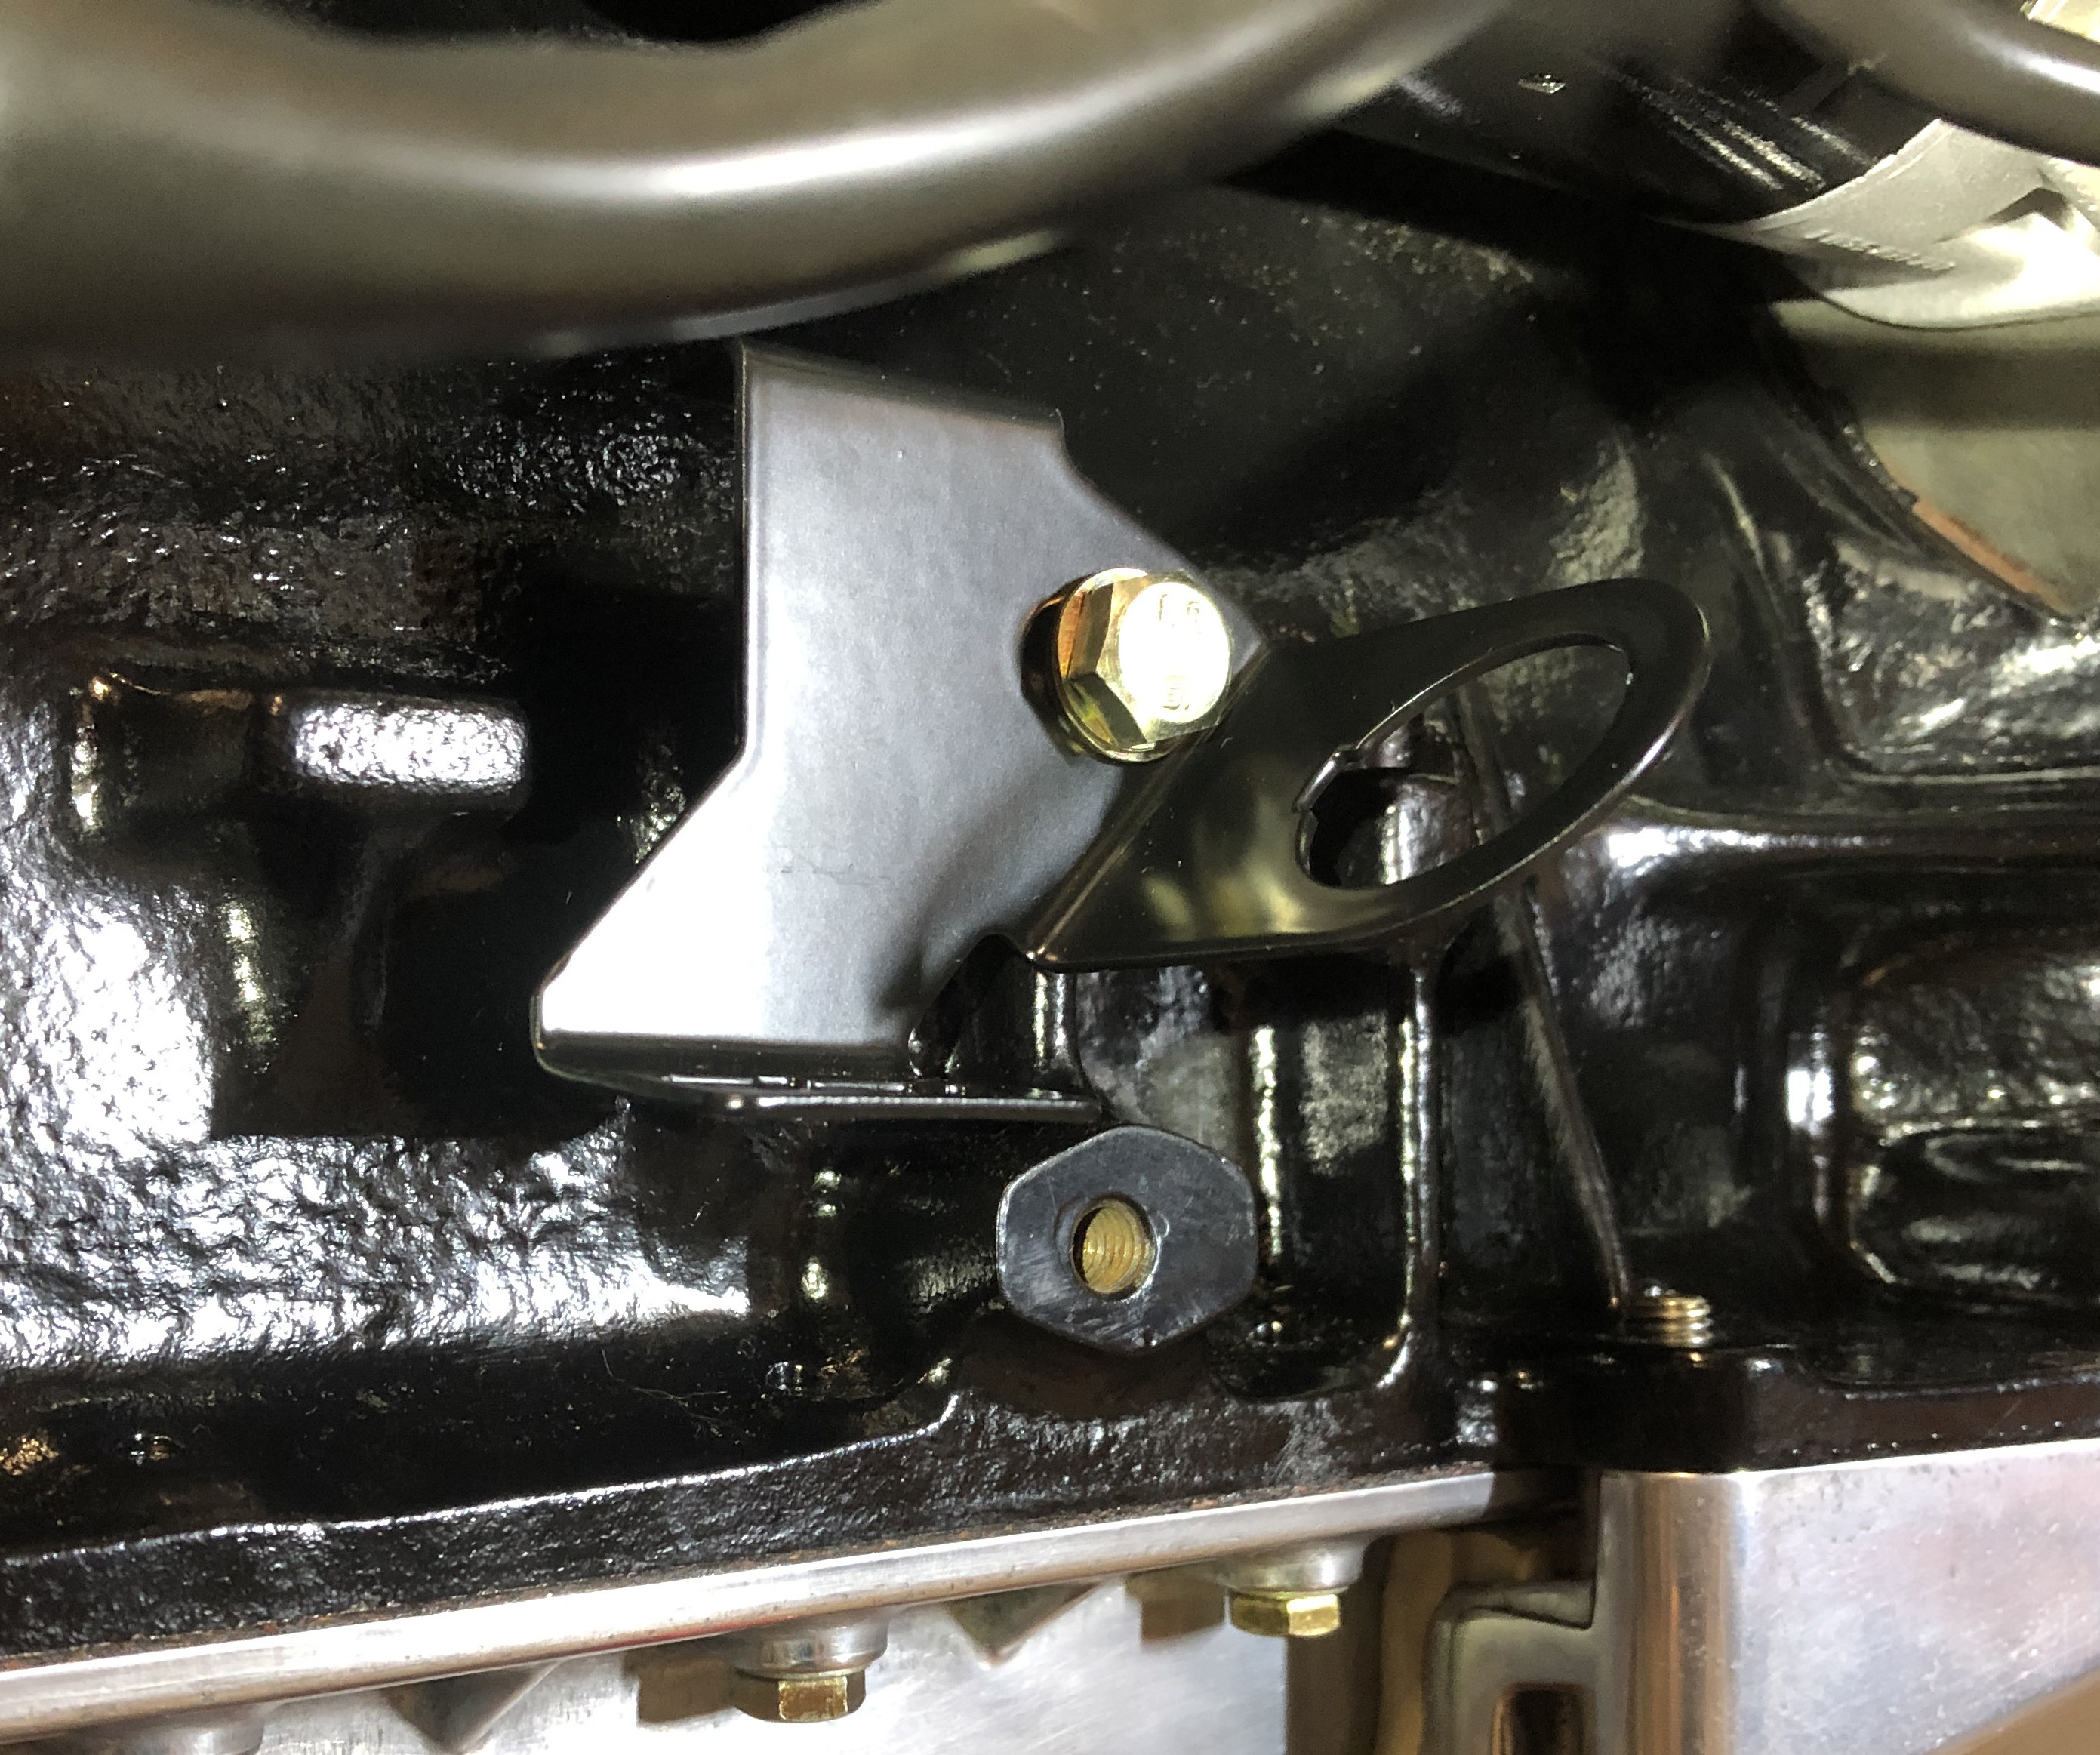
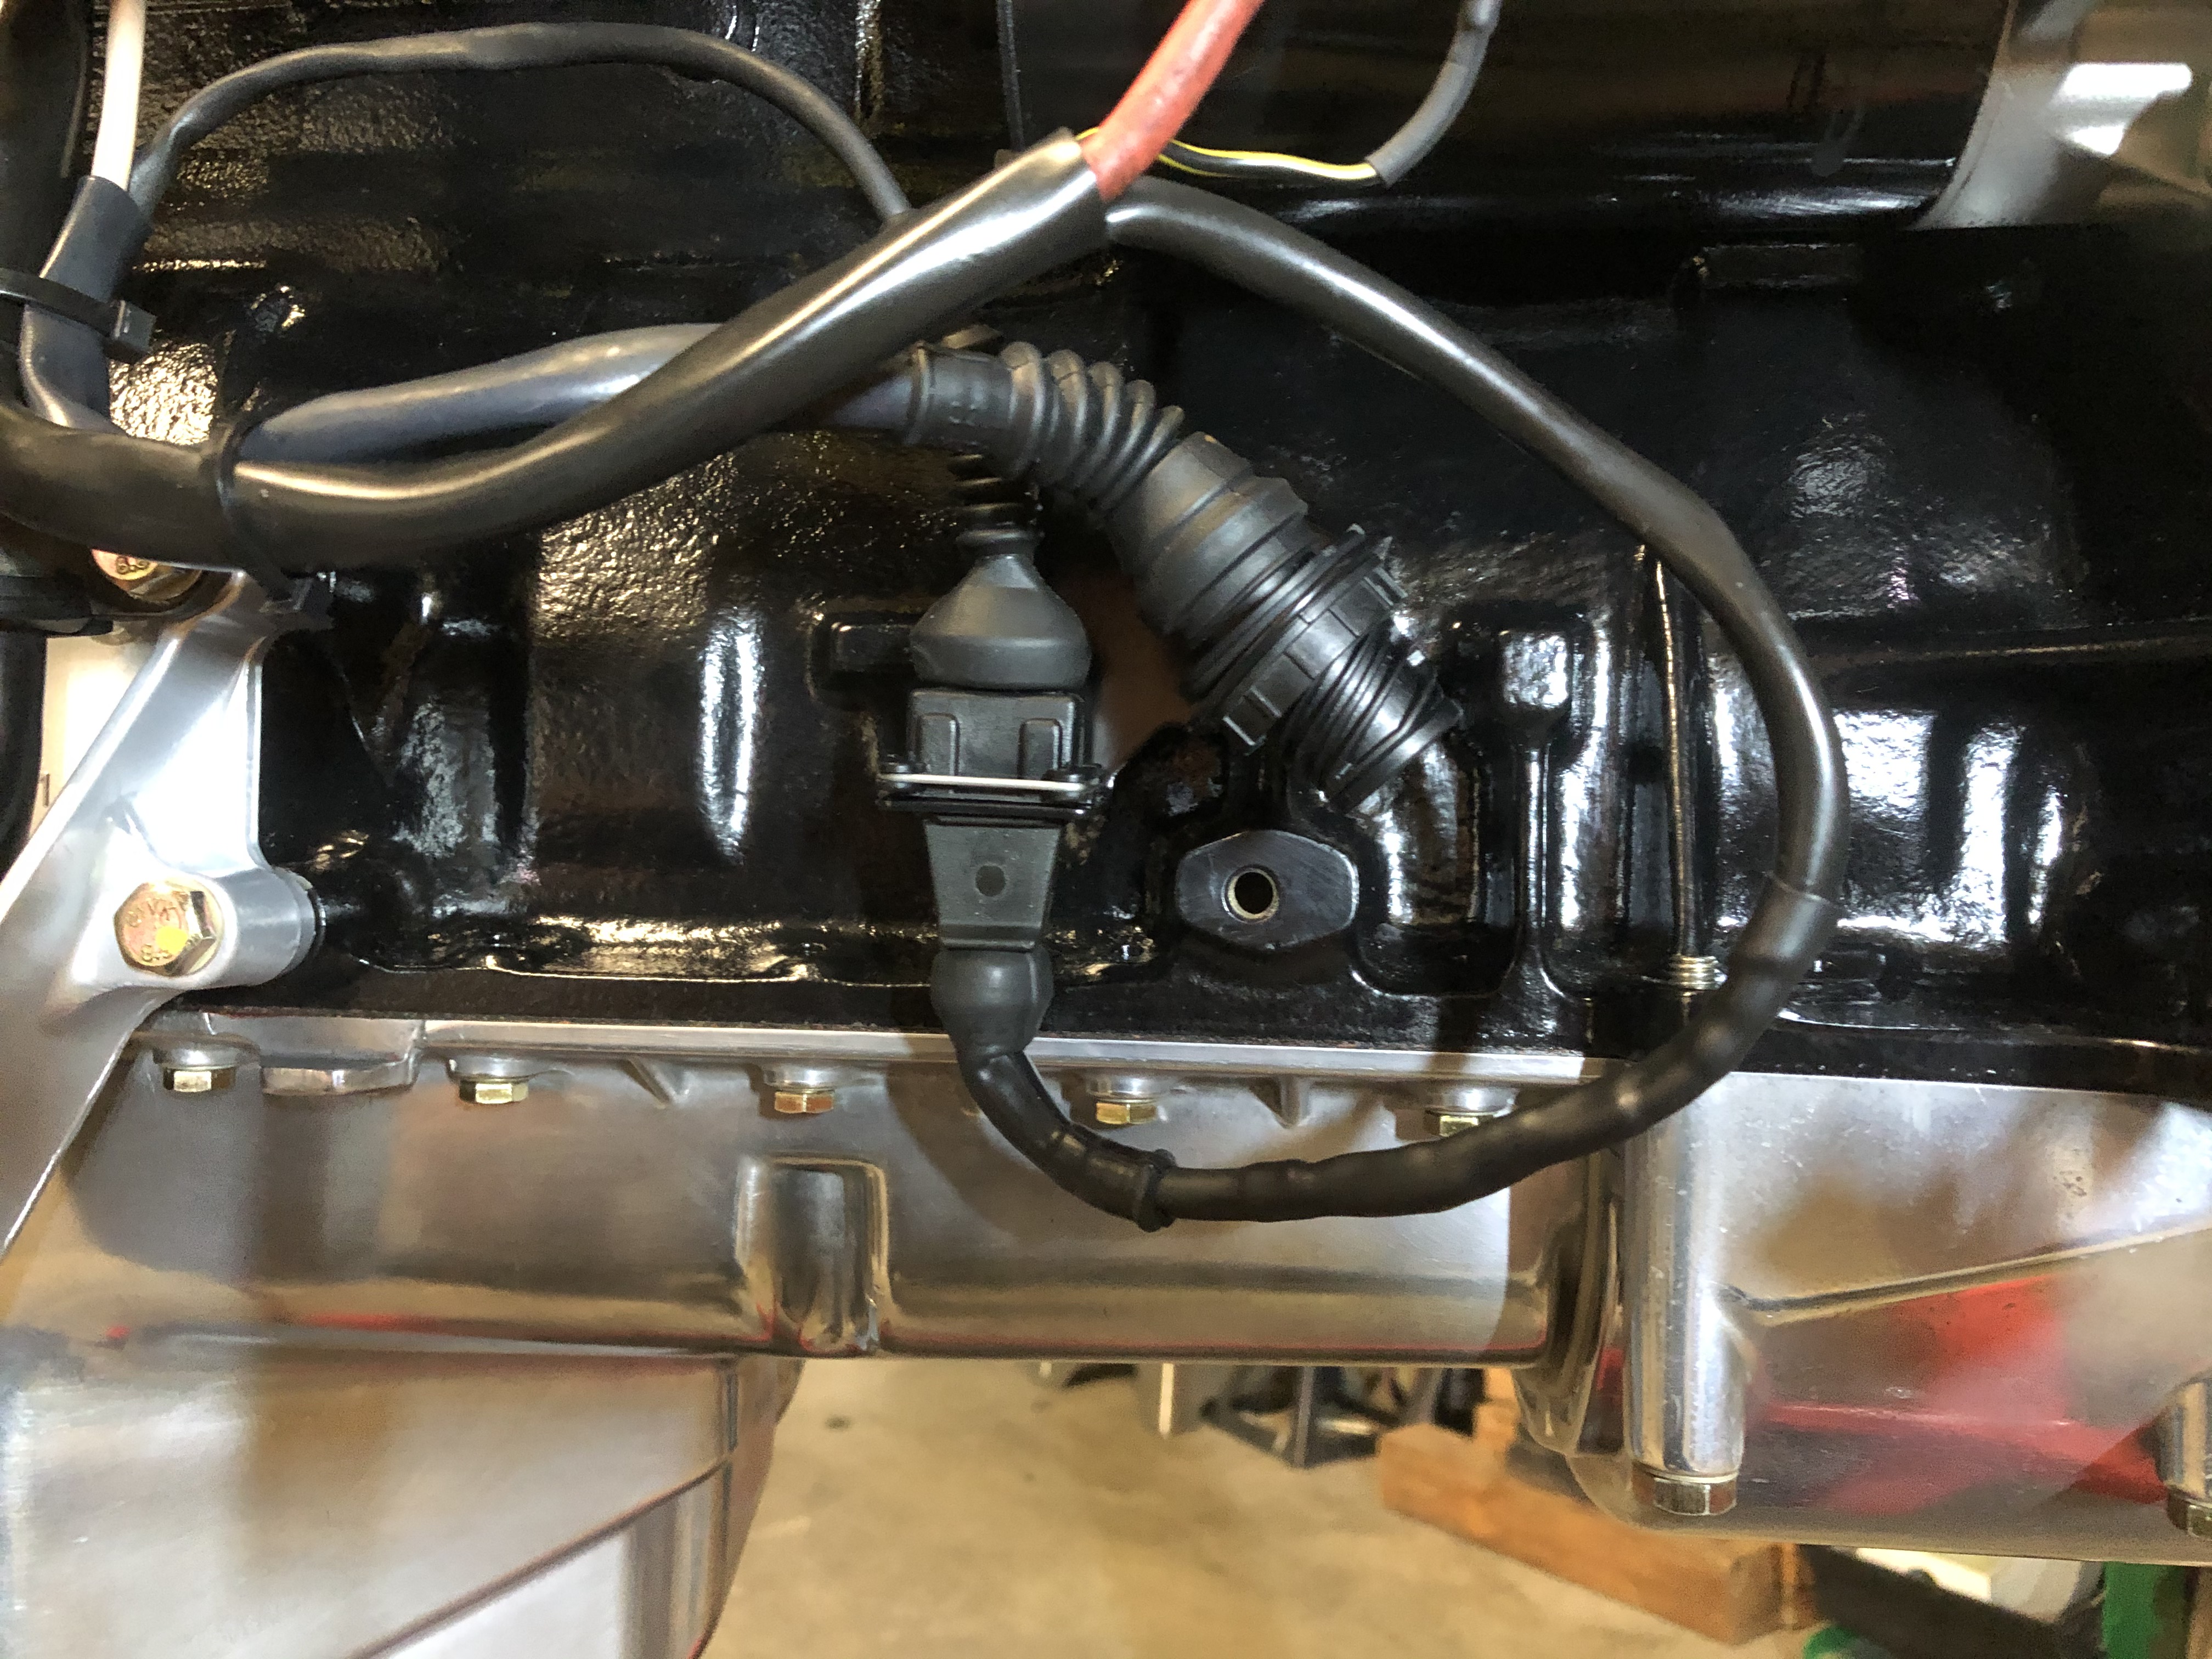
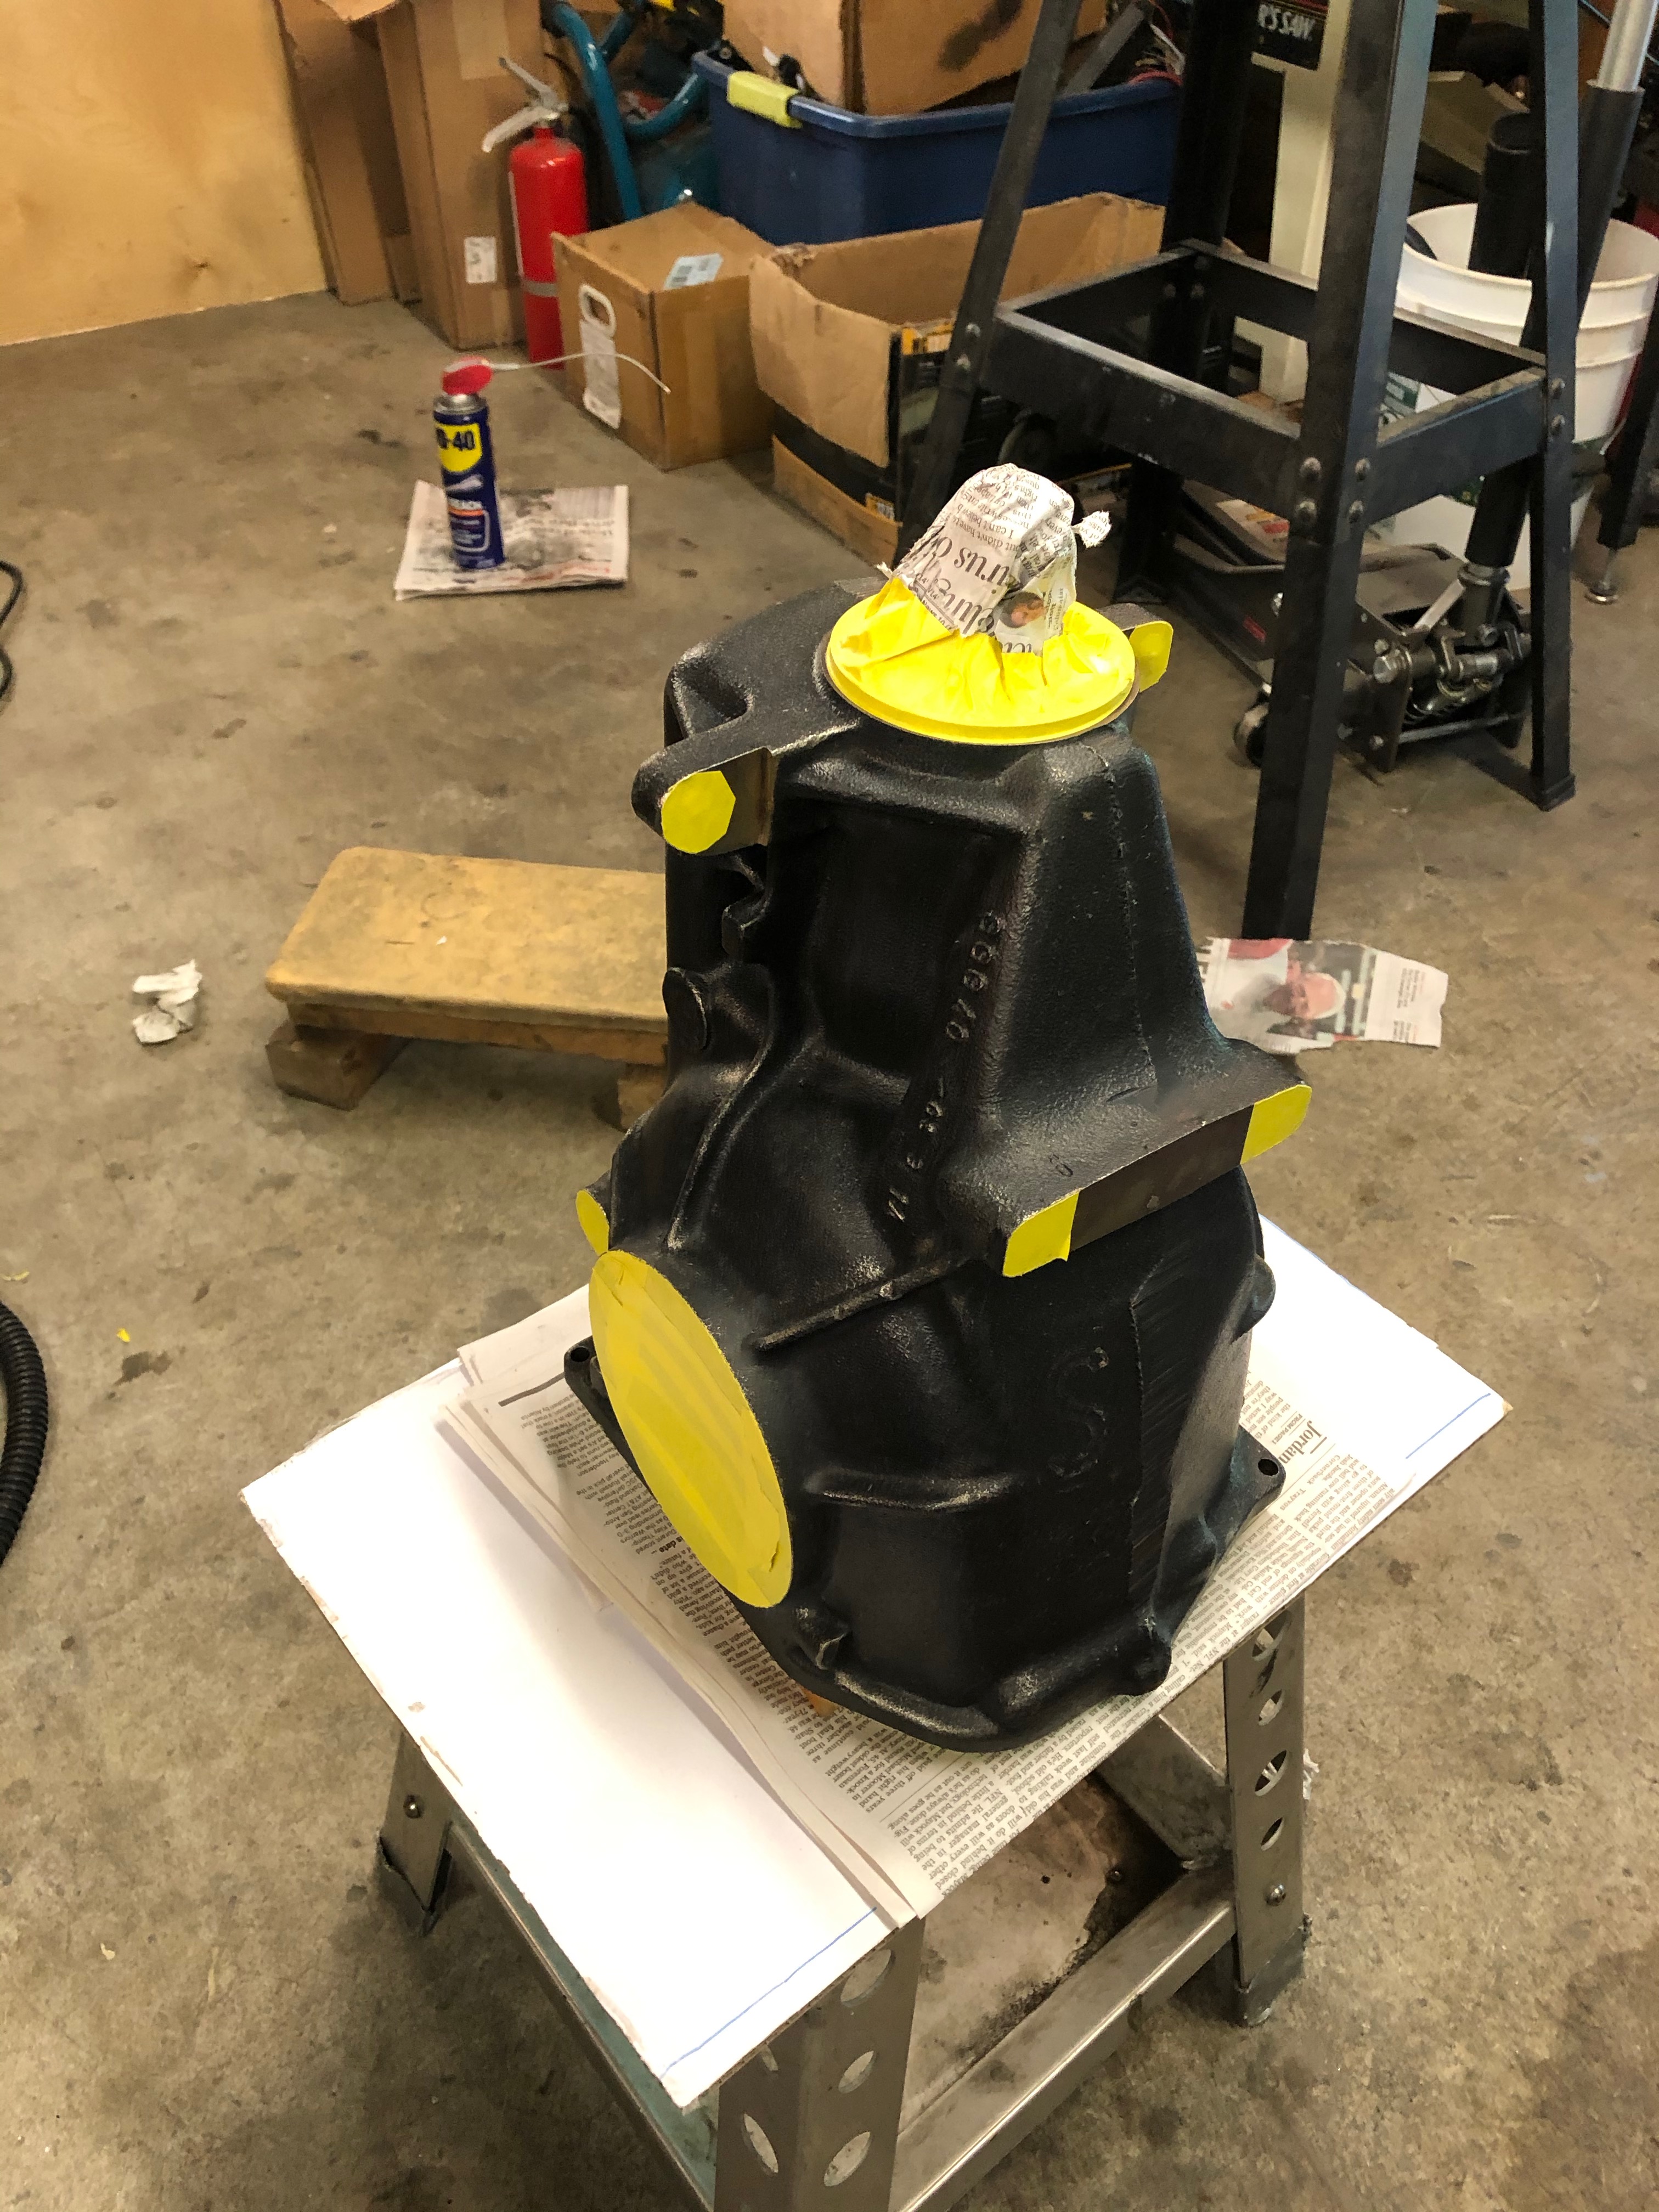
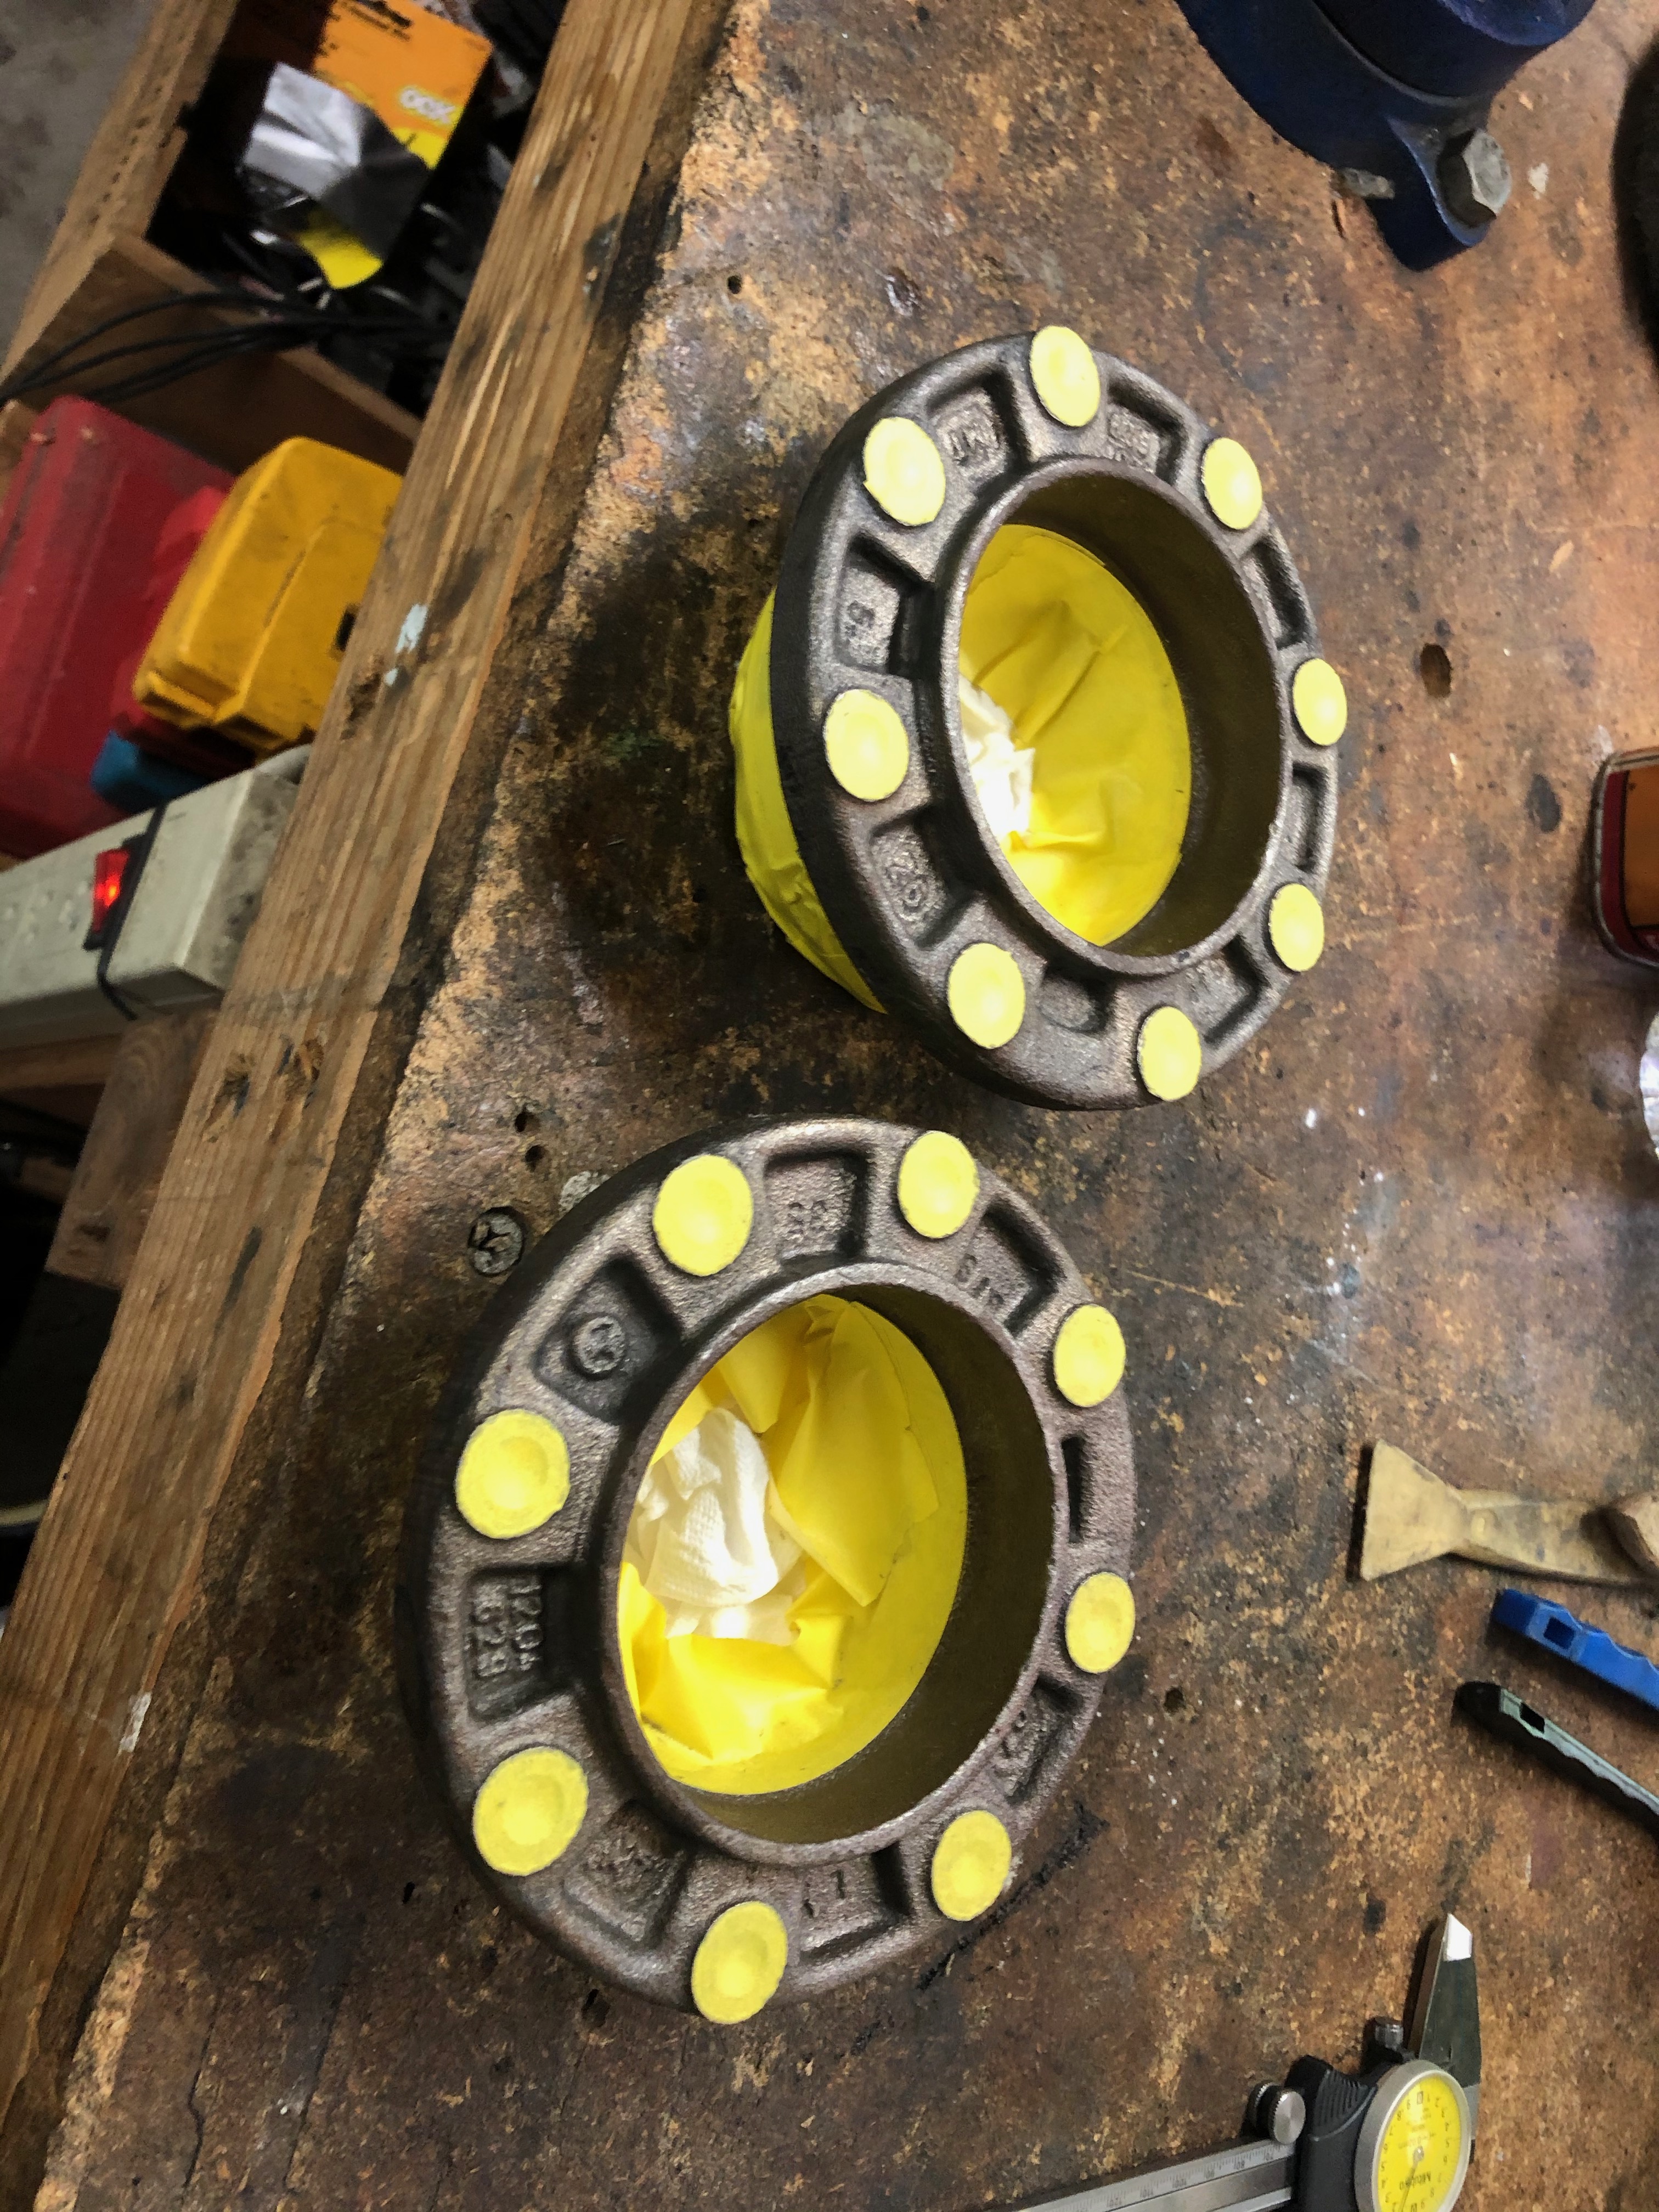
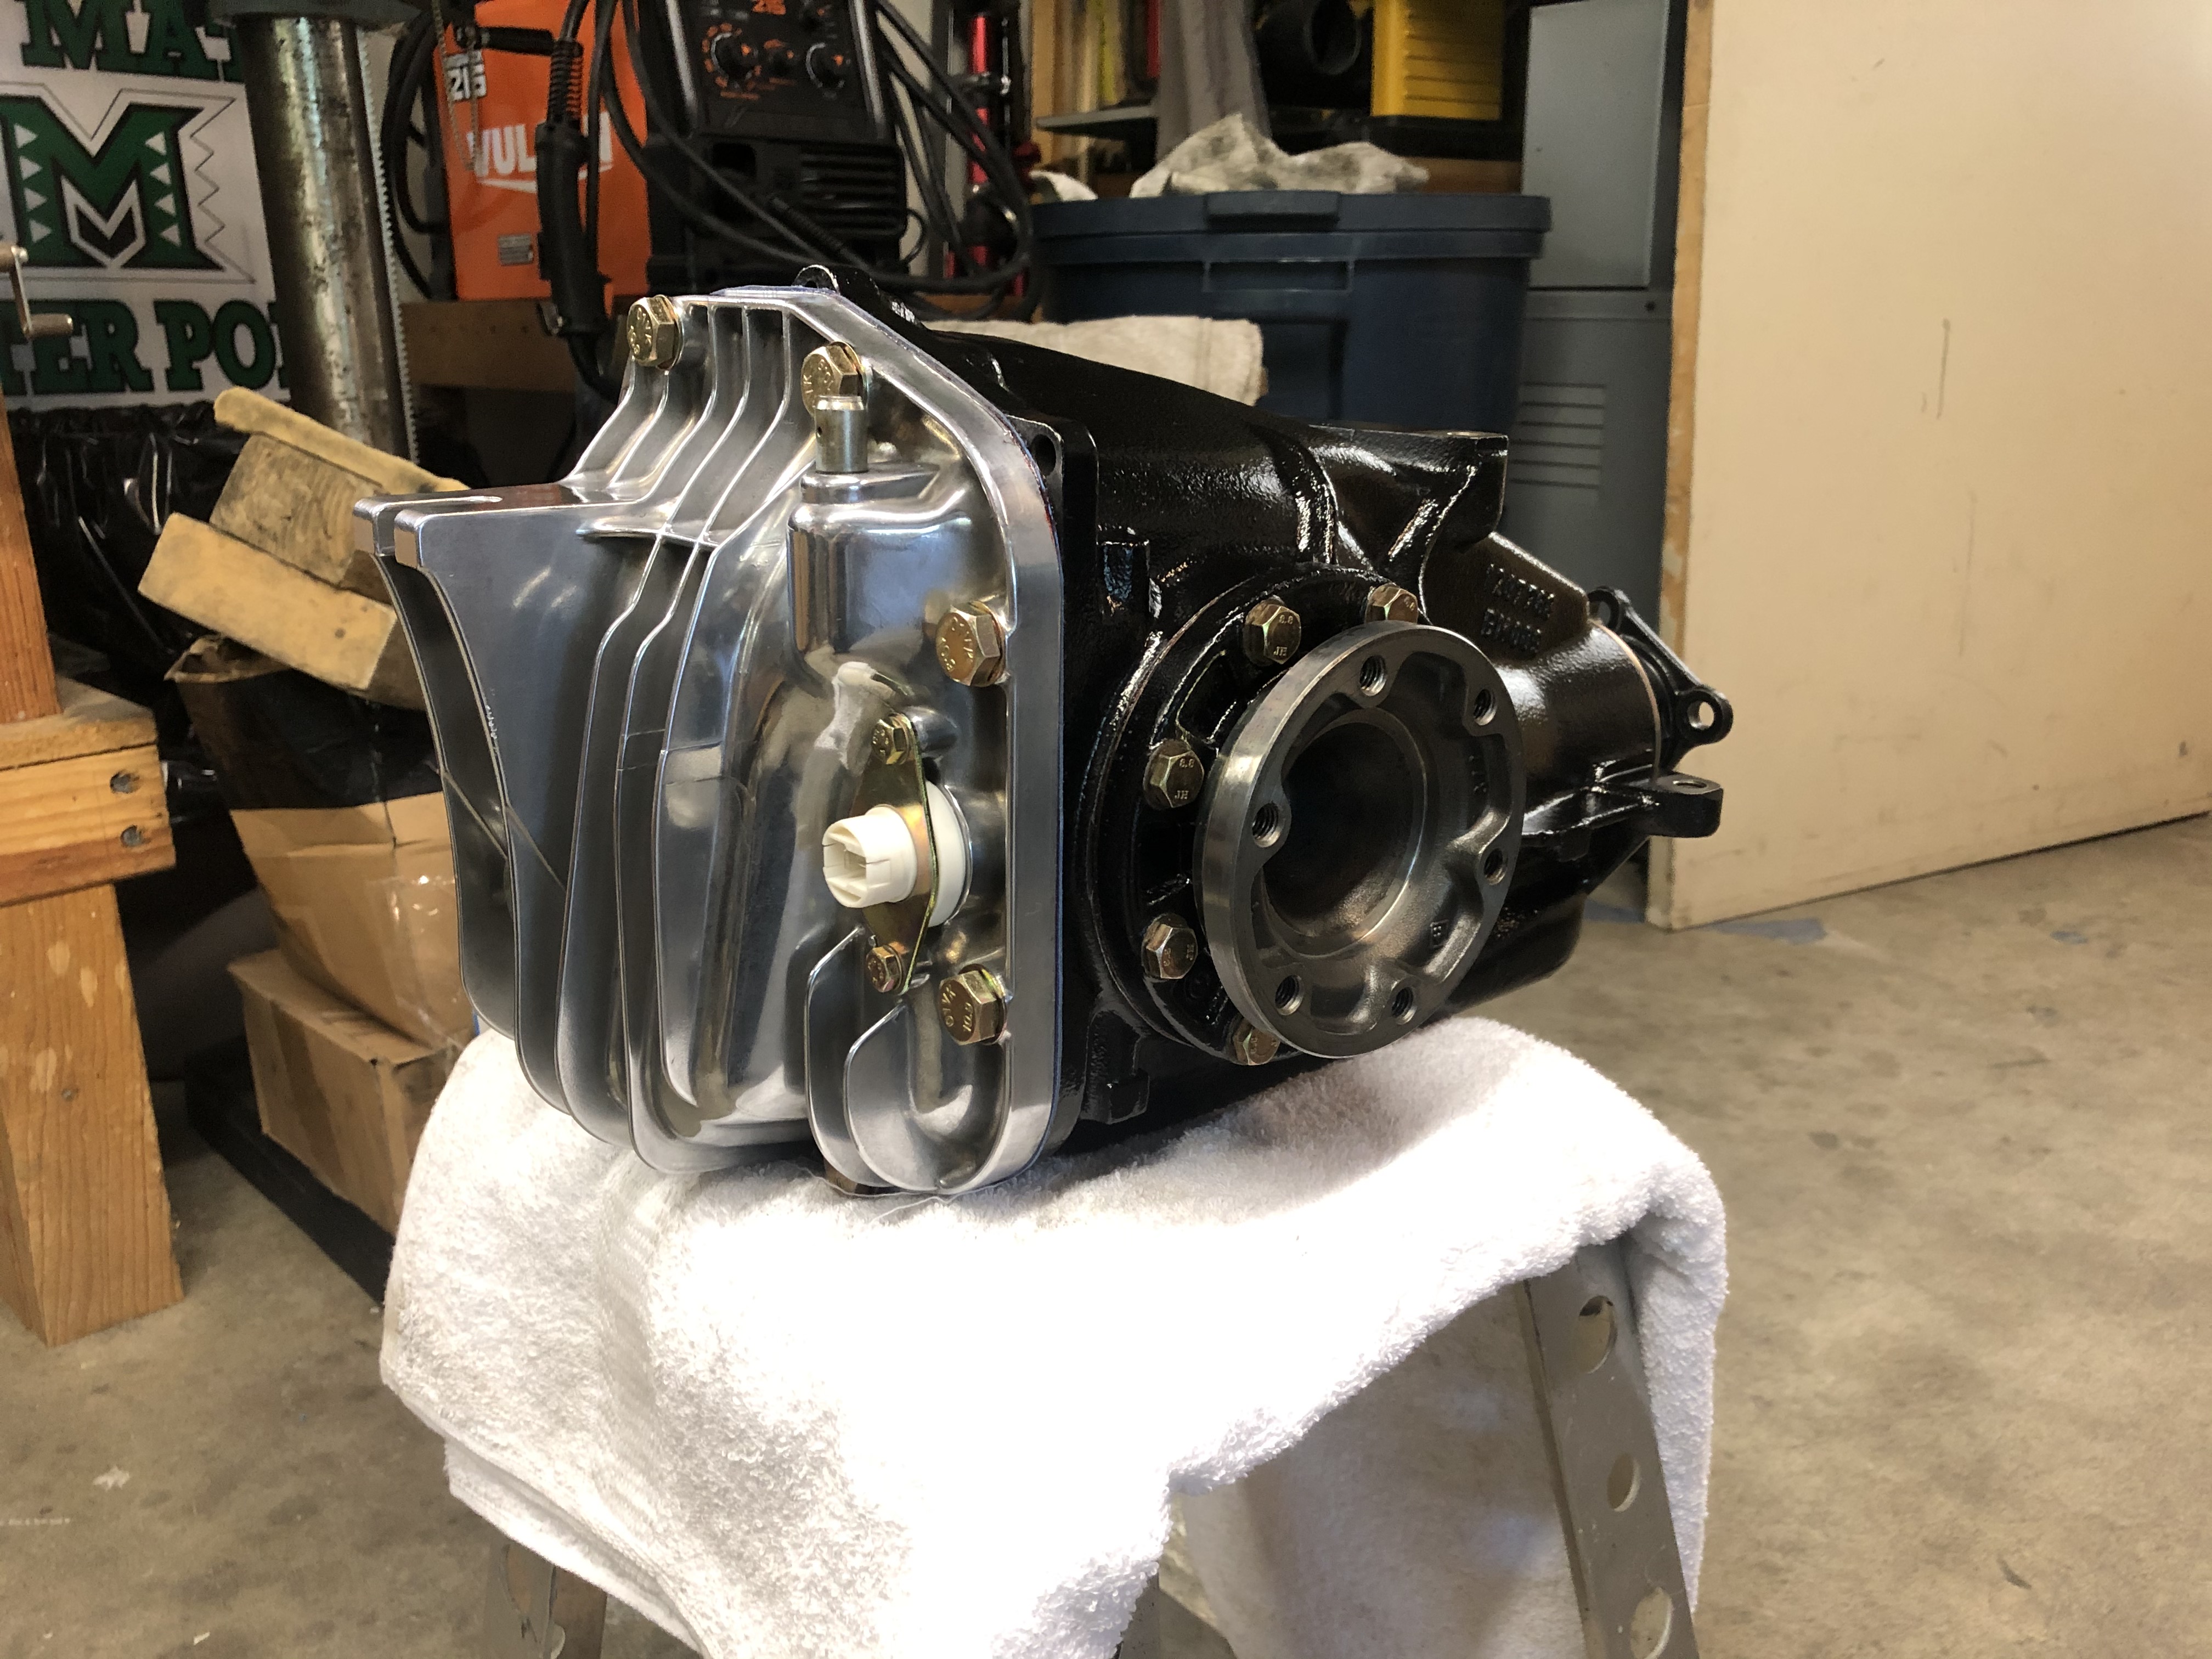
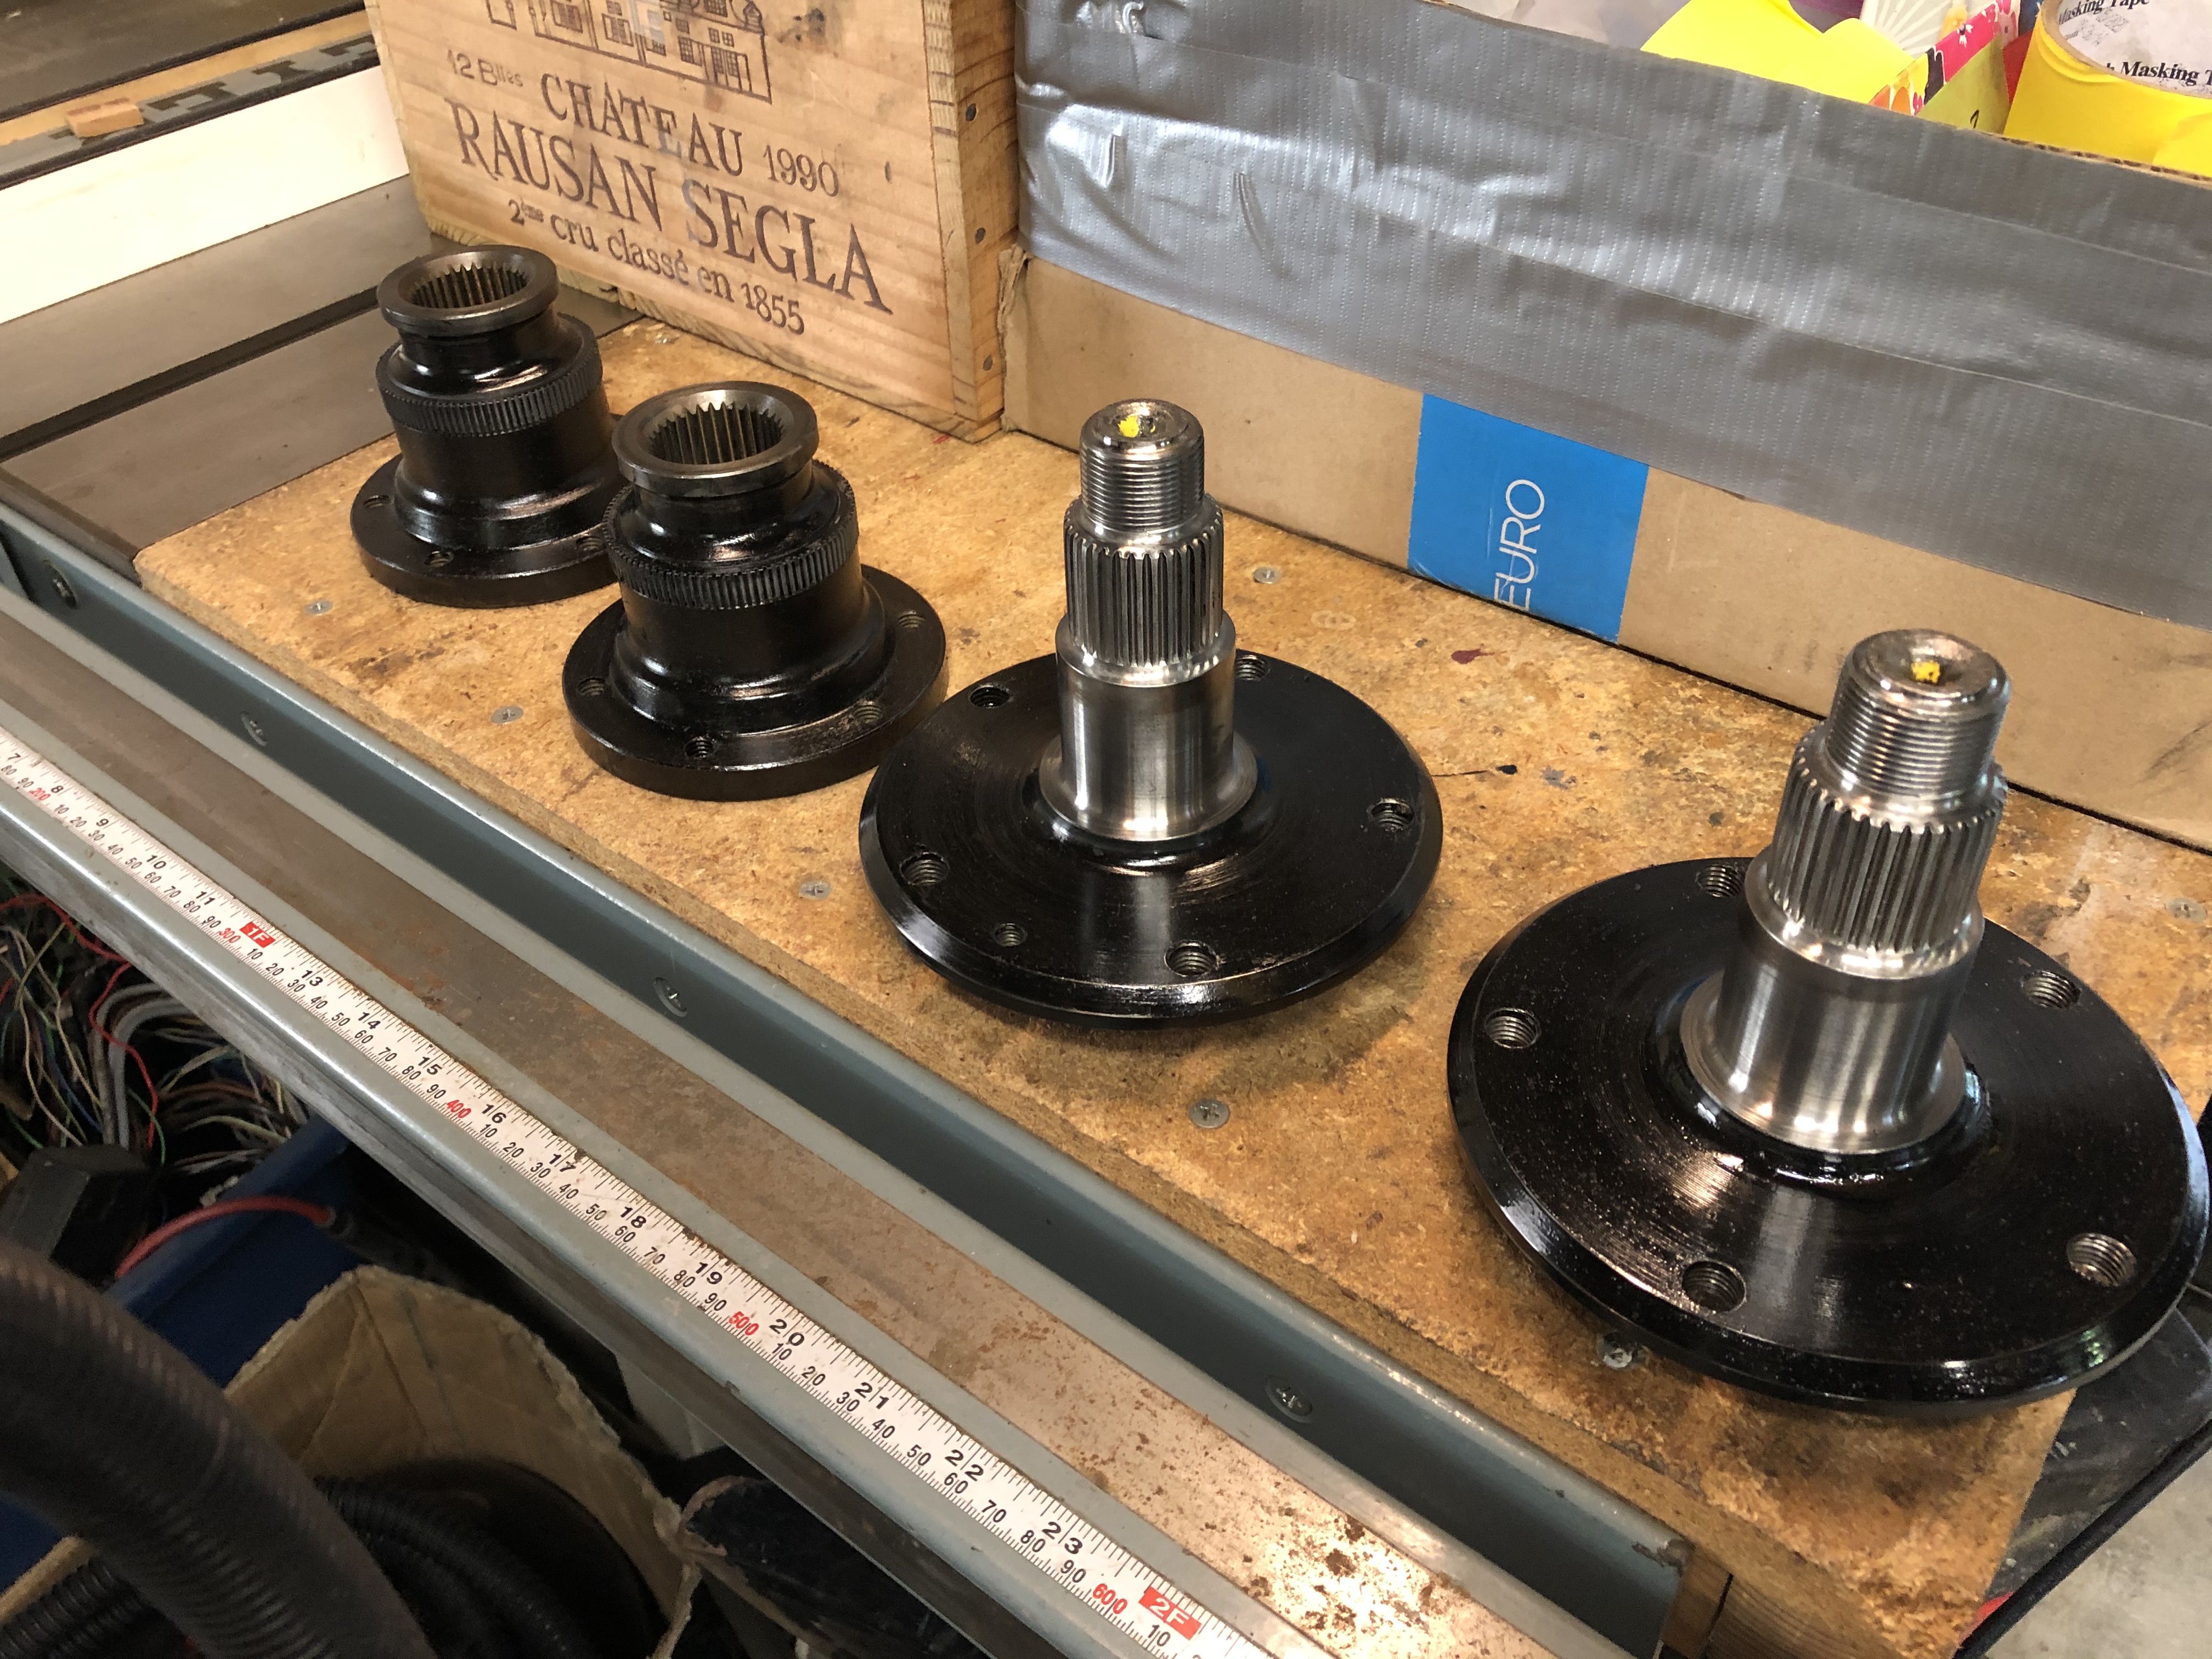
Diff refresh. Goal here was not to rebuild the entire thing, but instead to reseal it and make it nice & purty. And internal inspection showed that the bearings & races were pristine, so there was no reason to go beyond just a reseal anyhow. Oh, BTW, if I haven't said it before, I suck at remembering to get the "before" pics, so I've got nothing showing how grimy this was to start with.
Painting the case & output shaft caps:
Fully reassembled:
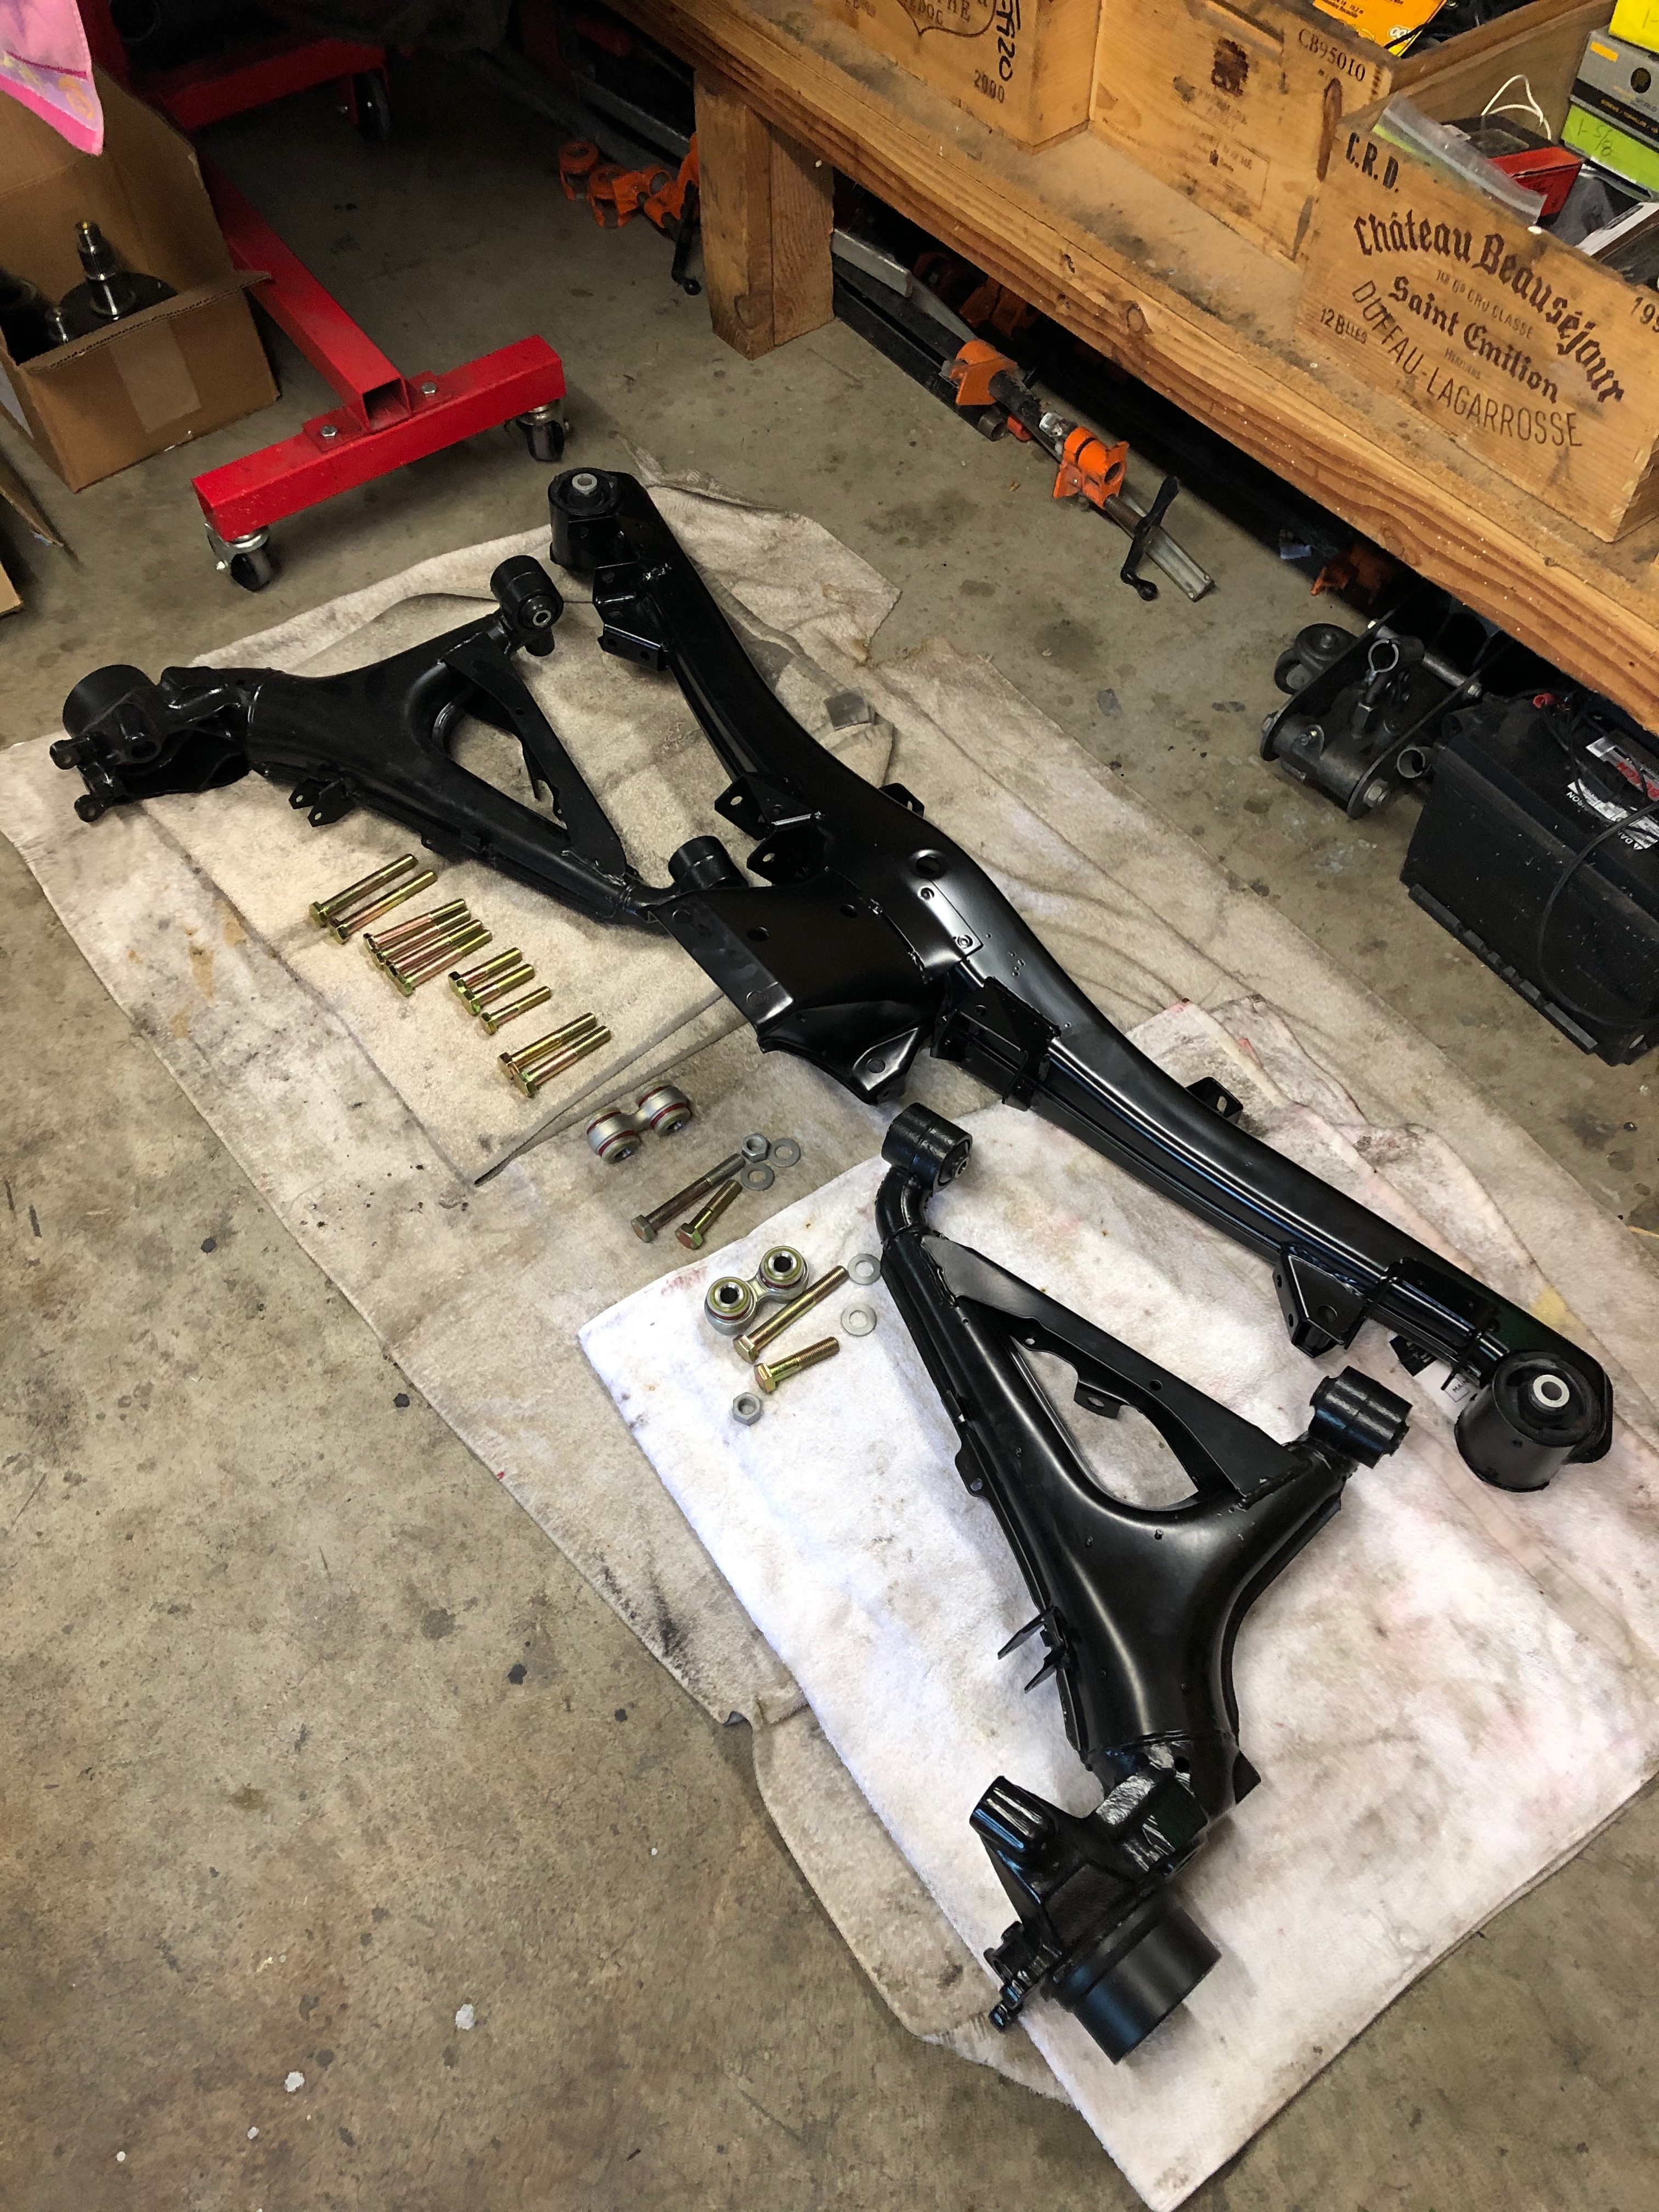
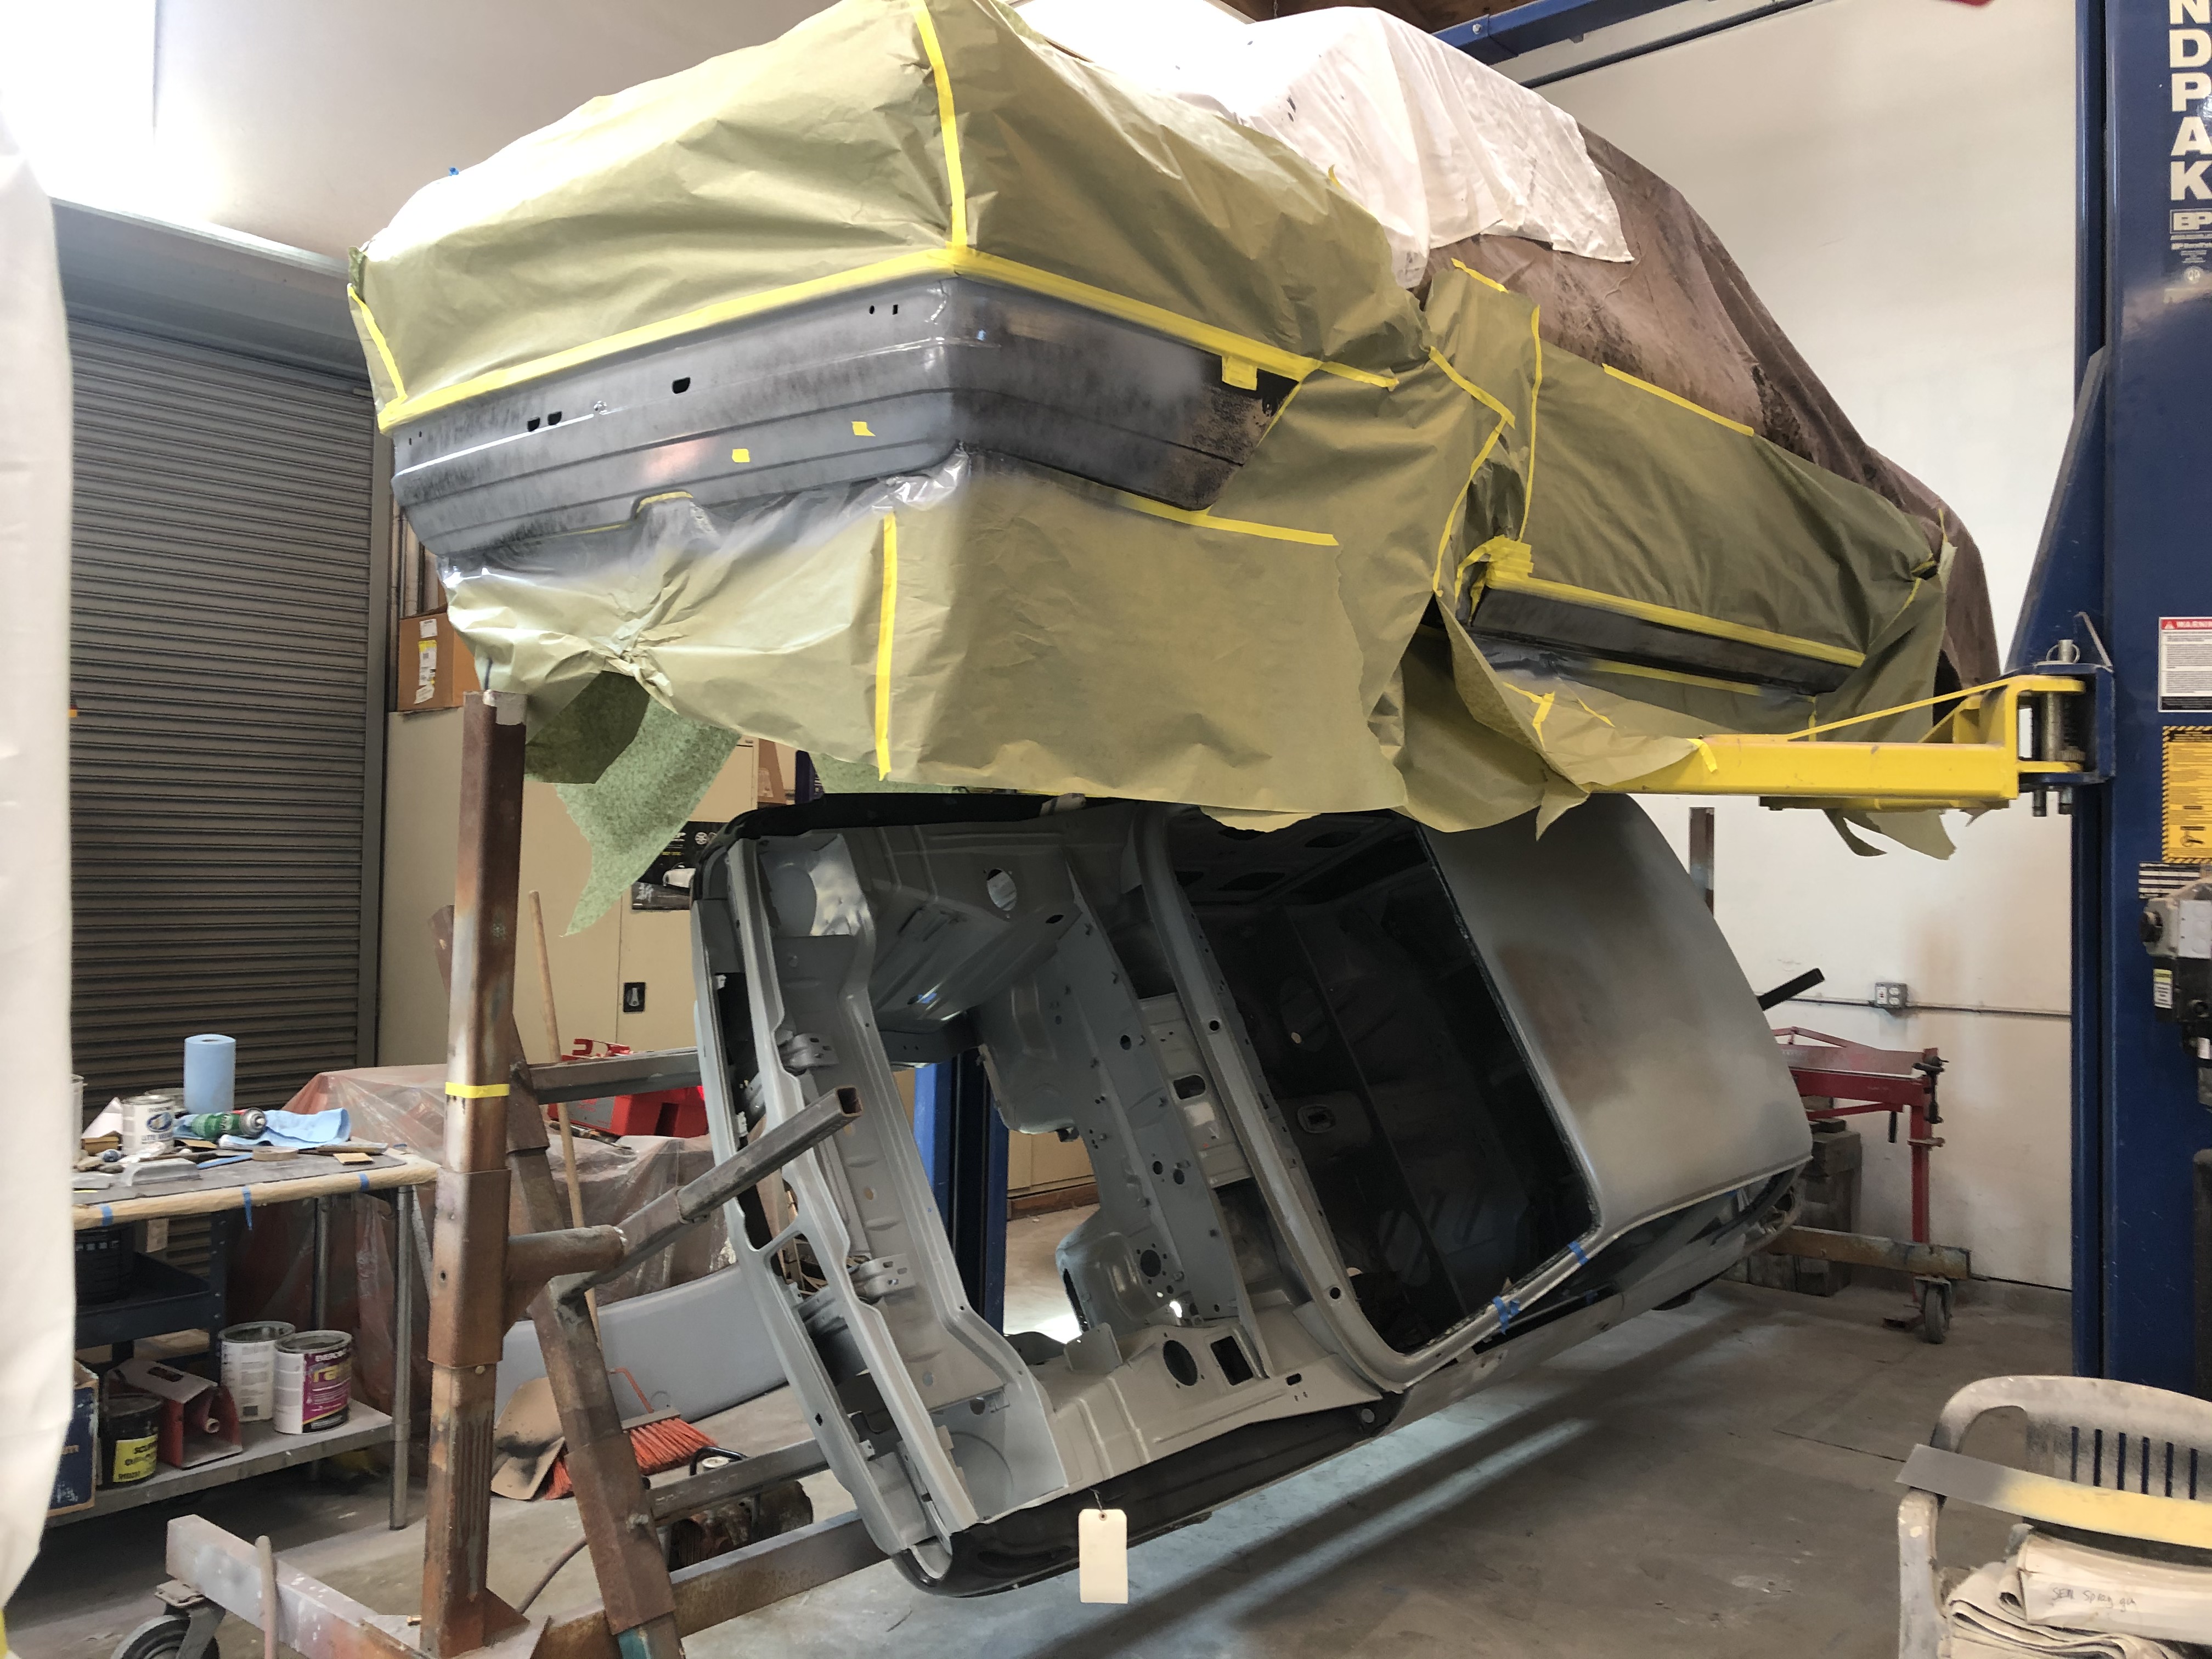
Starting to put the undercarriage subassemblies back together.
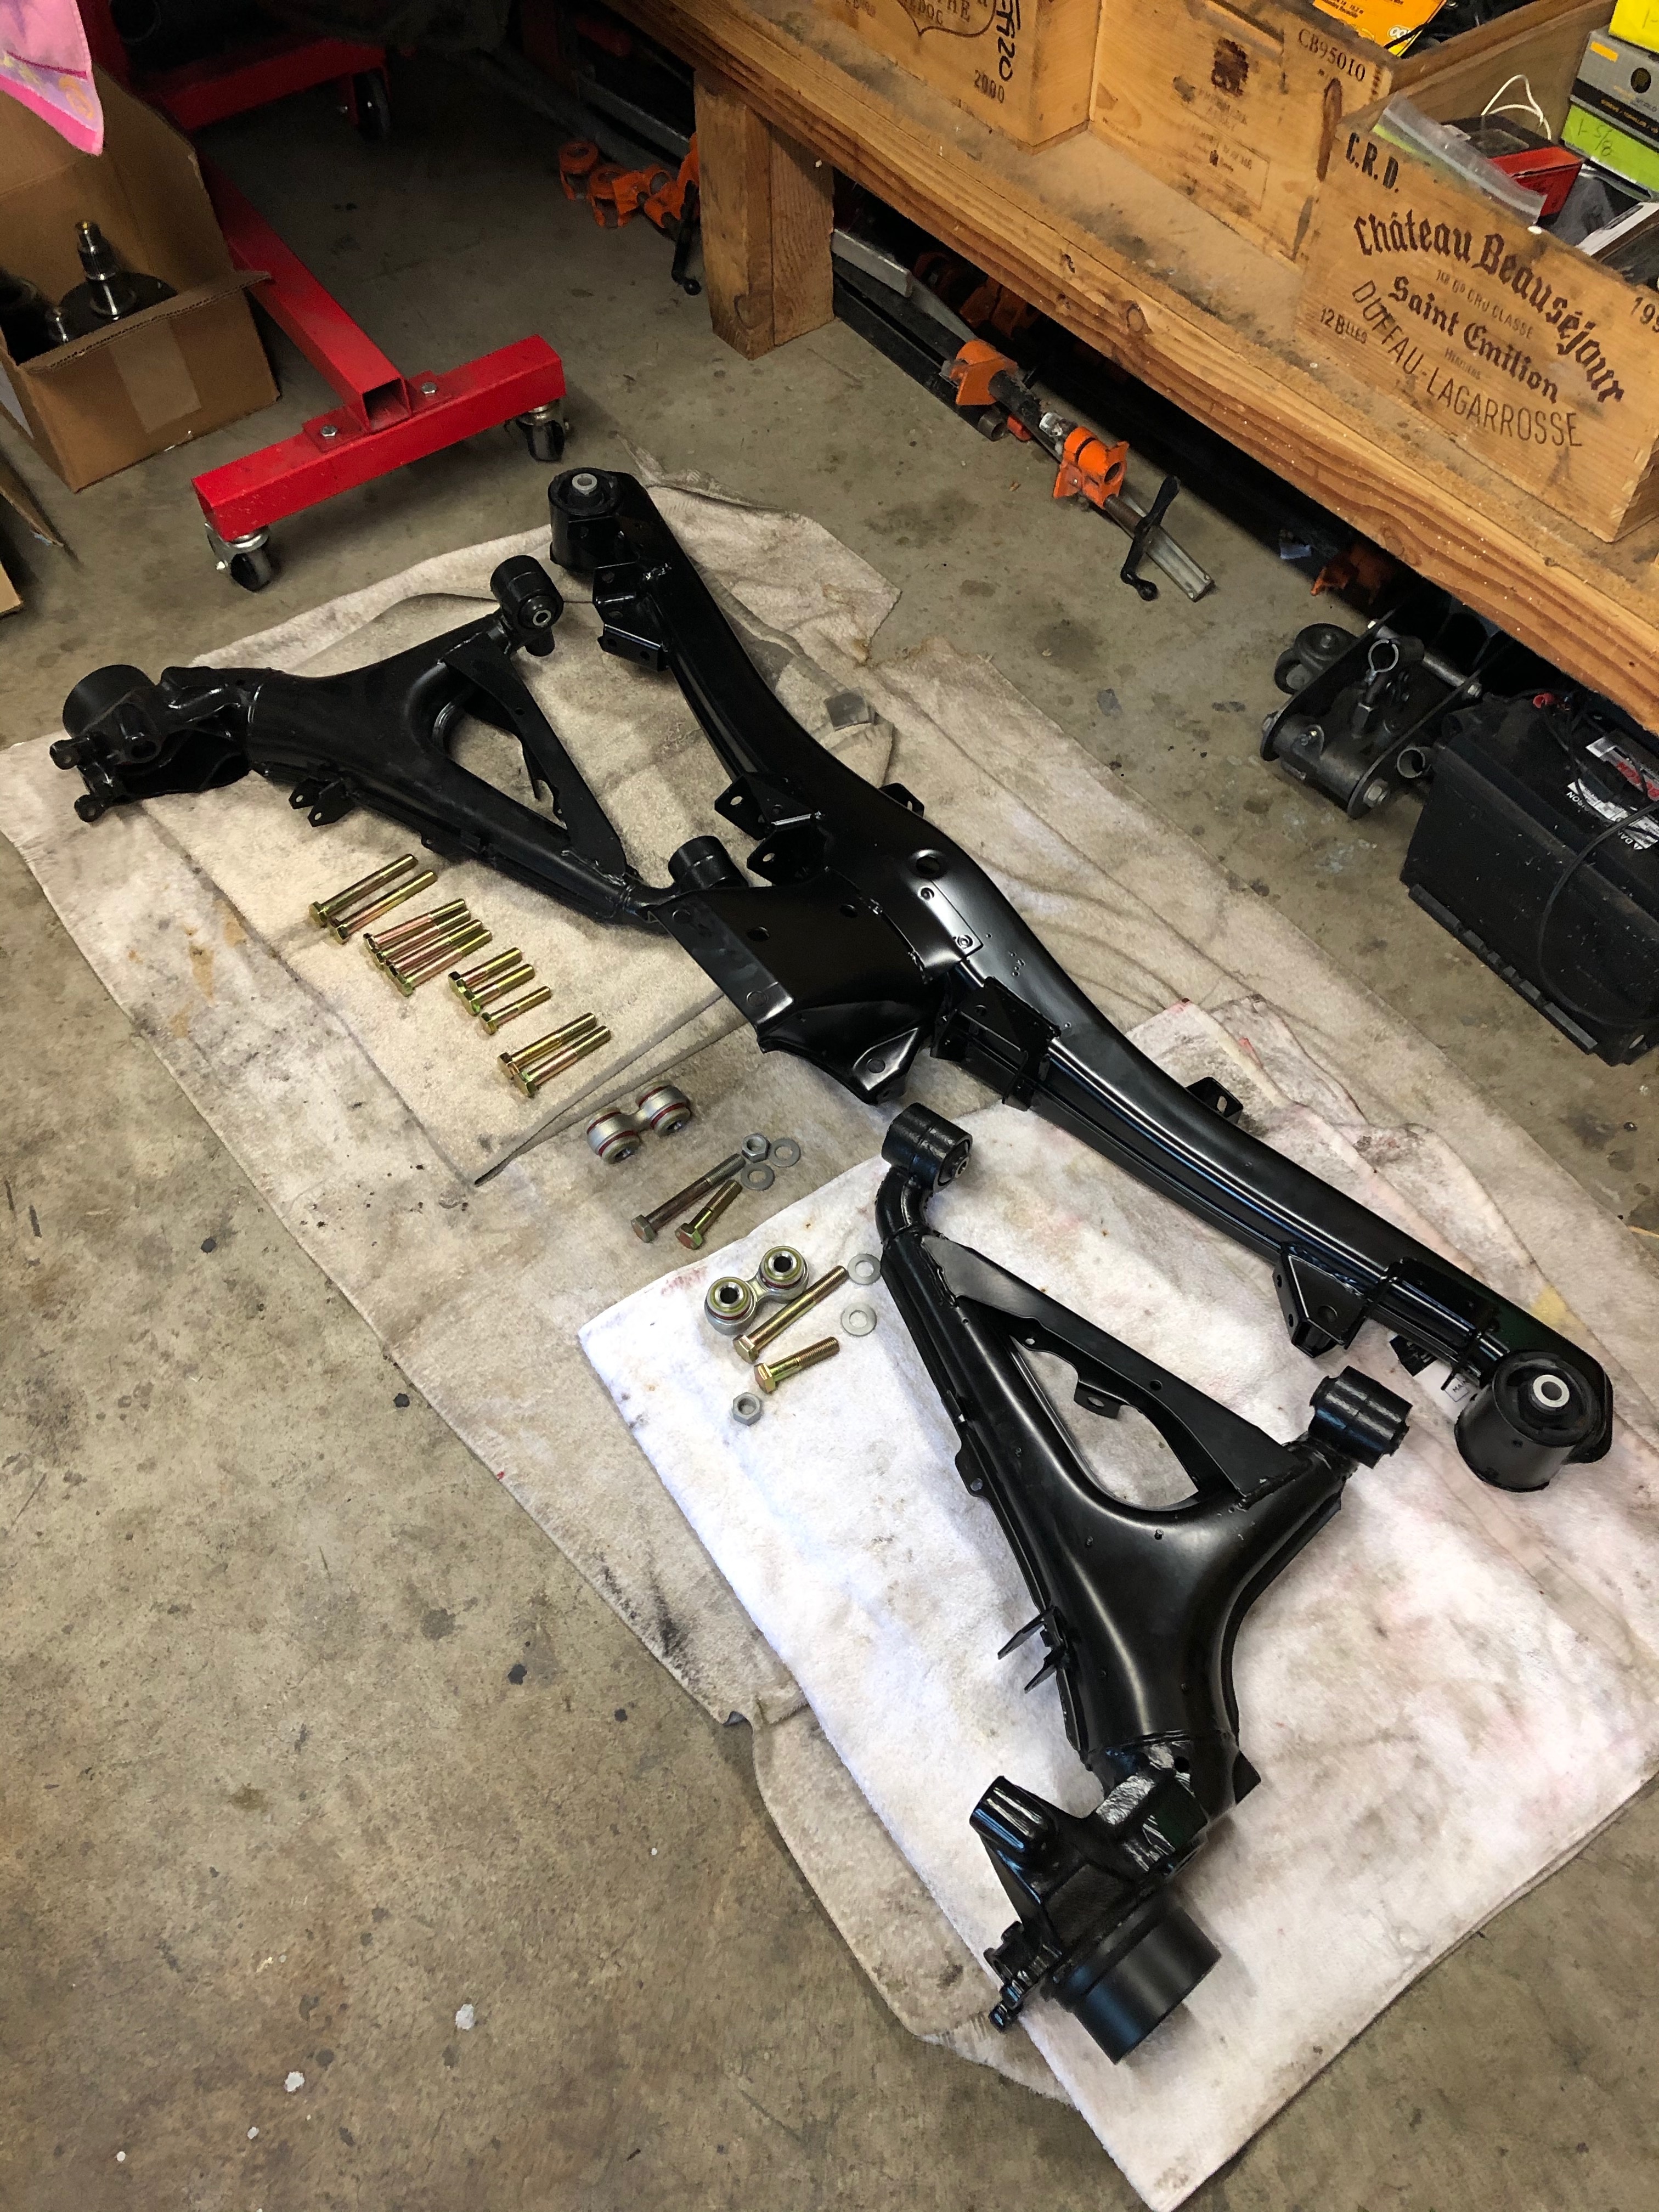
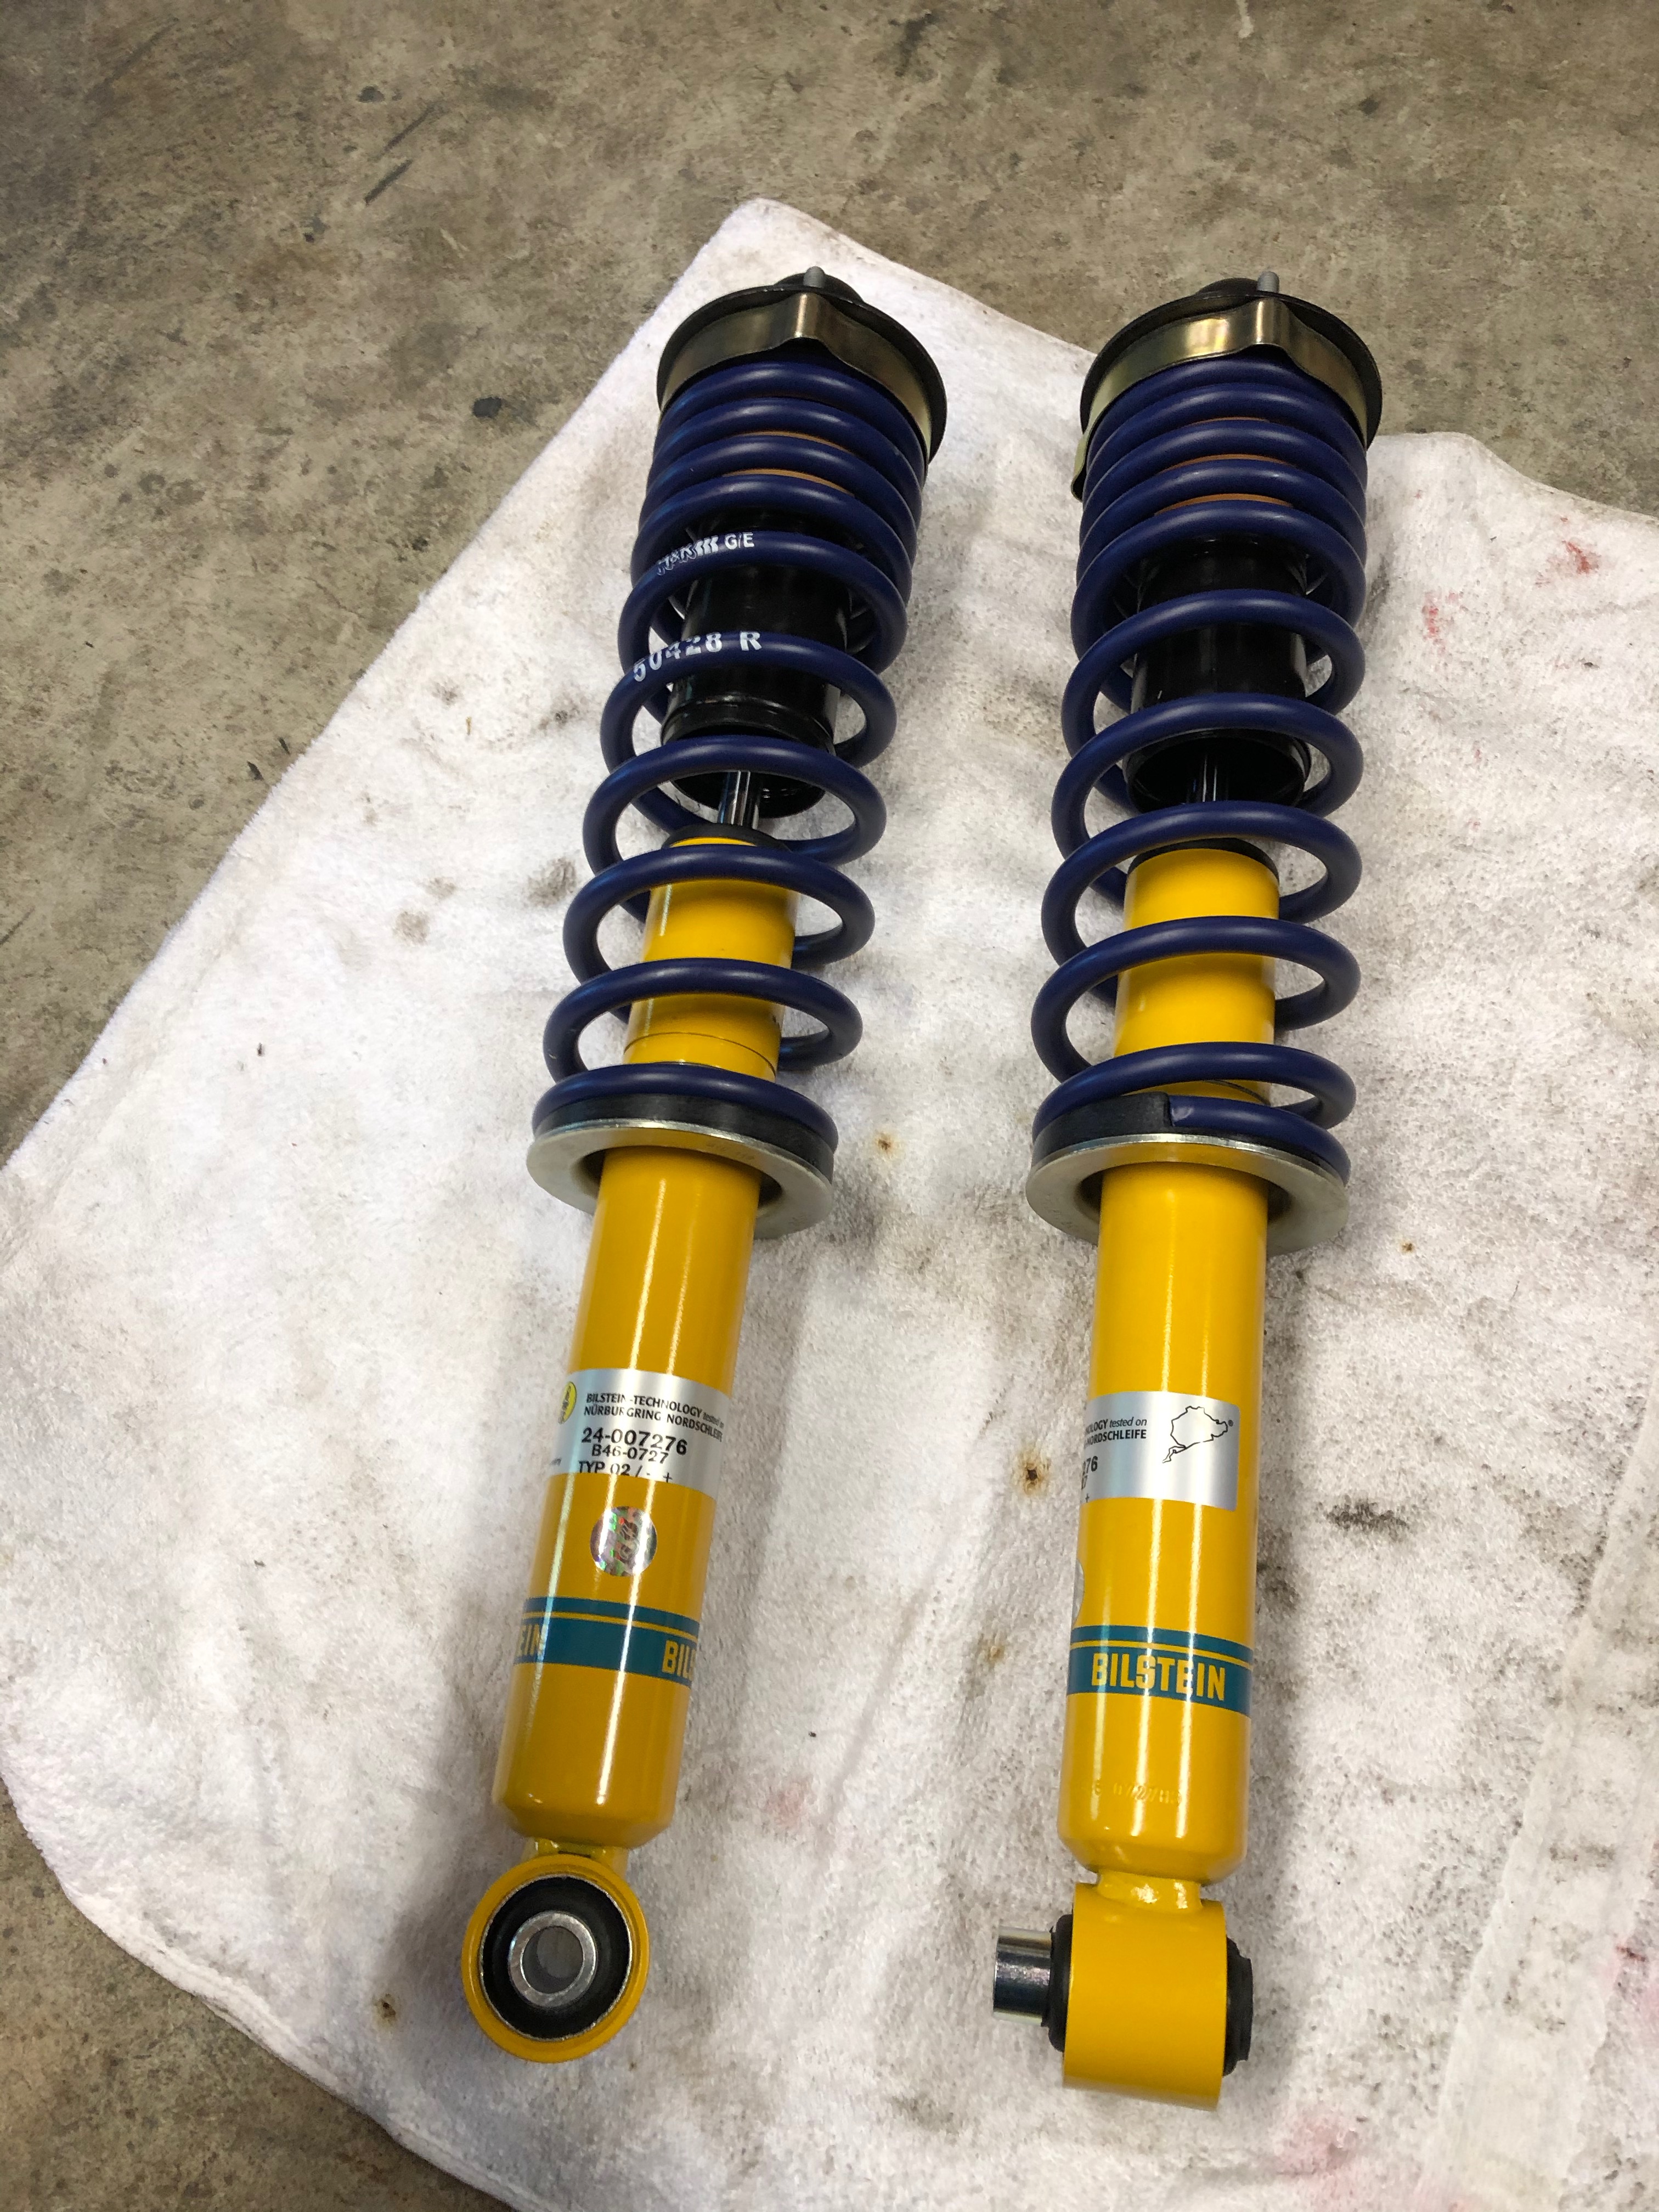
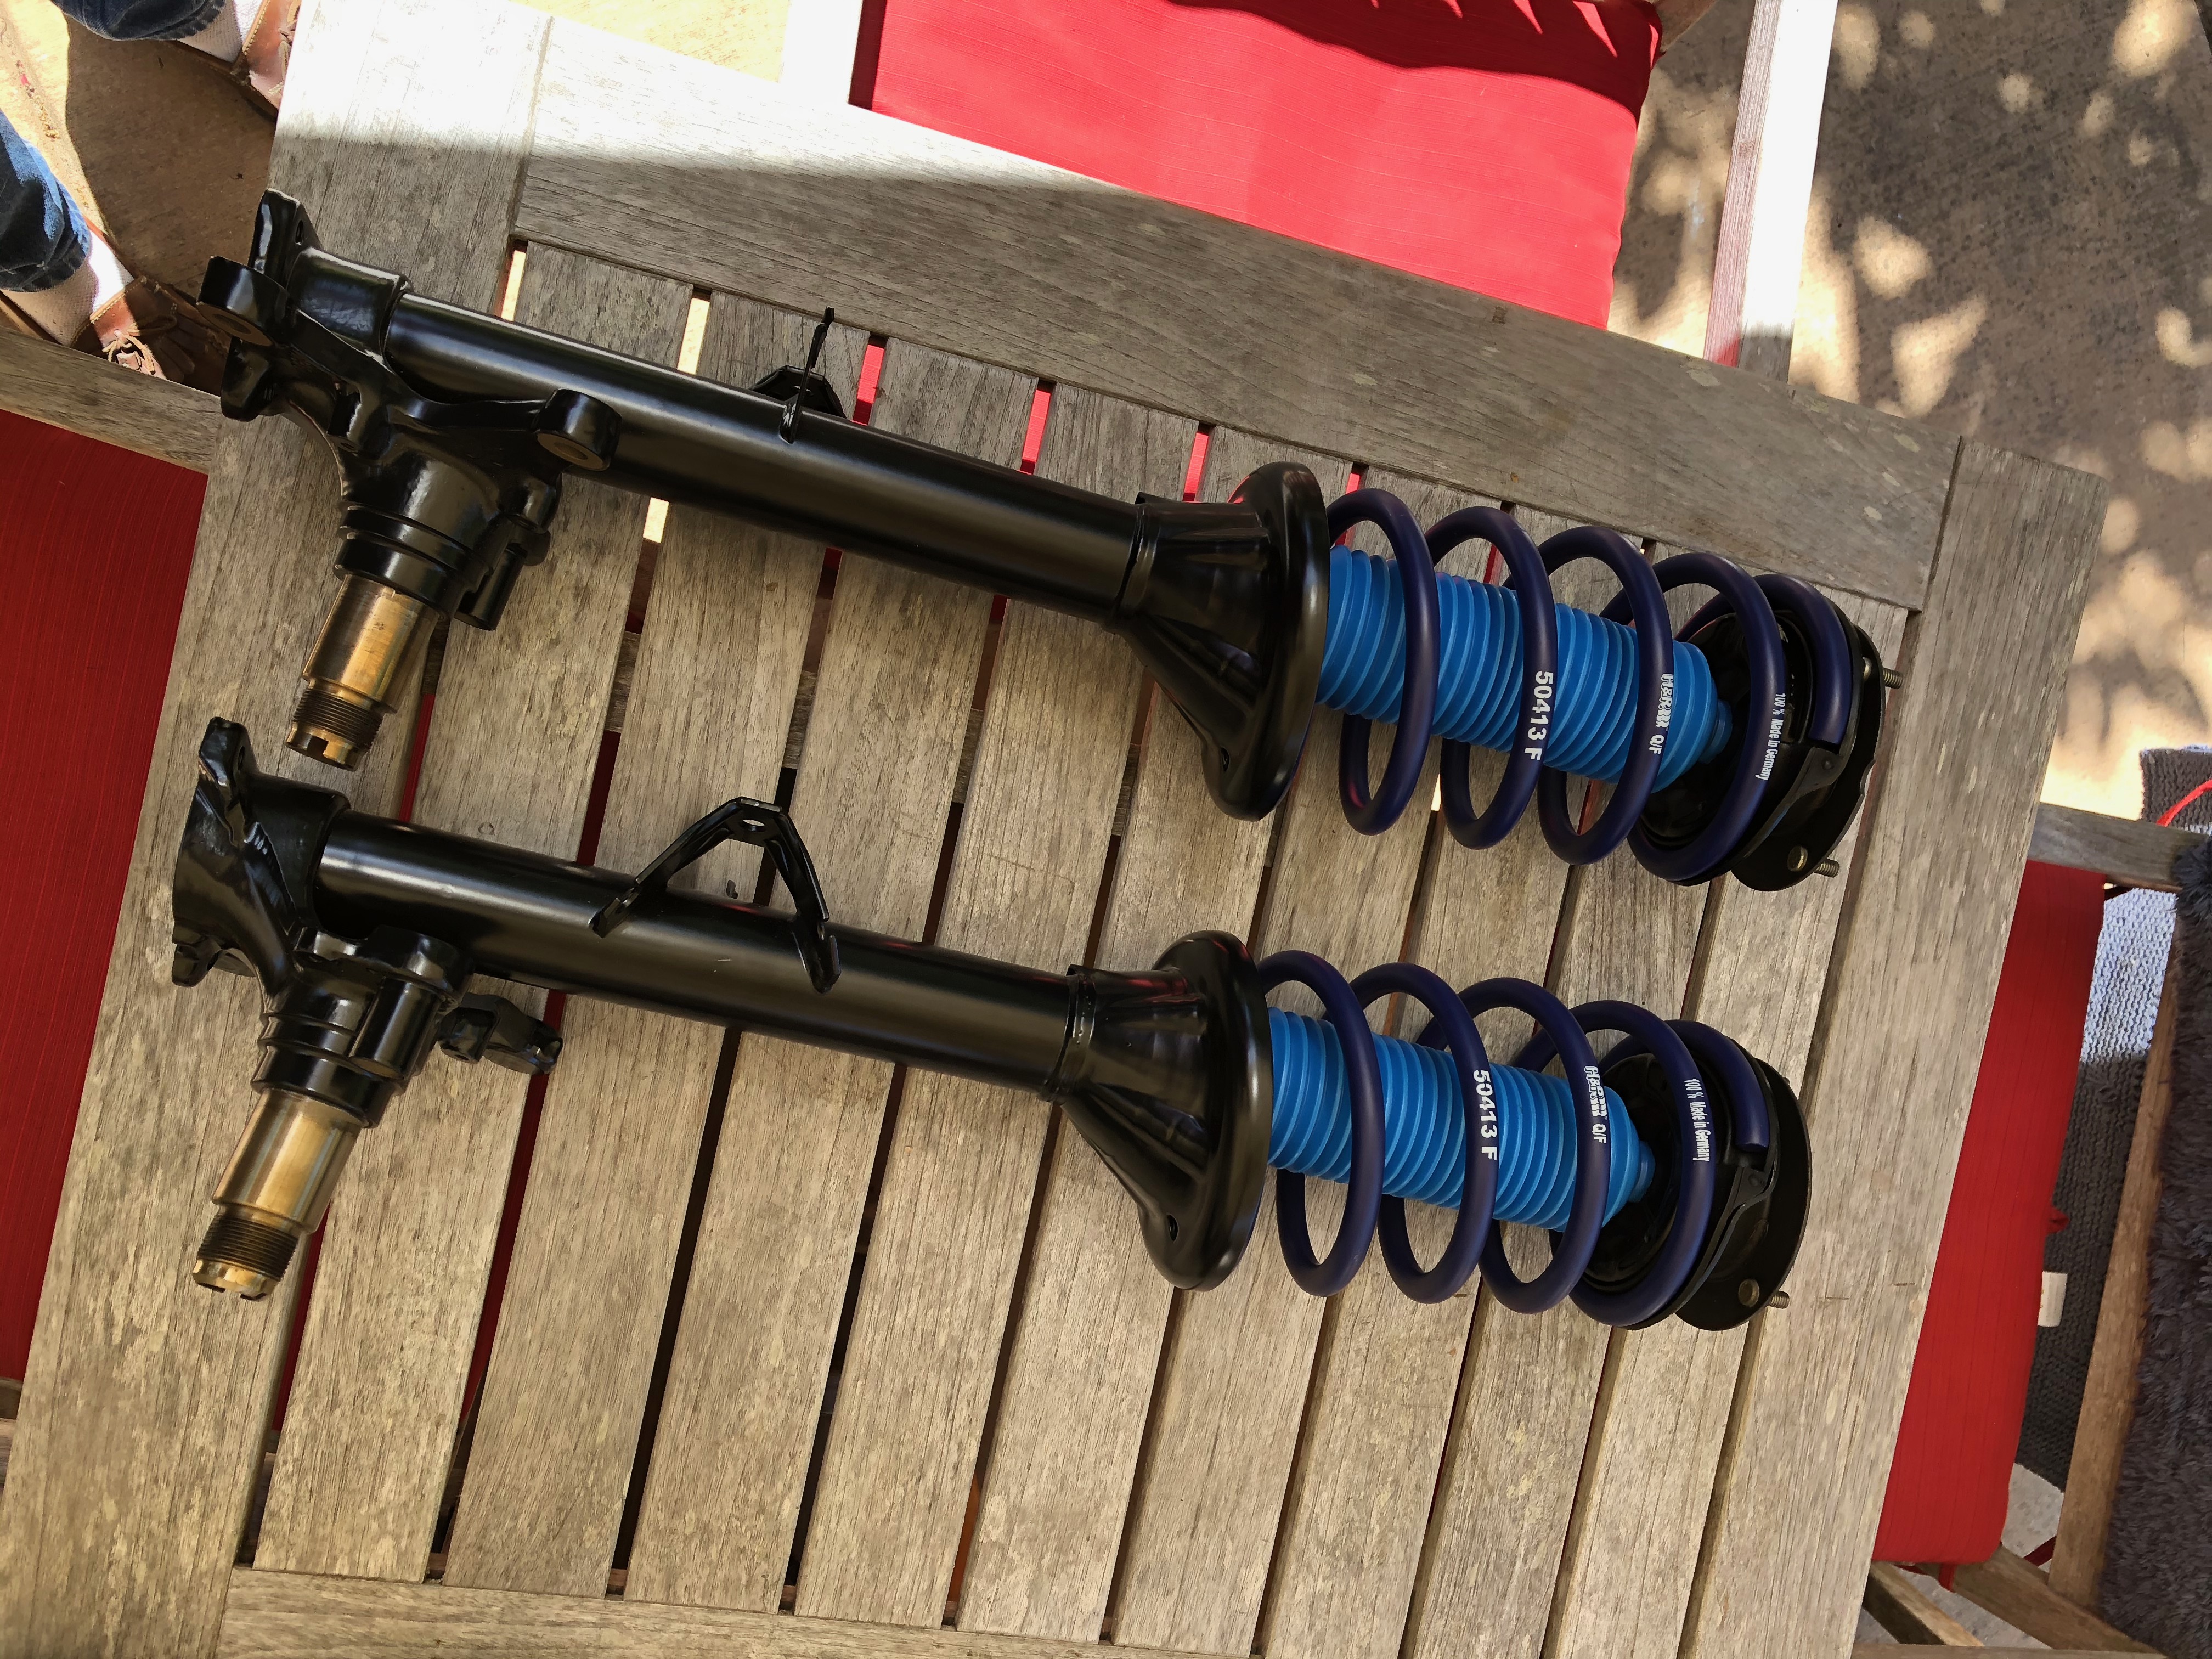
Since those pics were taken, I've also pressed the rear spindles back into the RTAs. At first, I put the RTAs back onto the rear subframe and then tried to press the outer spindles in. That was a total fail. Some research here on the forum indicated that pressing / pulling those outer spindles was a real pain, and it took me a while to remember how I'd done this last time. Of course, if you have the RTAs off the car, no special tricks are needed to get the spindle back in ... they can just be pressed into the bearings on the press. So, I took the RTAs off again, set up the handy-dandy HF 12-ton and they slipped right in. Forgot to get a pic, of course. I used a 46mm impact socket on the inside to support the inner race as I pressed the spindle in from the top.
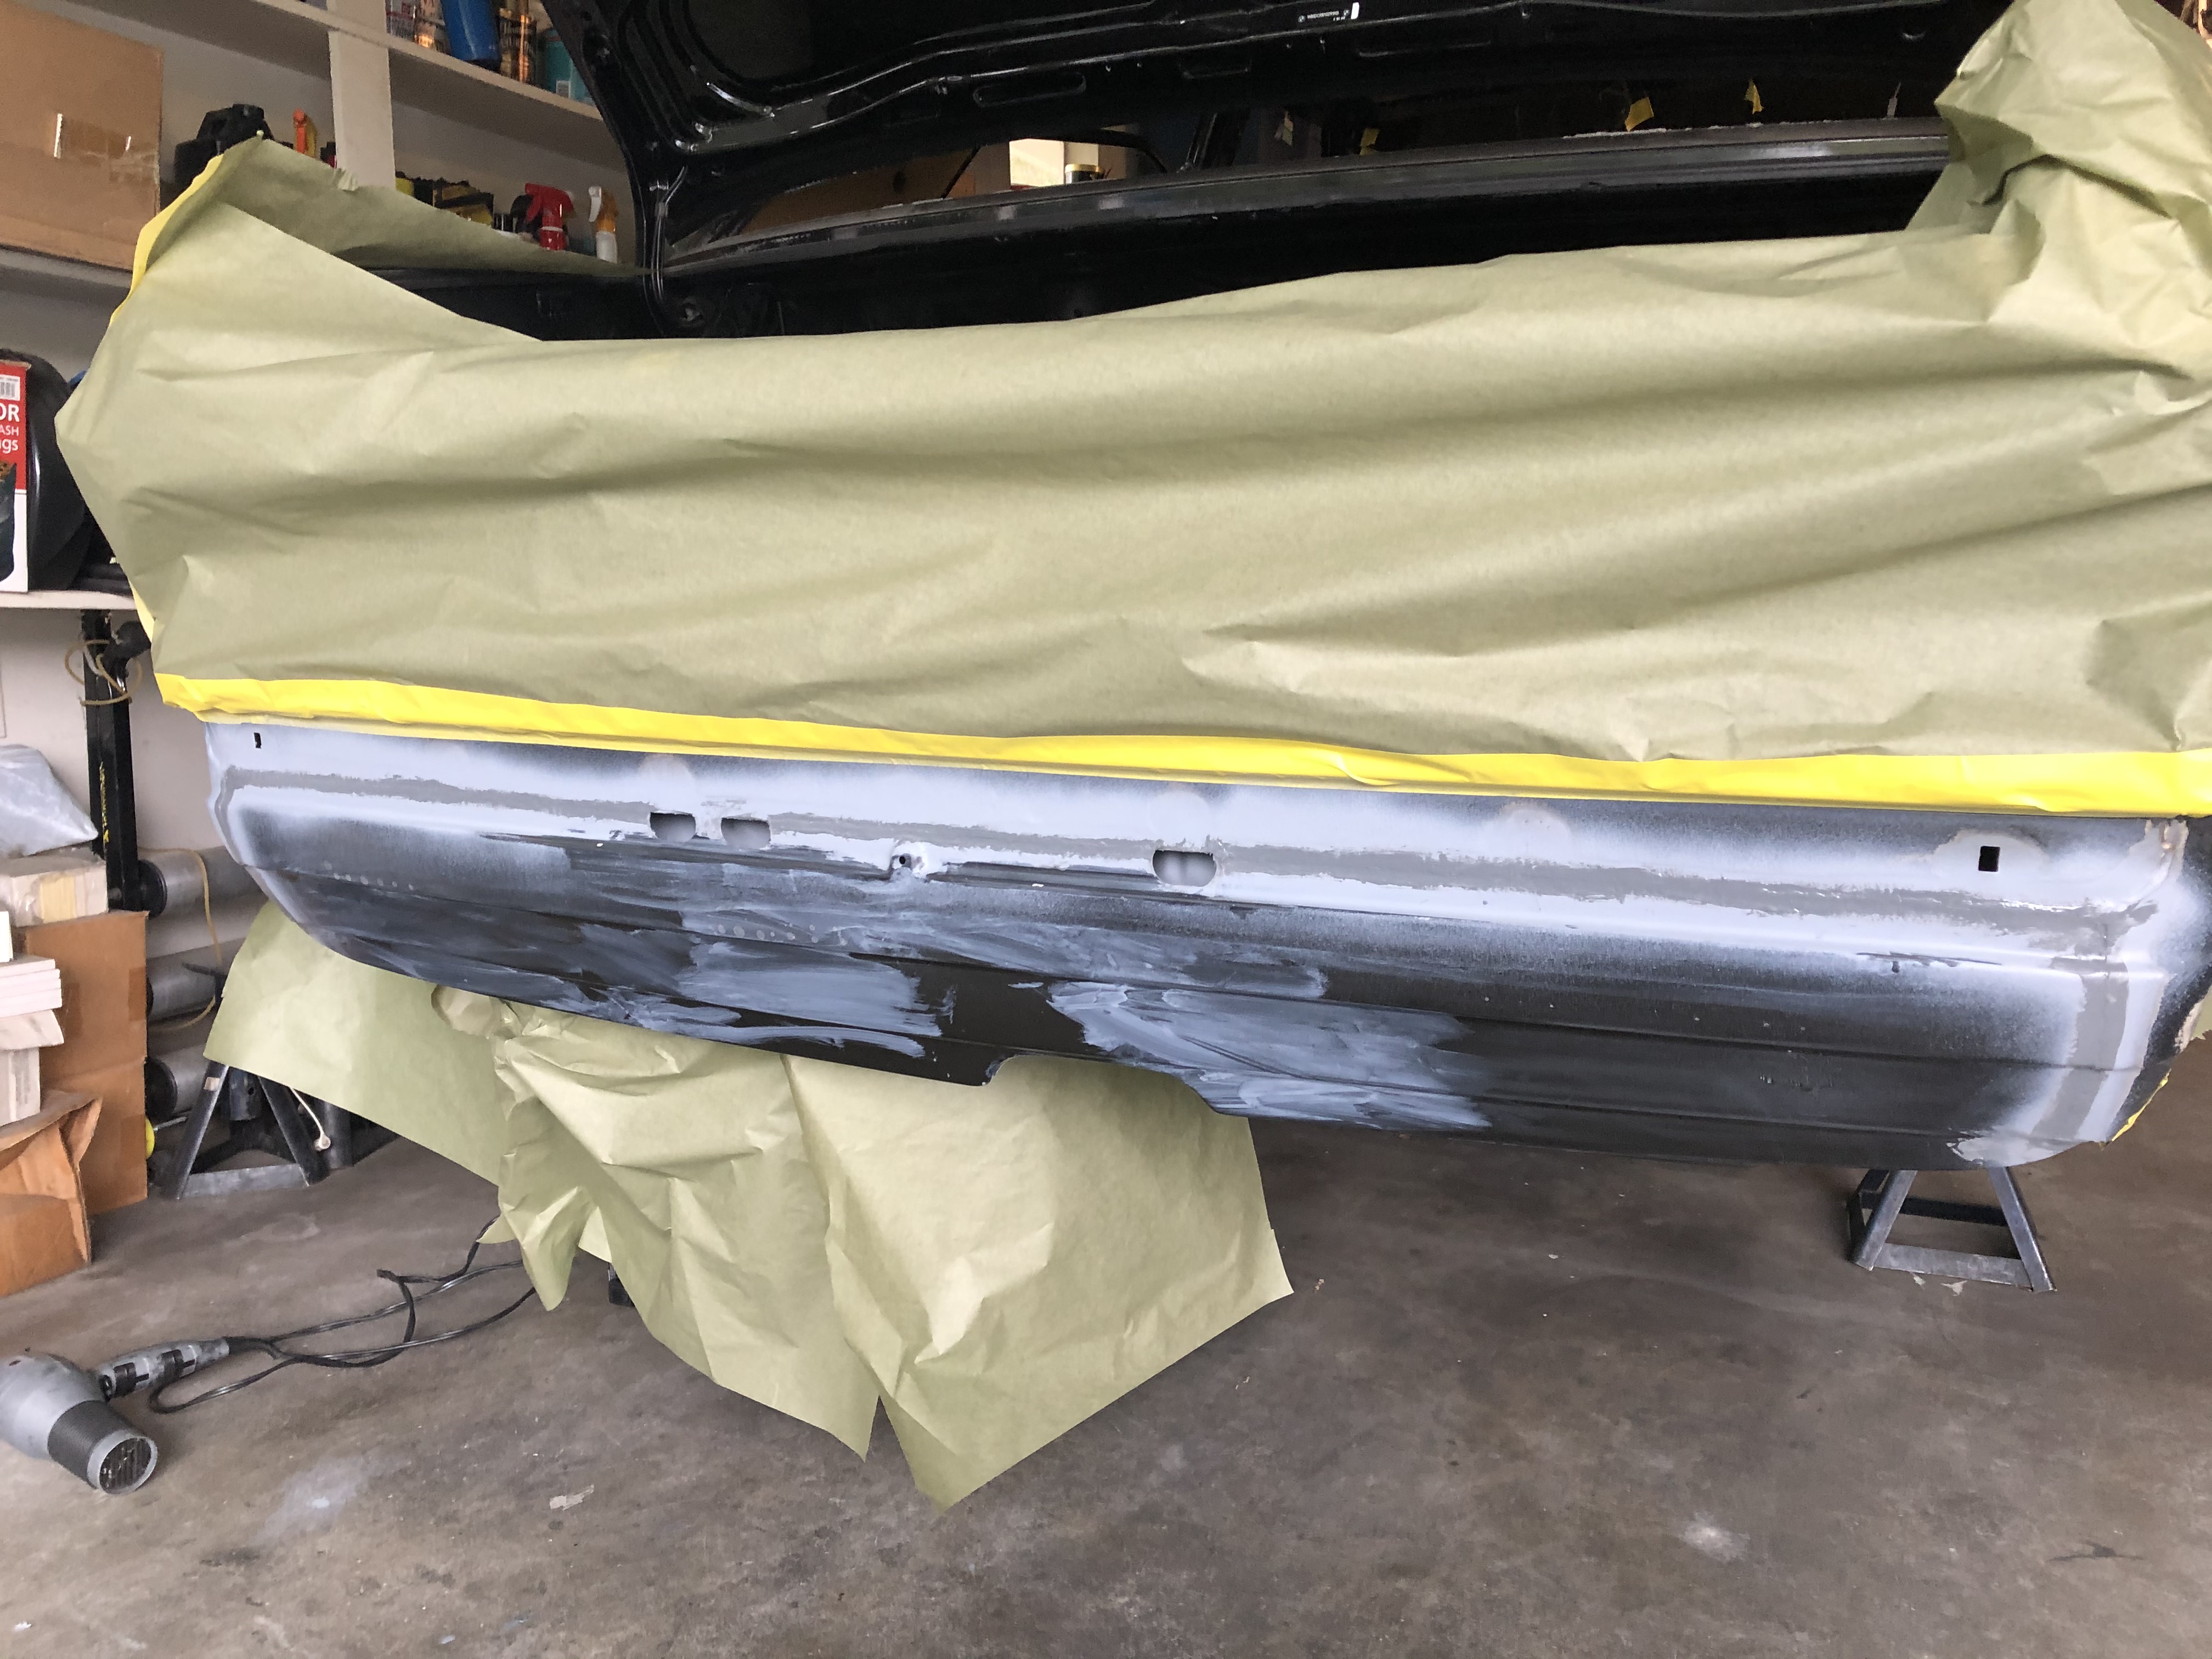
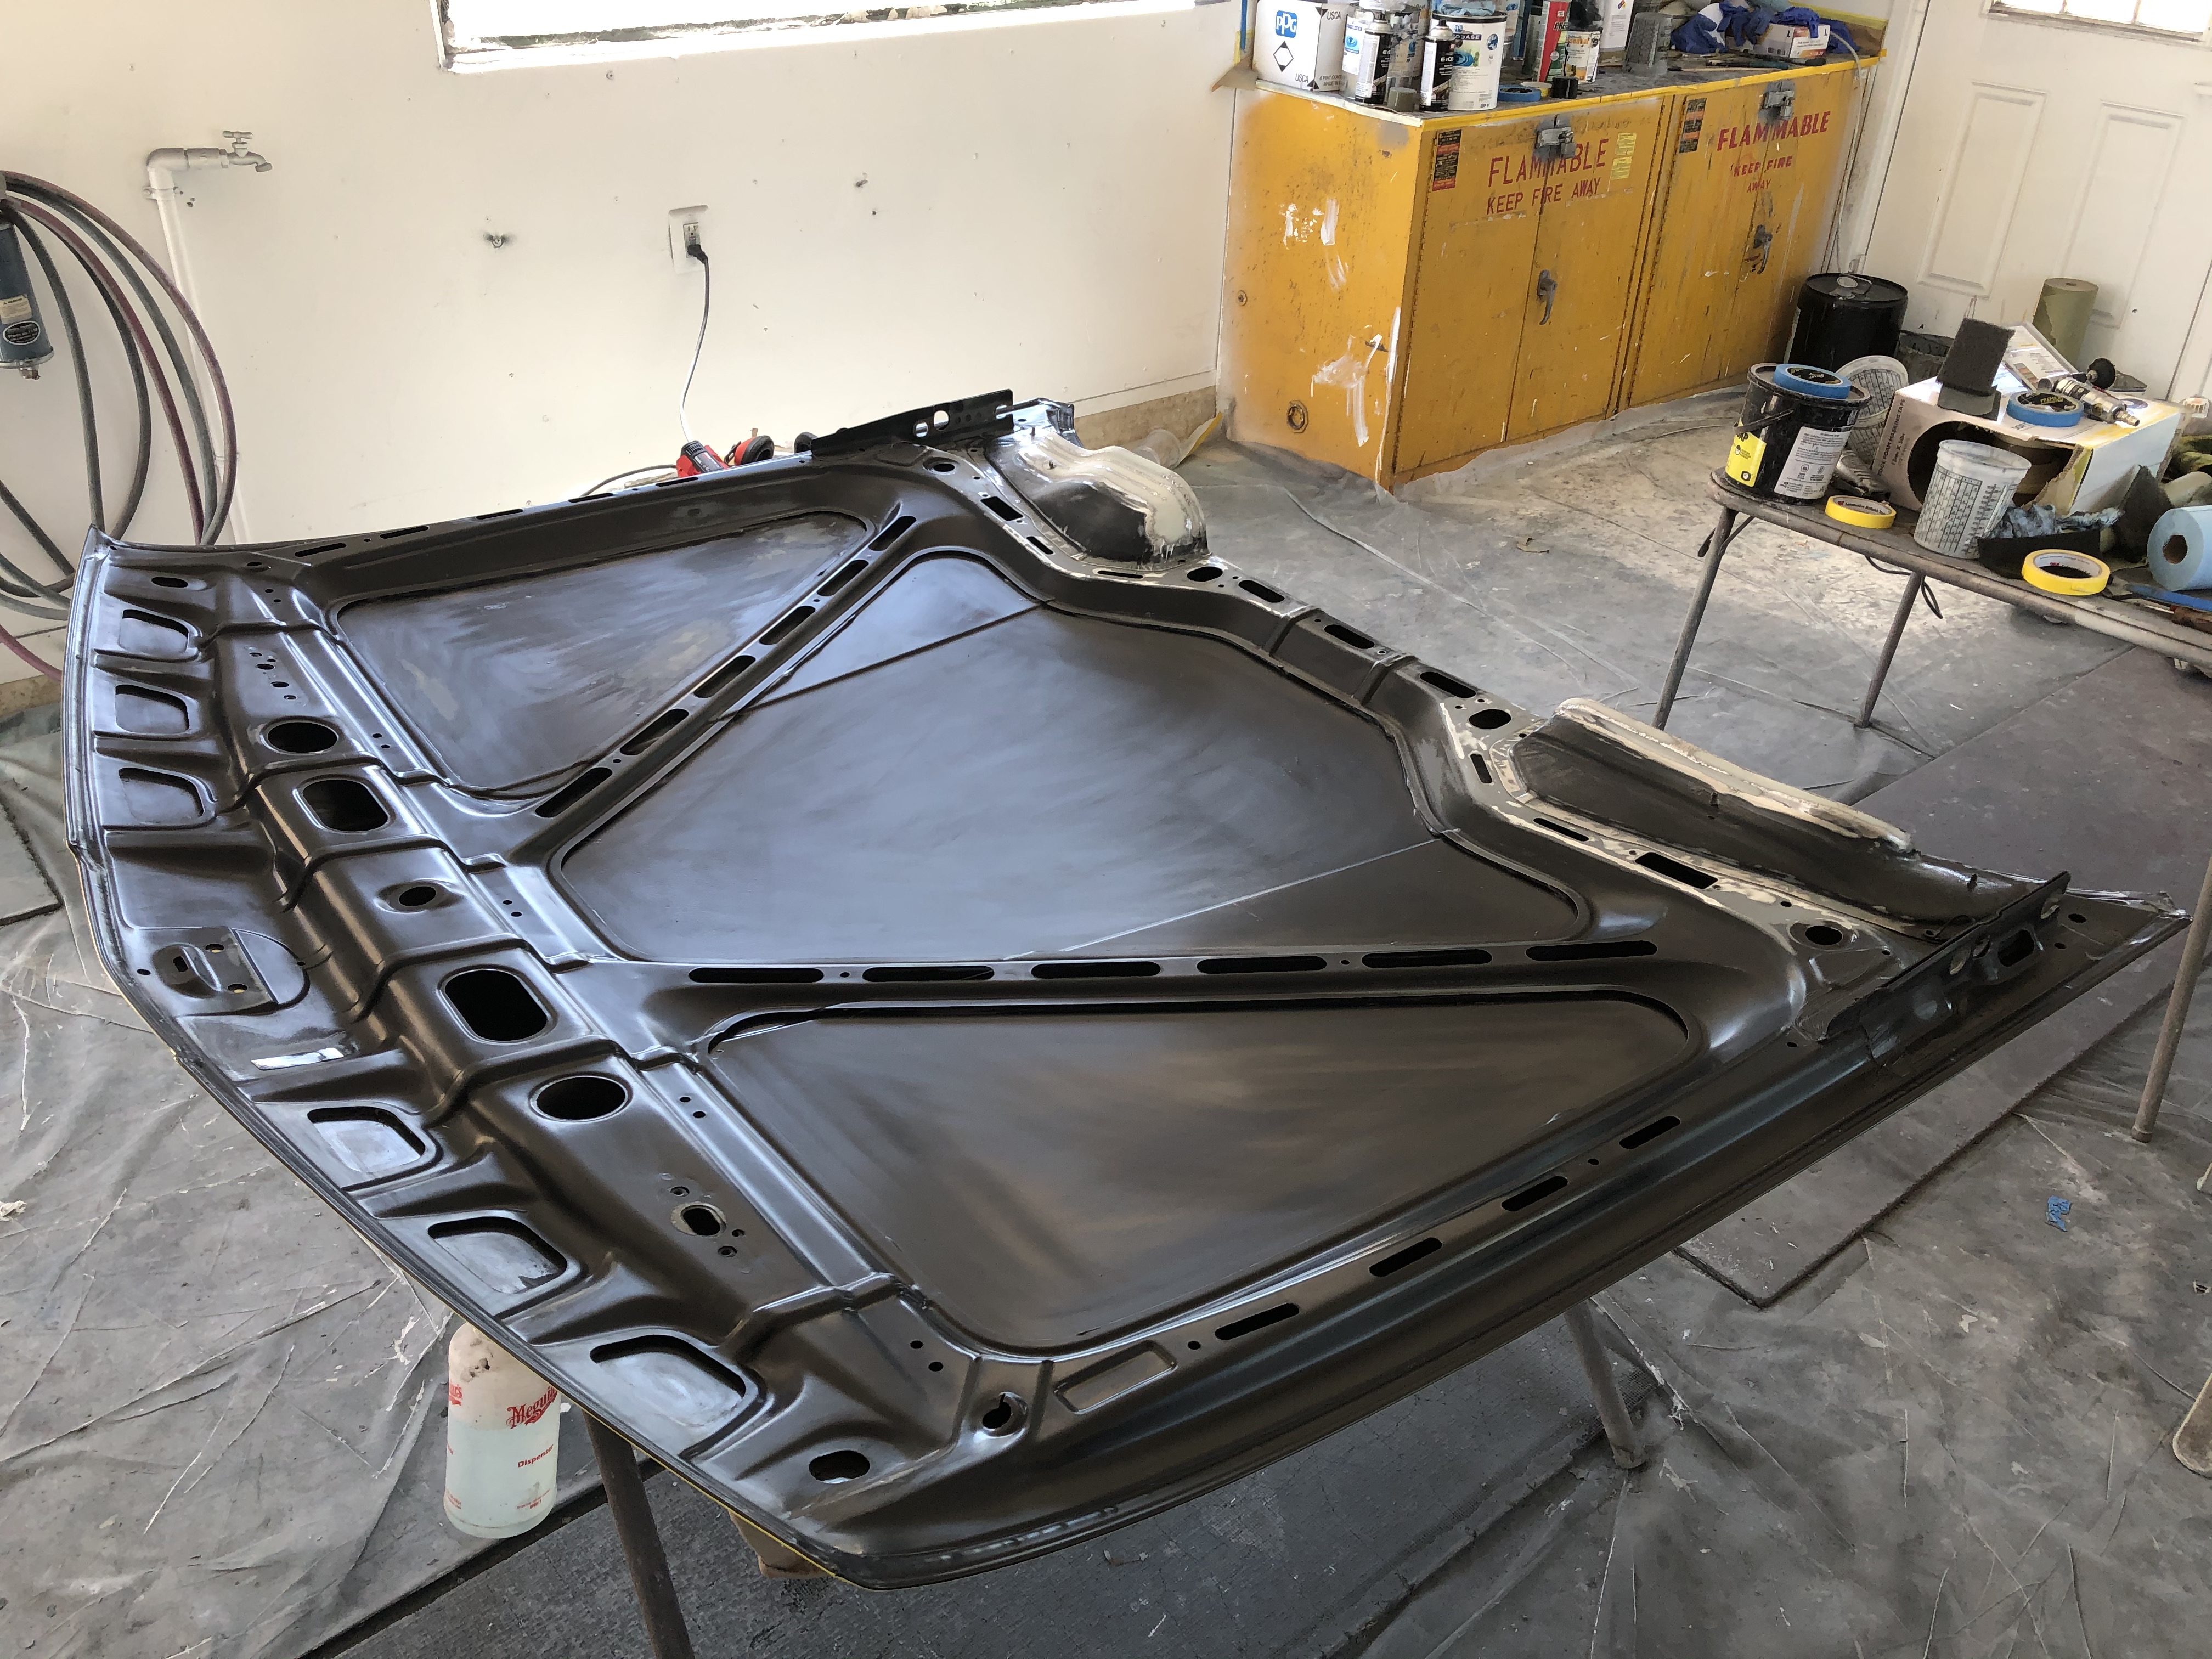
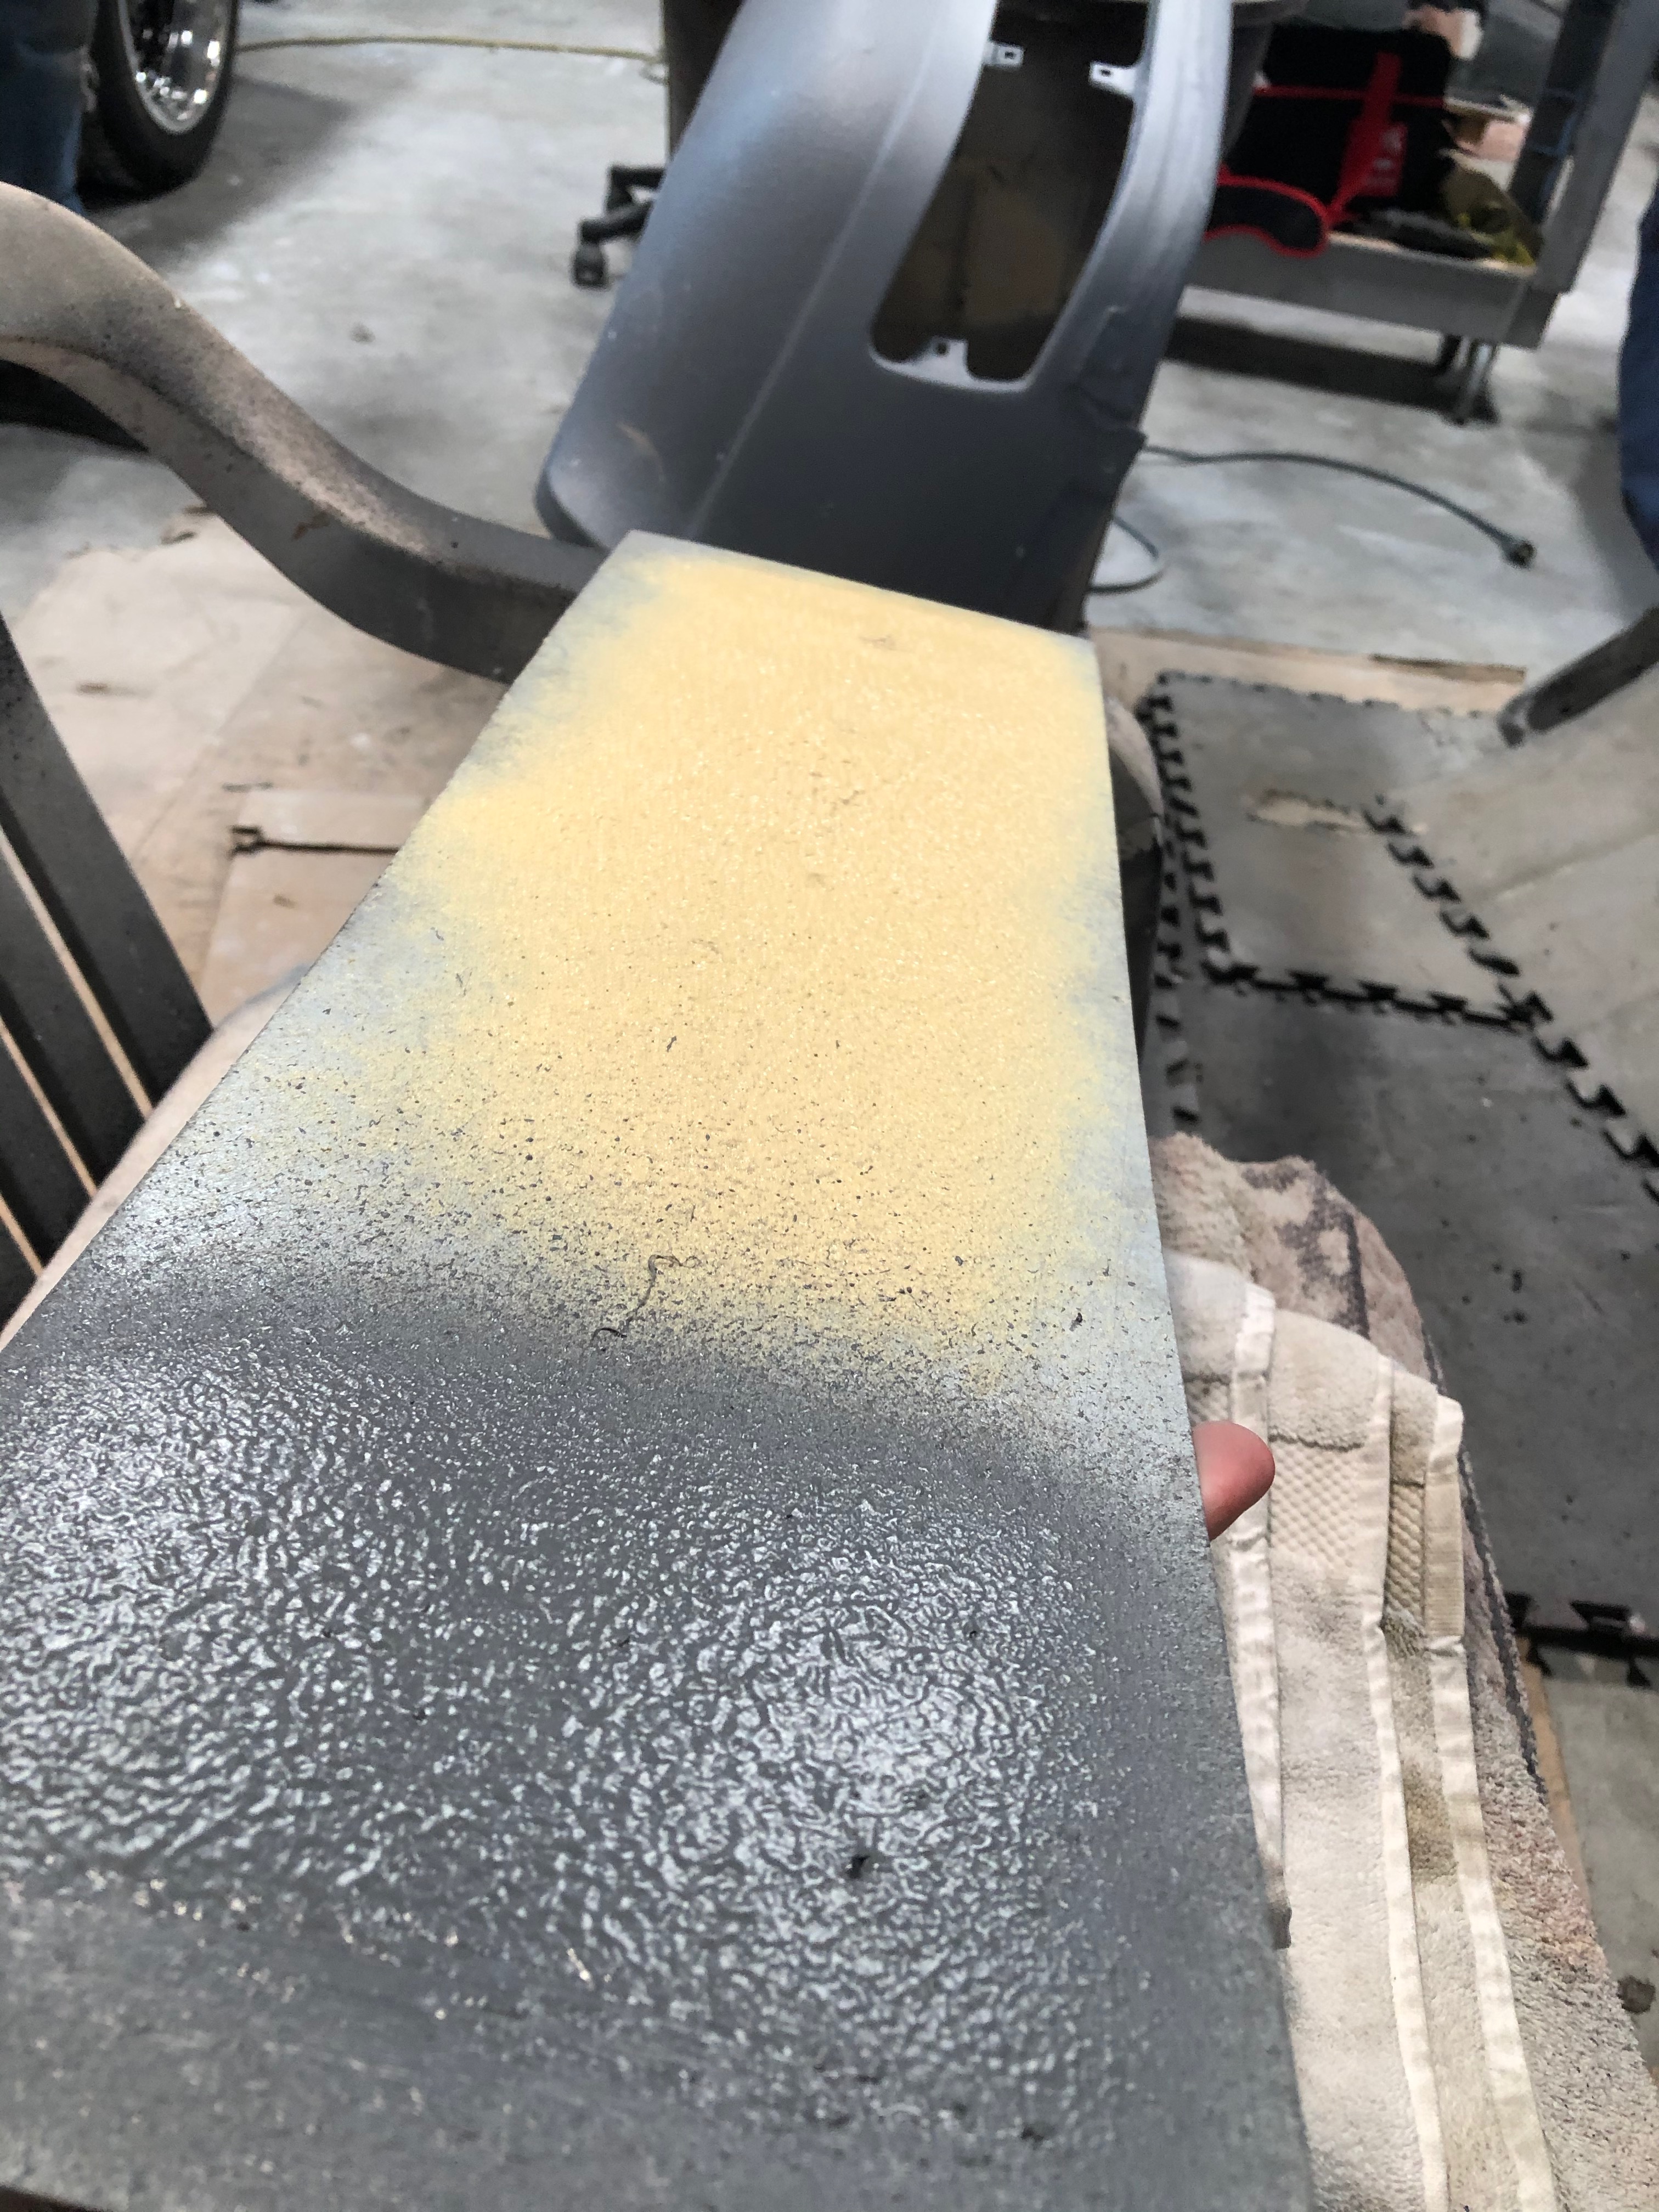
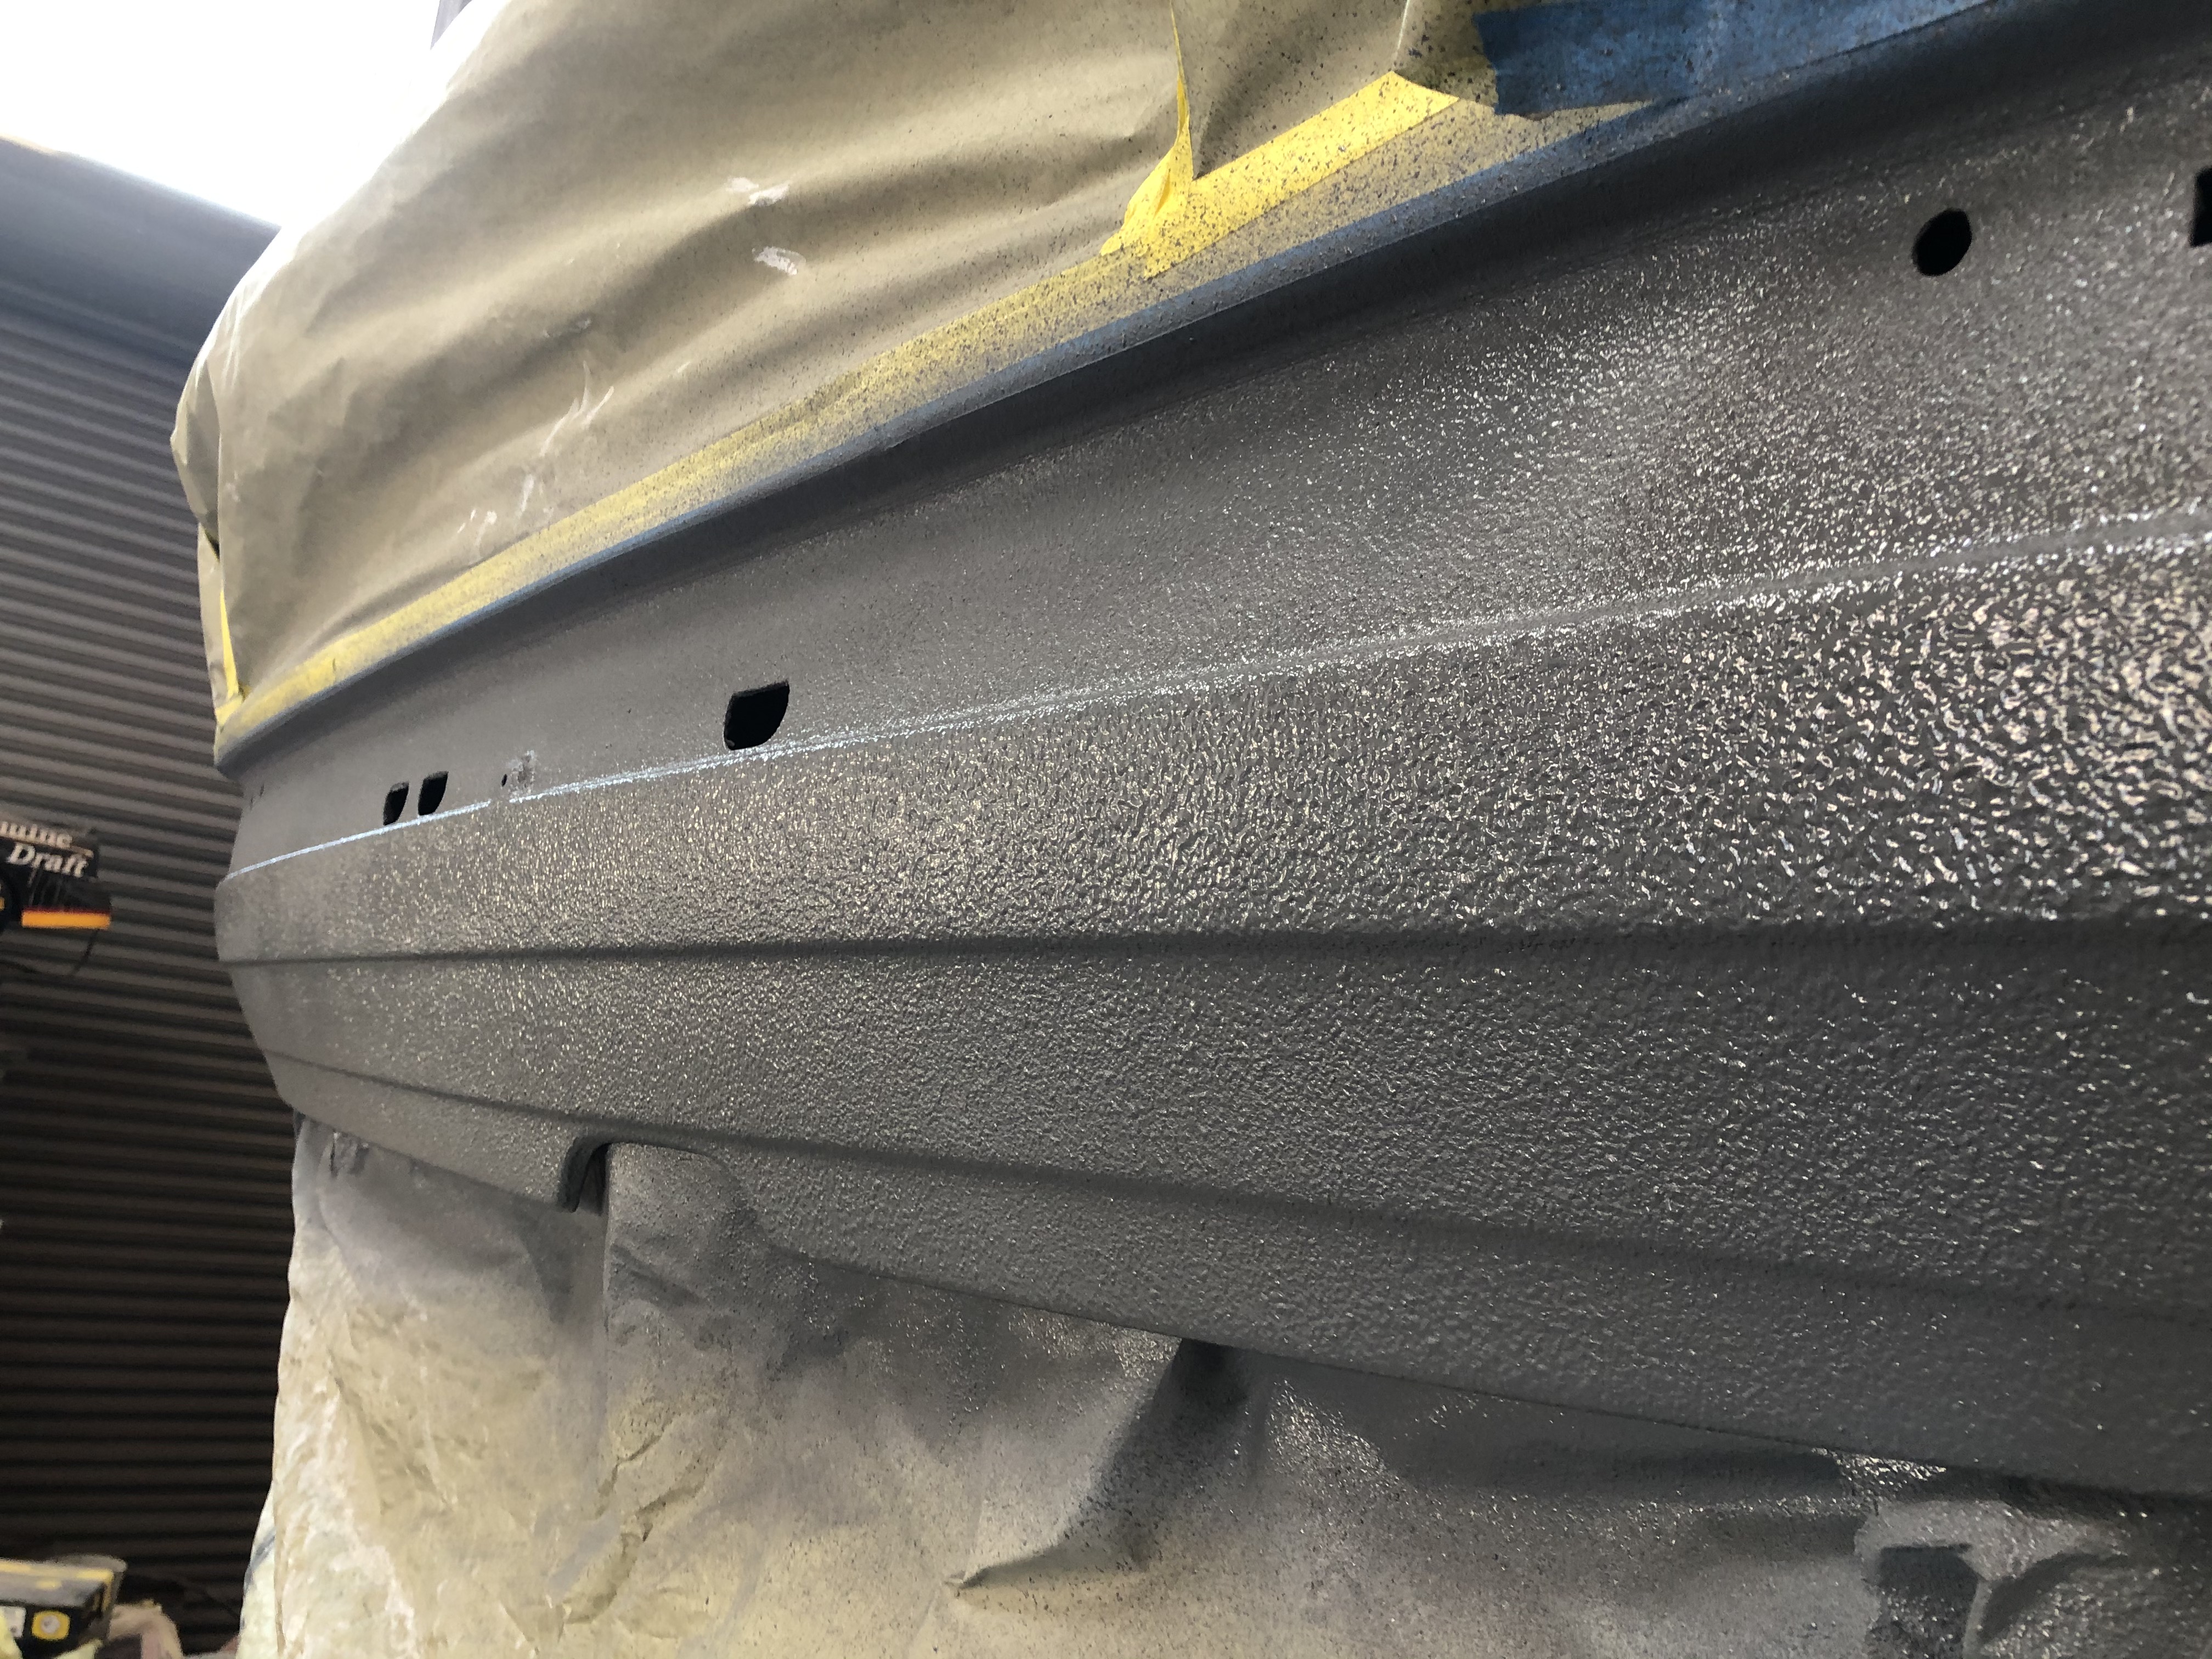
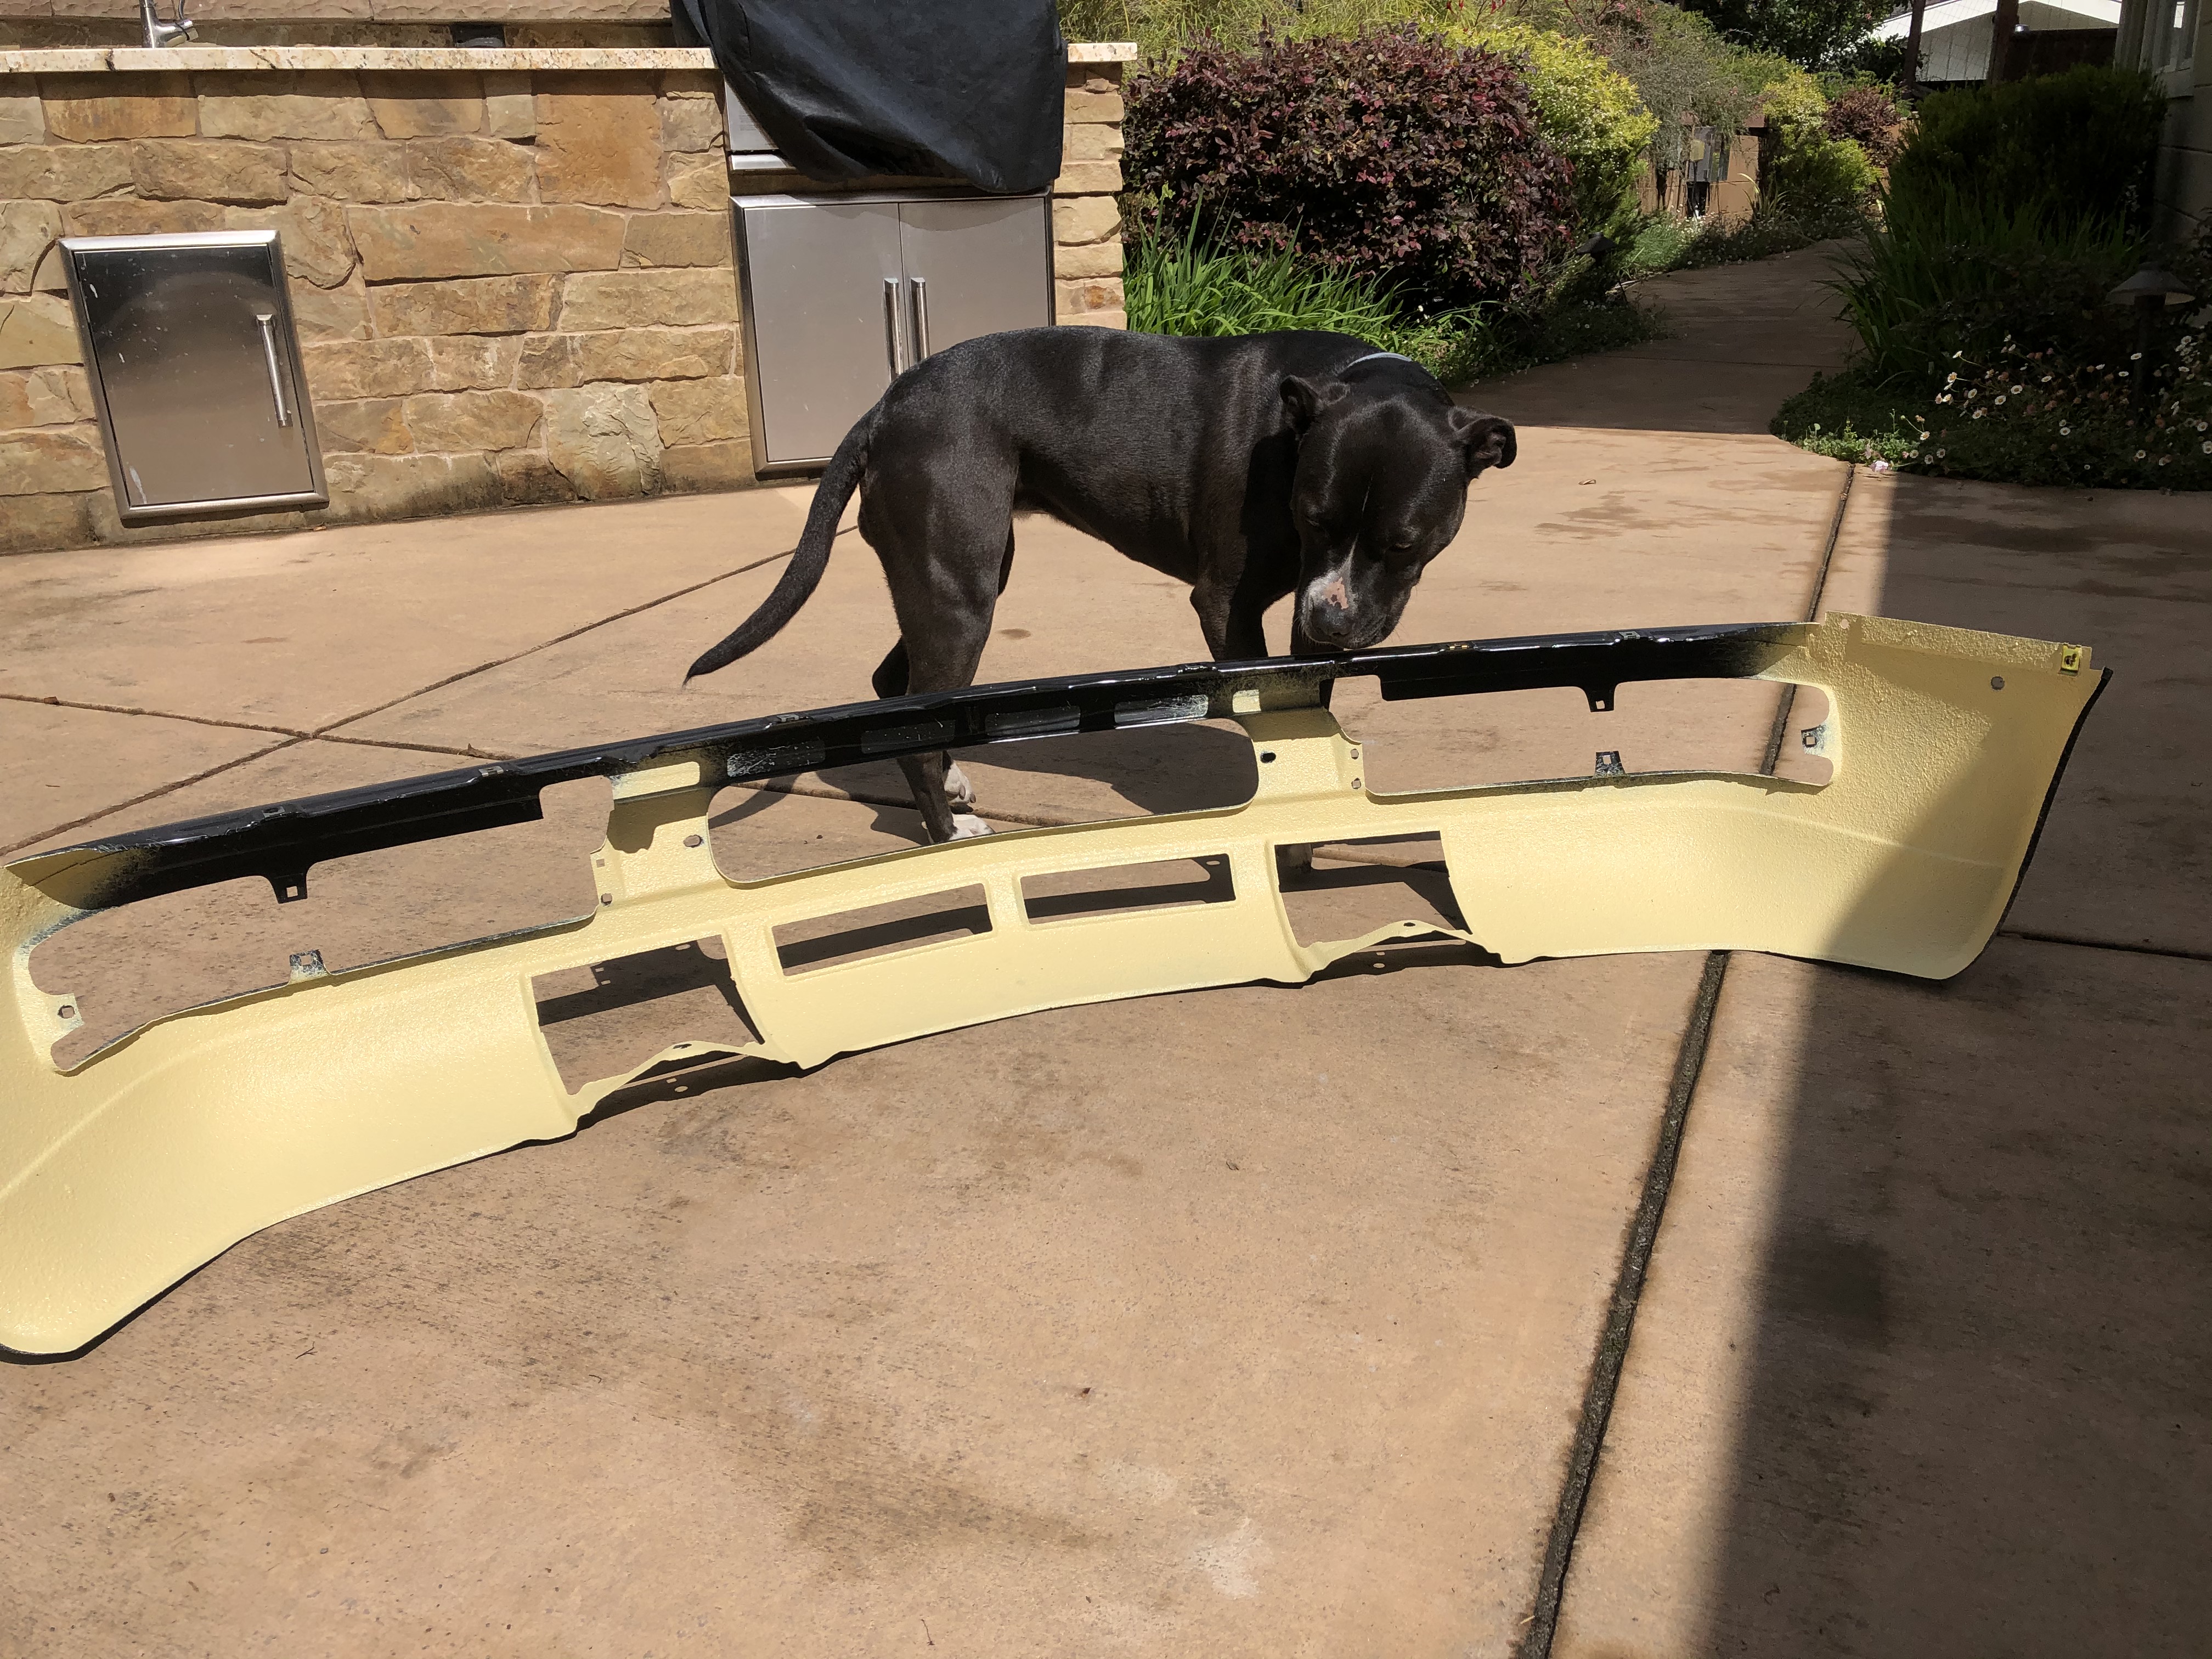
I also got my SEM seam sealer sprayer set up to shoot the front & rear valences (both are new euro parts) and the repaired frame rails. Here's the front valance undergoing final inspection:
And the frame rails (sorry for the shitty pic):
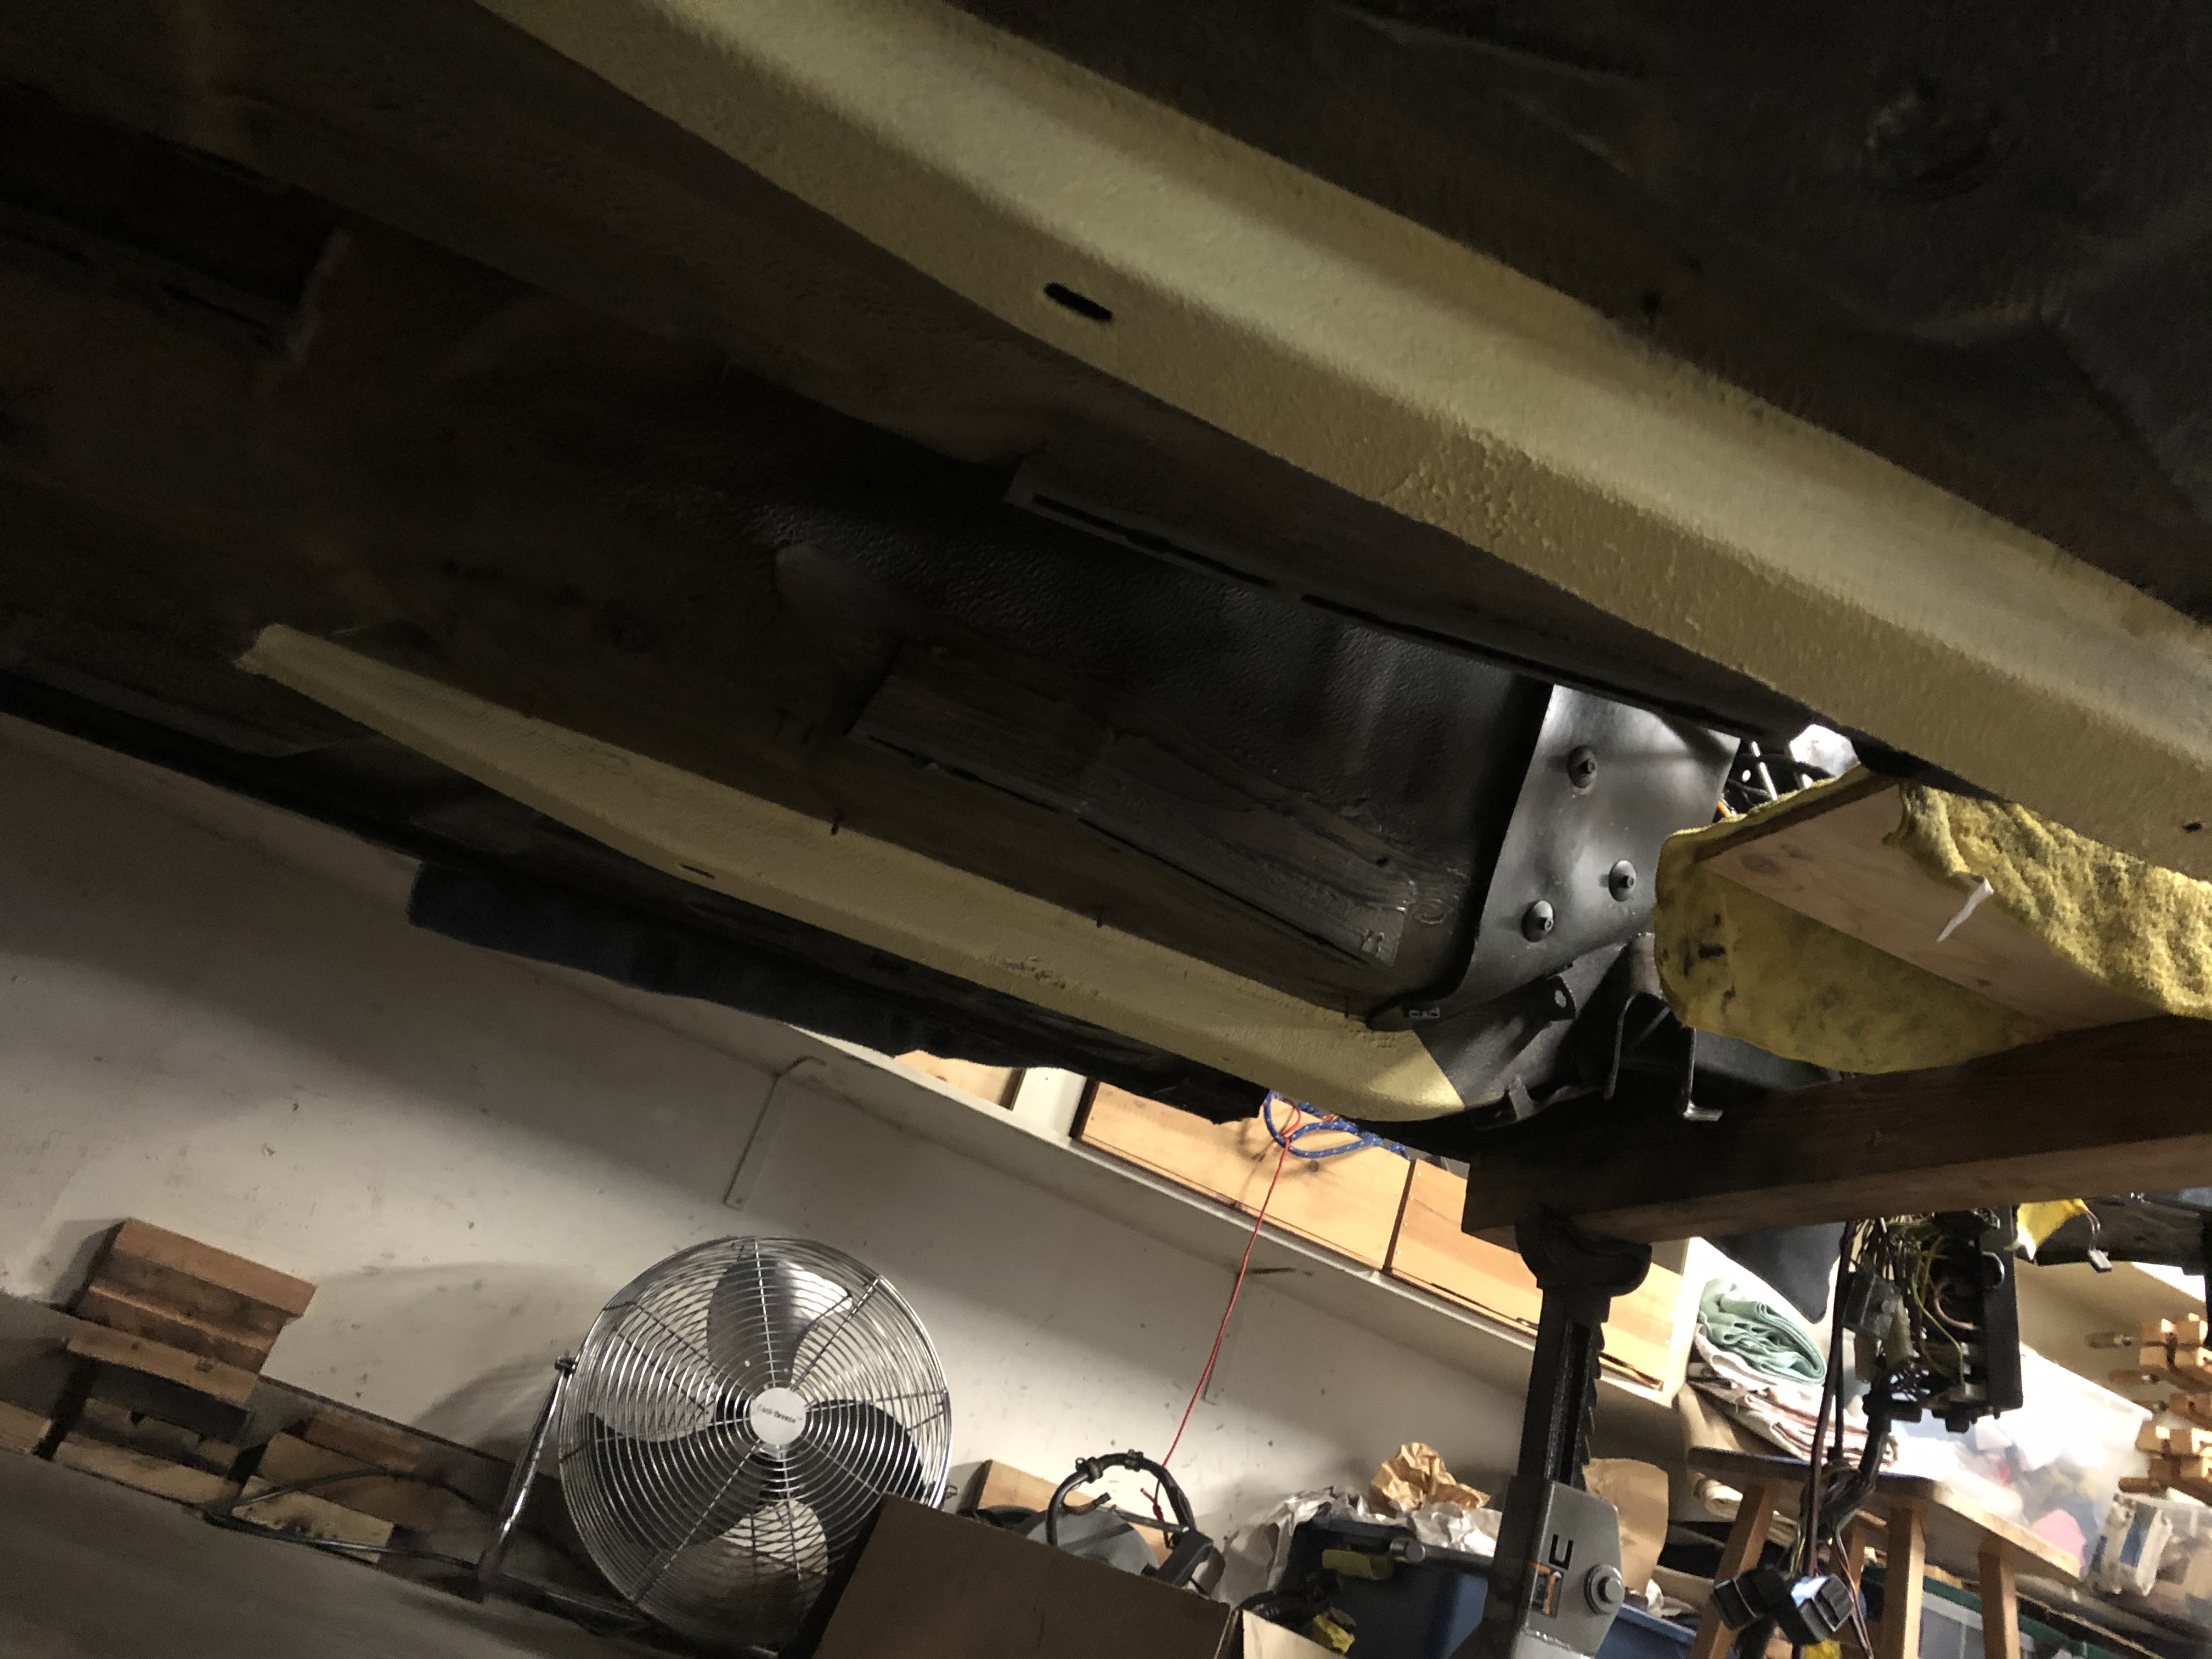
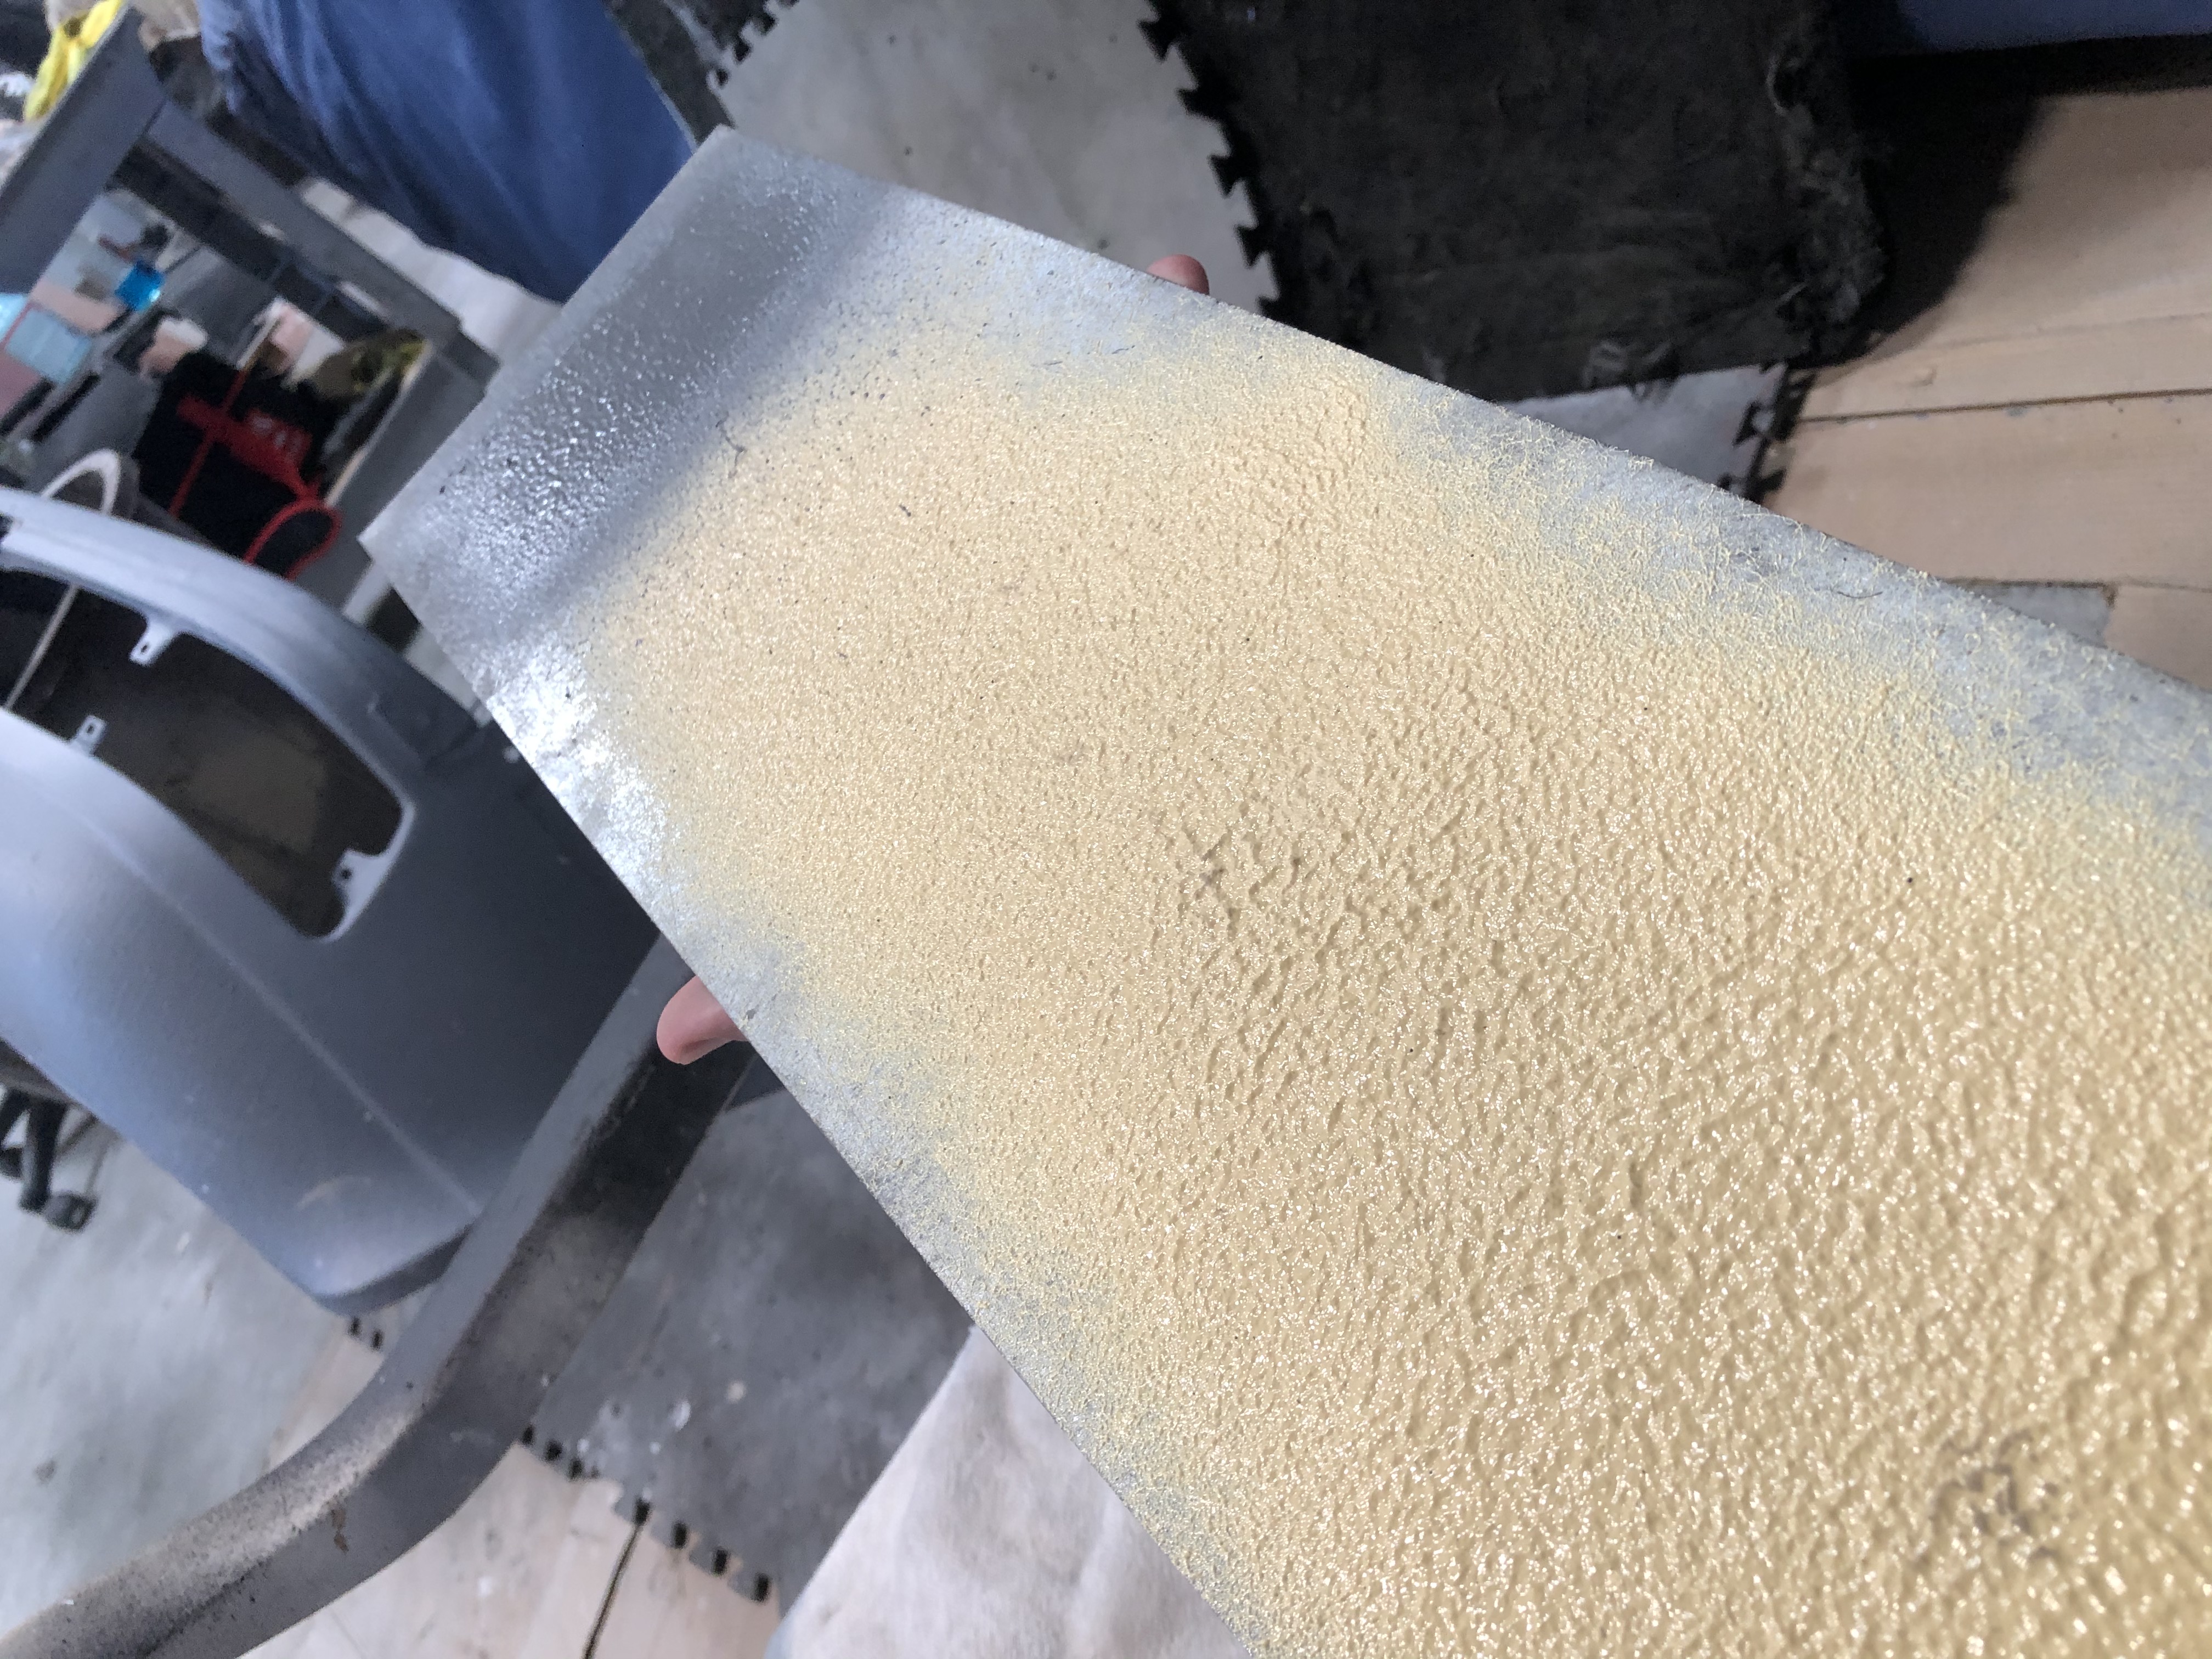
One thing that's painfully -
painfully - apparent to me here is that the SEM seam sealer isn't beige - not even close. It's so yellow it makes me want to go apply to the University of Michigan so I can hear all about how it's really "maize." I'm not sure what I'm going to do here. Options could include spraying some black / olive drab paint on there to "dirty" it up a bit and mimic the original factory overspray, or buy more SEM in both "beige" and black and mix them together to see if I can get closer to the look of the 30-year-old factory beige coating. The contrast to the old sealer is so stark that I really don't want to leave it like that.
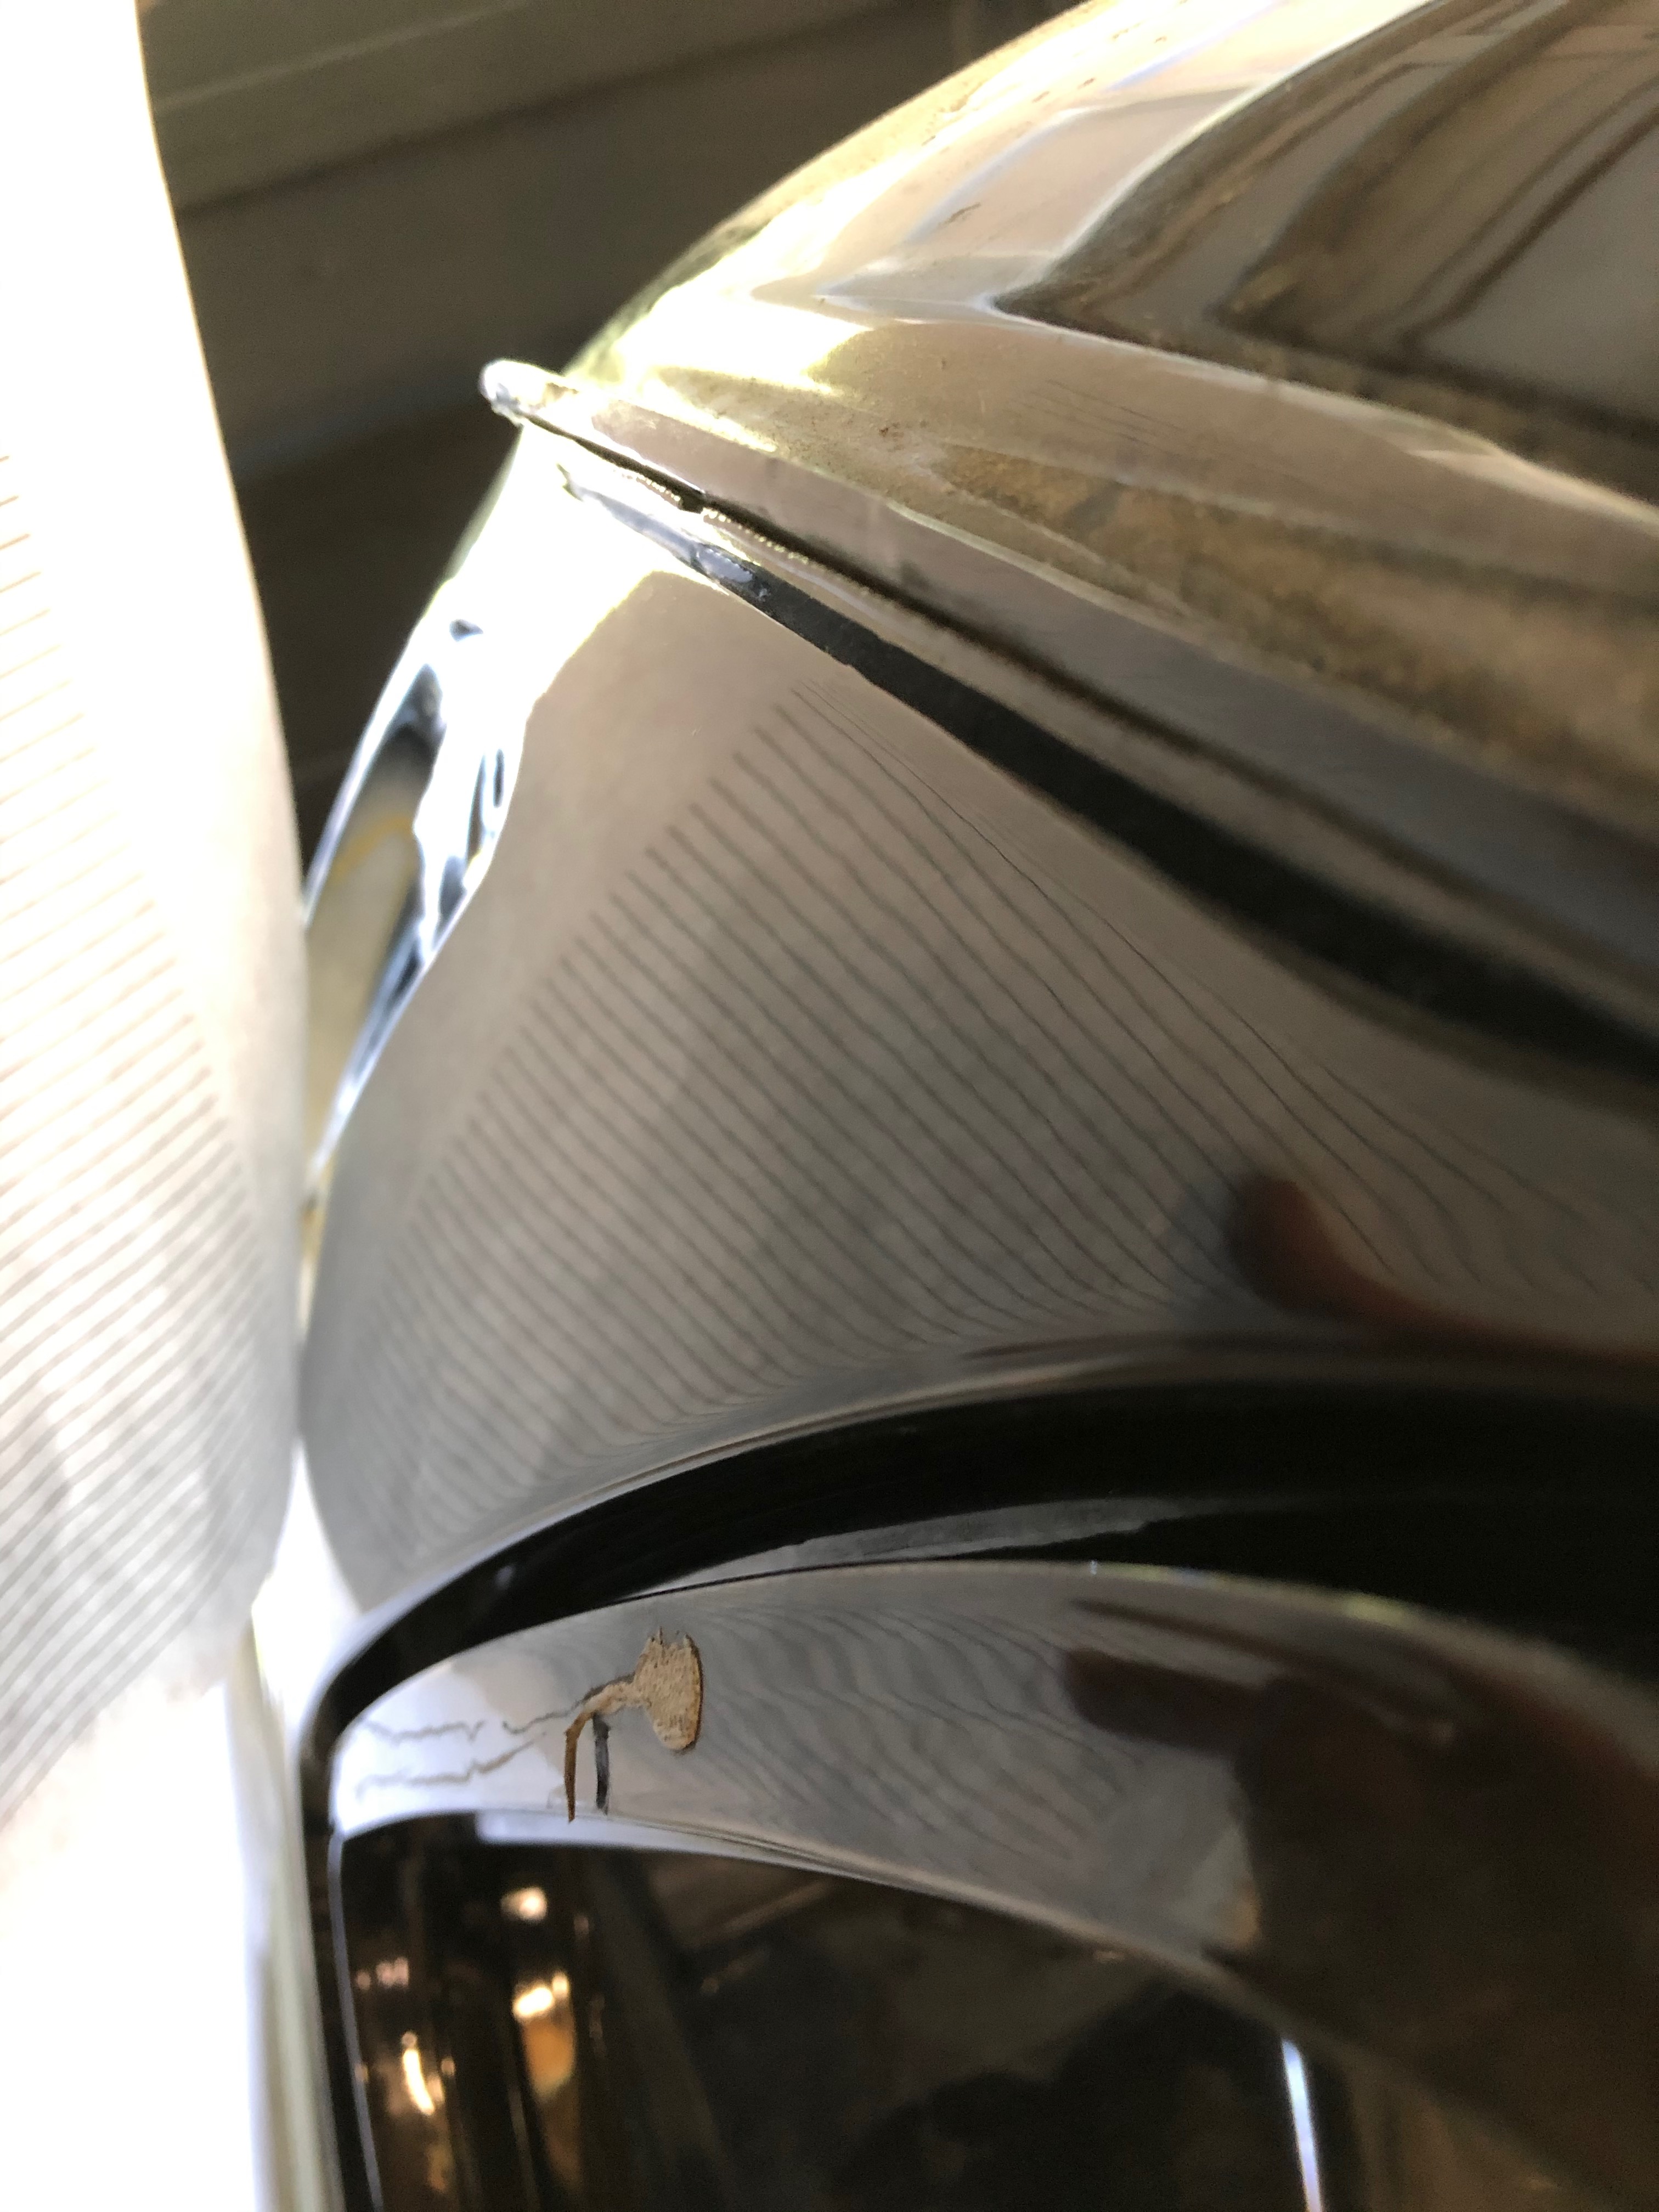
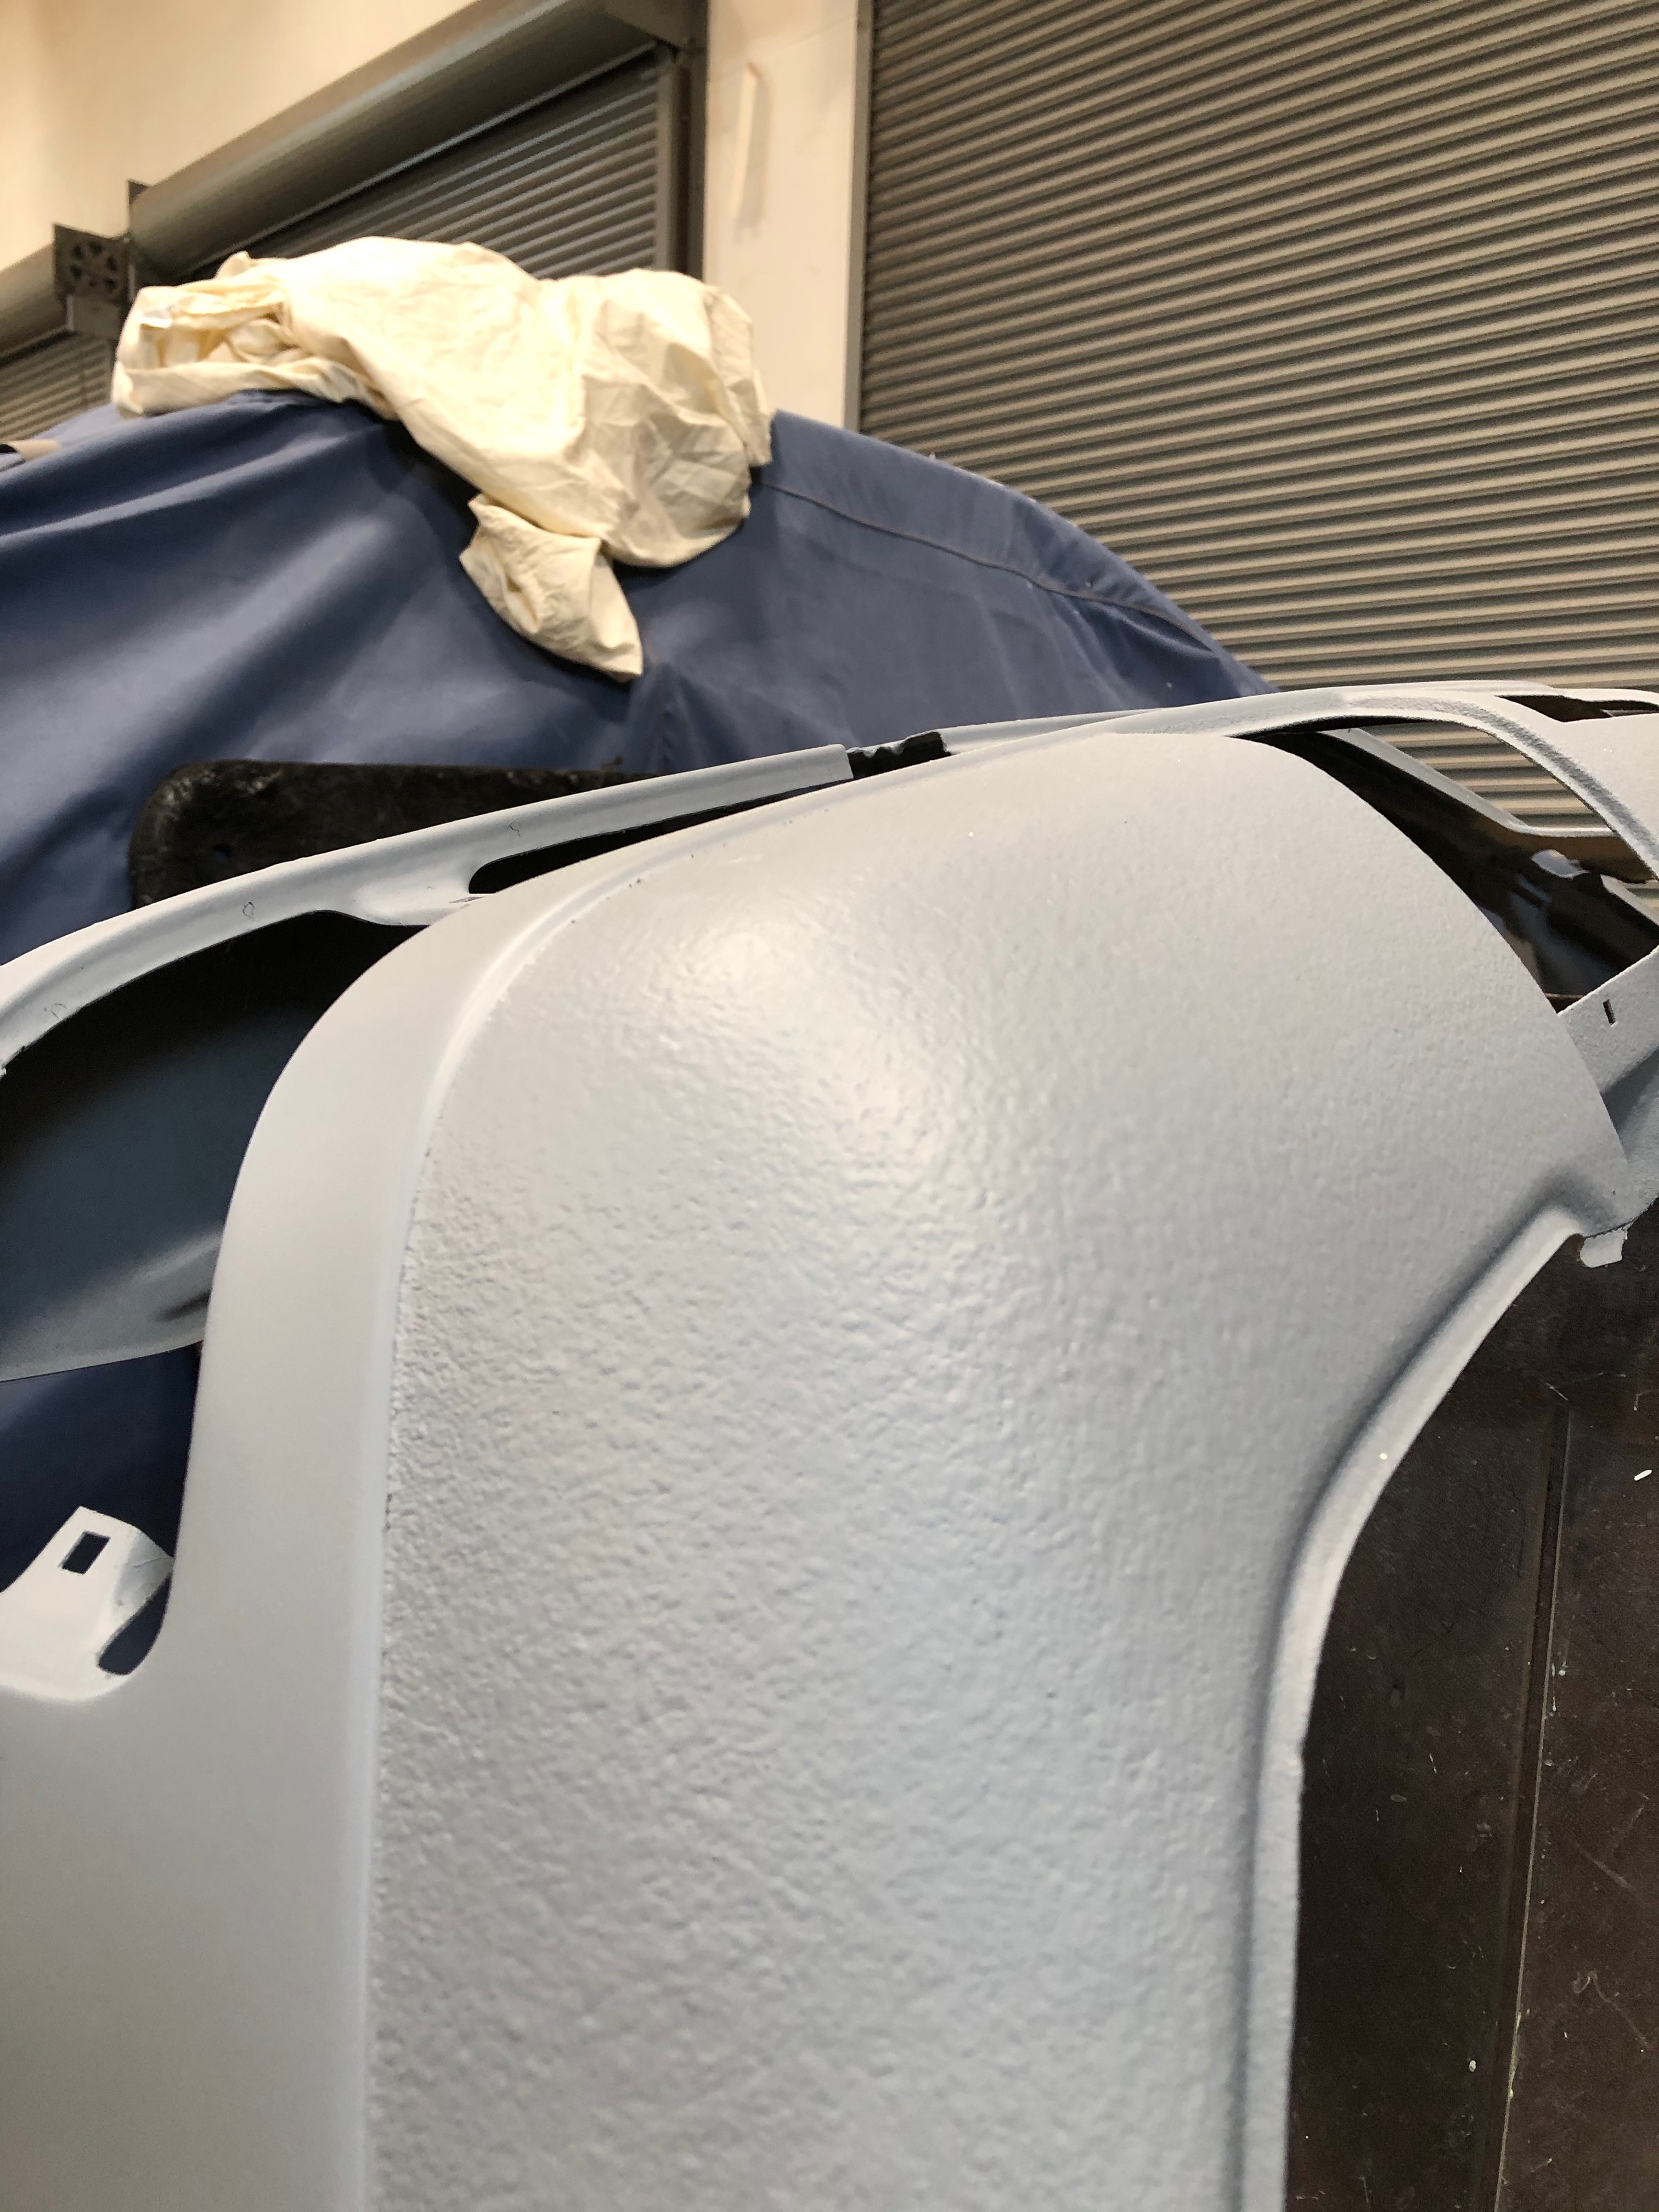
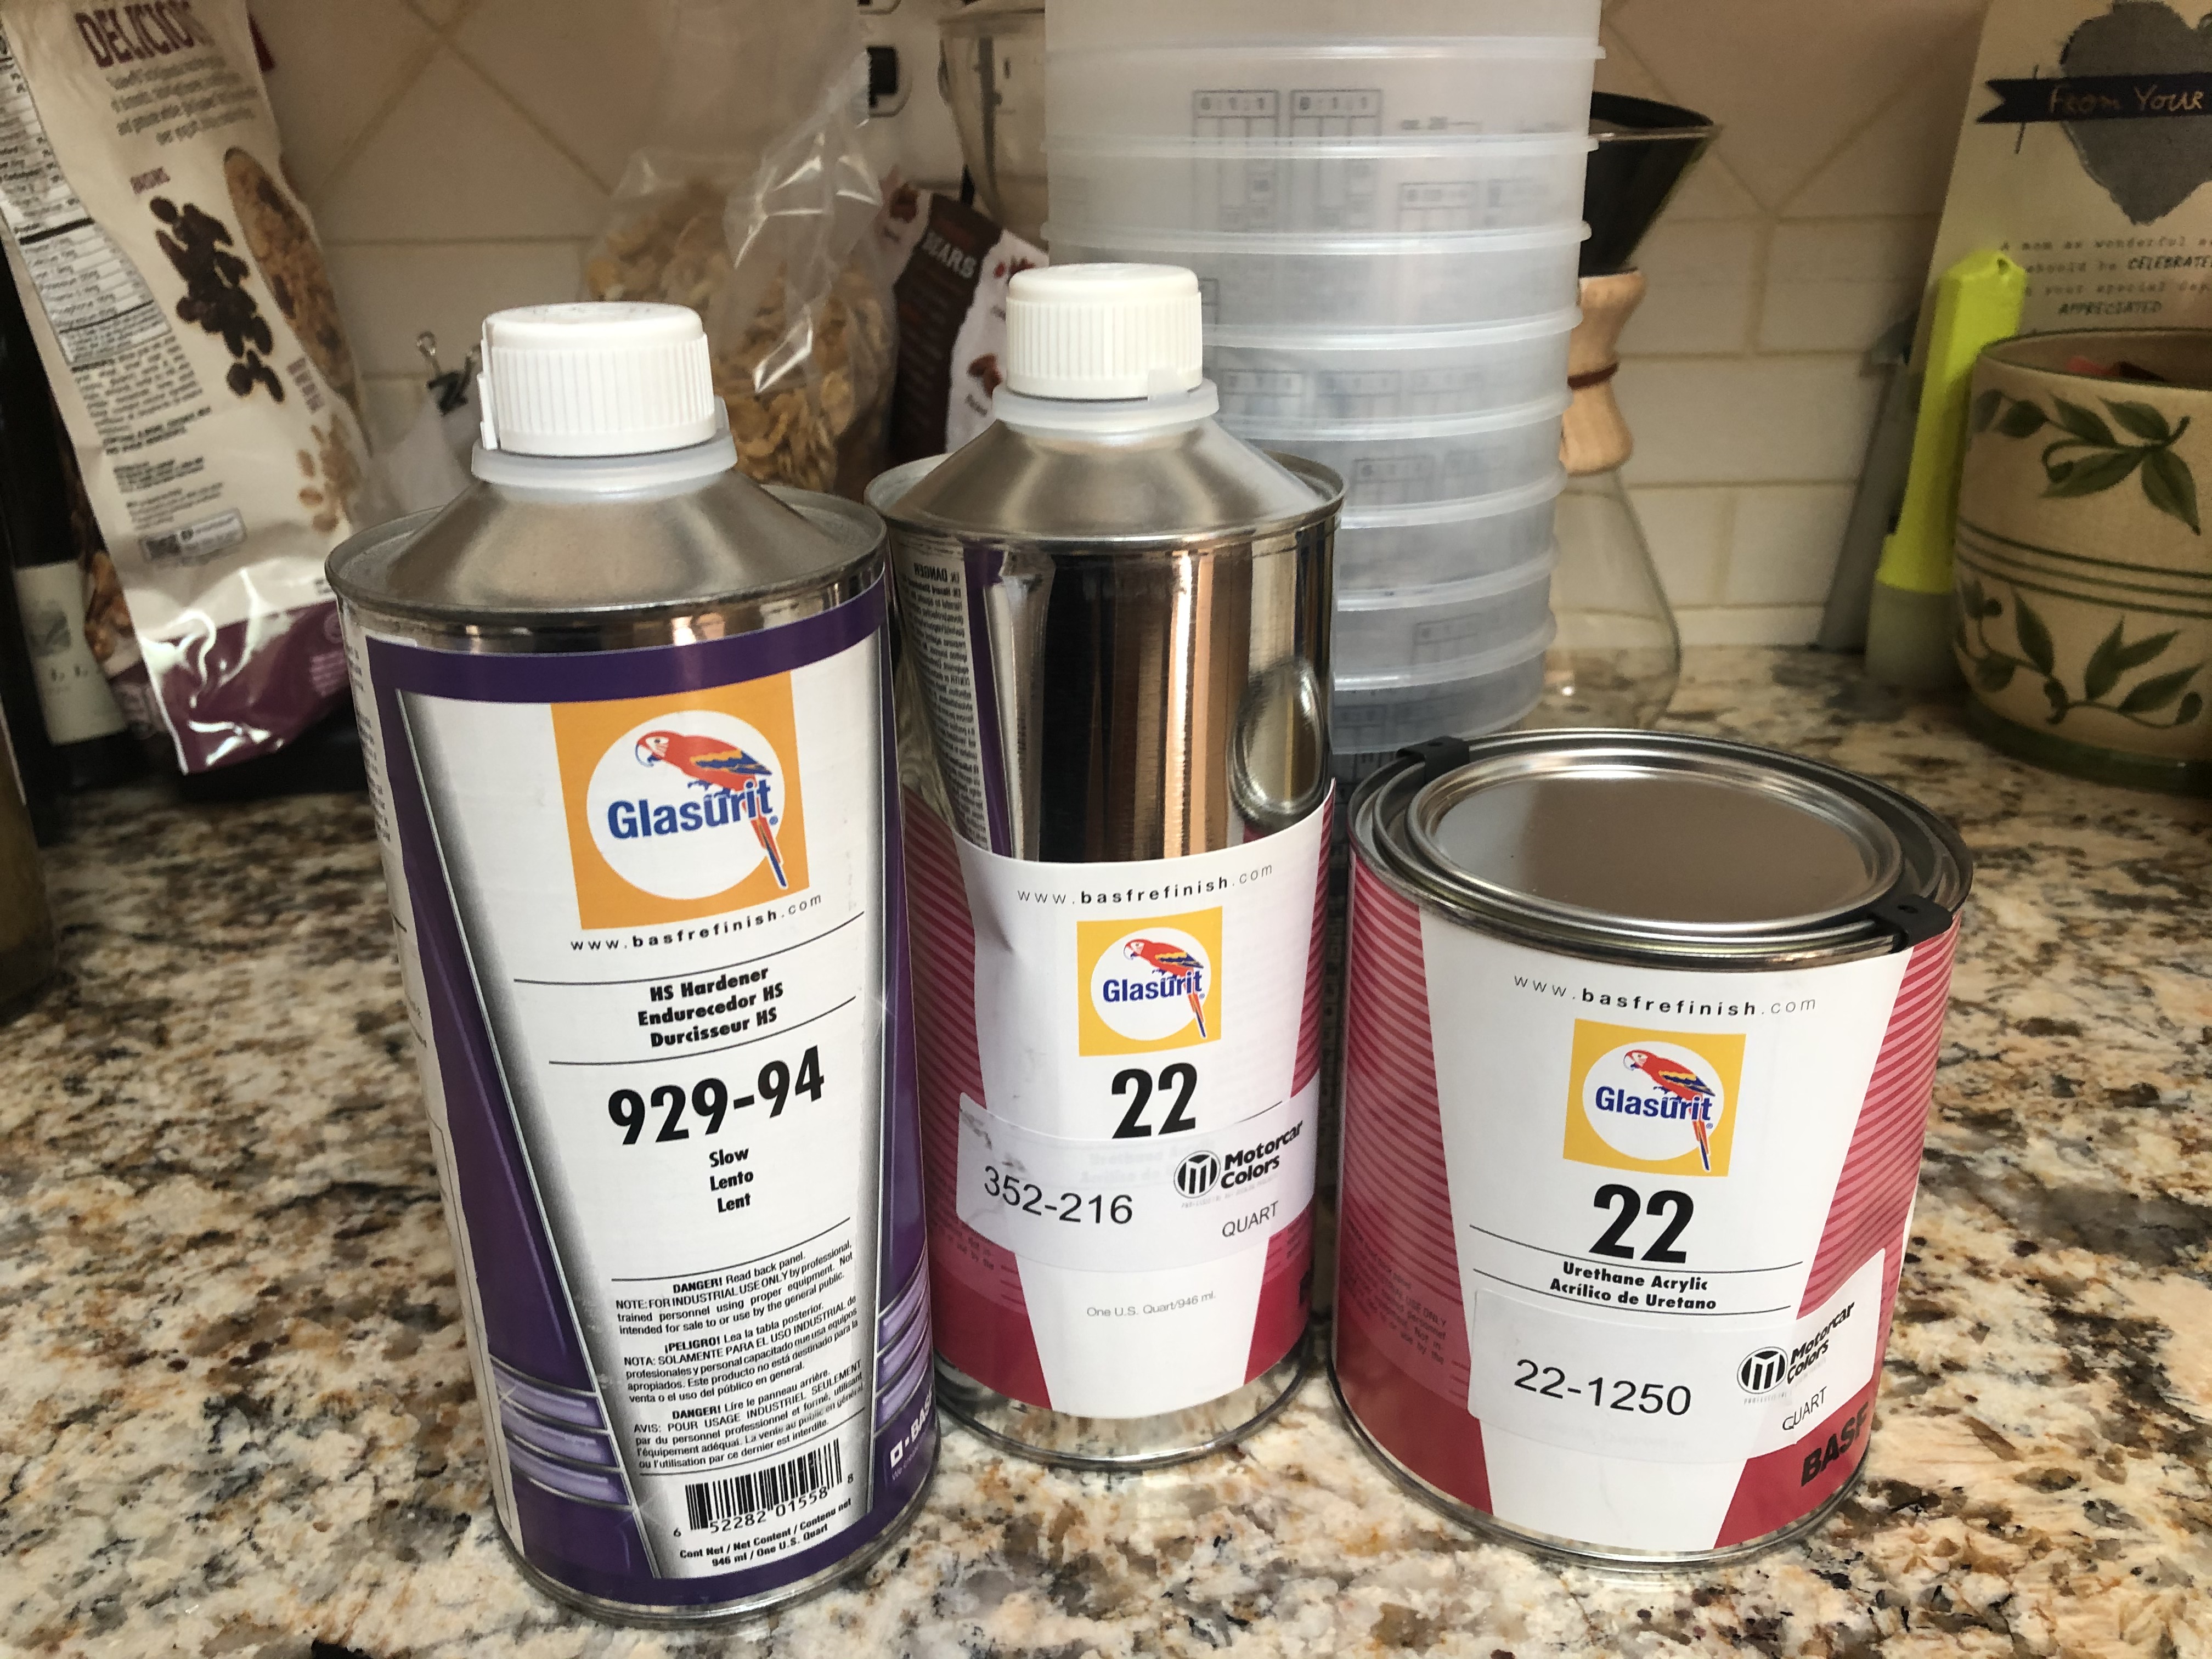
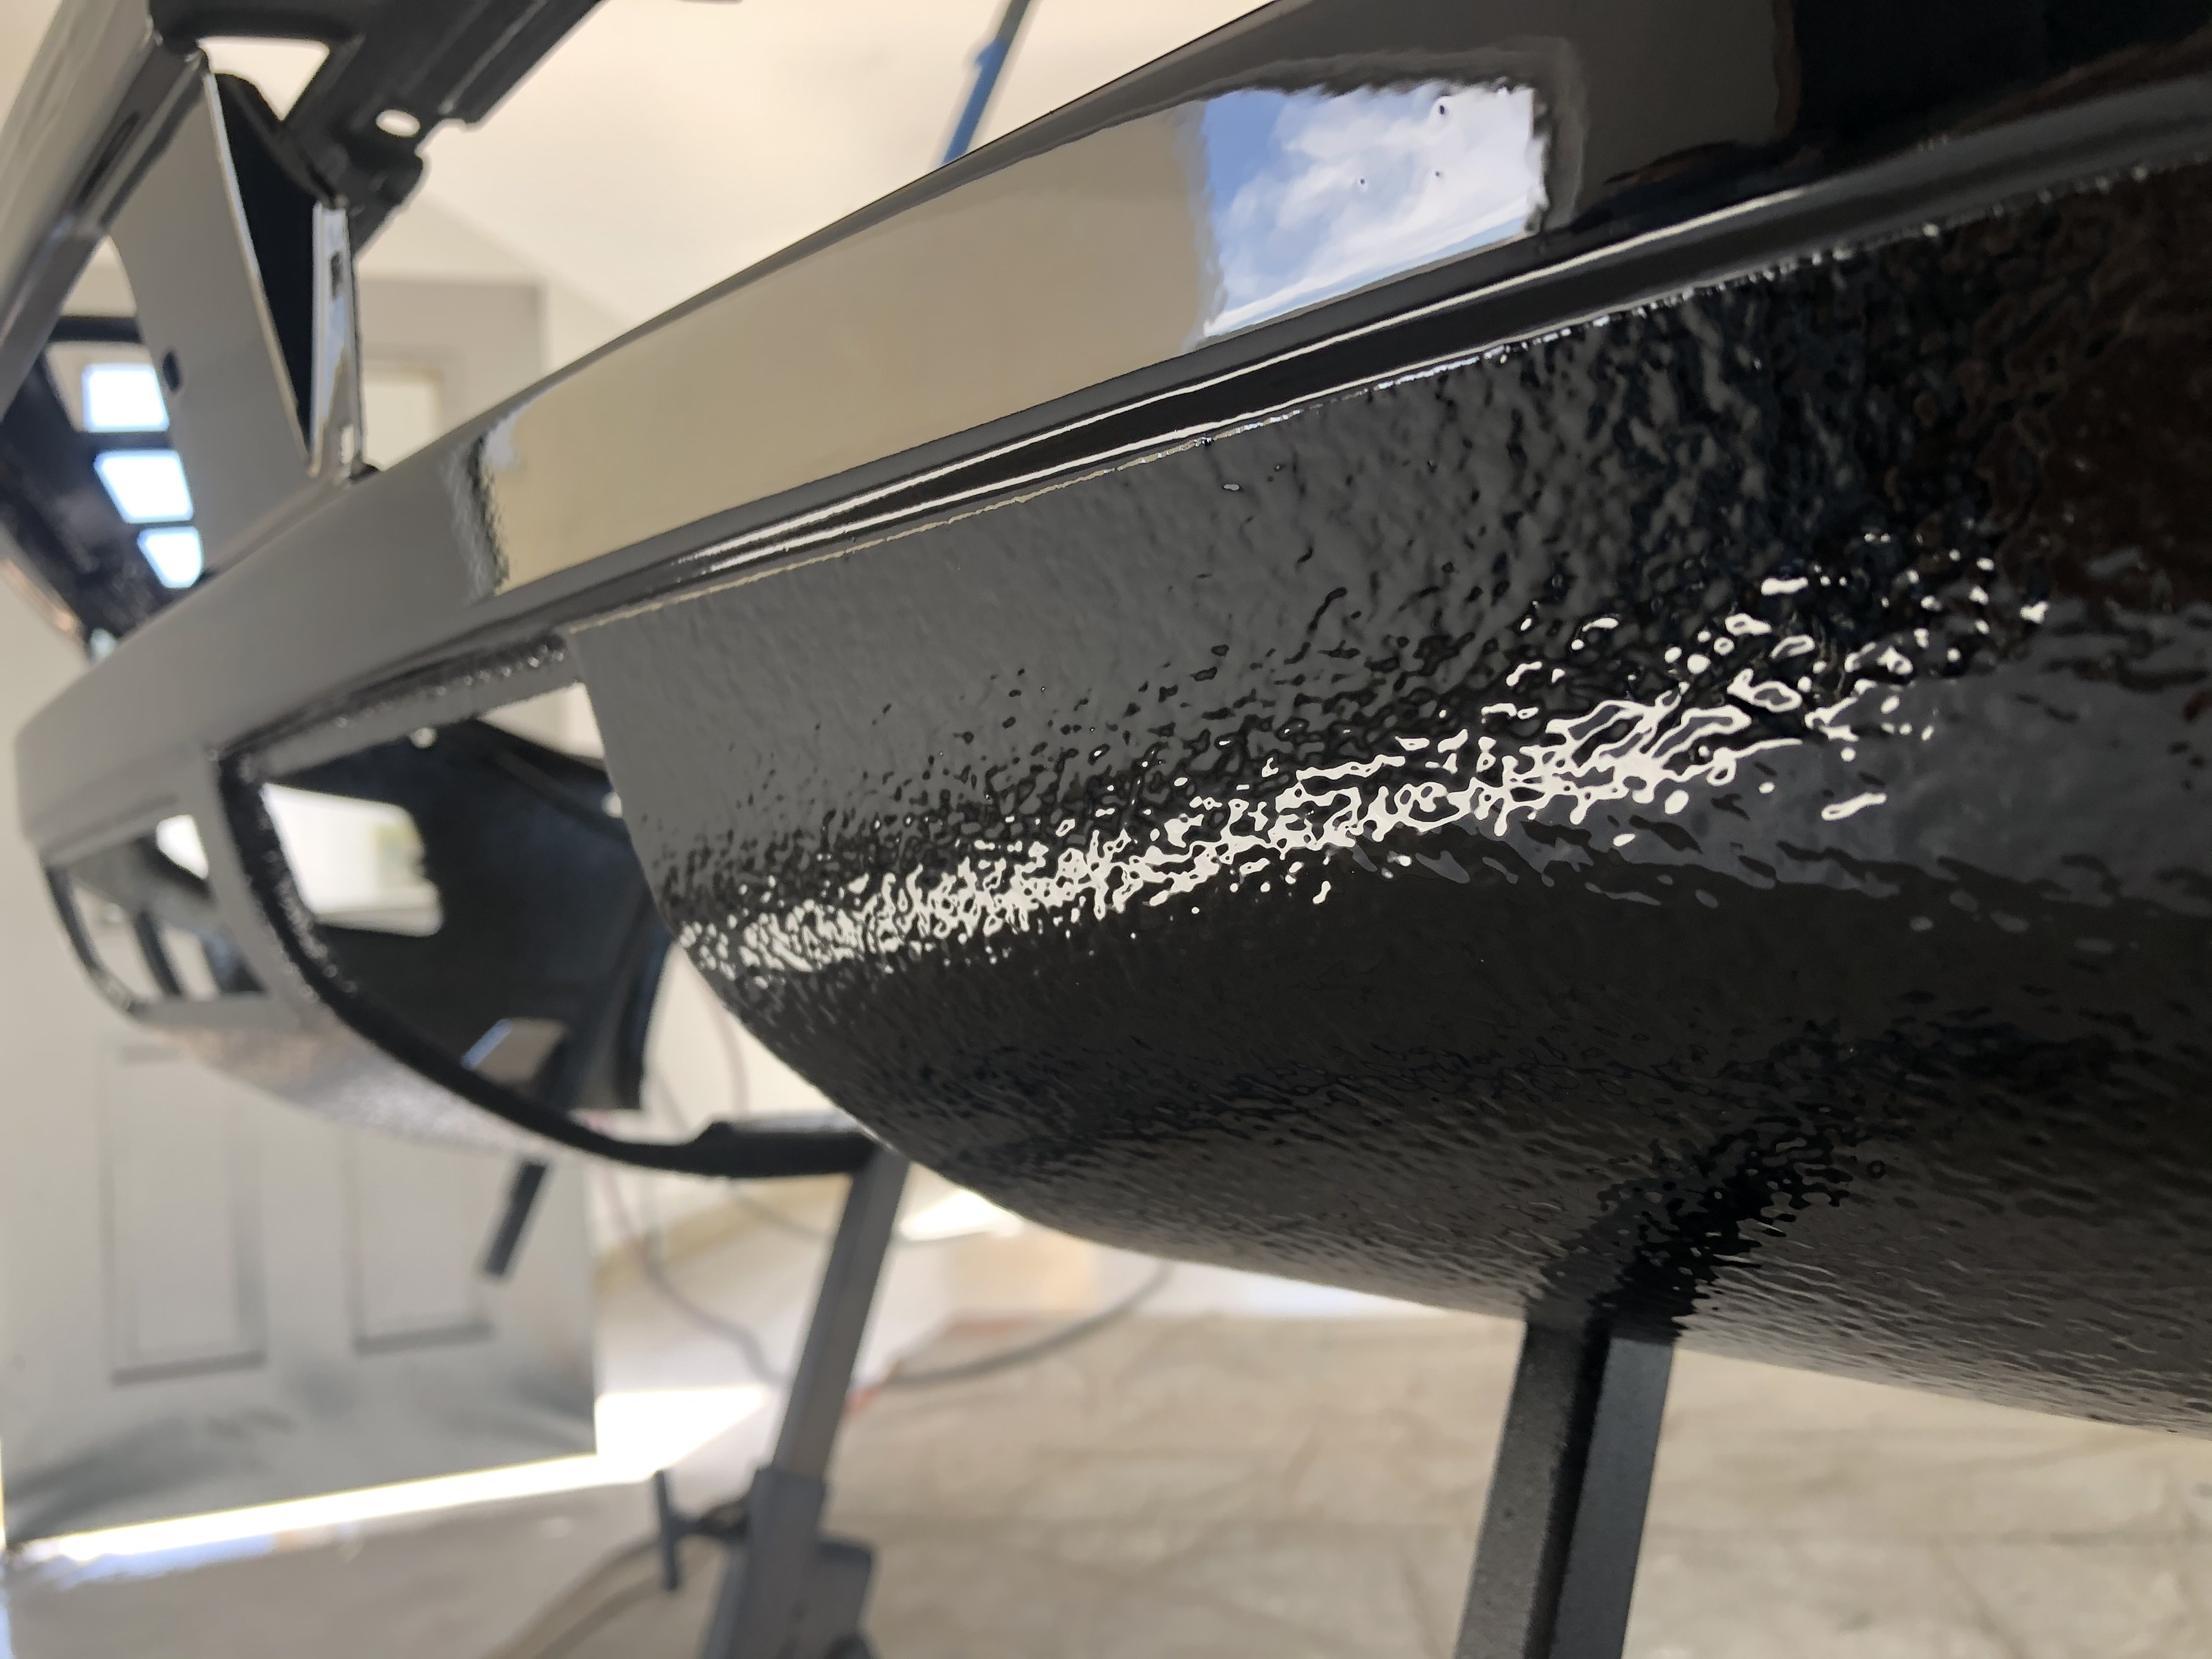
Last update ... I know it can be a bit controversial around these parts, but given all the effort I'm putting into getting the undercarriage looking new, I didn't want to have dirty, hazy, worn-looking wheel wells as the backdrop for all that. I tried my best to clean them up as-is, but calcified BMW protective spray (not sure what it was ... creosote? Whatever that whitish-yellow crust is that's in a variety of palaces underbody and in the engine compartment) had gotten crusted up with embedded sand & grit, and the condition of the paint in there was pretty bad even at its best. So, I decided to respray the wells. After getting some detailed paint prep advice and spending several hours per well getting all the caked-on crap out of there, I resprayed with matching 2k BMW 086 Schwartz paint. I'm pretty pleased with the result even if my iPhone isn't capturing it very well.
After prep:
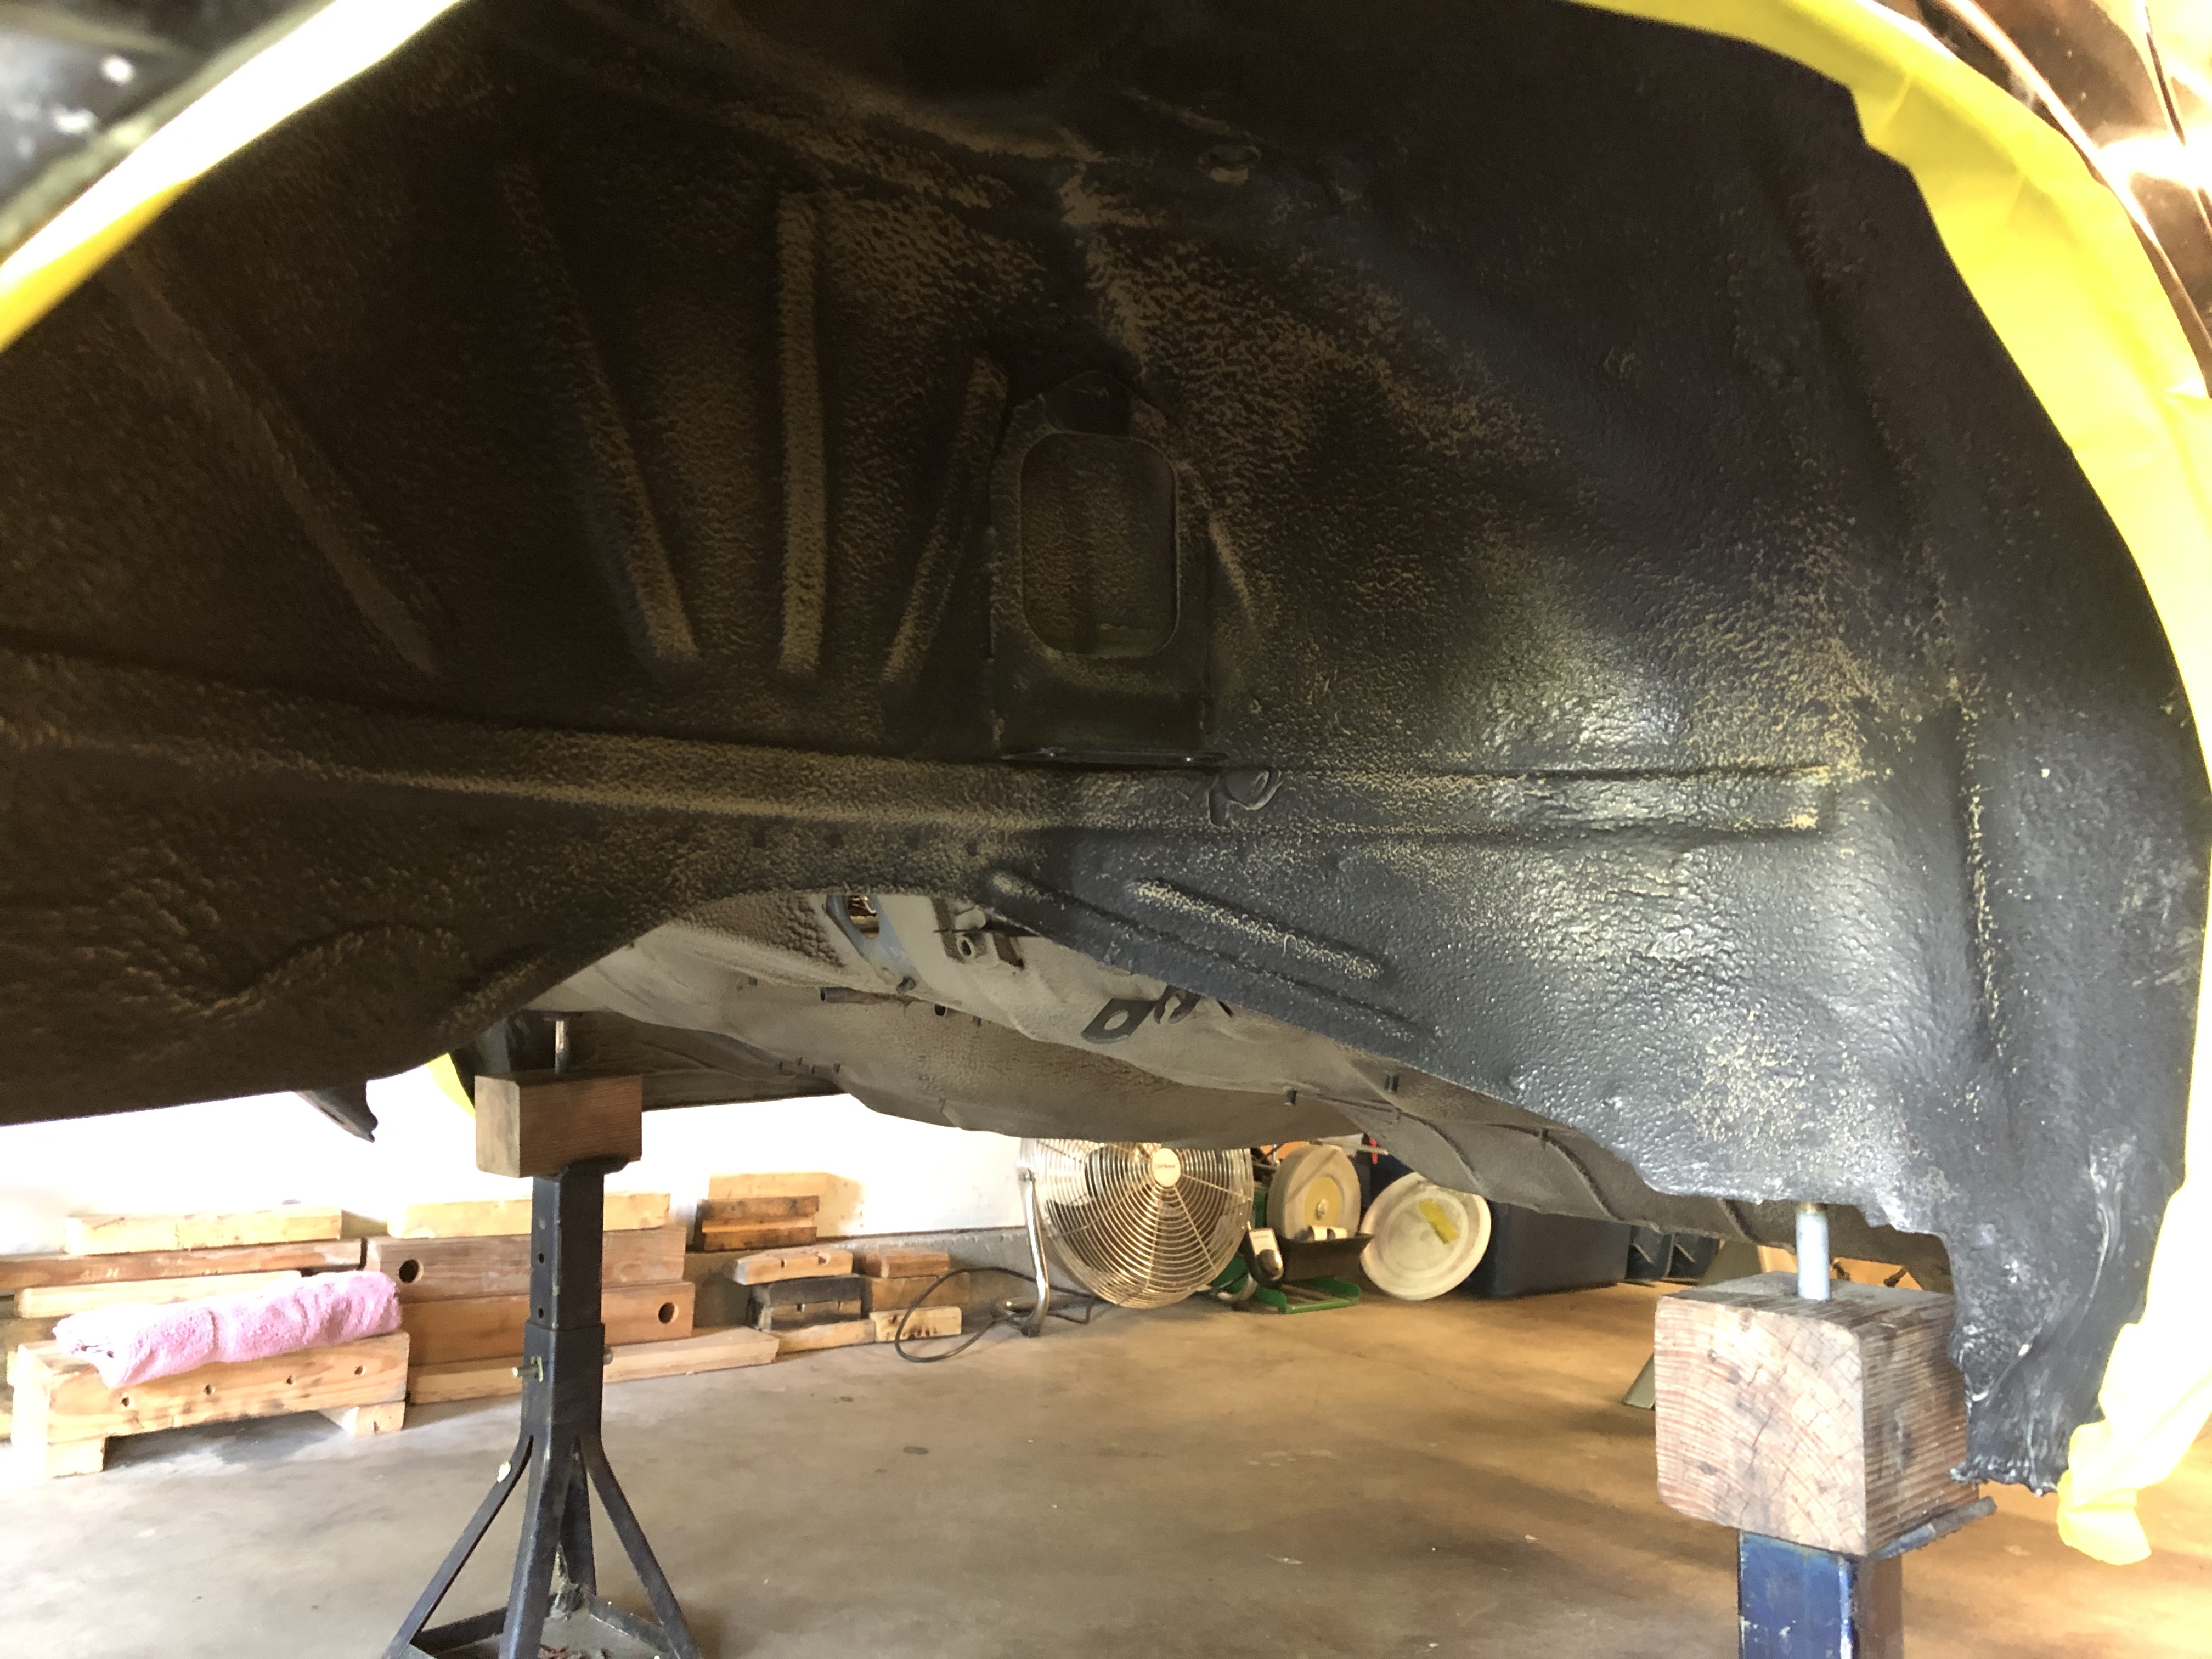
After painting:
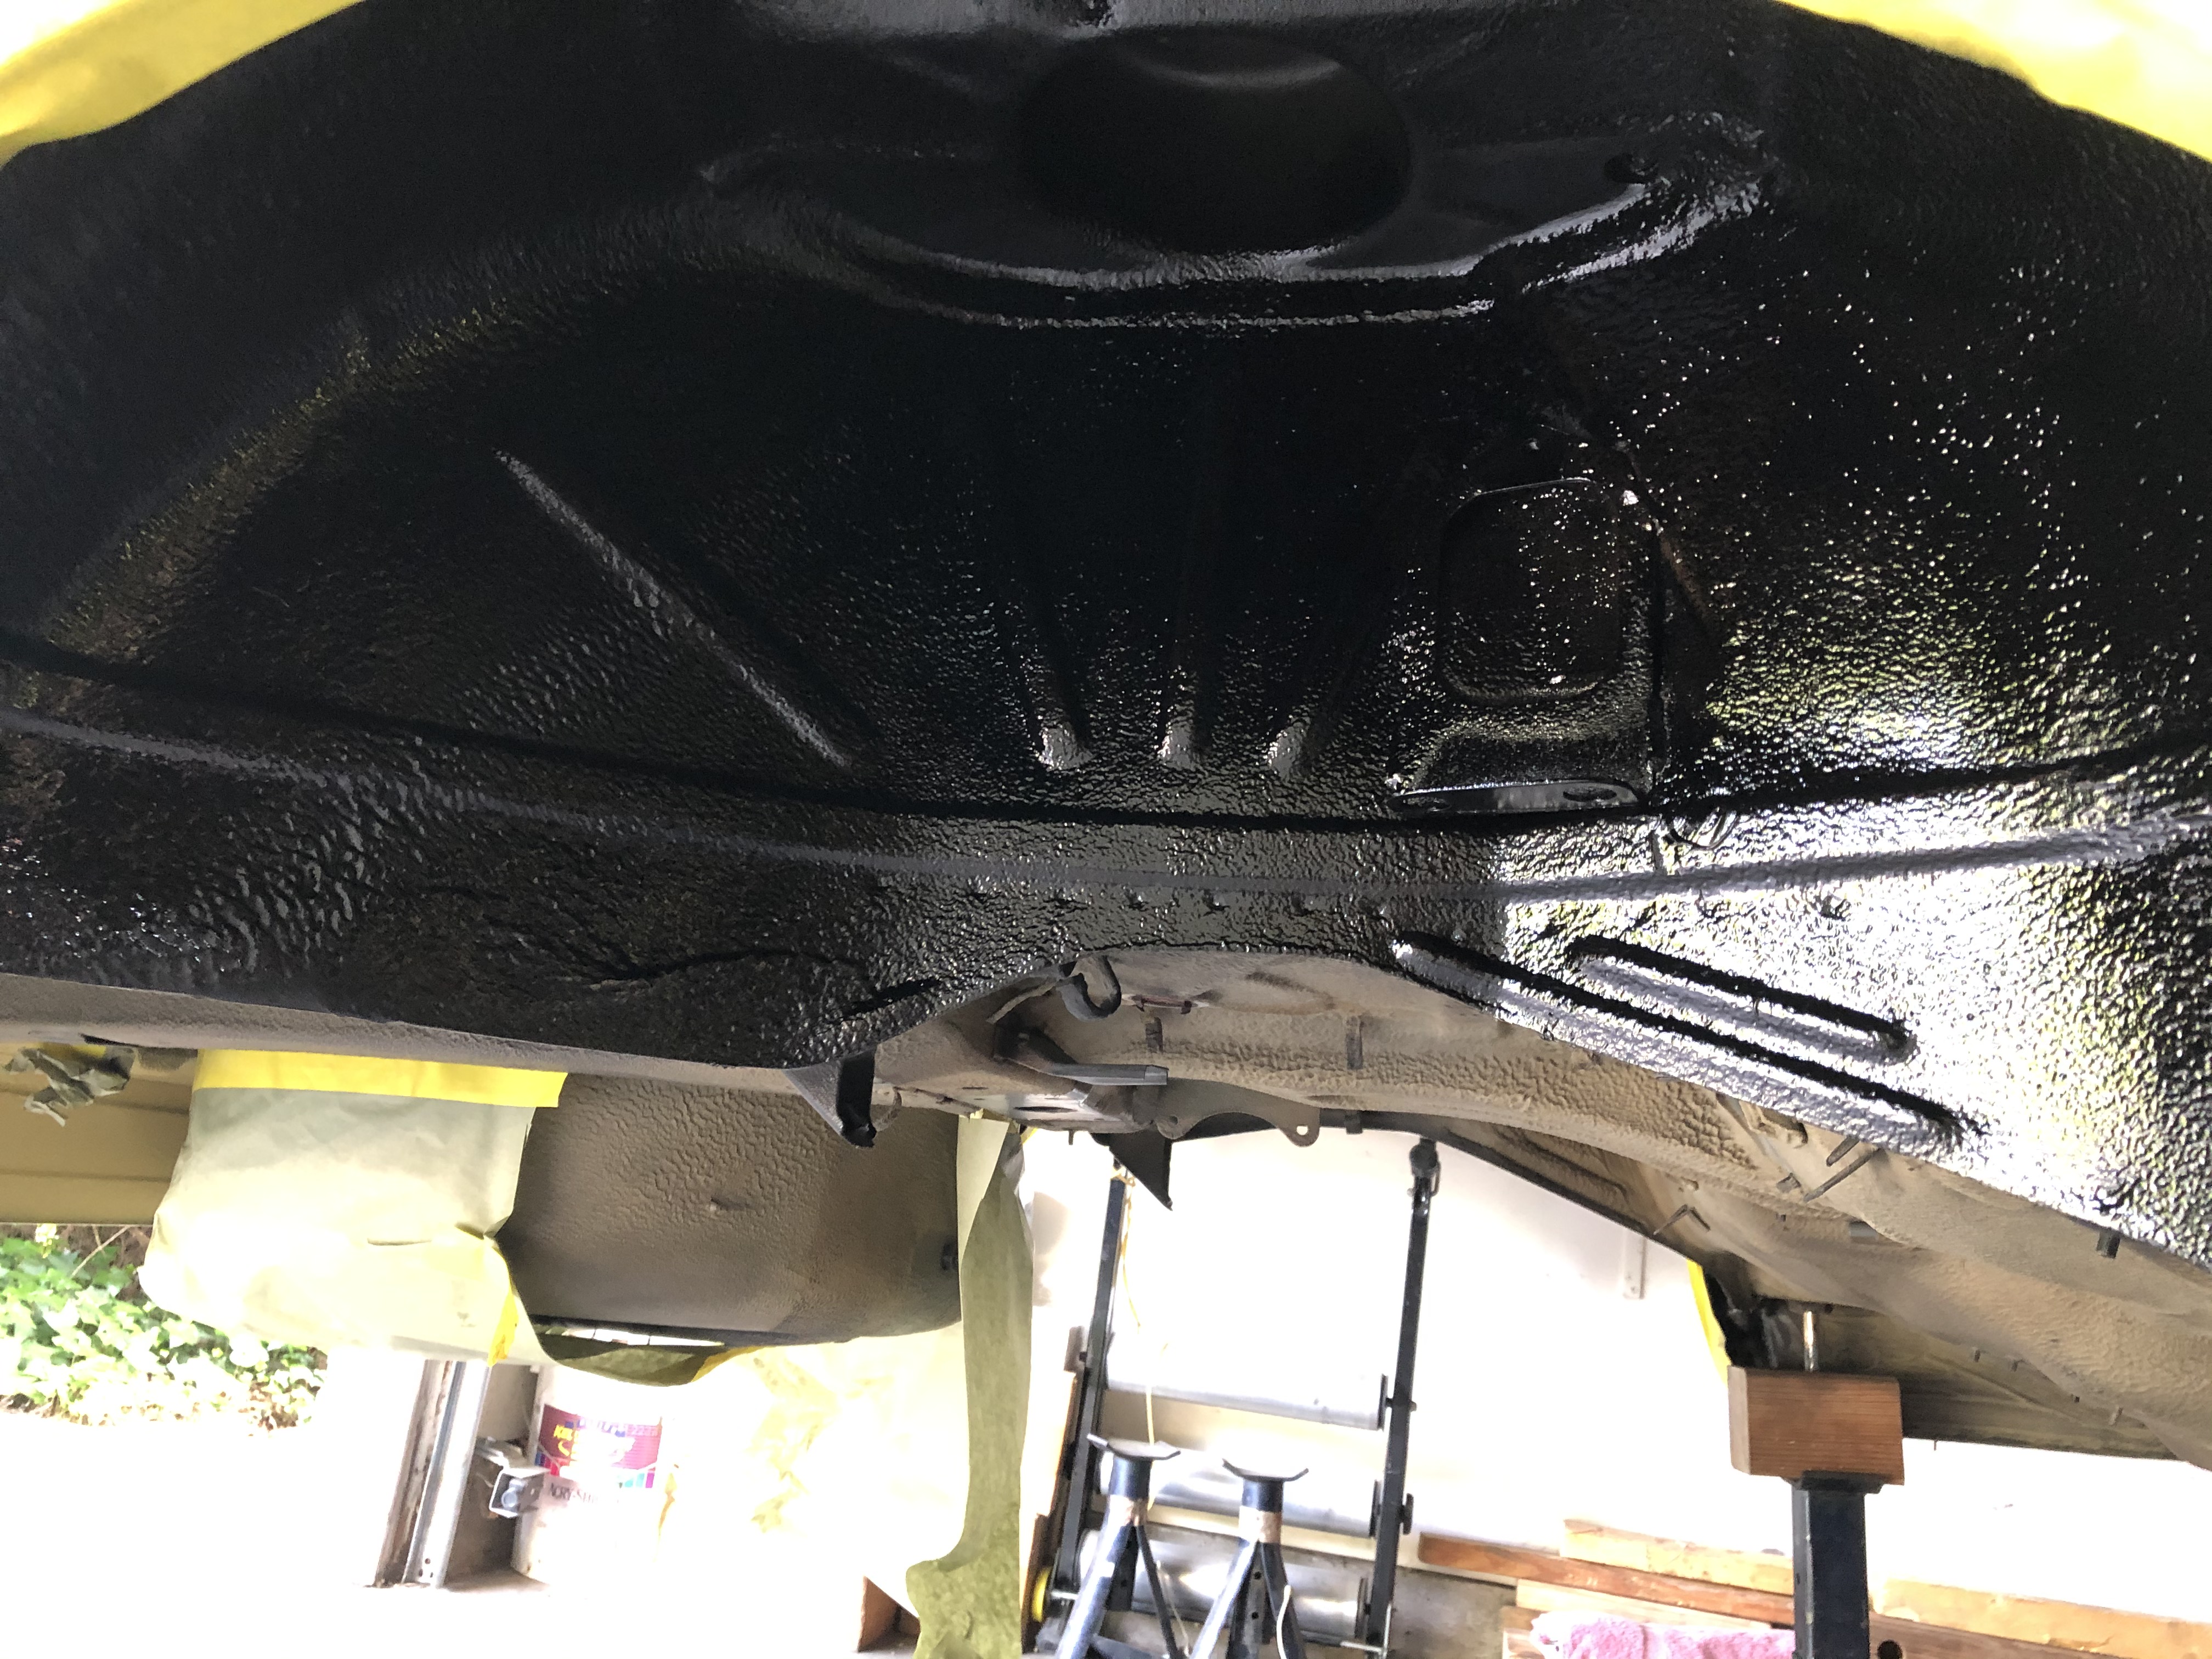
That's all for now. I'm hoping to have the shell back down on the ground on its own wheels & tires and then off to pain in the next couple of weeks - assuming I can find all the needed parts in storage. Ugh - fingers crossed ...


