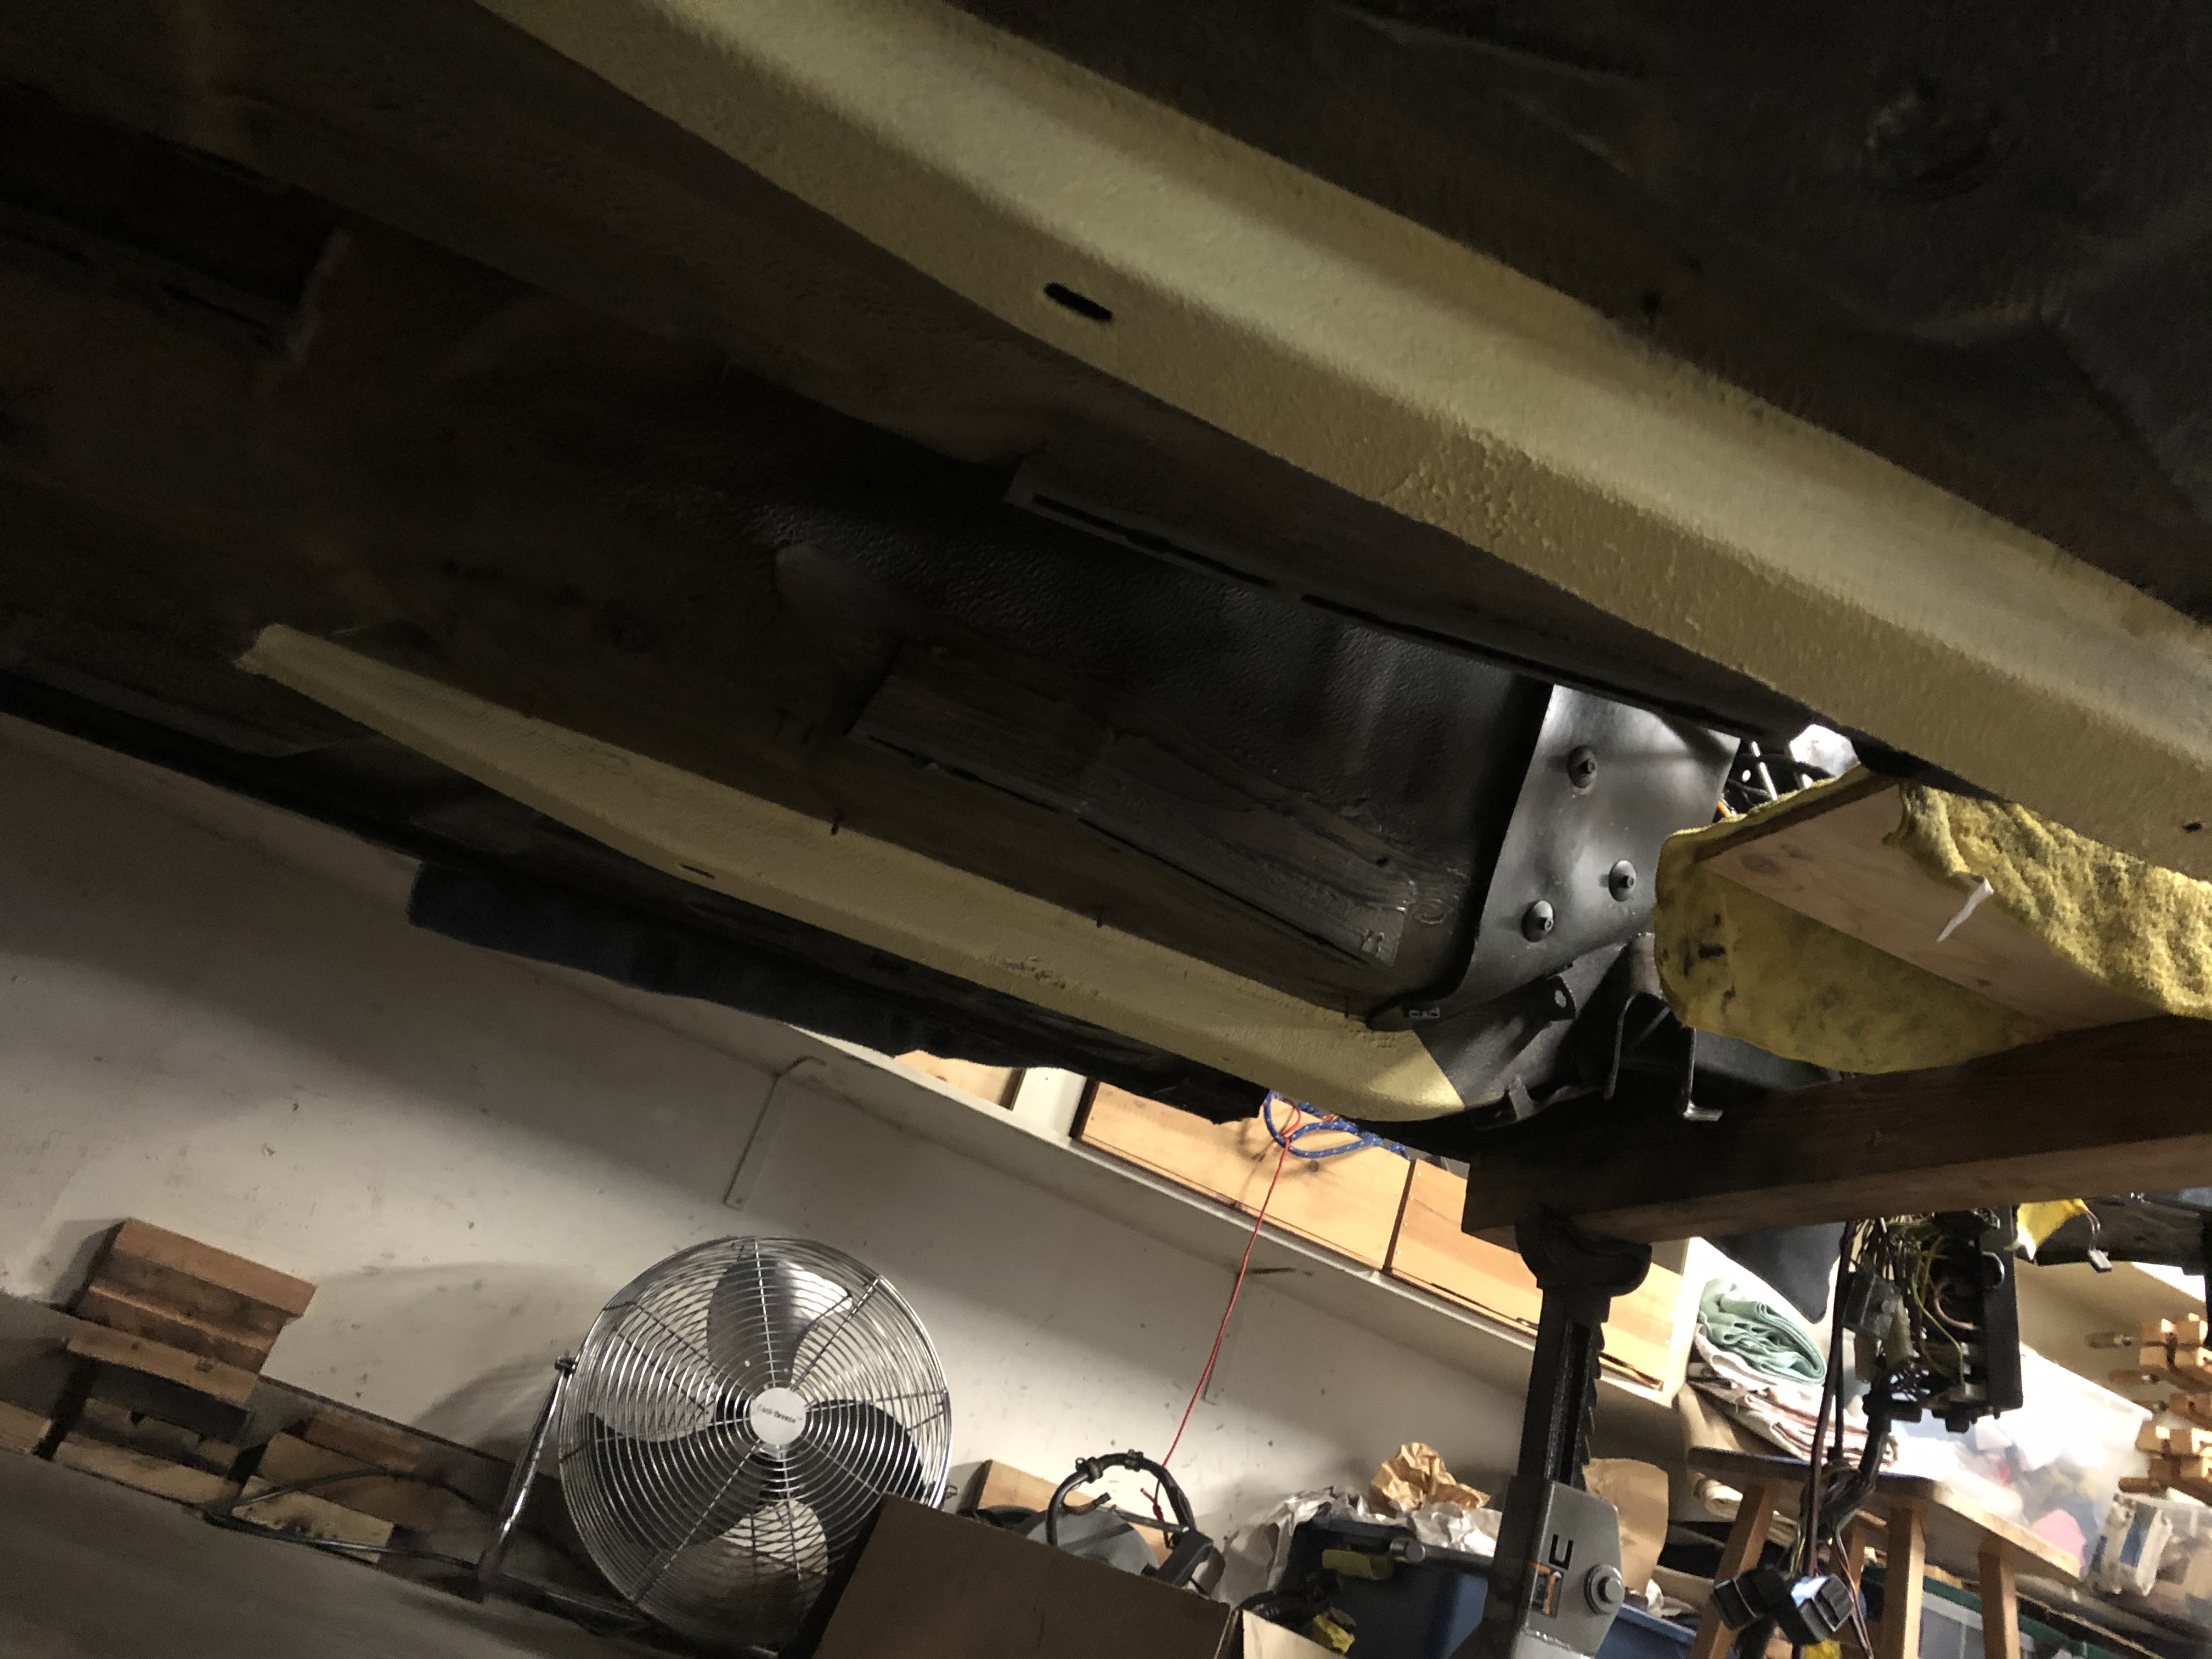
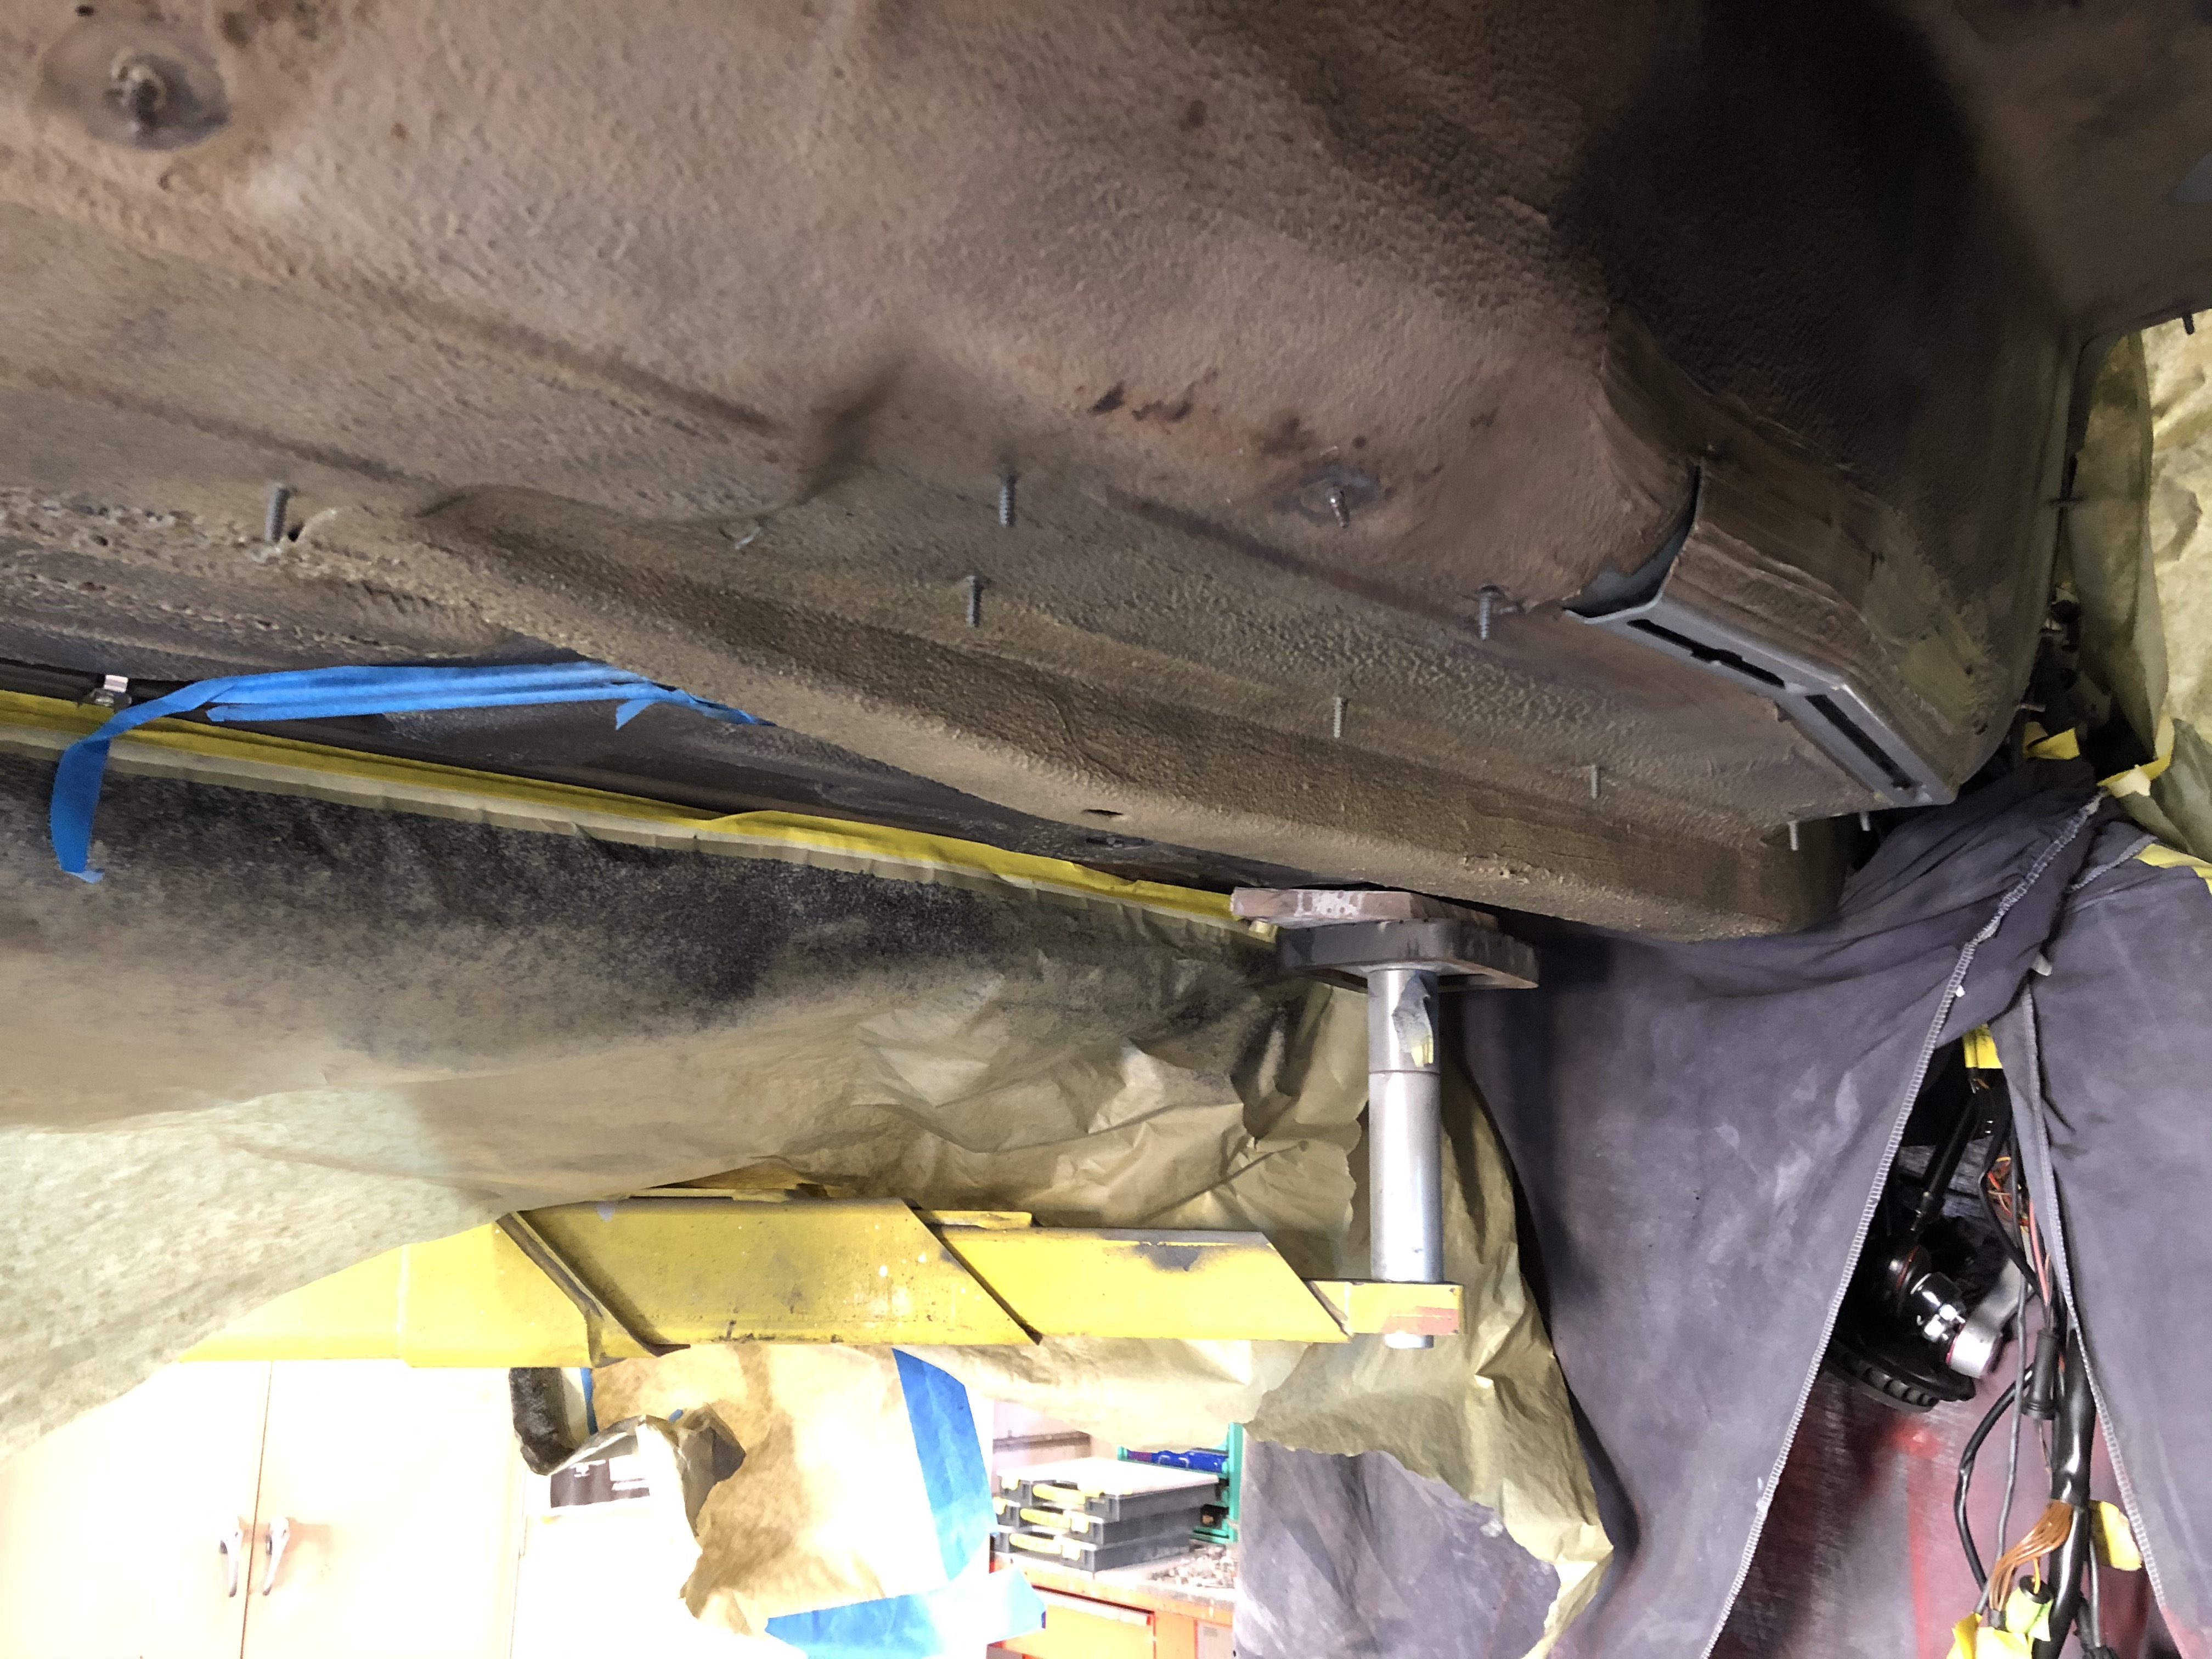
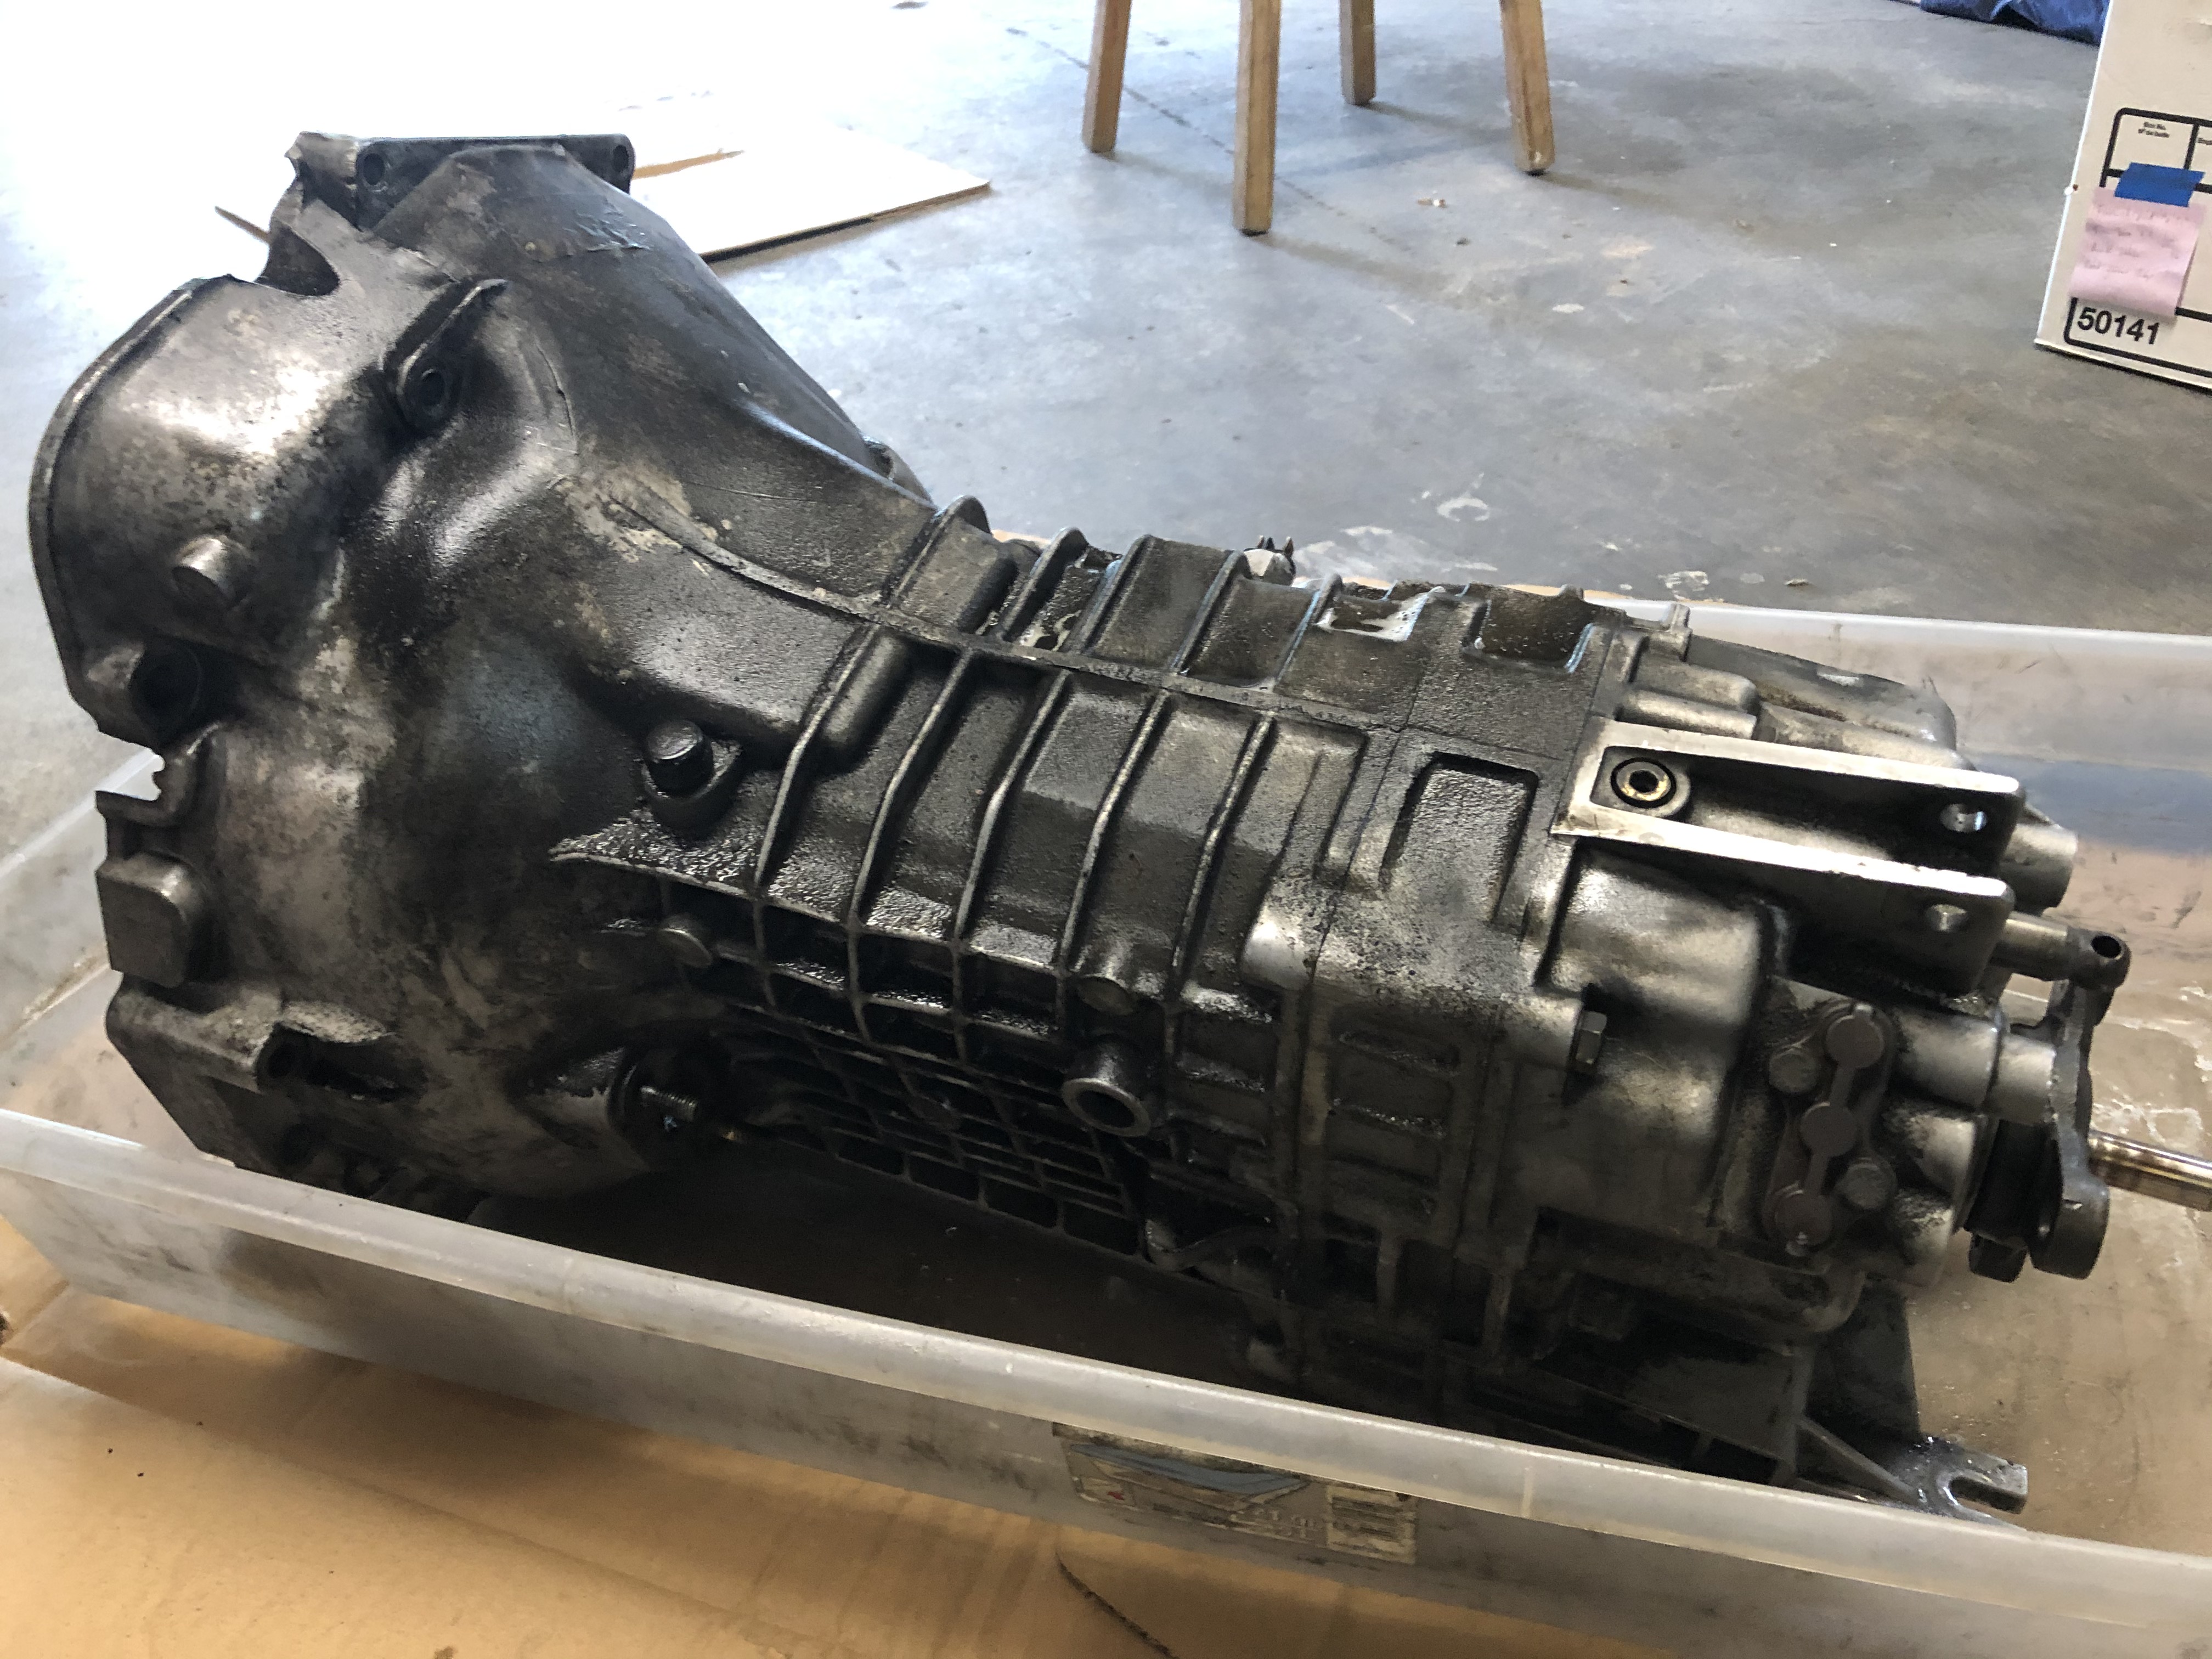
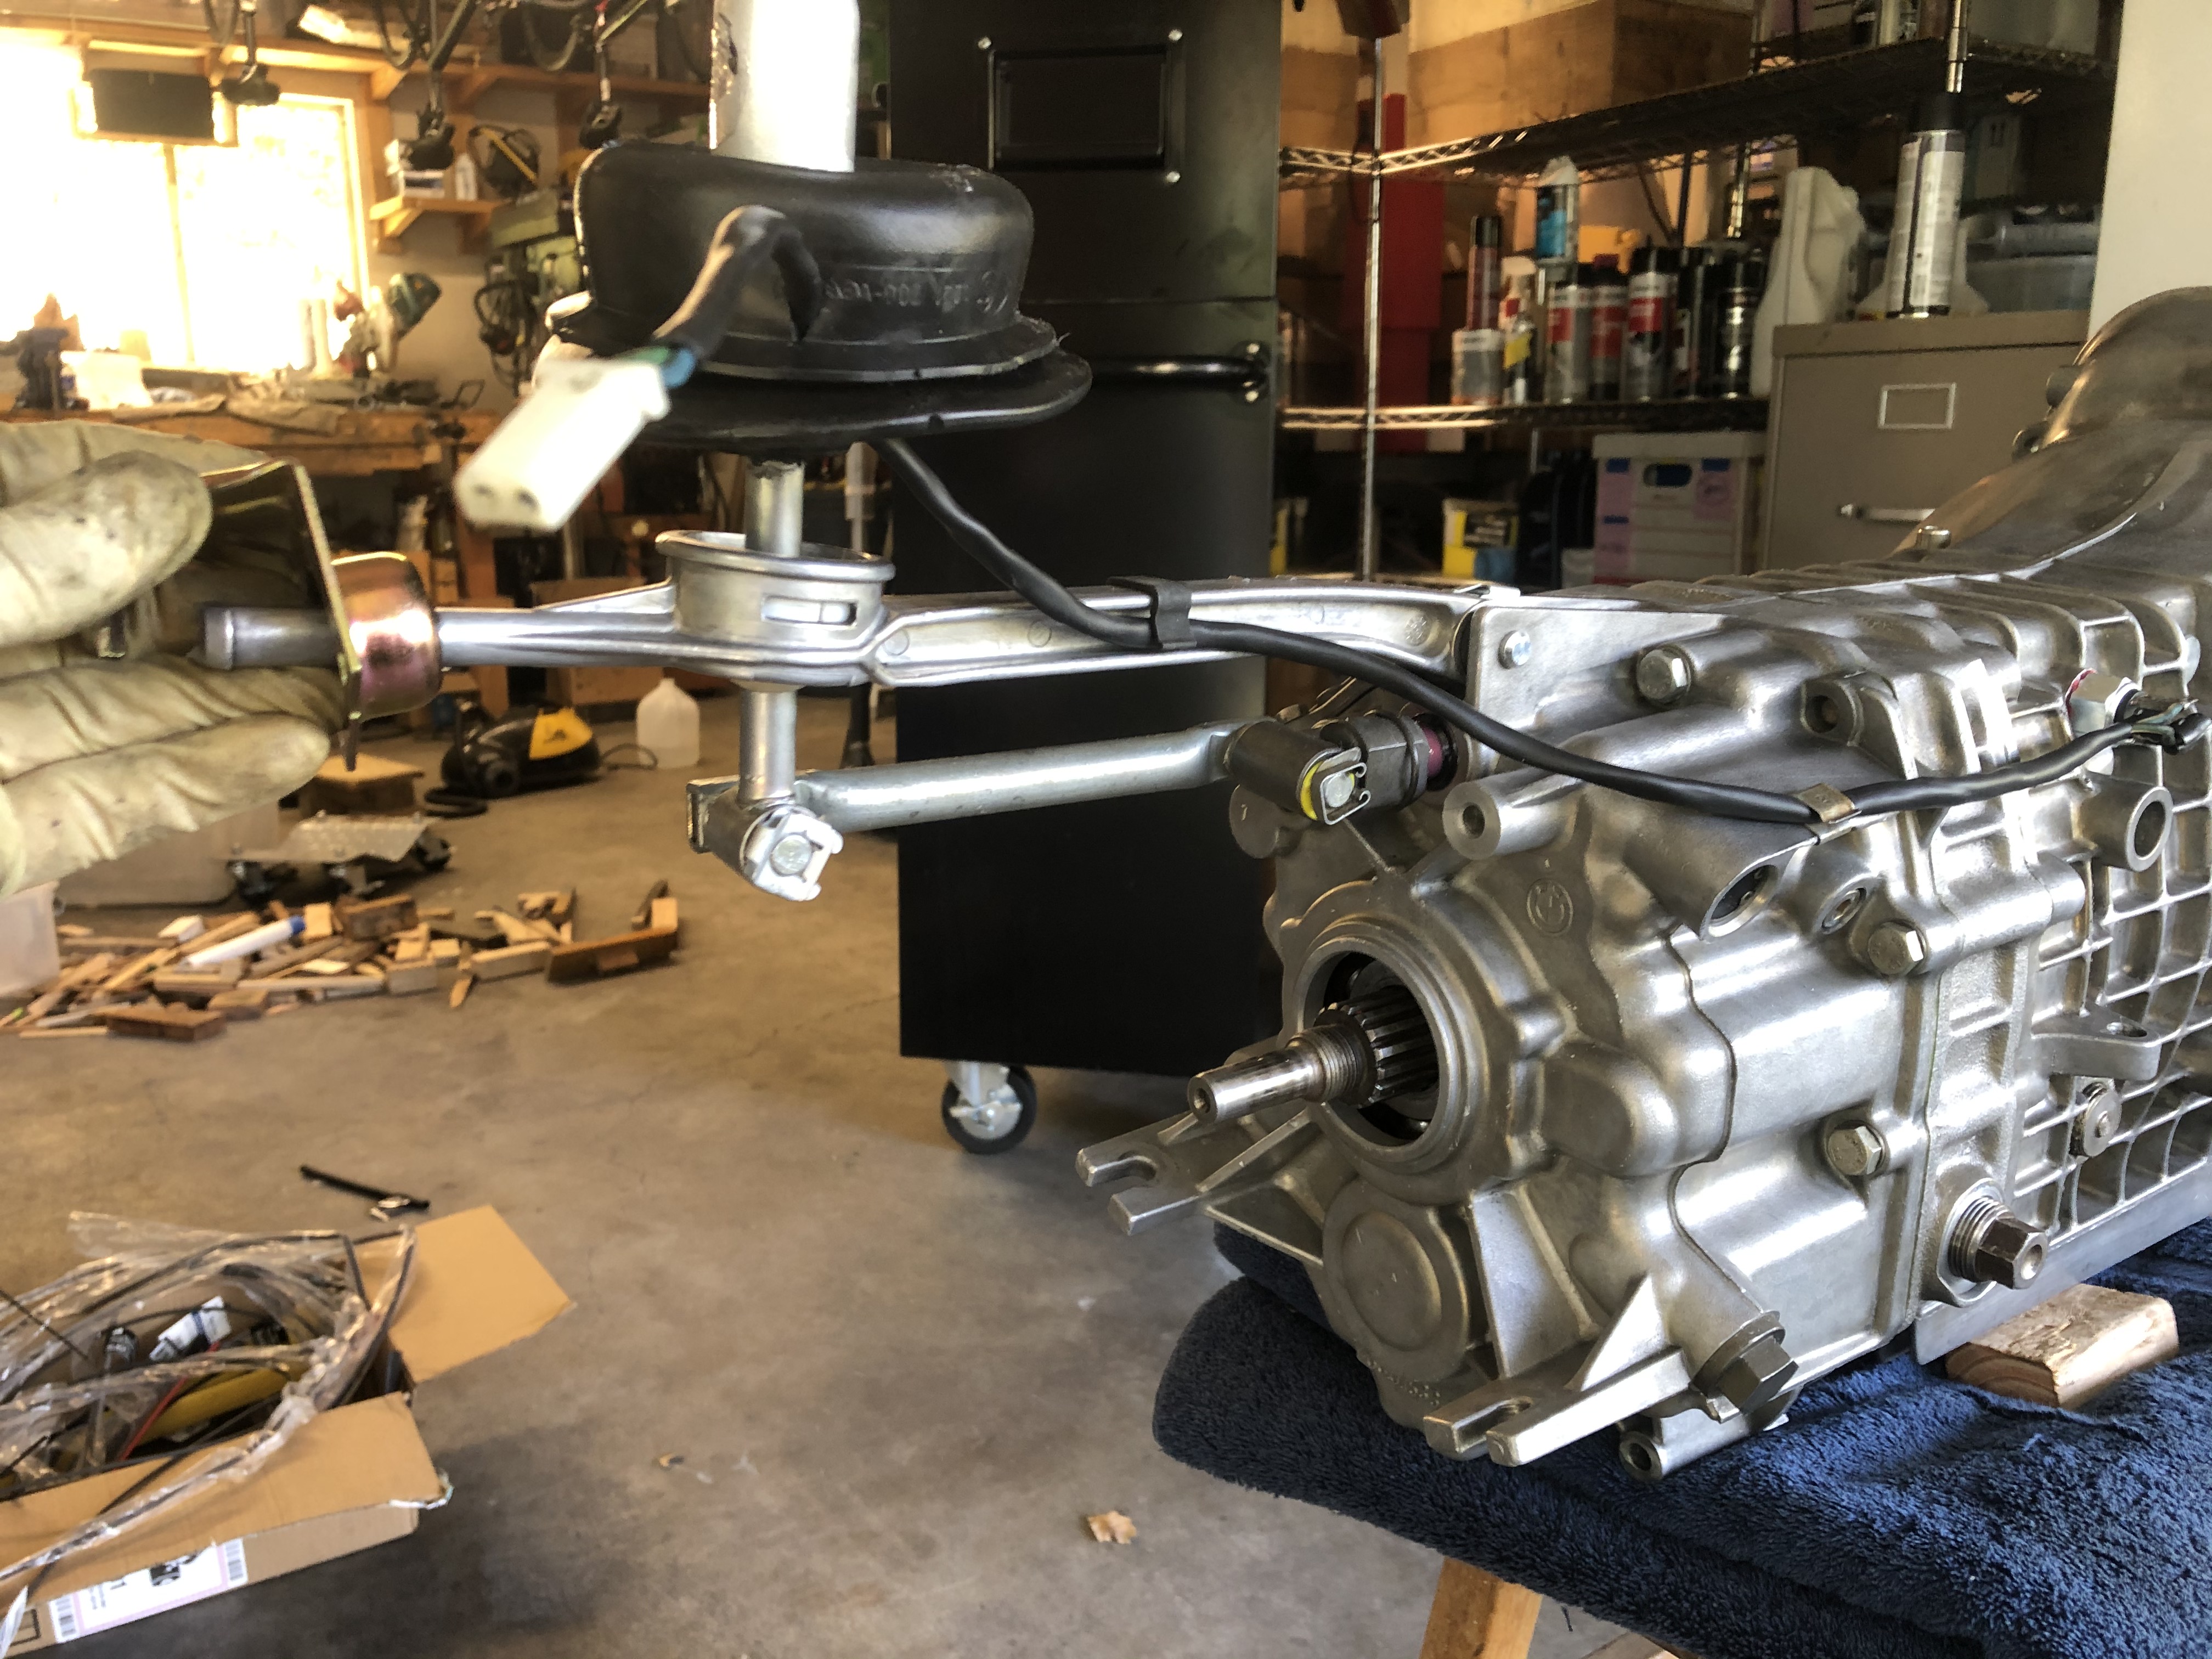
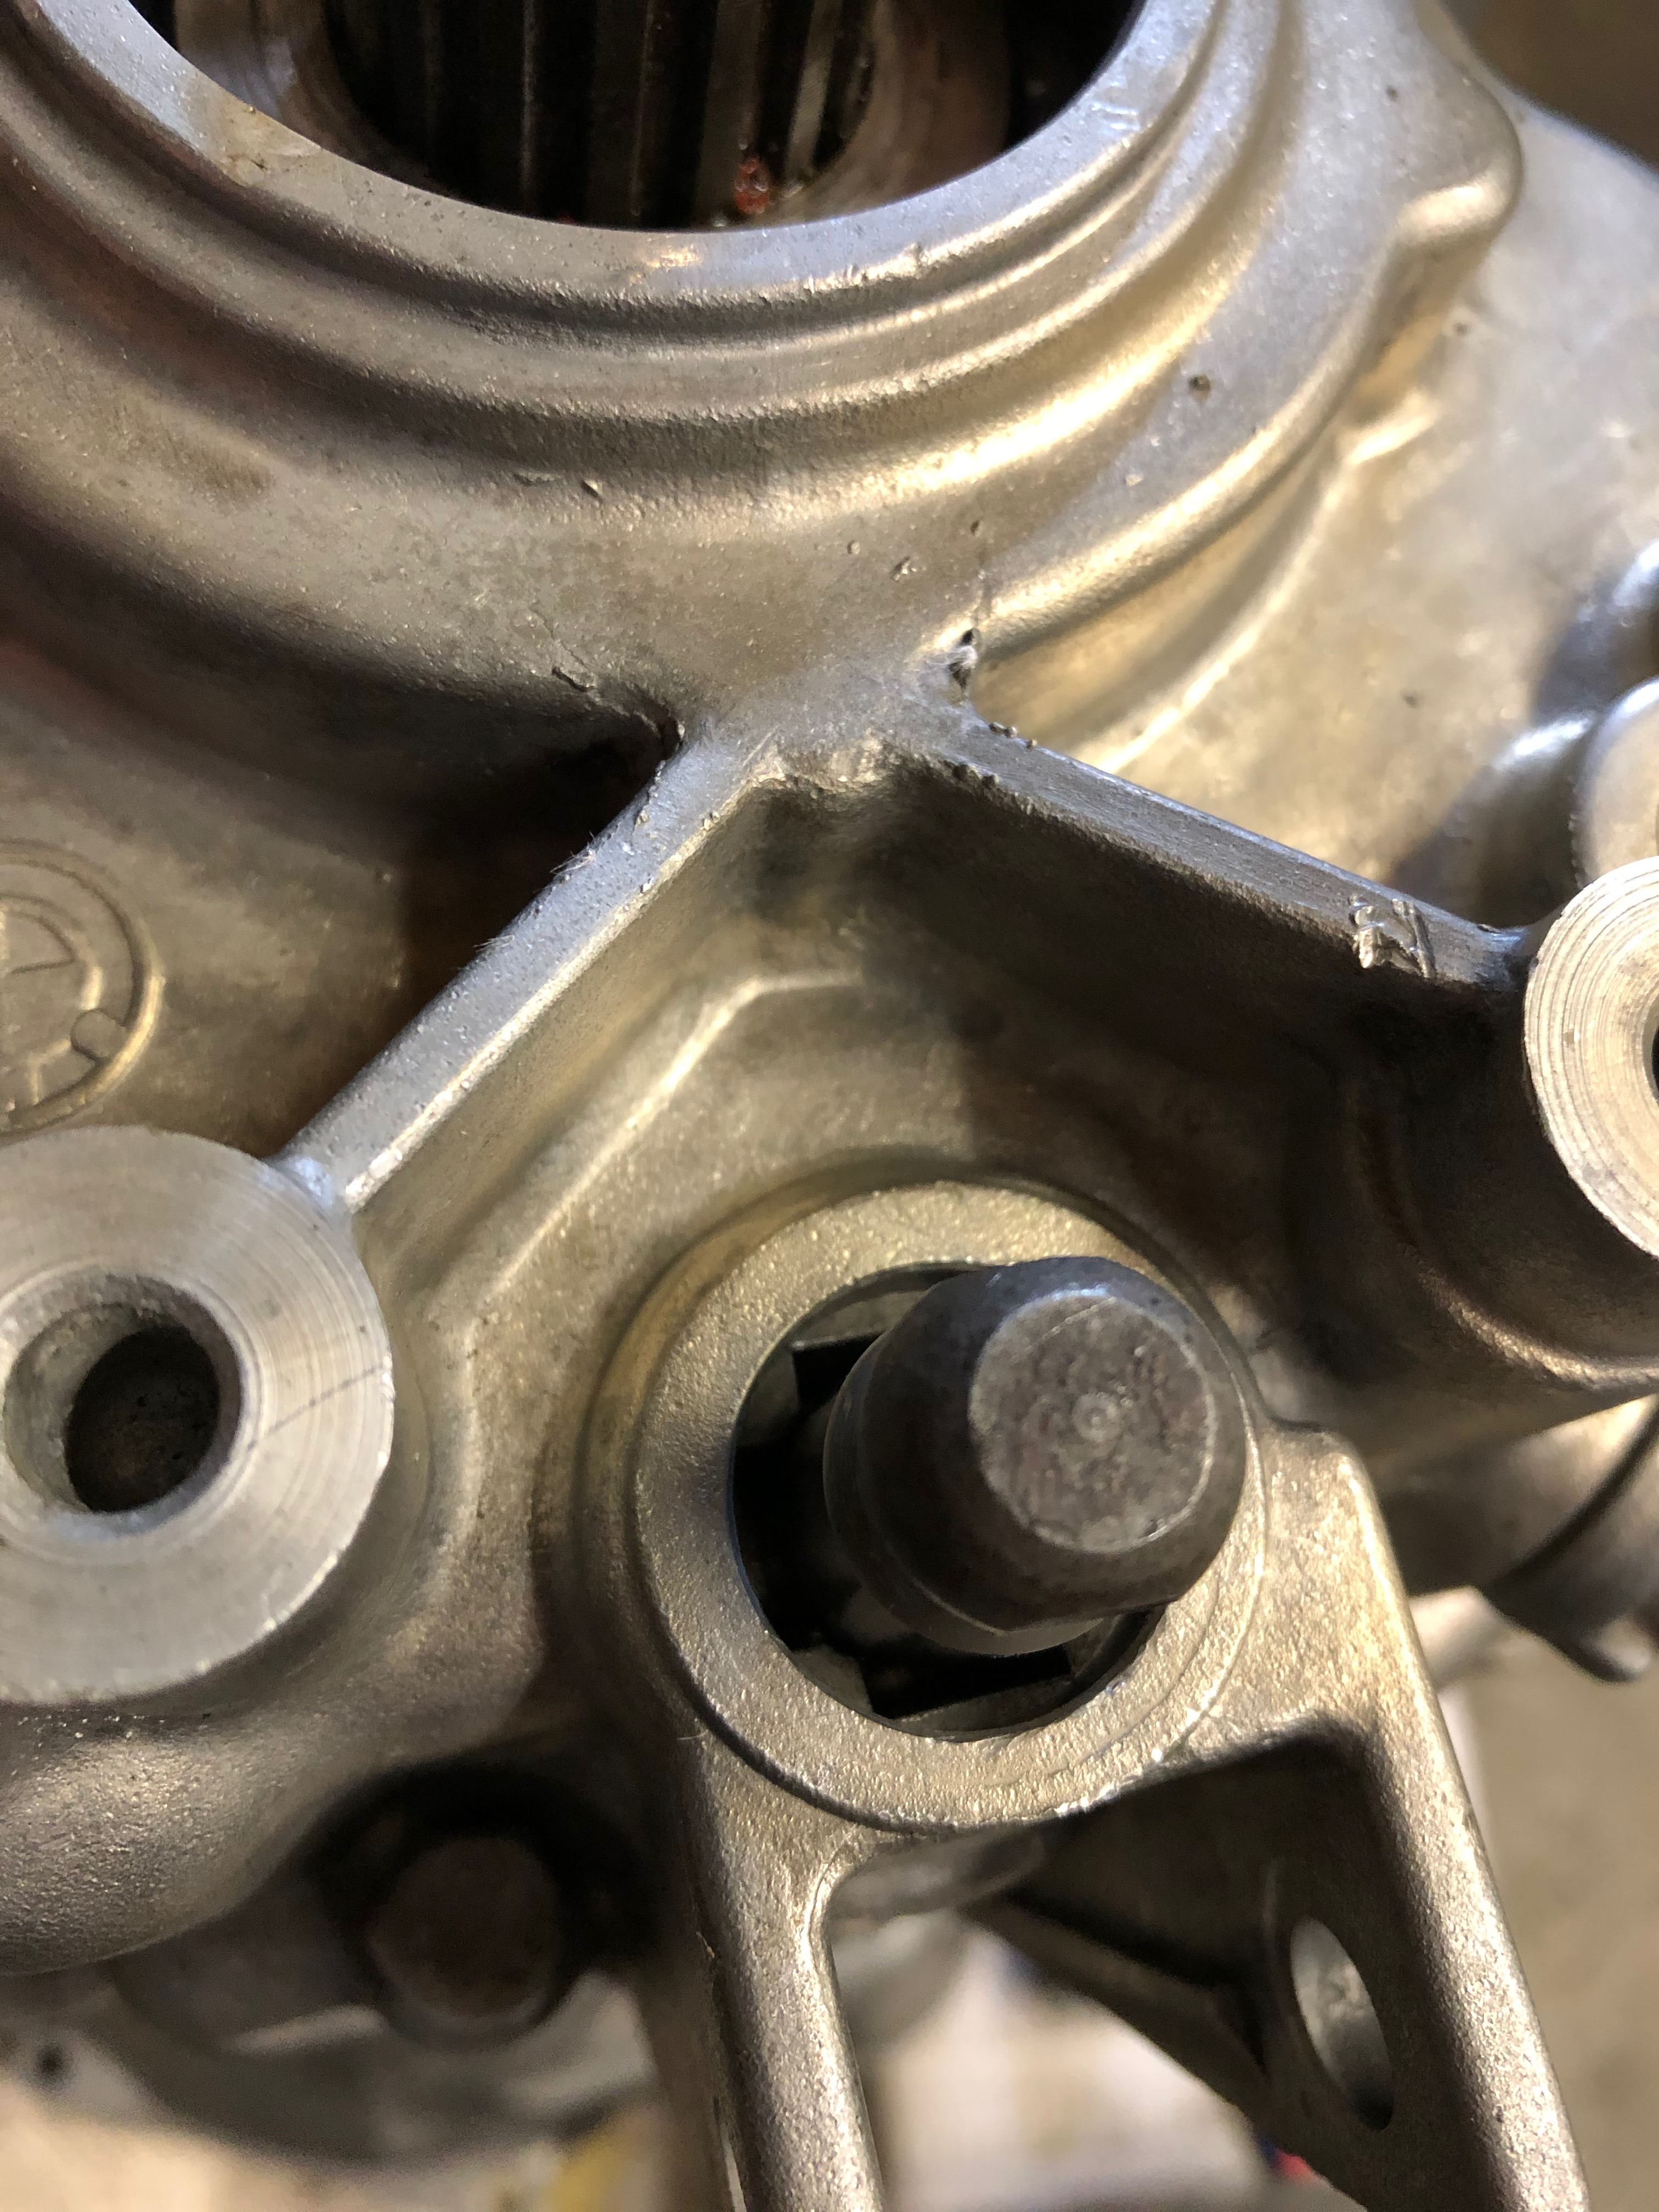
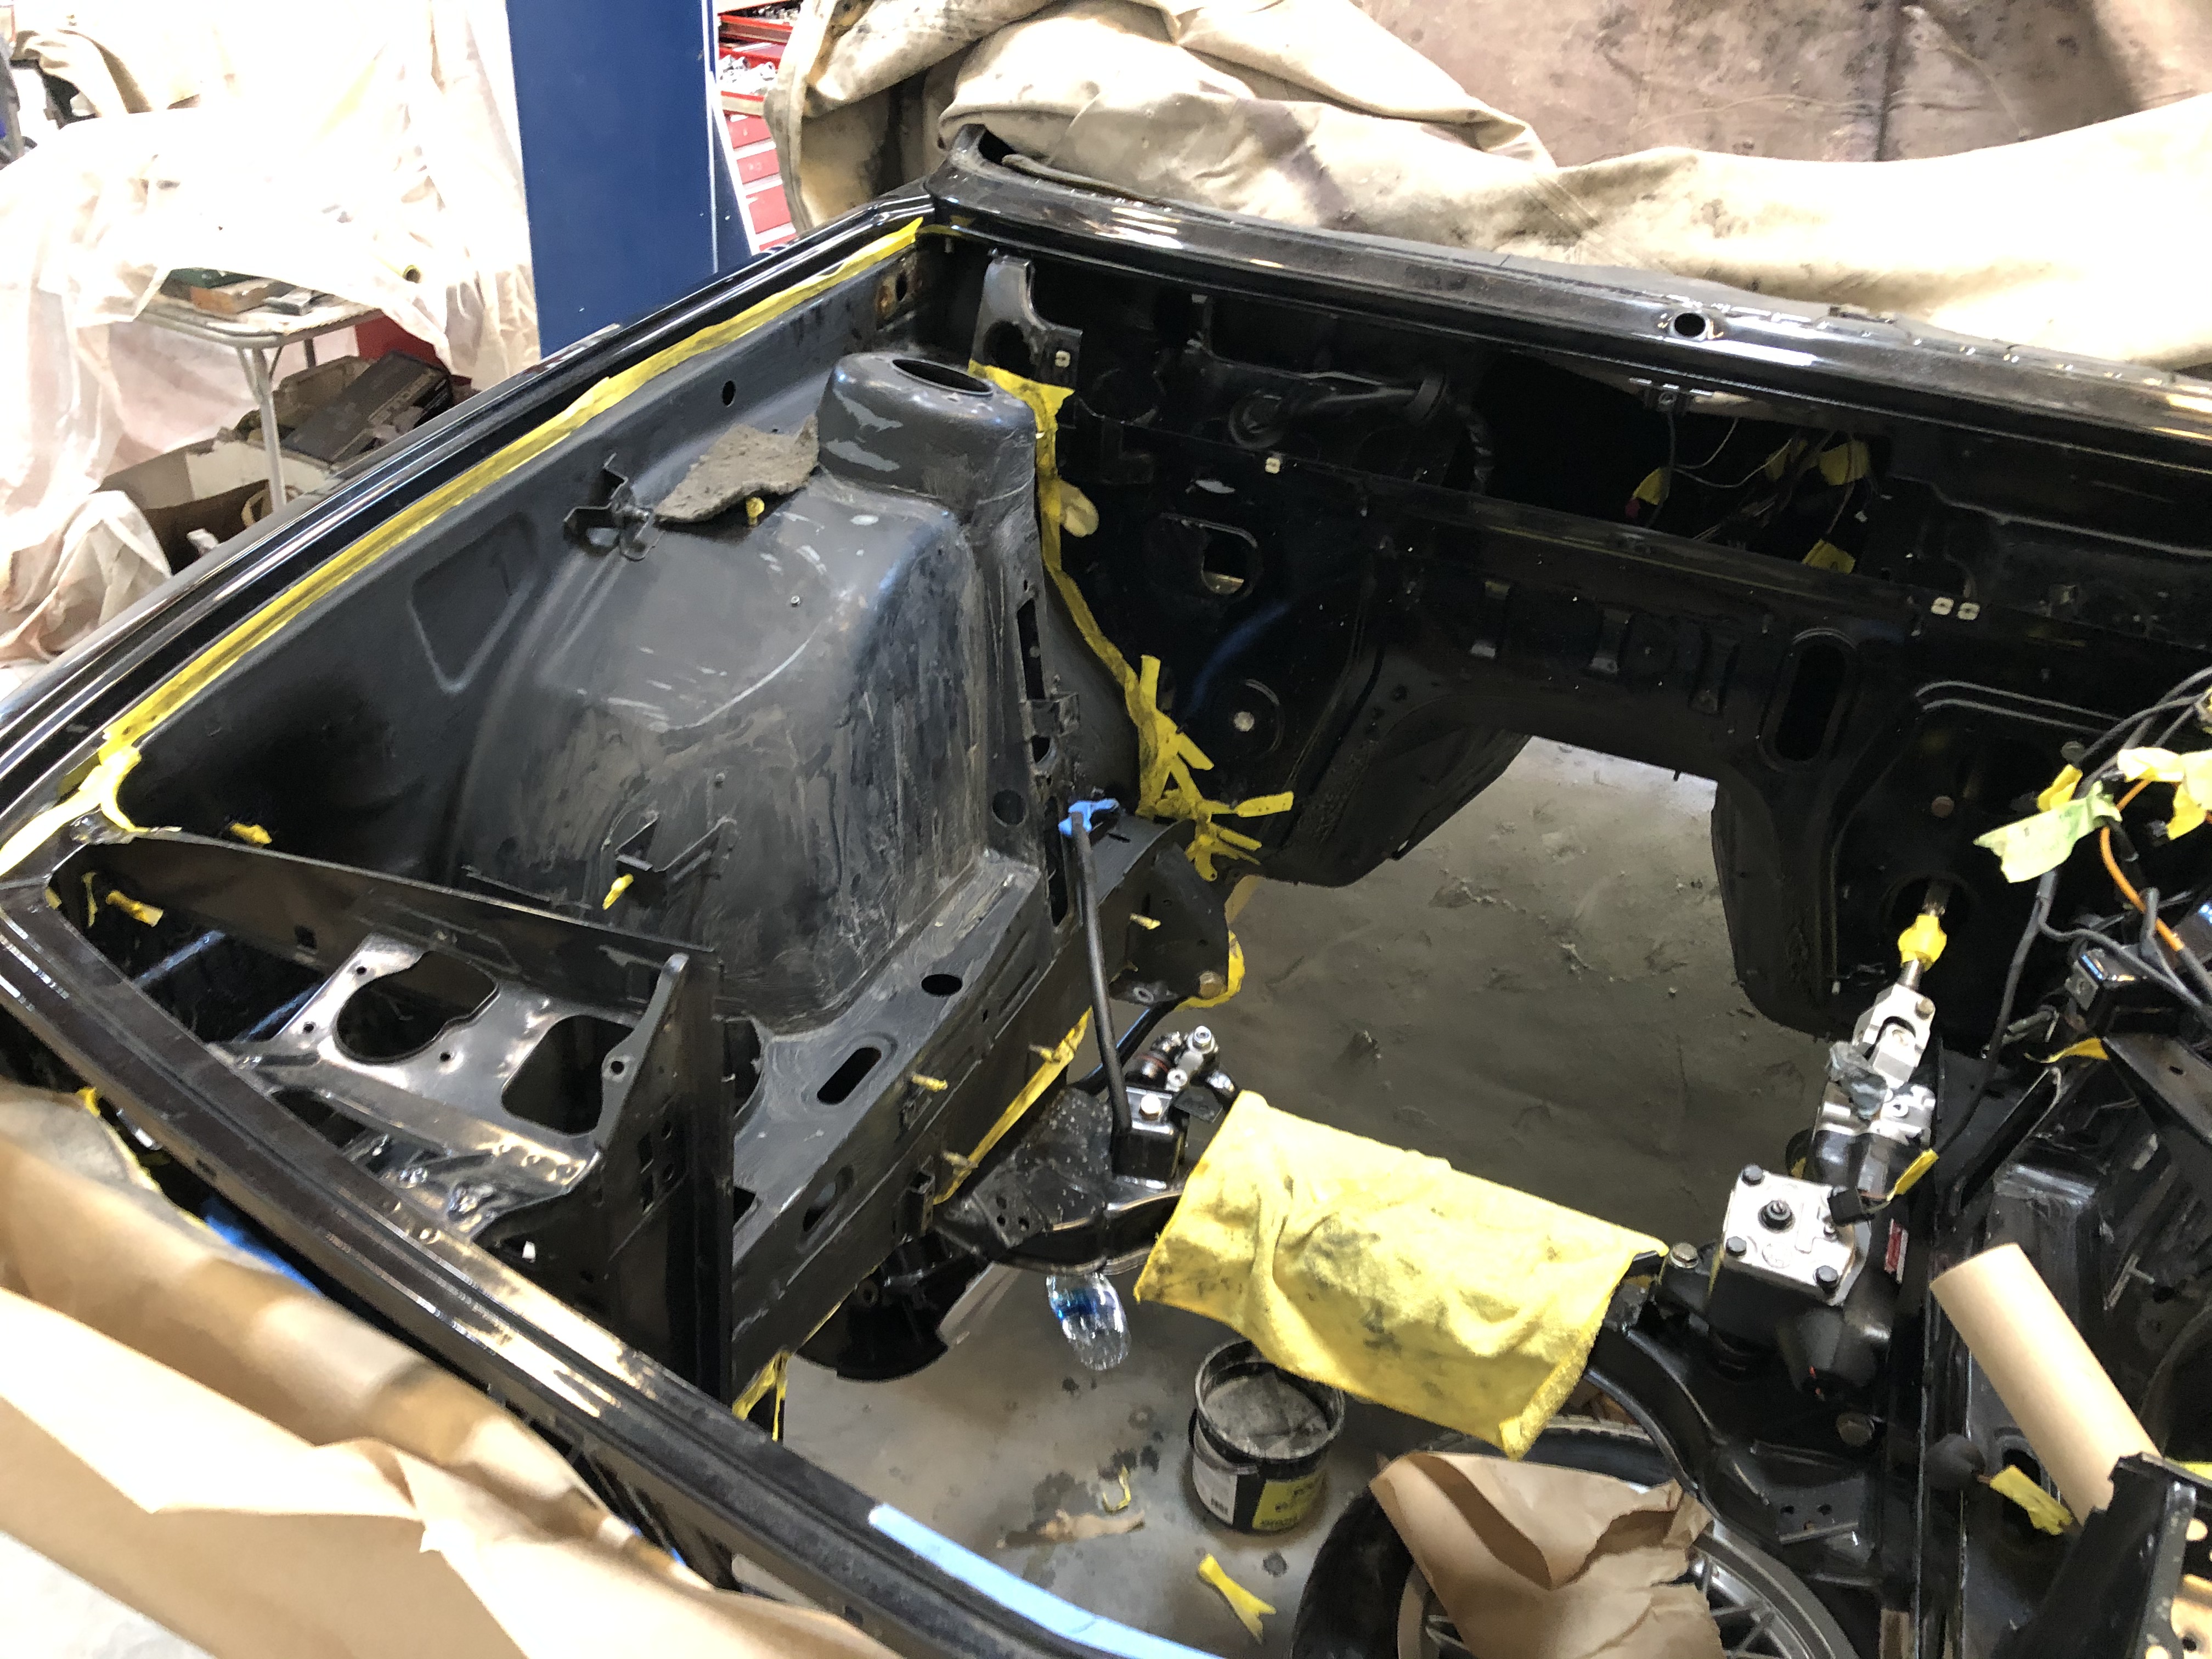
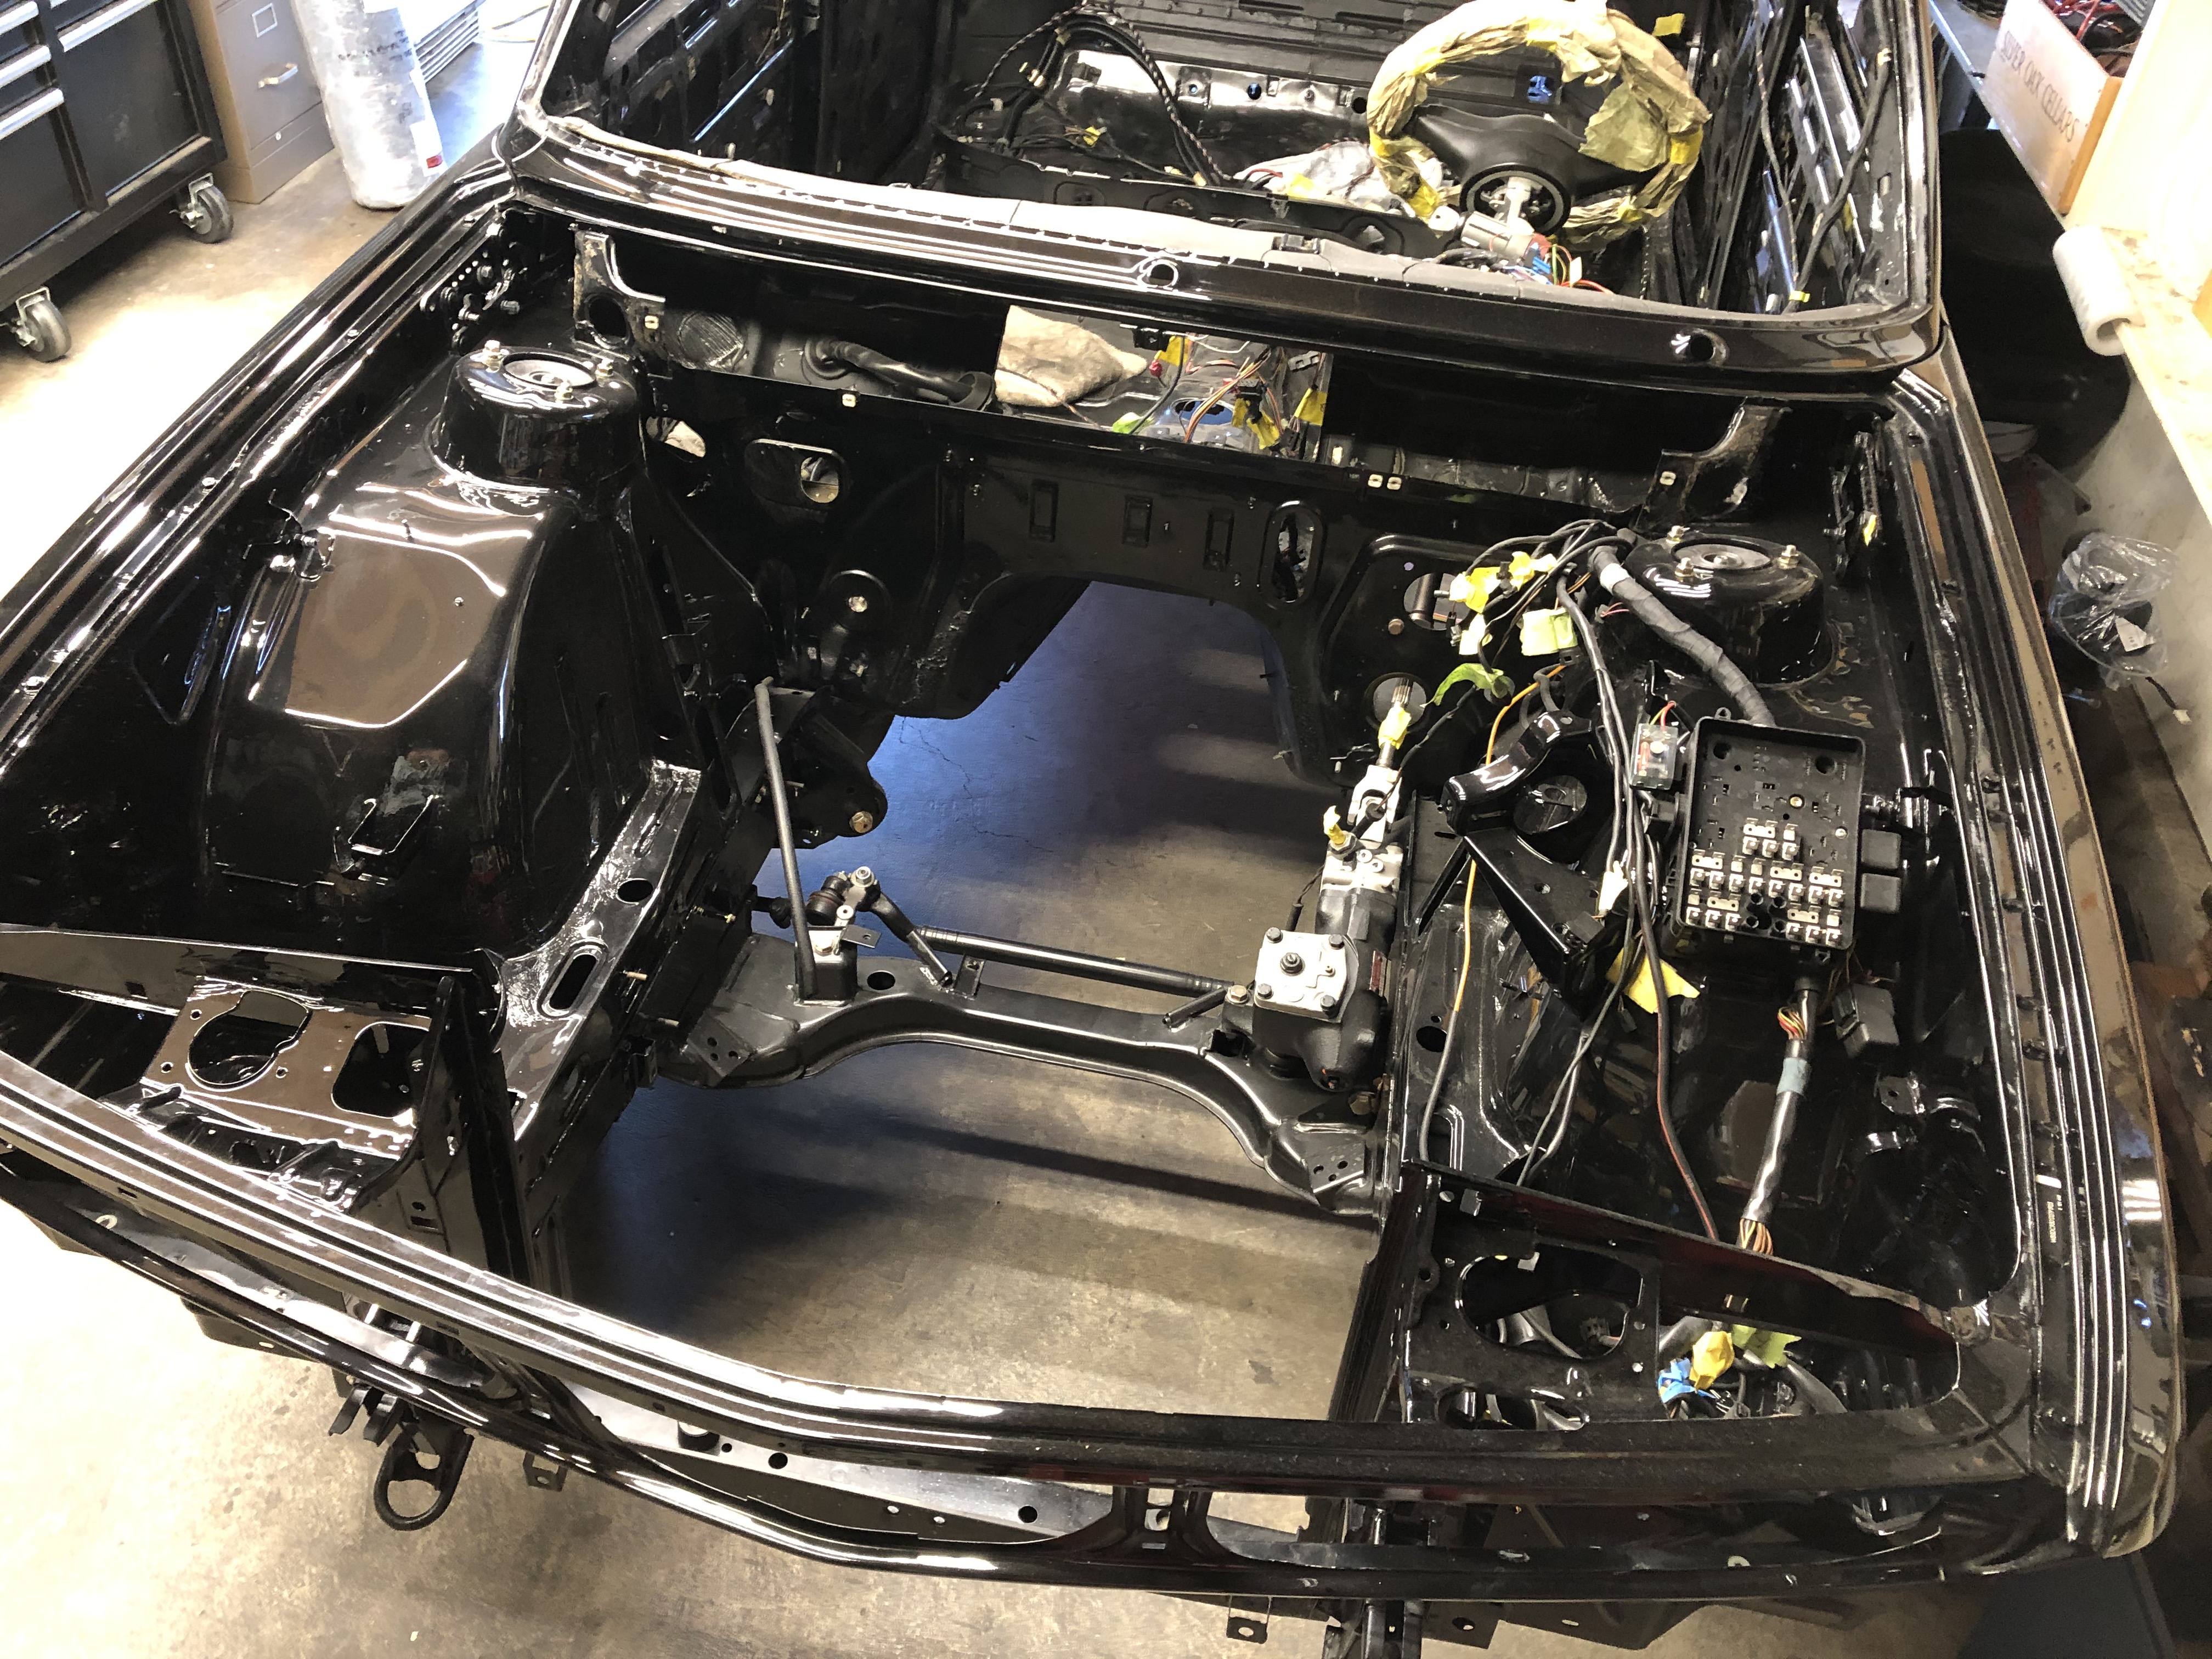
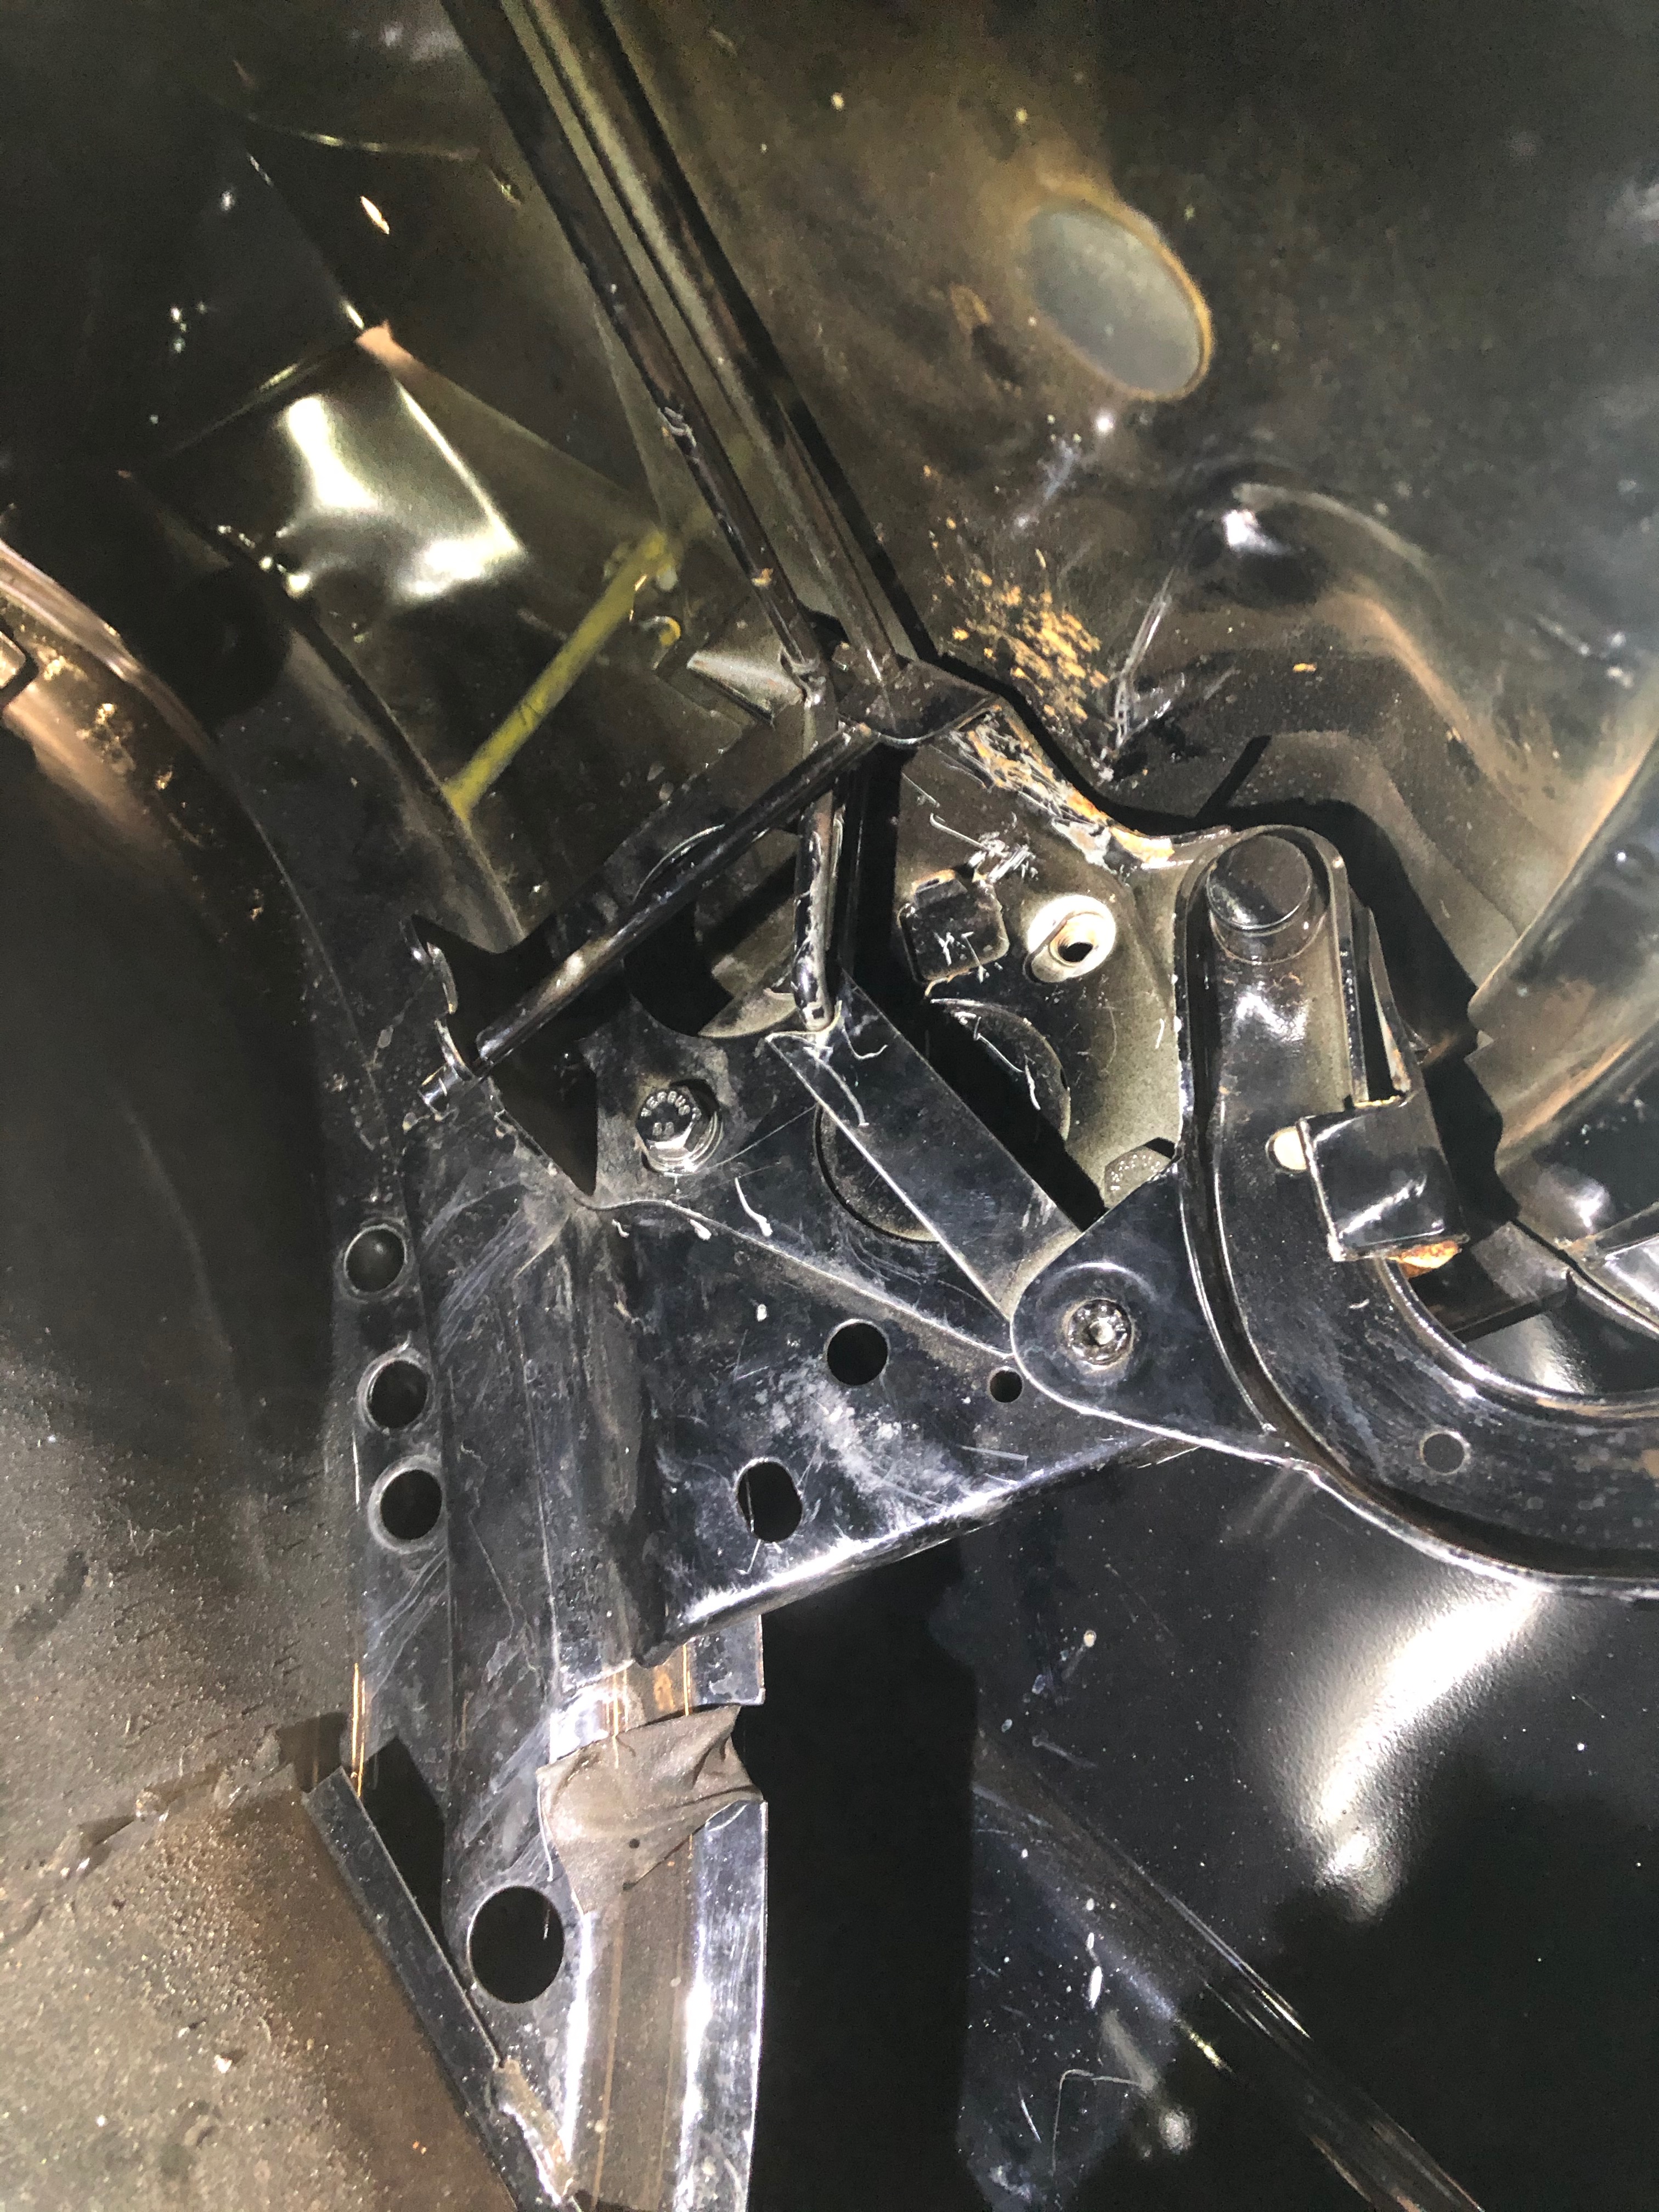
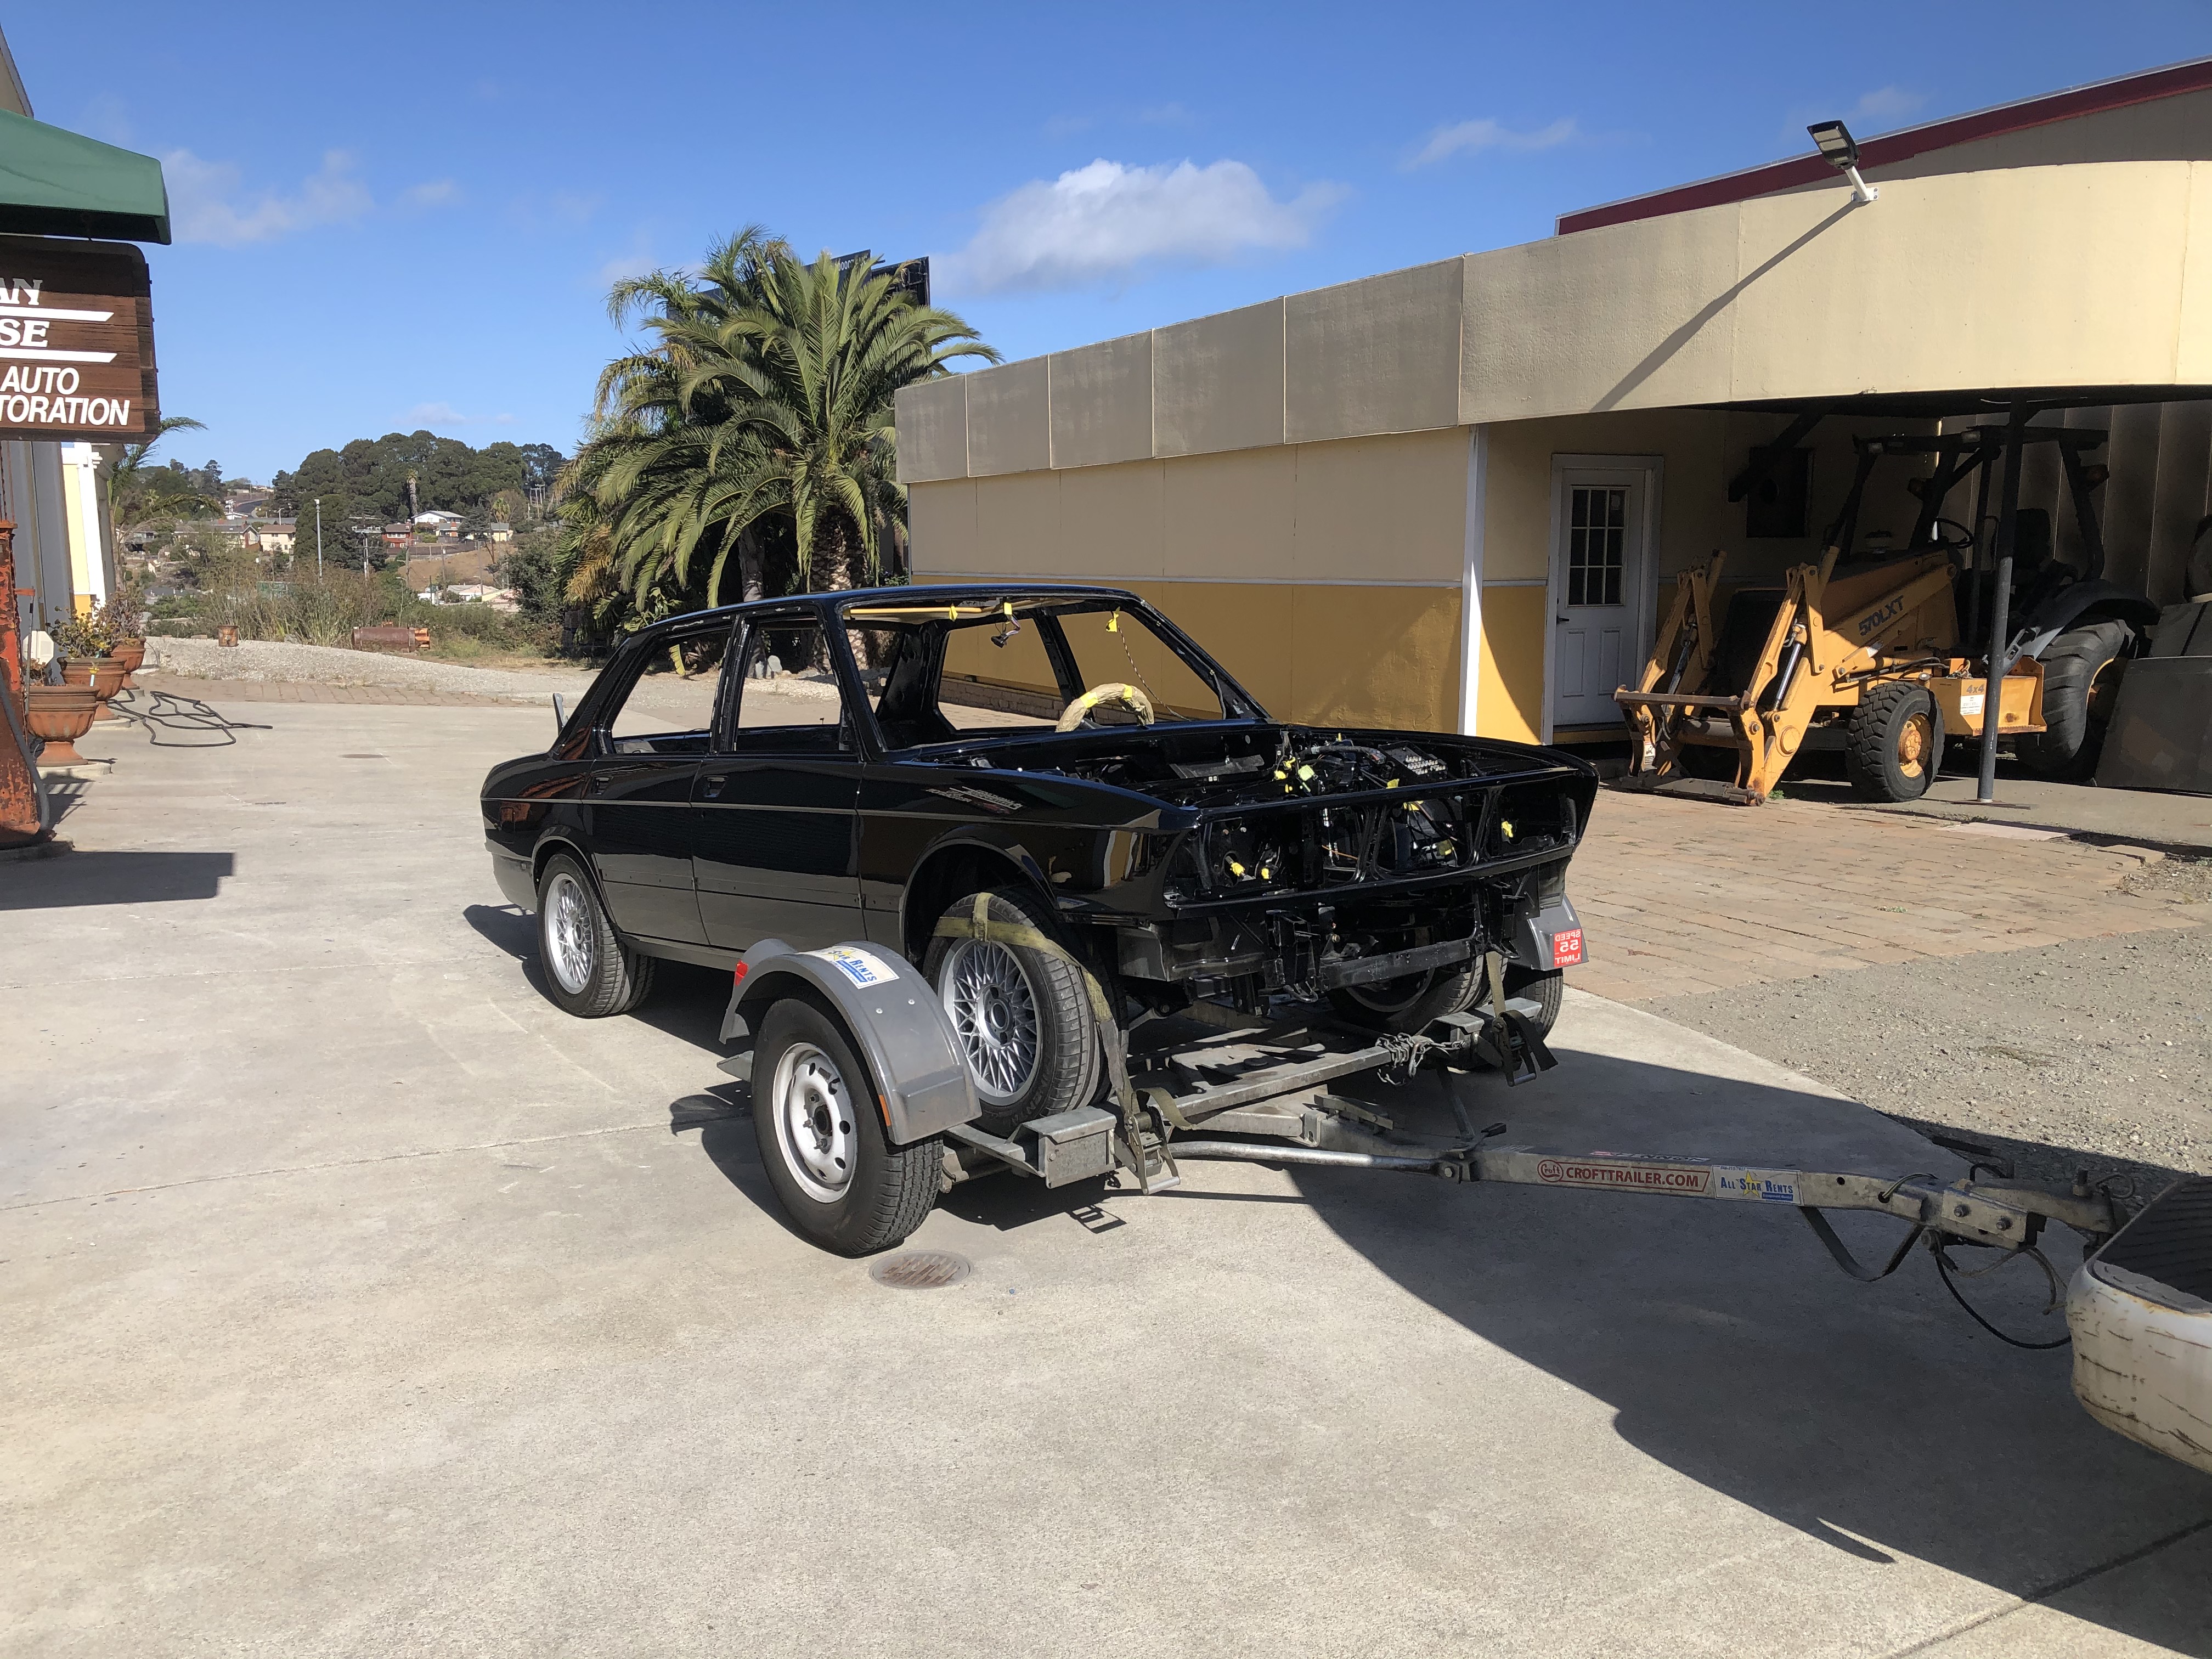
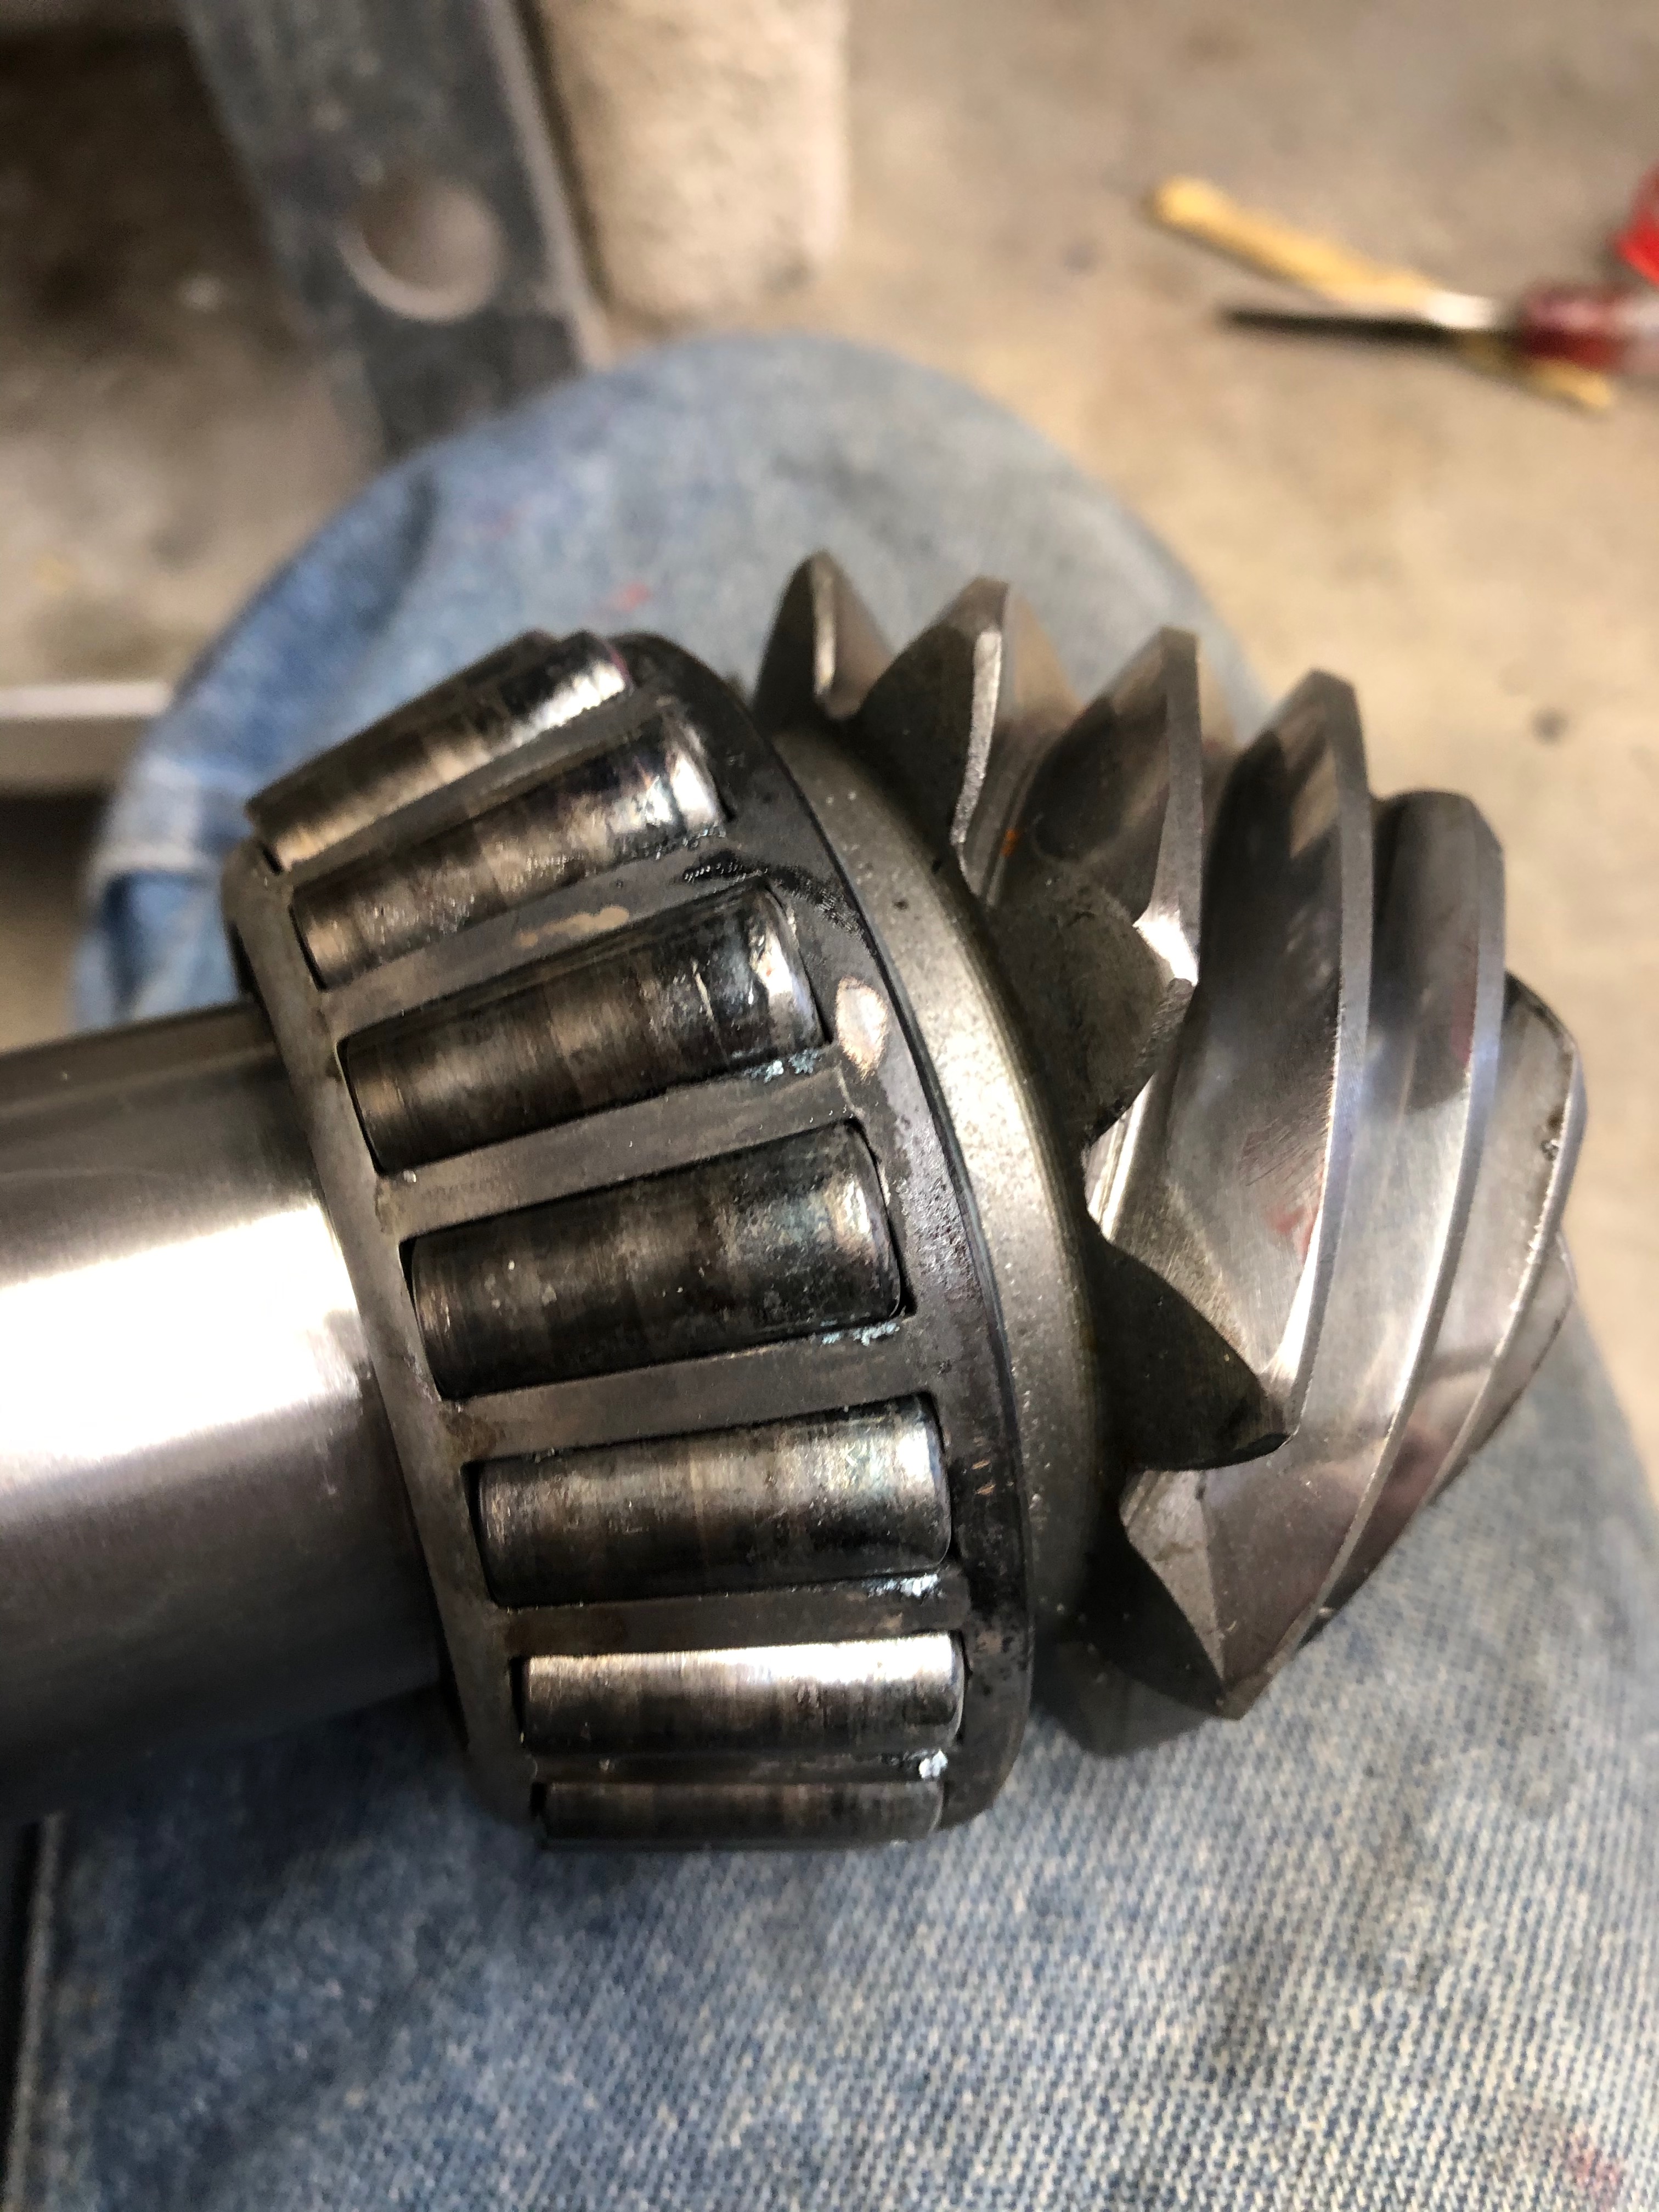
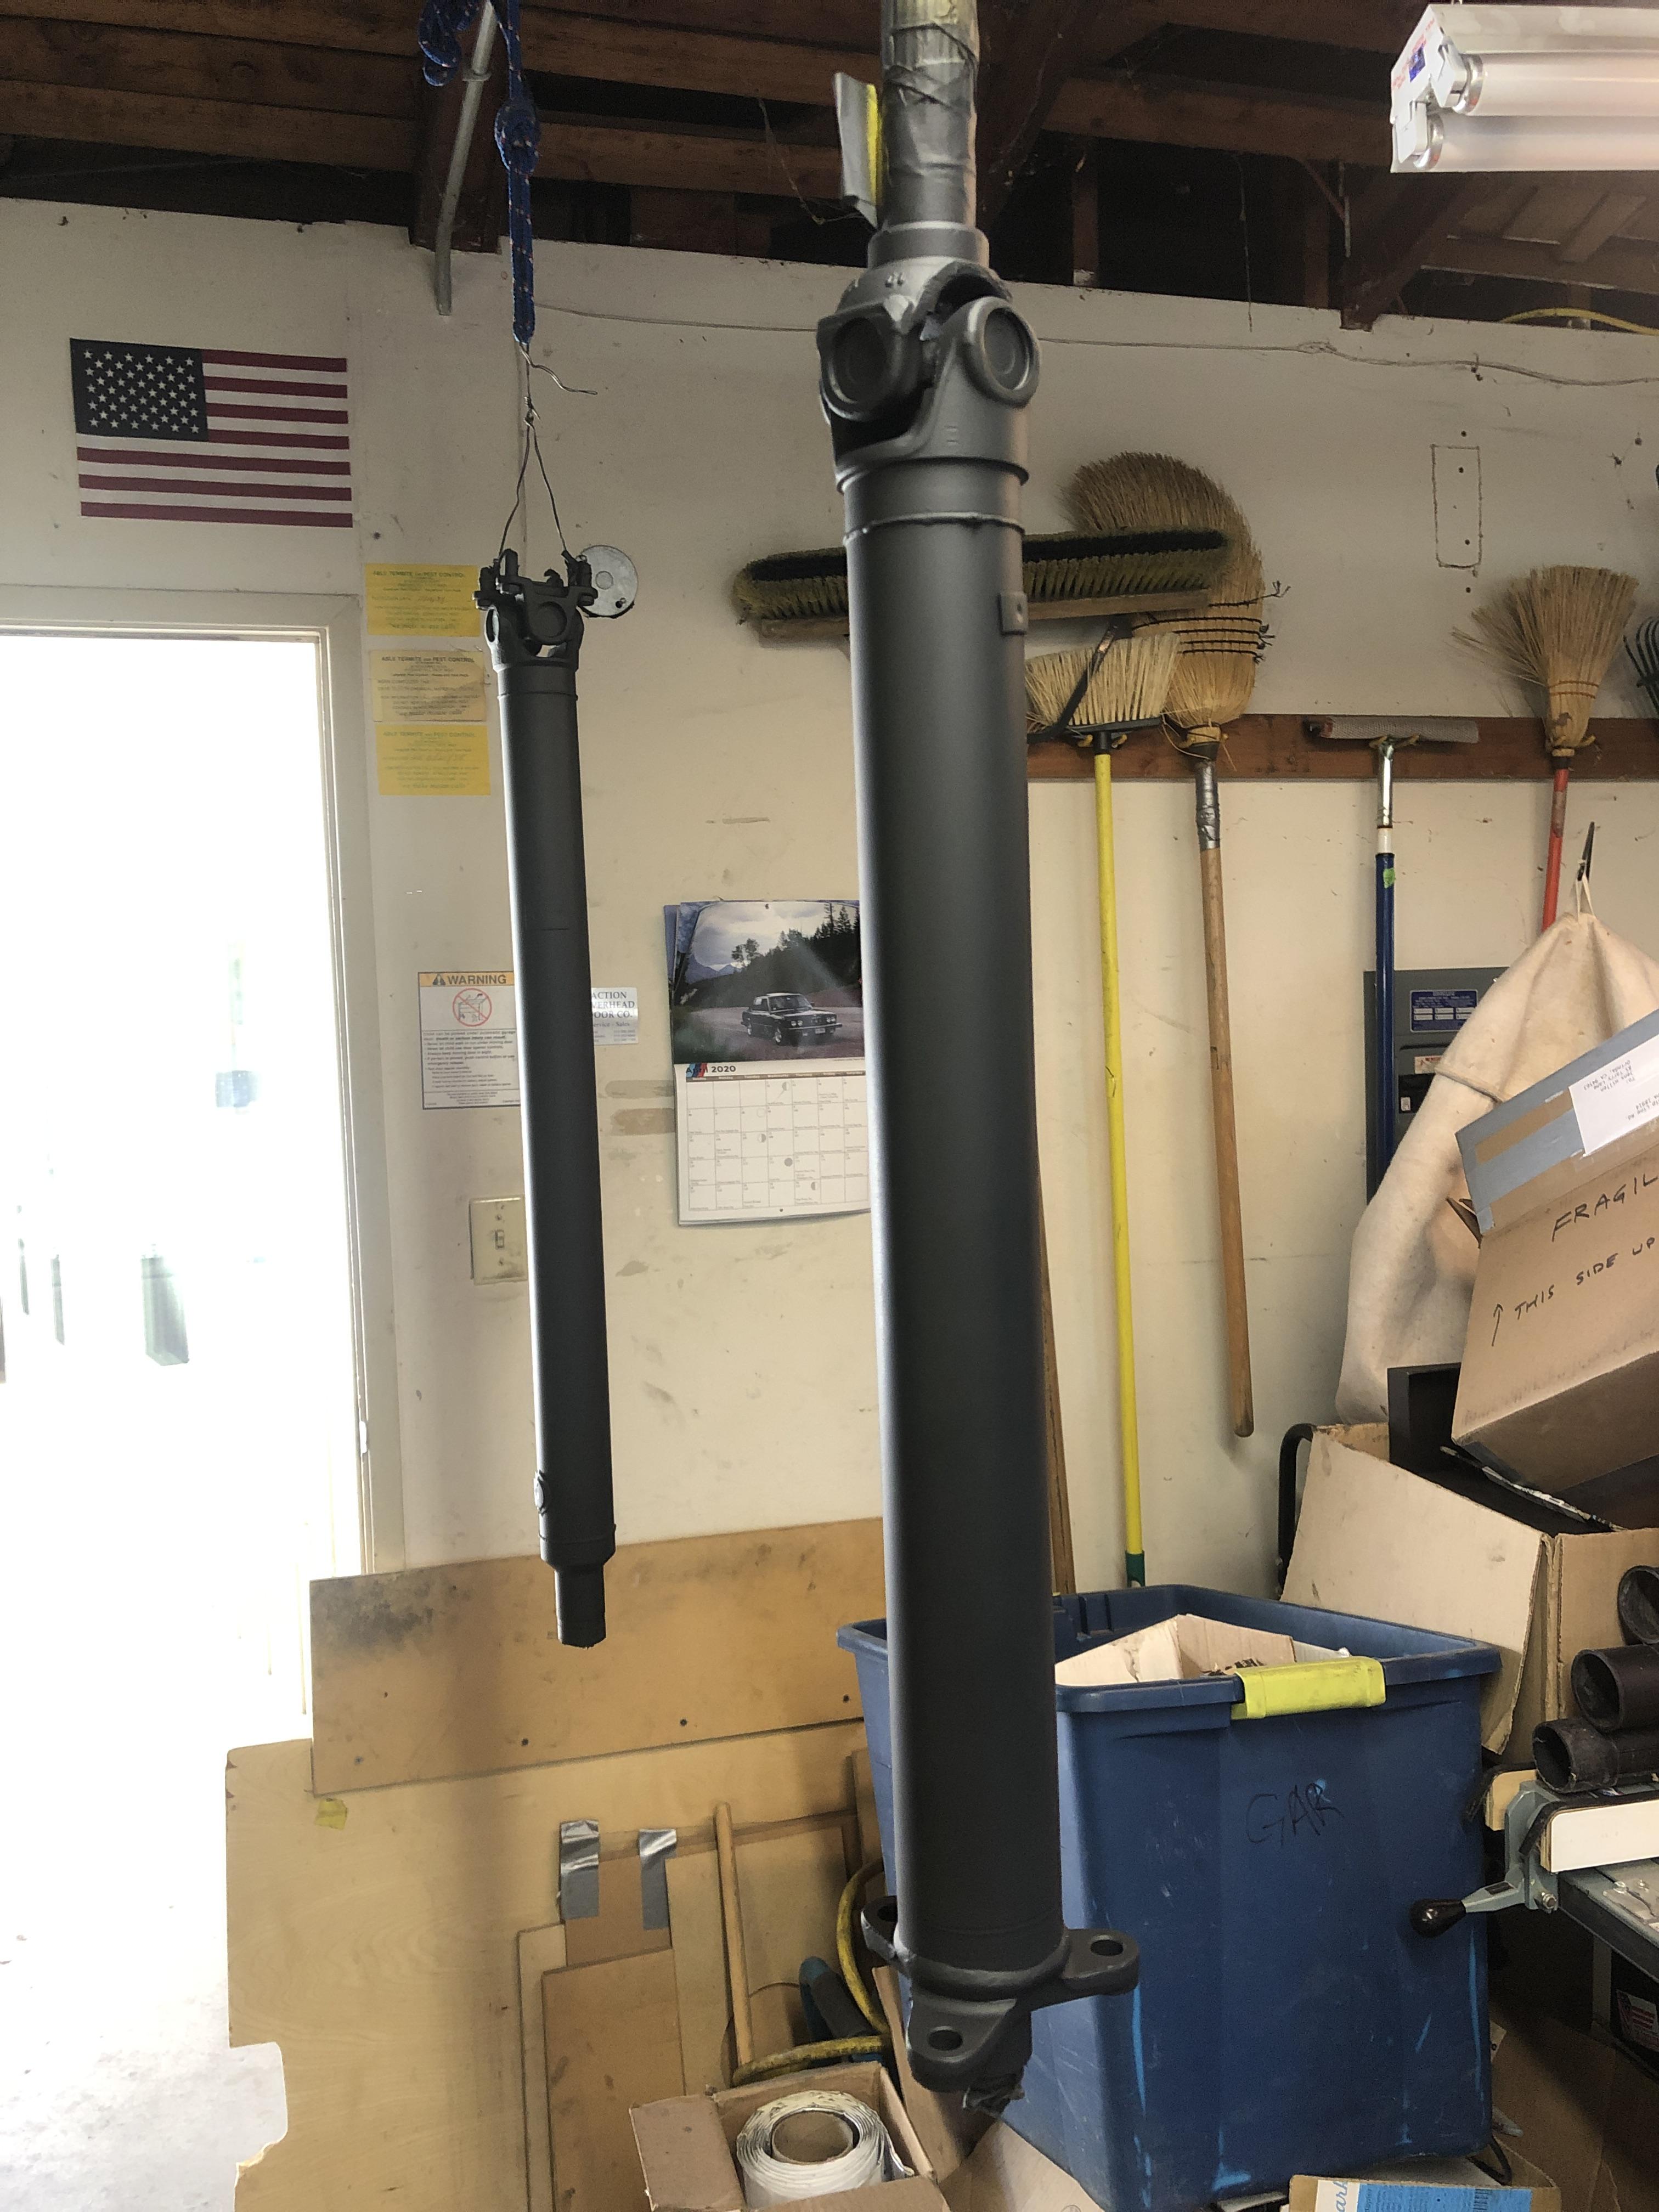
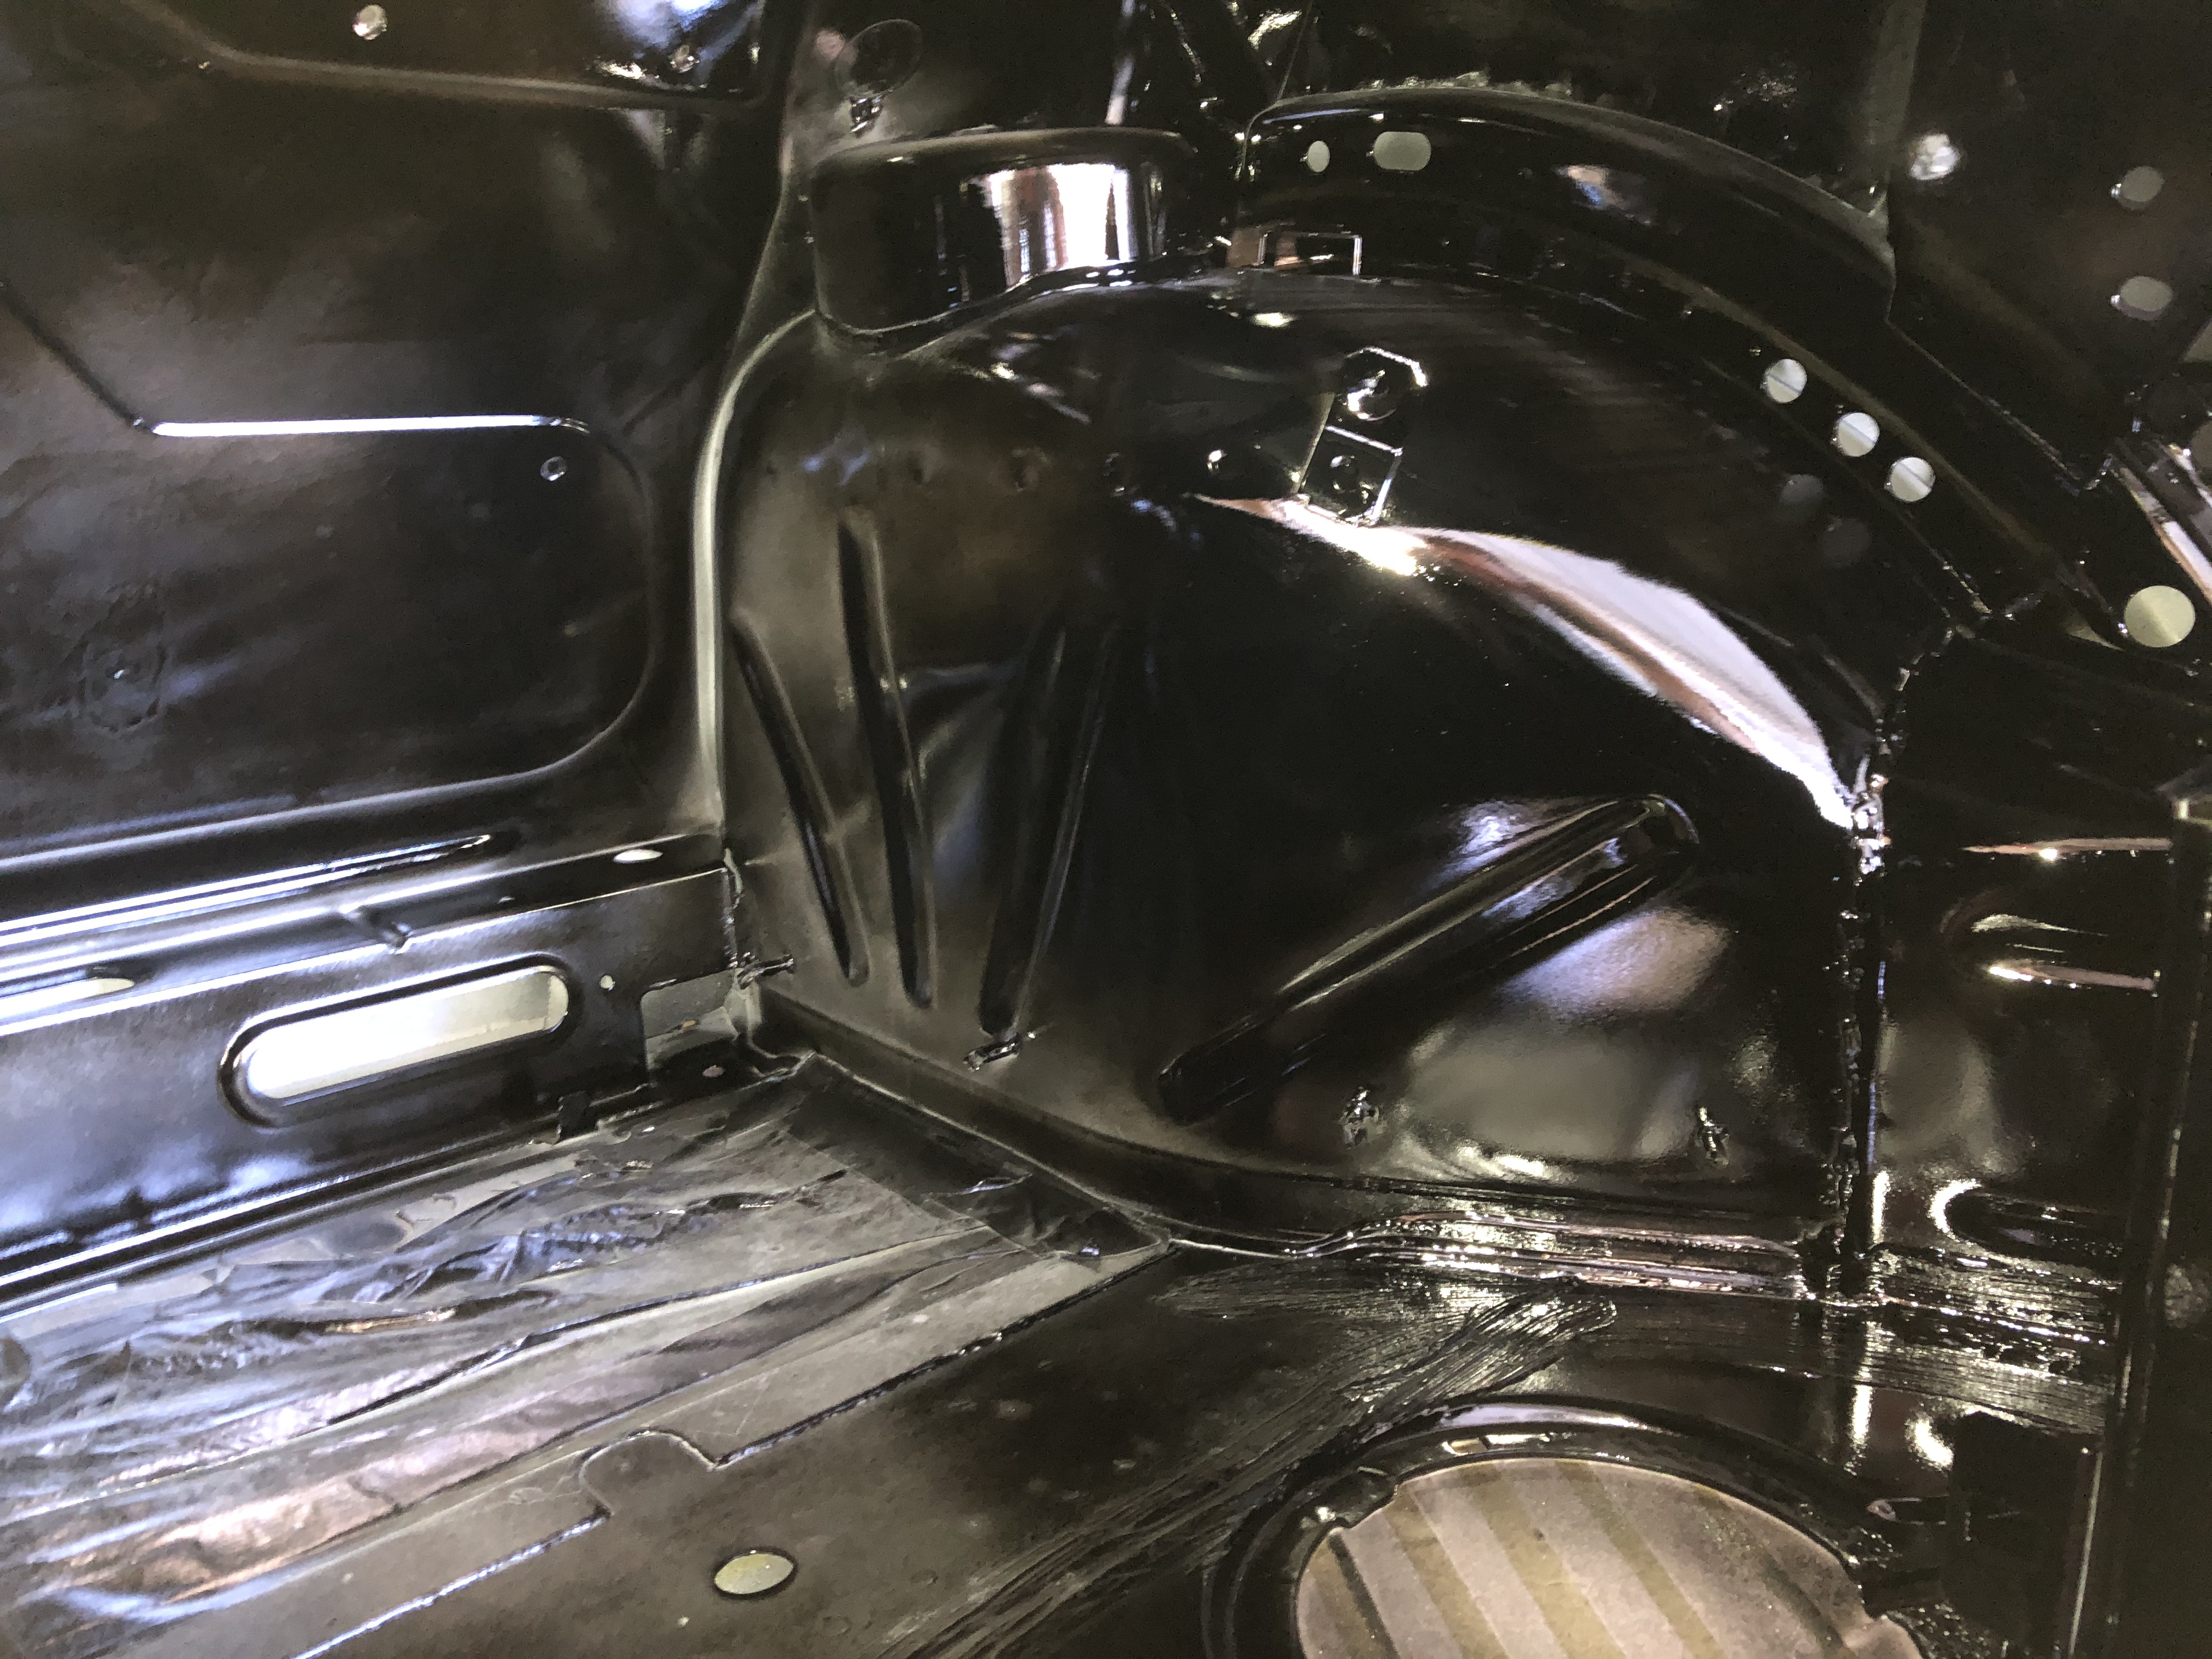
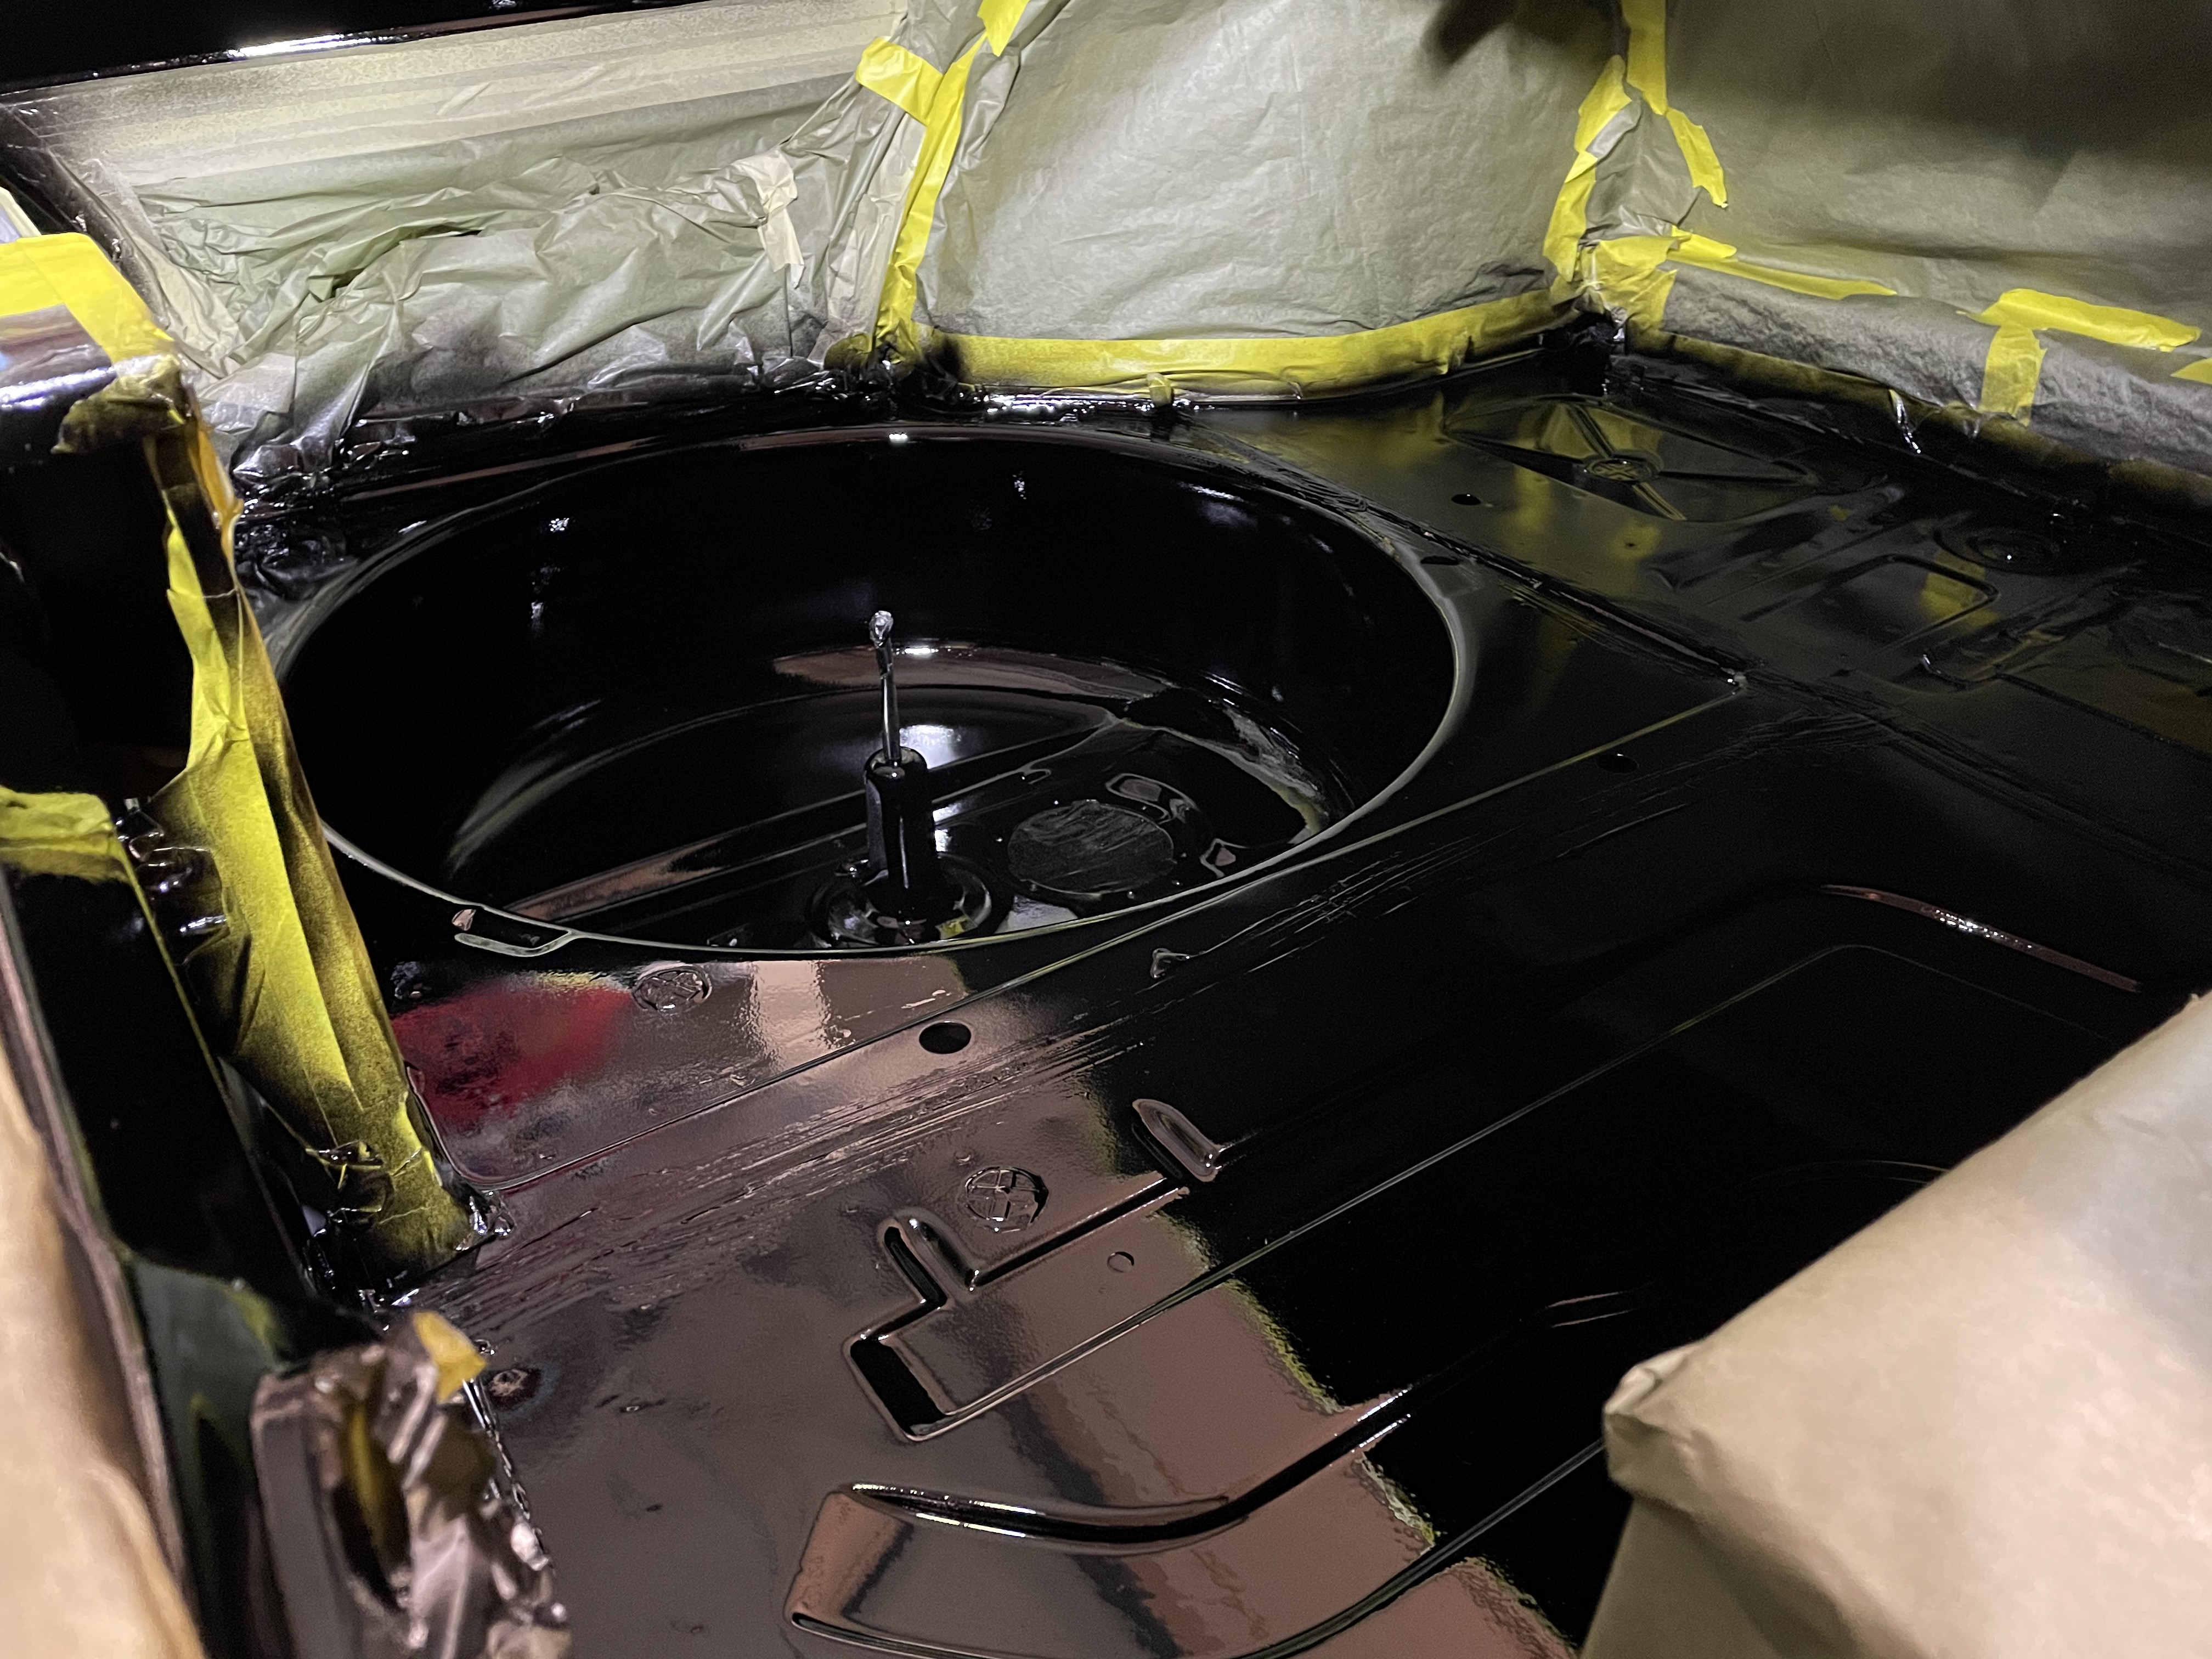
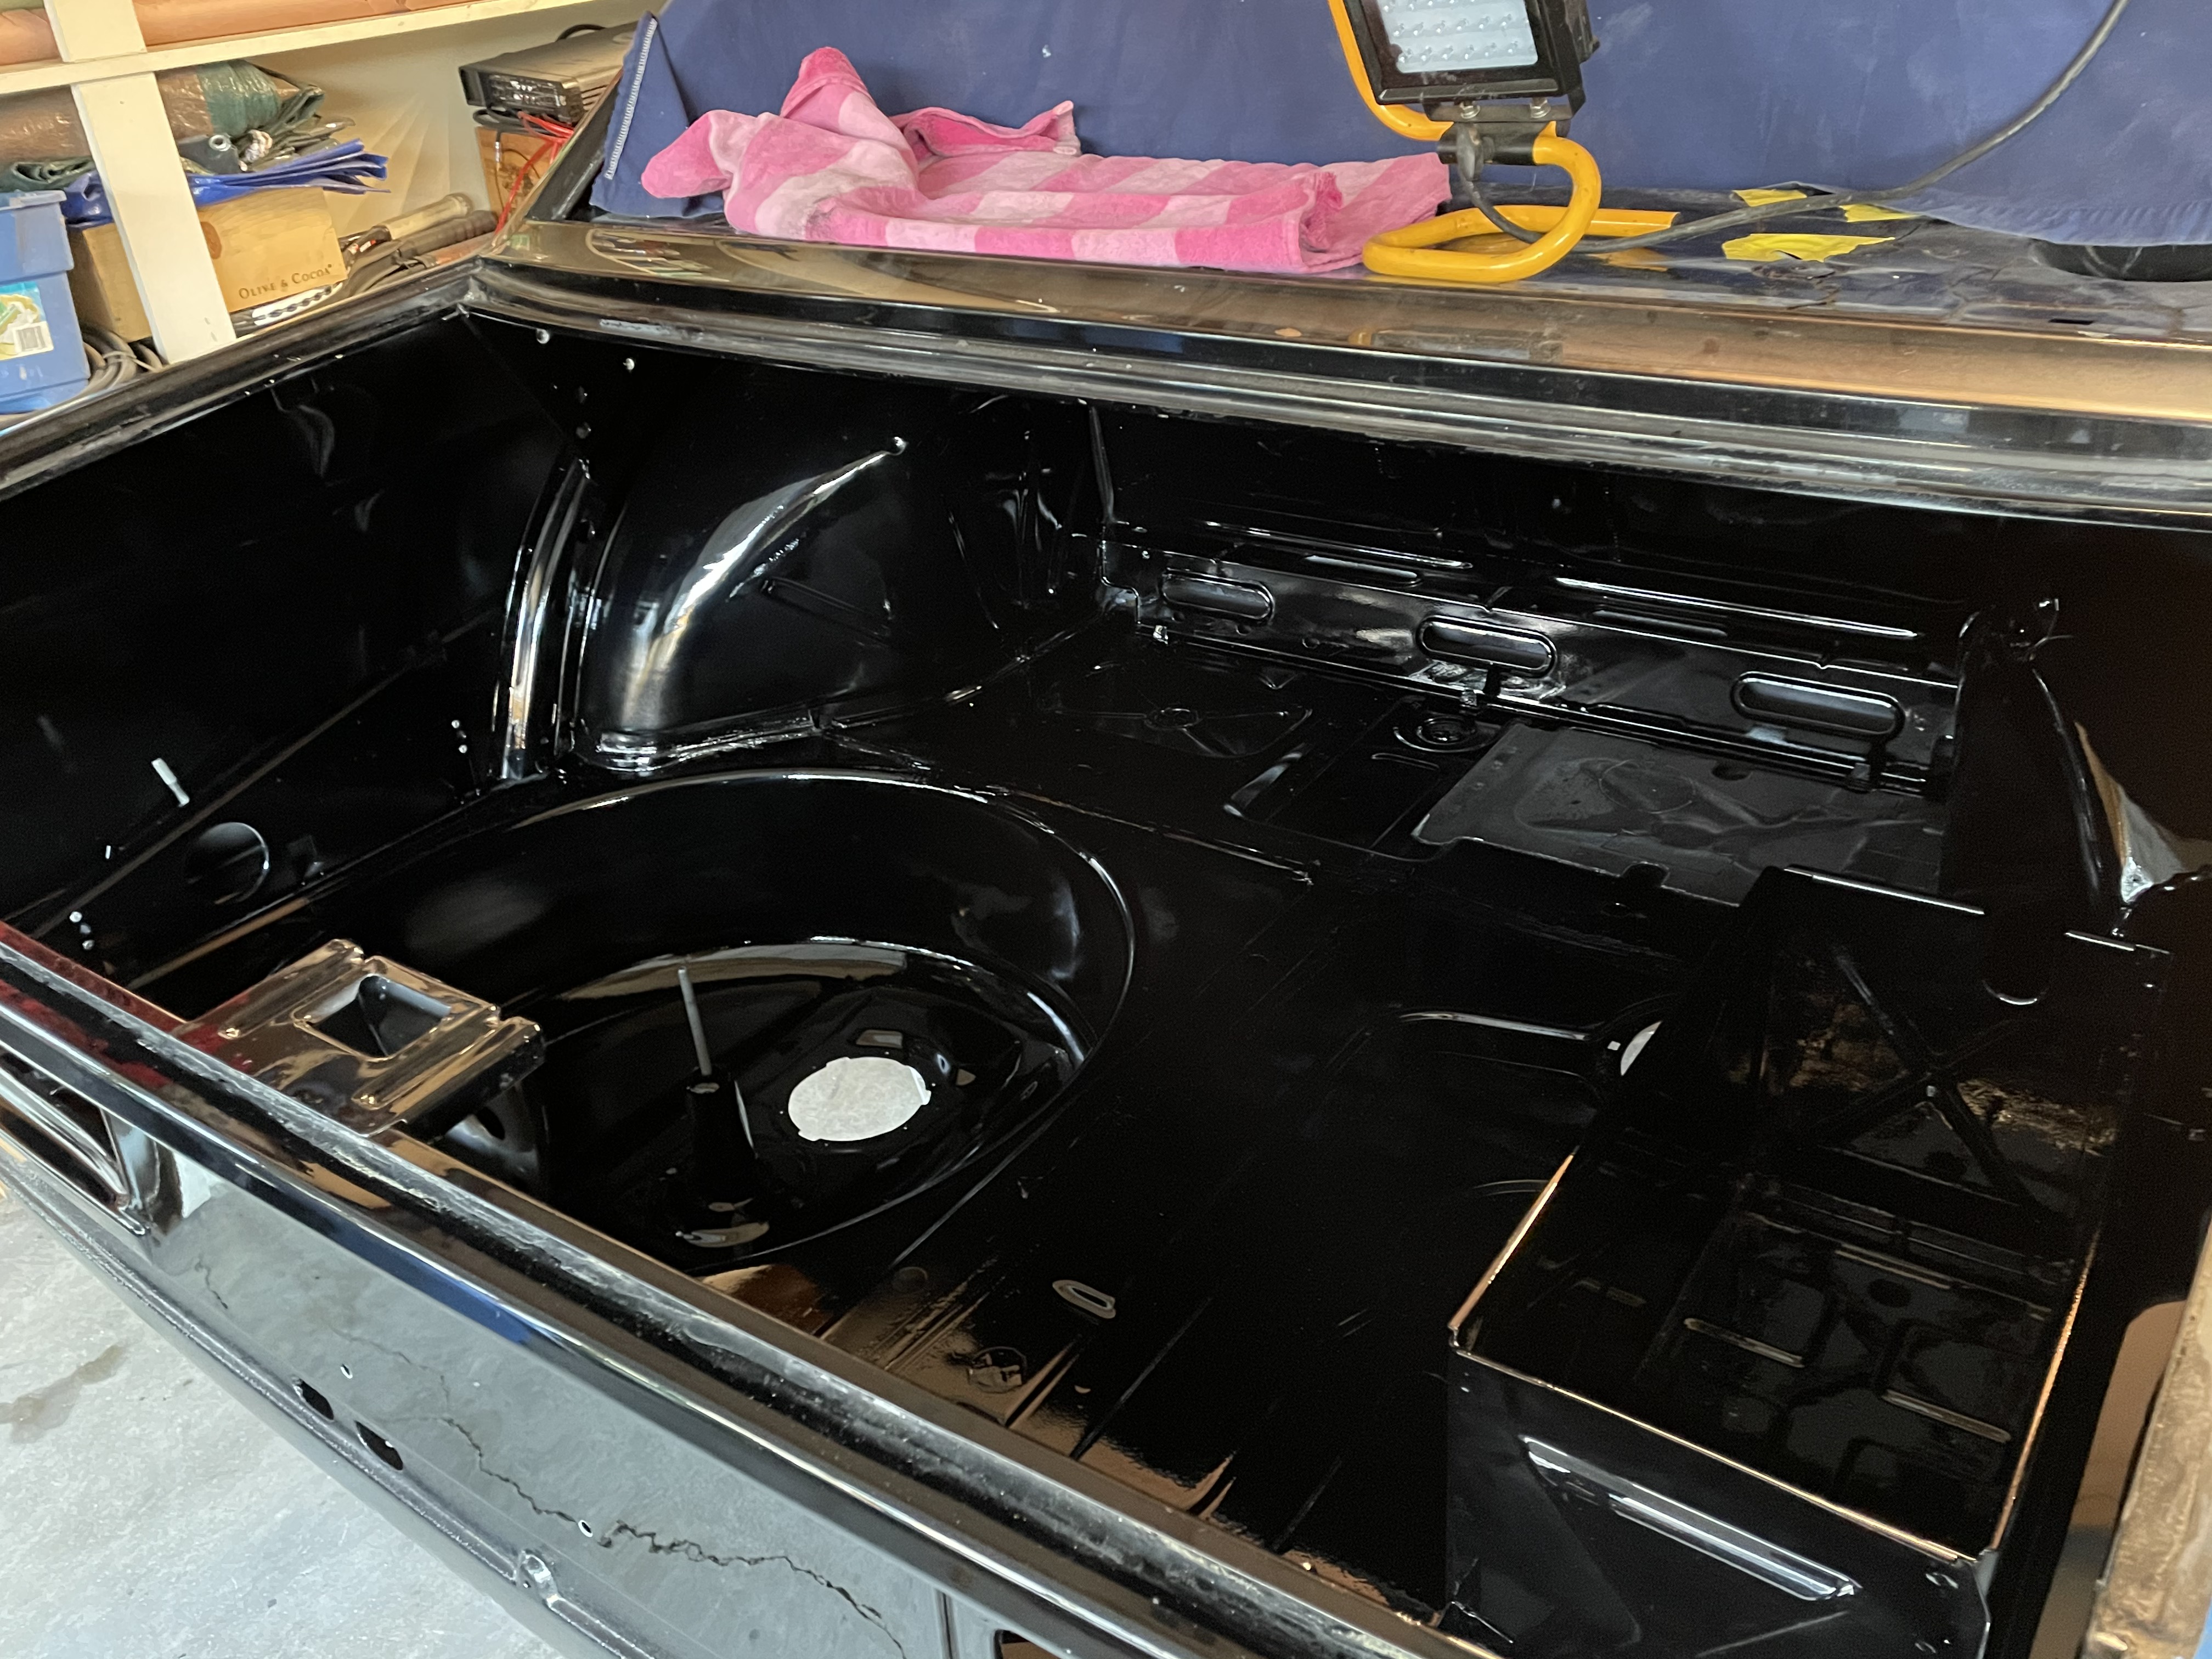
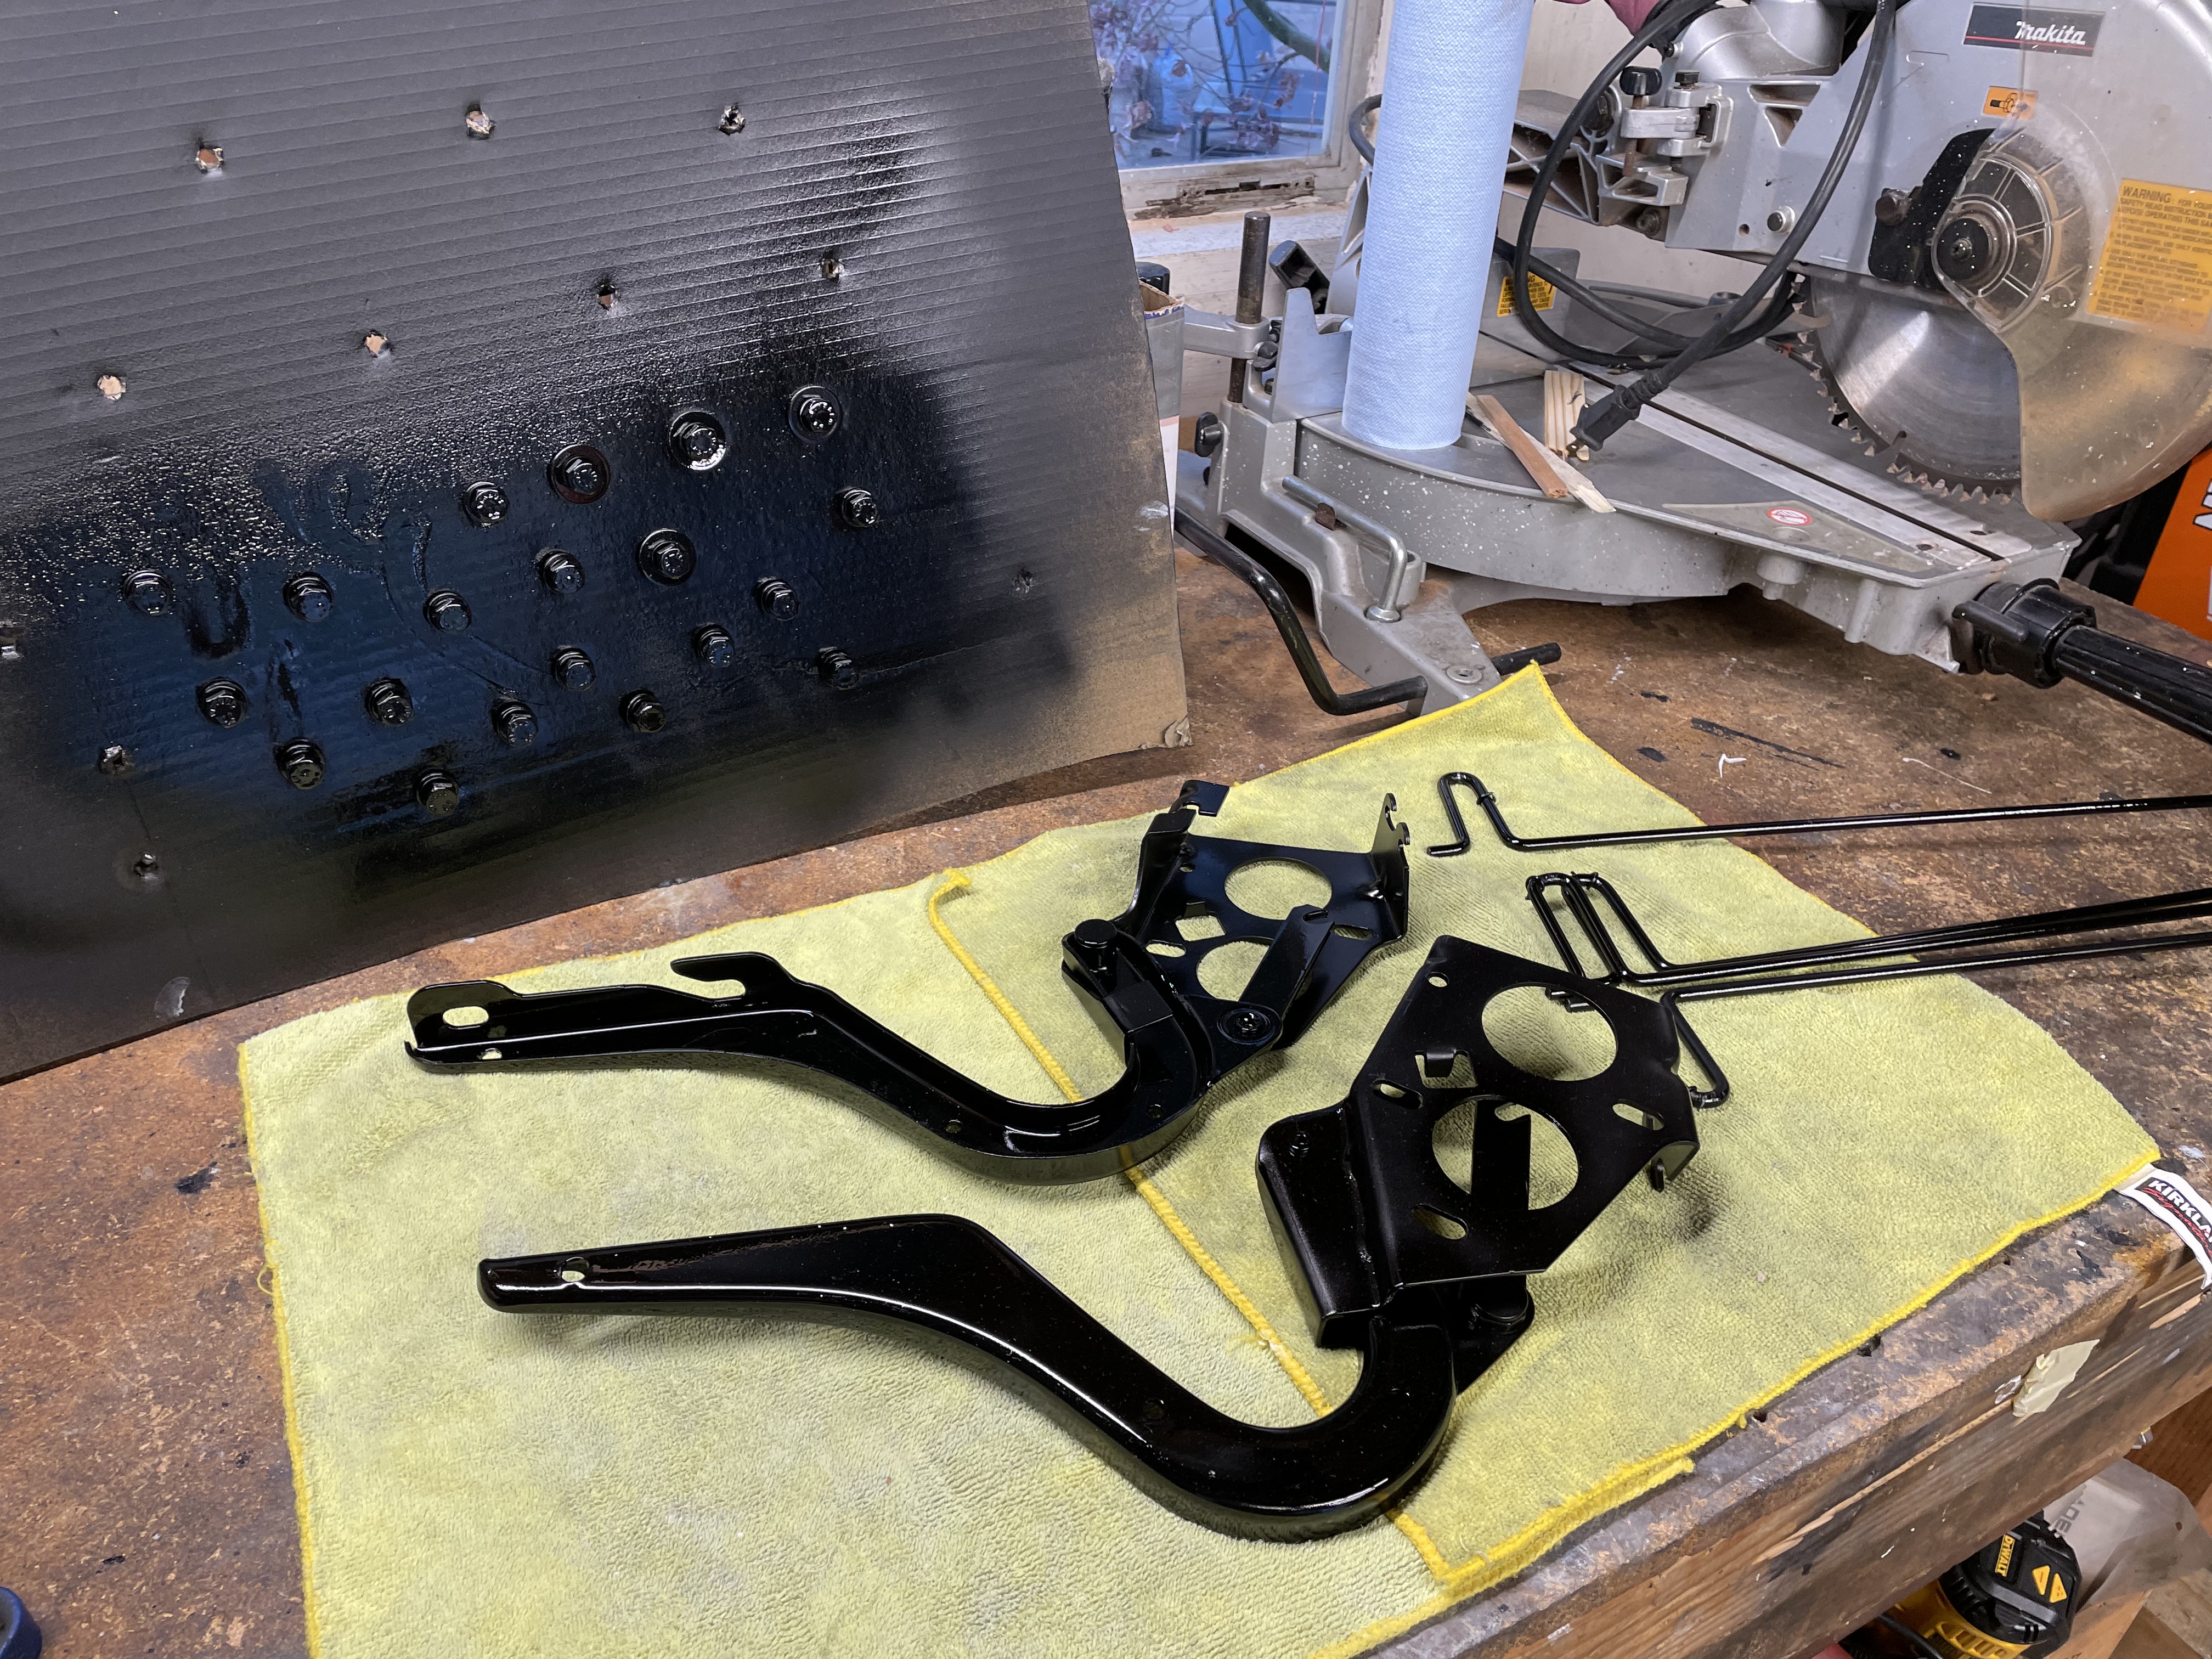
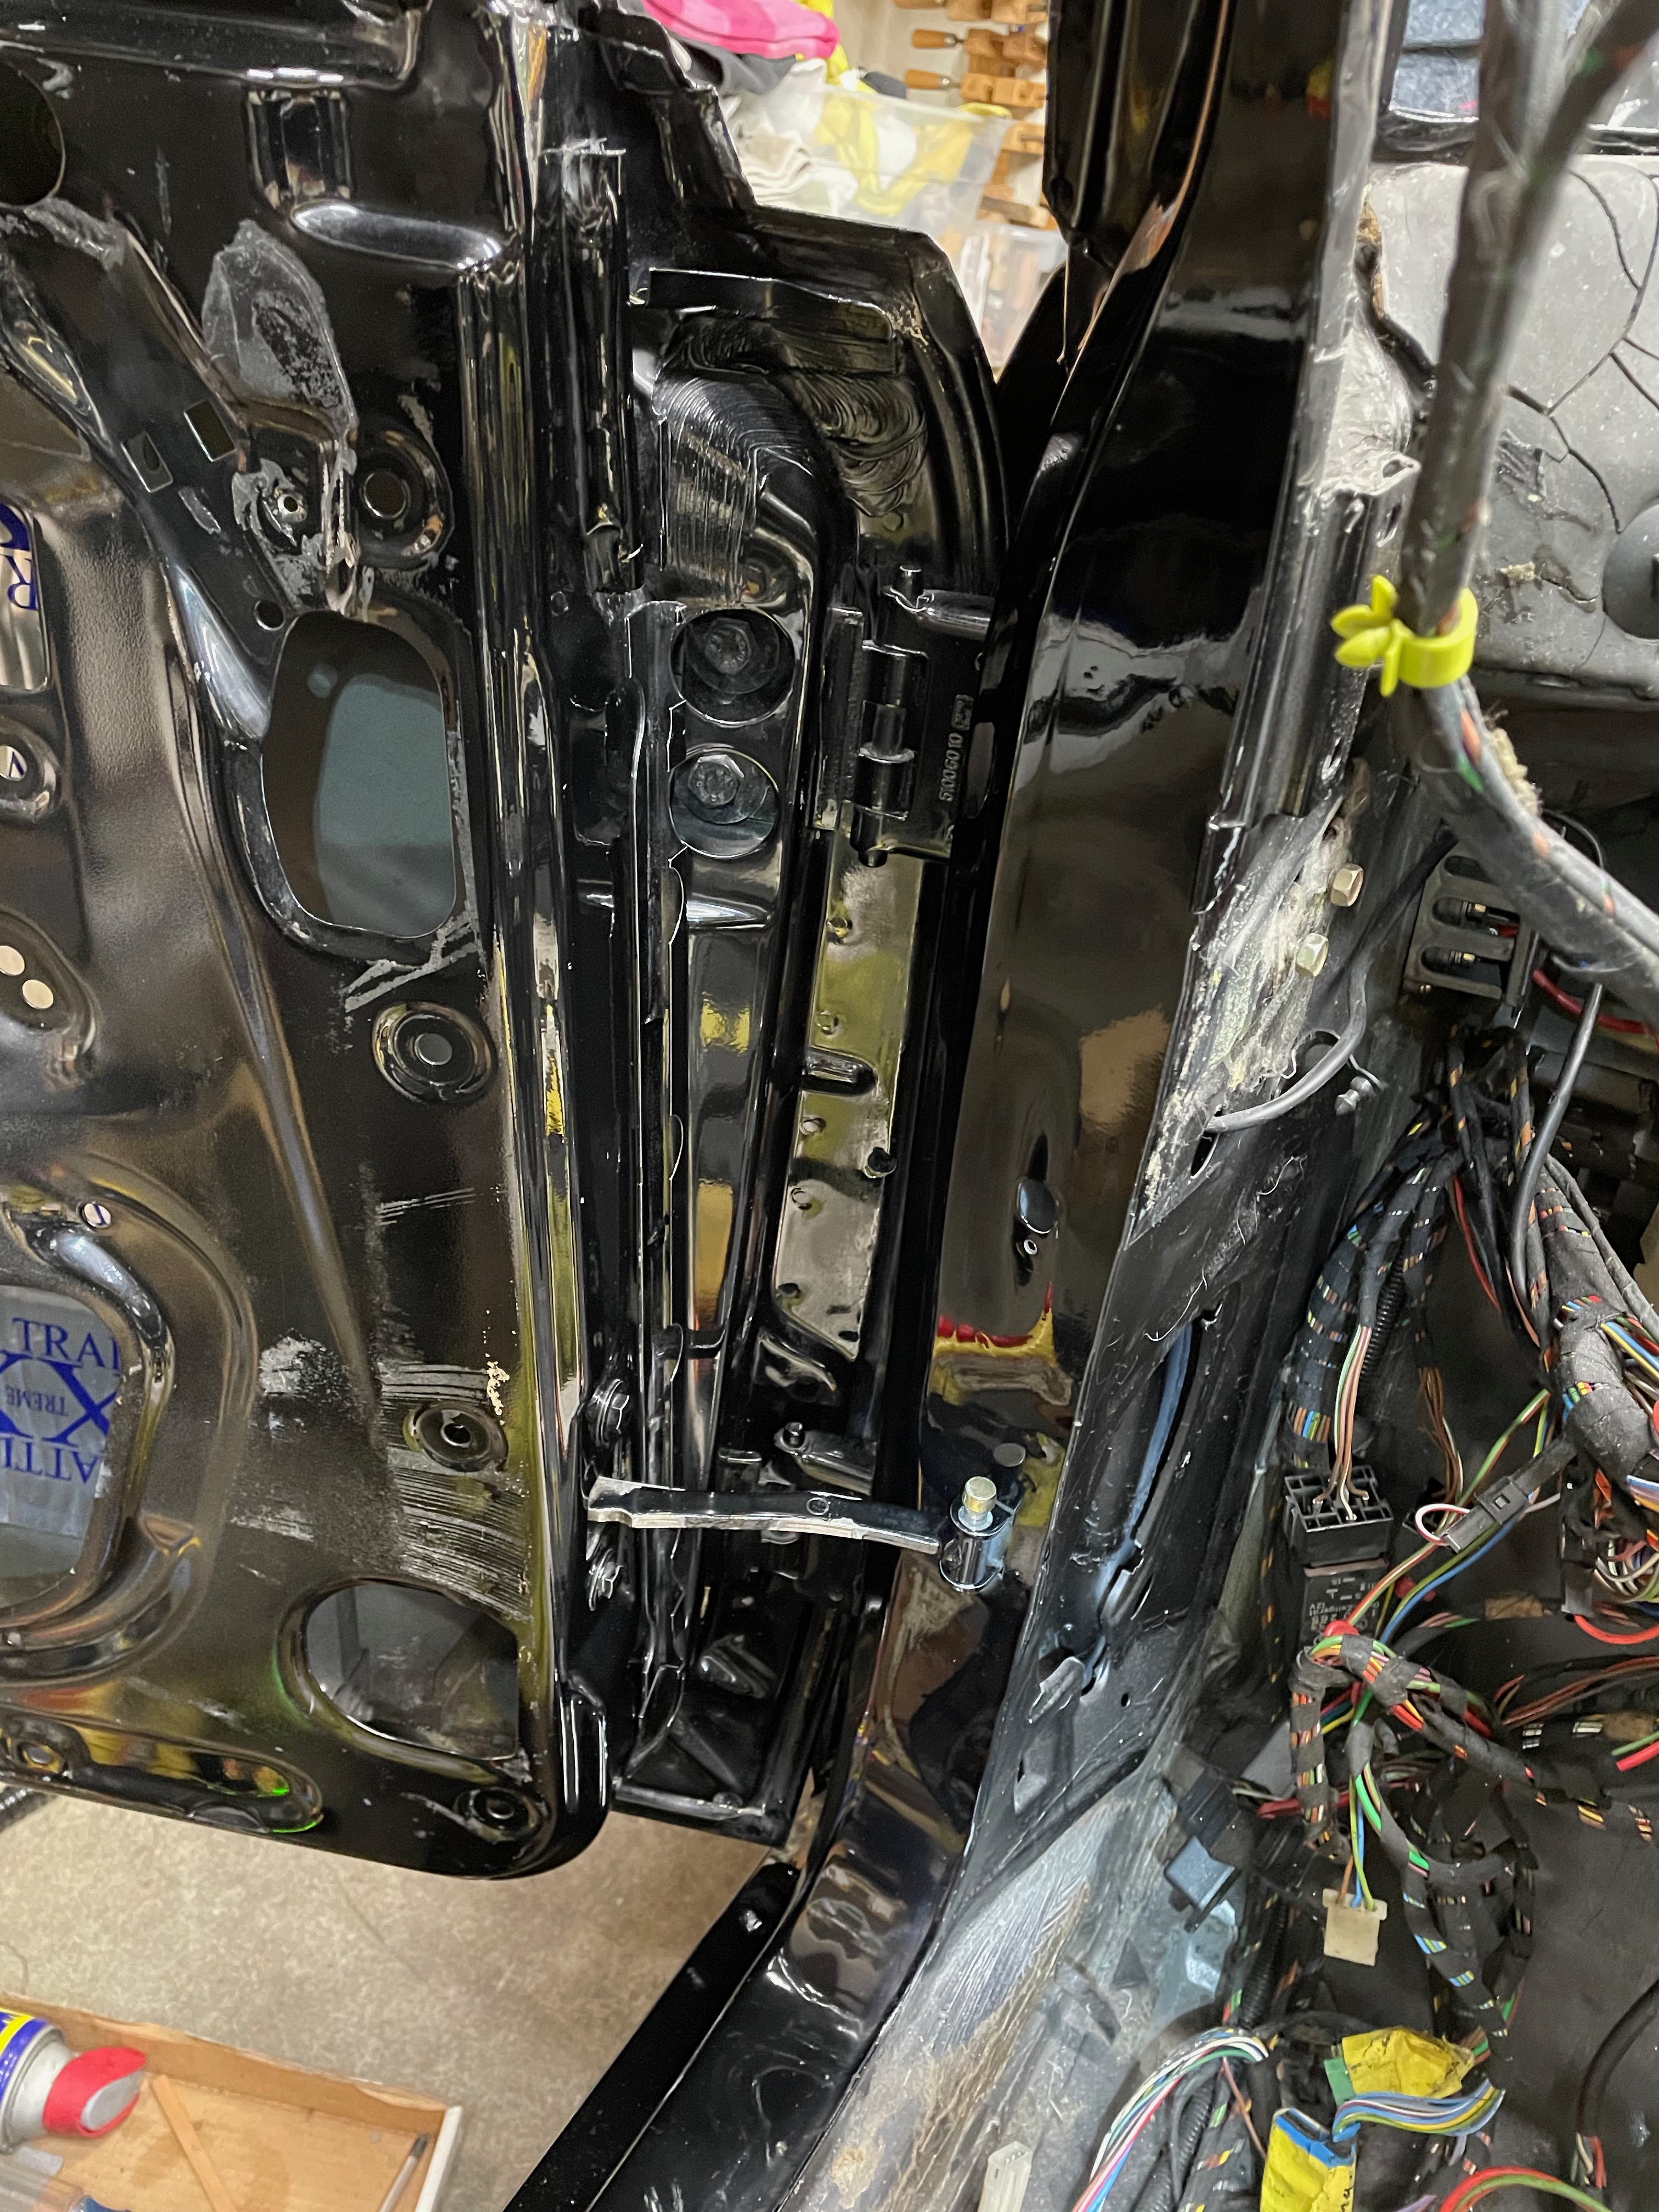
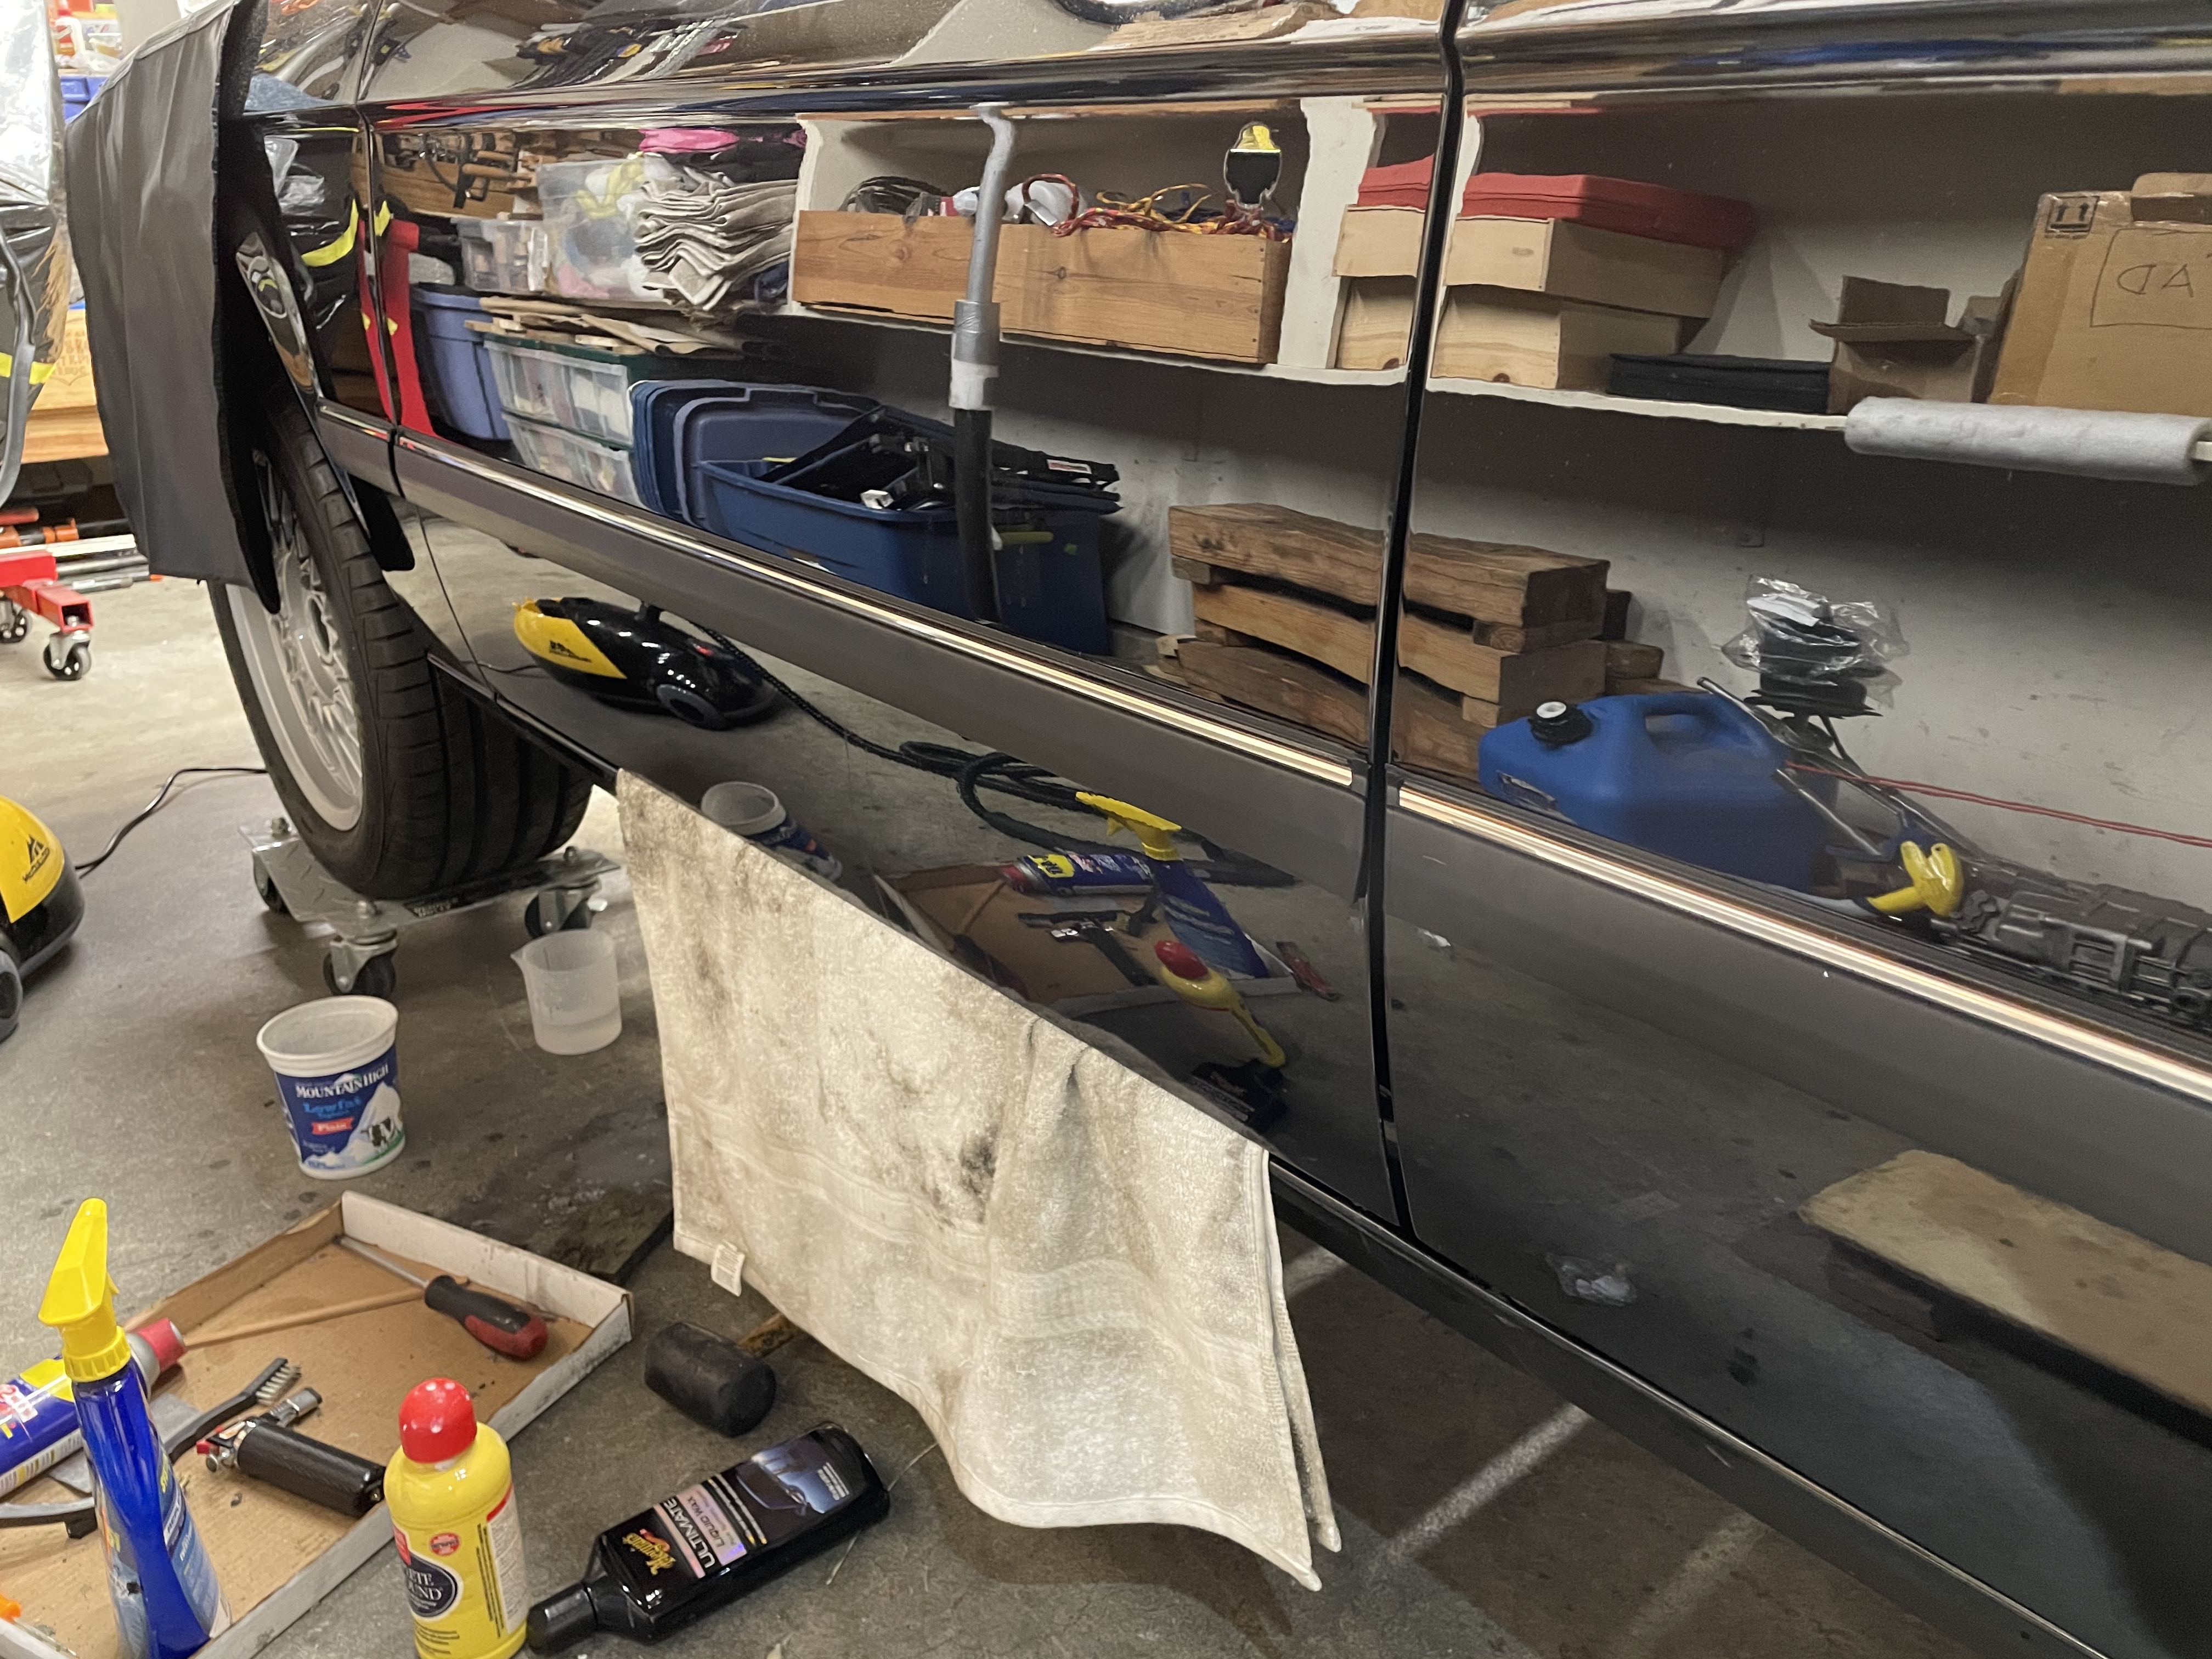
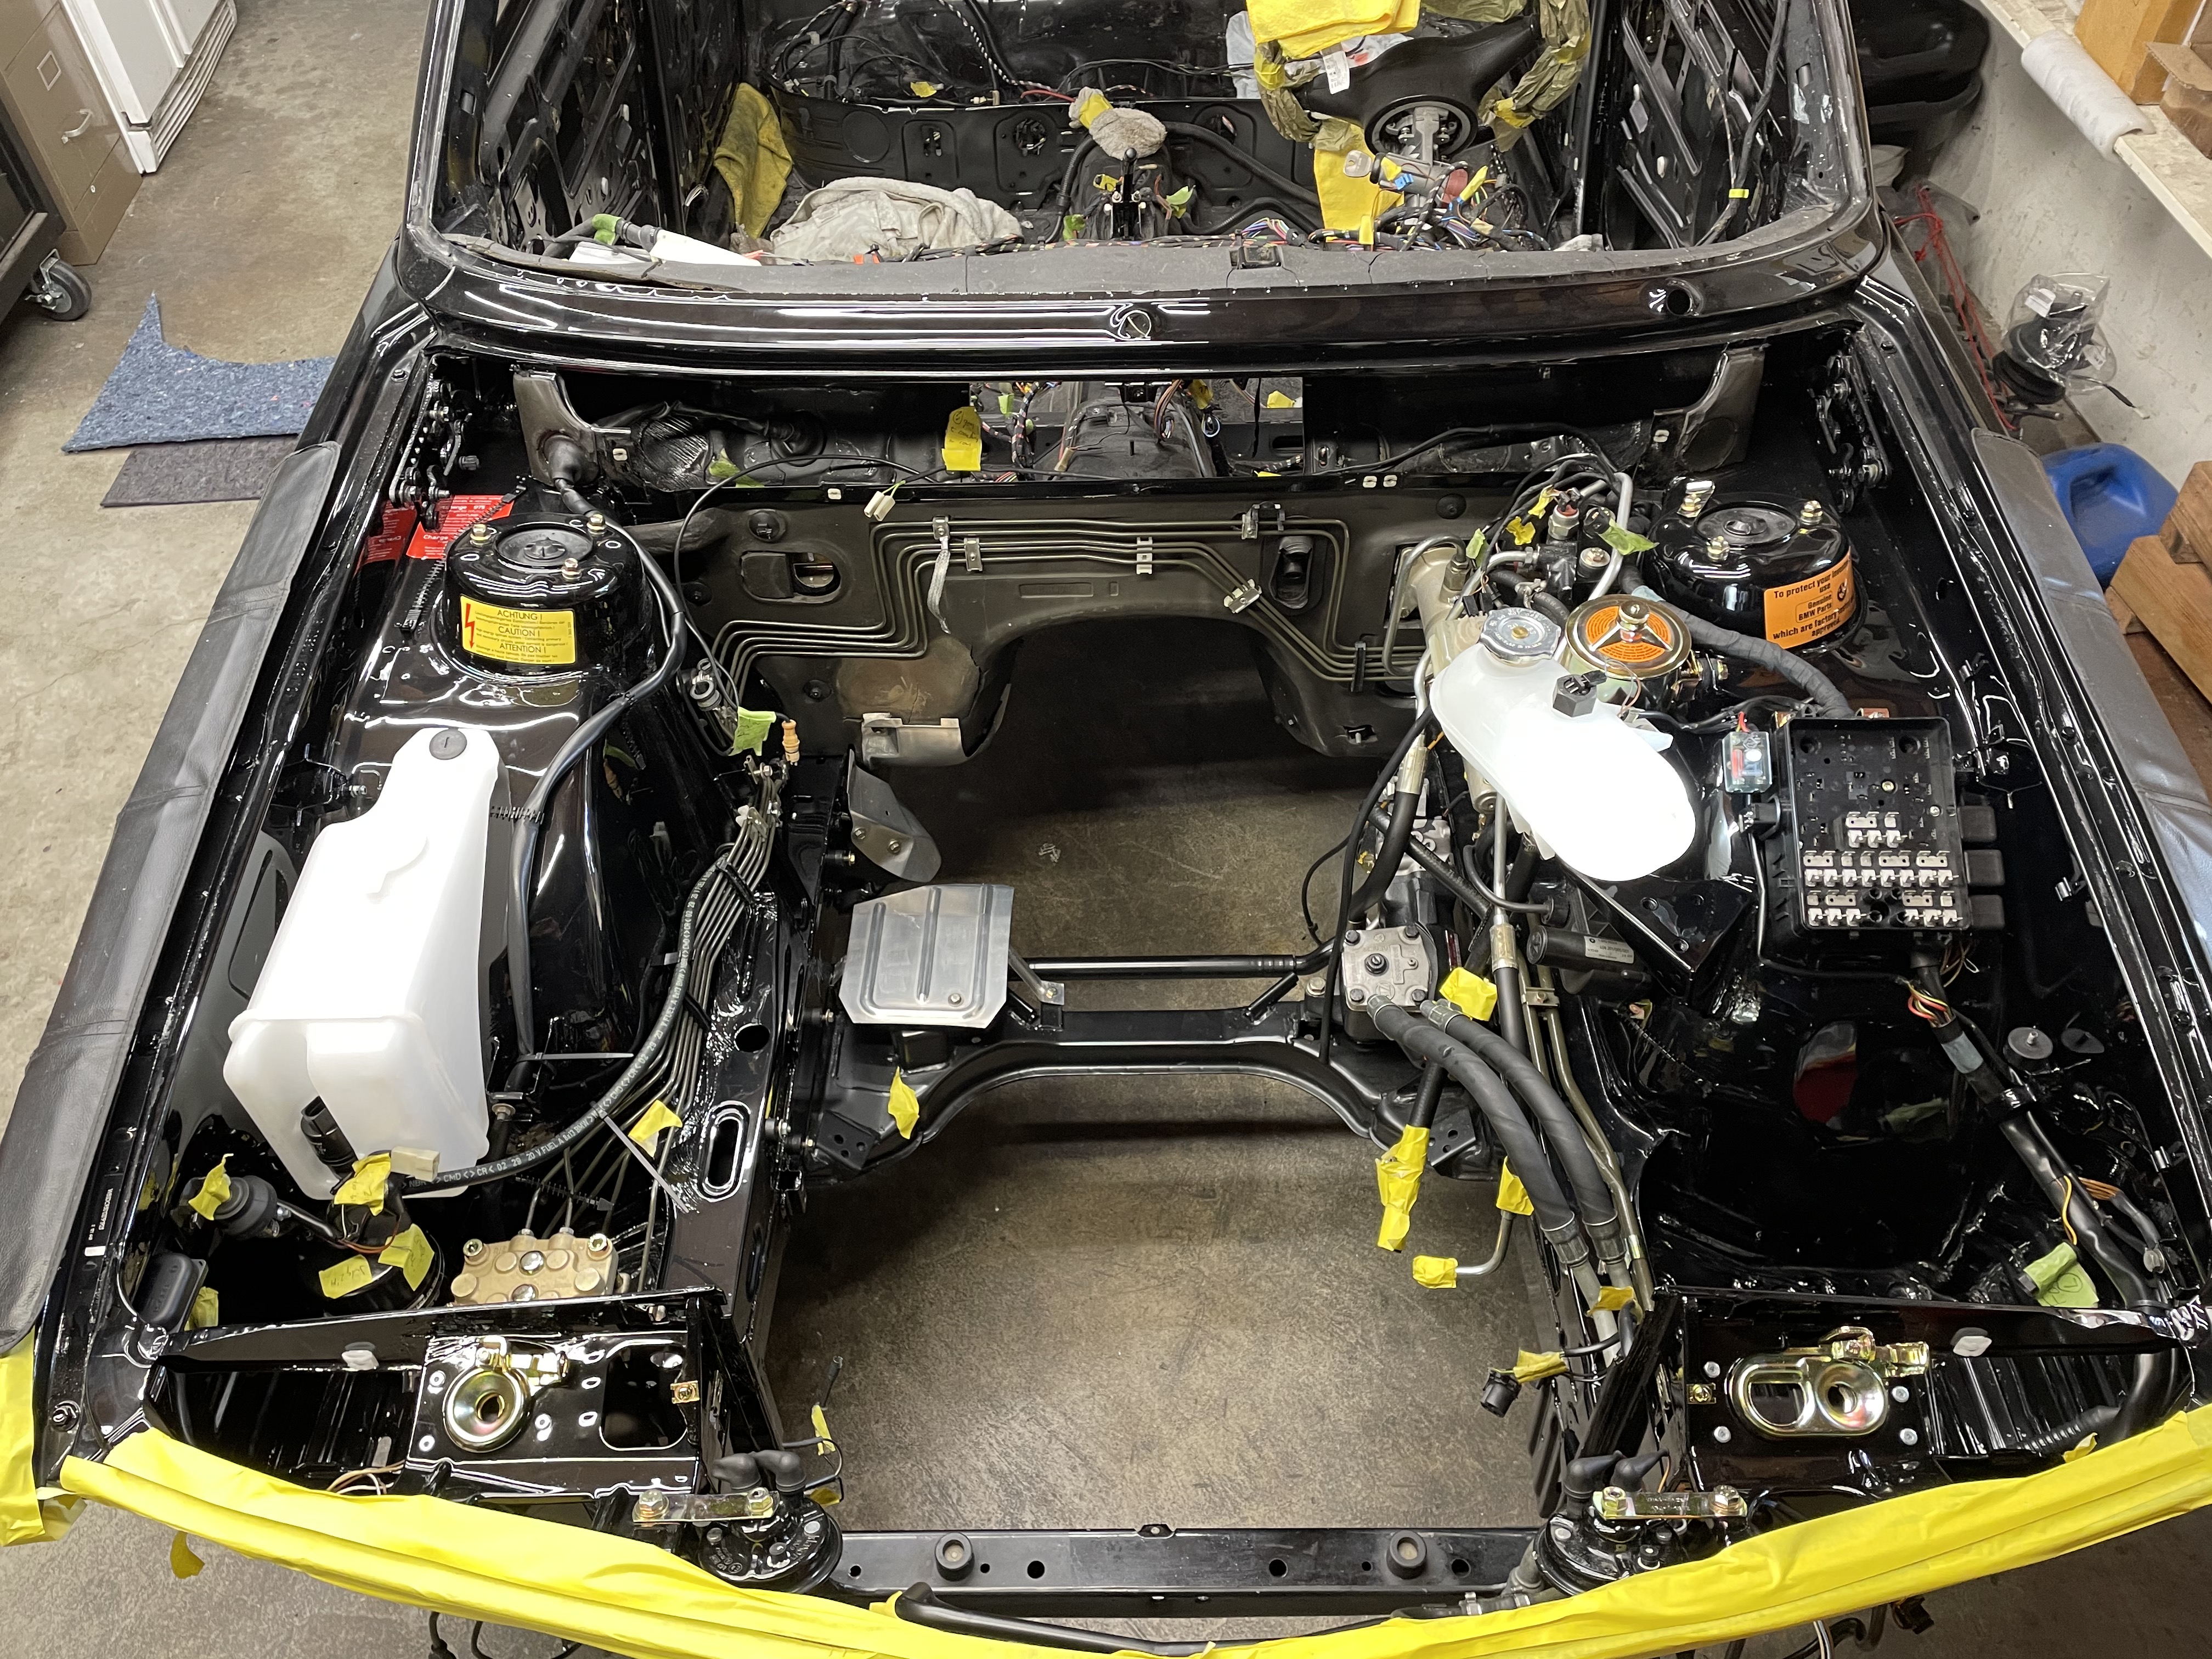
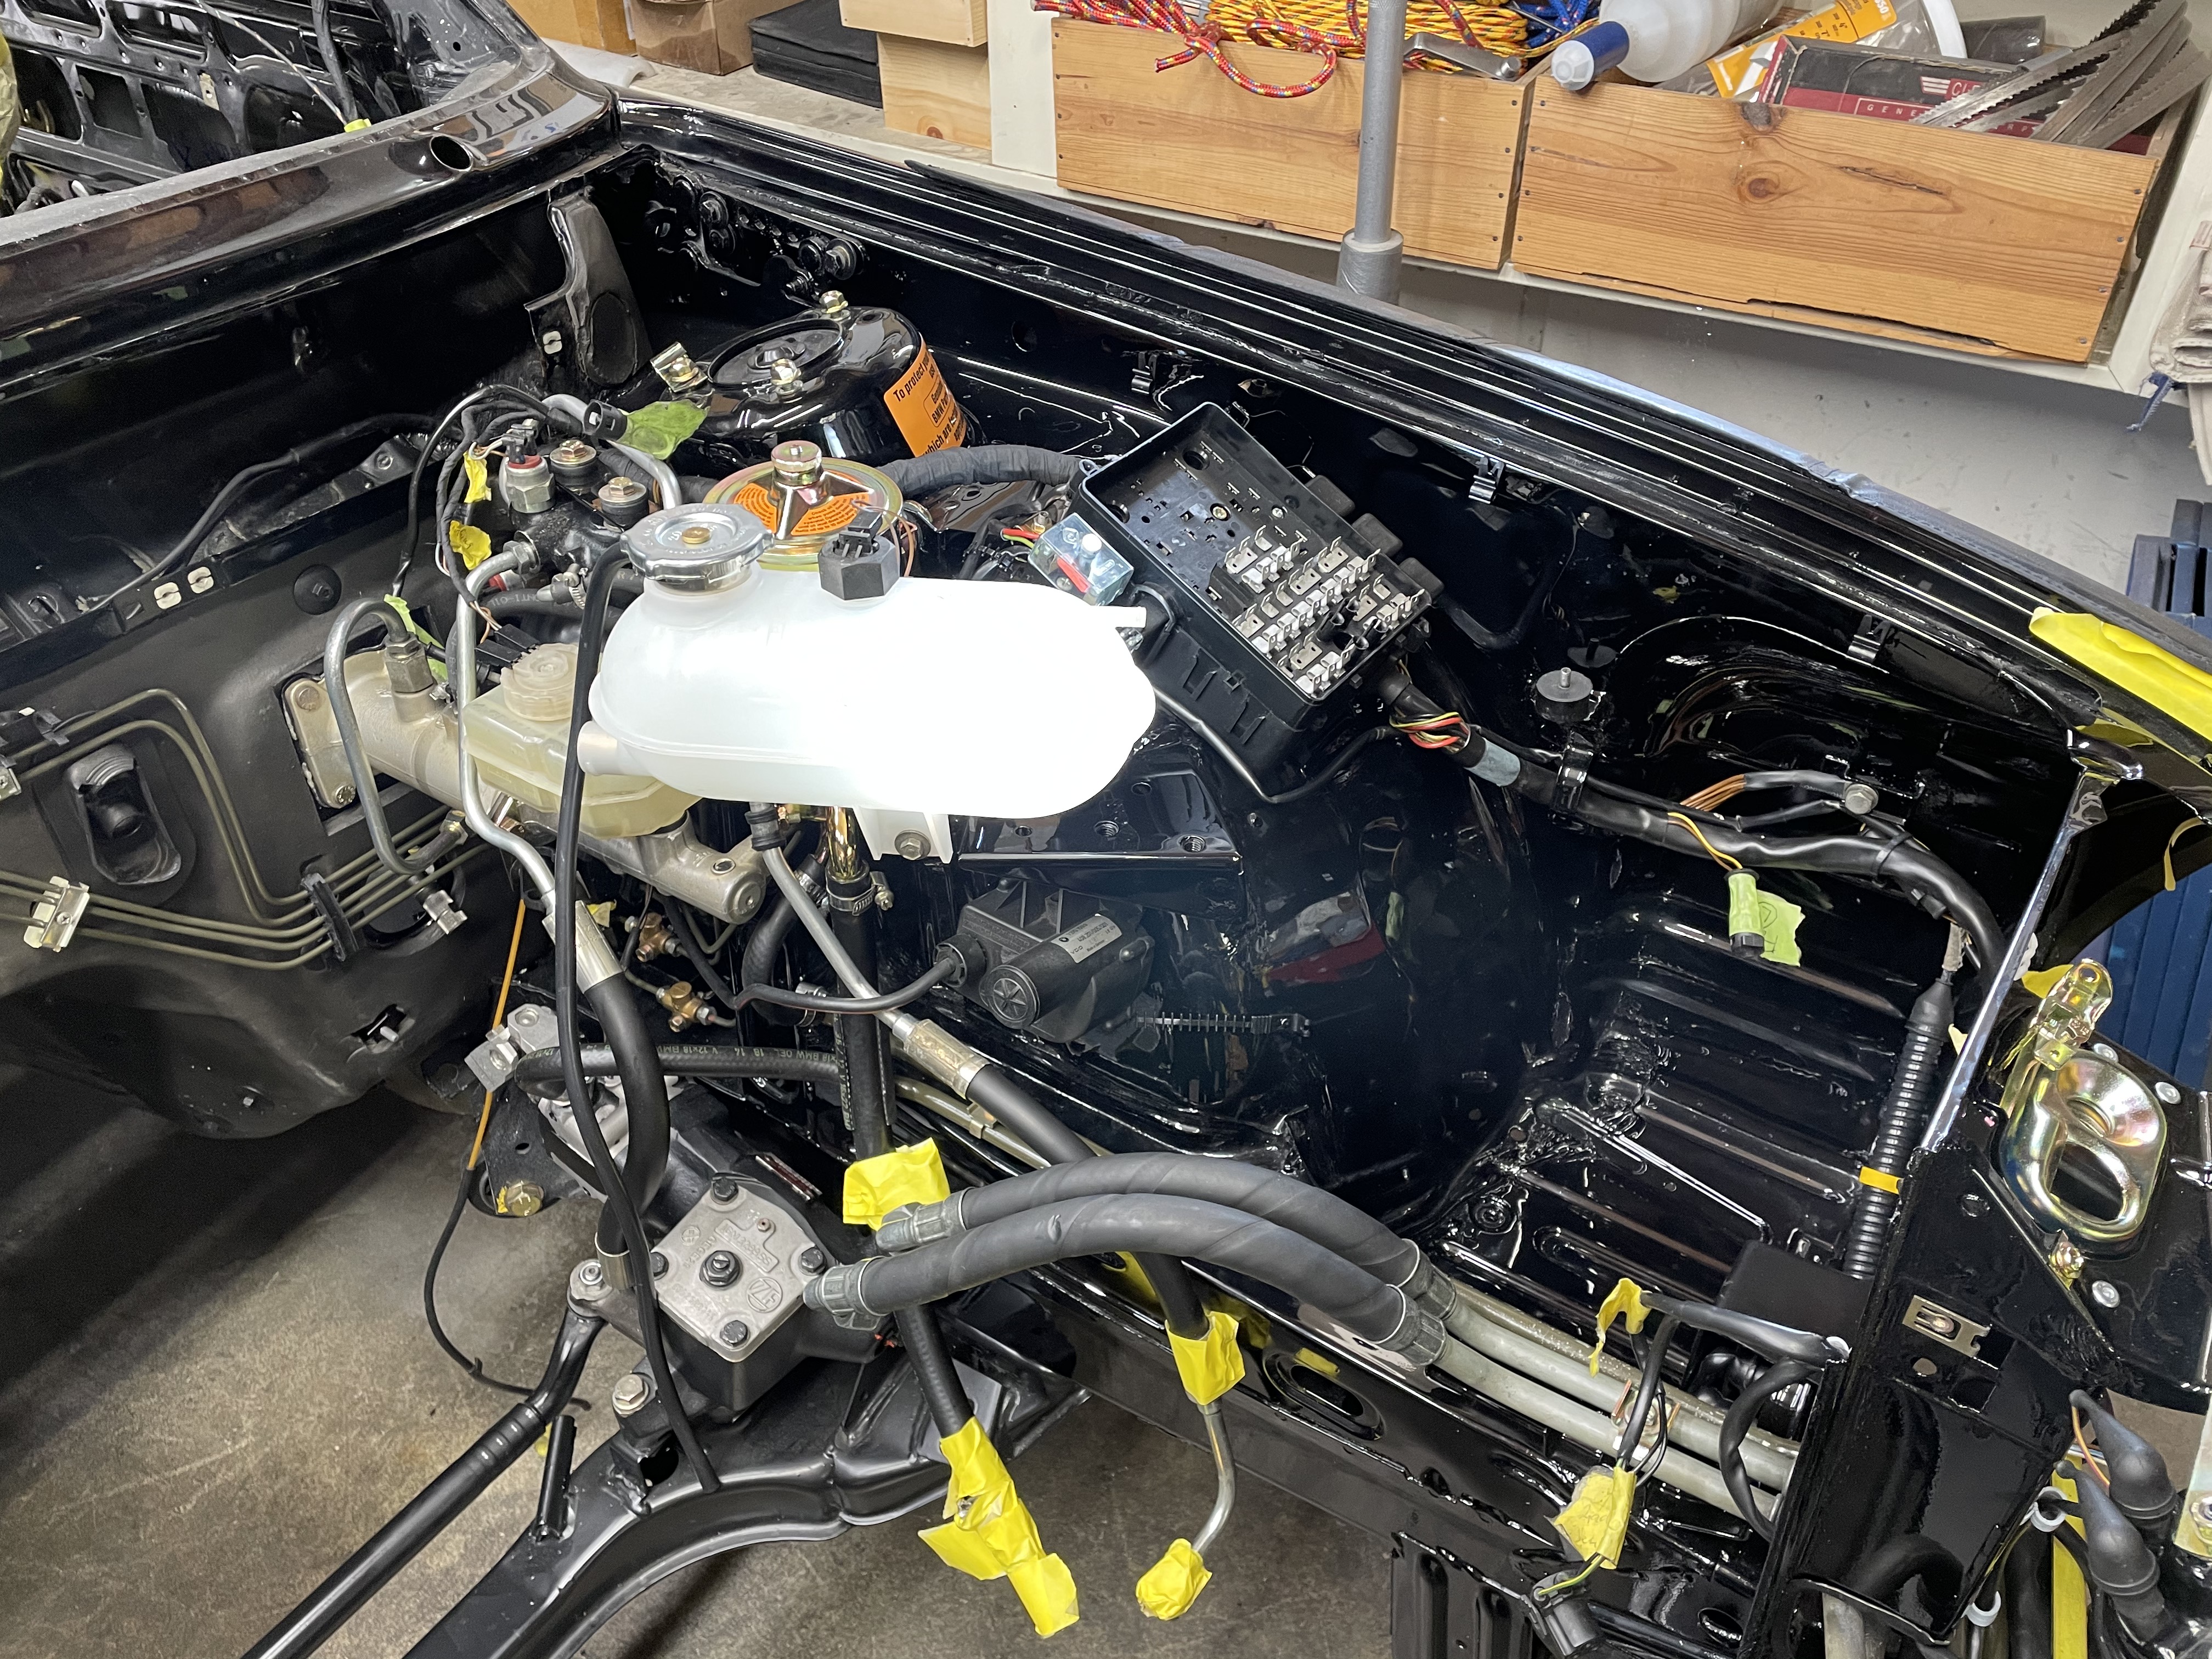
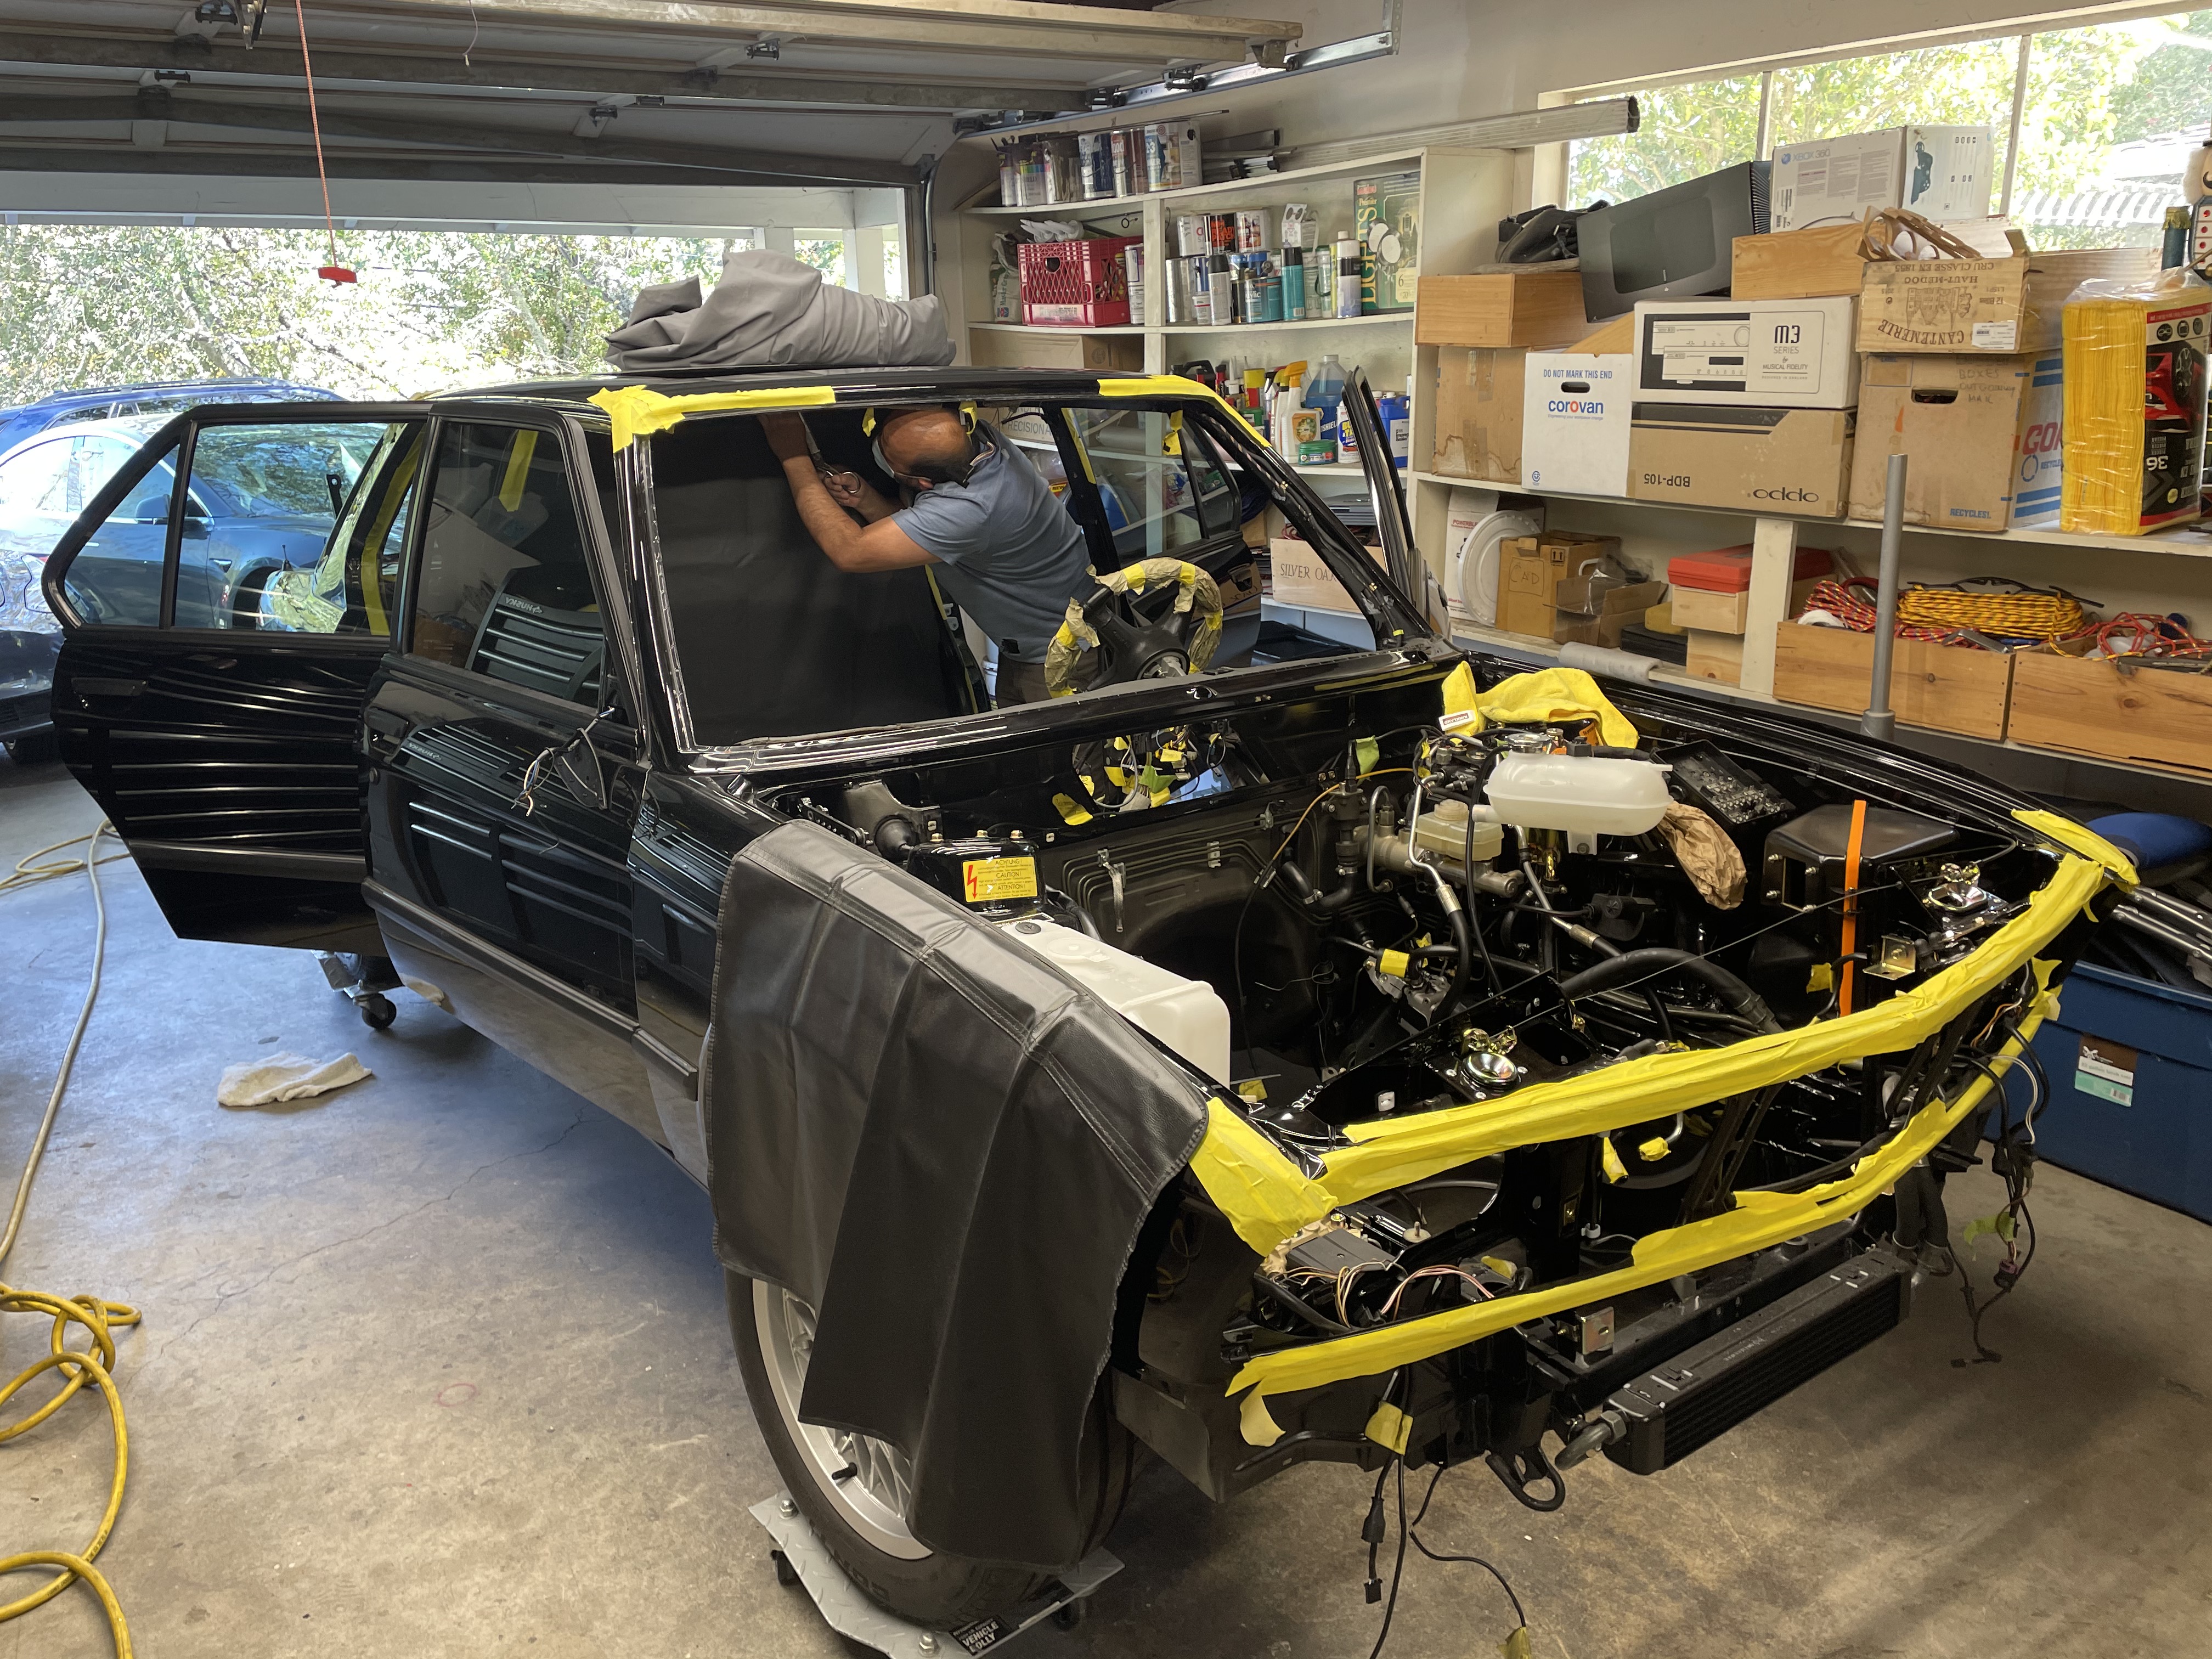
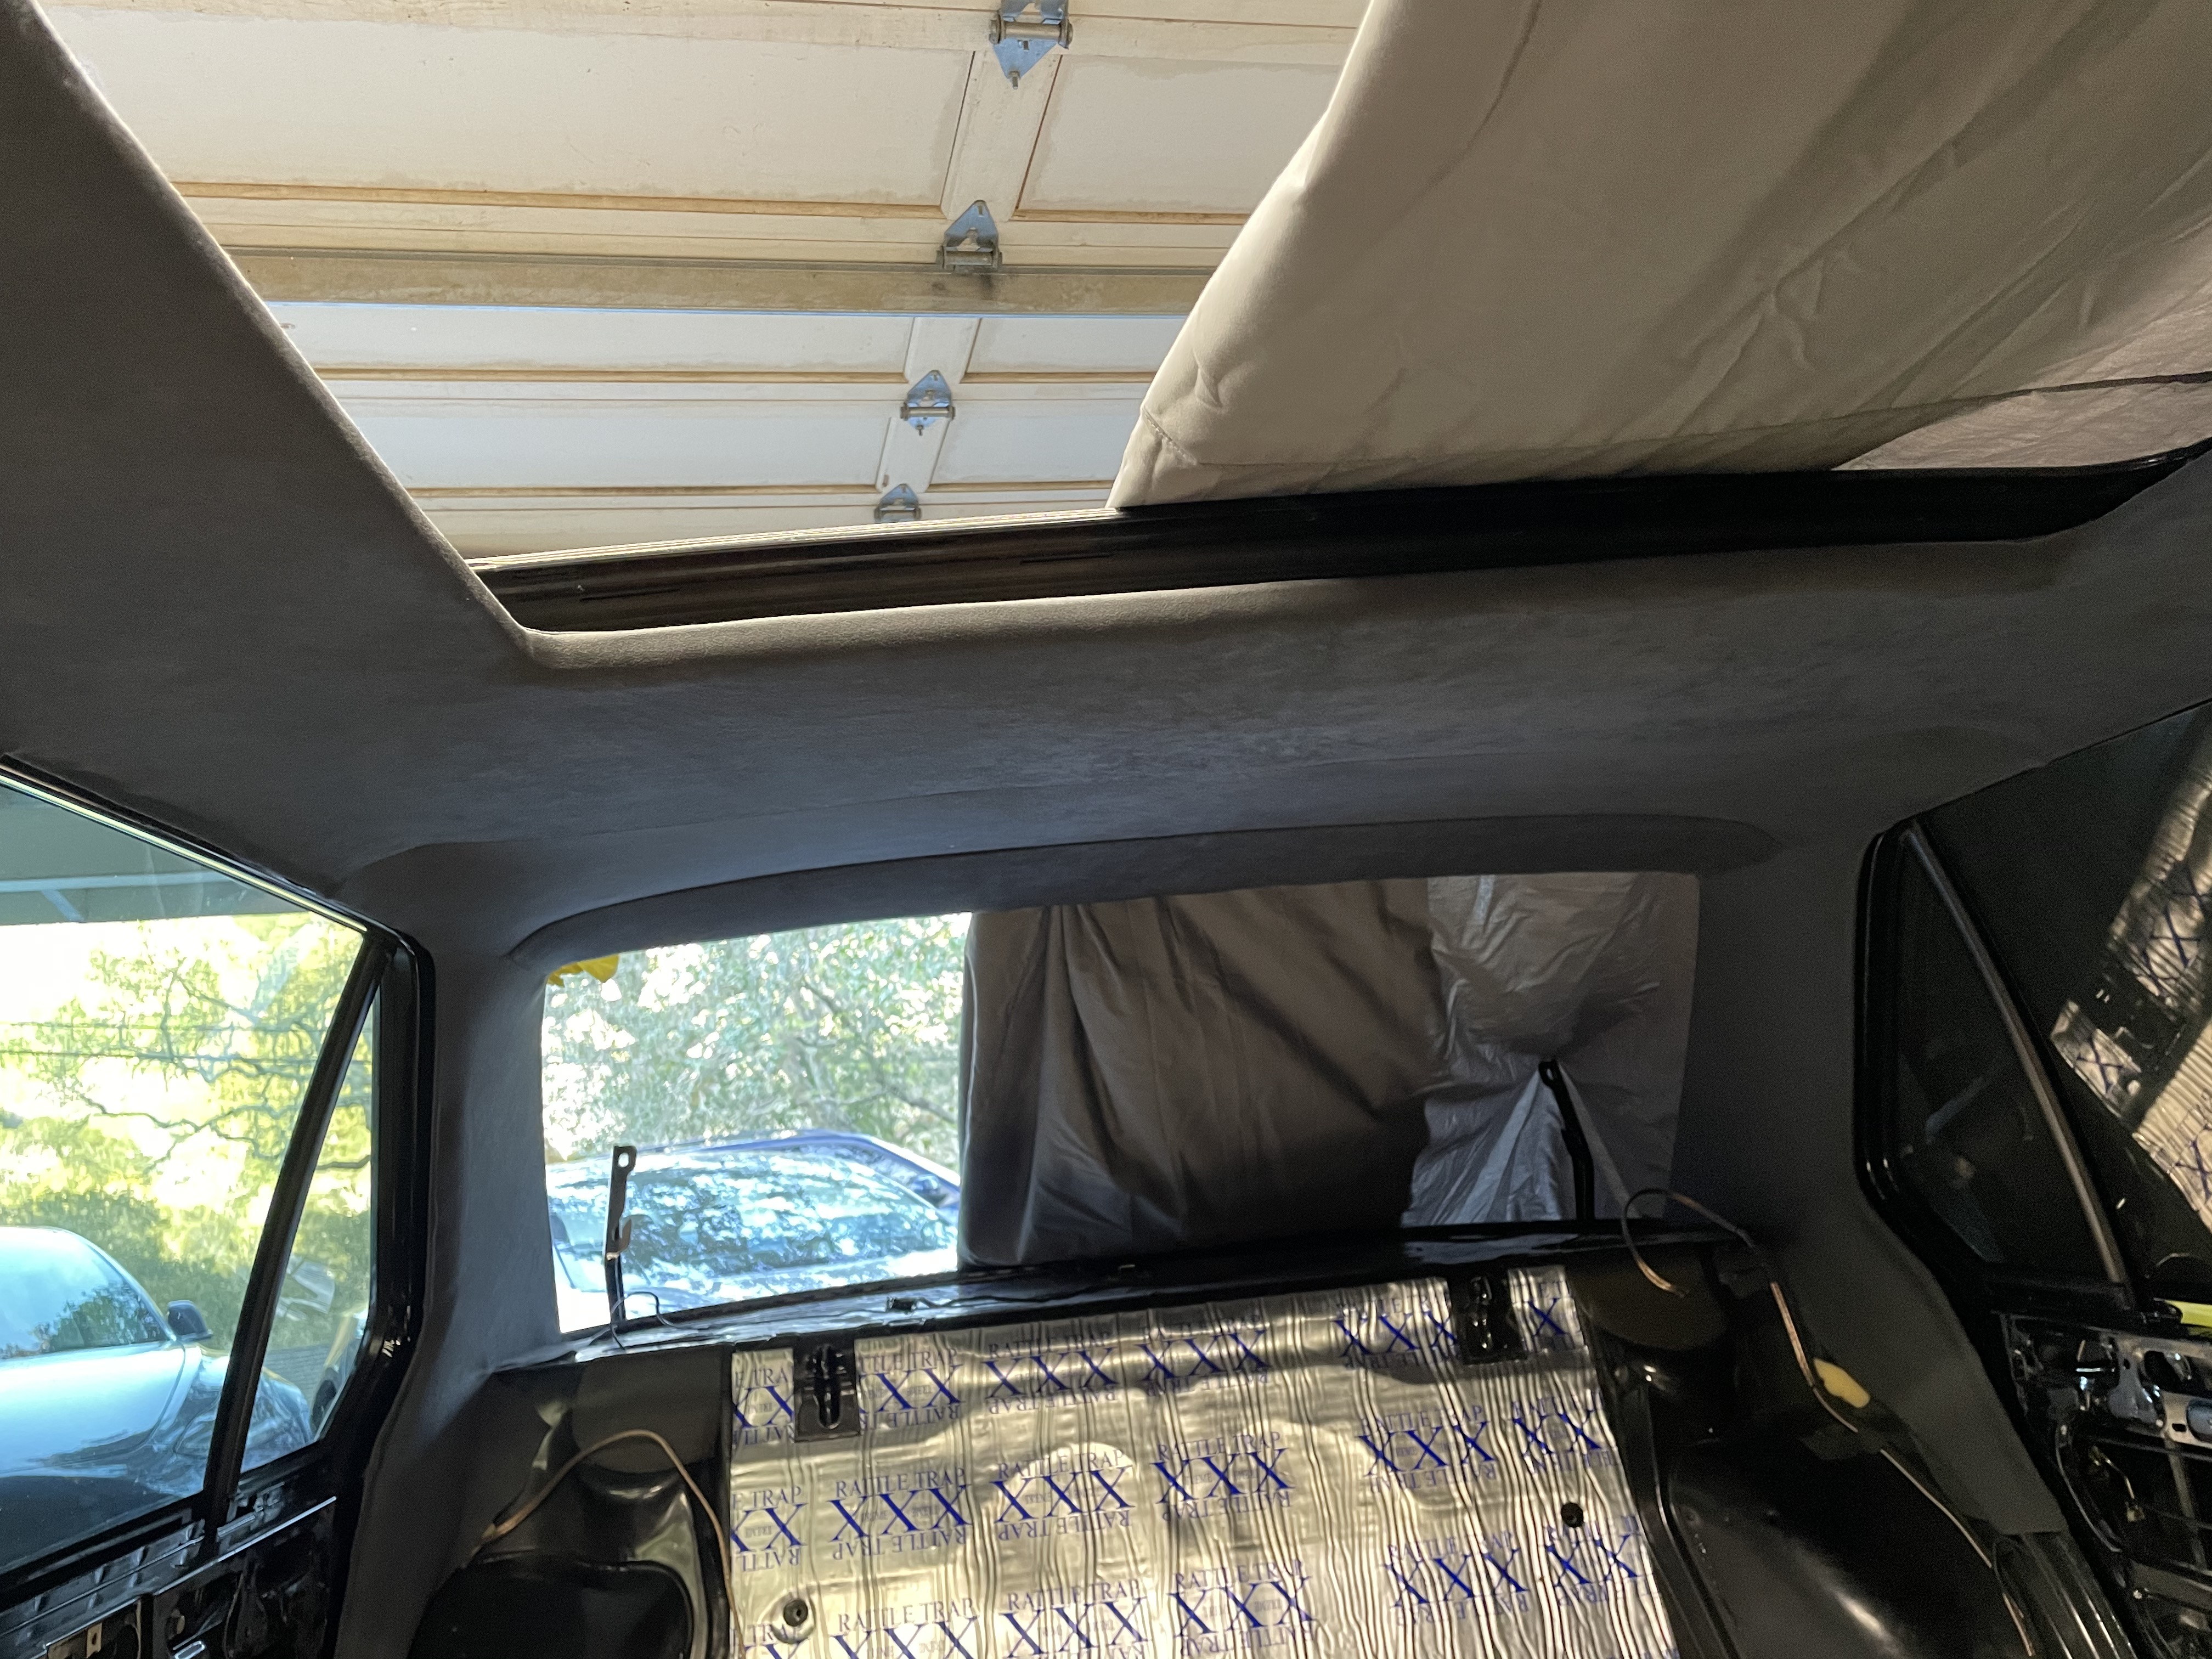
Overdue for an update. The rate of progress really seems to be picking up and there's lots to report.
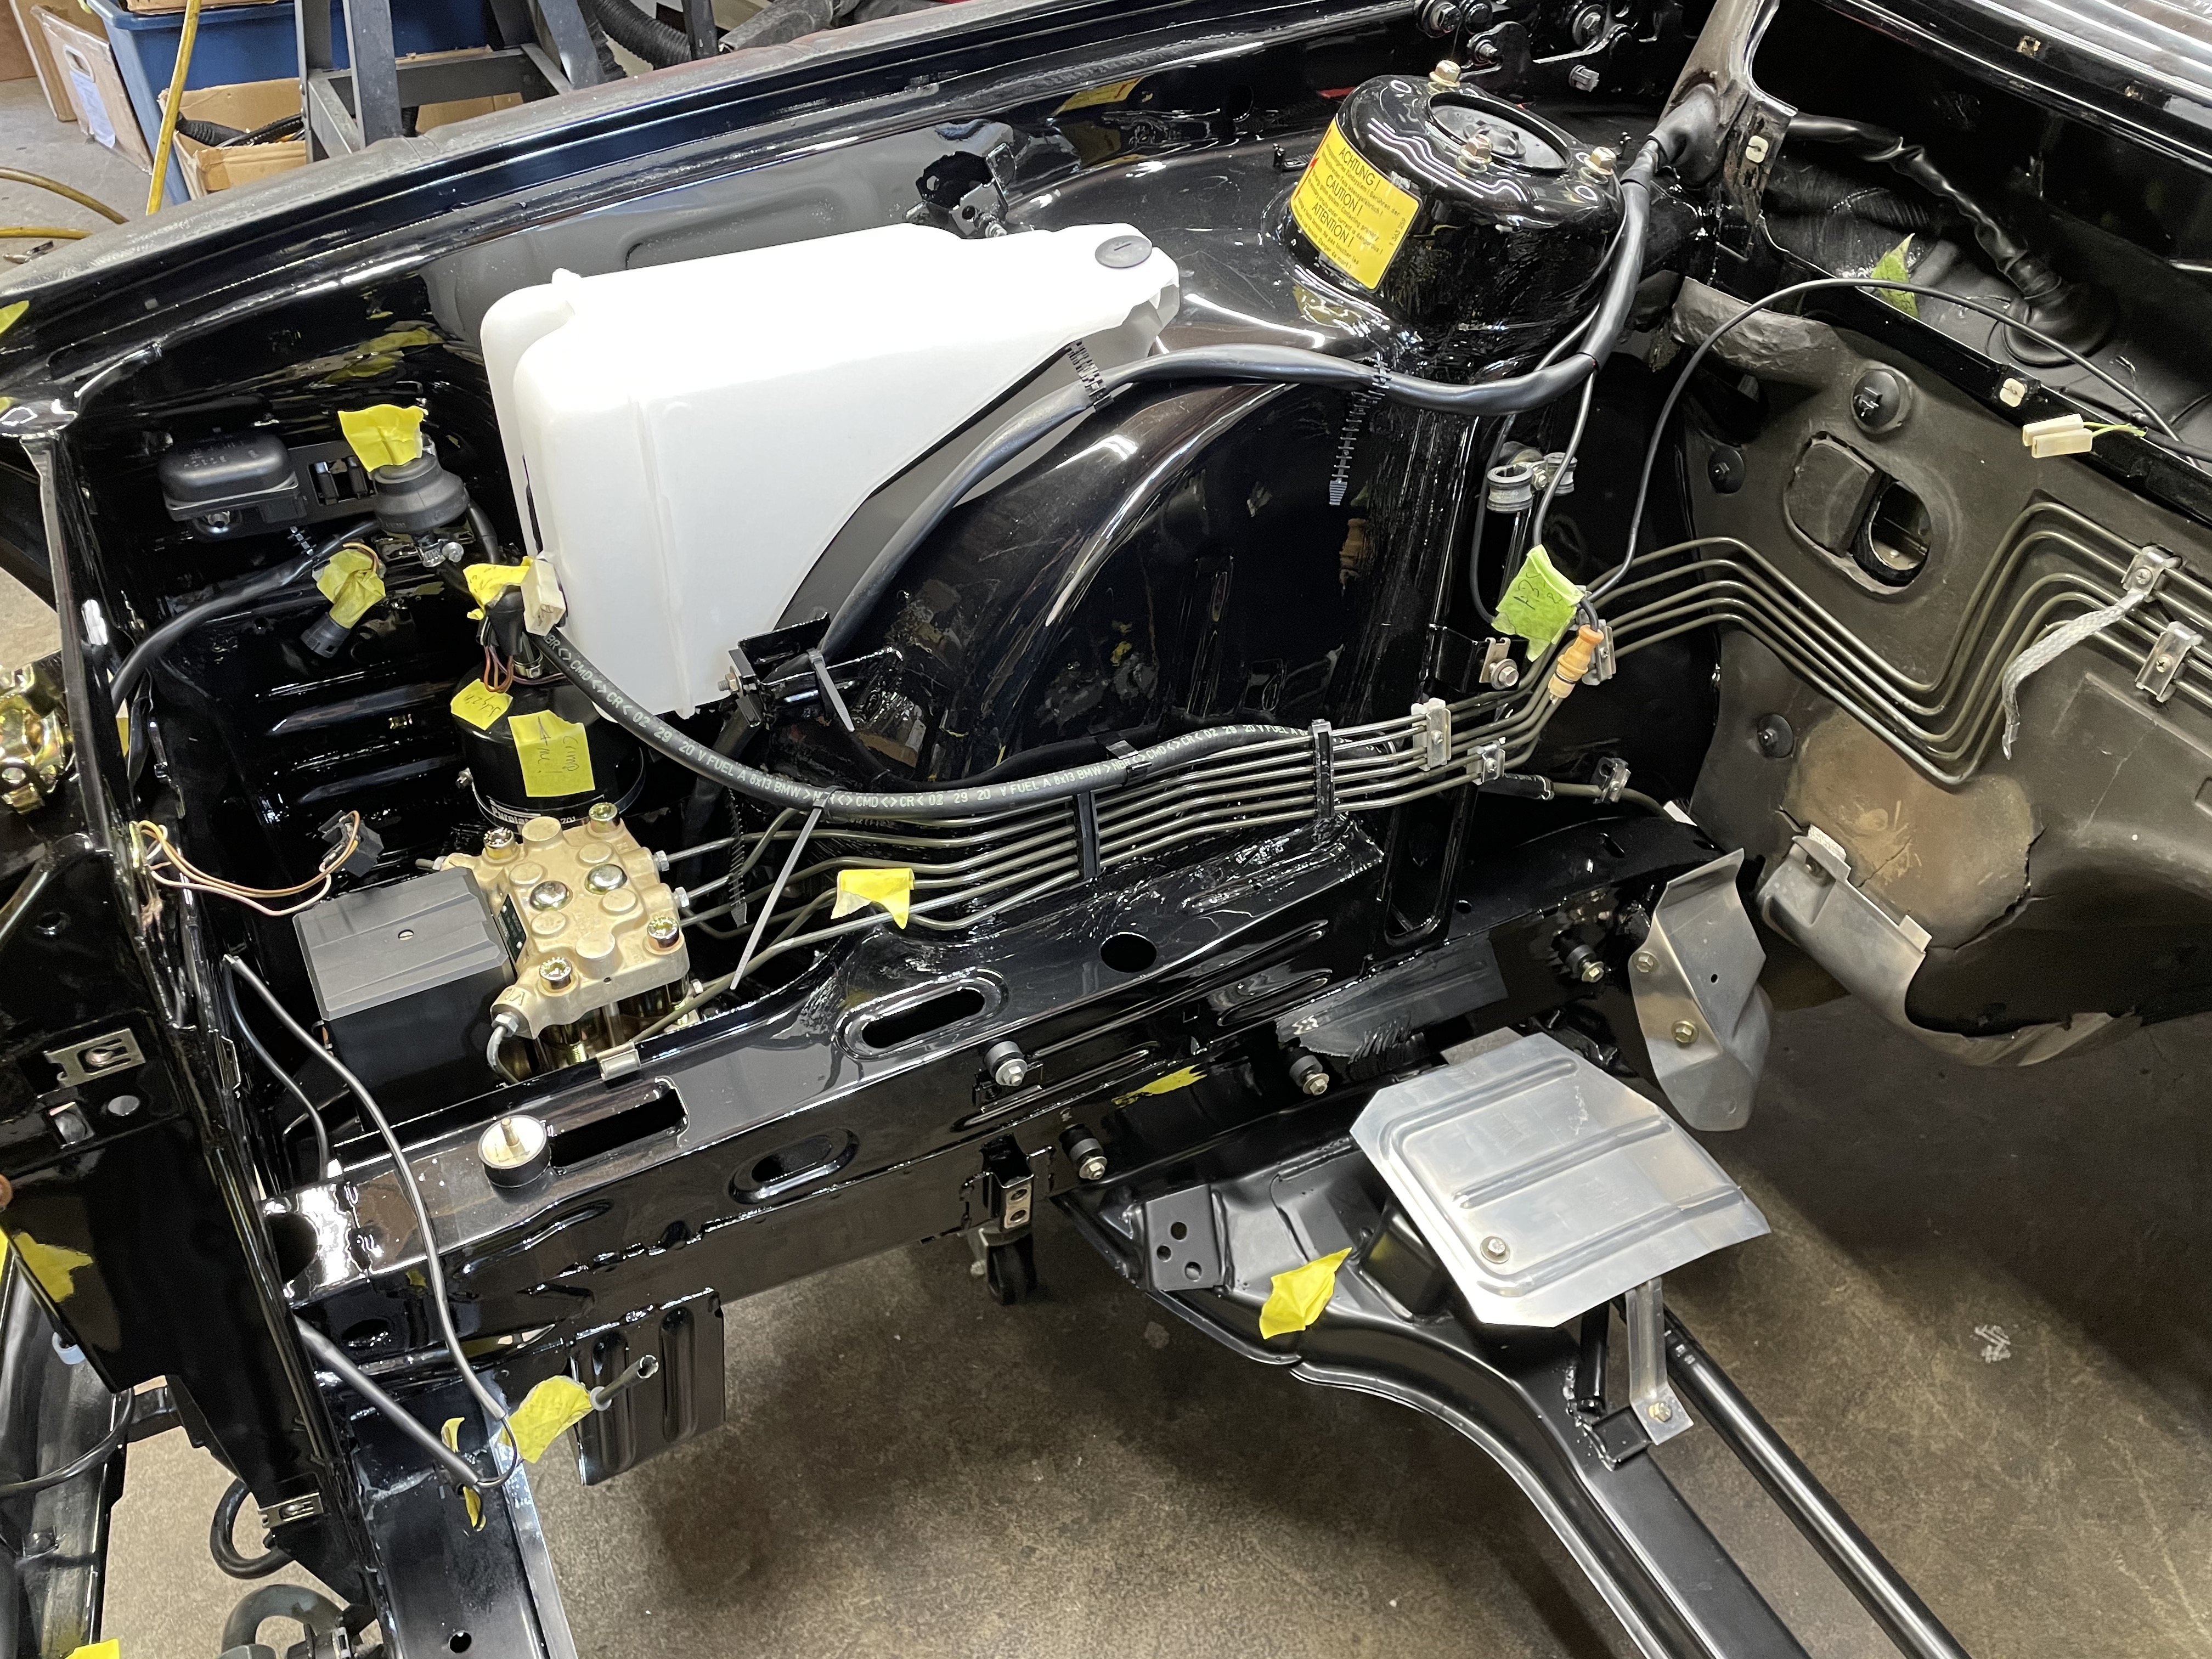
Right now, everything I'm doing is geared at getting the motor back in ASAP. To get the motor in, I want to have all the cooling system hoses and AC lines that go through the firewall back in (once the motor is in, getting those parts installed would be near impossible). Getting all those hoses & lines back in means having to get the heater core & AC evaporator boxes back in. Getting those boxes back in means putting the carpet back in. Putting the carpet back in ... well, you get the idea. It all started to feel like a pretty long & complicated task, so to keep me on task (so to speak), I did this to-do list that was intended to be in order of what needs to get done first to last. Since doing this list, I've modified my strategy a bit, but more on that later.
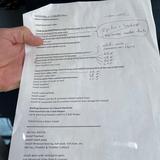
Cleaning up and checking the wiring felt like the elephant in the room for me. When I took the car apart, what I found in the electrical system was a combination of prior bad stereo installations (probably multiple), a Viper installation and incorrect connections in the fuse block. The result of that was that I had anxiety about whether the wiring in my car would match the wiring diagram, and that I'd end up with a bunch of gremlins that would be super hard to diagnose & correct once the car was back together. So my plan was to test all the fuse pin connections to as many of the "fused components" as I could; e.g., test continuity from the radio power supply fuse to the radio power supply end-point, etc. All of that seemed to check out, though I had a moment of panic when all the side make lights were indicating that they were shorted out to ground. It took me a while to figure out that the bulbs were installed in the taillights and were in fact grounding the system out.
Here's before view under the dash:
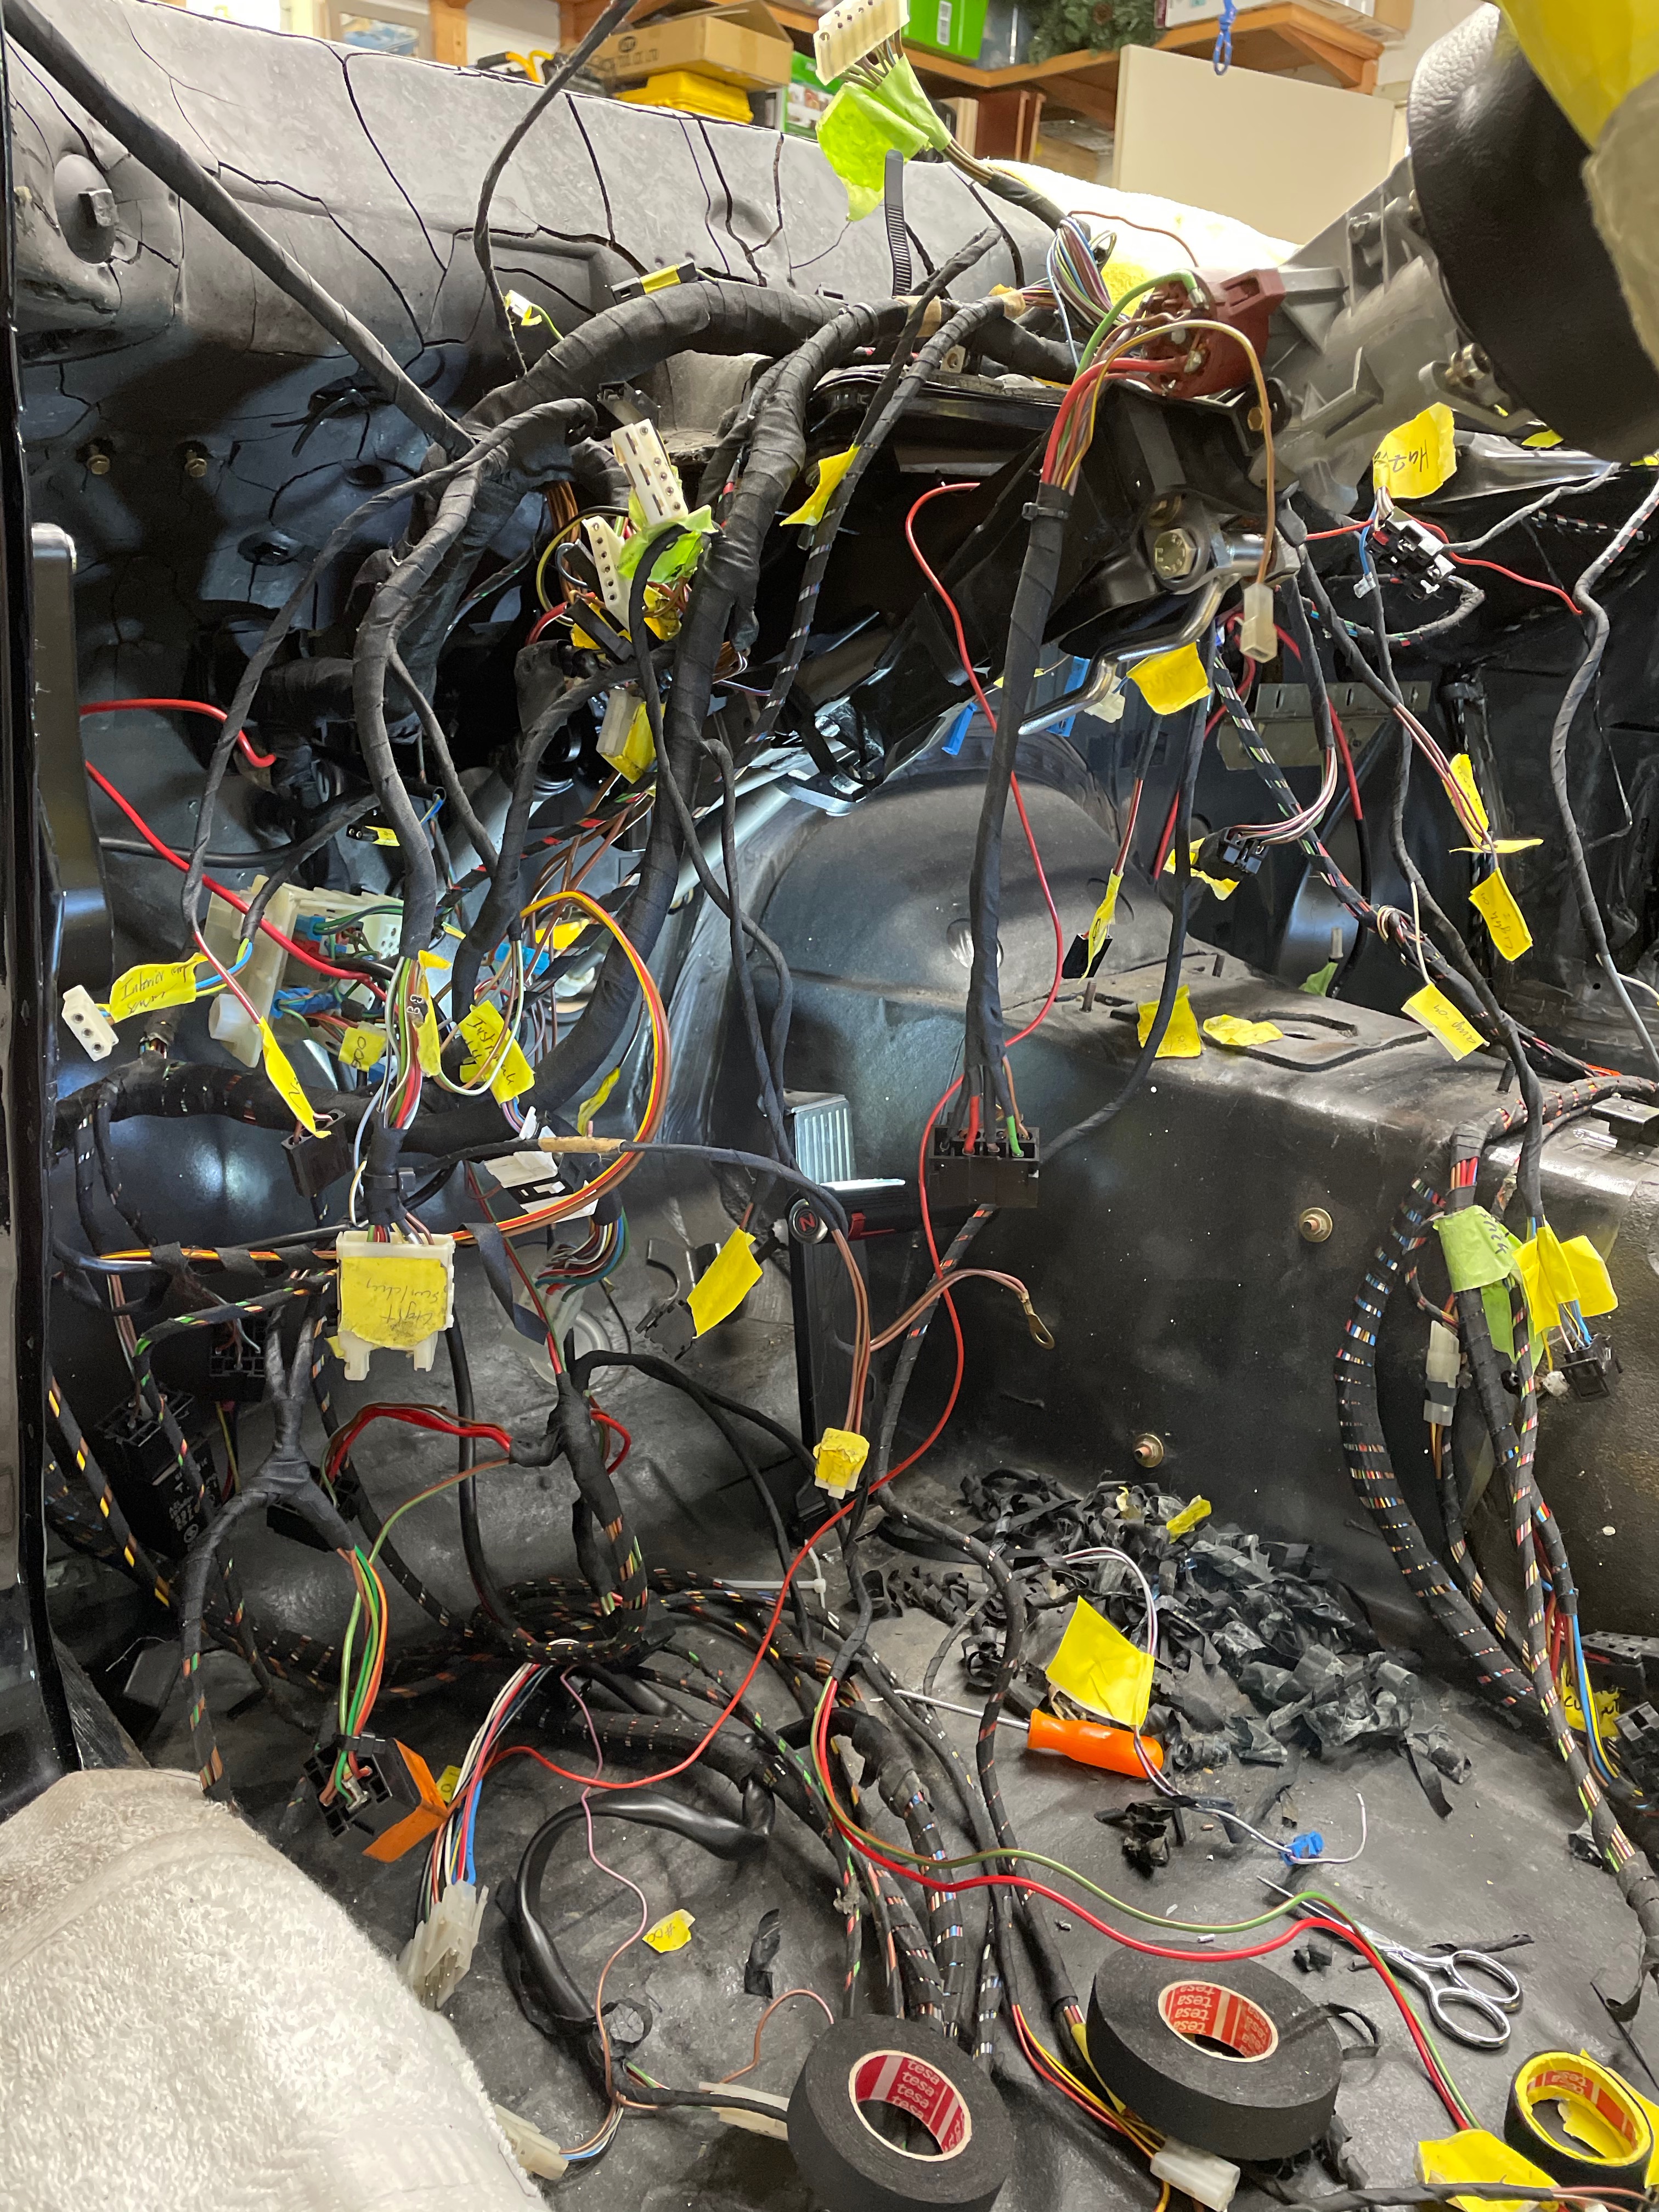
And here's a pic from when I was nearly done. Any harnesses I found where the tape wrap had c one loose or was disintegrating got re-wrapped with Tessa high temp tape. I've come to the conclusion that most of the gray dust & dry powdery grim in all the interior nooks & crannies is disintegrated harness wrapping. The wrap on all the big main harnesses behind the cluster all disintegrated at my touch, and in clear sunlight you can see all the dust cascading down as you remove the tape fragments.
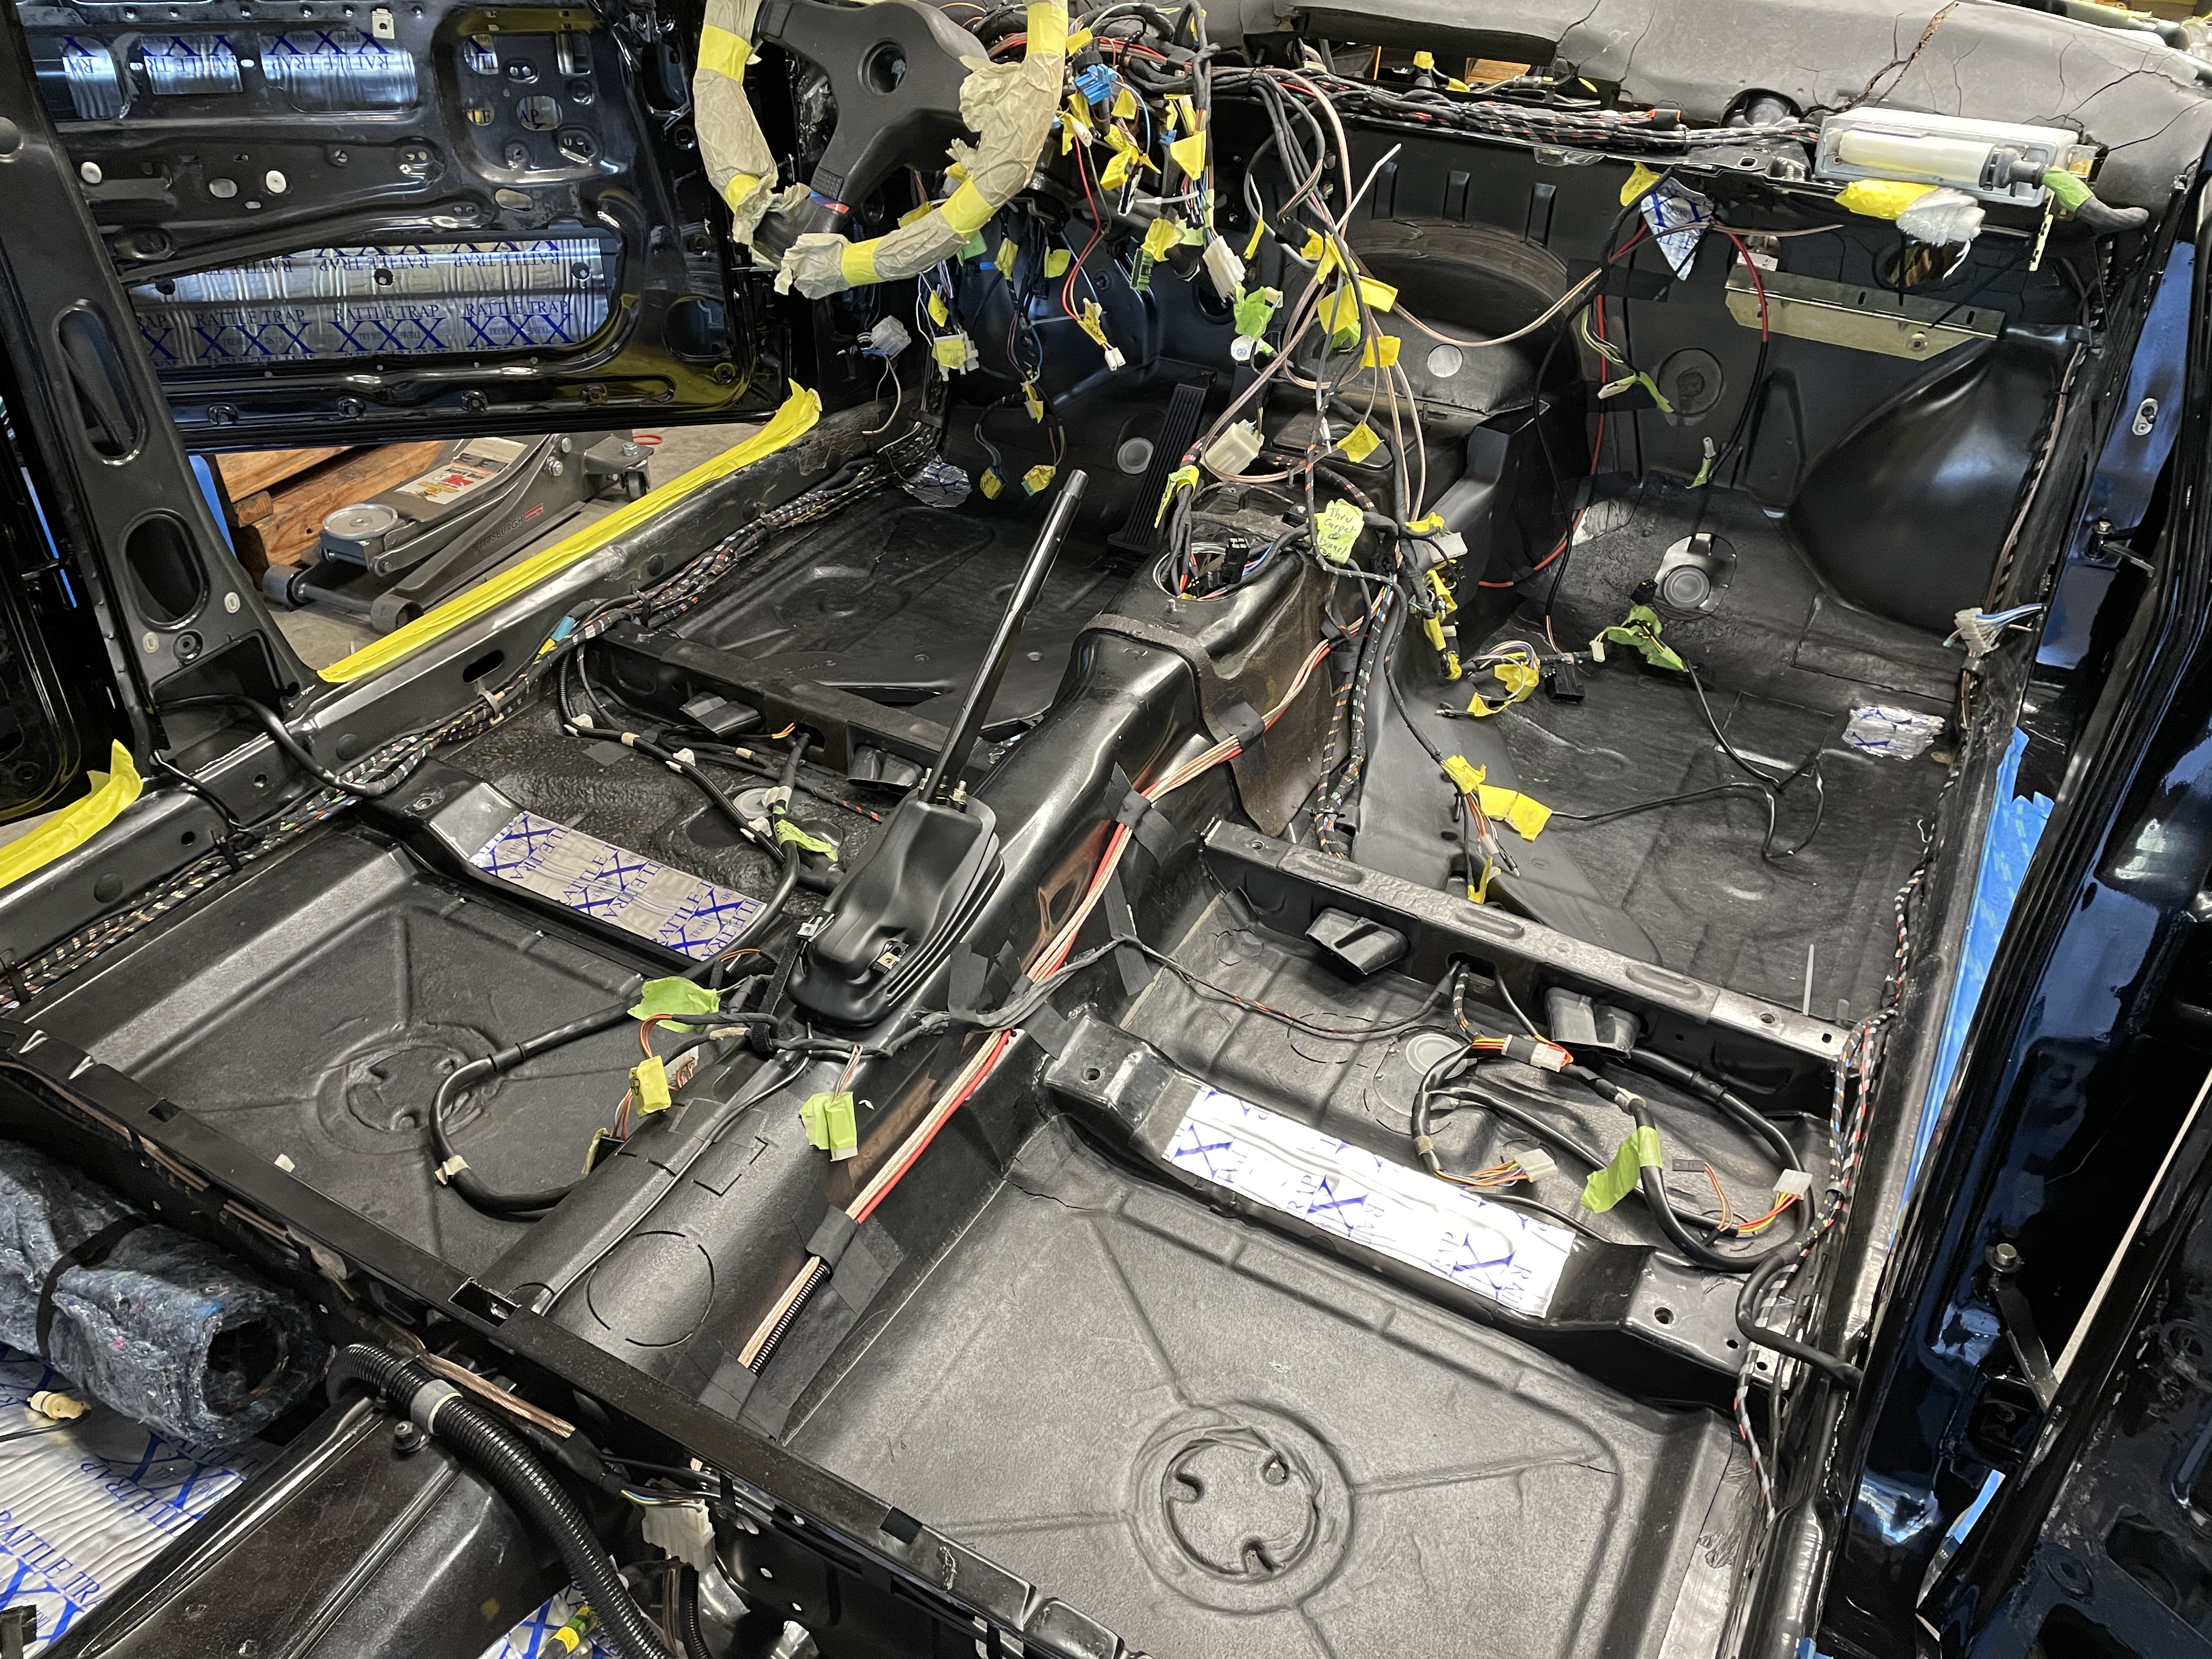
In that pic above, I've steam cleaned, used compressed air and vacuumed as much as I Gould get to. If nothing else, it smells so much nicer & cleaner!
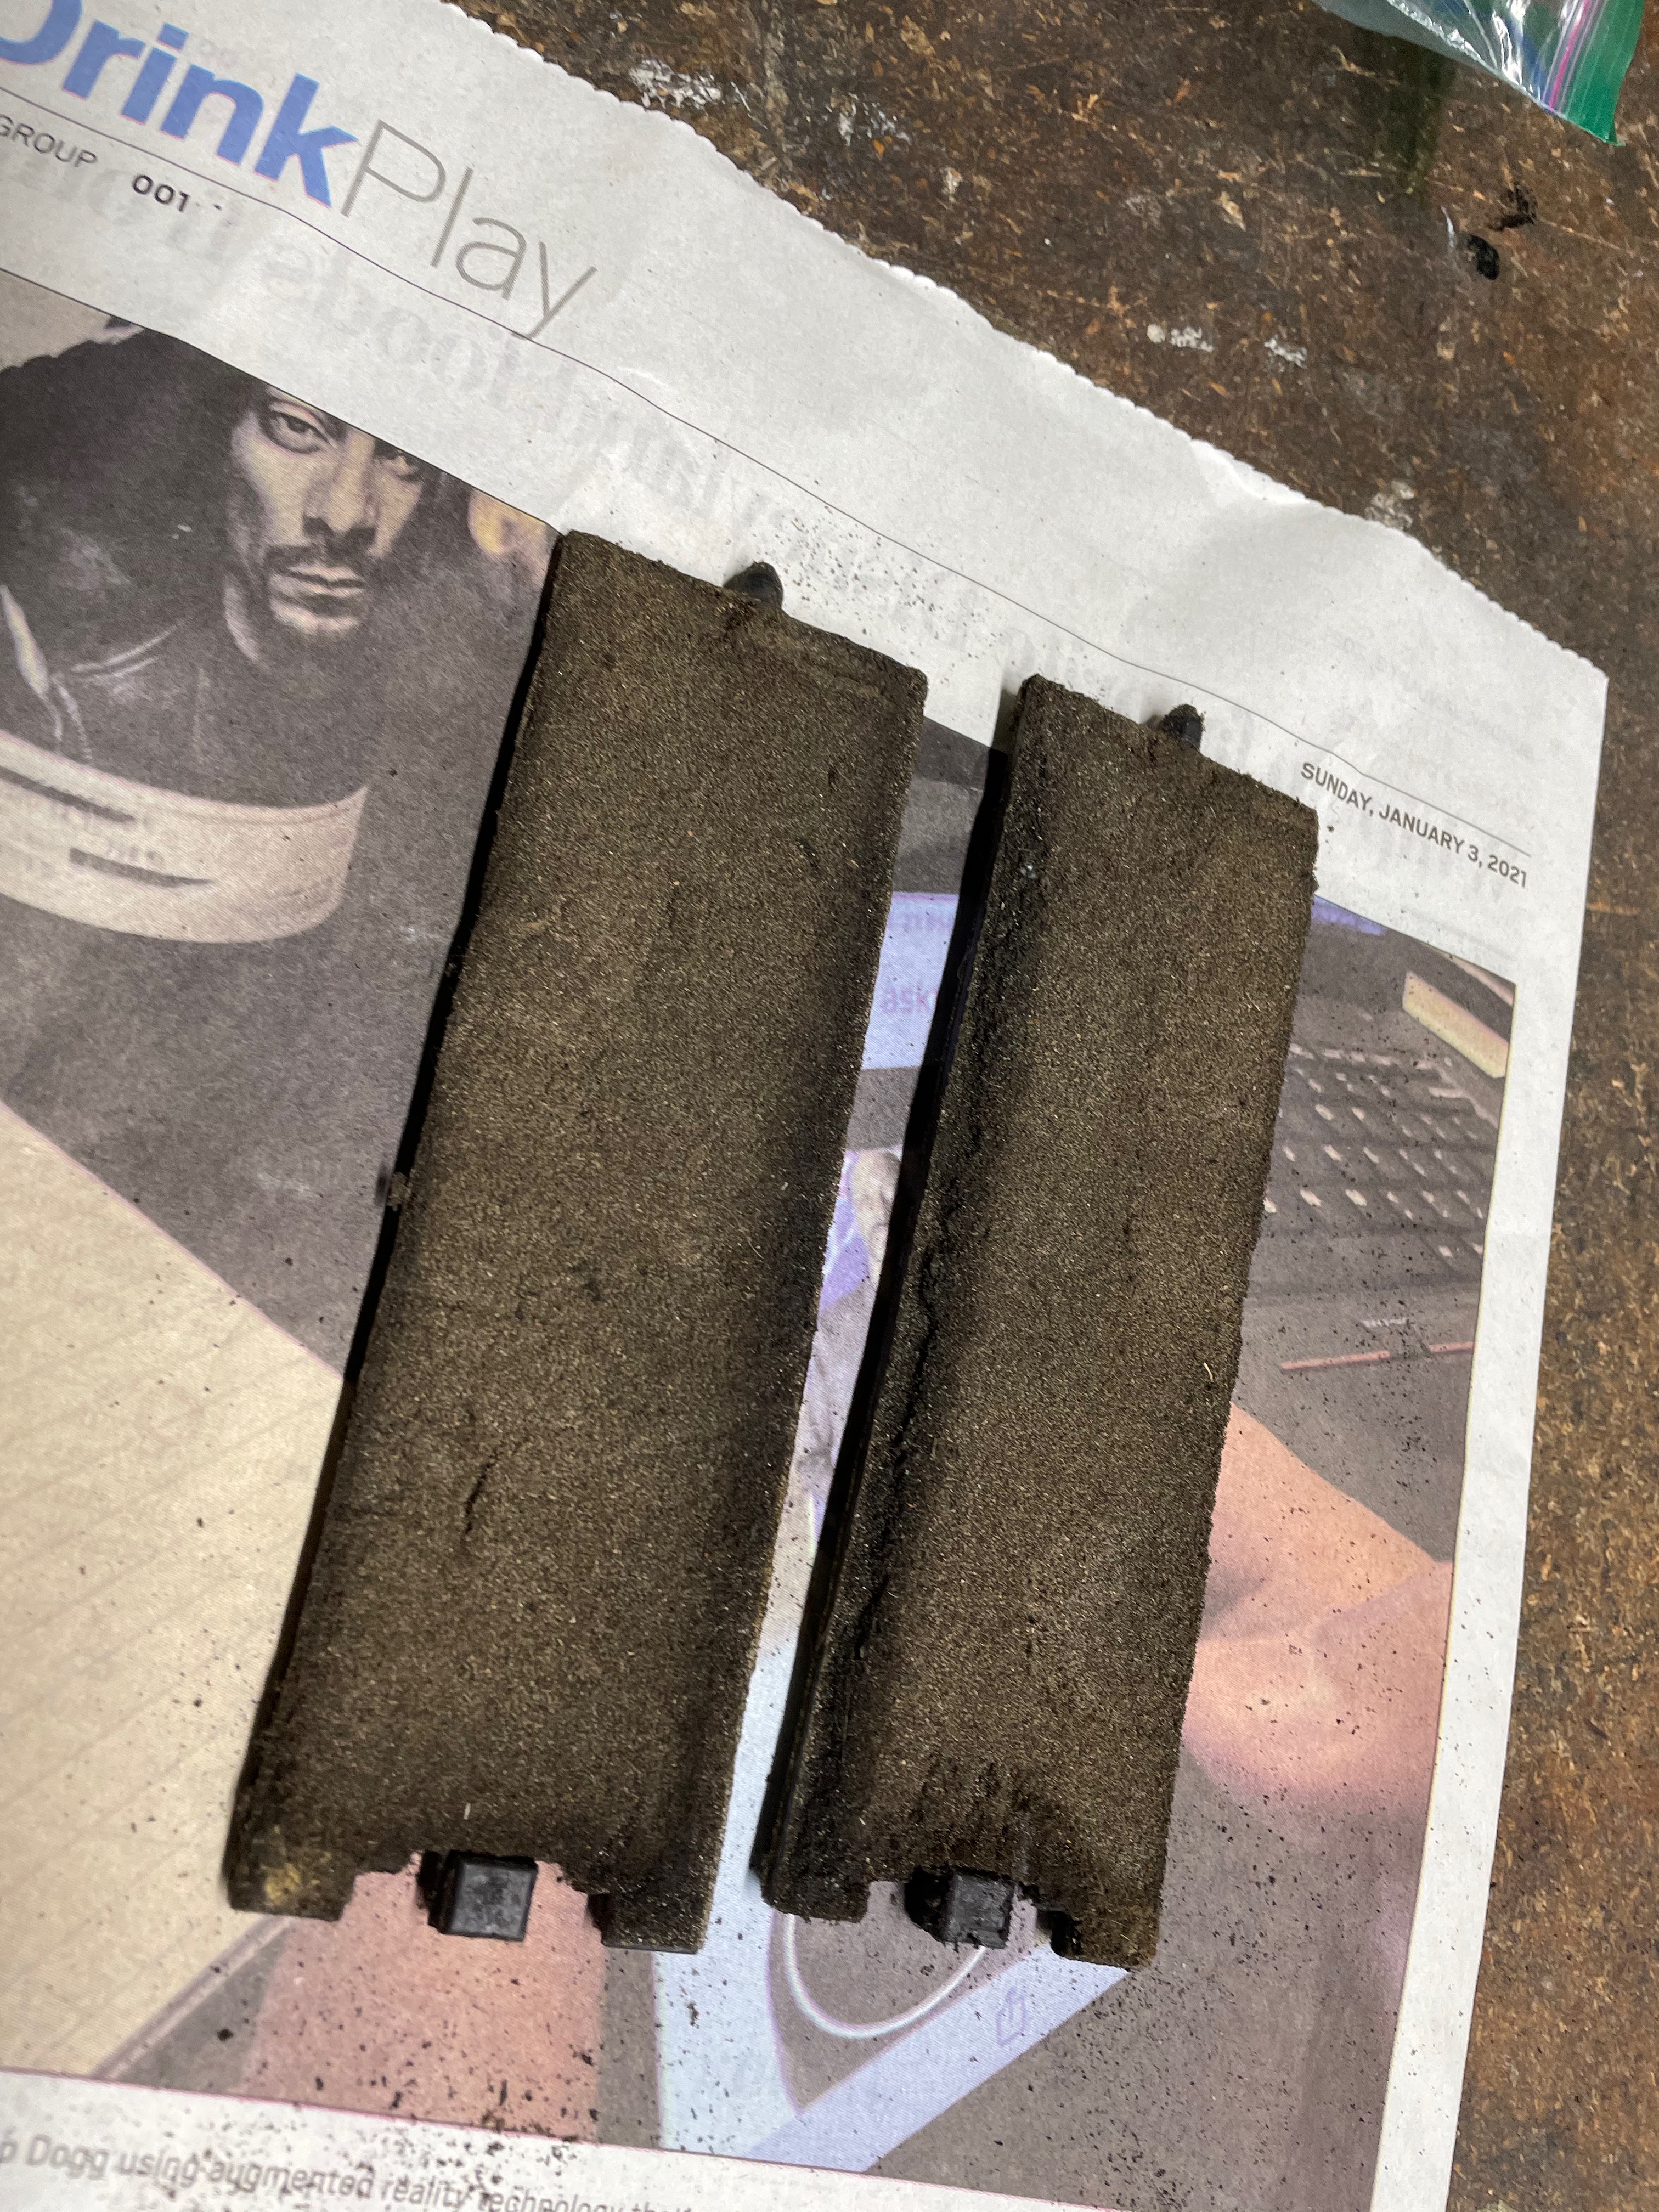
I also (nearly) finished refurbishing the evap box. Before:
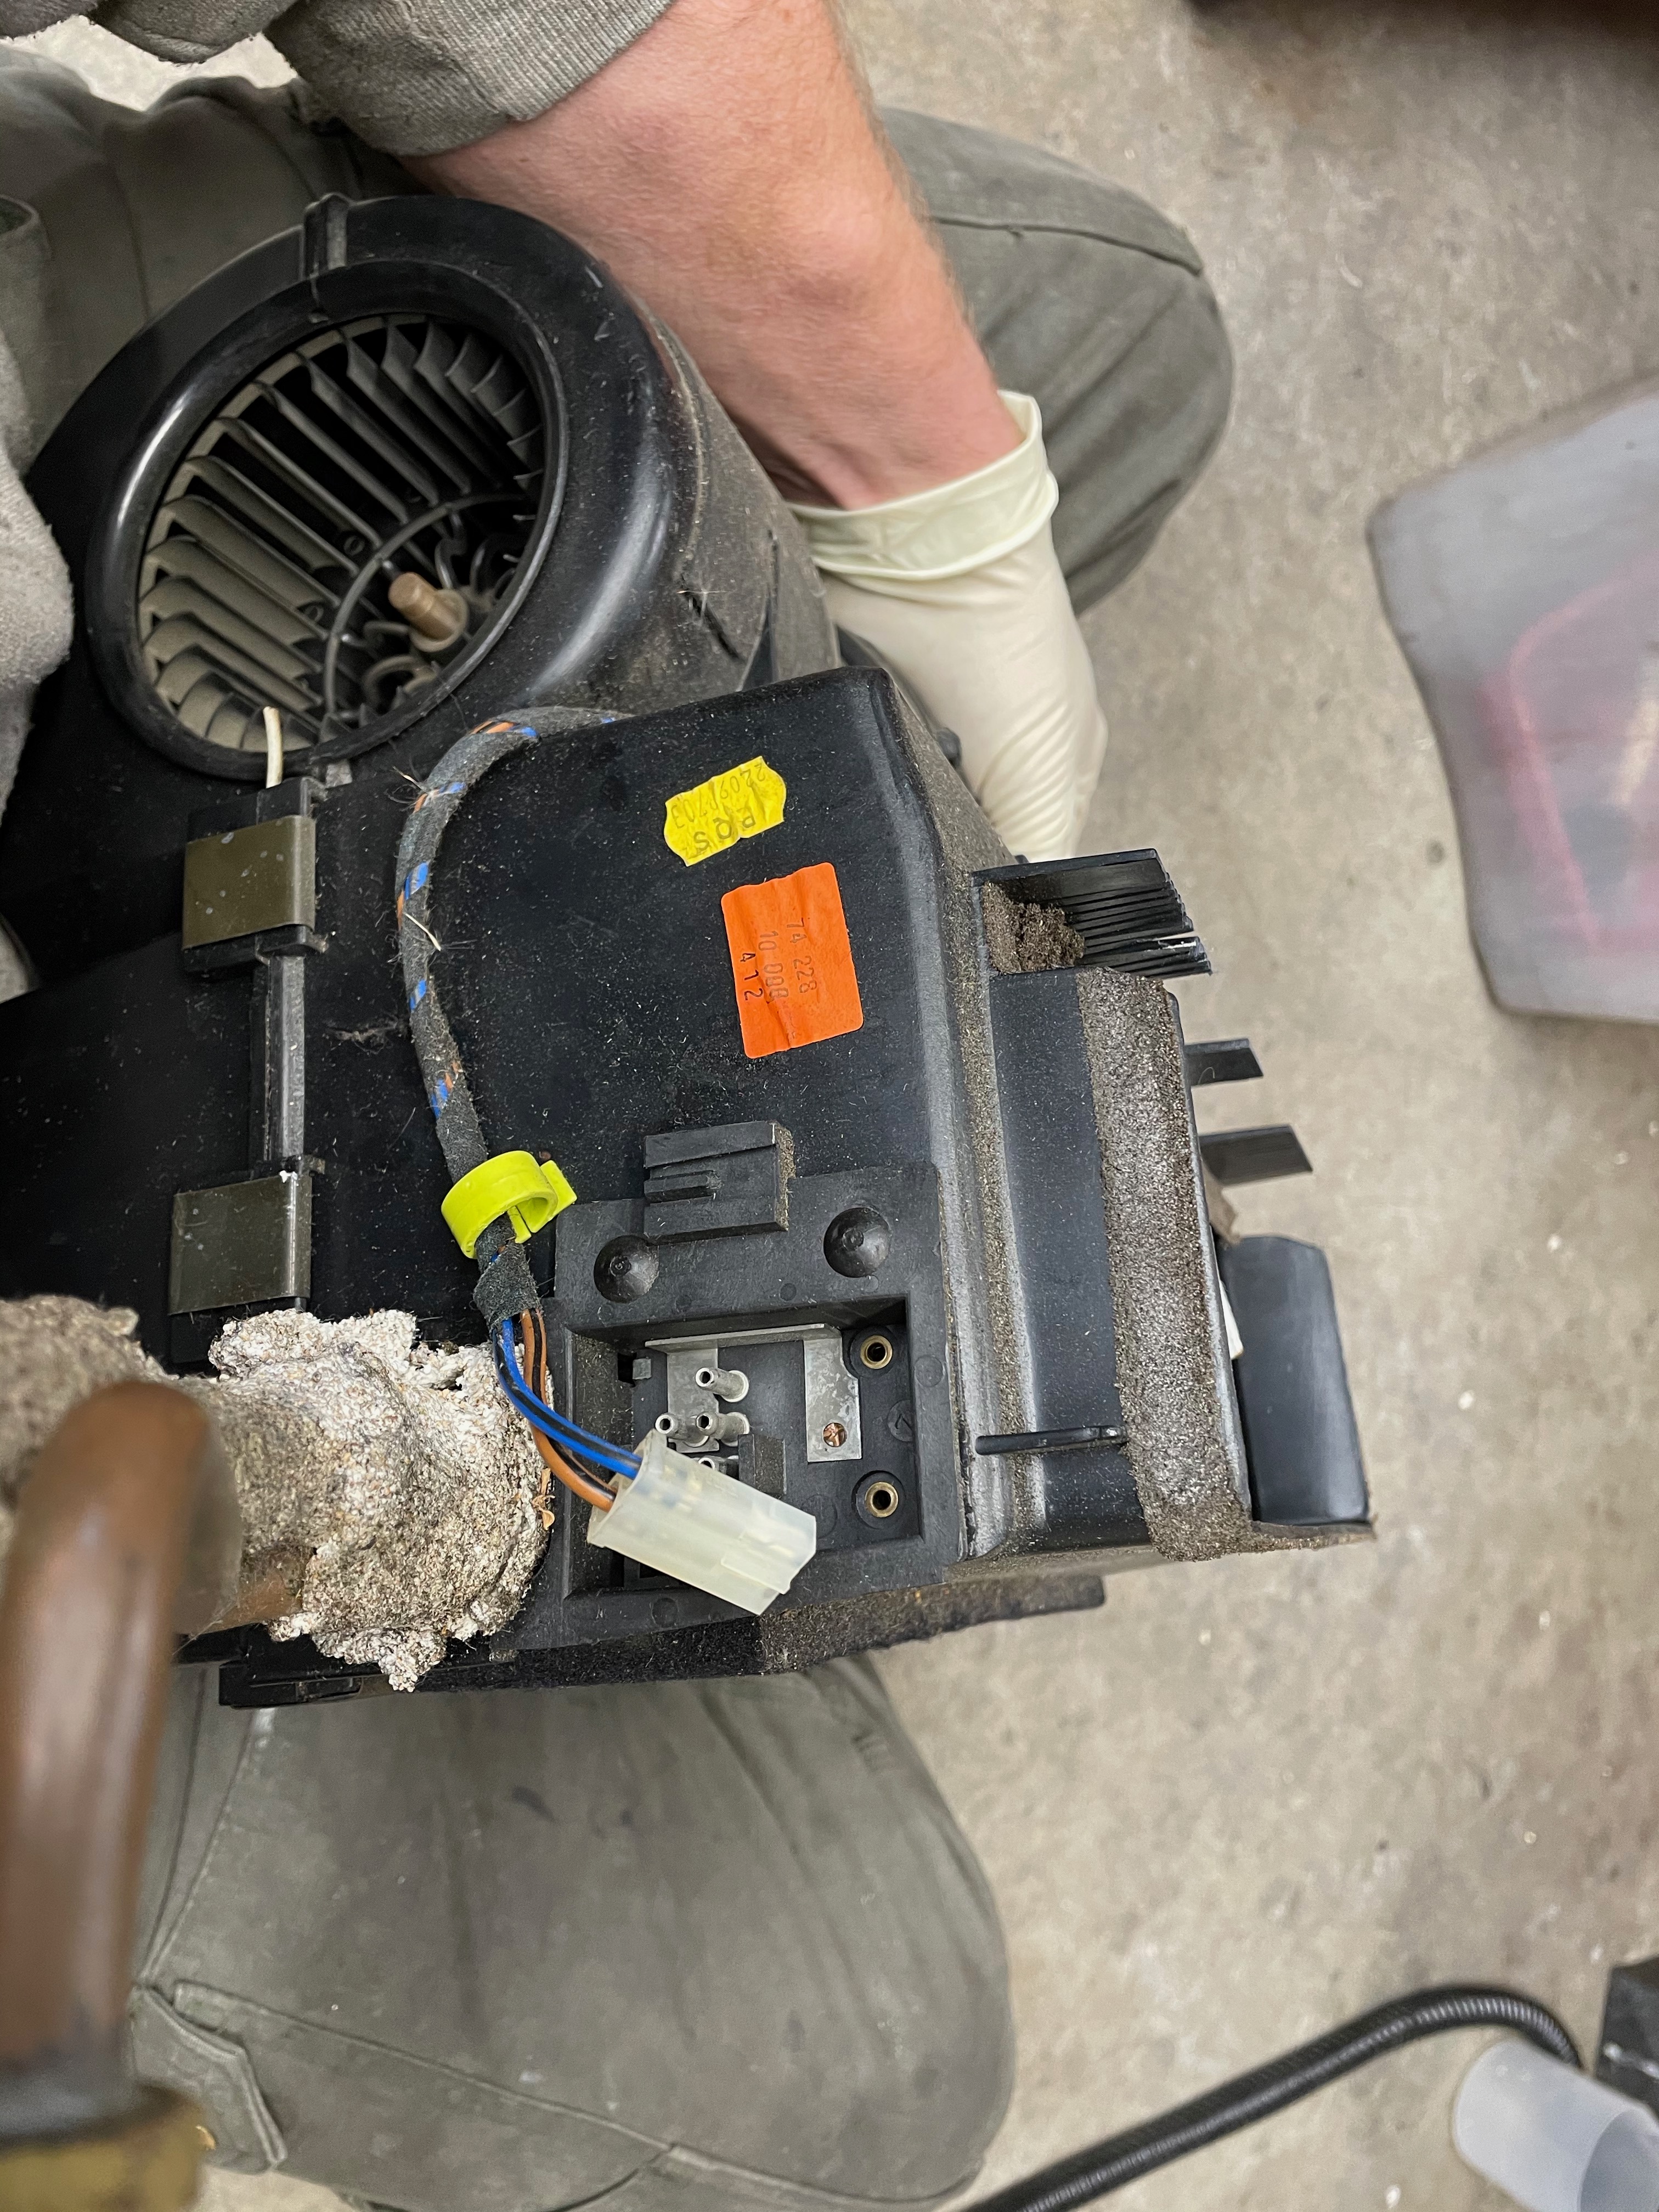
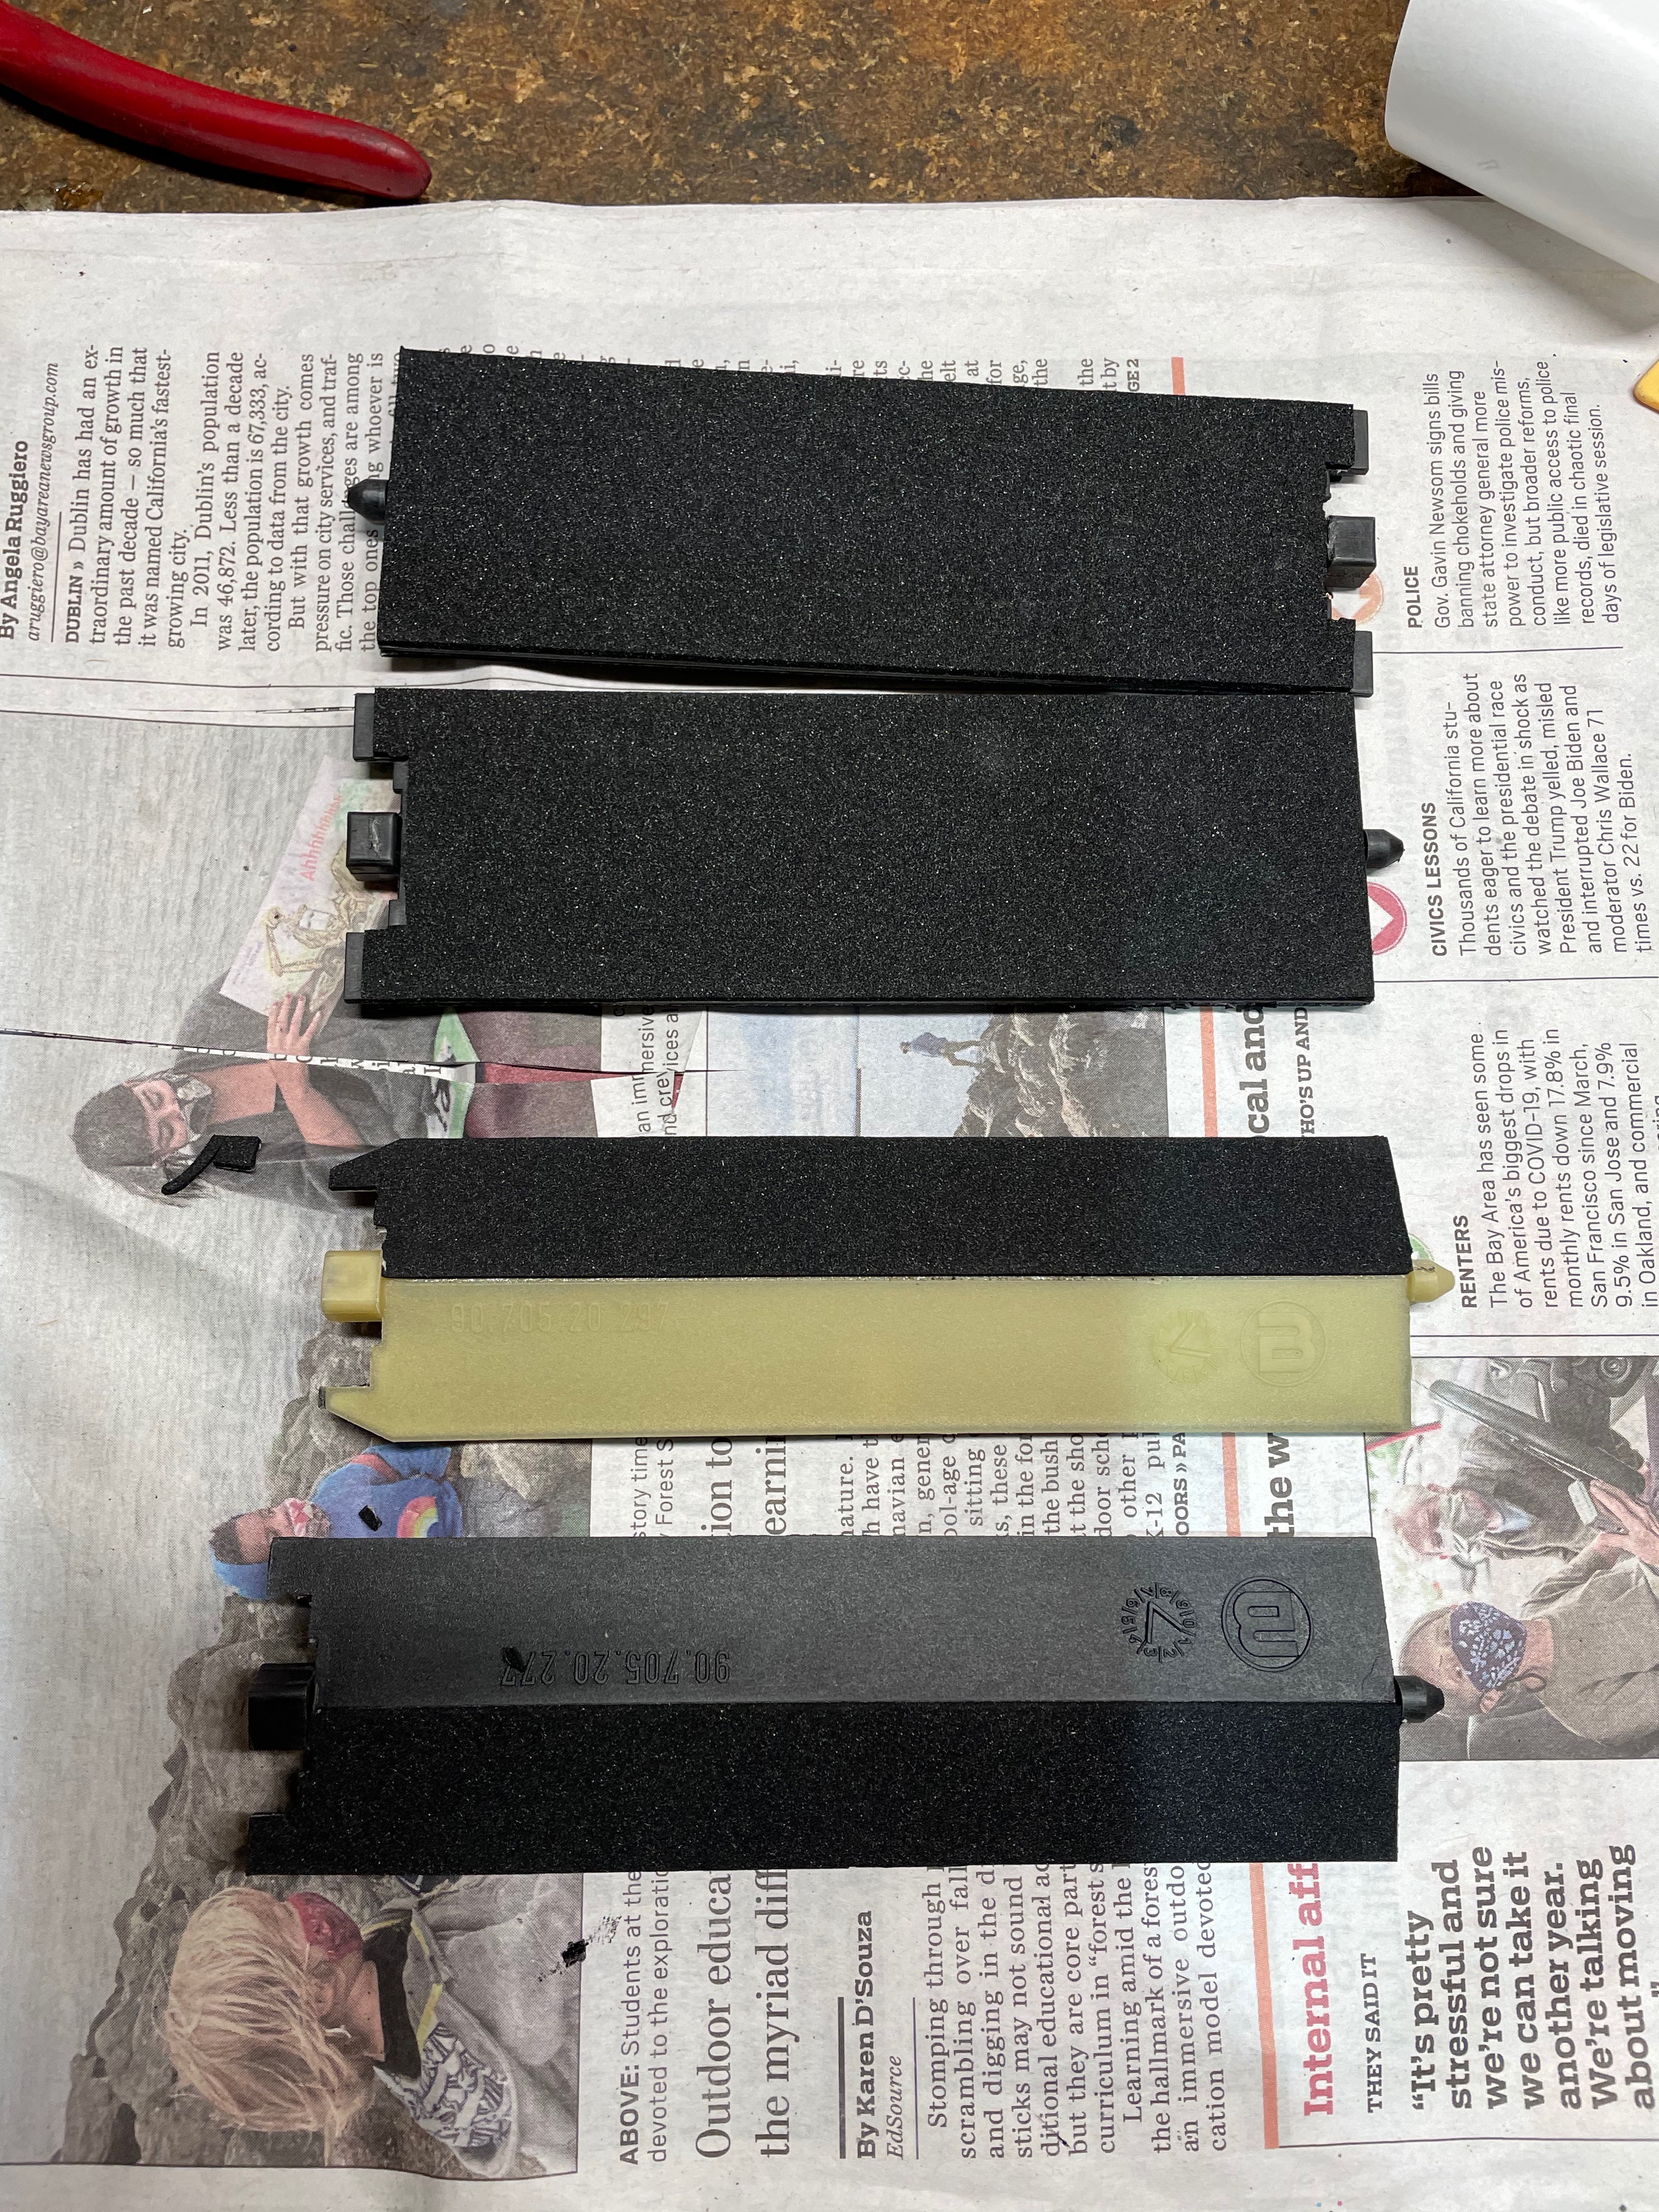
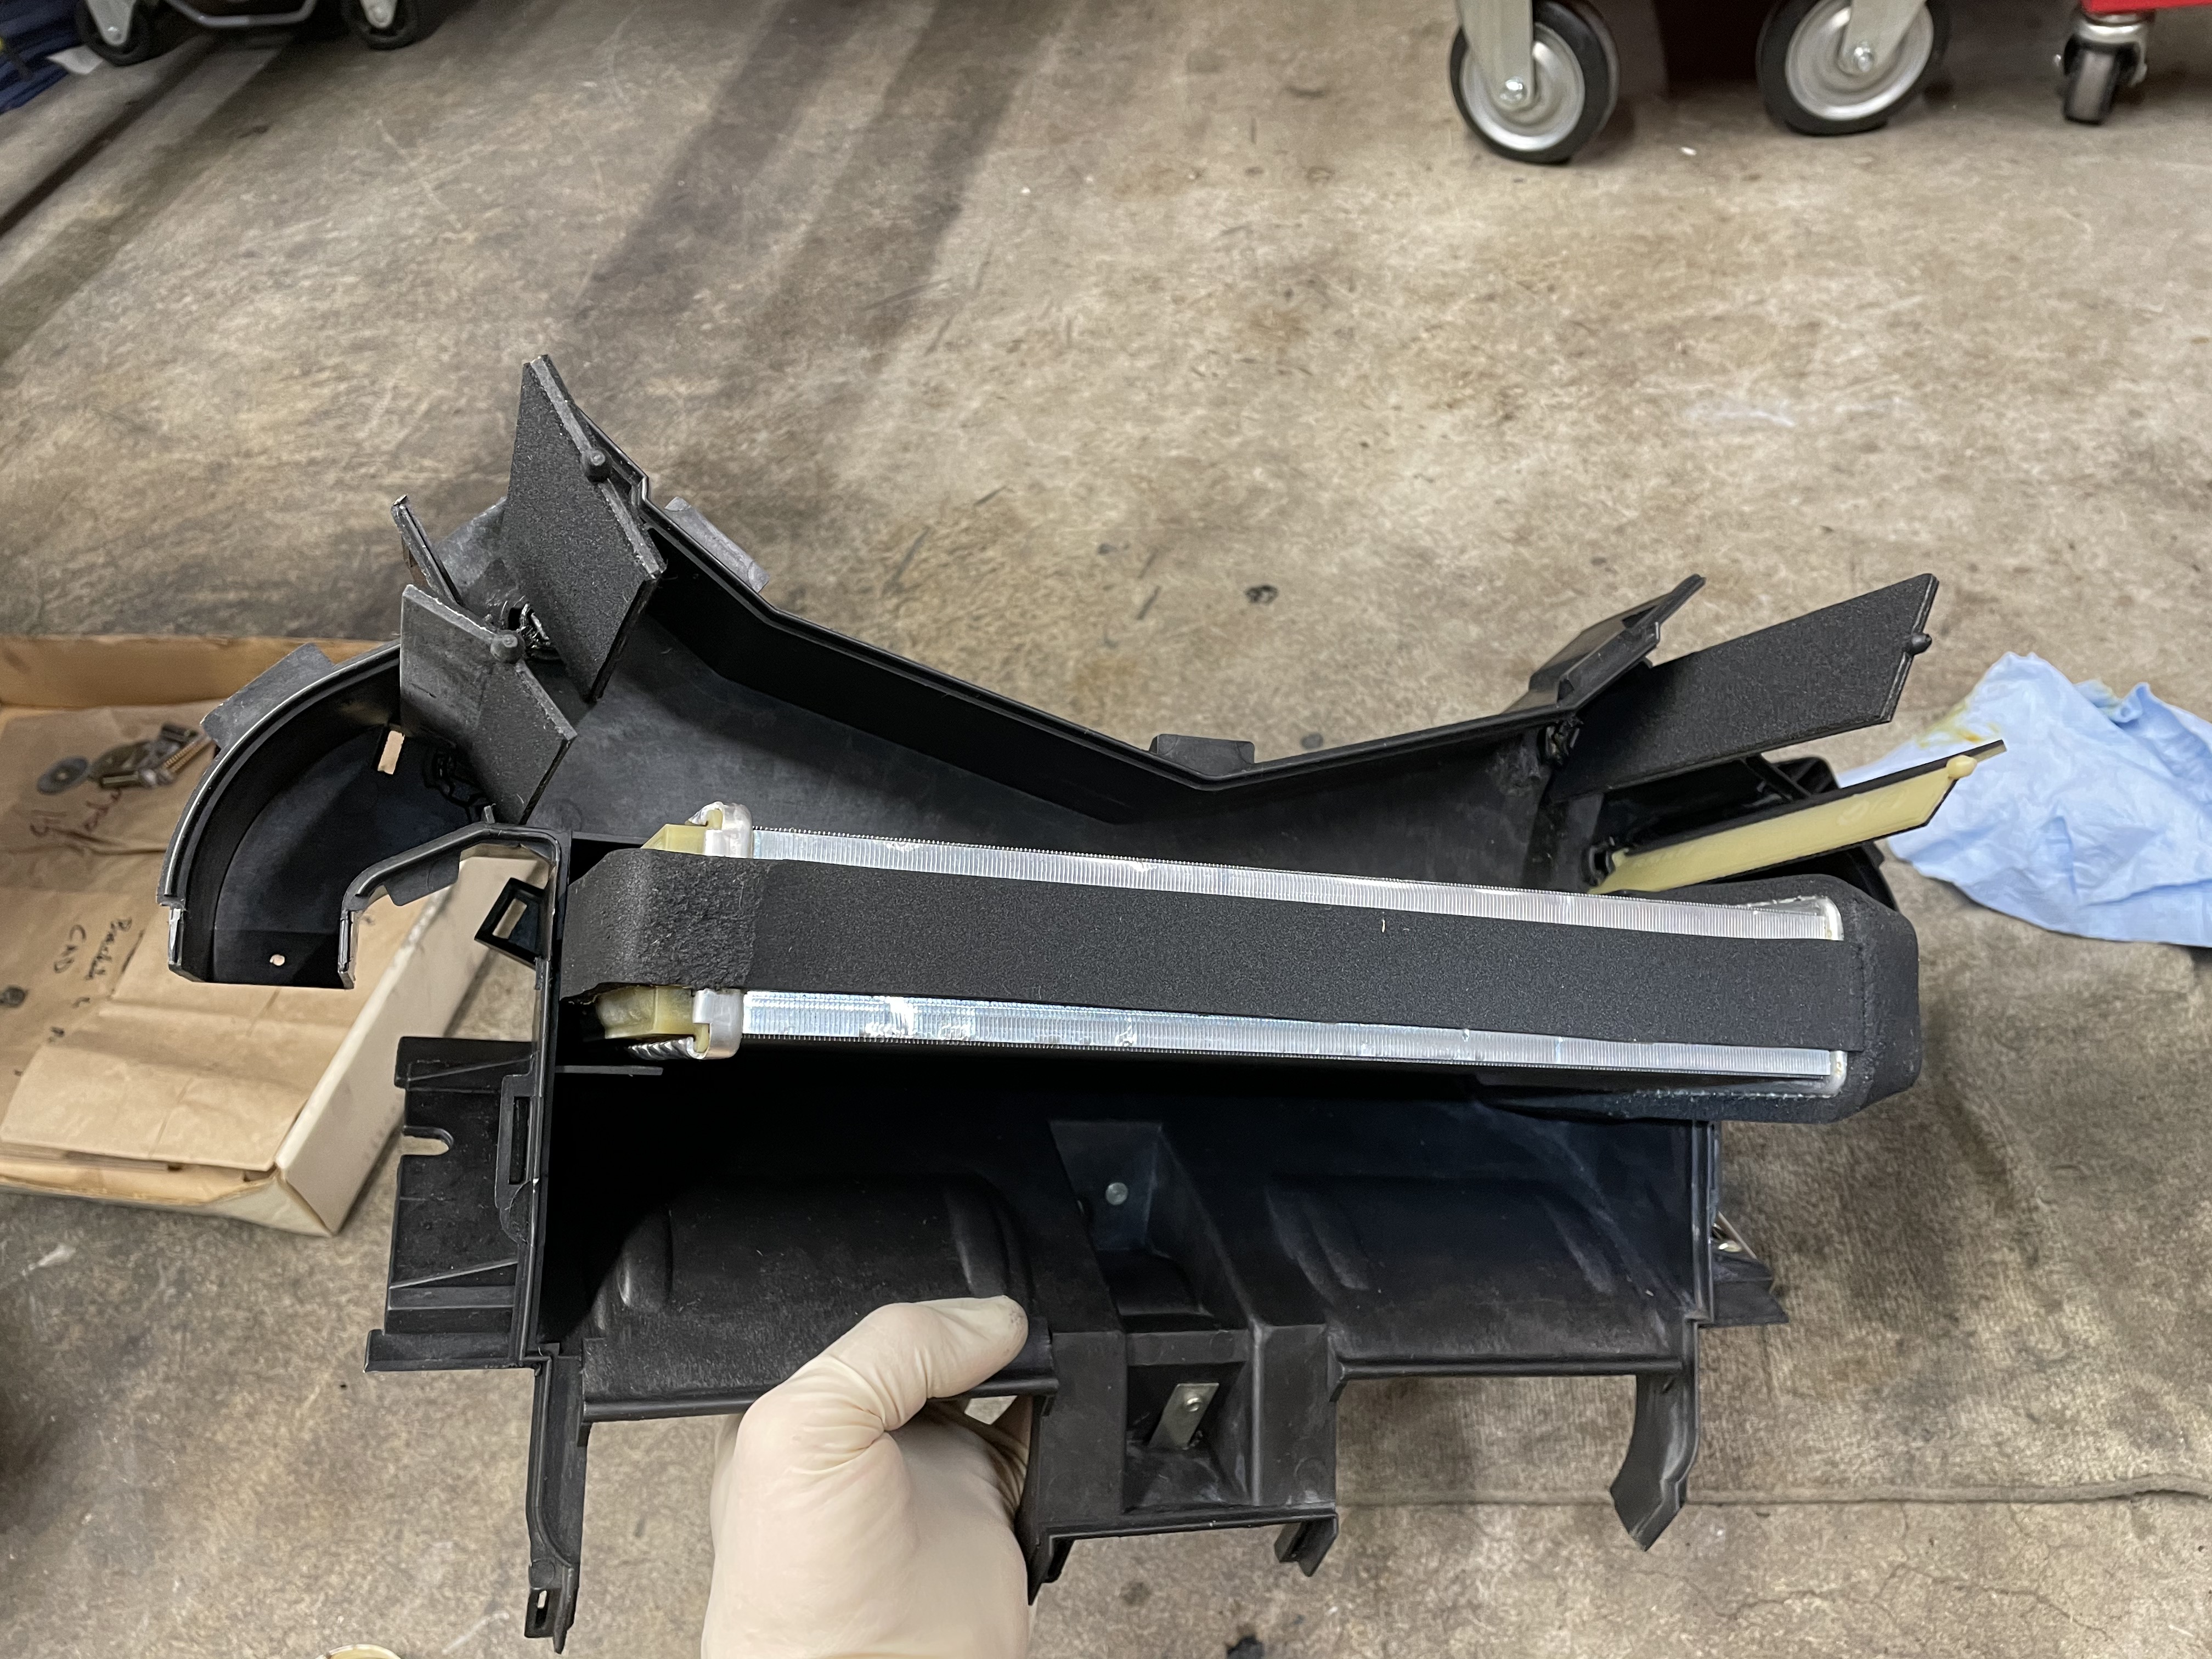
After:
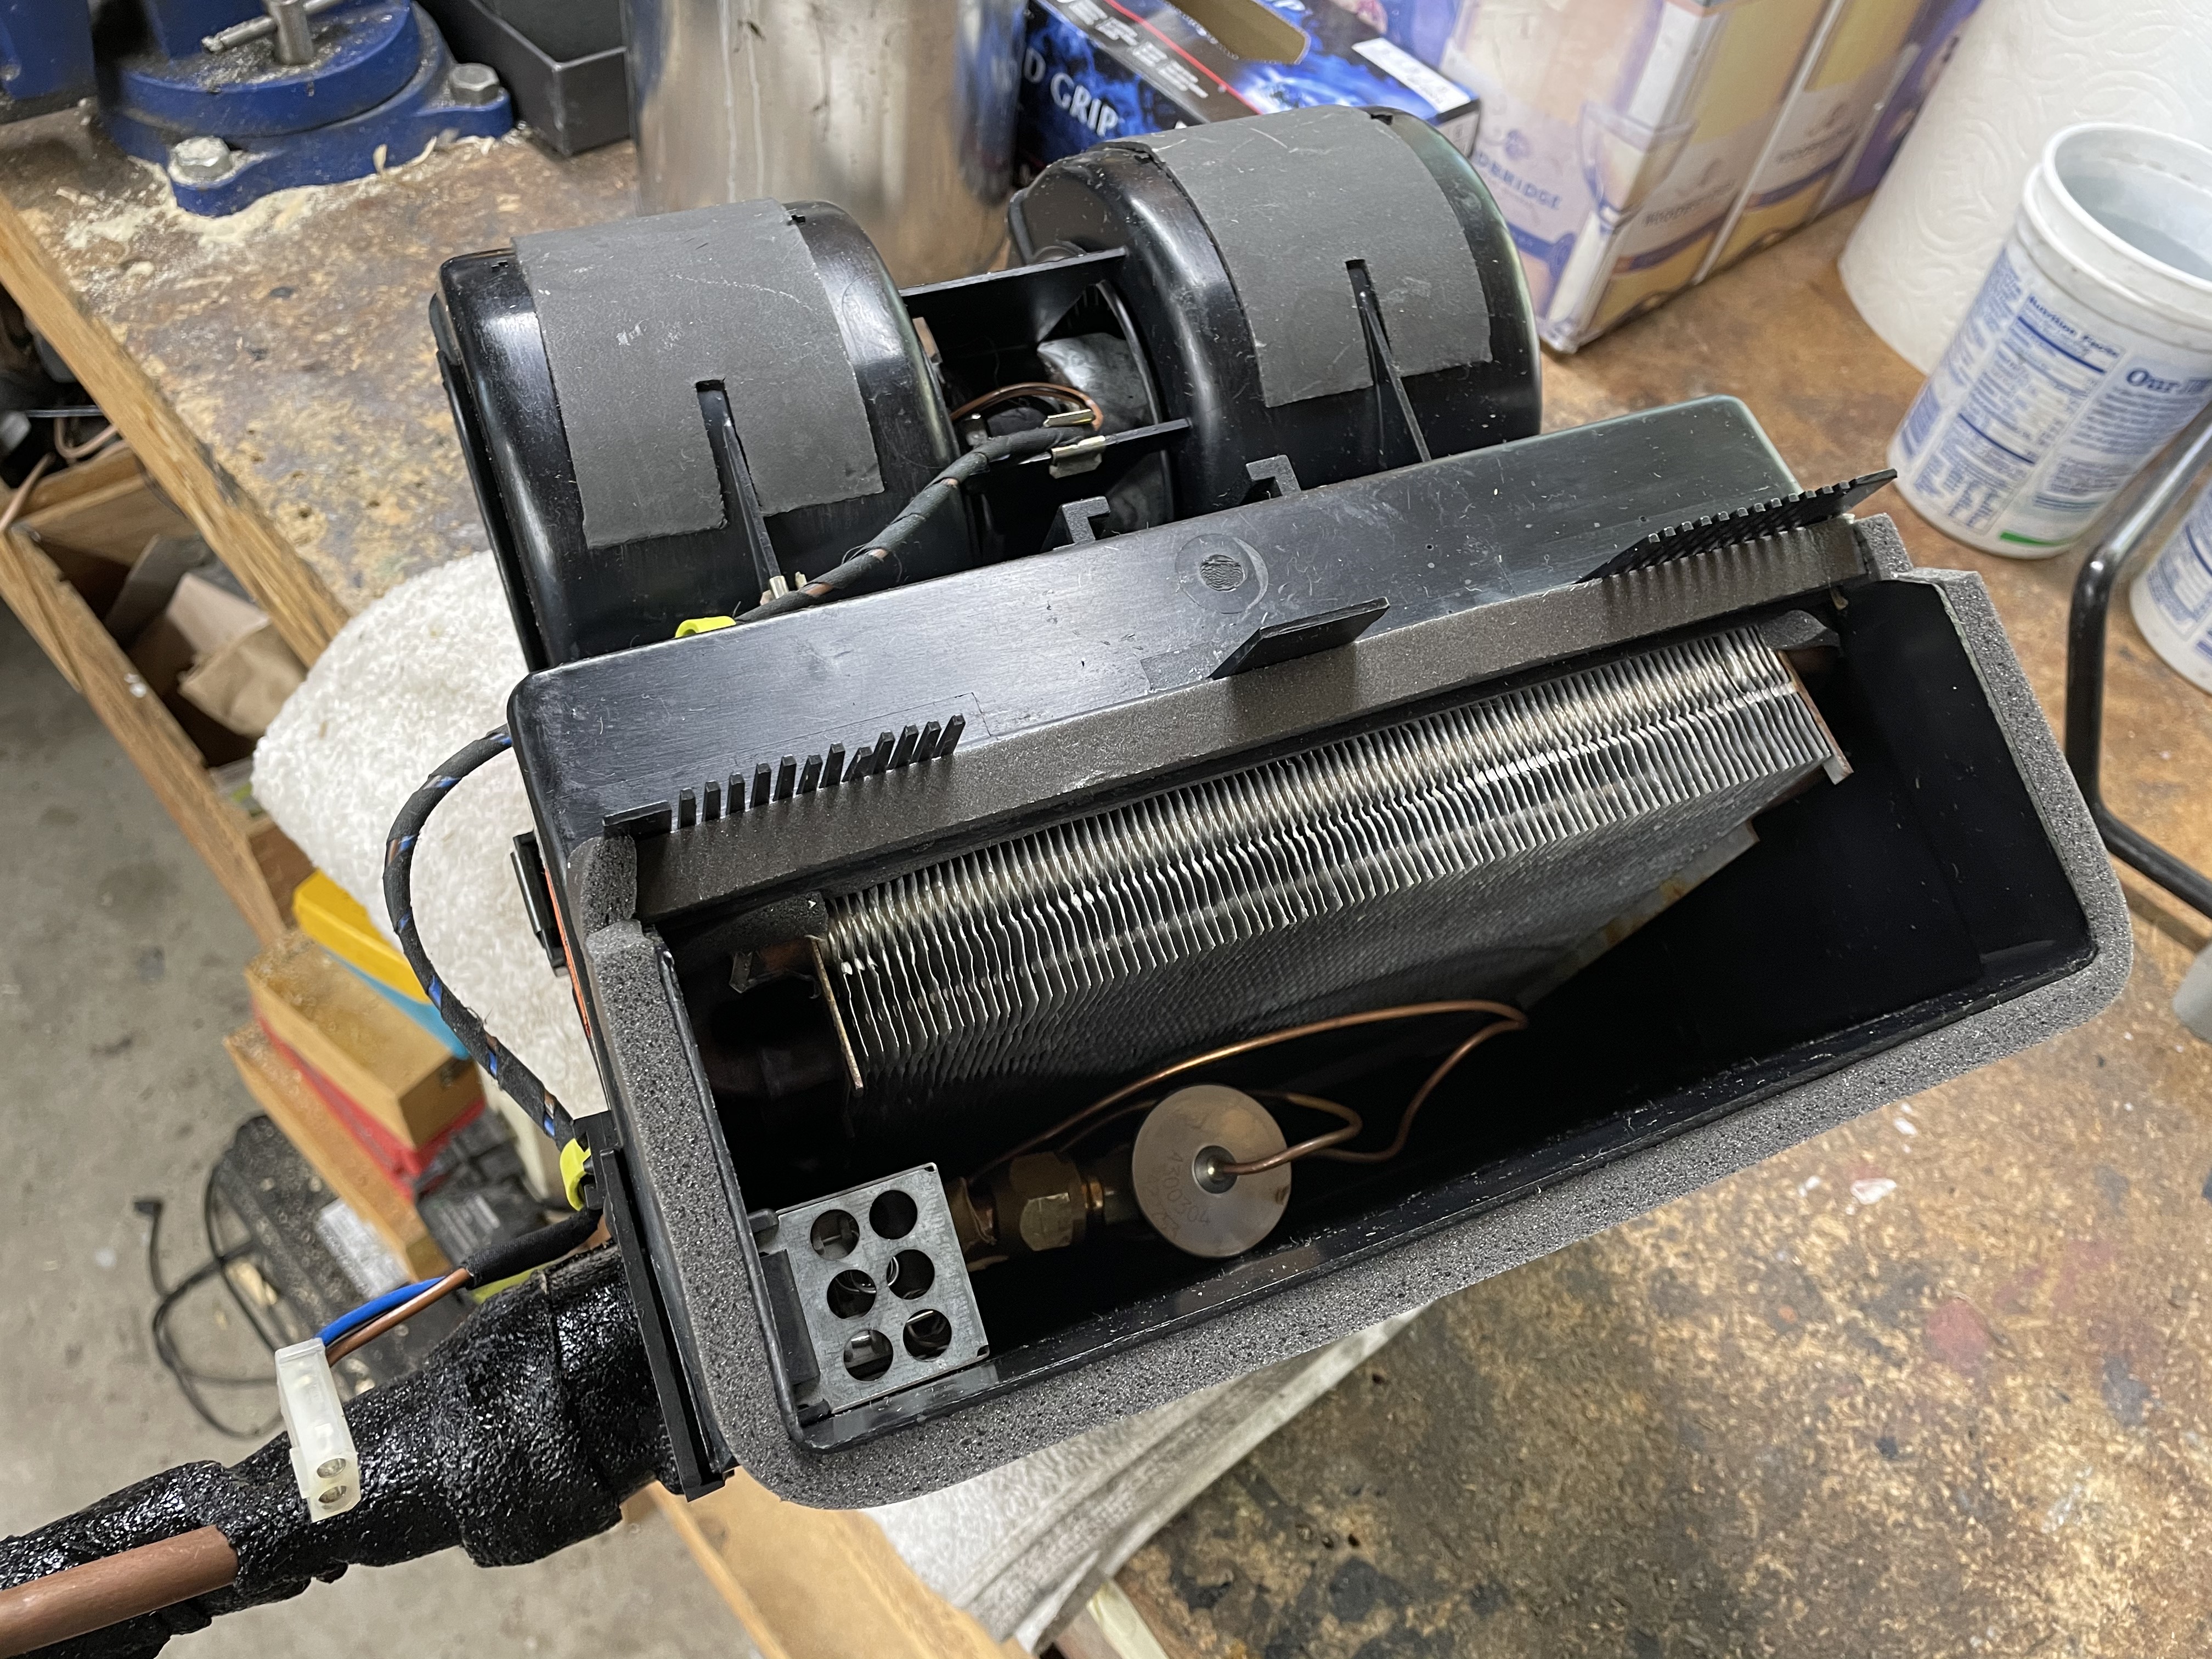
The only thing I'm not happy with is that the "O" ring kit I bought didn't have a small enough one to seal the small pipe on the expansion valve, so I reused the old one. Not a day later I found a better kit and ordered it. So, unfortunately, before the evap box goes back in, I'll have to disassemble and re-do one of the connections. I also discovered that one of the new Knipex needle nose pliers (angled jaw, slightly flattened tips) worked perfectly to straighten all the bent aluminum fins.
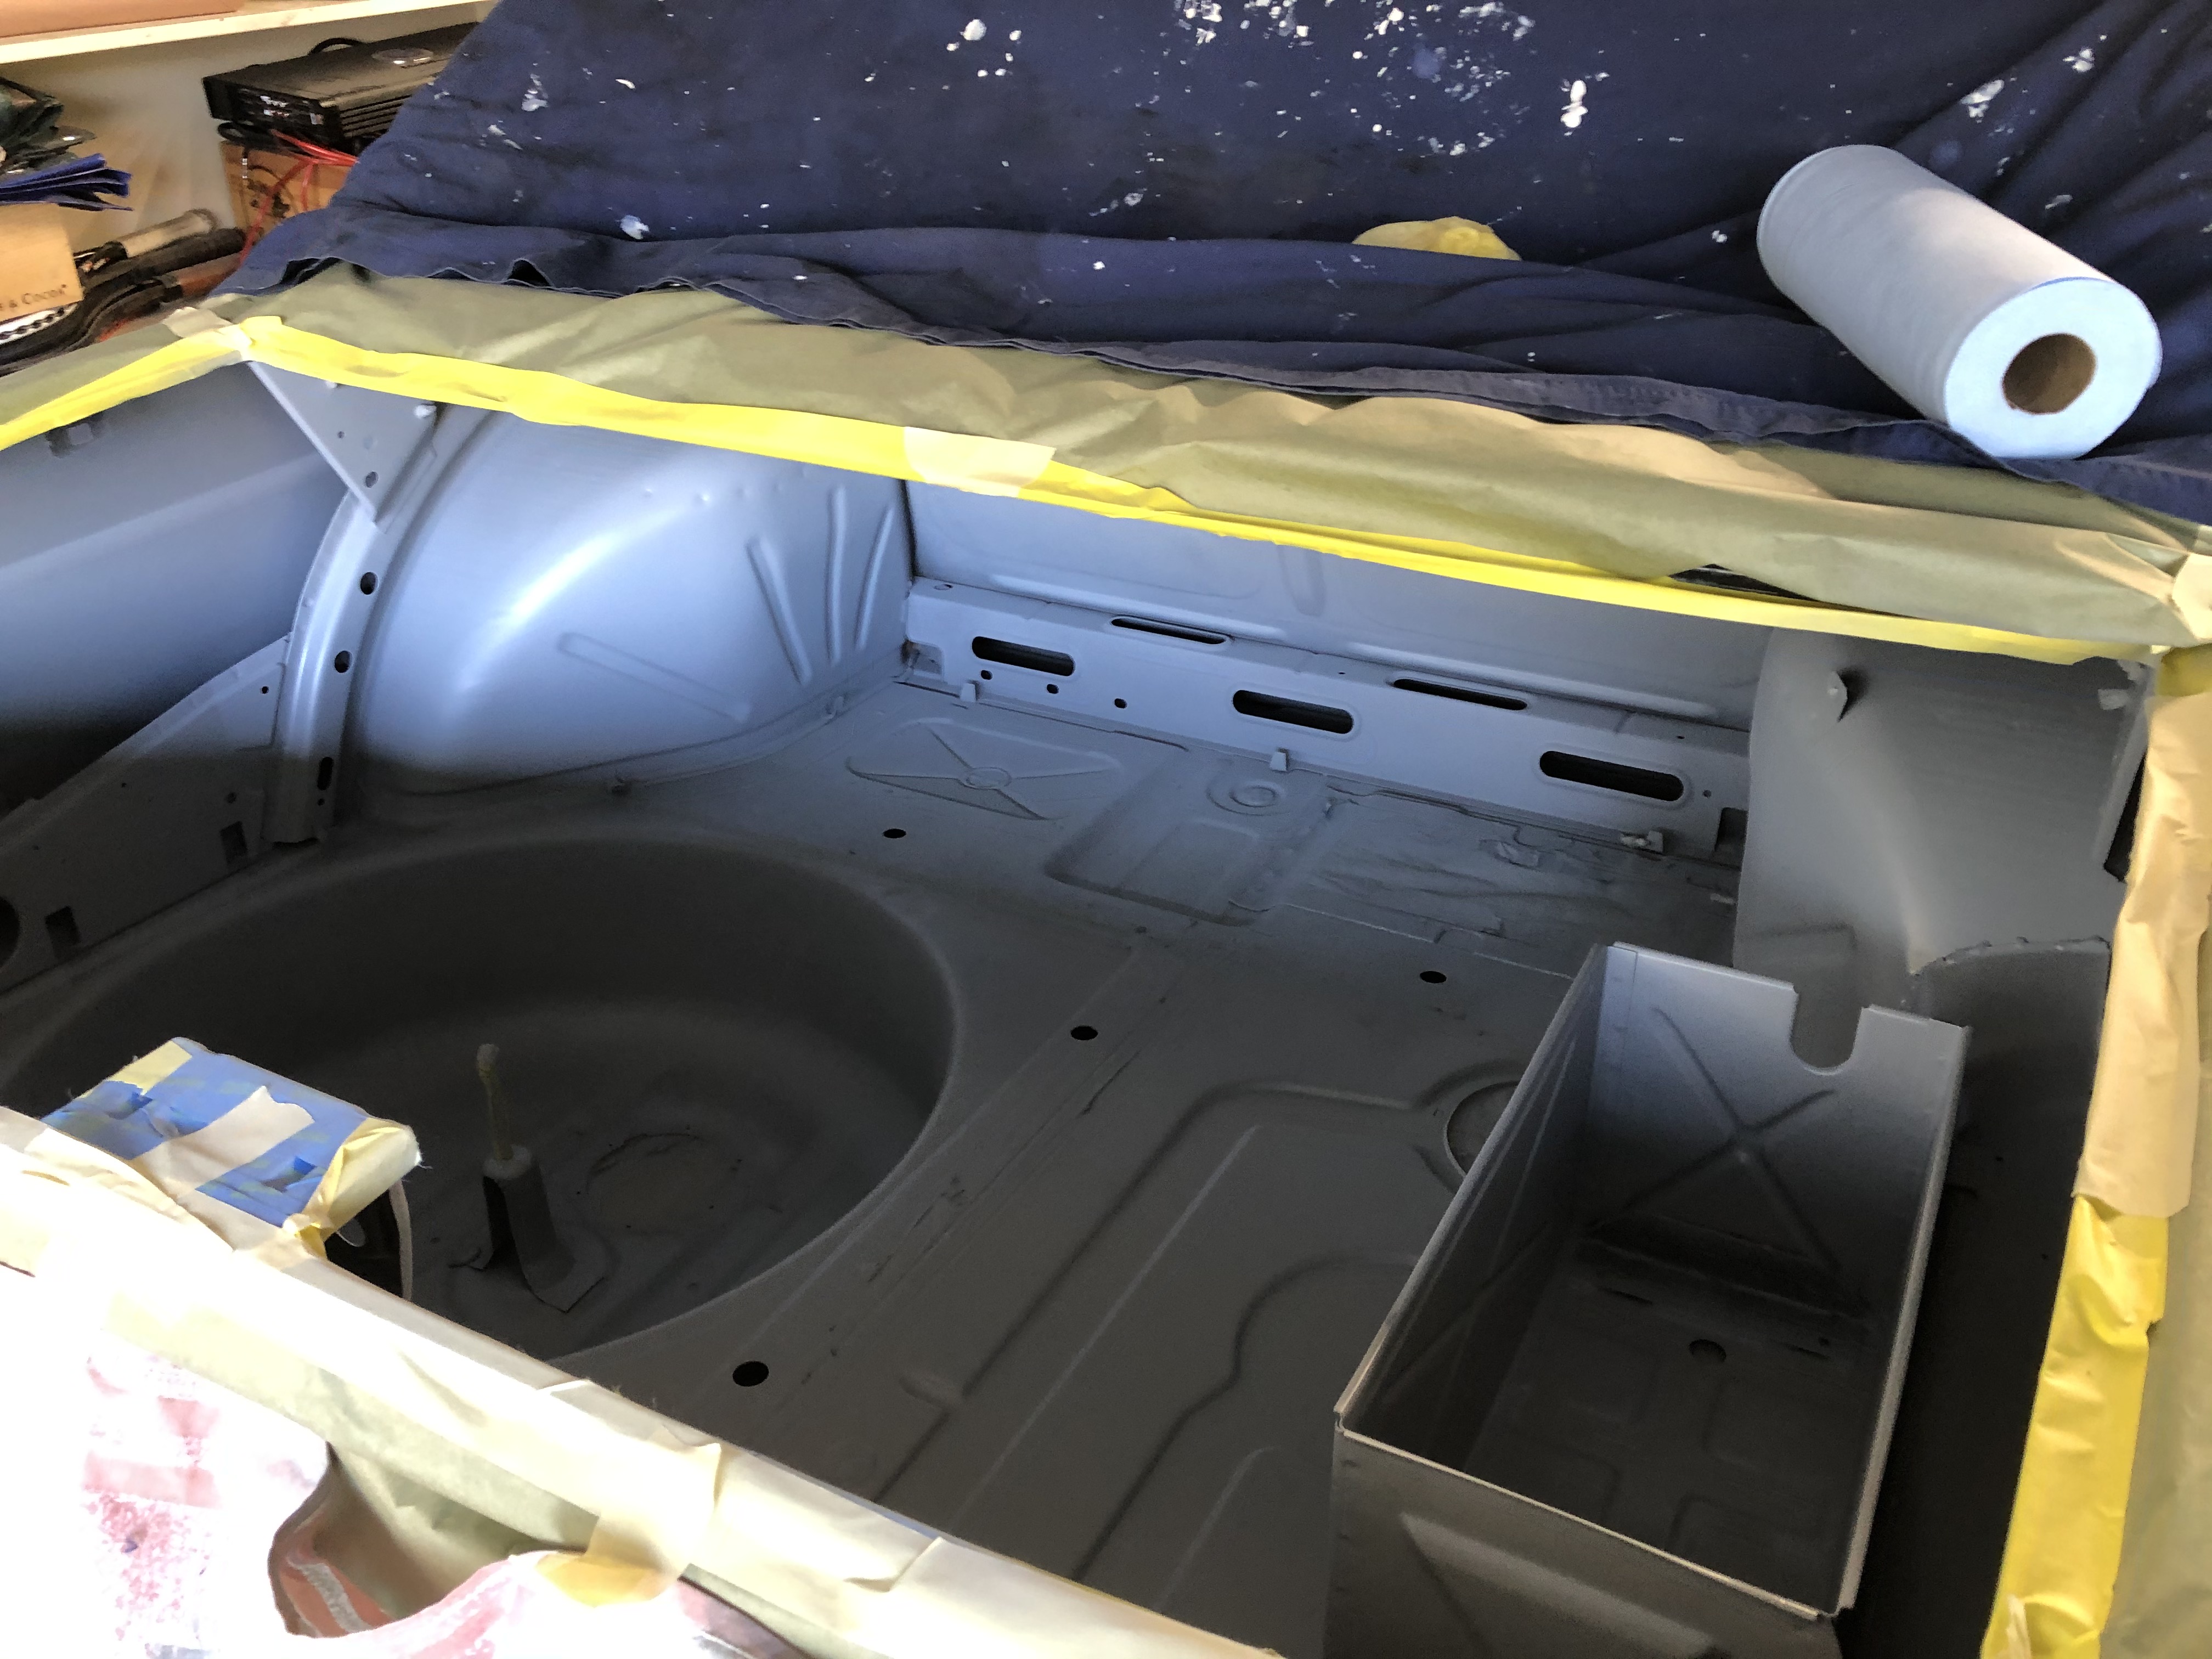
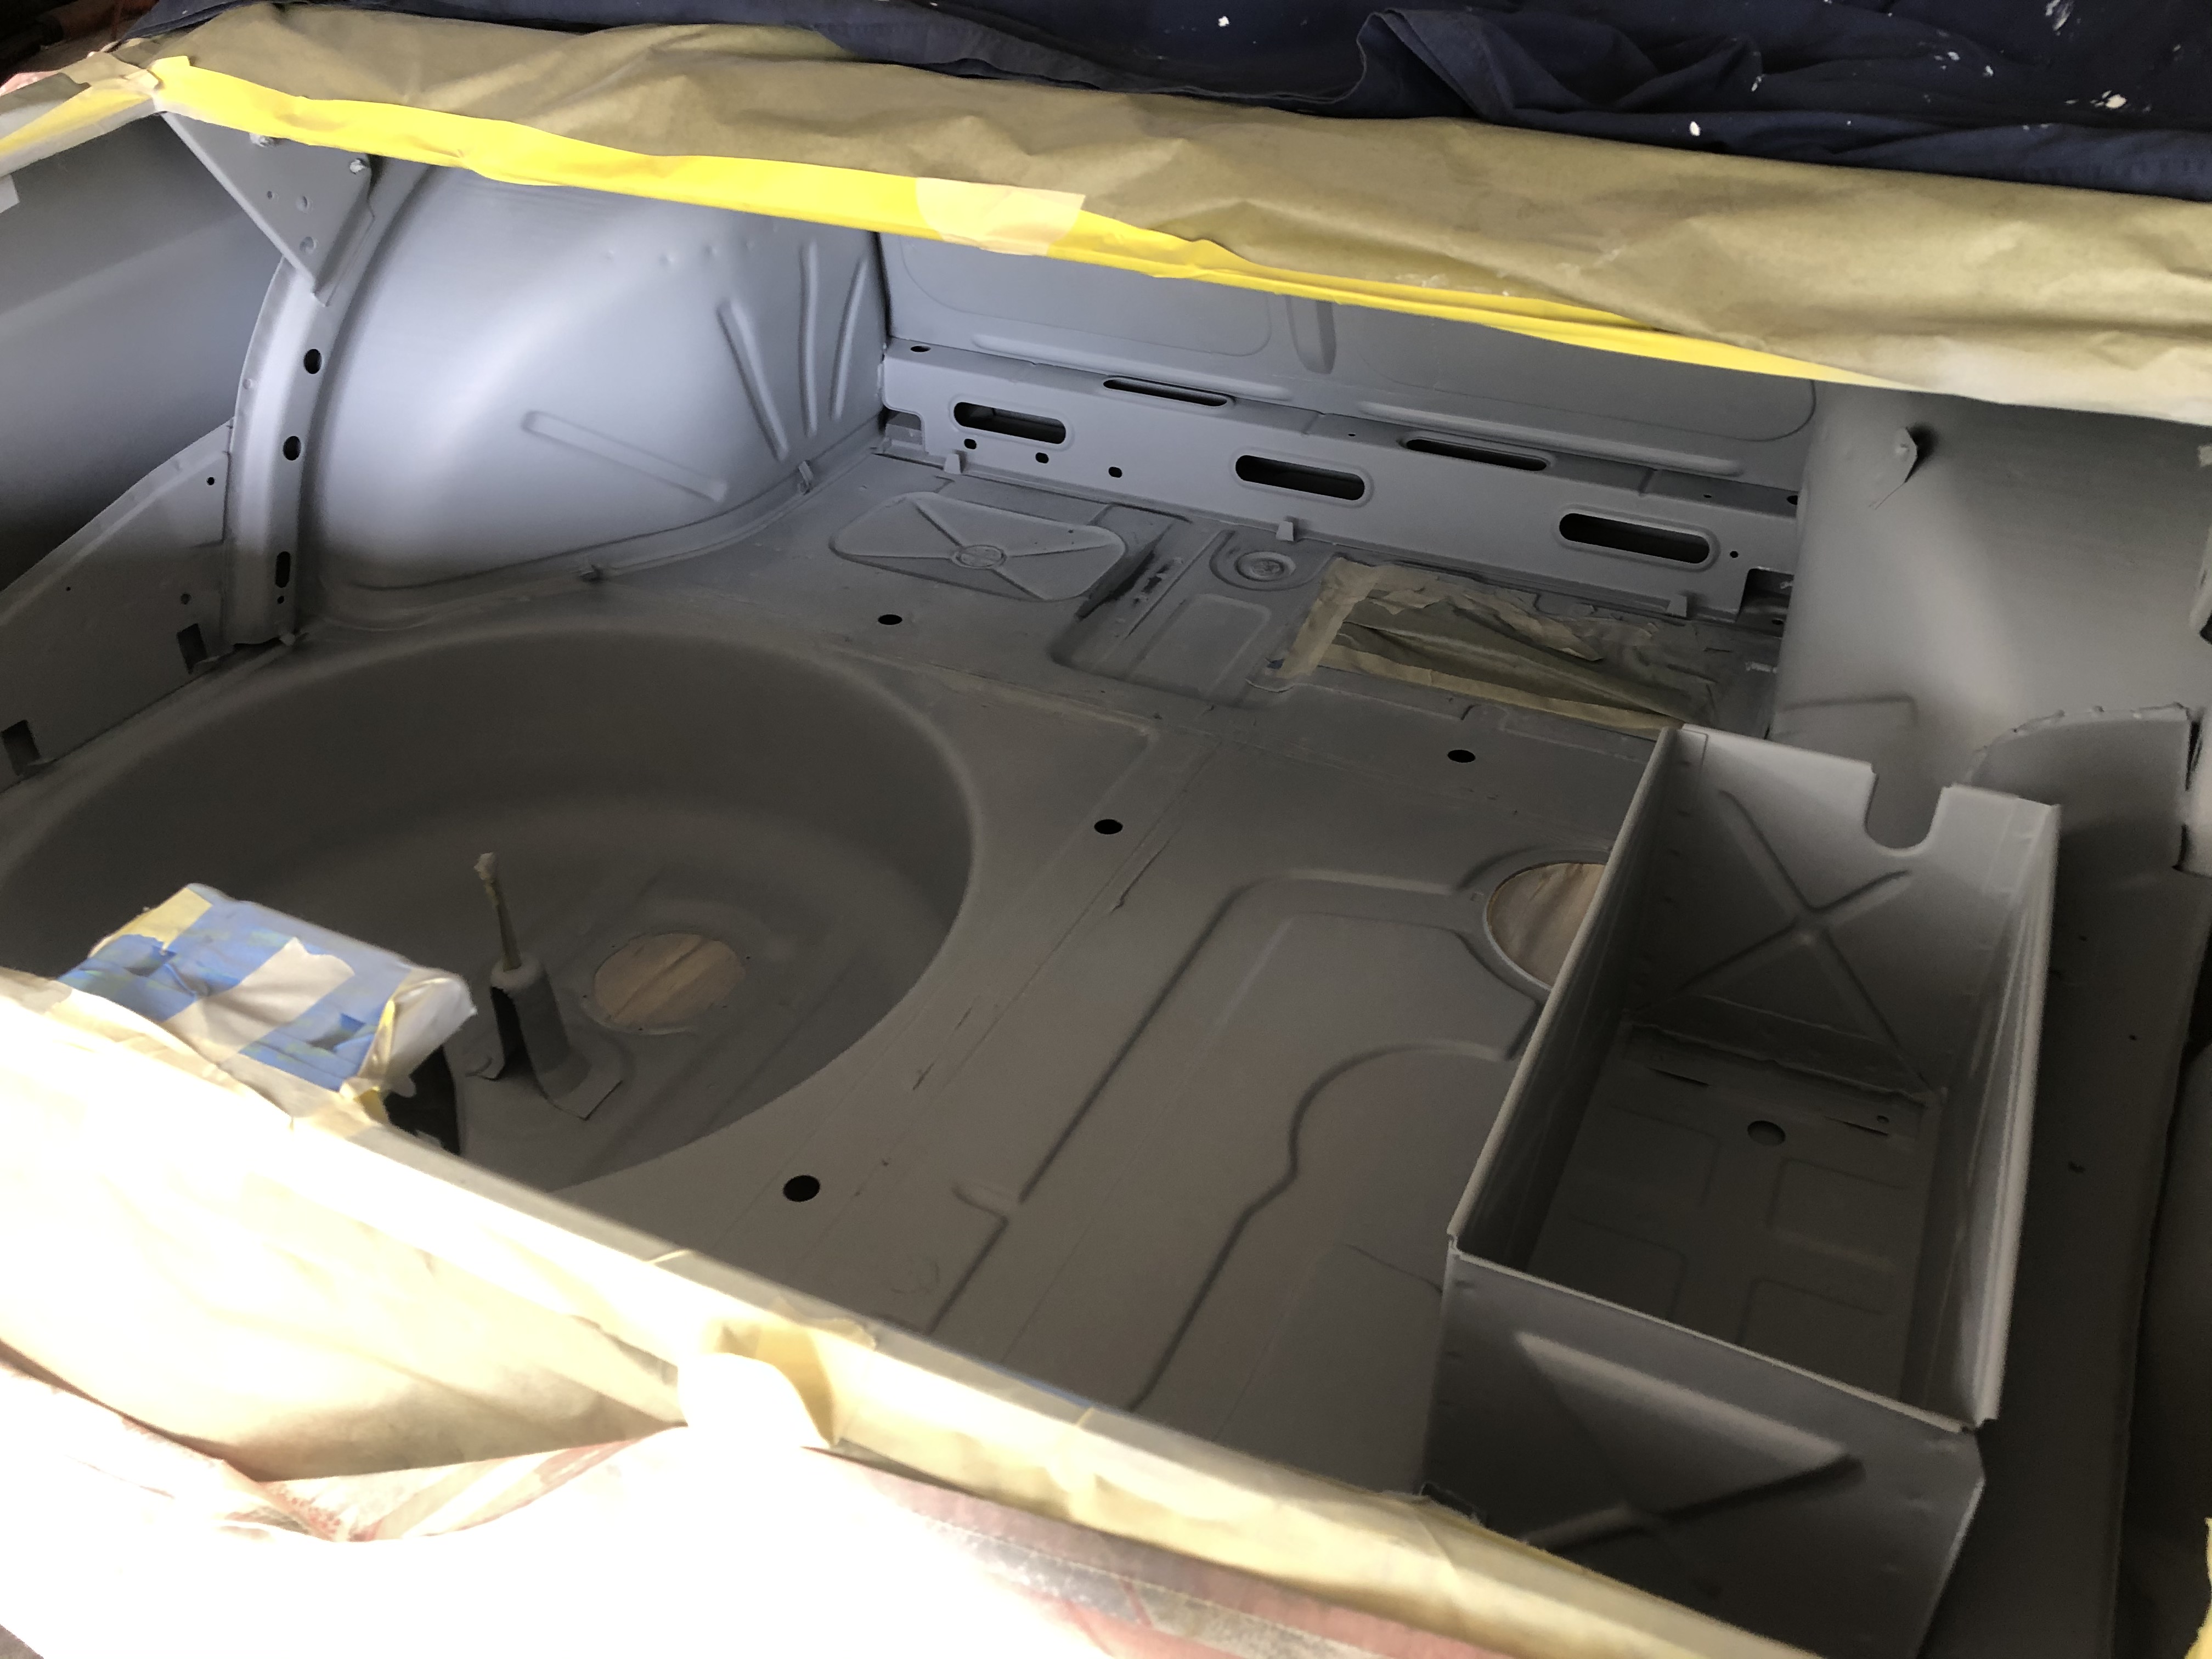
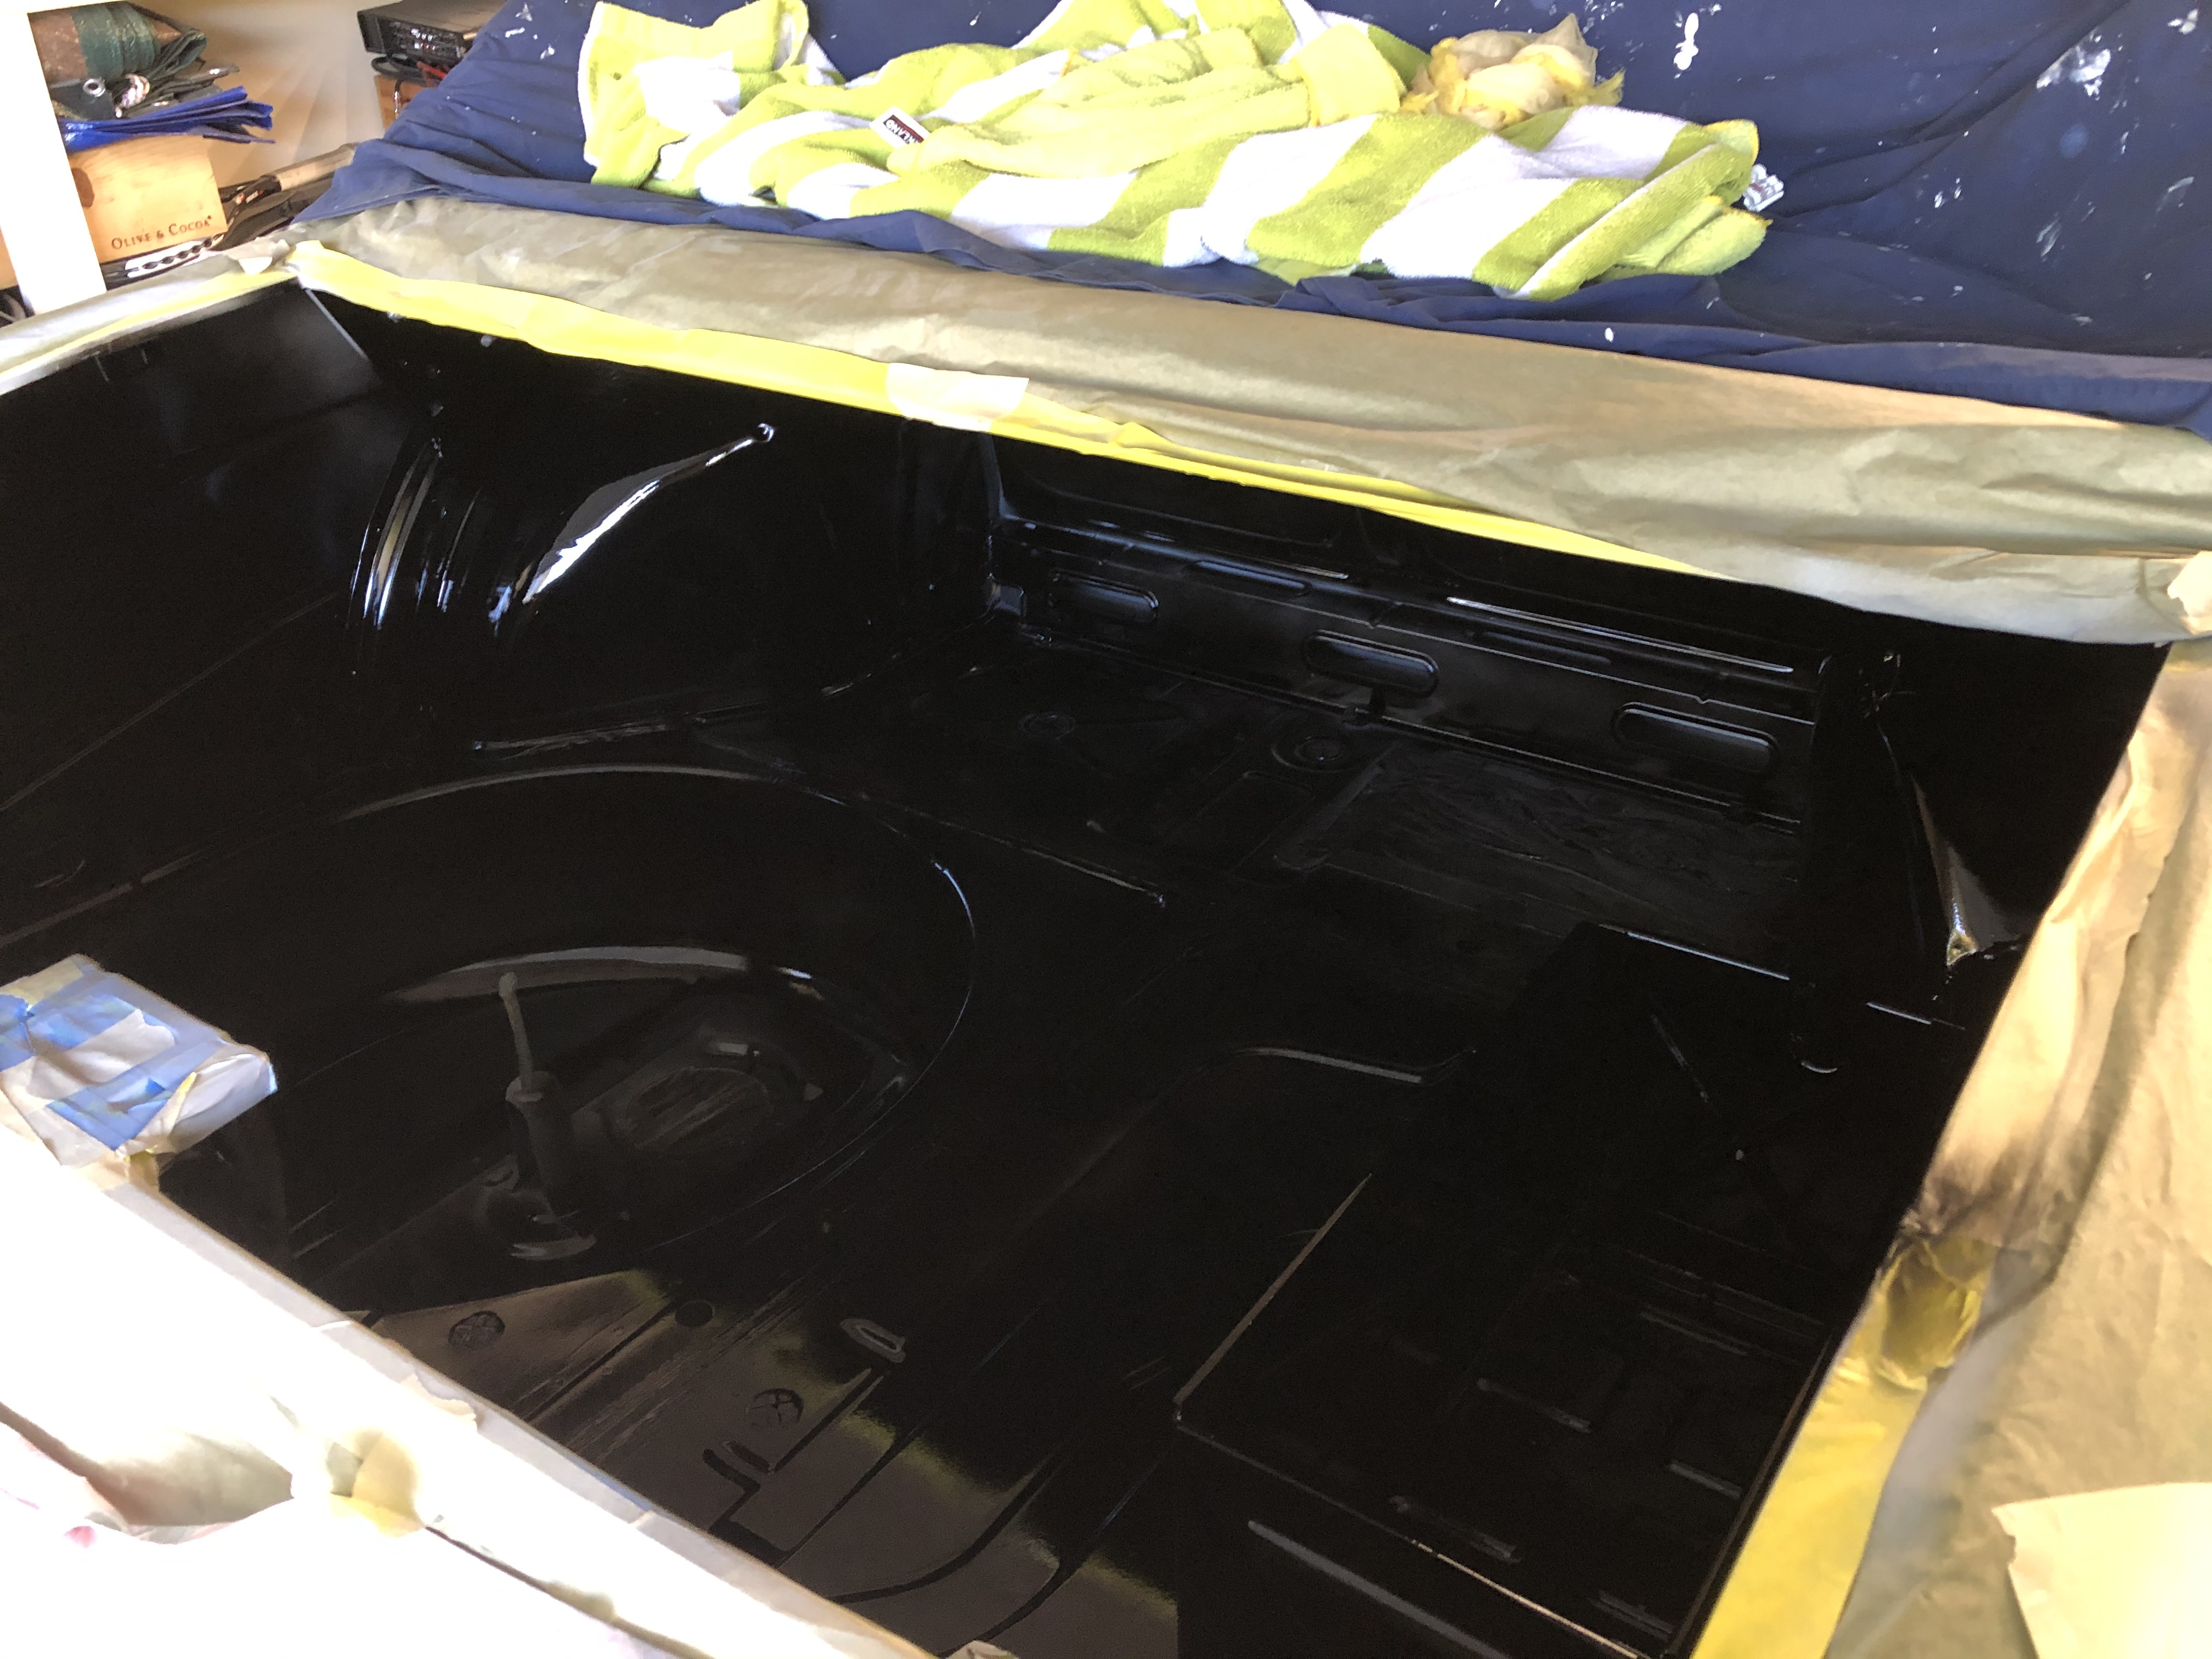
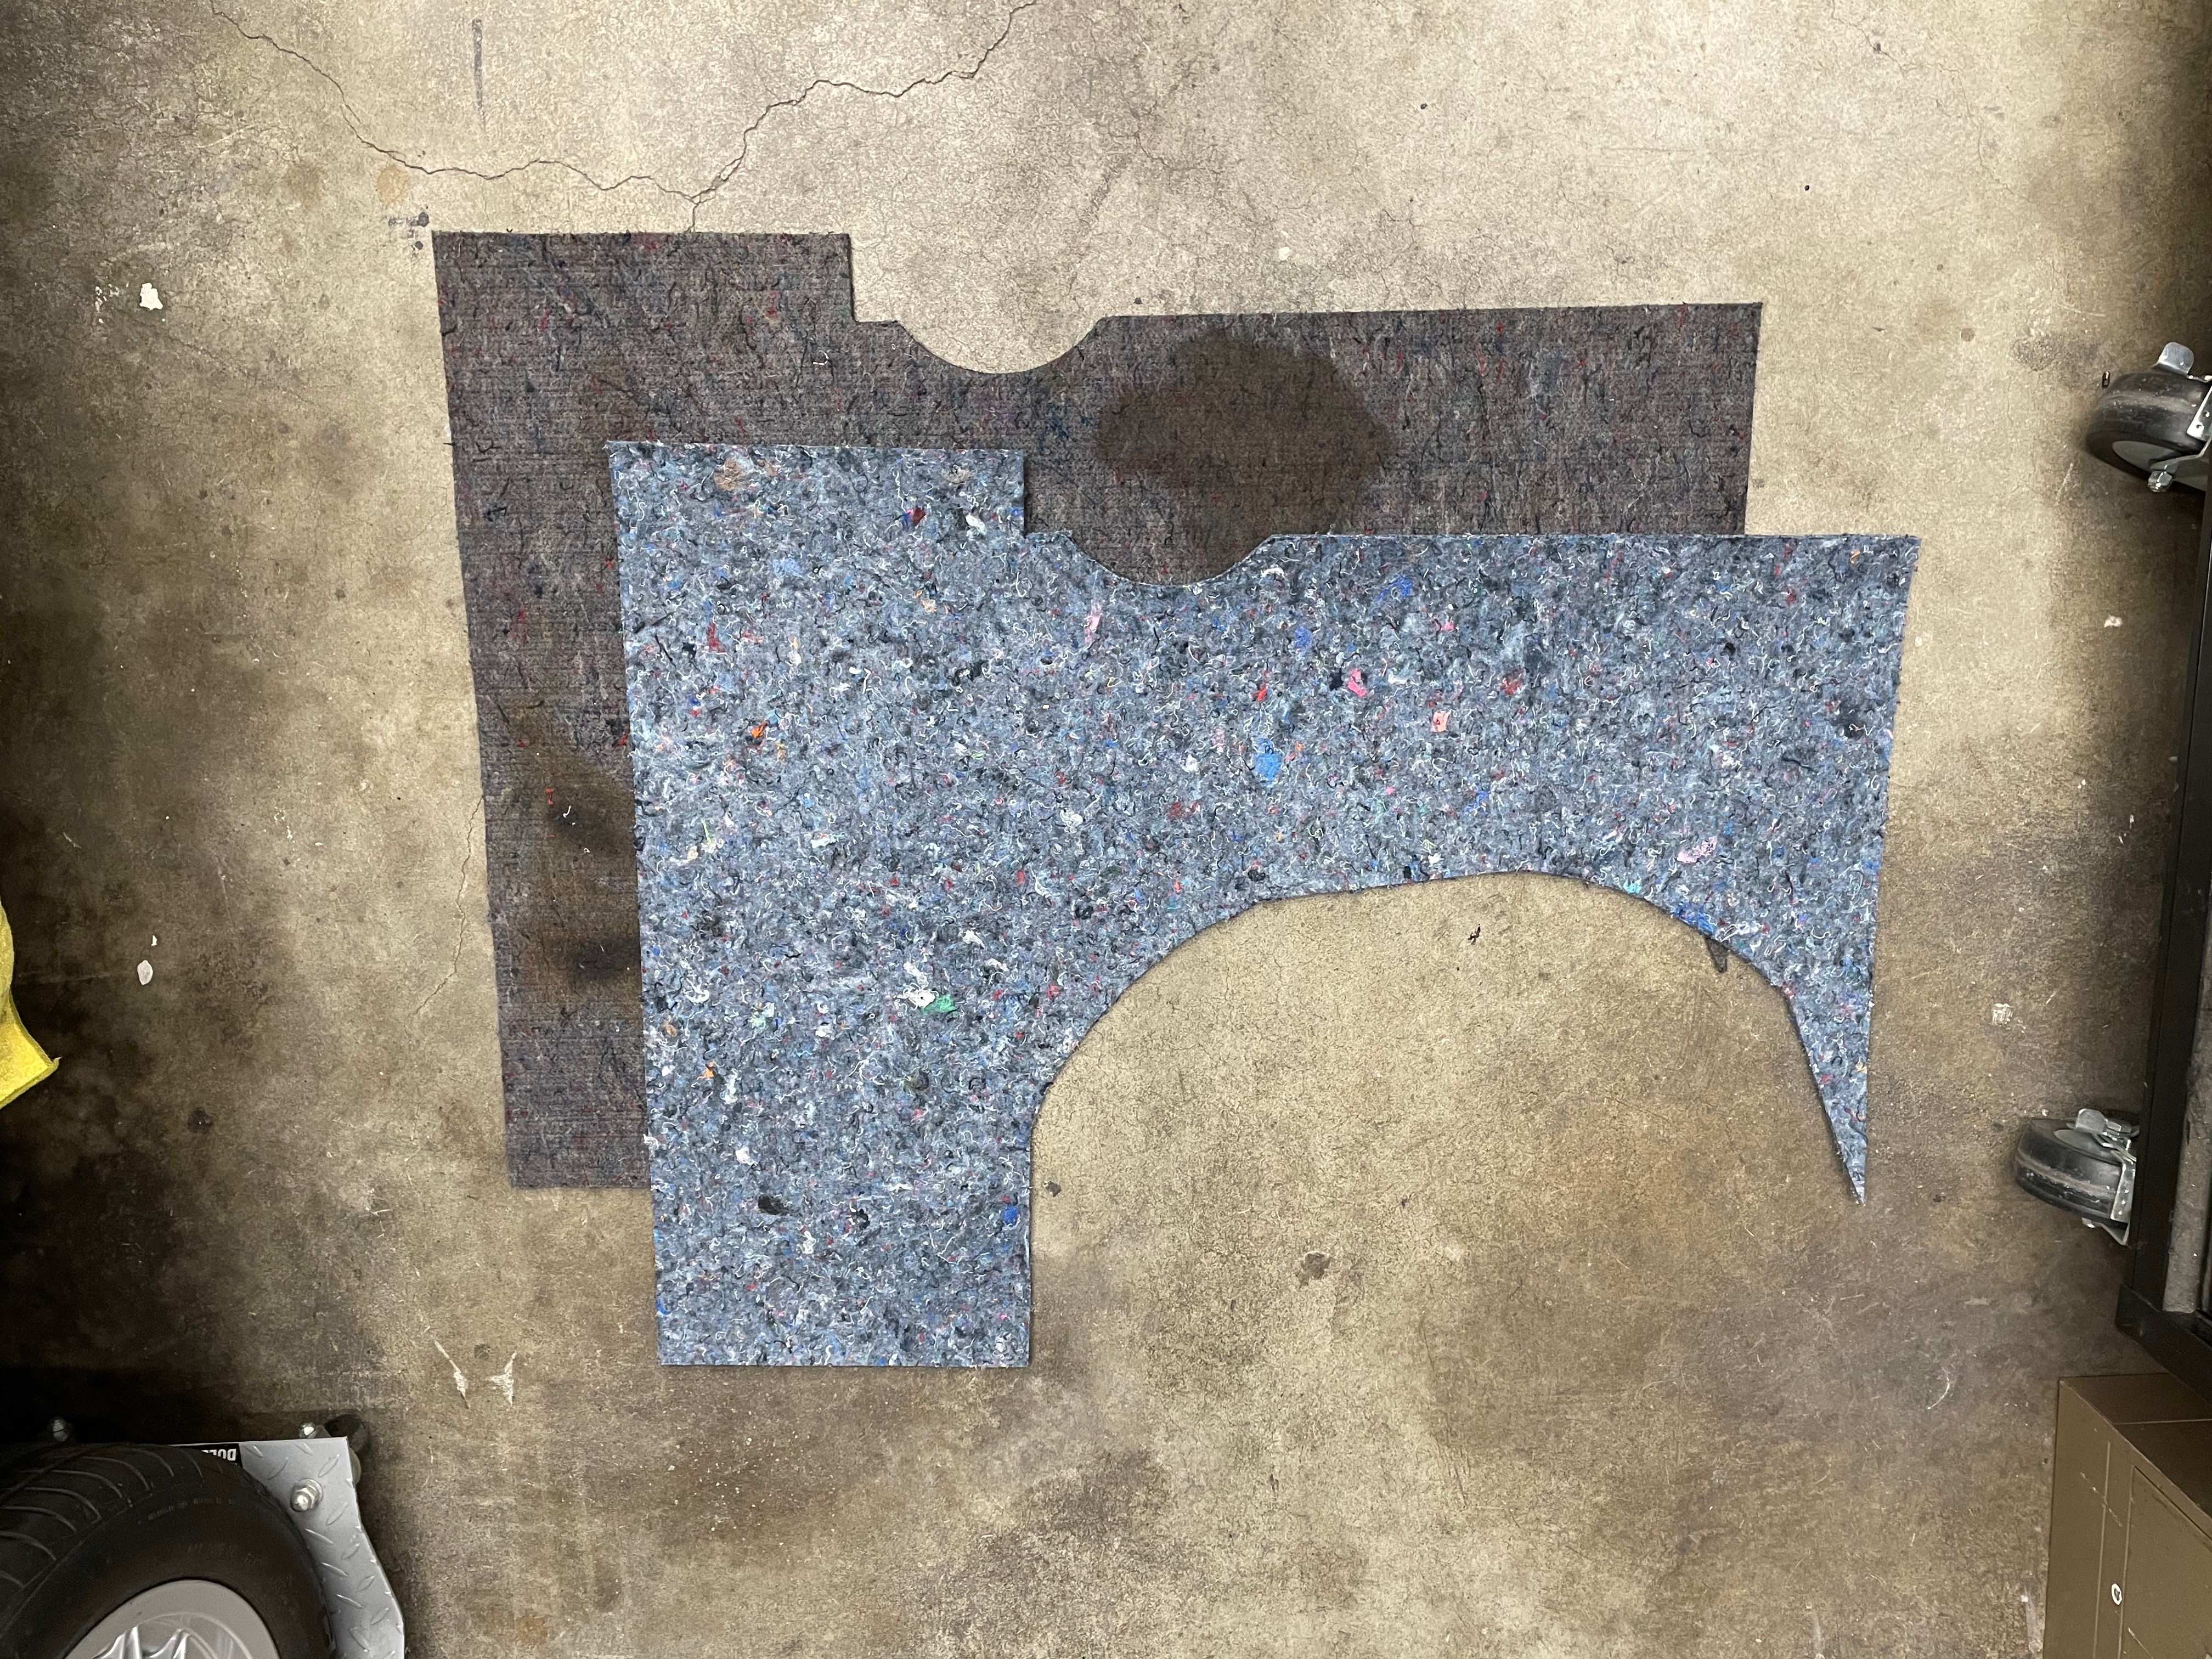
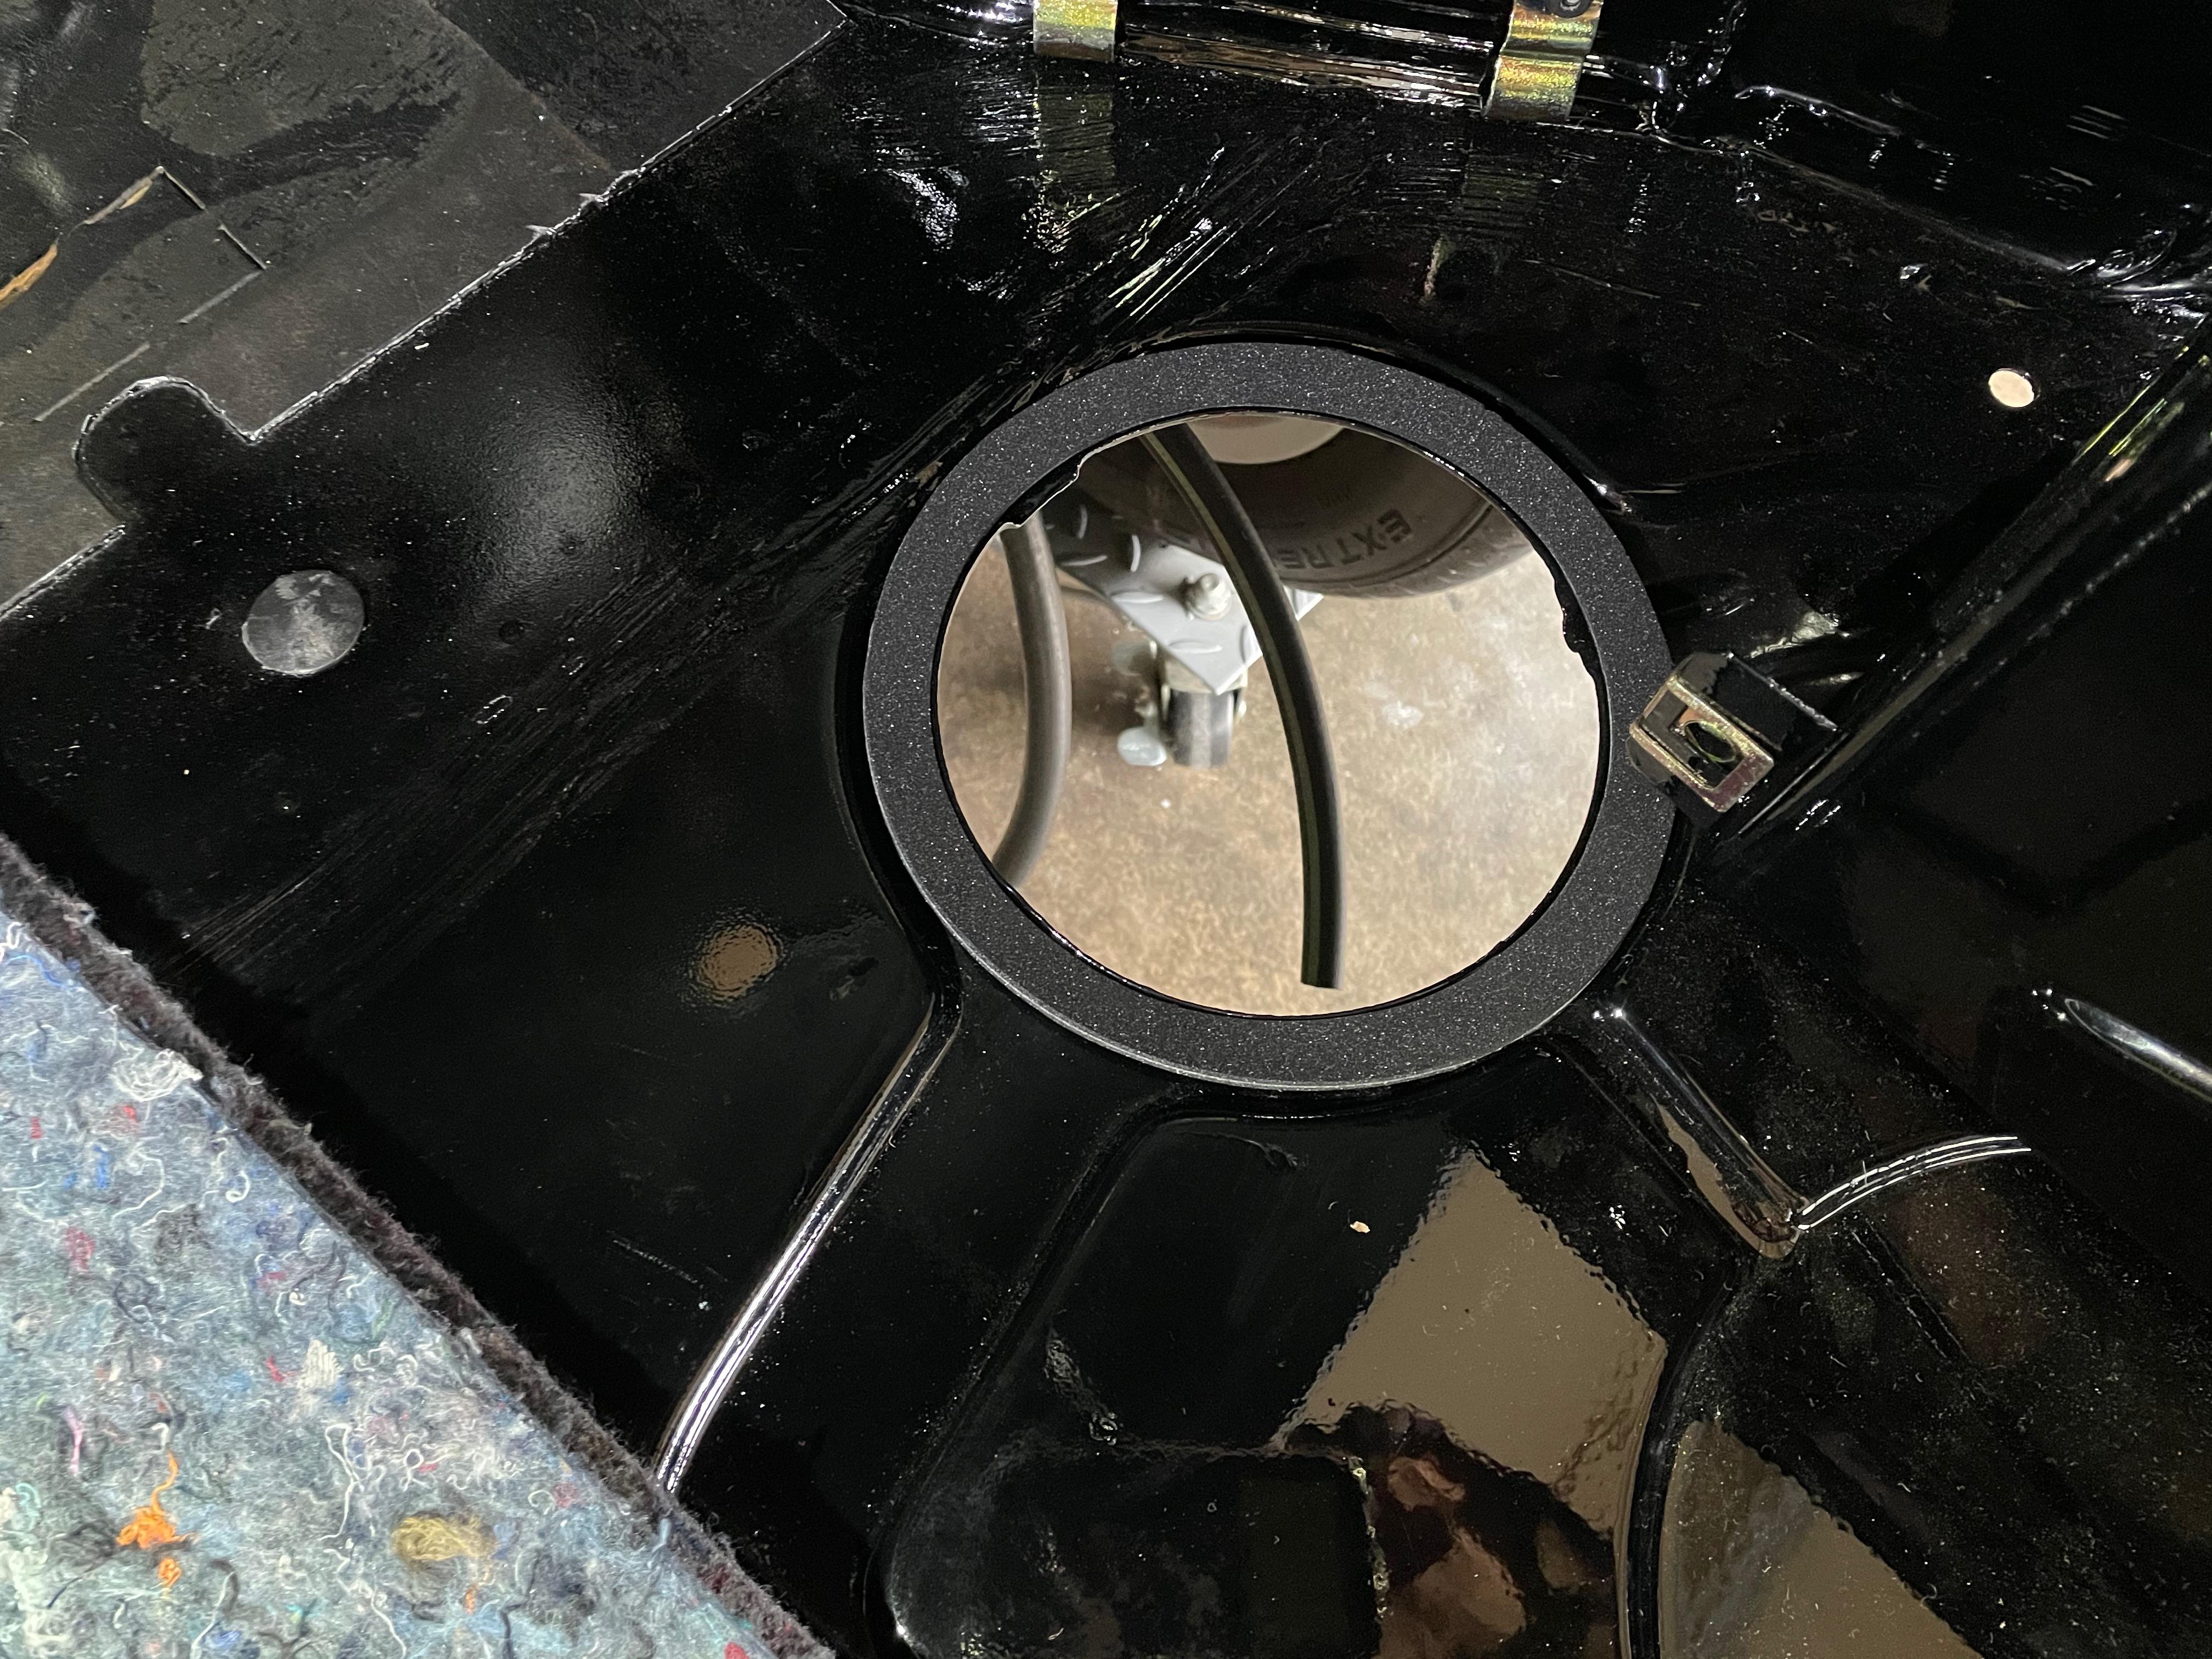
And this one is a bit geeky, but given the amount of damage by the battery box where it looked like battery fluid had leaked out, I was particularly motivated to replace the fuel pump cover gasket on the trunk floor. That part is NLA, and my old was was ruined. So, I took two sheets of that thin foam, stuck them together, and build this round cutter:
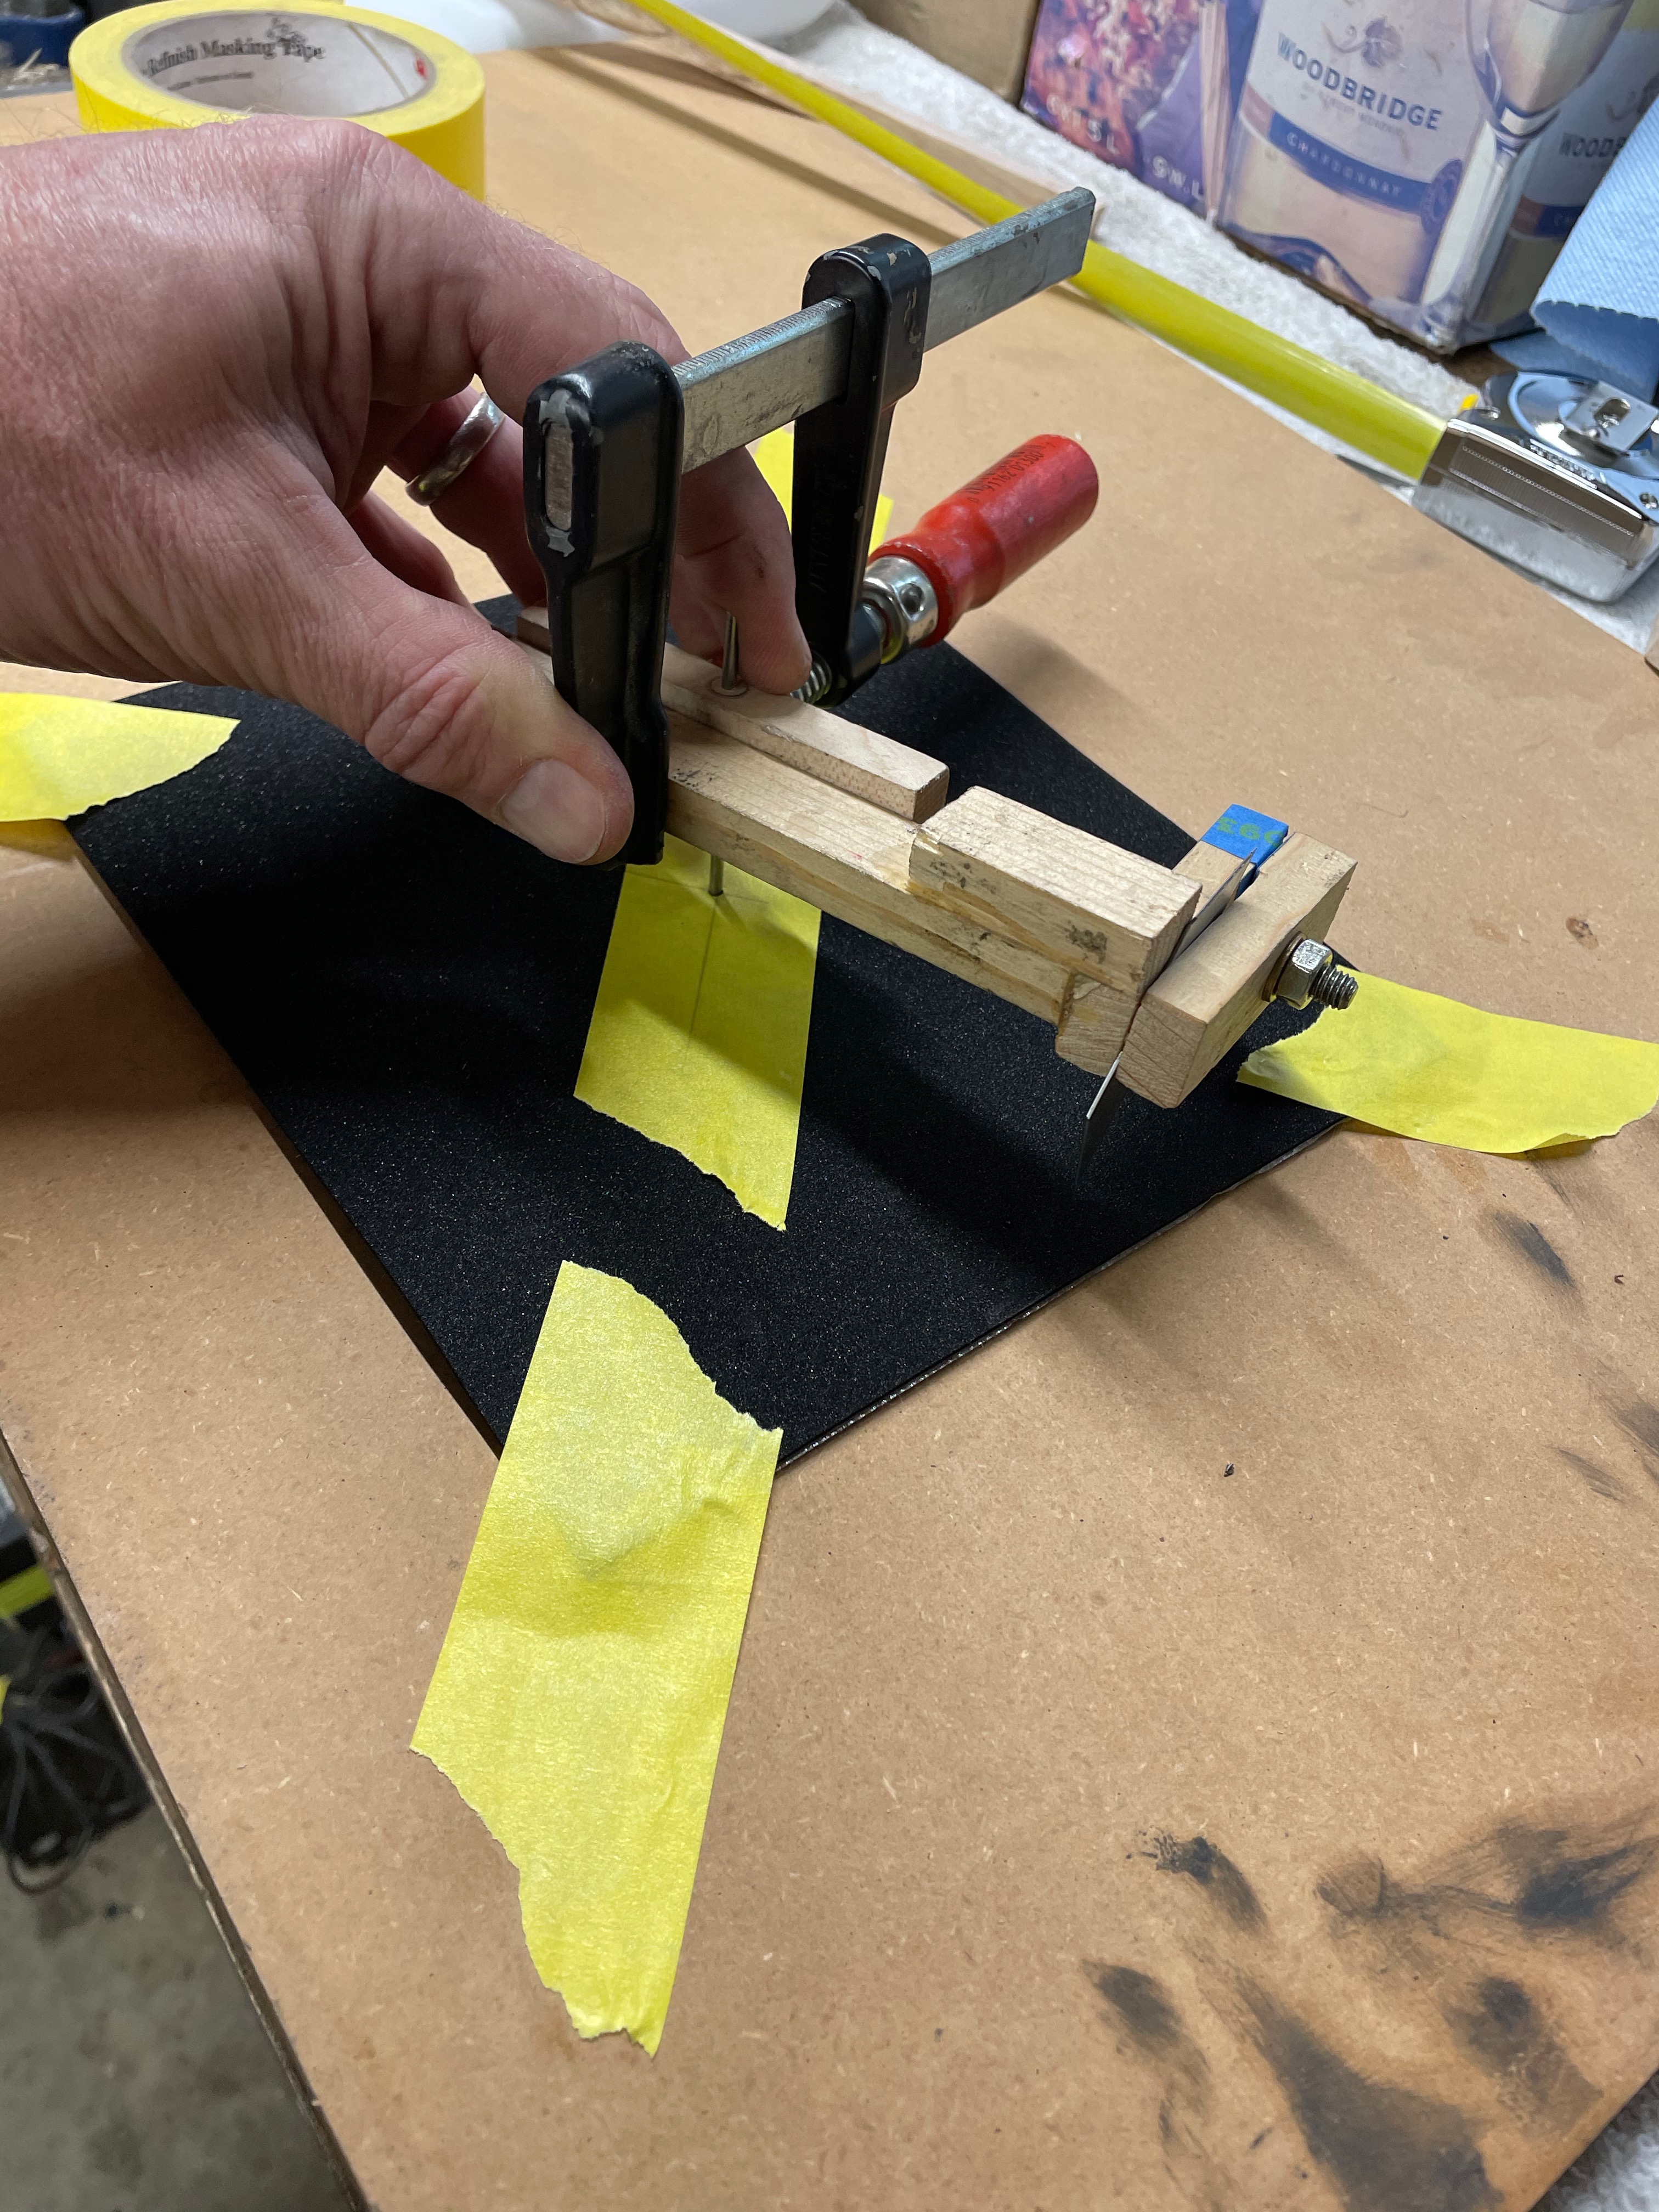
I cut the outside edge first, then the inside, then used Rotabroach to cut the bolt holes. Result (before the bolt holes were cut):
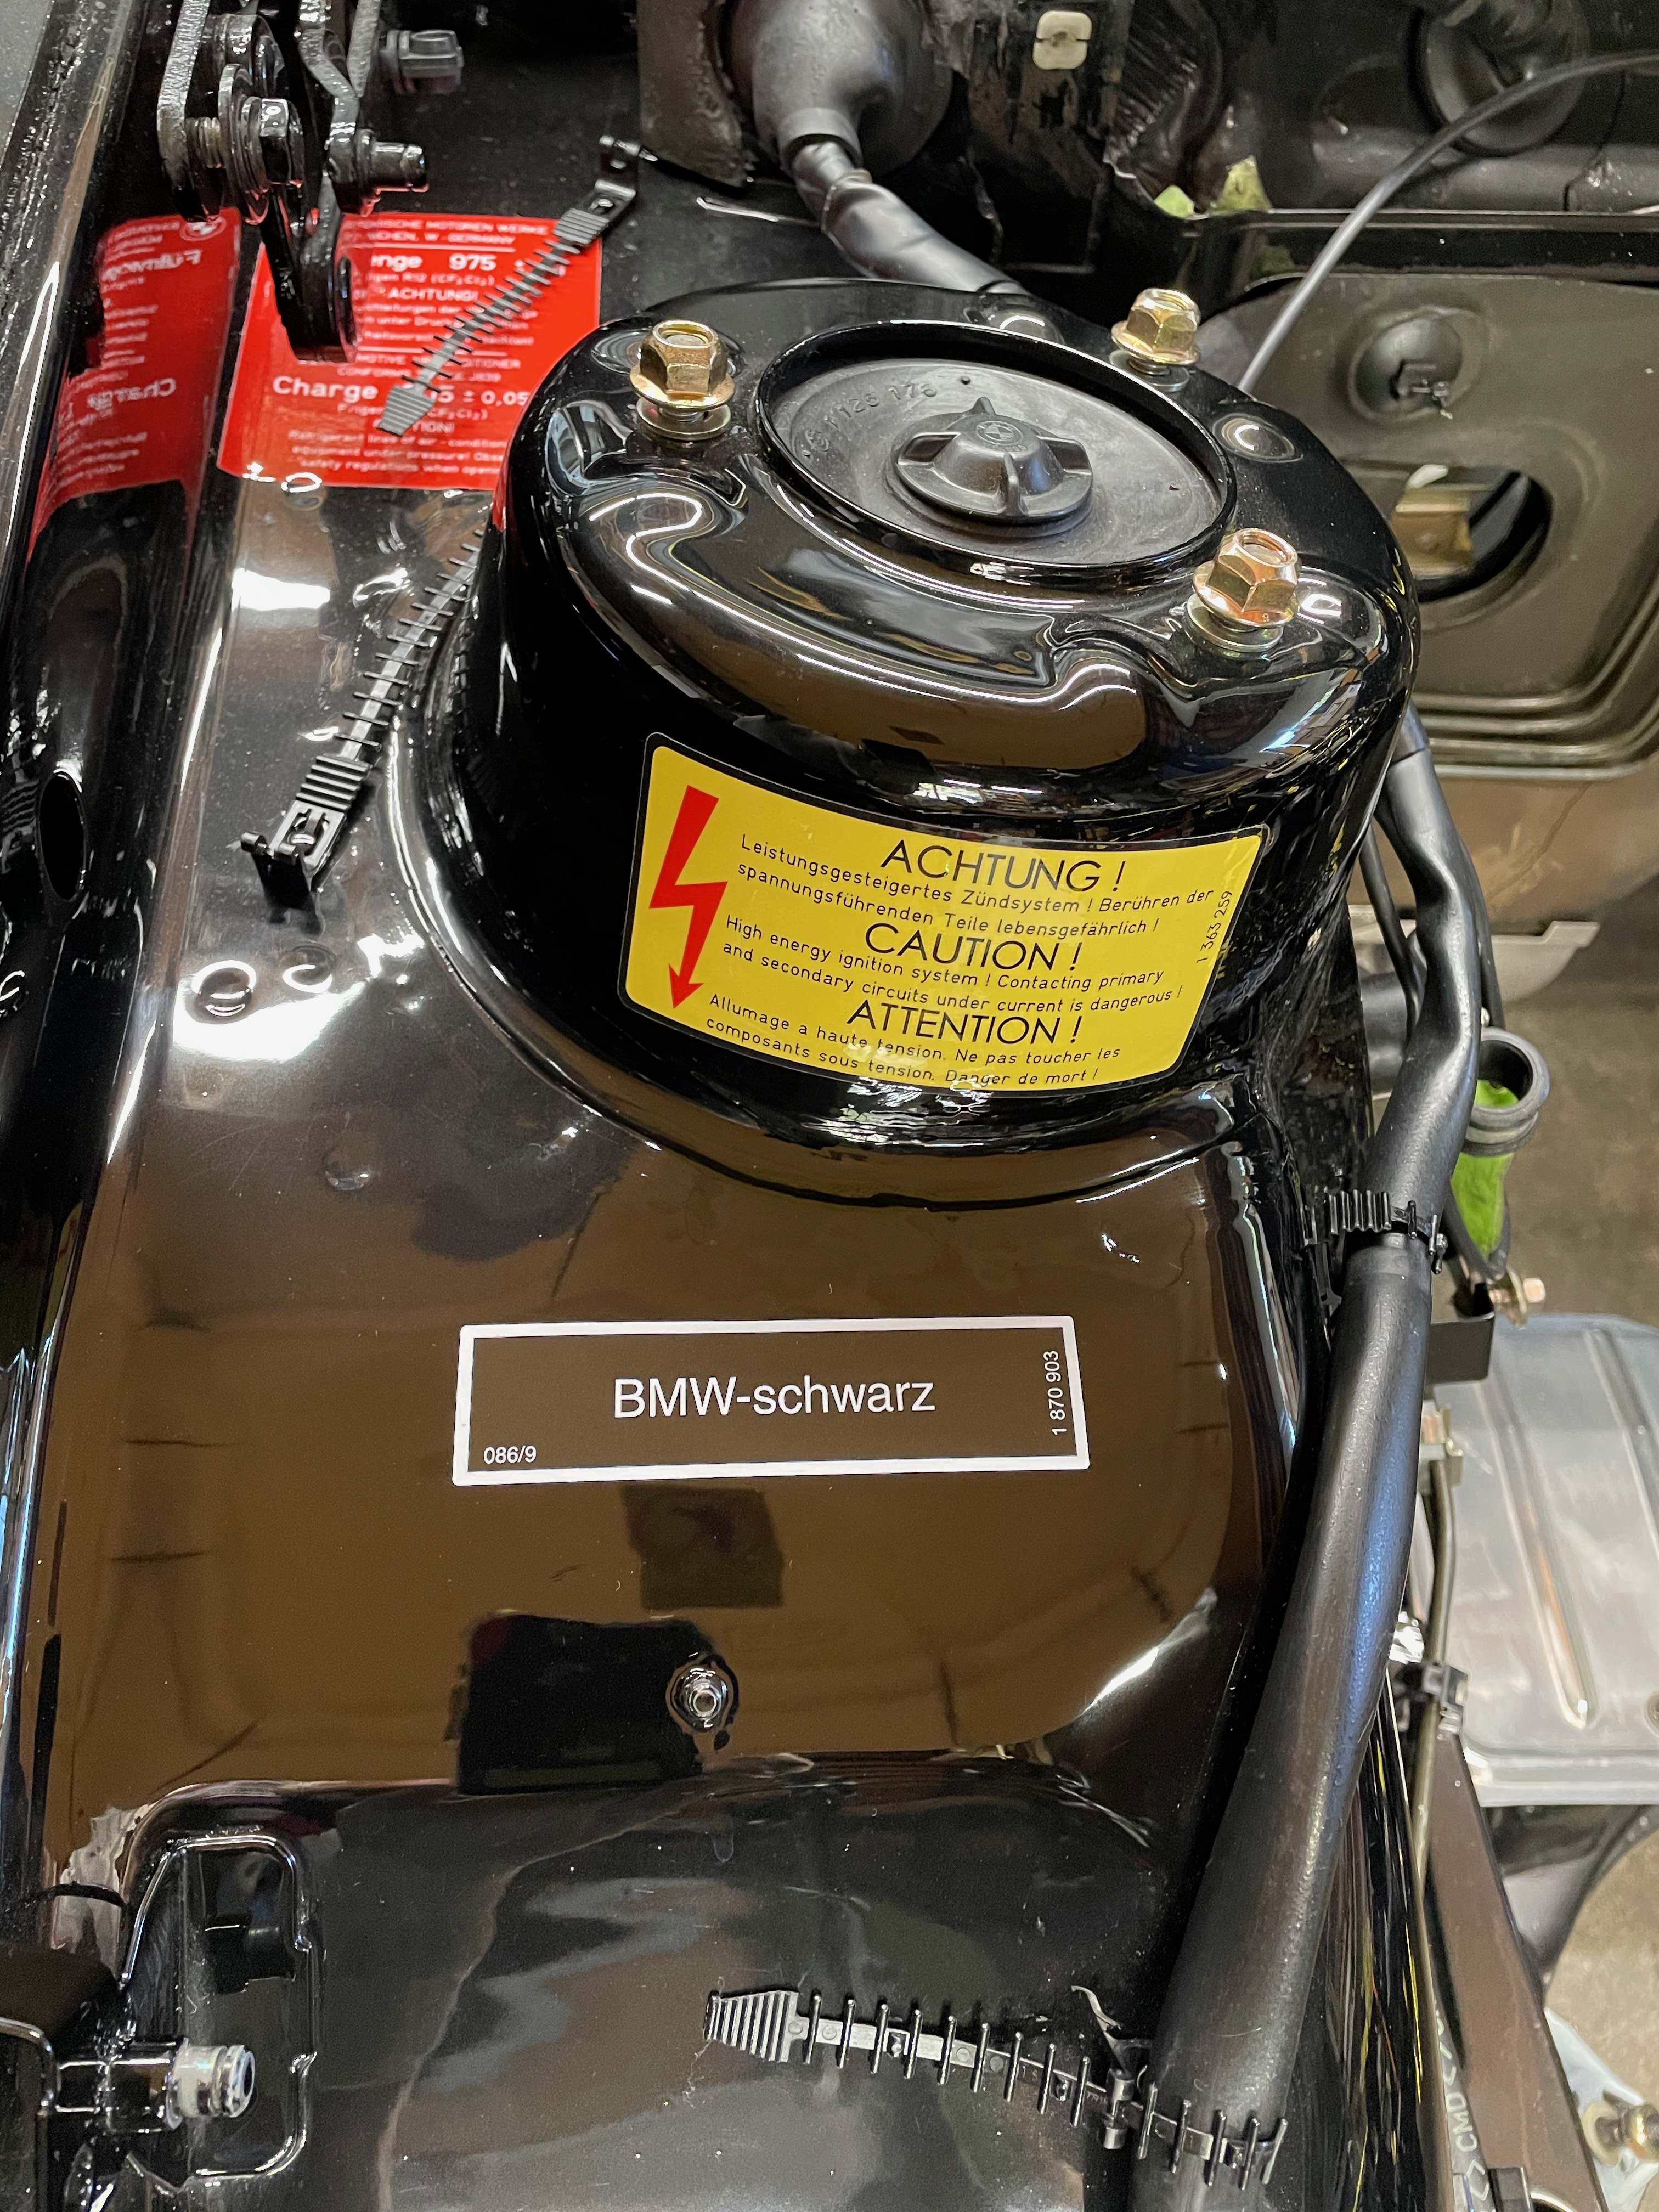
New stickers arrived. Most of them were from Pukar Designs, but he sent the wrong paint code sticker, so I actually had to design my own in Adobe Illustrator and get it printed up. "But wait!" you say, "Aren't there plenty of other places to buy BMW paint code stickers?!?" Well, lots of places on eBay and Etsy appear to sell them, but they were all incorrect ... wrong size, wrong color, wrong font, wrong orientation, no part numbers, etc. I finally found one of the Etsy sellers who was fine printing up my design.
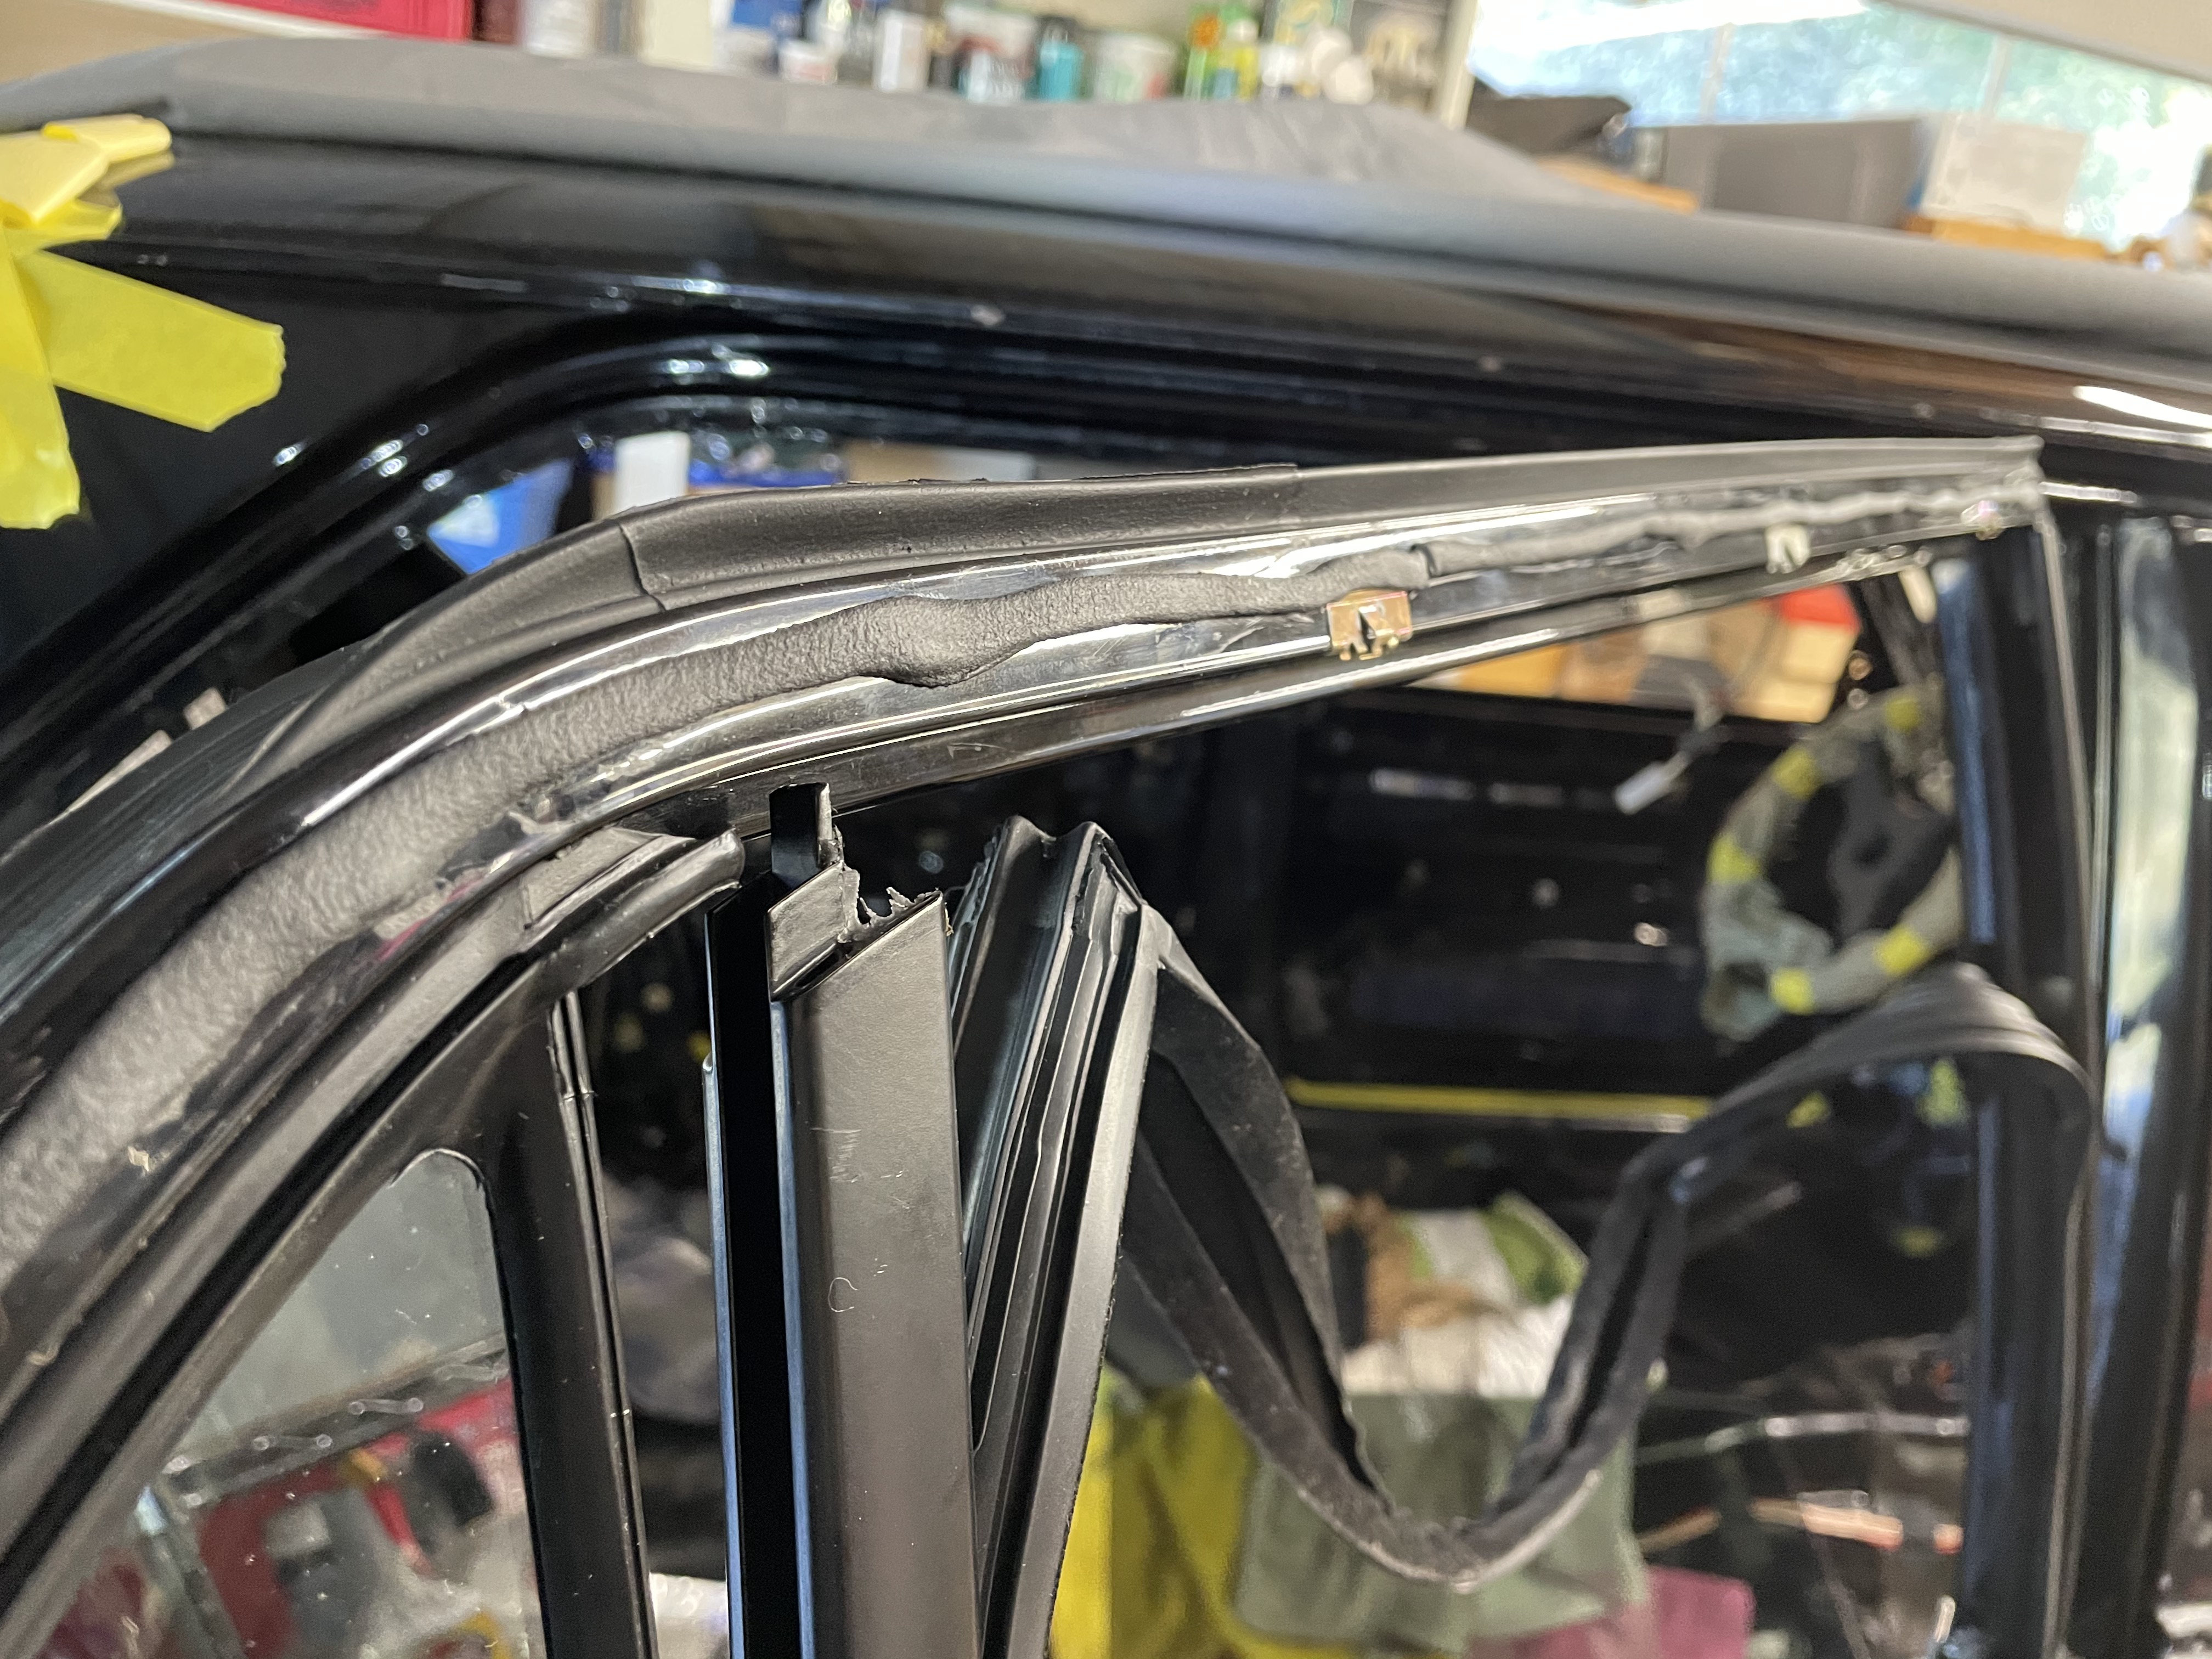
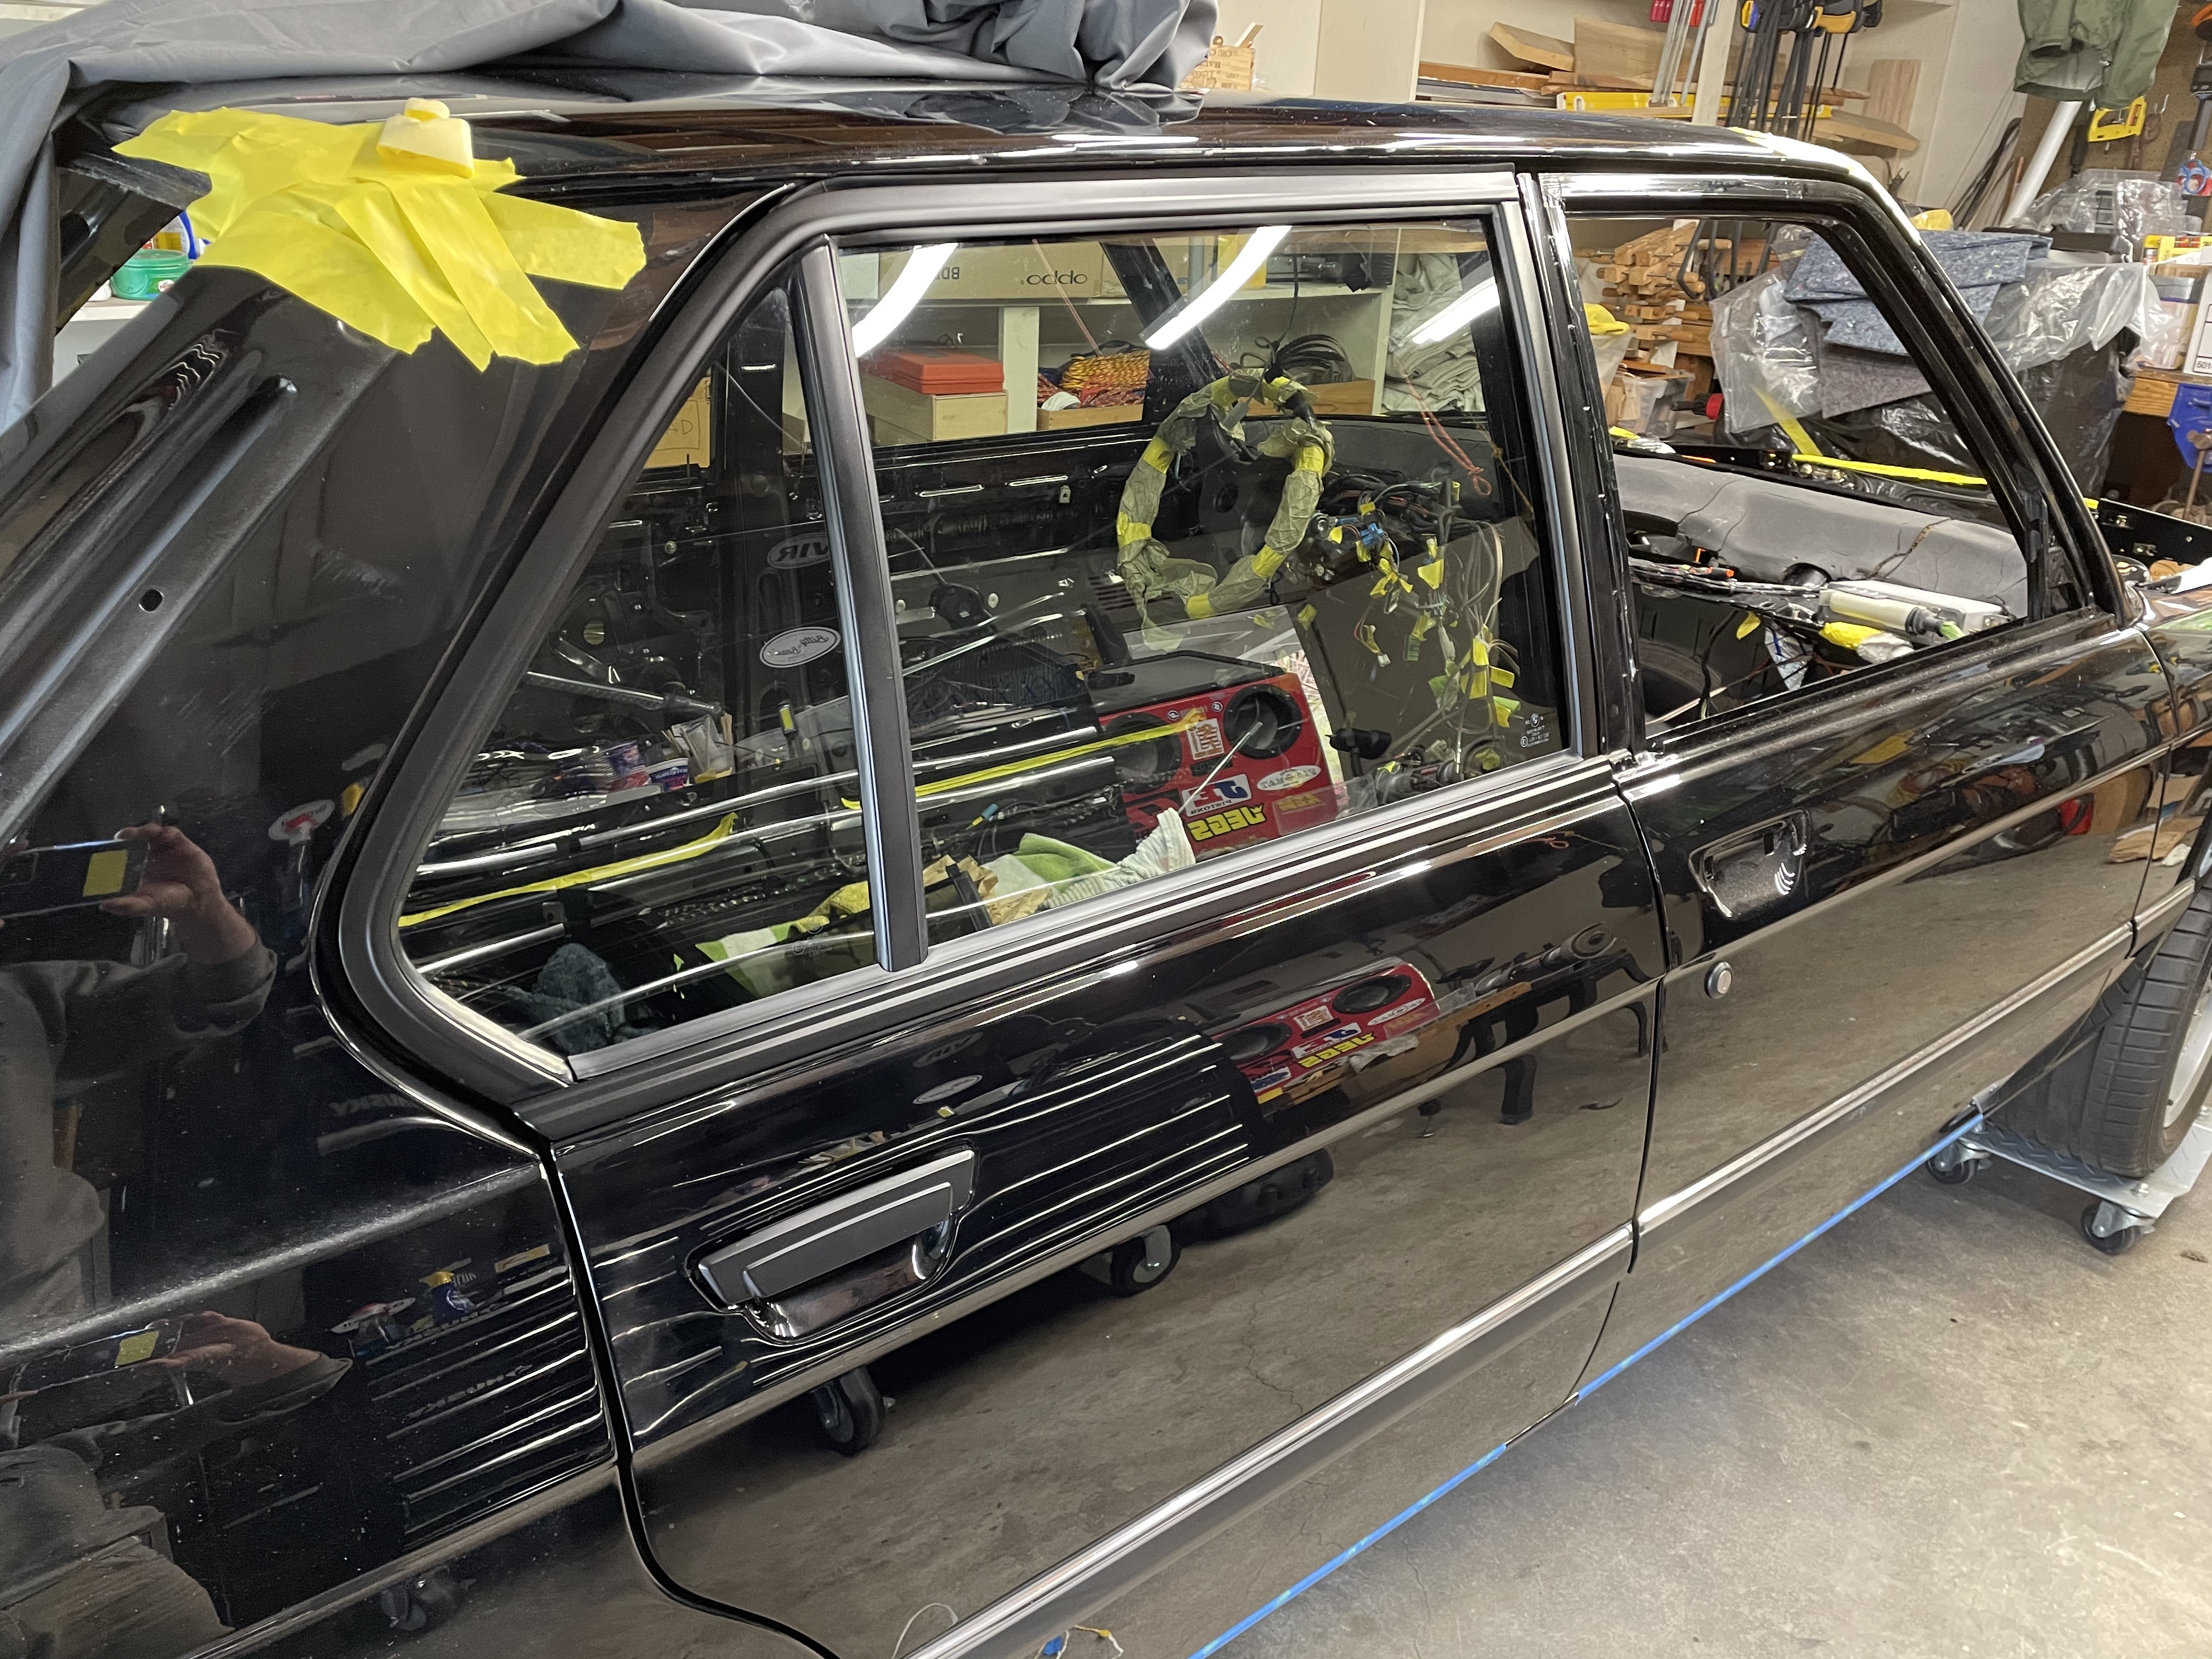
I've no also got the doors mostly reassembled, including the trim, glass & handles. This is starting to make my collection of parts look a bit more like an actual car. Most of the trip clips are new. (For some idiotic reason, I only ordered 25 new clips when I actually needed a total of closer to 36, so I had to reuse some of the old ones.) I also used the 3M strip caulk under the aluminum trip to replace the old white putty that had been removed. The 3M stuff is a bit stickier, so removal will take a bit of care if I ever have to do that.
And now one of the small victories that I'm particularly excited about. One challenge I knew I was going to have to deal with with how to attach the Euro M88 headers (with their 3-bolt flakes) to the US-spec cat section (with their 2-bolt flanges). As it's been explained to me, the usual solution when installing euro headers is to cut the 2-bolt flanges off of the US exhaust manifolds and then onto the euro headers. I didn't want to do that juuuuust in case I had
smog emissions certification issues and had to go back to the US manifolds. Unfortunately, I couldn't find a set of aftermarket flanges that seemed to have the right specs without going to some of those klugy "universal" flanges that have the elongated bolt holes.
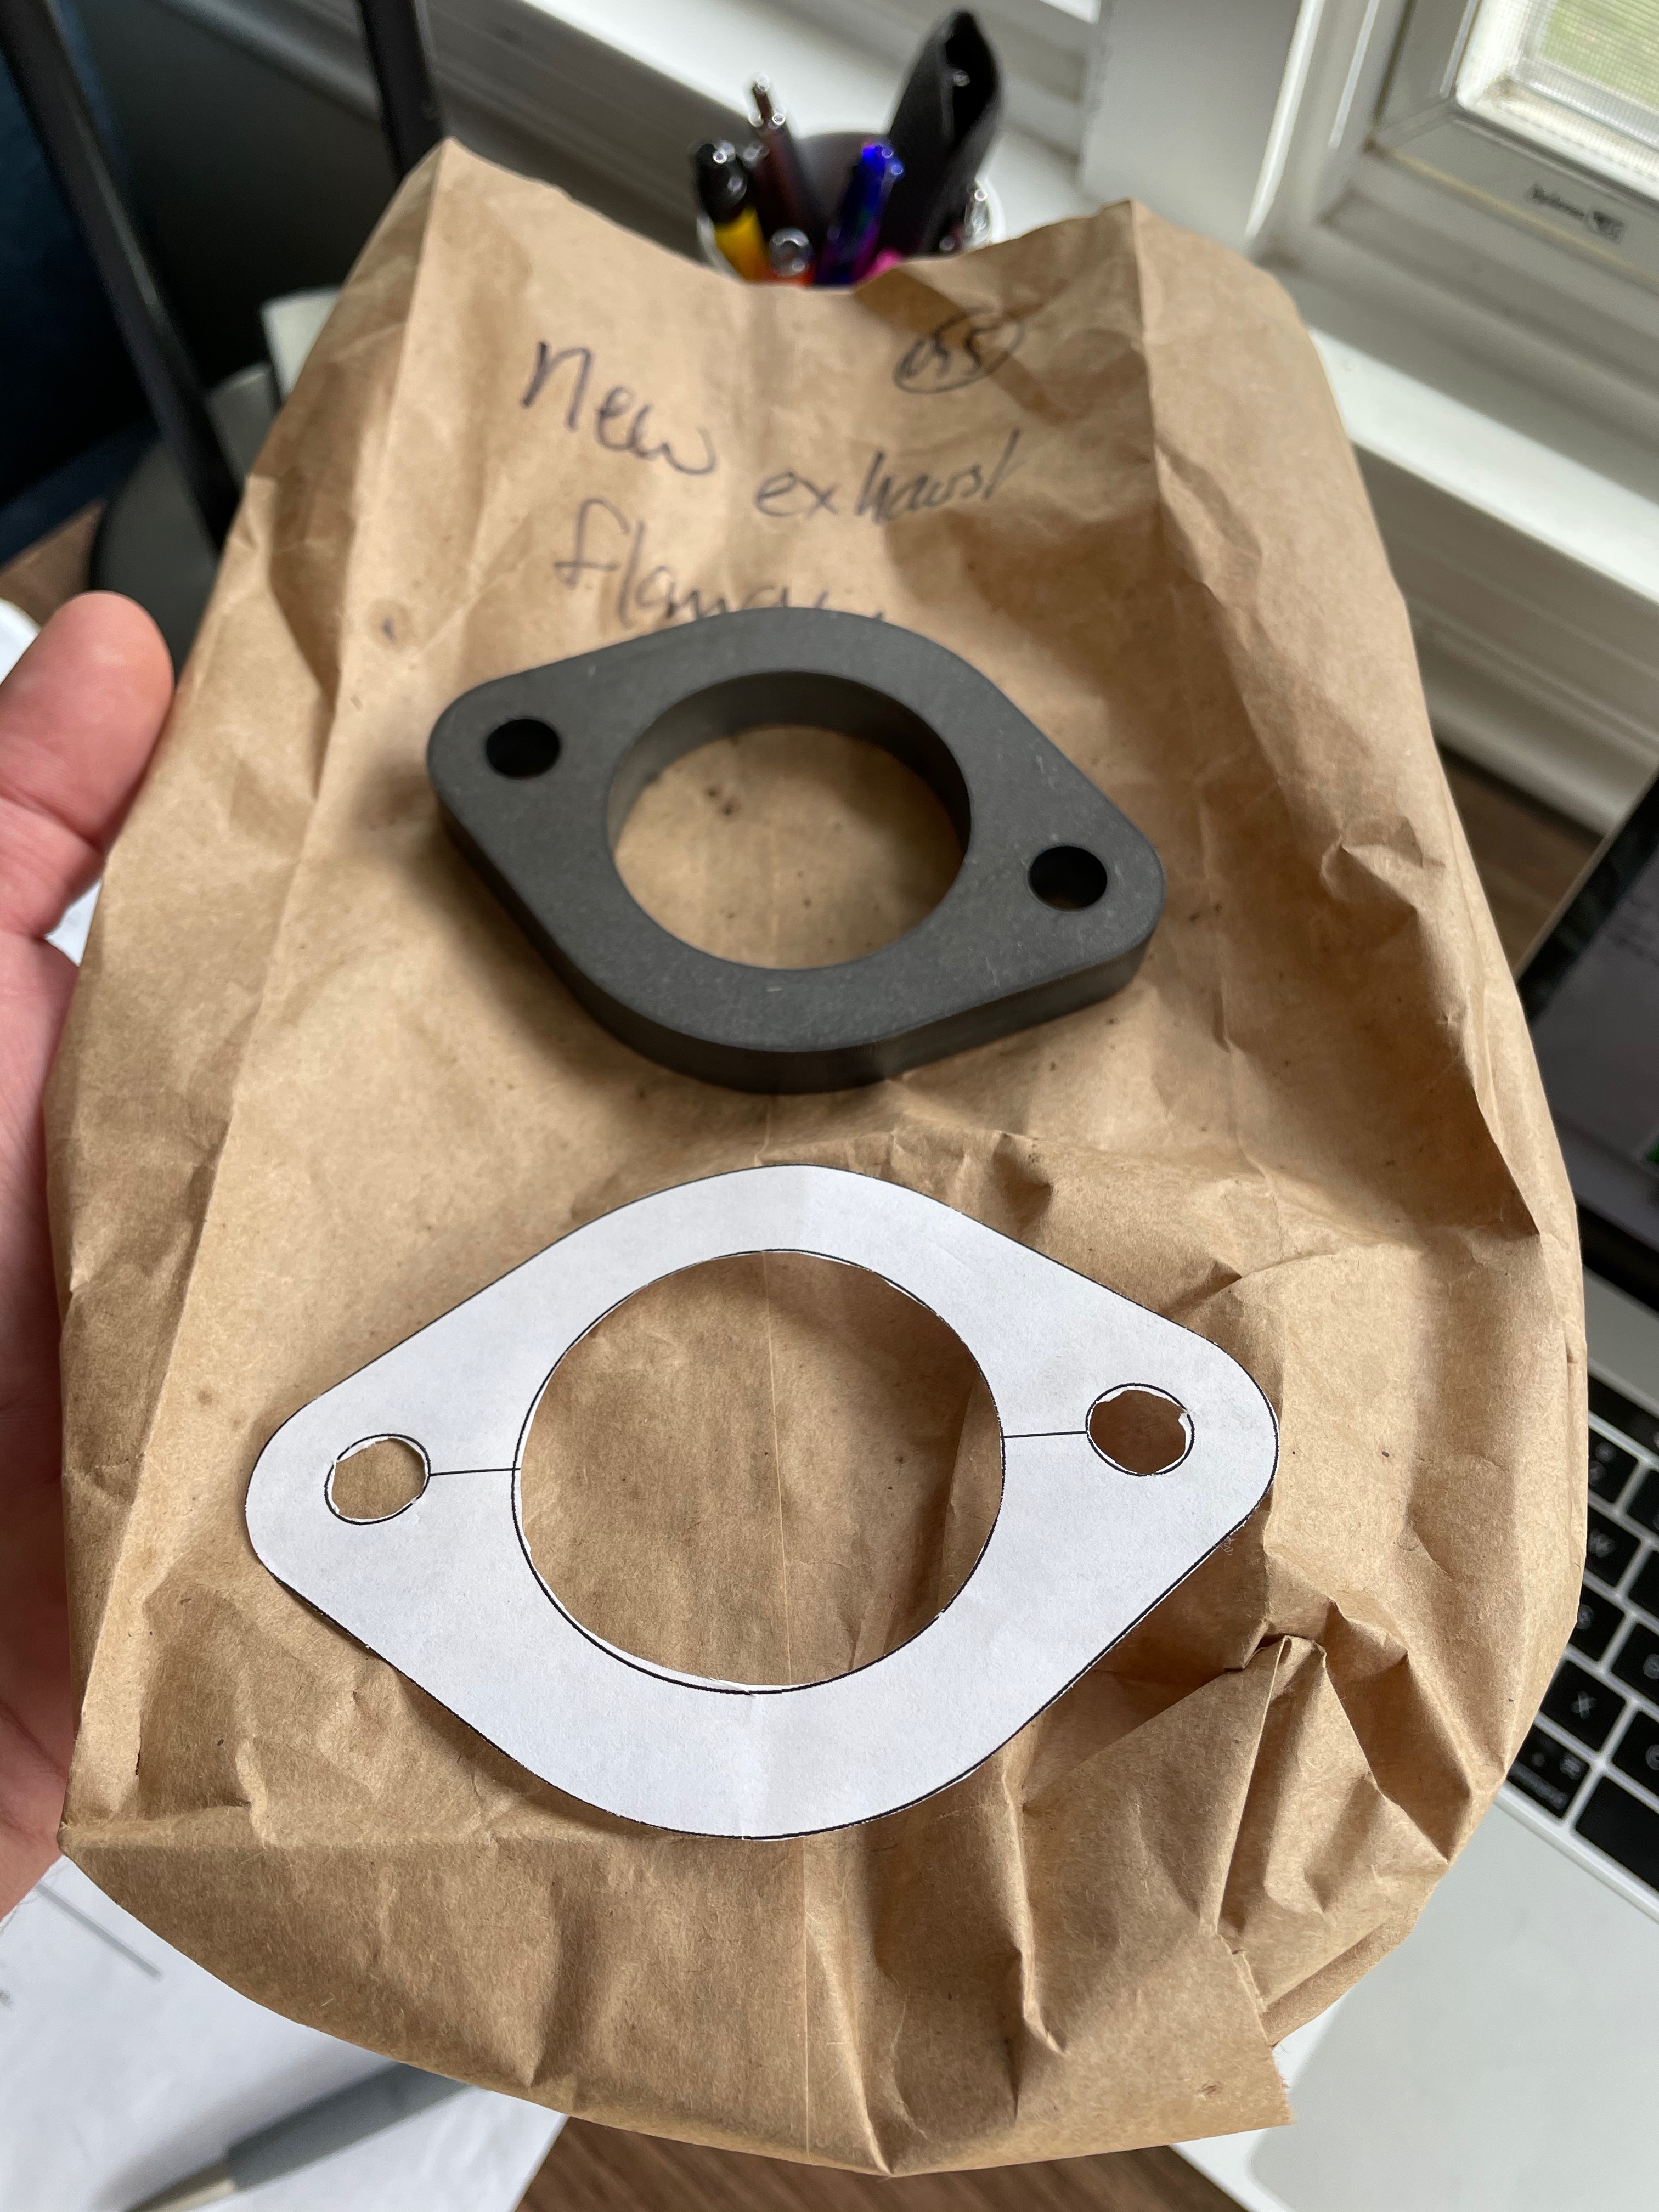
So, I designed my own and had it fabbed! I used a company called Oshcut.com. Design your part in AI, upload the cutting diagram, specify your material, and they'll cut it using a laser CNC machine. This service is limited to cutting out of a sheet and bending, but this was plenty for what I needed. First I drew the part on AI, printed it out in paper, confirmed that the paper part fit onto the US flanges, then had Oshcut cut the part & send them to me. This basically didn't take any longer than it would have if Summet Racing actually had the part in stock. I was pretty amazed.
Here's the new flange:
And here's the set up to cut the euro headers. I made a jig to hold the US part correctly, with the bottom and end boards rigid so that they exactly replicate the two mating surfaces (at the head & at the input flanges to the cats). Then I remove the US manifold, bolt in the euro headers and use the vertical board to mark where to cut the euro headers.
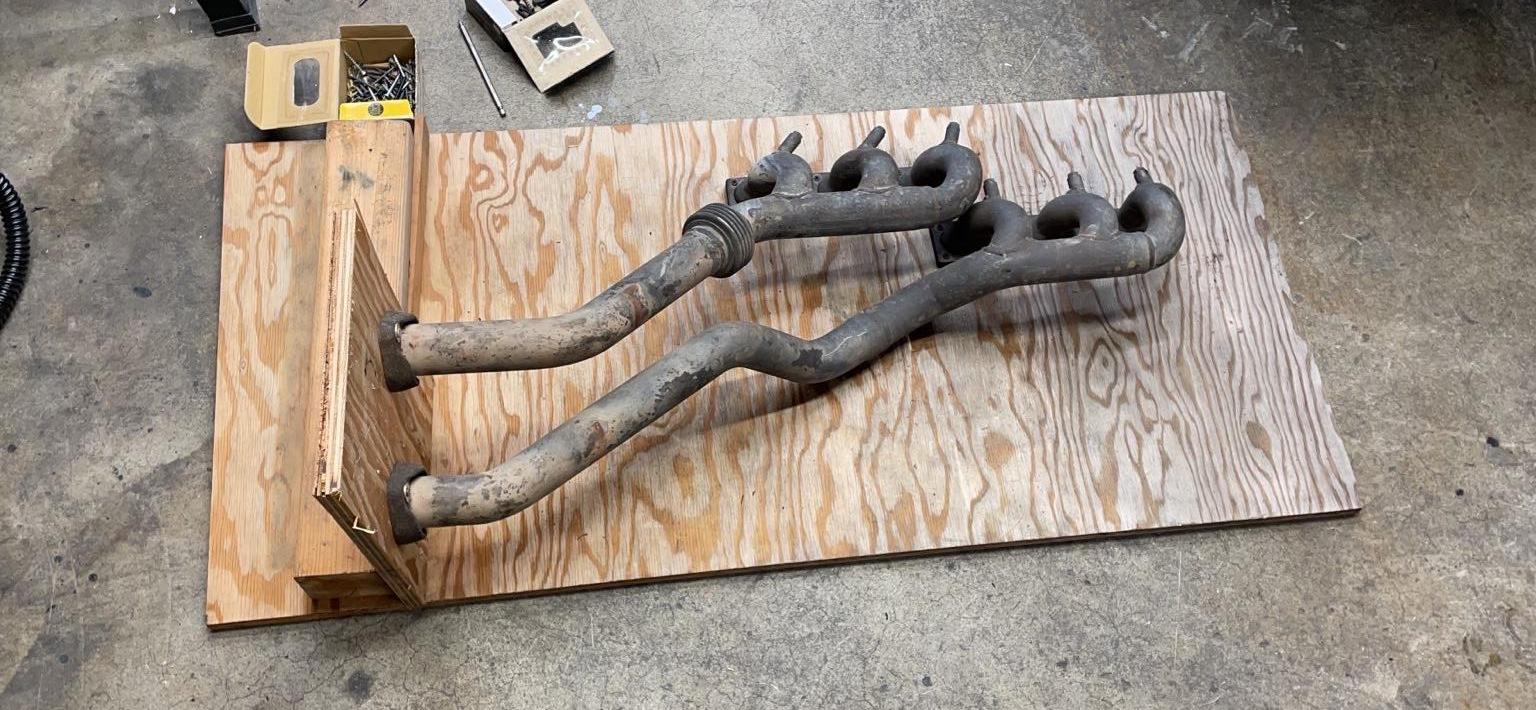
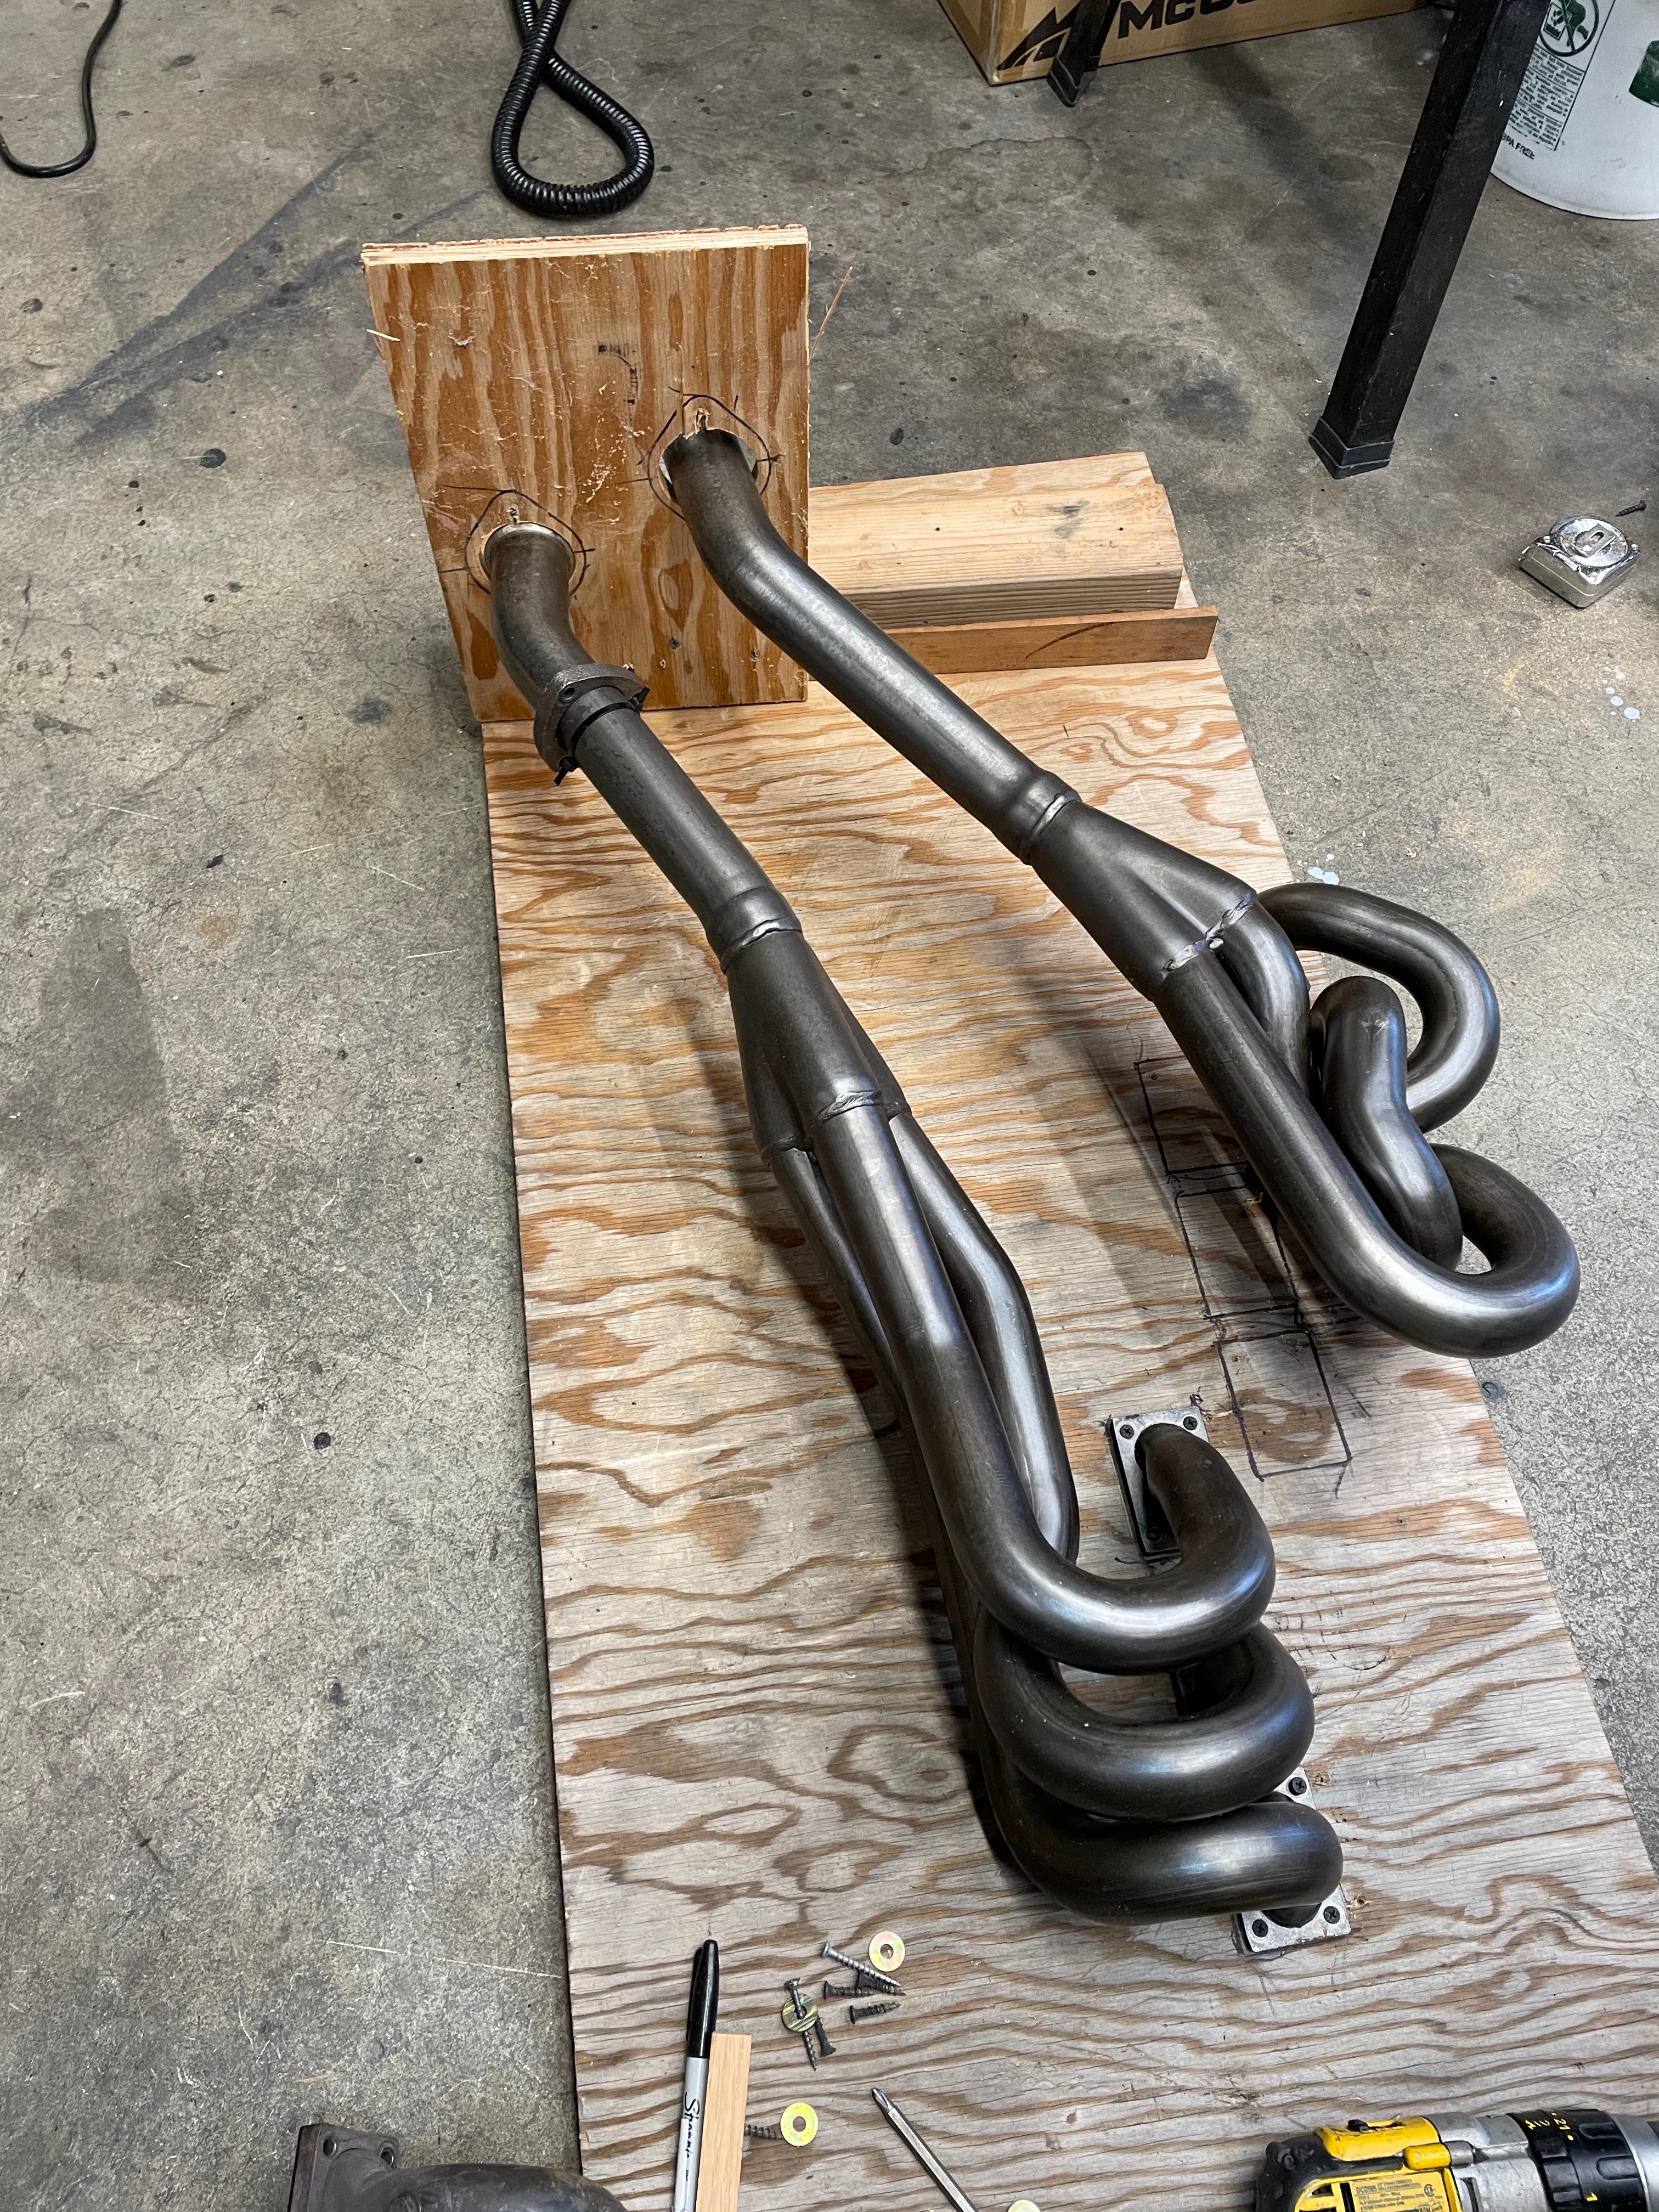
Under the "measure twice, cut once" principal, I haven't cut the euro headers yet.
The next step would be to cut the headers, then bolt the new flanges to the vertical board, then weld the flanges to the headers in the jig. Out of an abundance of caution and a bit of OCD, instead what I've decided to do is cut the headers, then mount the exhaust in the car, drop the engine & tranny in there, tack the flanges to the headers while their actually bolted in place to the cats, pull it all back out again and then fully weld the flanges to the headers after the motor is removed from the car. First, I have the time. Second, because there's no springy billows section in the euro headers, that whole set up will be more rigid and a proper, unstressed fit will be more important.


