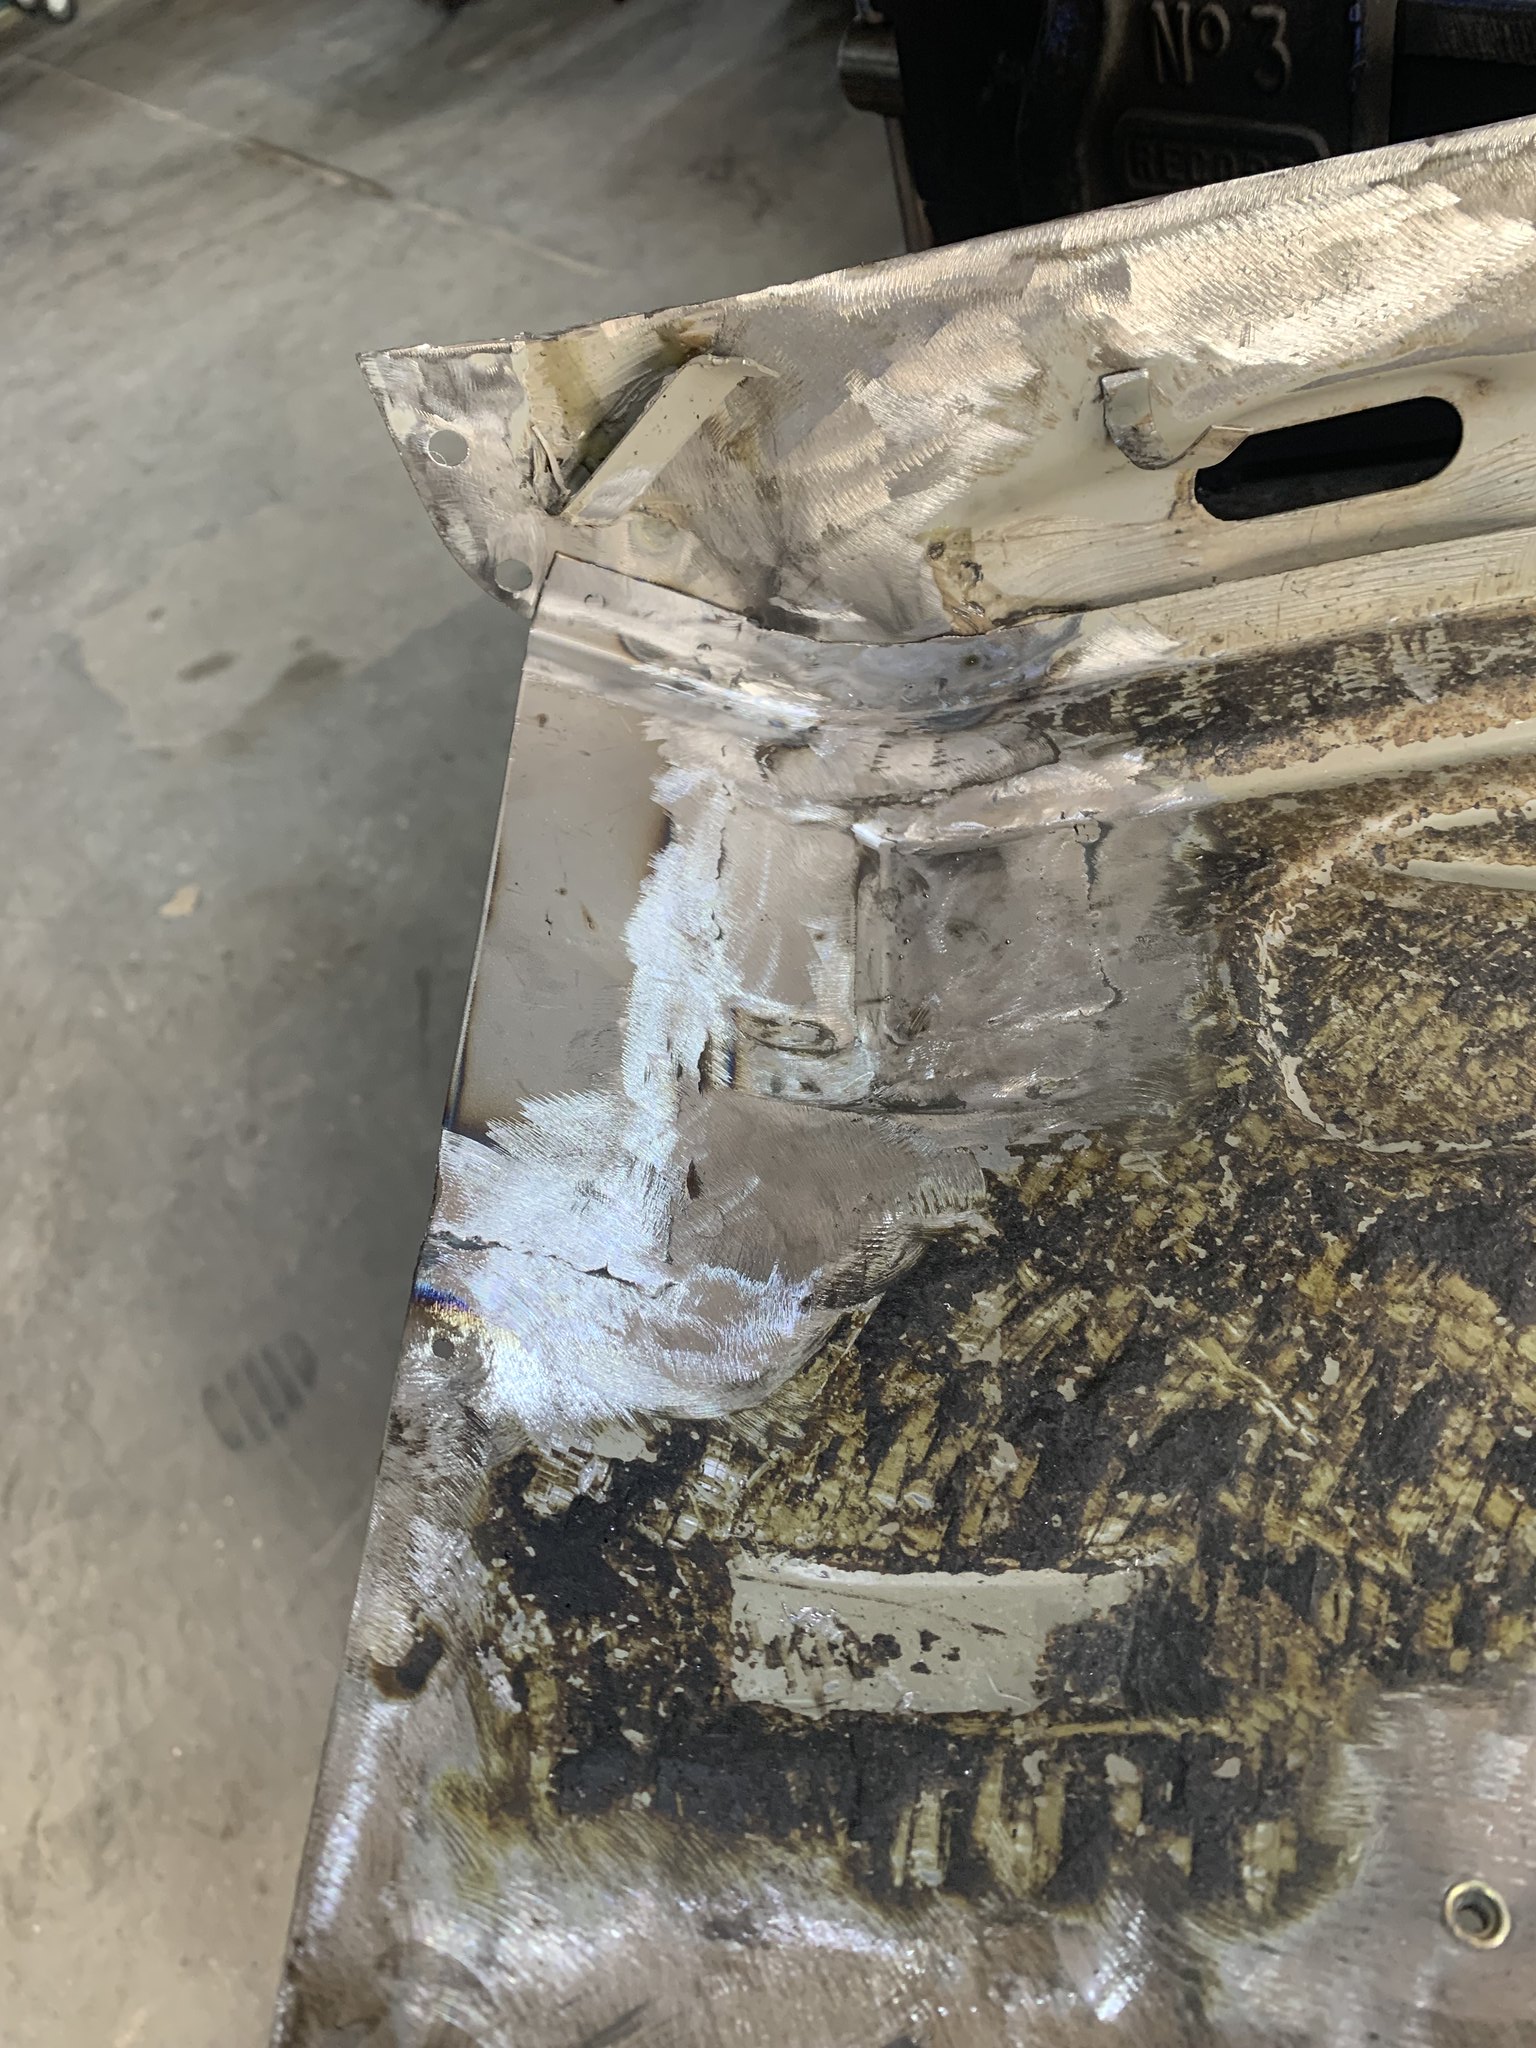
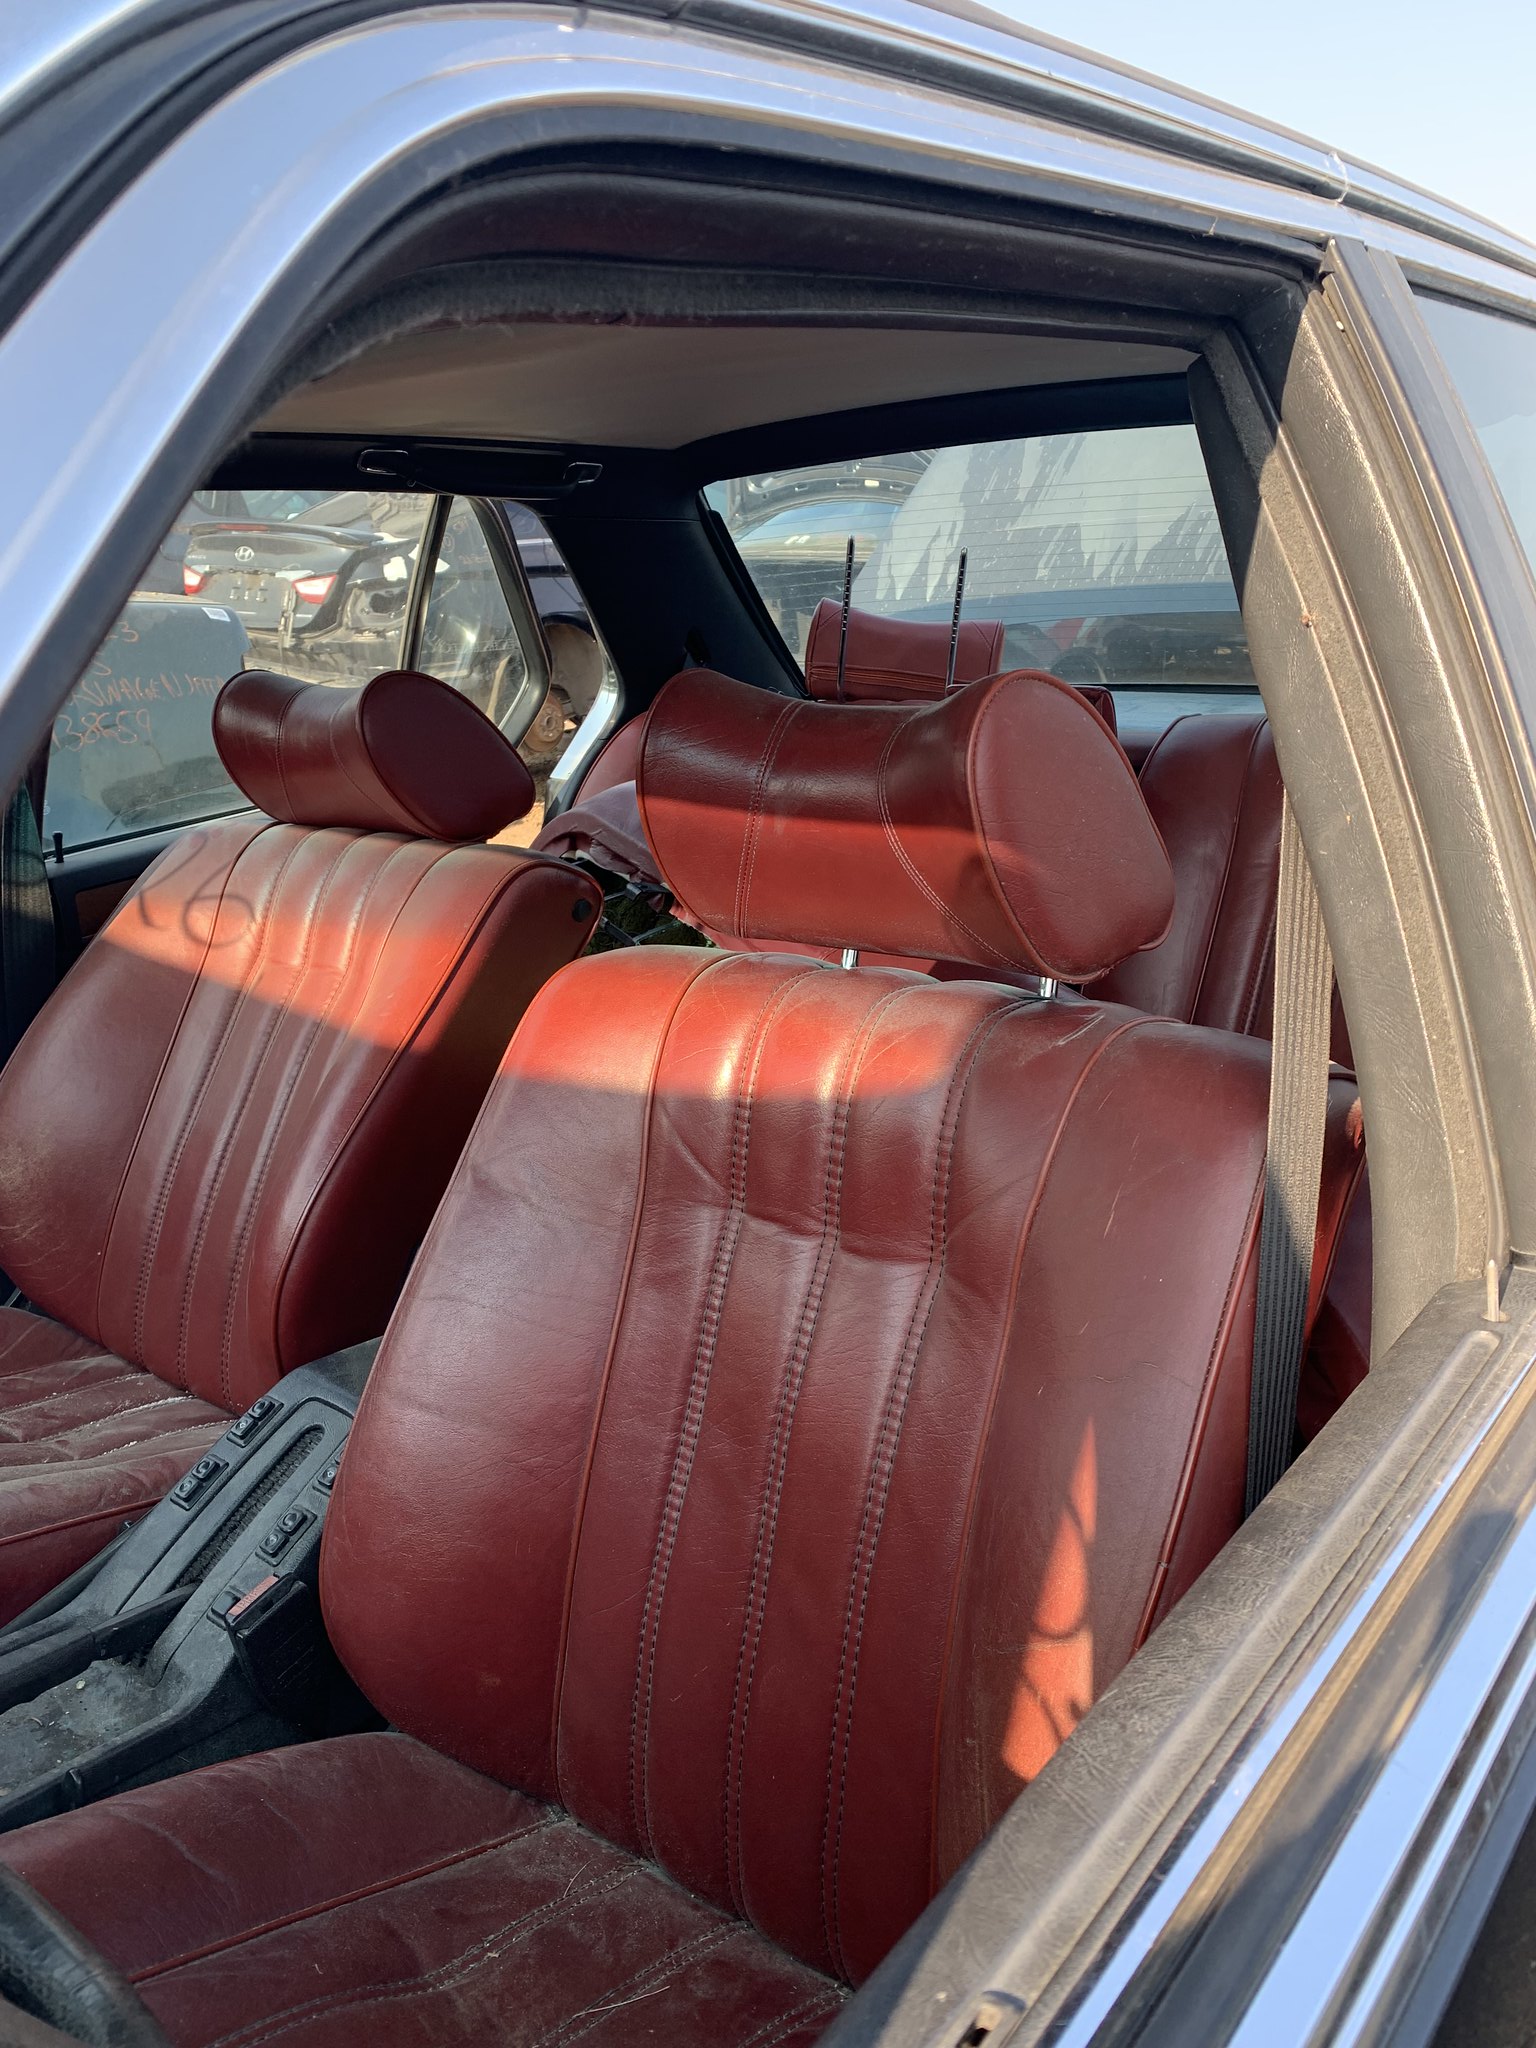
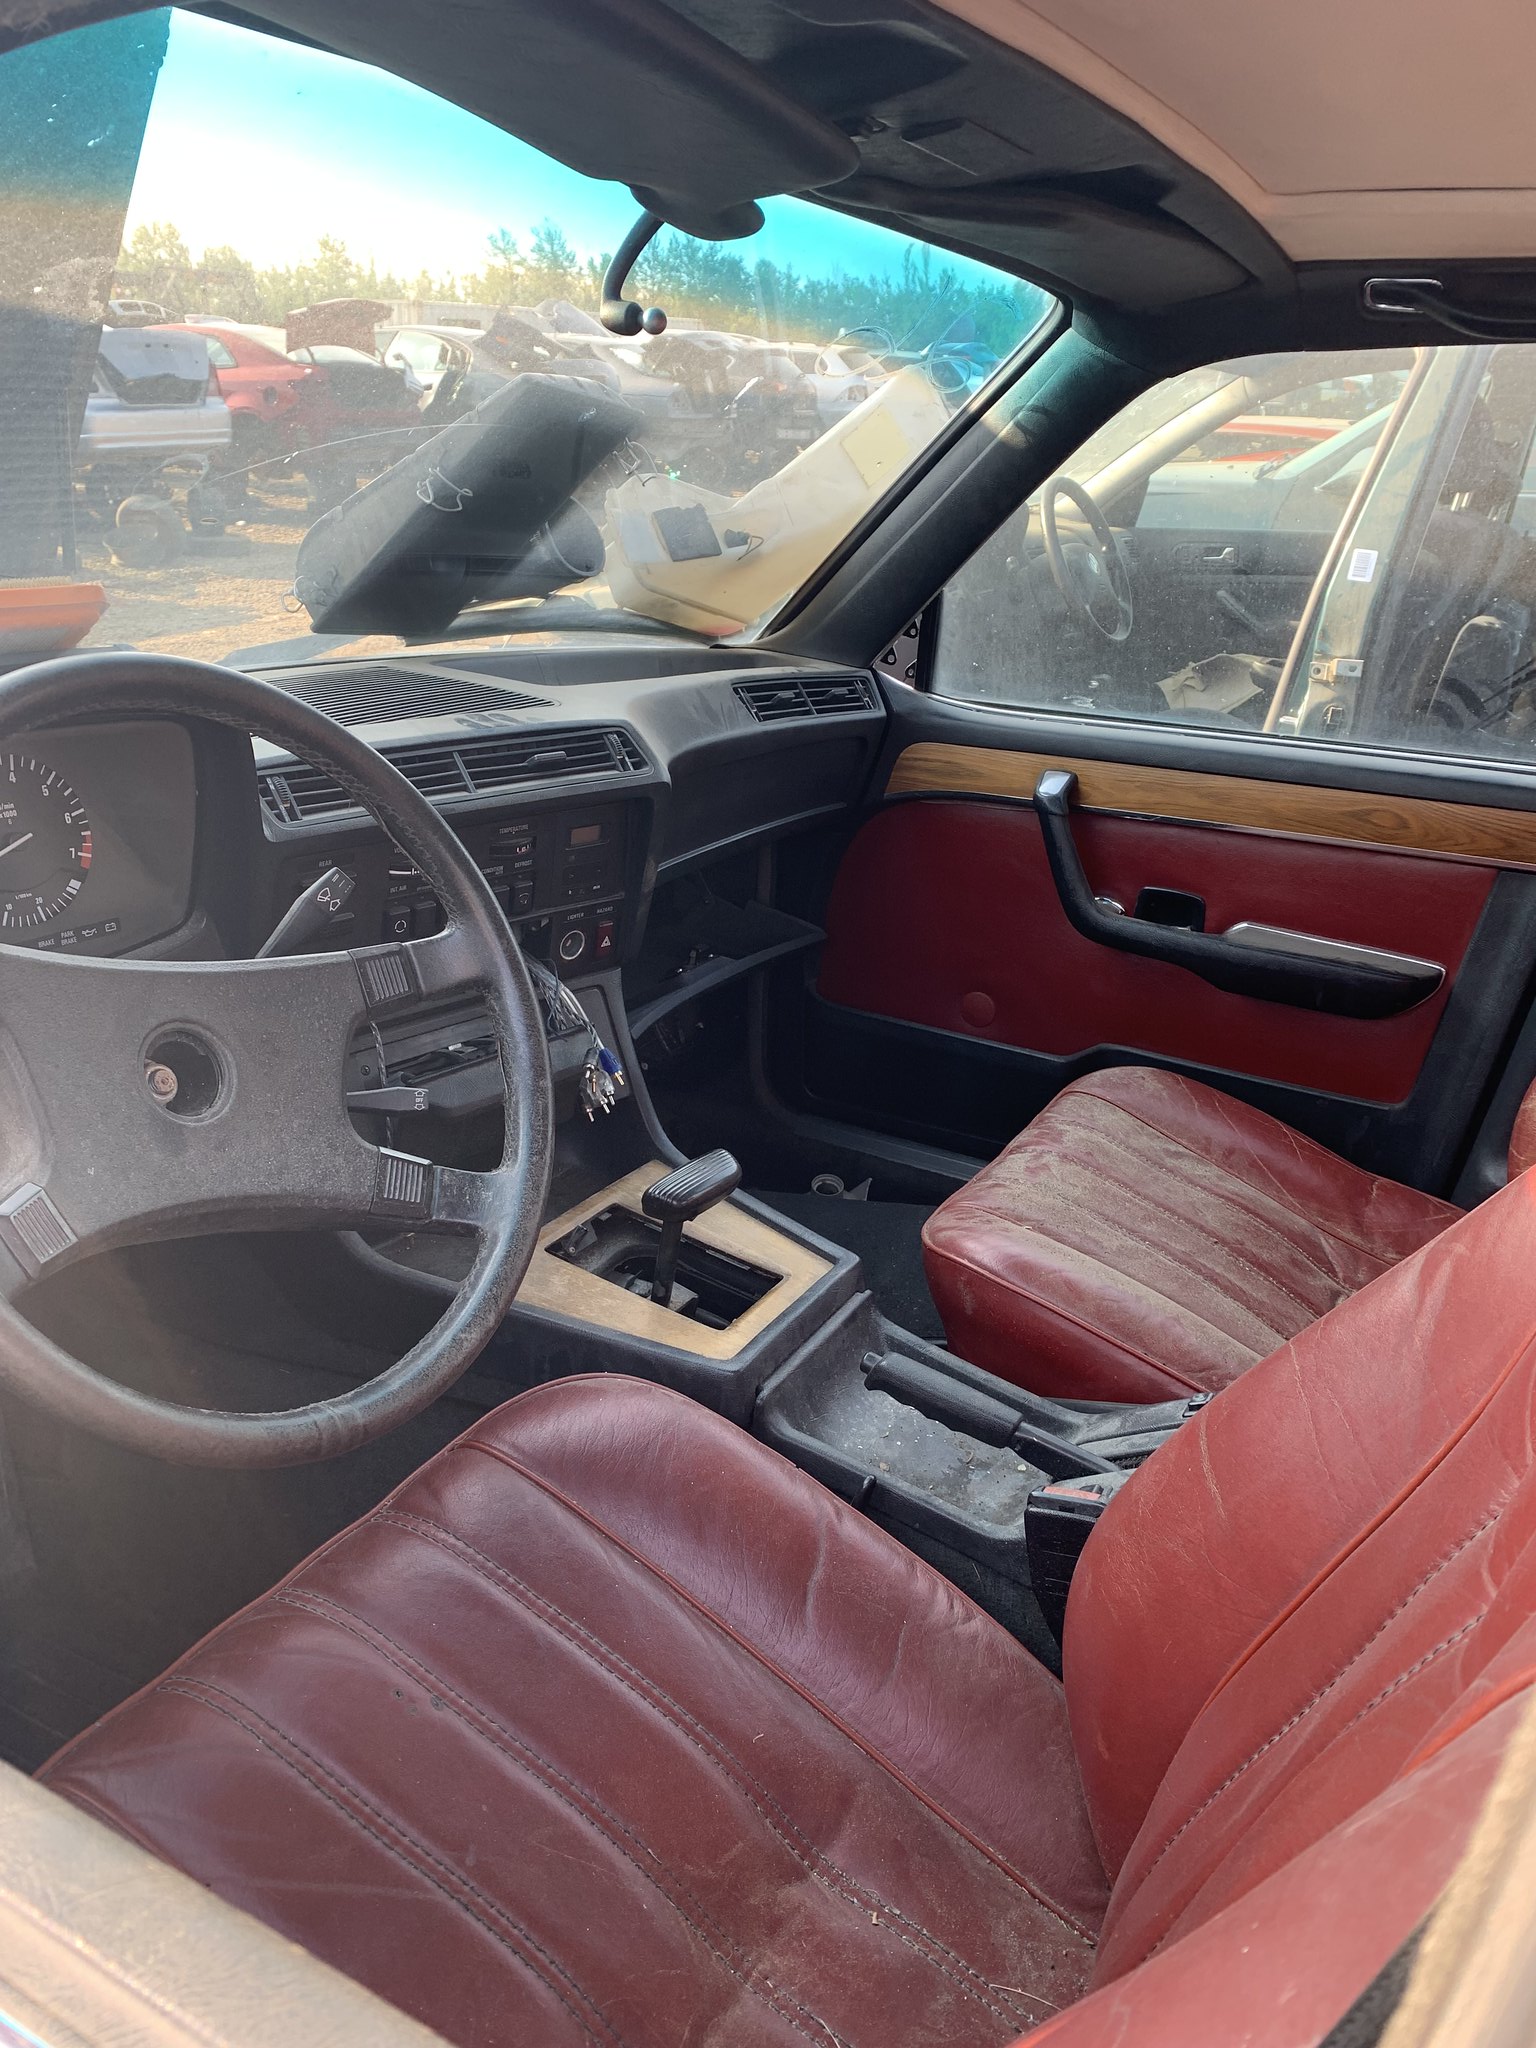
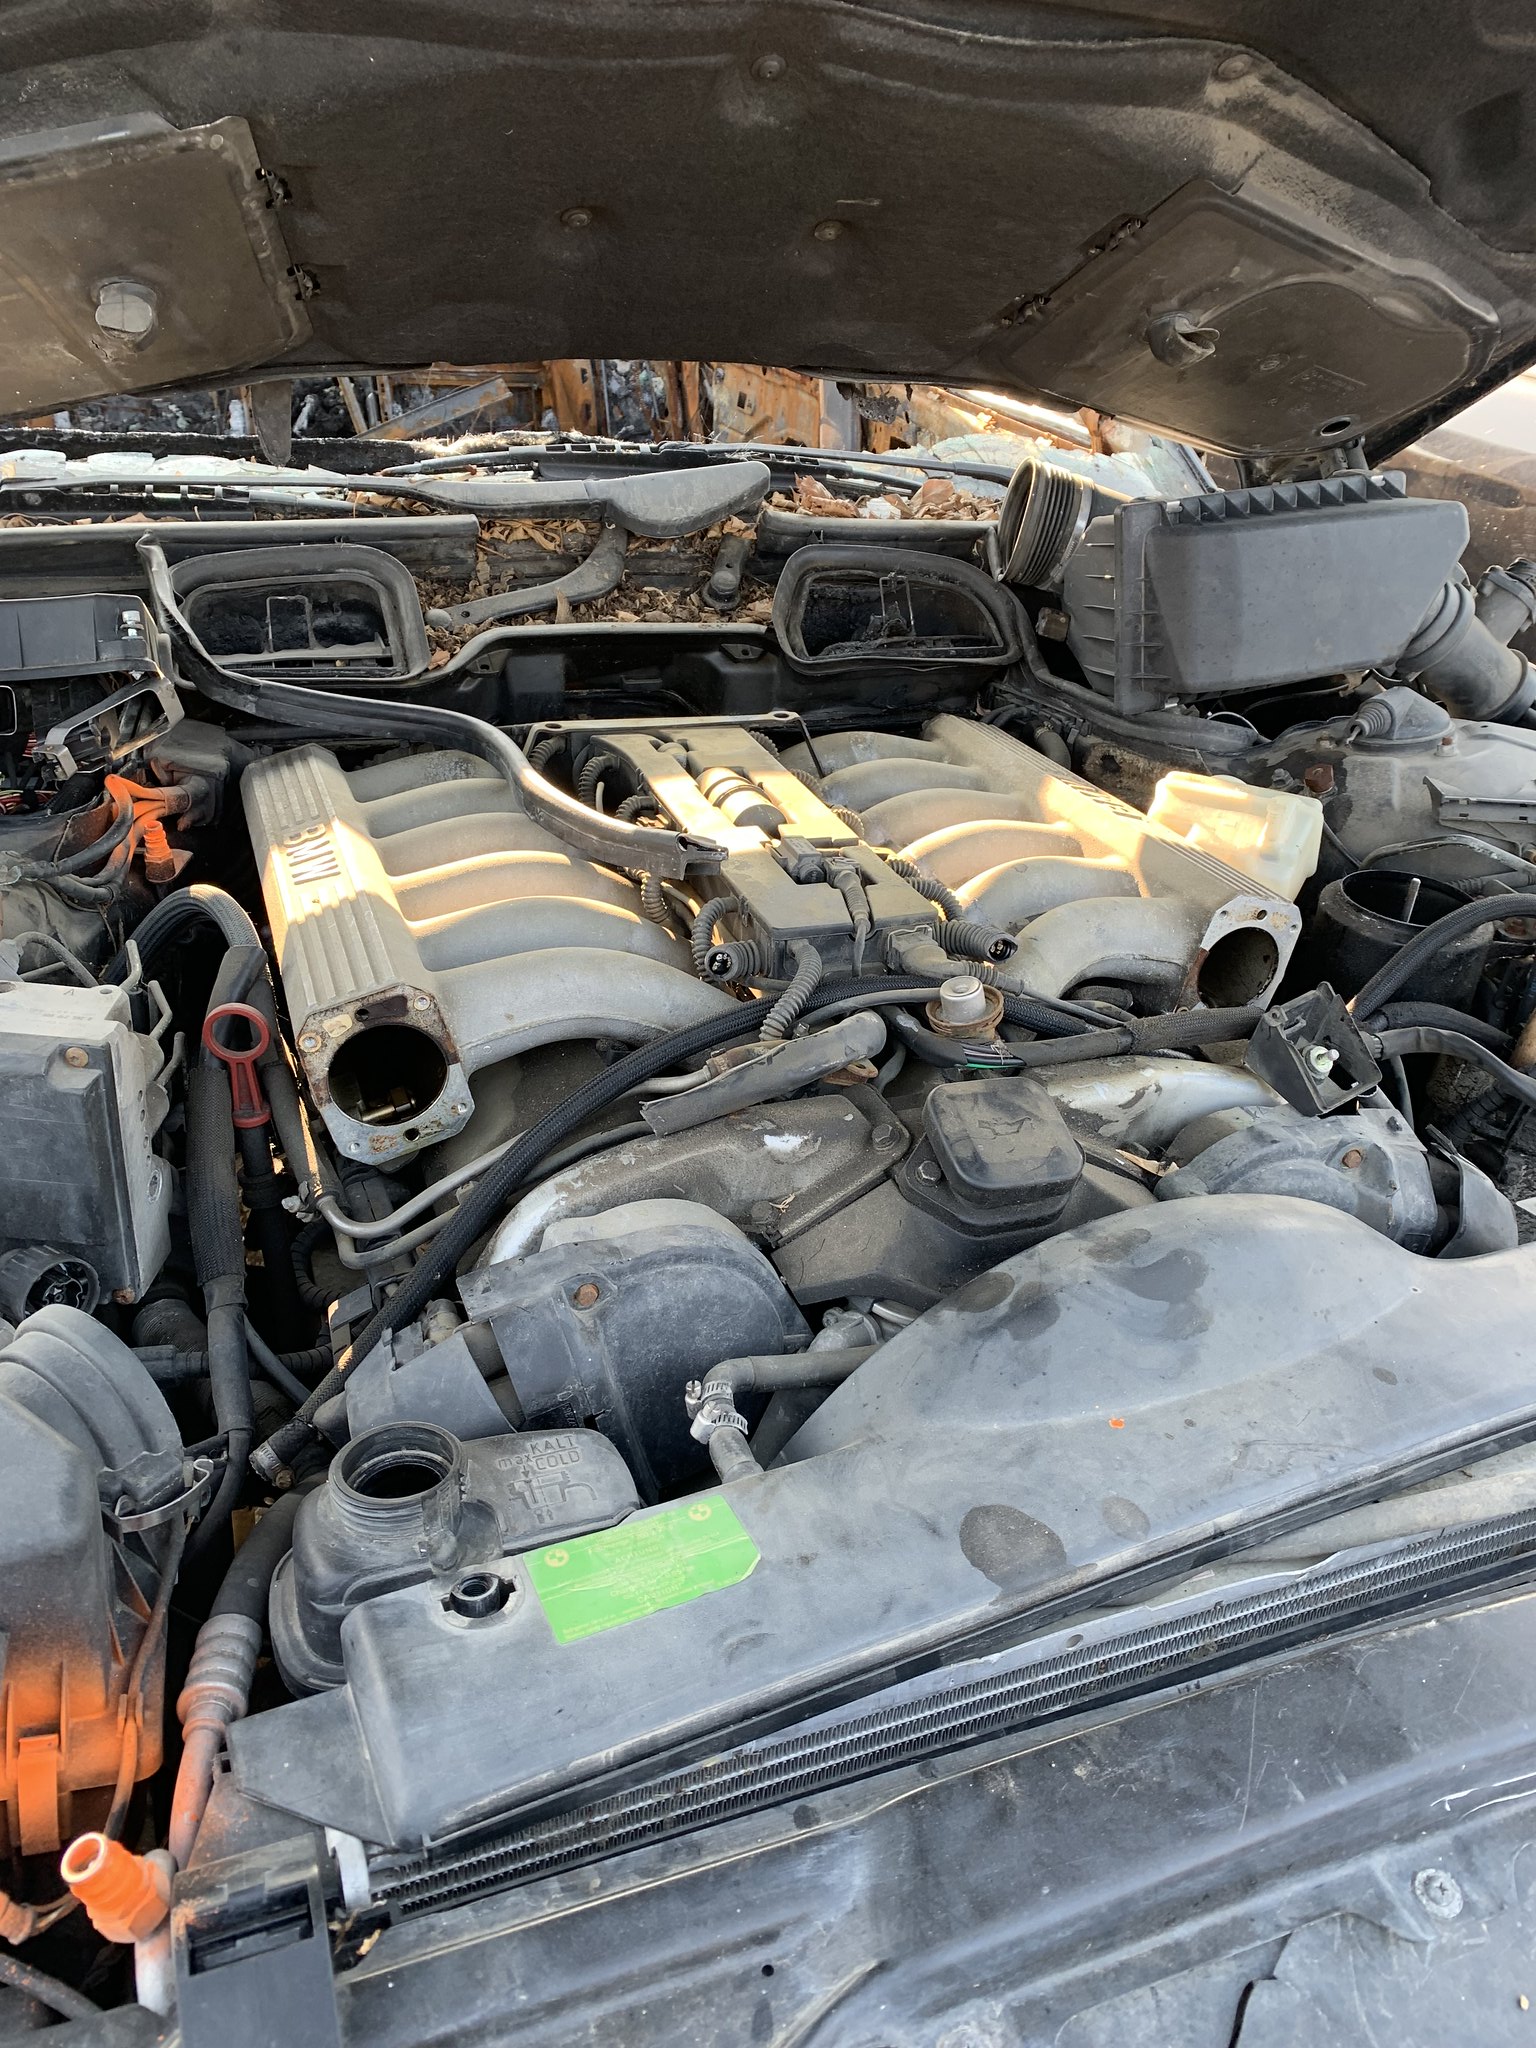
Resurrection of my green BMW

Post your photos and videos here!
CanadianMiniFan
Posts: 140
Joined: Oct 16, 2011 6:31 PM

Resurrection of my green BMW

Post by CanadianMiniFan »

I've been a member of the forum for over ten years, with some long periods of inactivity and I never posted much. A combination of having a project worth posting and nostalgia for the "good old days" of car forums, spurred me to make a thread about my dear old e28. If you don't want a long sappy story, this probably isn't the thread for you.

My e28 story started in the fall of 2011, but it doesn't start with a quest for an old BMW. I was 18, starting my mechanic's apprenticeship at a shop I had been working at part time since I was 12. In that time I had restored a 1972 Austin Mini for myself, and had it on the road in spring 2011. I had not done the metal work and exterior paint on the car, but did all the other mechanical and interior restoration on the car. Heres a quick photo of it last summer, for reference.

ImageEA25EB0B-3781-495F-AAFD-C86ADD670FF6 by Warren Tomlinson, on Flickr

I mention this car, as I had sold my daily driver 1993 Nissan 240sx in my last year of high school, to get that last bit of cash to finish up the Mini. That was great, but as winter approached, I needed to get a winter car. As luck would have it, my boss informed me that a customer was selling his BMWs. Up until then I hadn't had any interest or awareness of e28s, or old BMWs in general. But, the cars were both running and driving well, relatively rust free, and only $2500 CDN, for BOTH. One 1984, one 1986, both blue manual 528e sedans. I didnt need both, but they were a package deal and the price was right. I sold one to my Dad, who is not a car guy at all, for $1000 as his '91 Nissan Micra had finally bitten the dust. I came to really enjoy the driving dynamics of the e28, and with an LSD, it sure was fun in the snow! Unfortunately, that car met an untimely end at the hands of an impaired driver, while my brother was driving. He was okay, but the car was totaled. I had a picture of it, but cannot find it. After this, I had a turbocharged 1991 Mazda Miata, which was much faster, but I missed the character of the e28. I sold the Miata, and the search was on again for an e28. In fall 2012, I found my 1987 Smaragdgrun Green Metallic 535i. It was in a city that was a 3 hour drive away, my brother and I went down to collect it. It had an intermittent starting issue, but that was eventually tracked down to a corroded main relay. From then on, that car was my daily driver. Winter, summer, that car took me everywhere. I bought some Bavauto long tube headers off the forum, did the steering box and clutch pedal reinforcements, rebuilt the leaky brake booster, got some Sachs dampers and H and R lowering springs, and generally kept up with the maintenance. As I got more familiar with the car, I realized it was an auto car, manual swapped with a Getrag 260/6, the brakes had been upgraded to the larger vented 750il units front and rear, and it had a 3.46 LSD. I found some matching pearl beige sport seats and installed those, and kept on driving.

The extended winter use was hard on the car, and the small nibbles of rust it had when I bought it, had bloomed into a fairly unsightly mess. I liked the car, but wasn't sure I wanted to undertake a serious revival of it. It's future was uncertain. At 440k KM, it had served me well. At some point in 2019 or 2020 I had a chance encounter with a fellow in a parking lot. His uncle used to own my car, he recognized the colour, the aftermarket speakers on the parcel shelf, and the one door that was duller than the rest. I got in touch with the previous owner, and had many lengthy exchanges, where he told me about him doing the manual swap, the audio upgrade, a timing chain refresh and painting the intake manifold. He wasn't sure if he was interested in purchasing the car, as he didn't have the facilities for the amount of work it would need. For reference, here's some photos he shared with me of his ownership, looking better than it ever did while I owned it. This would have been circa 2002.

Image971CF8ED-230A-4C5C-9CEC-5E7D866067E4 by Warren Tomlinson, on Flickr

ImageB7CBC38F-5A40-412C-A485-2BAC5C486FB3 by Warren Tomlinson, on Flickr

In 2018 I had purchased a 1995 Jaguar XJ12. It was a nice car, and relegated the e28 to mostly winter duties. In summer of 2021, my fiance and I were getting married. We eloped to British Columbia, the venue was a 10 hour drive away. I was excited to take the Jaguar, and to see it in the wedding photos, and had gotten it all serviced and ready to go. The night before we were to leave for the trip, disaster struck. The radiator, likely original, had a catastrophic failure. A plastic hose connection completely separated from the end tank, depositing a large quantity of it's coolant in the parking lot I was in.

ImageC1A2344C-16E7-455E-A3EE-4824C3362565 by Warren Tomlinson, on Flickr

Image3431B8EB-31A2-4473-A8B4-BA7E0DD2E612 by Warren Tomlinson, on Flickr

Image29535D93-1BDD-4EA4-9B05-403B417A5664 by Warren Tomlinson, on Flickr

This is a part of the story, because with no preparation beyond a hurried check of tire pressures and fluid levels, my rusty old e28 performed flawlessly, carting us to our wedding near Penticton, and to our honeymoon on Vancouver Island.
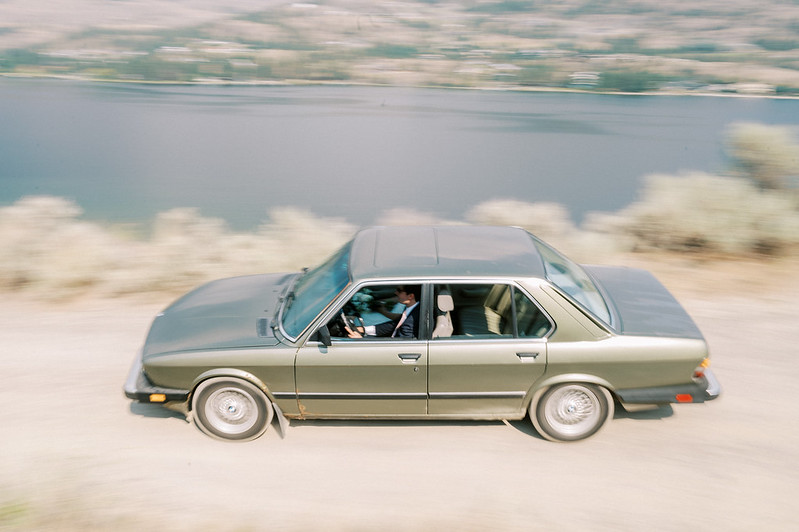
ImageKarlee & Warren - Previews by Warren Tomlinson, on Flickr
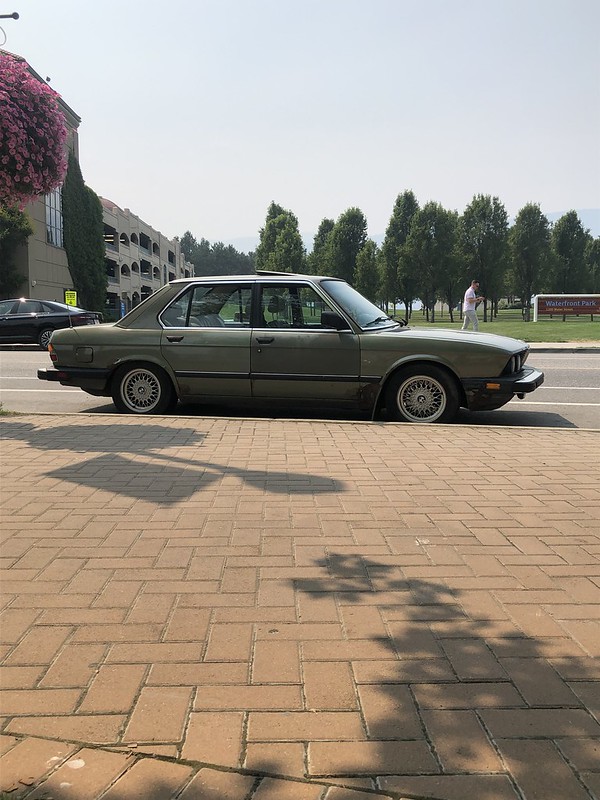
ImageEC7F3E69-7314-4F3F-90DF-87BEDFCEC28A by Warren Tomlinson, on Flickr

ImageD9A6618C-D710-434D-AB55-ECE4986EB587 by Warren Tomlinson, on Flickr

This changed a lot for me. I already had trouble thinking of my garage without this green machine, and now it had proved itself to me, just like it always had as a daily driver, always dependable and reliable, like an old friend. I repaired the Jaguar with a nice new all aluminium radiator, but eventually sold it in the fall of 2022. I purchased a second e28, a mostly stripped shell, to chop up for donor metal.

Image1B1B74DF-2188-4BDA-9295-38836C466FB8 by Warren Tomlinson, on Flickr

Image4EEDB222-1A97-4512-B809-015A745E3F91 by Warren Tomlinson, on Flickr

ImageD93CF98F-16ED-4BEB-B052-1672E0BF9FAD by Warren Tomlinson, on Flickr

ImageF50A53D2-F8D0-40B9-B43D-4342A62EB0E8 by Warren Tomlinson, on Flickr

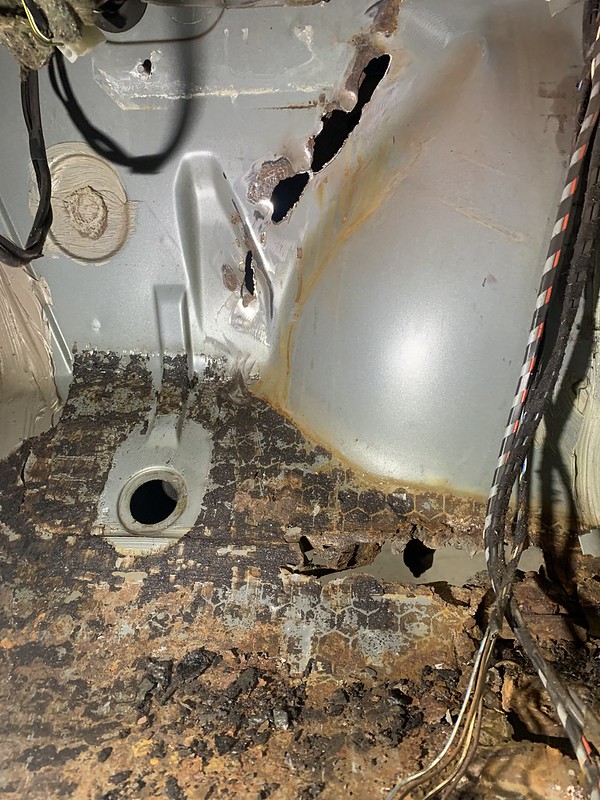
Many people would find it easier to have fixed the Bronzit car, it had some accident damage, it had been gutted inside, no drivetrain, and the wiring was a mess, but all of my parts could probably have been swapped over. However, it wouldn't be "my car", and that was most of the point of this. I cut up the car over the Christmas break, and a couple weeks ago, I got my car into the shop, to start seeing what I was up against. I've gotten the carpet out, and chiseled off the sound deadening from the floor, to see the extent of the rust there. My plan is to take it a bit at a time, starting with the floors, then the sills, and then move to the rust at the rear, and finally to the quarter panels and other external areas. I plan on fitting used, rust free doors and fenders, to limit the amount of work on those pieces. It will likely take far longer than I hope, but I'm feeling eager so far. Here is a photo dump of the car as it sits.

Image3FCC8DC6-C3AE-44E4-82E6-C346F95C95D2 by Warren Tomlinson, on Flickr

Image664BD40A-BA70-488F-8438-D63945629855 by Warren Tomlinson, on Flickr

ImageCC45750E-358A-474D-9F96-9FF23A41A9F2 by Warren Tomlinson, on Flickr

Image0FF4A1B9-54A3-4382-8812-4CAD26BA1F86 by Warren Tomlinson, on Flickr

Image5CB0D49D-97E2-452A-9ABE-F1699E4990F0 by Warren Tomlinson, on Flickr
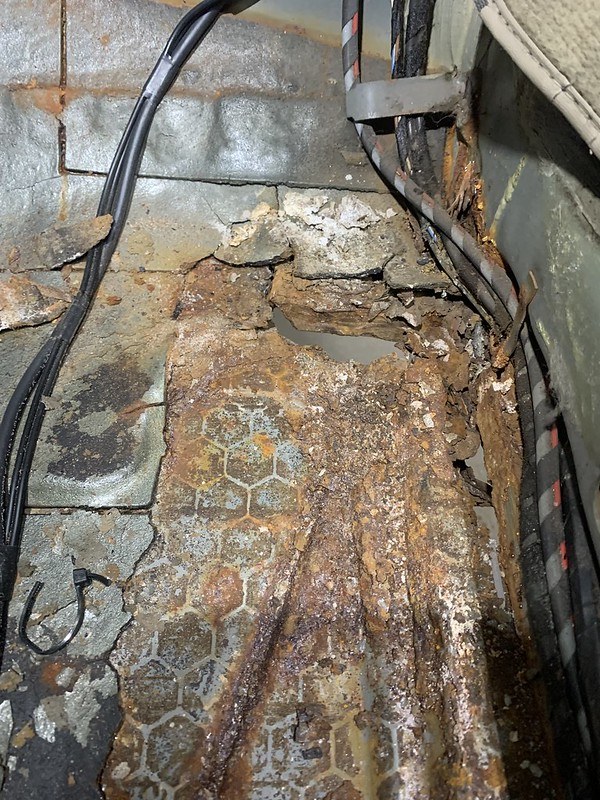
Image57DDB330-E114-4D9F-9139-F242DB497D44 by Warren Tomlinson, on Flickr
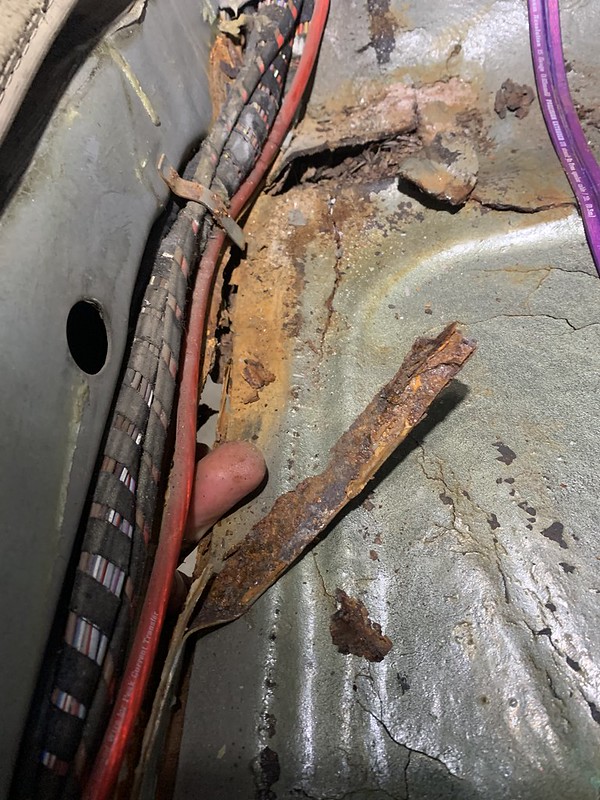
Image1C54470C-317A-4FA0-B667-C4D5F663A082 by Warren Tomlinson, on Flickr

Image10BE7D6A-B33C-4BDC-8FD7-0421773EC279 by Warren Tomlinson, on Flickr
ImageEFEEF793-240B-4859-B229-4D97FDDD2D24 by Warren Tomlinson, on Flickr

Image7C6B308B-5C61-468C-86AF-681796D54065 by Warren Tomlinson, on Flickr

If you've made it down to here, thanks for reading my immense first post of the project. The updates going forward will be far more brief!
jayjaya29
Posts: 203
Joined: Jul 30, 2014 12:53 AM
Location: Atlanta, GA

Re: Resurrection of my green BMW

Post by jayjaya29 »

Thanks for sharing! Good luck with the restoration.
5280 JB
Posts: 732
Joined: Apr 15, 2008 10:39 PM
Location: 5280' altitude: Denver, CO

Re: Resurrection of my green BMW

Post by 5280 JB »

Thanks for posting this back story, and your plans for the car - I like how you describe the personal connection you have with this car as part of the reason for undertaking its restoration. Love the green color - its an uncommon E28 color and will look fantastic!

Keep us updated!

Jim
LeiseyJr
Posts: 1527
Joined: Dec 22, 2013 10:11 PM
Location: Houston,Tx

Re: Resurrection of my green BMW

Post by LeiseyJr »

Love the green! Looking forward to updates
muleskinner
Posts: 1339
Joined: Sep 08, 2007 11:17 AM
Location: John Graham ATL

Re: Resurrection of my green BMW

Post by muleskinner »

We've seen a lot of major e28 projects on this board over the years, but this is MAJOR. Hats off to you for resurrecting this awesome green car. Look forward to seeing the progress. With this much work, euro bumpers and lights are a must.
CanadianMiniFan
Posts: 140
Joined: Oct 16, 2011 6:31 PM

Re: Resurrection of my green BMW

Post by CanadianMiniFan »

Thanks for the kind words, i have some used euro bumpers on the way, so I will be able to do the welding required to have them fit, and if they end up being too used in appearance after paint, I can always track down a nicer set. I’m hesitant to get brand new aftermarket euro bumpers, as I’m concerned the fit will leave something to be desired. The rust repair will be a long road, I’m sure there will be more than I expect and hope, and I’m only working on it after work and on weekends when life allows. My plan is to work in sections, rather than getting it completely stripped and cut apart, and losing motivation. So the floors will be first to get sectioned and welded in, then the sills, then I’ll remove the rear subframe and address anything there. I’m sure there are more comprehensive e28 resurrections that have been completely.

I work in a shop that does restoration work on British cars, so I have seen an awful lot more rust, but I don’t intend for this to be a full restoration, which to me means stripped bare, and every component and system disassembled and restored. I just want to get this car solid and looking smart again. Despite working in the restoration industry, my training and experience is in mechanical work, more than metalwork, so this will be a learning process as well. Hope to have some significant updates soon!
CanadianMiniFan
Posts: 140
Joined: Oct 16, 2011 6:31 PM

Re: Resurrection of my green BMW

Post by CanadianMiniFan »

Busy week so didnt get much time on the BMW. had a few hours saturday morning, so I blanketed the headliner to prevent spark damage.

ImageC74AA4D5-7027-4FEA-B5B9-20F919A2B12F by Warren Tomlinson, on Flickr

Chipped off the undercoat from the sills, found the rust on the crease line was limited to surface rust, and pitting, so i will be able to weld in the used sill lower than the crease, which is a bonus. I will encapsulate the rust pits with a rust converter or epoxy primer, have to do some research what is best.

ImageD8780172-0FAC-4CFB-8DD7-A74254DC2220 by Warren Tomlinson, on Flickr

Image617F3C31-4372-4D8C-812D-83A4B34810E1 by Warren Tomlinson, on Flickr

obviously the front and rear sections of the sill/doorpost/wheelarch need more attention, but my hope is that by keeping the top half of hte sill intact, not removing it at the door seal seam, it will retain stiffness and shape, so i don't end up with a wonky door hole. If I had to, I could brace the door opening, but if I can avoid the extra work, I'm game. A total concours build would demand minimal patches and the associated seams, but that isnt what this is, I just want to do a decent job I'm happy with.

Comedy shot, mudflap was an easy removal, two clips and the rest just ripped off the floor!

ImageA15AB089-5754-4979-94BA-BC51F11B323F by Warren Tomlinson, on Flickr

Got the RF floor cut out, I will be joining it above the wiring harness tabs on the inner sill, have a flanged joint at the rear, overlay it on the frame rail flange on the inner cut, and another flanged joint on the firewall side. Debated doing a smaller cut, which would mean welding more of the pressed features which is trickier, without cutting out too much metal and ending up with something no easier to put in. If this works well I will do the same on the driver's side.

Image95BFD4DF-B588-4957-95C9-3F841D5AA2E8 by Warren Tomlinson, on Flickr

ImageE2B5DFA6-30EE-49E7-A24E-EBA406C4BD9E by Warren Tomlinson, on Flickr

Hopefully some more progress this week. It will take longer to remove the spotwelded seam on the frame rail, as well as get the piece I need out of the donor metal, without causing it any undue harm or damage. All part of the fun!
CanadianMiniFan
Posts: 140
Joined: Oct 16, 2011 6:31 PM

Re: Resurrection of my green BMW

Post by CanadianMiniFan »

Not a huge update but a bit of progress this evening. Got the passenger front donor floor liberated from the floor pan and sill.
Image5D594AA2-E022-4CC1-B698-C7CCEB178AB8 by Warren Tomlinson, on Flickr

Ended up separating the inner sill from the outer, the pinch weld underneath the car, and leaving the floor attached to the inner sill. Drilled the spotwelds off the frame rail flange, so I can lay the new piece on top of the flange like it should be. More trimming needed before fitting, and I will likely replace the jacking point inside the sill before welding in the floor and inner sill. Obviously theres that one hole that needs repairing as well
ImageD2219AE9-DD77-4EB8-8928-87054F1C28AB by Warren Tomlinson, on Flickr

Eventually the full length of outer sill will go in.

Image4CBBD9A6-2D9A-4BB6-9C8E-6095454011B1 by Warren Tomlinson, on Flickr
Nebraska_e28
Beamter
Beamter
Posts: 9056
Joined: Apr 13, 2006 11:18 PM
Location: Council Bluffs, IA
Contact:

Re: Resurrection of my green BMW

Post by Nebraska_e28 »

A very ambitious project! Looks like you have the skills to see it thru!
Can't wait to see the finished product.
CanadianMiniFan
Posts: 140
Joined: Oct 16, 2011 6:31 PM

Re: Resurrection of my green BMW

Post by CanadianMiniFan »

Thank you, the skills are in progress, every metalwork project you learn something different, whether you want to or not! My main worry is losing motivation so I try to chip a few hours when I can, not just waiting for full days on the weekend. And don’t look at the whole project too often, take it a bit at a time!
Foonfer
Posts: 732
Joined: Mar 18, 2015 11:33 PM
Location: New York, NY

Re: Resurrection of my green BMW

Post by Foonfer »

Subscribed! This is shaping up to be an amazing story. Save the green car!
Mdreamer
Posts: 532
Joined: Feb 12, 2006 12:00 PM
Location: Atlanta, Georgia

Re: Resurrection of my green BMW

Post by Mdreamer »

This is so cool! Thank you for sharing and for keeping us abreast of your progress. I'm also in the midst of a journey of sentimental motivation with my e28, so I can definitely empathize with your desire to rehab your particular car. Your skills are remarkable, and I am excited to see the results of your effort.
CanadianMiniFan
Posts: 140
Joined: Oct 16, 2011 6:31 PM

Re: Resurrection of my green BMW

Post by CanadianMiniFan »

Not a huge update but I picked away a little more. In order to do something with the sill, the fender needed to be out of my way, so I took the front end apart and both fenders off. The fenders and front valance are junk, the valance will be replaced with a new euro spec valance, the fenders I have one good left fender that needs maybe a little rust repair, still working on a right fender, but I wont be fixing the one that came off.
Image6B4296B8-0926-409D-A252-4552EB5B6988 by Warren Tomlinson, on Flickr
I was worried what I would find underneath the fenders and valance, and other than the valance mount on the right, theres not too much rusted through. Surface rust in a few areas, but a quick grind showed it isnt perforated, so we will POR 15 that, and proceed. Not a concours restoration, I don't want to do a total bare shell strip down, so there will have to be compromises due to the time and money involved.
Image5E134B77-DF17-4A93-9099-E89783E7AB64 by Warren Tomlinson, on Flickr
ImageA0143010-A98C-47AB-B922-143B7612C172 by Warren Tomlinson, on Flickr
ImageFB4F8F3F-1EC8-44F0-A25C-BA8F3CF790DC by Warren Tomlinson, on Flickr

I split the seam at the bottom of the sill, I still have to decide 100% where to cut the sill, I'm leaning towards joining it just below the crease in the sill, but that means there will be a fair amount of pitted metal left to be treated. I dont want to take it all the way to the pinch seam, as then I'm dealing with the brazed joint at the back of the sill, the B pillar join etc. Some photos showing how i lightly grind the seam to find the spotwelds, then drill them, use and air hammer/chisel to split the seam.

Image6A4BD259-8E7B-4E6F-94DE-BA165DB6A547 by Warren Tomlinson, on Flickr

Pitted area on the sill
ImageC84A00D3-2B0C-4529-BFC0-68115DC99BAF by Warren Tomlinson, on Flickr
CanadianMiniFan
Posts: 140
Joined: Oct 16, 2011 6:31 PM

Re: Resurrection of my green BMW

Post by CanadianMiniFan »

Not a ton of progress lately, I have to do a better job of making time work on this thing. I got all the pieces I think I will need cut out of the donor floorpan, so the rest of it moved outside the building. Today I spent a bit of time blasting at some of the surface rust on the sills, and grinding off the old schutz, so welding will not be contaminated. Any bare metal inside the sill, aside from the seam, will be coated with POR 15 before it is attached, and when the car has been painted, I will hit all these areas with a cavity wax. Getting the various pieces cut out of the donor pan has taken longer than I had hoped, but isnt that always the way. Once I get the sills ready, I will cut off the passenger sill first, remove the rusty jacking points, repair the rust at the rear of the inner sill, and offer up the donor sill and fit that. Repeat for the drivers side. Once the sills are in place, I will fit the floor pans at the front. I can do the rear floor pan holes any time. It will feel good once I can actually be welding on the car again, rather than just cutting more and more out!

Image36956C90-B699-403C-8813-B3D011A60711 by Warren Tomlinson, on Flickr

Image6A9FF1AC-D73A-4007-8CF2-A506590AF746 by Warren Tomlinson, on Flickr

Image3D370036-A64C-41F5-943A-CA4114305D3A by Warren Tomlinson, on Flickr
CanadianMiniFan
Posts: 140
Joined: Oct 16, 2011 6:31 PM

Re: Resurrection of my green BMW

Post by CanadianMiniFan »

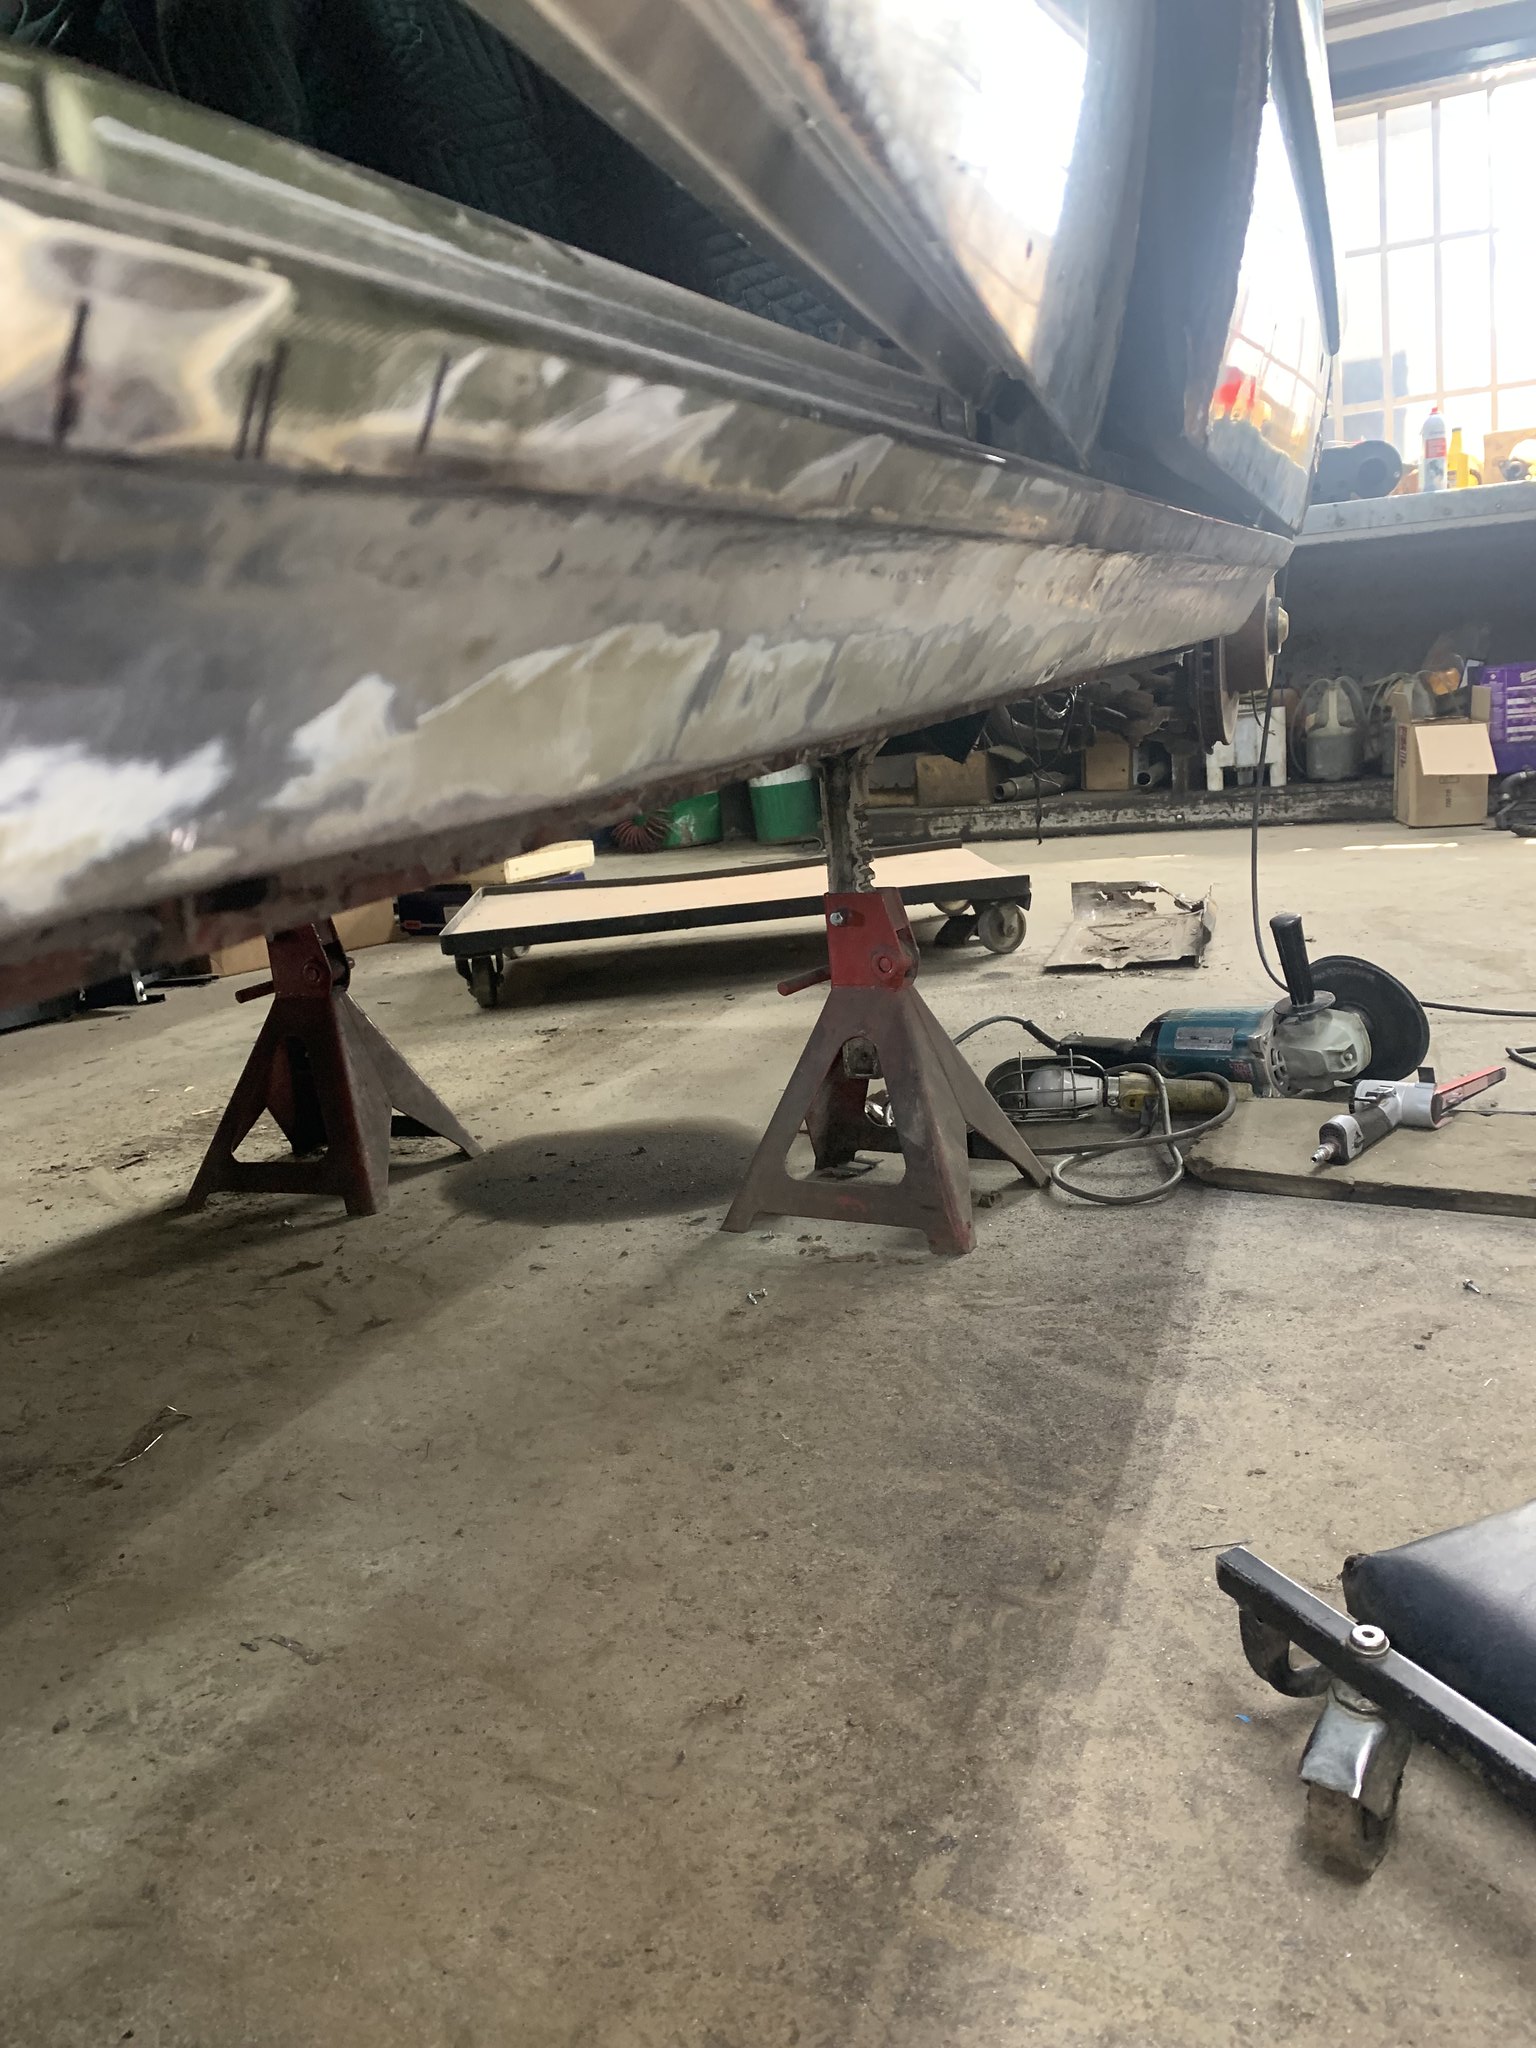
Haven't had so much time on the BMW lately, had a little vacation, other life things, but today i got a few hours in on it. Chopped off the sill

ImageIMG_6472 by Warren Tomlinson, on Flickr

Rather rusty

ImageIMG_6474 by Warren Tomlinson, on Flickr

Inside of the sill looks decent, some seam rust but should be alright with some cavity wax sprayed in there after its all done

ImageIMG_6475 by Warren Tomlinson, on Flickr

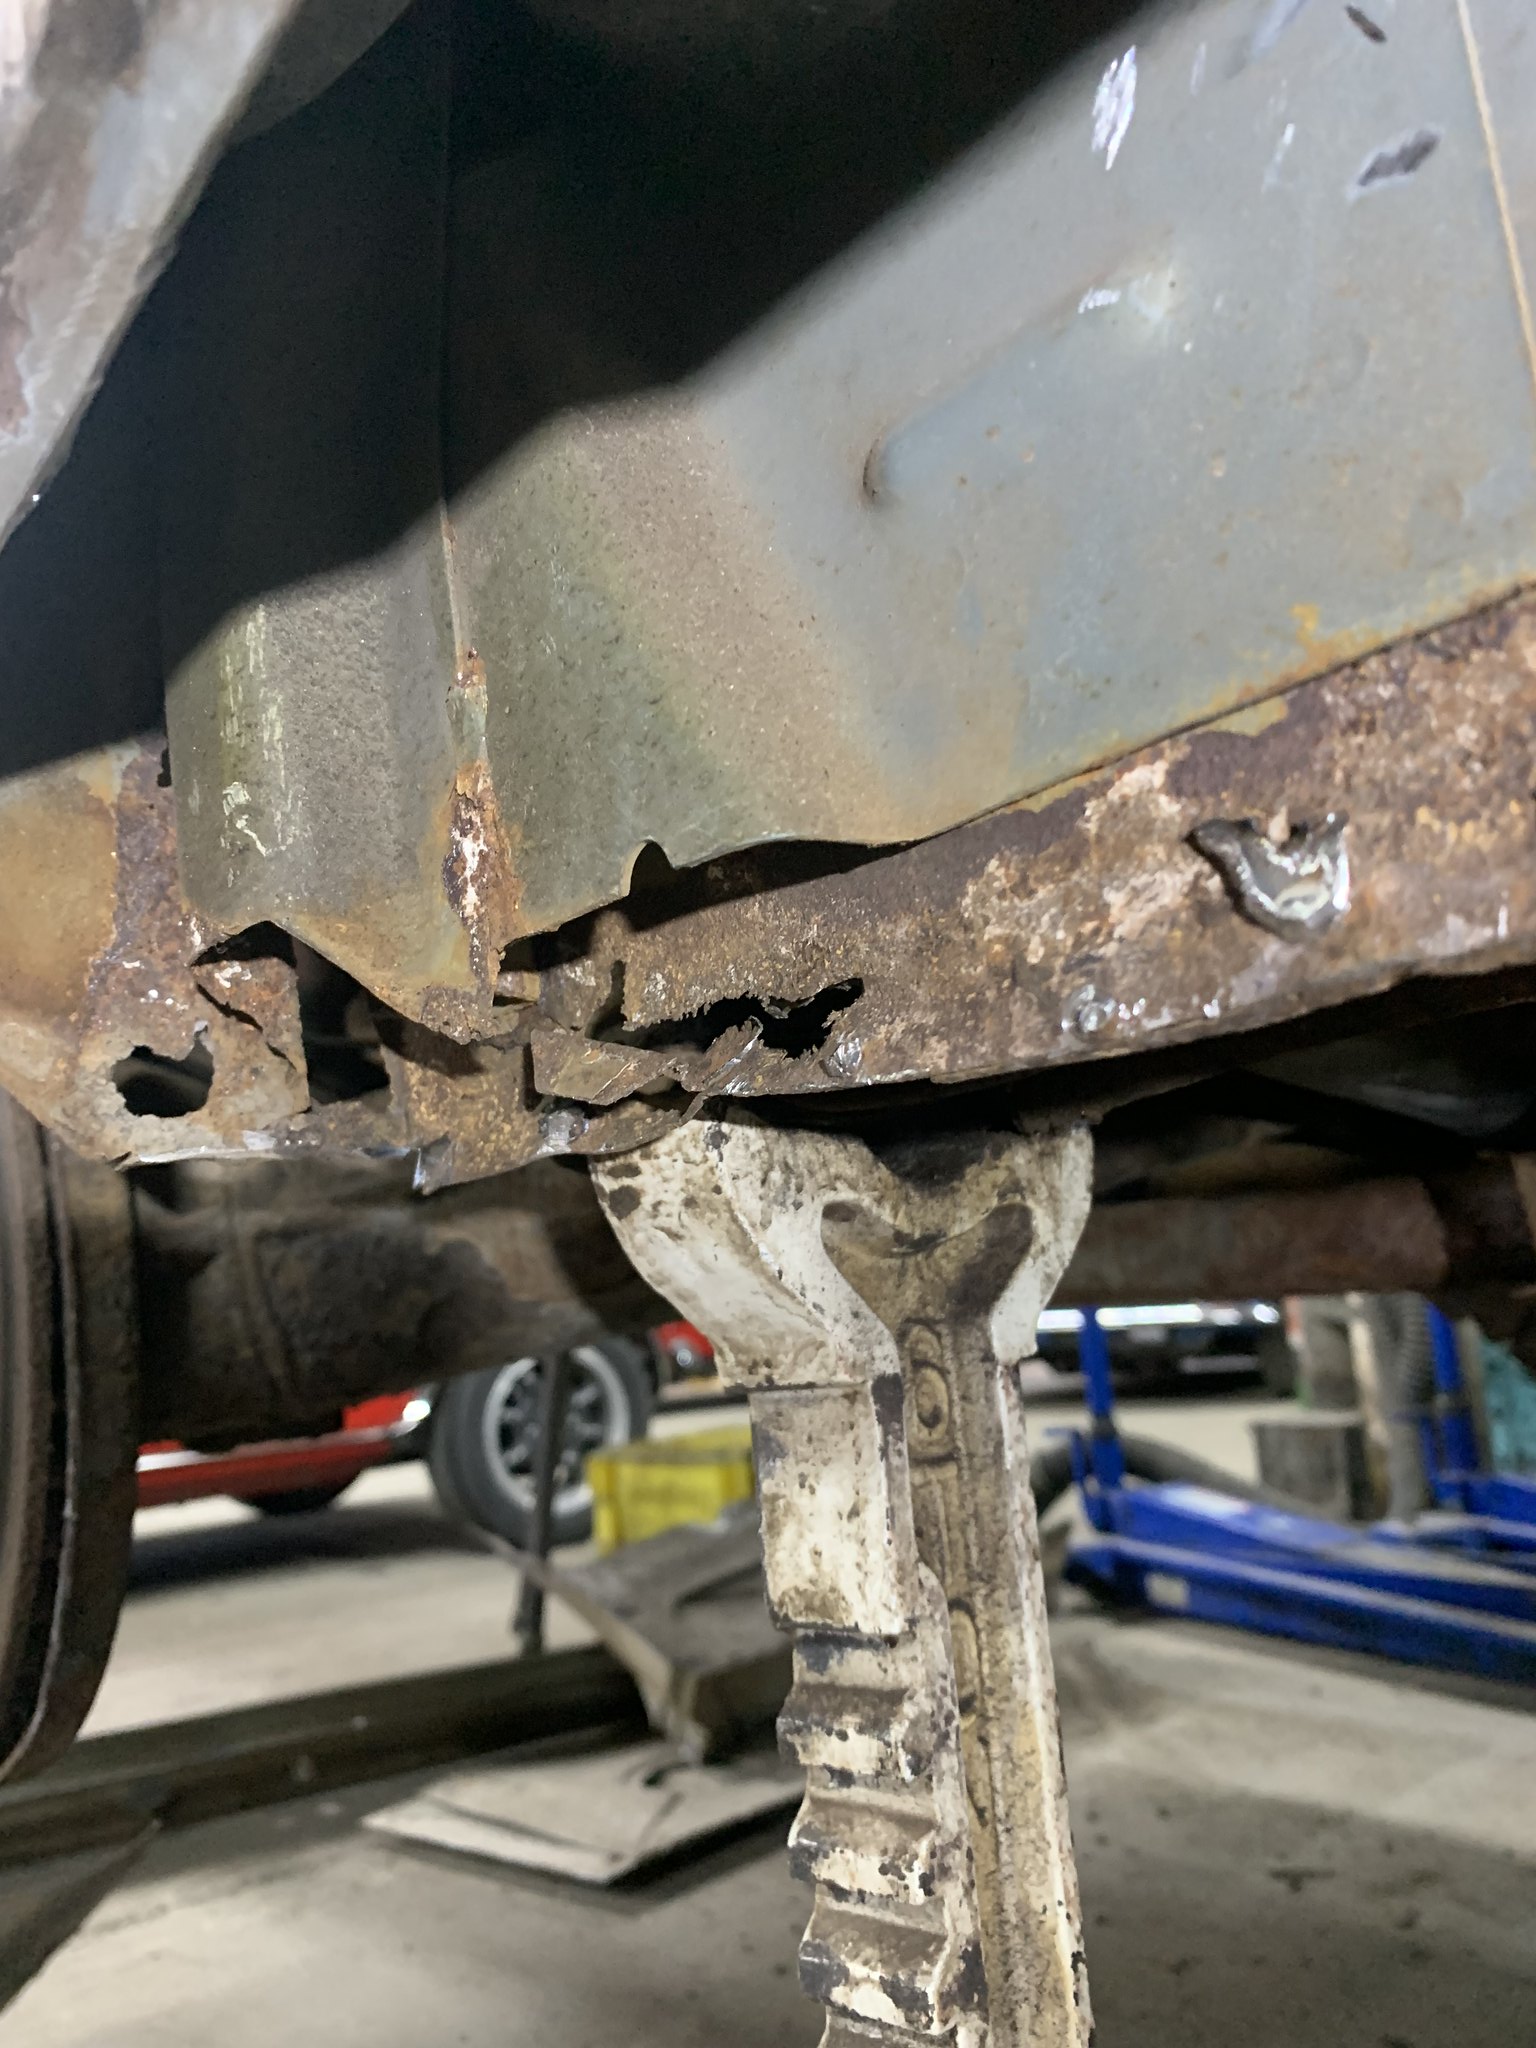
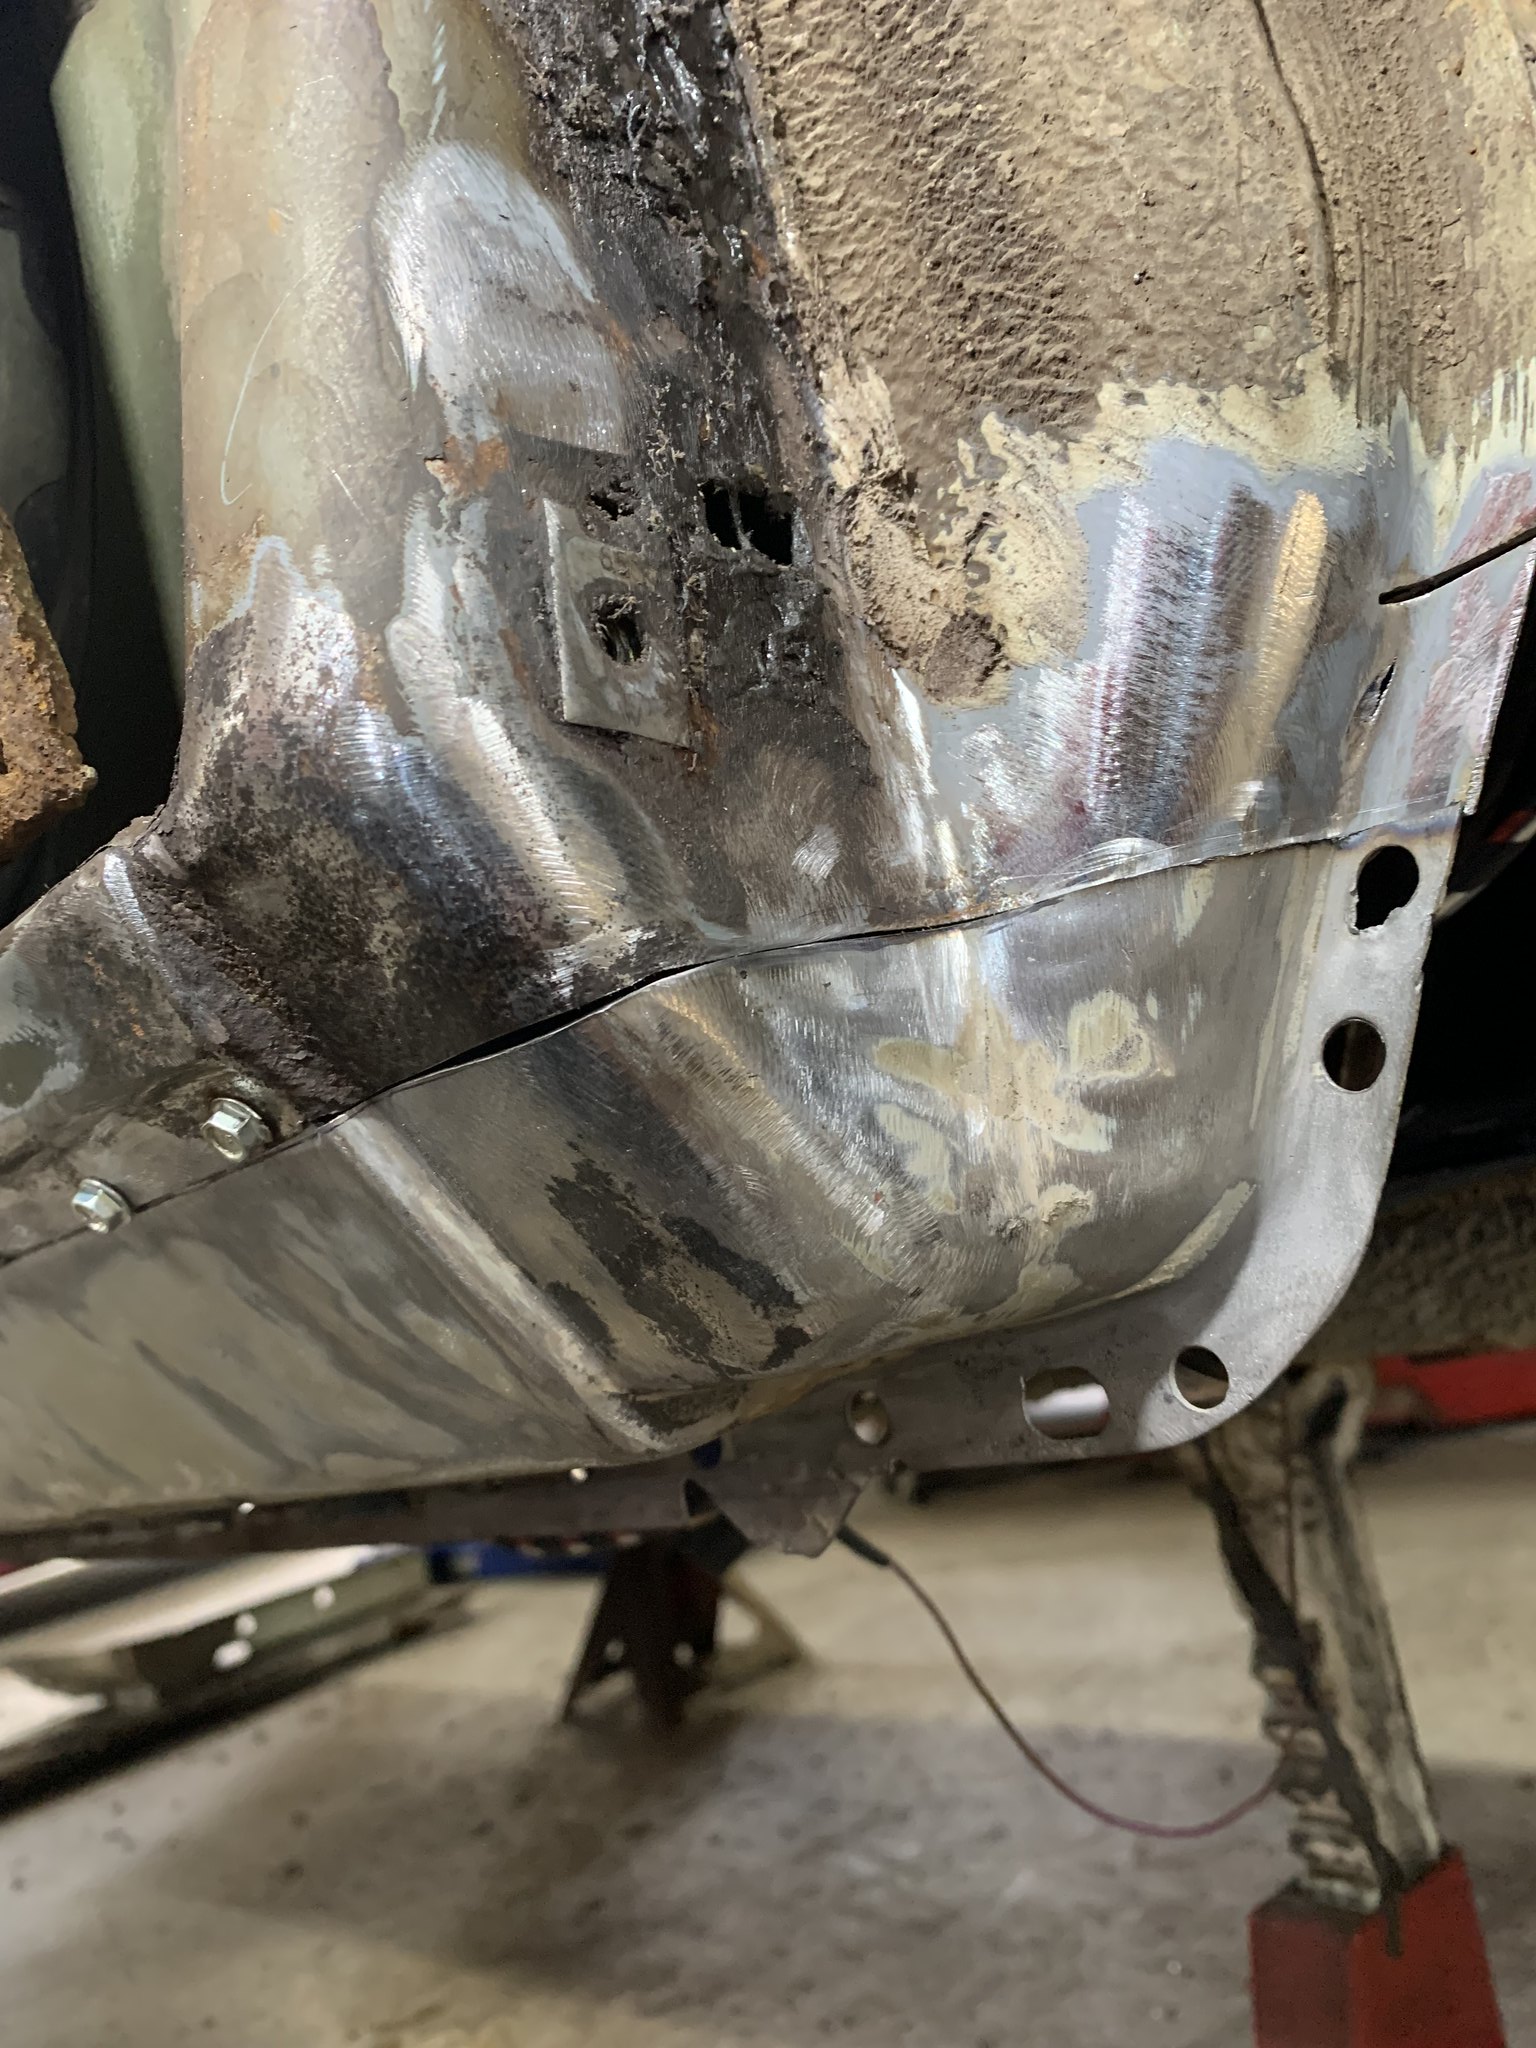
This is at the rear of the inner sill, i cut out the rust holes but will weld in a patch once I've dropped the rear subframe. The shop is getting busy for summer, so the car will likely have to go back on its wheels and roll into the storage area, so I don't think the subframe is coming out until next fall.

ImageIMG_6476 by Warren Tomlinson, on Flickr

The jack stand is on the subframe, not the scraps of sill :laugh:

ImageIMG_6477 by Warren Tomlinson, on Flickr

Rust at the closing panel in the wheelarch/sill area

ImageIMG_6478 by Warren Tomlinson, on Flickr

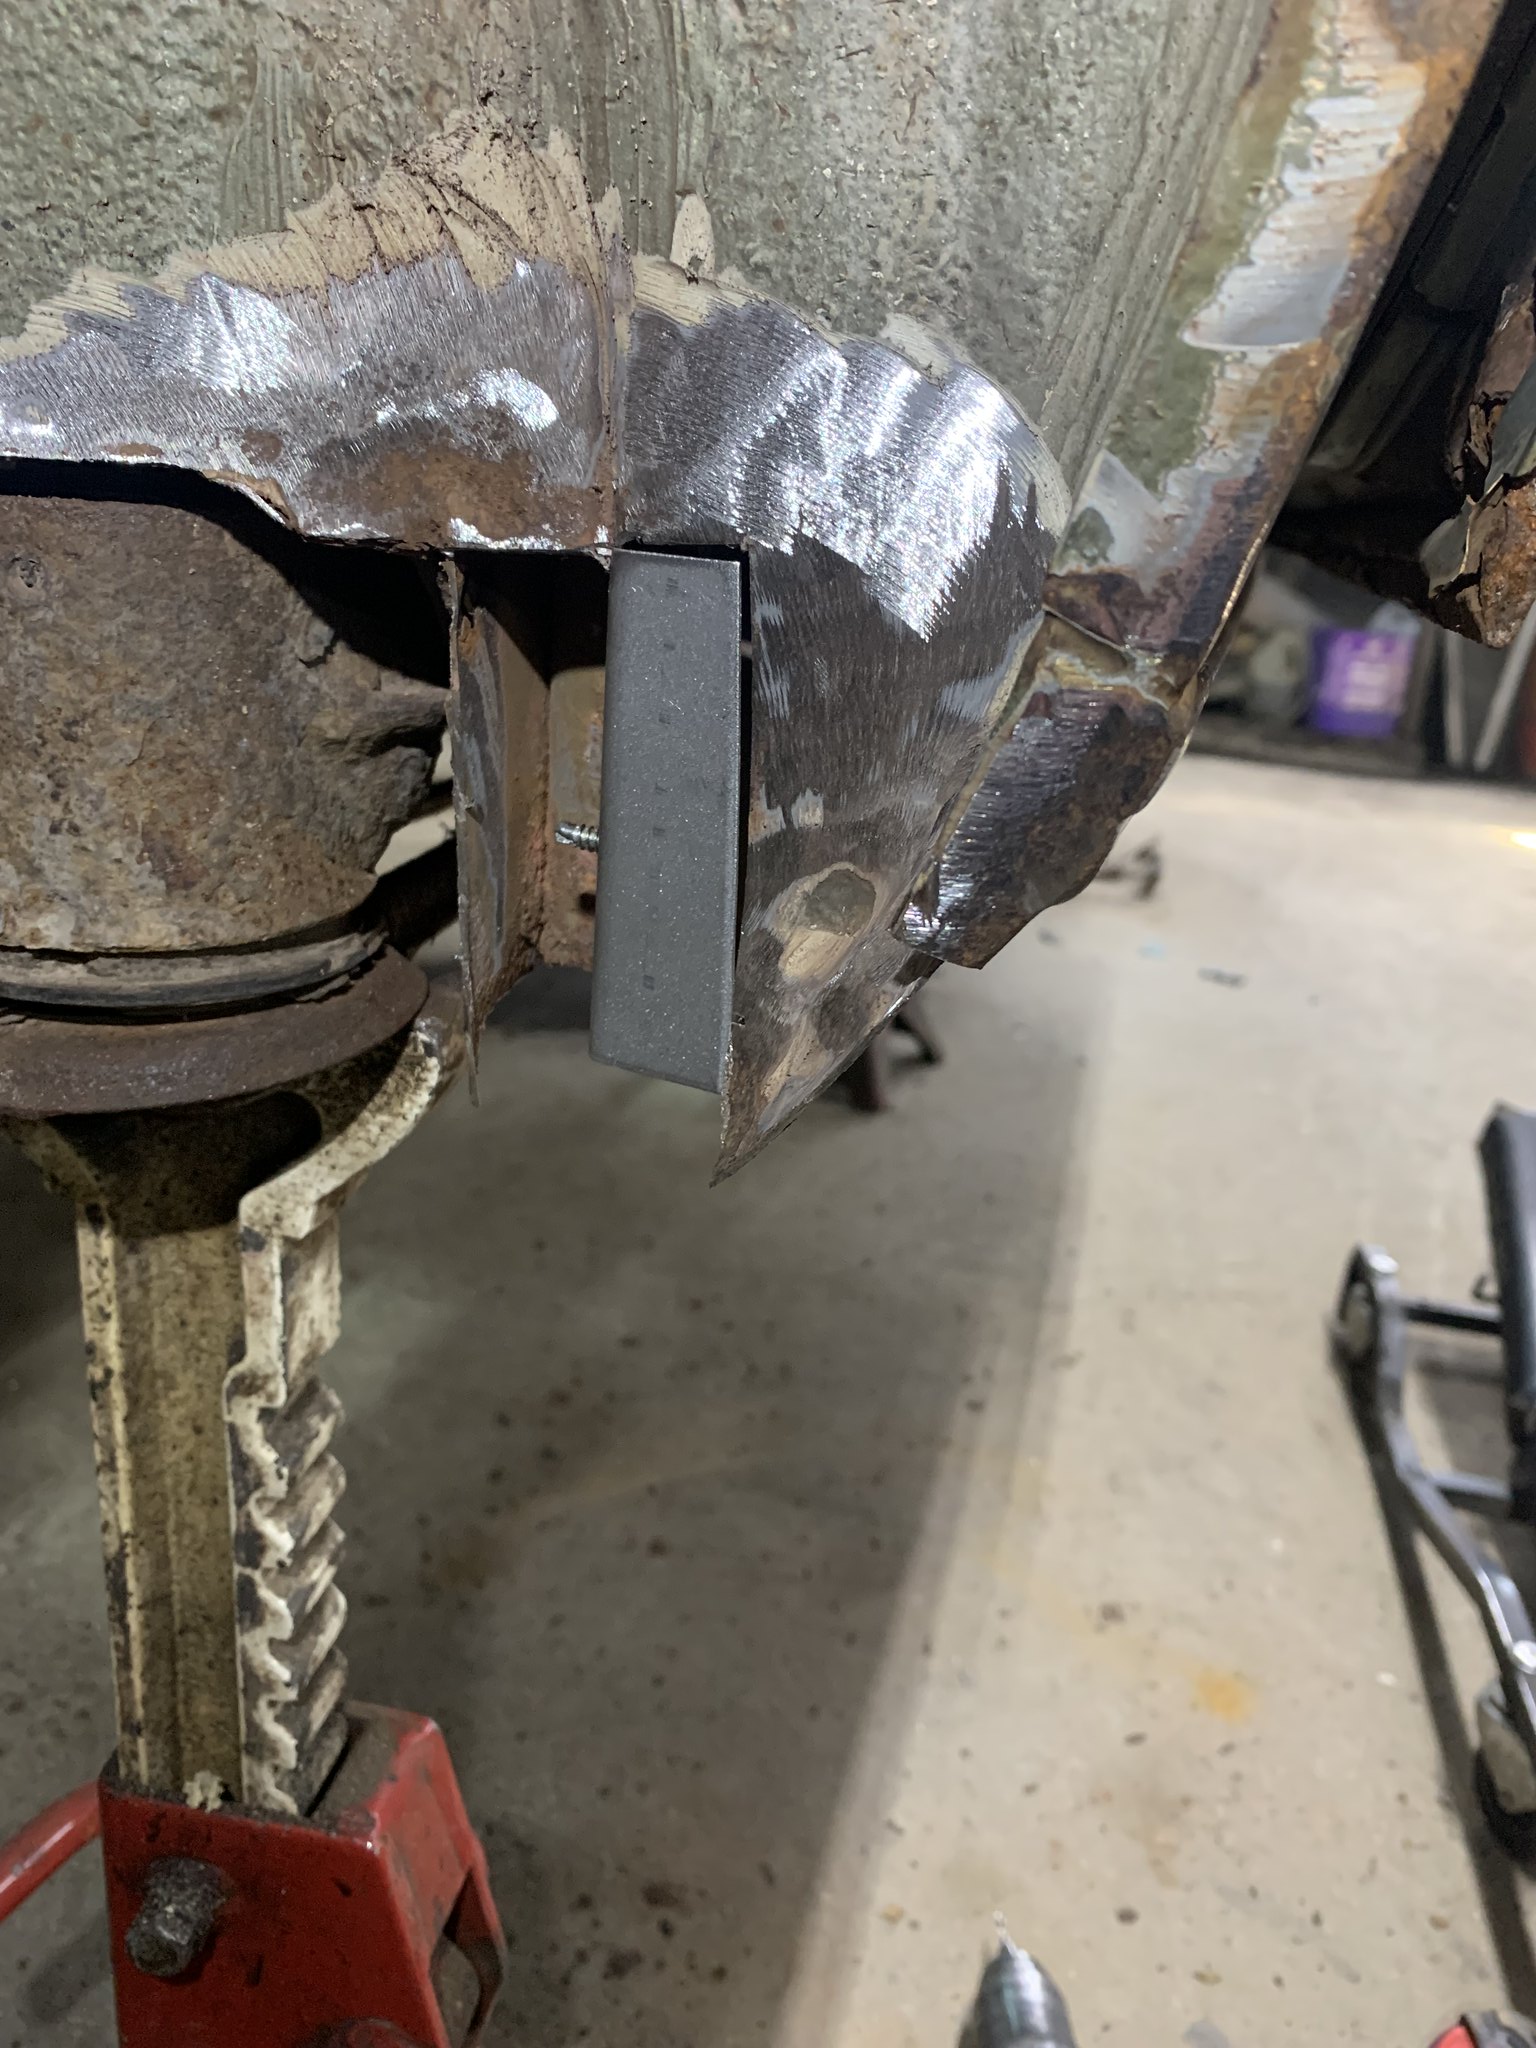
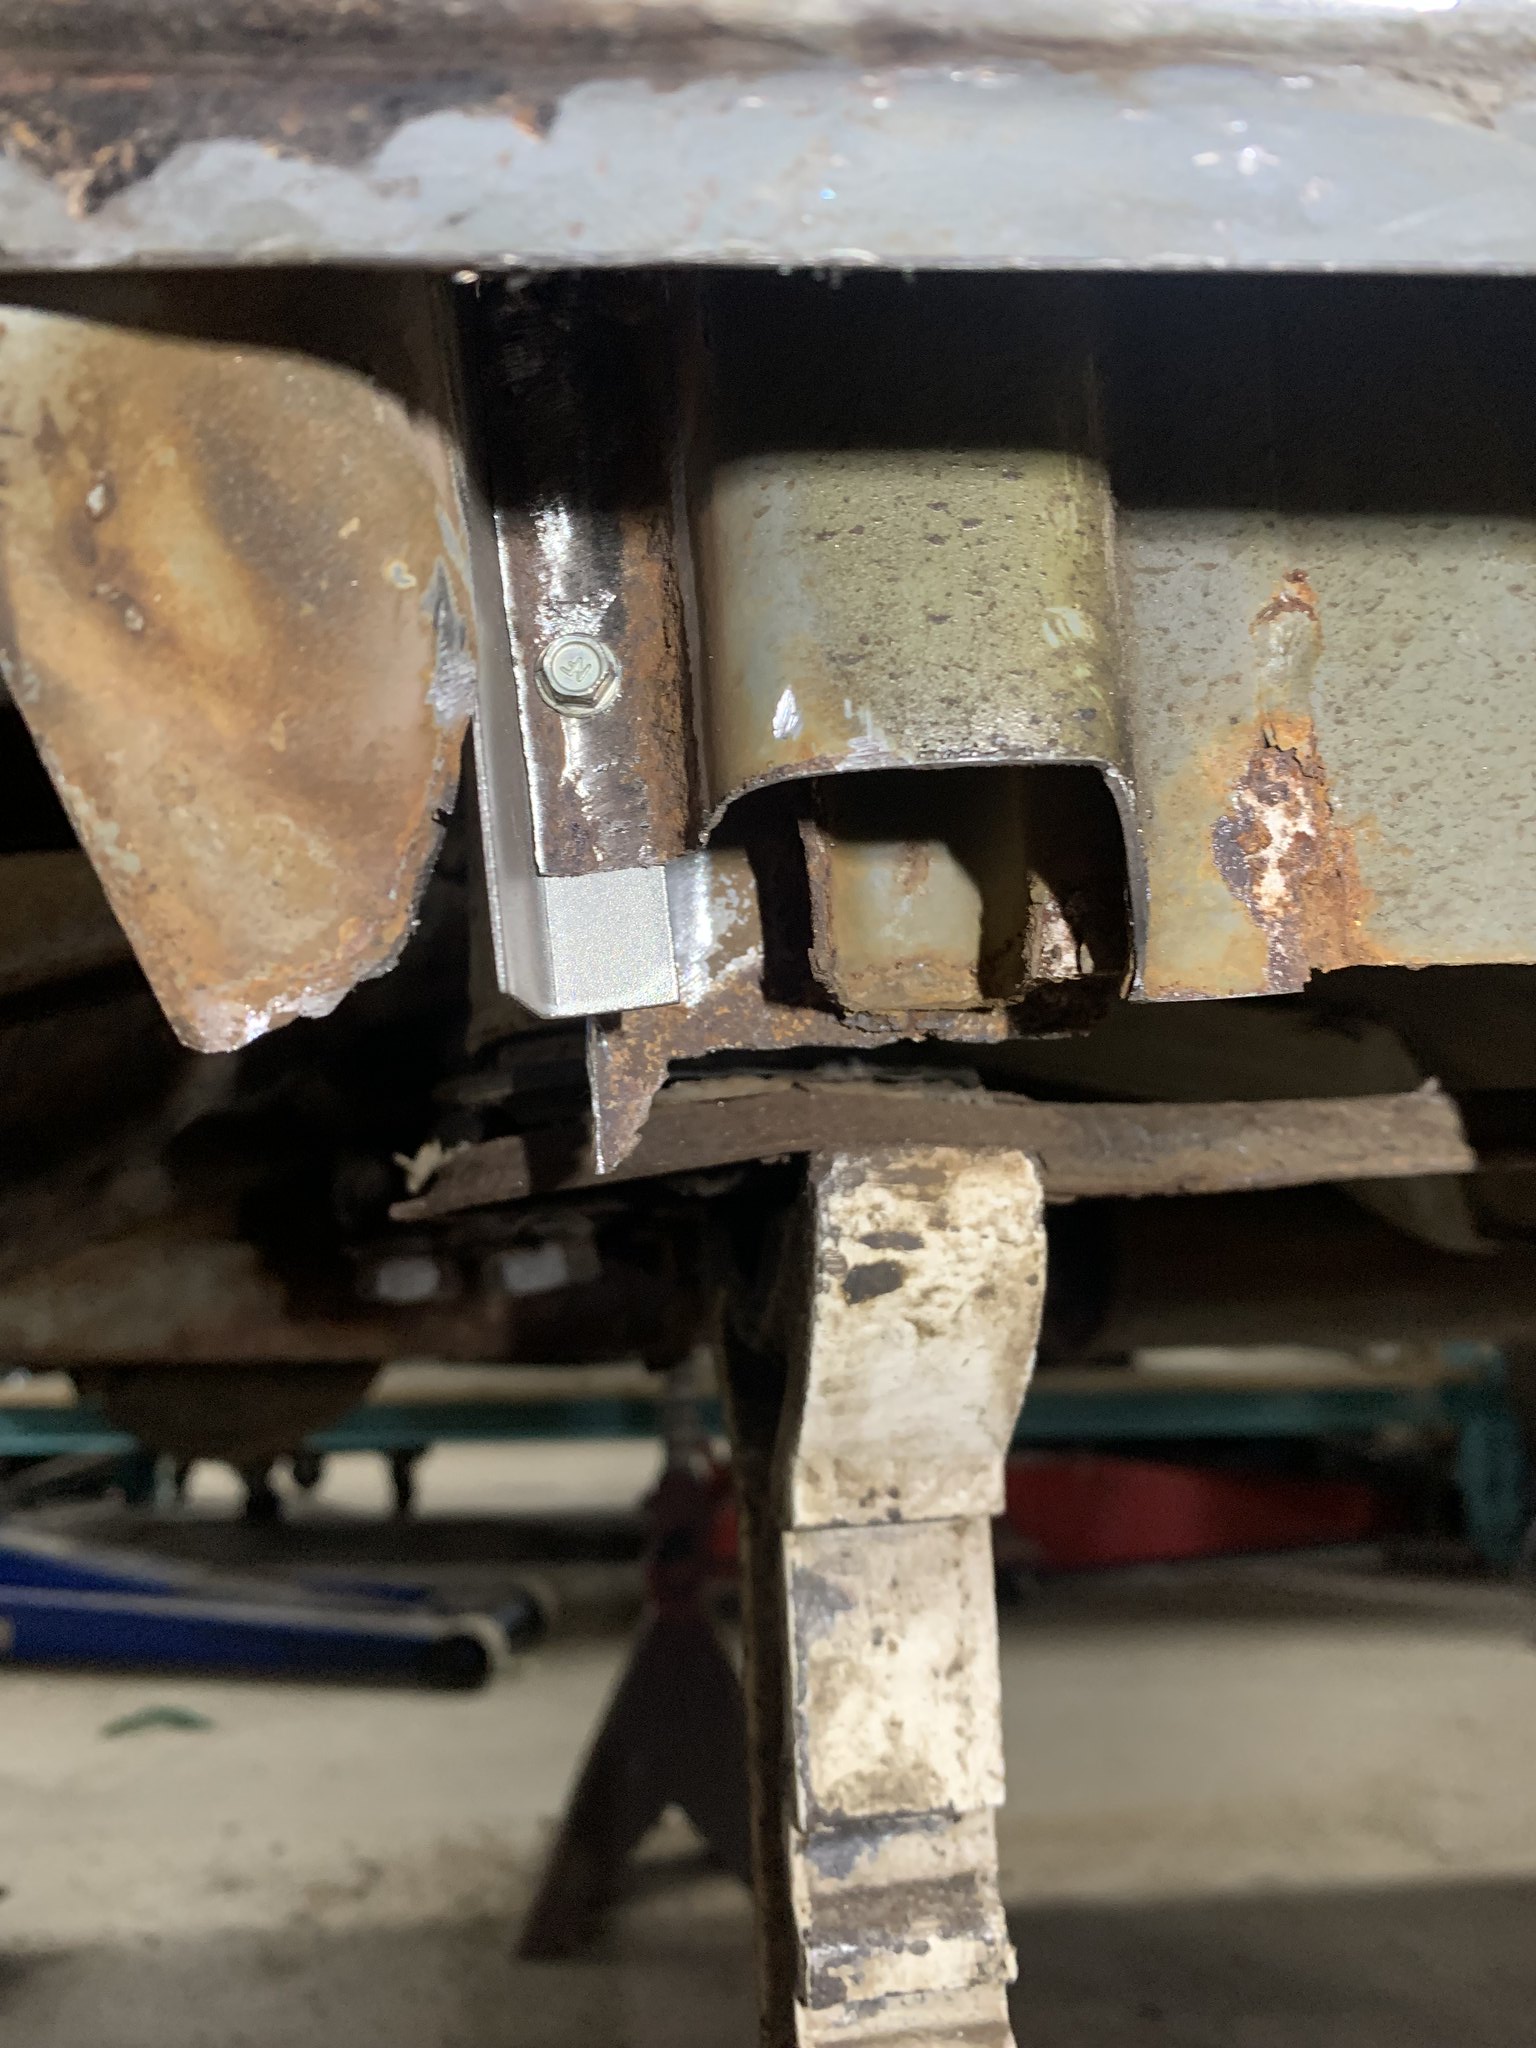
A silly little scrap of metal, but officially the first piece of metal being welded into the car, rather than just cutting out. The gaps should be better but in such a hidden area, i just whipped it up quickly. it's flanged to attached the the reinforcement inside the sill, and when i replace the piece of inner sill, it will wrap around and attach to this piece.

ImageIMG_6479 by Warren Tomlinson, on Flickr

ImageIMG_6480 by Warren Tomlinson, on Flickr

I've done better welding for sure, but I gotta show the process, not just the pretty bits

ImageIMG_6481 by Warren Tomlinson, on Flickr

Ground down

ImageIMG_6482 by Warren Tomlinson, on Flickr

Offered up the donor sill and clamped it in place. I flanged the top edge of the sill, which is currently sitting underneath the sill lip, and i would screw them together and plug weld. However, I'm thinking I might be better off cutting it even, and having a full length butt weld, with no flanged overlap. A tougher cut and weld, but probably a better result. Any advice or input is welcome.

ImageIMG_6483 by Warren Tomlinson, on Flickr

ImageIMG_6484 by Warren Tomlinson, on Flickr

This is already going to be a butt weld, its the main side section i'm unsure of.

ImageIMG_6485 by Warren Tomlinson, on Flickr

Could have gotten more done today, but alas, other things beckoned. But I'm happy to have gotten somewhere,
Mdreamer
Posts: 532
Joined: Feb 12, 2006 12:00 PM
Location: Atlanta, Georgia

Re: Resurrection of my green BMW

Post by Mdreamer »

Dude... Your skills are the truth! Thanks again for sharing.
CanadianMiniFan
Posts: 140
Joined: Oct 16, 2011 6:31 PM

Re: Resurrection of my green BMW

Post by CanadianMiniFan »

Thanks for the kind words! I'm certainly not the best at metal work, not even on this forum, but I'm learning and chipping away at things.

Slow progress yesterday, I decided I couldn't look at the sandwich rust on the outer jacking points any longer, so i drilled them off, ground off the rust, one side was just pitted, the other had some perforation so I'm glad I took the time to do this. No point installing rust.
ImageIMG_6557 by Warren Tomlinson, on Flickr

ImageIMG_6559 by Warren Tomlinson, on Flickr

I did sandblast the areas, as well as the flange on the bottom I have to weld. I have to admit, the amount of work, mostly in cleaning off the undercoating etc, to use these donor sills, I likely would have been better off just buying new, but I had the donor car, I cut them off, so here we are.

cut a little hole

ImageIMG_6561 by Warren Tomlinson, on Flickr

made a little patch

ImageIMG_6563 by Warren Tomlinson, on Flickr

Tacked and welded

ImageIMG_6564 by Warren Tomlinson, on Flickr

Got kinda ugly where I hadn't cleaned well enough

ImageIMG_6565 by Warren Tomlinson, on Flickr

Grinder fixes all

ImageIMG_6566 by Warren Tomlinson, on Flickr

Reattaching the outer jacking point

ImageIMG_6567 by Warren Tomlinson, on Flickr

ImageIMG_6569 by Warren Tomlinson, on Flickr

ImageIMG_6570 by Warren Tomlinson, on Flickr

I started out just POR-15 painting the areas I had blasted, but then thought fuck it, do the whole bottom, thats where the rust will get ya

ImageIMG_6572 by Warren Tomlinson, on Flickr

ImageIMG_6573 by Warren Tomlinson, on Flickr

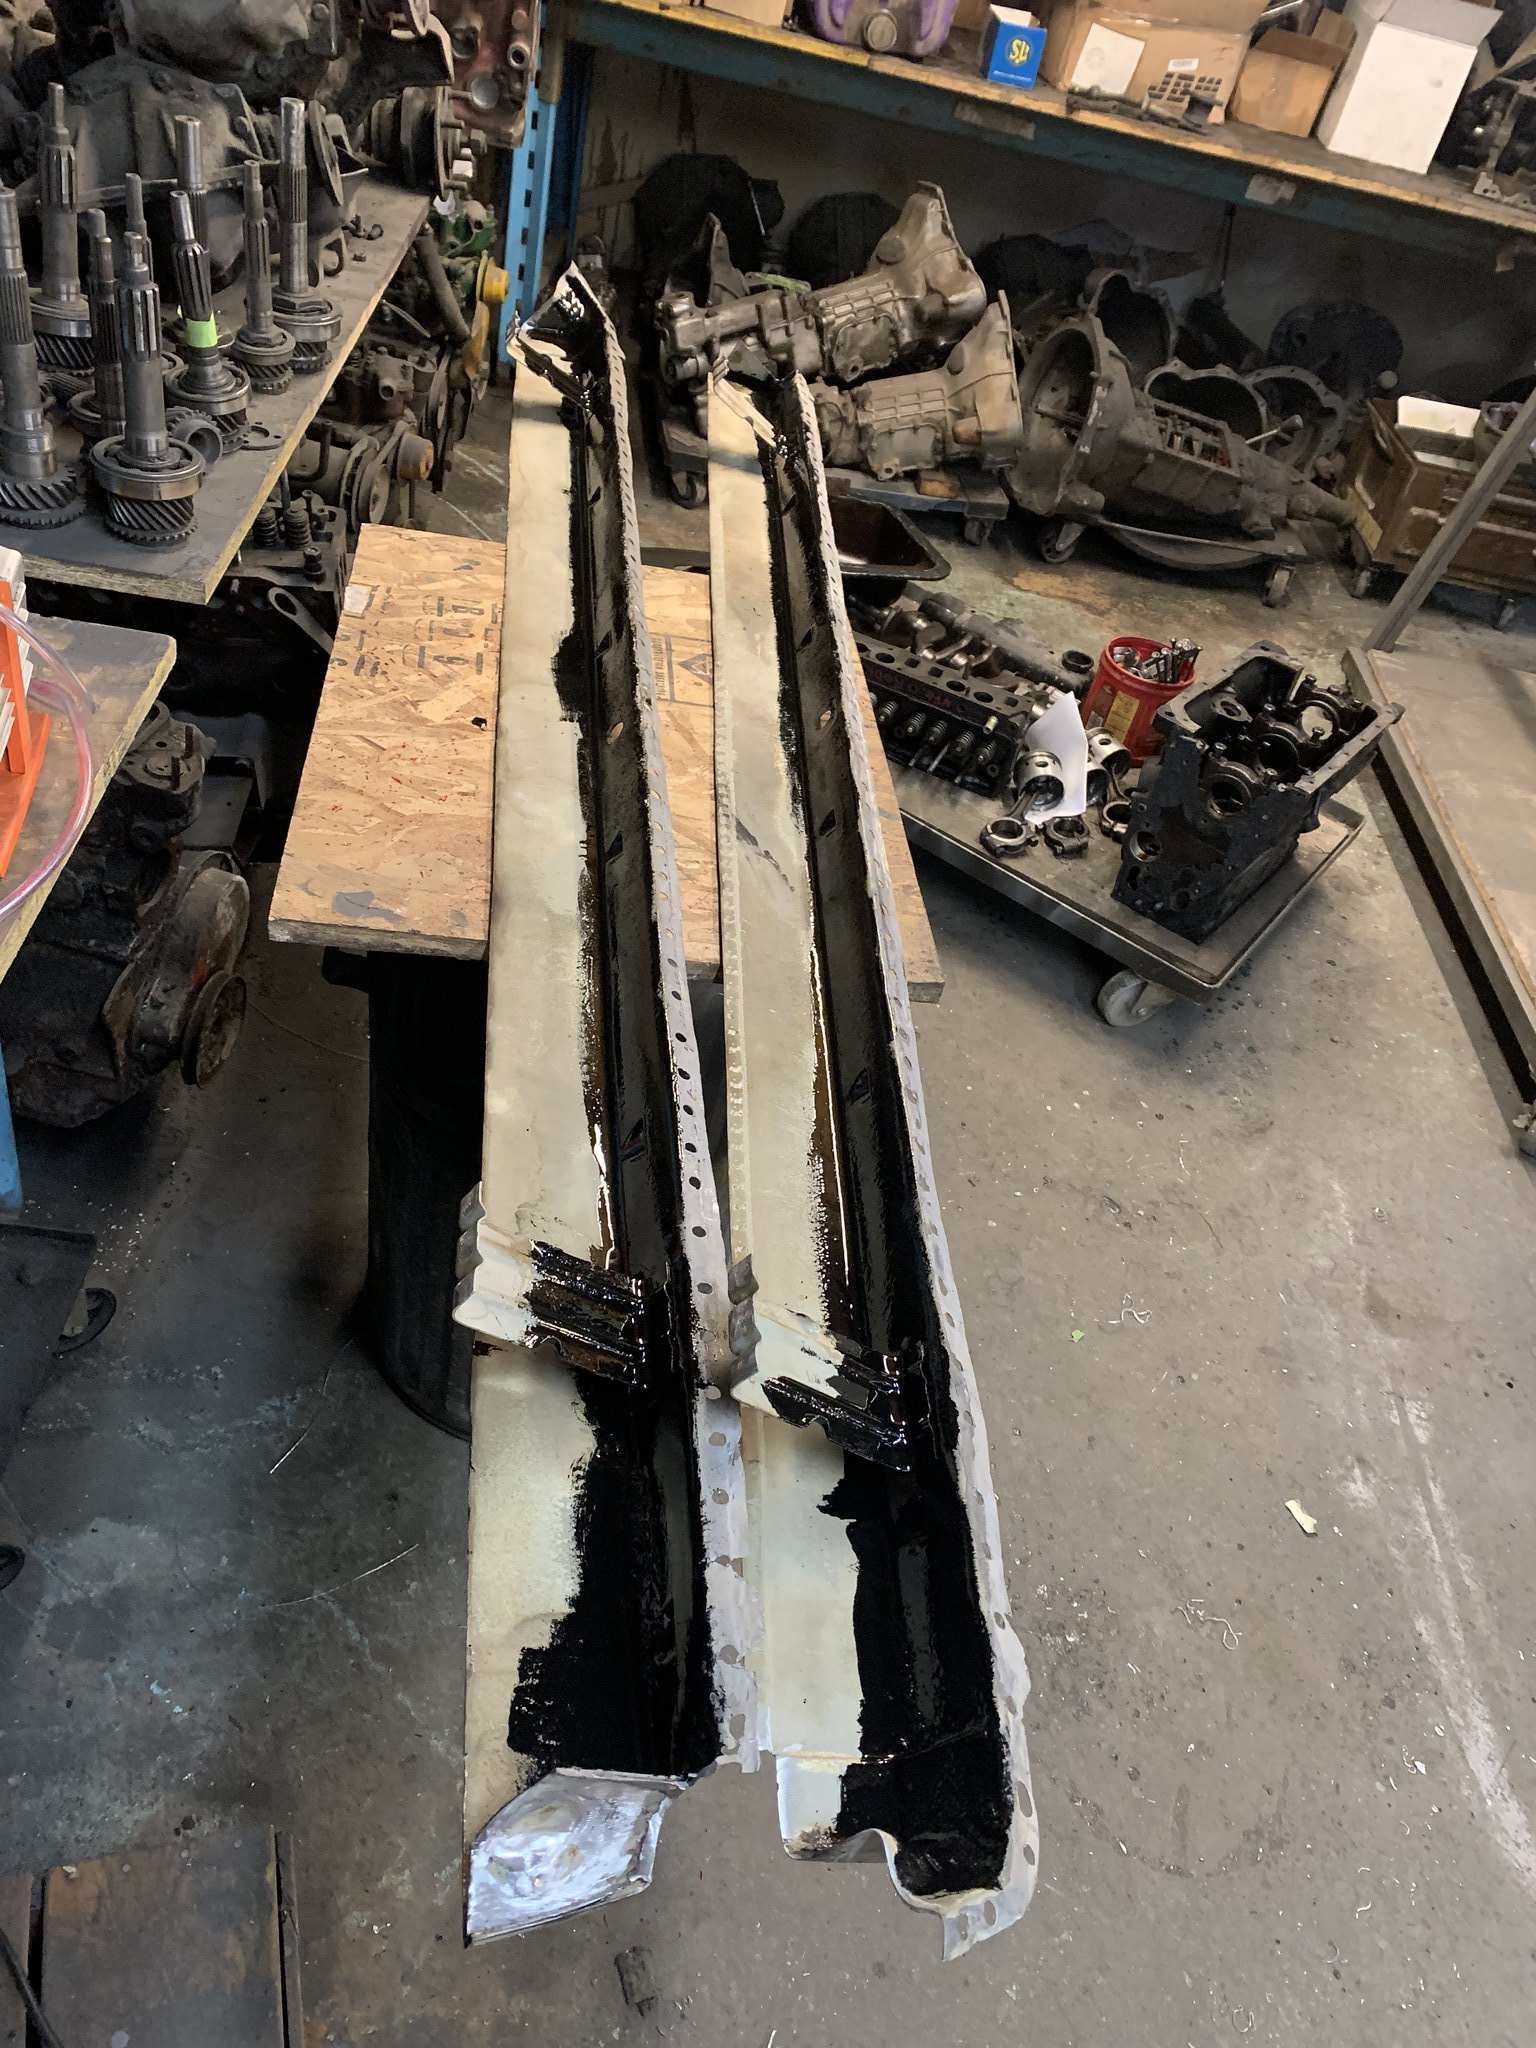
Also filled the holes in the donor sills, my 87 does not have the same thing, dont know if it is a year difference or maybe a rust proofing hole

ImageIMG_6553 by Warren Tomlinson, on Flickr

ImageIMG_6554 by Warren Tomlinson, on Flickr

ImageIMG_6555 by Warren Tomlinson, on Flickr

So now that the inside of the sills are treated, I can proceed with (finally) welding the right sill into the car, and then fix the issues on the donor floor pieces, and weld that in on the right side. Slow progress, but one bit at a time.
CanadianMiniFan
Posts: 140
Joined: Oct 16, 2011 6:31 PM

Re: Resurrection of my green BMW

Post by CanadianMiniFan »

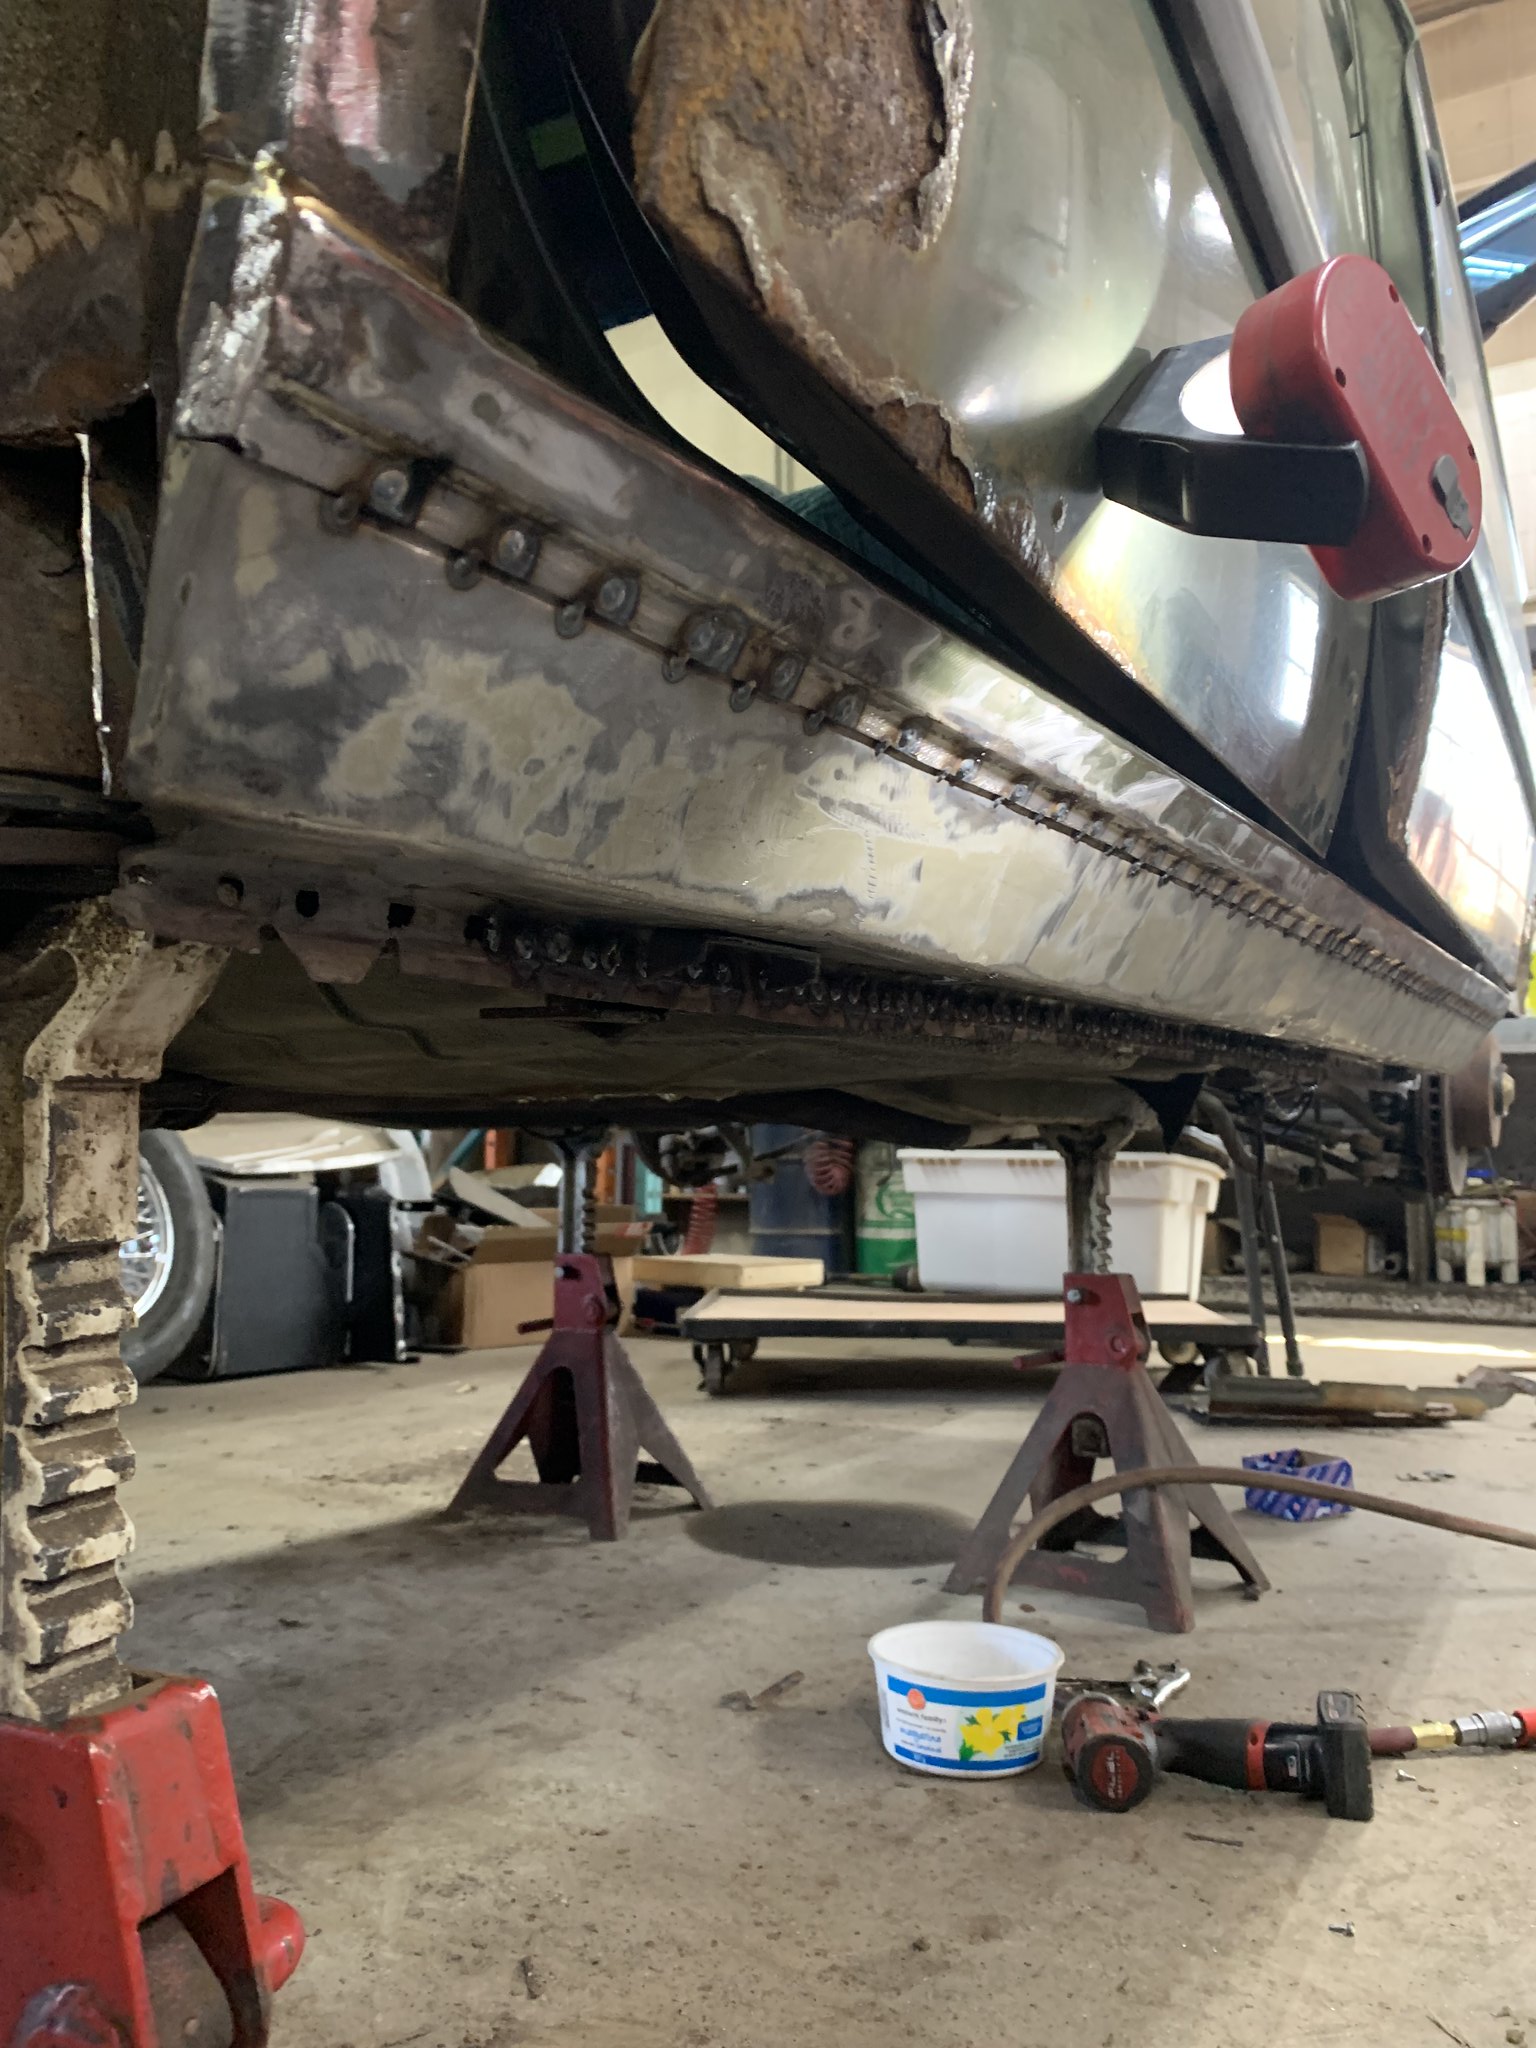
Got some progress yesterday, got the passenger side sill fitted up and welded. I decided to keep doing the flanged joint at the top, a butt joint is undoubtedly better, but the flanged joint allowed me to screw the pieces together, and with the bottom clamped, it would have been difficult to pull the pieces into alignment and tack together, with no access to the backside of the panel.
Front fitment was good
ImageIMG_6634 by Warren Tomlinson, on Flickr
Rear fitment was not as good
ImageIMG_6632 by Warren Tomlinson, on Flickr
Screwed into place
ImageIMG_6633 by Warren Tomlinson, on Flickr
ImageIMG_6635 by Warren Tomlinson, on Flickr
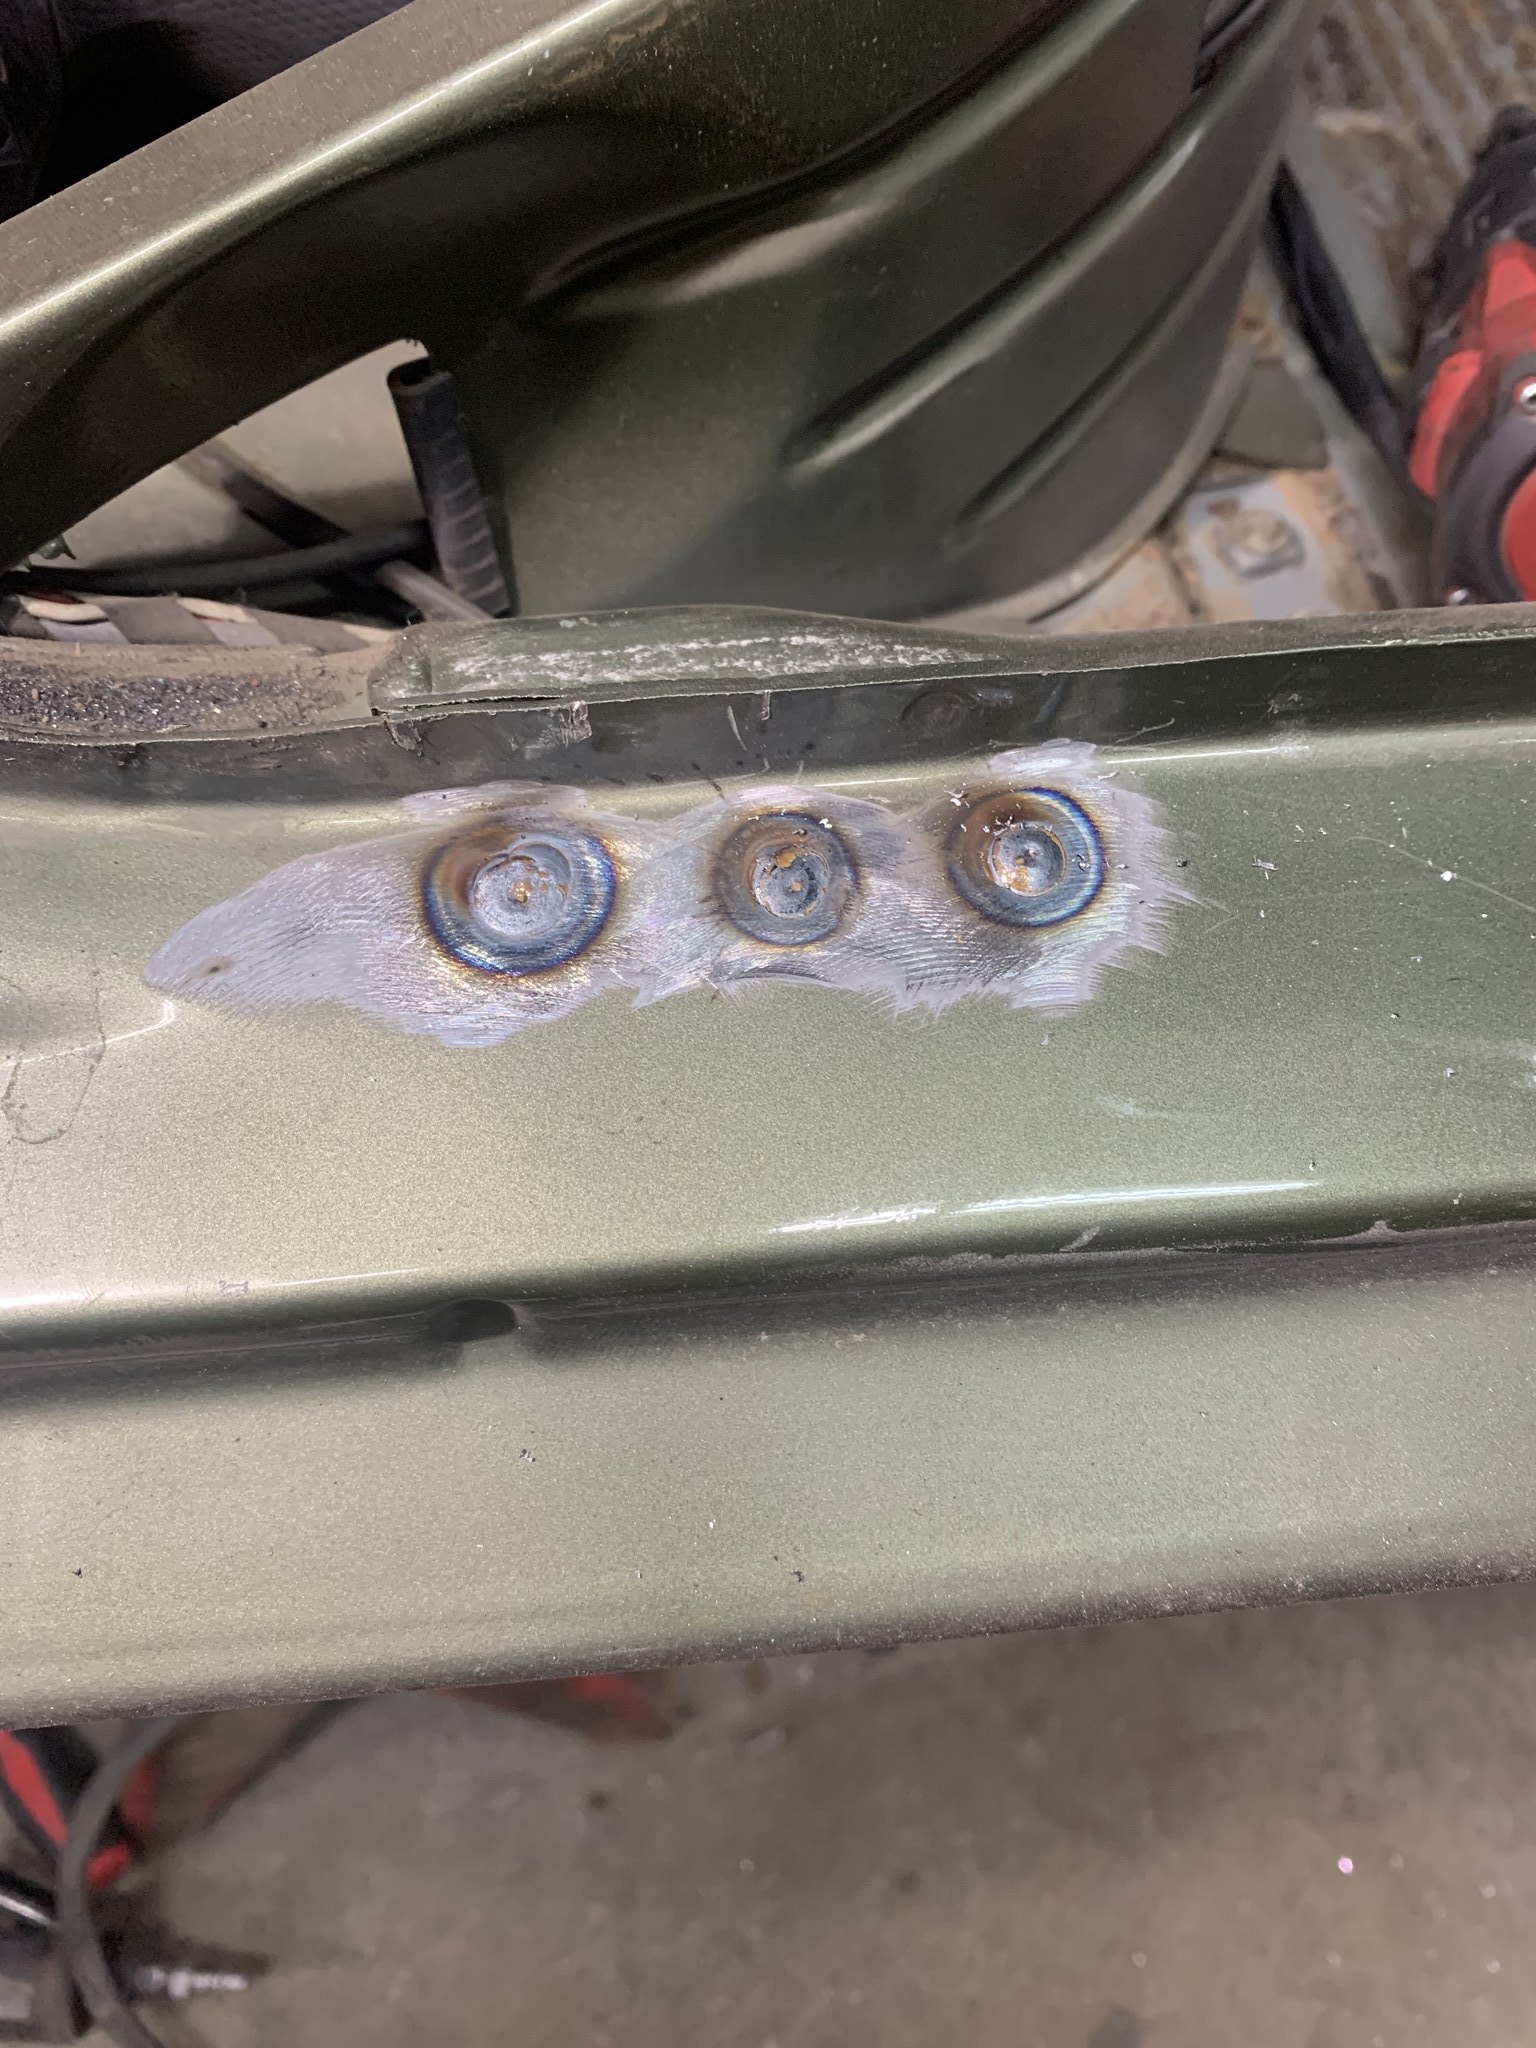
Screws removed and plug welded
ImageIMG_6636 by Warren Tomlinson, on Flickr

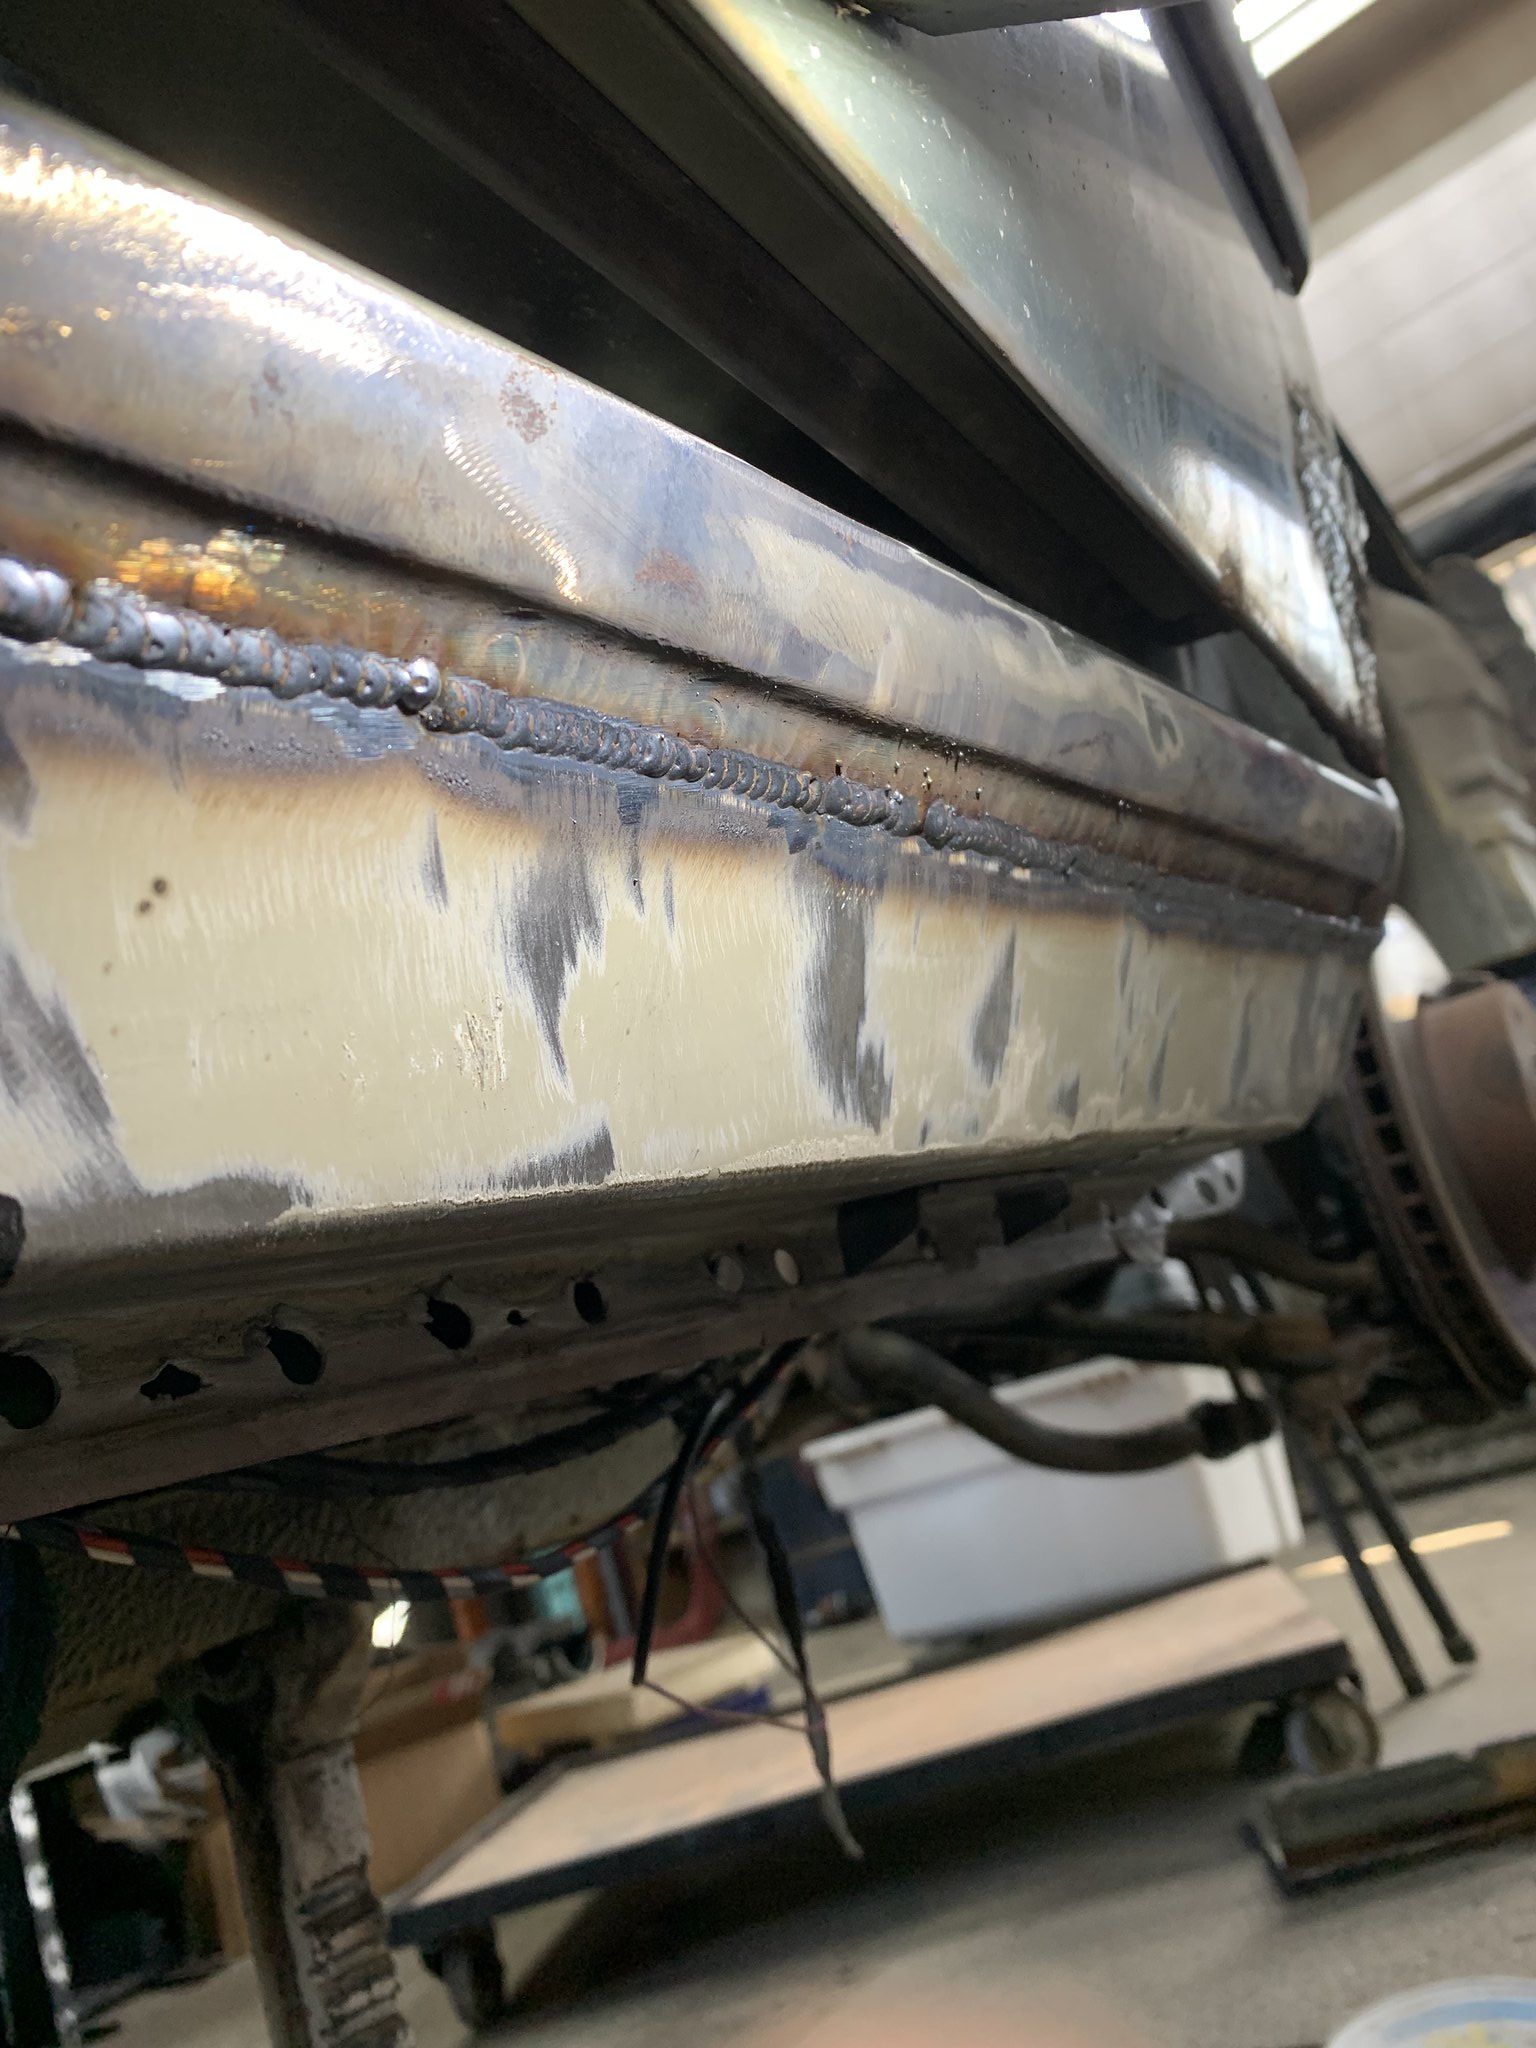
I've tried to be honest in this thread and show the good bad and ugly, and i know my metal work isn't perfect. More of a grinder than a welder. However I didnt get the grinding done yesterday, so you get to see the good, the bad and the ugly of the welds.

Felt the top seam was decent. this filled the bit of valley or gap between the top piece and the flanged lower section. They are overlapped, but with the flanging tool, the pieces end up roughly level.

ImageIMG_6638 by Warren Tomlinson, on Flickr

The front was less good, put will grind out fine. Blew through in a few spots, so chased a few holes
ImageIMG_6637 by Warren Tomlinson, on Flickr
The rear was arguably the ugly. bit of undercoat contamination, poor access with the subframe and trailing arm still installed. those are my excuses.
I promise it will grind smooth
ImageIMG_6639 by Warren Tomlinson, on Flickr

Thats all for now folks!
adam_poll
Posts: 217
Joined: Jul 23, 2014 8:19 PM
Location: Kitchener, Ontario, Canada

Re: Resurrection of my green BMW

Post by adam_poll »

That will all clean up really nicely and you can hide some sins under the stone guard that goes onto the rockers, it should look really good once it is all done.

I went through a decent amount of rust repair on my 525i here in Ontario but not even close to what you are tackling, keep at it!
CanadianMiniFan
Posts: 140
Joined: Oct 16, 2011 6:31 PM

Re: Resurrection of my green BMW

Post by CanadianMiniFan »

Thanks for the positive comments Adam, yes the stone guard will mask some uneven metal for sure, all the rust repair I'm doing to the best of my abilities, which is not a concours standard. I hope the car will be presentable once painted, and the repairs solid enough to not rust away again. It wont be seeing winter anymore, and i will be using cavity wax where possible.

As for progress, I missed a weekend a couple weeks ago due to other responsibilities, and a lack of motivation. This past weekend I got a few hours in,

Ground down the seam weld on the sill, which took far longer than I'd hoped

ImageIMG_6739 by Warren Tomlinson, on Flickr

The rear bead I ended up with this little lip, but it's welded solid i promise

ImageIMG_6741 by Warren Tomlinson, on Flickr

Front went fine

ImageIMG_6742 by Warren Tomlinson, on Flickr

Welded the jacking points which I had forgotten

ImageIMG_6738 by Warren Tomlinson, on Flickr

ImageIMG_6740 by Warren Tomlinson, on Flickr

Moved on to my donor floors. They are far from perfect, but something left to work with in comparison to what got cut out!

ImageIMG_6743 by Warren Tomlinson, on Flickr

It is sandwich rust in here that also concerned me, so i decided to separate the reinforcement from the main floor pan

ImageIMG_6744 by Warren Tomlinson, on Flickr

Held on with less than it might appear. Two spotwelds and seam sealer, and then spot welds along the larger section of it

ImageIMG_6745 by Warren Tomlinson, on Flickr

ImageIMG_6746 by Warren Tomlinson, on Flickr

Cut out the perforated section where those spot welds were

ImageIMG_6747 by Warren Tomlinson, on Flickr

Cut a patch

ImageIMG_6748 by Warren Tomlinson, on Flickr

Welded

ImageIMG_6749 by Warren Tomlinson, on Flickr

And ground down

ImageIMG_6750 by Warren Tomlinson, on Flickr

Also scored this RF fender, which just has some rot at the bottom. I think i'm going to order lower fender corners and rear quarter repair sections from Valca's garage, along with the accelerator pedal bracket. I realize the cut, weld, grind process is a bit tedious (it sure feels that way doing it), but I've enjoyed documenting it here, so if you're still reading, way to stick it out! Hopefully there will be pictures of cool shit here too!
CanadianMiniFan
Posts: 140
Joined: Oct 16, 2011 6:31 PM

Re: Resurrection of my green BMW

Post by CanadianMiniFan »

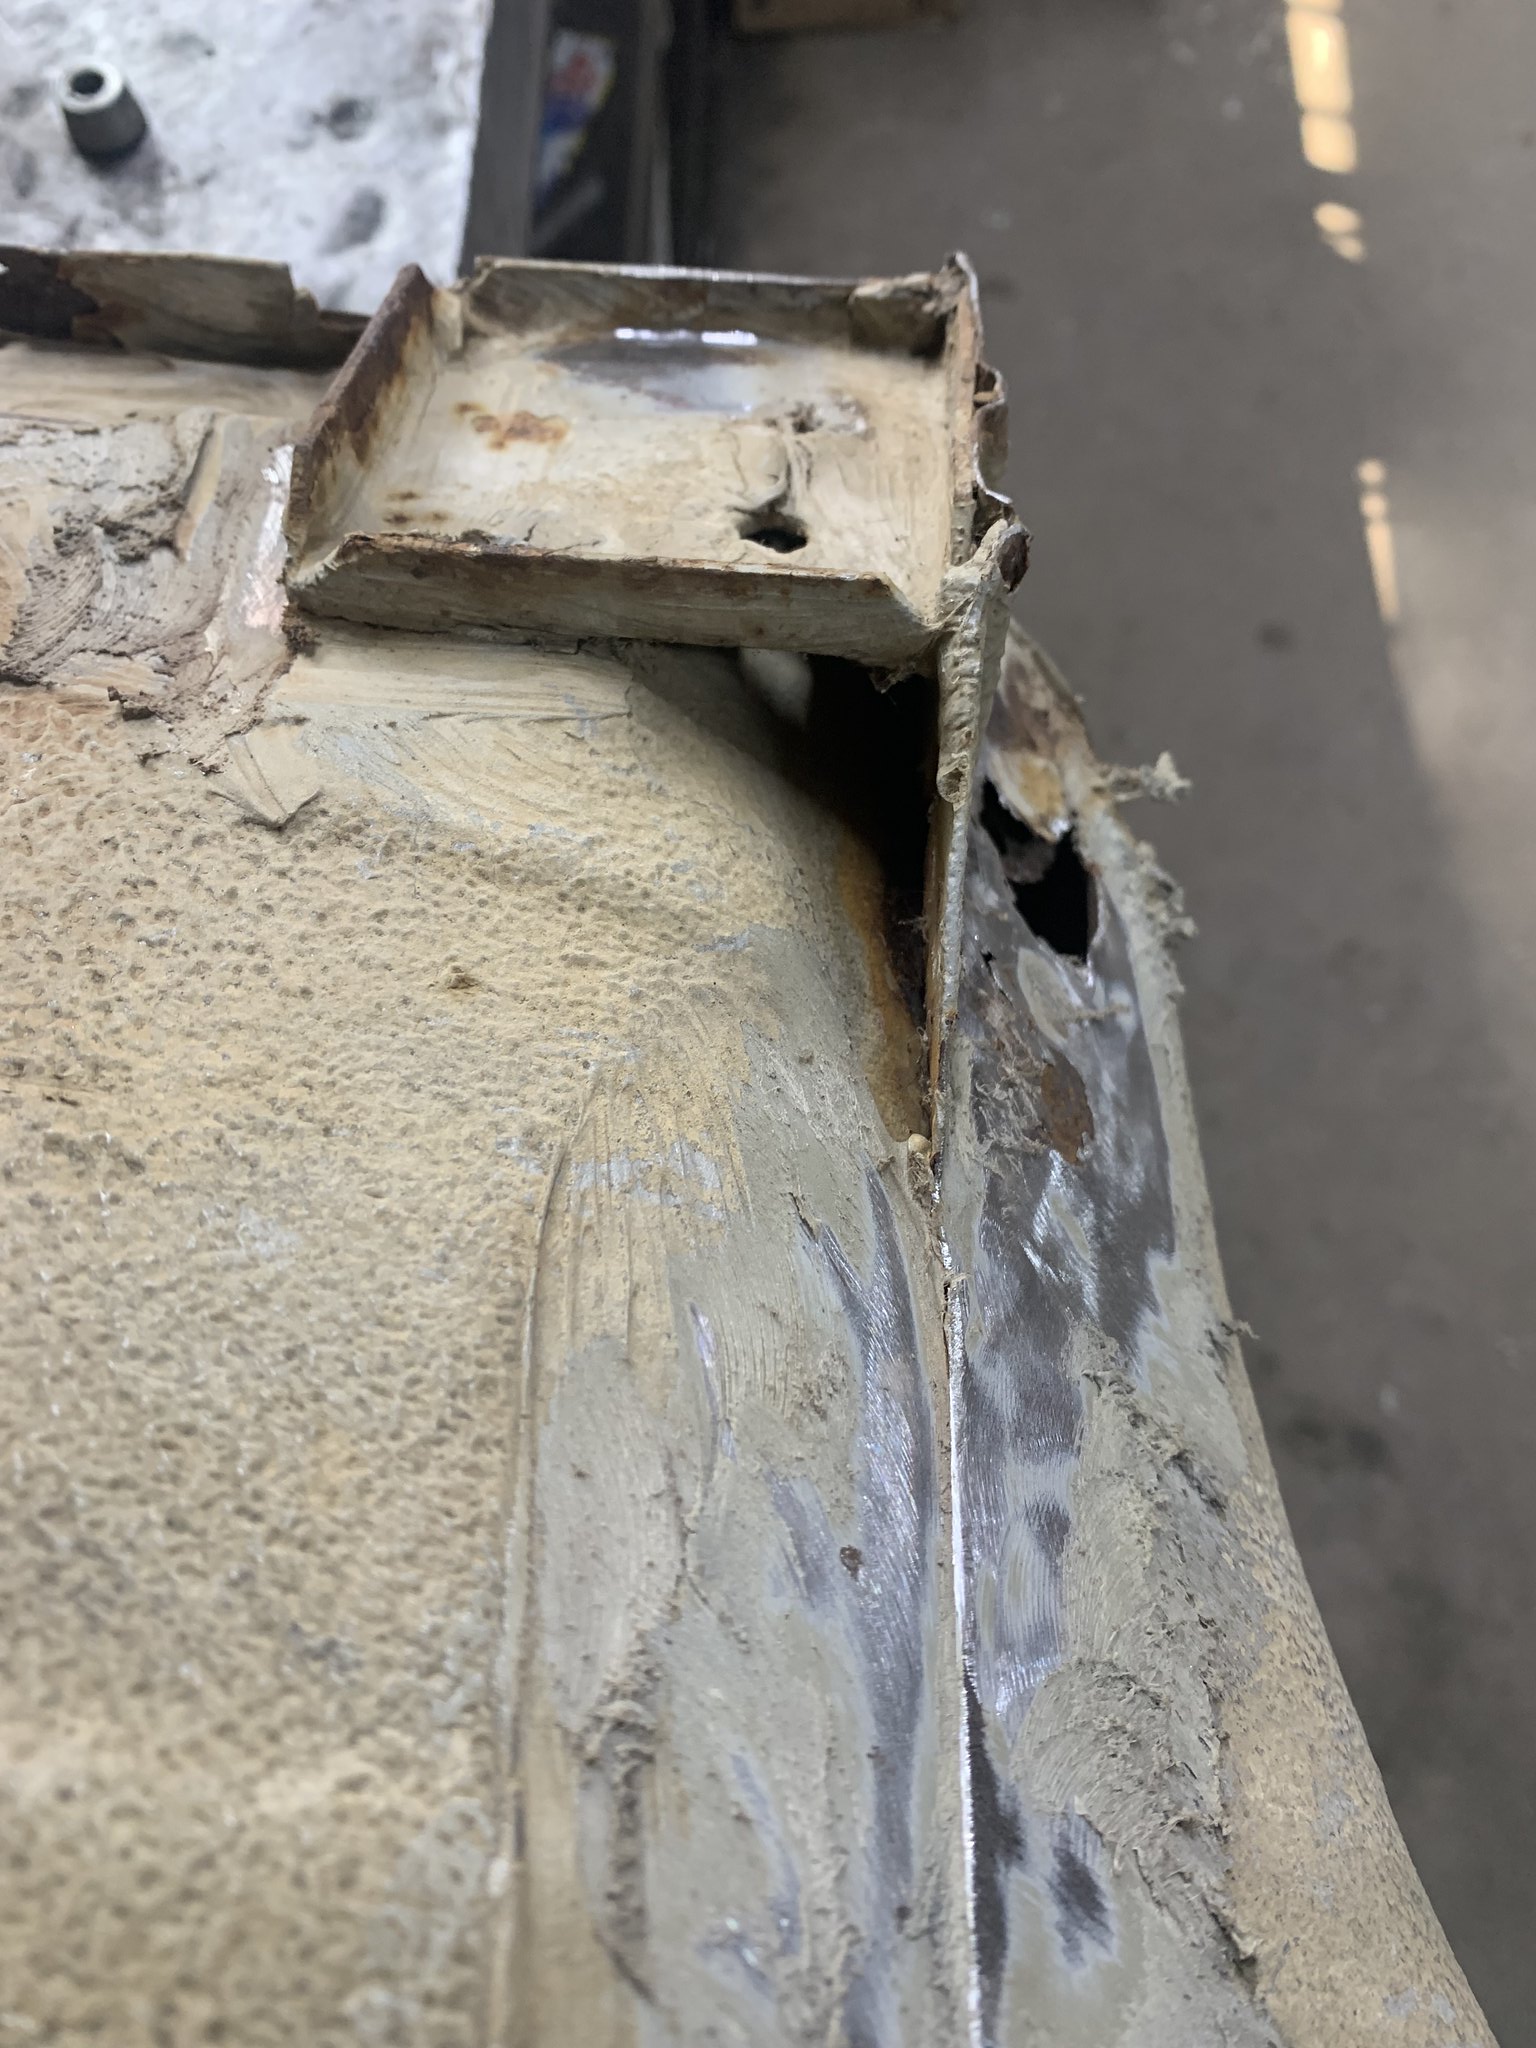
Little more work on the car yesterday, focusing on the passenger floorpan. This inner sill flange was rather tattered

ImageIMG_6770 by Warren Tomlinson, on Flickr

Had to patch this area of rot at the toeboard

ImageIMG_6771 by Warren Tomlinson, on Flickr

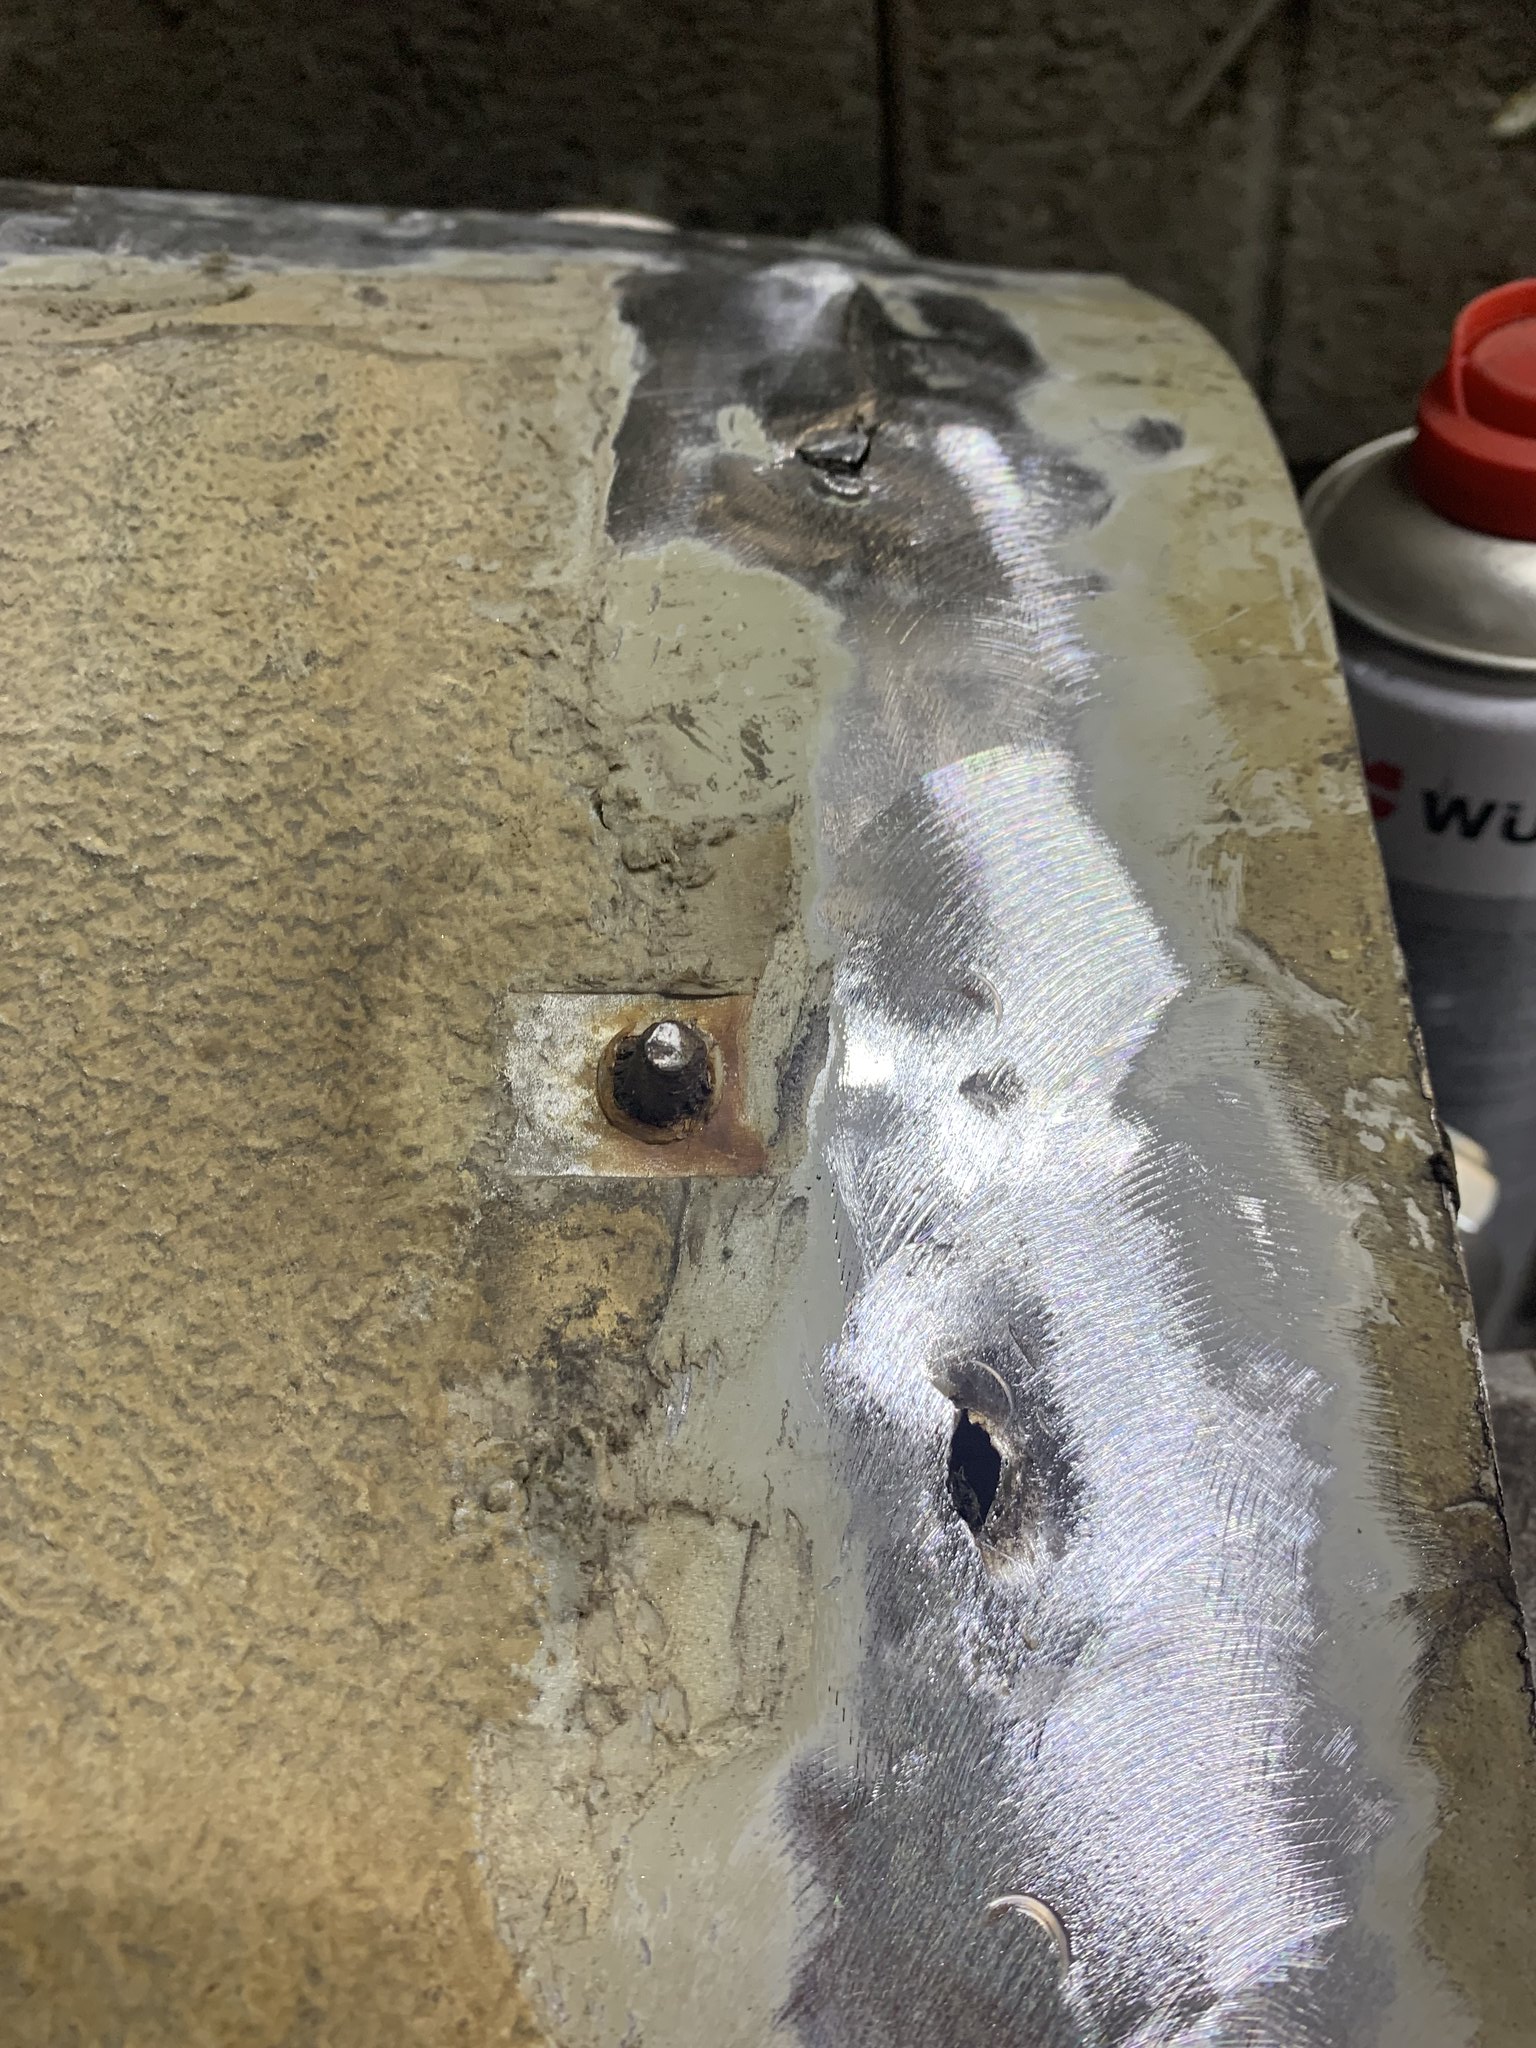
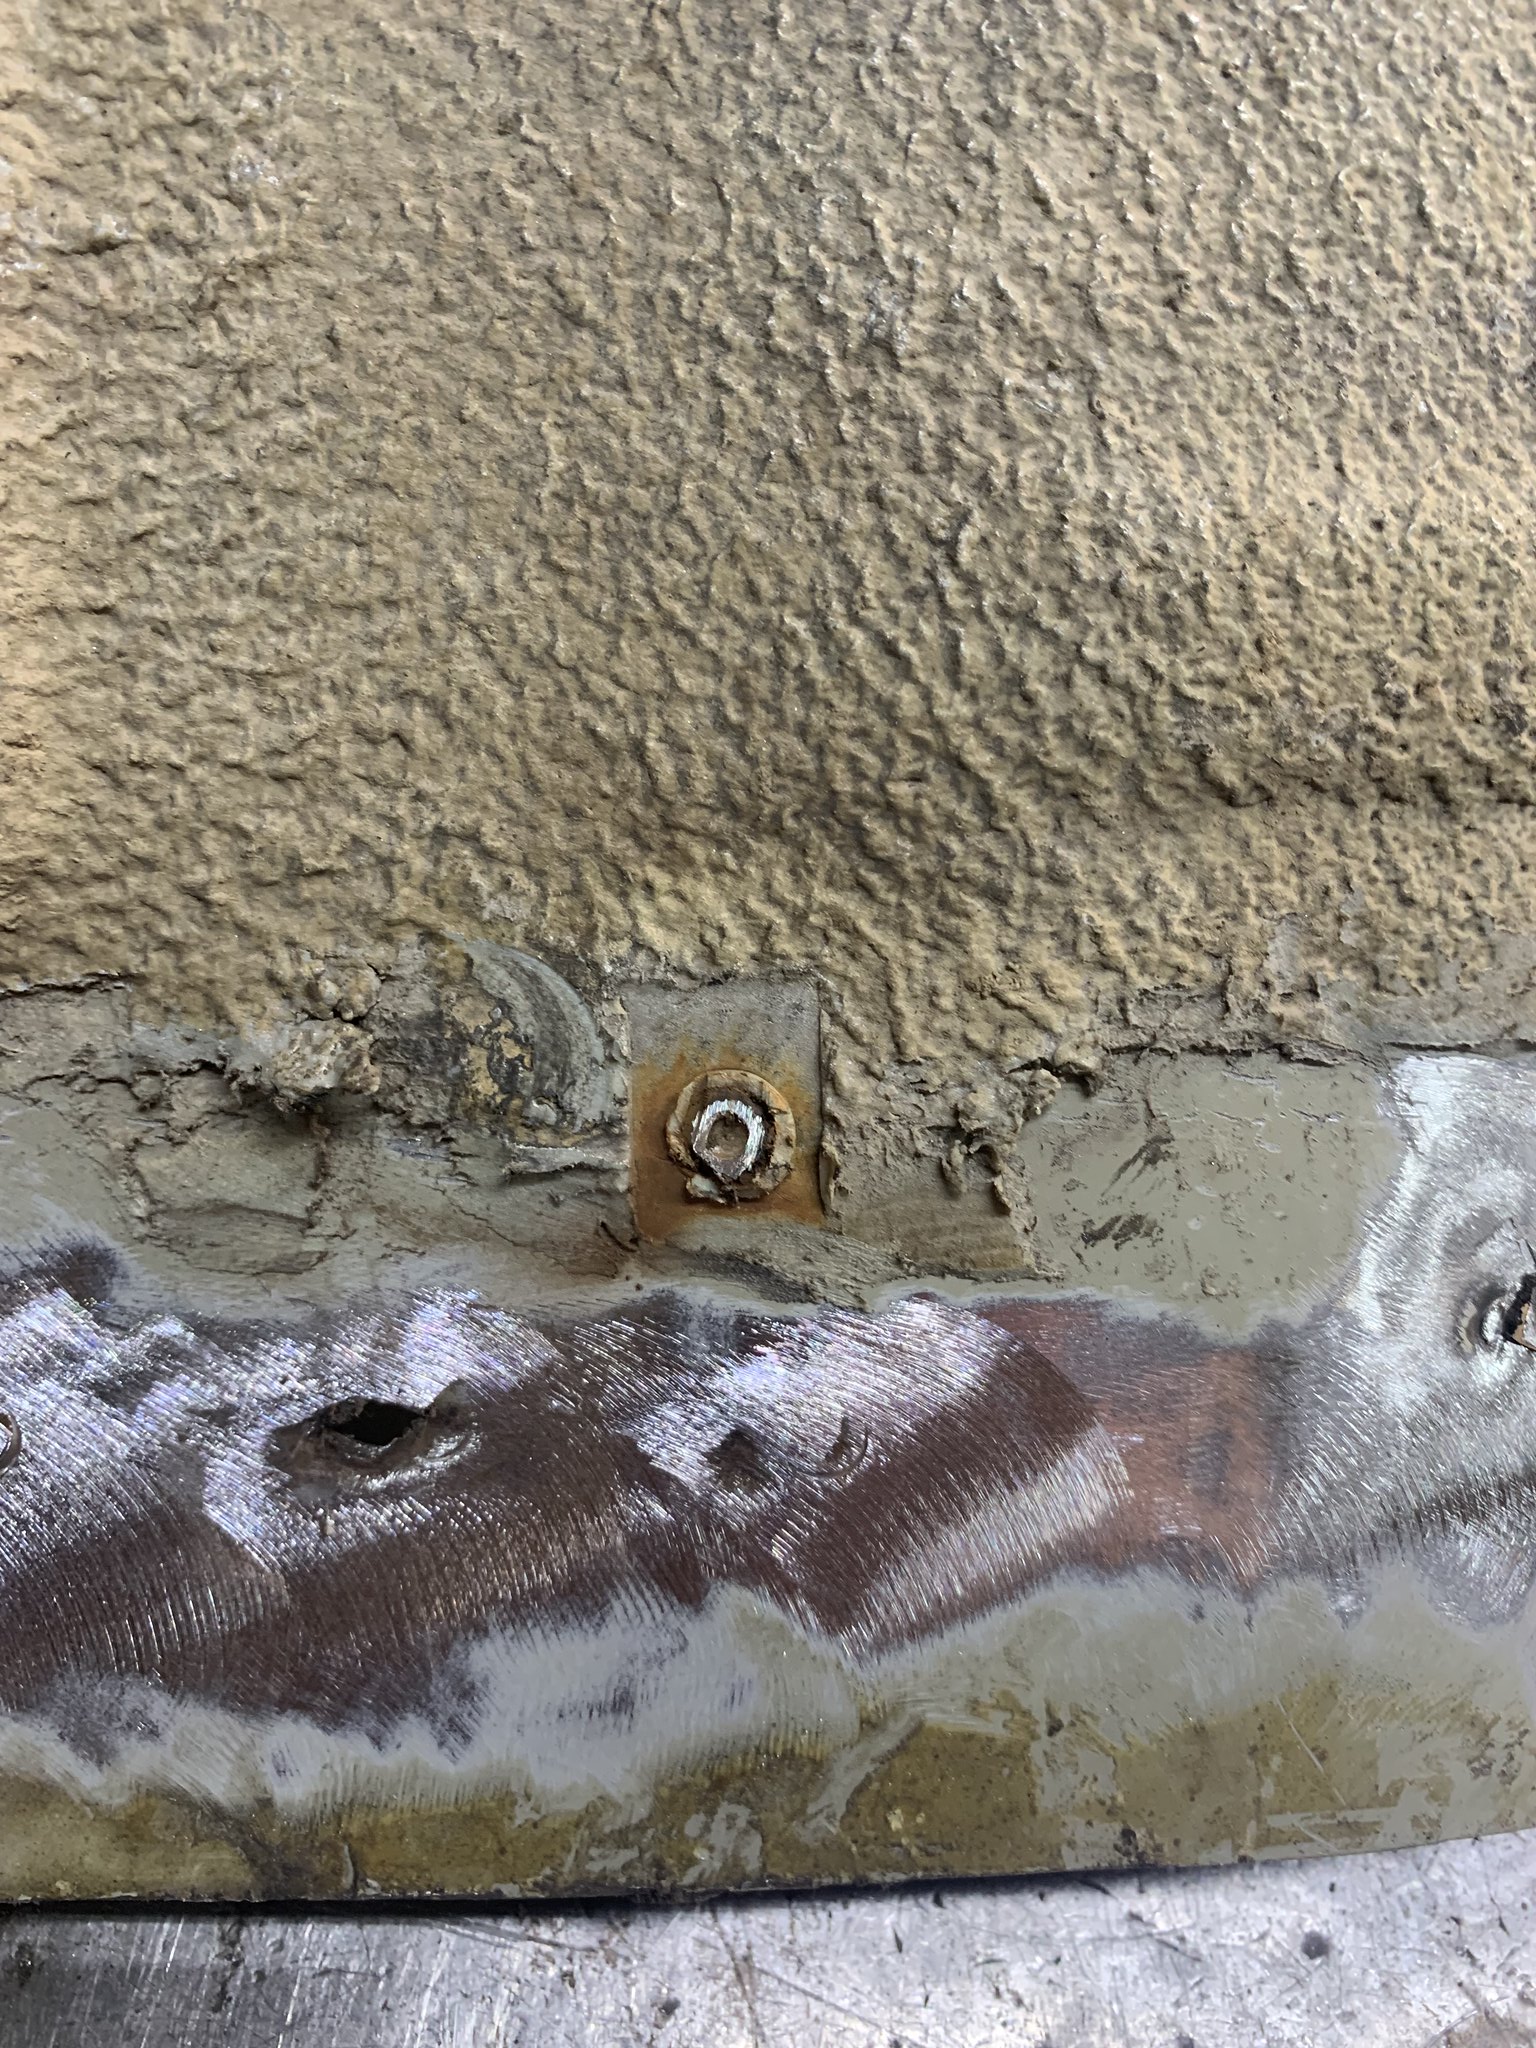
Some of these threaded barrels that hold the brake/fuel/emission pipes to the floor had screws broken off in them

ImageIMG_6772 by Warren Tomlinson, on Flickr

Cut off the broken portion

ImageIMG_6773 by Warren Tomlinson, on Flickr

Installed a 4mm rivnut

ImageIMG_6774 by Warren Tomlinson, on Flickr

For those who don' know how a rivnut works, it starts as a plain threaded barrel, and a mandrel is screwed in, and squeezed, to create this folded edge gripping the panel like a rivet would

ImageIMG_6775 by Warren Tomlinson, on Flickr

Snugly holds the pipe guide

ImageIMG_6776 by Warren Tomlinson, on Flickr

Unfortunately the mandrel broke on the second rivnut, so I've got to get a new one before doing any others

ImageIMG_6779 by Warren Tomlinson, on Flickr

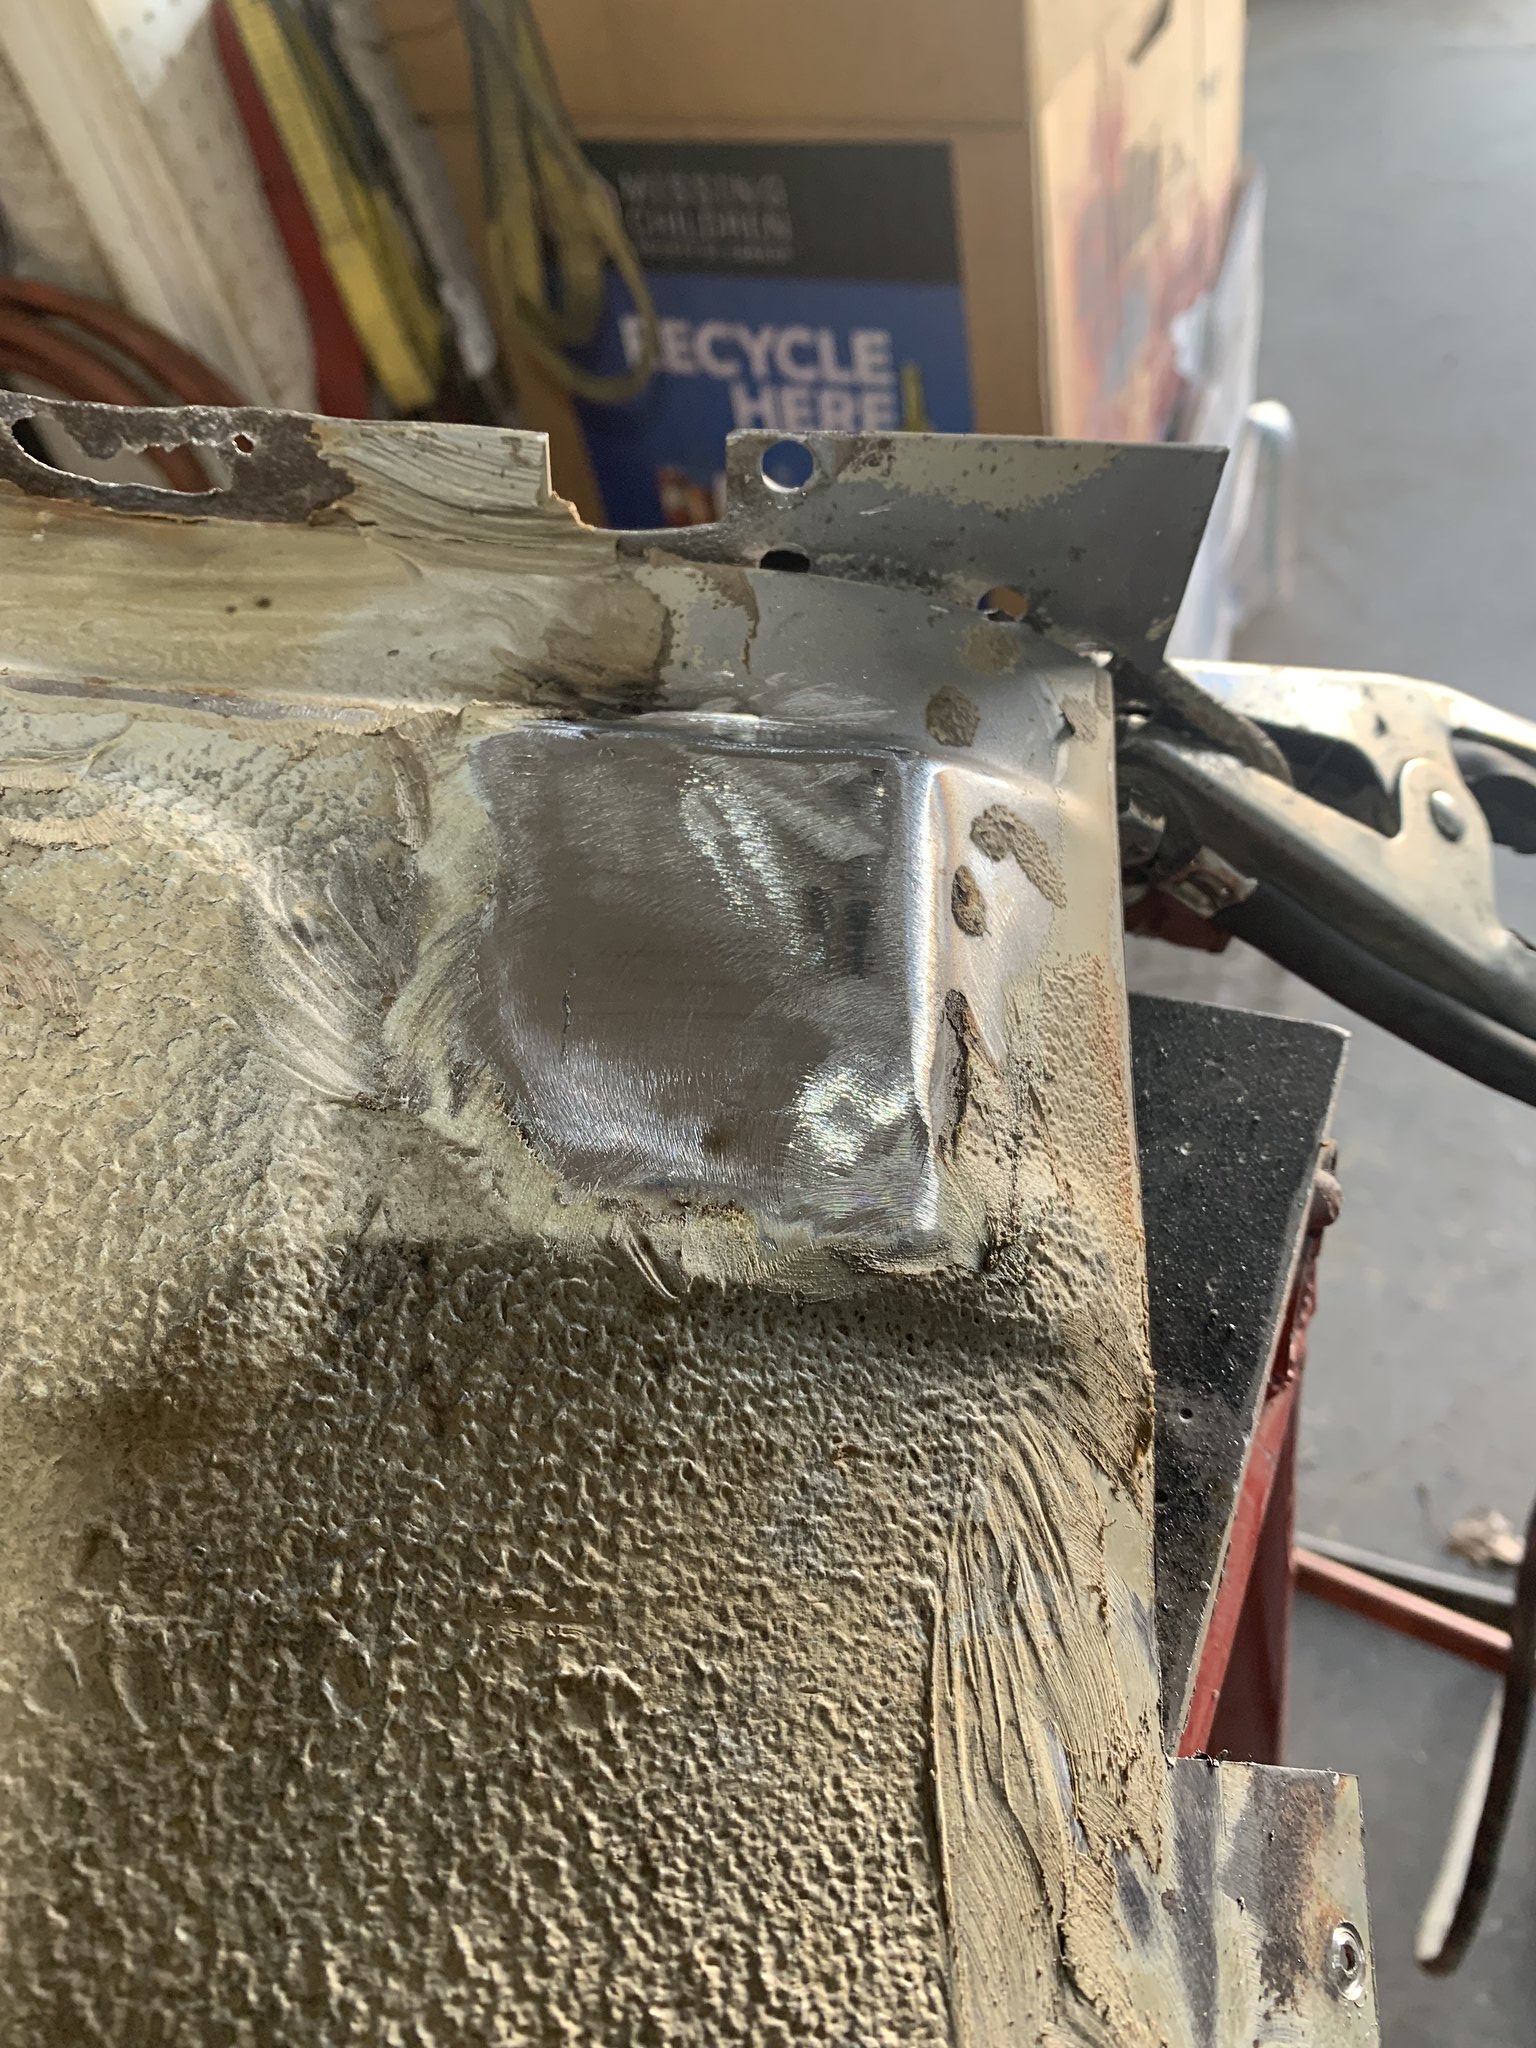
Moved on to the toe board patch

ImageIMG_6781 by Warren Tomlinson, on Flickr

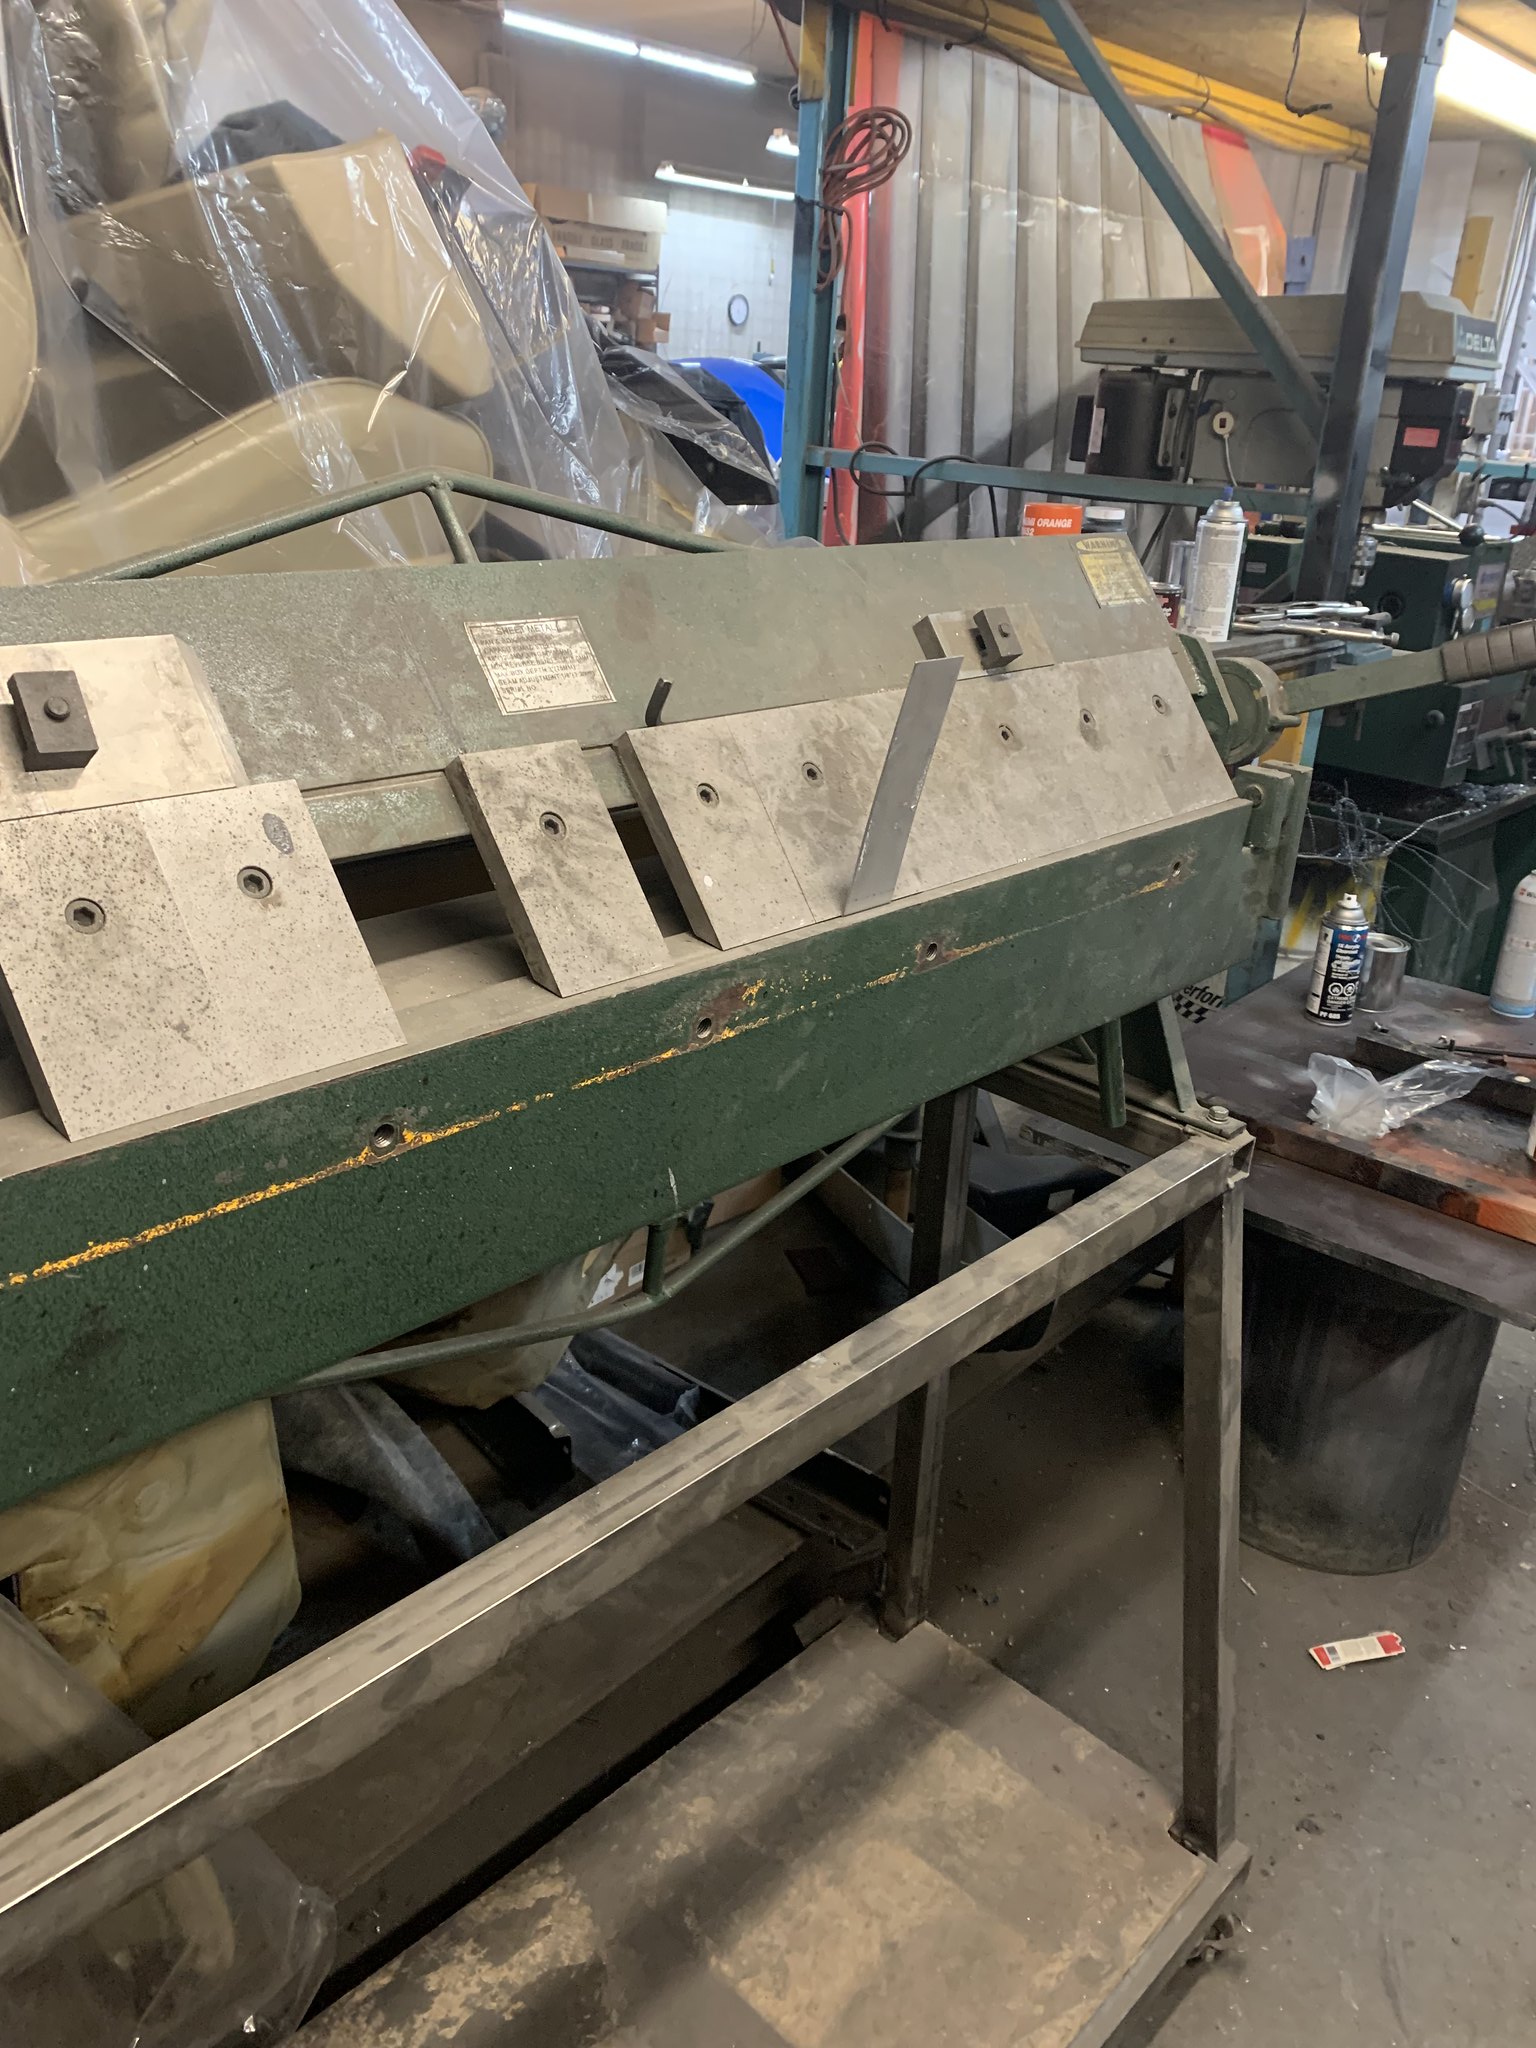
Headed to the trusty sheet metal brake

ImageIMG_6782 by Warren Tomlinson, on Flickr

A rather small and simple piece but nice to have a brake to make quick work of it

ImageIMG_6783 by Warren Tomlinson, on Flickr

sizing up length/width

ImageIMG_6784 by Warren Tomlinson, on Flickr

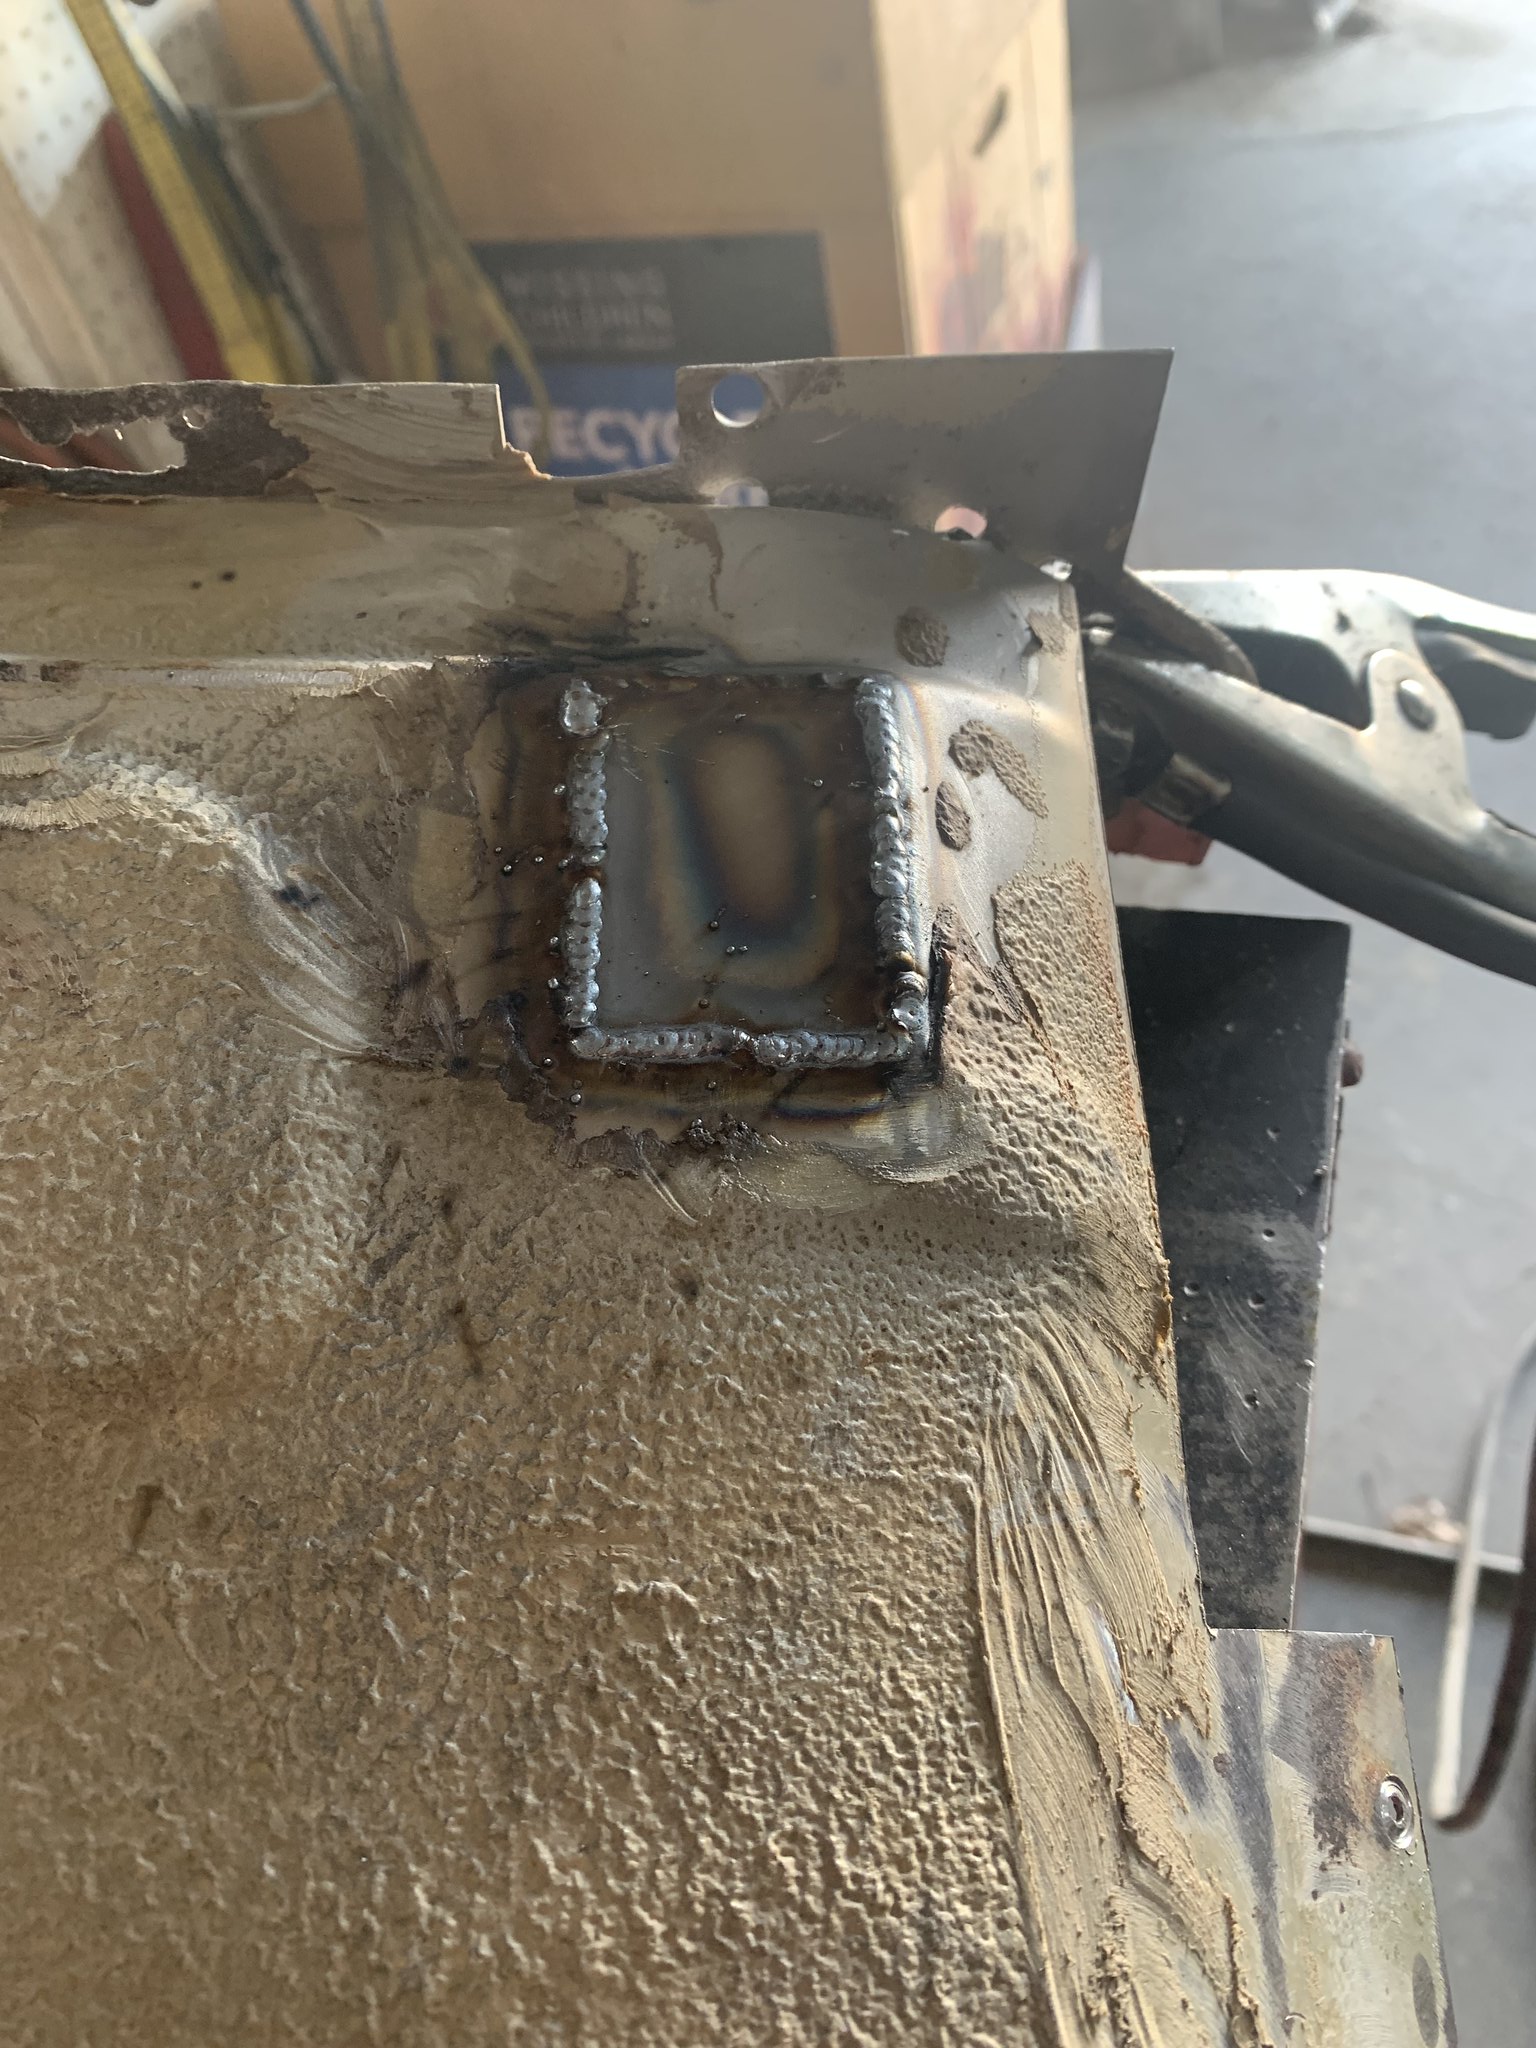
Trimmed and welded

ImageIMG_6785 by Warren Tomlinson, on Flickr

Ground down

ImageIMG_6786 by Warren Tomlinson, on Flickr

ImageIMG_6787 by Warren Tomlinson, on Flickr

Didnt get any in process pics, but heres that inner sill flange repair

ImageIMG_6788 by Warren Tomlinson, on Flickr

ImageIMG_6789 by Warren Tomlinson, on Flickr

ImageIMG_6790 by Warren Tomlinson, on Flickr

Not the most thrilling update, but I like taking photos and keeping the thread going. Progress is definitely slow, as I've stated before, using used panels has created more extra work than perhaps i had anticipated, but here we are, i'm learning and I think it will still get me the end result I want.
CanadianMiniFan
Posts: 140
Joined: Oct 16, 2011 6:31 PM

Re: Resurrection of my green BMW

Post by CanadianMiniFan »

Was going to do some work on the car yesterday before a wedding we were going to, but a junkyard notification changed that plan. An 82 733i showed up in a yard in town, so i figured id go grab the chrome power mirrors. Not 100% sure I'll use them but I like the idea of more chrome on green. Definitely not a shadowline fan.

ImageIMG_6823 by Warren Tomlinson, on Flickr

The car wasnt really that bad, some rust spots here and there, but it was sad to see it being scrapped. Interior was in decent shape, and the black over cardinal is a nice combination

ImageIMG_6824 by Warren Tomlinson, on Flickr

ImageIMG_6825 by Warren Tomlinson, on Flickr

There was also an e38 750il there, sad to see the fate it met, the m73 was still there, but i wasnt about the rip that out "cause it's neat"

ImageIMG_6826 by Warren Tomlinson, on Flickr

ImageIMG_6827 by Warren Tomlinson, on Flickr

When i was looking at the car for anything i might want for my car, i saw it had an lsd in it. I had thought it could be a large case diff, but it's just a medium case 3.25, but still, LSDs are worth decent money for these cars, and I may want to go back to a 3.25, the car has a 3.46 and a few less rpm on the highway would be okay

ImageIMG_6830 by Warren Tomlinson, on Flickr

I was in a rush so the mirrors arent cleaned or anything, but heres the haul. I also took the seatbelt clips from the e23, i had installed some in my car previously, but one had been broken.

ImageIMG_6835 by Warren Tomlinson, on Flickr
Mdreamer
Posts: 532
Joined: Feb 12, 2006 12:00 PM
Location: Atlanta, Georgia

Re: Resurrection of my green BMW

Post by Mdreamer »

I'd say that was a productive day. I'm surprised no one had removed the interior of the e23 before sending it to the scrapper too. It looked pretty nice in the pictures--especially the door panels.
vinceg101
Posts: 4878
Joined: Jun 20, 2007 2:40 AM
Location: Los Angeles, CA

Re: Resurrection of my green BMW

Post by vinceg101 »

CanadianMiniFan wrote: Apr 23, 2023 1:21 PMAlso filled the holes in the donor sills, my 87 does not have the same thing, dont know if it is a year difference or maybe a rust proofing hole

ImageIMG_6553 by Warren Tomlinson, on Flickr

ImageIMG_6554 by Warren Tomlinson, on Flickr
I'm not entirely certain, but isn't this is the exit port for the front sunroof drains that come down the A-Pillars? If it isn't this hole, where are those? I know they drain down into the front of the rocker somewhere. Be careful you haven't sealed up the rocker otherwise all that water will have nowhere to go from the sunroof.

BTW, excellent metal work.
CanadianMiniFan
Posts: 140
Joined: Oct 16, 2011 6:31 PM

Re: Resurrection of my green BMW

Post by CanadianMiniFan »

I appreciate your concern Vince, it may be that early cars had a hole dedicated for the sunroof drain, mine were just depositing into the bottom of the sill, the results of which are evident. Part of me thinks of attaching a tube and drilling a hole in the bottom of the sill so the sunroof drains to the outside, another part of me asks if I’m filling it with cavity wax, and not driving it in winter and inclement weather anymore, will it matter? We will see what I do, either way the sills have their little half moon drains clear and open so it won’t be sealed up.

My order from Valcas garage arrived, should have some panel photos tomorrow! Probably won’t make any progress, I’ve got to do some repairs on my dads bmw, so that will likely consume the time at the shop.
Post Reply