External links now open in a new browser tab - turn this off in your UCP - Read more here.

My M5 S54 Build is DONE

Post your photos and videos here!
Chuckne
Posts: 63
Joined: Apr 19, 2010 12:24 AM

My M5 S54 Build is DONE

Post by Chuckne »

Not sure if this is the right place to post a build thread but whatever. I've been floating around the board for the last 6 months or so and thought I would share what I've been up to. I'm new to the e28 but not BMW's...in the past I've done complete restorations on 2002's and e30's...but enough of that. On to my current project which is a complete tear down and rebuild with a few surprises down the road....

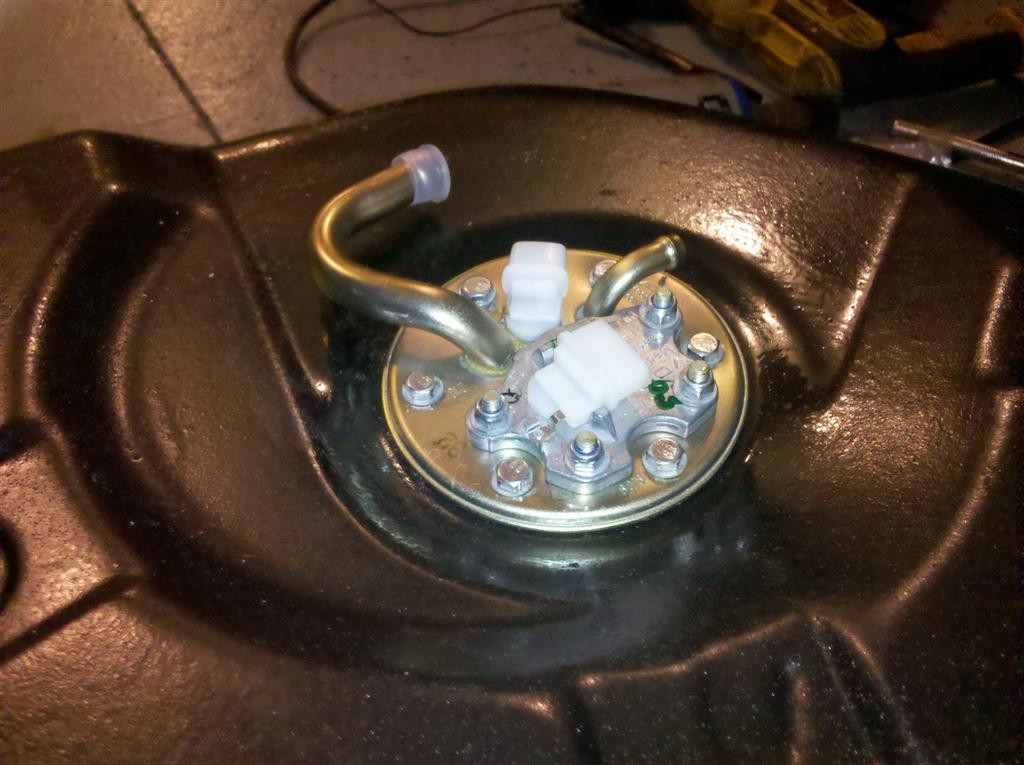
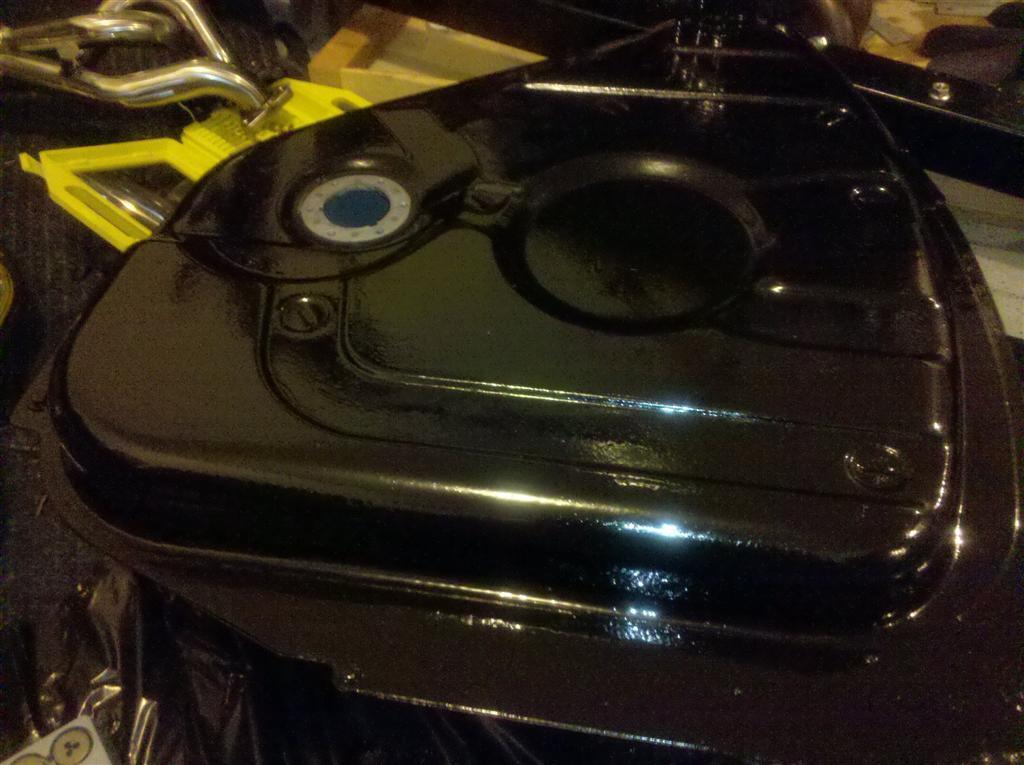
Lets start with the fuel system
Needed some work.
Image

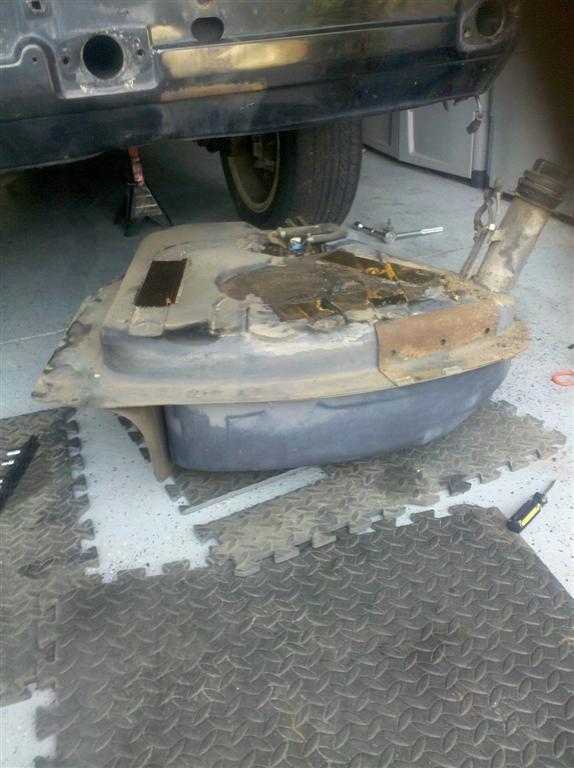
POR 15 on the outside and POR15 tank sealer on the inside...should be as good or better than new.
Image

Old and new. More POR on the bracket.
Image

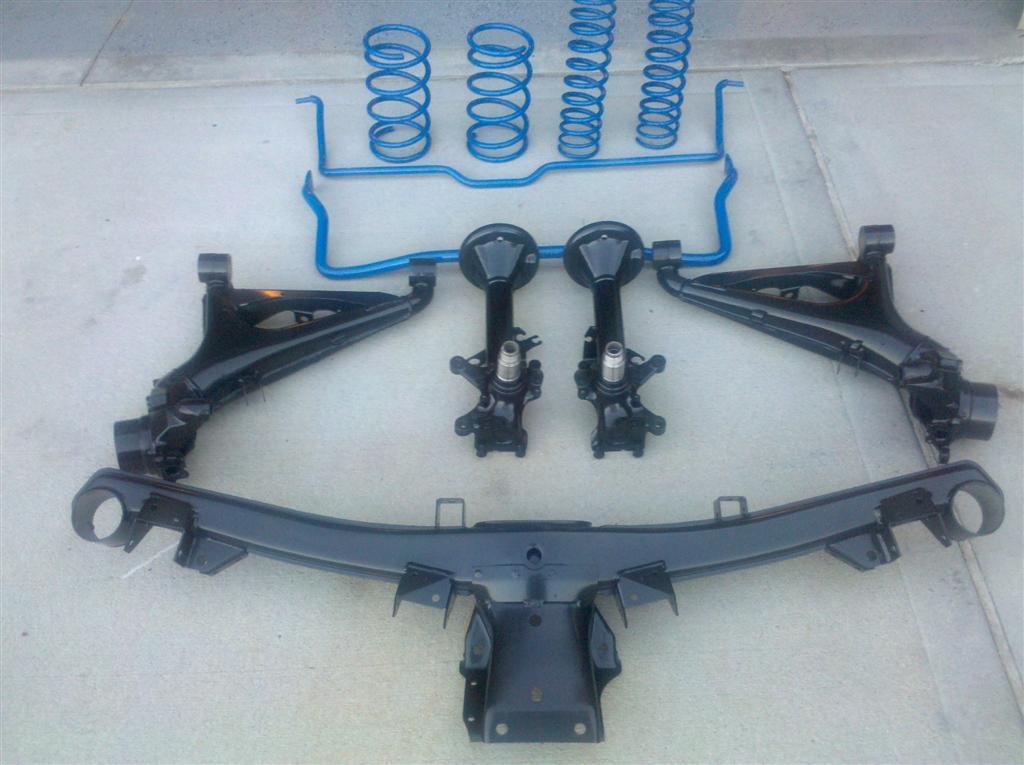
Something a little different:
Image

Image

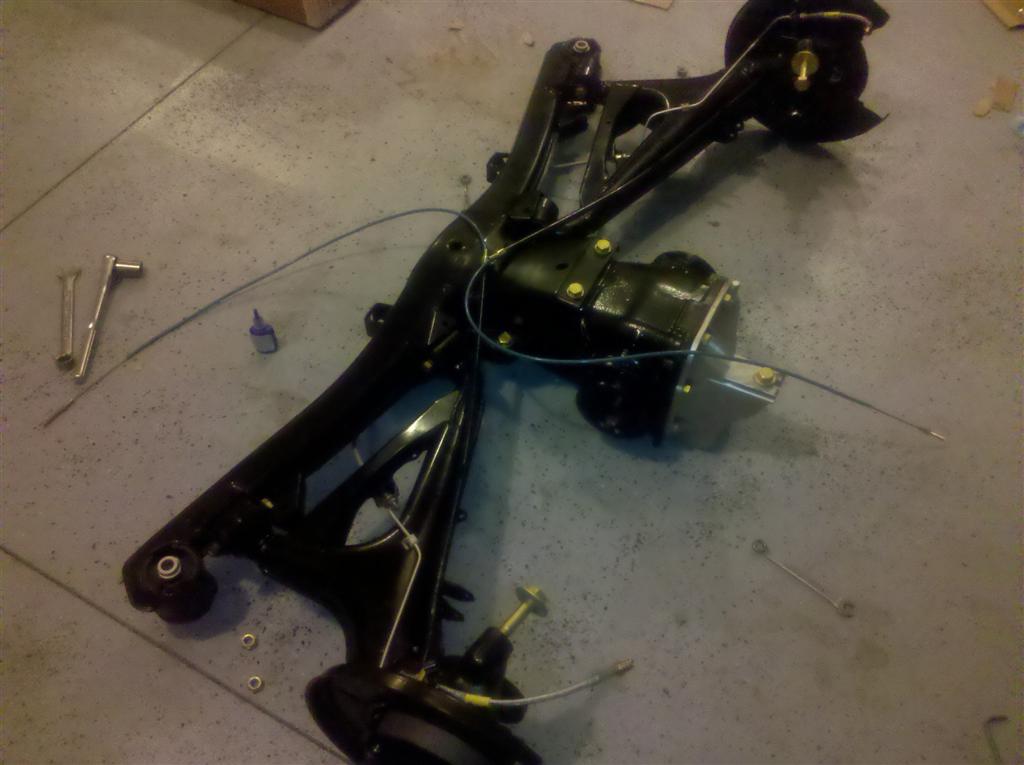
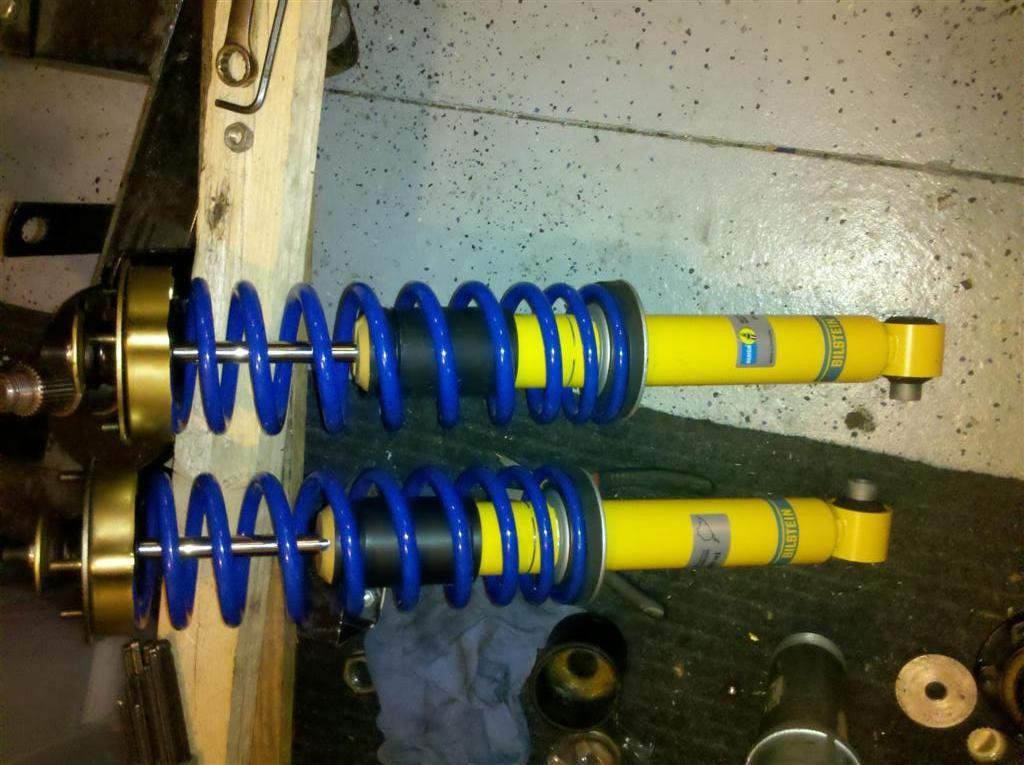
The car came from the factory with the mtech/bilstein suspension...no self leveling system. I pulled all of the suspension and had it blasted and powder coated (I've never powder coated springs...we'll see how it holds up) I also sent the bilsteins to the factory to be rebuilt.
Image

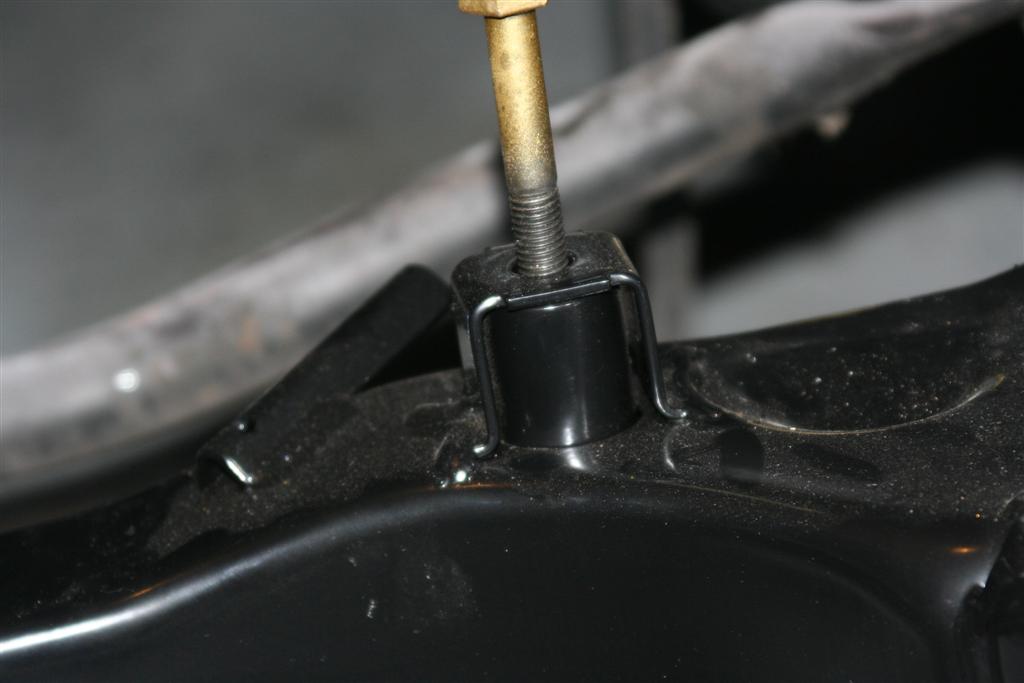
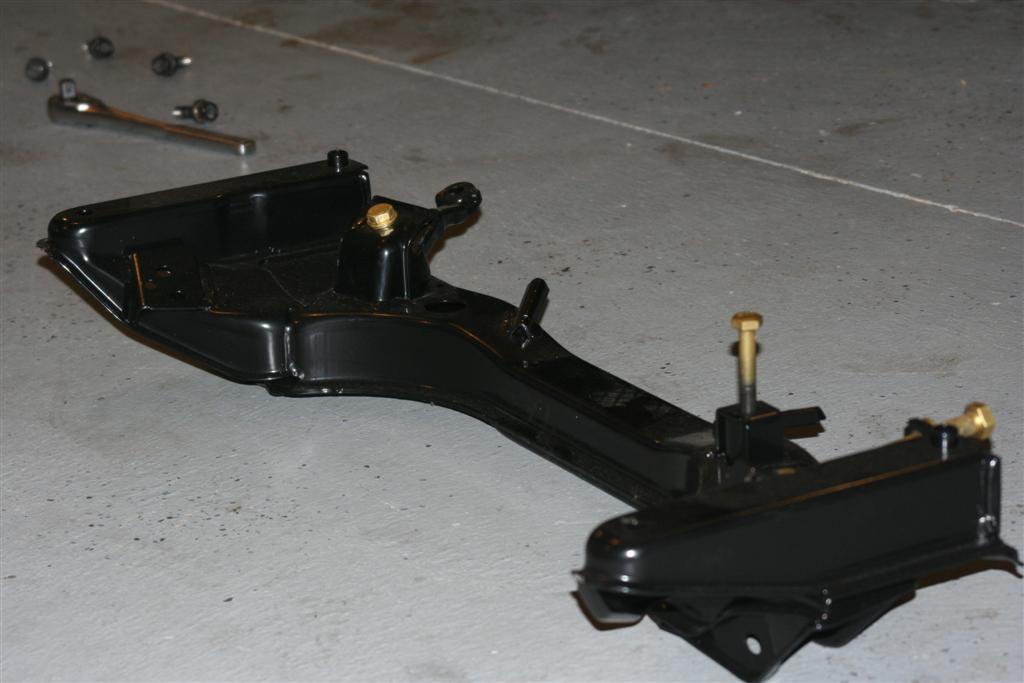
I did a little preventative maintenance by installing the Ed Rather (Mwrench) steering box fix
Image

Image

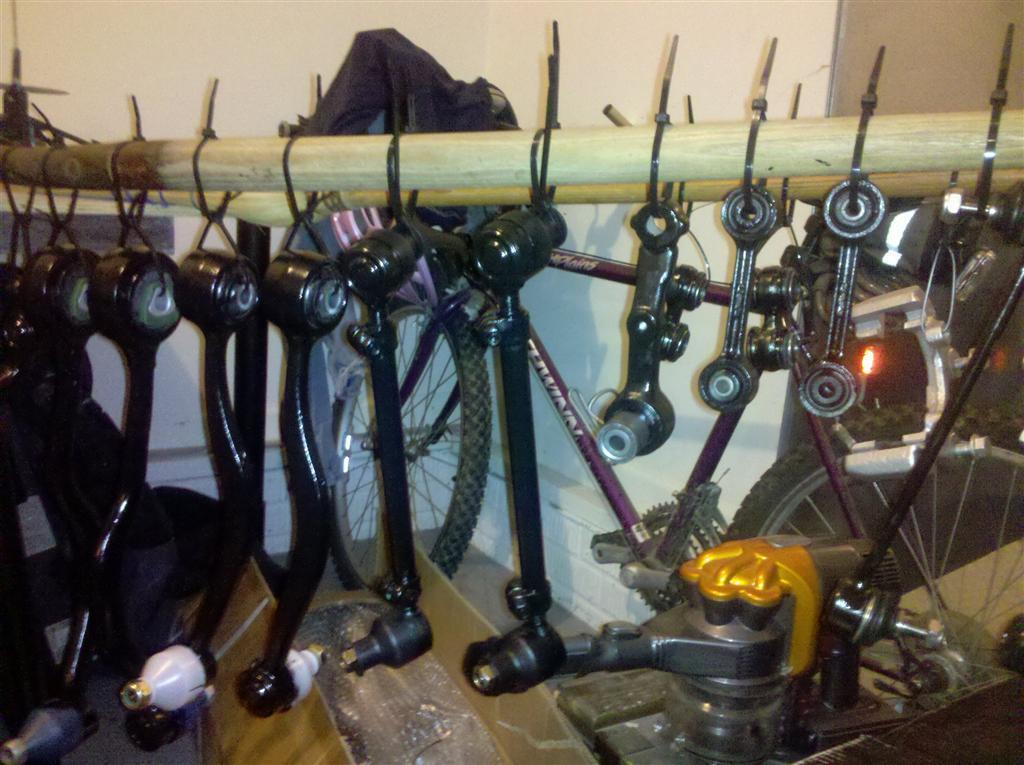
I installed new wheel bearings, stock rubber bushings, etc. One thing I always do is paint new parts...I've just put on to many new parts that get covered with surface rust within the first year...everything gets painted.
Image

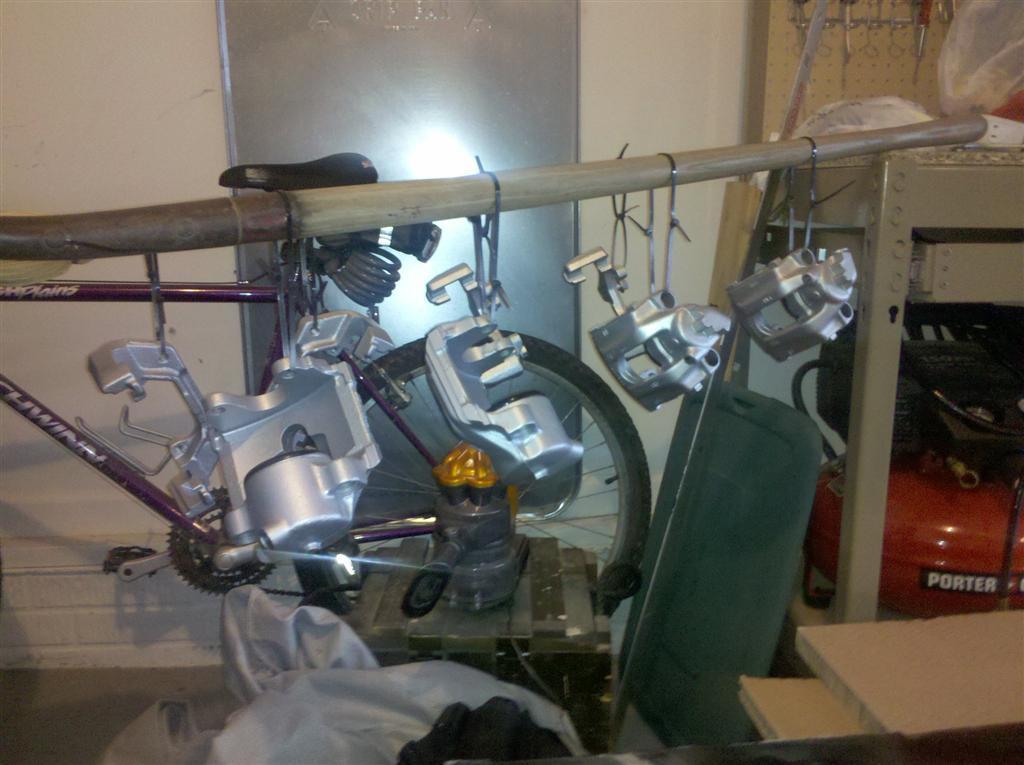
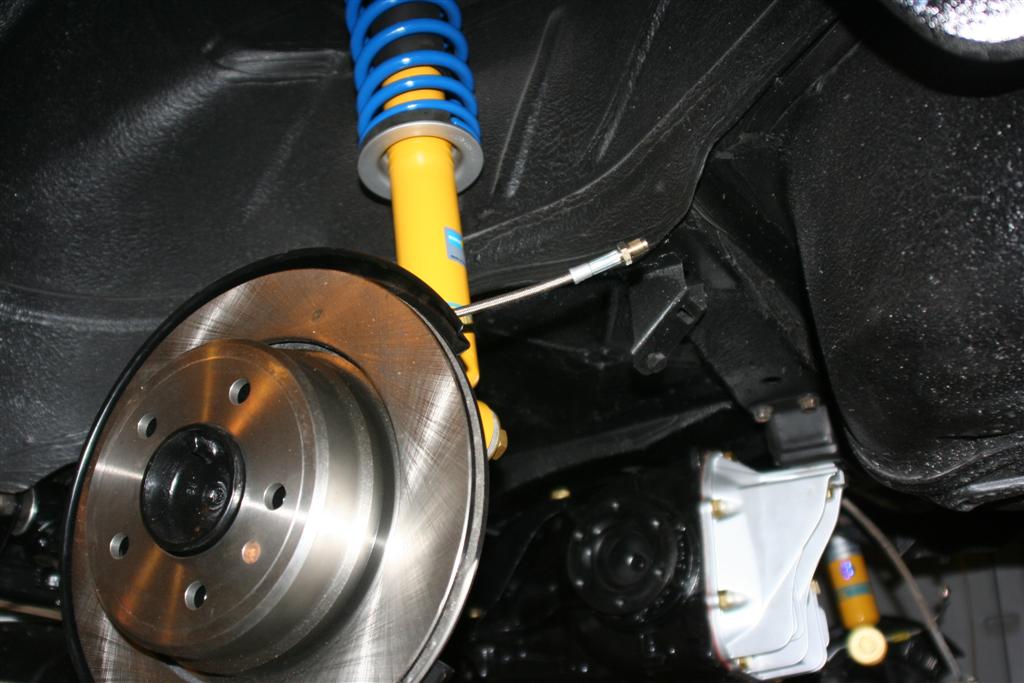
I will be running e32 vented brakes front and rear. Much easier to source, rebuild, etc. Those got painted as well.
Image

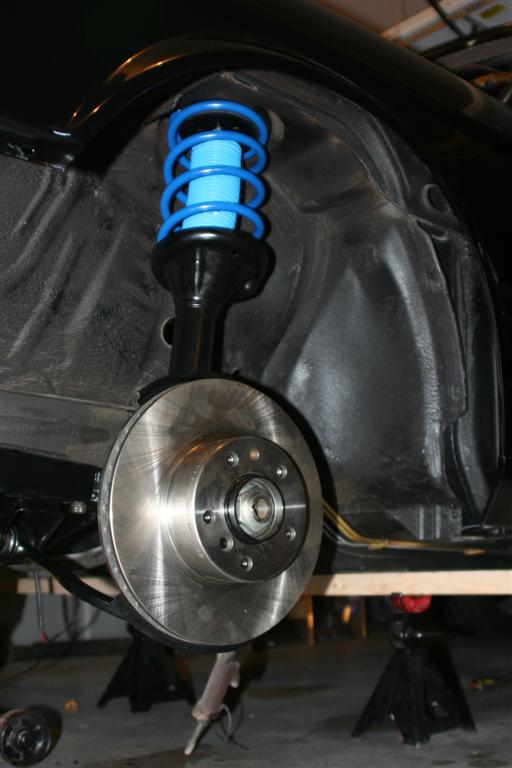
Got everything together and installed last weekend...
Image

Image

I still need to paint the rotor hats and edges/vaines.
Image

Image

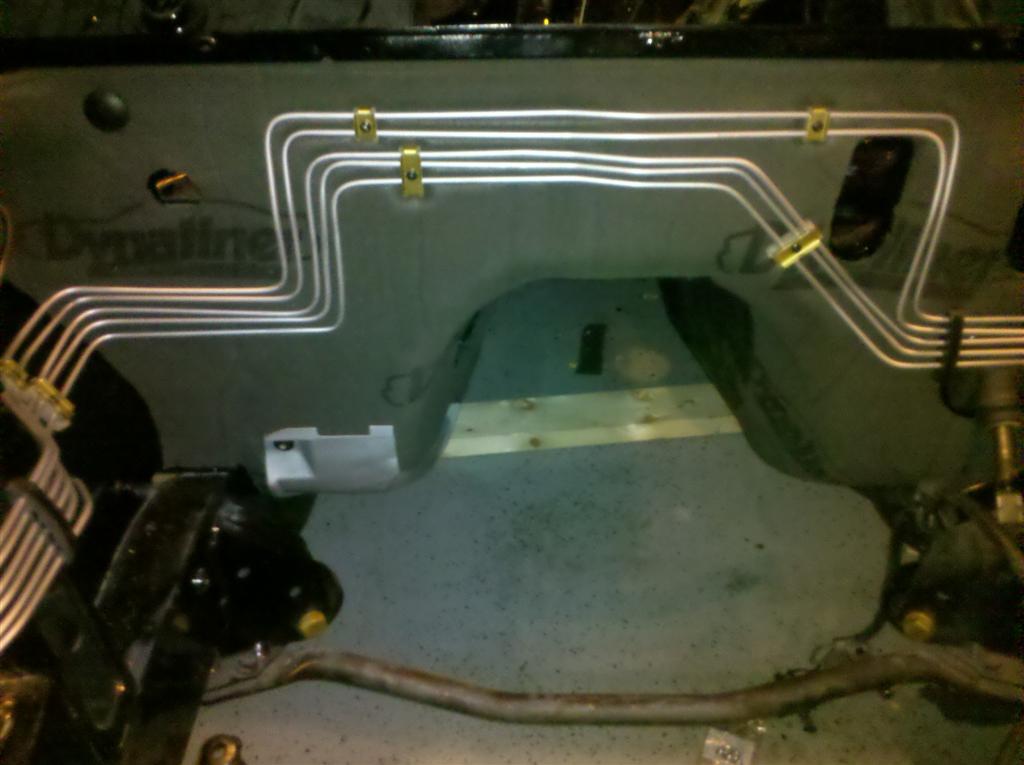
Also, the firewall insulation that came on my car looked like arse...as this is NLA from BMW, I began searching for an alternative. The below pic is a product by Dynamat. I think it matches pretty well and the stupid logos should be covered once everything is installed.
Image

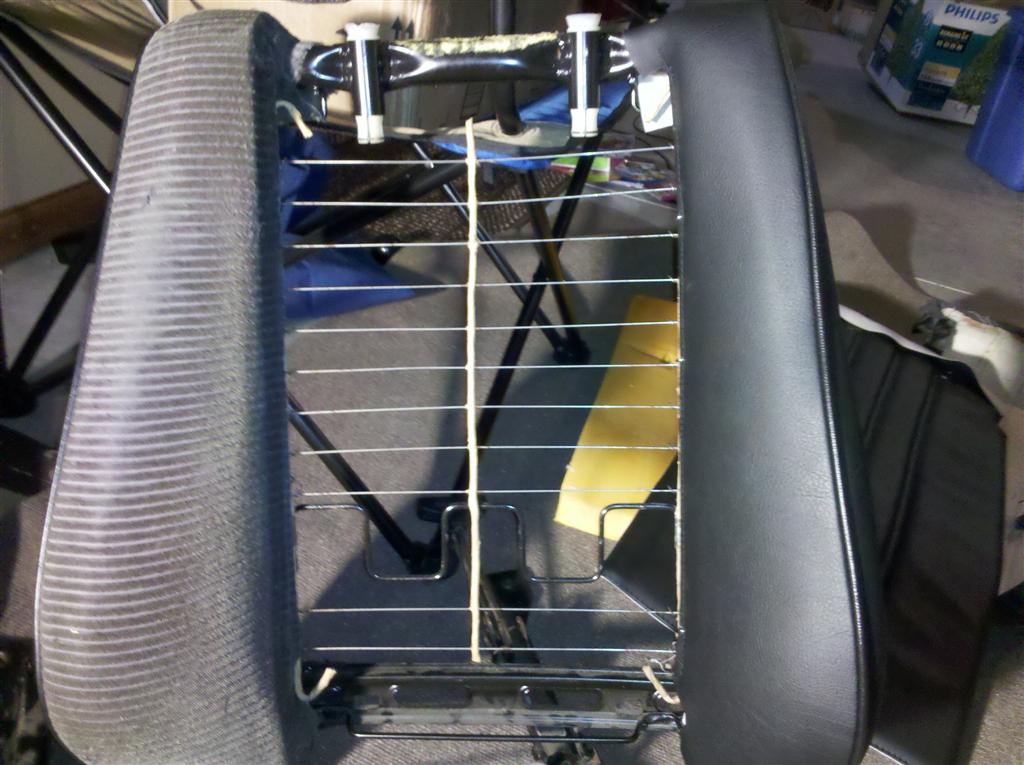
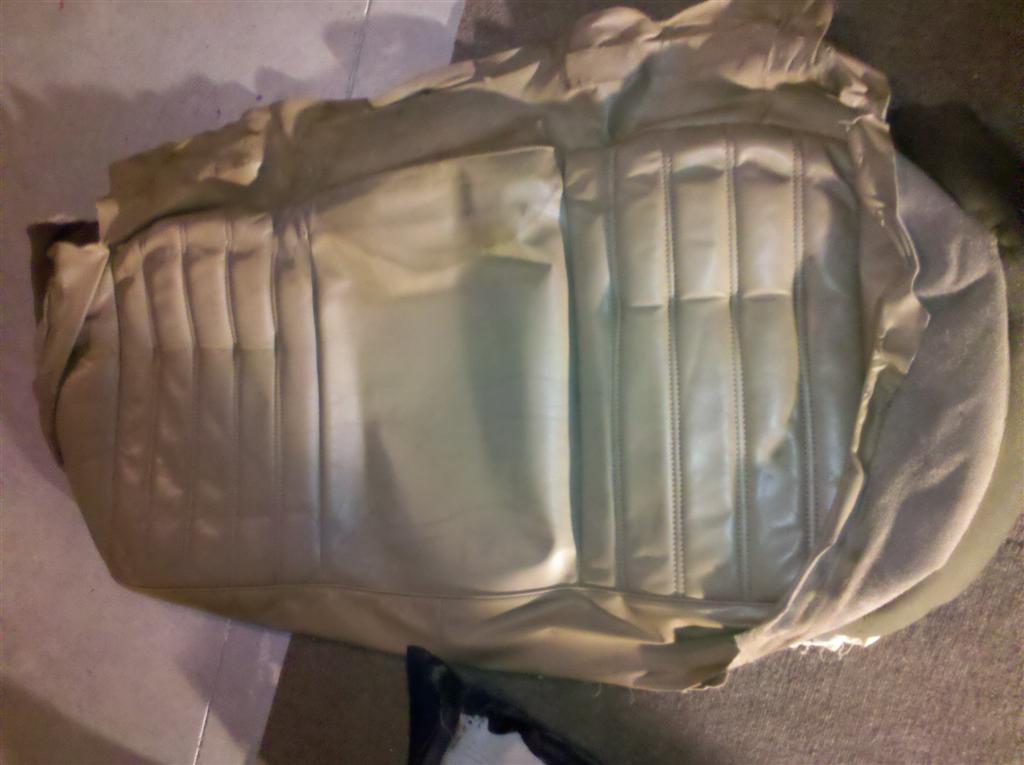
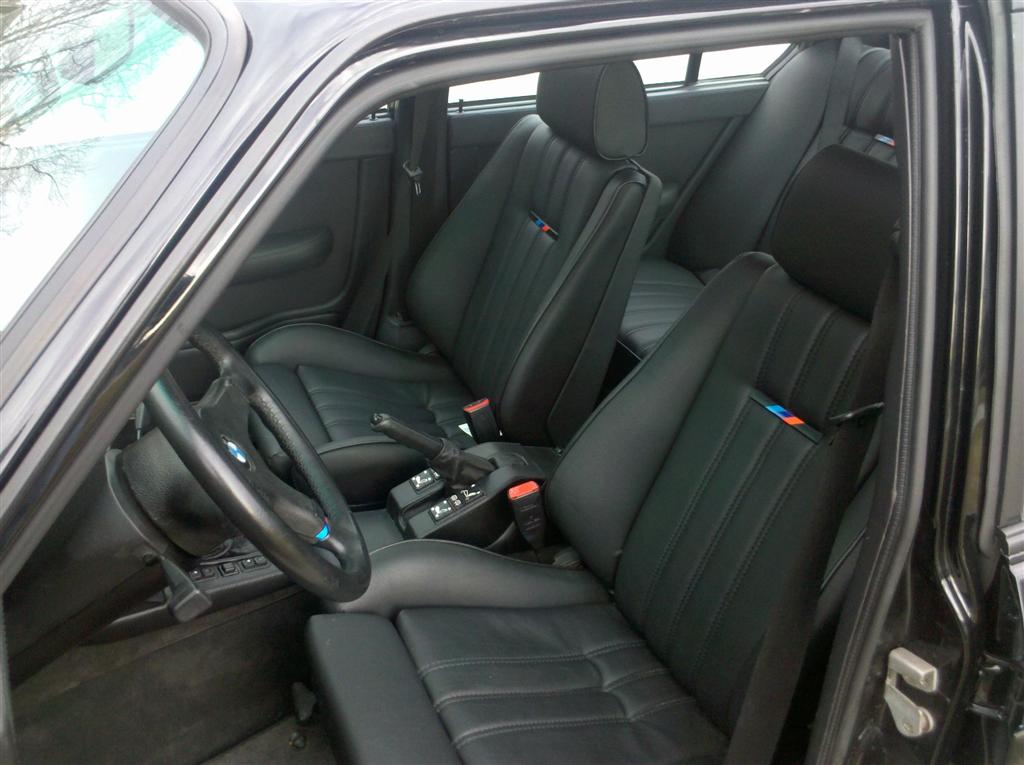
11/27/10---Progress has been slow. Started working on the interior. With an eye towards simplicity, I picked up a pair of manual sport seats from Derrith (aka Logan) last summer. I just received my new skins from Kevin Chinn at Creative Options and a set of new seat heater elements on-line. I had to replace some of the bolster foam on the driver seat with foam pulled from the local yard. Going from Natur to Black (flame away...I hate tan) . Hopefully done this weekend.

The old and the new...
Image

Image

Image

11/30 Fronts done (shitty camera phone pic):
Image
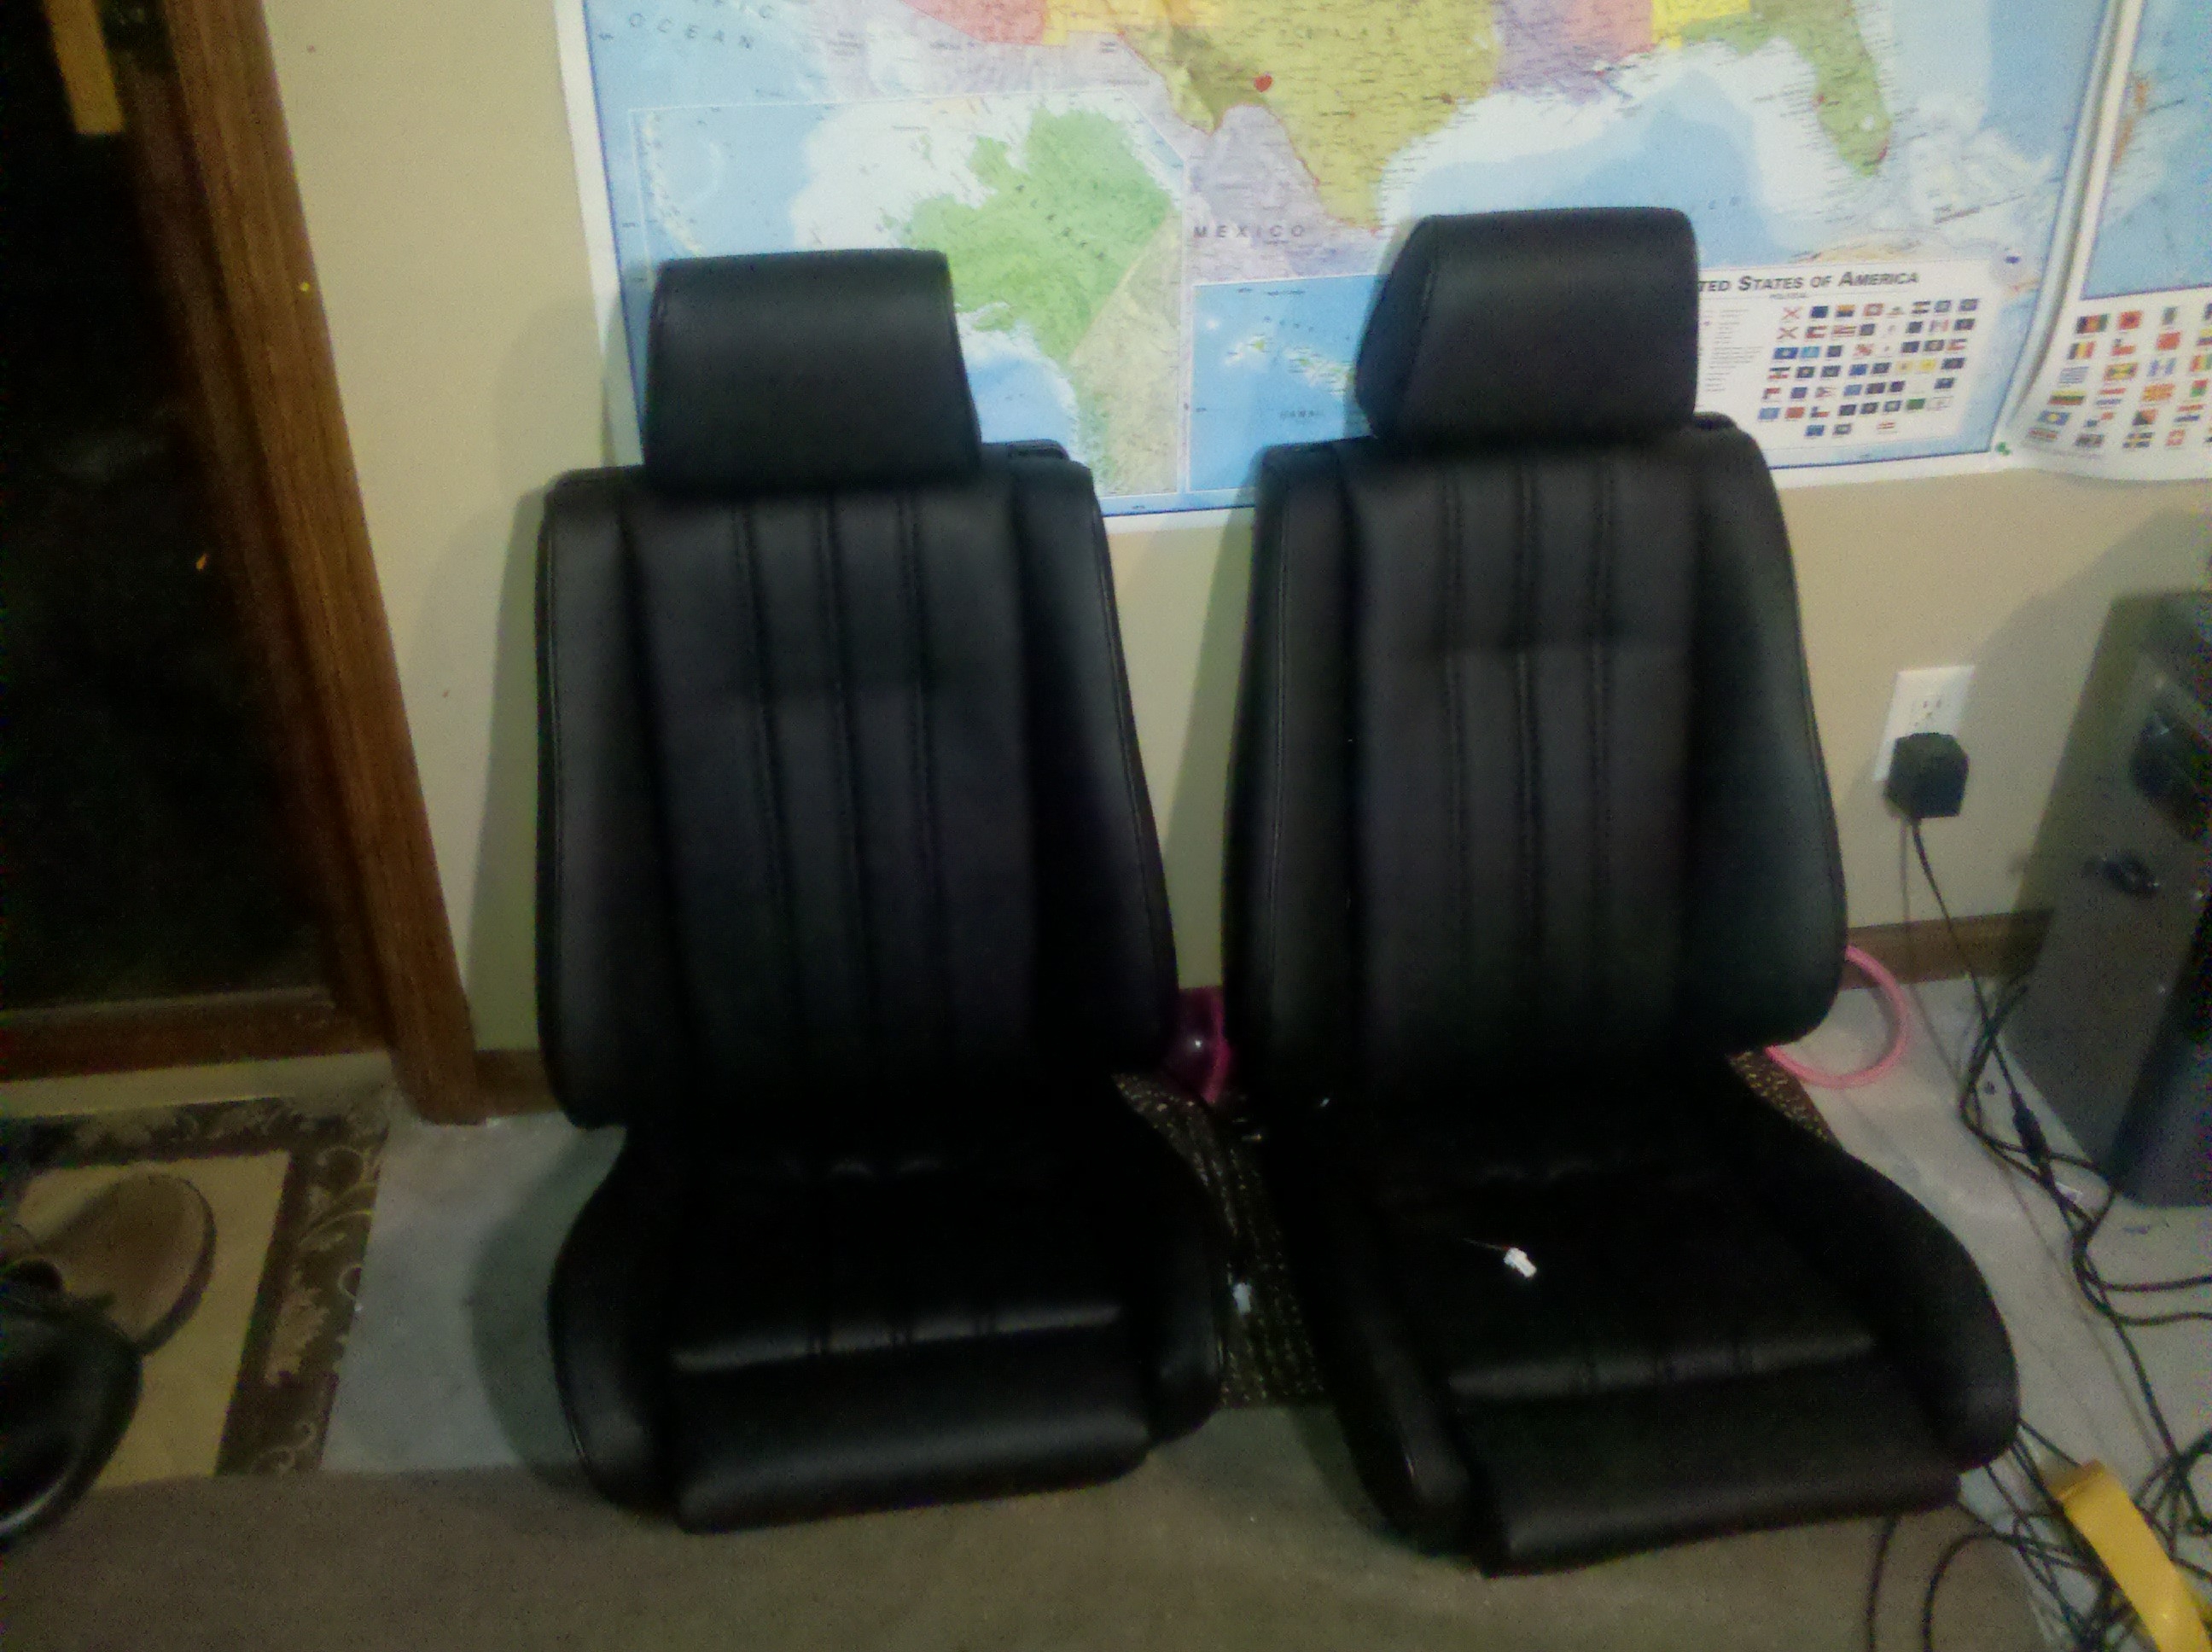
I should say that Kevins kits are great. This is the first interior recover that I've done...I was surprised at how easy it was and how well it turned out.

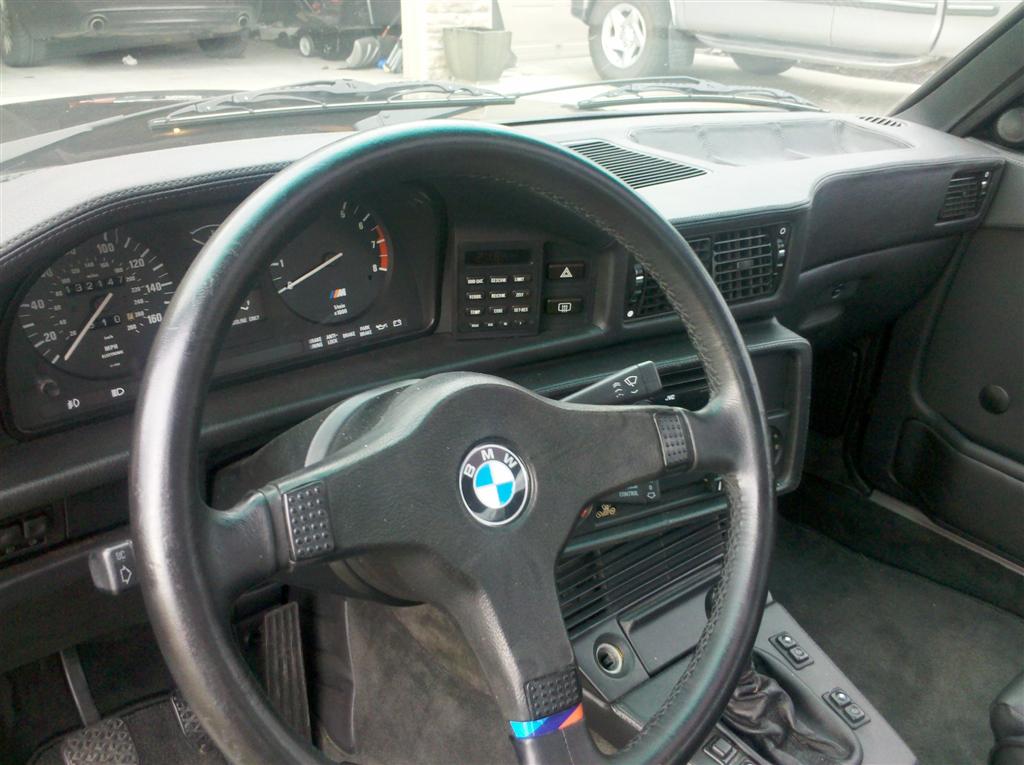
1/27/11 Long time since I've updated. I just loose my mojo for being in the garage when the temps are in the singe digits....Engine is in the car and now working on putting the interior together. The original roof foam was a nasty cracked mess. I pulled good foam out of the junkyard and replaced. Not a chore I really ever want to do again.... The plan (if the temp holds) is to get the headliner, carpet, heater/AC, dash installed this weekend.

Image

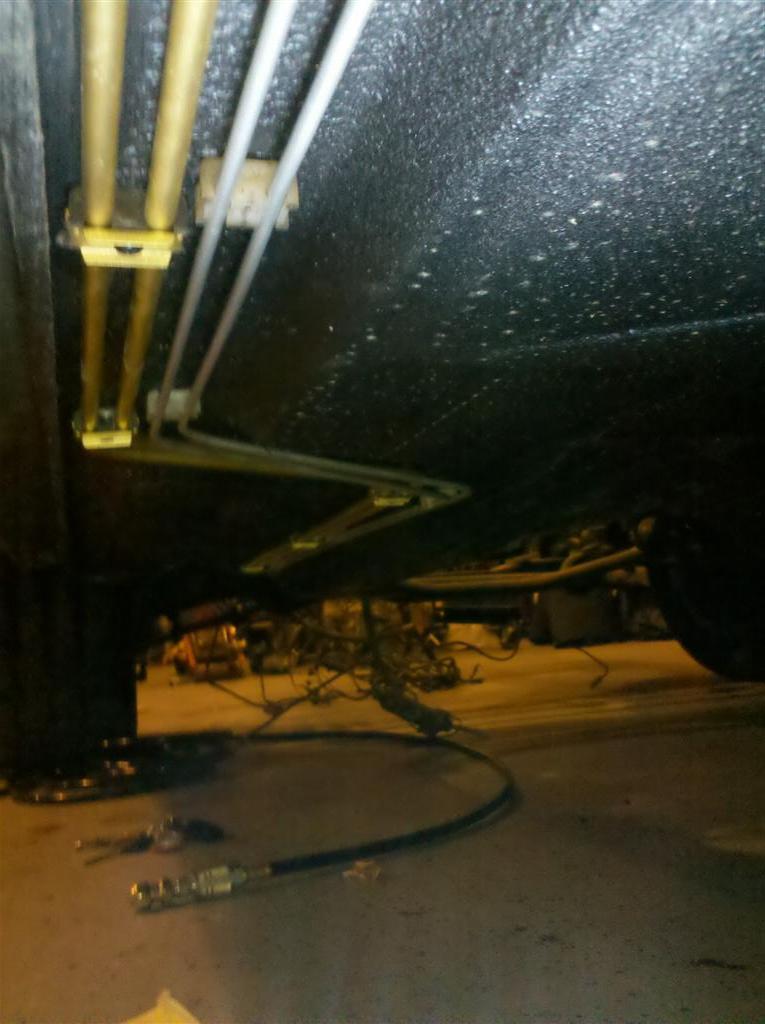
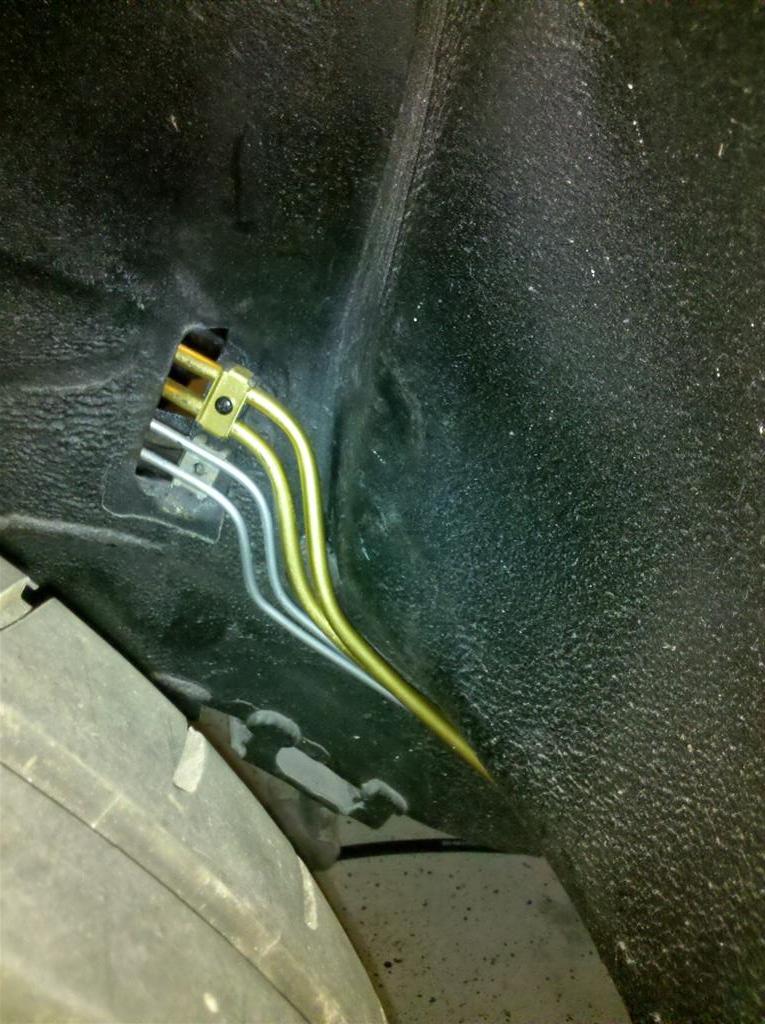
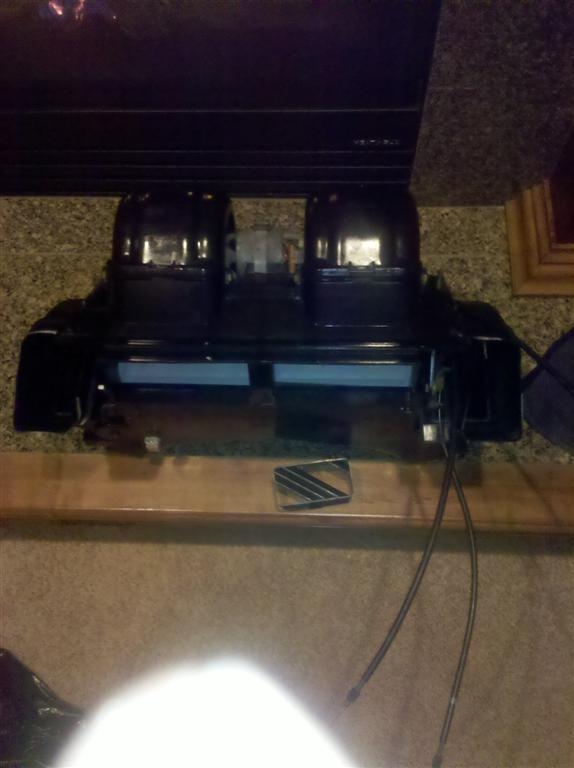
Heater box rebuilt (new core and replaced all foam). Some may notice that this is a 3 cable box. My original box had issues with the electric servo motor and with an eye to simplify shit that breaks, I pulled the 3 cable Behr box and controller from an early car.

Image

3/3/11 Update:
It's been a while since an update. A little minor surgery and I'm back in the game. Now the purists better hang on.....

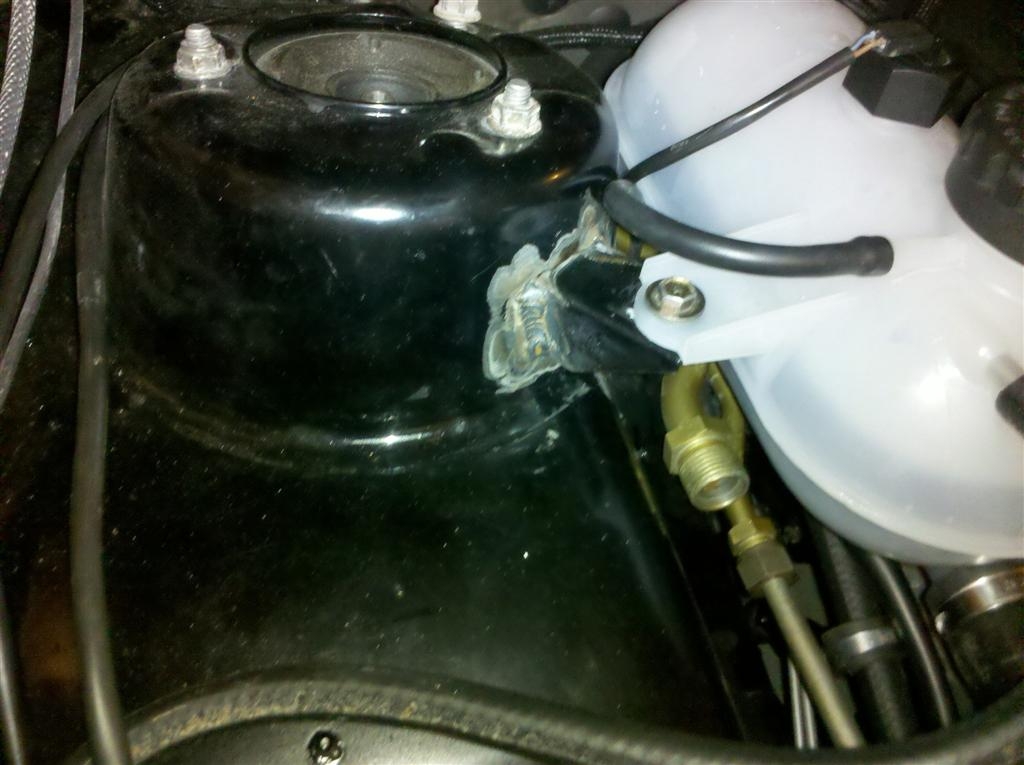
I ditched the hydroboost in favor of a vacuum booster. I tried the e21 booster and it wouldn't clear the intake. Ended up with a Porsche 924 booster....you'll see why.

Image


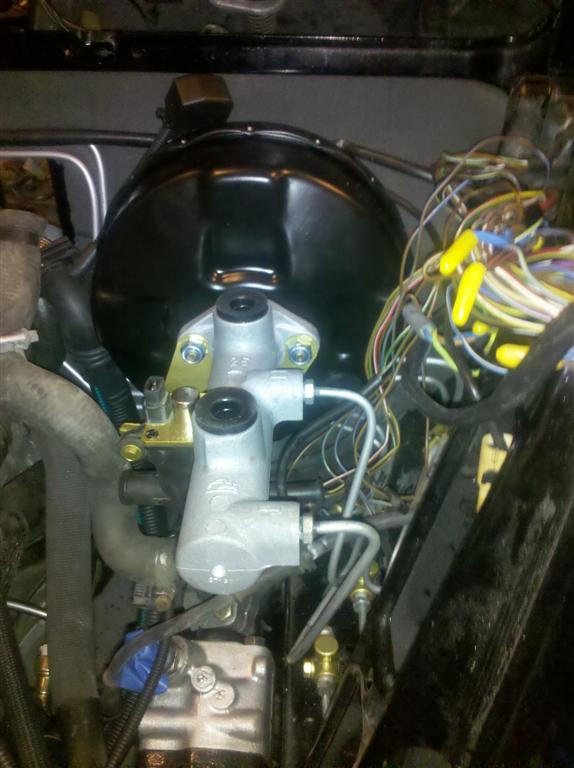
I had to find a bracket and heater valve from a 528e to make this work. The "e" heater valve has a 90 degree elbow at the bottom to clear the steering wheel shaft. With that sorted, I needed to make sure that everything would fit together and I had all the necessary clearance. Sorry for the dirty engine...

Image

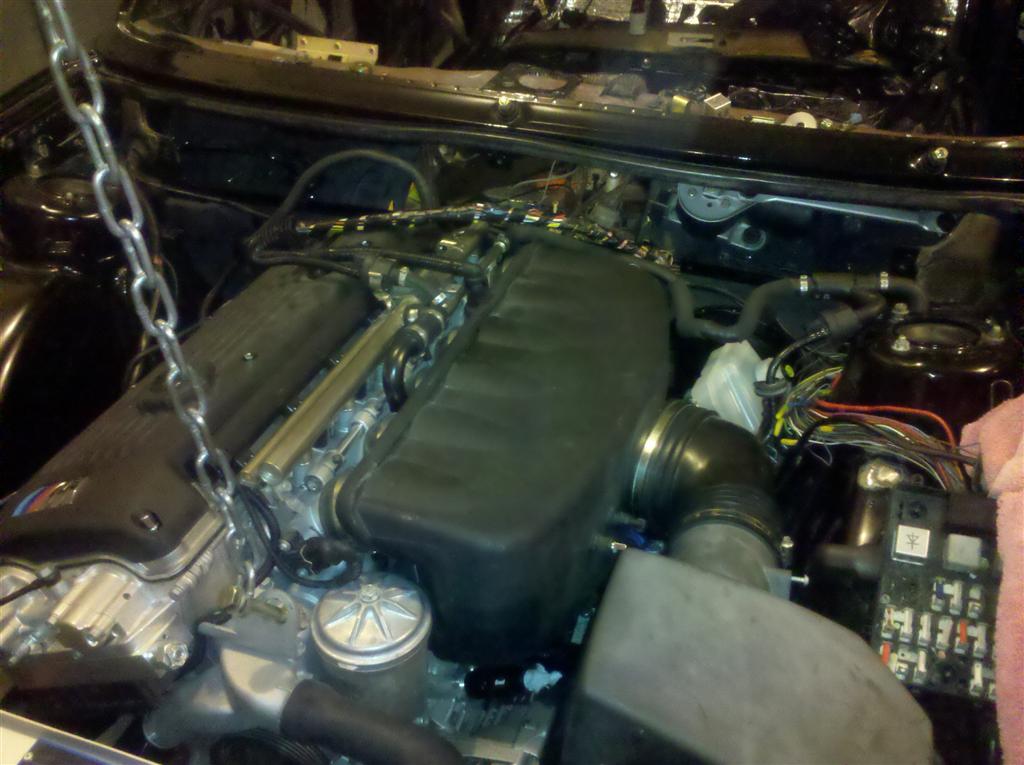
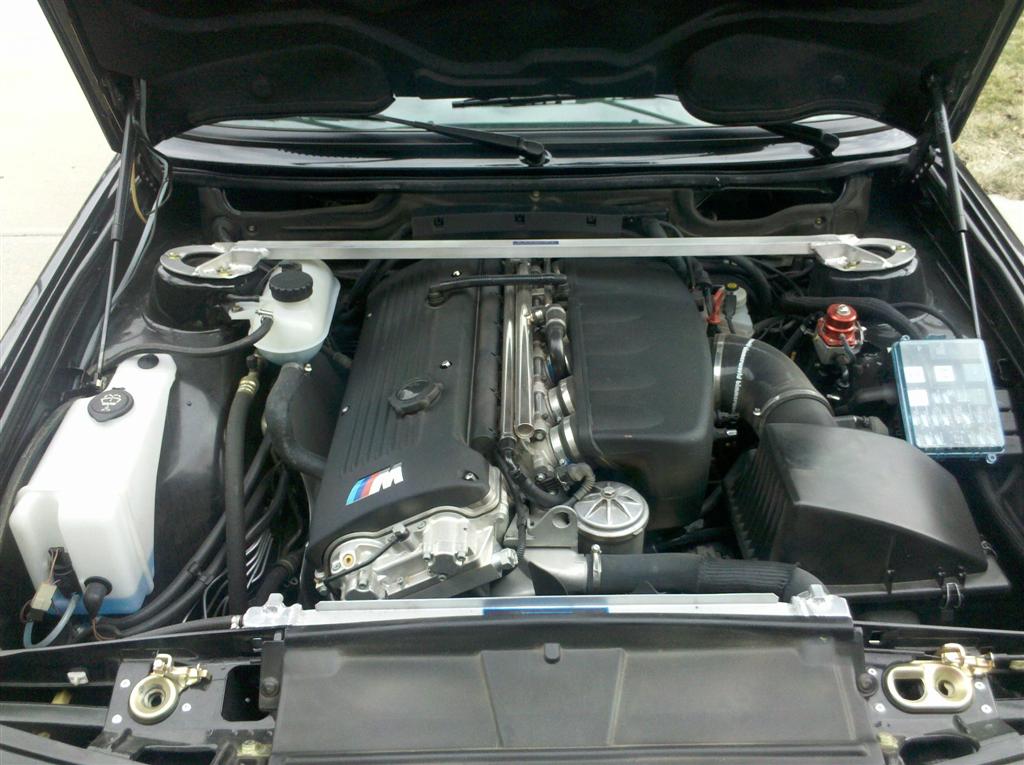
I had to relocate the steering reservoir....Did I mention that I am putting an S54 with 6 speed in the car. Maybe I missed that detail. Engine is out of a 2005 M3 with 17K miles.

Image

Engine mounts, tranny mounts and wiring/ECU burn are all done. Goal is to make it look like the factory put it there. More to come.

Update 8/21:
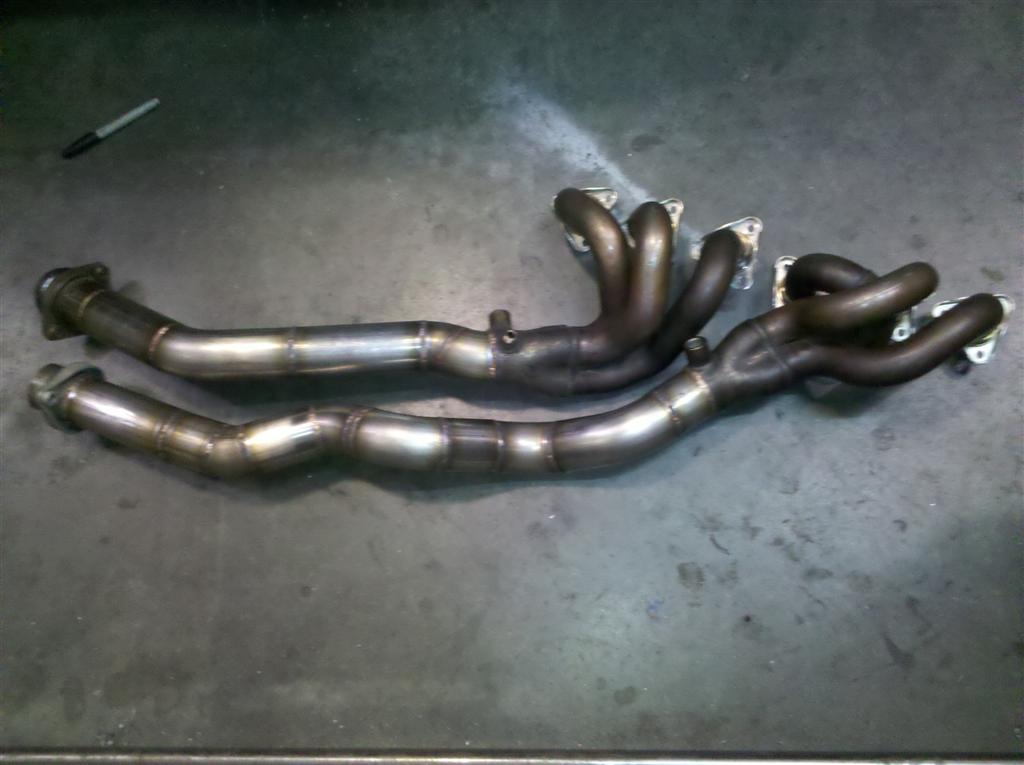
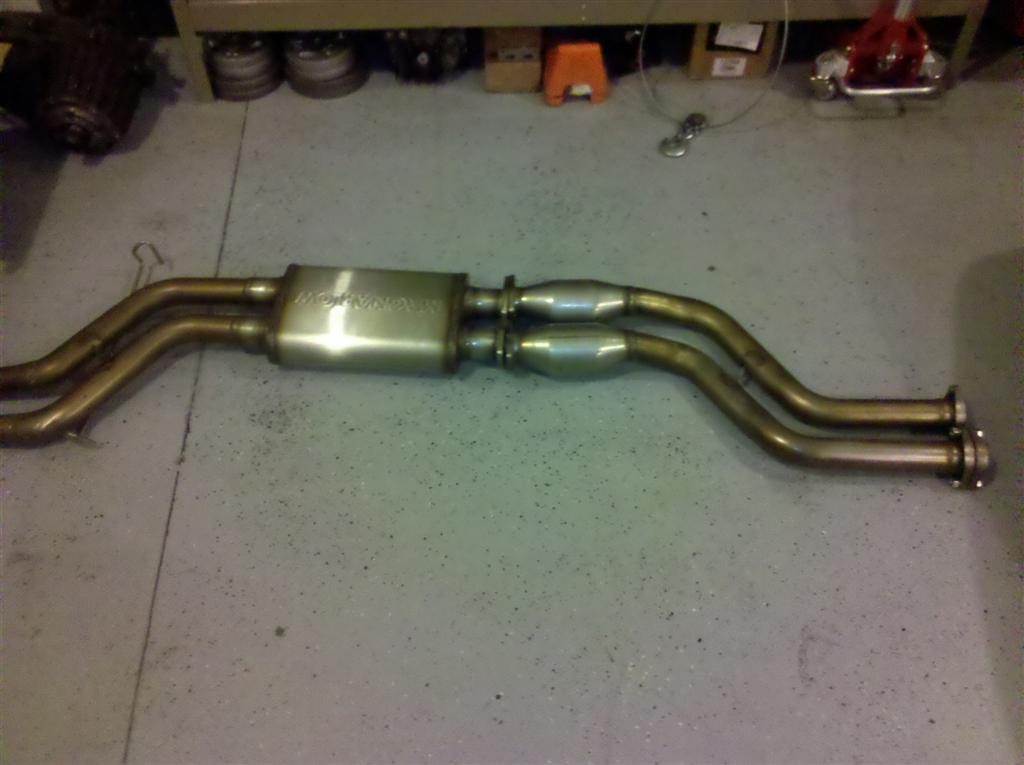
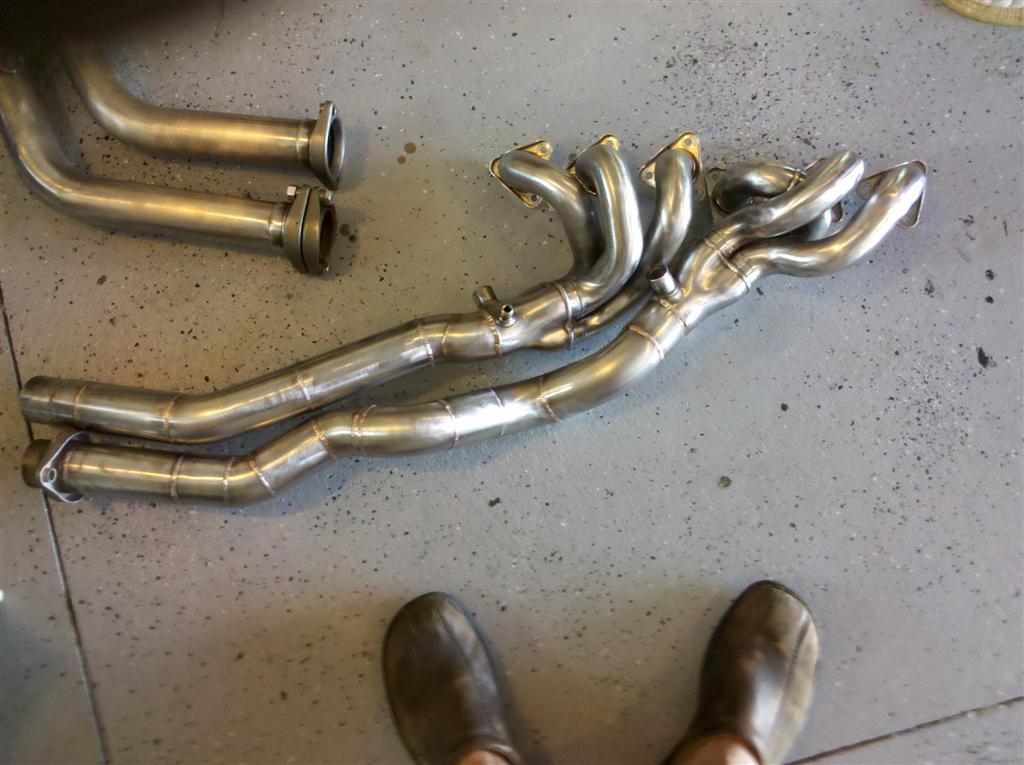
Life has been way to busy.... Exhaust is done. I utilized the E46 M3 header. In stock form, the header has the catalytic converter as part of the downpipe which would not fit the e28. Thus I cut the cat off the header and created new downpipes from 2.25" mandrel SS. For the center section, I utilized 2 front sections from an E46 M3. I mated the first section to 2 Magnaflow high flow cats (similar to the euro M3). From the cats I flow into a Magnaflow Tru-X muffler (it is a muffler that incorporates an X pipe), From the muffler I reversed another M3 front section to make the way out and around the rear diff. Today, I took a few hours and polished off the old M3 bits...I think it turned out OK. More to come.
Image

Image

Image

Image

1/12 Update:
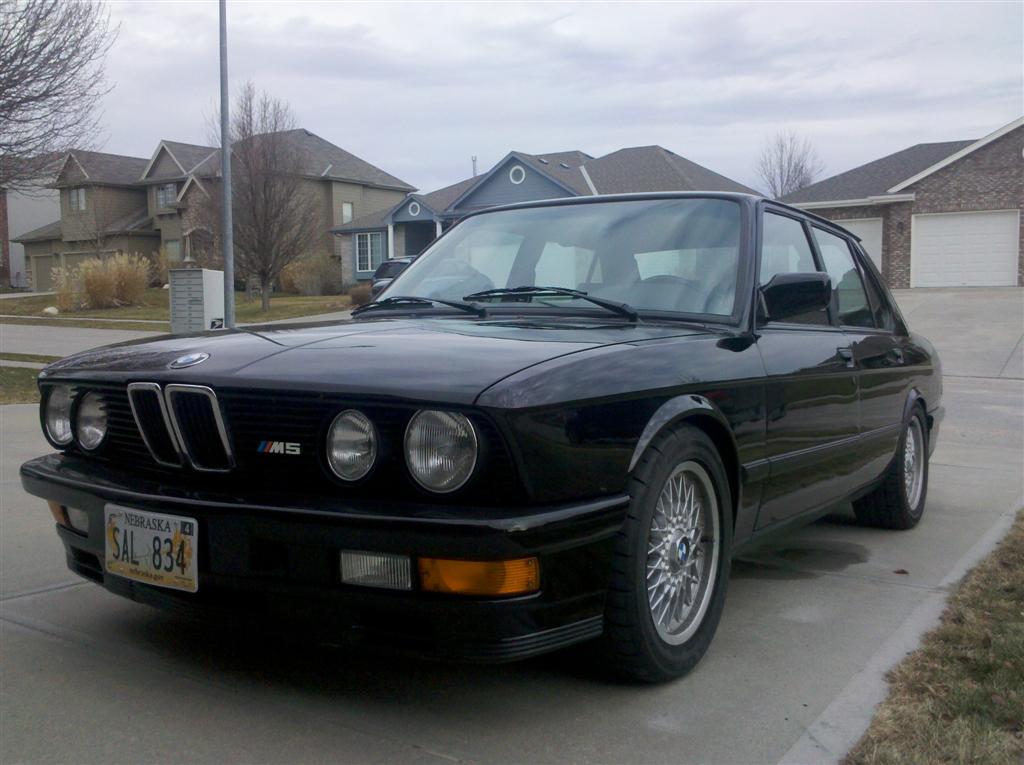
Almost forgot about this thread. I finished the car late summer and all I can say is that it has met all of my expectations. Pulls like you can only imagine. I had it in a couple of car shows and it was well received by all the local BMW nuts. There are a few cosmetic "odds and ends" like painting the red Aeromotive FPR and doing something with the stereo set-up.... but those things had to wait as I was just having to much fun driving. I put the car away for the winter but the lack of snow and temps in the 60's made me pull it out for a new years days run. I snapped a few pics before it went back in to hibernation.

Image

Image

Image

Image

Image

Image

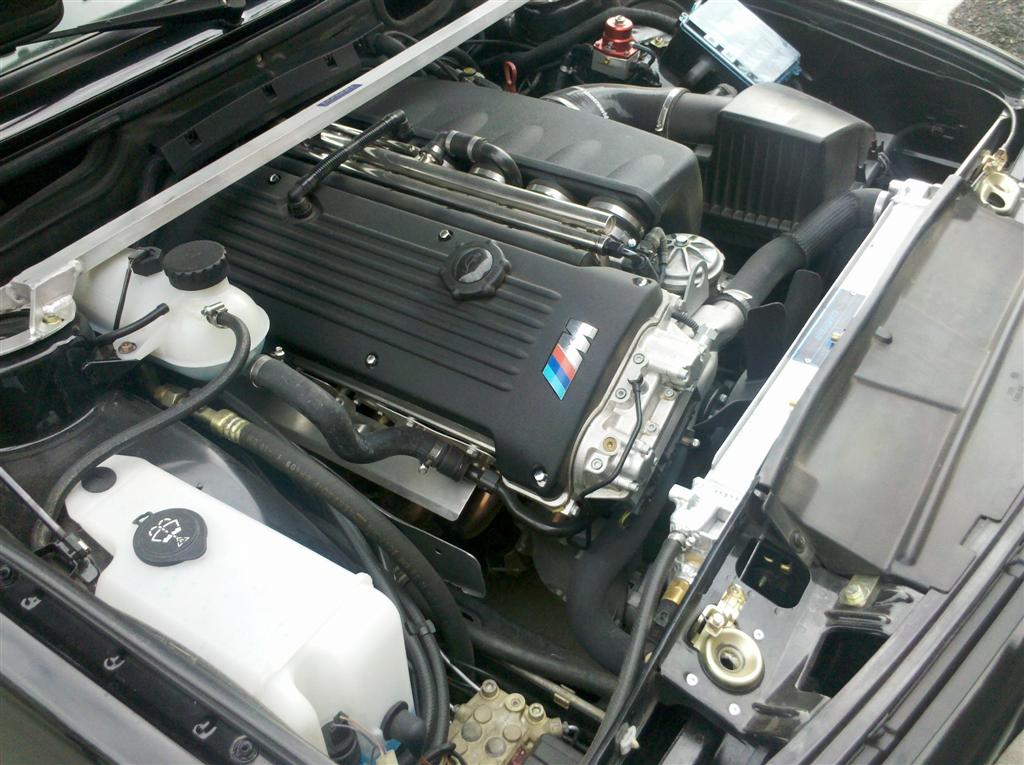
Couple of pics to answer questions:
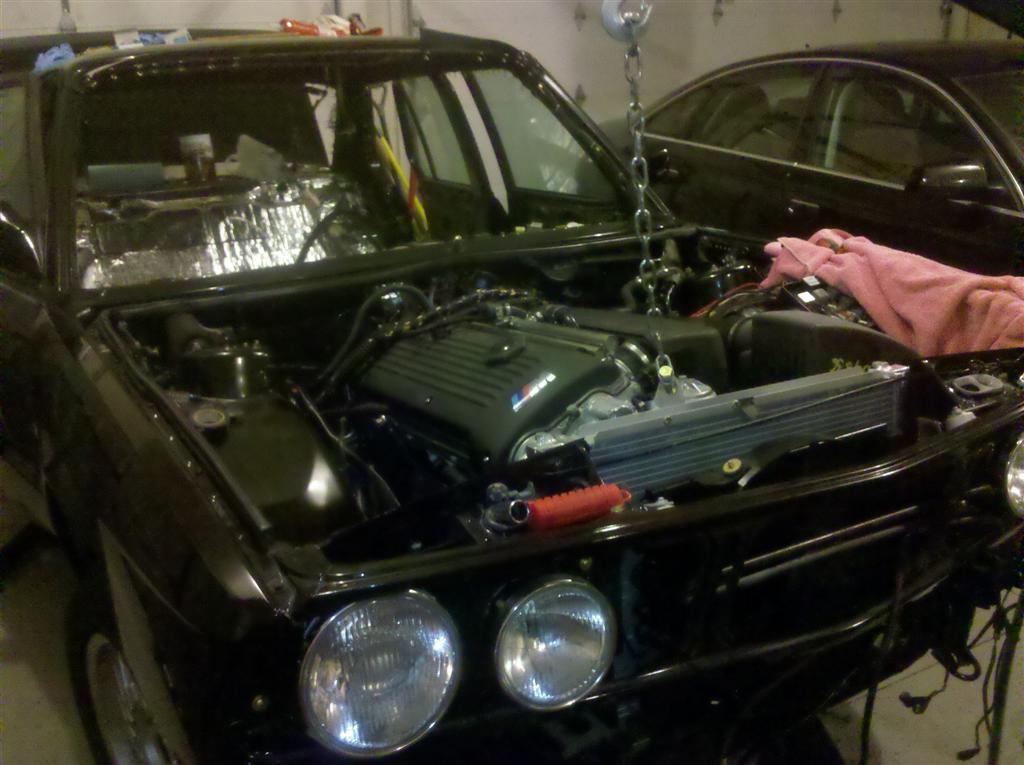
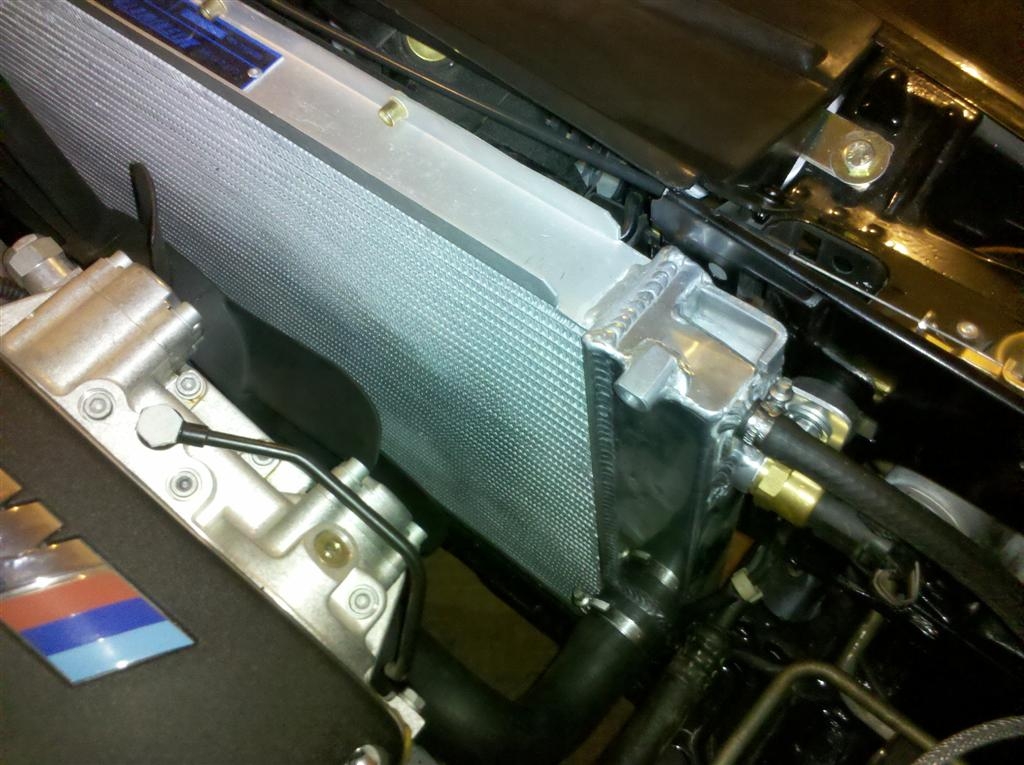
First I utilized an e36 aluminum radiator along with an overflow tank from an "e". I cut the brackets off a junkyard car and welded into a position that allowed a standard strut bar to clear.
Image

Image

I did move the radiator overflow to the pass side to eliminate a long run of hose to the e36 overflow position.
Image

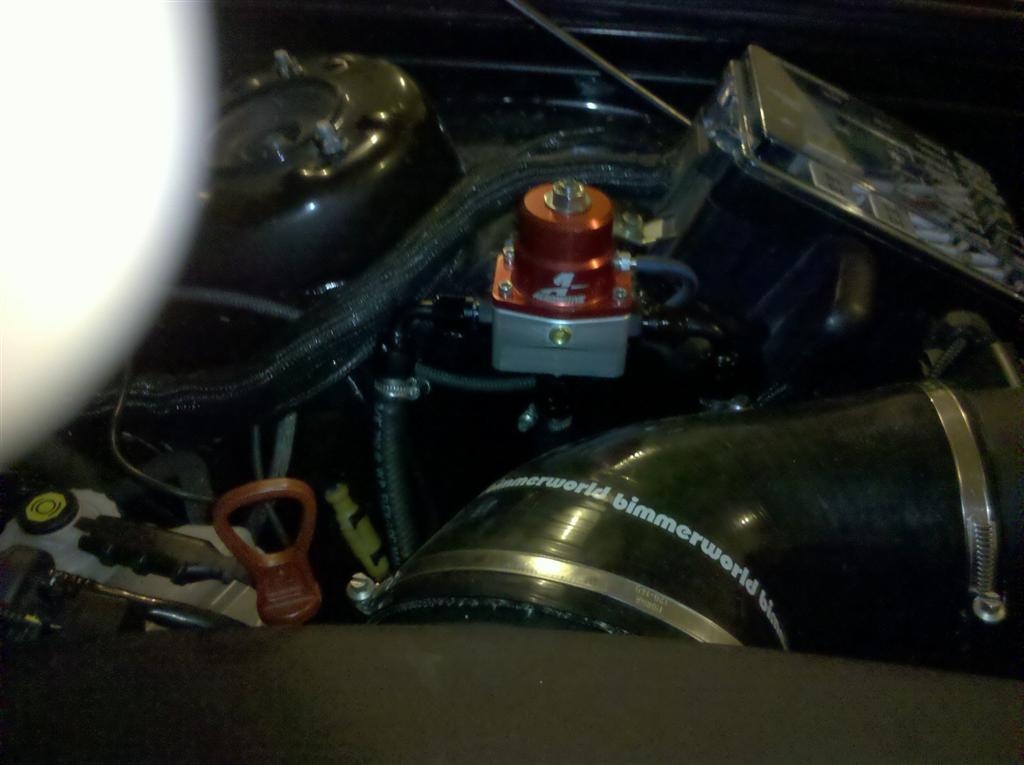
For the power steering reservoir, I couldn't find anything that would mount in the stock location as the intake and boot just took up to much space. I found a bracket off of a Range Rover in the JY that held a plastic ATE reservoir identical to those used on e30/36/46/etc. I mounted it to the fenderwell just below the intake boot.
Image

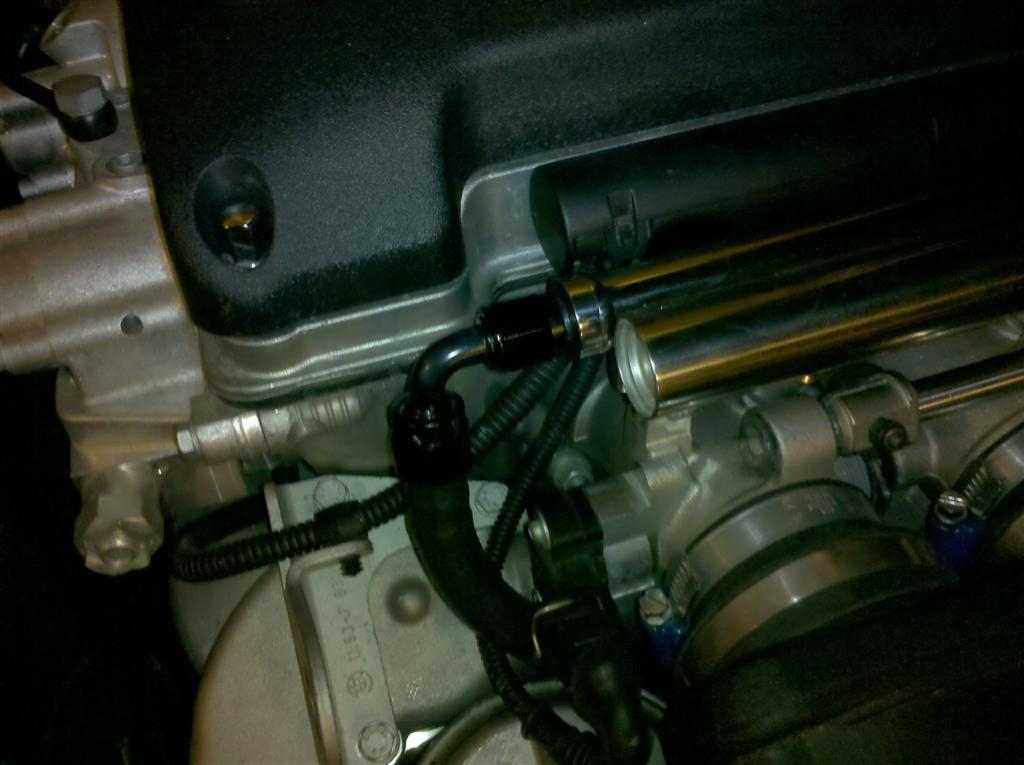
For the fuel system, I made a valiant effort to utilize the stock e46M3 pressure regulator/filter and fuel rail setup. Then just the regulator. Long story short, I just wasn't happy with how the fuel lines routed in relation to the steering shaft/box, starter, etc. I went with an aeromotive FPR mounted to the power steering res mounting tab. I then modified the fuel rail by welding shut the stock feed location and added an AN fitting to the front of the fuel rail. This is really my only deviation from stock BMW parts.,,,but I wanted to err on the side of safety. I may mount the FPR out of sight at some point but initially I needed to have it in a location to put a gauge on it to adjust fuel pressure.
Image

Image

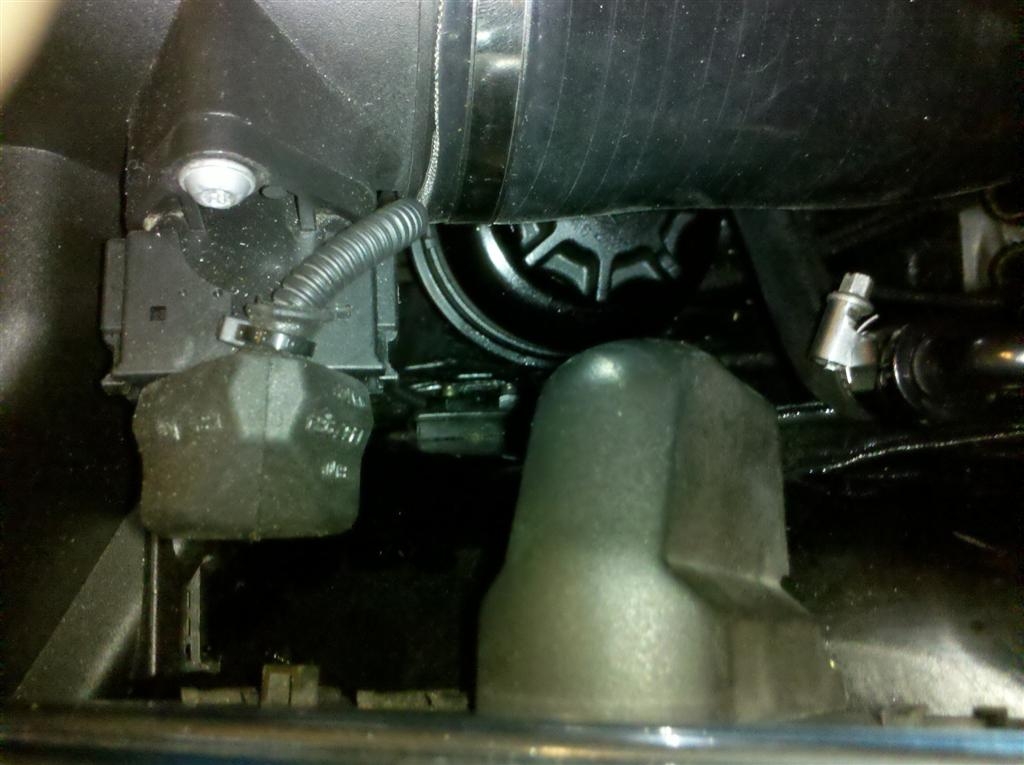
Airbox is from a Z3M. The last year of the Z3M came with an S54. The stock intake elbow angled the airbox to far outboard. I purchased and trimmed a silicone intake to make the angle more of a 90 degree to the engine/intake.
Image

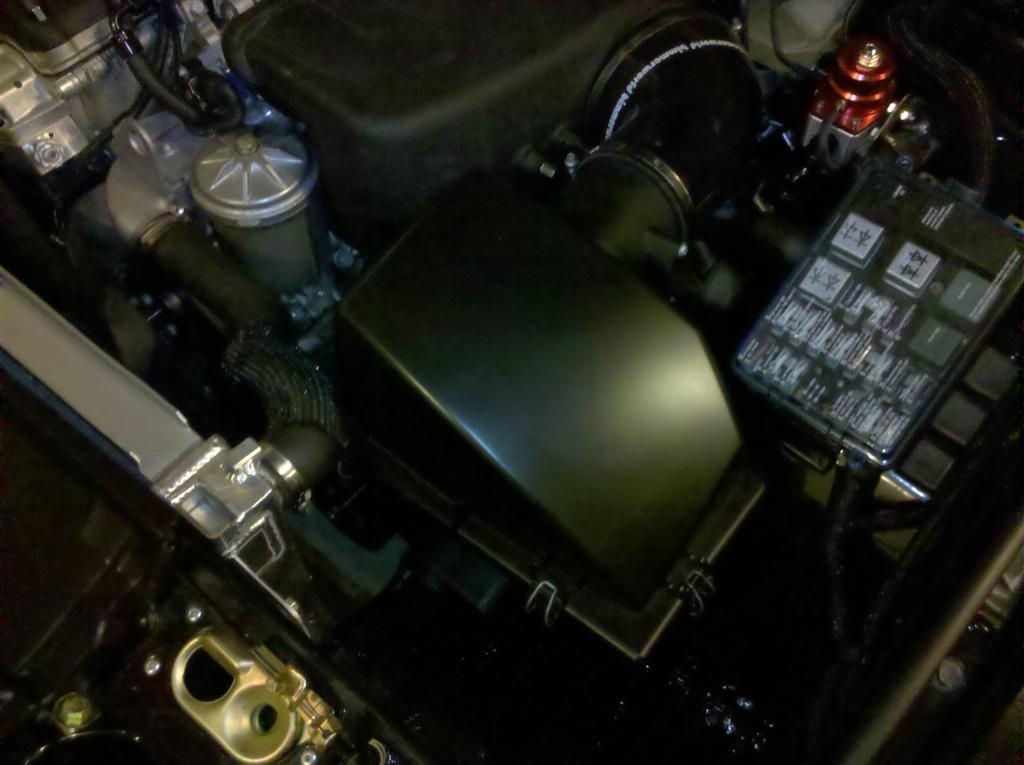
Finally, one problem that I had was routing the harness into the car utilizing the stock e46m3 harness. It just wouldn't stretch the distance to get the ECU to the pass side. Again Z3M harness saved the day...with a little trimming of the plastic case...like it was made for the car.


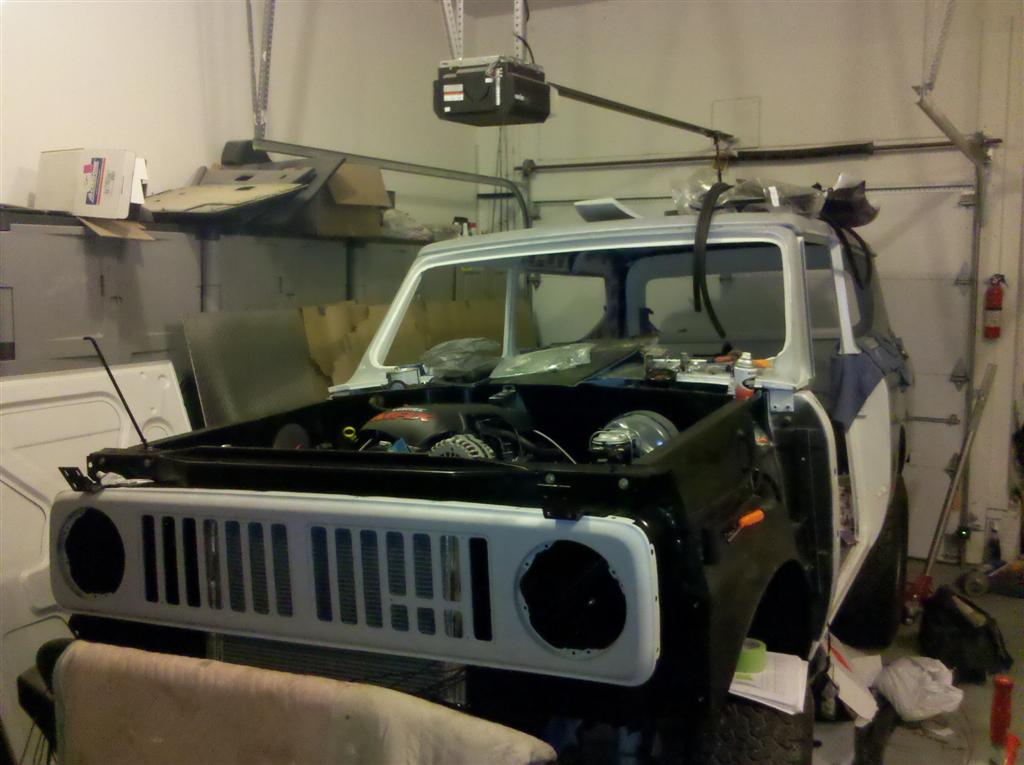
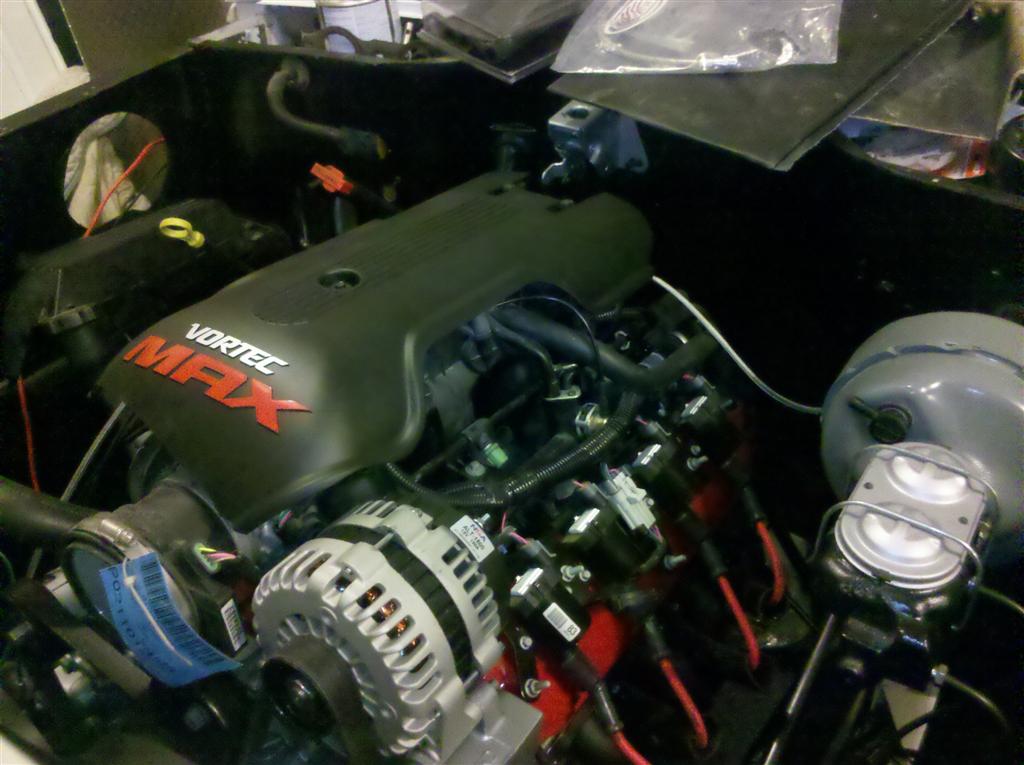
Moving on......my 76 IH Scout (aka the test bed for an e28 LS1 swap)
Image

Image
Last edited by Chuckne on Jan 10, 2012 8:56 PM, edited 24 times in total.
Das_Prachtstrasse
Posts: 5616
Joined: Sep 10, 2006 7:06 AM
Location: Melbourne, Doooown Under

Post by Das_Prachtstrasse »

oh yes.
rojacob
Posts: 1342
Joined: Aug 08, 2008 10:30 PM
Location: Baltimore ,MD

Post by rojacob »

Das_Prachtstraße wrote:oh yes.
Indeed :alright:
edlocke
Posts: 1335
Joined: Jul 06, 2006 3:36 PM
Location: Portland Or.
Contact:

Nice work

Post by edlocke »

Very few people do it right.....except you! Nice work? :alright:
Eta power
Posts: 1413
Joined: Mar 25, 2010 10:33 PM
Location: Vancouver, WA

Post by Eta power »

Wow.
Mark in Toronto
Posts: 2442
Joined: Feb 14, 2008 7:28 PM
Location: Toronto

Post by Mark in Toronto »

Looking forward to future updates!
dunnojack
Posts: 523
Joined: Mar 26, 2010 11:42 AM
Location: bay area

Post by dunnojack »

sweeeetttttt
clongo
Posts: 1050
Joined: Nov 21, 2009 10:58 PM
Location: Raleigh, NC

Post by clongo »

Cant wait to see it finished!
ealinn
Posts: 1082
Joined: Dec 01, 2008 7:39 AM
Location: New London, NH

Post by ealinn »

One of the best intro's ever! Looks great!
wkohler
Posts: 50928
Joined: Oct 05, 2006 11:04 PM
Location: Phönix, Arizona, USA
Contact:

Post by wkohler »

So, was your fuel tank really rusty outside? Didn't look like it. I wonder how the POR 15 will hold up. Looks like you're doing nice work!
Chuckne
Posts: 63
Joined: Apr 19, 2010 12:24 AM

Post by Chuckne »

Tank had a lot of surface rust, a little bit of rust around the seam and of course had 20 plus years of fuel varnish inside. I don't have any really good pics of the final product but after the POR-15, the tank was painted with POR Chassis Black, then (after a several month cure of the paint) the entire tank was coated with truck bed liner which should help with abrasion resistance to road debris, flying rocks and suicidal raccoons. You can kind of see the final surface in the attached pic. It should hold up well.

Image
alijonny
Posts: 5612
Joined: Apr 09, 2008 5:05 PM
Location: Chicago, IL

Post by alijonny »

keep us updated on the por-15, I did a few small pieces so far and have been happy with the results.
Chuckne
Posts: 63
Joined: Apr 19, 2010 12:24 AM

Post by Chuckne »

I've been using POR15 for the past 10 years....best kept secret there is for car restoration. Every car that I've restored has been coated with POR and has held up great. If it is exposed to UV you have to cover it as there is not any UV protection in the POR. Generally, I use POR Chassis Black paint to cover the POR 15 which offers the UV protection that is needed and is fully compatible . On my current car (and every car I've done), I stripped all of the interior sound insulation/tar and coated with POR15...it flows into all the creases and folds that you cant get to or see and just provides that extra piece of mind that if there is rust staring in some unseen place it is at least covered with something that will treat it. On the exterior, I use a shutzs gun and wand to shoot POR down the frame rails, in the rockers, etc....every car I build I plan on keeping forever...maybe the e28 will be THE ONE that I actually do.
alijonny
Posts: 5612
Joined: Apr 09, 2008 5:05 PM
Location: Chicago, IL

Post by alijonny »

I have also heard great things about it, but have never seen something that has had por-15 on it that is 20 years old and has dealt with the elements. Also, I would like to see how well it holds up when painted over a painted surface. does it chip off, or does it all depend on how it was applied?
BDK
Posts: 5291
Joined: Feb 12, 2006 12:00 PM

Post by BDK »

POR-15 :up: :up:

I have been using it for years too...
Have a can in the garage now,
I'm going to try their caliper paint on my e46 soon....

POR-15 is good stuff, I will post pics when done...
shagrath
Posts: 14980
Joined: Jun 15, 2009 12:21 PM
Location: pLace

Post by shagrath »

POR 15 is going to be used to restore the wife's eta. Why am I saving an eta? I dunno. It's true e28 love I guess! <3
Adam W in MN
Posts: 5054
Joined: Feb 12, 2006 12:00 PM
Location: Don't waste my motherf***in' time!
Contact:

Post by Adam W in MN »

I used the same POR-15 treatment on my E12's gas tank, inside, and outside. There are pics of the process on my website.
slammin_e28
Posts: 6135
Joined: Aug 05, 2007 4:57 PM
Location: 24477

Post by slammin_e28 »

shagrath wrote:POR 15 is going to be used to restore the wife's eta. Why am I saving an eta? I dunno. It's true e28 love I guess! <3
You need an e28 tattoo then....saving an eta....that's hardcore!

Awesome M5! Definitaly keeping close tabs on this thread!
tsmall07
Beamter
Beamter
Posts: 12775
Joined: May 22, 2006 4:32 PM
Location: Springfield, vA

Post by tsmall07 »

POR-15 is great, but you have to be careful when applying. It doesn't stick to cean, smooth metal. The metal needs to be roughed up with a wire wheel. It's supposed to stick really well to rusted metal, but I always clean up the metal with a wire wheel before application.
shagrath
Posts: 14980
Joined: Jun 15, 2009 12:21 PM
Location: pLace

Post by shagrath »

slammin_e28 wrote:
shagrath wrote:POR 15 is going to be used to restore the wife's eta. Why am I saving an eta? I dunno. It's true e28 love I guess! <3
You need an e28 tattoo then....saving an eta....that's hardcore!

Awesome M5! Definitaly keeping close tabs on this thread!
Especially one with over 450k on it with an e12 based rear axle. :D
WilNJ
Posts: 4193
Joined: Aug 12, 2009 11:22 AM
Location: North Jersey

Re: My M5 Build...Sneak Peak

Post by WilNJ »

Chuckne wrote:Up Next...Suspension
Image
Tell us more about your set up.
bunty
Posts: 1250
Joined: May 26, 2009 11:06 PM
Location: CA

Post by bunty »

we should start getting those fav or like buttons.
EuroShark
Posts: 1495
Joined: Feb 12, 2006 12:00 PM
Location: Colorado

Post by EuroShark »

Awesome work! Exactly like what I'm doing to my 6.

Do you brush or spray the POR-15? Is that what's on the suspension pieces?
Coldswede
Posts: 6859
Joined: Oct 10, 2008 1:48 PM
Location: Back U.P. North,. Where the water's blue, the wind is free and seasons four.

Post by Coldswede »

Having, just last Spring, cleaned and updated the chassis on my car (There are some pictures around here someplace). I thoroughly appreciate all the work you have into what the pictures show. :up: Looks great!
rcbmw
Posts: 846
Joined: Feb 12, 2006 12:00 PM

Post by rcbmw »

I am very happy to see another M5 so well cared for. I hope that you continue to add share your progress and please, add this car to www.bmwmregistry.com

Best,
RCBMW
M. Holtmeier
Posts: 3036
Joined: Mar 11, 2007 3:06 AM
Location: Josephine, Texas

Post by M. Holtmeier »

That's looking real nice, Chuck! I can't wait to see this finished.
Chuckne
Posts: 63
Joined: Apr 19, 2010 12:24 AM

Post by Chuckne »

Updated
Nebraska_e28
Beamter
Beamter
Posts: 9073
Joined: Apr 13, 2006 11:18 PM
Location: Council Bluffs, IA
Contact:

Post by Nebraska_e28 »

Looking good! Did you do e30, e21, or e24 sport seats?
Chuckne
Posts: 63
Joined: Apr 19, 2010 12:24 AM

Post by Chuckne »

Seats are e23 out of an1984 735i....direct plug and play. (See http://www.mye28.com/viewtopic.php?t=78 ... port+seats ).

My original front seats now live in Fargo with Matt.
1st 5er
Posts: 21881
Joined: Jun 13, 2008 12:15 AM
Location: Cypress
Contact:

Post by 1st 5er »

Oh wow!!!

Awaiting more pics...
Post Reply