January is National Leather Redye Month
January is National Leather Redye Month
And as it is NLRM, (and it is because I cannot drive in January on my Wisconsin Collector plates!) I would like to revisit redying your leather with a question: I see here that many are in the Leatherique camp, and still more, it seems, are in the Artisan camp. One difference I have noticed, and have been confused by, is the leather conditioner that comes after stripping the old dye with the Leatherique process that seems to be omitted in the Artisan process. Is this the case? Is this needed (and I assume some kind of rejuvenation is necessary) for a soft supple result? Is there a generic type of oil that will feed leather (neap oil or some such) that will stand in for the Leatherique 'rejuvenating' oil? I am ready to go, and I have read all of the testimonials and have decided to go with the Artisan's more vivid blue (please hold the vomiting emoticon!) but I need just this bit of advice.
I have decided to post pictures of this process, not because I am any kind of expert (as if!) but because there aren't to my knowledge any step by step documented jobs on the net. I would have really appreciated more than the before and after variety (though, they did talk me into doing the job) as I have felt that each step was like the first time any of this had ever been done.
I have decided to post pictures of this process, not because I am any kind of expert (as if!) but because there aren't to my knowledge any step by step documented jobs on the net. I would have really appreciated more than the before and after variety (though, they did talk me into doing the job) as I have felt that each step was like the first time any of this had ever been done.
Last edited by benfidar on Jan 05, 2011 8:13 PM, edited 2 times in total.
There's no reason why you can't use the Leatherique rejuvenating oil and the use the artisan's dye, which I've found to be better than the leatherique dye. You should also consider Surflex brand colorant, at www.carcareonline.com. FWIW, I liked the Surflex brand of crack filler better than the Artisan supplied stuff, as the dye colored it better (the color of the crack filler didn't bleed through). Surflex has an excellent rejuvenator oil too.
Leatherique dye is the best quality I've seen when used properly. You really have to follow the directions to the absolute letter. A common mistake the guy (owner of Leaterique) mentioned when performing a demo @ 5er Fest was that people shake the bottle of dye instead of rolling it around. I don't know why that makes a difference, but apparently, it does.
-
athayer187
- Posts: 1623
- Joined: May 10, 2006 11:27 AM
- Location: Cheshire, CT
January is National Leather Redye Month: redye has begun!
The step by steps are all over the map.
My question is: How much work did you put into removing the old dye?
Opinions seem to vary vastly. Some say, don't even start unless you intend to remove it all, still others say 30 minutes with a scotchbright is more than enough.
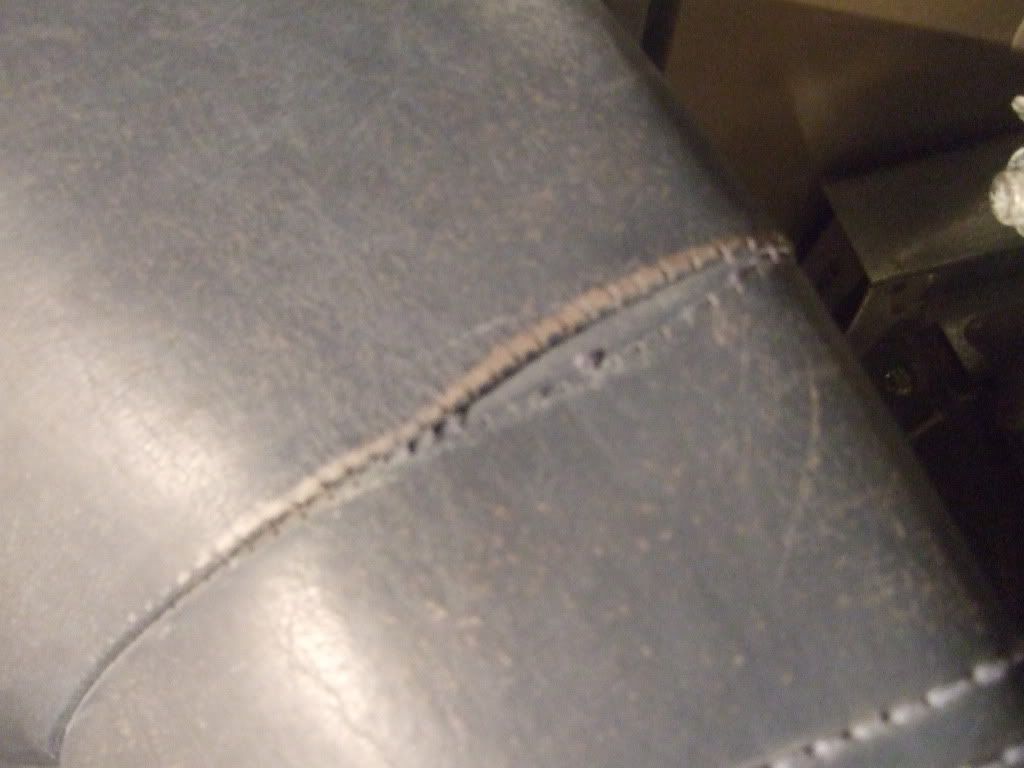
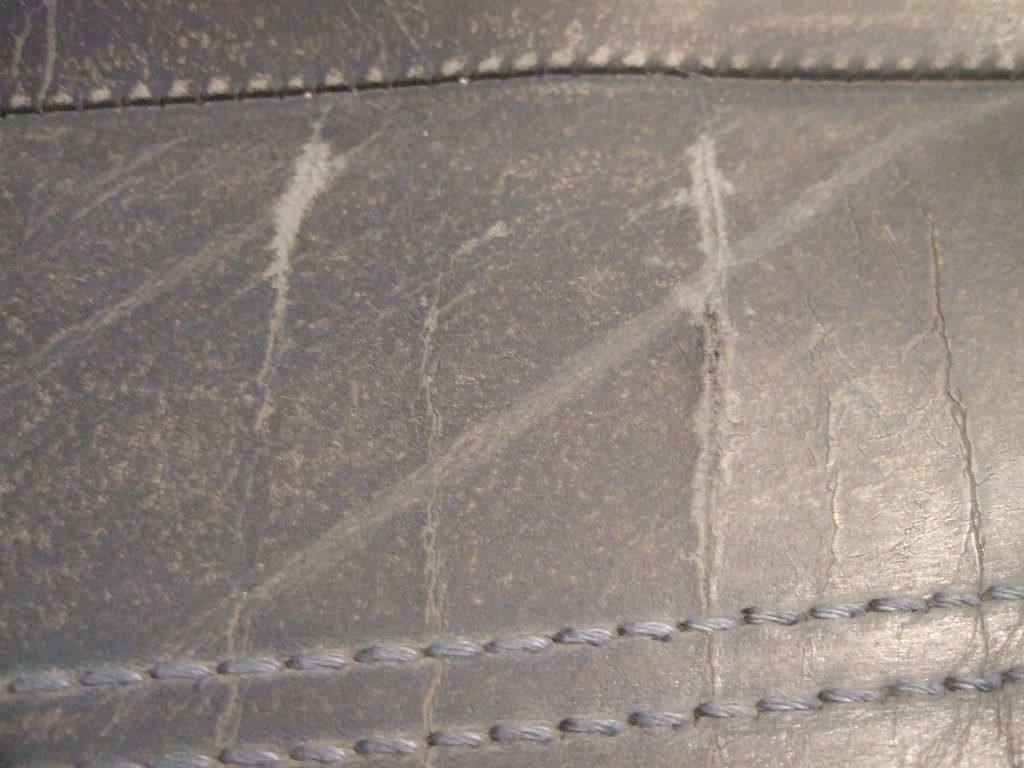
I can see that there are some pinholes and minor scratches. I will have to assess if they are serious enough to warrant filler.
If anyone thinks that I am doing something catastrophically stupid, please post it for all to see!!! I have done many projects but this is an absolute first for me.
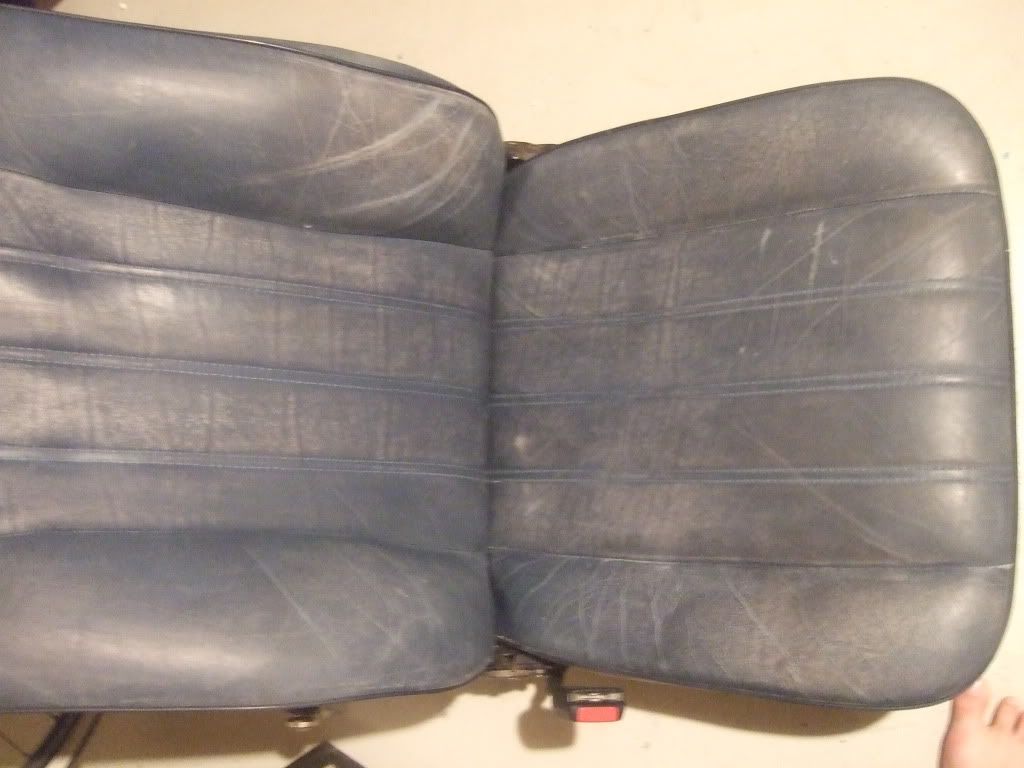
I tried to take these pictures without flash. One and two are without, three is with.
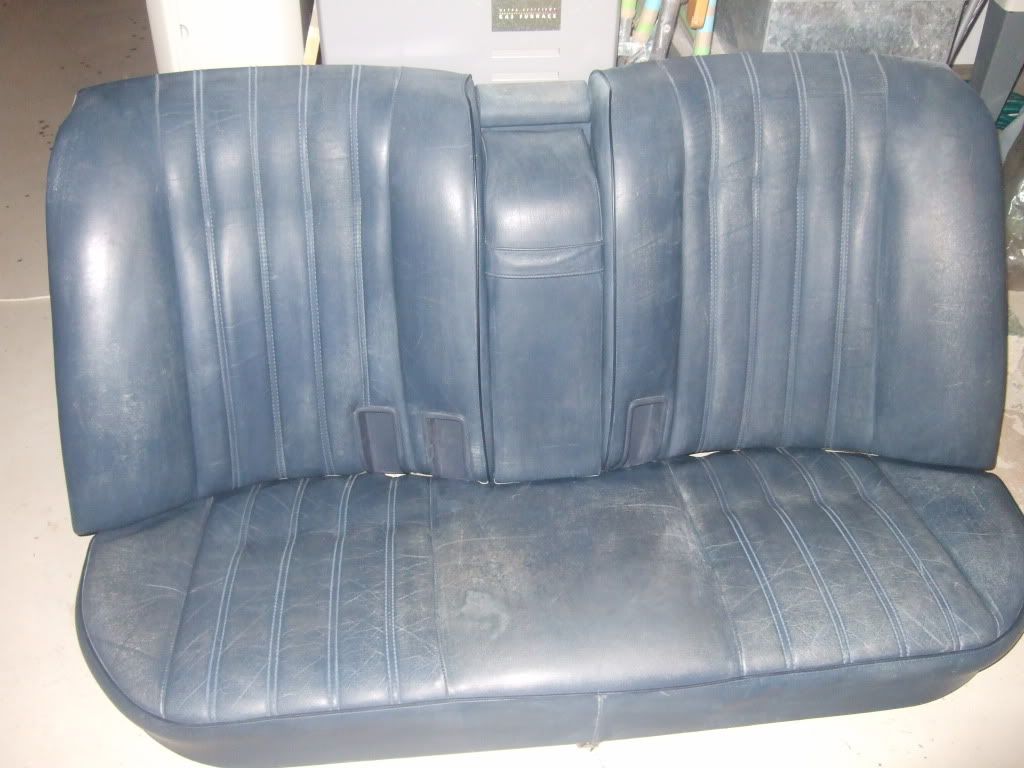
Here is what the rear lower looks like after sanding and wiping down with lacquer thinner:
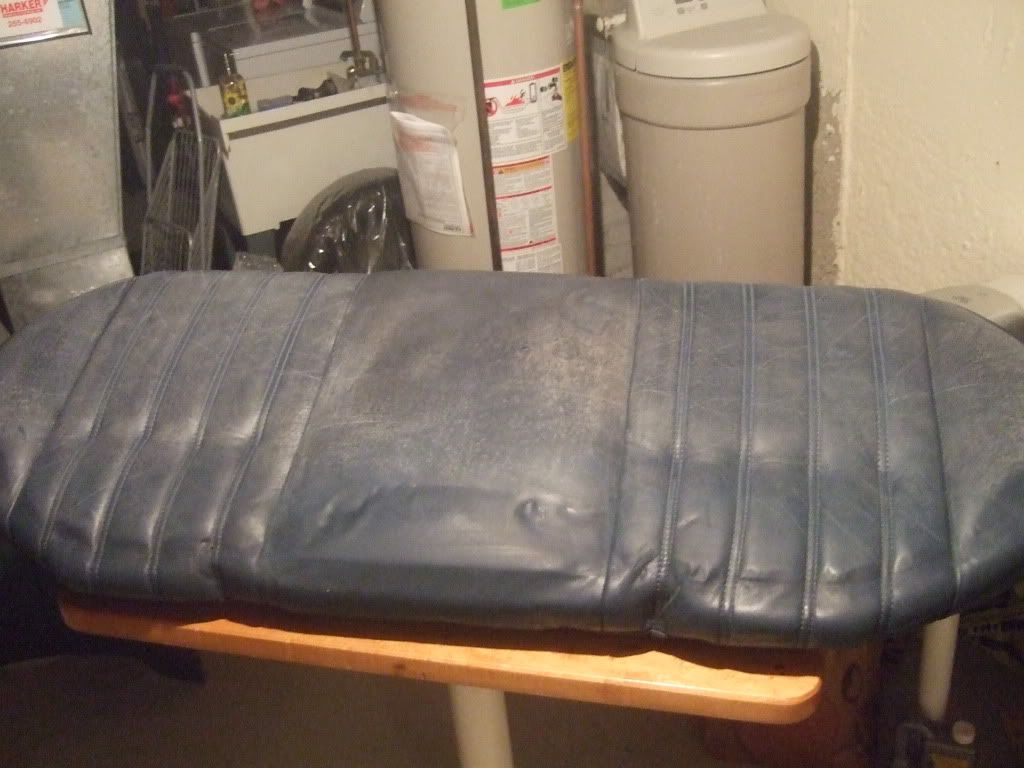
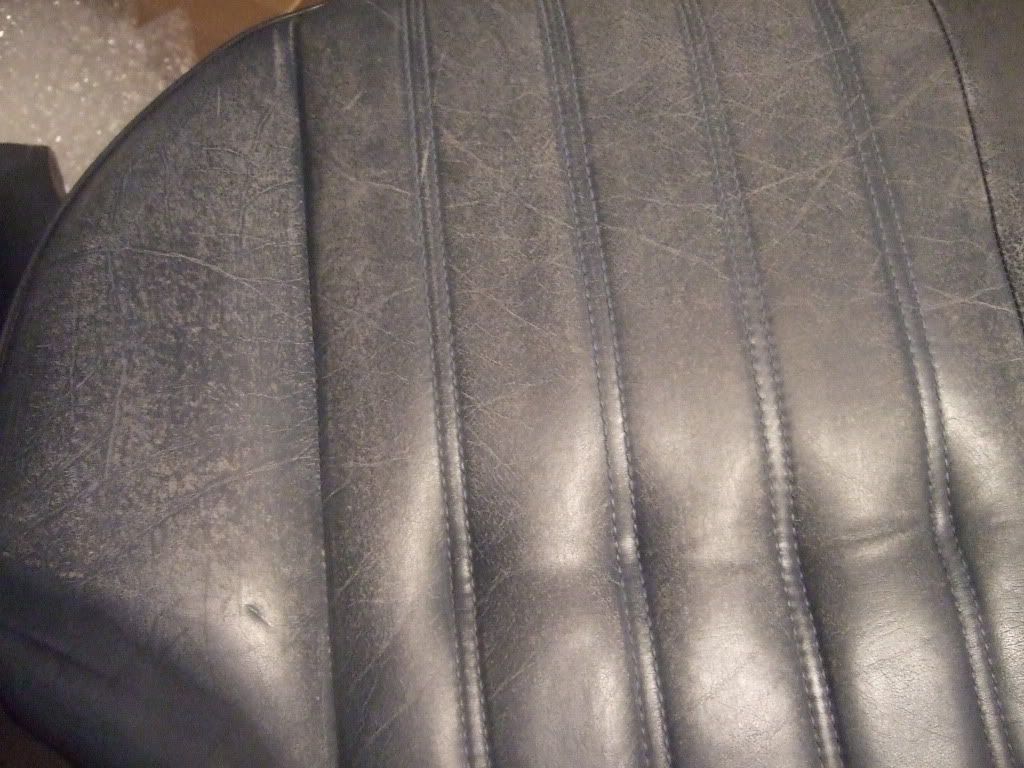
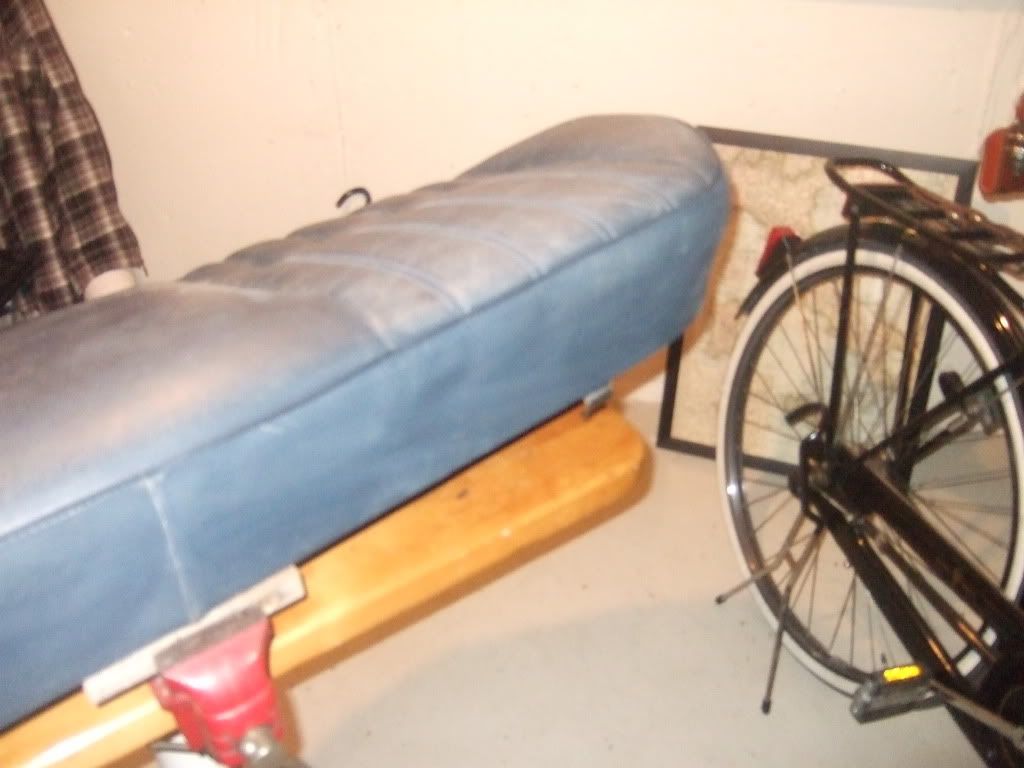
Here is the pair, upper and lower. The flash picture gives more detail, the non flash one more accurate color.
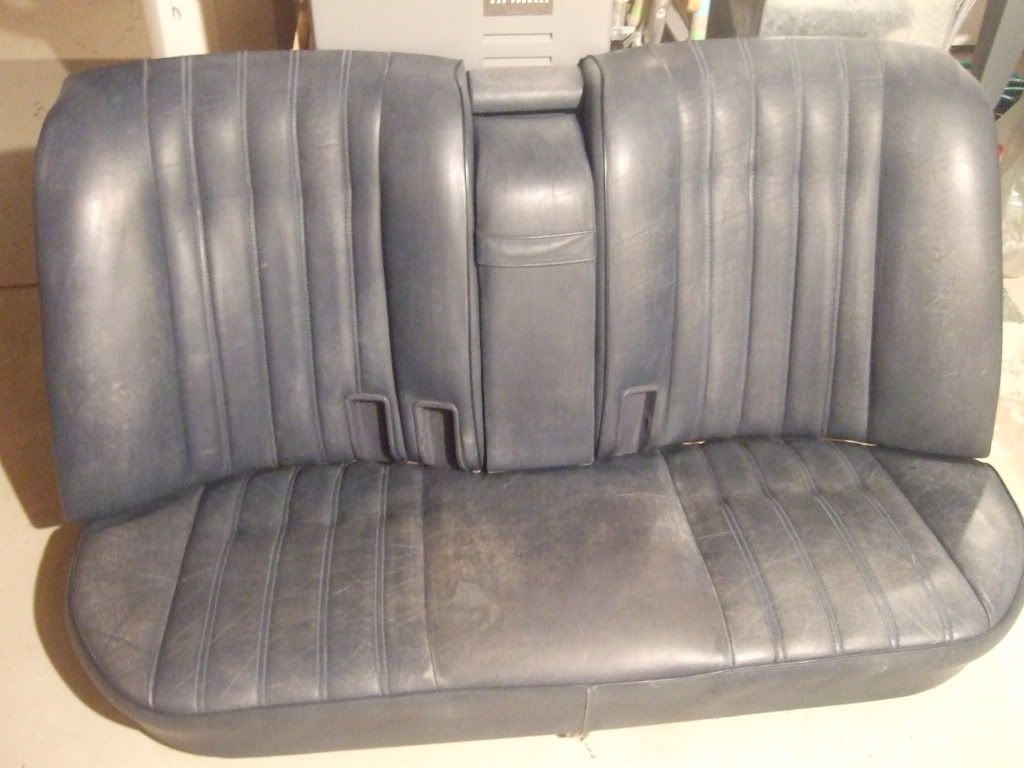
and now the bananaman, because my 6 year old likes him.
My question is: How much work did you put into removing the old dye?
Opinions seem to vary vastly. Some say, don't even start unless you intend to remove it all, still others say 30 minutes with a scotchbright is more than enough.
I can see that there are some pinholes and minor scratches. I will have to assess if they are serious enough to warrant filler.
If anyone thinks that I am doing something catastrophically stupid, please post it for all to see!!! I have done many projects but this is an absolute first for me.
I tried to take these pictures without flash. One and two are without, three is with.
Here is what the rear lower looks like after sanding and wiping down with lacquer thinner:


Here is the pair, upper and lower. The flash picture gives more detail, the non flash one more accurate color.


and now the bananaman, because my 6 year old likes him.
Last edited by benfidar on Jan 05, 2011 2:05 PM, edited 1 time in total.
-
John in VA
- Posts: 5299
- Joined: Feb 12, 2006 12:00 PM
- Location: Leesburg, VA
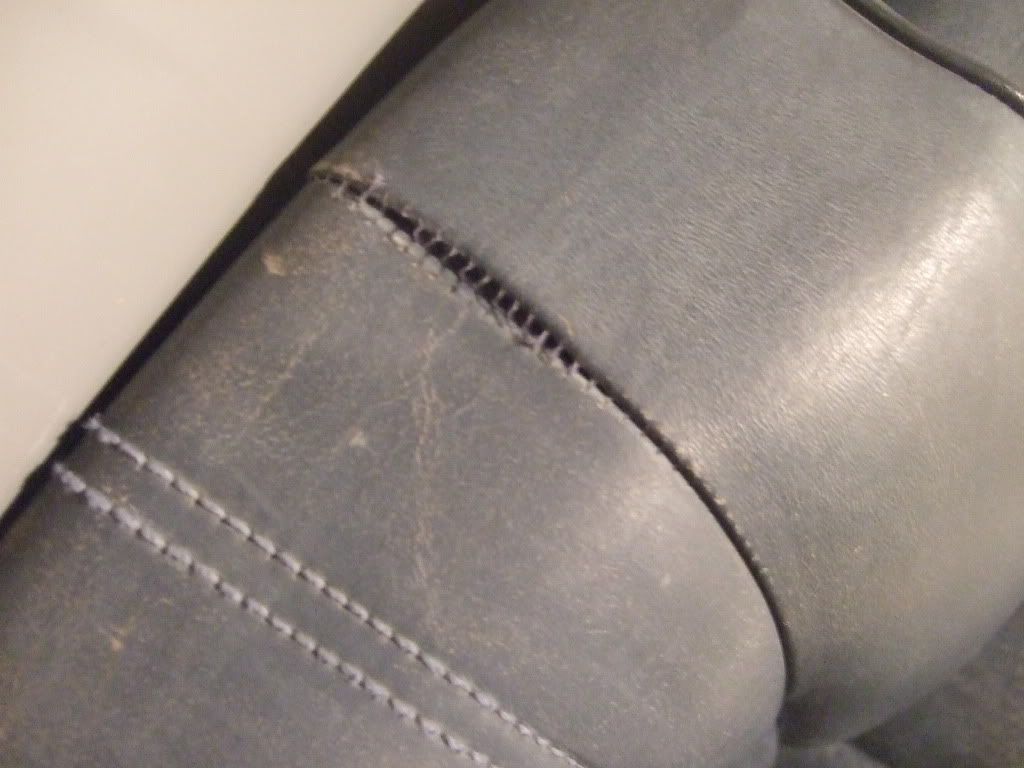
Take them to an upholsterer to get a passable repair. If the leather is dry rotted it will be difficult to pull the seam tight using the same holes, but a pro will hopefully be able to do a better job than an amateur!benfidar wrote:I really do not want to dismantle the seats. Glue under the seam? Take them to an upholsterer?
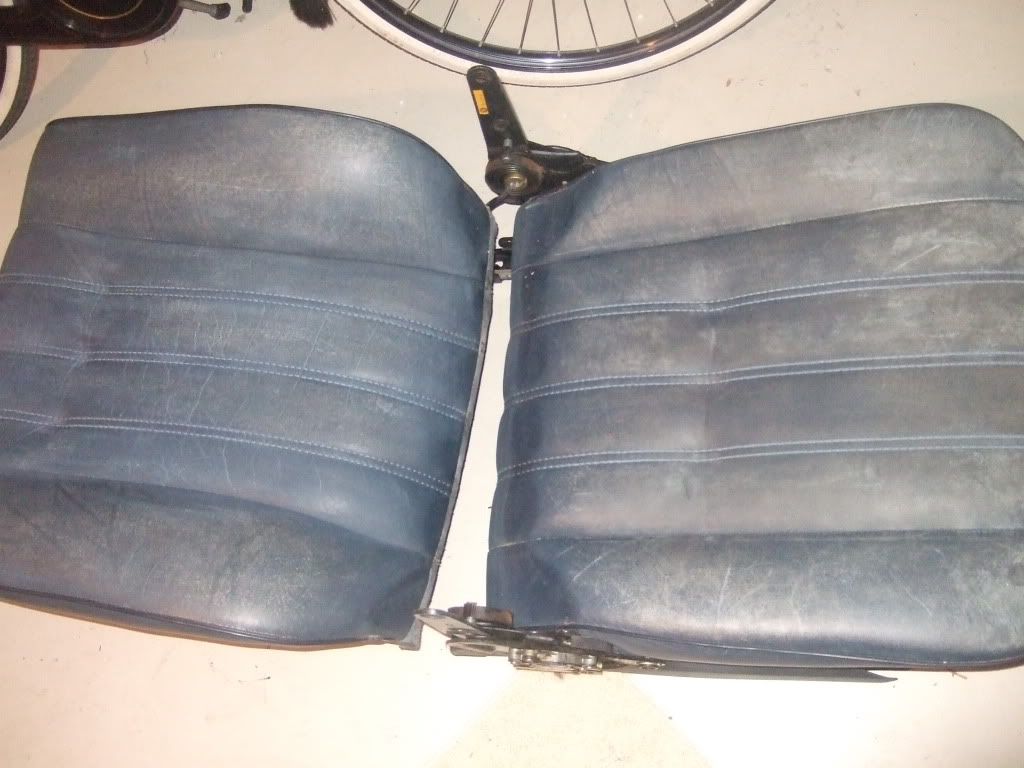
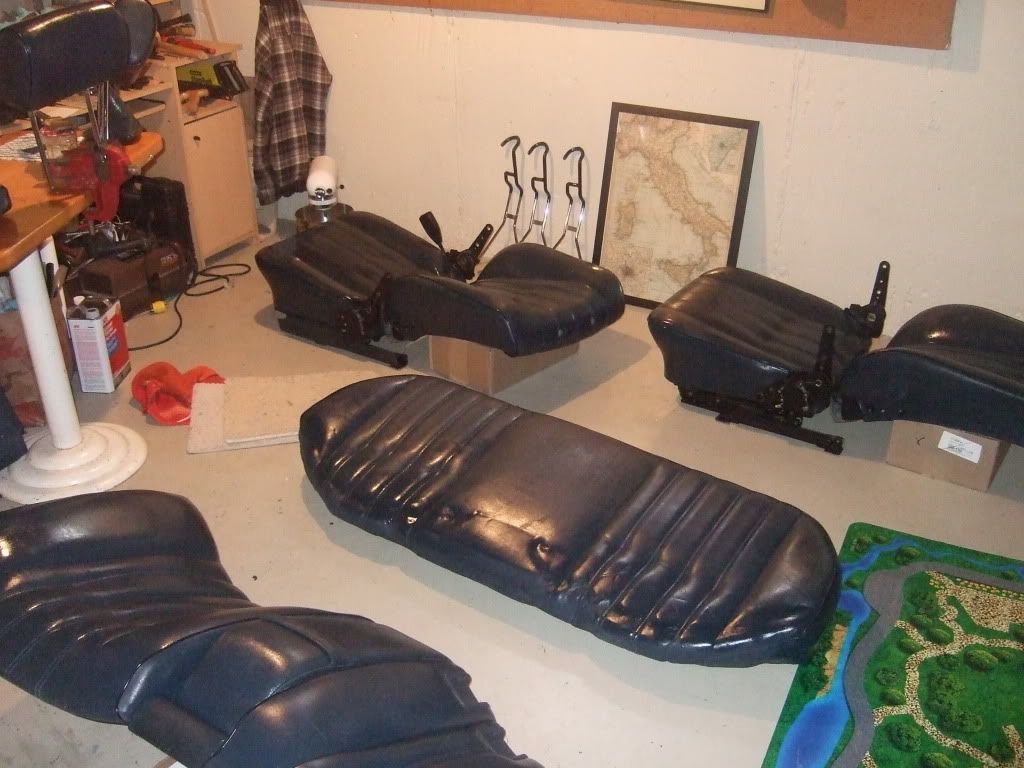
Sanding and a first cleaning with lacquer thinner are done. I have to say that I did return the mineral spirits to the hardware store and bought the lacquer thinner, though I would be hard pressed to locate any real difference in their performance. Spit, on the other hand, had a very real difference: in places where the dye was completely dried it was very hard to sand and make any change at all. I spit on it and made very LIGHT circular motions with my wet dry sandpaper keeping it going until it was almost dry, and the dye rolled up like pencil eraser bits and fluffed right off. Thinking that it was a bit disgusting, I decided to try a bit of tap water instead. It did not have any effect at all! I shrugged and spit away. The underlying grain is uneffected, and I have to say that to the touch, it is incredible the difference the sanding has made. Even before the Leatherique Rejuvenating Oil, which is the next step in Ricardo's Leather Restore, the leather seems softer and smooter and healthier by orders of magnitude. It may not look pretty, but I think that it is going well.
Without flash
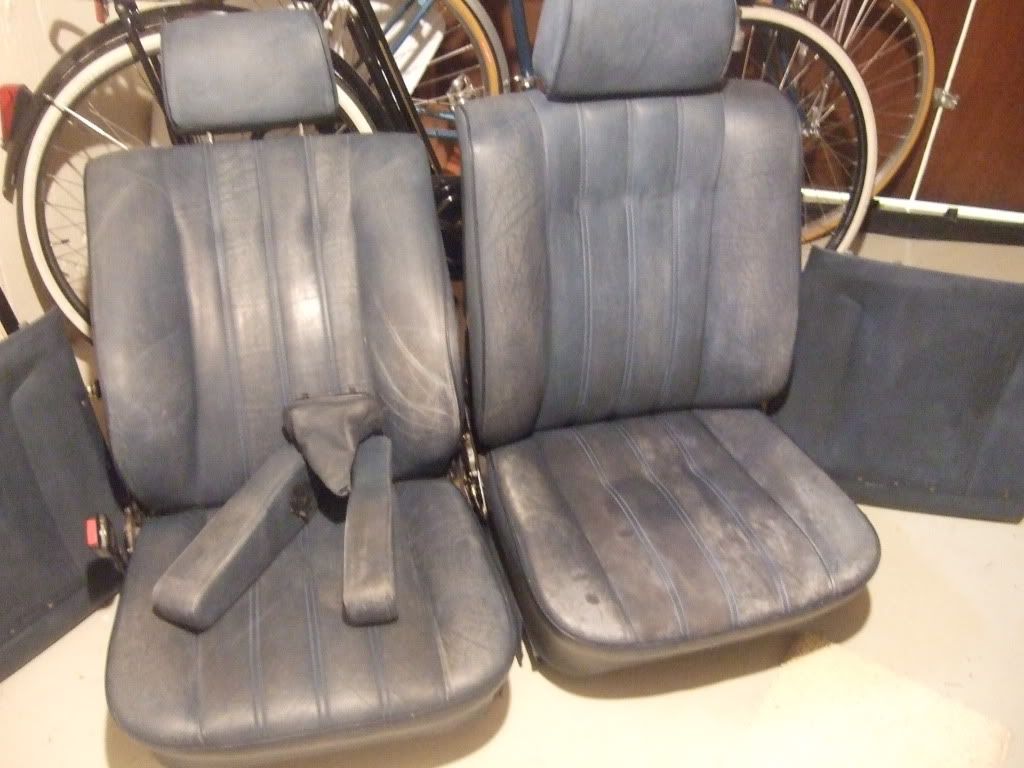
With
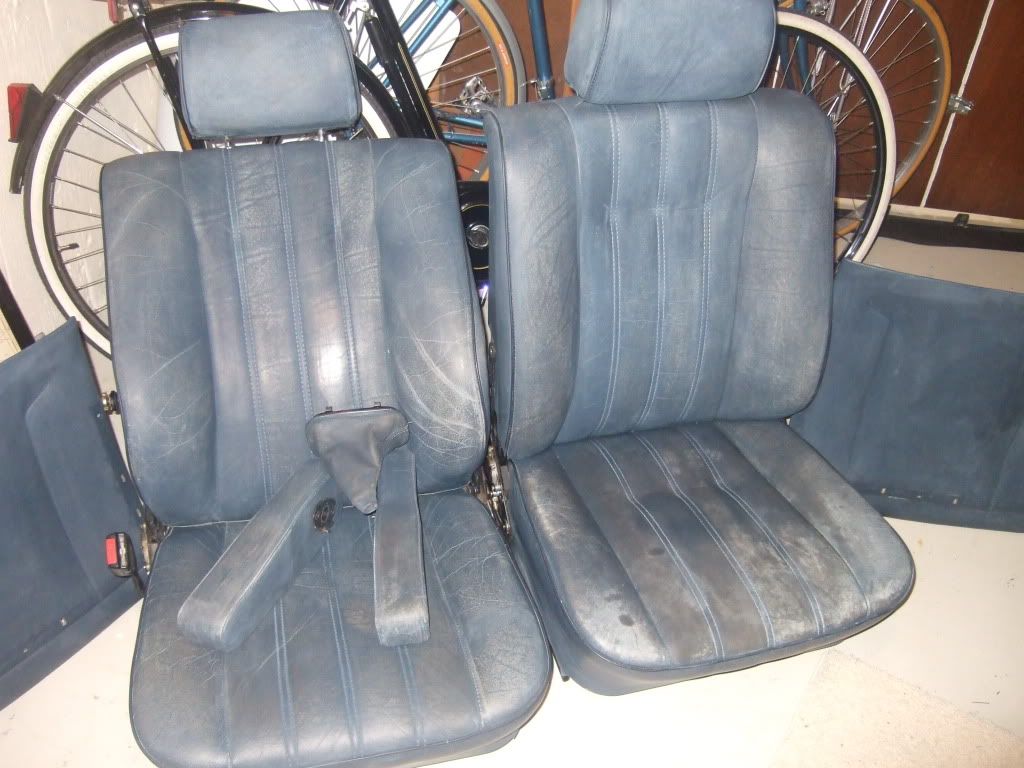
Without flash

With

I was afraid, but El Guappo showed me the way! 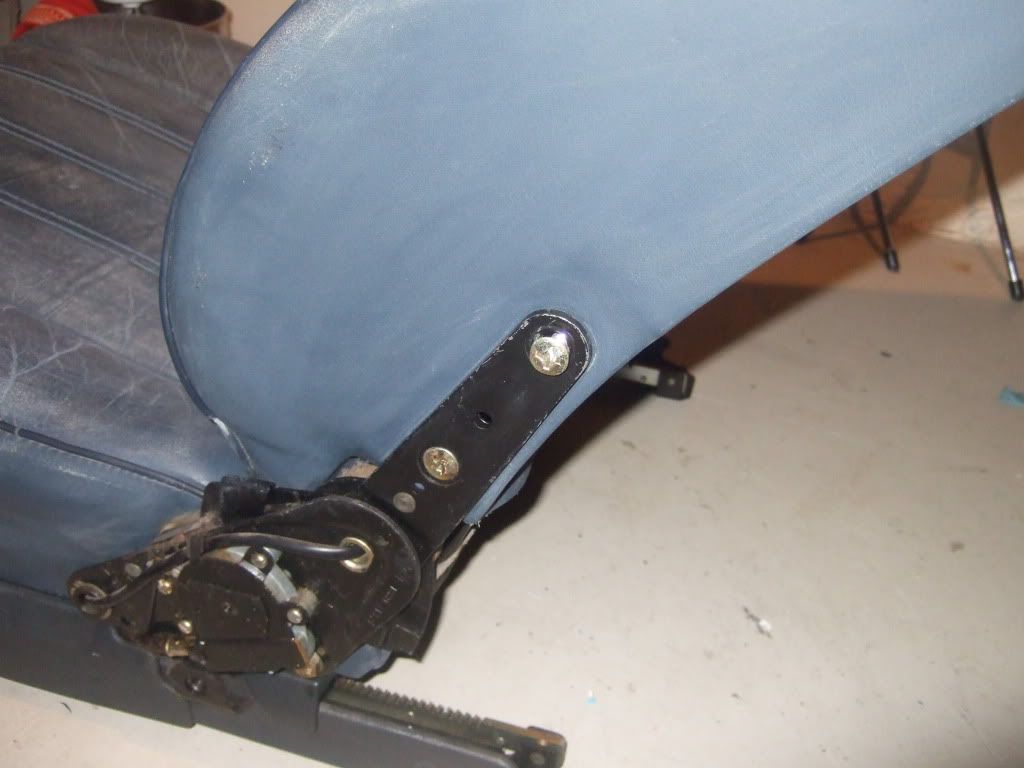
One of those big ass phillips would not move. Enter...The God of Hand Tools!!!
 I have been lugging this thing around for 20 years and I never used it once. The bit fit perfectly into the screw like a prince into his virgin bride.
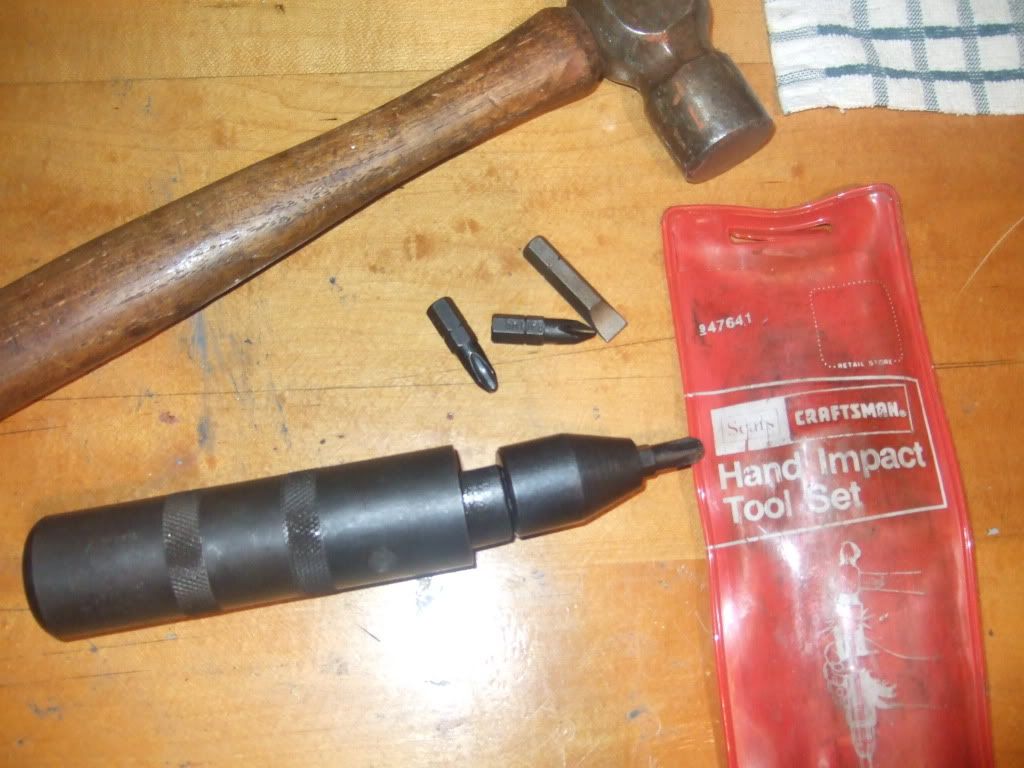
BOHOHAHAHAHAHAHA!!!!!
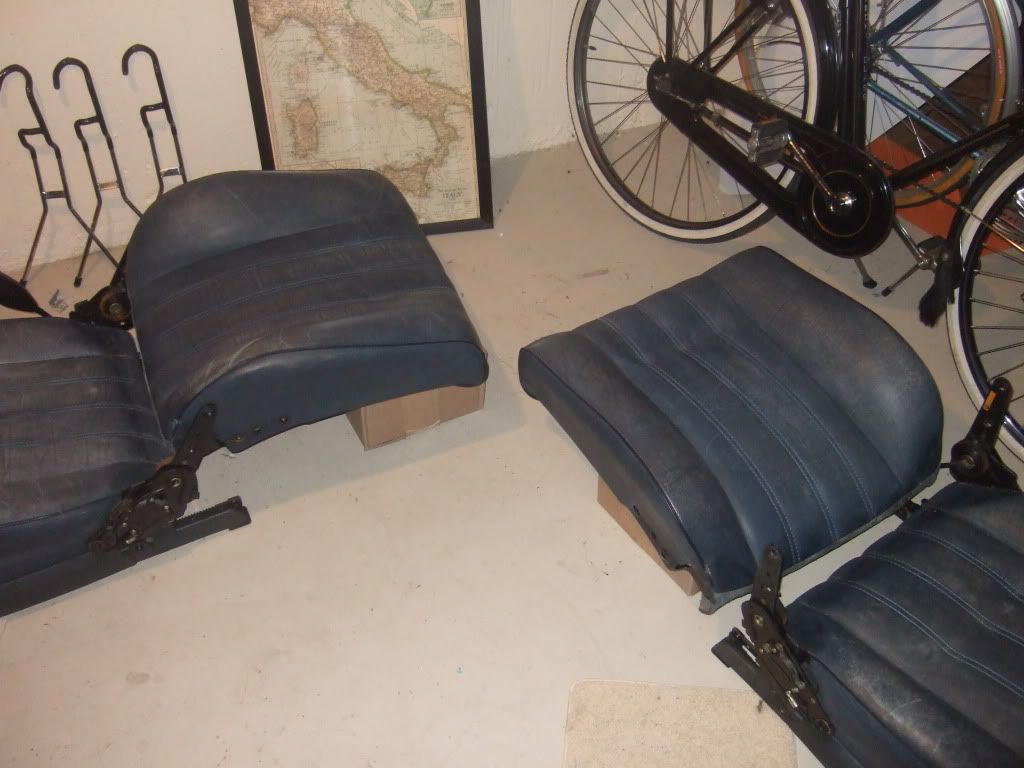
ElGuappo wrote:You can remove the back, under the side trim there are 4 big ass phillips head screws.

One of those big ass phillips would not move. Enter...The God of Hand Tools!!!

BOHOHAHAHAHAHAHA!!!!!


Last edited by benfidar on Jan 07, 2011 12:59 PM, edited 1 time in total.
-
JoshInAtlanta
- Posts: 4434
- Joined: Apr 22, 2006 11:35 PM
- Location: Holly Springs, GA
After talking with you earlier, then talking with Kevin this afternoon, I am 99% sure I used the vinyl dye, which is why I got that wild blue. Apparently, they have a different shade of Pacific Blue for vinyl and leather, which is something we did not know at the time.
I think your results will be a bit more traditional with the leather dye.
I think your results will be a bit more traditional with the leather dye.
I just got off the phone with Kevin and he told me that his dye guy said exactly that. I wonder why the vinyl dye is more bright. Was the economy interior a brighter different blue, or did the material require a brighter dye to result in the same pacific blue? I am waiting for an invoice to order up. The price is $85 for 32oz of dye (grandma what big jugs you have--all the better to do repairs with my dear...) and a bottle of his adhesive additive that you mix in. I will keep you all posted in pictures.
The Leatherique Rejuvenating Oil came today  So, after letting the lacquer thinner (and the spit) dry for two days it is time to feed the leather (which sound vaguely obscene.)
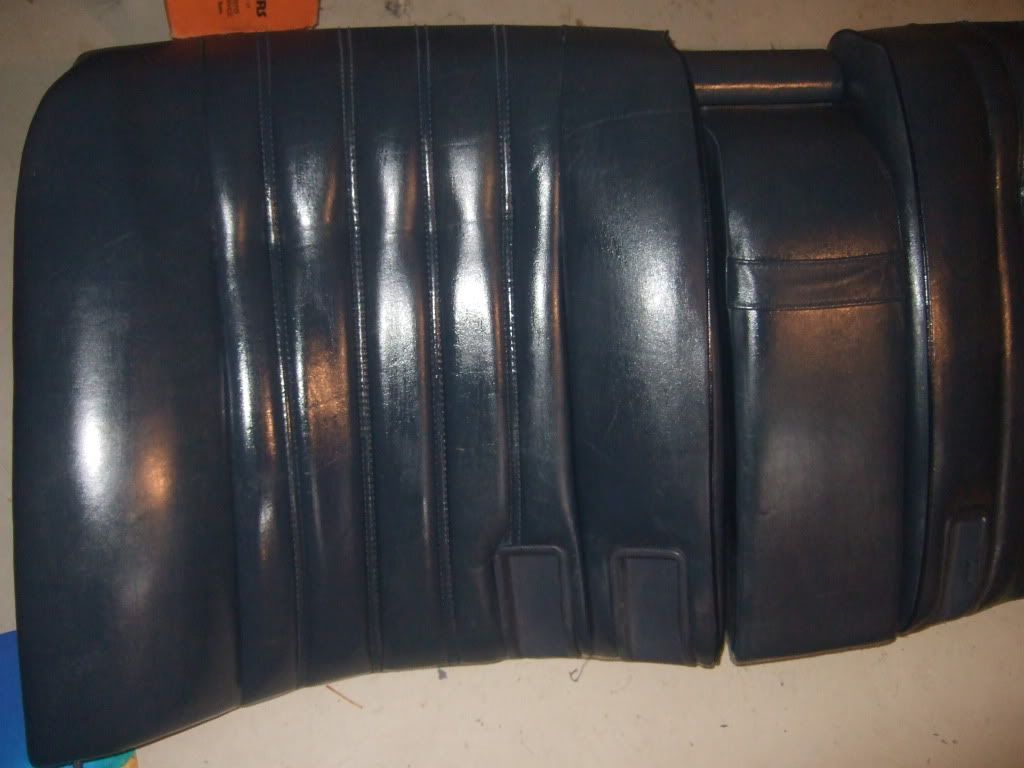
It soaks in making a deep dark color in the leather.
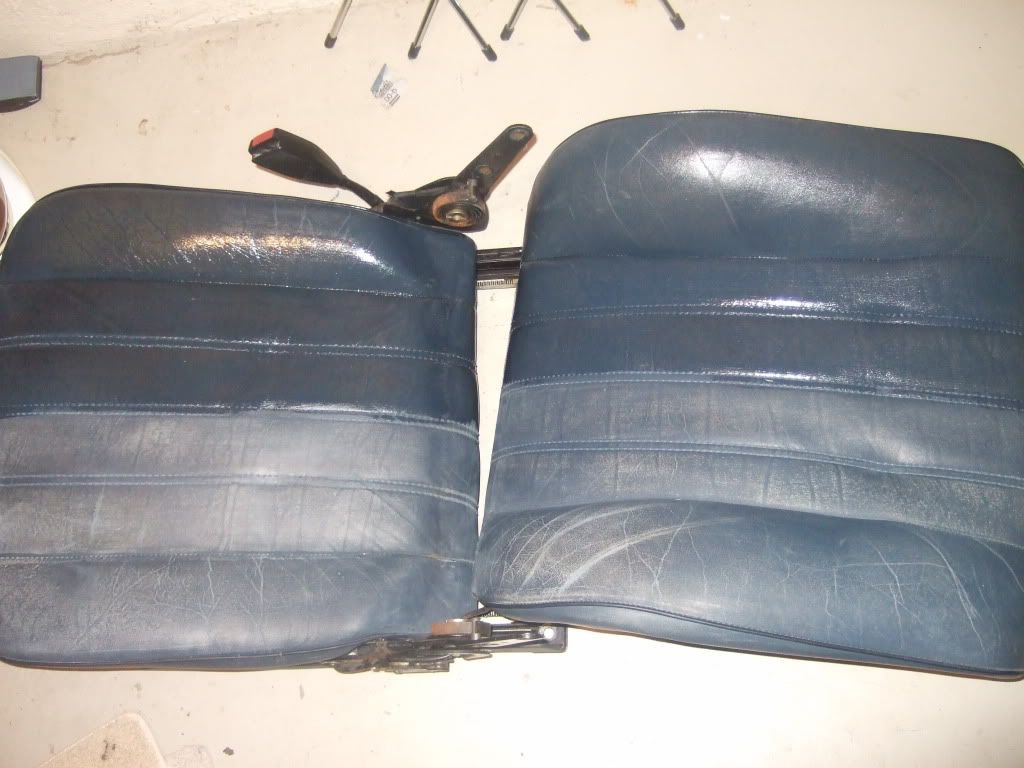
One third of the 16oz bottle was spread out over the whole surface of the leather using a high quality synthetic brush--that is--using the only brush I had in the house.
About two hours later I went back over the seats with more oil. I am down to about half of the 16oz bottle left.
It soaks in making a deep dark color in the leather.

One third of the 16oz bottle was spread out over the whole surface of the leather using a high quality synthetic brush--that is--using the only brush I had in the house.


About two hours later I went back over the seats with more oil. I am down to about half of the 16oz bottle left.
The Rejuvenating Oil really soaked in. I intend to push all 16oz into the leather and let it soak in for two or three days. I have read of people doing this step in summer and keeping their cars in the sun so that the R O bakes in. I don't know if this is really necessary. My basement workshop here in Wisconsin is no 100º oven to be sure. I can see brushmarks on the surface of the leather that I can smear with my finger. If there continues to be a lot of residue on the surface I will be faced with a choice. Save some of the RO for later, or, try to heat up the surface of the leather with a hair dryer. Since my wife is in L.A. this weekend, I could put the seats in the living room and crank the heat up to 80º  Reminds me of the time when I was persona non grata at Christmas in California at the in-laws: I put the Vespa in the kitchen and did a weeks worth of work on the bike in 75º splendor...I'll bribe the kids with candy.
Those brushmarks are exactly why I will NOT brush dye on, instead using more of a French polish technique with a wadded rag and you rub it in with a circular motion- this is a furniture finishing techique but has been used with dye with good success.
Colin I still have the blue dye for ya when you are ready.
We can still do the quantity order of Leatherique oil/cleaner in gallons and split it up, but their shipping is brutal.
Colin I still have the blue dye for ya when you are ready.
We can still do the quantity order of Leatherique oil/cleaner in gallons and split it up, but their shipping is brutal.
El Guappo, I agree wholeheartedly. I am going to take your advice to use the French rub technique (in several coats) followed by air brushing.ElGuappo wrote:Those brushmarks are exactly why I will NOT brush dye on, instead using more of a French polish technique with a wadded rag and you rub it in with a circular motion- this is a furniture finishing techique but has been used with dye with good success.
Though, this brings up a question: How much rejuvenating oil can be squeezed into the seats? They sucked up 8oz of the stuff but now have a thick residue over the whole surface. My intent now is to leave the oil on for the next 24 hours. Then I will clean the surfaces with clean cloths and lacquer thinner.
Update: I found this quote by a detailer who uses a lot of R.O.: During this time it conditions the surface and brings all of the dirt, grime, salt, and other toxins to the top leaving a sticky or tacky finish before it’s removed. I prefer to let it sit for about a 24 hour period. If it’s cooler outside, you’ll need to leave it on longer. This is exactly what I have so I am feeling good about what I am seeing.
Also: After you've let the product sit on the leather for as long as possible, the surface should be somewhat tacky to the touch. To remove the mess of the Rejuvenator Oil, you apply the Prestine Clean directly on top. Apply the product with a terry cloth applicator pad, working it into the leather. Let the Prestine Clean sit on the leather for another 15 to 30 minutes. Once ready, take a warm, wrung out damp towel, and remove both products from the leather. Immediately follow up with a dry cotton towel to reveal your revived leather. I am going to use mild soap and hot water with clean worn kitchen towels. That will be after letting it sit for another 24 hours.
Last edited by benfidar on Jan 08, 2011 11:14 AM, edited 1 time in total.
Noted and agreed. I think that that is sage advice.ElGuappo wrote:I would skip the dish soap. Just the warm wet towel.
The dish soap will change the oil behavior.
Last edited by benfidar on Jan 09, 2011 5:04 PM, edited 1 time in total.
After 48 hours with Rejuvenating Oil on 99.44% of the oil soaked in leaving a very thin tacky residue. Before following El Guappo's advice and washing them with a warm clean towel, I rubbed them down with a clean terry rag (necessary? maybe not). I was amazed at how much dye and grime came up, even after all of the scrubbing and sanding. I was flabbergasted by the amount that came up washing them down and rubbing them with a kitchen towel and clean hot water. The water became dark pacific blue. An hour later I rubbed everything down with another clean kitchen towel (there were a few spots of residue left) All in all I am amazed at how much junk came up. A couple of days to dry out completely, and on to crack filling.
-
John in VA
- Posts: 5299
- Joined: Feb 12, 2006 12:00 PM
- Location: Leesburg, VA
Beware of crack filling... I tried some of this and that was the most unhappy part of my unfinished seat project. I still need to repair some stitching but I wished I had skipped the crack filler. The crack filler will be the hardest part to get dyed the new color IME. You'll basically have to paint it rather than stain it like you will the rest of the seat. The method of wet rubbing the stain/dye in works great, except where you have crack filler. I would rather have a few wrinkles that are 'filled' with dye than have to paint the wrinkles to cover the crack filler. And it looks like the leather will just wrinkle again where the filler is anyway. Just my $.02.


