Contact me for any questions and I will attempt to answer them.
**YOU ASSUME ALL RISKS WHILE WORKING ON VEHICLE. I AM NOT RESPONSIBLE FOR ANY DAMAGES. VENTING FREON IS ILLEGAL**
I am providing details on the setup that worked for me and my hose routing. Your setup may vary slightly.
Notes from my findings and what I personally did.
- I removed every component of the system and flushed it using solvent. When i replaced the expansion valve inside car, this was the perfect time to remove any old oil left in system. The amount of oil left in evaporator is minimal, so this isn't necessary but it was peace of mind.
- I attempted to utilize Dusters but that failed and would not cool A/C. I possibly froze the compressor because it was incorrectly filled, so I went with R134a.
- I cannot tell you how much freon you will need as it depends on which condenser you get and which freon you use. Reference online articles or go to a shop so they can fill it using gauges, or you can learn how to use the gauges to fill it yourself.
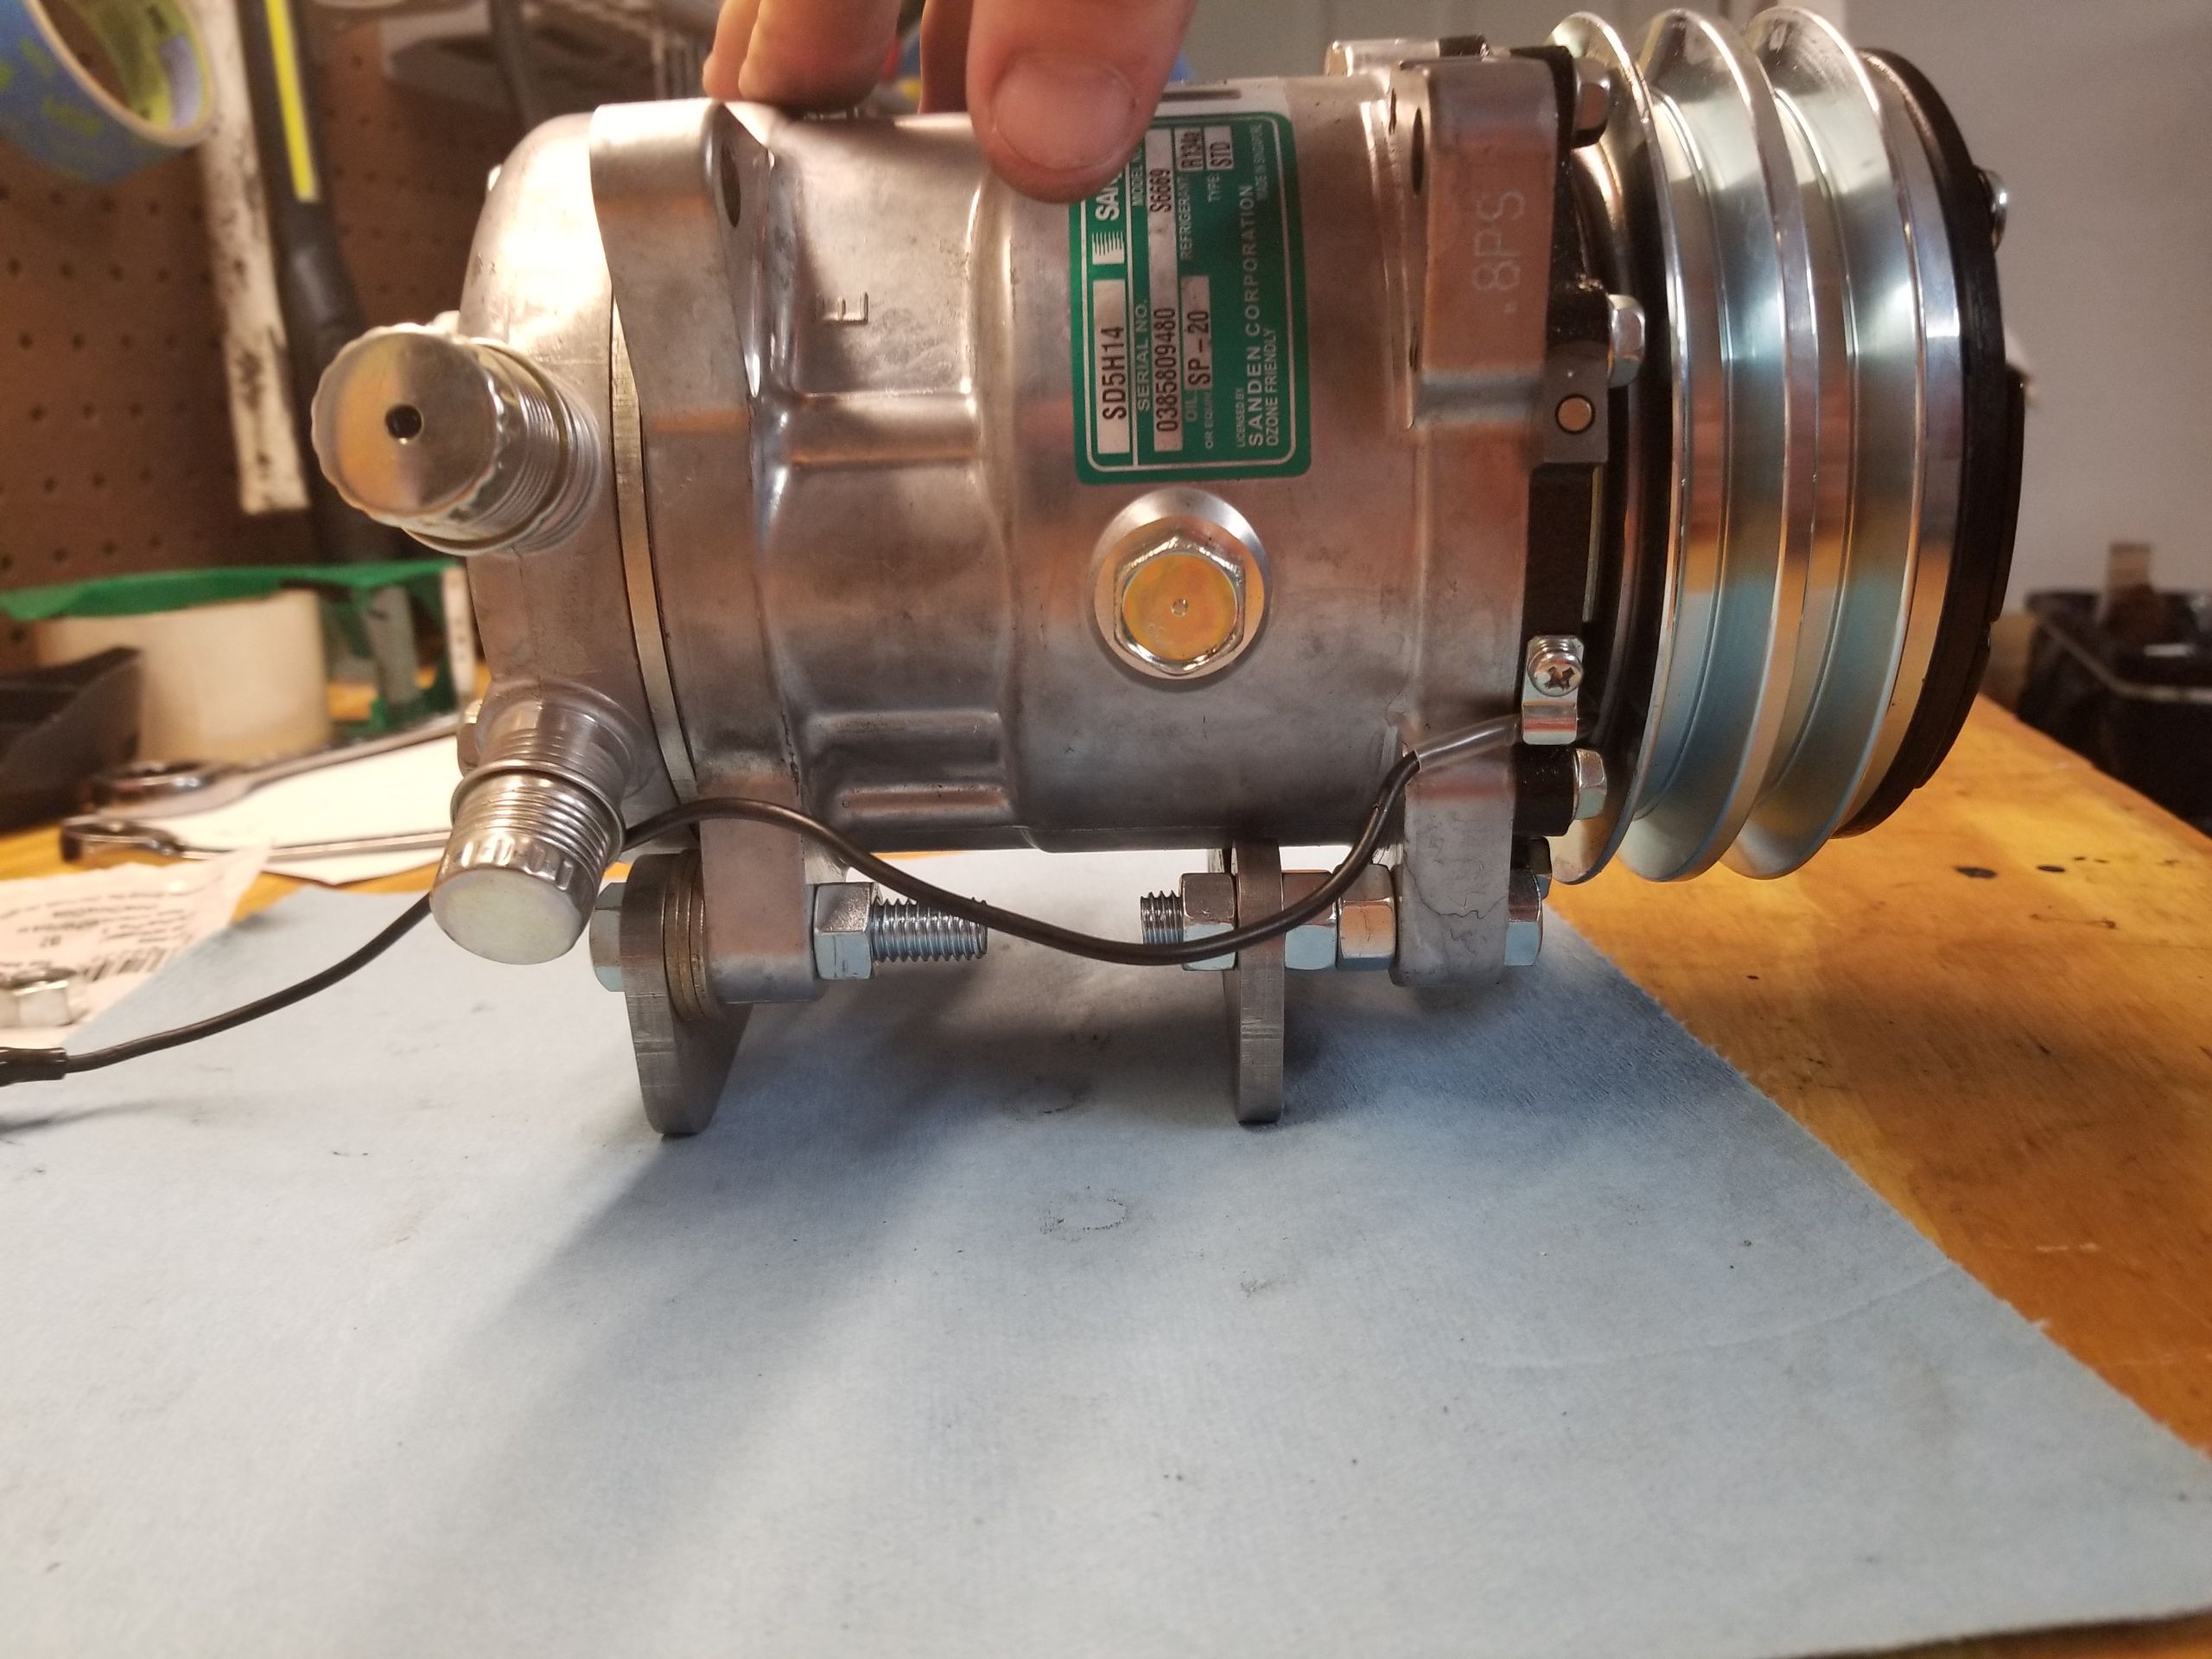
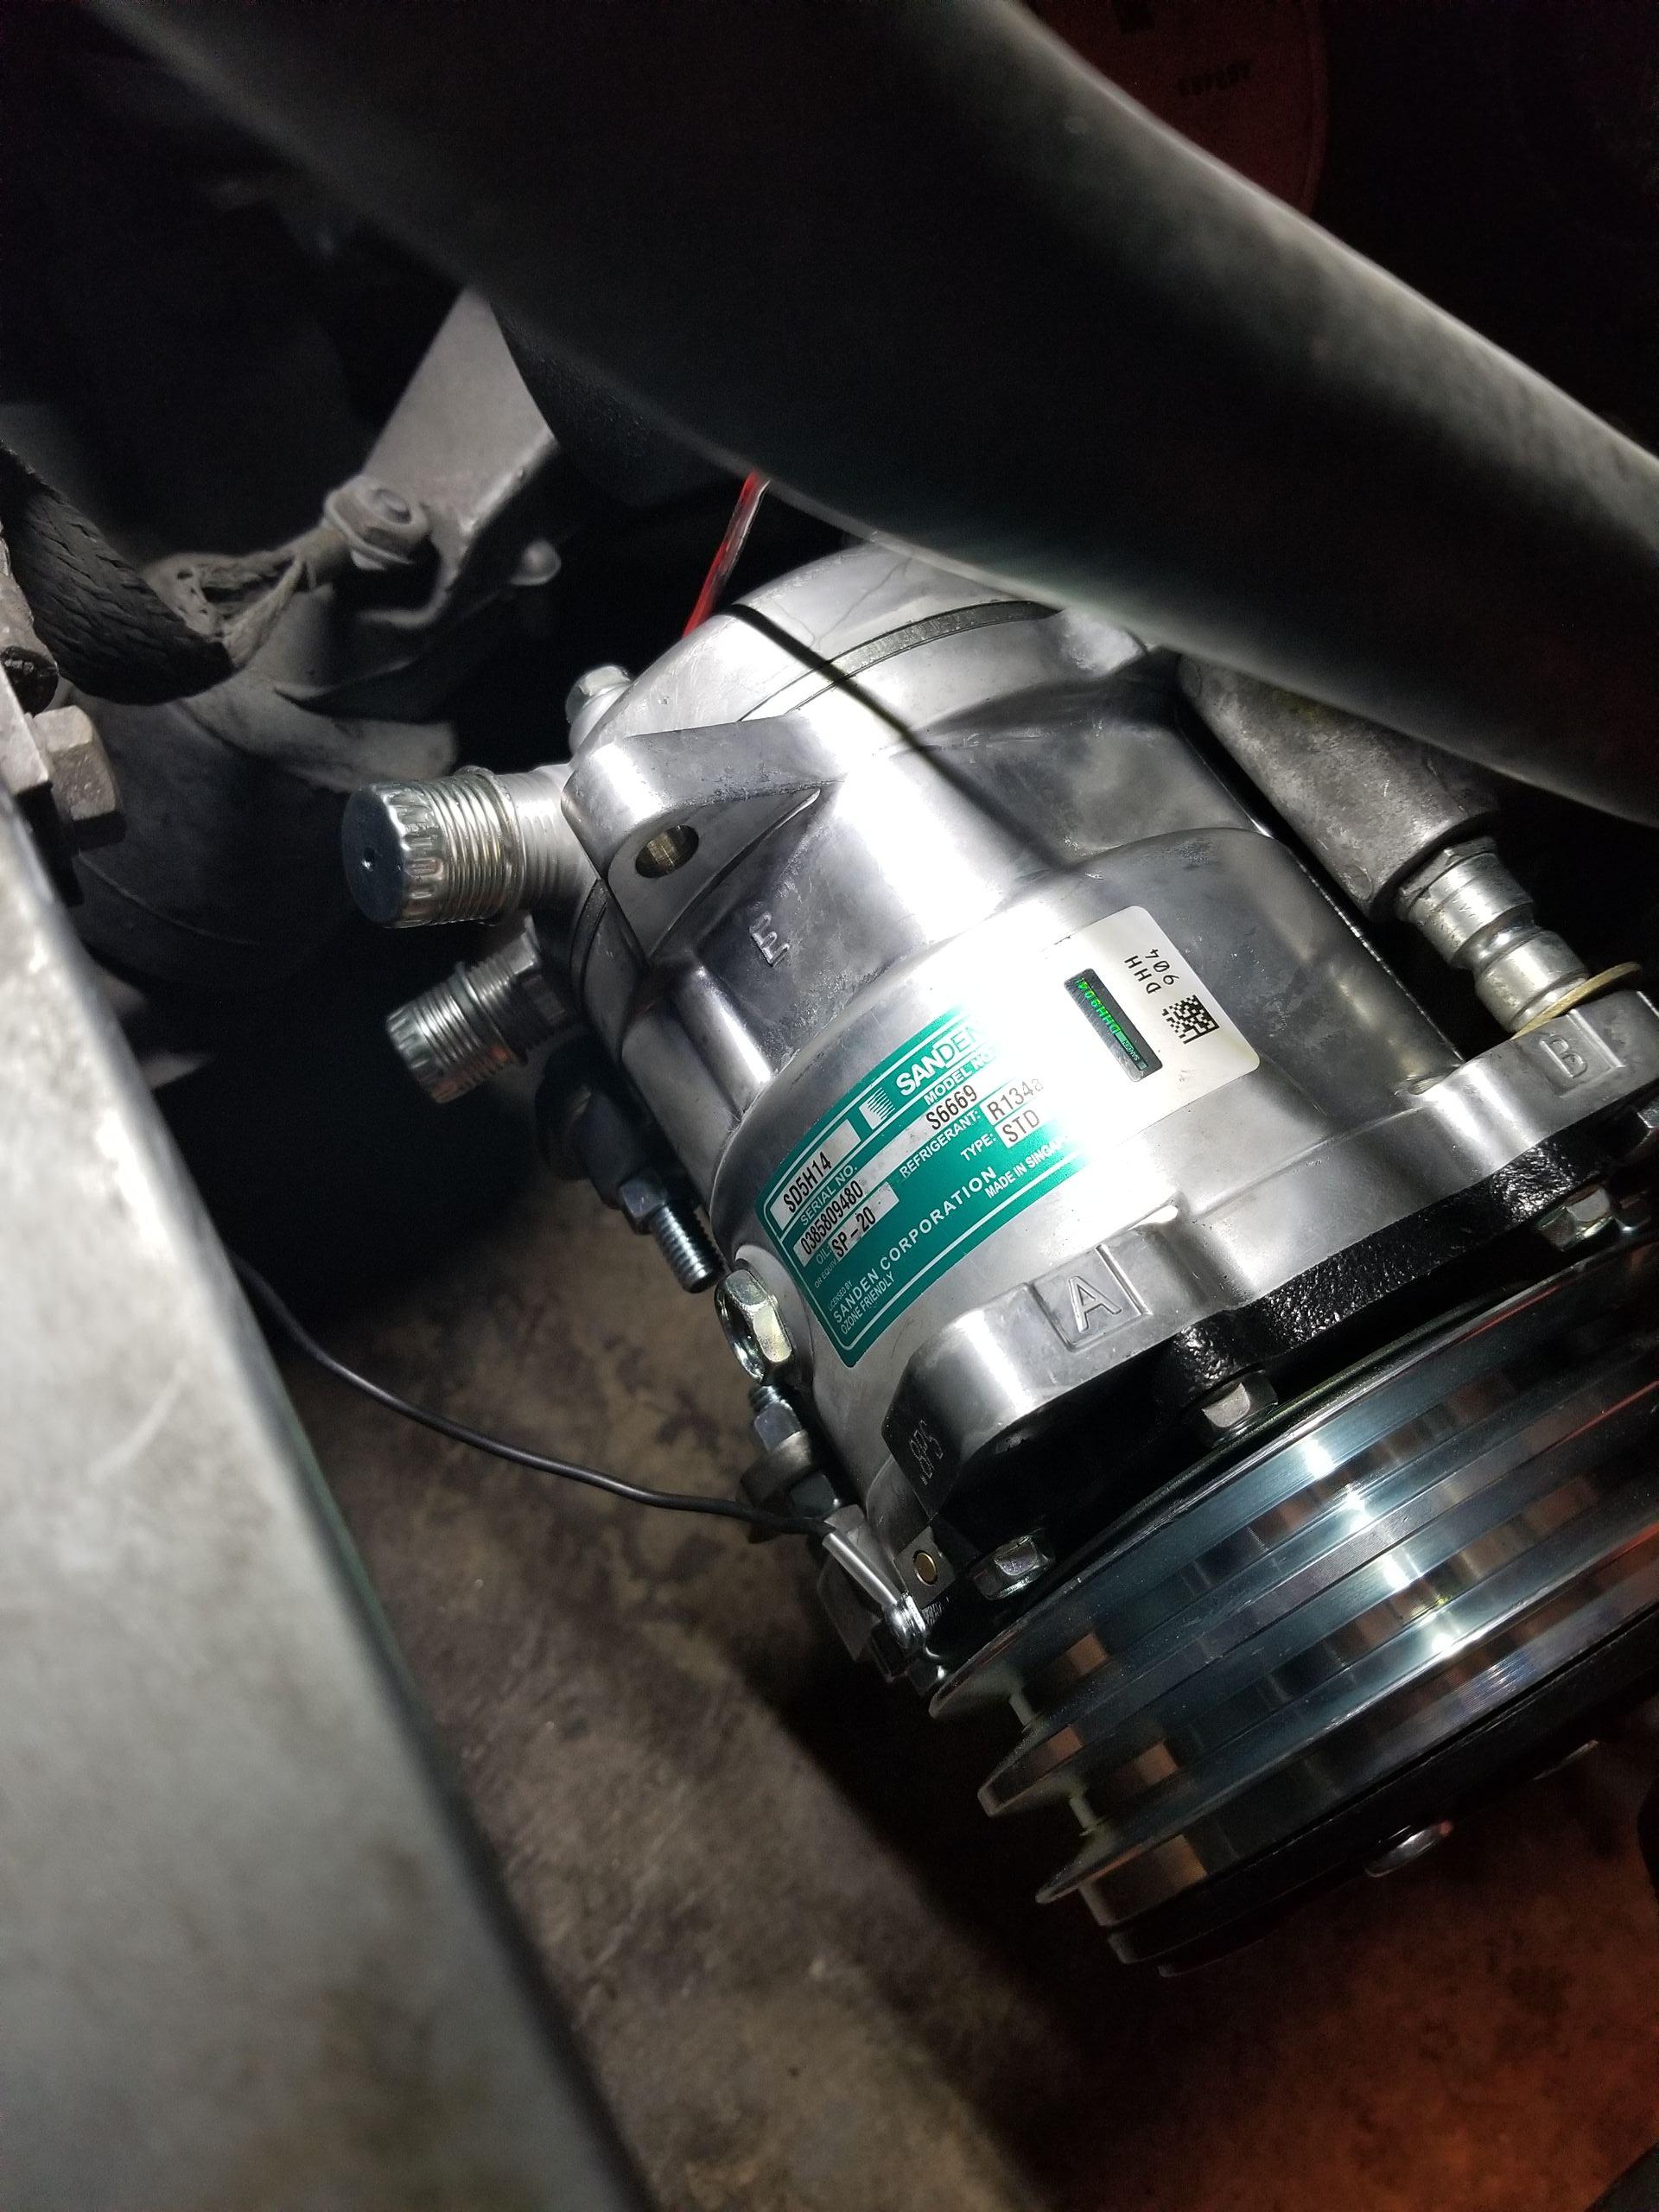
- If I had the option to redo the system, I would attempt to purchase a compressor head that allow filling hose to point straight up and fittings to point sideways. The compressor can be clocked from 9 to 3 oclock.
Main components you will need:
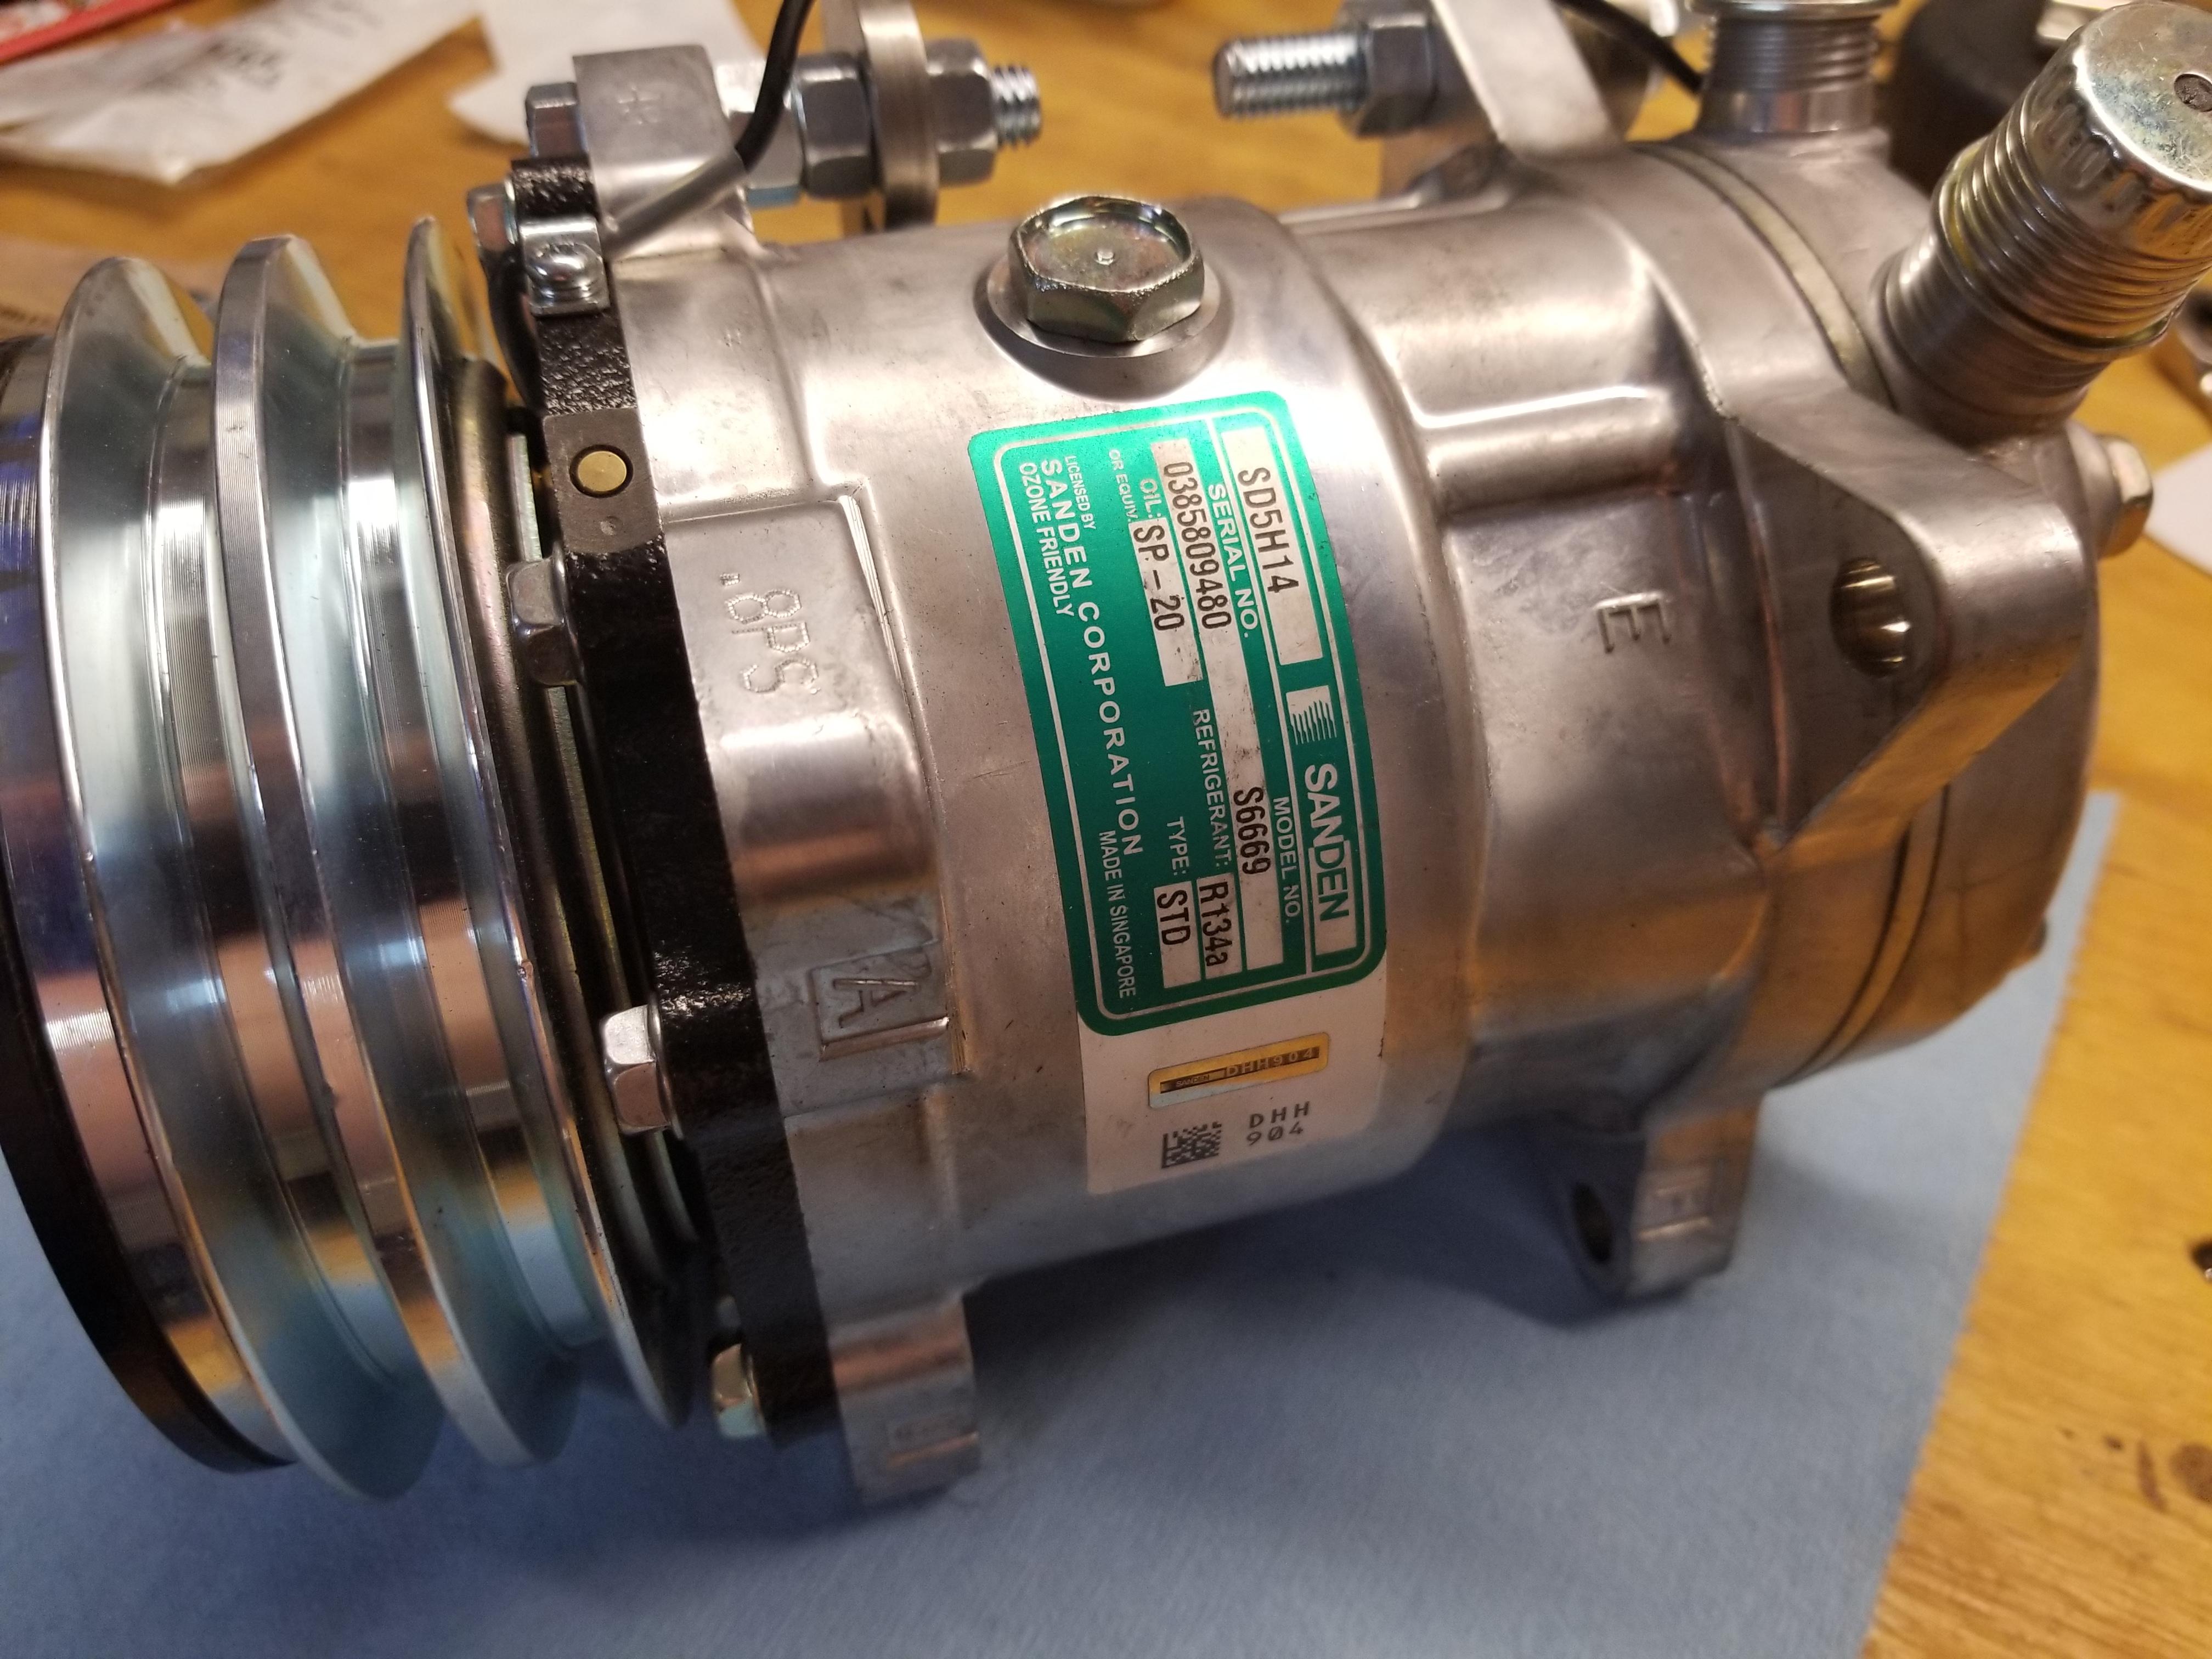
-Sanden compressor (OEM Sanden SD5H14 AC Compressor & A/C Clutch Replaces 6626 SD508). Purchased from eBay. Part number varies slightly based on when it was manufactured.
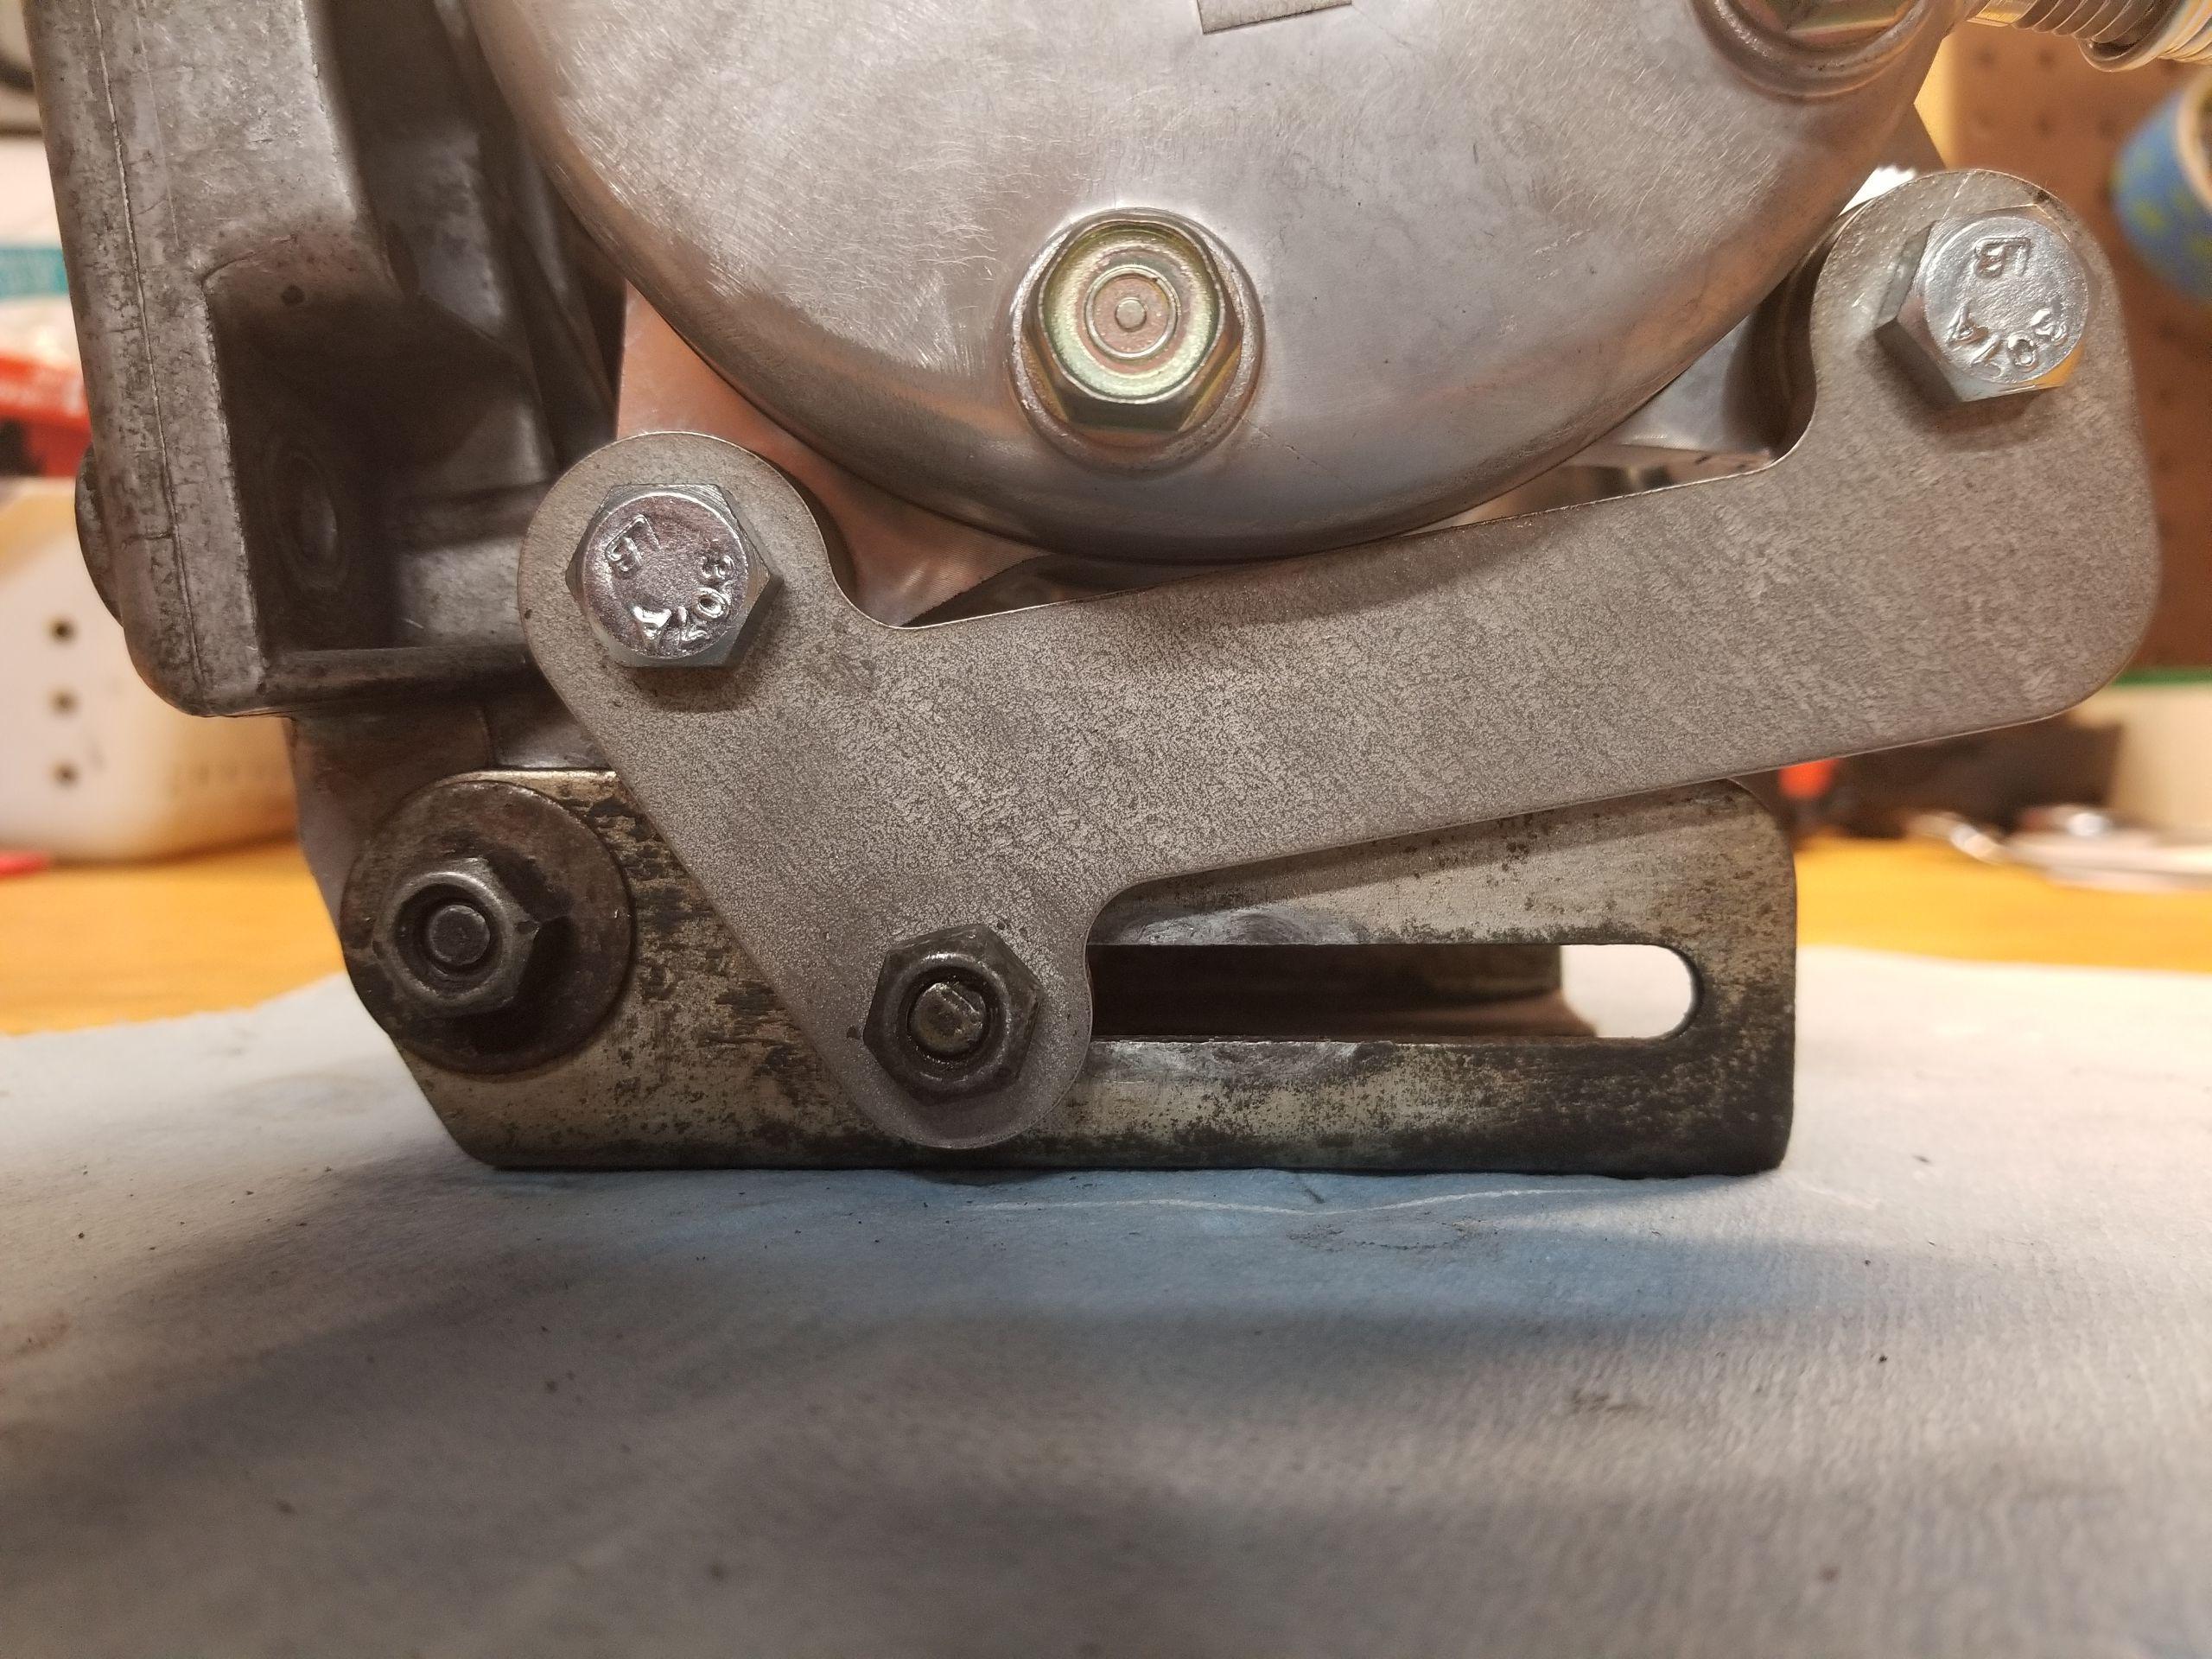
-Sanden compressor bracket (available from member demetk. http://www.mye28.com/viewtopic.php?f=4& ... n#p1475599 )
-Bigger condenser (CNFP1619 AC A/C Universal Condenser Parallel Flow 16 x 19 O-ring #6 And #8). Purchased from eBay. You can add a bigger size, but hose routing and angles may change, which results in different fittings being needed.
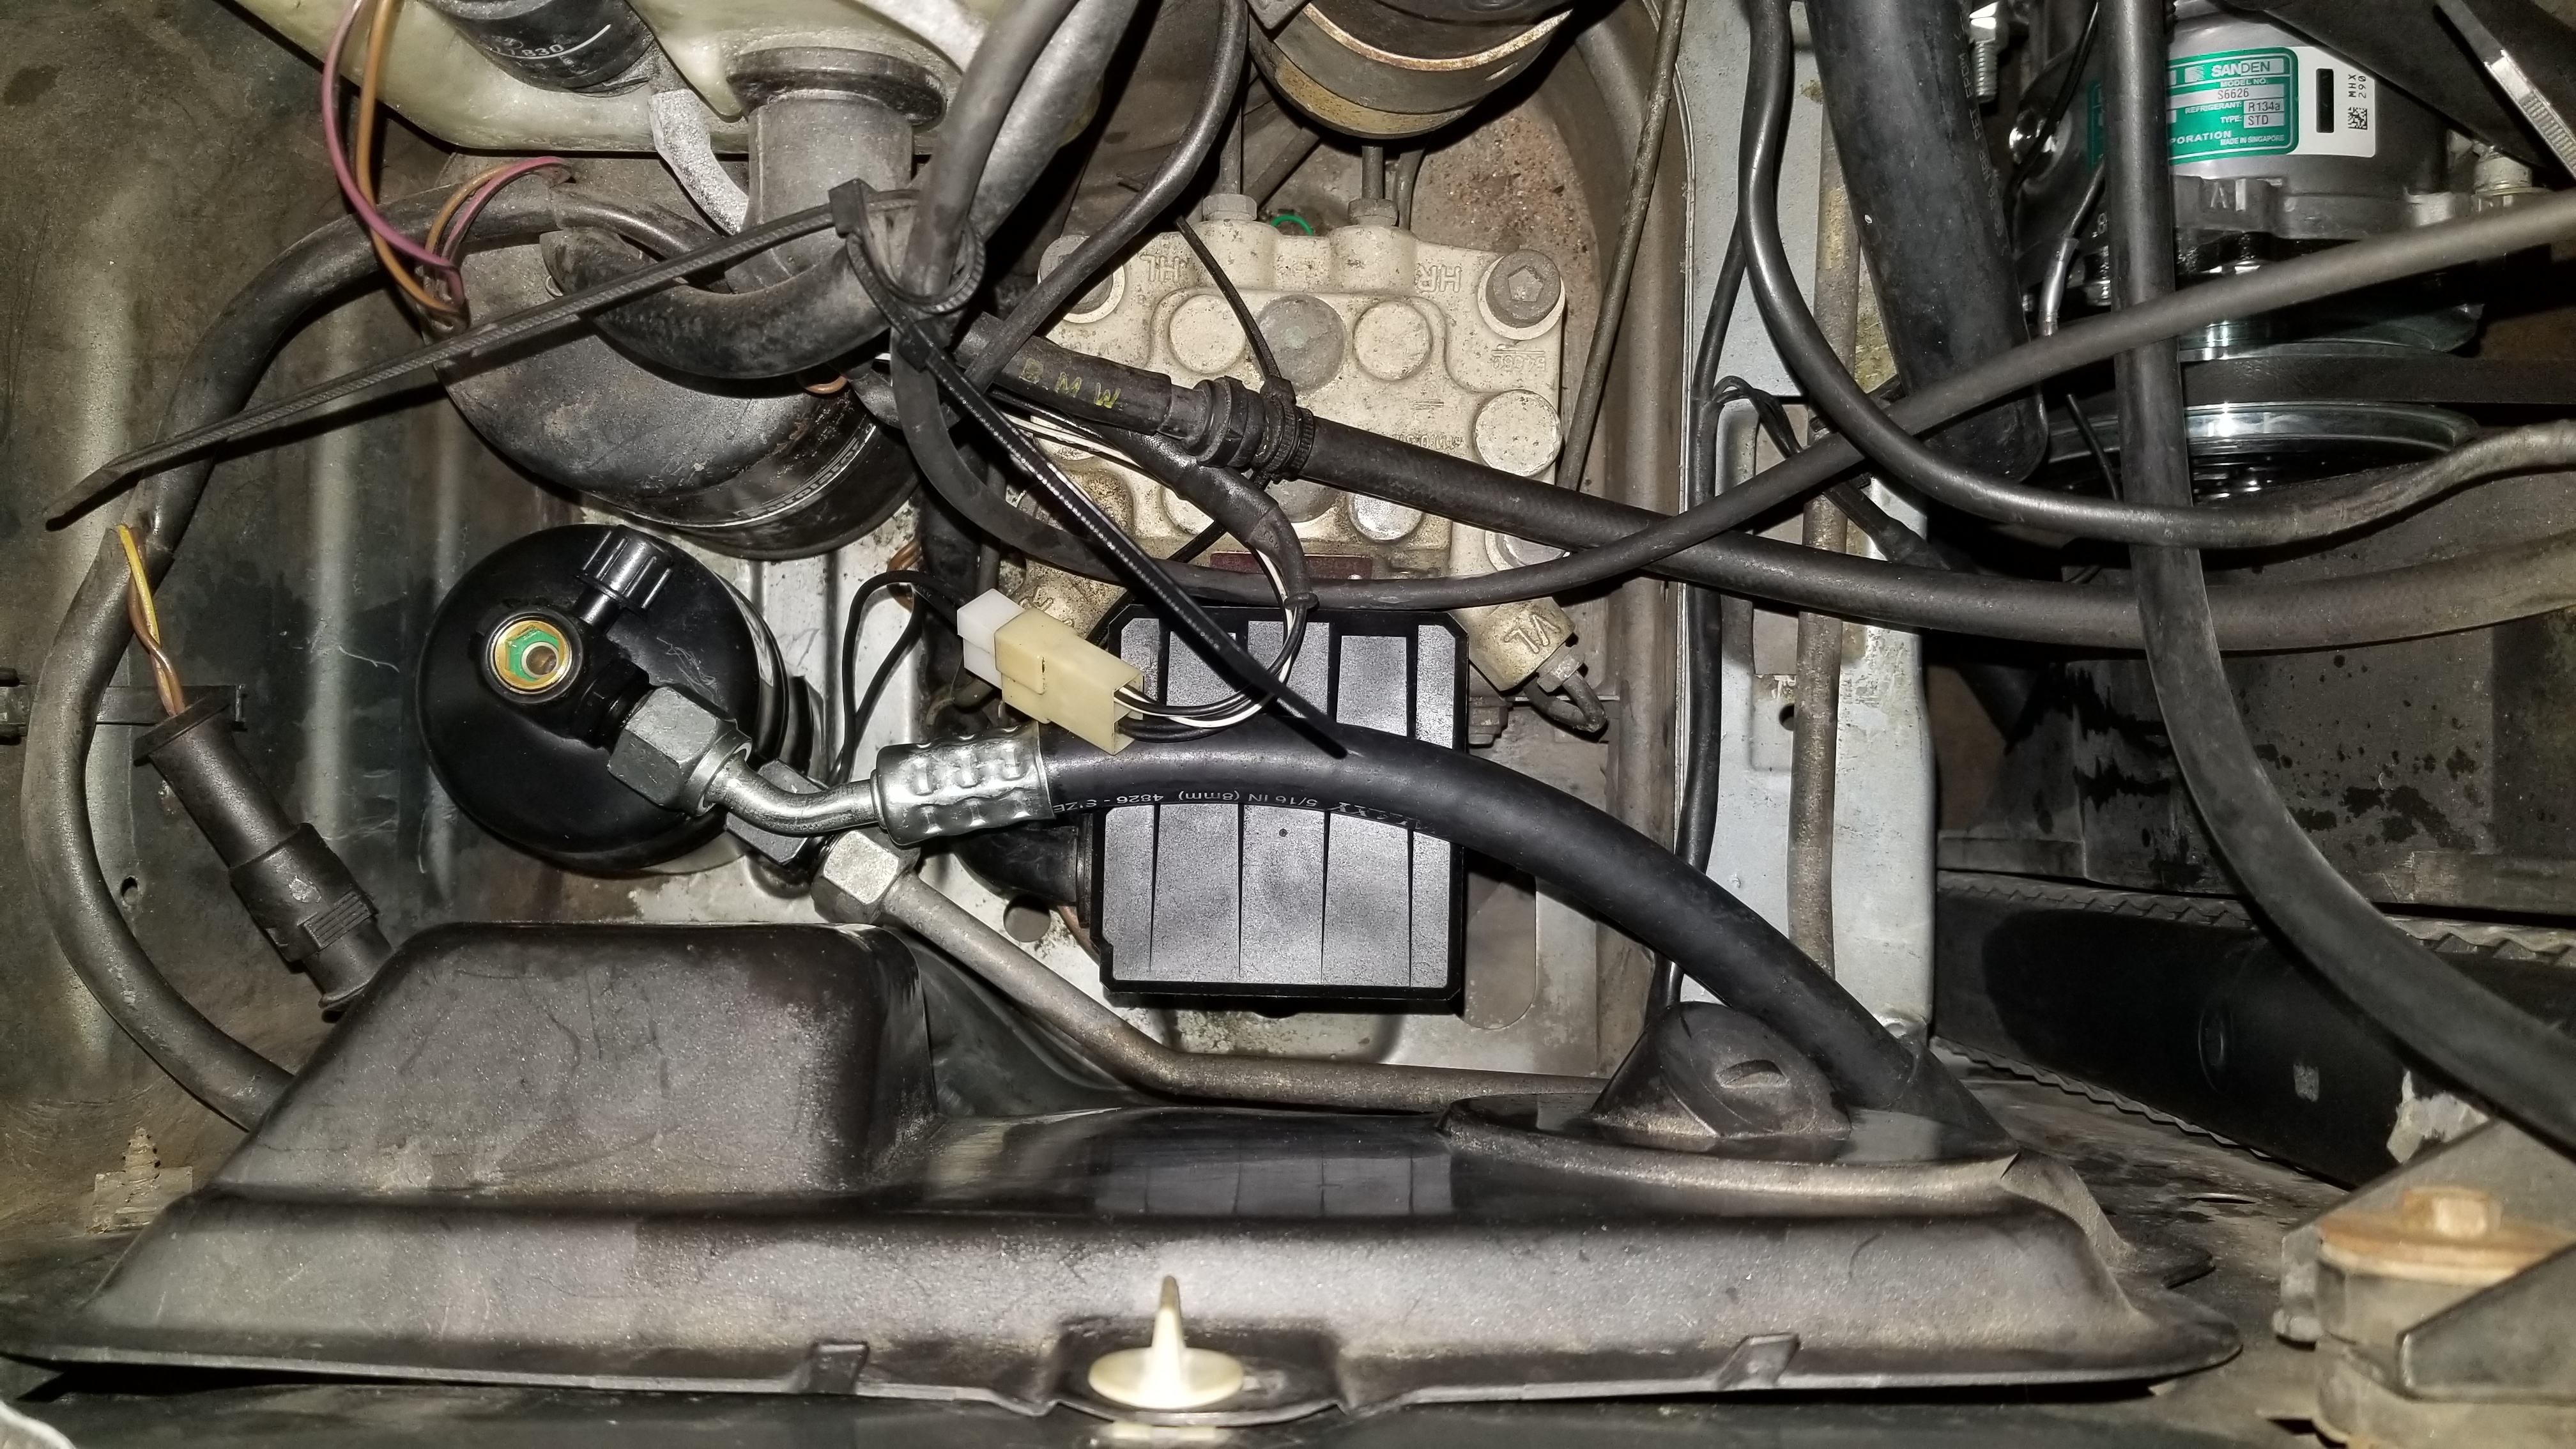
-New a/c drier. Note: the a/c drier does require some sealant on threads. I learned this the hard way by having the shop refill twice as oil was leaking out. They used a brass/copper style gasket. You may be able to use that or another product. I considered Permatex thread sealant and Nylog (Refrigeration Technologies RT201B Nylog Gasket/Thread Sealant)
- Recommended: new high pressure switch and new expansion valve. Replacing expansion valve is an extra task, I did it to know all my components are new.
Hoses and fittings purchased from Coldhose.com
Note: The hose length is based on my routing choice. Please grab more then necessary in case you decide to change route of hoses. It is better to have more and cost isn't high.
The route I took can be seen in several pictures below. I did not cut into existing metal on vehicle.
Hose lengths
# 10 (1/2") Barrier A/C Hose Per Foot-- Length: 3 ft Part# BH10
# 8 (13/32") Barrier A/C Hose Per Foot--Length: 3 ft Part# BH8
# 6 (5/16") Barrier A/C Hose Per Foot--Length: 2 ft Part# BH6
Fittings
# 10 45 Degree O-ring Fitting R-134a 13mm Suction Port Part#BL1313-3 Qty: 1
# 10 90 Degree O-ring Fitting Part# BL1323 Qty: 1
# 8 90 Degree O-ring Fitting Part# BL1322 Qty: 2
# 8 - # 6 45 Degree O-ring Fitting Part# SB1318 Qty: 1
# 6 90 Degree O-ring Fitting Part# BL1321 Qty: 1
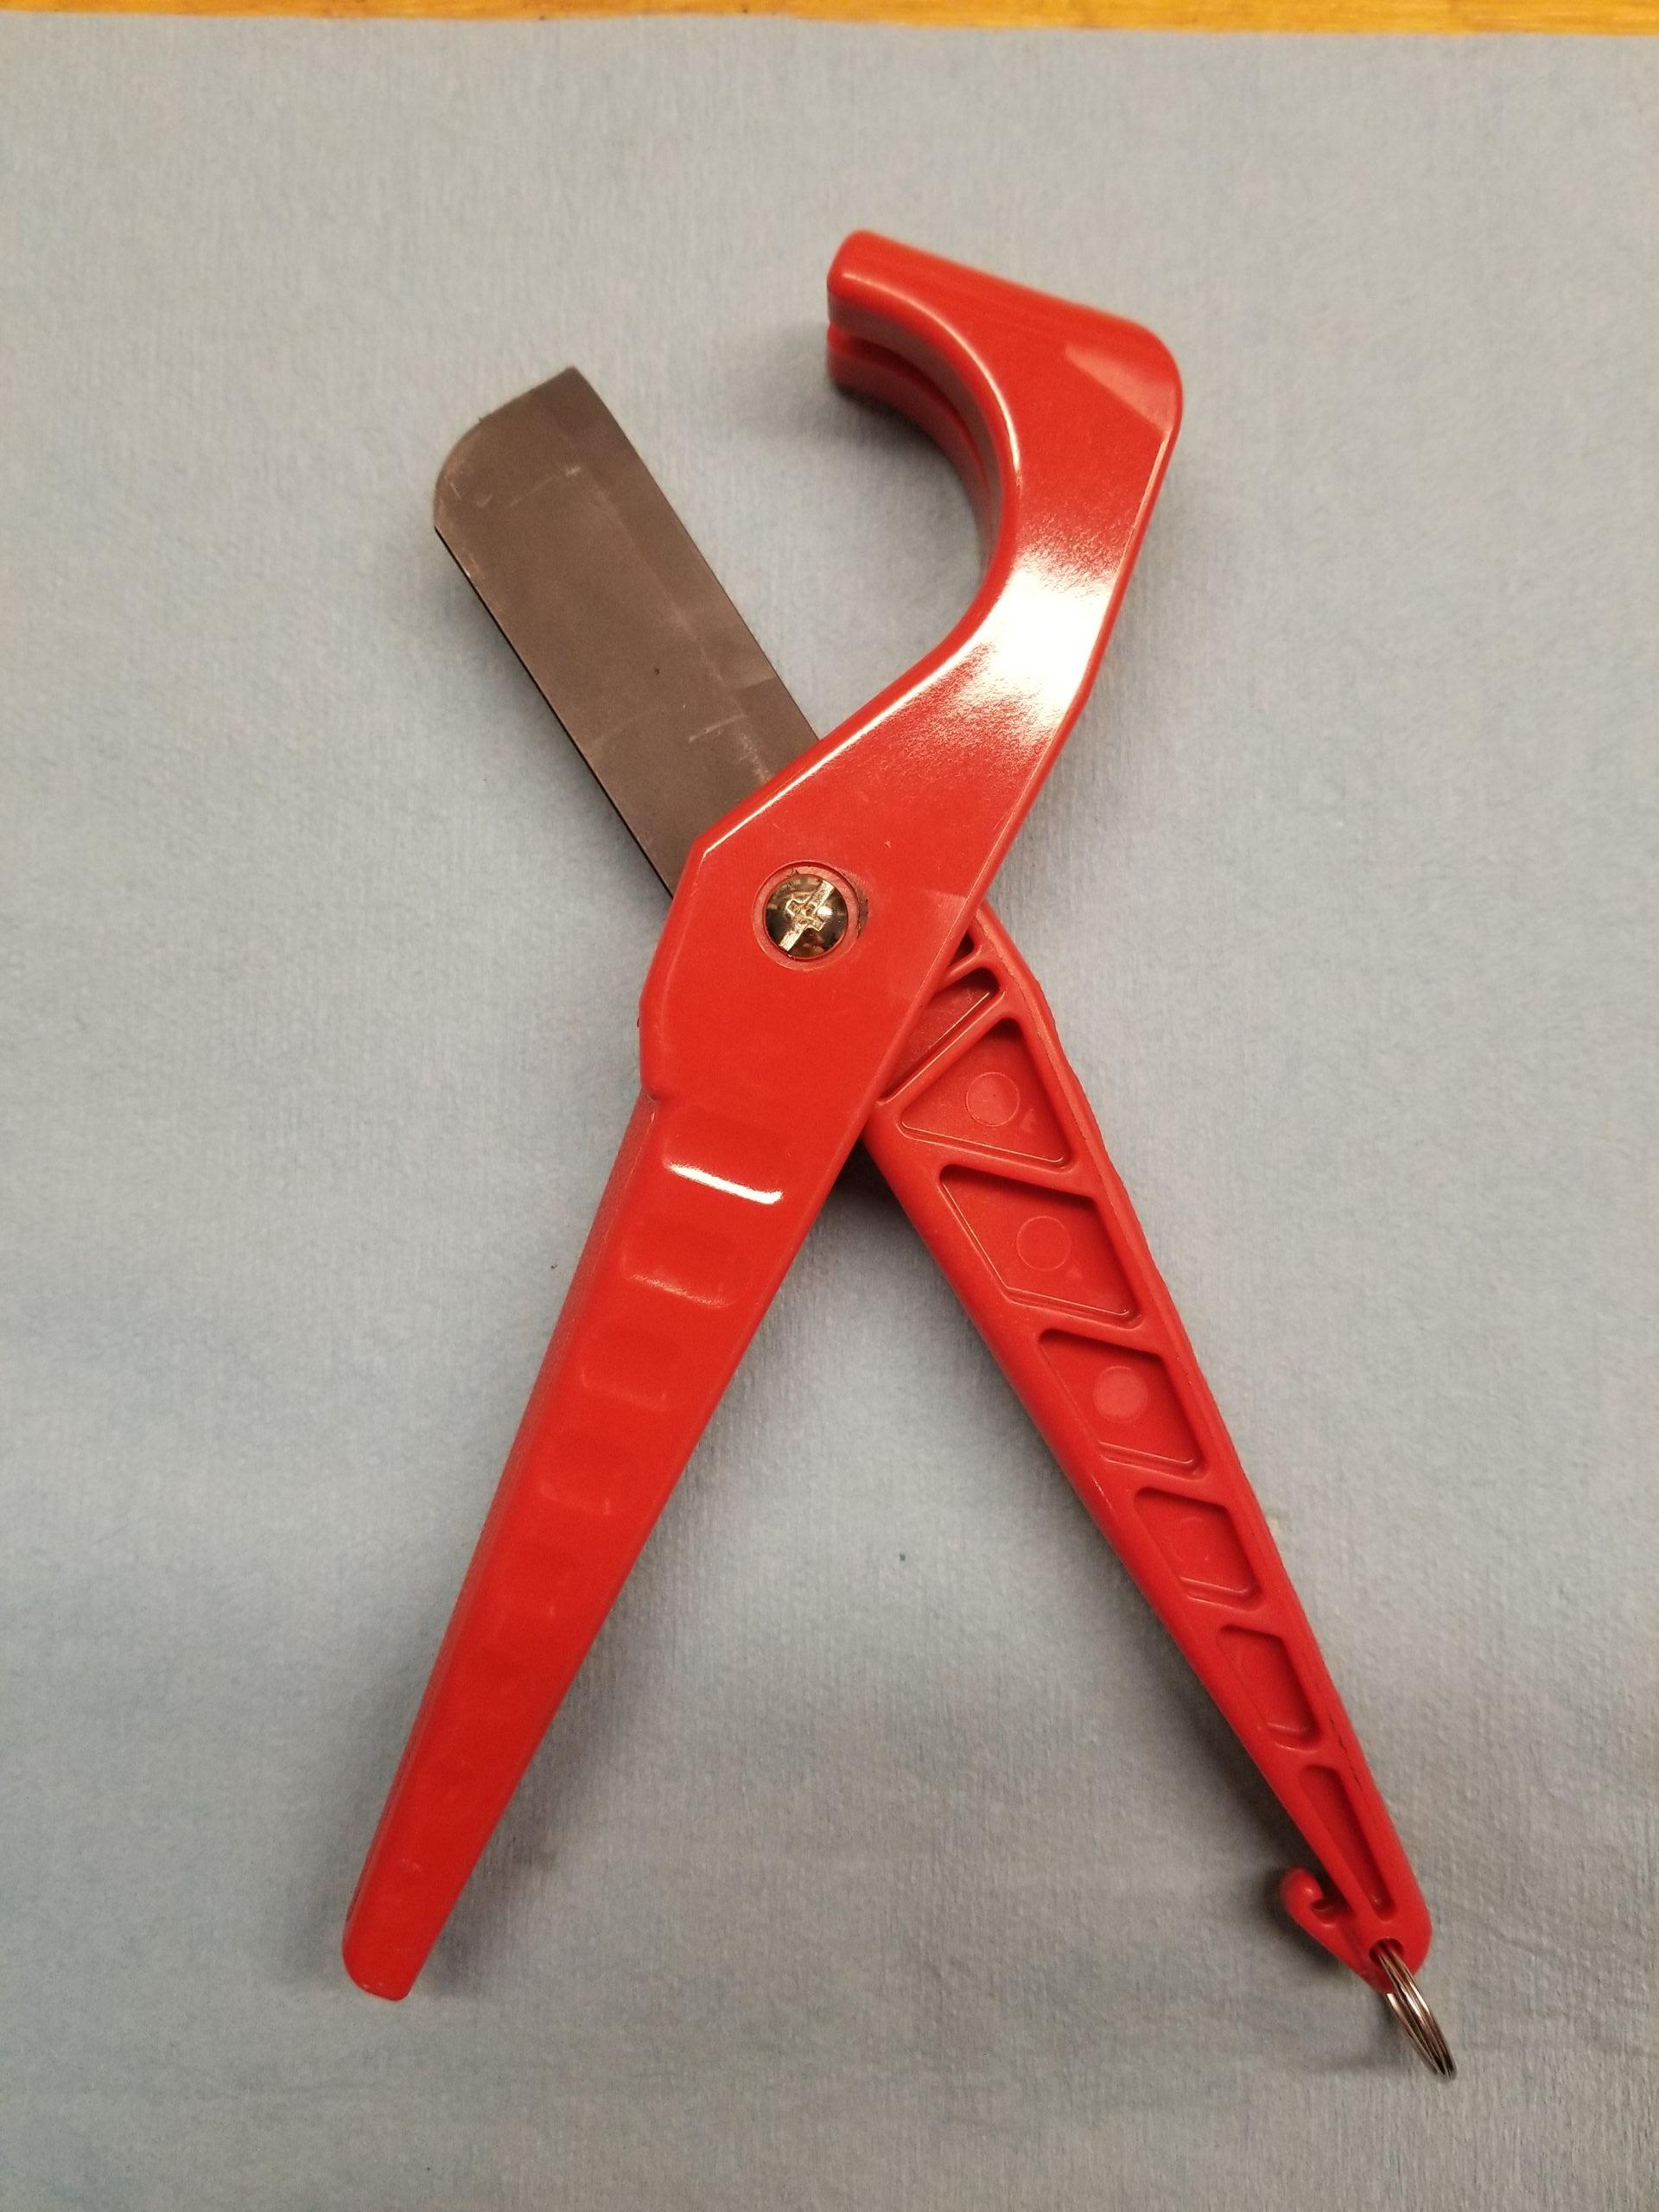
I used the following tool to create my hoses
Gates 91153 Hand Held Hose Cutter ( https://www.amazon.com/Gates-91153-Hand ... way&sr=8-1)
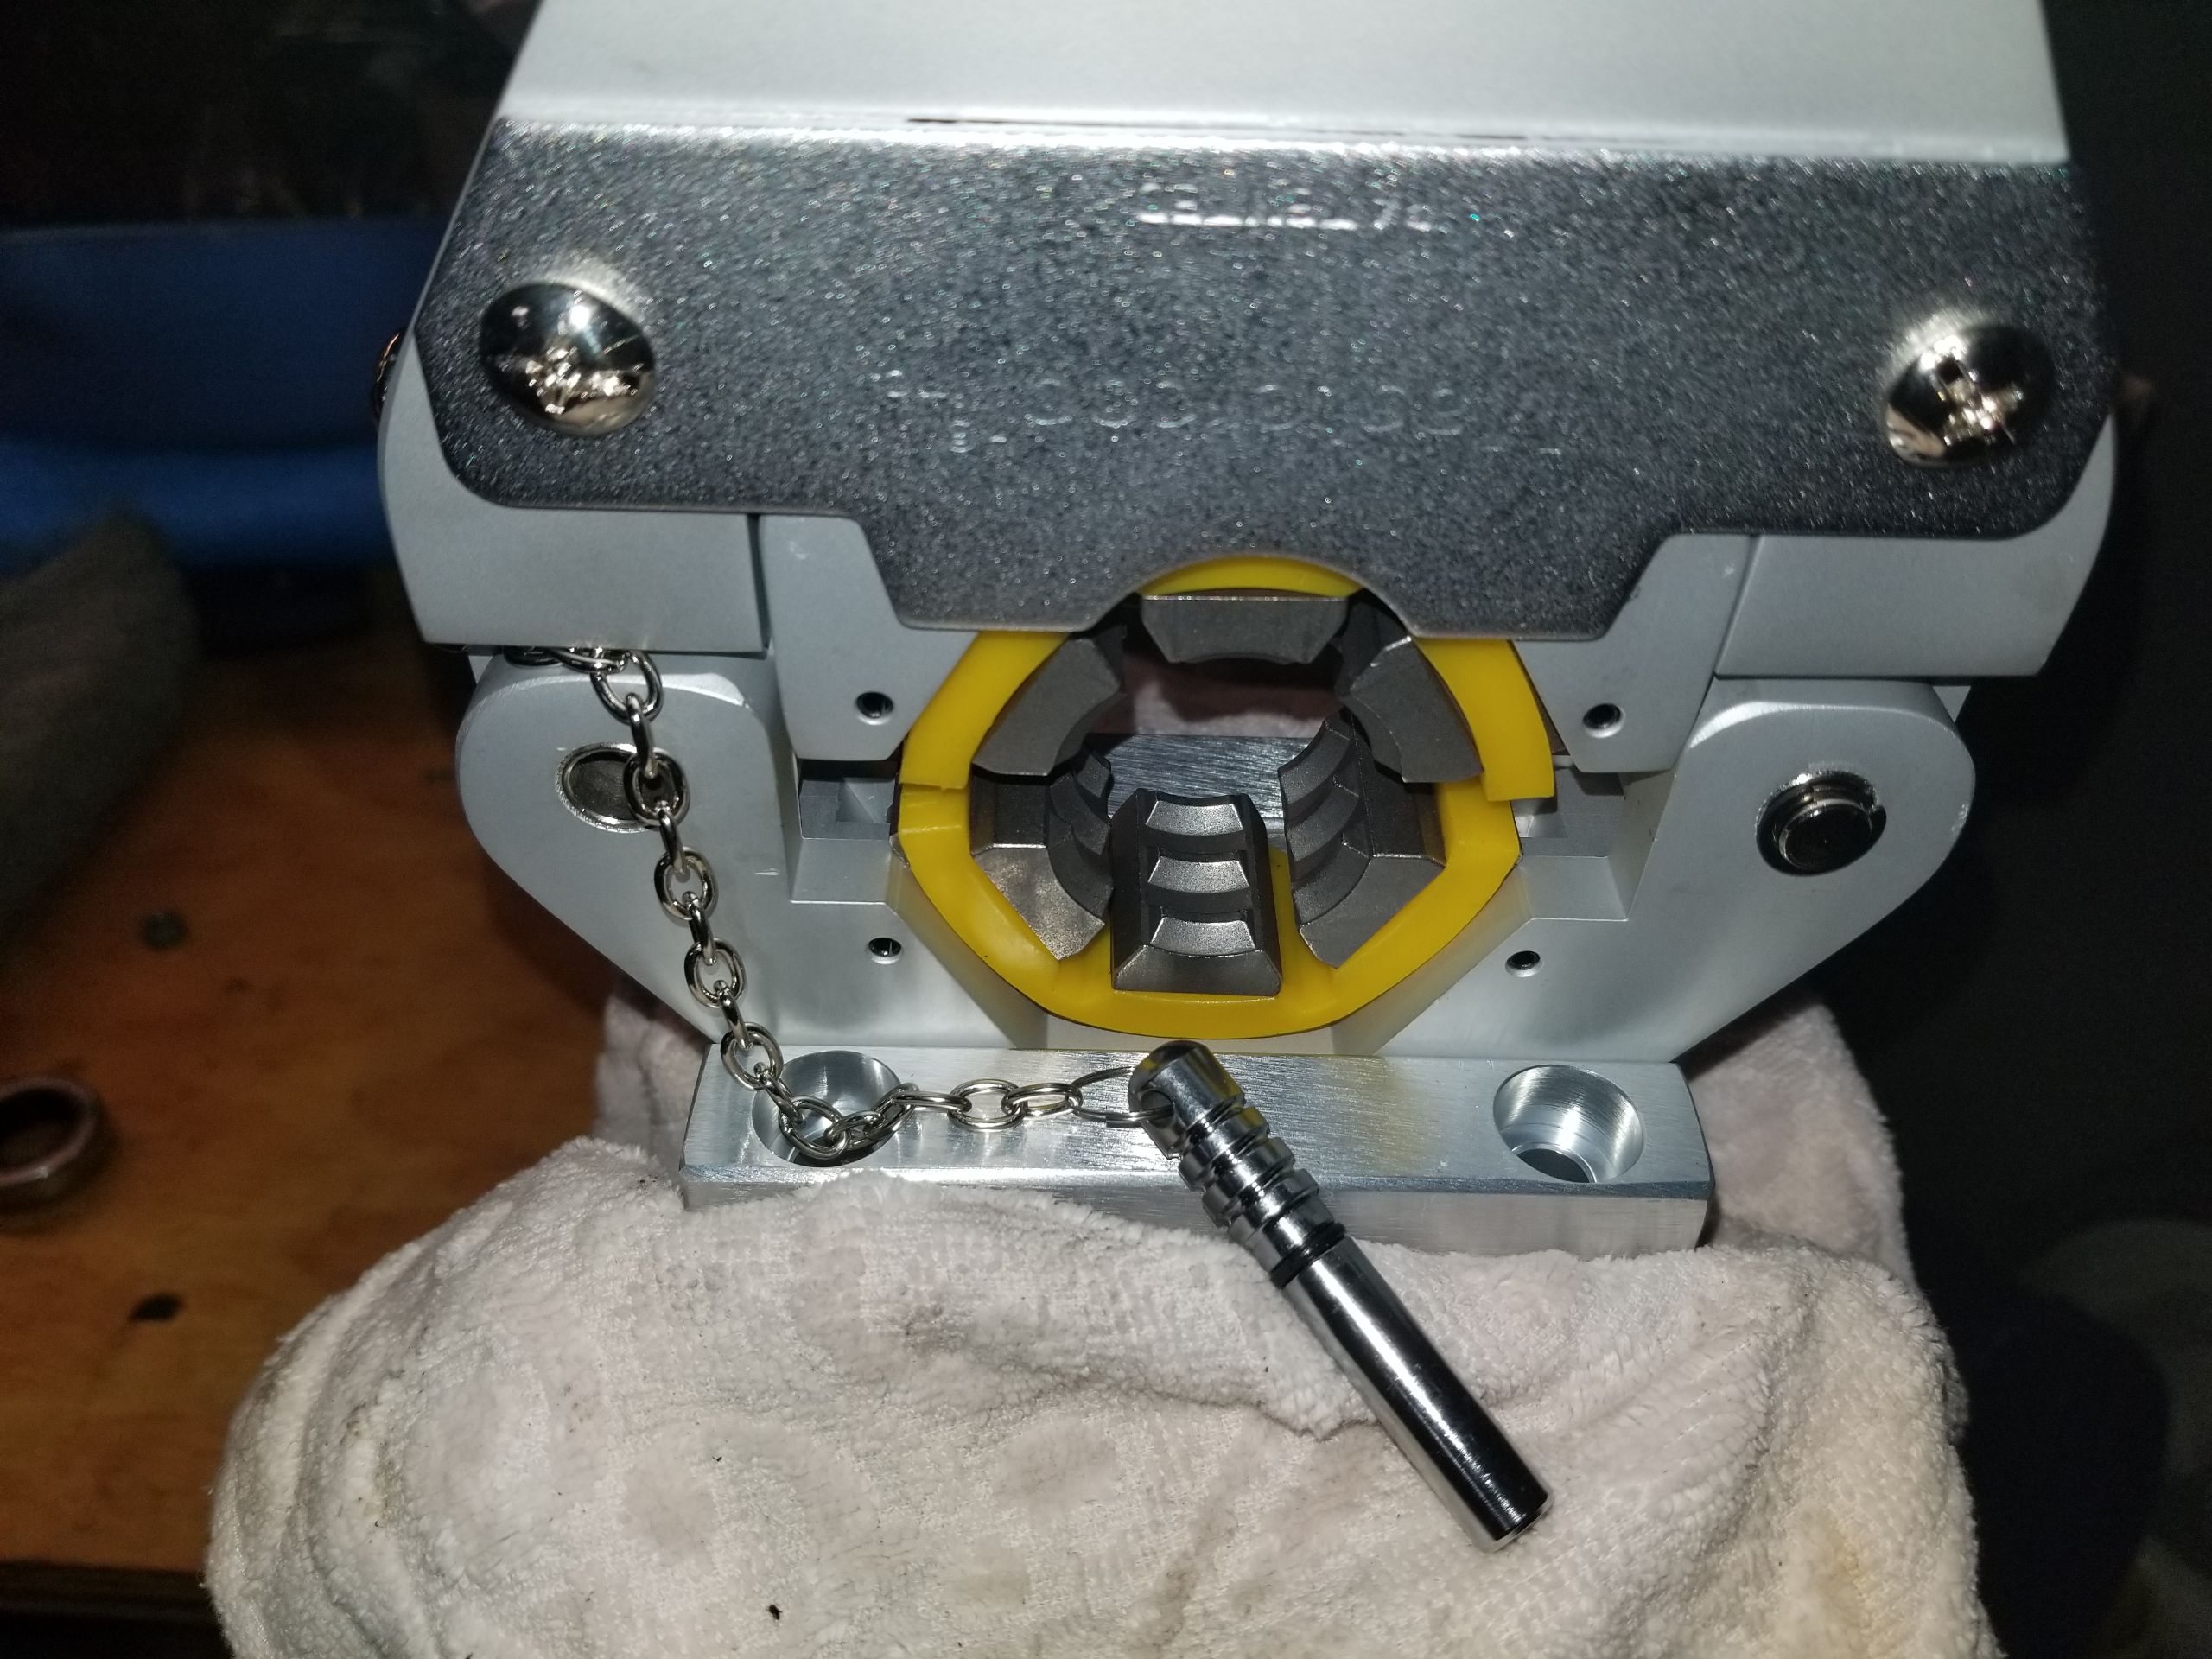
Mastercool (71550) Black Manual A/C Hose Crimper ( https://www.amazon.com/Mastercool-71550 ... way&sr=8-2 )
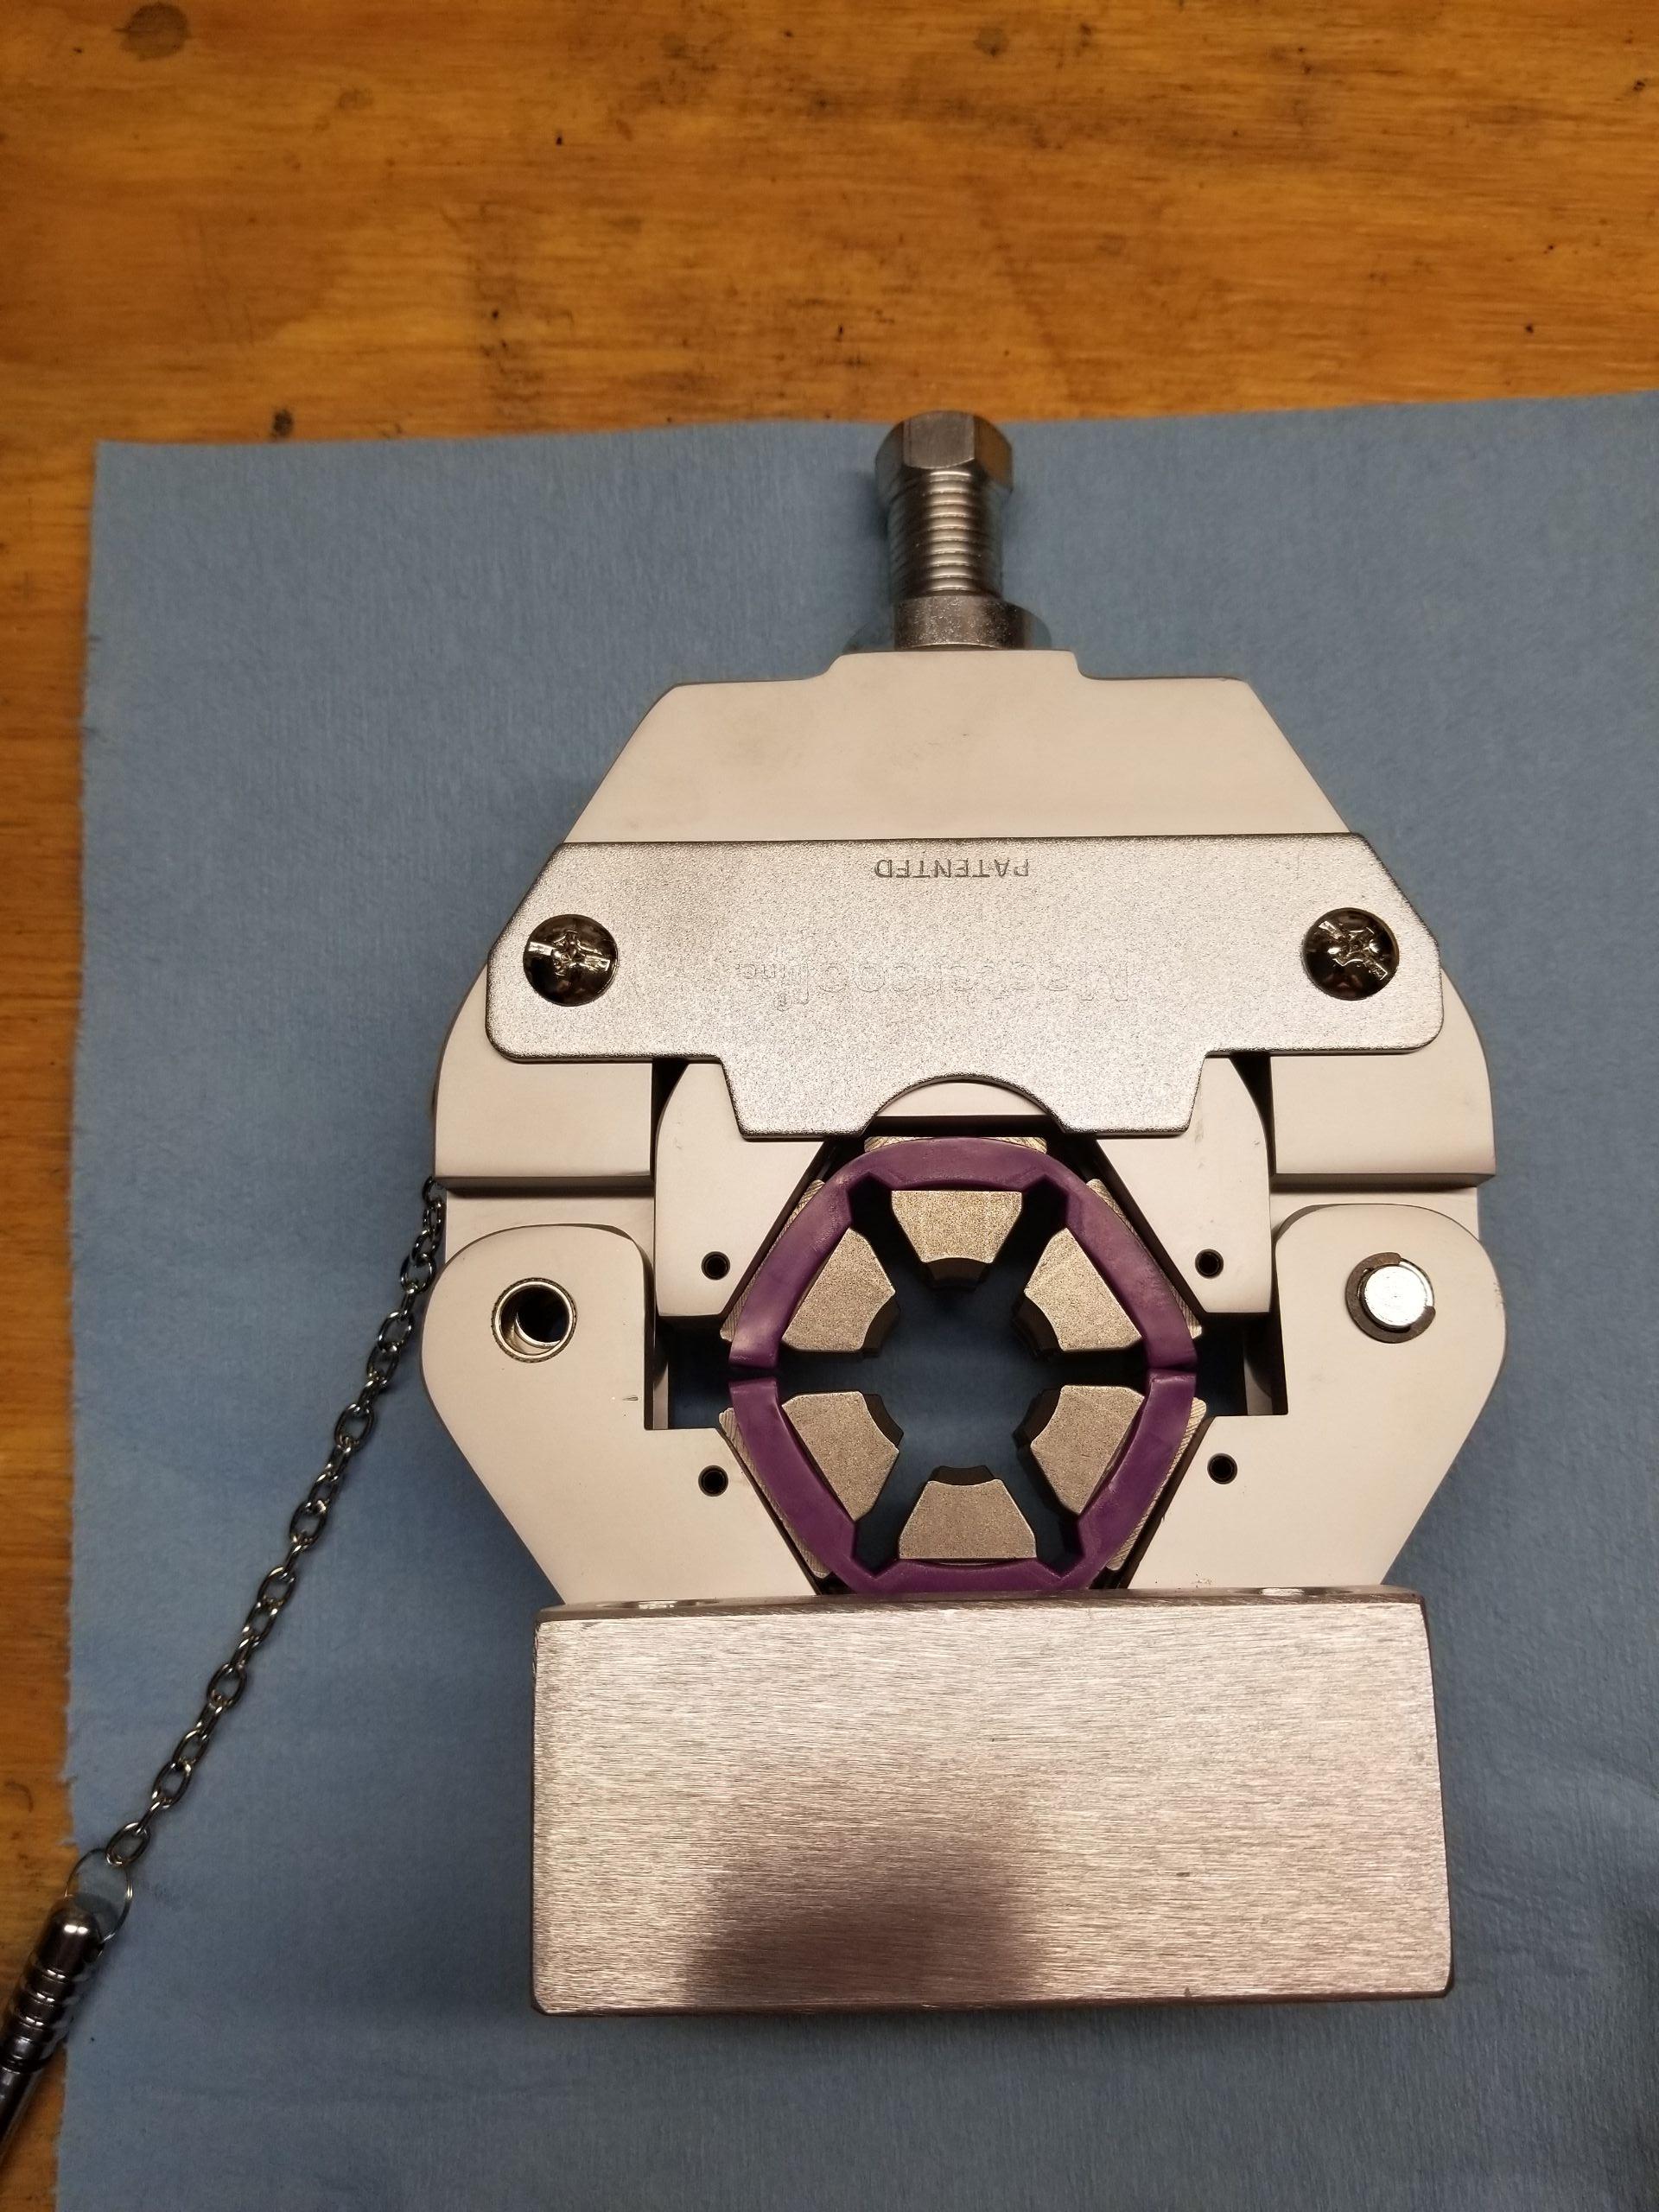
Tool was used to create
- #10 suction hose
- #6 to #8 45 Degree hose coming from bottom of condenser
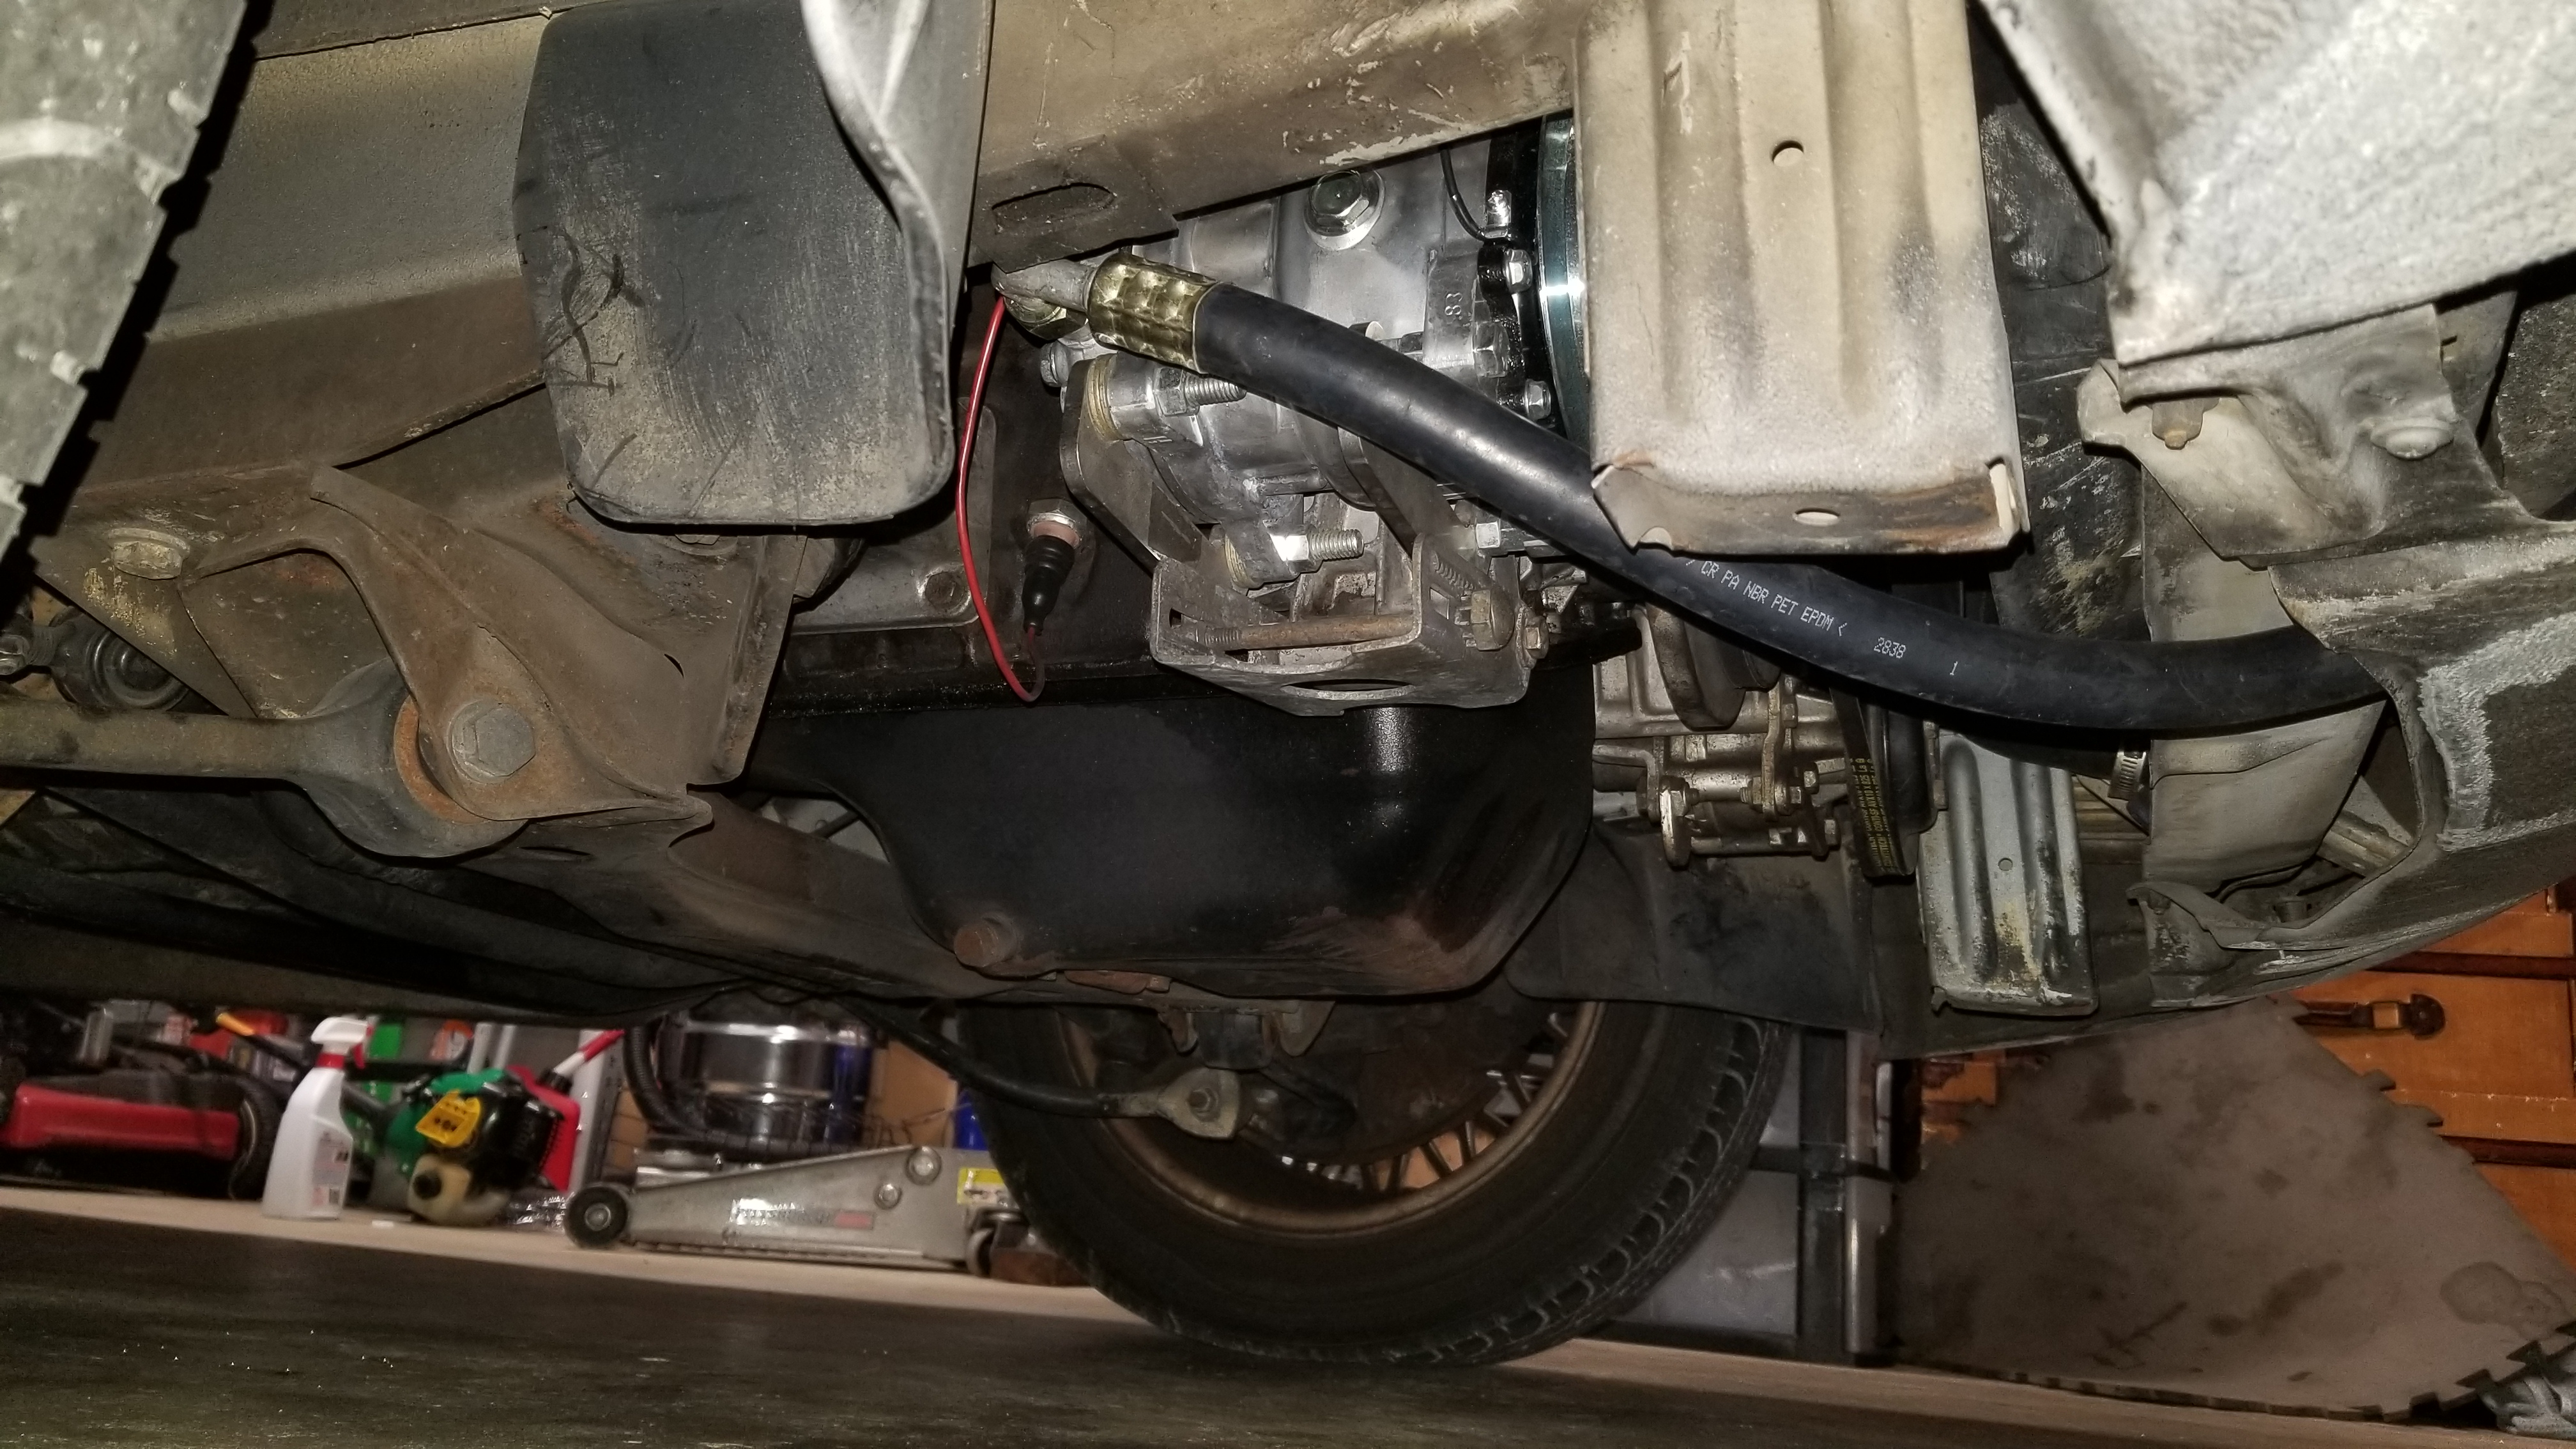
- #8 from compressor to top of condenser
Note: I had to create my #8 hose from compressor twice because both leaked, and finally had to ask a/c shop to build me one. I am not sure why this hose kept leaking, perhaps I had too much of a twist.
Mounting of condenser
The condenser is most important upgrade and without this part, you are left with barely any improvement to your A/C. I utilized factory mounting tabs with slight modifications. You are on your own on how you wish to mount this. You need to mount the fan and condenser itself. Here are a couple pictures of how i mounted mine.
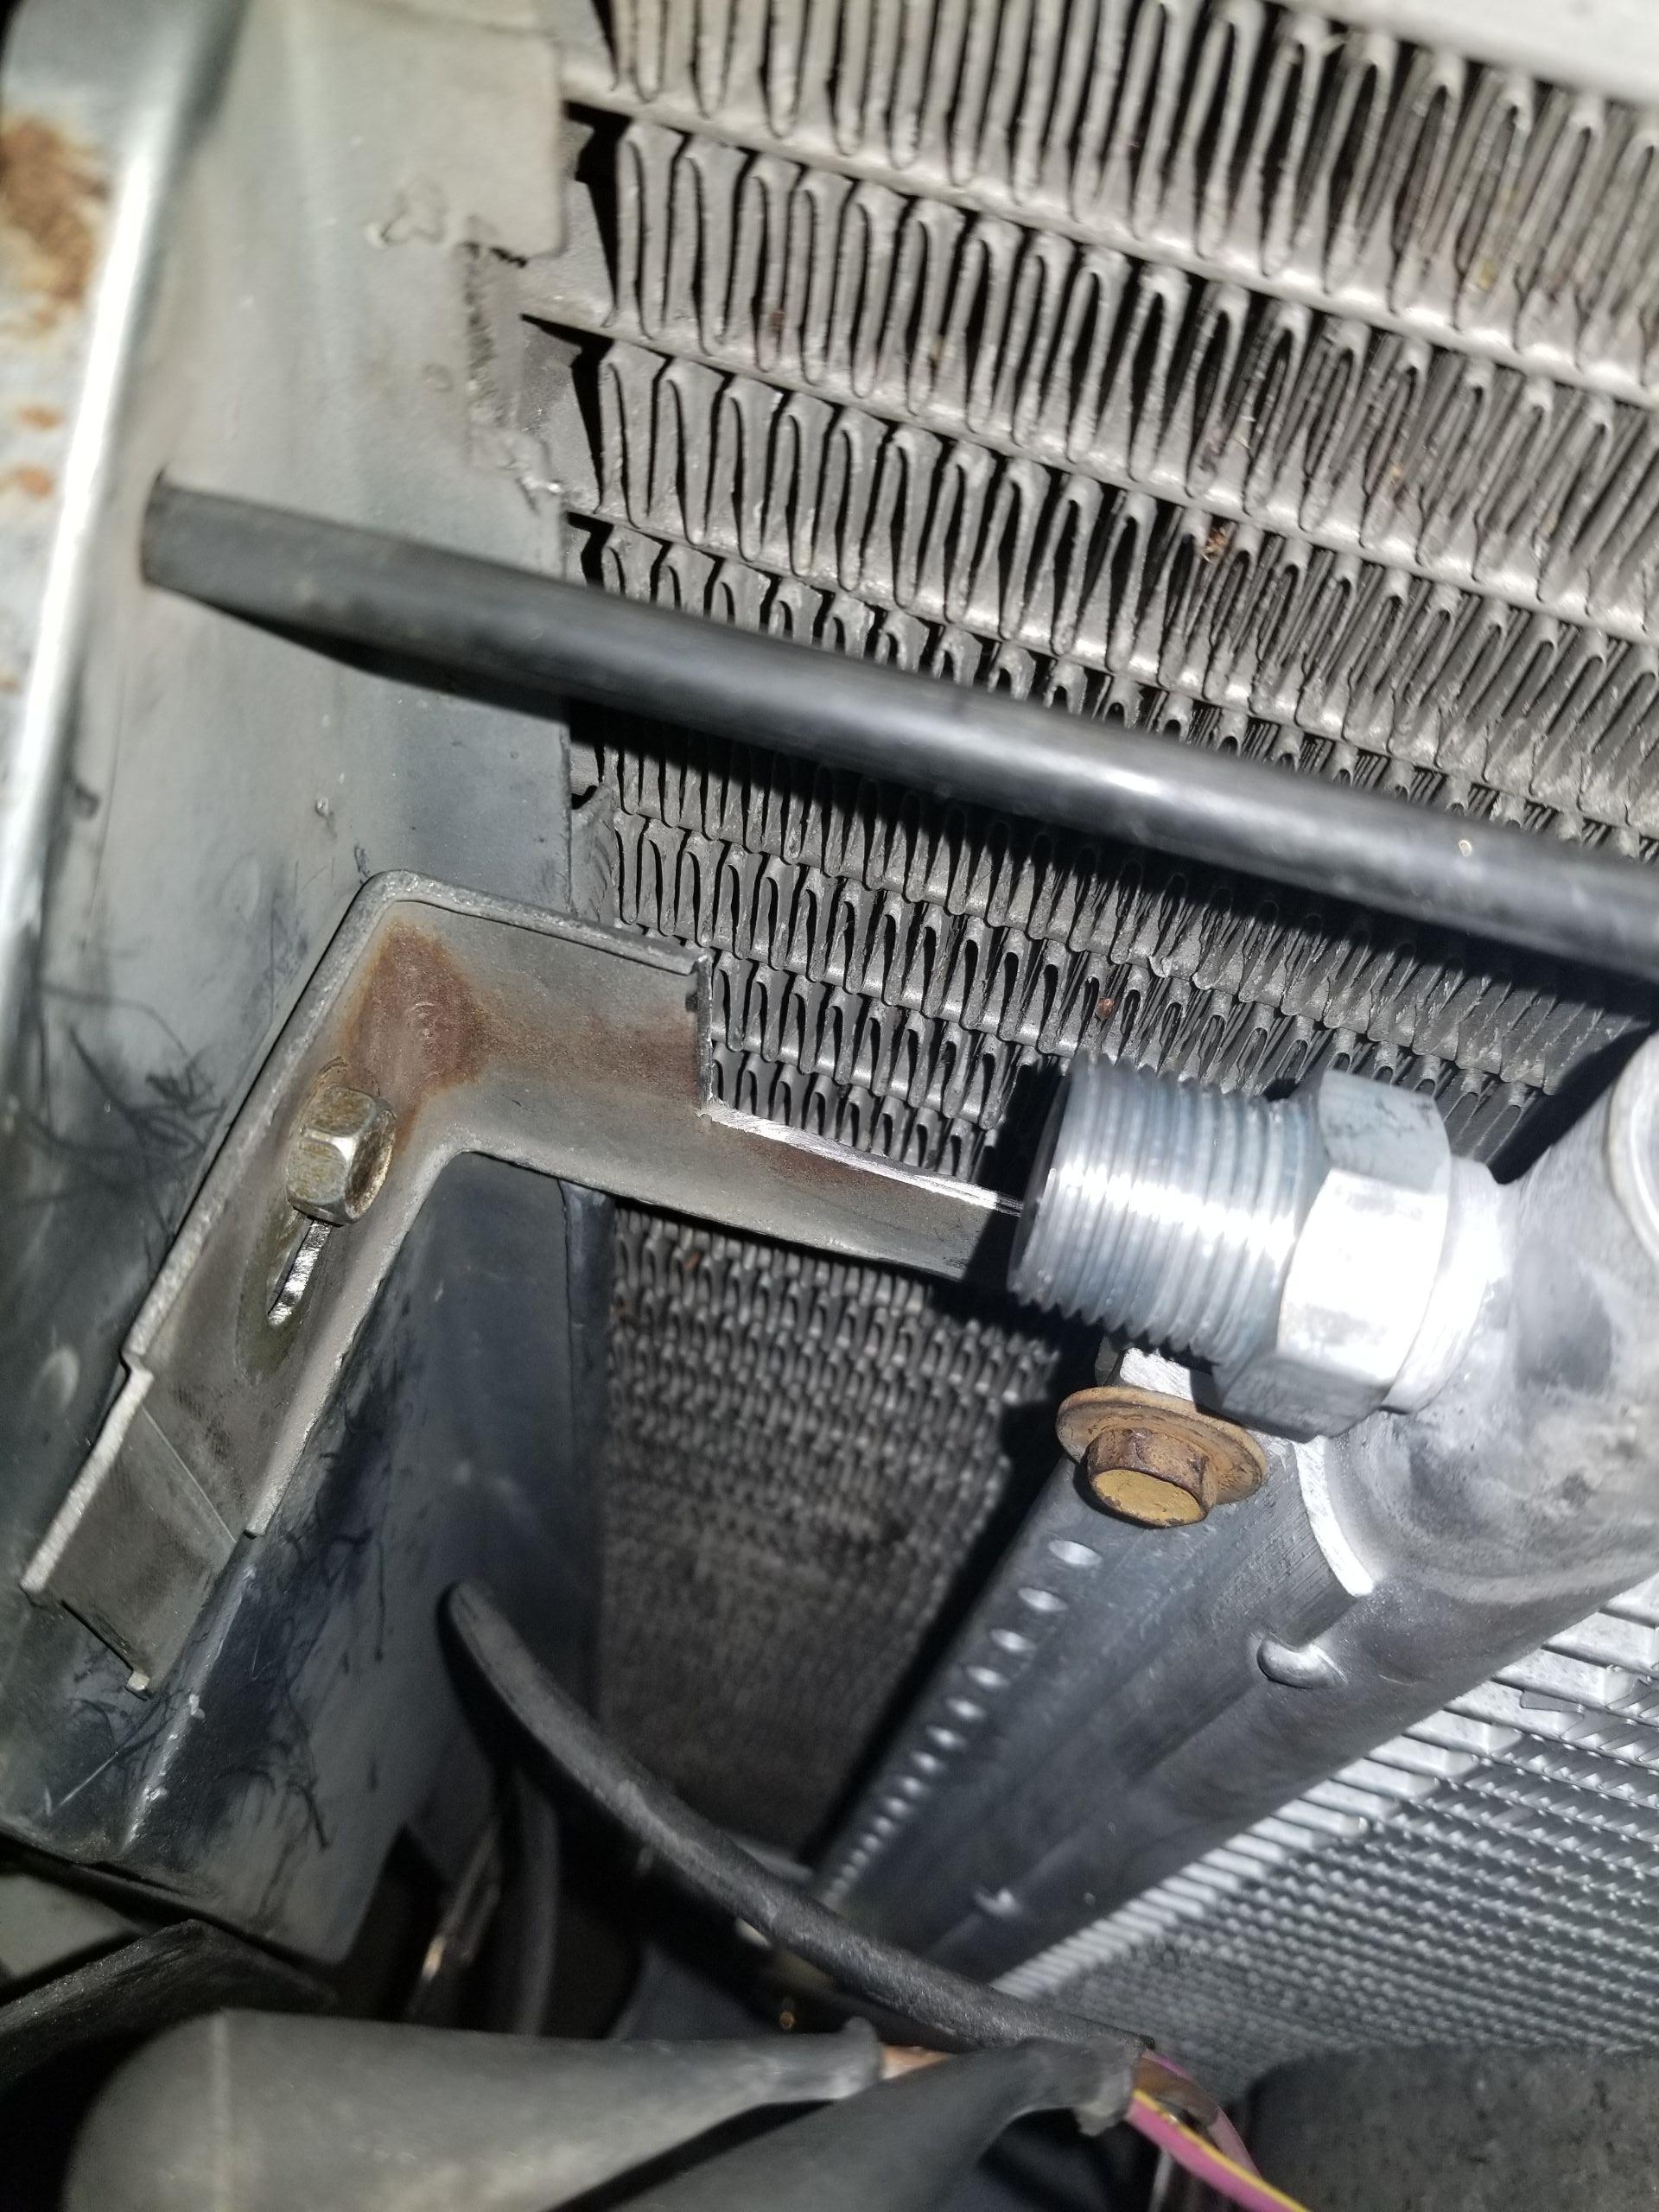
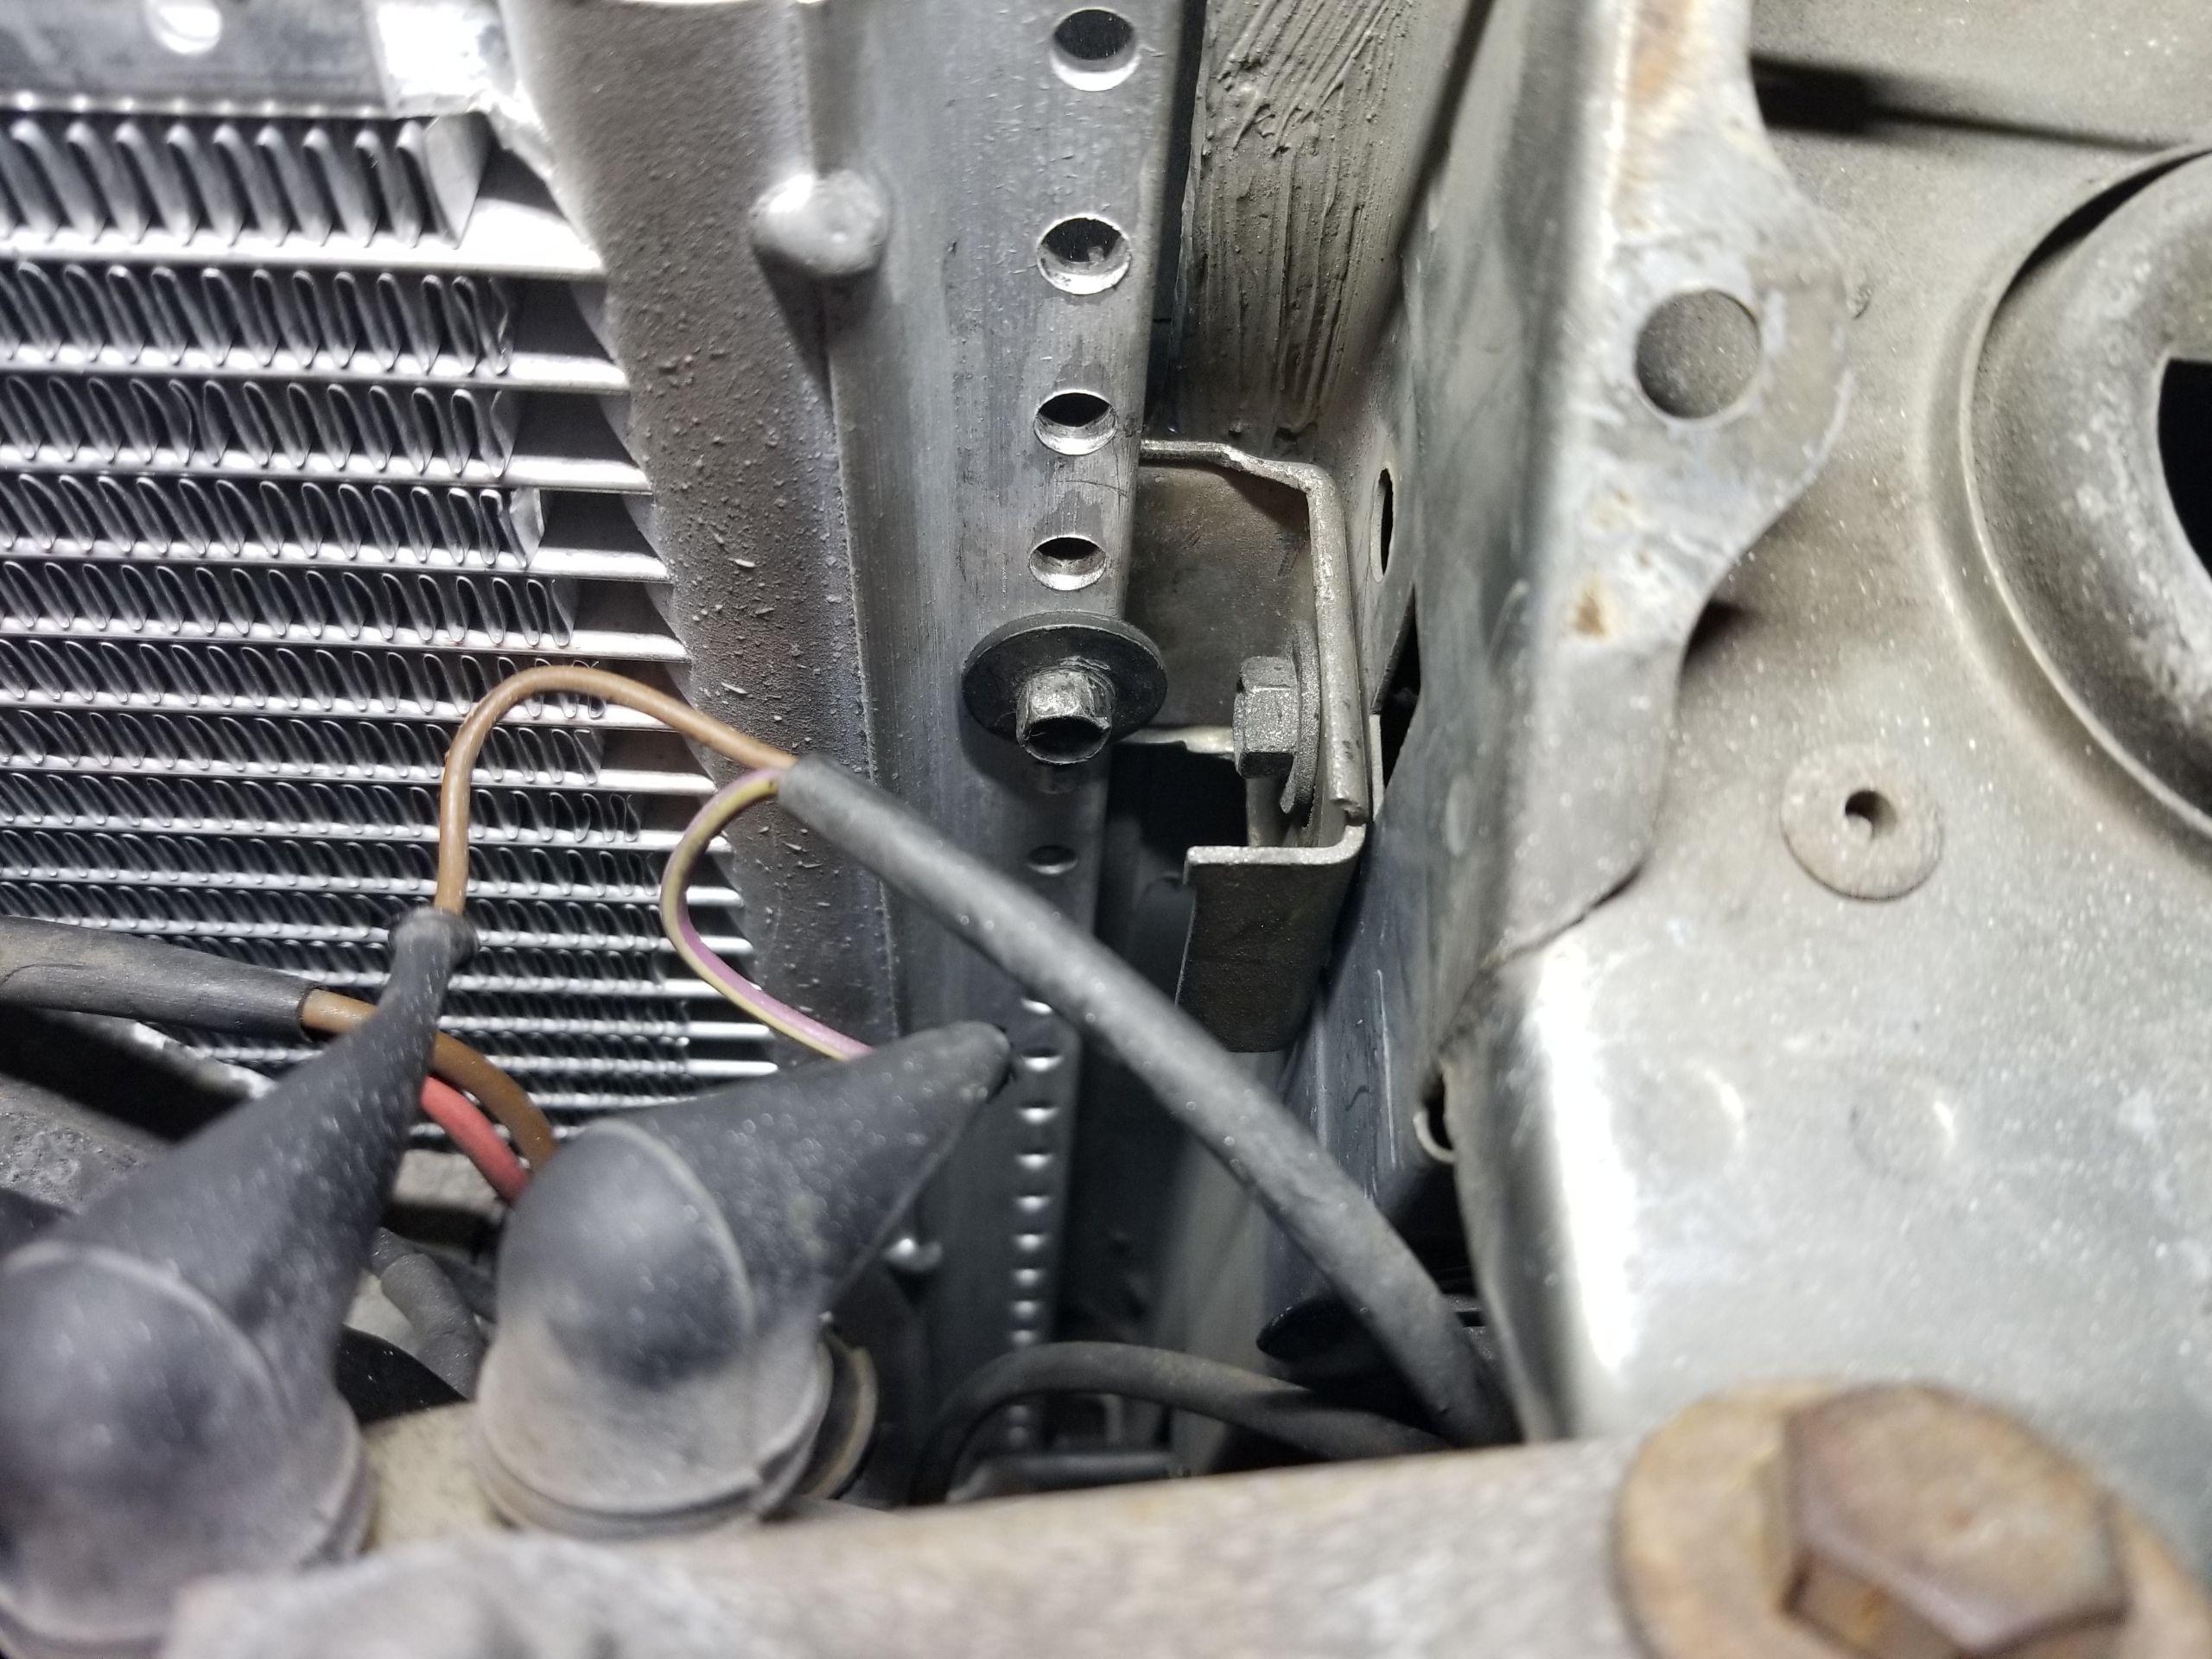
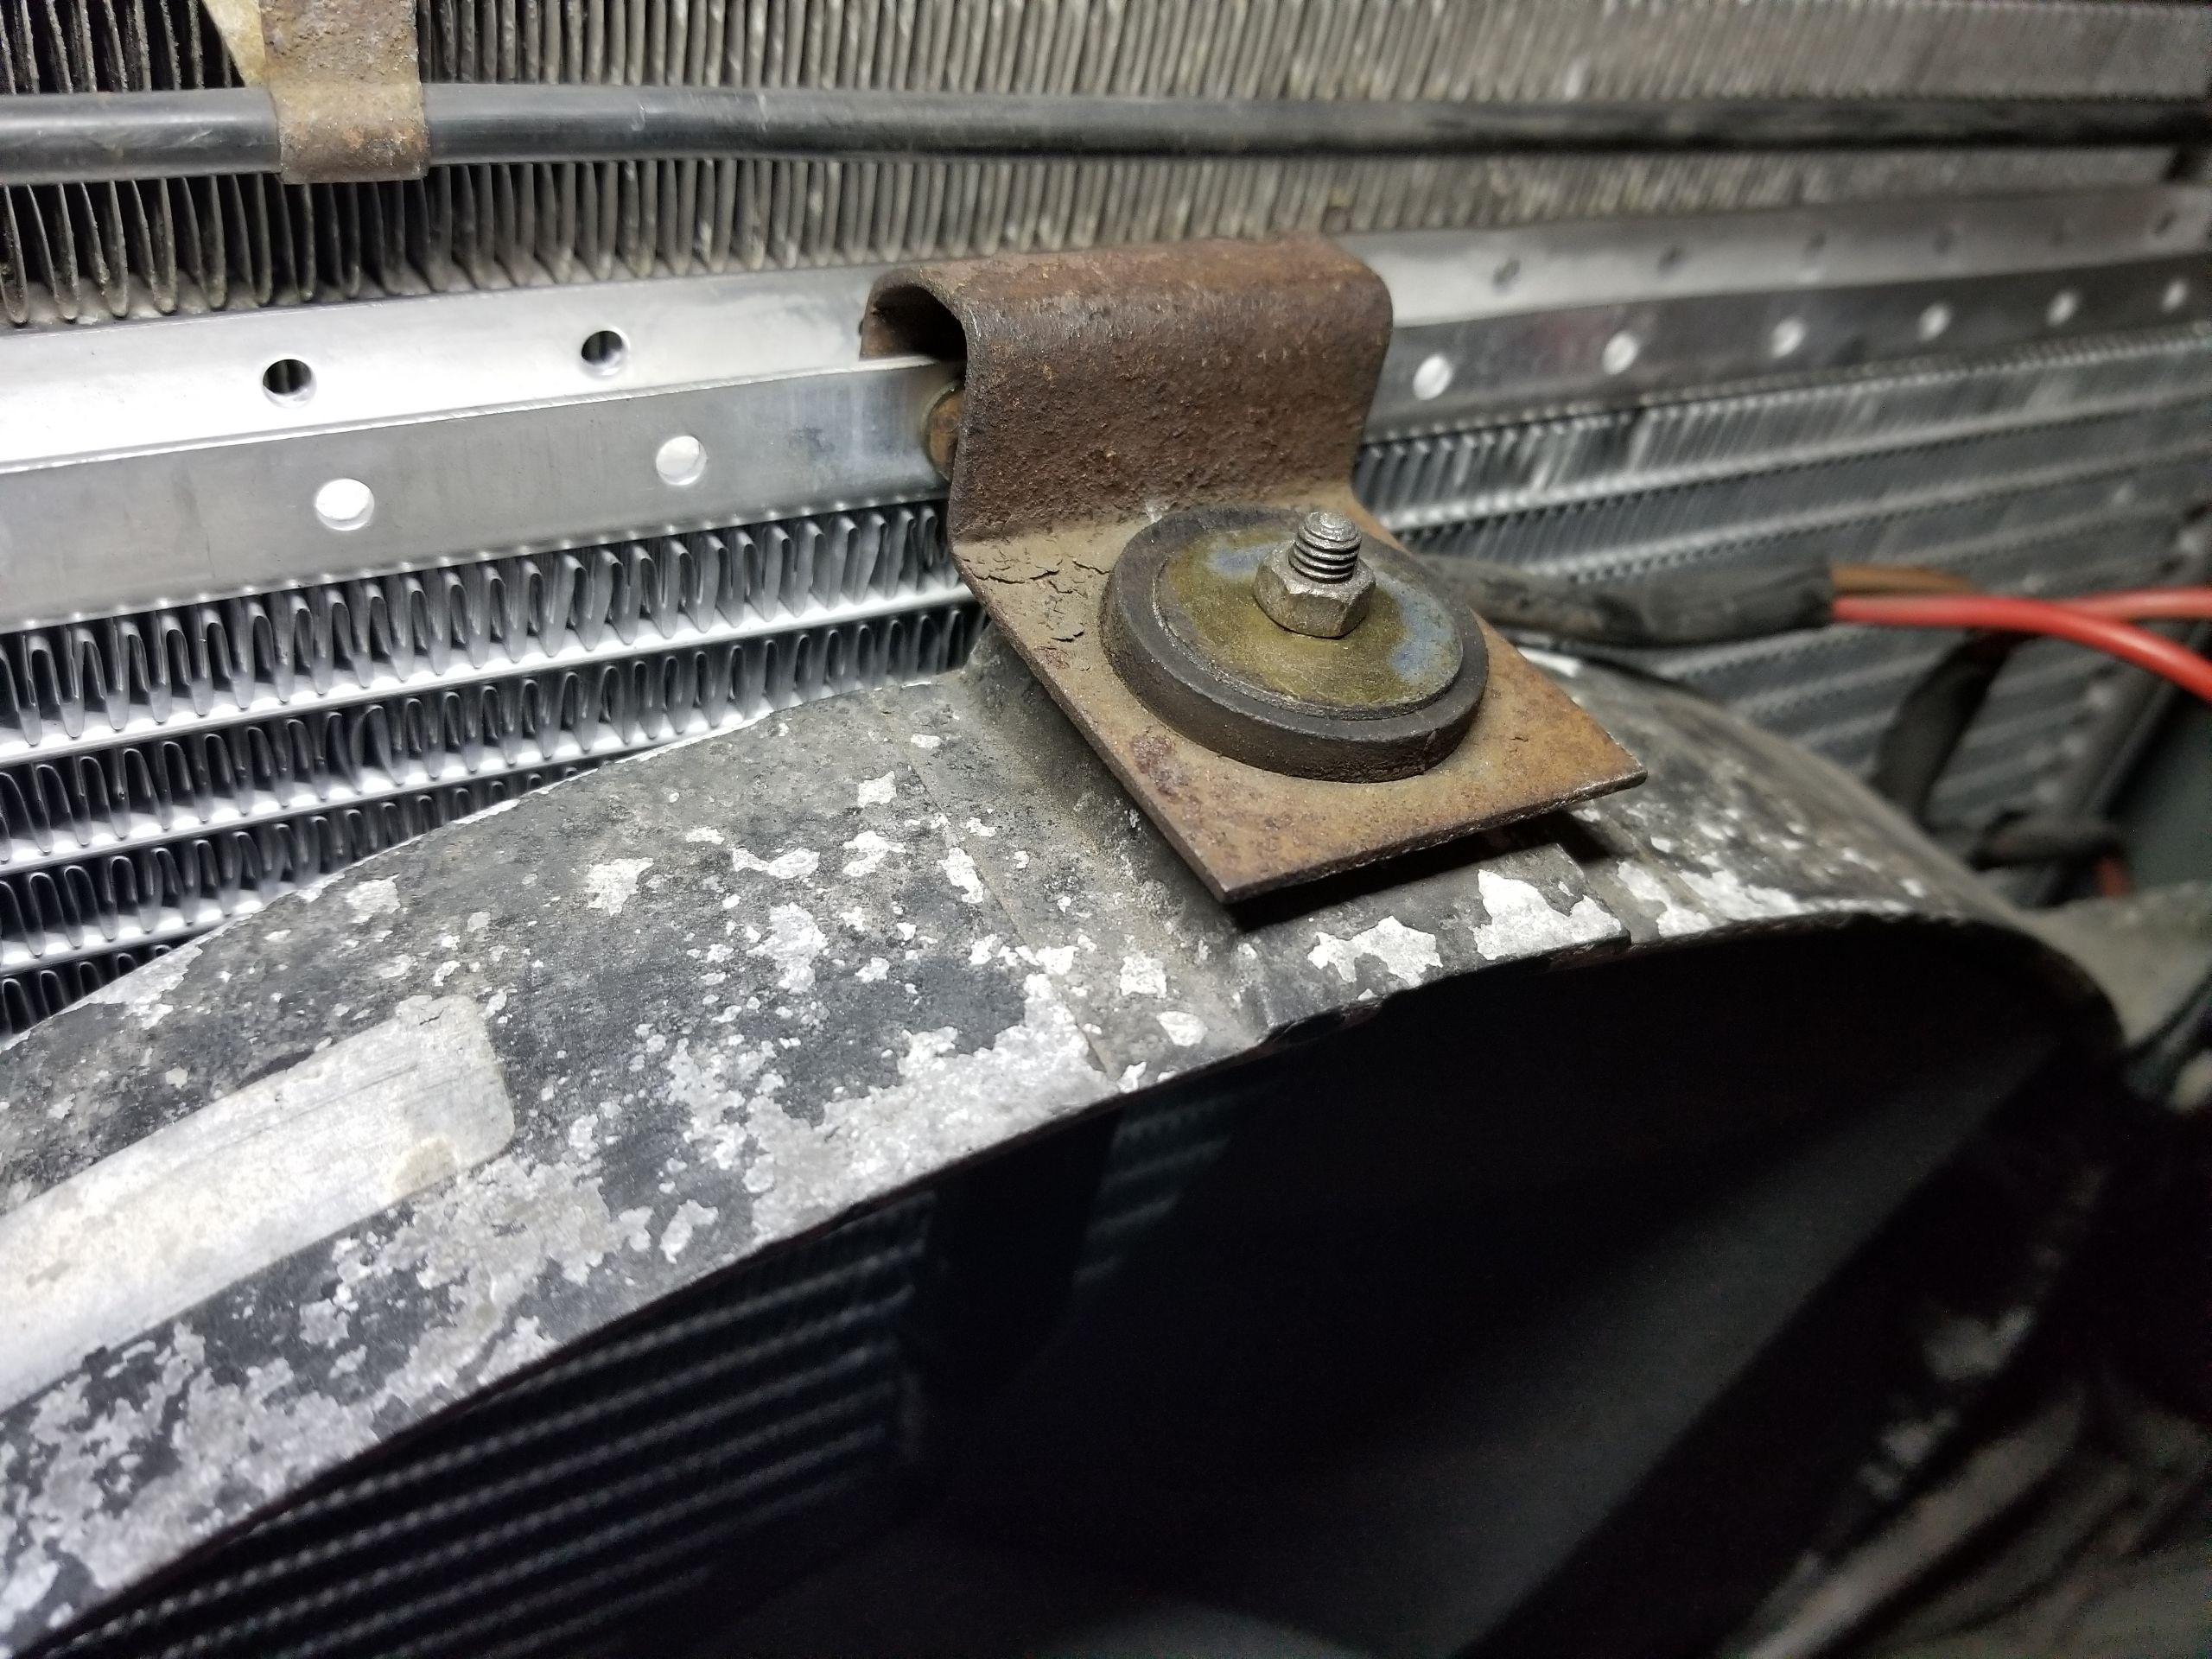
Mounting of compressor
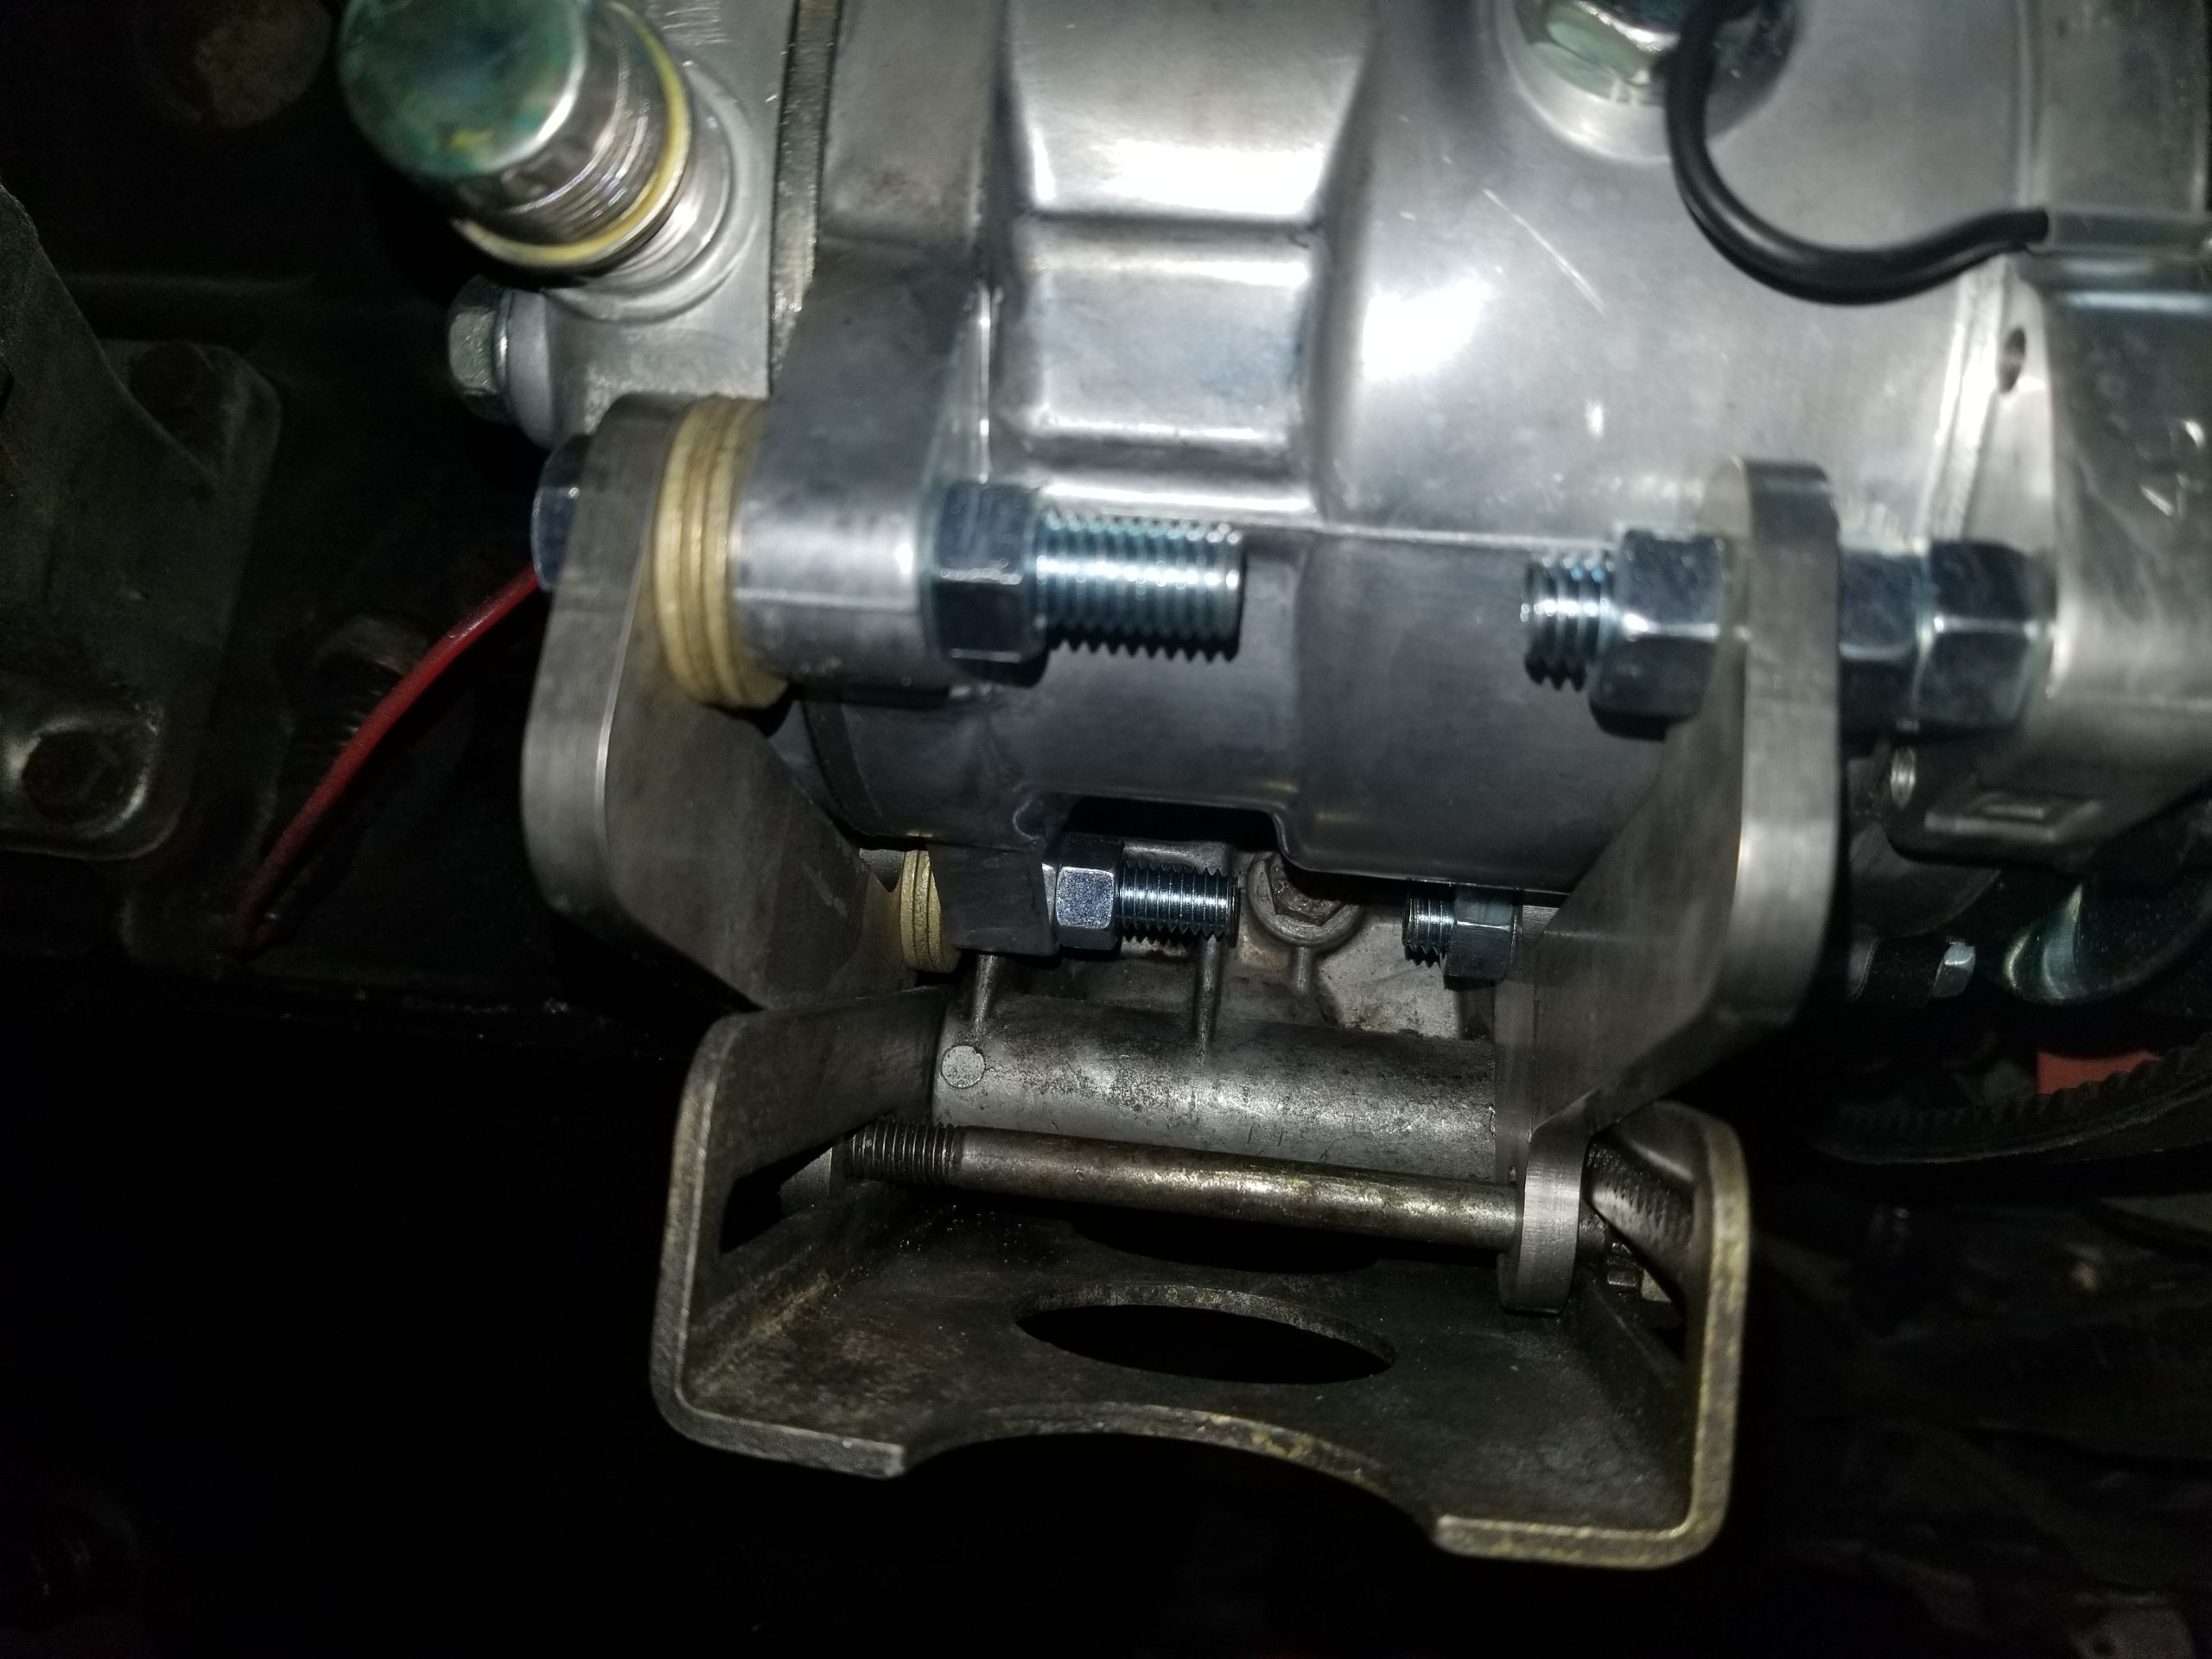
This is probably the trickiest part and will depend on your own personal touch. I will state what was used to mount mine.
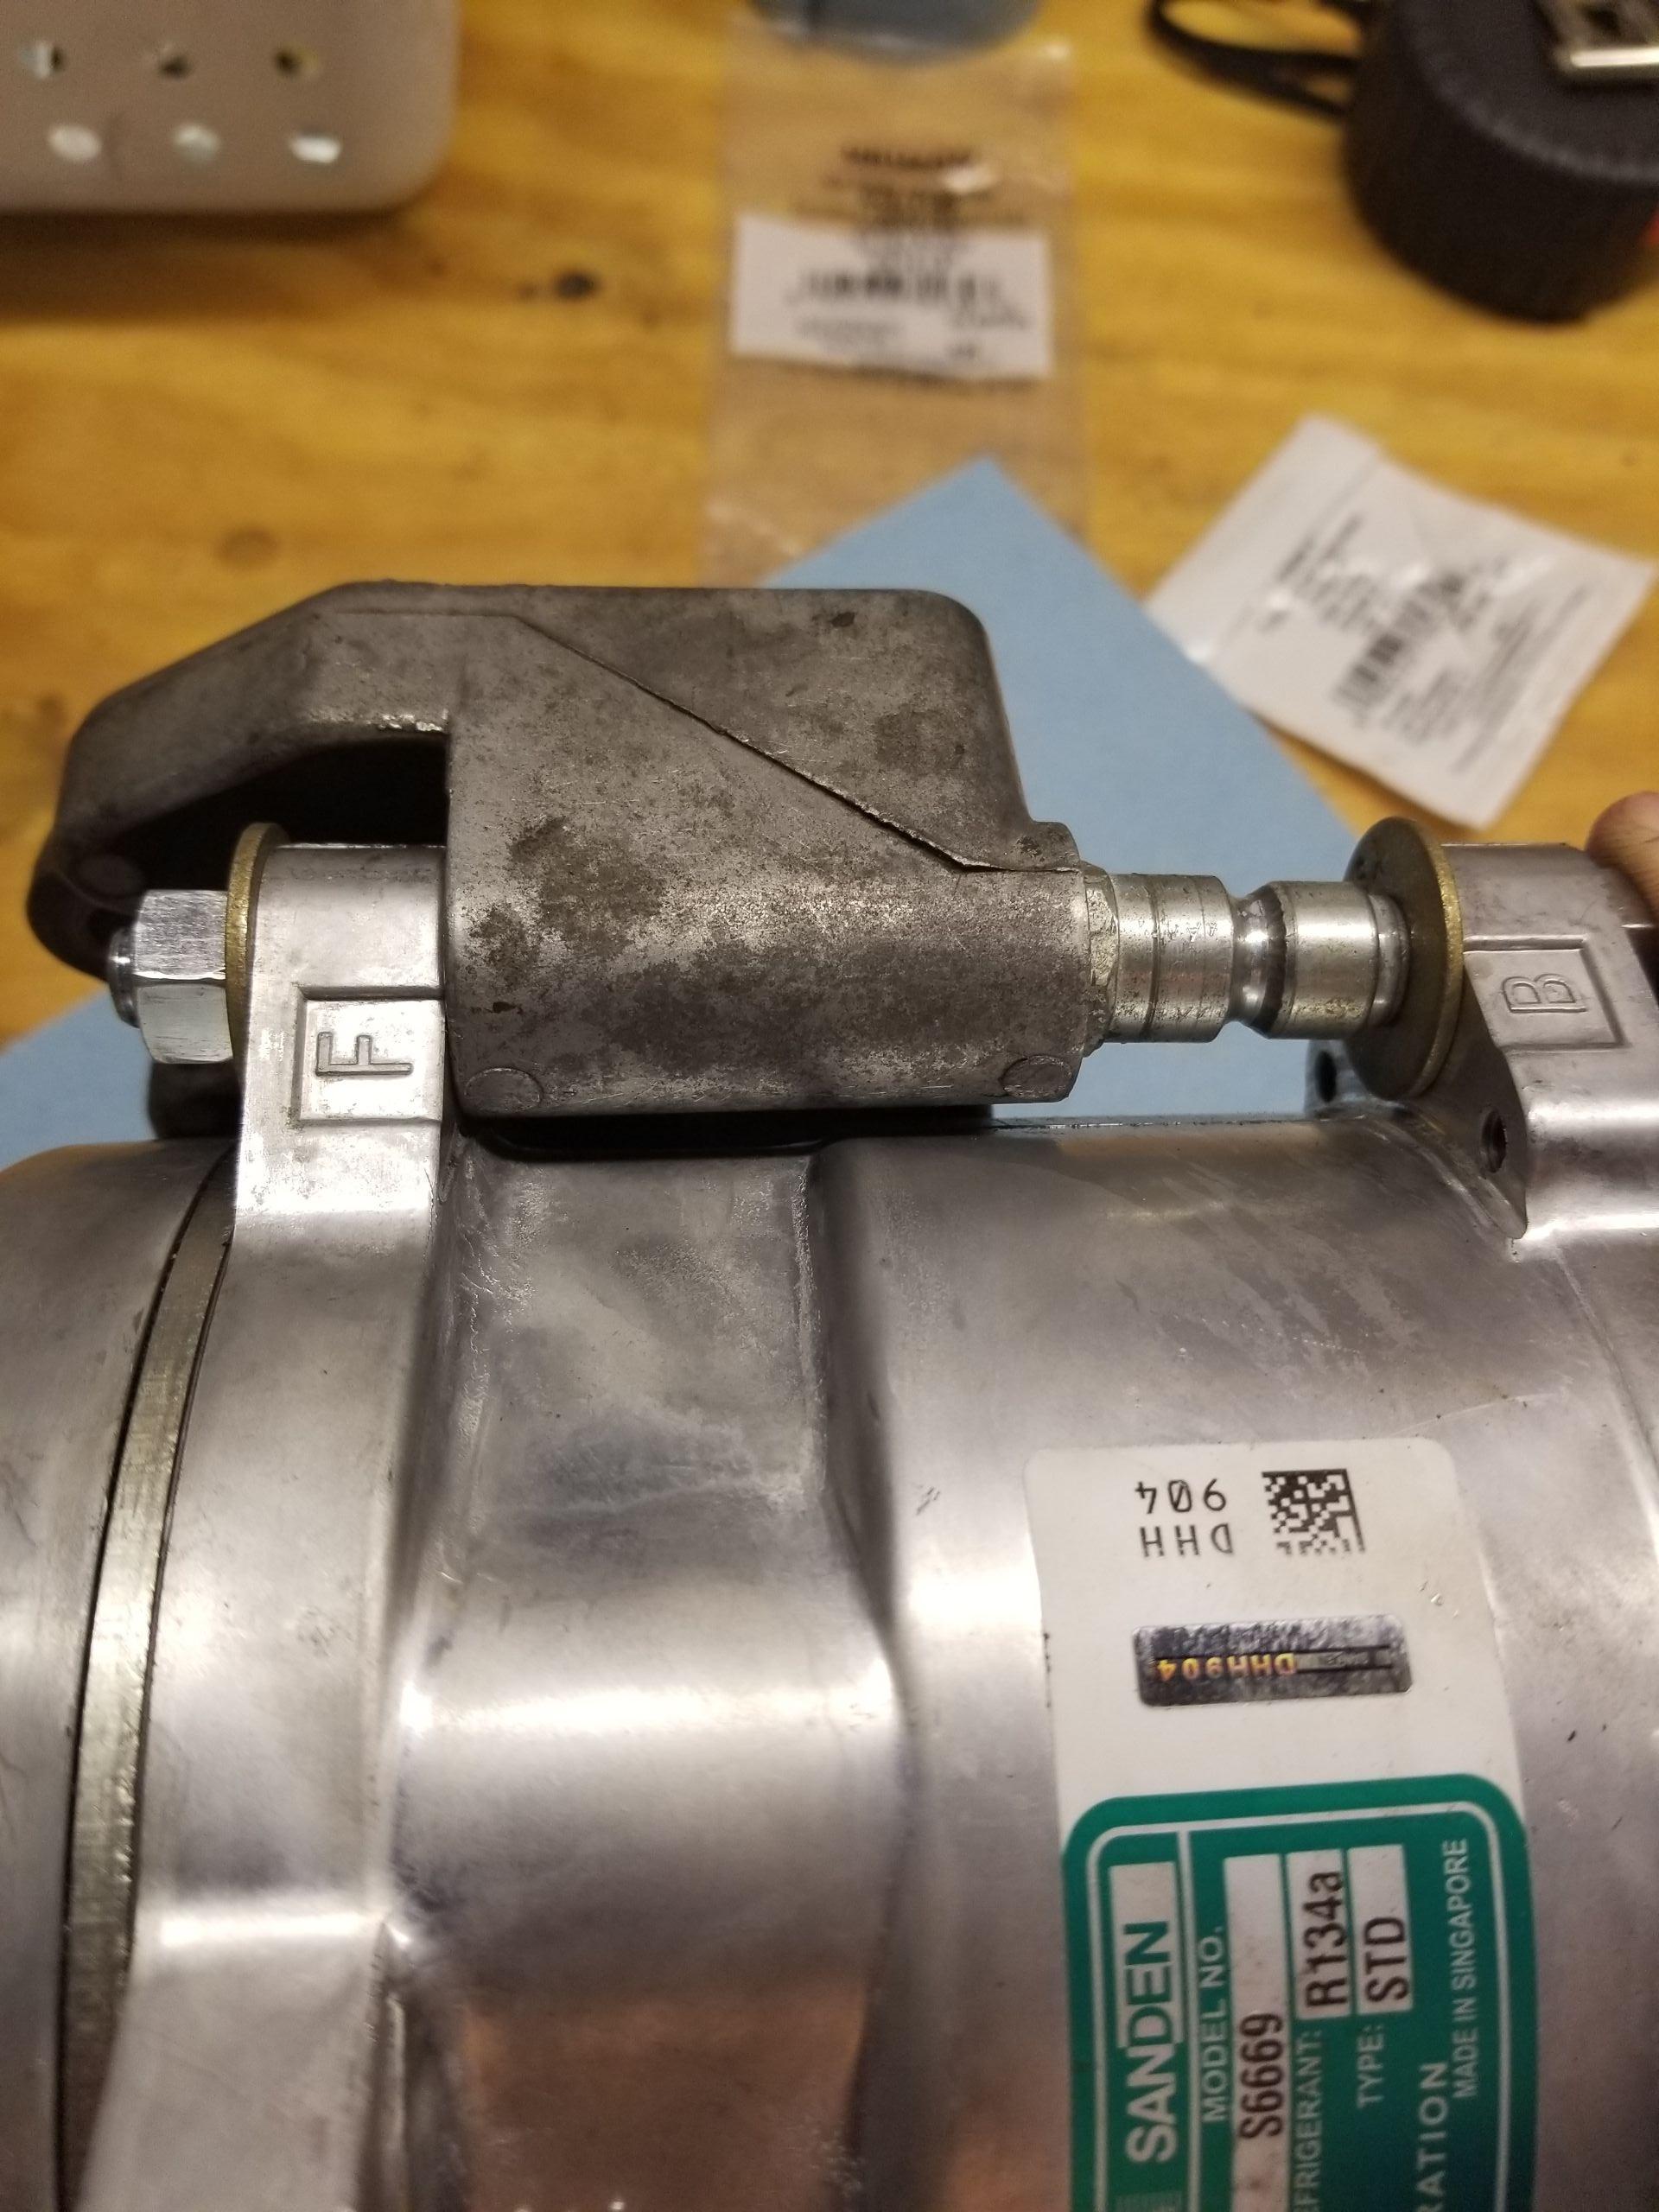
What you need from original setup
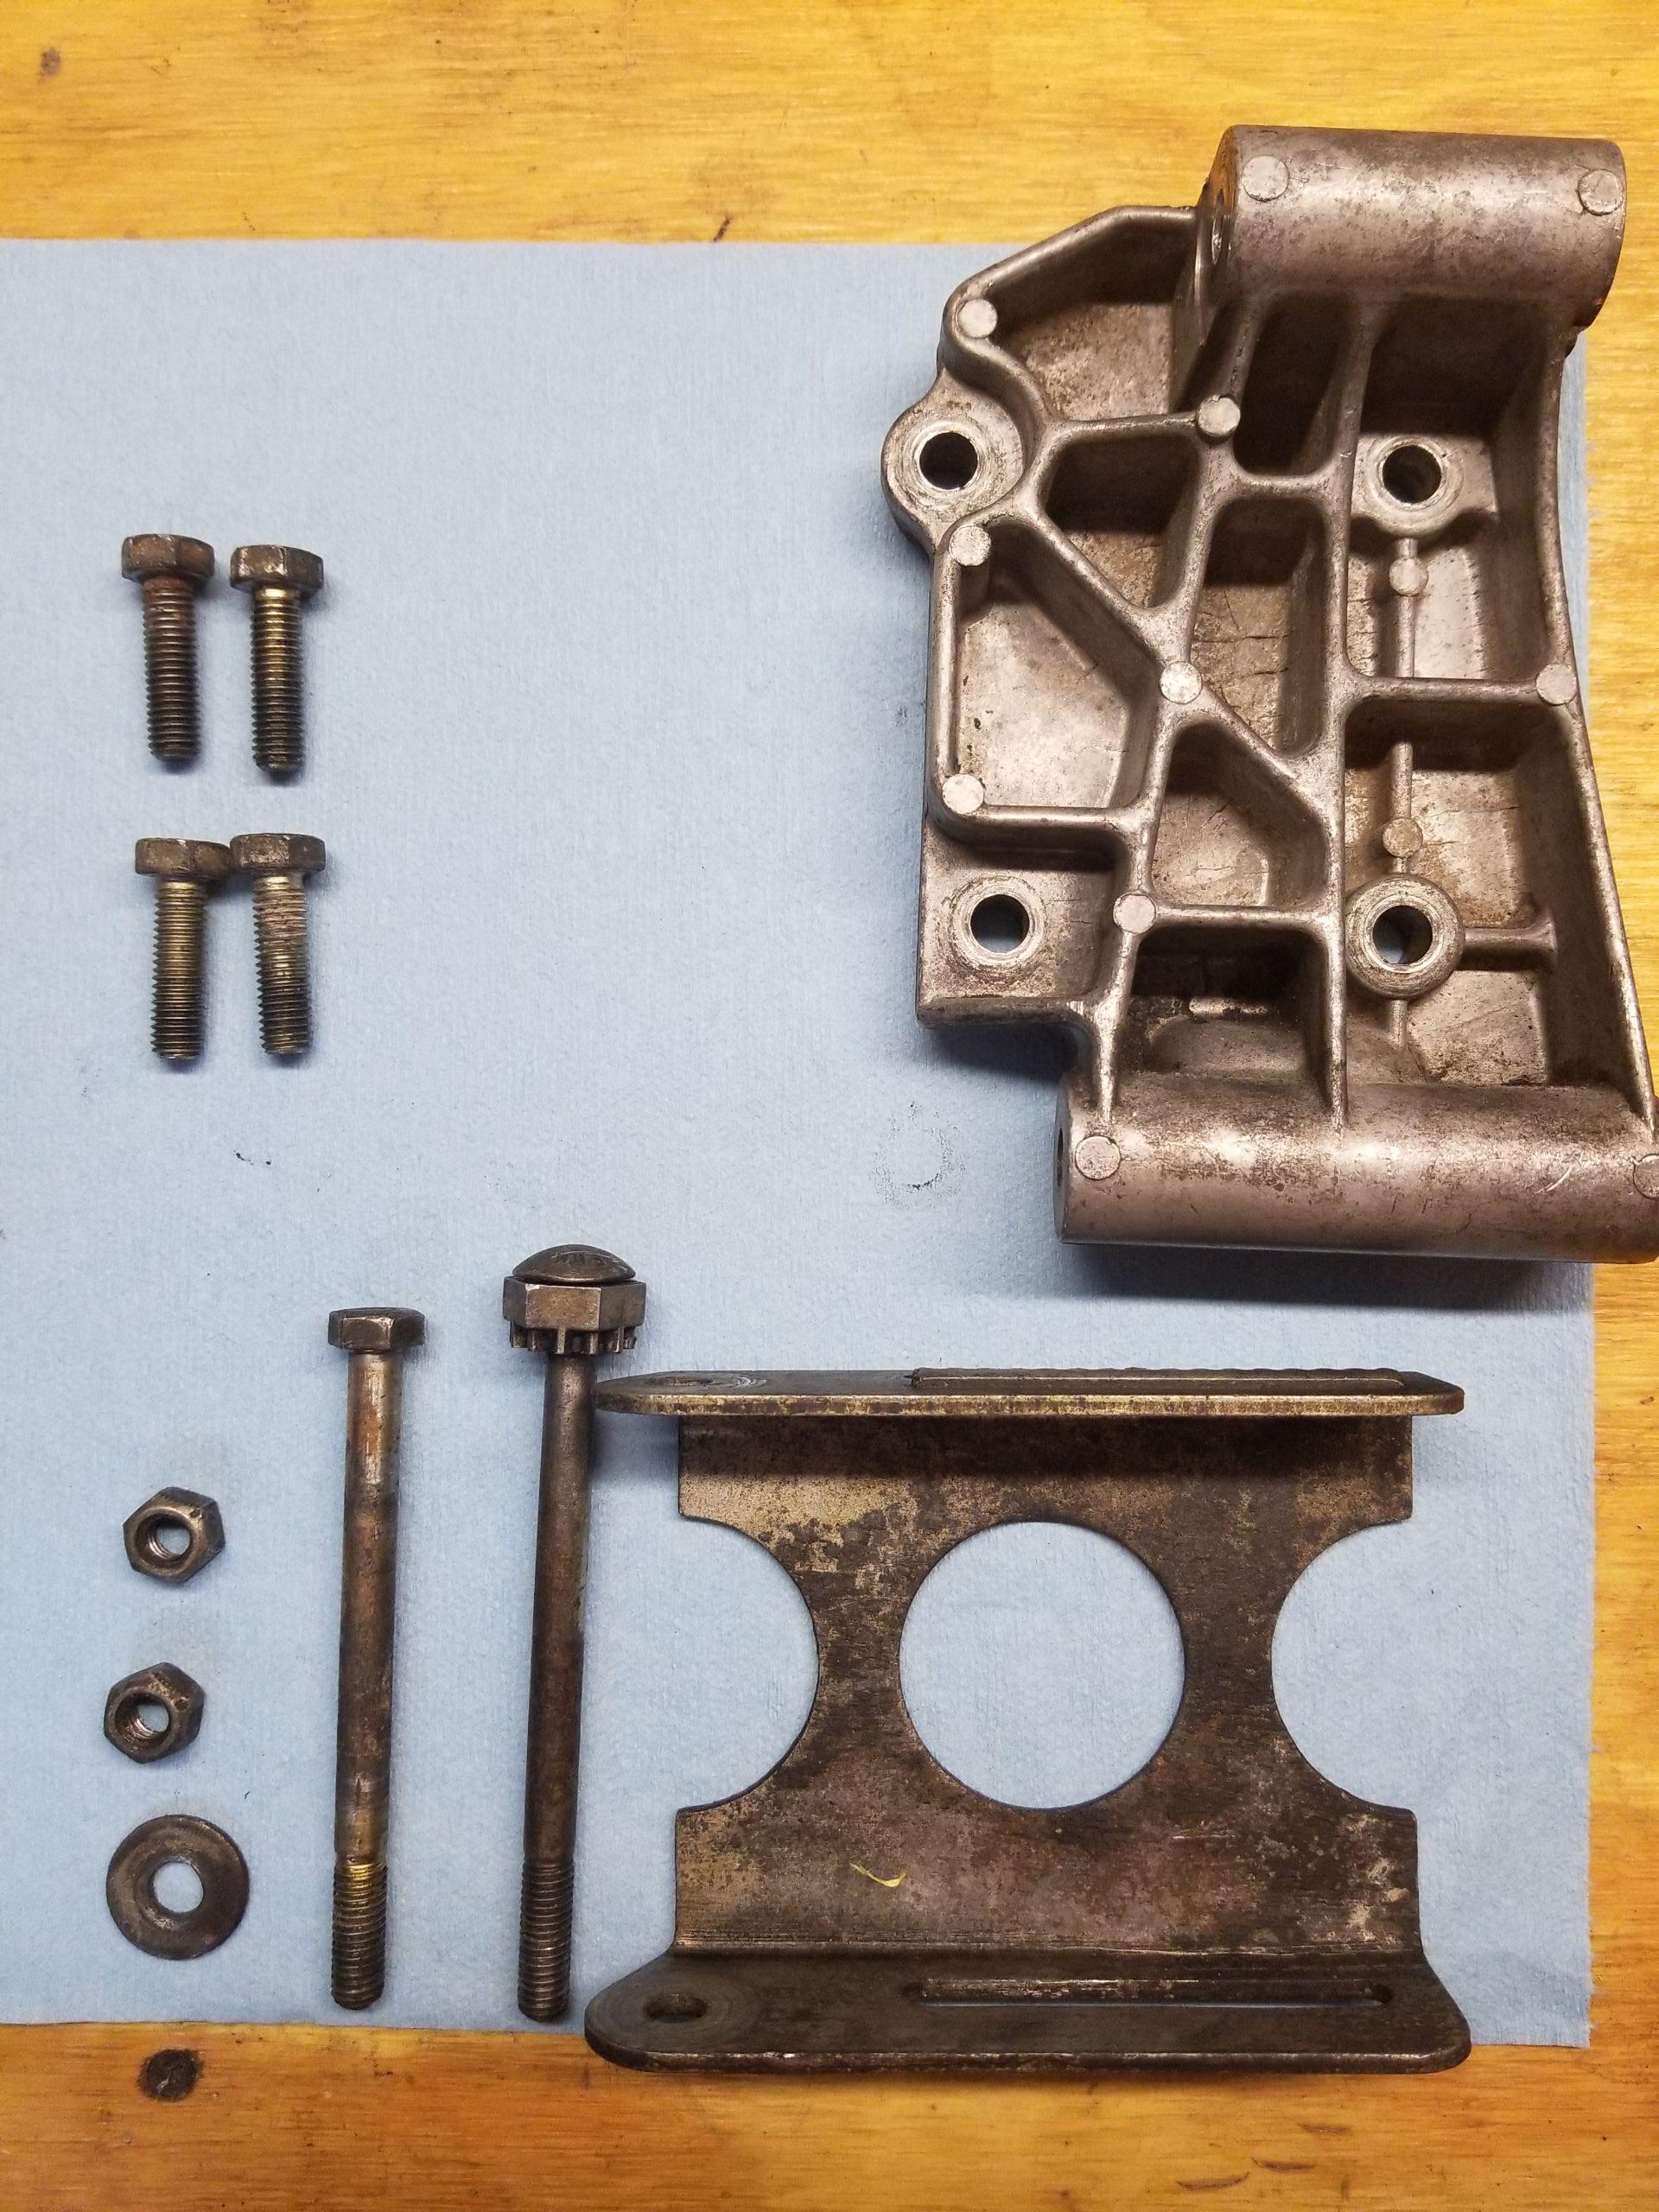
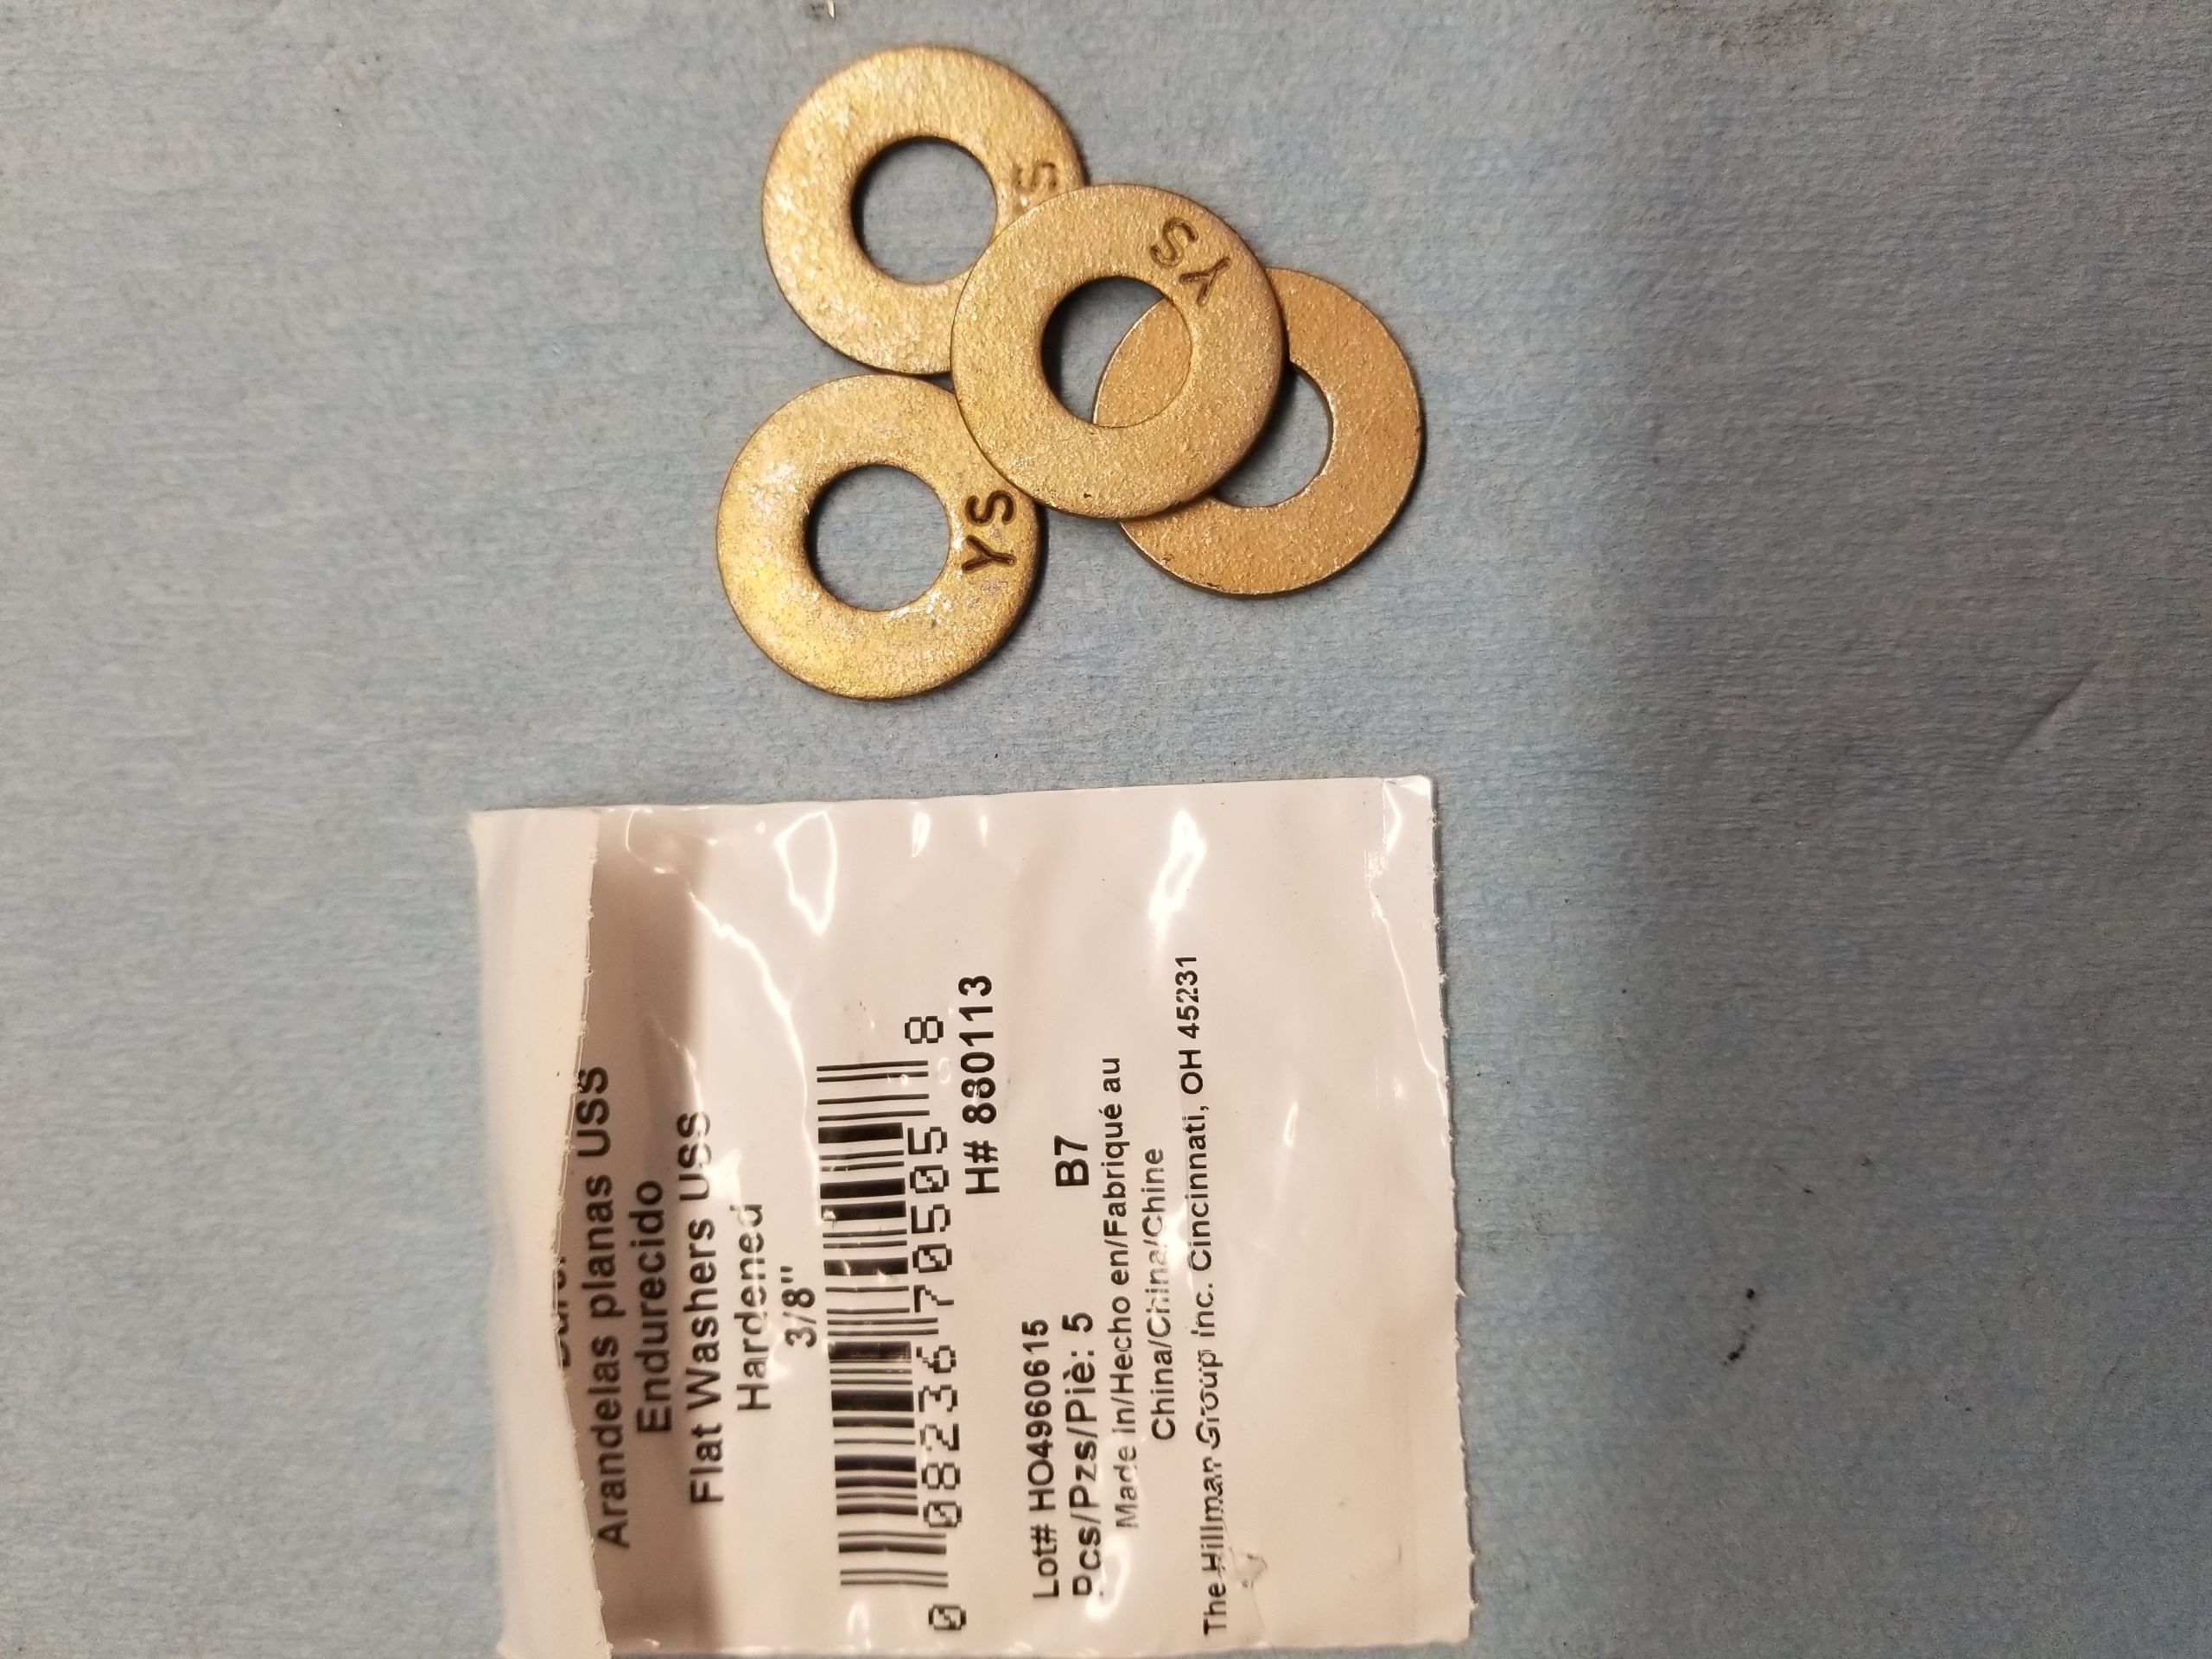
Washers
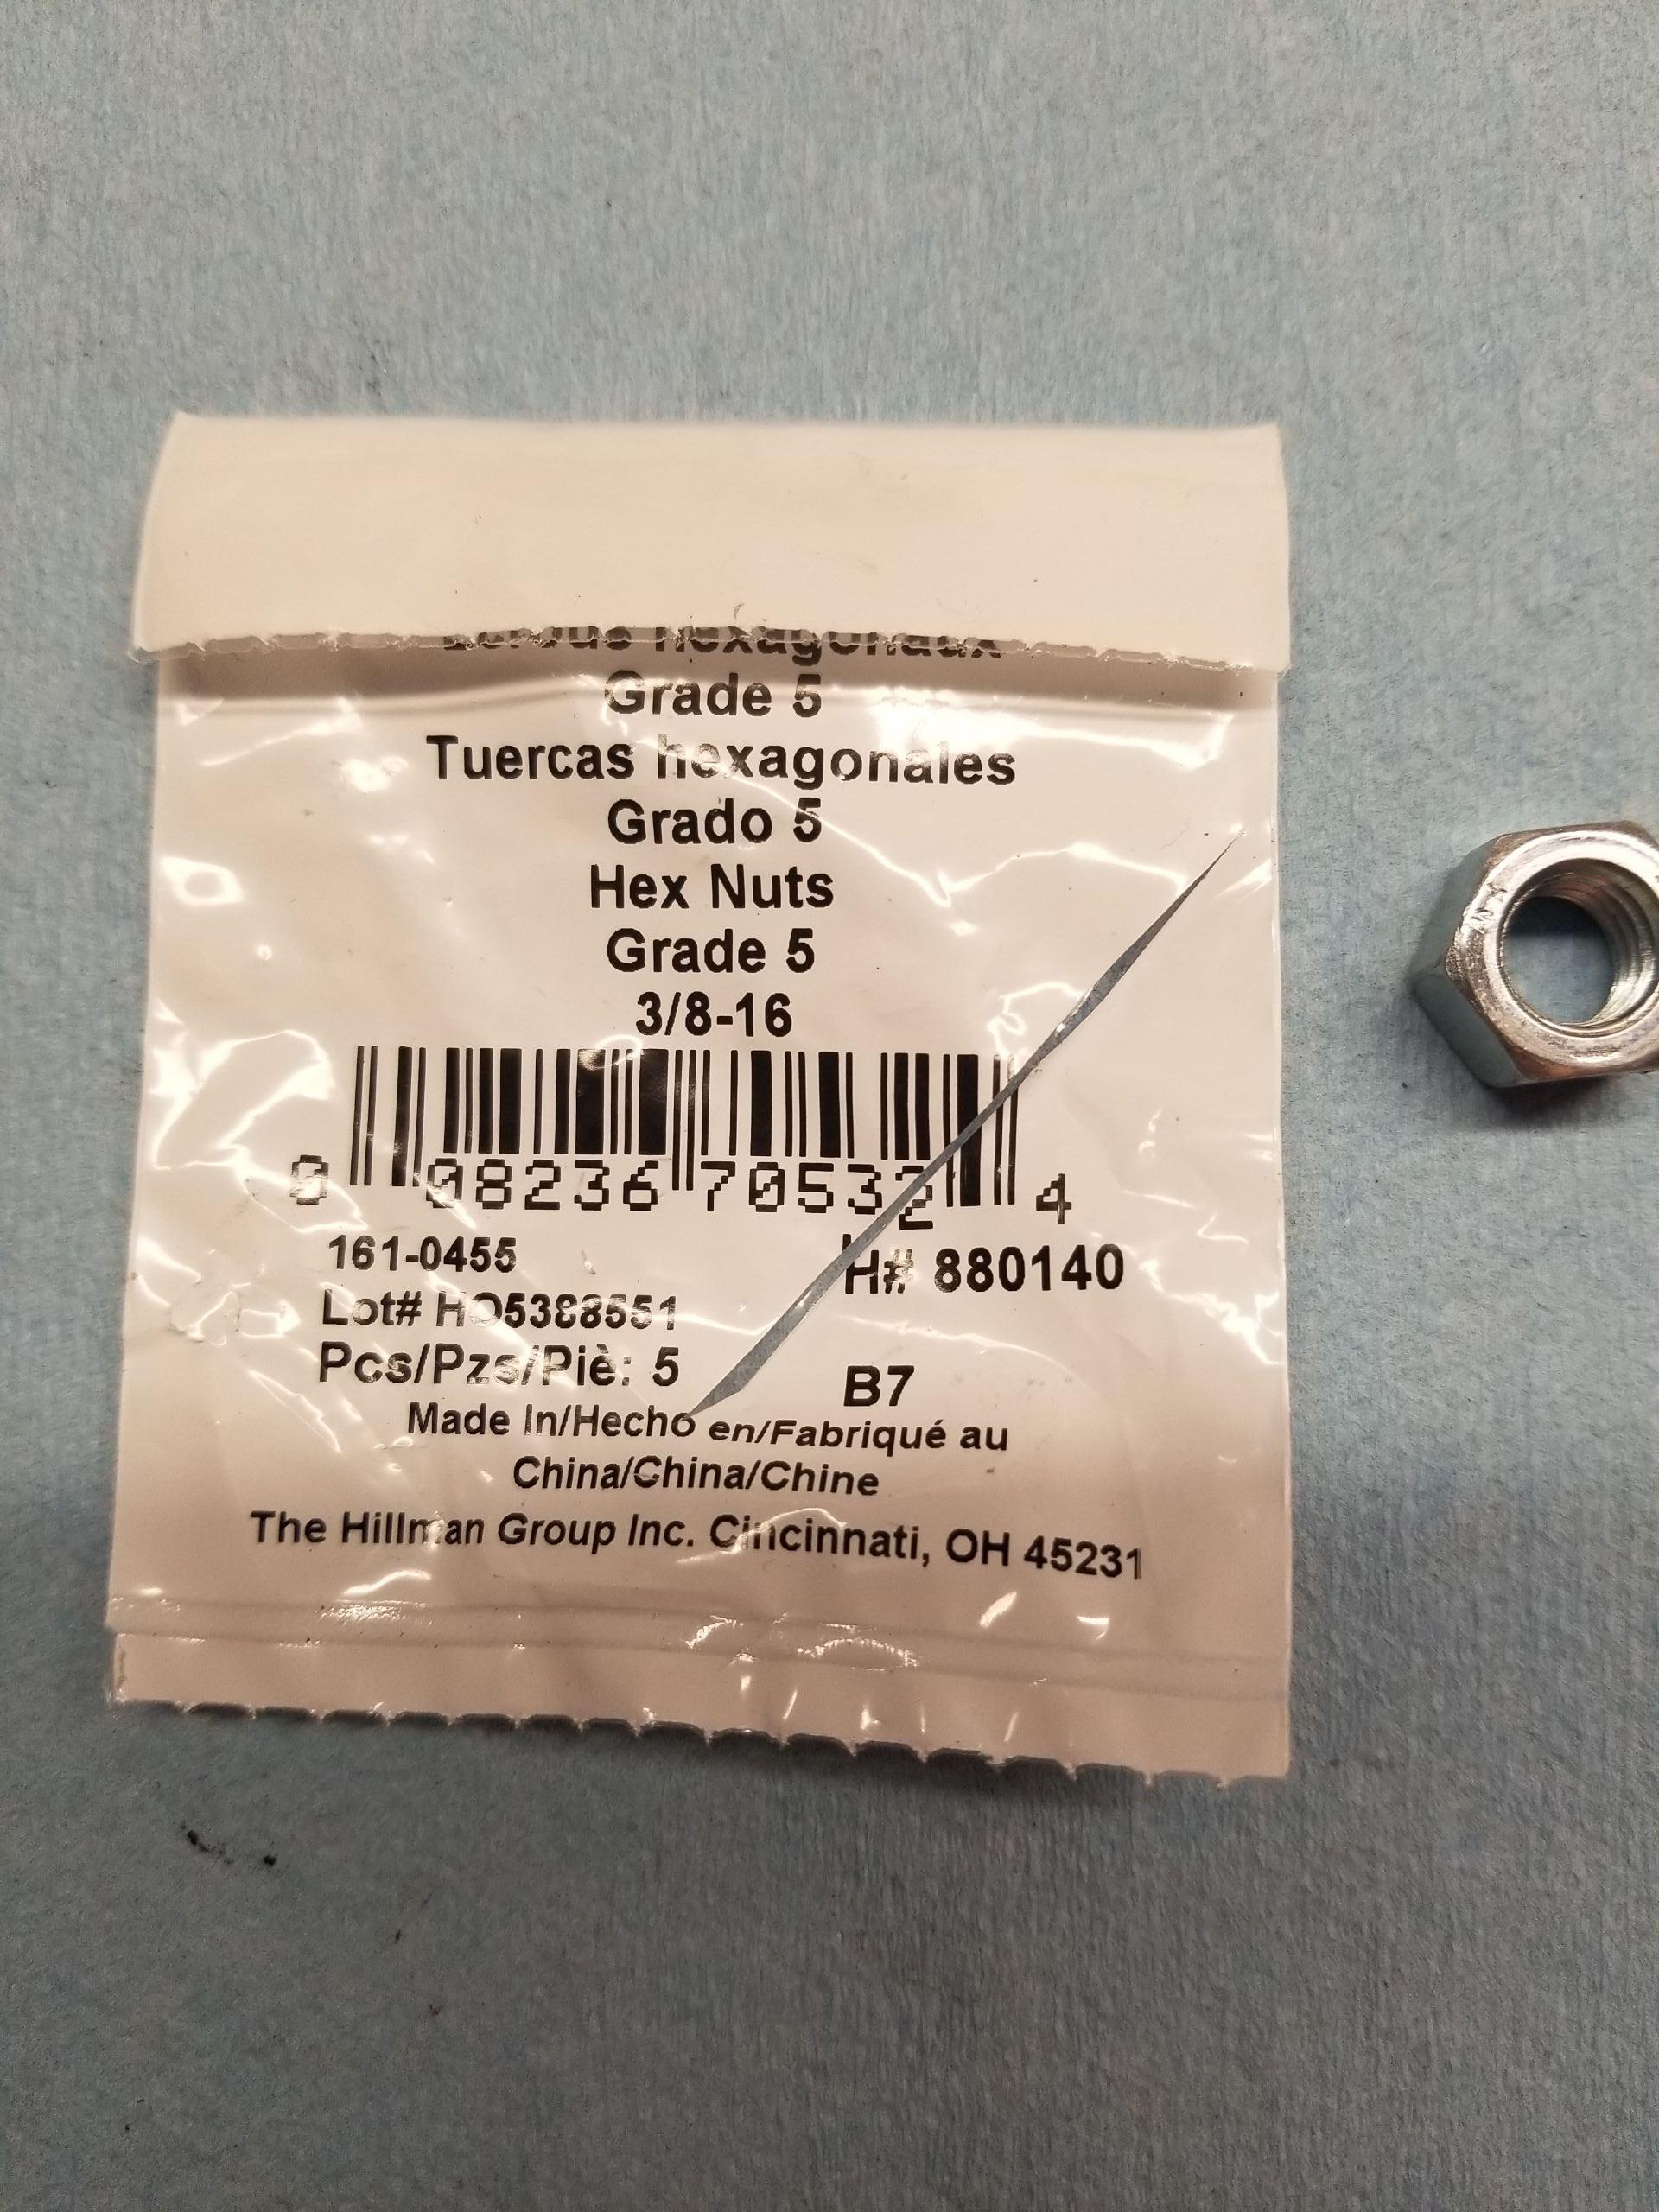
Nuts
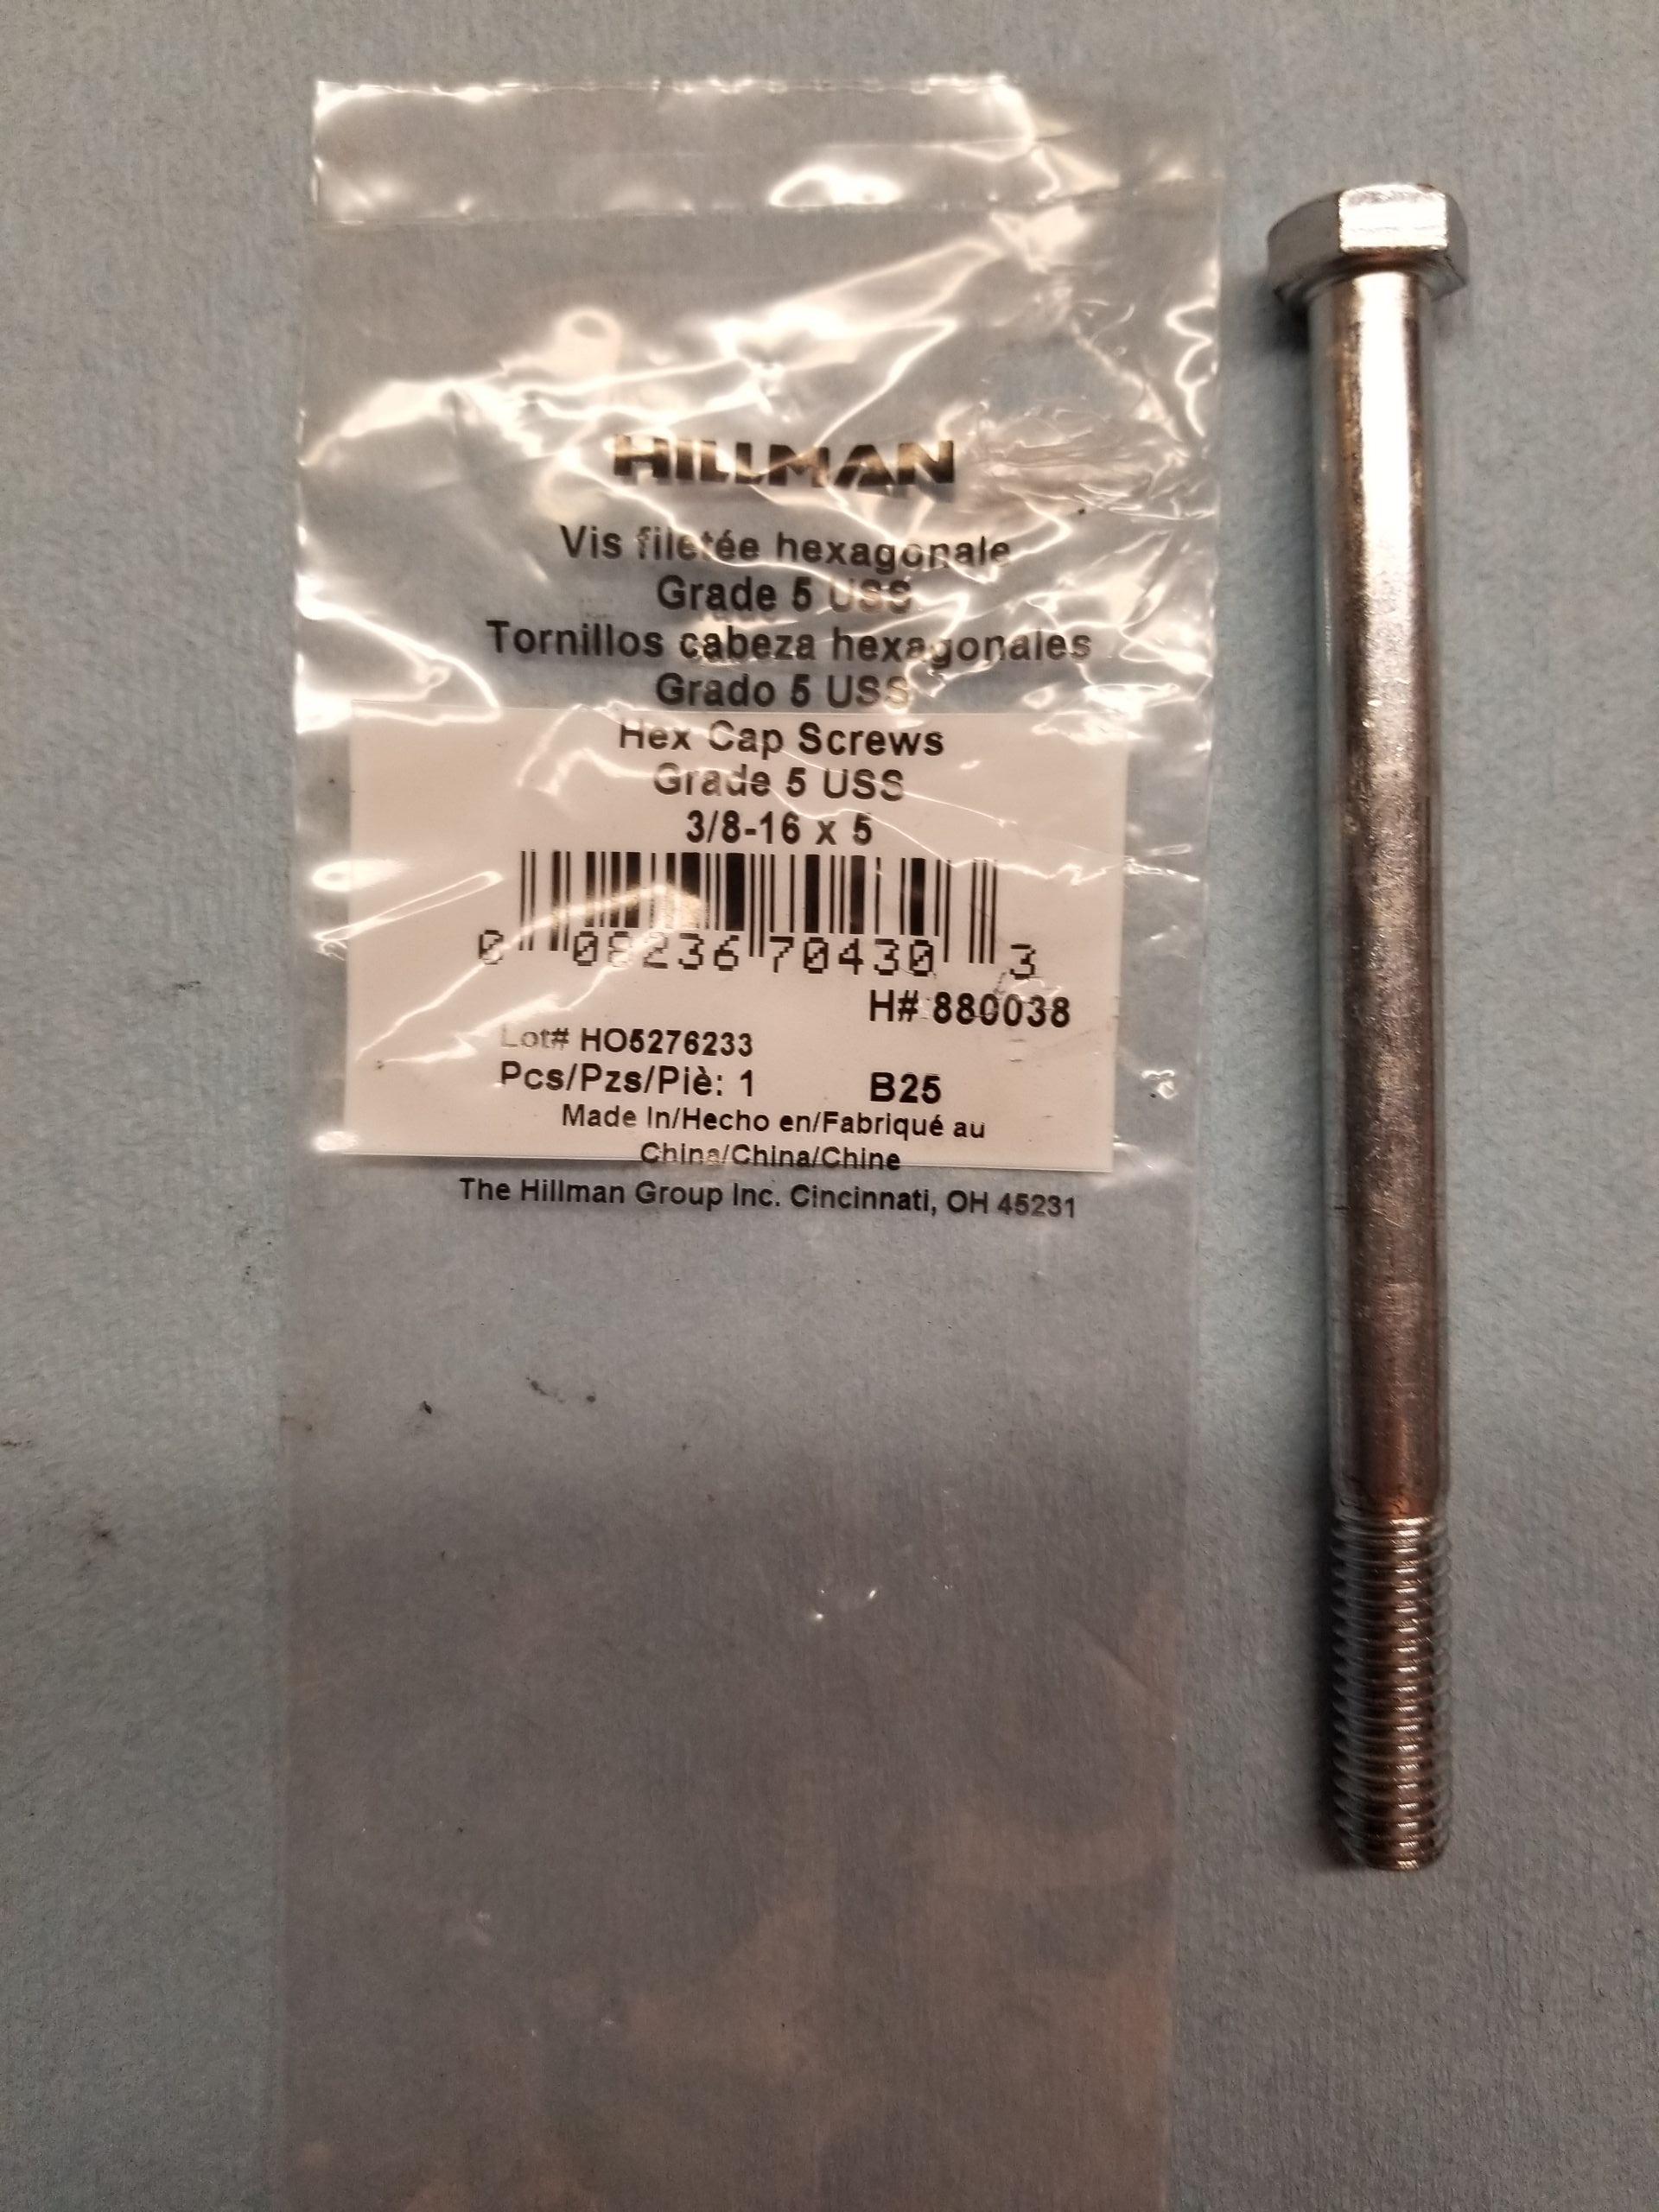
Bolt top
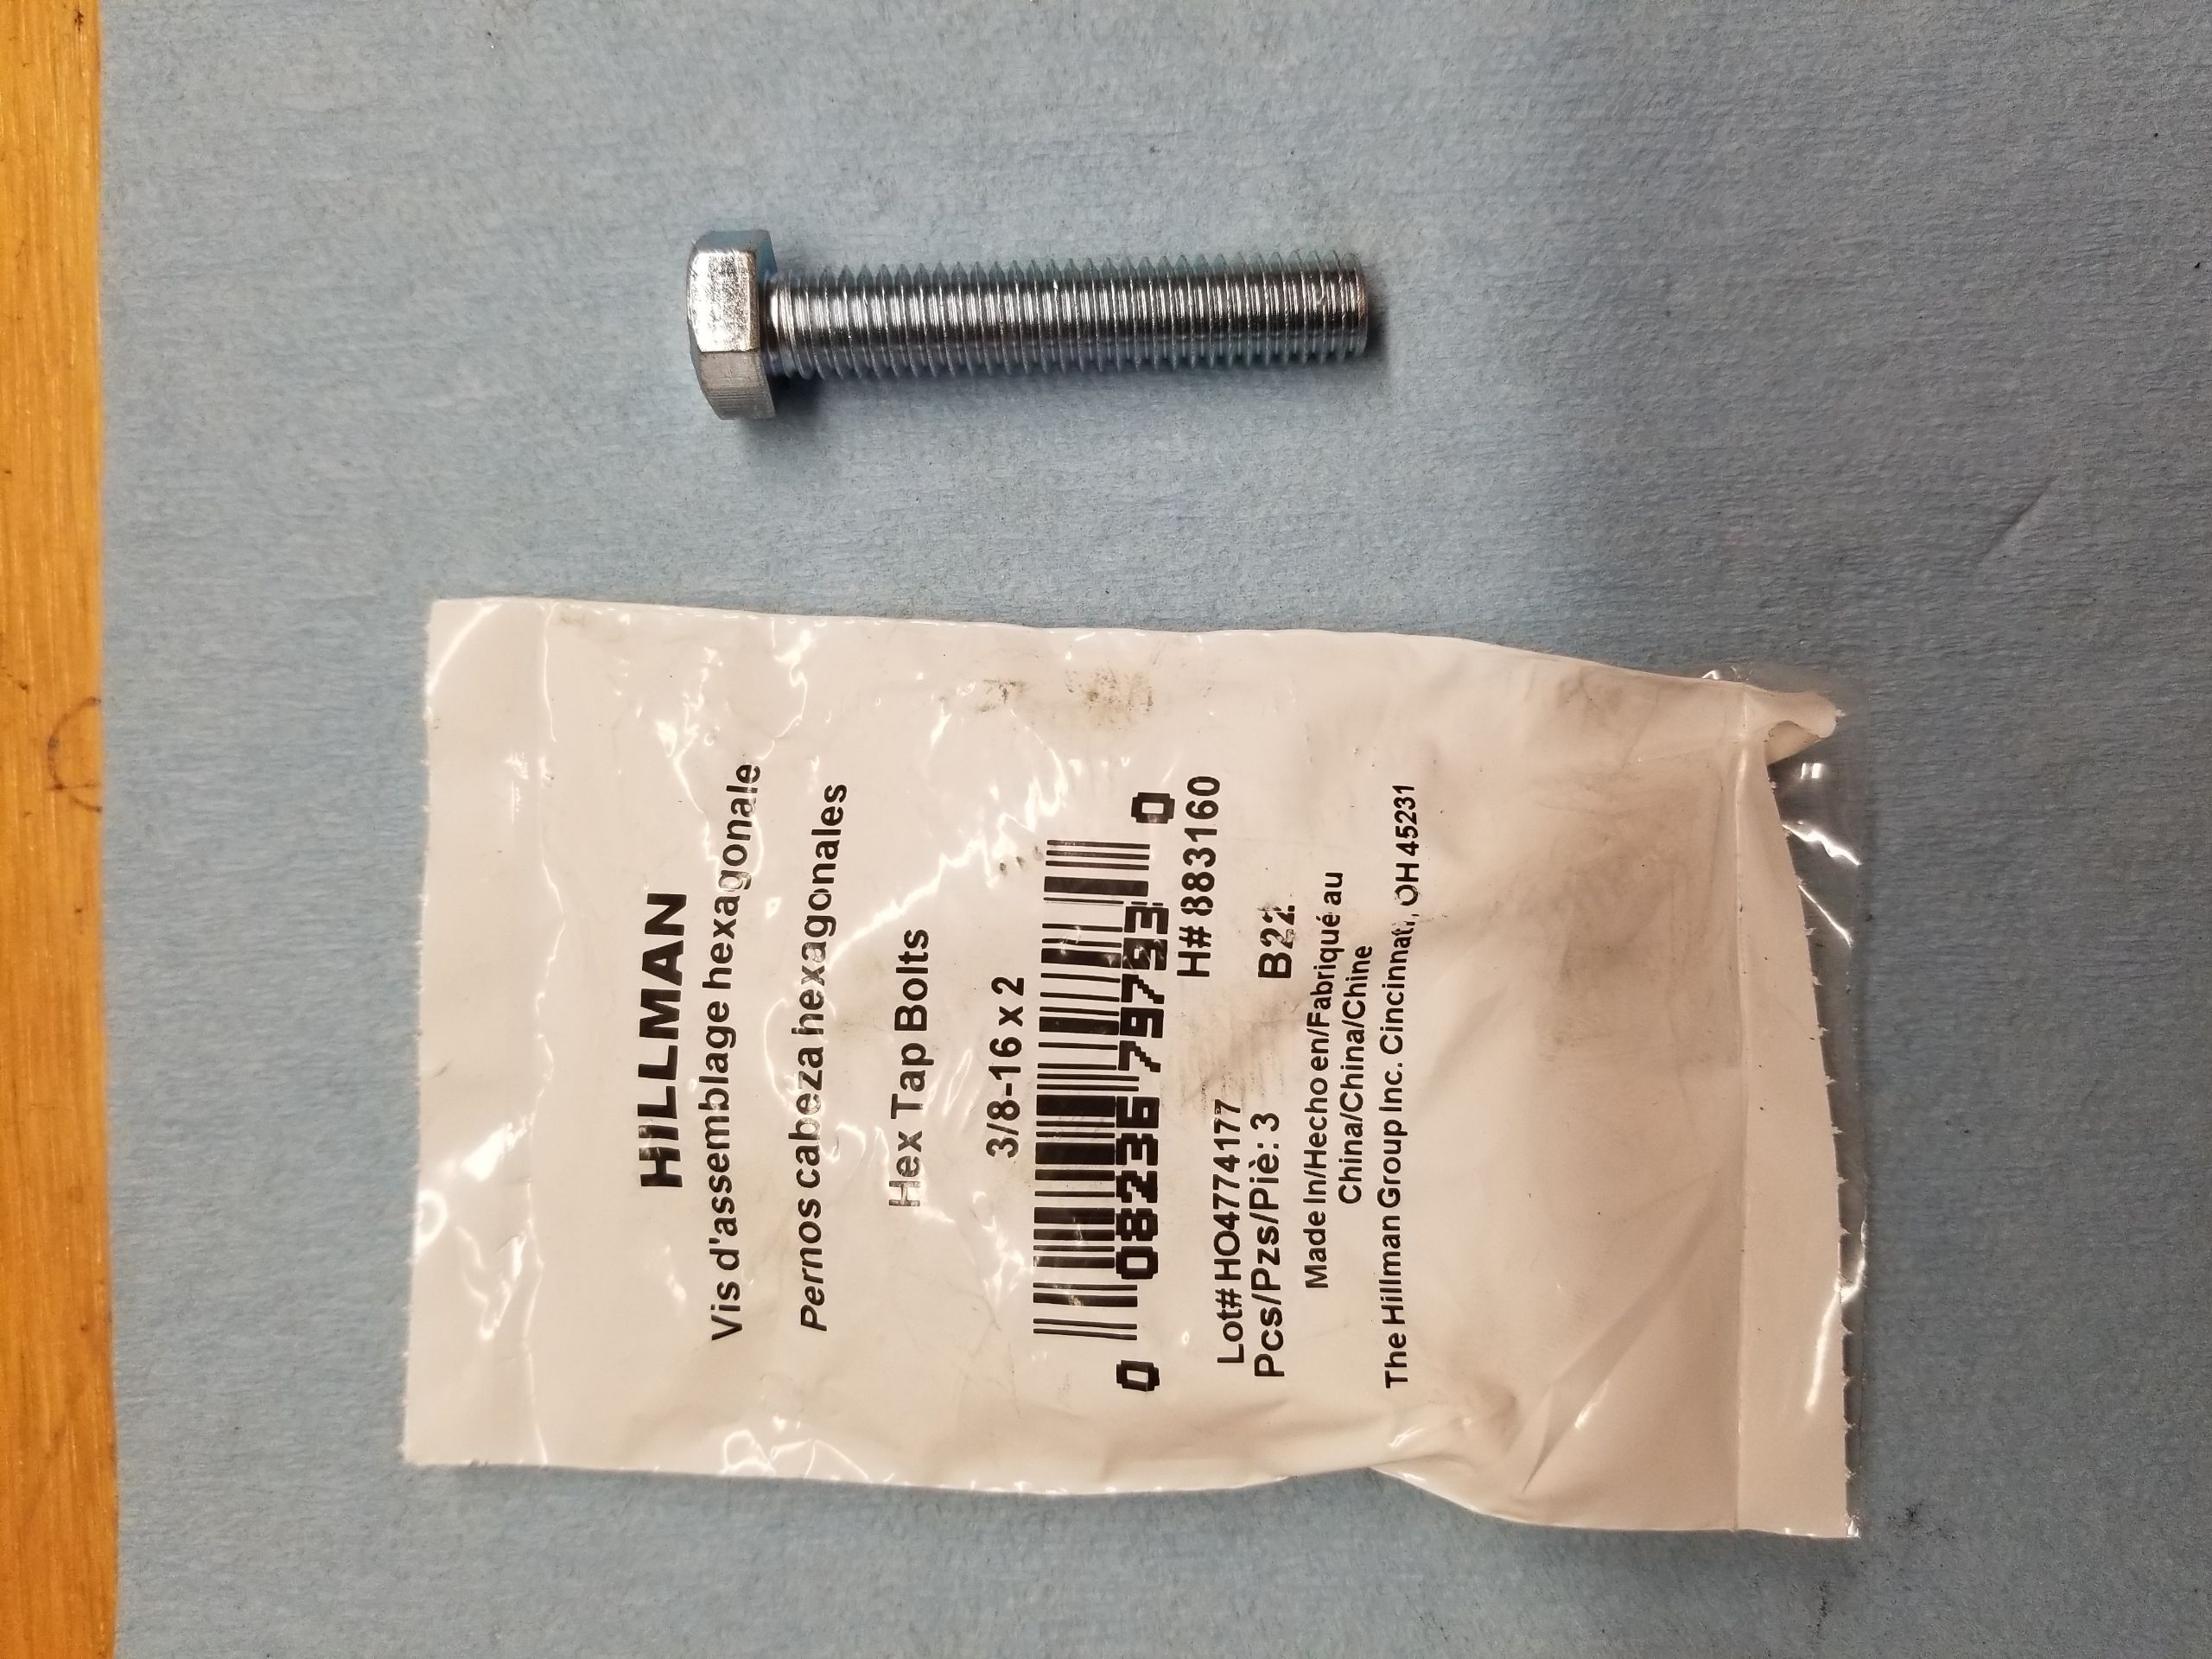
Bolt bottom
Here you can see the completed combination. It is the same on back side.
Additional images to show final product
You will need to use a spacer of some sort to fill the gap as seen here. This is also the 'Bolt top' long bolt.
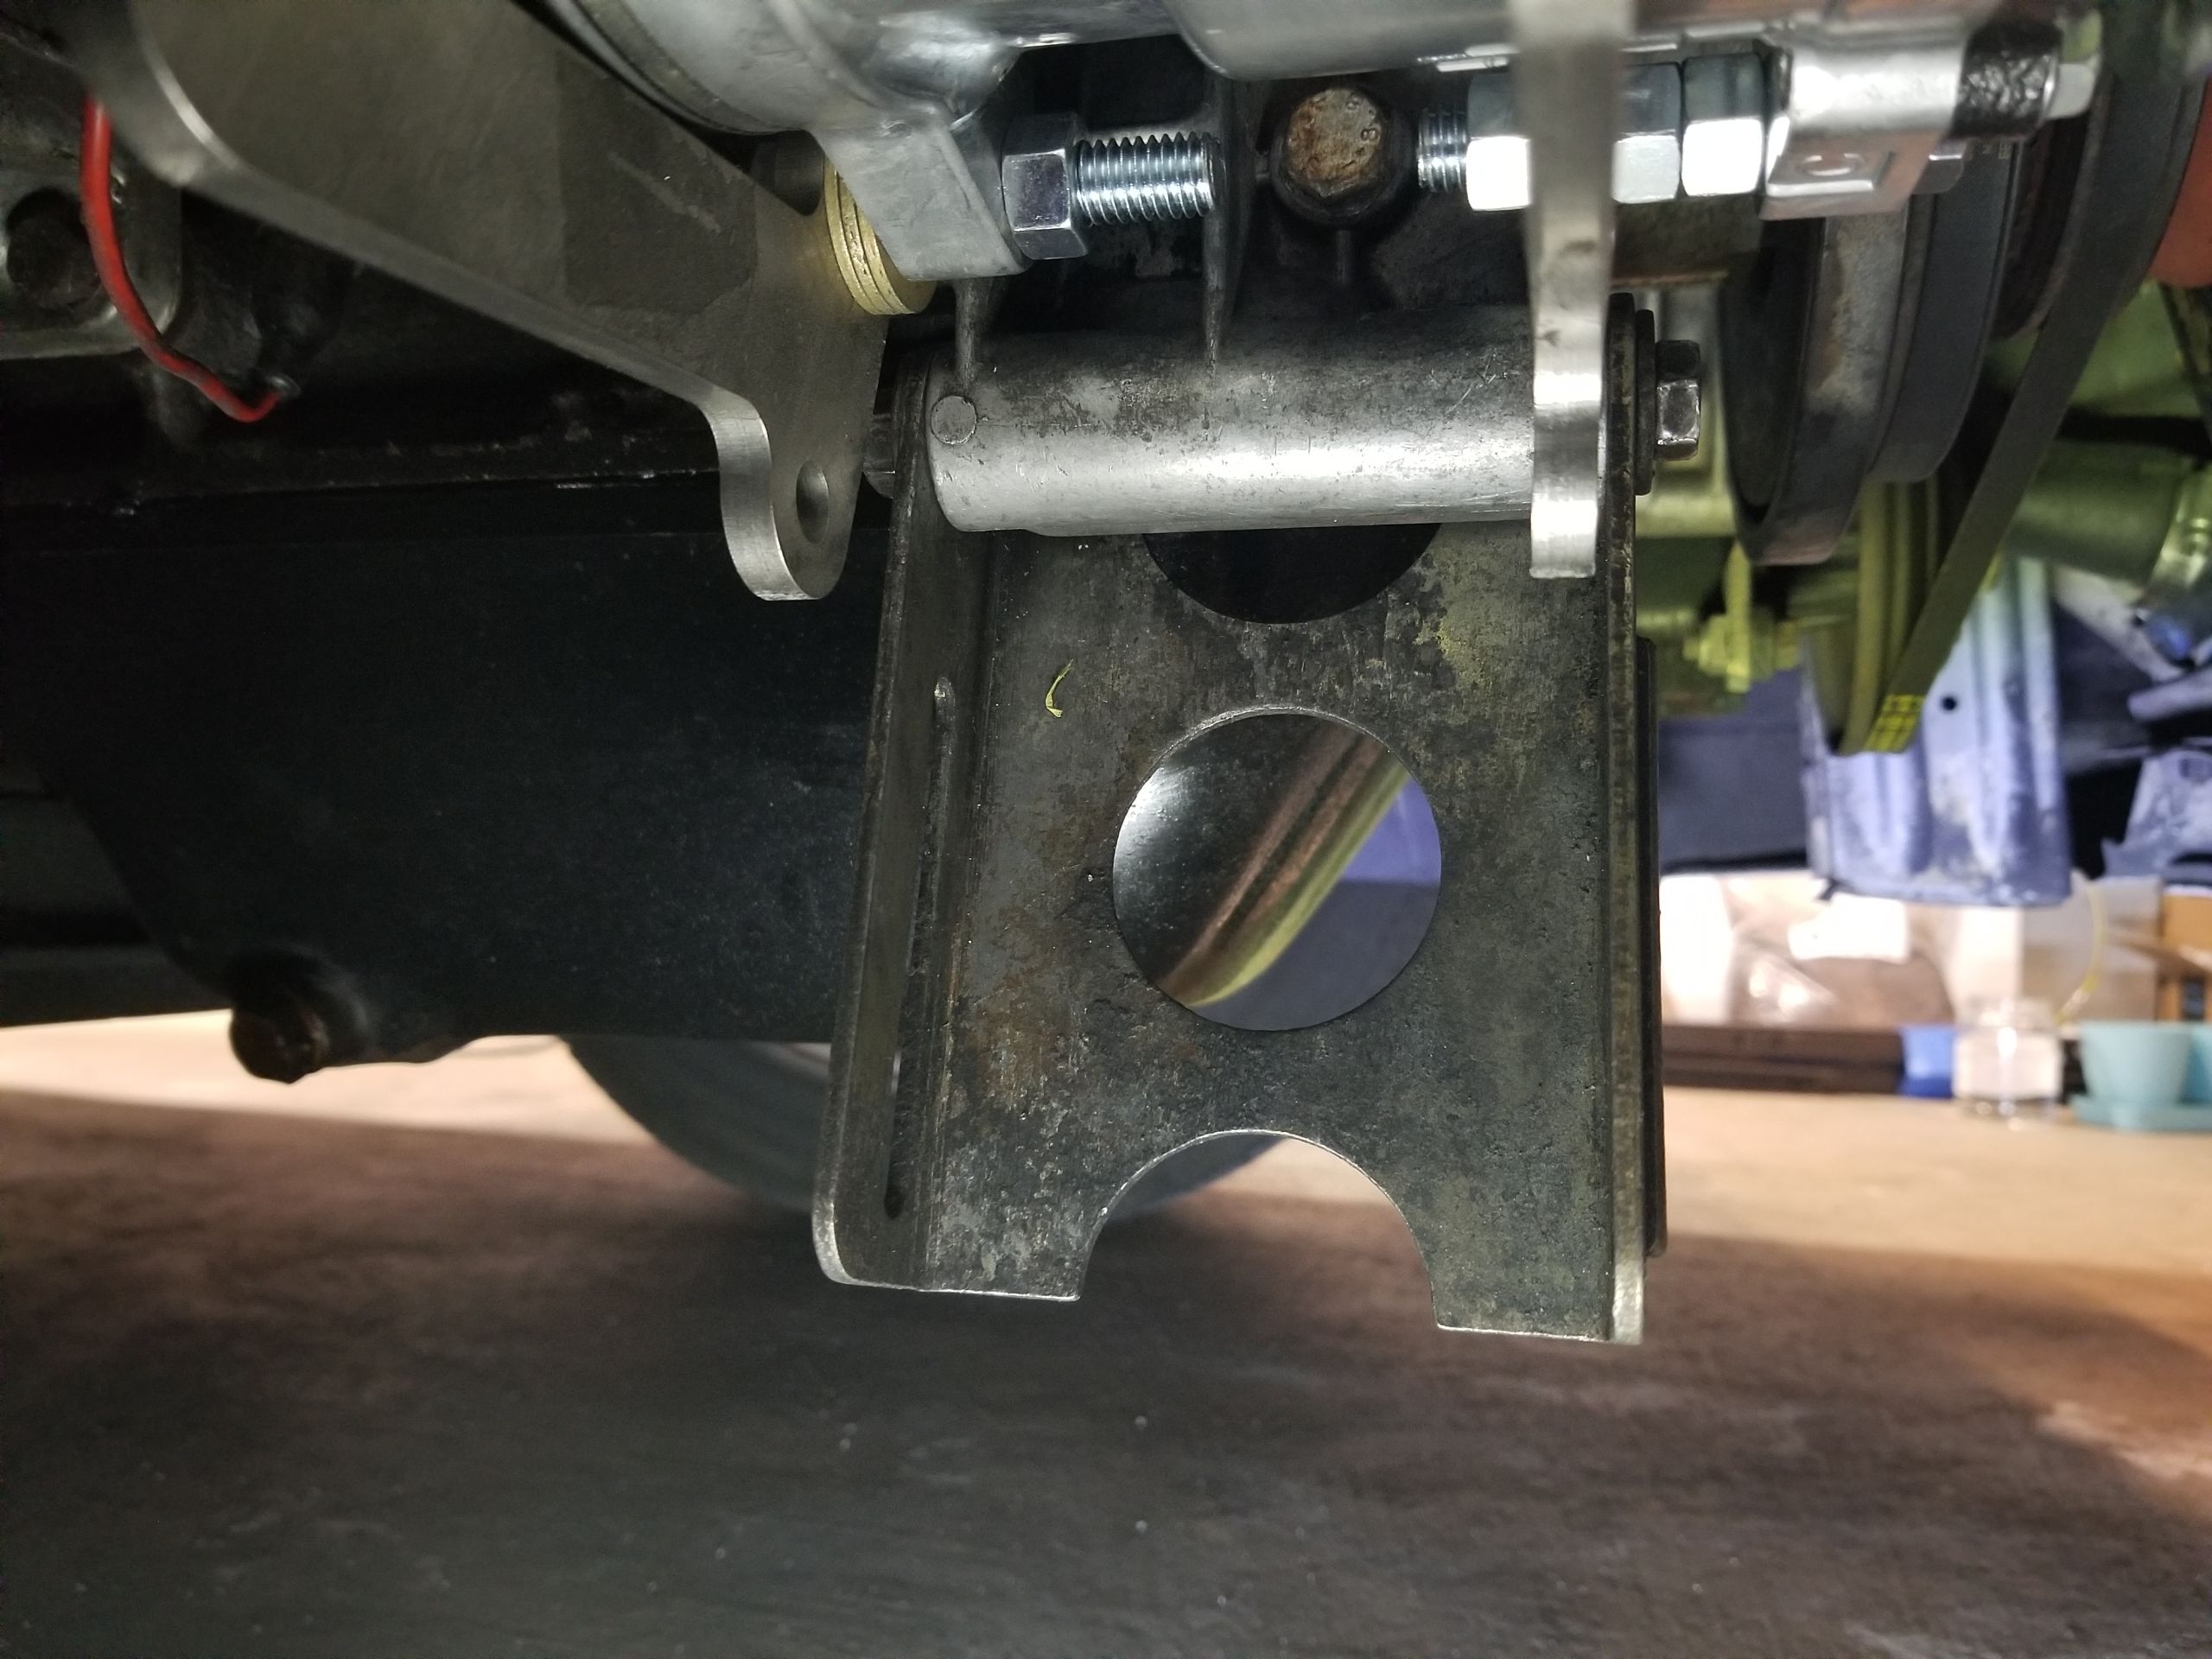
Building the hoses.
This was my first time building my own a/c hoses. The process is pretty straight forward, just take your time. You have 3 options to obtain hoses
1 - build them yourself. You risk having a leak and needing to discharge your freon at a shop and re-build. This happened to 1 of my hoses.
2 - having a/c shop build your hoses. Costs much more but they can leak test them and guarantee the work (most likely)
3 - having coldhose.com build your hoses. you would need measurements and angles, which i cannot provide for you as they were not taken during my builds. But I utilized this thread for reference when building my setup ( http://www.mye28.com/viewtopic.php?f=3&t=144670)
It is important to measure twice, cut once. The Gates cutting tool is a blessing and I have utilized it to this day on numerous hoses. Very good tool to keep.
The a/c crimper comes with multiple sizes. Match them based on the hose you are building and the size. The tool also has indicator of when to stop tightening, it's a little notch. Can be seen to right of chain .
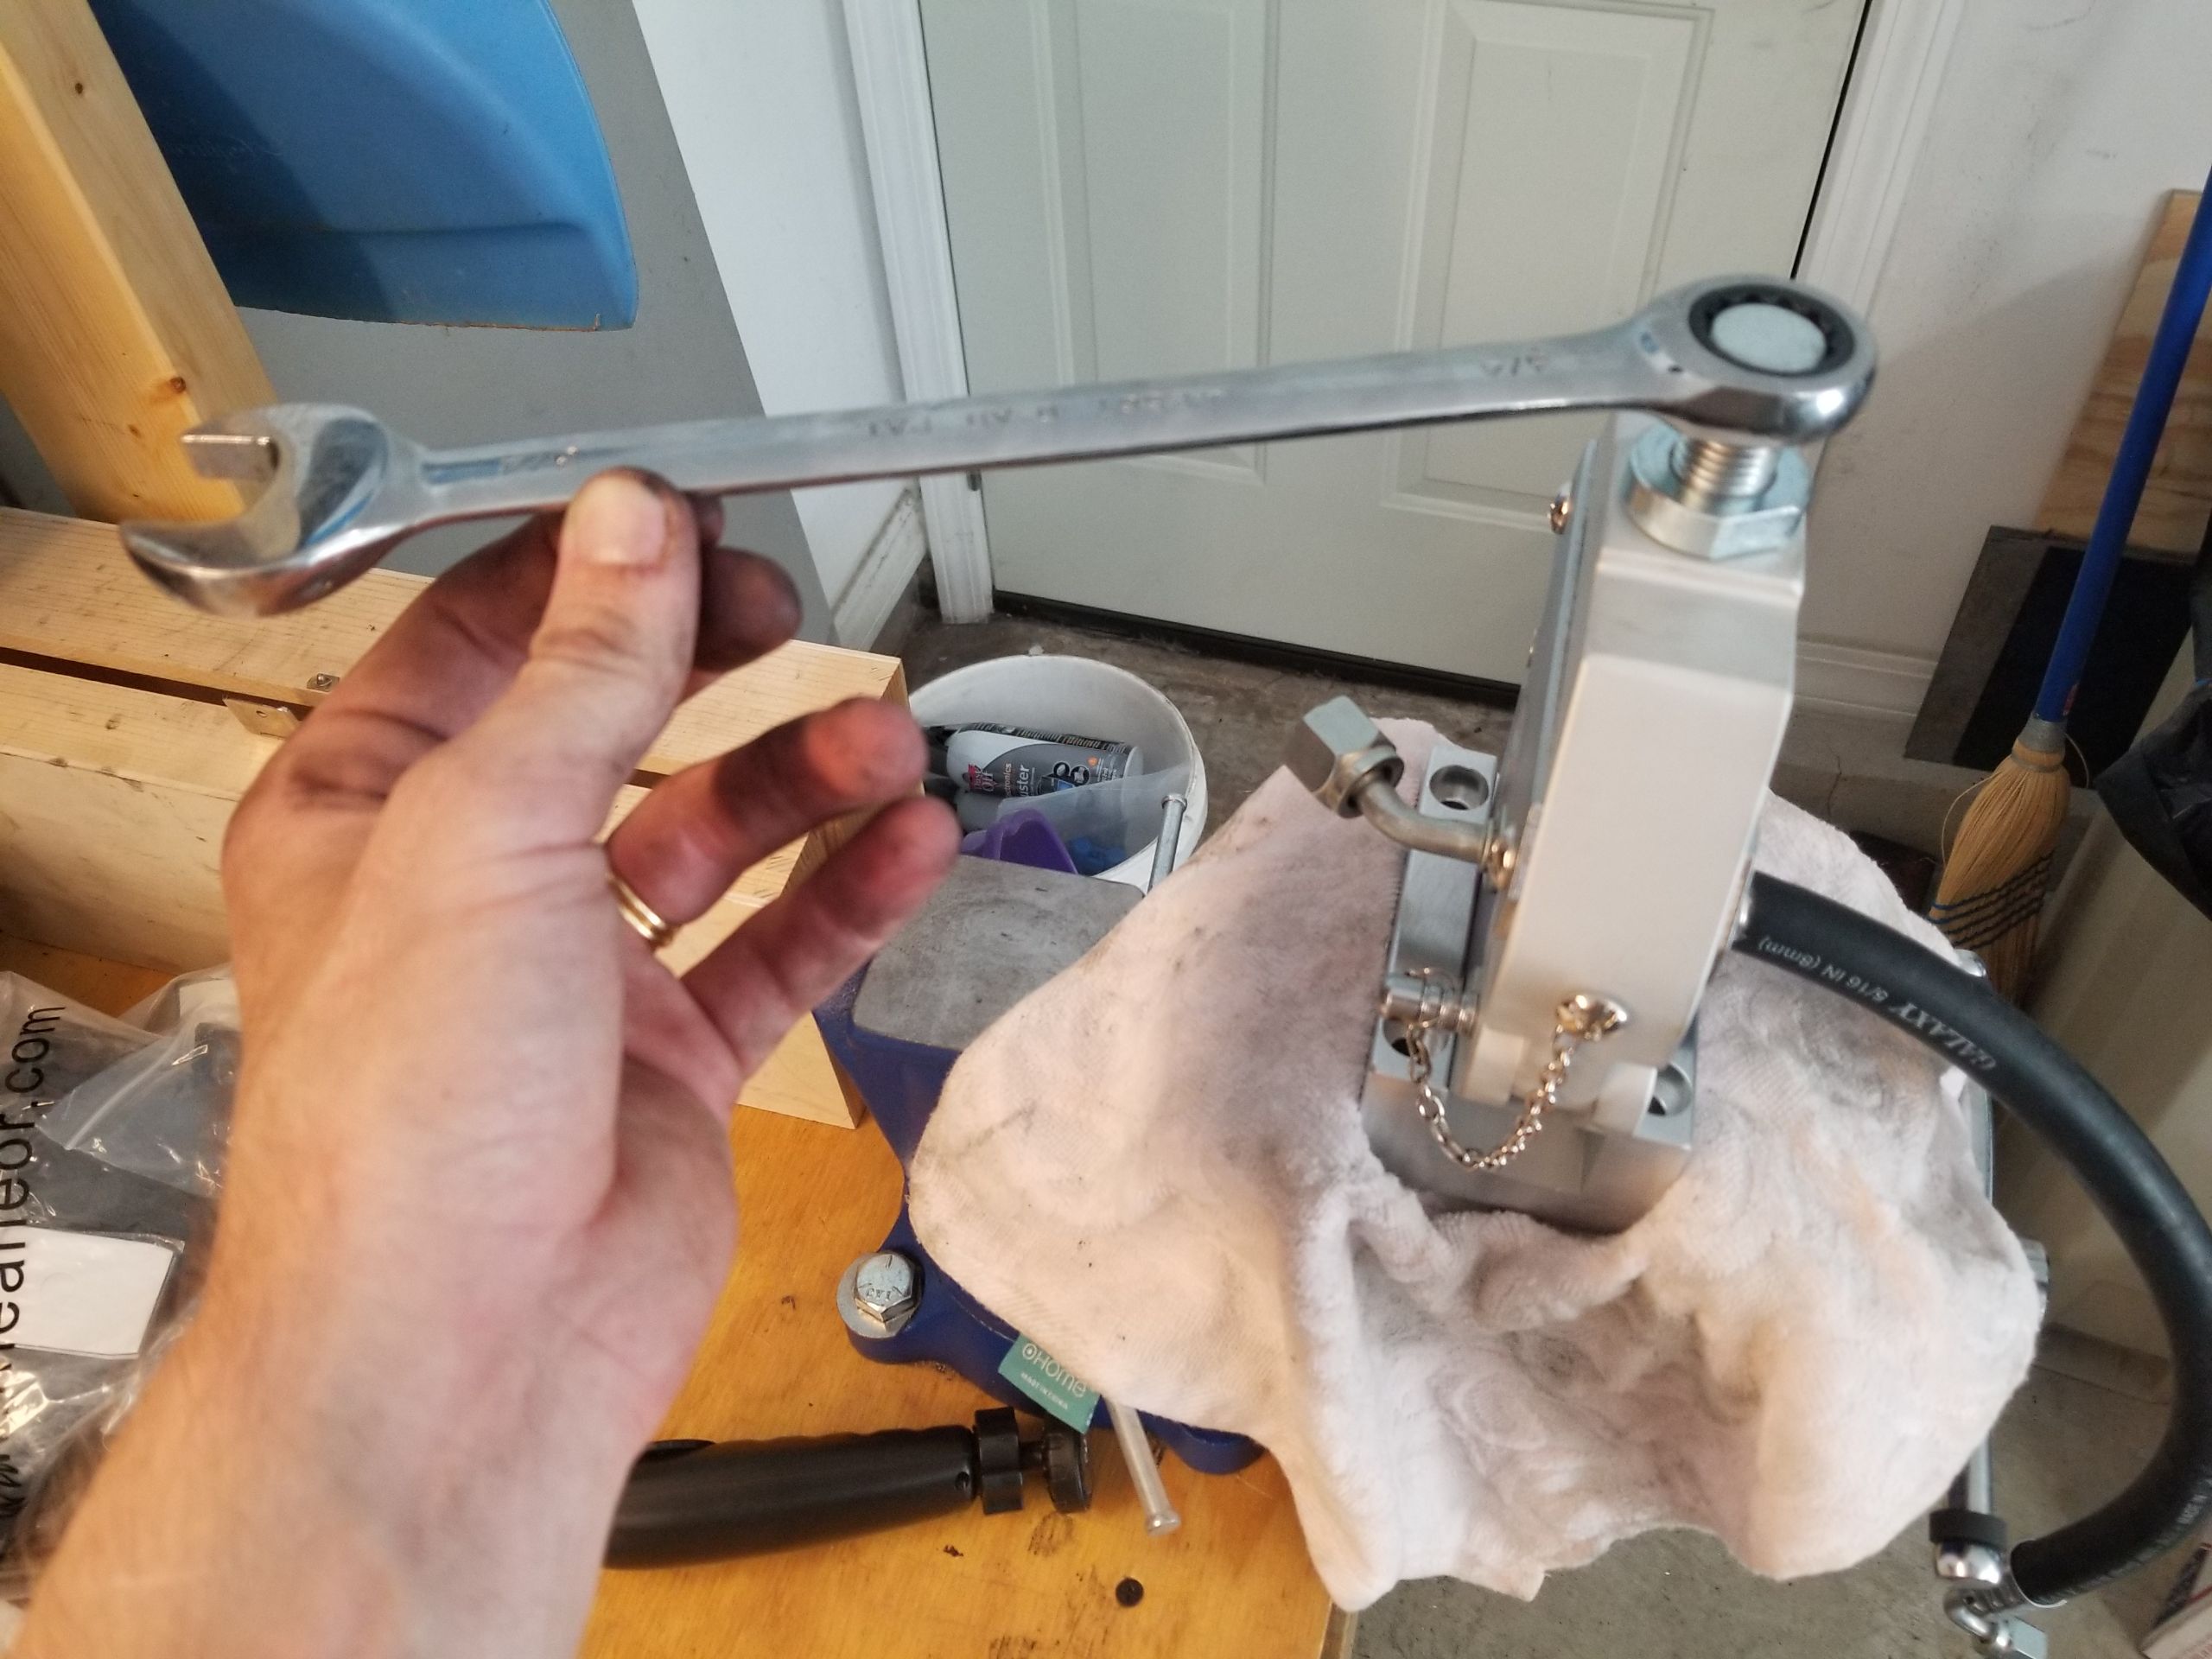
Here is what I did.
-Started with suction hose.#10 fitting and #10 hose.
I put #10 fitting on stock line, tightened and inserted #10 hose into fitting. Made markings using sharpie and used a/c crimp tool to create fitting. TAKE YOUR TIME TIGHTENING.
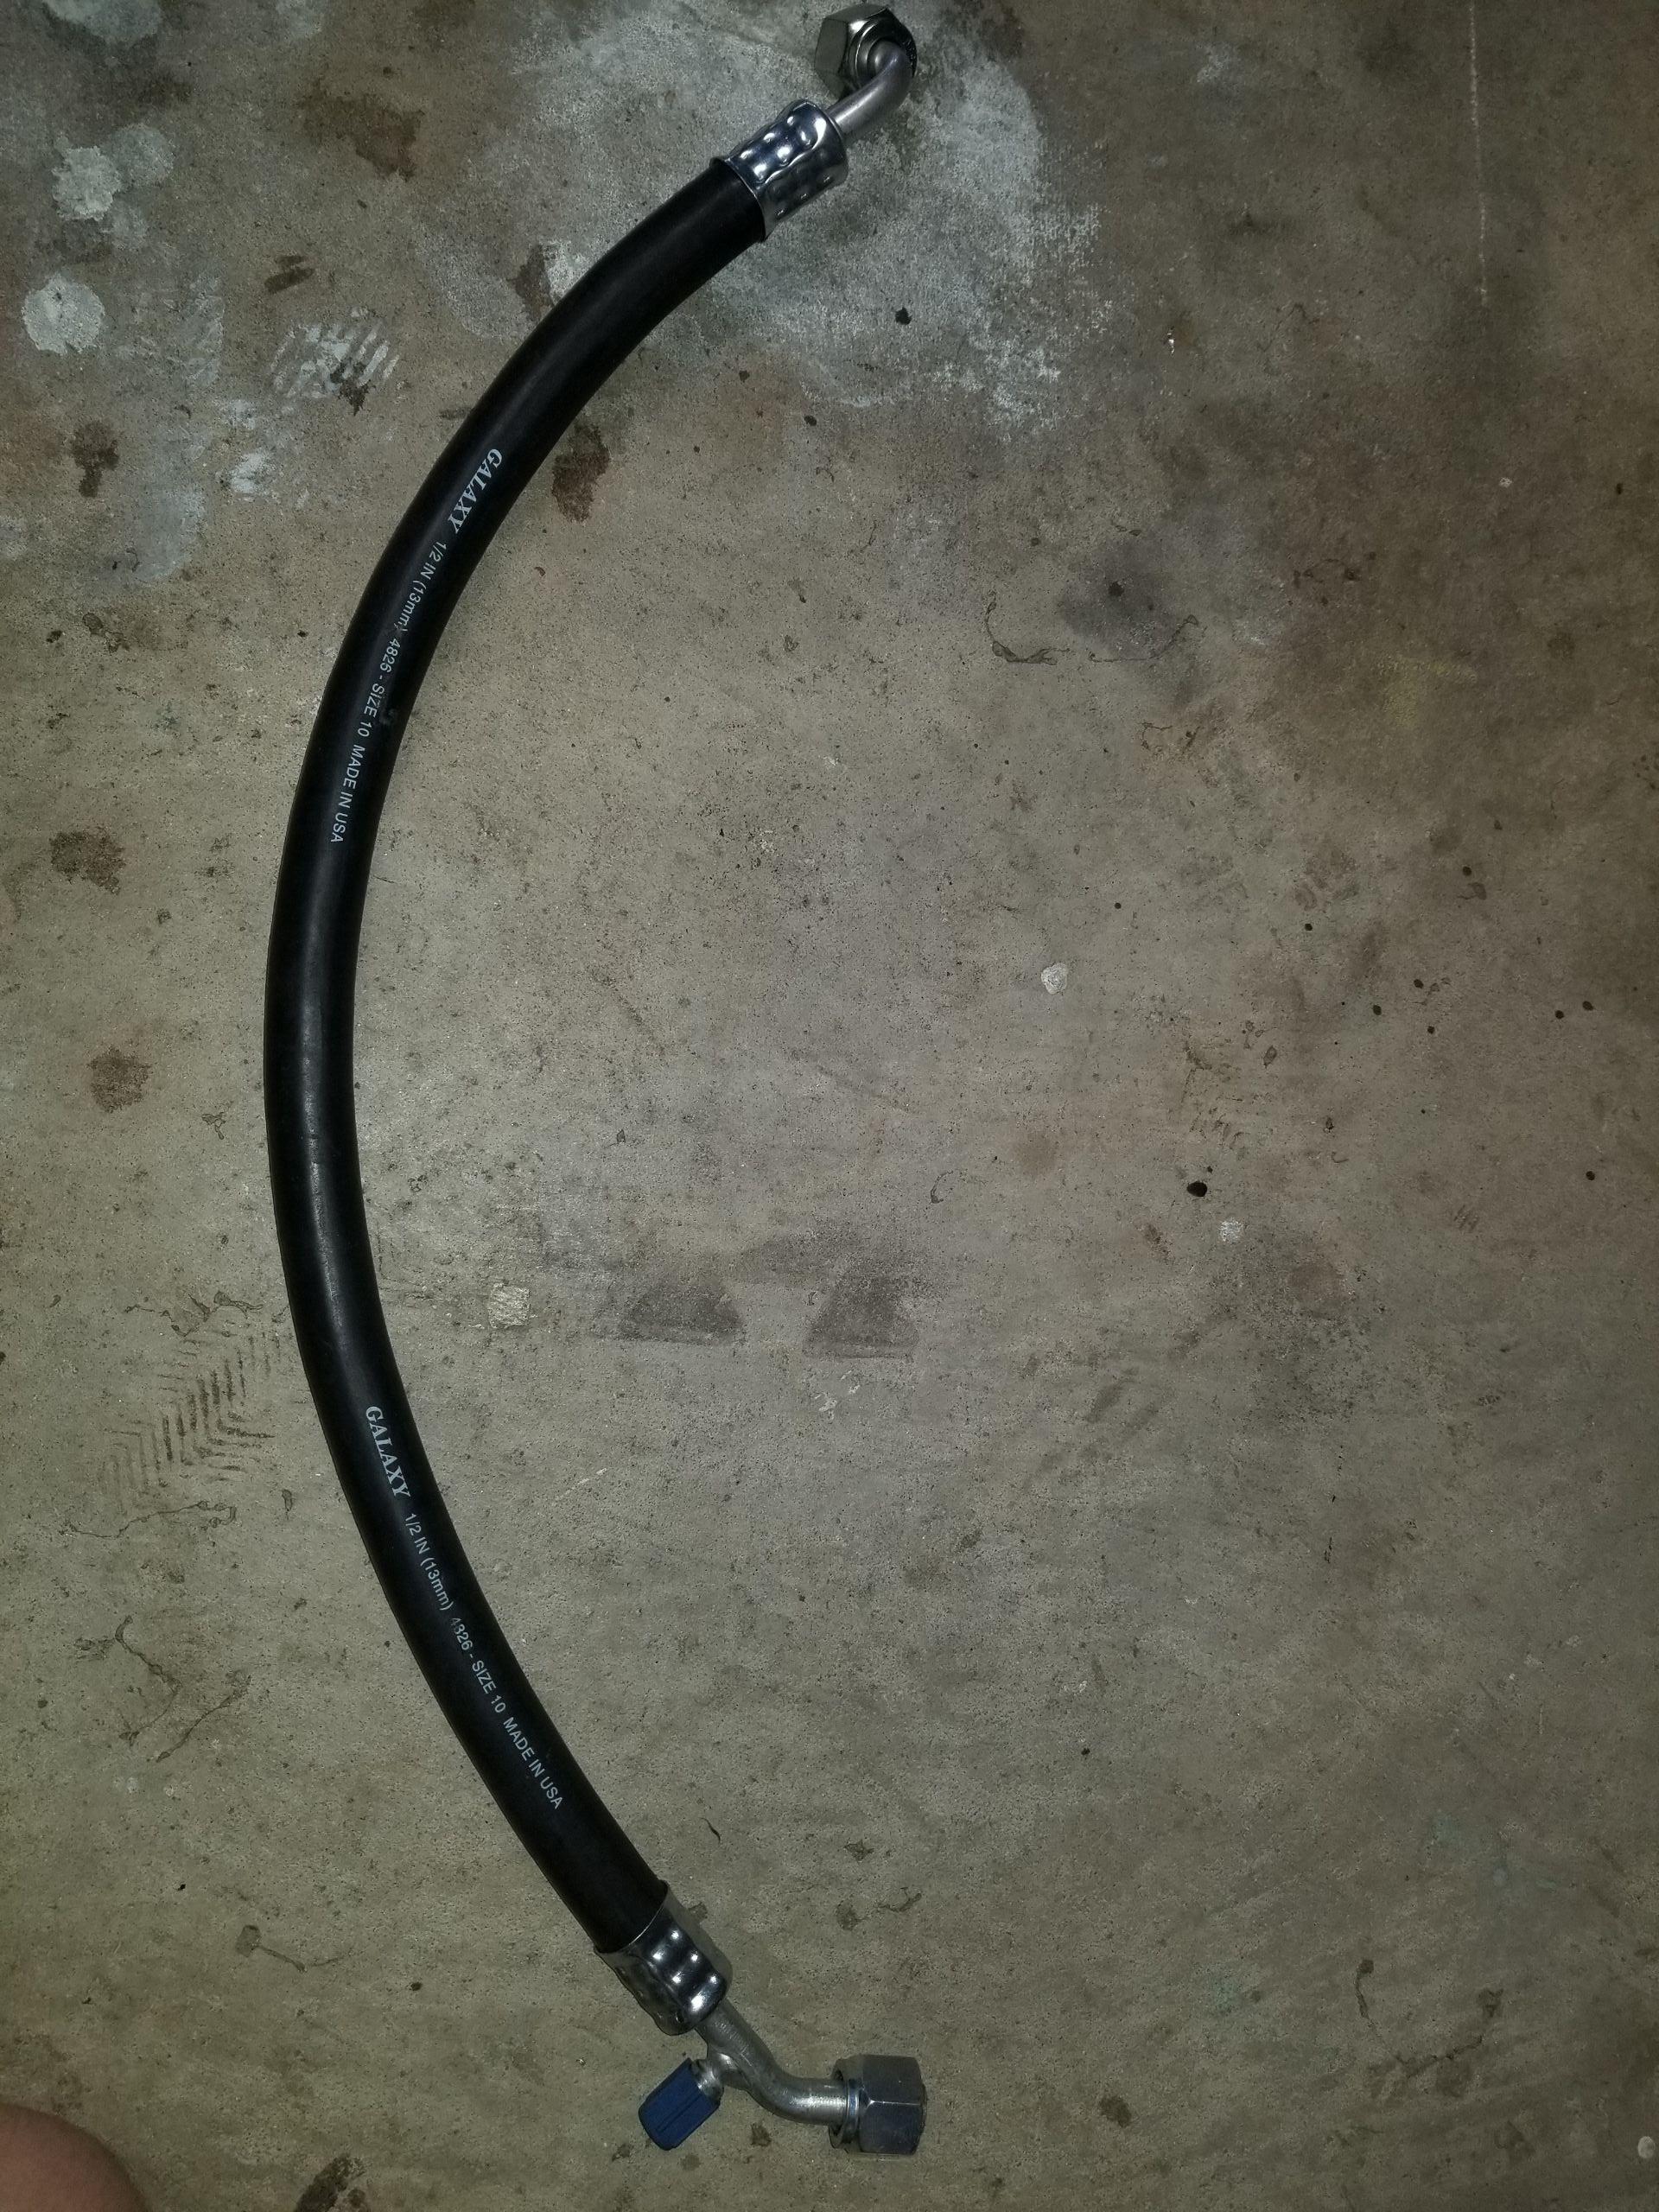
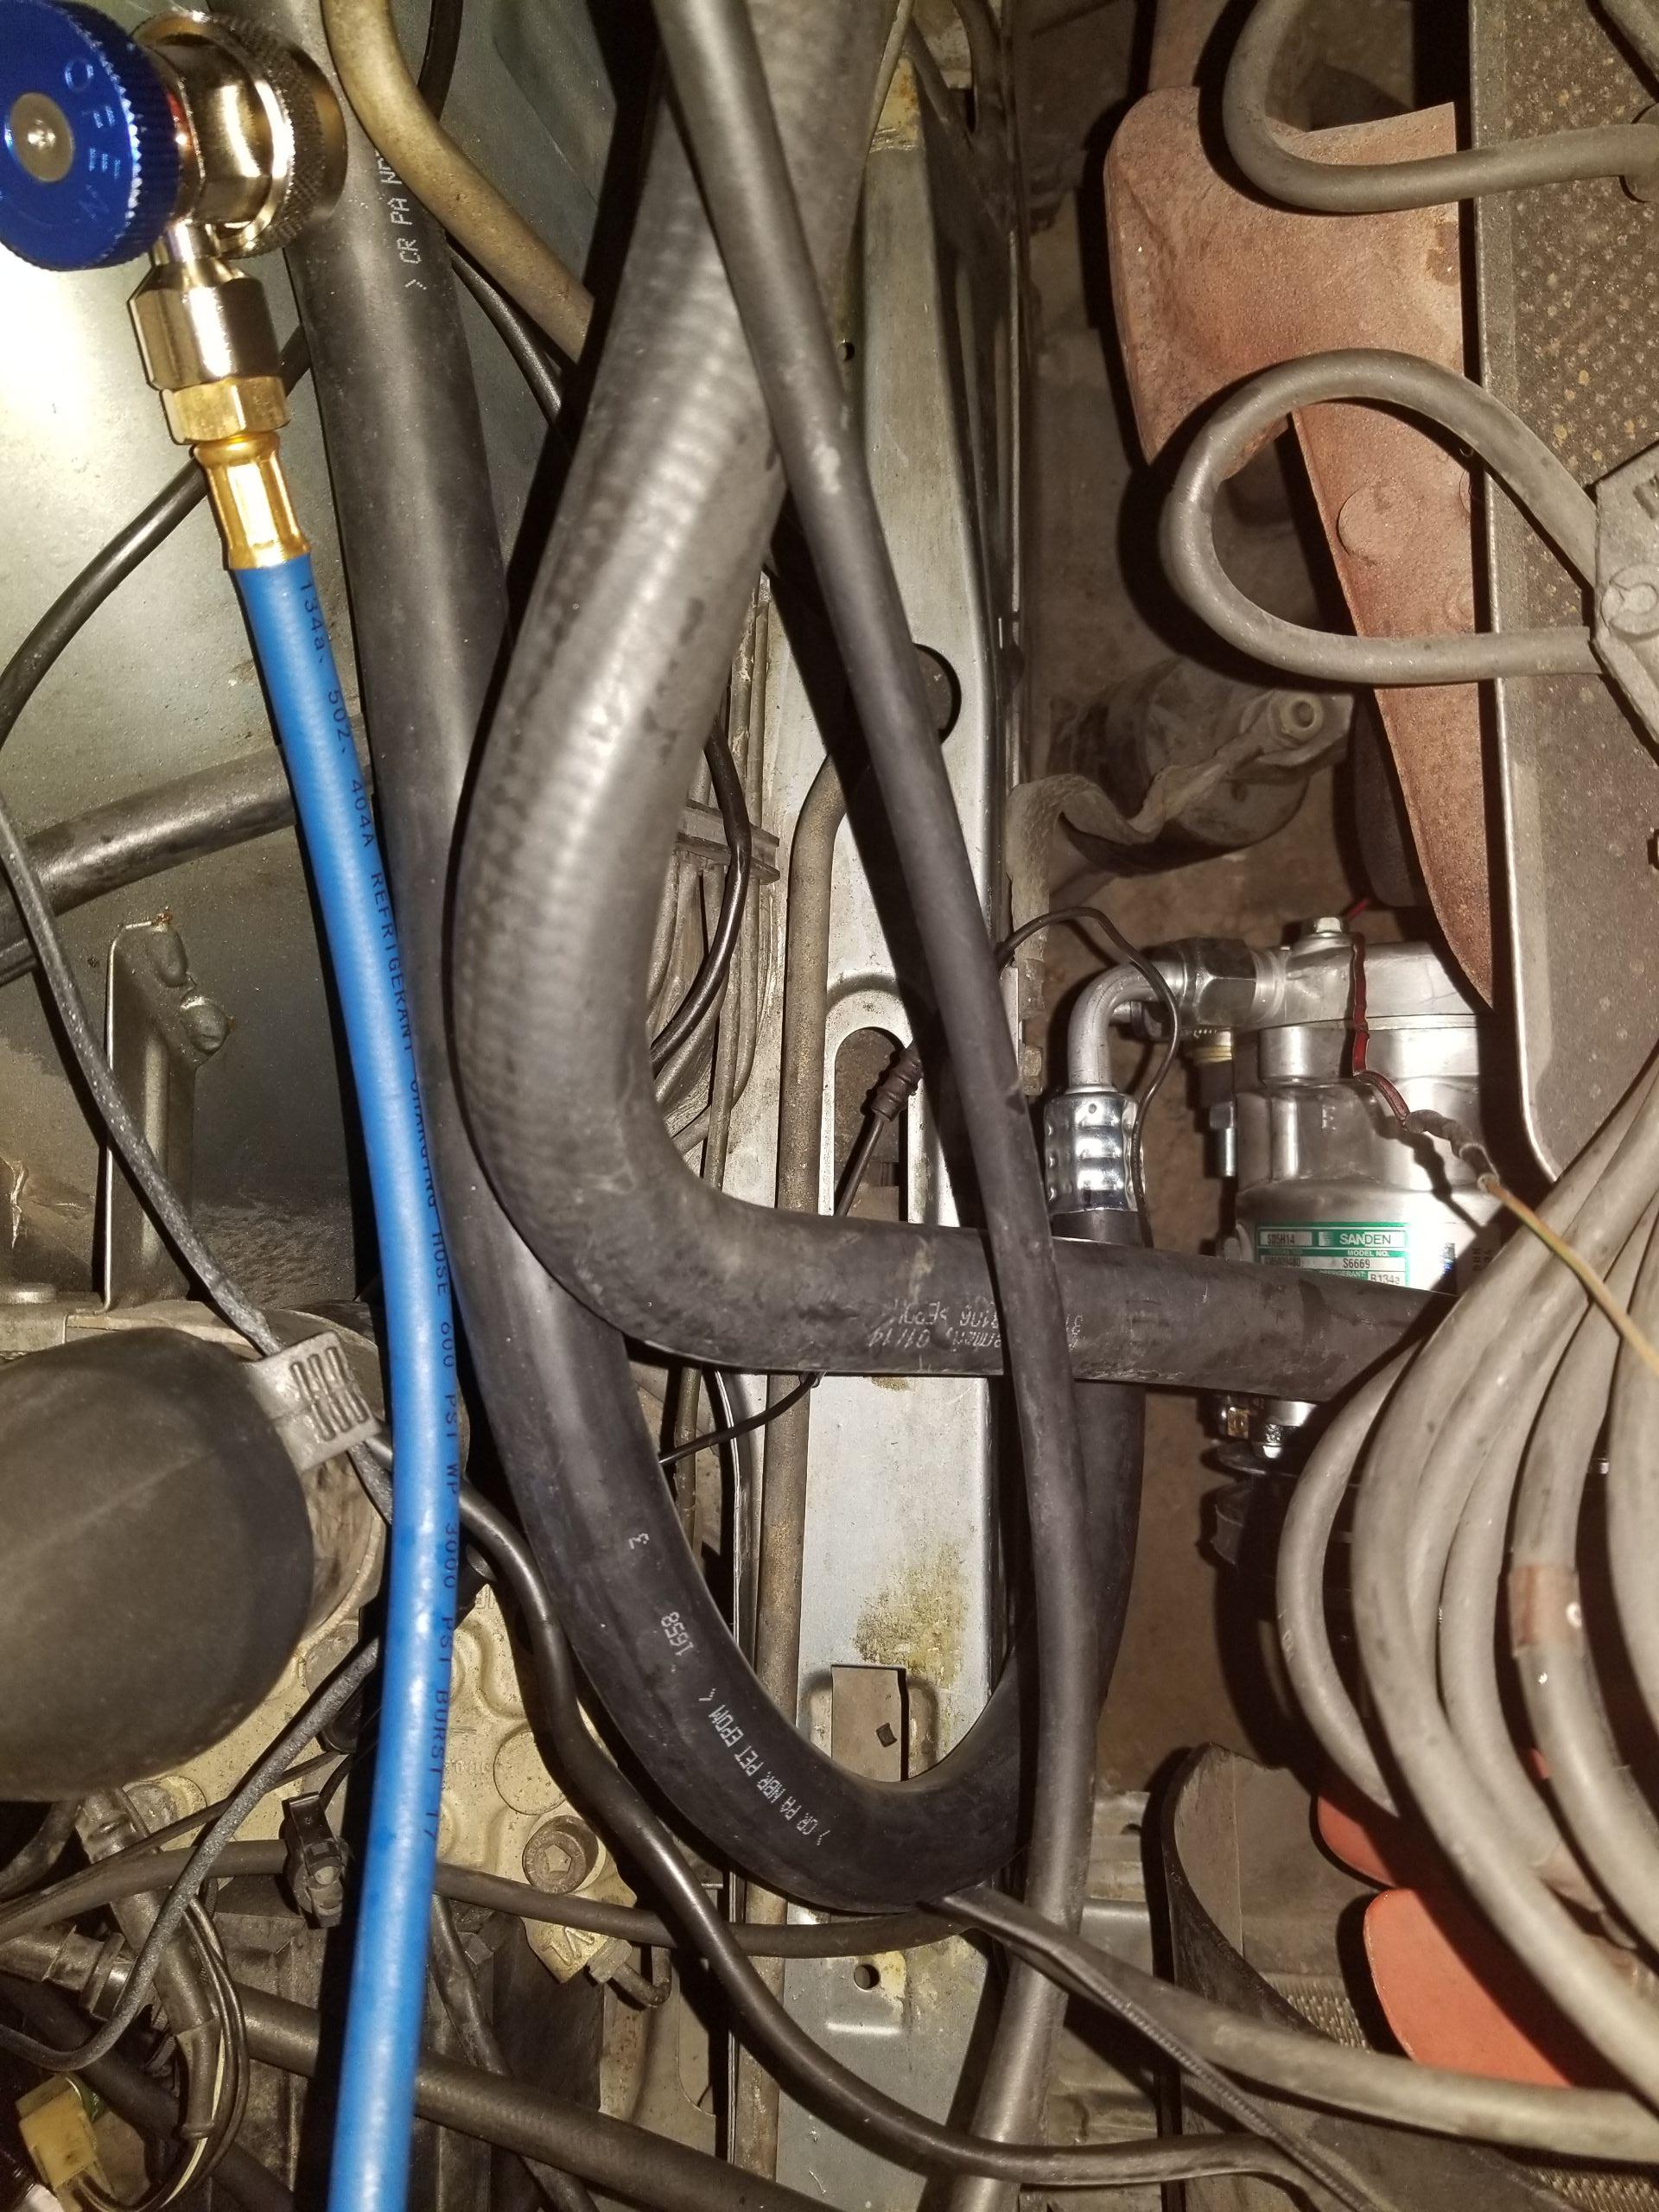
- Do one hose at a time.
- Make sure to align in tool properly
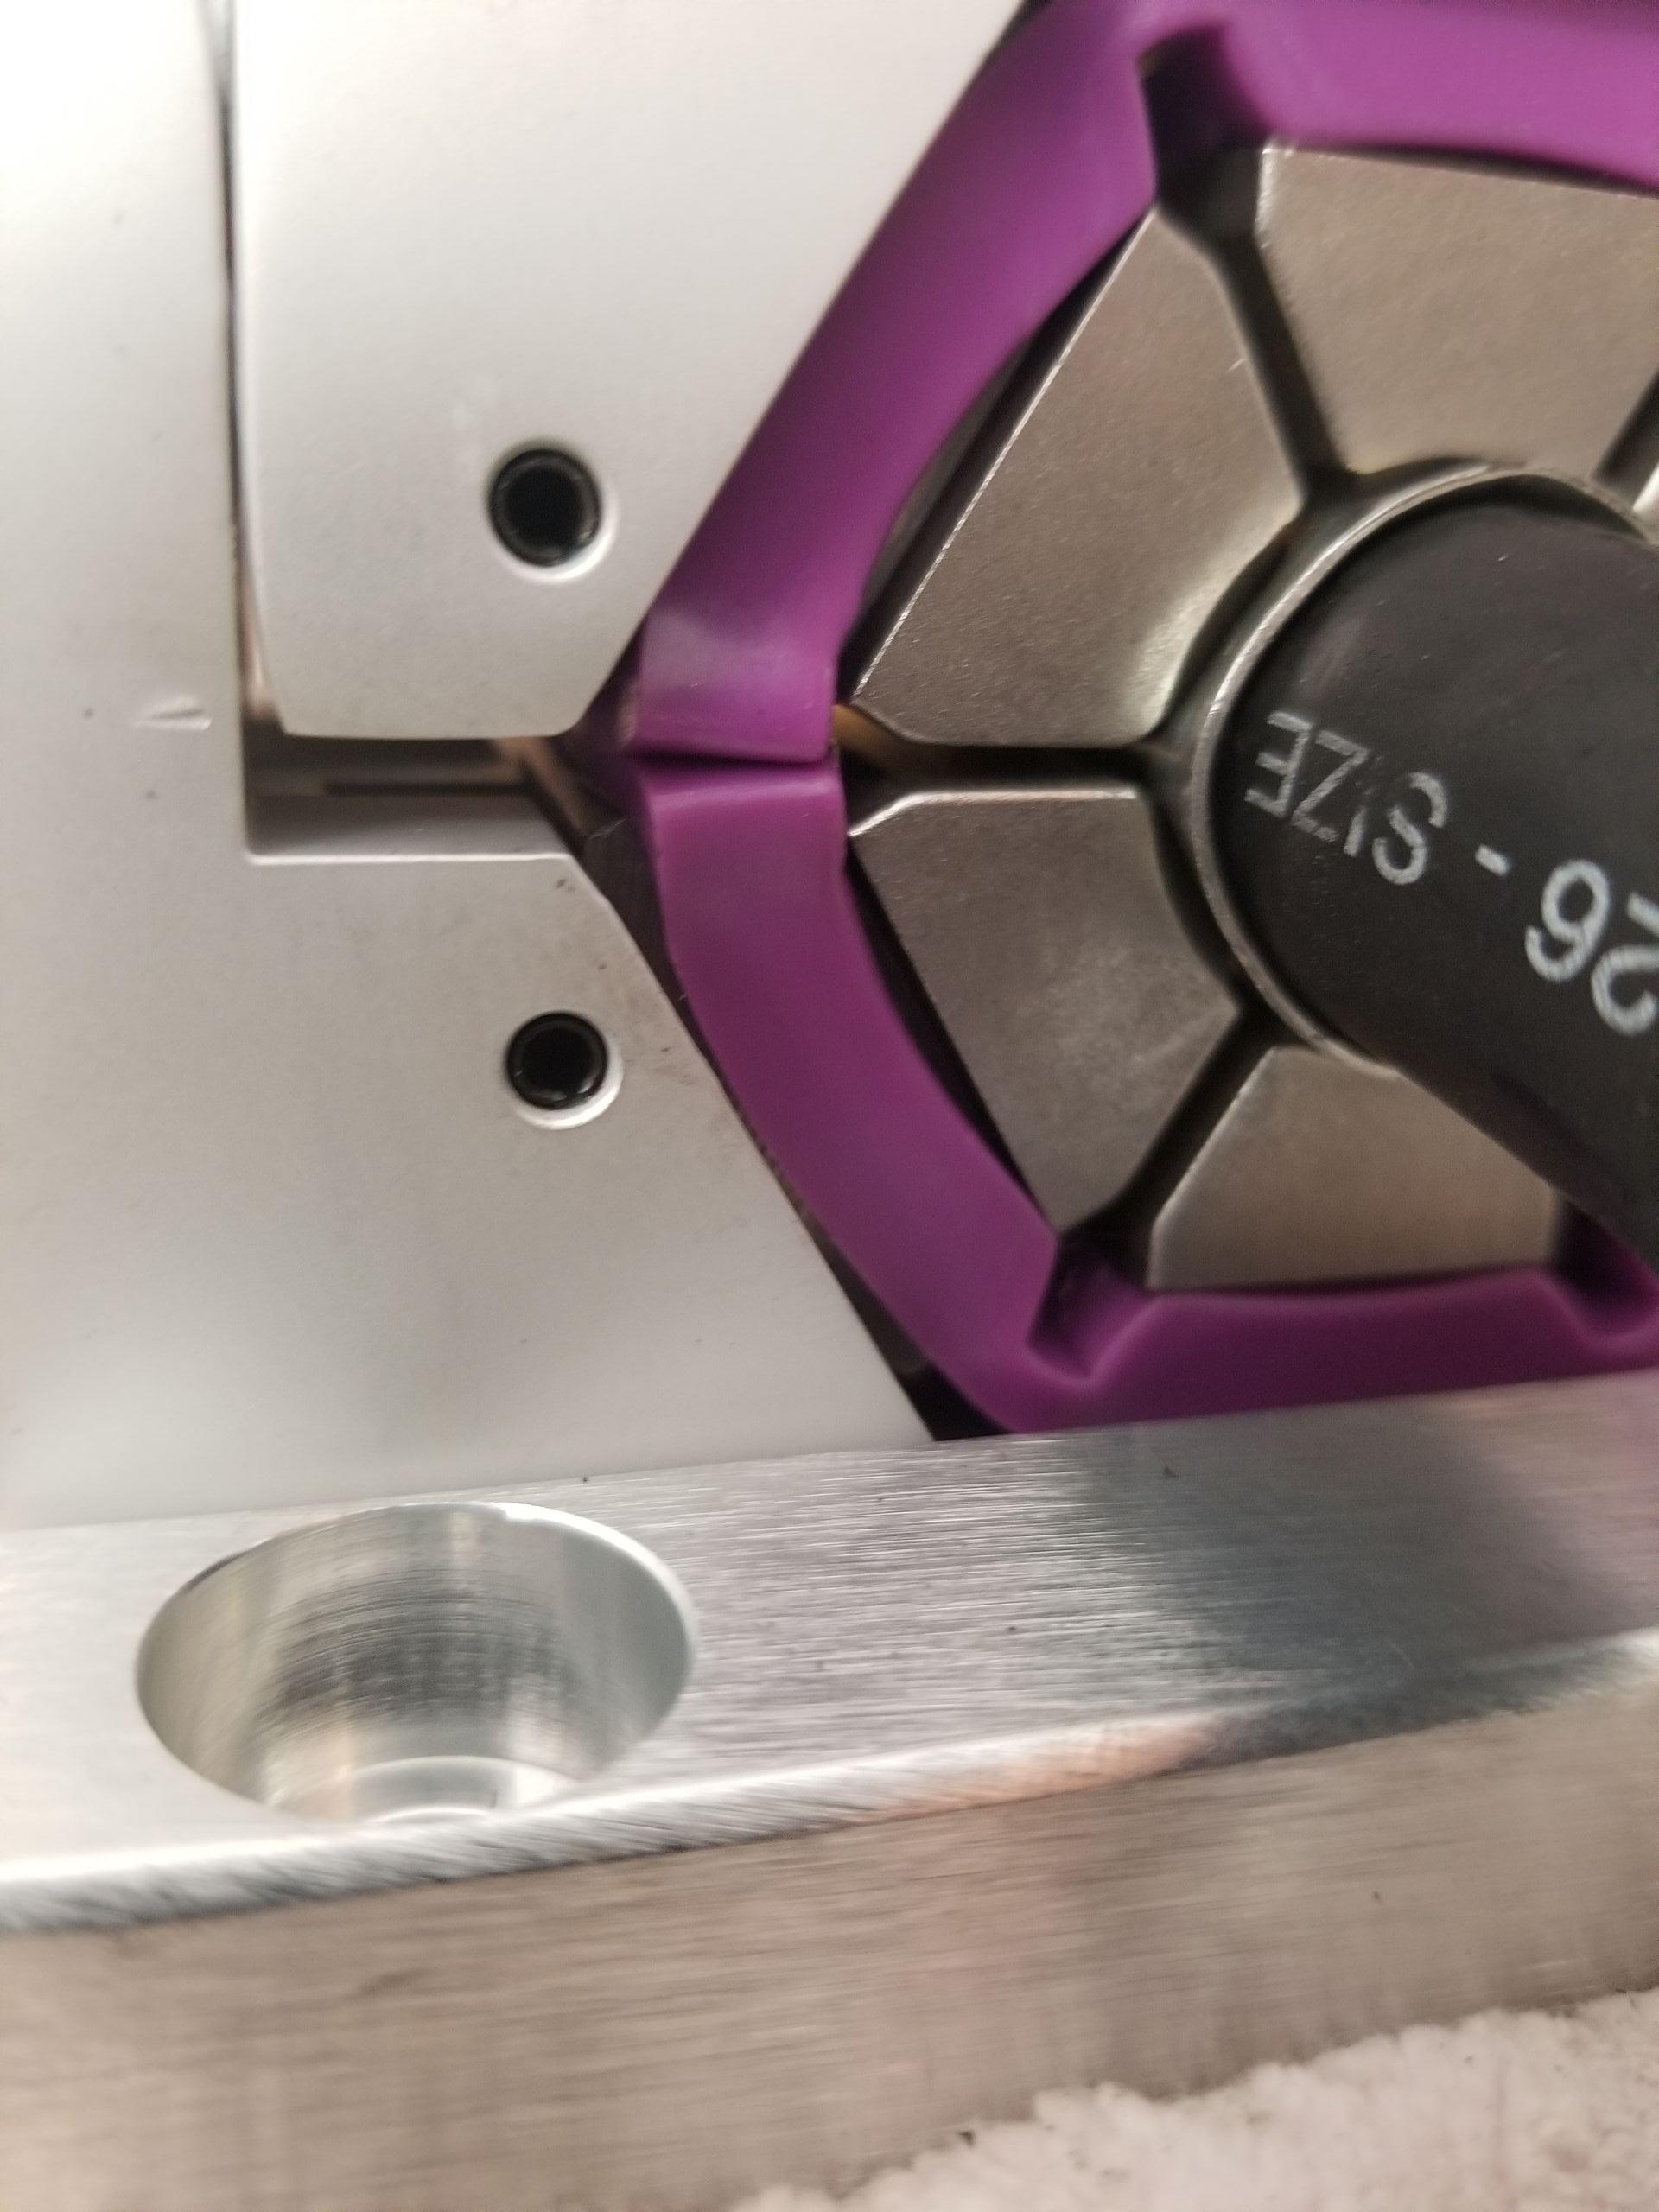
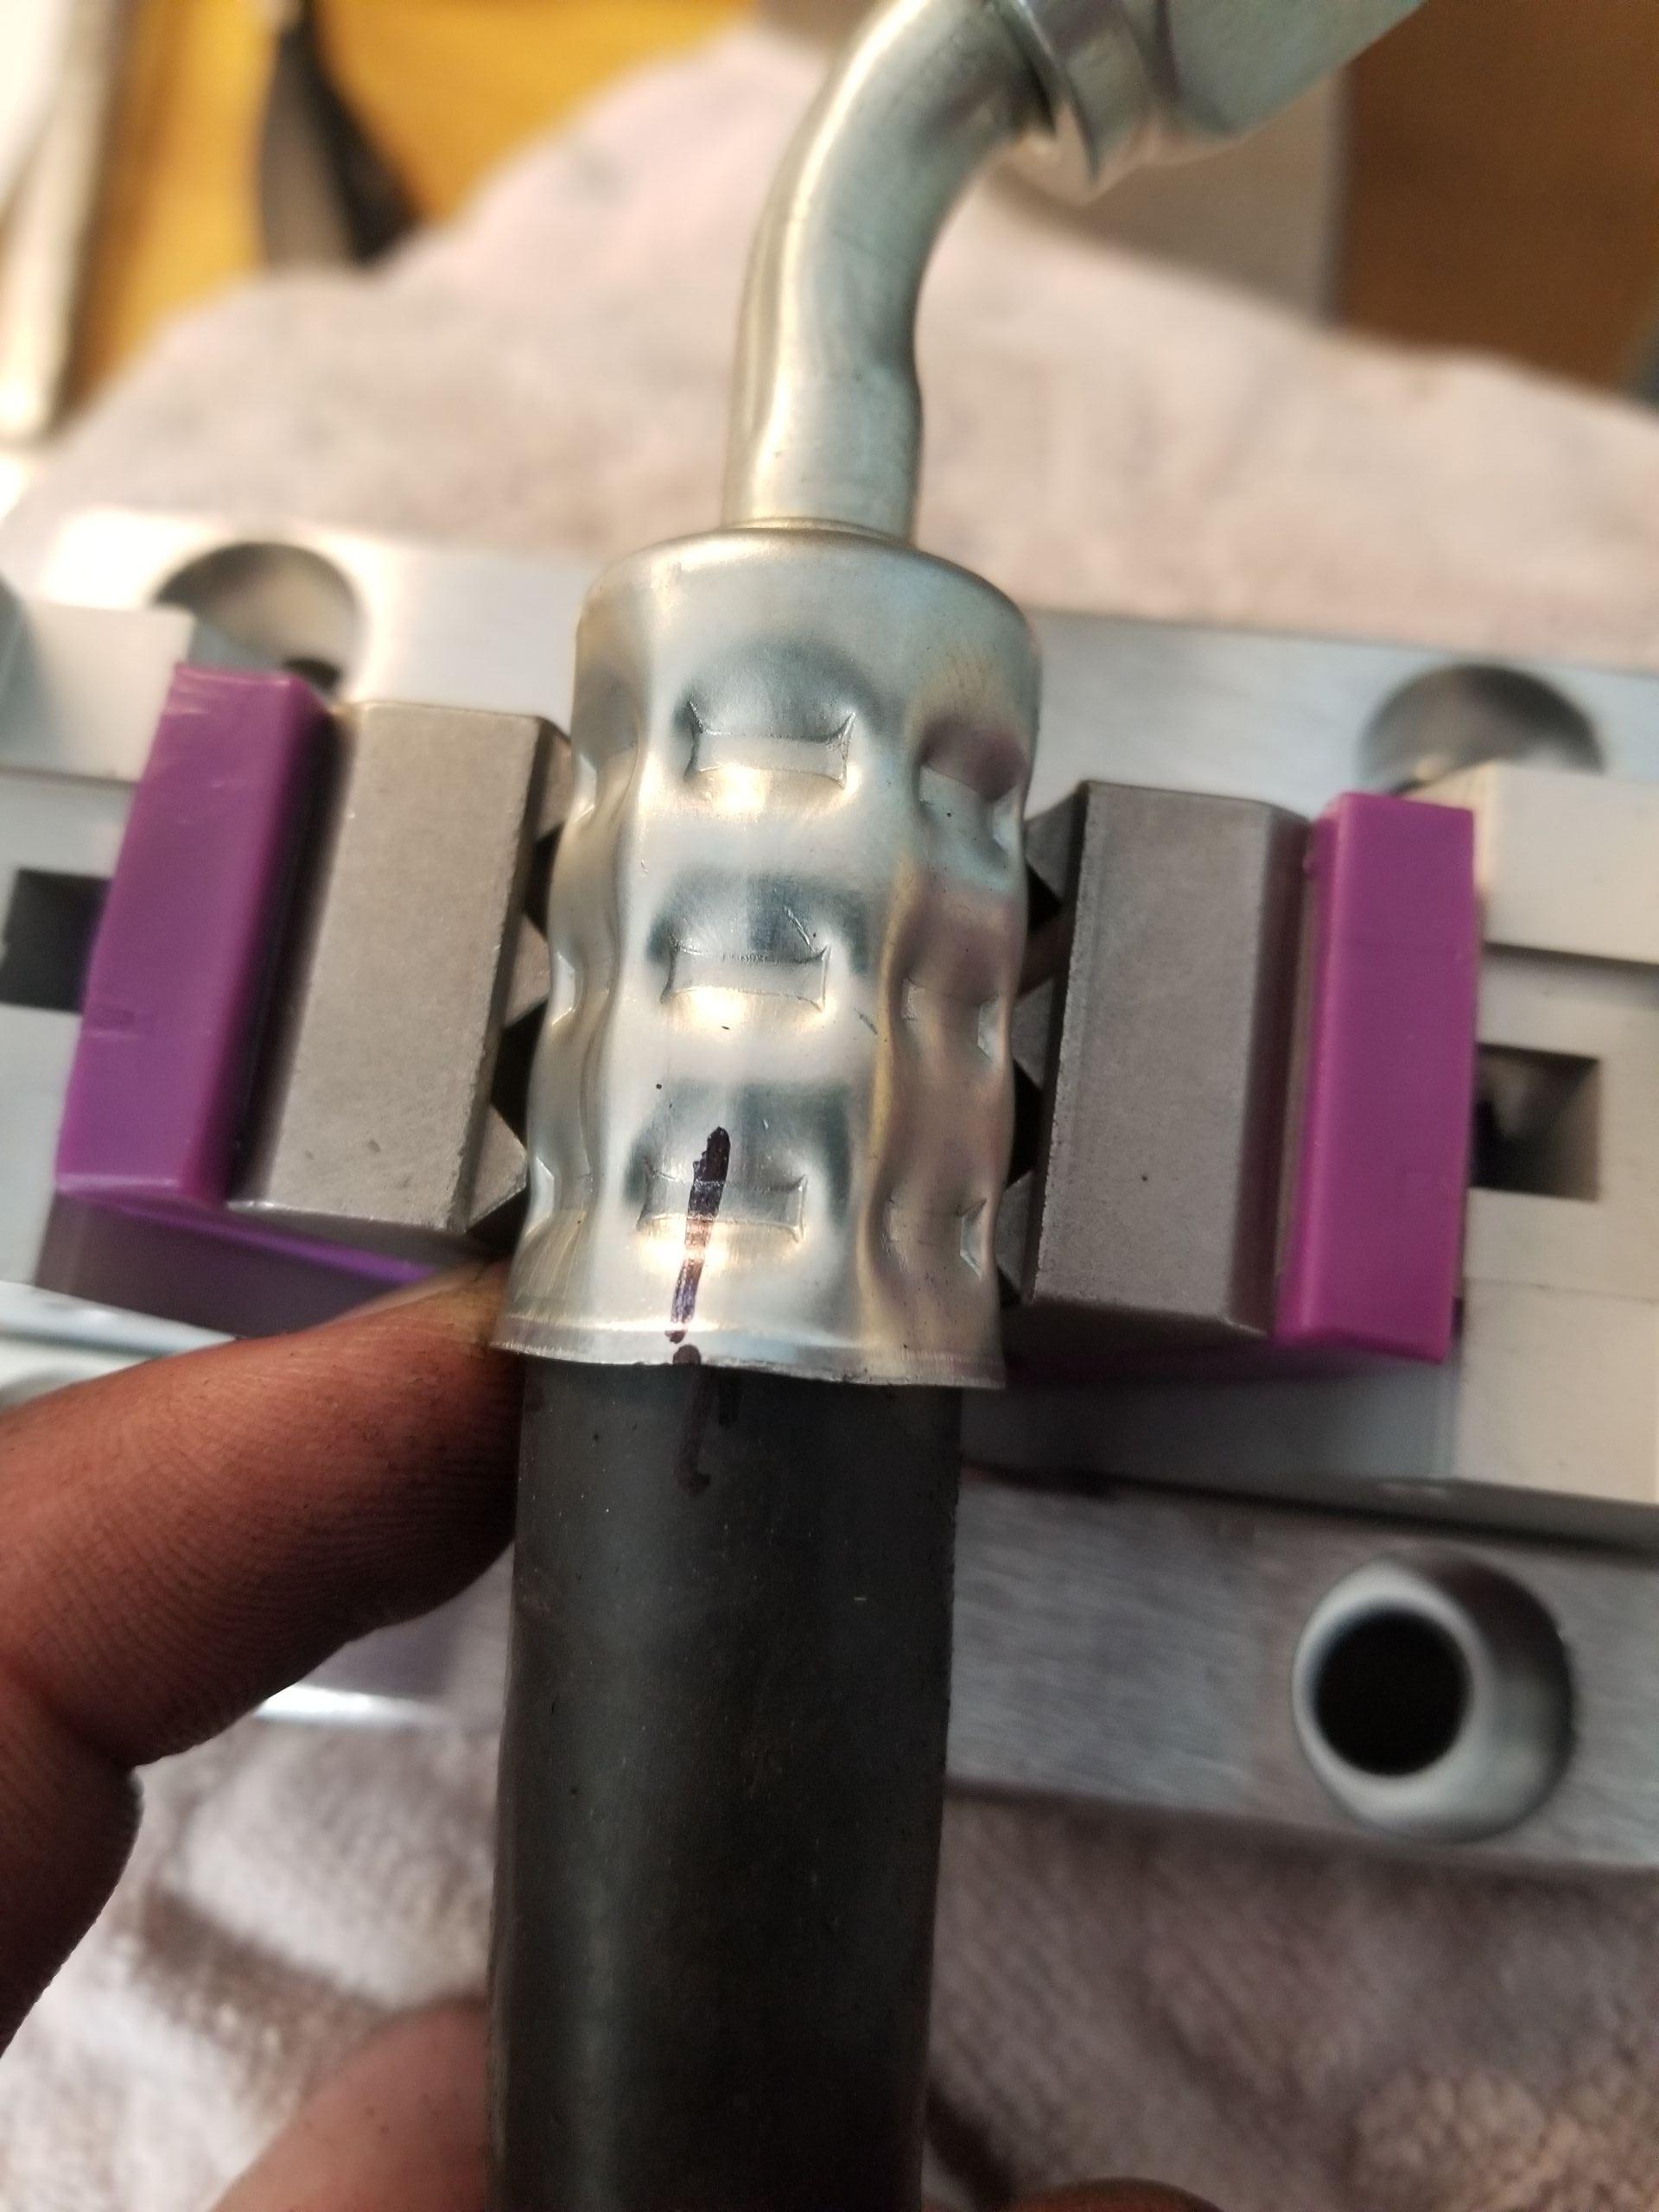
- Second hose was compressor to condenser. This is #8 90 degree to #8 90 degree. I had this hose made at the shop as 2 of them leaked when i created them. Possibly bad crimp or too much twisting when i finished it.
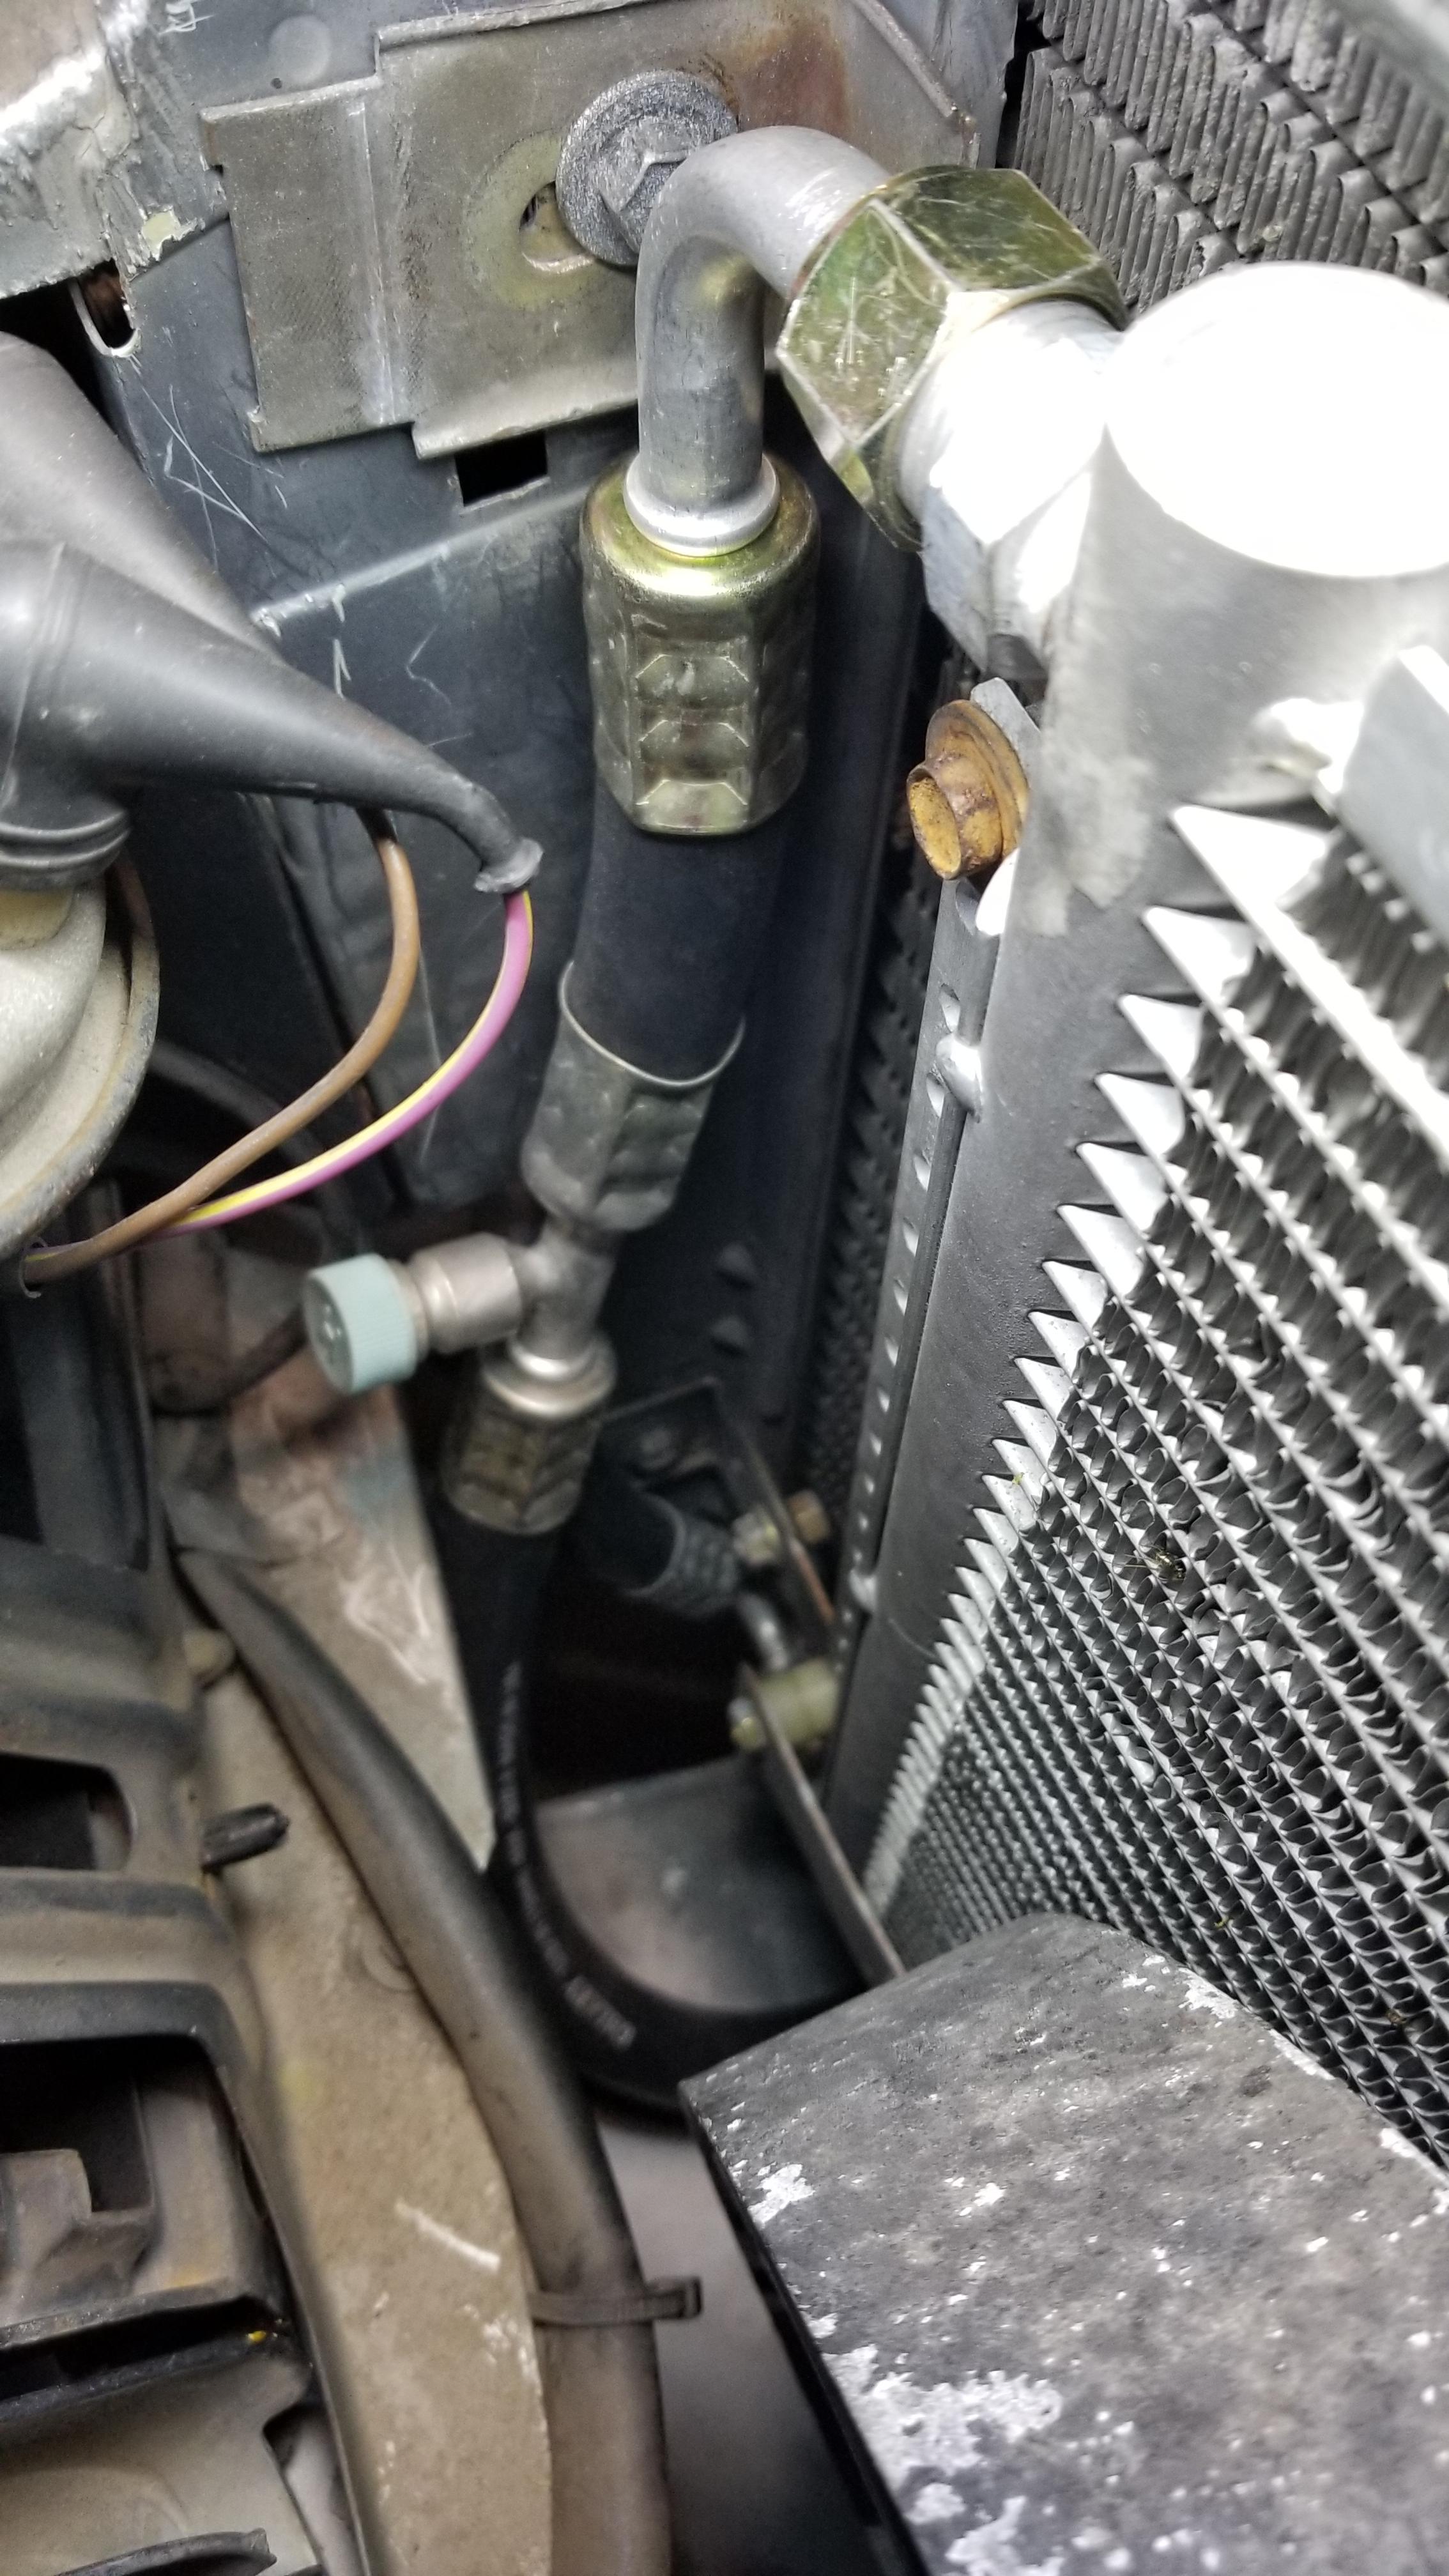
- Third hose was #6 90 degree to #8 45 degree. The a/c drier is #8, hence difference in sizes. I had to create new hose for a/c driver an inch over towards fender. This helped with positioning of lines drastically.
Filling system
I decided to use r134a. My attempt at dusters failed, i don't know why. This forum is filled with useful information regarding what you can use and cannot. Make your own choice. The shop that re-made my failed hose also filled my system and I can go back to them if I need to.

