535is Homebrew Turbo (ex 633 Callaway) - 2024 Update
Re: Callaway 633CSi
Good points. I was going to replace with a TCD turbo, standard journal bearing I think.
My restrictor is .090" ID, where a 1/8" NPt restrictor can go as small as .030" or .065" ID.
Since my pump never goes over 65psi, even when cold, I didn't see the need to go with a smaller restrictor and risk under-lubricating.
anybody else have suggestions on this topic?
My restrictor is .090" ID, where a 1/8" NPt restrictor can go as small as .030" or .065" ID.
Since my pump never goes over 65psi, even when cold, I didn't see the need to go with a smaller restrictor and risk under-lubricating.
anybody else have suggestions on this topic?
Re: Callaway 633CSi
Might want to hit chuck at pure turbos up- he said he had turbos that don't like anything above 65psi... But that is usually only at cold. I have an inline gauge I used to check and I wasn't really getting anywhere close. Happy to send it to you to play with-
Re: Callaway 633CSi
Its possible, as you said, that due to not small enough a restrictor you are having the oil warning light issues at low rpm, so my suggestion was purely based mainly around fixing that issue. Seeing as when you fitted one as opposed to not having one, the oil light stays off a bit more often. My turbo runs a 1.0mm restrictor, but it is a ball bearing centered GTX3582R, so that's noticeably smaller than your current restrictor.
Added benefits of limiting oil flow can be increased boost response as well, but obviously not restricting so far as to starve the turbos needs.
Added benefits of limiting oil flow can be increased boost response as well, but obviously not restricting so far as to starve the turbos needs.
Re: Callaway 633CSi
Alright... I needs my updates!
how's it rollin'
how's it rollin'
Re: Callaway 633CSi
Hey 9mil,
Thanks for the bump. I haven't updated this in a while, and unfortunately haven't made a ton of progress, but a lot of little things.
I had replaced the external pump with a walbro. Fortunately this has cured my lean problem in high revs, and even made things slightly rich. After thinking more, I have decided to go forward with a TCD turbo in the near future before getting the exhaust completed. This will push more air and hopefully bump up the fuel requirement into a range my RRFPR can be used. Right now it is all the way open, and I still have fuel pressure rise too quickly.
The other benefit of the turbo, I think will be reduced back pressure. Right now the light weight flywheel and such doesn't seem rev very feely and I think this is due to the small turbo and high backpressure. With the larger turbo, I want to reduce this back pressure. In addition, the new turbo spins so much more freely than the Rotomaster. It feels very noticeable by hand when spinning the two. I imagiune this will be a huge upgrade in spool time and overall response. Right now, the response it press the gas, count 1...2...3.. and then it starts to go...
Progress stopped mainly because i realized that the welded "fix" did not solve my problem. Upon closer inspection the under body is cracked, almost like the rear wheel was taken off a jump, and the subframe mount cracked the underbody. You can see it in the images previously posted.
I had some other issues with some of the other cars and some personal stuff, so I took a break working on the car. The heat of the late summer didn't help for work on the car after work. Now it is cool, so I am just starting the progress again. I actually put the car in the air tonight and took off the exhaust. Tomorrow and Thurs, I plan to try to drop the rear subframe so the welder can come back on the weekend.
I spent some time tightening up the front spoiler to the nose, so it is a much better fit.
I also found that my radio power cuts when I turn on the lights. I have to take that out and rewire it, along with unsticking the temp control knob. It got stickier and stickier for the mornings that I actually was driving the car.
In the mean time, I decided to remove the ugly red pin striping and the horrible window tint. I got stuck on the back window with the glue separating from the tint layer. not sure how to remove it without cutting the defroster units. Maybe worth paying somebody?
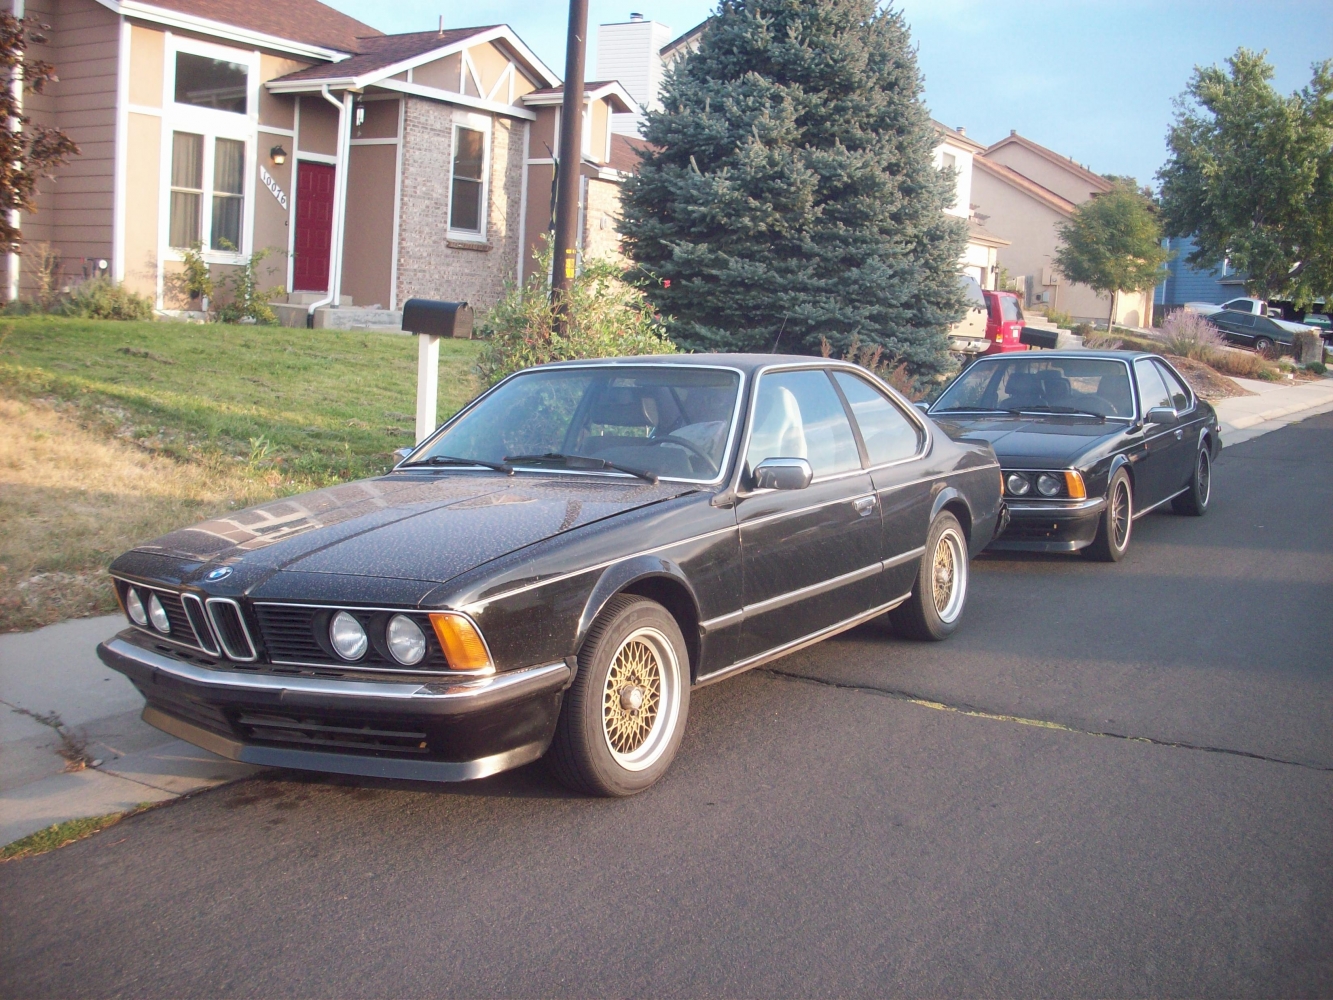
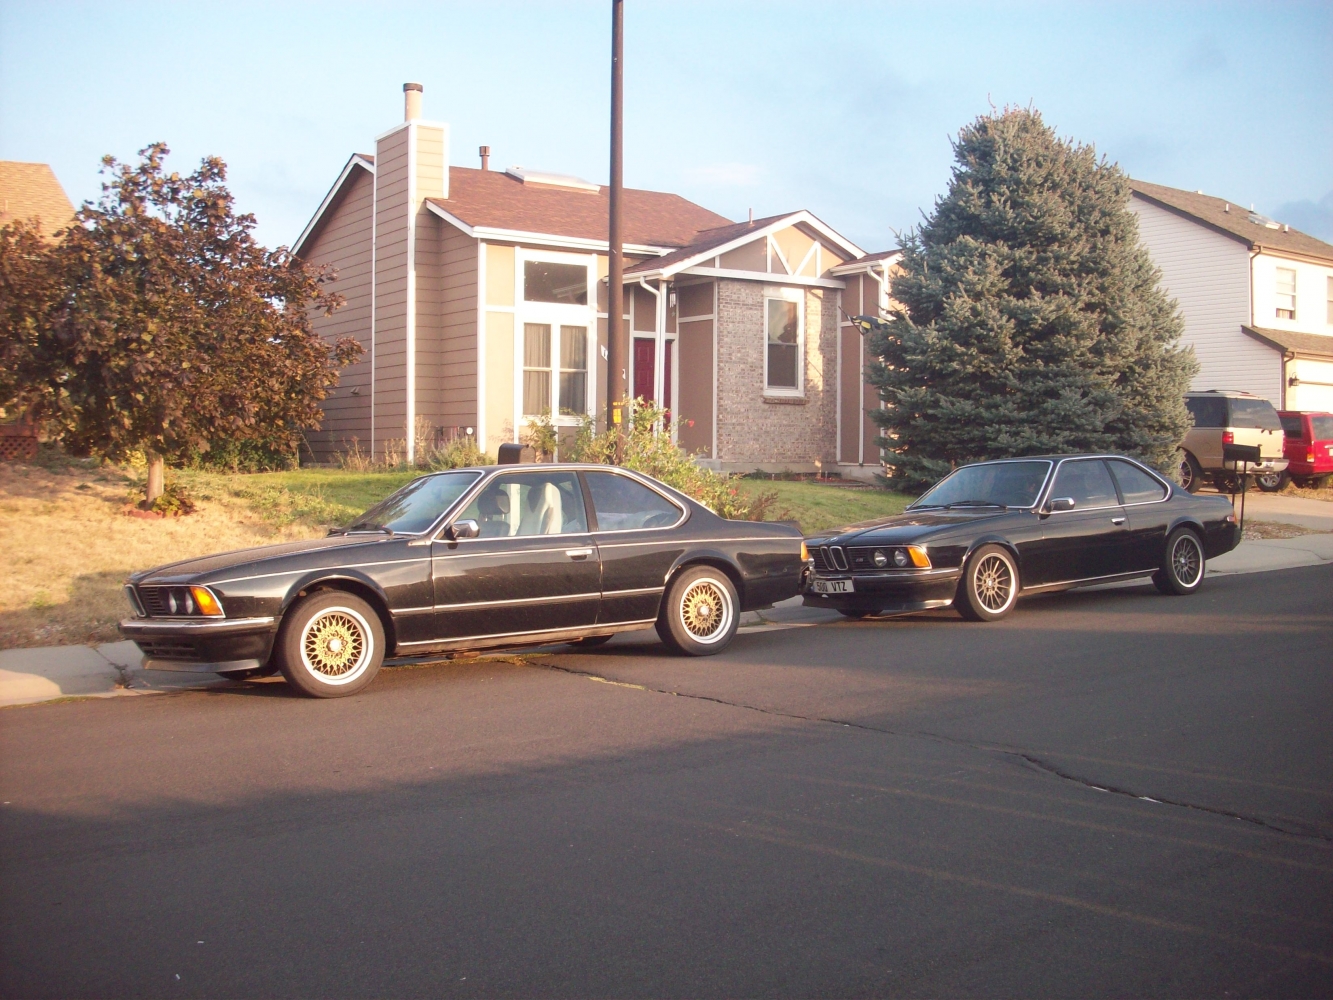
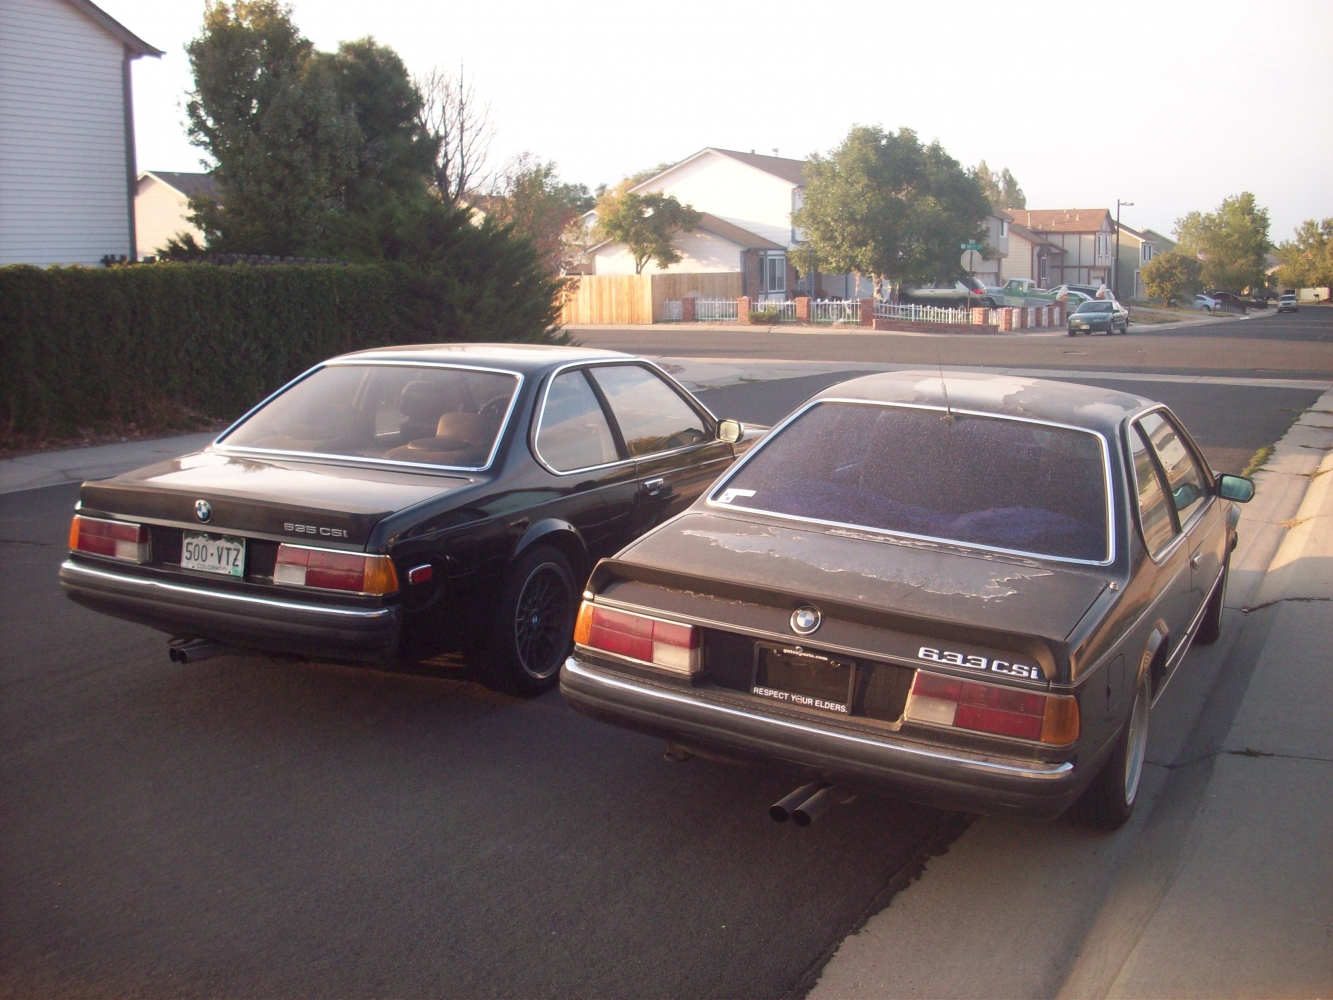
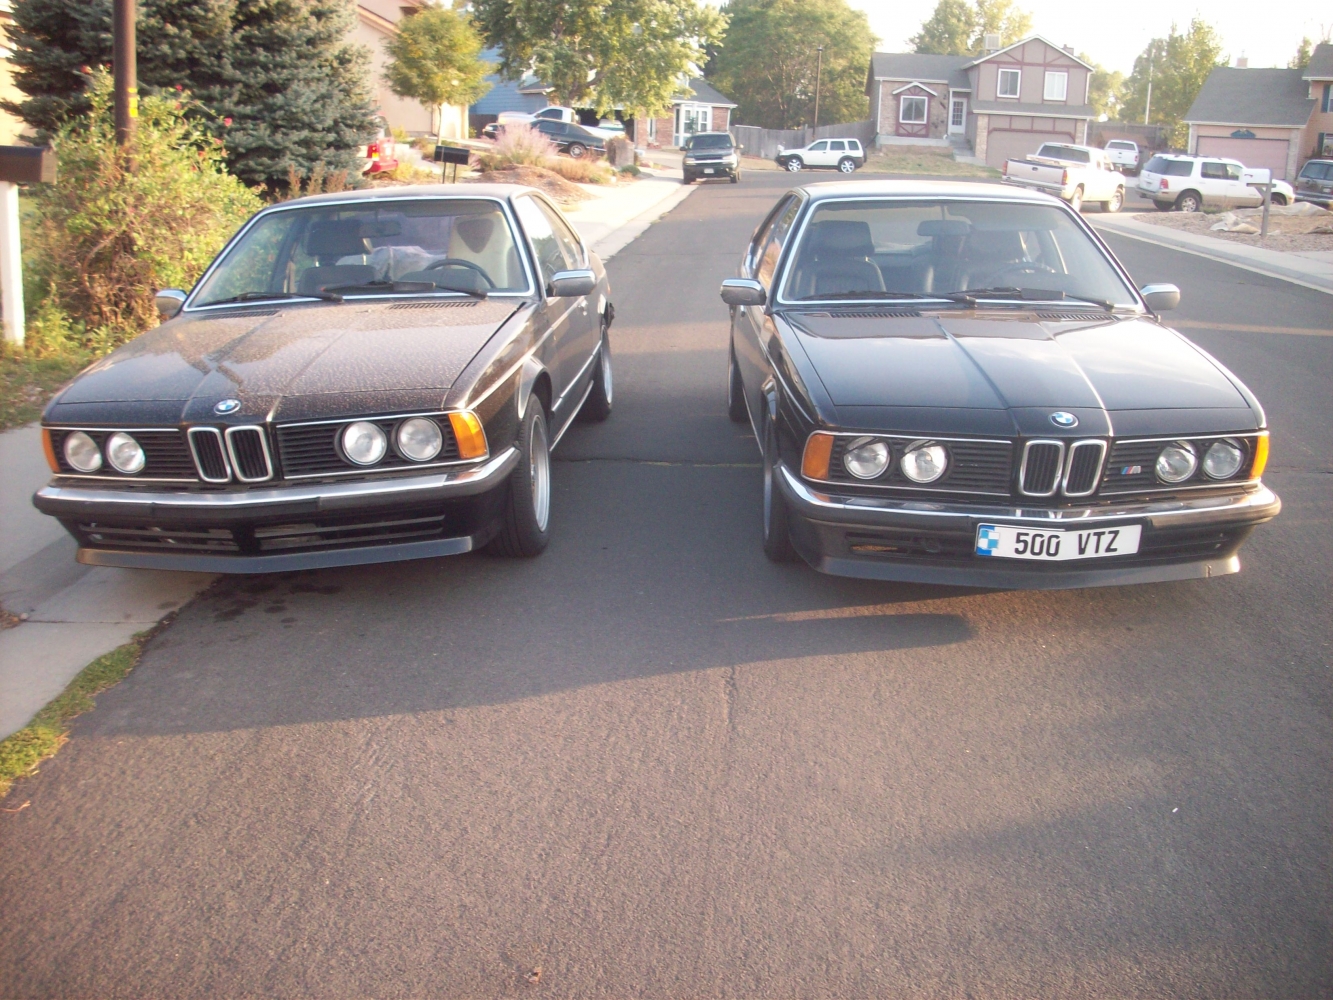
In the mean time, I replaced the engine bay fuel lines on the euro 635 (M90). Got that back together which was handy, and snapped a photo of the euro car next to the (super dirty) turbo car :
The turbo car looks worse paint wise, but is in better condition rust-wise.
Last edited by tschultz on Mar 15, 2016 12:06 PM, edited 1 time in total.
Re: Callaway 633CSi
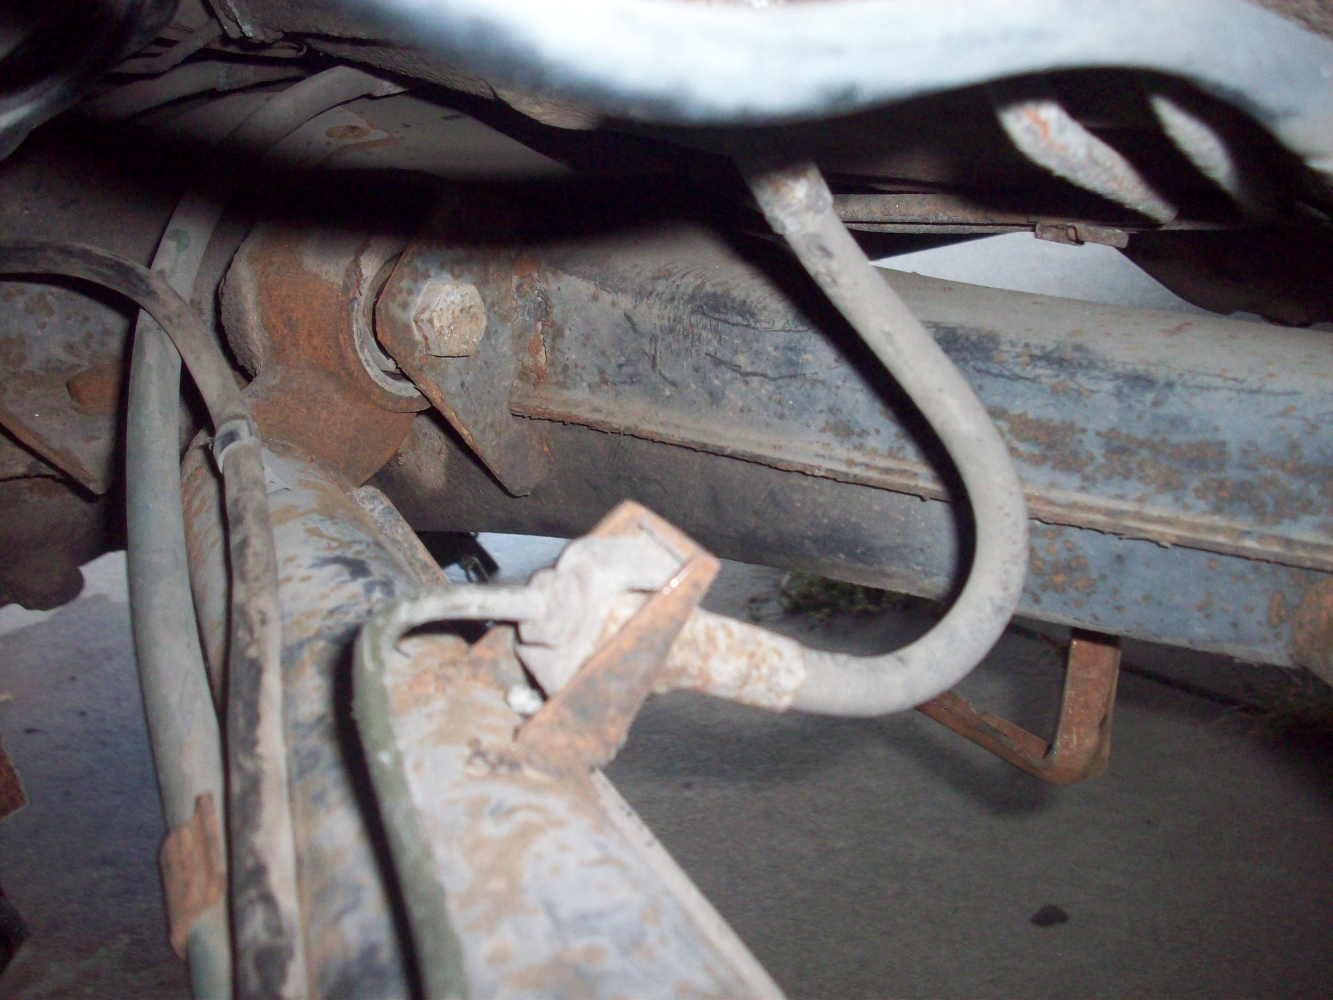
So I continued progress today in removing parts from the rear end. I have everything ready to go for removal, minus the shocks on either side, the brake lines, and the diff mount.
Speaking of which, how do I remove rusted brake lines? I think I need to remove the hard lines so the assembly can be lowered and rolled away for repair access.
What is the best way to take them apart without damaging them? On a search, I read heat may be the best way. any suggestions?
I loosened it tonight to make sure the assembly would move as I suspected.
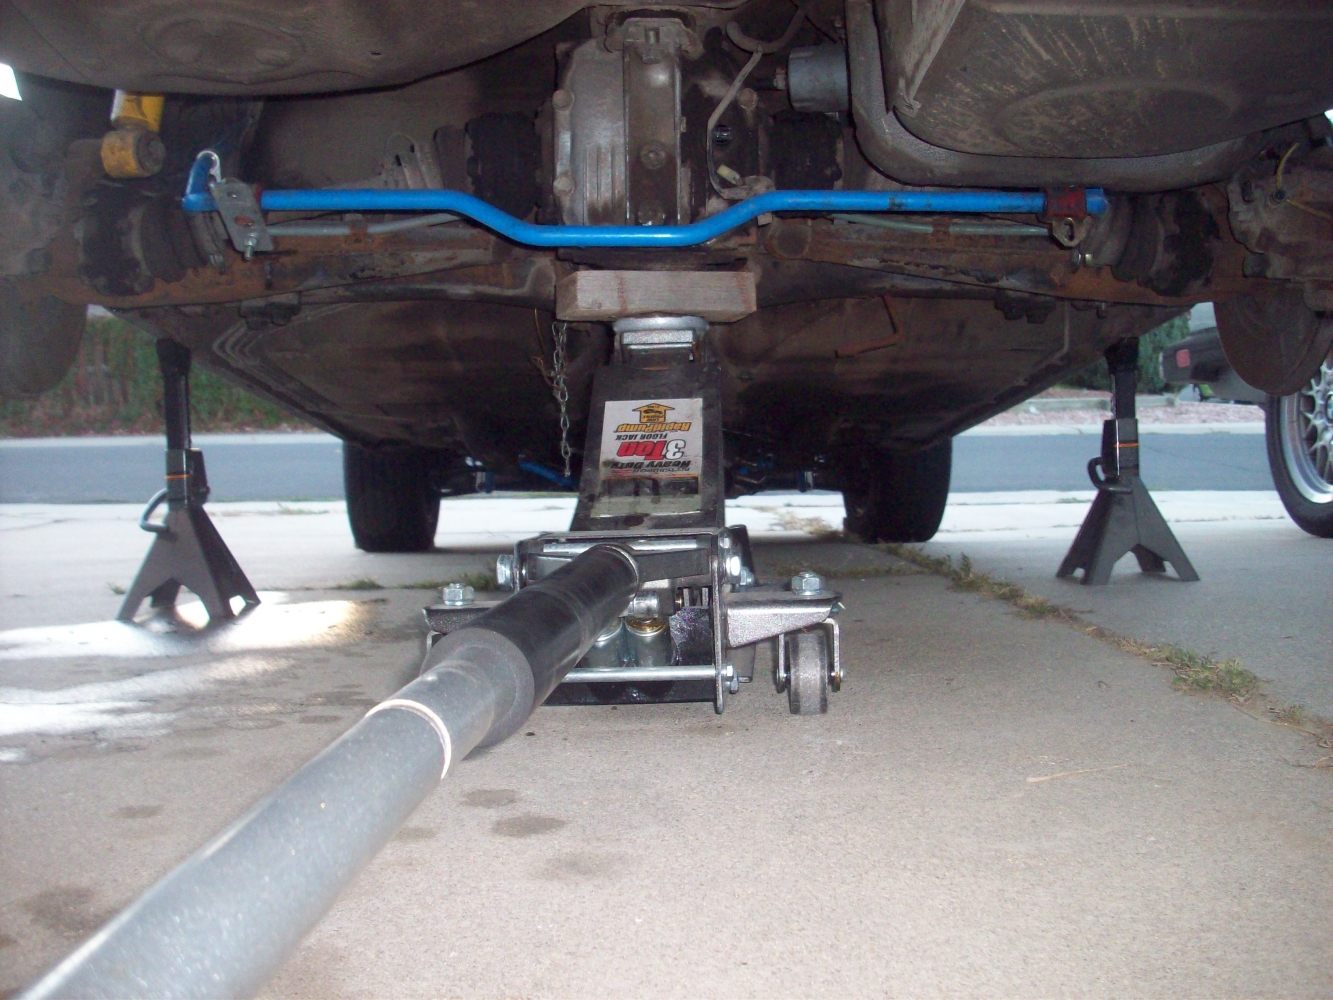
Fortunately it dropped down slowly on the side I am concerned with. More pictures to come when it is fully off. But you can see the crack, which is maybe 50% around the mating parts:
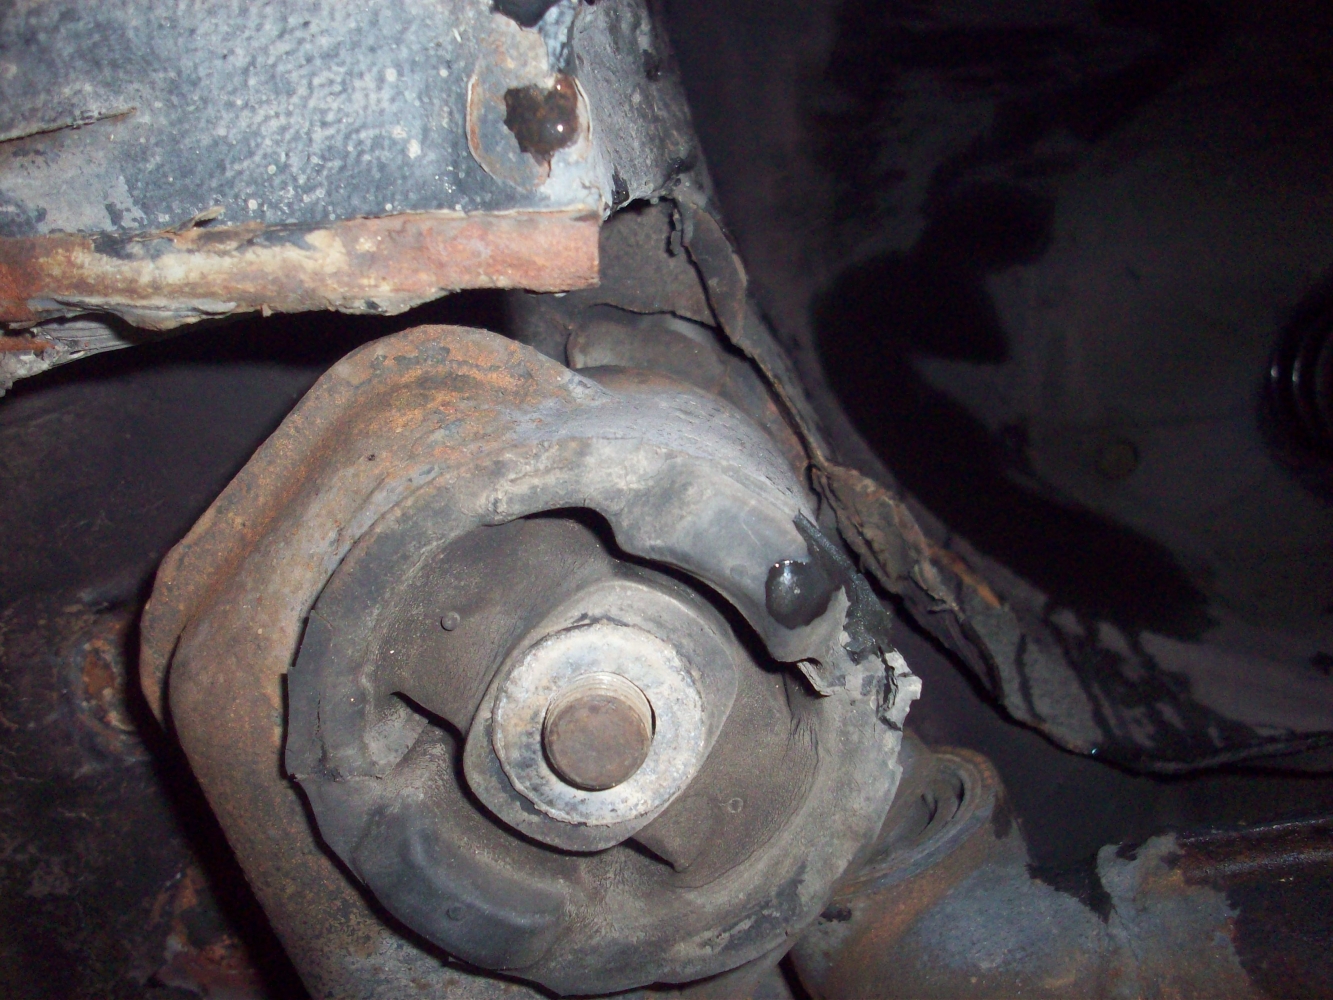
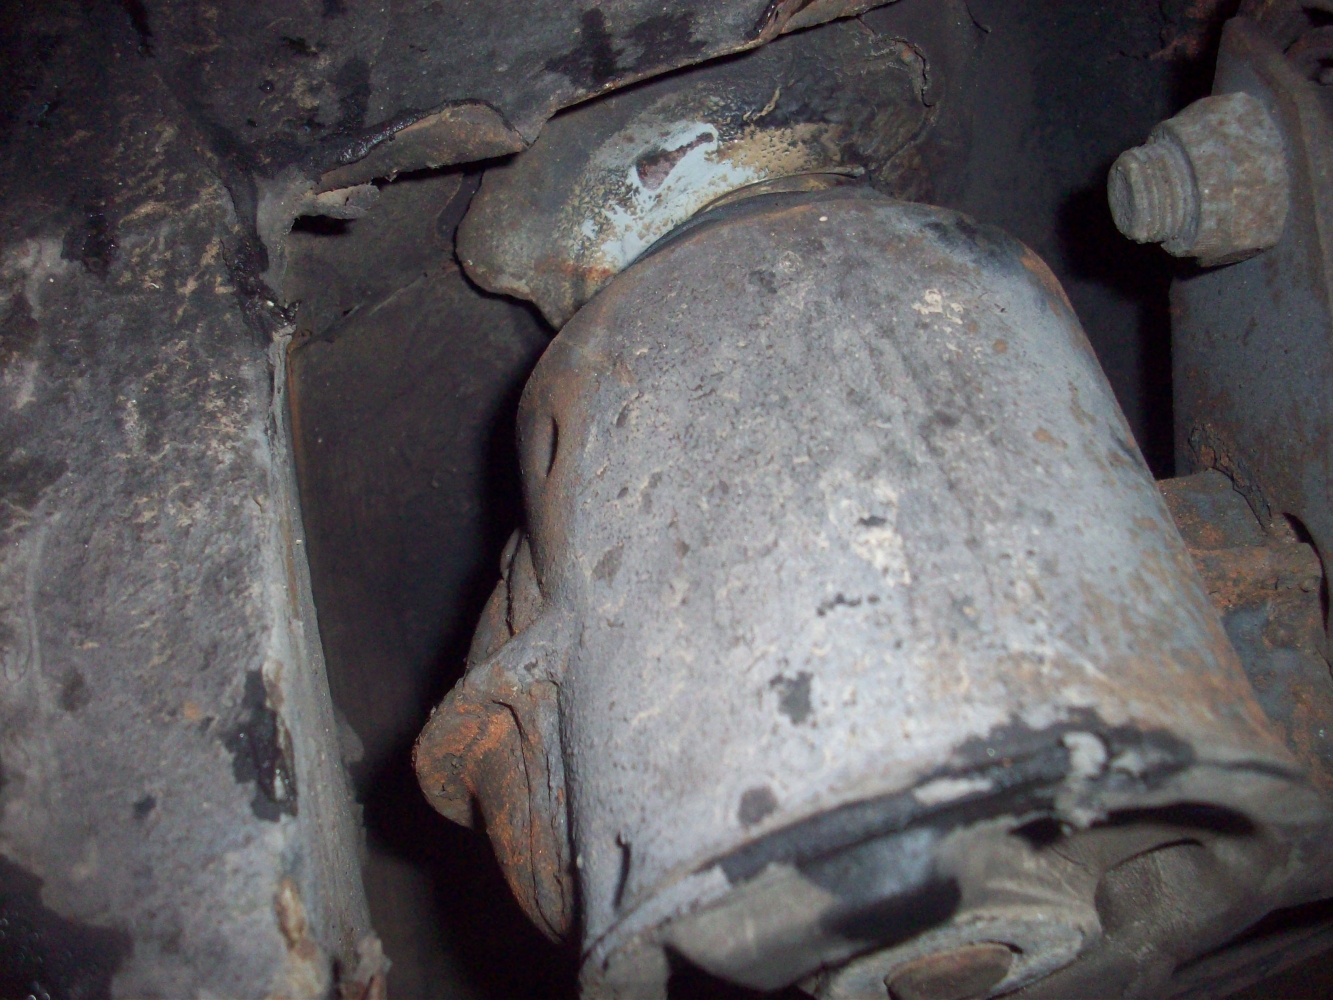
This photo shows how part of the underbody is torn enough so that it is pulling downward slightly from the weight of the loosened assembly.
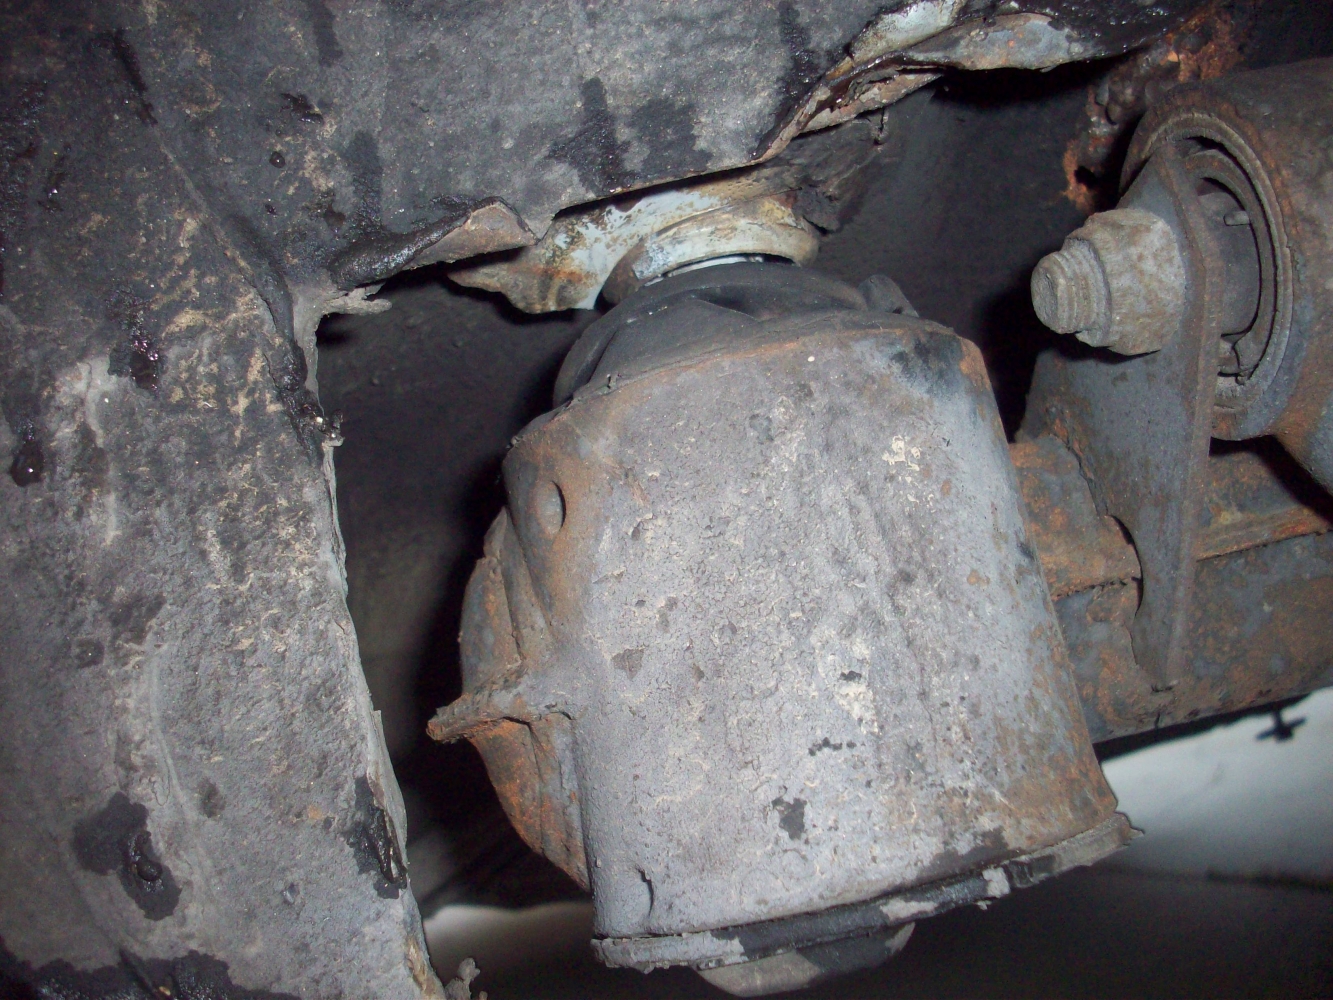
I have replacement subframe mounts here ready to go, however I am unsure how to remove the old ones... At 150k and their current condition I'm half tempted to leave them alone--- Of course on the other hand, I don't want to be in here again on this car if possible.
Any suggestions or bookmarked threads on the actual removal?
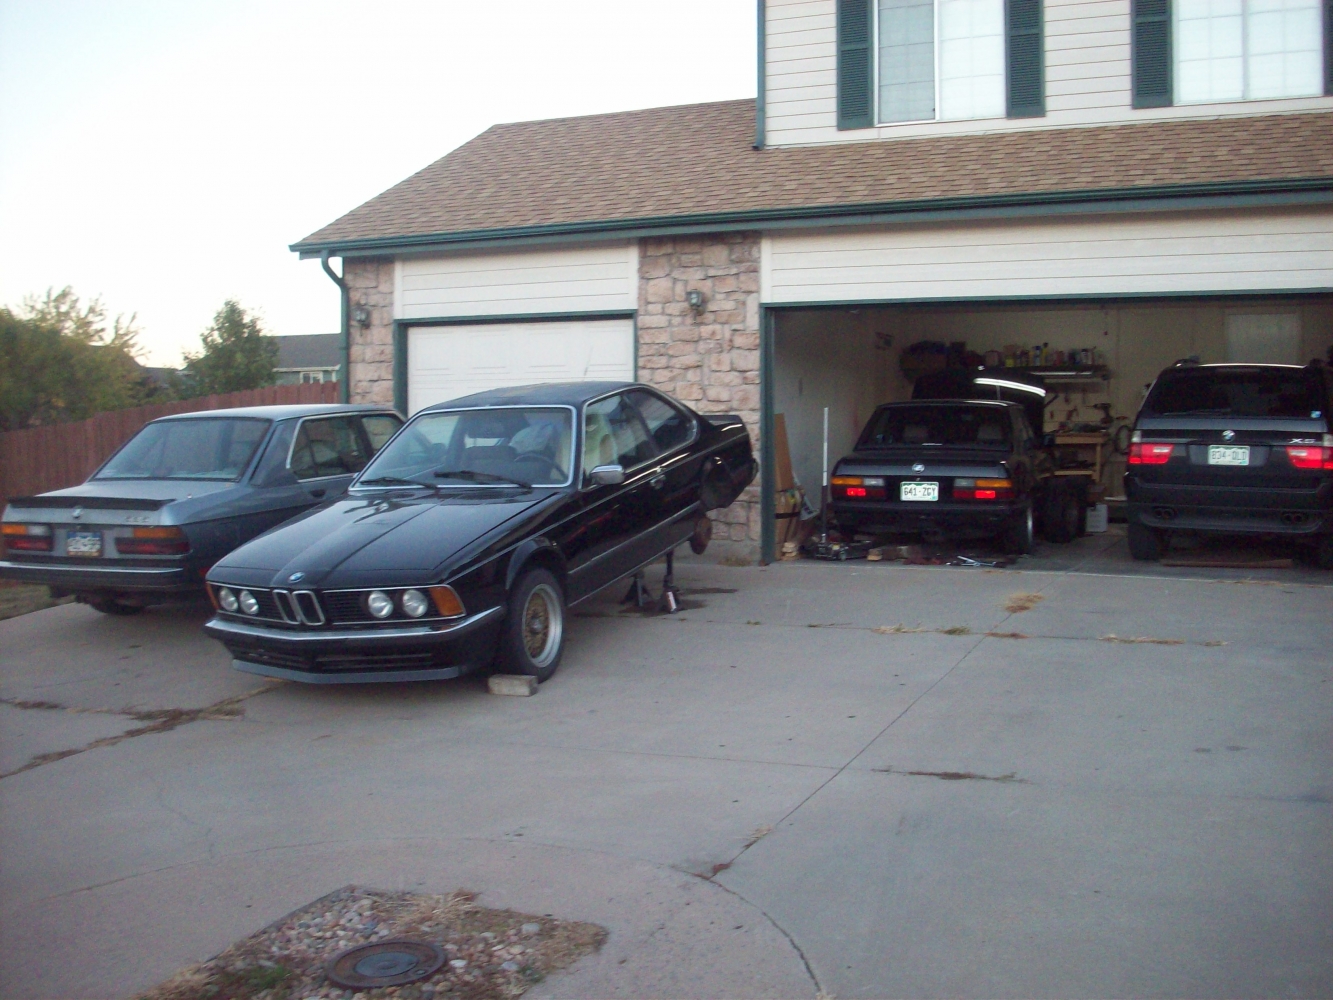
Here's how the driveway looks. The M5 front end is apart as I'm fitting a euro valance. Having some issues getting it fitted where I want before installing the fogs, turns, and possibly new spoiler.
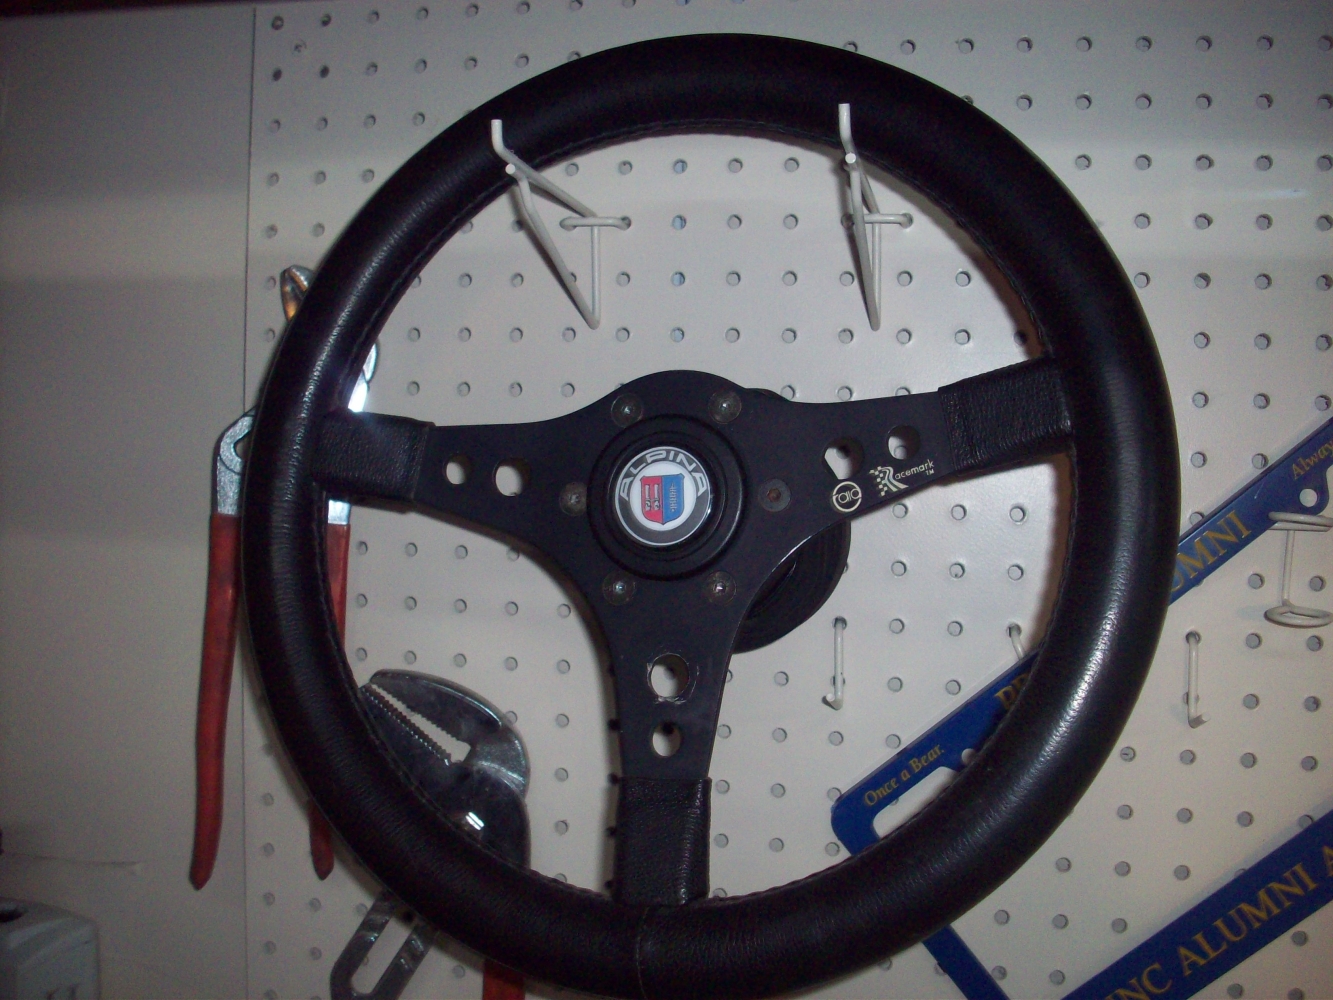
Oh yeah, I also bought some parts on Ebay and pieced together a coarse spline hub and Raid/Racemark I steering wheel (330mm) and Alpina horn button! The turn signal shut off was damaged, so I may just live with it or get one at some point. I won't install it until I get the front end of the car redone (control arms, shocks, springs). So it's patiently waiting hanging above my work bench.
Speaking of which, how do I remove rusted brake lines? I think I need to remove the hard lines so the assembly can be lowered and rolled away for repair access.
What is the best way to take them apart without damaging them? On a search, I read heat may be the best way. any suggestions?
I loosened it tonight to make sure the assembly would move as I suspected.
Fortunately it dropped down slowly on the side I am concerned with. More pictures to come when it is fully off. But you can see the crack, which is maybe 50% around the mating parts:
This photo shows how part of the underbody is torn enough so that it is pulling downward slightly from the weight of the loosened assembly.
I have replacement subframe mounts here ready to go, however I am unsure how to remove the old ones... At 150k and their current condition I'm half tempted to leave them alone--- Of course on the other hand, I don't want to be in here again on this car if possible.
Any suggestions or bookmarked threads on the actual removal?
Here's how the driveway looks. The M5 front end is apart as I'm fitting a euro valance. Having some issues getting it fitted where I want before installing the fogs, turns, and possibly new spoiler.
Oh yeah, I also bought some parts on Ebay and pieced together a coarse spline hub and Raid/Racemark I steering wheel (330mm) and Alpina horn button! The turn signal shut off was damaged, so I may just live with it or get one at some point. I won't install it until I get the front end of the car redone (control arms, shocks, springs). So it's patiently waiting hanging above my work bench.
Last edited by tschultz on Oct 16, 2015 12:02 PM, edited 1 time in total.
Re: Callaway 633CSi
I need that steering wheel!
Re: Callaway 633CSi
Yeah, I thought it was pretty cool, which is why I got the hub for it. Not putting it on until I get the suspension re-installed and everything replaced up front first 
With the subframe out, conveniently my welder Frank could make it out today and finish cleaning up and re-welding the mount location. We were able to pull the plate that is hanging in the photo, out completely by hand. Pretty sure it scraping/shifting is what caused the noises I was hearing.
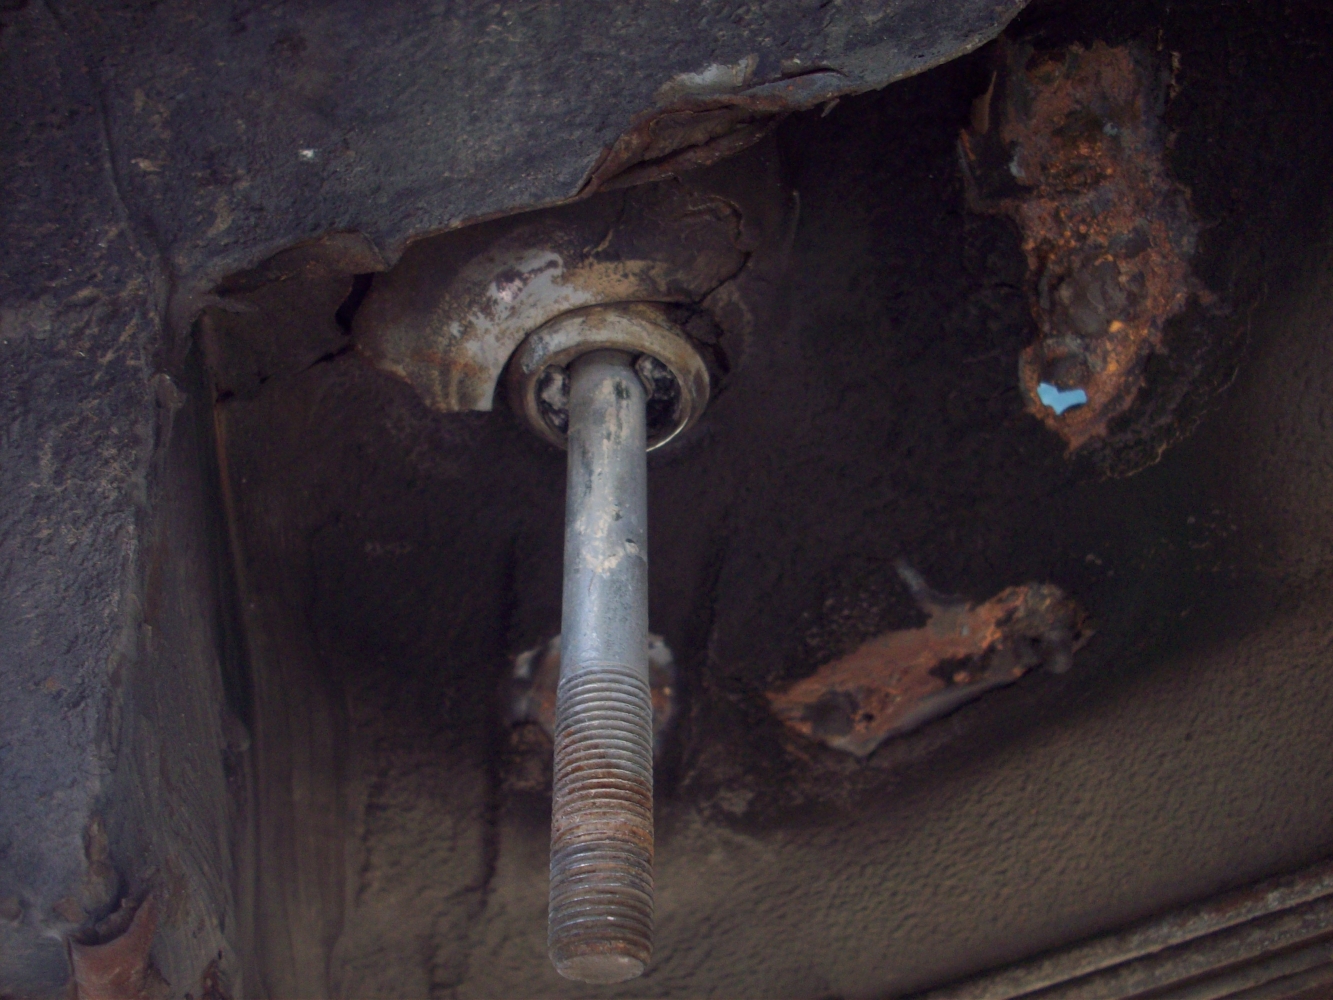
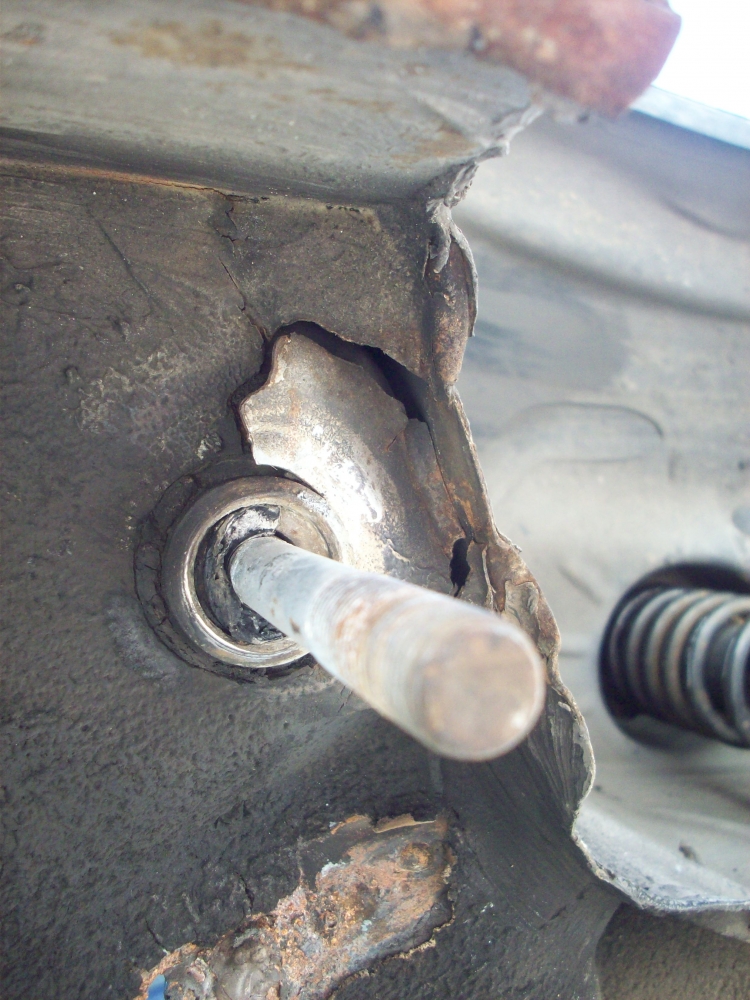
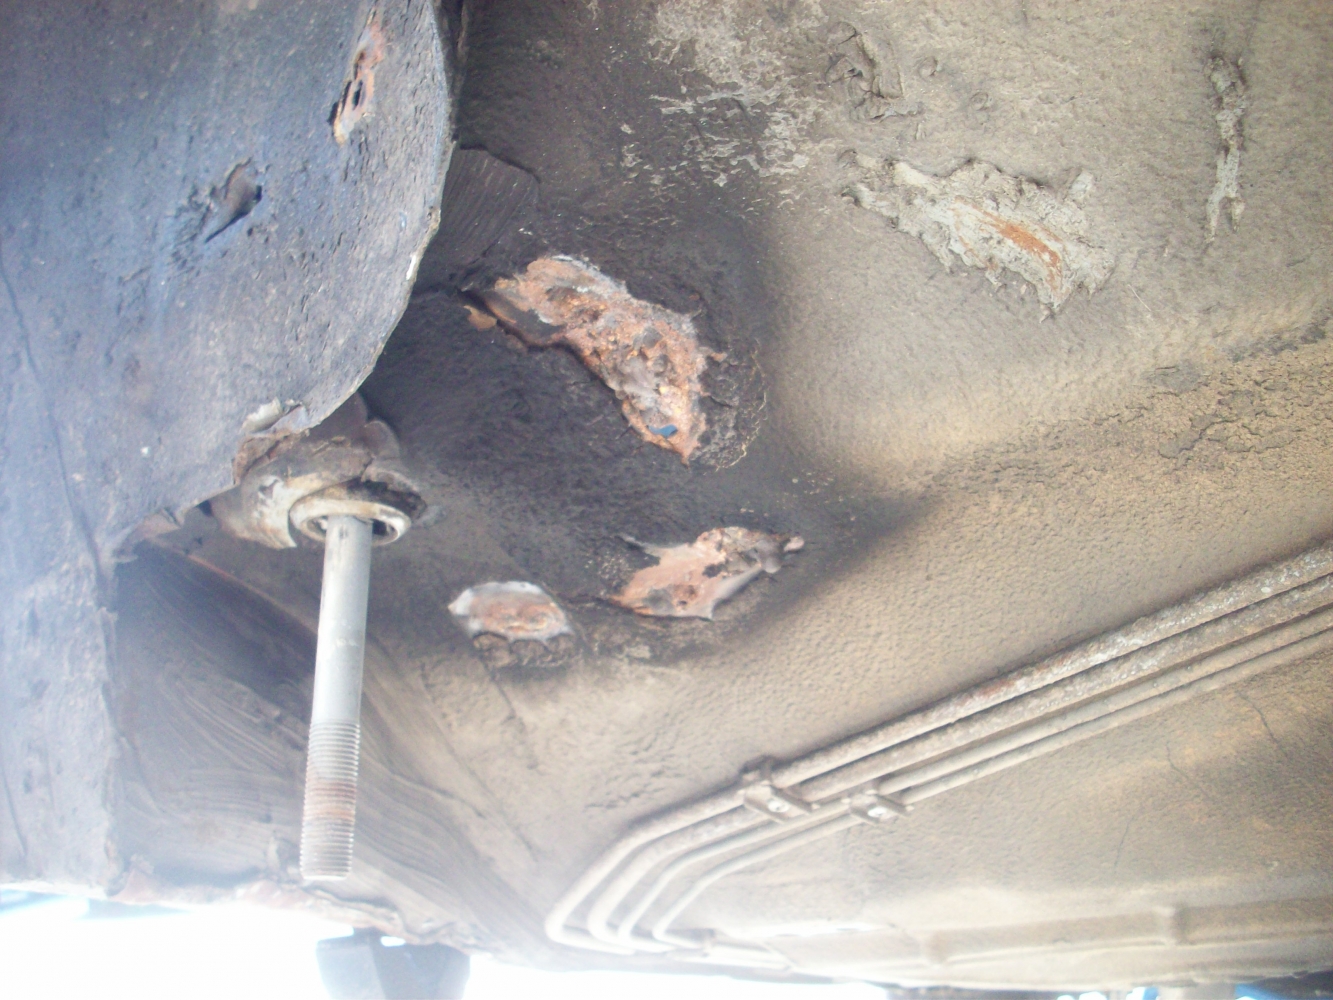
We cleaned up and prepped the area with a grinder and in the process saw the full extent of the cracking. I don't know how this happened, other than by somebody beating the crap out of the car. I guess it's possible the cracks were caused by the accident damage, and over 4-5 years of daily driving after the 'repairs'. Fortunately the bolt for the subframe was solidly in place. I think everything had just been shifting upward before the initial repair a couple months ago. Lately I still heard a small squeaking sound, which I think was that plate rubbing against where it had torn off.
Frank at work again. In the last test drive, he was really impressed with the performance of the car, saying he felt it 'hauled ass' after I described I wasn't happy with the Callaway turbo response.
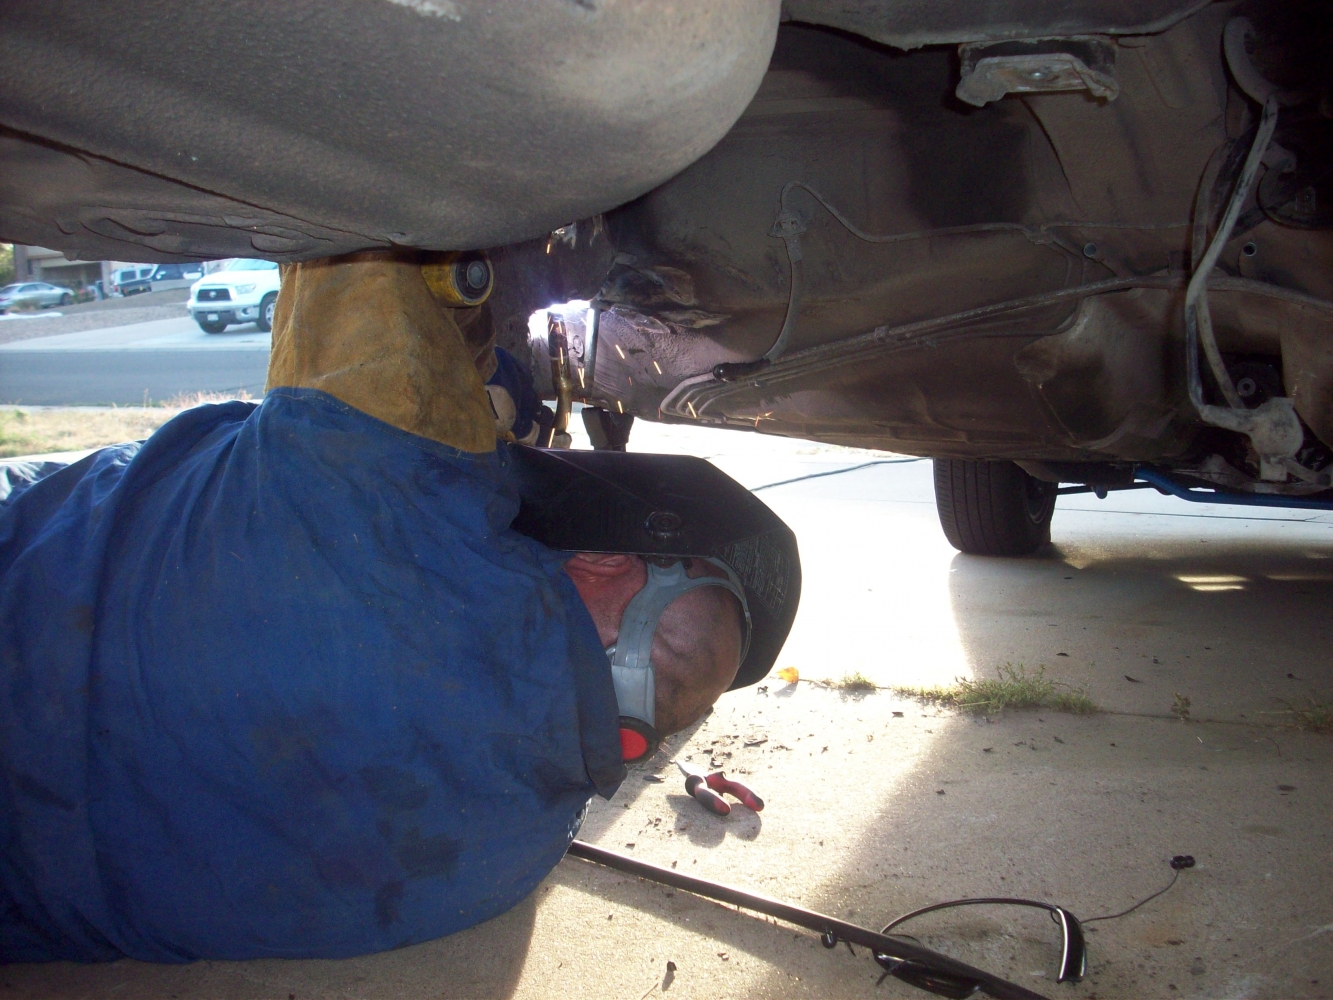
Today he closed up the holes inside the wheel well. These were there from the initial welding work where his stick welding was too hot and cut through the rusted metal.
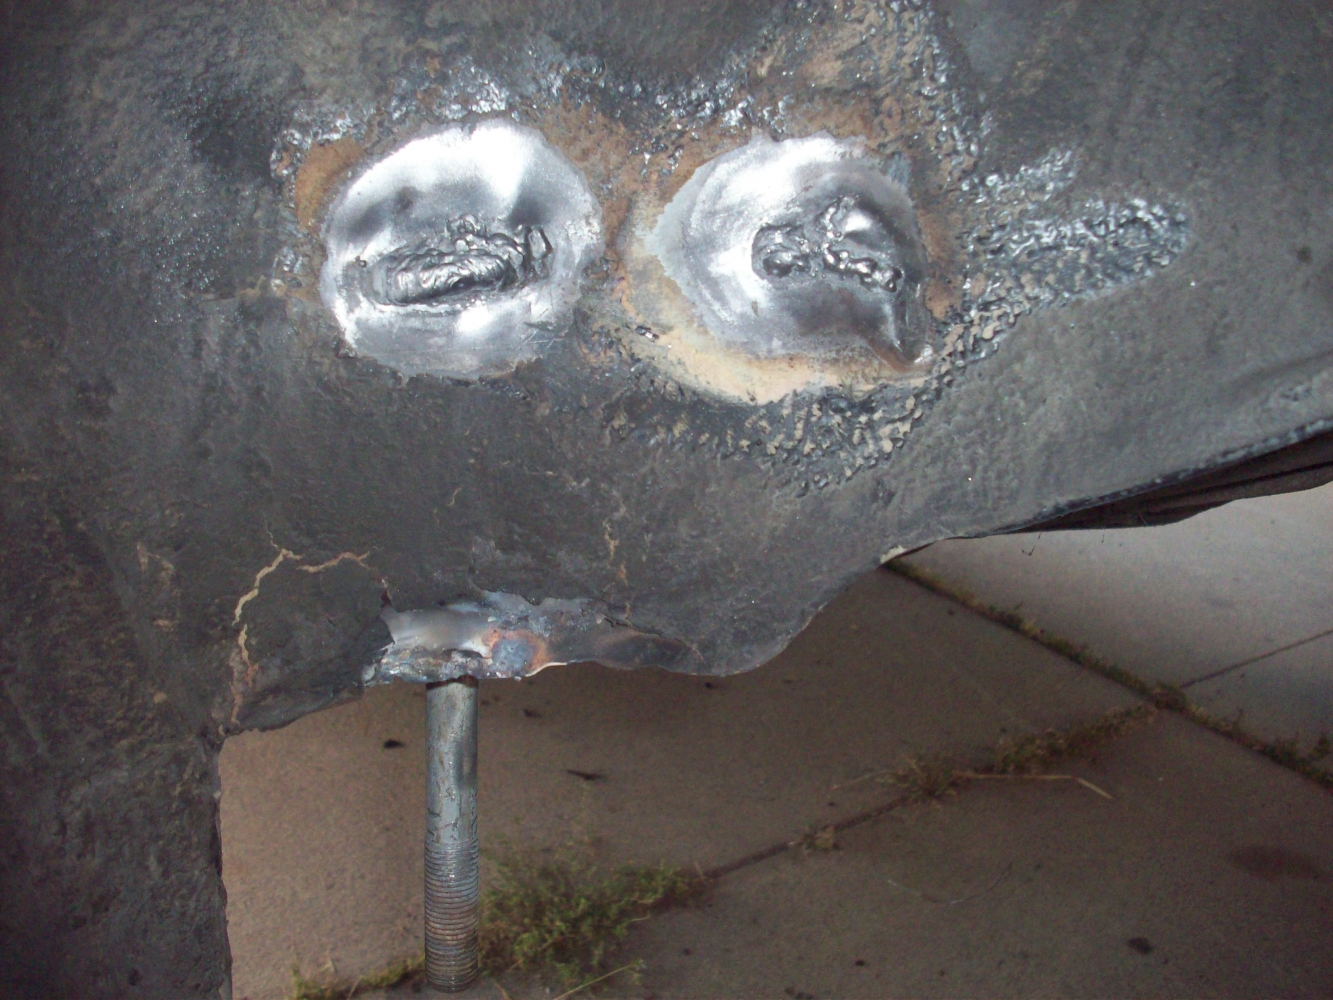
From the bottom, his weld beads show the extent of the cracking that wasn't visible originally:
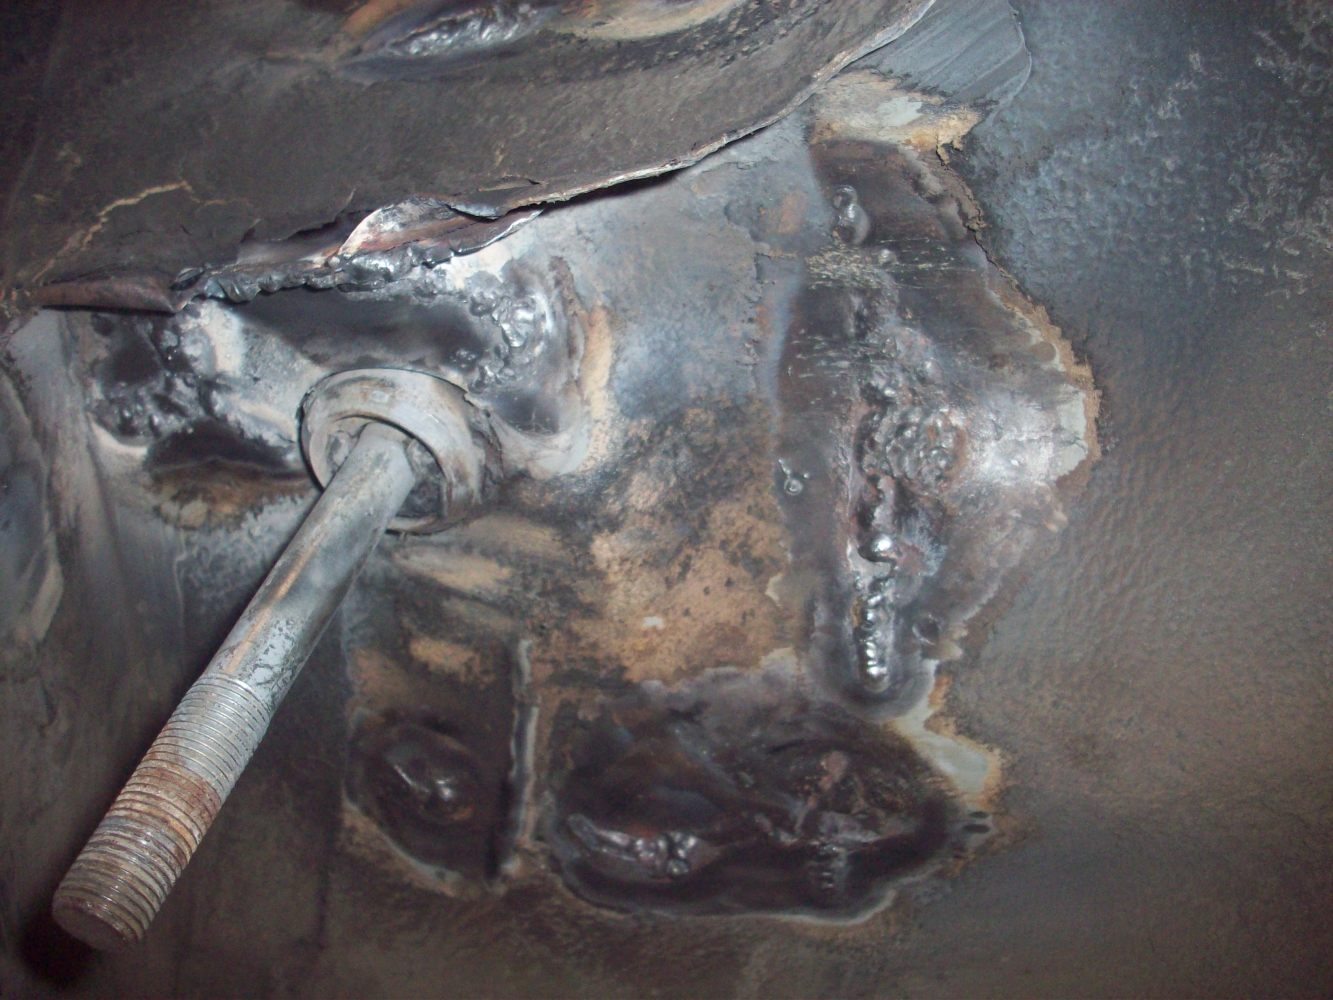
The largest crack moved outward to the edge where the uni-body met the lip/skirt that runs the length of the car.
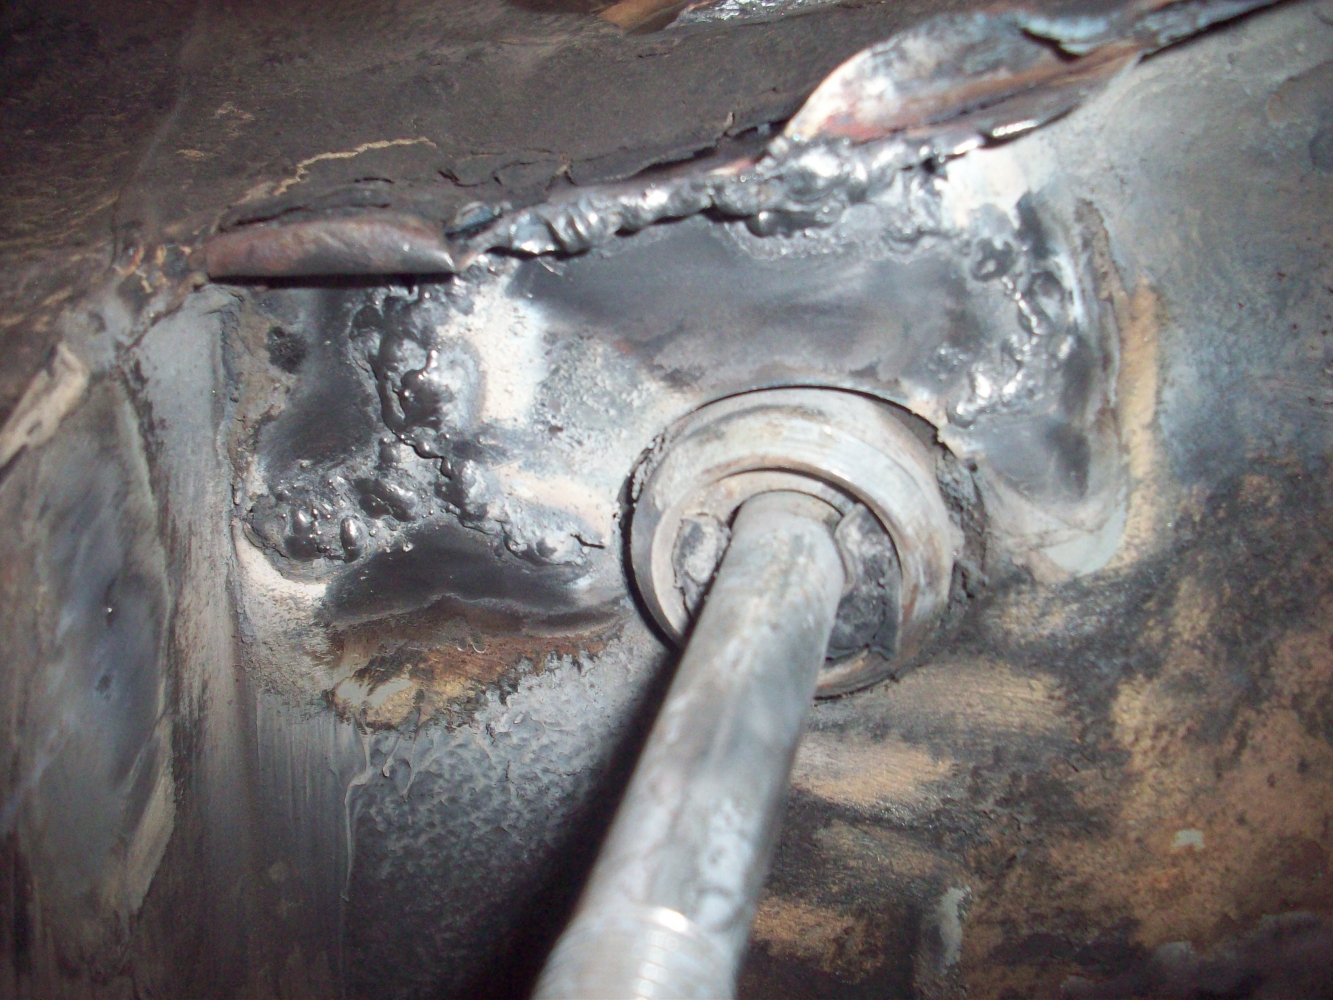
Now no more light is visible through the body. Before we could see a few locations-- such as the wheel well. I'm going to clean up the areas where he welded, pull off the burnt under-coating, and then re-coat it all before reassembly.

I won't have time tomorrow to do much unfortunately, but I plan to jump on it Sunday.
After this is all back together, I will have the following:
-T04E turbo replacewment
-Tclamps, and coupling replacement
-Intercooler piping sand and clear coat
-finish exhaust so that it doesn't sit so low(quick coupling method?)
-front shock/strut replacement
-front control arm replacement
-front alignment
Not sure how fast I will get to it-- funds are limited. some items may be in the next month or two, others may not be until 2016.7
With the subframe out, conveniently my welder Frank could make it out today and finish cleaning up and re-welding the mount location. We were able to pull the plate that is hanging in the photo, out completely by hand. Pretty sure it scraping/shifting is what caused the noises I was hearing.
We cleaned up and prepped the area with a grinder and in the process saw the full extent of the cracking. I don't know how this happened, other than by somebody beating the crap out of the car. I guess it's possible the cracks were caused by the accident damage, and over 4-5 years of daily driving after the 'repairs'. Fortunately the bolt for the subframe was solidly in place. I think everything had just been shifting upward before the initial repair a couple months ago. Lately I still heard a small squeaking sound, which I think was that plate rubbing against where it had torn off.
Frank at work again. In the last test drive, he was really impressed with the performance of the car, saying he felt it 'hauled ass' after I described I wasn't happy with the Callaway turbo response.
Today he closed up the holes inside the wheel well. These were there from the initial welding work where his stick welding was too hot and cut through the rusted metal.
From the bottom, his weld beads show the extent of the cracking that wasn't visible originally:
The largest crack moved outward to the edge where the uni-body met the lip/skirt that runs the length of the car.
Now no more light is visible through the body. Before we could see a few locations-- such as the wheel well. I'm going to clean up the areas where he welded, pull off the burnt under-coating, and then re-coat it all before reassembly.
I won't have time tomorrow to do much unfortunately, but I plan to jump on it Sunday.
After this is all back together, I will have the following:
-T04E turbo replacewment
-Tclamps, and coupling replacement
-Intercooler piping sand and clear coat
-finish exhaust so that it doesn't sit so low(quick coupling method?)
-front shock/strut replacement
-front control arm replacement
-front alignment
Not sure how fast I will get to it-- funds are limited. some items may be in the next month or two, others may not be until 2016.7
Re: Callaway 633CSi
Progress is progress and you are making it my friend! These little setbacks suck- but happen... Back to the fun stuff! Now ship me that steering wheel :-)
Re: Callaway 633CSi
I have another update. This weekend was my bachelor party for a wedding in December. With that said, it sort of explains my somewhat slow progress. But anyway, my brothers both signed themselves and me up for a lapping day at High Plains Raceway here in CO. I have been there about 4/5 times prior in my 535i. I have the same shocks/springs from that car on this car now, but the fronts haven't yet been swapped over.
It was good thing I got the subframe issue resolved a little over a week ago, because my brother planned to bring a new project e30, but he ran into issues literally the night before the event while driving it to my house where he was going to spend the night. We thought we fixed the problem, but his temp gauge heated up just a couple of miles from my house so he puleld over. As we were looking at it, all of the sudden a coolant pipe (plastic) blew right in front of us. The plastic barb had broken off. After some issues, we luckily had a trailer, unloaded the other car and the got the E30 loaded and back to my house.

I had my car ready to go, as I had sort of anticipated the issues and wanted to have a small backup plan. With confidence of driving the prior full week to work, I headed out in the Turbo, knowing that temps would be 50-65's. I had stole the wheels off the M5 and headed out.
At the track it almost didn't work out because I forgot to grab the standard lug bolts (the RA's use extended lugs) and was sitting SOL when I went to change my wheels and tires.
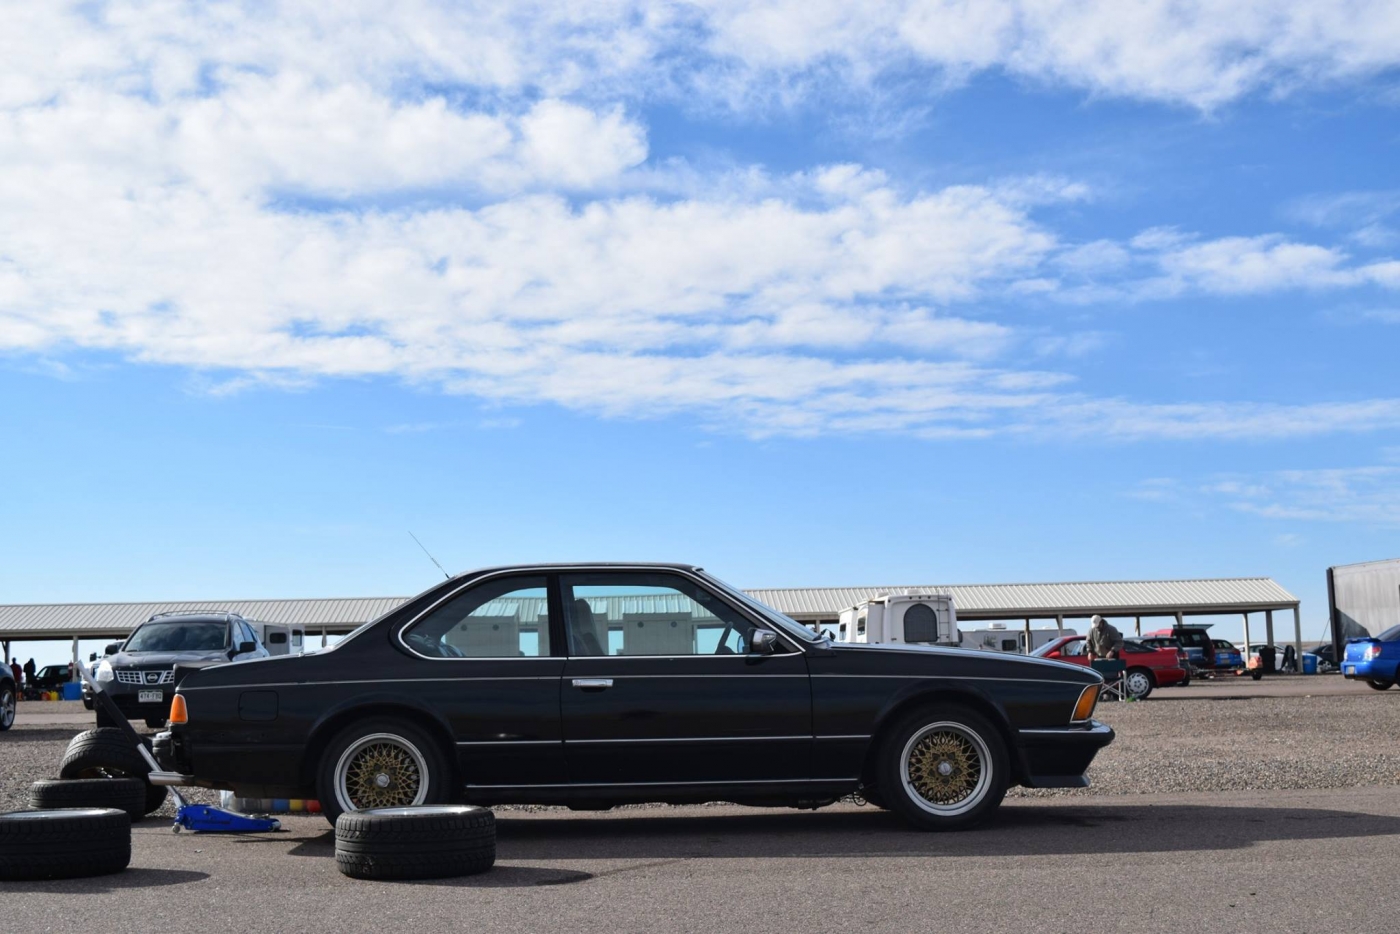
I decided I might as well check the air pressures and anticipated using those wheels and 'going easy', like that would be possible at the racetrack A nice camera makes it look like a fairly decent car!
A short video following my brother is the car my dad built, a 1600 with a 2.0 M10.
The car did very well, I ran probably a good 3 sessions, with the next 2 being cut short due to hose coupling issues. I still haven't yet upgraded from the originals on pg 1. I have pressure tested it, so I had been fairly confident. It was very easy to drive, the sway bars really helped and seemed to grip nicely. I really didn't push it in the corners, nor on the brakes. The sport seats worked great, and the sway bar mounts didn't break like I was worried about! I still flew by my friend jesse (Blue Owl) in his 535i on the straight where he was hitting 100 and I was at about 115mph.
The turbo was really laggy, like full throttle... count one....two...three... and you'd hear the spool and feel the power kick in. Very interesting as it made me break early and get on the gas ASAP in the turns. Really neat to drive this car and then hop in the 02 for a few laps and have a car with max corner speed, a car that really is meant to be thrown around a bit.
http://www.youtube.com/watch?v=LD33euK-8Us
I may have a few others in the next week or so.
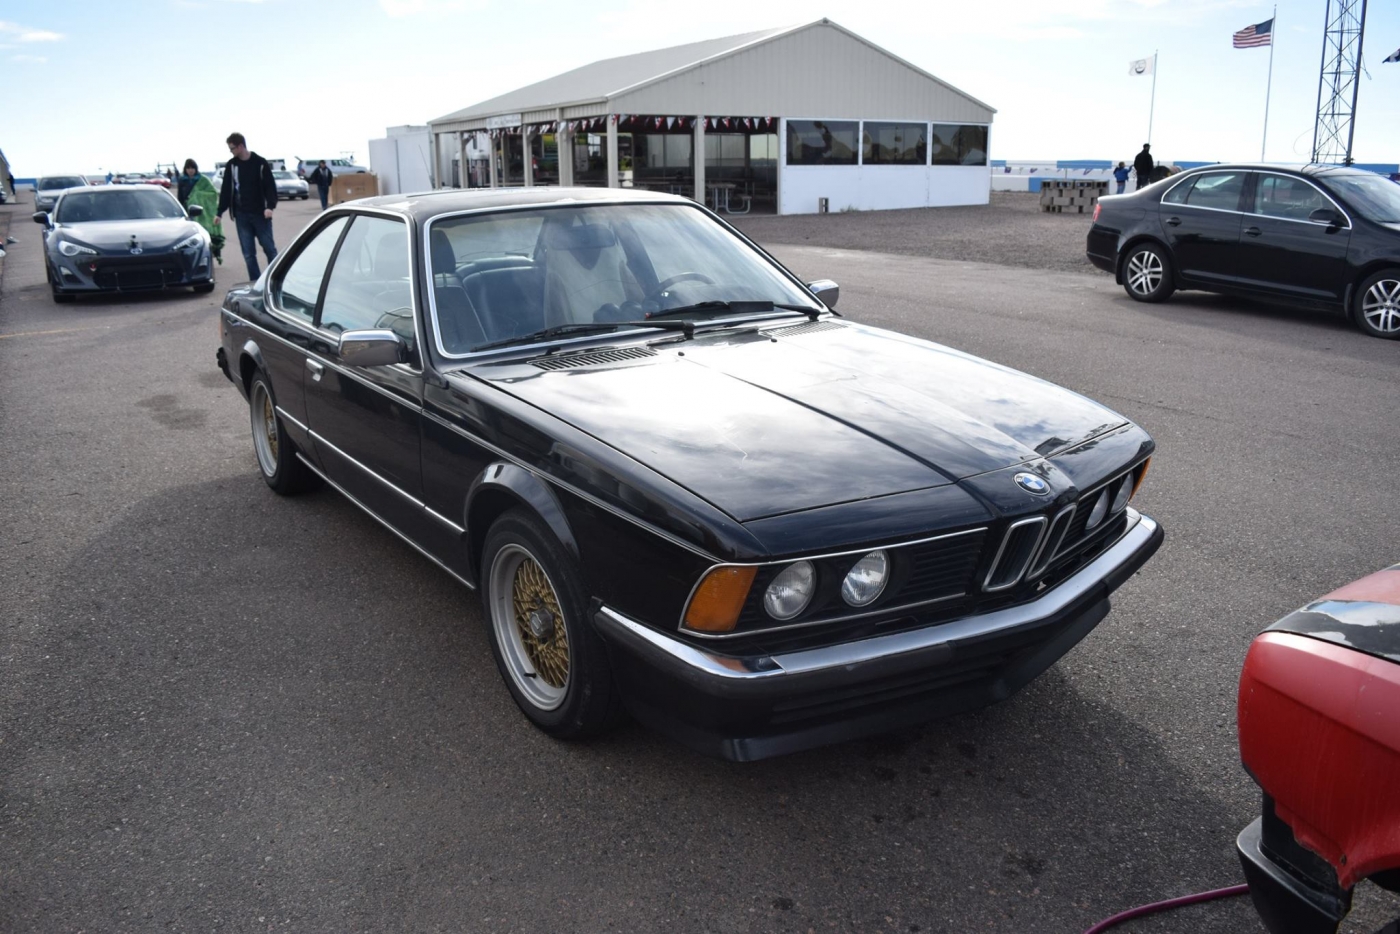
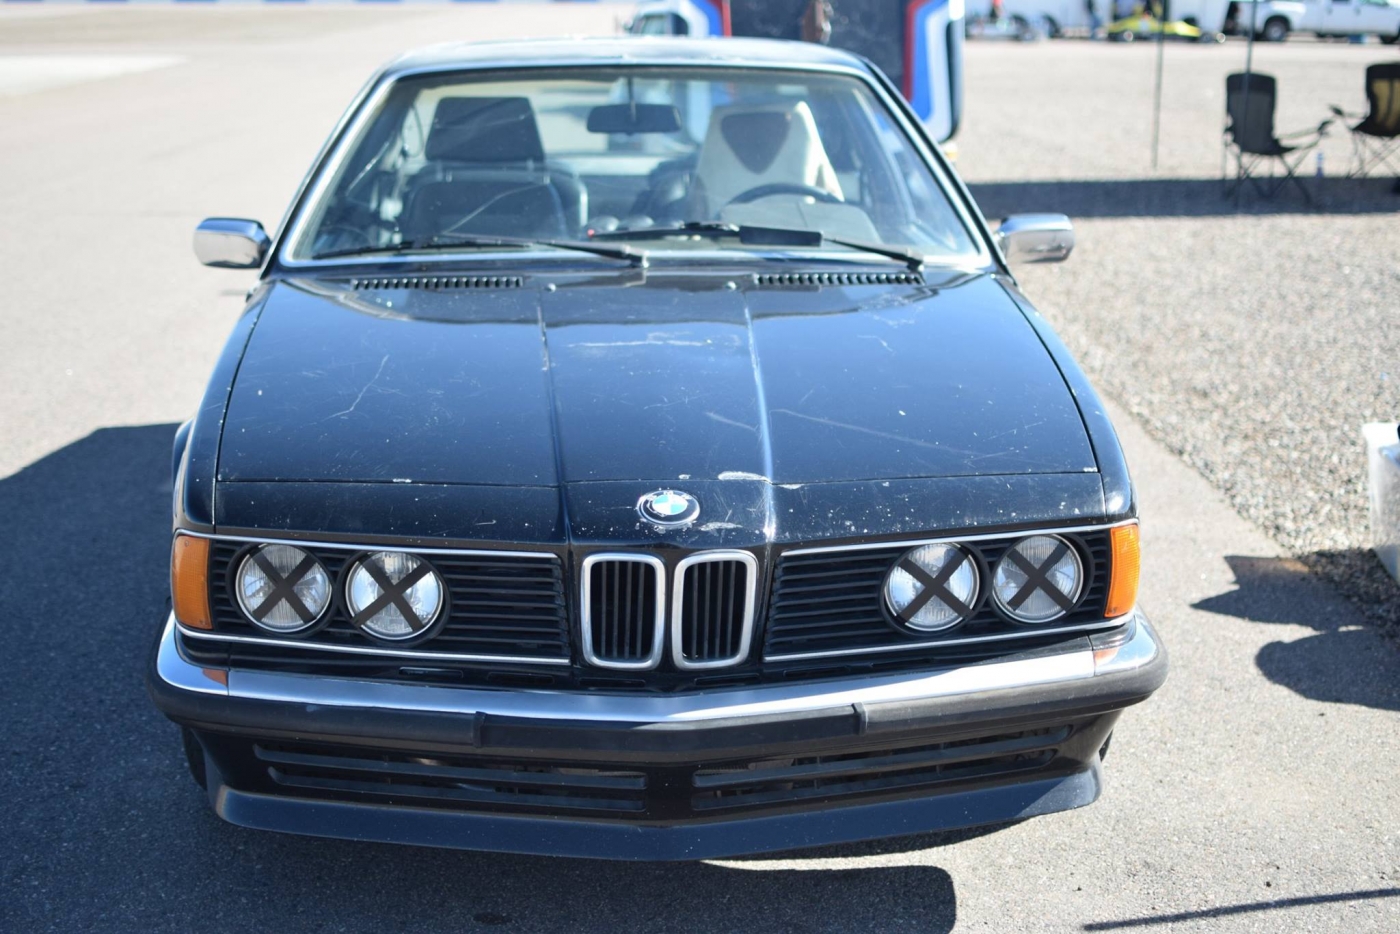
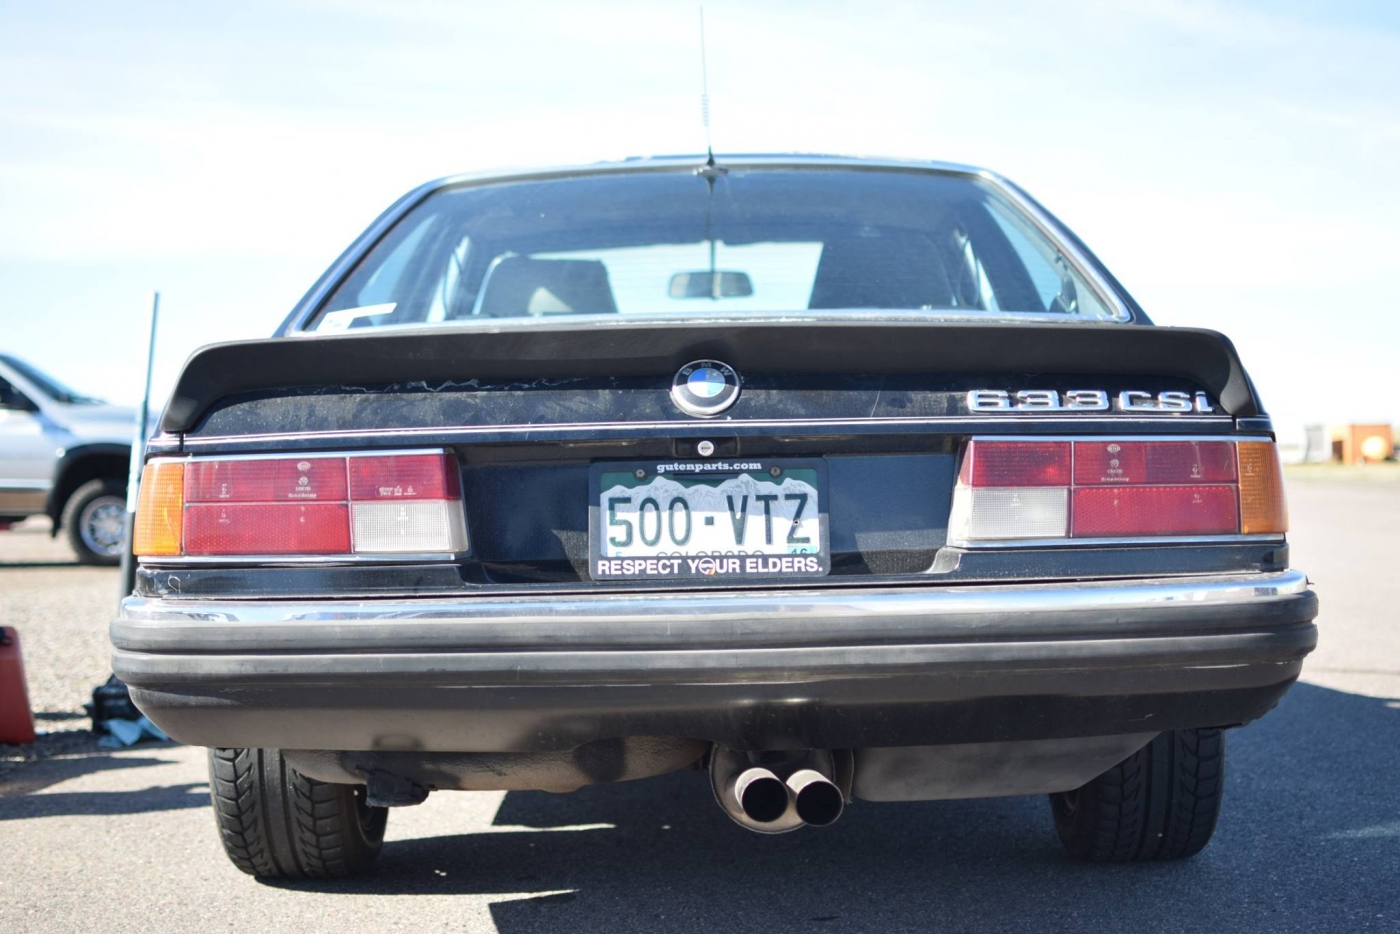
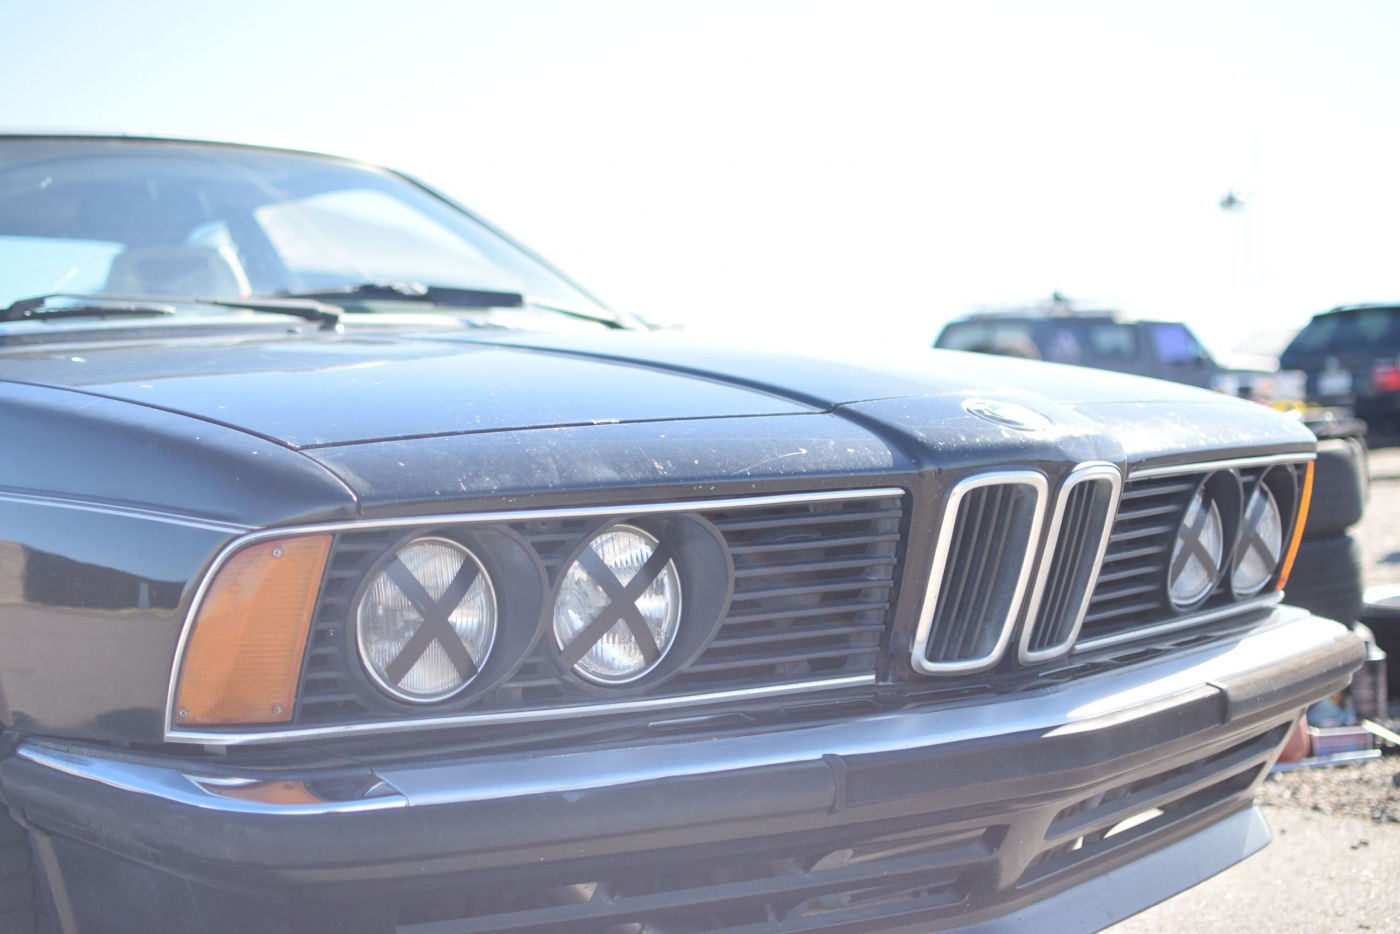
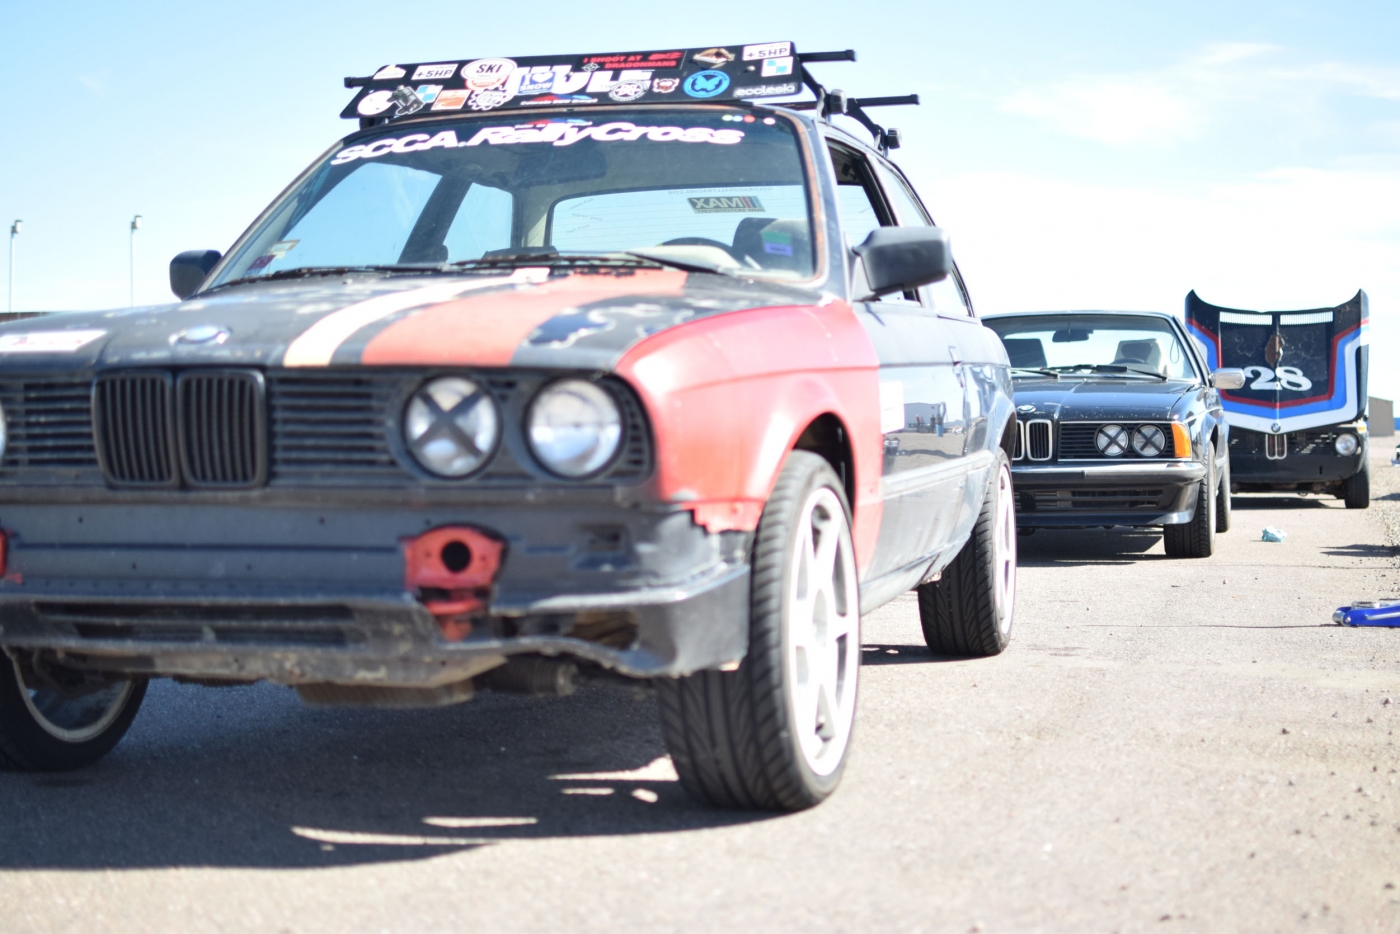
Here's a few other photos which turned out pretty sweet. I taped the headlights as a tribute to the racing E24 heritage-- IMO it makes the car look that much more aggressive.
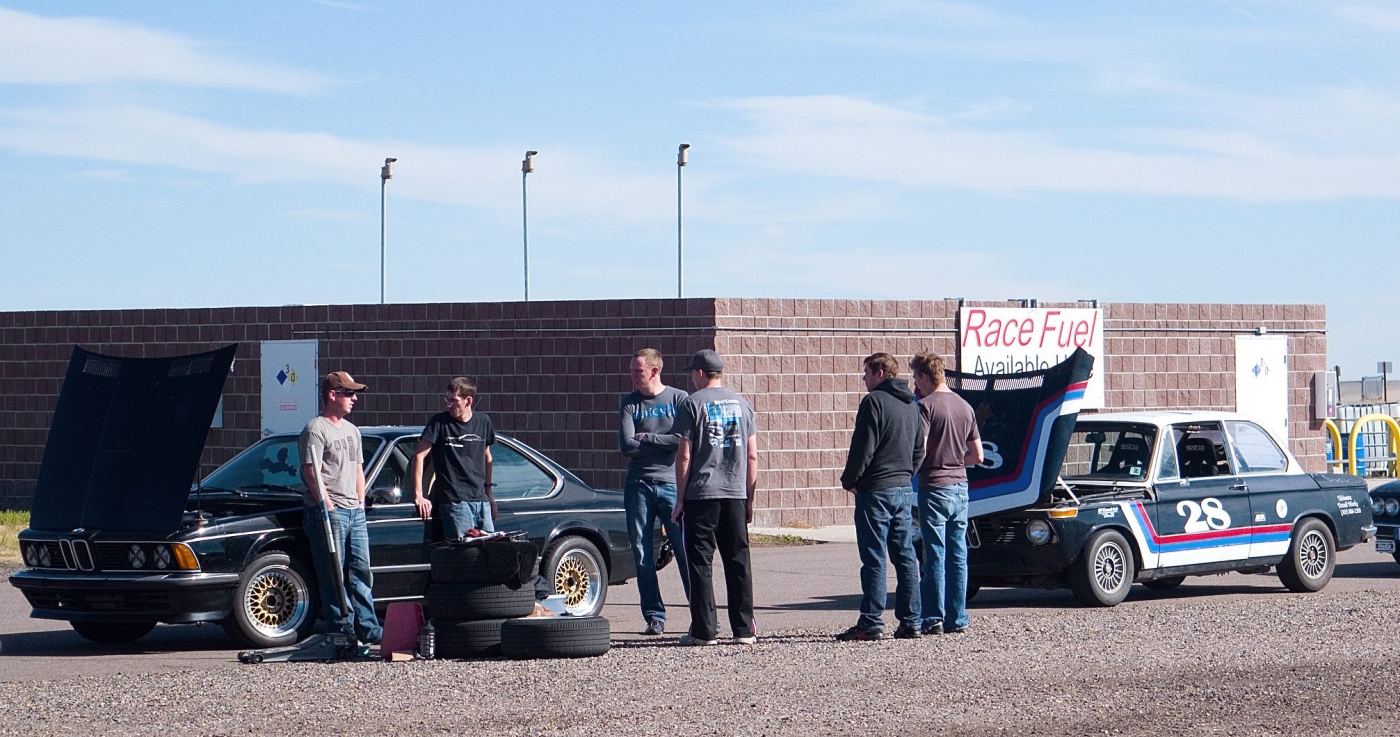
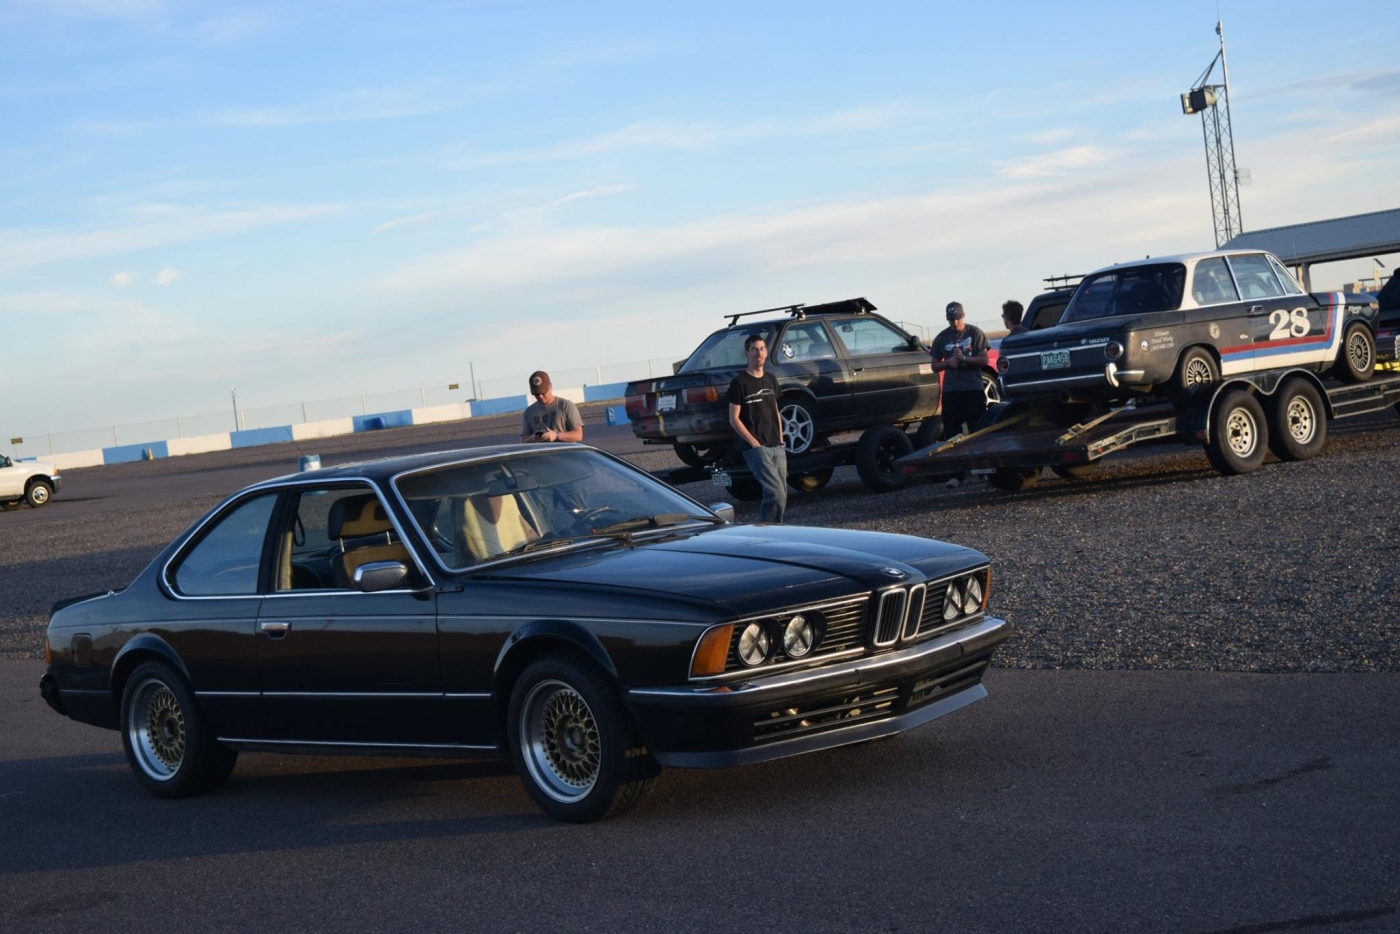
In the pit between sessions with some of the other BMW guys who showed up together:
It was good thing I got the subframe issue resolved a little over a week ago, because my brother planned to bring a new project e30, but he ran into issues literally the night before the event while driving it to my house where he was going to spend the night. We thought we fixed the problem, but his temp gauge heated up just a couple of miles from my house so he puleld over. As we were looking at it, all of the sudden a coolant pipe (plastic) blew right in front of us. The plastic barb had broken off. After some issues, we luckily had a trailer, unloaded the other car and the got the E30 loaded and back to my house.

I had my car ready to go, as I had sort of anticipated the issues and wanted to have a small backup plan. With confidence of driving the prior full week to work, I headed out in the Turbo, knowing that temps would be 50-65's. I had stole the wheels off the M5 and headed out.
At the track it almost didn't work out because I forgot to grab the standard lug bolts (the RA's use extended lugs) and was sitting SOL when I went to change my wheels and tires.

I decided I might as well check the air pressures and anticipated using those wheels and 'going easy', like that would be possible at the racetrack

A short video following my brother is the car my dad built, a 1600 with a 2.0 M10.
The car did very well, I ran probably a good 3 sessions, with the next 2 being cut short due to hose coupling issues. I still haven't yet upgraded from the originals on pg 1. I have pressure tested it, so I had been fairly confident. It was very easy to drive, the sway bars really helped and seemed to grip nicely. I really didn't push it in the corners, nor on the brakes. The sport seats worked great, and the sway bar mounts didn't break like I was worried about! I still flew by my friend jesse (Blue Owl) in his 535i on the straight where he was hitting 100 and I was at about 115mph.
The turbo was really laggy, like full throttle... count one....two...three... and you'd hear the spool and feel the power kick in. Very interesting as it made me break early and get on the gas ASAP in the turns. Really neat to drive this car and then hop in the 02 for a few laps and have a car with max corner speed, a car that really is meant to be thrown around a bit.
http://www.youtube.com/watch?v=LD33euK-8Us
I may have a few others in the next week or so.
Here's a few other photos which turned out pretty sweet. I taped the headlights as a tribute to the racing E24 heritage-- IMO it makes the car look that much more aggressive.


In the pit between sessions with some of the other BMW guys who showed up together:


Re: Callaway 633CSi
It looks like those sway bars help quite a bit. Nice run!
Re: Callaway 633CSi
Looks fun- people ask if I am going to take mine to the track..... not sure how it would do, seems too flexible- but looks like it gets along pretty well. I think an autocross of a tight little track wouldn't be much fun. maybe ill try It when it gets done.
Keep the progress going! and congratulations!
Keep the progress going! and congratulations!
-
downforce22
- Posts: 66
- Joined: Apr 06, 2015 9:24 PM
- Location: colorado springs
Re: Callaway 633CSi
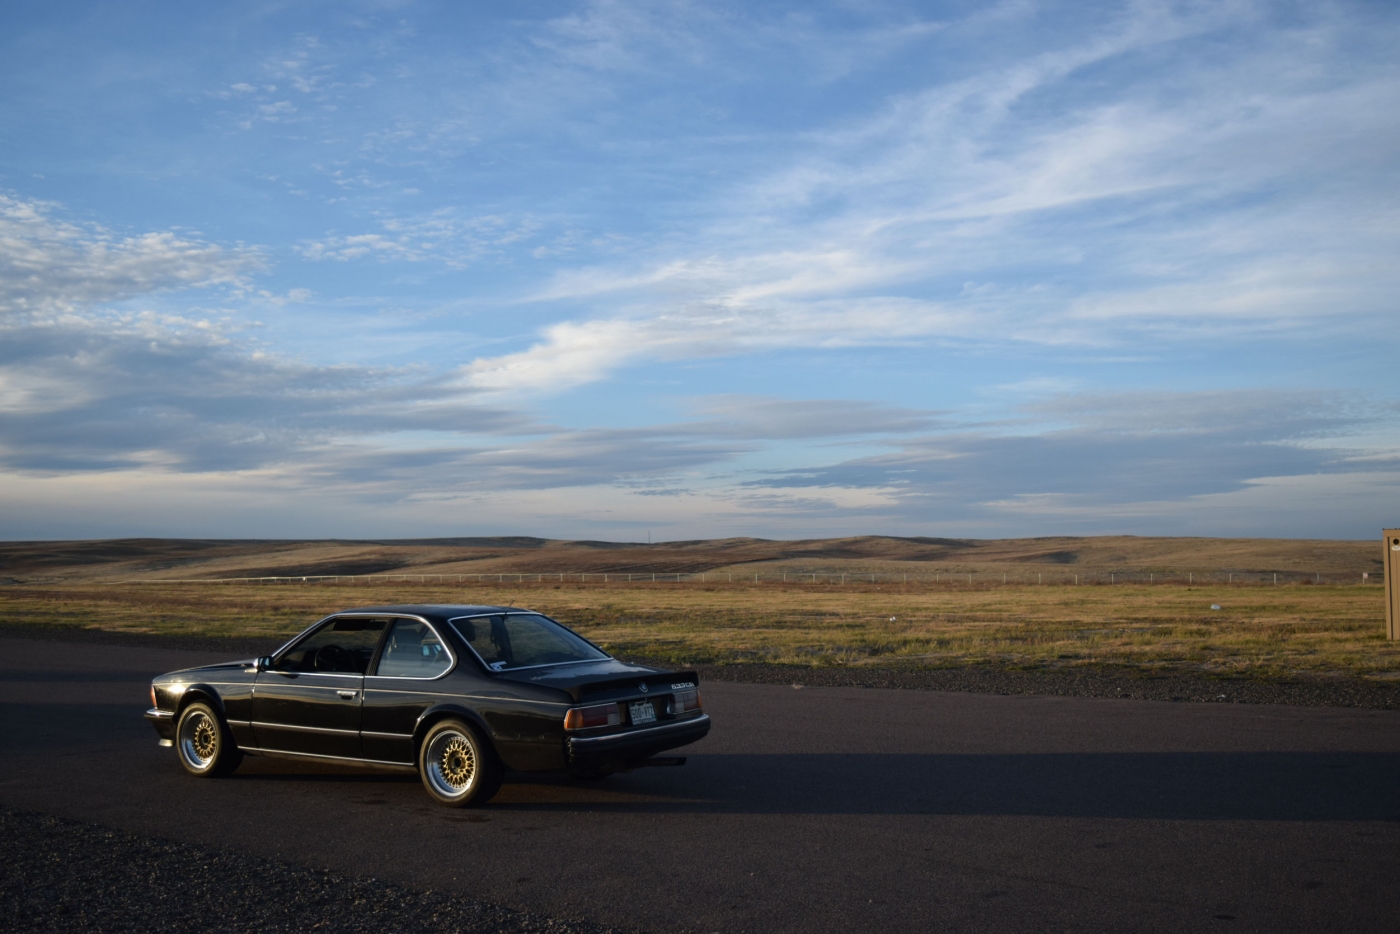
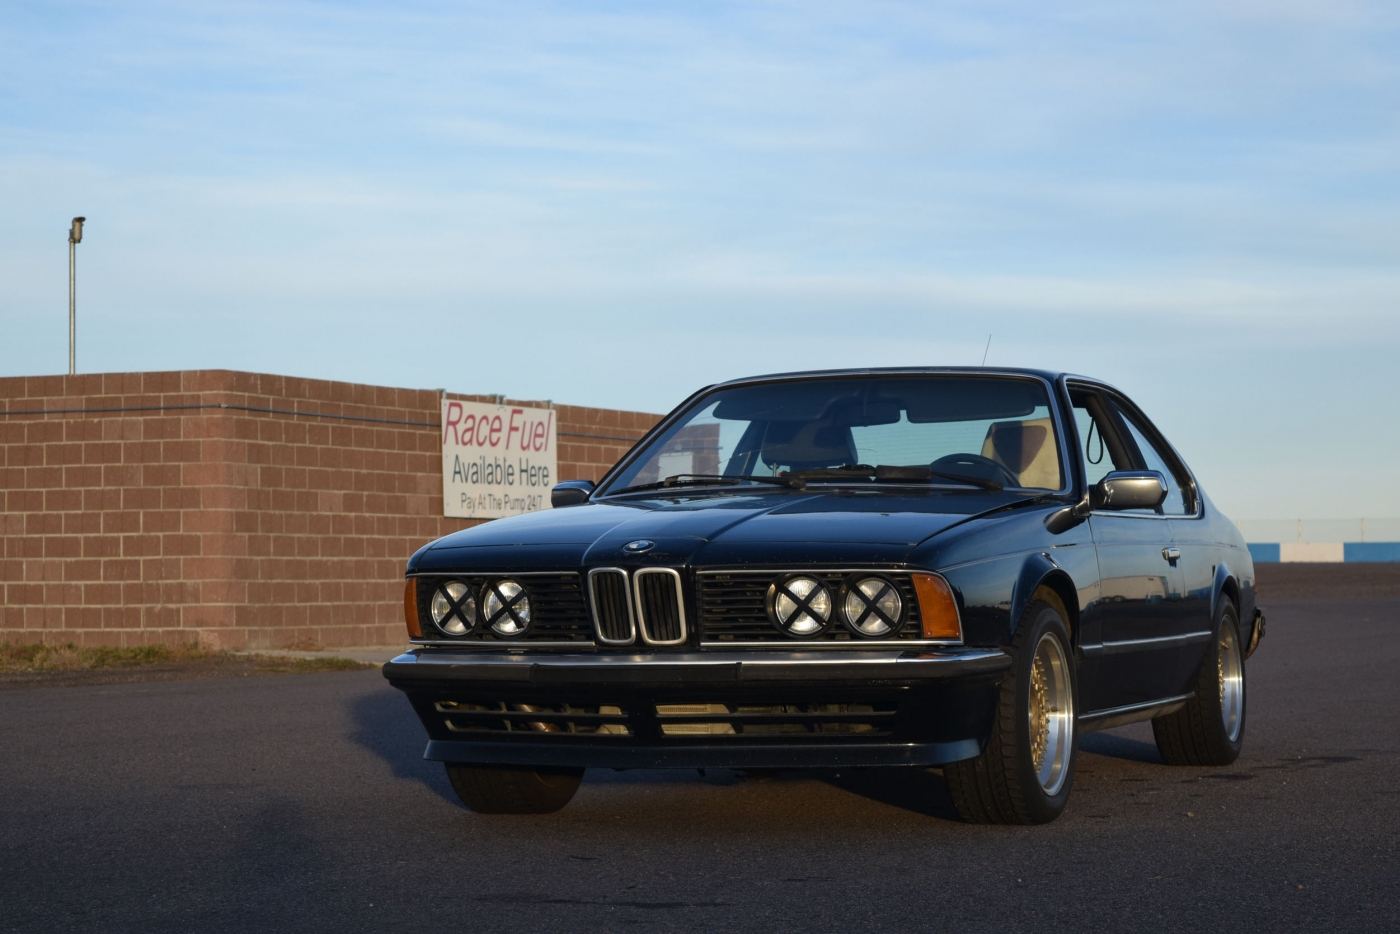
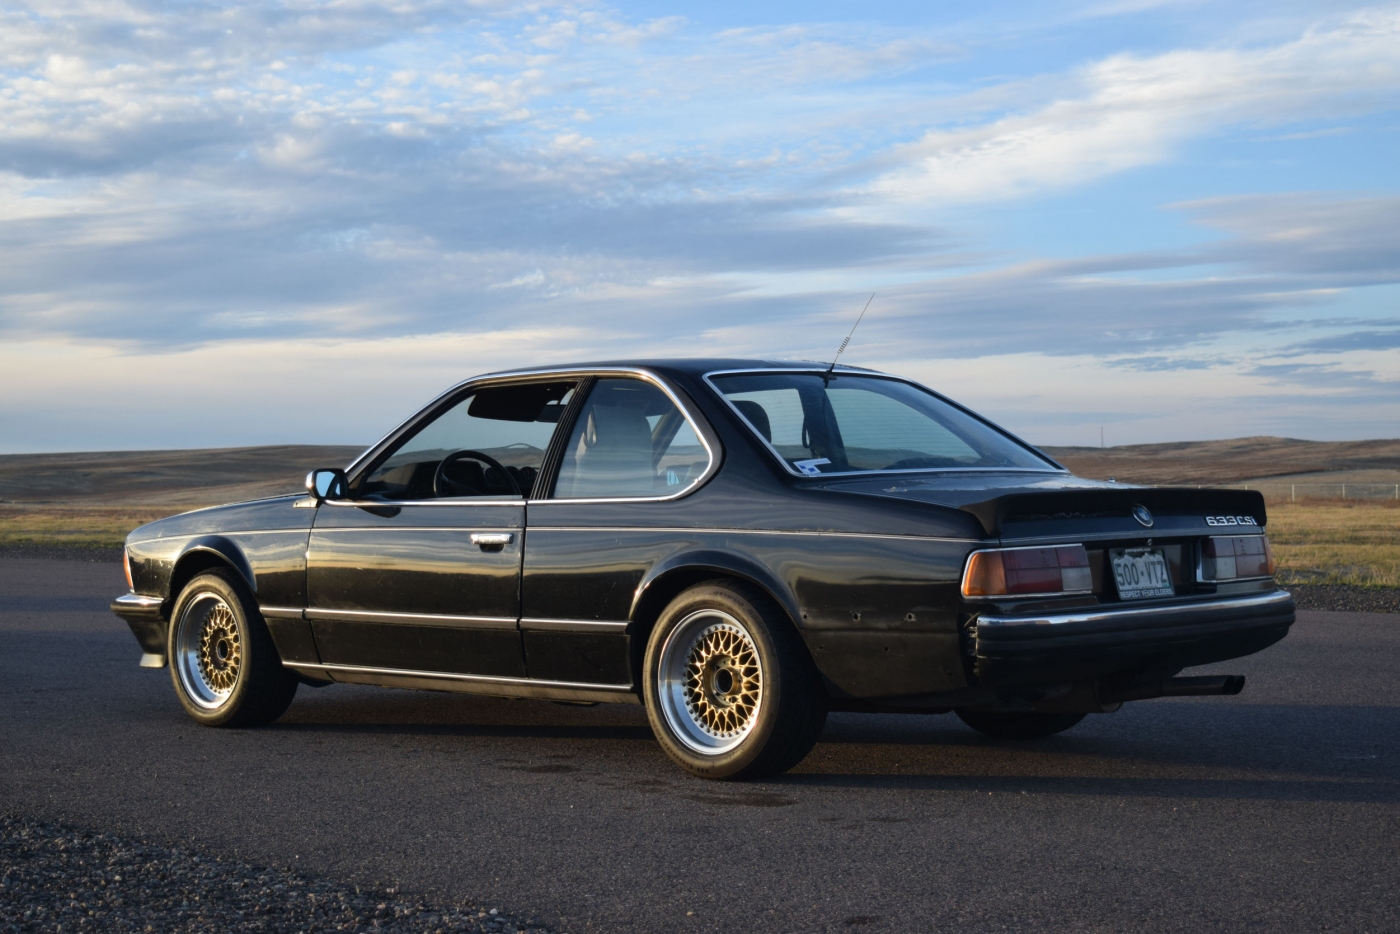
Some more photos.
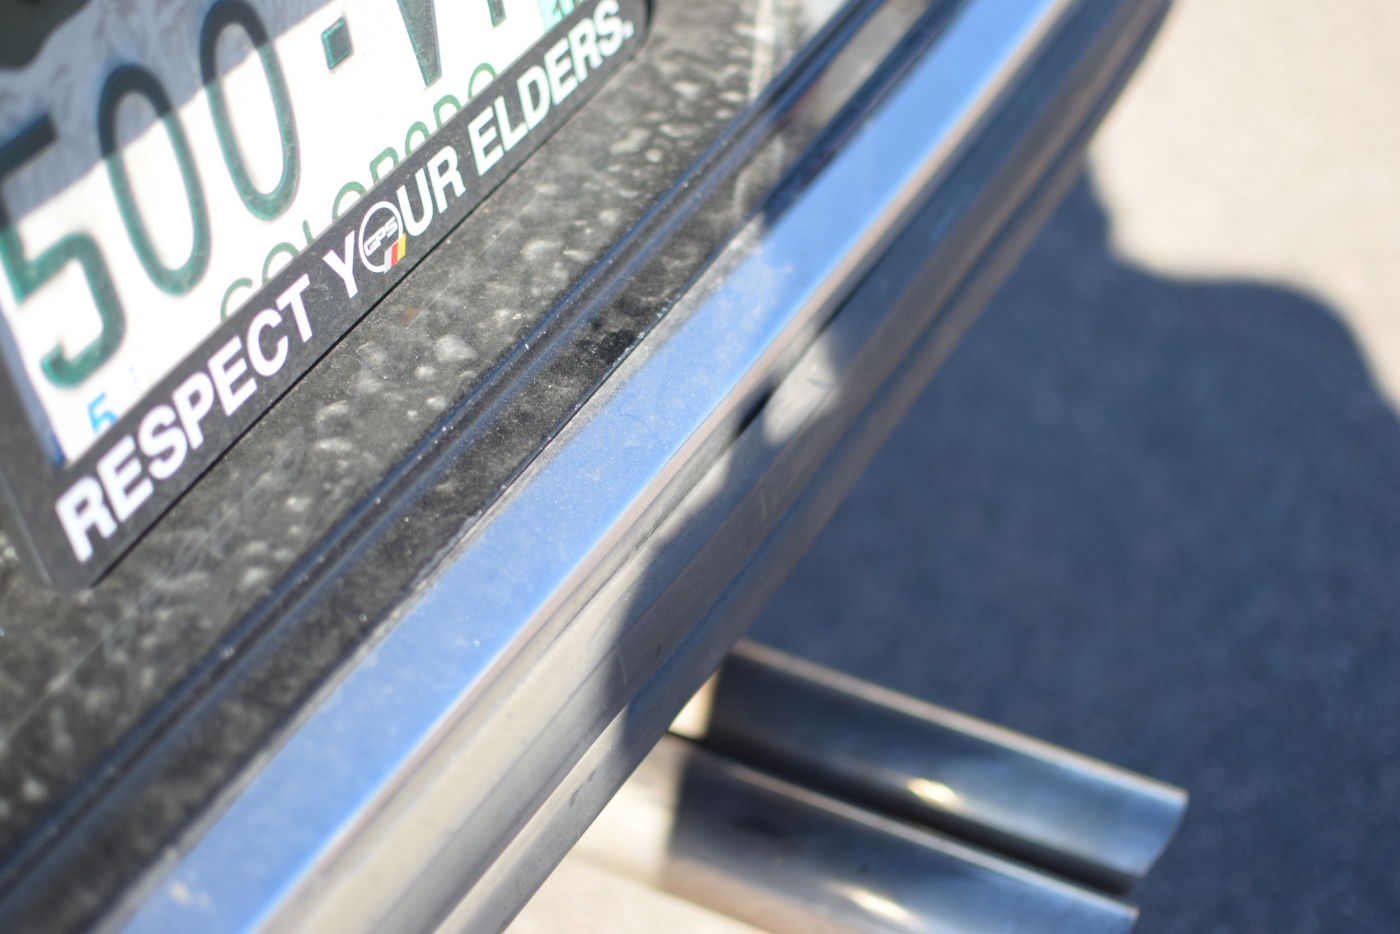
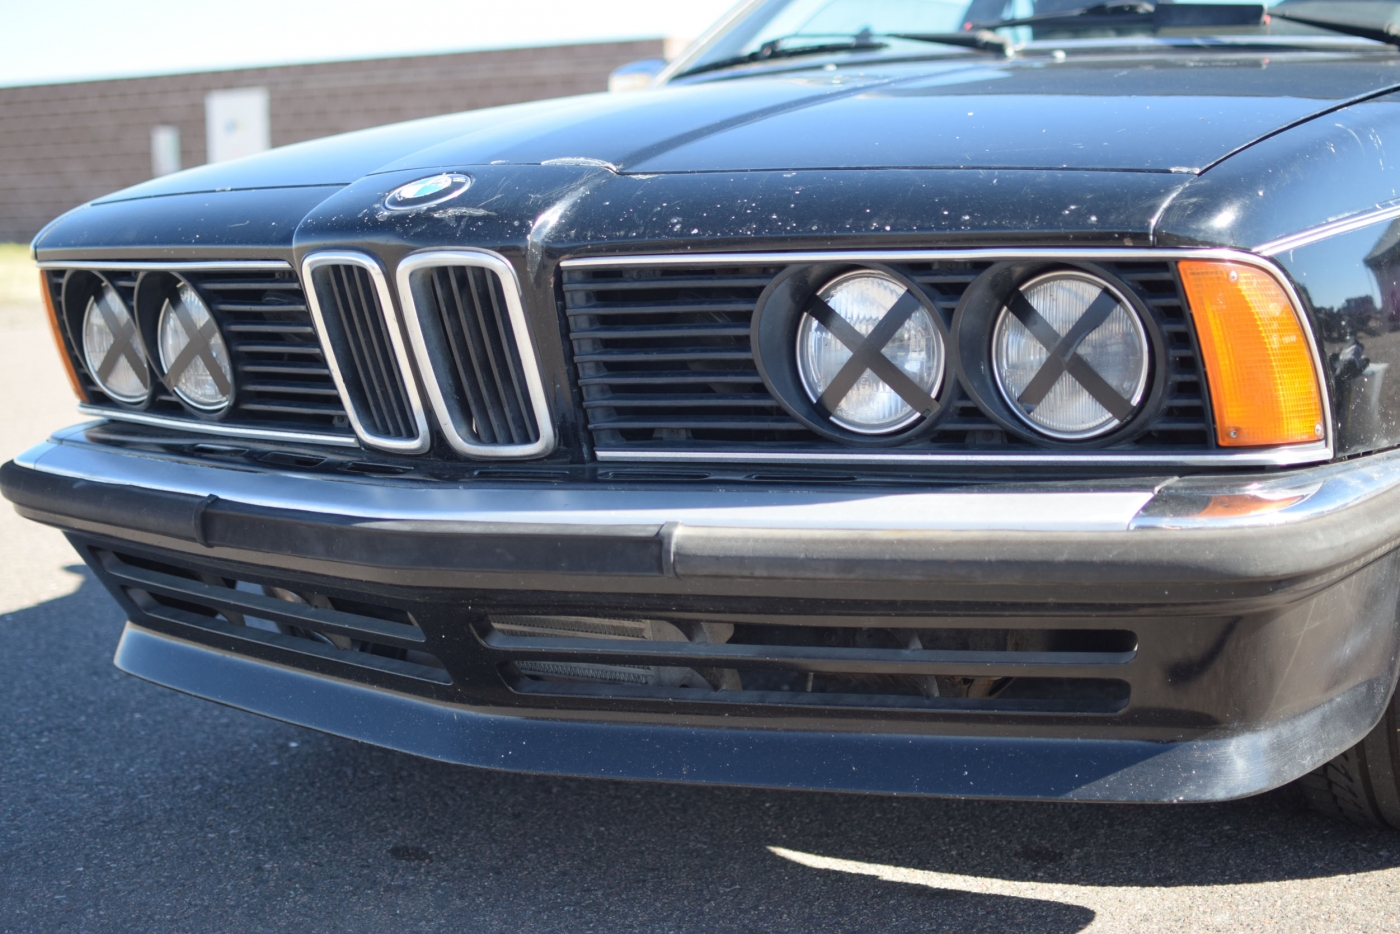
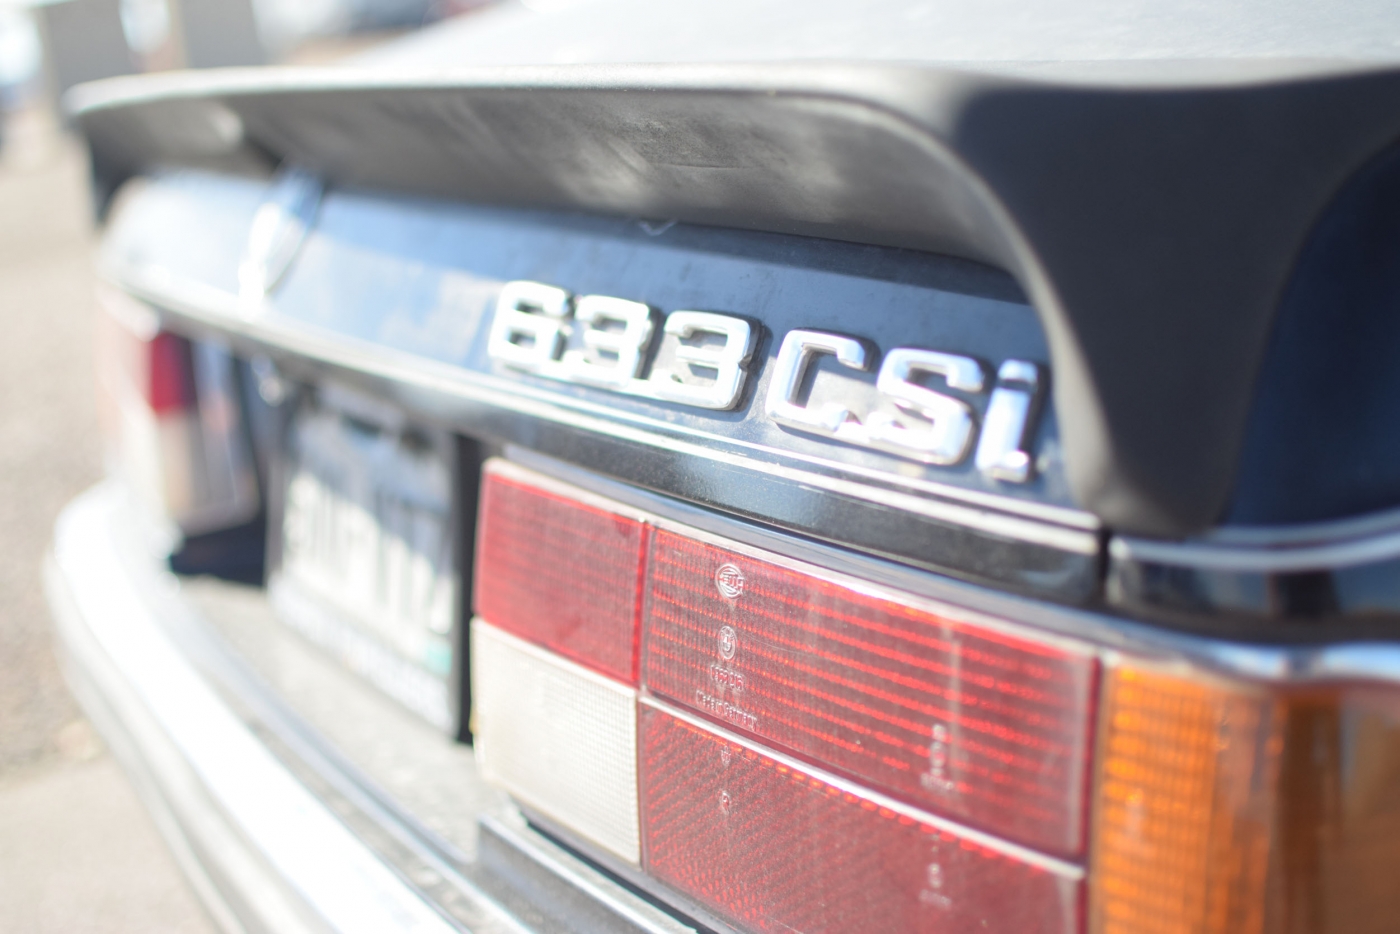
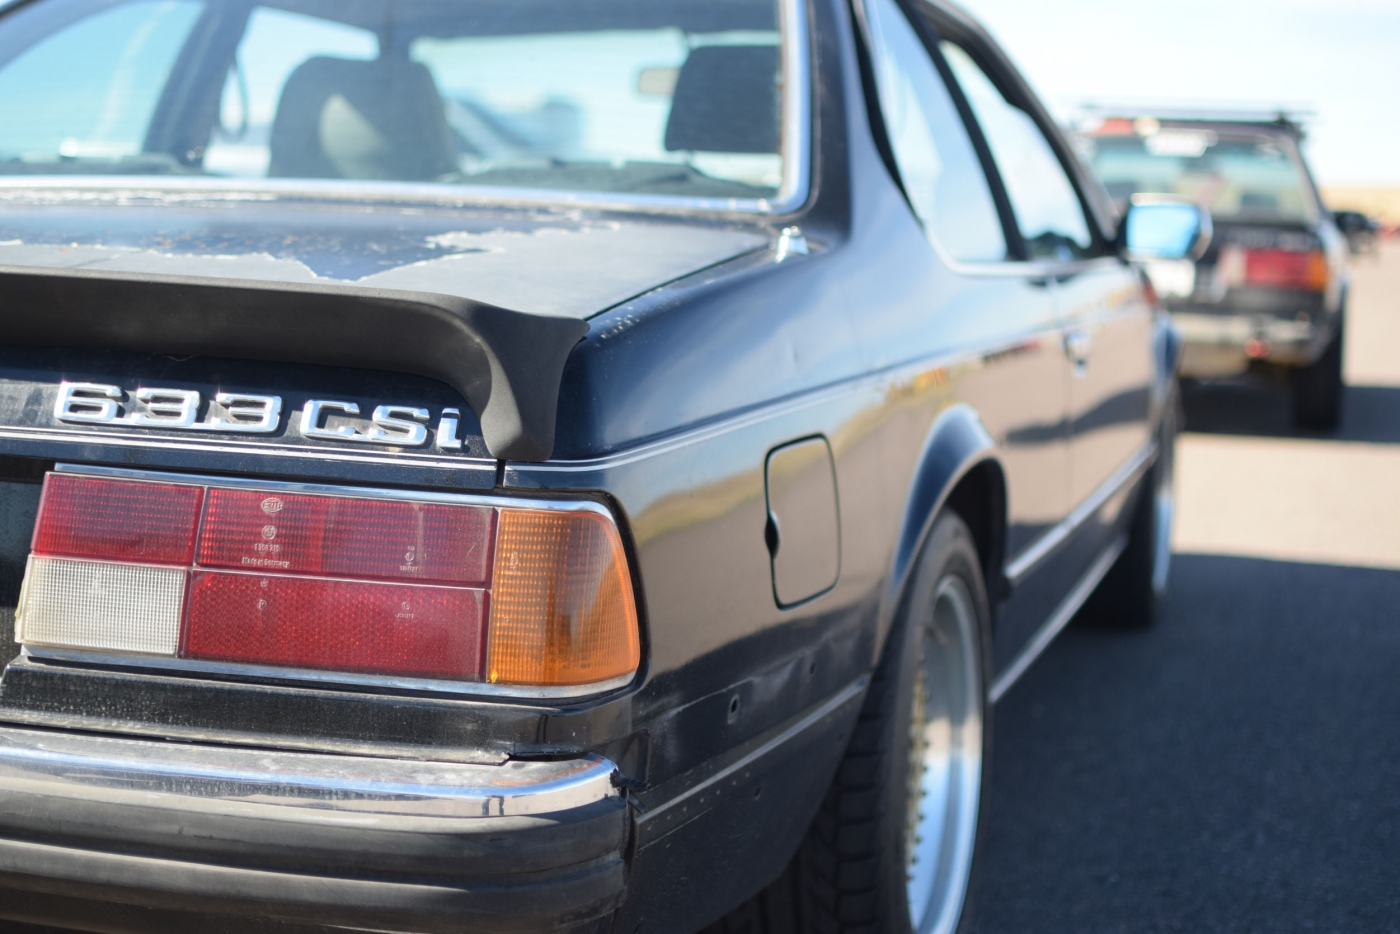
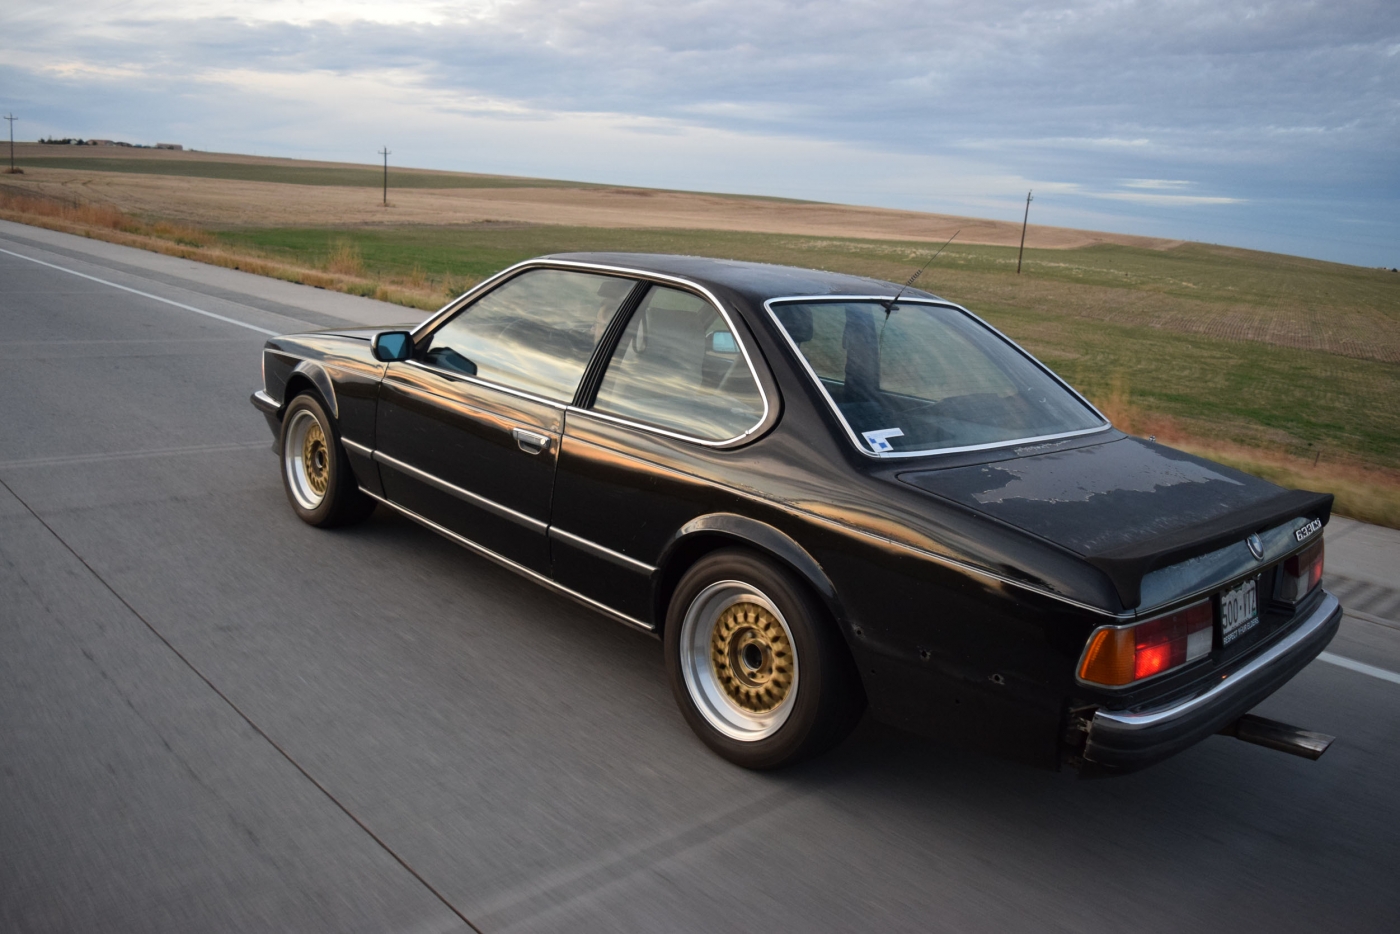
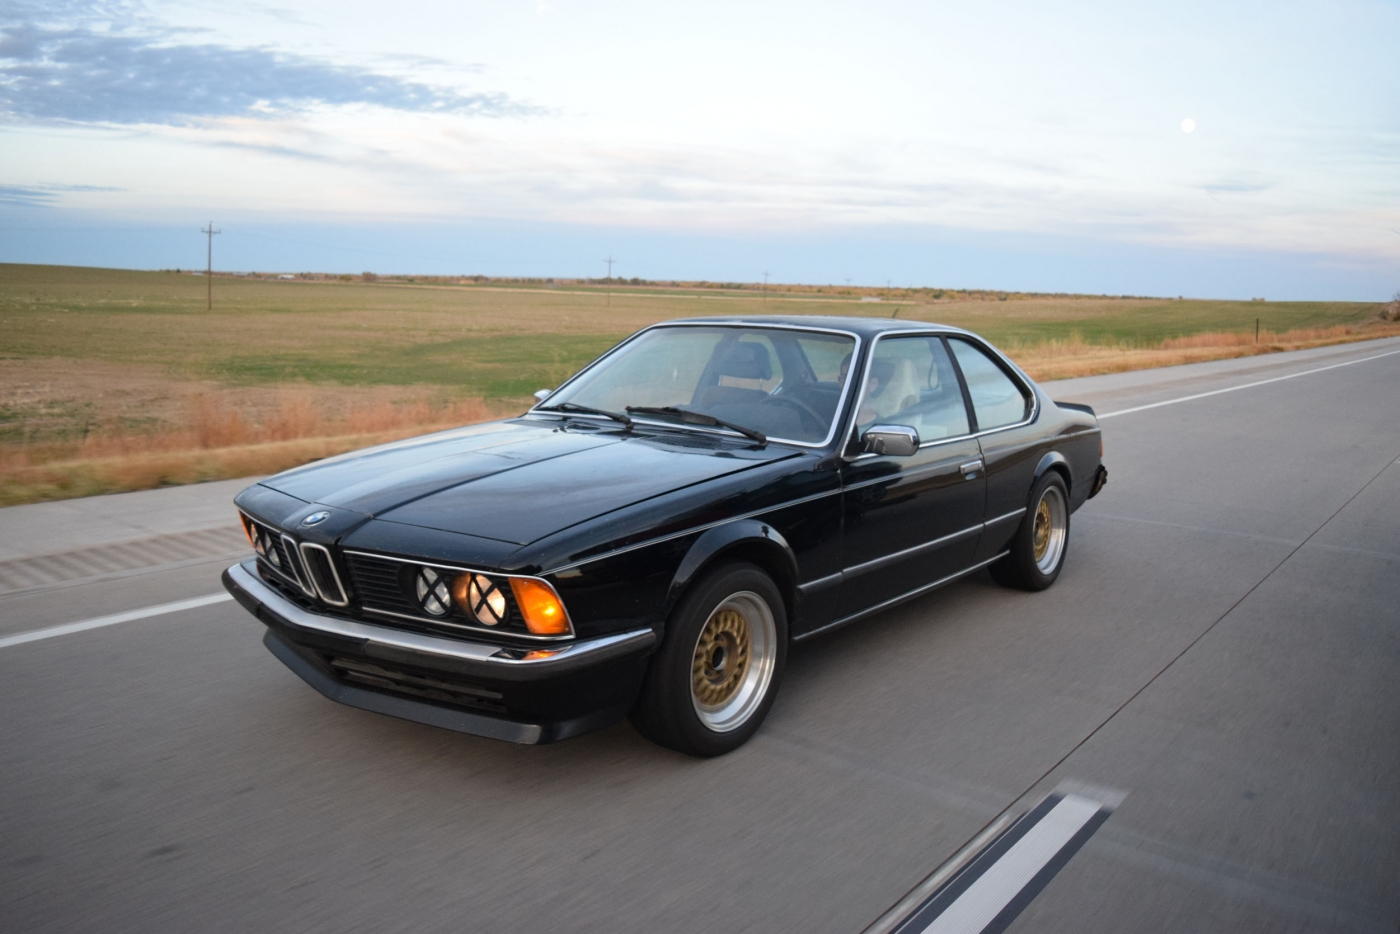


Re: Callaway 633CSi
Thanks for sharing, they sure make the car look pretty reasonable!
How did the video inside the car turn out? Maybe you can hear the turbo spool?
Another short video showing the other cars I went out there with. The steep hill I could get on the gas early and really power up as compared to all of the other NA cars and fellow BMW's.
The VW was a 2.0 running 15psi. He accelerated so much better than me-- I was really wishing I had the TCD turbo on at that point. But I'd reel him in by getting on the gas earlier on a few corners.
The funny part was his turbo was slightly bigger than mine
https://www.youtube.com/watch?v=BV6z1PUlCEU
Re: Callaway 633CSi
An in-car video from Sunday. You can really tell how laggy the turbo is since you can hear the spool. That's the next item on the list-- now just gotta find the time to swap it!
https://www.youtube.com/watch?v=7lB7Ws88Uz0
https://www.youtube.com/watch?v=7lB7Ws88Uz0
Re: Callaway 633CSi - 10/28 - Video at the track!
What a read.
Love it so far. I never knew these existed, and I feel it's a super rare car. I like the direction you are going as it seems you are retaining the functionality of all the gadgets and original equipment. I hope to build a car this way someday.
Hopefully I'll be lucky enough to build an E24, although an E28 is not much different.
Re: Callaway 633CSi - 10/28 - Video at the track!
Thanks Yodman,
next step is swapping the turbo and replacing my couplings and possibly intercooler. Not sure if I will get started in November or not. Getting married in December, so it may be difficult to get the time for the swap. I don't want to leave it half apart for more than a week.
next step is swapping the turbo and replacing my couplings and possibly intercooler. Not sure if I will get started in November or not. Getting married in December, so it may be difficult to get the time for the swap. I don't want to leave it half apart for more than a week.
Re: Callaway 633CSi - 10/28 - Video at the track!
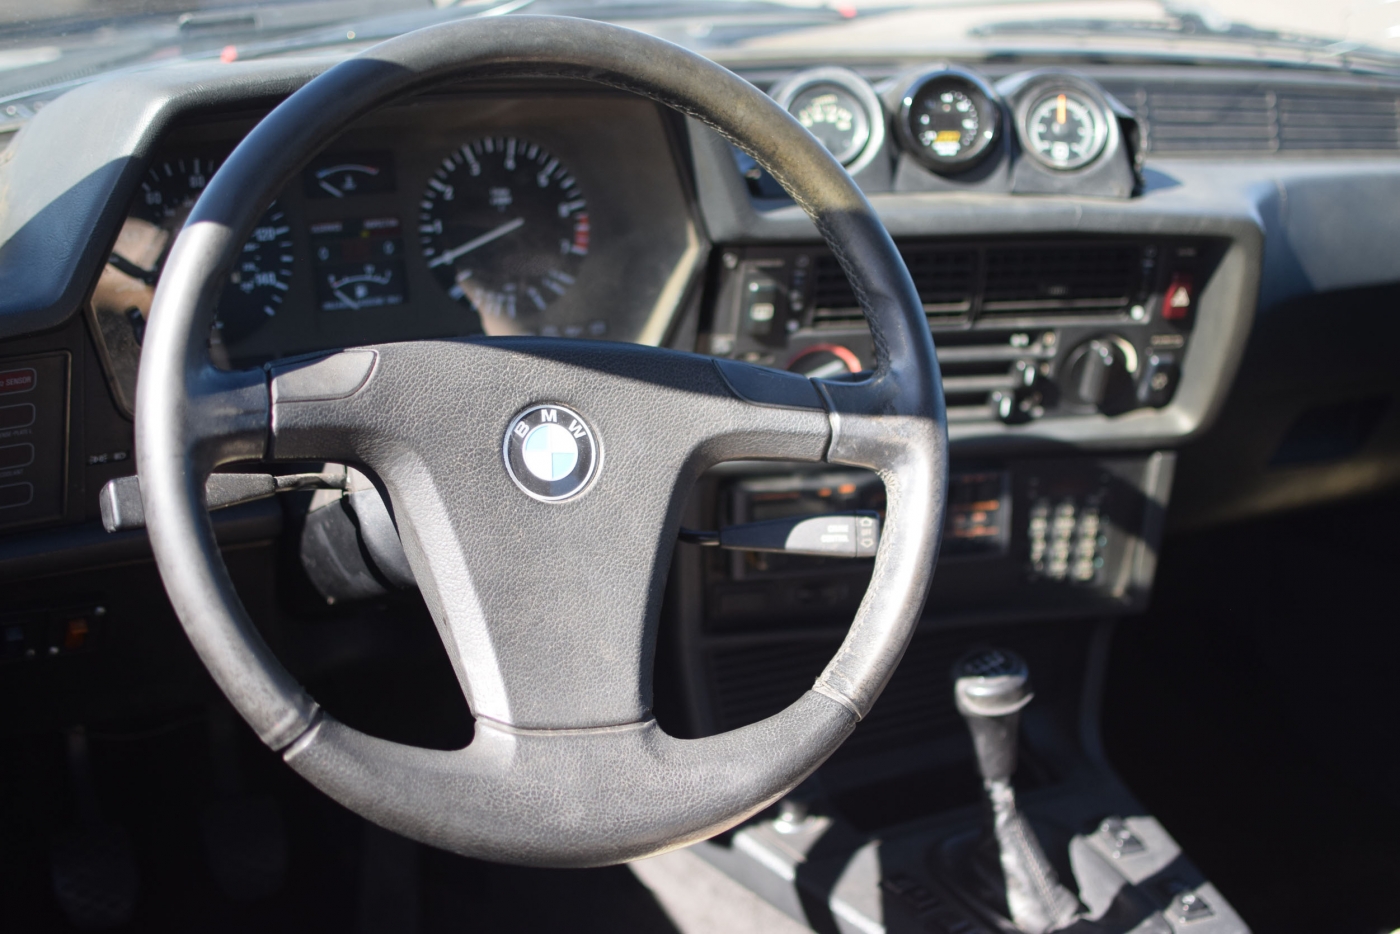
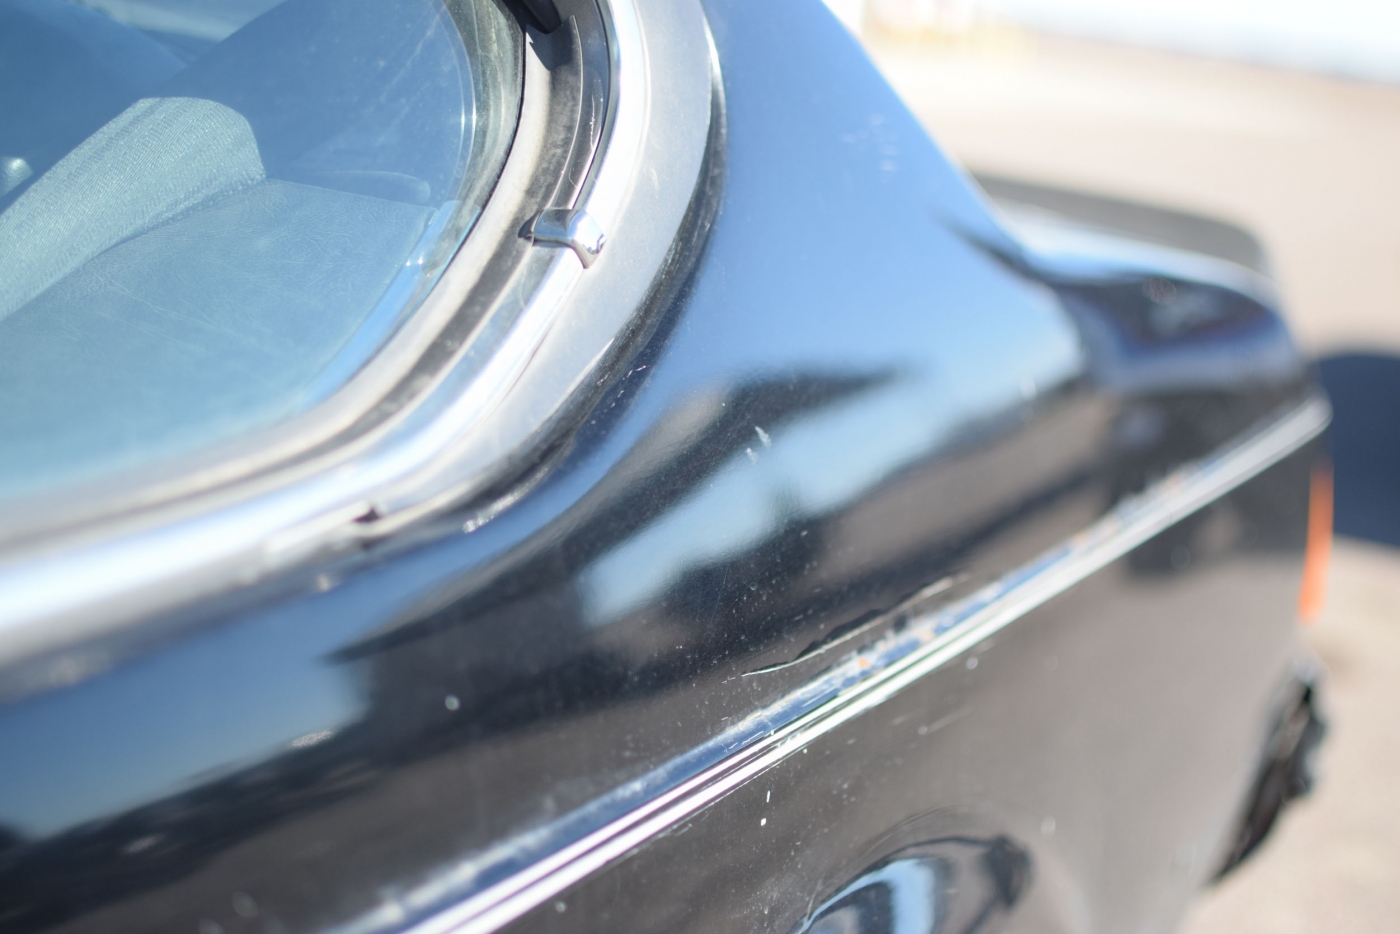
Some proper photos since I had some spare time today.
It looks quite a bit different since I purchased the car. Not great lighting, but I didn't have many high quality photos of the car so I figured I'd shoot them anyway.
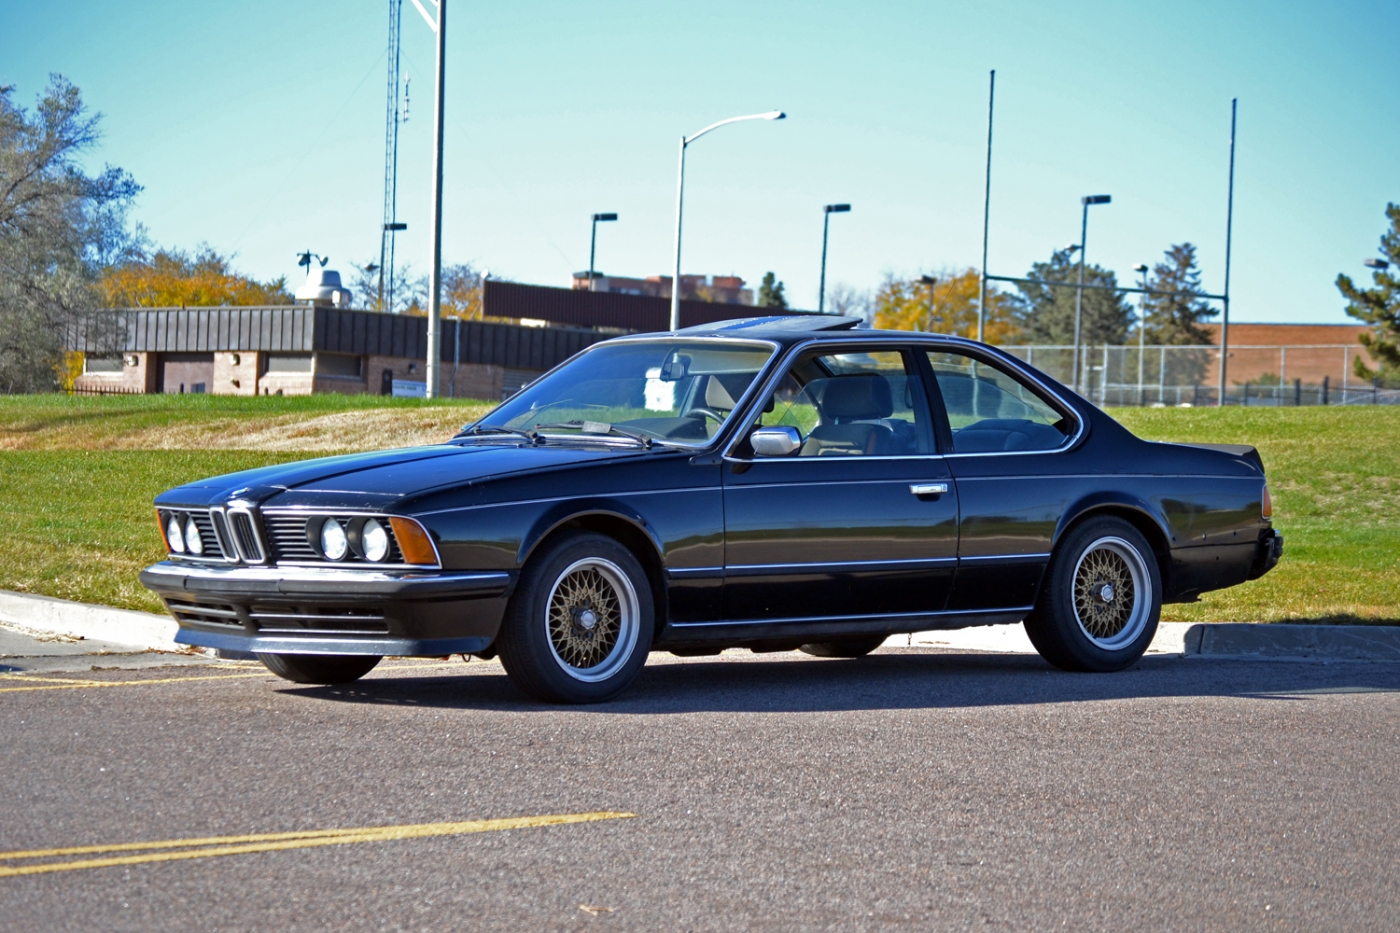
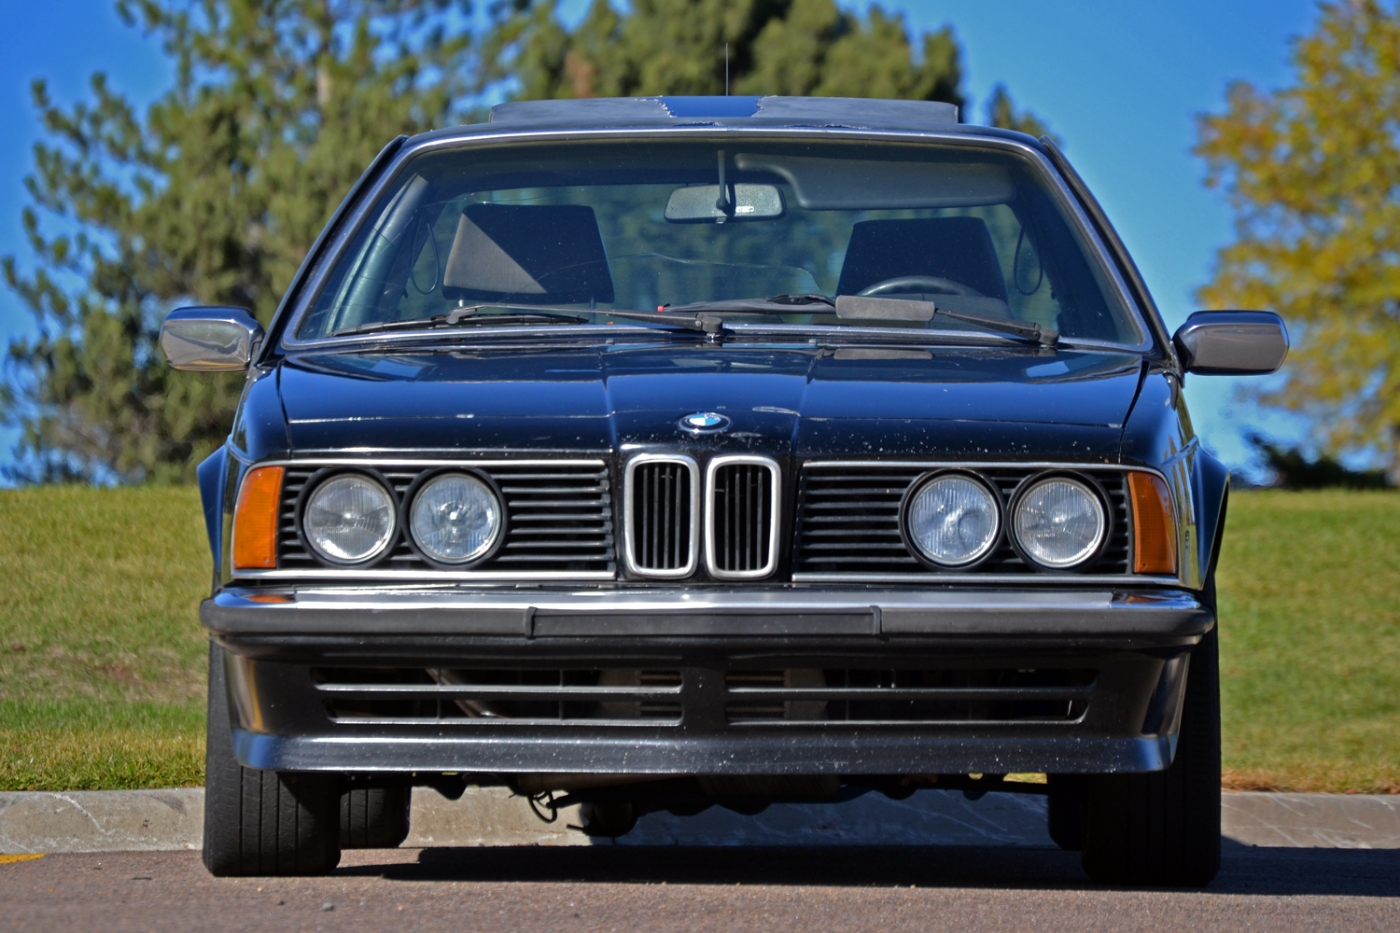
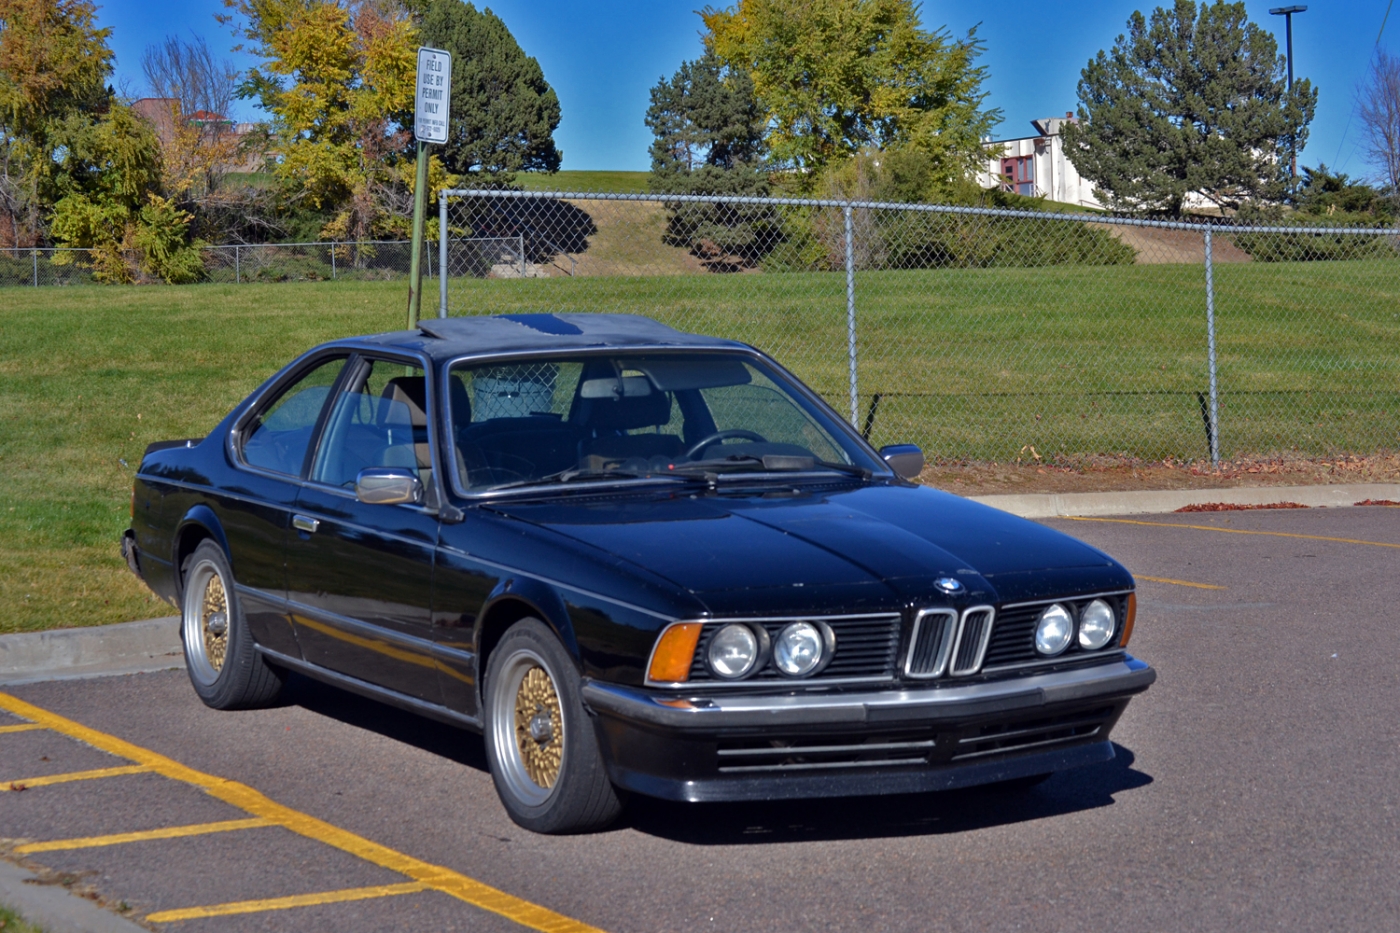
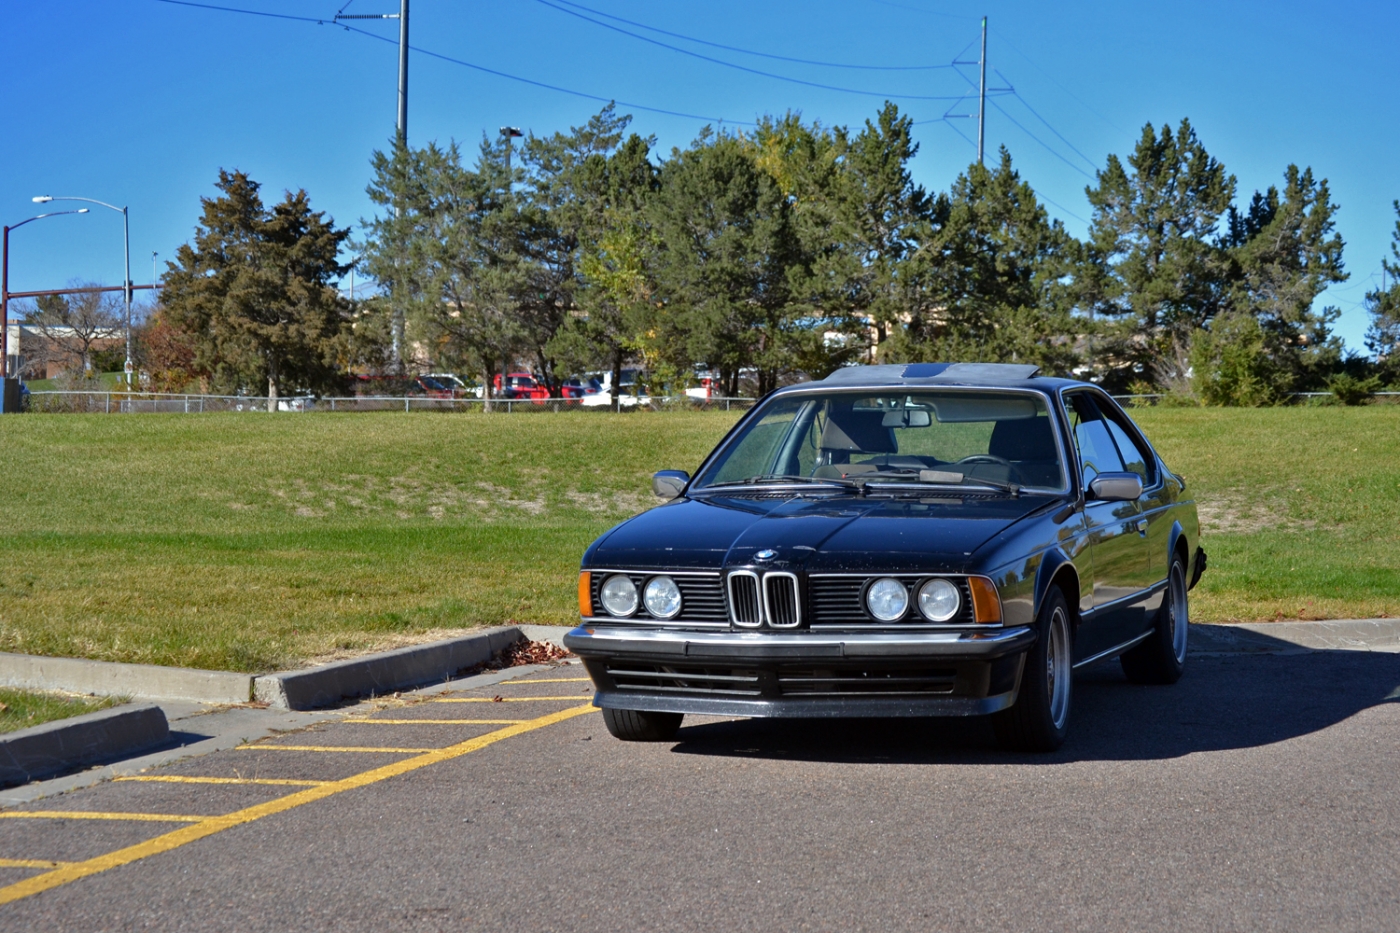
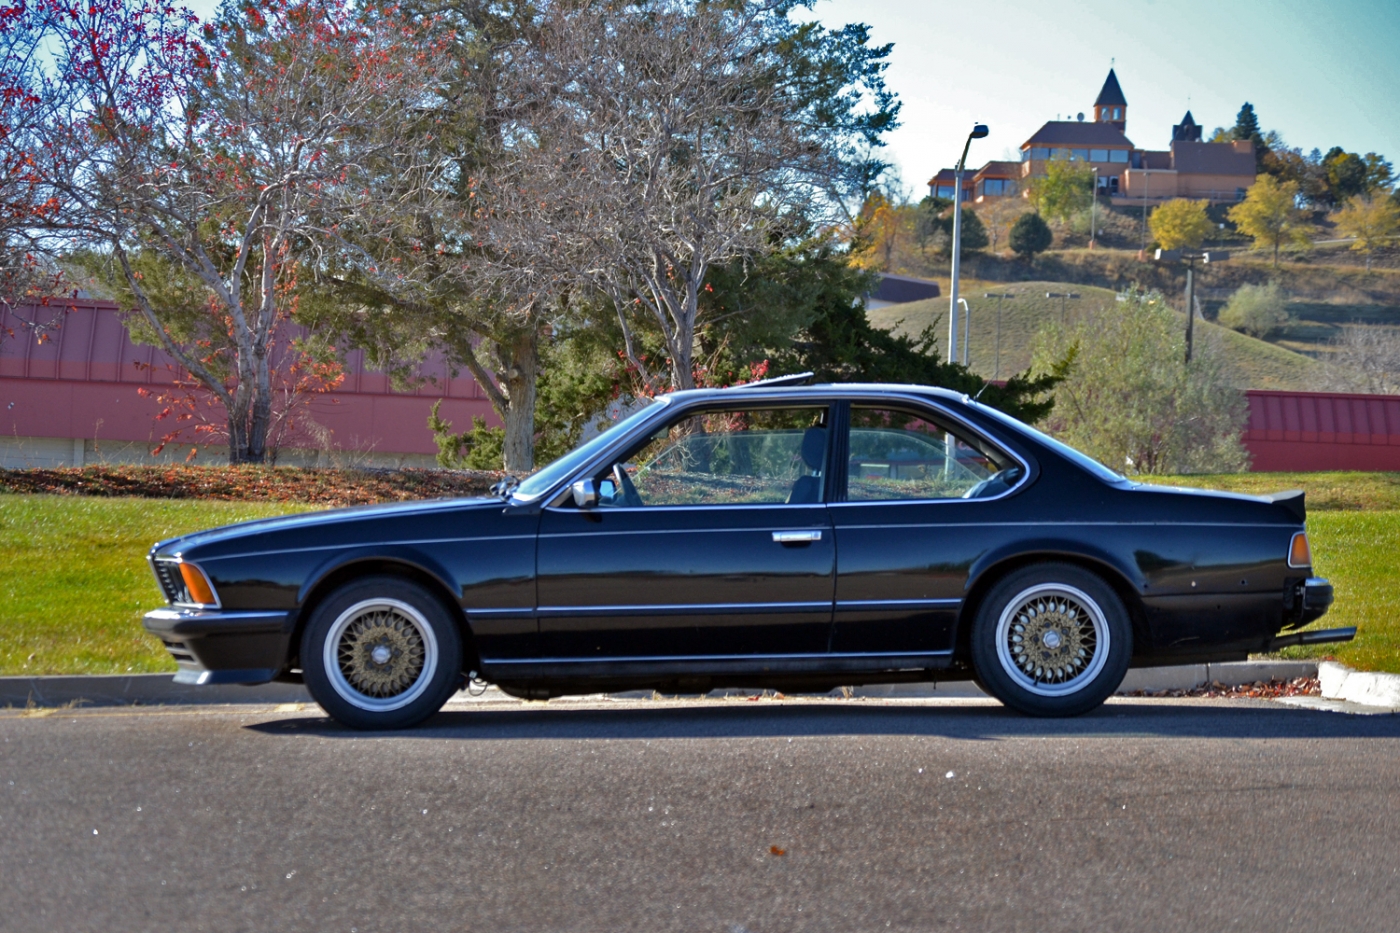
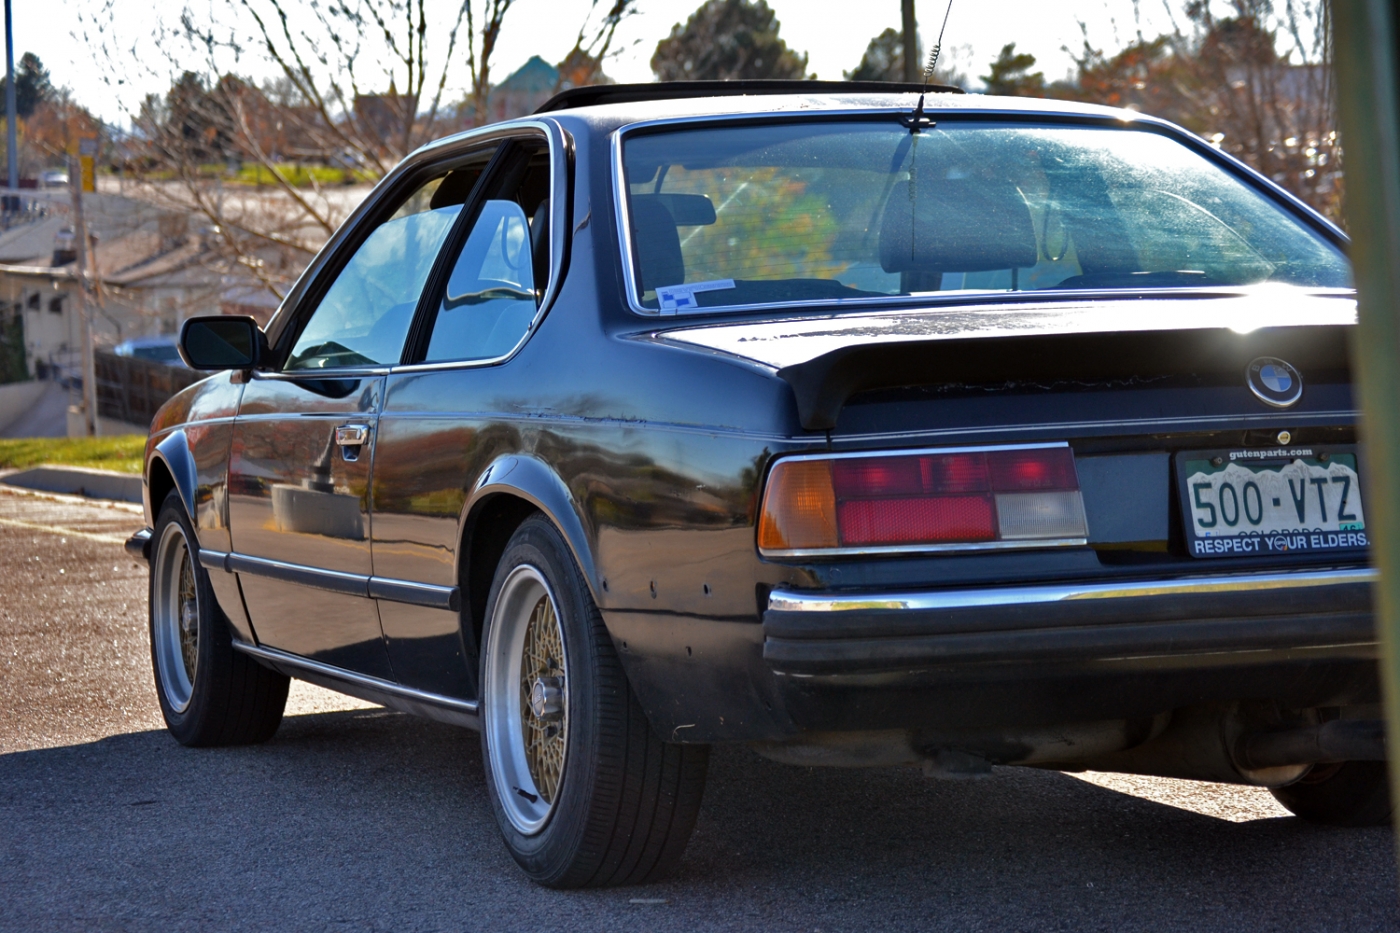
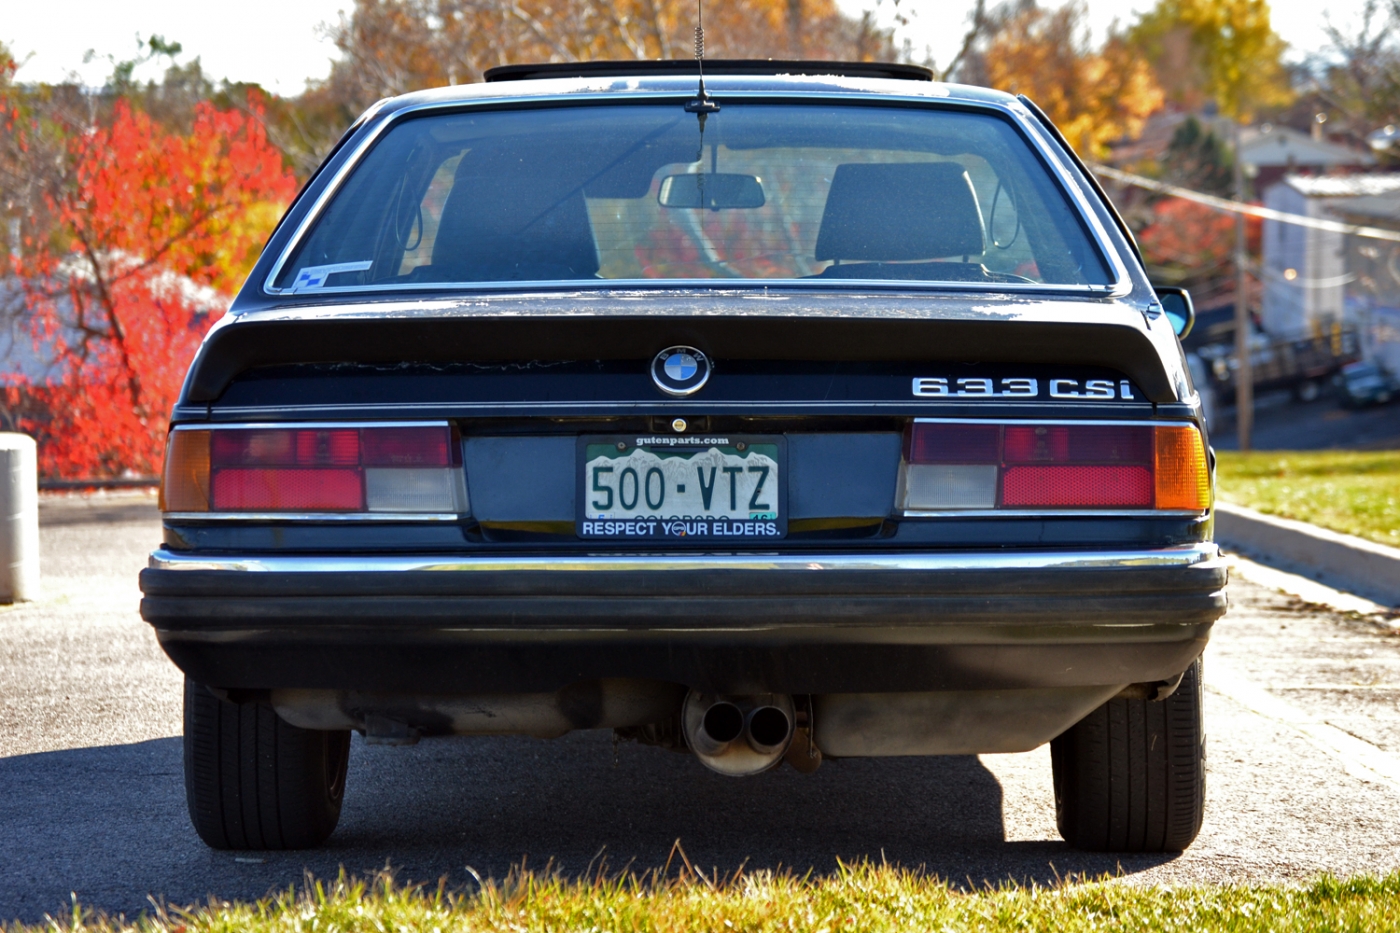
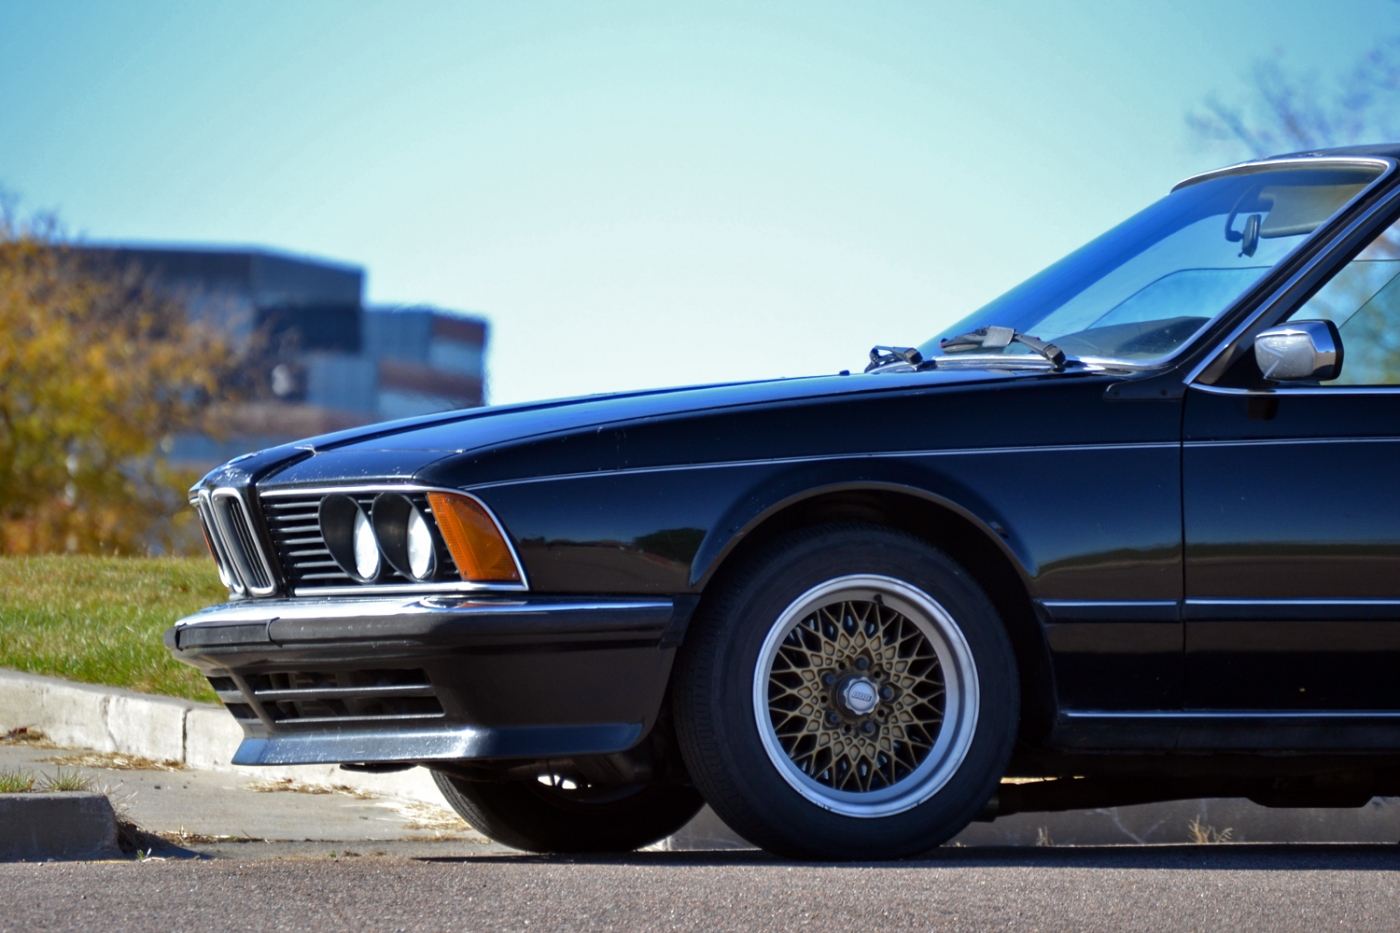
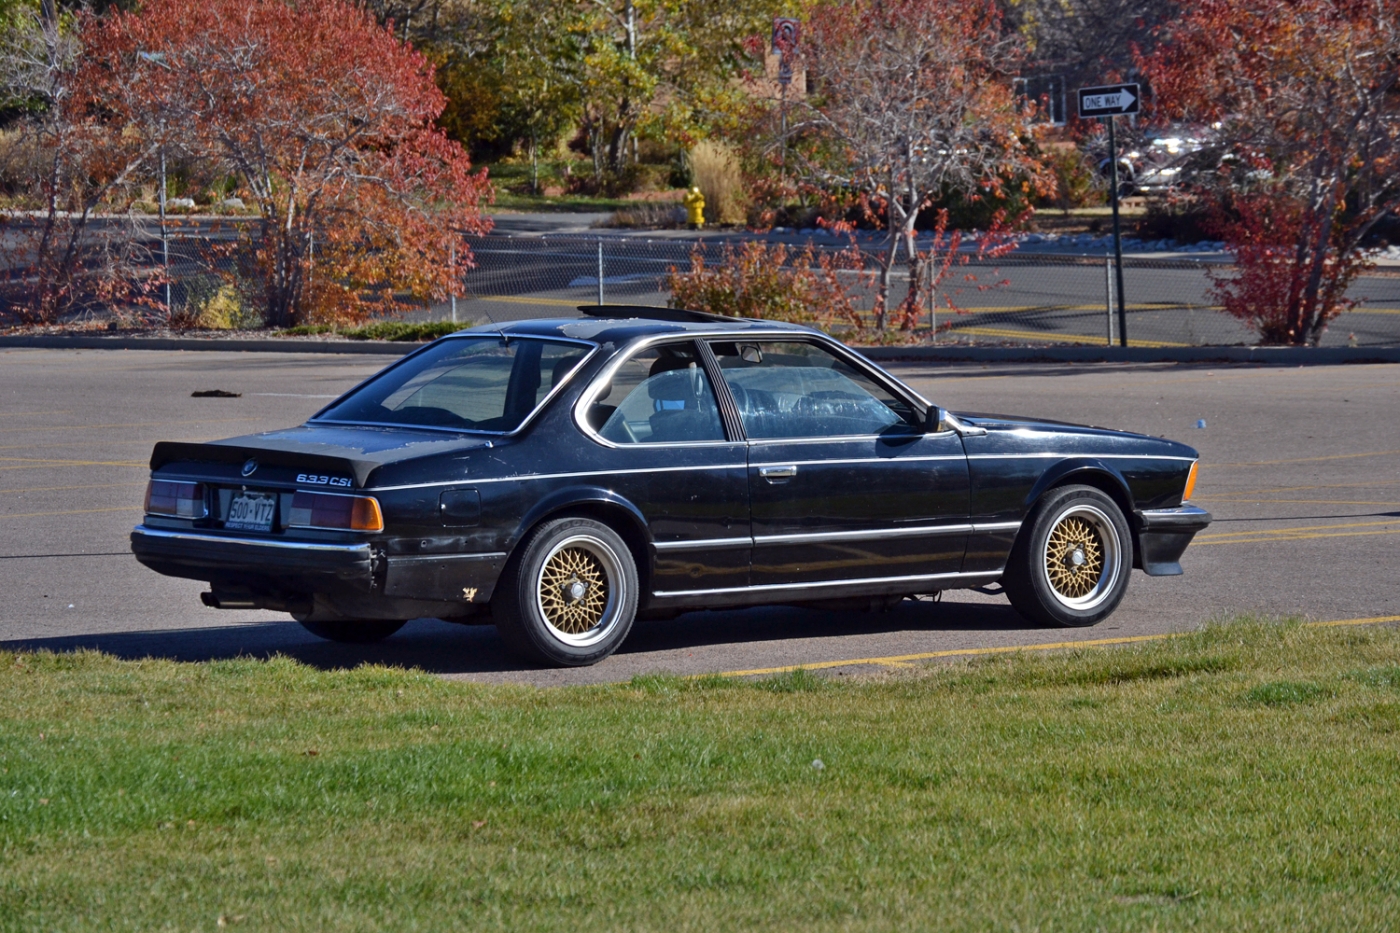
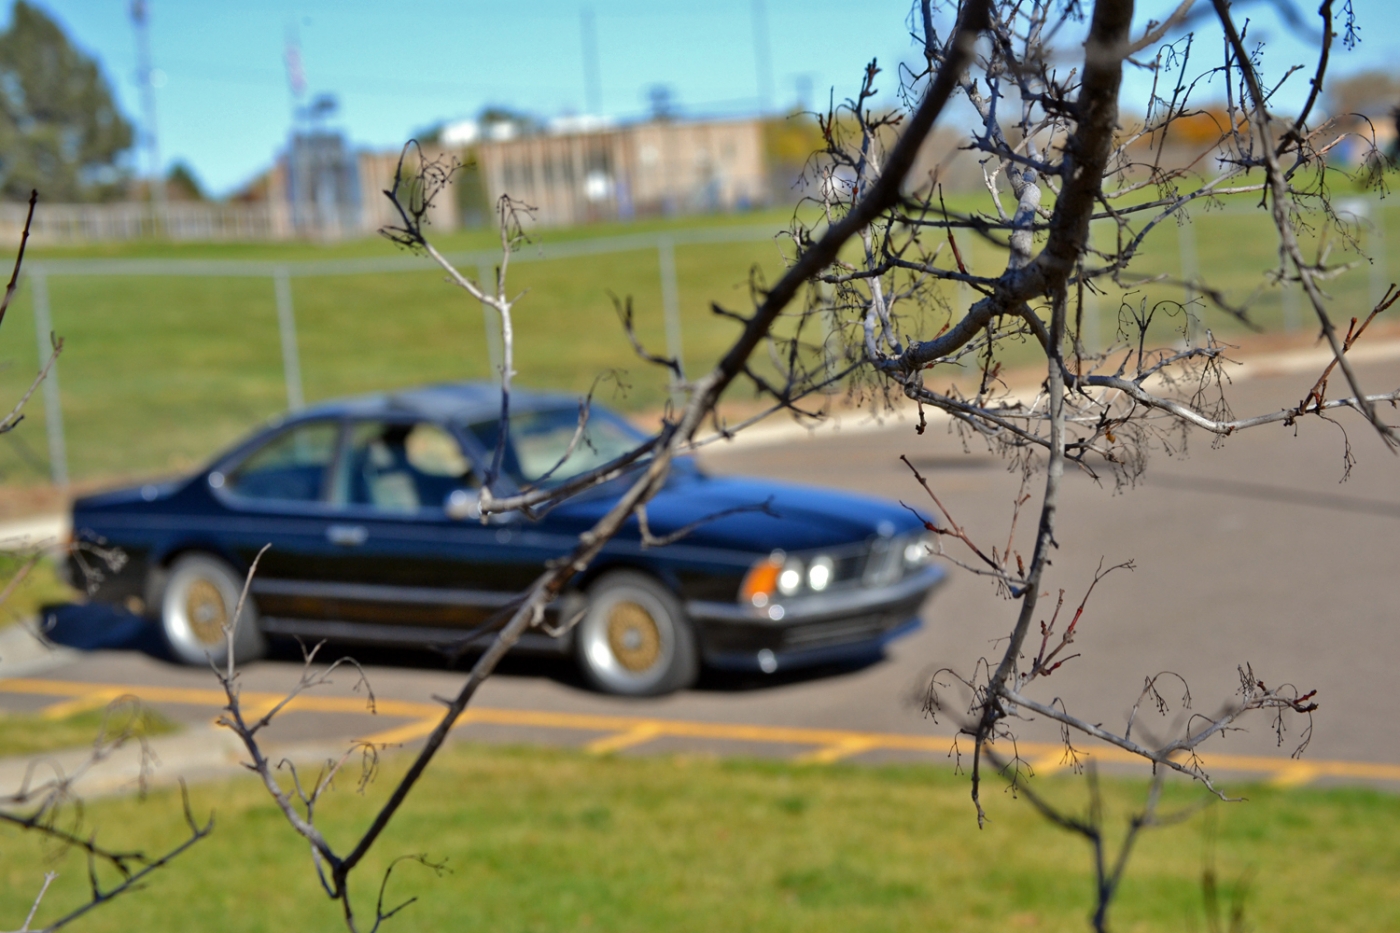
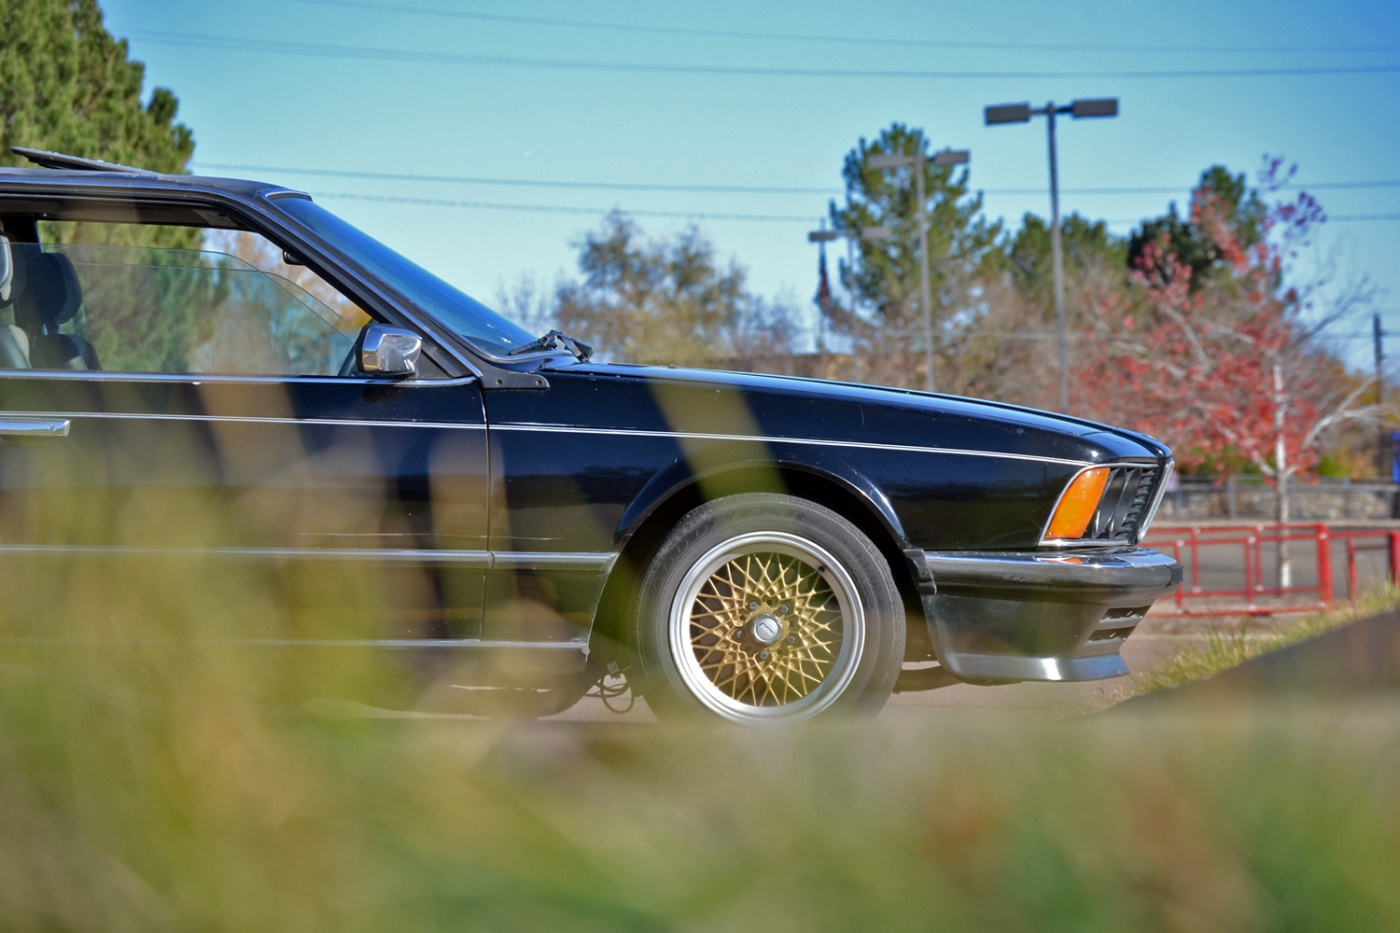
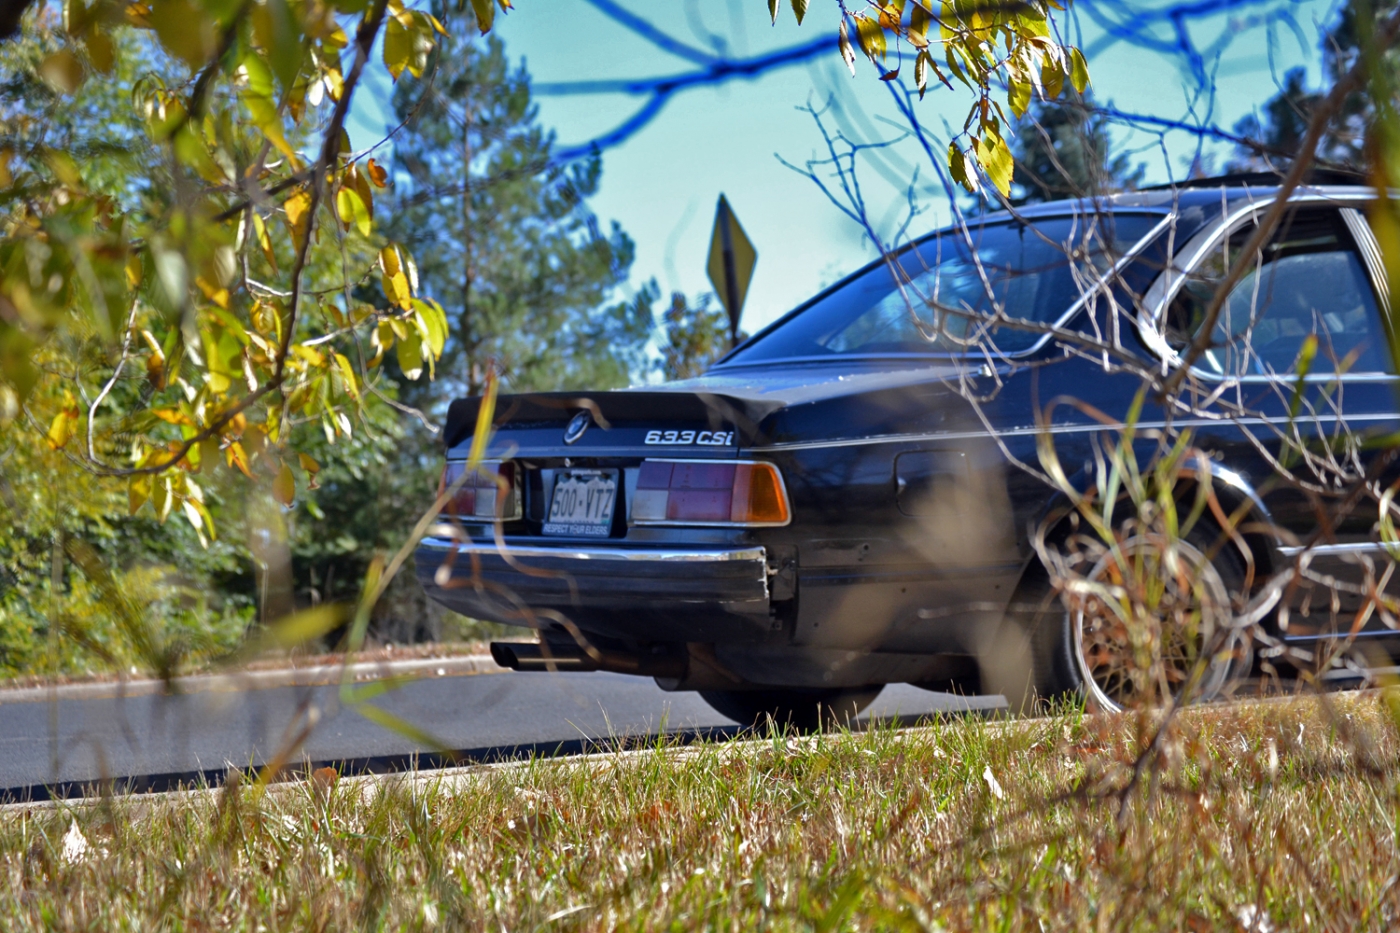
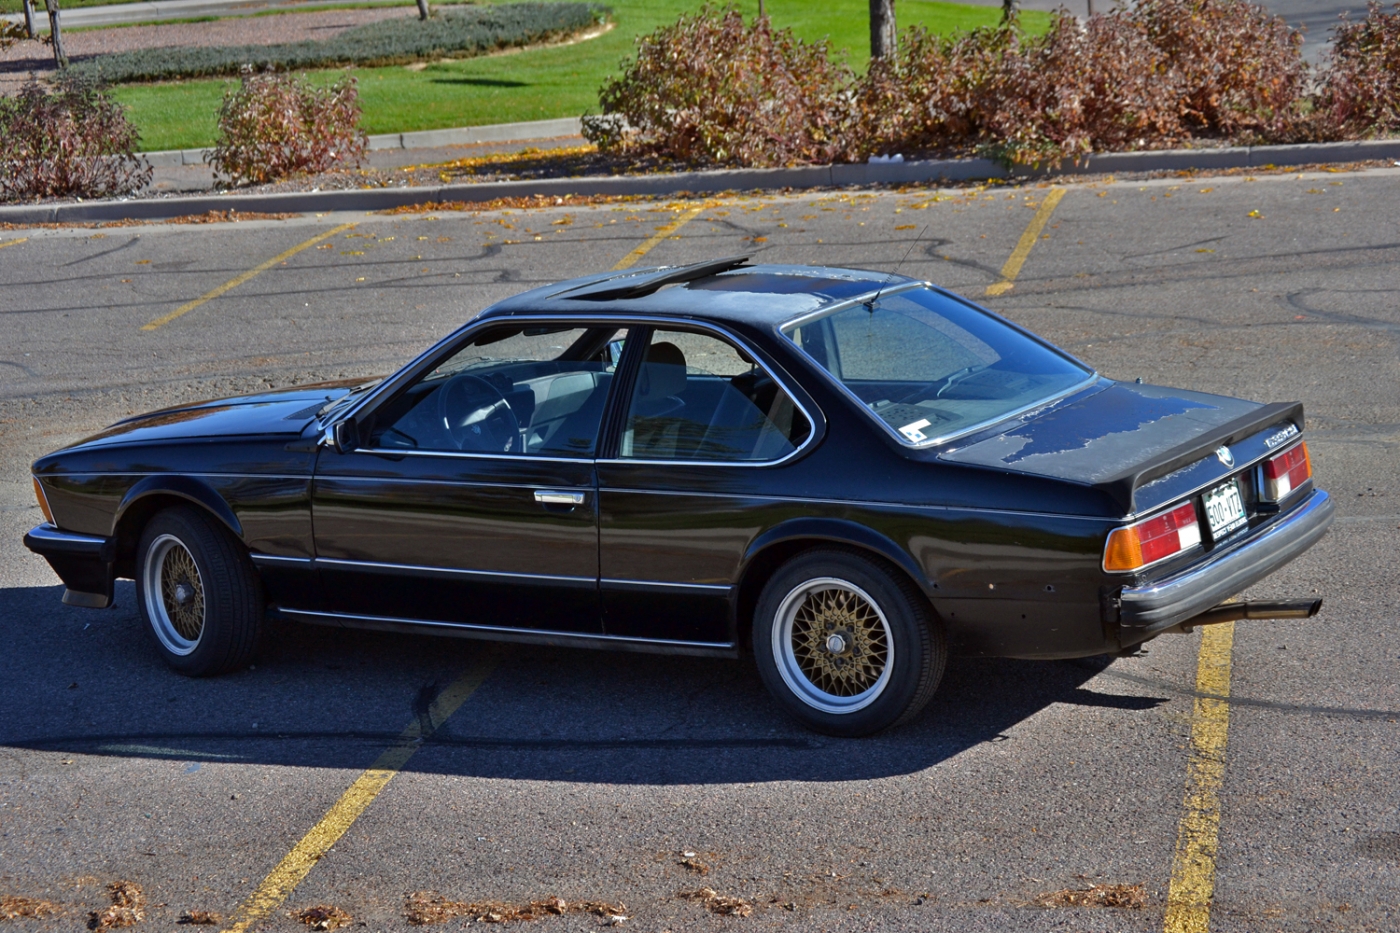
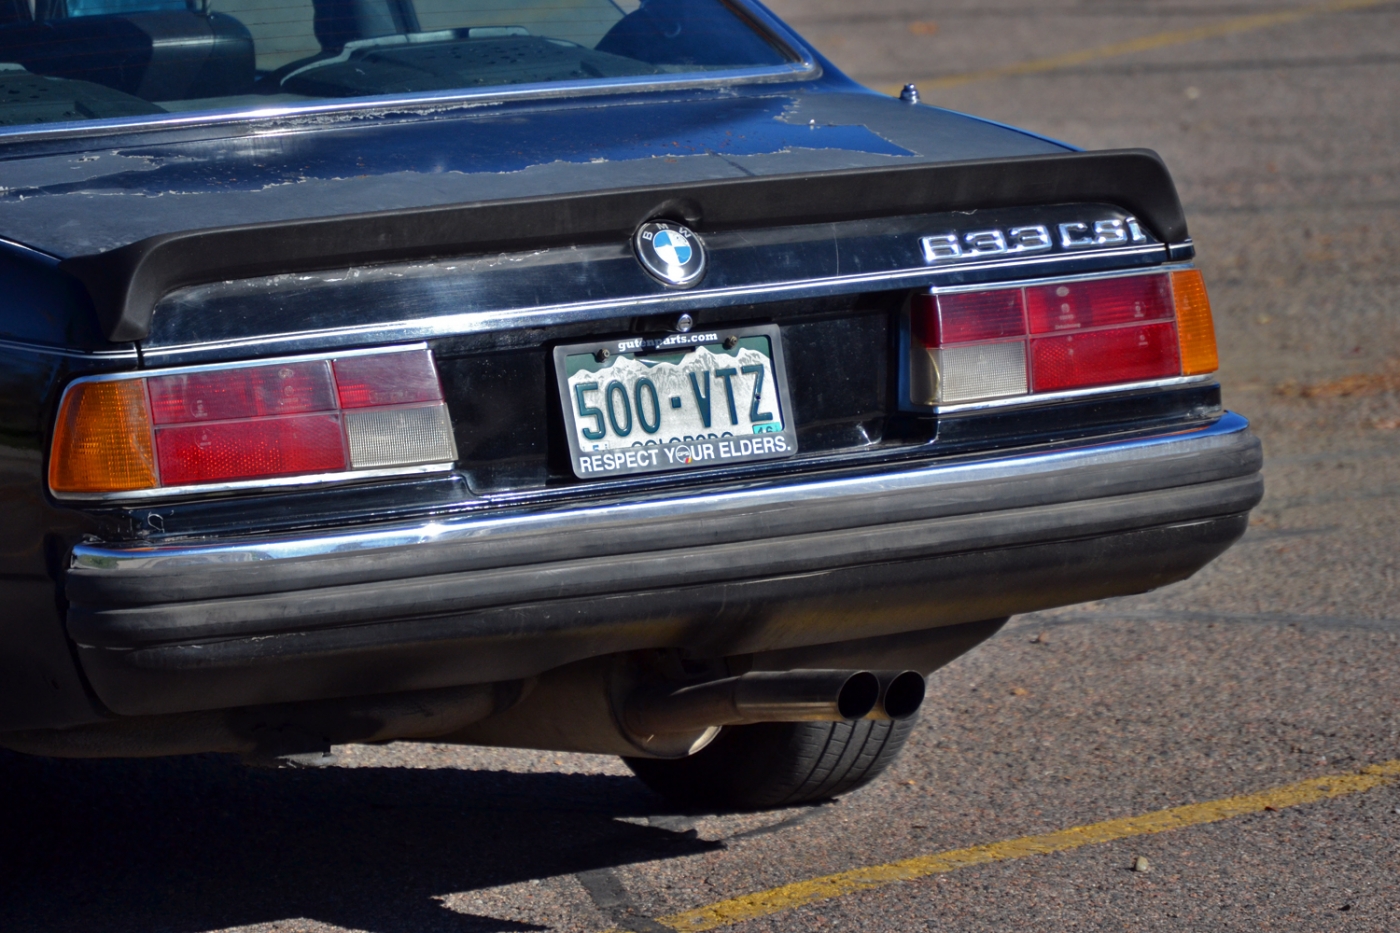
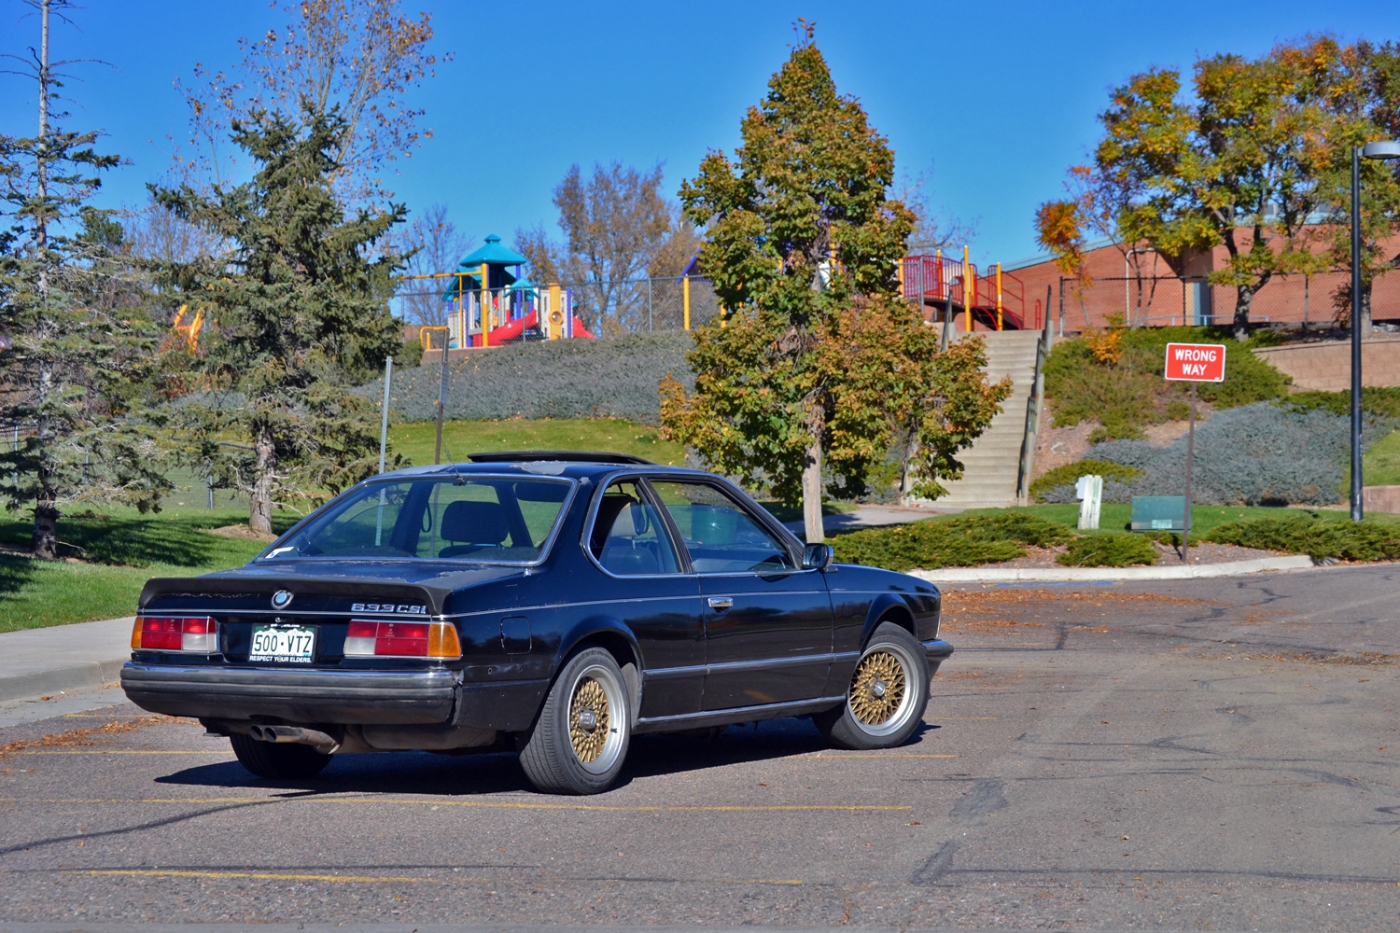
It looks quite a bit different since I purchased the car. Not great lighting, but I didn't have many high quality photos of the car so I figured I'd shoot them anyway.


-
downforce22
- Posts: 66
- Joined: Apr 06, 2015 9:24 PM
- Location: colorado springs
Re: Callaway 633CSi - 10/28 - Video at the track!
Need more progress!!

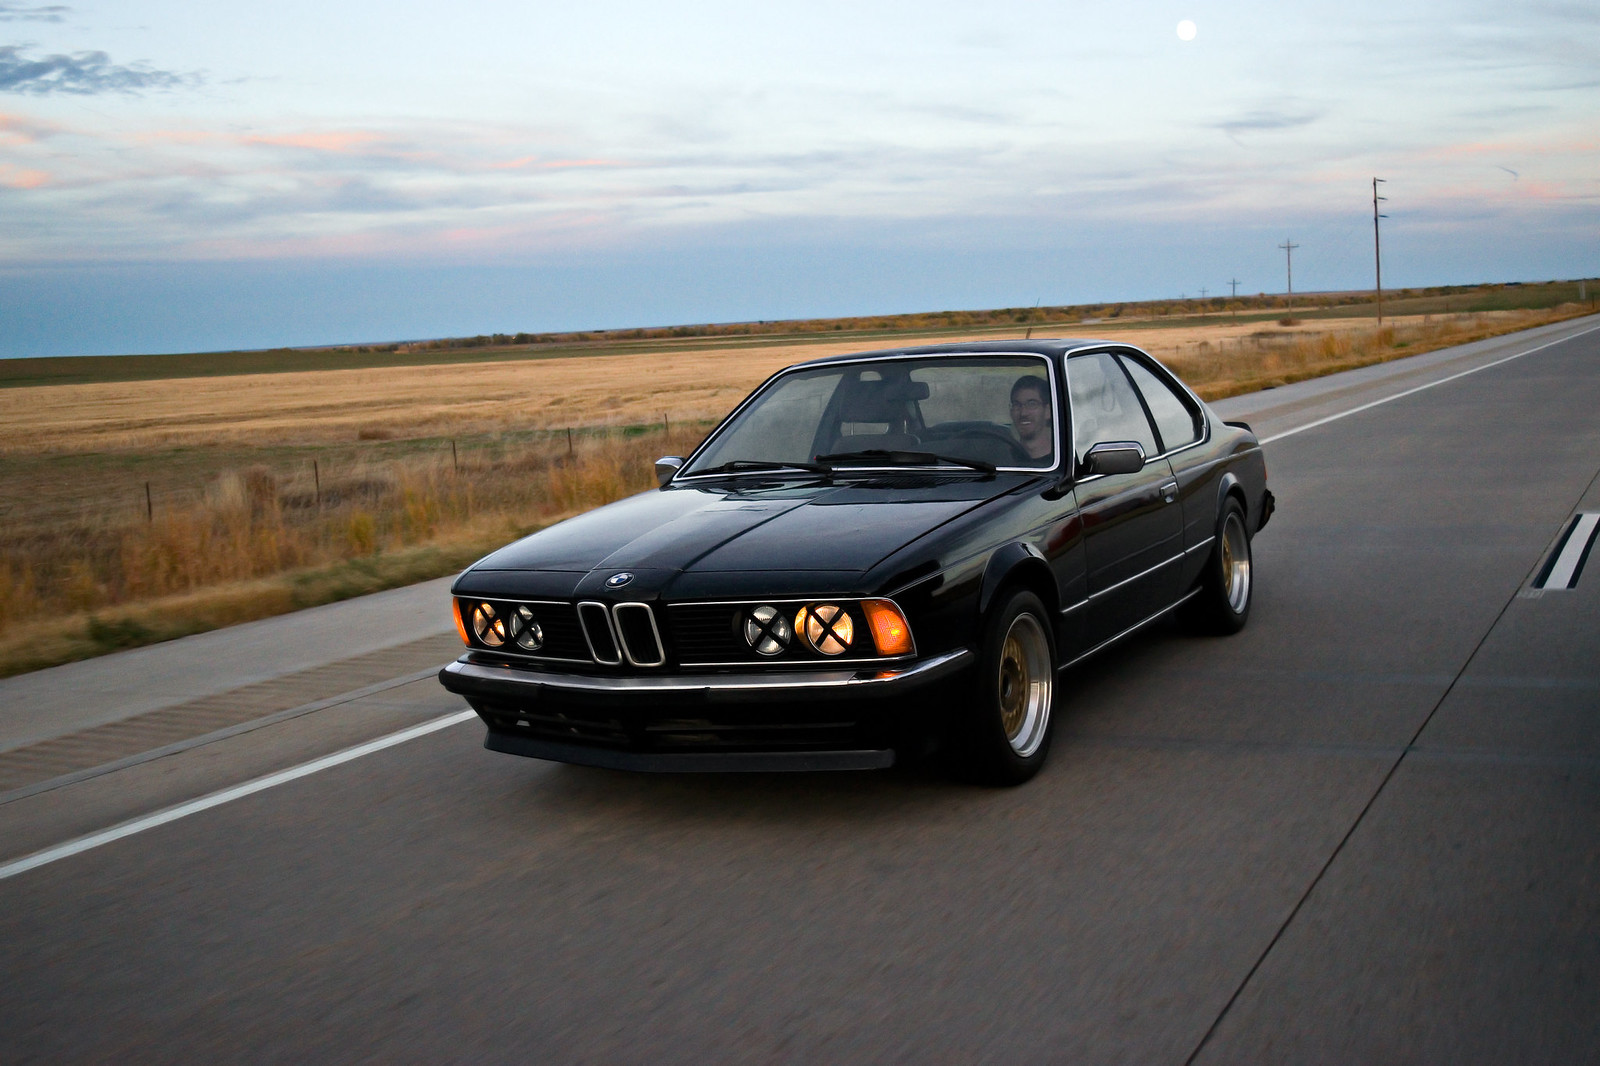

Re: Callaway 633CSi - 10/28 - Video at the track!
Nice photo, thanks! That's the one I had been waiting for.
The shark is lurking-- waiting for me to get my butt in gear and continue making progress!

The shark is lurking-- waiting for me to get my butt in gear and continue making progress!

Re: Callaway 633CSi - 10/28 - Video at the track!
The lurkers are sharking. Shovel yuhr freaking sydewaulk. 

Re: Callaway 633CSi - 10/28 - Video at the track!
No need to shovel the driveway when I don't use the garage for my winter carKen H. wrote:The lurkers are sharking. Shovel yuhr freaking sydewaulk.
I made a bunch of headway now that things have slowed down a little bit since getting married and finishing another stage of home updates earlier in the month.
I recruited my brother to help me with my turbo swap since he was itching to get out of the house, so this past Saturday we went on a drive with some other BMW's. I took the euro 635 and had a blast. He was in the 318is with german stripes:


Anyway, we came back to my house after so that on Sunday we could start on my project. I have had this TCD turbo from Todd since summer of 2105 when he got me a great price on one. Considering he indicated that it would fit on the manifold and have clearance to the block, I decided to spring for it, although at the time I was still just getting the car running with the Rotomaster. It's been sitting patiently waiting ever since as I have slowly worked out the kinks in the car. The 633 has been reliable for me and is to the point that I have the basic turbo system operating reliably. This was confirmed when taking it out to a local lapping day. The only issue was a coupling popping off the Callaway manifold. I attribute that to the crapy hose clamps, but knew eventually I would upgrade.
Onto the main content: I had prepared for the swap by pulling off the front spoiler- here's how the car sat when getting started:
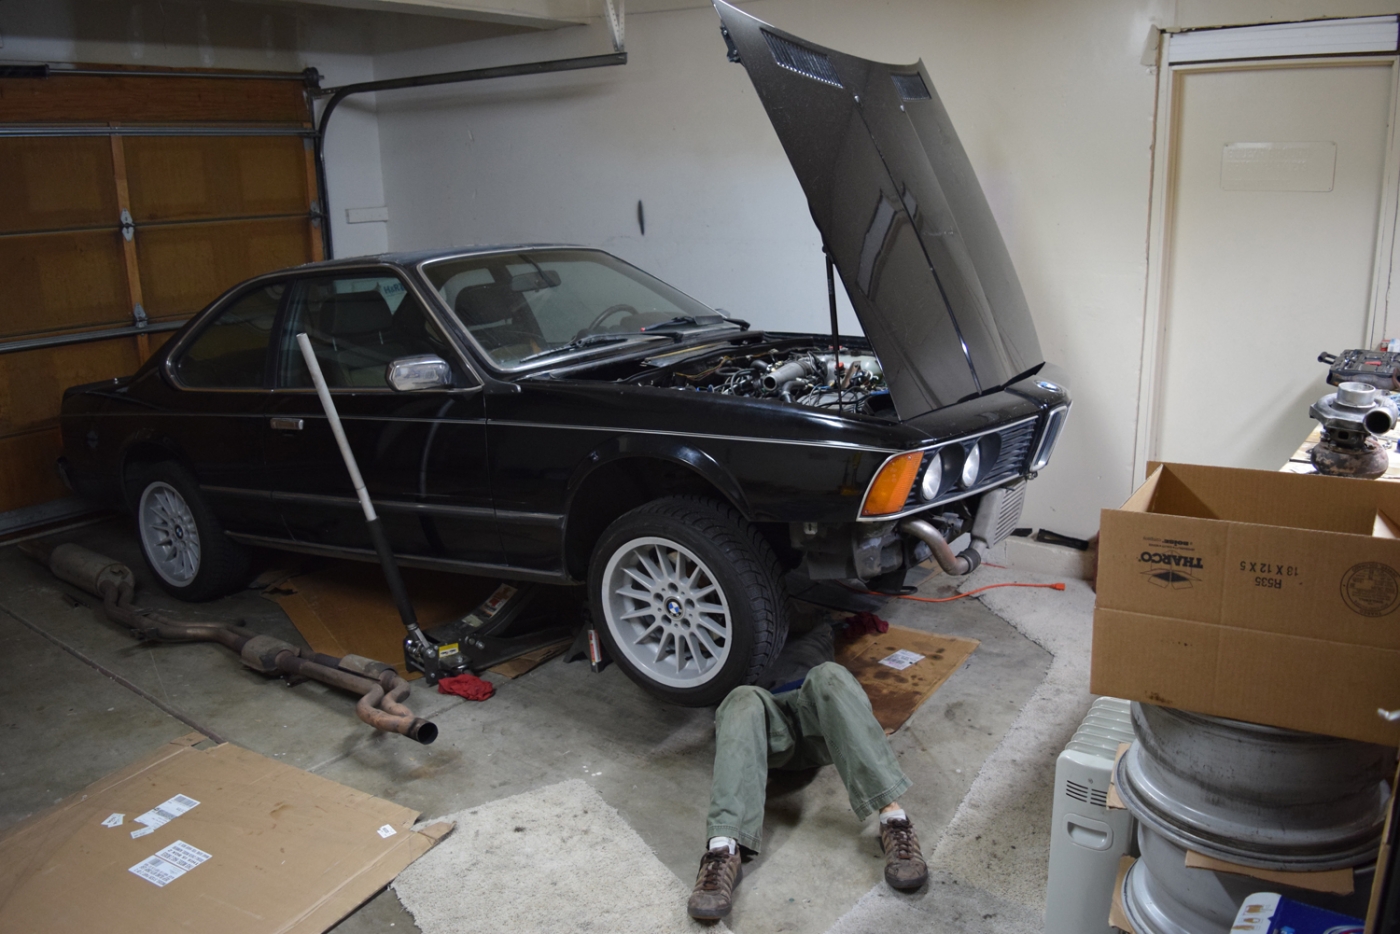
Then we took off the AFM and piping for access. The oil return line came off, the wastegate came off, and we could start removing the 12mm exhaust nuts.
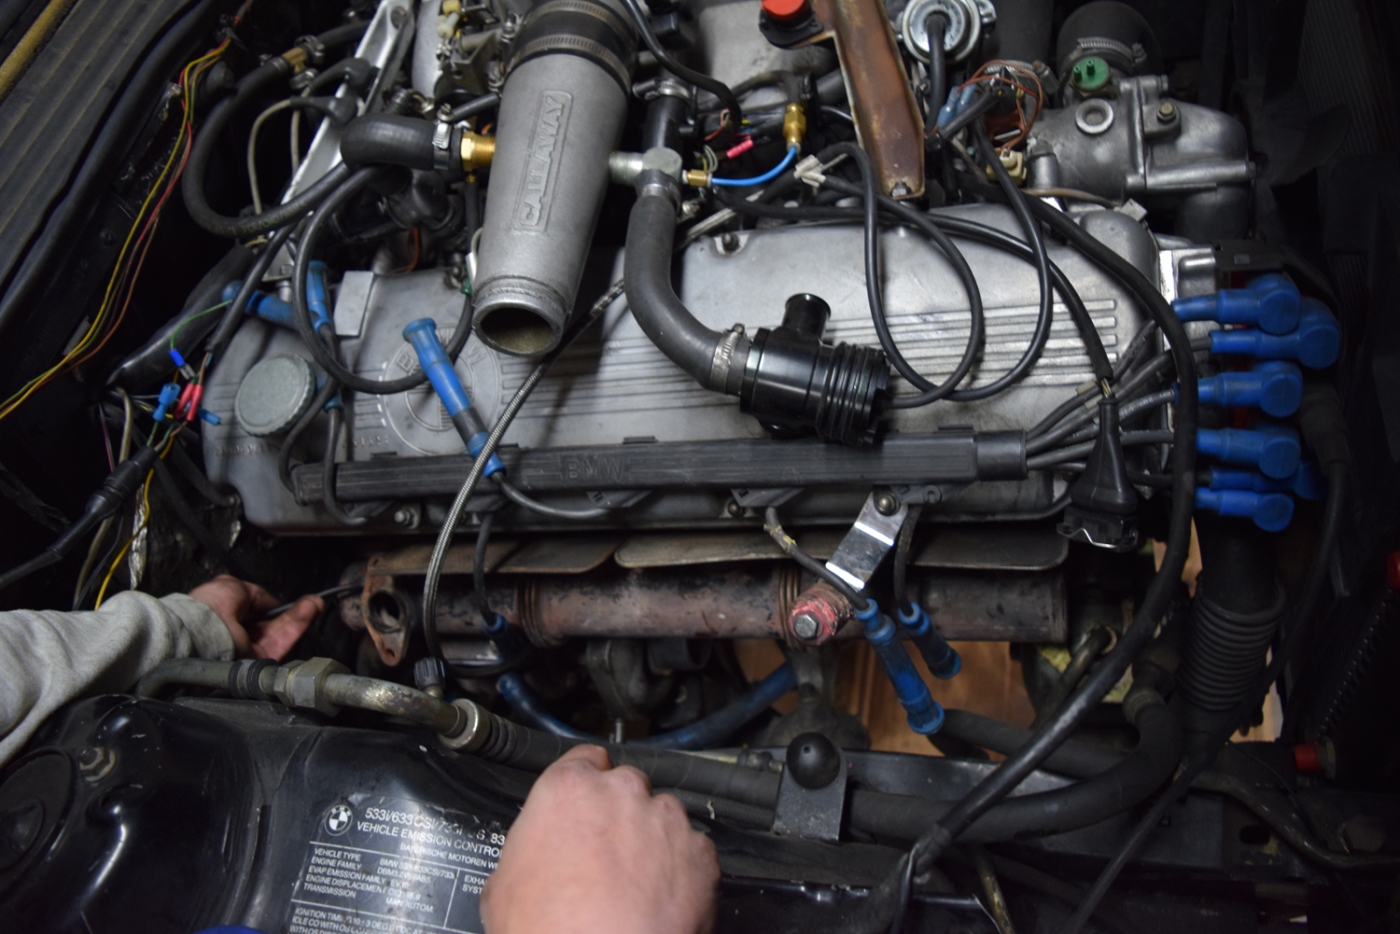
I had not been looking forward to this, but the nuts were all reasonably accessible, with the slowest one being #6 on the lower side. The advantage of doing this from when I did it last year was that it had been off about 3000 miles prior, and the engine was now secured to the chassis. The last time I did this, we had it on a dolly and could not get underneath to access the lower nuts, for safety reasons and clearance issues to the ground. Of course when on a dolly, it would also want to rock, so we couldn't really loosen the nuts the best.
Regardless, we finally got it off, and the manifold and turbo came out as one unit. This was a tight fit, and we scraped the front inner fender arch a little bit because of the tight fit. Removing one of the exhaust studs was also necessary. so here's how it all looked after the aforementioned ~3000 miles. The exhaust gasket and mating ring was taken off on the bench, this photo was just after we removed it.
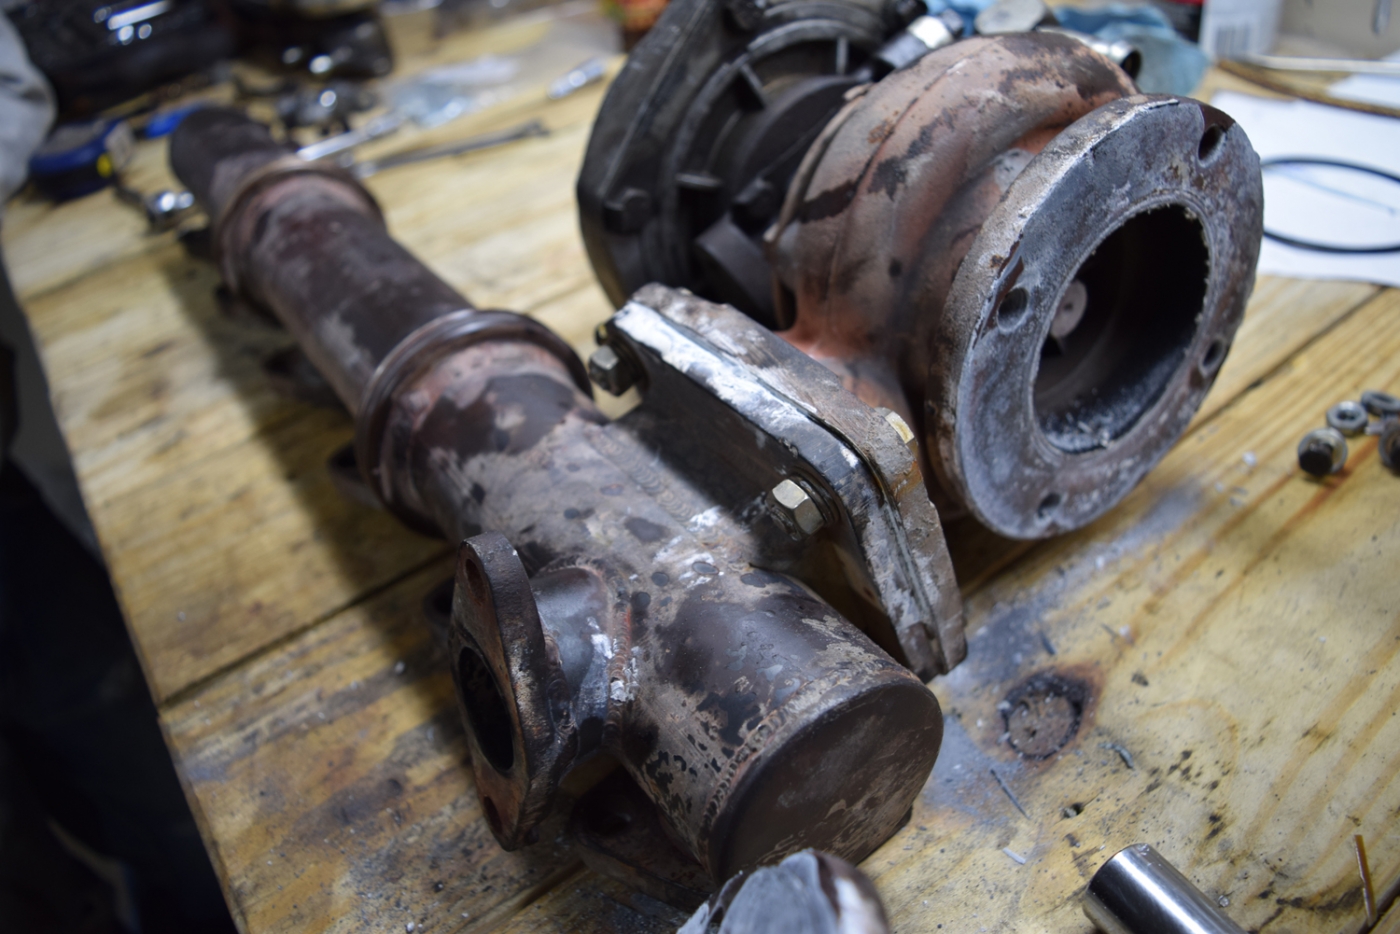
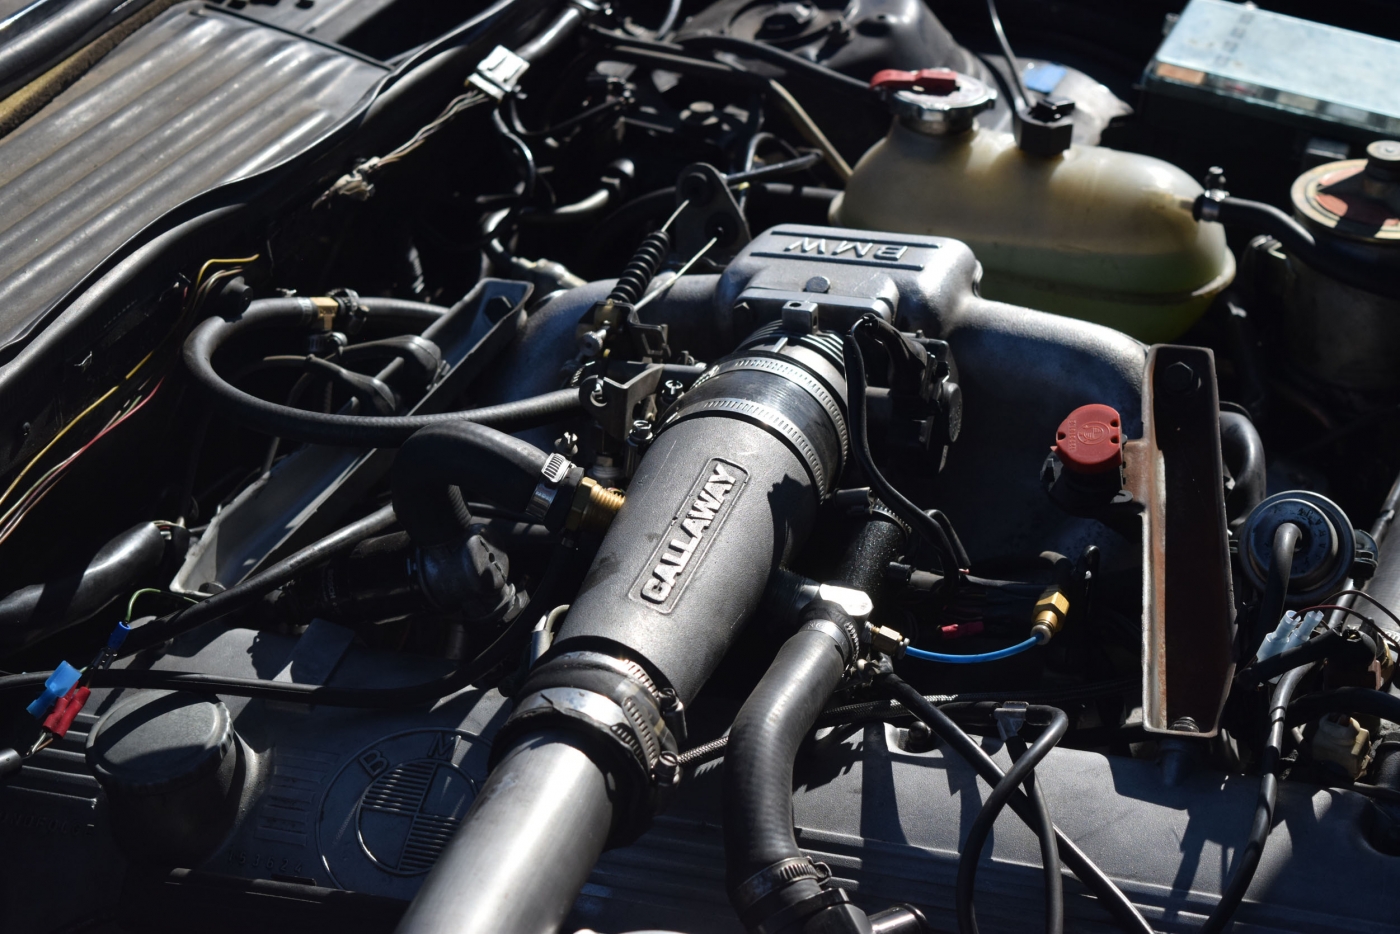
We separated the parts, and then got out the new turbo. in comparison, the compressor housing is bigger than the rotomaster. According to Todd, this is T04e, 60mm compressor wheel. Standard journal bearing turbo with P trim turbine and .58 A/R on center housing. This is from the TCD M30 kits.
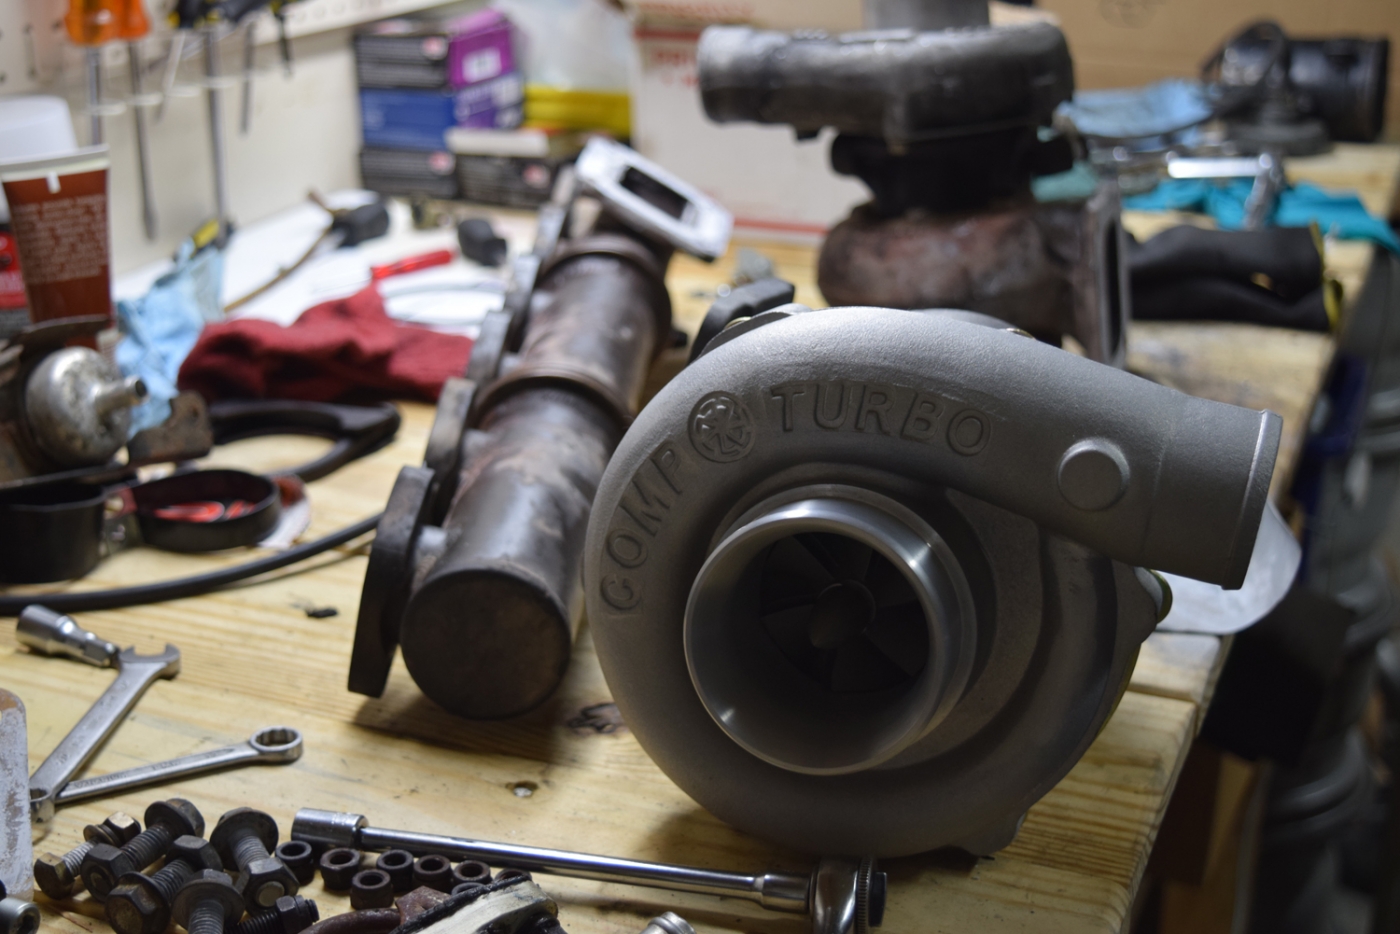
Getting it ready.
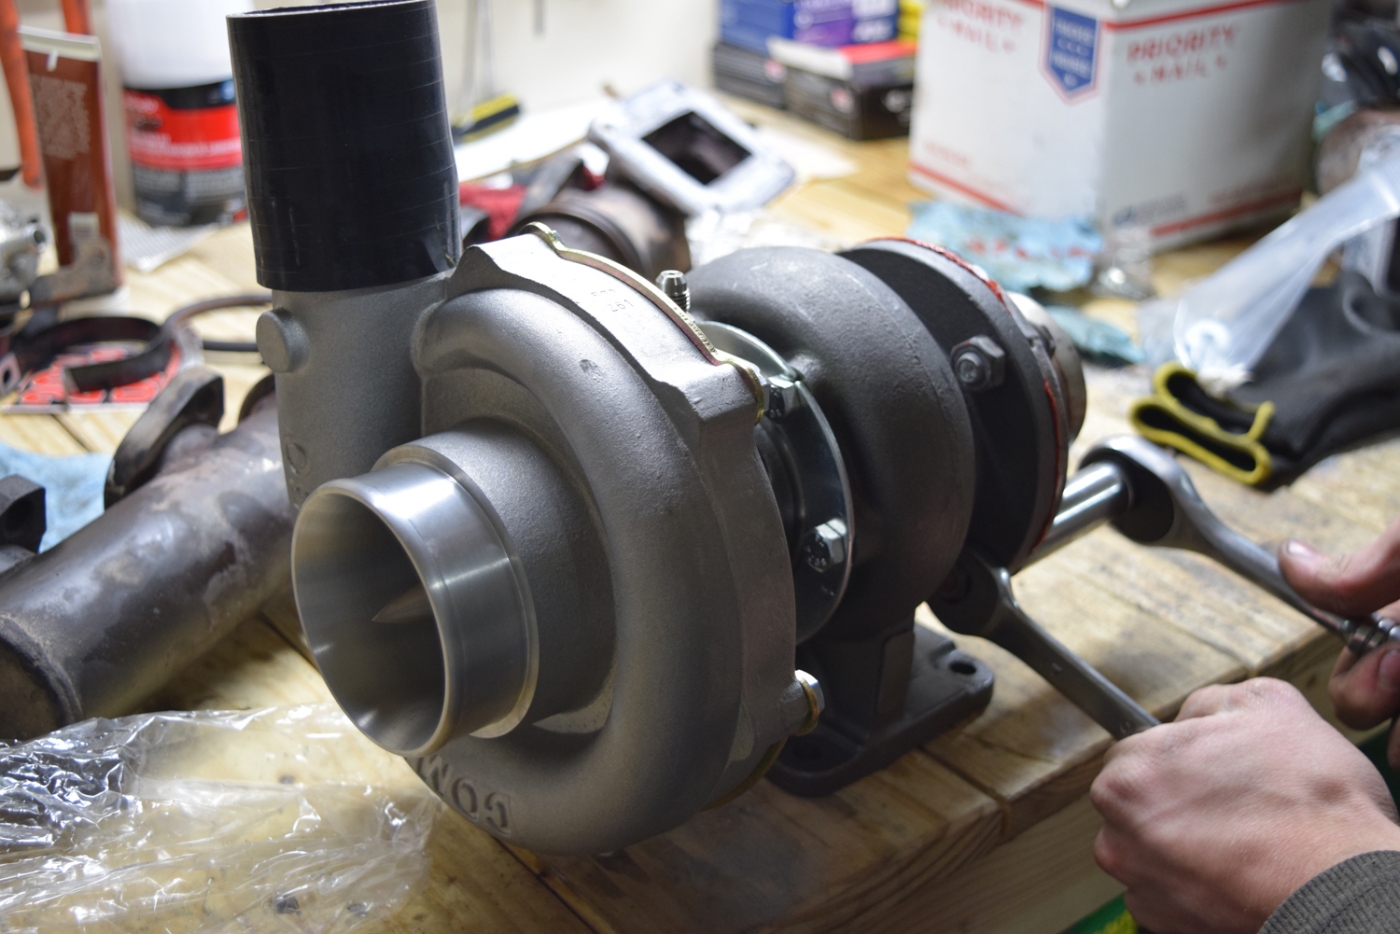
Due to the size of the compressor housing, we quickly realized we would not be able to mount the manifold+turbo in one swift motion the way that we had removed it. This meant the two could not be mated on the bench prior to installation. We thought for a minute and then decided to place the turbo on the side of the exhaust and then maneuver the manifold into place above it. My brother was nice enough to support the turbo as I got the manifold in and tried to start the mating S.S. bolts. This meant I also added the silicone while he held the turbo. Fortunately we got it together and then could focus on tightening the two together. This gave us the clearance we needed. One small addendum, the clearance from the Rotomaster to the Comp turbo was not the same for the most inward/forward mounting hole to the manifold. This was the same hole missing a bolt when Mike and I took off the manifold last year. Both the manifold and turbo were designed to have a screw enter form the opposite side. We got create and used a threaded exhaust stud through. This part barely fit, and then we were able to thread new 12mm exhaust nuts on both sides and tighten.
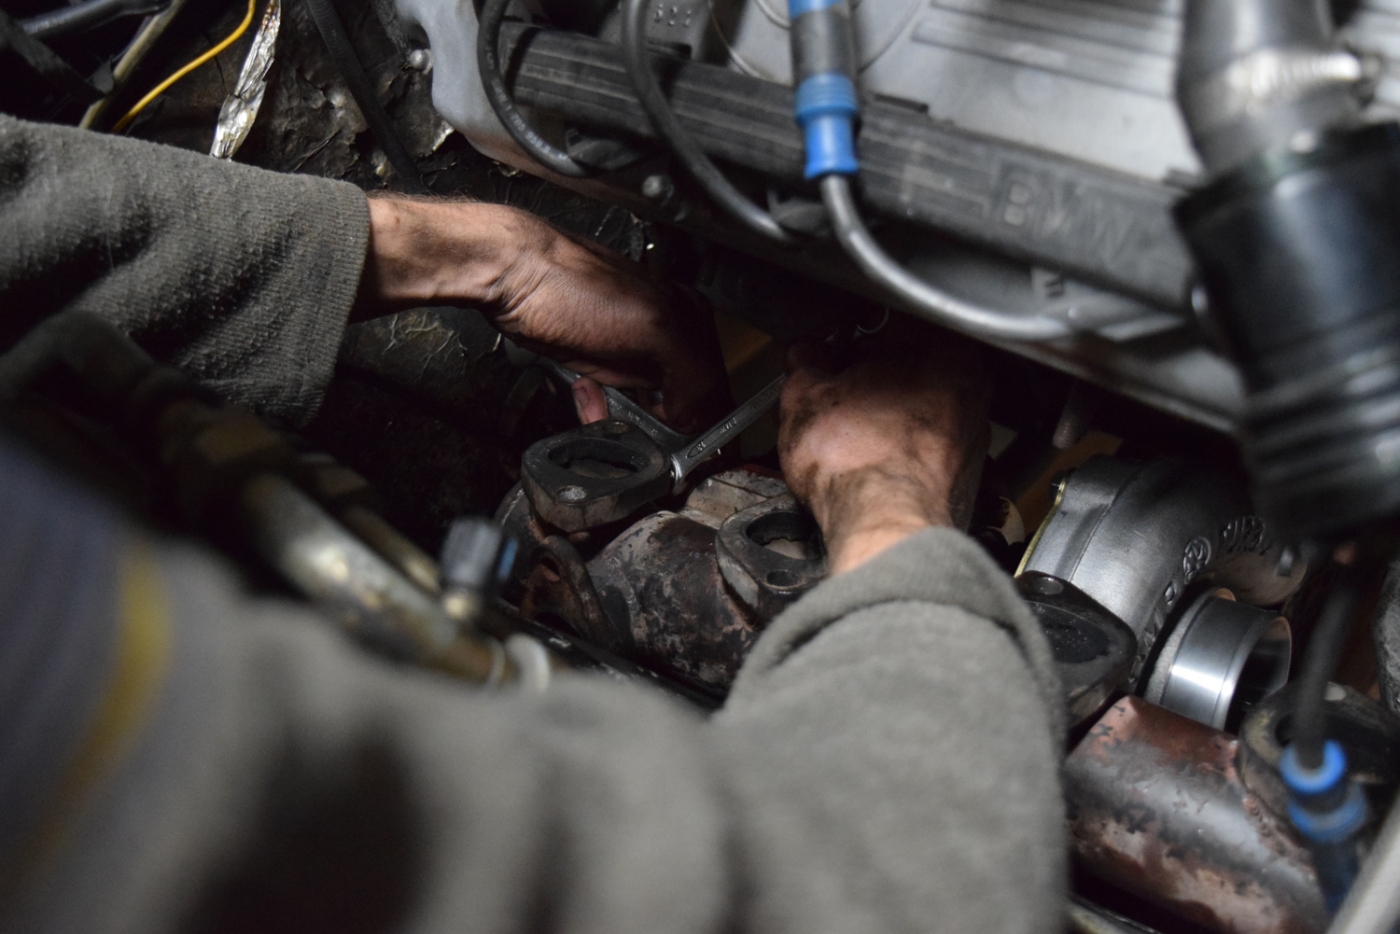
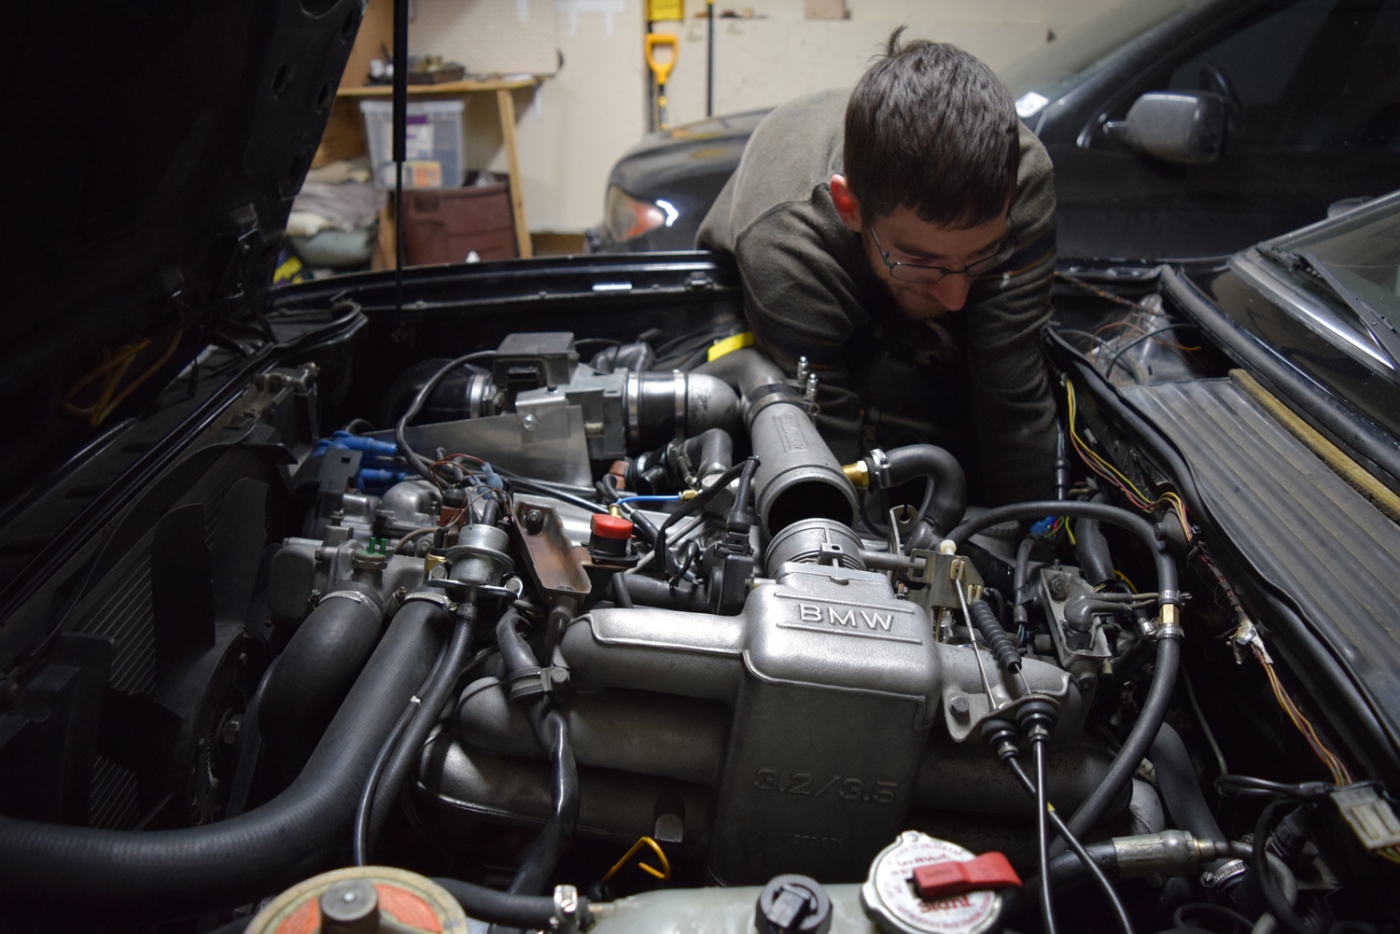
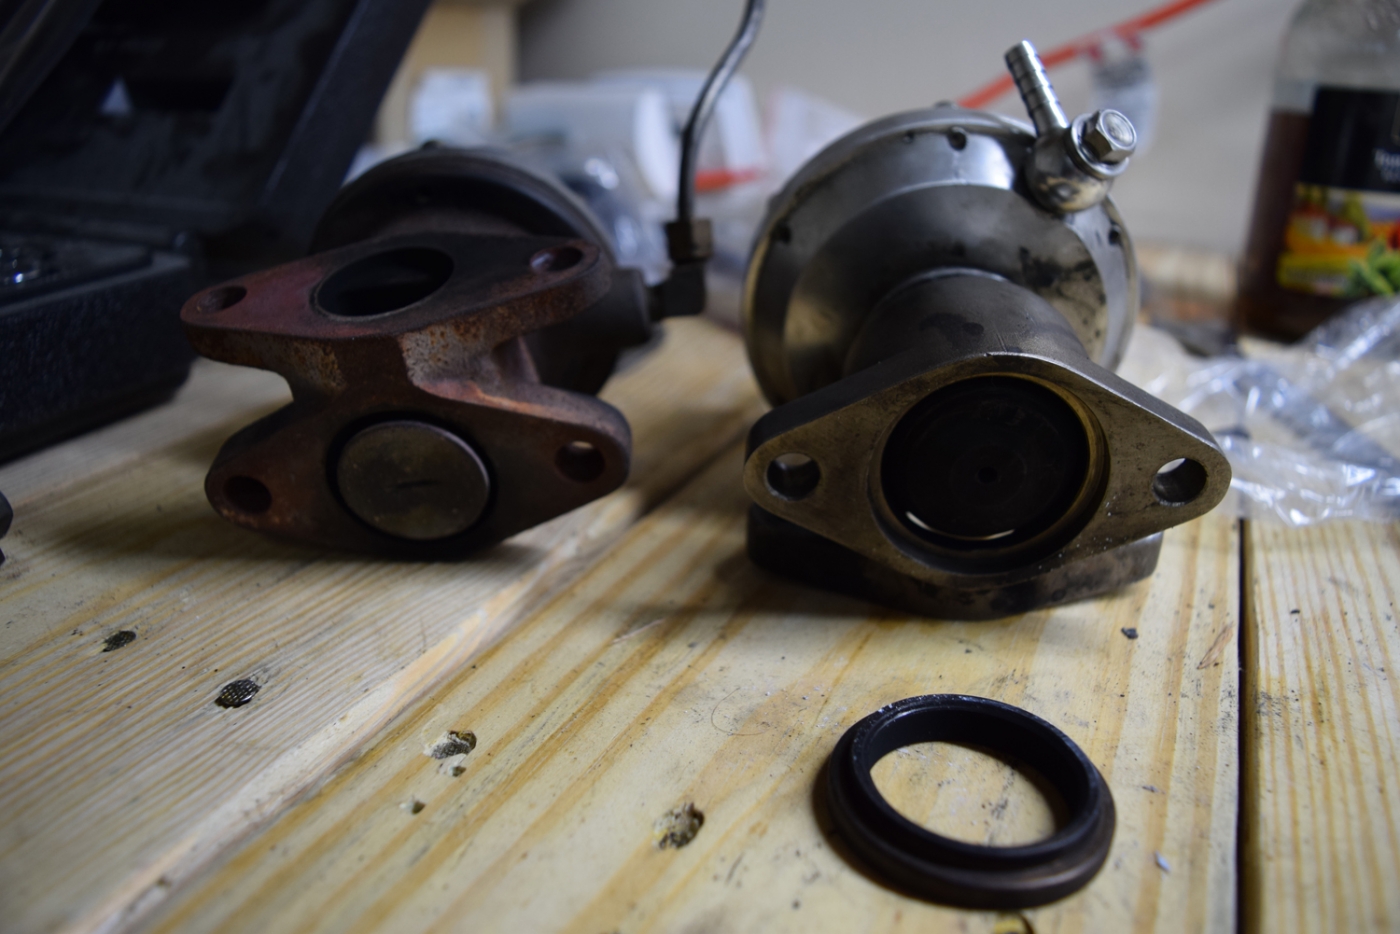
My brother also happened to bring his no-name spare waste-gate. We had realized that without a gasket I was getting major exhaust bypass through the waste-gate in normal operating conditions. This would explain why spool up was rather slow for such a small unit.
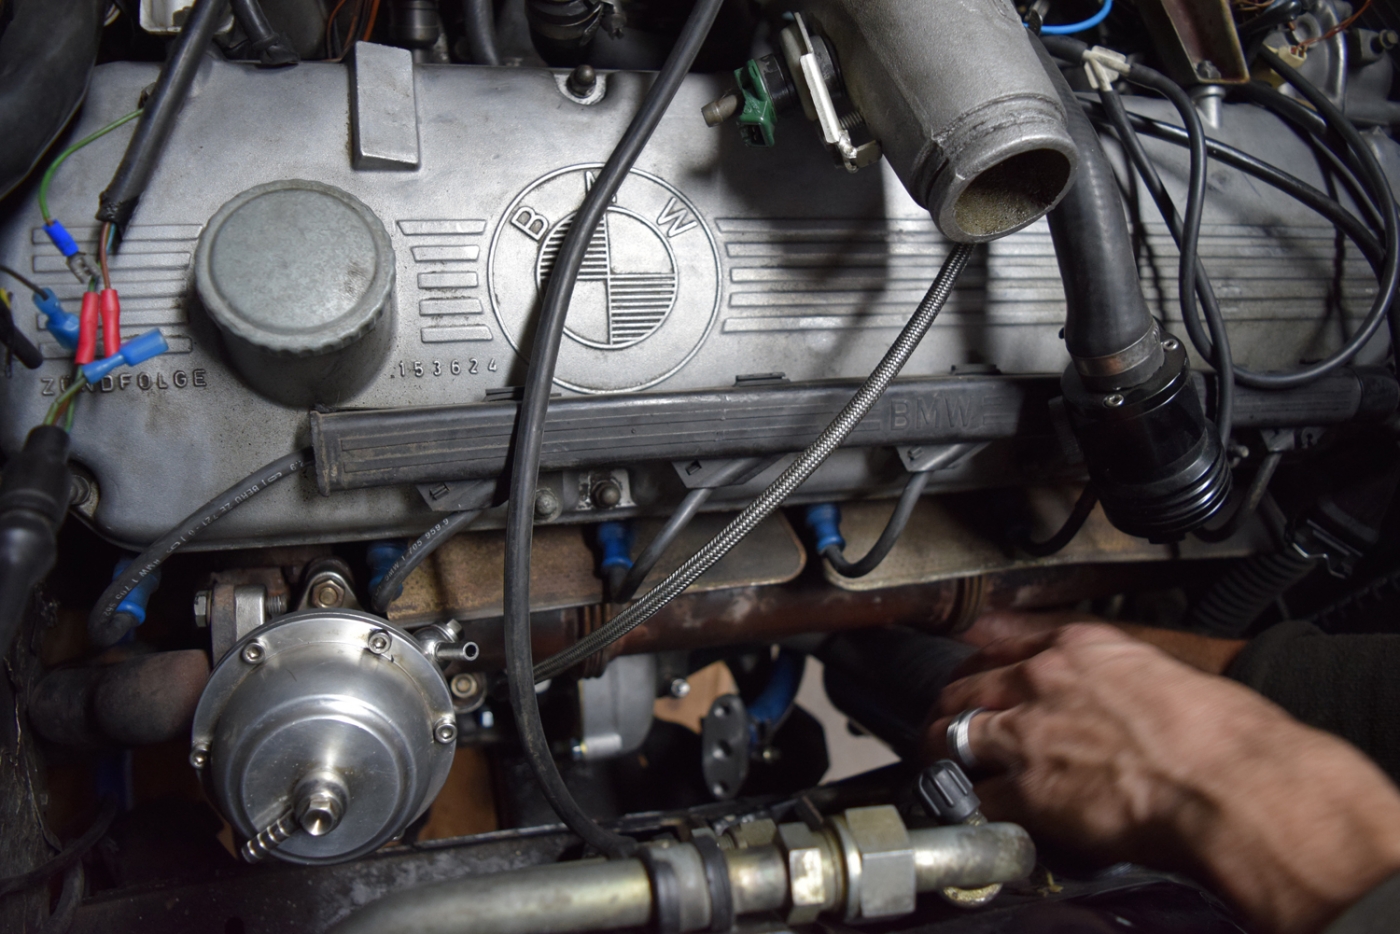
Installed
To clarify, I think there are some major reasons why this setup should improve dramatically from before:
1. Waste-gate bypass should be eliminated. This will likely be a major difference in the two waste-gates. My brother thinks that this no-name has a 10psi spring in it. We will find out, but the turbo won't have to be fighting a manifold exhaust leak to get up to boost pressures.
2. Turbo airflow capacity. The new unit should be very well matched to the airflow generated by the M30B34. This places the engine in the efficiency zone of the turbo at or very near to the optimum 78% island at my current boost pressure. This efficiency means less heat generated, and hopefully more dense charge air being delivered.
In my prior posts, I document that the rotomaster is drastically undersized for this application in terms of the turbine size. I believe that it was causing a high exhaust back pressure on the engine. Of course the ability to move air really depends on a pressure differential, so this is a critical piece to the puzzle. The high back pressure meant that the old unit had to work even harder and overcome this back pressure before being able to flow additional air through the engine. This would explain why the car felt sooo slow (slower than NA) when I would lose a hose coupling just enough not to build boost pressure. This happened at the track, and the engine had to work to overcome the back pressure, but with no gain of additional air for the lost 'work' put into spinning the turbo.
3. New turbo technology. It is very evident that the new Comp unit has improved technology over the Rotomaster. This is very obvious when looking at the compressor inlet on both. The Rotomaster has an exposed threaded shaft and nut. The new Comp unit has an aggressive looking cover on this shaft, much to the similarity of a jet engine. I imagine this is to delay the separation point of the boundary layer to turbulent flow, and better control the airflow in. This new technology is probably leaps and bounds different from that of 30 years prior.
4. General condition of new vs old. It was evident that the rotomaster had a lot of friction or something causing the shaft to be somewhat difficult to spin by hand. I attribute this to oil coking or something similar. It simply won't spin freely like other turbos and the new Comp unit. I don't attribute this to the technology, but rather the general condition of the Rotomaster. I mean it, worked, as you can see from the videos, but there are likely major gains to be had from this difference of condition. The nice thing is that the Rotomaster did not have shaft play or oil leakage, and I didn't have to pay for a new turbo when I was so new to the game.
5. The last difference should be intercooling. I am upgrading the charge piping to remove boost leaks and add an intercooler with additional frontal area. I did notice a lot of heat in the engine bay on hot days, and the car was noticeably slower. My brother fortunately had an spare intercooler and I started getting it fit in place. I also plan to make a couple of heat shields to help protect the charge piping and air filter from the high temperatures. Fresh air can only help to increase power and reduce the risk of detonation.
I also took the opportunity to adjust the oil return as the old method had a kink. It didn't drain as I had hoped because the fitting I wanted to use would not fit with the steering arm underneath. this had resulted in a snaking line to the oil pan that actually went around the motor mount. This was certainly something on my list to change. I used the adapter block from the Rotomaster and then added a 3/8 NPT x 3/8 NPT m/f adapter fitting to space everything downward. This allowed me to reinstall the same 3/8" npt elbow from before where I could install the hose. I may have to shorten the hose but I didn't want to cut it too short...
Here's the clearance with the clocking of the compressor outlet. It is very tight, but after clocking it a couple times, it should work. The oil inlet is on the other side (180 degrees apart) and barely clears the manifold, but I didn't want an elbow that would disrupt smooth flow.
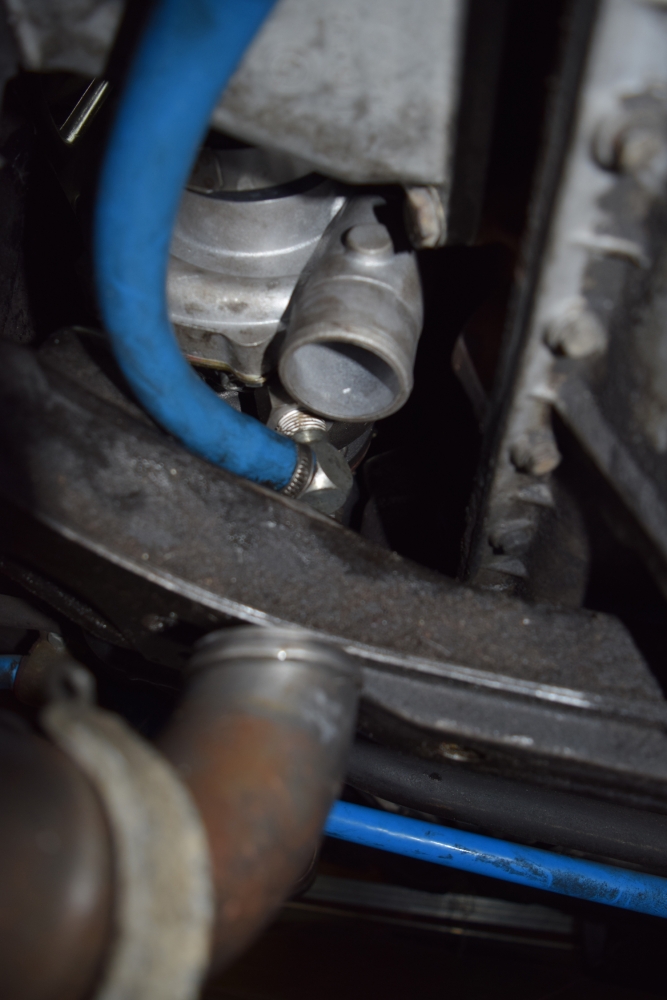
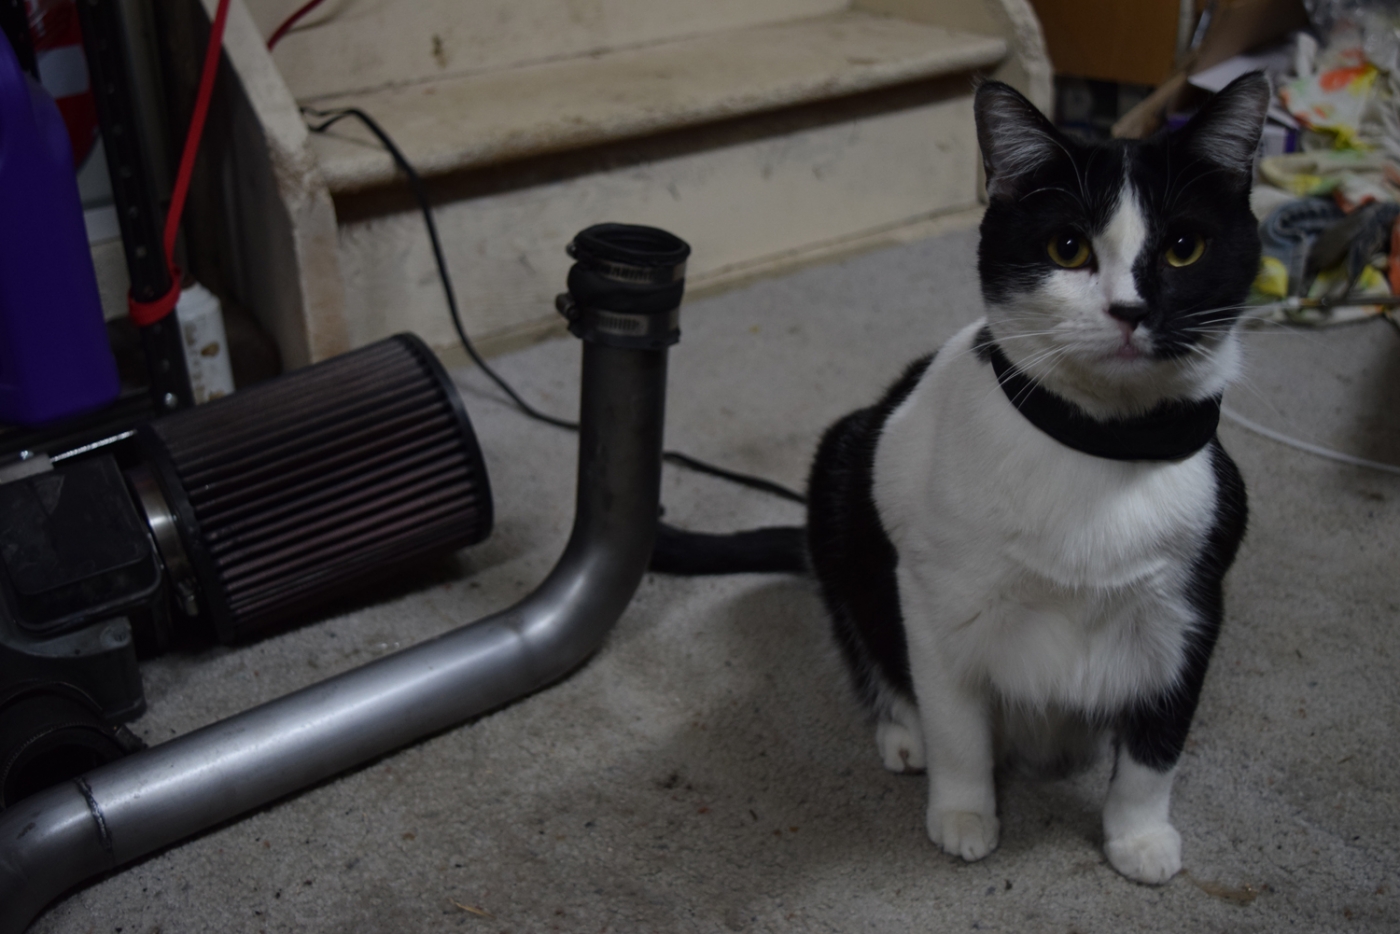
We had a spectator too
Here's the charge piping and intercooler. Still working on this, but I am close to what I want. I basically added an elbow and changed some of the positions/angles of the Callaway piping.
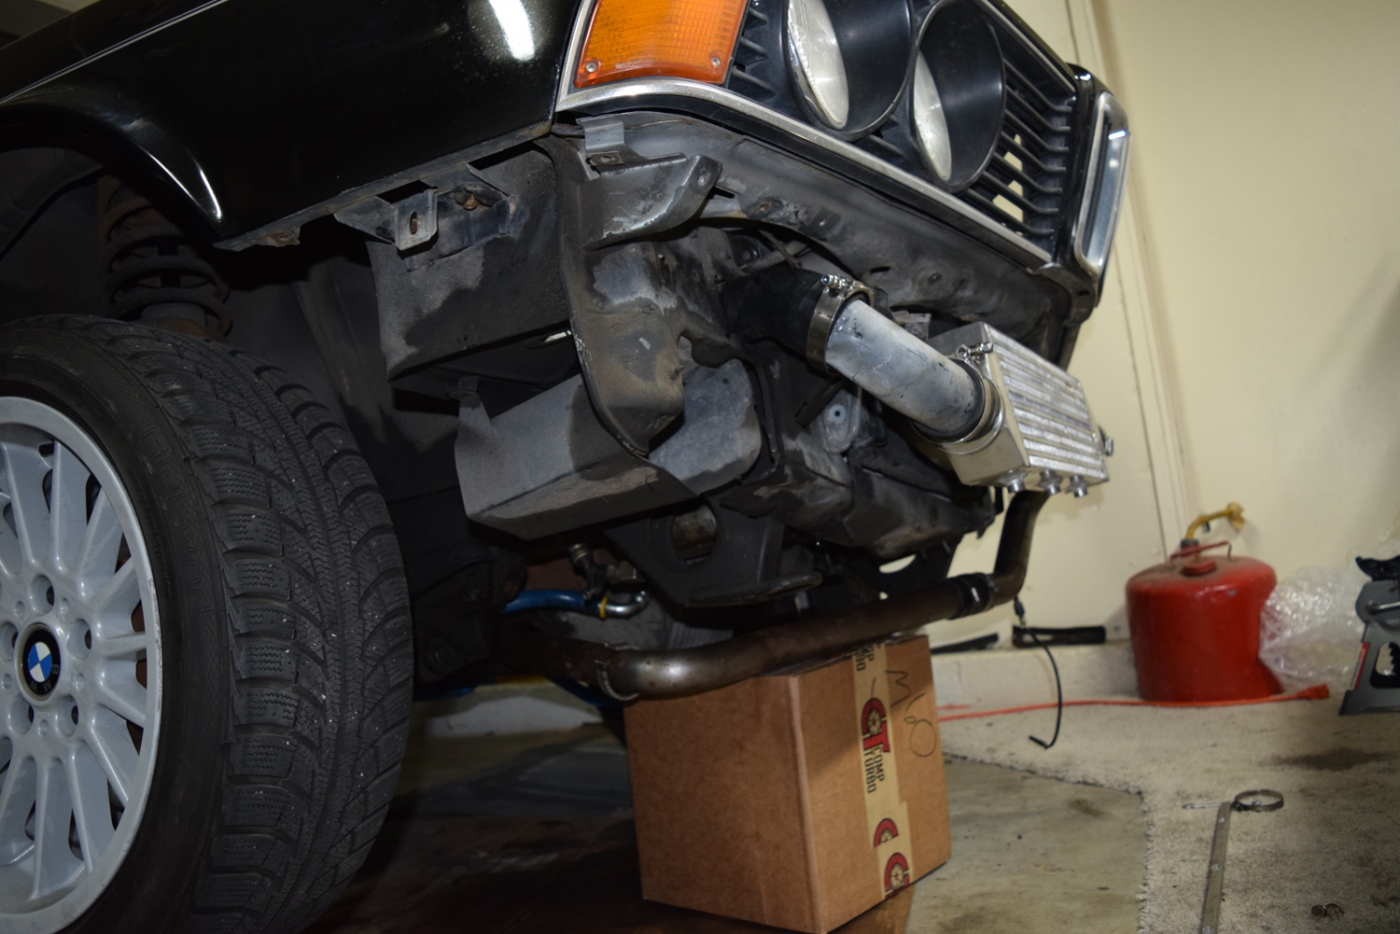
Next steps, I am working on cleaning up the intercooler piping, along with the idle air connection and some other misc items. Another update probably last this week, or this weekend.
Last edited by tschultz on Feb 26, 2016 12:51 AM, edited 1 time in total.
Re: Callaway 633CSi - 2/25 New Turbo Install Process
This is awesome. So many good pictures.
Re: Callaway 633CSi - 2/25 New Turbo Install Process
I put the last few pieces back together to get the car started today. Removed the wiring for the OBC horn, added some heat shielding and just got it all in place so I can finally take the car to an exhaust shop in the next week or 2.
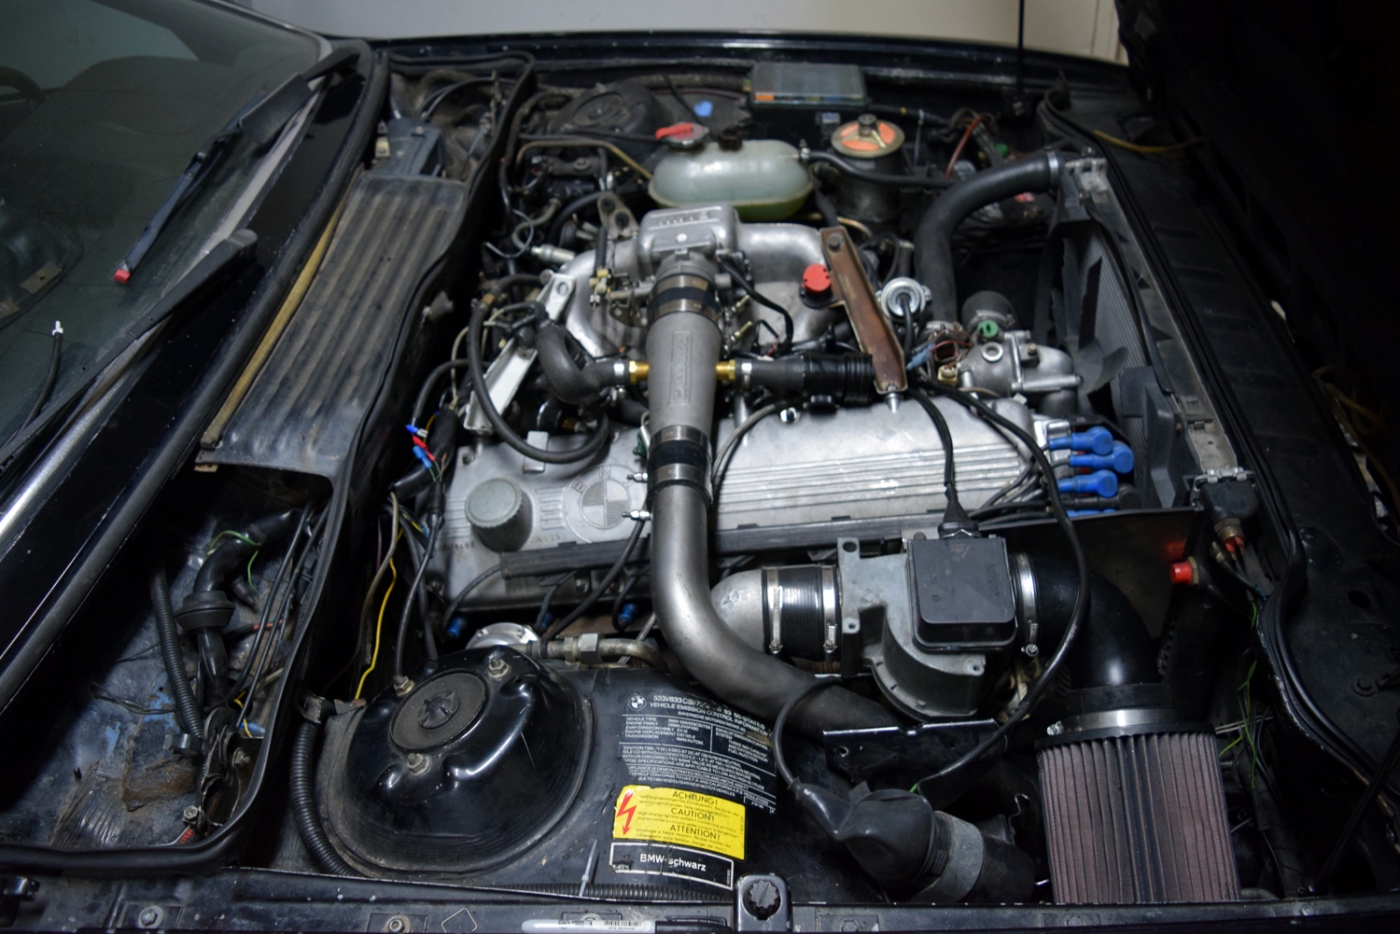
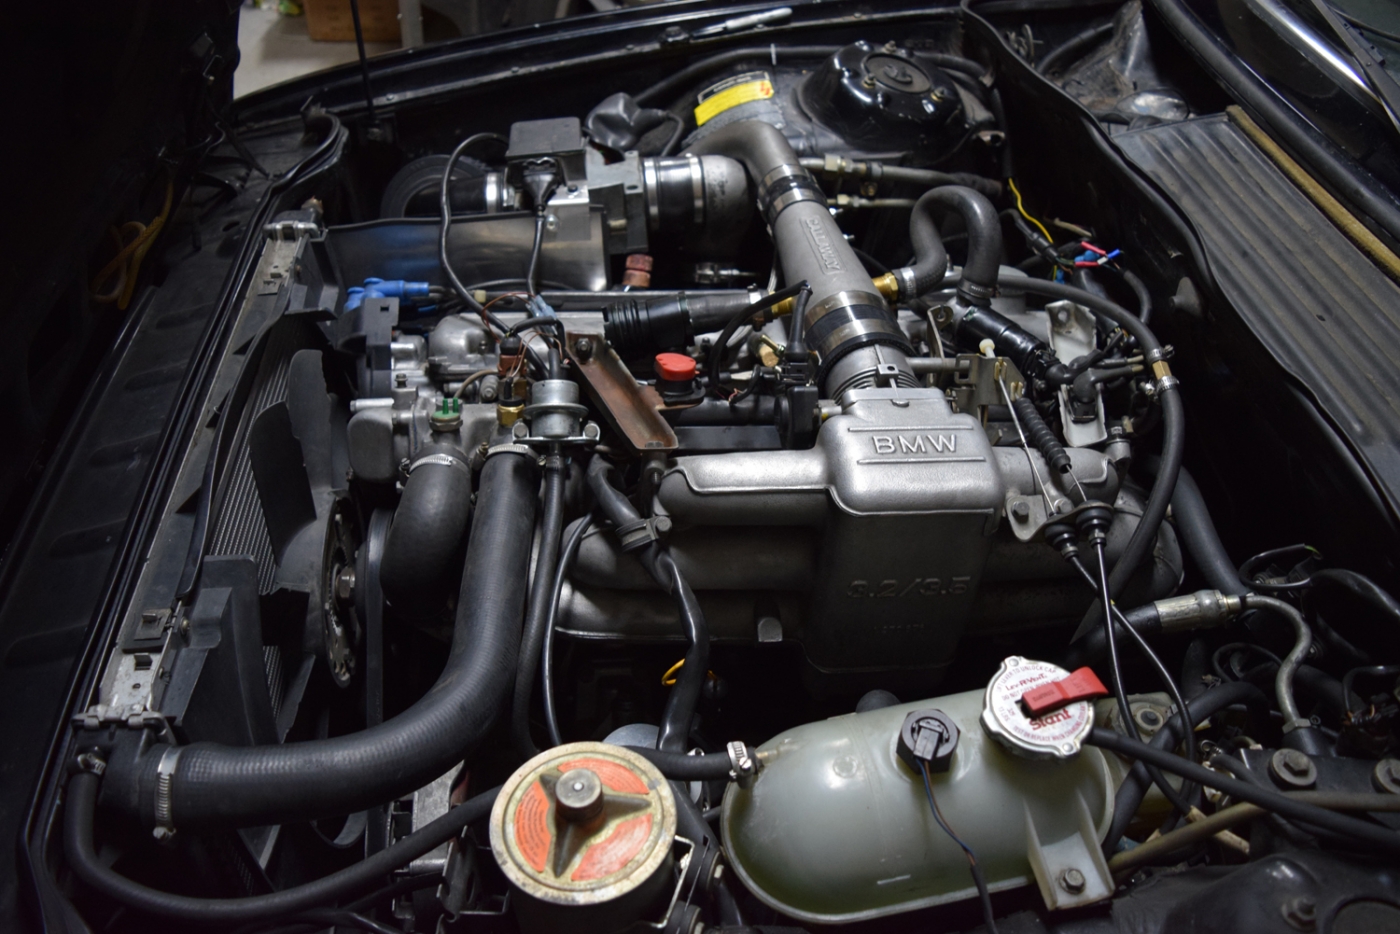
Another view of the intercooler piping. Right now the front bumper won't clear, so I will have to decide how I want to proceed...
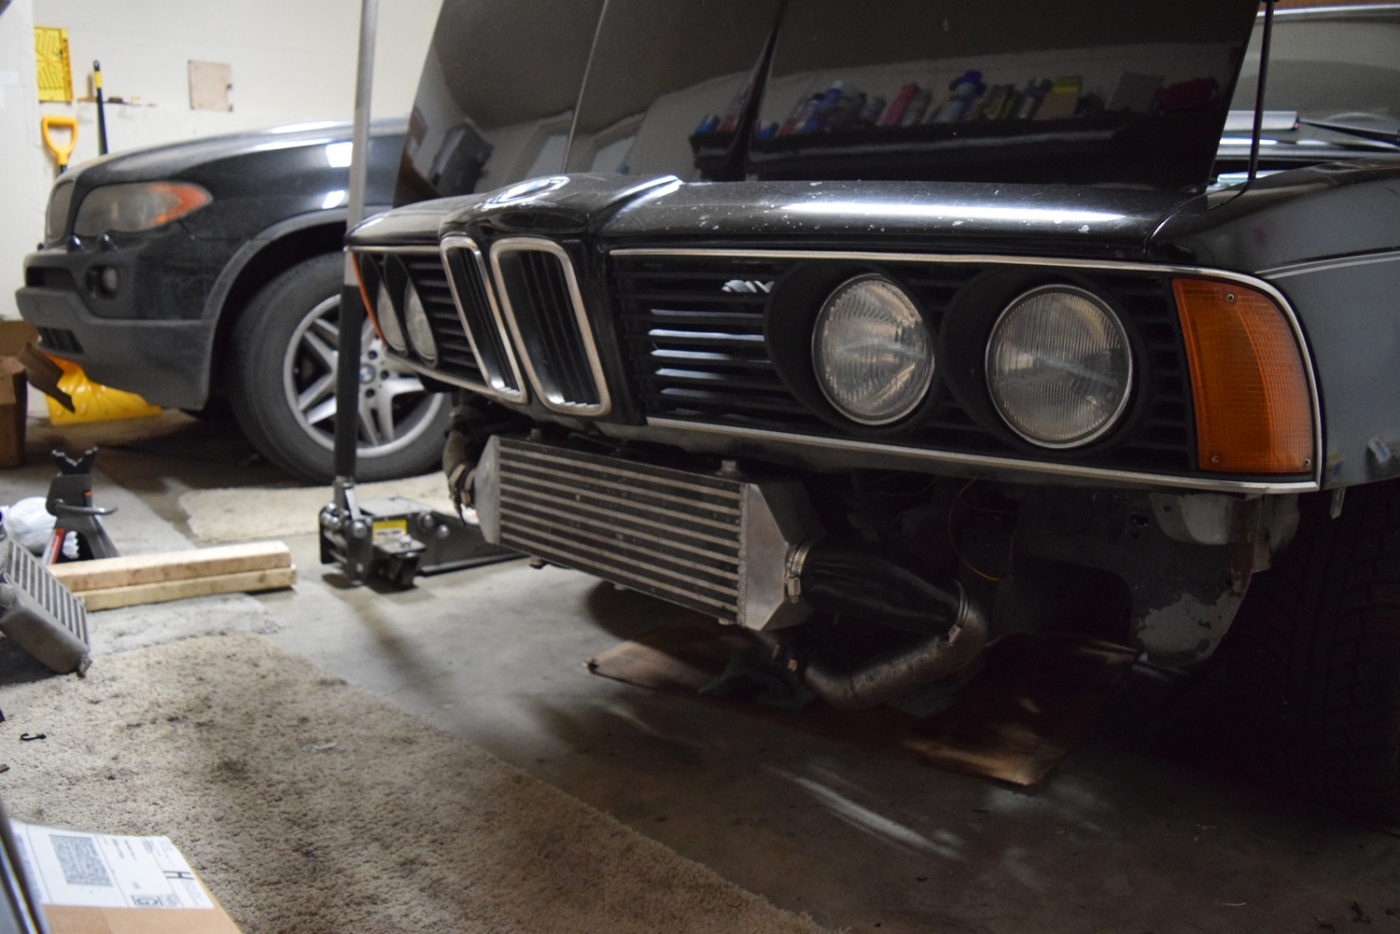
A shot underneath. still using basically all 2 in diameter piping from the callaway kit and an extra elbow and the new intercooler. Fortunately the charge piping immediately post turbo provides another location to receive fresh, cool air for cooling before reaching the IC.
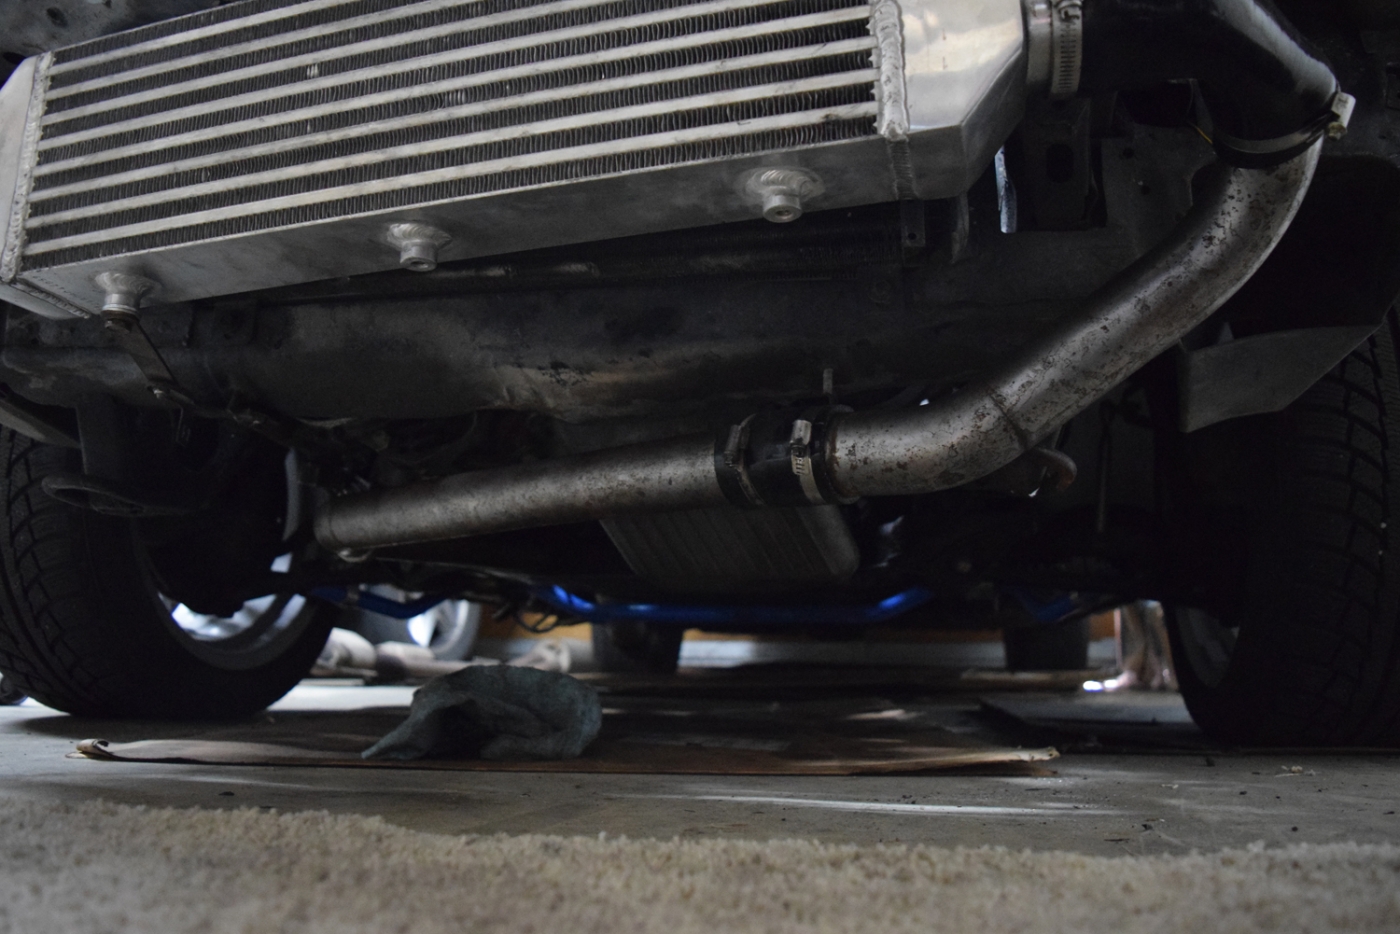
My piping is slightly larger than 2in diameter so it is difficult to get my 2in diameter tbolt clamps on place. I may still use them, but I need to decide how I am going to fit the front spoiler and bumper over all of the piping.
I started the car and got it idling for a good 10 minutes to check for leaks and such. Still idling at about 1000rom, but everything else appeared in good shape. after getting the exhaust on, I took the car around the block. Initial impressions, it feels very similar to before, but likely smoother power delivery. AFR's were slightly rich as I tried the FQS switch at both 0 position and the 2 position (where I had it). The car was much closer to 12.5 target AFR's with the FQS switch still at position 2 (where it was before). I was confidant enough that I opened her up. The new wastegate has a 7psi spring and overall power delivery is nice and steady. the car felt very similar in acceleration to the Rotomaster turbo at 11psi, but of course I was going easy and not getting up to speed or pushing the car.
The intercooler is definitely working as I could feel a nice temperature gradient from one side to the other, something I couldn't say for the Callaway unit, which was just totally warm throughout. The heat shielding was also helping I think as the charge piping to he intake didn't seem as hot-- Recall it sits right about the exhooassed manifold.
More details and possibly video to follow later this week.


Another view of the intercooler piping. Right now the front bumper won't clear, so I will have to decide how I want to proceed...

A shot underneath. still using basically all 2 in diameter piping from the callaway kit and an extra elbow and the new intercooler. Fortunately the charge piping immediately post turbo provides another location to receive fresh, cool air for cooling before reaching the IC.

My piping is slightly larger than 2in diameter so it is difficult to get my 2in diameter tbolt clamps on place. I may still use them, but I need to decide how I am going to fit the front spoiler and bumper over all of the piping.
I started the car and got it idling for a good 10 minutes to check for leaks and such. Still idling at about 1000rom, but everything else appeared in good shape. after getting the exhaust on, I took the car around the block. Initial impressions, it feels very similar to before, but likely smoother power delivery. AFR's were slightly rich as I tried the FQS switch at both 0 position and the 2 position (where I had it). The car was much closer to 12.5 target AFR's with the FQS switch still at position 2 (where it was before). I was confidant enough that I opened her up. The new wastegate has a 7psi spring and overall power delivery is nice and steady. the car felt very similar in acceleration to the Rotomaster turbo at 11psi, but of course I was going easy and not getting up to speed or pushing the car.
The intercooler is definitely working as I could feel a nice temperature gradient from one side to the other, something I couldn't say for the Callaway unit, which was just totally warm throughout. The heat shielding was also helping I think as the charge piping to he intake didn't seem as hot-- Recall it sits right about the exhooassed manifold.
More details and possibly video to follow later this week.
Last edited by tschultz on Feb 29, 2016 10:58 AM, edited 1 time in total.
Re: Callaway 633CSi - 2/25 New Turbo Install Process
Air dam fits in front of the intercooler! I had to shift everything over slightly for it to all fit, but it fits! Maybe some photos of it later in the week when I have some more time. I'll be curious to note how much the intercooler stands out from behind the airdam visually. I didn't really like how the Callaway unit looked behind the airdam (it didn't really fill it out enough).
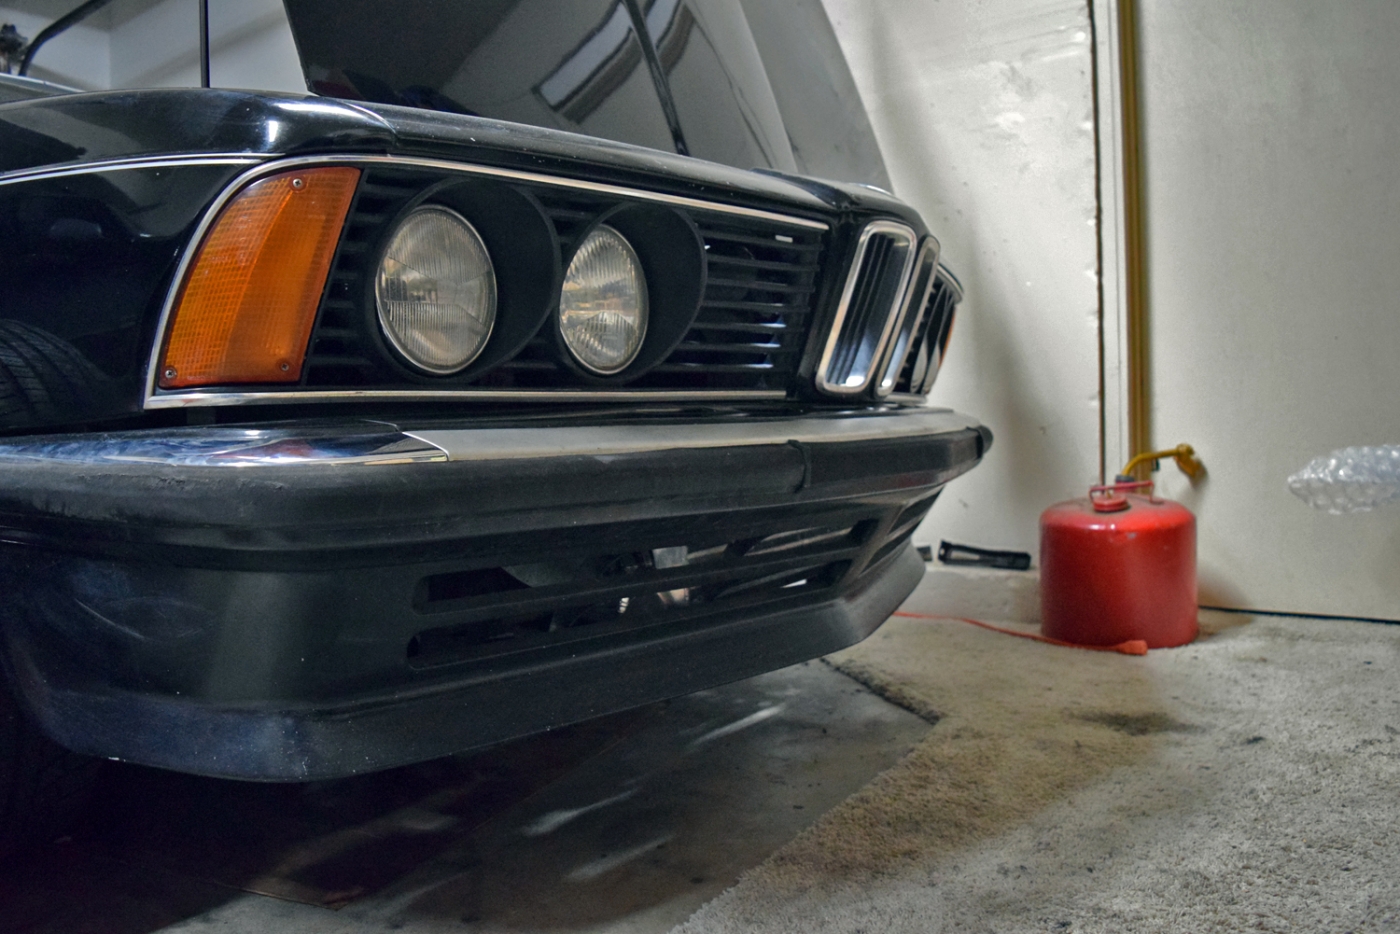
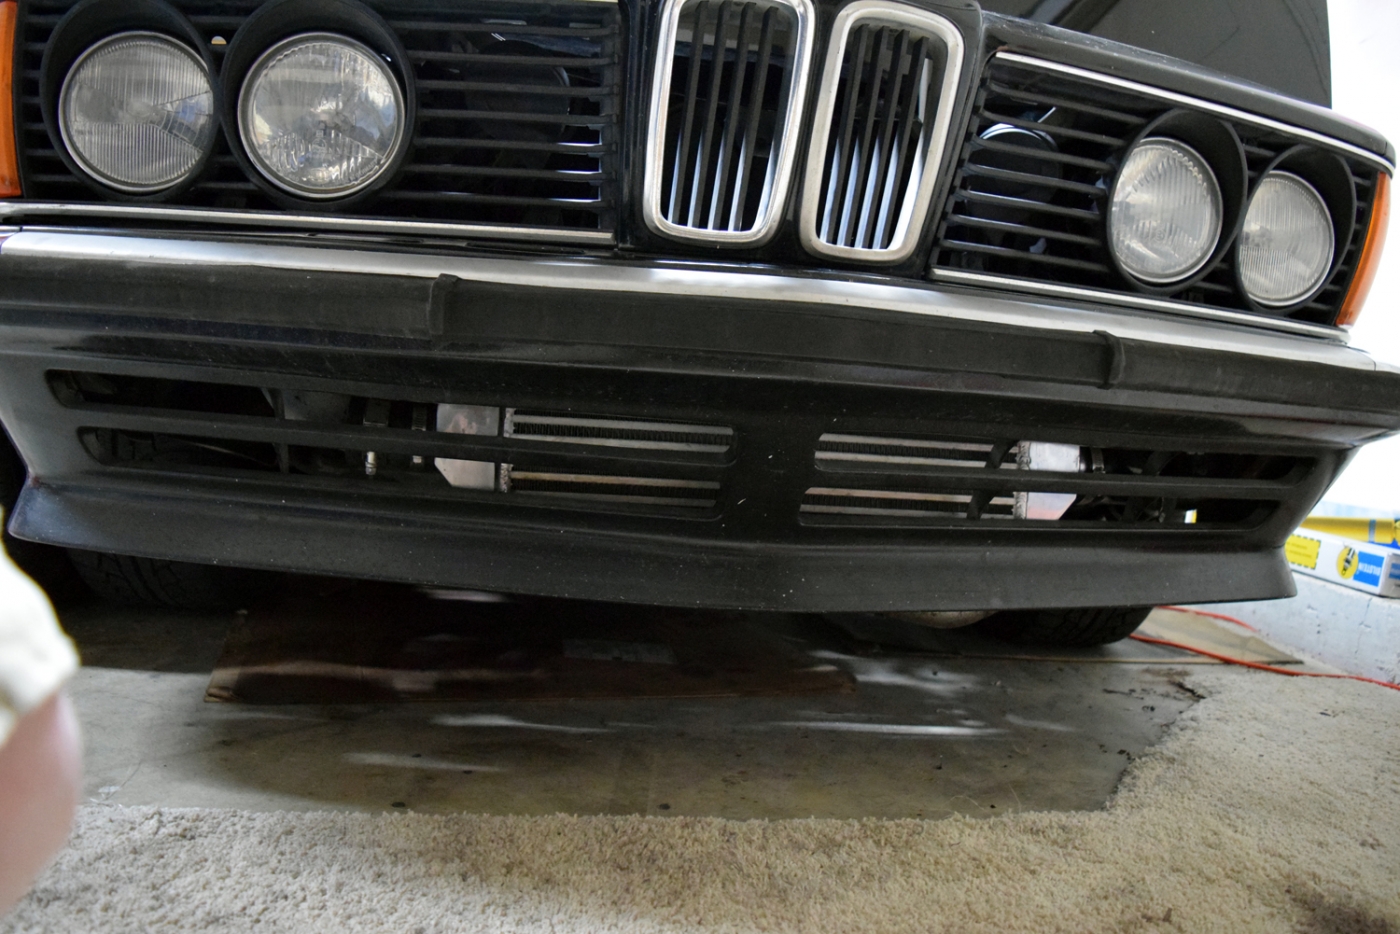
Going to try to bring the car to an exhaust shop soon so I can bring everything tighter to the body and finally put on the new bilstein sports, eibach spring, and front strut bar.


Going to try to bring the car to an exhaust shop soon so I can bring everything tighter to the body and finally put on the new bilstein sports, eibach spring, and front strut bar.
-
Mark 88/M5 Houston
- Posts: 8548
- Joined: Feb 12, 2006 12:00 PM
- Location: Far North Houston
Re: Callaway 633CSi - 2/25 New Turbo Install Process
Looking very nice! Hit the face of the intercooler with some flat black and it will disappear.
Re: Callaway 633CSi - 2/25 New Turbo Install Process
I may have to do that! I do like the stealth factor 
Another small update from tonight. I decided to try to install my rear Mason Engineering strut bar.
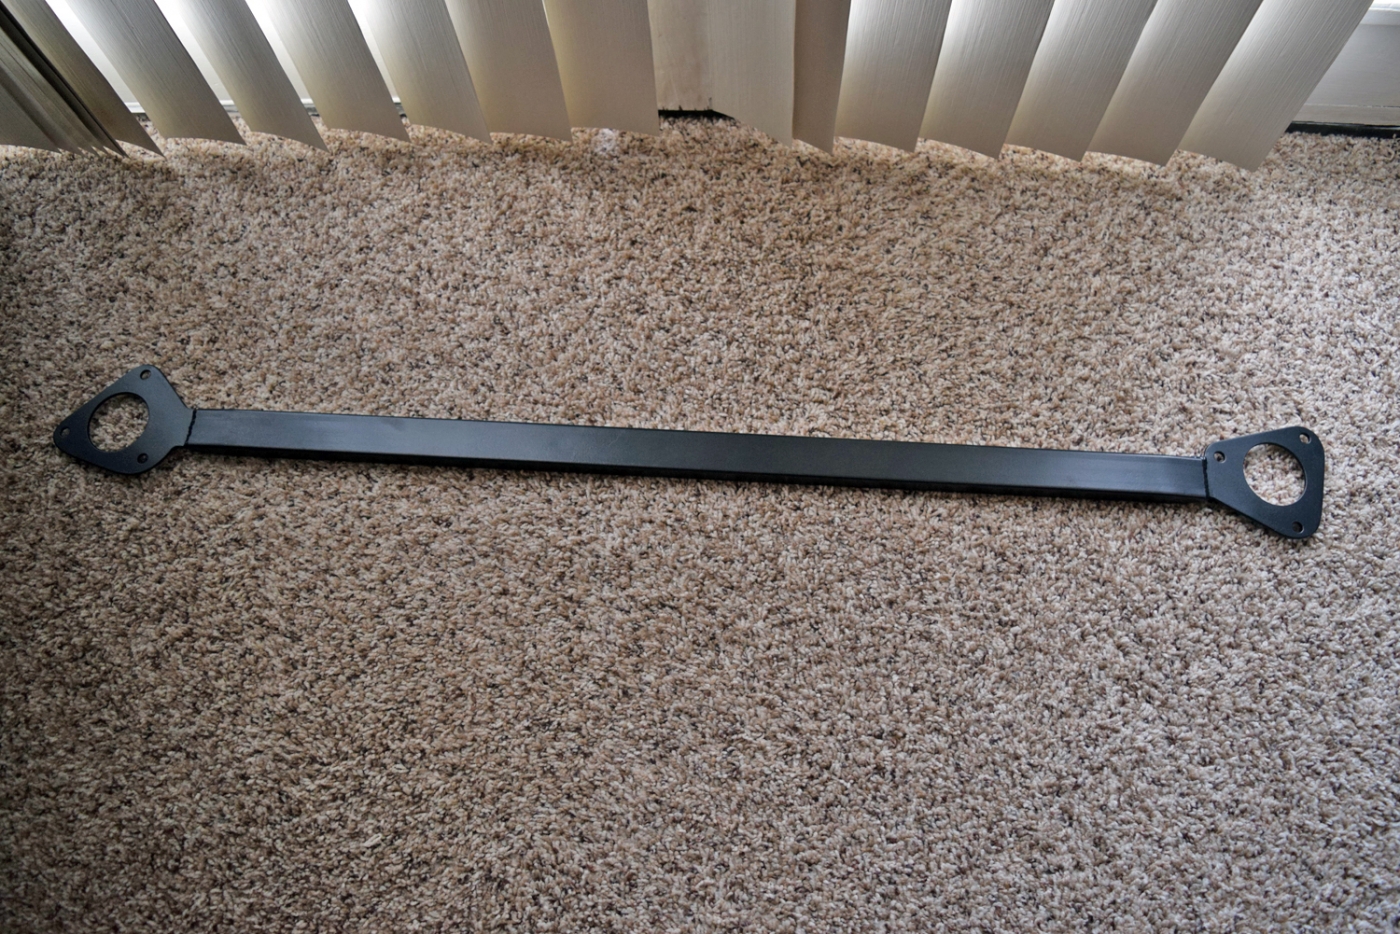
The old Jakeb e28 bar wouldn't fit, so I bought one of these. The good news is that it fits! The proximity is very tight just because of the rear geometry of the E24. I think the parcel shelf sits lower than that on an e28, so there really is almost no space for a rear bar. I was glad to finally get everything in place after dropping rear shocks/springs from each side. See photos below.
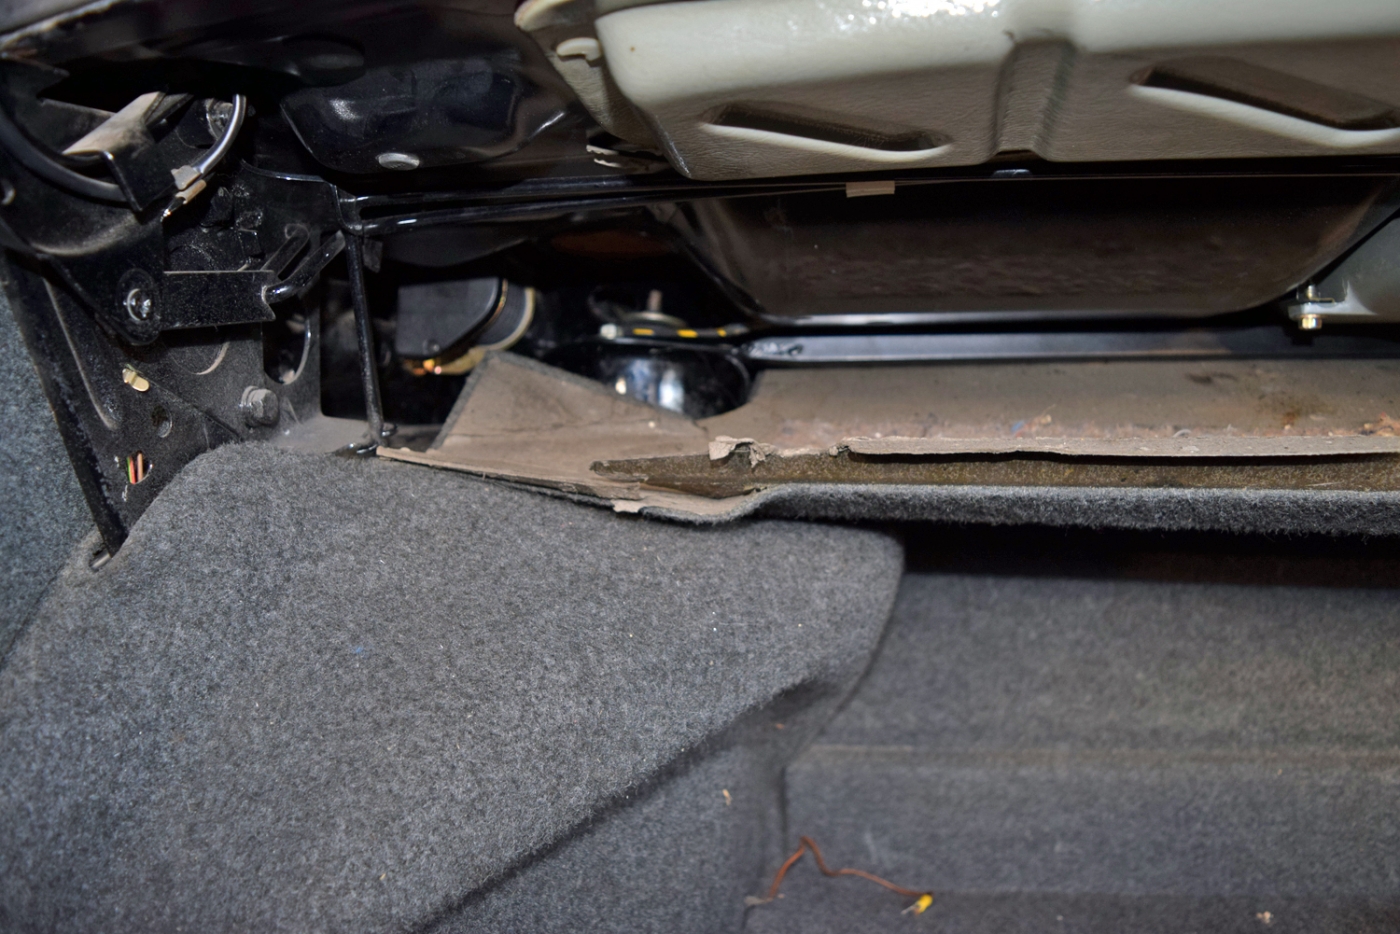
The expansion tank fits above the bar, but I did have to pull it out to get everything into place.
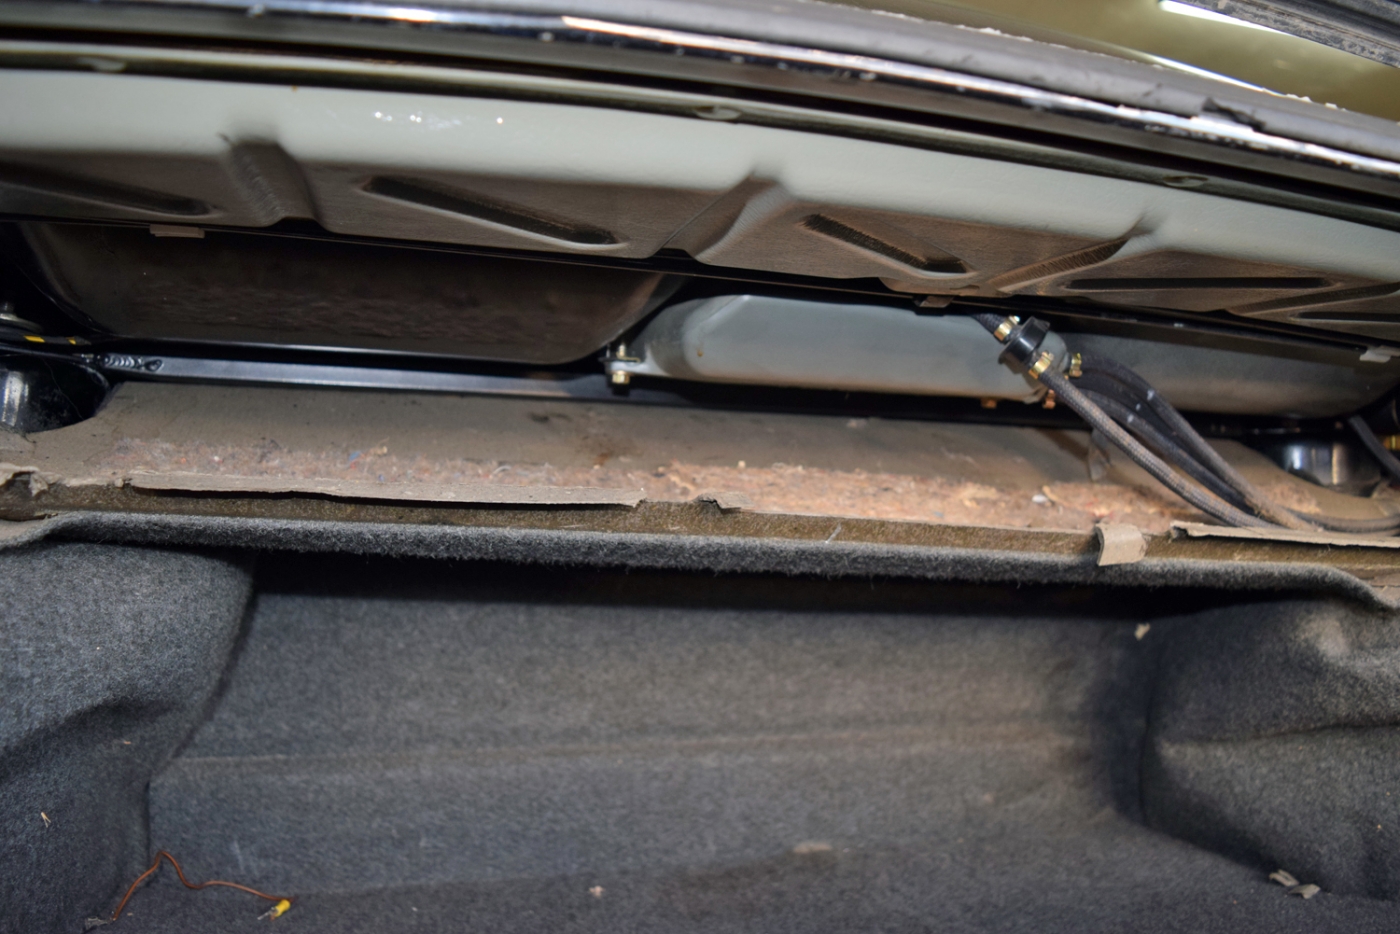
The front-most nut on the right side I can't tighten much past finger tight. That's ok because I won't be able to get it off later if I can tighten it. I don't really care to remove the parcel shelf at this point...
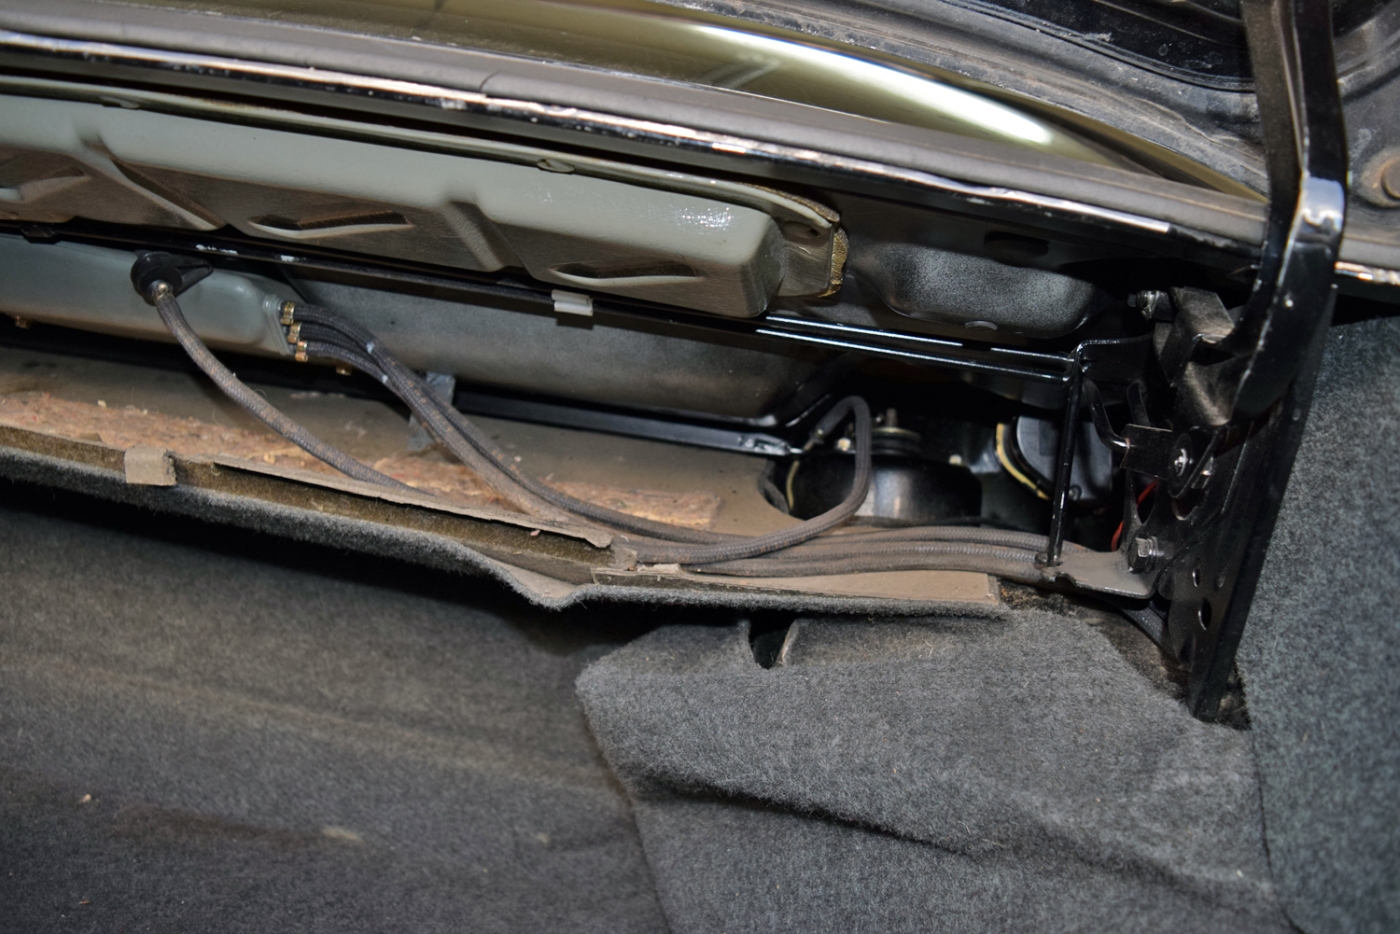
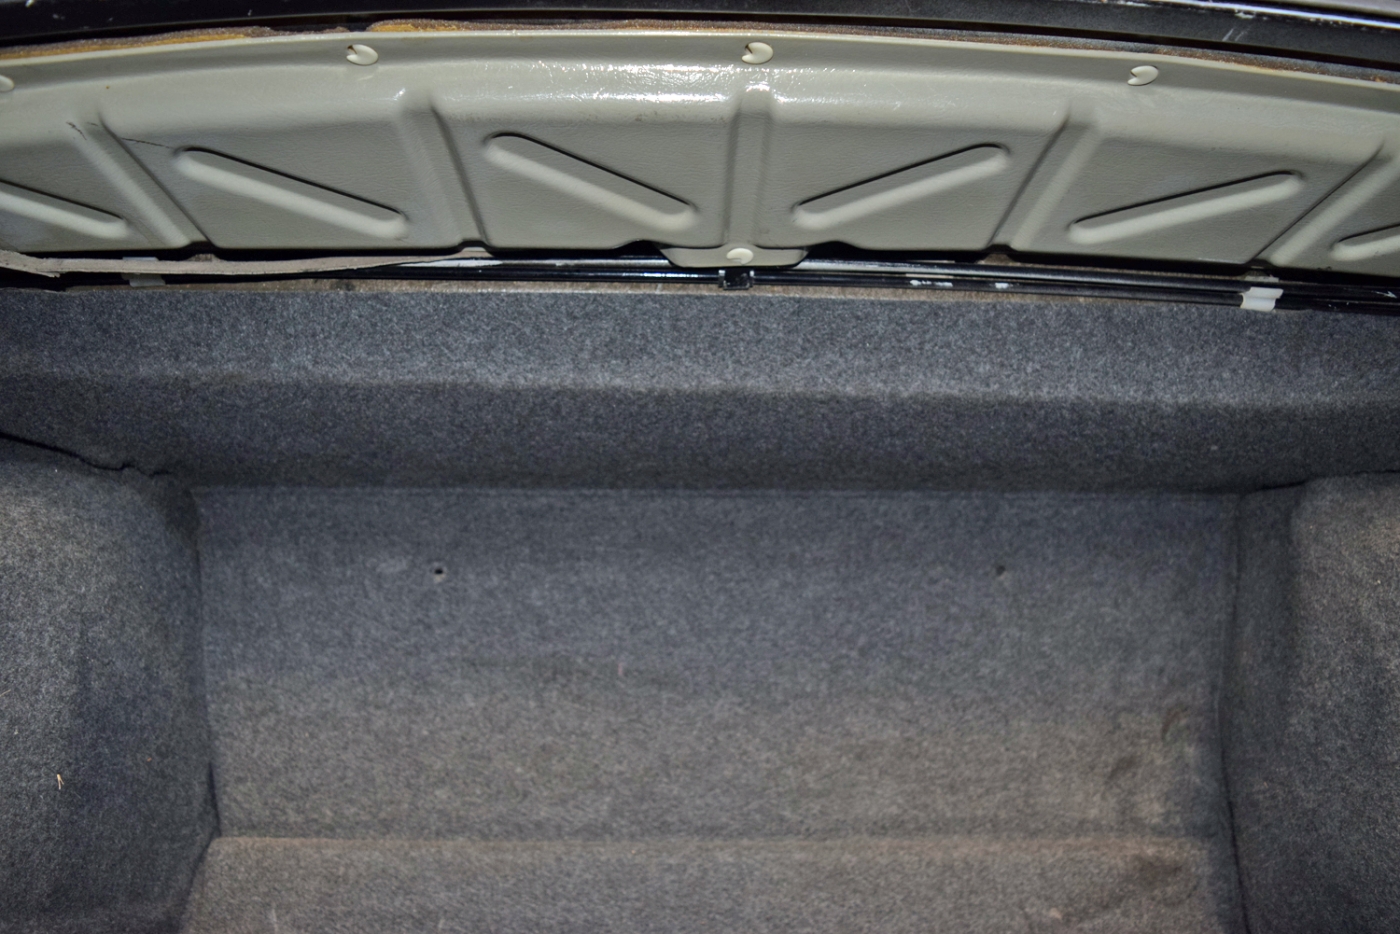
All buttoned up, and you can't even tell it is back there! At least this means it doesn't reduce storage space in the trunk!
I removed the restrictor fitting, so I have the standard #4 JIC x 1/8" NPT DM nipple supplying oil to the turbo. I swapped a new oil pressure sender in the head and found that the oil pressure is a bit better than the other sender indicated. I think oil pressure is acceptable for this engine, albeit maybe on the low side at idle because of the oil pressure being distributed to the turbo. At hot idle, it seems to be in the 8-10 range, the light will flicker when the revs drops slightly. At 2000rpm fully warmed up it has a healthy 30psi, so I am not worried.
I drove the car around tonight after getting everything reinstalled. With the larger injectors and fpr, cruising AFR's are actually richer than where they were with the other turbo. Cruise is close to 12:1, instead of about 15 where it was. The FQS switch is still 2 position 2 (-3% fuel), but I have larger 24lb injectors, a 3 bar FPR, and the BEGI 2025 with both adjustment knobs all the way relaxed.
In boost, AFR's are about 10.5-12.0:1. Slightly richer than what I want, especially in 1st/2nd gear where they are near 10.5. I am thinking about reverting back to the 2.5bar FPR to see if that helps to bring cruise back to a reasonable level. The other option would be to go back to the stock 17lb fuel injectors and keep the 3 bar FPR and simply increase the rail pressure on the RRFPR. Not sure which of the two I want to try first. I am thinking the 2.5bar FPR won't make a significant difference, but only one way to find out.
Another small update from tonight. I decided to try to install my rear Mason Engineering strut bar.

The old Jakeb e28 bar wouldn't fit, so I bought one of these. The good news is that it fits! The proximity is very tight just because of the rear geometry of the E24. I think the parcel shelf sits lower than that on an e28, so there really is almost no space for a rear bar. I was glad to finally get everything in place after dropping rear shocks/springs from each side. See photos below.

The expansion tank fits above the bar, but I did have to pull it out to get everything into place.

The front-most nut on the right side I can't tighten much past finger tight. That's ok because I won't be able to get it off later if I can tighten it. I don't really care to remove the parcel shelf at this point...

All buttoned up, and you can't even tell it is back there! At least this means it doesn't reduce storage space in the trunk!

I removed the restrictor fitting, so I have the standard #4 JIC x 1/8" NPT DM nipple supplying oil to the turbo. I swapped a new oil pressure sender in the head and found that the oil pressure is a bit better than the other sender indicated. I think oil pressure is acceptable for this engine, albeit maybe on the low side at idle because of the oil pressure being distributed to the turbo. At hot idle, it seems to be in the 8-10 range, the light will flicker when the revs drops slightly. At 2000rpm fully warmed up it has a healthy 30psi, so I am not worried.
I drove the car around tonight after getting everything reinstalled. With the larger injectors and fpr, cruising AFR's are actually richer than where they were with the other turbo. Cruise is close to 12:1, instead of about 15 where it was. The FQS switch is still 2 position 2 (-3% fuel), but I have larger 24lb injectors, a 3 bar FPR, and the BEGI 2025 with both adjustment knobs all the way relaxed.
In boost, AFR's are about 10.5-12.0:1. Slightly richer than what I want, especially in 1st/2nd gear where they are near 10.5. I am thinking about reverting back to the 2.5bar FPR to see if that helps to bring cruise back to a reasonable level. The other option would be to go back to the stock 17lb fuel injectors and keep the 3 bar FPR and simply increase the rail pressure on the RRFPR. Not sure which of the two I want to try first. I am thinking the 2.5bar FPR won't make a significant difference, but only one way to find out.
Re: Callaway 633CSi - 2/25 New Turbo Install Process
Interestingly i just reverted back to stock injectors to fix a fueling issue... Going to start changing one thing at a time now that I have gotten closer on my fueling. I haven't changed my FQS yet... Going to toss in the 24s at some point and document what has to change to accommodate.
Re: Callaway 633CSi - 2/25 New Turbo Install Process
Yeah, with Motronic, you have to deal with the imprecise mixture. You can make it run fairly reliable, but you can't really push for high power due to the risk of detonation, and the inaccurate AFR's. It sounds like with MS a primary advantage is adjusting fuel in increments throughout the map so that with any injectors, the proper AFR's can be achieved.
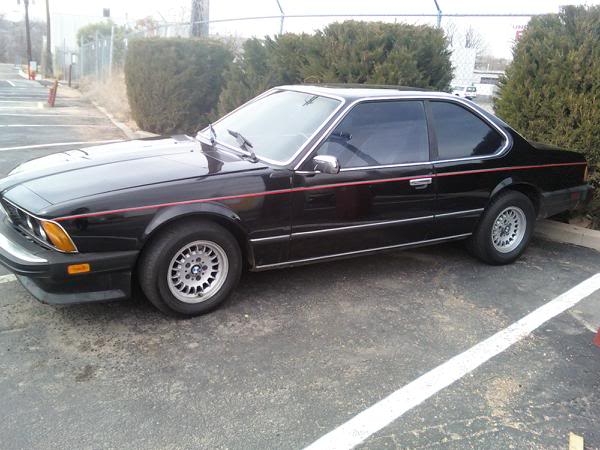
I had a virus last year (cryptolocker) that damaged some of my files, and I lost some of the original images of the car from the ad and previous owner. But I did find one from the owner before him who had listed the car on bimmerforums. Here's his only picture. It looks like it was kept fairly nice at this point... Not sure what year the photo was taken-- he posted it 3/2011.
I took the car to an exhaust shop for a quote on bringing the exhaust system closer to the body along with getting it properly hung in place.
The bad news is that I now have a large oil leak, and due to safety concerns, they won't work on it until the leak is fixed (and oil is not coating the underside of the car and the exhaust). I investigated after getting home and retightened the oil drain fitting, as I thought that was the culprit.
Unfortunately after simply restarting the car and idling, it leaks out a small puddle of oil from between the bellhousing and engine. This is on the passenger side, basically right behind the turbo (hence my original thought on the oil drain). I am thinking this is a bad rear main seal . Here's a good thread on the topic: http://www.mye28.com/viewtopic.php?f=3& ... 1&start=25
I don't know that I have the time or tools to pull the trans and swap out the seal myself, so I am trying to contact a local private mechanic to see if he can help. From my research, everybody indicates it's a pain to reach the top trans bolts and get them out without stripping.
I really wanted to get the exhaust repaired and fixed soon so I can finish the front end shock/spring/control arm swap and go to a lapping day in early April. I already registered early this week, not knowing I had this sort of issue
I had a virus last year (cryptolocker) that damaged some of my files, and I lost some of the original images of the car from the ad and previous owner. But I did find one from the owner before him who had listed the car on bimmerforums. Here's his only picture. It looks like it was kept fairly nice at this point... Not sure what year the photo was taken-- he posted it 3/2011.

I took the car to an exhaust shop for a quote on bringing the exhaust system closer to the body along with getting it properly hung in place.
The bad news is that I now have a large oil leak, and due to safety concerns, they won't work on it until the leak is fixed (and oil is not coating the underside of the car and the exhaust). I investigated after getting home and retightened the oil drain fitting, as I thought that was the culprit.
Unfortunately after simply restarting the car and idling, it leaks out a small puddle of oil from between the bellhousing and engine. This is on the passenger side, basically right behind the turbo (hence my original thought on the oil drain). I am thinking this is a bad rear main seal
I don't know that I have the time or tools to pull the trans and swap out the seal myself, so I am trying to contact a local private mechanic to see if he can help. From my research, everybody indicates it's a pain to reach the top trans bolts and get them out without stripping.
I really wanted to get the exhaust repaired and fixed soon so I can finish the front end shock/spring/control arm swap and go to a lapping day in early April. I already registered early this week, not knowing I had this sort of issue
Re: Callaway 633CSi - 2/25 New Turbo Install Process
You probably are aware of all the items, but just to make sure - I would take a look at the Duck gasket just above the bellhousing along with the oil pressure sending unit. Not sure where your turbo is located off hand but I had a nasty little crack in my oil supply housing (k27) that somehow made its way to the back of the motor as well.
The bolts aren't that bad- just unhook the driveshaft and jack the front of the motor up to tilt it back and give you the ability to use a few extensions (wobbles in the right sequence) from the output shaft of the trans all the way up to the bolts. its a bit of a pain, but I can do it pretty quickly now.
Do you have the removable flywheel cover? might want to try to take that off and take a look to confirm rear main. and make sure you buy a new rear main seal holder piece. I have replaced just the rear main and used the old holder and had it fail.
MS is better for sure... if you know what you're doing and don't have 2 little kids and work 80 hours a week and play taxi on the weekends and have no other hobbies or work that needs to be done on your cars :-)

