My Supercharged M30b35 build.

Discussion pertaining to positive pressure E28s.
Rav335uk
Posts: 59
Joined: Nov 03, 2012 5:00 PM
Location: In Blighty

My Supercharged M30b35 build.

Post by Rav335uk »

Hi guys,
I've been hovering around the forum for about a month, to pick up some hints on the M30's.
I'm not new to these engines, I have one in my E30 convertible now for about 3 years.

But now I have another E30, and thought a complete engine rebuild would be the way to go forward.
Anyway, Pics below, and any advice would be most welcome.
Thanks Rav.

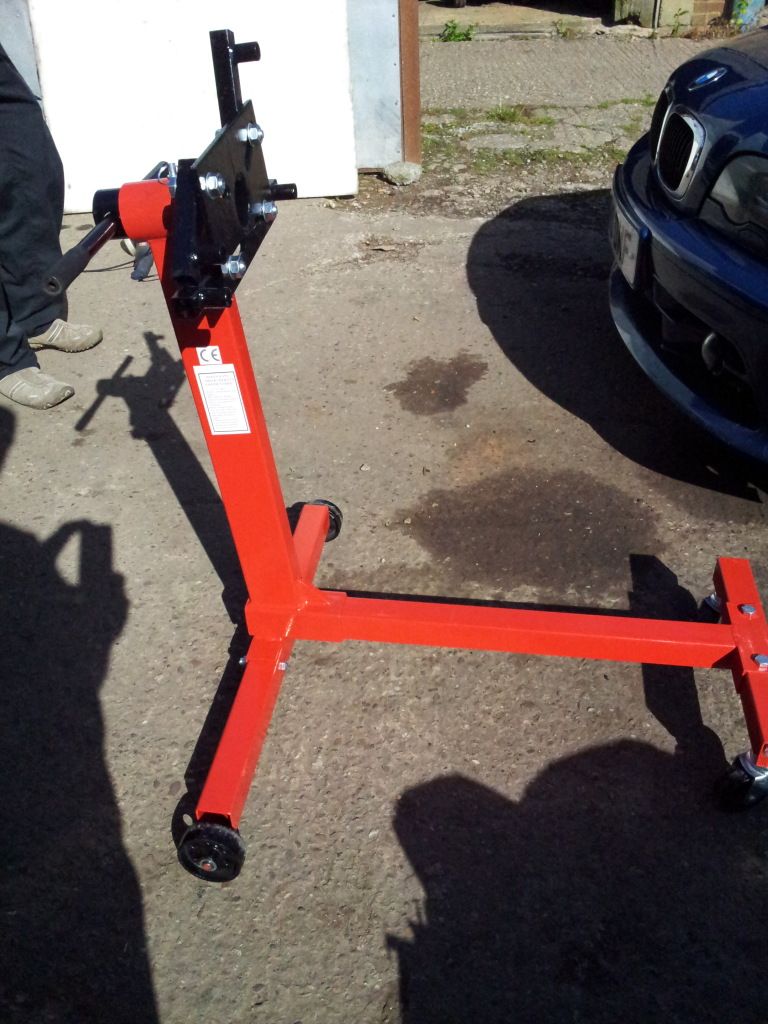
Engine stand bought, went for the 450kg one as there was abotu £5 difference in price.
All assembled.

Image

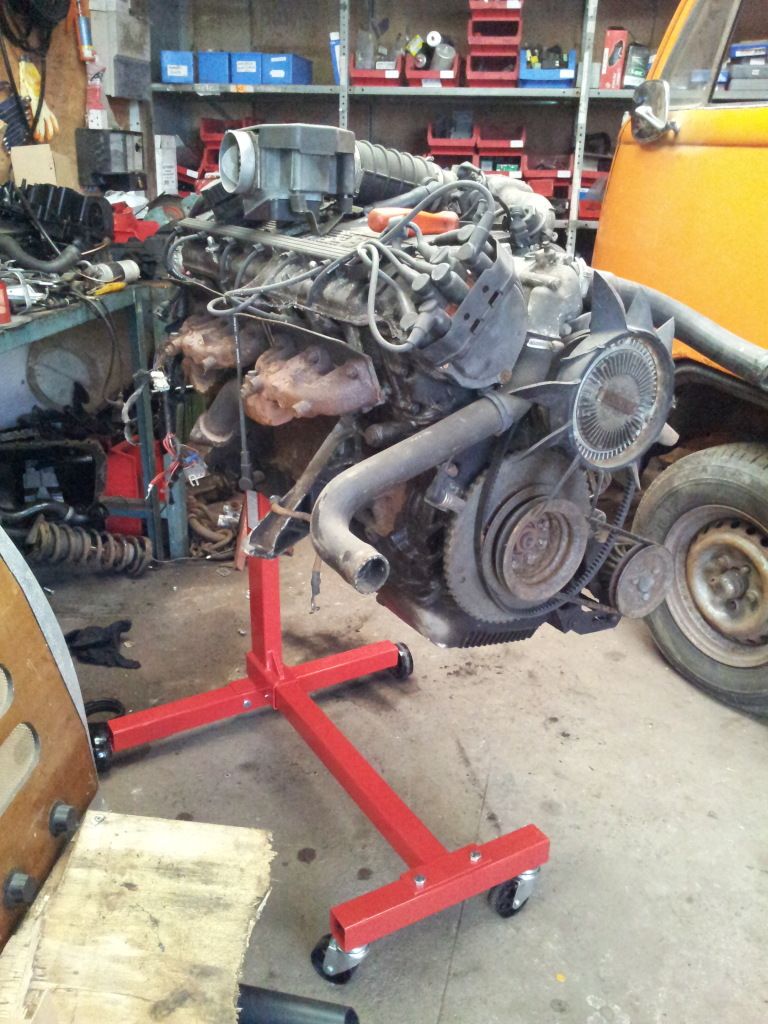
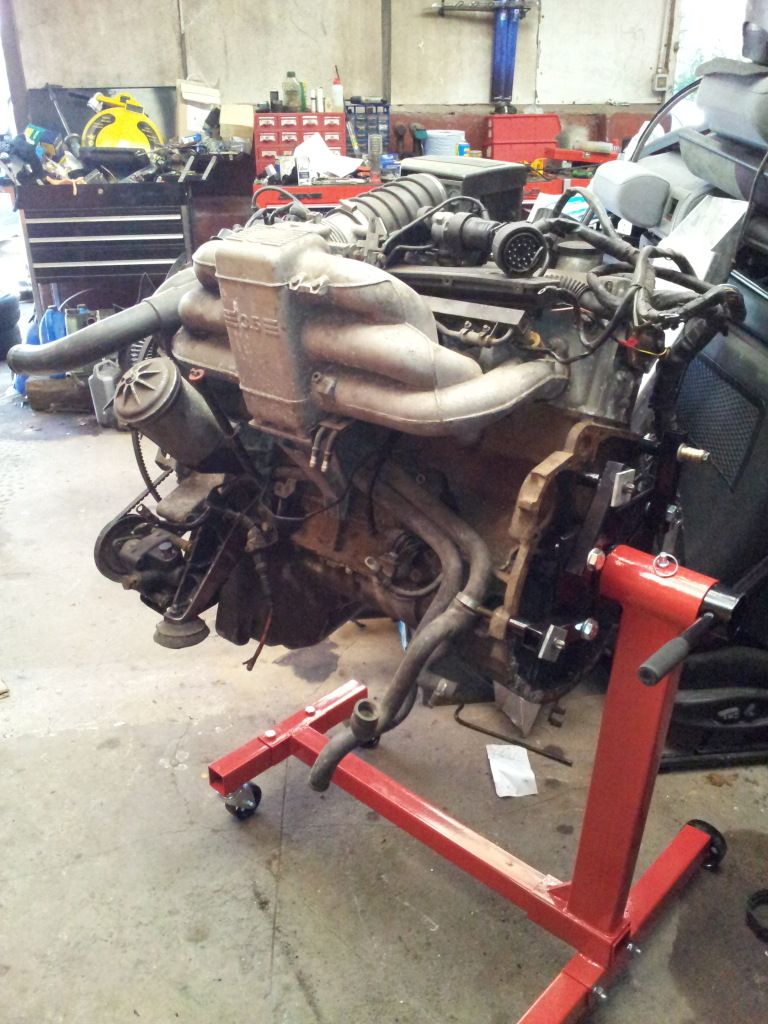
Engine on and ready for stripping
Image
Image

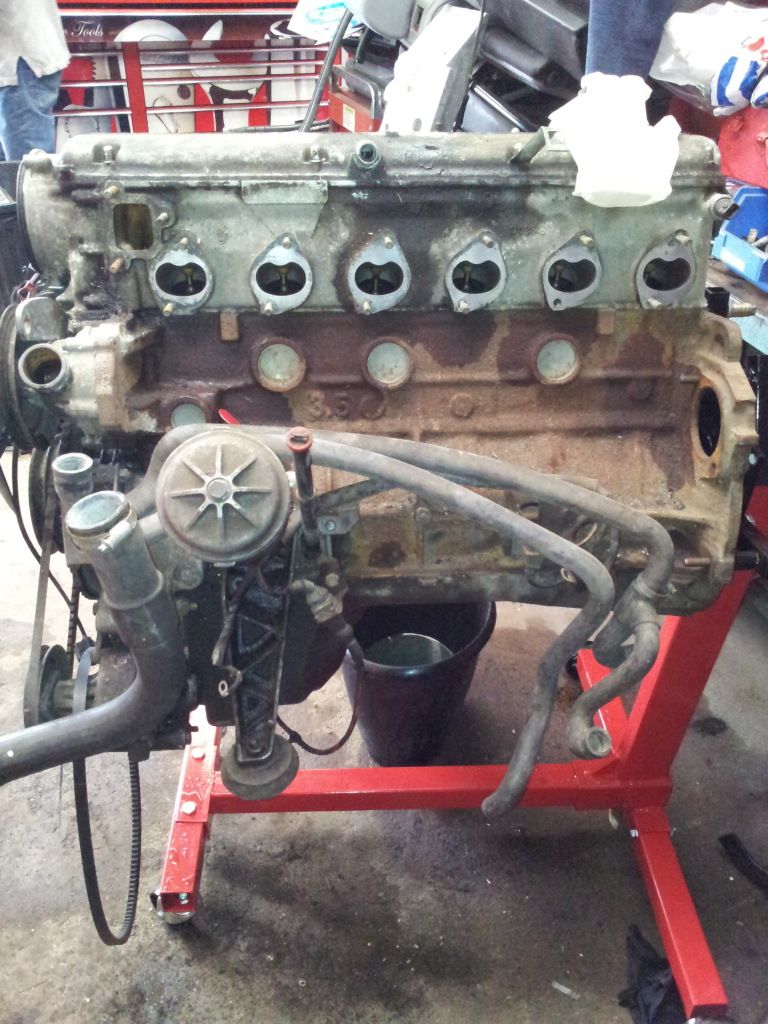
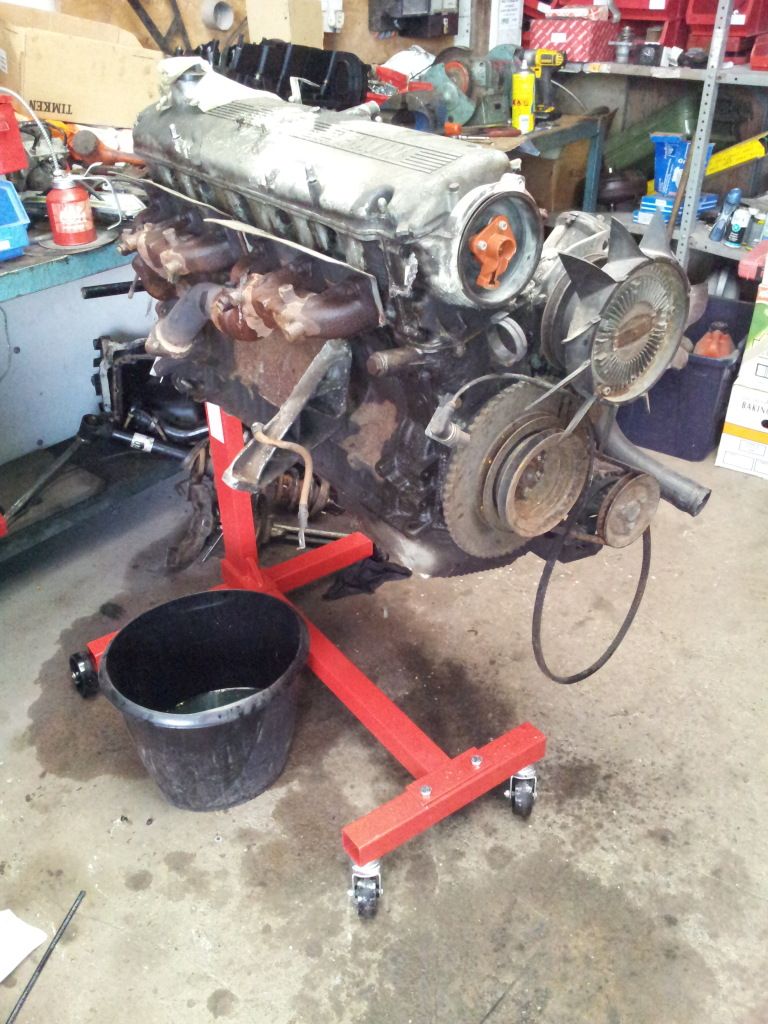
And this is a few hours later.
Image
Image

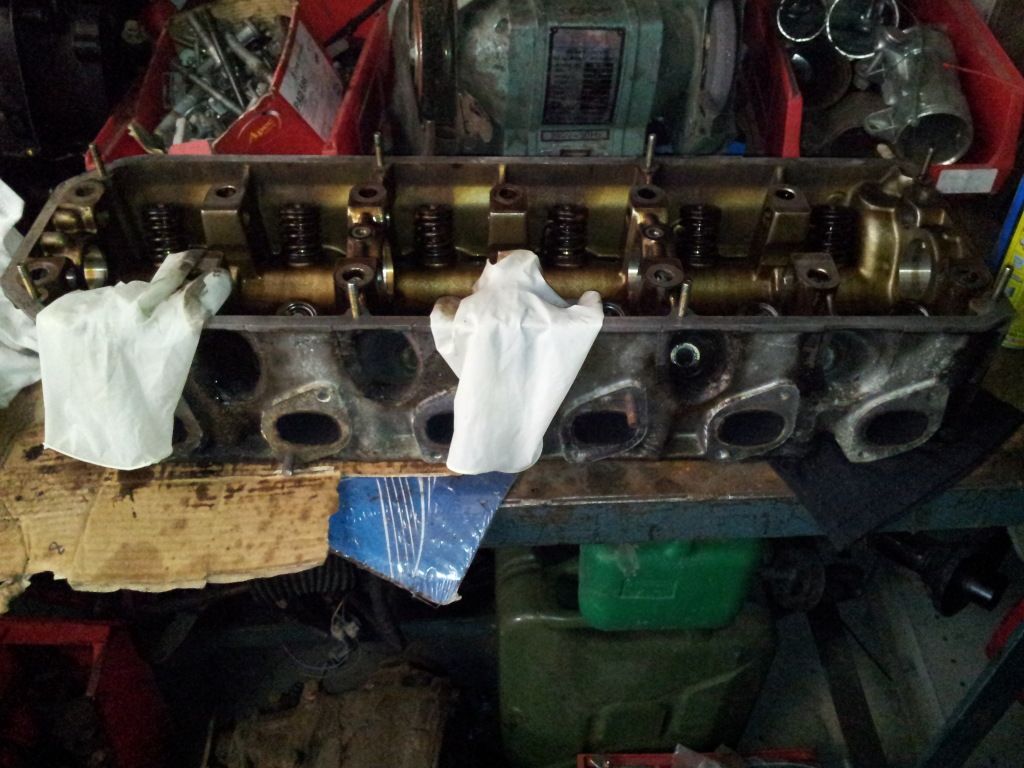
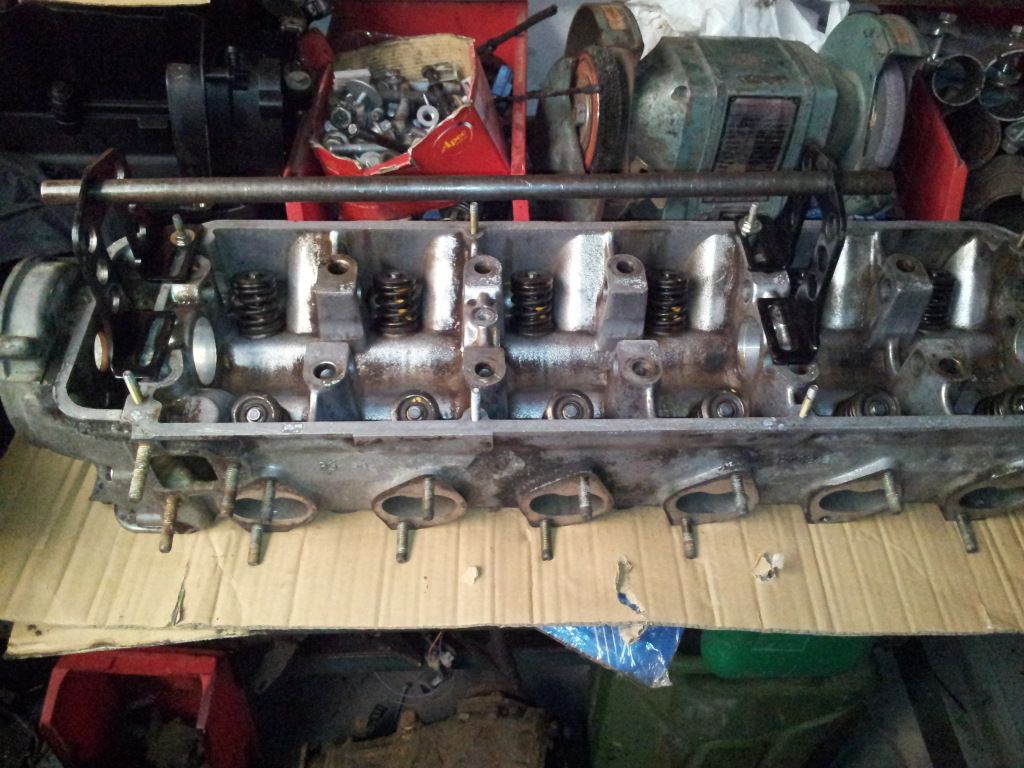
Head off, rocker shafts removed, rockers and cam out too.

Image

Head now booked in for Monday for a pressure test and a 1/2mm skim :twisted:
I'll take out the valves on Monday for those eagled eye fookers!

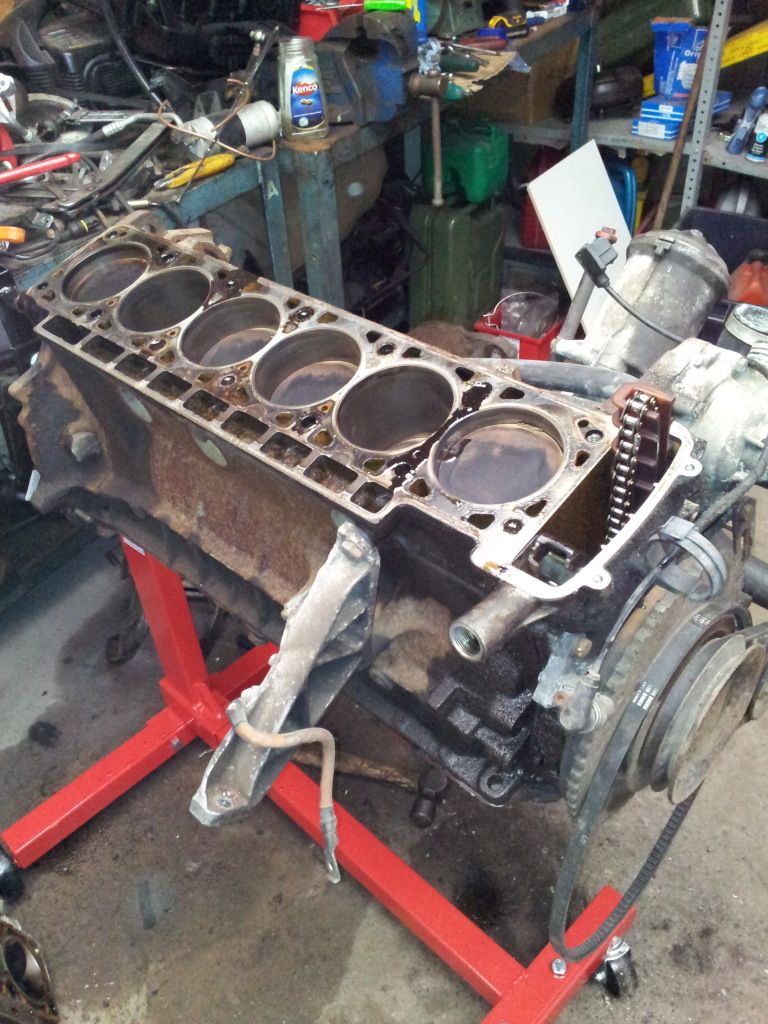
Image

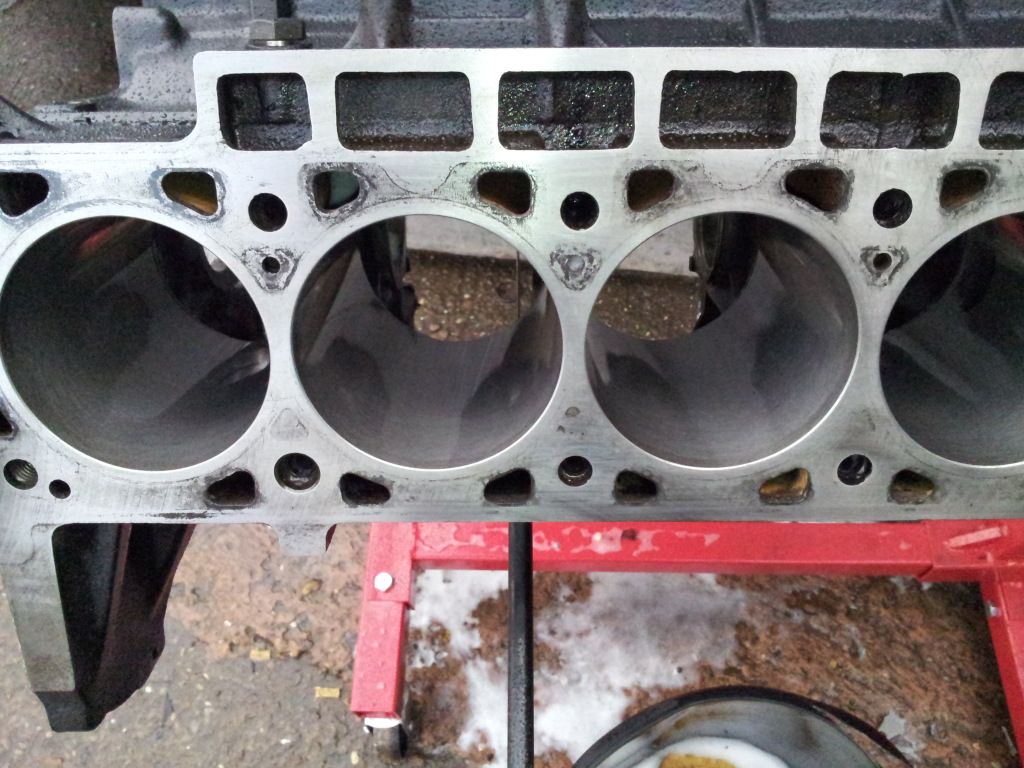
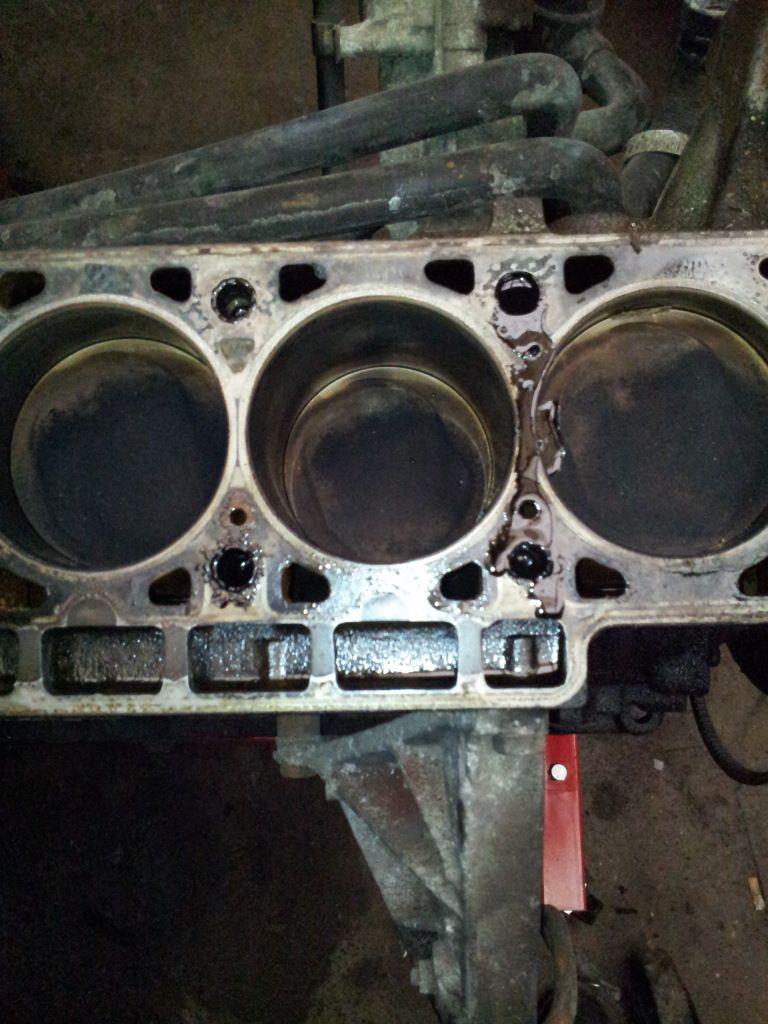
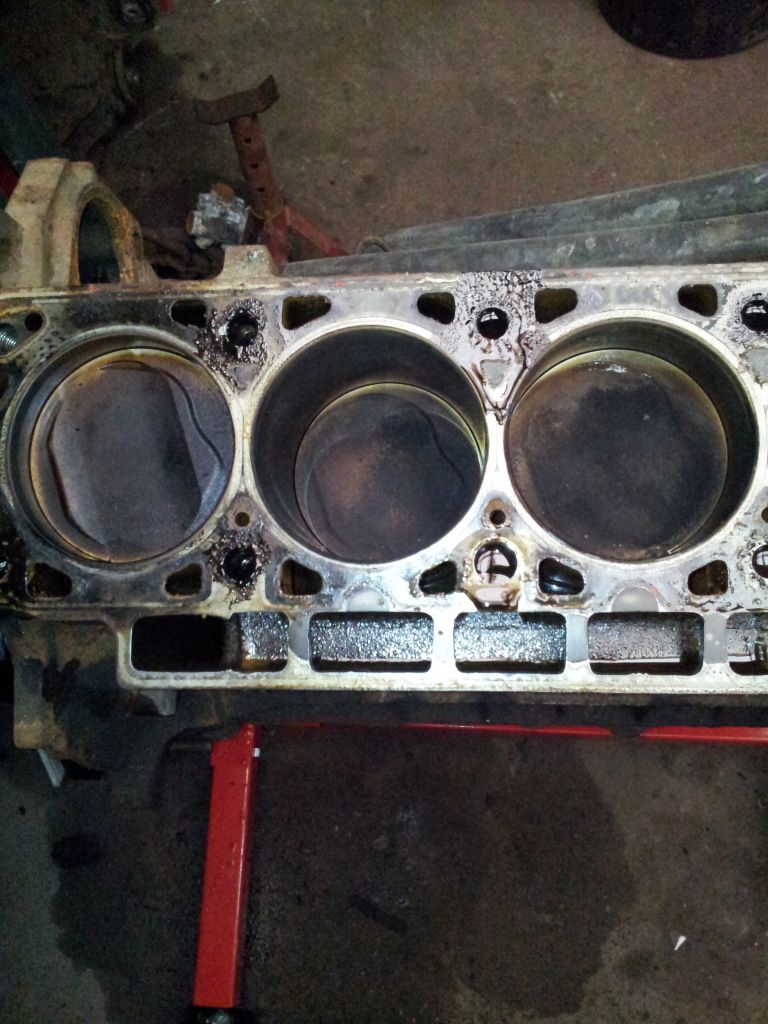
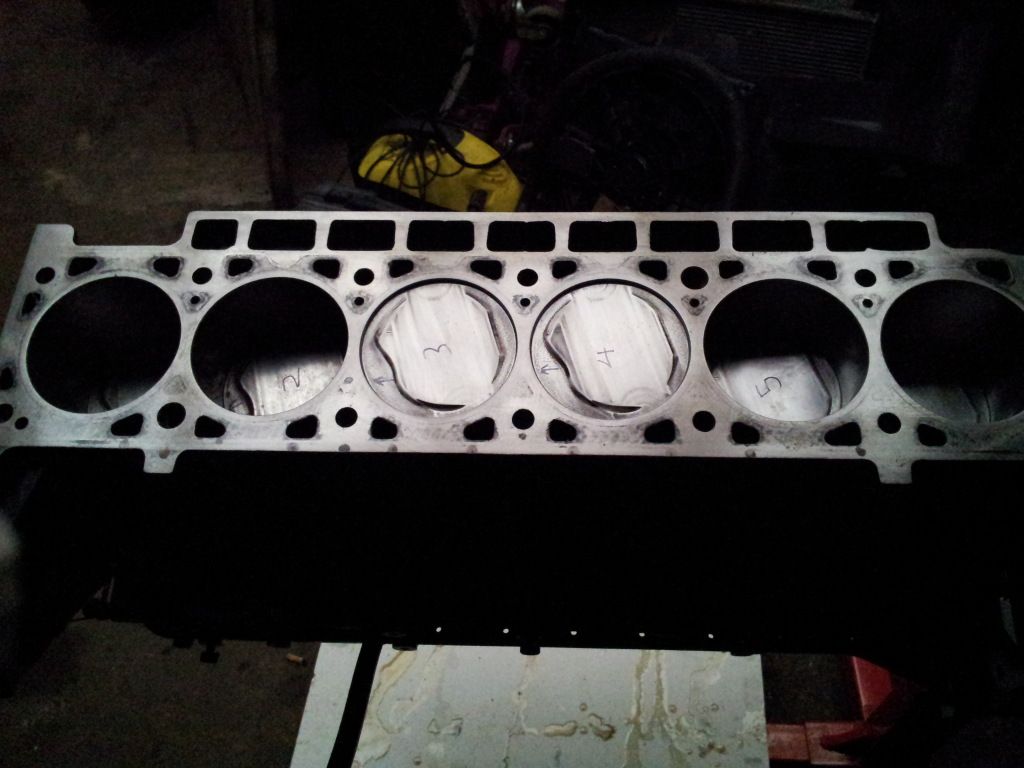
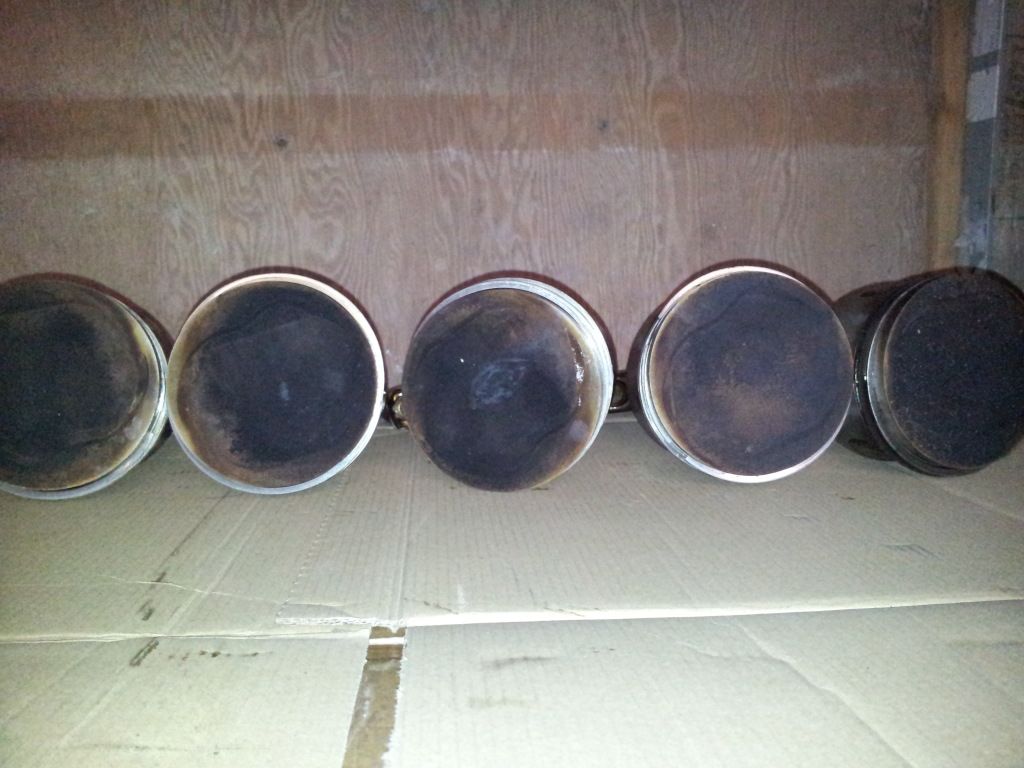
Pistons look to be OK, and the bores look good too, can still see the honing marks on them.
Looks to have been running rick though.

Image
Image

Block will be wired down and painted.
Rav335uk
Posts: 59
Joined: Nov 03, 2012 5:00 PM
Location: In Blighty

Post by Rav335uk »

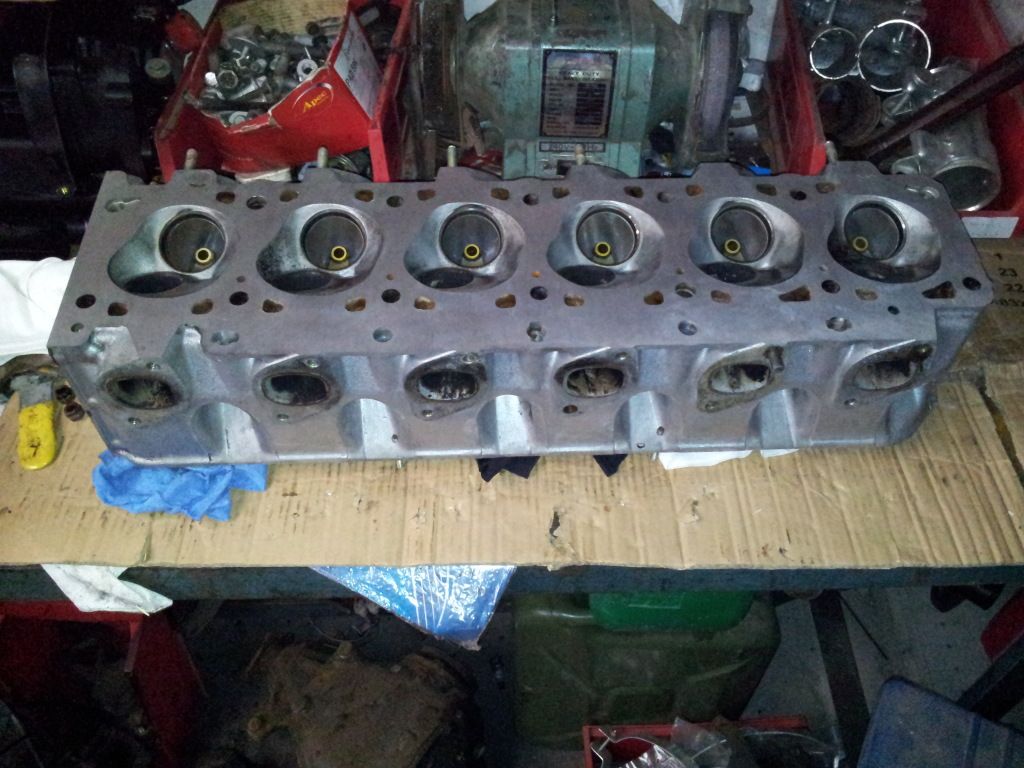
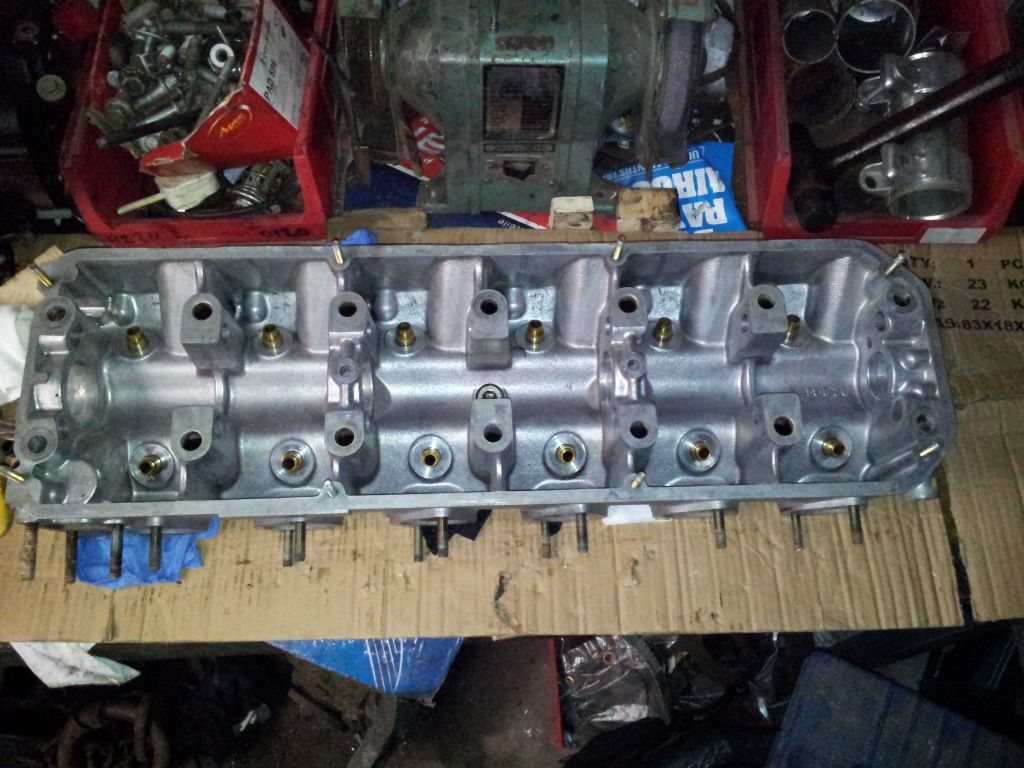
Gave the head in on Monday for a pressure test and skim.
Pressure test was good, and a skim of 4 thou wasa only needed.

Picked it up this morning, removed the valves, and the guides and gave it a quick clean.

Image
Image
Image

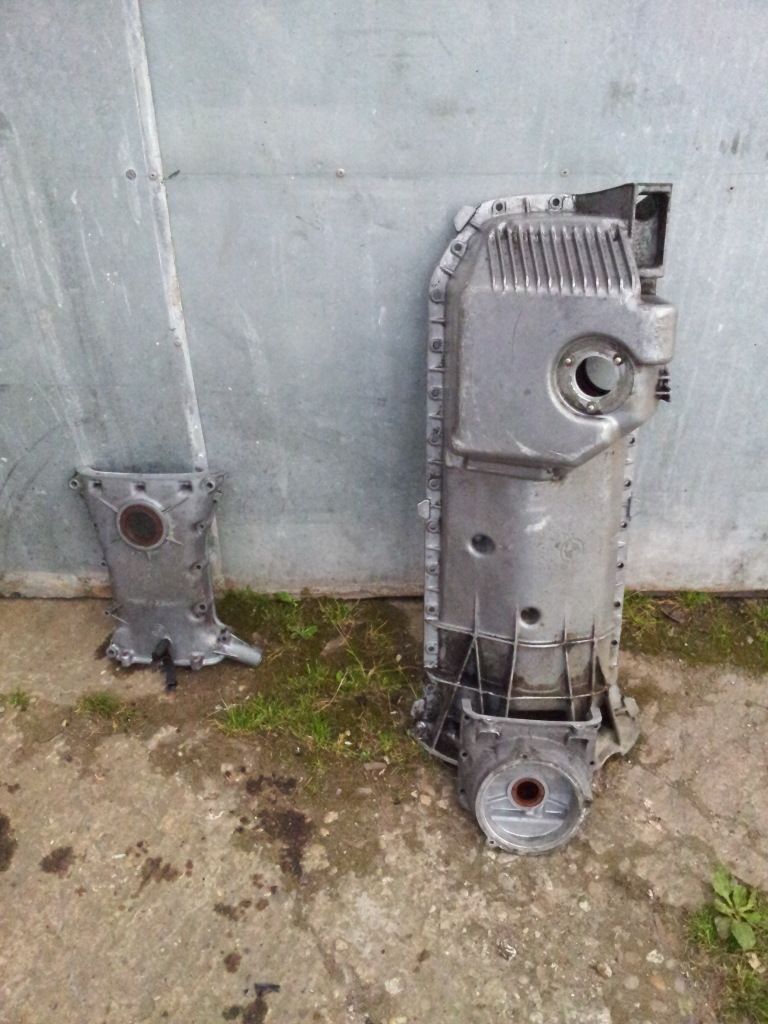
Removed the lower timing cover (Covered in years of oil baked on :cry: )
Removed the sump, again covered in years of oil, and got cleaning.


Image

Inspected the chain, all looks good there.
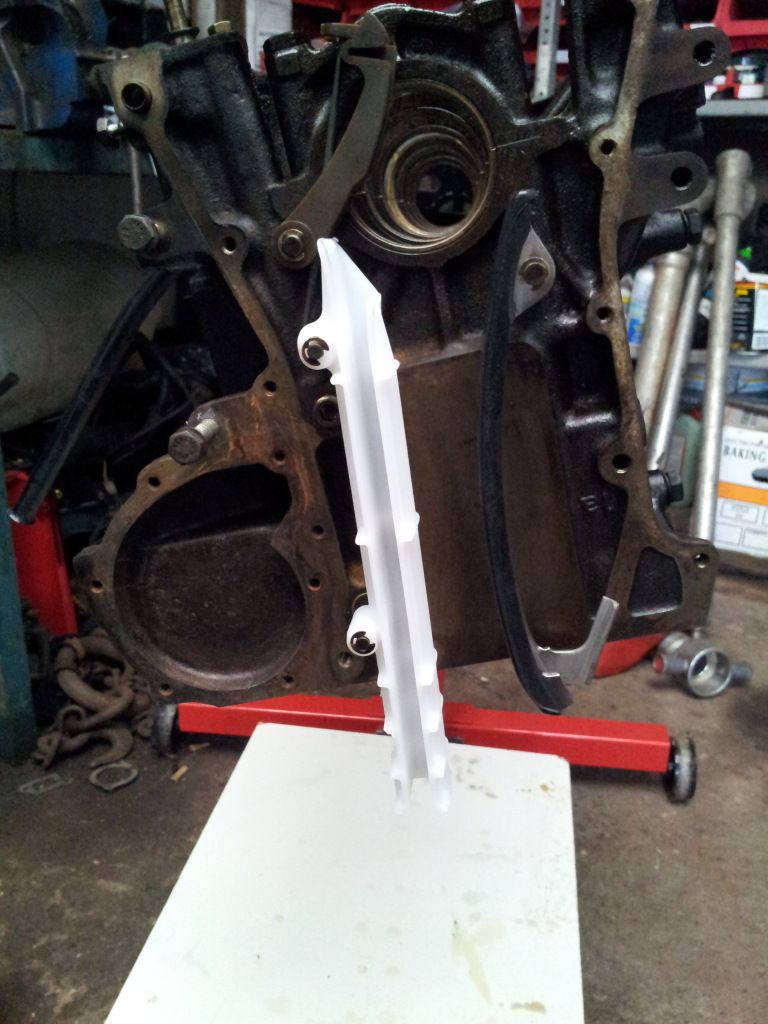
Looked into the chain guides, and there's heavy scoring of both, so new ones will be ordered soon.
Removed the Oil pump and then started on the bottom end.

Image

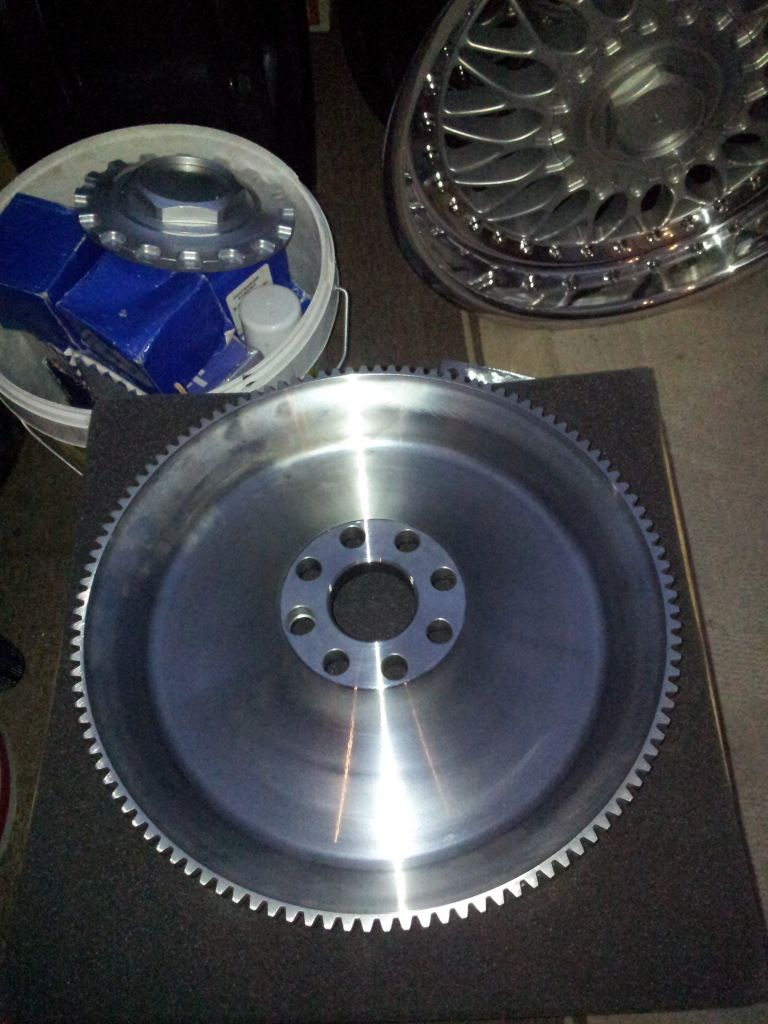
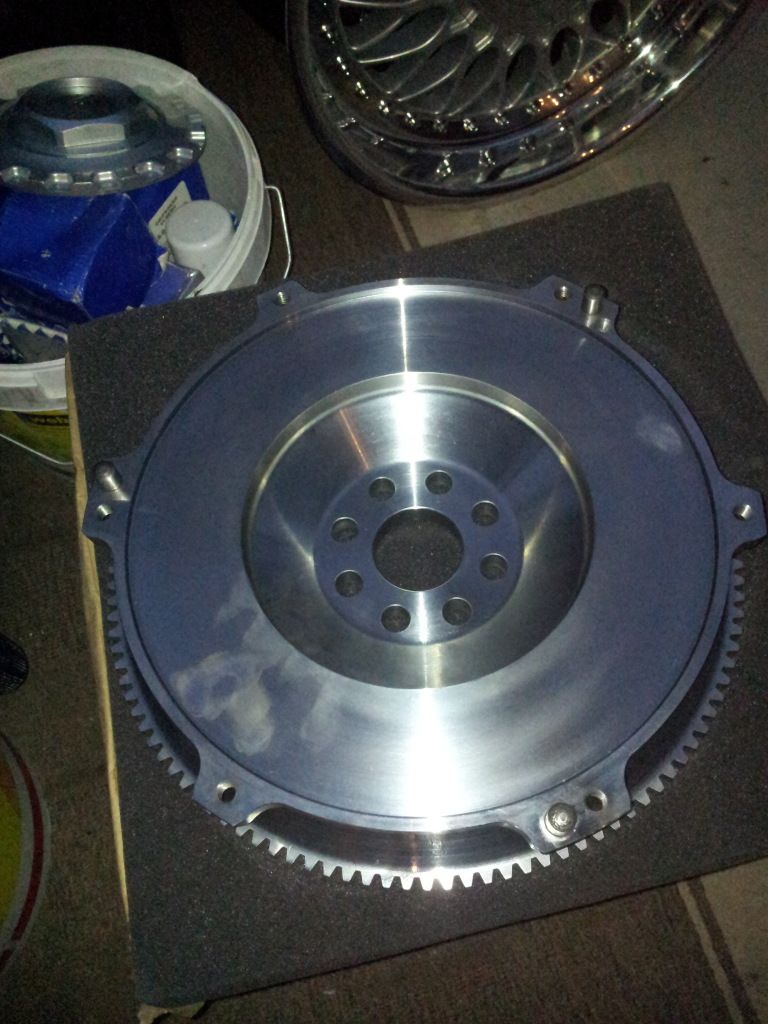
Brand new Light billet flywheel, takes the E34 clutch.

Image
Image
Rav335uk
Posts: 59
Joined: Nov 03, 2012 5:00 PM
Location: In Blighty

Post by Rav335uk »

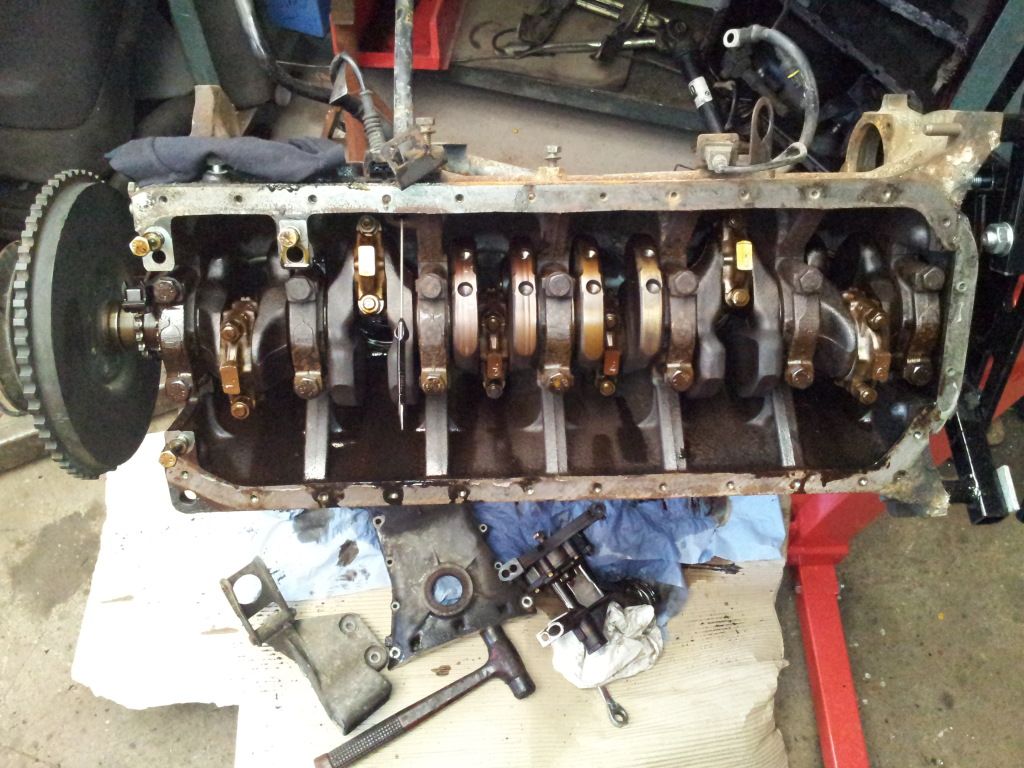
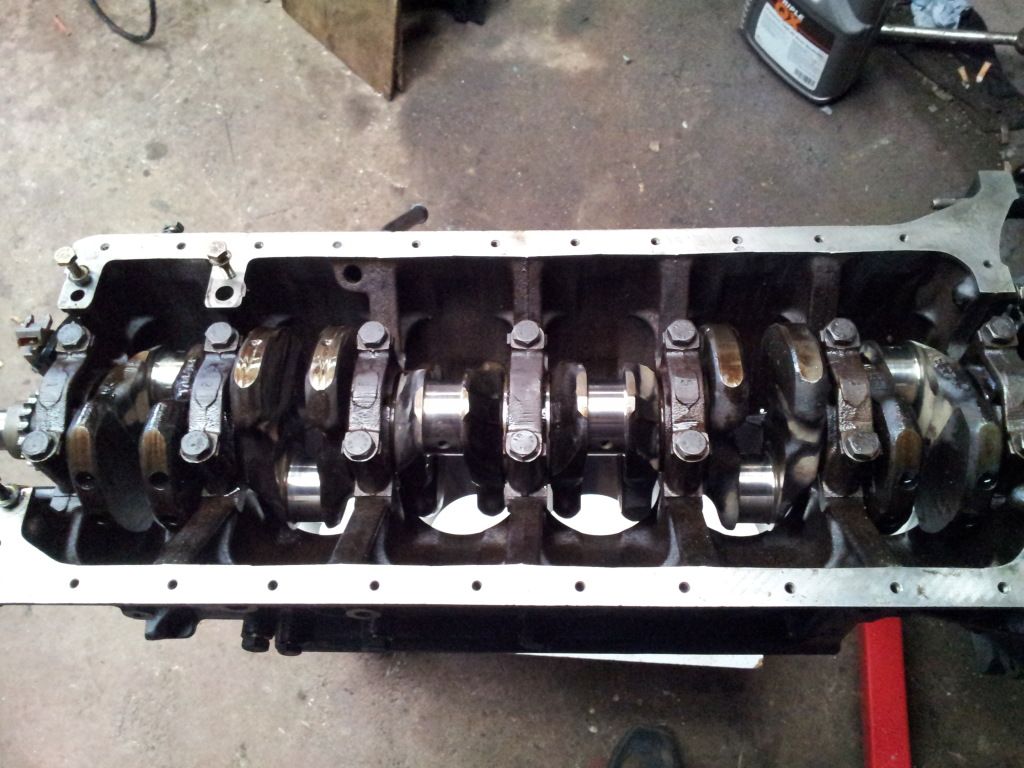
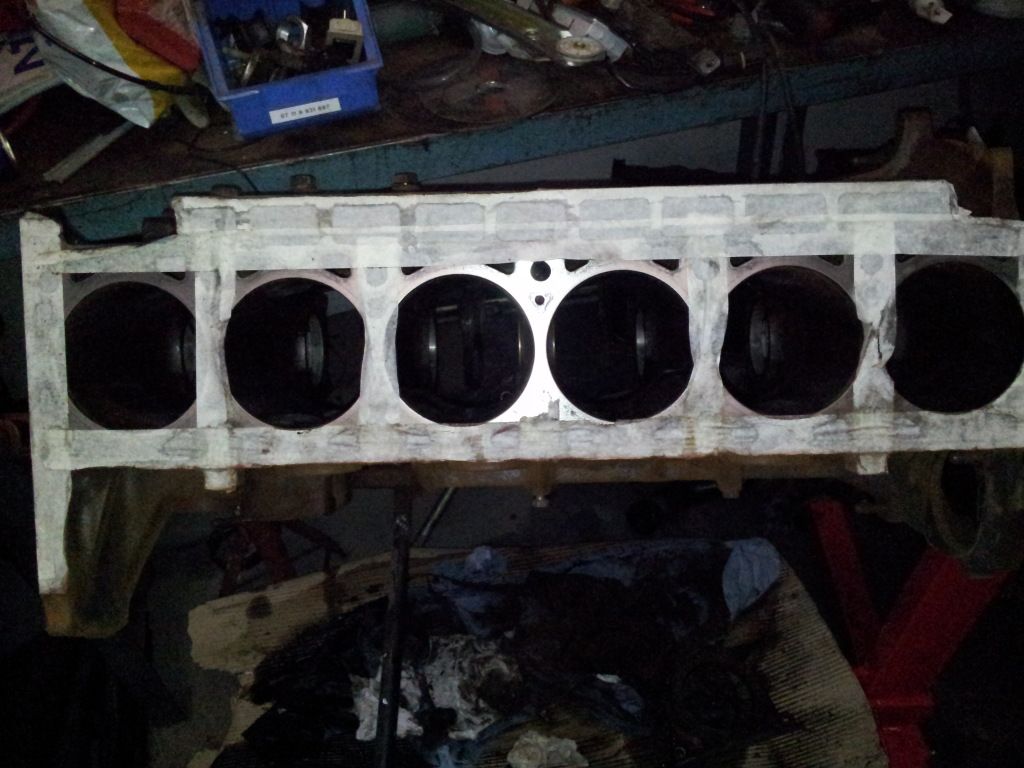
Looked into the bottom end shells and big end bearings

Not good, slighty worn and will need to be replaced, so ordered they were.

Cleaned up the face with wet'n'dry and taped up.
Image

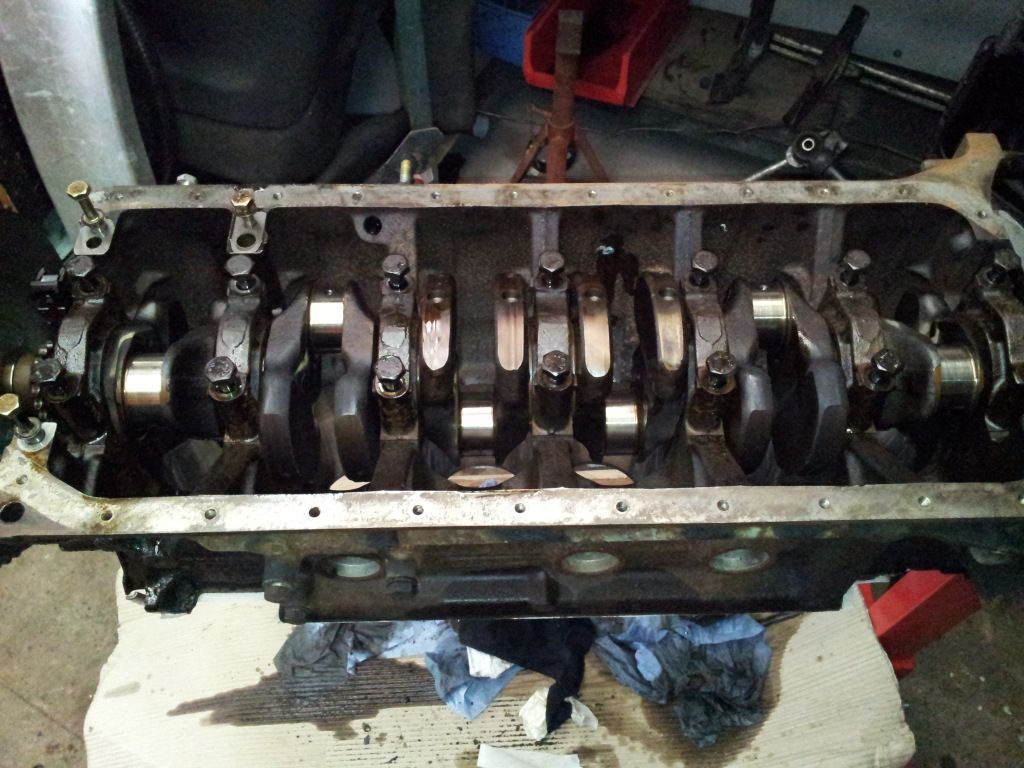
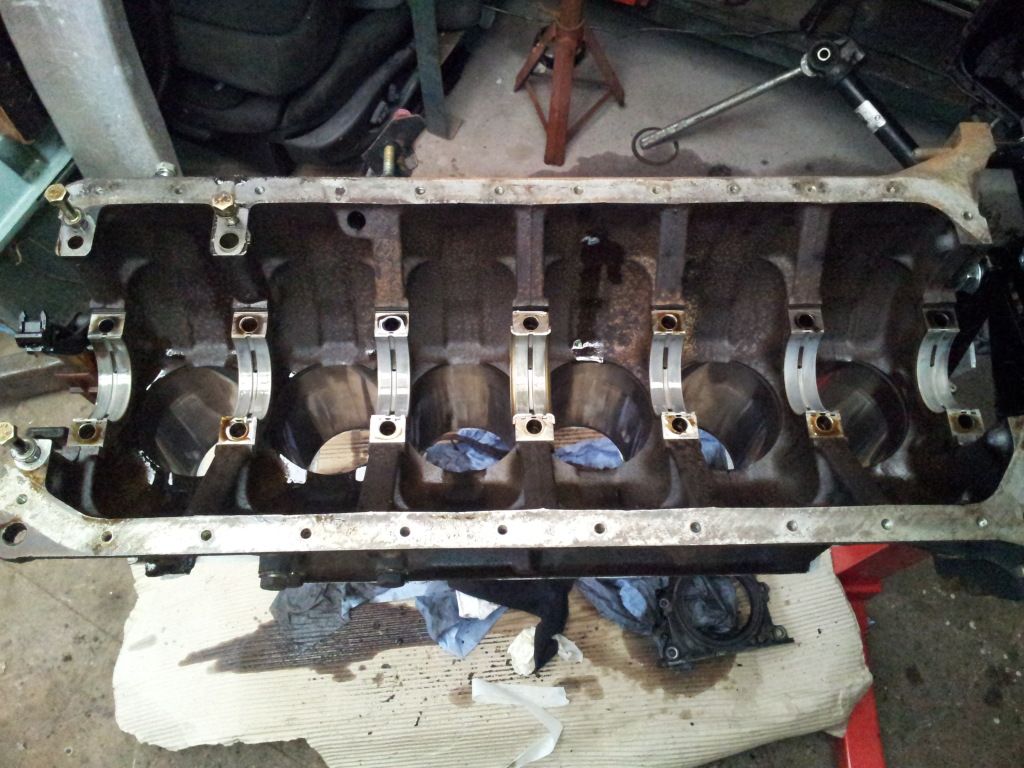
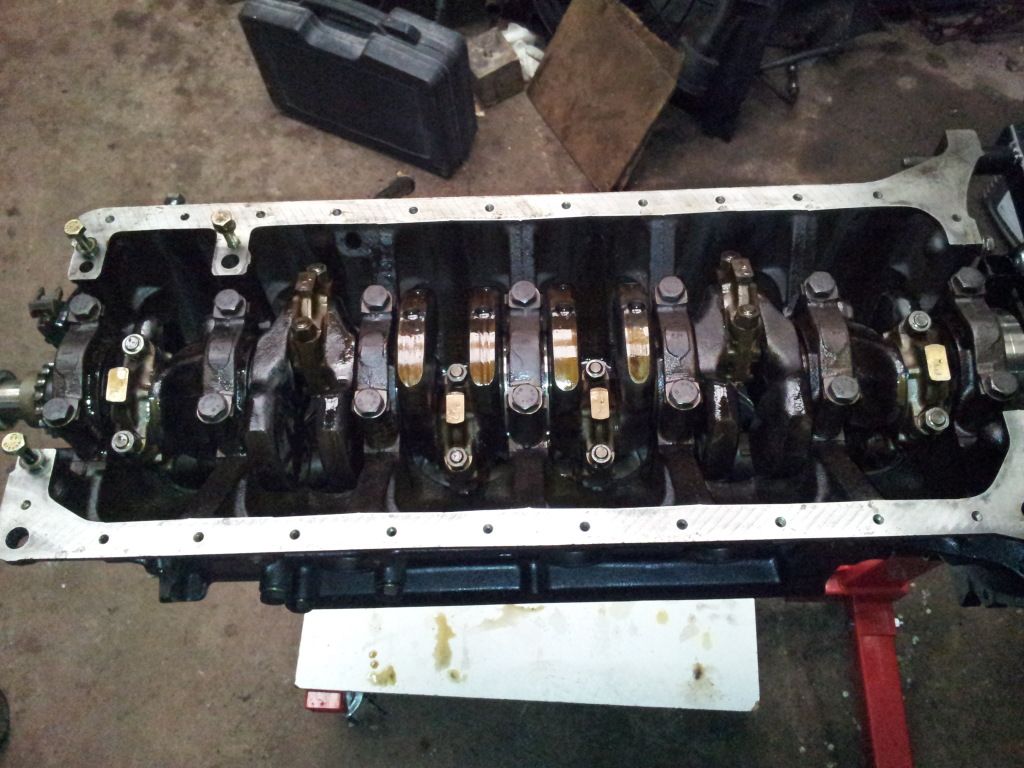
Removed the shells and crank and pistons
Image
Image

And left it at that.

Image

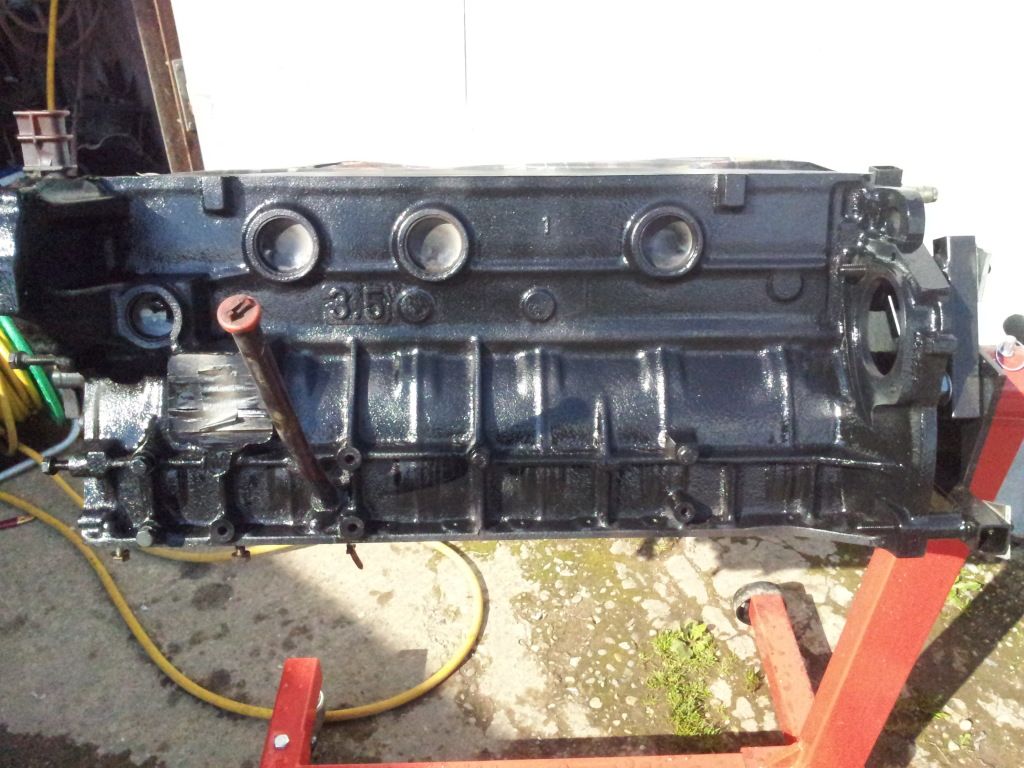
I started on giving the block a good clean with degreaser and a wire brush attachment onto an electric drill.
All the surface rust and 20 year oil was removed, then washed down with warm soapy water and left out in the sun to dry off.

Then, sprayed Black, covered up all the water inlets, oil inlets, and masked off the block face with masking tape.

The eagle eyes ones will notice the core plugs painted too, don't worry, they;re getting replaced too, just didn't want to replace them sooner, then have to mask them up while spraying the block.
Image

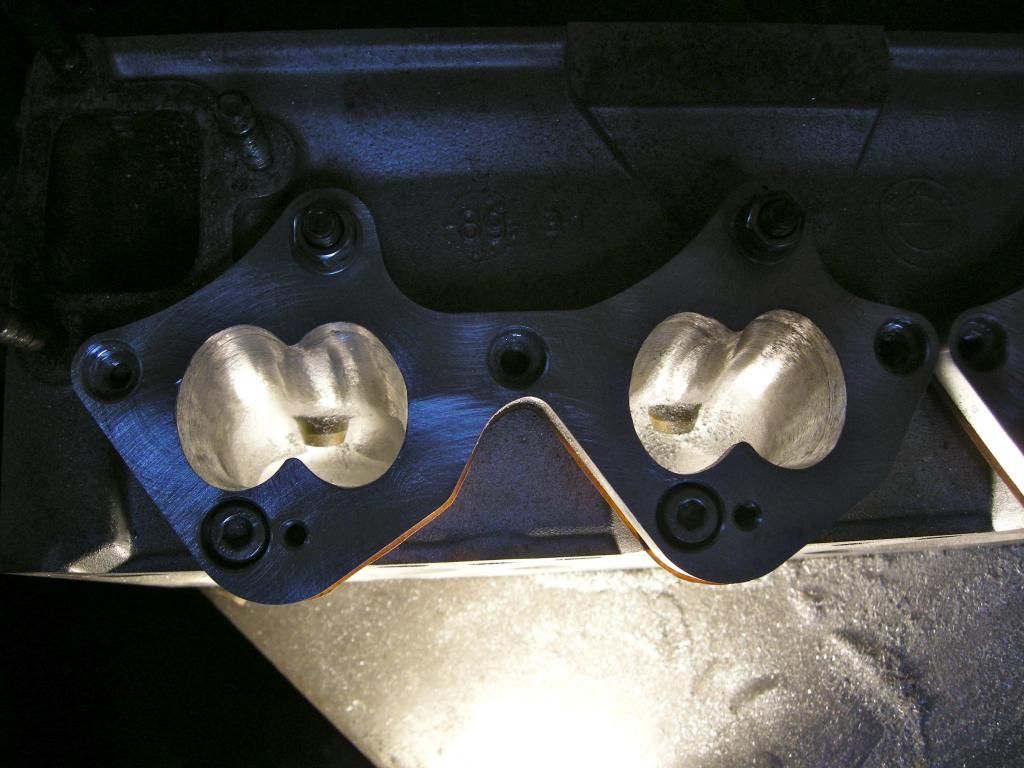
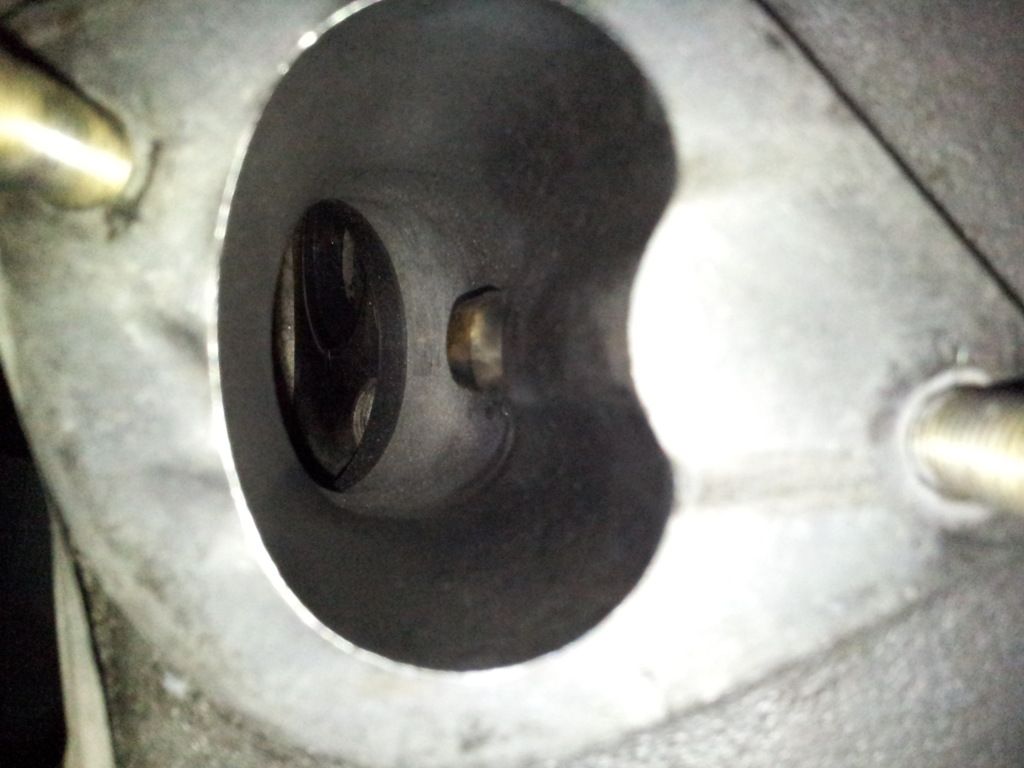
Bought a new proper Dremel 300 this morning{Bluepoint (Snap On) gave up the ghost) :roll: as I wanted to polish the ports.
Thought about it last night and for the hassle, I thought it was worth a bit of effort.
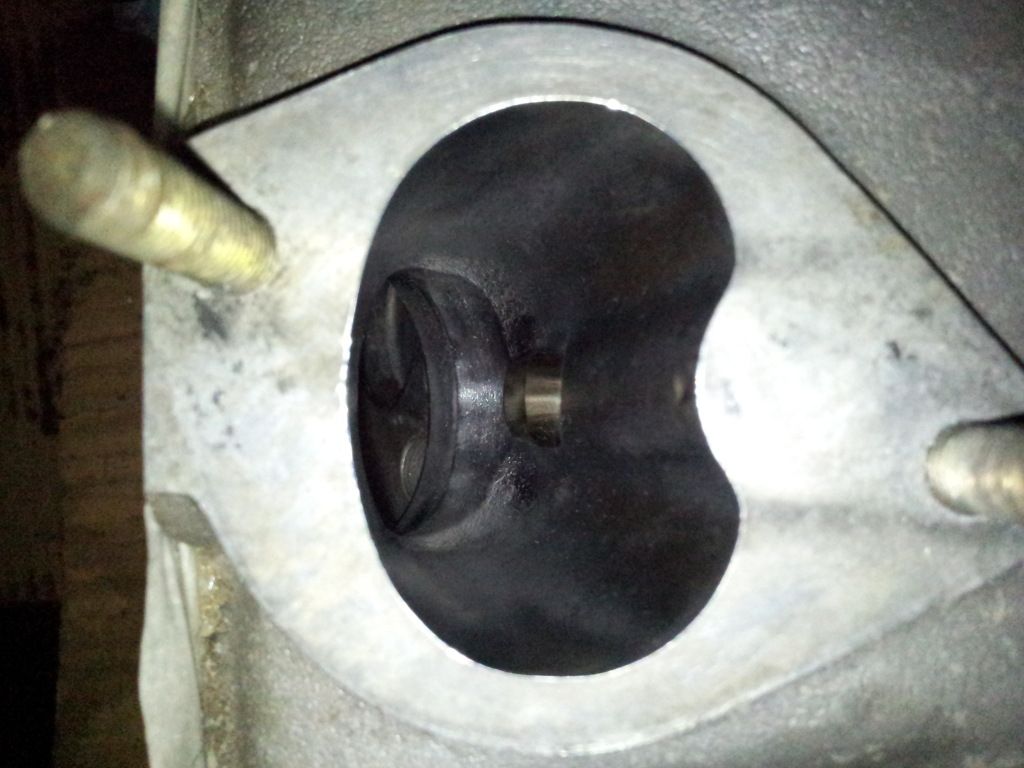
Pics below of the inlet ports, before and after.
Pics aren't the best though.
I'll take some better ones tomorrow.
Image

After
Image

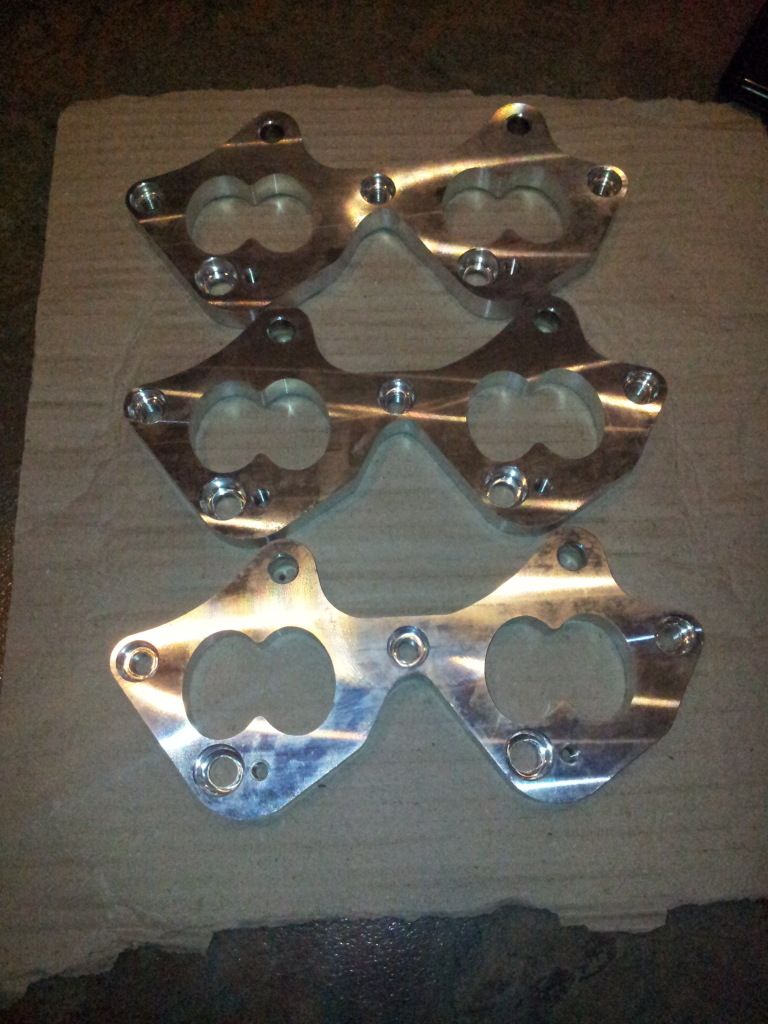
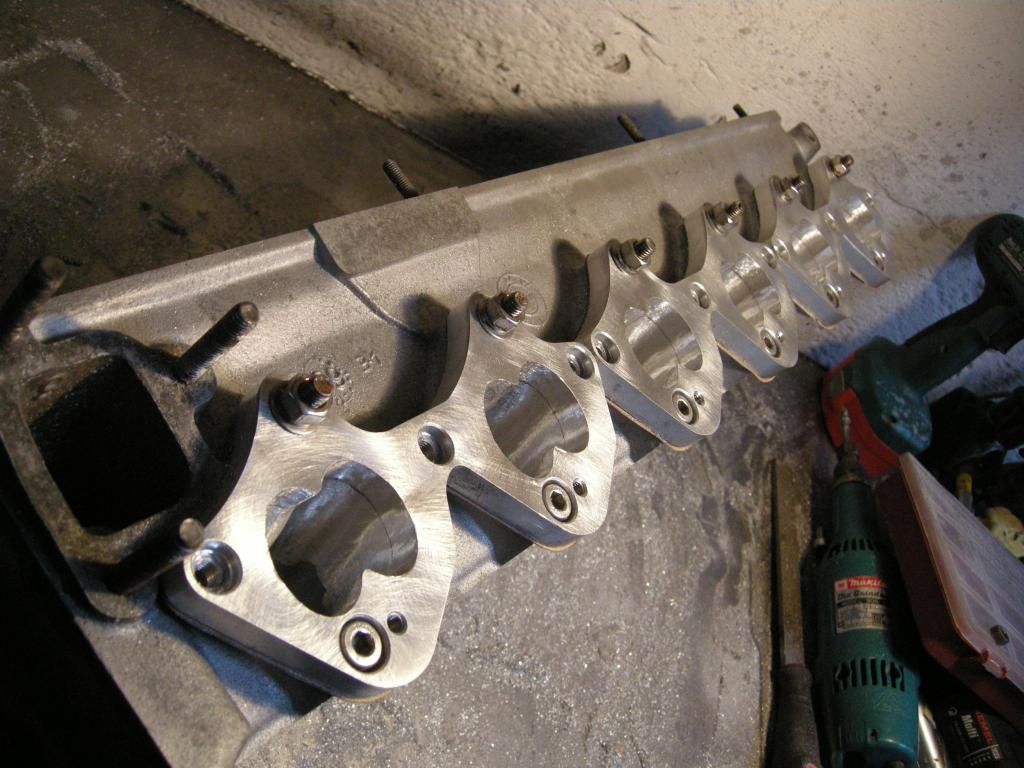
These turned up today too.
Adaptors for the ITB's :D

Image

Sent off a few items to be soda blasted including the throttlebodies, so hopefully should be back soon.

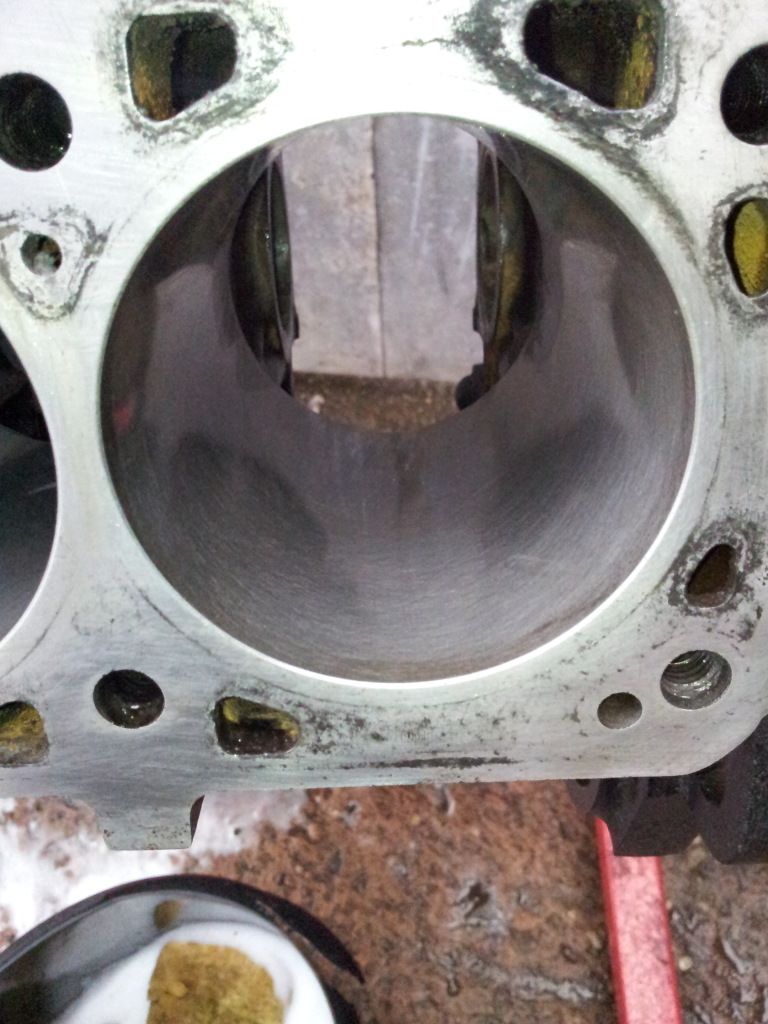
Had the block honed today too, needed doing as there was slight scoring on a few of the bores.
Image
Image

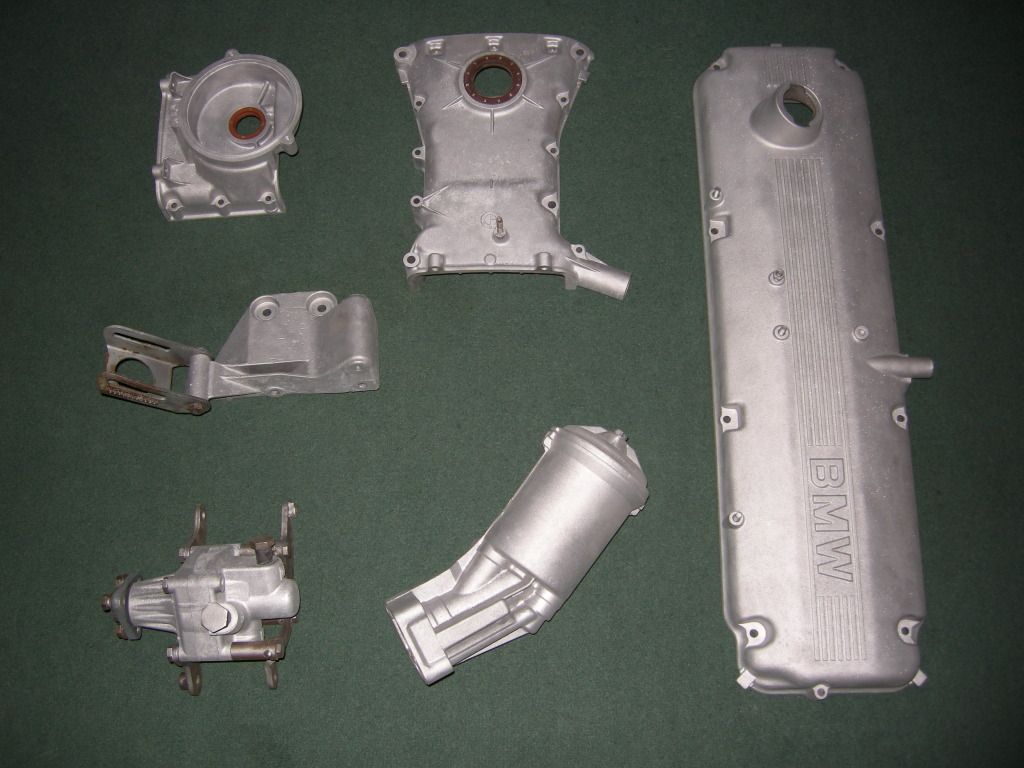
Had a load of parts Soda and media blasted to get rid of all the oil and wax on the parts.
Image
Image

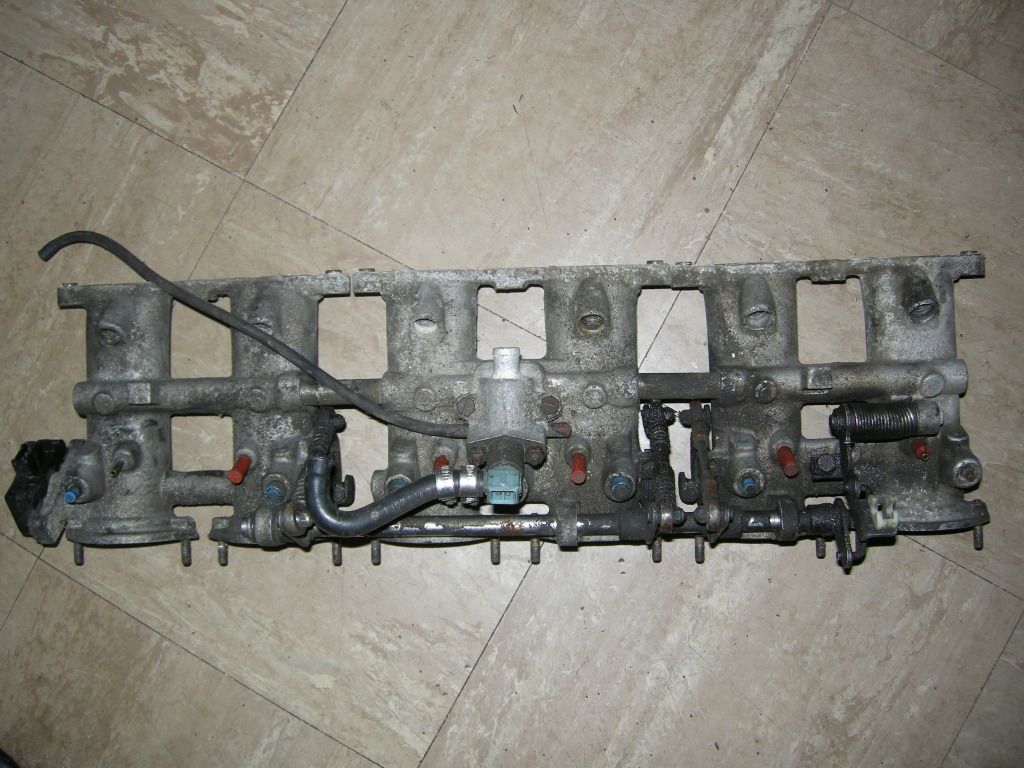
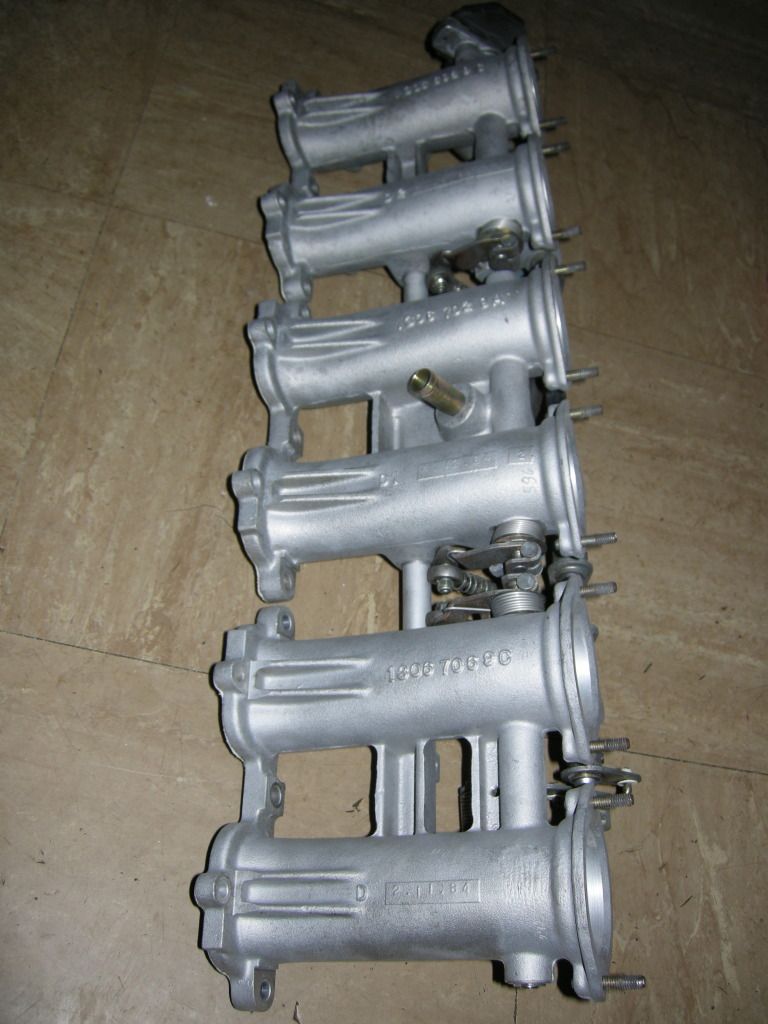
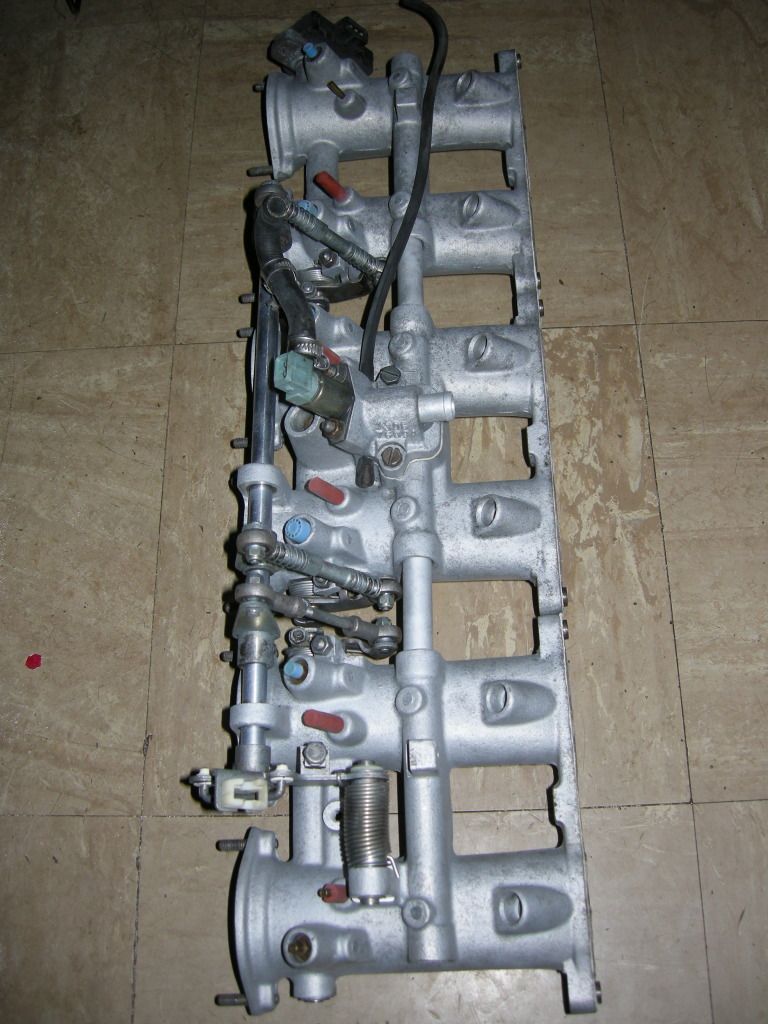
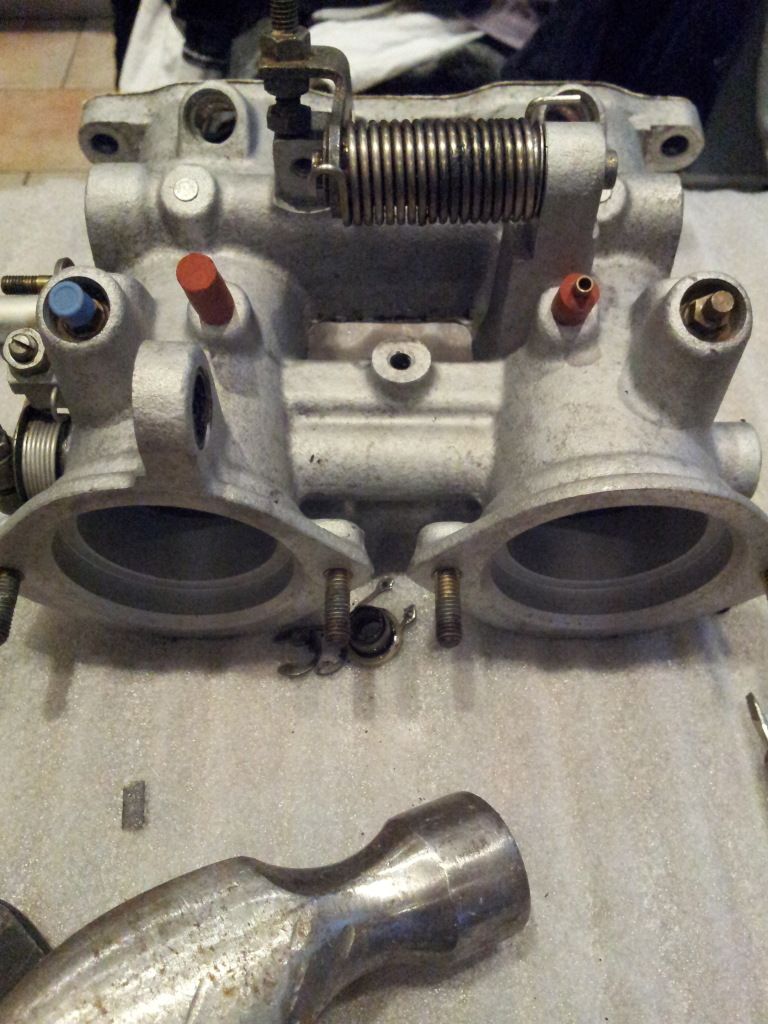
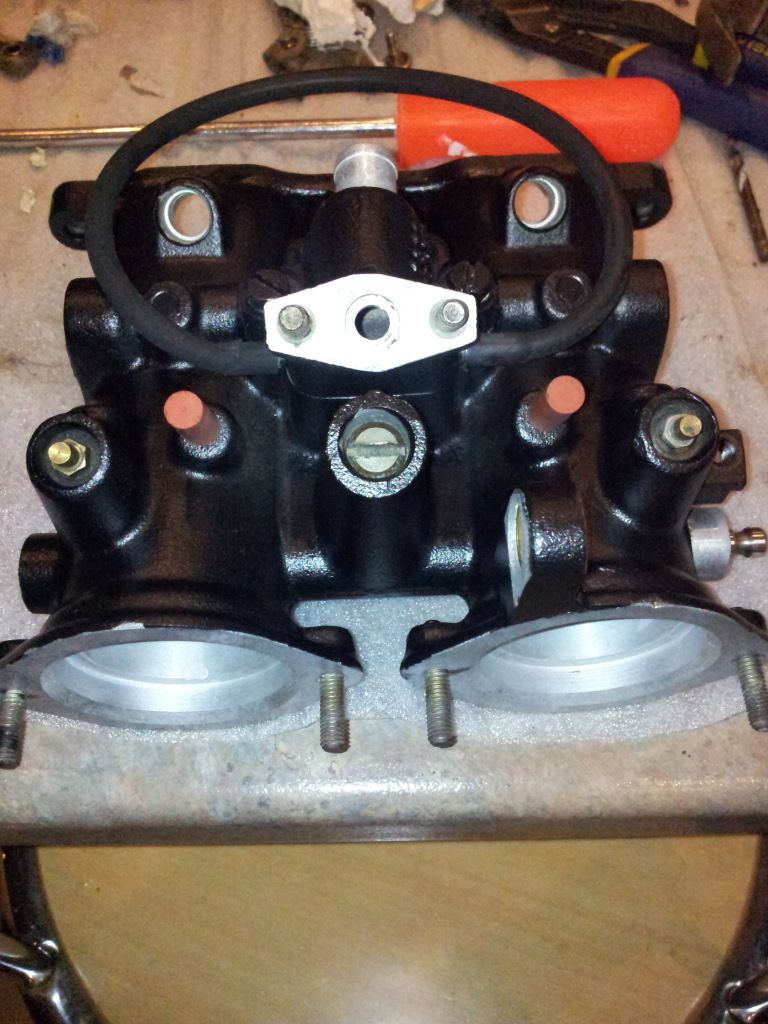
The ITB's were like this
Image

To this
Image
Image

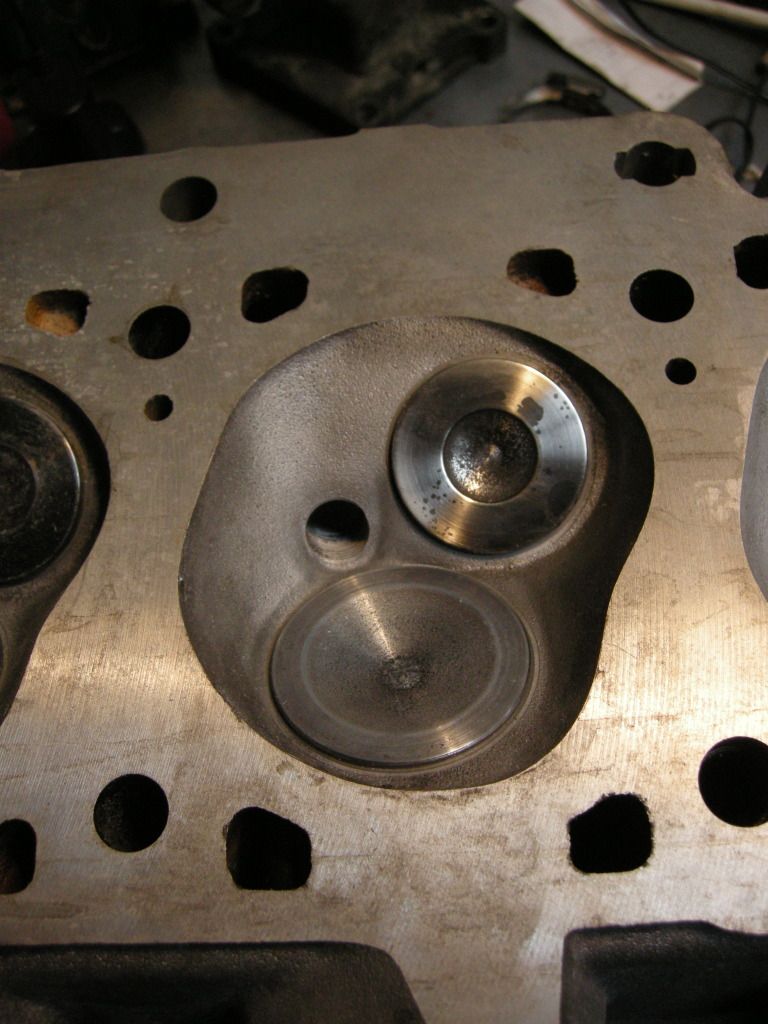
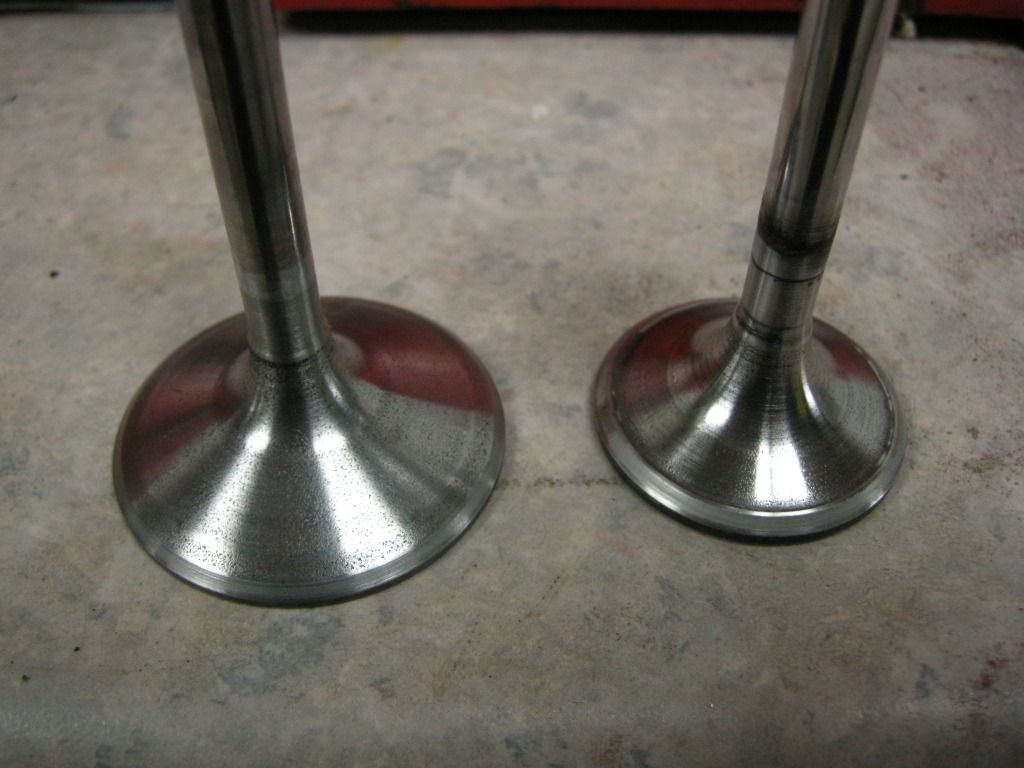
Also, had some head work done in the last few weeks too, thought it would be nice to treat it to a better flow
Image
Image

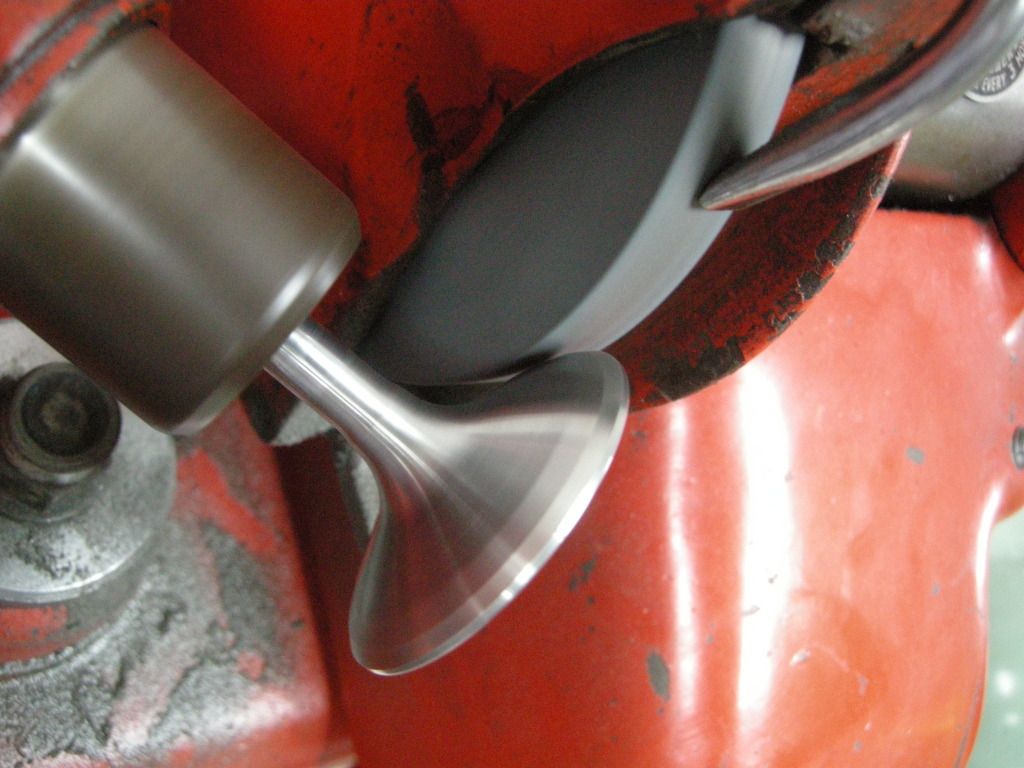
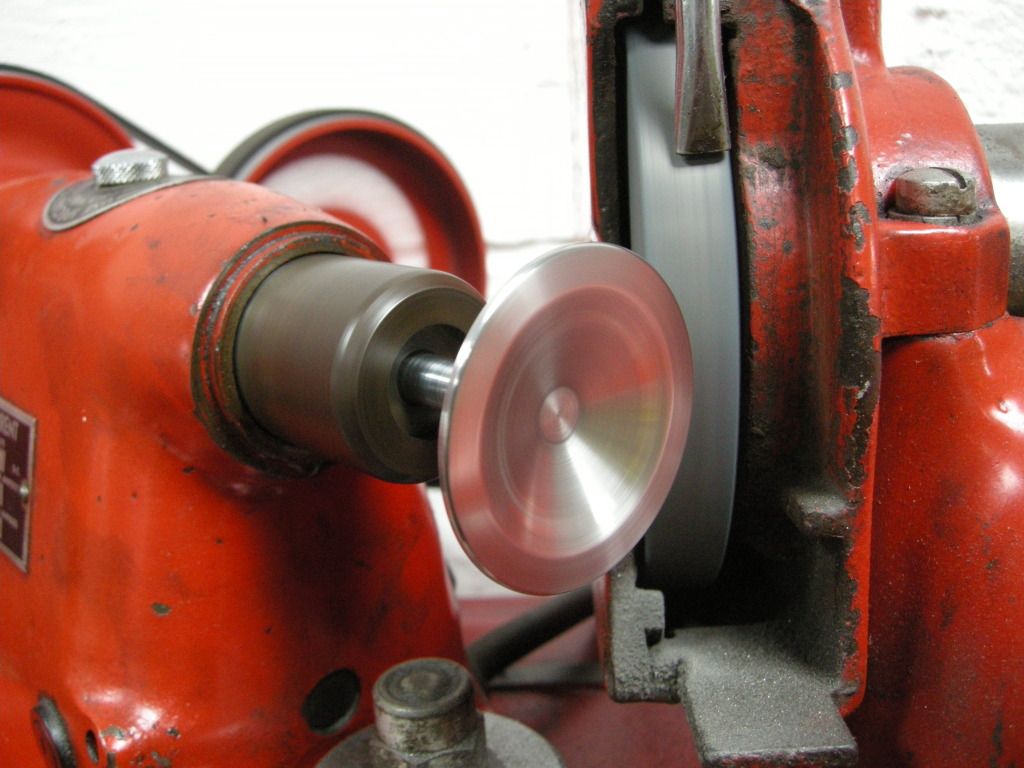
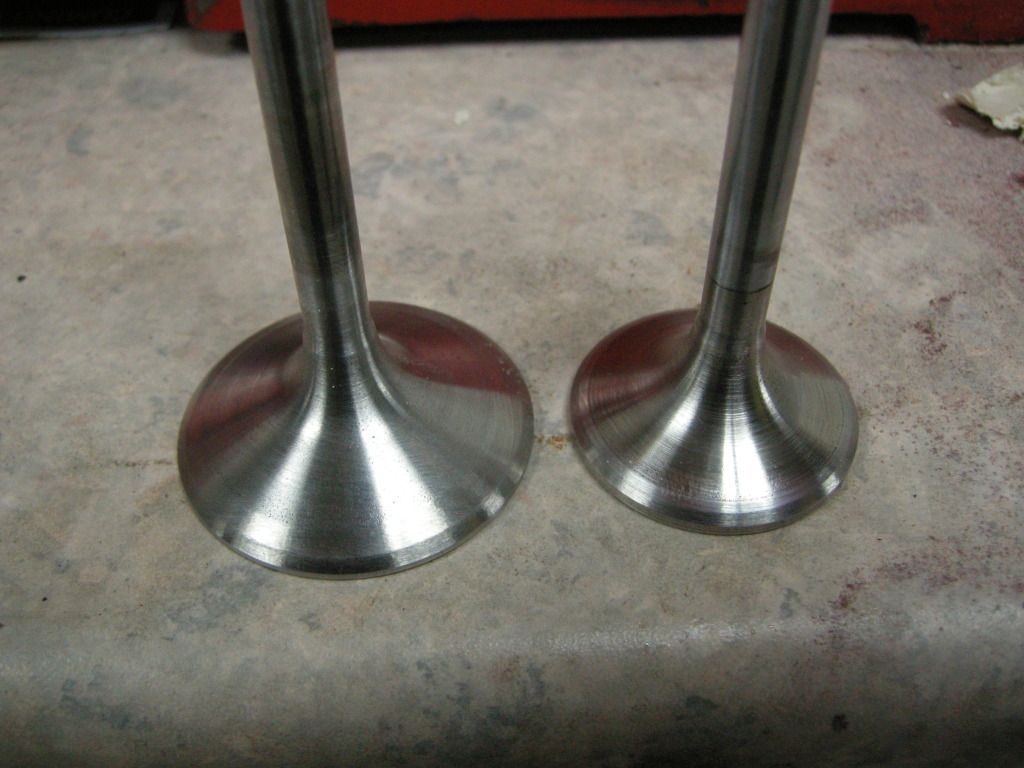
Had the seats and vlaves cut to 3 angled finishes.
Image
Image
Image

Next new seats, cutter pilot installed.
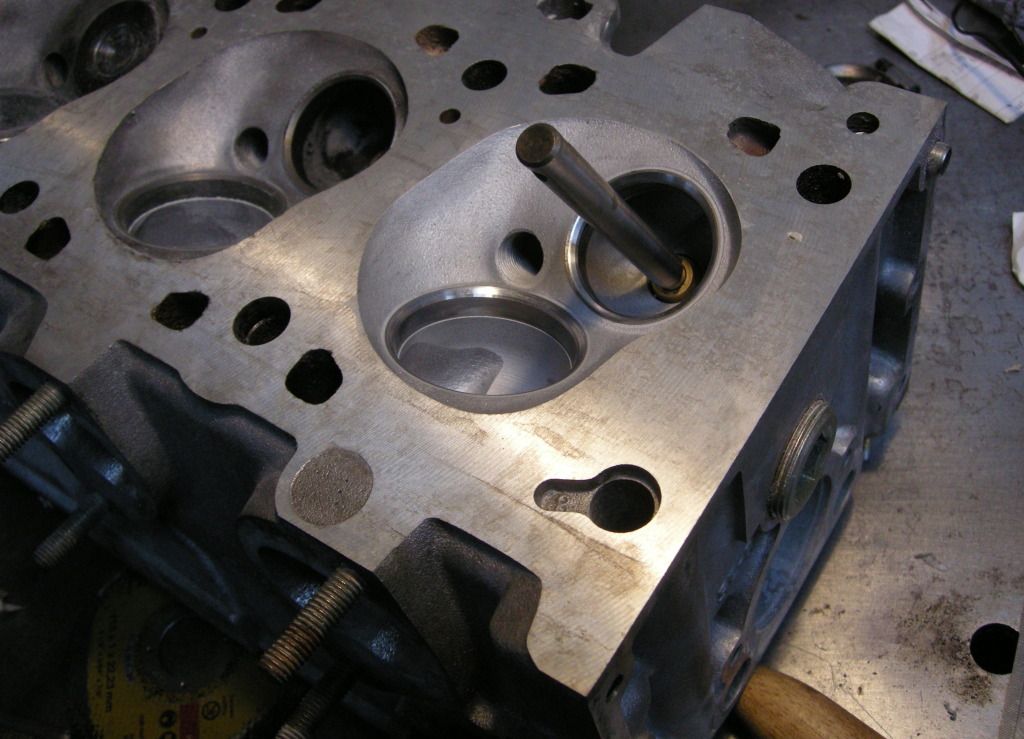
Image
The first cut at 60* is the bottom cut.
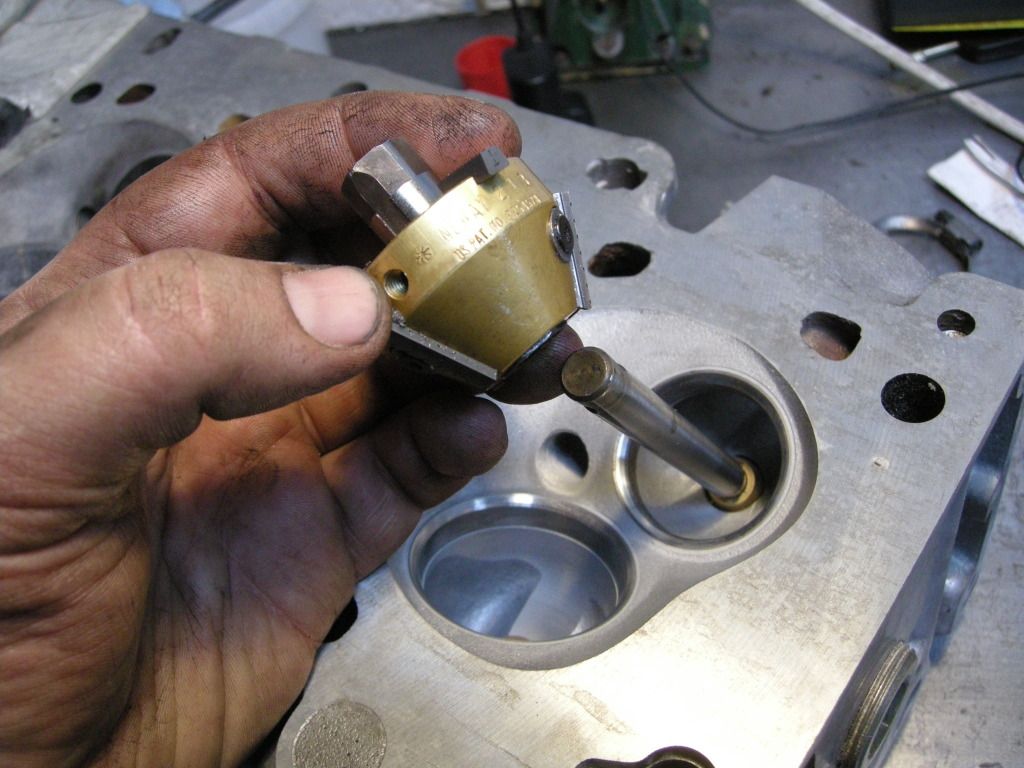
Image
Followed by a 30* top cut, then the seat cut, both are on a double sided cutter. The seat cut is at 46* the two faces will bed in together within the first moments of the engine being started.
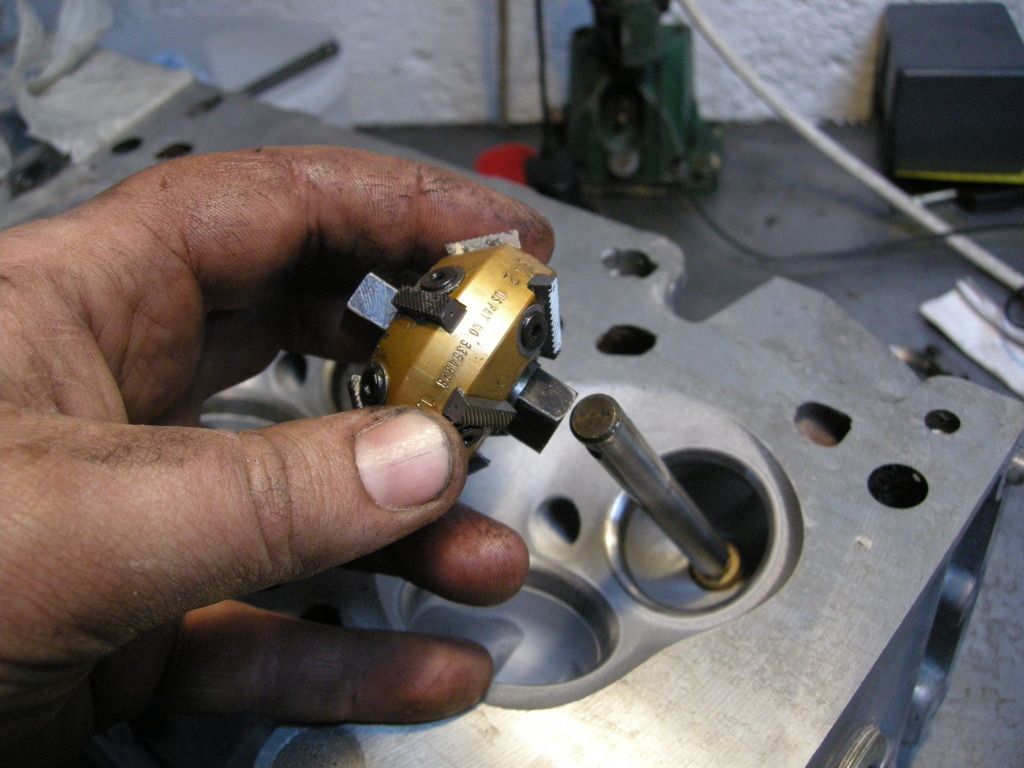
Image
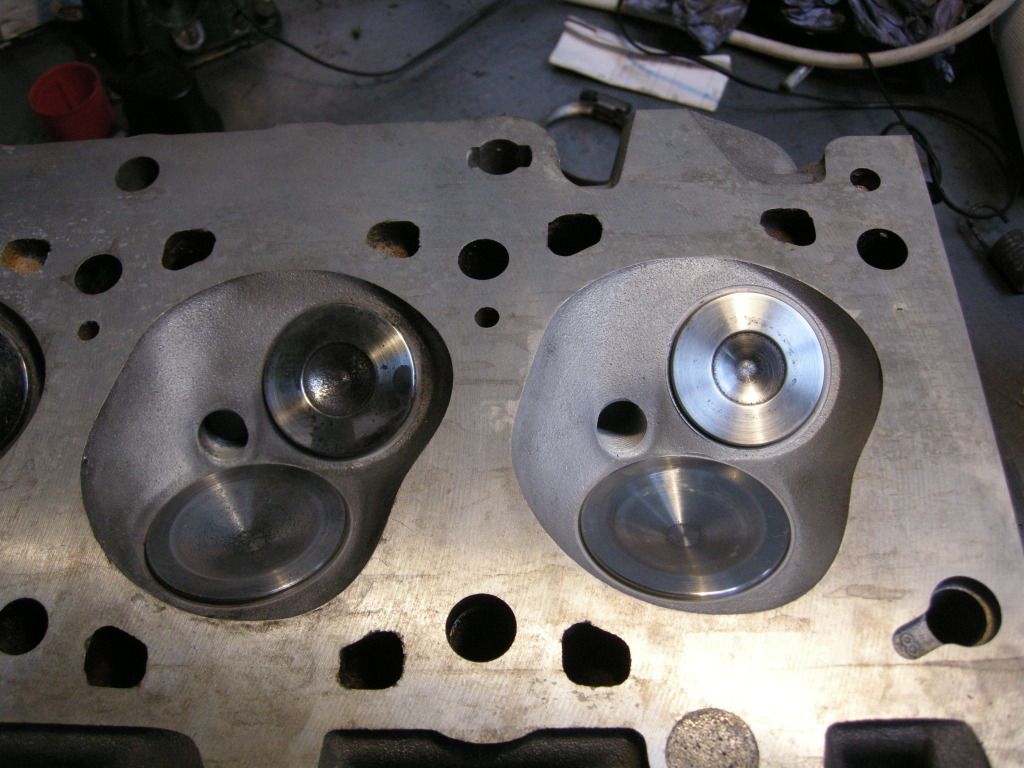
This is what you end up with after it has been soda blasted, and all the cuts finished.
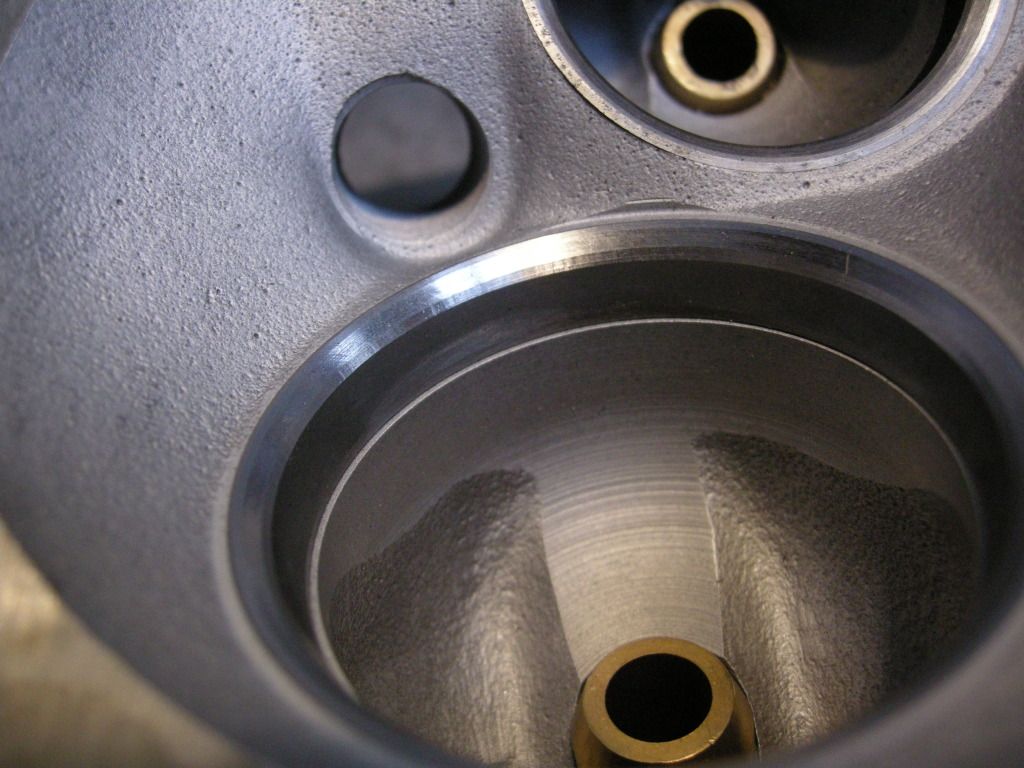
Image
A before and after, not alot of difference really as the head had already been scrubbed, but the soda gives it a nice uniform look and doesn't damage the surface of the alloy.
Image
Rav335uk
Posts: 59
Joined: Nov 03, 2012 5:00 PM
Location: In Blighty

Post by Rav335uk »

All new chain guides fitted yesterday,

Image

New thrust bearing and shells fitted, dropped the crank in and tightened up the bolts.
For some reason, there was quite alot of end float which was a bit baffling, as everything was measured by using a micrometer :? .
So off came the crank again, the old thrust bearing installed, and then everything reinstalled again, this was to check the origional end float on the crank, cam to 0.005th :?

So, vice versa, new one installed, and for some reason, don't ask, there was reduced crank end float to about 0.002th, so checked and rechecked, phoned a few guys on the Zone to make sure and all is now ok. :D

Image

Oil'd up the bores, and put in all the pistons one by one.
The block was then turned over, new shells fitted and the rest fitted and torqued up as needed.


Image
Image

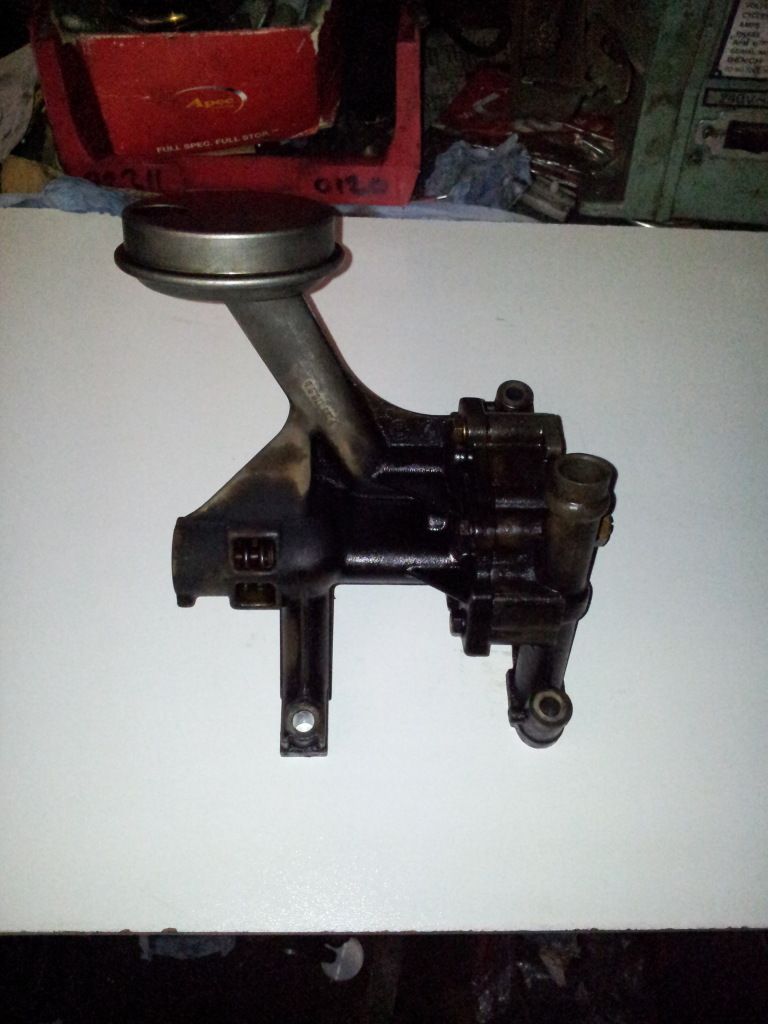
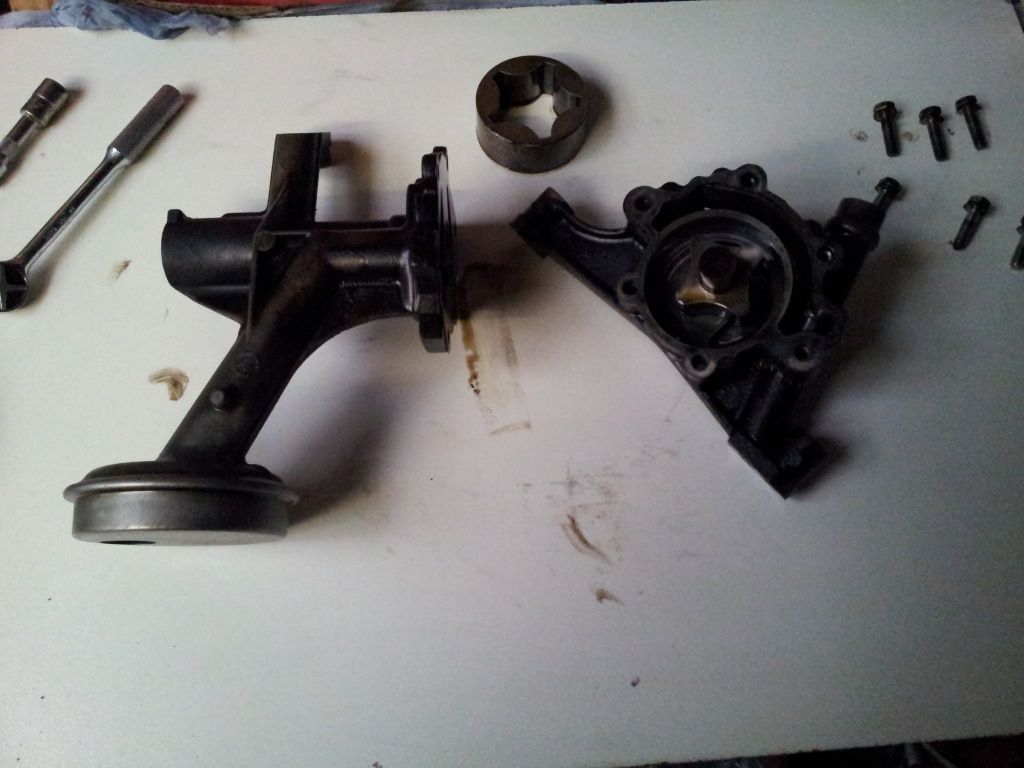
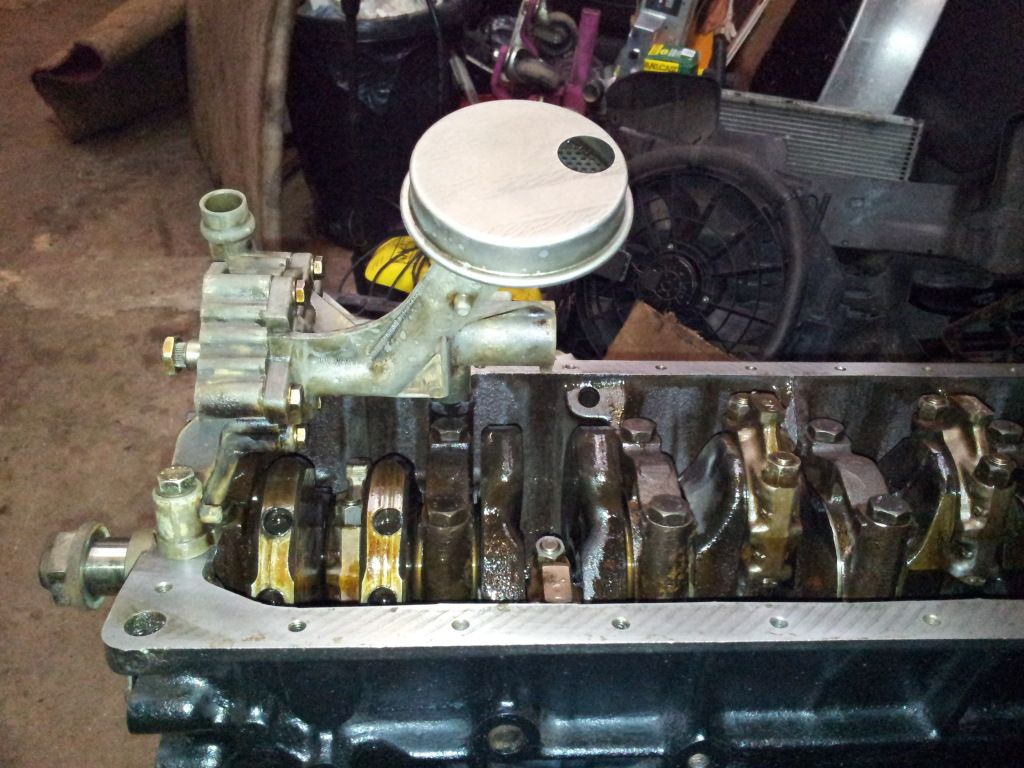
Decided to take the Oil pump apart and give it a clean before refitting. :D

Image
Image

And fitted.

Image

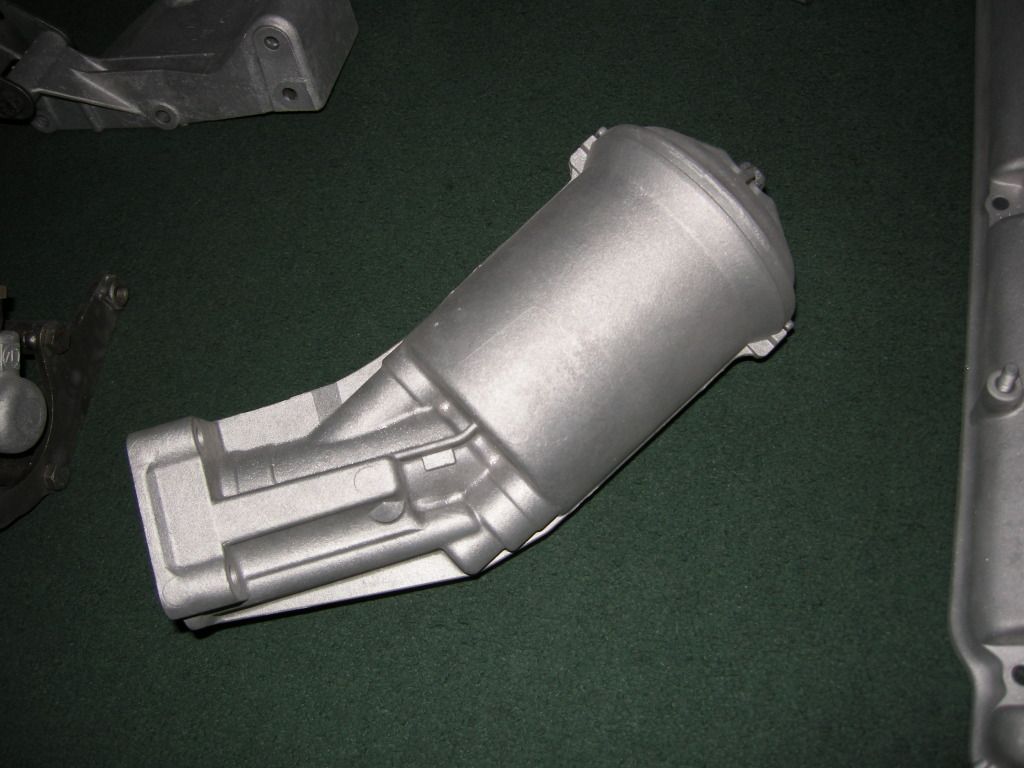
After a few hours :roll: of freeing up bolts, cleaning faces and general spraying, I ended up from this:-

Image

To this:- :D

Image

The "Eagled" eyed of you will notice it's not the exact same part, but you get the idea :wink:
Only 2 more to go 8O

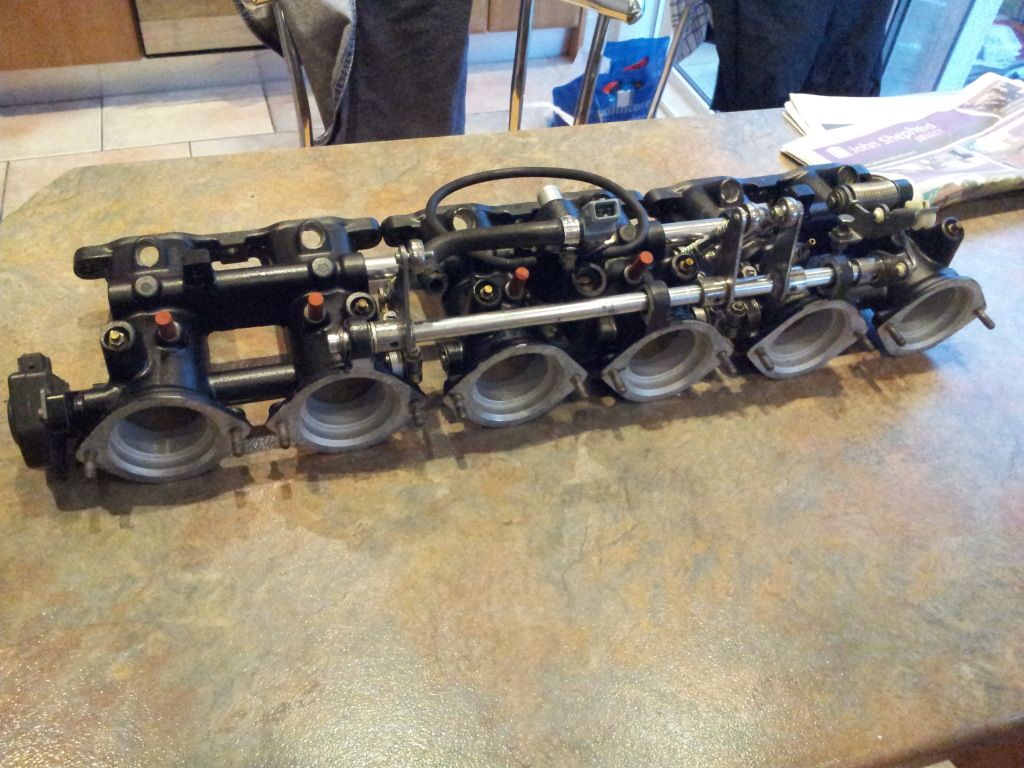
Thought i'd strip/paint and rebuild the ITB's ready for when they're needed.

Image

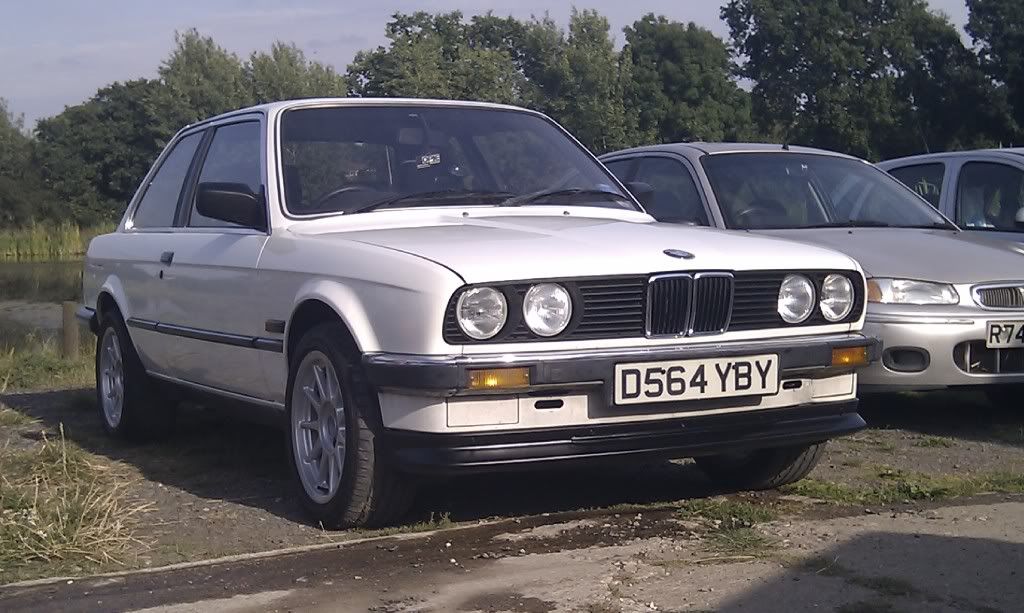
And this is the car it's all going into.

Image
Brad D.
Beamter
Beamter
Posts: 10735
Joined: Feb 12, 2006 12:00 PM
Location: San Antonio, TX
Contact:

Post by Brad D. »

Awesome build! I look forward to updates. What supercharger do you plan to use?
skip535i
Posts: 5186
Joined: Oct 26, 2006 2:27 PM
Location: Lynchburg, VA

Post by skip535i »

Sweet build!
Rav335uk
Posts: 59
Joined: Nov 03, 2012 5:00 PM
Location: In Blighty

Post by Rav335uk »

Thanks lads.

The supercharger i'm going for is the Rotrex C30-94.

Hopefully, i'll have some more updates this week. :D
espeed
Posts: 7
Joined: Nov 23, 2012 2:14 PM
Location: United States

Post by espeed »

subscribed! good stuff :banana:
Rav335uk
Posts: 59
Joined: Nov 03, 2012 5:00 PM
Location: In Blighty

Post by Rav335uk »

More updates coming next week, head is being ported to the M88 ITB's atm. :D


Missed a set of BC coilovers a few days ago, so I decided to spend the money elsewhere, and bought this, atleast now I can set the car up to take the Hartge Splits.


Image
Rav335uk
Posts: 59
Joined: Nov 03, 2012 5:00 PM
Location: In Blighty

Post by Rav335uk »

Tonights little teaser. :D

Image
Rav335uk
Posts: 59
Joined: Nov 03, 2012 5:00 PM
Location: In Blighty

Post by Rav335uk »

And a few more,
That'll be it till next week when I get the head back.
Then i'll try the Stainless Steel 6 branch and see what needs to be done to make it fit.

Image

Image
BMWJustin
Posts: 461
Joined: Feb 12, 2006 12:00 PM
Location: Connecticut

Post by BMWJustin »

Very cool project OP, can't wait to see it as it progresses.
Best
Justin
packman21
Posts: 973
Joined: Feb 15, 2009 10:56 AM
Location: Salt Lake City, Utah

Post by packman21 »

Rav335uk wrote:More updates coming next week, head is being ported to the M88 ITB's atm. :D


Missed a set of BC coilovers a few days ago, so I decided to spend the money elsewhere, and bought this, atleast now I can set the car up to take the Hartge Splits.


Image
Subscribed! Nice thread.
I would love to have that fender roller. ;) Nice!
Shadow
Posts: 951
Joined: Dec 28, 2008 10:03 PM
Location: USA

Post by Shadow »

How much hp do you get with those cuts on the valve?
Rav335uk
Posts: 59
Joined: Nov 03, 2012 5:00 PM
Location: In Blighty

Post by Rav335uk »

Not sure on the exact amount.
Someone else who knows could answer that.
silence
Posts: 95
Joined: Feb 14, 2011 10:14 AM

Post by silence »

cool build
shocka
Posts: 974
Joined: Mar 12, 2009 4:32 PM
Location: Vancouver, BC

Post by shocka »

Great progress, keep it up. :shock:
Rav335uk
Posts: 59
Joined: Nov 03, 2012 5:00 PM
Location: In Blighty

Post by Rav335uk »

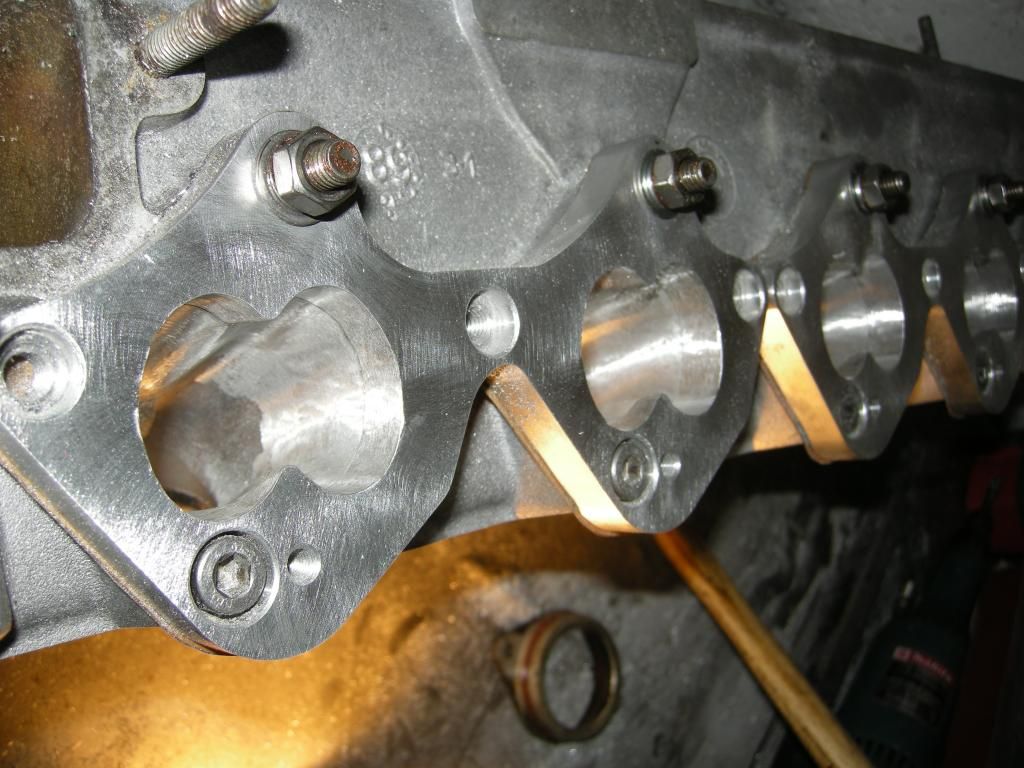
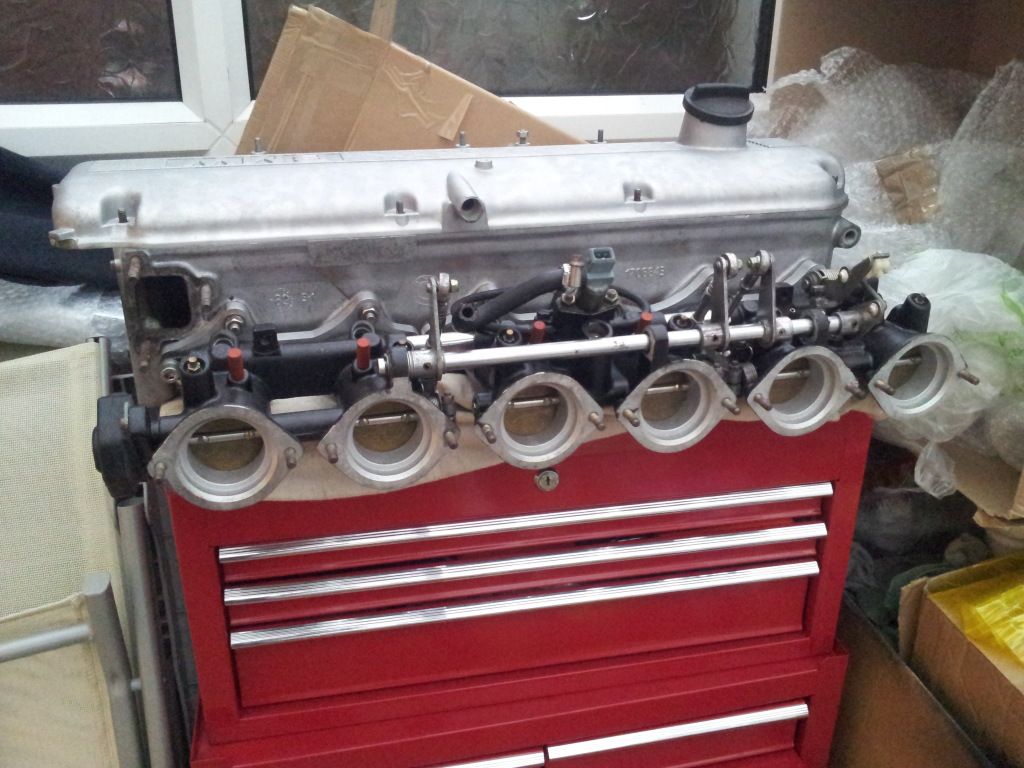
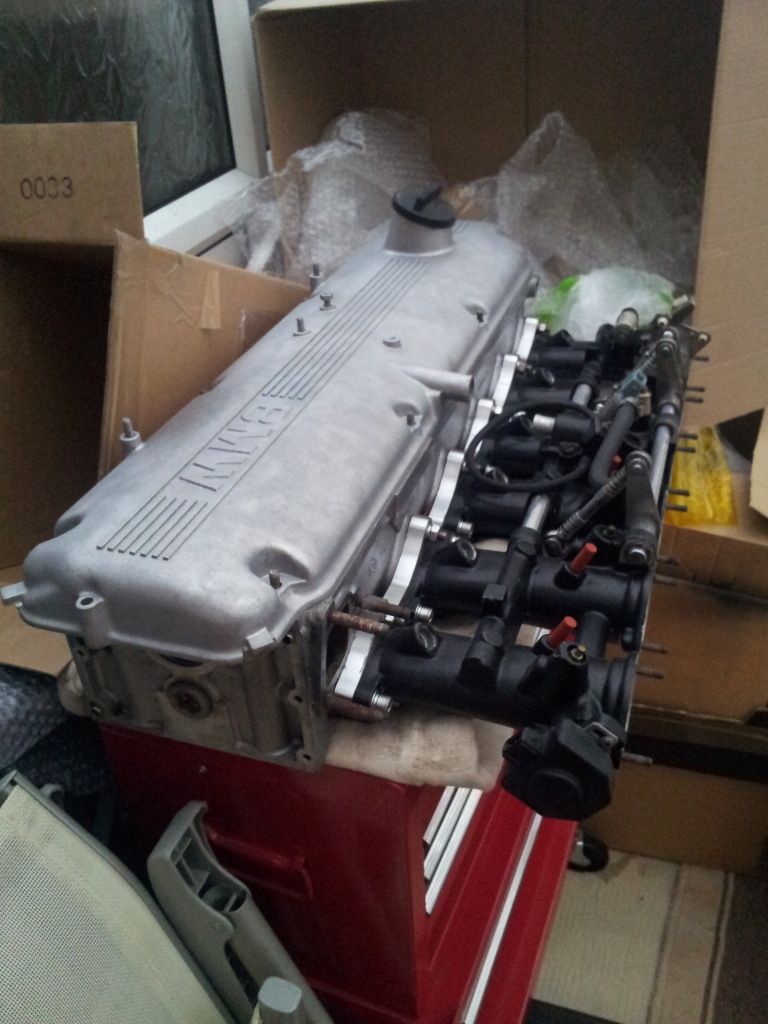
Not much of an update, but cleaned up the inlet ports after getting the head back from Byron, and then test fitted the ITB's :D

Image
Image
Black Steel
Posts: 350
Joined: May 18, 2010 8:19 AM
Location: Warwickshire, UK

Post by Black Steel »

nice :D
Rav335uk
Posts: 59
Joined: Nov 03, 2012 5:00 PM
Location: In Blighty

Post by Rav335uk »

Thanks.
Project is now on the back burner for a while, as my van has eaten up all my engine money. :roll:
pleasefixitup
Posts: 1856
Joined: Nov 21, 2011 2:40 AM
Location: Chicagoland, Illinois

Post by pleasefixitup »

Rav335uk wrote:Thanks.
Project is now on the back burner for a while, as my van has eaten up all my engine money. :roll:
What the heck!

I've been following this thread and I just said to myself, "fuck yeah!" because it was updated--I want to see this motor running!
Rav335uk
Posts: 59
Joined: Nov 03, 2012 5:00 PM
Location: In Blighty

Post by Rav335uk »

LOL, don't worry, i'm now in the process of clawing some money back for this, as I don't want it to sit doing nothing. :D
Rav335uk
Posts: 59
Joined: Nov 03, 2012 5:00 PM
Location: In Blighty

Post by Rav335uk »

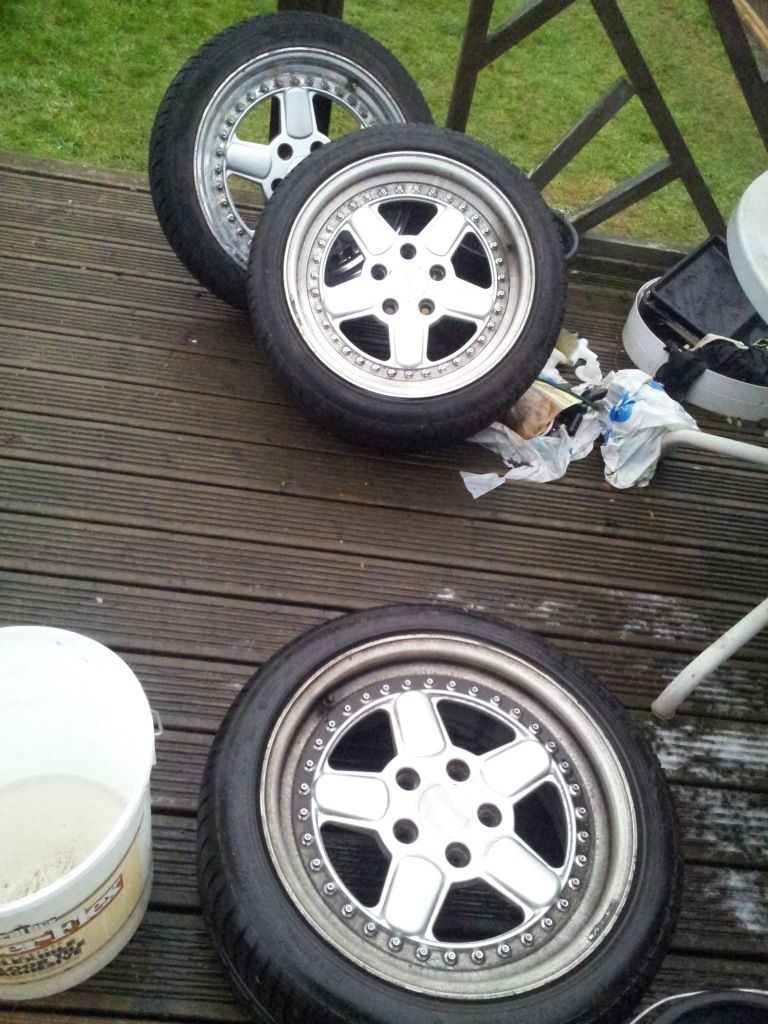
Bought these over the weekend :D

Don't worry, there are 4 of them. :laugh:


Image
skip535i
Posts: 5186
Joined: Oct 26, 2006 2:27 PM
Location: Lynchburg, VA

Post by skip535i »

I am so jealous. I will have split ACs one day.....
jrode34m5
Posts: 6
Joined: Sep 18, 2010 3:37 PM
Location: jax, fl

Post by jrode34m5 »

Who is making the brackets for rotrex charger if you dont mind

sharing that info.? :cool:

Thanks

J rod
Post Reply