My Zinno '87 535is - Project Determination - New Shoes! 10/4

Post your photos and videos here!
Post Reply
unt0uchable
Posts: 2265
Joined: Jul 21, 2011 8:05 PM
Location: Rochester Hills, Michigan
Contact:

My Zinno '87 535is - Project Determination - New Shoes! 10/4

Post by unt0uchable »

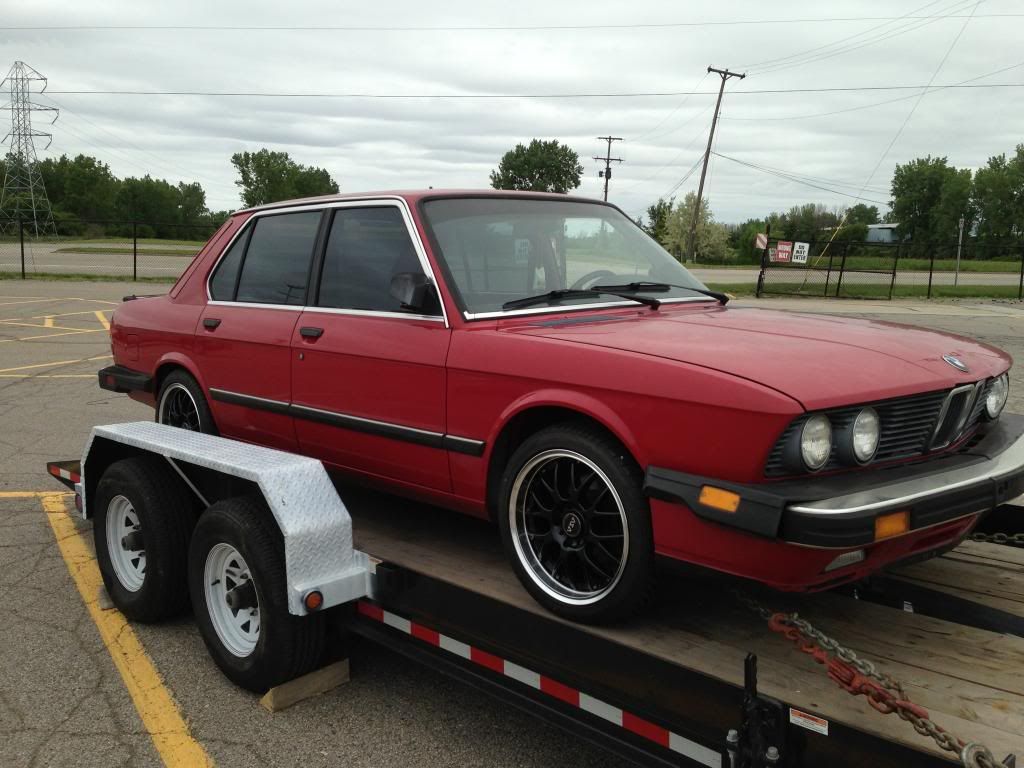
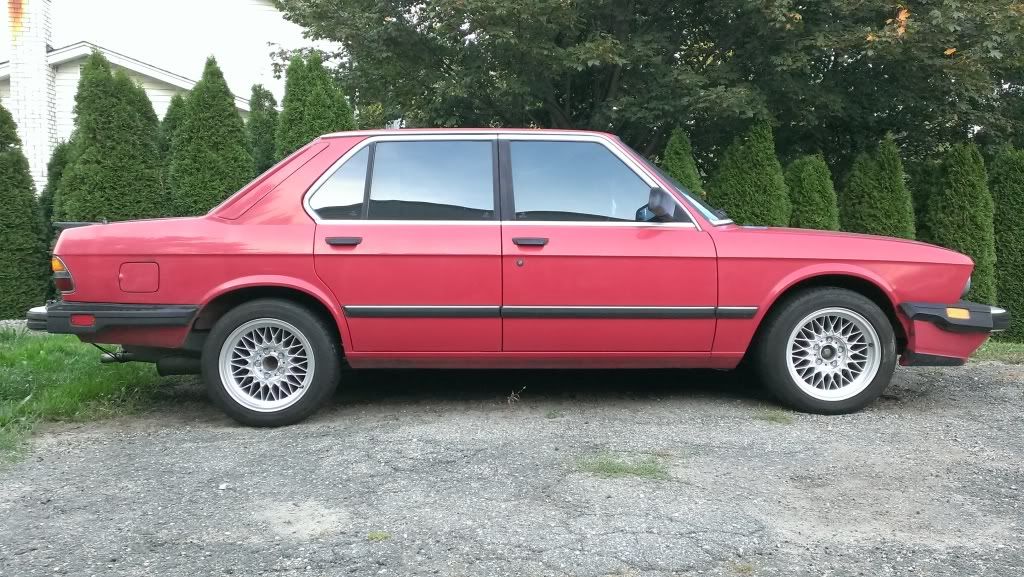
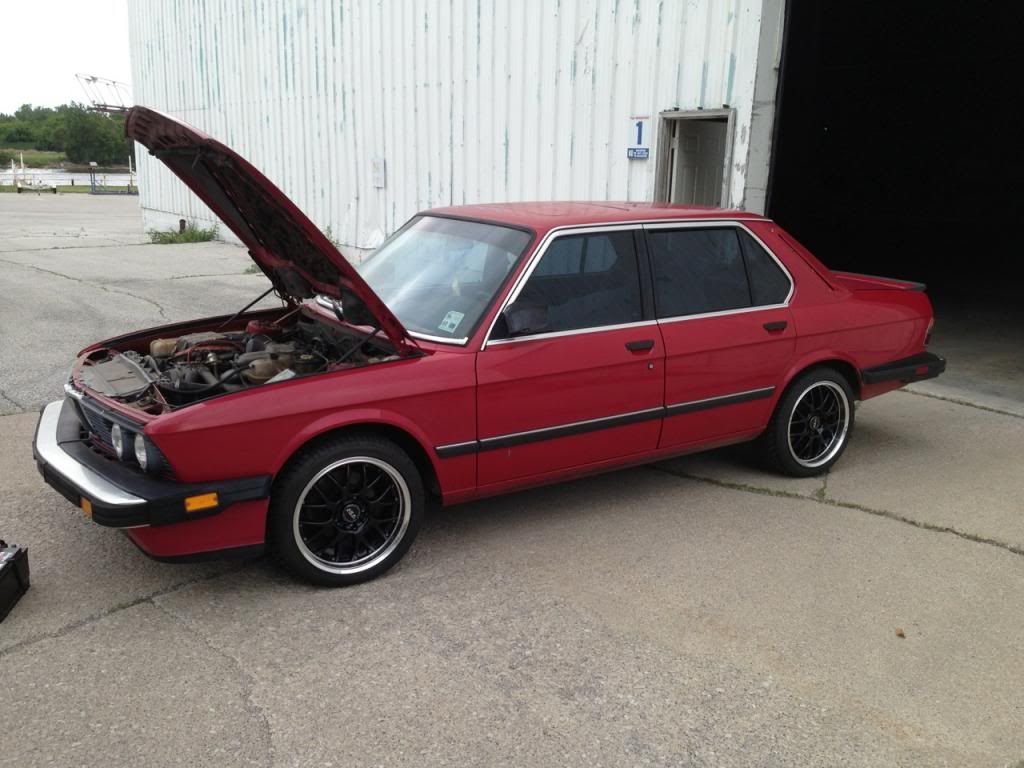
Some of you may or may not know that I was inquiring for some advice on picking up another 5er and ditching my rusty but trusty one. Well here goes the rebuild, shall I say, of this one. It's been sitting for about a year. I picked it up off of Jake B here on the forums. It does run, driving.....that's a different story. It needs, well, a few things to get it going down the road straight...and shake free...and safe. Yeah, safe is good. I'll try to document as much as I can here. I essentially would like to make this car a fraternal twin to cek's car, Vlad. There might be some exciting stuff in store. Check it out.

Well here it is on it's way to my house:
Image
Image
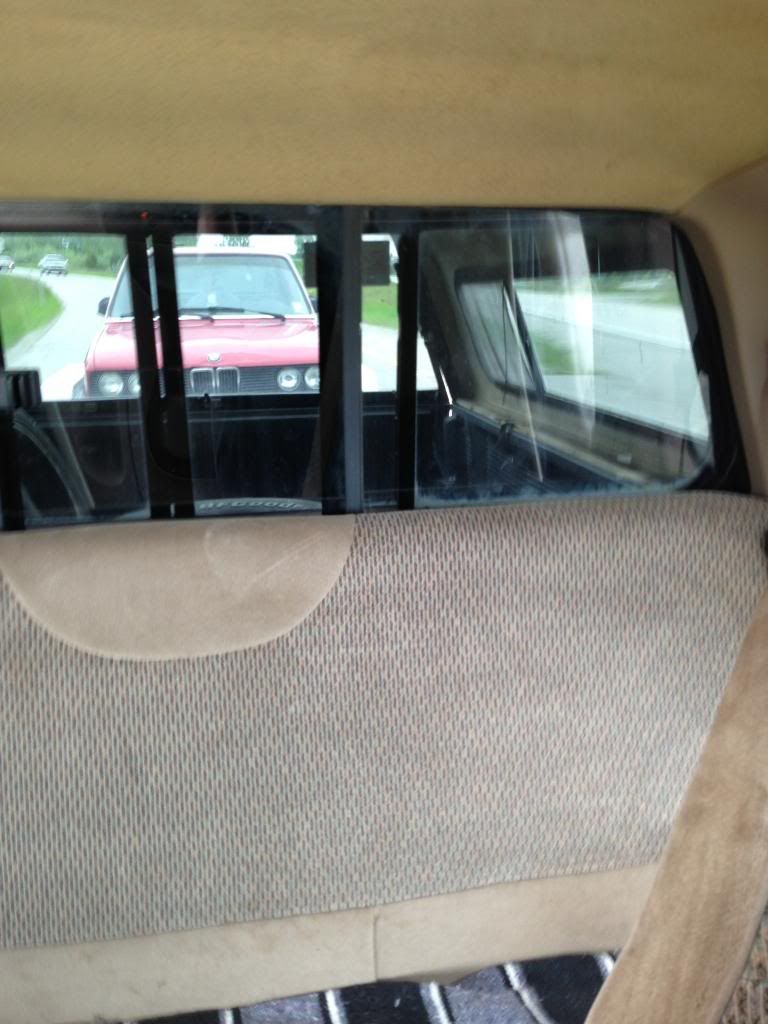
Before it was loaded up. Jake put a charged battery in and it fired up and ran alright. Needs power steering fluid as it was all over the warehouse floor when he went to go get it out of storage.
Image

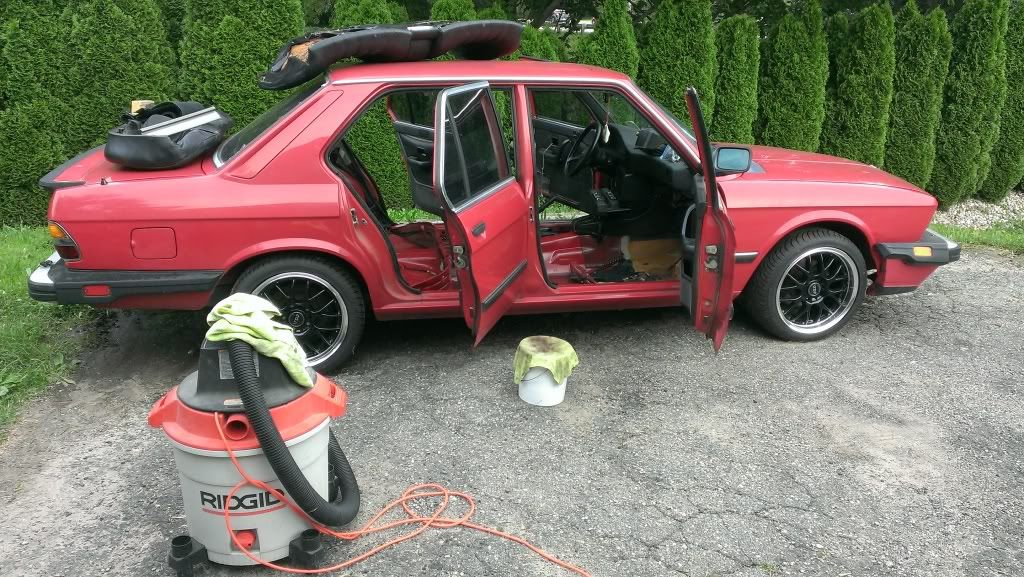
And in my driveway, doin' werk...
Image
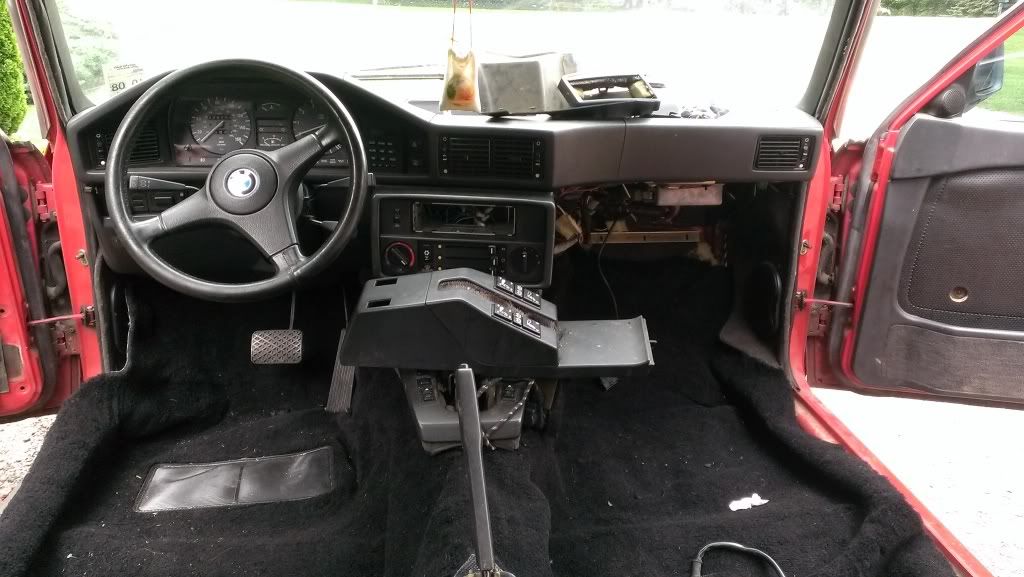
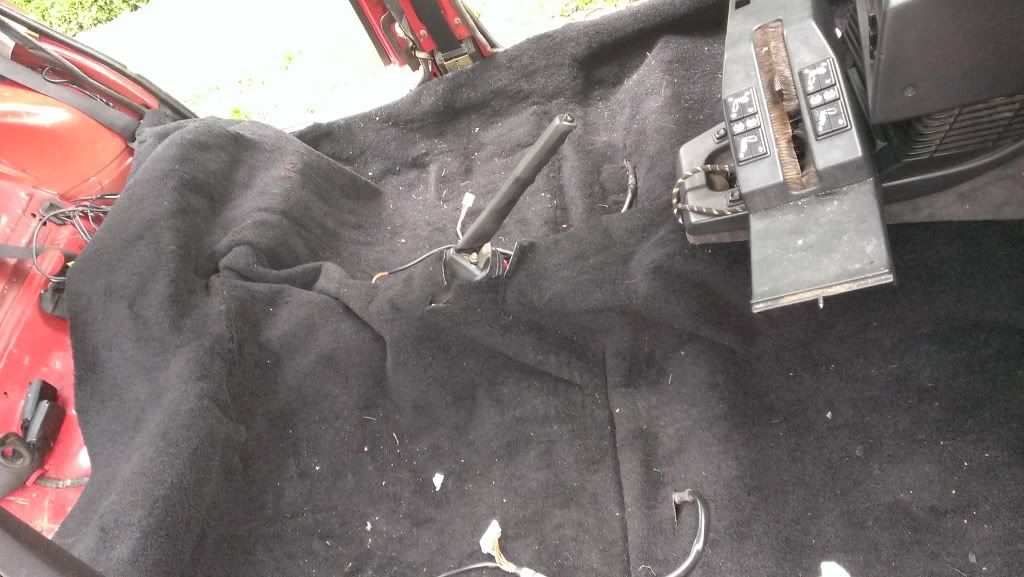
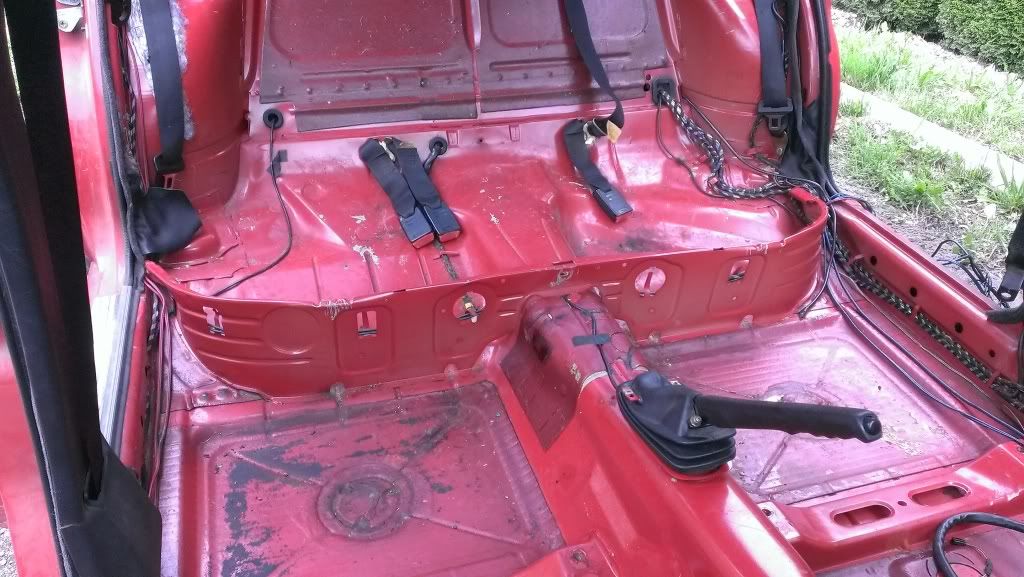
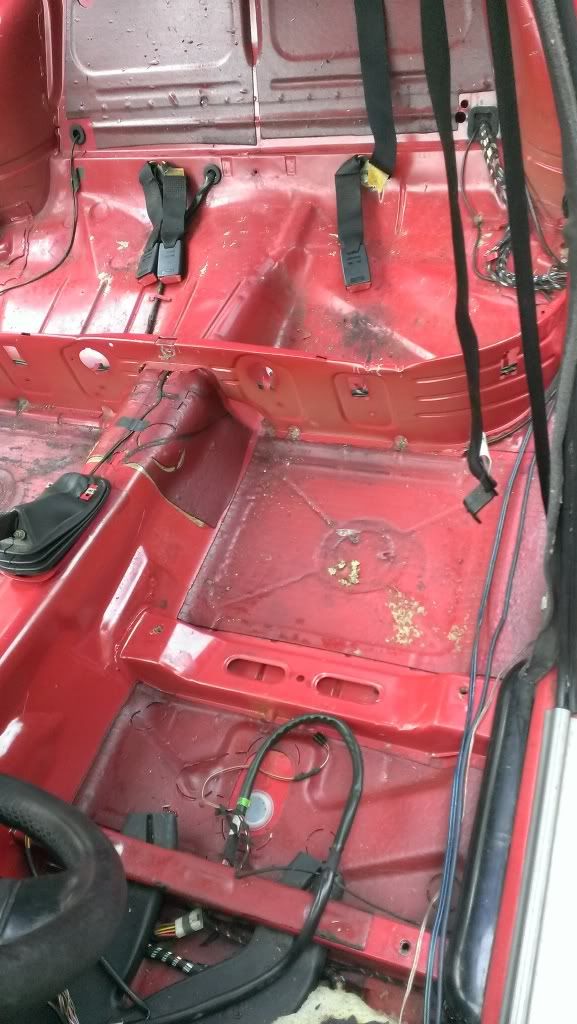
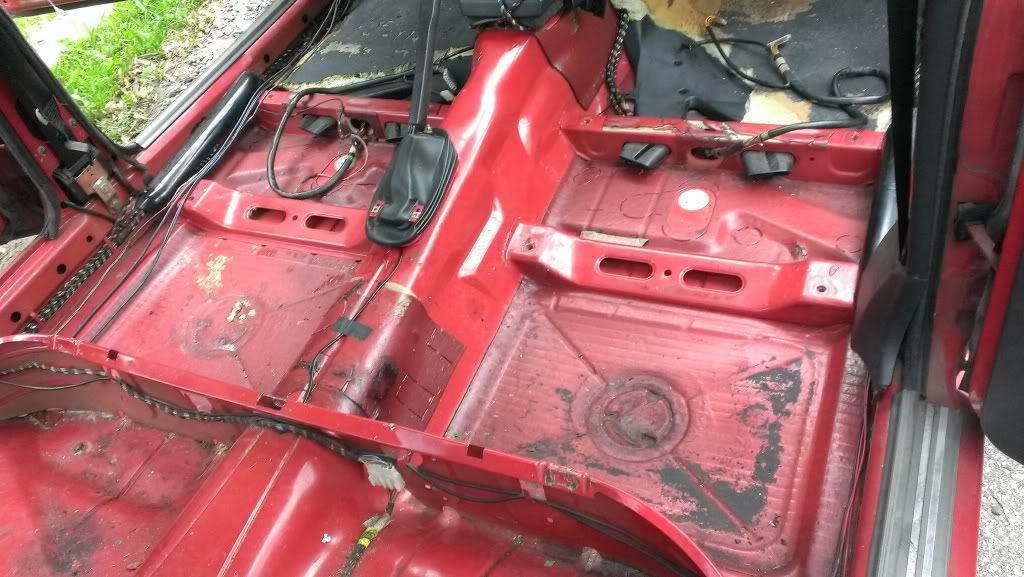
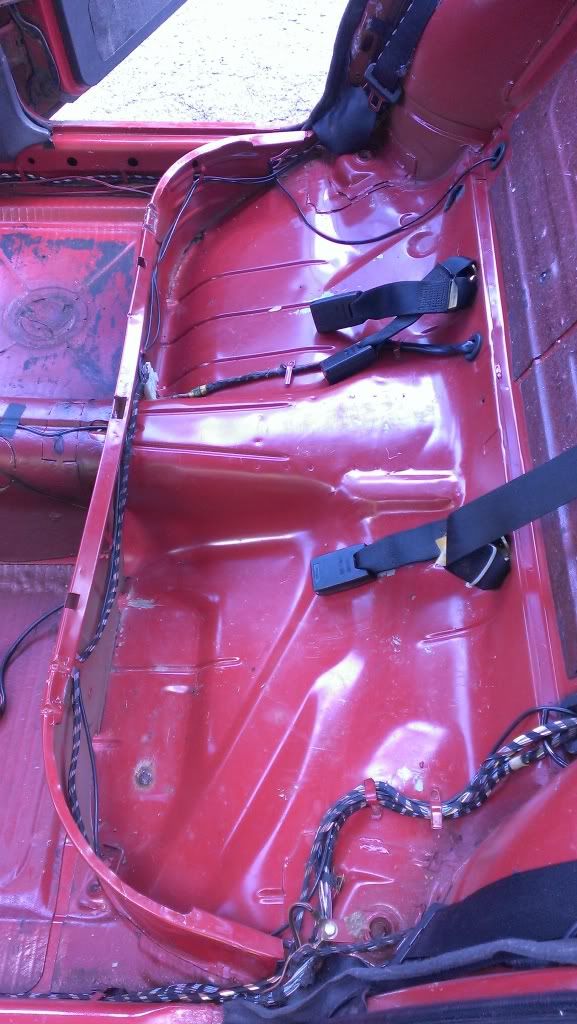
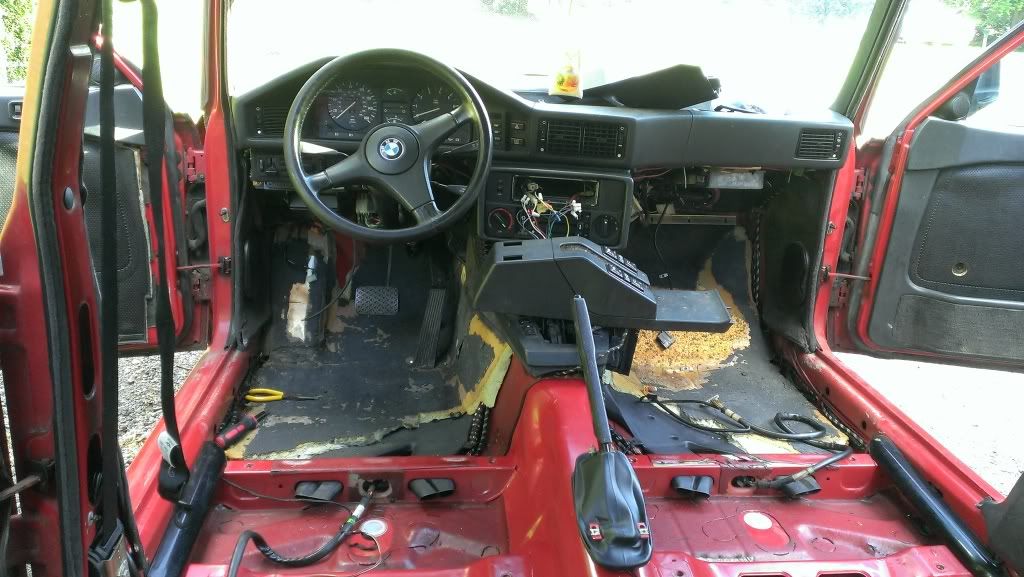
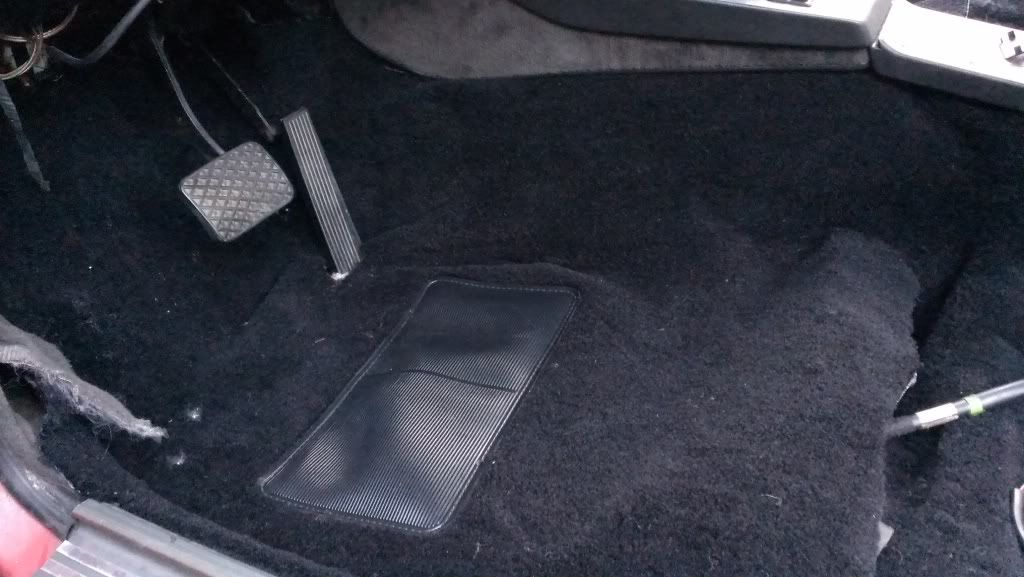
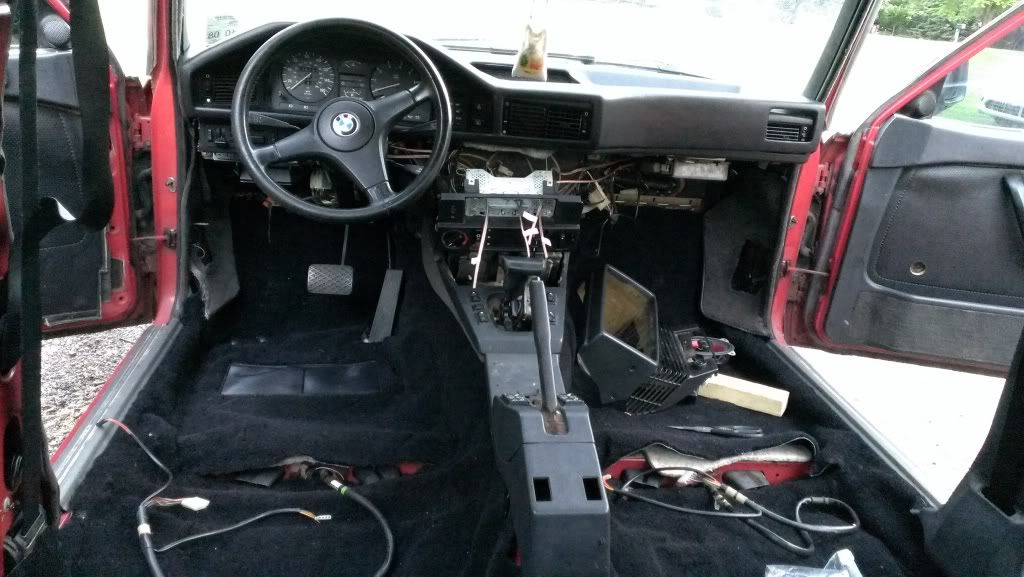
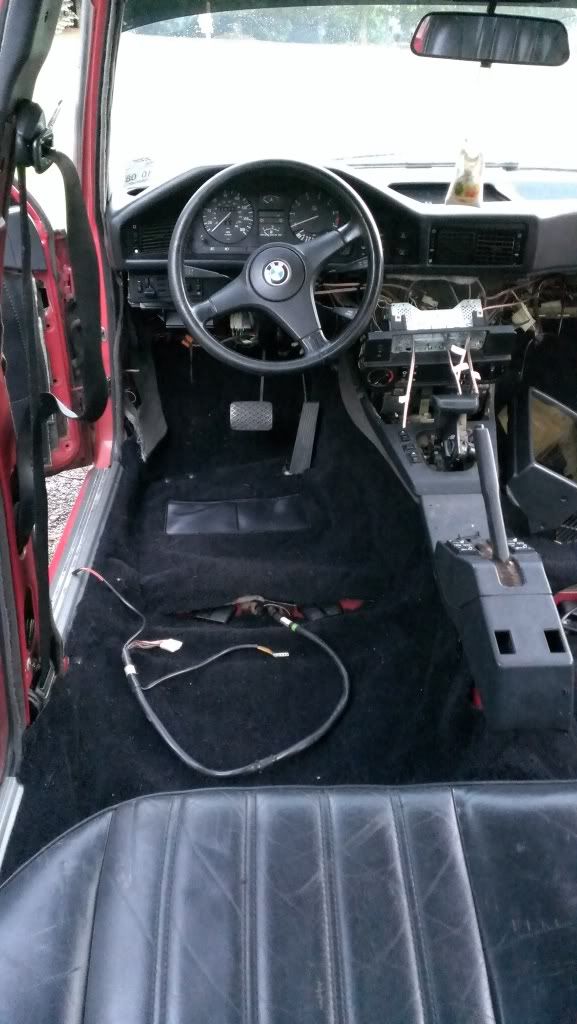
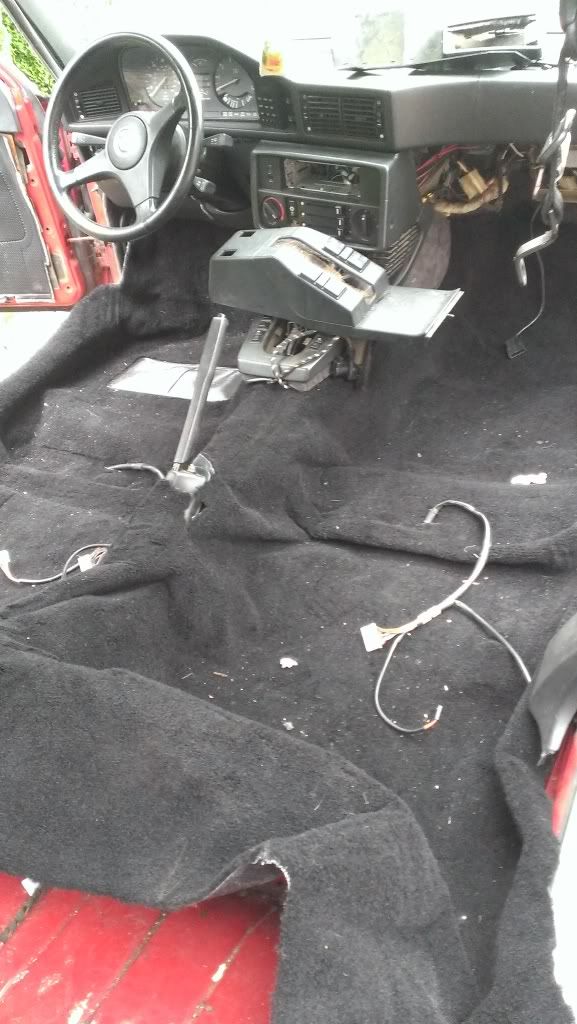
Carpet is new and whoever tried to install it before was off by quite a few inches. Here goes nothing:
Image
Image
Image

Next up, southern floor pans:
Image
Image
Image
It's dirty. Needs a good hand wash.
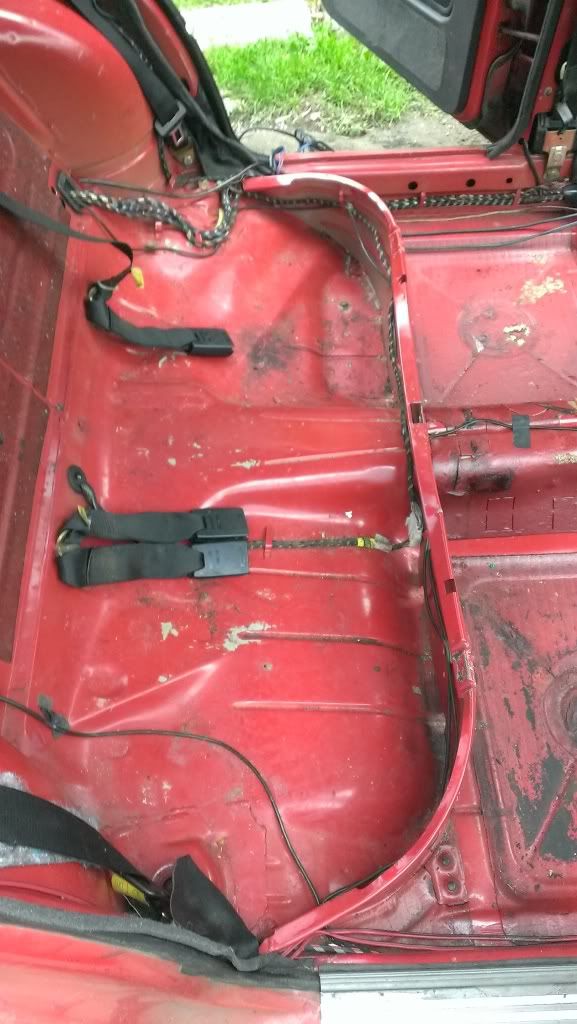
Image
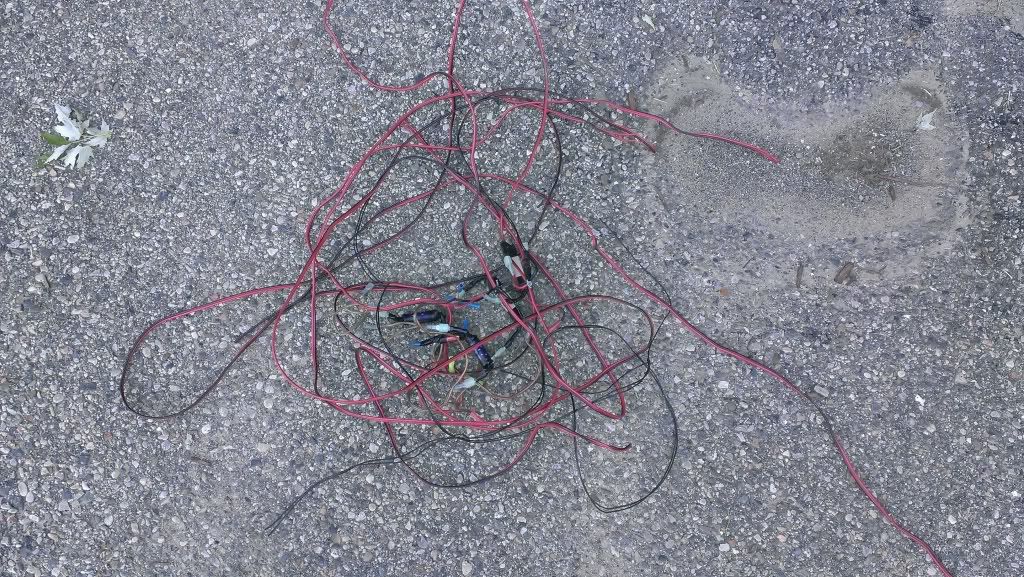
Also removed some nonsense wiring that one of the PO's was likely having ran for some bumping ass system. I like engine sounds and talk radio so who needs this anymore...
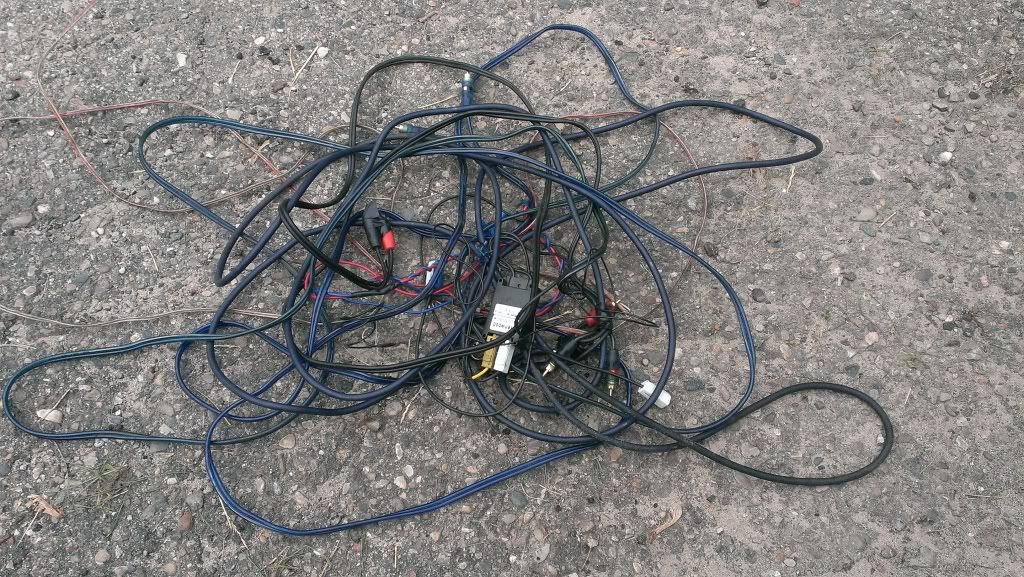
Image

As for the plans thus far, here's a small list of to-do's:
  • - Finish interior - Carpet, plastic bits, etc.
    - Install Black e34 Power Comforts
    - Wire up radio/speakers. Fresh wire going in while the carpets out. Factory amp is missing anyway.
    - Replace all fluids: oil, coolant, brakes, power steering, trans, diff.
    - Repaint grills, hood vents, bumper plastic
    - Clean the rusty tools up in the tool kit (It's complete!!)
    - Shadowline Chrome Trim
    - Install new black lock strips in front and rear seals
    - Call a paintless dent repair guy out to smooth her out
    - Compound, condition, wax the exterior.
    - Shakedown
On another note, my wedding is next weekend (the 22nd) so time is scarce right now. But after, it's on like donkey kong. I might even have an s50 swap in the works. The car is auto, which is terrible, I know. So the proposal is this: I either spend $500 and swap it to a manual now, then in a year or so turbo the M30. Or I can buy a complete s50 and trans setup, with exhaust to obviously modify for the e28's center exit setup for right around $1500. Sounds like fun either way. But it's all still up in the air. We'll see.

Stay tuned for updates. I plan on working steady on this since it is my only e28, and it's not currently moving down the road on it's own power. I really can't stand driving my father in laws 2011 GMC Sierra.... :laugh:
Last edited by unt0uchable on Oct 04, 2013 9:41 PM, edited 2 times in total.
tig
Posts: 9320
Joined: Mar 18, 2013 6:25 PM
Location: Durango
Contact:

Re: My Zinno '87 535is - Project Determination

Post by tig »

unt0uchable wrote: On another note, my wedding is next weekend (the 22nd) so time is scarce right now.
I was married June 22 (1990). Congrats.

Do the 5-speed swap!
unt0uchable
Posts: 2265
Joined: Jul 21, 2011 8:05 PM
Location: Rochester Hills, Michigan
Contact:

Re: My Zinno '87 535is - Project Determination

Post by unt0uchable »

cek wrote:
unt0uchable wrote: On another note, my wedding is next weekend (the 22nd) so time is scarce right now.
I was married June 22 (1990). Congrats.

Do the 5-speed swap!
I was born in 1990. March 13th. :cool:

Definitely needs a 5 speed swap at the very least. :alright:
heinrich535i
Posts: 252
Joined: Jun 21, 2012 12:31 AM
Location: Kalamazoo, MI

Post by heinrich535i »

and a b35 swap while youre at it.
foamy
Posts: 1527
Joined: May 29, 2007 6:39 PM
Location: North Branford Connecticut

Post by foamy »

nice work. that wire bundle looks like it might have had something to do with a satellite radio.
unt0uchable
Posts: 2265
Joined: Jul 21, 2011 8:05 PM
Location: Rochester Hills, Michigan
Contact:

Post by unt0uchable »

foamy wrote:nice work. that wire bundle looks like it might have had something to do with a satellite radio.
You are correct. There is an antenna mounted to the trunk that I am PRAYING is only mounted with some sort of double sided sticky....if it is drilled through, I'll probably leave it there to keep from having to find a deck lid.

More werk. Not much, but I hand washed the interior sheet metal with soap and water. Looks pretty good considering. See the before photos above. My yellow towel was pretty nasty after I was done.
Image
Image
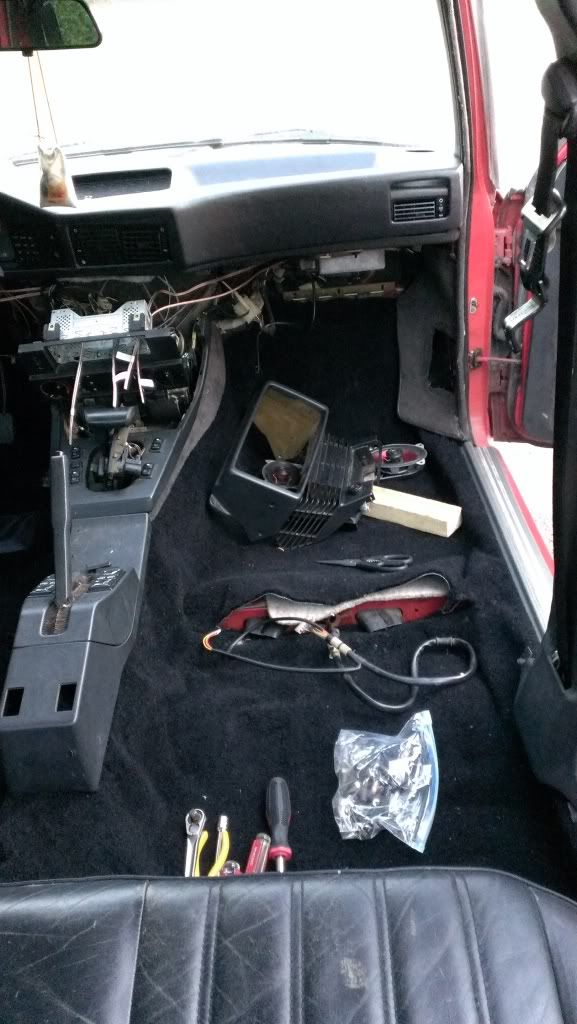
Also took the liberty of ripping out even more speaker wiring crap that was installed. Resistors and all kinds of stuff came with this bundle.
Image
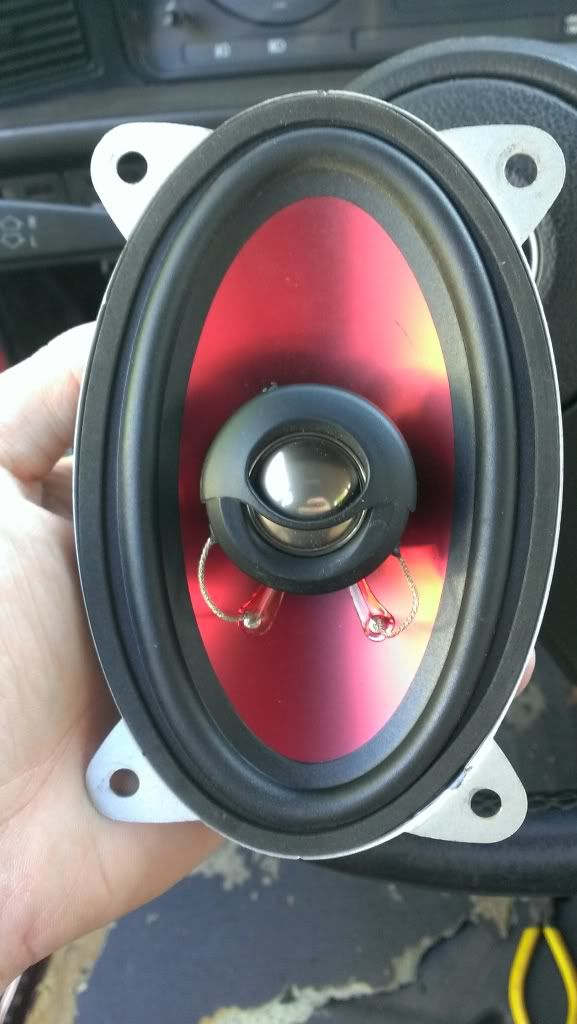
New Speakers! (Missing the driver side rear parcel speaker though...bummer.
Image

In place of all of the wiring I ripped out, I went ahead and ran some fresh speaker wire to the four main speakers. Hoping to tie the tweeters in with fronts and call it good. Almost read for carpet again.

Question: Should I buy some dynamat or sound deading material and install while I have the carpet out? The carpet does have some padding on the bottom and you can see what is left of the driver/passenger floor pans foam padding. Suggestions?

Thanks for looking!

EDIT: Also wondering: I have a brand new dash cap that I bought last year for my previous 5 and never installed. I know a few people have installed them on here but I am wondering if it will be any less difficult to do while I have the dash all torn apart as you see in the photos. I know it still requires some trimming here and there and what not but it would certainly spruce things up once I have it back together. Thoughts?
1st 5er
Posts: 21867
Joined: Jun 13, 2008 12:15 AM
Location: Cypress
Contact:

Post by 1st 5er »

No, on the dash cap. I've yet to see one that looks great after some sun.
I prefer and use a carpet dash cover because I'm too lazy to install the crack free one in my garage.
And besides, it's only been there since June of '09.

Yes, on the S50 swap.

And... :popcorn:
unt0uchable
Posts: 2265
Joined: Jul 21, 2011 8:05 PM
Location: Rochester Hills, Michigan
Contact:

Post by unt0uchable »

1st 5er wrote:No, on the dash cap. I've yet to see one that looks great after some sun.
I prefer and use a carpet dash cover because I'm too lazy to install the crack free one in my garage.
And besides, it's only been there since June of '09.

Yes, on the S50 swap.

And... :popcorn:
I see. I might see how well it will fit after some trimming and some wicked glue... If not, I suppose I could sell it to someone here for what I paid for it.


Anyway, on with some progress:

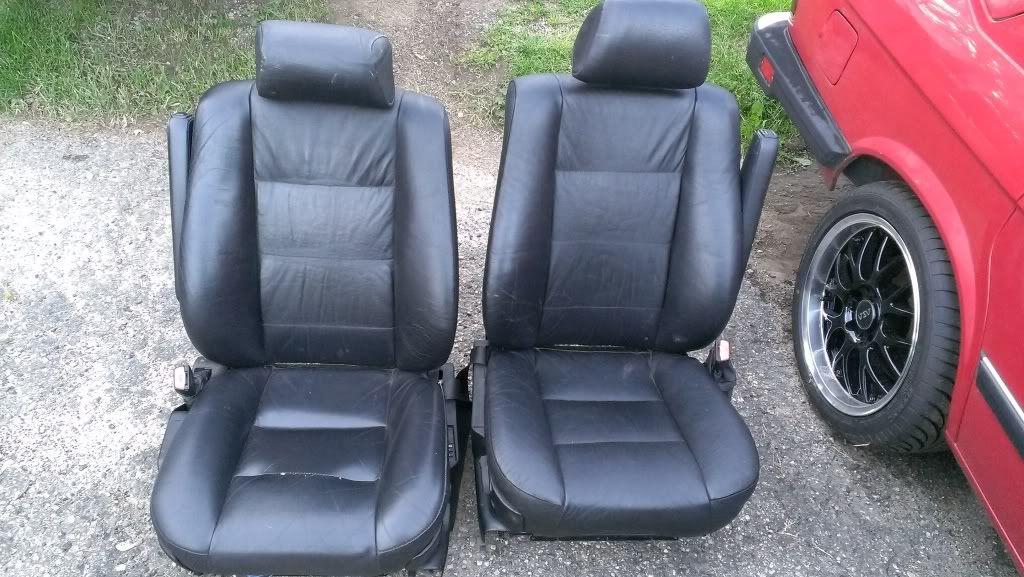
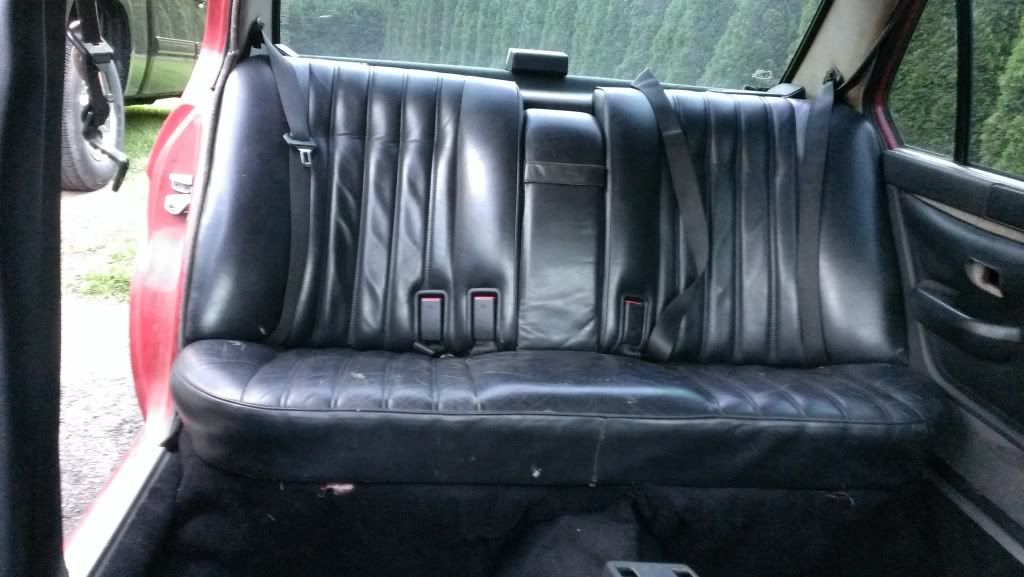
Picked up (kinda) my seats yesterday (one might have some twist going on, not sure if it's the photo angle or what)
Image

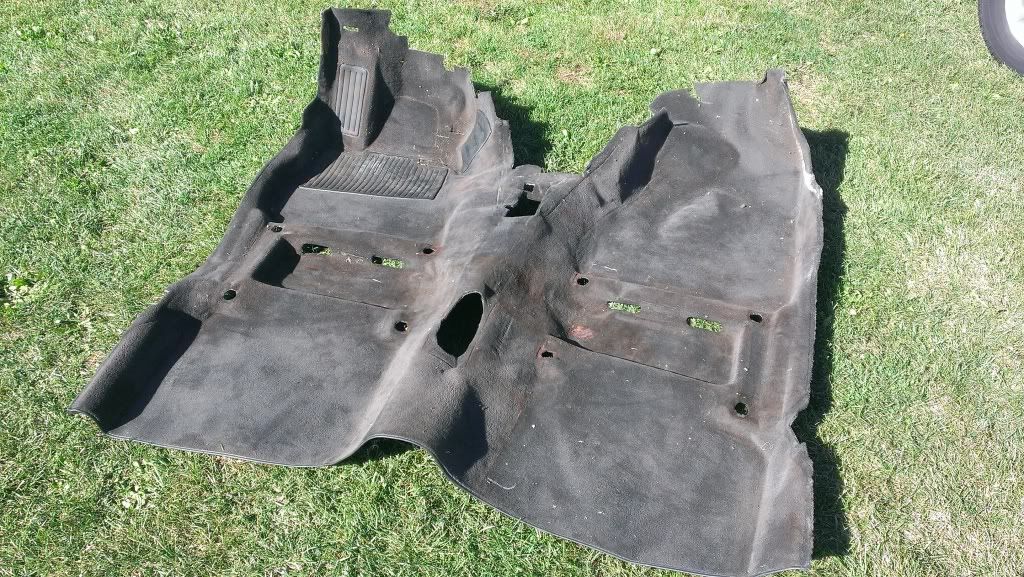
Spent the morning laying the carpet out, trimming, and trying to get it to stay in place. Fuckkkkkk that sucked. I'm really not happy with it, at all, but it's black, and new, and fresh and whatever. Hopefully the seats will cover up most of the horribleness. I might go get some super sticky double sided tape to put at the door sills, near the accelerator pedal and maybe in a few other spots. Ugh...
Image
Image
Image
Image

Back seat in. Need to go to the hardware for some bolts...
Image

That's it for now. Wedding is Saturday so work might come to a hault until....first weekend in July. Can't really work on it in Jamaica :banana: :banana:


Of course, I have a couple questions: Since I've never seen the wiring before for the e28 power seats, why are there three connectors under there? I'm going to make a small harness with bullet style connectors to just hook into the original connectors on both sides so I don't butcher any wiring. Just wondering what the other connectors are used for under there.

Also, are there block off plates for the e28 seat switch holes or do I need to find a manual console?

Thanks for watching.
Coldswede
Posts: 6859
Joined: Oct 10, 2008 1:48 PM
Location: Back U.P. North,. Where the water's blue, the wind is free and seasons four.

Post by Coldswede »

Have a gander at this How to I wrote. It might help answer questions on your seat install and wiring.

http://www.mye28.com/viewtopic.php?p=888932


Are your carpets not heat formed BMW carpet?
unt0uchable
Posts: 2265
Joined: Jul 21, 2011 8:05 PM
Location: Rochester Hills, Michigan
Contact:

Post by unt0uchable »

Coldswede wrote:Have a gander at this How to I wrote. It might help answer questions on your seat install and wiring.

http://www.mye28.com/viewtopic.php?p=888932


Are your carpets not heat formed BMW carpet?
Thanks, I'll check that out!

As for the carpets, heat formed?! Not this setup. Must have been a cheap knock off kit. I found the kick panel pieces still tied together with a tag gun style thingamajigger.

I wonder if a heat gun/blow dryer would allow me to form it better to the tunnel and kick panels...

EDIT: In fact, I am almost contemplating buying someone elses really nice used black carpet because the heat forming would make this look a heck of a lot better. Yeeesh.
unt0uchable
Posts: 2265
Joined: Jul 21, 2011 8:05 PM
Location: Rochester Hills, Michigan
Contact:

Post by unt0uchable »

In fact, the more I think about it since you brought it up, I remember stumbling on this a few weeks ago. I might order me up some fresh black carpet. This would probably drop right in and fit properly instead of wrestling with this other crap that was in here....

http://www.stockinteriors.com/AutoCarpe ... box_holder

Image
Toolm609
Posts: 58
Joined: Mar 30, 2012 9:49 AM
Location: Rochester Michigan

zinno

Post by Toolm609 »

Nice work congratulations on the wedding have fun in Jamaica on the honeymoon. :brick:
cddallara
Posts: 3513
Joined: Apr 03, 2010 8:45 AM
Location: Lagunitas, Ca

Post by cddallara »

Just wondering why comforts and not sport seats? E34 sports, IMO are plenty comfortable (I went manual too, but that's a whole other deal),

Car is coming along nicely, great color combo!

Congrats on the wedding, going on 15 years here...
unt0uchable
Posts: 2265
Joined: Jul 21, 2011 8:05 PM
Location: Rochester Hills, Michigan
Contact:

Post by unt0uchable »

cddallara wrote:Just wondering why comforts and not sport seats?
Yeah, good question! Because I only paid $80 for both of them and the only thing wrong with them is a small tear on the drivers arm rest. Plus they are already modified for the e28 bolt holes so it was hard to pass up and to boot, they are mighty comfy and still have somewhat of a bolster to hold me in.

cddallara wrote:Car is coming along nicely, great color combo!

Congrats on the wedding, going on 15 years here...
Thanks and Thanks!


So, I've hit a bump in the road with the seats. The drivers seat is a stupid memory seat and I don't have the intermediate harness, nor do I care to get my hands on it unless it's absolutely inevitable that I do. I've studied the wiring diagrams in the etm and I keep coming up with pin 5 for power and 6 for ground but it's not moving the seat. Here are my questions:

1. Is there a built in fuse somewhere in the circuitry under the memory seats that I may have blown?

2. Does this picture below make sense for trying to wire these up and bypassing the harness? I haven't tried this setup yet but I plan to today sometime.
Image


Just looking for any sense of direction from anyone who might have wired these up before. I don't really plan on cutting the harnesses up in case I find a bigger better deal on some sports or something in the future.
unt0uchable
Posts: 2265
Joined: Jul 21, 2011 8:05 PM
Location: Rochester Hills, Michigan
Contact:

Post by unt0uchable »

unt0uchable wrote: Image
This worked.

Currently building a little harness to go from the stock connector to these connections. Note: You do need both of those pins grounded. I found that grounding one made the seat click, but there was no movement. Upon grounding both, the seat moved!! I should have these babies installed and moving in a little while. Yippe Kai Yay!!!!
unt0uchable
Posts: 2265
Joined: Jul 21, 2011 8:05 PM
Location: Rochester Hills, Michigan
Contact:

Post by unt0uchable »

I also found that one of the motors was inoperable so I used the "e34 seat twist repair" to fix this. Just trimmed up the outer sheathing and away it went. I still need to fix the actual twist in the seat back but that post on the switch is busted so that will have to be done at a later date. Oh well. Now I just need to install the seats and start working on putting the console/radio/dash back together. Here we go....
unt0uchable
Posts: 2265
Joined: Jul 21, 2011 8:05 PM
Location: Rochester Hills, Michigan
Contact:

Post by unt0uchable »

Game on. Ordered $983 worth of parts from Blunt yesterday. Man those guys are awesome. Let the games begin folks.

Here's a list of all the parts I ordered:
  • 1 - Air Intake Hose
    1 - Air Mass Meter Boot
    1 - Breather Hose
    1 - A/T Filter
    1 - A/T Filter O-ring
    1 - CONTITECH Drive Belt 13 X 800
    1 - CONTITECH Drive Belt 10 X 888
    1 - CONTITECH Drive Belt 13 X 1055
    6 - Spark Plug Silver
    16 - Exhaust Nut
    16 - Exhaust Stud
    1 - Air Filter
    2 - Exhaust Manifold Gasket
    1 - Oil Filter Kit Cartridge
    E28 20PC Meyle Suspension Kit
    - Upper control arm Left
    - Upper control arm Right
    - Control arm left Lower aluminum M5
    - Control arm right Lower aluminum M5
    - Swaybar link front x2
    - Tie rod assembly x2
    - Center link tie rod
    - Idler arm
    - Swaybar Link Rear x2
    - Subframe mount x2
    - Rear pitman arm x2
    - Trailing arm bushings x4
I also have the following that needs to be in installed:
  • 2 - Billy Sports - Front
    2 - Front Strut Mounts
    Power Steering Hard Lines
Also going to be ordering some Energy Suspension sway bar bushings from Summit. Might as well do those while I'm all up in there.
I think that pretty much sums it up for now. I've got a few other cars I'm working on this weekend/next week so these parts will likely sit in a box for at least a week before I get to it.

I still need to bolt down the seats (even thought I hate the carpet setup, meh) and get my console and dash back together. I've been moving slow since returning from Jamaica. I screwed up my lower back and have been taking it easy.

More to come. Stay tuned. :banana: :banana: :alright: :wrenchtime: :wrenchtime:
unt0uchable
Posts: 2265
Joined: Jul 21, 2011 8:05 PM
Location: Rochester Hills, Michigan
Contact:

Post by unt0uchable »

I <3 the UPS man.

Image
leadphut
Posts: 4499
Joined: Feb 12, 2006 12:00 PM
Location: Portland, OR

Post by leadphut »

you're going to appreciate these new parts.

Keep going!
unt0uchable
Posts: 2265
Joined: Jul 21, 2011 8:05 PM
Location: Rochester Hills, Michigan
Contact:

Post by unt0uchable »

Thanks! The temps have been unreal around here lately. 90*F and the humidity is just killing any energy you have once you step outside. I plan to get the interior assembled soon. I've got a couple of other things in front of my car and I'm also trying to get a hold of someone with a lift that is somewhat nearby me. I don't know if I can handle doing all of this while laying on my back....yikes! Plus jack stands just scare me for some reason. I was born and raised using a lift so... :dunno:

Thanks for the kind words!
leadphut
Posts: 4499
Joined: Feb 12, 2006 12:00 PM
Location: Portland, OR

Post by leadphut »

unt0uchable wrote:Thanks! The temps have been unreal around here lately. 90*F and the humidity is just killing any energy you have once you step outside. I plan to get the interior assembled soon. I've got a couple of other things in front of my car and I'm also trying to get a hold of someone with a lift that is somewhat nearby me. I don't know if I can handle doing all of this while laying on my back....yikes! Plus jack stands just scare me for some reason. I was born and raised using a lift so... :dunno:

Thanks for the kind words!
Ya, jack stands are scary stuff. I set aside money to have a mechanic do my suspension pieces. Plus a few of the parts are tough to remove. I struggled like crazy with the tie rods and eventually handed it over to my mechanic; and I have a lift.
unt0uchable
Posts: 2265
Joined: Jul 21, 2011 8:05 PM
Location: Rochester Hills, Michigan
Contact:

Post by unt0uchable »

leadphut wrote:Ya, jack stands are scary stuff. I set aside money to have a mechanic do my suspension pieces. Plus a few of the parts are tough to remove. I struggled like crazy with the tie rods and eventually handed it over to my mechanic; and I have a lift.
I've been searching for a deal on a lift locally but can't seem to find anything worth buying yet. I do have access to my high school shop and still know the instructor who would be more than willing to let me use the shop and tools. I just will likely have to wait until September before I can get in there to do anything and that's too long. Still trying to figure out what I want to do. For now, I'll do what I can under the hood, inside the car, and work on some exterior touching up I suppose.
Johnnysrx
Posts: 74
Joined: Jan 19, 2013 3:40 PM
Location: Milwaukee

Post by Johnnysrx »

updates???
unt0uchable
Posts: 2265
Joined: Jul 21, 2011 8:05 PM
Location: Rochester Hills, Michigan
Contact:

Post by unt0uchable »

Johnnysrx wrote:updates???
Heh, yeah...about that...

(Thread-jacking my own shit here)

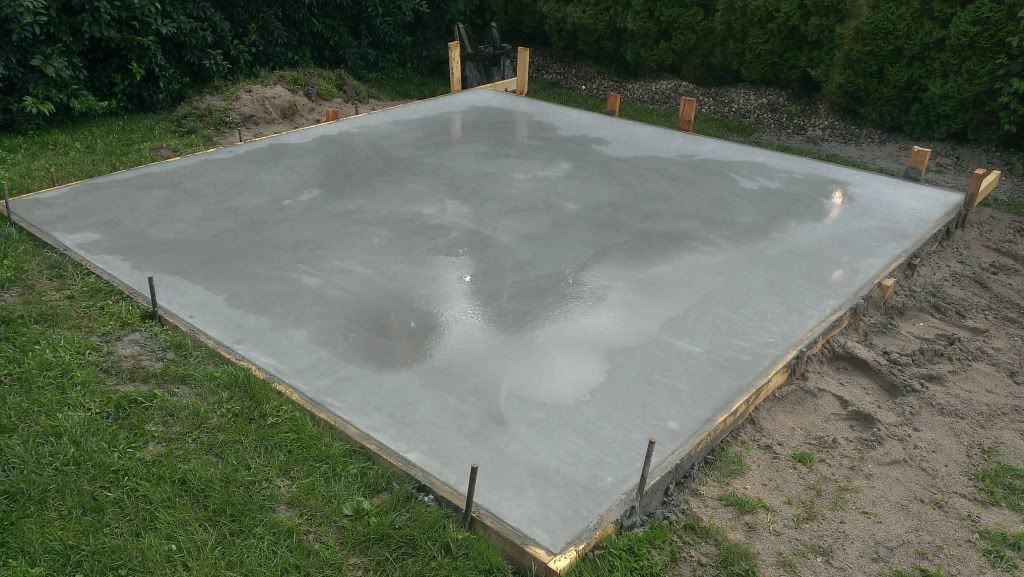
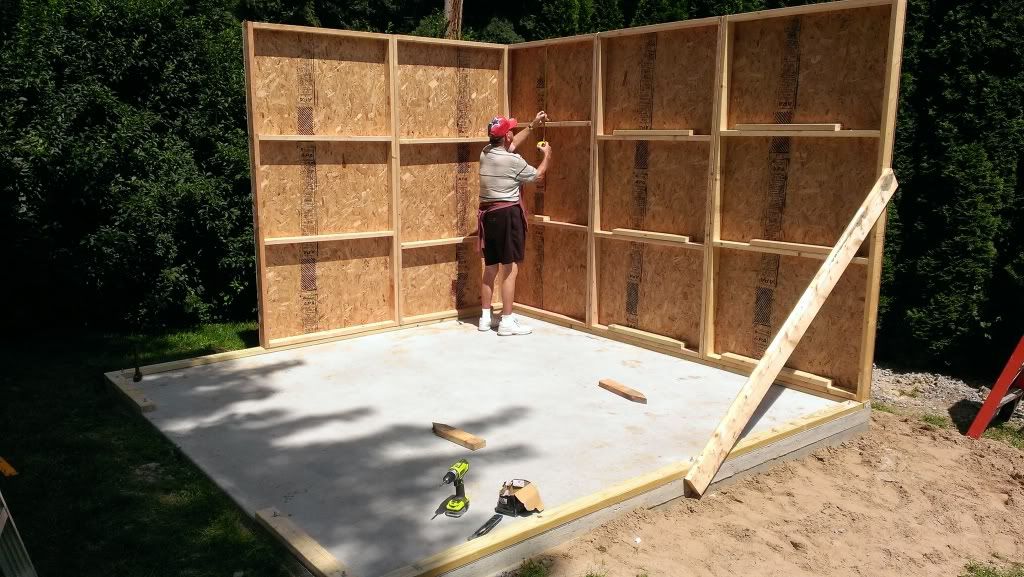
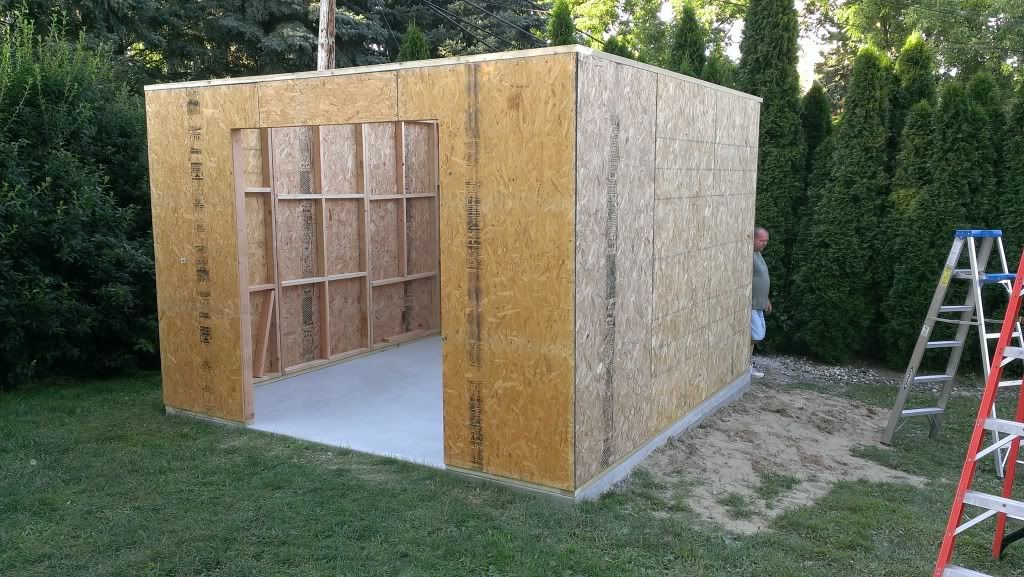
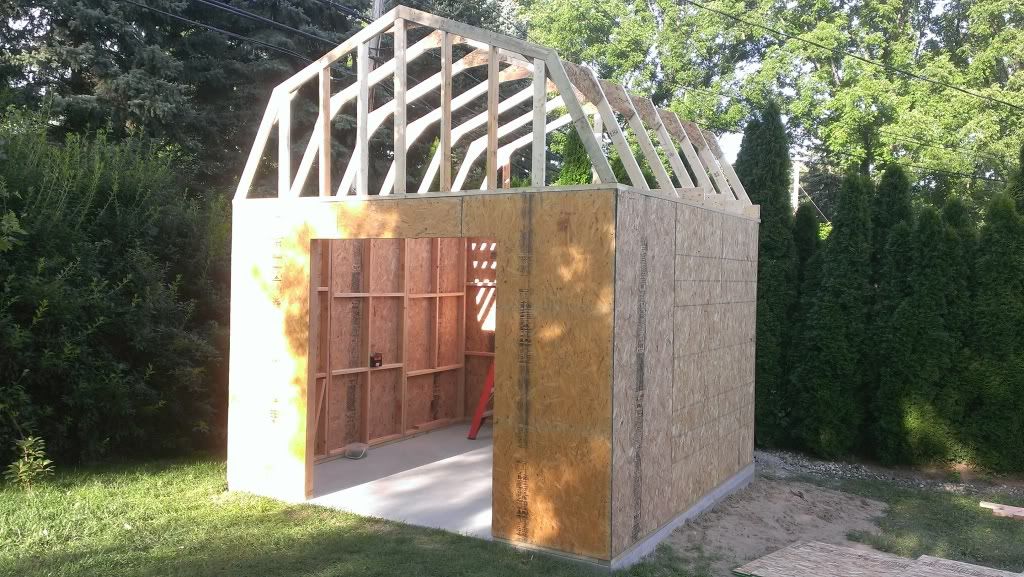
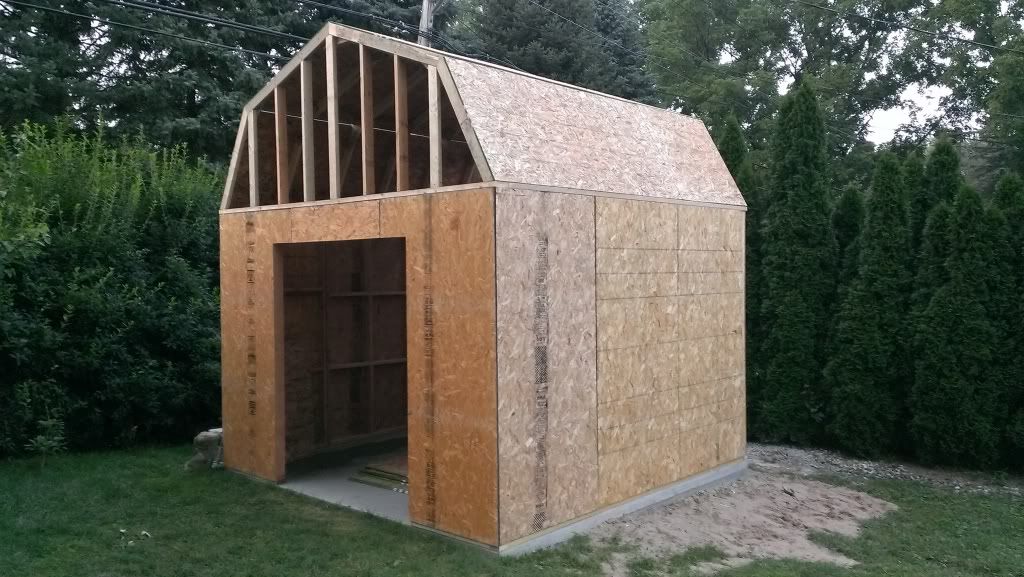
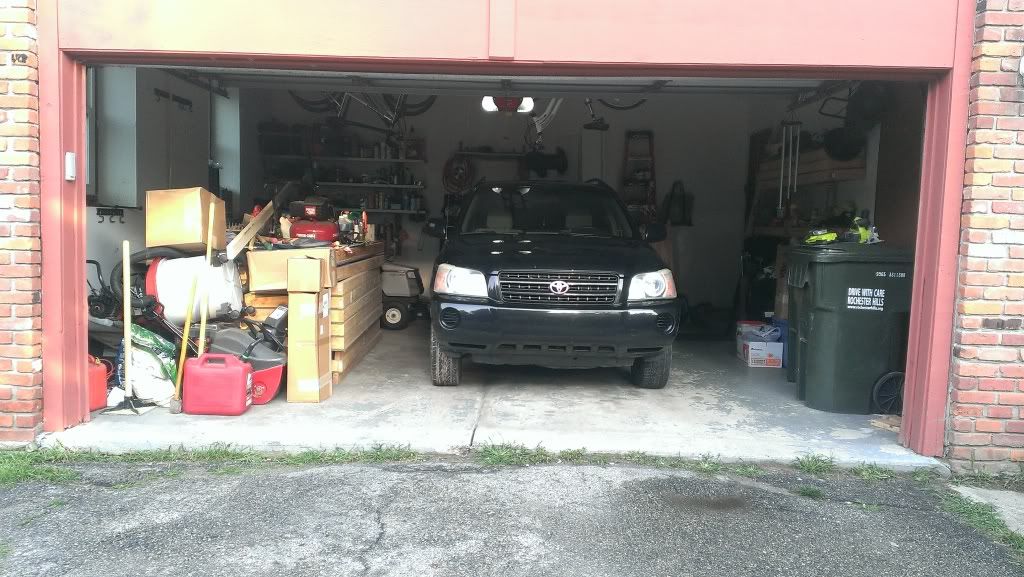
I've been a little busy lately with some other projects. Trying to make room in the garage to work on this thing. Just a quick timeline..

Image
Image
Image
Image
Image
Image
Image
Hopefully I can store many bimmer parts here.....
Image
Image
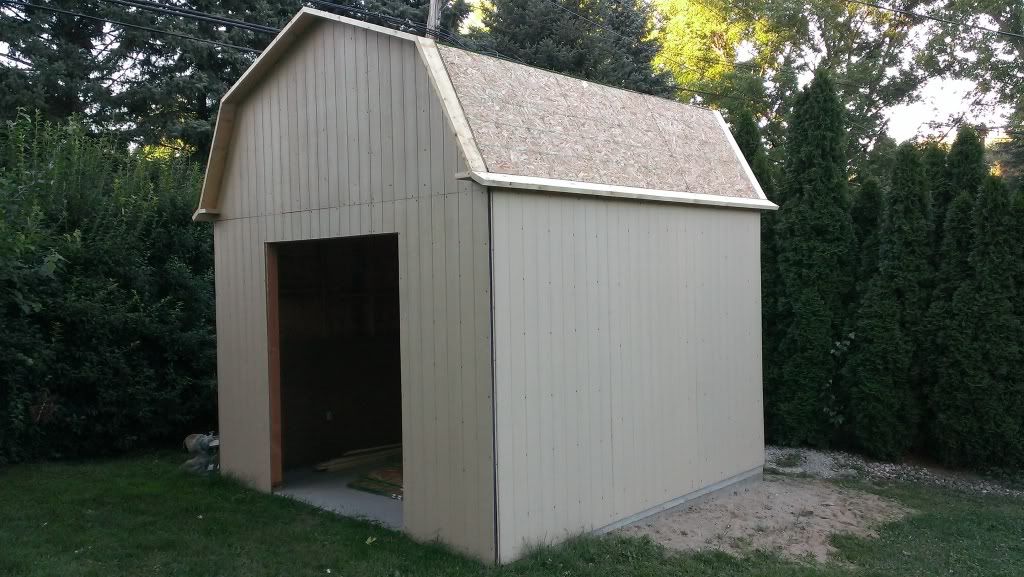
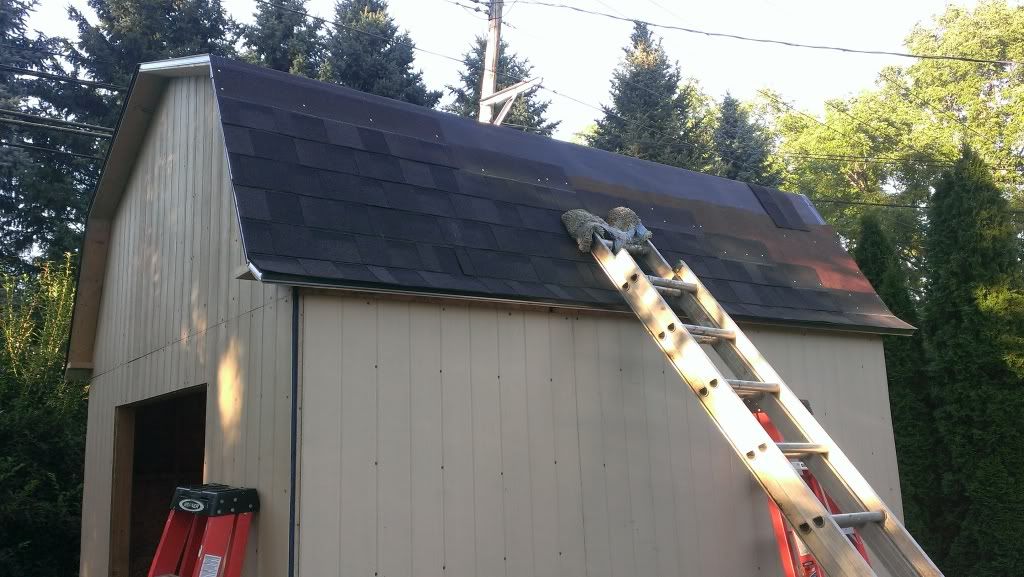
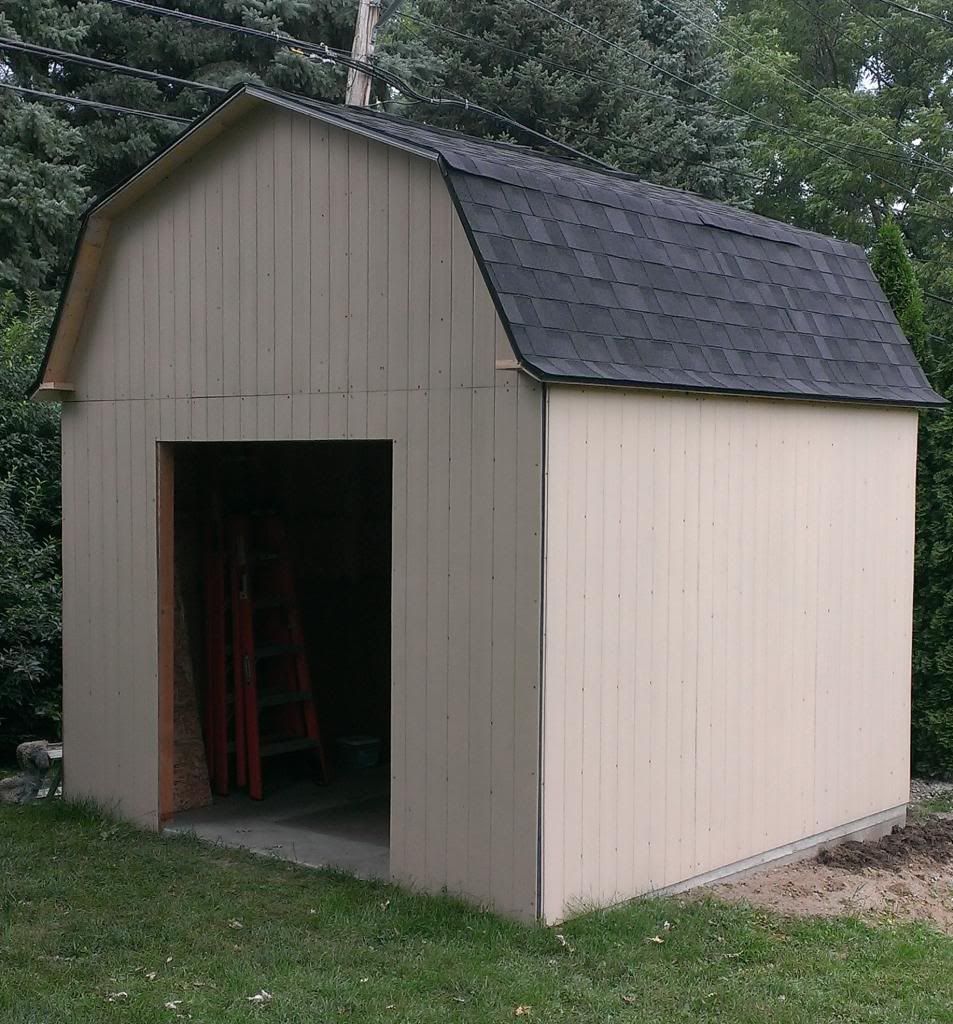
(The shingles have laid down nicely, that was only one day in the sun and it wasn't a very warm one at that)

There is paint on it now, and the doors are getting hung today. I'll update this post with some more photos later on this evening or weekend.

Before you all ask questions and badger me for the wall framing, I know I built the walls wrong. The front wall is correct, and actually, I went overboard and did the studs 16" on center, when it only called for 24" on center for a shed.

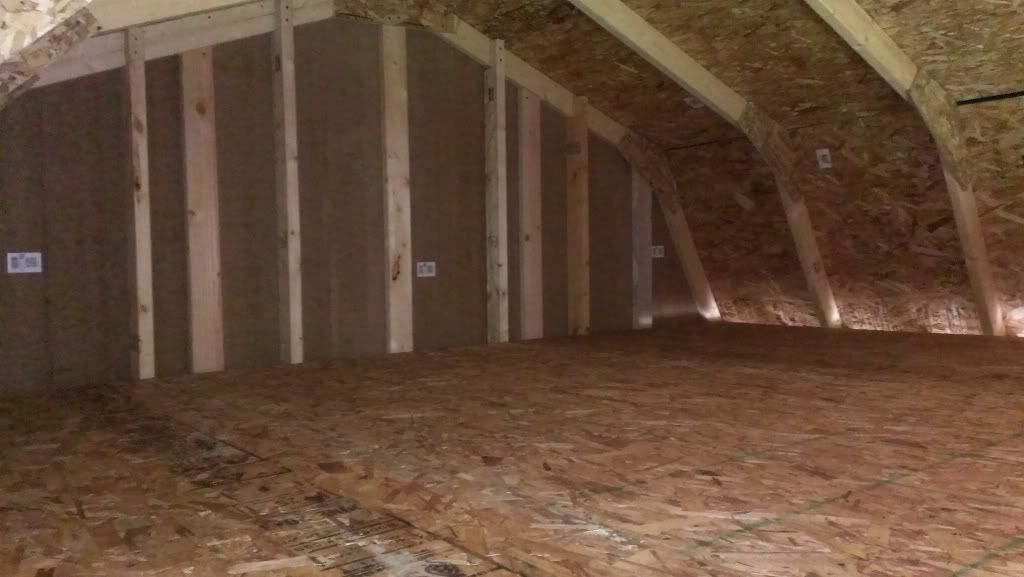
The reason the walls are framed the way they are is because the 3 walls you see that way were all FREE! They were platforms that myself and a co-worker built for shelving at work. When we moved buildings, the shelving came down, and say in my garage for about...7 months. They were 4x8 each so I decided to make the shed 12x12 and make it all work! Can't beat free lumber, that's for sure. Especially when the thing has still cost ~$2k.

For the nerds who care, it's 12'x12' with 8' walls. The loft area is 4' tall and is 12'x7'. It sits about 60ft from the back of my house, and I built it so the doors open to the east. Front of the house faces the south. SInce it is so far from the house, and even further from where my electrical box is at in the basement, I plan on building a small solar power plant inside which will consist of 2 deep cycle 12v batteries, and 45w solar panel charging kit from harbor freight, a 2000/4000w inverter (also from HF). This will be there to run a couple of shop lights for working out there and an exterior flood light. I am also wiring the shed with outlets, 2 per wall, and I plan on fitting the end of the wiring with a plug that can easily be plugged into the inverter and powered up. Should be a neat setup once I am finished.

I'm just excited to move all this shit out of my garage....(less those cardboard boxes, those are from Blunt and are going on the zinno)
Image


Now, for an update on the car. I bought carpet! Ended up getting some used black carpet off of a member here. I am taking it to the car wash tonight and scrubbing it and just getting the dirt off basically. Hopefully it cleans up well. Depending on how that goes, I may even go over it with some black fabric paint. We'll see though.

Stay tuned for moar!
demetk
Posts: 8431
Joined: Aug 09, 2007 8:58 AM
Location: CT, USA

Post by demetk »

unt0uchable wrote:
unt0uchable wrote: Image
This worked.

Currently building a little harness to go from the stock connector to these connections. Note: You do need both of those pins grounded. I found that grounding one made the seat click, but there was no movement. Upon grounding both, the seat moved!! I should have these babies installed and moving in a little while. Yippe Kai Yay!!!!
My pic and yes it does indicate two ground wires. Glad it helped you out.
unt0uchable
Posts: 2265
Joined: Jul 21, 2011 8:05 PM
Location: Rochester Hills, Michigan
Contact:

Post by unt0uchable »

Ever so slight update....

Got my tires mounted and wheels on. Even though they will be coming back off before I get to drive it on the road.

Needs moar low now...

Before...17's that belong to Jake B
Image

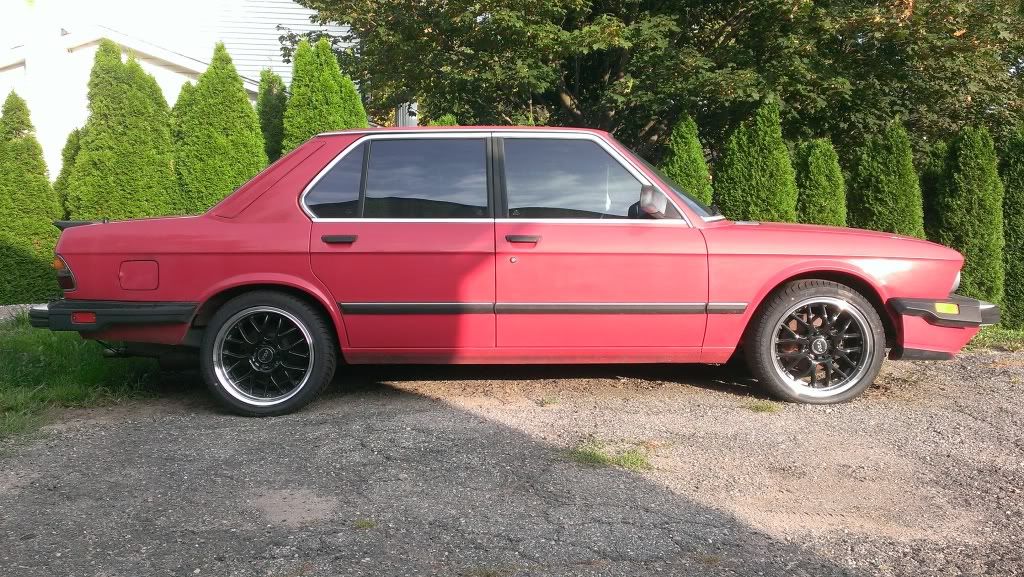
And after. E38 style 5's with 225/50-16 Toyo Proxies.
Image

I'm debating on painting the lug area black and running without caps. I remember seeing a thread with some photos of that setup and kinda like the look. We shall see. Needs a lot more attention before that happens.

The wheel gap is killing me now. It needs some serious work. Hoping to really get cracking on this with the shed essentially finished. Need to organize the garage and start plucking away at my new parts.

More to come...
unt0uchable
Posts: 2265
Joined: Jul 21, 2011 8:05 PM
Location: Rochester Hills, Michigan
Contact:

Post by unt0uchable »

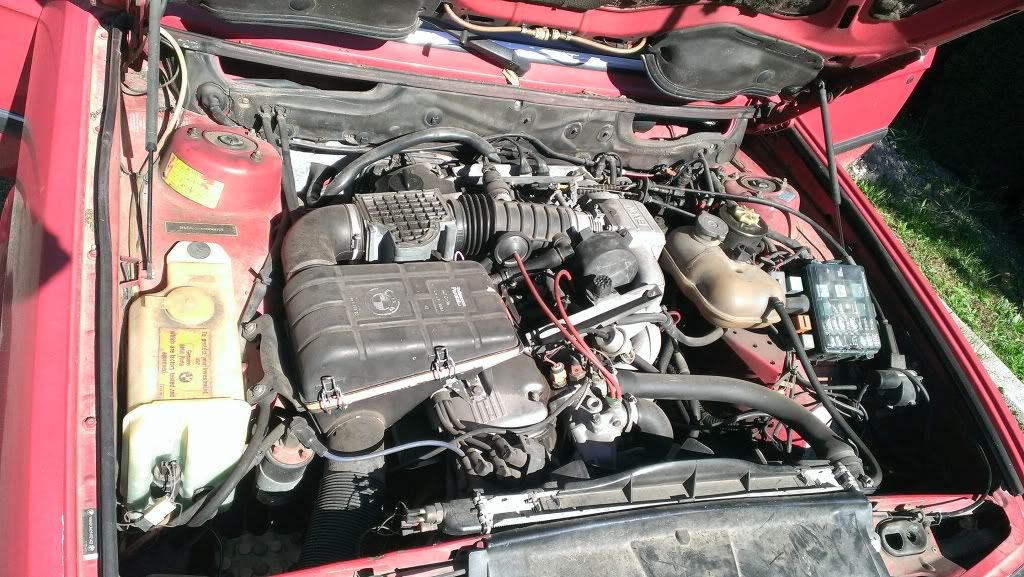
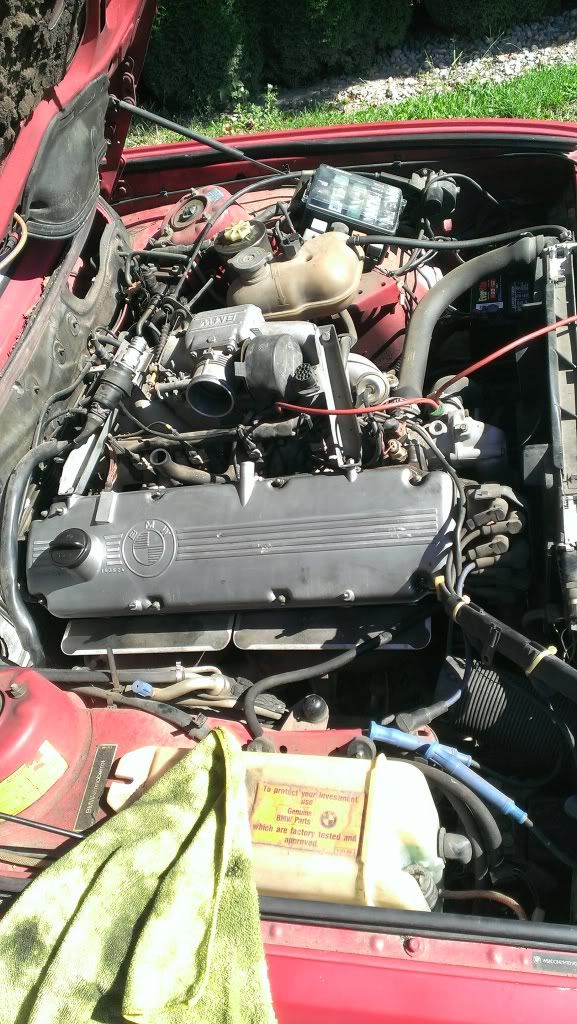
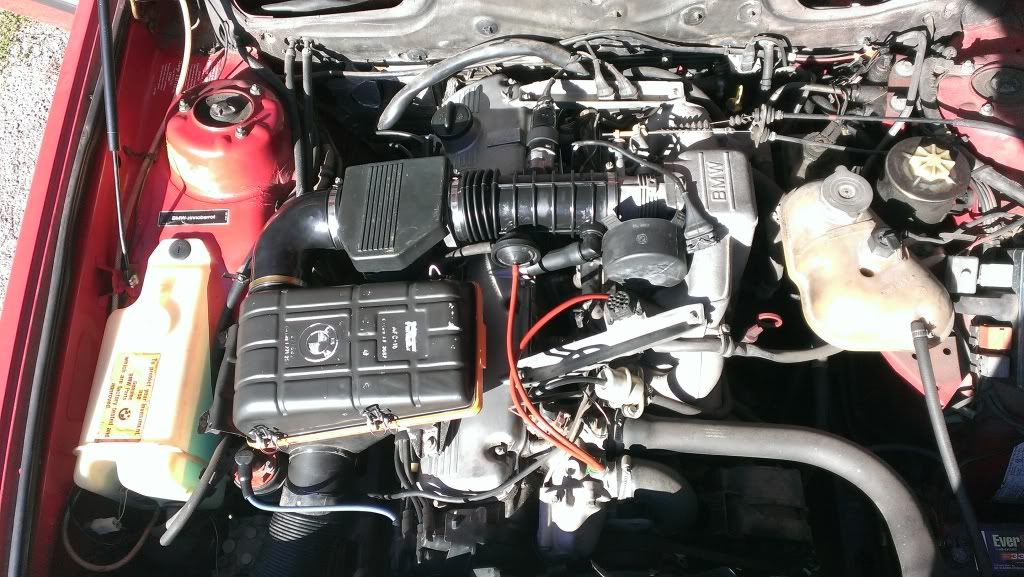
Well, I have a small update that I thought I already posted but apparently not. A couple of weeks ago I got under the hood and put some new bits on. Here is a list of the parts replaced:

-Intake Boot
-Intake Elbow
-PCV Vent Tube
-Air Filter
-Installed AFM Cover (Thanks TCD)

While I was in there, I took the liberty to clean:

-Valve Cover (Also snugged the bolts up)
-Plug Wires (In great shape)
-Vacuum Hoses (rinky dink ones, but silicone so they cleaned up well)
-Intake box (Flaky Paint, will likely redux in black come spring time)
-Pass. Side Wheel Well and Surrounding Parts.

It felt good to get under there and do something. I still need to figure out where one of the vacuum hoses routes to. It heads toward the rear of the engine bay and I can't seem to figure out where it is supposed to go. I'll have to search a little and find the pictures/diagrams I've seen before.

Photos! Nothing too special.

Before shot:
Image

During: (Wish I took one before I cleaned this up)
Image

After:
Image

Oh yeah, and my carpet came, which I am thrilled about. I never got it to the car wash so it will likely wait until Spring to go in. I think I'll piece the dash together as much as I can and leave the center console out until Spring when I'll just be removing it all over again to put the correct fitting carpet in.This other stuff is for the birds...
Image


Should be more coming soon. Sold out extra vehicle so I am back to borrowing. Need to get this on the road. Anyone semi local who feels like wrenching? lol
Post Reply