Thermal Management
Thermal Management
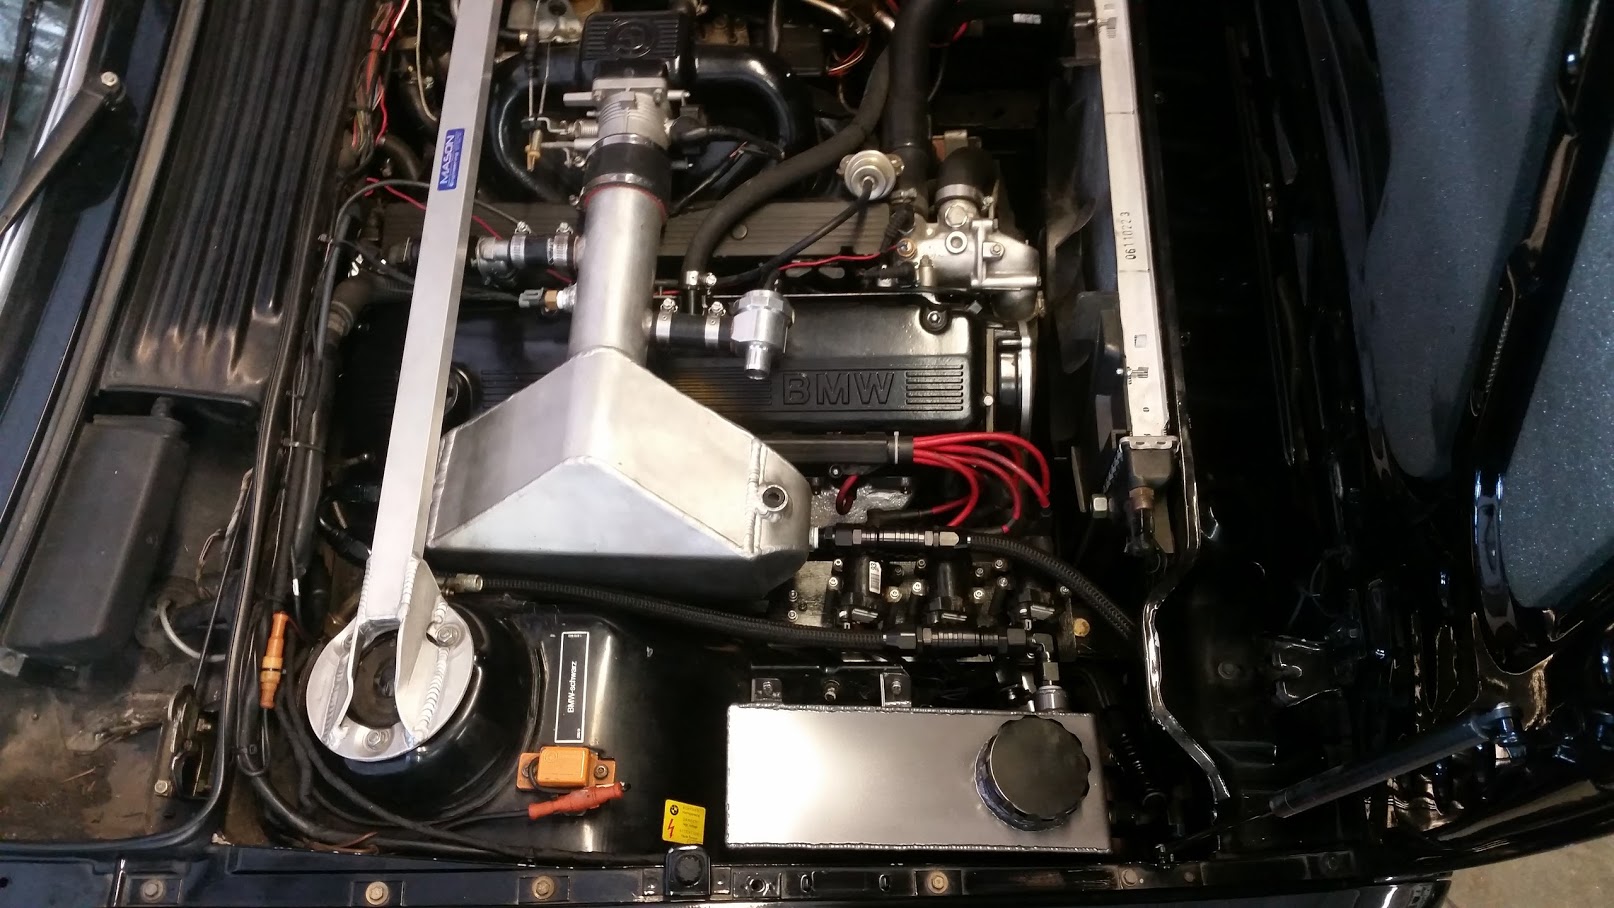
In my quest for cooler charge air, I've upgraded most of the water to air components in my system. Last winter I installed a high(er) flow electric water pump designed and fabricated a larger reservoir with welded in AN bungs and a large screw on cap. I wanted a larger and more efficient front mount heat exchanger (radiator) as well. I've run quite a few different set-ups over the past 10+ years: first an oil cooler, then a hacked up civic radiator then a smaller cheapo chinese radiator. They all worked decently and kept MATs reasonable low but they were all kinda hacked to make it fit either from a mounting or routing standpoint. I looked high and low for a prefabbed unit but couldn't find exactly what I wanted. I'm sure somewhere, there is a catalog unit that is pretty close, but I knew what I wanted so I decided to make it myself.
I've wanted to undertake this project for a little while but haven't had the equipment to do so myself until this past year. In the past 12 months I purchased an AC/DC TIG welder and a press brake that bends everything from super thin sheet metal to 5/8" thick bar.
I finally had a weekend free from the office so I made some progress:
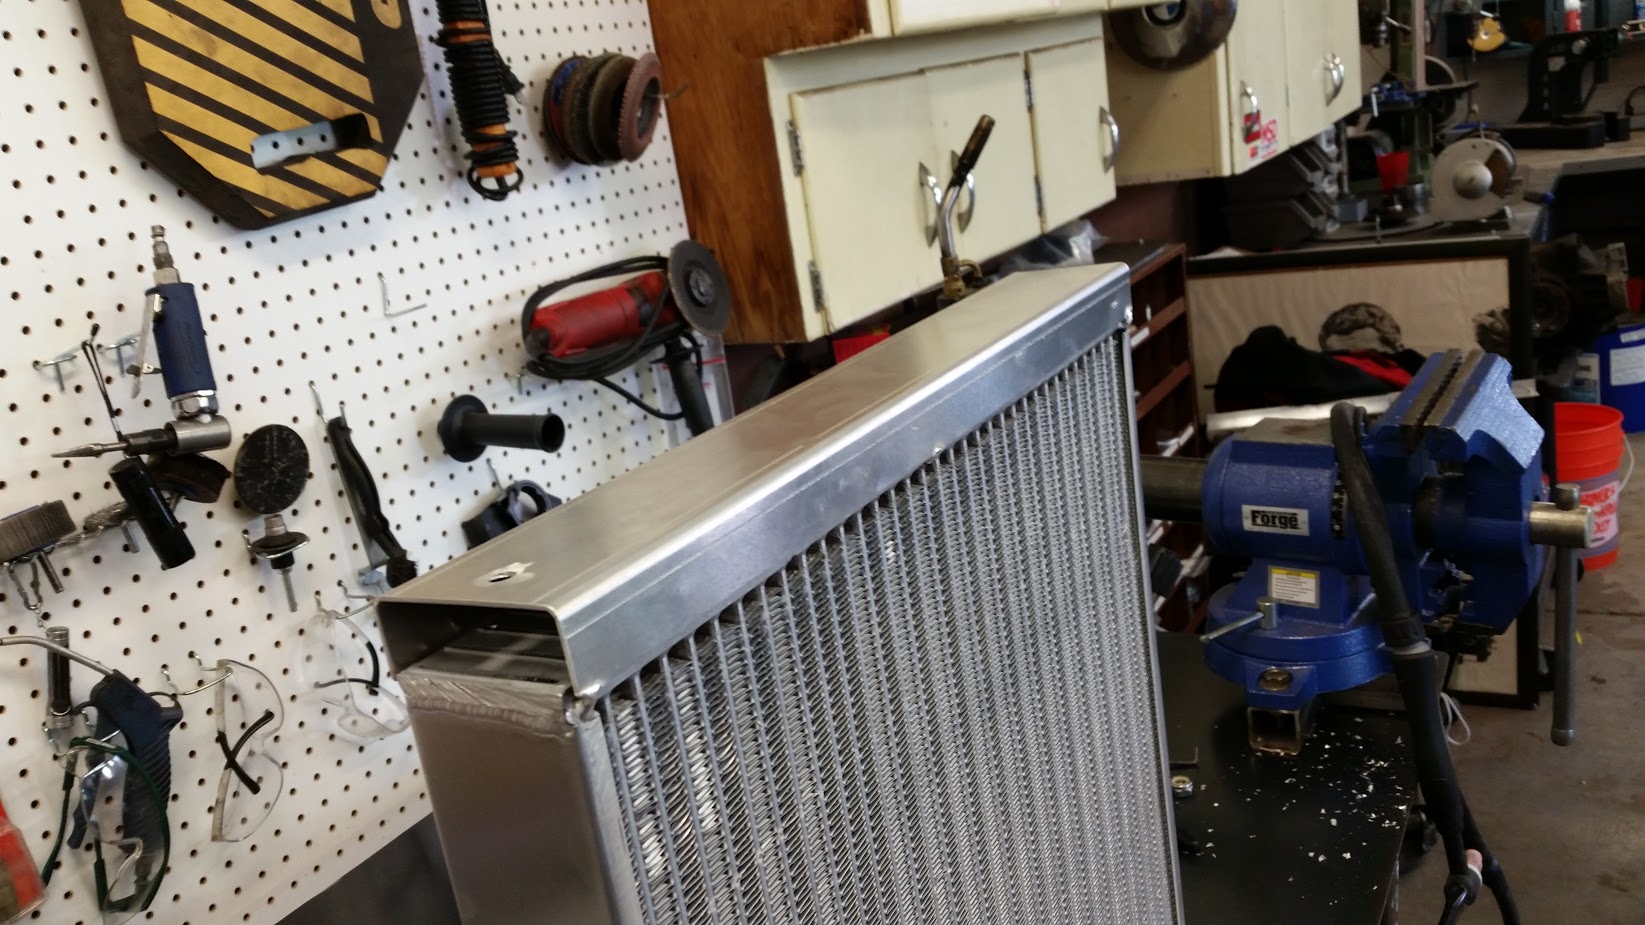
I started with a 16" (w) x 18" (h) x 2.25" (t) radiator core from Bell Intercoolers. They don't advertise these on their website so it took several phone calls to figure out exactly what they can make. It took about a month for them to get the core in and "make" it. I believe they order core in bulk that is 16" x 2.25" and then cut it to the desired height and then weld plates on the top and bottom.
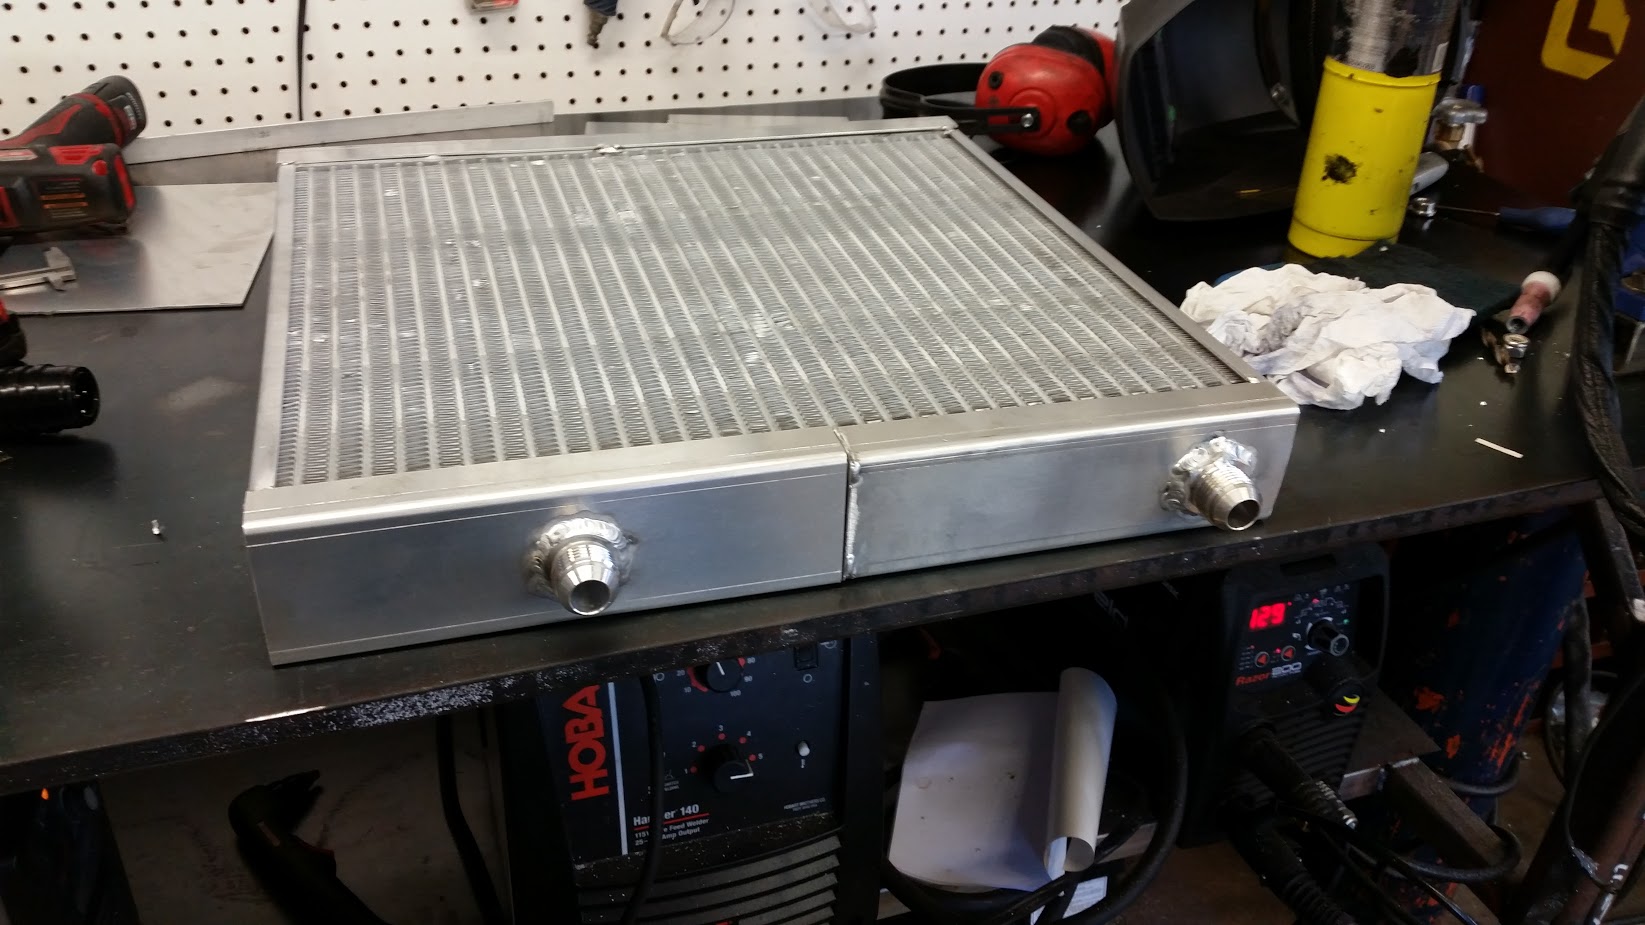
The most challenging part of this project was that I wanted the inlet and outlet on the same side of the core.
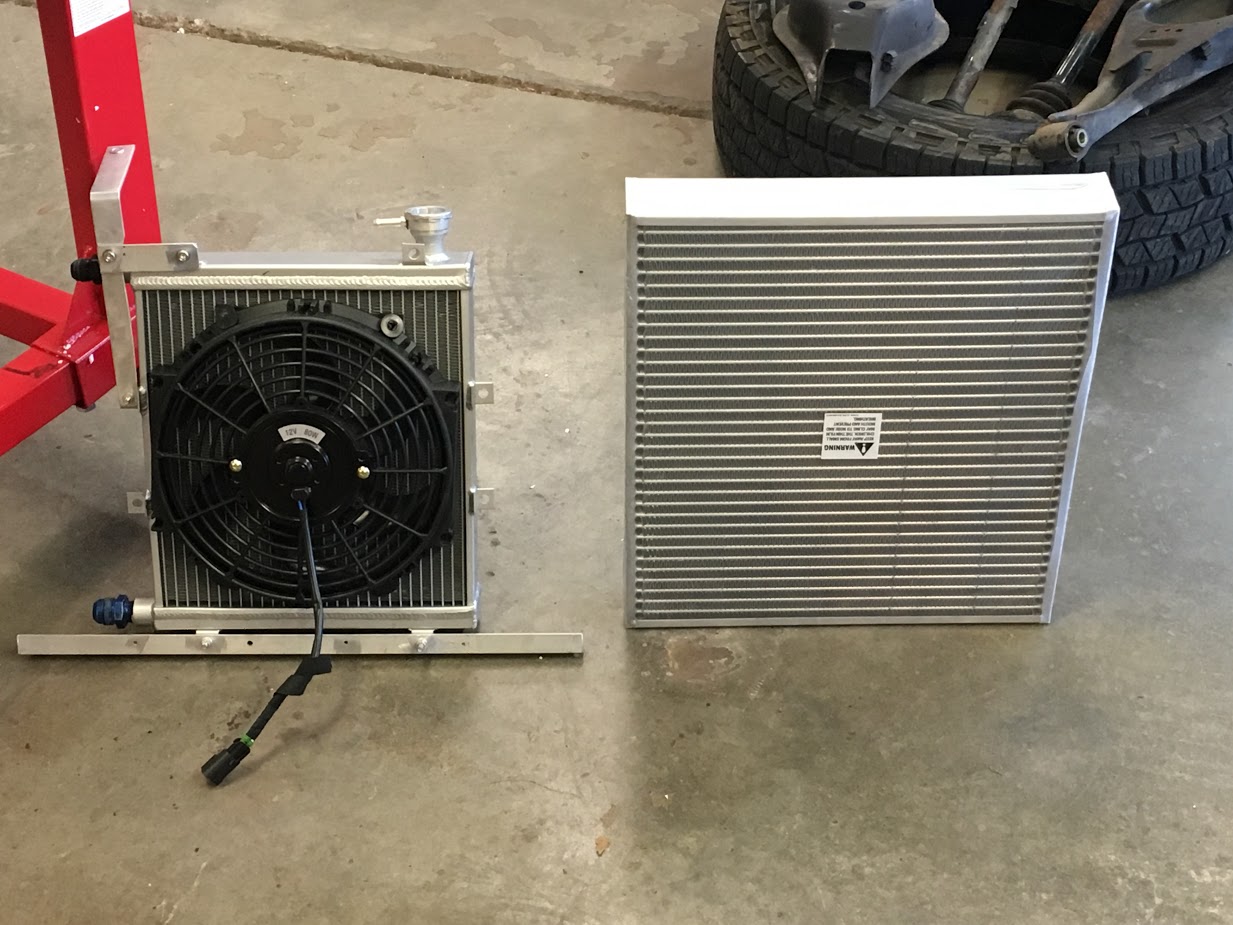
Here is the core next to the existing heat exchanger. The front area is 288 in^2. This is a 100% increase in cooling area compared to the existing unit. As noted it is also 25% thicker.
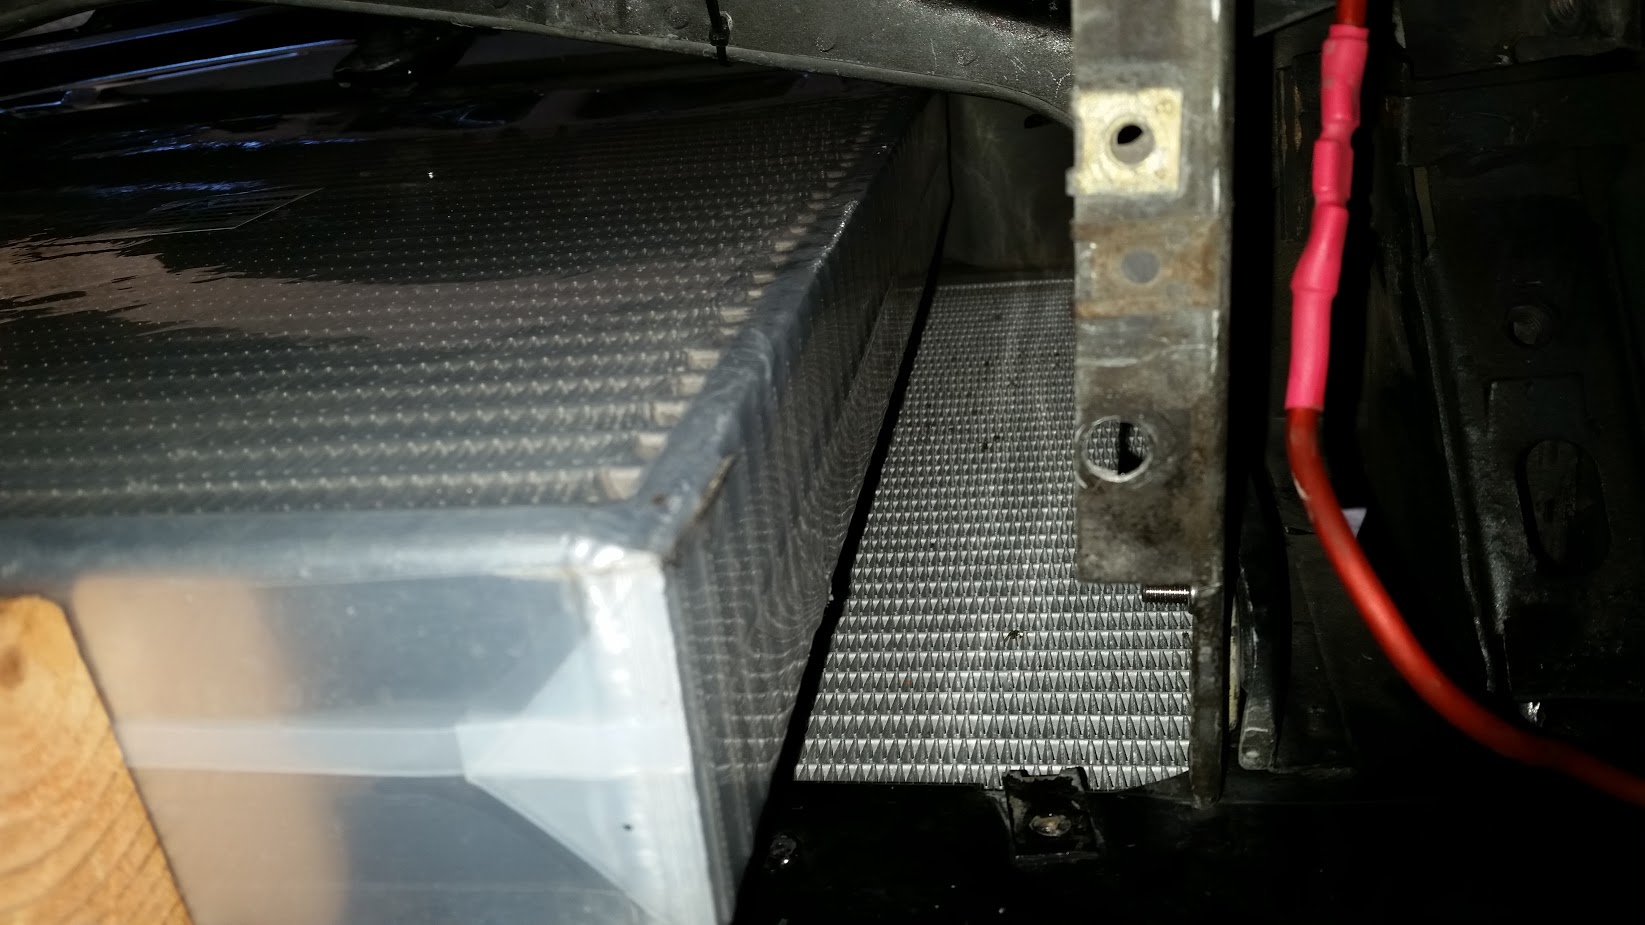
Its tight but it fits pretty nicely without having to cut or mangle the bumper support:
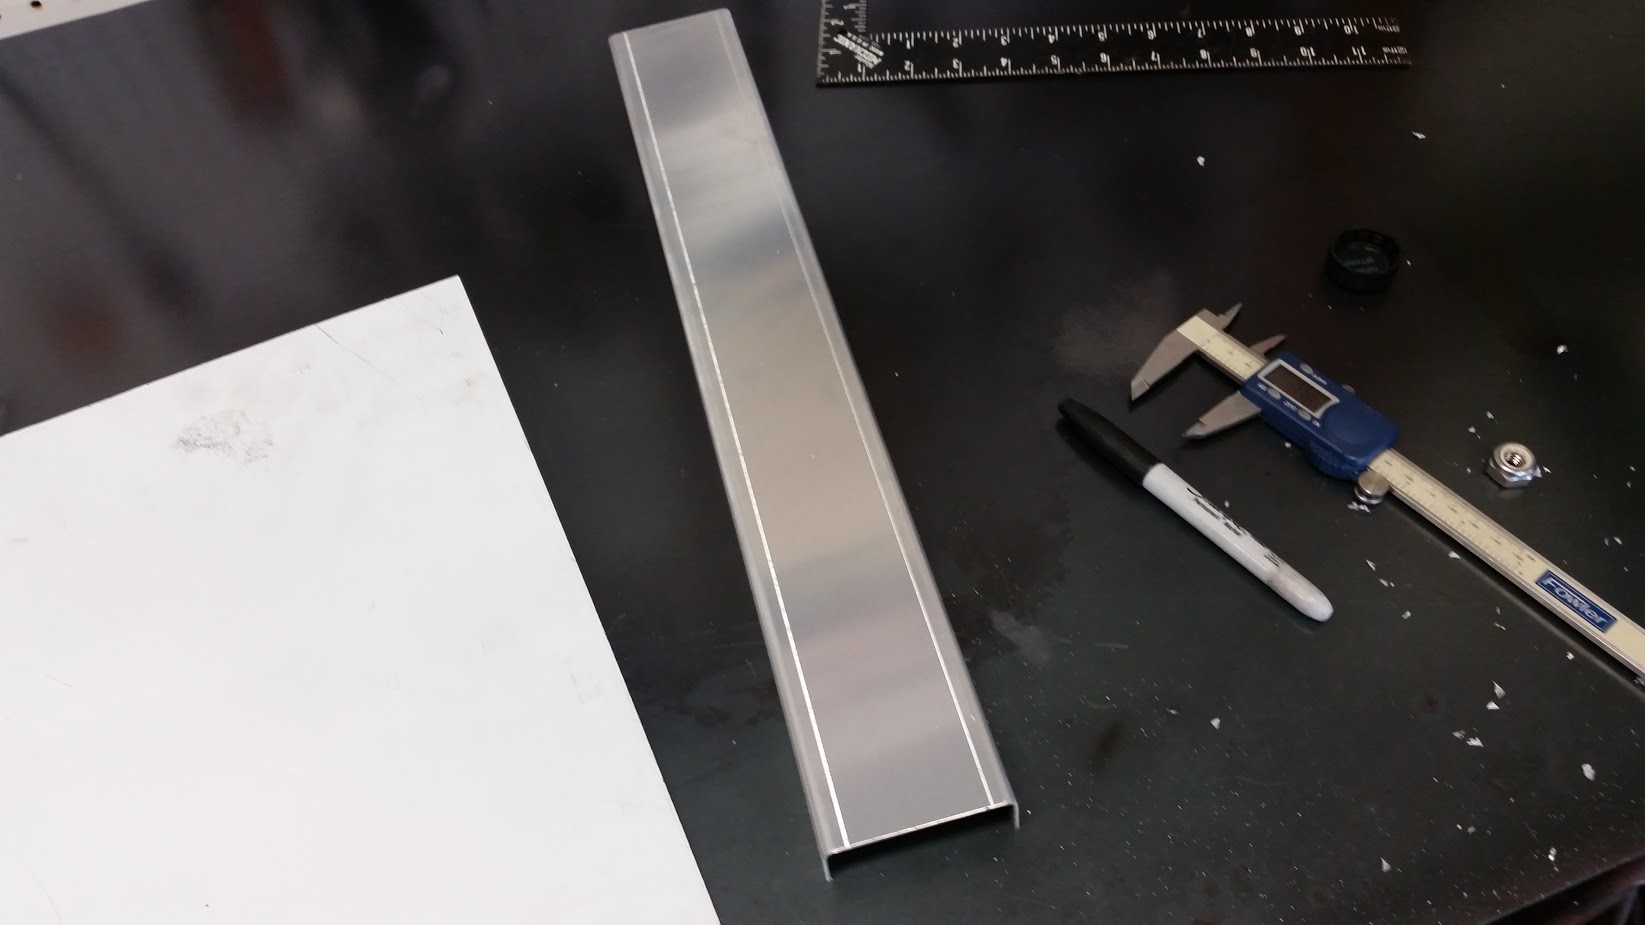
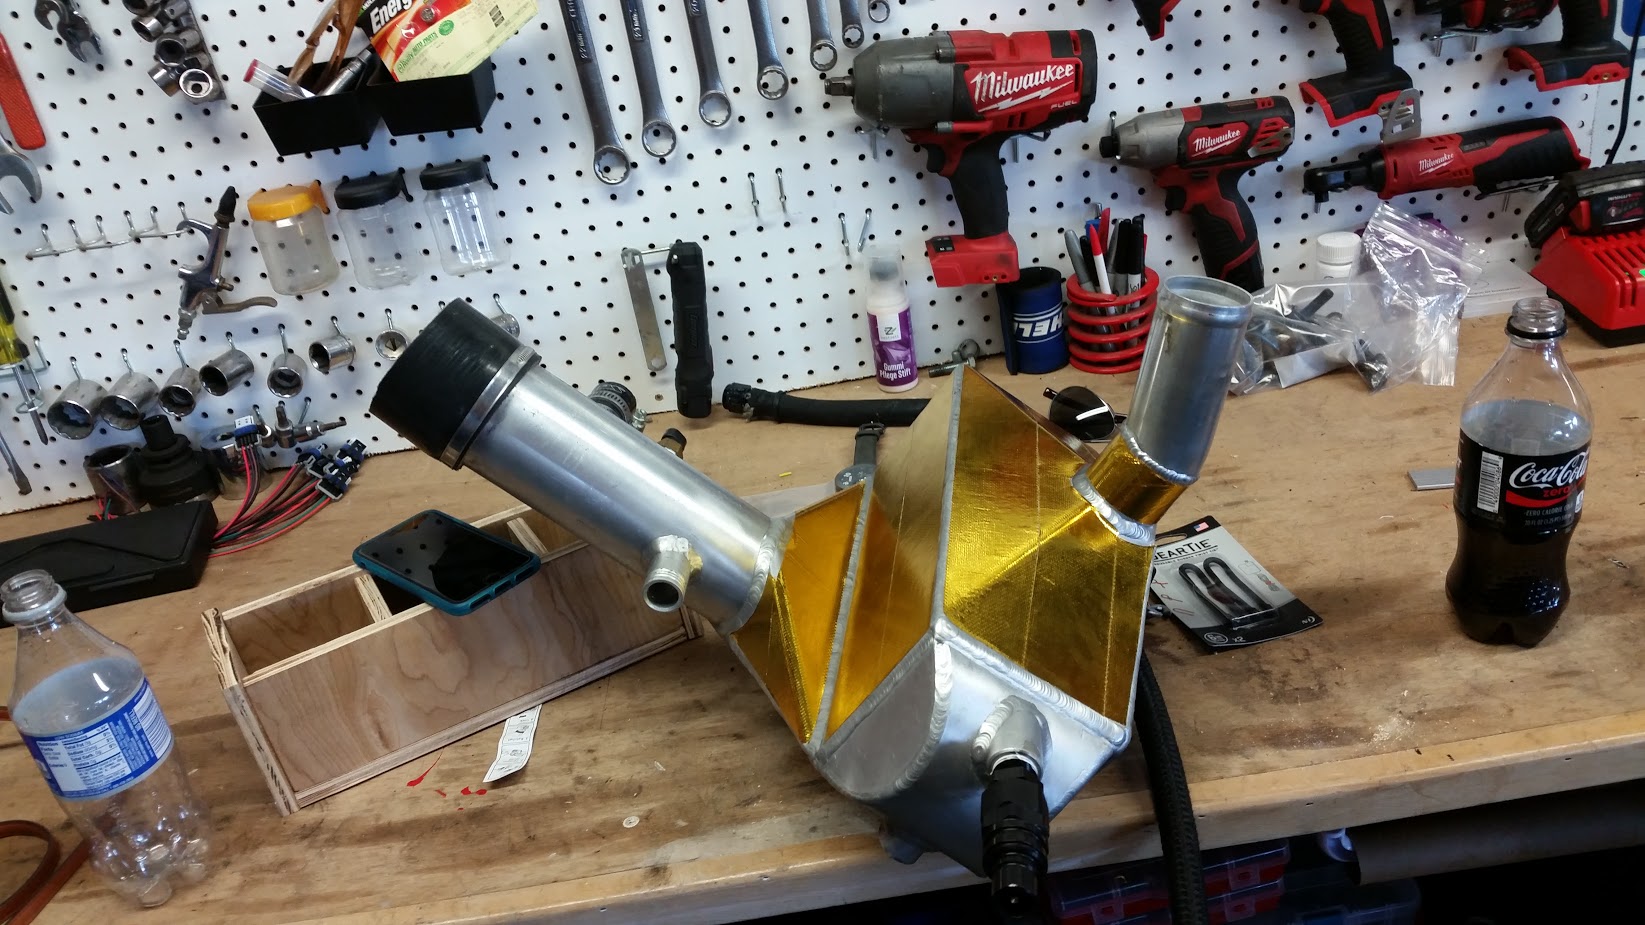
This gave me the opportunity to use my sheet metal bender. I'm pretty happy with the consistency of the bends across 18". I used 5052 aluminum in 1/16" thickness to construct the end tanks.
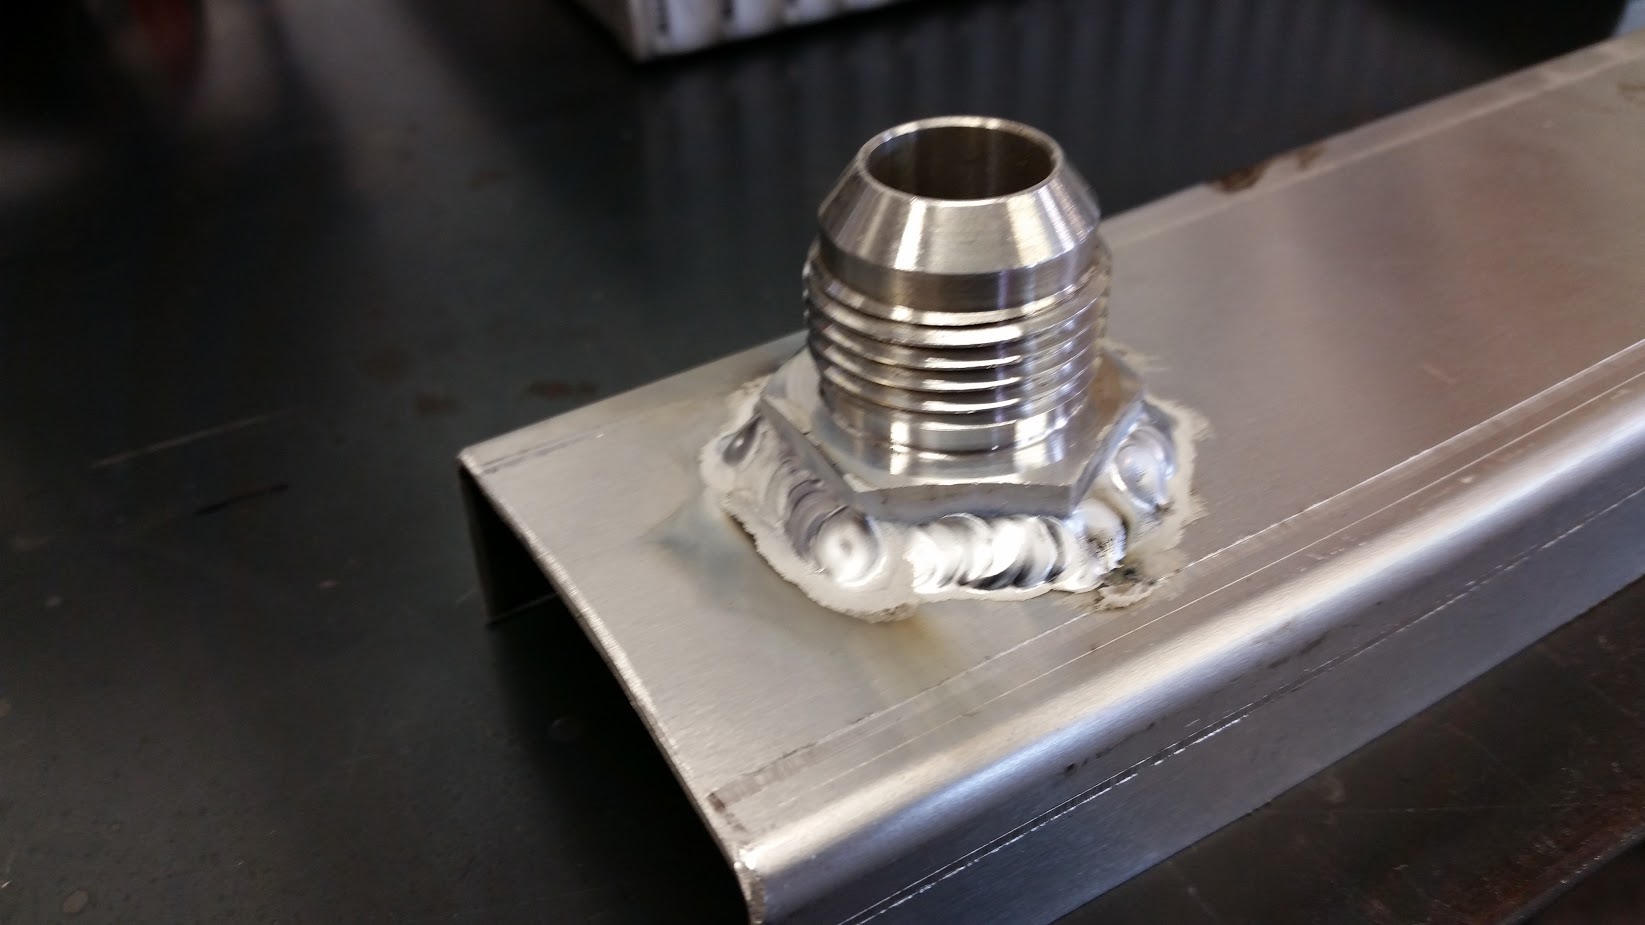
I settled on -12AN fittings as that is the same size as pump.
Separating the inlet and outlet tanks on the same side was a little challenging to weld. I had to pump quite a bit of heat into it.
While I was waiting for the welds to cool, I added some gold reflective tape to the bottom of the intercooler. I've never been too sure of its effectiveness but I got it cheap so why the heck not:
It took a while to chase down some pin hole leaks but I finally got everything to seal with ~20psi of air applied to the drain hole.
I still need to add a bleed screw to the top of the end tank and then add mounting provisions. Hopefully that gets done this coming weekend. I'll update when I have more to show.
I've wanted to undertake this project for a little while but haven't had the equipment to do so myself until this past year. In the past 12 months I purchased an AC/DC TIG welder and a press brake that bends everything from super thin sheet metal to 5/8" thick bar.
I finally had a weekend free from the office so I made some progress:
I started with a 16" (w) x 18" (h) x 2.25" (t) radiator core from Bell Intercoolers. They don't advertise these on their website so it took several phone calls to figure out exactly what they can make. It took about a month for them to get the core in and "make" it. I believe they order core in bulk that is 16" x 2.25" and then cut it to the desired height and then weld plates on the top and bottom.
The most challenging part of this project was that I wanted the inlet and outlet on the same side of the core.
Here is the core next to the existing heat exchanger. The front area is 288 in^2. This is a 100% increase in cooling area compared to the existing unit. As noted it is also 25% thicker.
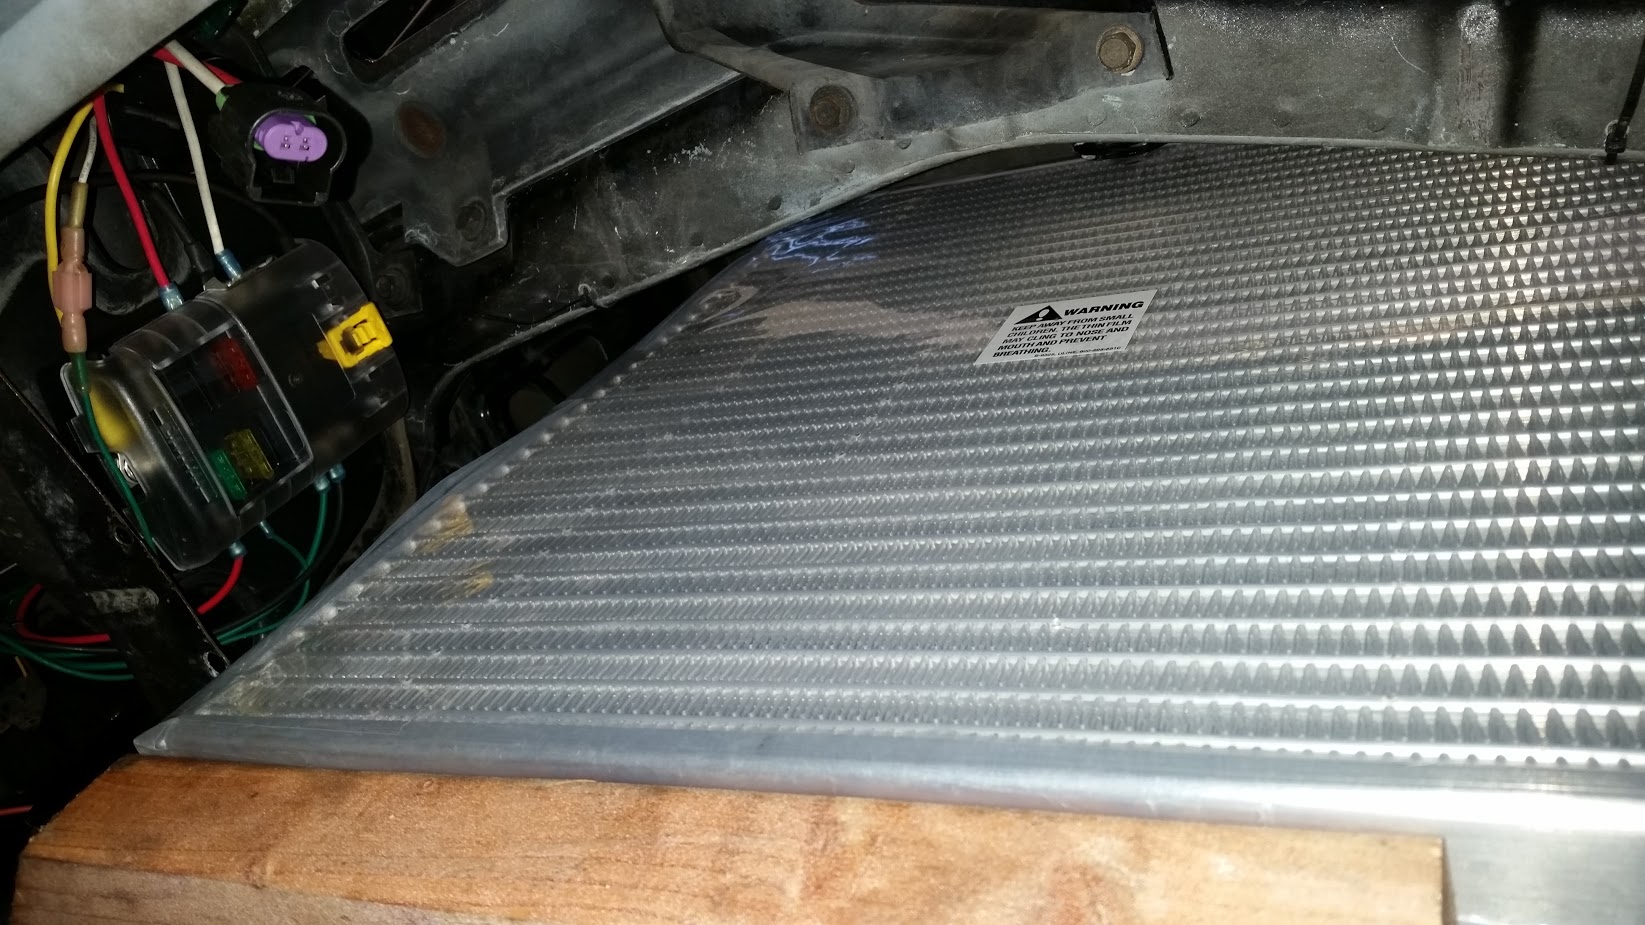
Its tight but it fits pretty nicely without having to cut or mangle the bumper support:
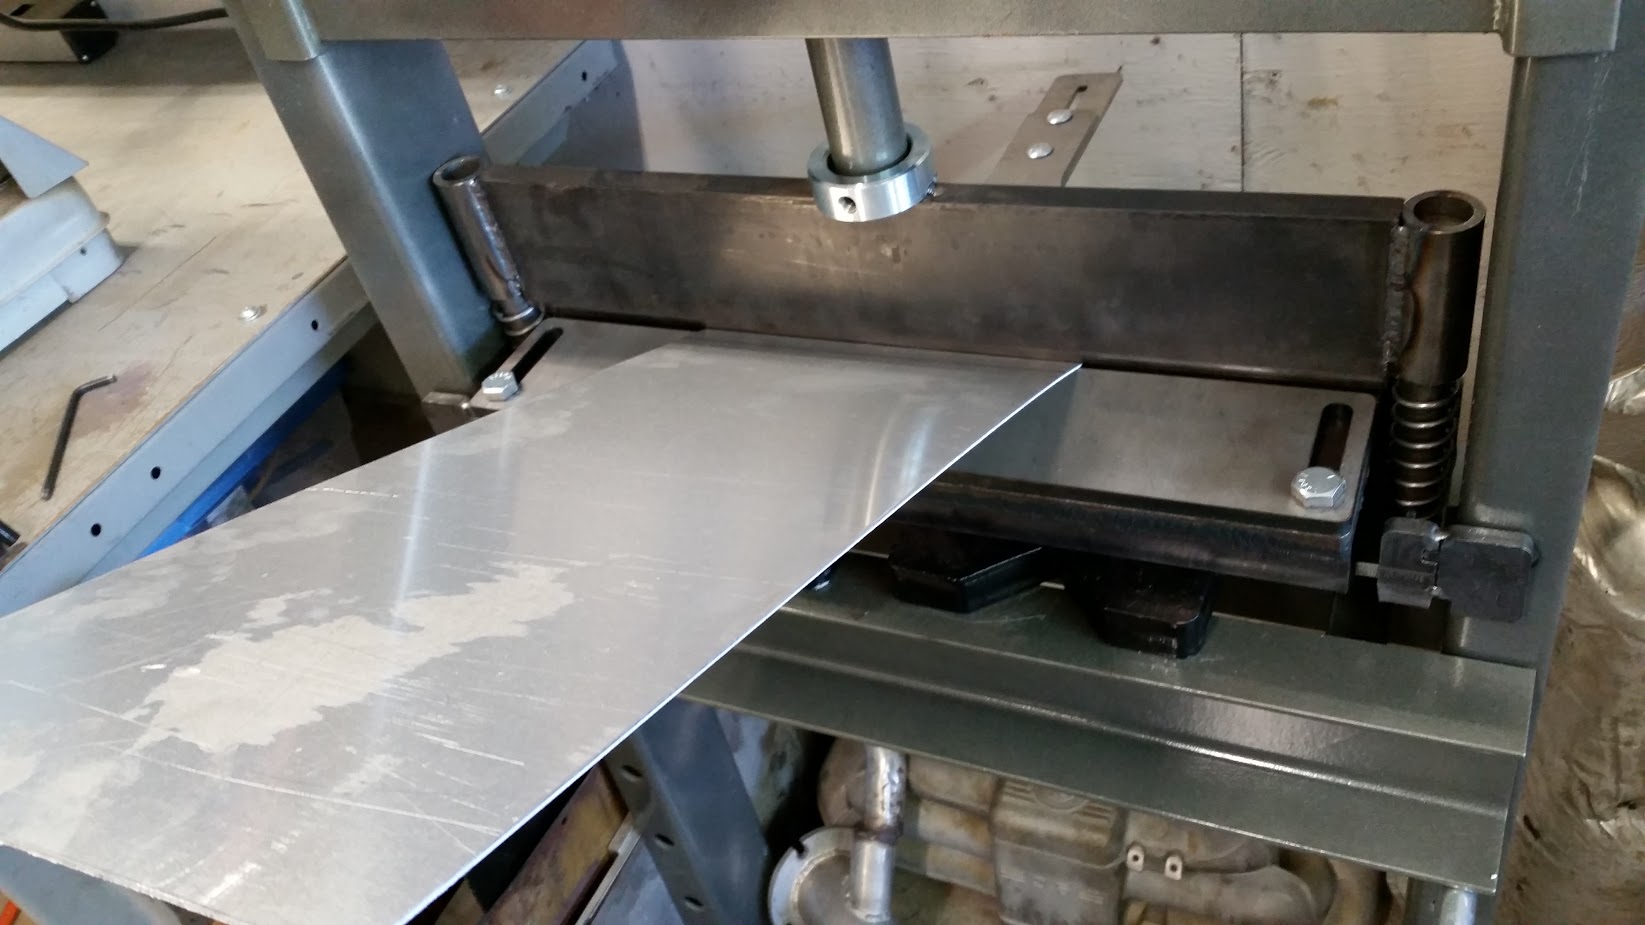
This gave me the opportunity to use my sheet metal bender. I'm pretty happy with the consistency of the bends across 18". I used 5052 aluminum in 1/16" thickness to construct the end tanks.
I settled on -12AN fittings as that is the same size as pump.
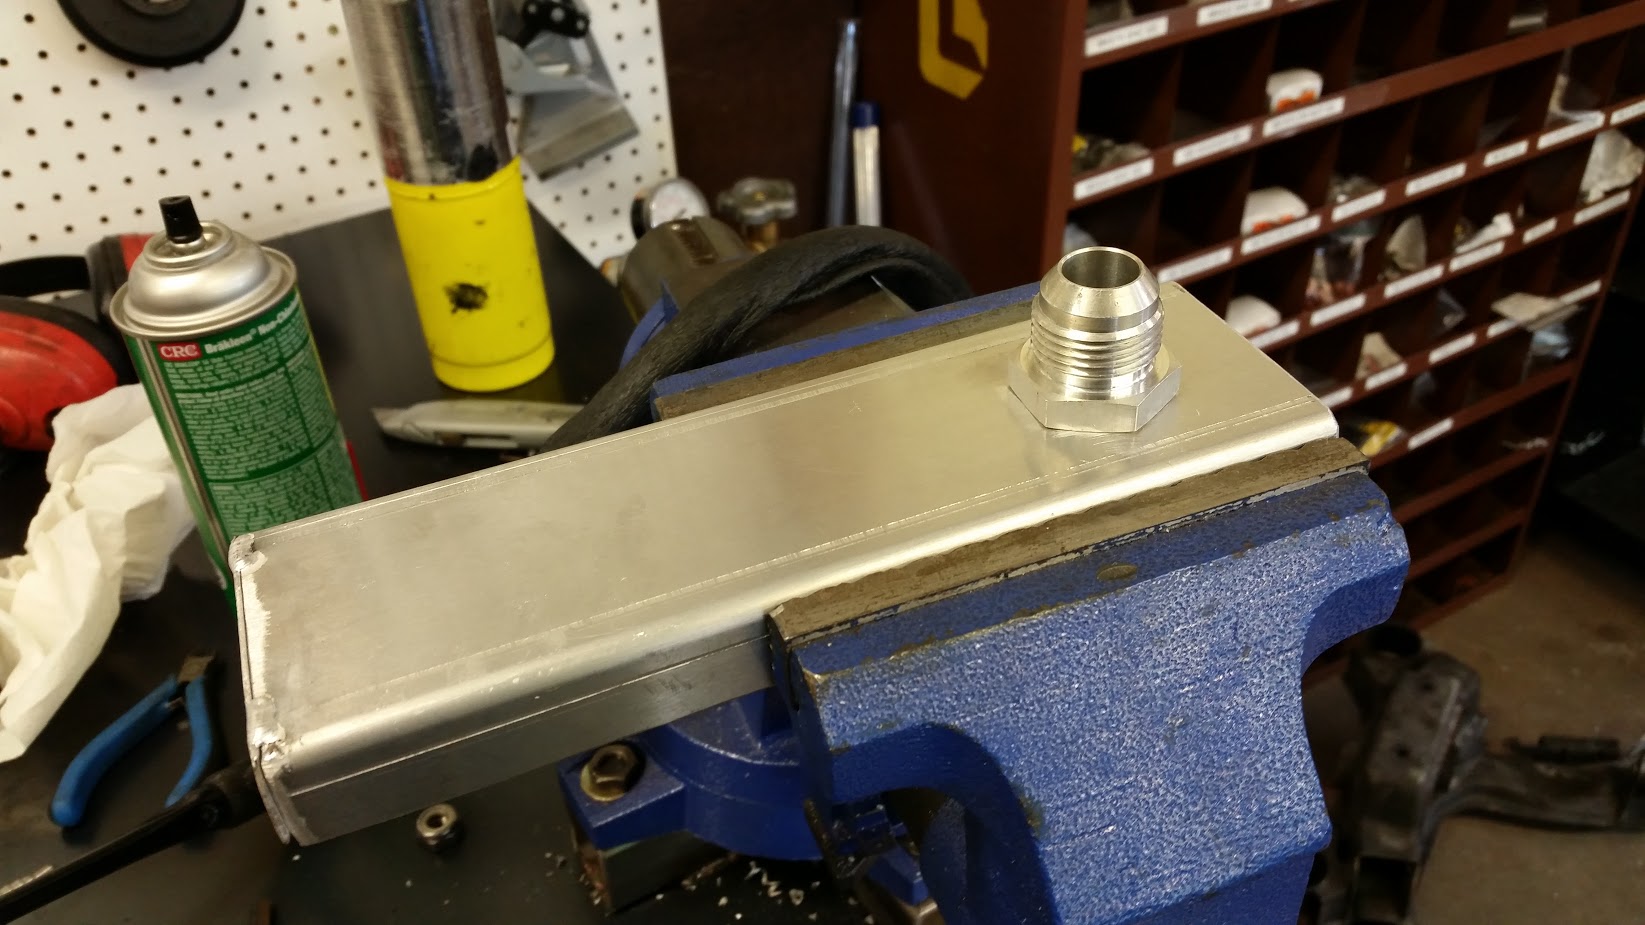
Separating the inlet and outlet tanks on the same side was a little challenging to weld. I had to pump quite a bit of heat into it.
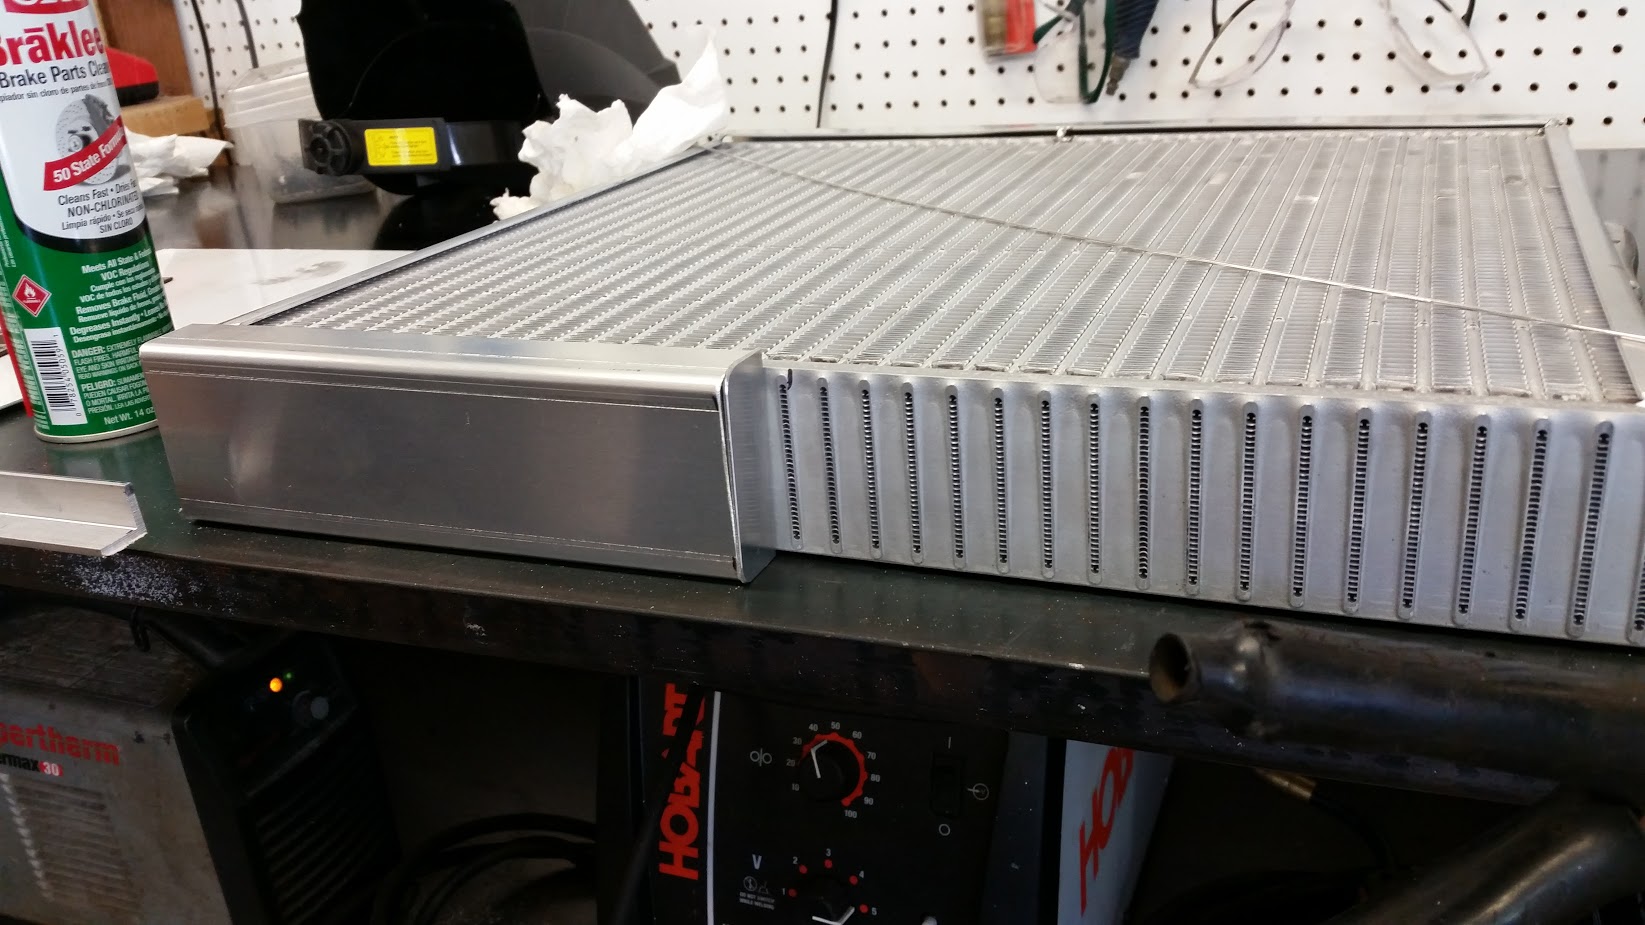
While I was waiting for the welds to cool, I added some gold reflective tape to the bottom of the intercooler. I've never been too sure of its effectiveness but I got it cheap so why the heck not:
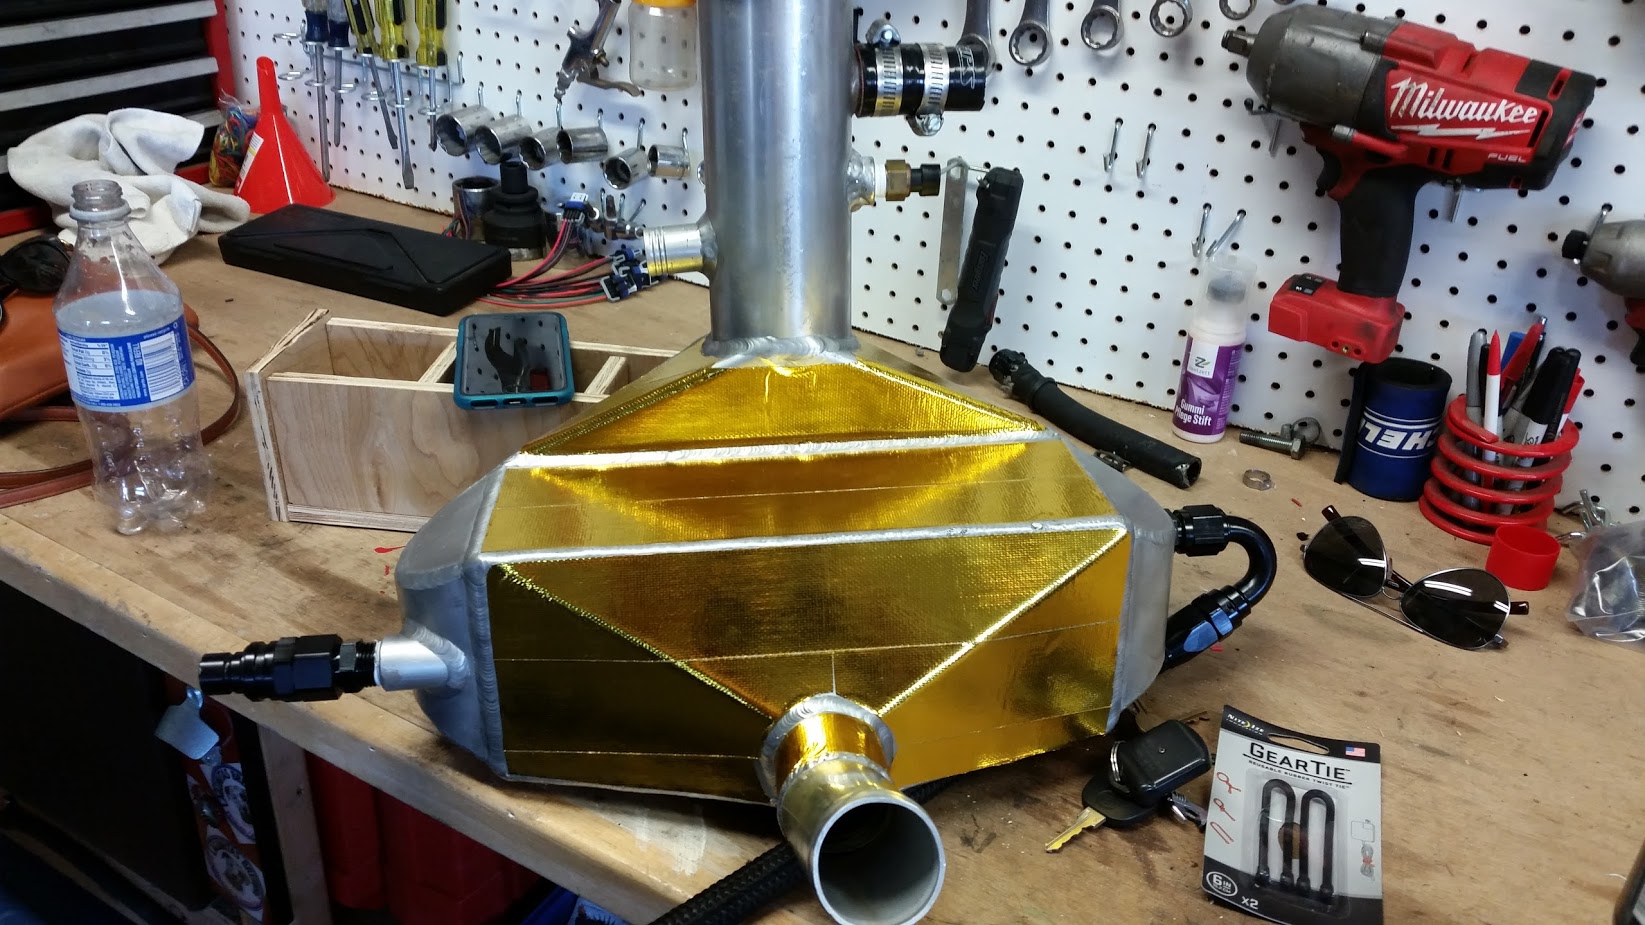
It took a while to chase down some pin hole leaks but I finally got everything to seal with ~20psi of air applied to the drain hole.
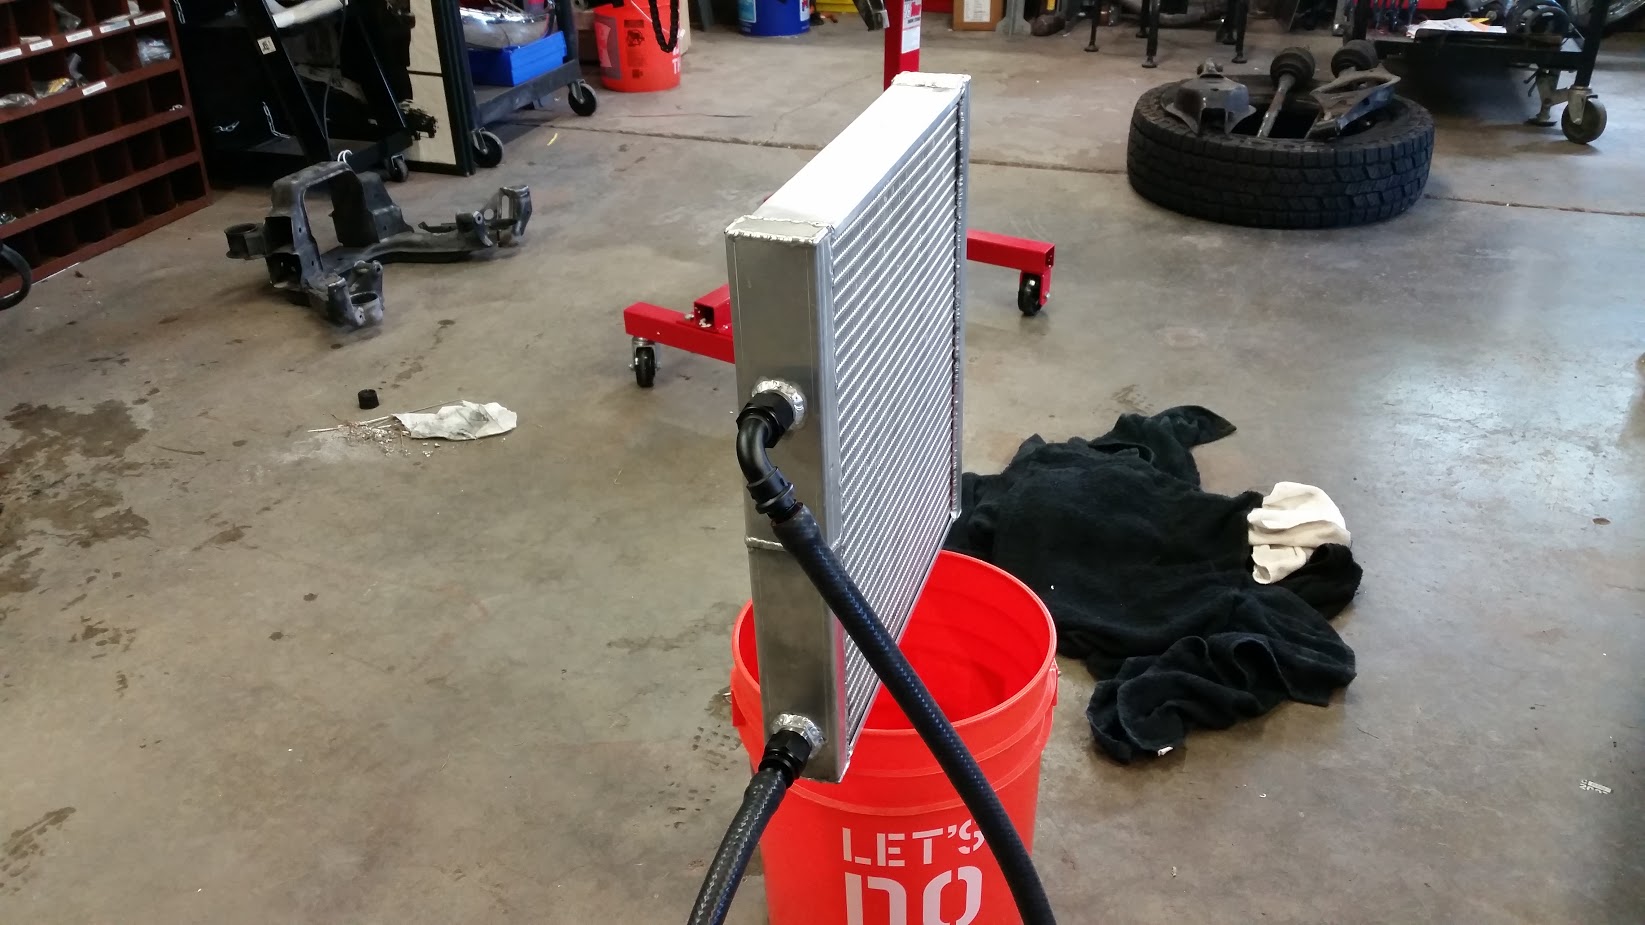
I still need to add a bleed screw to the top of the end tank and then add mounting provisions. Hopefully that gets done this coming weekend. I'll update when I have more to show.
Re: Thermal Management
Awesome job George!
Re: Thermal Management
Great detail and nice fabrication! Would love to see some photos of your car and the whole setup you have these days!
Re: Thermal Management
Thanks for the positive feedback.
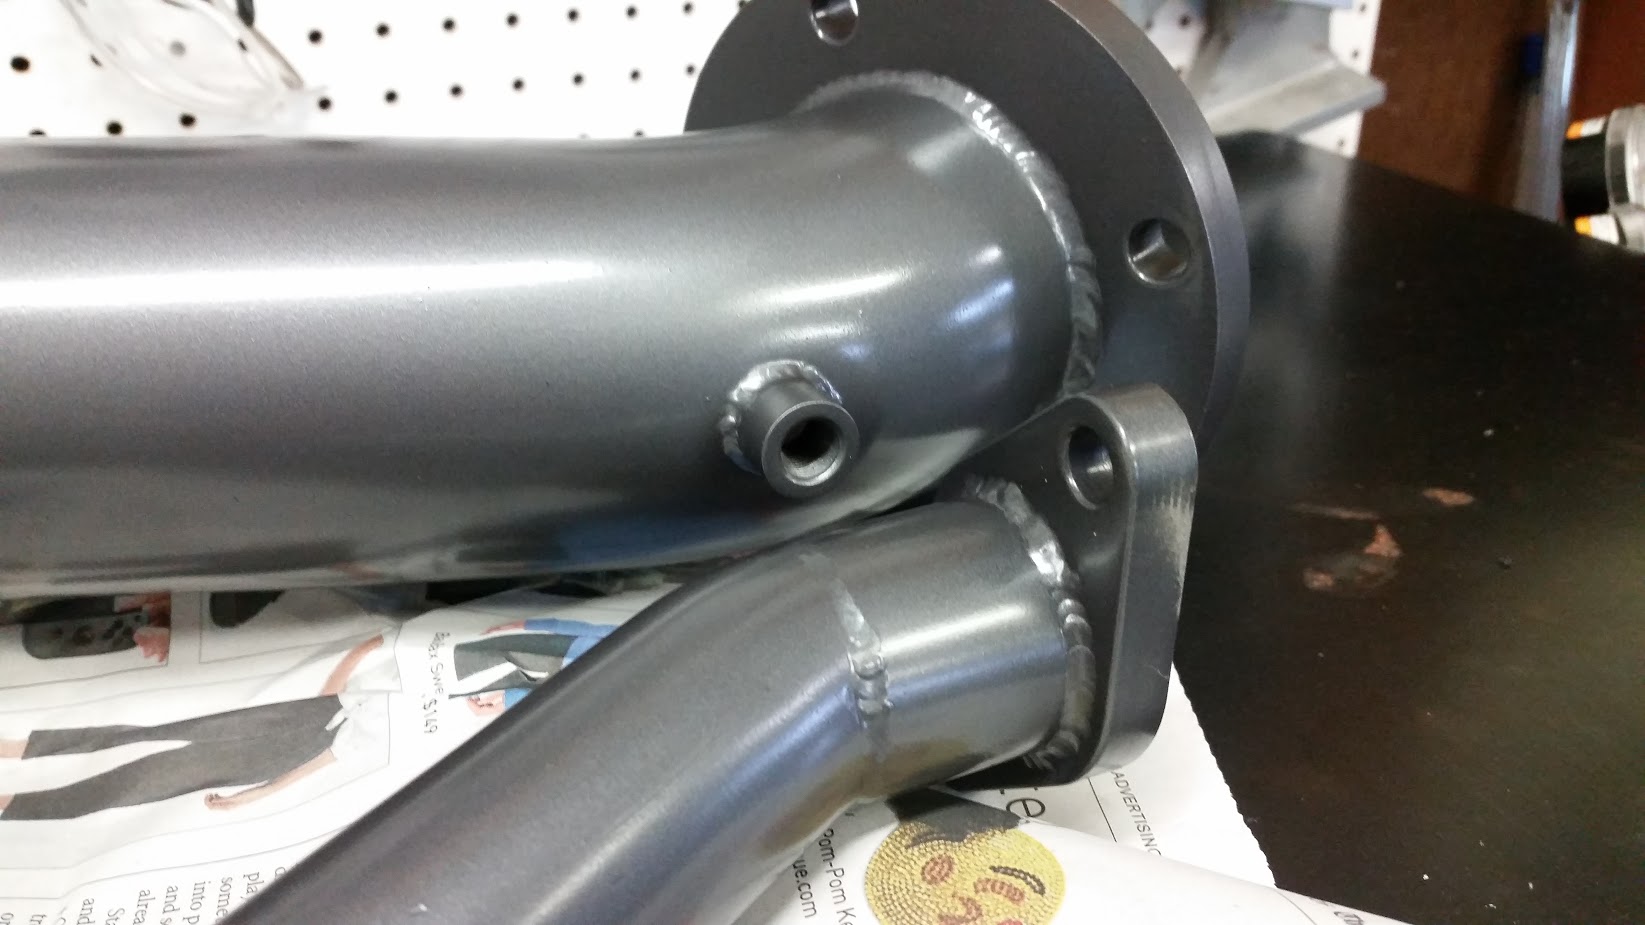
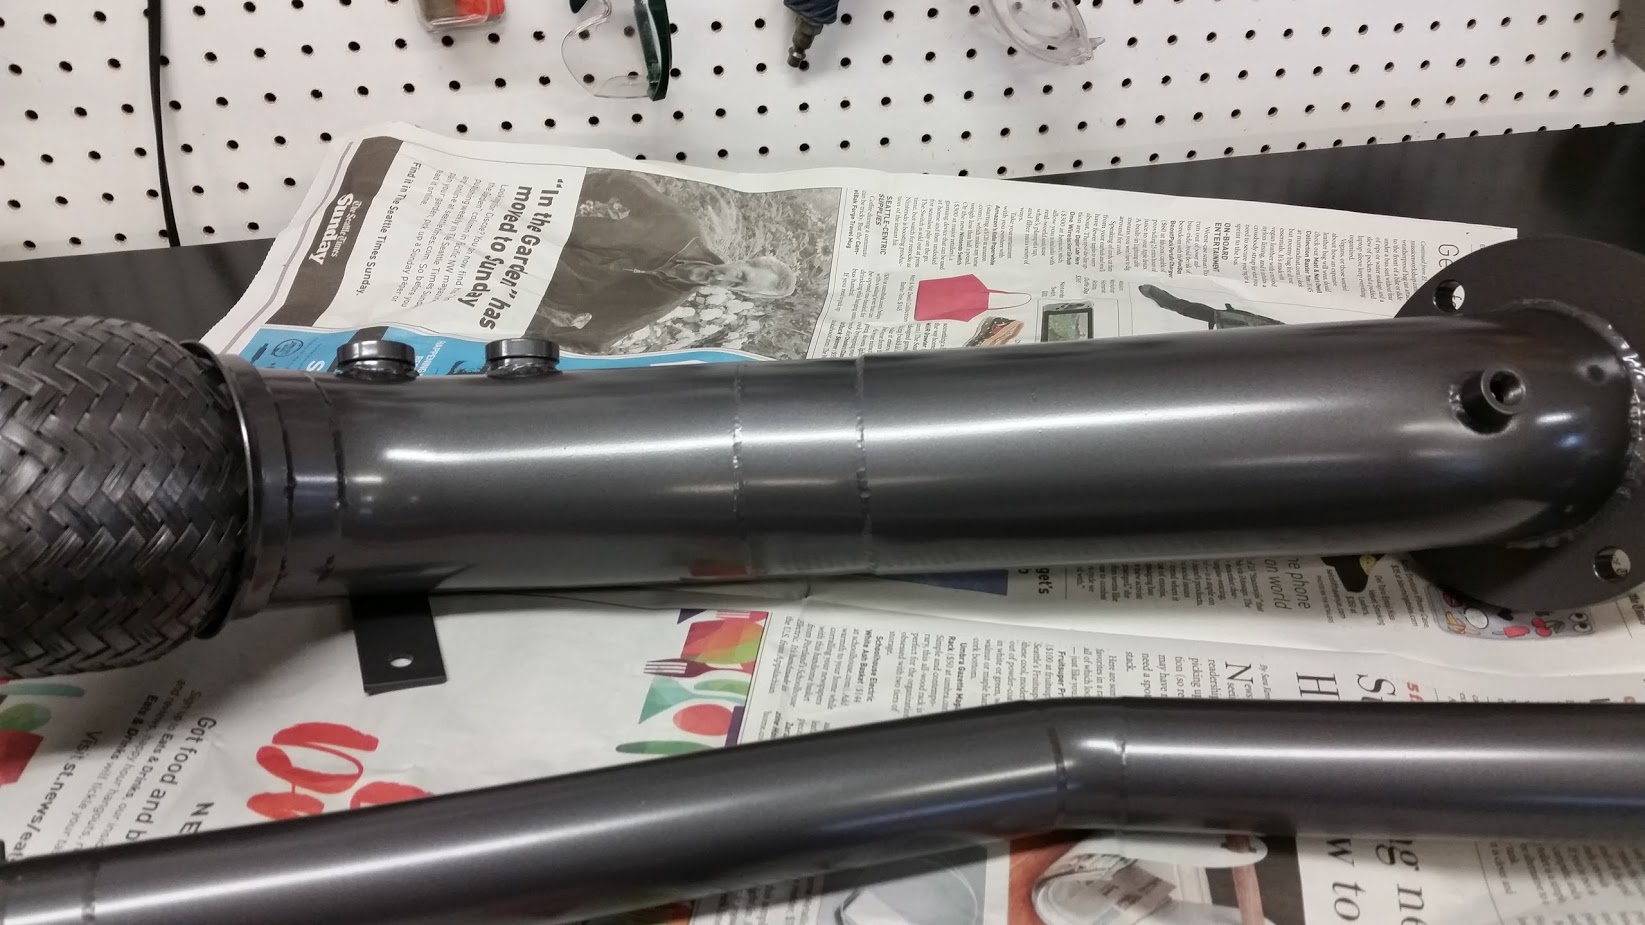
I dropped off the intake tubing and water reservoir with the ceramic coating shop. This place is right around the corner from where I work: http://performancecoatings.com/
The owner tried to talk me out of coating the reservoir saying that it would "hold the heat in" but my thinking is that the coating should delay the heat soak that occurs immediately after shutdown. I can always sand blast it off and go with powder coating if it doesn't work. I'm curious if anyone has ceramic coated their W/A intercoolers... TCD or otherwise?
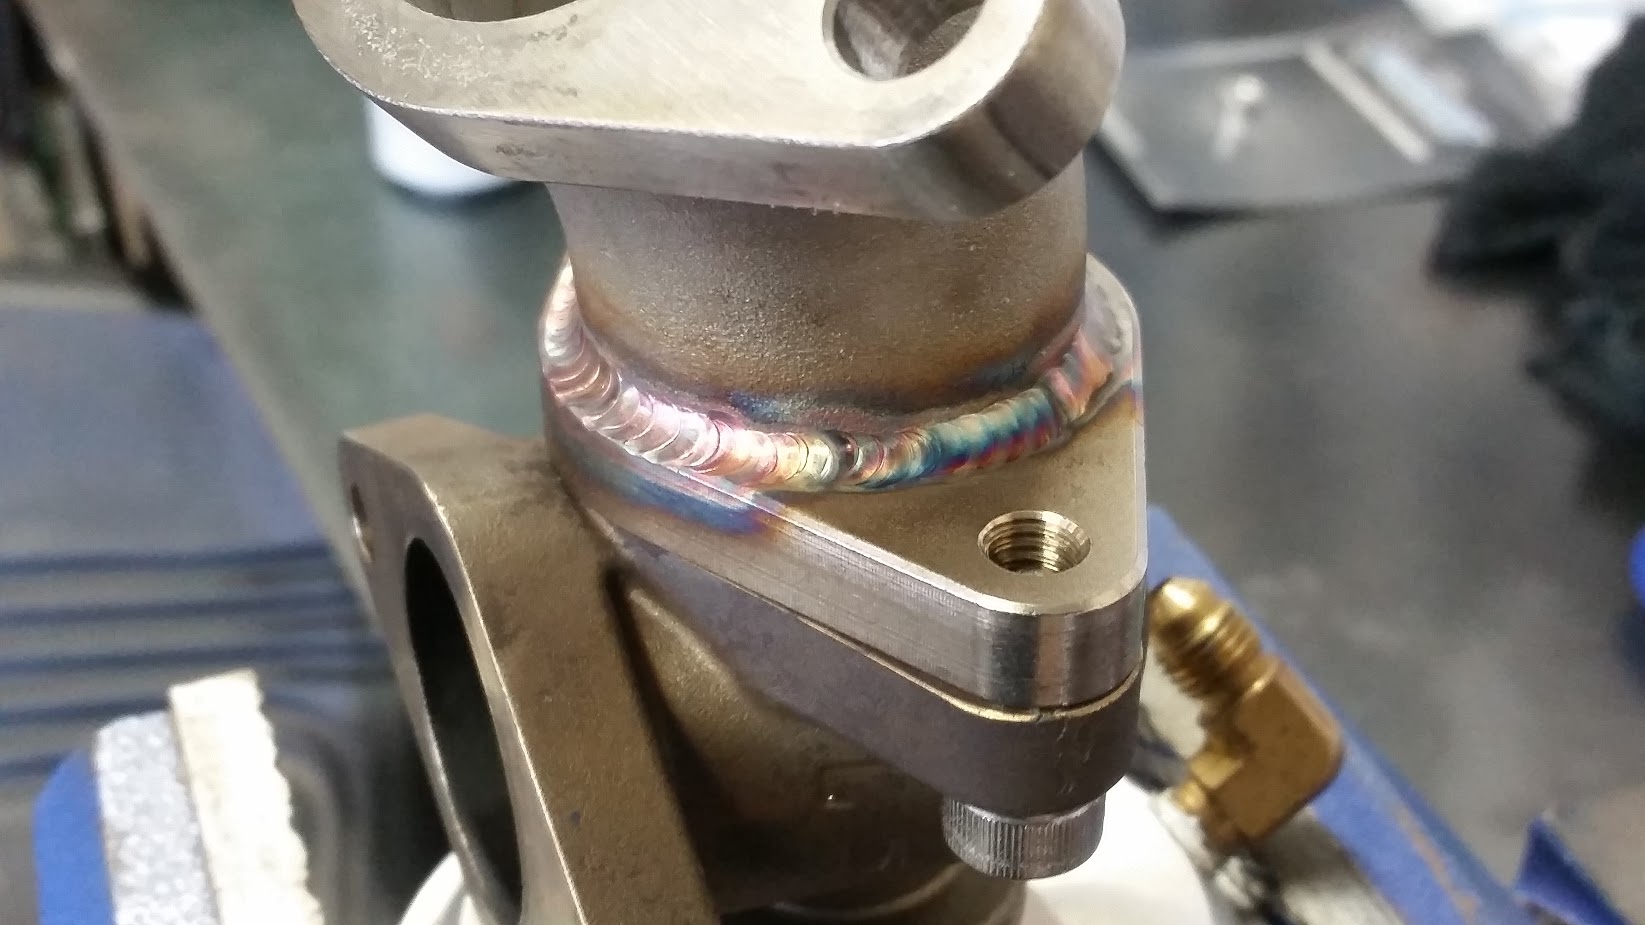
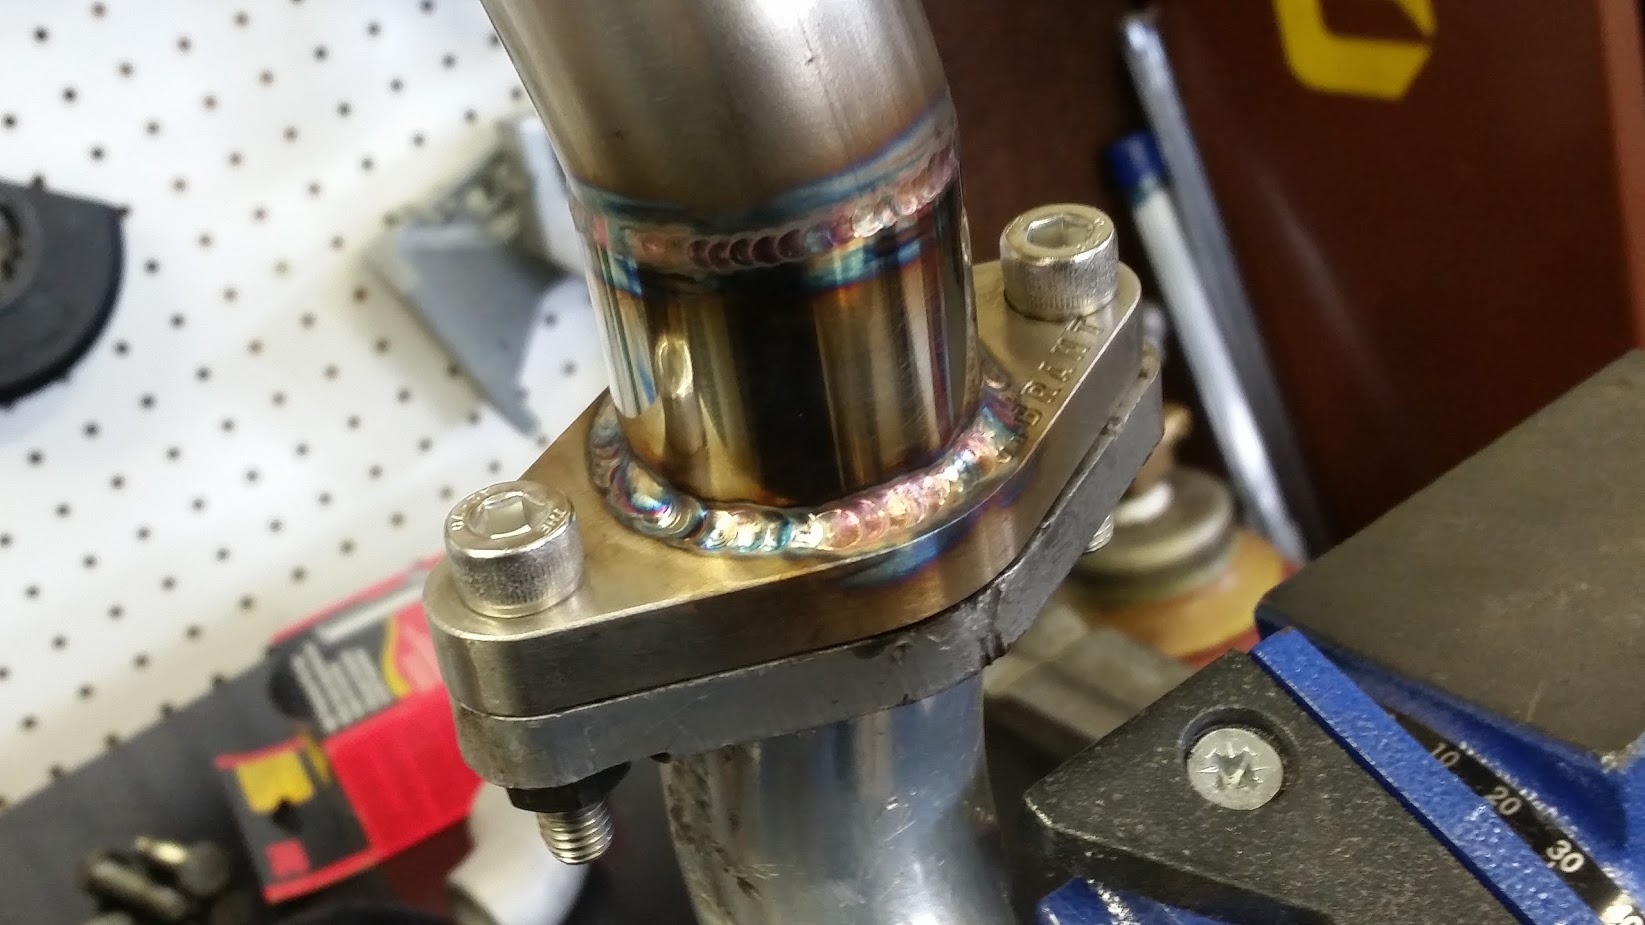
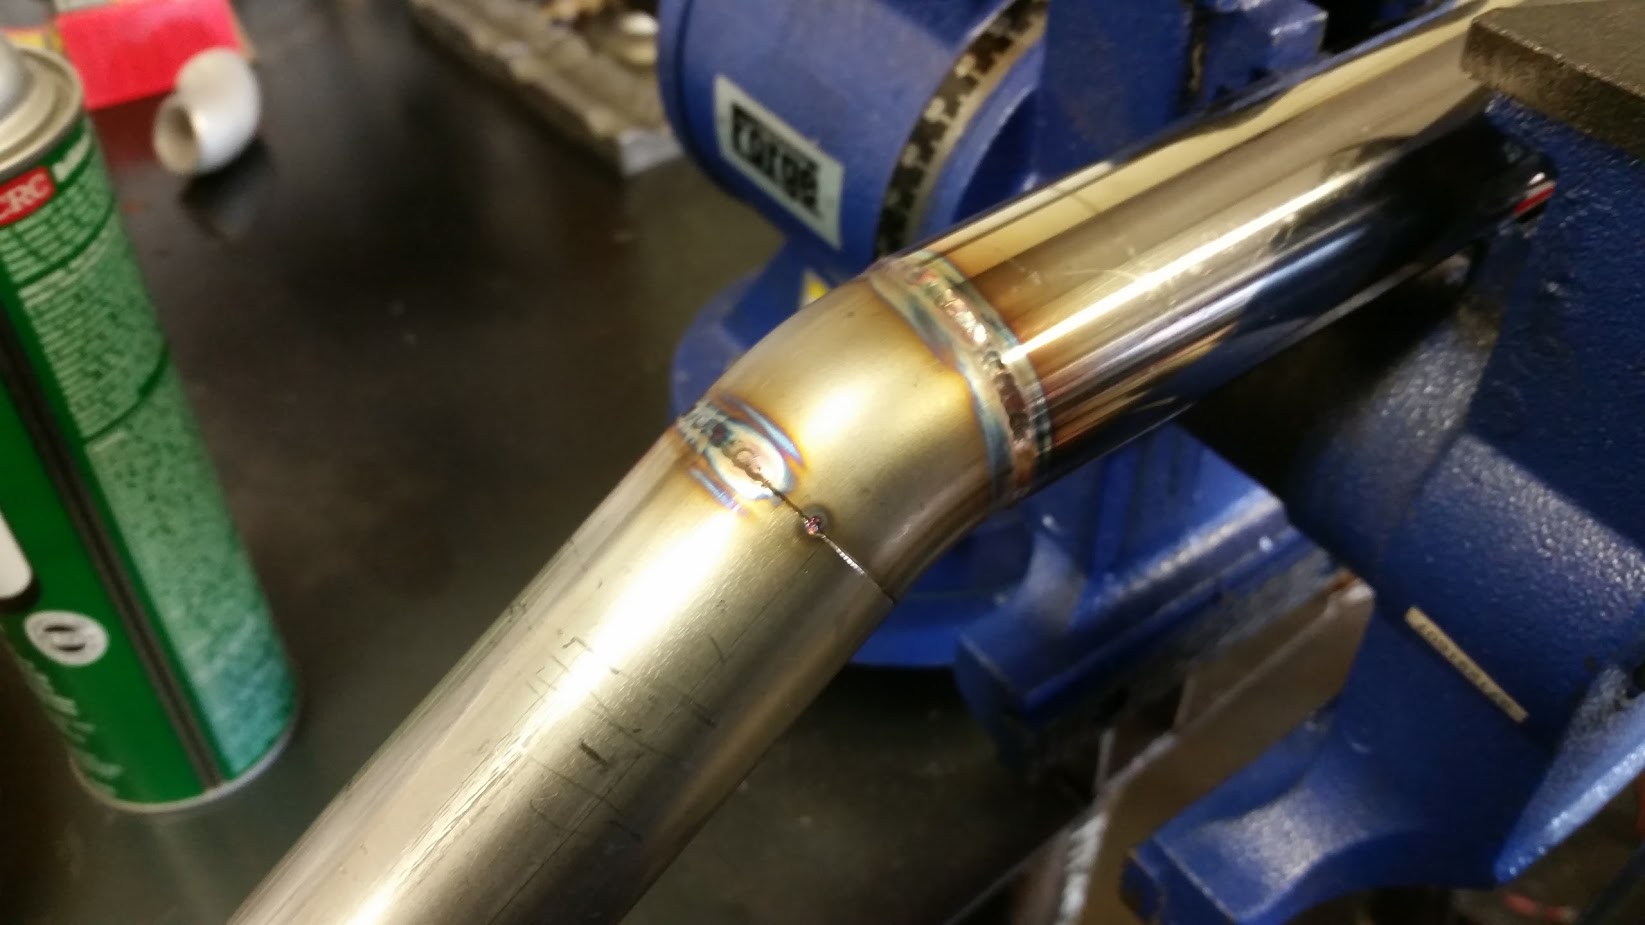
I had them do my downpipe and dump tube earlier in the summer. I was pretty happy with the work and price seemed reasonable. There was nothing wrong with the existing downpipe and wastegate recirc. I just needed an excuse to weld stainless.
I ordered another Jiffy Tite doubled valved -12 AN fitting from Summit Racing today. I'd like to be able to pull the reservoir without needing to drain the system. I think I'm just becoming lazy as I get older.
I dropped off the intake tubing and water reservoir with the ceramic coating shop. This place is right around the corner from where I work: http://performancecoatings.com/
The owner tried to talk me out of coating the reservoir saying that it would "hold the heat in" but my thinking is that the coating should delay the heat soak that occurs immediately after shutdown. I can always sand blast it off and go with powder coating if it doesn't work. I'm curious if anyone has ceramic coated their W/A intercoolers... TCD or otherwise?
I had them do my downpipe and dump tube earlier in the summer. I was pretty happy with the work and price seemed reasonable. There was nothing wrong with the existing downpipe and wastegate recirc. I just needed an excuse to weld stainless.
I'll snap a couple of photos when I have it back together.tschultz wrote:Great detail and nice fabrication! Would love to see some photos of your car and the whole setup you have these days!
I ordered another Jiffy Tite doubled valved -12 AN fitting from Summit Racing today. I'd like to be able to pull the reservoir without needing to drain the system. I think I'm just becoming lazy as I get older.
-
- Beamter
- Posts: 9062
- Joined: Apr 13, 2006 11:18 PM
- Location: Council Bluffs, IA
- Contact:
Re: Thermal Management
Interesting. Seeing your old HE with fan, I never considered this & am curious how effective it is. Will you be using a fan with the new setup?
Can't wait to see results in comparison to others running a>a. Was your initial desire to run w>a due to less plumbing?
Re: Thermal Management
The fan was just something I had lying around so I wired it off the same fuse block as the pump so it runs whenever the ignition is on. I actually think its pretty worthless, especially without a proper shroud. It could also just be a shitty fan. I'm not sure where I got it from.Nebraska_e28 wrote:Interesting. Seeing your old HE with fan, I never considered this & am curious how effective it is. Will you be using a fan with the new setup?
Can't wait to see results in comparison to others running a>a. Was your initial desire to run w>a due to less plumbing?
I left enough room between the radiator (engine) and heat exchanger (intercooler) to install a slim fan if needed. I 'm just not convinced that I need it yet. I bought two additional 1/8" NPT ports that I'm going to weld on this weekend - One on each tank. If I'm so inclined in the future I can see pre and post core temp differential. I think I can log it with megasquirt.
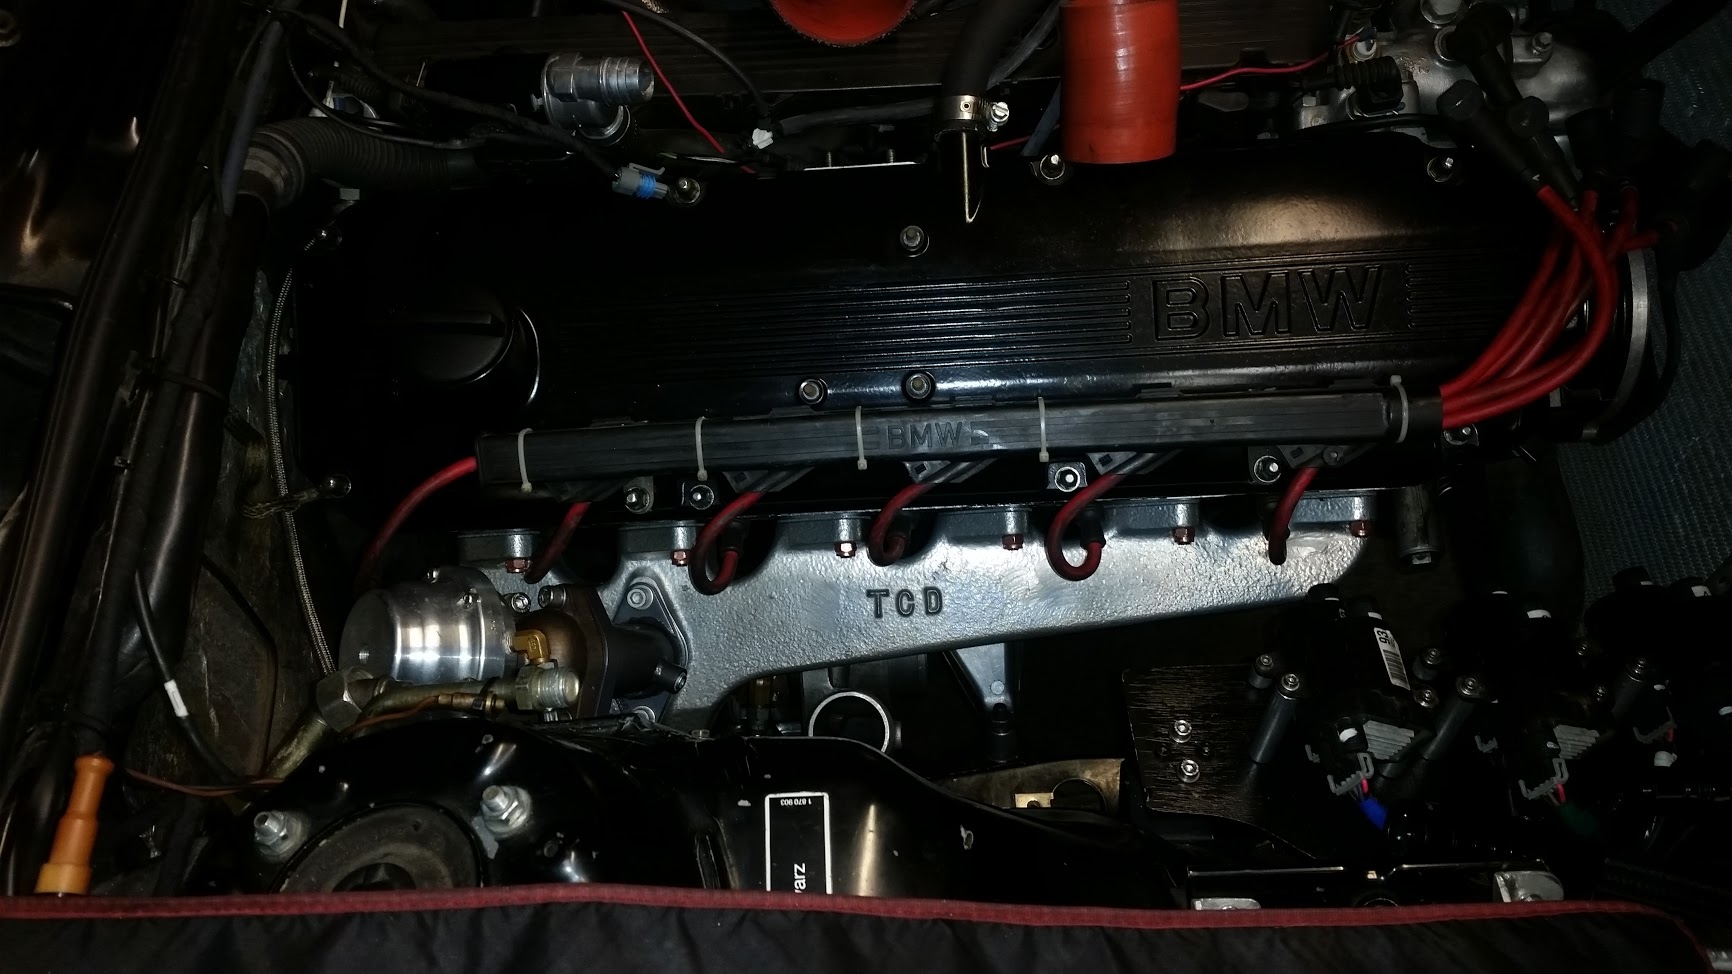
I run a w/a intercooler simply because that's what Todd sells with his kit. When I bought the kit in 2006(ish) I was 19 and lacked the skills and equipment to fabricate aluminum charge piping. Almost 12 years later the intercooler still holds up by modern standards. Its stout and well built. Between work and my own shop, I have the ability to build just about whatever I want and I'm not sure I would really do anything different on the charge cooling side. There just isn't a whole lot of room for a properly size a/a intercooler on the e24 chassis without hacking up the front end. It spools quickly and looks good under the hood. If I ever finish building the equal length twin scroll manifold project that is sitting in the corner, I'll re-consider but I will most likely keep some sort of w/a set-up.
Re: Thermal Management
George wrote:[
I run a w/a intercooler simply because that's what Todd sells with his kit. When I bought the kit in 2006(ish) I was 19 and lacked the skills and equipment to fabricate aluminum charge piping. Almost 12 years later the intercooler still holds up by modern standards. Its stout and well built. Between work and my own shop, I have the ability to build just about whatever I want and I'm not sure I would really do anything different on the charge cooling side..
Re: Thermal Management
Just telling it like I see it.
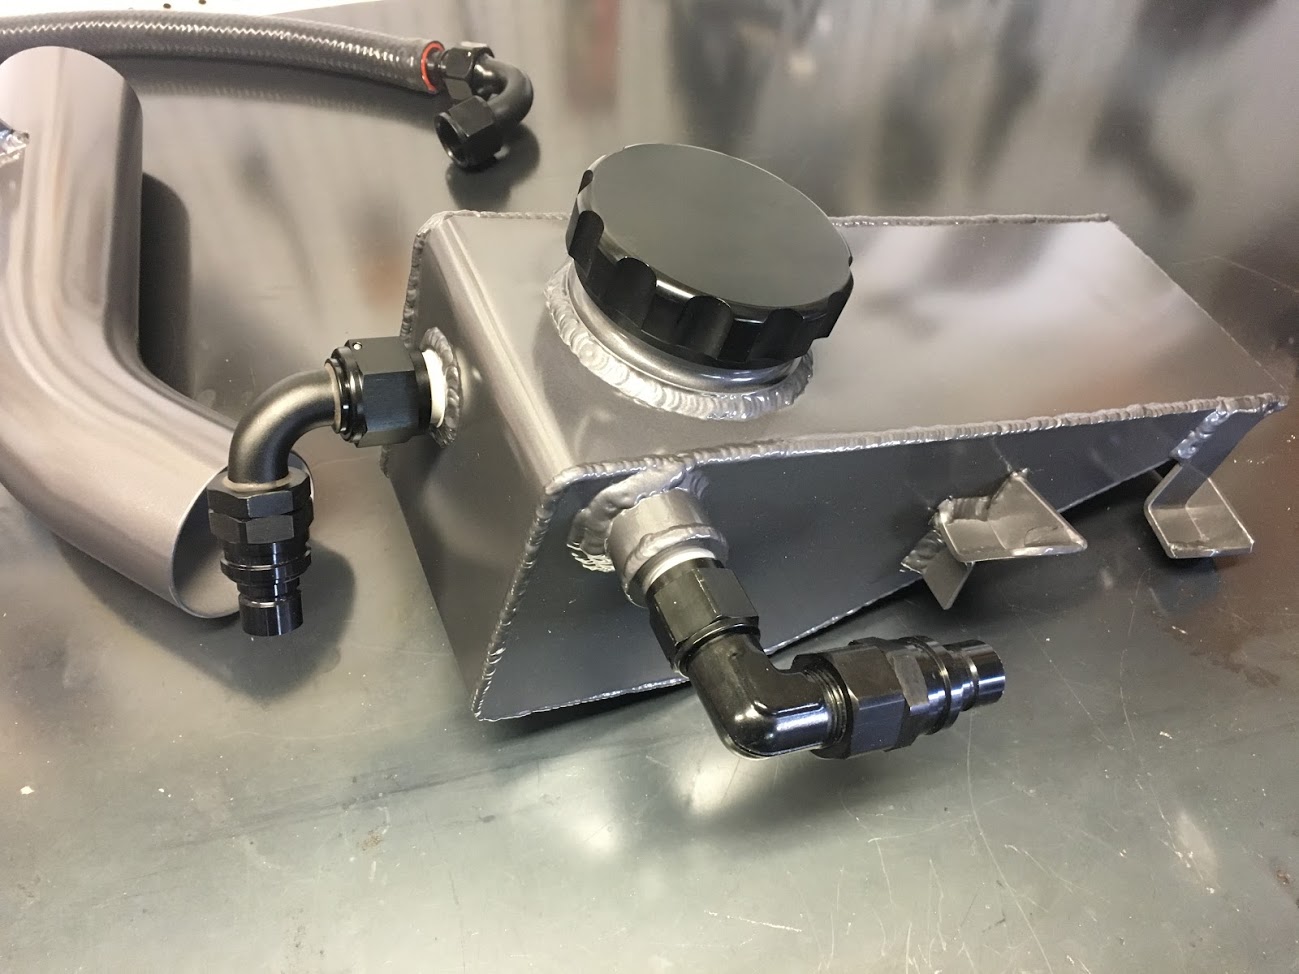
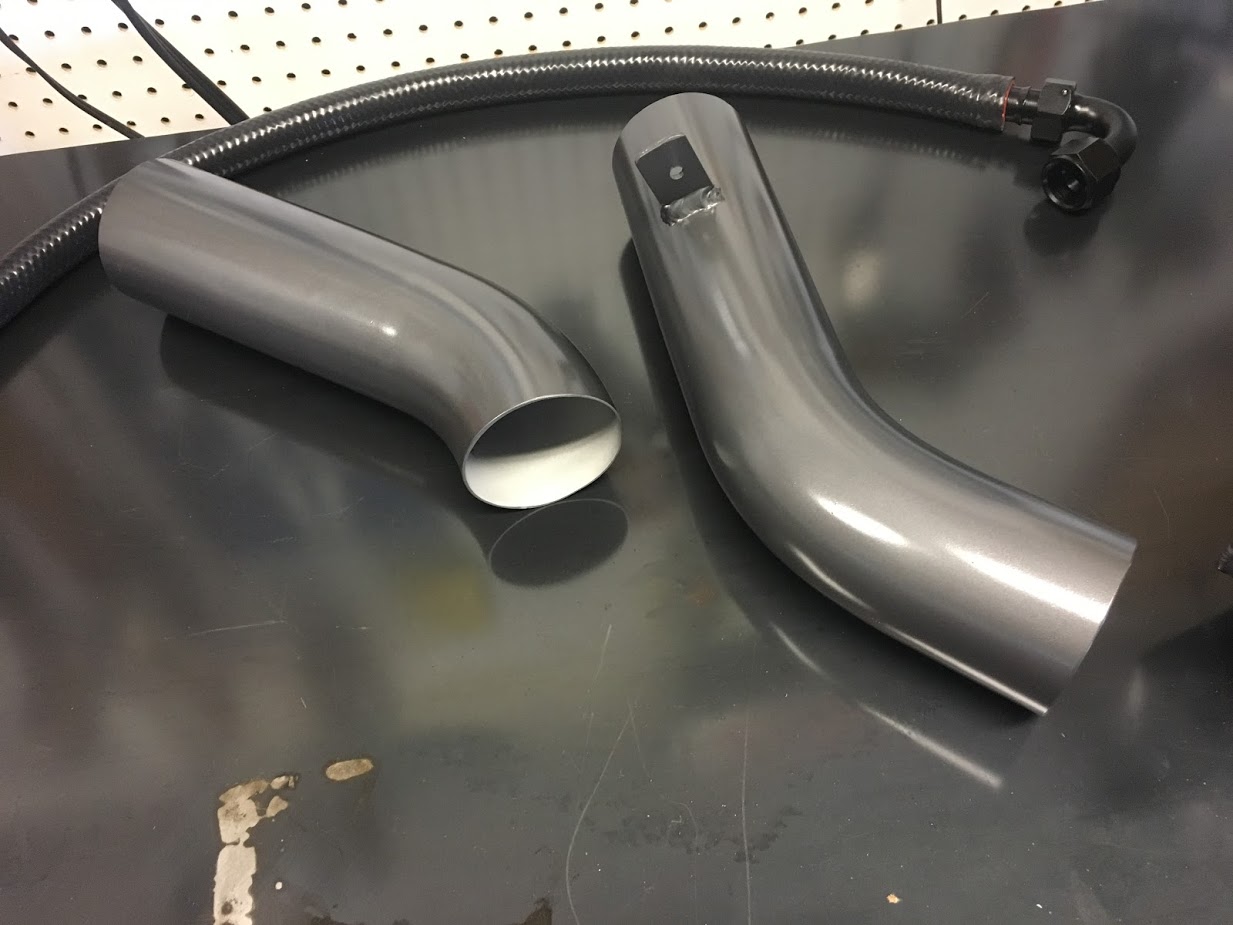
Made some progress. I picked up the reservoir and turbo intake piping from the ceramic coater on Friday:
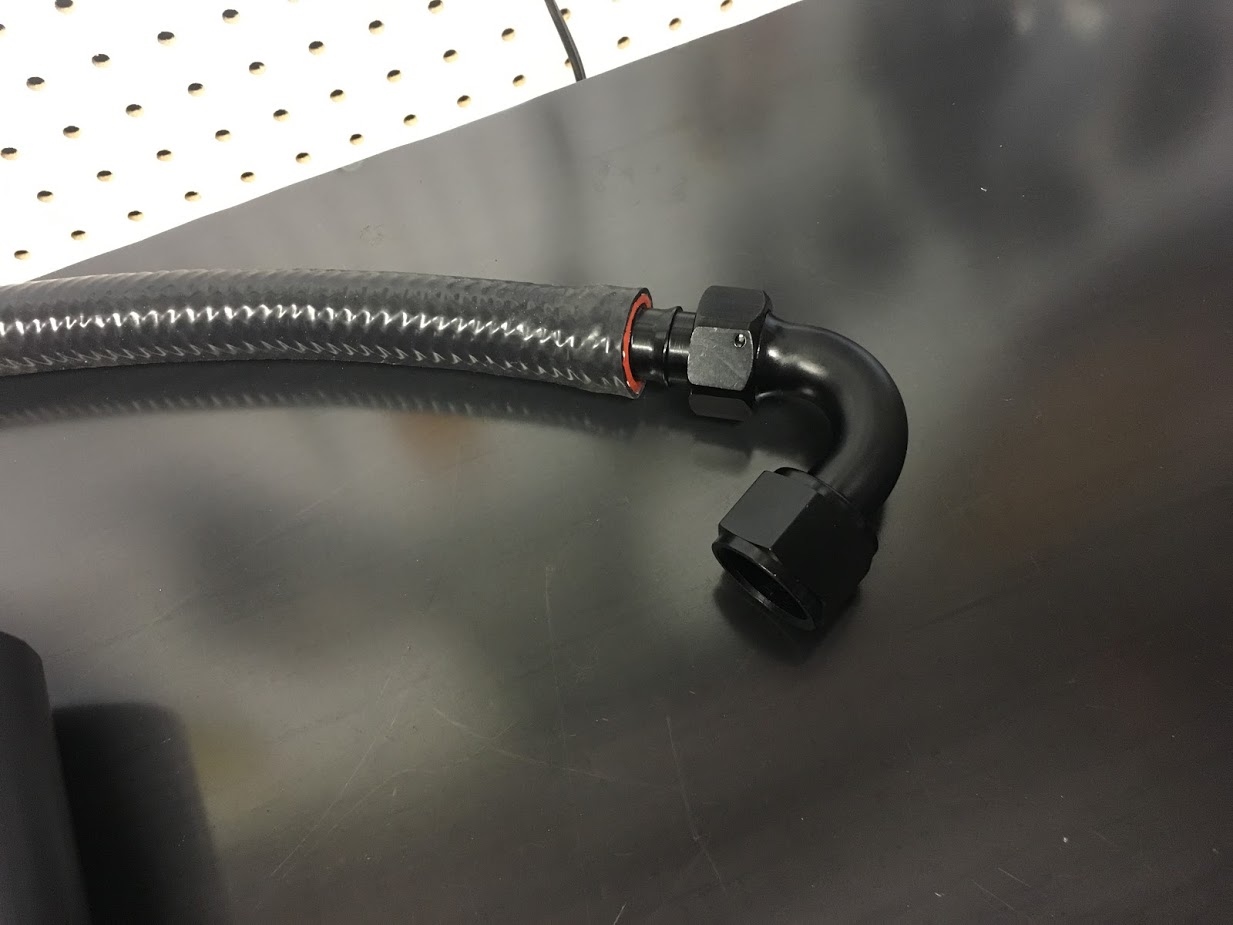
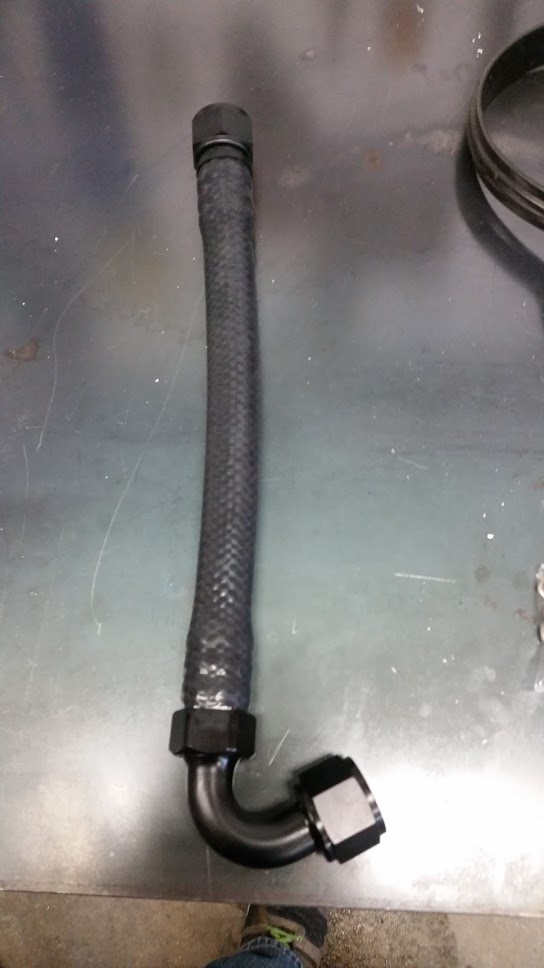
I decided to go with Vibrant Performance 3/4" ID heater hose for the line that goes from the pump to to the heat exchanger. The heater hose is a quite a bit more flexible than the braided hose and makes install and removal quite a bit easier on a short hose where there isn't much room for extra bend in the hose. Everywhere else I've used the black cloth / inner stainless braided line. Fortunately Summit's brand of female AN to hose barb fittings are pretty cheap and don't seem to leak:
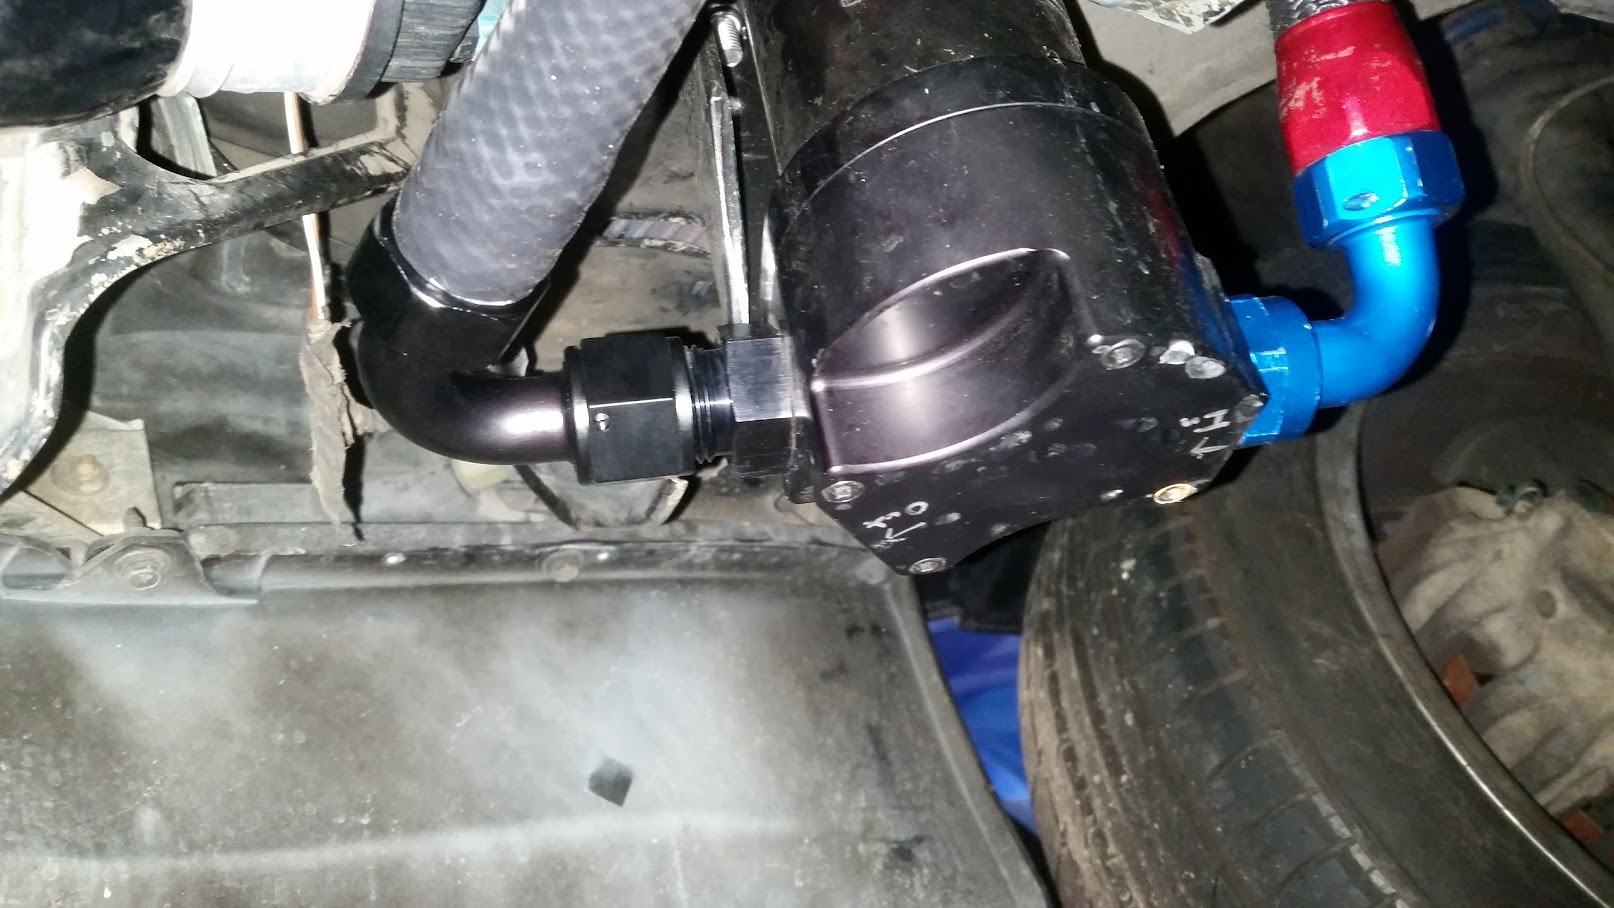
I got some brackets tacked on the end tanks and made sure the fittings line up. I'm using the PRP remote mount pump. I'm quite certain that its the same pump that other sellers around the web sell for about $10-$30 cheaper. Live and learn. It accepts -12 female ORB. There seem to be only a handful of places that sell -12 hose end to ORB so I ended up with blue/red for the fitting that feeds the pump. I didn't want to pay $50+ a black fitting:
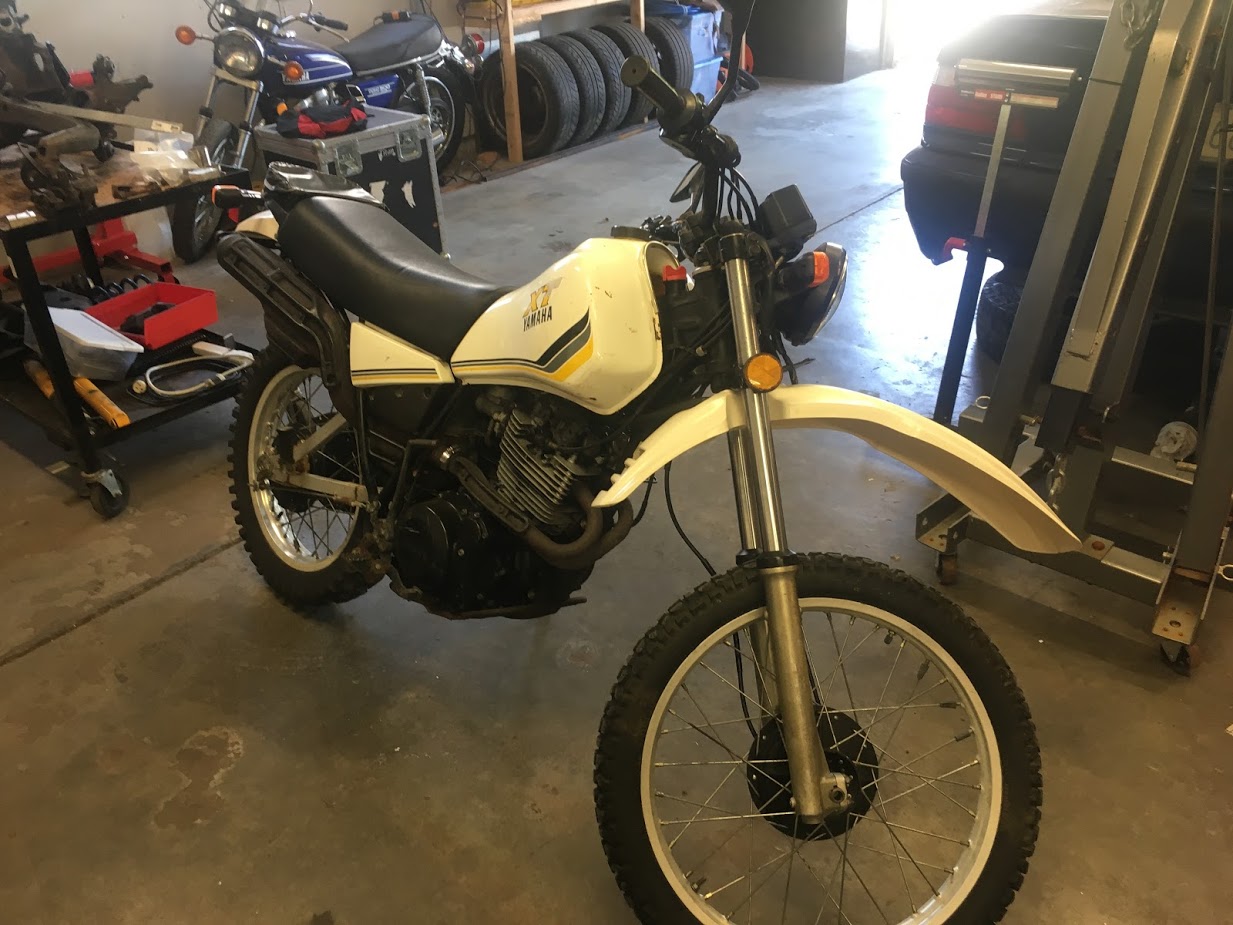
I tacked on the brackets and have it generally mounted where I want it. I got distracted because I bought another bike. Hopefully I find some time during the week to weld up the up the brackets.
Re: Thermal Management
Finally got some free time on the weekend to wrap this up.
Back in business.
Pump to radiator hose:
Pump:
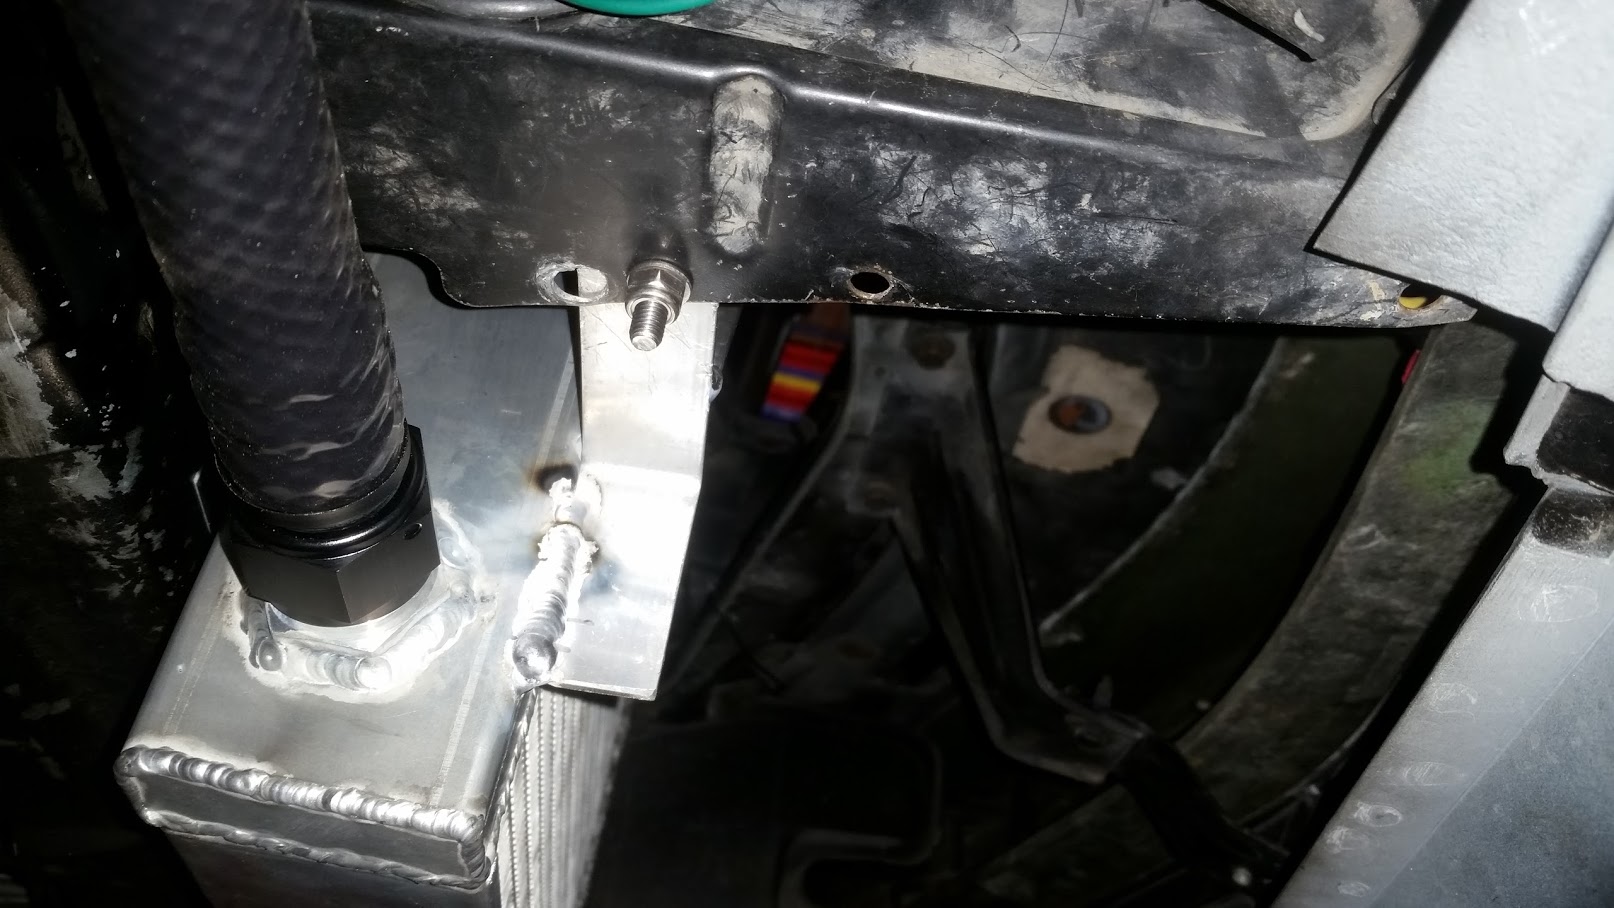
Inlet to radiator:
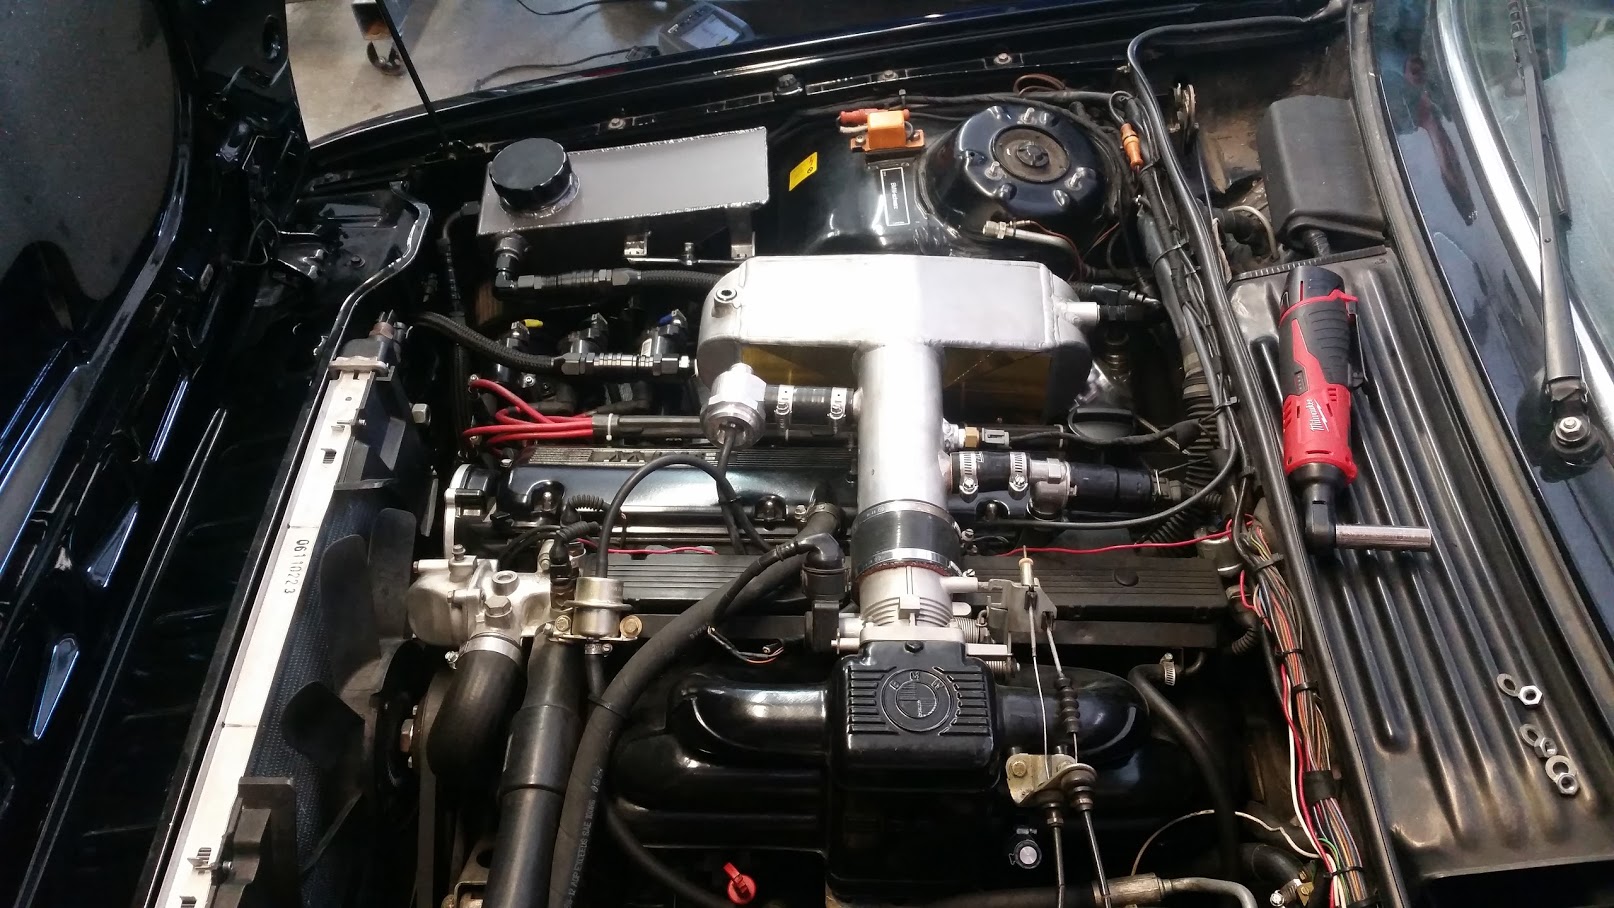
All wrapped up with fresh coolant:
Back in business.
Pump to radiator hose:
Pump:
Inlet to radiator:
All wrapped up with fresh coolant:
-
- Posts: 513
- Joined: Dec 08, 2008 11:33 PM
Re: Thermal Management
Wow! looks really good!
I love dirt bikes too. I use to have a yz125 monoshock about that same year as your bike, surprizingly good suspension for that far back. I've got an 08 ktm 250 xcfw now thats plated, that I run all over Blackwater forest (near Pensacola).
enjoy your toys
I love dirt bikes too. I use to have a yz125 monoshock about that same year as your bike, surprizingly good suspension for that far back. I've got an 08 ktm 250 xcfw now thats plated, that I run all over Blackwater forest (near Pensacola).
enjoy your toys
Re: Thermal Management
Thanks, this is the first "dual sport" I've owned and its a lot of fun even if it is 34 years old. Its got gobs of low end torque. It also is relatively fresh with less than 3K miles.
Re: Thermal Management
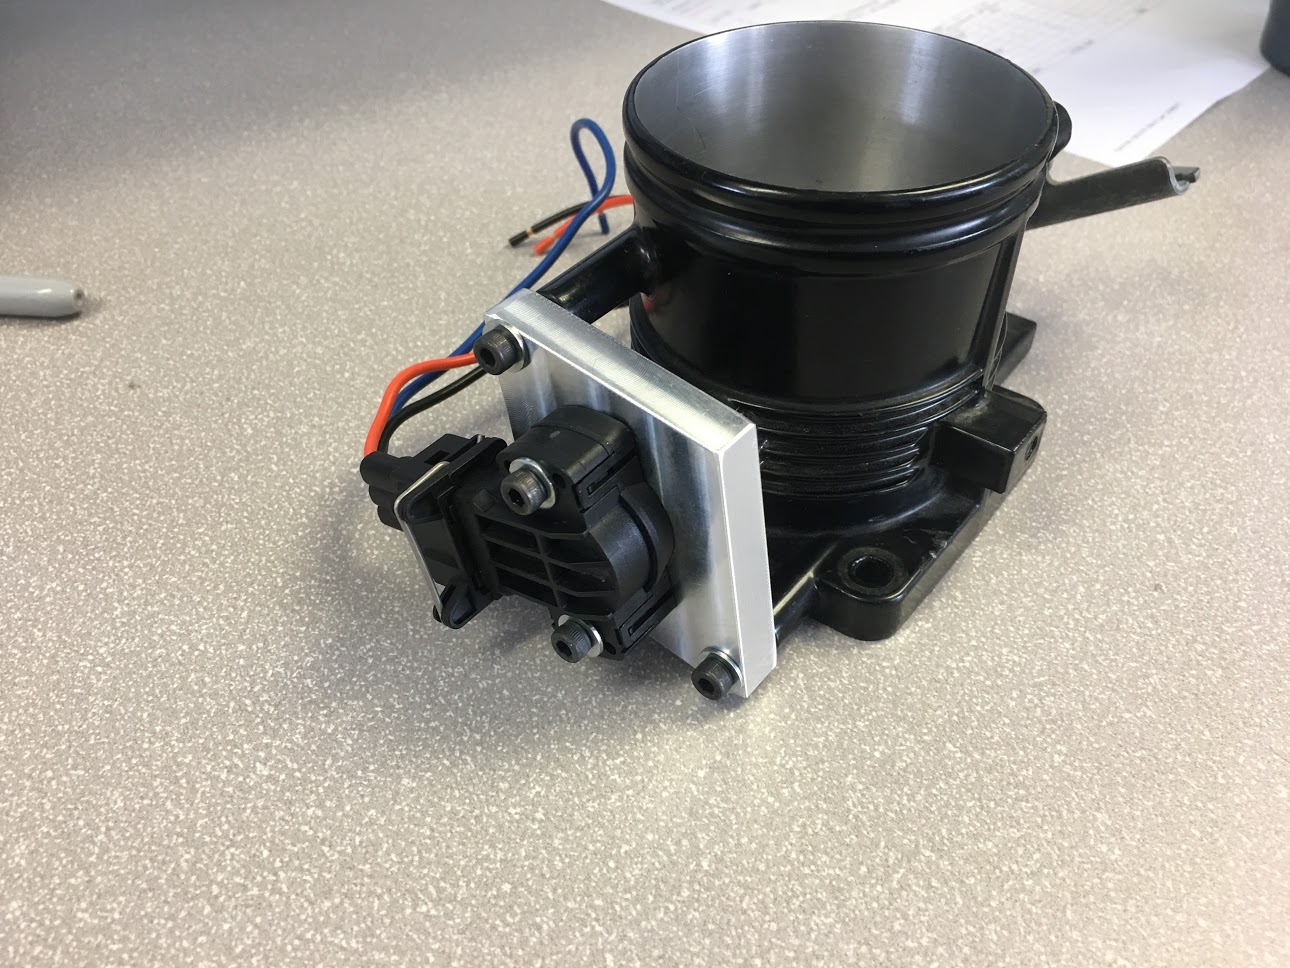
The vehicle has been running well with the charge cooling overhaul. Intake temps are about 10-15°F cooler at cruise and appear to normalize back to ambient much quicker after a pull. I'm still having issues with a delayed TPS response when the engine bay is hot - the acceleration enrichment doesn't work when this happens. Switching to an M50 TPS tonight.