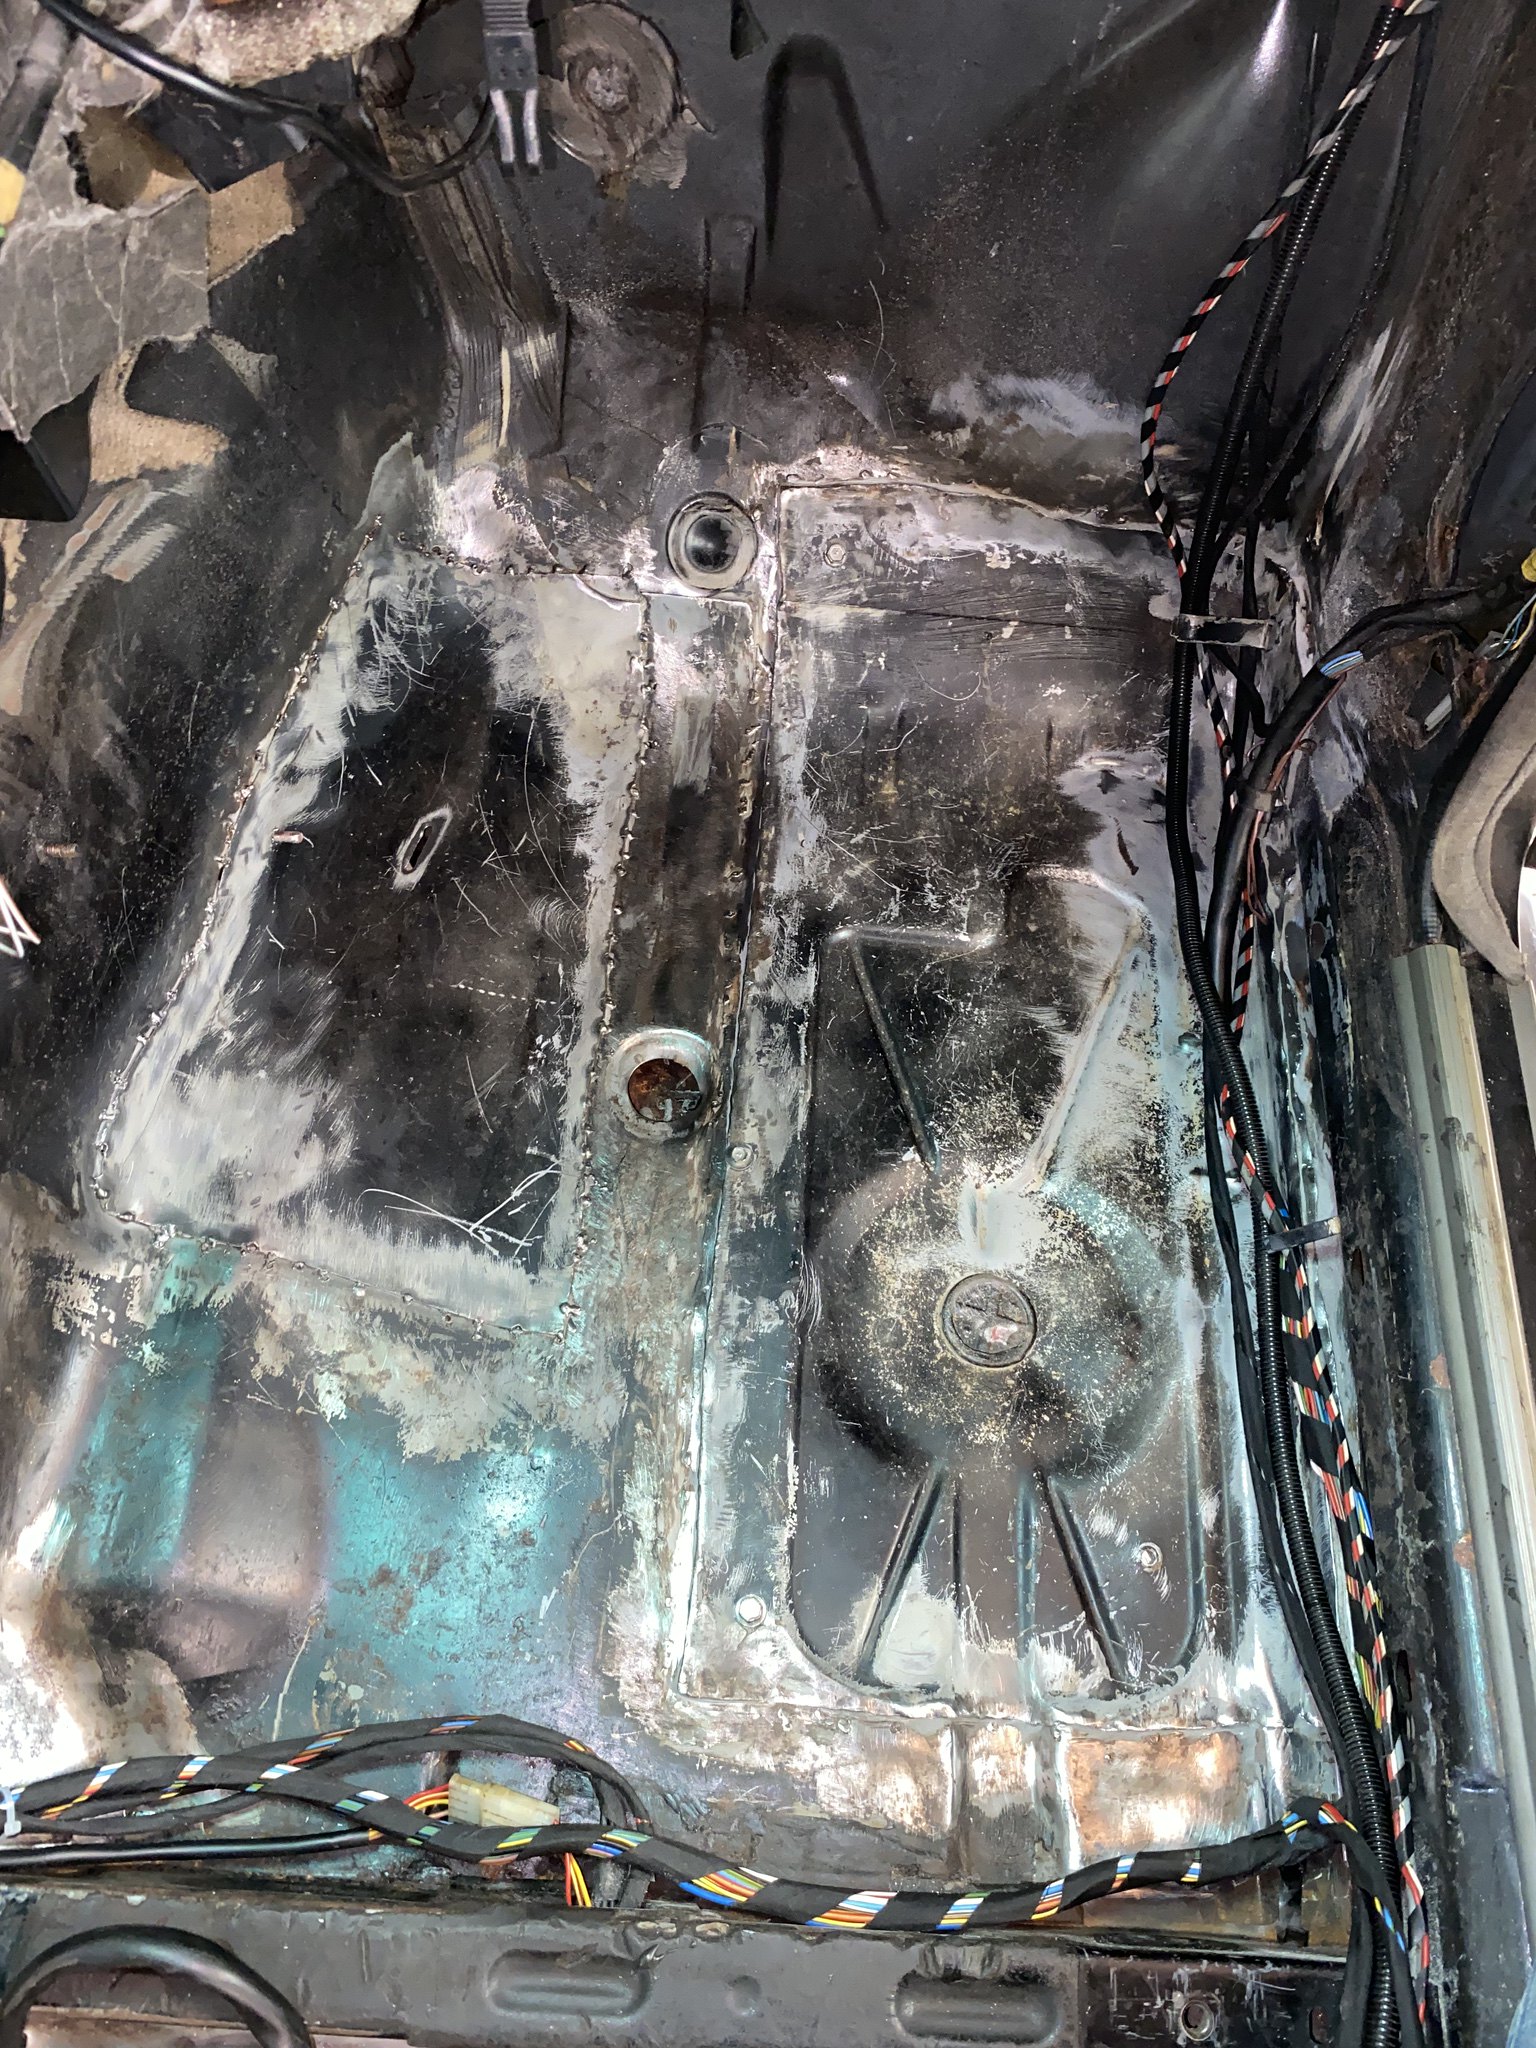
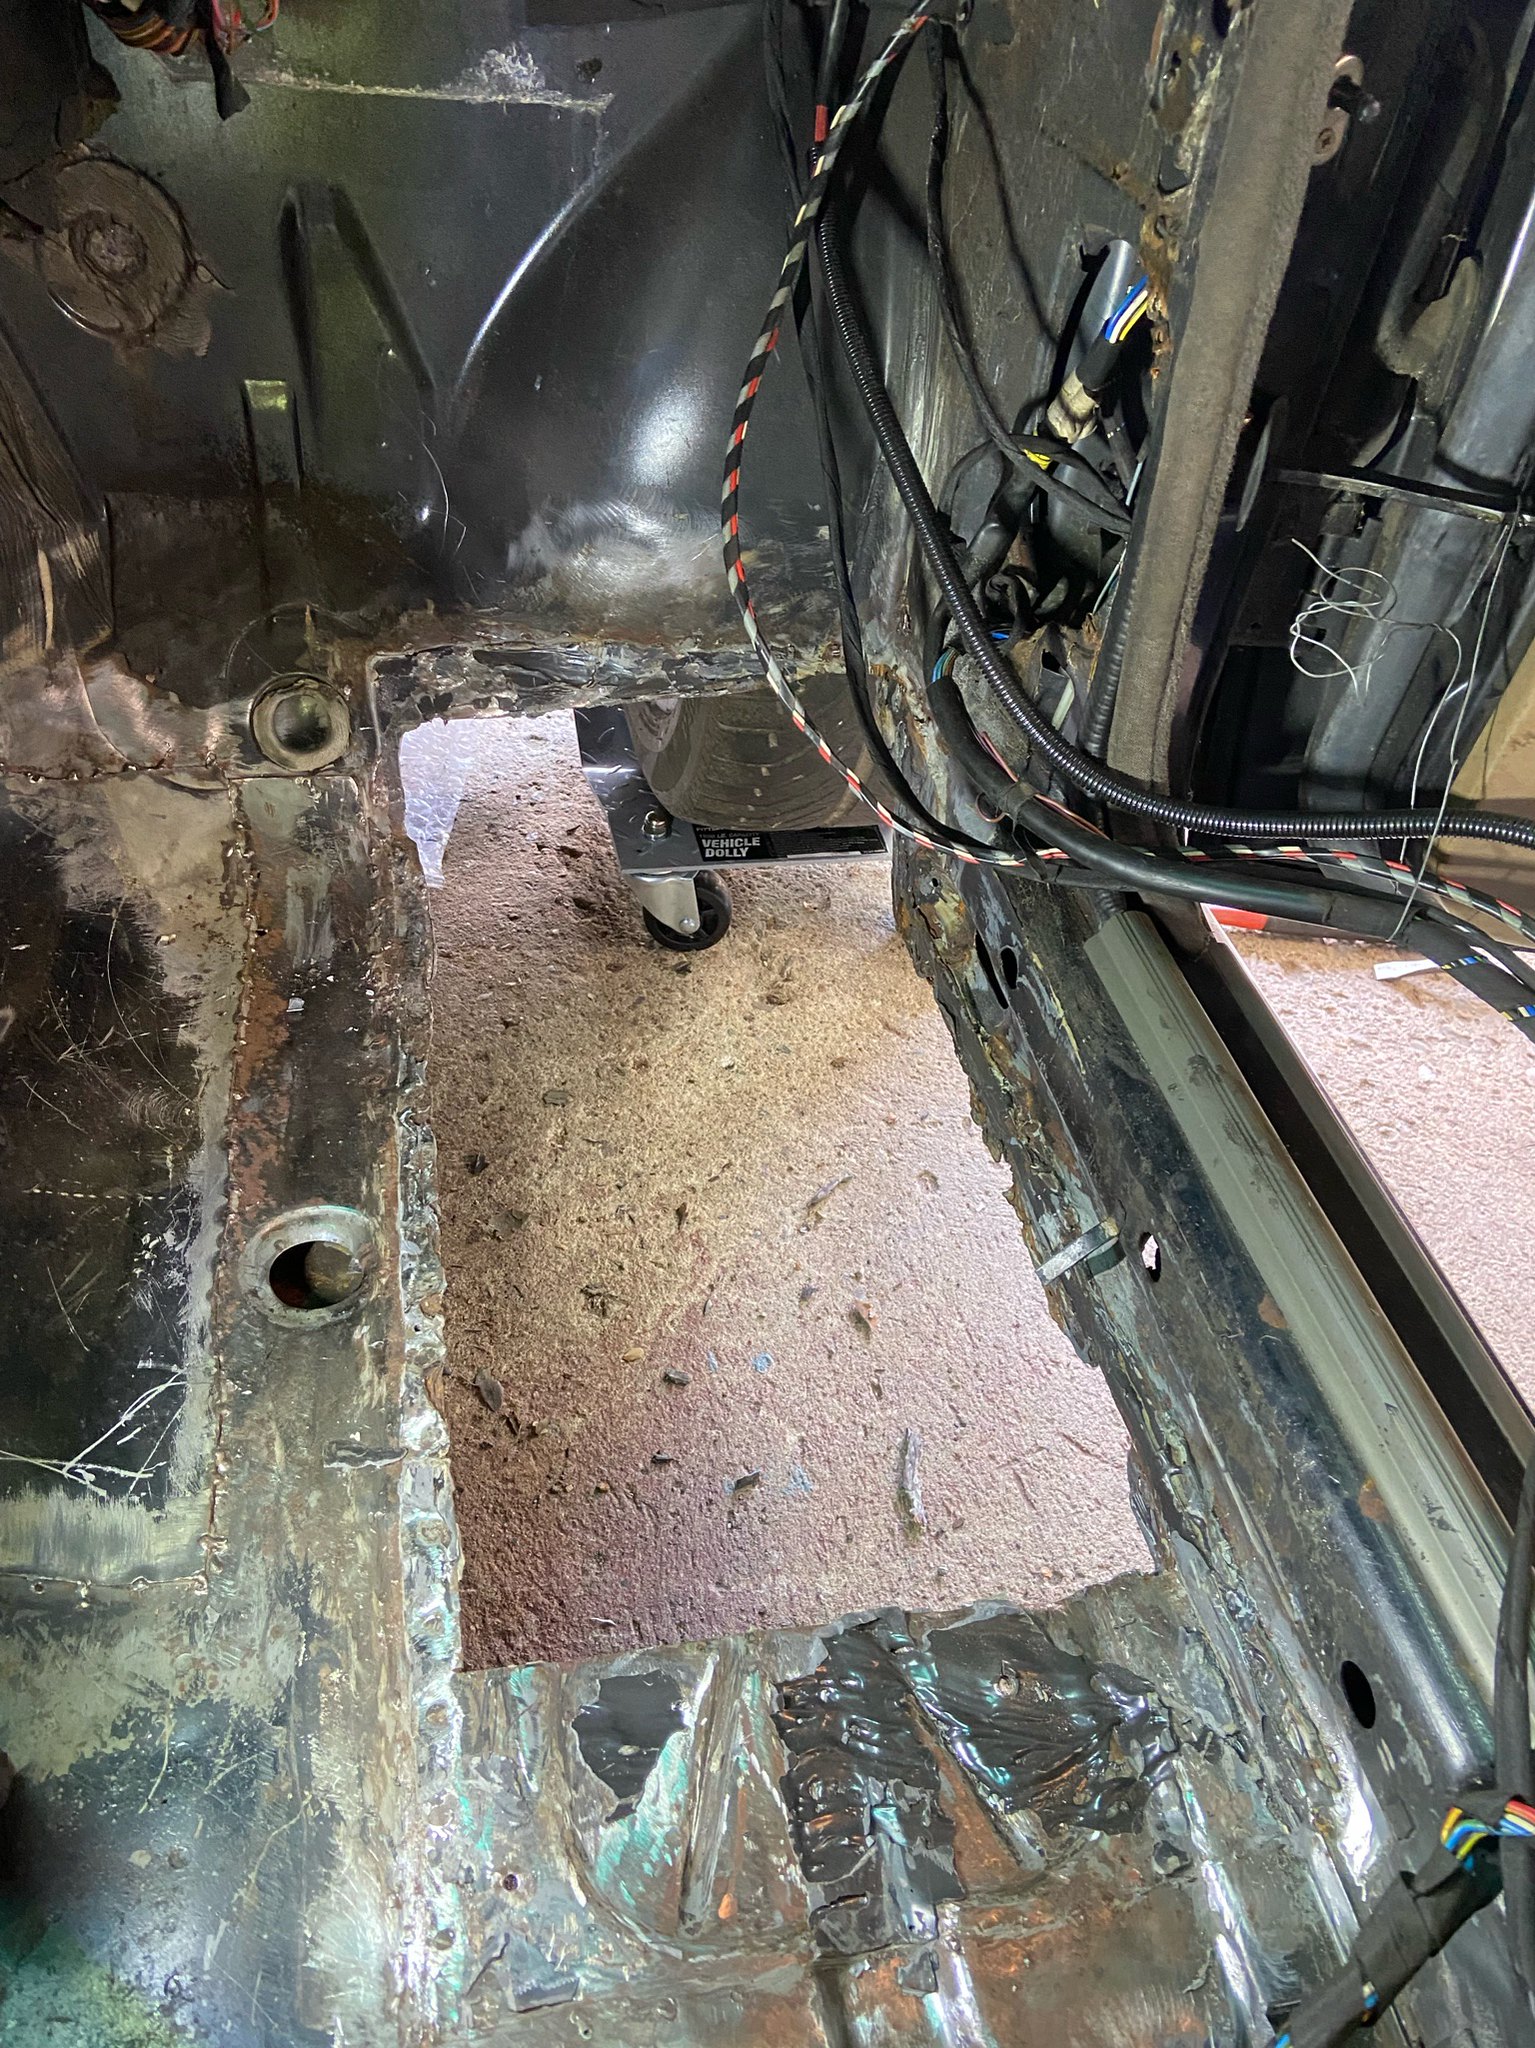
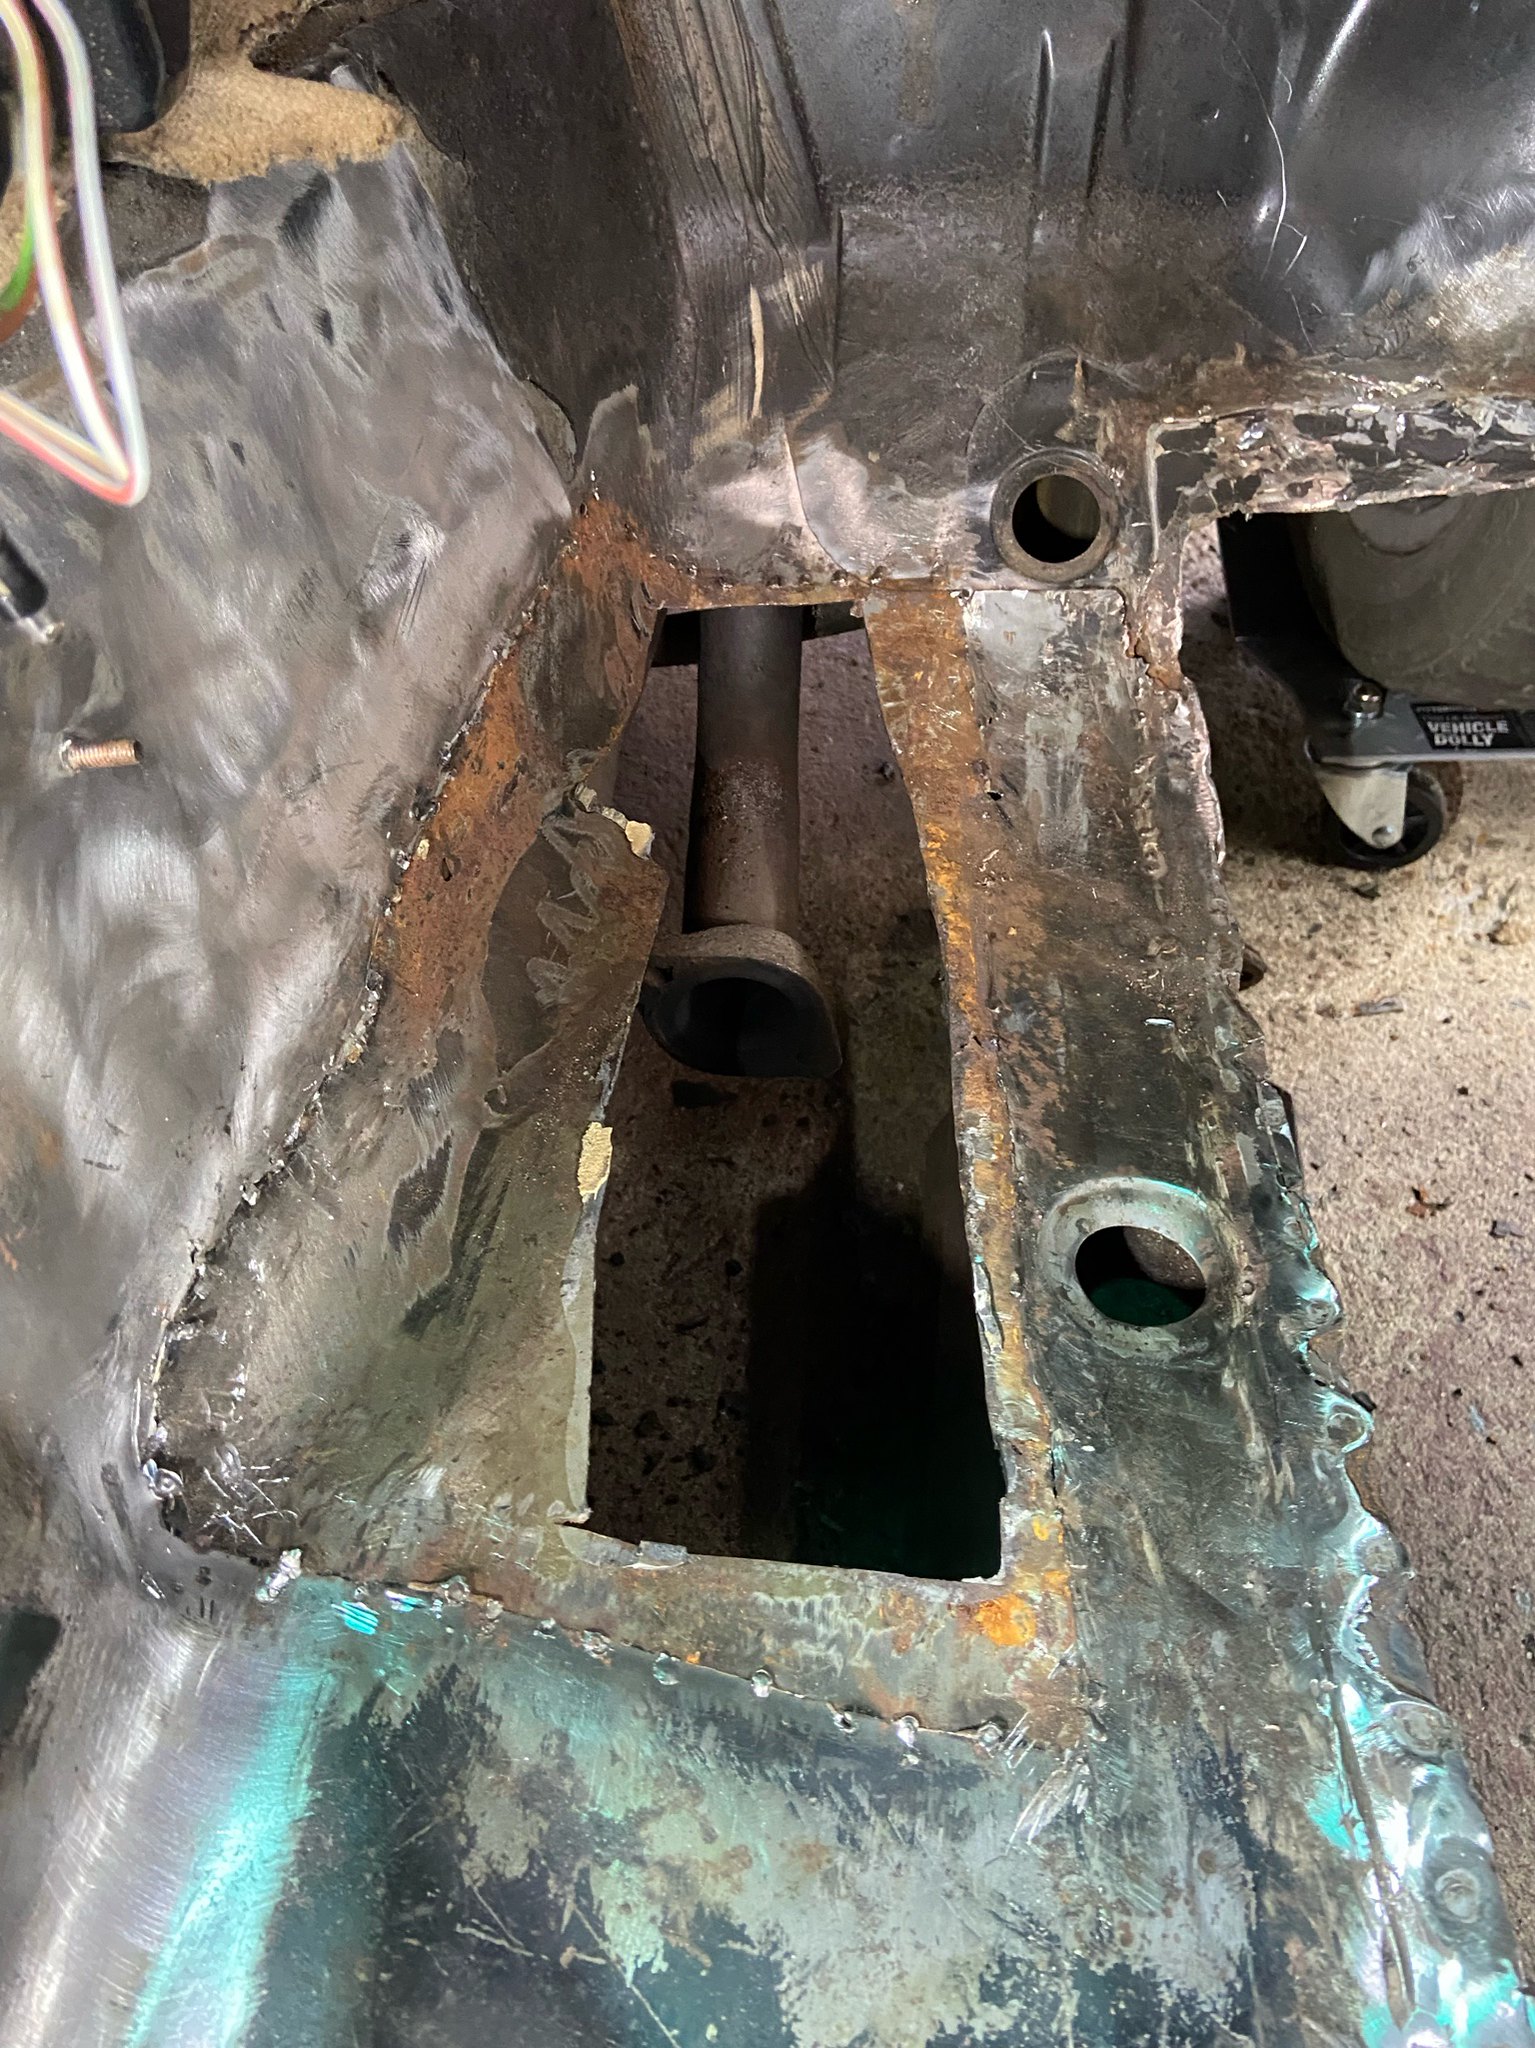
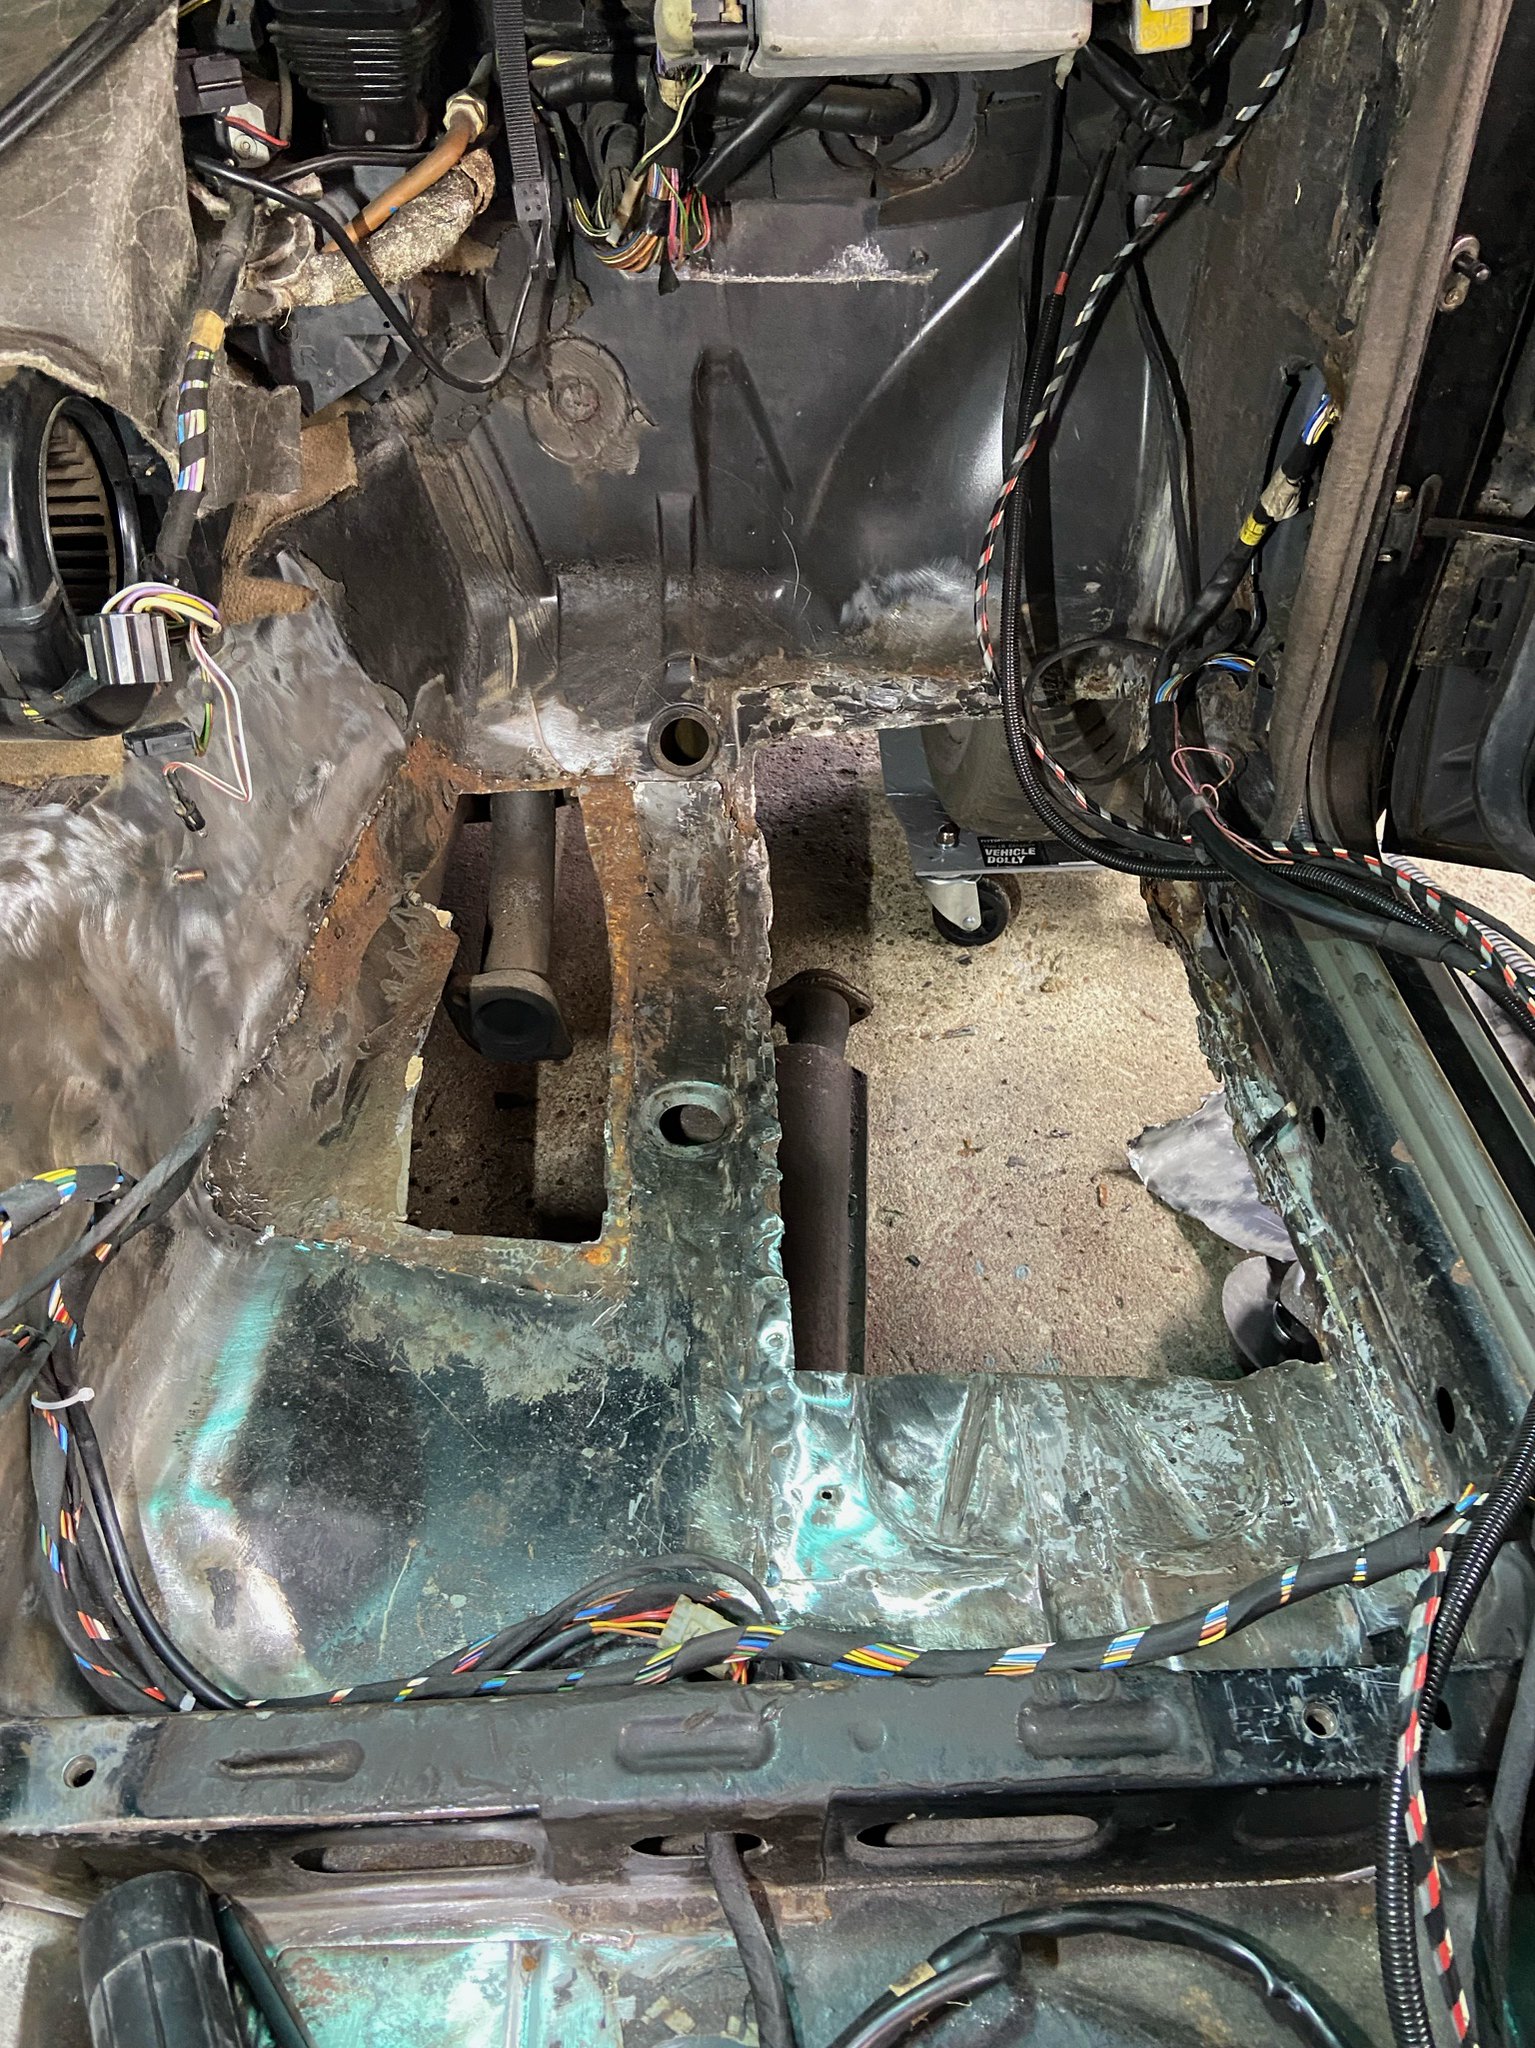
Our M5 Journey Begins

Specific conversations and info for the BMW E28 M5 and M535i.
Fanclutchnut
Posts: 144
Joined: Jan 05, 2021 7:32 PM
Location: Westchester Co NY

Our M5 Journey Begins

Post by Fanclutchnut »

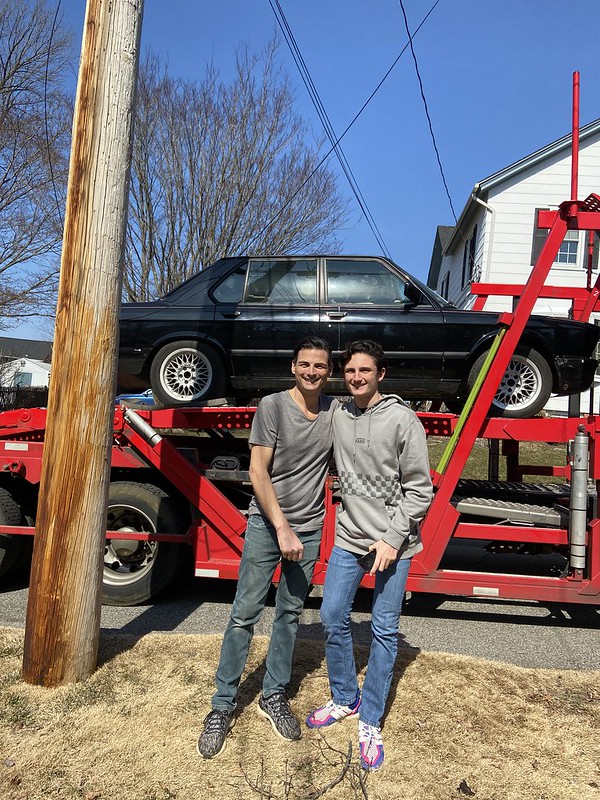
It took a while, but we wanted to say hello to this great community. We’re Chris and Brody, a father/son team in Tarrytown, NY. Back in January, I (Chris) was doing my usual trolling for cool Germans on Craigslist, OfferUp and boards. I came across Funfunfer’s listing and sent it over to the boy and my advisory board (brother, brother in law and good friend). It received unanimous support. I was a lurker, so my friend Dave (who’s building a e28 535i) offered to reach out to Funfunfer as my account was taking some time to get approved.

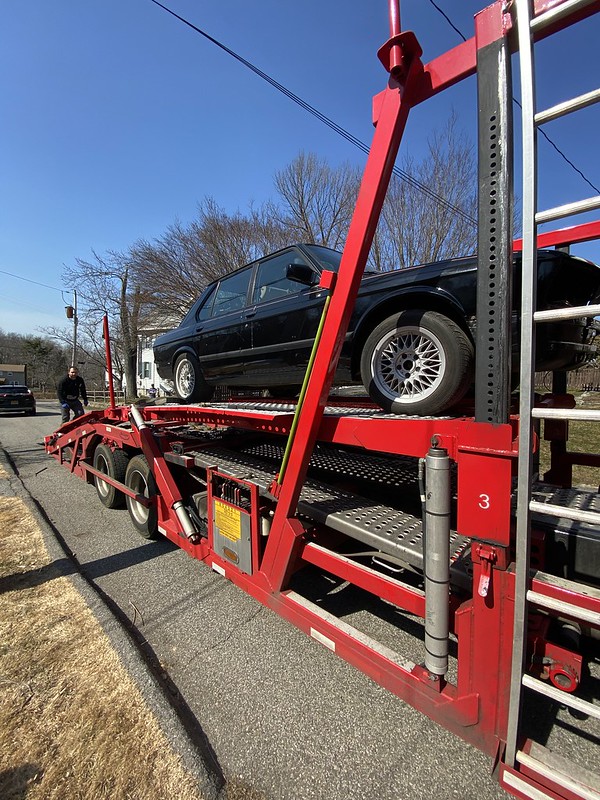
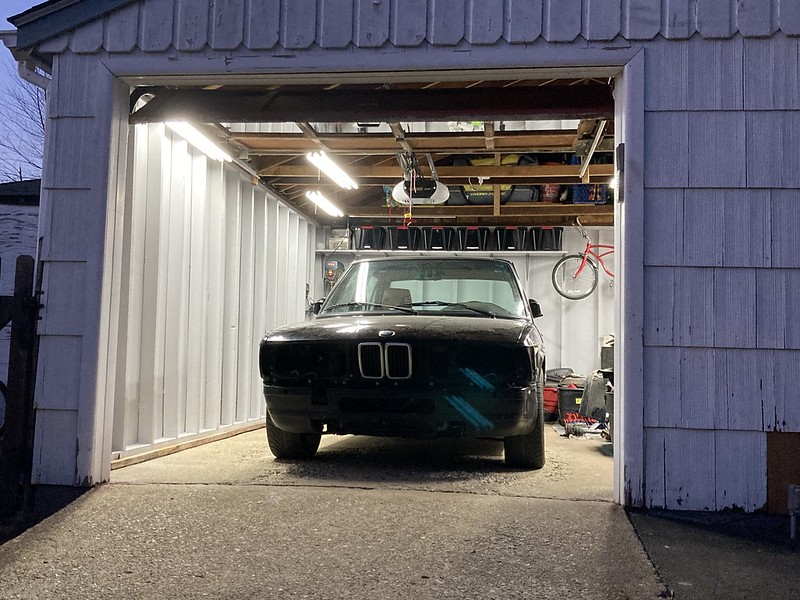
Funfunfer was really responsive and great to work with. He seemed to be happy with where the car was headed and our plans for it. Ironically, we even have some common acquaintances. It took a bit to get everything sorted out, but the car was purchased delivered to us second week of March. That worked to our benefit as we had time to get our garage sorted out. You should hear the video of it coming up our block. It’s hilarious, we were cheering.

A bit about us. I’ve been working on cars since I started driving, mostly because I couldn’t afford to have others do it for me. My first German was a 84 318i Bronzit Beige MT in the mid 90s. One of the first jobs I did on the streets of the Bronx was a fan clutch (hence the name). Since then, I’ve owned and/or worked on 80s-2010s BMW, Audi, Porsche and Volkswagens.

Brody is 15 and has been a car guy since diapers. I knew it when I did the seasonal summer wheel swap on my 02 Volkswagen GTI 337. He waddled out to the driveway and lowered down to the BBS RCs and “ohhhhed”. He was a year and a half old. Since then, he’s been around and gotten rides in some cool cars, e30 M3, 944 Turbo, 930, S3, and MK1 GTI to name a few. An E28 M5 is pretty much his dream project car. He’s been really great so far prepping the garage and gathering information. His enthusiasm gives me a lot of energy!

One of the things that made the car attractive to us is that Funfunfer included many of the parts that will be needed to deal with the known issues. He also included a ton of PO documentation, printed reference manuals that are available online and digests from bmwcca. We’ve already begun to sort though the included parts and materials. We’re still building our plan, but we think the aim is to bring it back to the state of a well enjoyed and maintained driver.

Well, here’s some pic of the journey thus far. We hope to document this as best possible to give back to the community in any way that we can. A very special thank you and best of luck to Funfunfer.
Image
Image
Image
austin8753
Posts: 1491
Joined: May 16, 2010 1:37 AM
Location: Portland, Oregon, USA

Re: Our M5 Journey Begins

Post by austin8753 »

very cool. congrats to the both of you. may the journey be rewarding.
GoNoles
Posts: 92
Joined: Aug 19, 2014 9:30 PM
Location: CT

Re: Our M5 Journey Begins

Post by GoNoles »

Father / son time is the best. What a cool project to work on together.
milarsky
Posts: 521
Joined: Jan 26, 2013 11:19 AM
Location: NYC

Re: Our M5 Journey Begins

Post by milarsky »

Awesome and congrats. It will be so rewarding for both of you. I am up in Warren CT with my M5 should you need some help.

all best,
jeff
Mdreamer
Posts: 532
Joined: Feb 12, 2006 12:00 PM
Location: Atlanta, Georgia

Re: Our M5 Journey Begins

Post by Mdreamer »

Congratulations! It is always more special when the adventure is shared with family.
e12euro
Posts: 220
Joined: Jan 11, 2007 4:28 AM
Location: EA

Re: Our M5 Journey Begins

Post by e12euro »

And at the end you will have a very special, and valuable car, good luck to you both! :cool:
1st 5er
Posts: 21855
Joined: Jun 13, 2008 12:15 AM
Location: Cypress
Contact:

Re: Our M5 Journey Begins

Post by 1st 5er »

Congrats and welcome, Chris and Brody.

Lookin' forward to the :haul:
Fanclutchnut
Posts: 144
Joined: Jan 05, 2021 7:32 PM
Location: Westchester Co NY

Re: Our M5 Journey Begins

Post by Fanclutchnut »

Thanks for the warm welcome everyone! We have some progress to report.

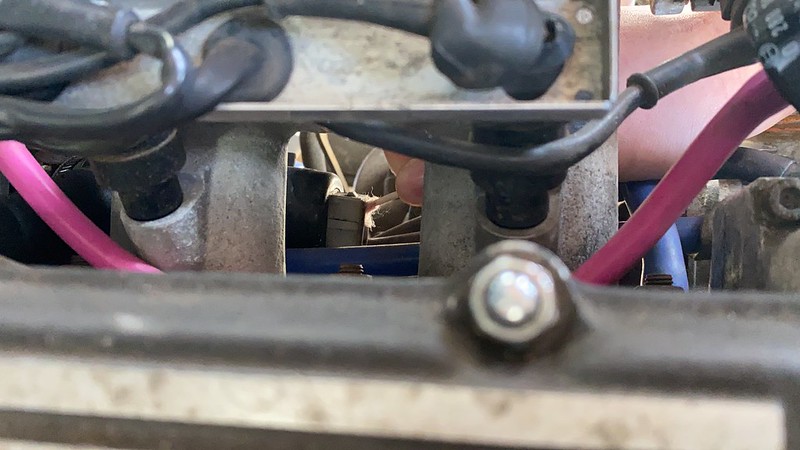
The car was running when shipped, cranked but wouldn’t turn over on delivery. Filled with some gas, checked for good spark, checked CPS, replaced the reference due to a bad connector, checked fuel and main relays. Everything looked ok. The car would turn over after sitting for a few days or yanking the fuel relay very briefly and respond to throttle.

Suspecting flooding due to a clogged return line. We’ll start with the curved hose coming off the front of the fuel rail. Could be the regulator too?

We’ve gone through the parts and right now it looks like we need to source a cat section and natur carpet, mtechnic wheel and shift knob. I’m sure there will be more as we go.

More pics this weekend!
e12euro wrote: Mar 25, 2021 1:32 PM And at the end you will have a very special, and valuable car, good luck to you both! :cool:
Mdreamer wrote: Mar 24, 2021 5:44 PM Congratulations! It is always more special when the adventure is shared with family.
milarsky wrote: Mar 24, 2021 5:00 PM Awesome and congrats. It will be so rewarding for both of you. I am up in Warren CT with my M5 should you need some help.

all best,
jeff
austin8753 wrote: Mar 23, 2021 12:47 PM very cool. congrats to the both of you. may the journey be rewarding.
tig
Posts: 9283
Joined: Mar 18, 2013 6:25 PM
Location: Durango
Contact:

Re: Our M5 Journey Begins

Post by tig »

Sub. Scribed!
Fanclutchnut
Posts: 144
Joined: Jan 05, 2021 7:32 PM
Location: Westchester Co NY

Re: Our M5 Journey Begins

Post by Fanclutchnut »

Had some quality garage time today! After reading a few threads about similar no start, has spark, has fuel but rich, I came to the conclusion that I’d check the FPR and the ICV. We checked the return line by blowing through the elbow hose at the front of the fuel rail. It was clear and the hose was in good condition. Next we checked the vacuum line for fuel. No fuel, diaphragm probably ok.

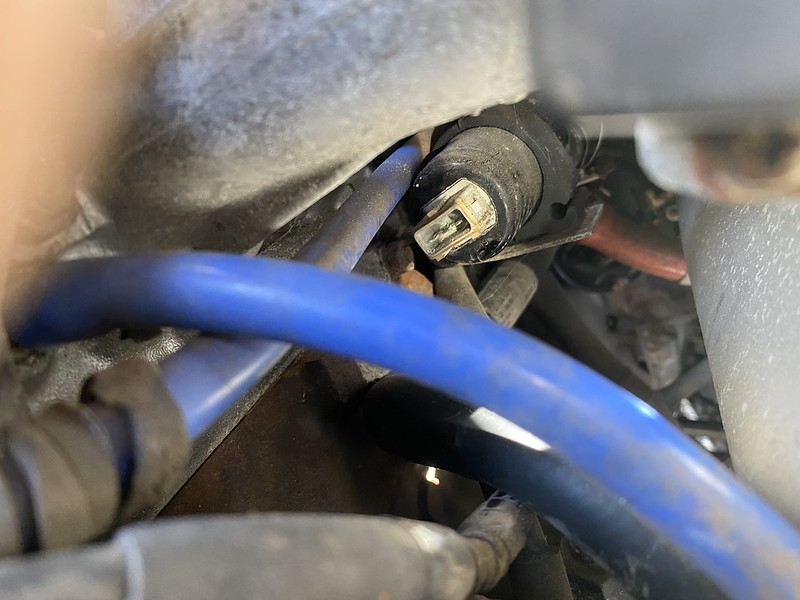
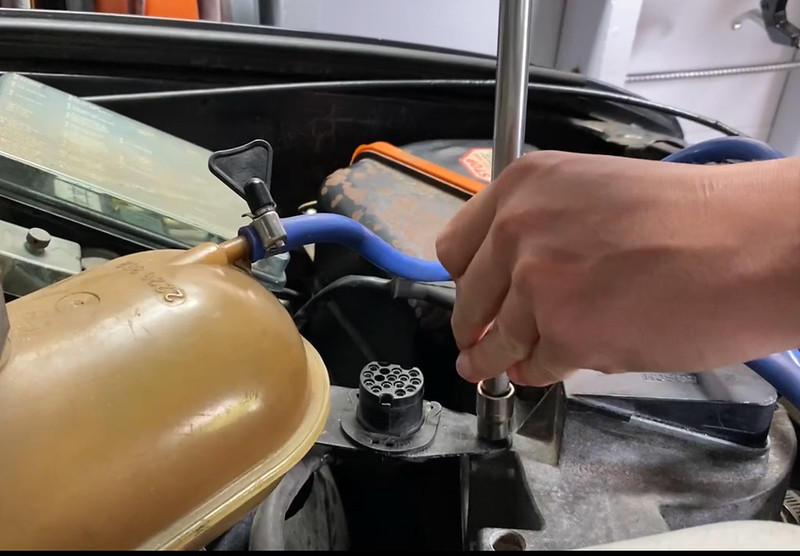
Next up was the ICV, I read some conflicting things about when it would be energized. Turns out it only gets power when the car is cranking or running. I jumped out terminals 87 and 30 of the fuel relay. The pumps ran nicely but the valve didn’t buzz checking with our long screwdriver stethoscope. I recall seeing a thread that showed corrosion at the connector.
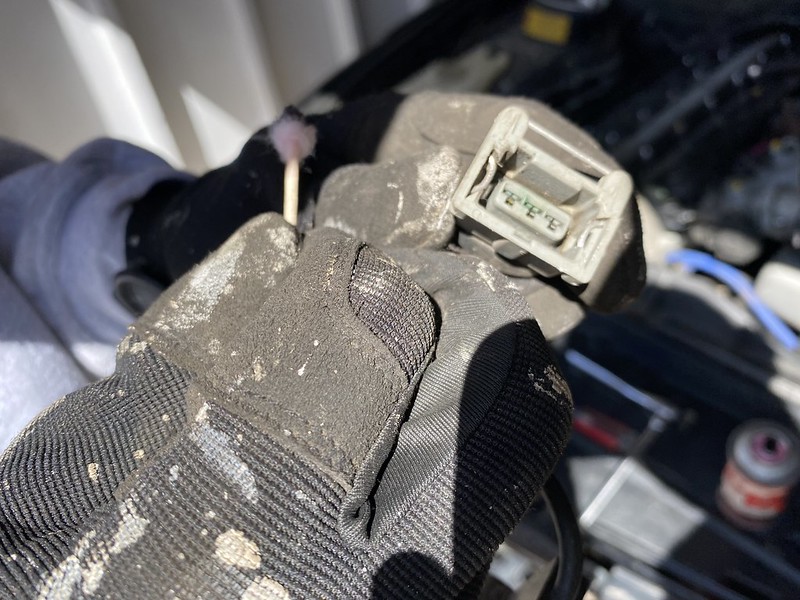
We disassembled the thermostat housing to get access to the connector. As soon as it was unlplugged, we could see green corrosion on one terminal. Brody cleaned all of the connectors up with some qtips and deoxit spray.
ImageImageImage

Next we tested the 1&3/2&3 valve terminals for proper resistance, 40 and 20 ohms respectively. Looked good. We reconnected the plugs and ran the fuel pump relay jumper test again. Our ICV is now buzzing! Lastly, we reinstalled the coolant hoses.

Hopped in the car, cranked it and within 2 revolutions, it started. Idle was smooth and it responded to throttle input. The exhaust is still open at the header, so we didn’t let it run for long in the garage. We were very pleased with our progress today.

I order a bunch of fasteners, clamps and a gasket from our local BMW of Westchester to get the airbox reinstalled next. There is one part that goes inside the airbox that is NLA. It doesn’t look like it will affect assembly though

The AFM/diagnostic plug bracket that had the rubber isolation stud mount needs to be repaired. We’re going to try some epoxy tonight.

I’m doing research now for the parts we need soon.
Wiring harness repair(cloth tape, heat shrink tubing, best type of solder)
Natur Carpet/padding/sound deadening replacement
Cat section for the exhaust
One outer rear bumper shock

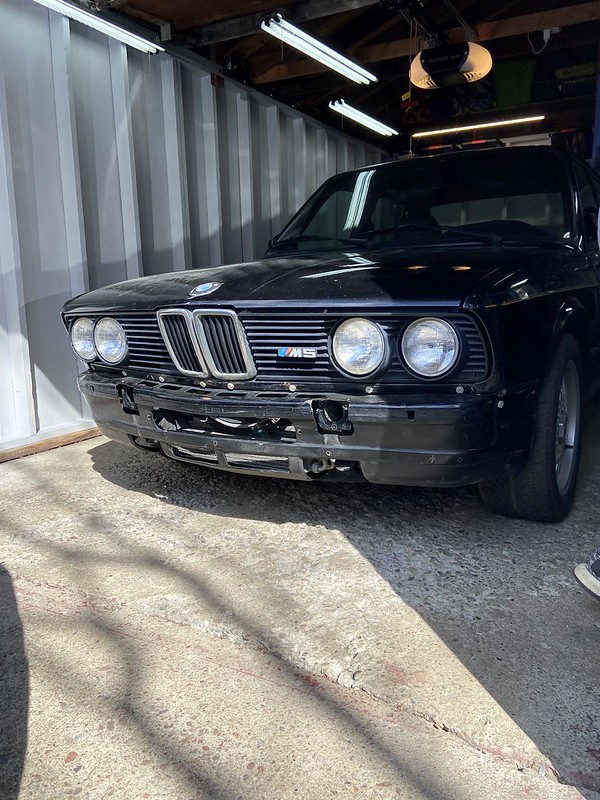
Here’s her current state. We fitted the NA headlights, grilles and tail lights.
Image
Fanclutchnut
Posts: 144
Joined: Jan 05, 2021 7:32 PM
Location: Westchester Co NY

Re: Our M5 Journey Begins

Post by Fanclutchnut »

Busy day for the parts dept here. Procured a Natur carpet and cat exhaust section for her today. Airbox AFM gasket should be coming from Germany this week as well. Did some research on cloth tape, shrink wrap and solder for the harness repairs. Fortunately Brody’s been soldering since he was 4 so he’s well heeled for the job :D
Fanclutchnut
Posts: 144
Joined: Jan 05, 2021 7:32 PM
Location: Westchester Co NY

Re: Our M5 Journey Begins

Post by Fanclutchnut »

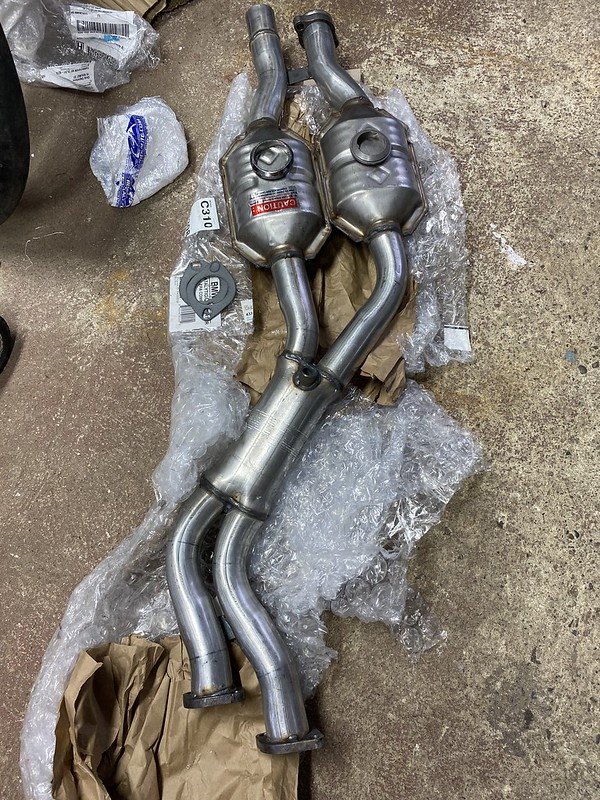
Cat came in 3 days. Decent looking bends and welds. Even included the seals.
Image

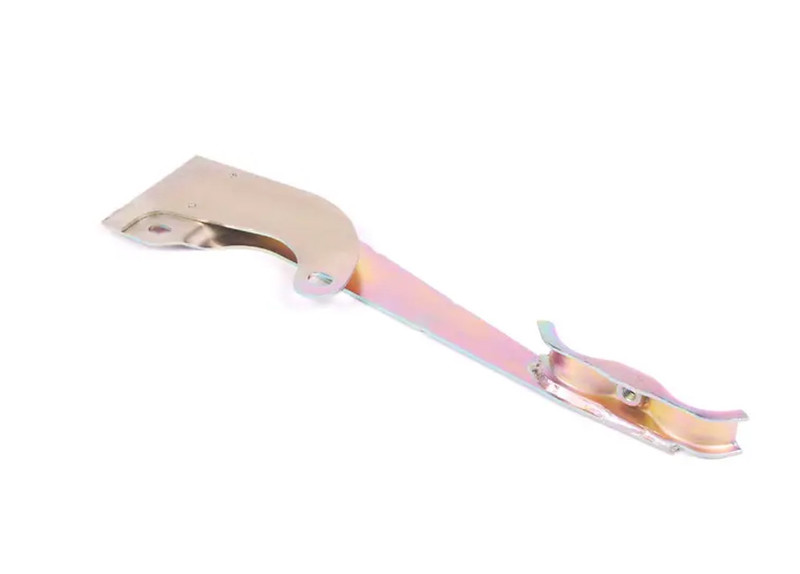
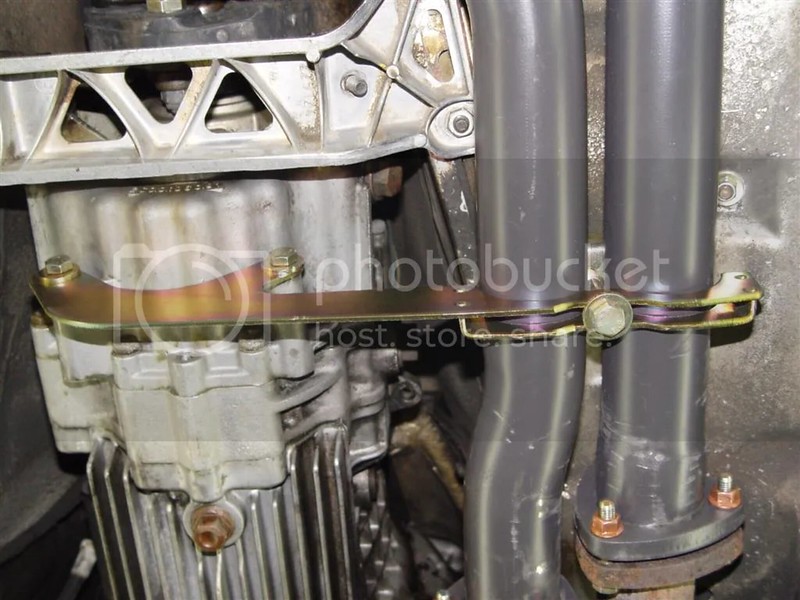
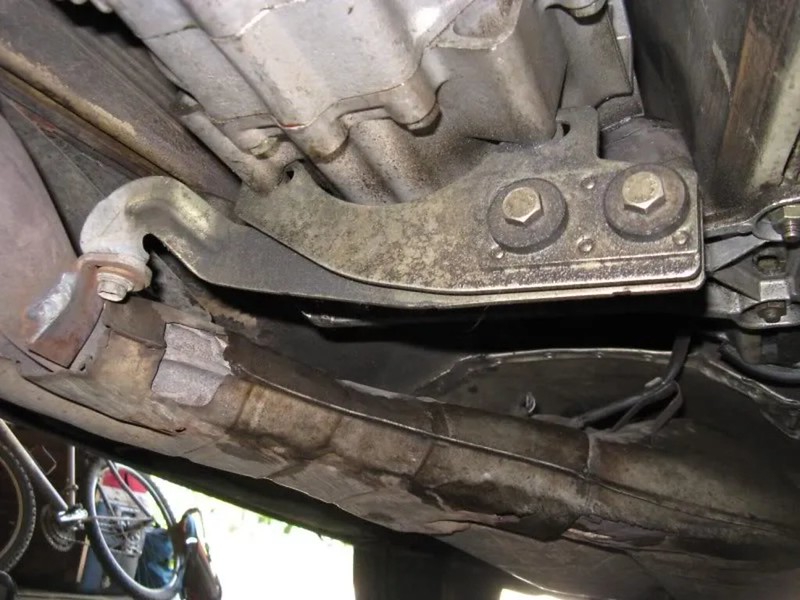
Now onto sorting out the hangers, heat shield arrangement, and fasteners needed. I can’t seem to get a clear understanding of the cat mount that attaches to the transmission. I’ve read that there was an initial part, a tsb which was a mix of later and fabricated parts, and then posts about none of them working with the NA downpipes. Here’s some borrowed pictures from other posts. Credit to the respective photographers.
ImageImageImage
Image
Fanclutchnut
Posts: 144
Joined: Jan 05, 2021 7:32 PM
Location: Westchester Co NY

Re: Our M5 Journey Begins

Post by Fanclutchnut »

We shifted our focus to finishing assembly under the hood. The airbox, afm boots and mounting hardware needed some attention. Filister head screws, wave washers, hose clamp, and afm gasket were ordered from our local BMW of Westchester. Parts person has been great to deal with and prices are on par with distributors without paying for the shipping. The gasket needed to come from Germany so there would be some waiting.

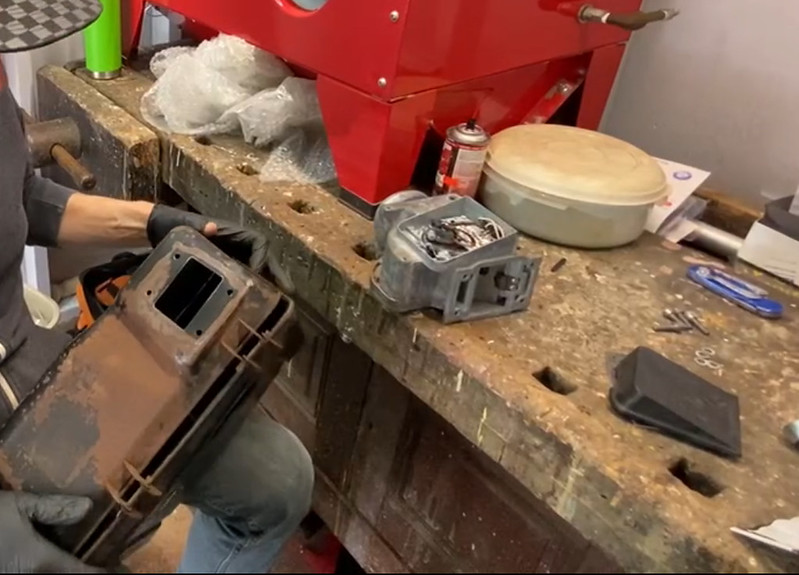
First, the diagnostic bracket/afm mounting stud needed to be repaired. We fitted it back to together with the help of some epoxy. It seems to be a sturdy repair. Next the lid of the afm needed to be glued back on which was done with black silicone. Lastly a general cleaning of the inside was performed with solvent and rags. Final assembly of the airbox to afm was completed with the gasket, filister screws, wave washers and a drop of loctite for added protection. Brody handled fitting the assembly to the car.

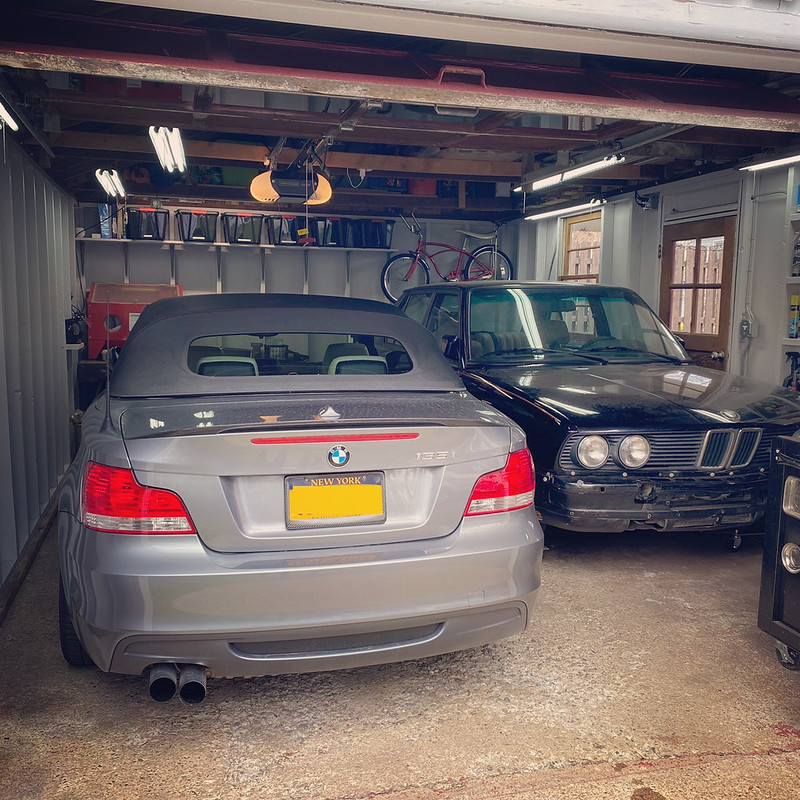
We also got the car sitting on dollies and positioned in the garage. When we first realized that we might be getting the M5, we knew we wanted to have both cars in the garage. Brody and I measured a friends 535i and mapped it out in our space. Based on our measurements, they would fit. The next 3 months we spend preparing the garage by selling/giving away unneeded items and optimizing the space. Our 1.5 car garage now is home to two.

Image
ImageImage
Ordnator
Posts: 552
Joined: Aug 31, 2015 7:34 PM
Location: Halifax NS

Re: Our M5 Journey Begins

Post by Ordnator »

That work bench looks like it could tell a few good stories. A real old school carpenters bench, you don't see to many of these any more.

The wear and patina is awesome.

Stay safe and best regards,

Mick
Fanclutchnut
Posts: 144
Joined: Jan 05, 2021 7:32 PM
Location: Westchester Co NY

Re: Our M5 Journey Begins

Post by Fanclutchnut »

Funny you should mention it. When we were organizing the garage we almost decided to shorten it, or get rid of it altogether. It came with my house, which was built in 1890. It was in the basement, but I moved it out there when I became the owner. Apparently it’s a late 1800s cabinet makers bench believed to be made by Hammacher Schlemmer. I also thought about restoring it. Brody said that’s what people do who don’t have a project car to work on. Kids got a point :laugh:
Ordnator wrote: Apr 27, 2021 7:55 AM That work bench looks like it could tell a few good stories. A real old school carpenters bench, you don't see to many of these any more.

The wear and patina is awesome.

Stay safe and best regards,

Mick
Fanclutchnut
Posts: 144
Joined: Jan 05, 2021 7:32 PM
Location: Westchester Co NY

Re: Our M5 Journey Begins

Post by Fanclutchnut »

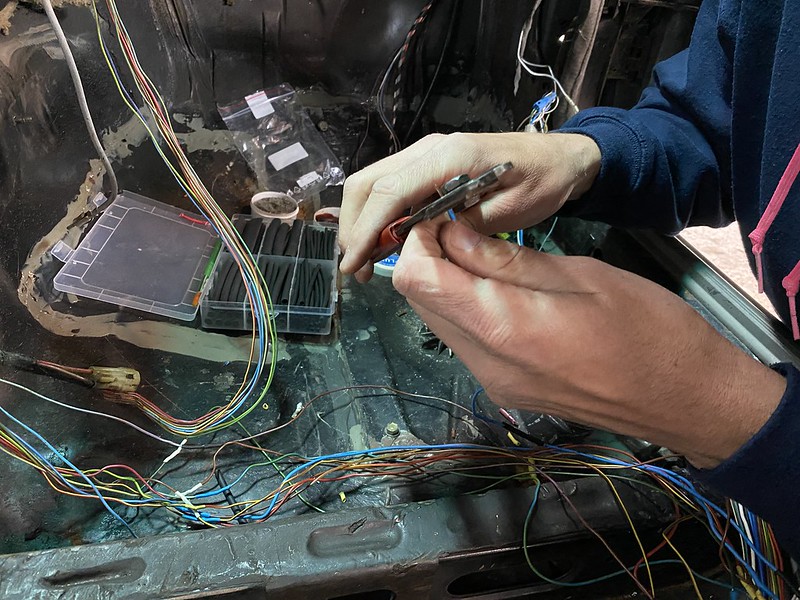
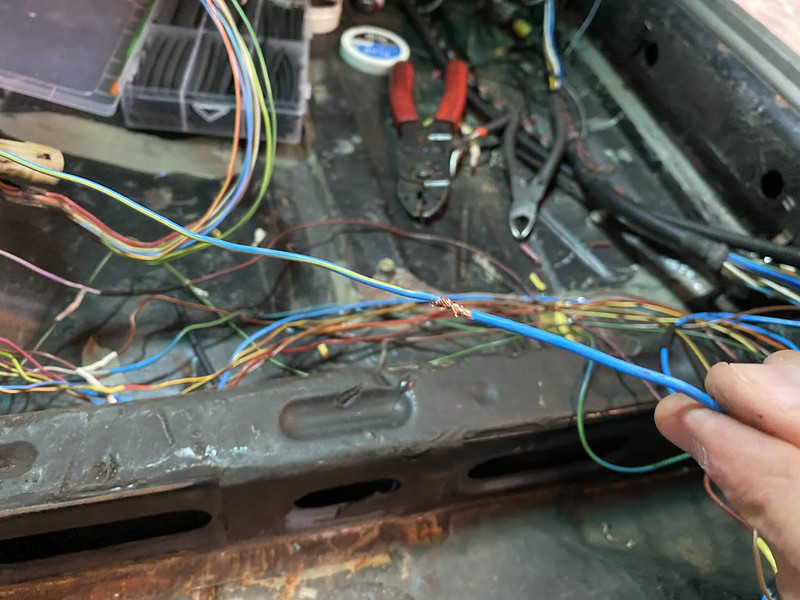
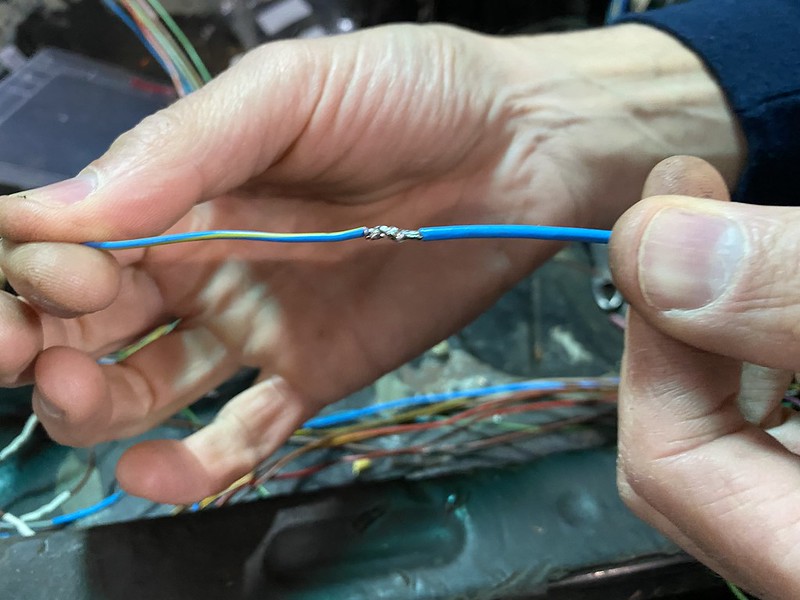
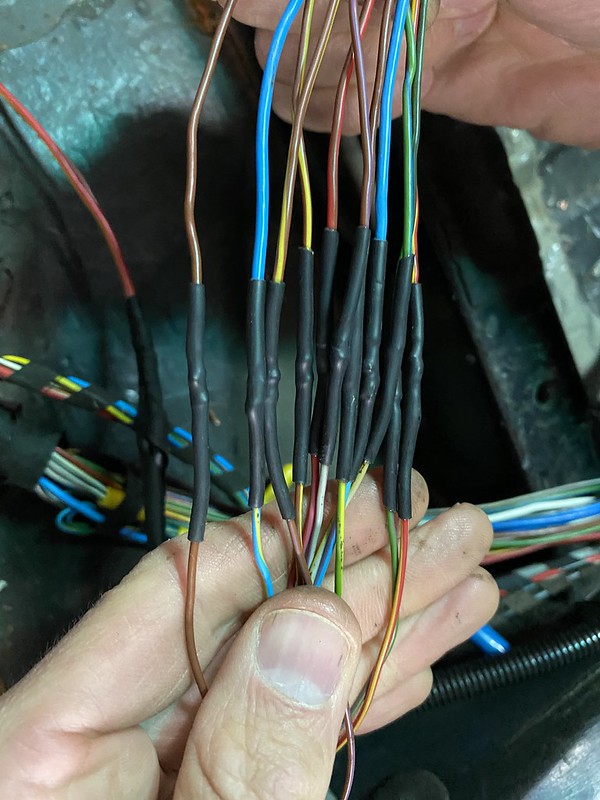
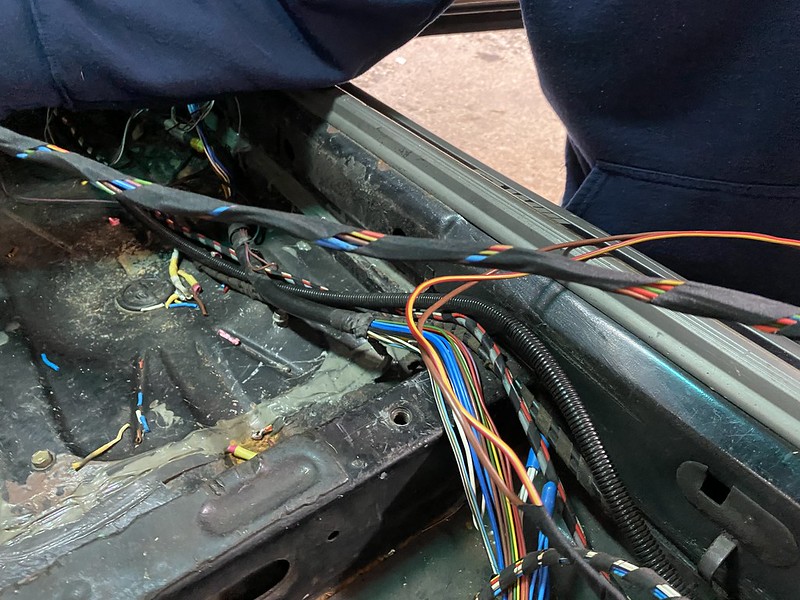
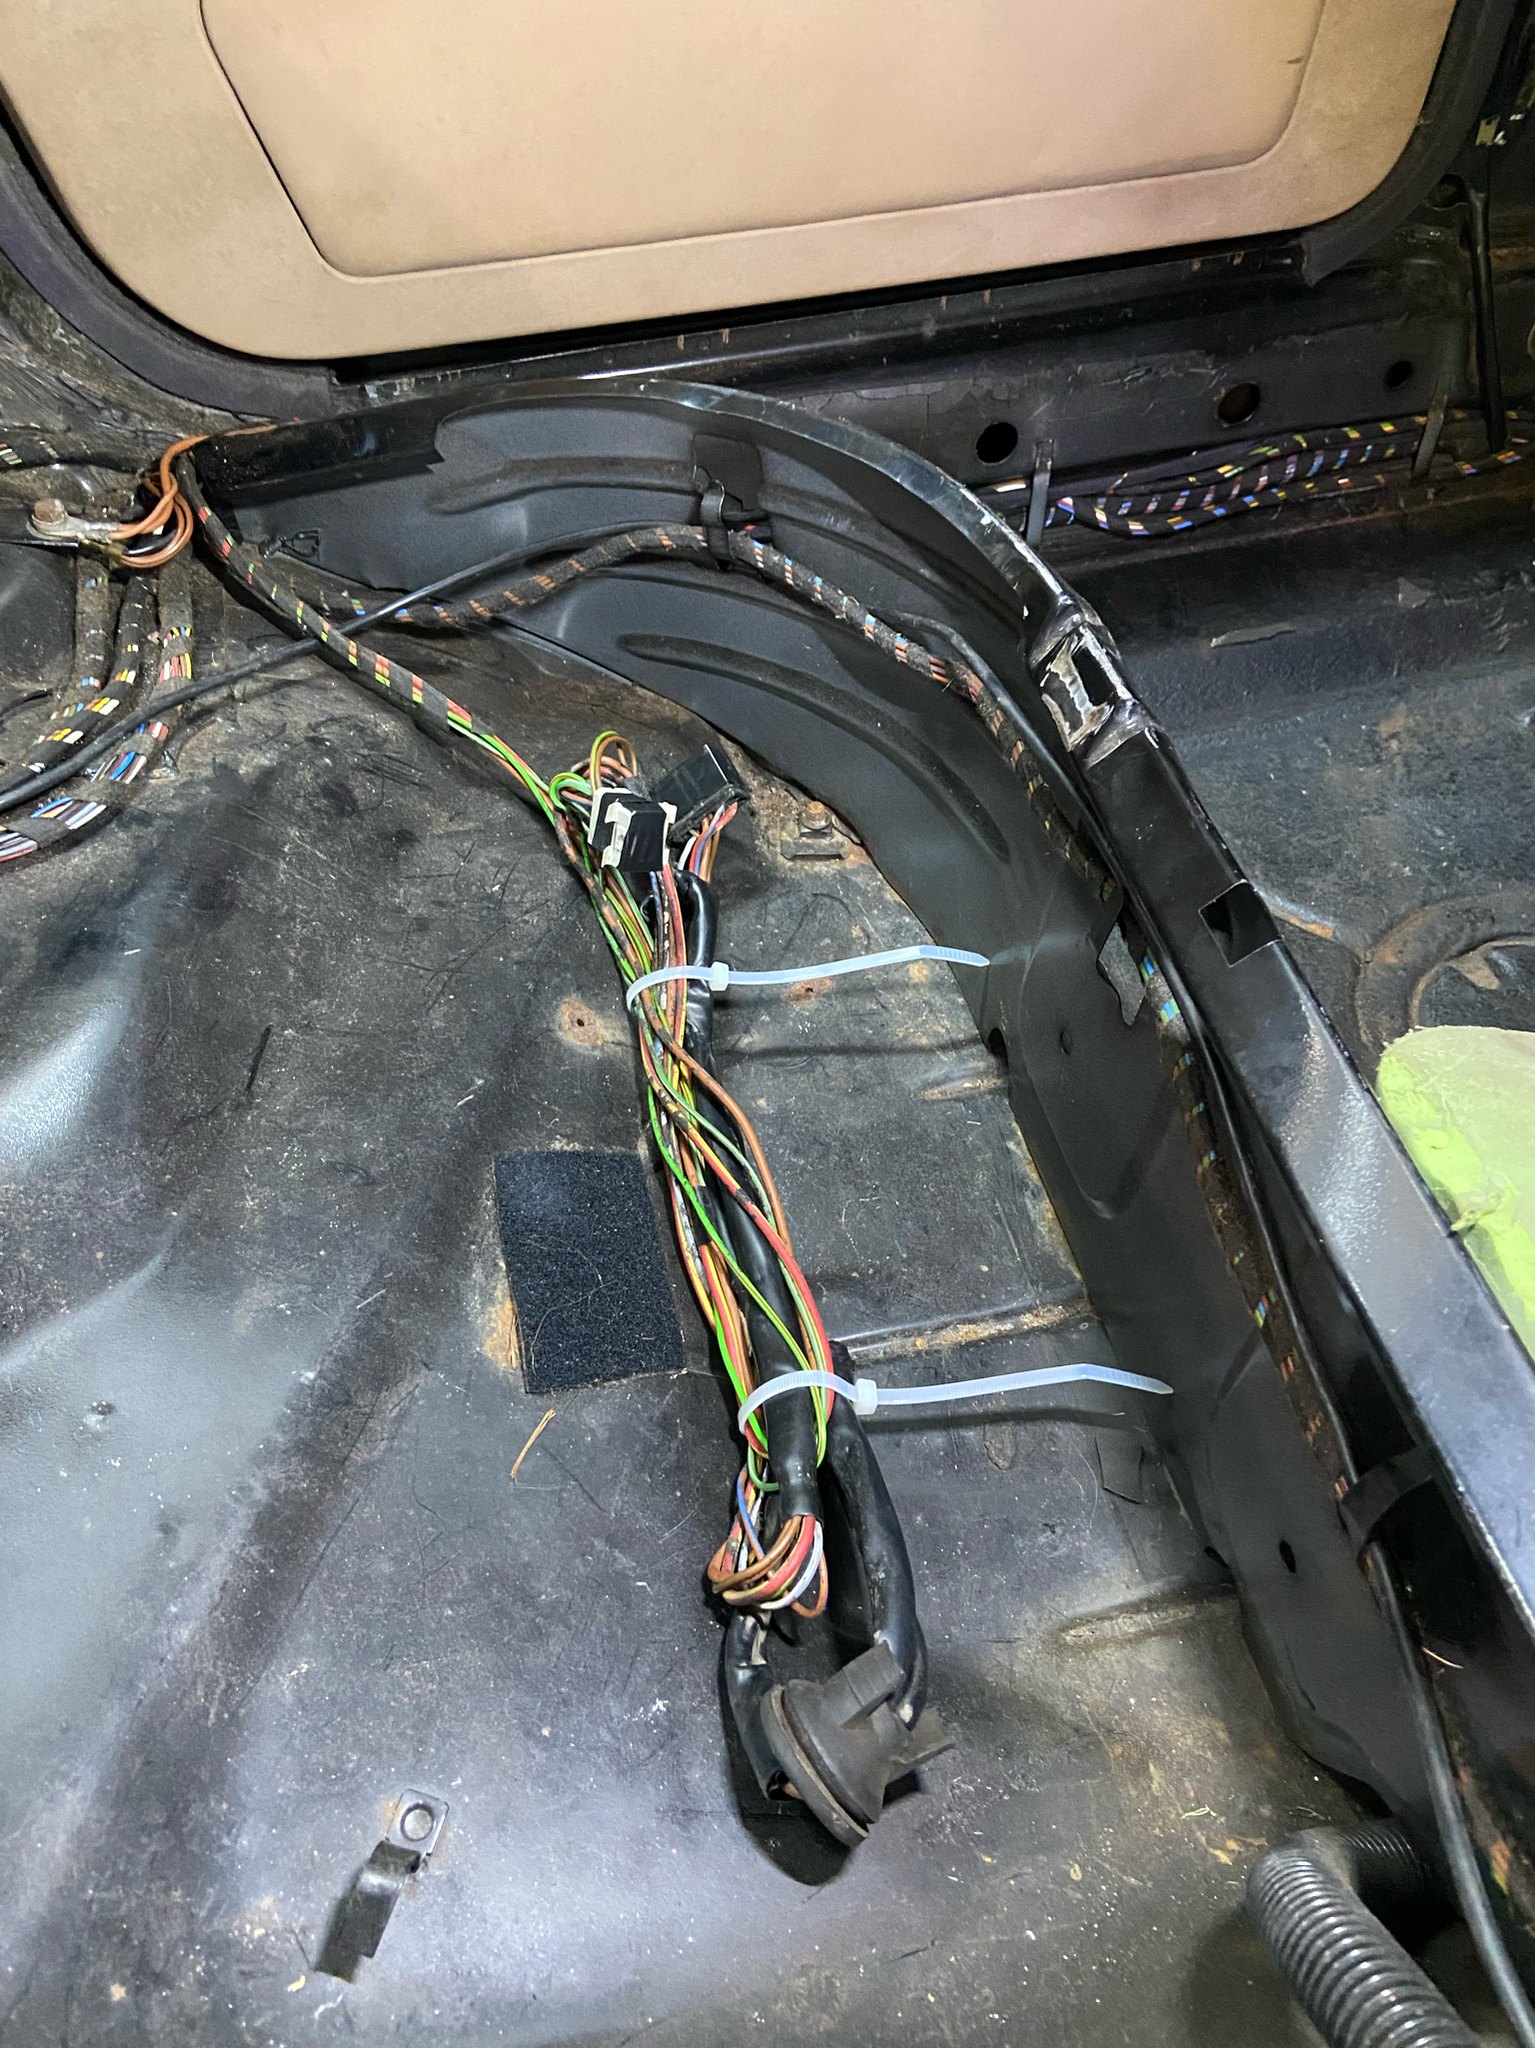
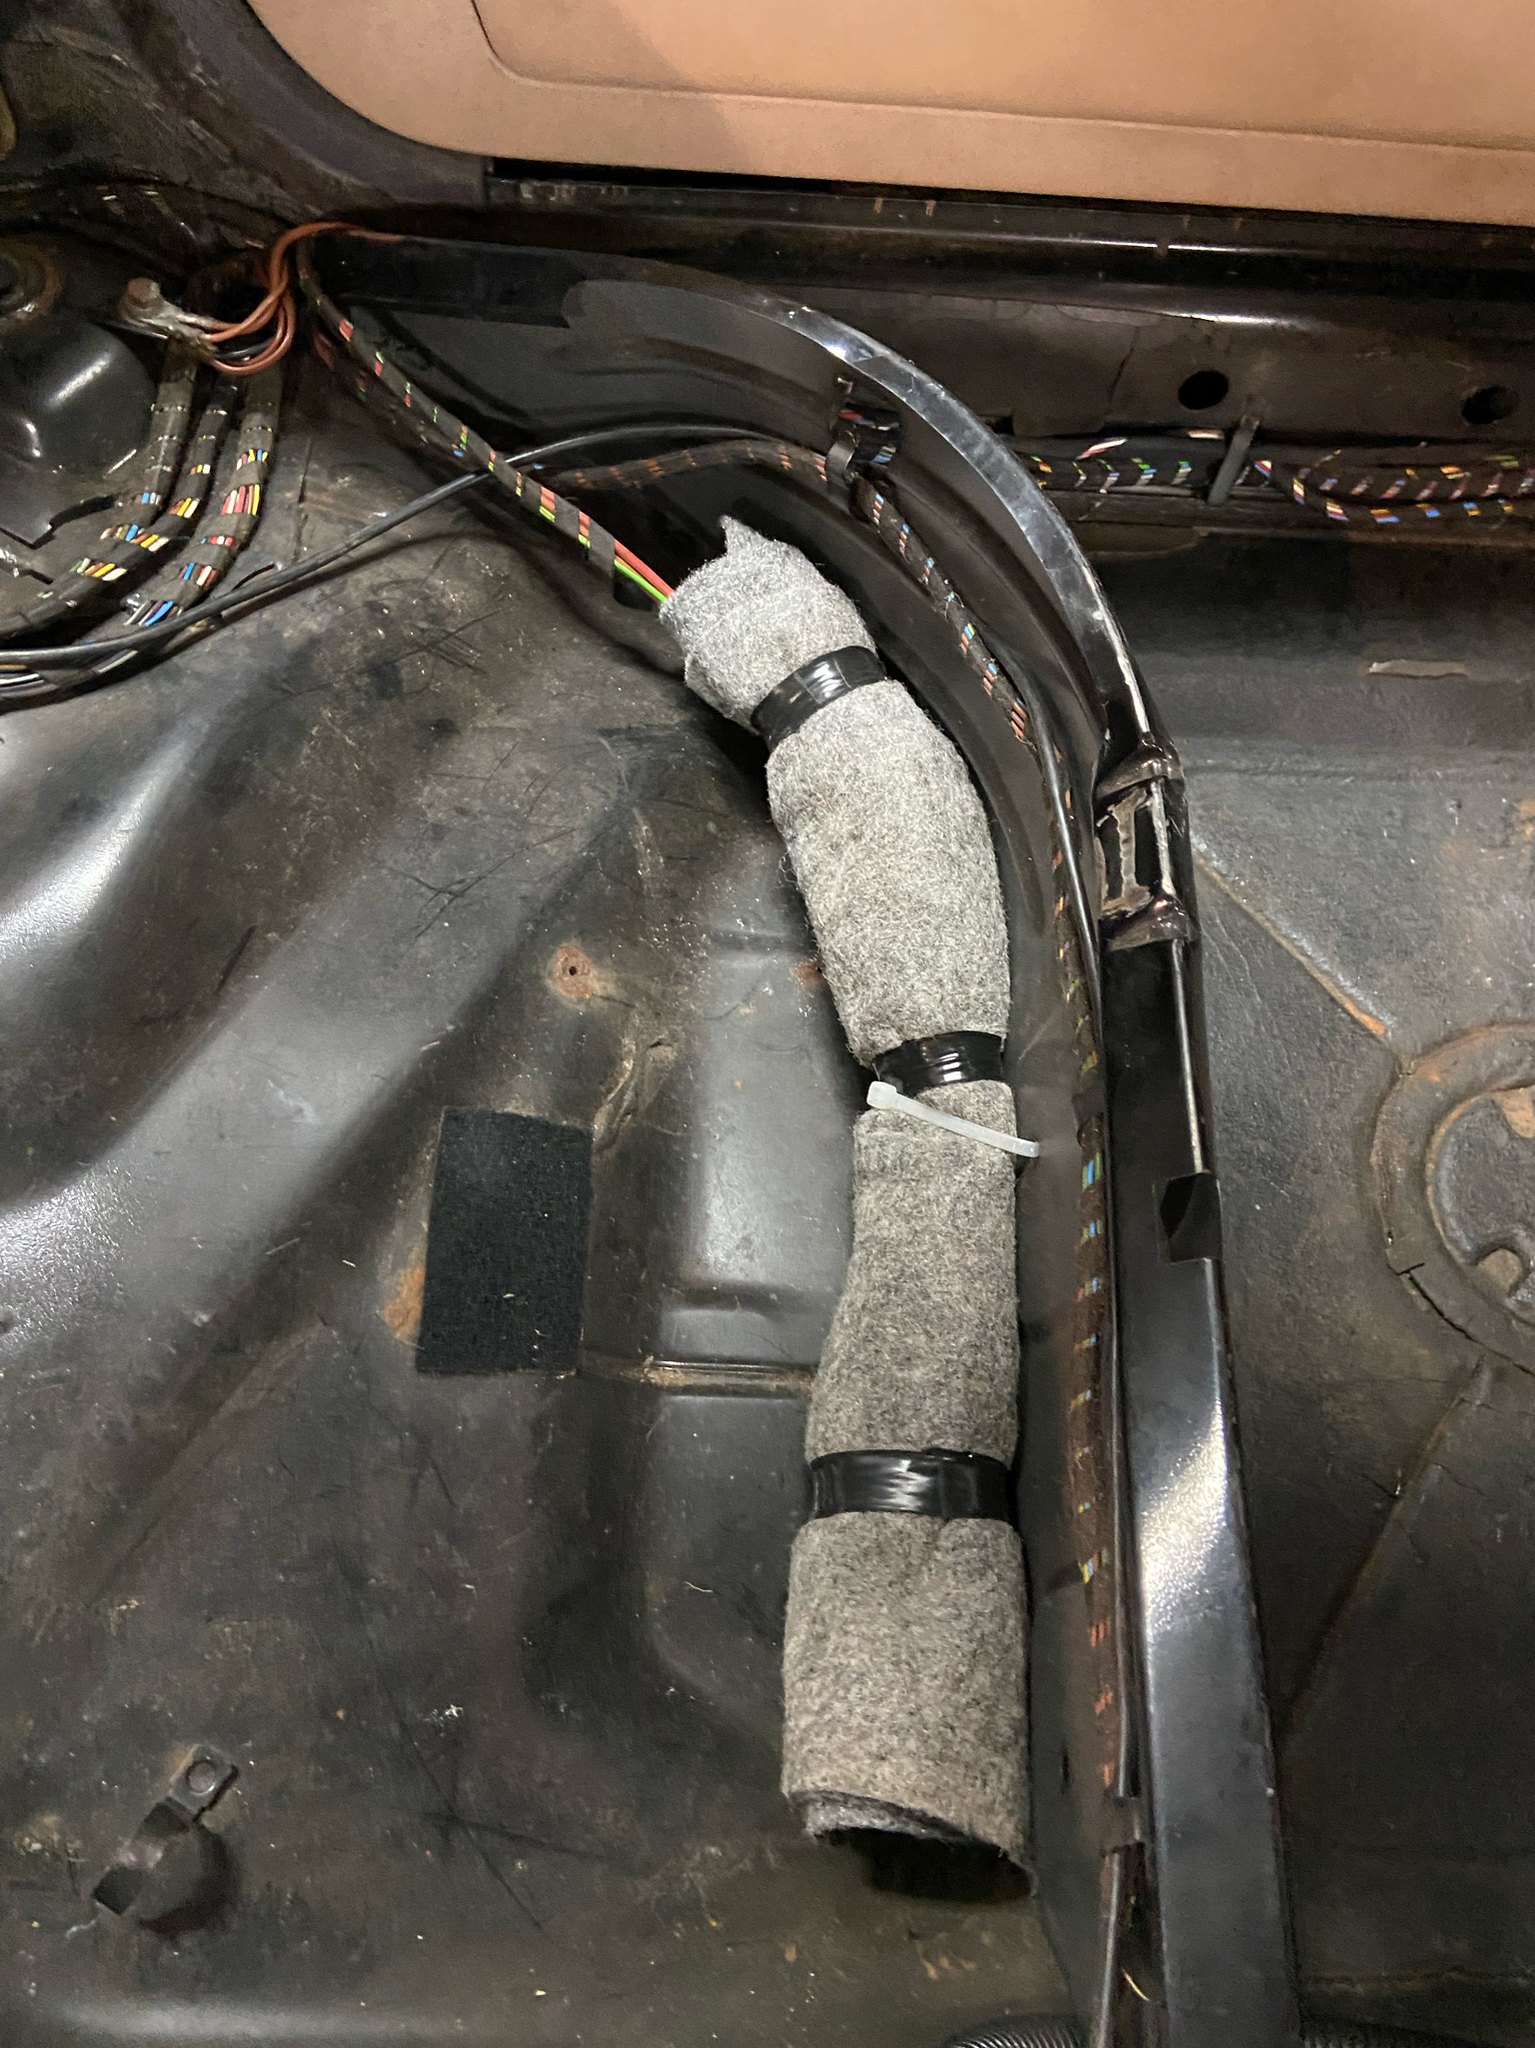
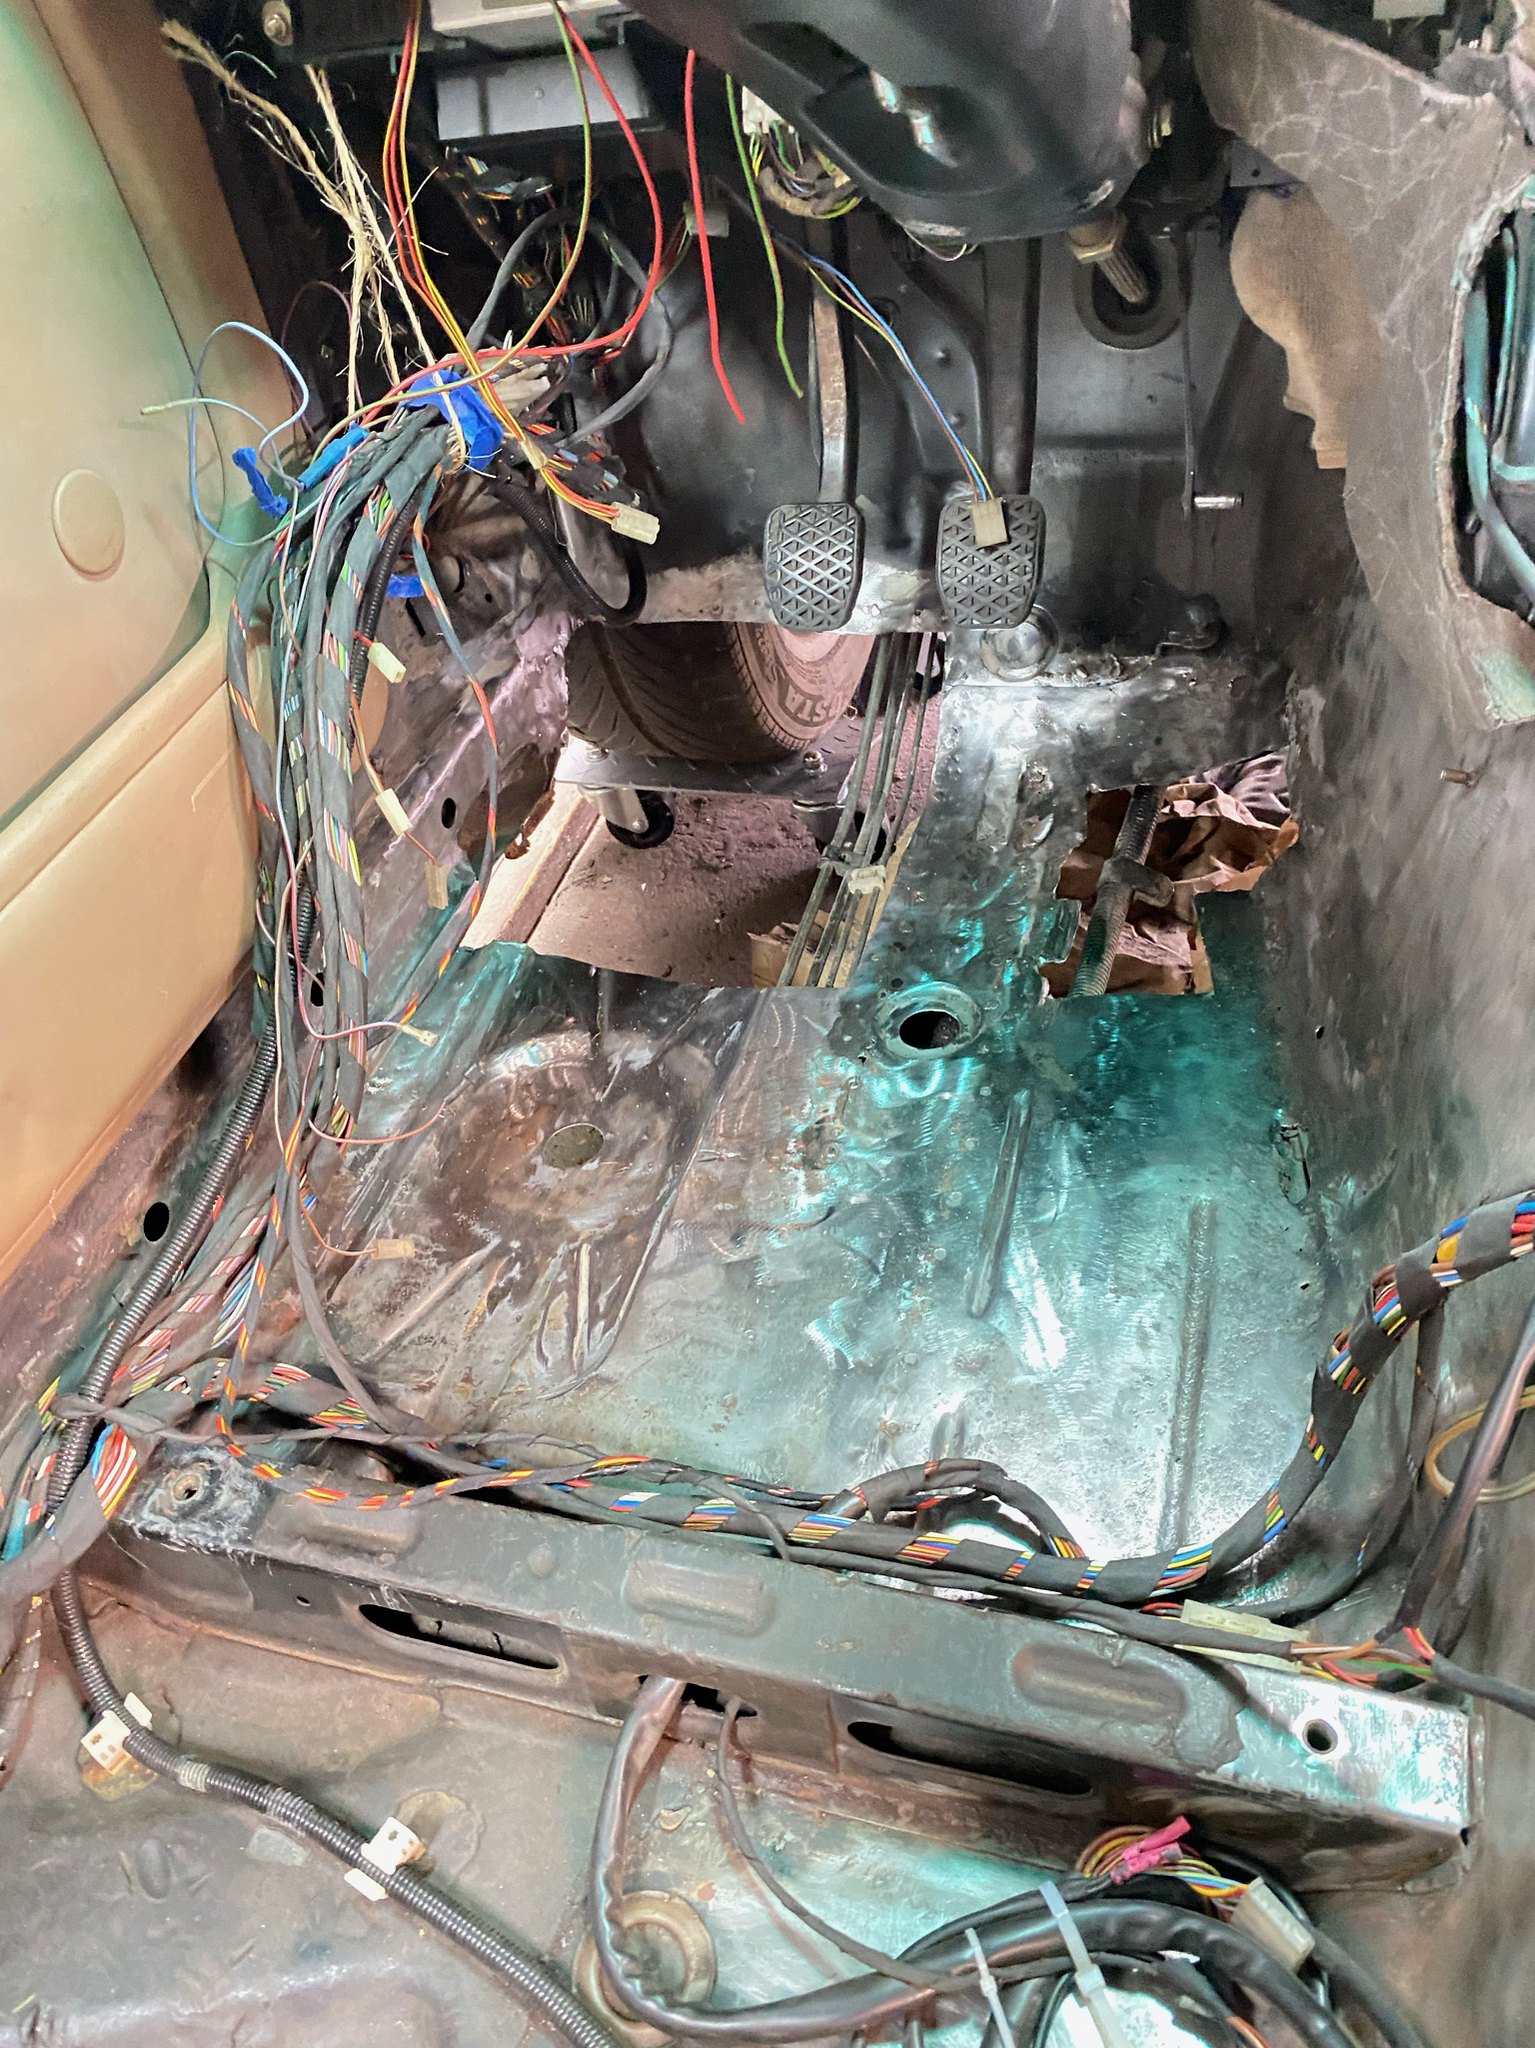
It was time to address one of the issues we already have a good understanding of and didn’t require much learning. The car was involved in an under car fire. Apparently it was driven onto tall dry grass and the catalytic converter ignited it. The carpet, insulation, sound deadening, and some of the wiring harness was damaged in the front passenger side footwell. The PO did some repairs but we wanted to redo them. Each wire repair required 2 solder joints to repair for a total of about 30. We used 80/20 solder, tinning flux, marine grade double wall adhesive heat shrink tubing, and TESA high temp tape to rewrap the harness. We did out best to maintain equal length on the repairs. It came out very well and Brody did a majority of the soldering.

Image
ImageImageImageImage
Fanclutchnut
Posts: 144
Joined: Jan 05, 2021 7:32 PM
Location: Westchester Co NY

Re: Our M5 Journey Begins

Post by Fanclutchnut »

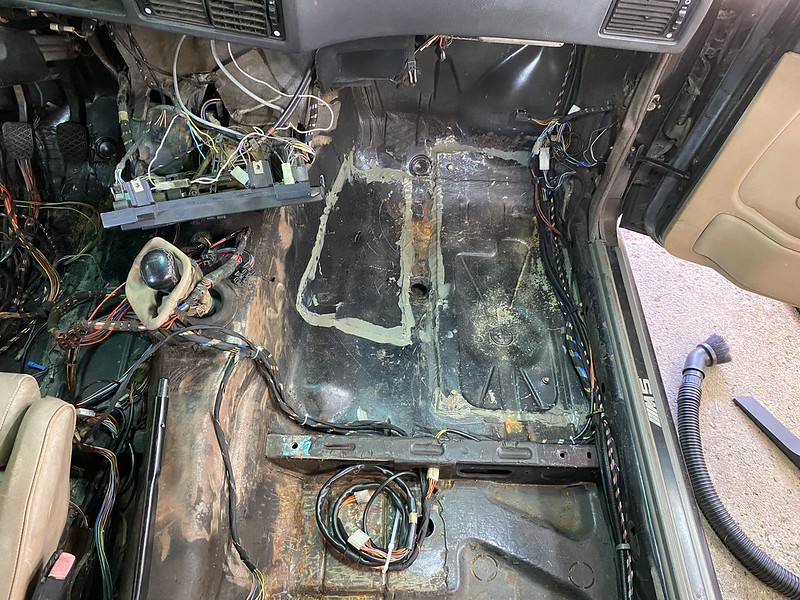
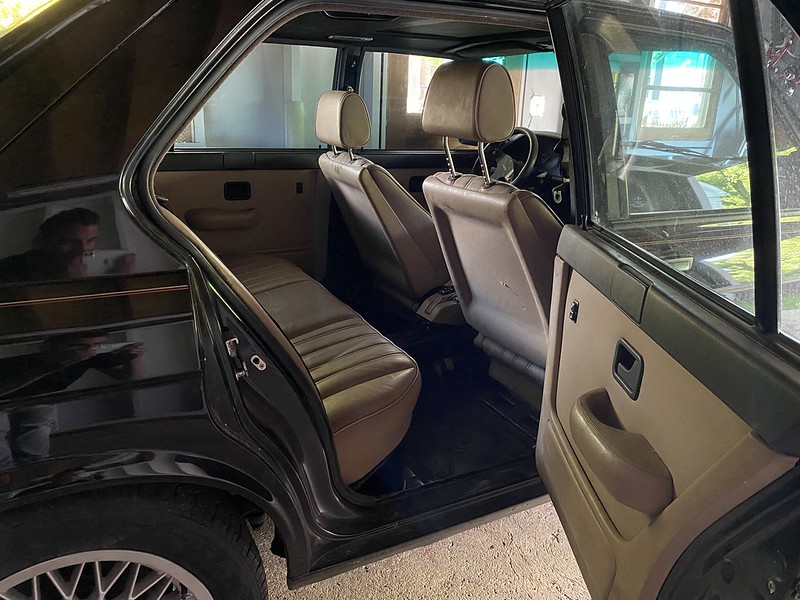
More organizing, soldering, and re wrapping being done. Most of the passenger side is complete. Onto the drivers side next. A quick POV pic with the seats perched in the correct spots for encouragement.

Image
Image
STRAIGHT6IX
Posts: 3
Joined: Aug 03, 2021 2:27 PM
Location: New York

Re: Our M5 Journey Begins

Post by STRAIGHT6IX »

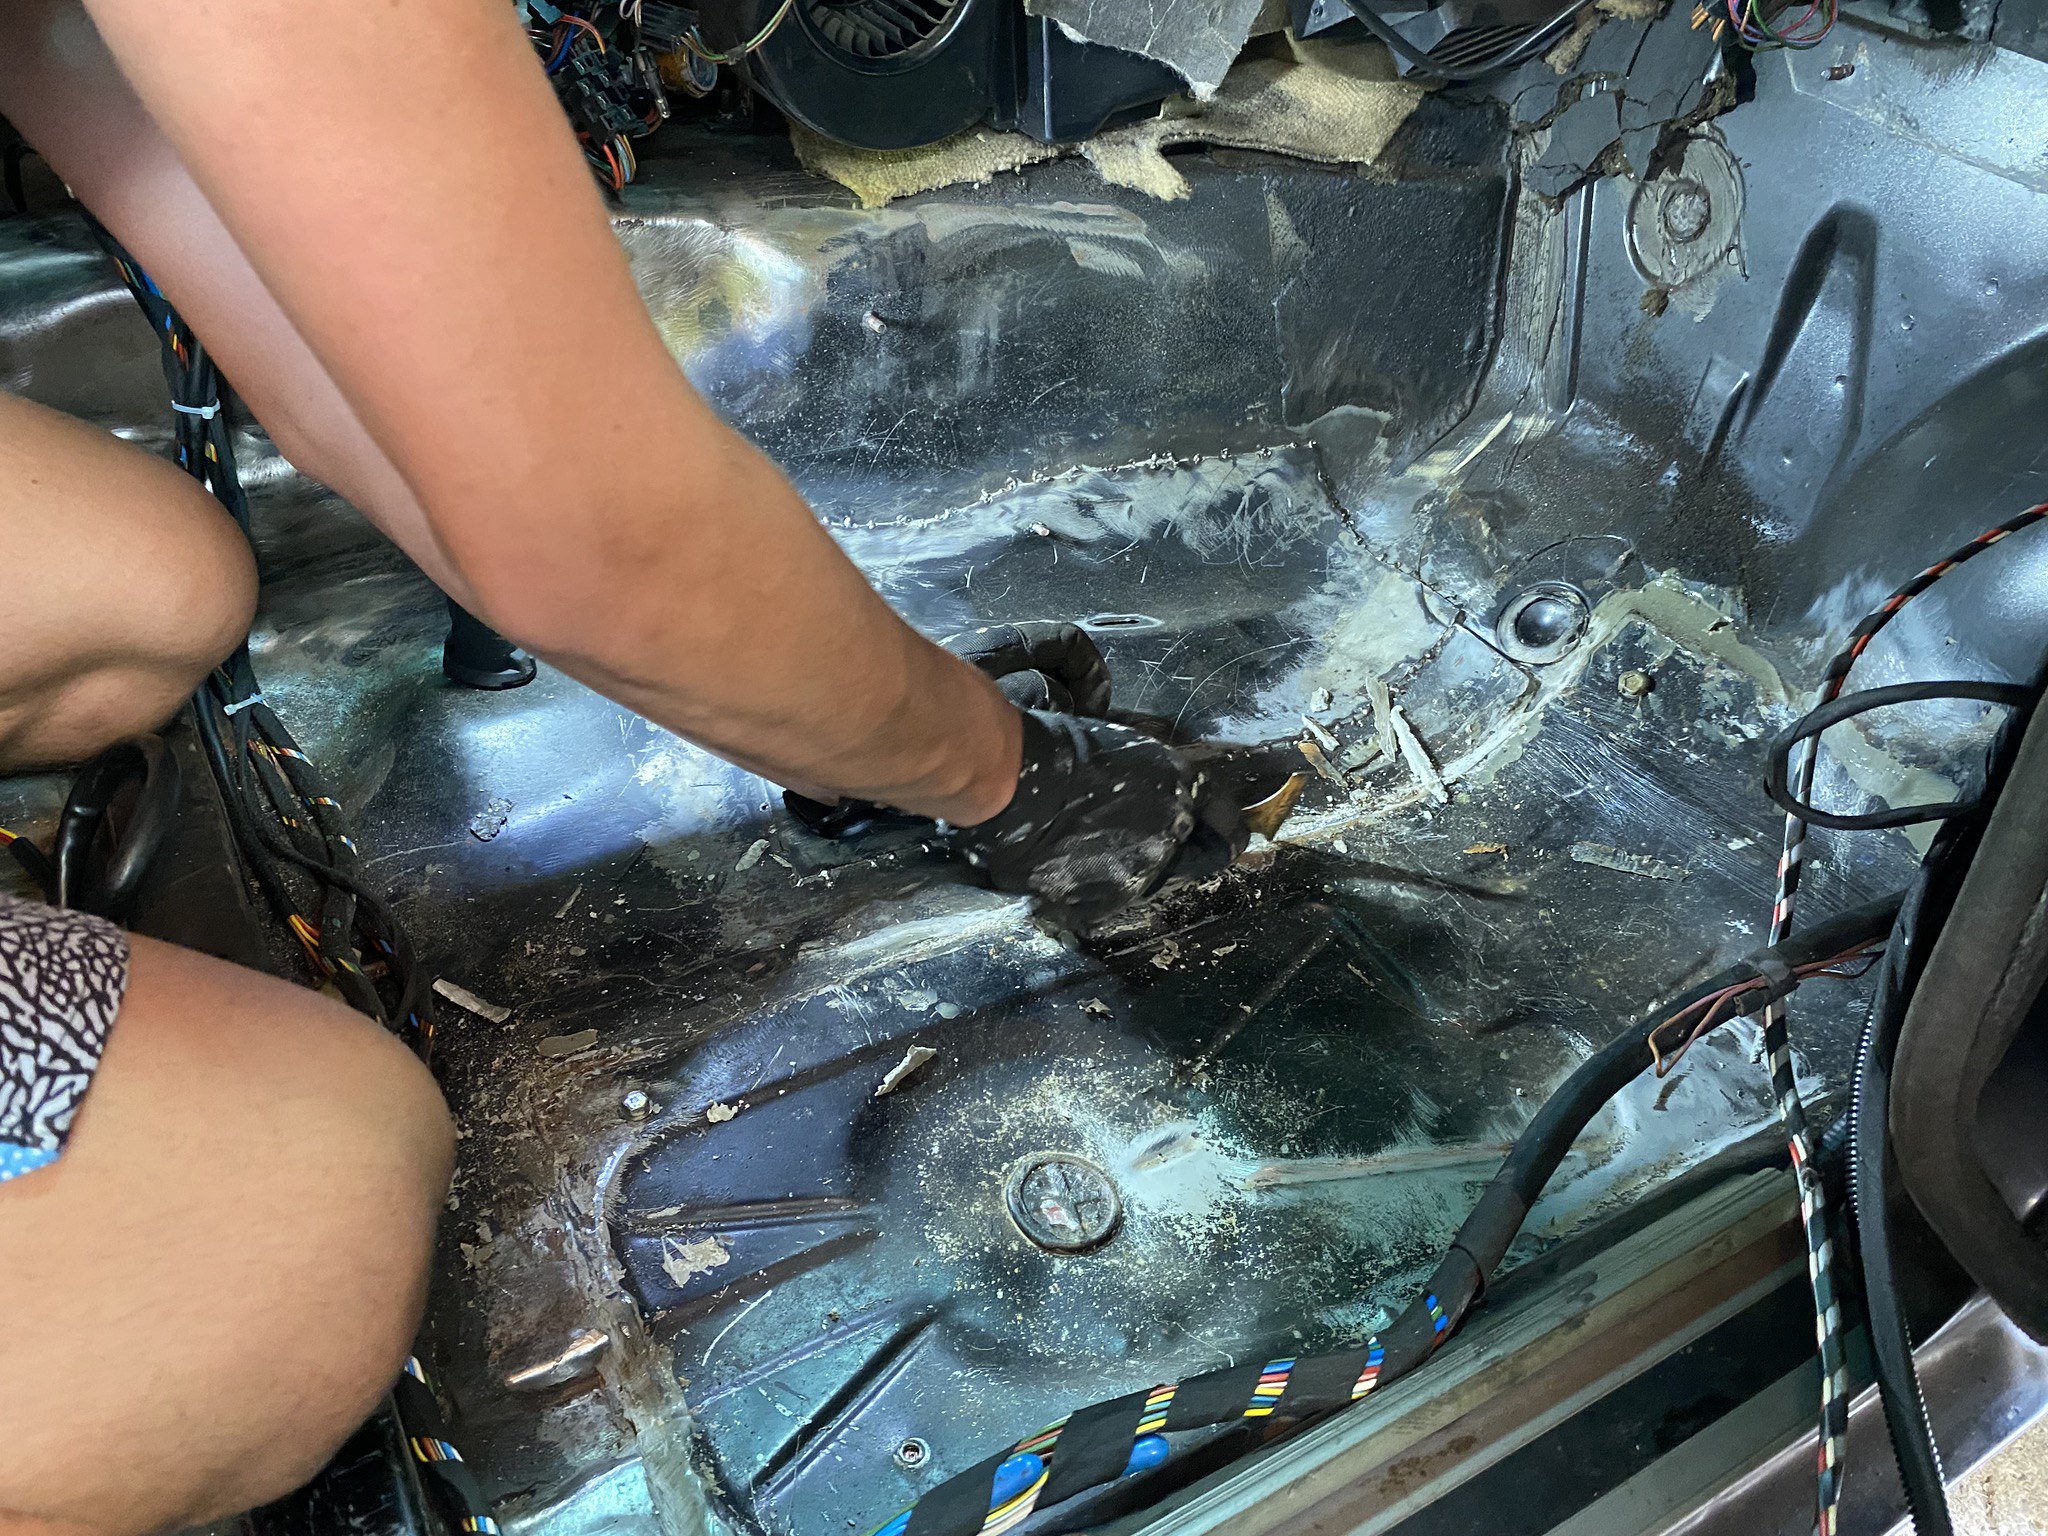
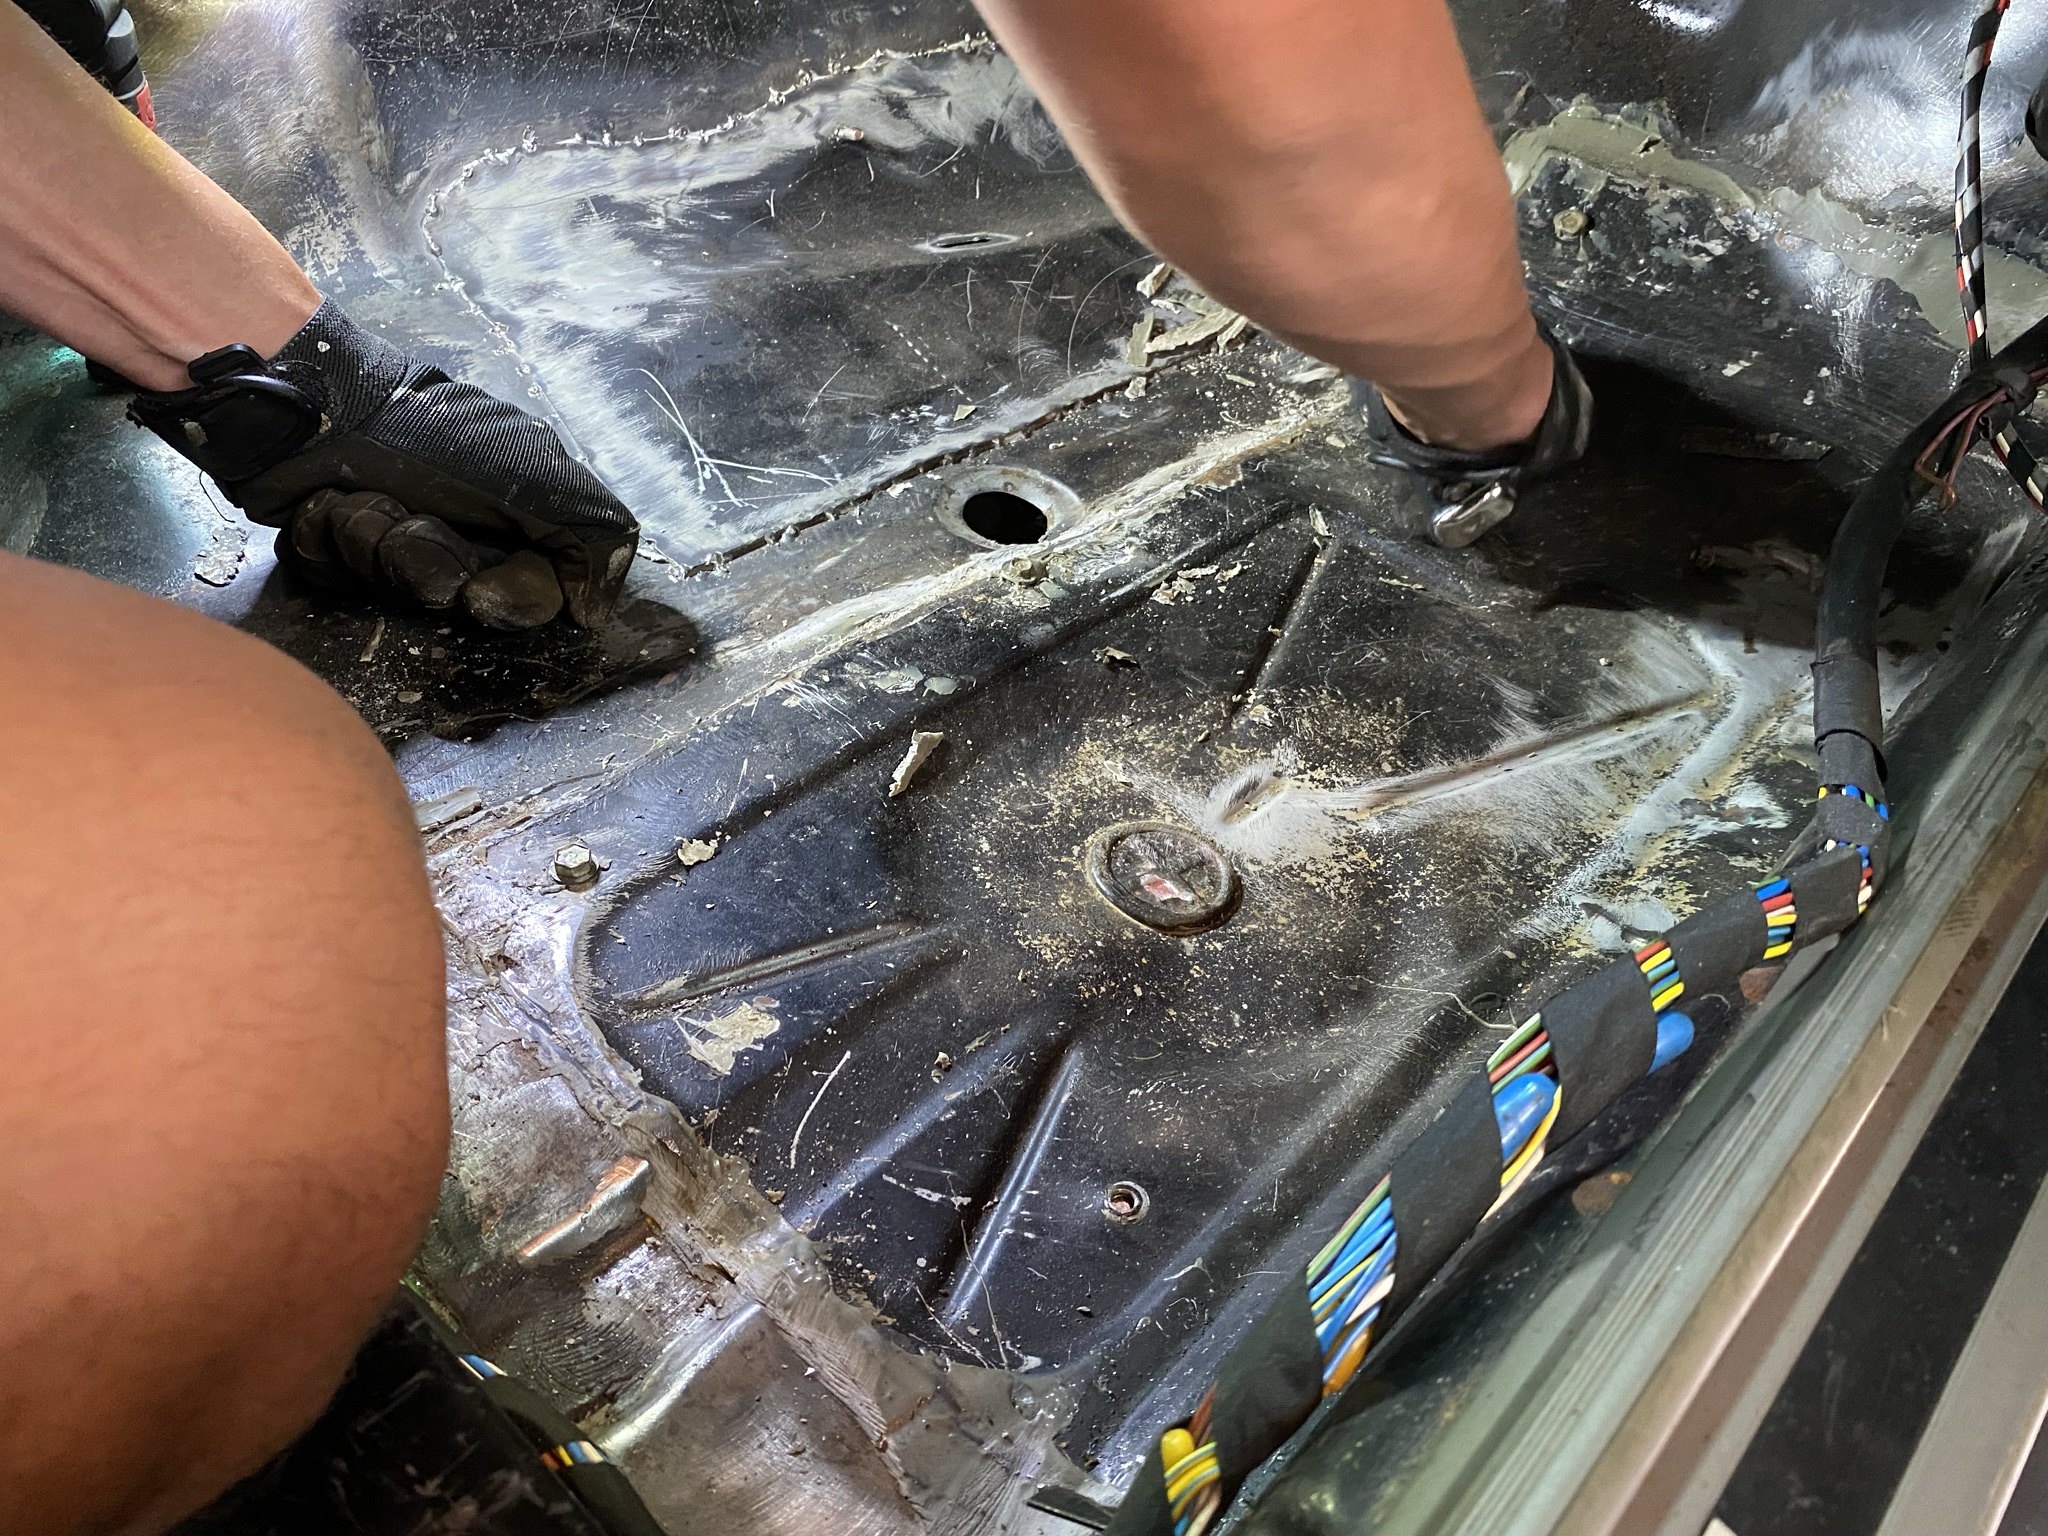
Hi, I’m Brody, Chris’ son, and accomplice in the restoration of our rustaceon M5. Lately, we have been working on grinding out the rust in order to be treated with POR-15. We have also removed the sealant from the poorly repaired floor pan. While thinking through it for a couple weeks, we have decided that the poor welds and the rushed sealant job are not going to fly with us. We don’t know if we will be having someone else welding, or learning ourselves with a harbor freight flux core welder. Recently, we have also inspected the carpet set we bought off eBay, figuring out that it was already cut and we would not have to drain the r12 out of the AC lines. Each day we work, we get a little closer to that interior going into the car. At the moment, we do still need the M tech wheel and shift knob, along with the under-seat vents in order for us to complete the interior. We will make sure to update soon on the progress of the floor pan.
austin8753
Posts: 1491
Joined: May 16, 2010 1:37 AM
Location: Portland, Oregon, USA

Re: Our M5 Journey Begins

Post by austin8753 »

kudos to you both, for sticking with the project. hope you are able to keep making progress.

A
Fanclutchnut
Posts: 144
Joined: Jan 05, 2021 7:32 PM
Location: Westchester Co NY

Re: Our M5 Journey Begins

Post by Fanclutchnut »

Thank Austin! With the wiring harness repairs behind us, we are now in the most difficult and unprepared part of the job, rust repair and redoing previous rust repair. Now that most of the sealant is removed we can see the integrity of the repairs. We’re not thrilled with them.

Here’s some pics of the SLS delete (inspired by jhh925) and current situation with the floor pan repairs
Image
Image
ImageImageImage
ahab
Posts: 6196
Joined: Jun 11, 2006 9:12 AM
Location: Chalfont, PA

Re: Our M5 Journey Begins

Post by ahab »

Great story. I would recommend getting a bottle of gas and using regular MIG wire. There's nothing wrong with a HF welder, but the results with flux core are always substandard IMO, and I've done enough of it to know.

Good Luck!
Chimi-Changa
Posts: 1652
Joined: Nov 08, 2011 11:02 PM
Location: Westboro, MA

Re: Our M5 Journey Begins

Post by Chimi-Changa »

Tarrytown NY? Good Gyro's there at the Greek place in town... YUM :D
Fanclutchnut
Posts: 144
Joined: Jan 05, 2021 7:32 PM
Location: Westchester Co NY

Re: Our M5 Journey Begins

Post by Fanclutchnut »

Haha! Lefteris Gyro, Indeed and verified by my half Greek guy Brody! OPAAAAAA :laugh:
Chimi-Changa wrote: Aug 18, 2021 4:33 PM Tarrytown NY? Good Gyro's there at the Greek place in town... YUM :D
Fanclutchnut
Posts: 144
Joined: Jan 05, 2021 7:32 PM
Location: Westchester Co NY

Re: Our M5 Journey Begins

Post by Fanclutchnut »

Thx for the guidance Ahab!
ahab wrote: Aug 18, 2021 9:27 AM Great story. I would recommend getting a bottle of gas and using regular MIG wire. There's nothing wrong with a HF welder, but the results with flux core are always substandard IMO, and I've done enough of it to know.

Good Luck!
Snoopy11
Posts: 114
Joined: Jul 19, 2014 12:13 AM
Location: East Coast

Re: Our M5 Journey Begins

Post by Snoopy11 »

Fanclutchnut wrote: Aug 18, 2021 5:45 PM Haha! Lefteris Gyro, Indeed and verified by my half Greek guy Brody! OPAAAAAA :laugh:
Chimi-Changa wrote: Aug 18, 2021 4:33 PM Tarrytown NY? Good Gyro's there at the Greek place in town... YUM :D
Haven't had a good gyro since the 90's NYC.

Glad to hear there are some good places around.
Fanclutchnut
Posts: 144
Joined: Jan 05, 2021 7:32 PM
Location: Westchester Co NY

Re: Our M5 Journey Begins

Post by Fanclutchnut »

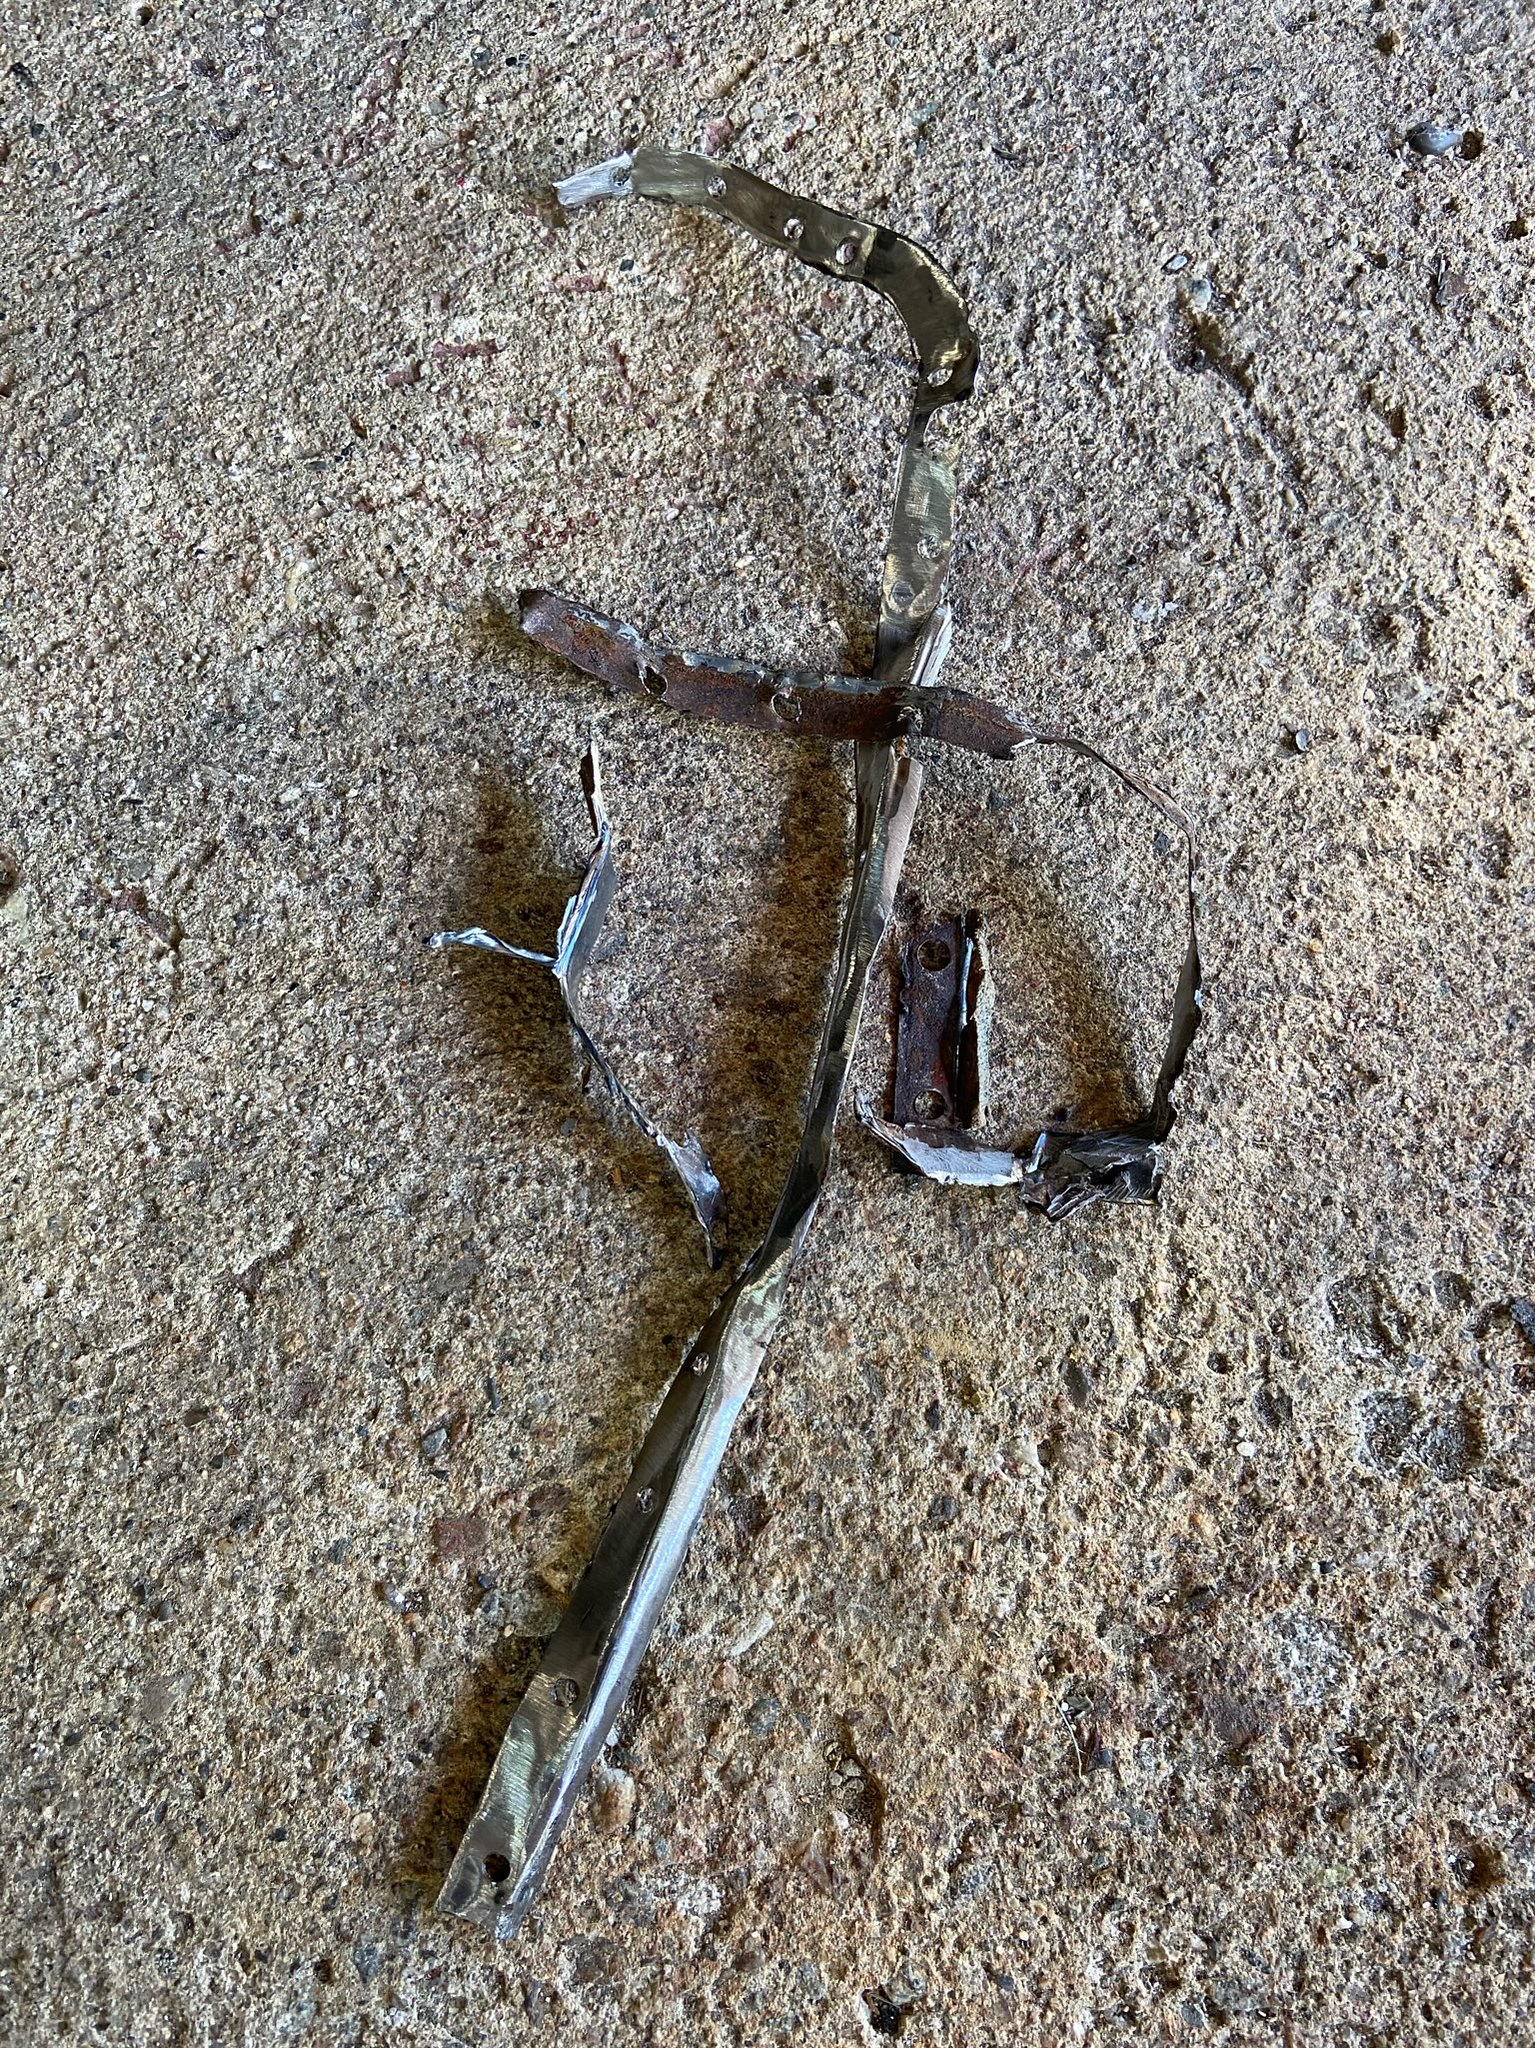
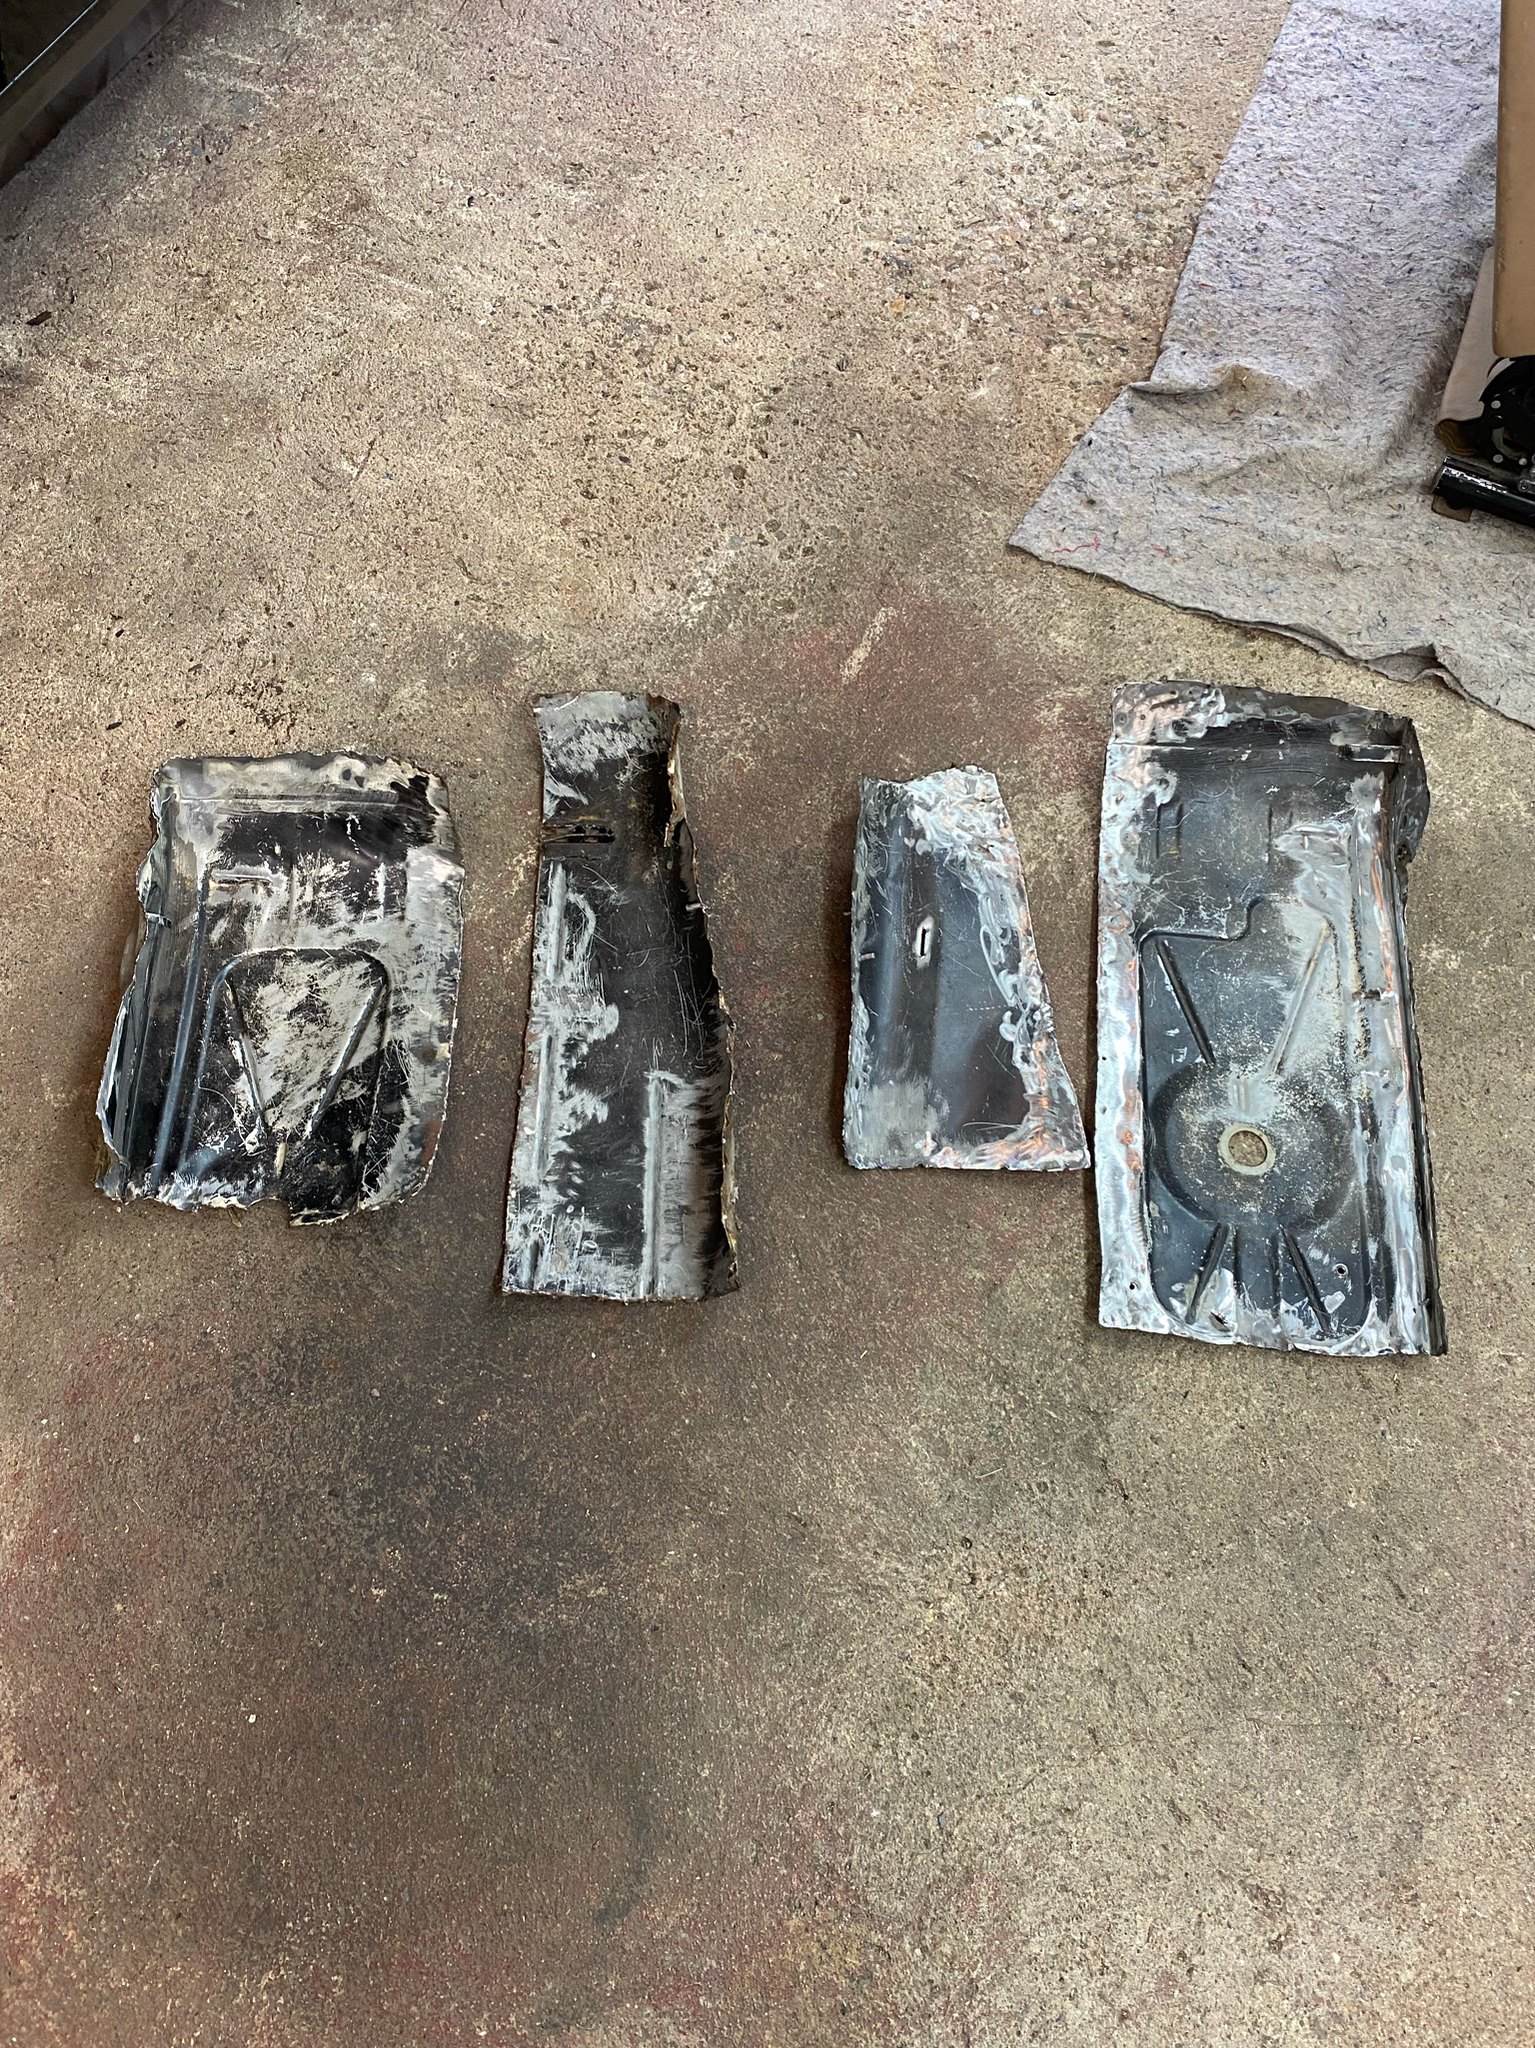
LDW update. Getting these old repairs out was brutal. Layers of sealant, screws, adhesive/job weld, and spot welds. Hammer chisel, angle grinder. Drivers side up next.
ImageImage
Image
Fanclutchnut
Posts: 144
Joined: Jan 05, 2021 7:32 PM
Location: Westchester Co NY

Re: Our M5 Journey Begins

Post by Fanclutchnut »

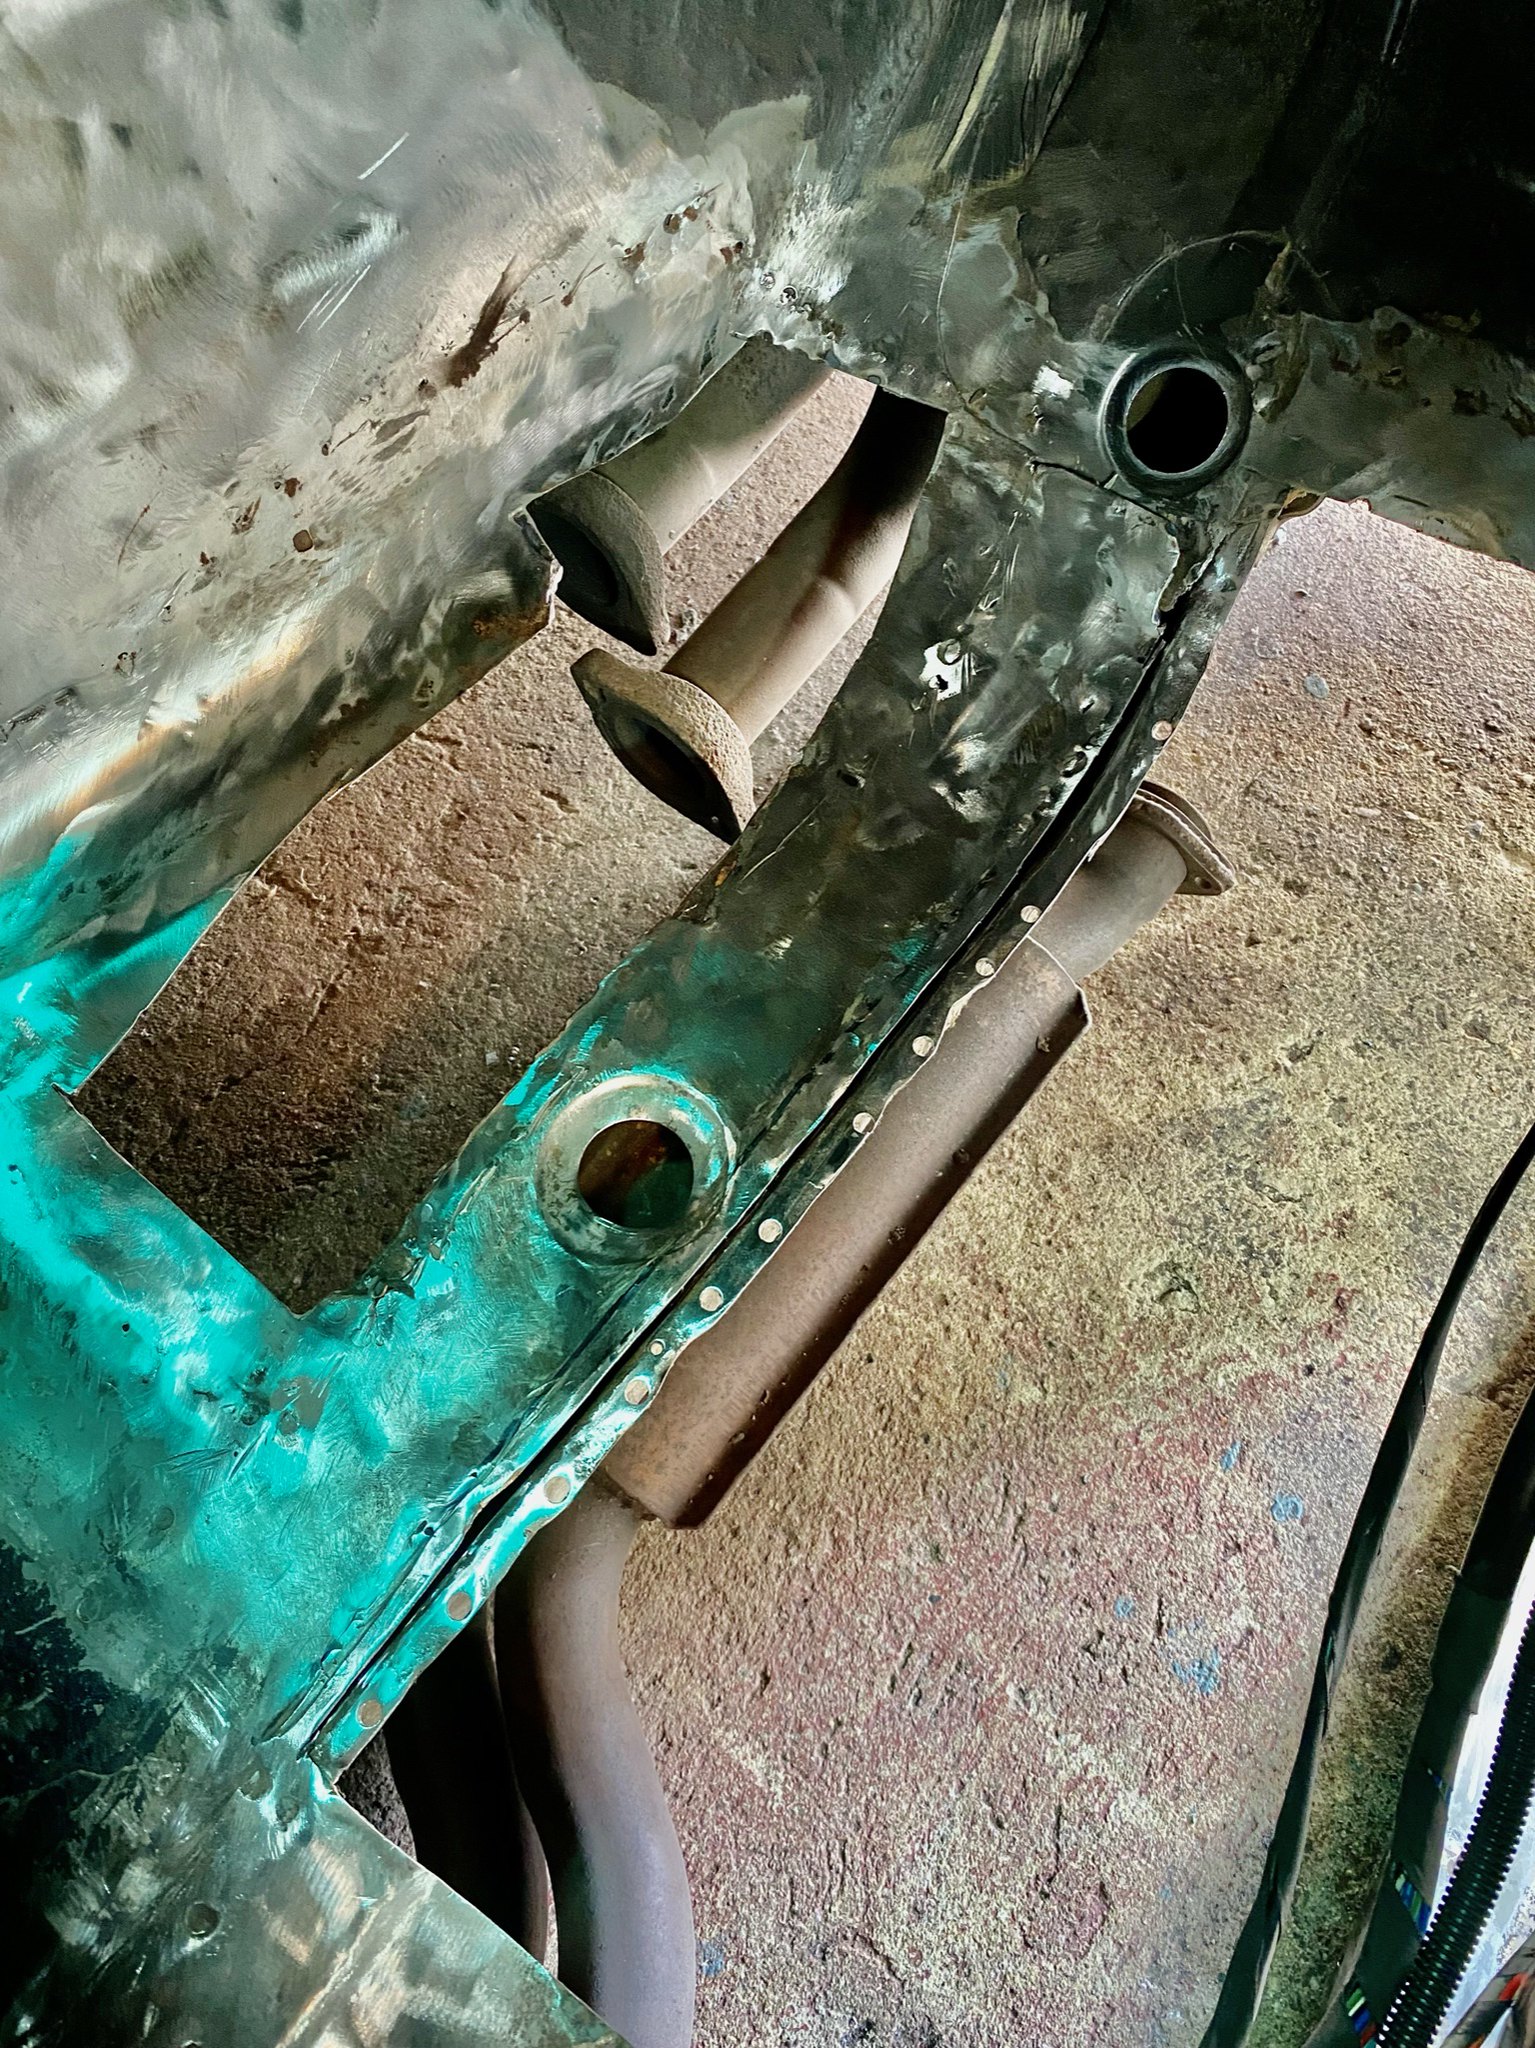
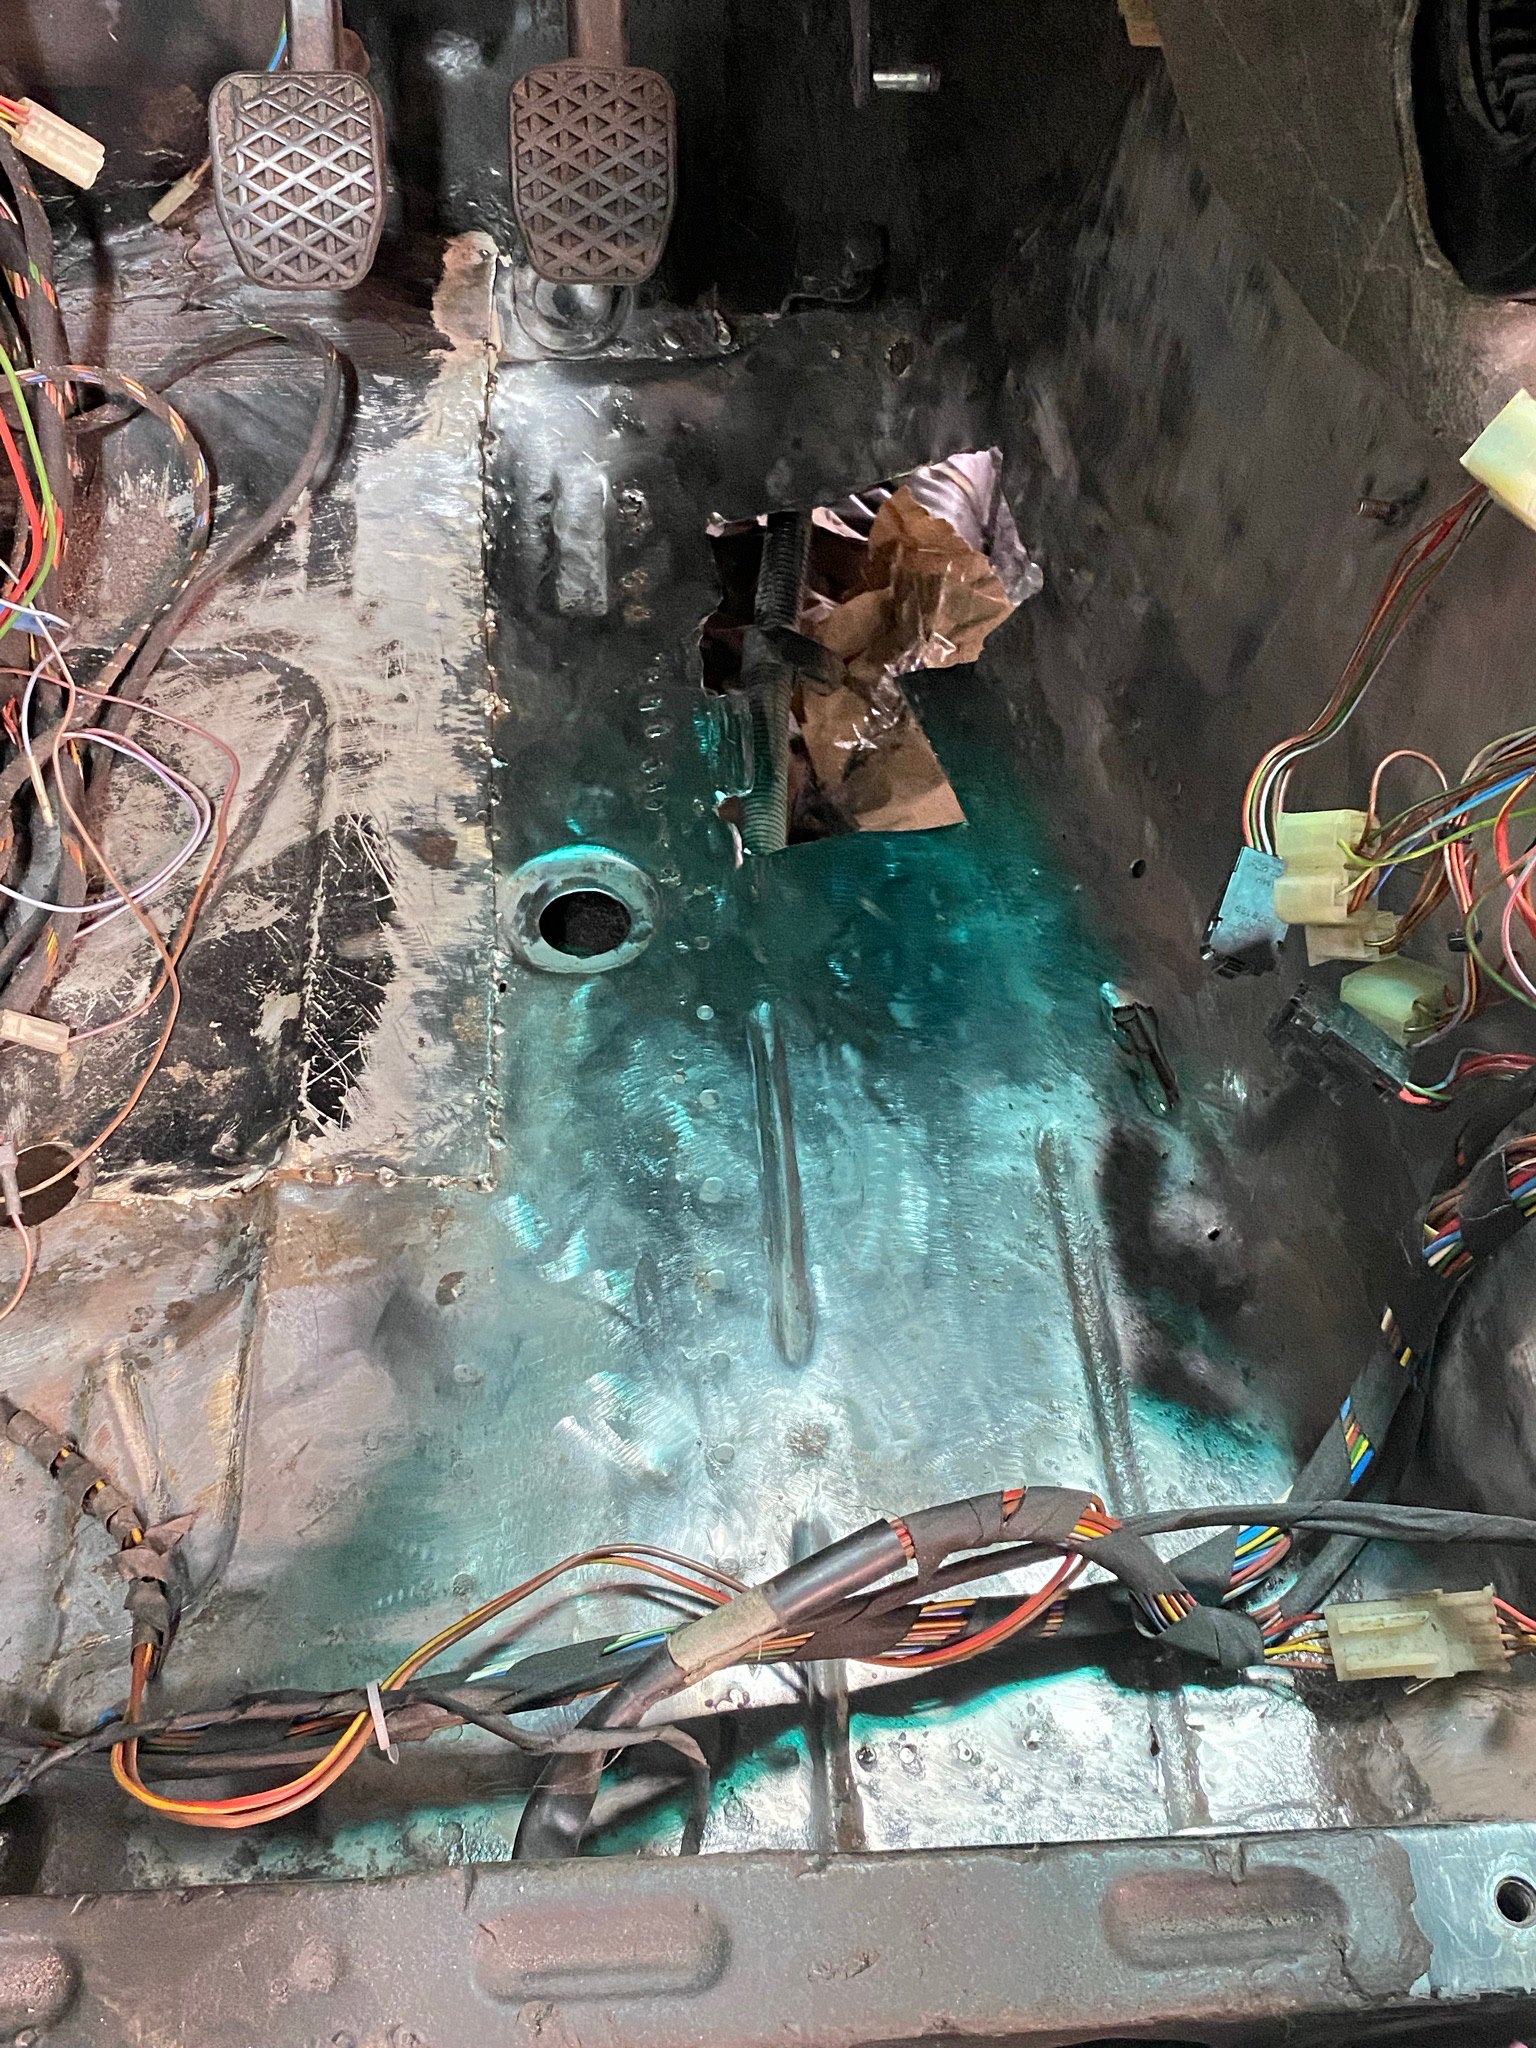
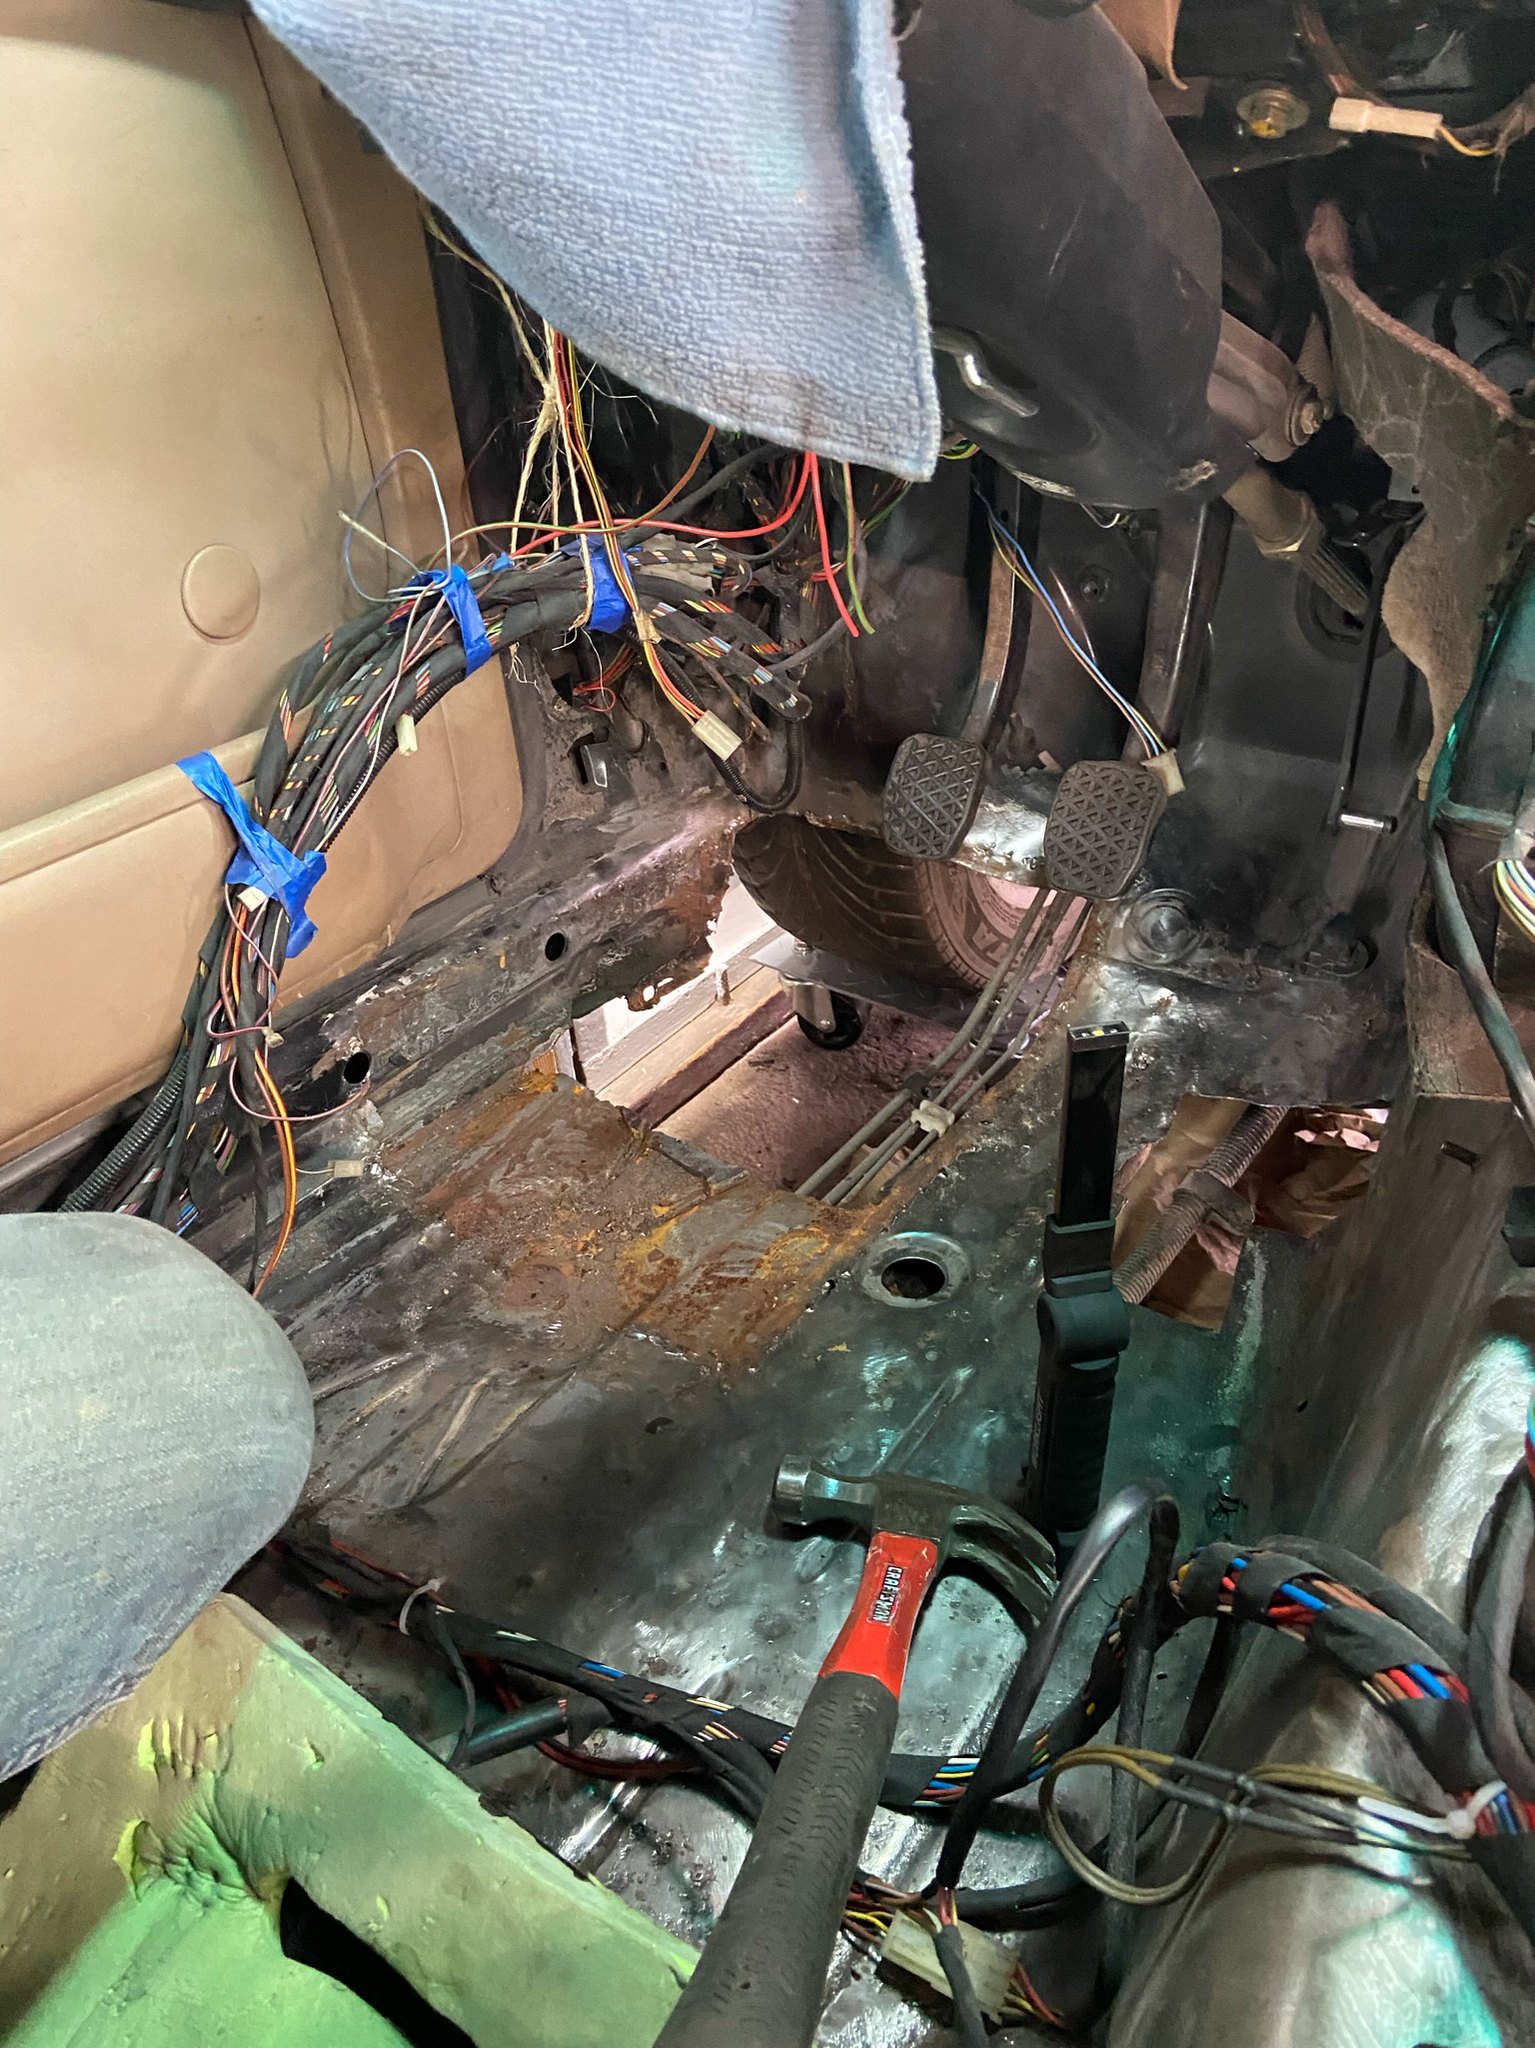
A lot of time has gone into carefully disassembling the prior repairs and factory spot welds to get to solid pieces to patch in. Today might be the final day for this part of the work. We think we found our mobile weld person and might even have a line on complete front floorboard/rocker panel sections.
Image
Image
Image
Foonfer
Posts: 732
Joined: Mar 18, 2015 11:33 PM
Location: New York, NY

Re: Our M5 Journey Begins

Post by Foonfer »

Amazing work. Great to see projects like this one going on nearby... perhaps one day I'll be lucky enough to see you guys in one of several C&Cs around the area.

Enjoy, this will be a really special one. Subscribed!
Galahad
Posts: 539
Joined: Sep 06, 2016 9:08 PM
Location: Beverly/Worcester, MA
Contact:

Re: Our M5 Journey Begins

Post by Galahad »

Fanclutchnut wrote: May 12, 2021 8:06 AM ... We used 80/20 solder, tinning flux, marine grade double wall adhesive heat shrink tubing, and TESA high temp tape to rewrap the harness. We did out best to maintain equal length on the repairs. It came out very well and Brody did a majority of the soldering.
Image
Good job with the wiring repairs. One thing you may not know: generally you want to stagger this kind of repair in the harness so you don't end up with a bulge from all the heat shrink. It doesn't really matter in this case but if you're trying to pass a harness through the firewall or something you might need to think about it.

Looks like you're doing the floor pan repairs the right way - I just riveted in a new panel and called it a day because I didn't feel like welding anything.
tig
Posts: 9283
Joined: Mar 18, 2013 6:25 PM
Location: Durango
Contact:

Re: Our M5 Journey Begins

Post by tig »

Galahad wrote: Oct 17, 2021 10:50 PM
Fanclutchnut wrote: May 12, 2021 8:06 AM ... We used 80/20 solder, tinning flux, marine grade double wall adhesive heat shrink tubing, and TESA high temp tape to rewrap the harness. We did out best to maintain equal length on the repairs. It came out very well and Brody did a majority of the soldering.
One thing you may not know: generally you want to stagger this kind of repair in the harness so you don't end up with a bulge from all the heat shrink. It doesn't really matter in this case but if you're trying to pass a harness through the firewall or something you might need to think about it.
I recently had a harness failure on Vlad caused by me not staggering splices. Good advice.
Fanclutchnut
Posts: 144
Joined: Jan 05, 2021 7:32 PM
Location: Westchester Co NY

Re: Our M5 Journey Begins

Post by Fanclutchnut »

Thx Foon! Hope to see you too! We’ve only seen one M5 IRL and have never sat in one. We have had some e28 seat time though. Would love to meet up with some owners in the area even before we finish!
Foonfer wrote: Oct 17, 2021 9:29 PM Amazing work. Great to see projects like this one going on nearby... perhaps one day I'll be lucky enough to see you guys in one of several C&Cs around the area.

Enjoy, this will be a really special one. Subscribed!
Thx for the suggestion Galahad and verification Cek. I hadn’t considered that. These aren’t passing through any panels like you mentioned. I will keep your idea in mind if we do any repairs that do.
Galahad wrote: Oct 17, 2021 10:50 PM
Good job with the wiring repairs. One thing you may not know: generally you want to stagger this kind of repair in the harness so you don't end up with a bulge from all the heat shrink. It doesn't really matter in this case but if you're trying to pass a harness through the firewall or something you might need to think about it.

Looks like you're doing the floor pan repairs the right way - I just riveted in a new panel and called it a day because I didn't feel like welding anything.
cek wrote: Oct 26, 2021 4:38 AM
I recently had a harness failure on Vlad caused by me not staggering splices. Good advice.
Fanclutchnut
Posts: 144
Joined: Jan 05, 2021 7:32 PM
Location: Westchester Co NY

Re: Our M5 Journey Begins

Post by Fanclutchnut »

The previous repair panels are all out and adhesive, sealant, and tack welds removed. What a battle. We are now headed back in the other direction and it feels good. Deciding where to stitch in new panels and where to get them. One of the issues is the panels we need, if taken in one piece on each side, will probably make the donor car fall apart.

Image
ImageImage
Image
Fanclutchnut
Posts: 144
Joined: Jan 05, 2021 7:32 PM
Location: Westchester Co NY

Re: Our M5 Journey Begins

Post by Fanclutchnut »

Updates!

Had the wheel out from when we were removing the old floor repairs. Brody gave it a good cleaning. Came out pretty nice.

Image

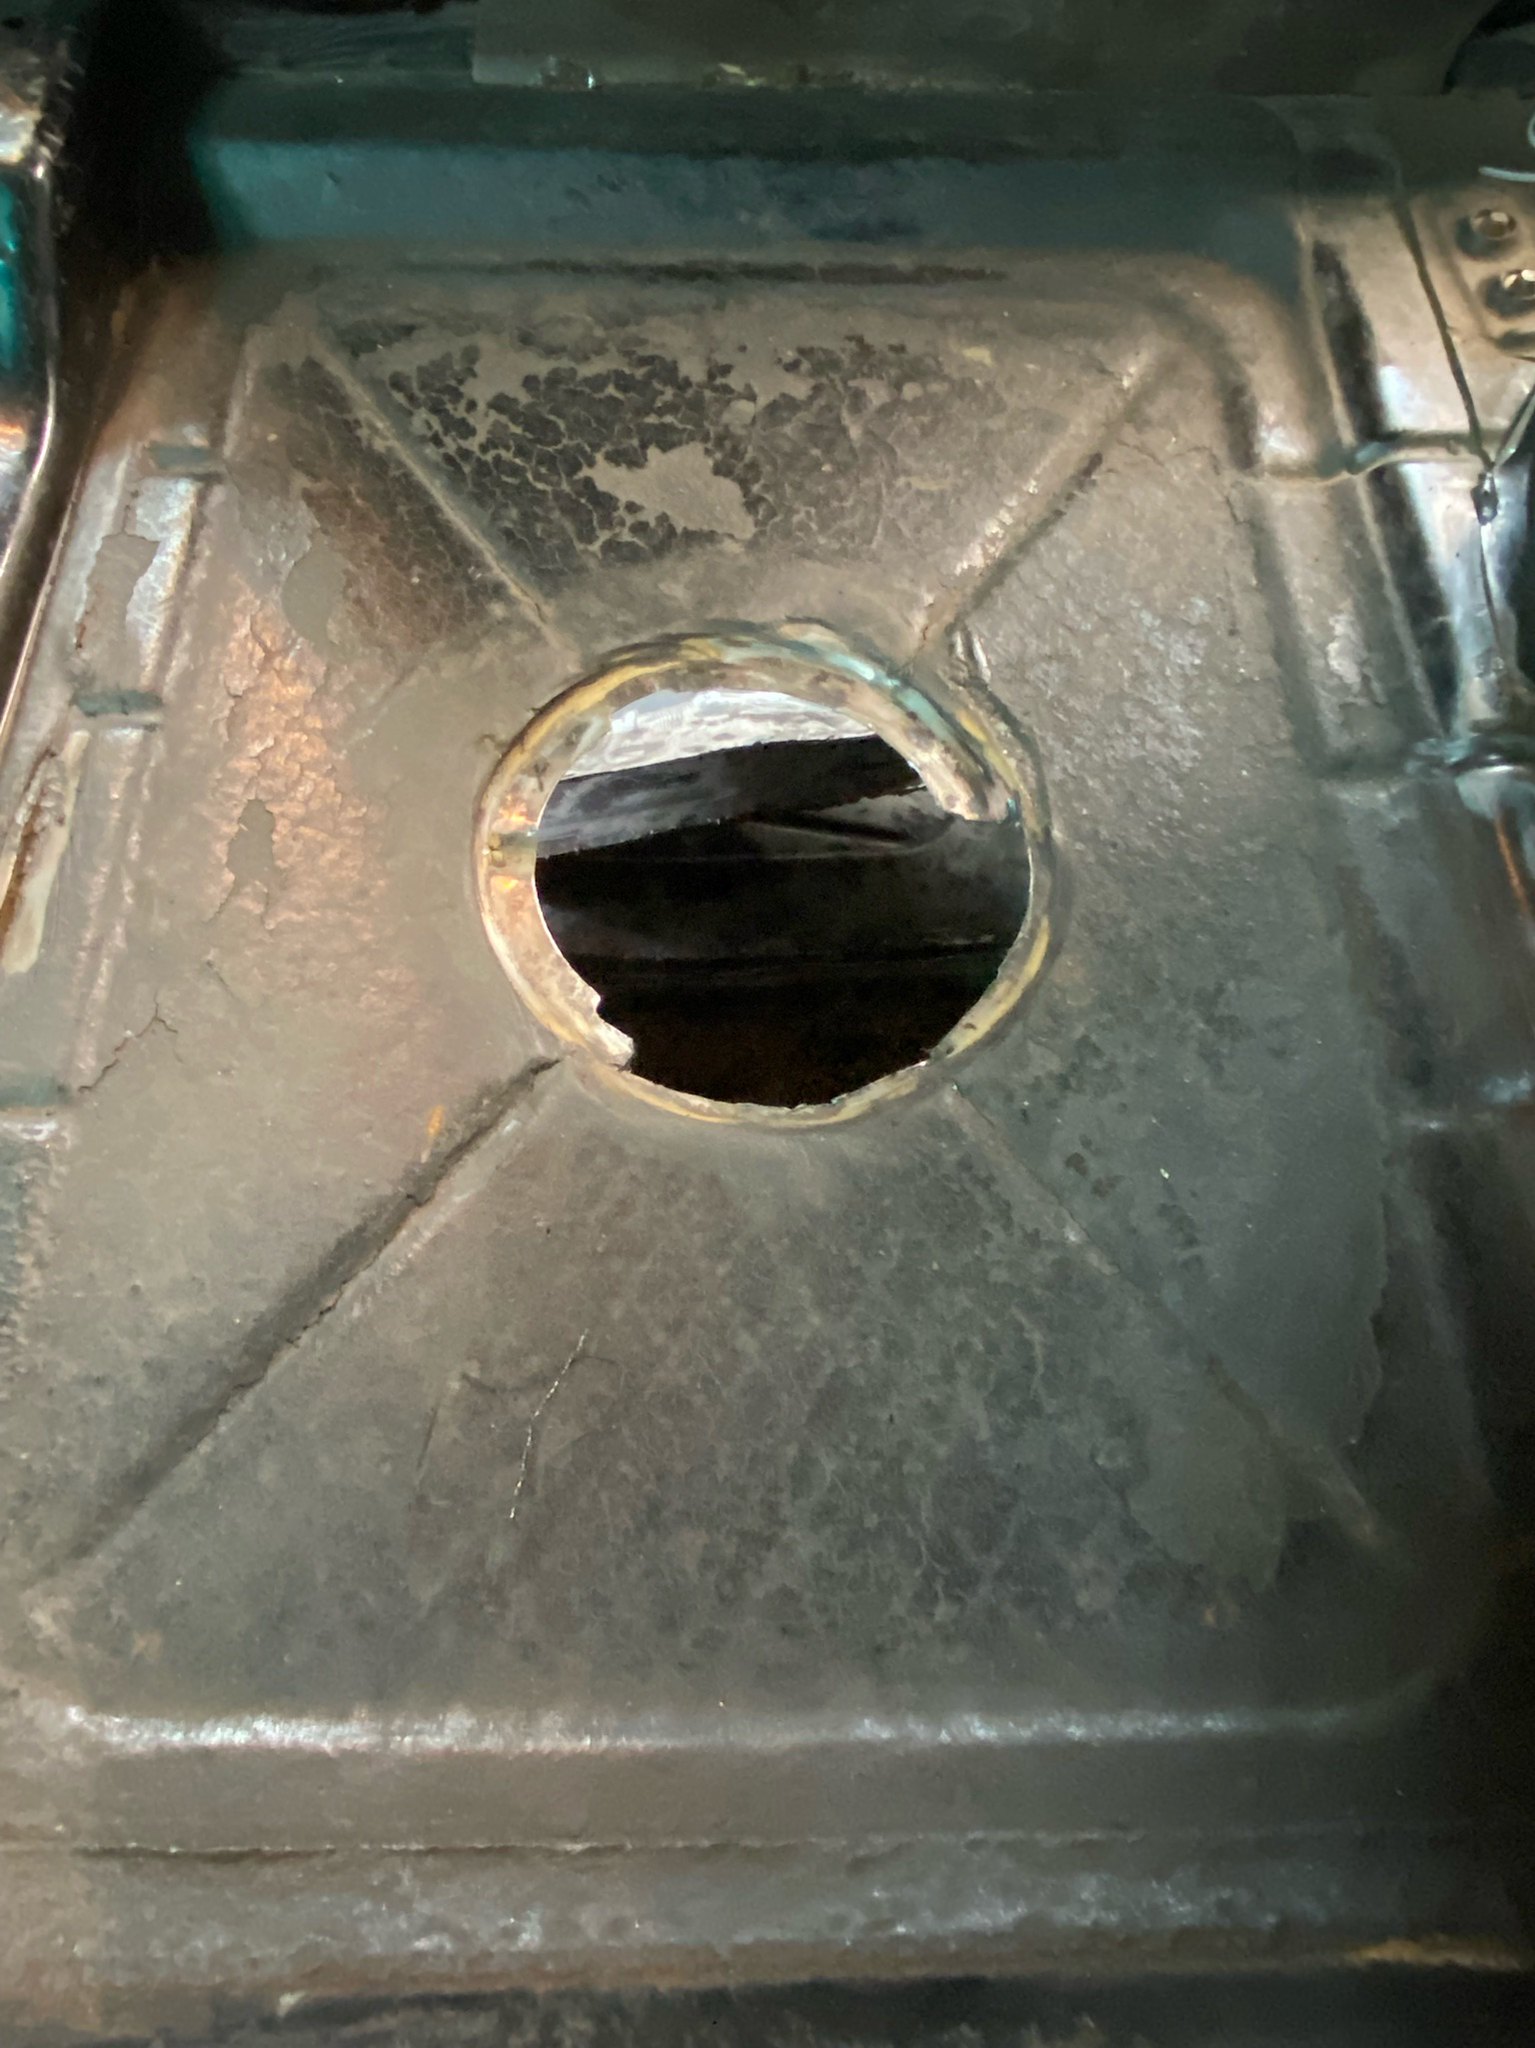
Off the wheel dollies and out of the garage. Time to have the badly pitted floor repaired. It came out really nice and will make moving the car far more easy on the dollies.

Image
Image

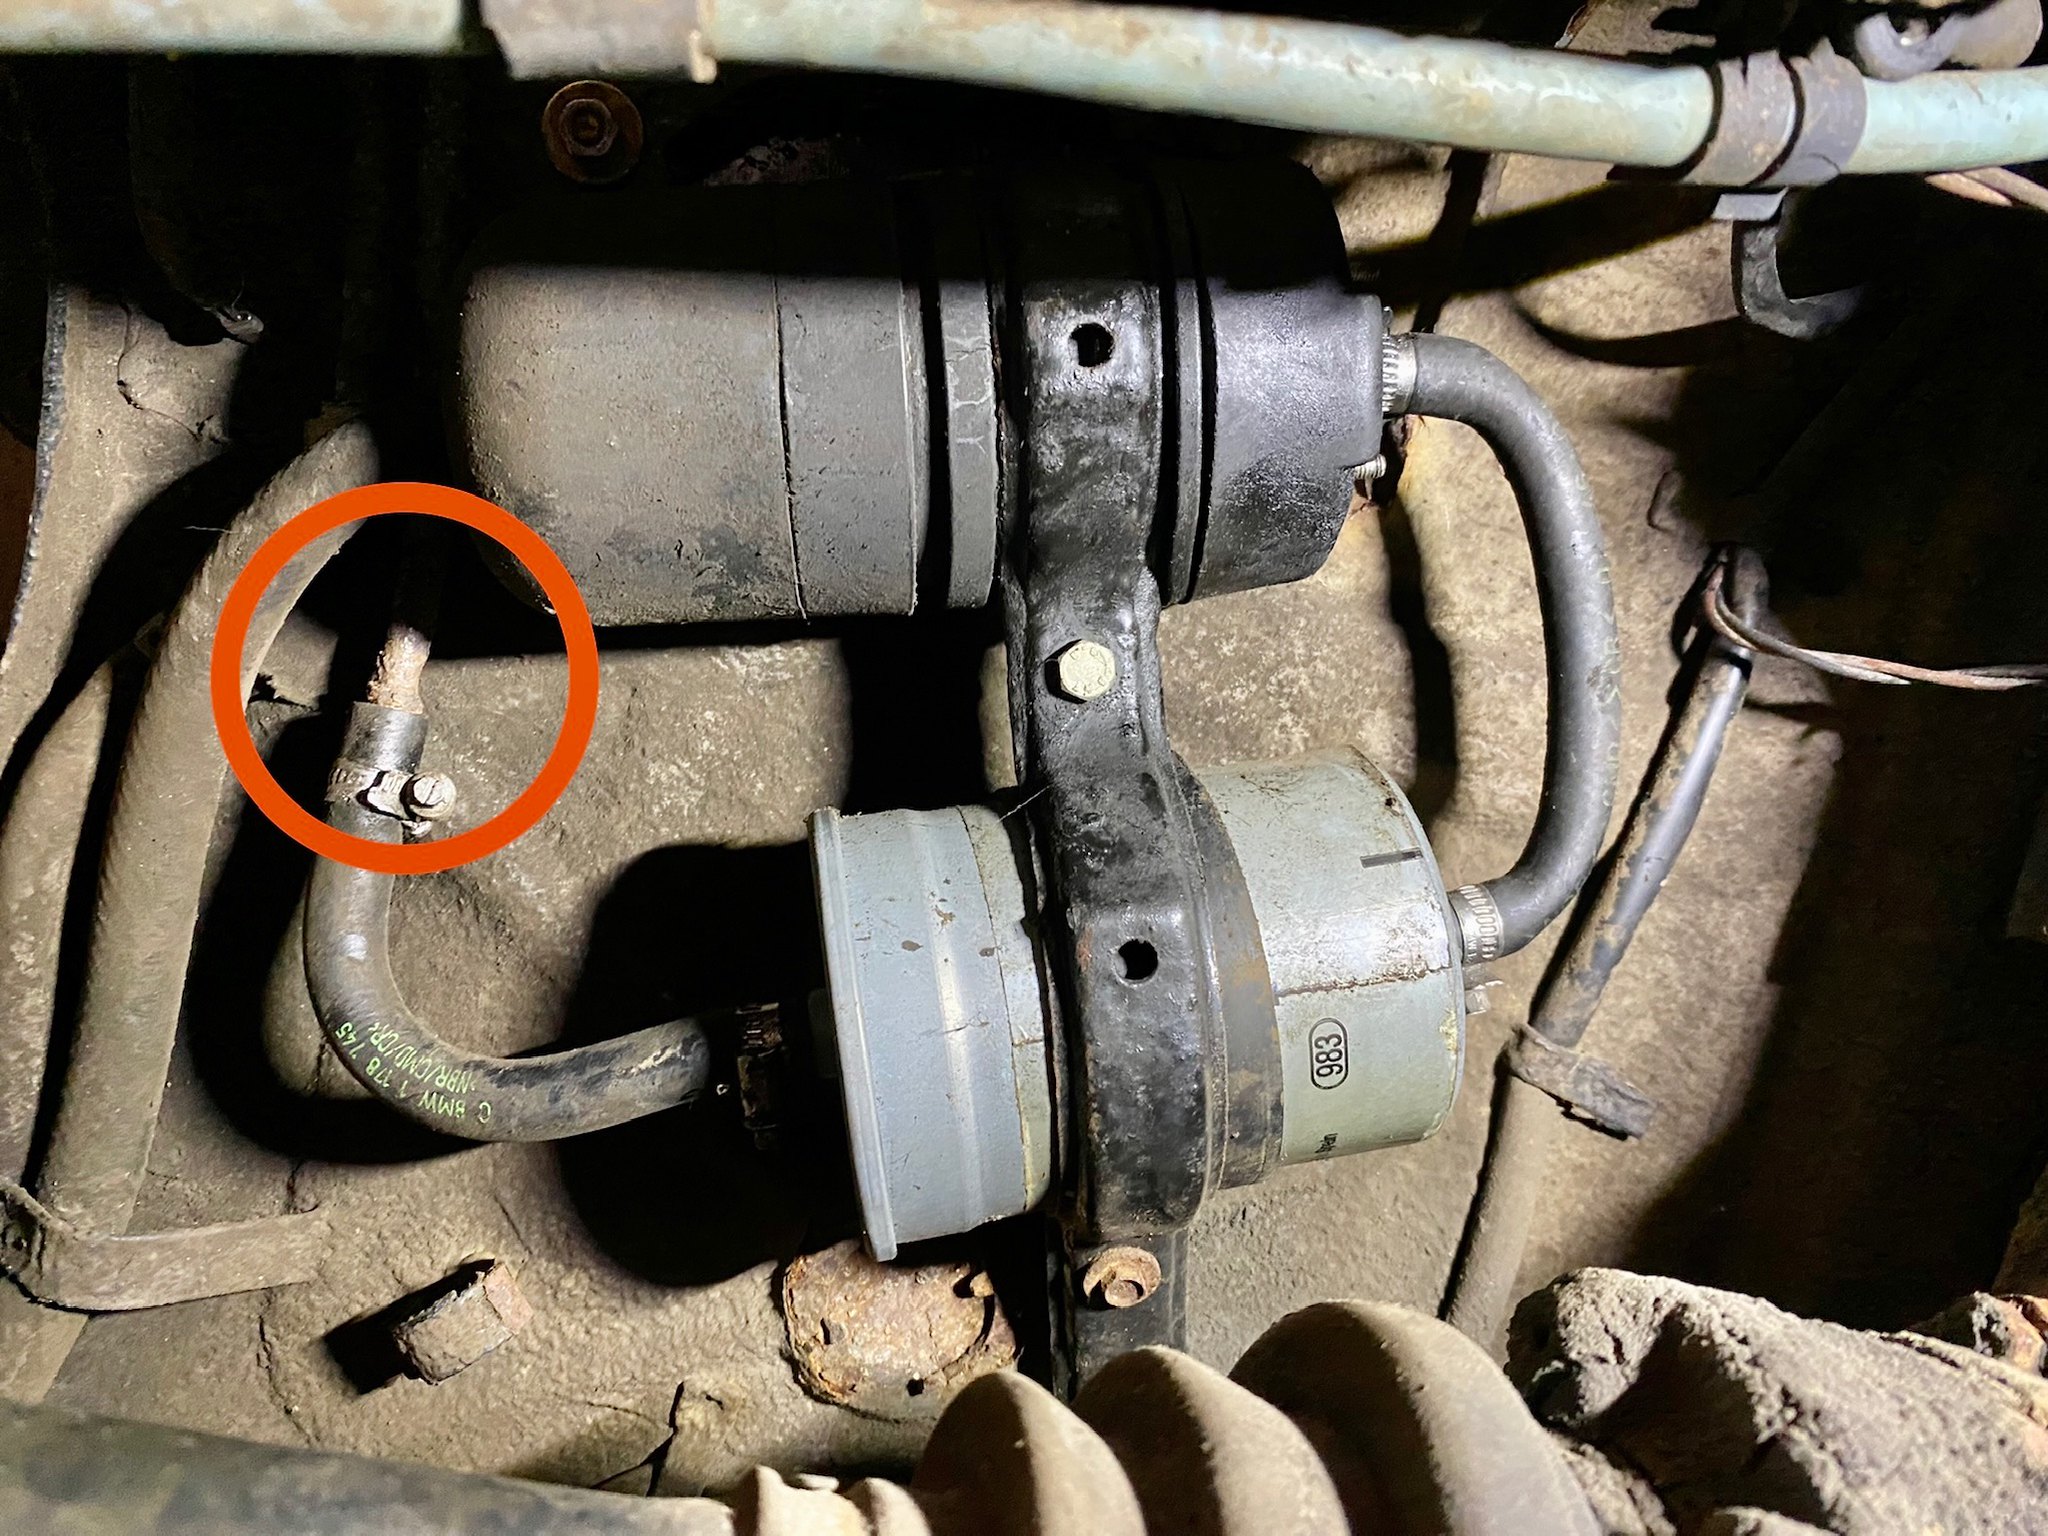
This move also marks the first time that we have driven the car. It was only from the driveway and backed into the garage but it was gratifying. Unfortunately we confirmed that there is a fuel leak at the filter/fuel pressure pump area. I thought it was one of the rubber lines but turned out to be a pin hole created by rust (red circle in photo). We took that opportunity to order new filter, hard fuel and return lines, all new hose and clamps for a majority of the fuel system, including under the hood. Fortunately ECS has it all in stock. The only thing I can not find is the hard line return on the passenger side for the charcoal canister. We may have to make them from line stock. Any advice here would be appreciated. Did I mention the OEM bmw hose is $$$?

Image

Next up We’ll be ordering the sheet metal from Valcas Garage.
e30 Alpina B6 3.5
Posts: 83
Joined: Apr 03, 2011 4:43 PM
Location: California

Re: Our M5 Journey Begins

Post by e30 Alpina B6 3.5 »

Great work.
The m88/3 is a great motor!!!!!
Fanclutchnut
Posts: 144
Joined: Jan 05, 2021 7:32 PM
Location: Westchester Co NY

Re: Our M5 Journey Begins

Post by Fanclutchnut »

Thank you! Most of the car is in rough shape and some days, it’s hard to see the finish line. However when we pop the hood and fire it up, we get re-energized. The S38 is just a beautiful piece of functional art!
e30 Alpina B6 3.5 wrote: Feb 20, 2022 12:05 PM Great work.
The m88/3 is a great motor!!!!!
Fanclutchnut
Posts: 144
Joined: Jan 05, 2021 7:32 PM
Location: Westchester Co NY

Re: Our M5 Journey Begins

Post by Fanclutchnut »

Fuel supply refresh parts haul for a 1st Anniversary M5 gift!

Supply line
Return line (pending delivery)
7M fuel hose
30 clamps
1M Vacuum hose
Lower return hose coolant
Fuel filter
Expansion tank hose
Image
Fanclutchnut
Posts: 144
Joined: Jan 05, 2021 7:32 PM
Location: Westchester Co NY

Re: Our M5 Journey Begins

Post by Fanclutchnut »

Updates and photo dump.
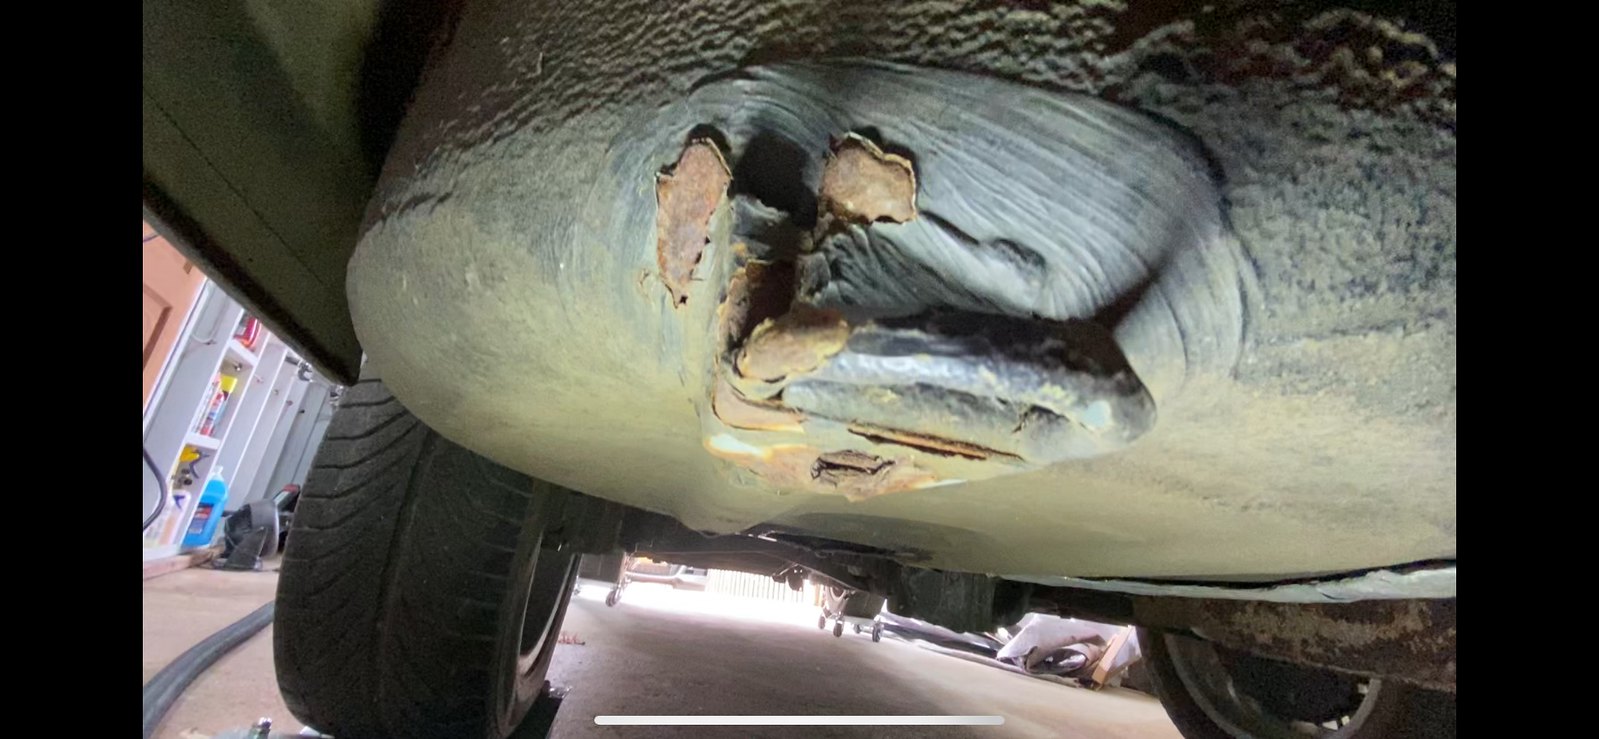
We began our repair on the rear left side valance and bumper mount. You can see there is some fine Napoleon here(what Brody and I call layered rust flakes). We cleaned it all up with wire wheels and flap disks. We’re going to need to patch in a section of the spare tire well where the bumper mount attaches. The PO provided the repair panel with the car so we rough fit it. It’s a complex piece as there are many panels that intersect here. Trunk floor, 2 rear valance, bumper support, spare tire well. We carefully deconstructed the patch panel so that I would weld in with factory spot welds and some butt welding. There need to be more fine adjustment before it can be clamped and welded.

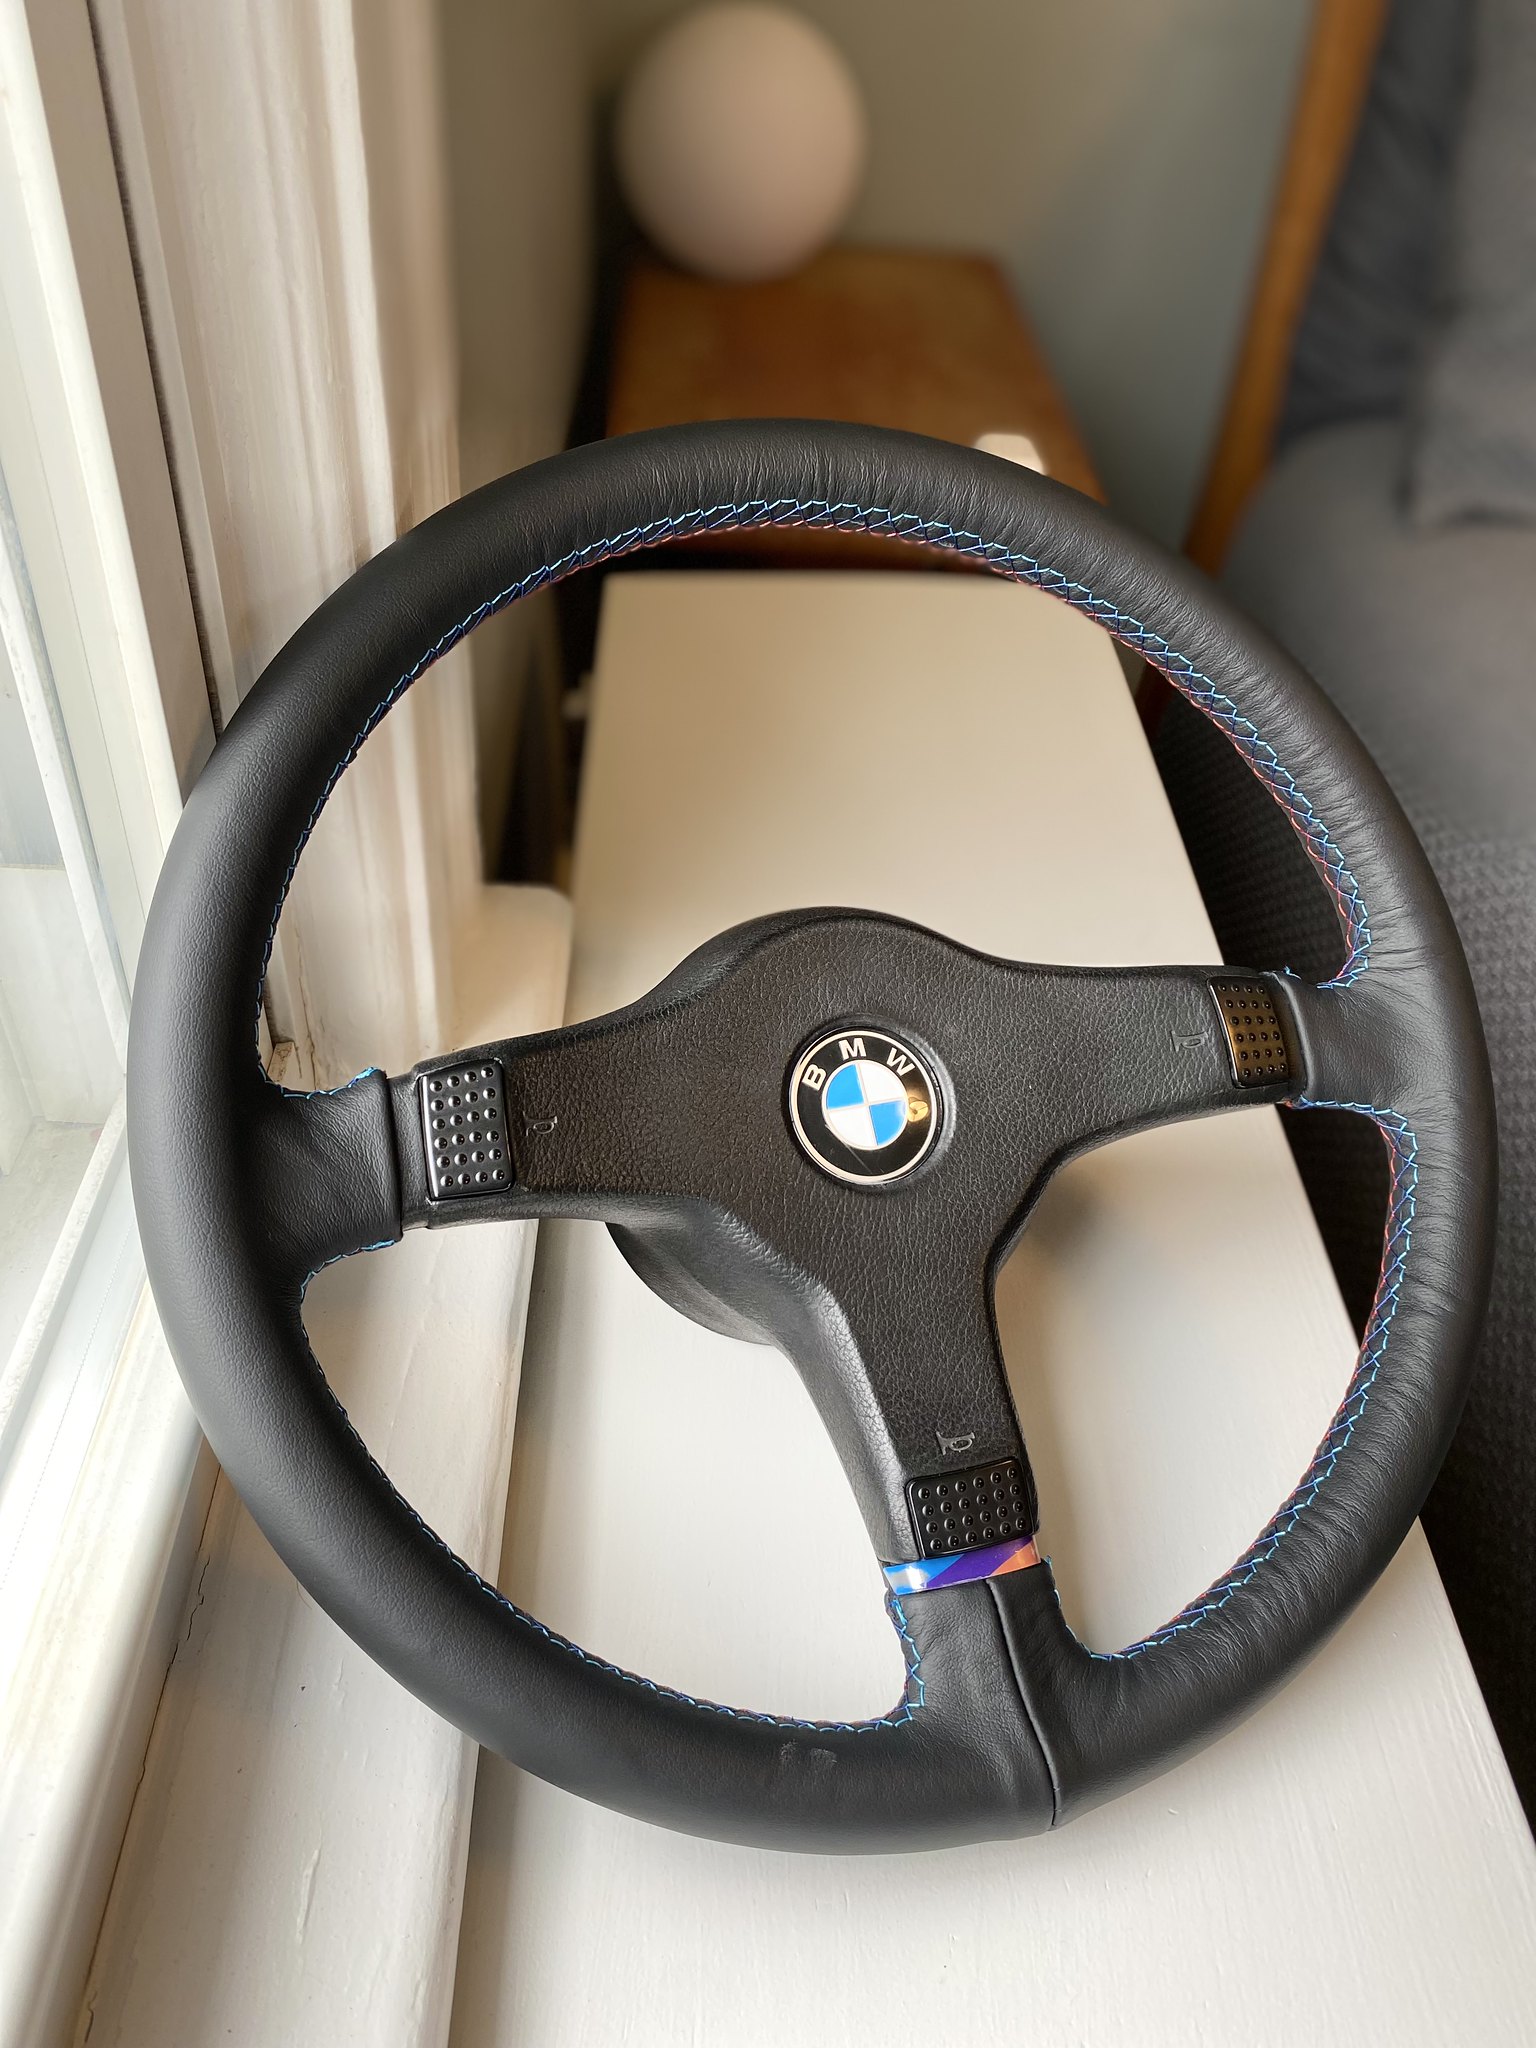
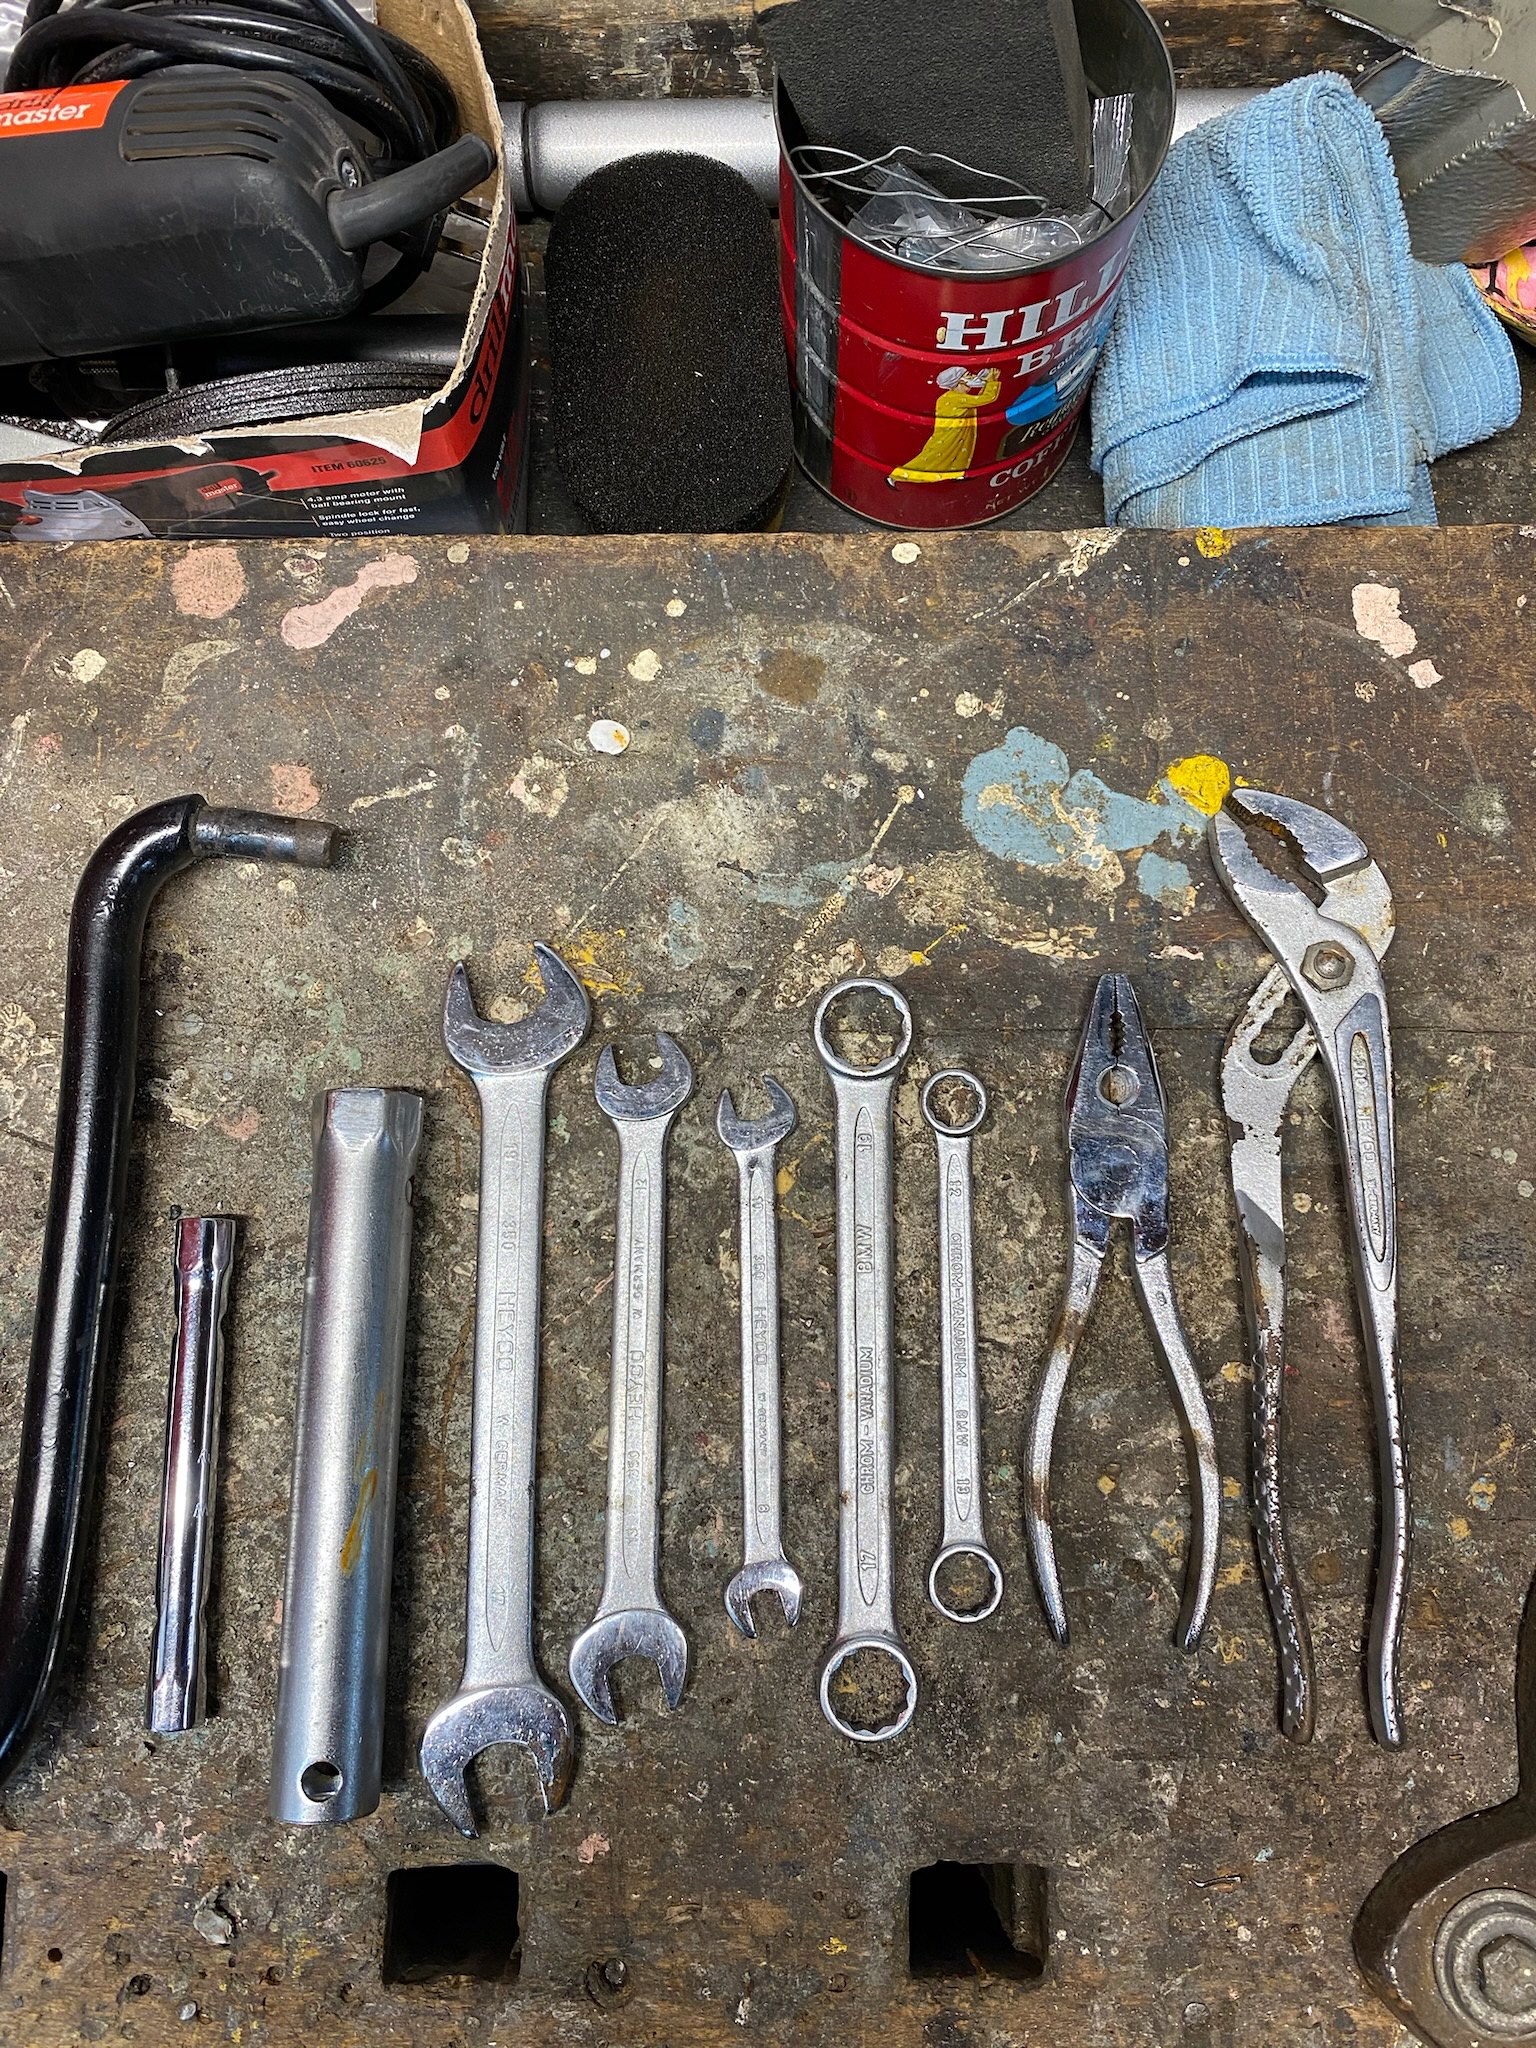
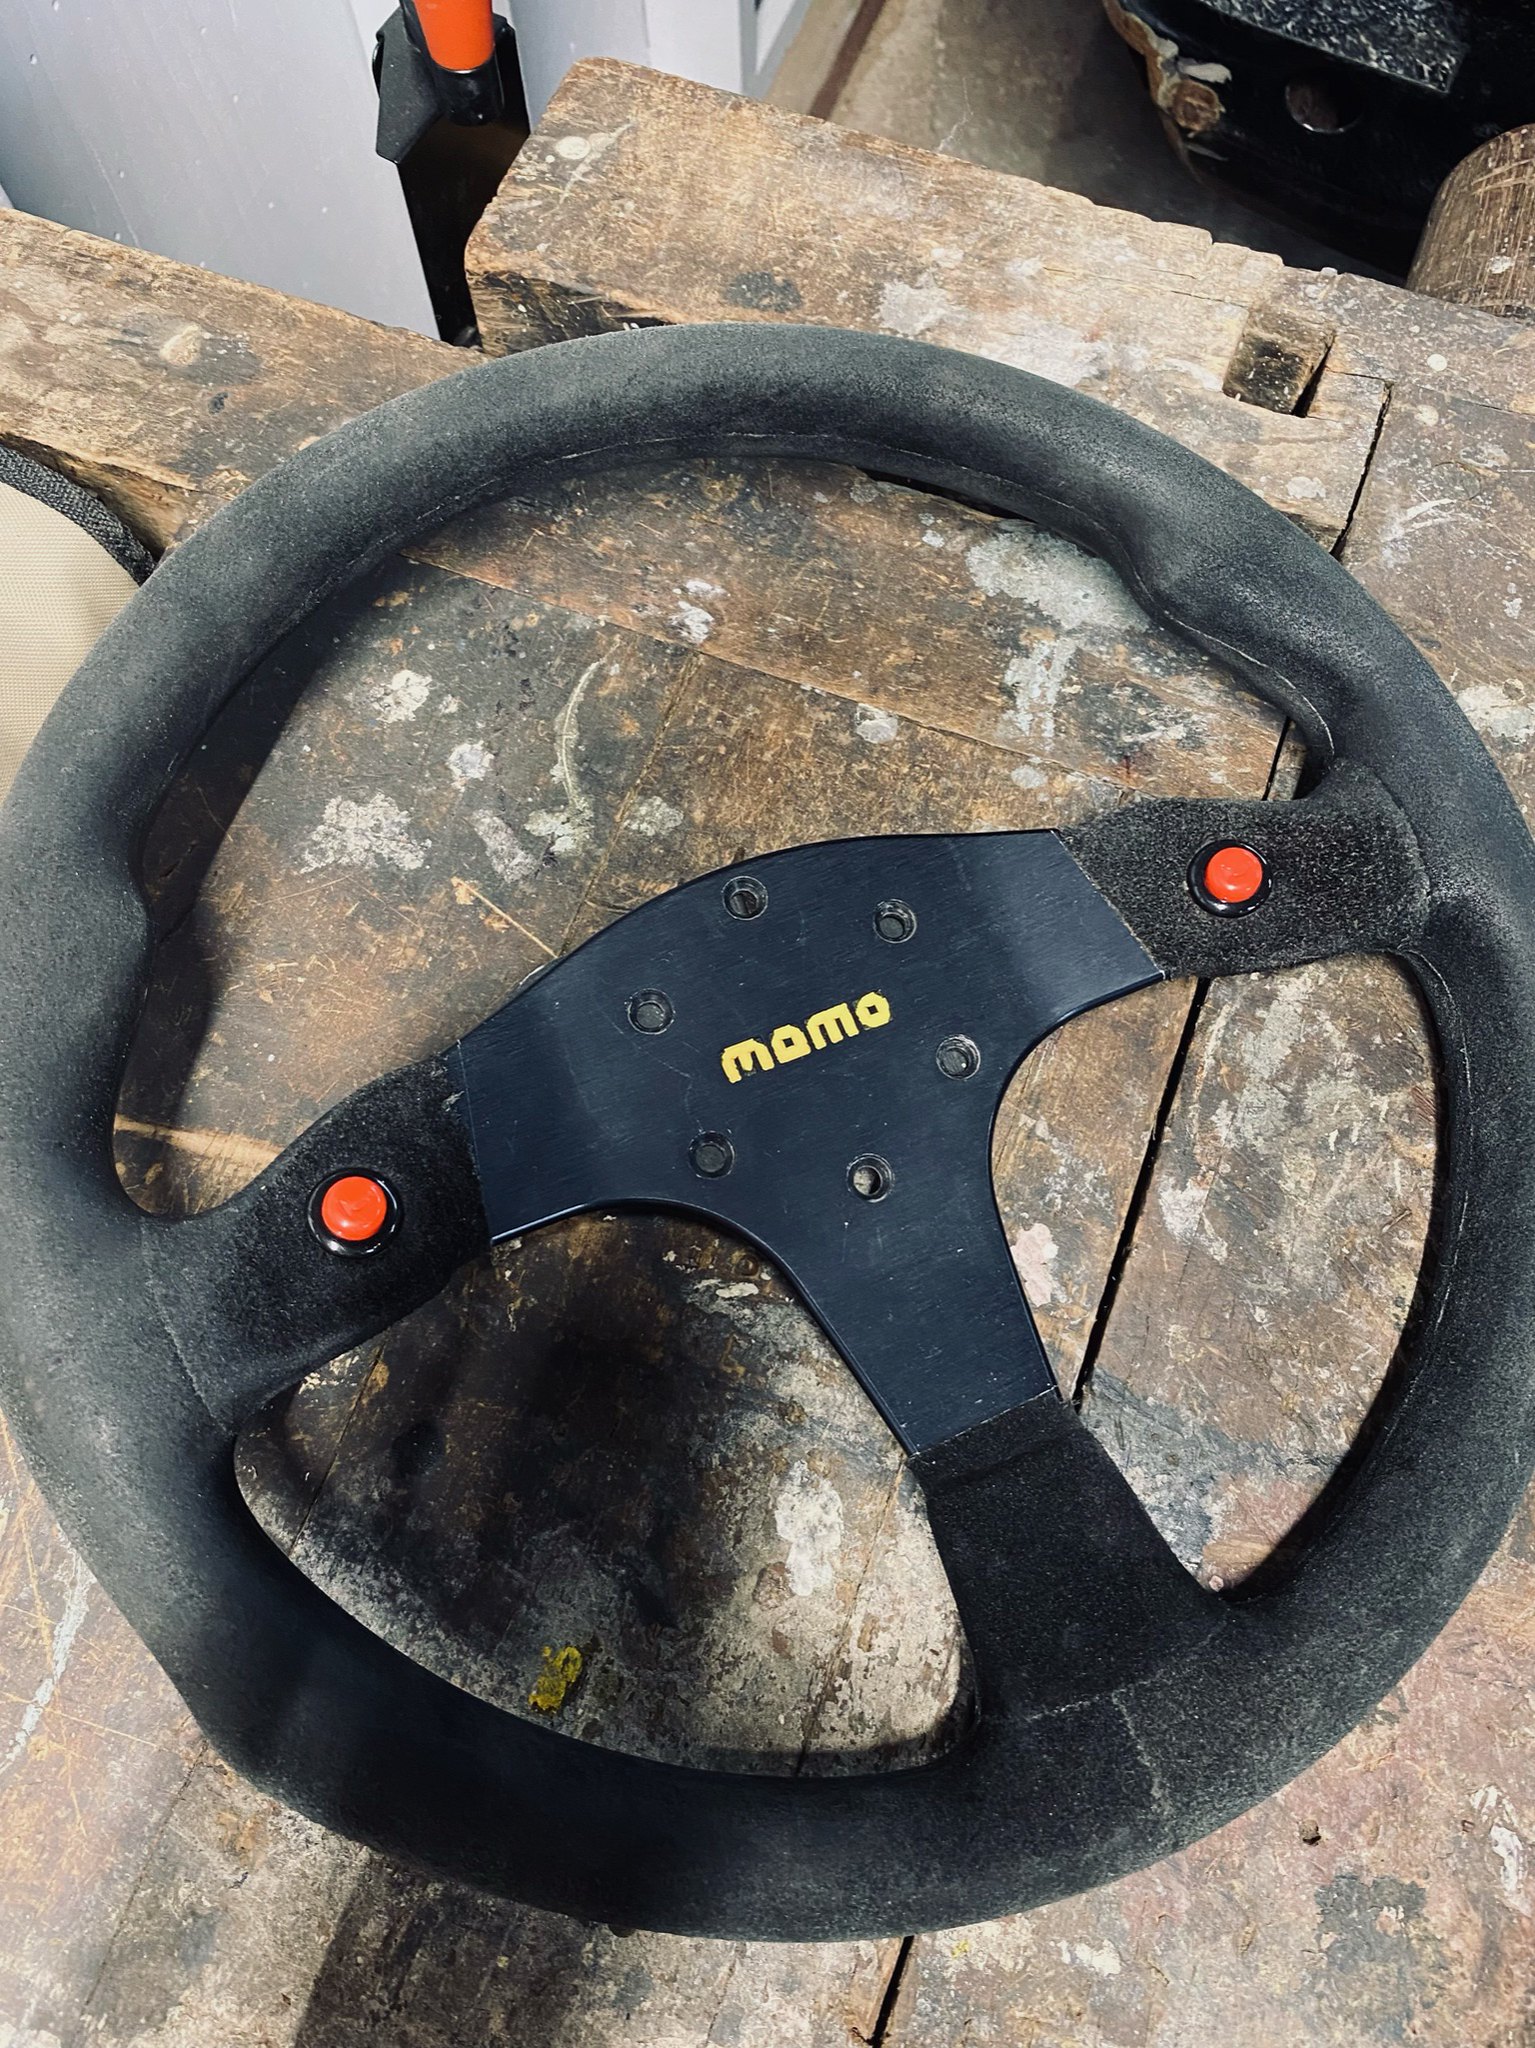
We got a bunch of parts sourced too. Mtech 1 wheel, which we rewrapped with a cover from redlinegoods. It came out pretty good for our first time. The msport stitching we did gave it a nice touch. We also were able to find the rear floor vents, some of the tool kit and even an old set of natur seat skins and cushions removed from an M5 during a interior restoration. We met an fellow M5 owner who was kind enough to give them to us. We plan on using the passenger seat skins to improve our drivers seat which is pretty beaten. It should match our passenger in wear if all goes well. Lastly we are still waiting for our front floor panels from Valcas Garage. Things are kinda backed up at customs.
ImageImageImage
ImageImage
Image
Image
Image
Image
Mdreamer
Posts: 532
Joined: Feb 12, 2006 12:00 PM
Location: Atlanta, Georgia

Re: Our M5 Journey Begins

Post by Mdreamer »

Wow! You guys are putting in work! Thank you for keeping us updated. I can't wait to see the finished product.
Fanclutchnut
Posts: 144
Joined: Jan 05, 2021 7:32 PM
Location: Westchester Co NY

Re: Our M5 Journey Begins

Post by Fanclutchnut »

Thank you! We are really hoping to have phase one of the car done for this summer and be able to run around town with it.
Mdreamer wrote: Apr 13, 2022 9:19 AM Wow! You guys are putting in work! Thank you for keeping us updated. I can't wait to see the finished product.
rod paine
Posts: 4
Joined: Apr 06, 2022 11:38 AM
Location: Purcellville VA

Re: Our M5 Journey Begins

Post by rod paine »

Lots of work indeed and many good photos of what is being done. Great to see the documentation and keep it coming.
-Rod
Post Reply