I have been close to buying/trading for this car twice. Glad to see the progress. It has an interesting story, and funny enough Funfunfer brought it down from the east coast in the days of Cash for Clunkers. Last time I saw him, I sold him headers and what appeared to be a Billy Boat exhaust, not sure if it made it your way.
Keep up the good work!
Our M5 Journey Begins
-
Fanclutchnut
- Posts: 144
- Joined: Jan 05, 2021 7:32 PM
- Location: Westchester Co NY
Re: Our M5 Journey Begins
Hey Pavel, thanks for checking in. It’s fun to piece together the history of this car. One of the things that intrigued us was that the car was originally from the north east and serviced in our county. The rear plate frame gave that away and was confirmed by the book of service history receipts.
I spoke with Jim’s family and it seems the header and exhaust were installed on another M5 (didn’t know he had more than one e28 but knew he had a 34 and 39)
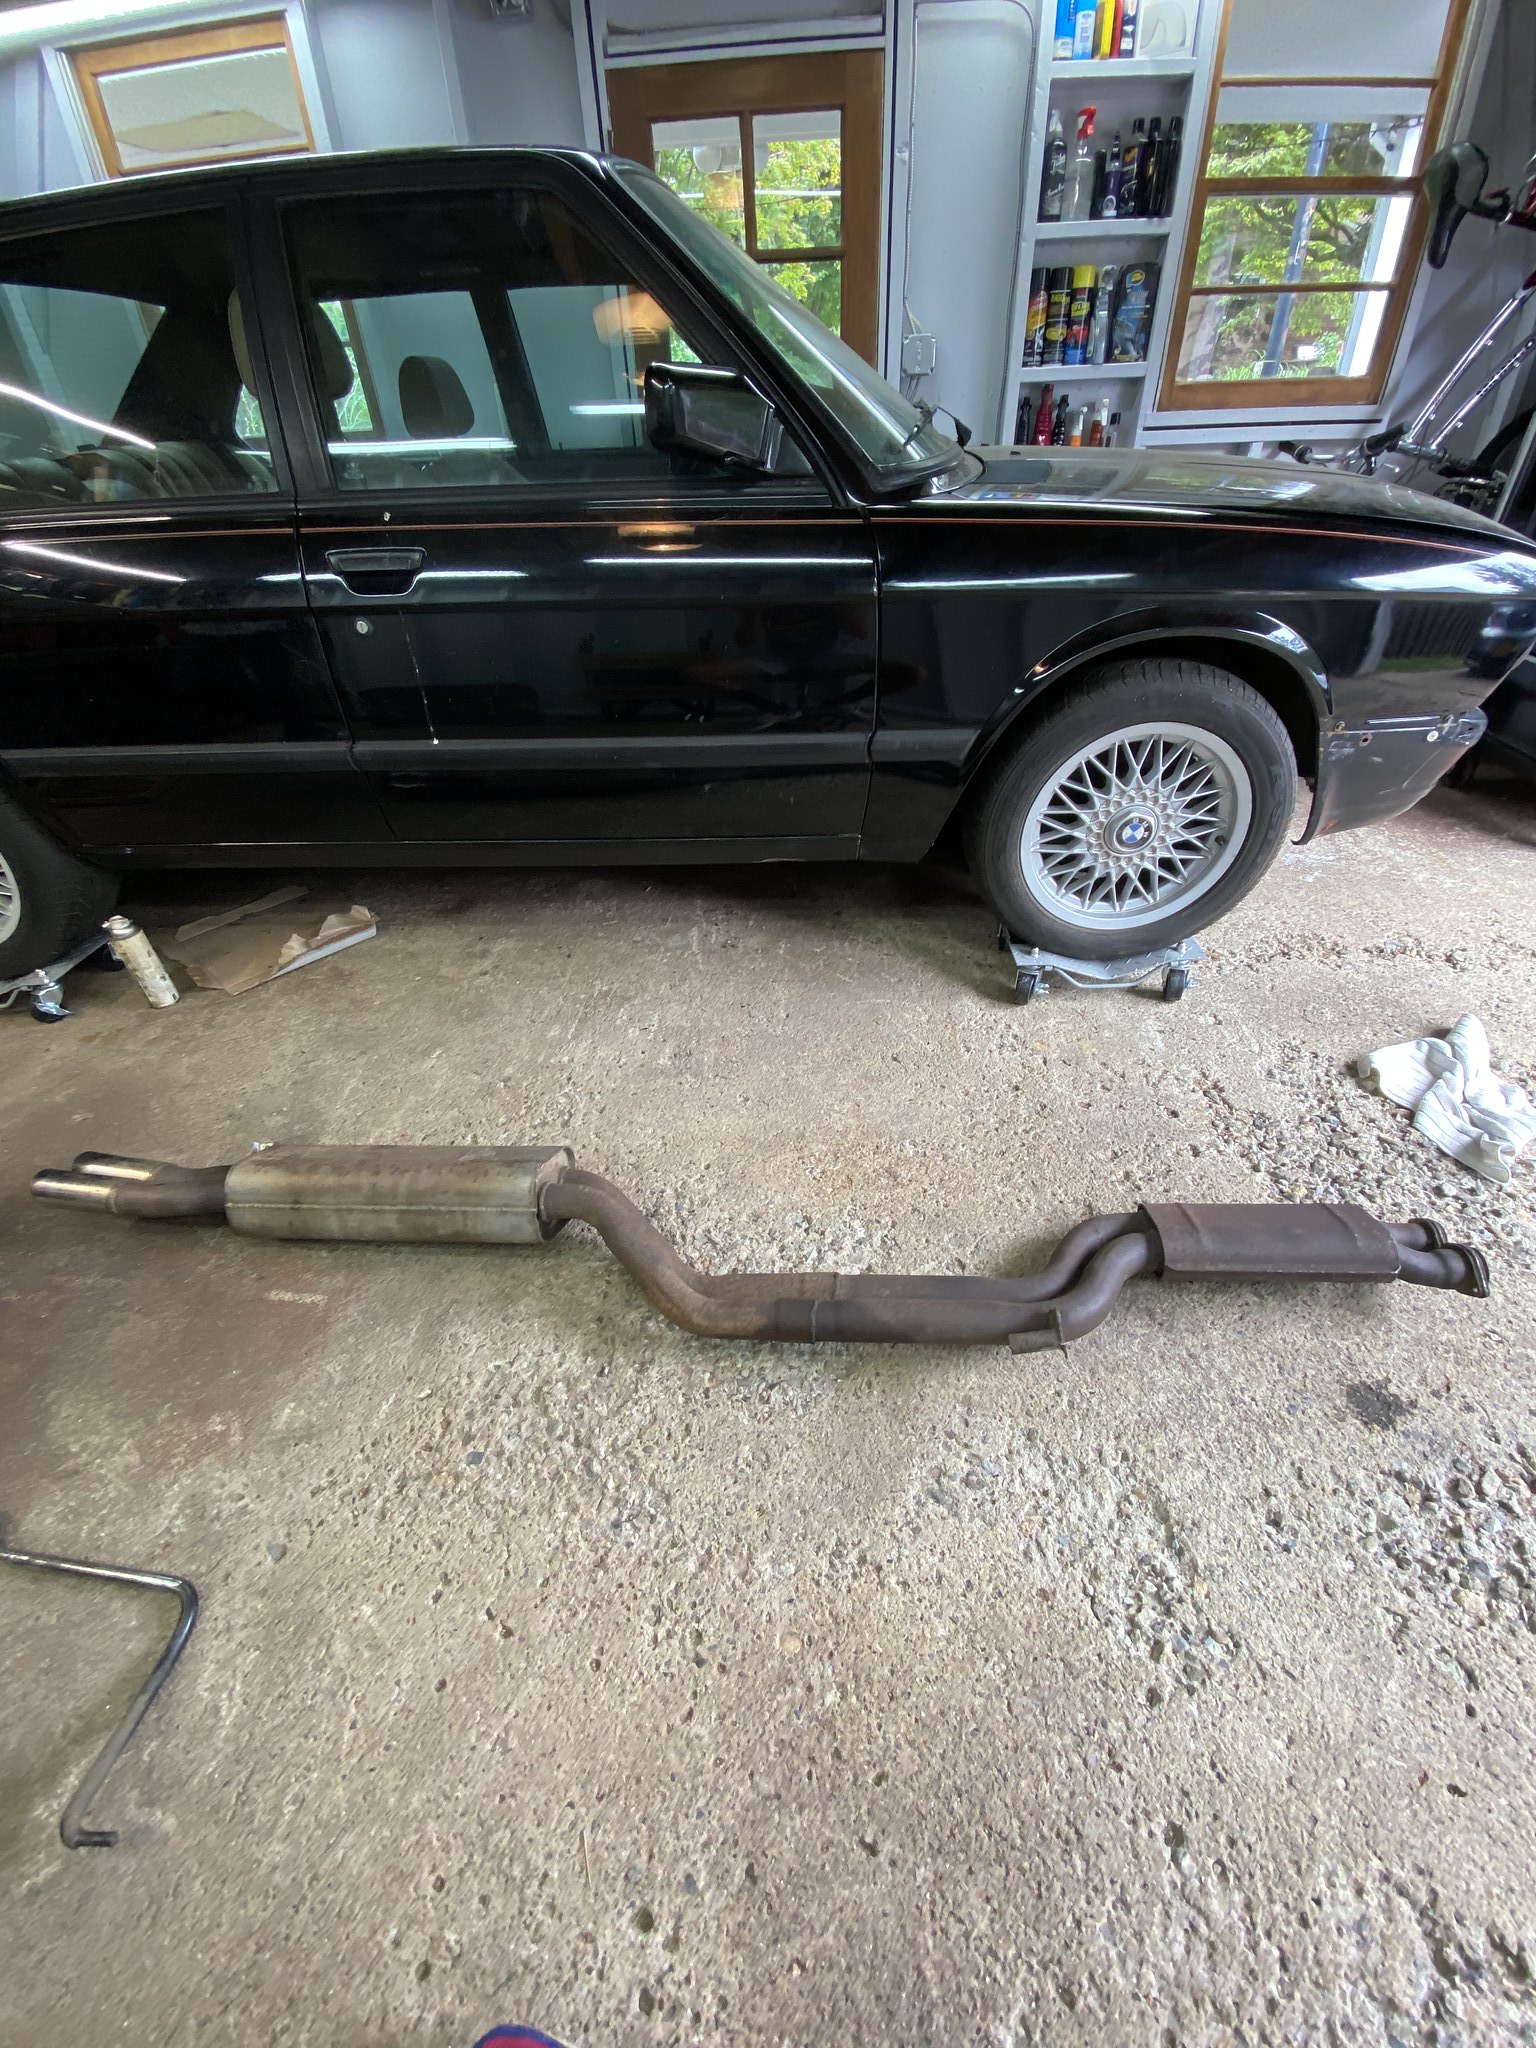
We did get an exhaust with our car but we don’t think it’s BB. It looks like light it might be ANSA or Bosal. If anyone can confirm manufacturer, that would be great. Here’s a pic

Pavel wrote: Apr 19, 2022 5:28 PM I have been close to buying/trading for this car twice. Glad to see the progress. It has an interesting story, and funny enough Funfunfer brought it down from the east coast in the days of Cash for Clunkers. Last time I saw him, I sold him headers and what appeared to be a Billy Boat exhaust, not sure if it made it your way.
Keep up the good work!
-
Fanclutchnut
- Posts: 144
- Joined: Jan 05, 2021 7:32 PM
- Location: Westchester Co NY
Re: Our M5 Journey Begins
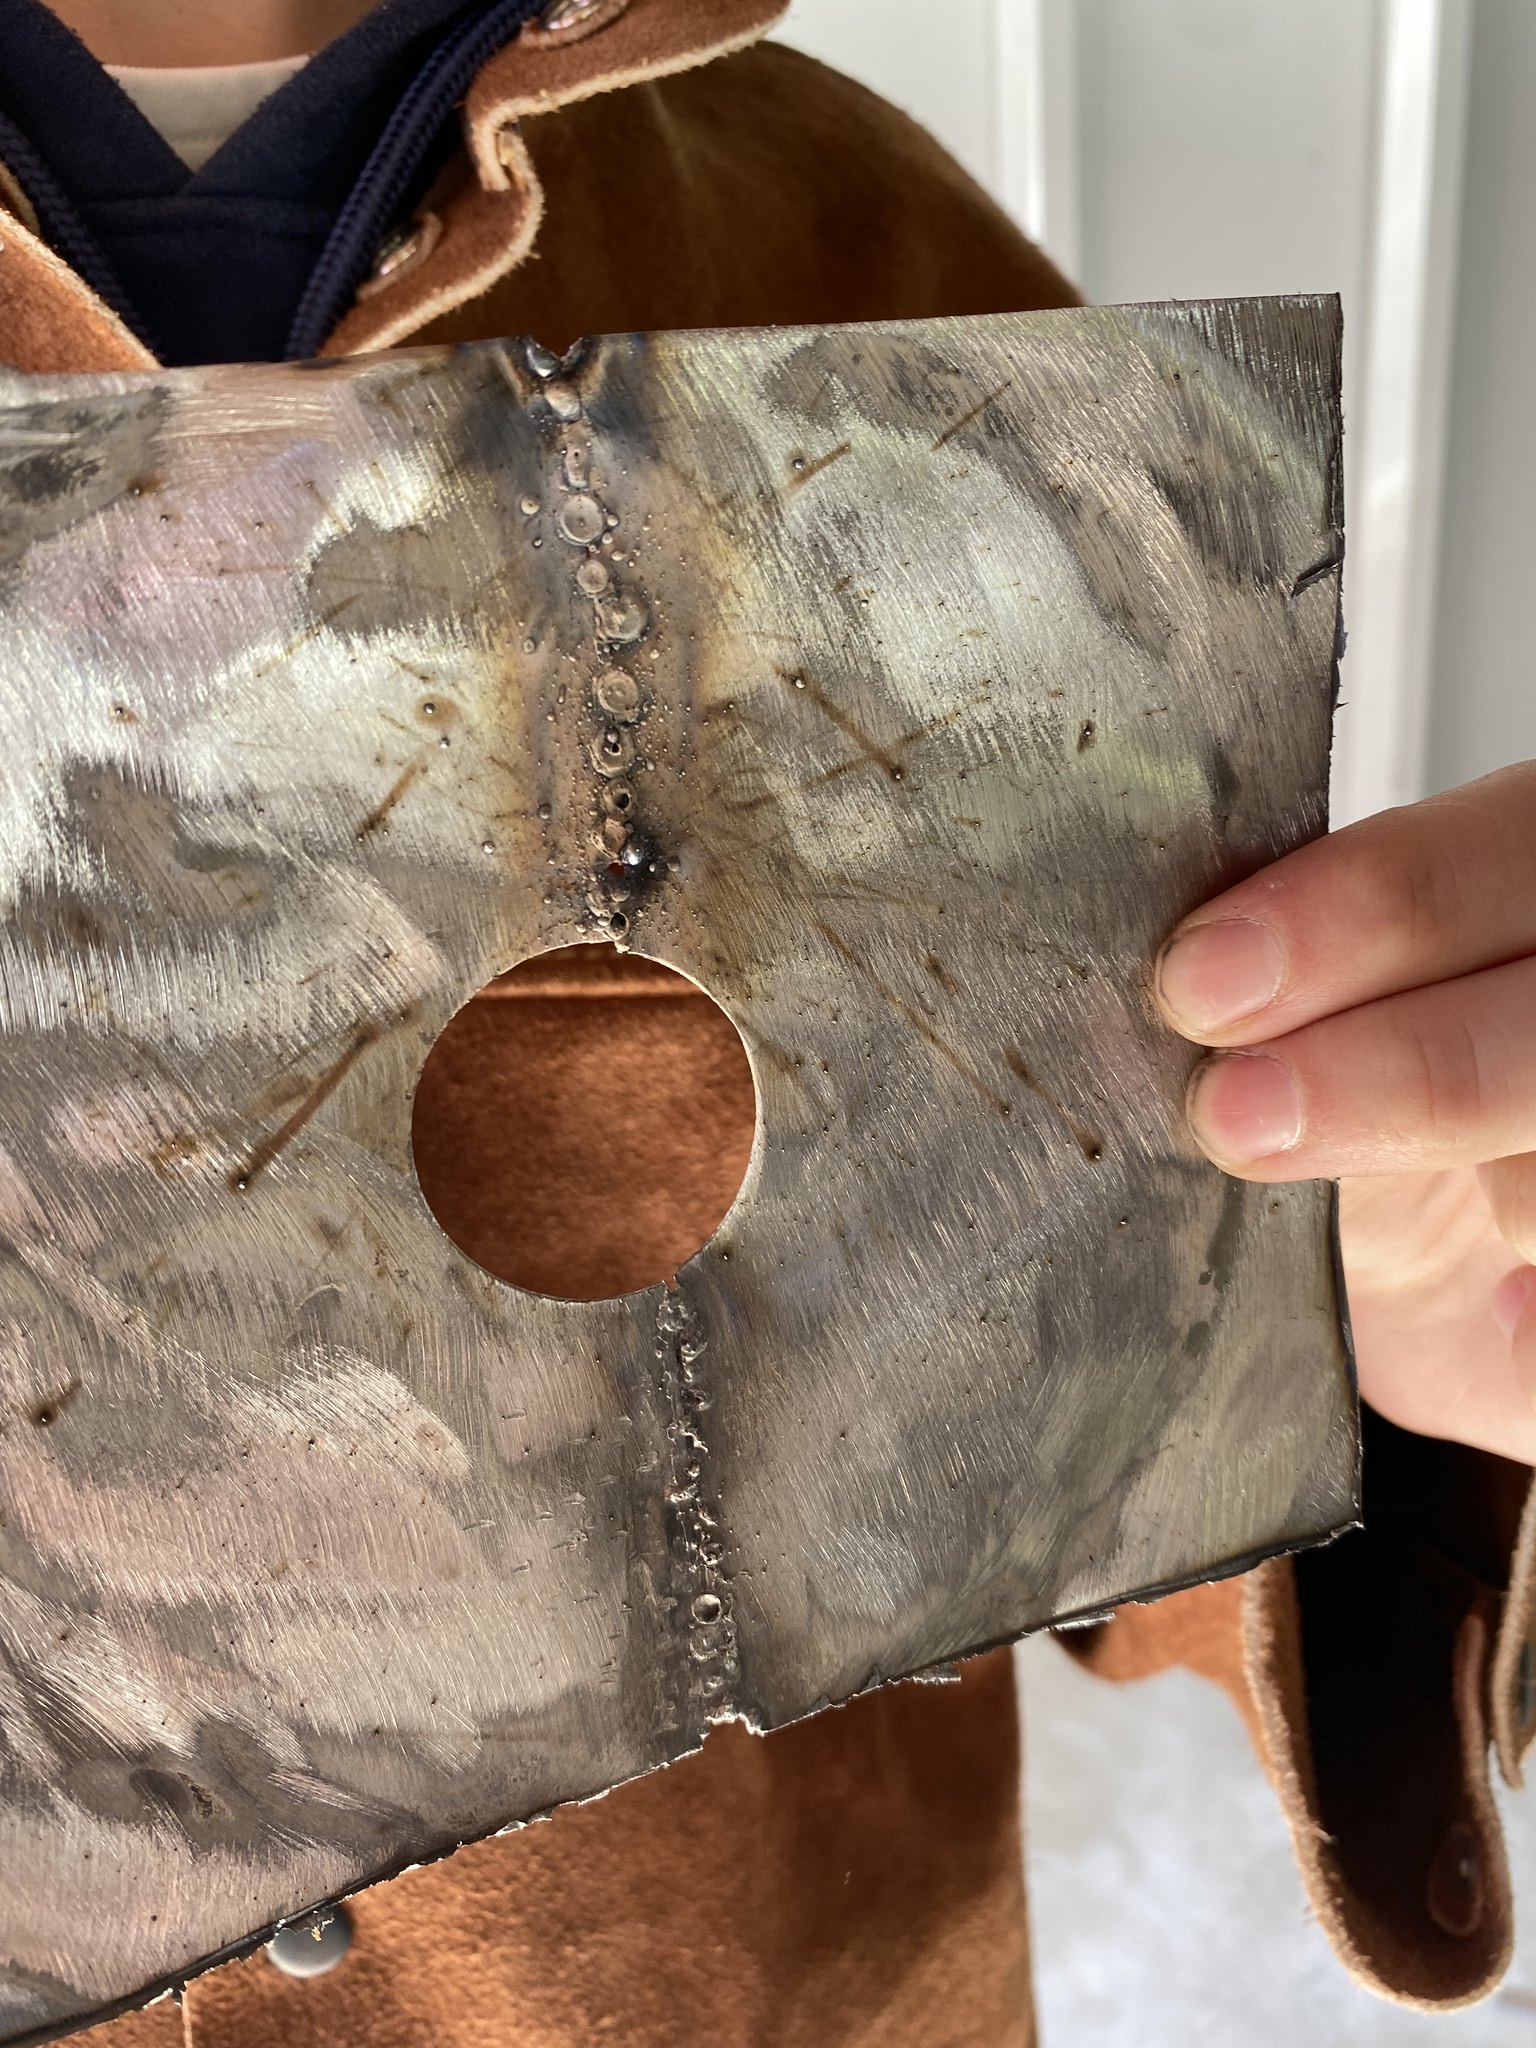
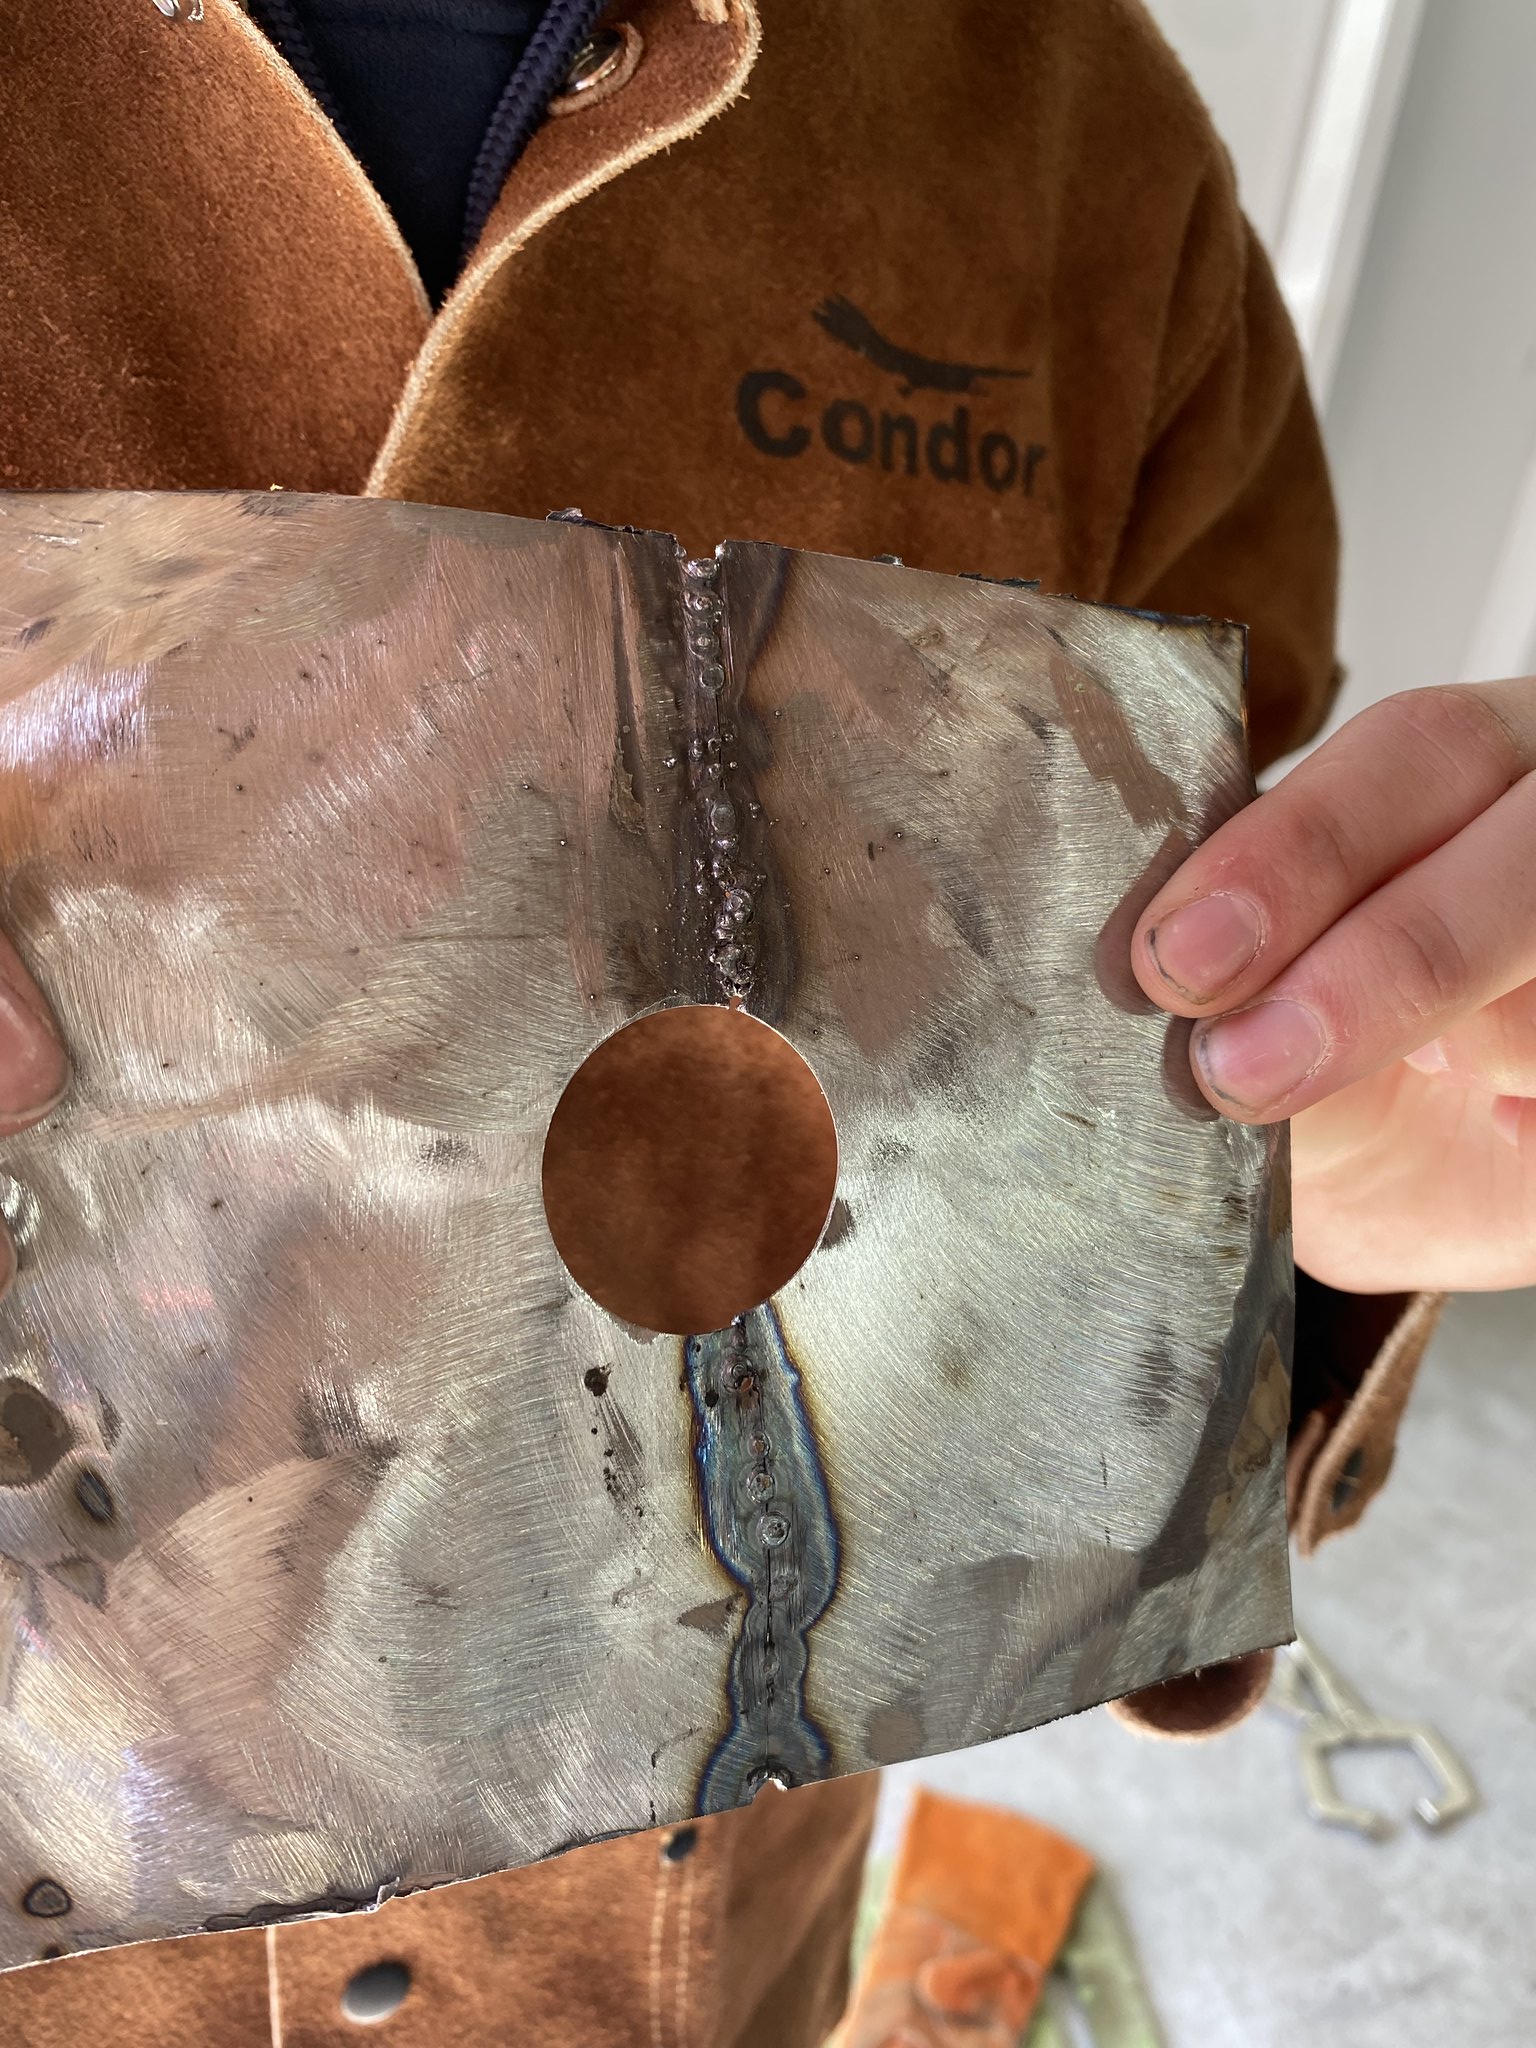
Welding practice sesh. Cut up some of the panels we removed and started to practice. We’re using FCAW with a Lincoln Weldpack 100 and .30 wire from HF. We know this isn’t an optimal rig but it’s one that accessible to us and easy to start with. We’ve watched a ton of videos about flux core welding on 18g body panels (fitzy, jim).
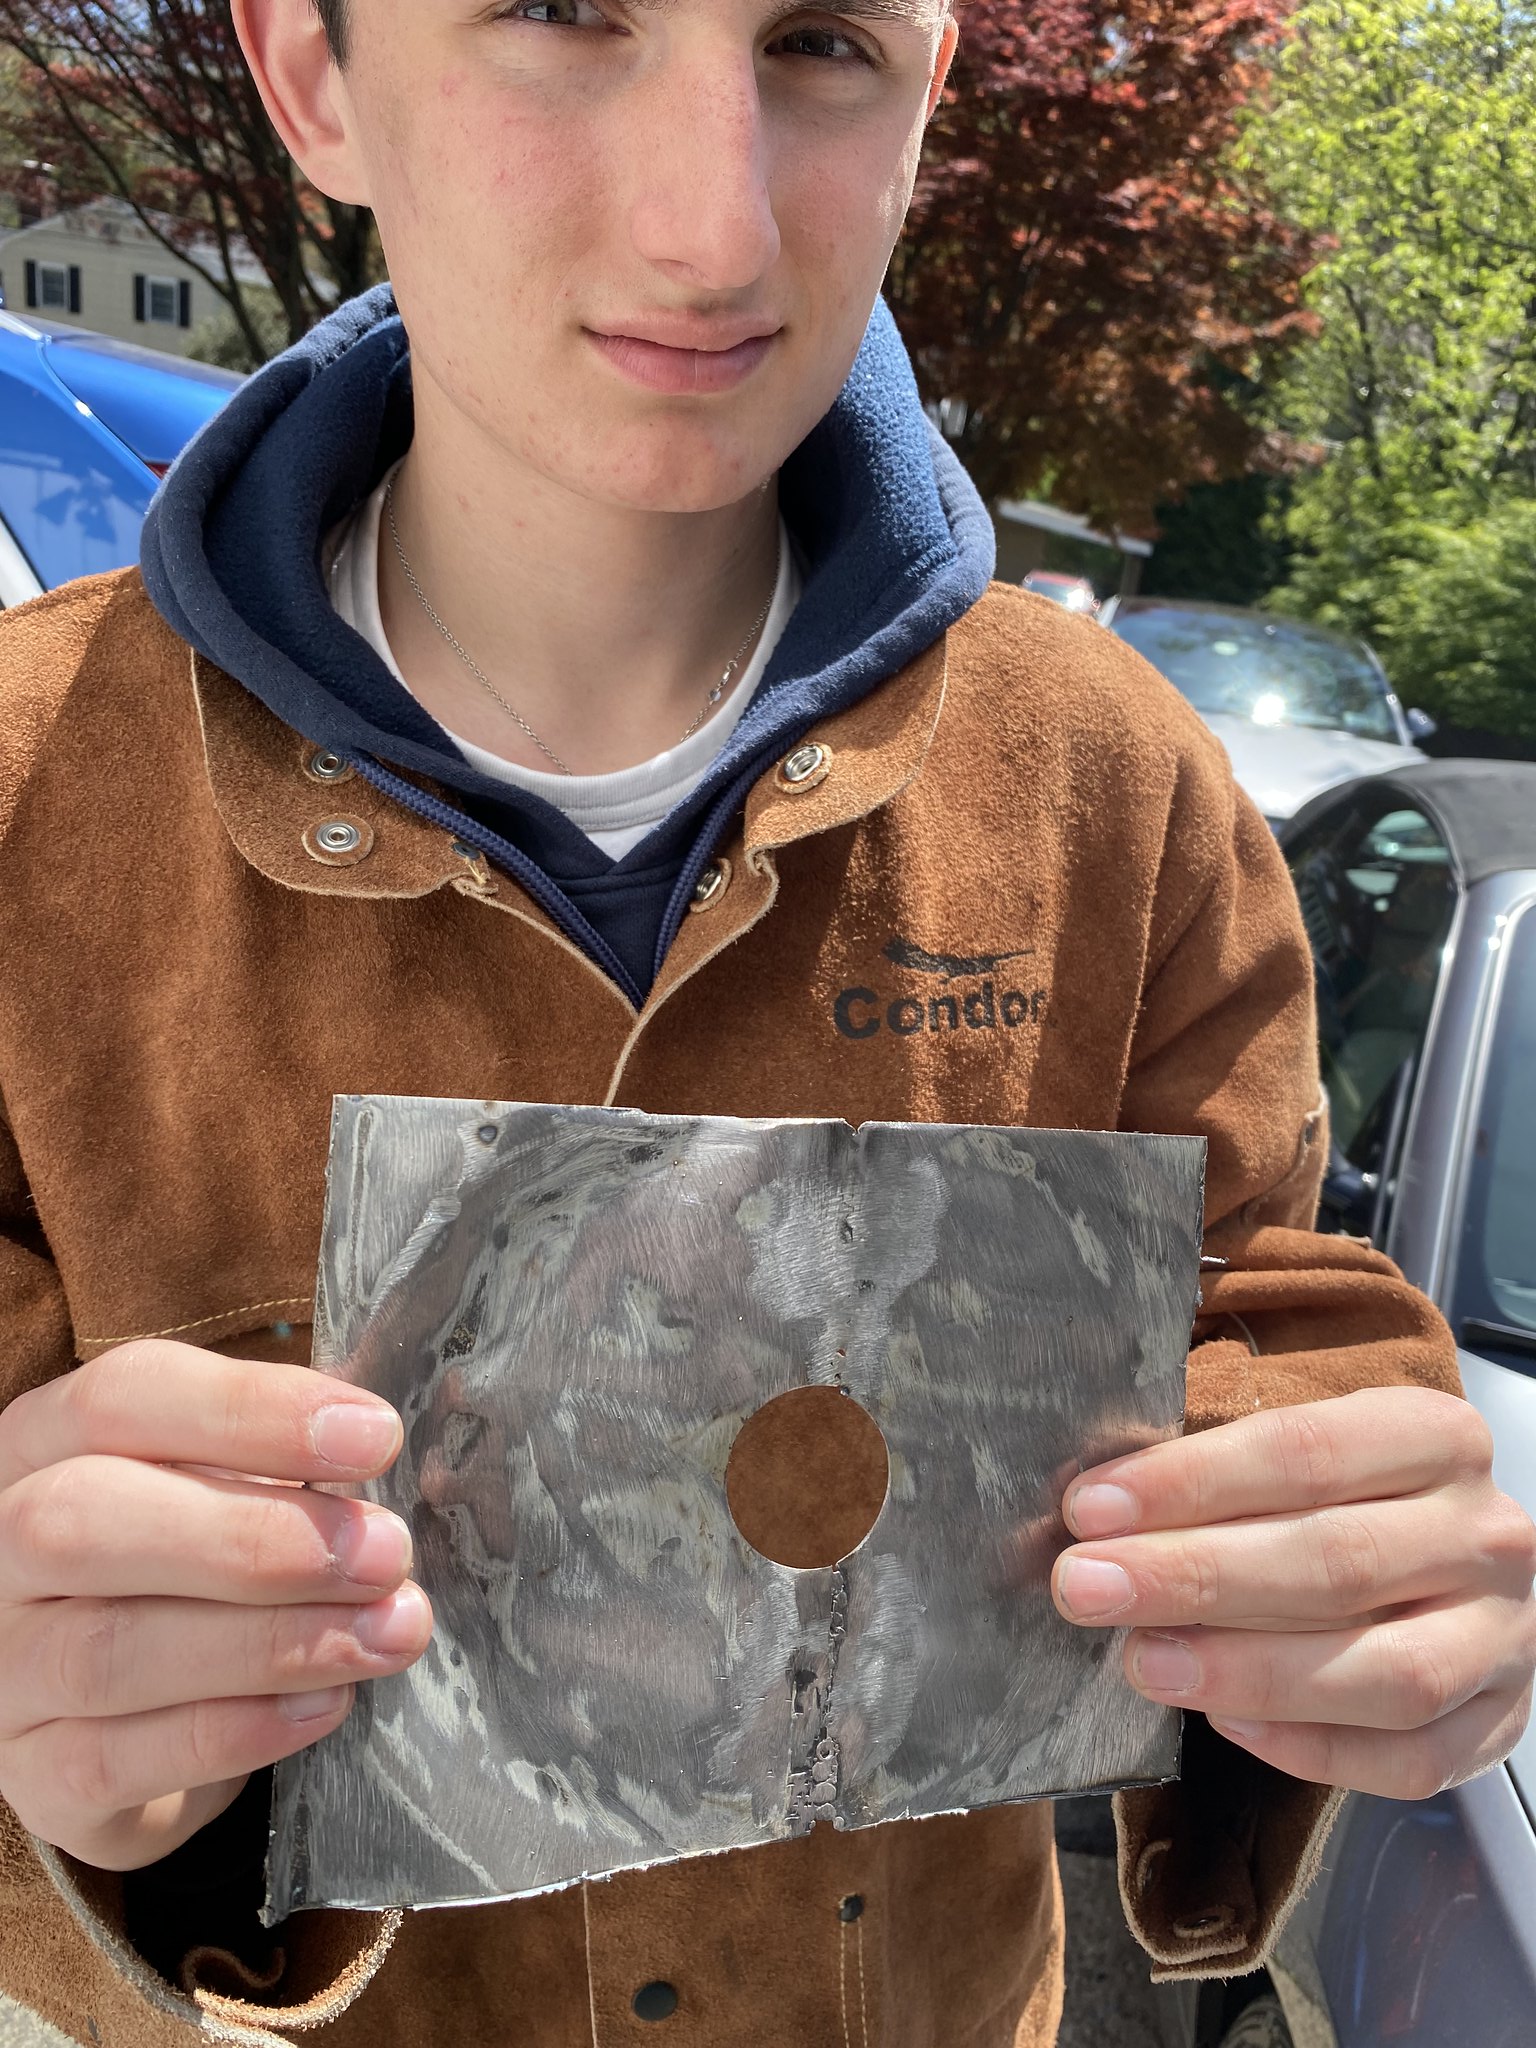
Very encouraged with our first day results. Not terribly surprised. We understand some of the principles from doing electronics soldering (heat management, material flow, work pace, surface prep). Here’s some pics of Brody’s first pass showing bead, penetration and then how it looks dressed. We got even better results as the day went on. A couple more days of practice and I think we are a go.
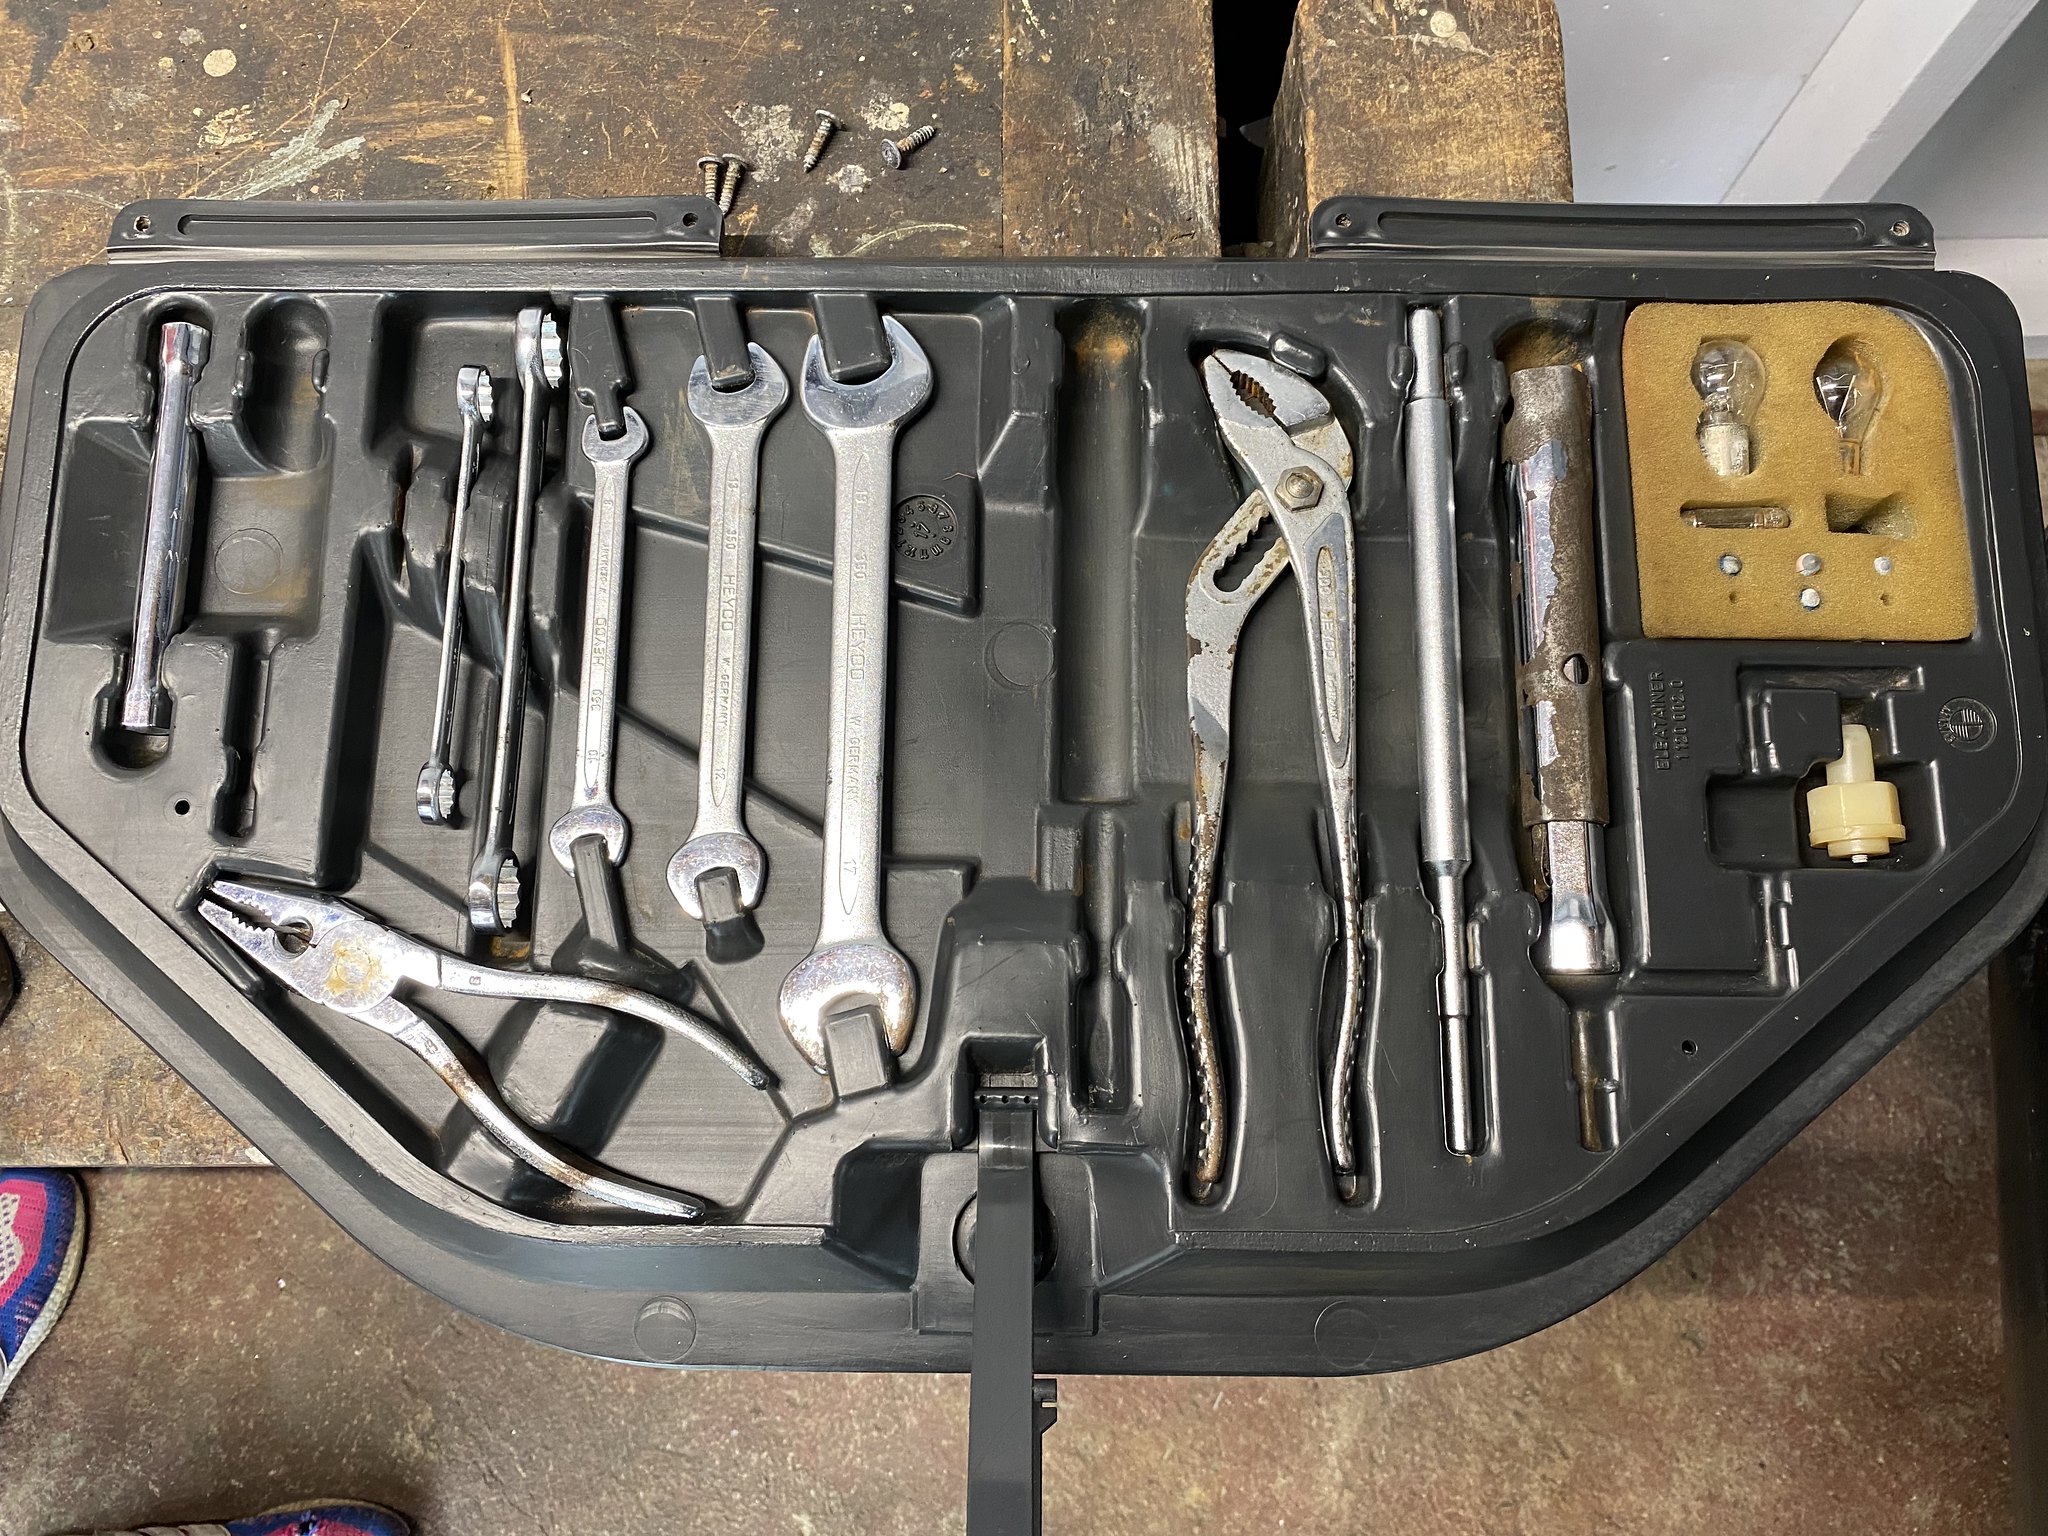
Last pic is the tools we recently purchased installed into our kit. We still need one wrench, 2 screw drivers, and the Allen key tool.


-
Fanclutchnut
- Posts: 144
- Joined: Jan 05, 2021 7:32 PM
- Location: Westchester Co NY
Re: Our M5 Journey Begins
Lots of stuff getting done. Fit and welded our first donor repair panel into the car. It came out pretty good. Next up was the rear tow point. Ground off all the undercoating and rust, 2 coats if POR15. Passenger rear door bottom was in rough shape but structurally sound. Ground off all the rust and 2 coats of por. Removed the weather strip for this job. Lastly, we cleaned up with exhaust with wire wheel and degreaser. Looks like it’s made of low grade stainless and might stay nice looking with periodic maintenance.
Still working on our welding skills.
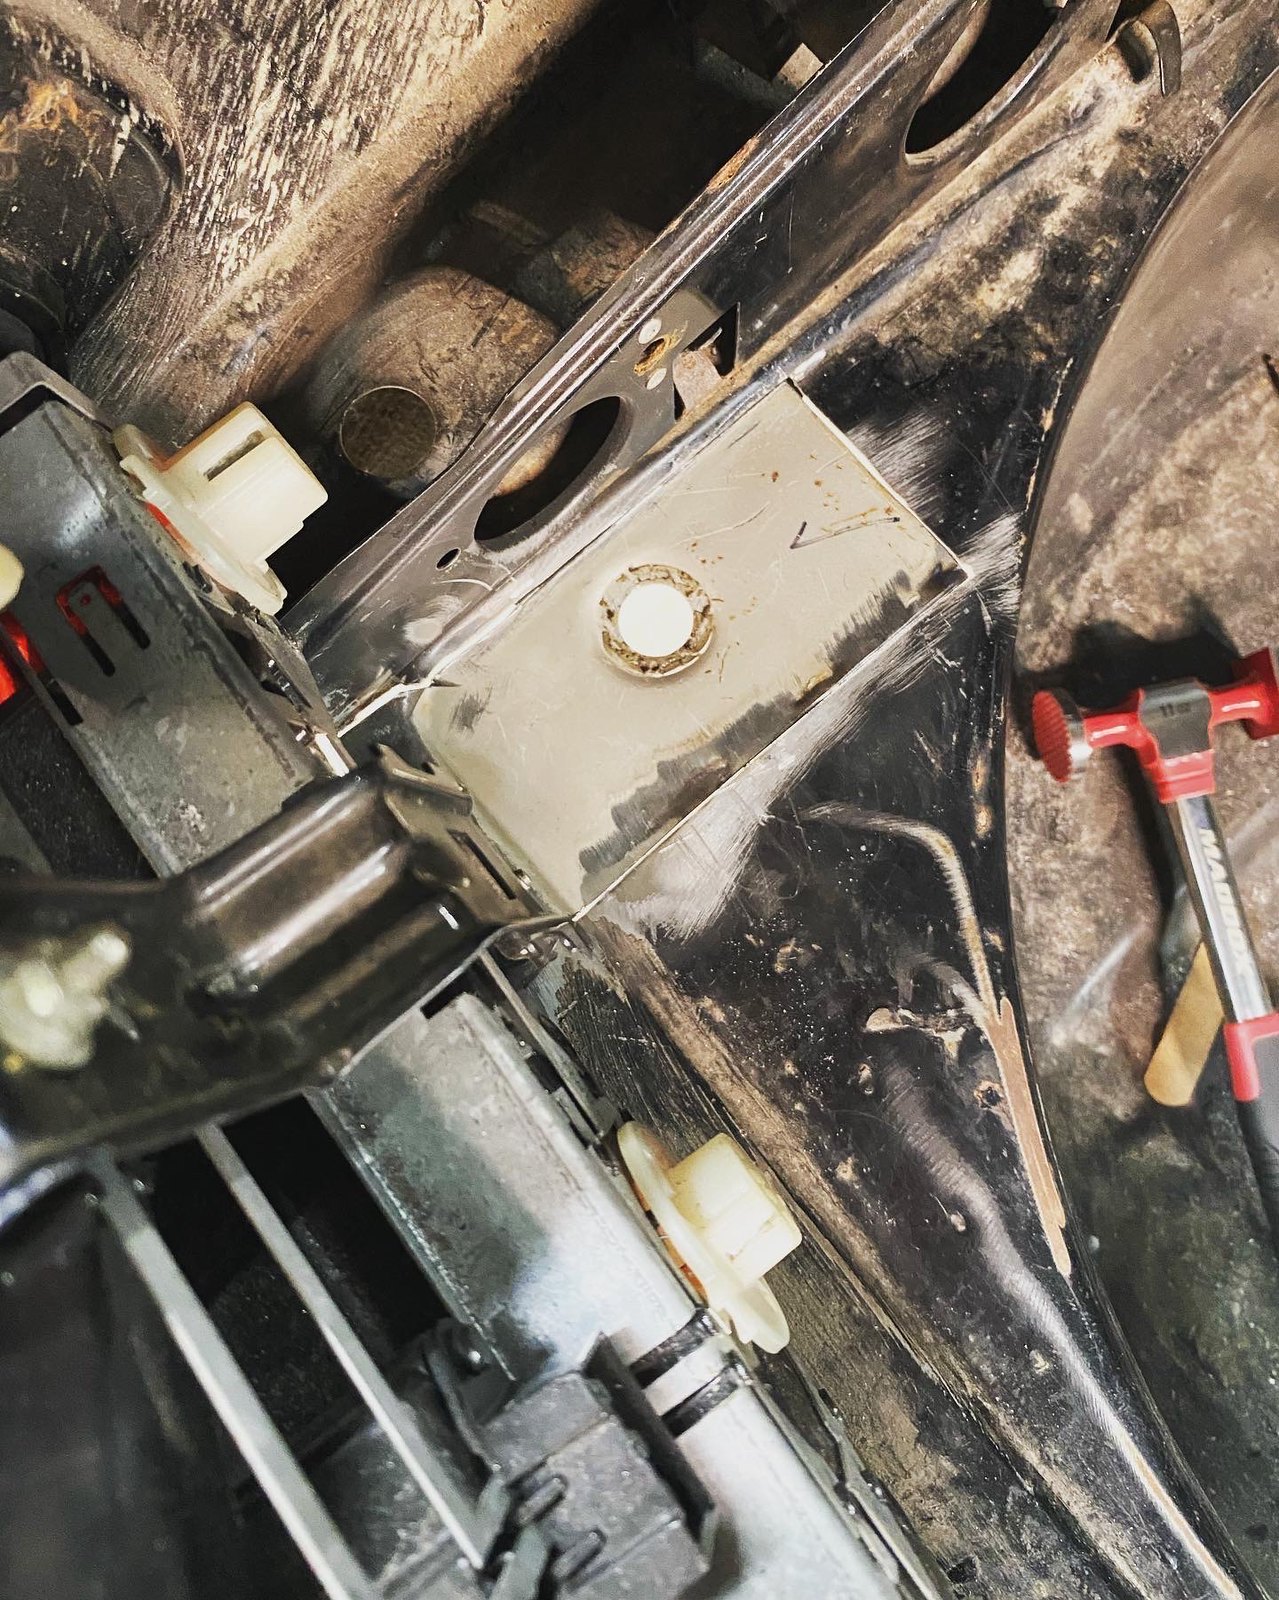


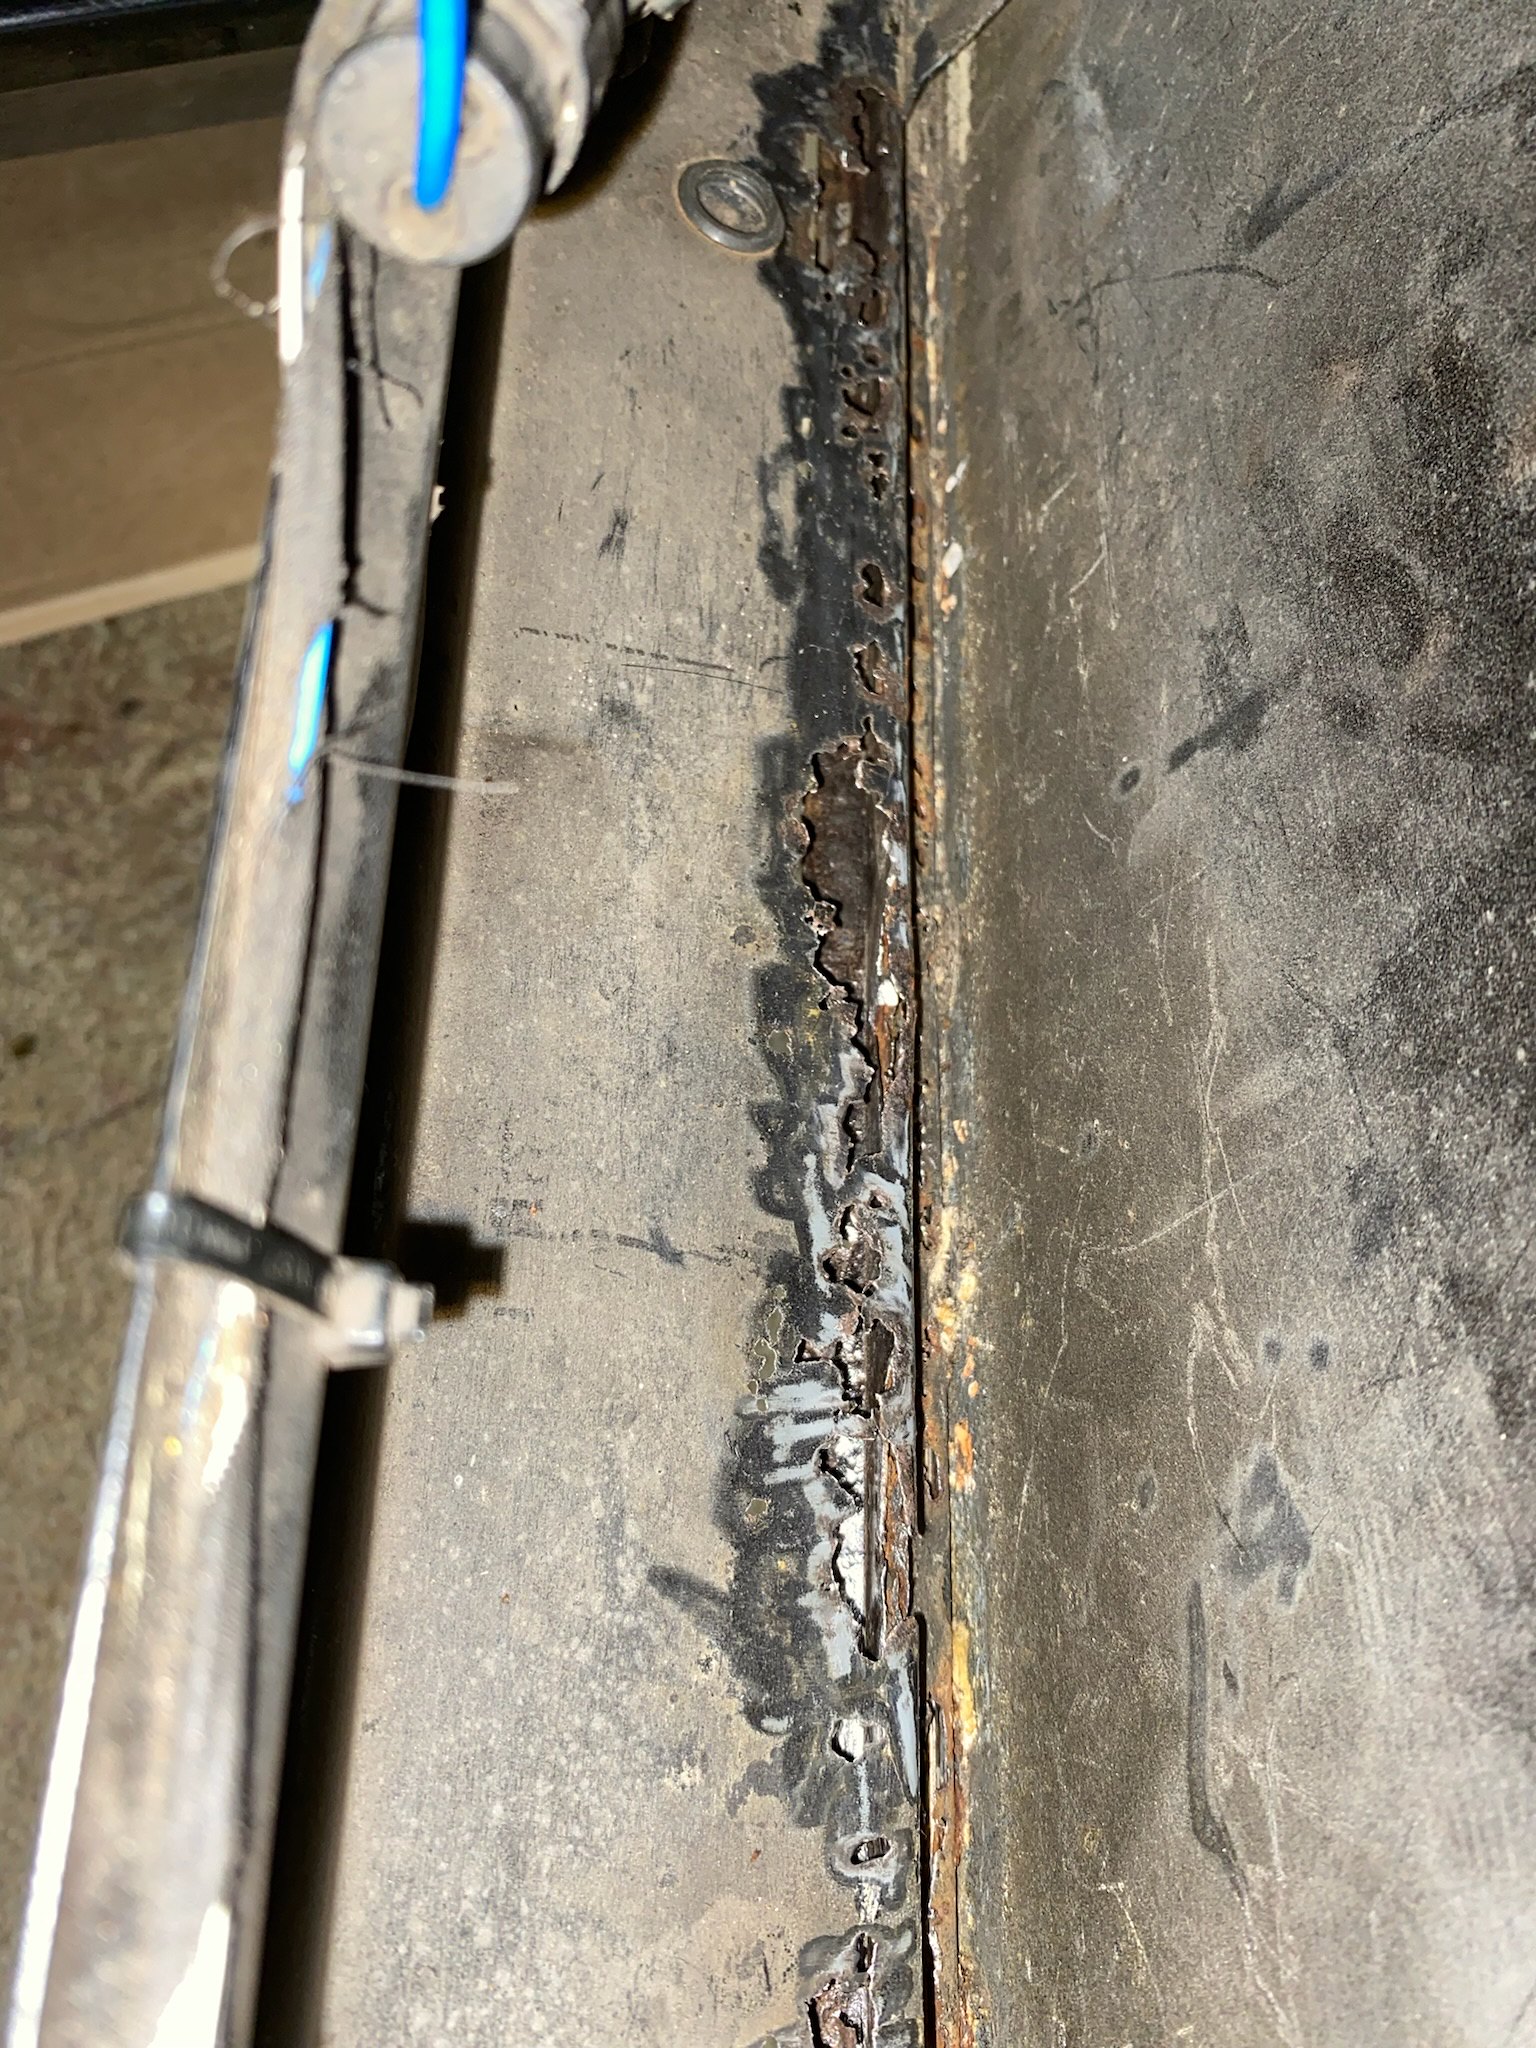


Still working on our welding skills.


-
Fanclutchnut
- Posts: 144
- Joined: Jan 05, 2021 7:32 PM
- Location: Westchester Co NY
Re: Our M5 Journey Begins
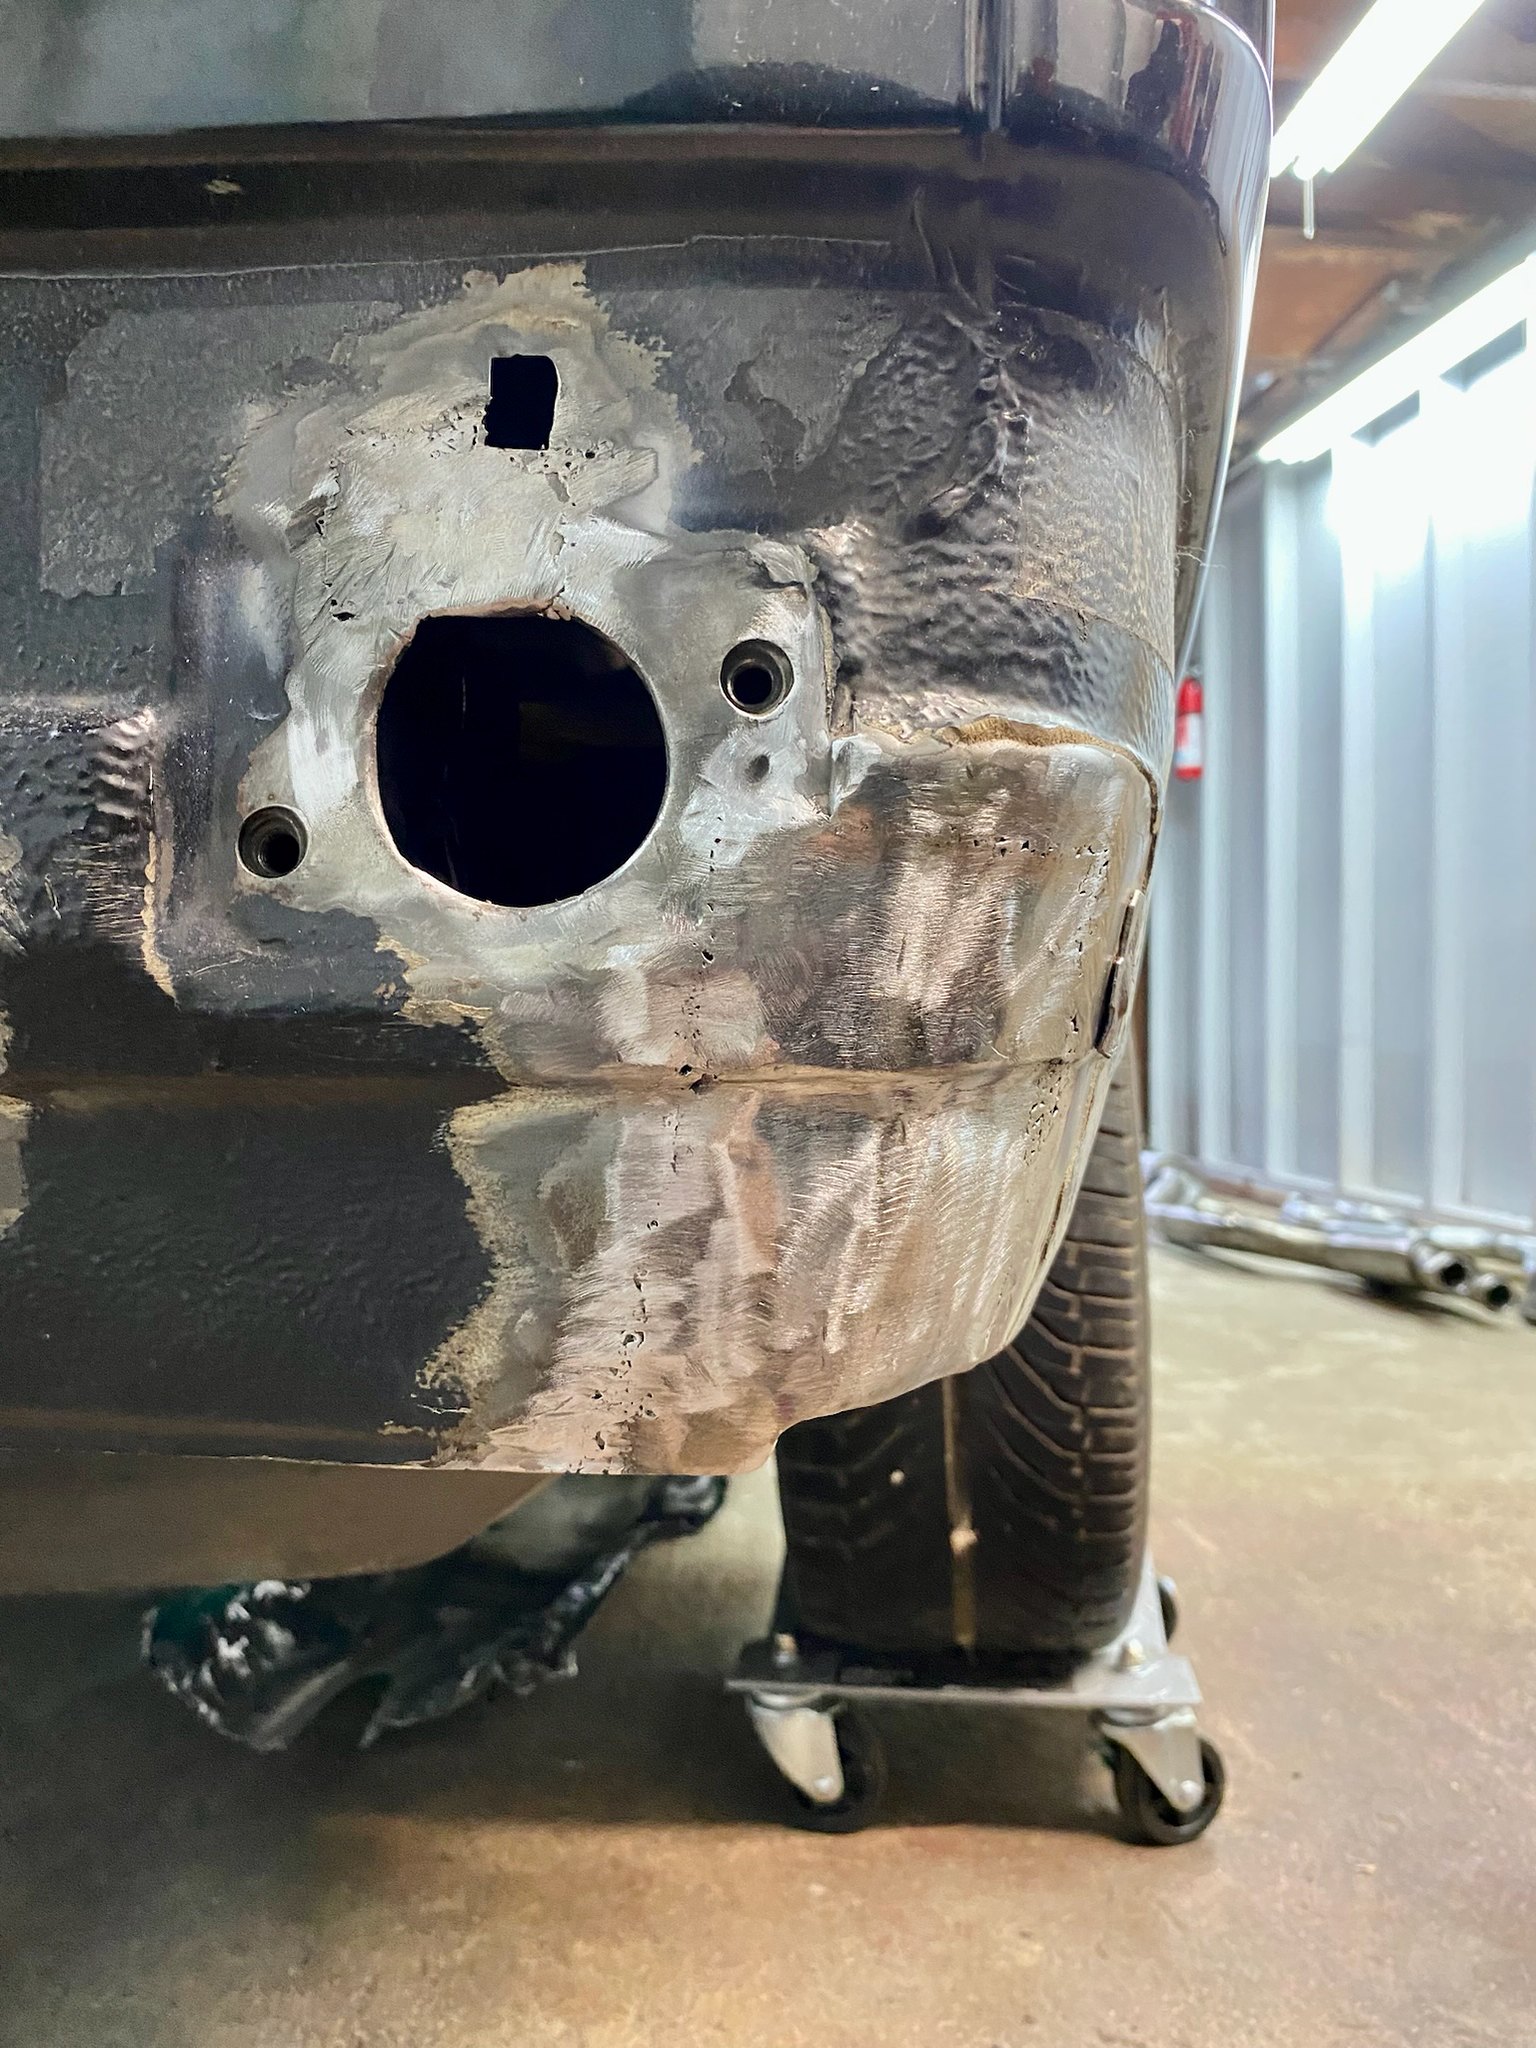
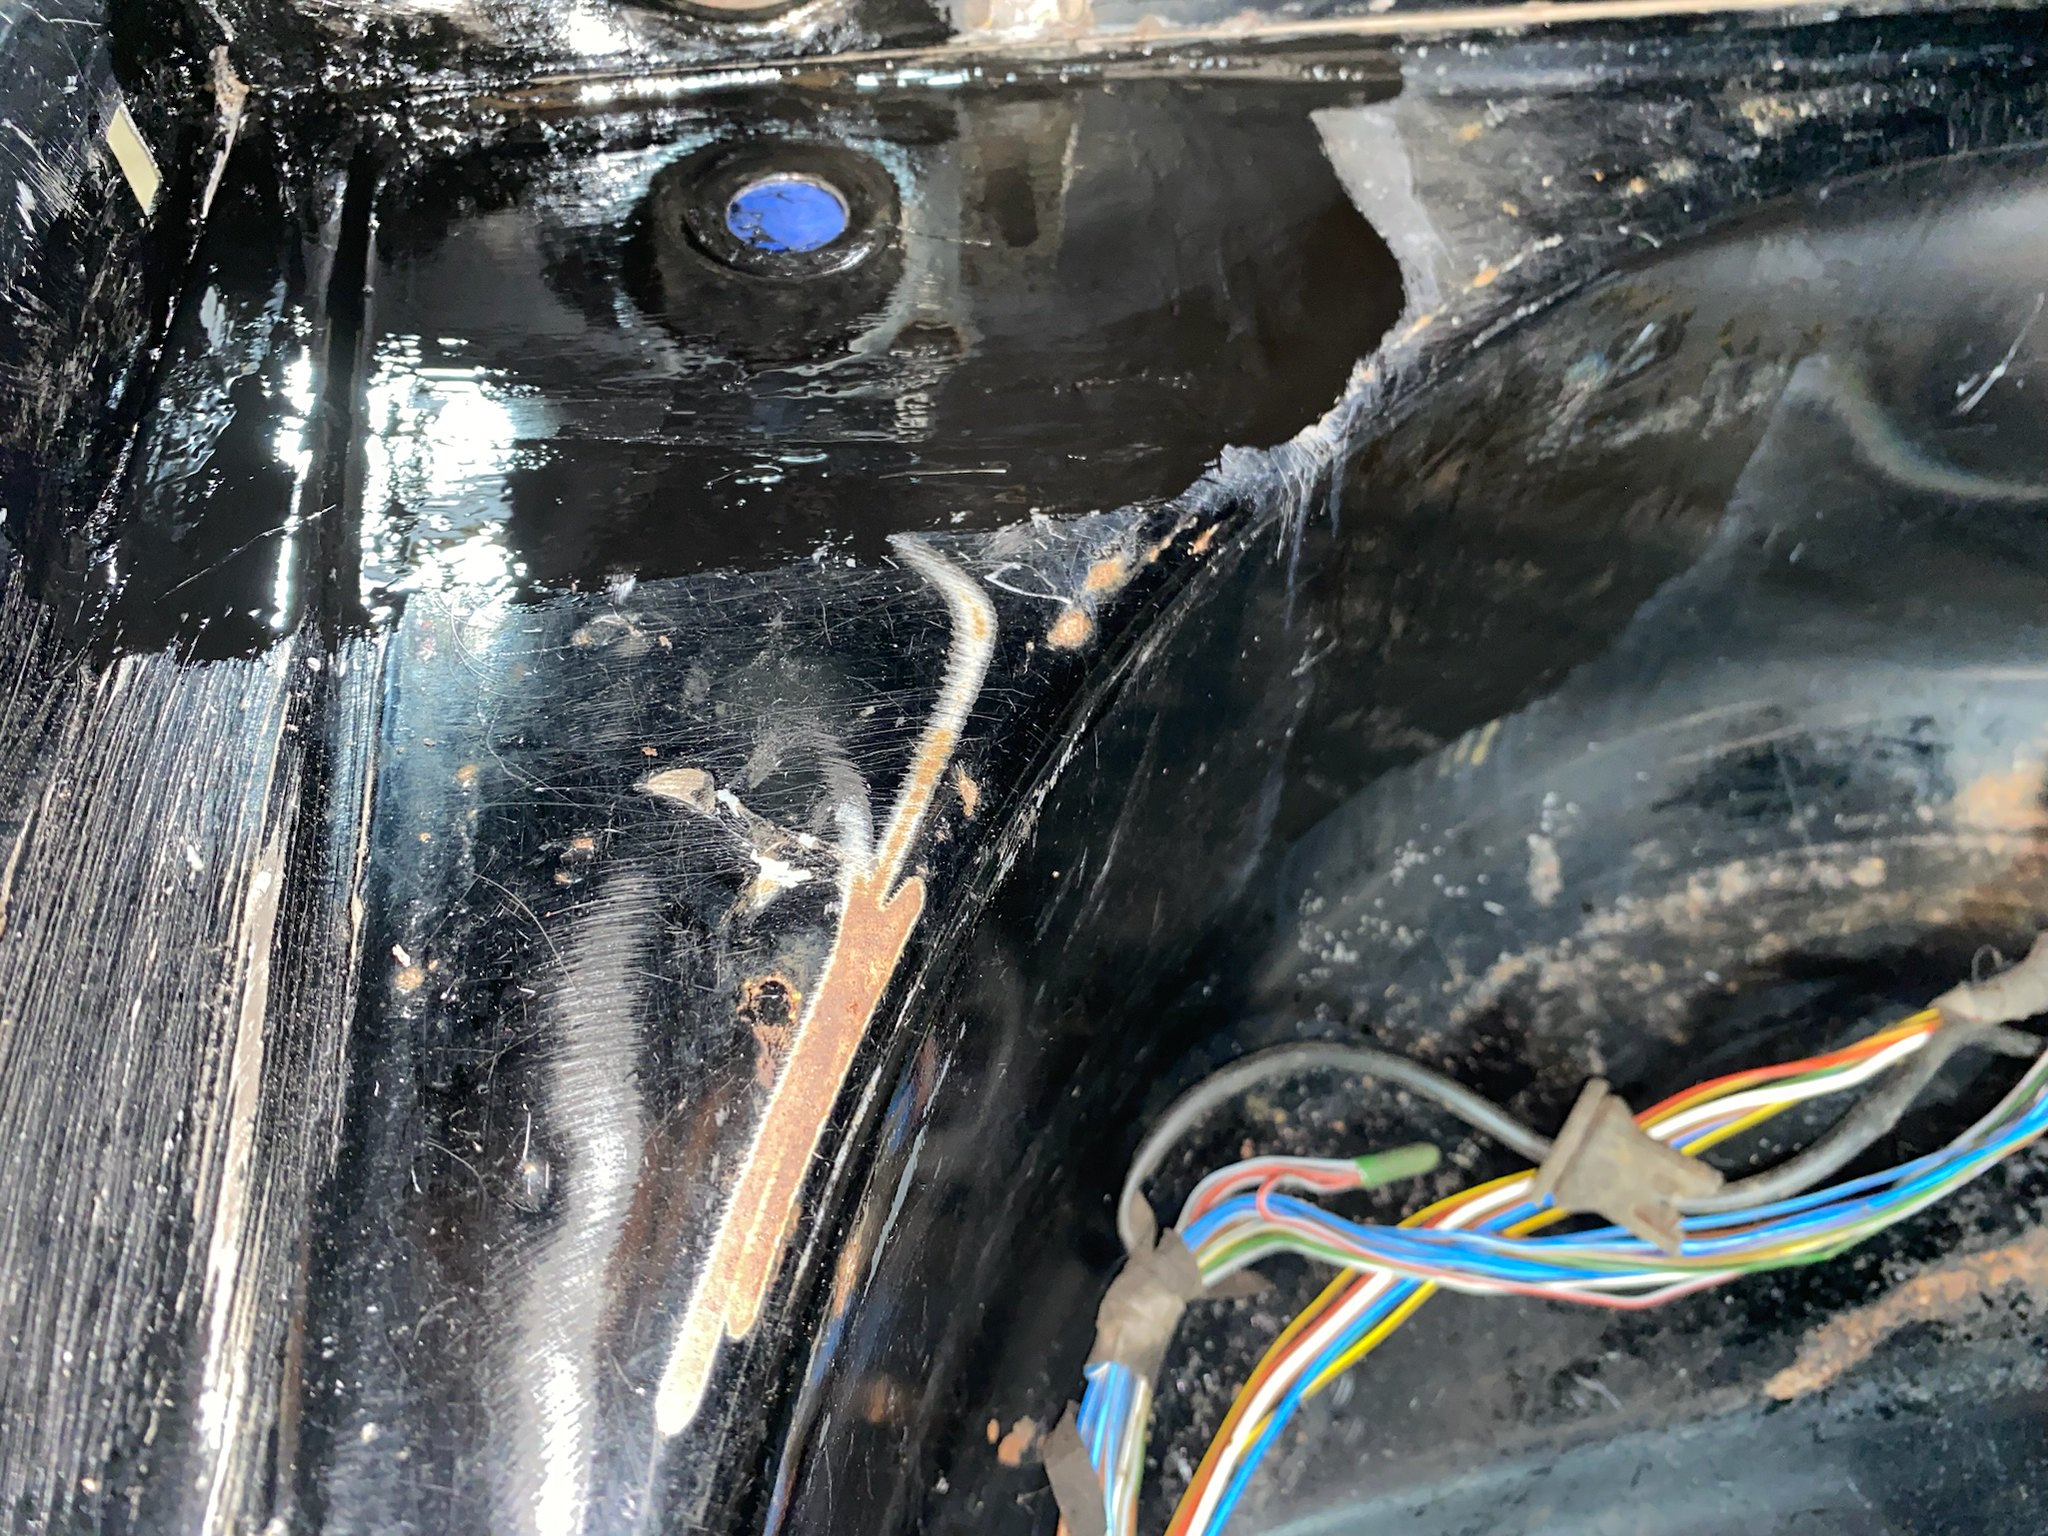
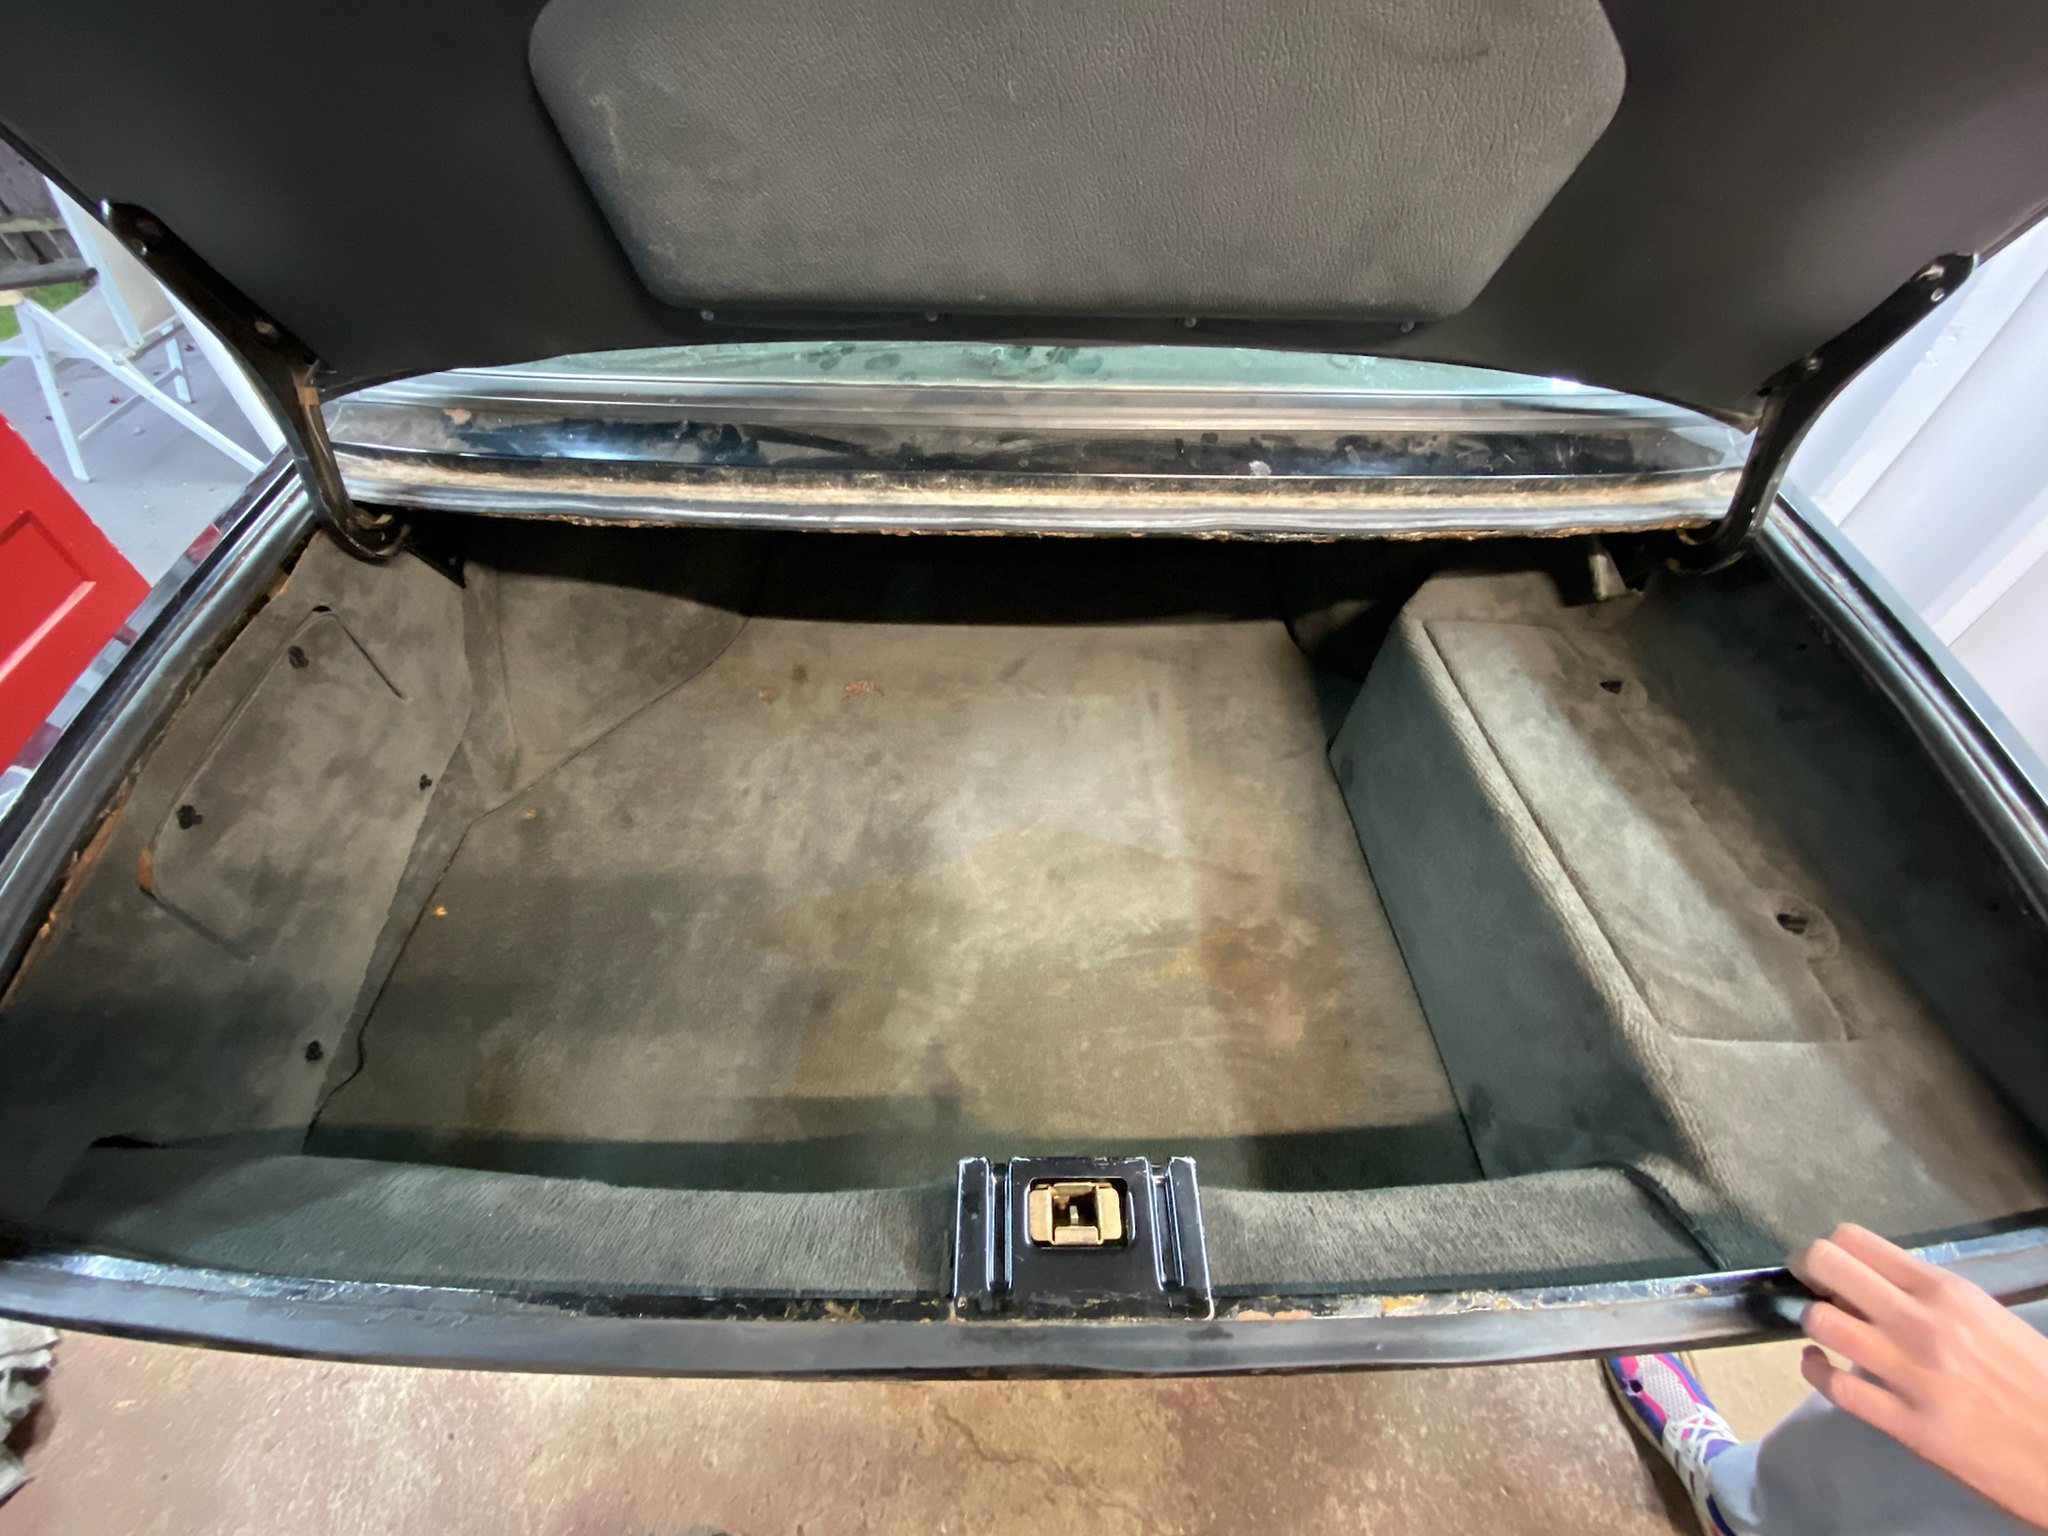
Update: rear valance, spare tire well, trunk floor and bumper mount repairs are complete. All welding and POR15 is complete. All that’s left to do is Stoneguard finish and undercoat which we will do all at once with the rockers. This was our first attempt at fabricating repair panels with curves and body lines. Using only hammers, a dolly, chisels and a bench vice we went at it. We are really happy with our results. There was lots of test fitting of the bumper to ensure fit and alignment. We did the POR15 3 step process which was difficult on the underside of the bumper support and valance. Next we have the trunk area a detail. The floor will need to be sanded and painted, but that will happen later. We fitted the trunk trim panels to see how it look and fortunately it was all there. We’ve started on the passenger side jack point rust and will move to the drivers side next. Lastly some artsy shots.







-
slownrusty
- Posts: 107
- Joined: Feb 09, 2019 11:15 AM
- Location: houston
Re: Our M5 Journey Begins
Awesome thread, save and documentation.
Very inspiring.
Very inspiring.
-
Fanclutchnut
- Posts: 144
- Joined: Jan 05, 2021 7:32 PM
- Location: Westchester Co NY
Re: Our M5 Journey Begins
Thank you! The encouragement helps!
-
Fanclutchnut
- Posts: 144
- Joined: Jan 05, 2021 7:32 PM
- Location: Westchester Co NY
Re: Our M5 Journey Begins
Happy 2nd Anniversary M5!
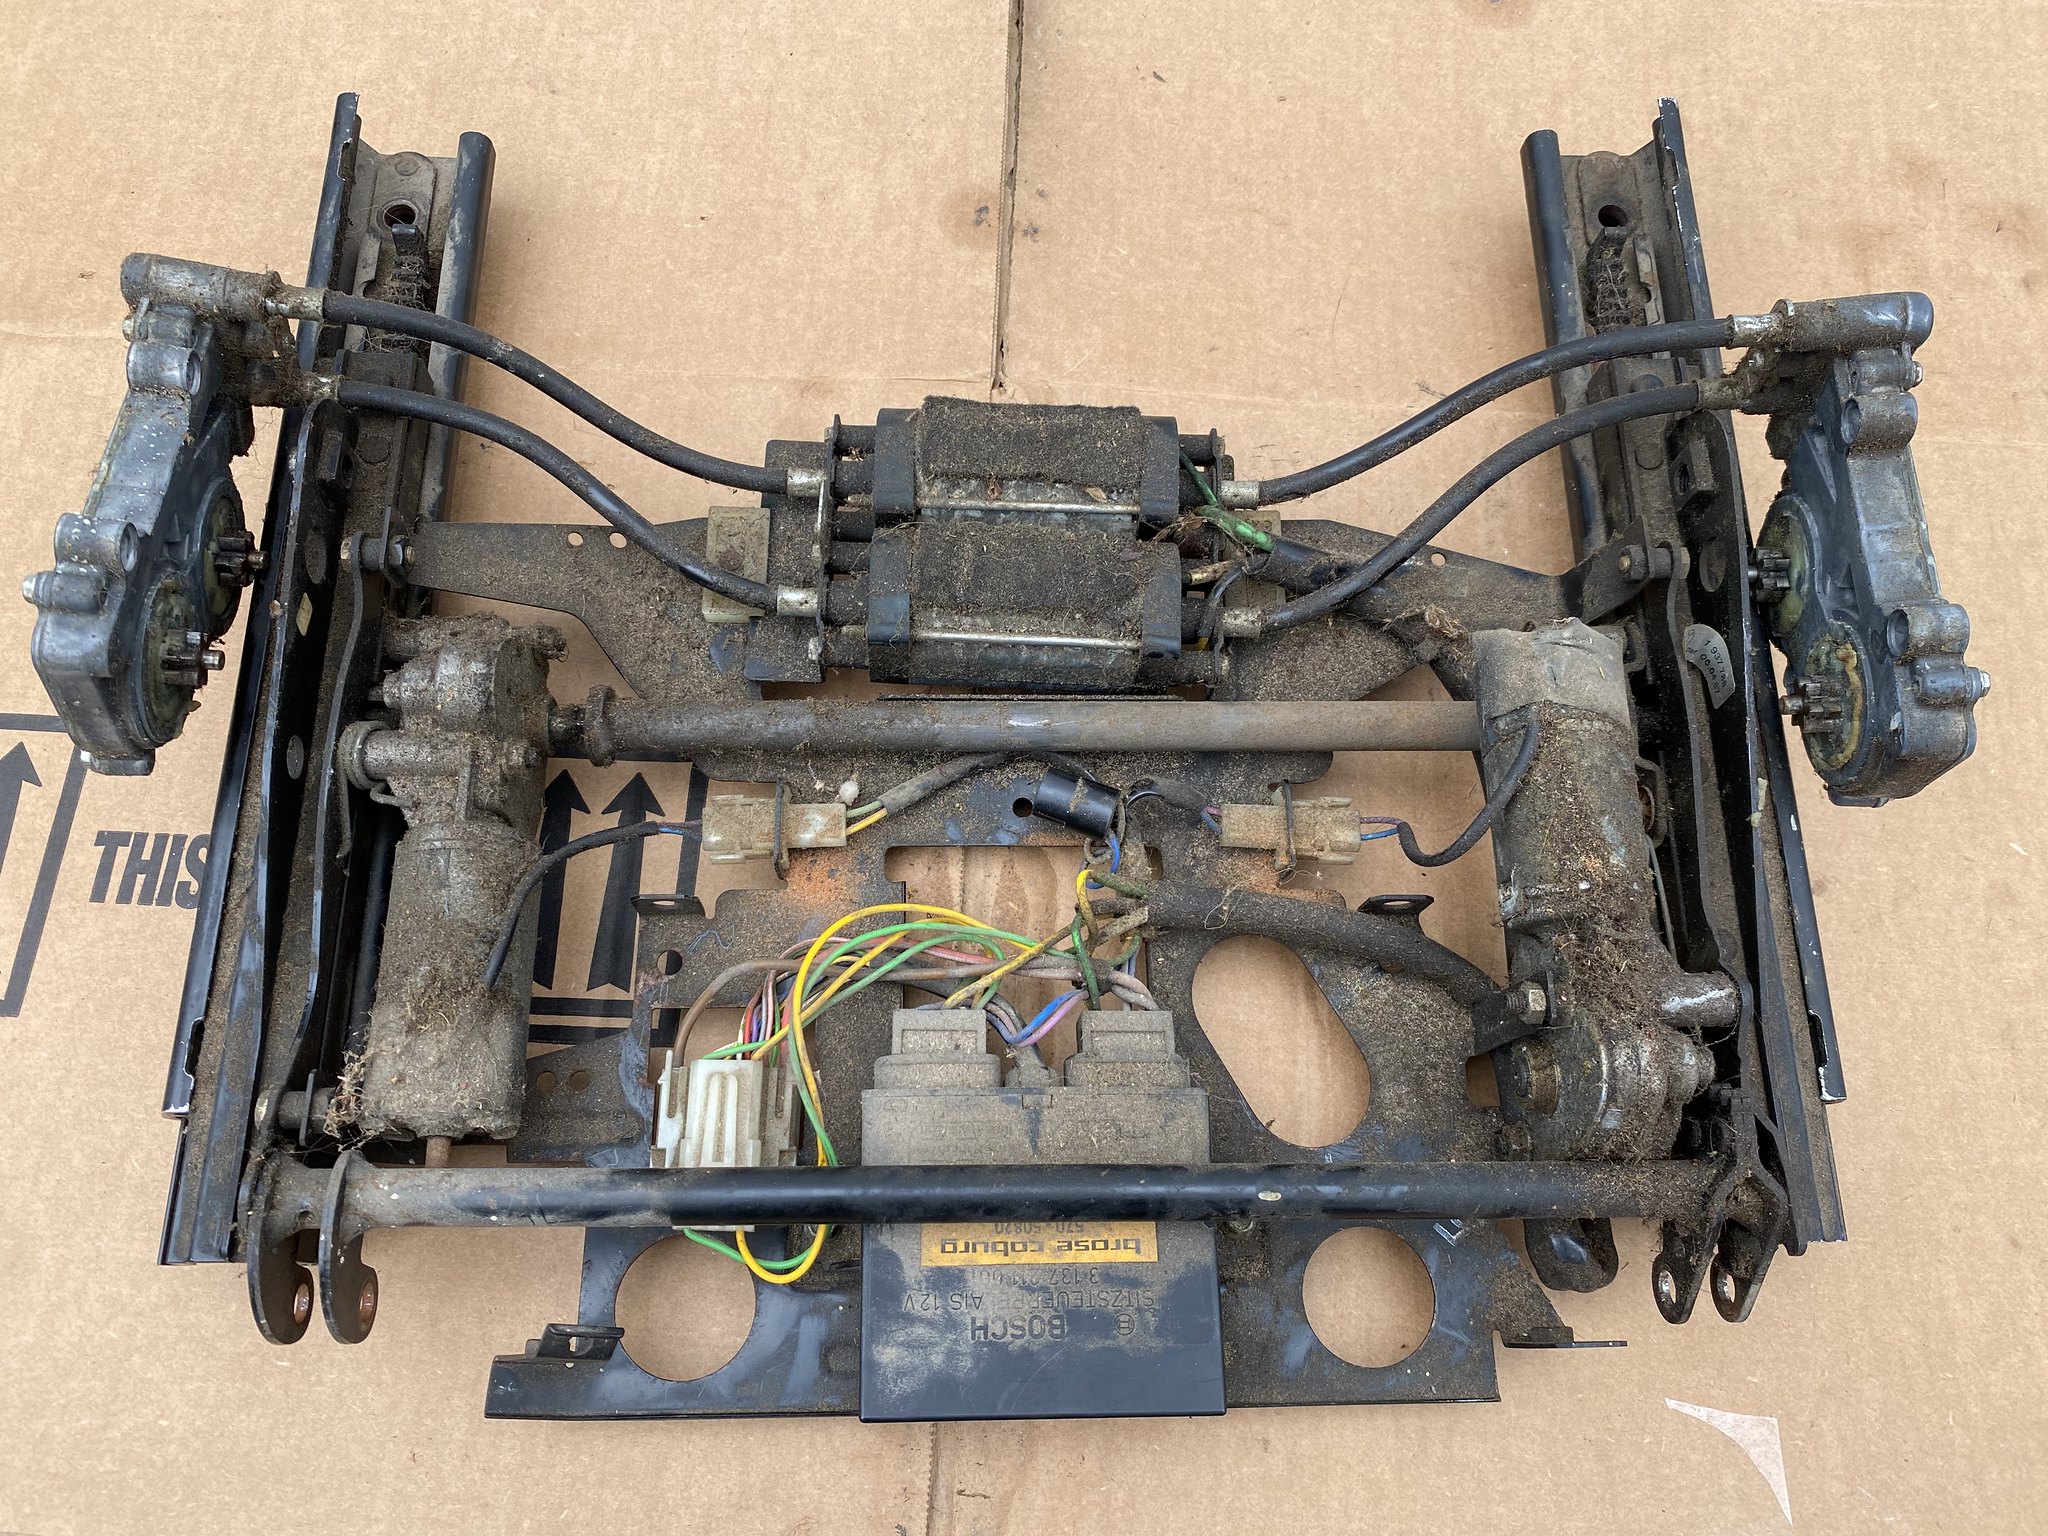
Been working on the interior while it’s cold out.
Front seat frames got a clean up and we’re working on the drivers side front leather repair. If anyone has a lead on a lower left bolster Natur Leather cover from either a drivers or passengers seat, please contact us!


Been working on the interior while it’s cold out.
Front seat frames got a clean up and we’re working on the drivers side front leather repair. If anyone has a lead on a lower left bolster Natur Leather cover from either a drivers or passengers seat, please contact us!


