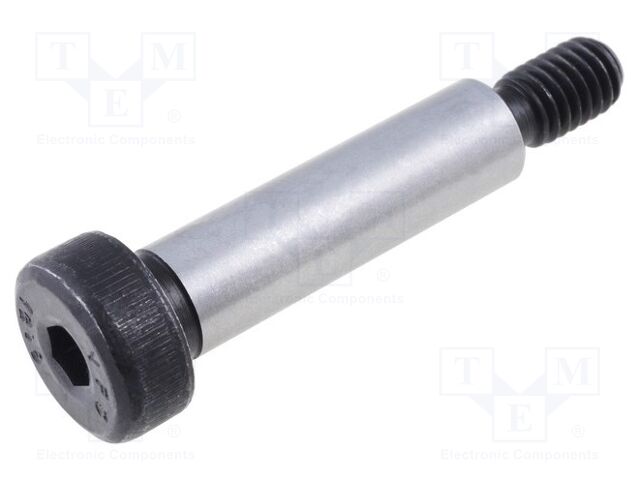
We call them shoulder bolts over here, not sure if that's the technical name. Mine has those, I'll try to snag a pic next time I'm under the car.szacsi72 wrote: Aug 13, 2024 7:03 AM Sure is. I made them double sided so that I could use precision/matched bolts - or whatever their proper name is. It's ISO 7379. Apart from the middle being 10mm-f9, meaning a really nice fit with BMW's selector joint, I can adjust the preload, to dial in slack and tension, or make up for wear over time.
szacsi72's 1984 Zinnoberrot 535i Build
Re: szacsi72's 1984 Zinnoberrot 535i Build
Re: szacsi72's 1984 Zinnoberrot 535i Build
Heyall,
Not a lot of updates lately, but here's a quick sumup.
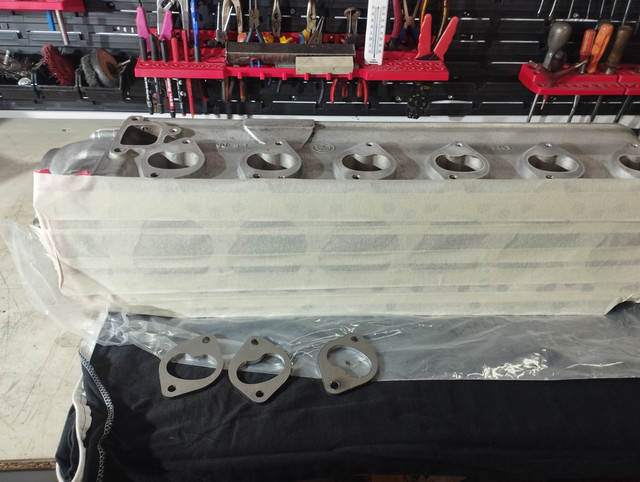
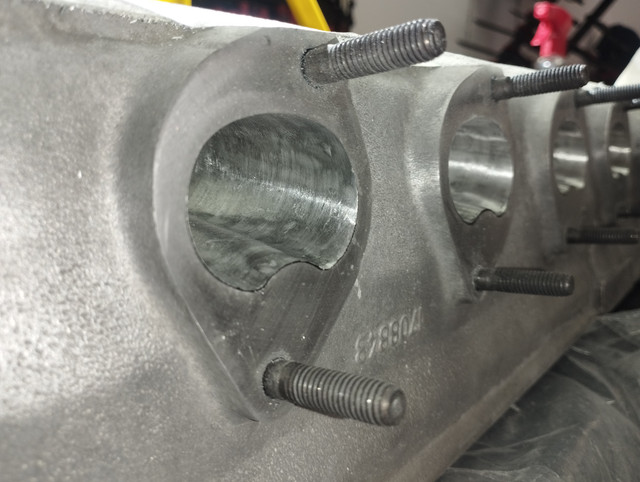
Not a lot of updates lately, but here's a quick sumup.
- I am not dead! That's a start. I started my new job in September, which is really nice, but it does requite a lot of work; at least in the beginning. I had to drive a lot to learn at a different location that is 3hrs away from me, sometimes 3-4 times a week. Glad that's over.. I'm going to Germany this weekend for 2 weeks, to learn from the german collegues as well. I'm excited for that, haven't been there for a while. Hopefully I'll see some nice old bavarians... I'll be in Stuttgart, I plan to visit the Porsche and Mercedes Museums in my free time.
- I bought a 200 E39 Touring 523i for a cheap daily/secondary car. It's quite nice, but needed/needs some work, so that took away from the E28.
- Since I'm going to Germany, I asked my friend to shop a couple of rarer items for me, that are cheaper there, including Cerakote. I'll be coating my pistons (and maybe some other components too) with C110 and C186.
- I still have not had the time to take the front cover to the machine shop...
- But I'm 80% trough with the head porting, I just need to buff it out a little (up to 180grit), and it's done.
- I took apart my suspension for measurements, it's going slowly, but I've at least decided on the springs rates: 6k front, 5.5k rear.


Re: szacsi72's 1984 Zinnoberrot 535i Build
This is off-topic, but I'm sure many of you guys are interested. The Porsche museum was awesome. It feels more of a car exhibition than a "proper" museum, but as a Porsche fan, I'm not complaining... 
I took almost 500 photos, here's a couple of them.
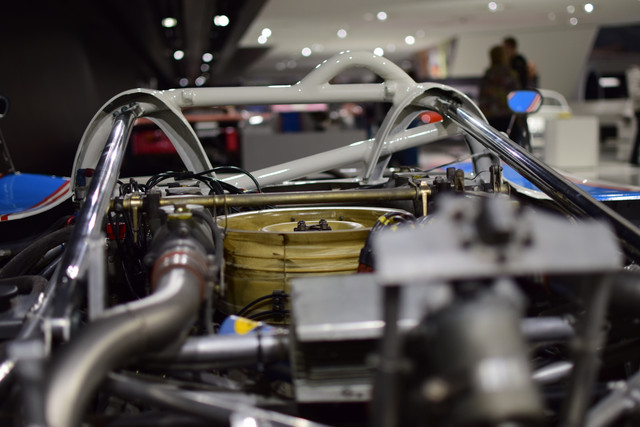
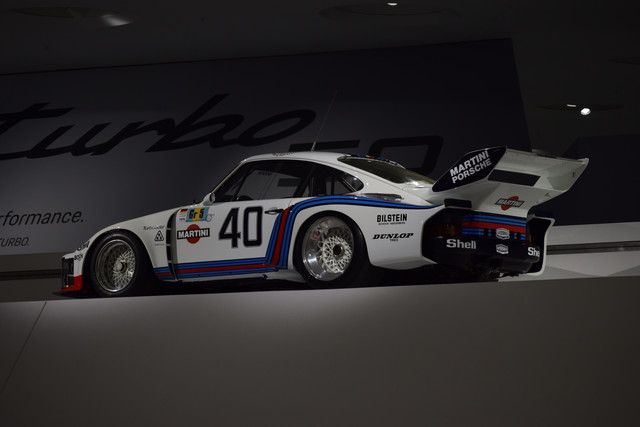
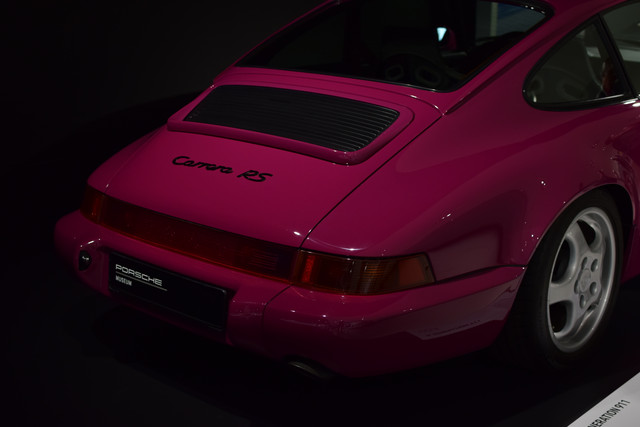
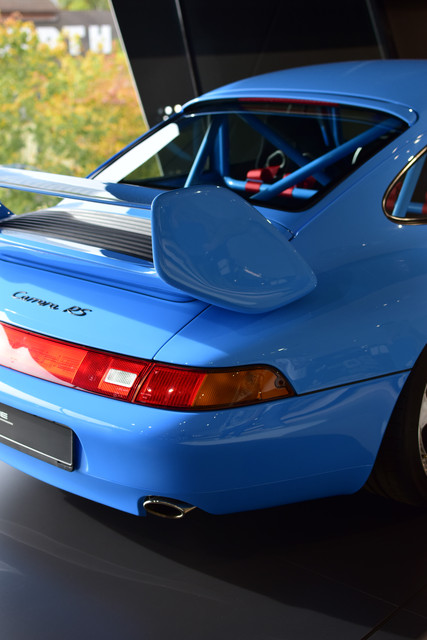
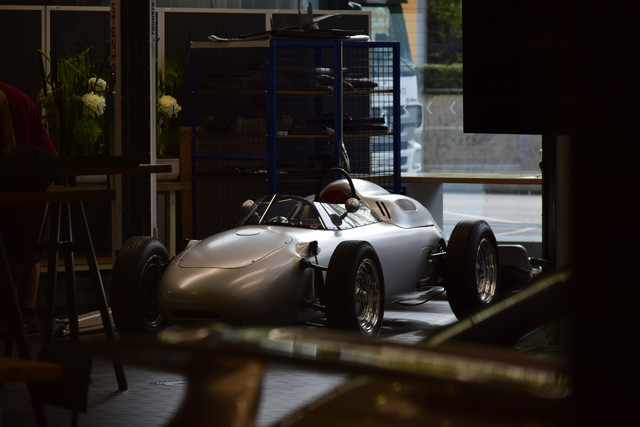
And yes - from now on, I'm using my DSLR instead of my potato phone camera to document the build
I took almost 500 photos, here's a couple of them.


And yes - from now on, I'm using my DSLR instead of my potato phone camera to document the build
Re: szacsi72's 1984 Zinnoberrot 535i Build
I need some help. Maybe someone out there has done cerakote already - but even if not, I'm eager to hear your opinion.
The question is simple: what should I cerakote?
Micro slick:
Coat the whole piston (apart from the top); coat only the skirt; coat the whole bottom part of the piston, apart from ringlands.
I've seen all the versions before, even on the original website. I'm leaning towards whole bottom part, but not the ringlands. That part of the piston should even really touch the cylinder walls, and I don't like the idea of having less space around the rings.
Anything else I could benefit from? I'm thinking of coating the camshaft bearing journals too. I was considering the rocker shafts, but the coating would come off anyway during install.
The thermal barrier part is easy; top of the pistons + the cylinder head (w/ valves).
Re: szacsi72's 1984 Zinnoberrot 535i Build
I'm about to do this on the B35 pistons that I'm about to install as part of the rebuild. Micro Slick is intended for the skirt area of the pistons and what I've seen is that they tend to leave about 1/8" gap from the edge of the piston. However, it doesn't cover the whole side of the piston pin area, just from slightly below it to the previously mentioned margin. Sideways I have no idea but I'm waiting for the aluminum oxide media to arrive to start blasting the pistons. The top of the piston gets covered with Piston Coat which is apparently a different product with different characteristics.
By the way, are you using oven or air cure? Air cure needs 5 days to cure prior to installation. I've only used air cure since I don't have an oven to cure the items I was handling.
By the way, are you using oven or air cure? Air cure needs 5 days to cure prior to installation. I've only used air cure since I don't have an oven to cure the items I was handling.
Re: szacsi72's 1984 Zinnoberrot 535i Build
Yes, I have bought air-cure, micro-slick and piston-coat, because I have plenty of time for the build and I figured it's easier.jimoreno wrote: Oct 21, 2024 3:23 PM I'm about to do this on the B35 pistons that I'm about to install as part of the rebuild. Micro Slick is intended for the skirt area of the pistons and what I've seen is that they tend to leave about 1/8" gap from the edge of the piston. However, it doesn't cover the whole side of the piston pin area, just from slightly below it to the previously mentioned margin. Sideways I have no idea but I'm waiting for the aluminum oxide media to arrive to start blasting the pistons. The top of the piston gets covered with Piston Coat which is apparently a different product with different characteristics.
By the way, are you using oven or air cure? Air cure needs 5 days to cure prior to installation. I've only used air cure since I don't have an oven to cure the items I was handling.
Re: szacsi72's 1984 Zinnoberrot 535i Build
I'm back from Germany for one week, so I continued the build with some minor progress.
First of all, I started cleaning and prepping the pistons.
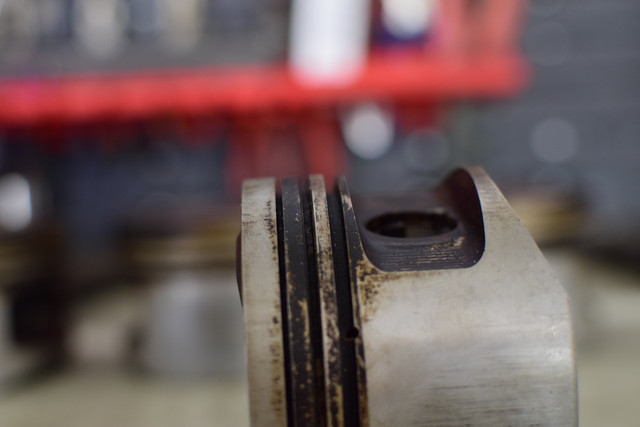
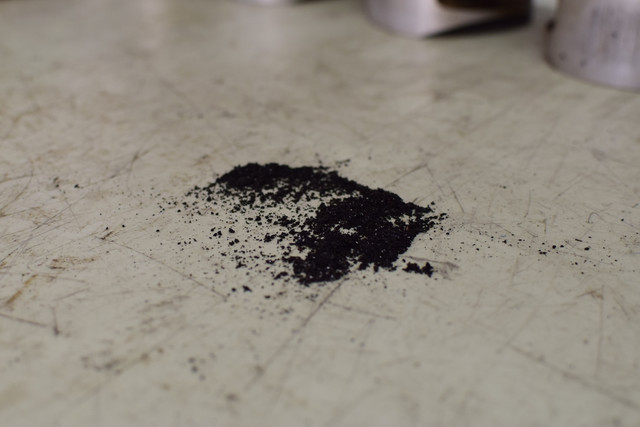
You can see just how much soot's on there - especially in the ring grooves. On multiple pistons, even some of the holes in the oil-ring-grooves were fully clogges. The attached picture is the soot from one piston.
I used old rings that I broke in half to start off...
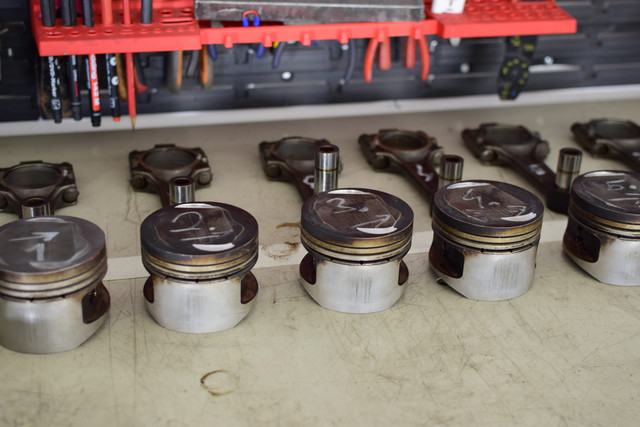
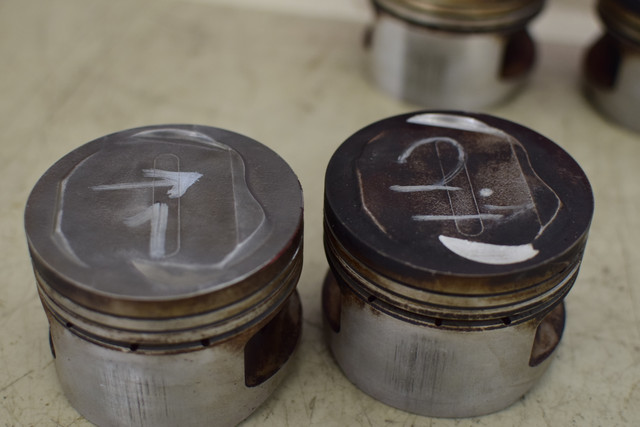
...then I used well-done's "hideg zsíroldó = cold degreaser" - a strong cleaning agent + elbow grease; smoothened the top of the pistons with a dremel tool, then finished off with the ultrasonic cleaner.
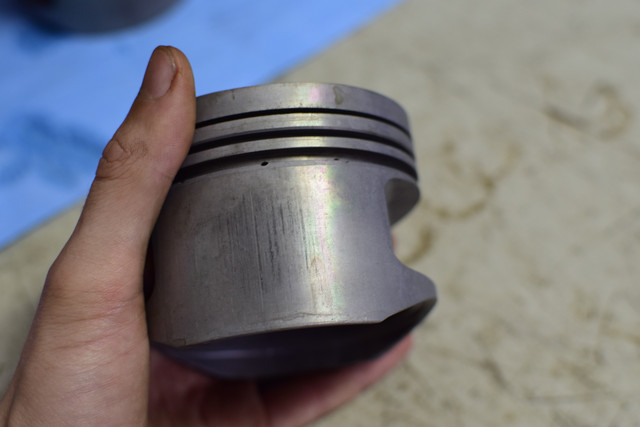
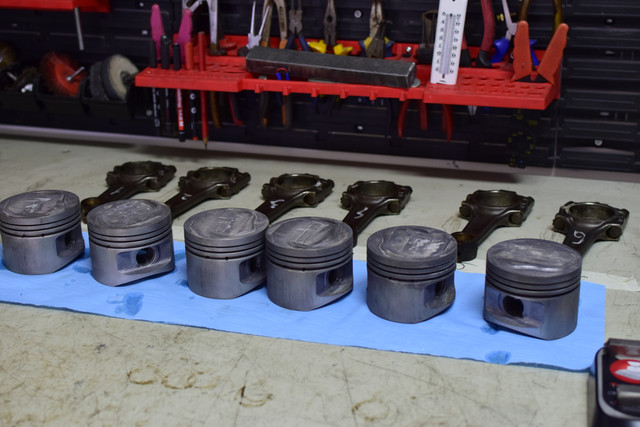
Off: does anyknow know what these random pieces of a different metal (steel?) are in the pistons? These are OEM Nural B35 E32 pistons.
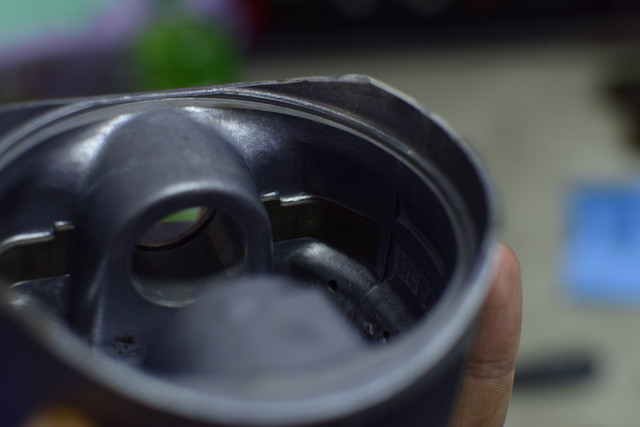
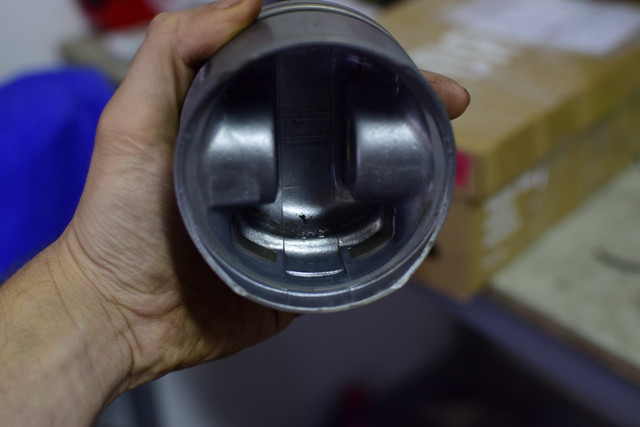
I gave the wrist pins a quick polish, just to clean them a bit; then weight matched them to +/-0.05grams by sanding the inside of them.
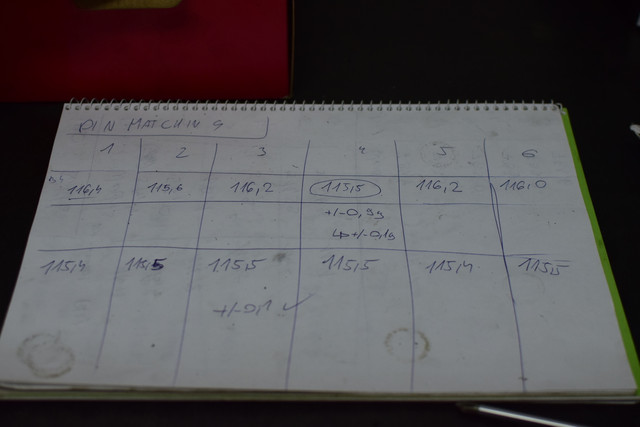
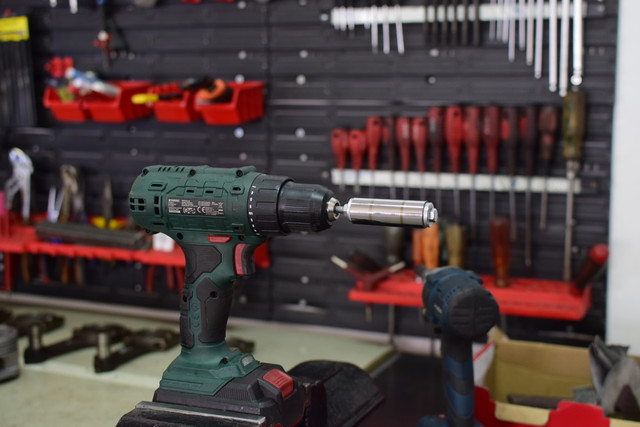
I also prepped the pistons for cerakote, and I cleaned my engine block thoroughly, now completely ready for assembly.
I sprayed the top of the pistons using cerakote C-186; they are drying right now.
I'll take some pictures on tuesday, we will see how it went.
I used a 1.4mm HVLP gun, because I did not want to buy another gun just for this.
Turned down the pressure to 25psi, full fan, and low material flow. It's was my first time ever with a gun, but it went really smoothly. The material is quite easy to apply. I apply one heavy, and one lighter coat. I preheated the pistons to 40C.
I'm headed back to Germany on wednesday for a final trip this year; once back, I'll move on to cerakote the skirts. While drying, I'll weight match the rods, then I can finally start the engine assembly.
I only have one camera (and only a potato phone):
If anyone is interested, what you like to see more?
Detailed pictures with comments, or a time-lapse of the build?
First of all, I started cleaning and prepping the pistons.
You can see just how much soot's on there - especially in the ring grooves. On multiple pistons, even some of the holes in the oil-ring-grooves were fully clogges. The attached picture is the soot from one piston.
I used old rings that I broke in half to start off...


...then I used well-done's "hideg zsíroldó = cold degreaser" - a strong cleaning agent + elbow grease; smoothened the top of the pistons with a dremel tool, then finished off with the ultrasonic cleaner.


Off: does anyknow know what these random pieces of a different metal (steel?) are in the pistons? These are OEM Nural B35 E32 pistons.


I gave the wrist pins a quick polish, just to clean them a bit; then weight matched them to +/-0.05grams by sanding the inside of them.


I also prepped the pistons for cerakote, and I cleaned my engine block thoroughly, now completely ready for assembly.
I sprayed the top of the pistons using cerakote C-186; they are drying right now.
I'll take some pictures on tuesday, we will see how it went.
I used a 1.4mm HVLP gun, because I did not want to buy another gun just for this.
Turned down the pressure to 25psi, full fan, and low material flow. It's was my first time ever with a gun, but it went really smoothly. The material is quite easy to apply. I apply one heavy, and one lighter coat. I preheated the pistons to 40C.
I'm headed back to Germany on wednesday for a final trip this year; once back, I'll move on to cerakote the skirts. While drying, I'll weight match the rods, then I can finally start the engine assembly.
I only have one camera (and only a potato phone):
If anyone is interested, what you like to see more?
Detailed pictures with comments, or a time-lapse of the build?
Re: szacsi72's 1984 Zinnoberrot 535i Build
What is it? It's reinforcing steel. I've seen it on lots of pistons. Where it is and how it makes it stronger I'm not sure, I missed that day in engineering class.szacsi72 wrote: Dec 01, 2024 2:12 PM
Off: does anyknow know what these random pieces of a different metal (steel?) are in the pistons? These are OEM Nural B35 E32 pistons.
Re: szacsi72's 1984 Zinnoberrot 535i Build
I normally work on 90s to 00s cars and I haven't seen this so far on any pistons.Mike W. wrote: Dec 01, 2024 11:09 PMWhat is it? It's reinforcing steel. I've seen it on lots of pistons. Where it is and how it makes it stronger I'm not sure, I missed that day in engineering class.szacsi72 wrote: Dec 01, 2024 2:12 PM
Off: does anyknow know what these random pieces of a different metal (steel?) are in the pistons? These are OEM Nural B35 E32 pistons.

It's interesting. One thing I can imagine is that it helps distribute a high contact pressure.. maybe.
Anyway,
Here's how the C-186 turned out:
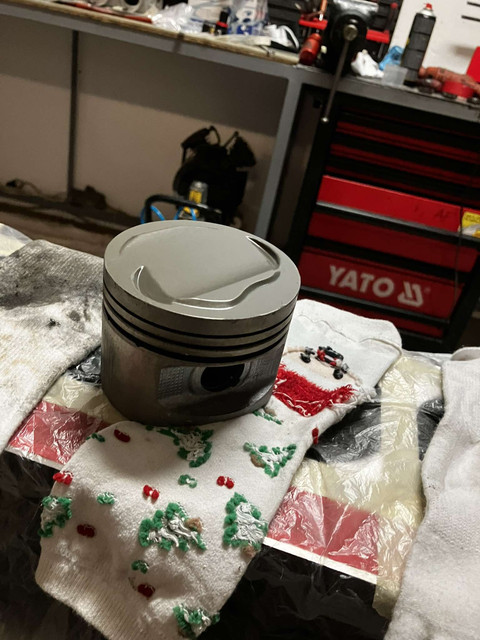
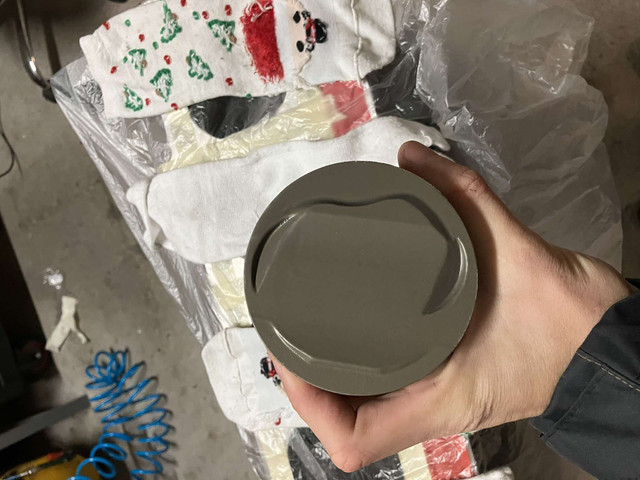
Turned out pretty nice, for what it is.. first time cerakoteing, first time using a spray gun.
I'll apply the micro slick once I'm home again.
I've decided to not apply it around the ringland, but I will apply it all the way around, not just the two skirts. Probably in un-measureable amounts, but it may help with sealing, reduce drag, but the most important factor in my head is that it could improve the oil film thickness' uniformity by wearing into shape.
Re: szacsi72's 1984 Zinnoberrot 535i Build
The E39 took quite some time from me, as I had to do a complete coolant system overhaul. But it's finally done, so I did some progress on the E28.
The cerakote-ing is ready. Working with the micro-slick is quite tricky... it's not like paint at all. The piston coat was easy, but this... it did not want to stick and ran... and then it turned out ok anyway? VERY weird material. The surface finish is not perfect but since this is a sacrificial, "wear into size" type of coating, I'm not too worried.


Also, I finally found a machinist who was able to mill the timing cover based on my measurements, and it fits PERFECTLY.


Up on my list, there's only a couple of stuff left.
#1: cerakote the cylinder head. This is already in preparation, I just have two valves left to clean, then I can spray the coating.
#2: weight match the rods
#3: weight match the pistons
After these are done, I can finally assemble the engine, top to bottom.
However I have a question for you regarding colours.
Here's what's sure: the engine block and lower timing cover will be/are painted jet black. The engine mounts, the transmission, the cylinder head, the sump and the upper timing cover will be either left raw, or painted flat silver. The intake manifold and the valve cover will be painted diamantschwarz metallic.
I'm not sure what to paint the:
-thermostat housing
-alternator
-water pump
-power steering pump
-starter motor
-alternator+PS pump console
What do you think?
I think a lot of black looks really good in a red engine bay, but I feel like last time I might have over-done it, and I'd like a more classic look this time, a bit more period correct.
Thanks!
Prep:


The cerakote-ing is ready. Working with the micro-slick is quite tricky... it's not like paint at all. The piston coat was easy, but this... it did not want to stick and ran... and then it turned out ok anyway? VERY weird material. The surface finish is not perfect but since this is a sacrificial, "wear into size" type of coating, I'm not too worried.


Also, I finally found a machinist who was able to mill the timing cover based on my measurements, and it fits PERFECTLY.


Up on my list, there's only a couple of stuff left.
#1: cerakote the cylinder head. This is already in preparation, I just have two valves left to clean, then I can spray the coating.
#2: weight match the rods
#3: weight match the pistons
After these are done, I can finally assemble the engine, top to bottom.
However I have a question for you regarding colours.
Here's what's sure: the engine block and lower timing cover will be/are painted jet black. The engine mounts, the transmission, the cylinder head, the sump and the upper timing cover will be either left raw, or painted flat silver. The intake manifold and the valve cover will be painted diamantschwarz metallic.
I'm not sure what to paint the:
-thermostat housing
-alternator
-water pump
-power steering pump
-starter motor
-alternator+PS pump console
What do you think?
I think a lot of black looks really good in a red engine bay, but I feel like last time I might have over-done it, and I'd like a more classic look this time, a bit more period correct.
Thanks!
Prep:


