Maytag: The Alpine '87 529i

Post your photos and videos here!
Post Reply
tig
Posts: 9297
Joined: Mar 18, 2013 6:25 PM
Location: Durango
Contact:

Post by tig »

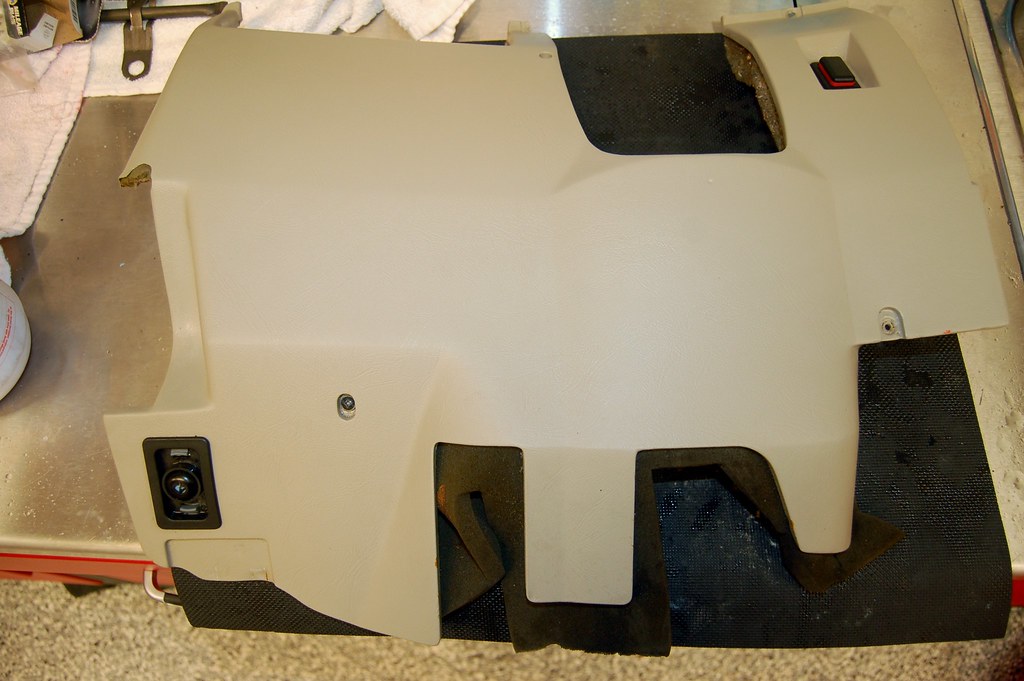
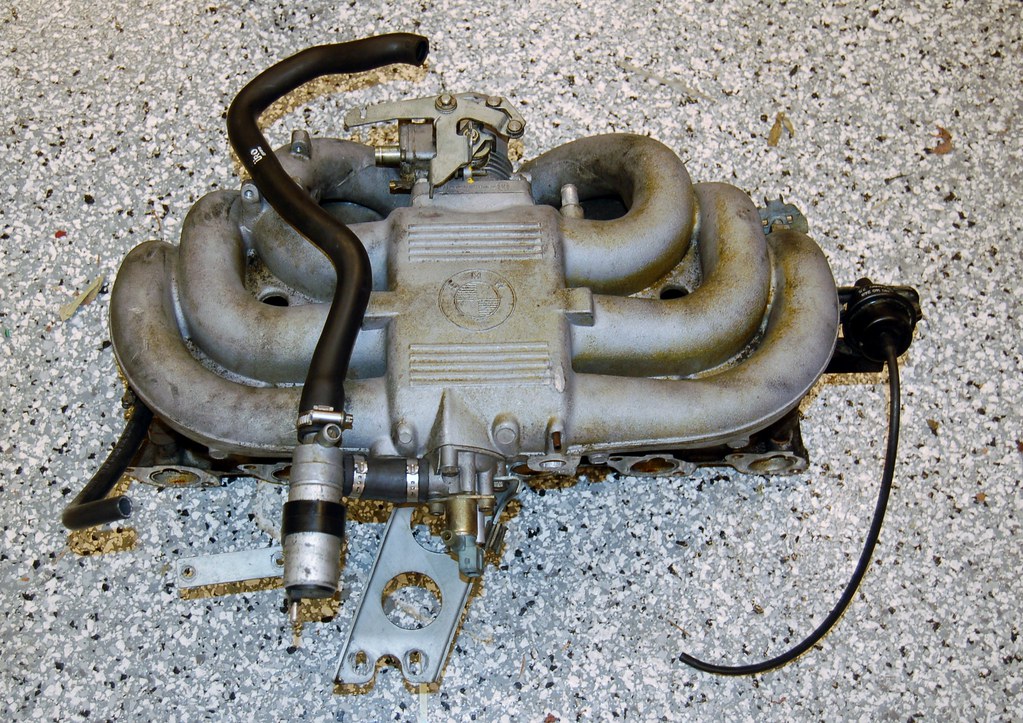
Always clean things before they go back in the car; even a $2000 beater...

Image

Image
waynet1
Posts: 2524
Joined: Jan 10, 2011 11:49 AM
Location: Port Charlotte,FL-Newport,RI

Post by waynet1 »

cek wrote:Aforementioned unplugged hole behind brake pedal into engine compartment.


I don't see where in RealOEM plugs for this might be...
Here.

http://realoem.com/bmw/partgrp.do?model ... g=51&fg=80
tig
Posts: 9297
Joined: Mar 18, 2013 6:25 PM
Location: Durango
Contact:

Post by tig »

waynet1 wrote:
cek wrote:Aforementioned unplugged hole behind brake pedal into engine compartment.


I don't see where in RealOEM plugs for this might be...
Here.

http://realoem.com/bmw/partgrp.do?model ... g=51&fg=80
Thanks!
tig
Posts: 9297
Joined: Mar 18, 2013 6:25 PM
Location: Durango
Contact:

Post by tig »

What the dickens is this contraption? I don't recall seeing this on Vlad.
Image

Another job done! :banana: New dog bones installed. That was surprisingly easy. Took 15 minutes.

Image

Image

Image

Didn't have a good pic of the diff before. Took some.
Image
tig
Posts: 9297
Joined: Mar 18, 2013 6:25 PM
Location: Durango
Contact:

Post by tig »

Well, here's a sucky conundrum.

Everytime I've driven the car since putting everything back together again, I've gotten 'low coolant'. Sure enough the overflow tank was low/empty.

The first 2 times I figured I had air in the system and it was just working its way out.

Then I got nervous.

There was no sign of a coolant leak; at least initially. I'm not blowing white smoke. It seemed like I had a slightly worse oil leak at the back of the engine than before, but no biggie.

Then I noticed that oil at the back of the engine was coolant, not oil.

Turns out when I re-installed the hoses on the heater control valve, the ends gave up the ghost and are now leaking. At higher RPM it squirts out, which explains why there was so little at idle/in the driveway. Maybe I tightened the clamps down too much?

The right thing to do is to replace the hoses that connect to the heater control valve. That looks like a bitch job. One goes to the back of the block! The other to the bottom connector for the heater core.

Suggestions for approaching this? How the hell do you reach the hose connection at the back of the engine?!?!?
Kyle in NO
Posts: 17638
Joined: Feb 12, 2006 12:00 PM
Location: Nasty Orleans------> Batten-Rooehjch------>More Souther LA

Post by Kyle in NO »

The one at the back of the cylinder head isn't bad. A long thin flathead screwdriver usually works fine.
tig
Posts: 9297
Joined: Mar 18, 2013 6:25 PM
Location: Durango
Contact:

Post by tig »

Kyle in NO wrote:The one at the back of the cylinder head isn't bad. A long thin flathead screwdriver usually works fine.
That seems like it will work for getting the old one off. I can see the head of the nut on the clamp and see that I can get to it.

However, getting a new hose on (assuming it is slightly undersized, which might be a bad assumption if I order OEM, which I have done).
tig
Posts: 9297
Joined: Mar 18, 2013 6:25 PM
Location: Durango
Contact:

Post by tig »

Haven't ordered from Blunt before. For the hoses I decided it would be worth a try. The 3 hoses for the heater control valve and return to the thermostat should be here tomorrow.

The space between the firewall and the head on a m20b27 is WAY tighter than on a m30b34.

I am not looking forward to this job.
tig
Posts: 9297
Joined: Mar 18, 2013 6:25 PM
Location: Durango
Contact:

Post by tig »

Review:
  • New timing belt (done)
  • New water pump (done)
  • Newish spark plugs (when I baselined Vlad, the plugs I pulled out were basically new; I used those).
  • Cleaned injectors (done)
  • Soda blasted valve cover (done)
  • New radiator hoses (done)
  • Cleaned up thermostat and ICV wiring (done)
  • Cleaned throttle (done)
  • R&R'd heater fan (done)
  • R&R'd heater control valve (new solenoid kit) (done)
  • Replace headlamps (done)
  • Tidy up engine bay with zip-ties etc... (done)
  • Pull out old alarm (done)
  • Install (temporary) BBS RX wheels (done)
  • Replace dog-bones/pitman arms (done)
  • Replace all heater/cooling hoses
  • Fix surging idle (coolant temp sensor?)
  • Replace right front wheel bearing
  • Fix radio
  • Fix battery run down
  • Find a trunk carpet set
  • Fix head rests (in-op)
  • Install new front rotors & pads
  • Mount Conti DW tires on Style 8's
tig
Posts: 9297
Joined: Mar 18, 2013 6:25 PM
Location: Durango
Contact:

Post by tig »

Got the hoses that go to the heater control valve and the return hose from the heater core to the water pump. The rest of the hoses will come later.

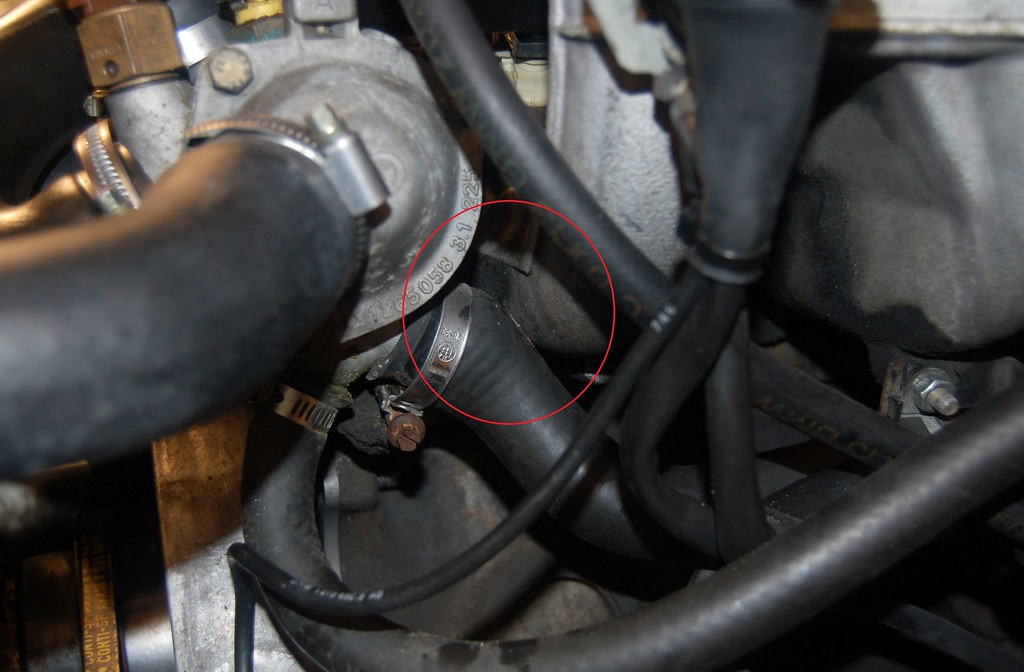
I started loosening the clamp on the return hose at the water pump and then noticed that it looks like theres little or no way a new hose will go on without either removing the intake manifold or the thermostat housing.

Image

Does anyone know if, on a m20b27 in an '87 528e whether the water hose (specifically the return hose from the heater core) can be put on with out removing either the intake manifold or thermostat housing?
tig
Posts: 9297
Joined: Mar 18, 2013 6:25 PM
Location: Durango
Contact:

Post by tig »

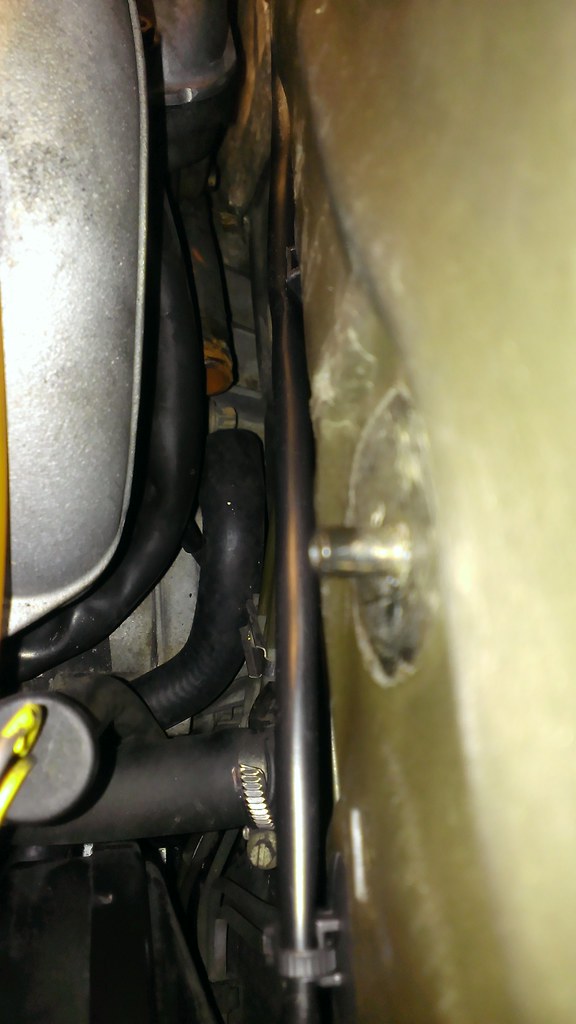
As I figured, getting the hose off the back of the head was easy...and getting the new one on is impossible.

There's just no room to even get it started, let enough room to apply enough pressure to get it on the nipple.

Image

Between this and the previously mentioned return tube, I think I need to pull the intake manifold off. Which I started doing when I was doing the timing belt...but stopped because THEN I'd have to pull off a bunch of hoses like water hoses :-).

I really was hoping I was going to just be able to replace these three hoses tonight, get the car back on the road and then do the rest at my leisure. But now I think I have no choice but to dive in and rip the intake manifold off. Oh, joy.

I have new manifold gaskets. What don't I have that I'm going to want once I've got it off?
Kyle in NO
Posts: 17638
Joined: Feb 12, 2006 12:00 PM
Location: Nasty Orleans------> Batten-Rooehjch------>More Souther LA

Post by Kyle in NO »

It can be done. Worst case you can move that big wire harness and grab the hose with LONG needle nose pliers and work it on. I've done it.
pldlnr
Posts: 2221
Joined: Sep 18, 2007 5:45 PM
Location: Seattle
Contact:

Post by pldlnr »

Your knuckles might end up bloody, but I have done this too.
tig
Posts: 9297
Joined: Mar 18, 2013 6:25 PM
Location: Durango
Contact:

Post by tig »

Kyle in NO wrote:It can be done. Worst case you can move that big wire harness and grab the hose with LONG needle nose pliers and work it on. I've done it.
I don't doubt you.

But I became convinced since I needed to replace ALL the water hoses it would just be better to pull the intake manifold off...

Now I'm stuck.

The middle top stud on the intake side is too long to pull the manifold off. All the other studs are short enough to allow the manifold to clear when pulled away from the head, but because of the dipstick tube and the auto transmission disptick tube, the manifold won't separate any further. It needs to go about 1" further, but if I pull any harder I'm going to bend/break the dipstick tube.

This one stud is longer than the rest. In the part's diagram it's #19 (M8x70) while the others are M8x40. I've tried getting a pair of nuts on it, tight enough to pull the stud, but I can't get it due to lack of access to the end of the stud.

http://www.realoem.com./bmw/showparts.d ... g=11&fg=15

Has anyone fought with this before and have a tip?
tig
Posts: 9297
Joined: Mar 18, 2013 6:25 PM
Location: Durango
Contact:

Post by tig »

Victory. Taking the break to type that response let me re-think getting two nuts on the stud. I was able to get a wrench in there and tighten them together enough to pull the stud.

Image

Image

Now, since I have to wait a few days for my other hoses to arrive, I can take the time to clean everything up nicely. I'll cover the intake ports and clean the side of the block. And I'll soda blast the intake.
tig
Posts: 9297
Joined: Mar 18, 2013 6:25 PM
Location: Durango
Contact:

Post by tig »

Got up early to make progress...

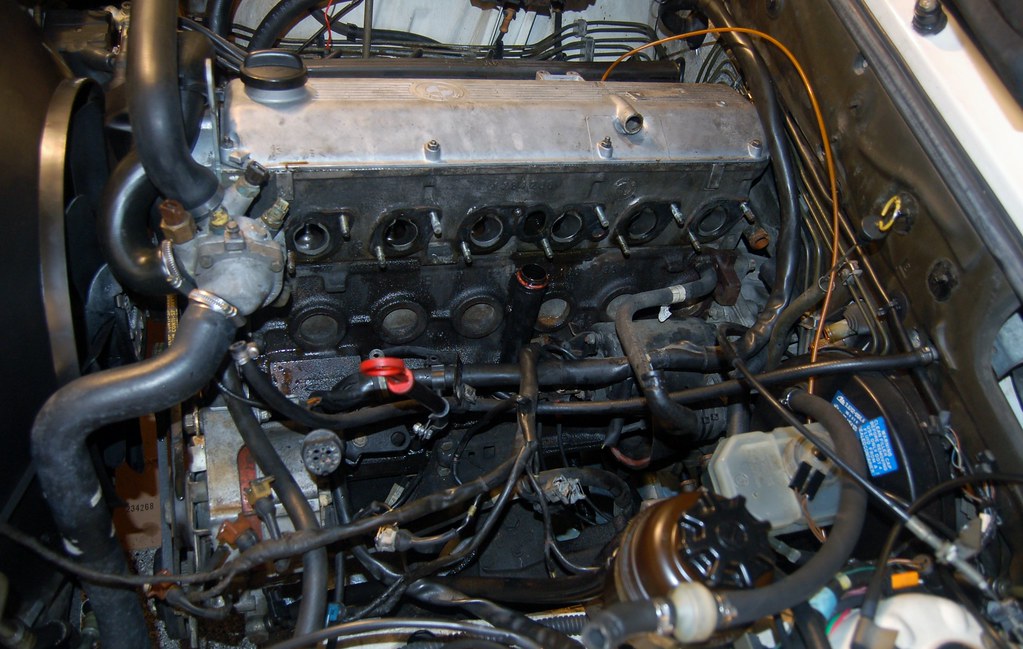
Got new hoses installed, removed gaskets, and generally cleaned stuff up. Re-wrapped a harness wires where the original rubber wrap had cracked off.

Image

This should add at least $500 to the value of the car, right?

Image

Image


:banana:
ldsbeaker
Posts: 6131
Joined: Mar 25, 2007 10:14 PM
Location: Slicktop City, AZ
Contact:

Post by ldsbeaker »

Very nice. I have those same hoses left to replace on my e30. Grrrr.
macsmalls
Posts: 25
Joined: May 13, 2012 10:14 AM
Location: DC/MD/VA
Contact:

Post by macsmalls »

Wow, I so so badly wish I had a garage... love your pictures, descriptions and great pickup! I hope you keep her much longer than those 90 days hahah
tig
Posts: 9297
Joined: Mar 18, 2013 6:25 PM
Location: Durango
Contact:

Post by tig »

Whew. Lots to report.

I spent the evening putting everything back together again. It all went smoothly except when I forgot to put the fuel rail & injectors in before putting the manifold back on and then had to squeeze them in there.

With some trepidation I re-filled the coolant as the last step before starting her.

Immediately, before even starting the car, I heard drip-drip-drip in the catch pan under the car. Sure enough it was leaking from the heater control valve! What. The. Frak?!?

I got under the car and used a flashlight to look up at the connections. There's no way it could be leaking from my new hoses! I started wondering if the housing had cracked.

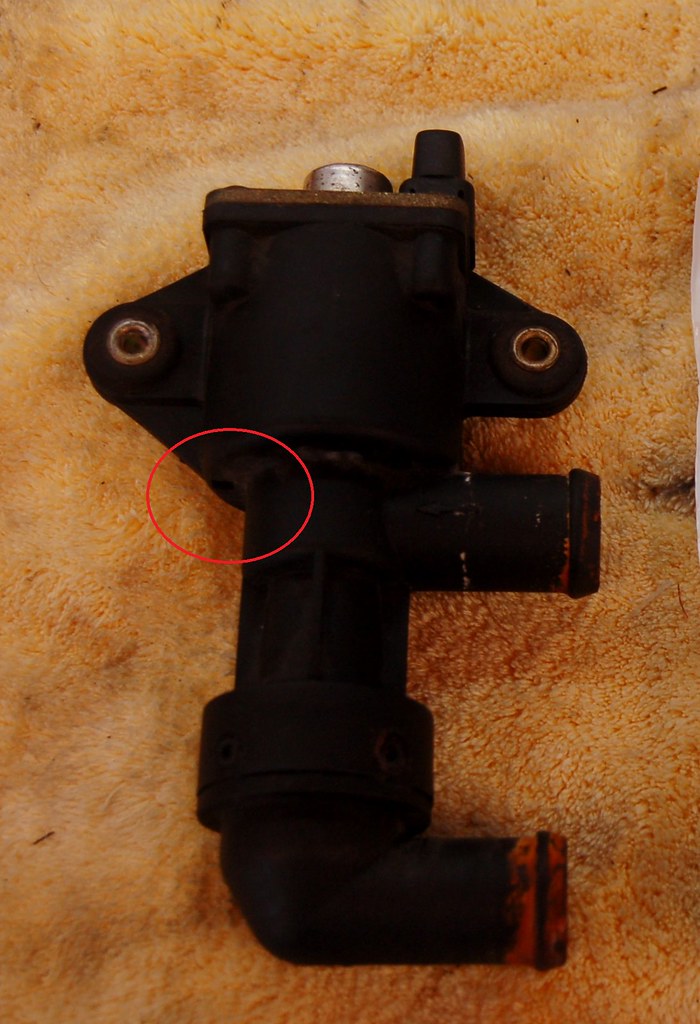
Then I noticed water was coming out of the little holes in the bottom of the top part of the valve.
Image

Sigh. I pulled the airbox off again, got setup to let coolant drain (again), and pulled the heater control valve out to look at it.

I noticed the metal plunger was sticking way out. When I opened it up I could see that if this was the case, water would leak around the diaphragm. I got the old solenoid out and noticed it still had a washer on it. I transplanted it to the new solenoid and when I re-assembled the unit I made sure the plunger was pushed in as far as possible.

You old-timers are probably laughing your asses off at me by now. I just replaced all my heater hoses, removing my intake manifold in the process, busting several knuckles, and making my wife wonder if she's still married to me...all for naught.

Oh well, at least I have the confidence of knowing the hoses are all good, and I have sexy clean engine.

Of course I could be wrong about this and the damn thing could start leaking after my next drive.

On another note, the surging idle was not rectified by all my work either (I did nothing specific to try to fix it, other than putting in a new temp sensor; I was hoping that maybe I'd seal somthing up in the process of doing everything).

I was watching it surge and I wondered what would happen if I pinched the hose that goes from the throttle to the ICV.

When pinched she idles PERFECTLY.

What does this mean?
wkohler
Posts: 50924
Joined: Oct 05, 2006 11:04 PM
Location: Phönix, Arizona, USA
Contact:

Post by wkohler »

Probably means that the screw on the ICV is screwed up and it's letting way too much air in. You're the new ICV.

Funny you mention that on the heater valve. Same thing happened to a friend's M30 valve. I gave him another one. Will have to get that one back from him and do some forensic disassembly.

I'm having a hell of a time staying awake reading this thread. Those pictures of that eta manifold put me right to sleep. I fell asleep once in a yard. Opened the hood on a car to see what it was, saw that manifold and just zzzzzzzzzzzzzzzzzzzzzz.
tig
Posts: 9297
Joined: Mar 18, 2013 6:25 PM
Location: Durango
Contact:

Post by tig »

wkohler wrote: I'm having a hell of a time staying awake reading this thread. Those pictures of that eta manifold put me right to sleep. I fell asleep once in a yard.
I'm not too picky about my aluminum.

Off to post a wanted ad for a known good ICV.
wkohler
Posts: 50924
Joined: Oct 05, 2006 11:04 PM
Location: Phönix, Arizona, USA
Contact:

Post by wkohler »

Probably isn't a bad idea, as they're pretty cheap, but I would figure you could work with what you have. Adjust the screw, clean it, or something.
tig
Posts: 9297
Joined: Mar 18, 2013 6:25 PM
Location: Durango
Contact:

Post by tig »

wkohler wrote:Probably isn't a bad idea, as they're pretty cheap, but I would figure you could work with what you have. Adjust the screw, clean it, or something.
I've tried adjusting the screw ad-nauseum. I've also cleaned the hell out of it.
wkohler
Posts: 50924
Joined: Oct 05, 2006 11:04 PM
Location: Phönix, Arizona, USA
Contact:

Post by wkohler »

Sounds like it's time for or something.
tig
Posts: 9297
Joined: Mar 18, 2013 6:25 PM
Location: Durango
Contact:

Post by tig »

Before:
Image

After:
Image

After that:
Image
wkohler
Posts: 50924
Joined: Oct 05, 2006 11:04 PM
Location: Phönix, Arizona, USA
Contact:

Post by wkohler »

Why is the battery disconnect switch on the positive side? Was it used in NHRA events?
1st 5er
Posts: 21859
Joined: Jun 13, 2008 12:15 AM
Location: Cypress
Contact:

Post by 1st 5er »

Nice.

And yes, $500.00.
tig
Posts: 9297
Joined: Mar 18, 2013 6:25 PM
Location: Durango
Contact:

Post by tig »

wkohler wrote:Why is the battery disconnect switch on the positive side? Was it used in NHRA events?
Ask the PO.
tig
Posts: 9297
Joined: Mar 18, 2013 6:25 PM
Location: Durango
Contact:

Post by tig »

It was like 0 degrees Kelvin in Seattle this morning.

But I was toasty driving in to work in Maytag...BECAUSE THE HEAT WORKS.

:alright:

(FWIW, the heater control valve in Vlad has gone tits-up too, so I get to do this all over again on another car...)
wkohler
Posts: 50924
Joined: Oct 05, 2006 11:04 PM
Location: Phönix, Arizona, USA
Contact:

Post by wkohler »

cek wrote:
wkohler wrote:Why is the battery disconnect switch on the positive side? Was it used in NHRA events?
Ask the PO.
Well, it might be a good idea to move that to the negative terminal...

Of course, disconnect all the wires first.
Post Reply