Page 80 of 178
Posted: Mar 25, 2012 9:20 AM
by C.R. Krieger
rmiddendorf wrote:wkohler wrote:How do you like your individual throttle bodies now, eh?
Hey, at least I don't have to take half the air intake apart when I have to do a valve adjustment. Always look on the bright side of life!
If you think that's a "bright side", wait 'til you pay for that valve adjustment ...

Posted: Mar 25, 2012 10:46 AM
by rmiddendorf
C.R. Krieger wrote:rmiddendorf wrote:wkohler wrote:How do you like your individual throttle bodies now, eh?
Hey, at least I don't have to take half the air intake apart when I have to do a valve adjustment. Always look on the bright side of life!
If you think that's a "bright side", wait 'til you pay for that valve adjustment ...

Unless someone convinces me otherwise that will be a project I shall undertake myself after great success with the M30... it will just take twice as long... and my back will hurt twice as much... come to think about it maybe I will pay for it...
Posted: Mar 25, 2012 10:37 PM
by a
Set the OBC to English and set the time and date. Battery keeps going flat during the week. But with a fresh charge , B6II, starts and runs fine. If I think of it , I'll put the Ranger's new battery in for a test.
Posted: Mar 26, 2012 8:11 AM
by MicahO
rmiddendorf wrote: it will just take twice as long... and my back will hurt twice as much...
While there are 'only' twice as many valves, the adjustment procedure is very different, and those shims may be a bitch to get out. It will take
much more than twice as long.

On the other hand, you bought Ed's car. The car is probably pretty well-set at this point, and it's unlikely that you're going to find any large number of shims that will need swappage. For the most part you will likely be checking and verifying the existing gaps.
So at the very least, you should pop the cover and take the time to check all of the tolerances yourself. If you find a large number that require adjustment, maybe you want to pay someone.
But realistically you should do it yourself. It's just time, it's not that bad of a job, and you'll feel closer to the car when you are done. Just do it.
Posted: Mar 26, 2012 1:54 PM
by 1st 5er
MicahO wrote:
But realistically you should do it yourself. It's just time, it's not that bad of a job, and you'll feel closer to the car when you are done. Just do it.
"Quotable of the Day"
Posted: Mar 26, 2012 5:33 PM
by ldsbeaker
Ffffffffuuuuuuuuuu
Missed my appointment for fambly photos because the heater core decided to pack it in. I guess I know where the coolant has been going, why I've been smelling coolant, and why the windshield has been fogging up while driving. It's been doing this for quite a while, but I thought it may have been something else... So today, when it started hissing, pouring coolant on my feet, and major "smoke"/ hot steam pouring out of the vents; i went "ohcrapohcrapohcrap" and found a gas station. I turned the car off and the coolant REALLY started pouring out. I disconnected the battery and tried to comr up with a plan. The first plan was to get the tools necessary to raise my car's ummmm "stance", and call AAA. Then I dialed up mye28 and pressed the search button. Mike W.'s advice seemed like the best approach, so I acquired 2 ft of 7/8" heater hose, and bypassed the heater core. Filled the system back up, back on the road!
Posted: Mar 26, 2012 6:23 PM
by 1st 5er
ldsbeaker wrote:... bypassed the heater core. Filled the system back up, back on the road!
Drove the eta for 5+ years like that.
It does get chilly here occasionally, but not
that cold.

What's the winter climate like at MCAS Yuma?

Posted: Mar 26, 2012 6:47 PM
by ldsbeaker
1st 5er wrote:
What's the winter climate like at MCAS Yuma?

Warmer than Texas...

I've already pulled the CSV, so pretty soon the car will be a "summer soldier"...
Posted: Mar 28, 2012 8:37 PM
by nik77356
Finally got around to replacing all my shift linkage yesterday. Replaced the fan clutch today. Also started working on shadowlining some of the trim today.
Posted: Mar 30, 2012 8:26 AM
by shagrath
Last night, my shifter proved to be sloppy and I was barely able to click into 2nd or 4th. I diagnosed the problem as a stop bushing issue. # 15 in the diagram:
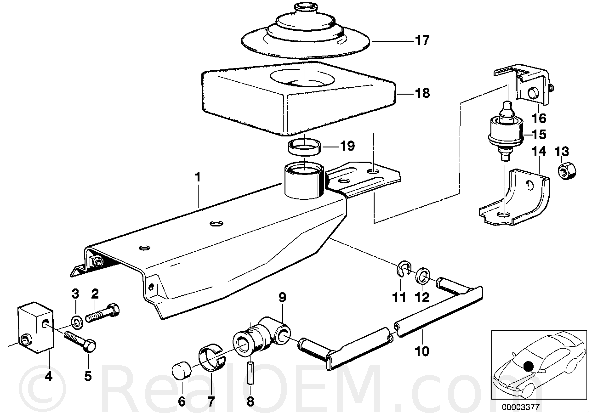
Keep in mind, my 88 is 5 speed swapped, and the tranny/shifter came from an 85 eta.
I looked under the car last night at 9:15 and found the custom bracket we used for holding the bushing bracket was bent, the bushing GONE. Damn. ok. 10 minutes and 2 zip ties later, the shifter feels very tight, precise, and has zero slop. I am a very happy camper.

Posted: Mar 30, 2012 8:33 AM
by ldsbeaker
shagrath wrote: 10 minutes and 2 zip ties later,
Exactly how "temporary" is this going to be?

Posted: Mar 30, 2012 8:43 AM
by shagrath
ldsbeaker wrote:shagrath wrote: 10 minutes and 2 zip ties later,
Exactly how "temporary" is this going to be?


That's my "the stores aren't open at 915 pm" and eurotrash quick fix.
The stop bushing doesn't seem to have a lot of pressure on it during normal operation, so the zip ties should be fine for now. When they break (and it's inevidable) I'll install a solid mount bolt.
Posted: Mar 30, 2012 8:32 PM
by Nanajoth
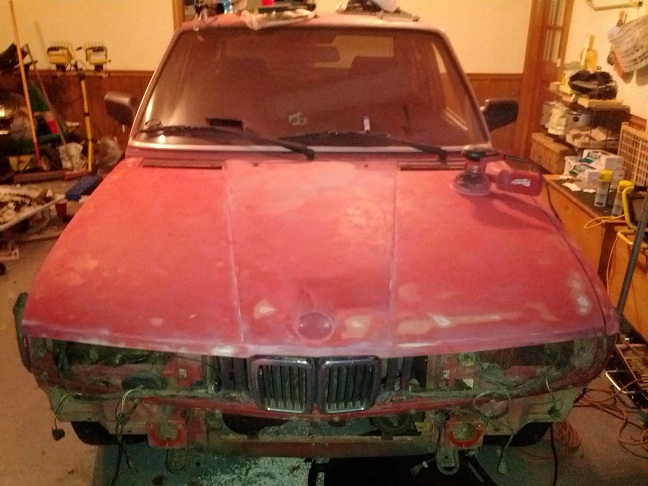
I started the prep for paint on my 535, picked up an electric DA since I don't have a suitable compressor.
Posted: Mar 31, 2012 10:10 PM
by S38Mike
Finally replaced my cracked dash with a crack free dash. I put thin strips of felt tape on all contact points and found the correct screws clips etc. to make it bitchin'.Took the opportunity to remove all the half-assed alarm and audio wiring from the previous owner and routed everything correctly with new tape and zip ties. Now it looks factory and correct under behind there. Drive home from work with a nice view across the dash and a few less rattles. WOOHOO!
Posted: Apr 01, 2012 3:15 PM
by rmiddendorf
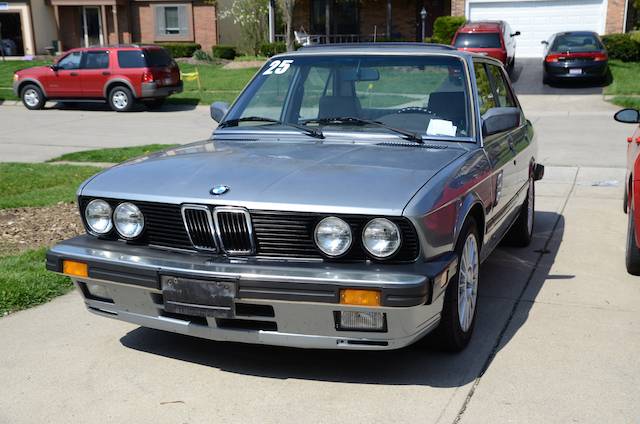
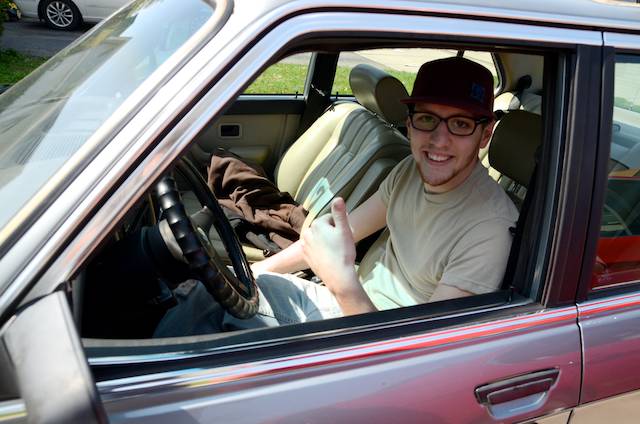
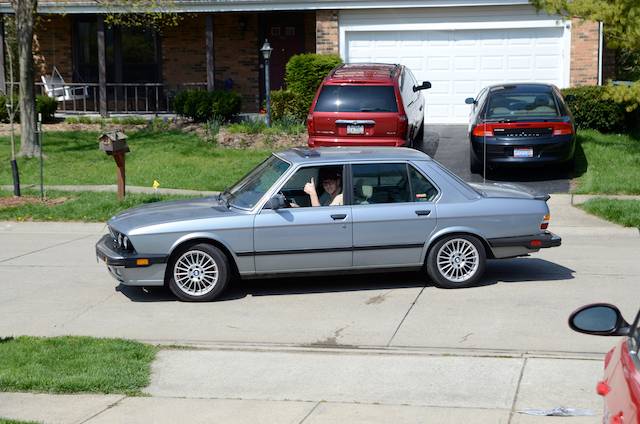
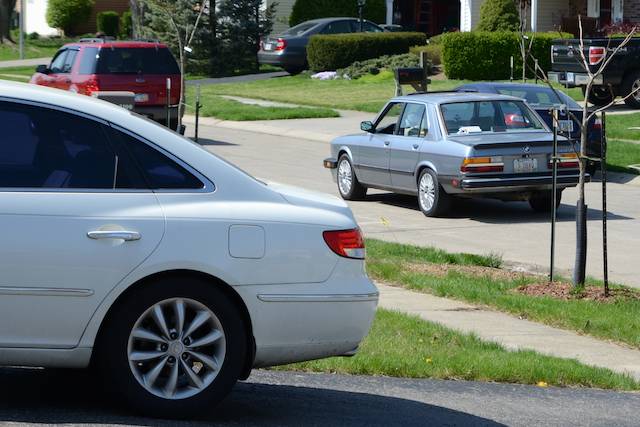
Posted: Apr 01, 2012 5:50 PM
by 1st 5er
Bittersweet, I know, but congrats on the sale.
Posted: Apr 01, 2012 6:04 PM
by rmiddendorf
1st 5er wrote:Bittersweet, I know, but congrats on the sale.
Thank you. But I know you're going through a tougher time than I.
Posted: Apr 01, 2012 11:09 PM
by Budski
reshaped the volvo lip for a better fit and started to get it ready for the engine install tues.

Posted: Apr 03, 2012 9:47 AM
by shagrath
Installed front fender on the wife's eta.
Posted: Apr 04, 2012 12:58 PM
by rmiddendorf
I actually had the opportunity to drive Heinz today up to Delaware, OH on our scenic byway, OH-315. I think for the first time I became comfortable really pushing the S38 to its full potential. After the oil had ample time to warm up I played in the higher end of the power band and wow that thing is incredible! And that LSD is pretty sweet. Traction control would be an unnecessary option if all cars had that differential.
Posted: Apr 04, 2012 5:39 PM
by nik77356
Just came back in from replacing the slave cylinder. I was coming home from work Monday night and was almost home. I went to push the clutch in to downshift, and it just went straight to the floor.
Posted: Apr 04, 2012 6:07 PM
by rmiddendorf
I received another part of my order from Blunttech- the driver's window weatherstrip, S54 timing chain tensioner, and a new power antenna.
Ellie went down for a nap and I was able to get my real estate shoots edited early so I said to myself "Oh lets go replace that antenna real quick." Yeah that was not real quick.
First I removed all the trunk carpeting that needed to come out. No biggie. Then I tried to remove the antenna cap. And that didn't want to budge. So I unhooked the wires and removed the power base. This was when I realized the problem. The top part of the old antenna was plastic, and had partially disintegrated. This was where the problem reared its ugly head. I literally had to continue to destroy the plastic bits left to separate the part of the antenna that came out of the top of the car with the retaining parts on the bottom. It was a real headache and a slow process because I wanted to be very careful of the paint on the car.
So after I had it all out I realized that not only had I heavily scraped up #11 in the diagram but it also still had a bunch of plastic in it.
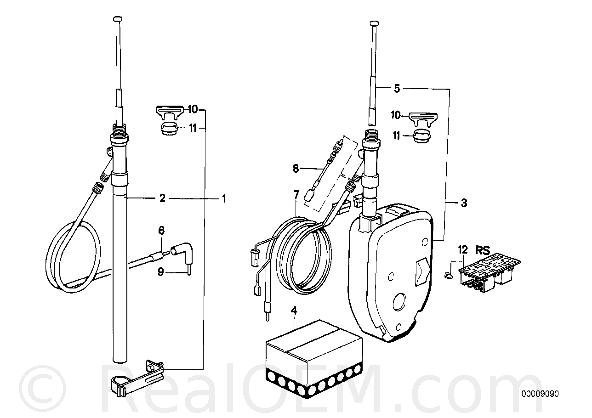
So I tried my best to get it out but only continued to destroy the part. So there's still a ring of plastic in it and its pretty much toast. I was only hoping to use it as a placeholder until I made my next order but there was no way it was even going to do that. So I called our local dealer, MAG, and they are getting the part tomorrow for me!
The plastic also broke off in the connector for the radio signal and I tried to extract that but it broke apart. Thankfully I didn't destroy the inner part of the connector so I was able to put that back in the new antenna and secure it with a little electrical tape.
Less the broken part I installed the antenna and tested it and I now have a working antenna! Woo-hoo! But I won't be able to drive the car until after I get the replacement nut hopefully tomorrow.
I want to work on the window seal tonight but am not sure I have the stamina after the ordeal that was the antenna debacle.
Posted: Apr 04, 2012 8:21 PM
by 1st 5er
nik77356 wrote:Just came back in from replacing the slave cylinder. I was coming home from work Monday night and was almost home. I went to push the clutch in to downshift, and it just went straight to the floor.
Was that it?
Posted: Apr 04, 2012 8:24 PM
by nik77356
1st 5er wrote:nik77356 wrote:Just came back in from replacing the slave cylinder. I was coming home from work Monday night and was almost home. I went to push the clutch in to downshift, and it just went straight to the floor.
Was that it?
Yeah, followed your email to the 't' and the pedal is right back at the top of its travel where it's supposed to be. Had to pull the new slave a second time to bleed again, but once it was all buttoned up it was perfect!
Also, you should post the email you sent me on here for a Tech FAQ thread.
Posted: Apr 04, 2012 8:26 PM
by 1st 5er
Posted: Apr 04, 2012 8:40 PM
by 1st 5er
nik77356 wrote:1st 5er wrote:nik77356 wrote:Just came back in from replacing the slave cylinder. I was coming home from work Monday night and was almost home. I went to push the clutch in to downshift, and it just went straight to the floor.
Was that it?
Yeah, followed your email to the 't' and the pedal is right back at the top of its travel where it's supposed to be. Had to pull the new slave a second time to bleed again, but once it was all buttoned up it was perfect!
Also, you should post the email you sent me on here for a Tech FAQ thread.
It's all in here. Where do you think I learned it from?

...and glad it worked out for you.
But feel free...
Front springs
Posted: Apr 04, 2012 8:50 PM
by eurominded2
Finally finished installing some H&R springs in the front. Appreciate the heat suggestion on the knuckle bolts. Looking better. Contemplating the rear install.
Posted: Apr 04, 2012 9:00 PM
by nik77356
1st 5er wrote:nik77356 wrote:1st 5er wrote:nik77356 wrote:Just came back in from replacing the slave cylinder. I was coming home from work Monday night and was almost home. I went to push the clutch in to downshift, and it just went straight to the floor.
Was that it?
Yeah, followed your email to the 't' and the pedal is right back at the top of its travel where it's supposed to be. Had to pull the new slave a second time to bleed again, but once it was all buttoned up it was perfect!
Also, you should post the email you sent me on here for a Tech FAQ thread.
It's all in here. Where do you think I learned it from?

...and glad it worked out for you.
But feel free...
I didn't want
this guy coming after me so I searched and searched and still only found most of what you emailed me, but in many different threads. I'll post it in Tech Talk for now.
Posted: Apr 05, 2012 9:22 AM
by MicahO
Control arms, tie rods and idler arm all went in last weekend (finally!). Alignment tomorrow and then I can drive it for real. It's getting lonely sitting in the garage while the weather has been so good.
Posted: Apr 06, 2012 11:09 AM
by rmiddendorf
rmiddendorf wrote:I received another part of my order from Blunttech- the driver's window weatherstrip, S54 timing chain tensioner, and a new power antenna.
Ellie went down for a nap and I was able to get my real estate shoots edited early so I said to myself "Oh lets go replace that antenna real quick." Yeah that was not real quick.
First I removed all the trunk carpeting that needed to come out. No biggie. Then I tried to remove the antenna cap. And that didn't want to budge. So I unhooked the wires and removed the power base. This was when I realized the problem. The top part of the old antenna was plastic, and had partially disintegrated. This was where the problem reared its ugly head. I literally had to continue to destroy the plastic bits left to separate the part of the antenna that came out of the top of the car with the retaining parts on the bottom. It was a real headache and a slow process because I wanted to be very careful of the paint on the car.
So after I had it all out I realized that not only had I heavily scraped up #11 in the diagram but it also still had a bunch of plastic in it.

So I tried my best to get it out but only continued to destroy the part. So there's still a ring of plastic in it and its pretty much toast. I was only hoping to use it as a placeholder until I made my next order but there was no way it was even going to do that. So I called our local dealer, MAG, and they are getting the part tomorrow for me!
The plastic also broke off in the connector for the radio signal and I tried to extract that but it broke apart. Thankfully I didn't destroy the inner part of the connector so I was able to put that back in the new antenna and secure it with a little electrical tape.
Less the broken part I installed the antenna and tested it and I now have a working antenna! Woo-hoo! But I won't be able to drive the car until after I get the replacement nut hopefully tomorrow.
I want to work on the window seal tonight but am not sure I have the stamina after the ordeal that was the antenna debacle.
Hey gents- I received my replacement nut that holds the antenna down from the top however it is free floating on the fender right now. Its secure, appears water tight, but it can be slid around the hole.
There is an aluminum piece that came off the old antenna on the inside of the fender but it doesn't hold secure on the top of the inner mast support with the new antenna assembly.
So, should I take it apart again and try to secure the bottom retaining part with tape to prevent it from sliding around in the hole or is that fine as-is? I think there are enough minor differences in the parts to make this really annoying even though its a BMW part.


