And so it starts, Maeve
Re: And so it starts, Maeve
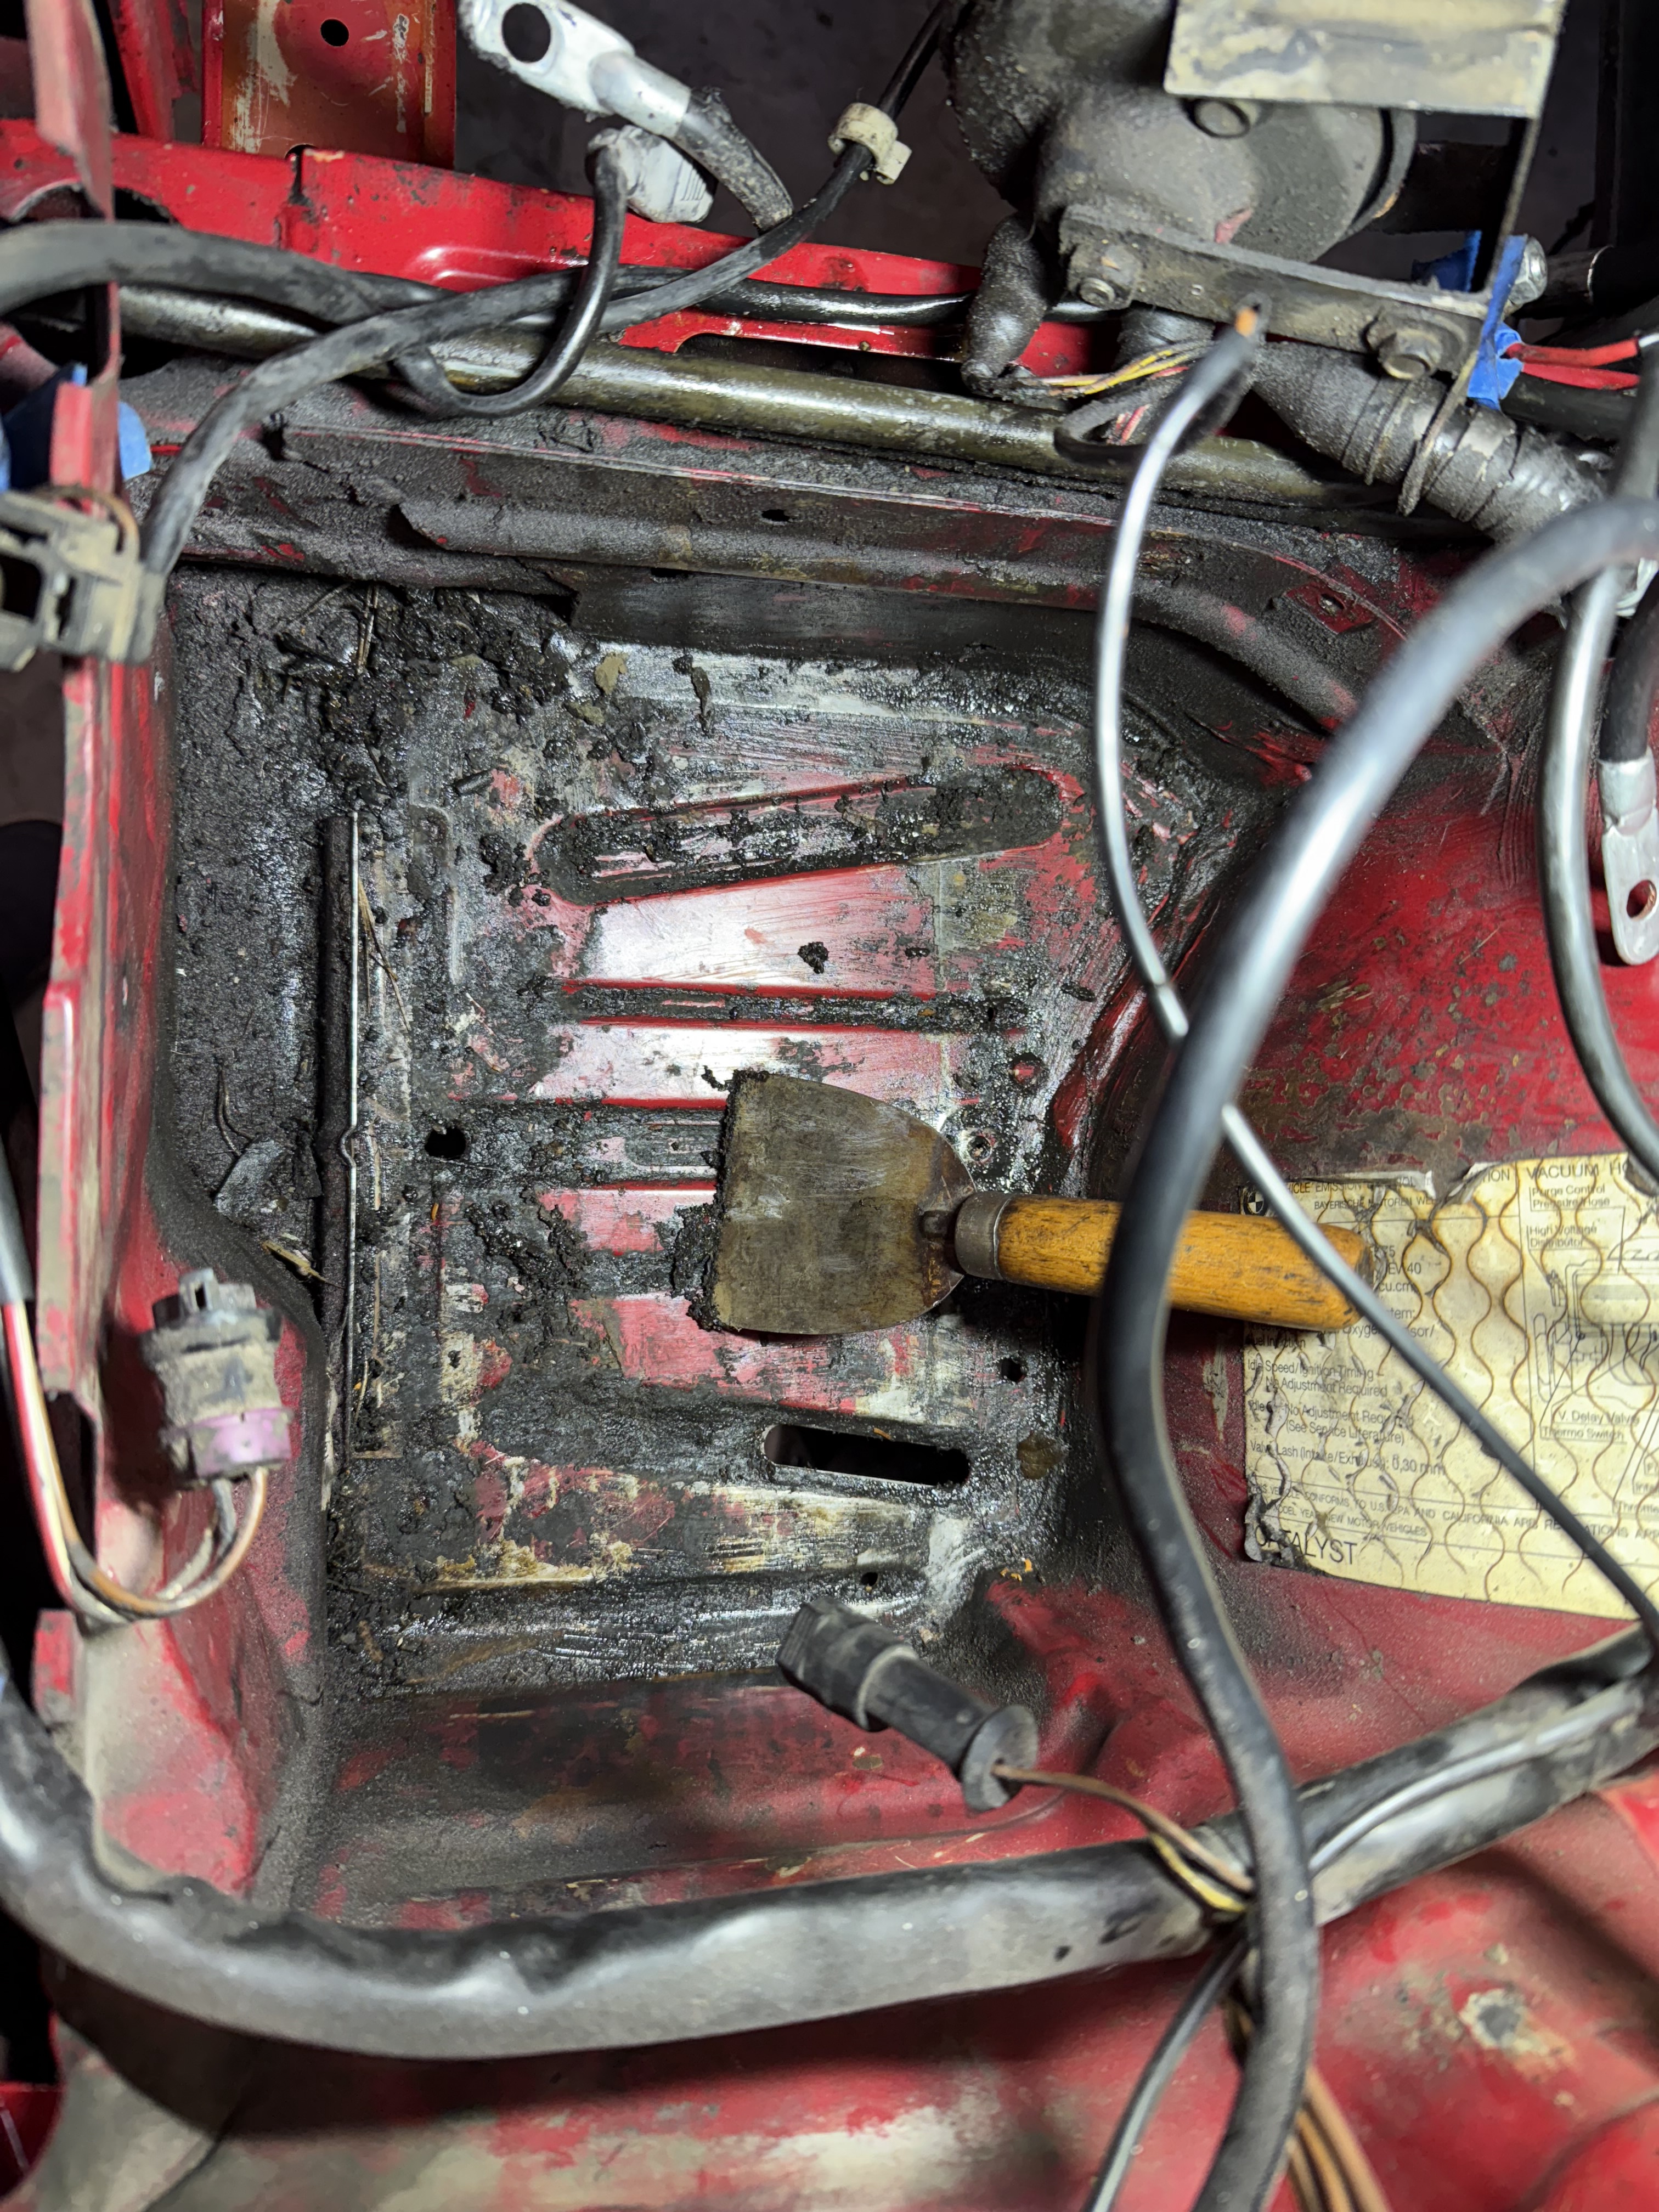
This is basically my day today, continuing to clean 35+ years of dirt, oil and grime. This is the battery tray where crap collects, plus you can see the results of a leaky power steering pump. This crap is hard to get off:


Re: And so it starts, Maeve
I have all this room and time to do the blade fuse upgrade, but thinking I should wait until I get the new motor in and running so I can tell if I do it correctly.Galahad wrote: Aug 14, 2024 1:05 AMYou're installing such a nice motor next to a fuse box with zip ties? When's that getting upgraded to match?gwb72tii wrote: Aug 13, 2024 3:16 PM ...
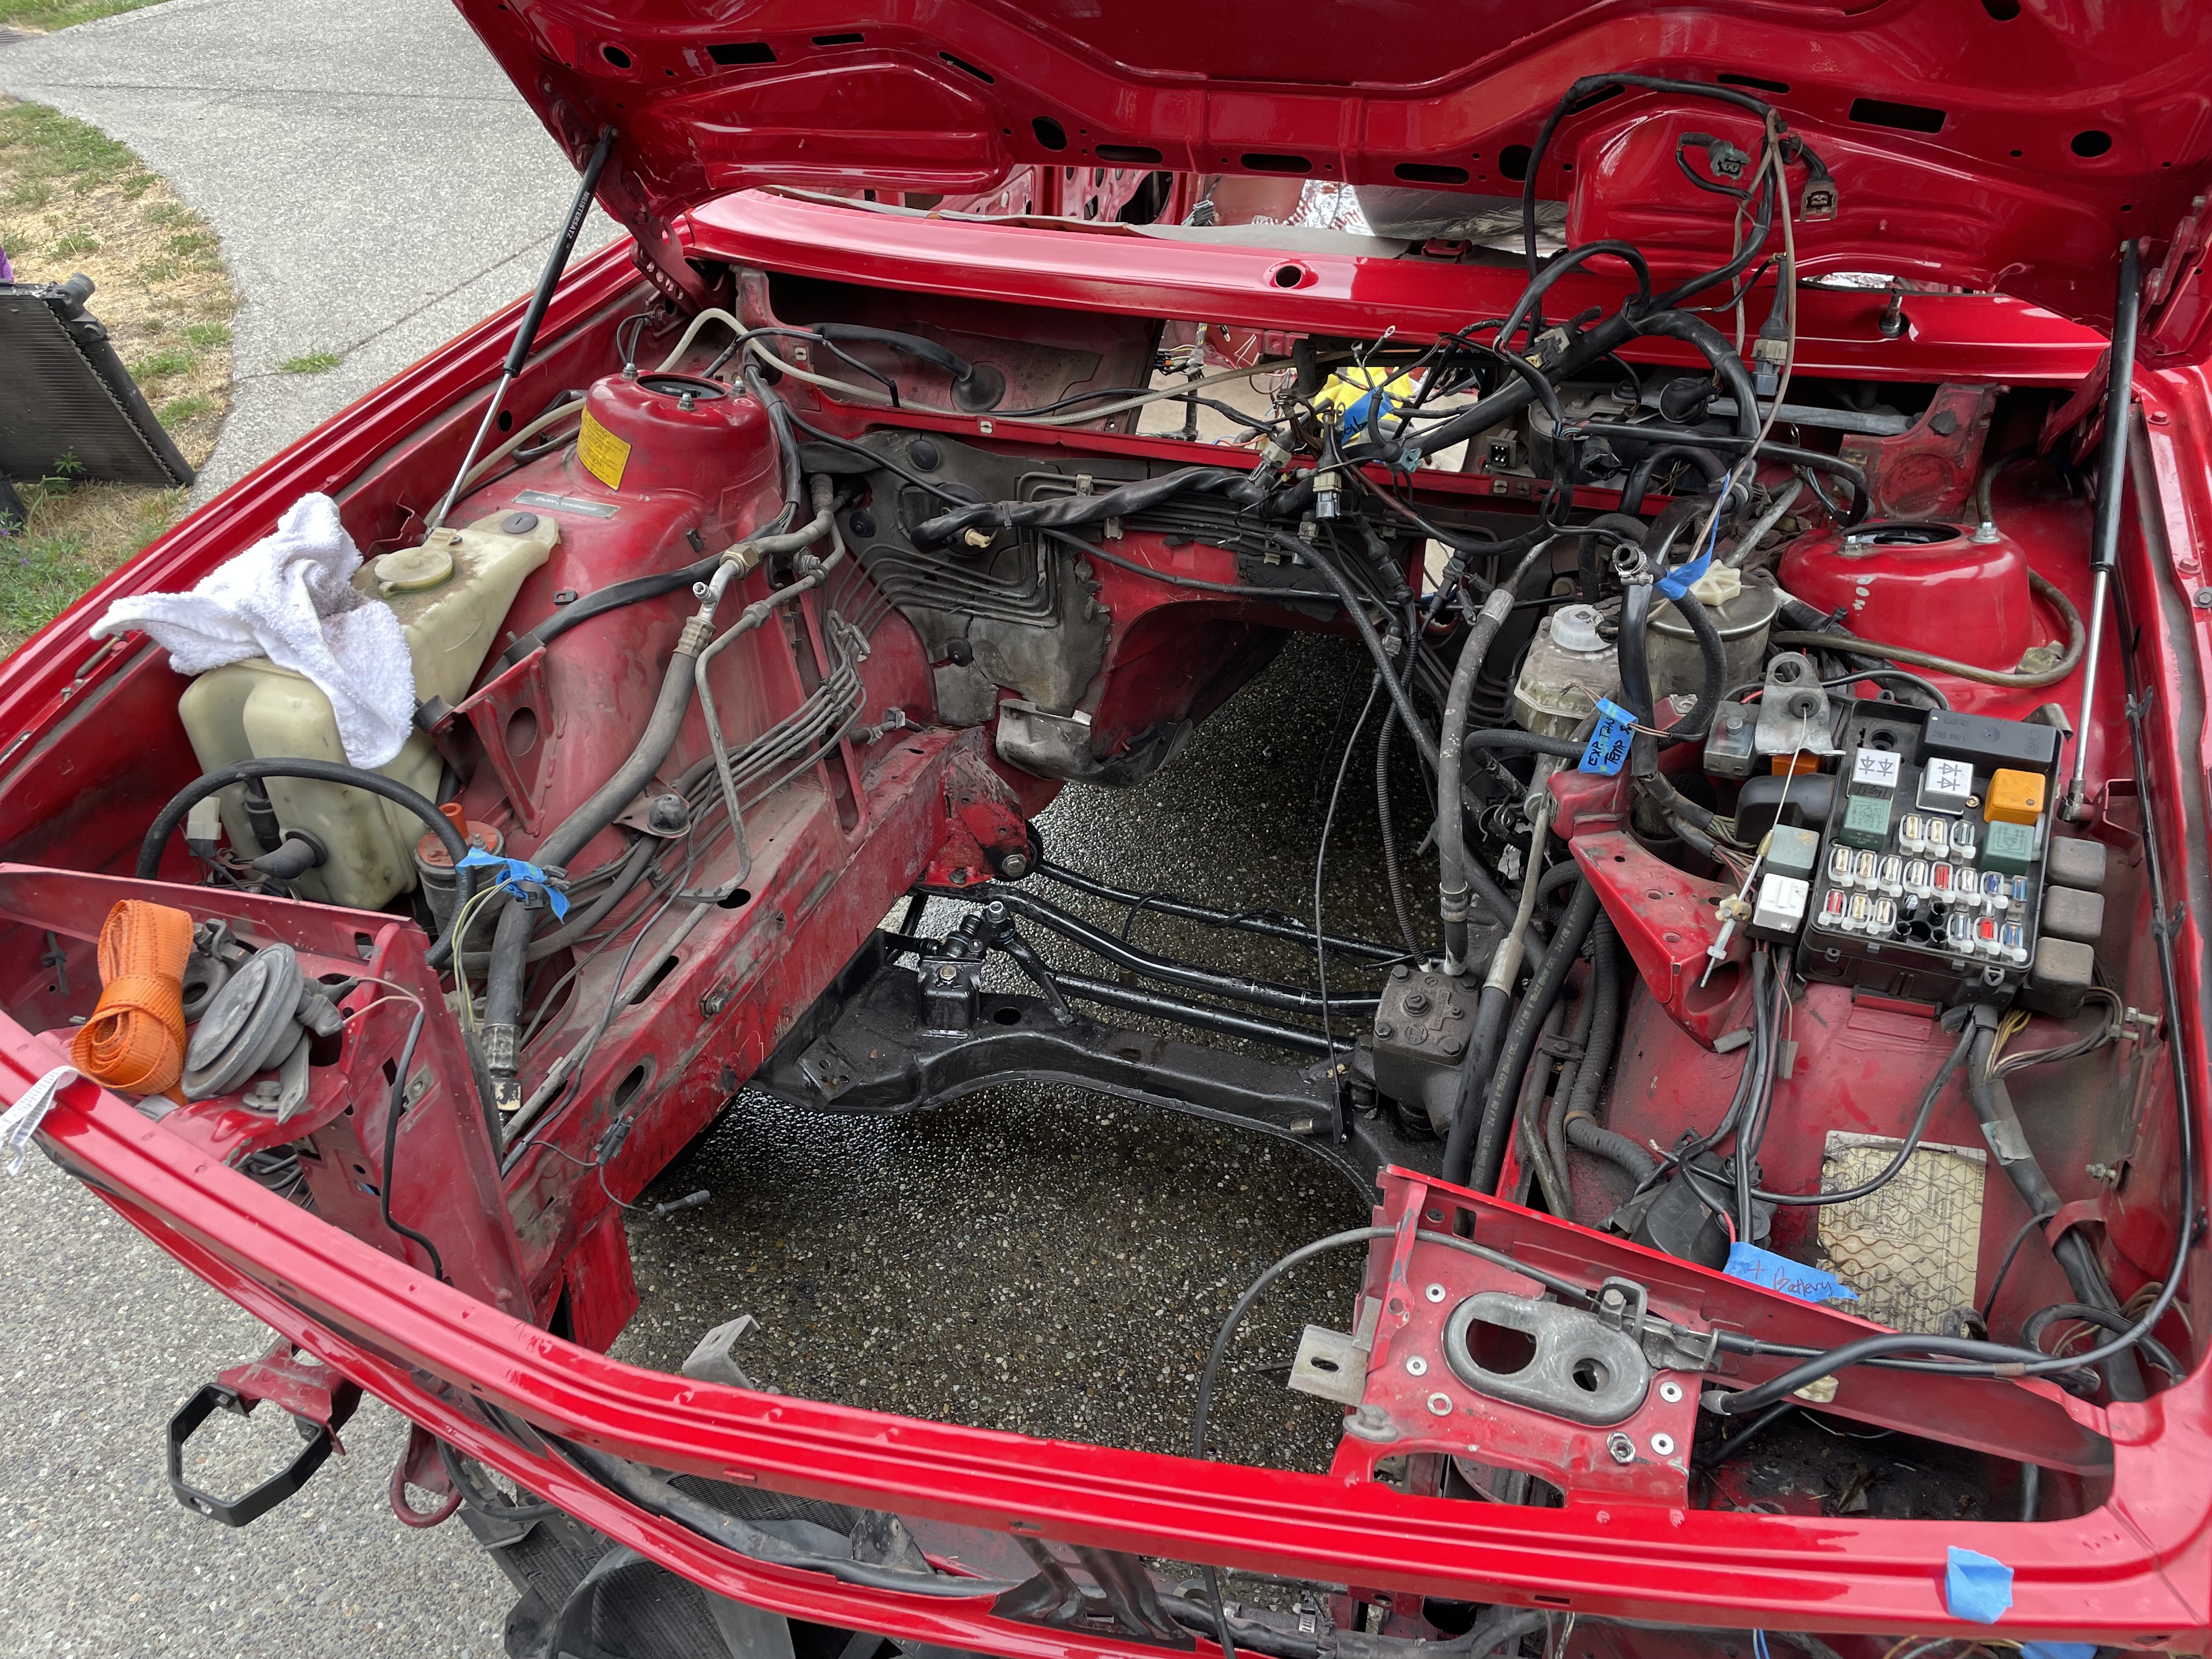
Next step is cleaning a very dirty engine bay before installing the new motor:
Project looks great, excited to see the engine go in.
Re: And so it starts, Maeve
Indeed, I would wait. You kind of want to do one major thing at a time so if something doesn't work, you have a better idea of why. Not that I've always ascribed to that theory, but I think it's a good one.gwb72tii wrote: Nov 23, 2024 8:23 PM
I have all this room and time to do the blade fuse upgrade, but thinking I should wait until I get the new motor in and running so I can tell if I do it correctly.
-
Blue Shadow
- Posts: 10292
- Joined: Feb 12, 2006 12:00 PM
- Location: SE PA
Re: And so it starts, Maeve
You are complaining about the nice, metal battery tray when we have folks here that don't have any metal in that area? This is a more count your blessings than a pita.gwb72tii wrote: Nov 23, 2024 8:14 PM This is basically my day today, continuing to clean 35+ years of dirt, oil and grime. This is the battery tray where crap collects, plus you can see the results of a leaky power steering pump. This crap is hard to get off:

Use chemicals. That stuff will come right off.
Re: And so it starts, Maeve
There was so much shit caked on there would be no way for battery acid to eat into he metal lol
Re: And so it starts, Maeve
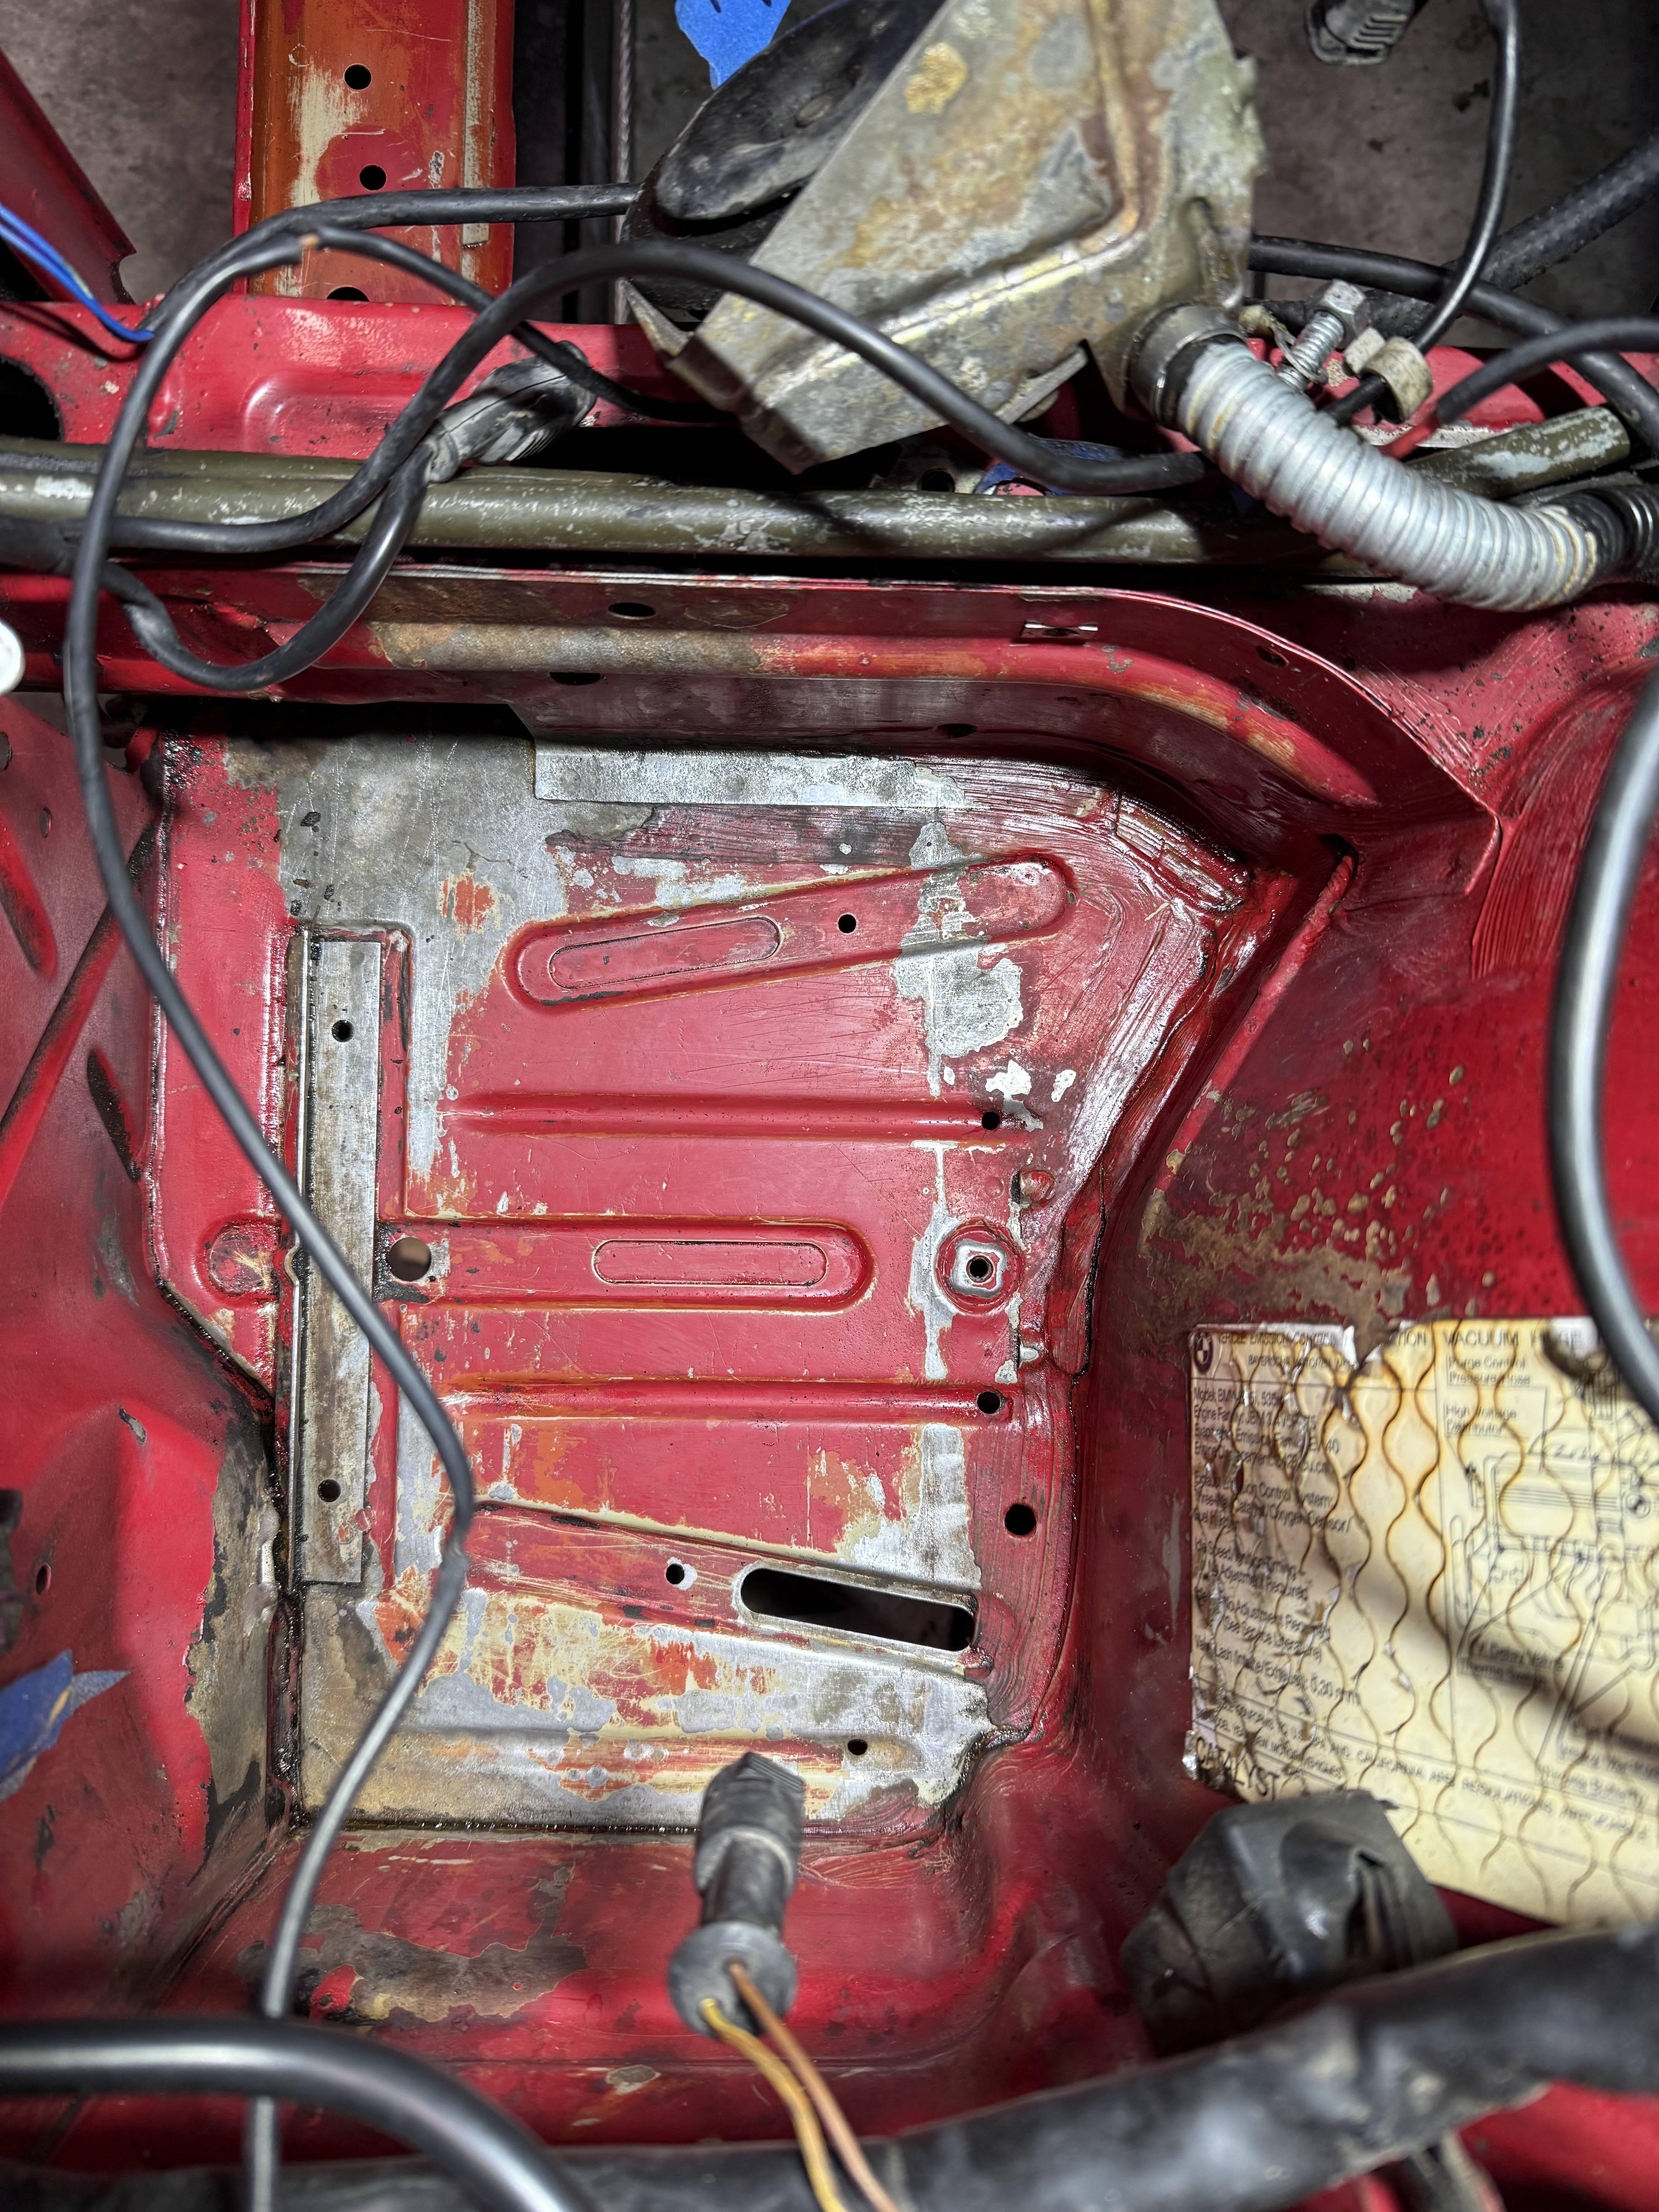
AS BS suggested, a little elbow grease and chemicals. Looks better.
And I'm pretty much done with transferring bits from the old motor to the new motor. Next weekend it finds its forever home in the engine bay:
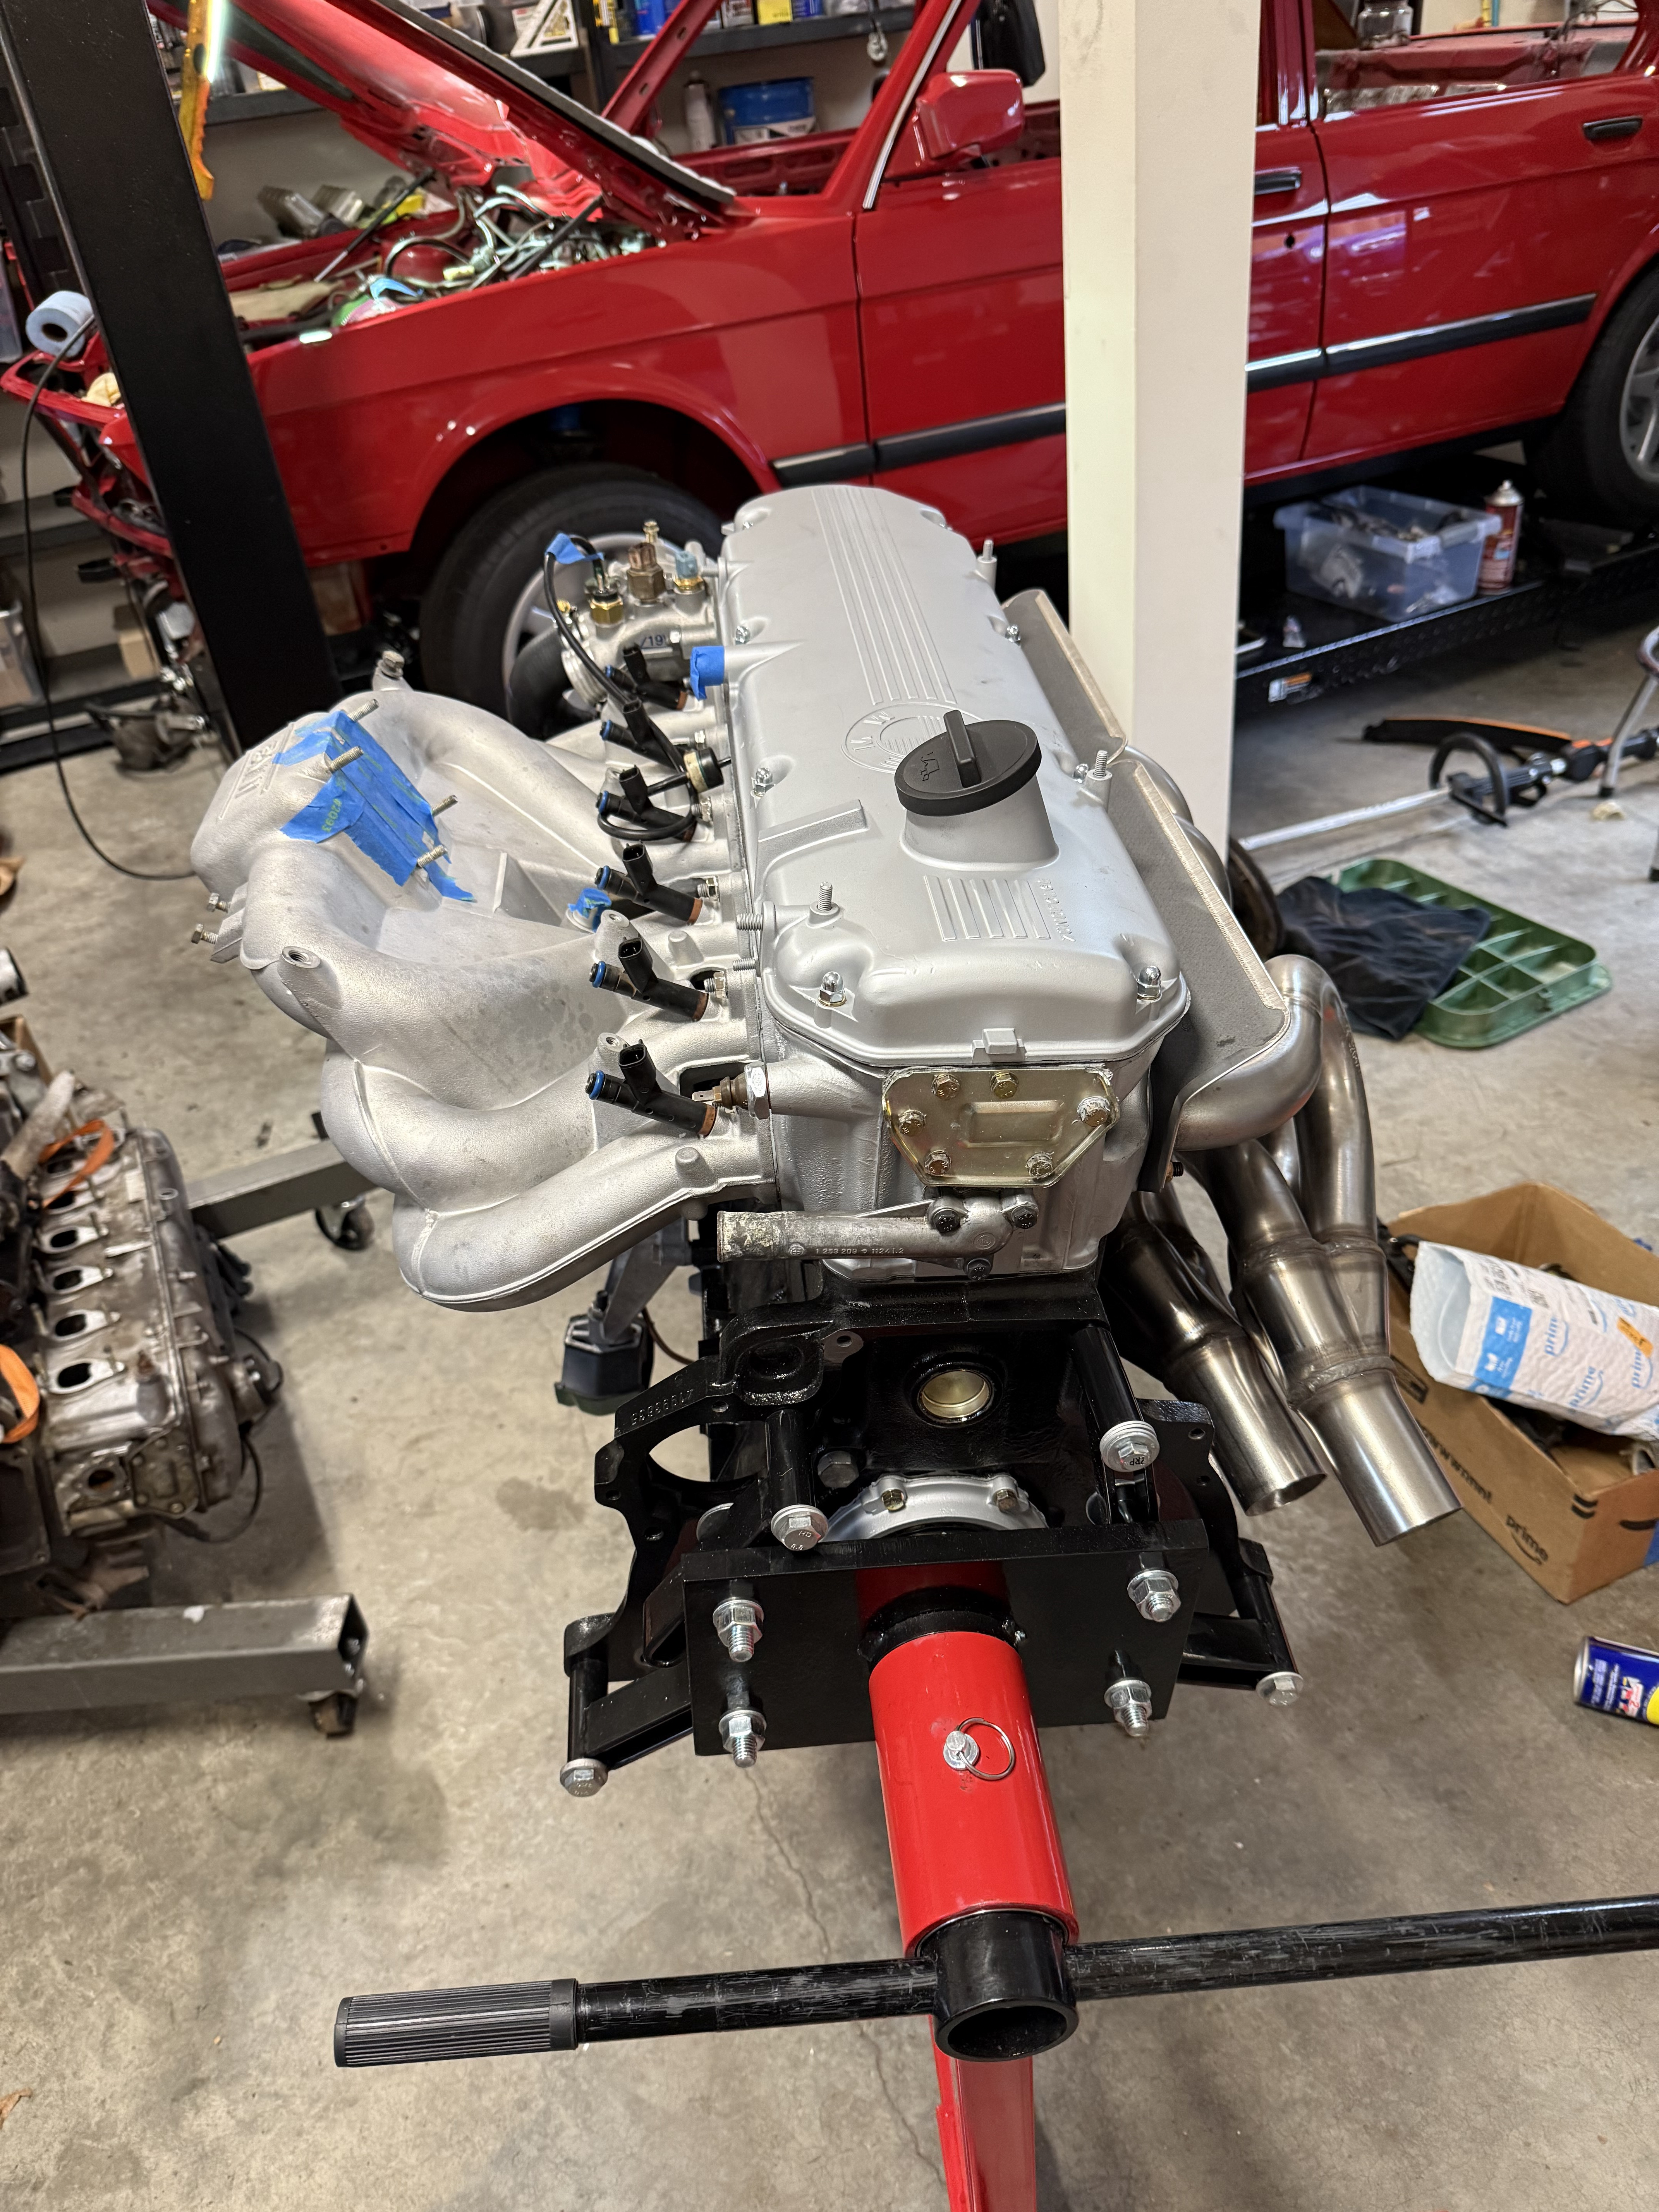

And I'm pretty much done with transferring bits from the old motor to the new motor. Next weekend it finds its forever home in the engine bay:

Re: And so it starts, Maeve
Not a bad idea, messing with multiple things at once can cause problemsgwb72tii wrote: Nov 23, 2024 8:23 PMI have all this room and time to do the blade fuse upgrade, but thinking I should wait until I get the new motor in and running so I can tell if I do it correctly.Galahad wrote: Aug 14, 2024 1:05 AM
You're installing such a nice motor next to a fuse box with zip ties? When's that getting upgraded to match?
Project looks great, excited to see the engine go in.
Re: And so it starts, Maeve
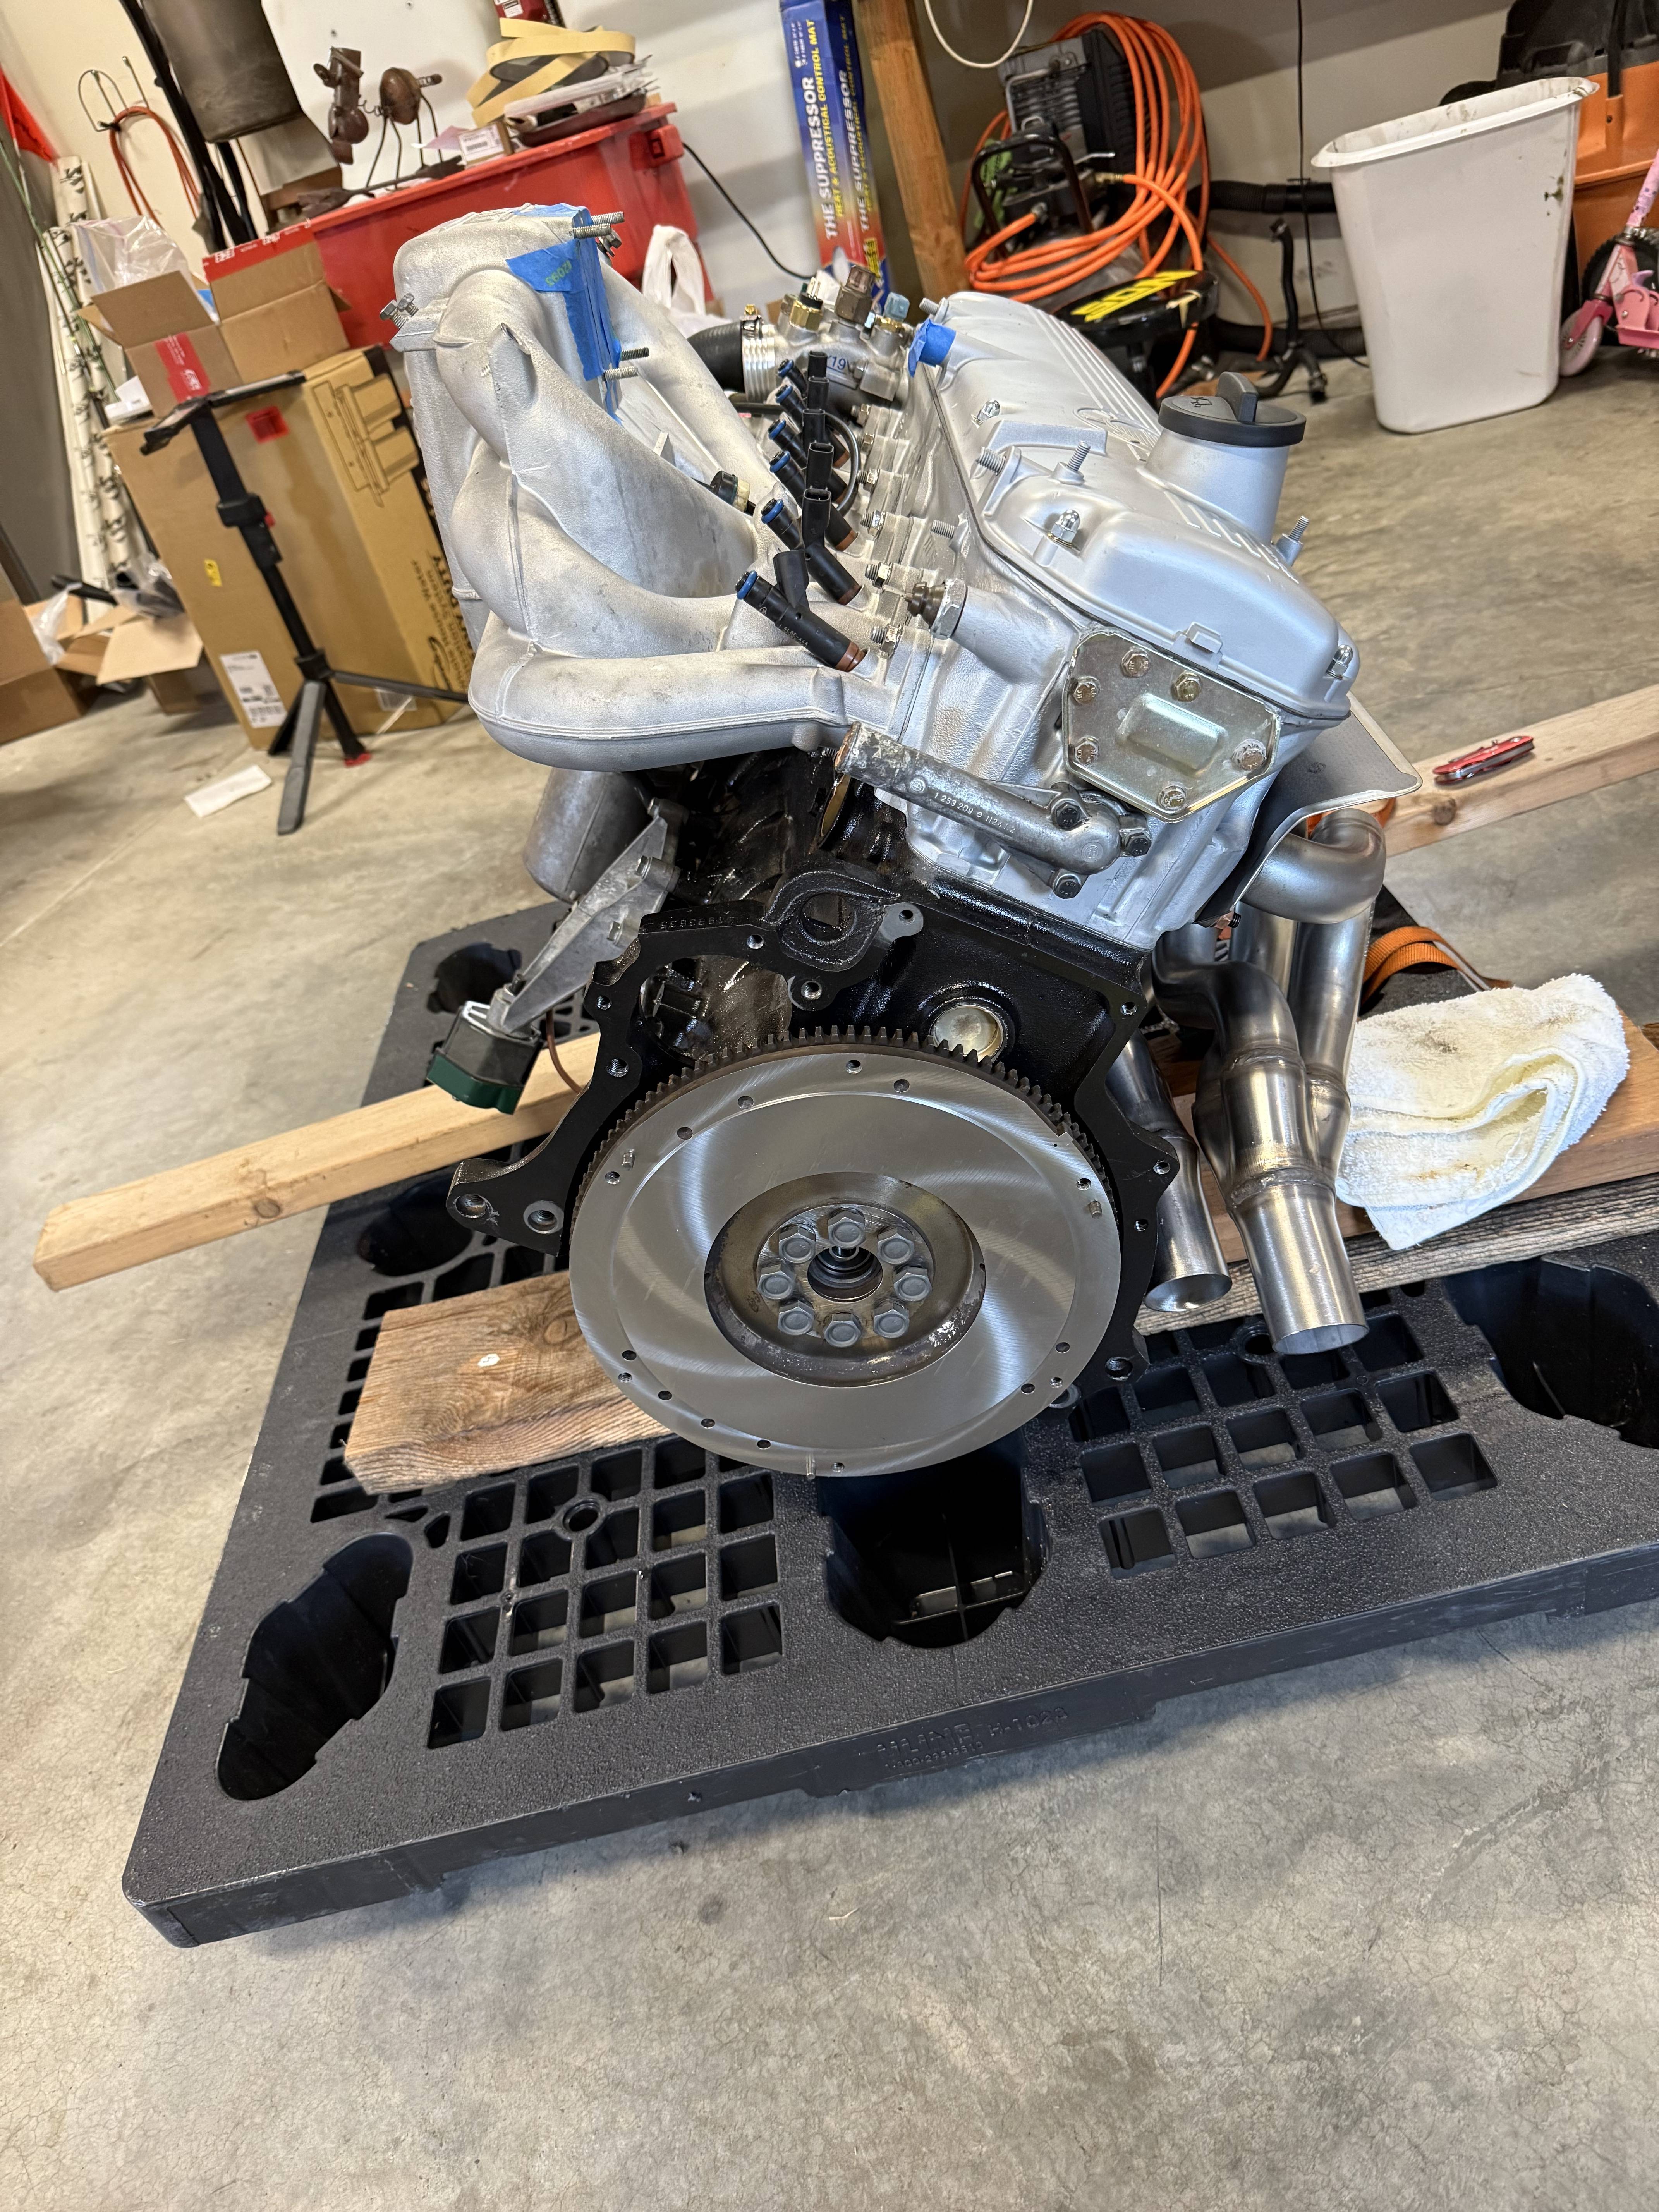
Tomorrow is the day! Torque the flywheel bolts, install the pressure plate and clutch, add the tranny and then get the entire assembly in the car.

Re: And so it starts, Maeve
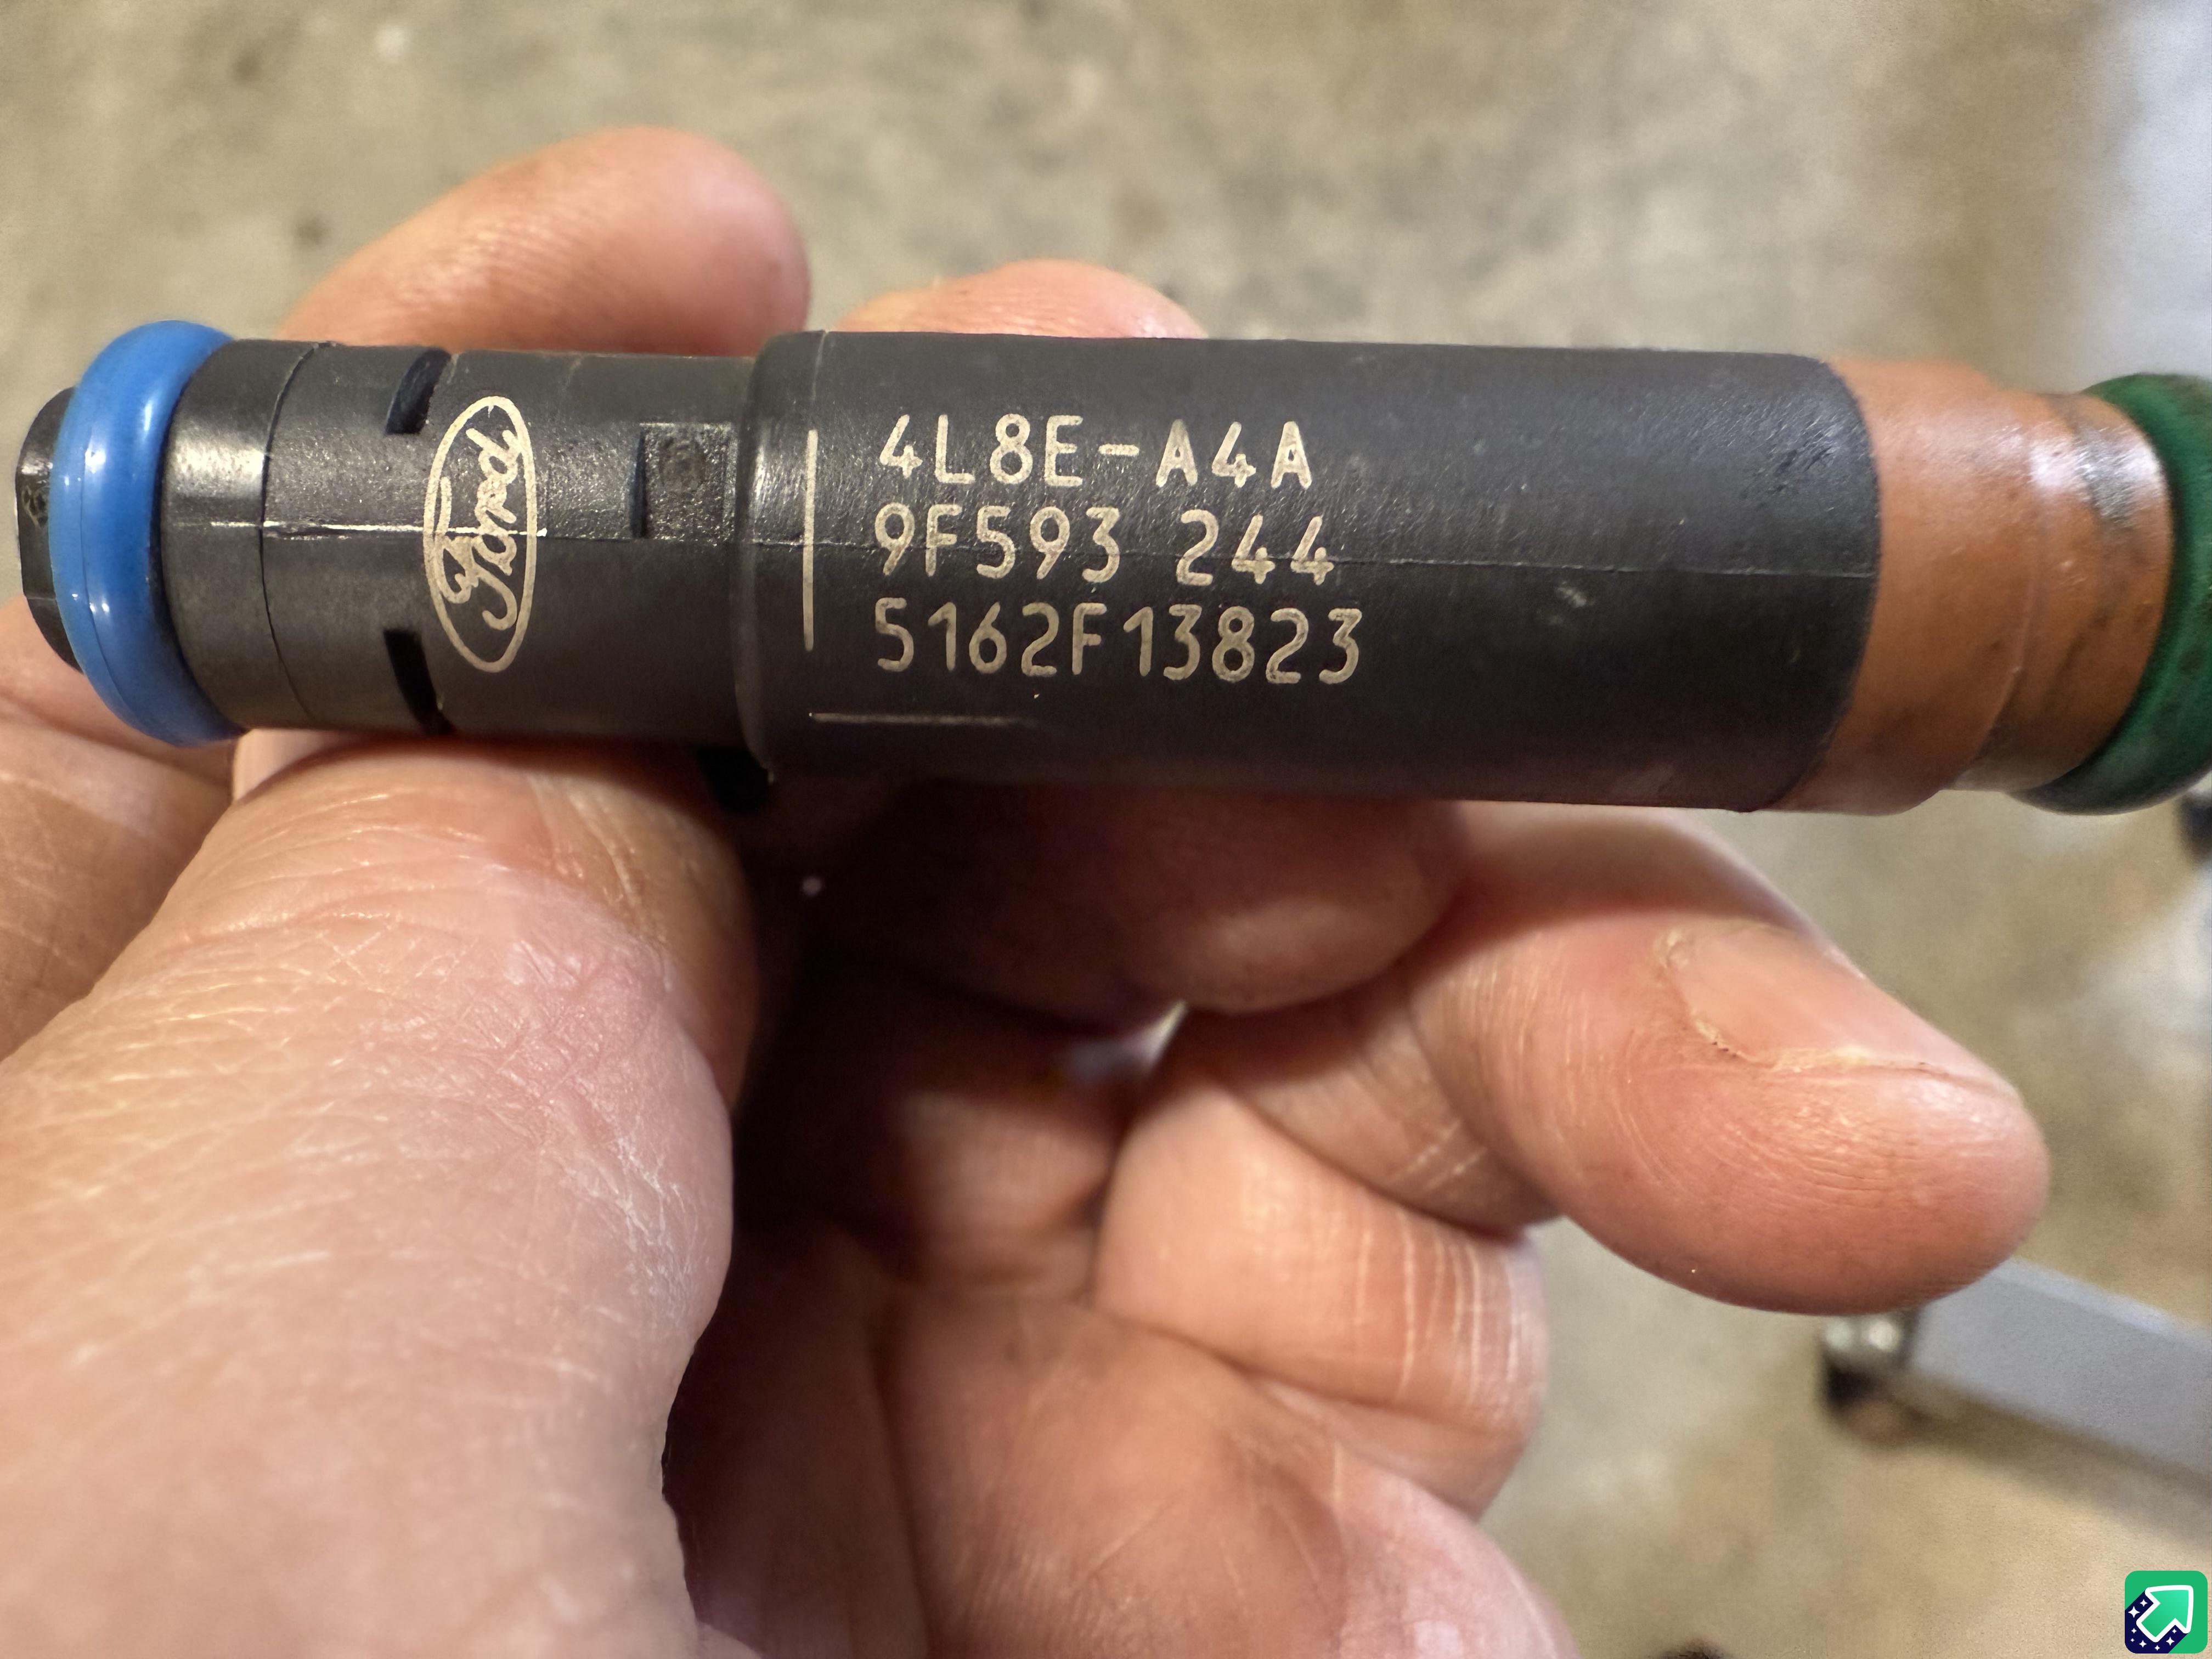
Here is a pic of the injectors that came with the car, 27lb Ford. These will be replaced with stock spec new Bosch injectors.

-
John in VA
- Posts: 5295
- Joined: Feb 12, 2006 12:00 PM
- Location: Leesburg, VA
Re: And so it starts, Maeve
5.0L Mustang injectors are what I used with the Euro cam - ran great!
Re: And so it starts, Maeve
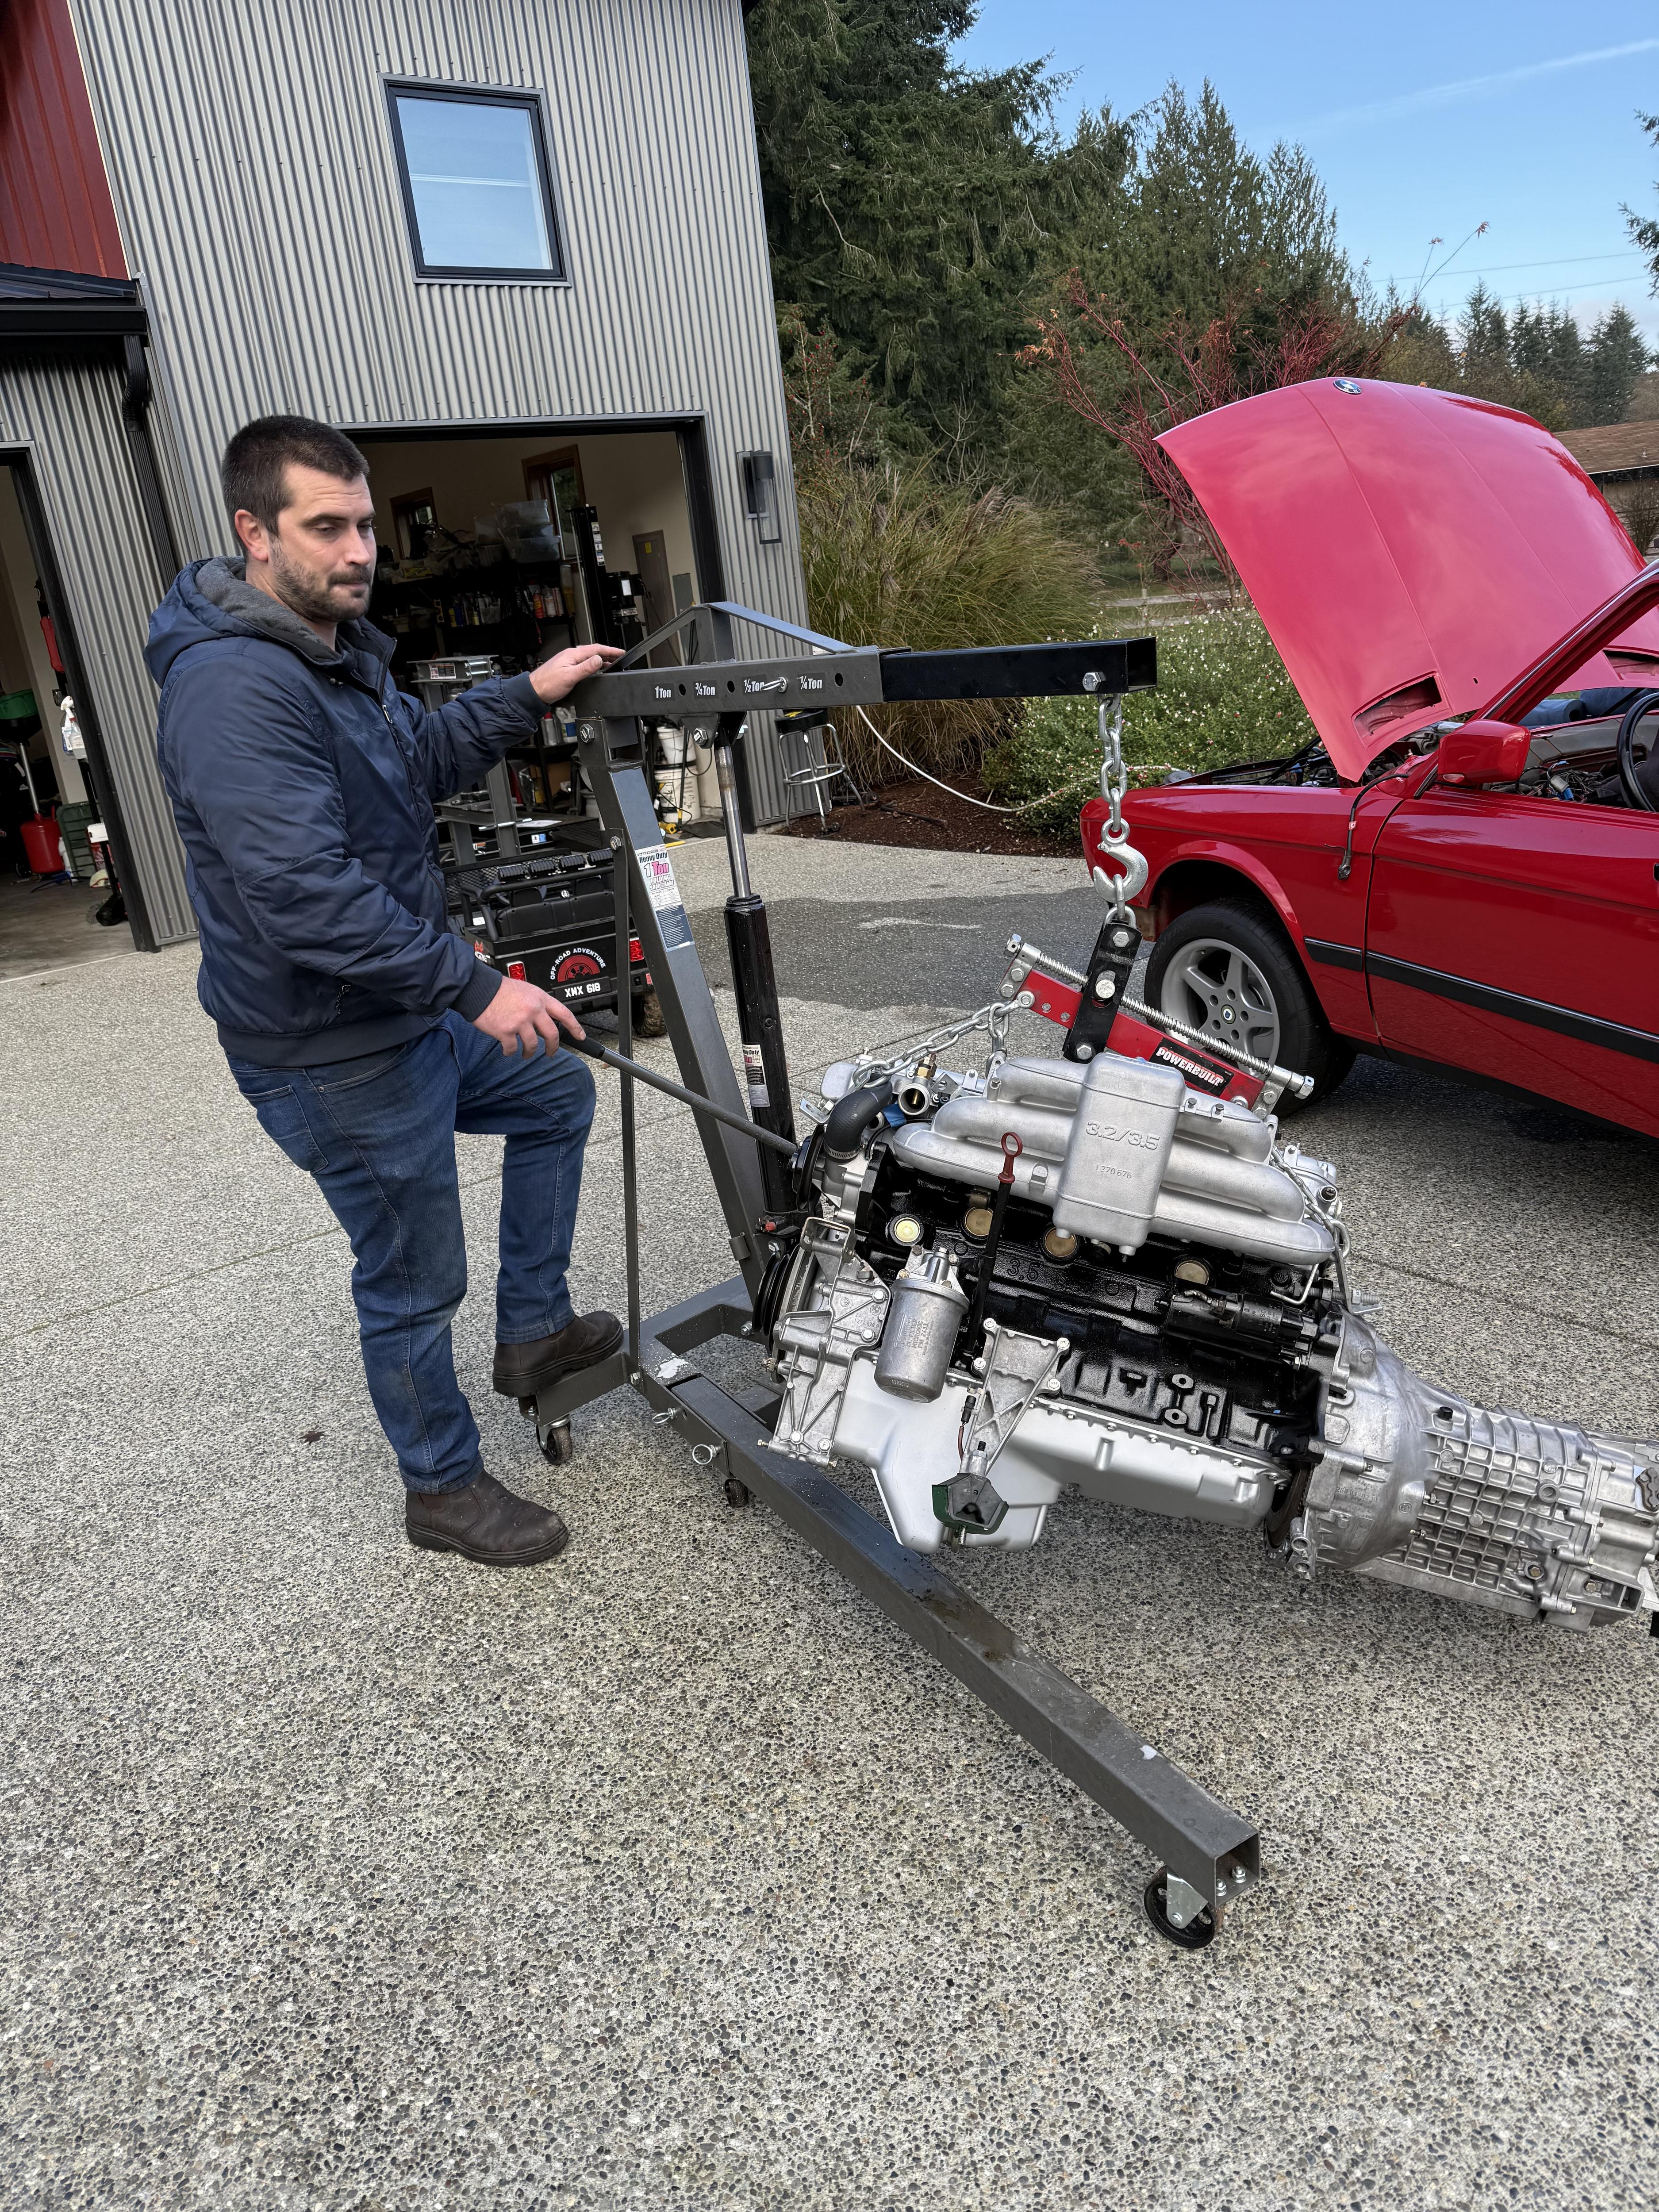
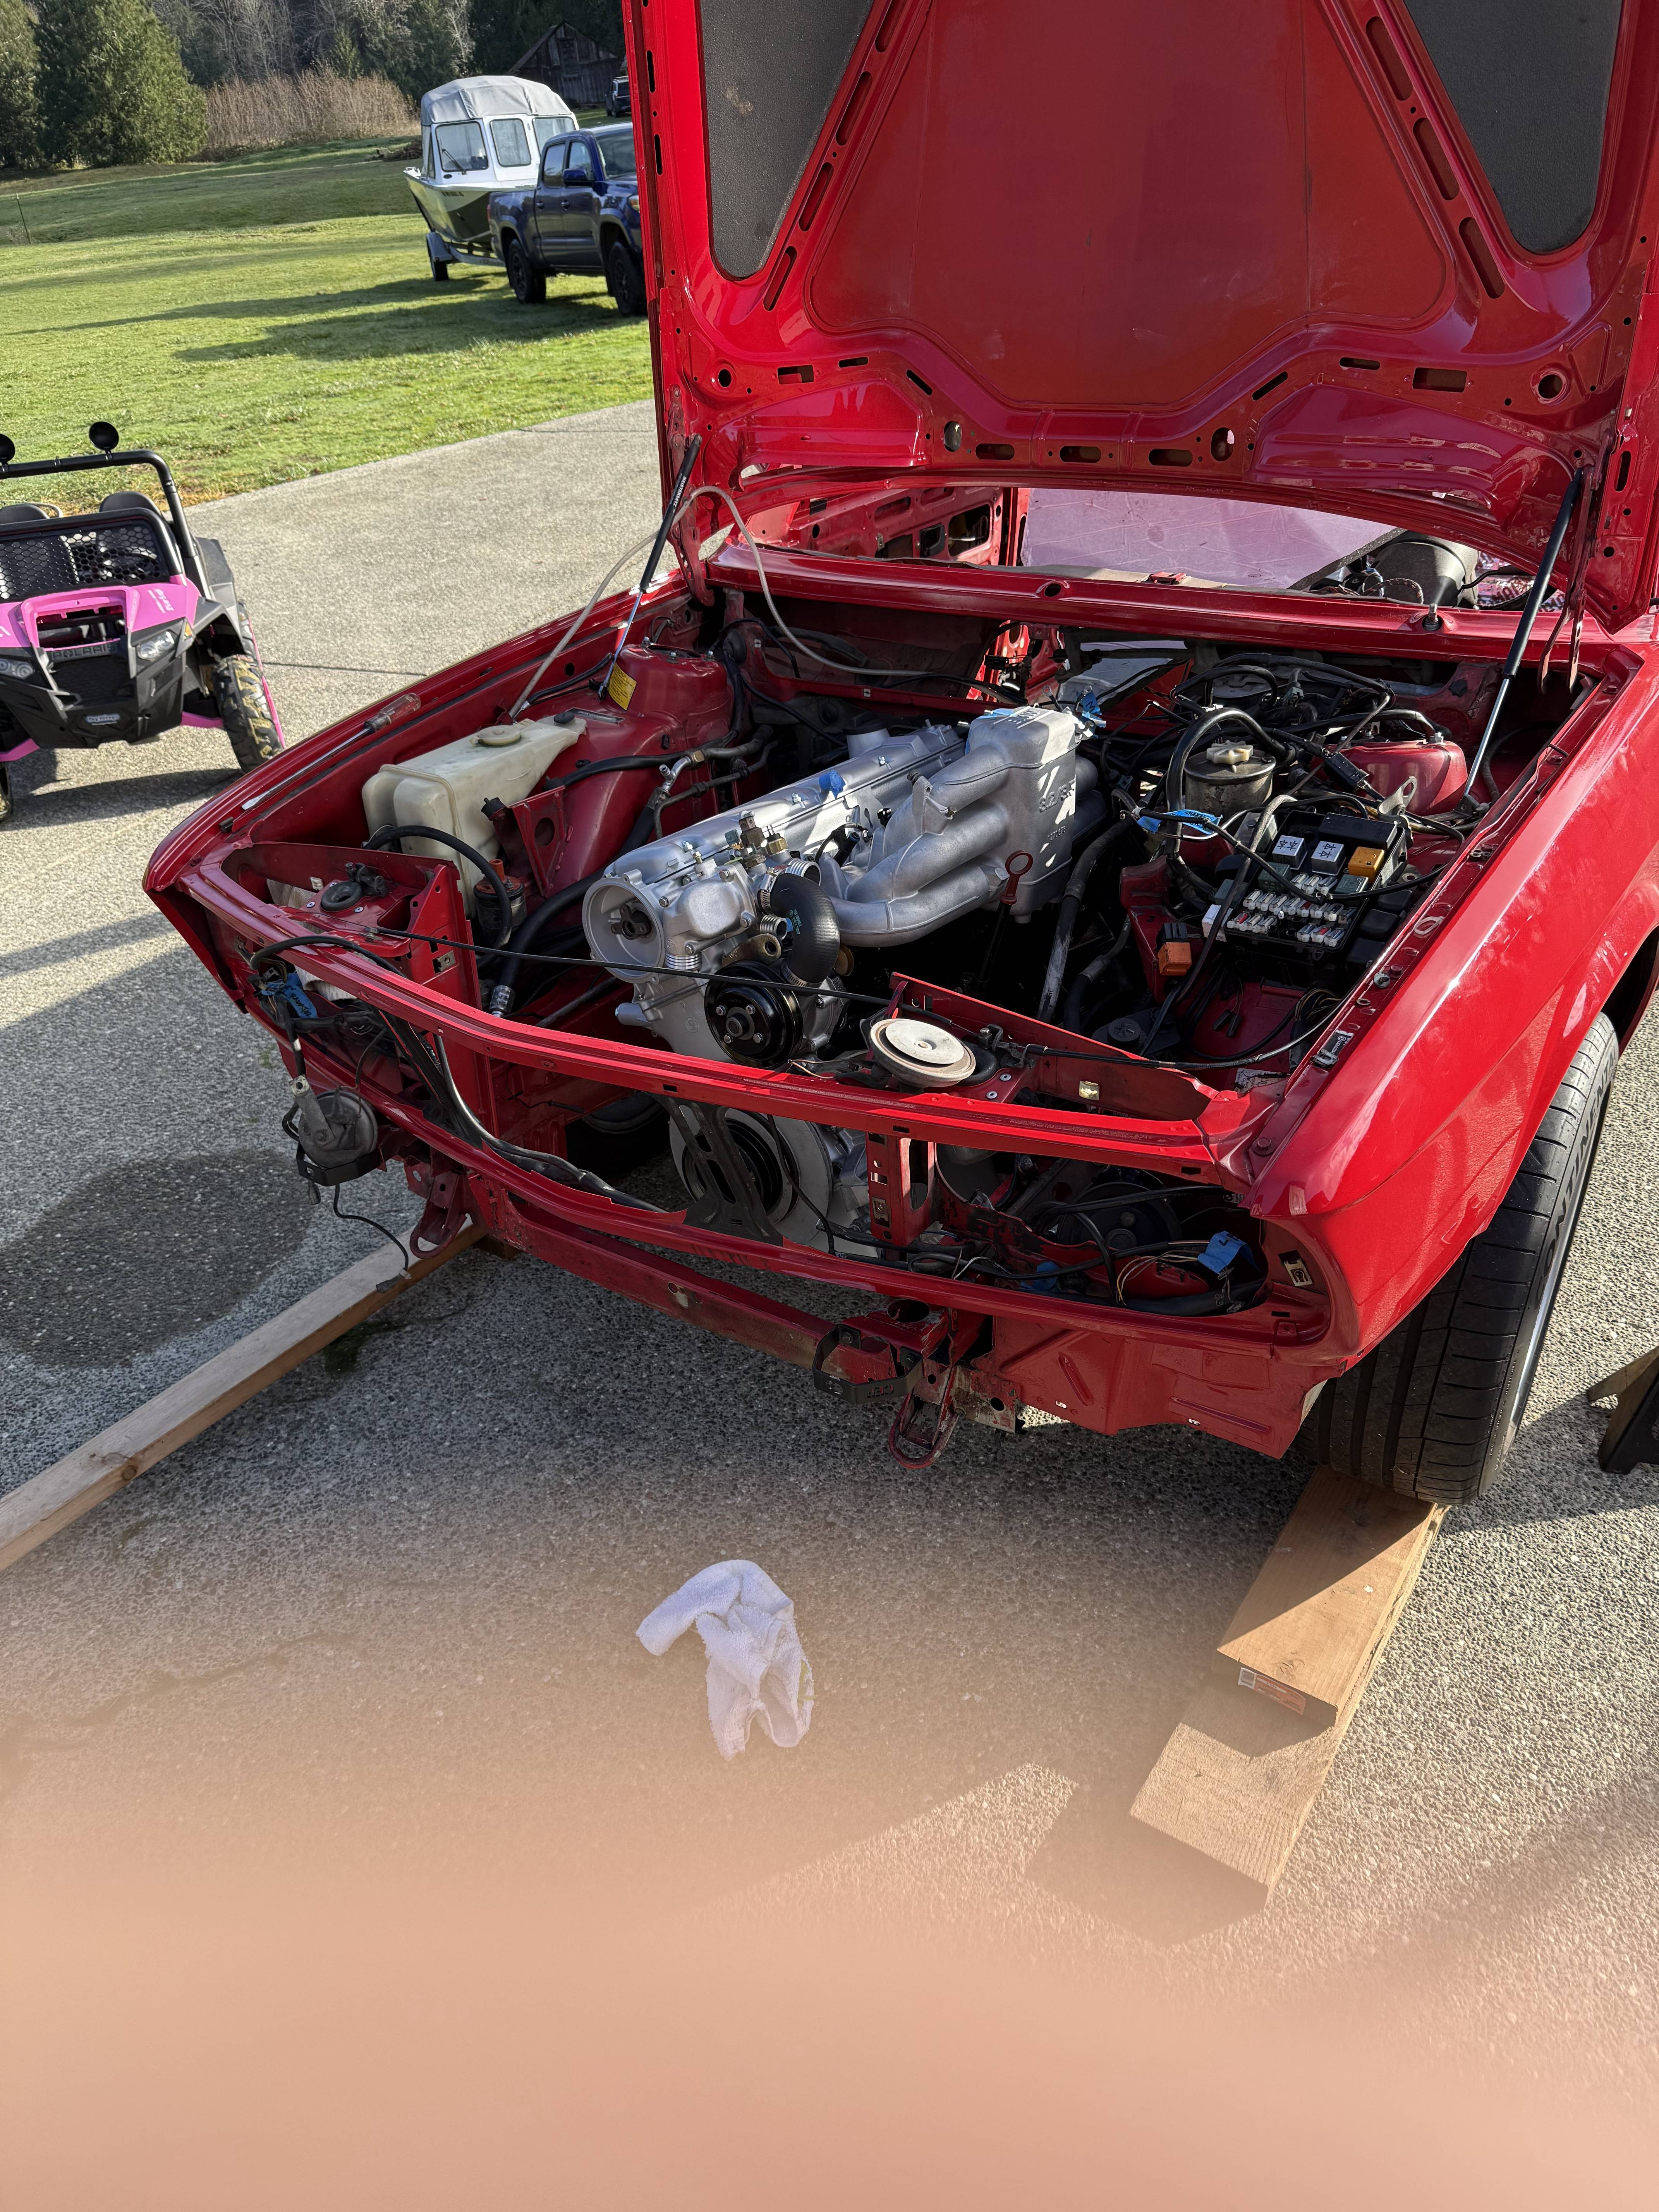
Installing a motor is NOT a one person job. And getting to motor/tranny in without scratching the paint was not easy. Part of the issue was the cherry picker boom wasn't long enough to get the motor mounts in the correct position. We finally got the passenger side mount through he hole and then the driver side. The old motor sure came out easier than the new going in:
Success:

Success:

Re: And so it starts, Maeve
But yeah, installing/removing engines is a PITA. Especially with the tranny attached. I know lots of people do it that way, but I think it's just insanity.
Last edited by Mike W. on Dec 02, 2024 12:59 PM, edited 1 time in total.
-
Blue Shadow
- Posts: 10292
- Joined: Feb 12, 2006 12:00 PM
- Location: SE PA
Re: And so it starts, Maeve
Of course it is, you yanking out a lump of recycle from a car needing body work and paint and putting back in a motor that looks new into a fresh paint job. A bump/bruise in the former is no big deal, in the latter and it sure helps to have extra hands to make things go right.The old motor sure came out easier than the new going in
Re: And so it starts, Maeve
Progress! Installed the tranny brace:
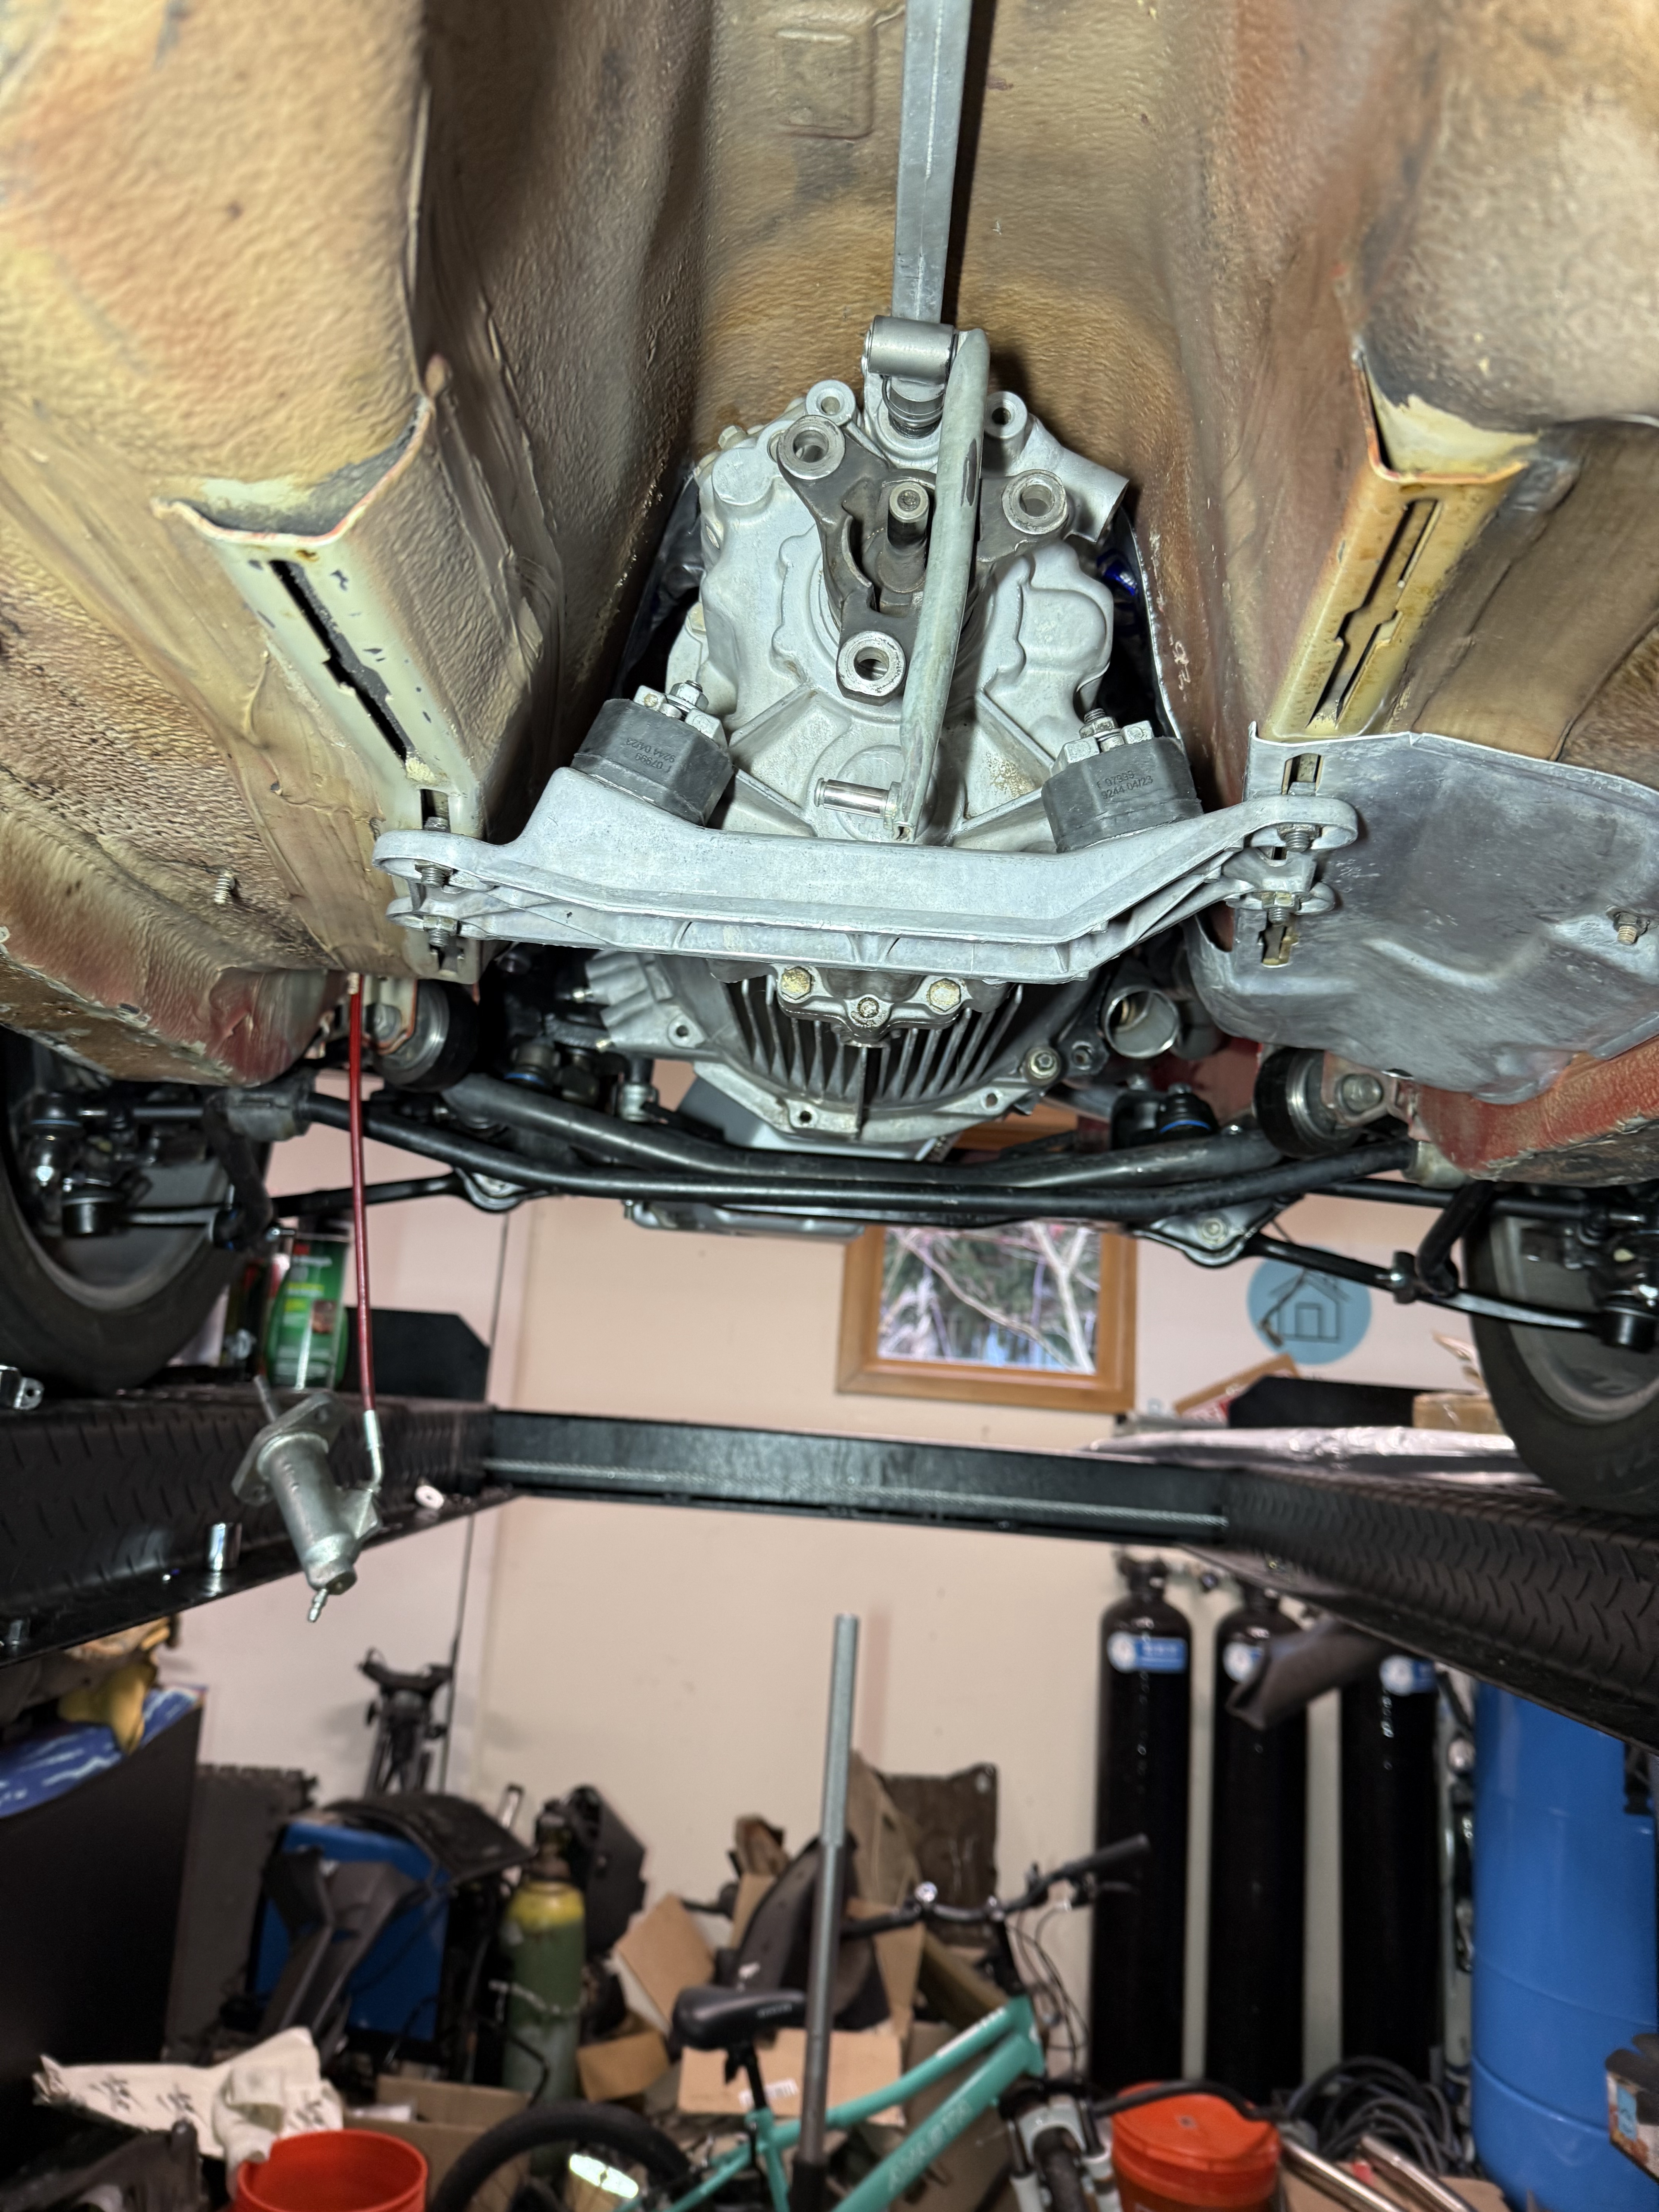
and rotated the motor mounts so they are aligned properly. Thank you Blue Shadow for the tip on the locating pin on the bottom of the mount. And mine are green. This type of mount came with my car so I replaced what I had:
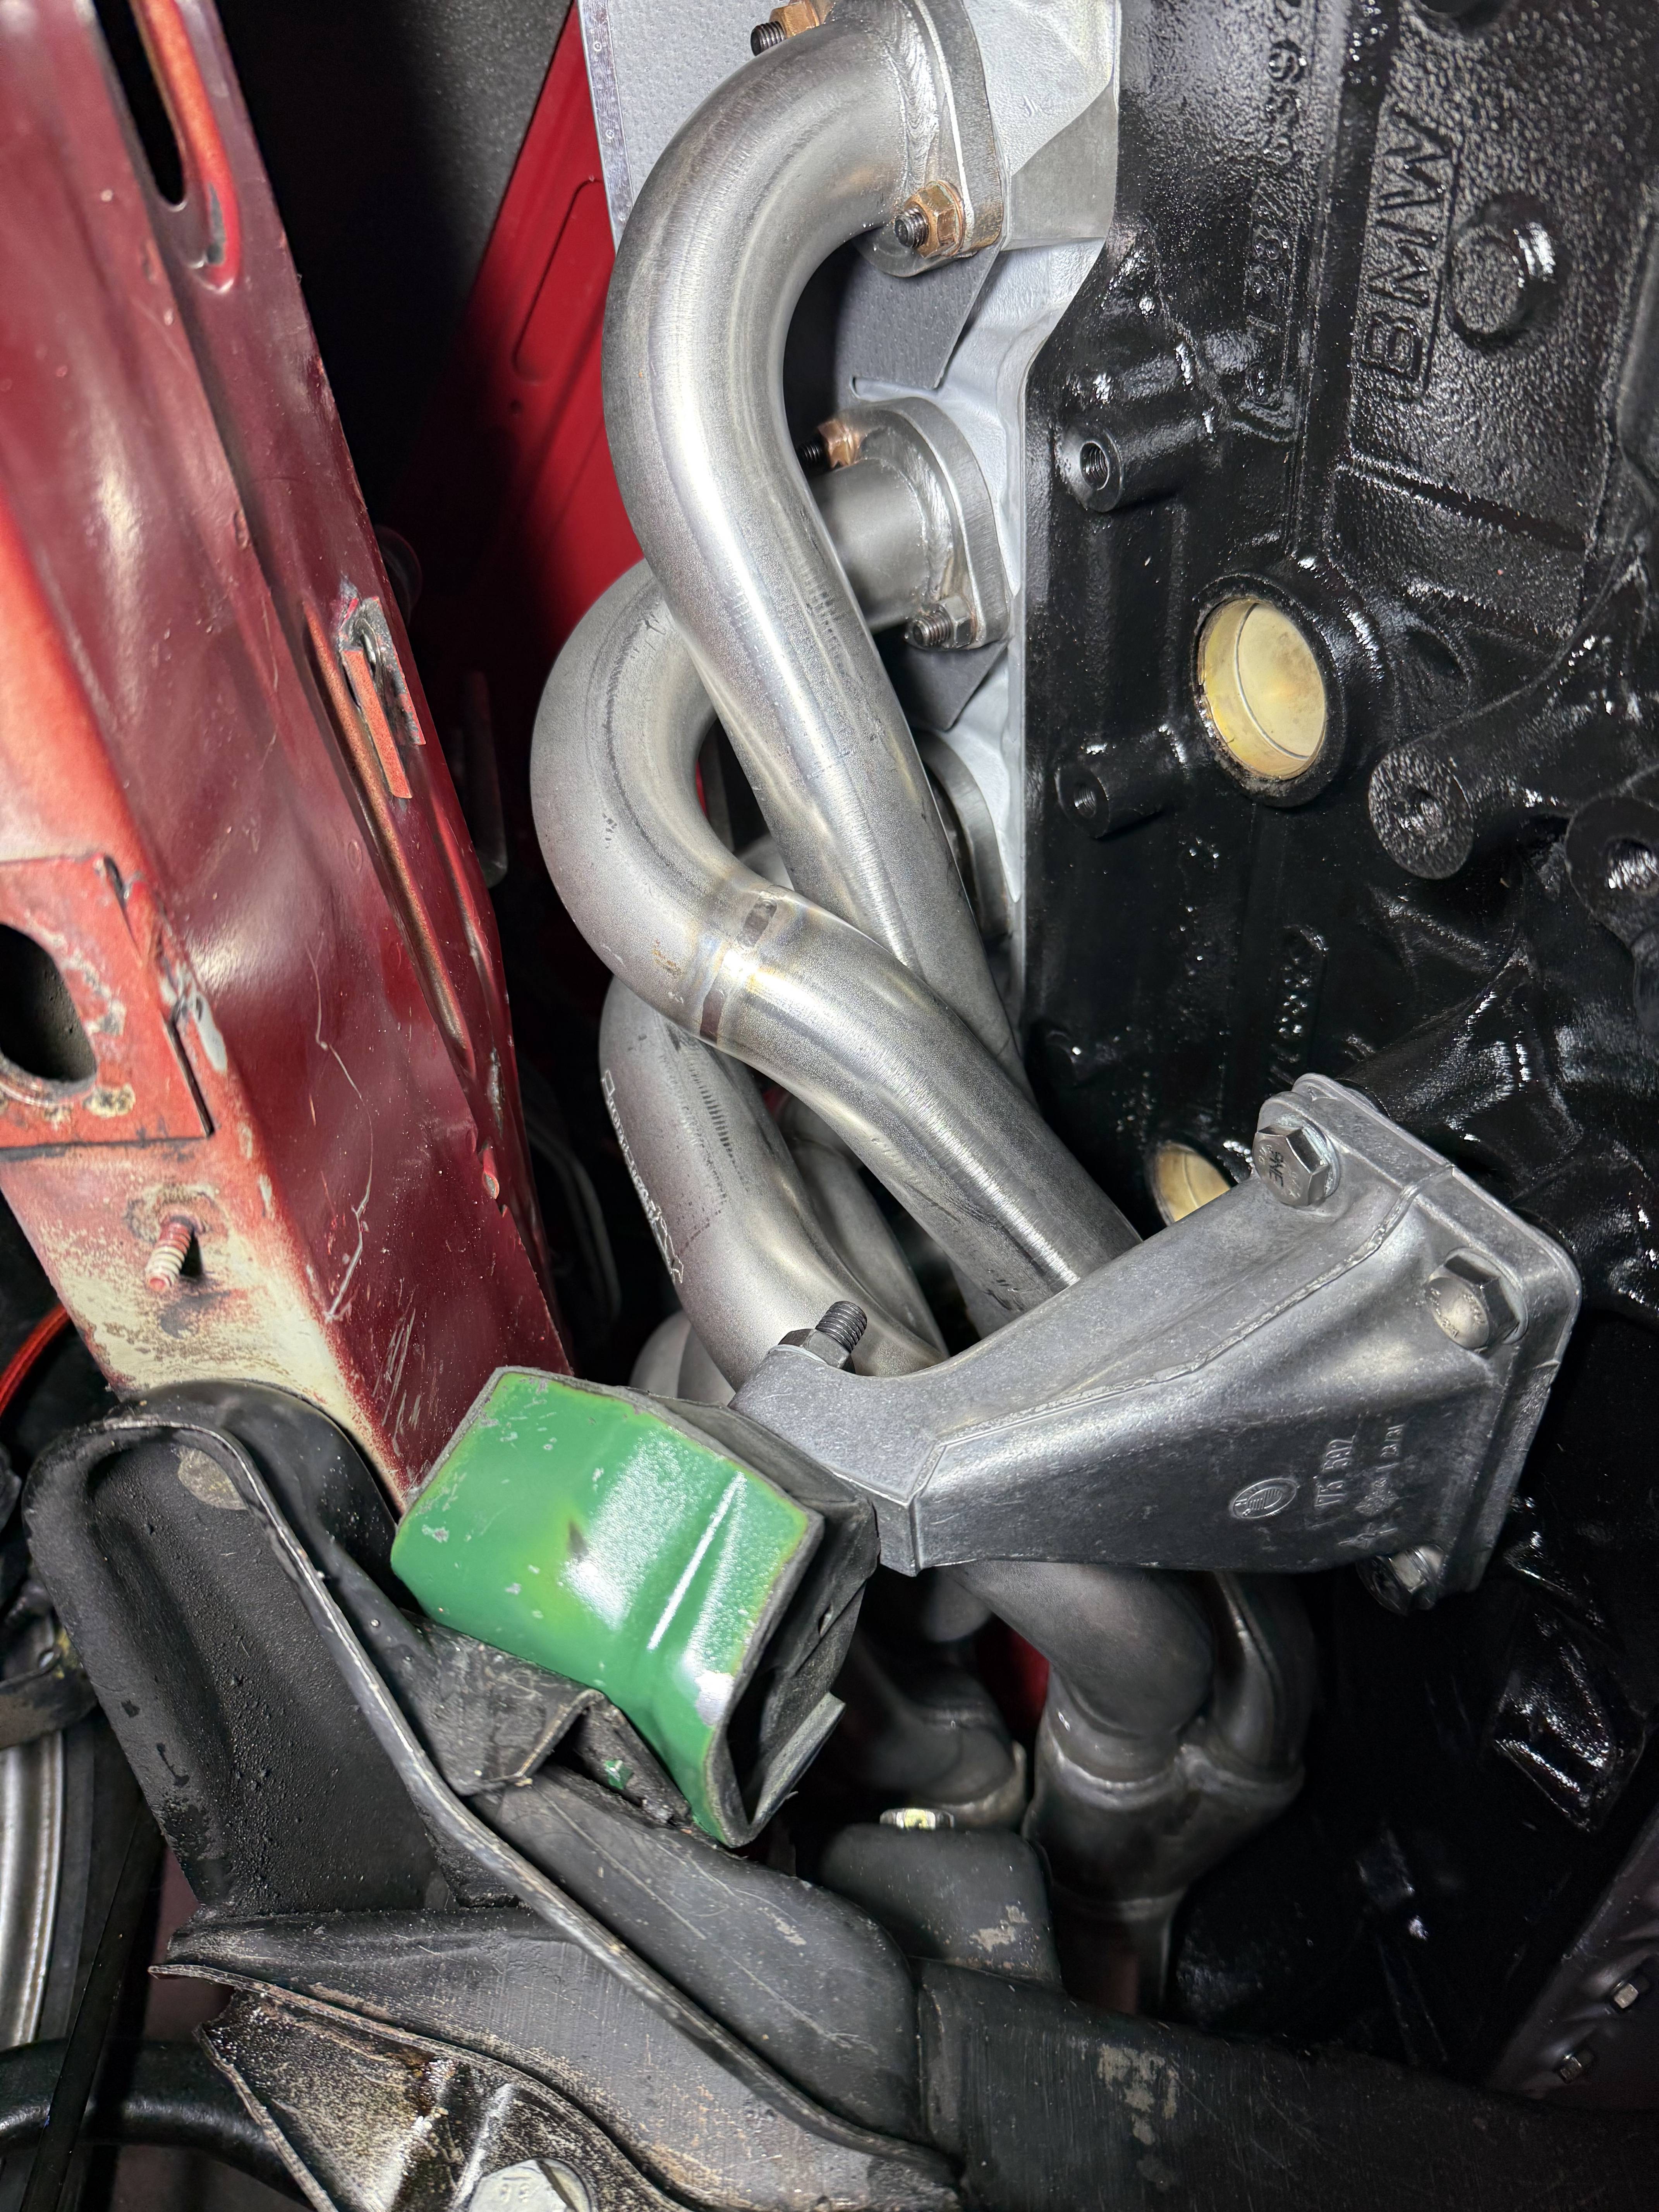
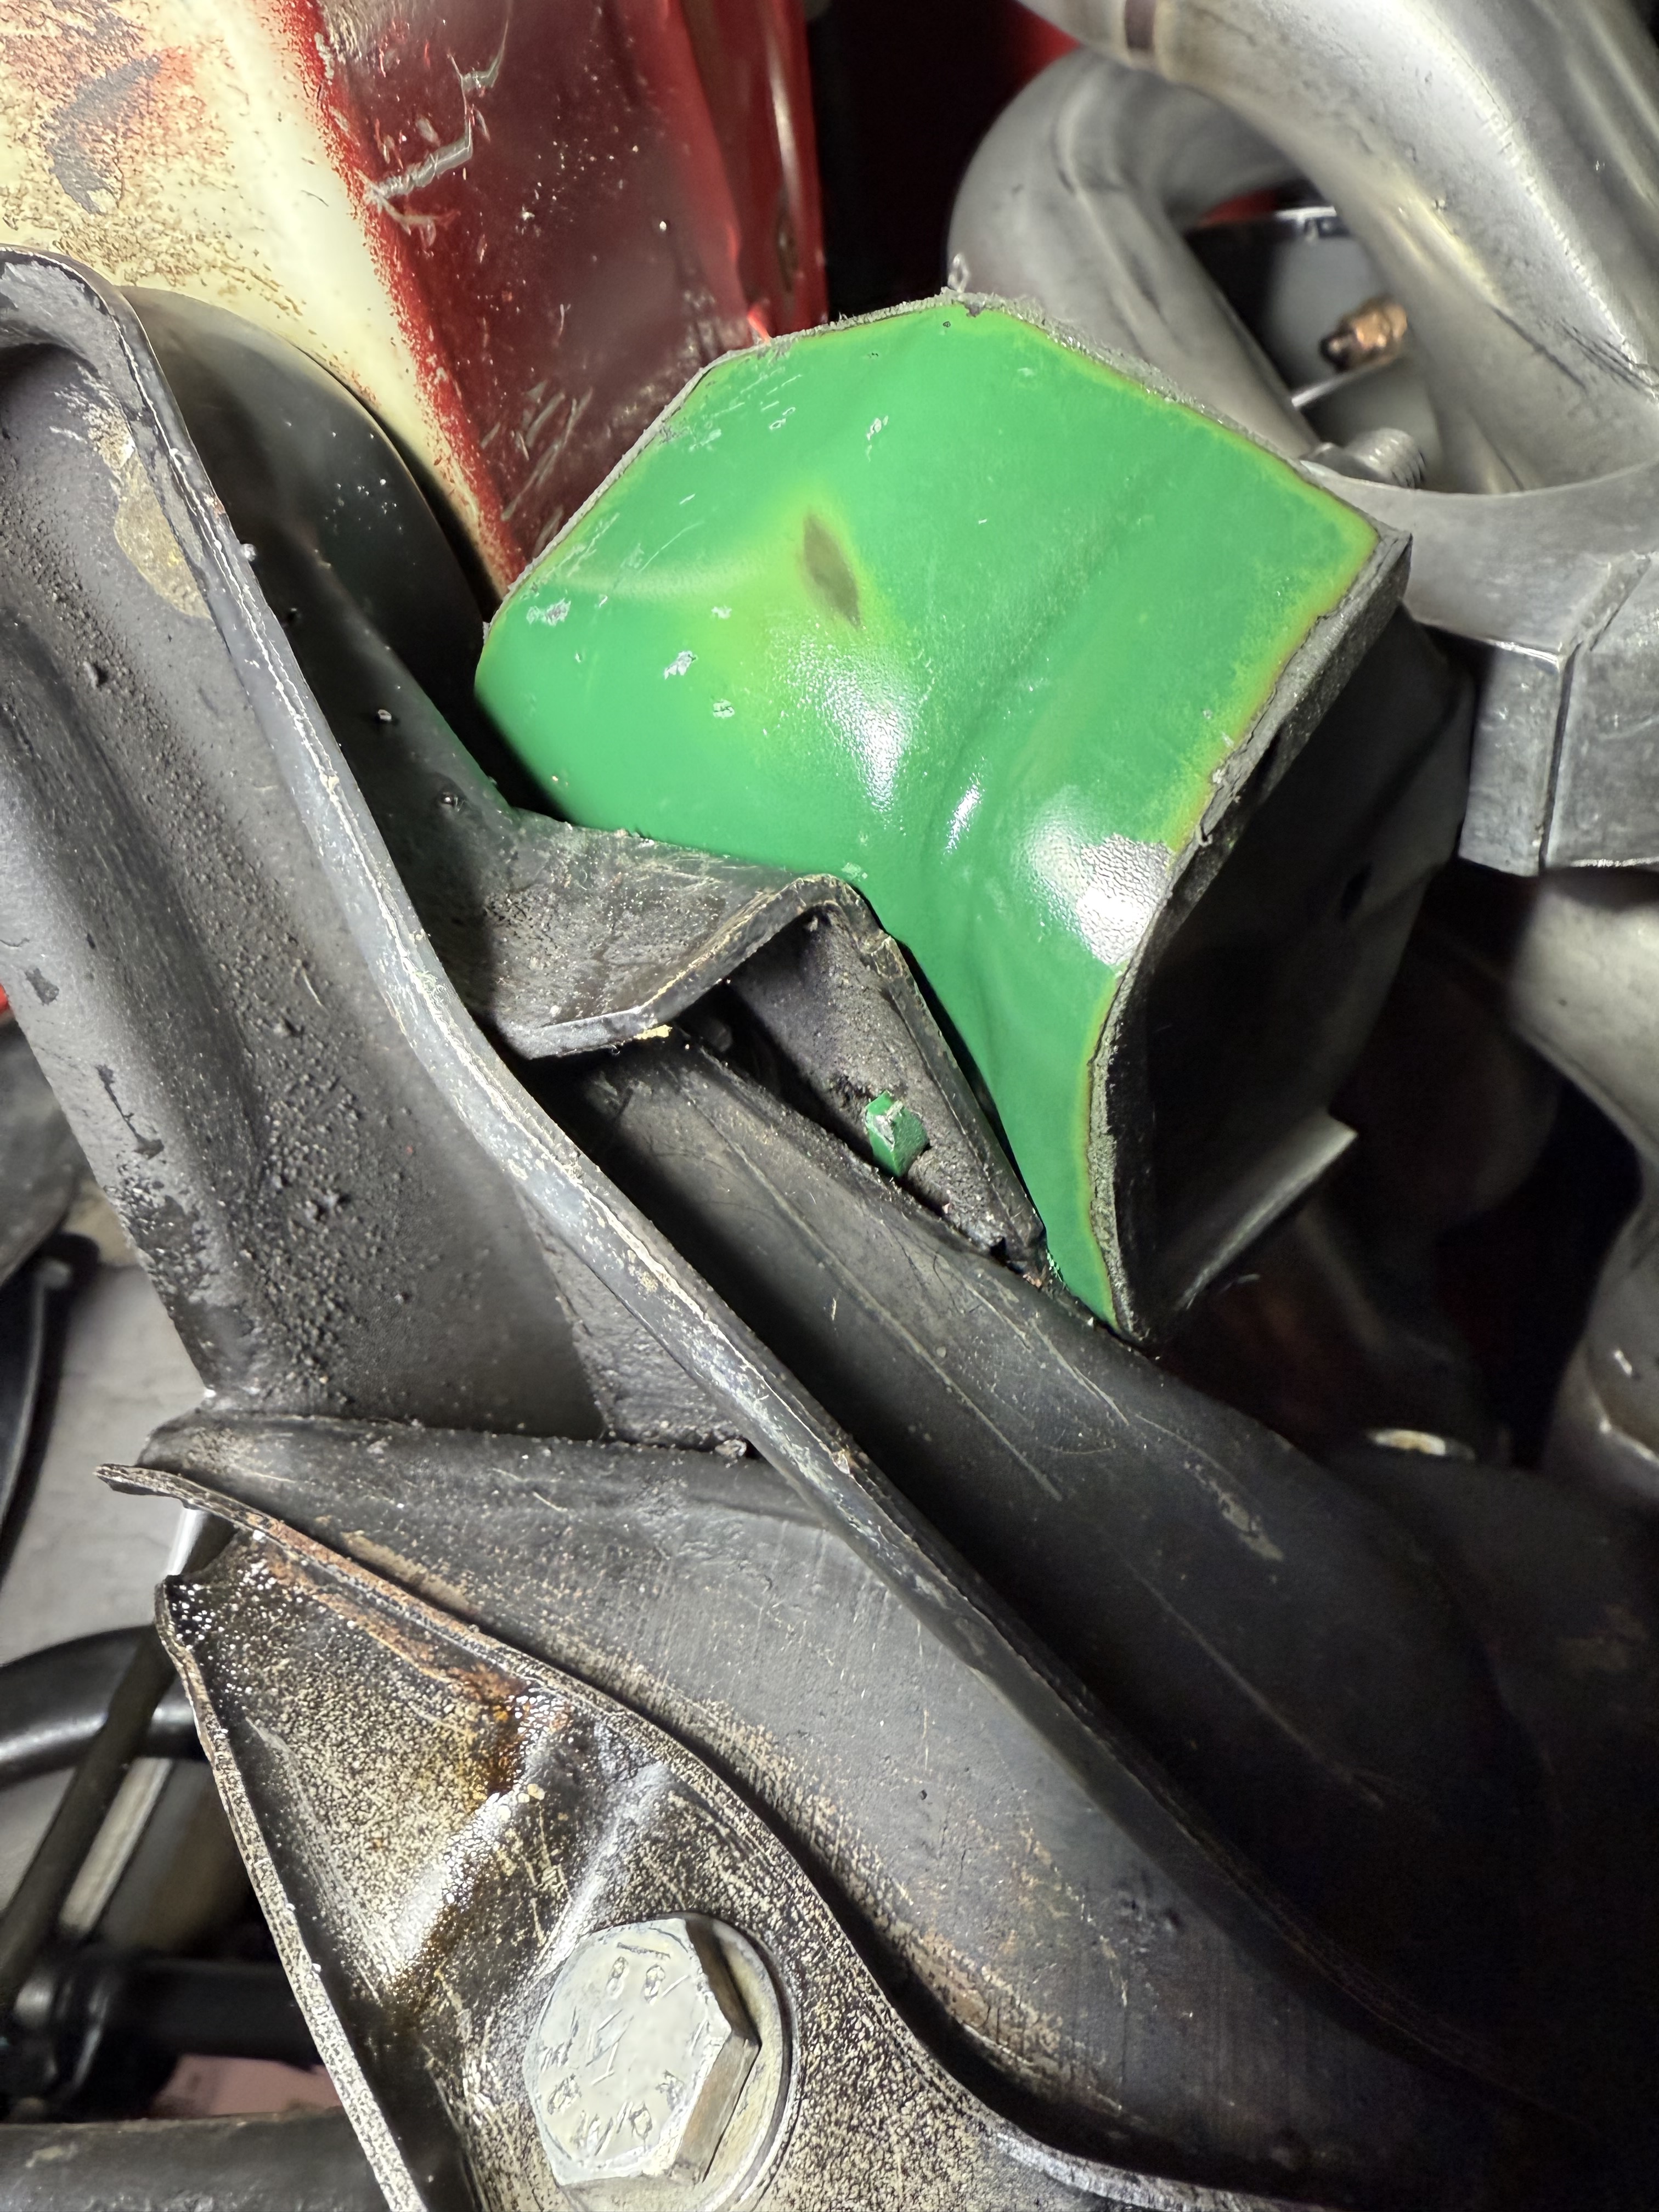
Does this look close to you? Anybody have experience here that says the header is going to rub?
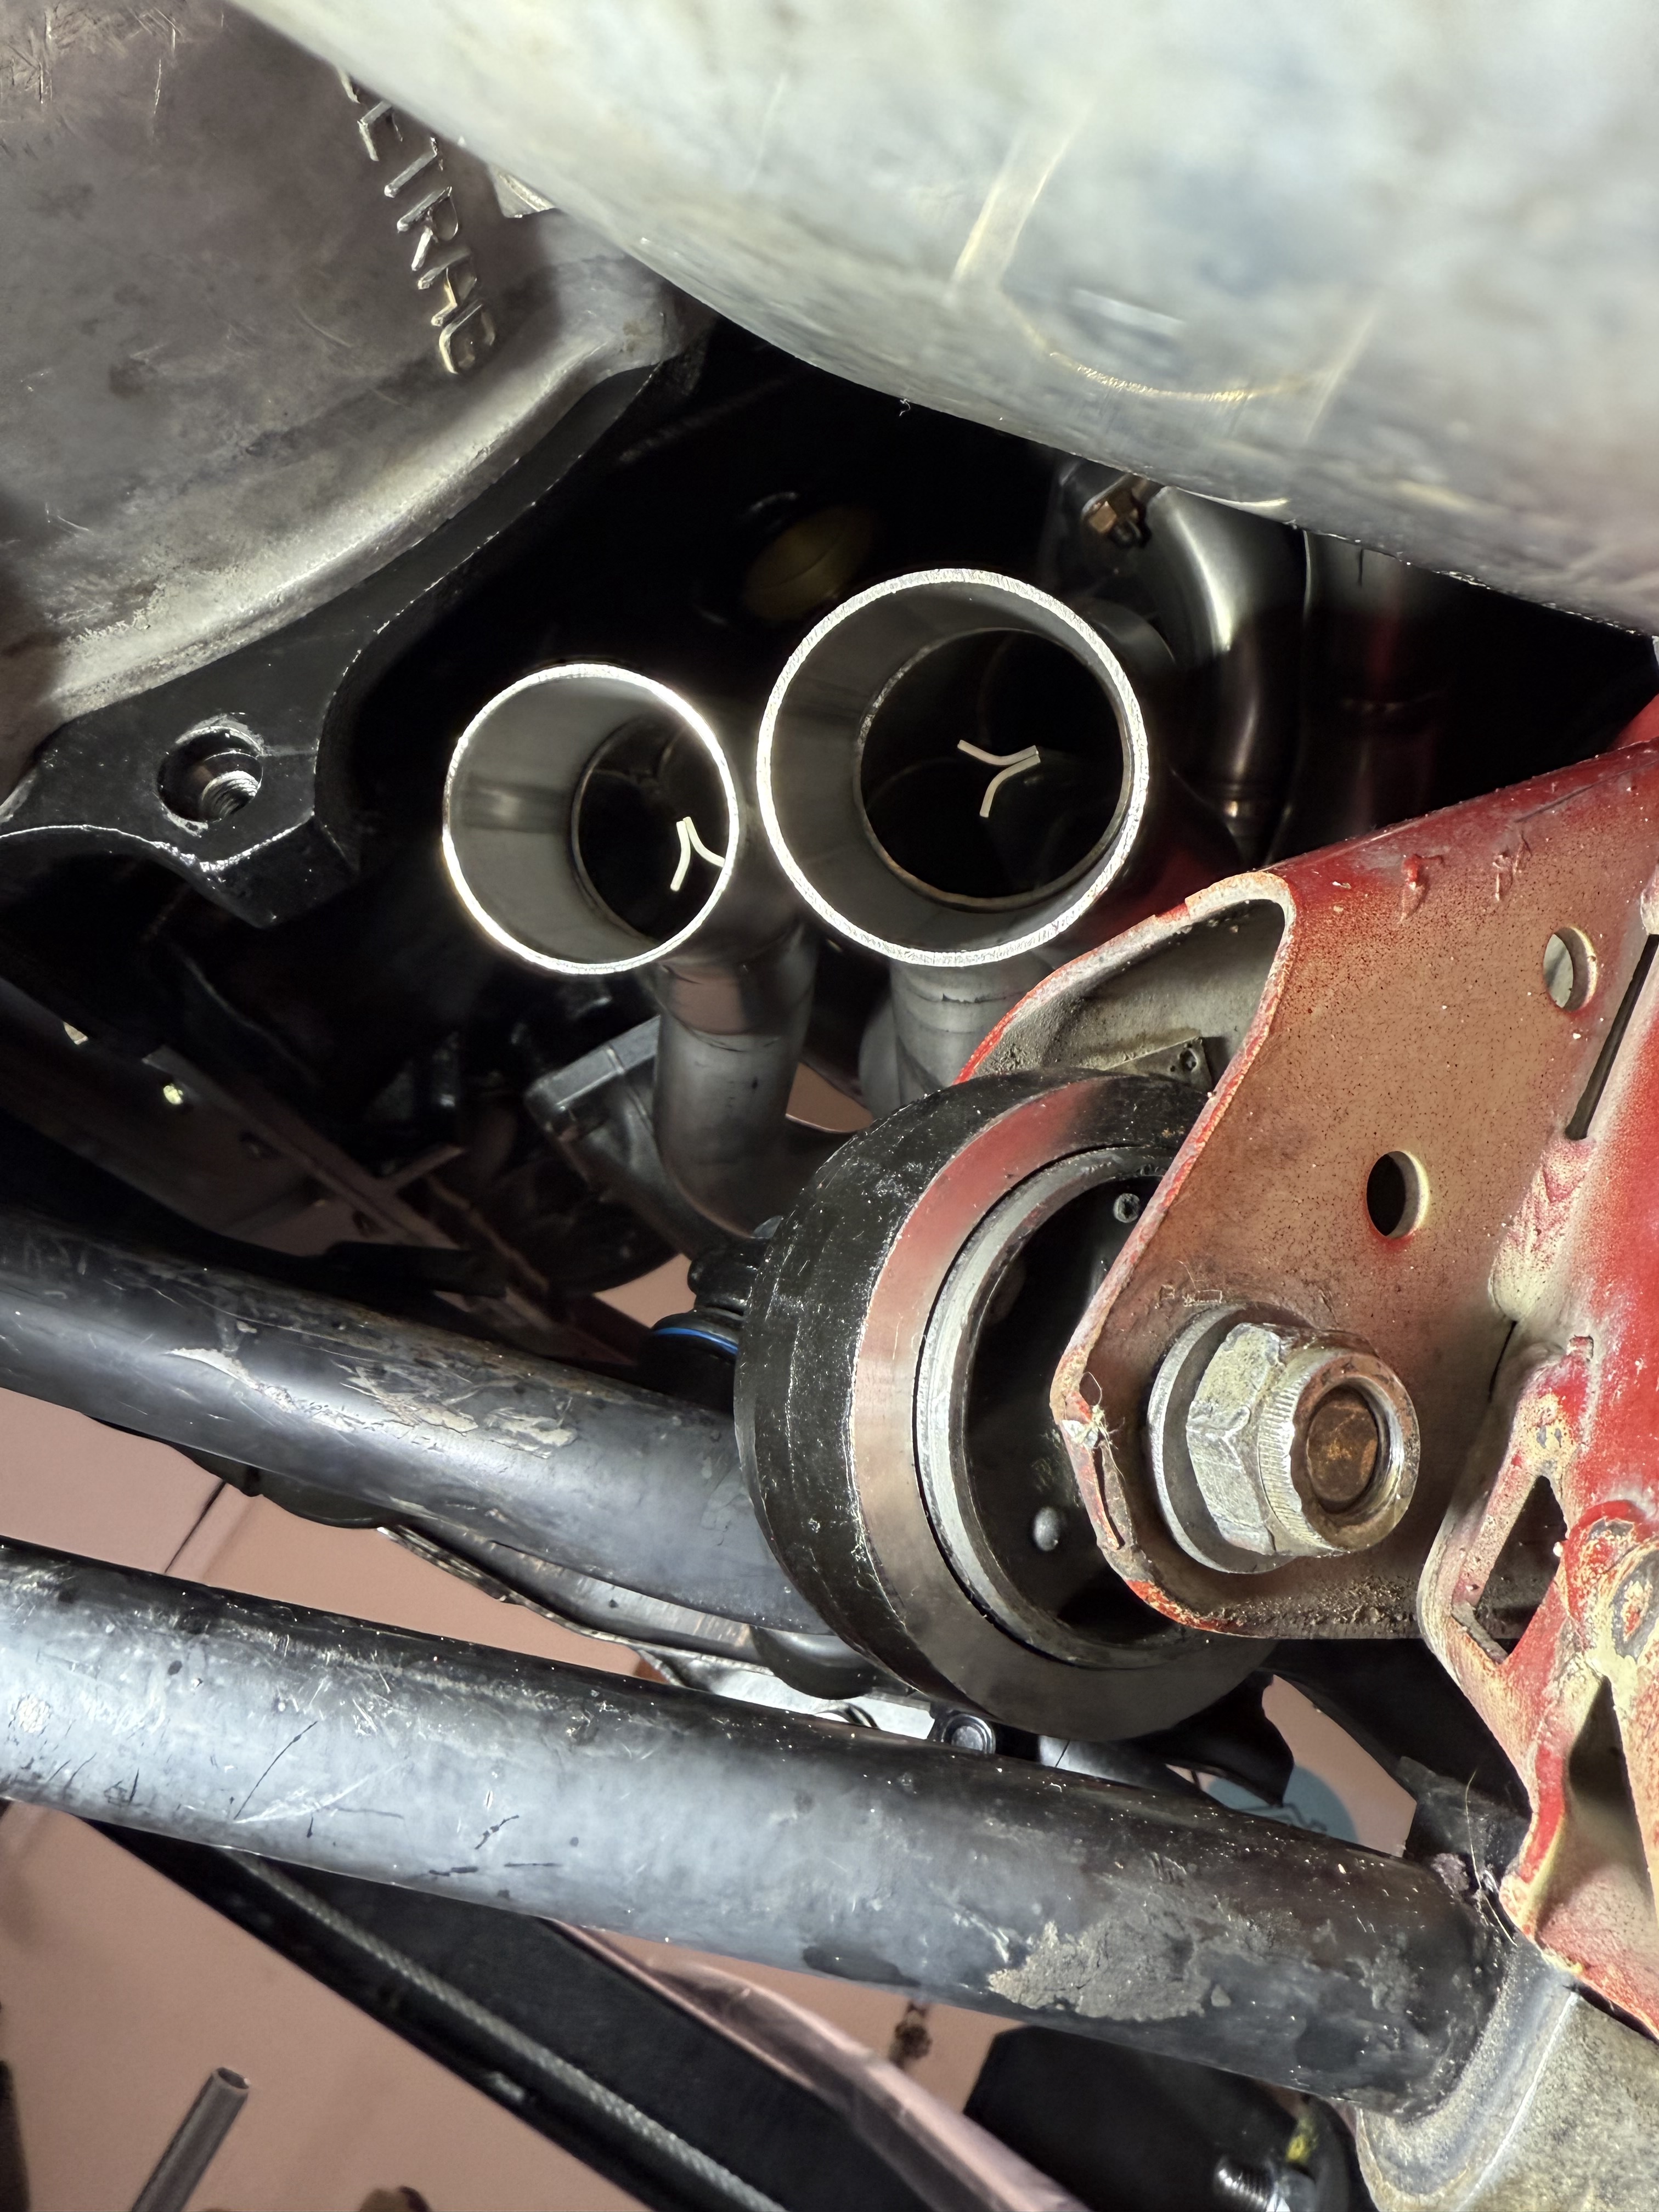

and rotated the motor mounts so they are aligned properly. Thank you Blue Shadow for the tip on the locating pin on the bottom of the mount. And mine are green. This type of mount came with my car so I replaced what I had:


Does this look close to you? Anybody have experience here that says the header is going to rub?

Re: And so it starts, Maeve
Does this look close to you? Anybody have experience here that says the header is going to rub?

[/quote]
It's really hard to tell how much room there is (on the right pipe), usually the fitment issues are on the other pipe. I've seen tighter clearances that have worked.

[/quote]
It's really hard to tell how much room there is (on the right pipe), usually the fitment issues are on the other pipe. I've seen tighter clearances that have worked.
Re: And so it starts, Maeve
I'd be more worried about cooking the bushing than rubbinggwb72tii wrote: Dec 02, 2024 7:02 PM Does this look close to you? Anybody have experience here that says the header is going to rub?
Re: And so it starts, Maeve
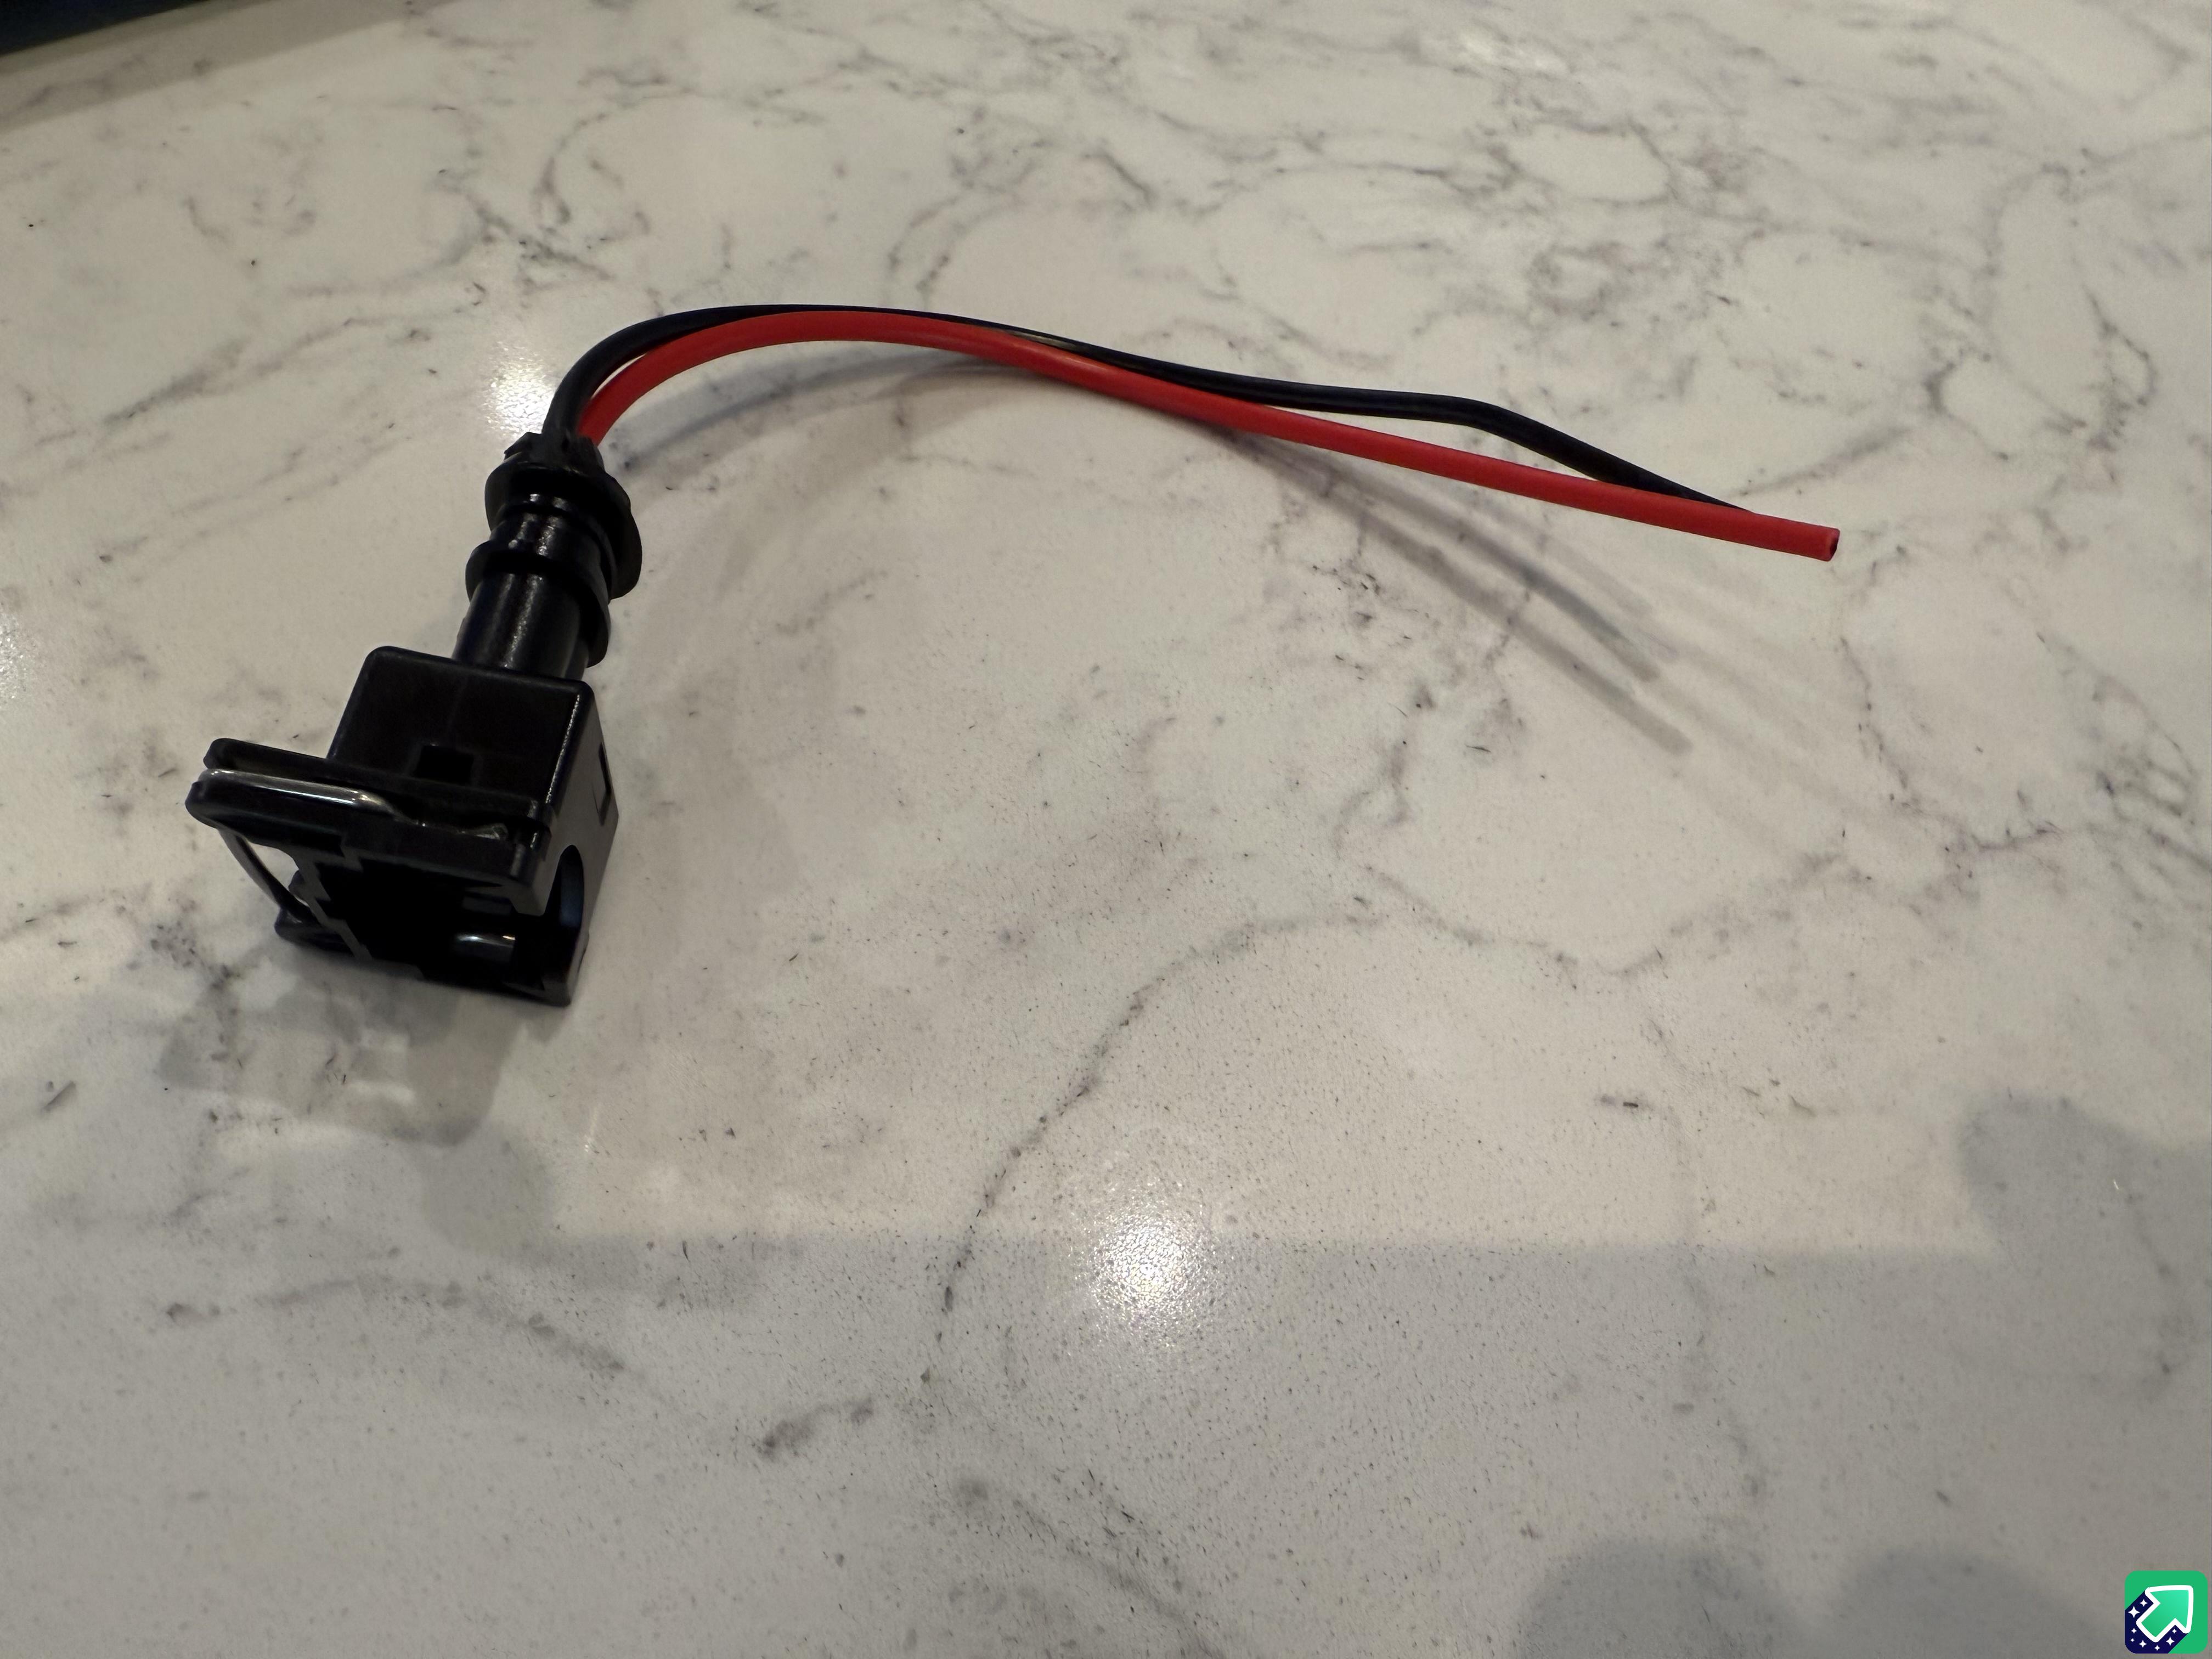
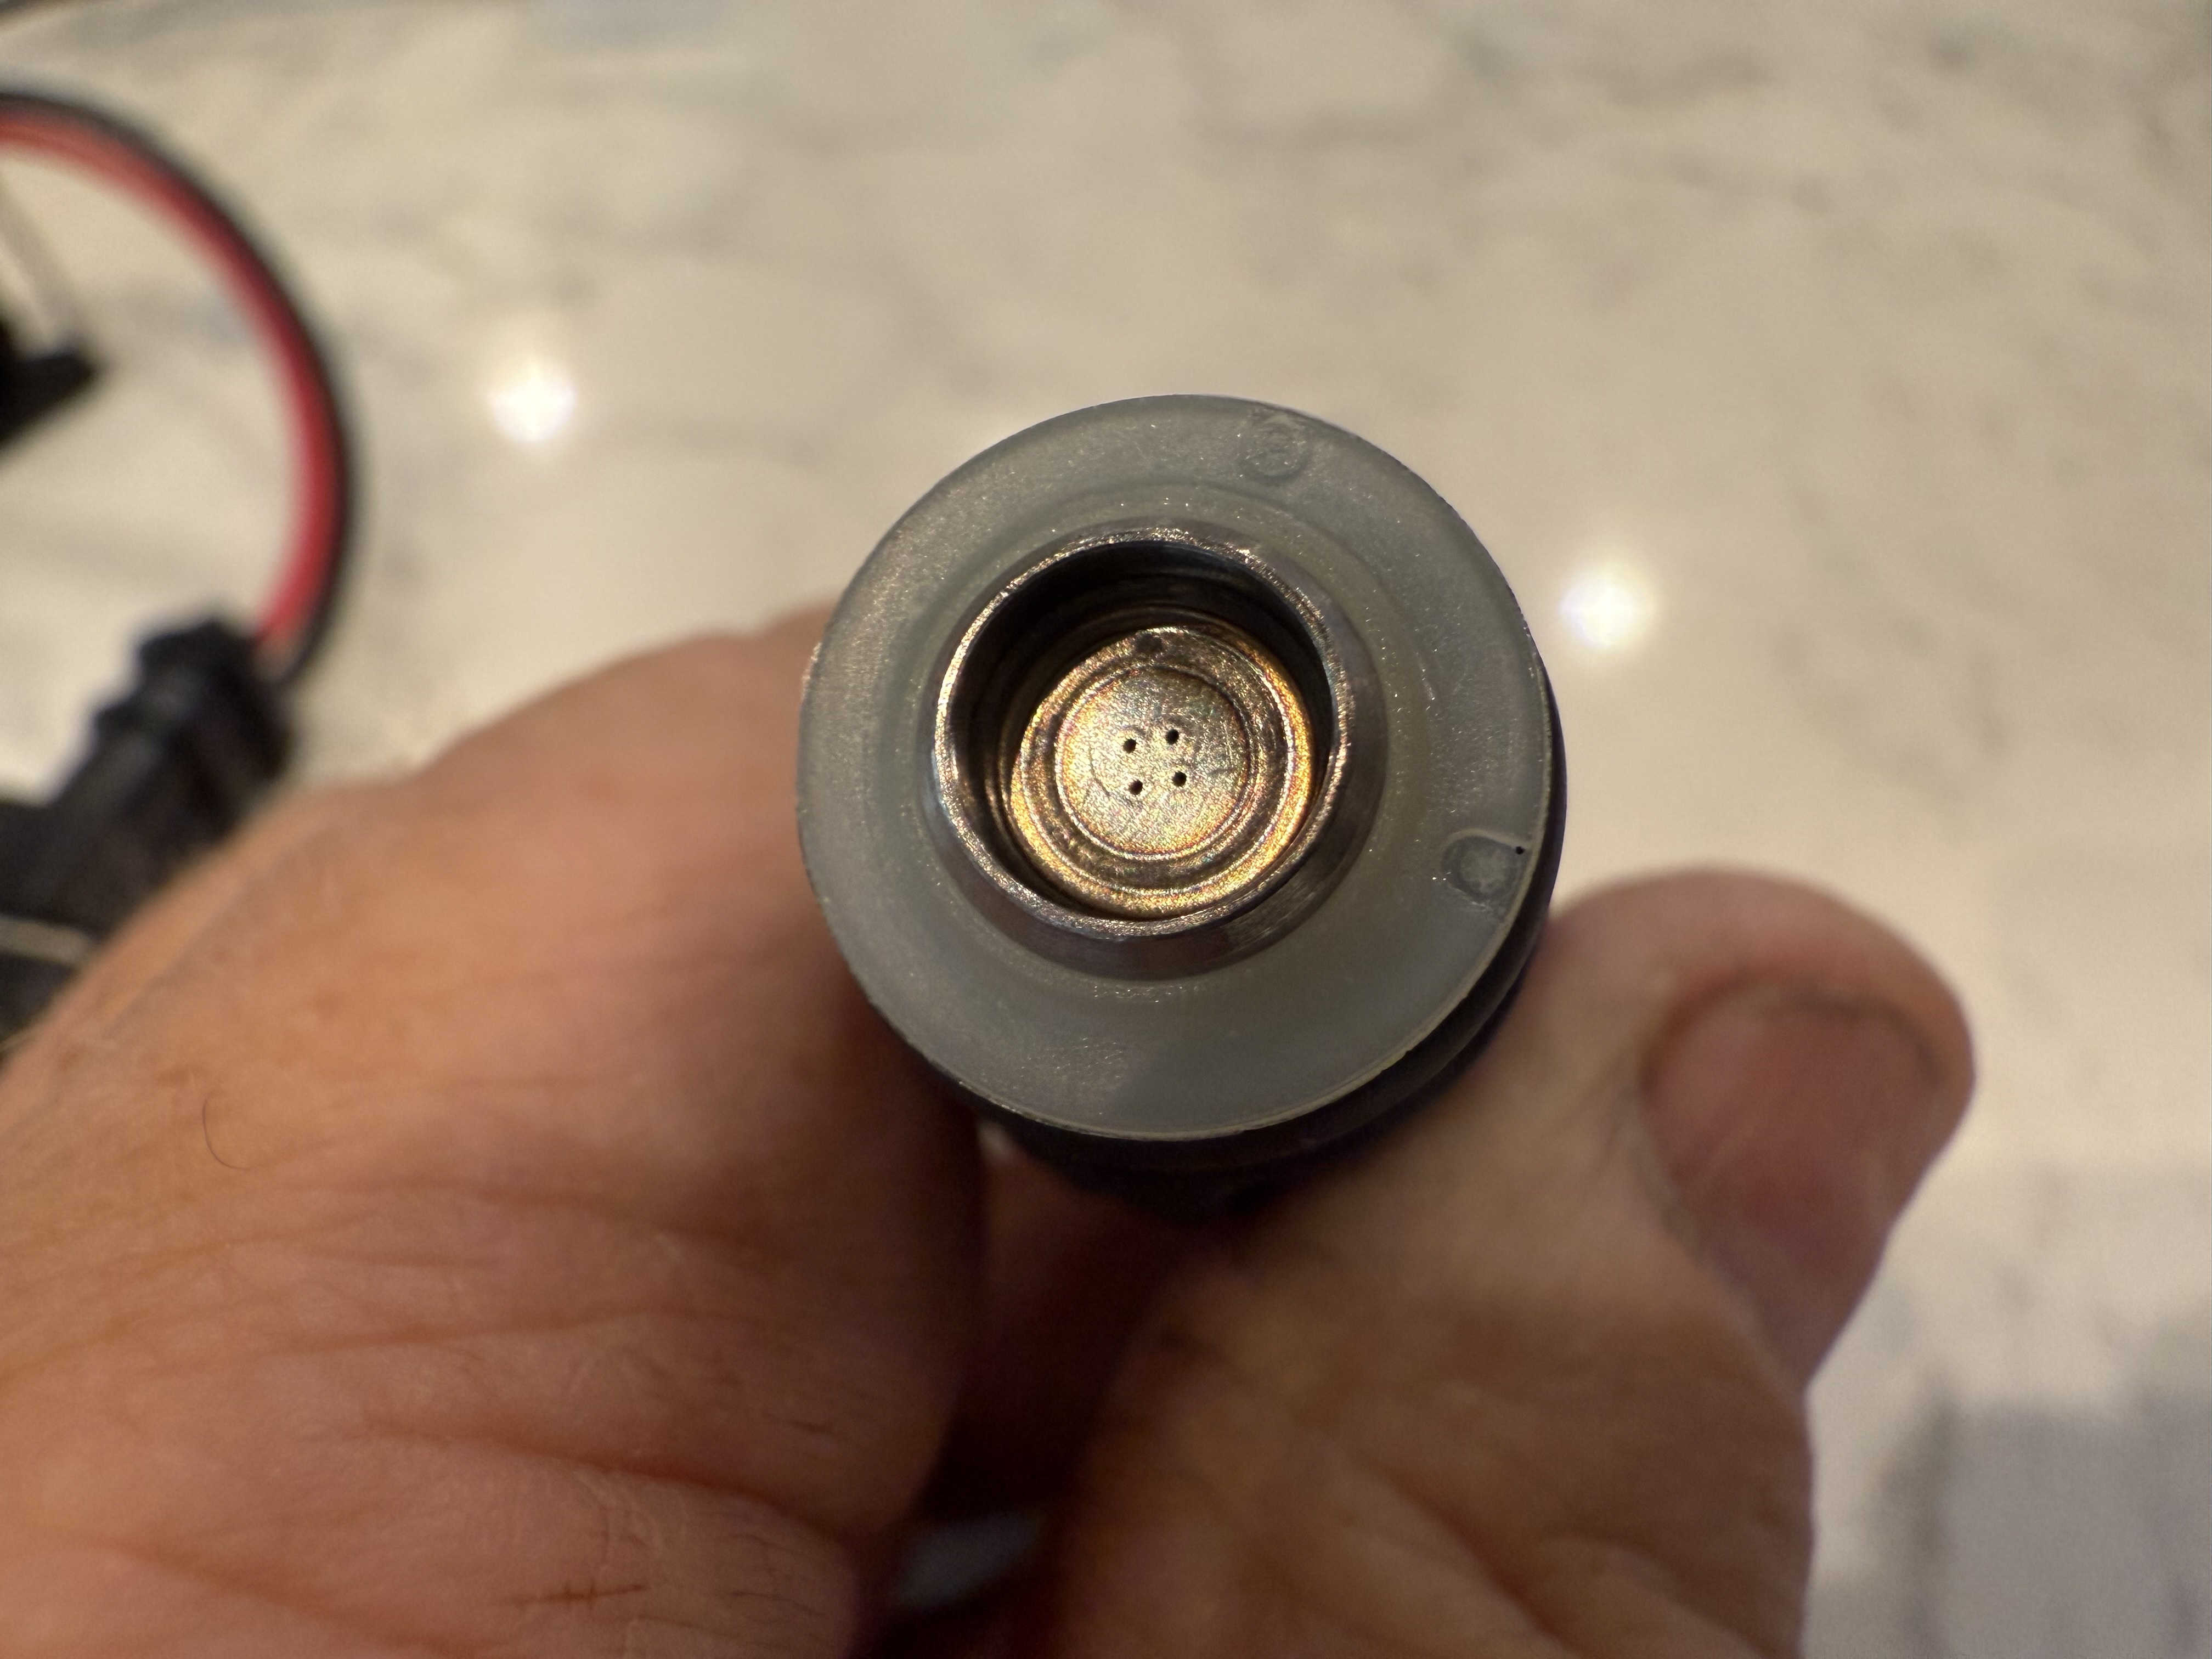
Pintle design of the new Bosch injectors plus a new connector plug from Satisfied Inc.


Re: And so it starts, Maeve
She is coming together very nicely! I am excited to see the end result. What is your proposed timeline?
Re: And so it starts, Maeve
Thanks!
November 2022 lol, until life intervened.
Current goal is to have the car running by the end of January, on the road by the end of May. I still work full time and on some days lack the enthusiasm to work on the car.
November 2022 lol, until life intervened.
Current goal is to have the car running by the end of January, on the road by the end of May. I still work full time and on some days lack the enthusiasm to work on the car.
Re: And so it starts, Maeve
This is coming along great!
The concern I see is the suspension bolt. Either you don't have it completely run down or it's too short, as there aren't enough threads up into the locking collar portion.
The engine will torque down on that side, so it might. I wouldn't worry about it for now.gwb72tii wrote: Dec 02, 2024 7:02 PM Does this look close to you? Anybody have experience here that says the header is going to rub?

The concern I see is the suspension bolt. Either you don't have it completely run down or it's too short, as there aren't enough threads up into the locking collar portion.
Re: And so it starts, Maeve
Thanks Shawn.
I just got the motor into the car and have been waiting to tighten the bolts until they are loaded.
I just got the motor into the car and have been waiting to tighten the bolts until they are loaded.
Re: And so it starts, Maeve
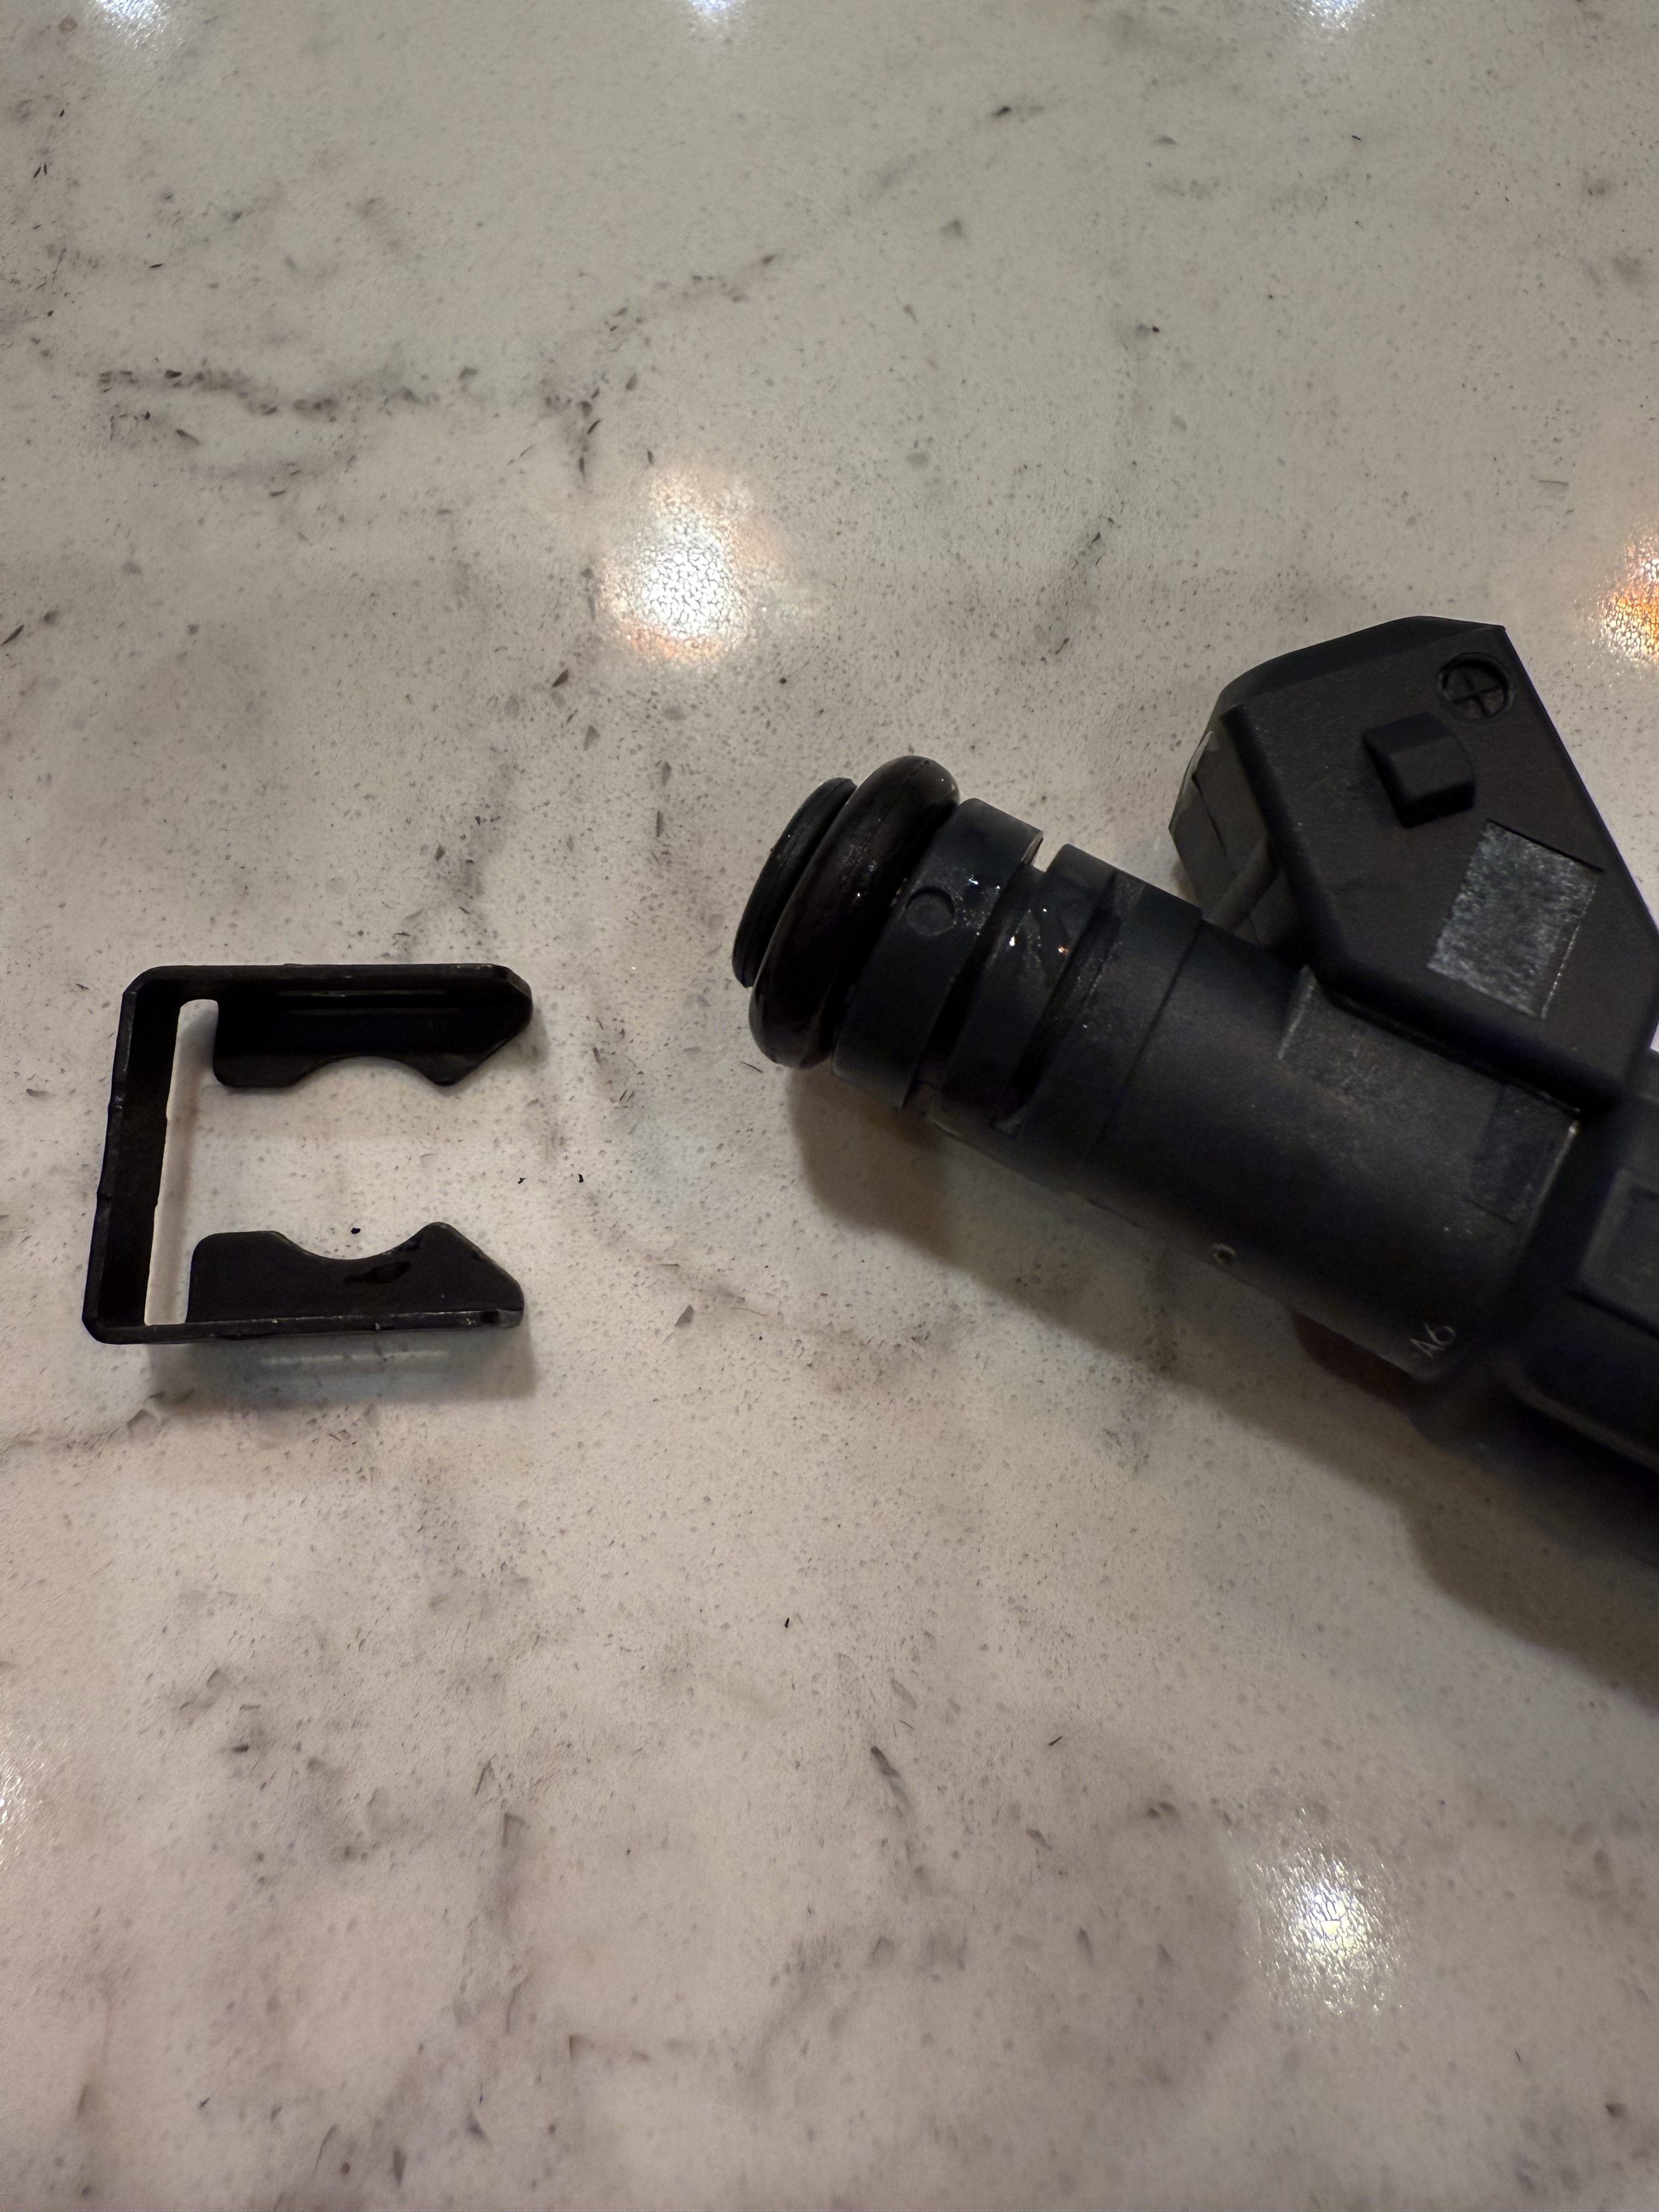
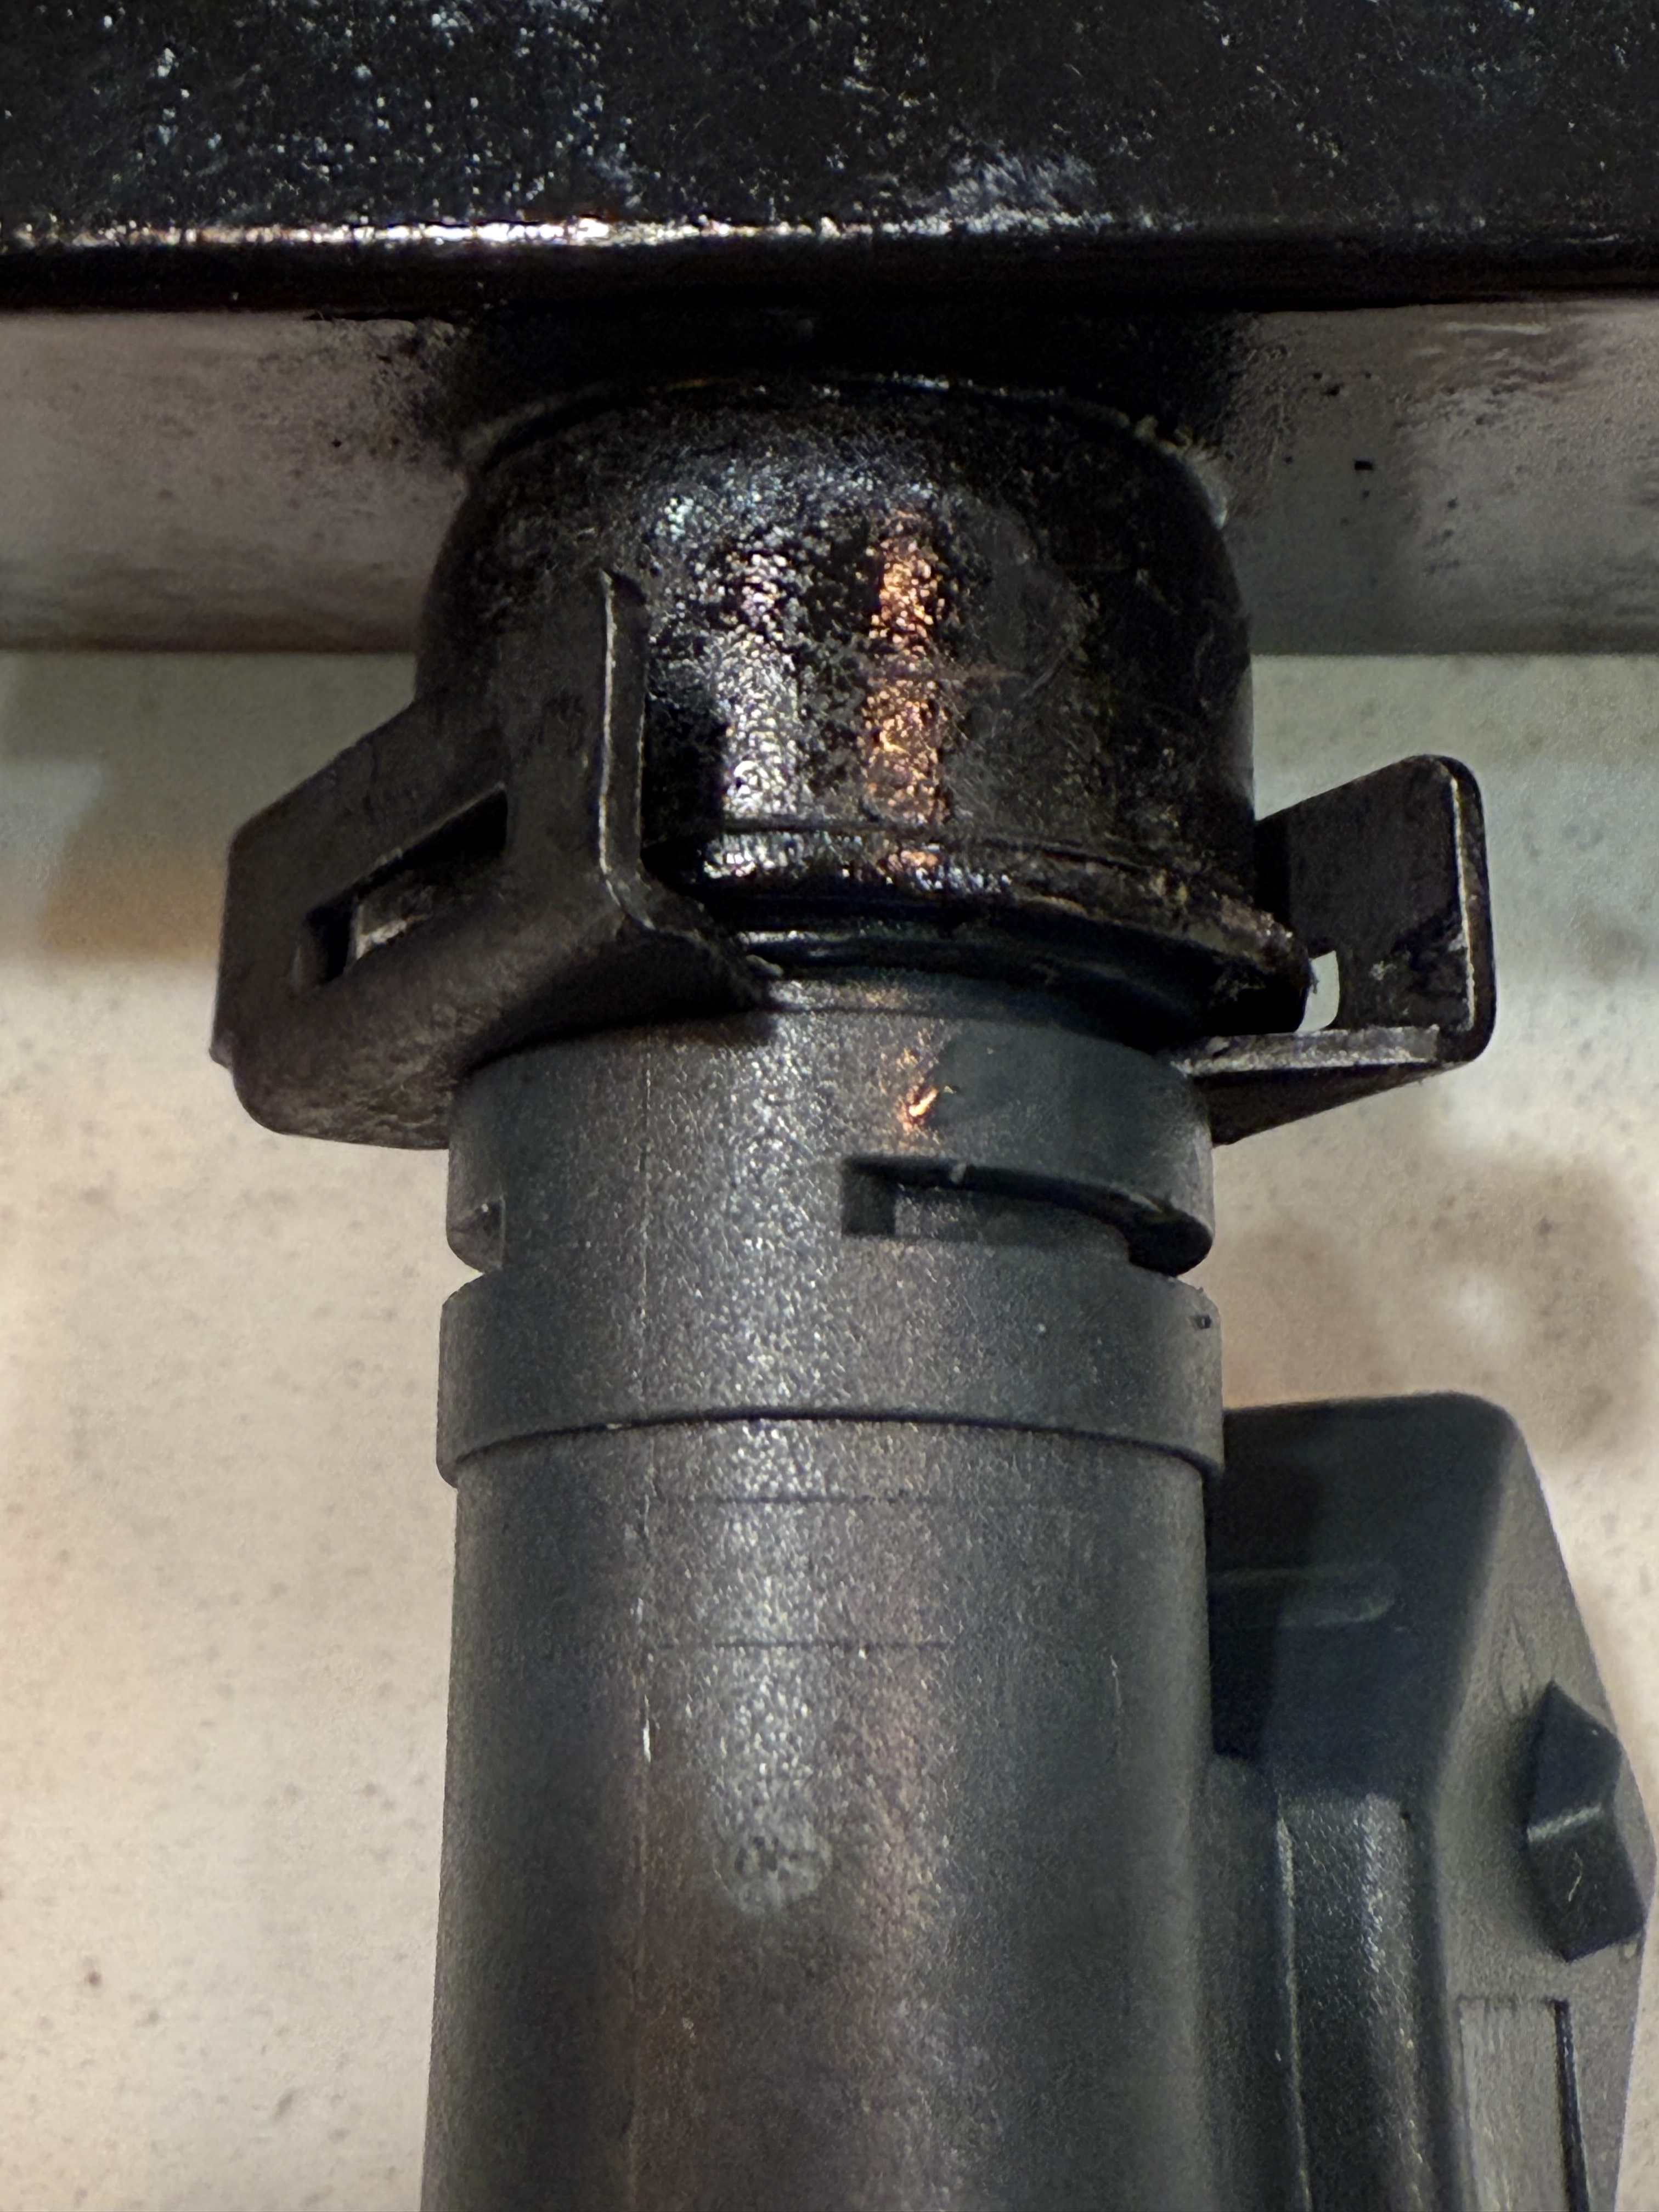
Another example of why RealOem.com is such a good resource. When looking for a p/n for the injectors, I noticed there is a retaining clip that locks the injector into the fuel rail, something my car did not have.


Re: And so it starts, Maeve
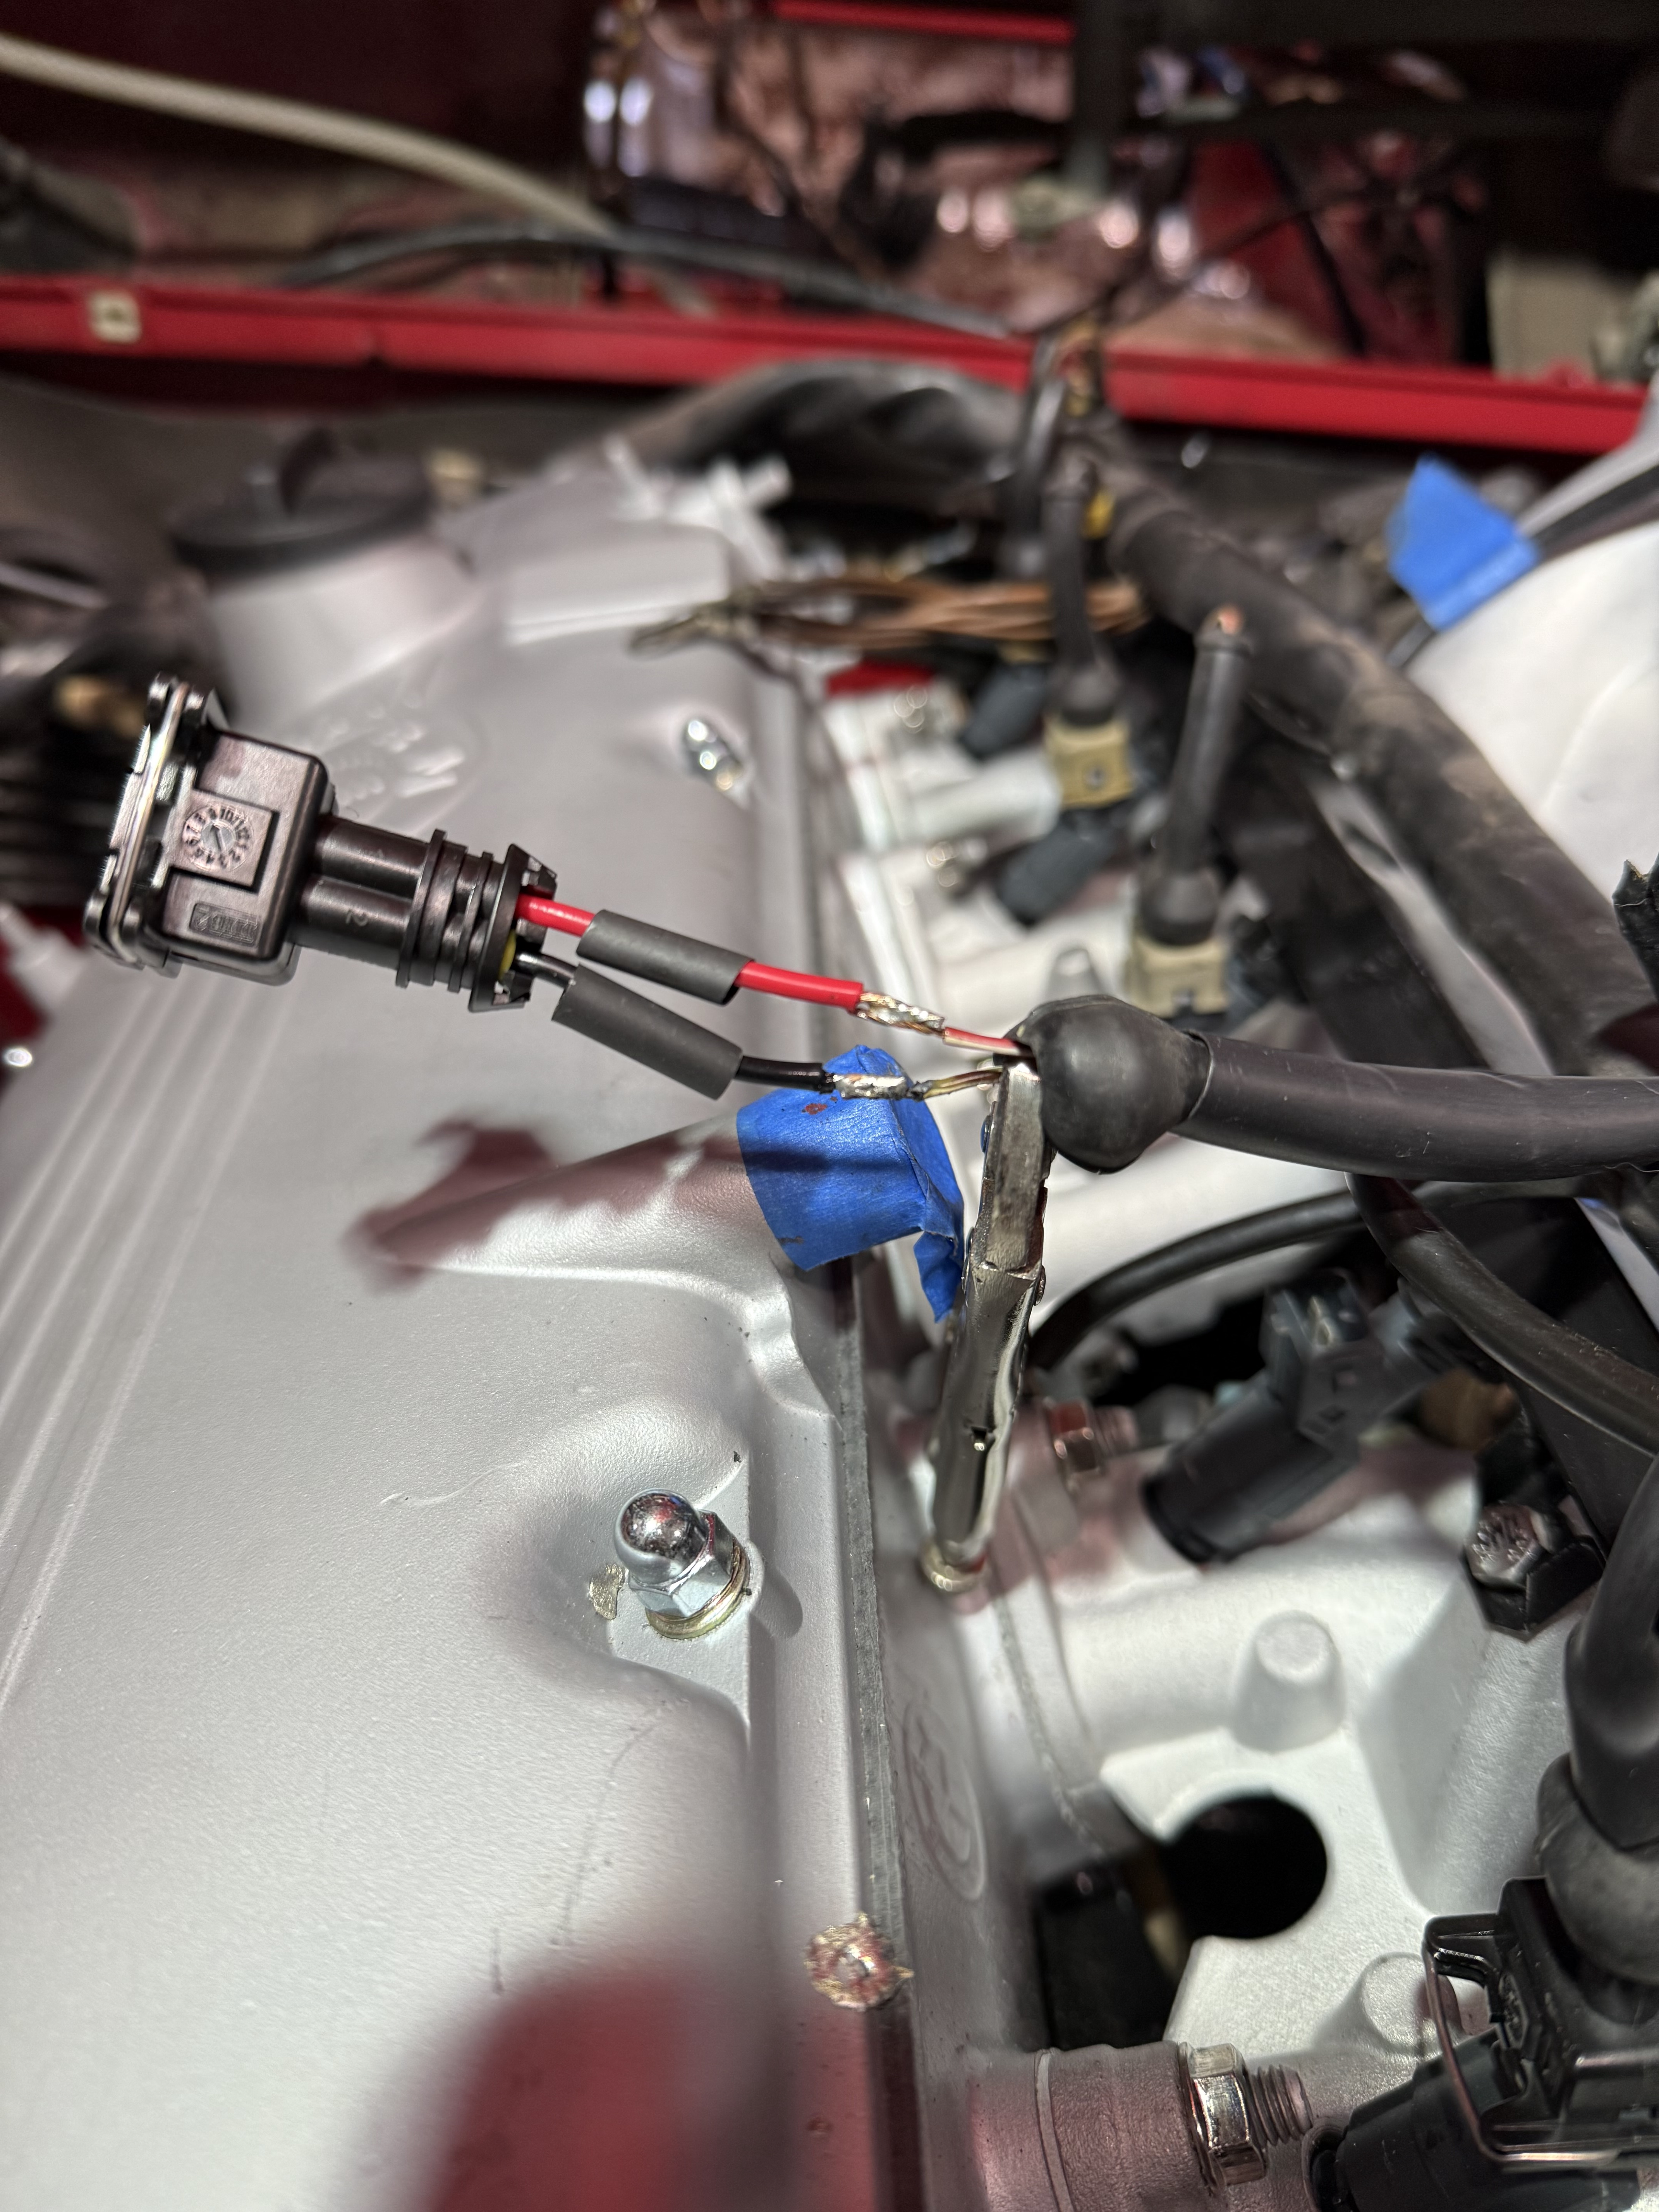
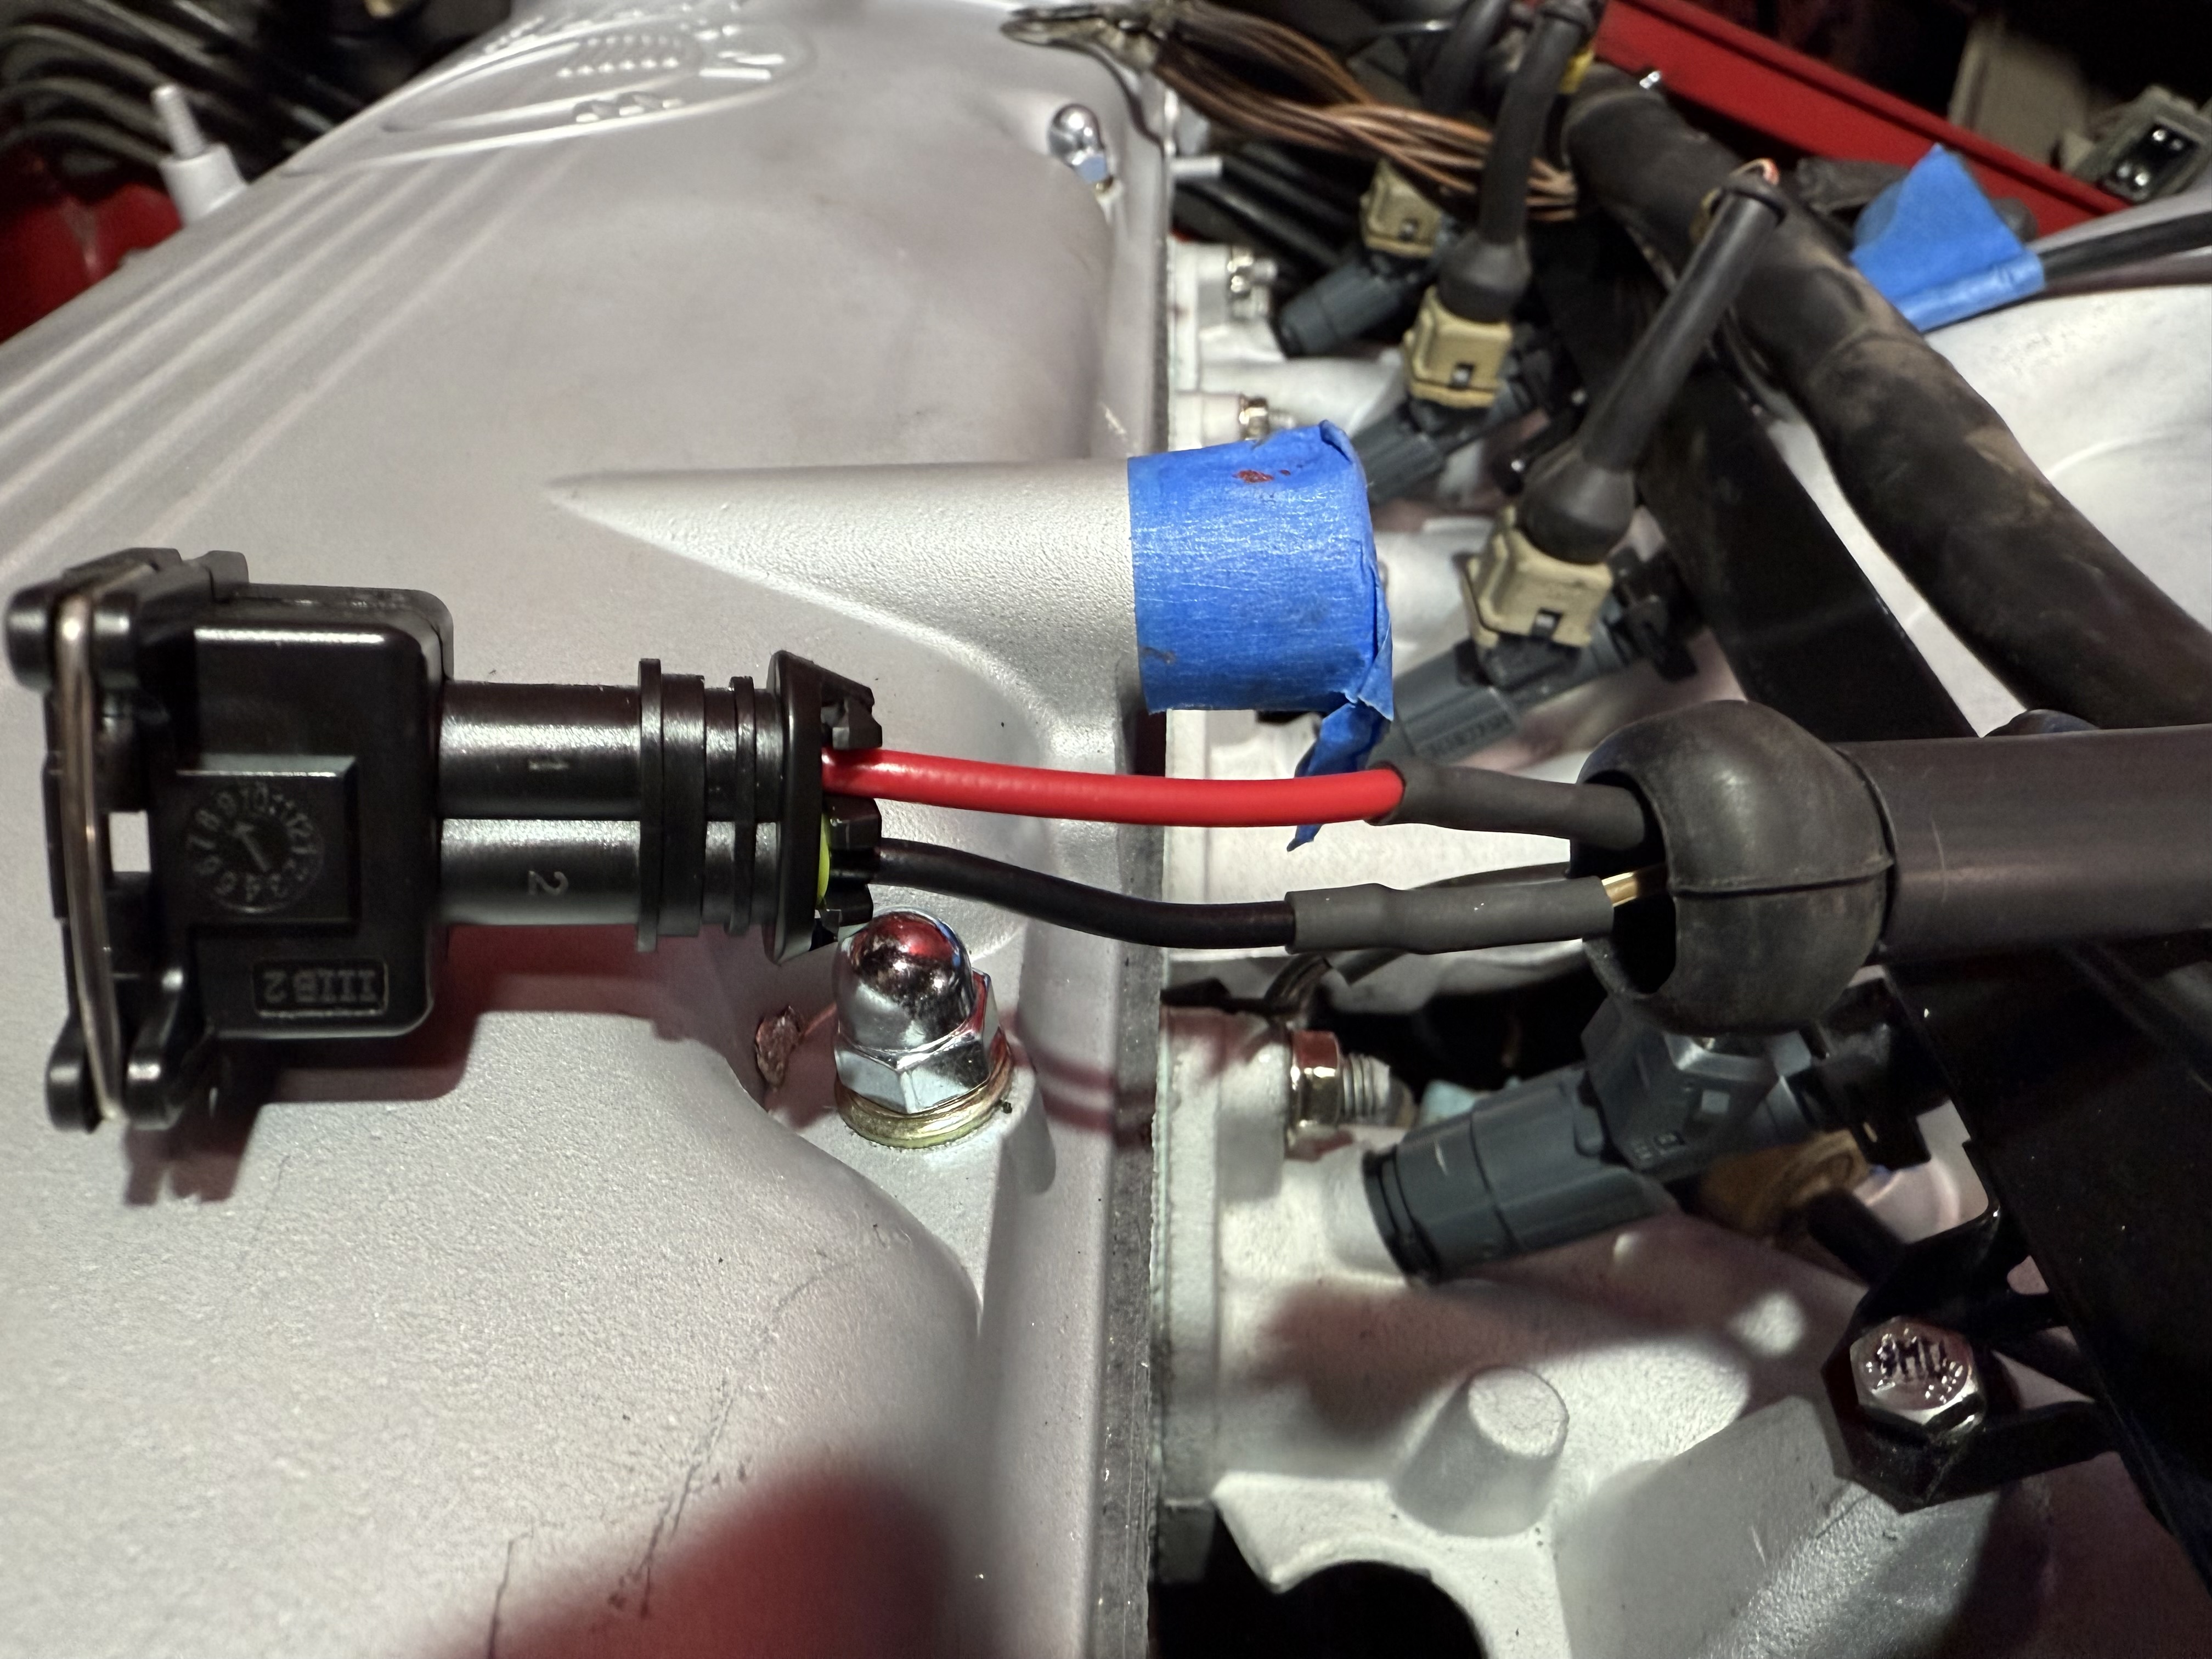
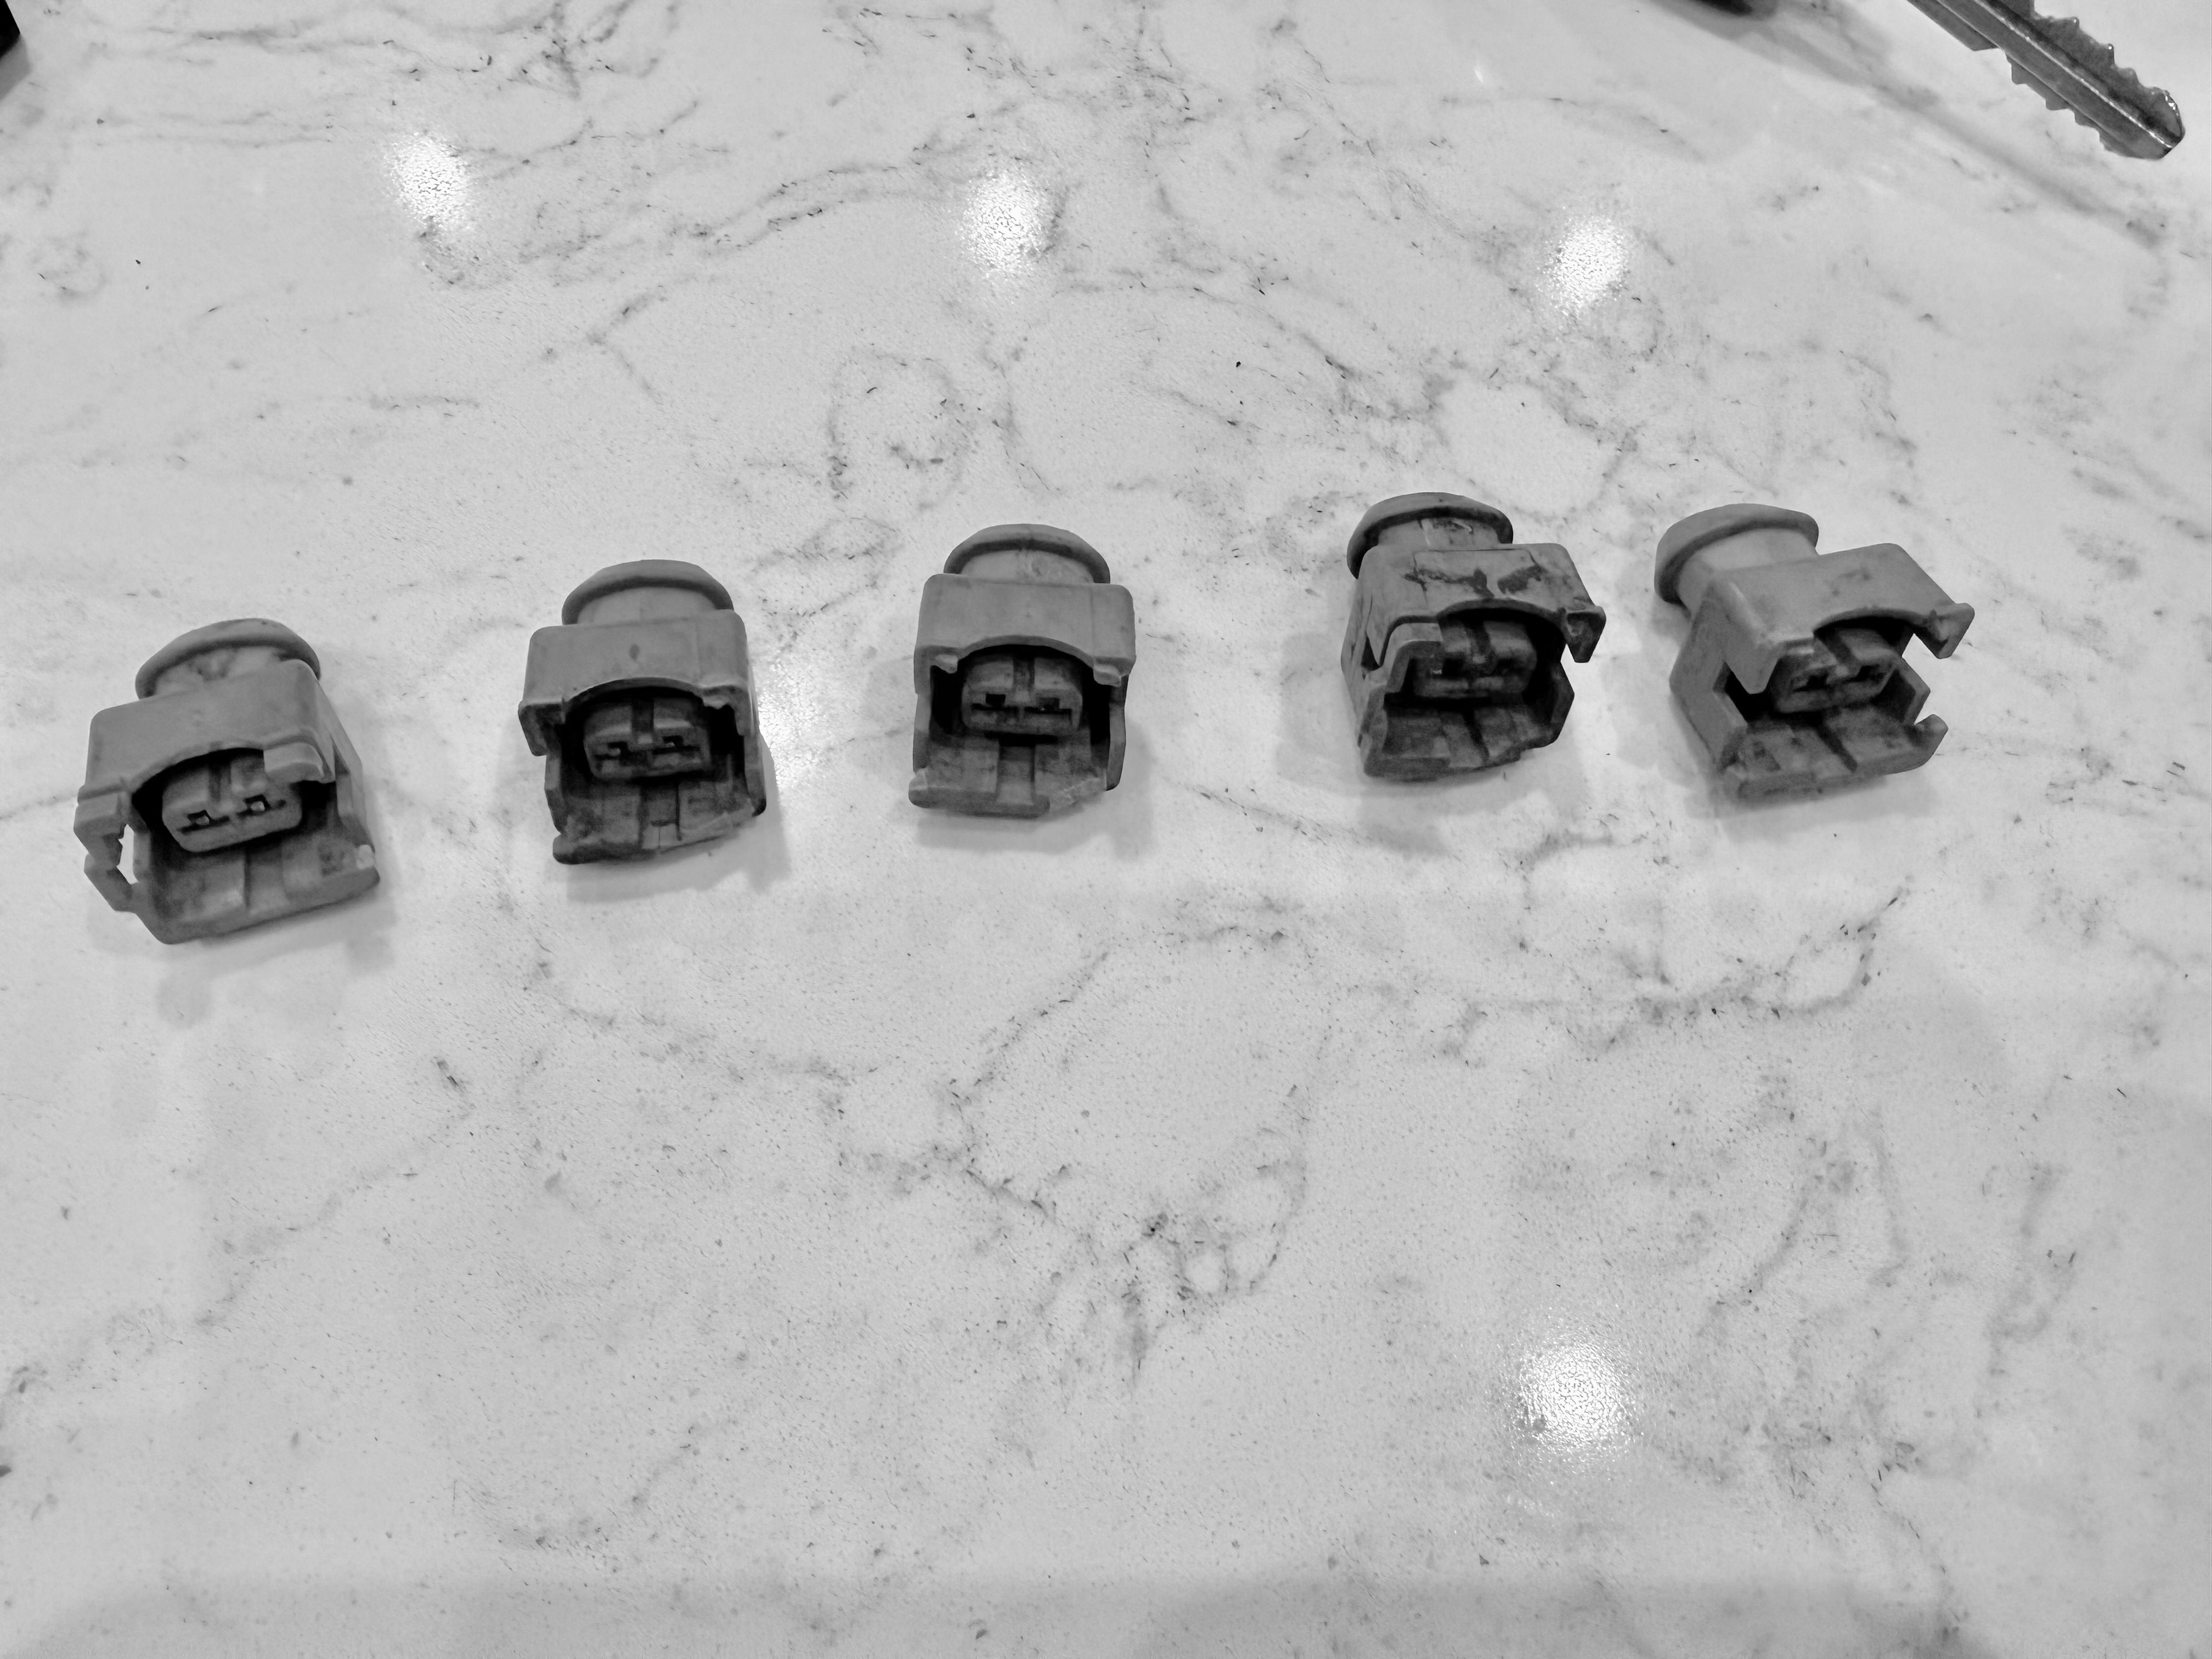
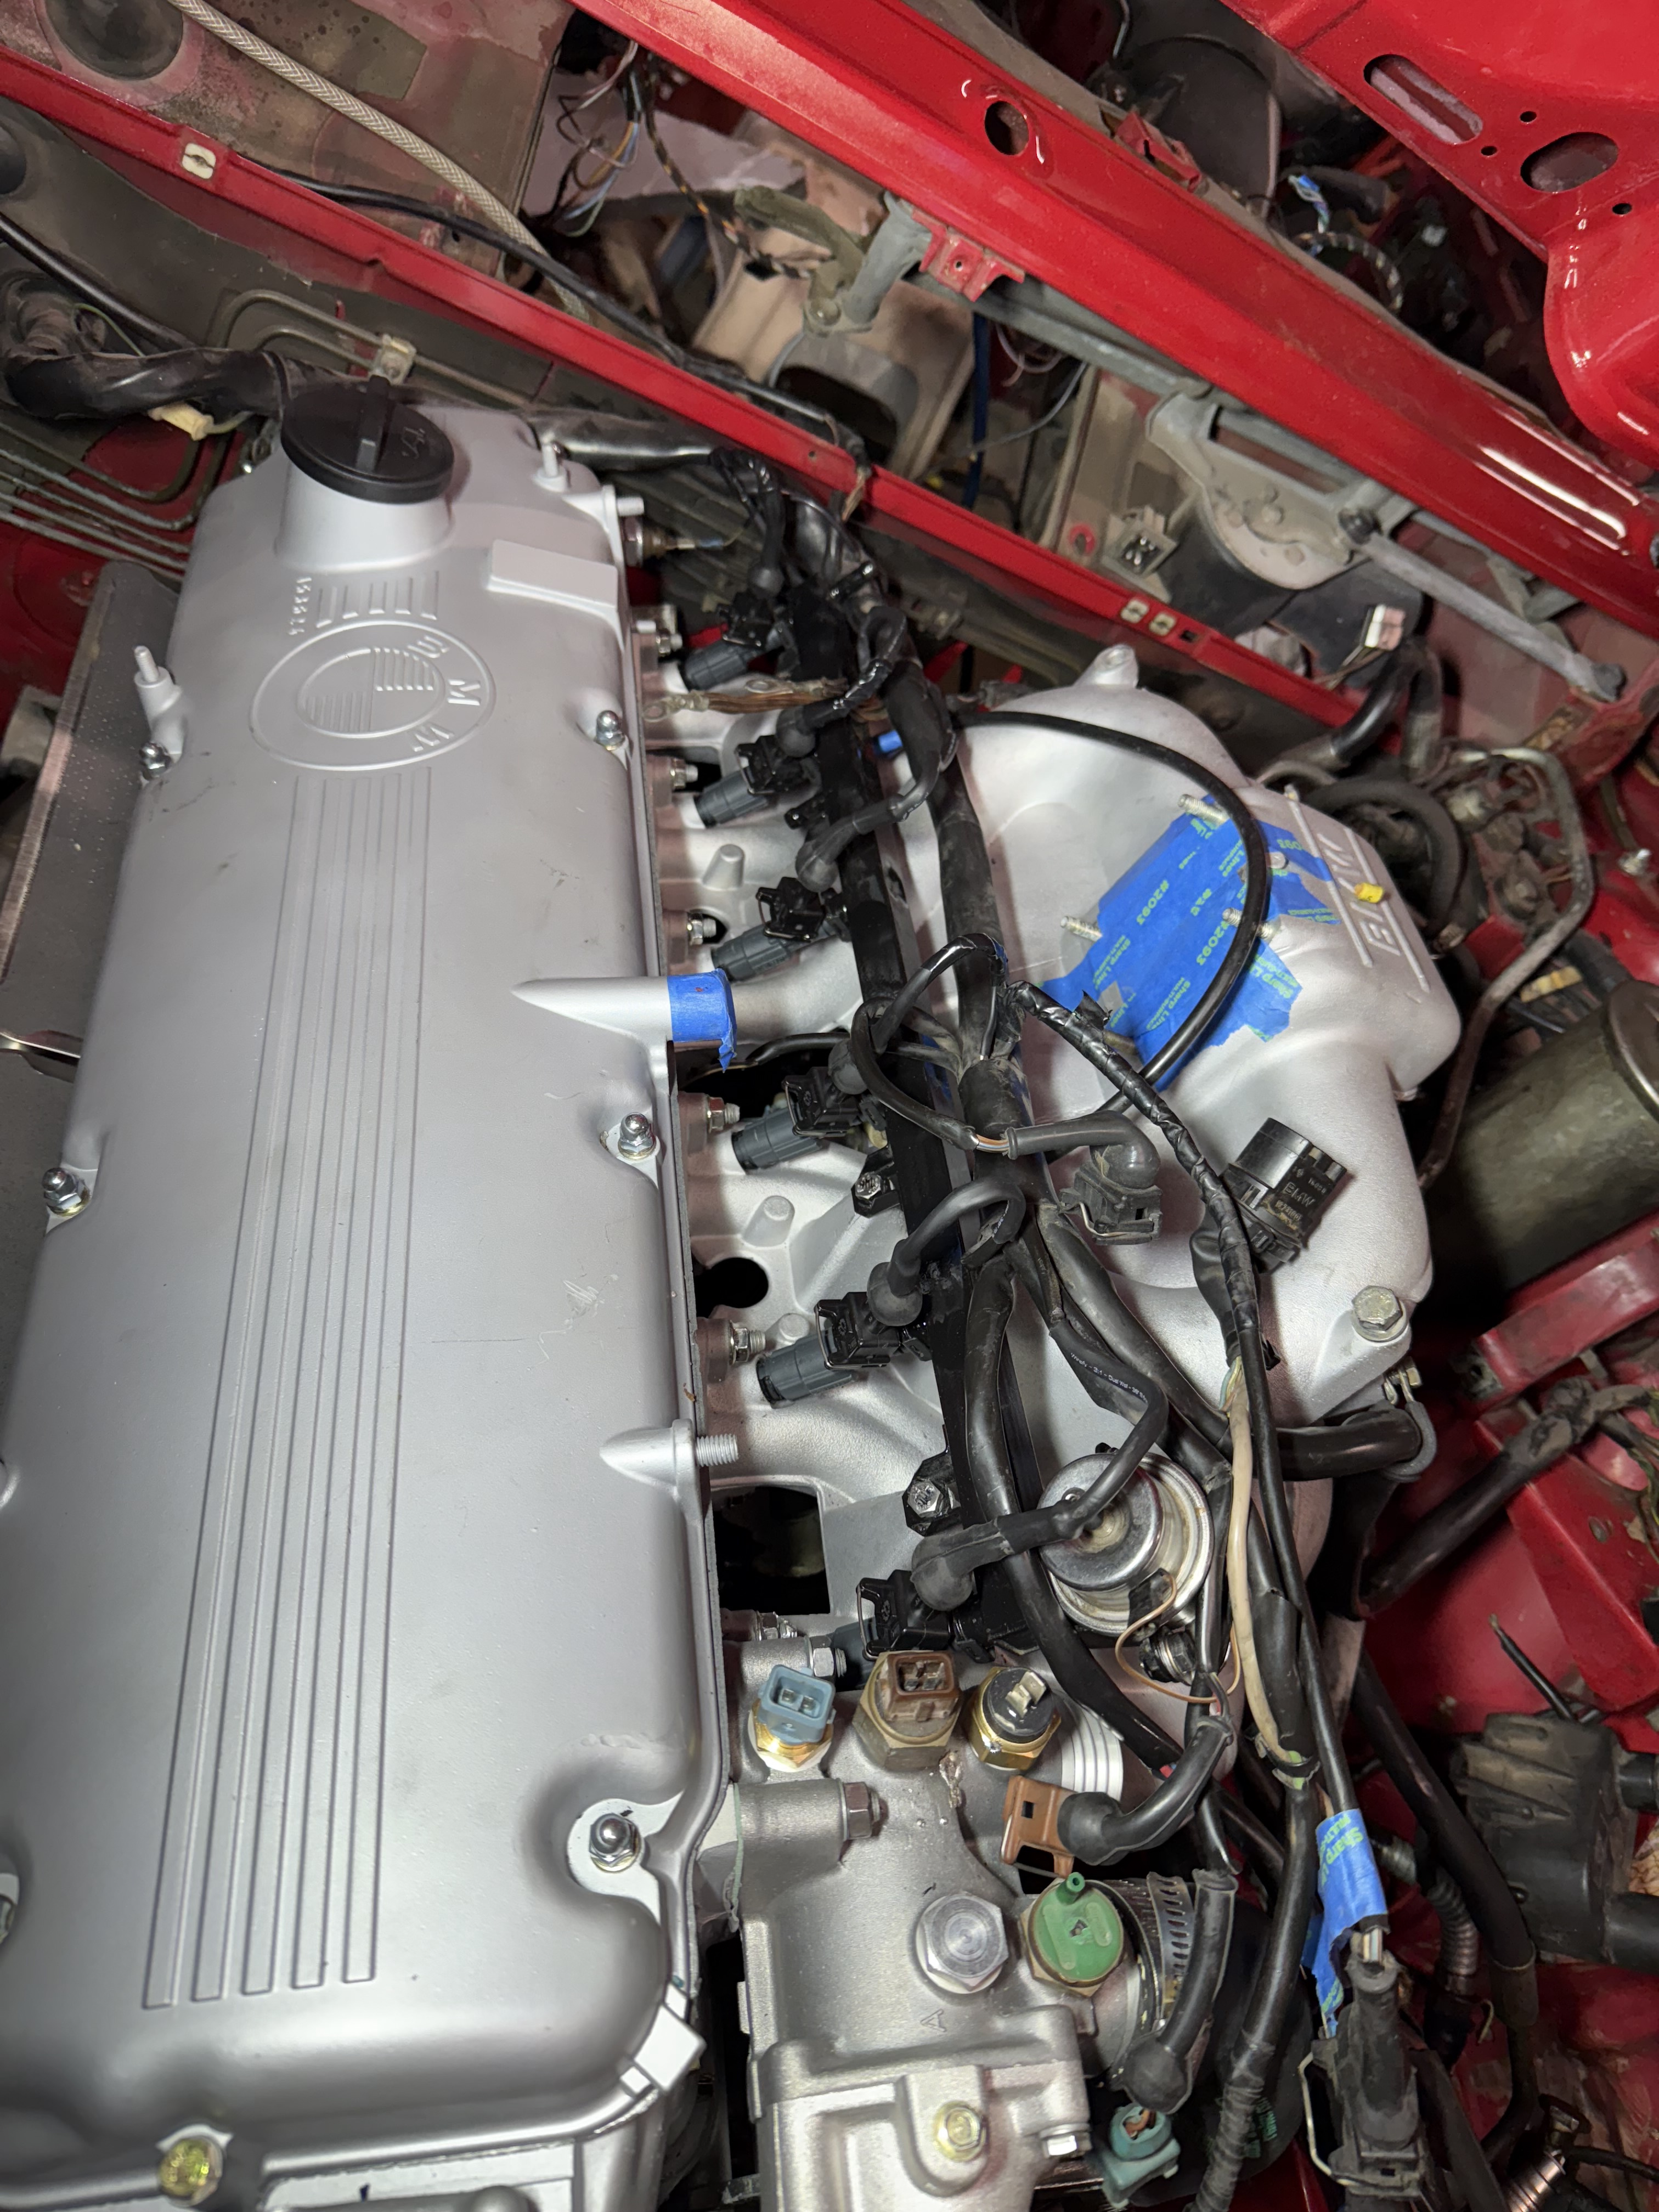
I replaced all the injector connectors today. Only two of the 6 weren't either cracked or missing pieces. None had the spring retaining clip.
OEM
Replacement. And I now have new found respect for those that are good a soldering wires!
These are the result of living in the greater Phoenix area:
and now it looks like this:
OEM

Replacement. And I now have new found respect for those that are good a soldering wires!


These are the result of living in the greater Phoenix area:

and now it looks like this:

Re: And so it starts, Maeve
Just a note as we reach the end of the year and Christmas.
A BIG thank you to those that have helped me along the way with Maeve. I'm a bit in over my head technically, and sourcing replacement parts of e28's is getting more difficult every day.
Thank you! And Merry Christmas!
A BIG thank you to those that have helped me along the way with Maeve. I'm a bit in over my head technically, and sourcing replacement parts of e28's is getting more difficult every day.
Thank you! And Merry Christmas!
Re: And so it starts, Maeve
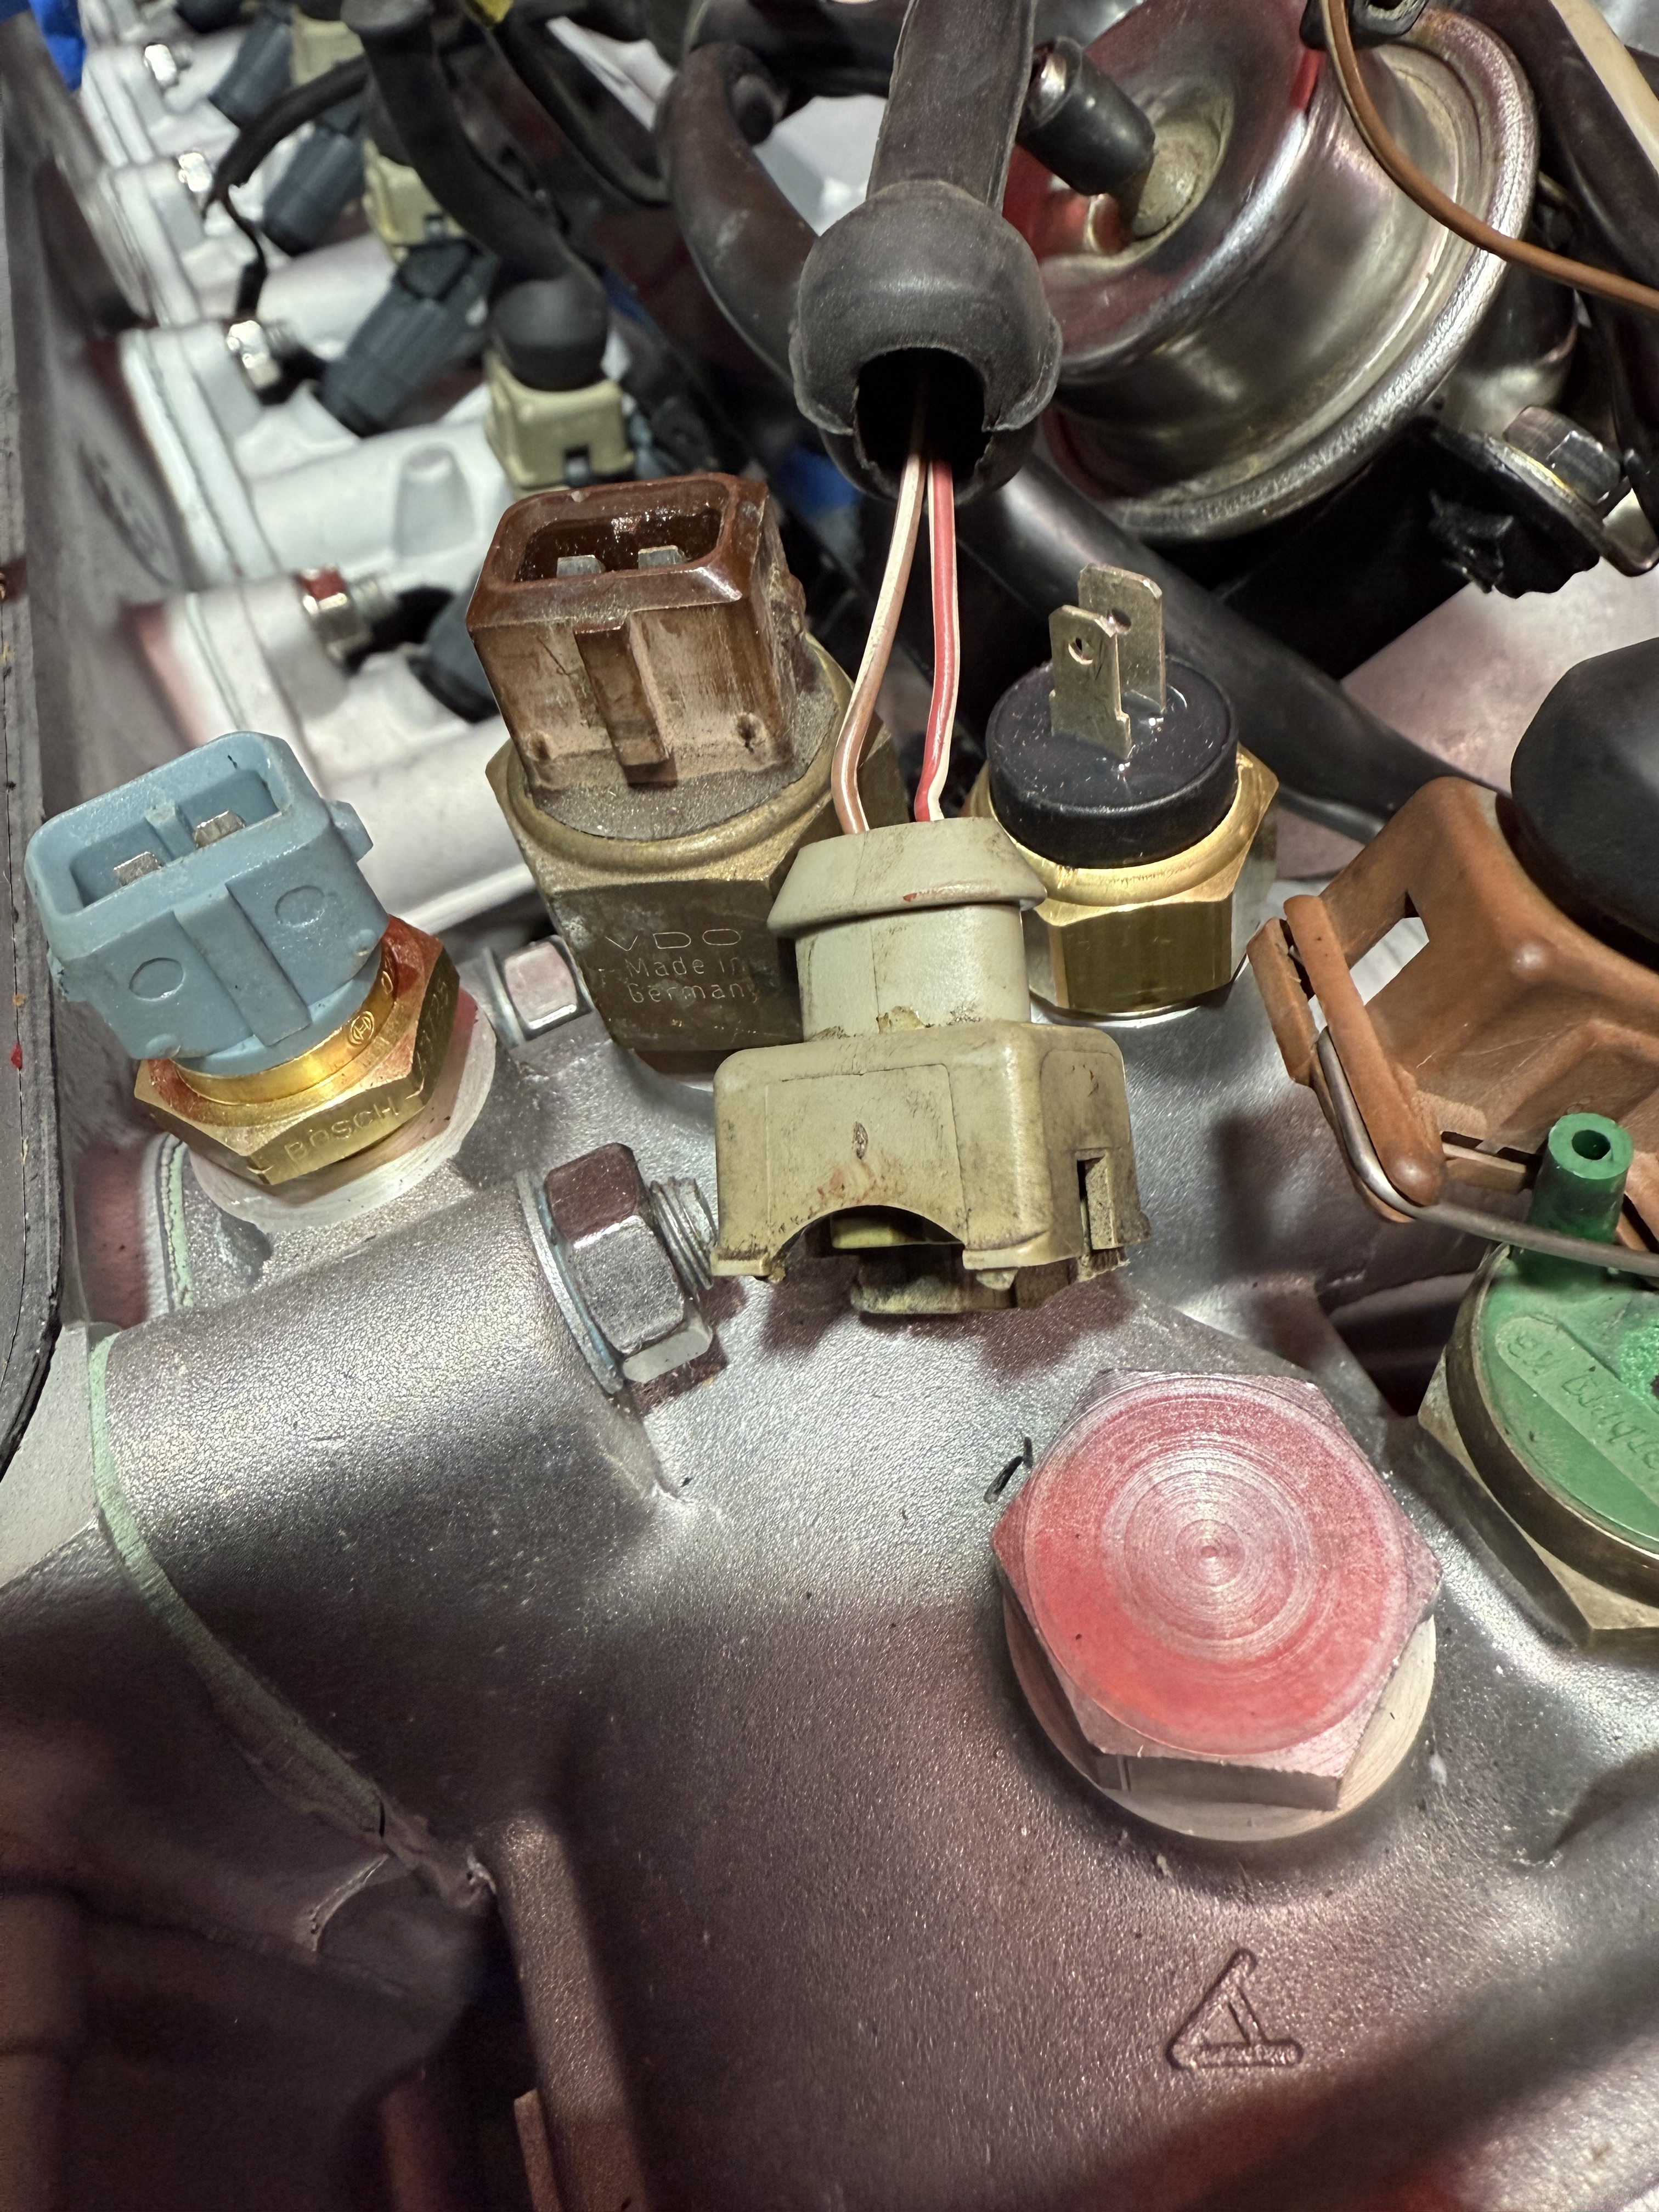
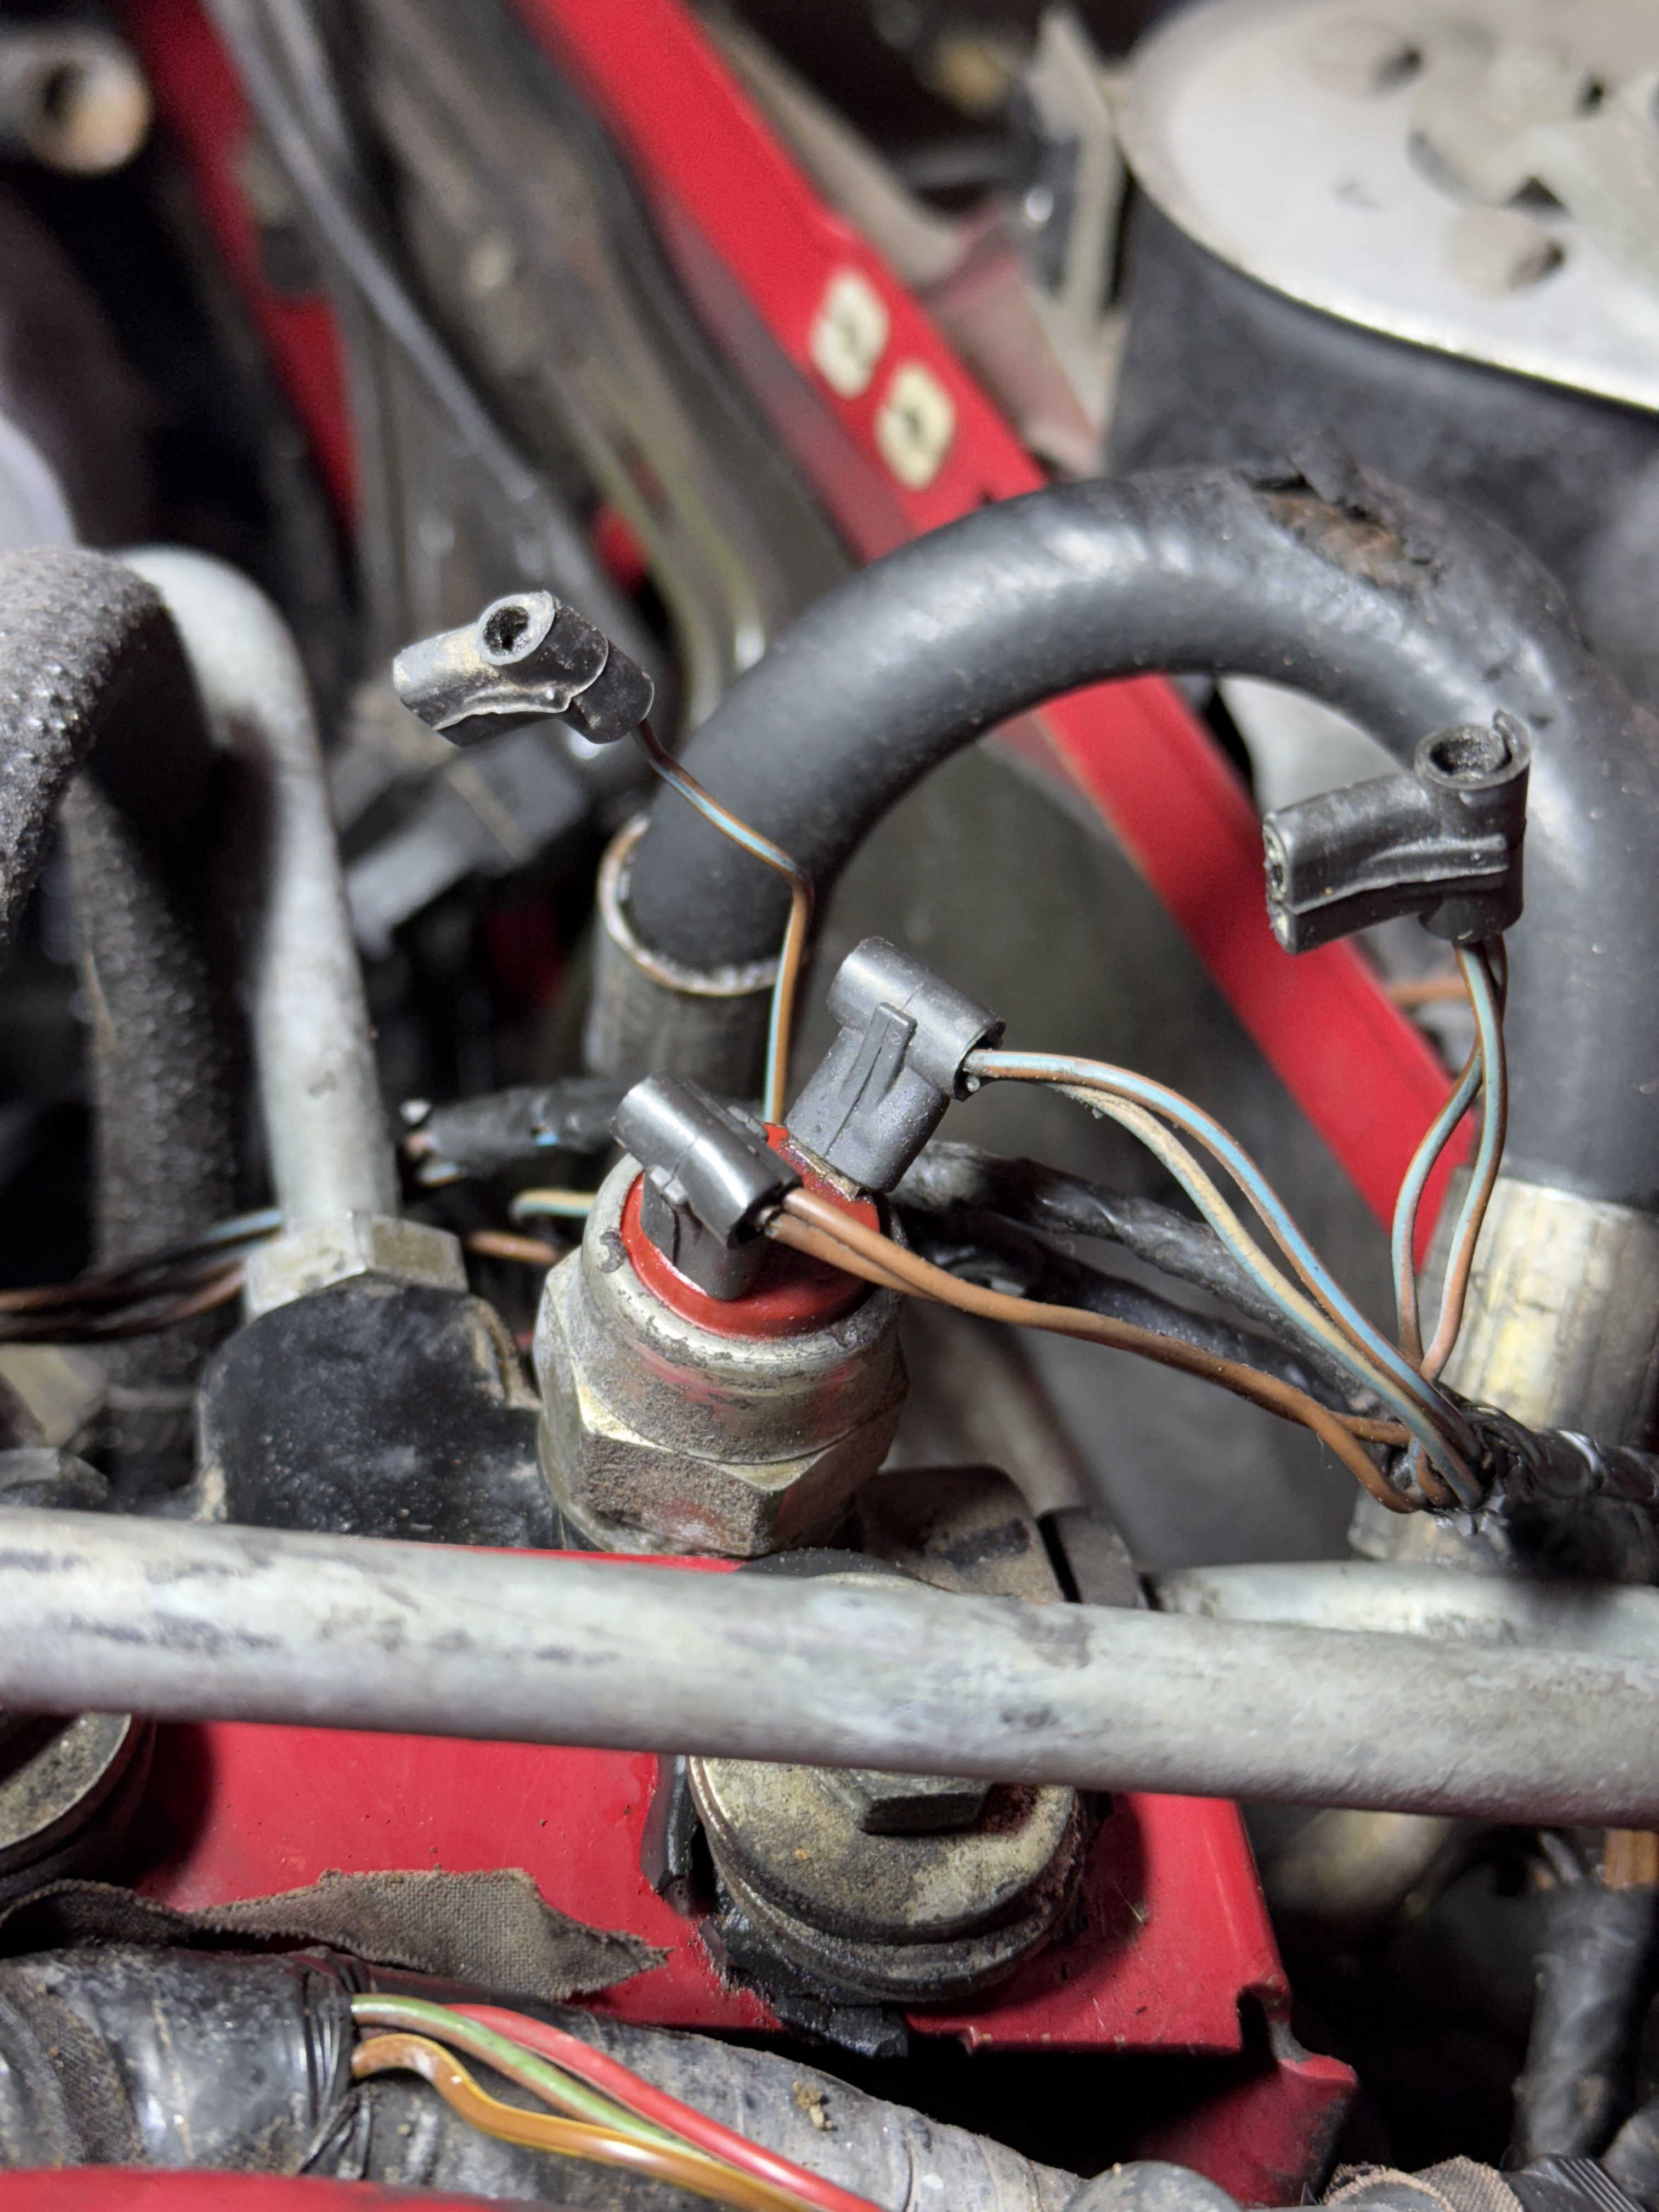
Was doing more engine bay cleaning and when removing dirt/oil/grime near the master cylinder, I found 2 loose connectors near what I think is the brake pressure differential switch.
anyone know where these two connecters belong? I don't see any other switches to connect to?
anyone know where these two connecters belong? I don't see any other switches to connect to?

-
concordealex
- Posts: 1
- Joined: Dec 27, 2024 12:41 PM
- Location: New Orleans
Re: And so it starts, Maeve
Those connectors do not go to anything. Maybe they were used on M20 powered cars? I have a 535i and noticed the exact same thing--I have been doing an overhaul of the entire car (only 92,000 miles, 5 speed) but have held off on posting anything here until the issues with the site were resolved.
Your build looks great--keep it up!
Your build looks great--keep it up!
Re: And so it starts, Maeve
I learn something new everyday it seems. I've been looking around for a stamped metal piece that would seal off the uncovered area of the bell housing, like on my tii. But no, it's a fairly large aluminum piece that bolts to the block near the rear most area of the oil pan. And it has a seal that locates against the bottom of the oil pan. The seal on was missing on my old motor when I removed it prior to shipping back to Metric Mechanic, and as you might expect, the seal is NLA. It fits in the grooved area. So off to Ace Hardware in search of weatherstripping of some kind that will work.

and here is how it looks all bolted together. The seal is brown and you can see th along thin brown stripe here: it should work.

And I finally torqued the thrust and steering arms now that the motor is in, and installed the heat shield for the thrust arm bushing:

I also finished up for the most part reassembling the heater and A/C boxes. I had been avoiding the HVAC as I disassembled it long ago just after getting it out of the car prior to painting and body work. I then ripped apart my right shoulder so I didn't work on the HVAC until yesterday, 2 years later. Man how time flies. Turned out to be pretty simple so it should be good to go.

and here is how it looks all bolted together. The seal is brown and you can see th along thin brown stripe here: it should work.

And I finally torqued the thrust and steering arms now that the motor is in, and installed the heat shield for the thrust arm bushing:

I also finished up for the most part reassembling the heater and A/C boxes. I had been avoiding the HVAC as I disassembled it long ago just after getting it out of the car prior to painting and body work. I then ripped apart my right shoulder so I didn't work on the HVAC until yesterday, 2 years later. Man how time flies. Turned out to be pretty simple so it should be good to go.
Re: And so it starts, Maeve
George, is this heat shield a custom part?


