So, its been a while. Friday, the 22nd, I figured it wouldn't take me much time to put the sunroof together. I've done so many of them, it should be easy. I opened my new sunroof headliner and was a bit disappointed (not disappointed at all with the purchase - David was fantastic!).

The 528i is my workbench now. If you're curious, note the earlier photo of my real work bench. The E12 is quite used up as well.
The reason I opted to go for a new piece was while my original was nice, my headliner was new, so why not go new? You can't just have one recovered because there's no way to put the heat-treated stitching in there like factory.

Well, apparently, they don't do that anymore.


So, it is new. That's fine. Something else is missing.

The new one doesn't have these. So, it's off to get some rivets.


I got aluminum rivets for this purpose since I wanted to be sure I could deform it enough before popping, as I didn't think that would happen with steel. Believe it or not, but the original rivets are only used on E12, E21, E23, E24, E28 and E30 and this is the only place on the car. My local dealer flat-out REFUSED to order them - even if I ordered the necessary 500 or whatever their minimum quantity is. That's why I went with normal rivets.

I got them as tight as I could and stretched the fabric as much as possible before making the hole, but that's the best we could do. Unlike the original, the new one is quite puffy on the edges as the foamy material is new, not 25 years old.
I snapped the arms into the bar, took the sunroof guides apart, slid it into position, put everything back together and bolted the roof in, making the necessary adjustments. I couldn't slide the new liner forward enough to clip into the roof. Finally after about twenty minutes, it made it. Then it got hung up halfway closed and wouldn't budge.
I decided to take it apart again. I thought I found the issue and went to clip it together again, only this time, the plastic receiver that the arms clip into broke on the left side, causing the headliner panel to end up cockeyed. What I didn't realize was that the arm flipped over the top of the ear which raises the rear of the headliner, pushing up on the roof panel. I didn't realize this had happened every time I moved the sunroof to try to free the screw up.
I finally got it unstuck with minimal damage (obviously not in the mood for photos here). Sadly, there were several minor scratches on the top of the trailing edge of the sunroof, but they went beyond the clear, necessitating a repaint.
I dropped it off Saturday morning along with the fuel door which had some imperfections I wasn't satisfied with. No chance of the car being finished before our local concours (I wasn't rushing as I was going to be out of town anyway).
Sunday, I did some research on rivets while at work. I decided to use the aluminum ones again and trim them once affixed. To replace all of the stuff I broke, I took the sunroof apart in the 745i and harvested everything I needed from that - and it was actually all much nicer than the original stuff to the Alpina. I got it all put back together and then pulled the headliner all the way forward, leaving it for later. This way, the foamy stuff would learn the dimensions of the channel, hopefully mitigating future issues.
My big box of hardware showed up finally. Still some stuff I needed to order, but this will allow me to start putting the doors together.
On early doors, the rubber bumpers are on the door, rather than the handle. The originals are non-reusable since you destroy them when removing. Once I installed the "distance rubbers," I could put the door handles on, which means I could open the doors with a handle rather than pulling on rods inside the door. I also got the clips necessary to install the trim atop the windows. Good thing I ordered more than I needed as several of them came damaged and weren't salvageable. Of course, I should expect that as there isn't a new piece of trim on this car without some sort of flaw. It's pretty disappointing. Buy new thinking you're getting perfect stuff. I also could finally put my locks in with my new gaskets and trim pieces.
So, in short order, I had all of this done on both sides:

Next up, I installed the quarter windows and the rear window guides for the rear doors. I was leaving for Texas and figured this would be a good time for them to get used to their position. I'd make adjustments upon my return.
I came home from Texas and after getting some critical work done, I decided to relax. Tuesday night, I put the redone sunroof in. No muss, no fuss, no drama. Took all of ten minutes. Sucks because I wanted to take the car back to Mike and go, "HA! I didn't screw anything up." I guess what I did screw up was minor though.
Wednesday, I worked on the right side of the car and cleaned up the window regulators and got all of that installed. Then the glass. Everything worked as it should.
Rich Euro M5 stopped by on Thursday. Spent some time with him but had to go to work after he left. Once I got home from work, I finished putting the right doors together.

To do the other side, I've got to turn the car around, which involves moving two cars.


Back into the garage for the same thing on the other side.

Everything worked perfectly except the right front lock actuator. Will sort that once I have one.
Next up, I have to recover door panels and make my vapor barrier. I had saved enough between the 8 doors I had to make enough for one good car, but it wouldn't have been nice enough. Last year, MLastovo gave me 4 sheets of this peel and stick vinyl sheeting which we used on his car for vapor barrier and it worked well. I used my pieces as templates.

Here, I realized I forgot to zip tie the wiring harnesses back to the door, so I took care of that.
The problem with the original door cards was that the cloth had shrunken. It wasn't terrible on the edges but was a problem around the plug for the window motors and the door handle/armrest.
Amazingly, this is the most illustrative photo I've got.

It also didn't really match the interior of the car. So, rather than buying the factory stuff again (which I couldn't, but World Upholstery had something close), I decided to try my hand at one of our local trim suppliers. My car didn't come with Alpina cloth on the door cards. I was hoping Pedi got to keep his original cloth from his car, but the upholsterer tossed it, so I was left to my original plan.
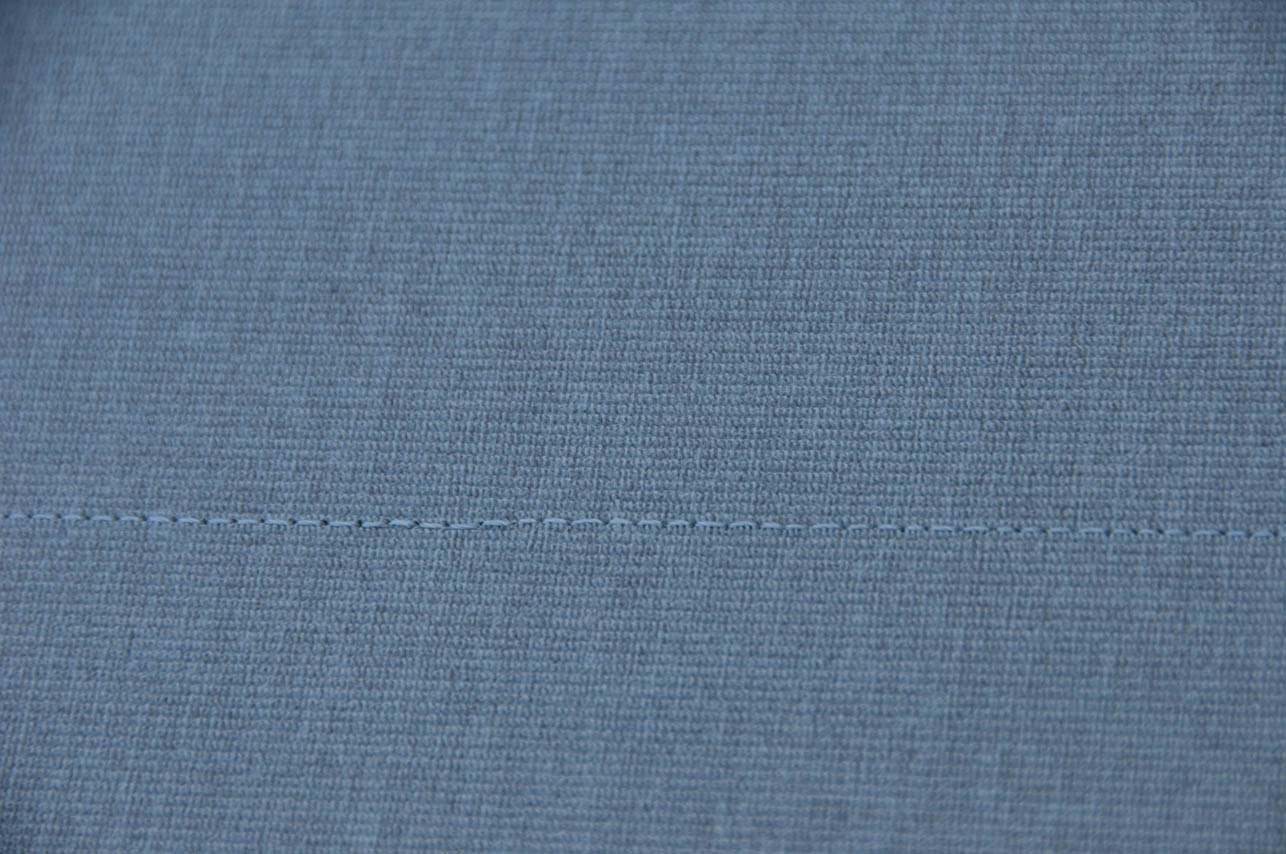
I bought a fabric that was the right texture and I felt would work, only to bring it home to find it was too black. None more black. I returned it, surrendering 30% of my refund for restocking. I bought something else and discovered I was again an idiot. Another 30% lost. The final time, I came with the original fabric, the door card frame and a headrest and wasn't leaving until I found something. I think I did okay this time. It matches well in color (iPhone photo doesn't help), and it has a similar appearance to the Alpina cloth. I bought two yards, it was on clearance, so they gave me everything they had left (nearly 3 yards - I think they felt sorry for me).

Once all of those were installed, it was time to mount the license plate (new stainless hardware and rubber feet to protect the paint from the bracket) and install the trunk badges.

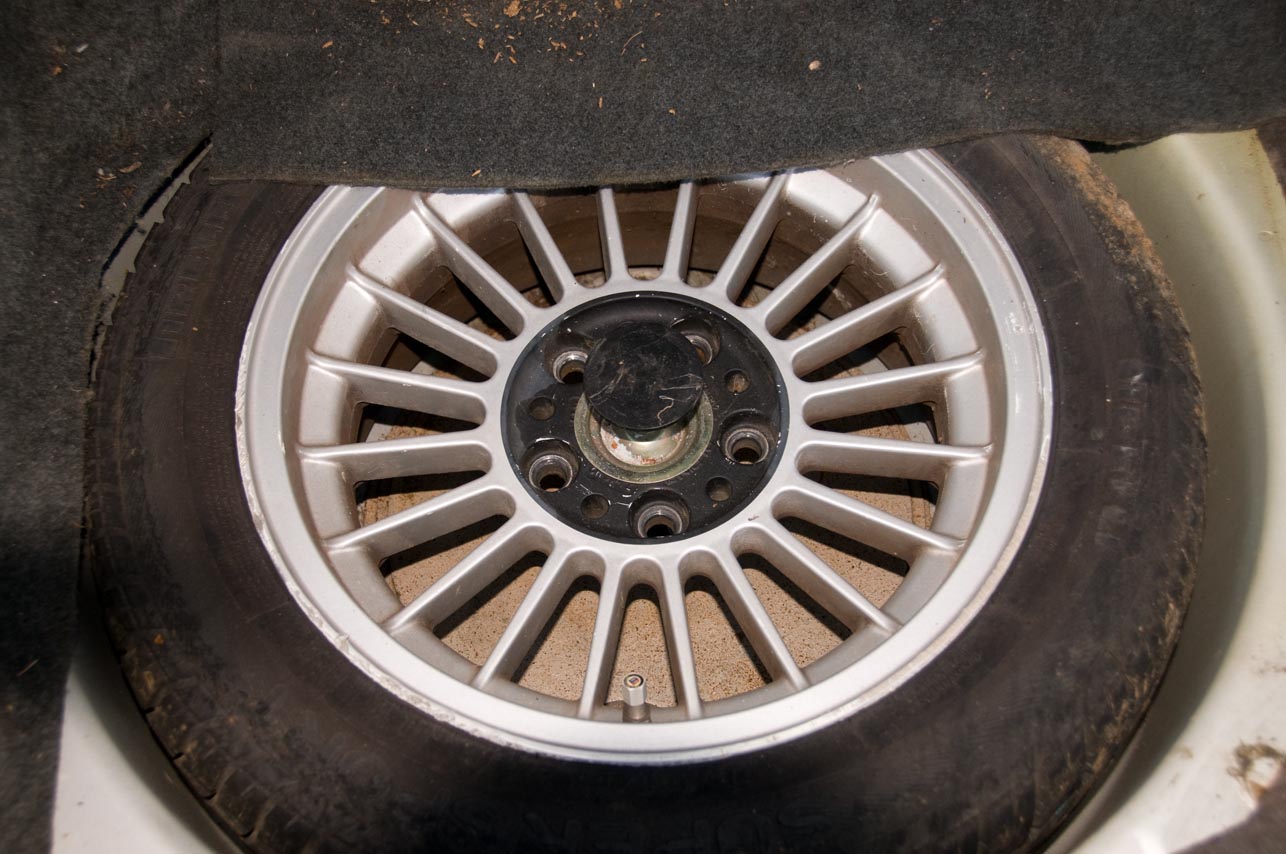
So, it's still not 100% finished, but there's not much left to do cosmetically. Wheels are still being refinished, I hope.


I drove it around the block today. Still don't have the rear muffler on, so I'll be looking into taking it to have a custom stainless exhaust made. We will see how that goes, but for now, I'm ready to clean up the mess I've made in my garage.


