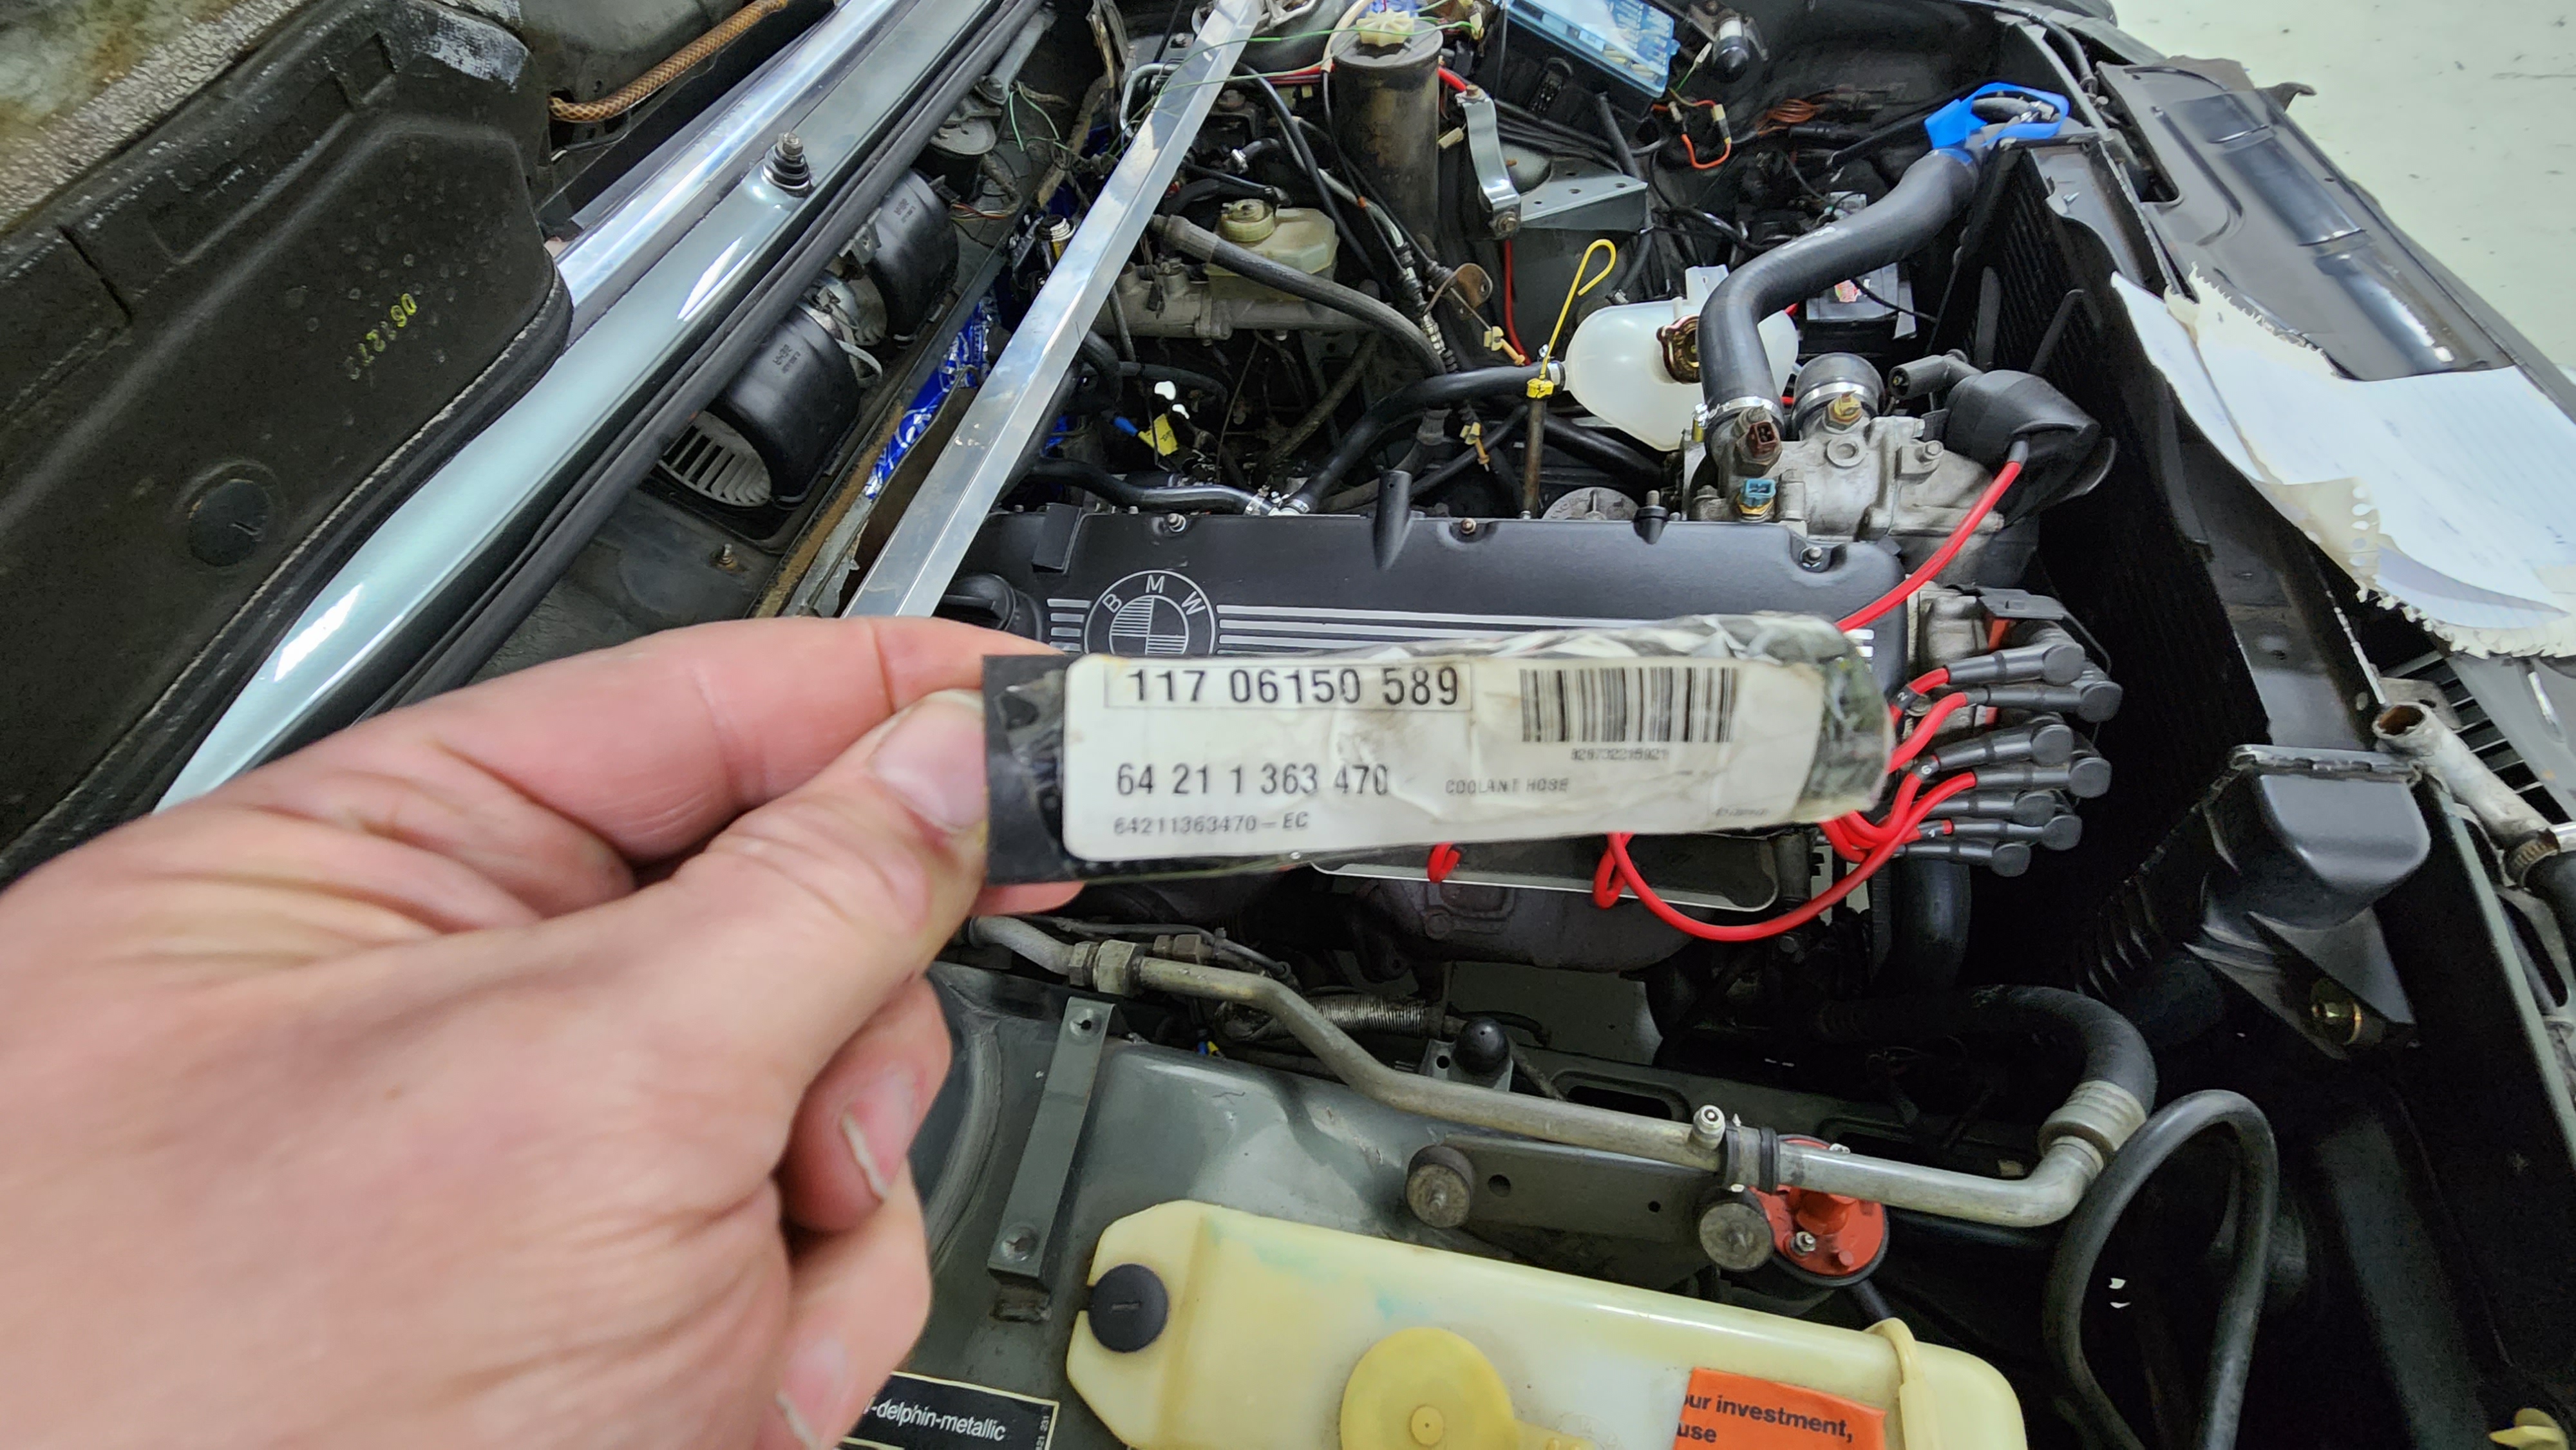
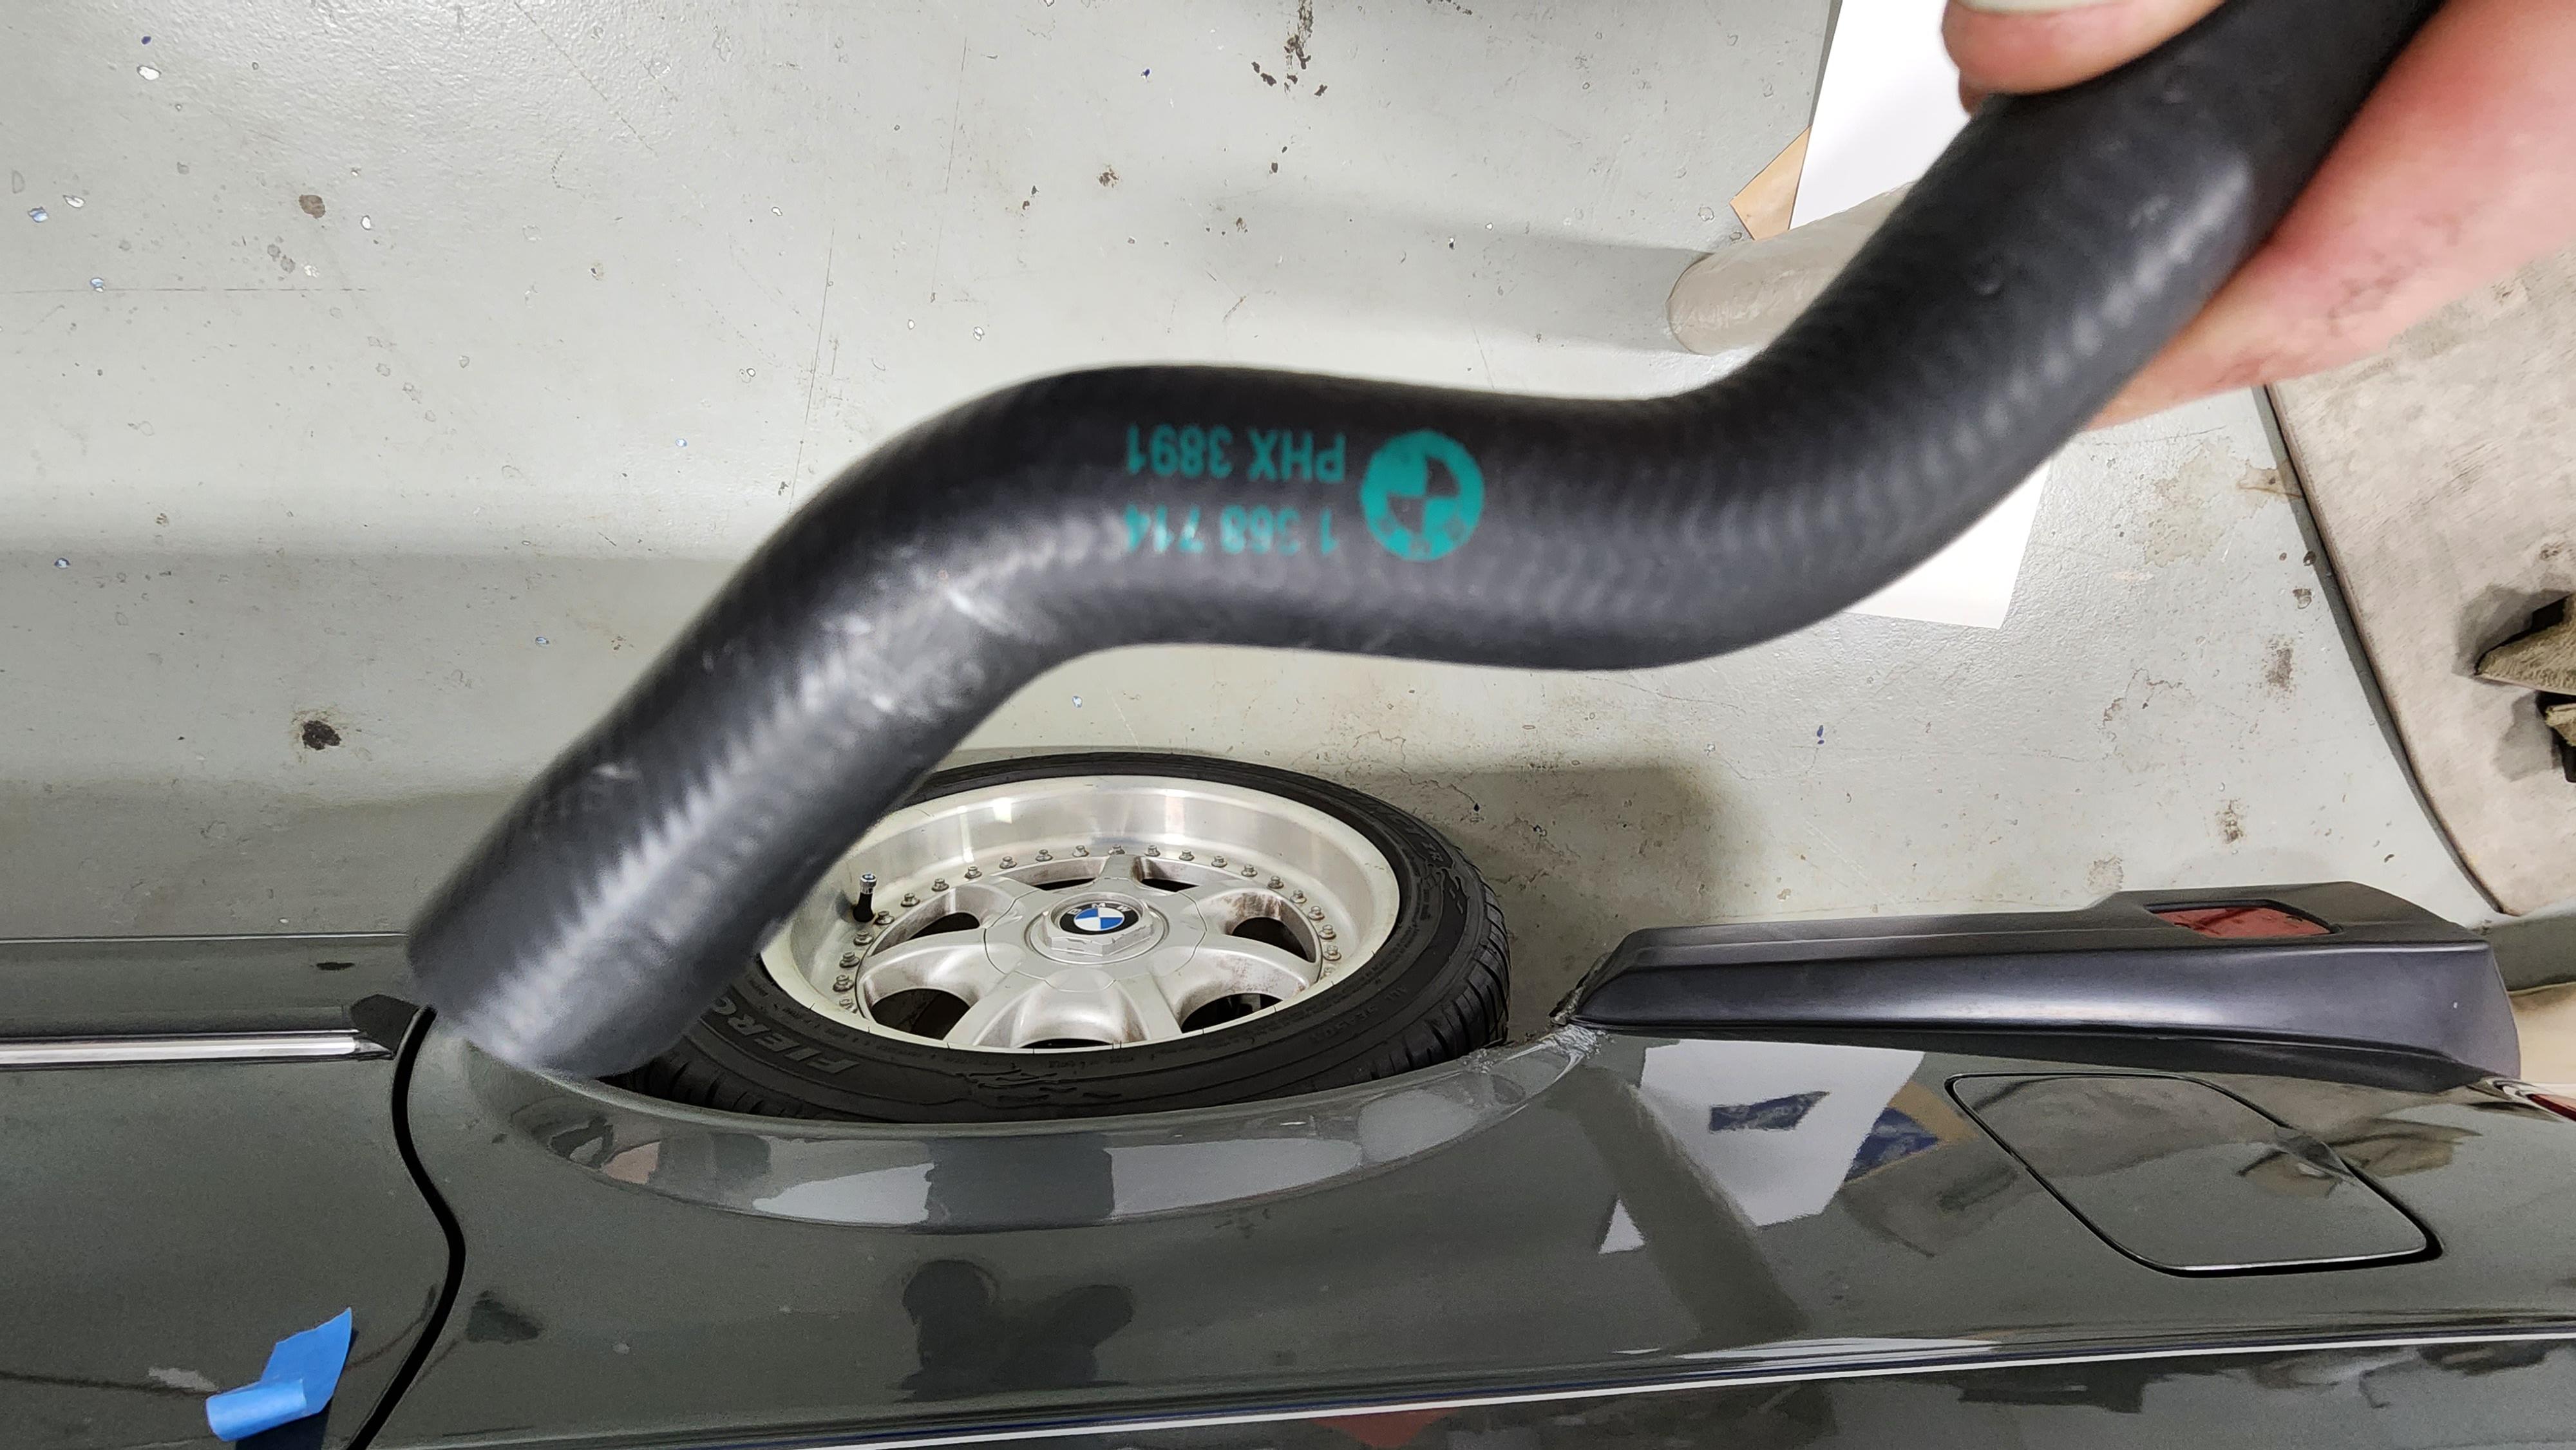
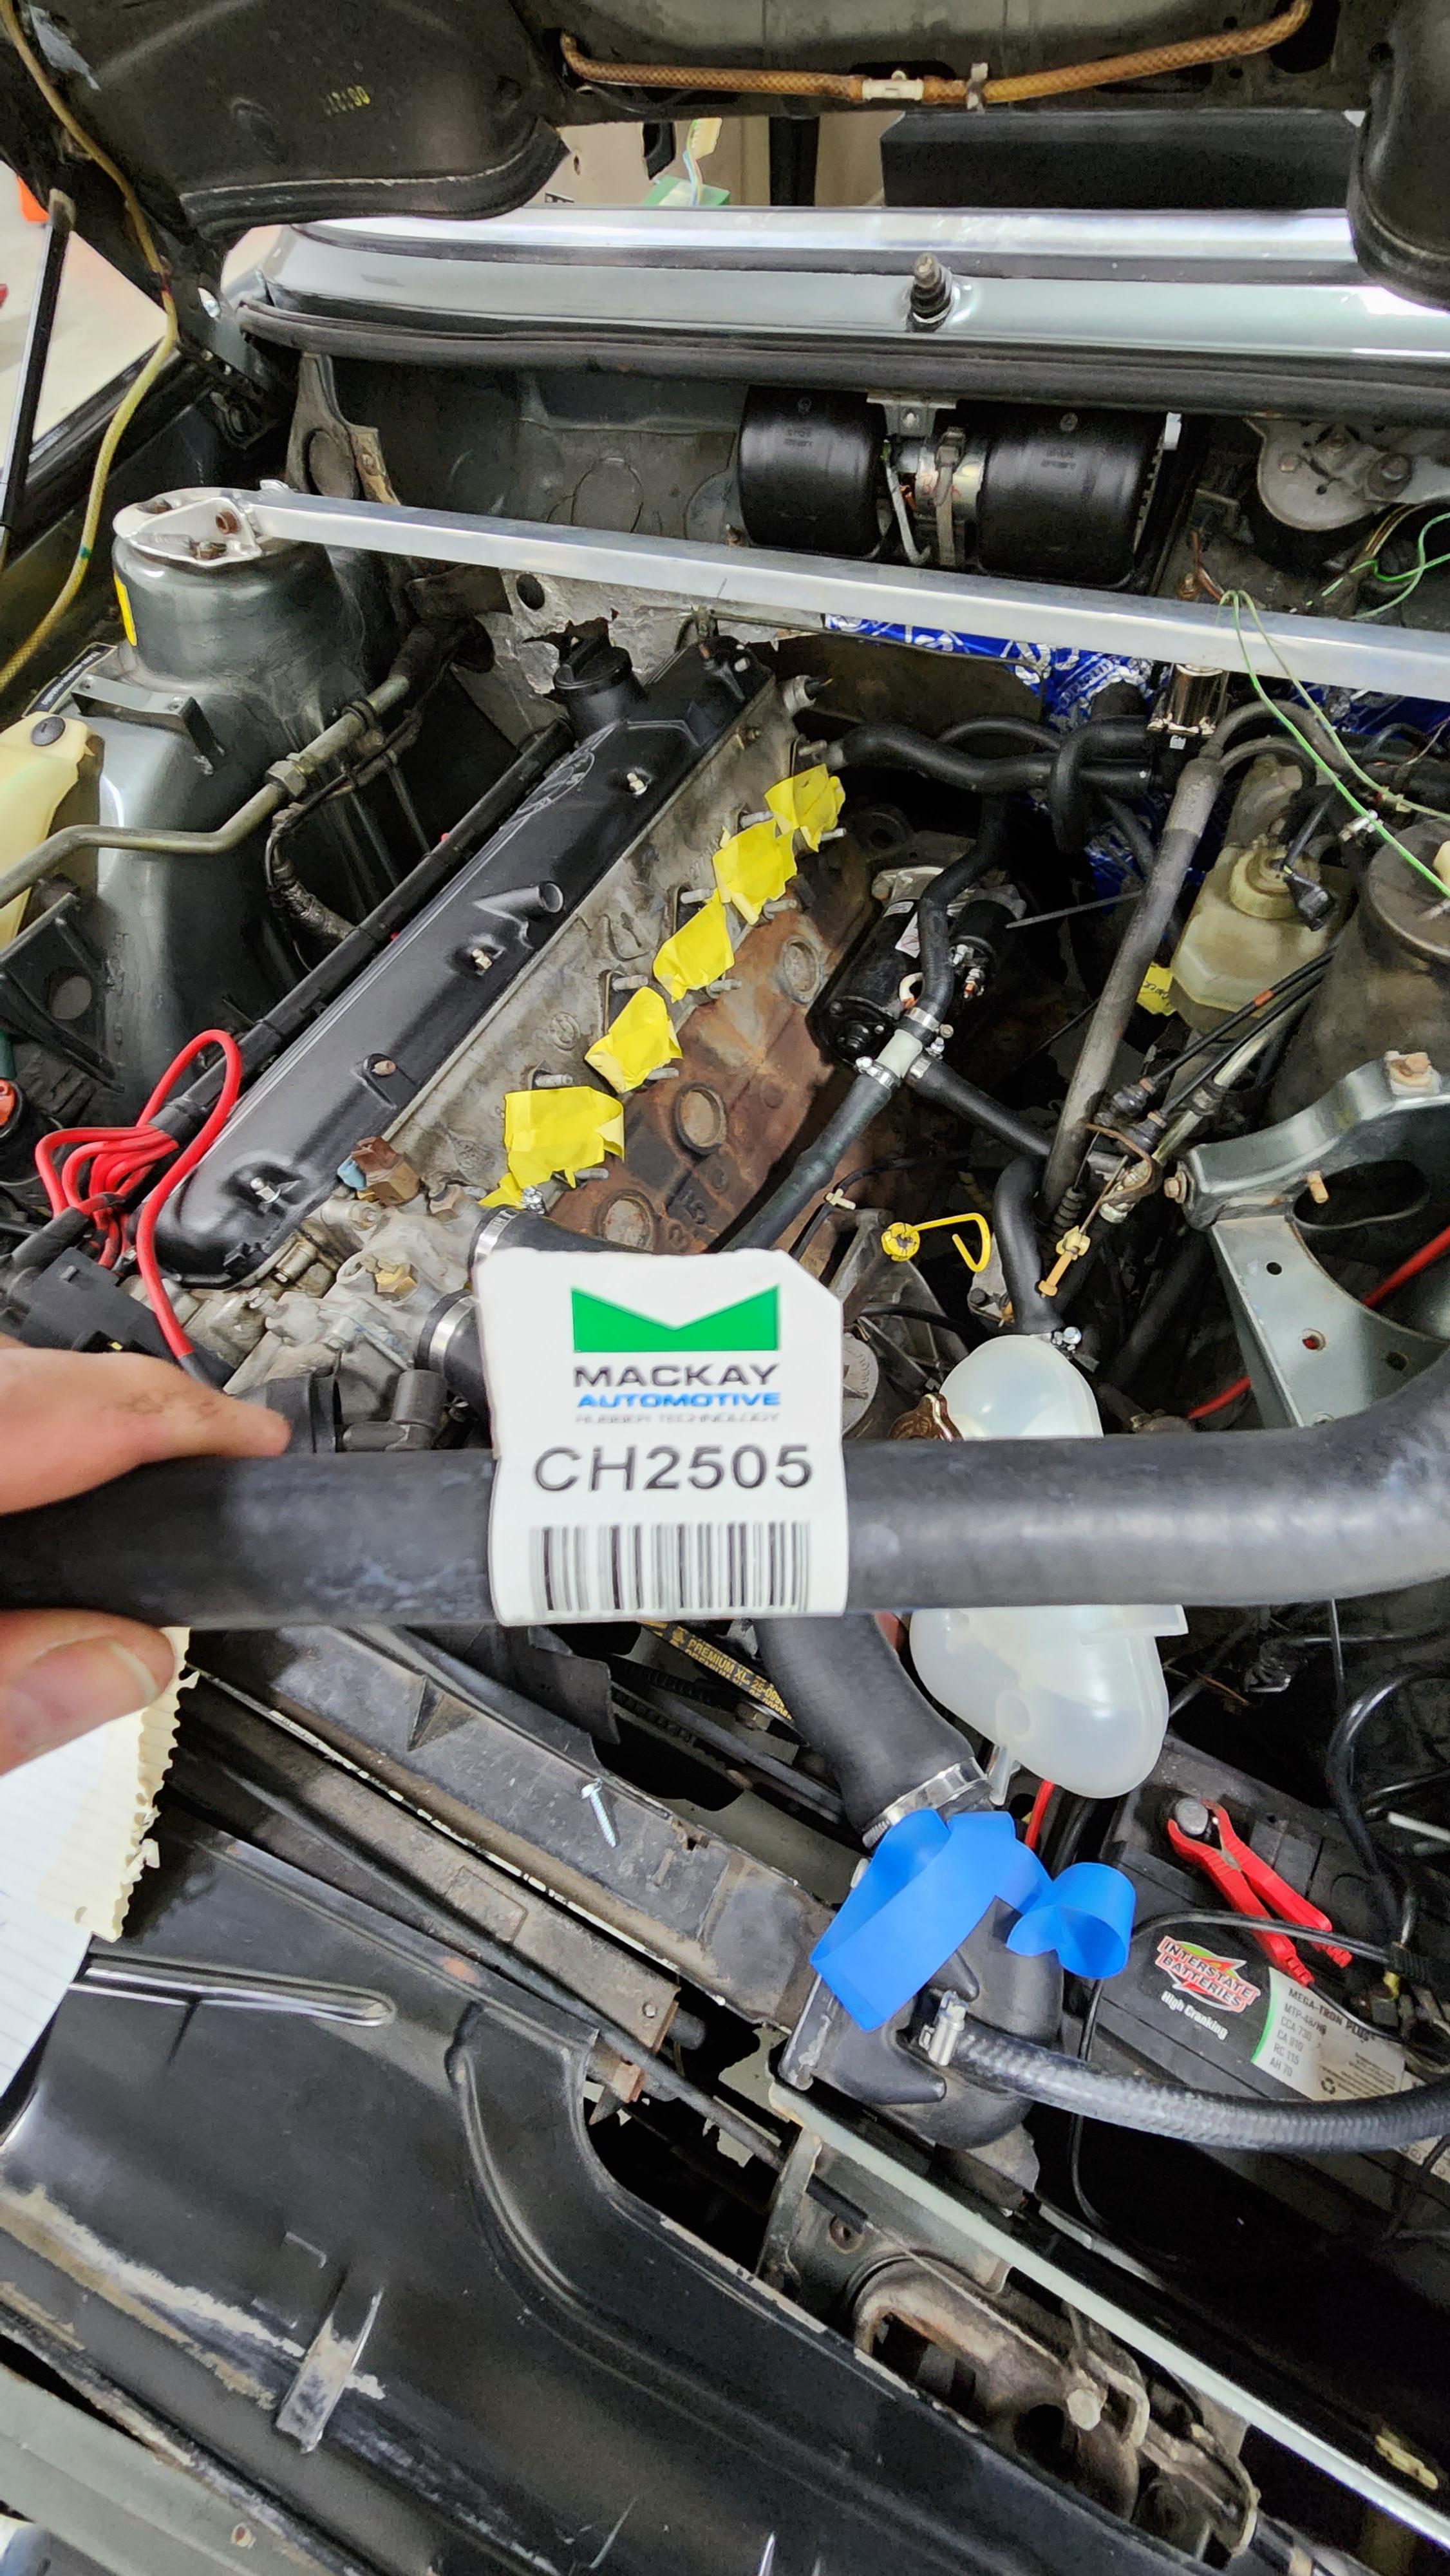
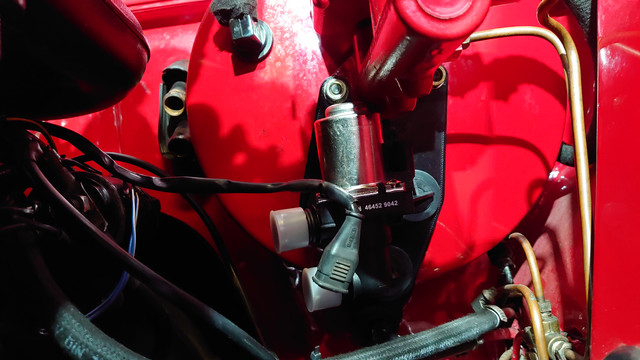
My 535’s heater has, until about a year ago, been great. Since then it’s been lukewarm to ineffective, and I’ve spent a lot of time on this link. Given the vehicle’s age I assumed it was the heater valve. People’s reported experience with repair kits has put me off, and I got an indicative price of $700 Australian for a BMW-sourced replacement, so I took the E46 path.
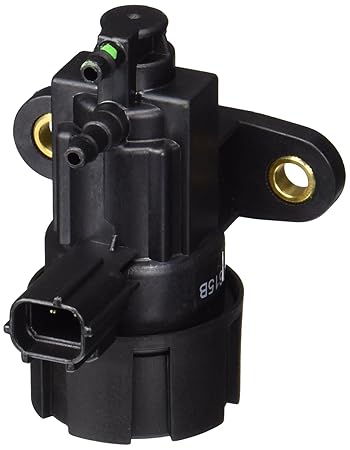
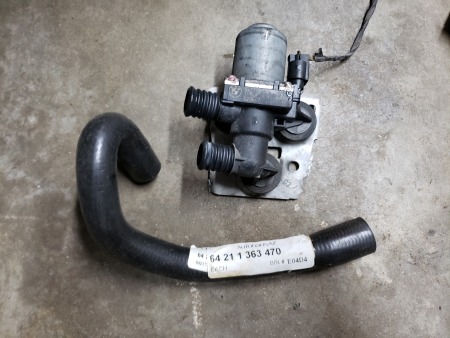
When I got the $70 valve, the wrecker had included the connector and about 6” of wiring – thank you Peninsula BM. The wire colours didn’t match the E46 ETM I checked and, bench testing, it worked no matter which way round the positive and negative were connected – no idea why. I also tested it inverted.
It seemed like too hard work to make the complicated plumbing routing others have used to get round the changed flow direction for the valve, so I installed it inverted to keep the inlet to the valve at the top (thanks RonW) as follows:
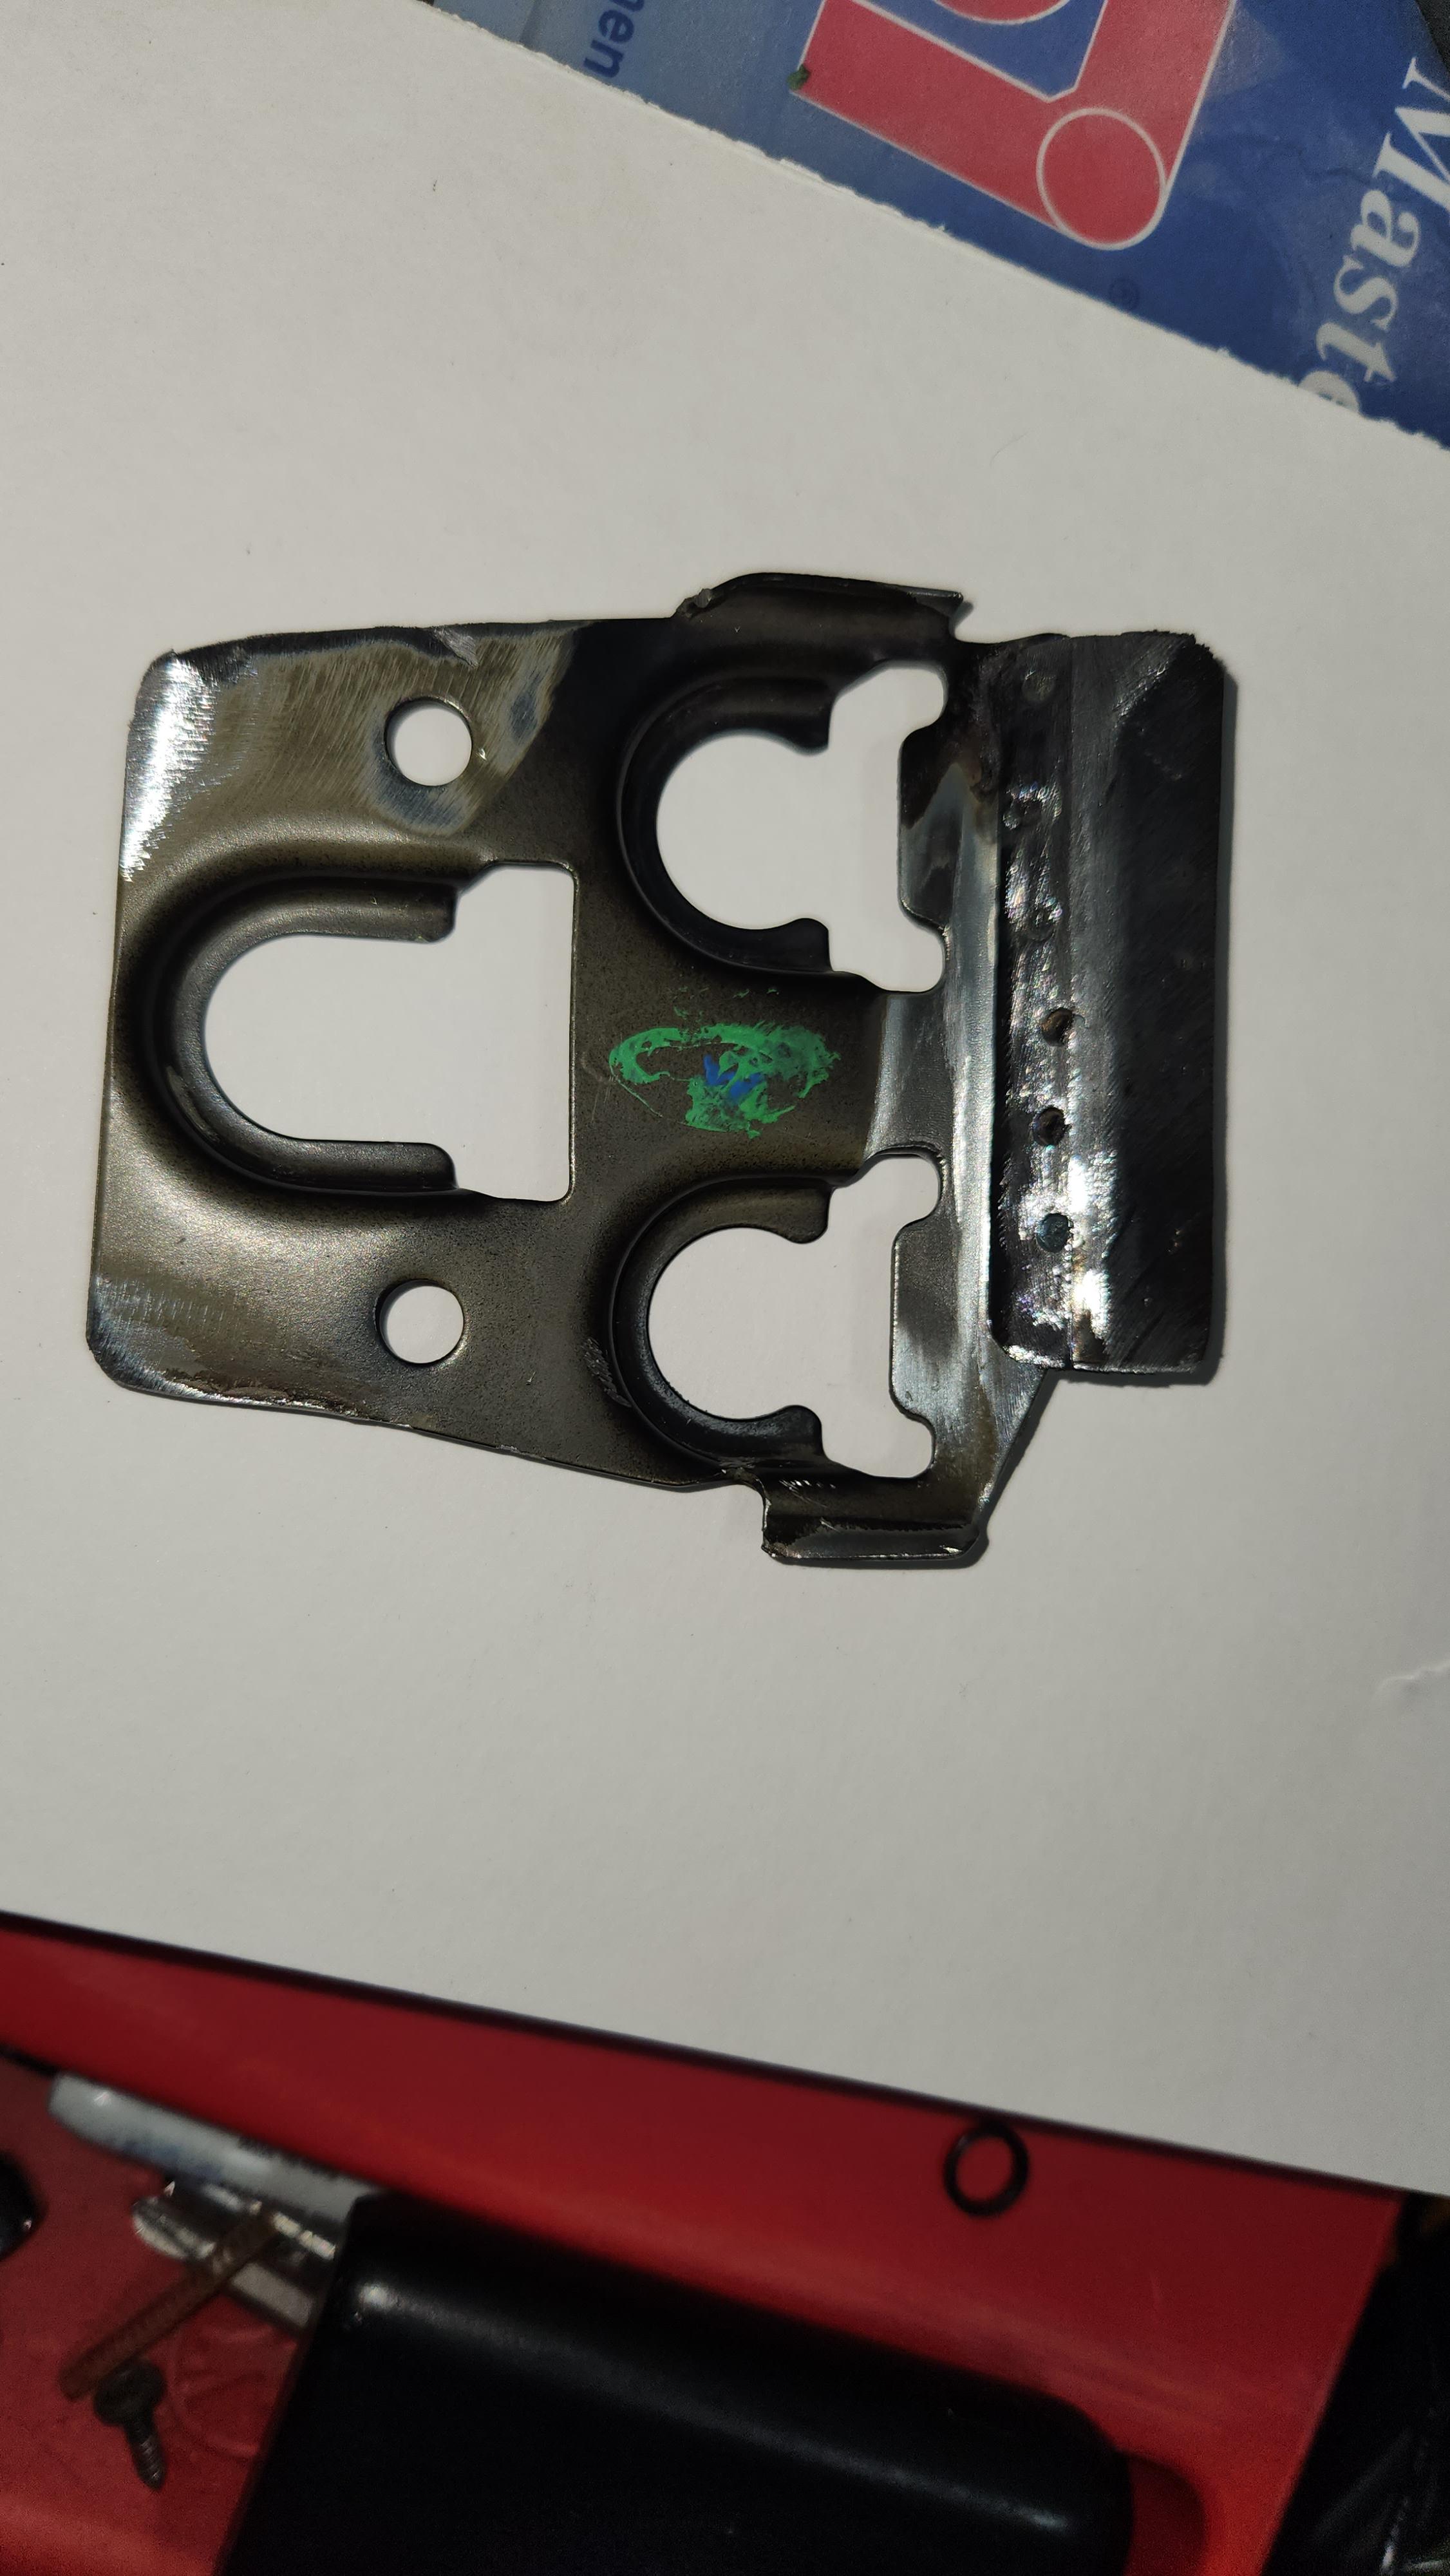
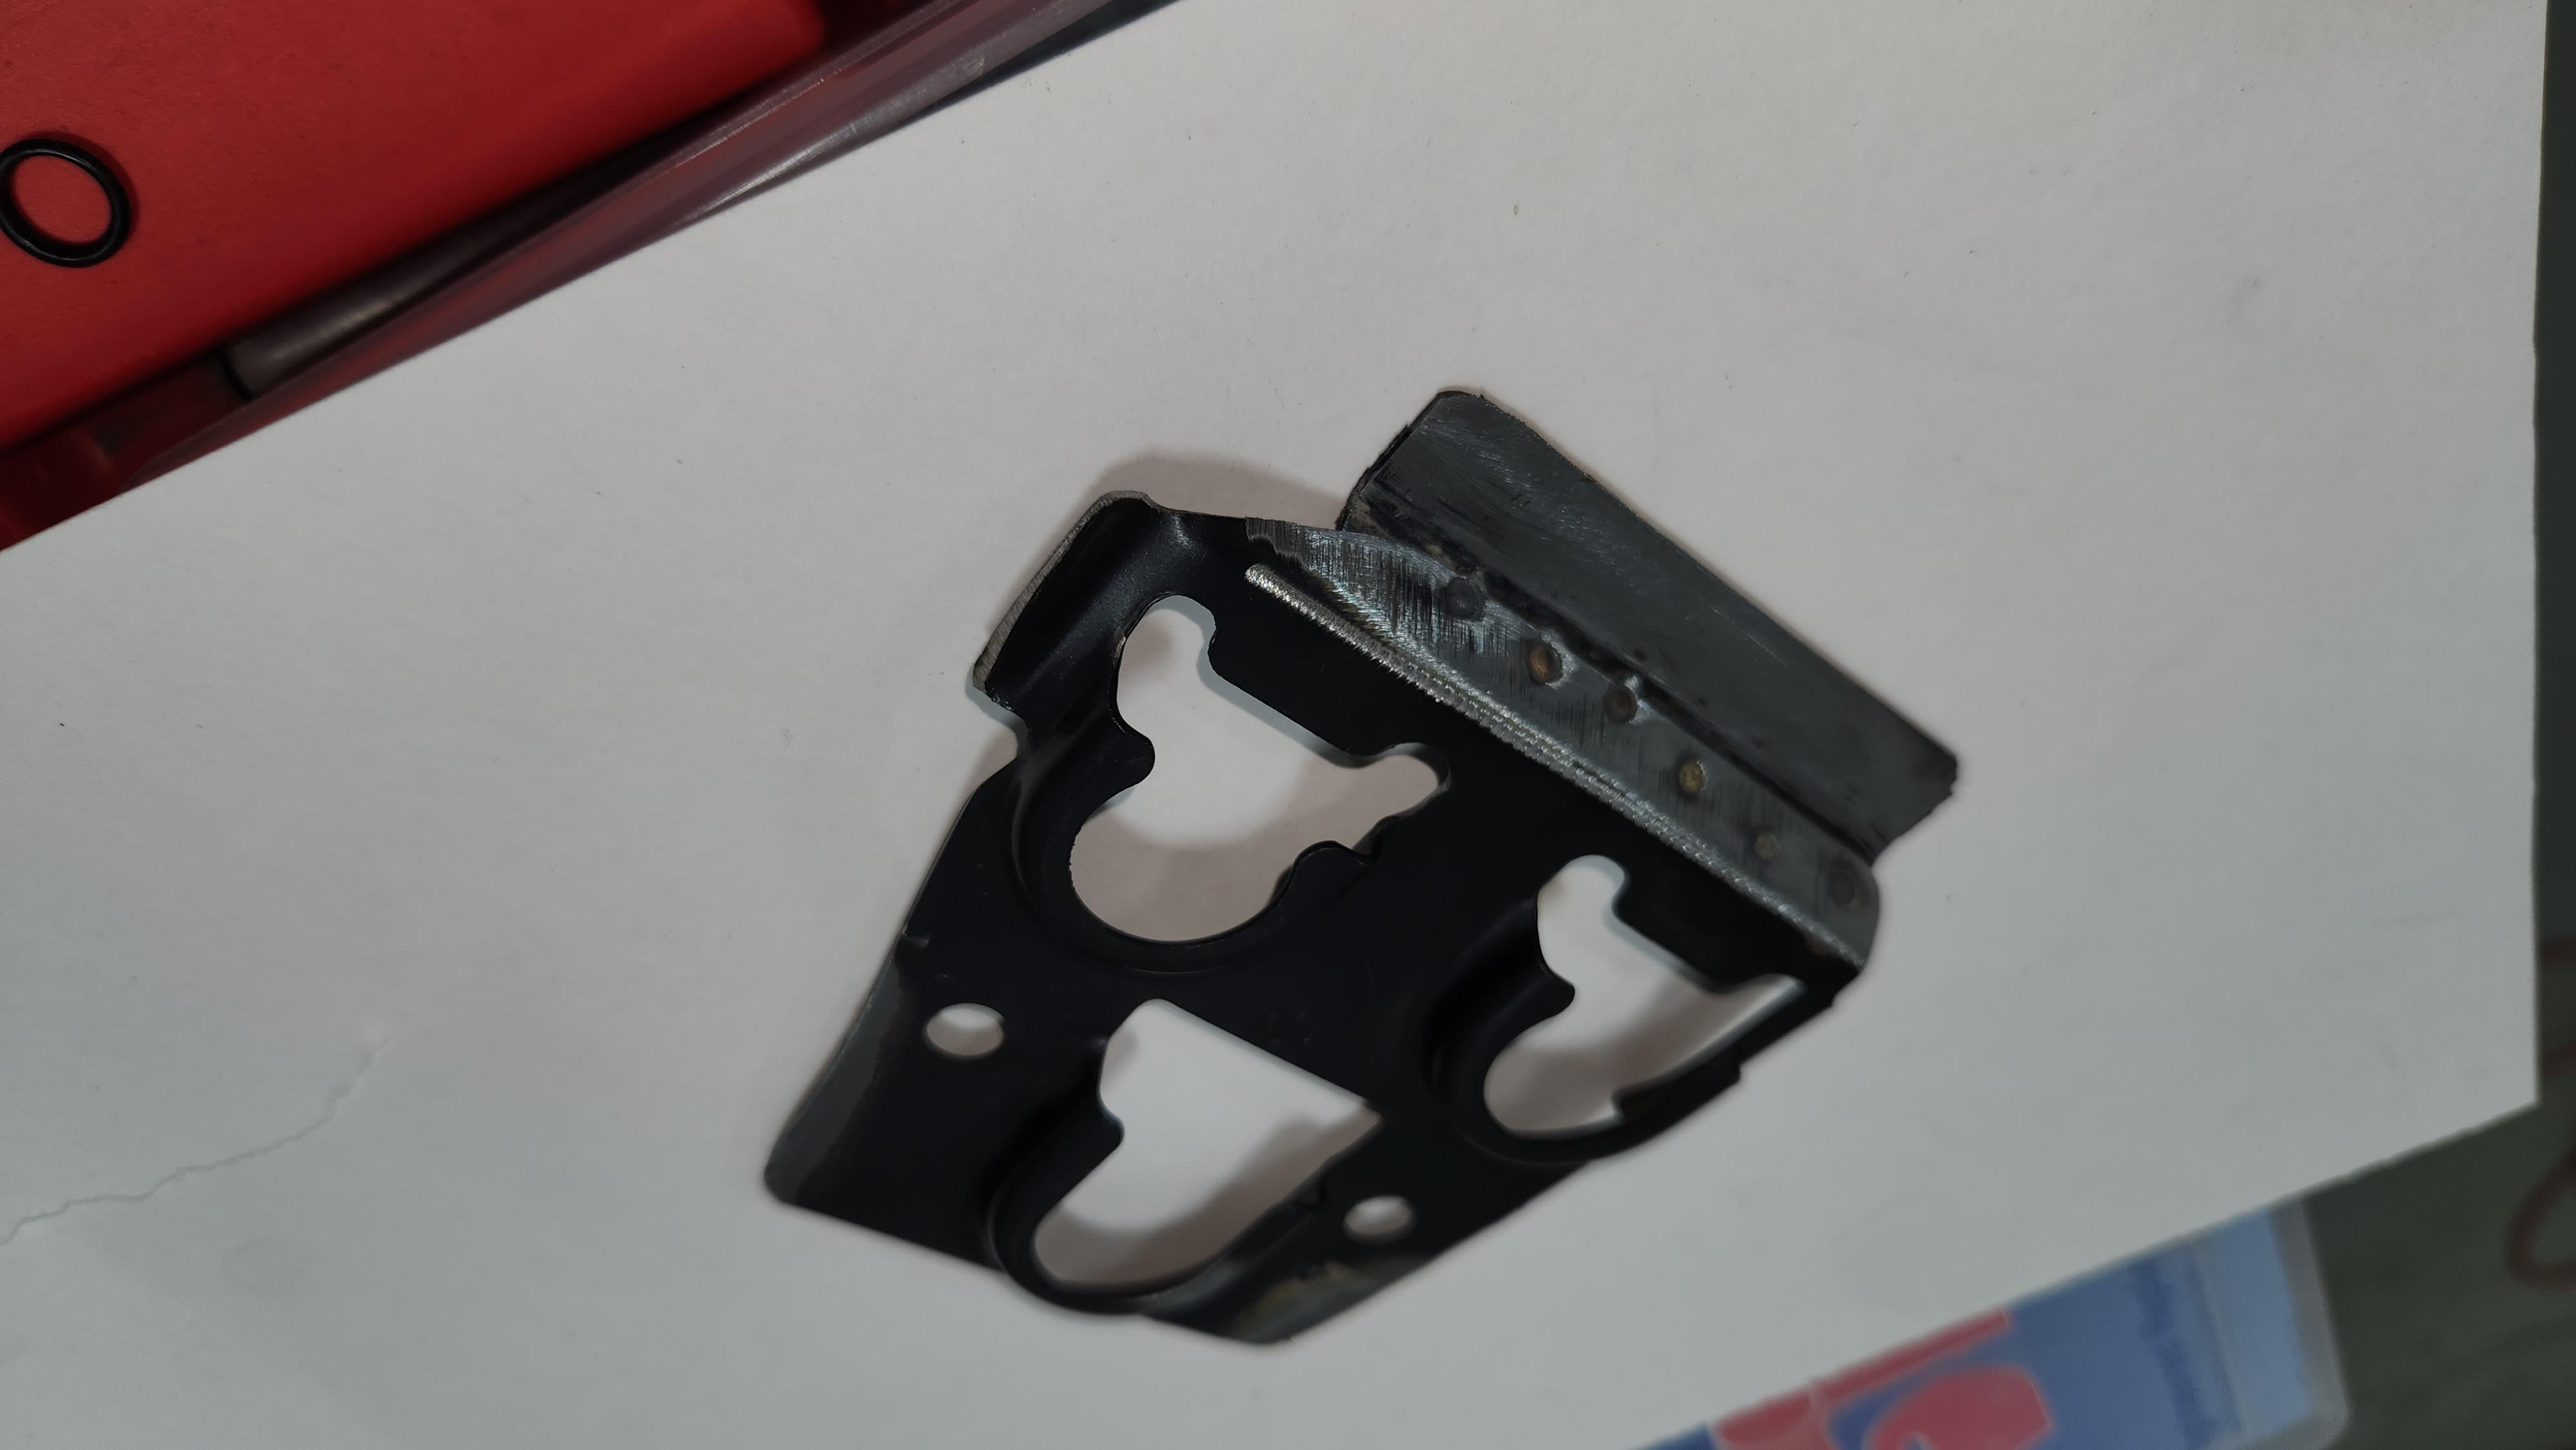
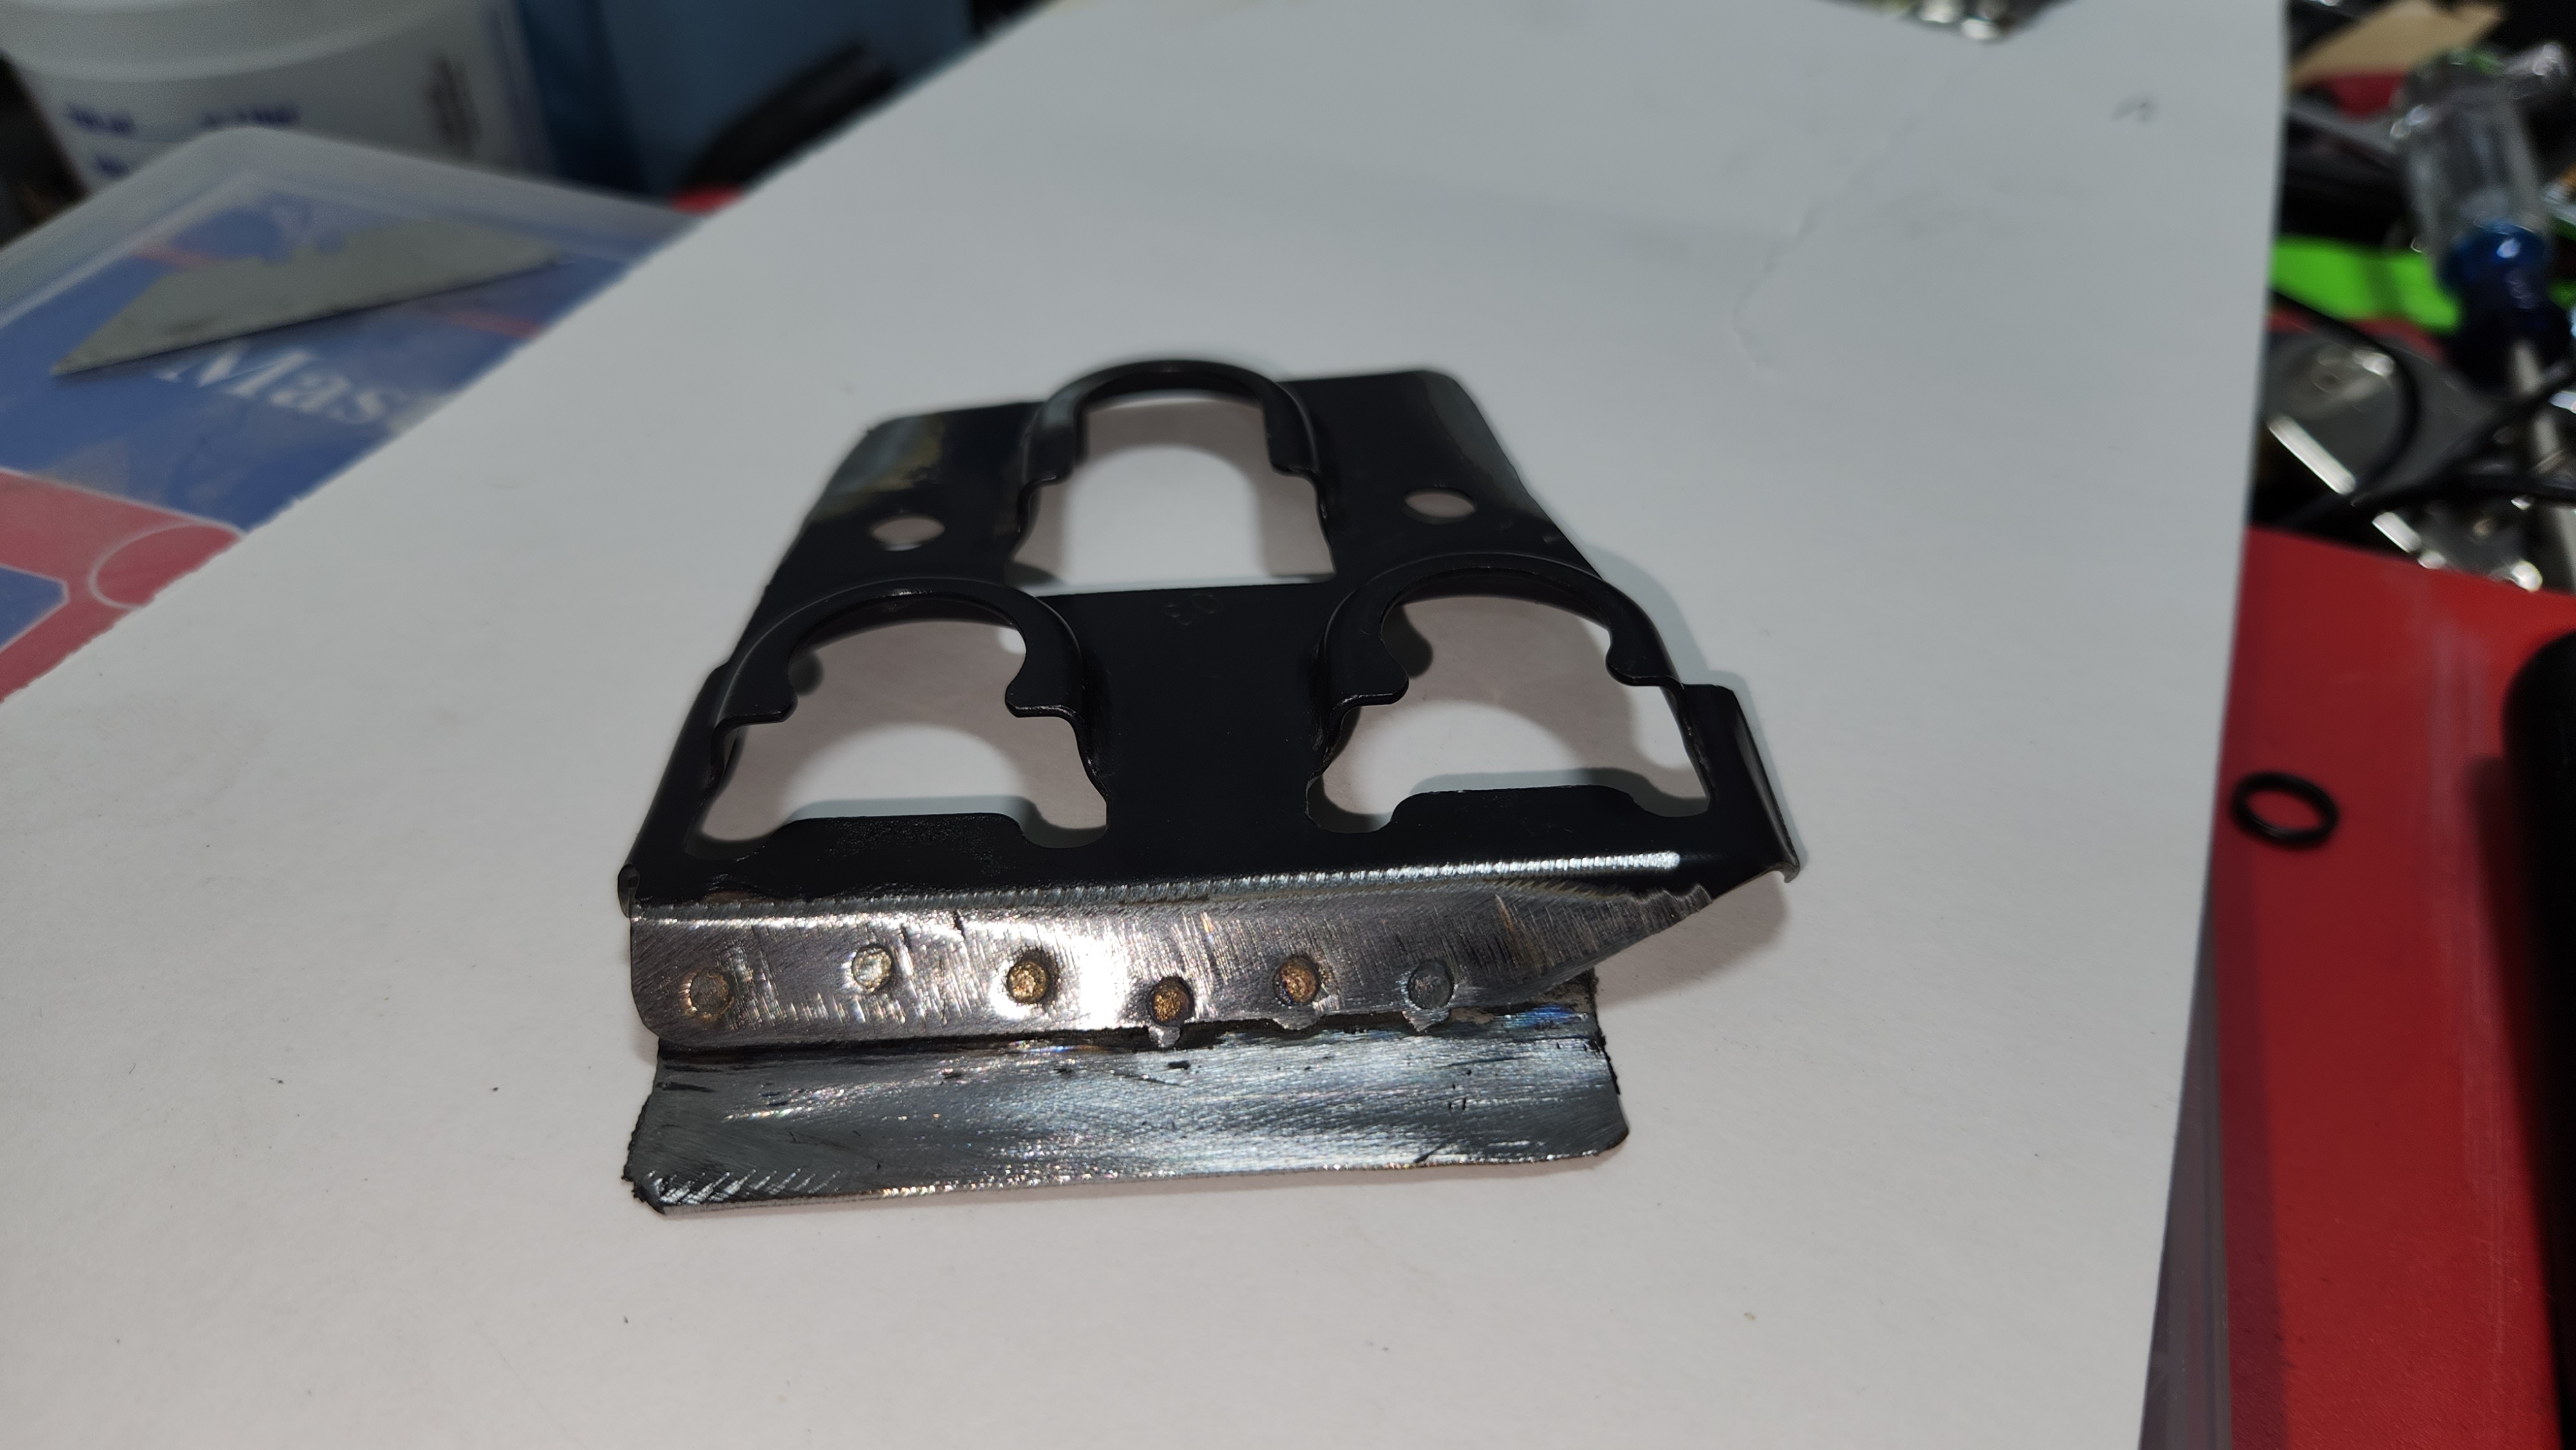
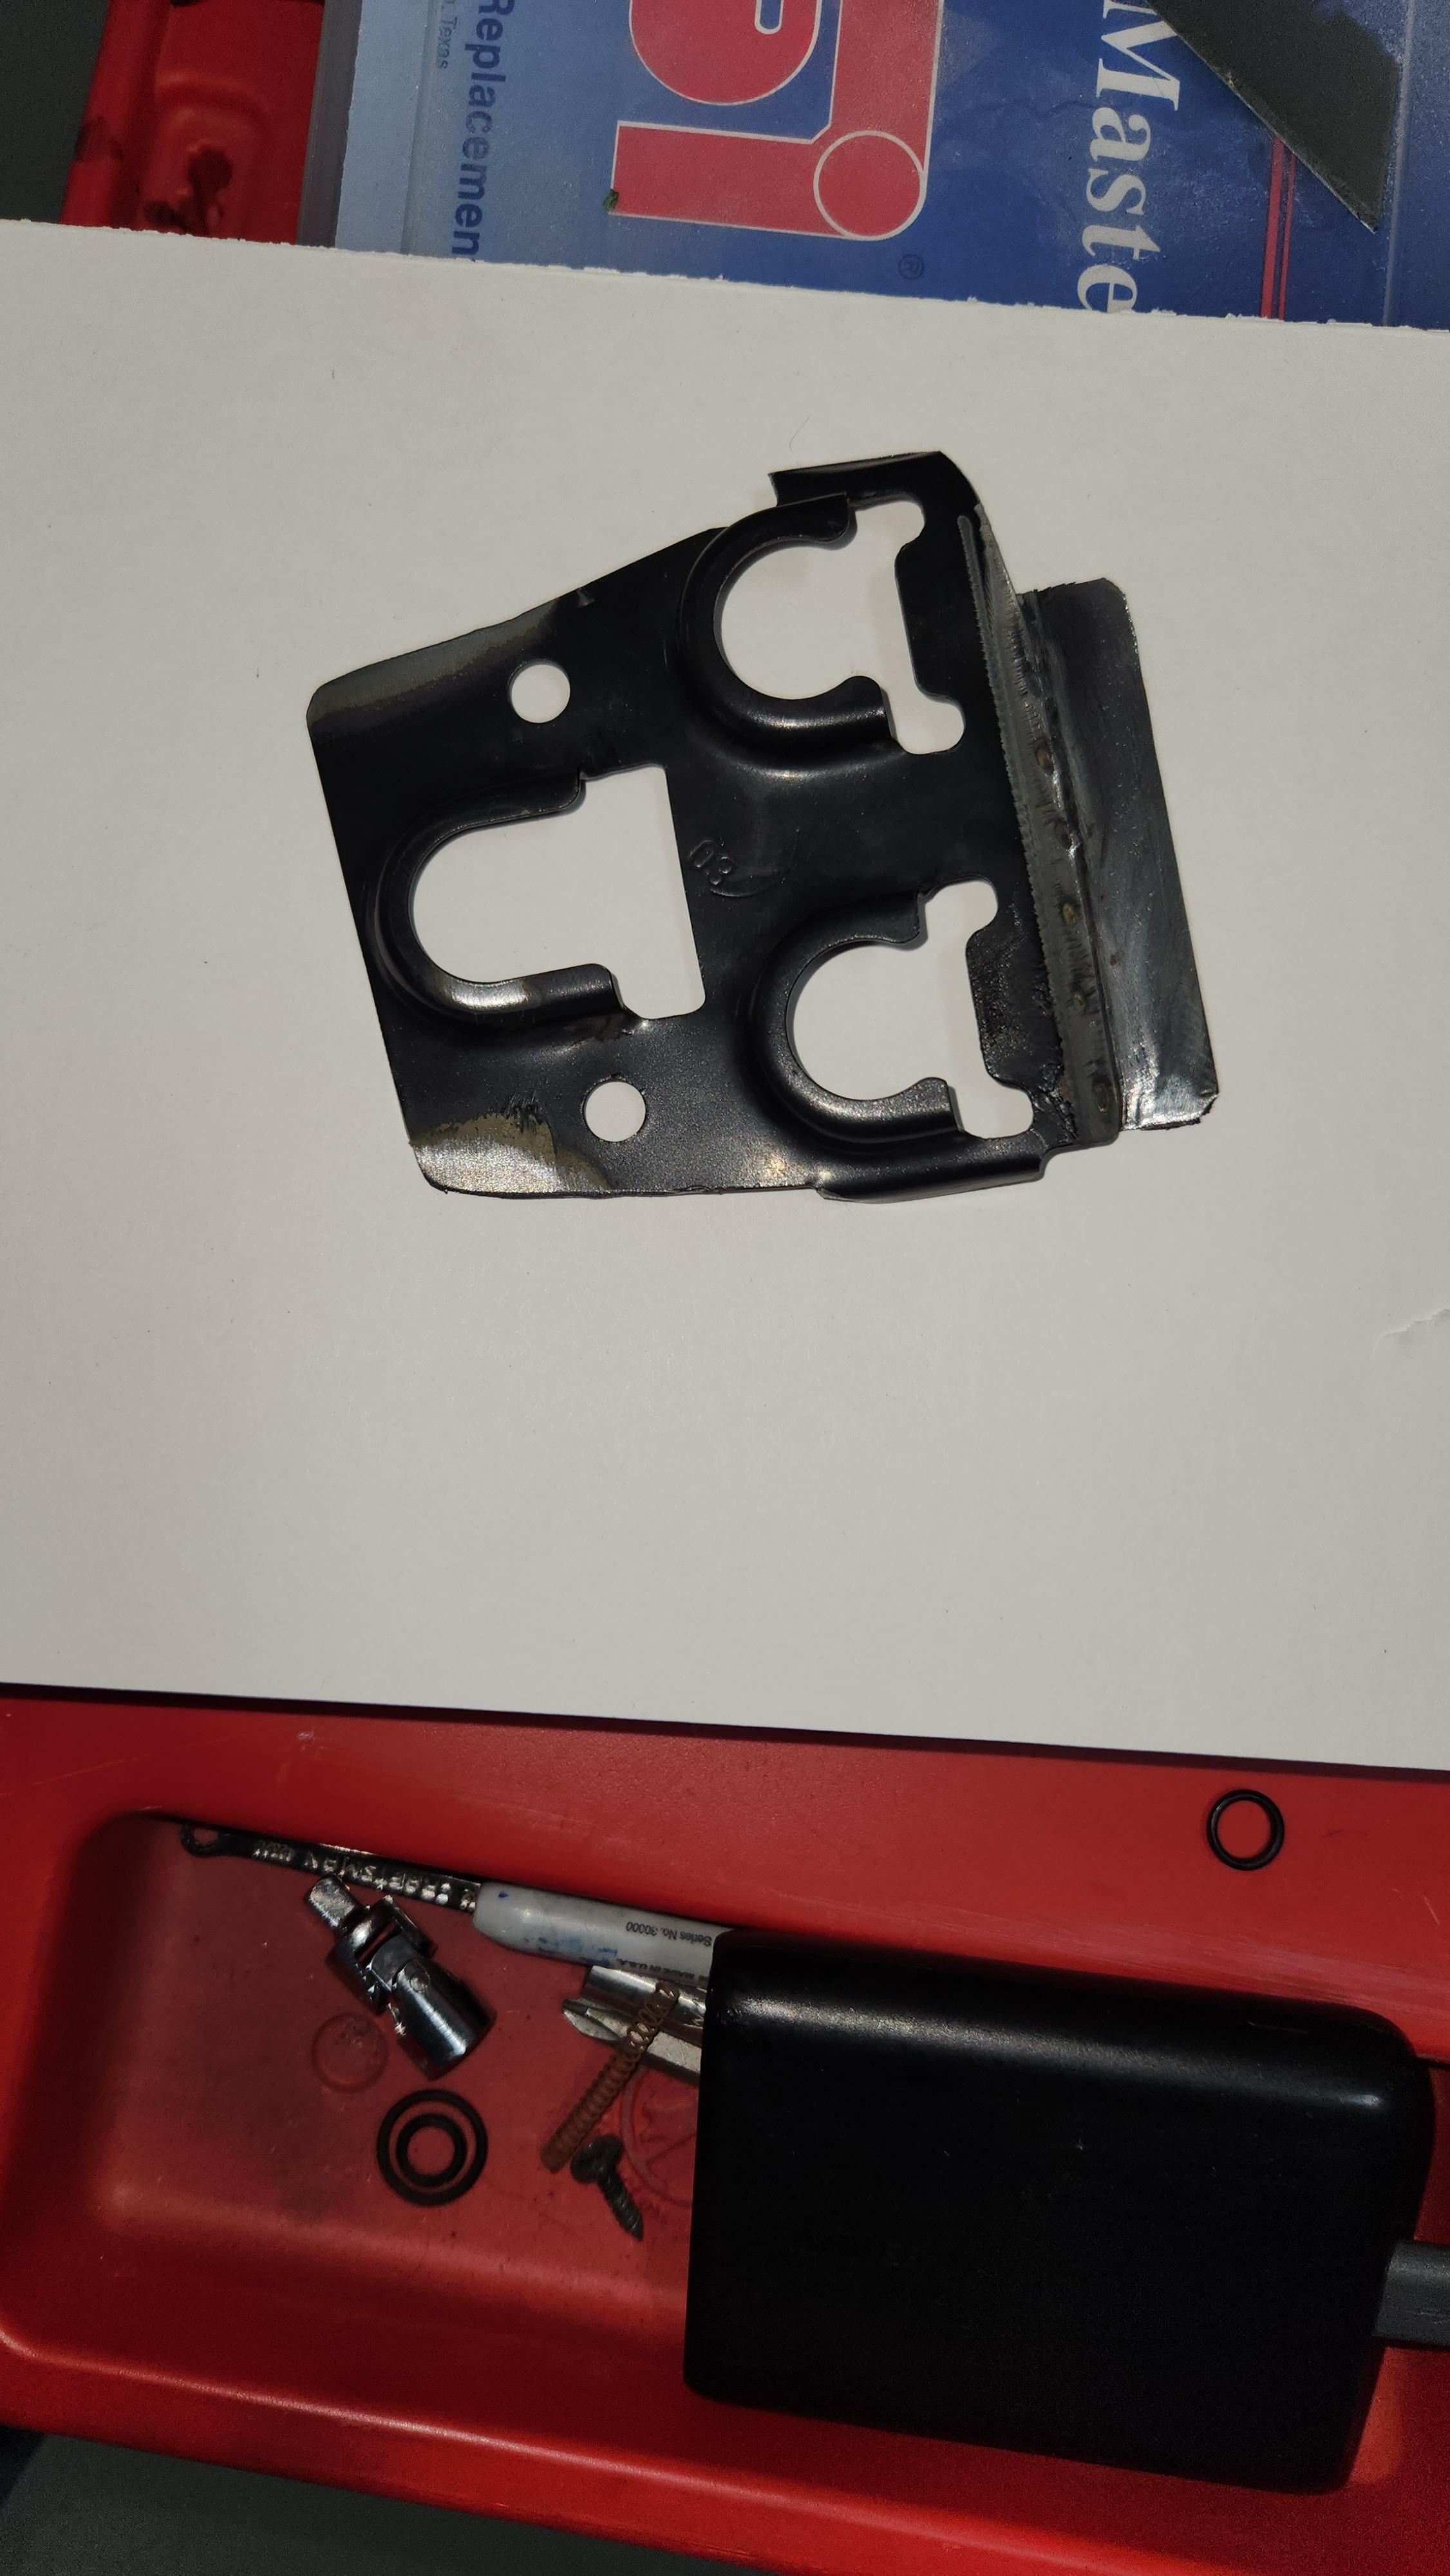
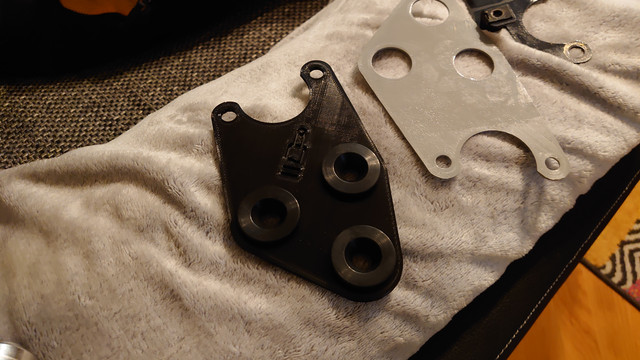
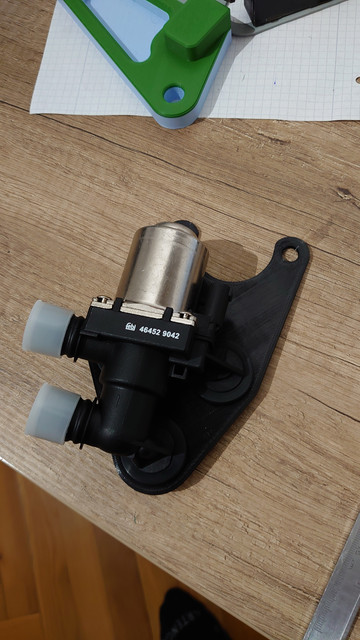
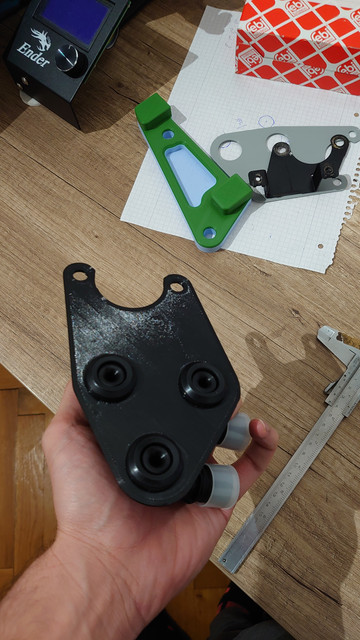
• hacksaw off the three mounting lugs and file the plastic case smooth so it will fit between the brake hydraulic pipe and the bulkhead
• sort out the wiring connection from the new valve to the existing connection – it’s inaccessible once the valve is in place. I used a connector block so I could check out the function before committing to solder and shrink wrap. If you cut the plug for the old valve off, leave an inch or so of wire so it can be reused if needed.
• from the local parts store get a ¾ inch 90 degree elbow hose and about a foot of ¾ inch straight hose
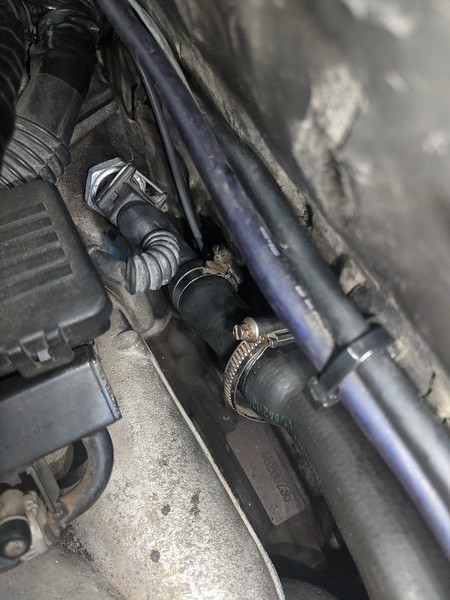
• remove the old valve, spilling coolant everywhere
• take off the hose from the back of the cylinder head
• remove the hose which connected the valve to the lower of the two heater pipes. You might be able to adapt this – see following – instead of buying the 90 degree elbow.
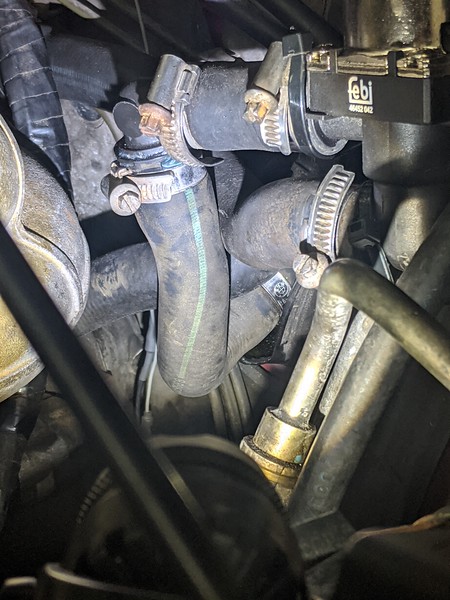
• disconnect the hose from the front of the engine to the top heater pipe, at the heater and attach it to the lower of the heater pipes. This allows the two hoses into the valve to line up beside each other.
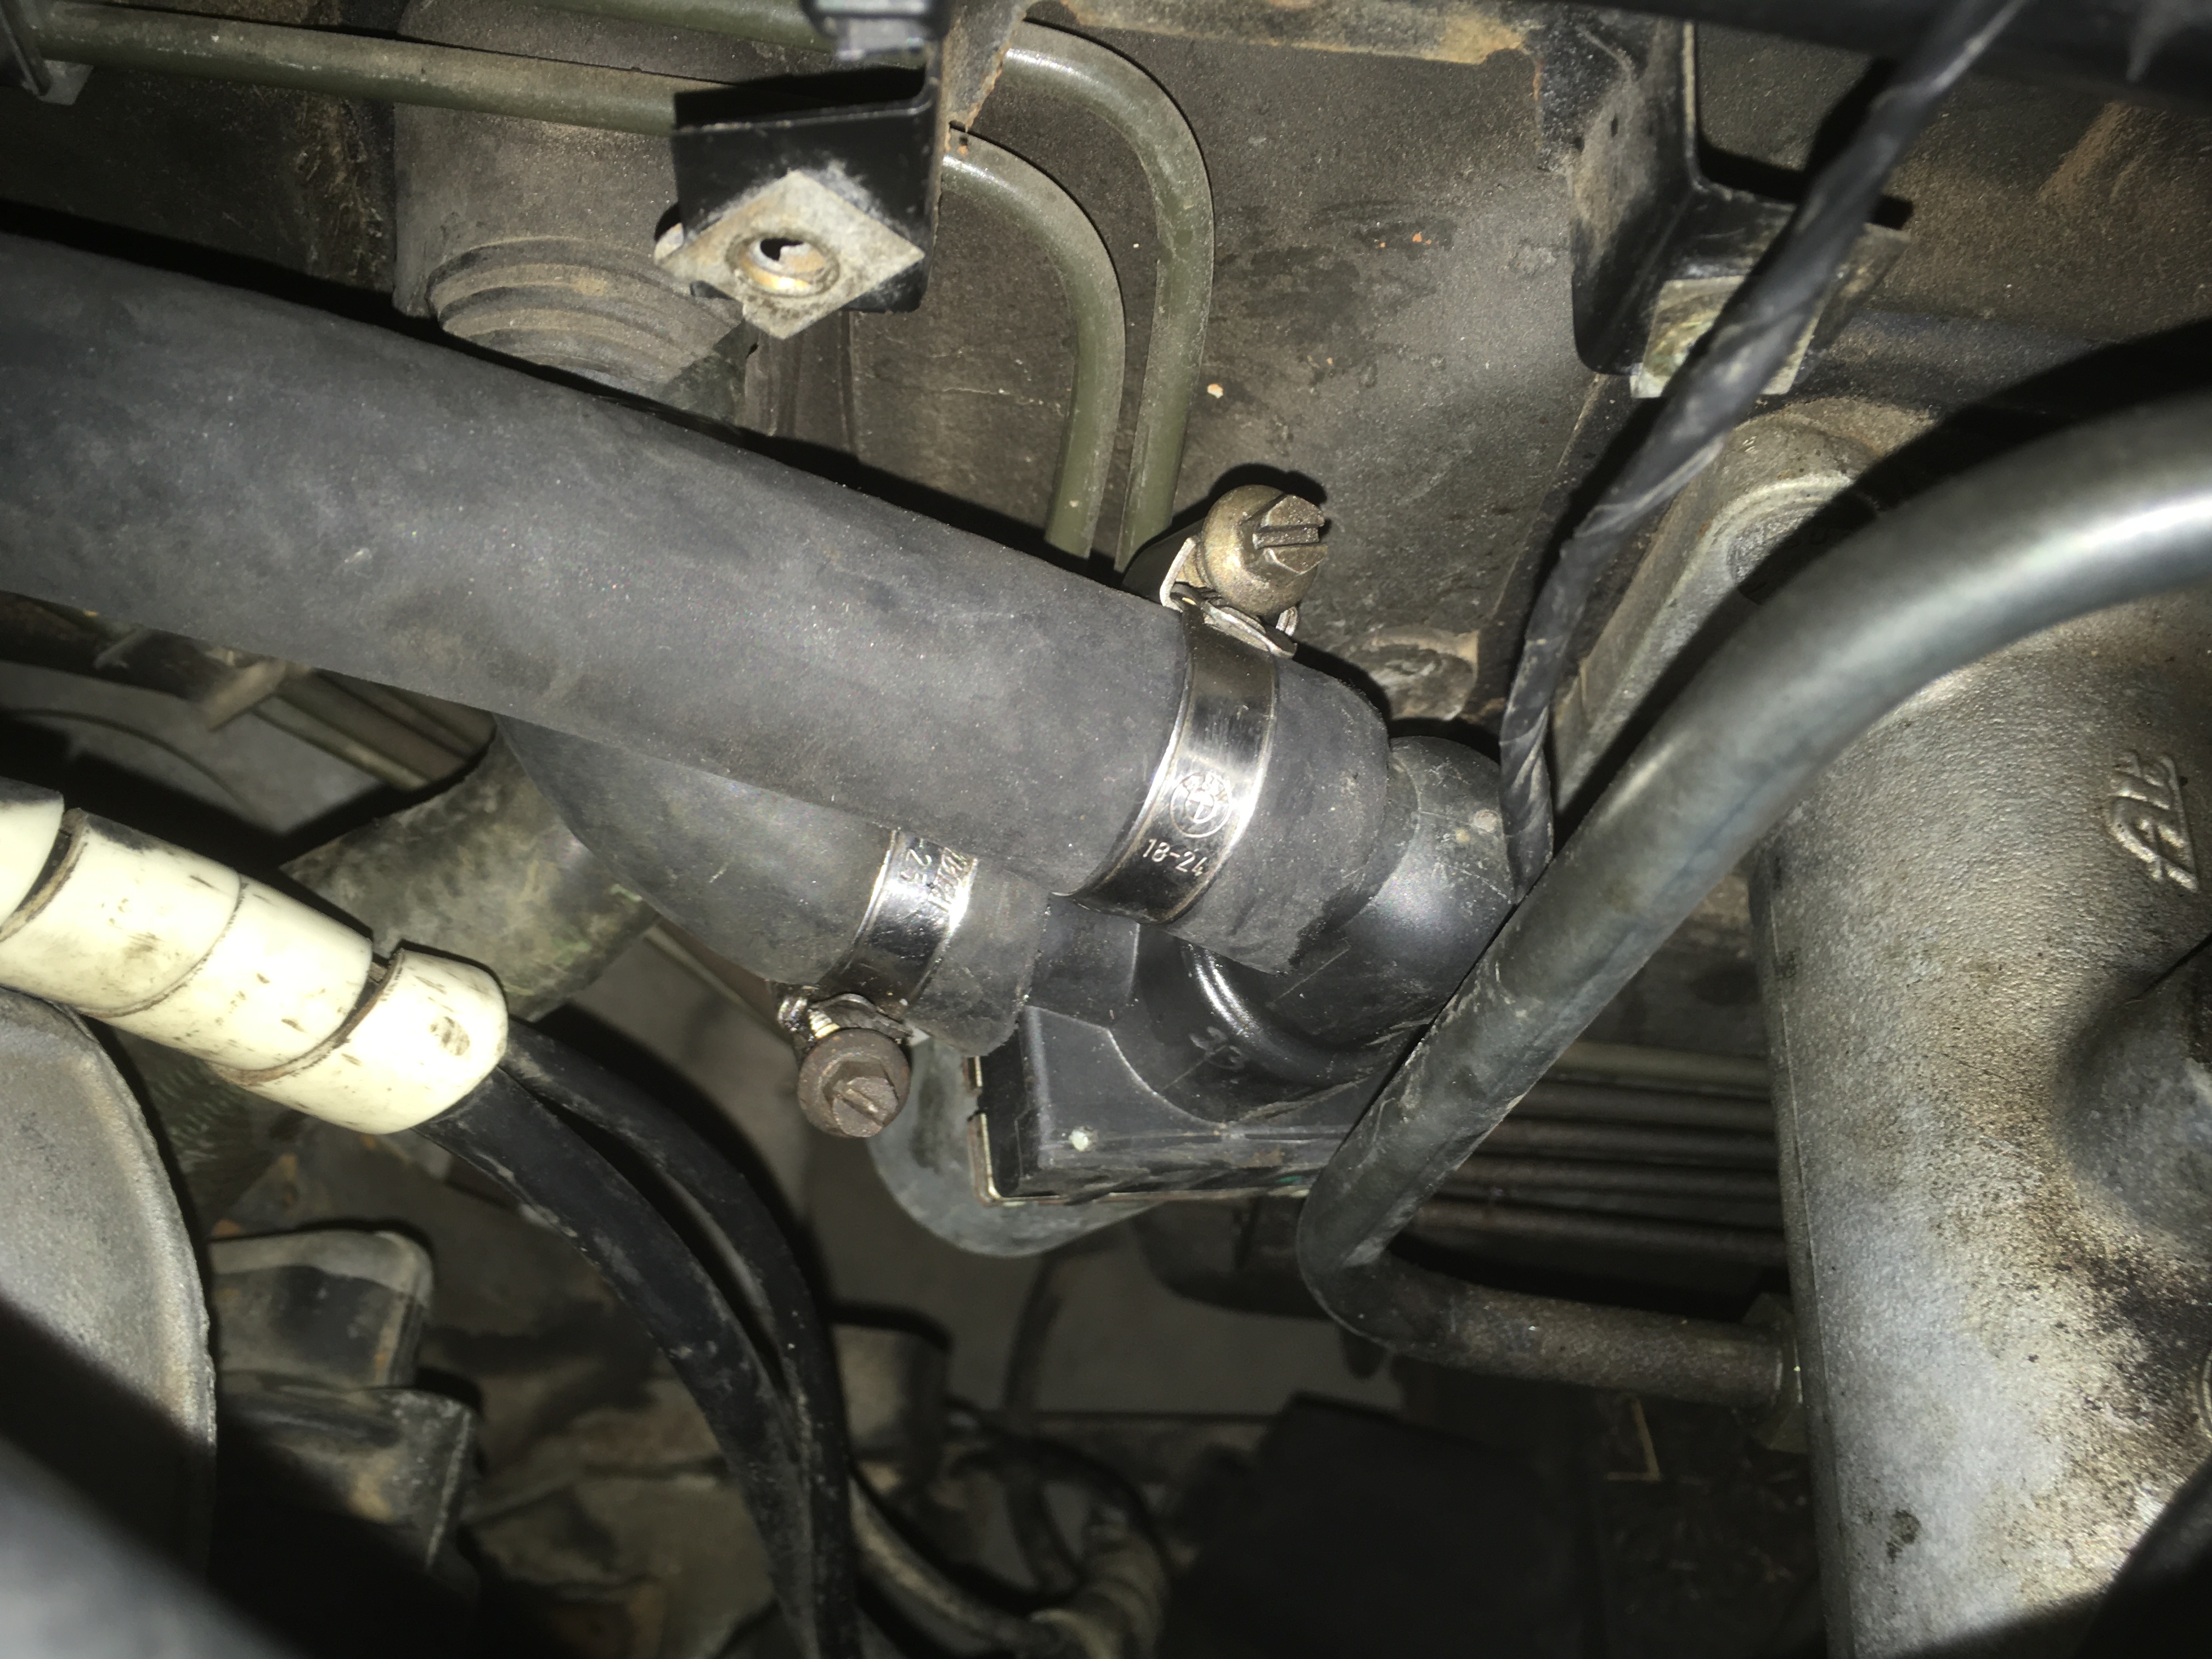
• cut the 90 degree elbow so that it joins the top heater pipe to the lower of the two pipes on the now inverted E46 valve. Set the length so that the valve tucks behind the metal hydraulic pressure pipe.
• Cut the straight ¾ inch hose, to go between the back of the cylinder head and the upper pipe on the valve, a few inches longer than needed. Here’s the only difficult part – the pipe at the back of the cylinder head is slightly large for the ¾ inch hose to fit on easily and it’s very hard to get any purchase towards the end to force it on – reminded me of George Burns’ comment about shooting pool with a rope. I found a 1 inch plastic electric duct pipe which enclosed the hose. Cut the duct pipe a bit shorter than the ¾ inch hose leaving the inch or so to go onto the cylinder head pipe proud. It was then surprisingly easy to push the hose on. Cut the hose to length and connect to the top pipe on the valve.
• Use a zip tie to locate the valve against the hydraulic pipe.
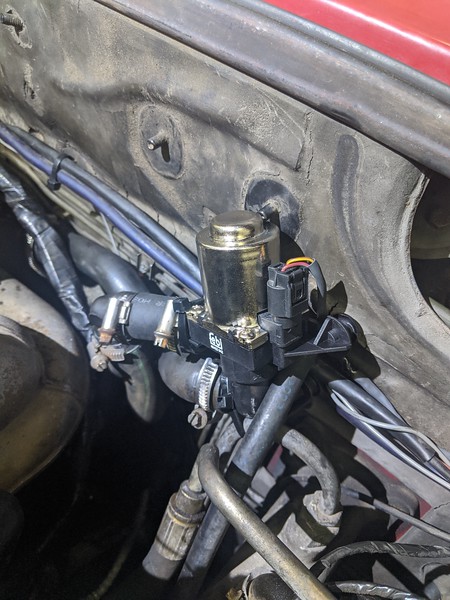
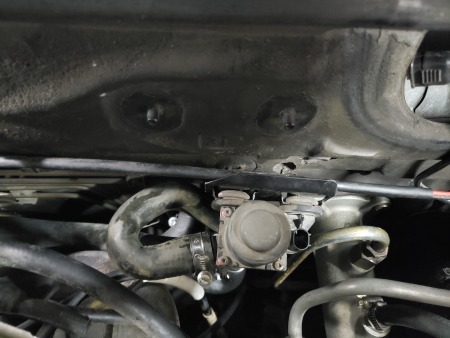
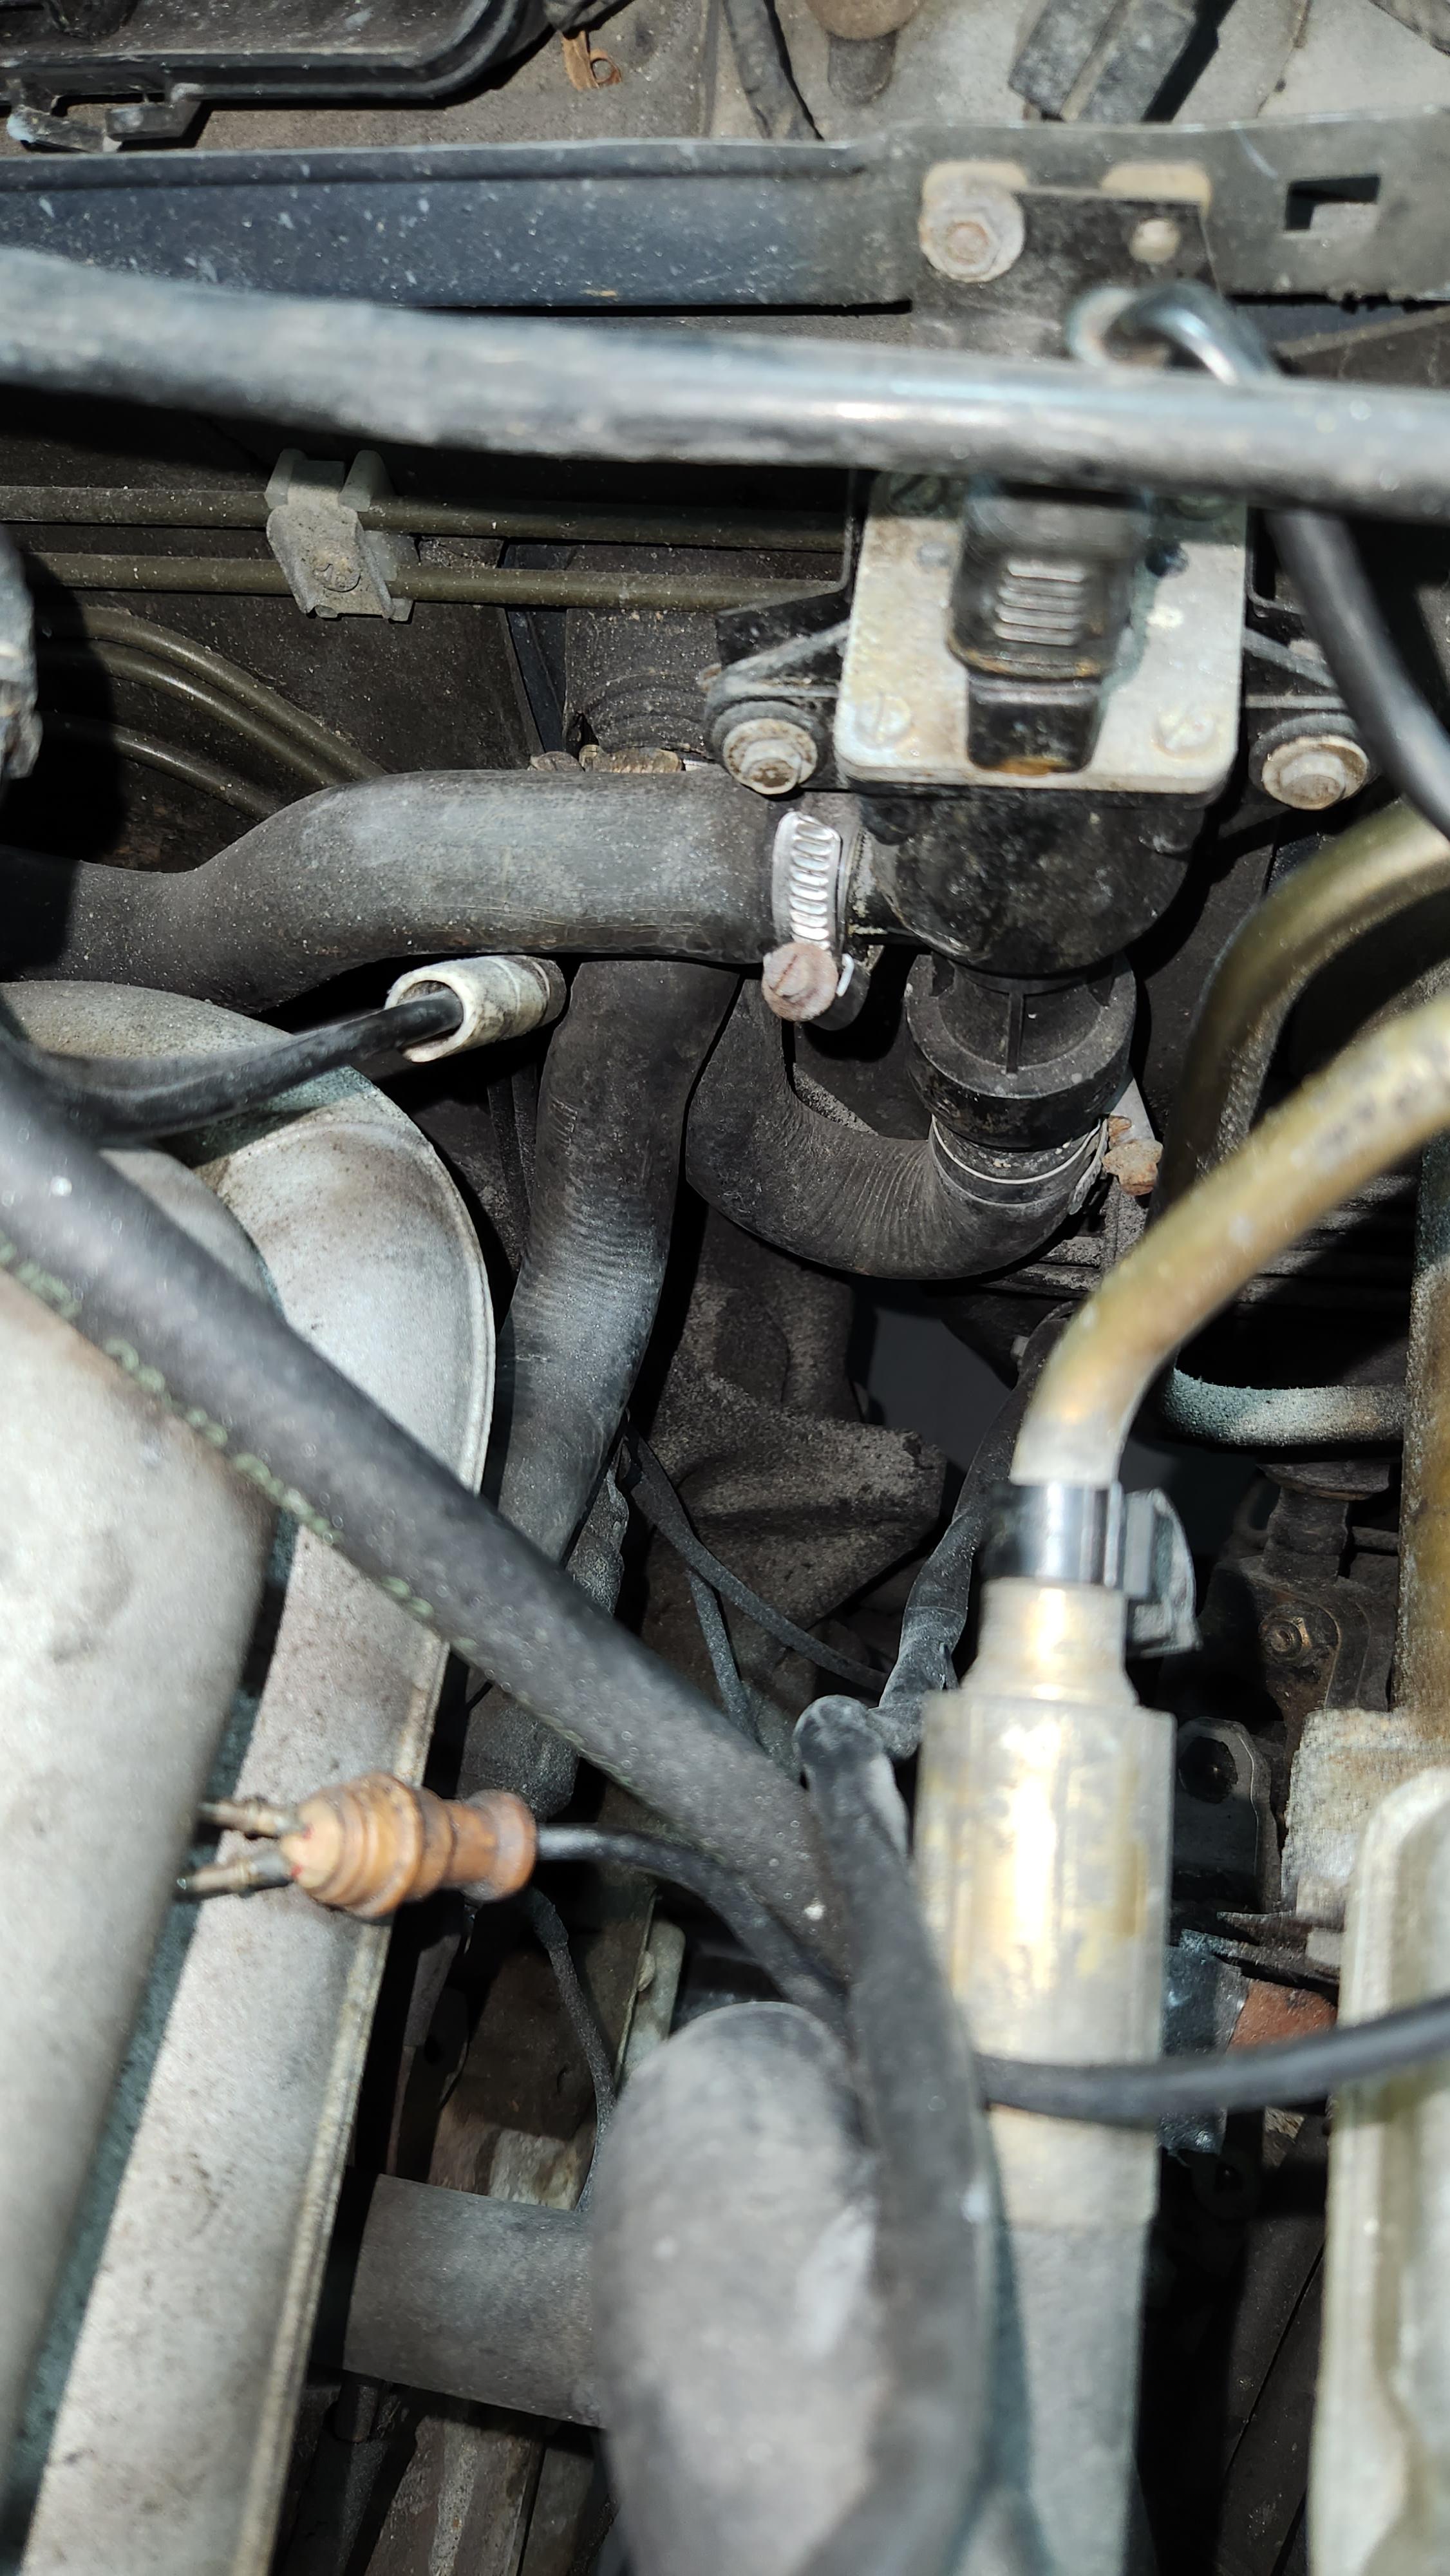
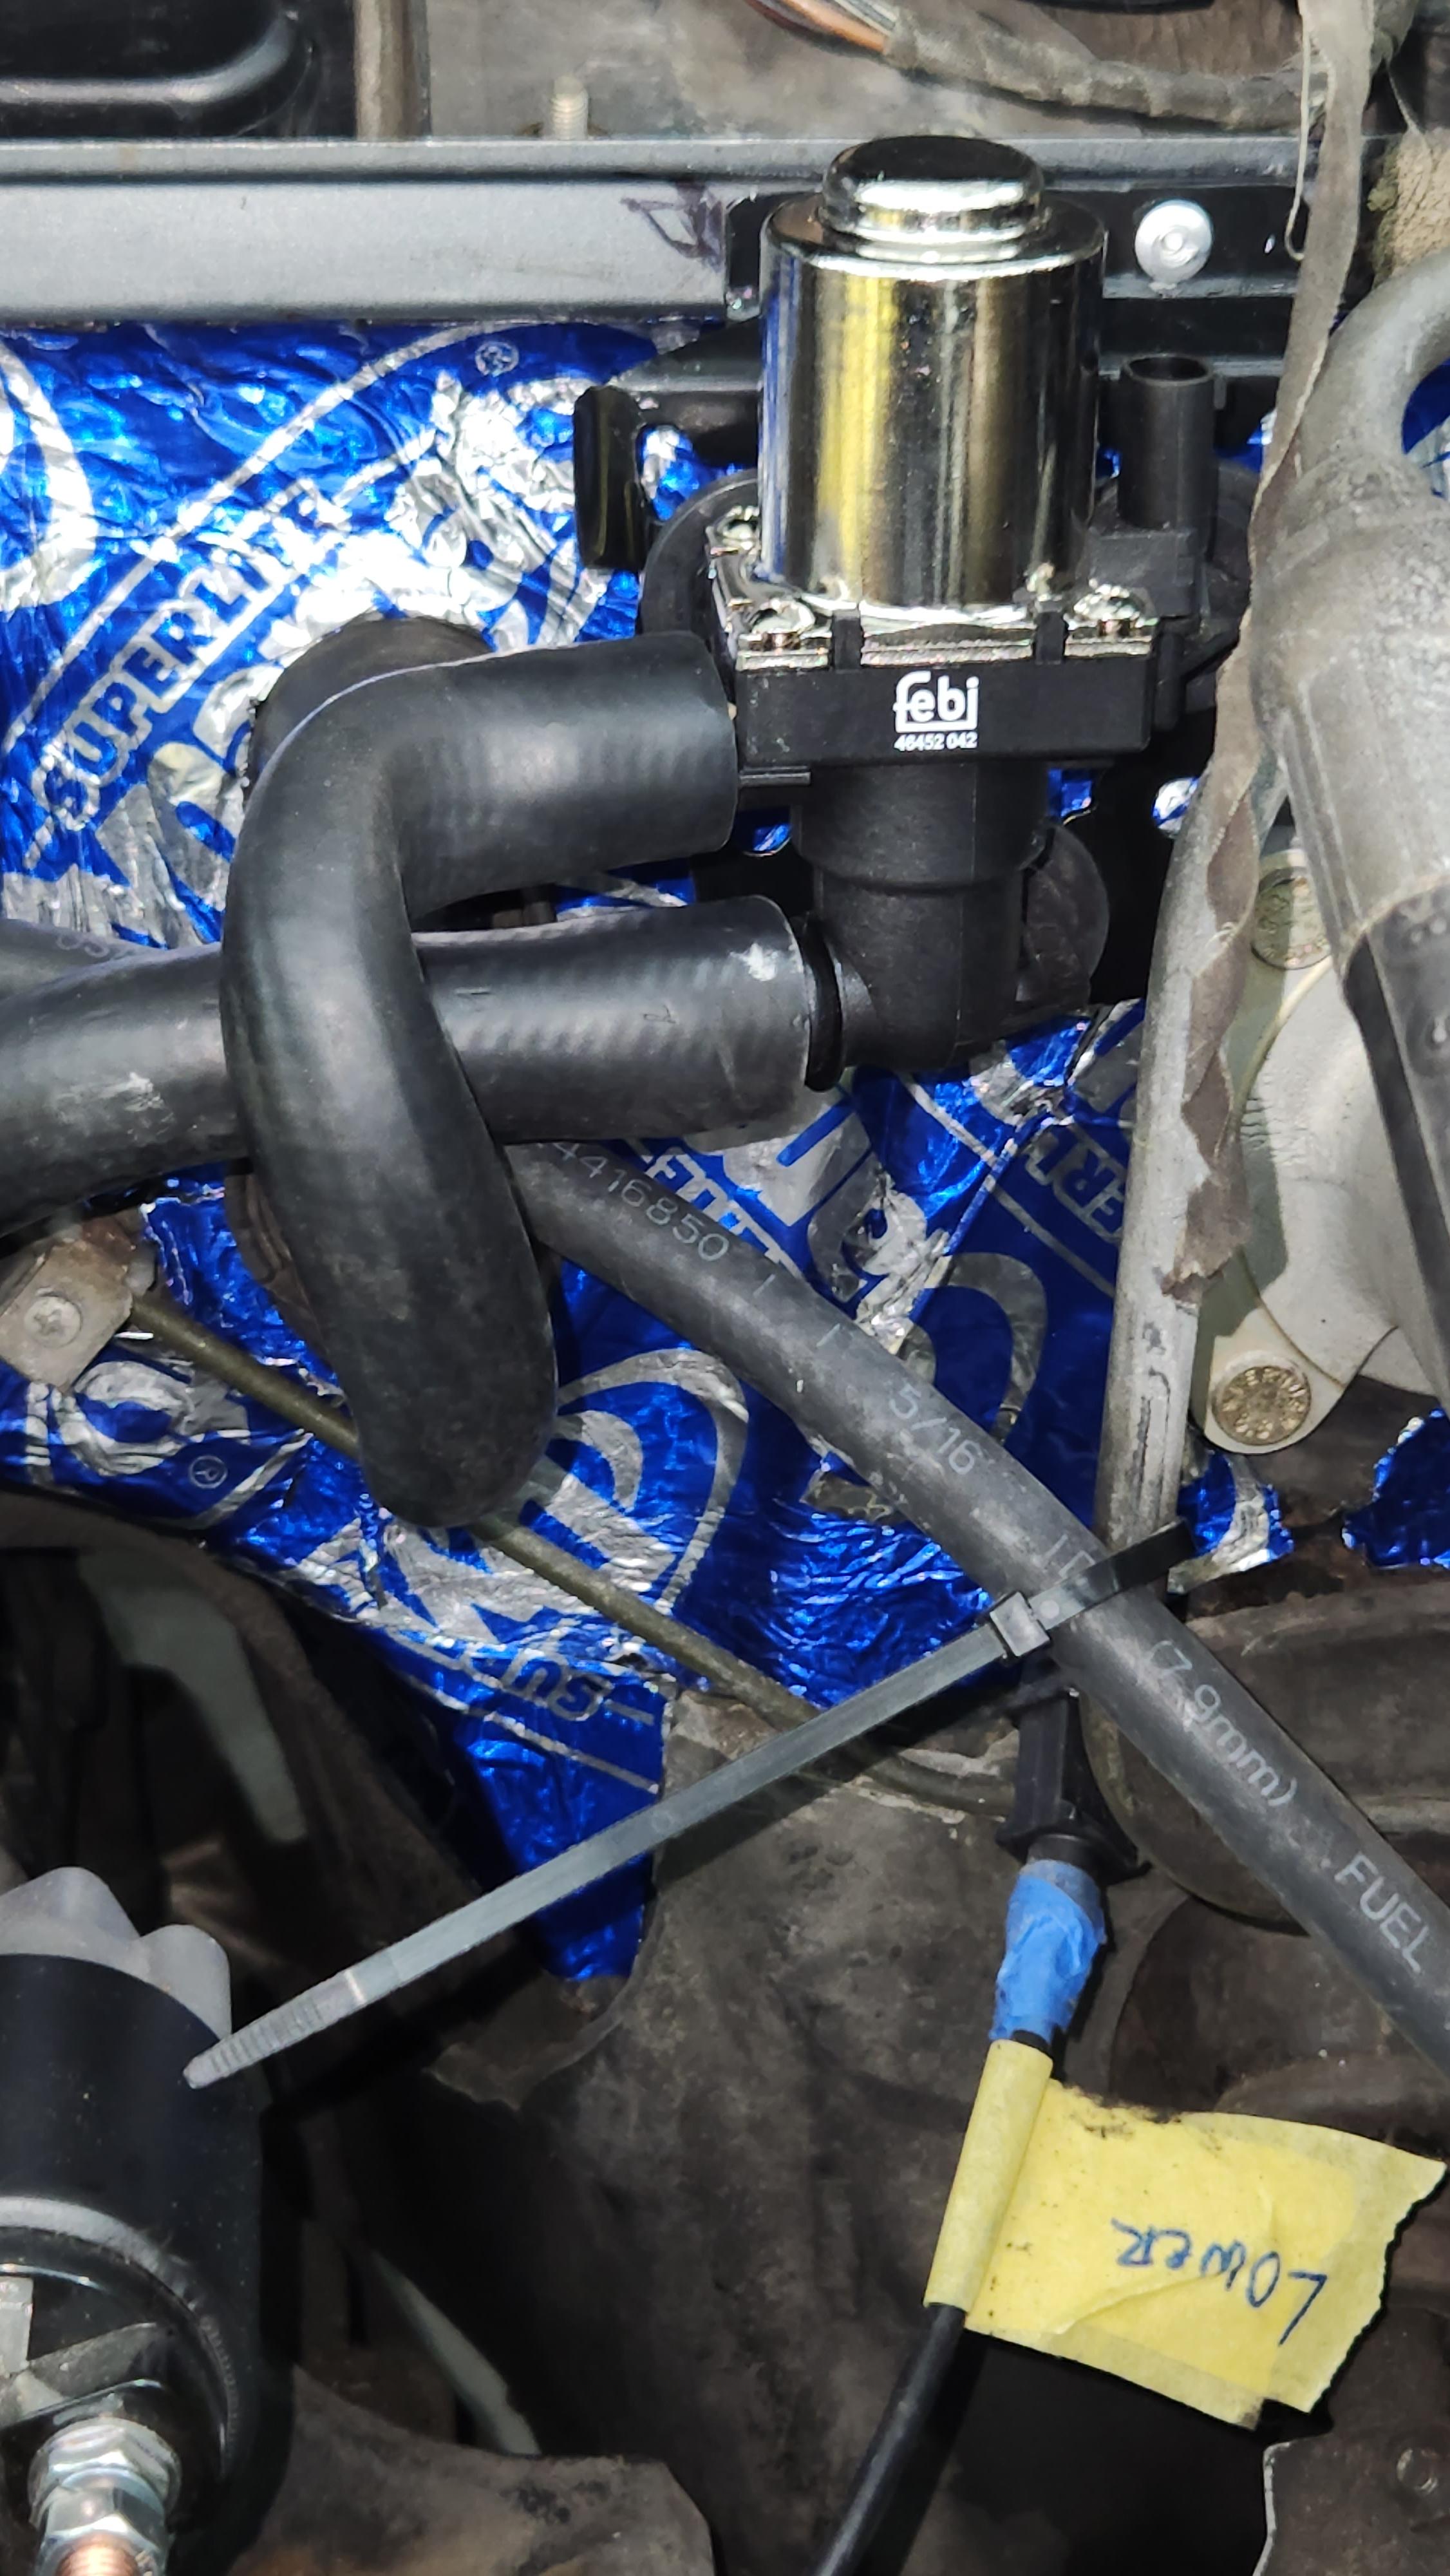
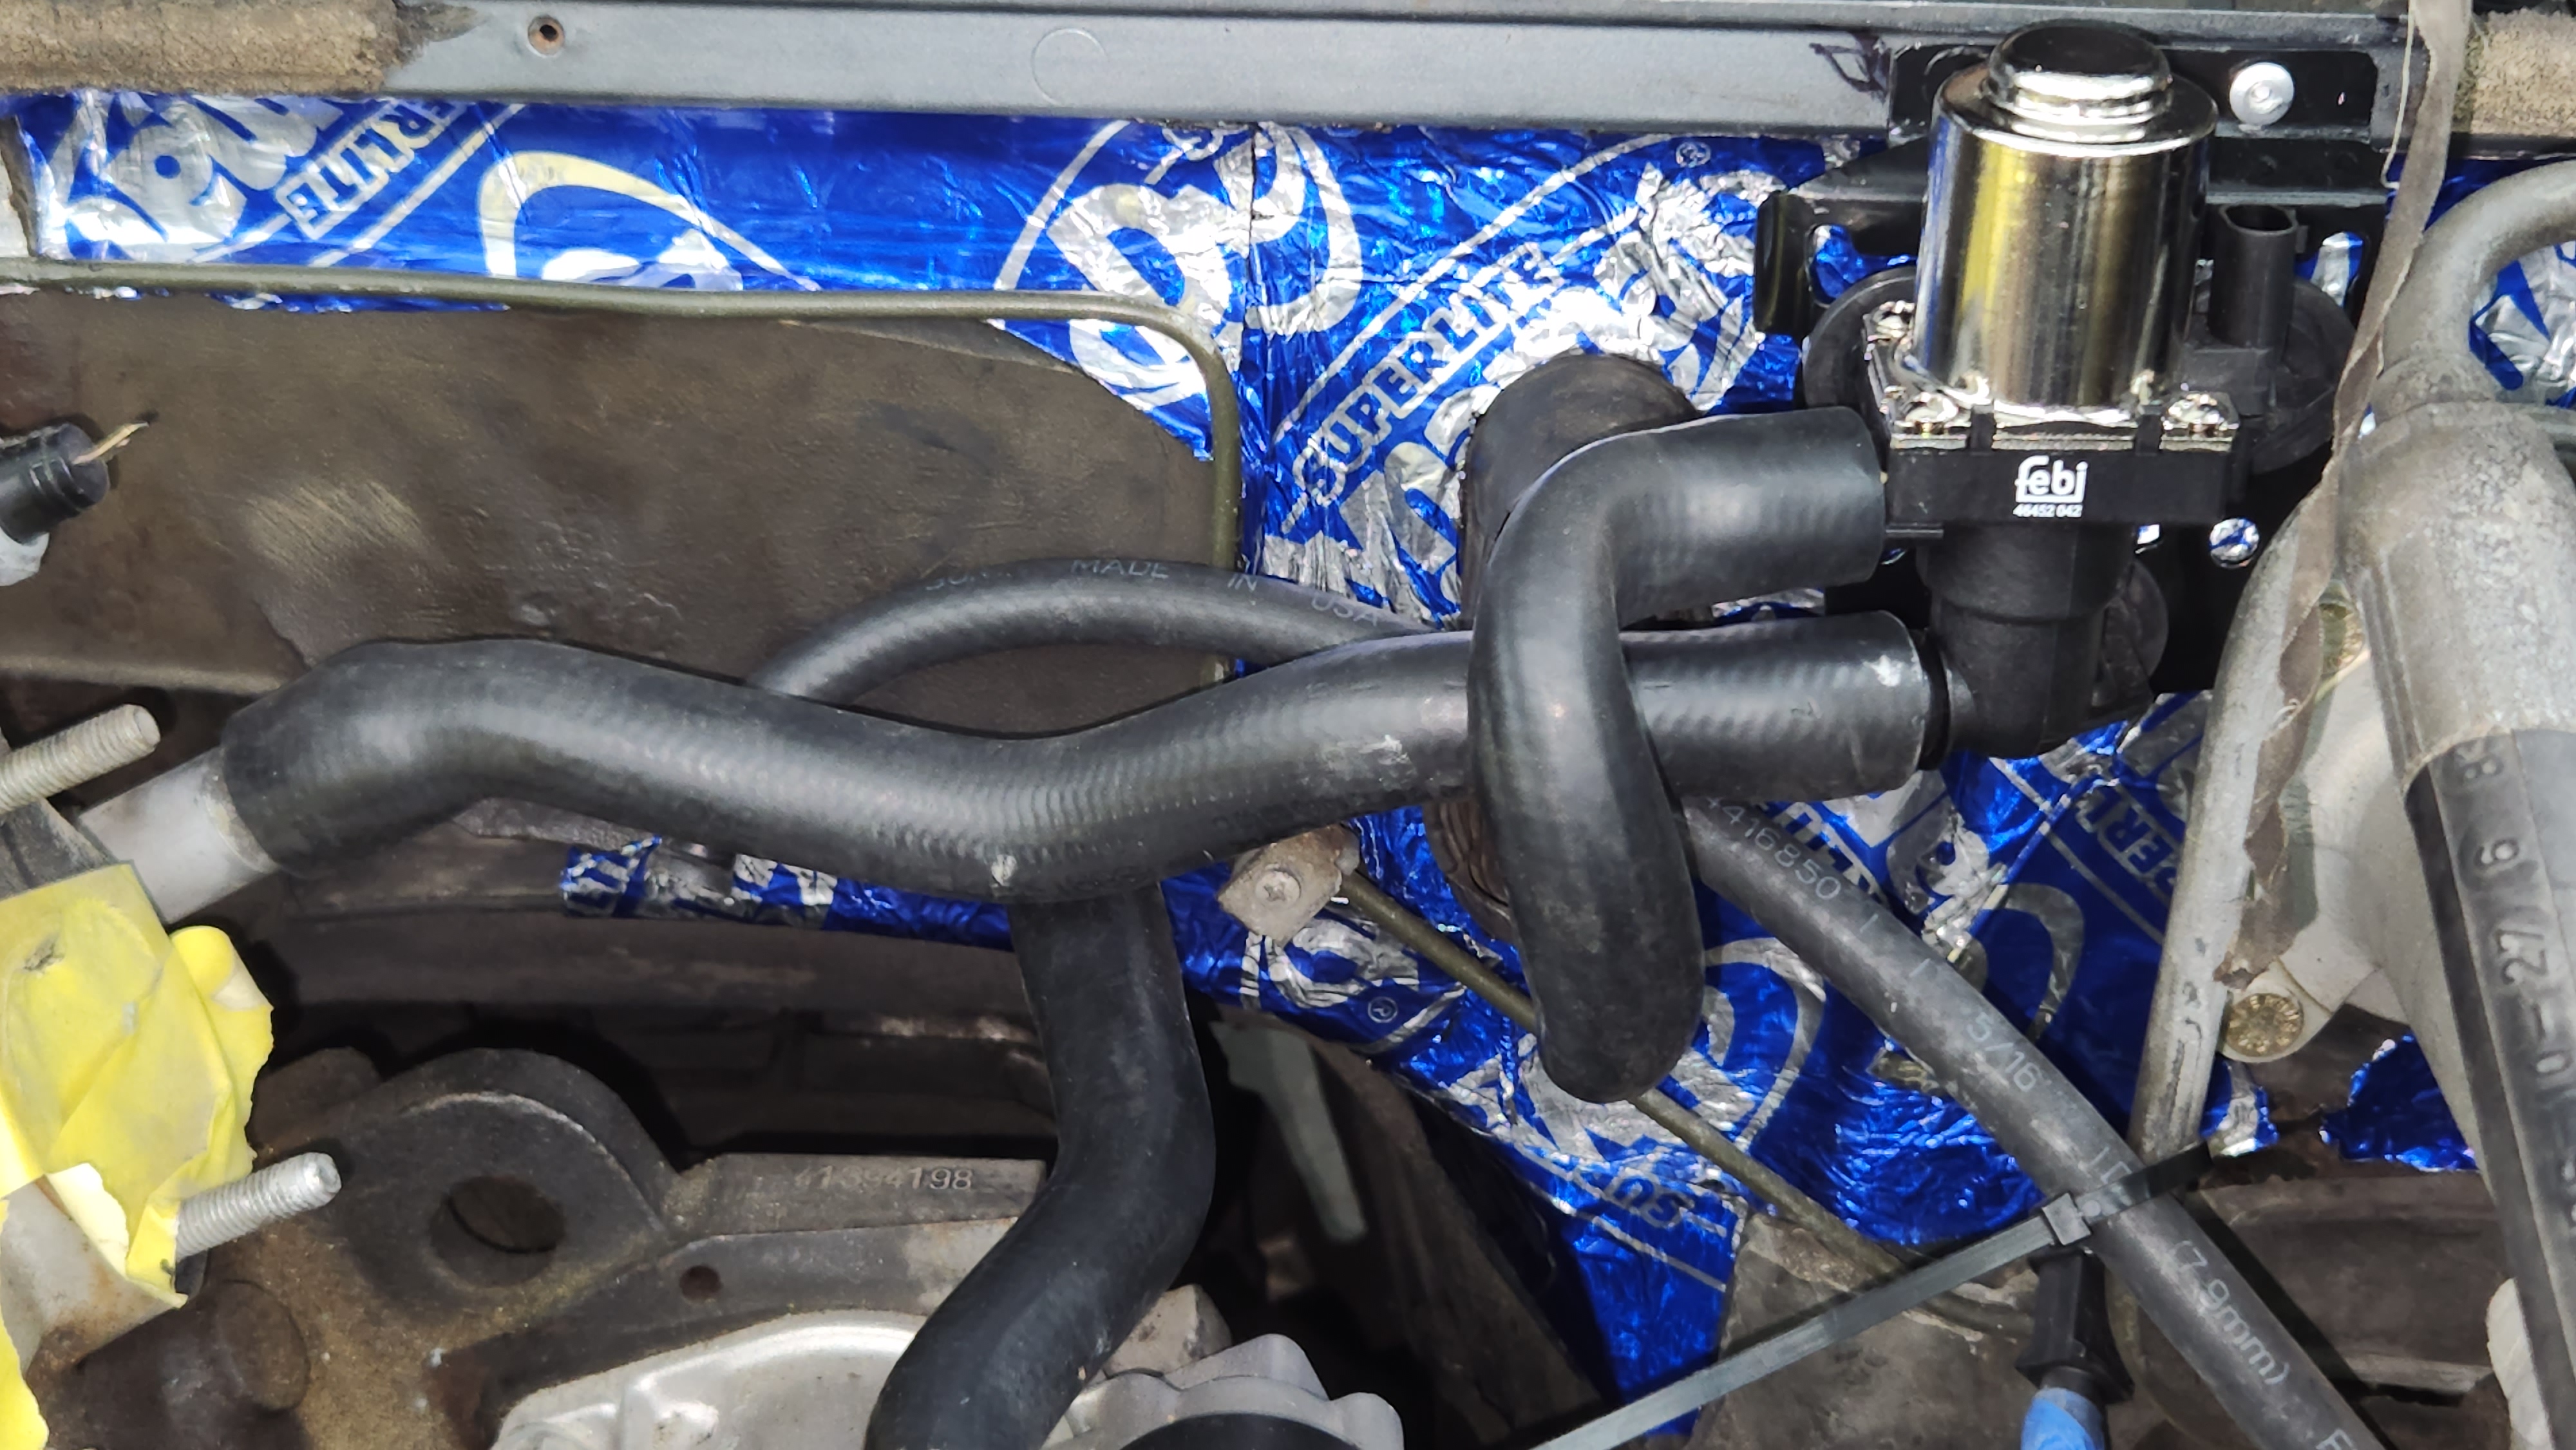
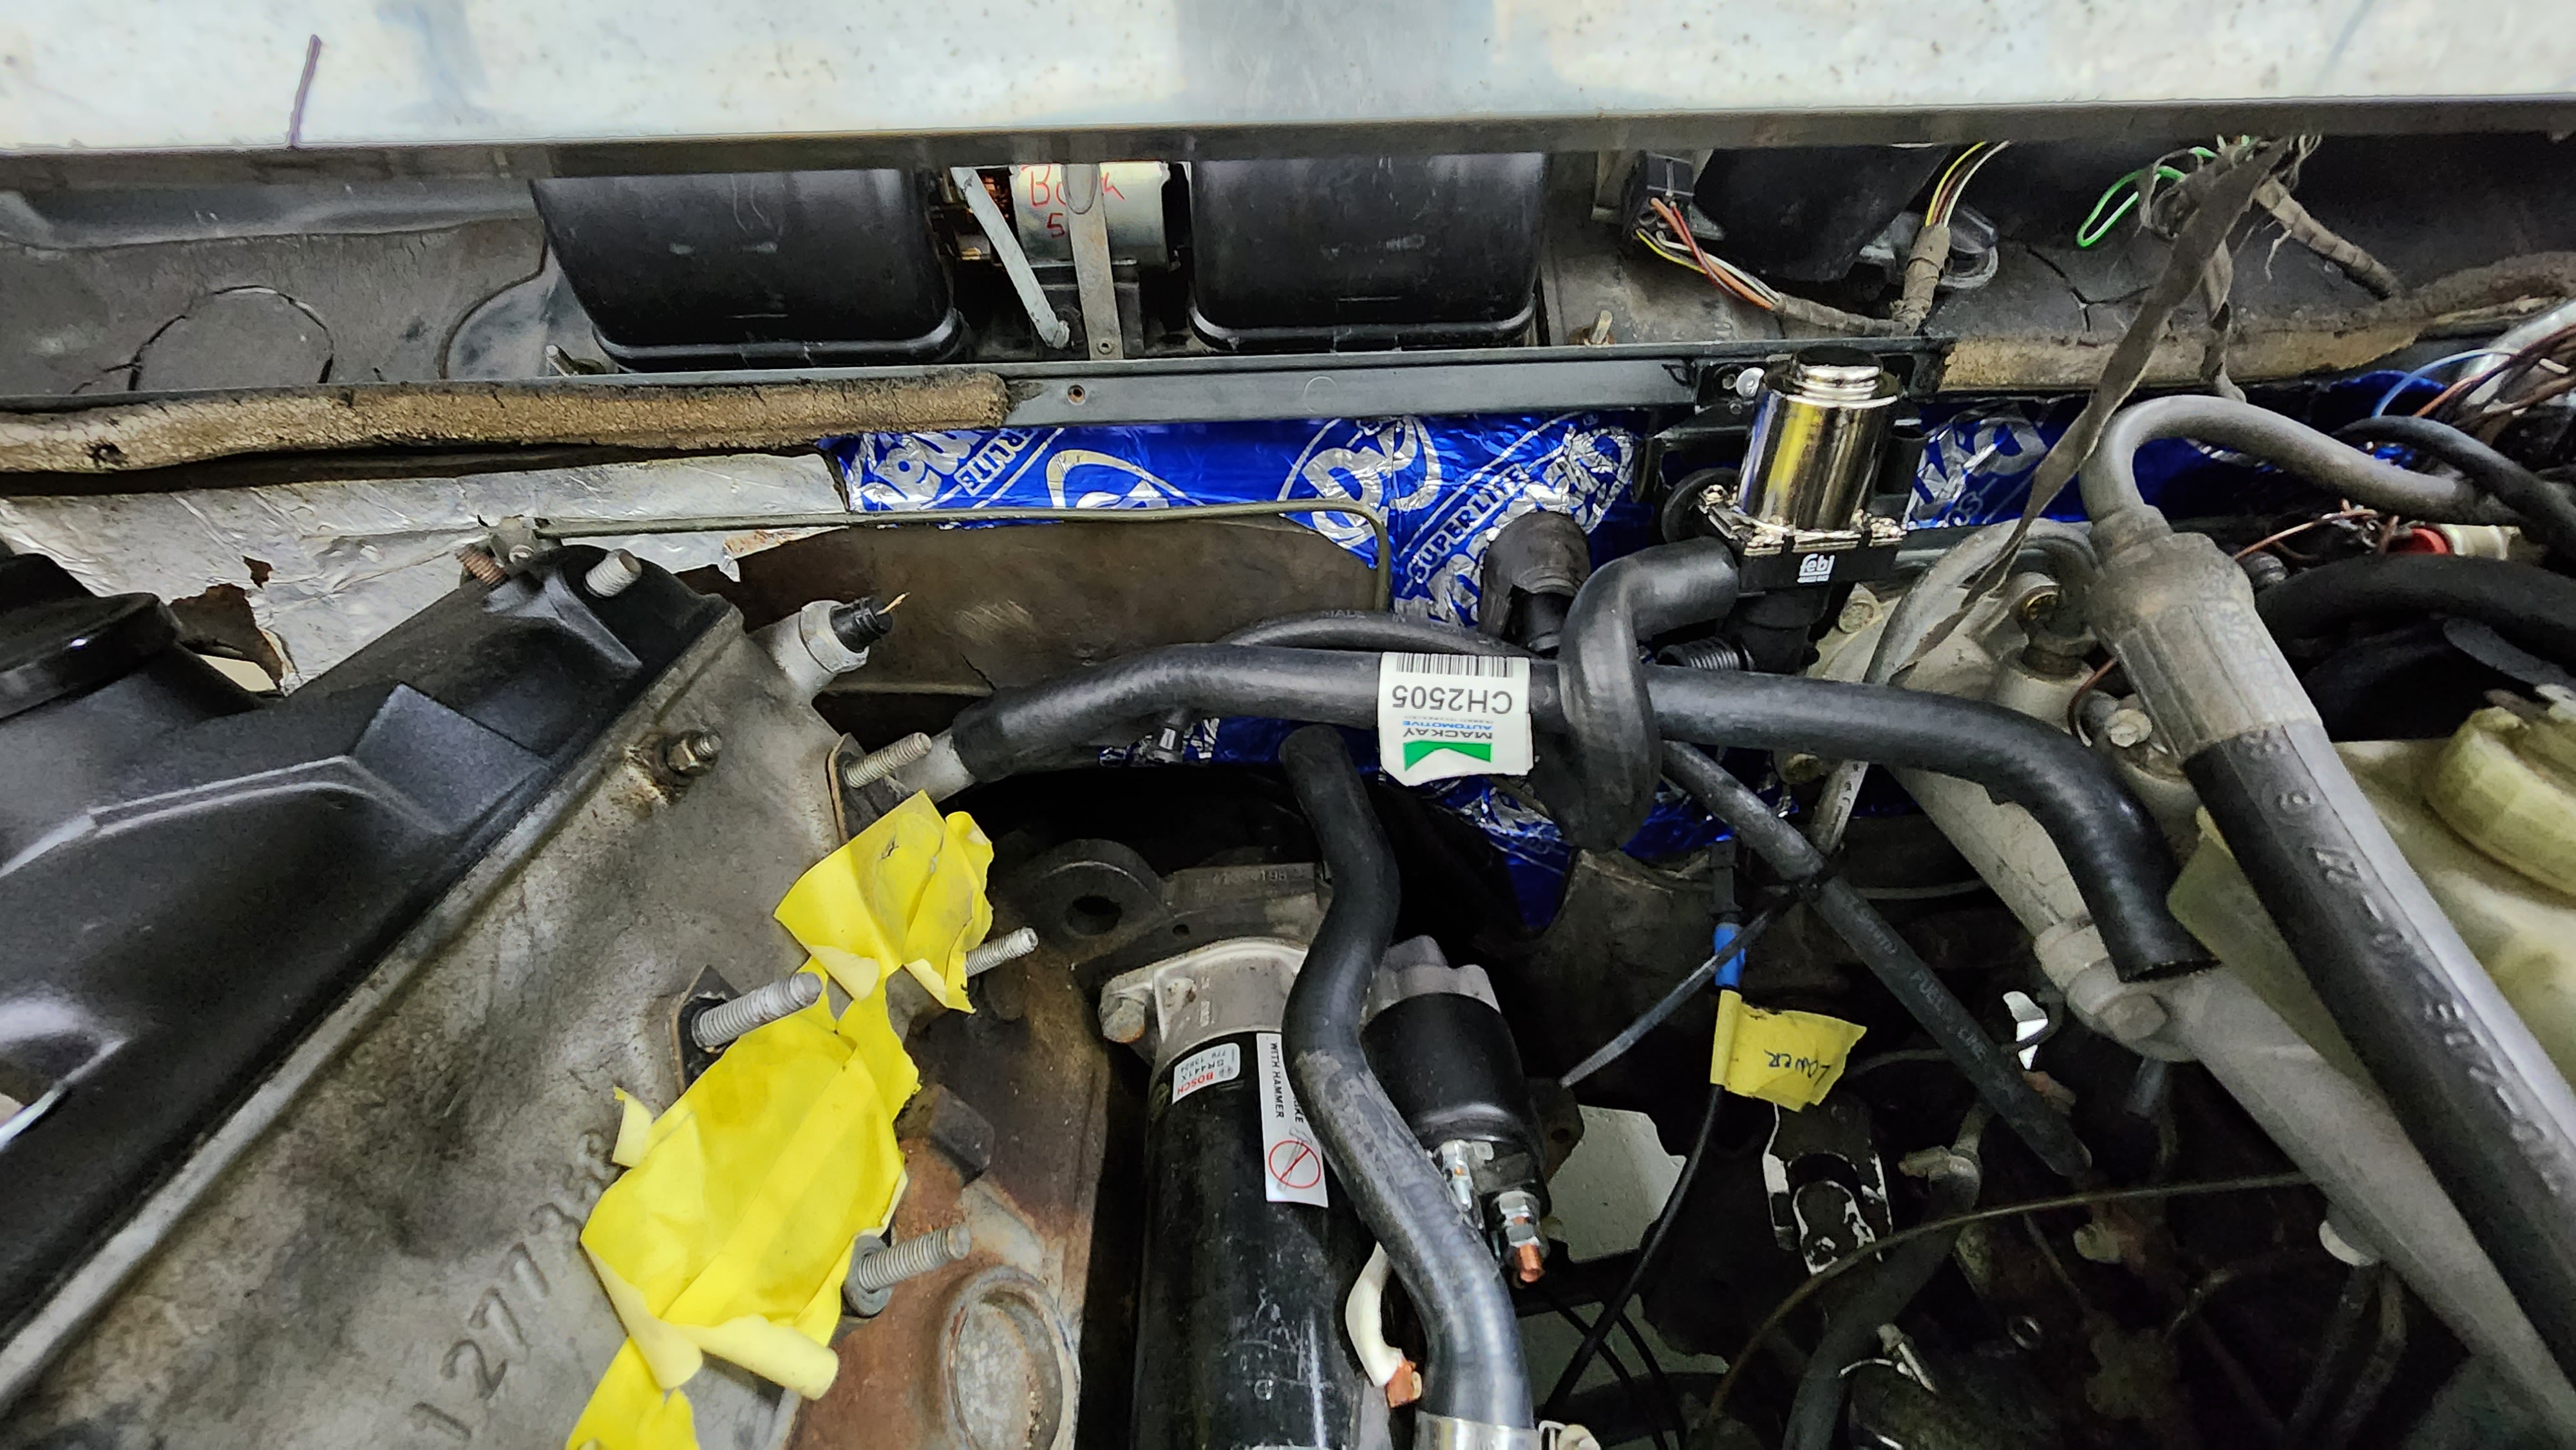
Reversing the connections to the heater core reverses the flow through the heater core - probably time for a reverse flush – the connection from the back of the cylinder head is still connected to the heater valve inlet and the new outlet from the core is still connected to the hose running to the front of the engine. Looking at the photo, I think the valve could be mounted higher up if the lower hose was rotated accordingly.
Testing went ok, except overnight there was a major leak. Couldn’t see where it came from, but tightening all the hose clamps fixed it. All good on a longer test drive. The photo - if the link has worked - shows how simple the hose connections are.
Given what a pain the job was, leaning over and working down the back of the engine compartment, I could handle $150 for an oem valve, but $700?
Constructive criticism appreciated.
