BoogerEater wrote: Jul 21, 2020 12:02 AM
Another beautiful car cek, just finished reading all three posts, whew...
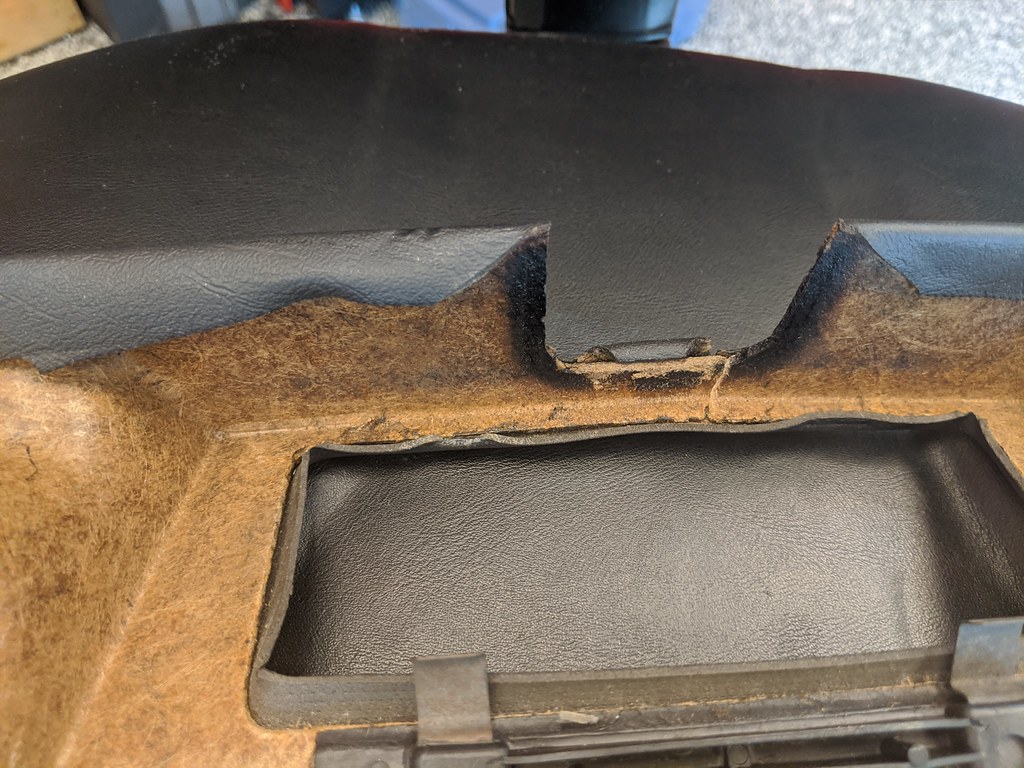
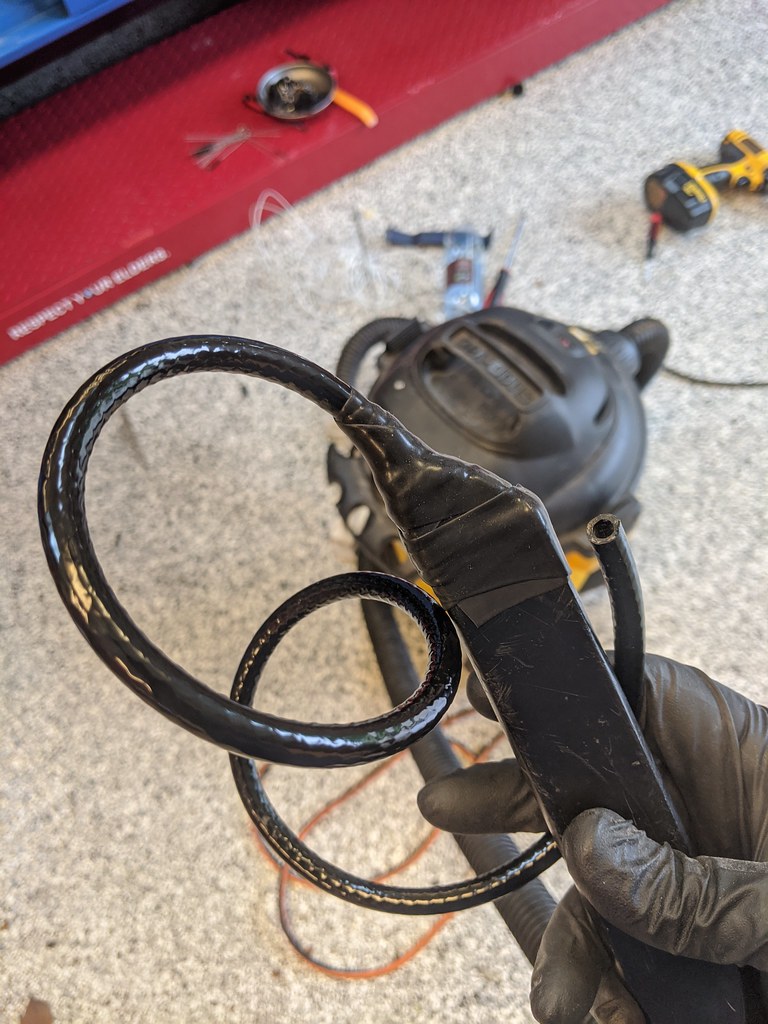
As far as the drip lines and removal of said sand obstruction, maybe try to hot glue a 4-6” section of the black suction hose with a tee fitting to the weep hole, then reconnect the suction hose so it’s 90 degrees from the 4-6” section, now you can run a thin piece of bailing wire or even aluminum dry wall wire while vacuuming at the same time. Just a thought...
Thanks. Sorry you had to read all that

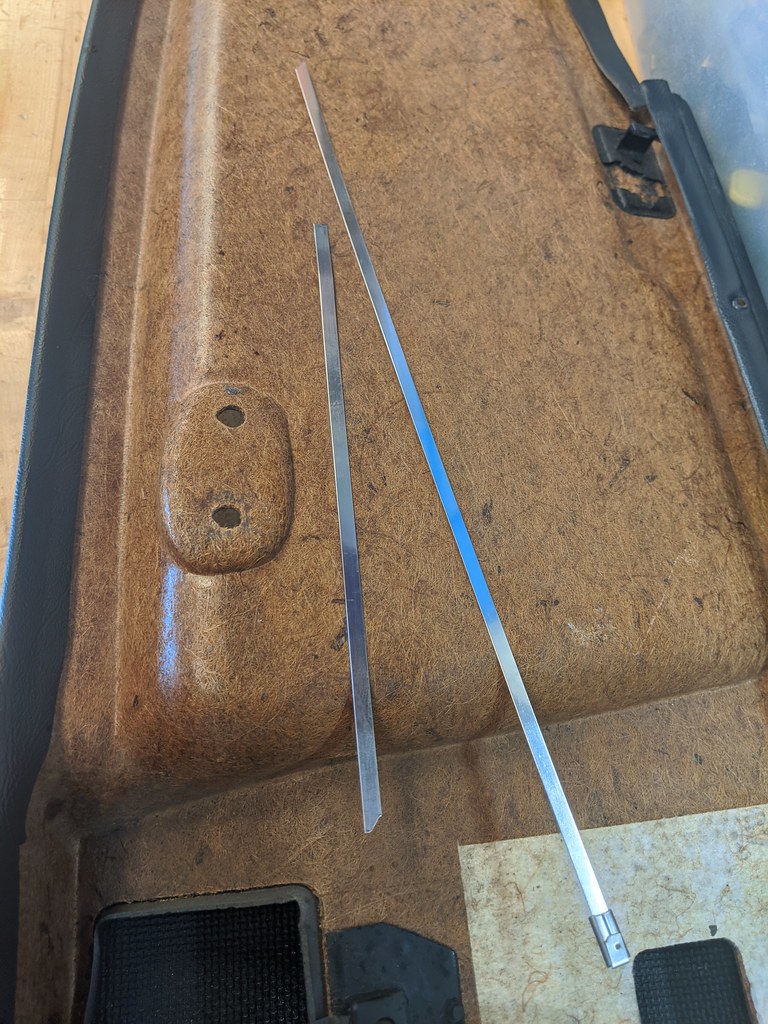
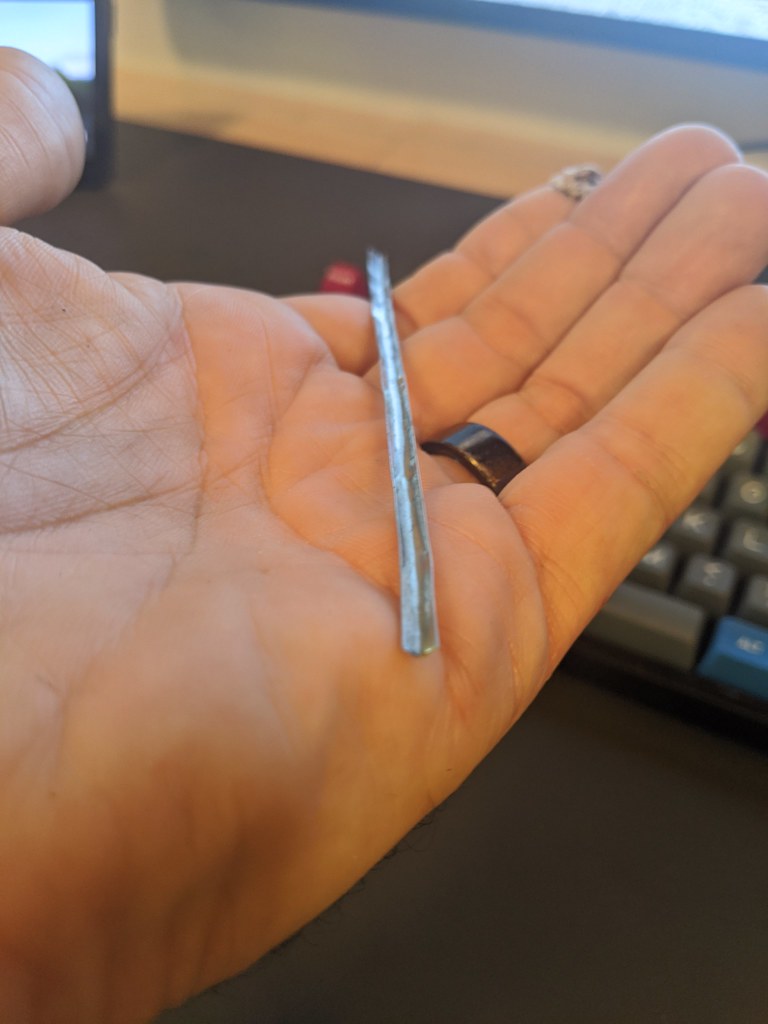
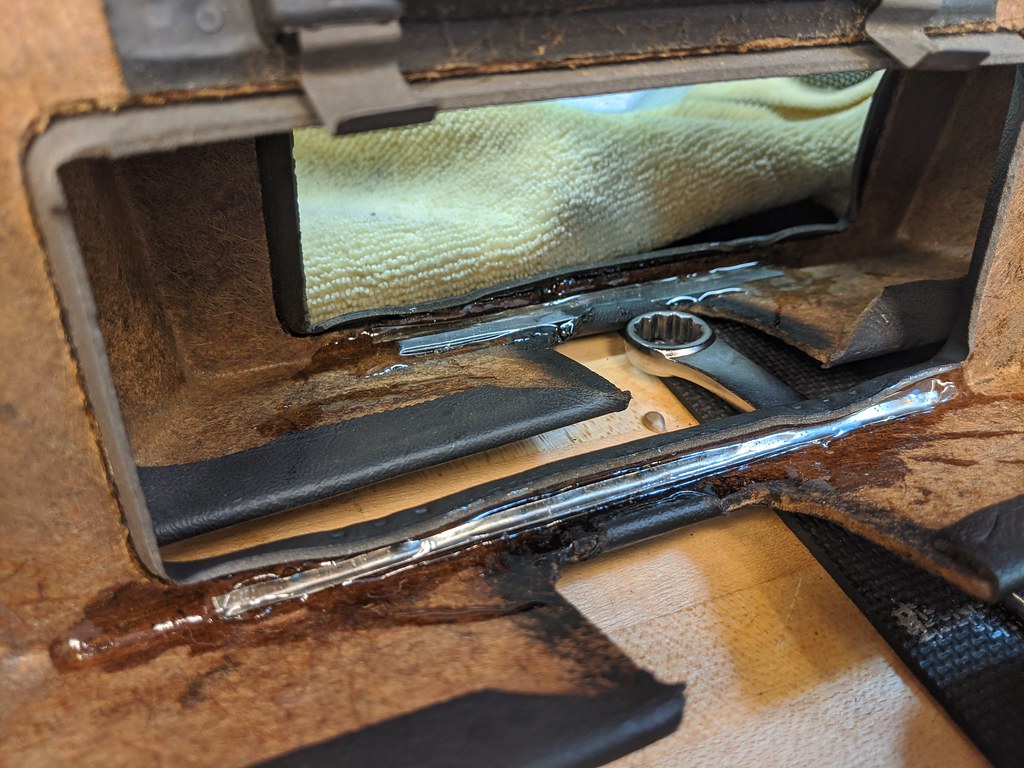
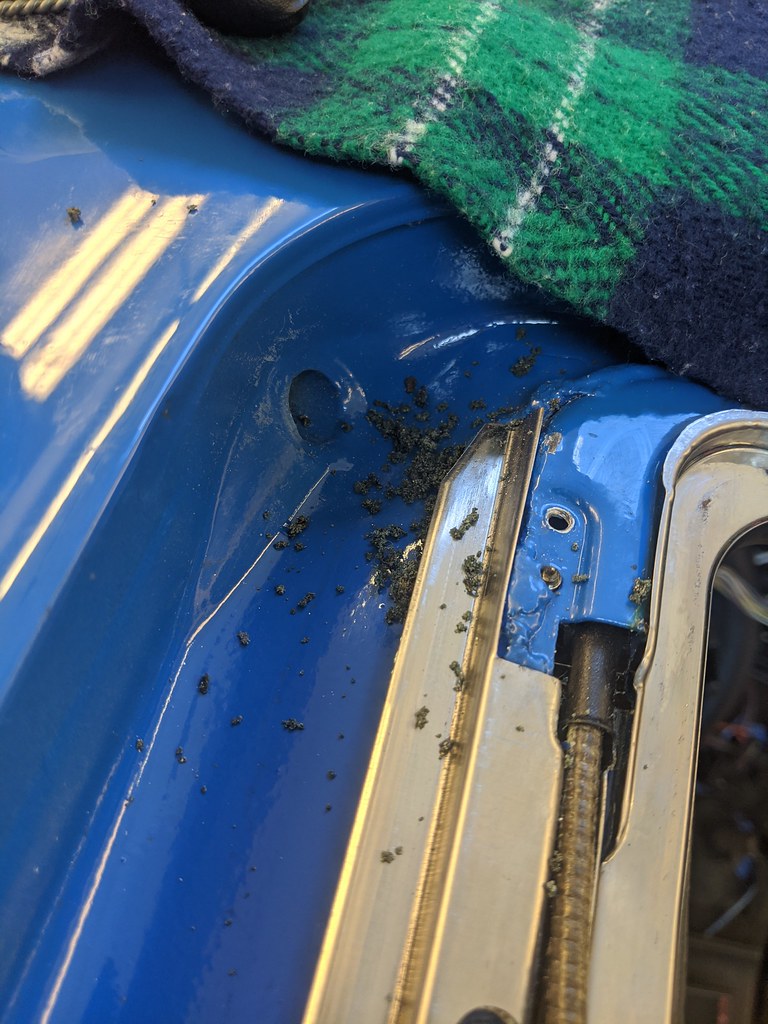
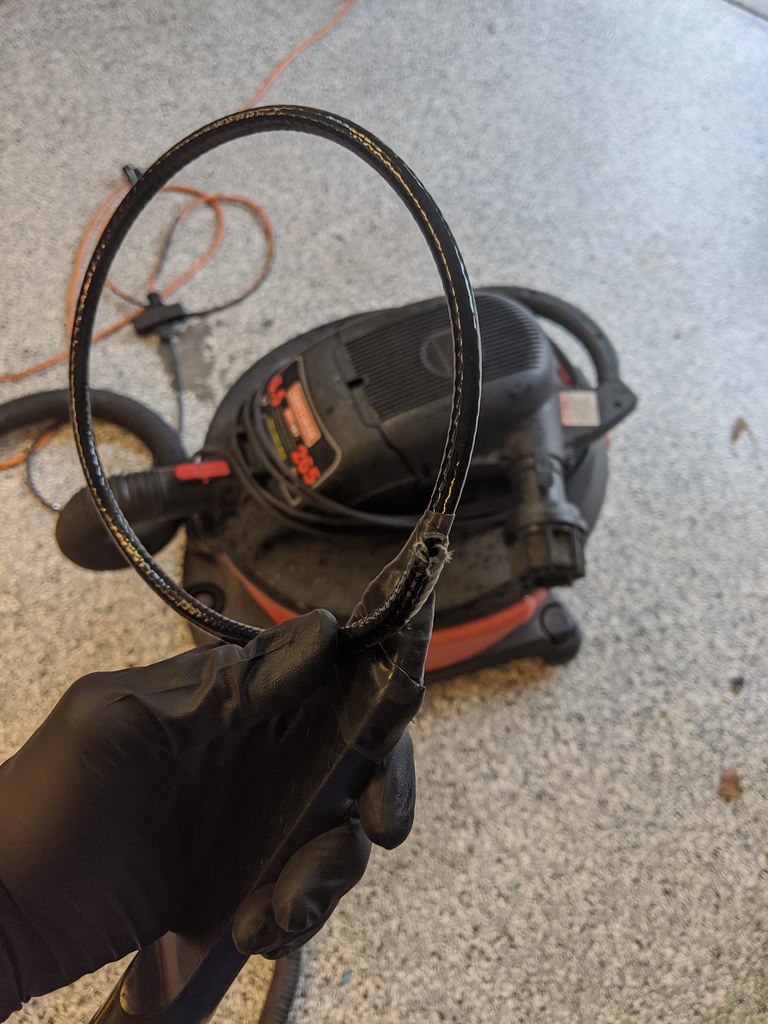
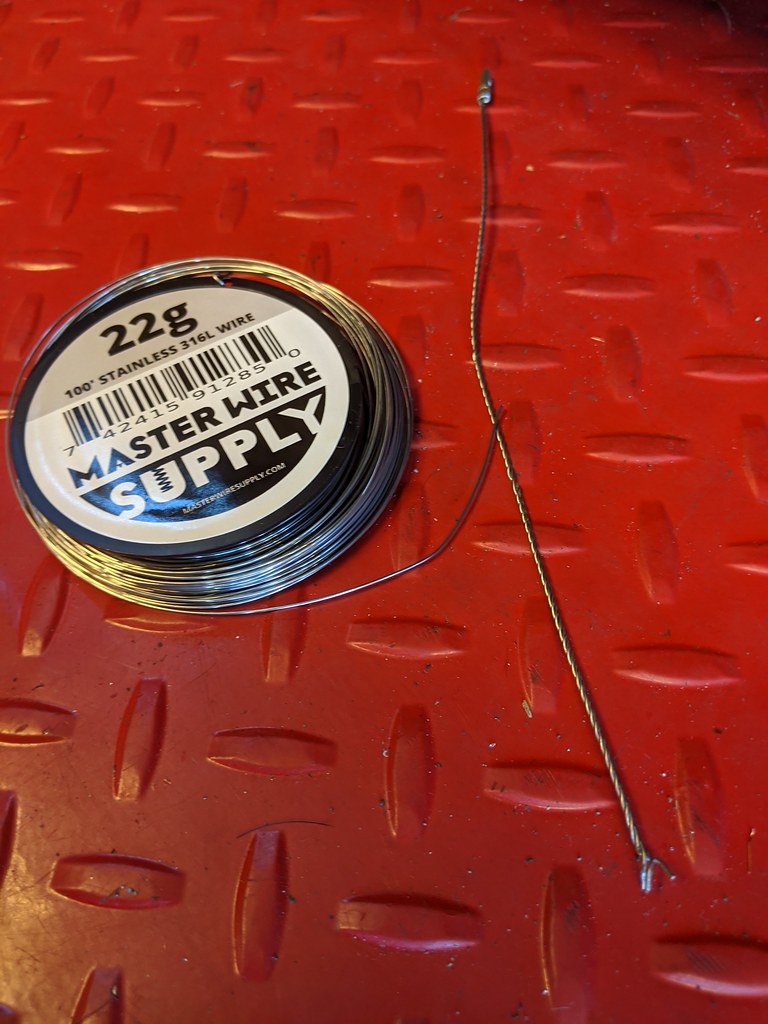
I was able to get the fronts cleared out.

This was the trick (thanks Jaimie!).
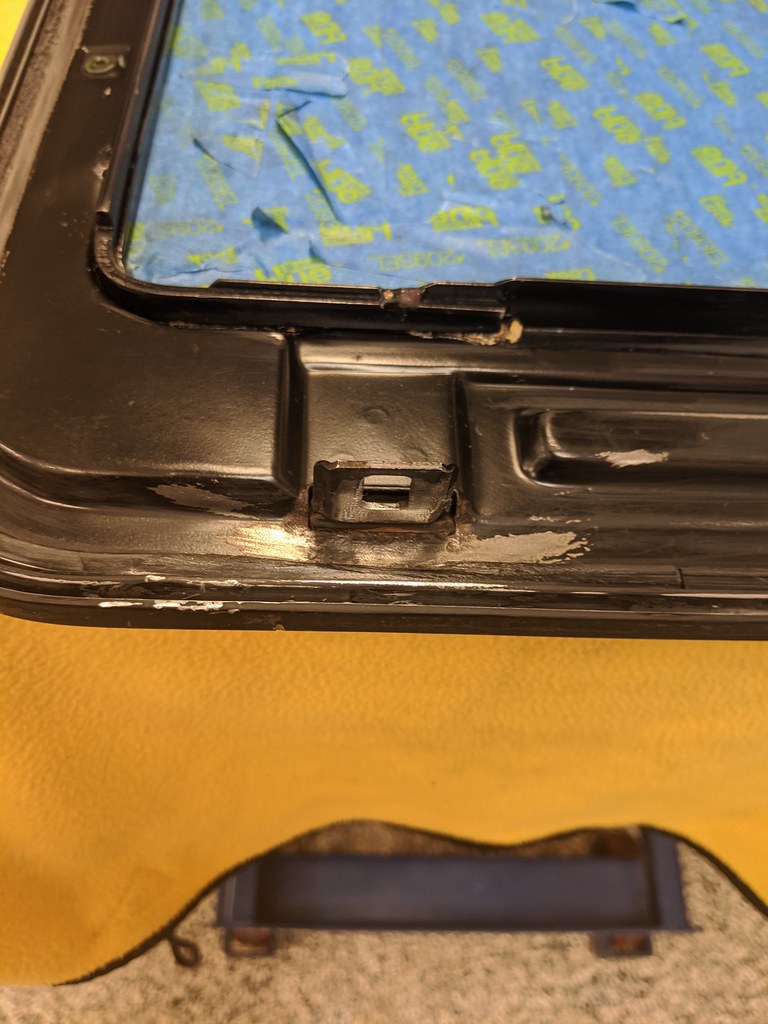
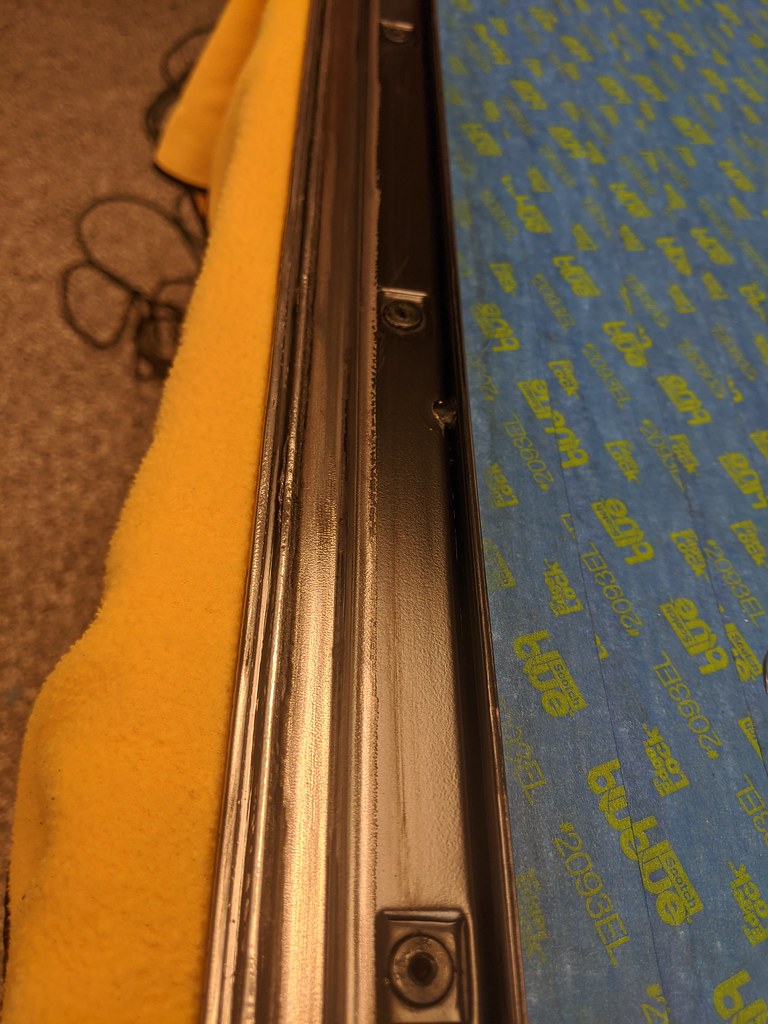
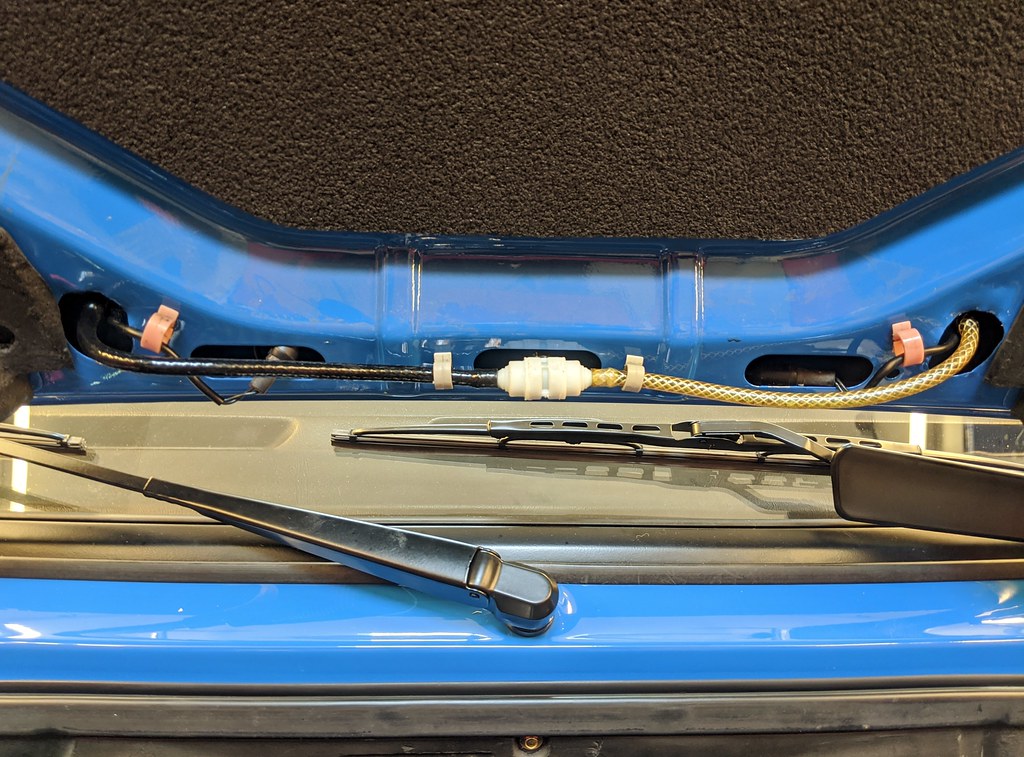
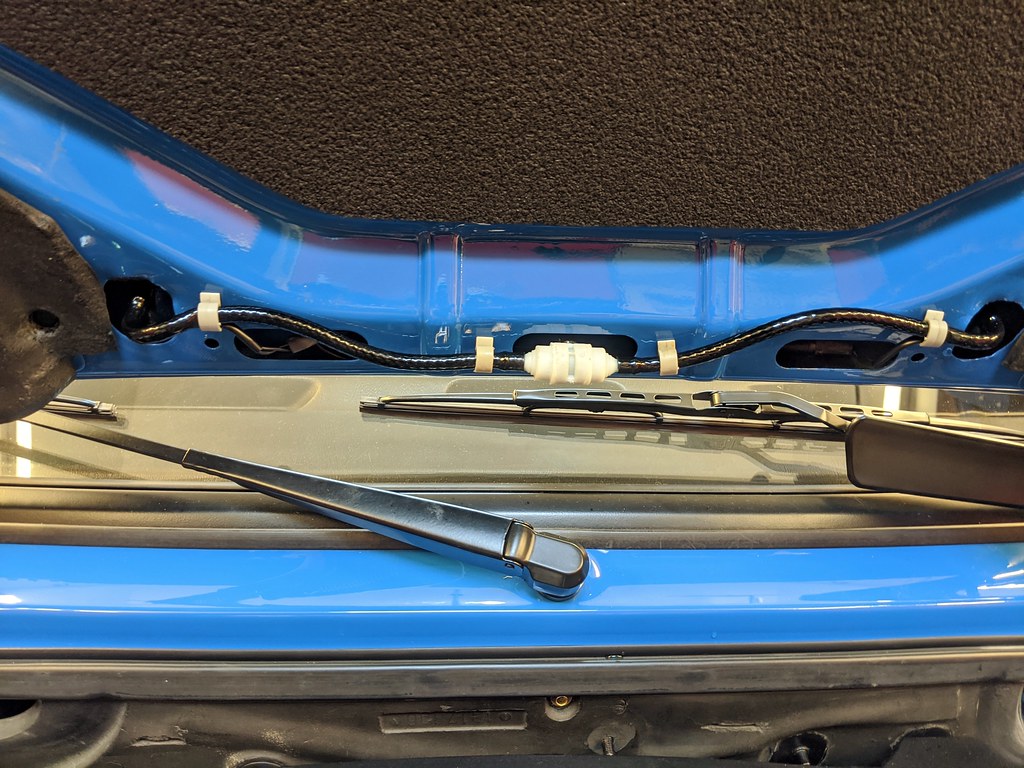
But, I finally tested the rears and have really bad news. The left drain hose was apparently jarred out of position after headliner install and is now draining down inside of the C pillar instead of out of the vent. When I first inspected the headliner, I complained that it was too tight with the ceiling and the drain tubes etc... were 'imprinting' on it. I think they tried fixing this by pushing up on the drain hoses and the left one popped up and out of that spot.
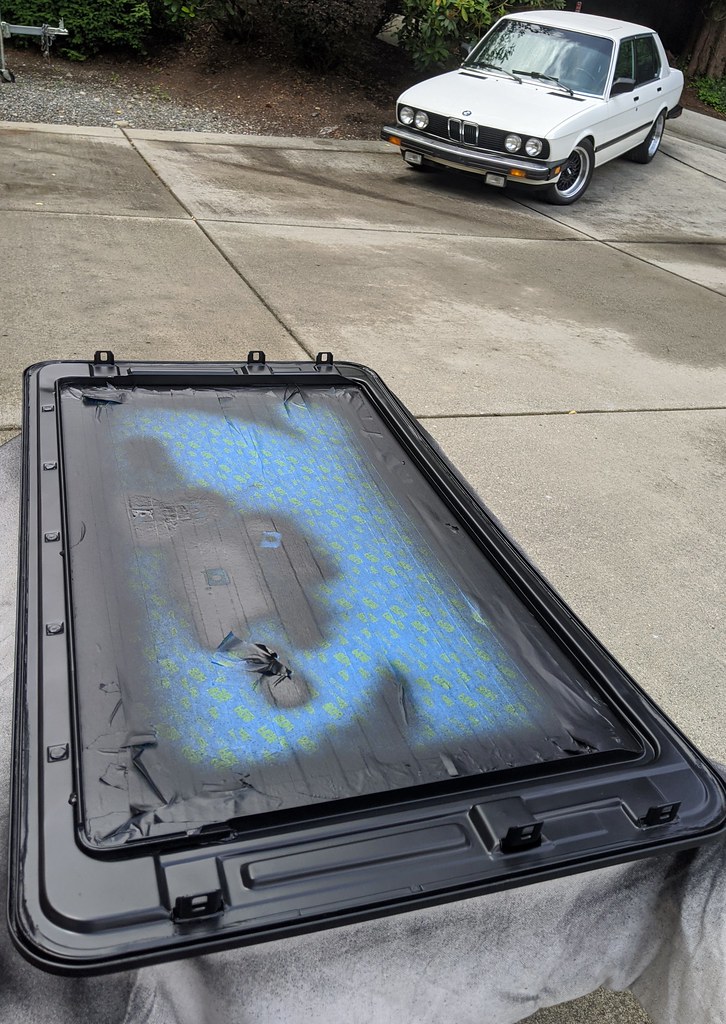
Here it is before paint, and the curvature of the hose indicates it's in the right spot.
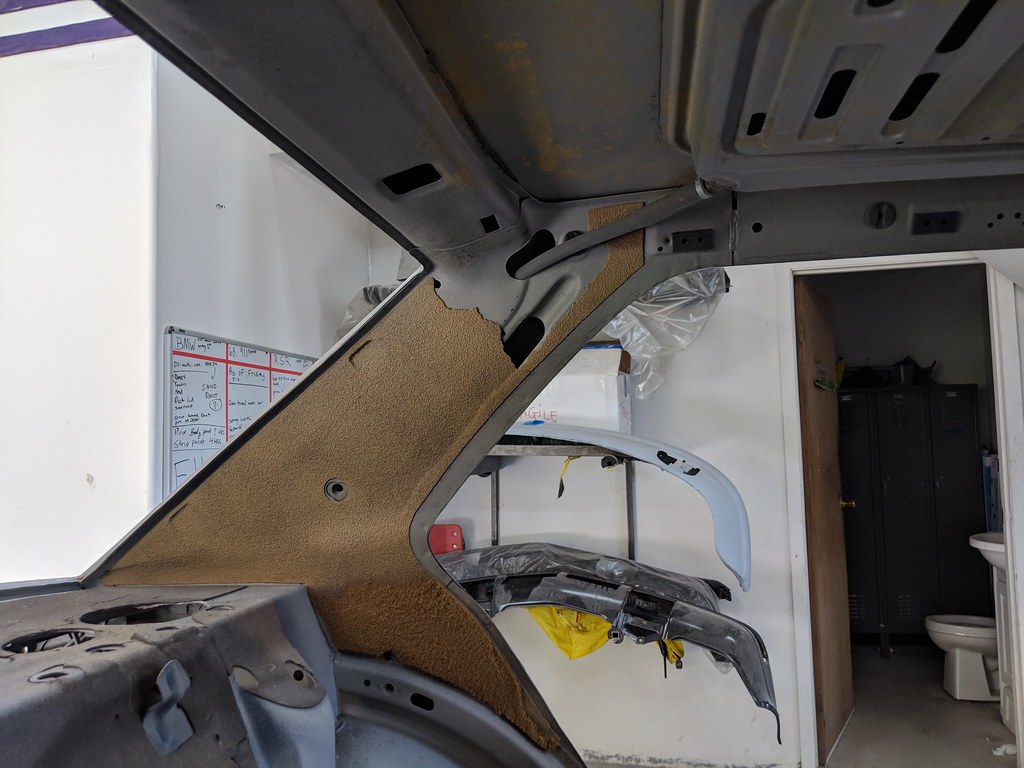
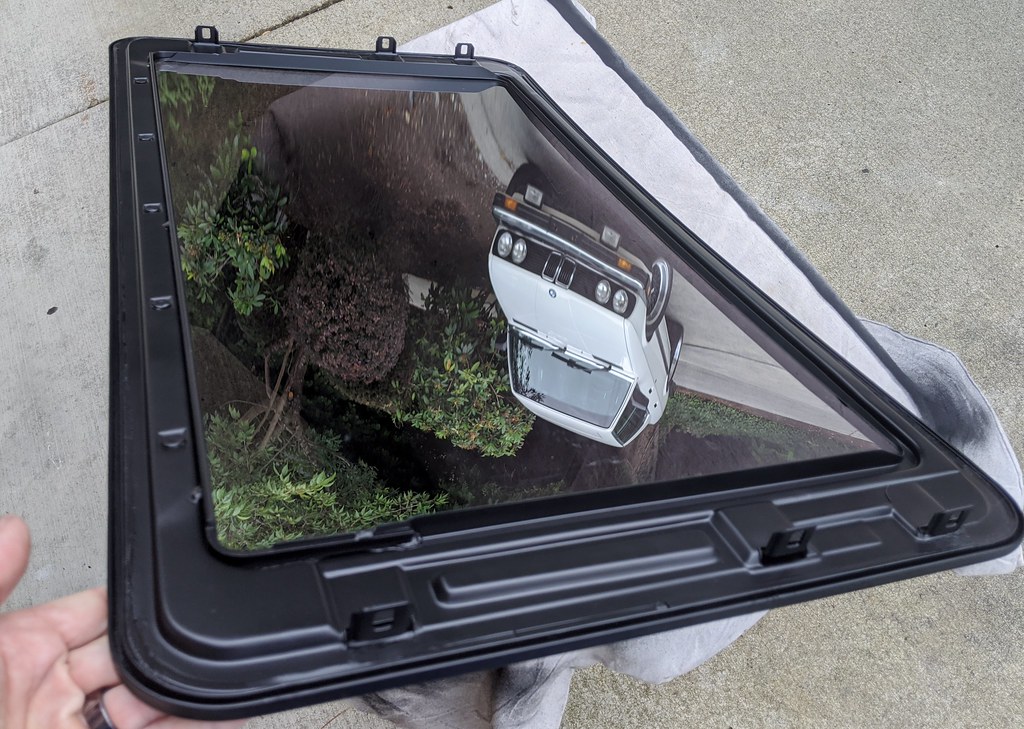
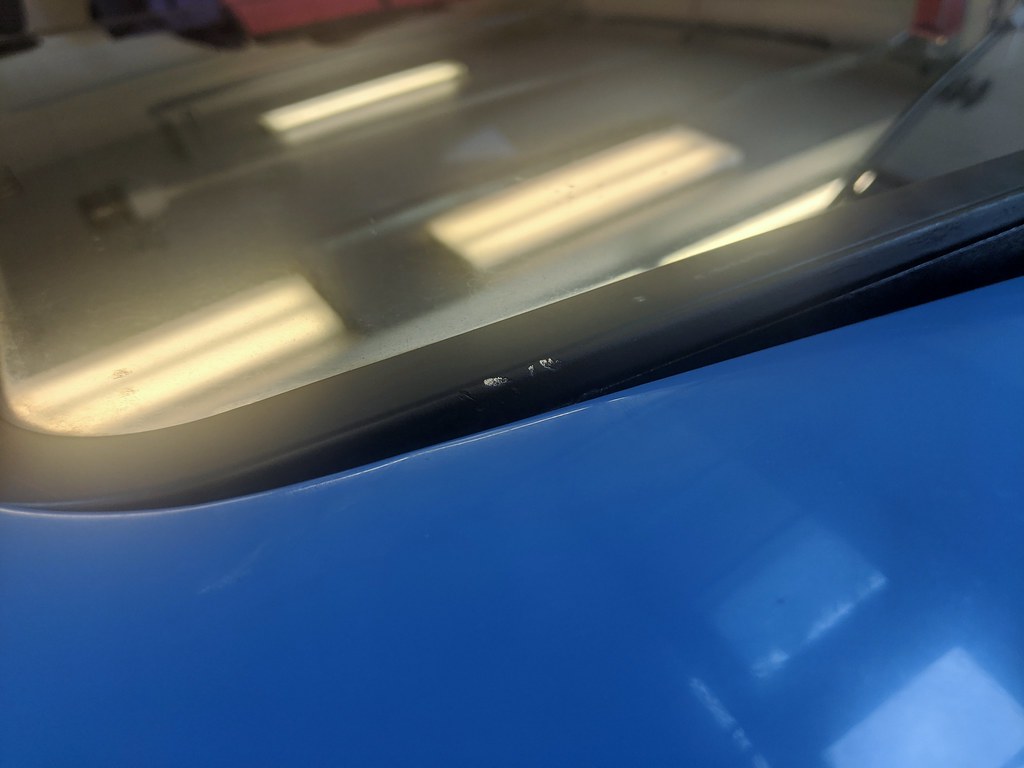
But, now, when looking from the outside with the vent cover removed, the hose is not visible as it should be.
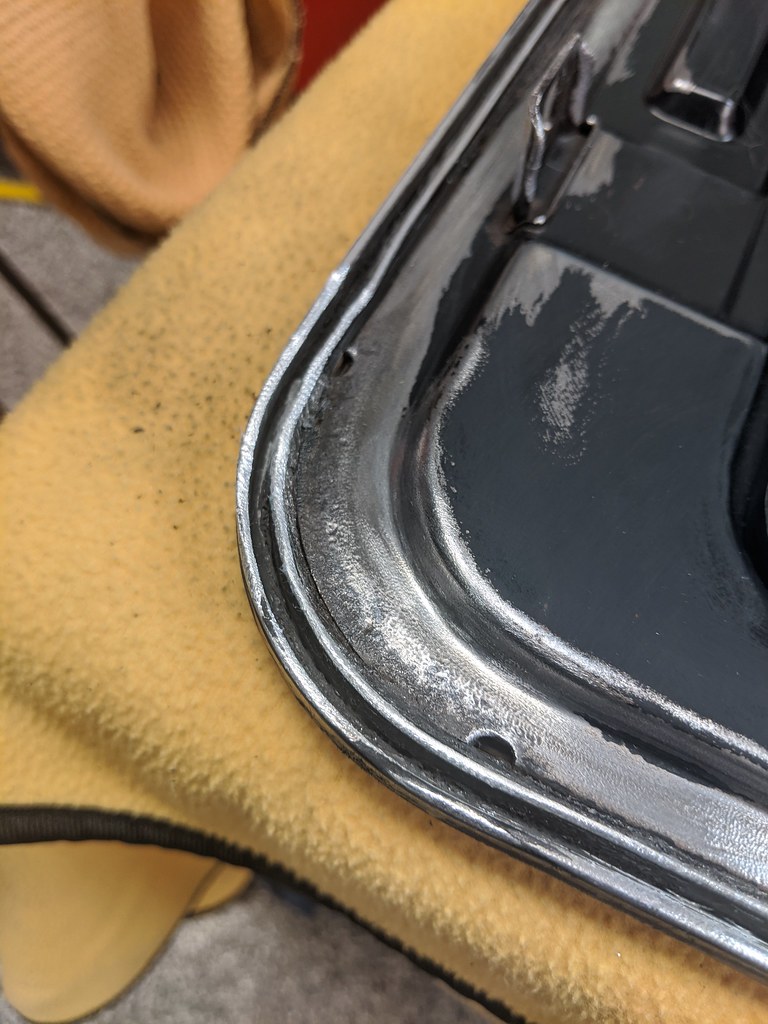
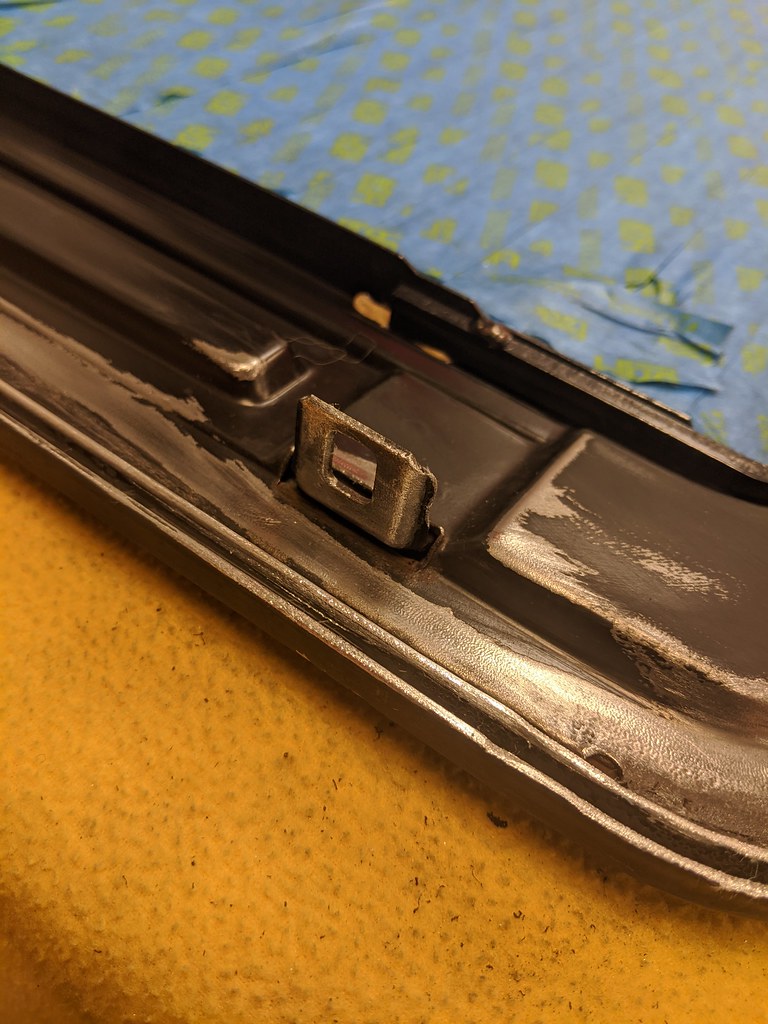
Here's the right side. See tube.
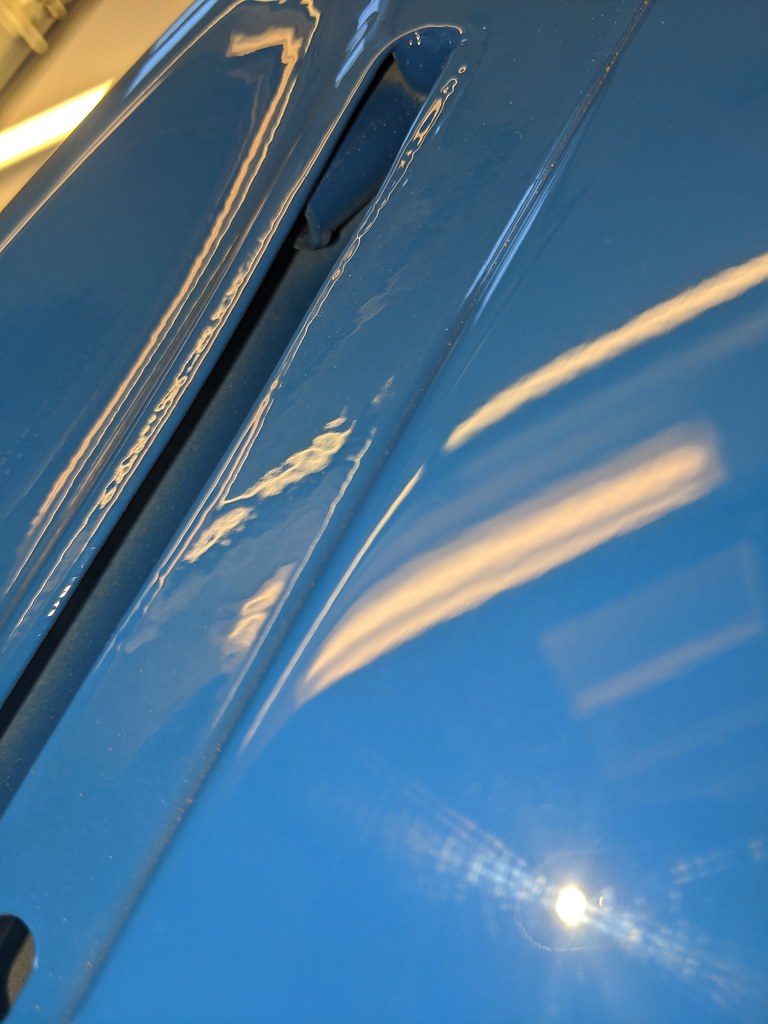
Here's the left side. No see tube. But see paint shadow proving it was there at paint time.
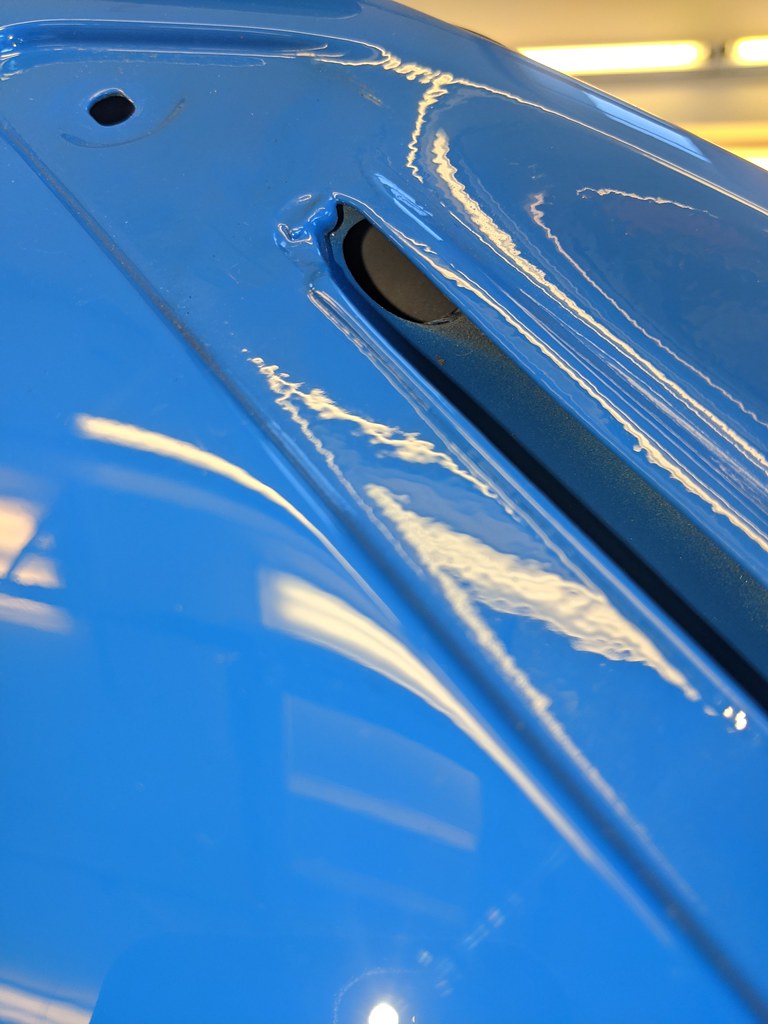
So, the good news is this is on the upholstery shop to fix. I'm still not happy with headliner fitment given what it cost, so I'm going to ask them to do it all over again. That's the bad news as it means the rear glass needs to come out. But this needs to be done right.
Other progress:
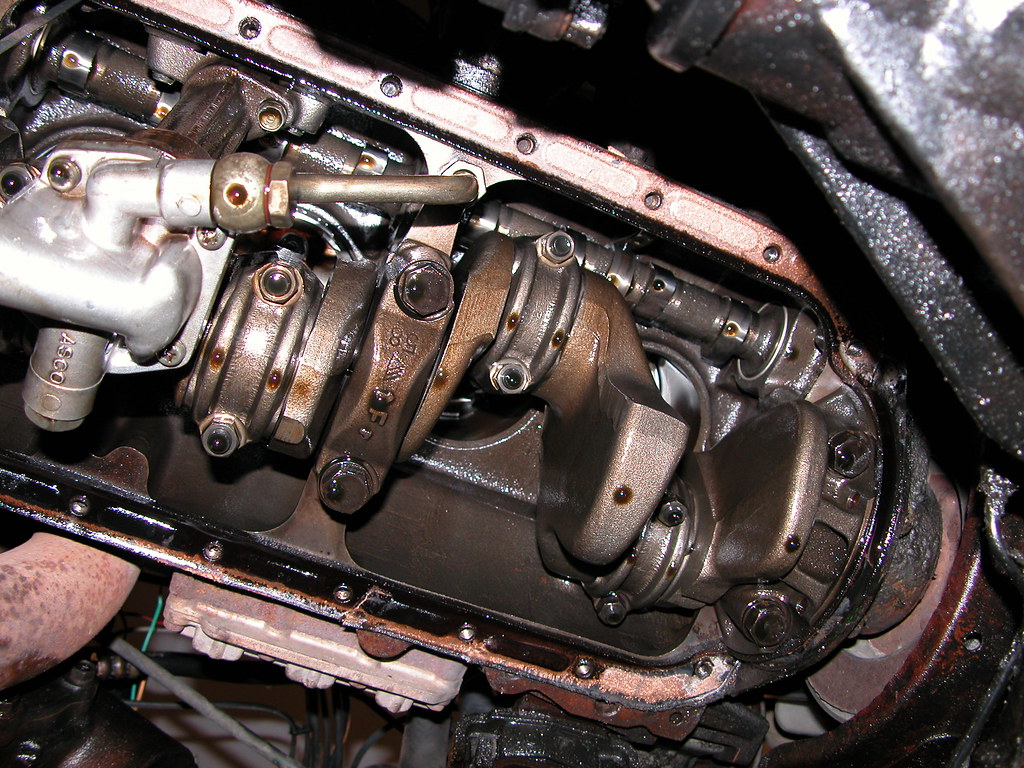
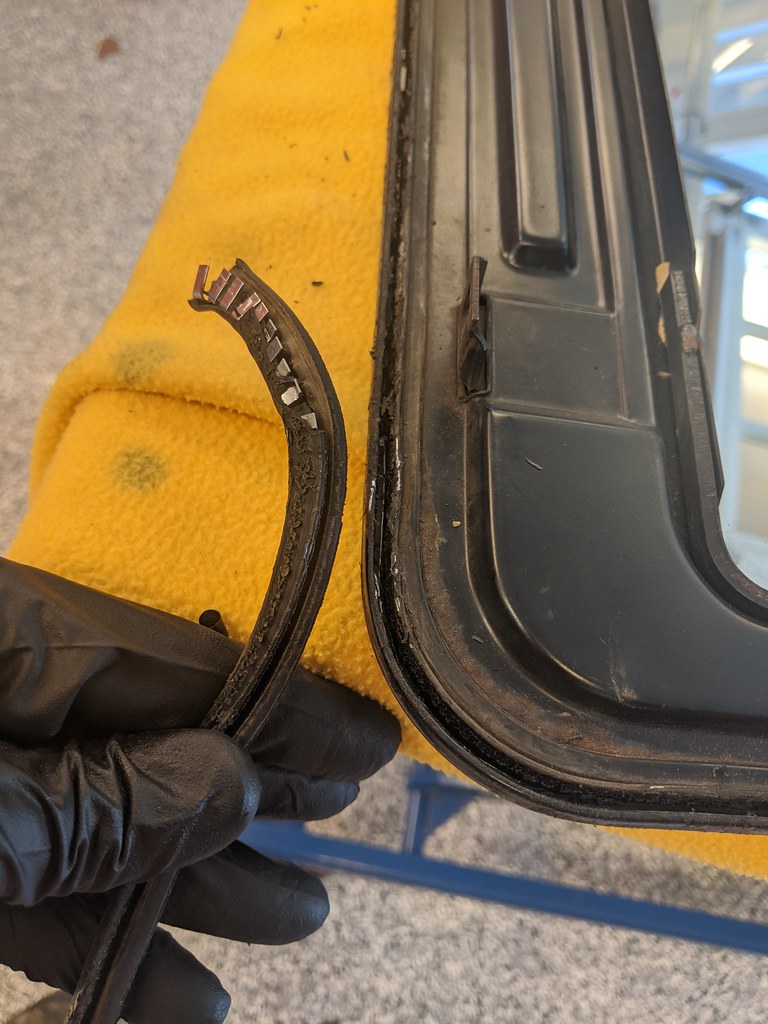
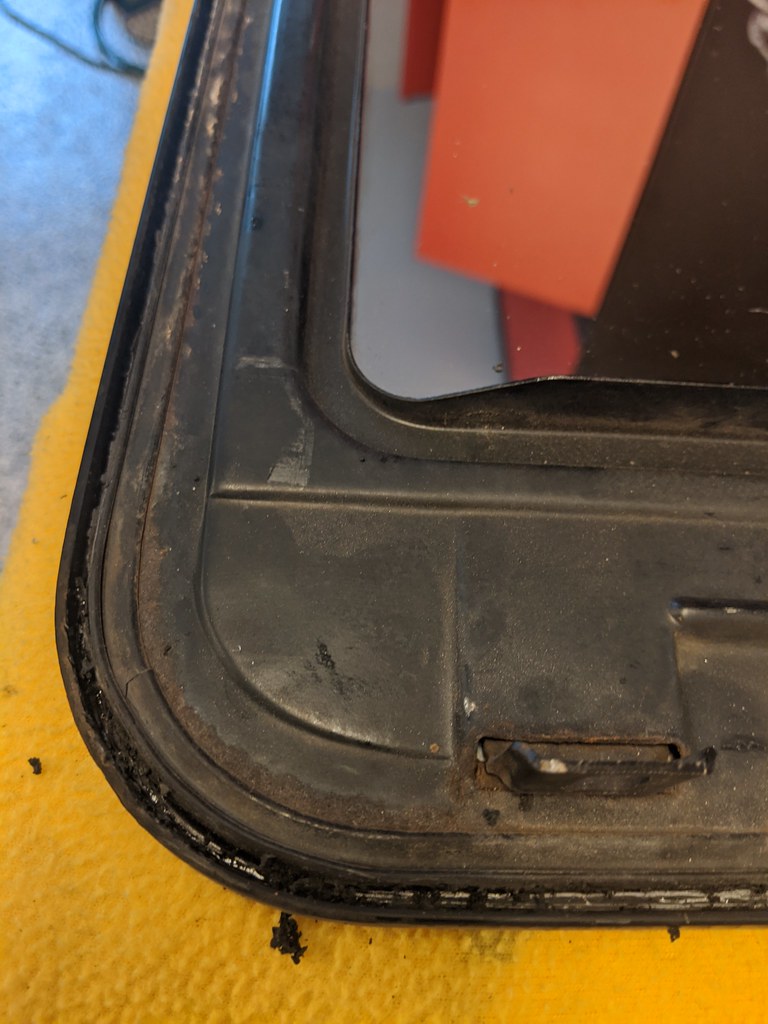
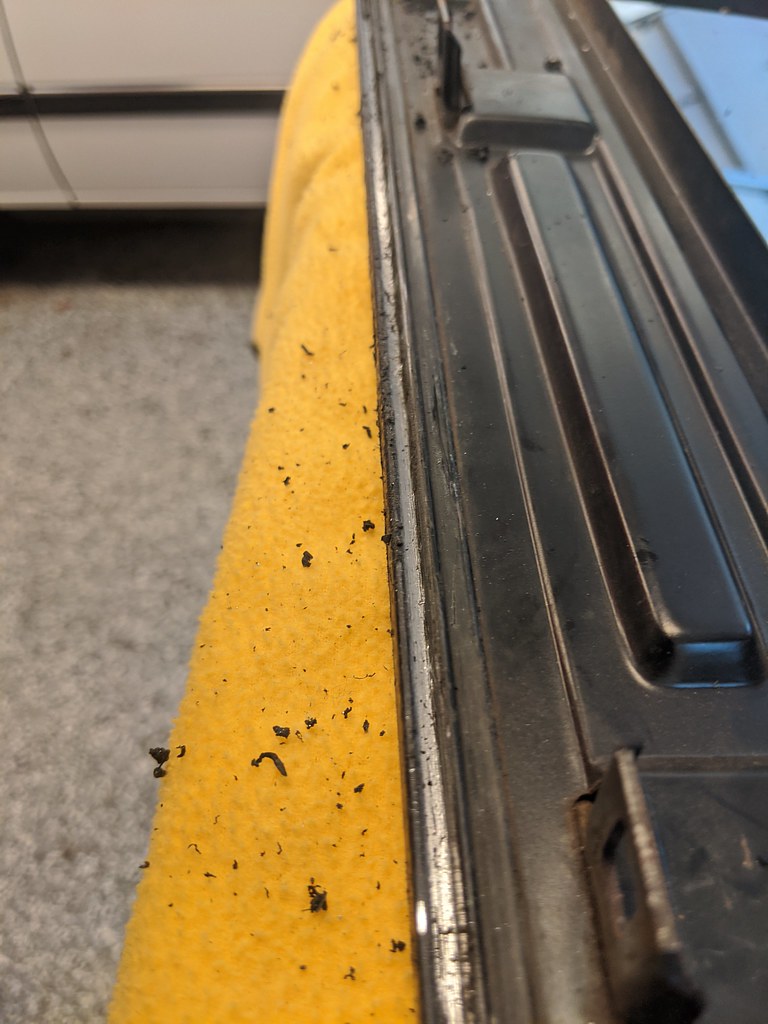
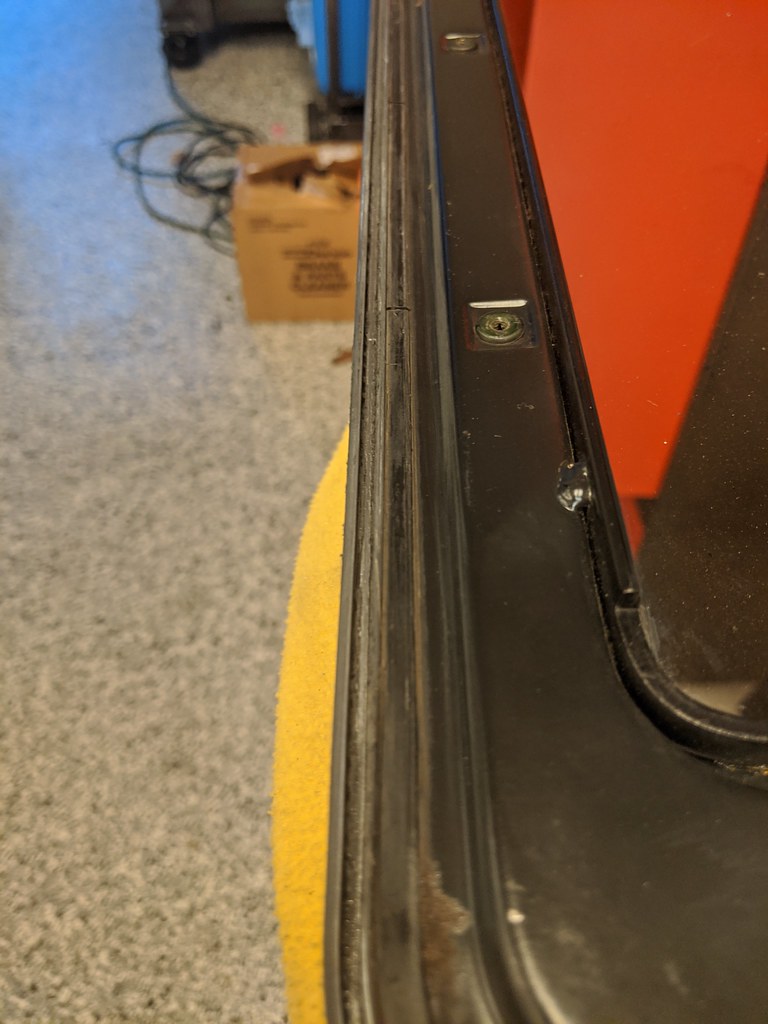
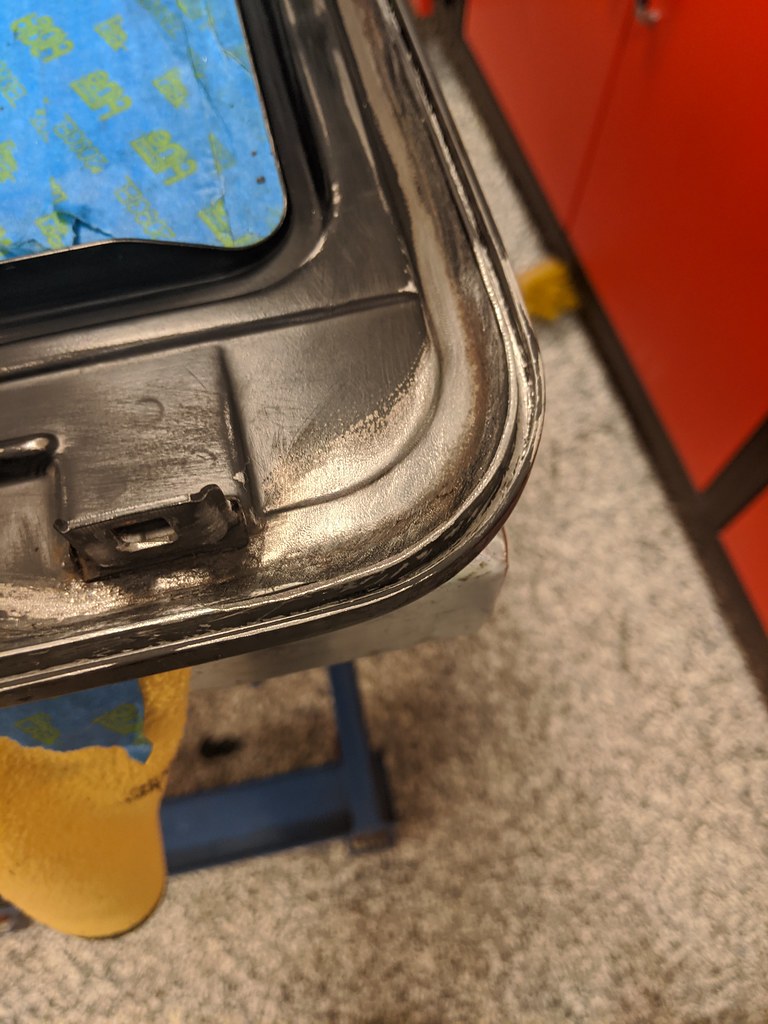
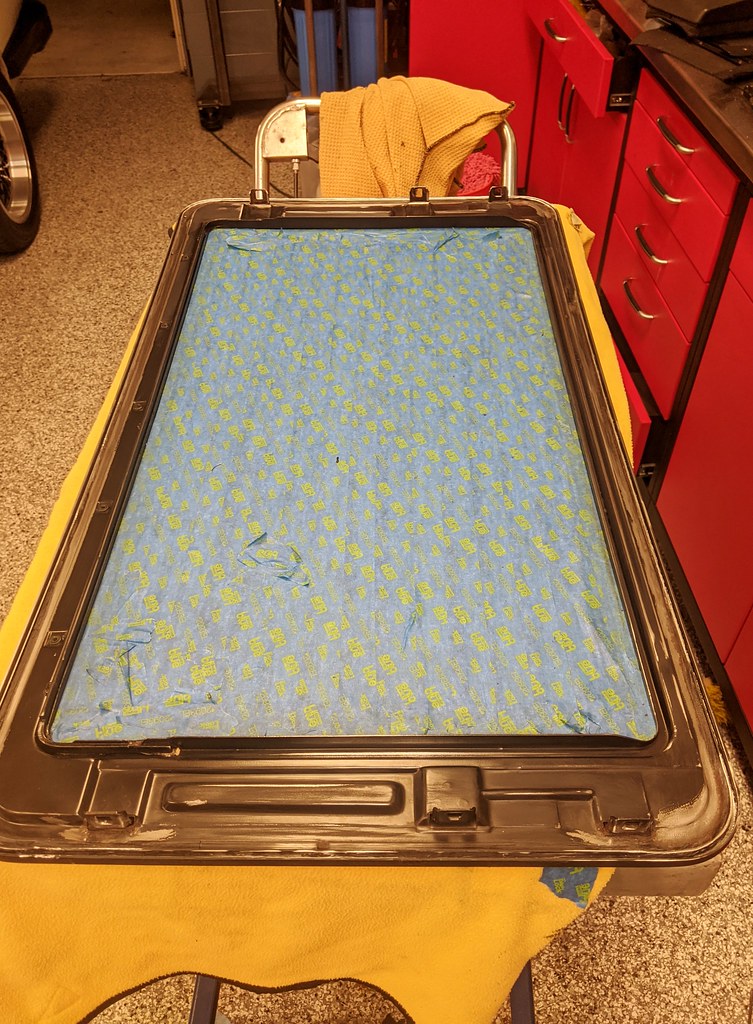
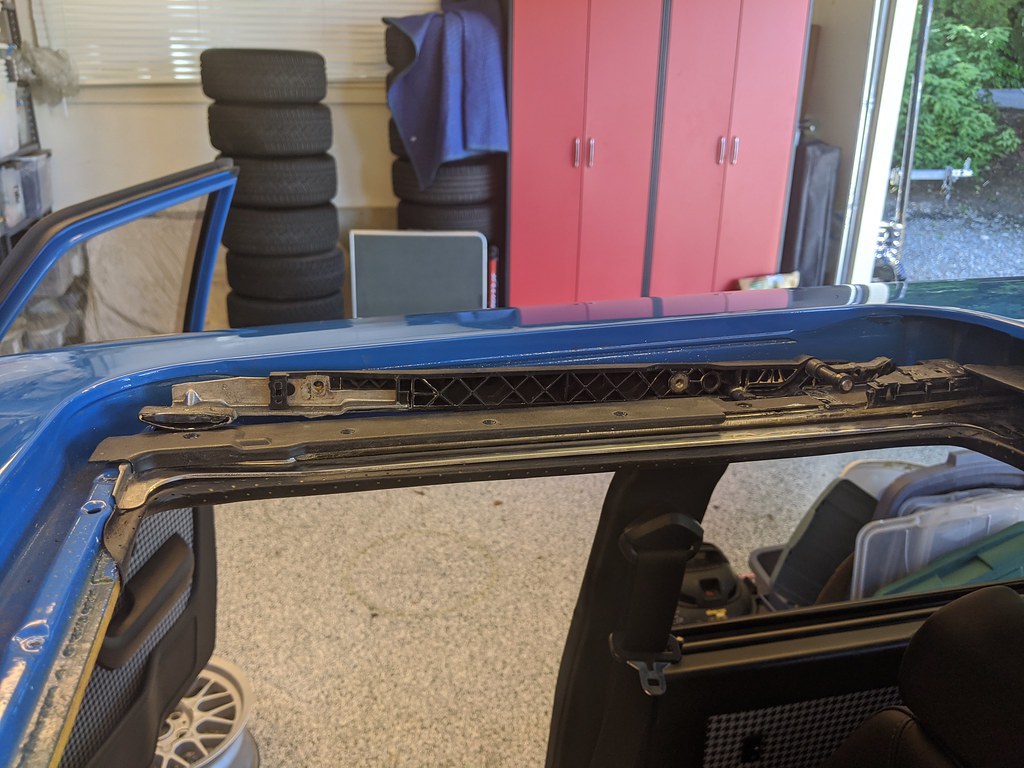
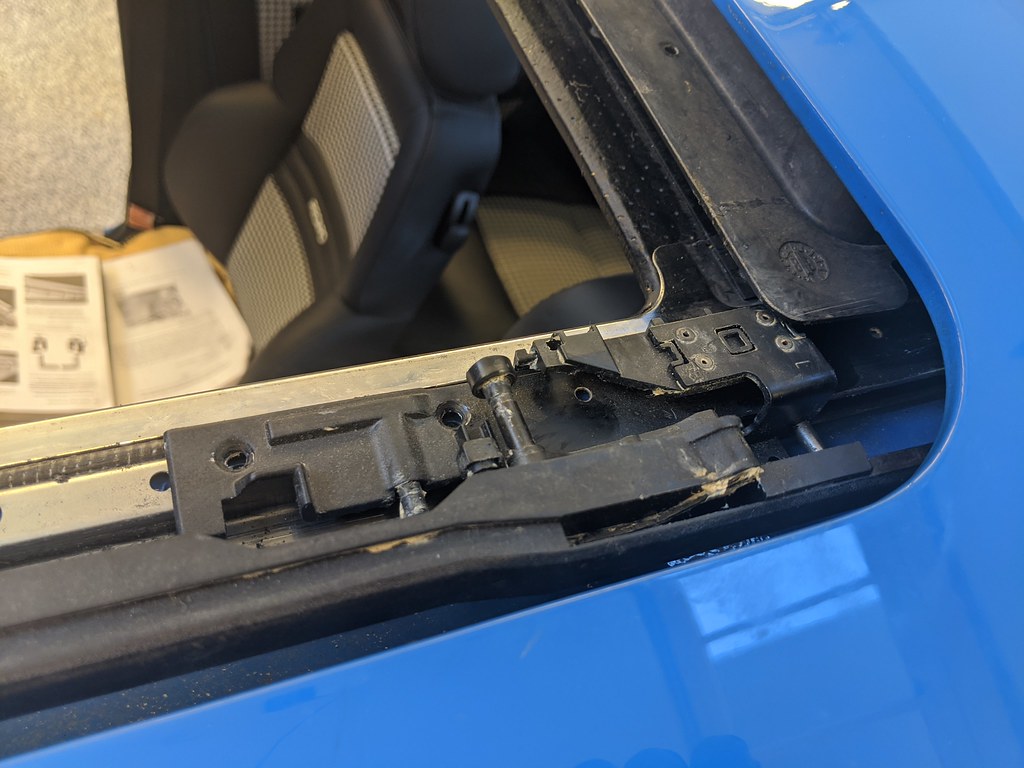
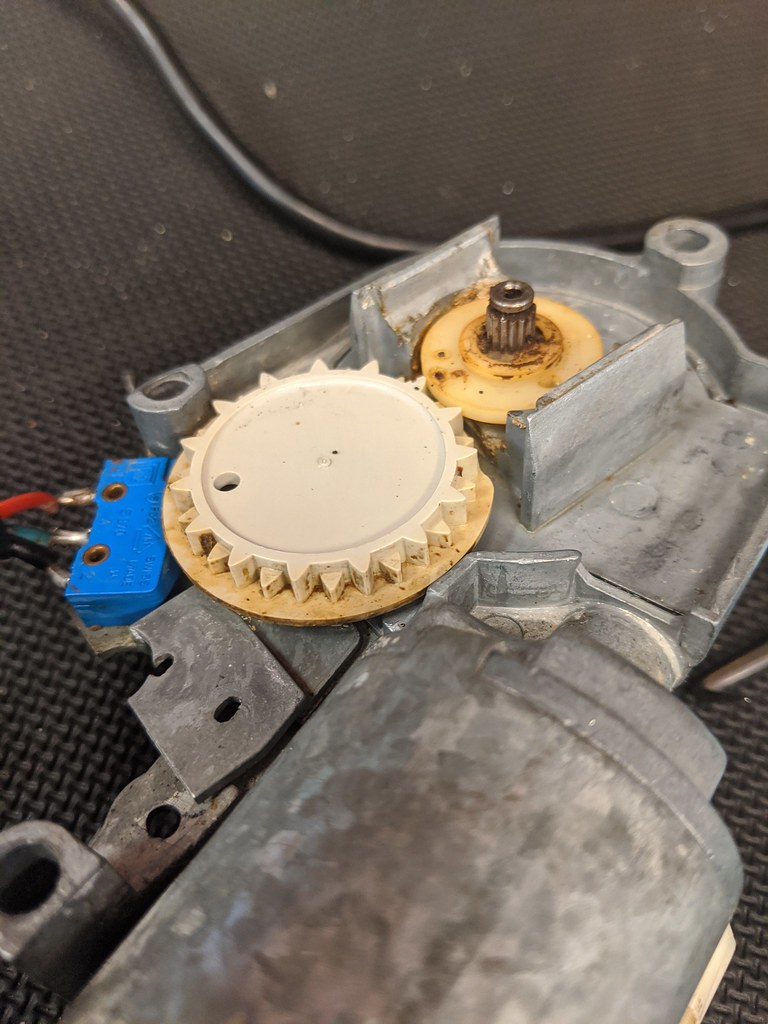
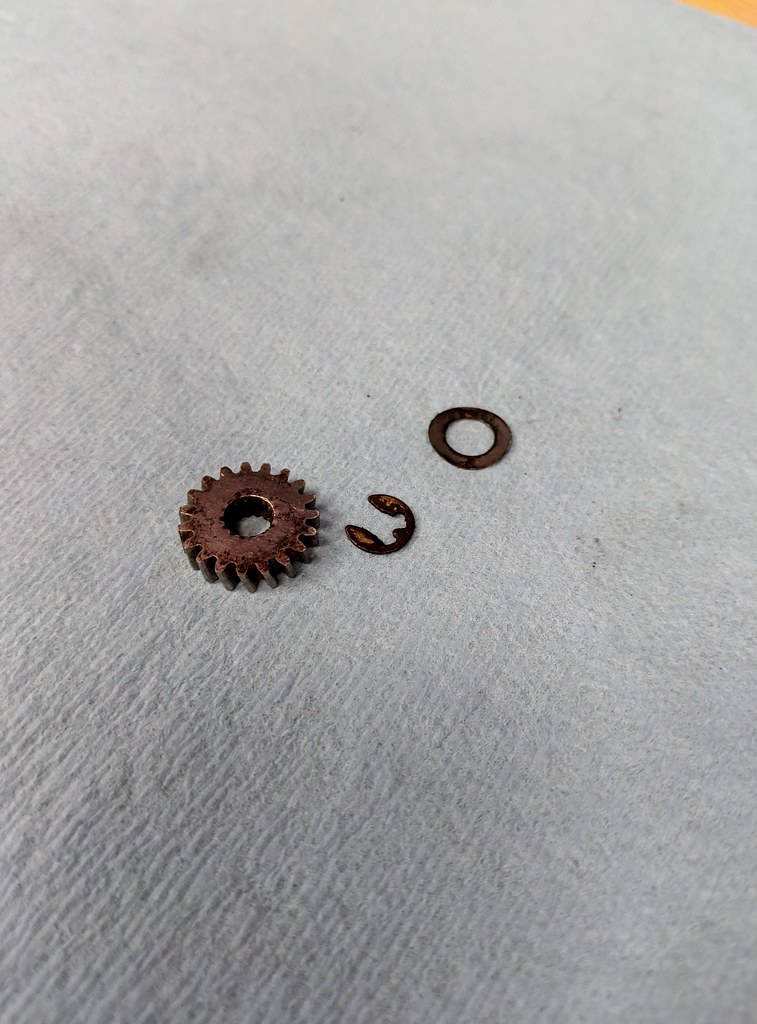
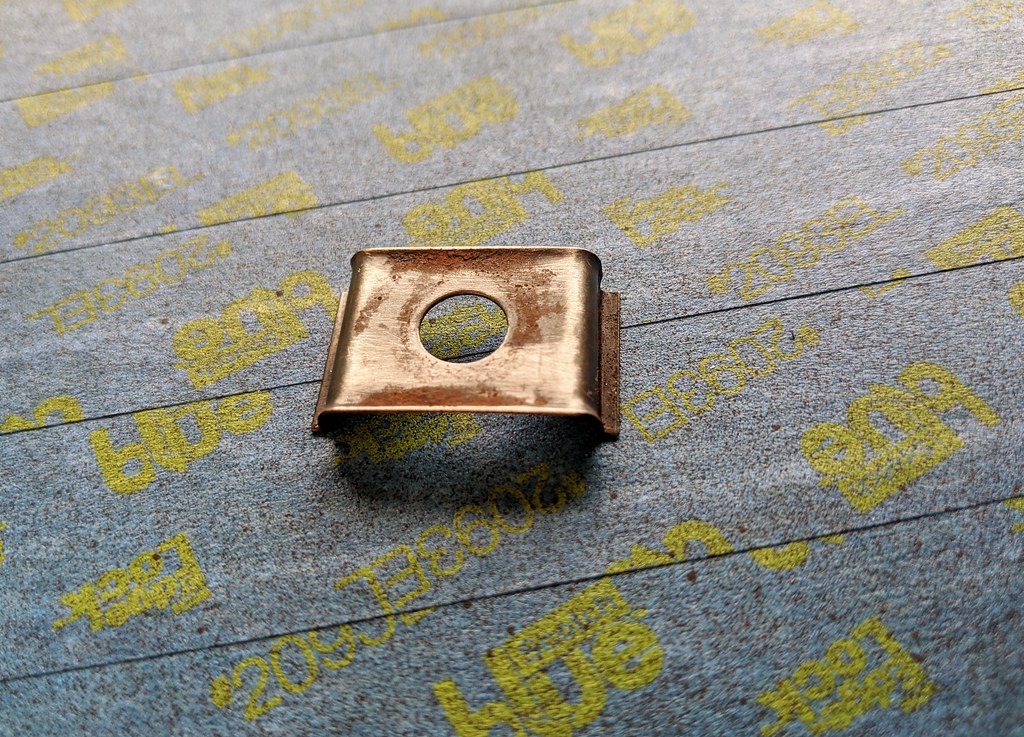
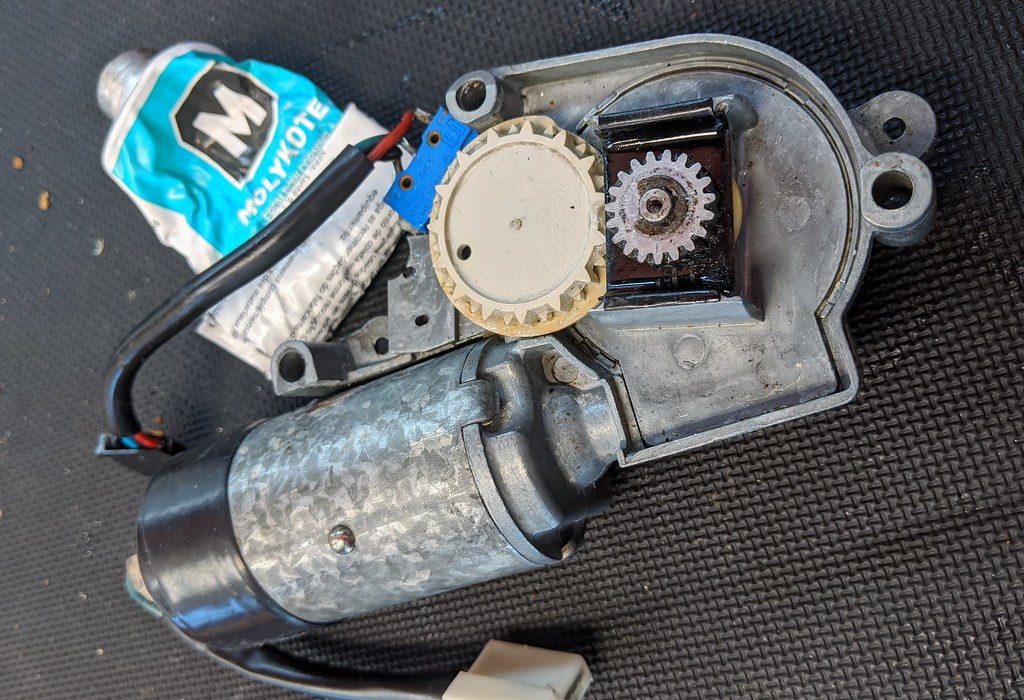
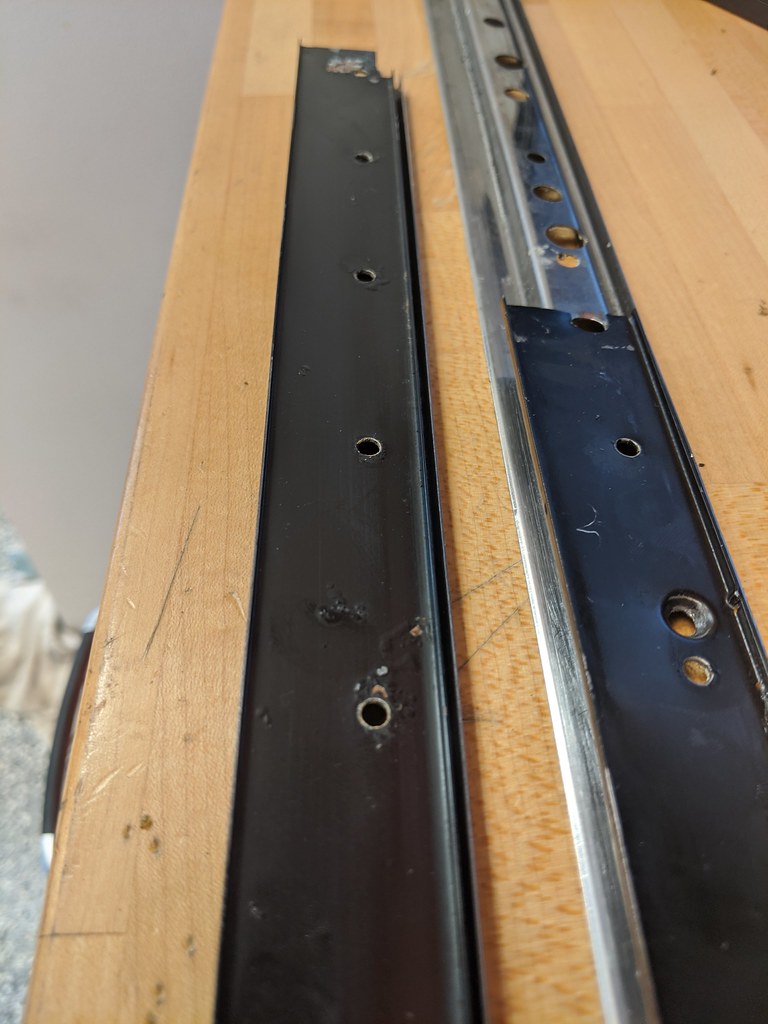
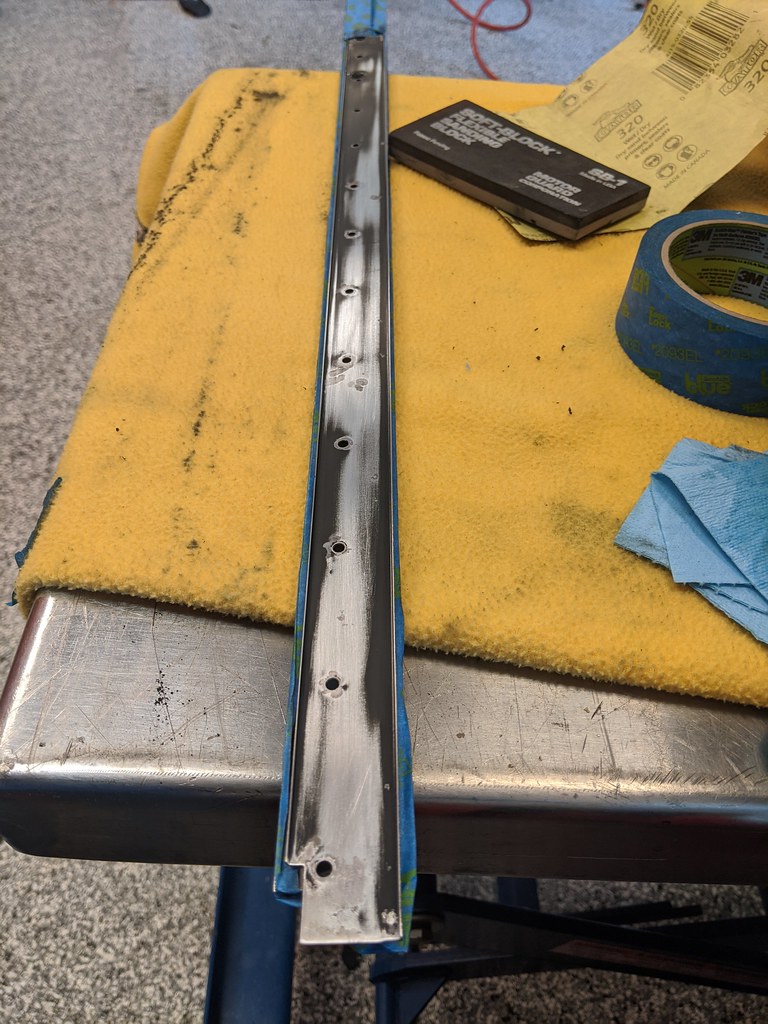
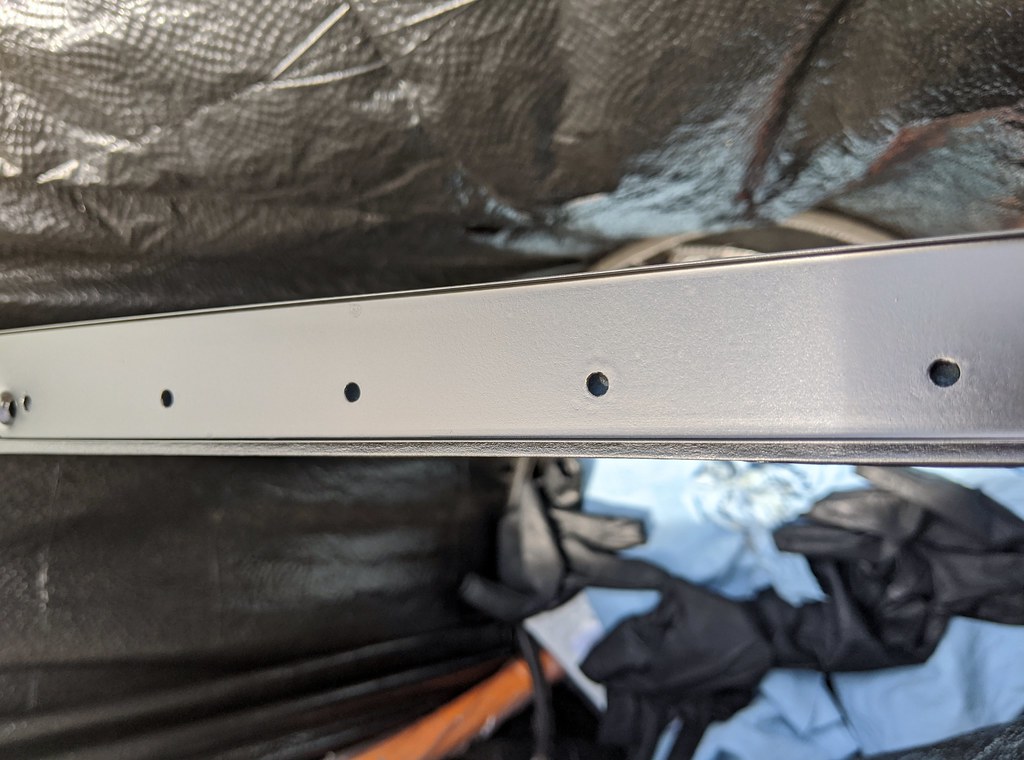
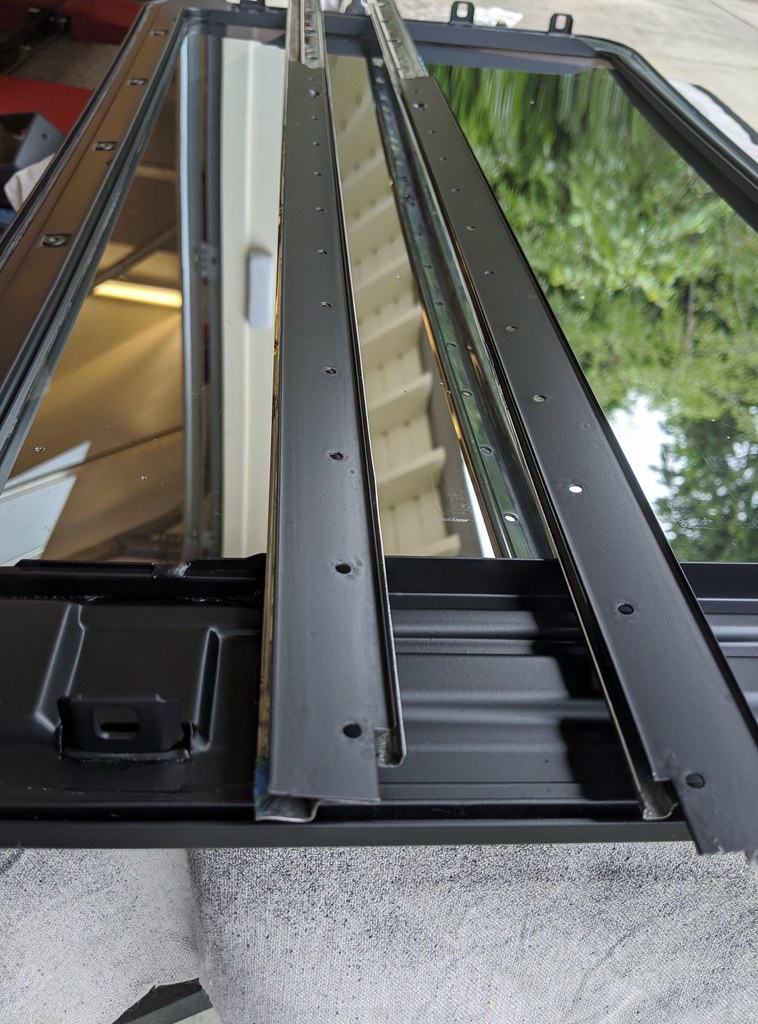
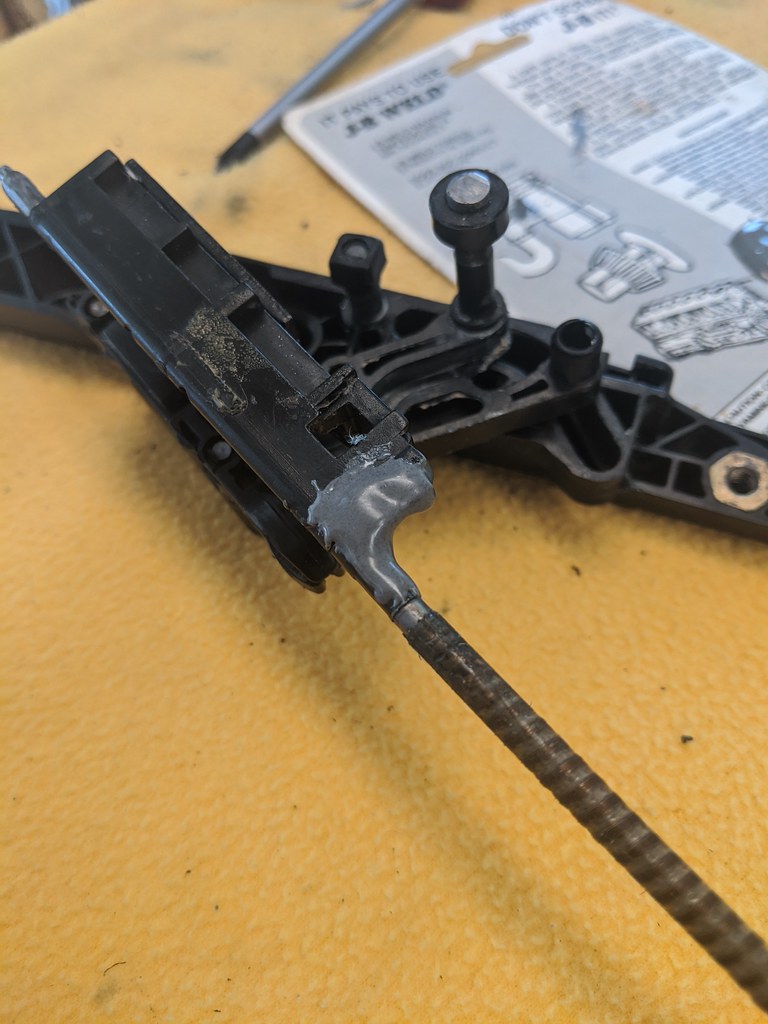
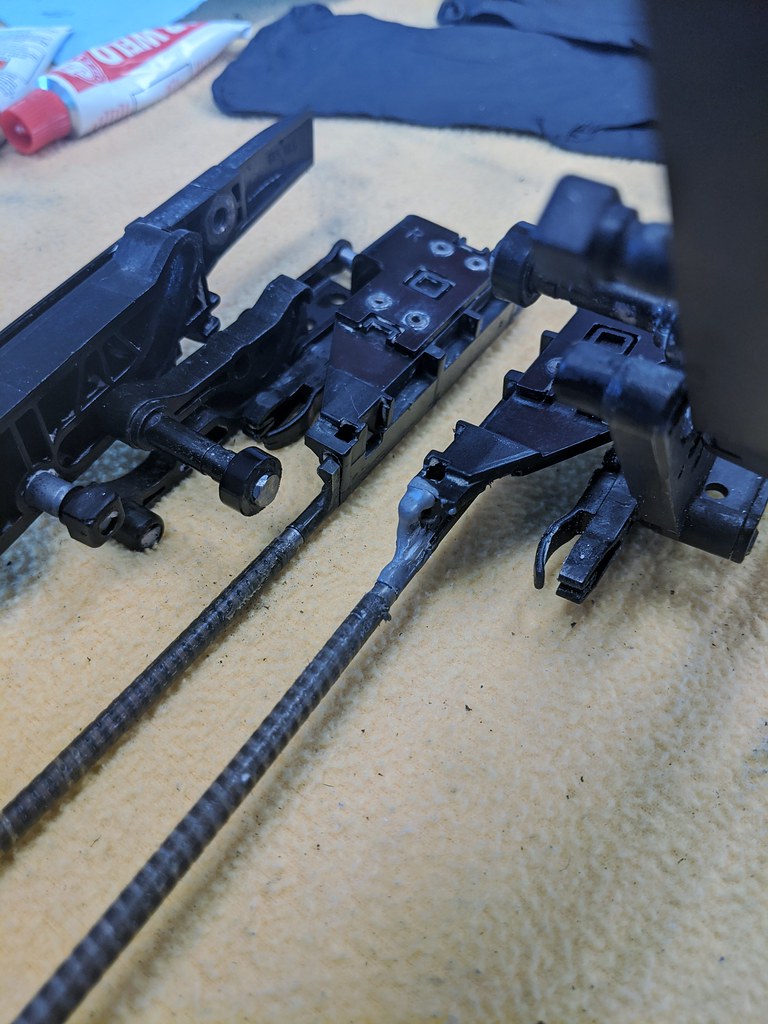
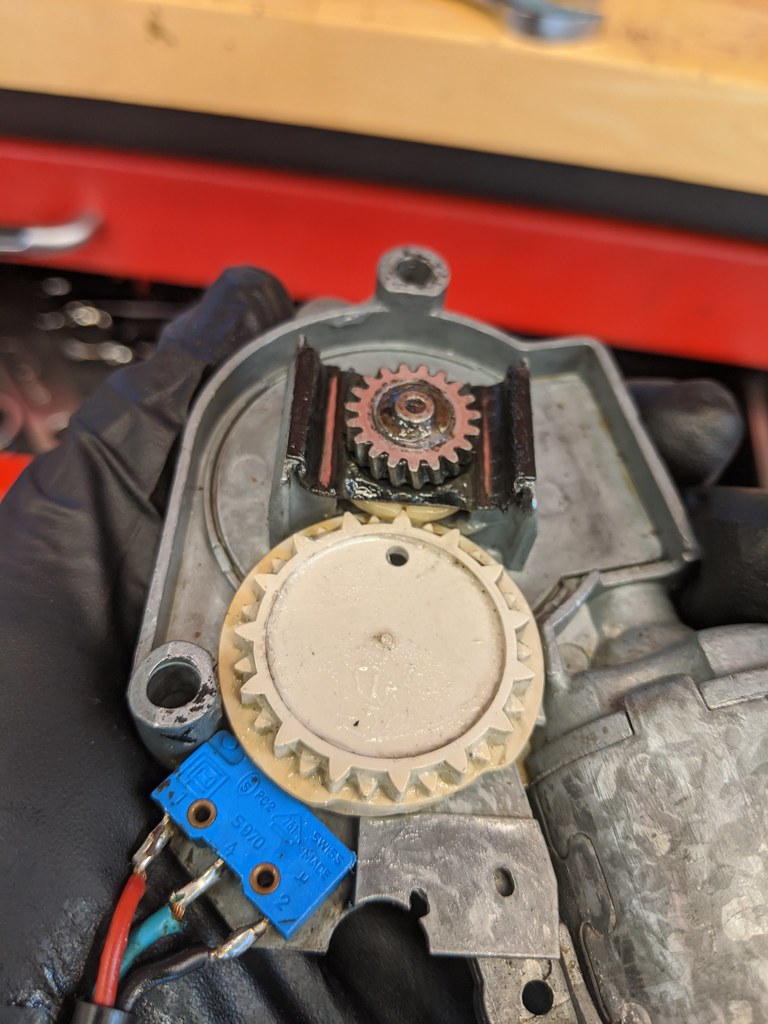
Got the refurbished moonroof done and in. It looks and operates fantastically. I really struggled to get the actuator relay to stop at the right spots. No matter what I did to adjust it, the motor would stop the roof ~1" short of close when going forward. I pulled my hair out on this one. Eventually I tried the motor I took off the parts car instead of the one I rebuilt above. Low and behold, it turns out you can put these motors together wrong, and I'm apparently an expert at doing so. Still not sure what I did wrong. Anyway, the parts car only had 160k on it and that motor was in better shape.
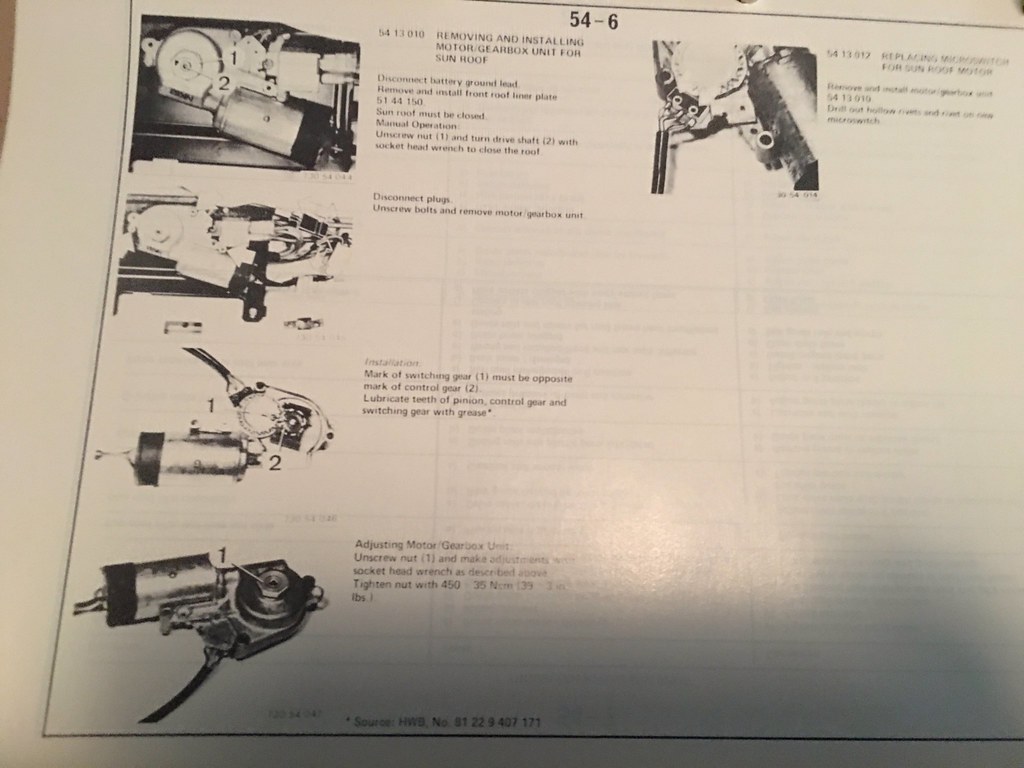
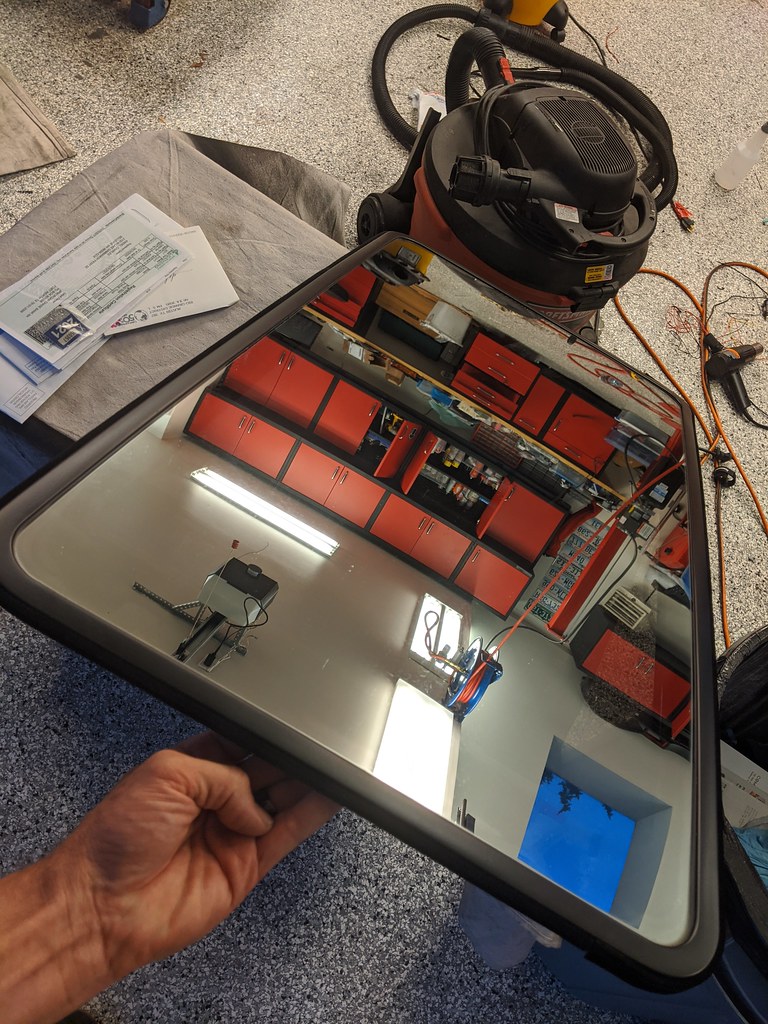
Discovered this. Duh. Now ISO an anthracite version. Let me know...
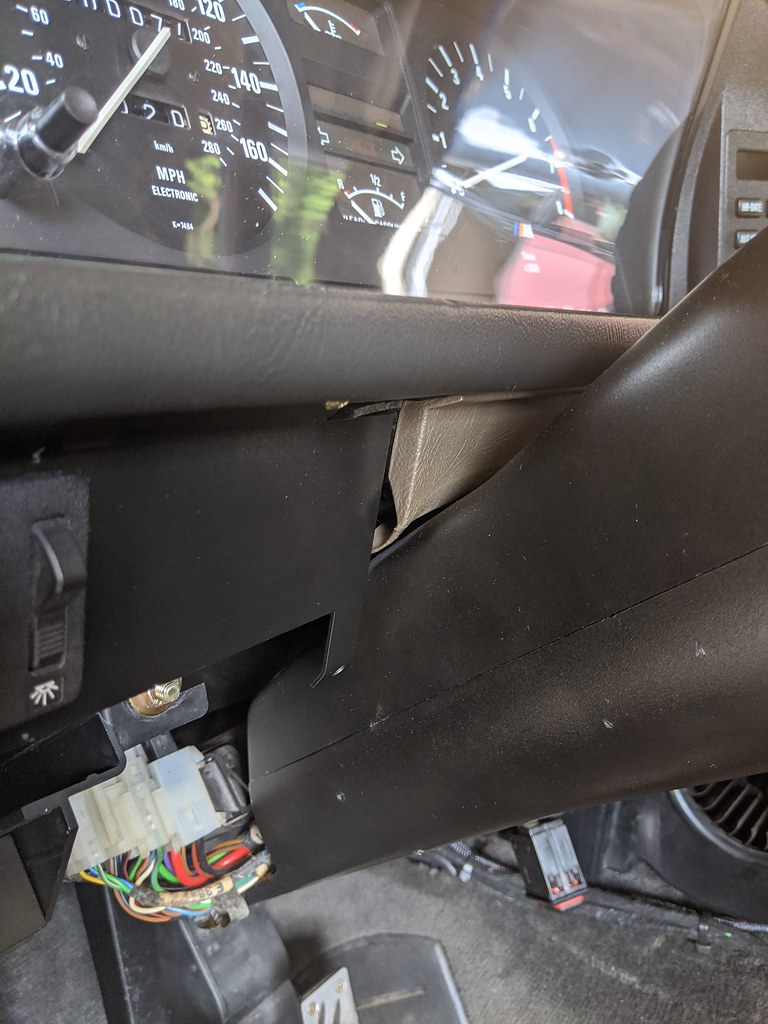
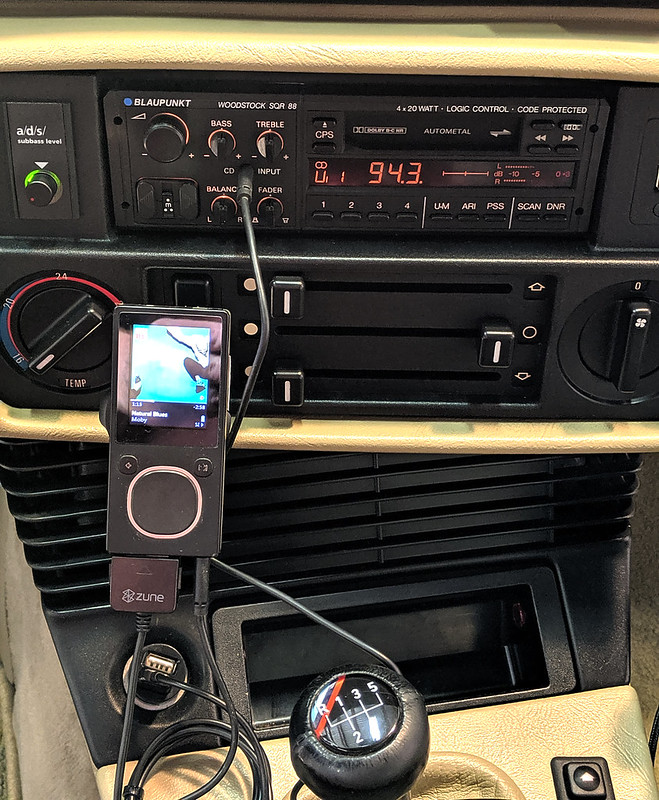
Love the mic that comes with the Blaupunkt head unit. Much better than what I did in Vlad & Maytag. It's not taped in place yet.
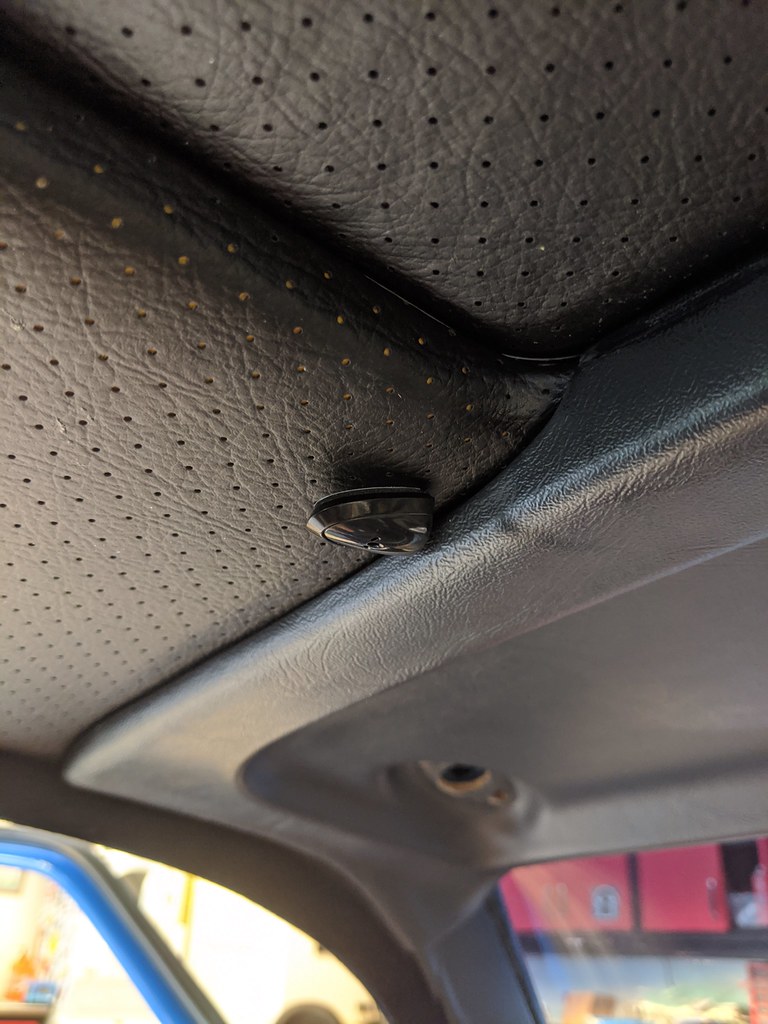
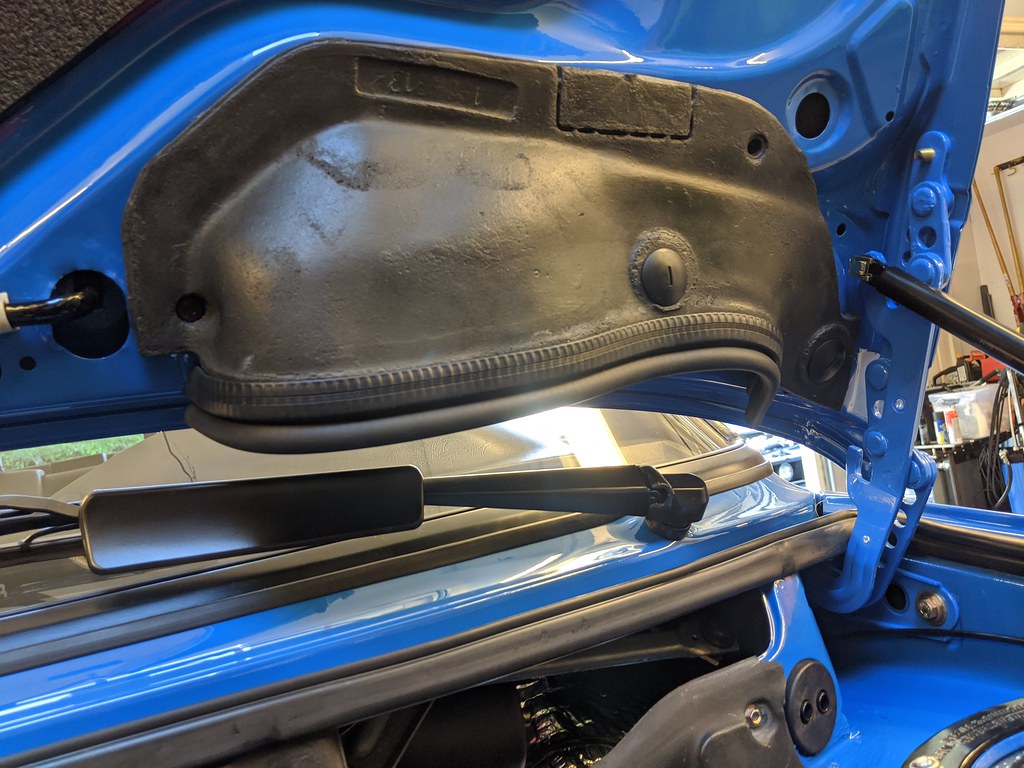
Who noticed the trim pieces were missing from the scoops? I did.
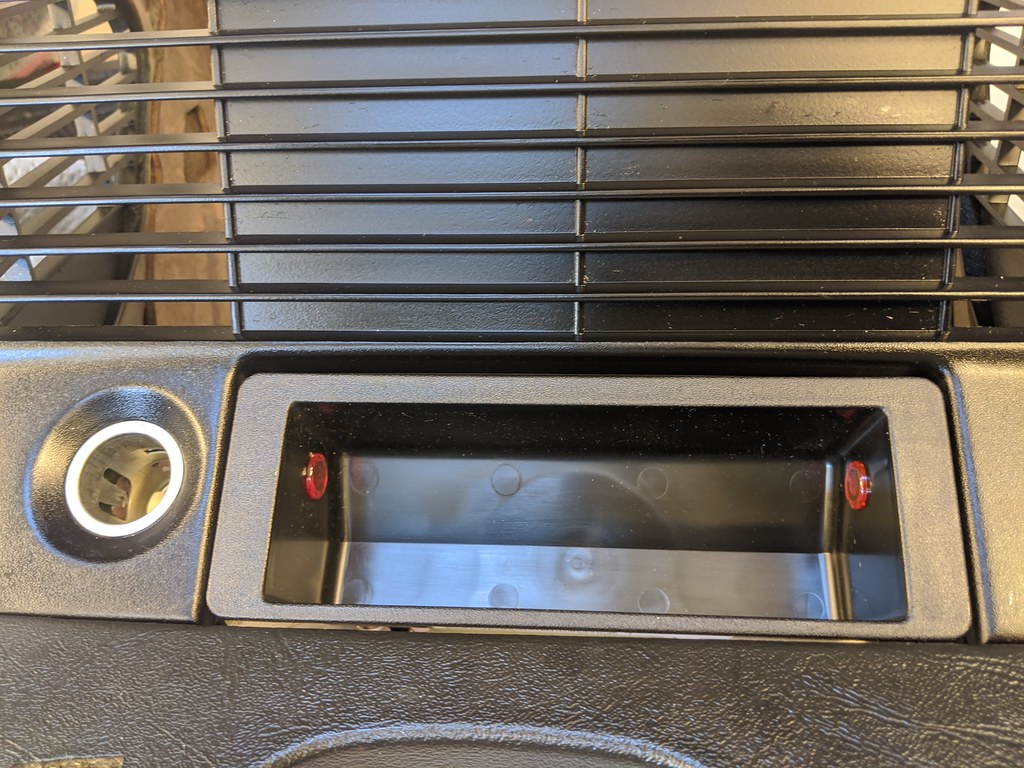
It's neat these "no smoker option" ash tray inserts are available new. I sorta think I prefer being able to close it, but I'll live with this for a while and report back.
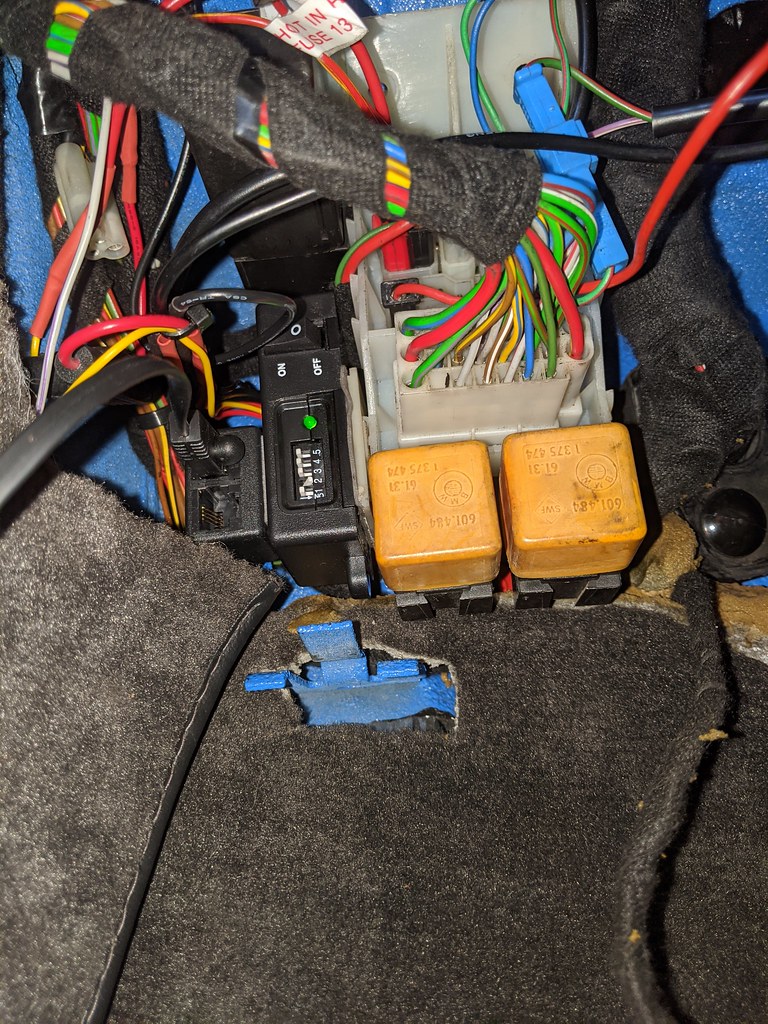
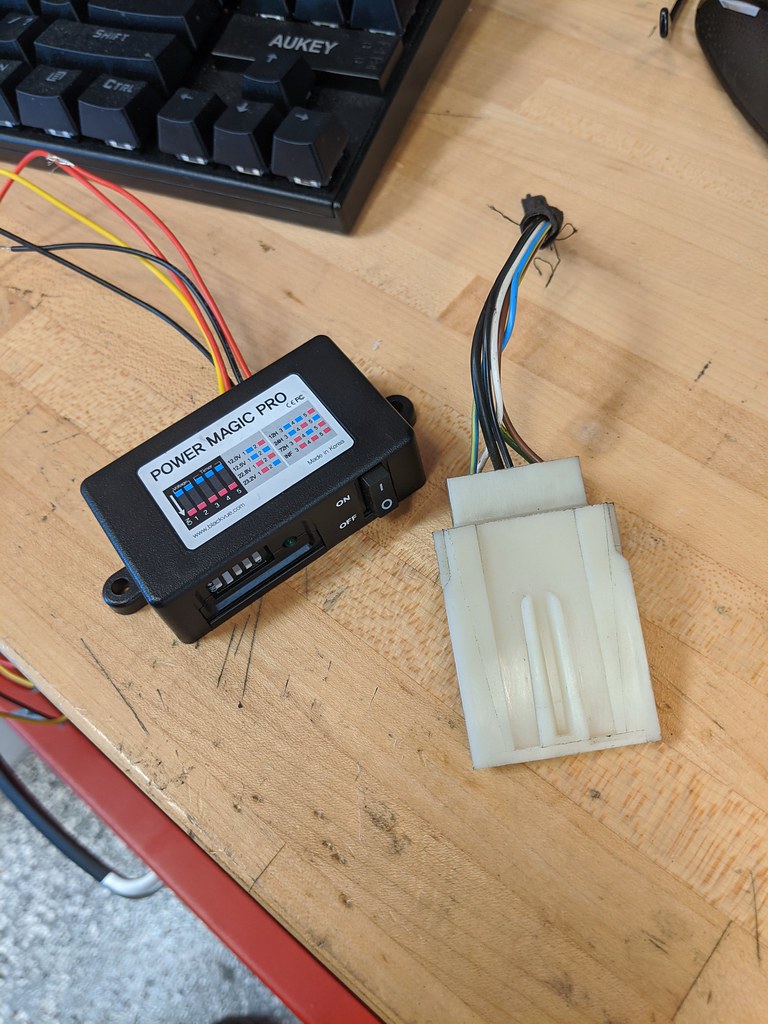
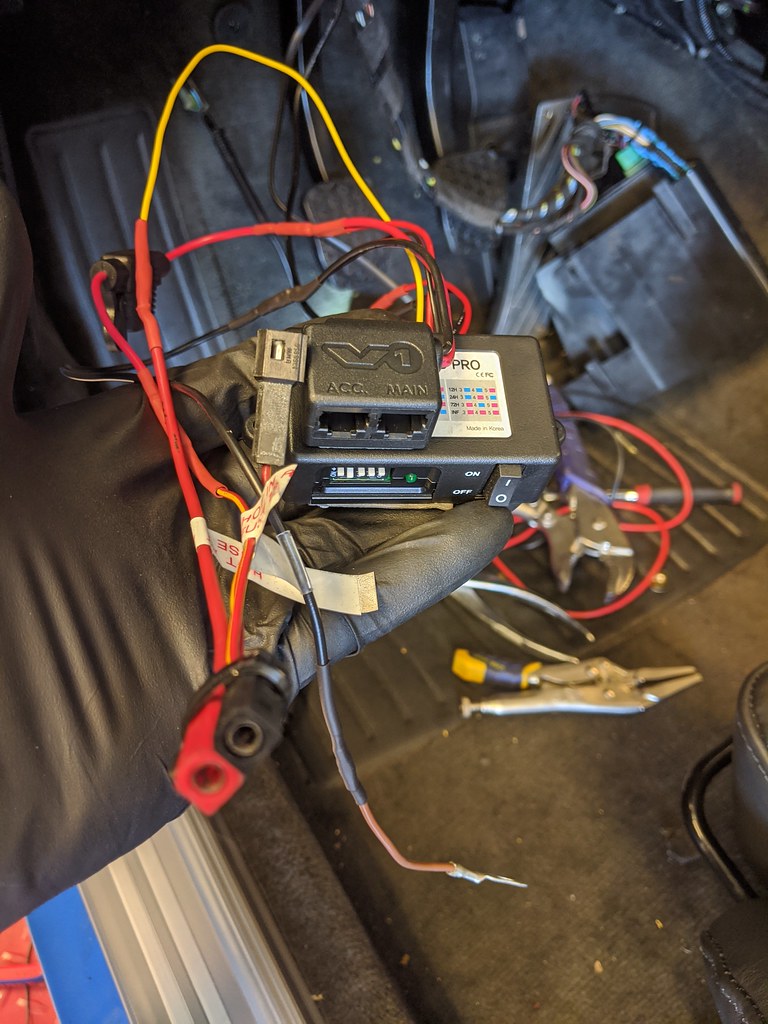
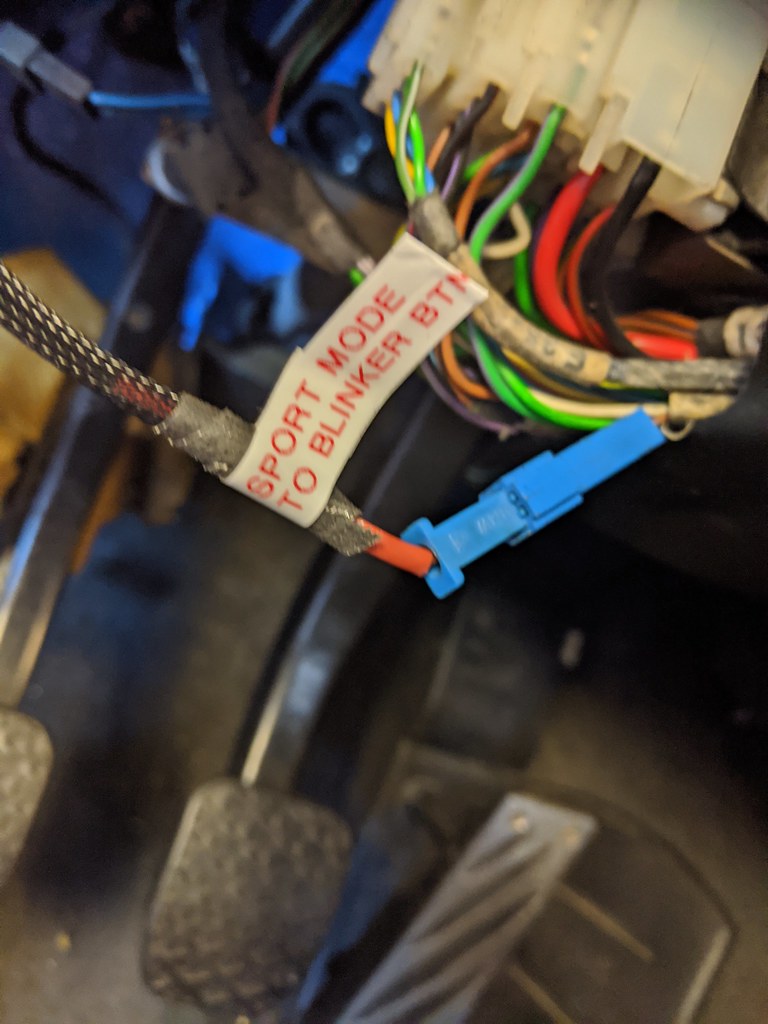
Got all the sport mode wiring nailed, with just one little detail left. I wired the actuator side to the blinker stalk. Normally when you push the stalk it cycles the OBC display. I've NEVER used that on any BMW I've owned. So now if I press it, I toggle sport mode on MSS54HP DME. I figured out which pin on the DME signals sport mode is on, and discovered, contrary to Internet knowledge, it is 4V and not 12V. This means I need to build a circuit to switch a 12V line. I'm going to use the bulb that goes behind the unused green indicator on the left side of the cluster. I plan to figure out a way to etch/sticker that indicator with either the word "sport" or an icon of Minerva. TBD.
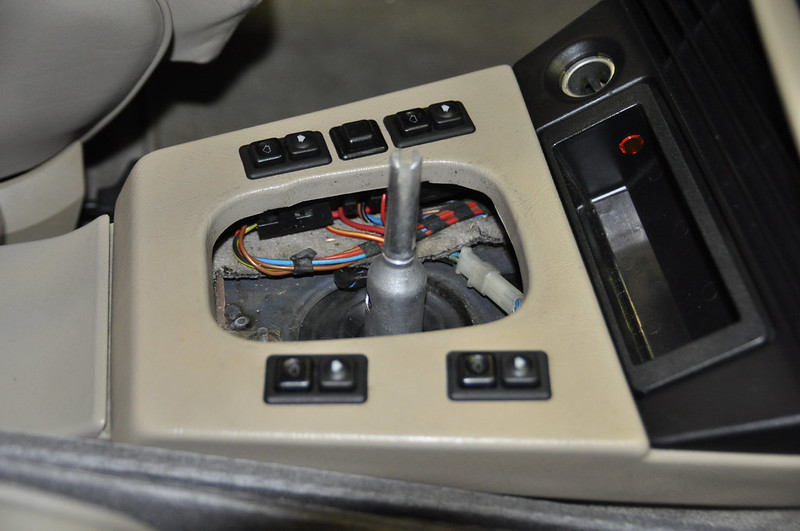
This all led me down the rabbit hole of seeing what Mitch really did behind the center console and for the DME mounting. All in all he did a really nice job and I don't feel I need to rework anything, just reroute some wires.
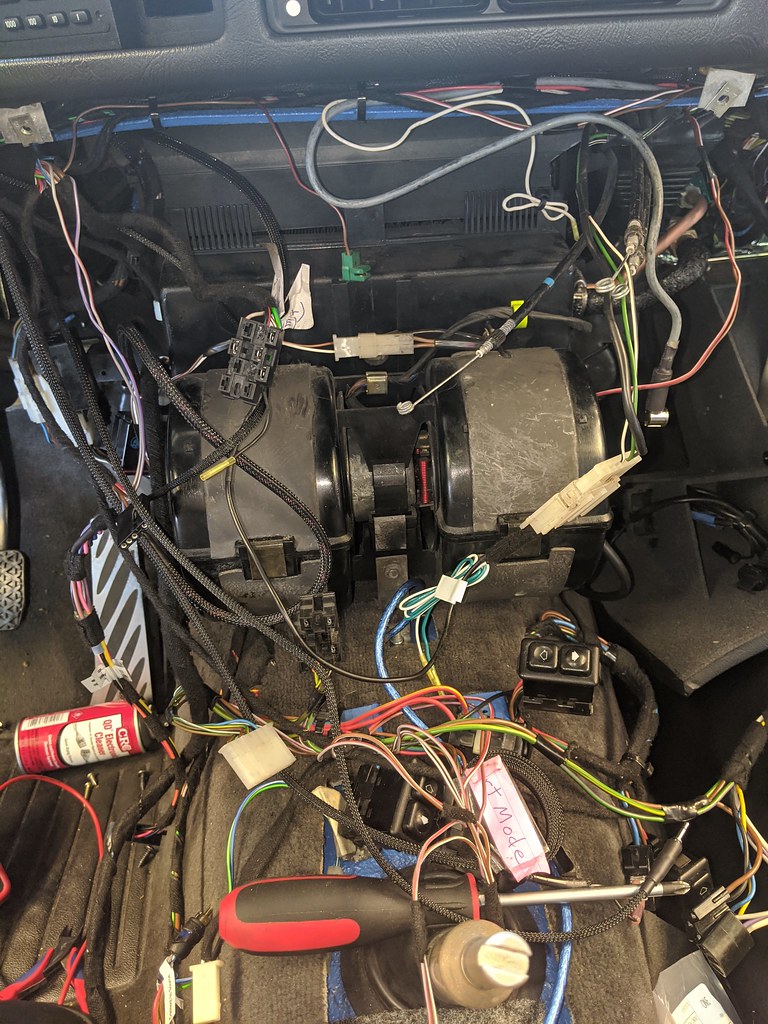
The nice thing about how he hung the DME is I can actually pull all the connectors off easily without removing the DME! It was trivial to add wires to pins 15 & 16 on X60004 to get the sport mode stuff.
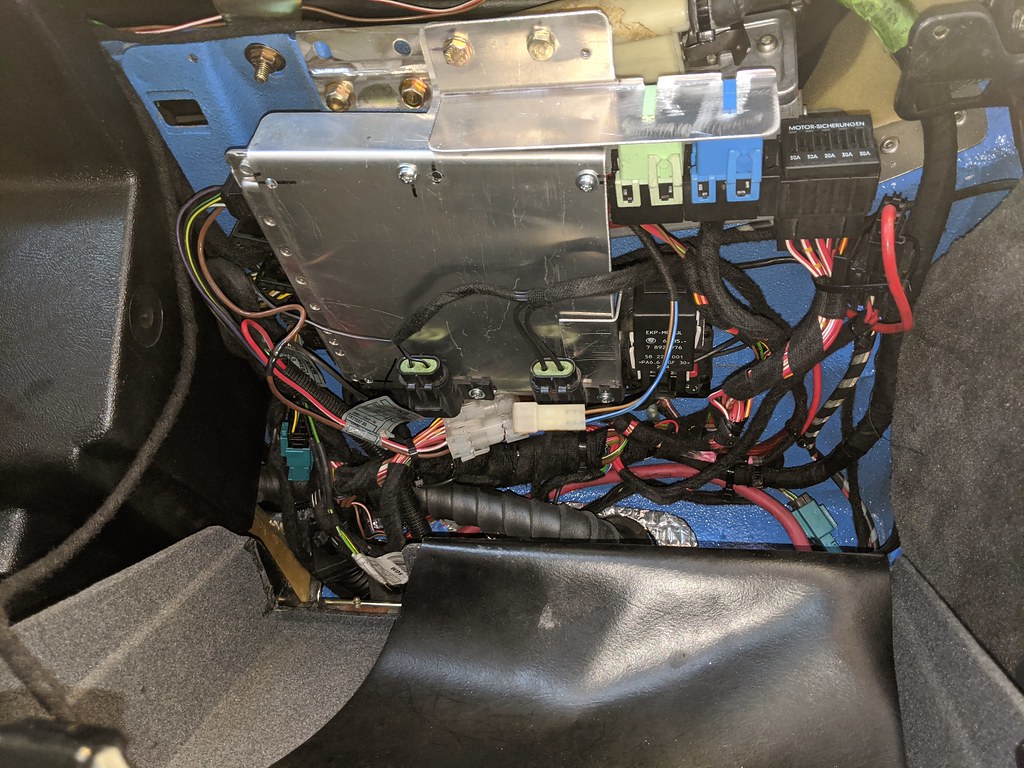
Originally I was going to restore the wiper/cruise/blinker stalks with a decal set I had sourced. Then I discovered all those stalks are still available new. No brainer to just buy them. They've arrived and should go in this week.
Next up: AC
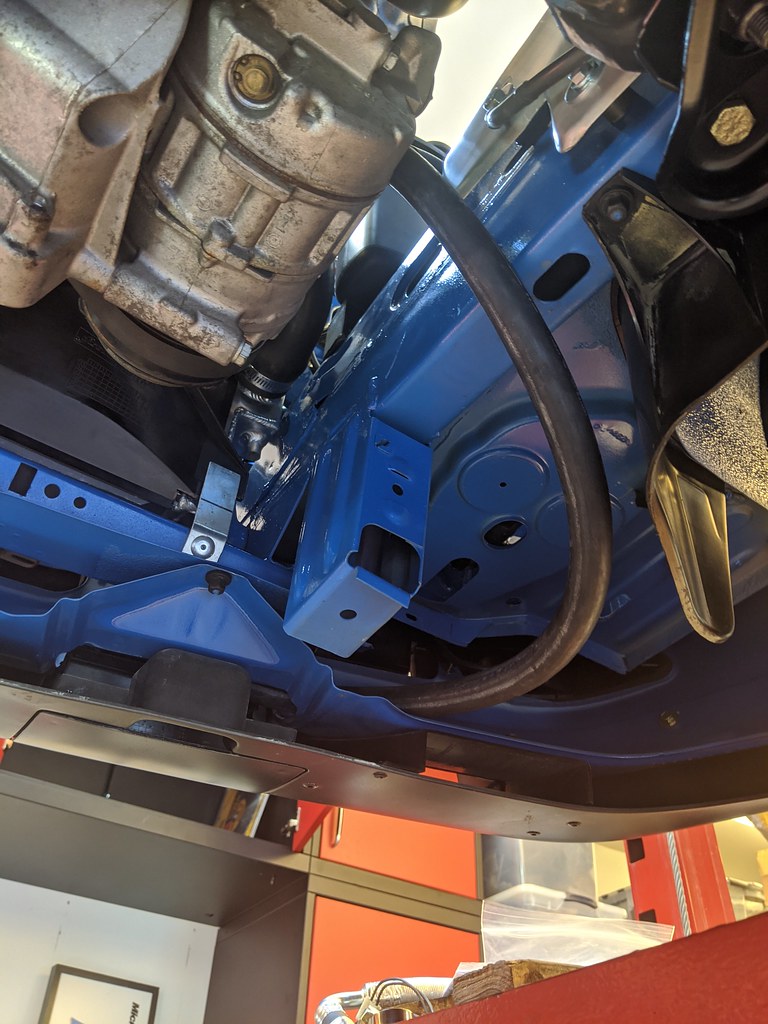
We had sourced the same parallel flow condenser that Austin is using in his AC conversion kits and Mitch had fabricated a slick mounting system for it and the aux fan.
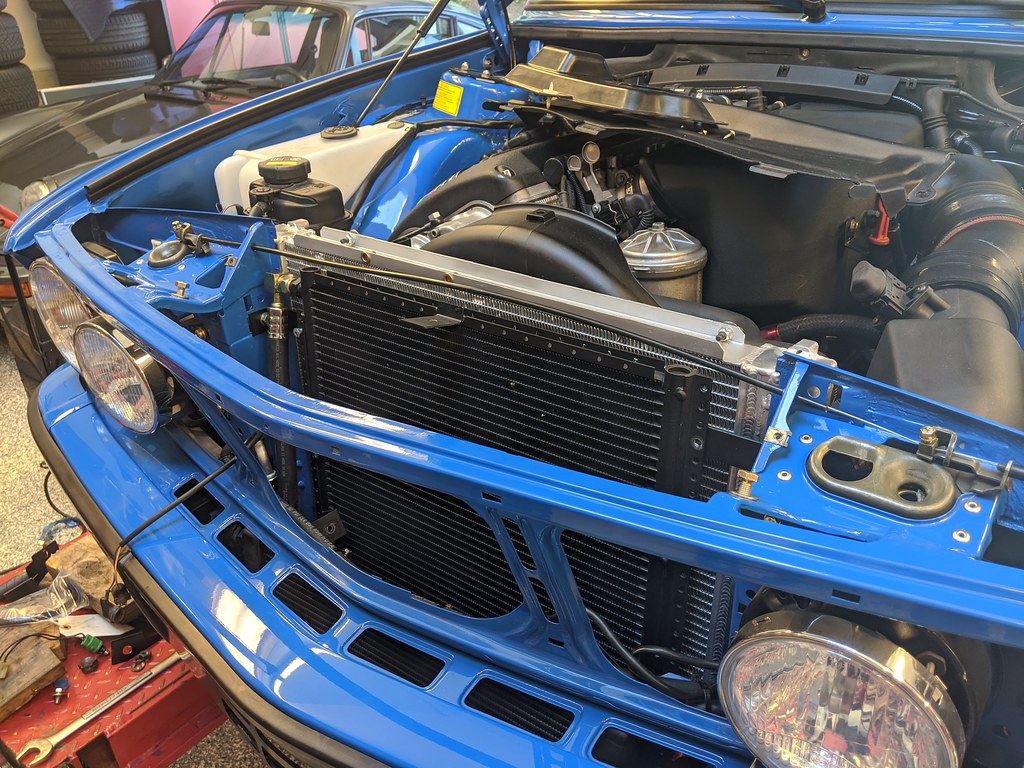
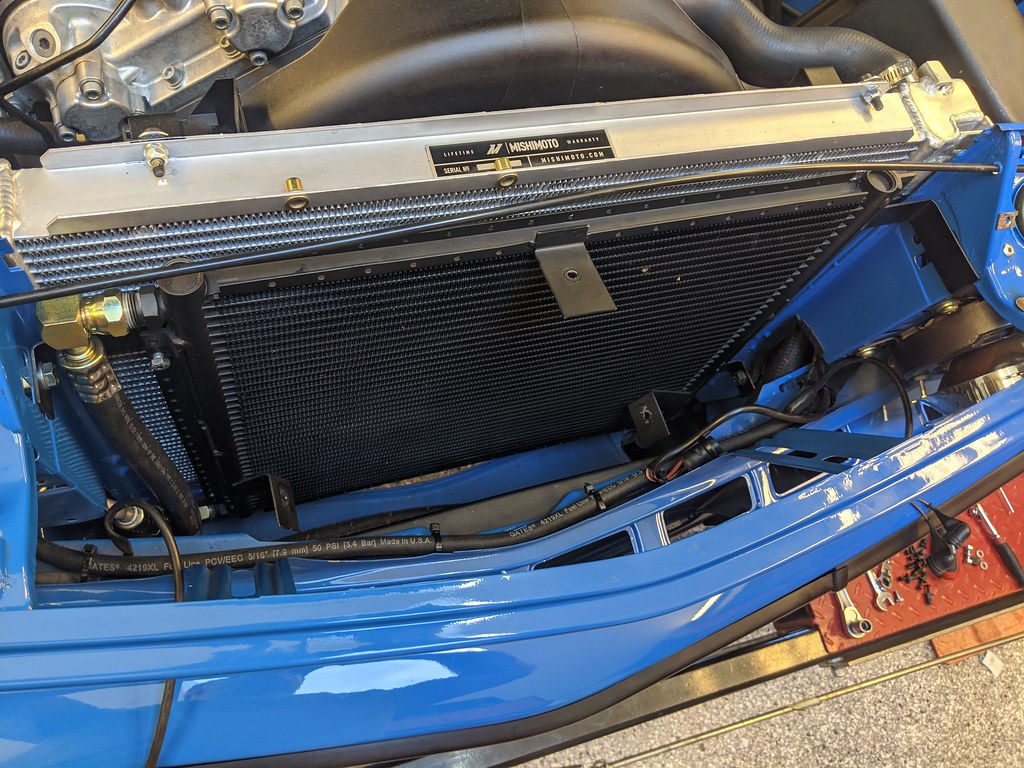
I am using some of the lines from Austin's kit (very well done BTW), but those that go to the compressor wont work for me because my compressor is the S54/E46 compressor (Denso). The high and low side connections are in the wrong place for his hoses, and have the wrong connections.
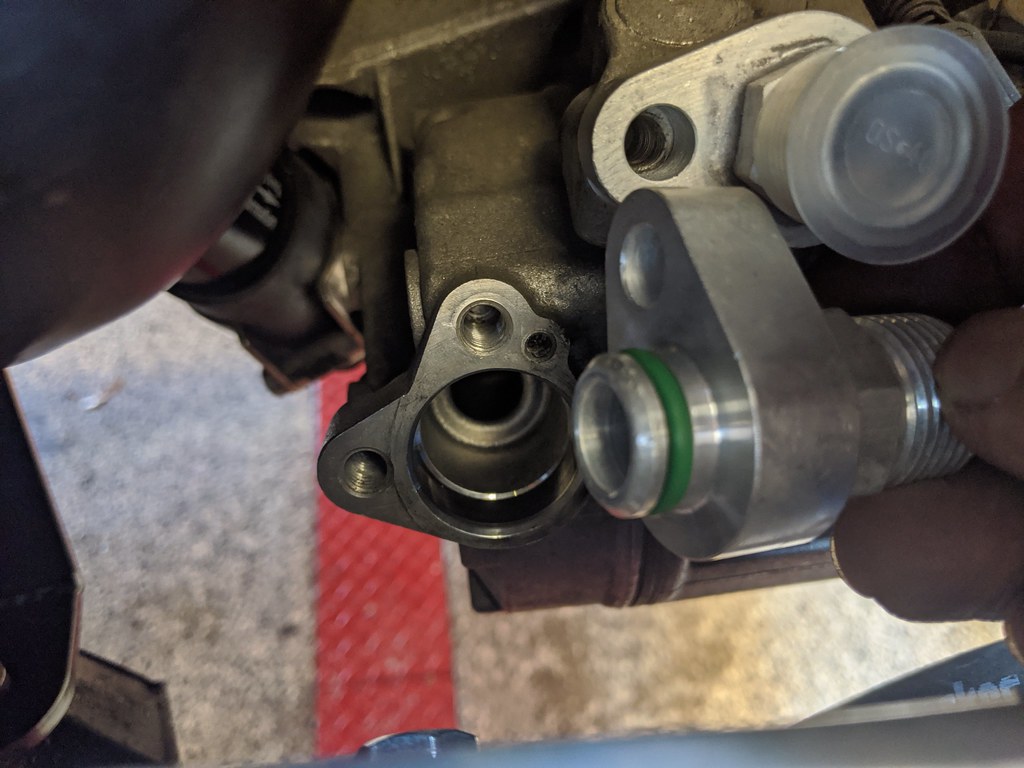
I found an adapter kit for Denso compressors that converts the press-fittings to the older style. Unfortunately that kit is for some OTHER Denso compressor that has a #8 high and #10 low side. The E46 Denso unit has a #1500 or something on the low side. Nothing I could find online would work. So I sourced a used E46 low-side line and am in the process of modifying it to adapt.
The high-side line into the compressor that Austin provides is designed for the connection to be on the bottom/back of the Sanden. On the E46 unit is on the top/front. Thus I need to modify that line to change the orientation of the connector. I'm going to put a hard 90 in it as well to ensure it routes without any binding.
Turns out:
1) Auto repair shops no longer have these tools and refuse to work on older AC systems.
2) Chinese knockoffs are available at 1/3 the cost.
3) I can't stand Chinese knockoffs.
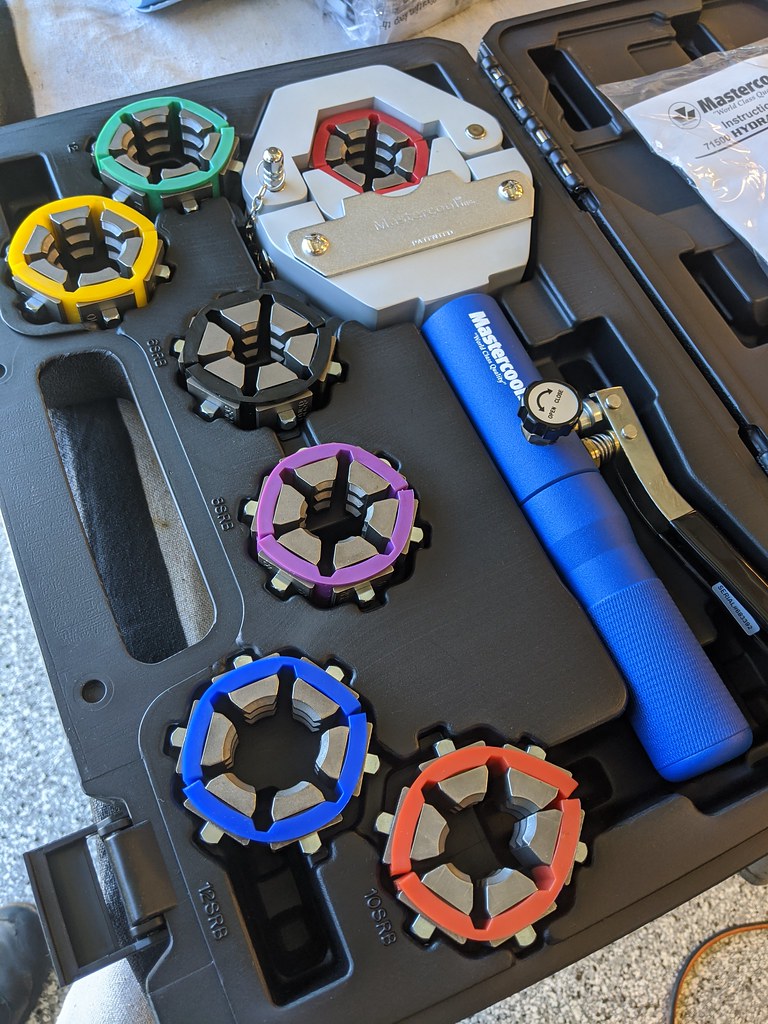
Made some test fittings to ensure I knew the technique:
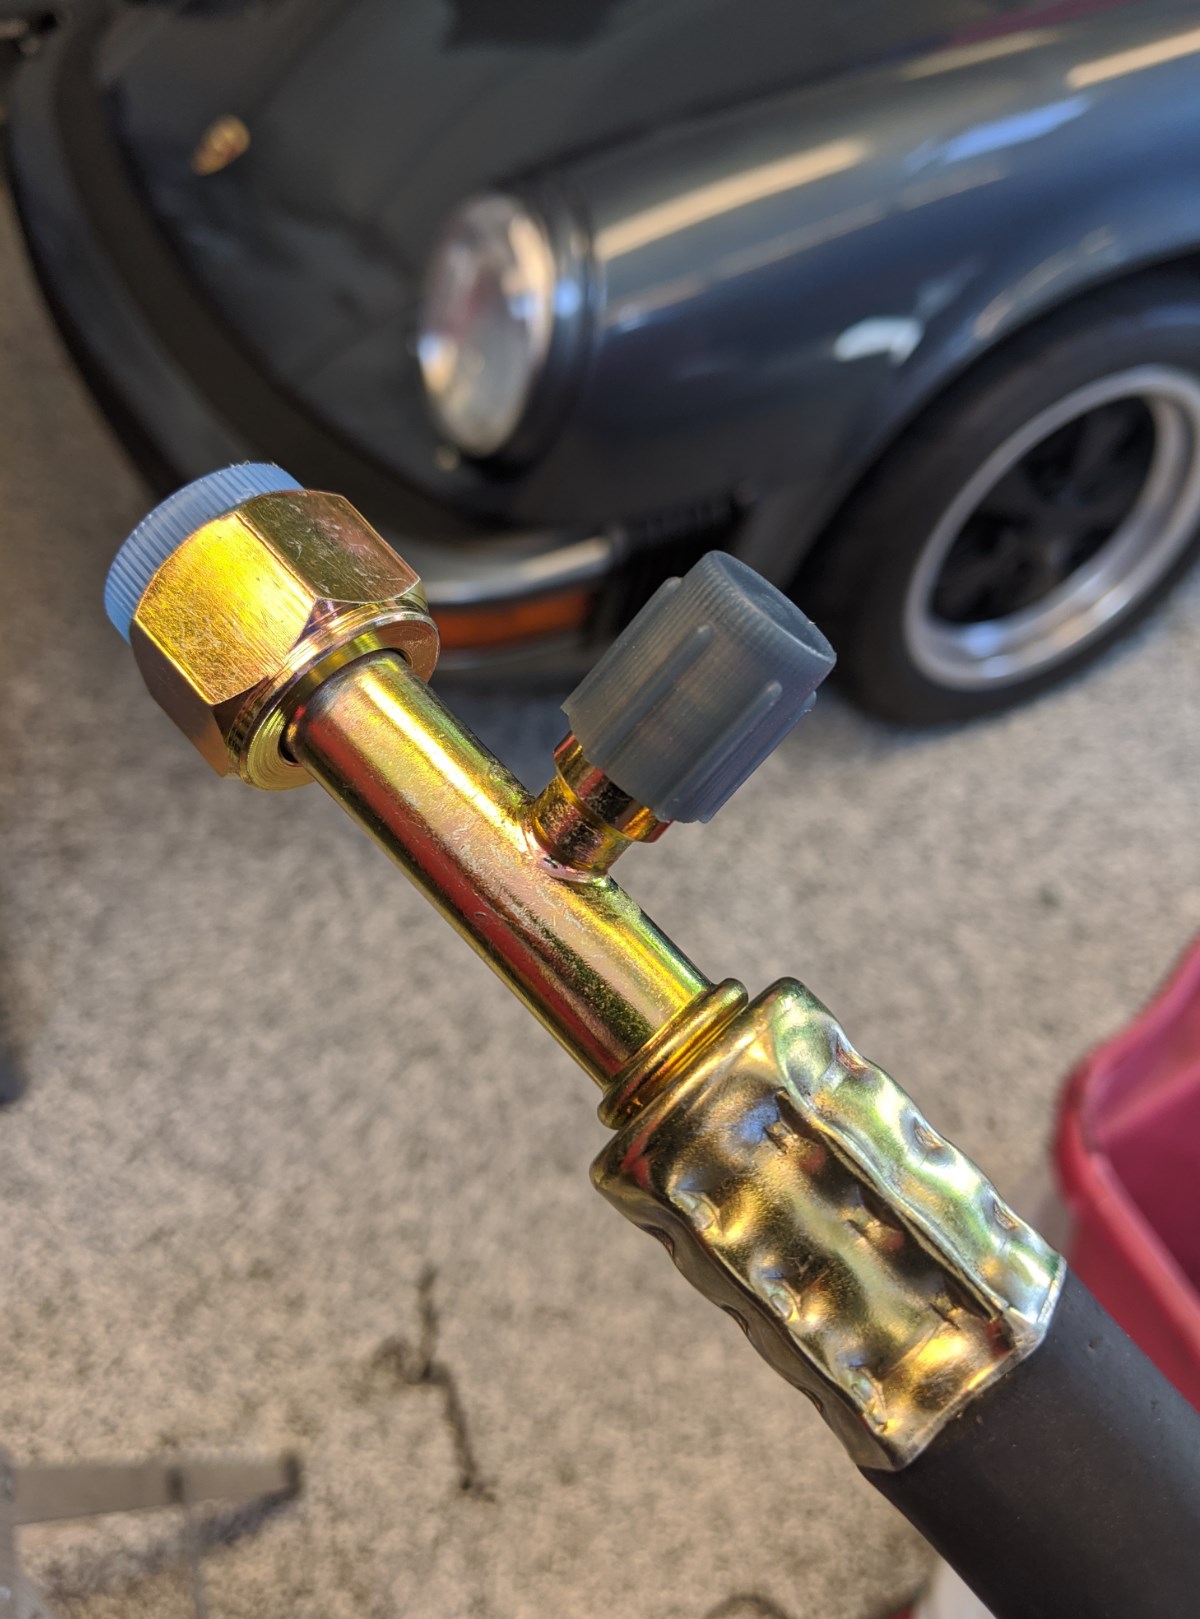
I'm now waiting for parts to arrive so I can finish this. I am now pretty confident I know what I'm doing which is a victory because two weeks ago I freaking out about how this would all work.
New seatbelt receptacles came and they work (third try is a charm). Now I can put Maytag's back in her.
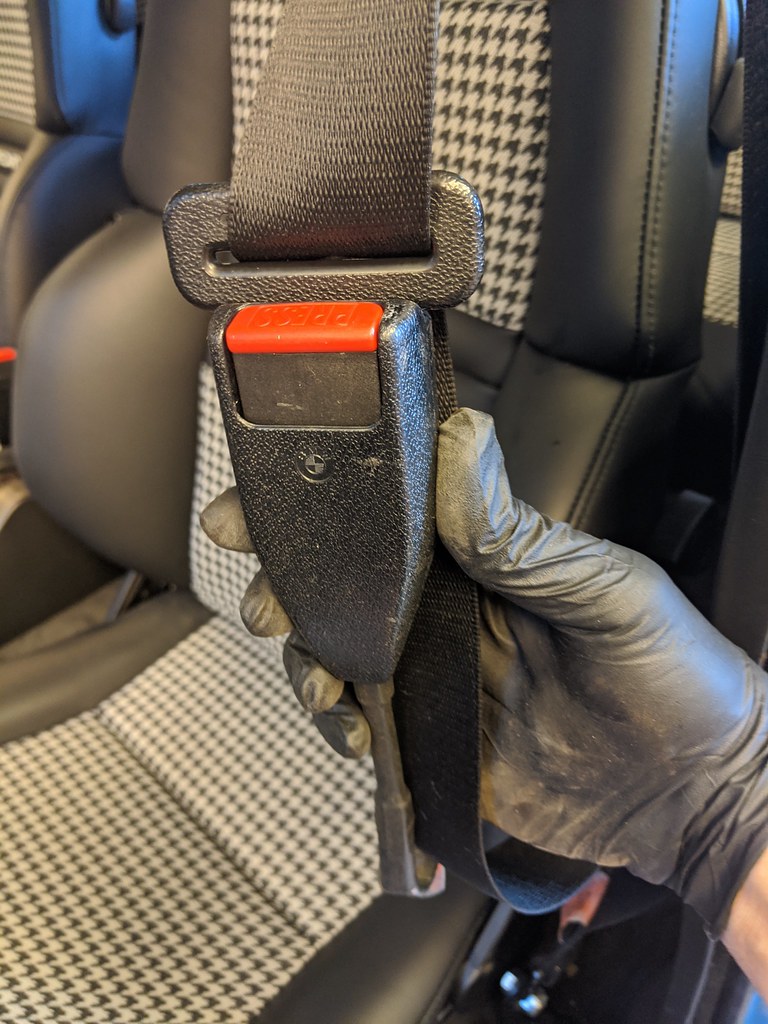
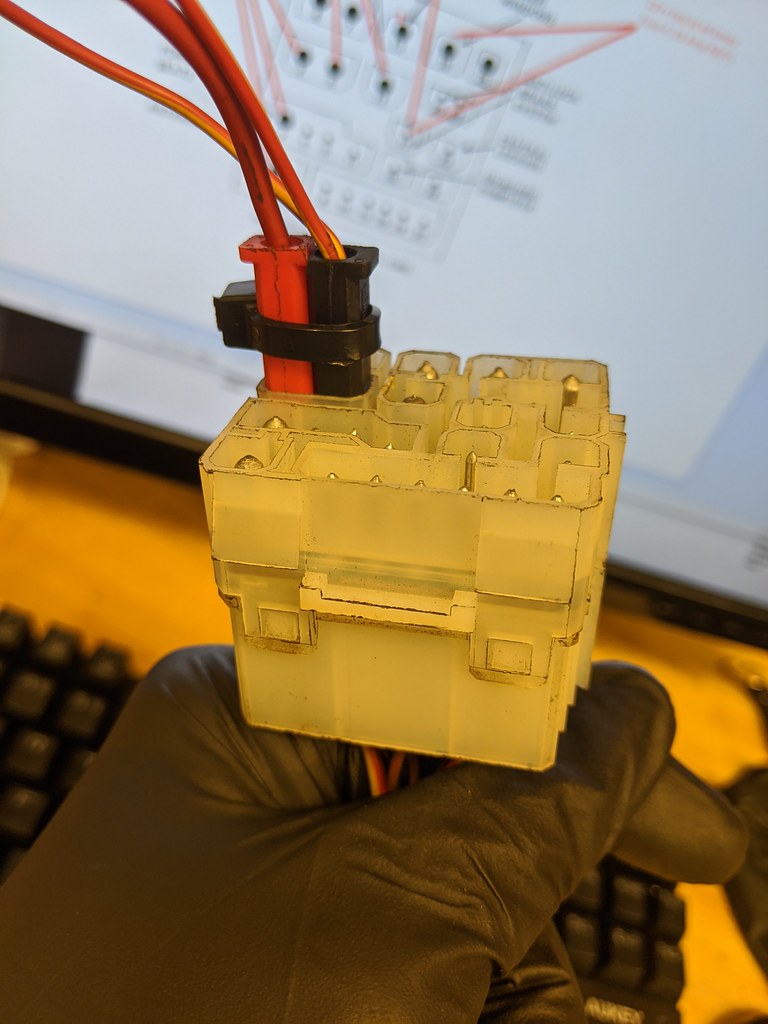
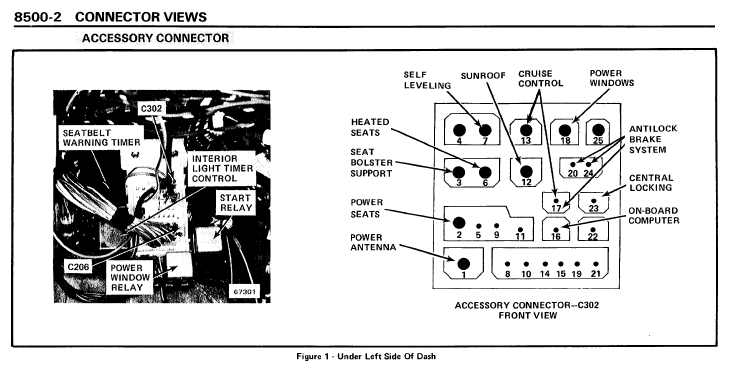
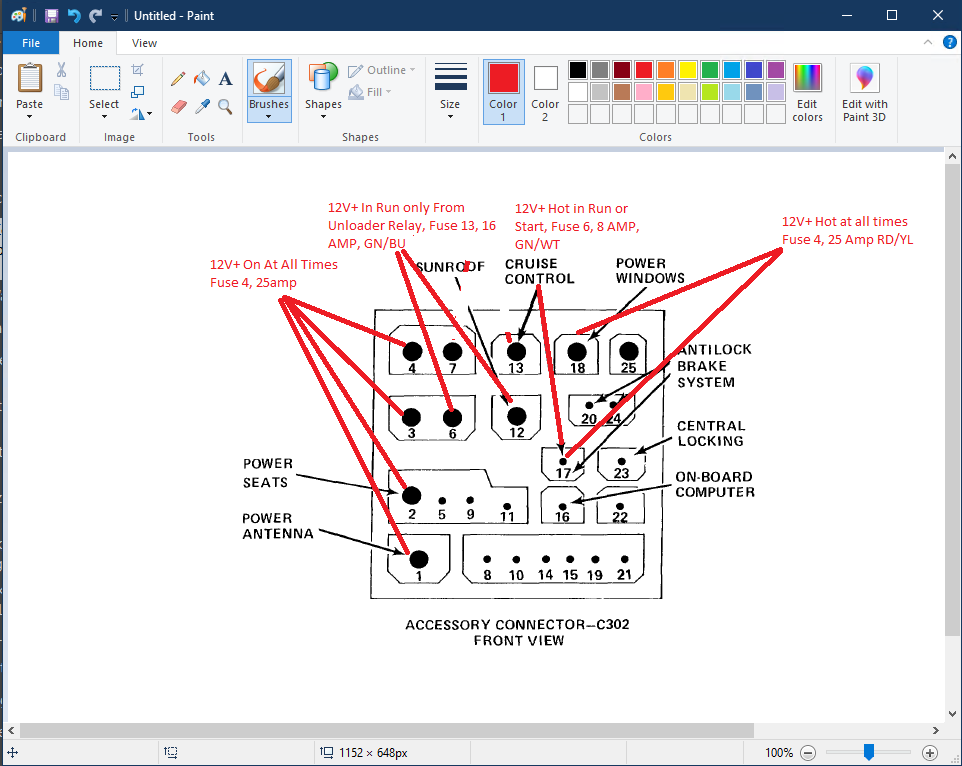
Please see this thread and offer your thoughts:
viewtopic.php?f=3&t=154641
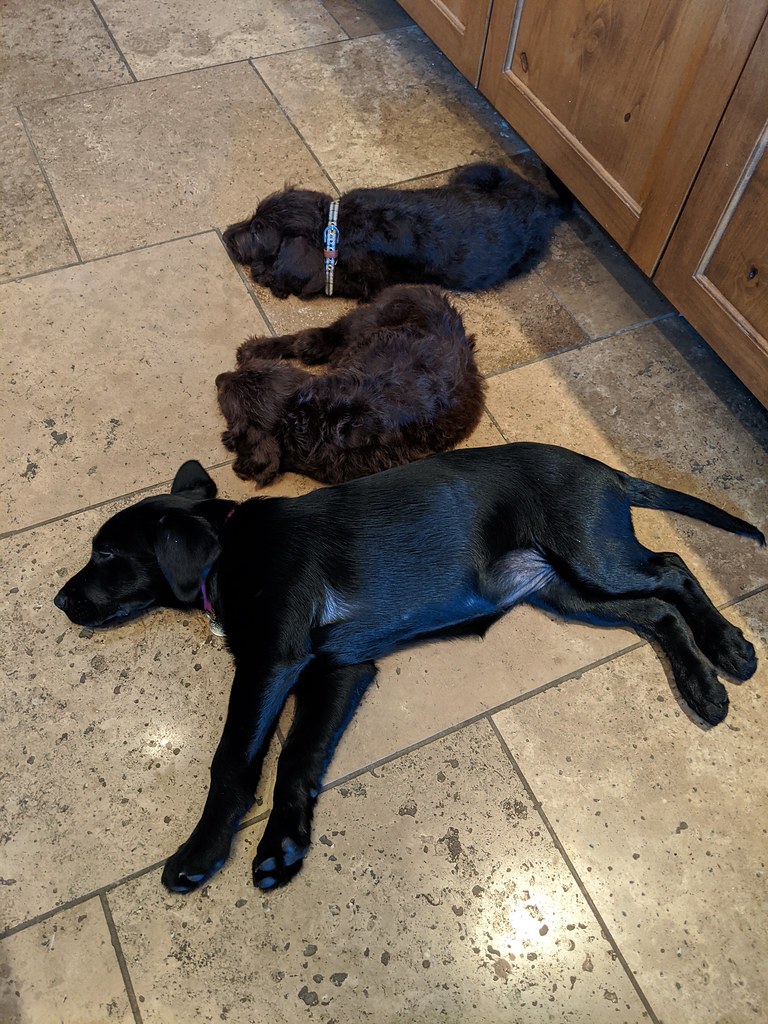
The pups say hi (when awake):
