Page 3 of 31
Posted: Nov 22, 2013 9:43 PM
by tig
wkohler wrote:I assume you mean valve adjustment, not a valve job.

Good luck.
Yes. I'm not that ambitious nor capable.
Posted: Nov 22, 2013 9:46 PM
by tig
a wrote:I go through the ritual of setting the engine to TDC in #1 cylinder. So that before I start taking stuff apart. I have it on the marks. Bentley is pretty good and will get you through the jobs. Rod Paine has a very good write up with pictures too. You may want to replace a few seals and the water pump as well. As a baseline , I would replace the cap and rotor, but if the future is uncertain and the engine runs OK then just clean stuff up and hope. .
I've been studying Rods instructions....
I have a new water pump. I think I ordered gaskets for it (crap!). Looks like dusty, wires, plugs are newish...taking a chance there.
Posted: Nov 22, 2013 10:04 PM
by waynet1
cek wrote:a wrote:I go through the ritual of setting the engine to TDC in #1 cylinder. So that before I start taking stuff apart. I have it on the marks. Bentley is pretty good and will get you through the jobs. Rod Paine has a very good write up with pictures too. You may want to replace a few seals and the water pump as well. As a baseline , I would replace the cap and rotor, but if the future is uncertain and the engine runs OK then just clean stuff up and hope. .
I've been studying Rods instructions....
I have a new water pump. I think I ordered gaskets for it (crap!). Looks like dusty, wires, plugs are newish...taking a chance there.
Don't forget the blind plugs.
Posted: Nov 22, 2013 10:17 PM
by tig
waynet1 wrote:cek wrote:a wrote:
I've been studying Rods instructions....
I have a new water pump. I think I ordered gaskets for it (crap!). Looks like dusty, wires, plugs are newish...taking a chance there.
Don't forget the blind plugs.
wha?
Posted: Nov 22, 2013 10:19 PM
by wkohler
Rocker shaft plugs. You replace them when you do the valve cover gasket.
11 33 1 264 519
Posted: Nov 22, 2013 10:24 PM
by tig
wkohler wrote:Rocker shaft plugs. You replace them when you do the valve cover gasket.
11 33 1 264 519
Shit. Unless I can find them locally tomorrow morning I guess some parts of this operation will have to wait. I wonder if the Stealer carries them...
Posted: Nov 22, 2013 10:32 PM
by Kyle in NO
Very likely, unless they really suck.
Posted: Nov 22, 2013 10:44 PM
by Coldswede
Also you might consider replacing the cam seal and related O-ring, especially if you have leaks from the front of the engine. it will be readily accessible when doing the T-Belt.
Posted: Nov 23, 2013 1:28 PM
by tig
(nevermind: only the headlamp is out; foglamp just had a bad connection)
Posted: Nov 23, 2013 3:21 PM
by tig
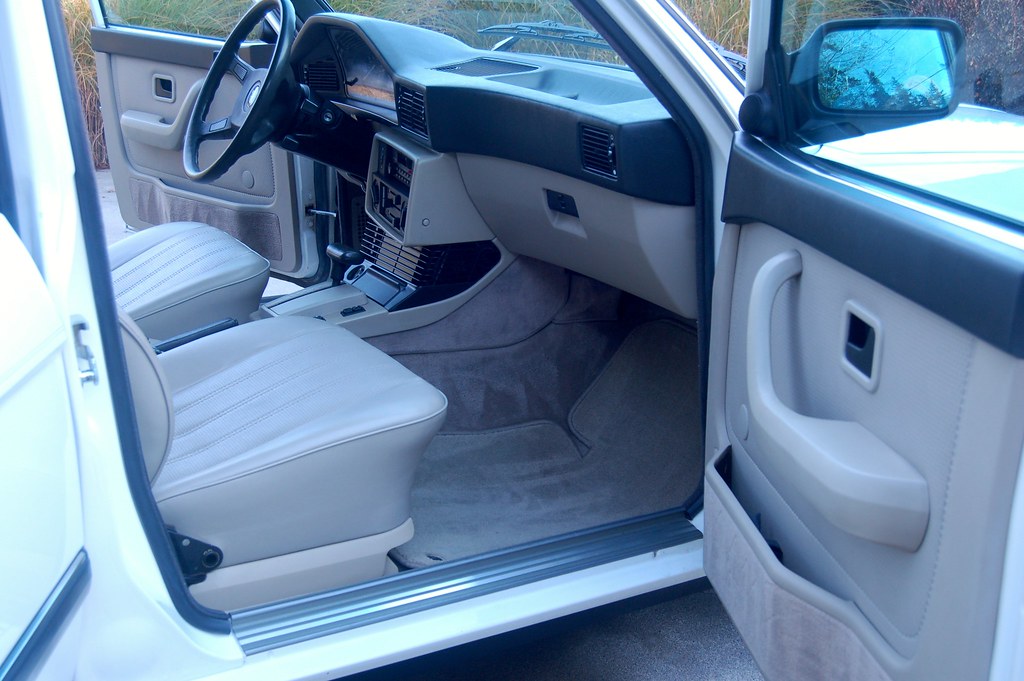
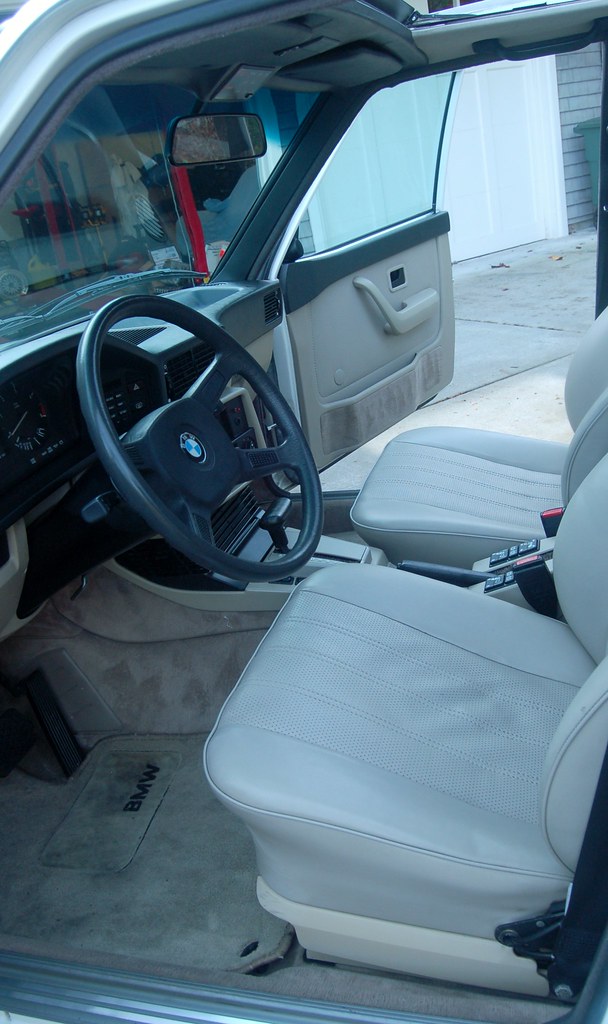
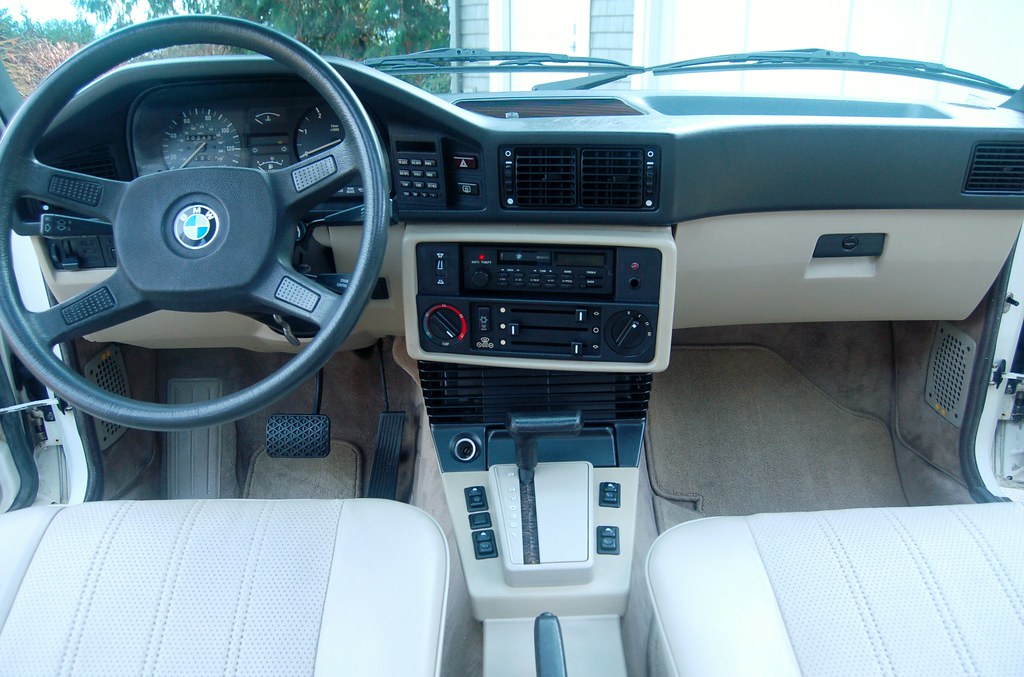
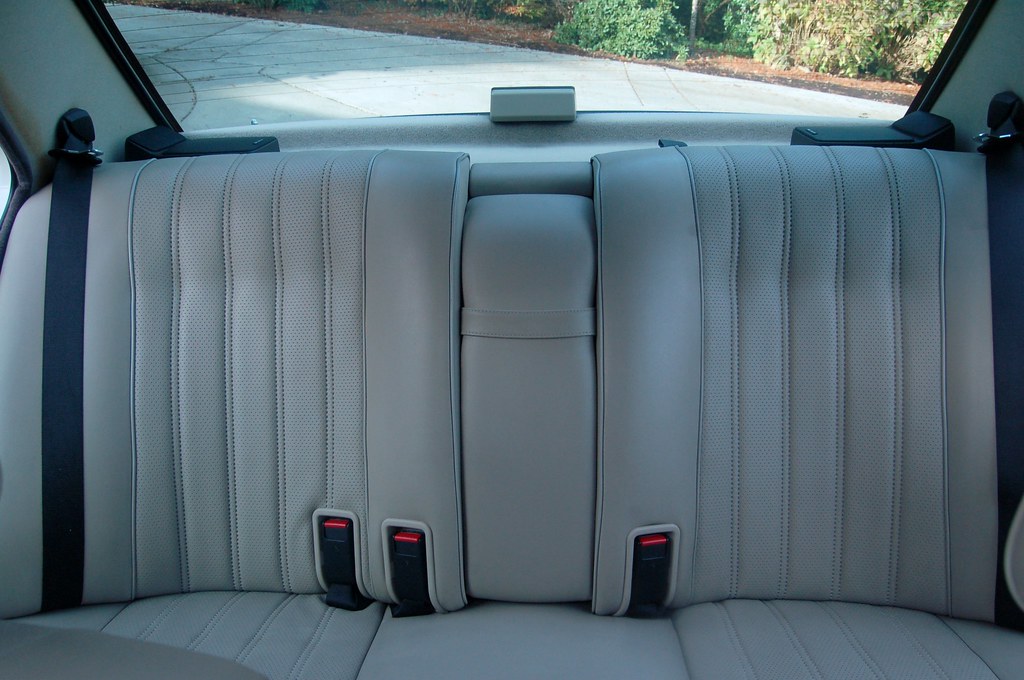
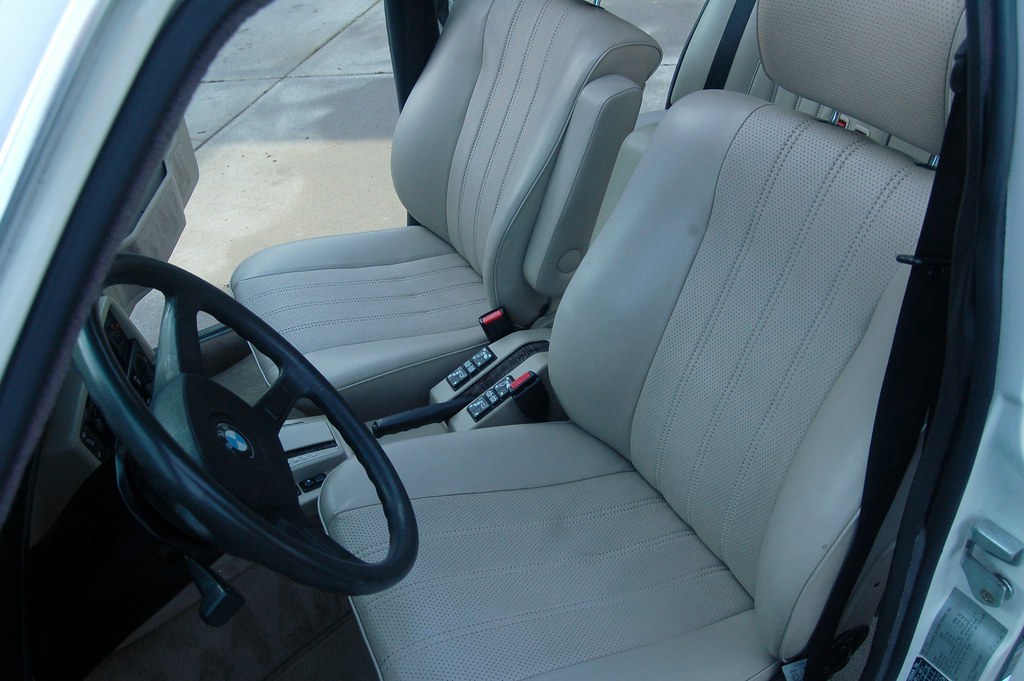
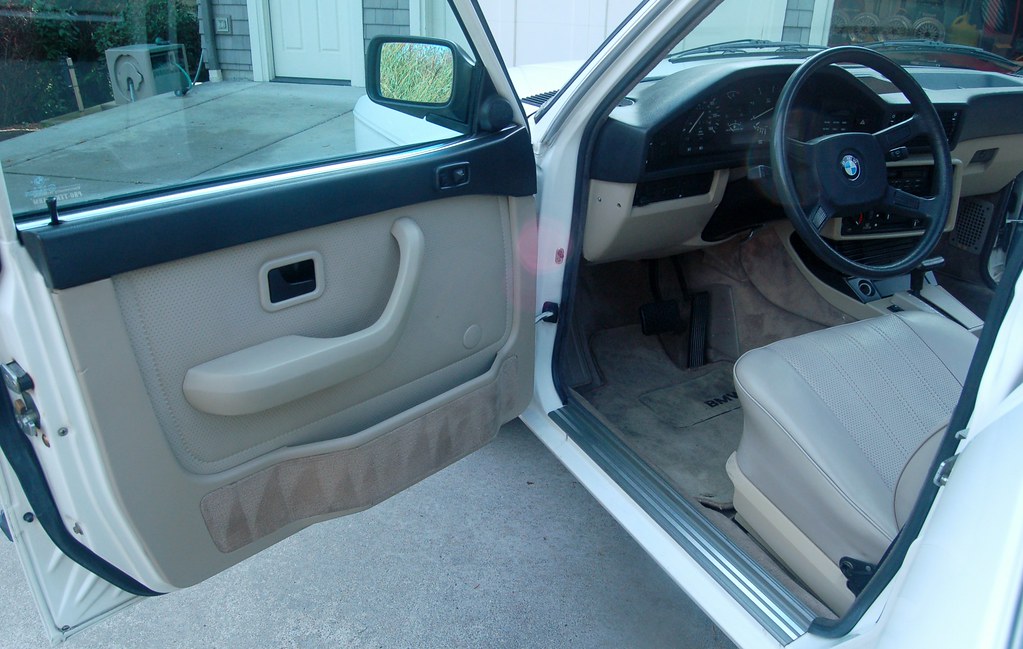
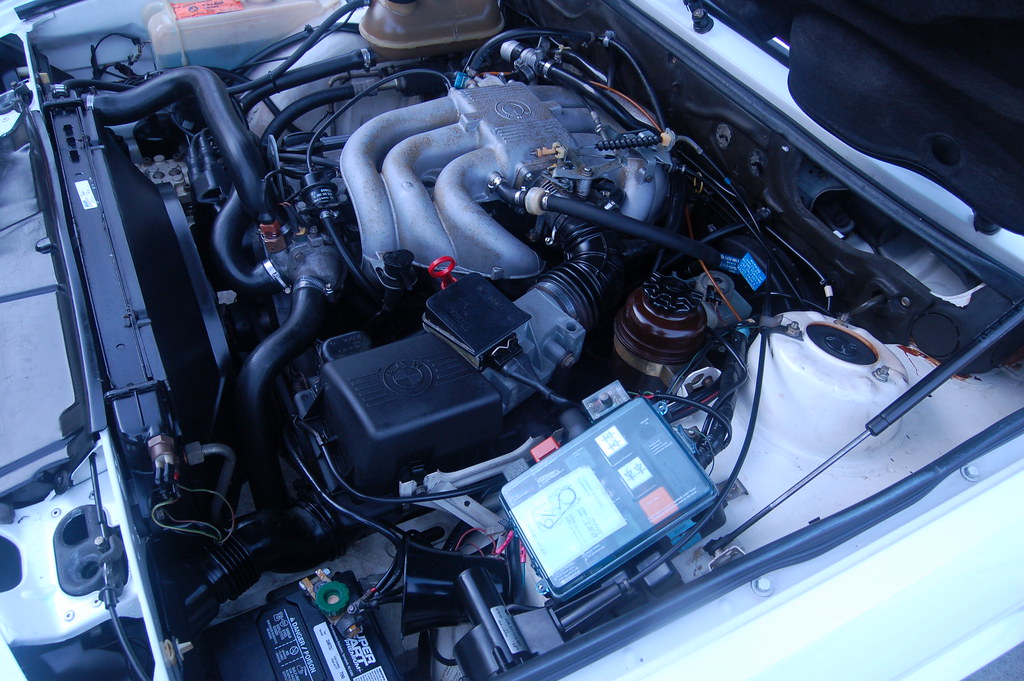
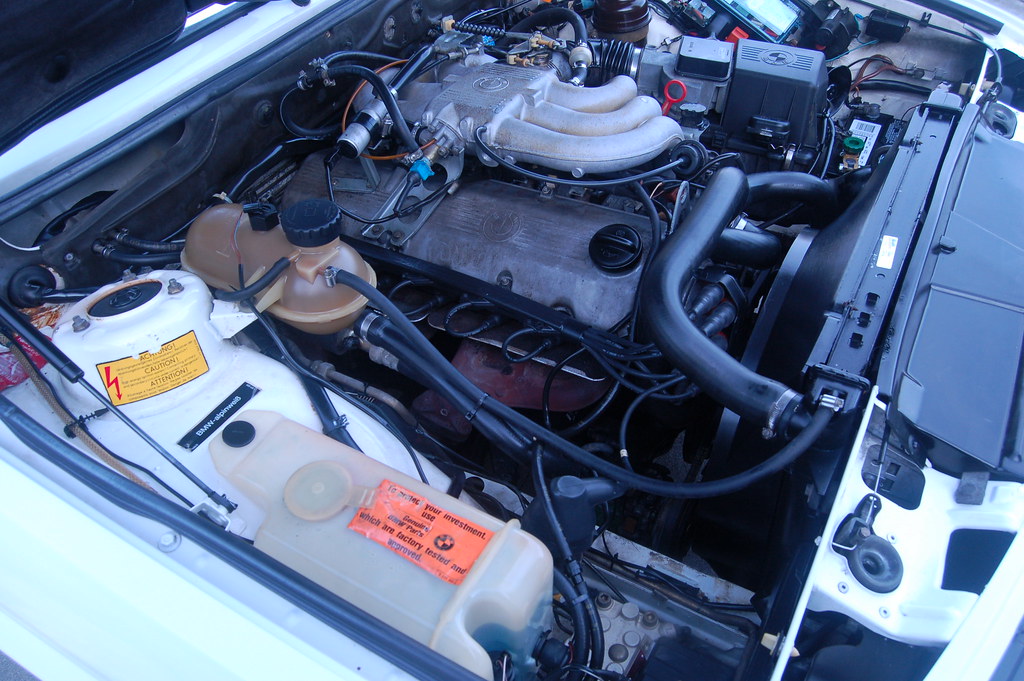
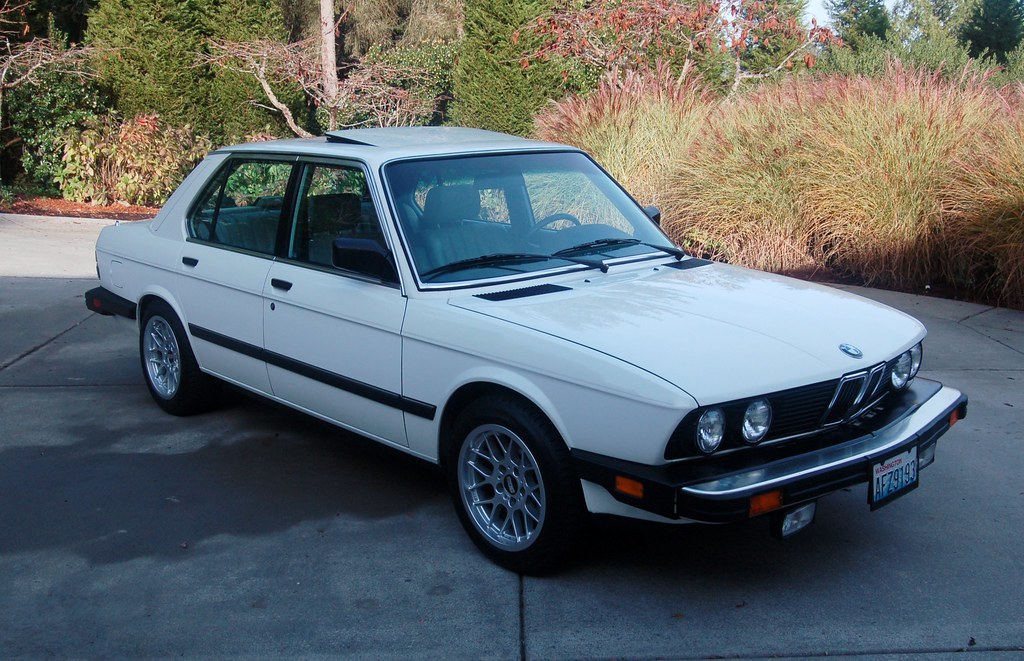
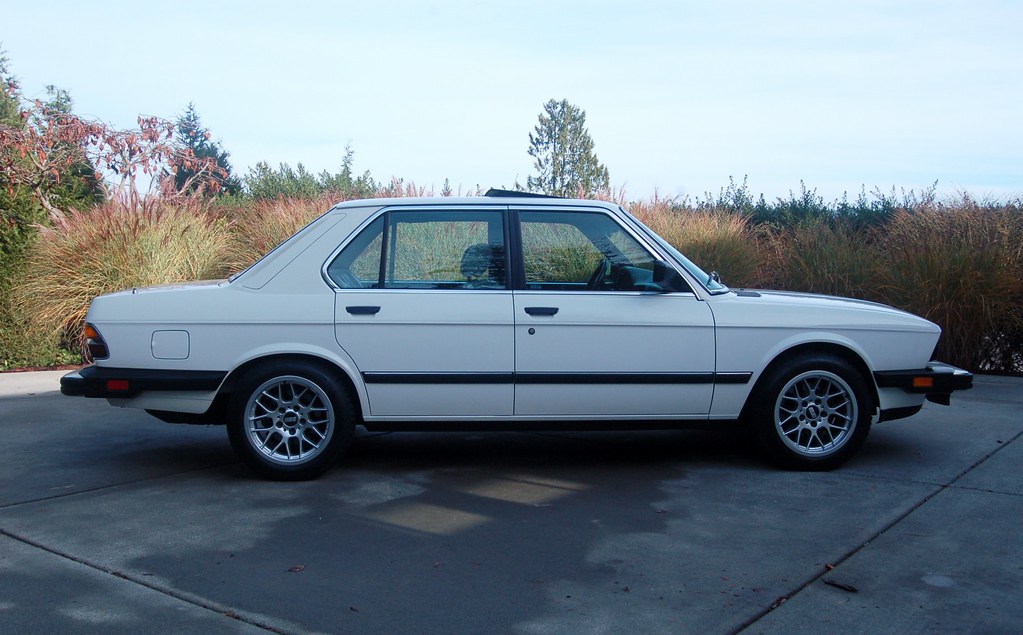
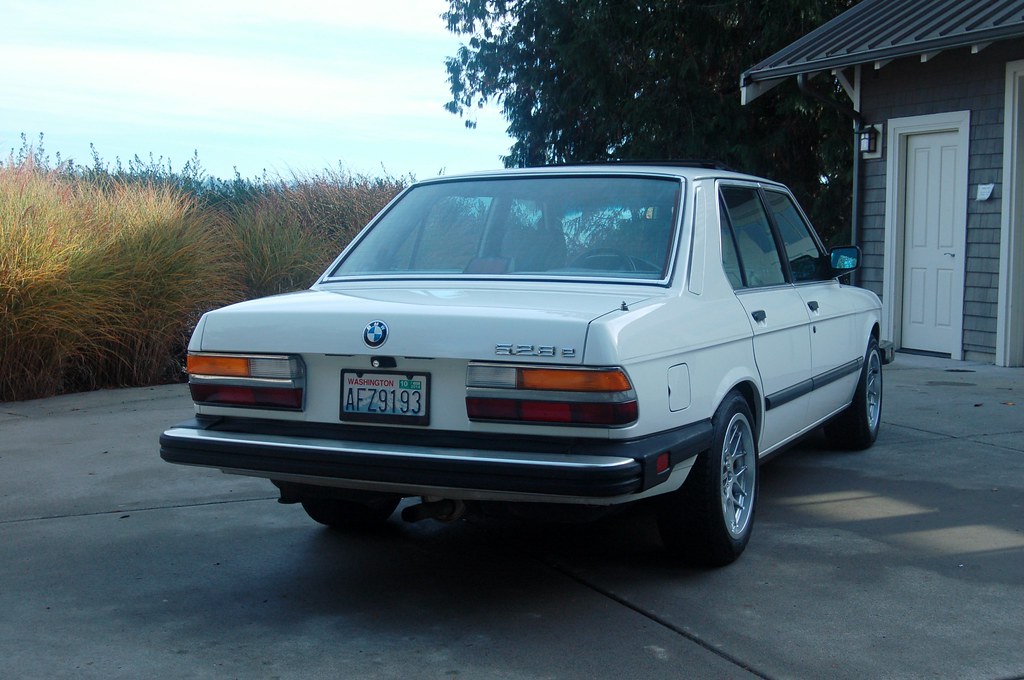
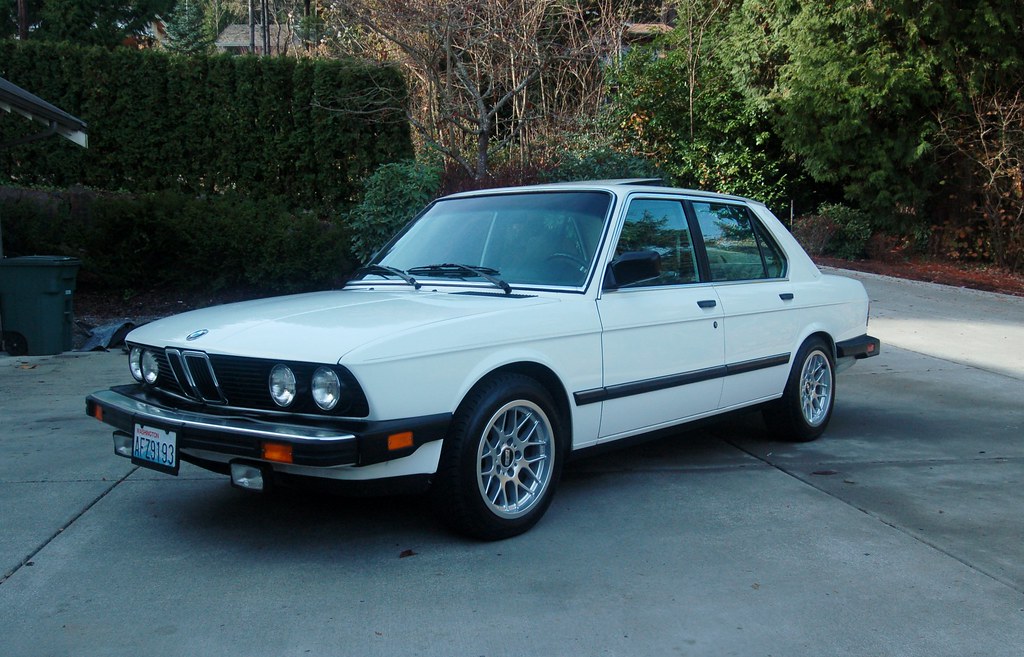
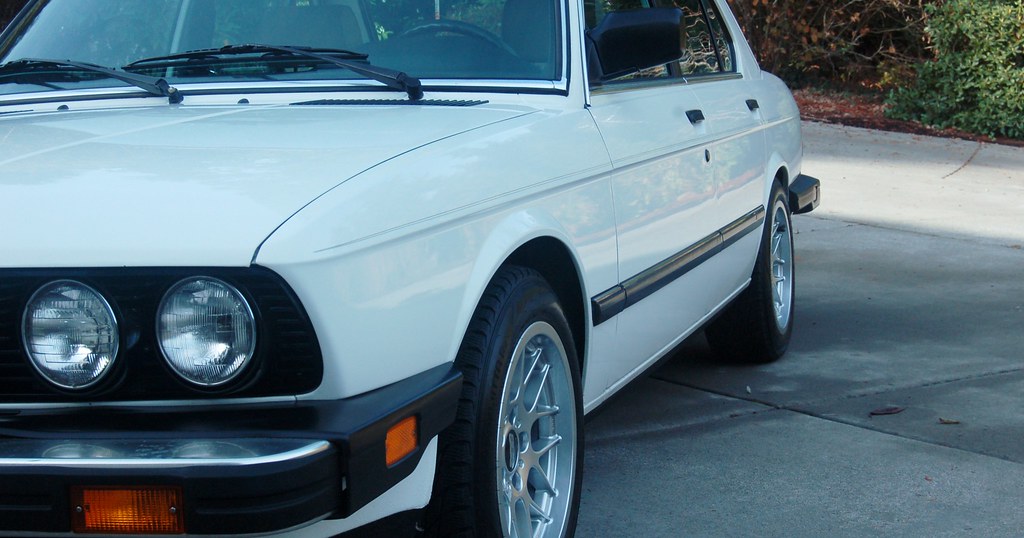
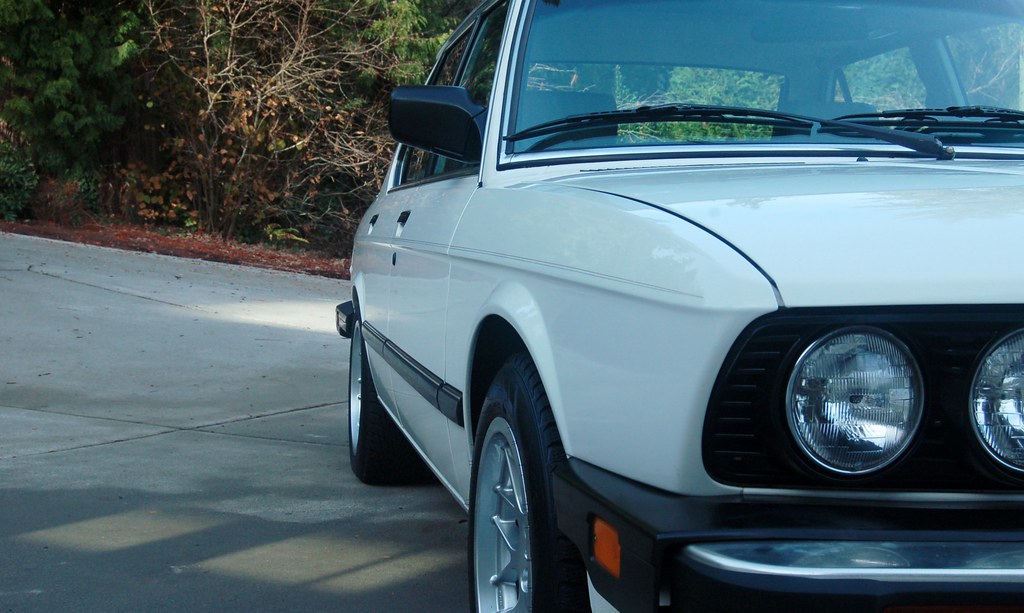
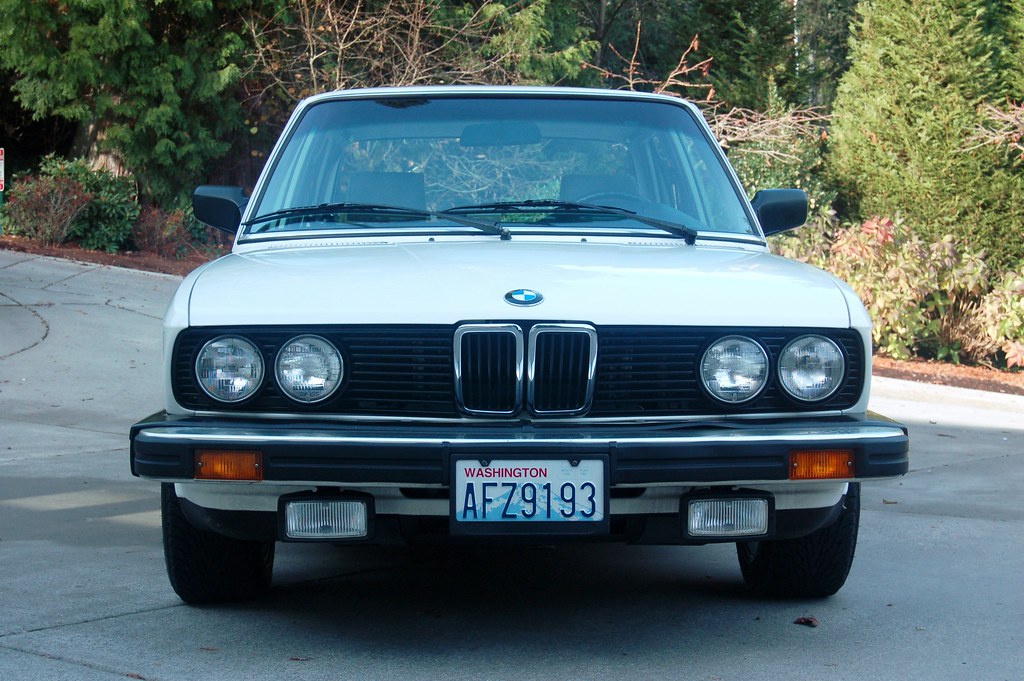
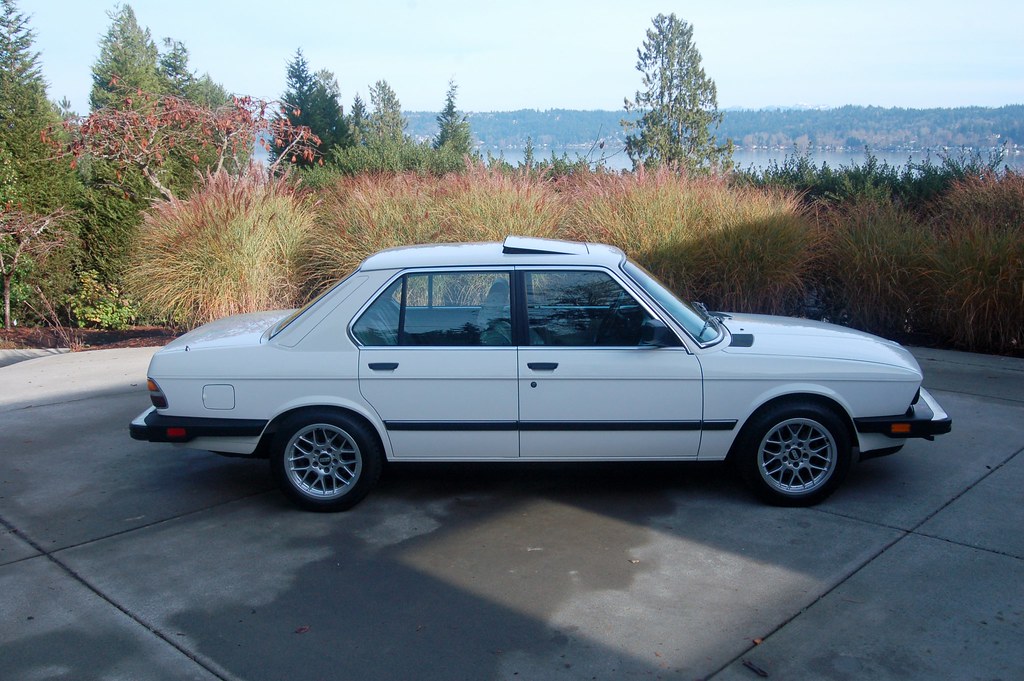
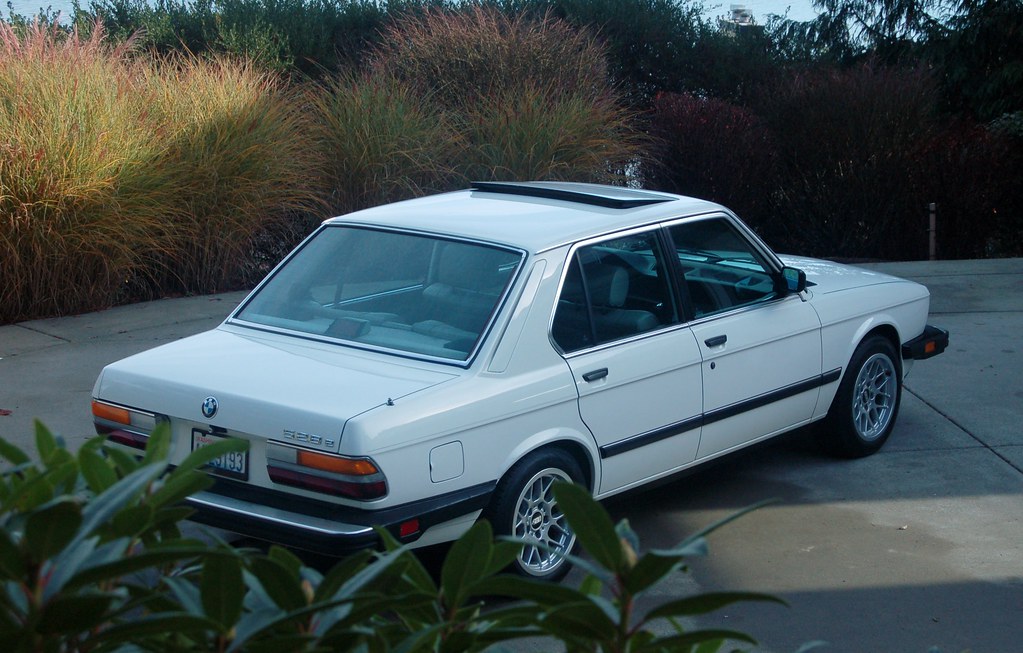
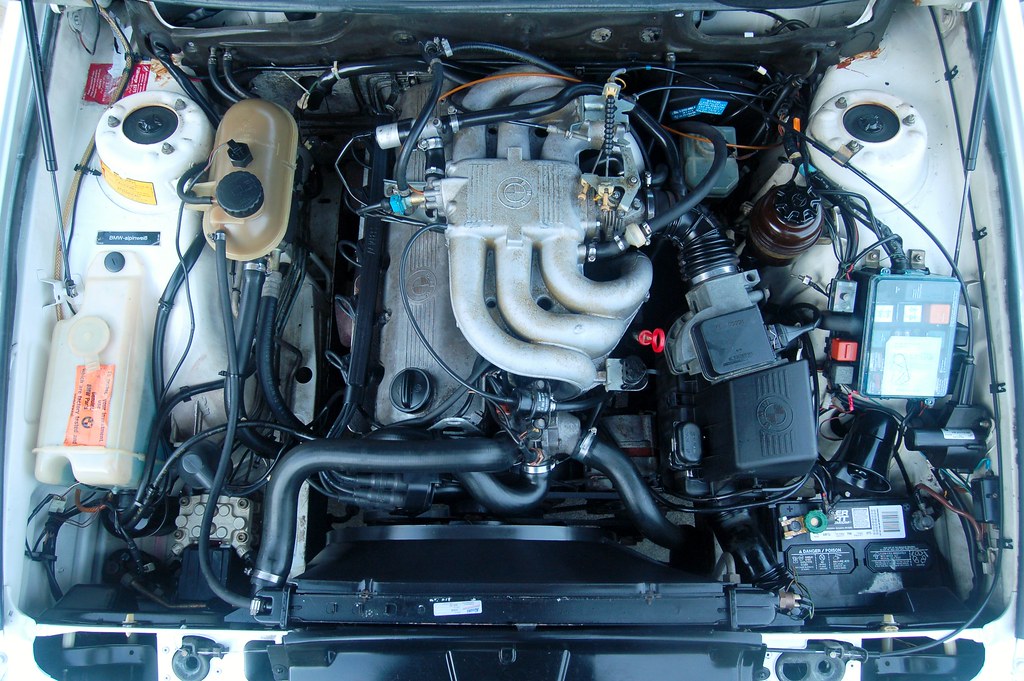
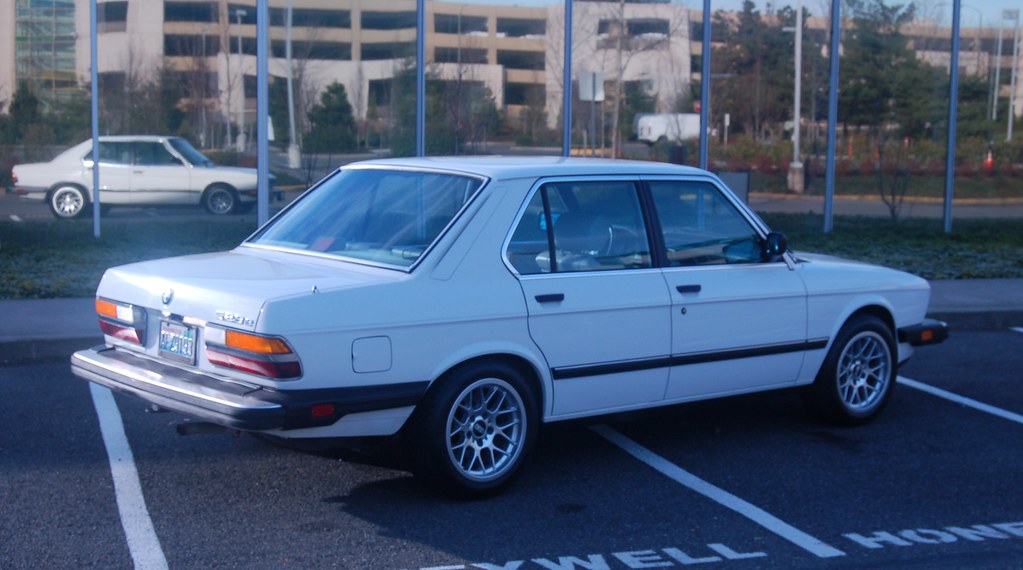
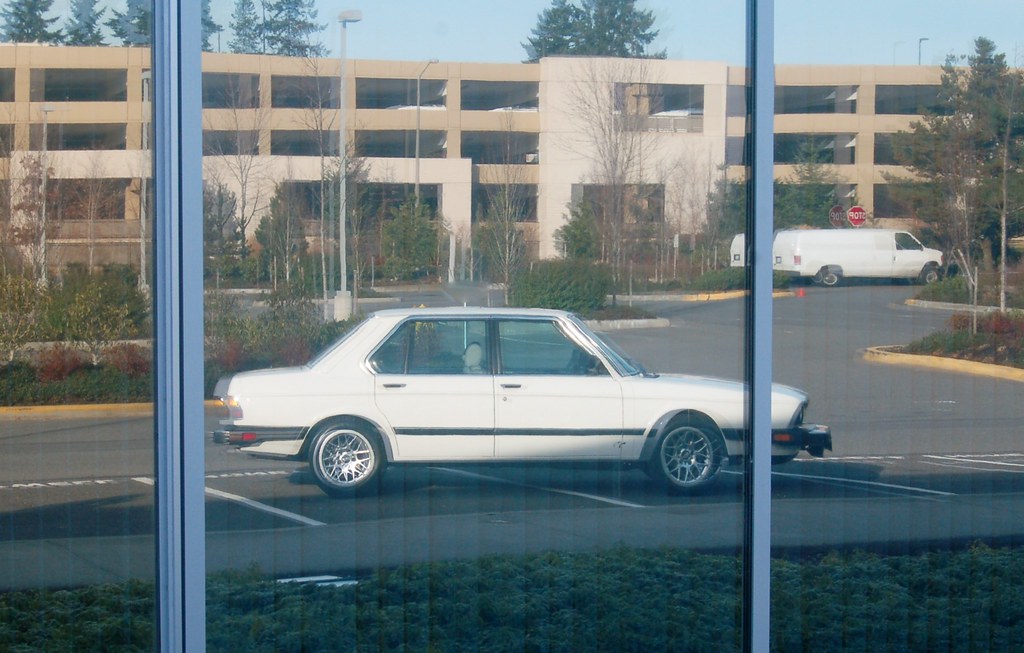
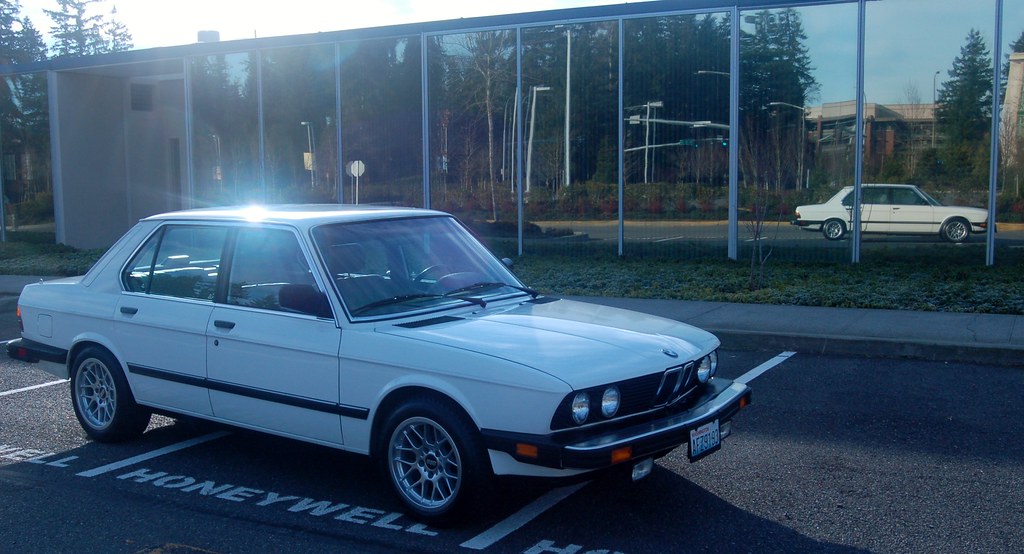
Here come post-detail photos.
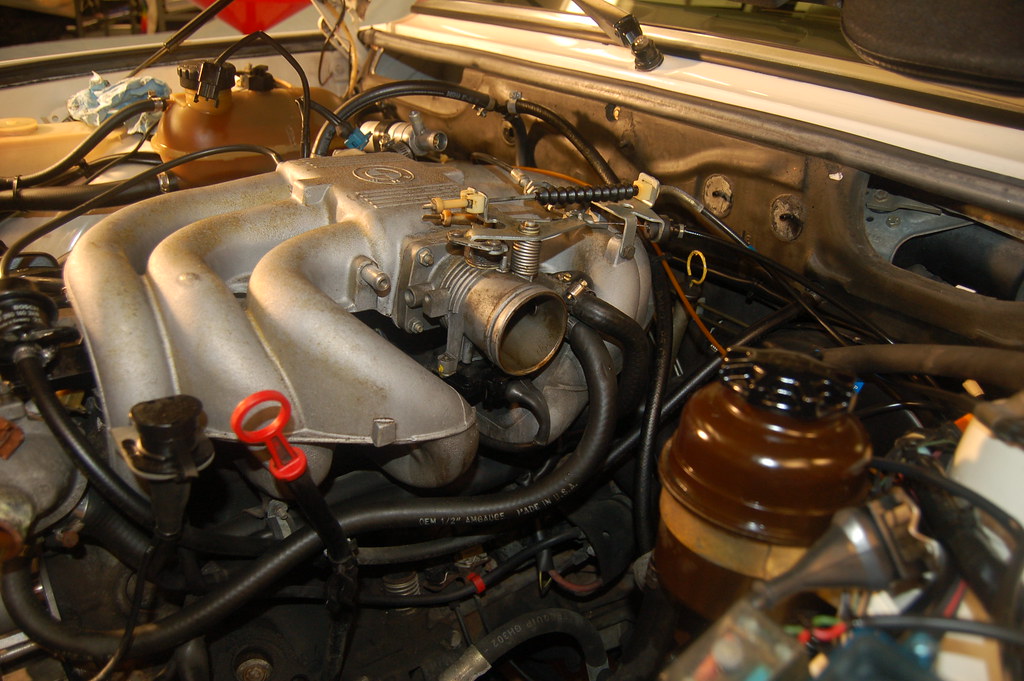
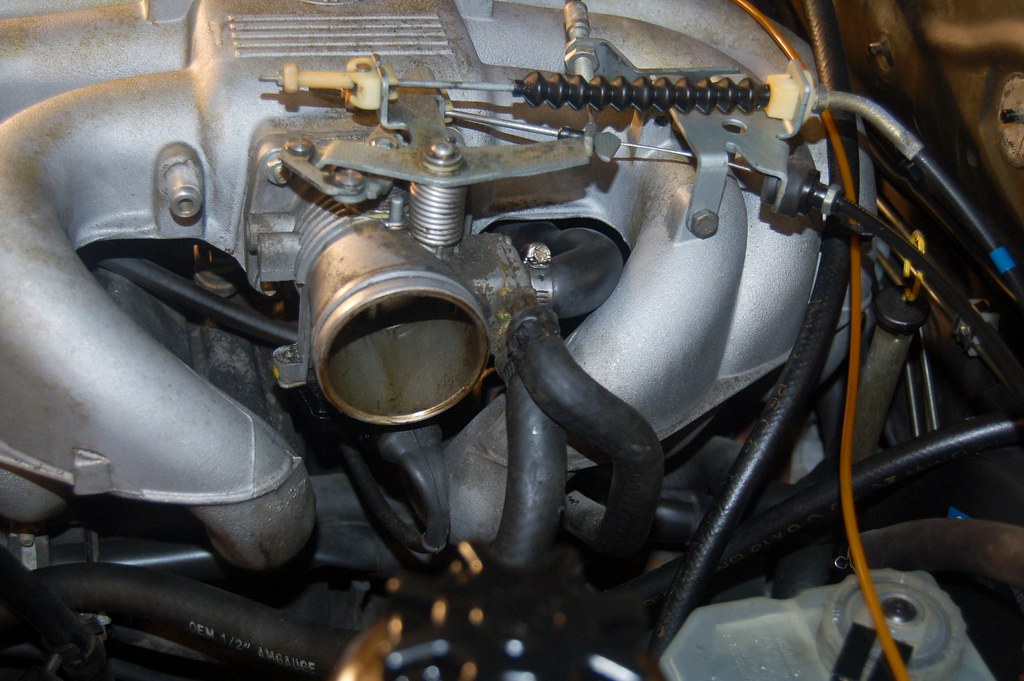
Engine before:
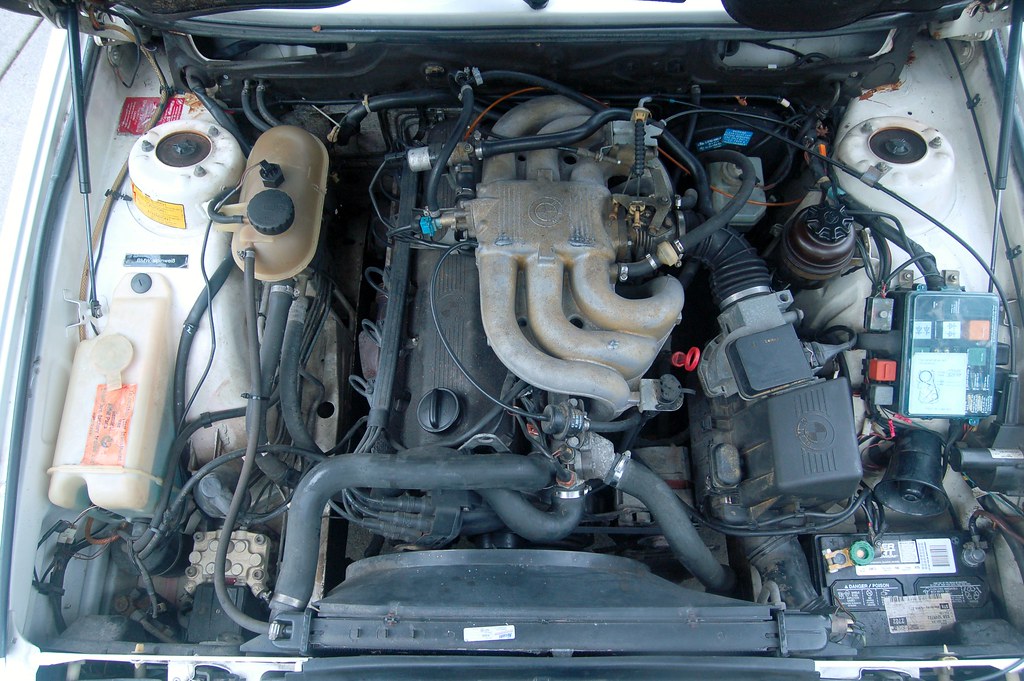
Engine after:
Glam shots:
Posted: Nov 23, 2013 3:28 PM
by tig
Posted: Nov 23, 2013 3:33 PM
by tig
Posted: Nov 23, 2013 3:41 PM
by Corner Carver
She sure is a beaut'. Nice catch.

Posted: Nov 23, 2013 6:06 PM
by tig
Good progress is being made on the timing belt job.
Hit a snag though. Can't see a TDC mark on my camshaft sprocket. It should be a nice bold arrow per Bentleys and other docs. Going to get lunch and pick up all the parts I forgot to order at NAPA (between the dealer and them I have everything I need this weekend!).
Hopefully when I get back someone will have given me some idea what to do about the fact there's no TDC mark!
Posted: Nov 23, 2013 7:44 PM
by Kyle in NO
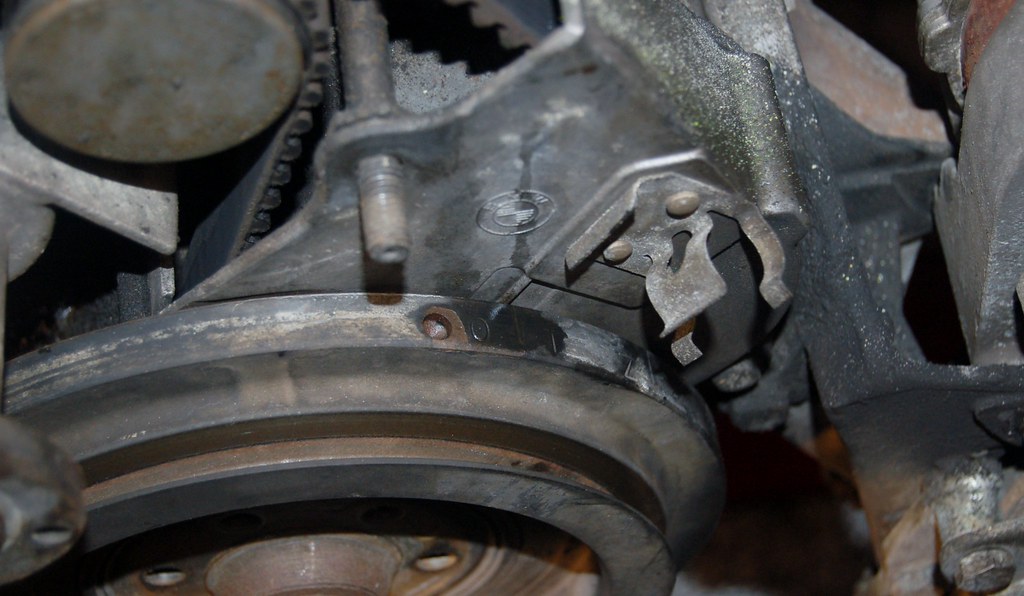
The TDC mark on the balancer is the vertical line between the O and T.
Posted: Nov 23, 2013 7:50 PM
by tig
Found it. Just needed better light. The engraving was just much lighter than what I'd seen in other pictures.
Circled it with a sharpie.
Posted: Nov 23, 2013 8:12 PM
by waynet1
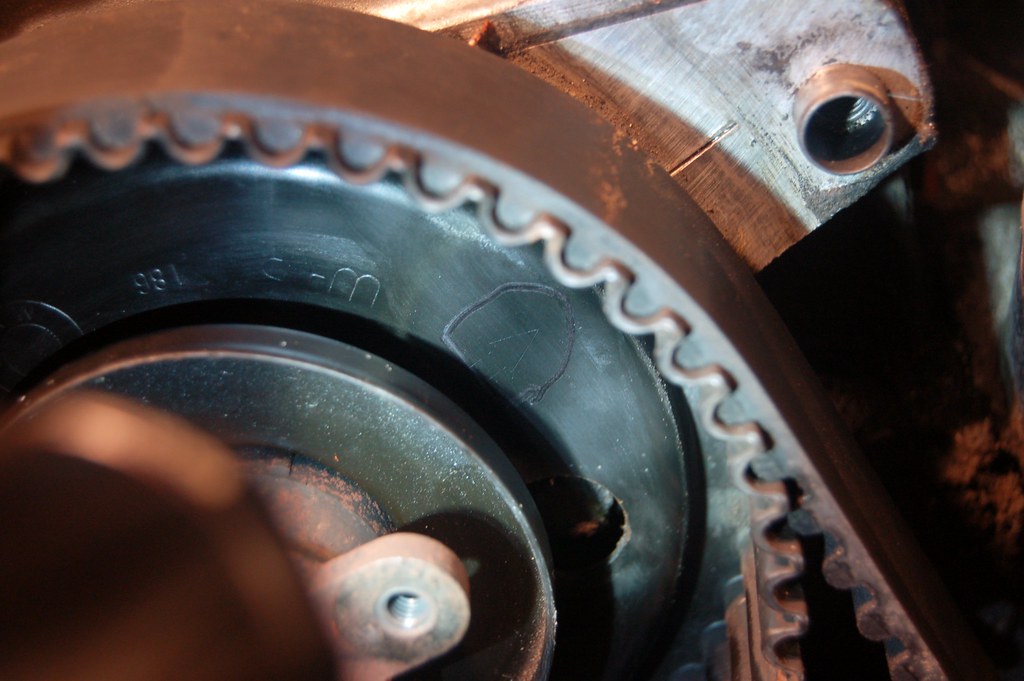
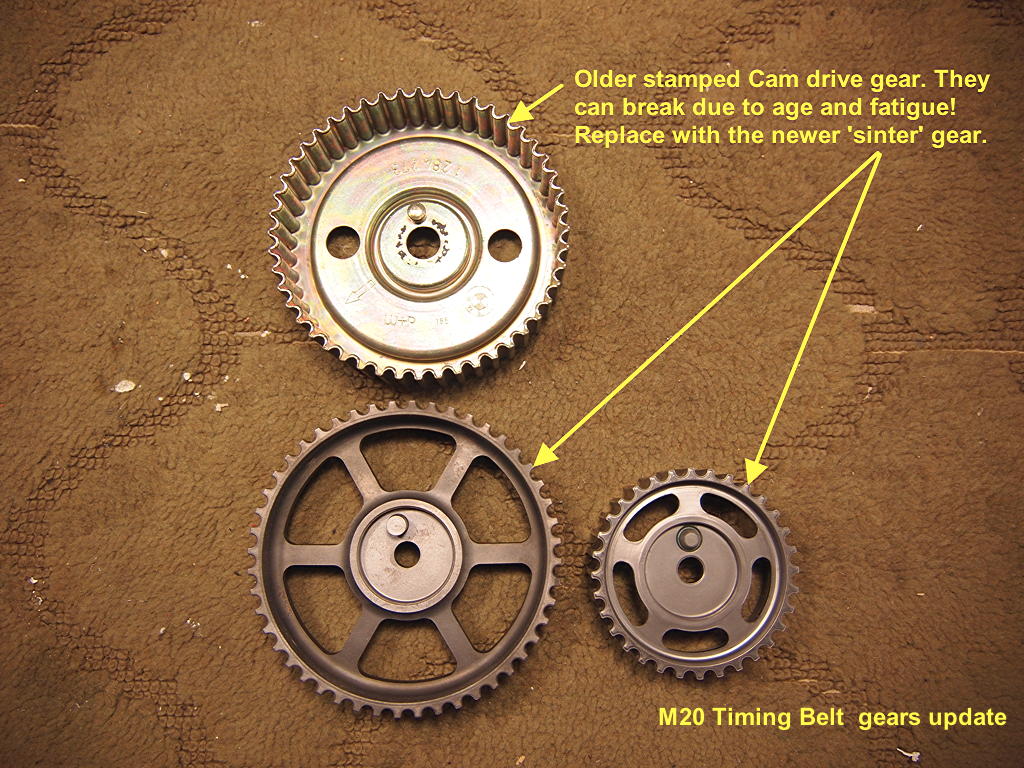
Just one picture I'll add (from Rod's site) for you to ,well, think about.
Posted: Nov 23, 2013 8:22 PM
by tig
waynet1 wrote:Just one picture I'll add (from Rod's site) for you to ,well, think about.
Sadly, because Rod's site does not load on my home network (!) I can't see said picture. :-(
Posted: Nov 23, 2013 8:32 PM
by waynet1
Here ya go.

Posted: Nov 23, 2013 8:57 PM
by tig
waynet1 wrote:Here ya go.
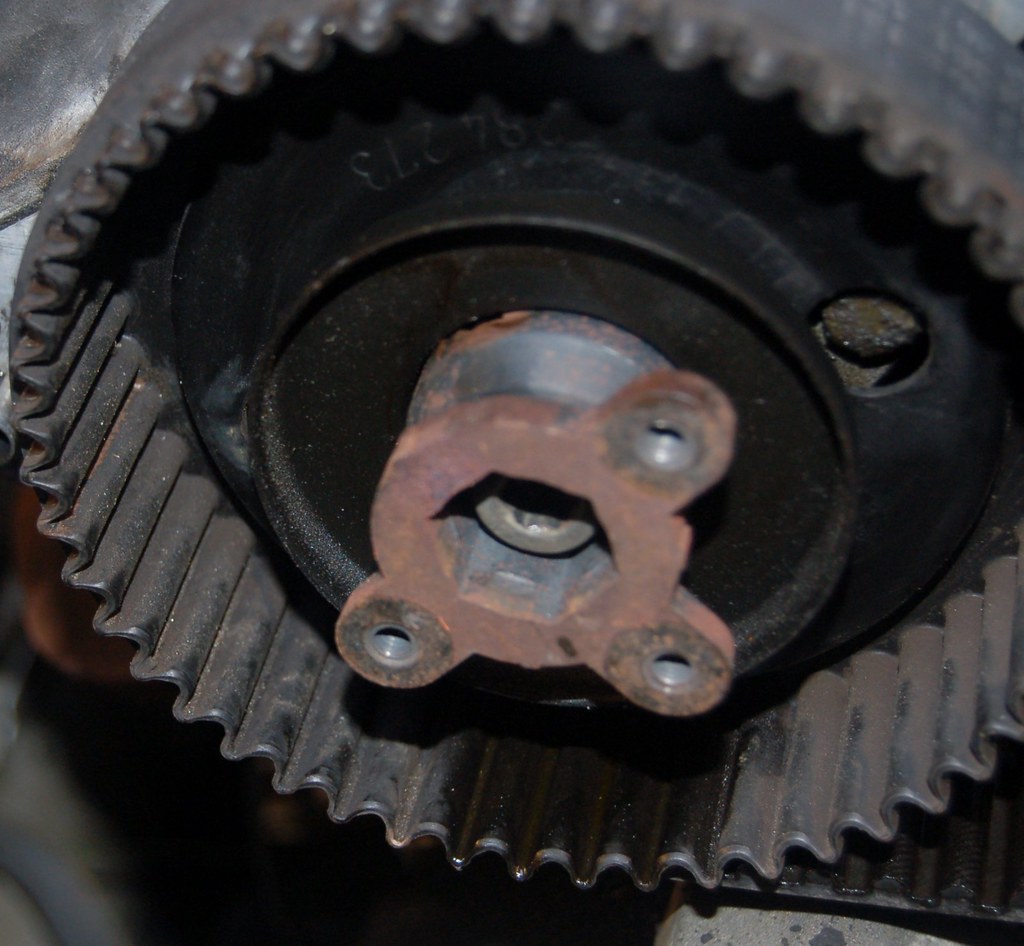
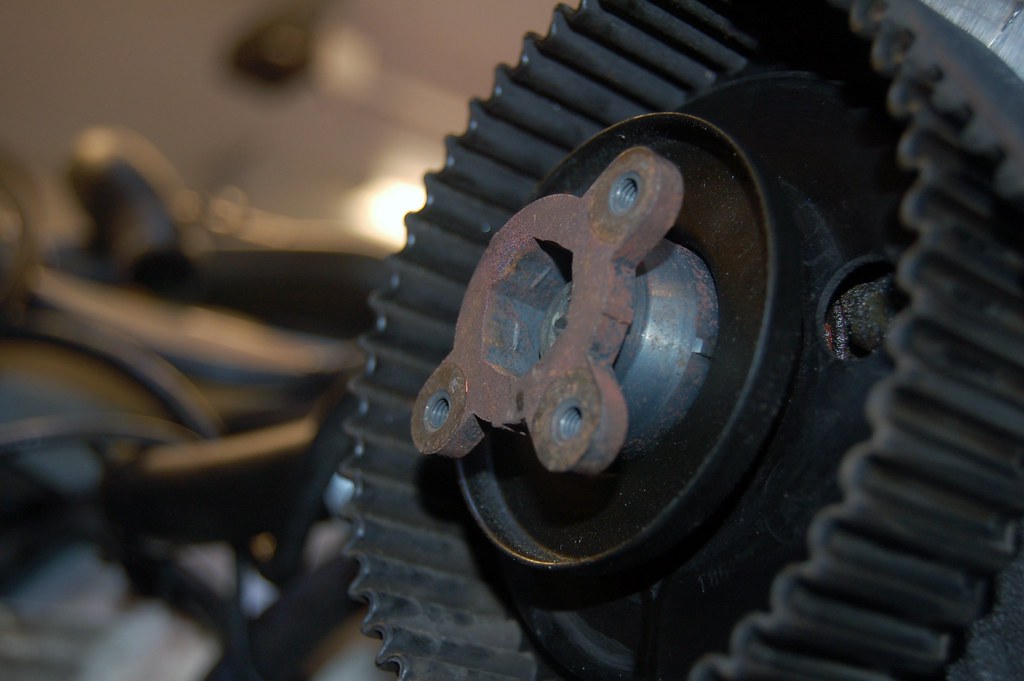
Got it. Mine is stamped "W+P 1 86" and thus is not one of the really bad ones. My car was made 7/86 so must have JUST missed getting one of the recalled "W+P 2 86" sprockets. I'm sure there's a risk that this sprocket could fail, but there's no way I'm getting one of those newfangled ones in time, so will just risk it...
Posted: Nov 23, 2013 9:39 PM
by tig
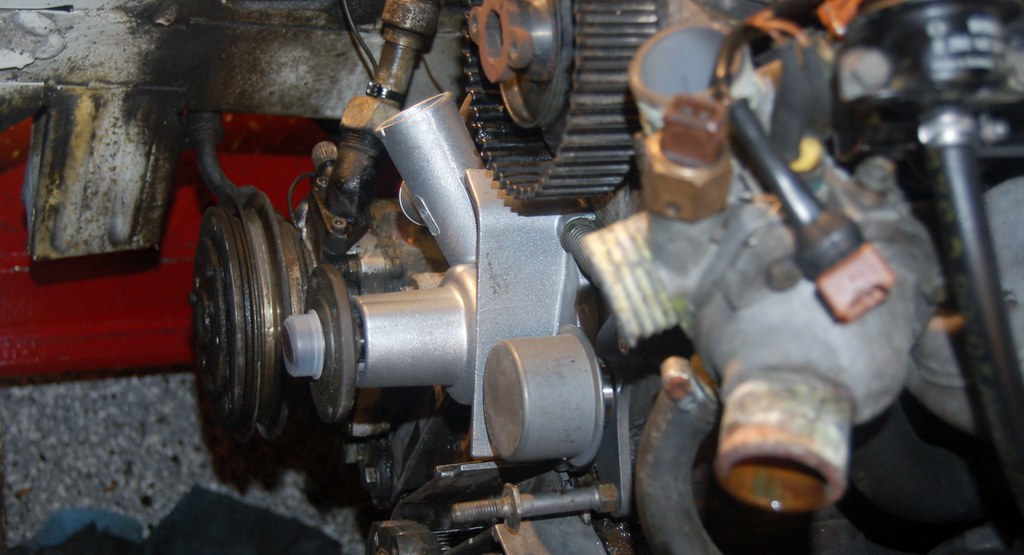
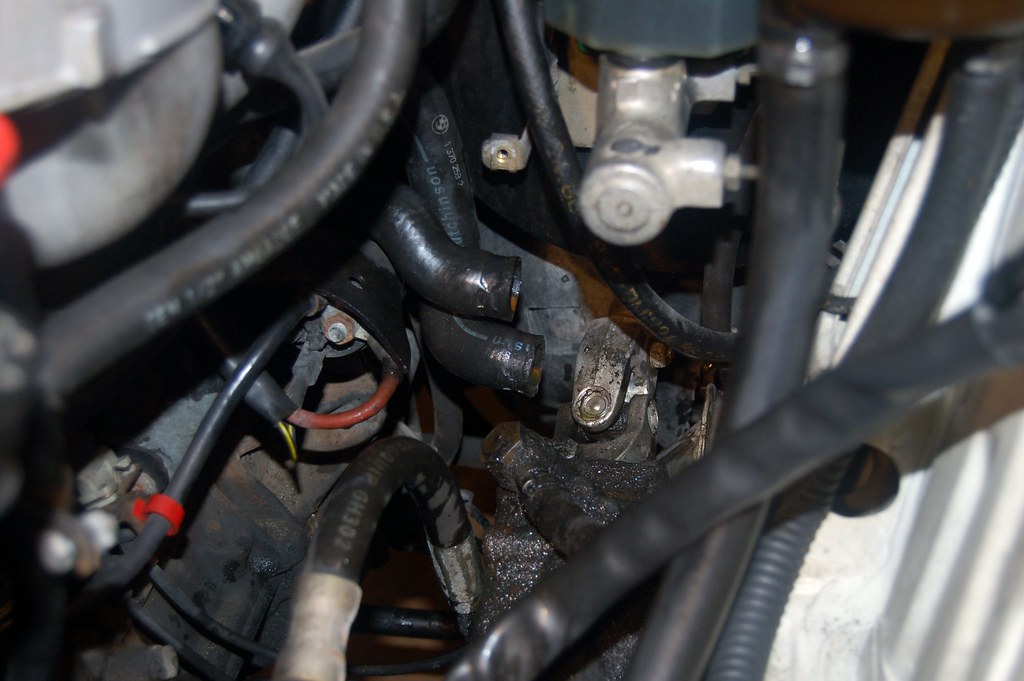
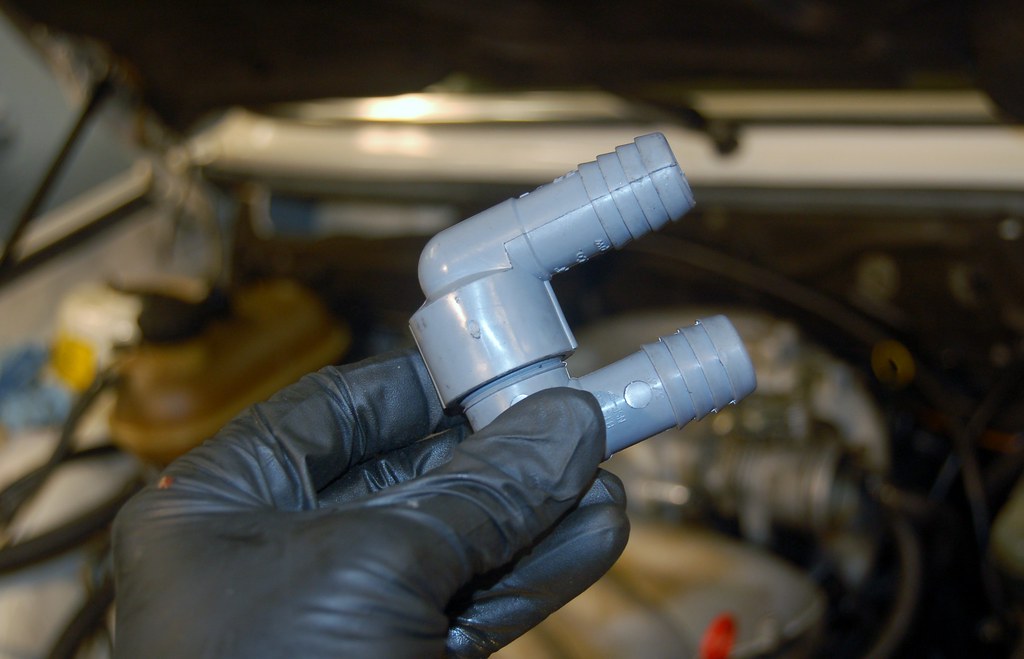
Taking the intake manifold off with the engine in the car is a lot harder than I thought it would be.
Can the fuel rail and injectors be pulled out without taking the intake manifold off?
Clearly the valve cover can come off and that might make more room to get to the fuel rail/injectors.
Posted: Nov 23, 2013 10:08 PM
by tig
Done for the day.
- Timing belt off
- New water pump on
- New timing belt tensioner on
- AFM, boot, etc... off
- In-engine bay alarm crap pulled
- Heater control valve out
- Temporary heater control valve bypass ready
Tomorrow
- Install heater valve bypass
- R&R heater fan
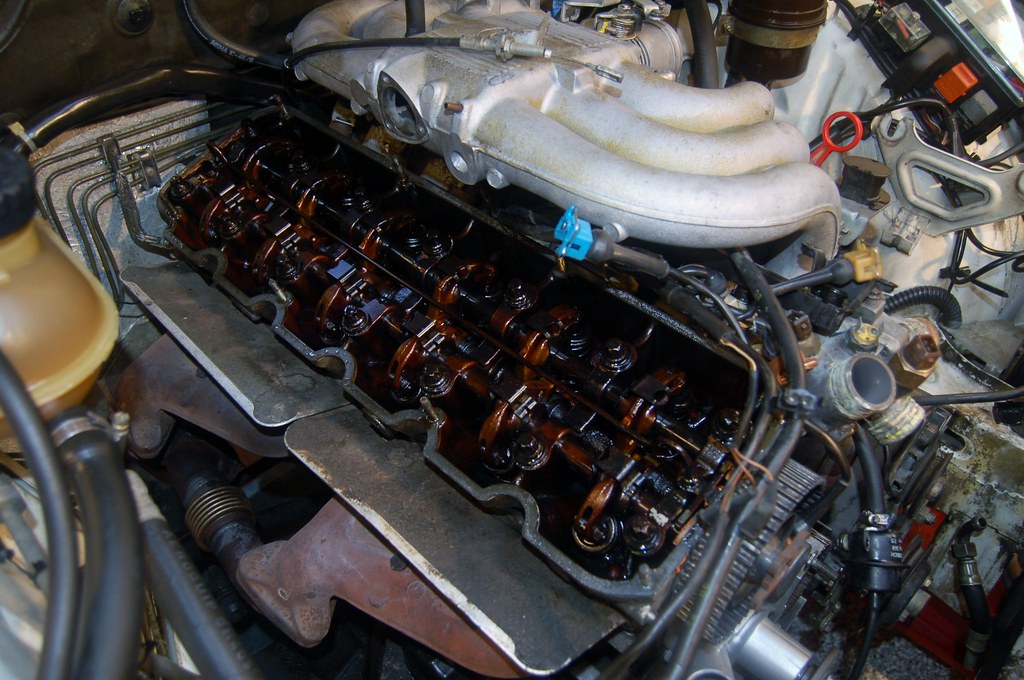
- Pull valve cover
- Adjust valves (got all the parts today!)
- Clean injectors (if I can to it without removing intake)
- Re-assemble everything
- Replace wheel bearing
- Replace dog-bones
- Rip out alarm
- Fix stereo
Monday night (assuming heater valve rebuild kit comes as promised)
- Rebuild heater valve
- Pull AFM again and install rebuilt heater valve
Posted: Nov 23, 2013 11:14 PM
by Kyle in NO
Yes, the fuel rail and injectors can be pulled without removing the intake manifold. Pop injectors and rail out, then roll the whole assembly over the valve cover area and out.
Posted: Nov 24, 2013 12:39 PM
by a
Kyle in NO wrote:Yes, the fuel rail and injectors can be pulled without removing the intake manifold. Pop injectors and rail out, then roll the whole assembly over the valve cover area and out.
They are easier to take out on that M20 than the later ones.. I use a Stanley pry-bar to start the injectors out of the intake. Lube the O-rings with gear oil when installing them.
Posted: Nov 24, 2013 1:10 PM
by tig
a wrote:Kyle in NO wrote:Yes, the fuel rail and injectors can be pulled without removing the intake manifold. Pop injectors and rail out, then roll the whole assembly over the valve cover area and out.
They are easier to take out on that M20 than the later ones.. I use a Stanley pry-bar to start the injectors out of the intake. Lube the O-rings with gear oil when installing them.
Thanks guys.
I take it that the valve adjustment should be done AFTER I've installed the new timing belt, otherwise I won't be able to move the crank/pistons.
I'm not finding any instructions on replacing the camshaft seal, other than in Bentley's under head disassembly (3.4.1). Is that the proceedure?
There was some RTV on the tops of the old blind plugs, should I do the same?
Can valve cover gaskets be re-used. The one I pulled off looks fine.
Posted: Nov 24, 2013 1:27 PM
by Kyle in NO
The valve cover gasket will leak, trust me. The newer Victor Reinz gaskets have a bead of silicone already imbedded for better sealing. You can smear a small amount of RTV over the blind plug to head joint to ensure a good seal.
Posted: Nov 24, 2013 1:28 PM
by Coldswede
No RTV on the blind plugs, they are under compression from the valve cover and need no sealer.
I just followed Mr Bentleys instruction for the cam seal and it worked perfectly. It is pretty simple anyway. Do note the sentence about setting the seal slightly deeper to let the lip ride on an unworn area.
Posted: Nov 24, 2013 1:39 PM
by tig
nbever mind
Posted: Nov 24, 2013 1:40 PM
by tig
Kyle in NO wrote:The valve cover gasket will leak, trust me. The newer Victor Reinz gaskets have a bead of silicone already imbedded for better sealing. You can smear a small amount of RTV over the blind plug to head joint to ensure a good seal.
Roger that. I have a VR gasket and will use it. THanks.
Posted: Nov 24, 2013 2:53 PM
by waynet1
Might want to remove the oiling tube on top and flush it with solvent so it's sure to be clear.