Page 3 of 11
Re: FUBAR 535e Build 12/18/17 BIG UPDATE many pics
Posted: Dec 19, 2017 3:49 PM
by sail_or_drive
What a great story! Props for doing the engine swap, that's big time courageous for a first car.
Re: FUBAR Bronzit 535e Build (6/29 RTAB done and vid thing)
Posted: Dec 20, 2017 2:05 AM
by thugginrobby
LeiseyJr wrote:thugginrobby wrote:Time to replace that 528e badge with a 535i

535e maybe but never 535i, it will always be an eta in my heart.
How long did the swap from an m20 to m30 take you? Was there anything major about the swap? Very interesting build thread
Re: FUBAR Bronzit 535e Build (6/29 RTAB done and vid thing)
Posted: Dec 20, 2017 11:38 AM
by LeiseyJr
thugginrobby wrote:LeiseyJr wrote:thugginrobby wrote:Time to replace that 528e badge with a 535i

535e maybe but never 535i, it will always be an eta in my heart.
How long did the swap from an m20 to m30 take you? Was there anything major about the swap? Very interesting build thread
It didn't take too long if you have all part it is a easy weekend job. It took us awhile because, we had to Frankenstein a transmission. The major part about the swap is you need a 535i, basically. It hurts we parted out a good 535i, if I were to do it next time I would part one in a wreck or a rotted out one. The next major things are tapping the intake manifold as well as welding the correct coolant tank expansion bracket. The swap is essentially plug n' play, need to make a sticky.
Re: FUBAR 535e Build 12/28/17 Blew Up Dogleg
Posted: Dec 28, 2017 9:13 PM
by LeiseyJr
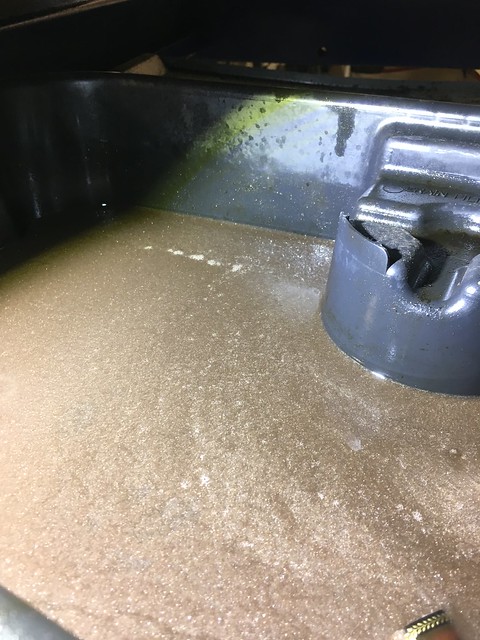
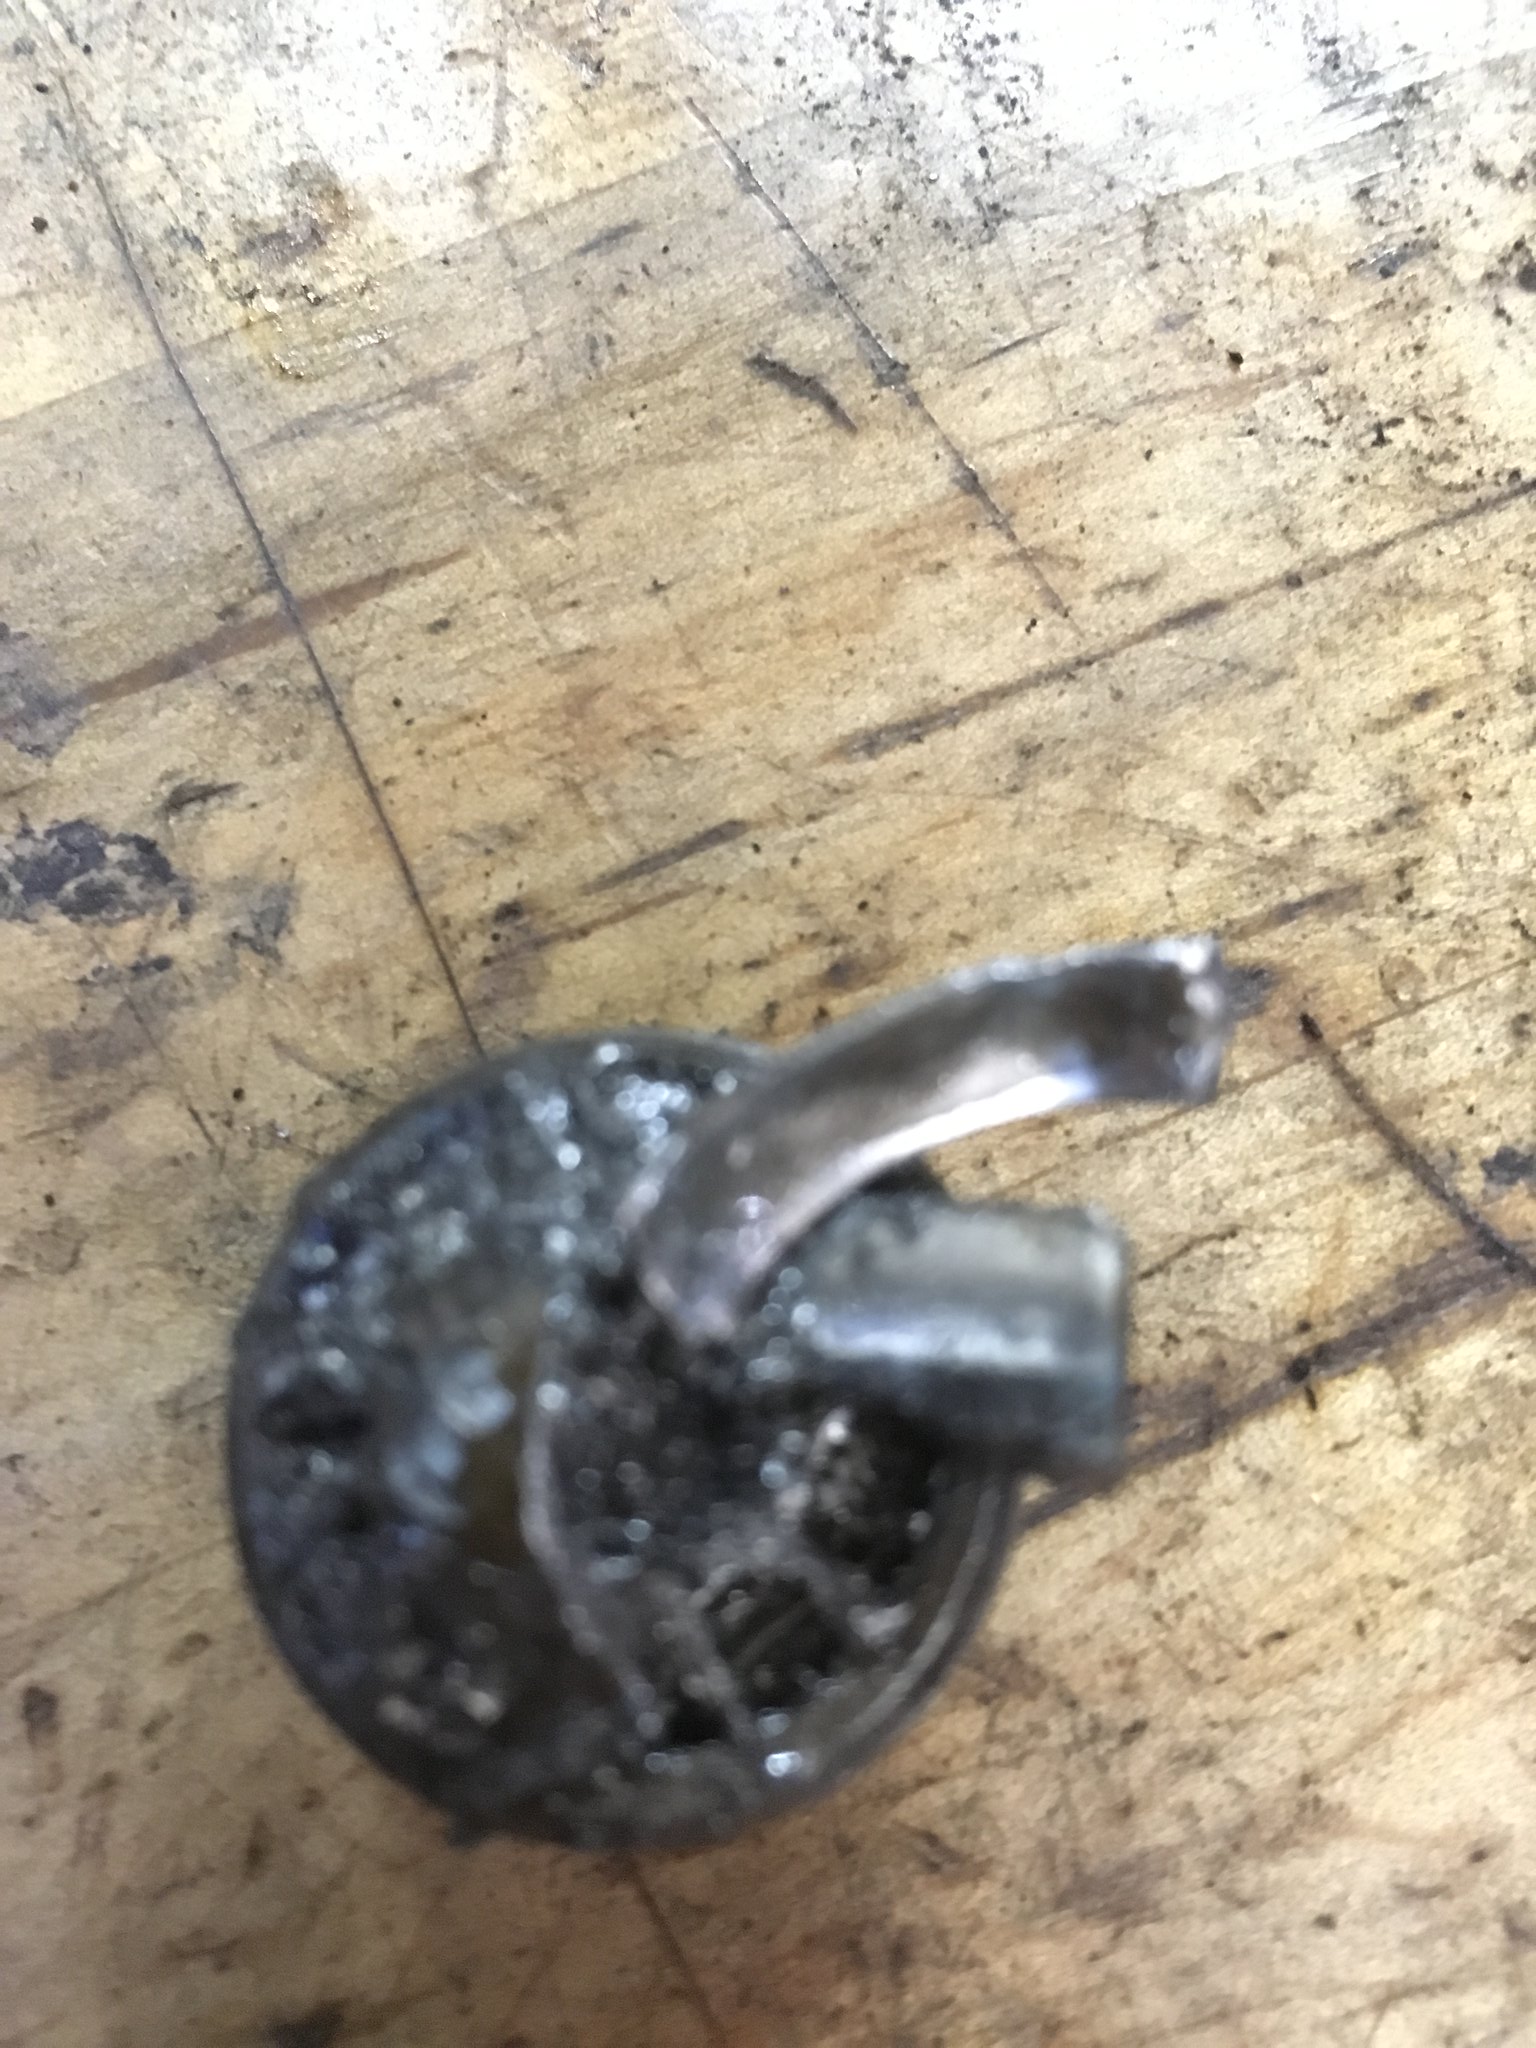
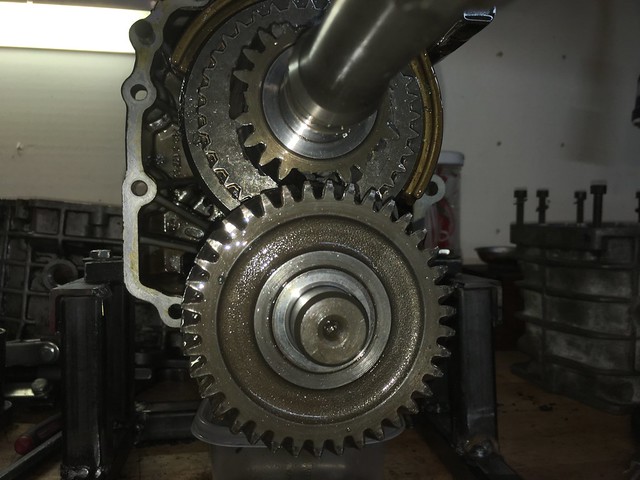
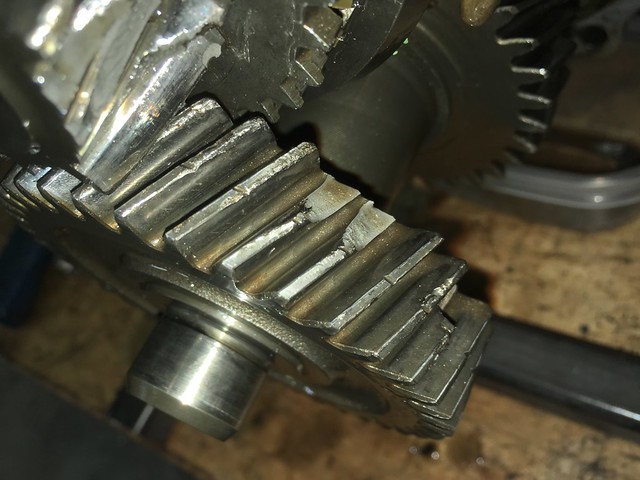
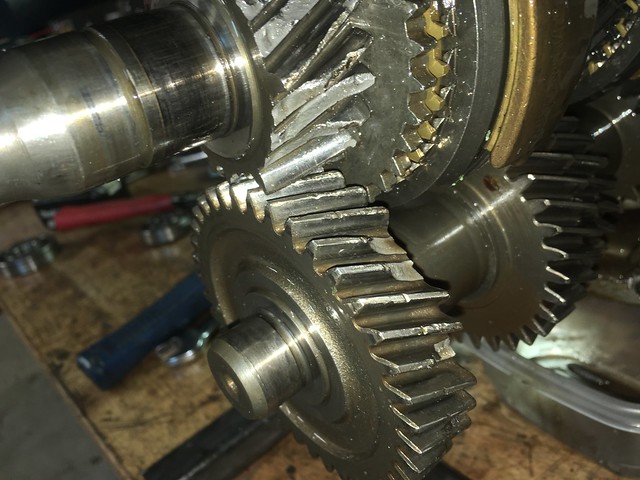
I've had a fairly loud rumbling in my transmission, and Christmas night at like 11pm ish the layshaft bearin blew up. Pretty funny stuff, in my transmission that cost about triple what I own right now. Anyway though, I dropped mi novia off and then was driving home and a straight cut gear sound started happening intermittently, then BOOM. Pics of carnage below
Fluid:
 Degleg Adventure
 by
samleisey, on Flickr
Drain Plug:
 Degleg Adventure
 by
samleisey, on Flickr
5th Gear basically tried to eat the bearing and yeah...
 Degleg Adventure
 by
samleisey, on Flickr
 Degleg Adventure
 by
samleisey, on Flickr
 Degleg Adventure
 by
samleisey, on Flickr
TRans is Fubar, all it needs is layshaft and input shaft. Everything else is perfect, but chances of finding dogleg core are slim.
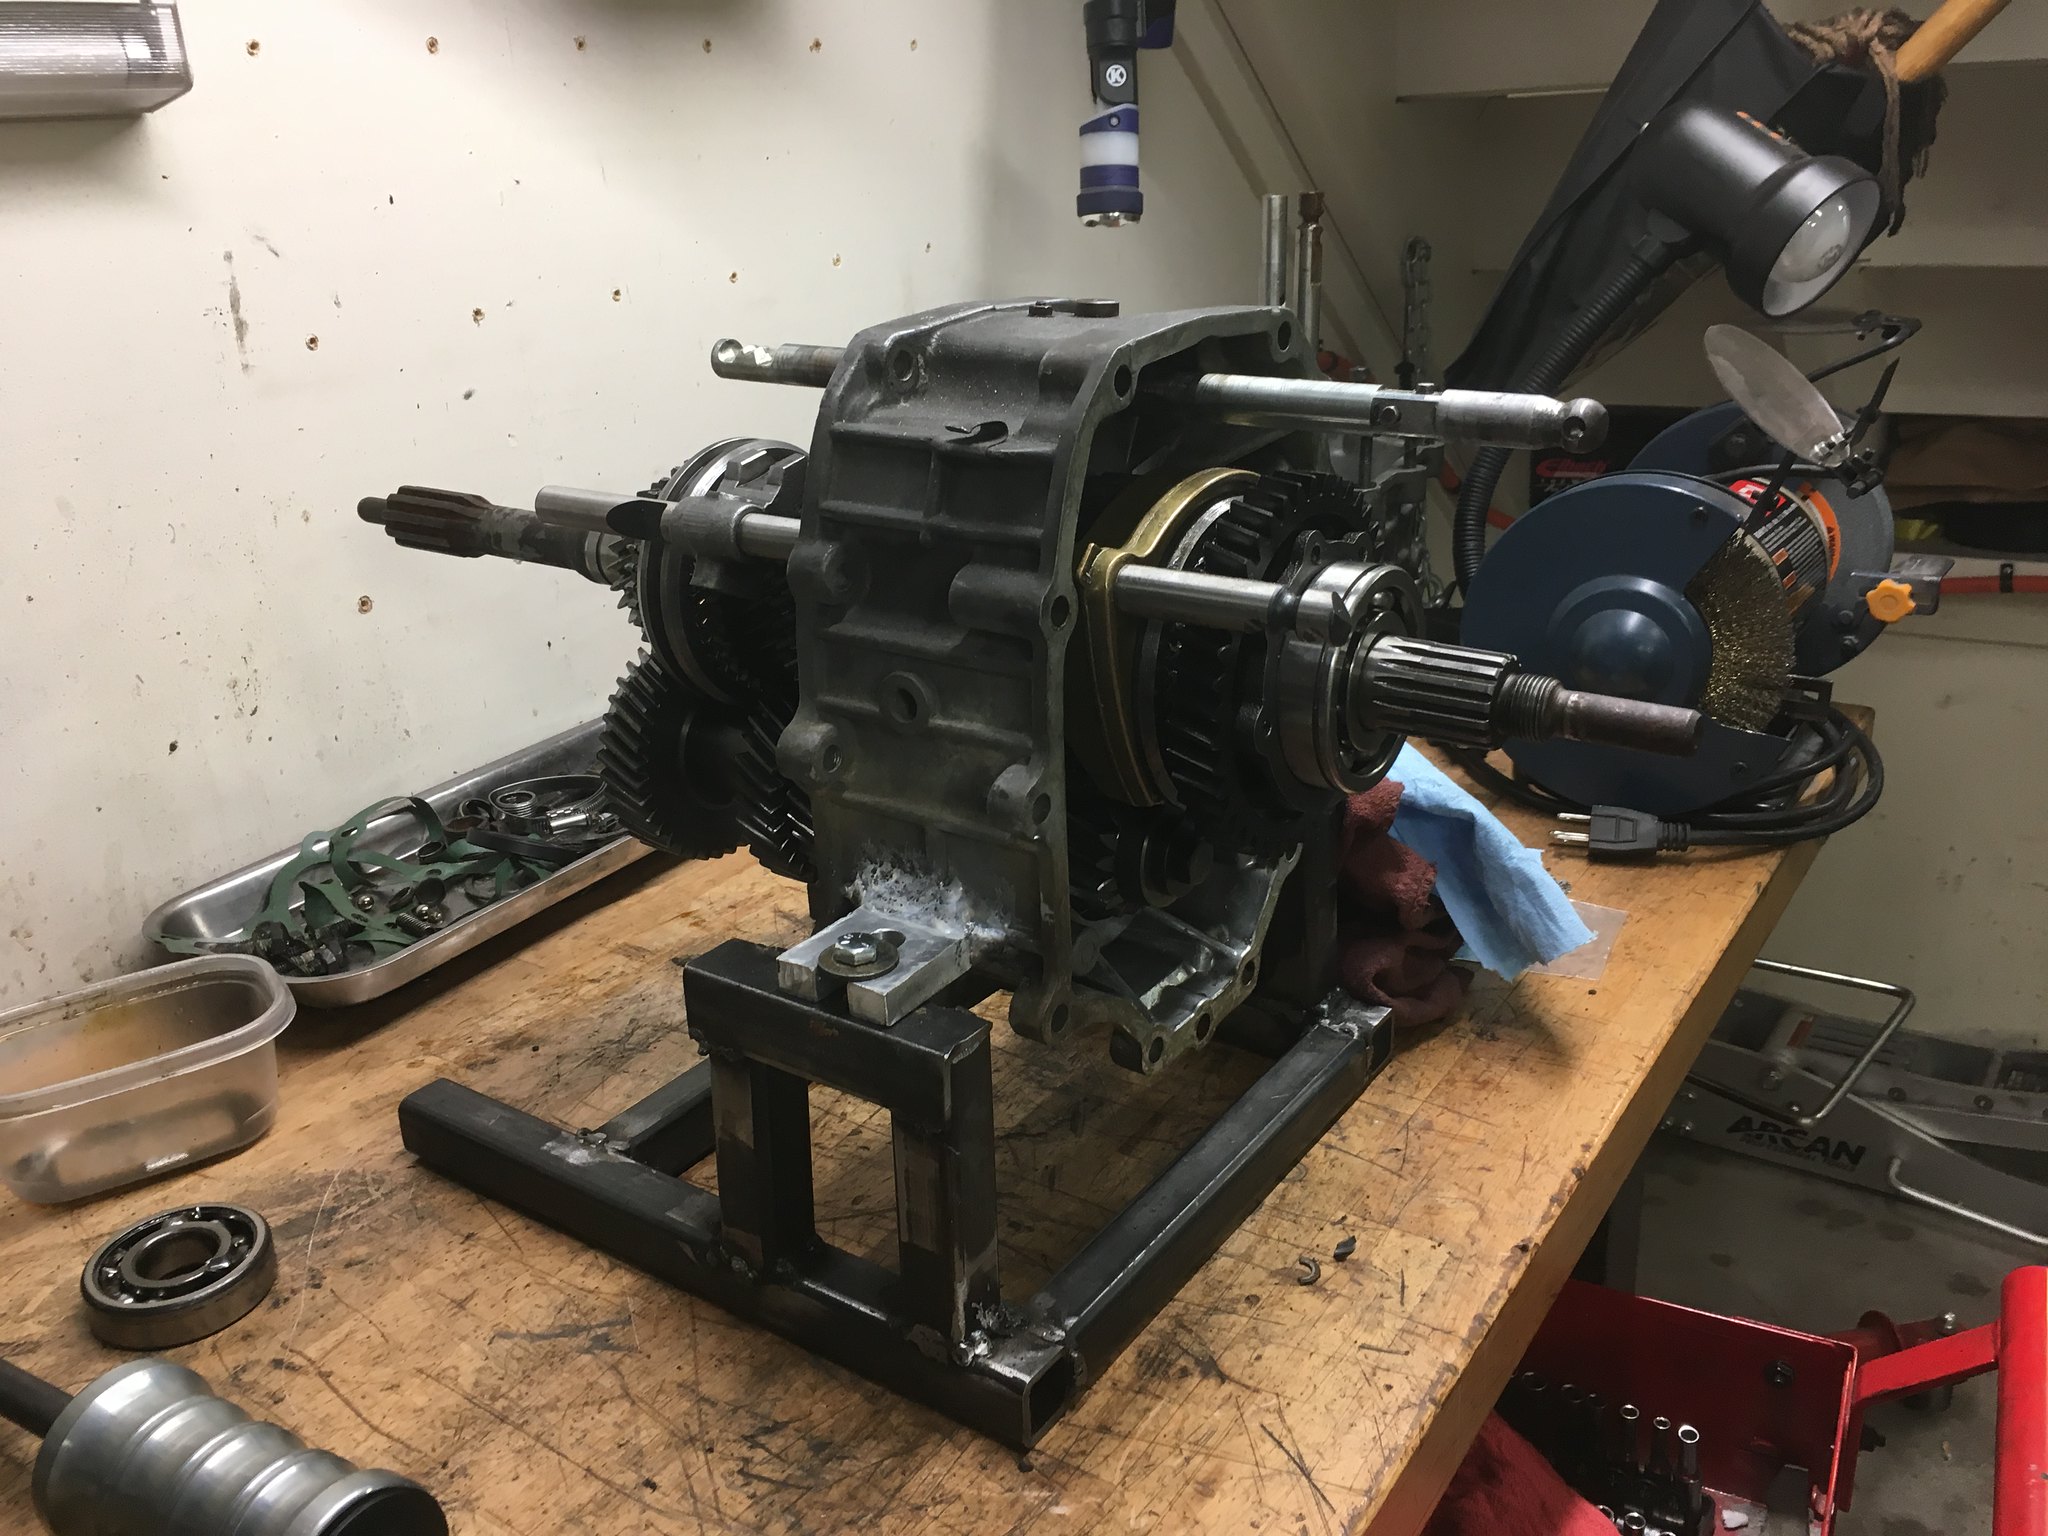
LUCKILY I HAVE A $5 SPARE, and it is being assembled and we will see how it does.
 Degleg Adventure
 by
samleisey, on Flickr
Re: FUBAR 535e Build 12/28/17 Fubar'd Dogleg/Dogleg Rebuild
Posted: Dec 29, 2017 11:40 AM
by knunger
That's one helluva set of sacks you're swingin' there, son.
Keep it comin'
Re: FUBAR 535e Build 12/28/17 Fubar'd Dogleg/Dogleg Rebuild
Posted: Dec 31, 2017 12:03 AM
by LeiseyJr
So yeah blew up dogleg. I have had a core dogleg, that I have been slacking to fix, and now of course I am forced to fix my spare. This was the 1st dogleg I happened to find, the guy I got it from said it was a G262/5 and would trade for a M50 dipstick tube and dipstick. The guy put no effort into trying to figure out what he had and I gladly made the trade. It is actually believed to be from my fathers E30 M3 many years ago and was traded around and forgotten about. Anyway, when I ended up with it, time had happened and it wouldn't go into reverse and the mounting tab was broken. A month or two after I stumbled on the Euro E24 adn acquired the dogleg, bell-housing shifter, and D/S to put in my car. Since that trans went through all the gears I through it all in straight from junkyard 180K, and out put fresh fluid. As you can imagine someone that junked a slicktop euro E24 with cloth recorders, dirty motor, lsd and dogleg probably didn't do frequent transmission fluid changes. Despite this I used it like I stole it, tracked it, drifted it, clutch kicked it, and it was leaking some fluid. I stayed on top of that, but none the less the notorious dogleg rumble came and went away when I put the clutch in. I told myself it was input shaft bearing and normal getrag rattle. It went on 11pm of Christmas night, had to get towed.
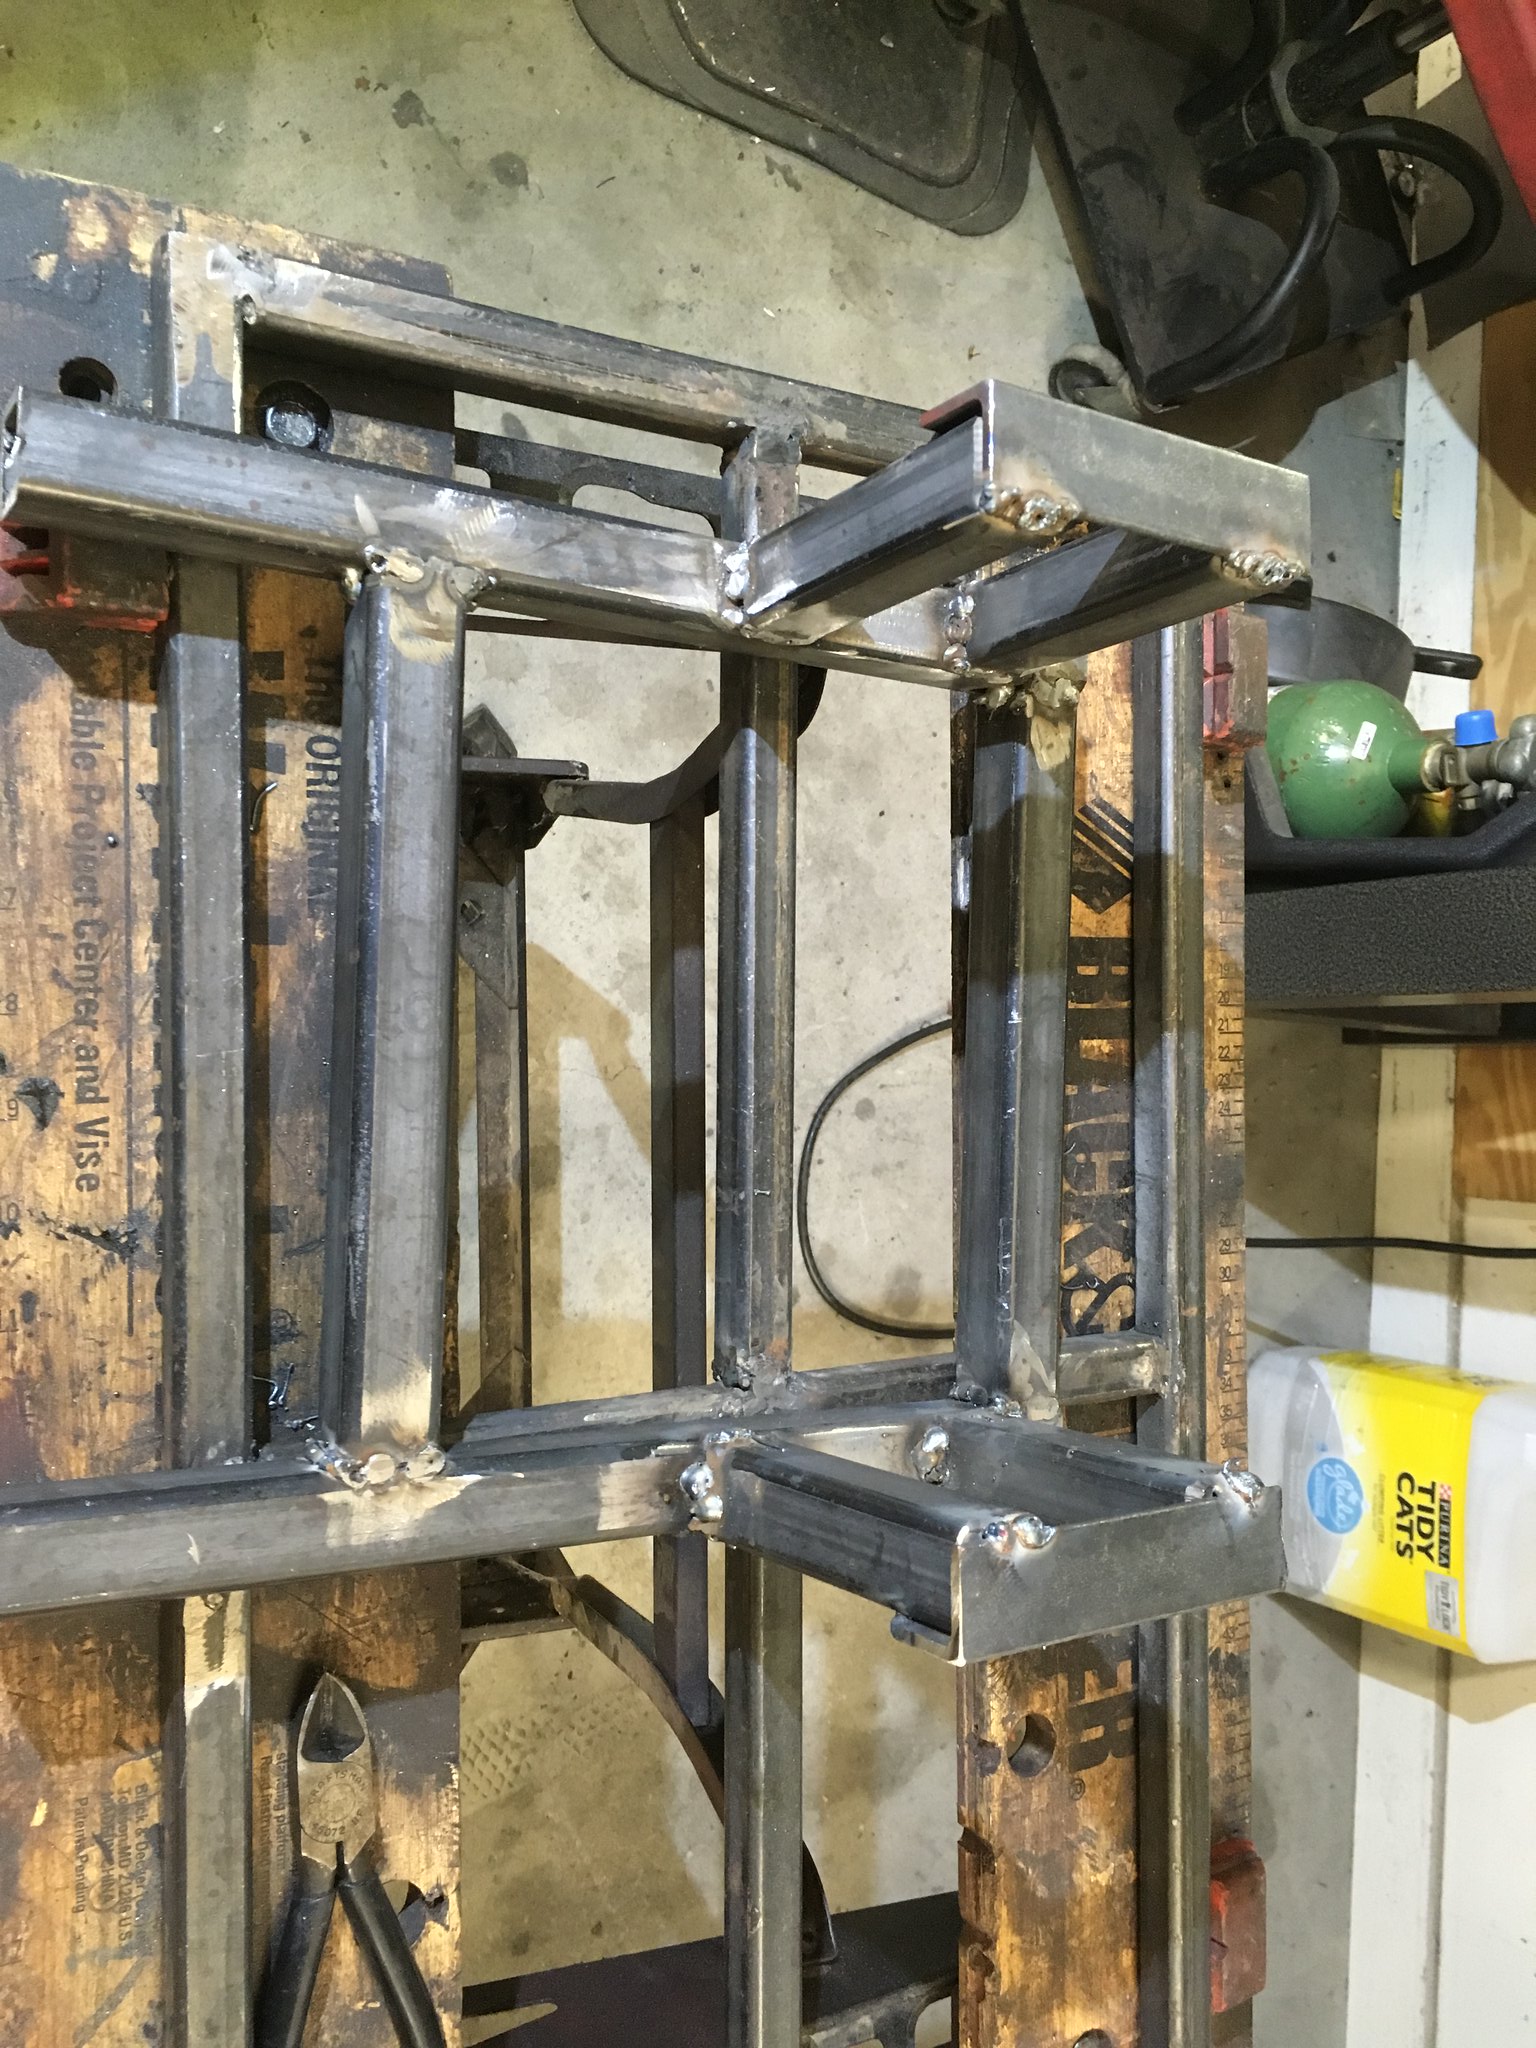
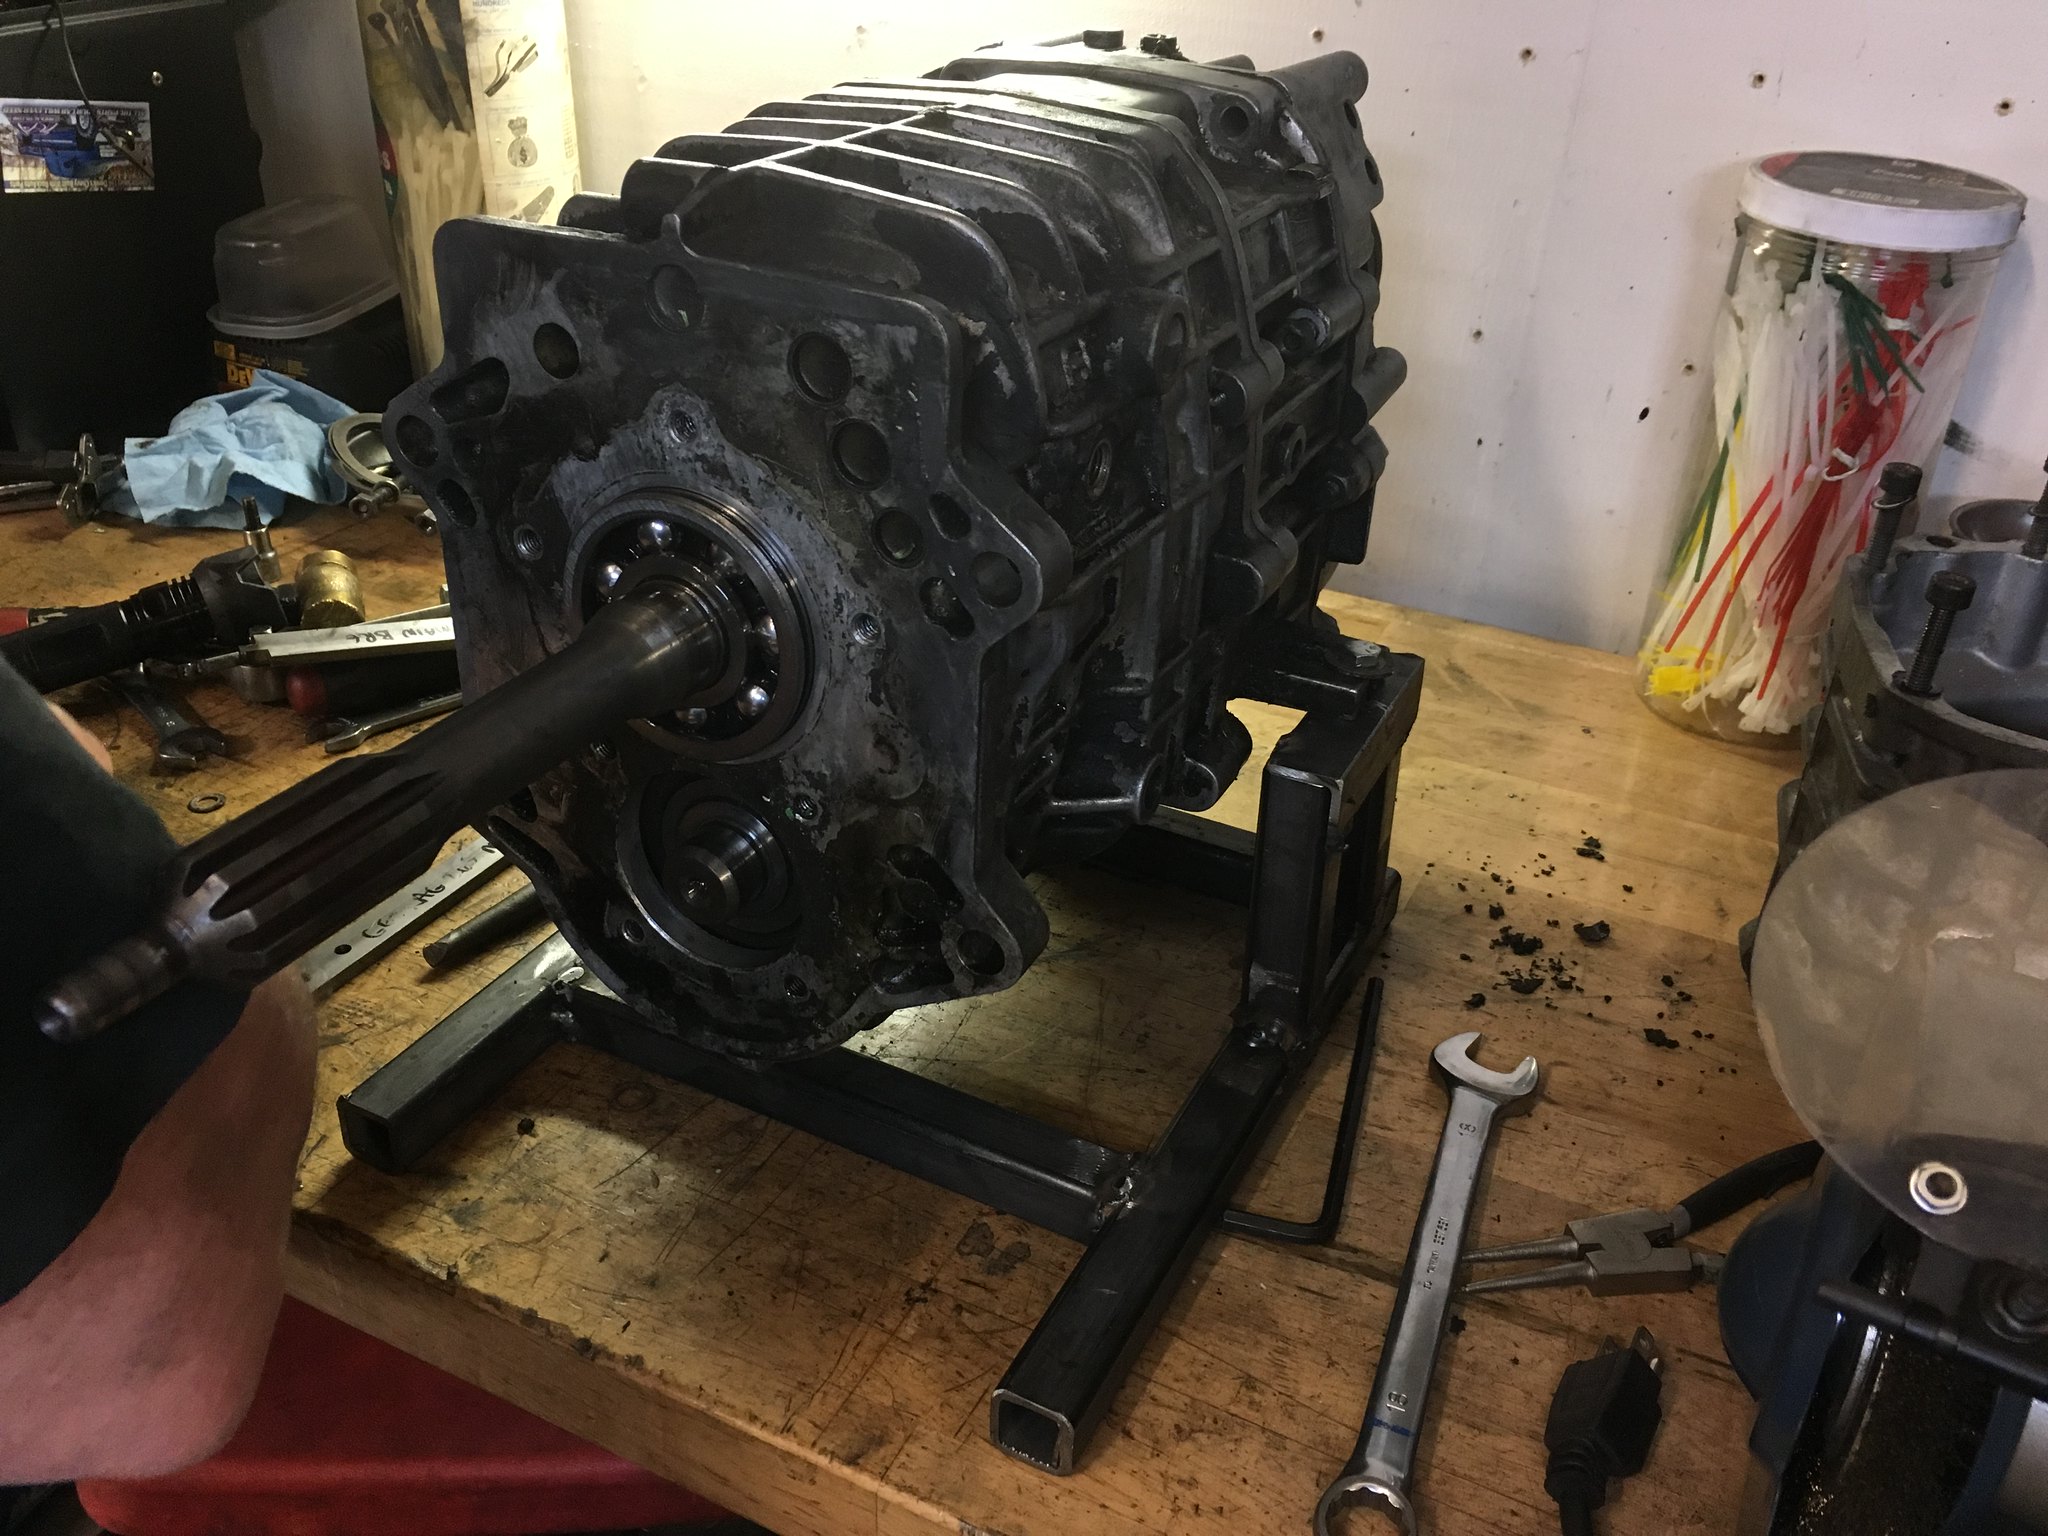
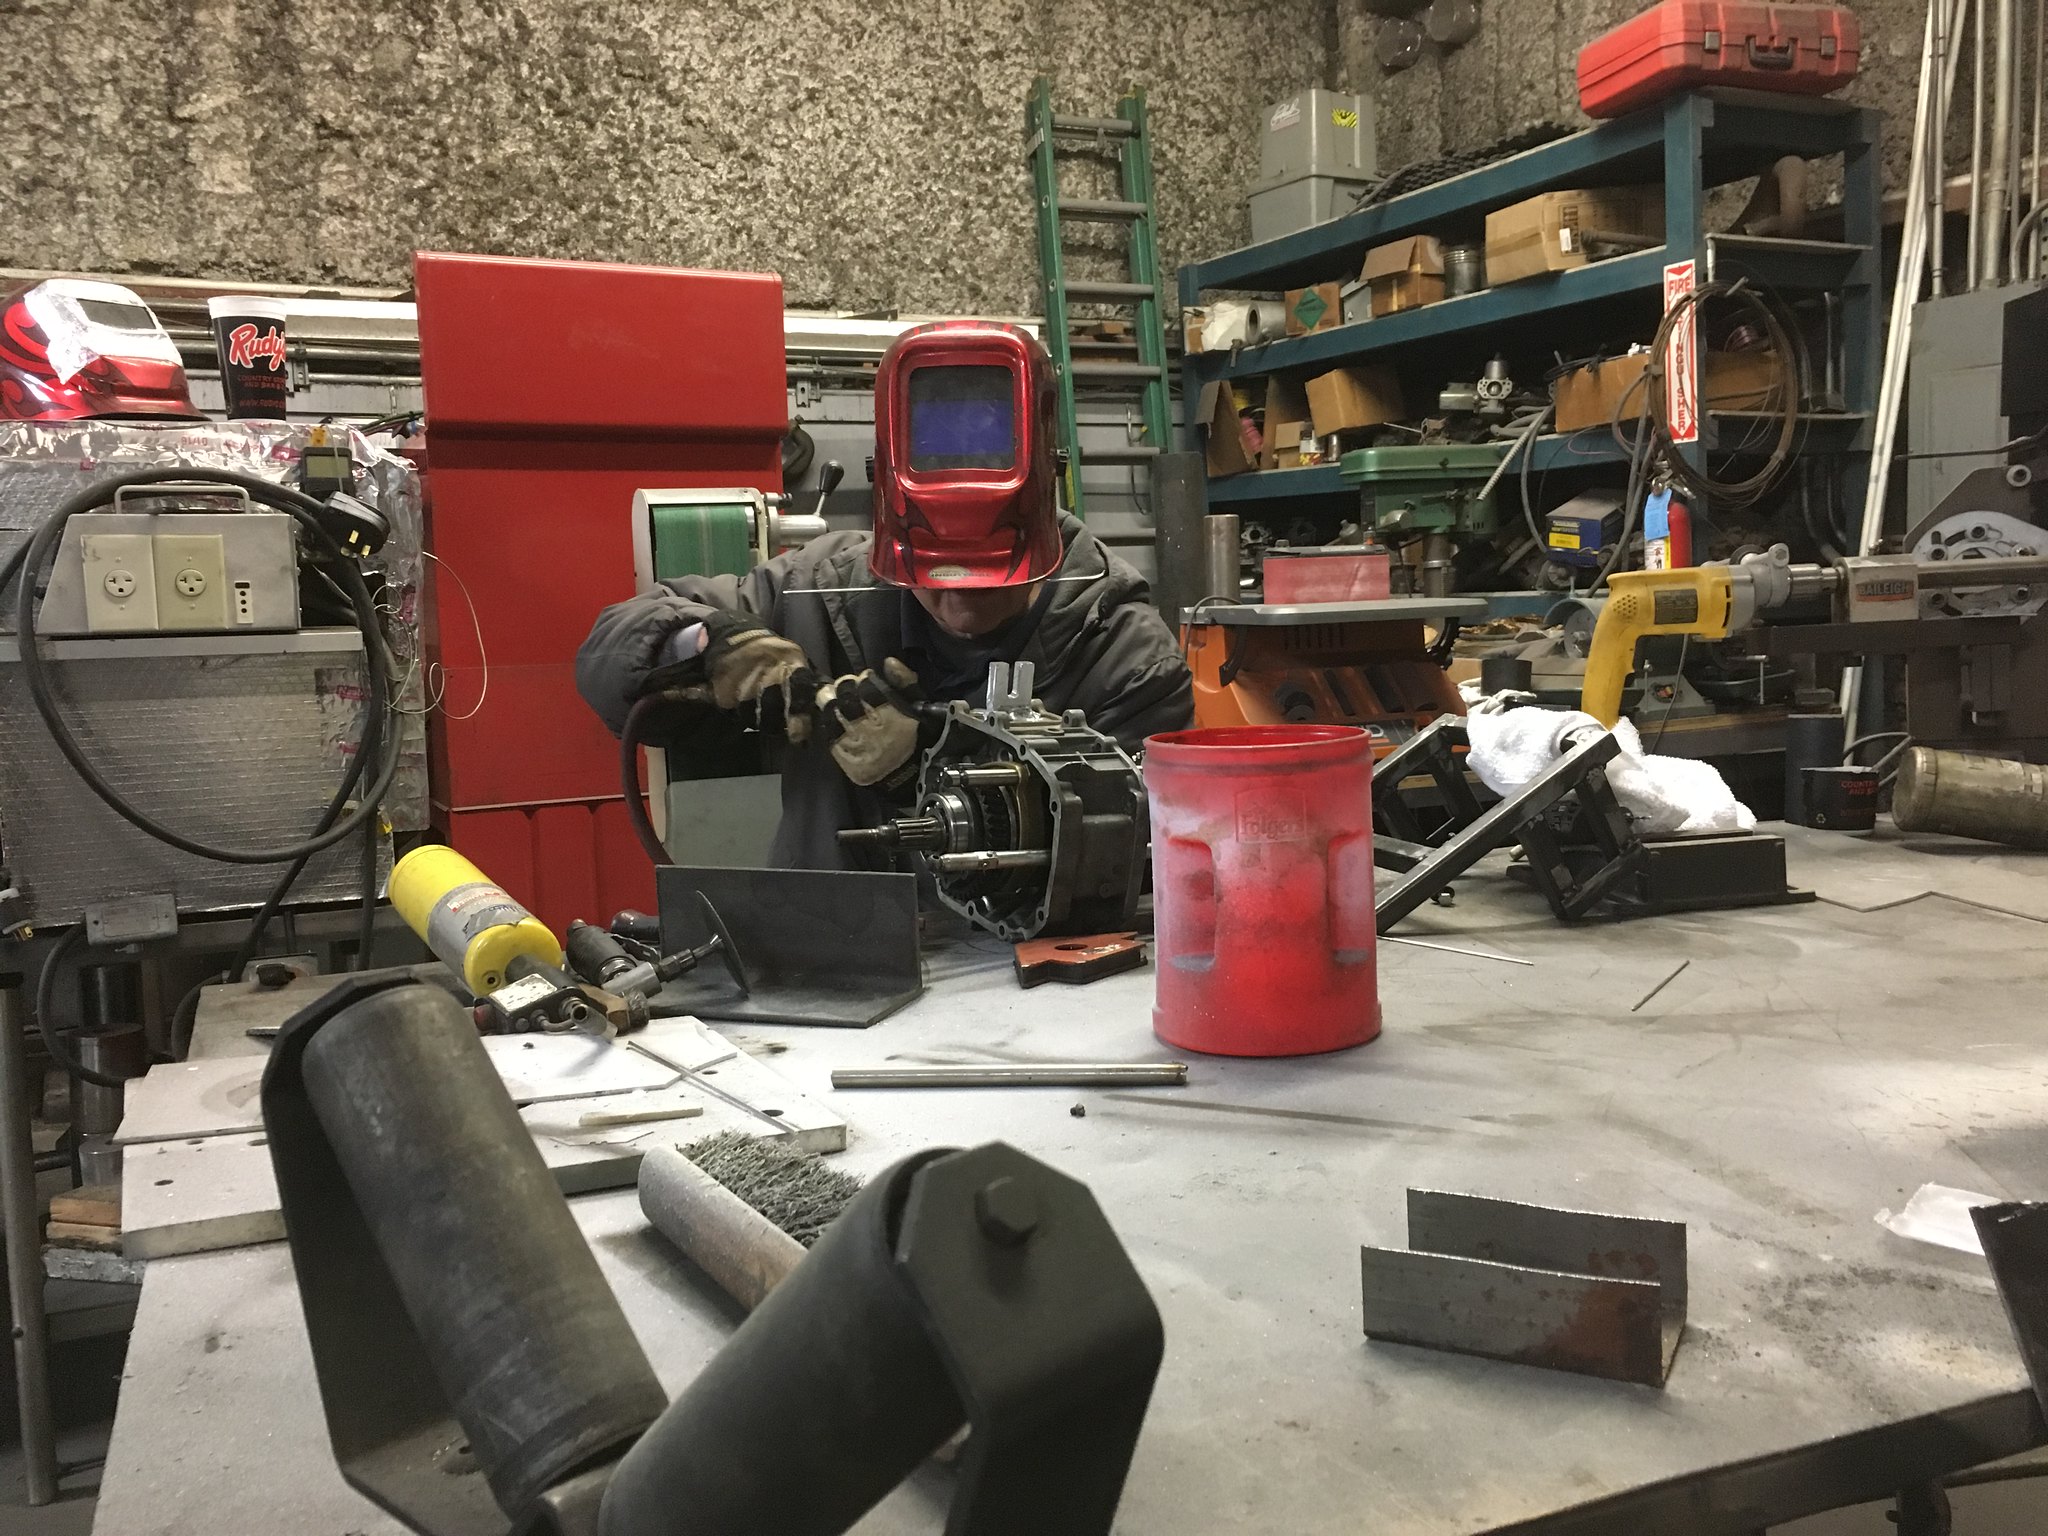
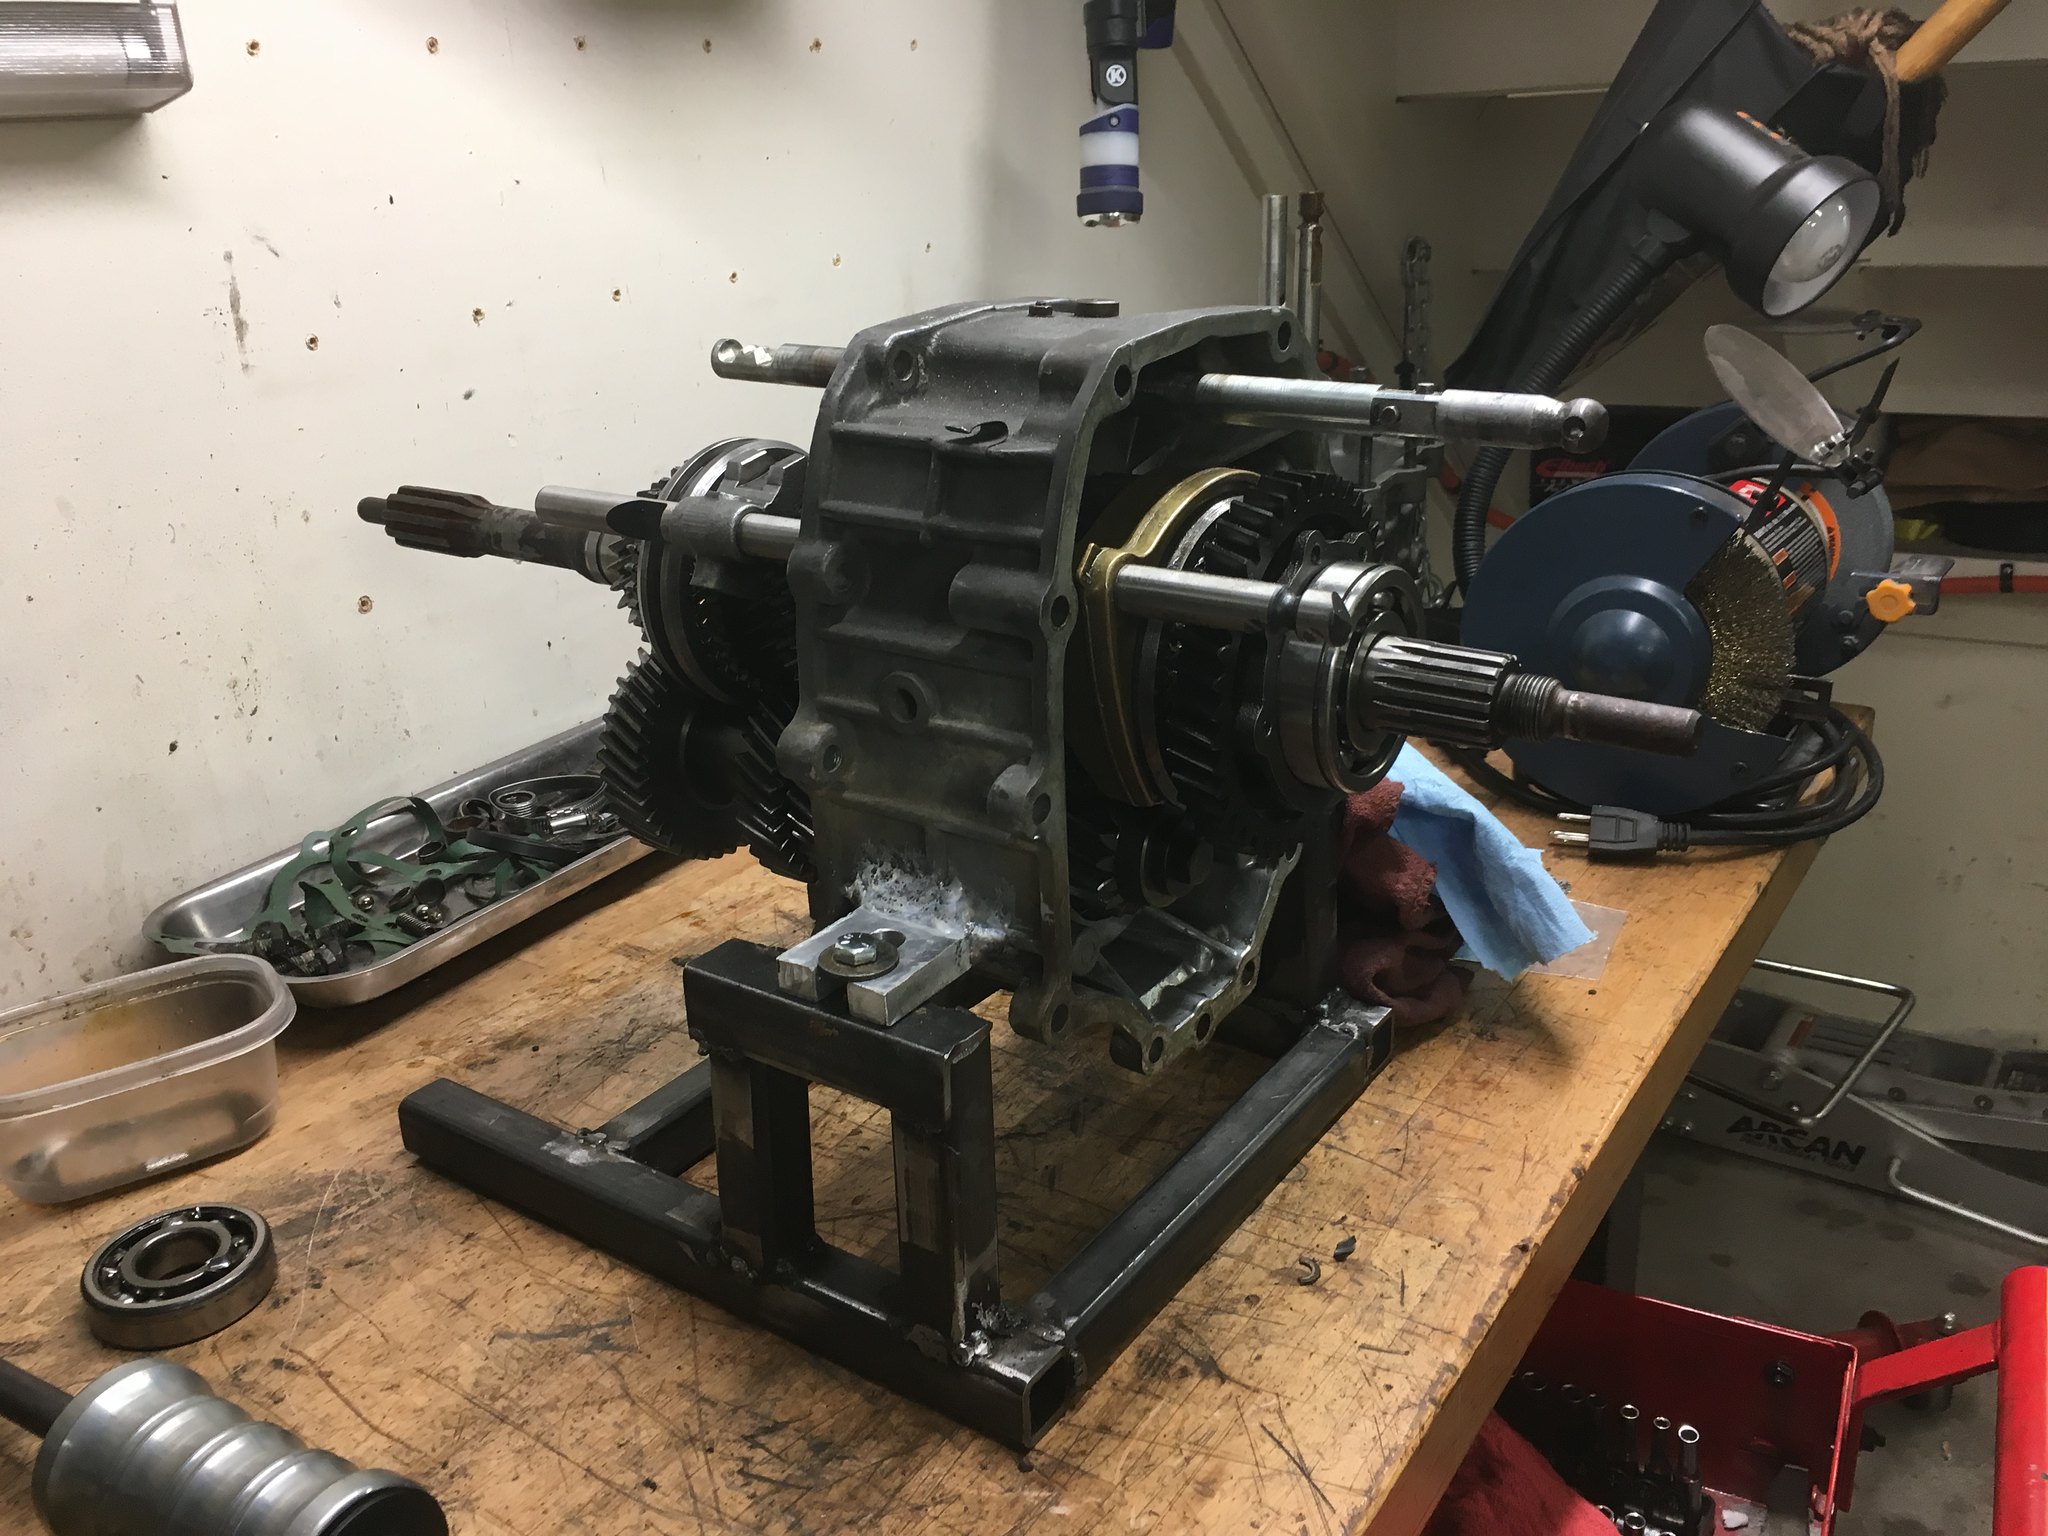
So my spare transmission needed to get fixed. I printed out factory service manual, put it in binder and got to work. This would't have been possible though without dad as he has manufactured a couple special tools. I also learned to weld, he designed stand and I welded it together. This was the first step to work on these boxes properly.
 Degleg Rebuild
 by
samleisey, on Flickr
Than to verify damage to my junkyard special
 Degleg Adventure
 by
samleisey, on Flickr
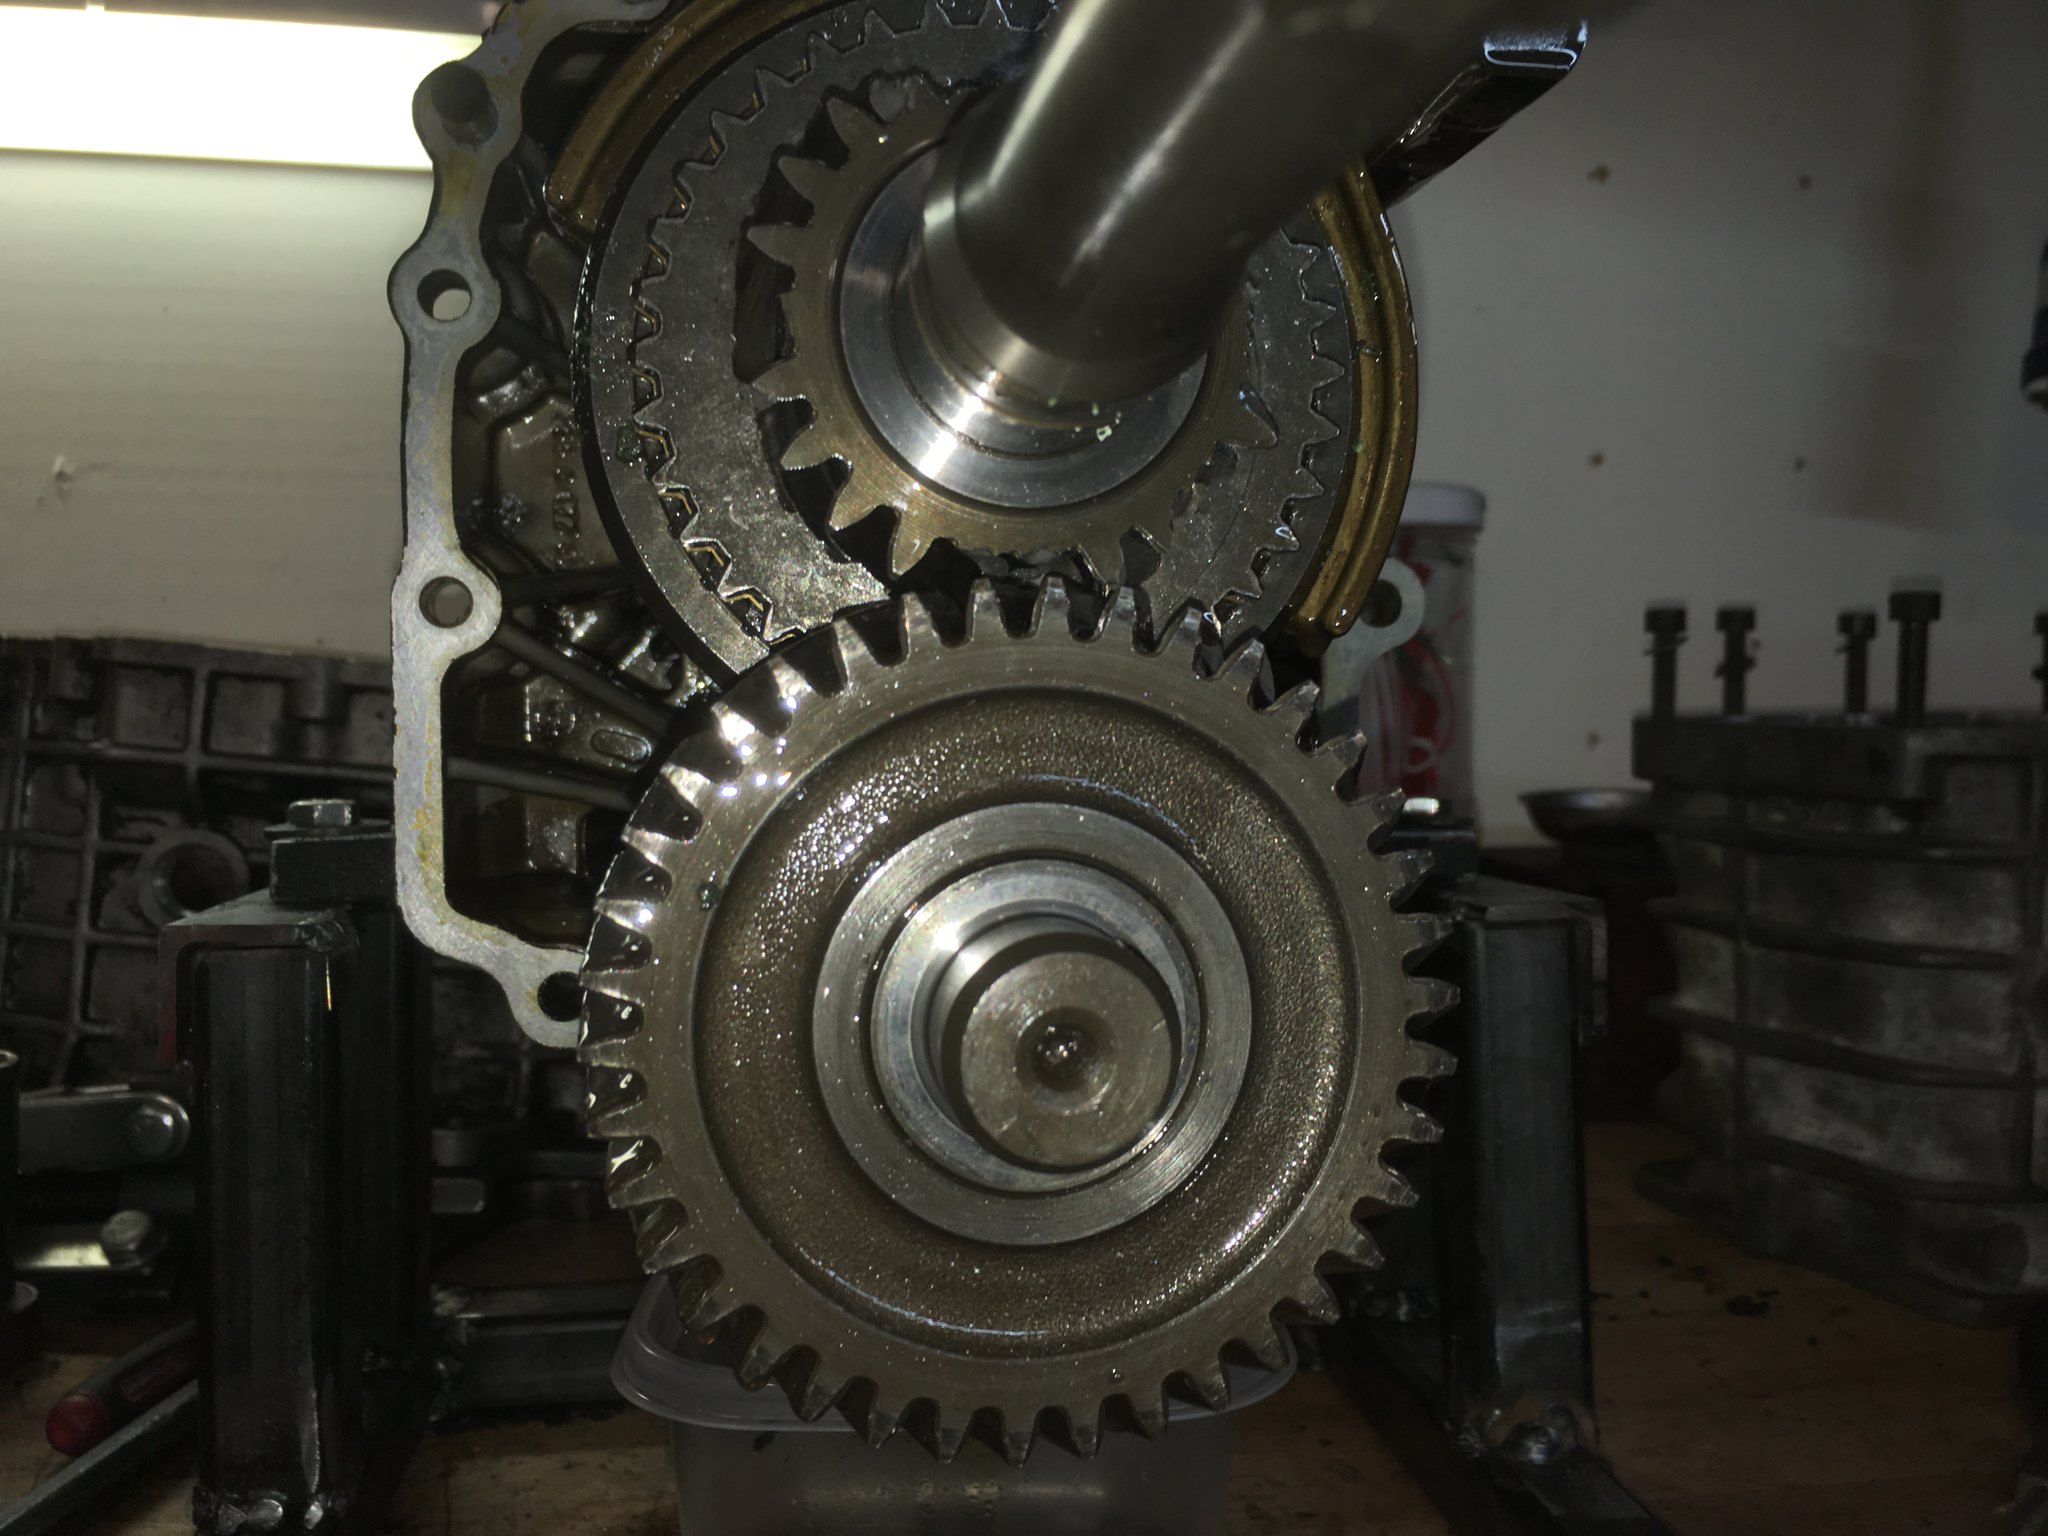 Degleg Adventure
 by
samleisey, on Flickr
*sigh* Yeah dogleg has been Fubar'd.
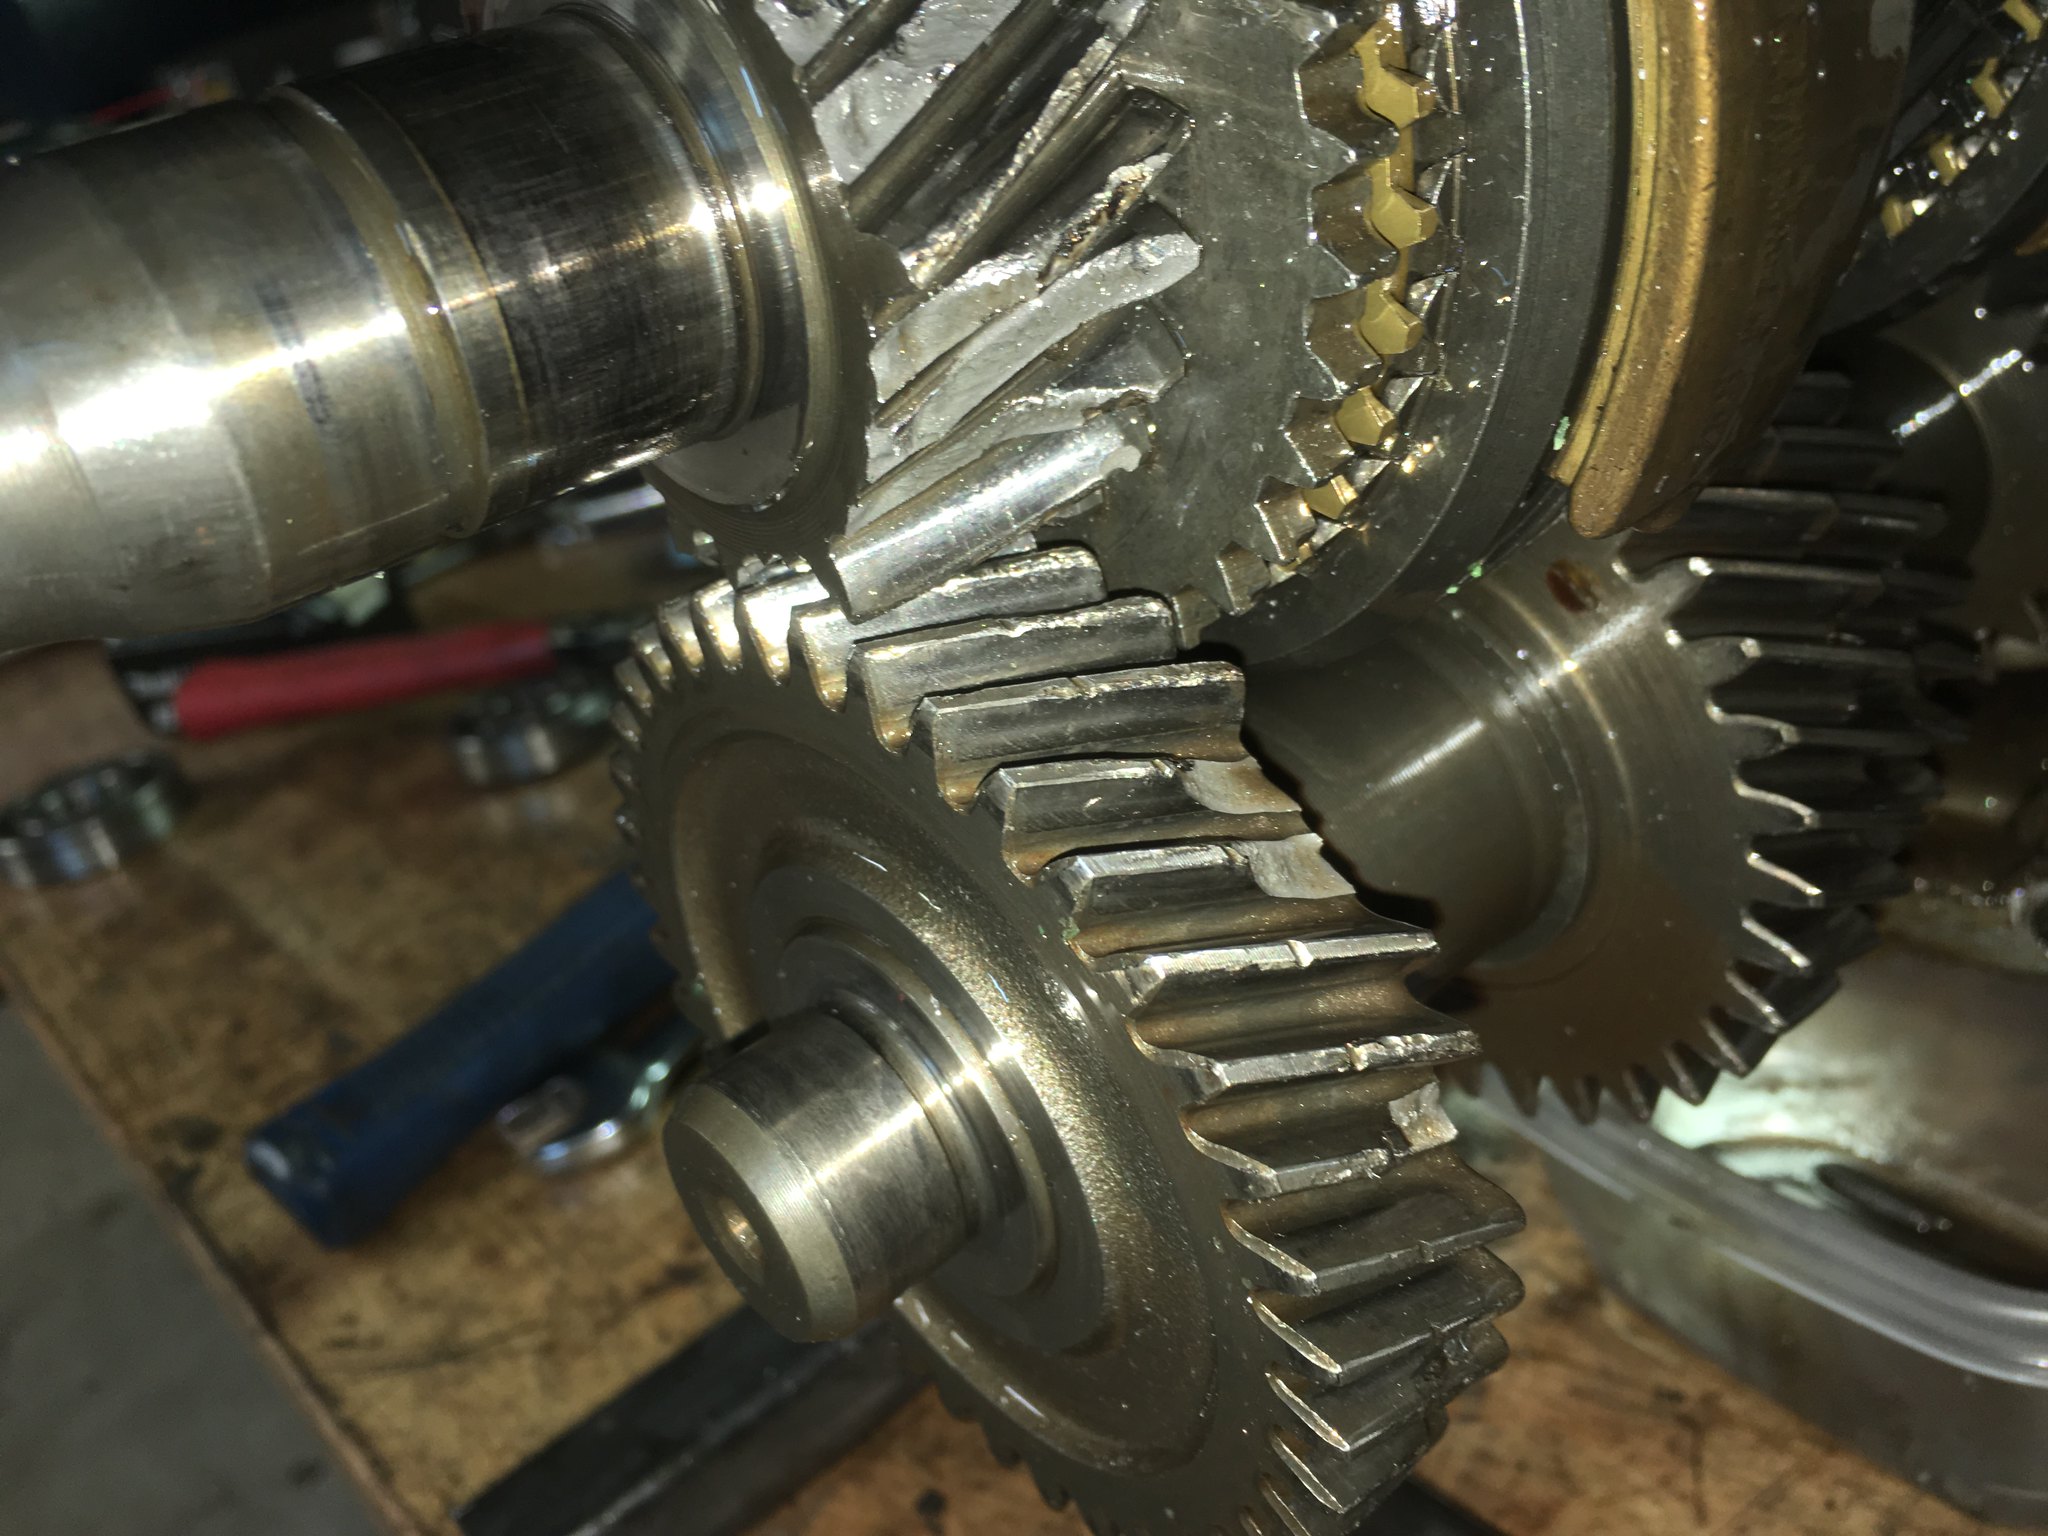 Degleg Adventure
 by
samleisey, on Flickr
The front case had already been taken off my spare, when I started to rebuild it but then stopped. So all I needed to do was remove back case, fix reverse, 3rd was acting up now and get tab welded on, through the grapevine I found a small restoration shop that would do it. Dad machined a tab and the guy at the shop would do his magic.
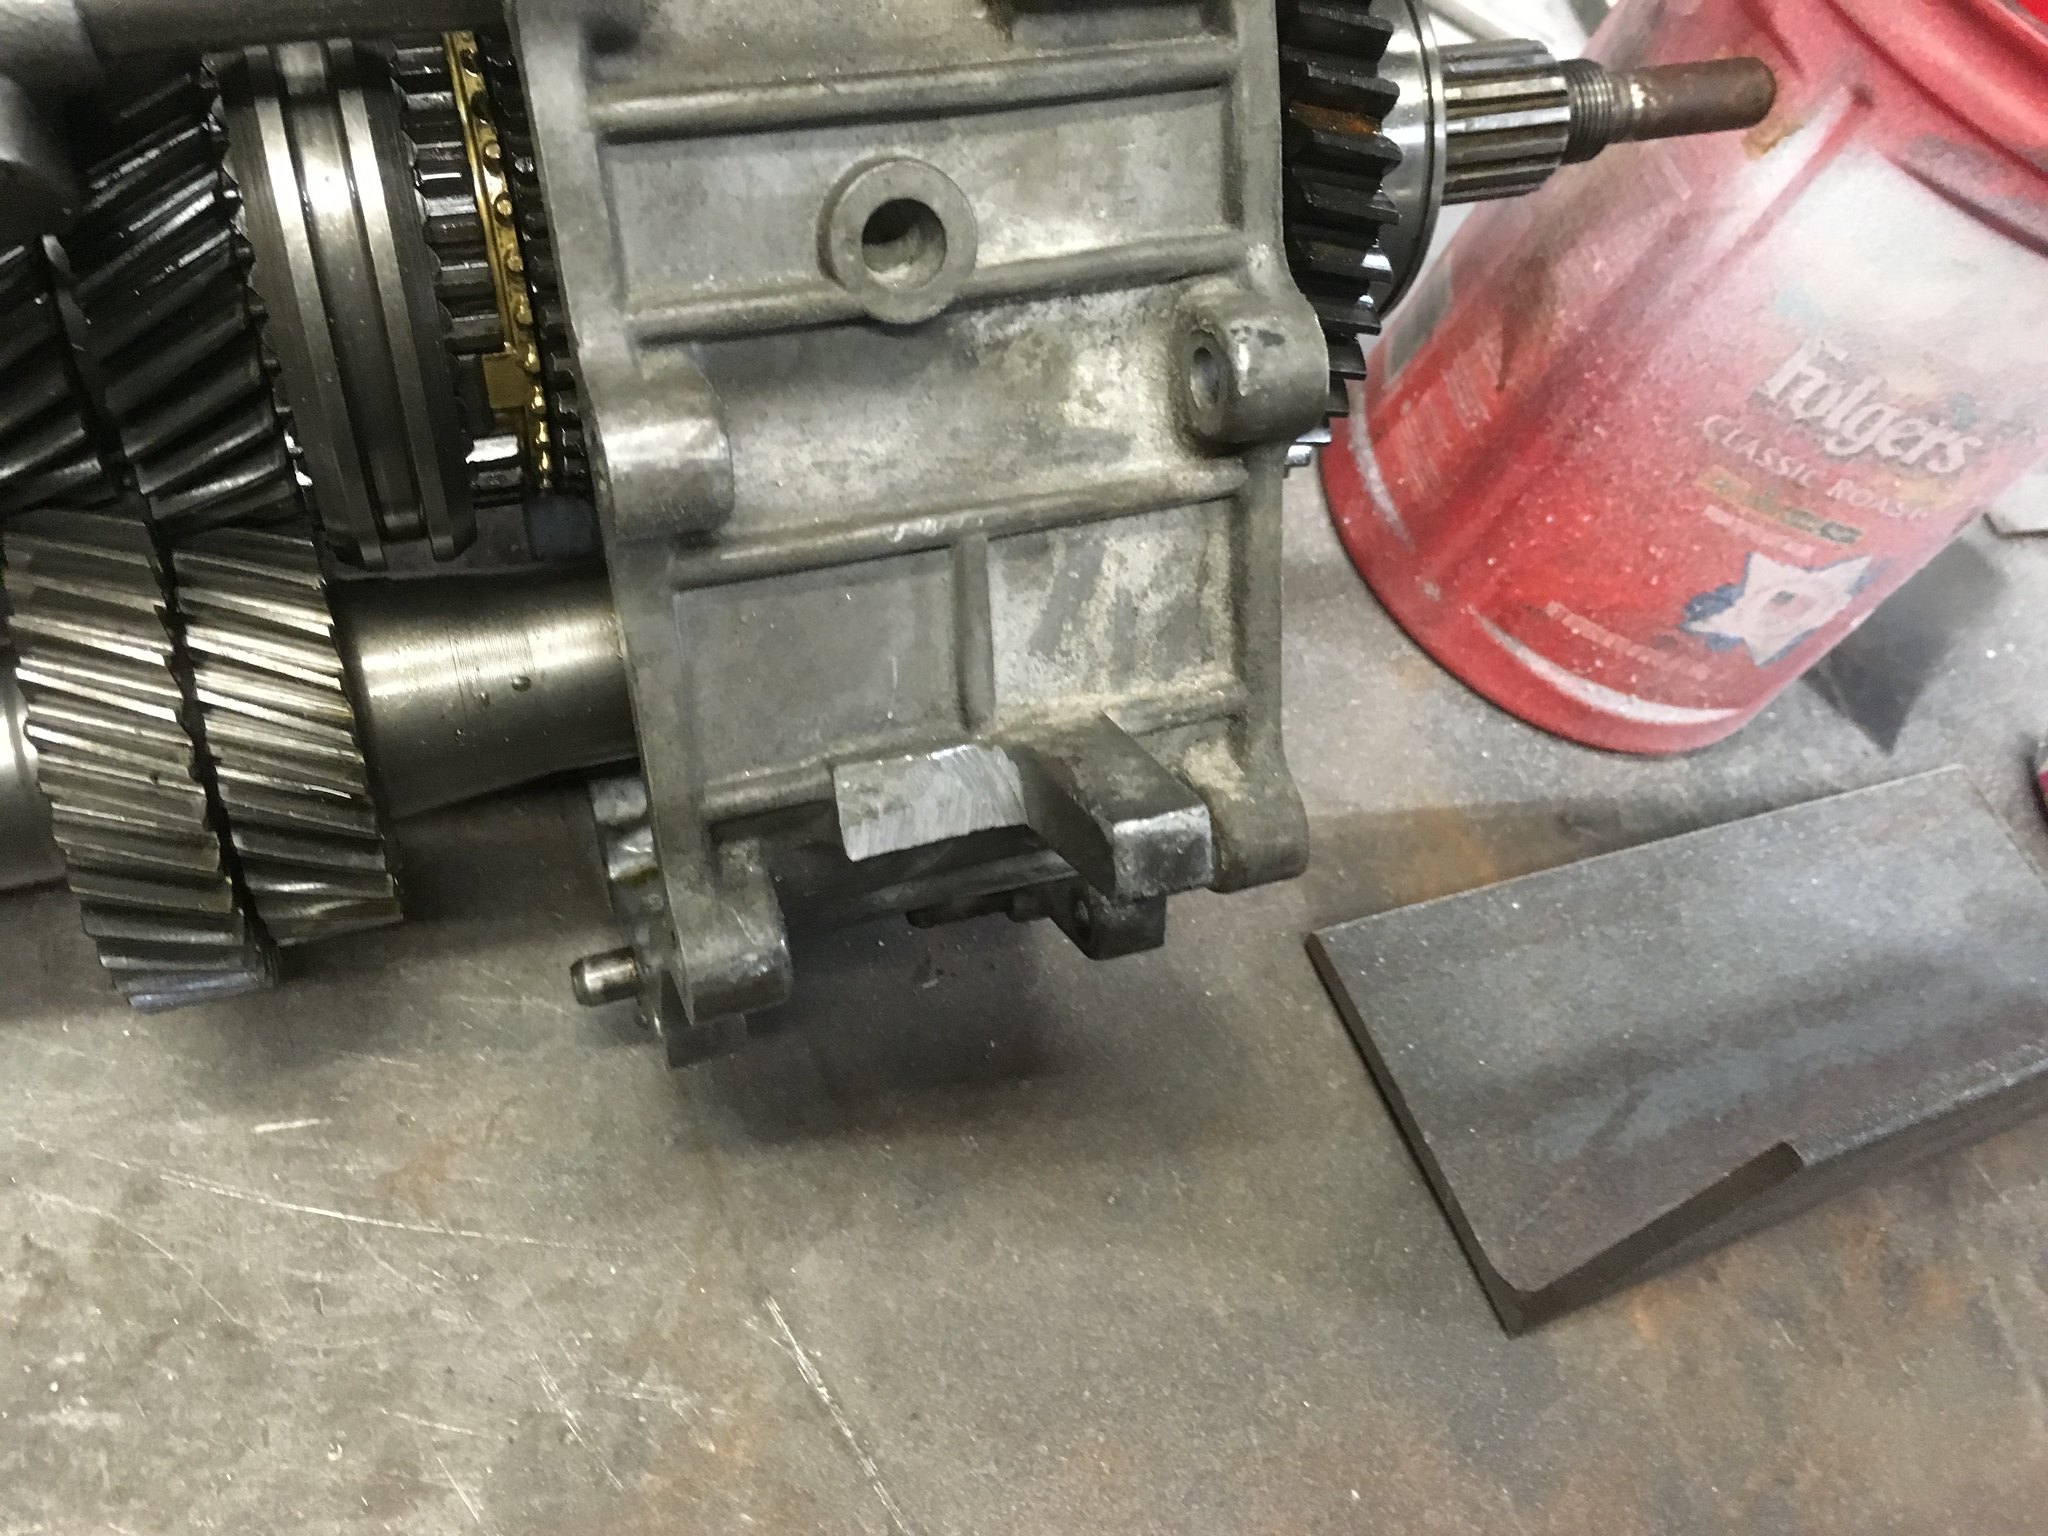 Degleg Adventure
 by
samleisey, on Flickr
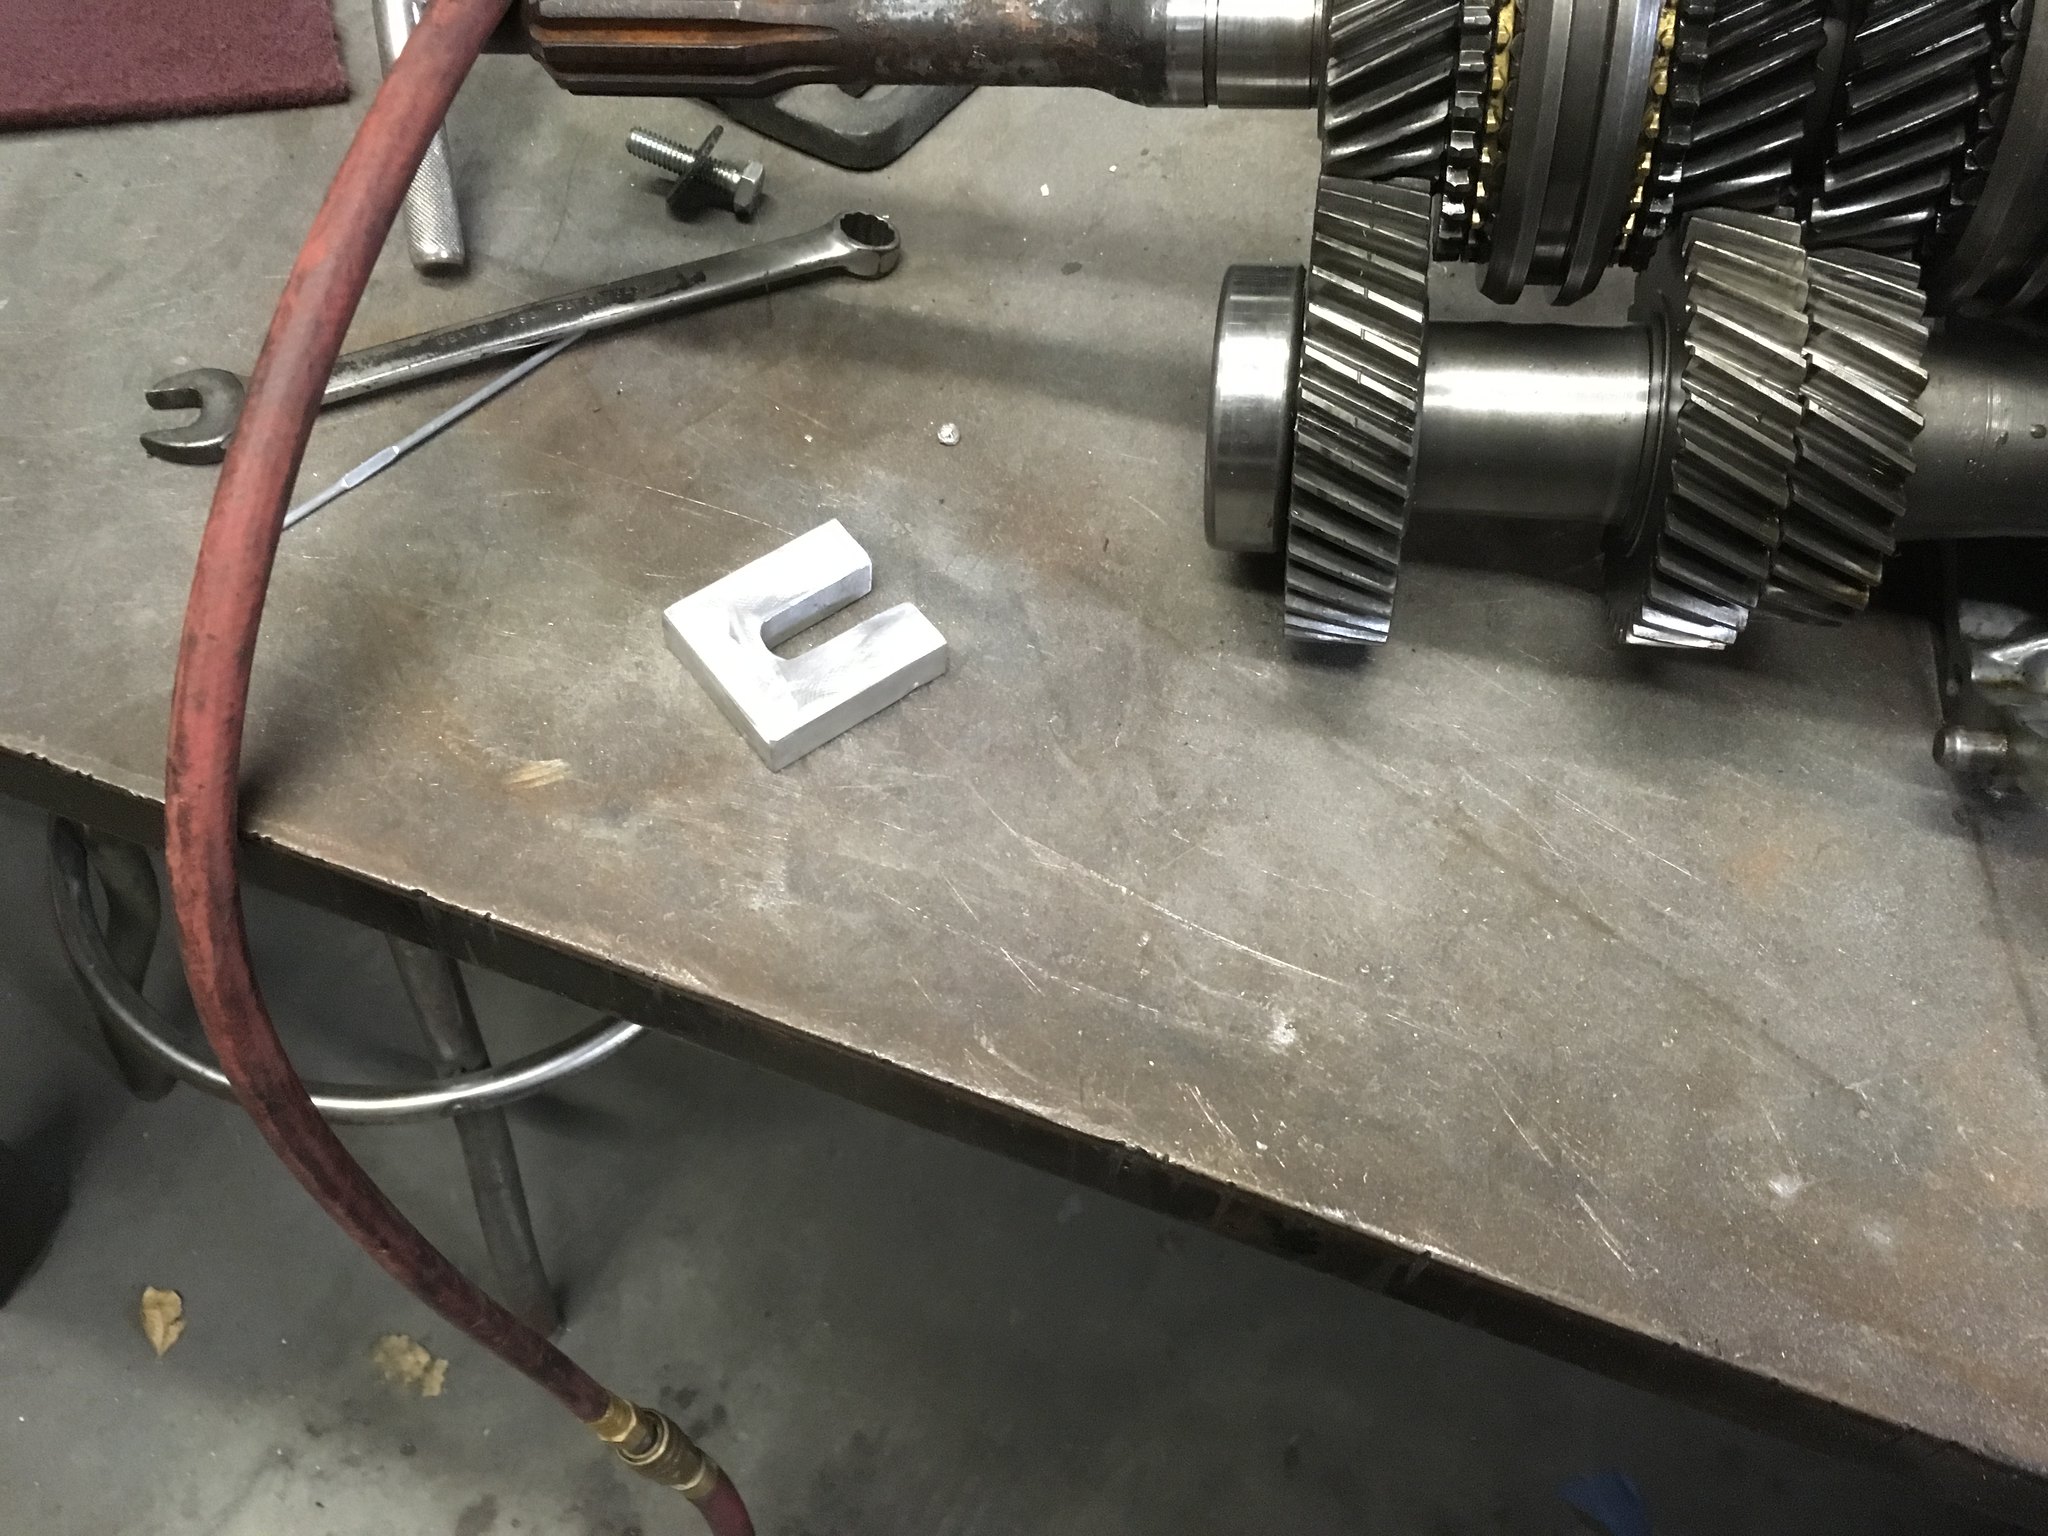 Degleg Adventure
 by
samleisey, on Flickr
 Degleg Adventure
 by
samleisey, on Flickr
That is much better, than it was just a matter of reassembly. Reverse was messed up because trans was sitting around so moisture froze up reverse detent and 3rd gear syncro just got a little jammed up fro us moving it around. So those were pretty simple
 Degleg Rebuild
 by
samleisey, on Flickr
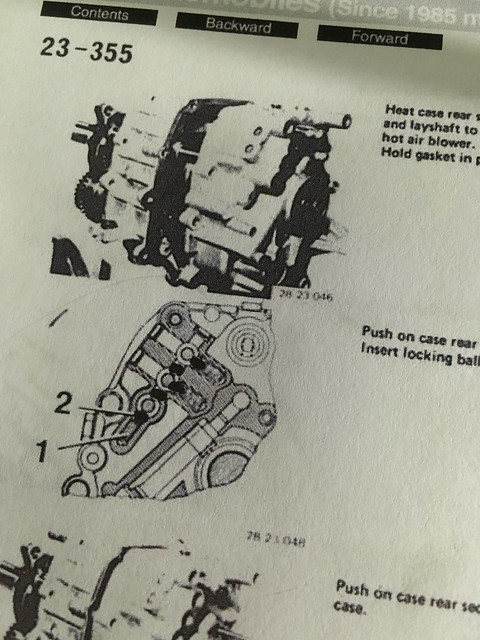
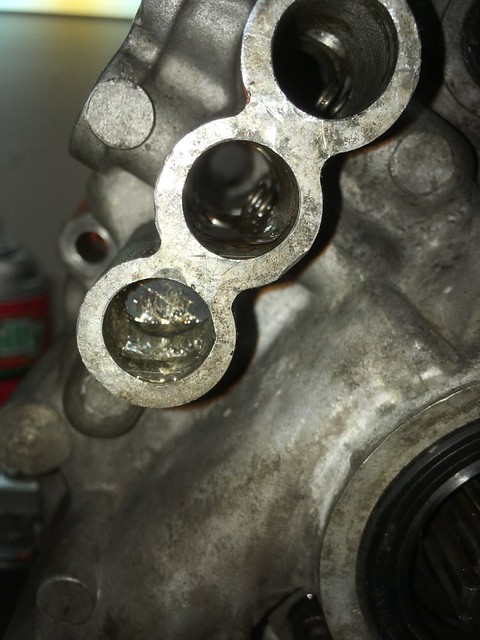
This is very tricky as you have to hold down ball bearings and spring through a tiny hole, while pushing in case on to and making sure reverse idler spacer thingie is lined up AND making sure guide pins Dad machined don't bind up. Didn't really get pics, as I was focusing.
This is what it looks like on paper with shift rods and detent, ball bearings are highlighted in black dots.
 Fun stuff
 by
samleisey, on Flickr
This is what real life looks like, As you can see there is not a lot of room to maneuver and you have to push balls all the way down and then push case at same time.
 Degleg Rebuild
 by
samleisey, on Flickr
That was fun, once that was done, I was very happily to see that all 5 gear worked. I hate RTV and gasket was sketchy. So I unfortunately had to use RTV, as my Nana says, "If a little is good, than a lot is great."
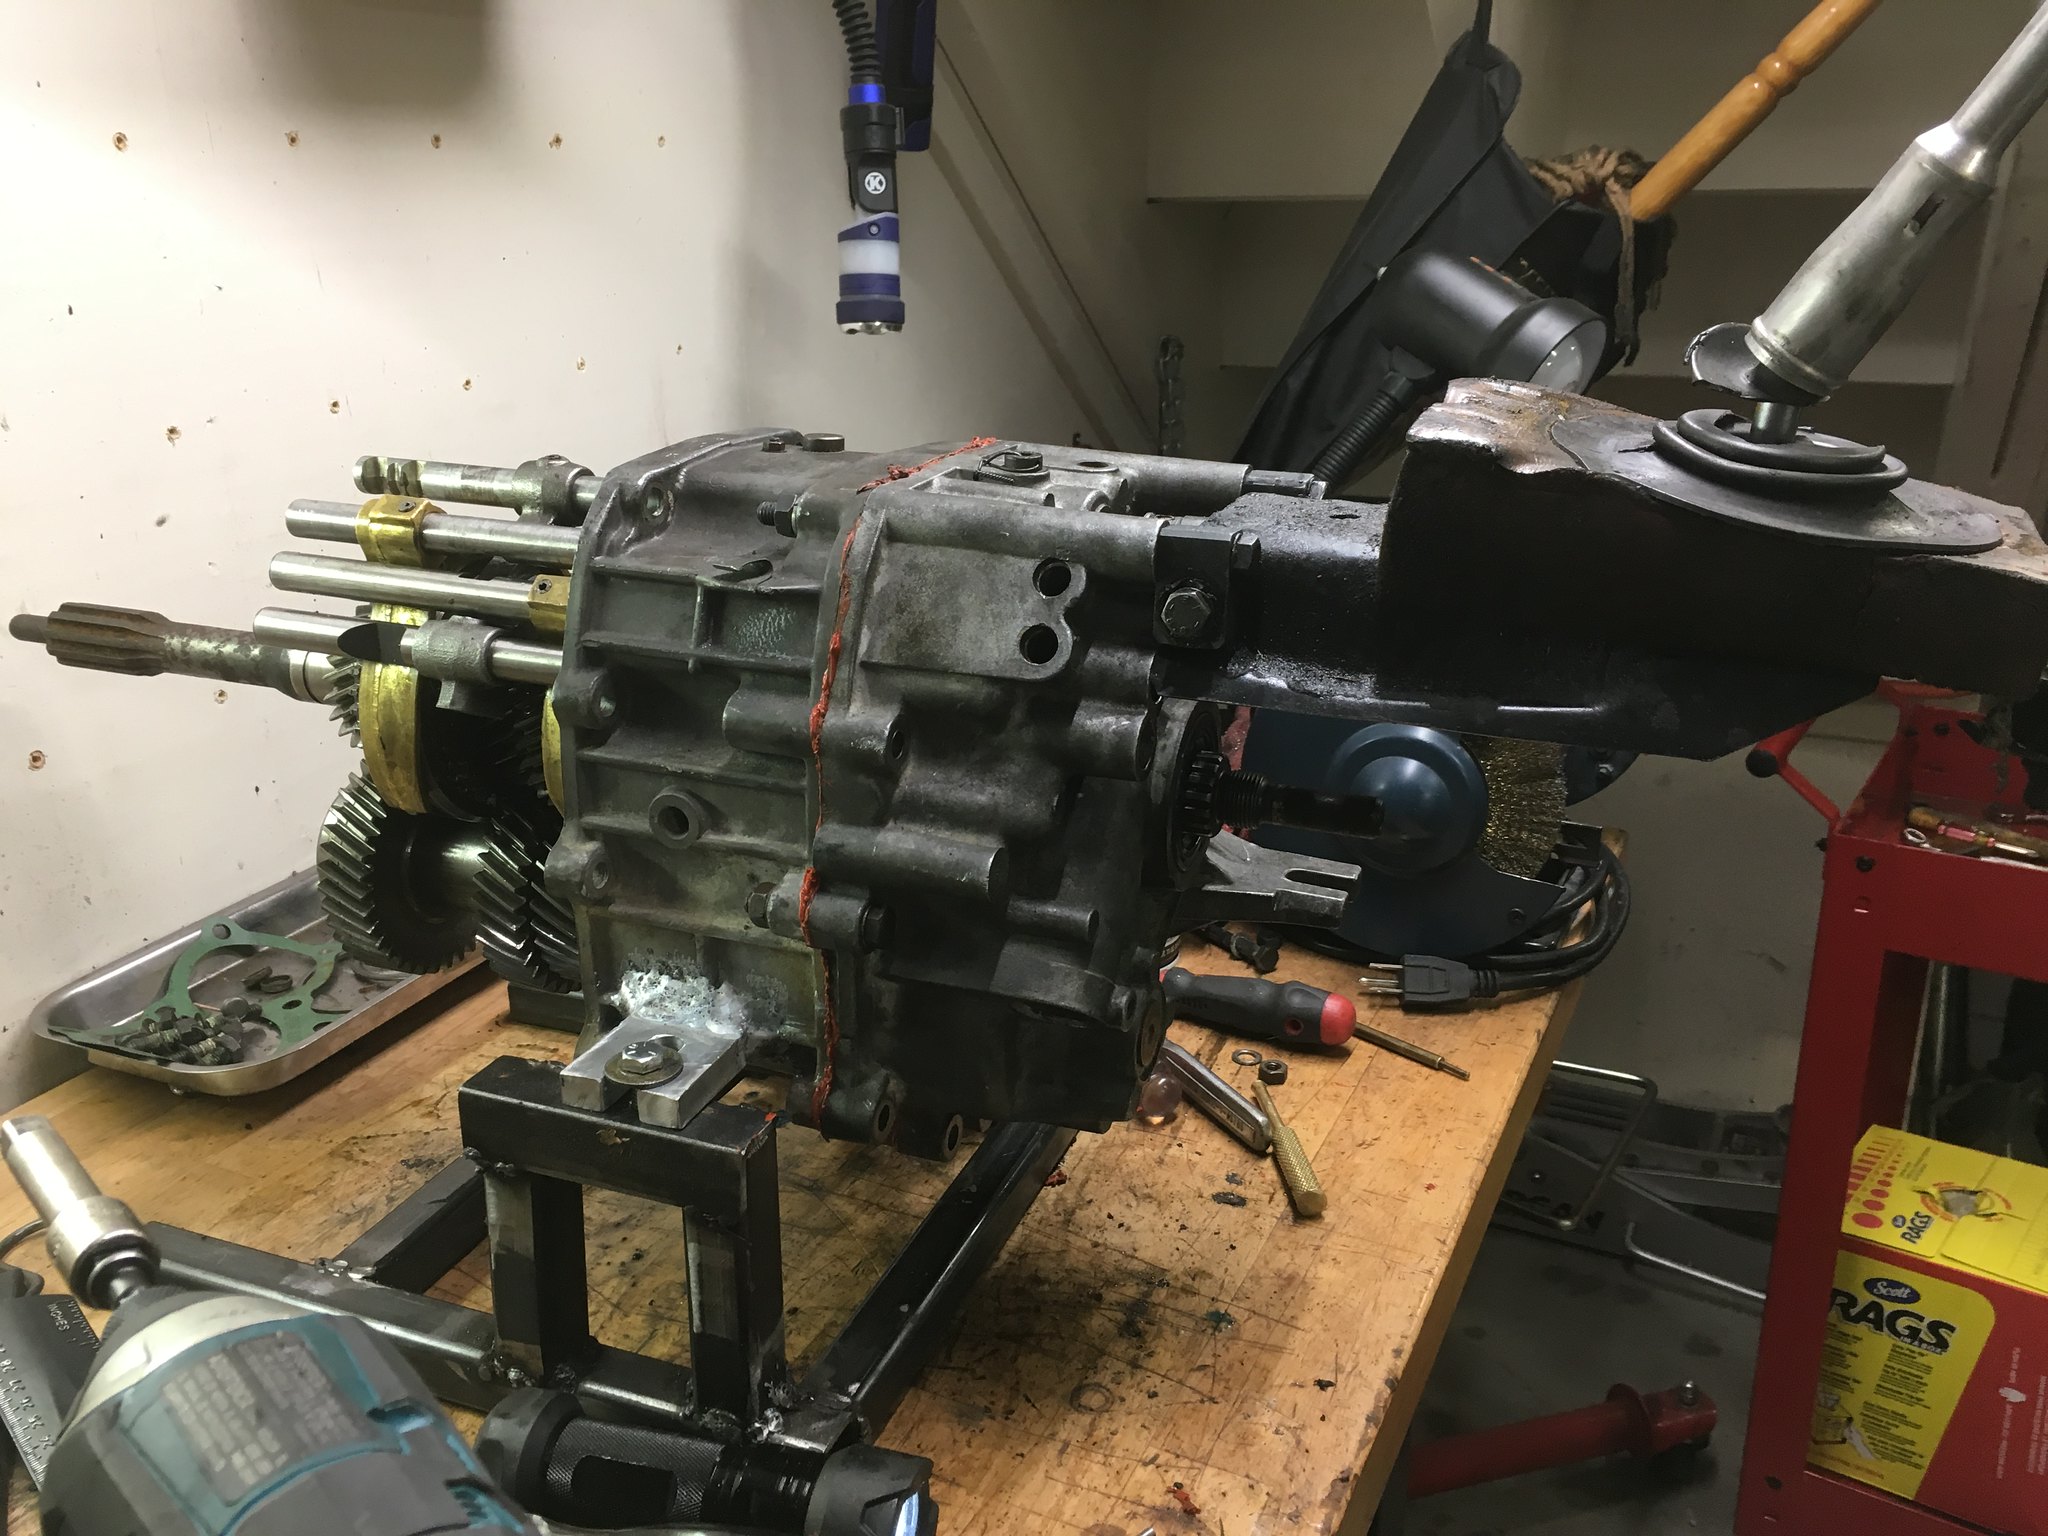 Degleg Rebuild
 by
samleisey, on Flickr
Now I am waiting on input shaft and layshaft bearings, in the meantime I installed a new chip and strut brace.
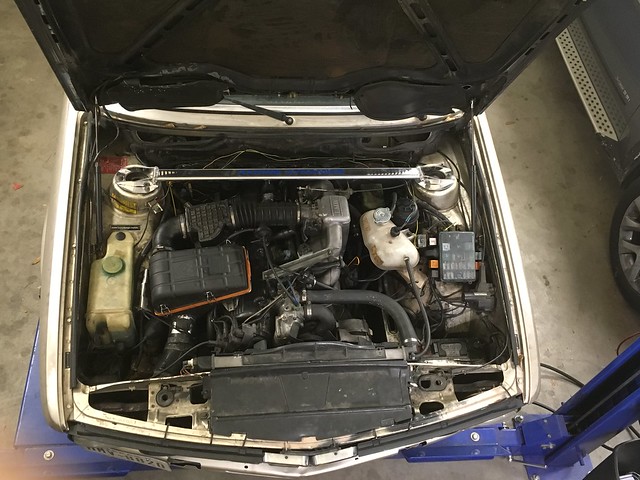 Degleg Rebuild
 by
samleisey, on Flickr
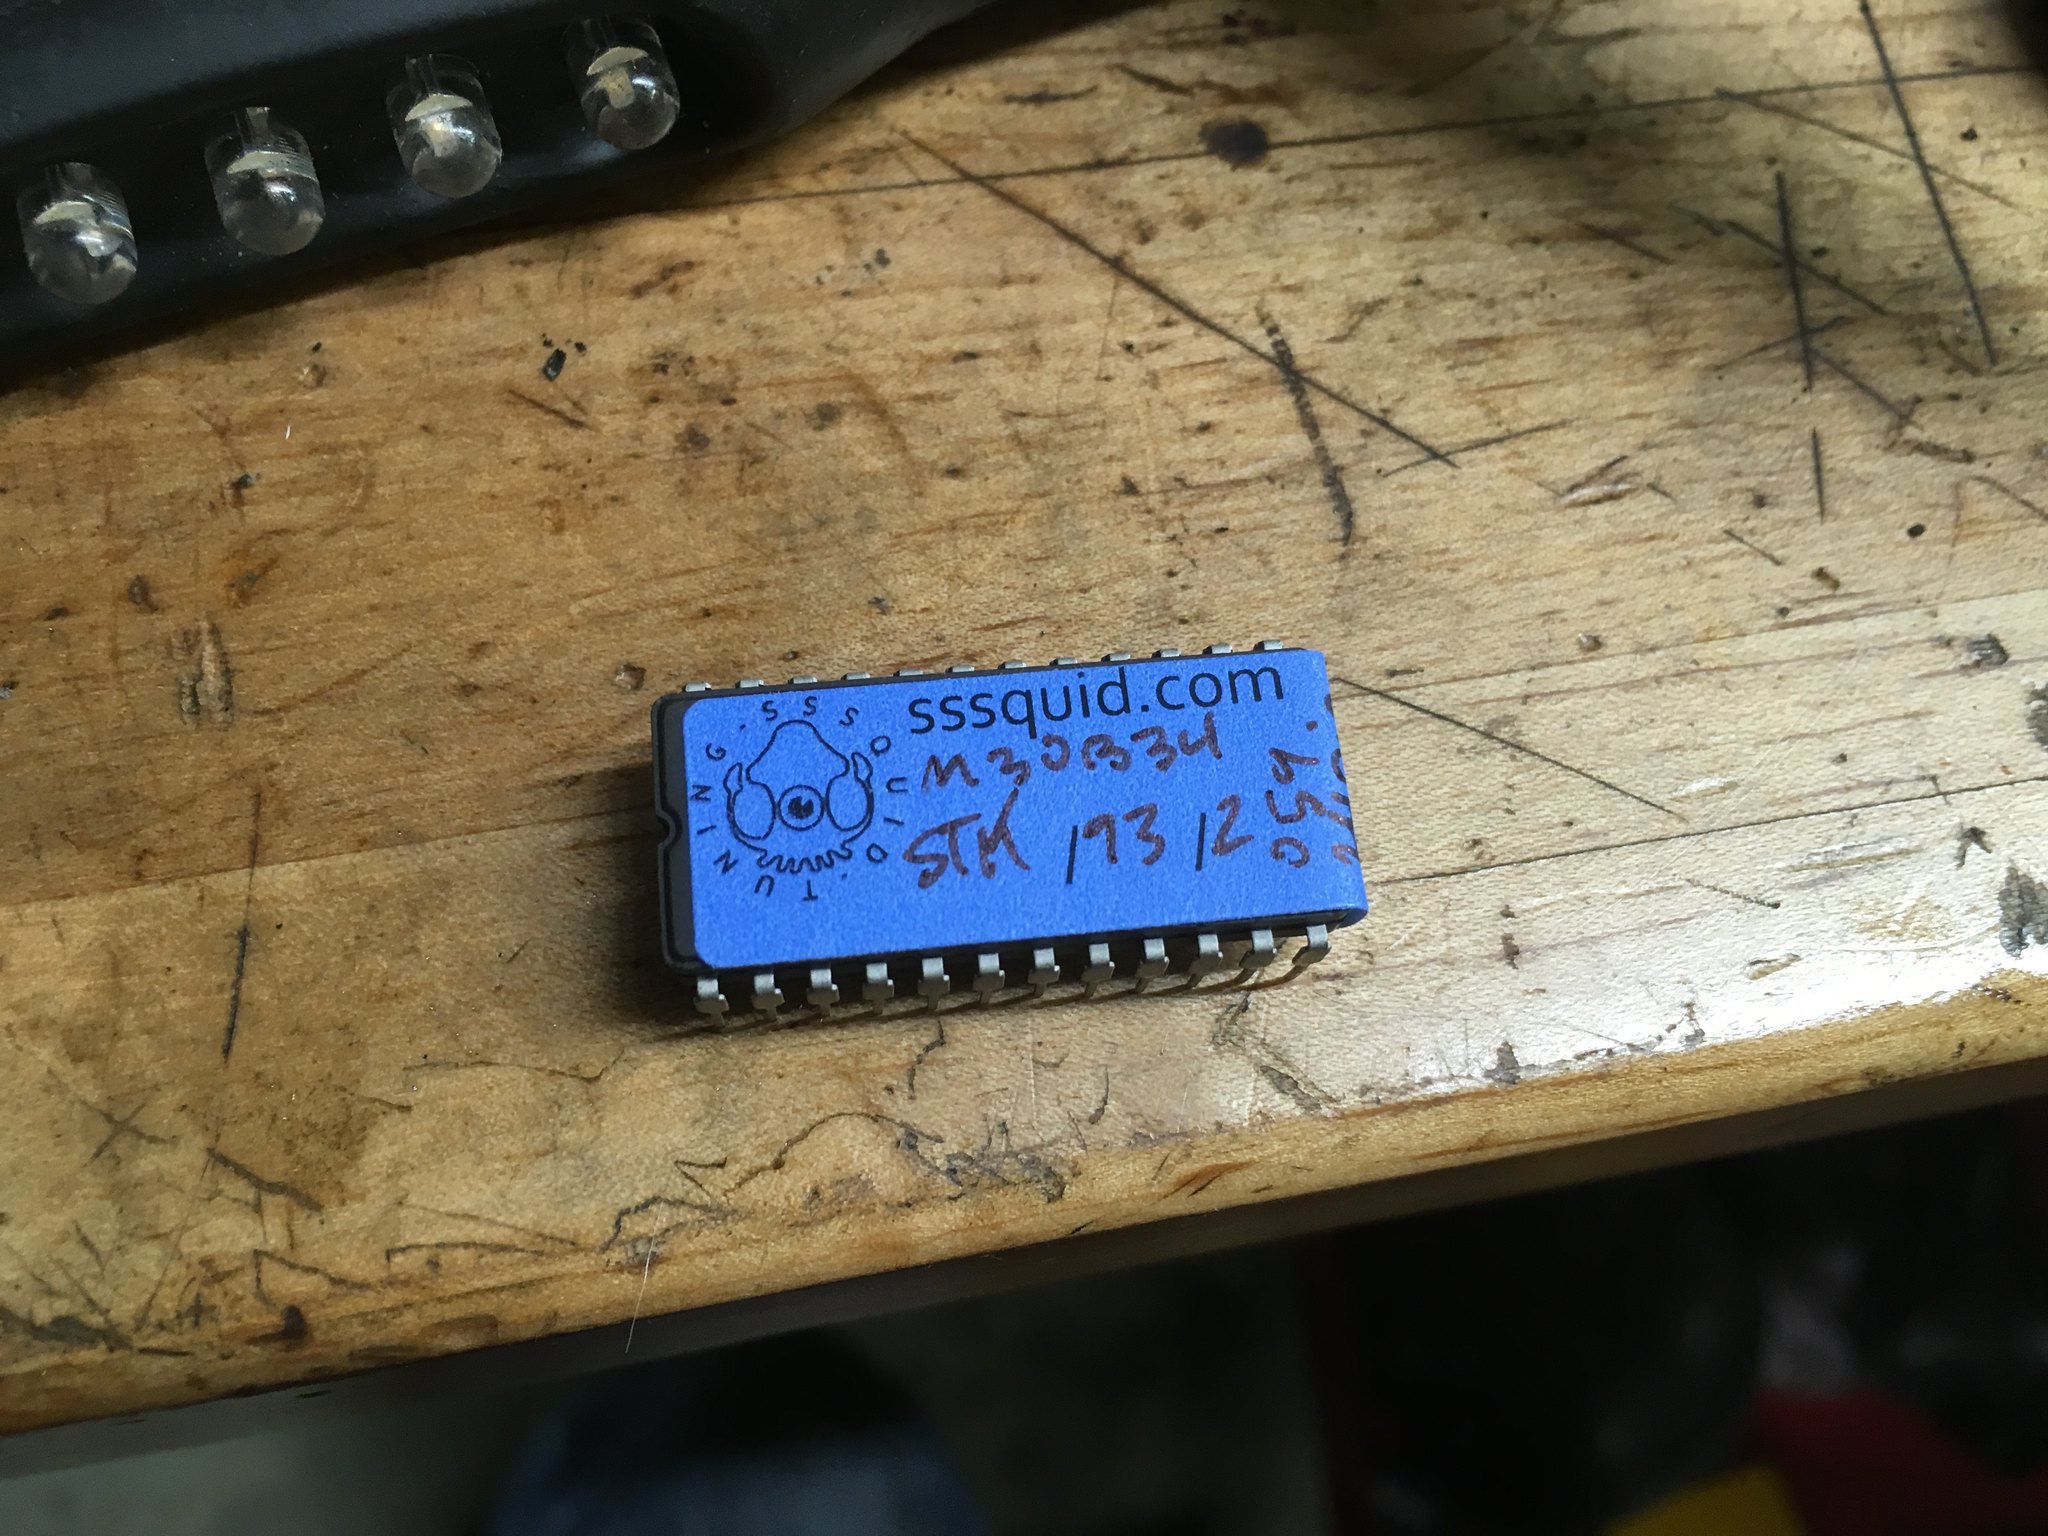 Degleg Rebuild
 by
samleisey, on Flickr
Car is almost running again, and if anyone knows of a core dogleg let me know.
Re: FUBAR 535e Build 12/30/17 Dogleg Rebuild
Posted: Dec 31, 2017 1:16 AM
by tig
You are a lucky boy. Growing mad skills. Thanks for letting us follow along.
Re: FUBAR 535e Build 12/30/17 Dogleg Rebuild
Posted: Dec 31, 2017 10:51 AM
by tschultz
Let us know how you like SSSquid's B34 chip...
Re: FUBAR 535e Build 12/30/17 Dogleg Rebuild
Posted: Jan 04, 2018 1:03 AM
by LeiseyJr
tschultz wrote:Let us know how you like SSSquid's B34 chip...
Well finally put car together and breaking in trans, the new chip seems to run a lot smoother through the whole rpm range. Not sure if it pulls as hard, but that might be beacuse powerband is so smooth that on cam feeling a I use to have is gone so. Overall though a lot smooher to just drive around.
Re: FUBAR 535e Build 12/30/17 Dogleg Rebuild
Posted: Jan 04, 2018 1:08 AM
by LeiseyJr
Dogleg is working!!! Did 160ish miles tody so far so good just trying to gently break in the bearings, it shifts nice and is quiet, gonna change trans fluid soon and than really test chip at WOT.
Strut Bar made a big differernce as well even passengers noticed rides smoother less crashy over bumps and feels different cornering.
Re: FUBAR 535e Build 12/30/17 Dogleg Rebuild
Posted: Mar 08, 2018 12:01 PM
by LeiseyJr
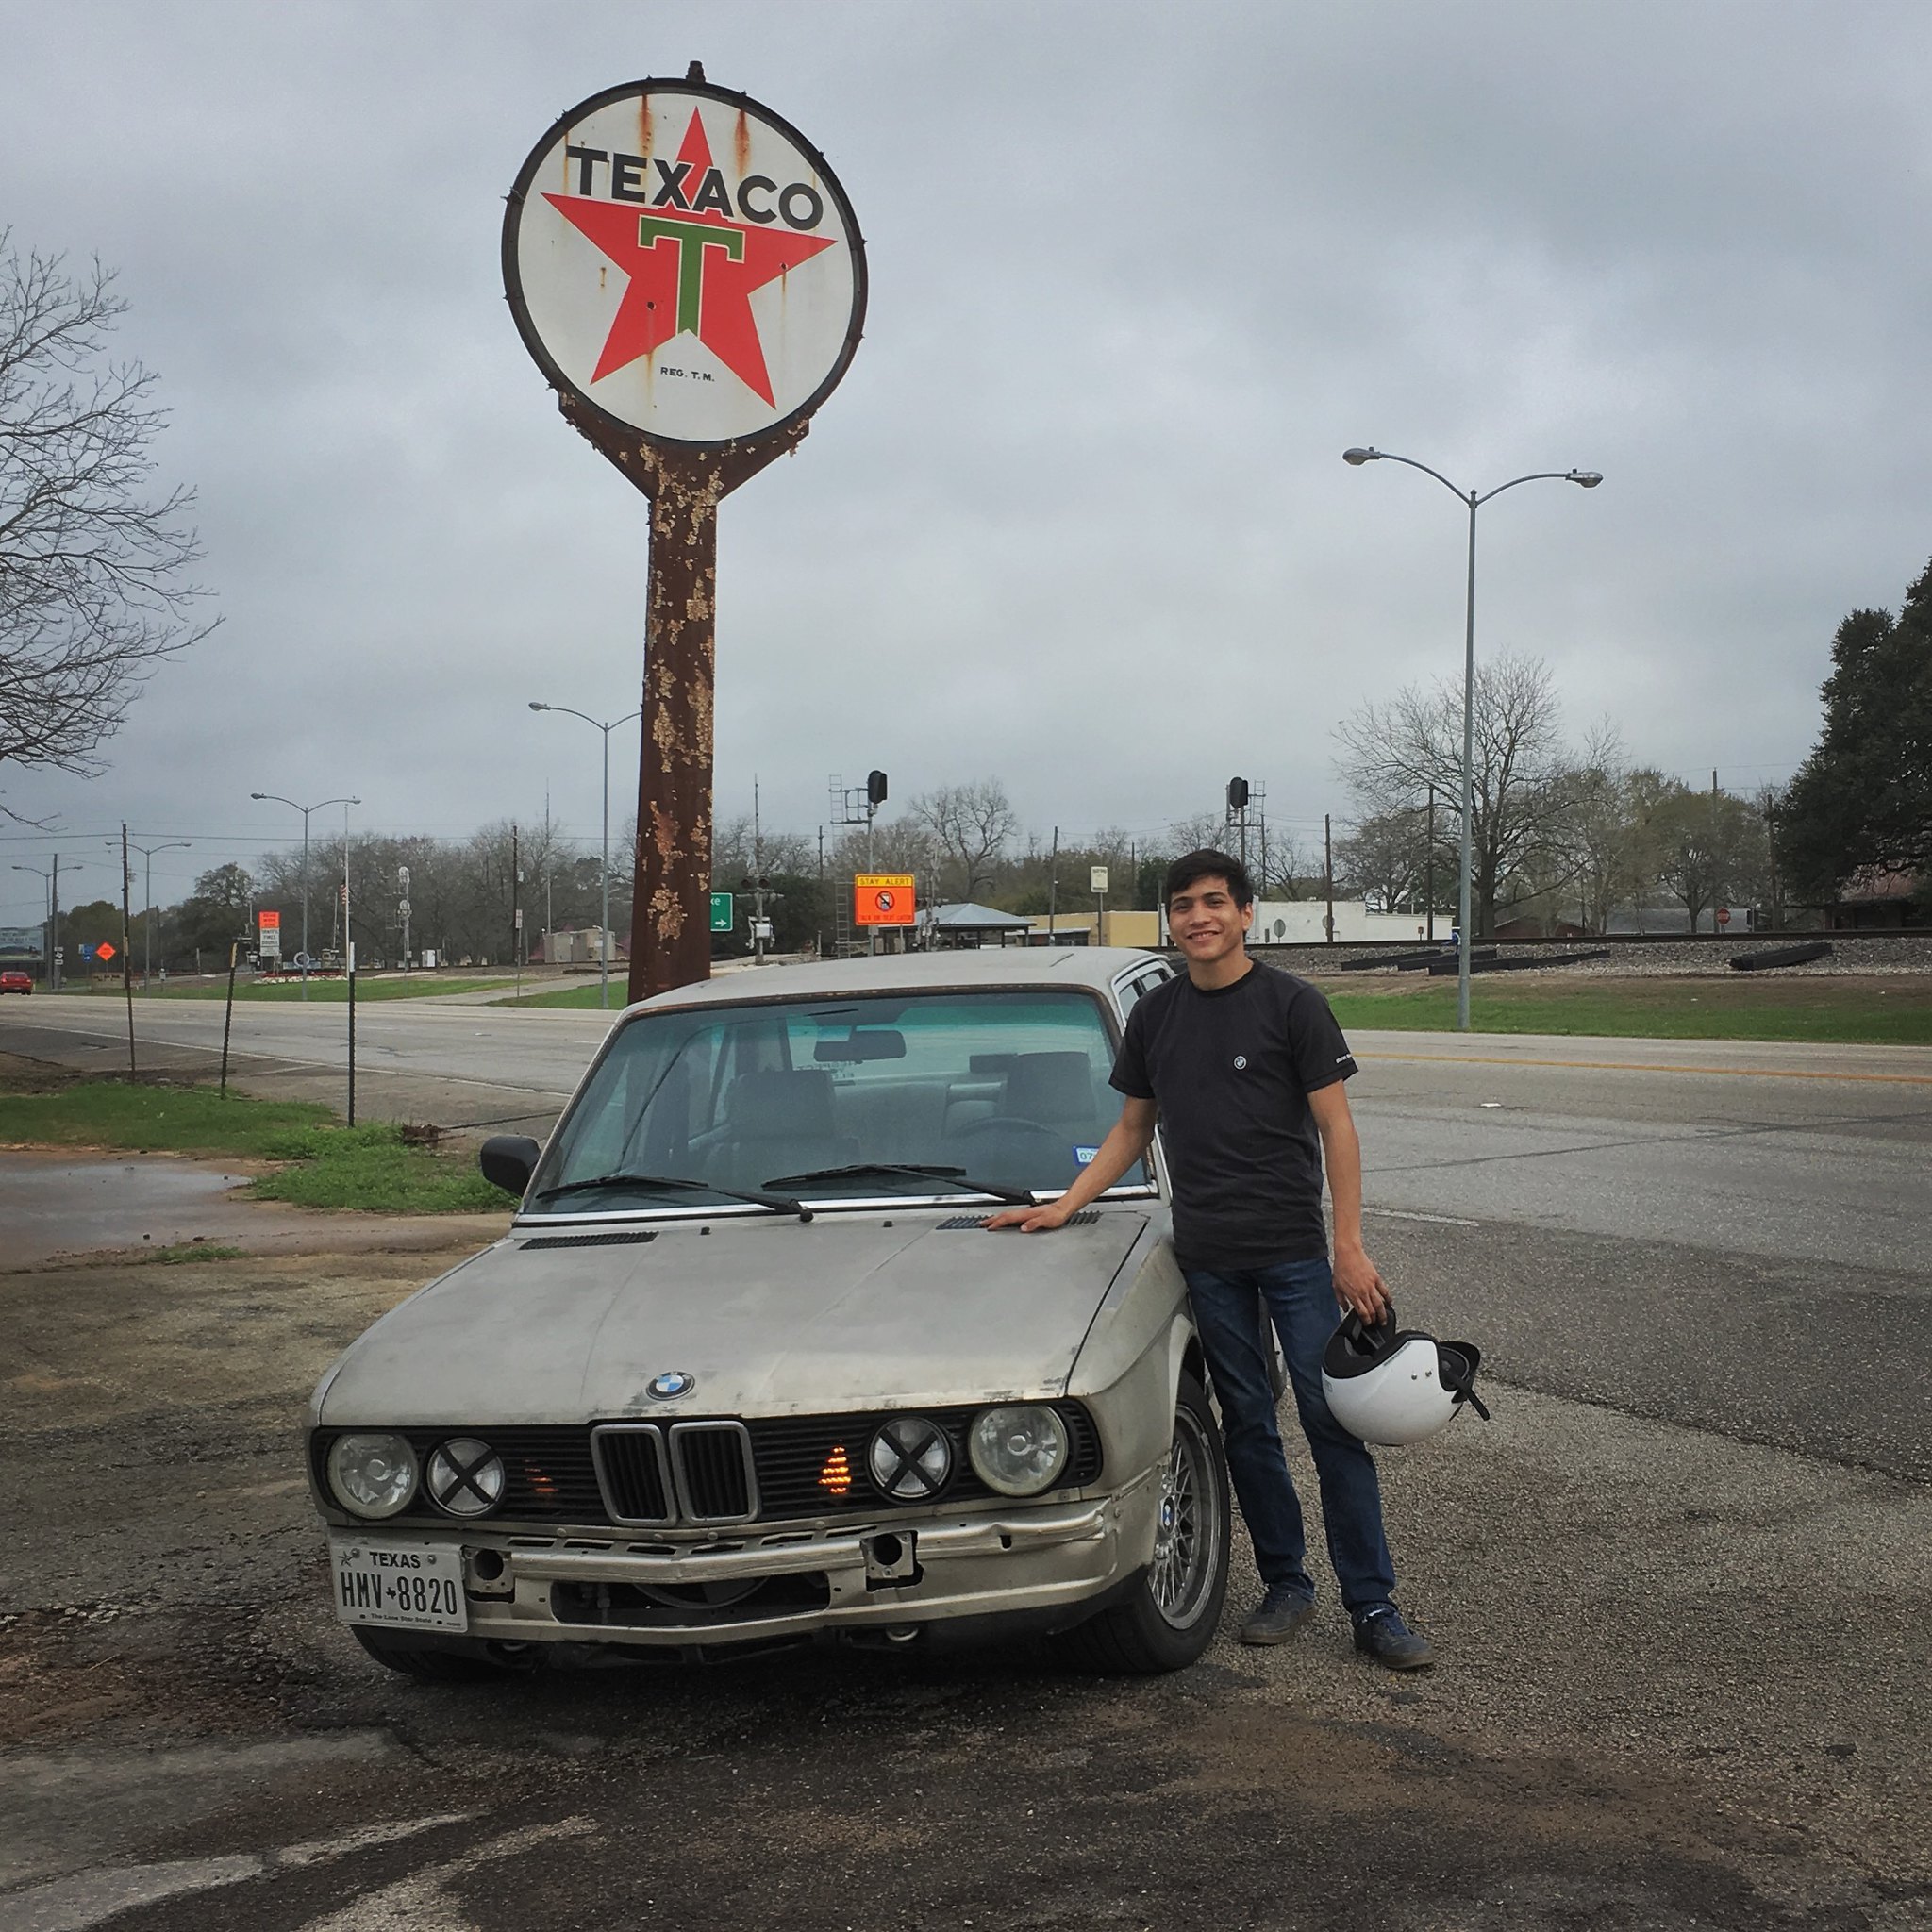
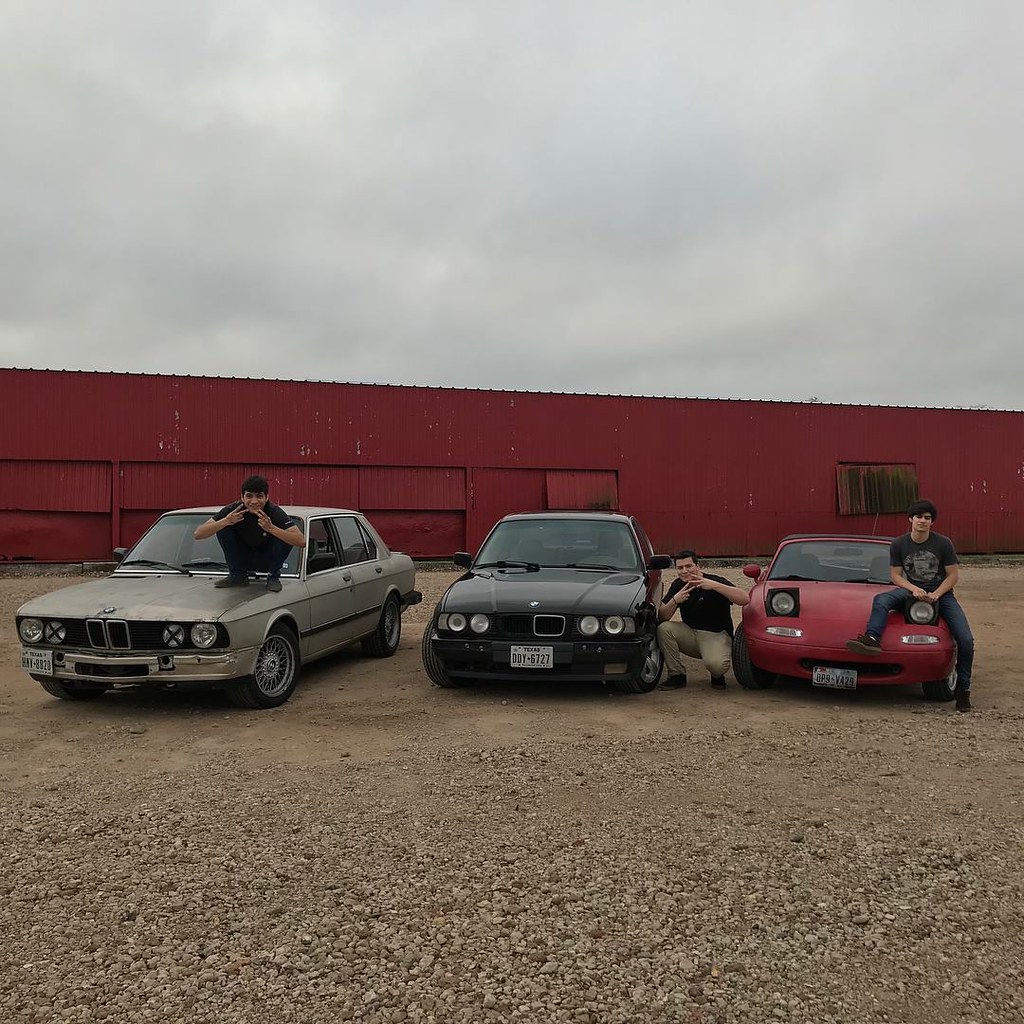
It's still shocking that I took part the Getrag 265 CR and put it back together, but it's doing well so far. The Korman chip is superior, SSSquid is smoother but for performance driving I plug in the Korman chip. You can tell they put a lot of time into their tunes, but I feel like they lack M30 experience, so they didn't extract as much as Korman did. I also finally found center caps, the E38 style 5 centercaps have always been weird looking on my car. You can tell they are for a round car. I put in E34 Style 5 center-caps on and I prefer them 10x over on my non-bumper car.
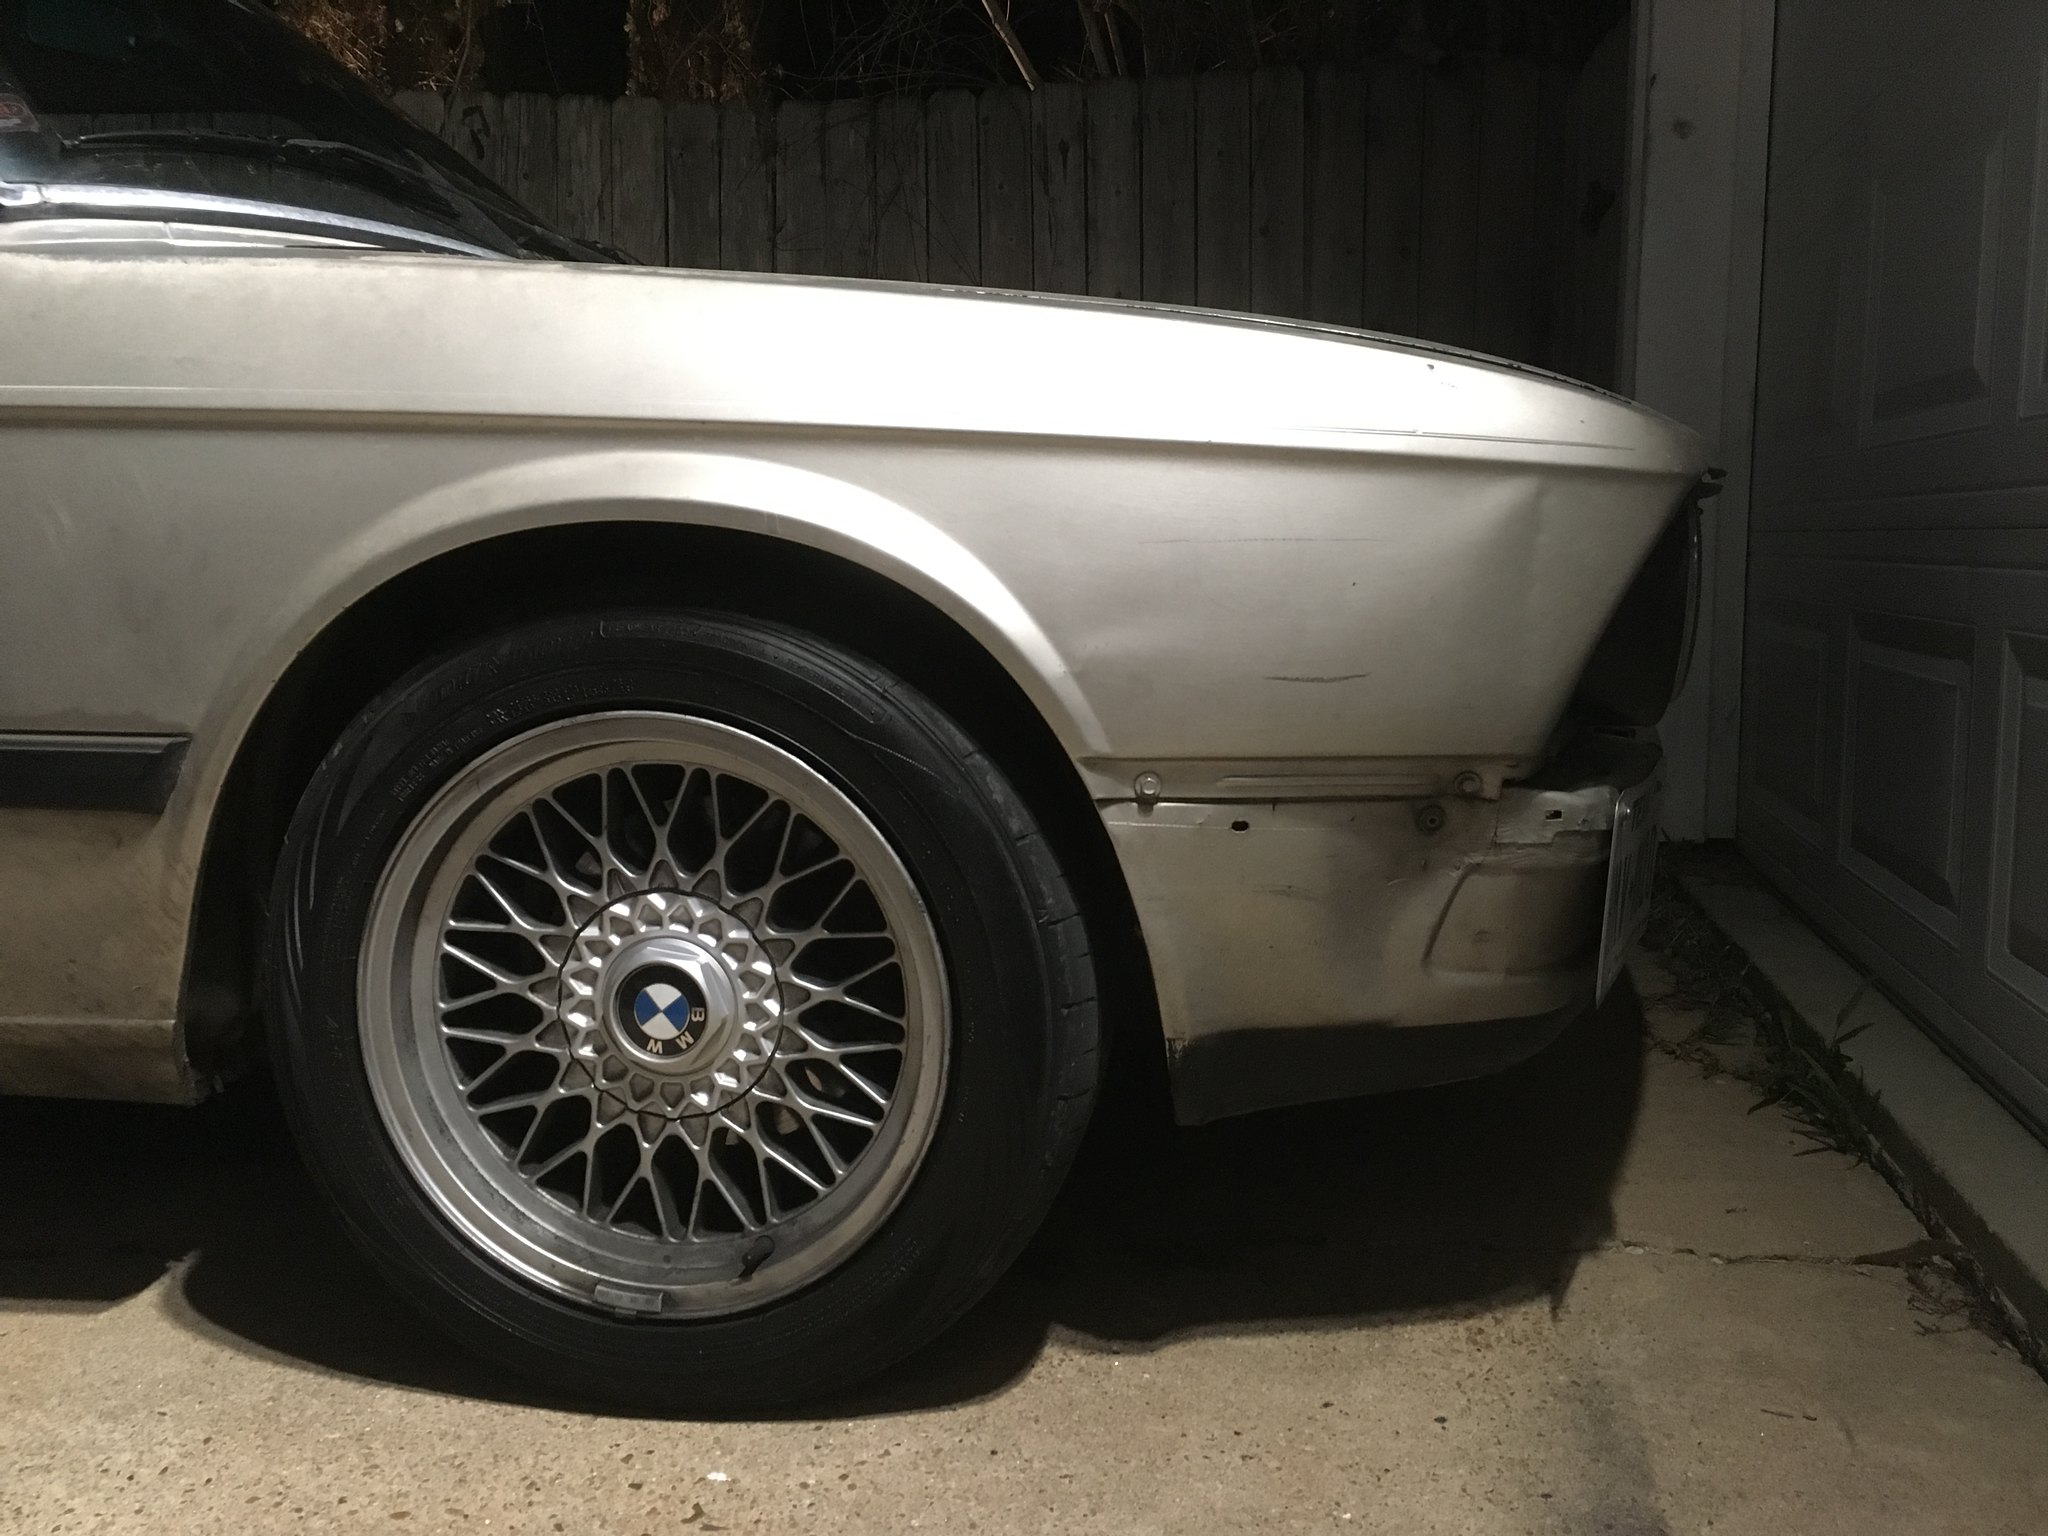 IMG_0779
 by
samleisey, on Flickr
 IMG_0828
 by
samleisey, on Flickr
 IMG_0834
 by
samleisey, on Flickr
Trackday is coming up soon, or an open lapping day Anyway. PFC 06 pads will be going on and I'll see how she does. On same old D102's as I can't afford anything better right now for rubber. Should be fun as always though
Re: FUBAR 535e Build 3/8/18 Stayin' Alive
Posted: Mar 18, 2018 11:08 PM
by LeiseyJr
https://youtu.be/_rks1sr1NZE
Car did great other than I need to fix ABS, I flatfooted my RF so bad. It's just handy especially when learning this track which is not just dedicated, fun corners but technical and tight. Rae pads only on the front moved bias way to far forward as well but still good fun. Also, the fucking oil leak is still a disaster, and I will have to remove the transmission yet again. It's the back of the head. I DONT GET IT.
Got a job at discount tire, getting ready for college, trying to pass AP Calculus, so much fun stuff.
Re: FUBAR 535e Build 3/8/18 Stayin' Alive
Posted: Mar 19, 2018 3:44 PM
by lizard
One of my favorite threads. Wonderful to read about a young man and his car.
Re: FUBAR 535e Build 3/8/18 Stayin' Alive
Posted: Mar 20, 2018 11:53 AM
by Burnze
This is awesome, love the pictures. Keep up the great work.
Re: FUBAR 535e Build 3/8/18 Stayin' Alive
Posted: Mar 26, 2018 3:13 PM
by LeiseyJr
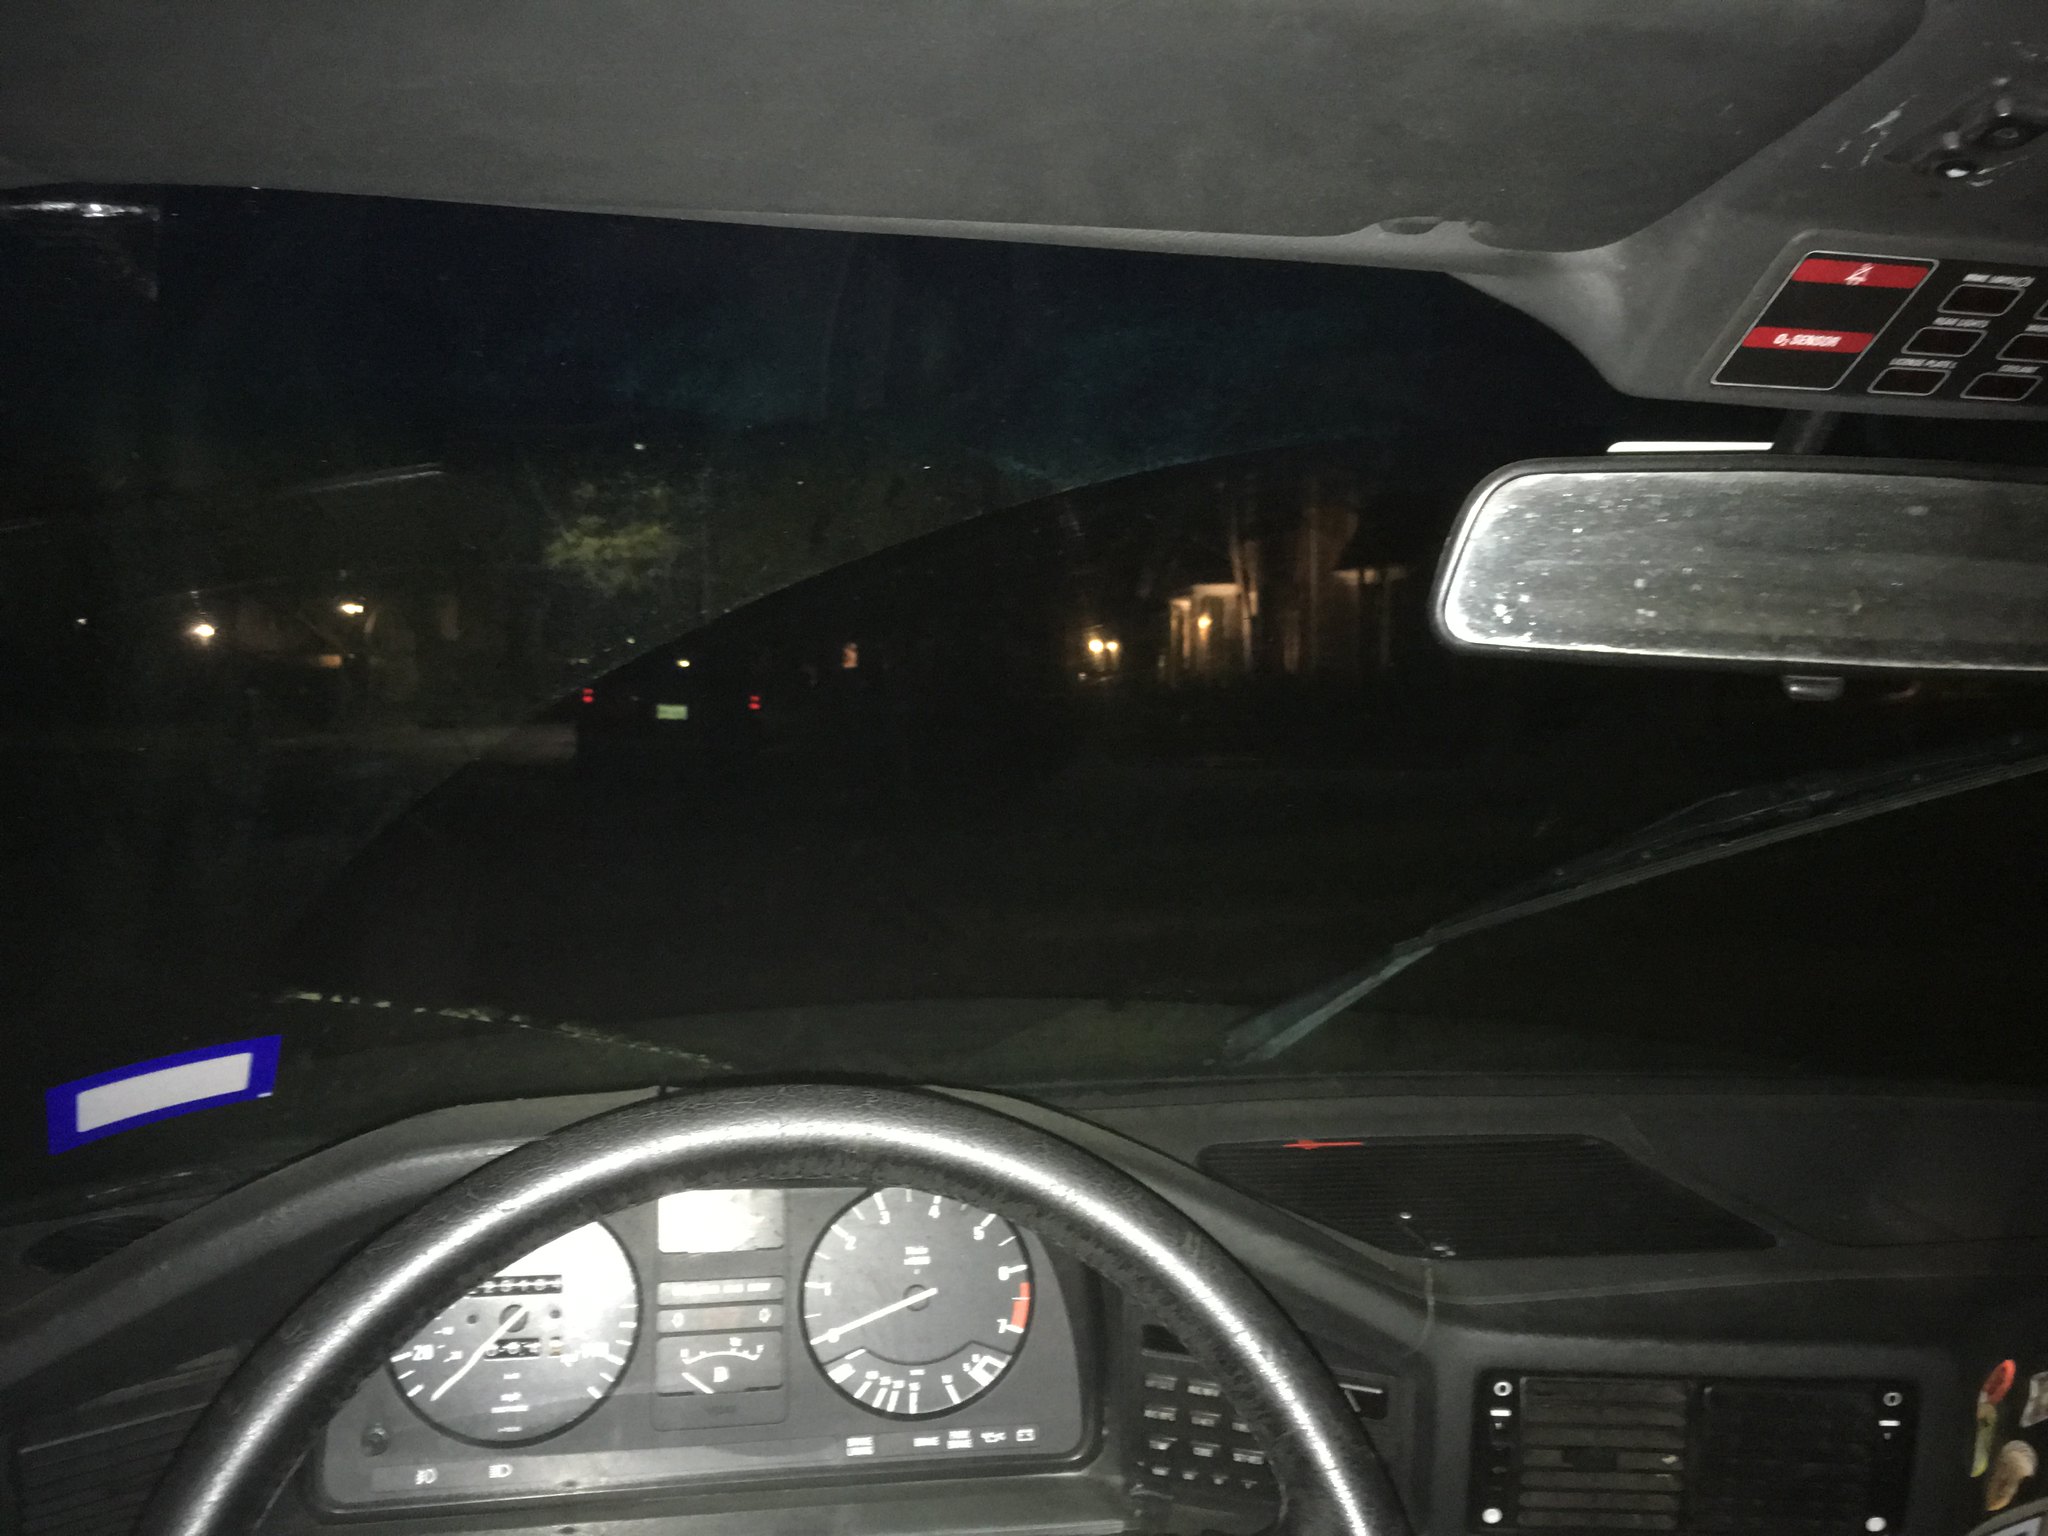
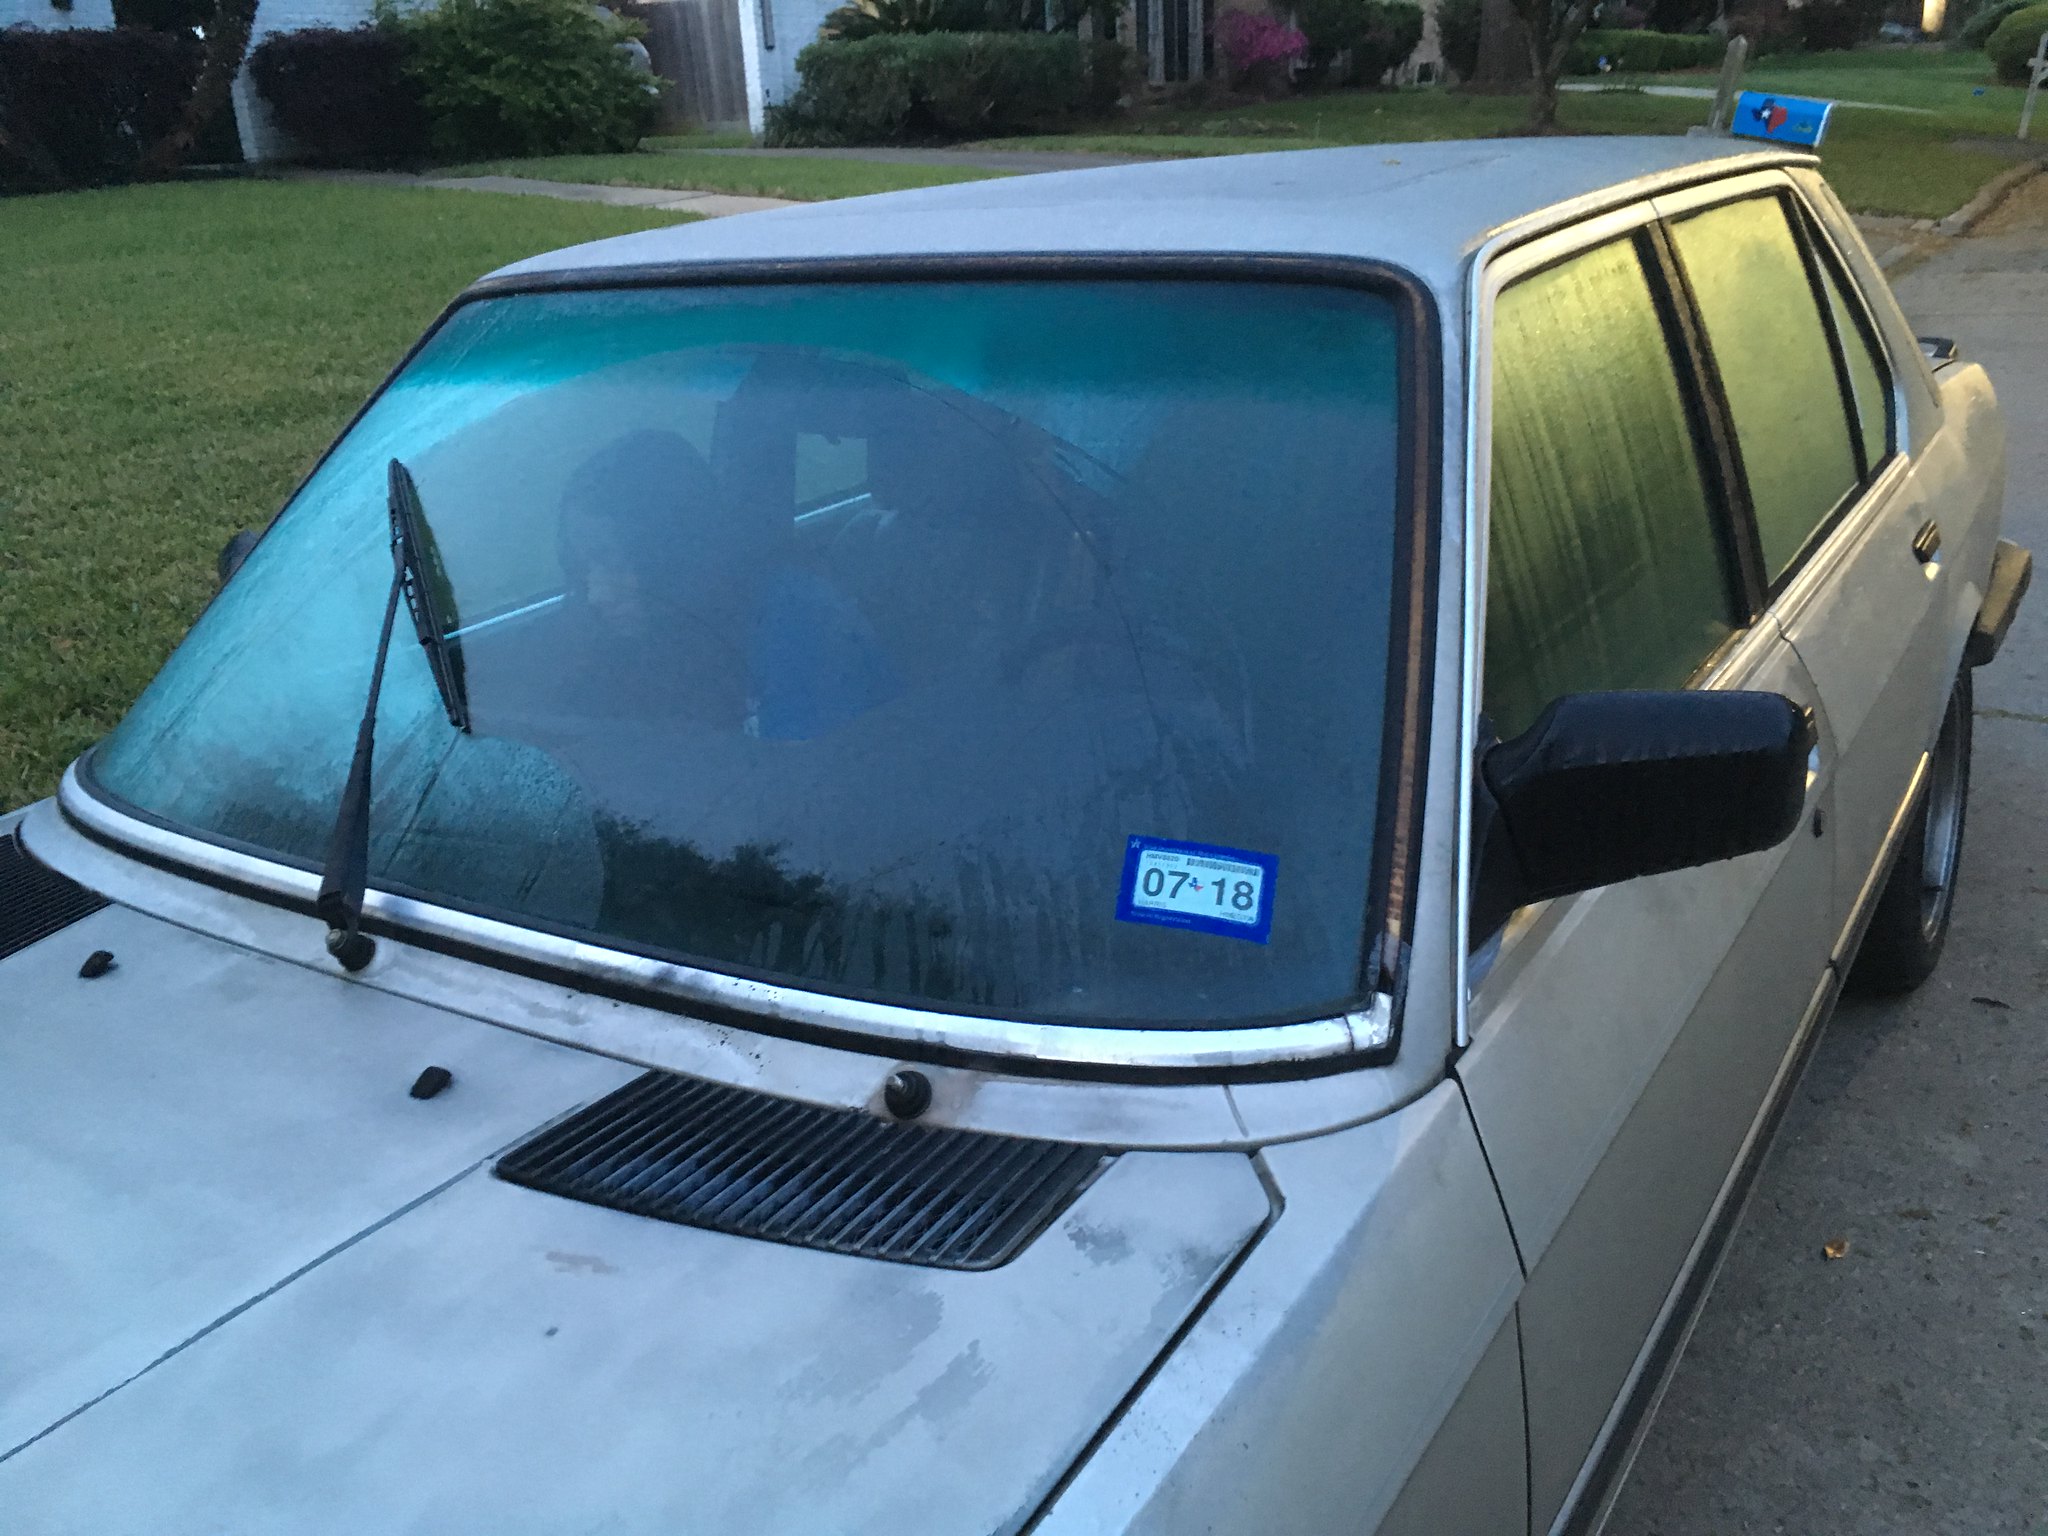
I've been trying get the 80's race car look on my daily driver because I just think its cool. So I did a mono-wiper thing to really take advantage of my rebuilt wiper assembly, just removed passenger wiper and placed the drivers wipe on the passenger spline thing. That way when Hurricane Harvey happens I'll be blind but cool at the same time. If it's really bad when it rains I will change back to stock for others safety.
 IMG_1060
 by
samleisey, on Flickr
 IMG_1061
 by
samleisey, on Flickr
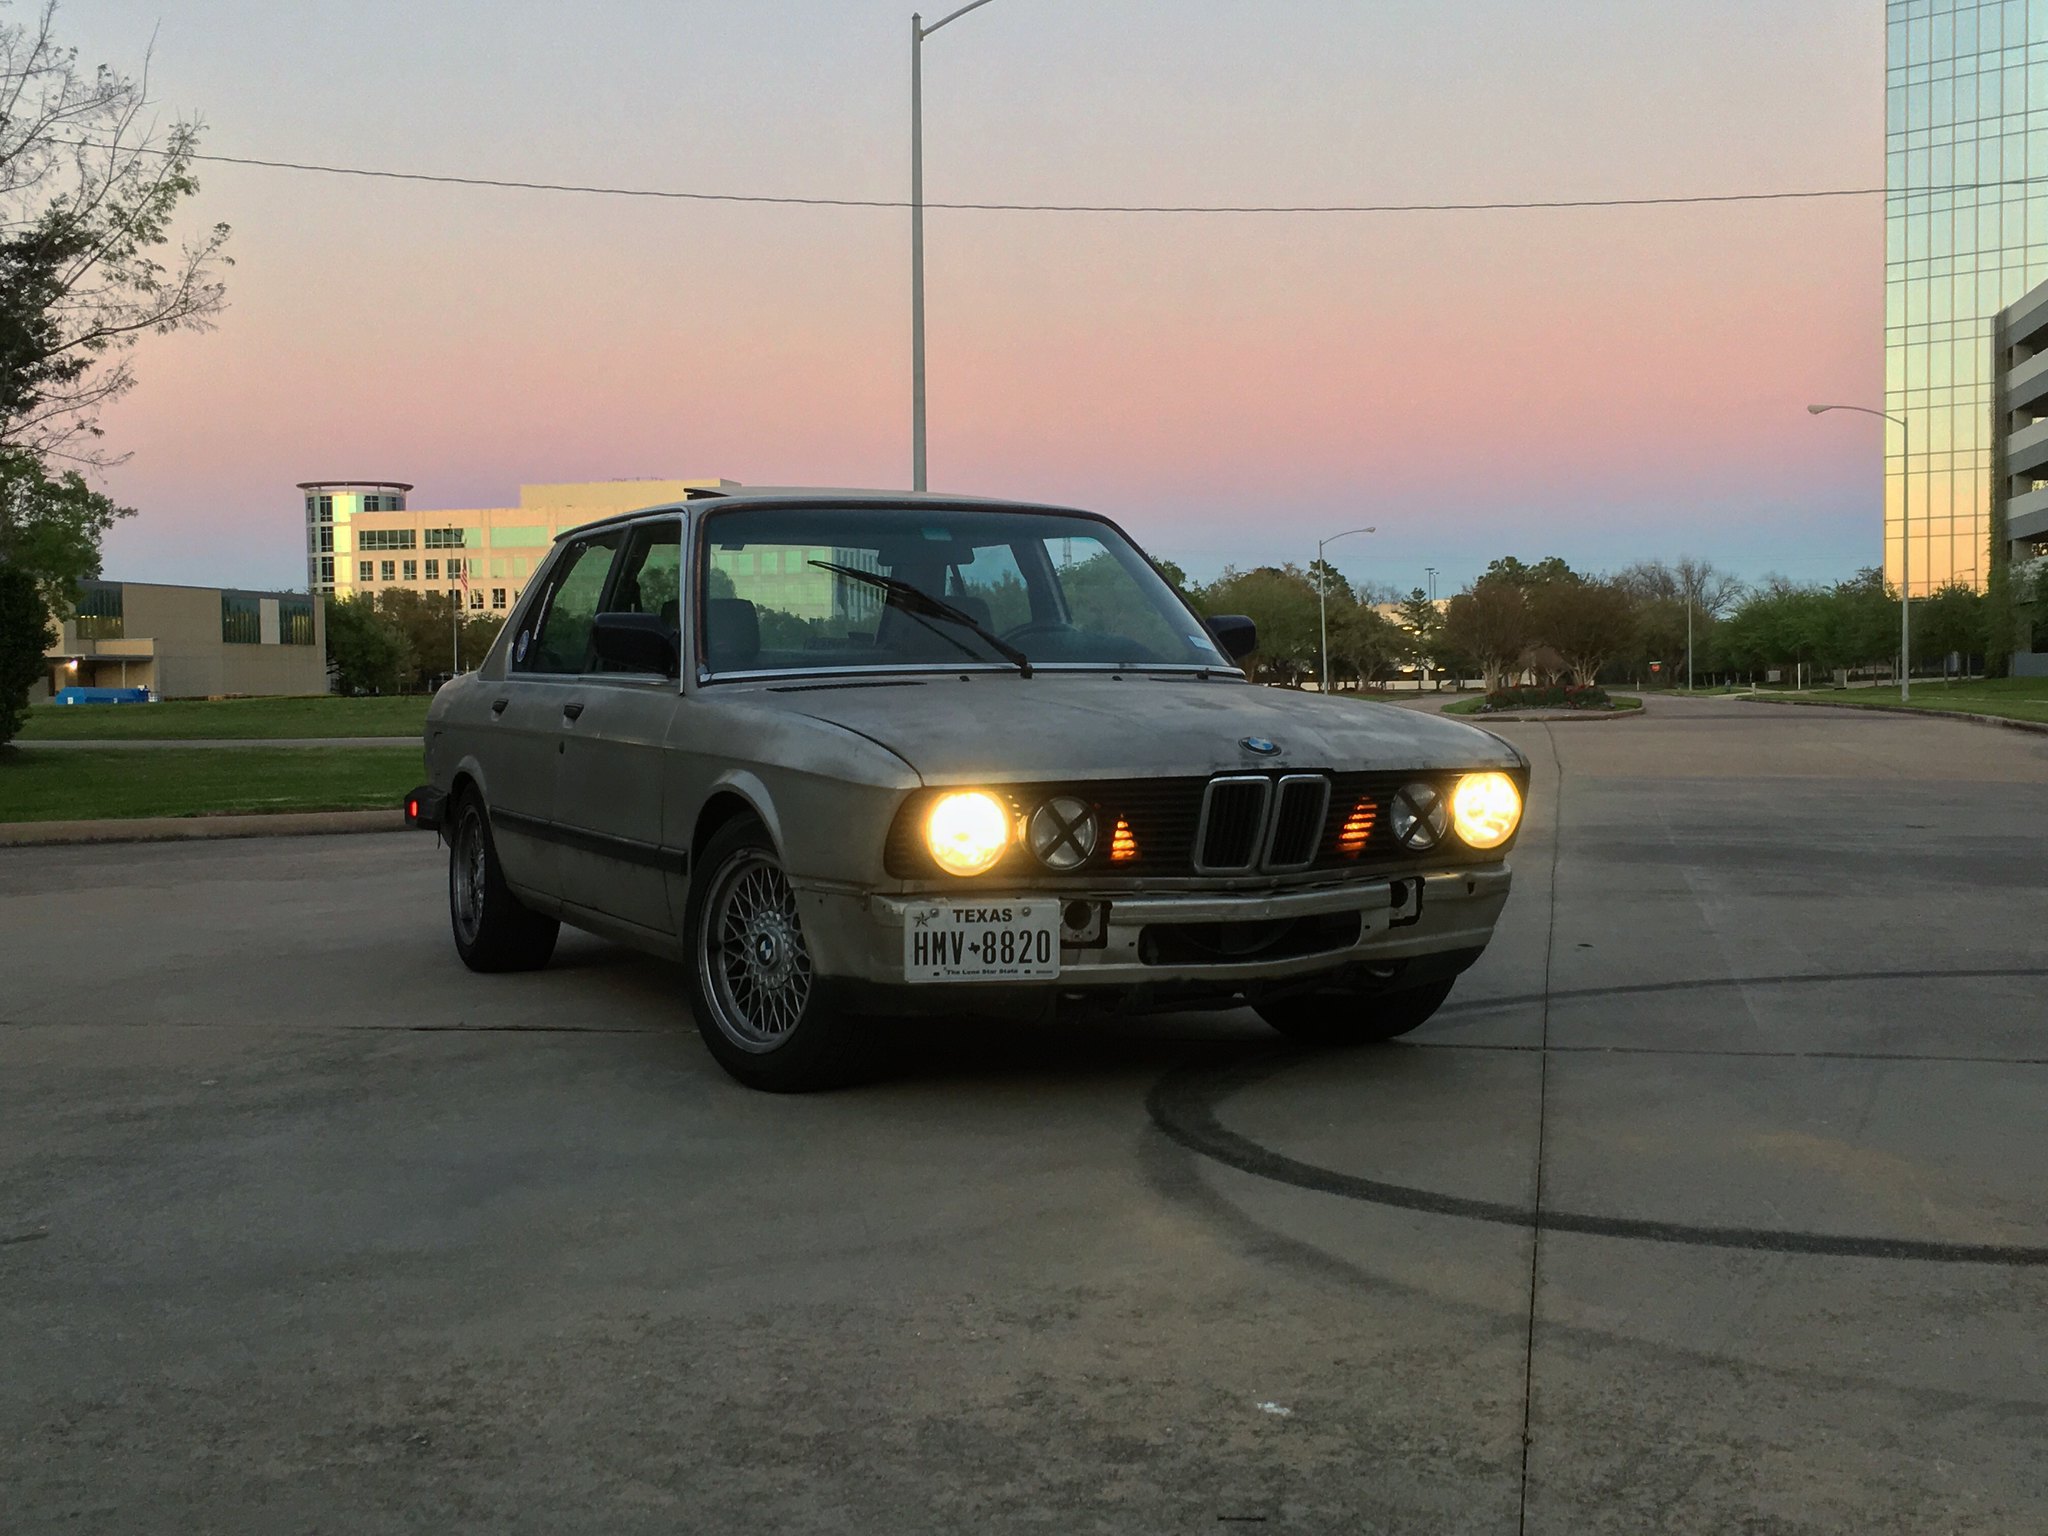 IMG_1013
 by
samleisey, on Flickr
Plans in Order of Importance:
-Stop Oil falling on the ground
-ABS
-Hankook RS4's
-Race Pads ALL AROUND
-Obtain Replica Euro bumper from CEP
-Mount Front Euro front federalization to CEP bumper
-Get Adapter Brackets
-Make or find a front lip or spoiler to rip off on Houston roads
-Skid Plate
Re: FUBAR 535e Build 3/8/18 Stayin' Alive
Posted: May 07, 2018 1:13 PM
by LeiseyJr
Tried to install camber plates Dad also rewelded my broken swaybar mount that I ripped out sliding on backroad, camber plates were a massive fail. I told myself steering would stop binding for 30 miles. Hopefully Turner gives me a refund
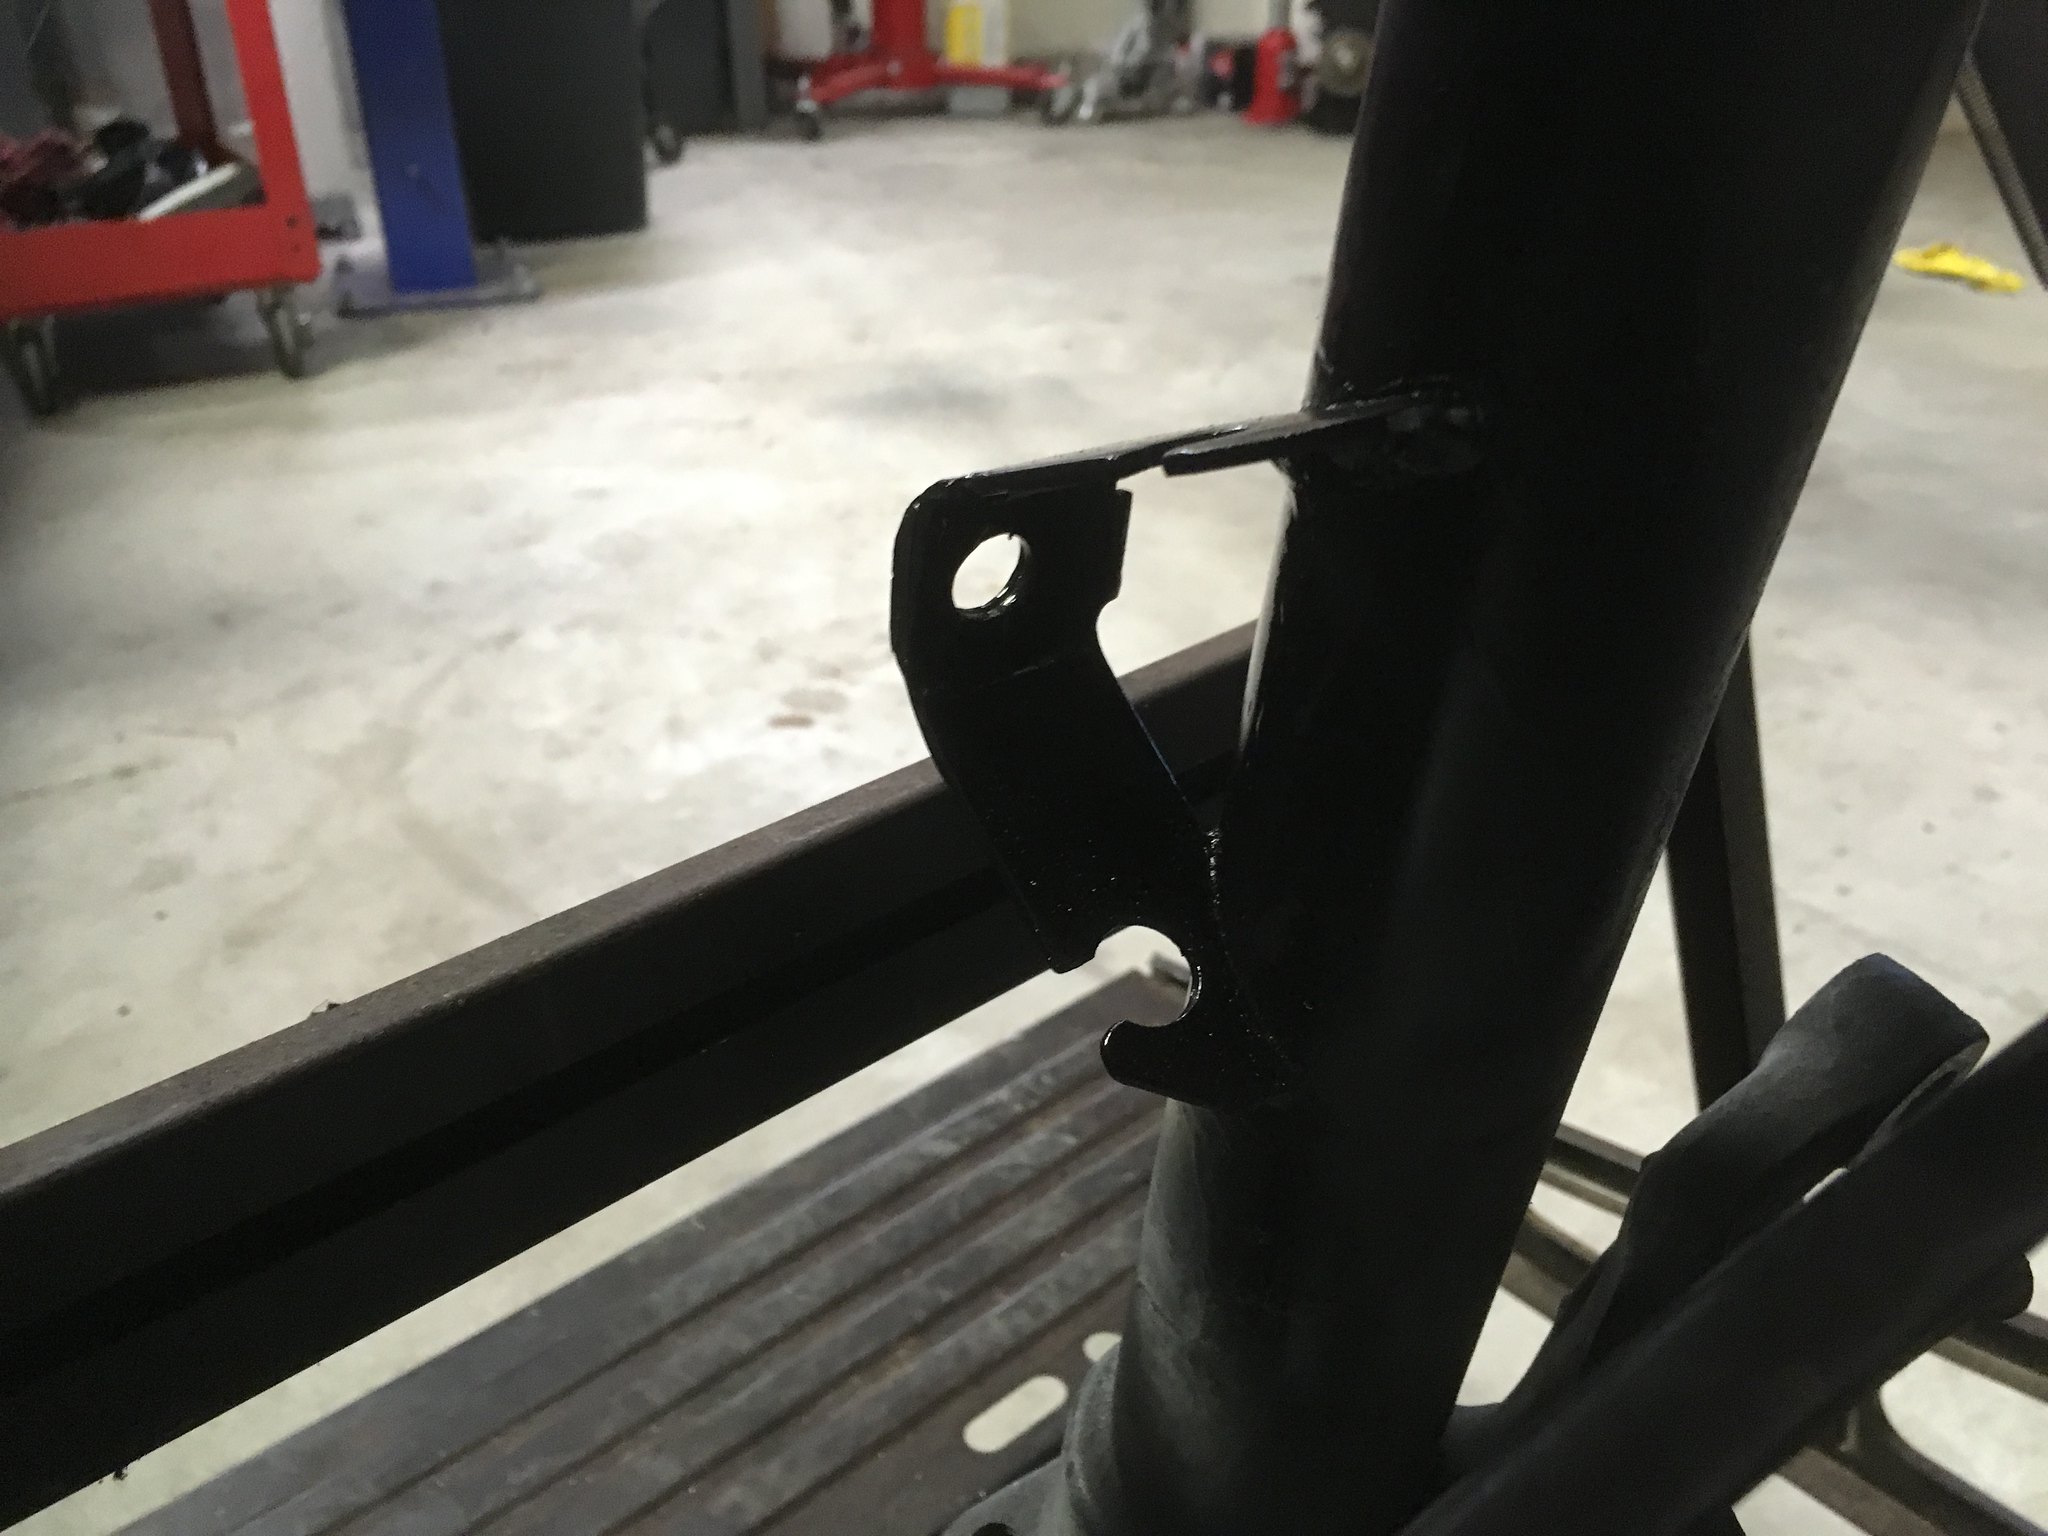 Camber Plates and Sawybar shit
 by
samleisey, on Flickr
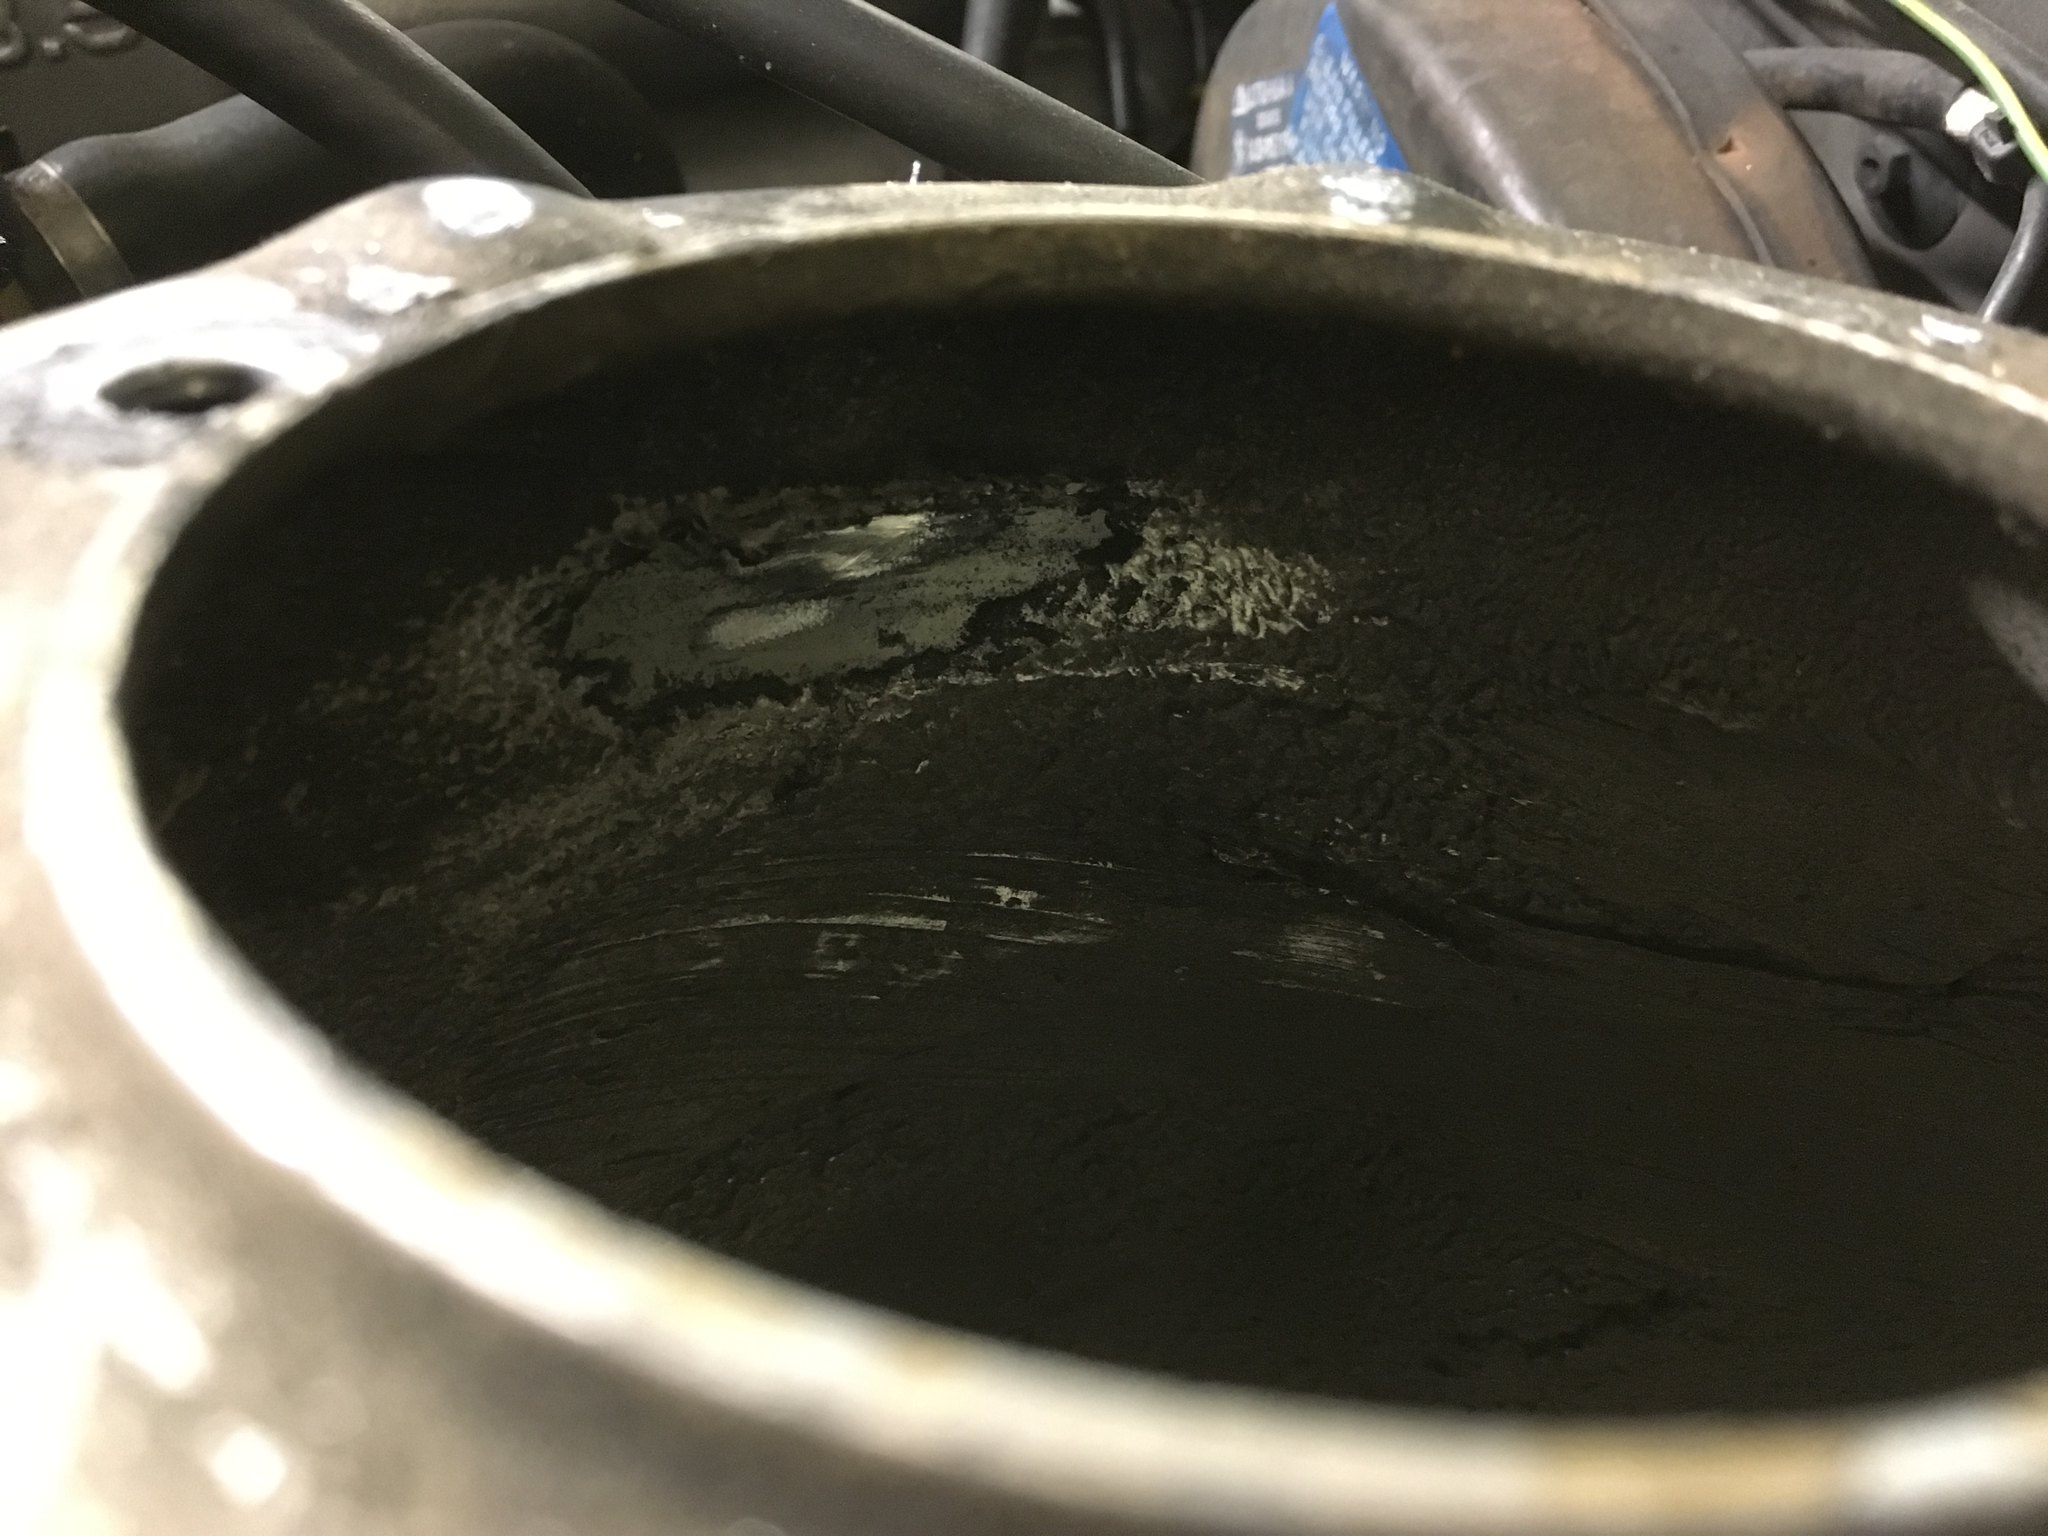 Camber Plates and Sawybar shit
 by
samleisey, on Flickr
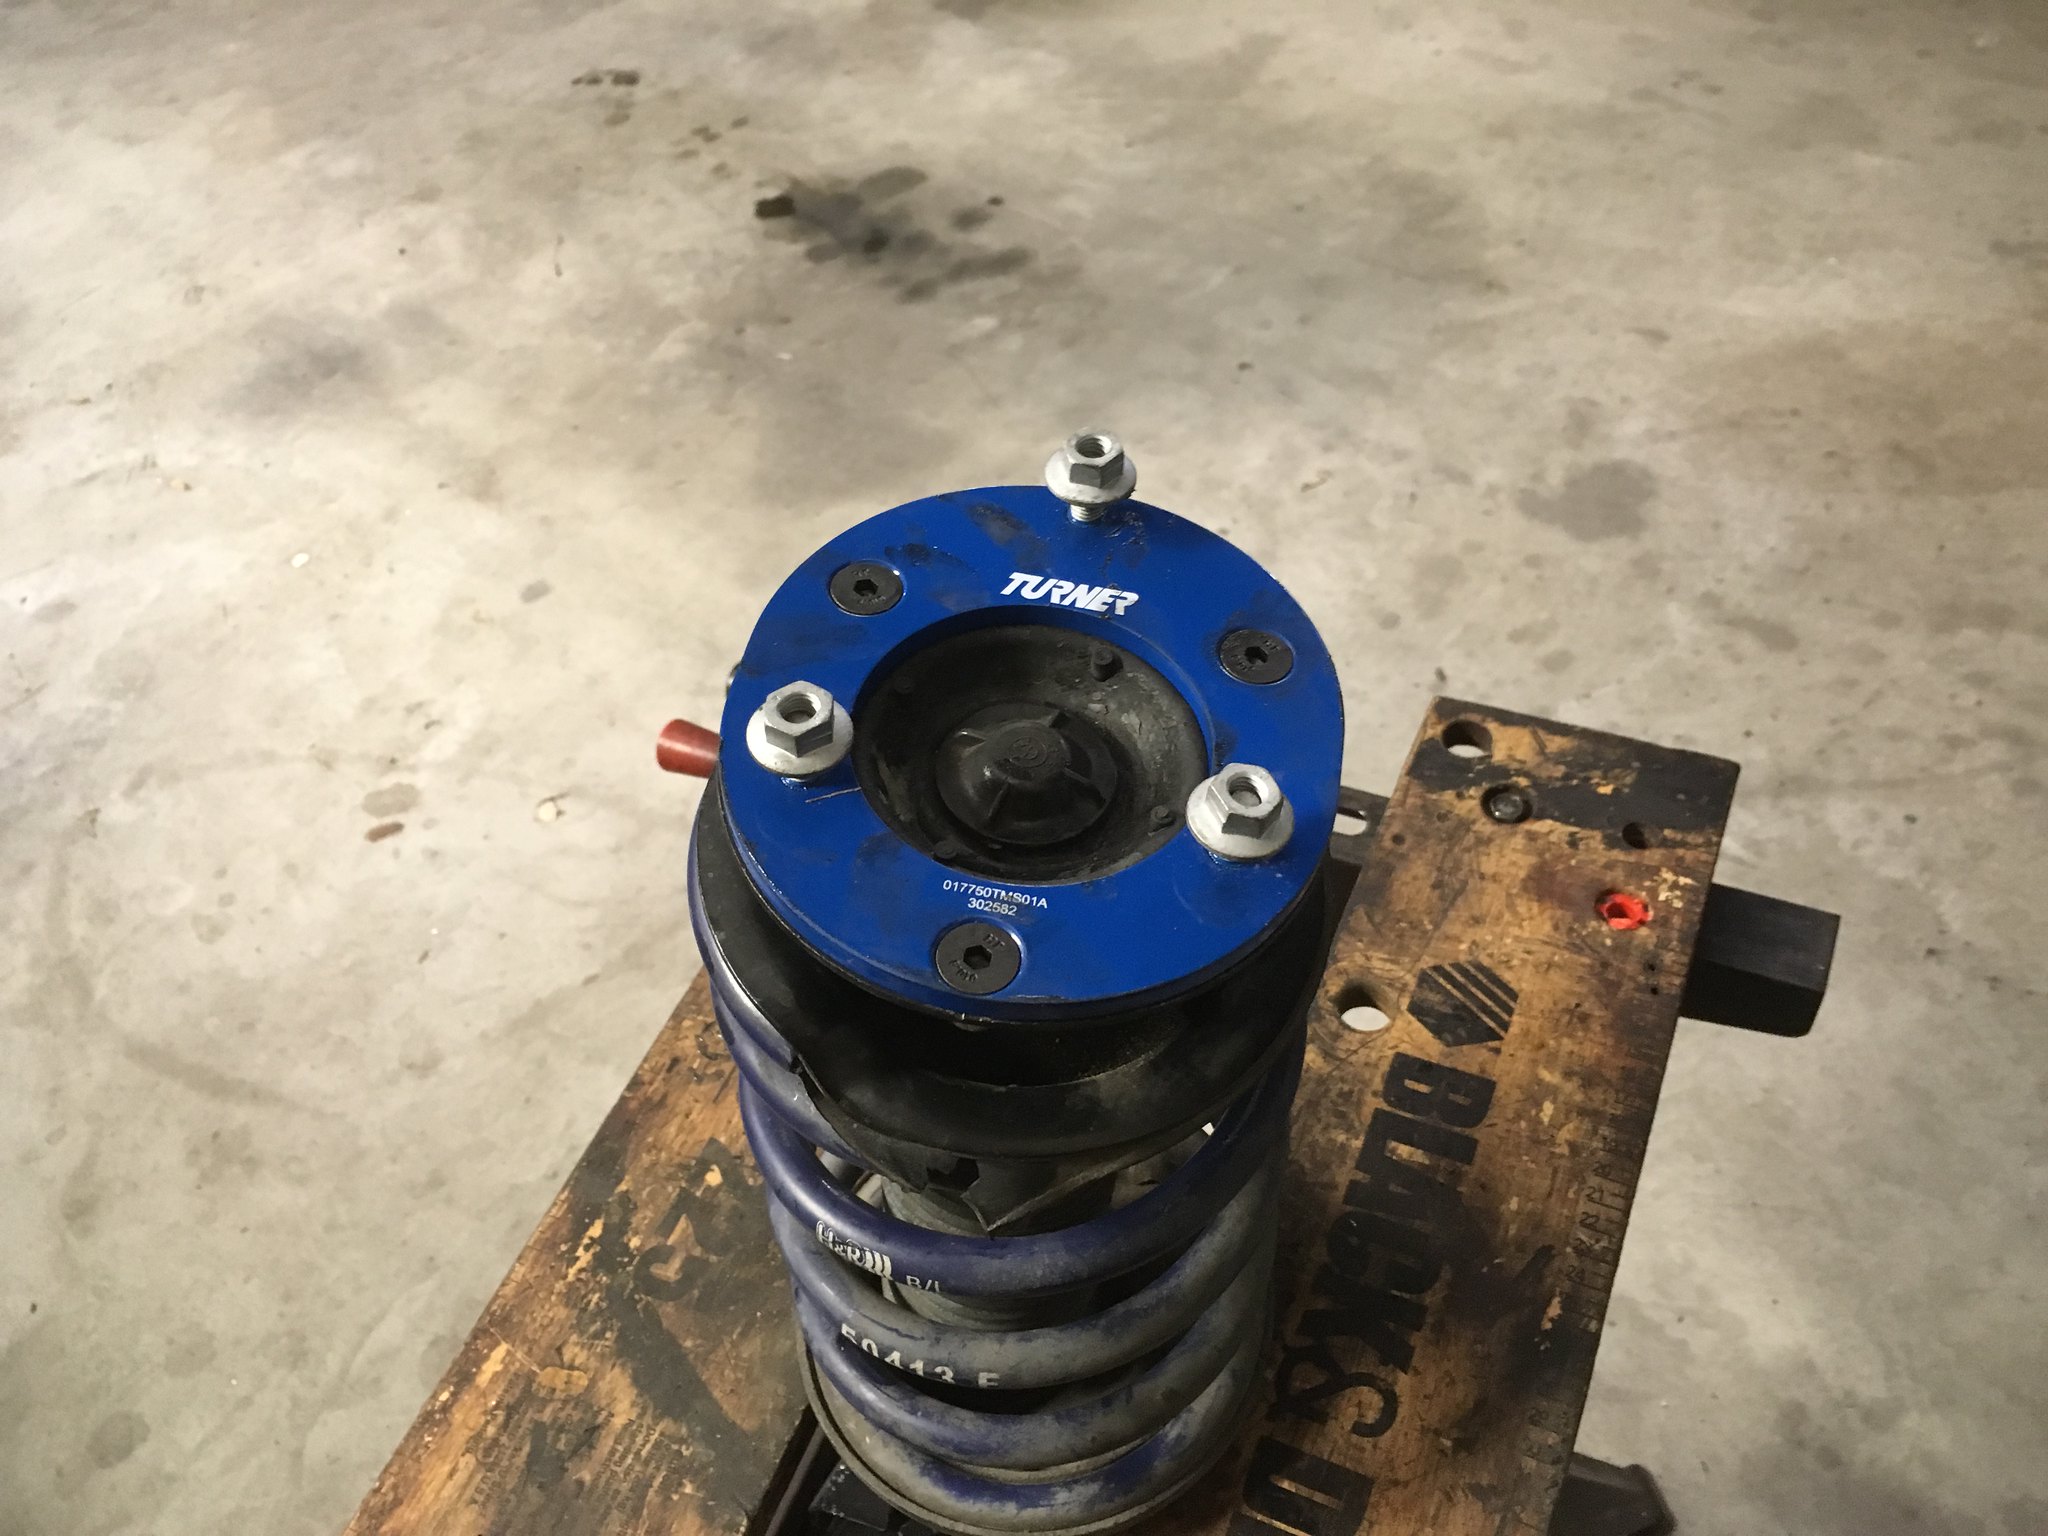 Camber Plates and Sawybar shit
 by
samleisey, on Flickr
I than installed an airdam, very happy with how car looks other than rims. Hopefully I will source 16' cool rims, would like Riken Meshes.
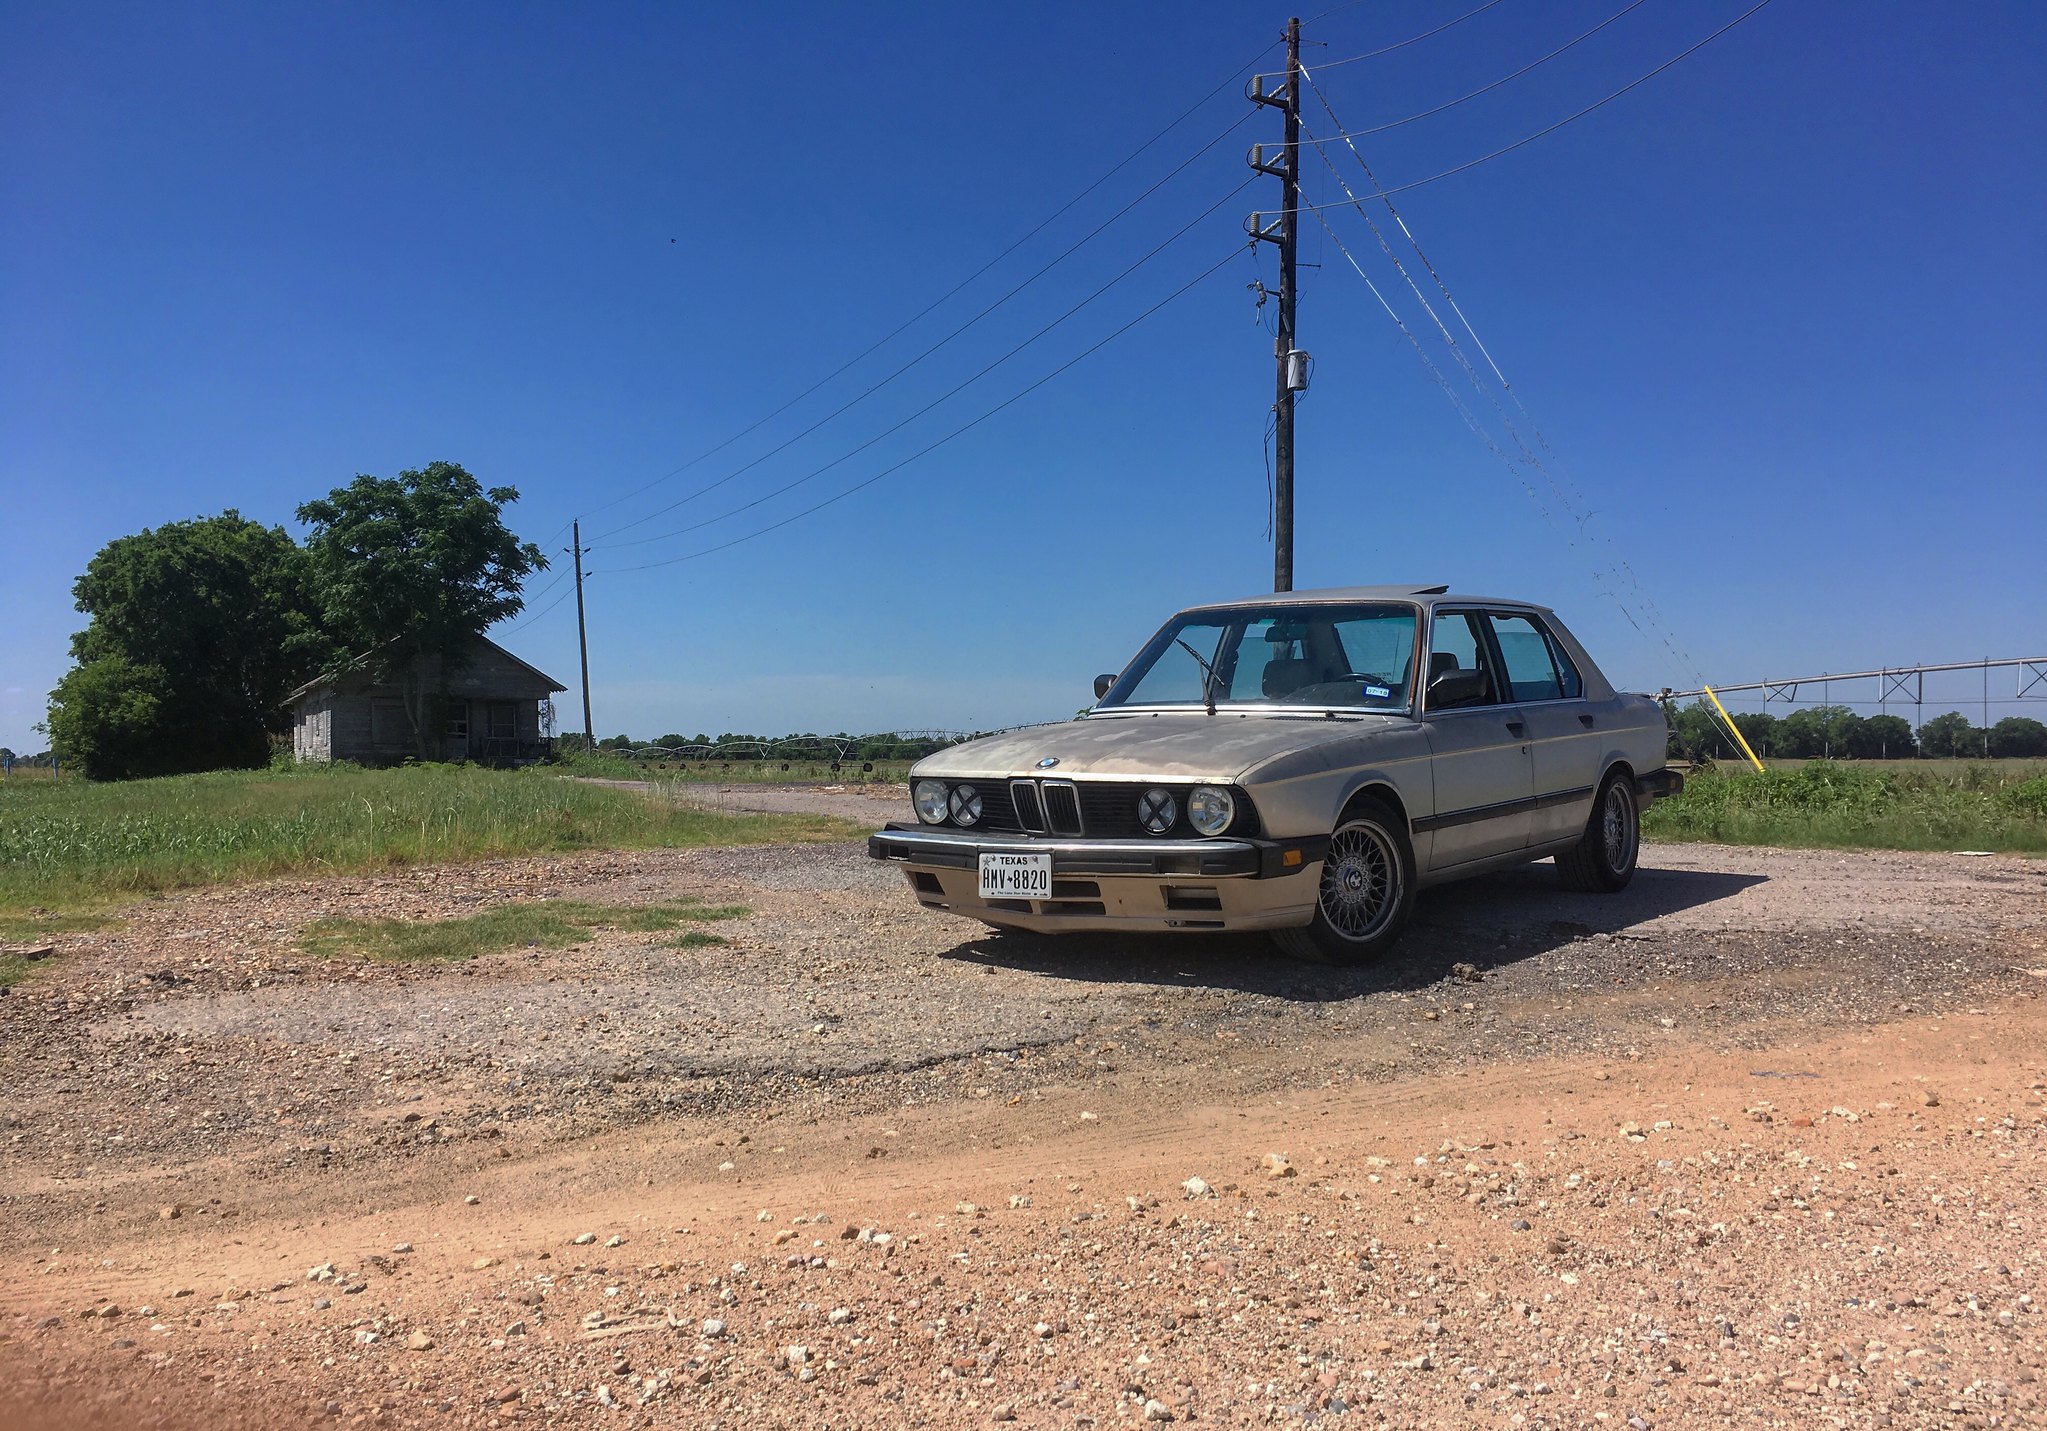 Airdam Thing
 by
samleisey, on Flickr
Also tightened rear swaybar and it handles beautifully now. It drives so well, with just one adjustment. PFC 097 is ordered and 08's will be ordered for the rear. RS4's are seeming harder and harder to get it but I will save for them. Prom also happened so that chapter in my life is complete and still working way to hard at Discount Tire.
Re: FUBAR 535e"s" Build 5/7/18 AMERICAN BUMPER RETURN
Posted: May 07, 2018 1:36 PM
by tschultz
How do you like the headers? I have heard they don't do much to a stock B34...
Re: FUBAR 535e"s" Build 5/7/18 AMERICAN BUMPER RETURN
Posted: May 07, 2018 3:21 PM
by LeiseyJr
tschultz wrote:How do you like the headers? I have heard they don't do much to a stock B34...
It helps it breathe with cam And I love the way my car sounds. They look cool and ceramic coating is quite nice. Only thing I dislike is the way my muffler guy welded the flange to it but its fine. In short, I like them a lot for sound.
Re: FUBAR 535e"s" Build 5/7/18 AMERICAN BUMPER RETURN
Posted: Jun 26, 2018 8:15 PM
by LeiseyJr
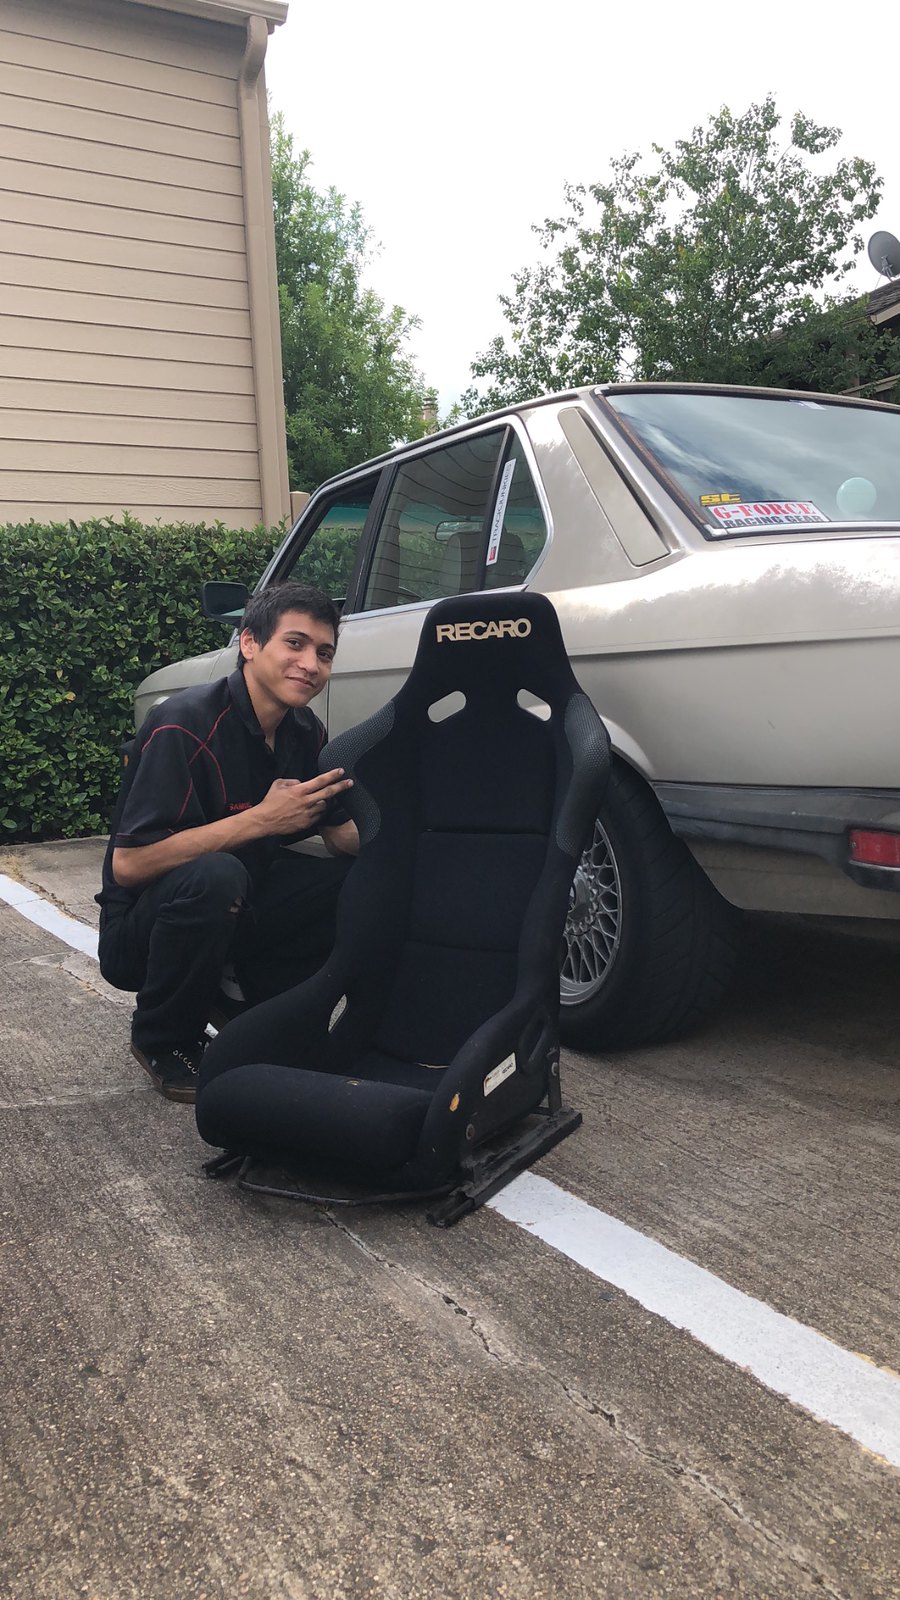
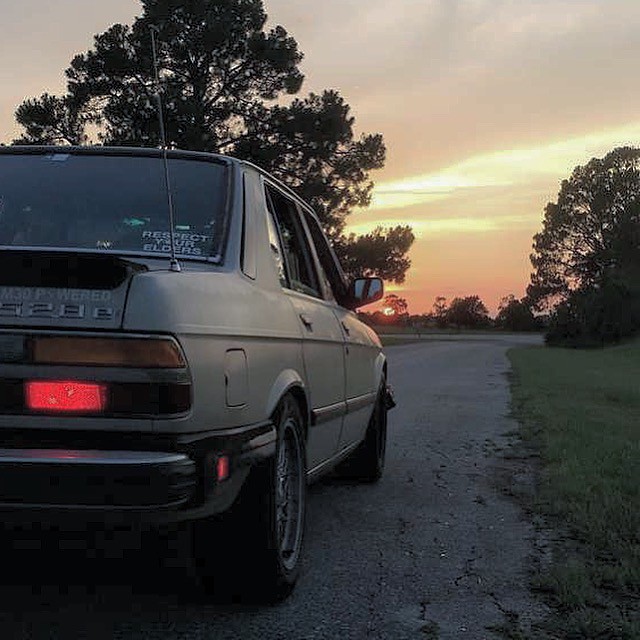
Update, car is doing well for the most part. Slave cylinder went out and I had to drive to work and home without a clutch, learned that and how to shift without a clutch. That was fun. On to brighter news I have finally gotten a full set of RS4's, race pads all around and Recaro Profi. The seat and the tires are a very important accomplishment to me because I've always wanted though and I actually worked towards those goals and got them. Brake pedal is now grip taped due to the original cover falling off. Life is going well, just working at Discount is a lot of hard, fast paced work but its paying for all this stuff before I go to college.
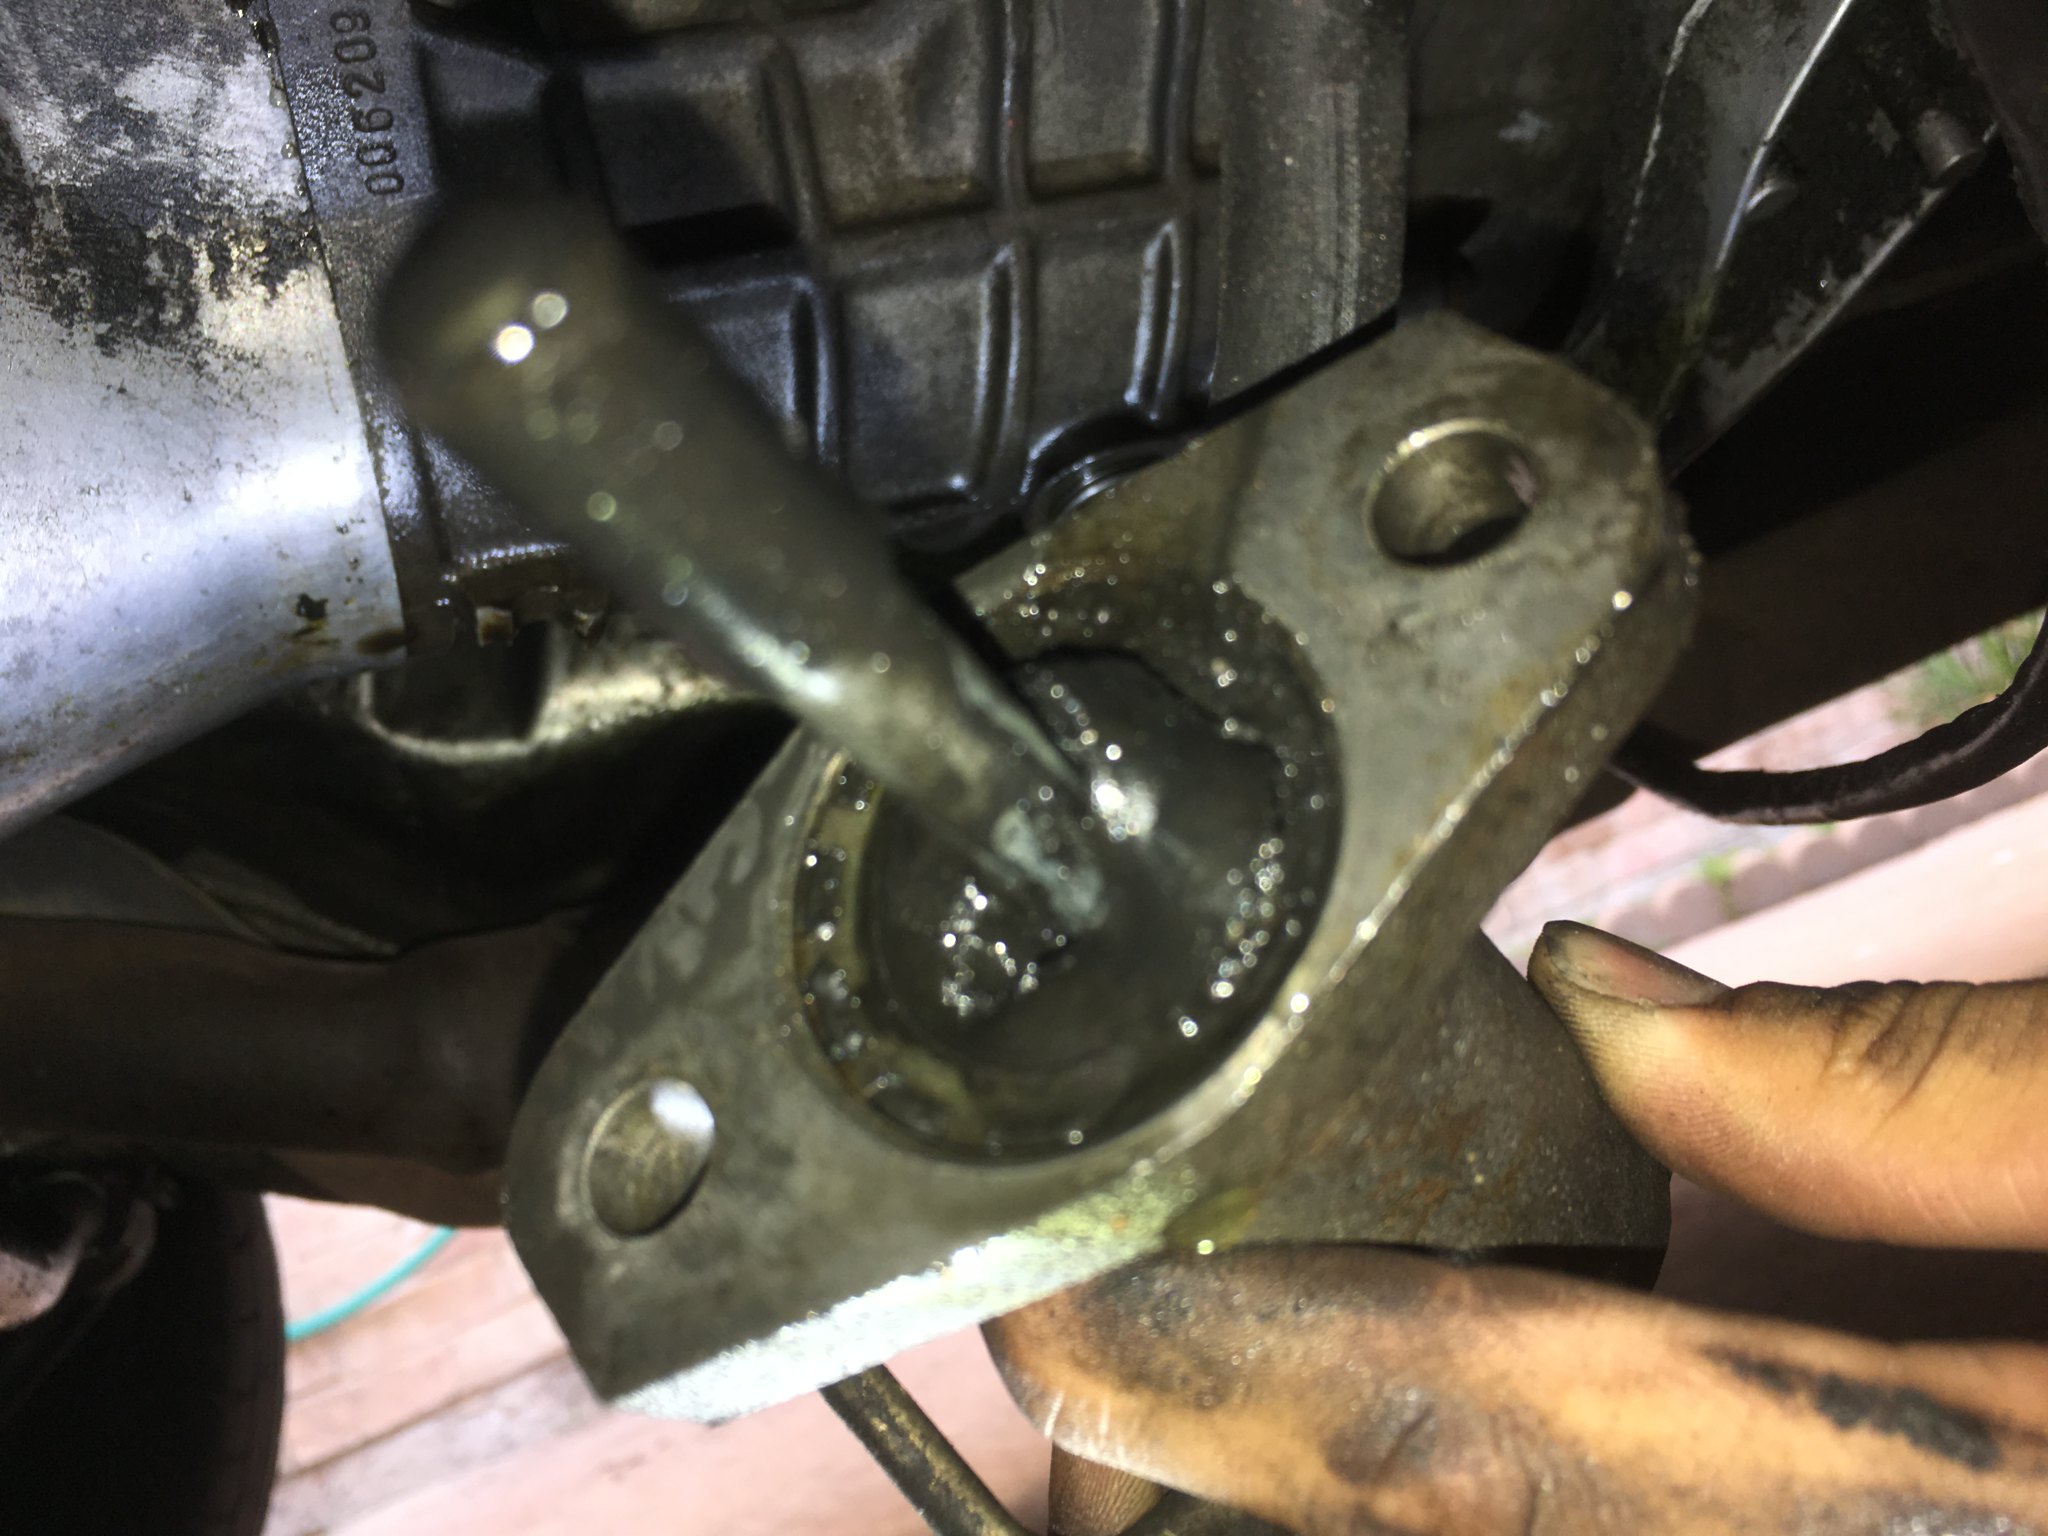 IMG_1699
 by
samleisey, on Flickr
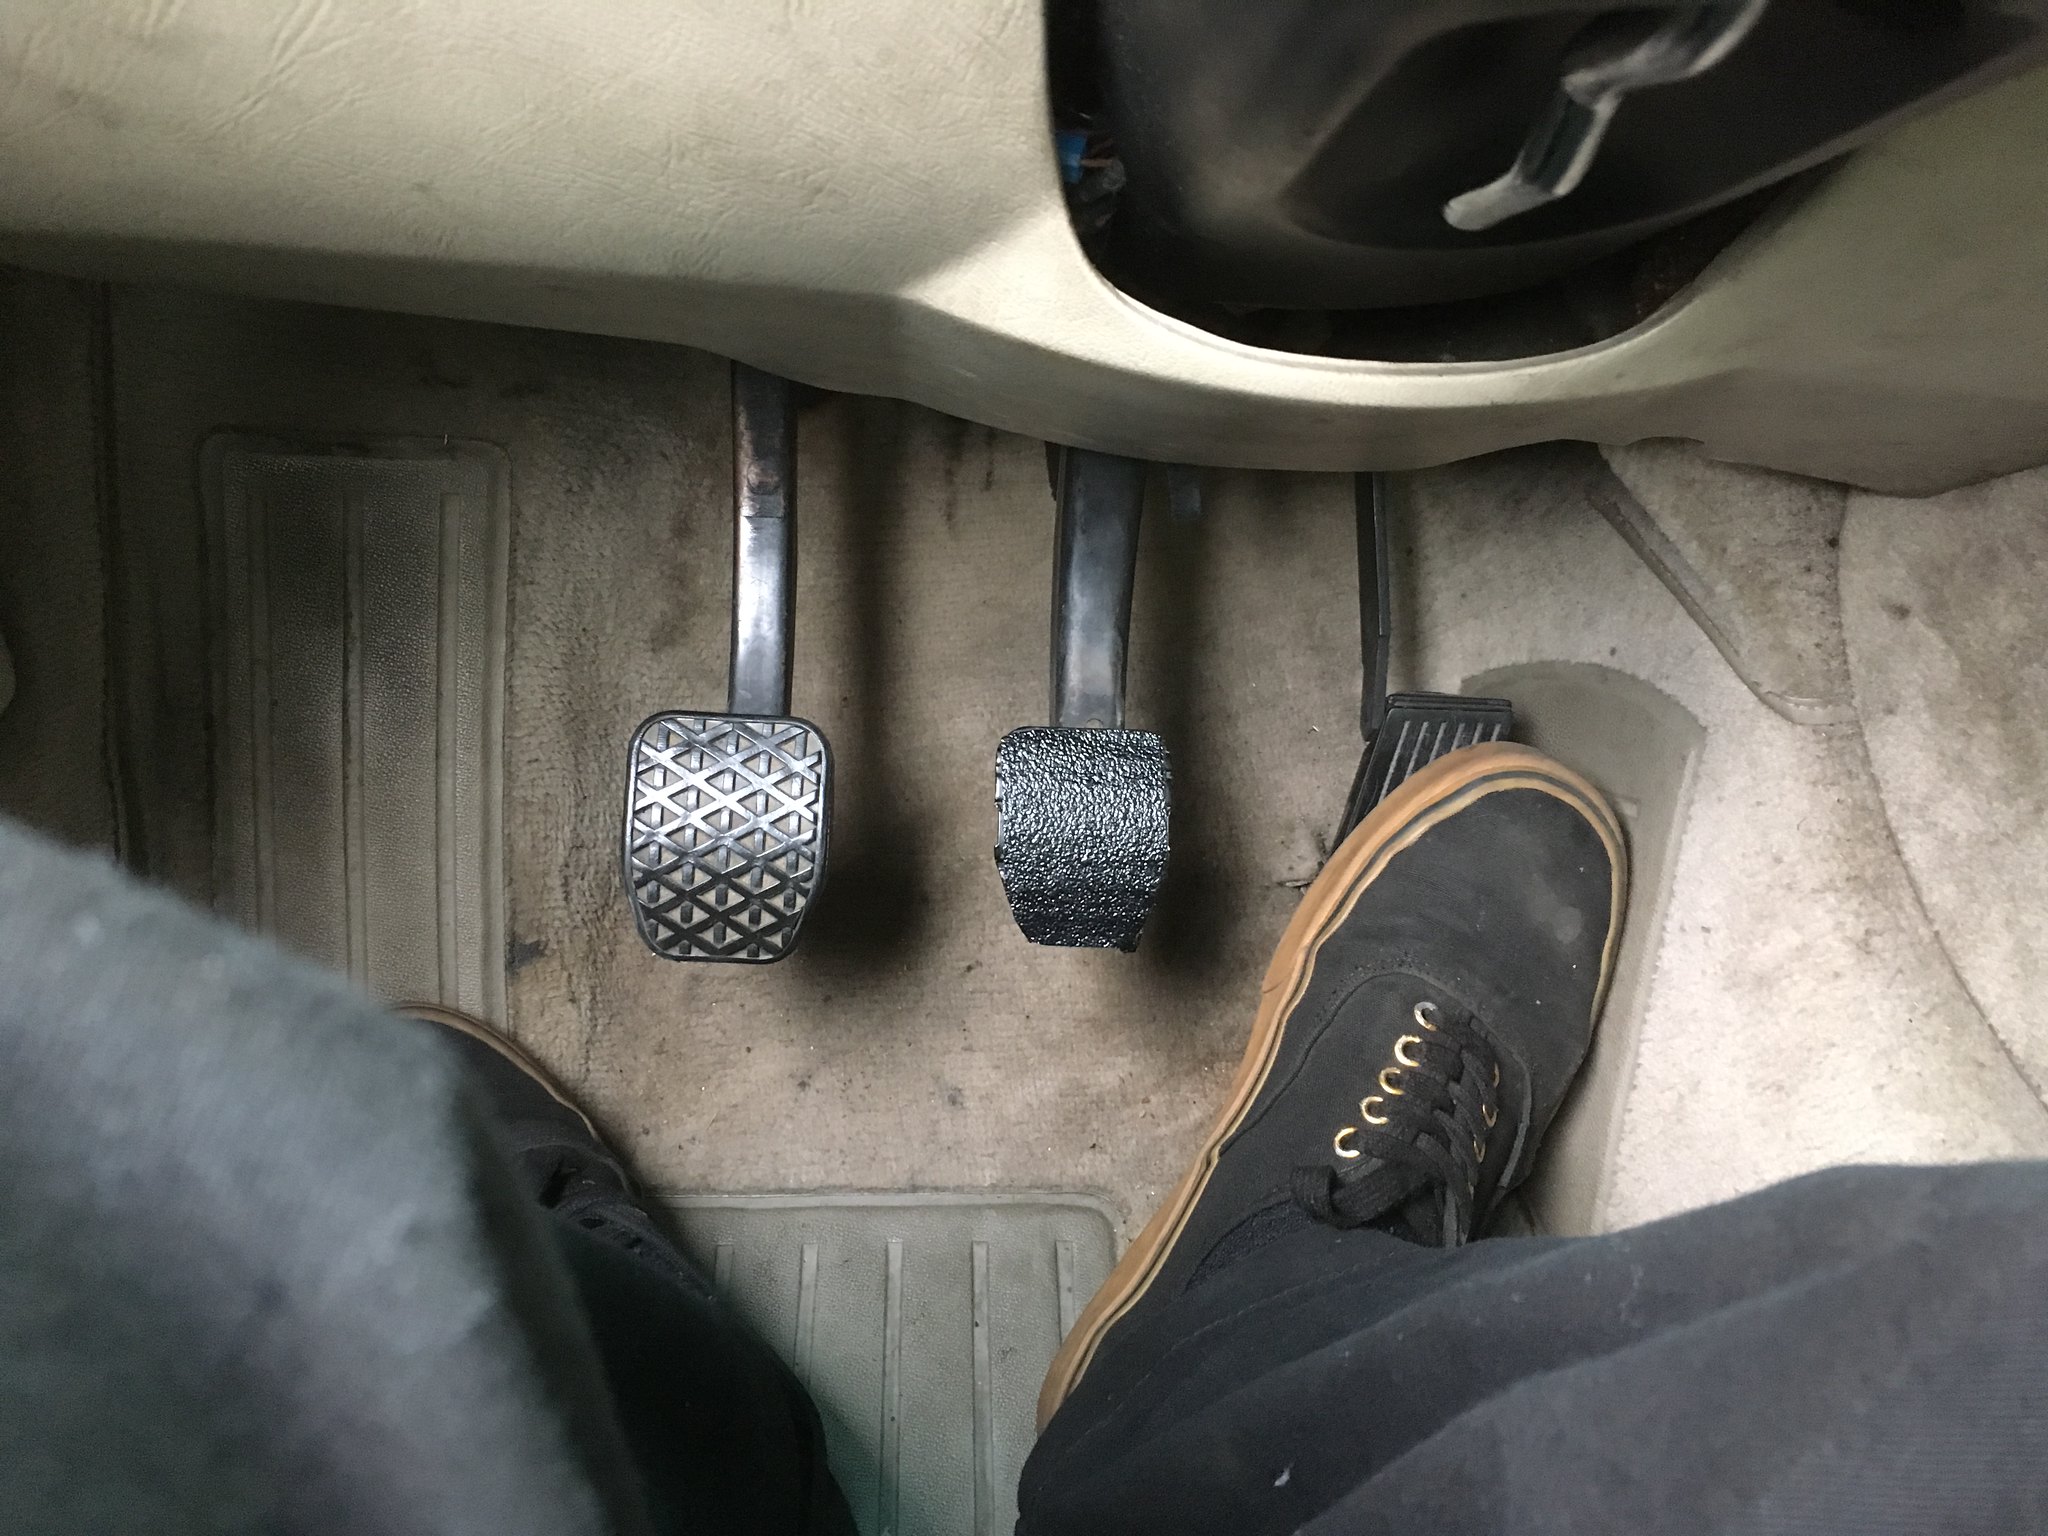 IMG_1734
 by
samleisey, on Flickr
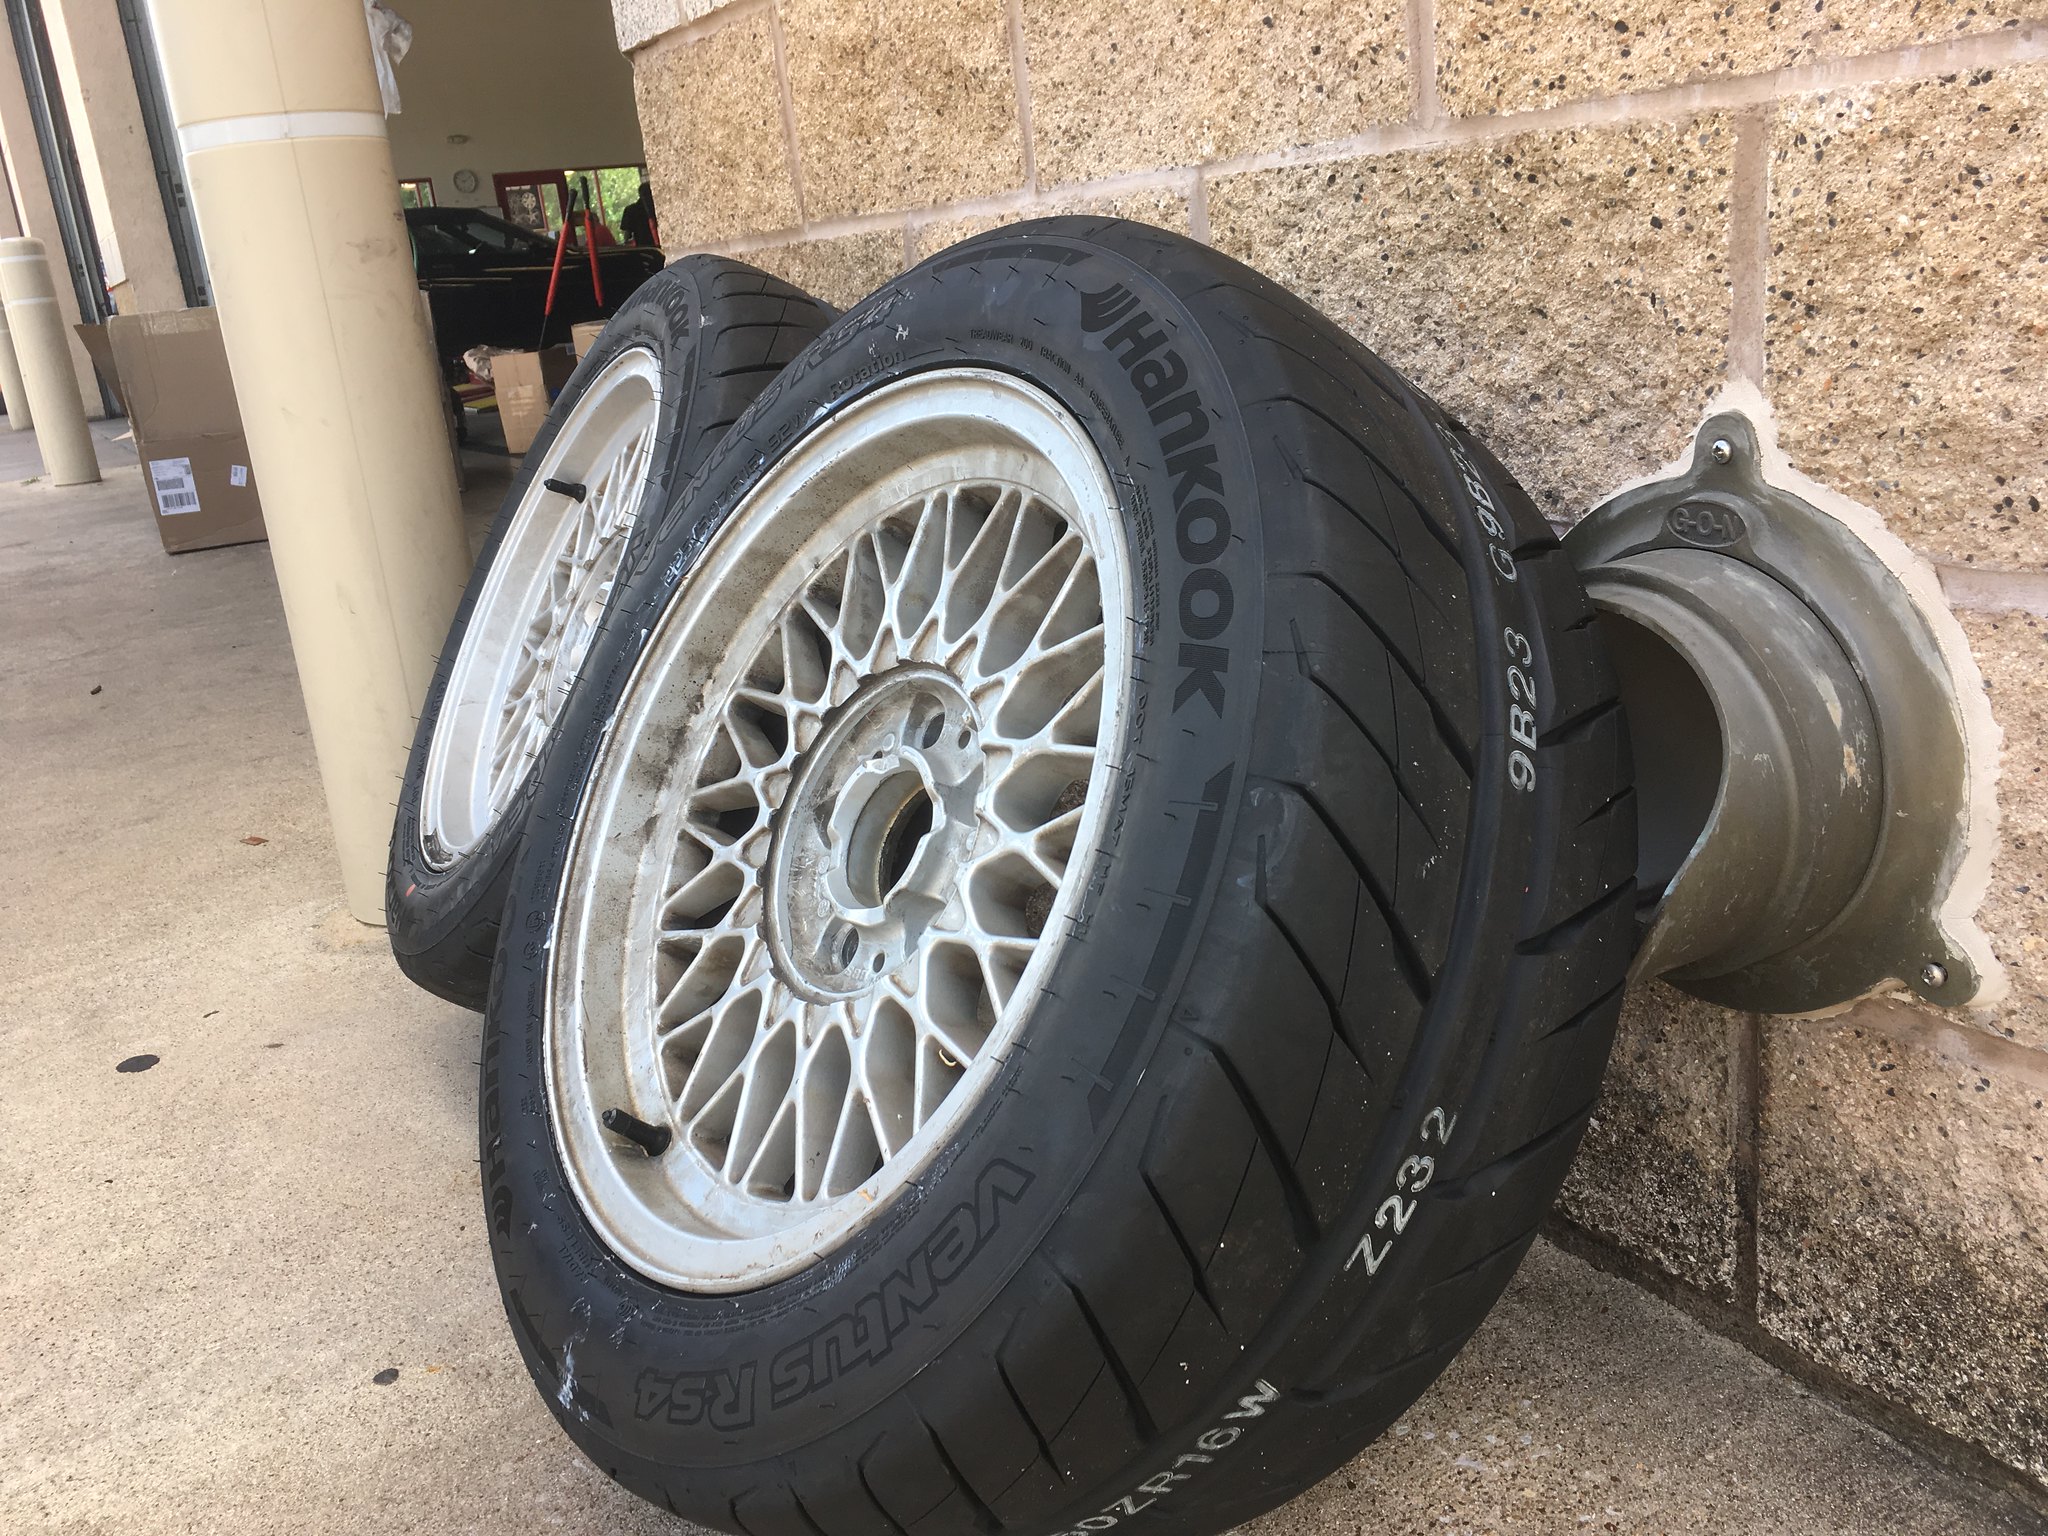 IMG_1705
 by
samleisey, on Flickr
 IMG_1950
 by
samleisey, on Flickr
 IMG_1928
 by
samleisey, on Flickr
Also the oil leak is fixed
Re: FUBAR 535e"s" Build 6/26/18 Racer Boi update
Posted: Jul 08, 2018 10:44 PM
by LeiseyJr
https://youtu.be/hdkbEFkyogE
Finally got some time to take it out this morning brought my helmet just to capture some moments. Just drove around and explored, found a new dirt road. Despite this cars visual flaws, mechanically it is fantastic. I can't wait to drive some events with it in the fall.
Re: FUBAR 535e"s" Build 6/26/18 Racer Boi update
Posted: Aug 13, 2018 7:47 PM
by LeiseyJr
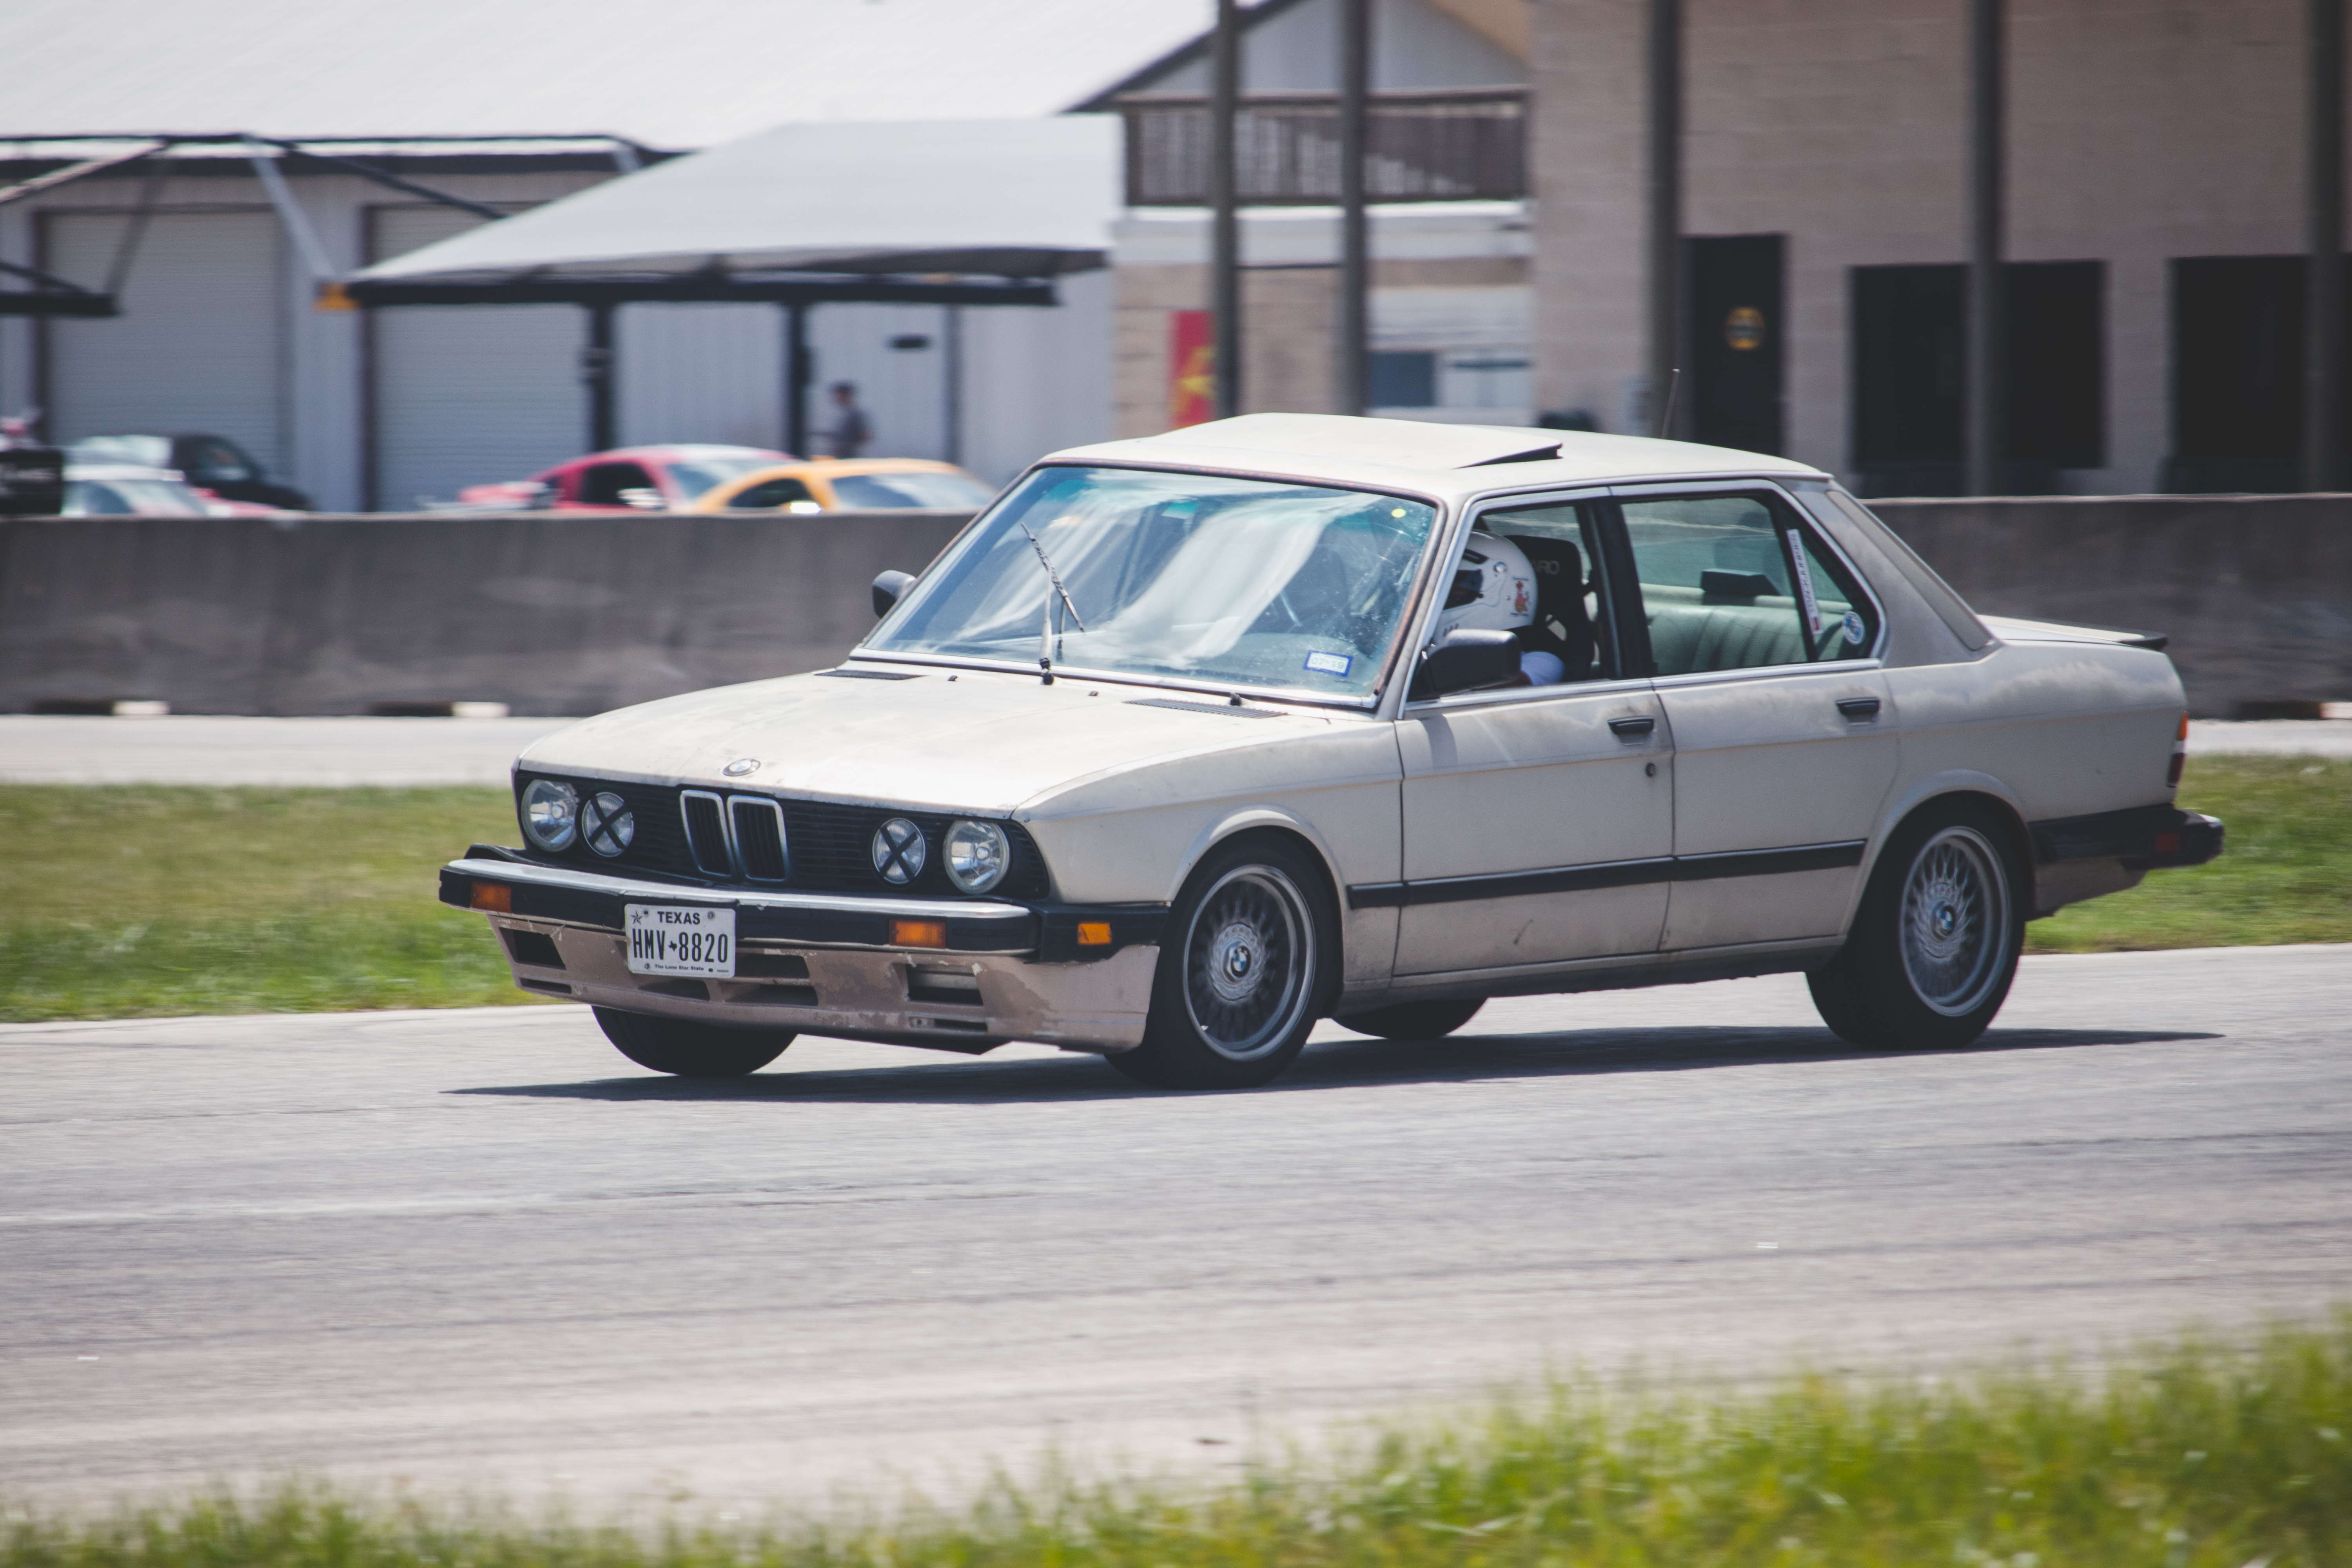
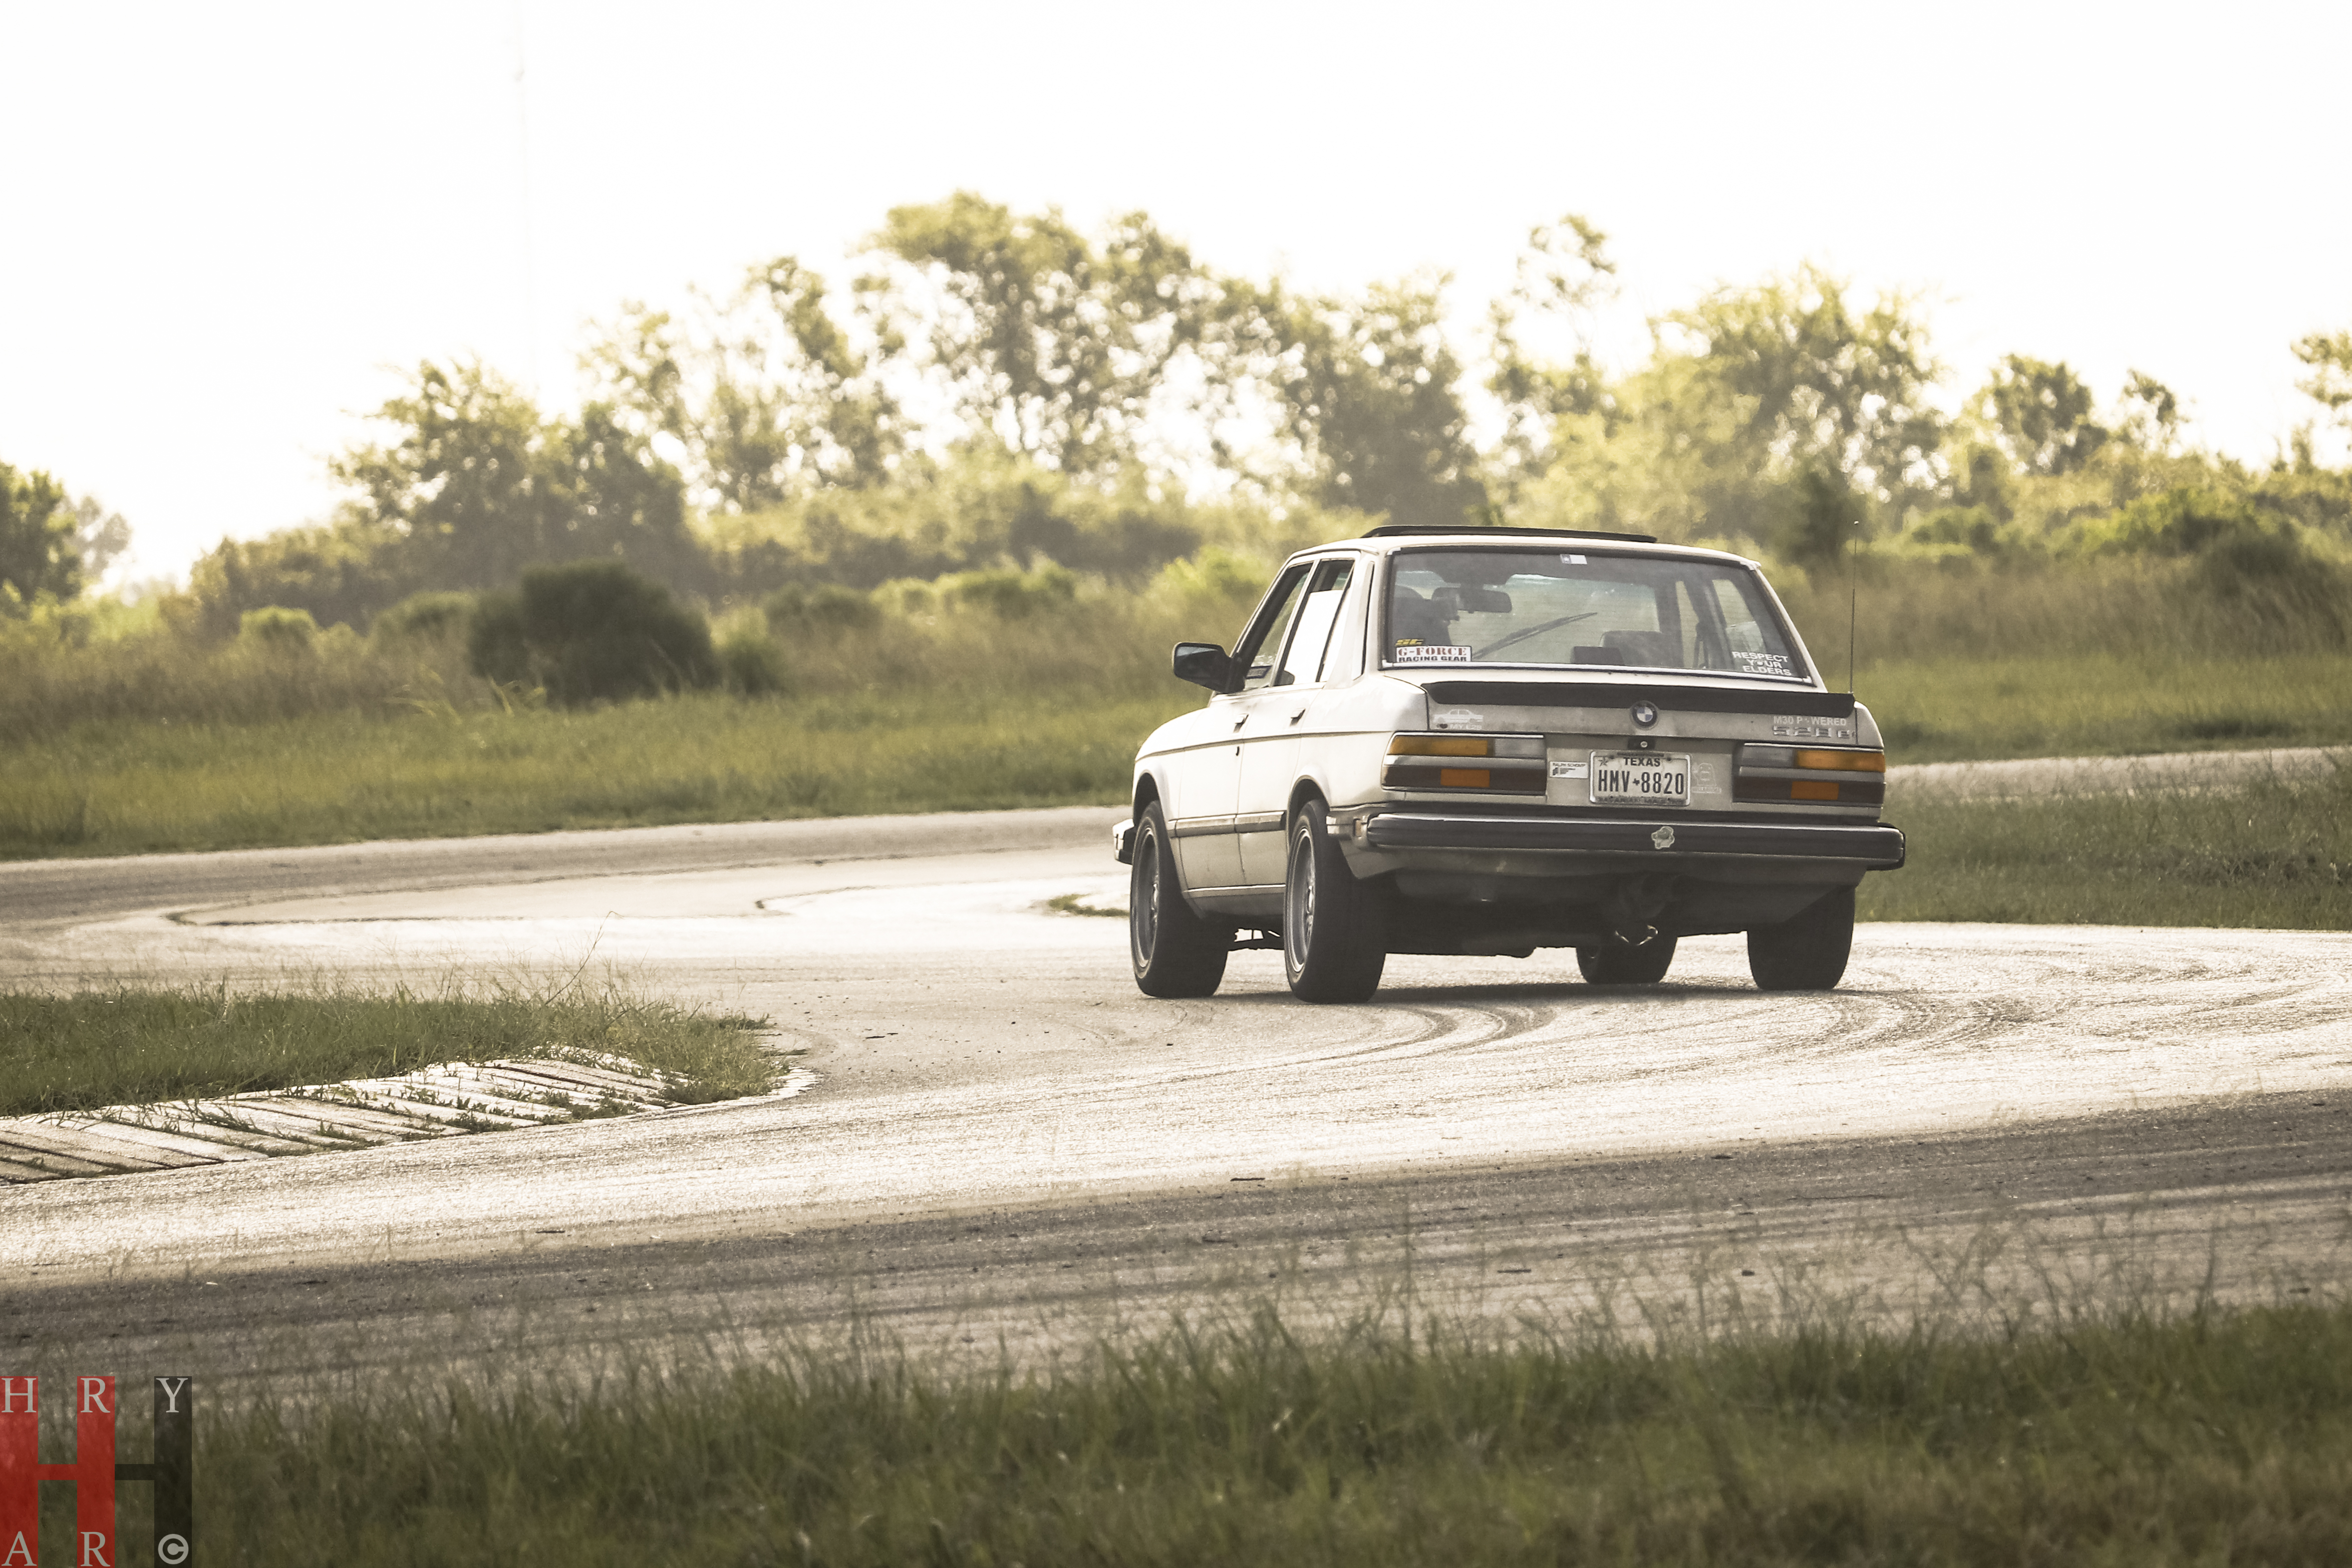
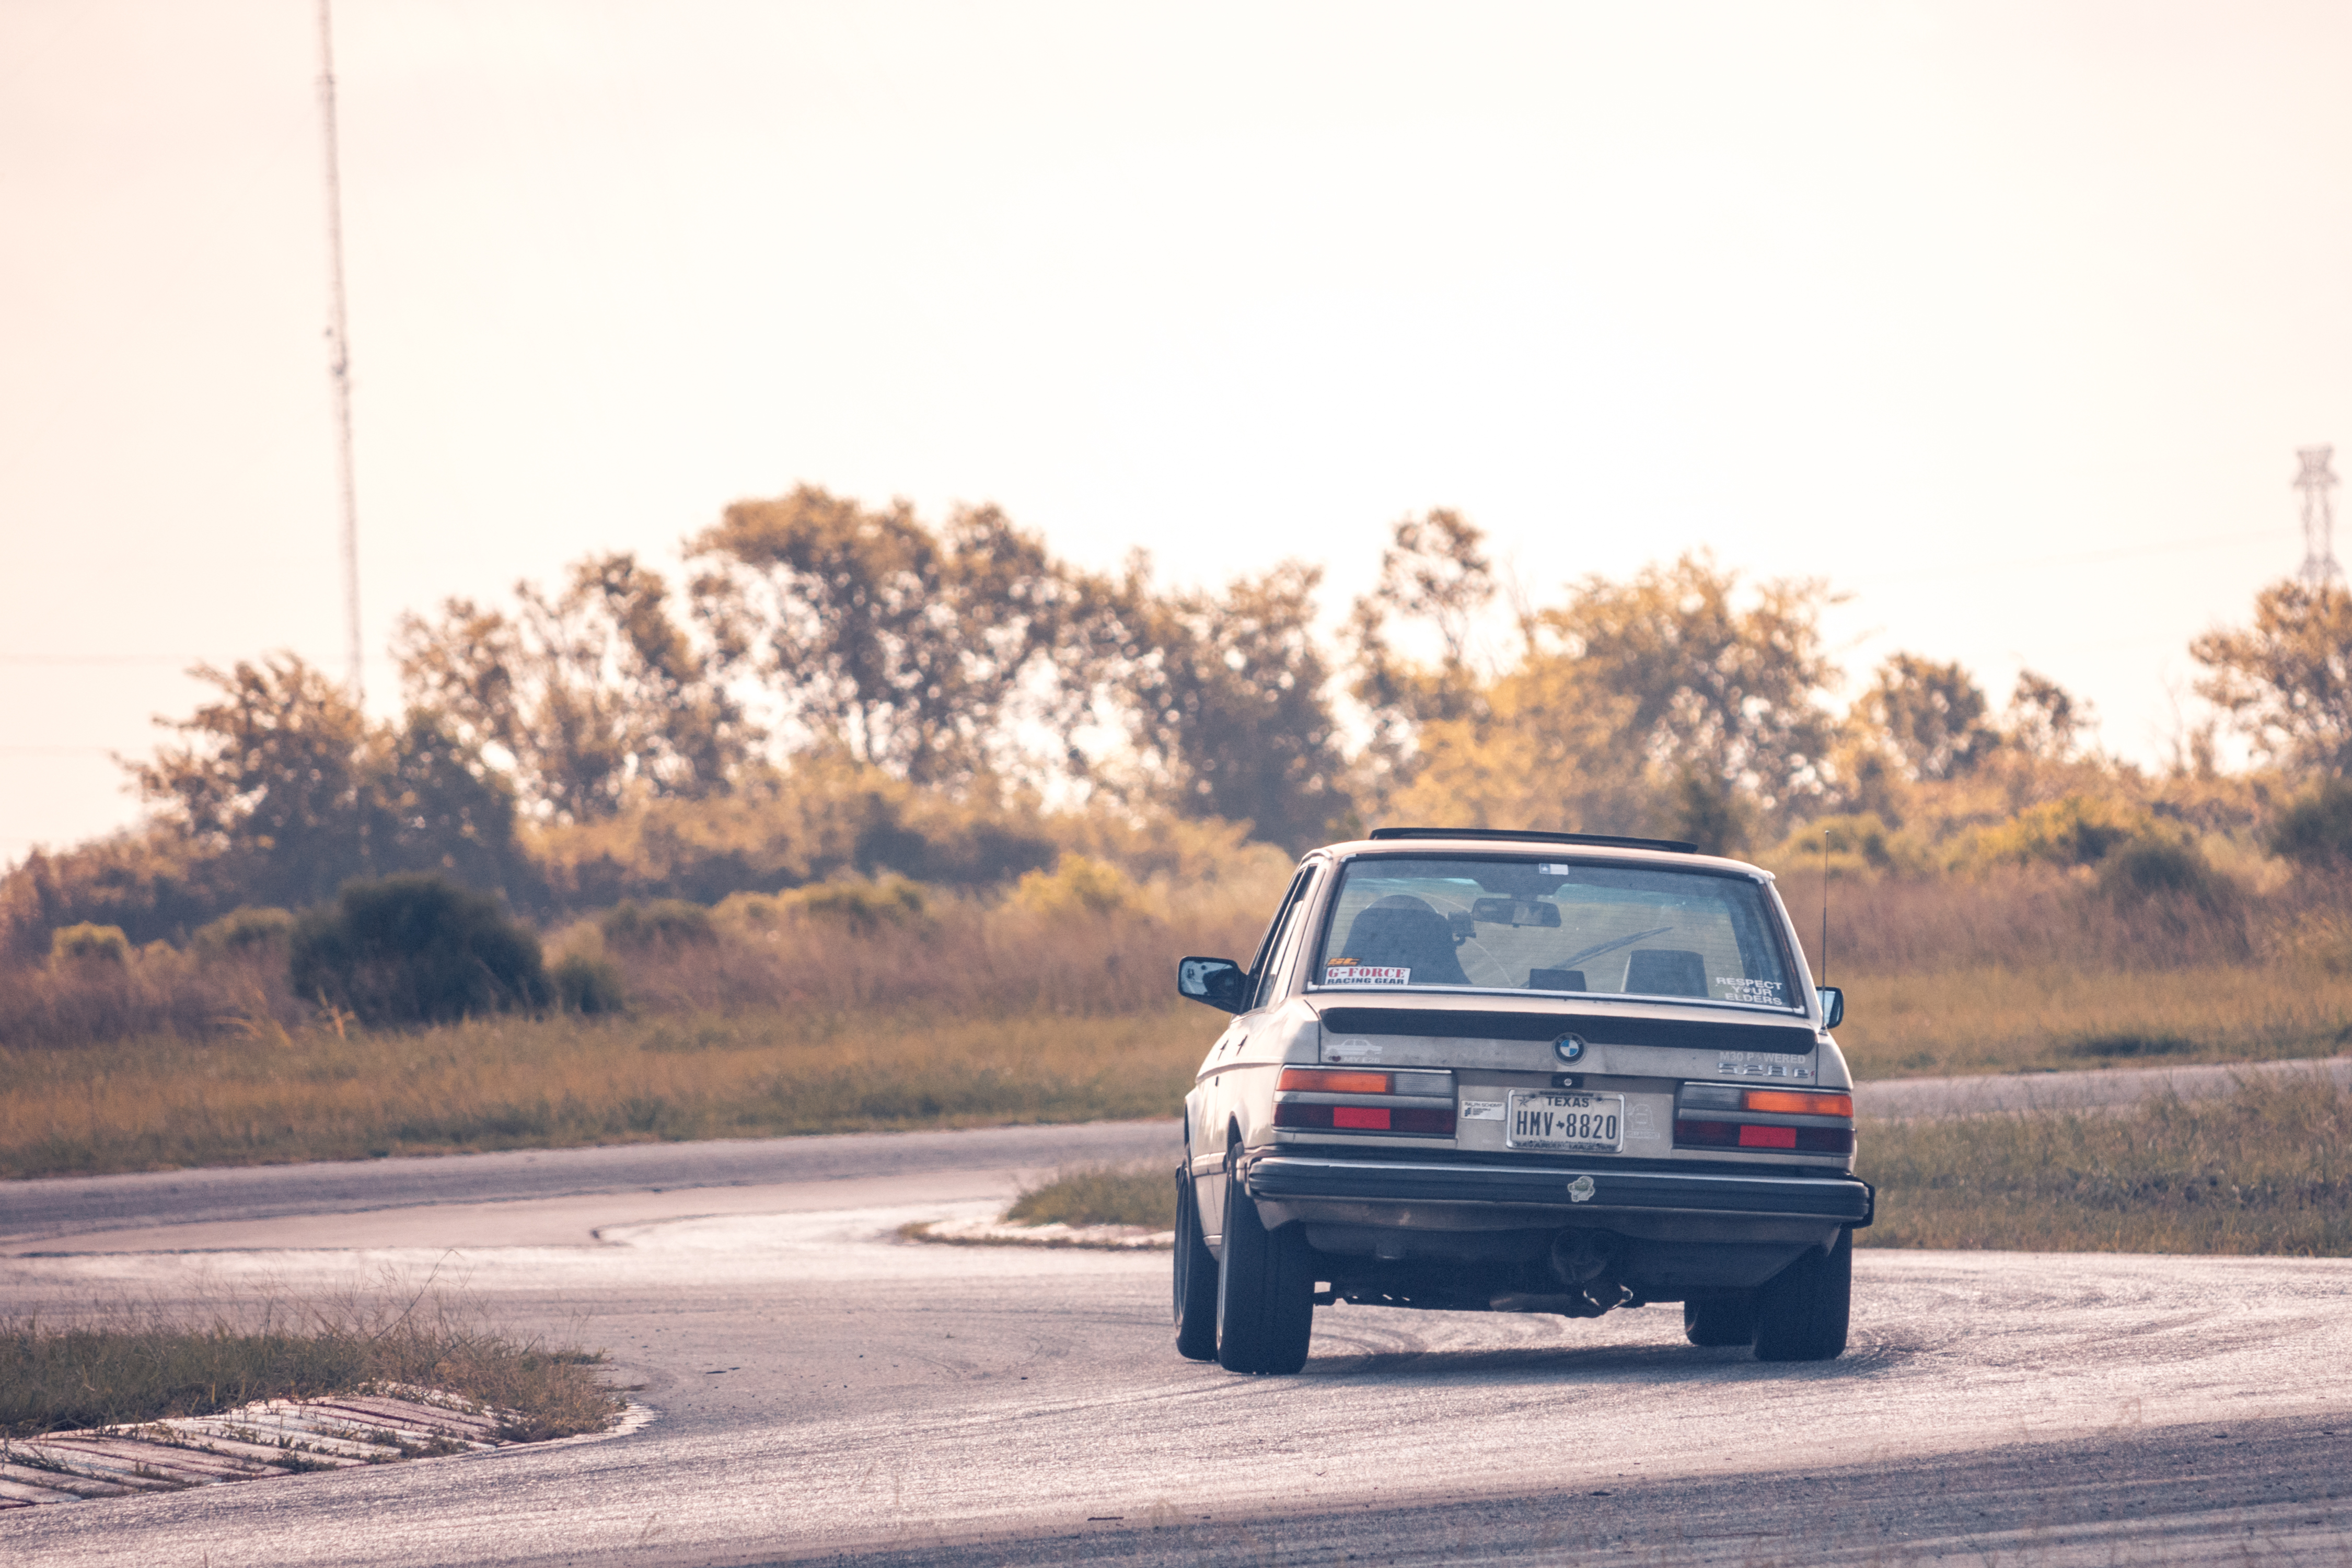
I TRACKED MY JUNK FINALLY!
I need camber in the front, its eating shoulders but I just ignored it. I will be ordering Irelands Adj. street camber plates, I dont need much and those should do it. It was also running really hot, discovered a had a little coolant leak a day later. I was topping it with water for last 2 sessions and it was super close to the red. I should've been more concerned but I had to just drive before being trapped in a door room.
This vid was my 4th session going this direction on the track, and MSRH is a lot better going CW. Car felt at home, and I am super happy with how it did. It will be parked at the house on lift while I am trapped in downtown Houston at U of H. My plans will be to take it to events whenever possible and once I get camber plates car is in a place where I can pack it, drive it and go home. Which is what I wanted it's finally time to just drive the shit out of this bitch. Hopefully next summer I can get another Internship type thing to buy a E46 330, or E36 M3 as a daily.
https://www.youtube.com/watch?v=jDgJuc7-wvc&t=637s
Oh yeah I put in Moosehead UCAB and it made front end way stiffer, Houston streets are brutal now. I really ruined this car as a daily, its my fault but fuck is it fun to drive on track.
Re: FUBAR 535e"s" Build 8/13/18 Getting Seat Time!
Posted: Aug 13, 2018 8:02 PM
by LeiseyJr
Re: FUBAR 535e"s" Build 8/13/18 Getting Seat Time!
Posted: Aug 17, 2018 7:21 PM
by LeiseyJr
 MSRH 2018
 by
samleisey, on Flickr
 MSRH 2018
 by
samleisey, on Flickr
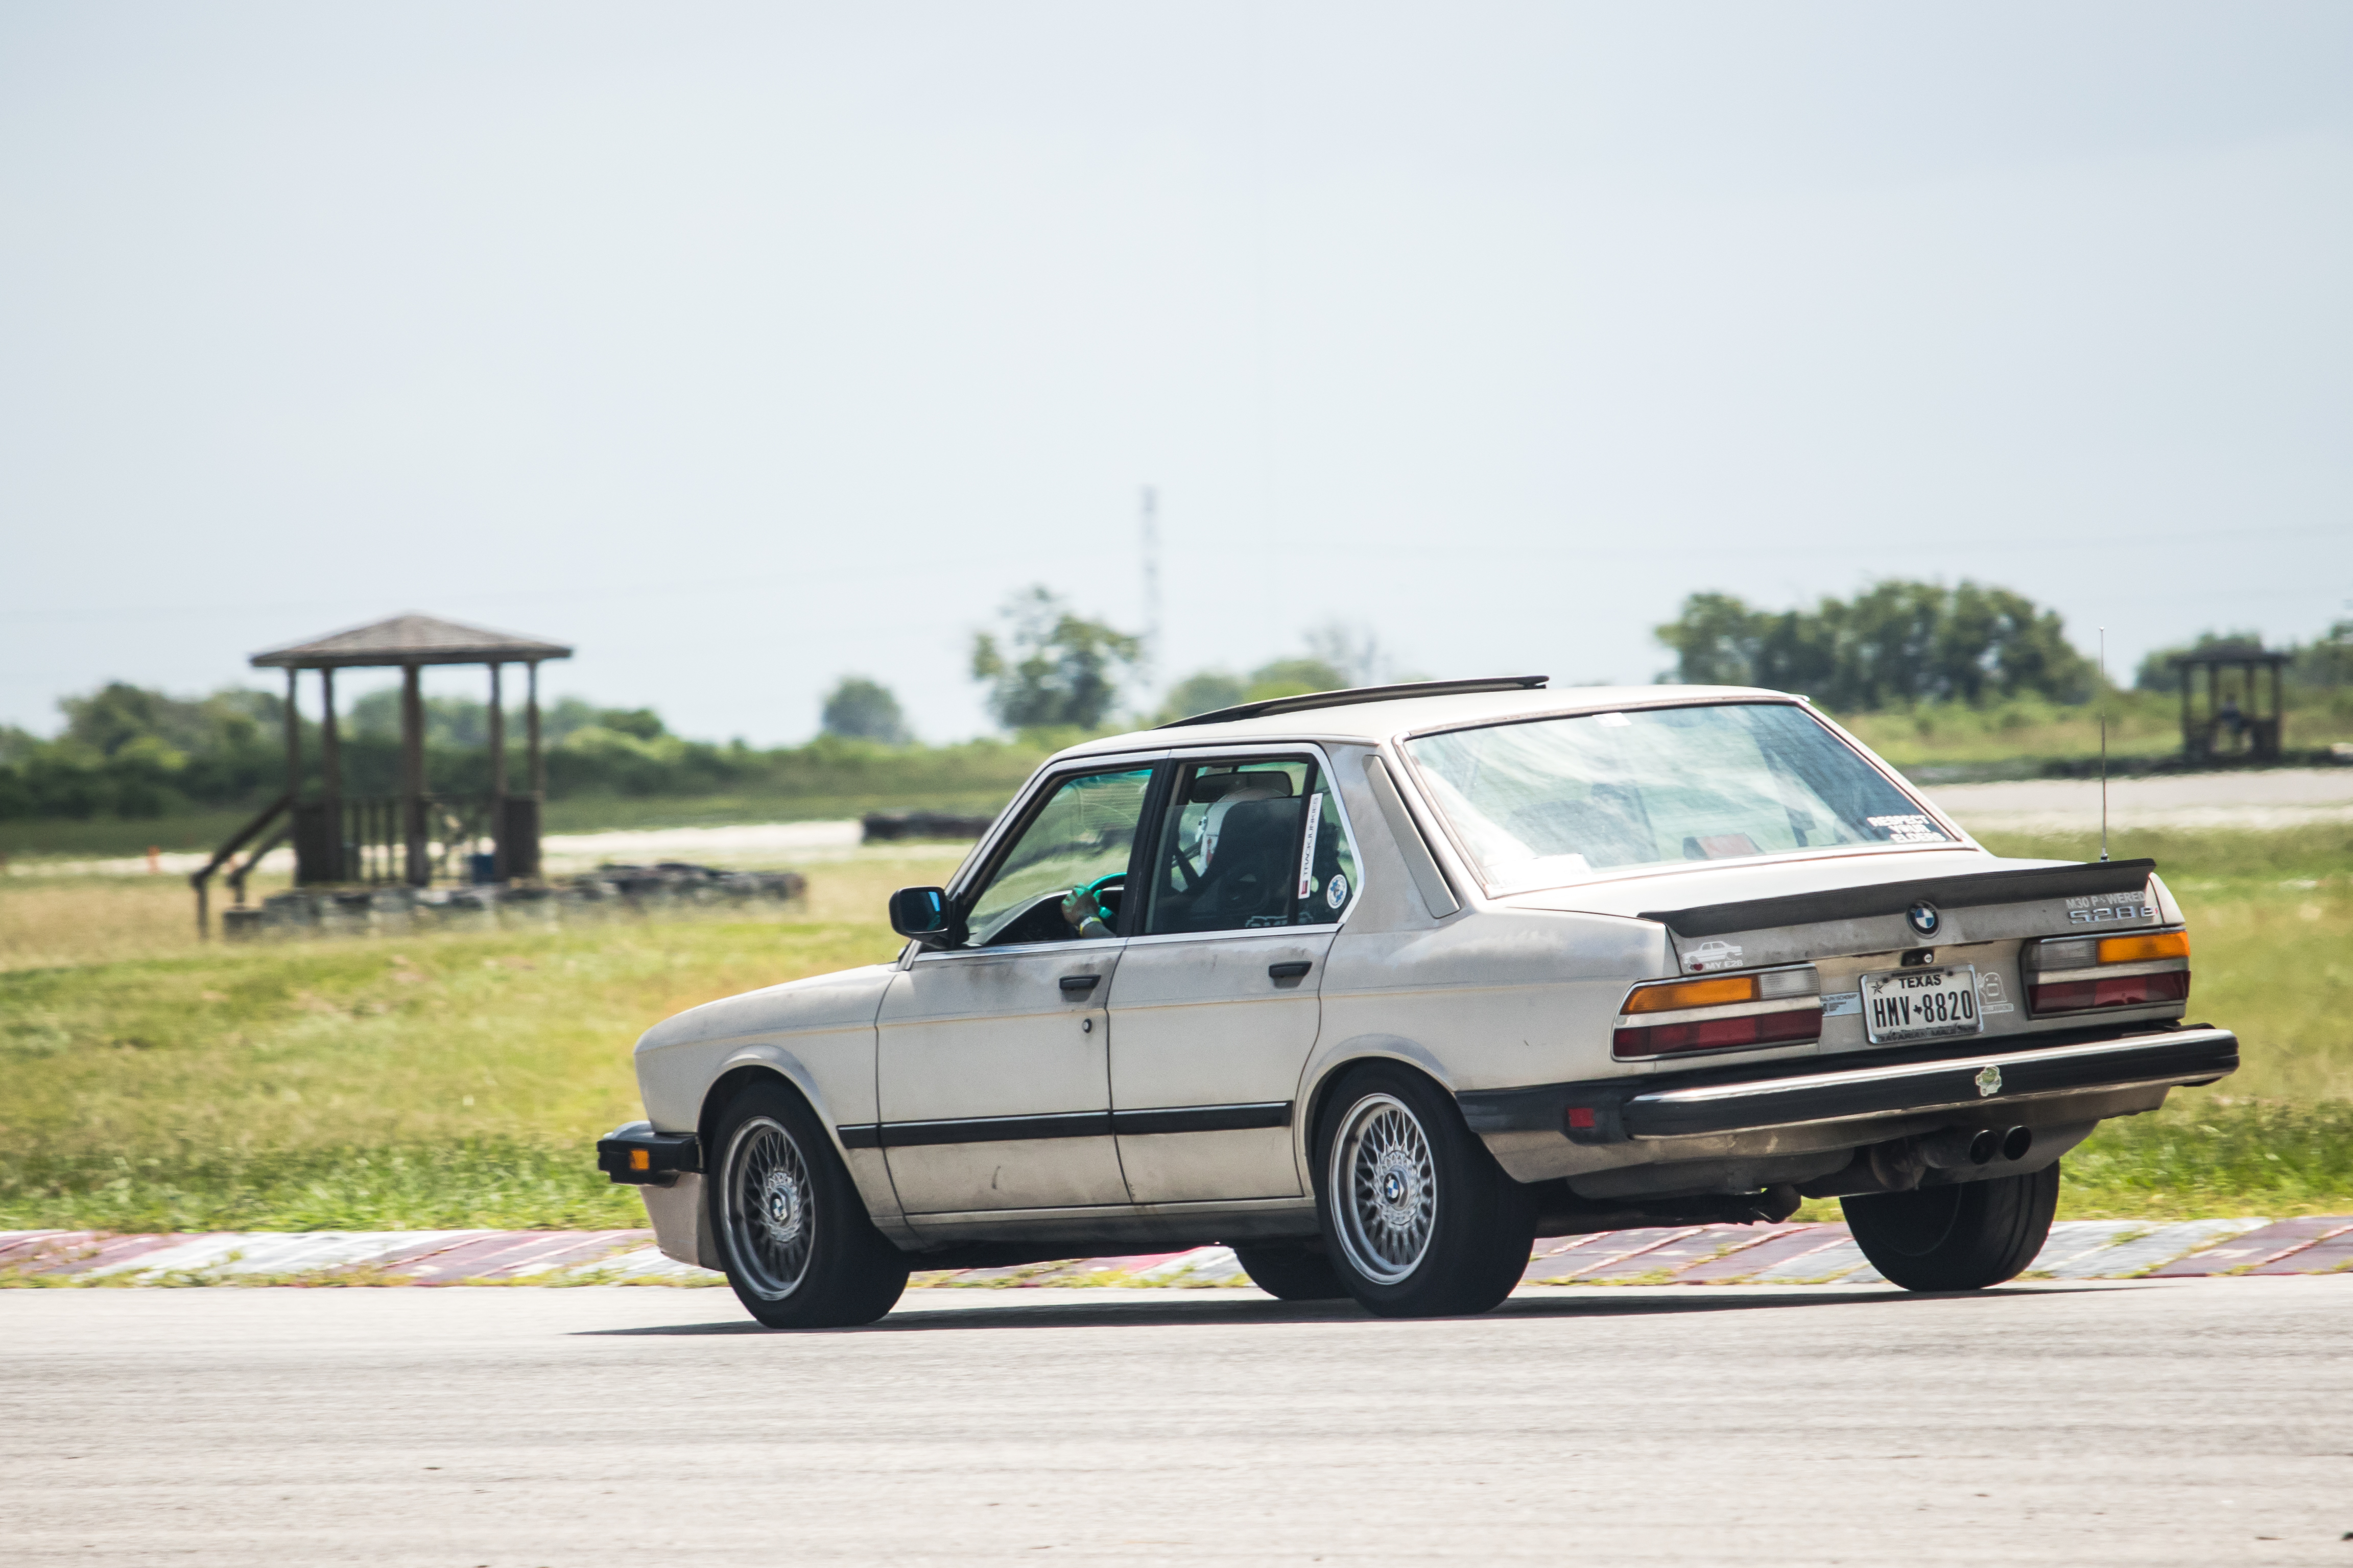 MSRH 2018
 by
samleisey, on Flickr
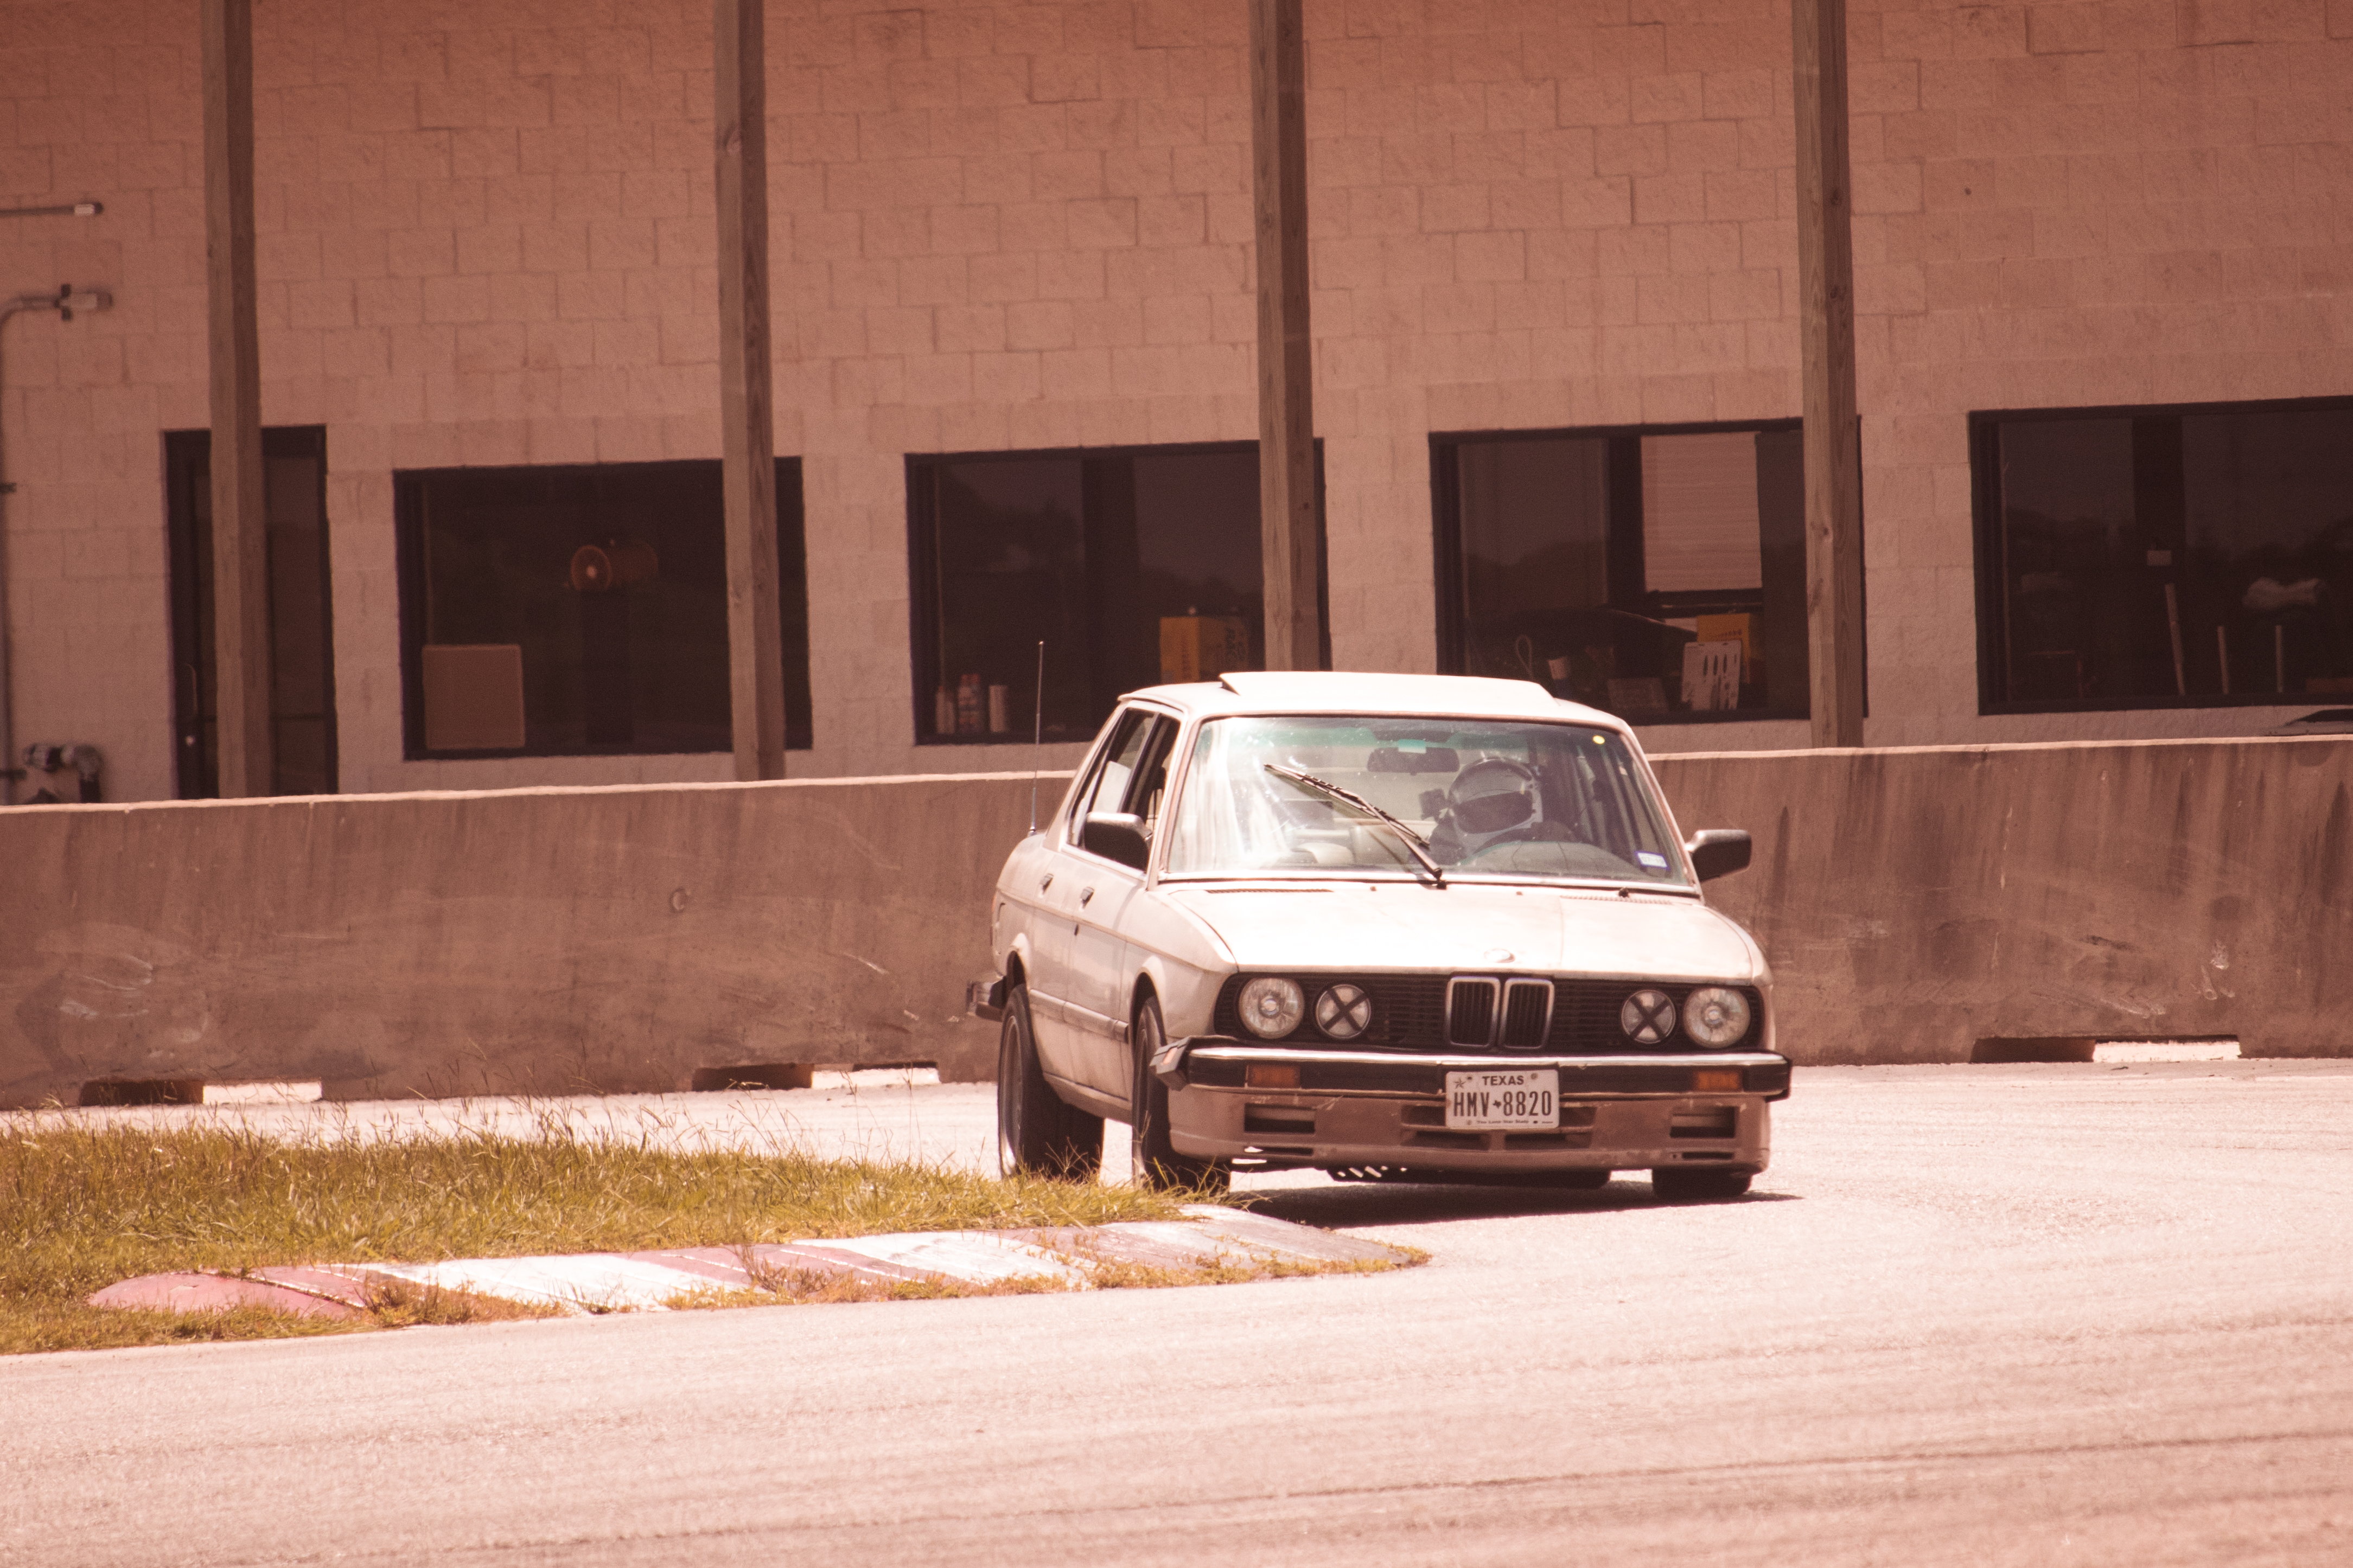 MSRH 2018
 by
samleisey, on Flickr
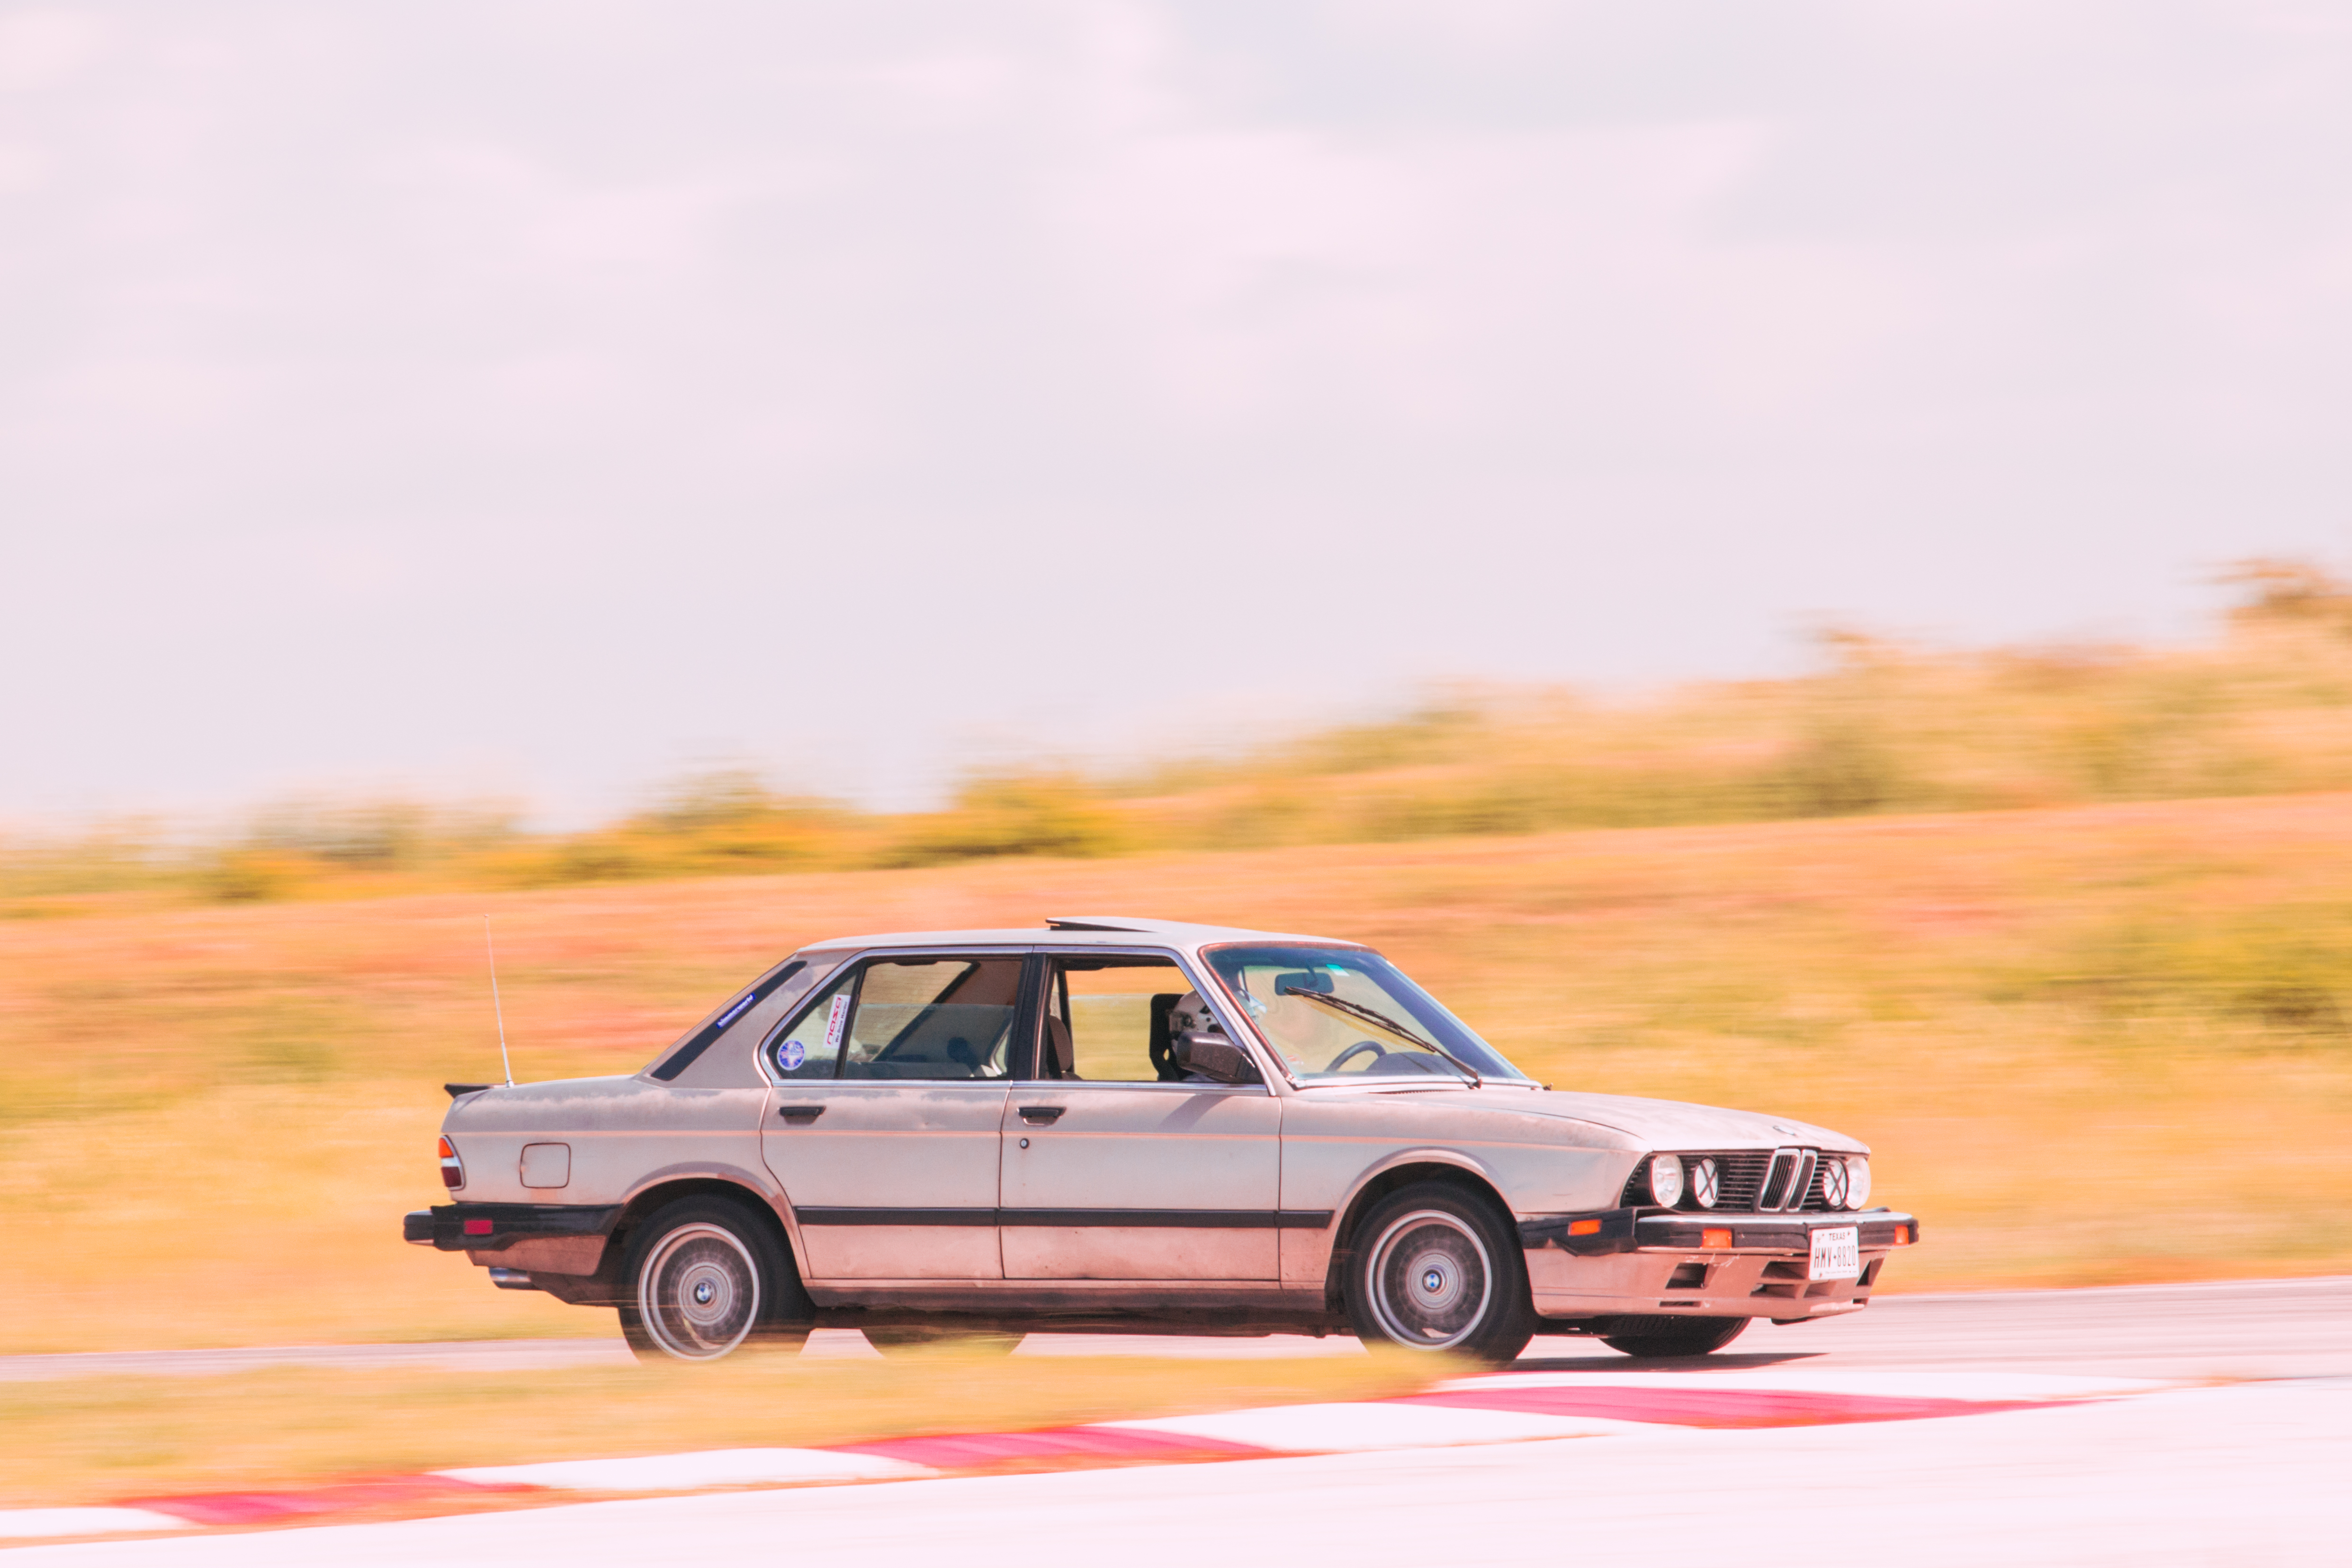 MSRH 2018
 by
samleisey, on Flickr
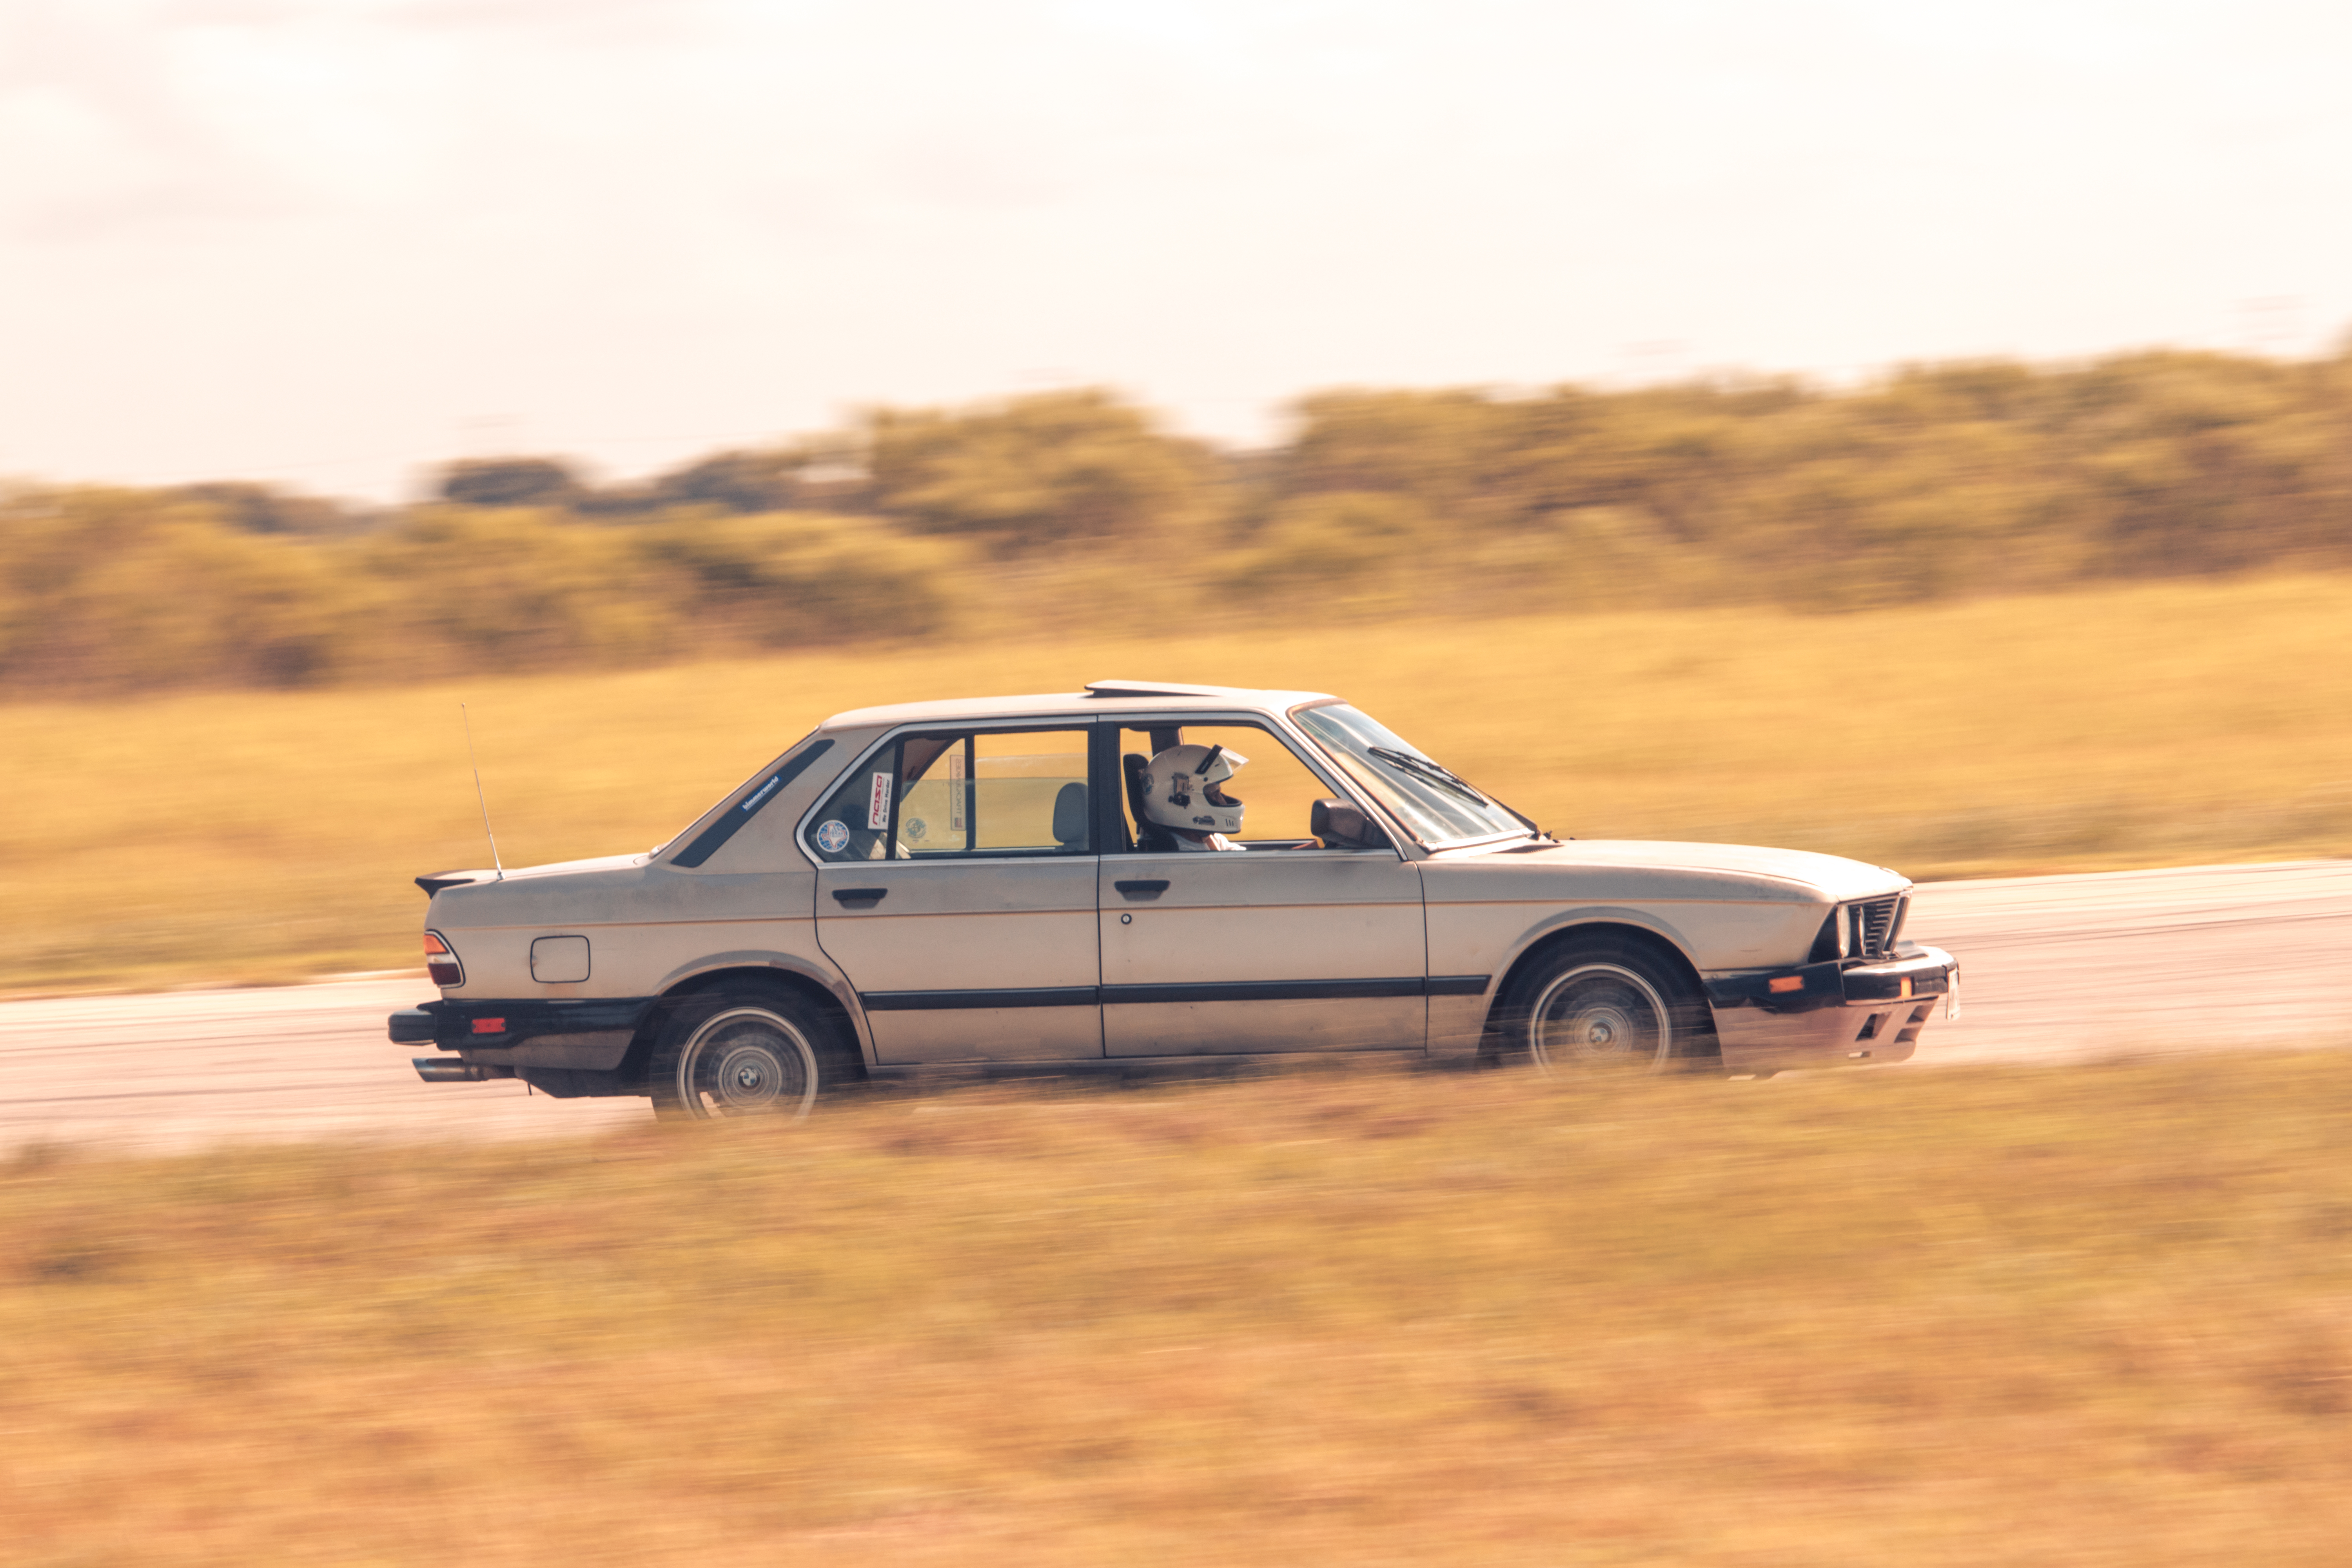 MSRH 2018
 by
samleisey, on Flickr
 MSRH 2018
 by
samleisey, on Flickr
 MSRH 2018
 by
samleisey, on Flickr
 MSRH 2018
 by
samleisey, on Flickr
 MSRH 2018
 by
samleisey, on Flickr
 MSRH 2018
 by
samleisey, on Flickr
This thing looks like shit, but I am fucking proud to say I built this junk.
Re: FUBAR 535e"s" Build 9/4/18 VINTAGE Steering Wheel
Posted: Sep 04, 2018 1:59 AM
by LeiseyJr
On track, I was having issues with the Mtech for my short arms it was just to big. So I've been looking for something smaller, my range was 350-360mm I was looking at Nardi, Momo, Sparco and one of Renown wheels. The problem is I no longer have an income, since I am doing full time college in a dorm. This whole steering wheel thing has been bugging me for awhile so I just needed to put something together cheap to make sure smaller was what I was looking for. I somehow found a used hub on Ebay for $40 its a real Momo one. It needed the horn wire repaired, and its missing the rubber cover thing. I bought that since I knew I was going to be replacing the steering wheel, plus it was a good deal. Then I was just waiting for the right wheel, I was looking around on Ebay for awhile and finally came across this junk.
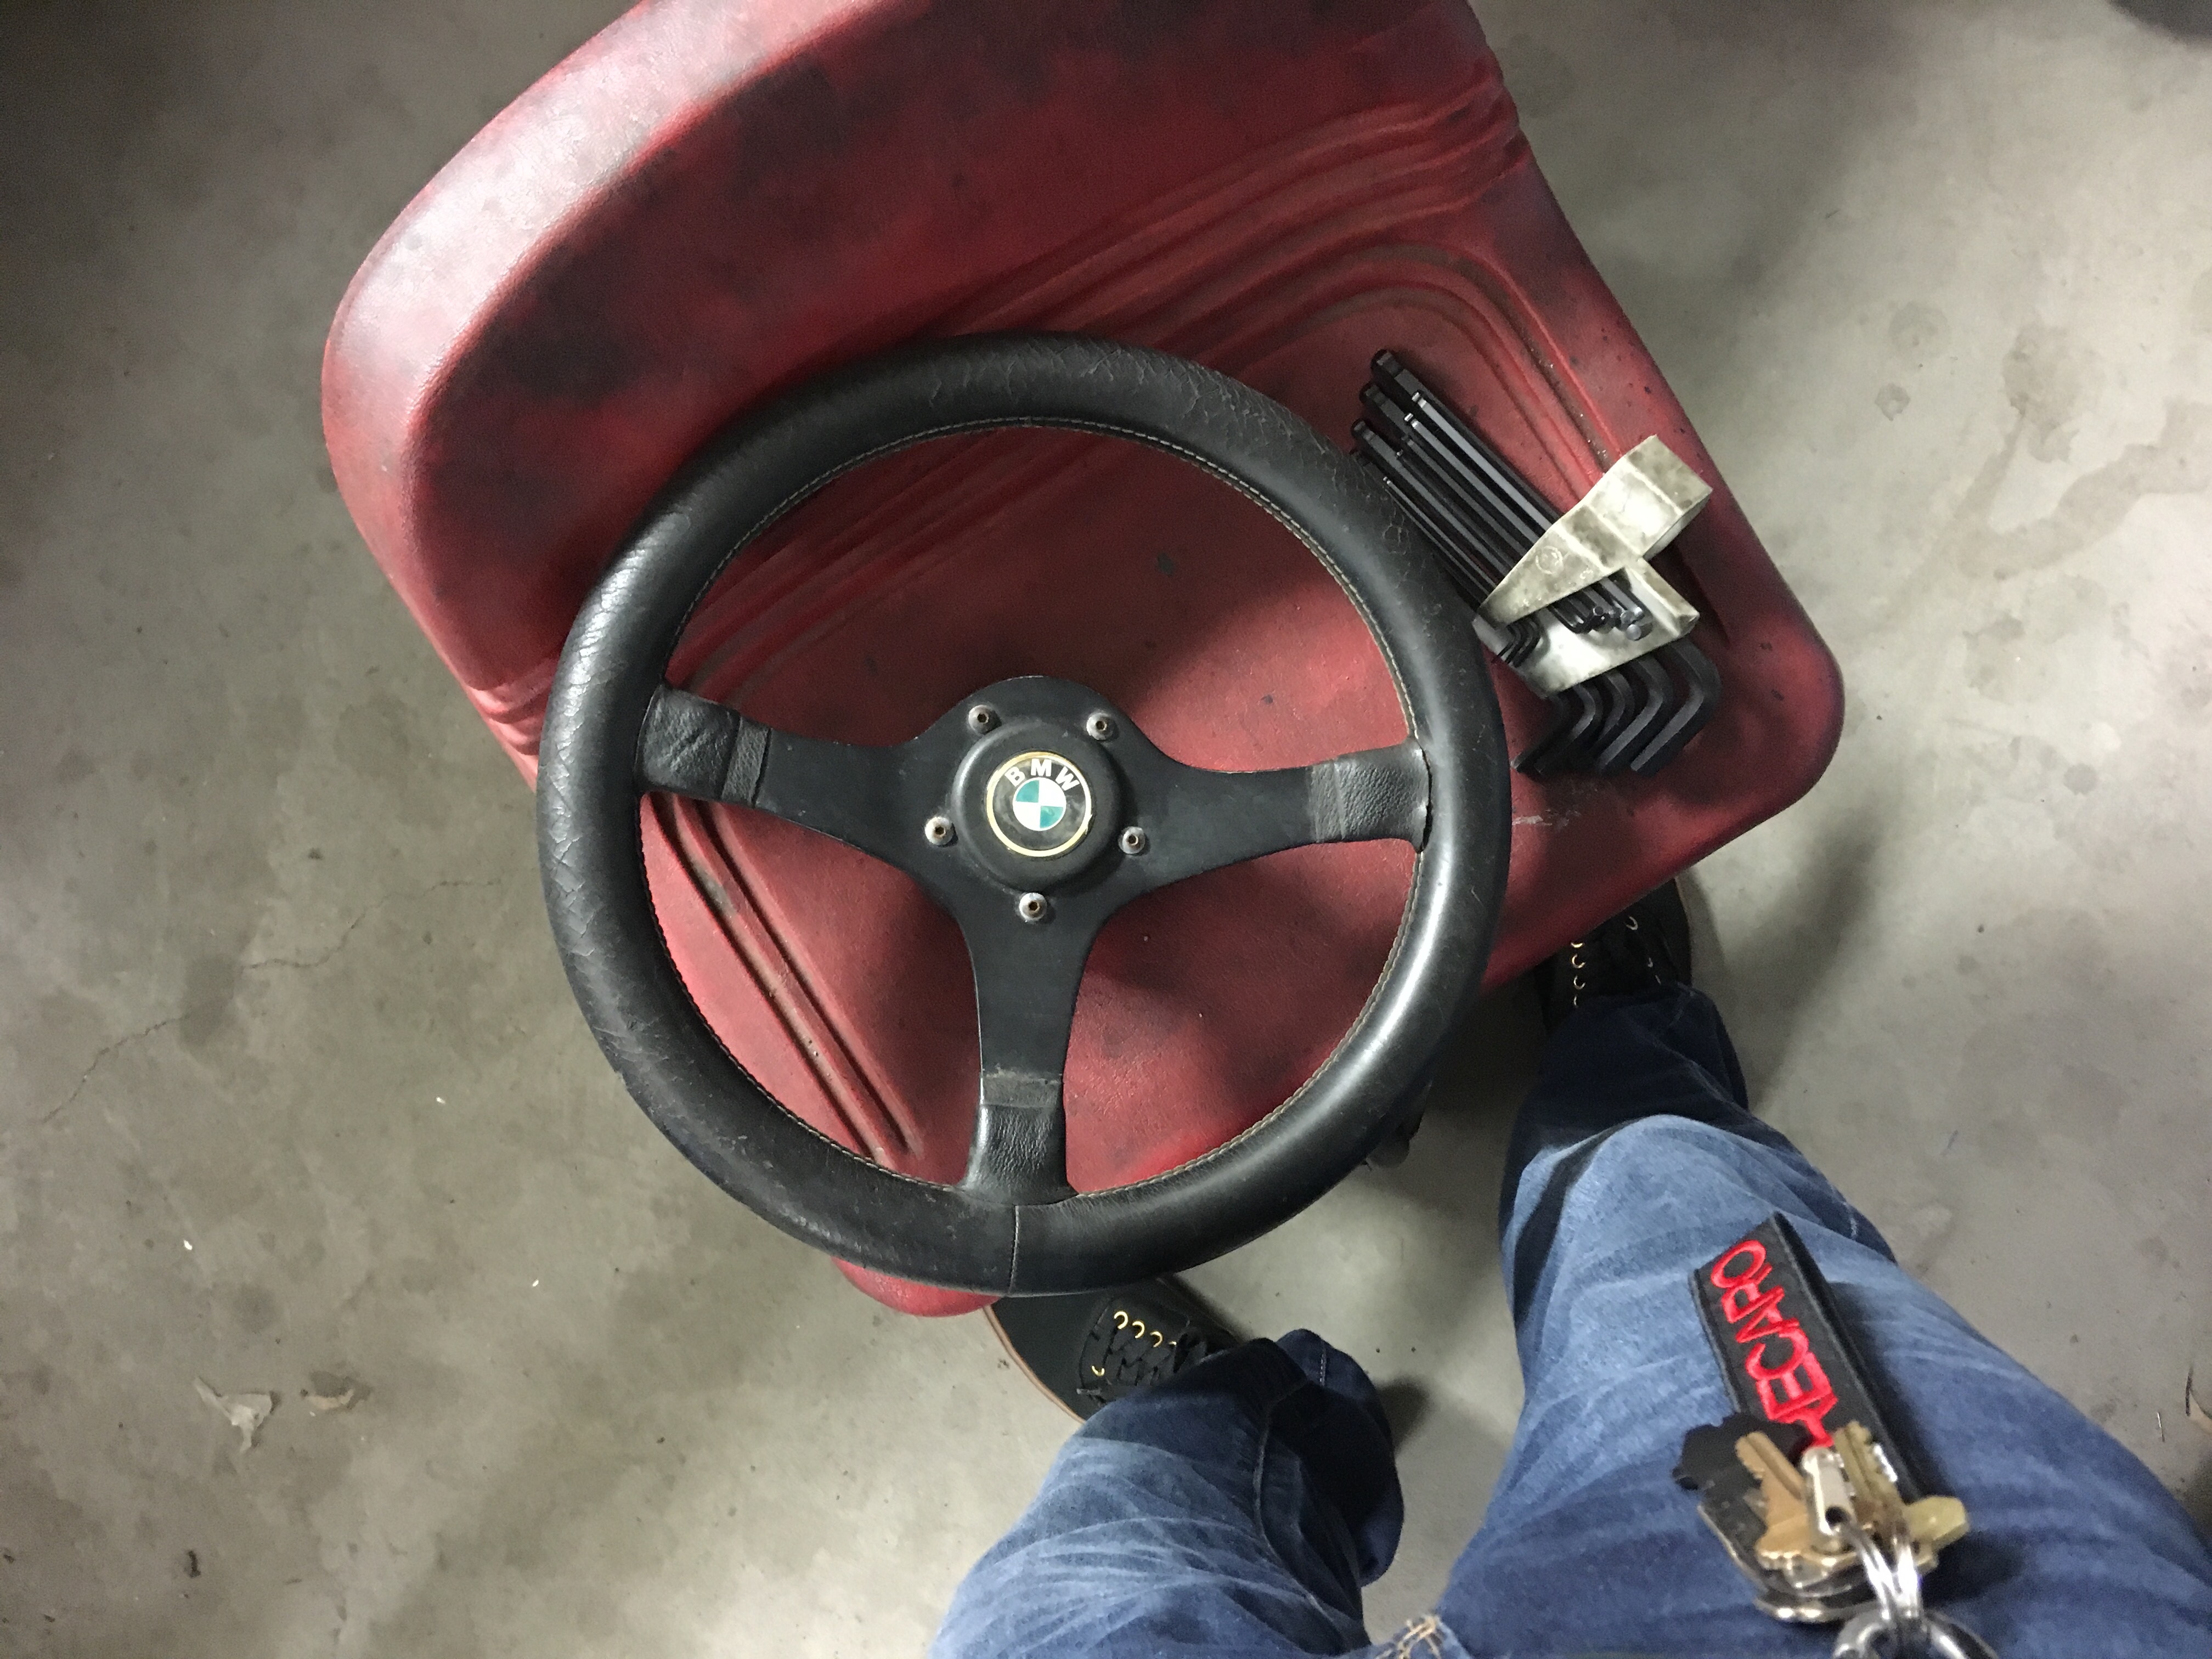 BWA
BWA by
samleisey, on Flickr
It looked cool and bigger in the picture, very vague description but it was $100 and had a horn button. I impulsivly bought it due to price, and I already had a hub. It should bolt on right? LOL When I actually went back and looked at the pictures, I counted 5 bolts. That was funny. I then bought a Grant Adapter Momo 6 bolt to 5 bolt thingie, which still hasn't come in. Thanks Summit! Anyway Dad drilled holes in my used Hub and tapped them to mount it in. I was very worried about this though, and wasting my money.
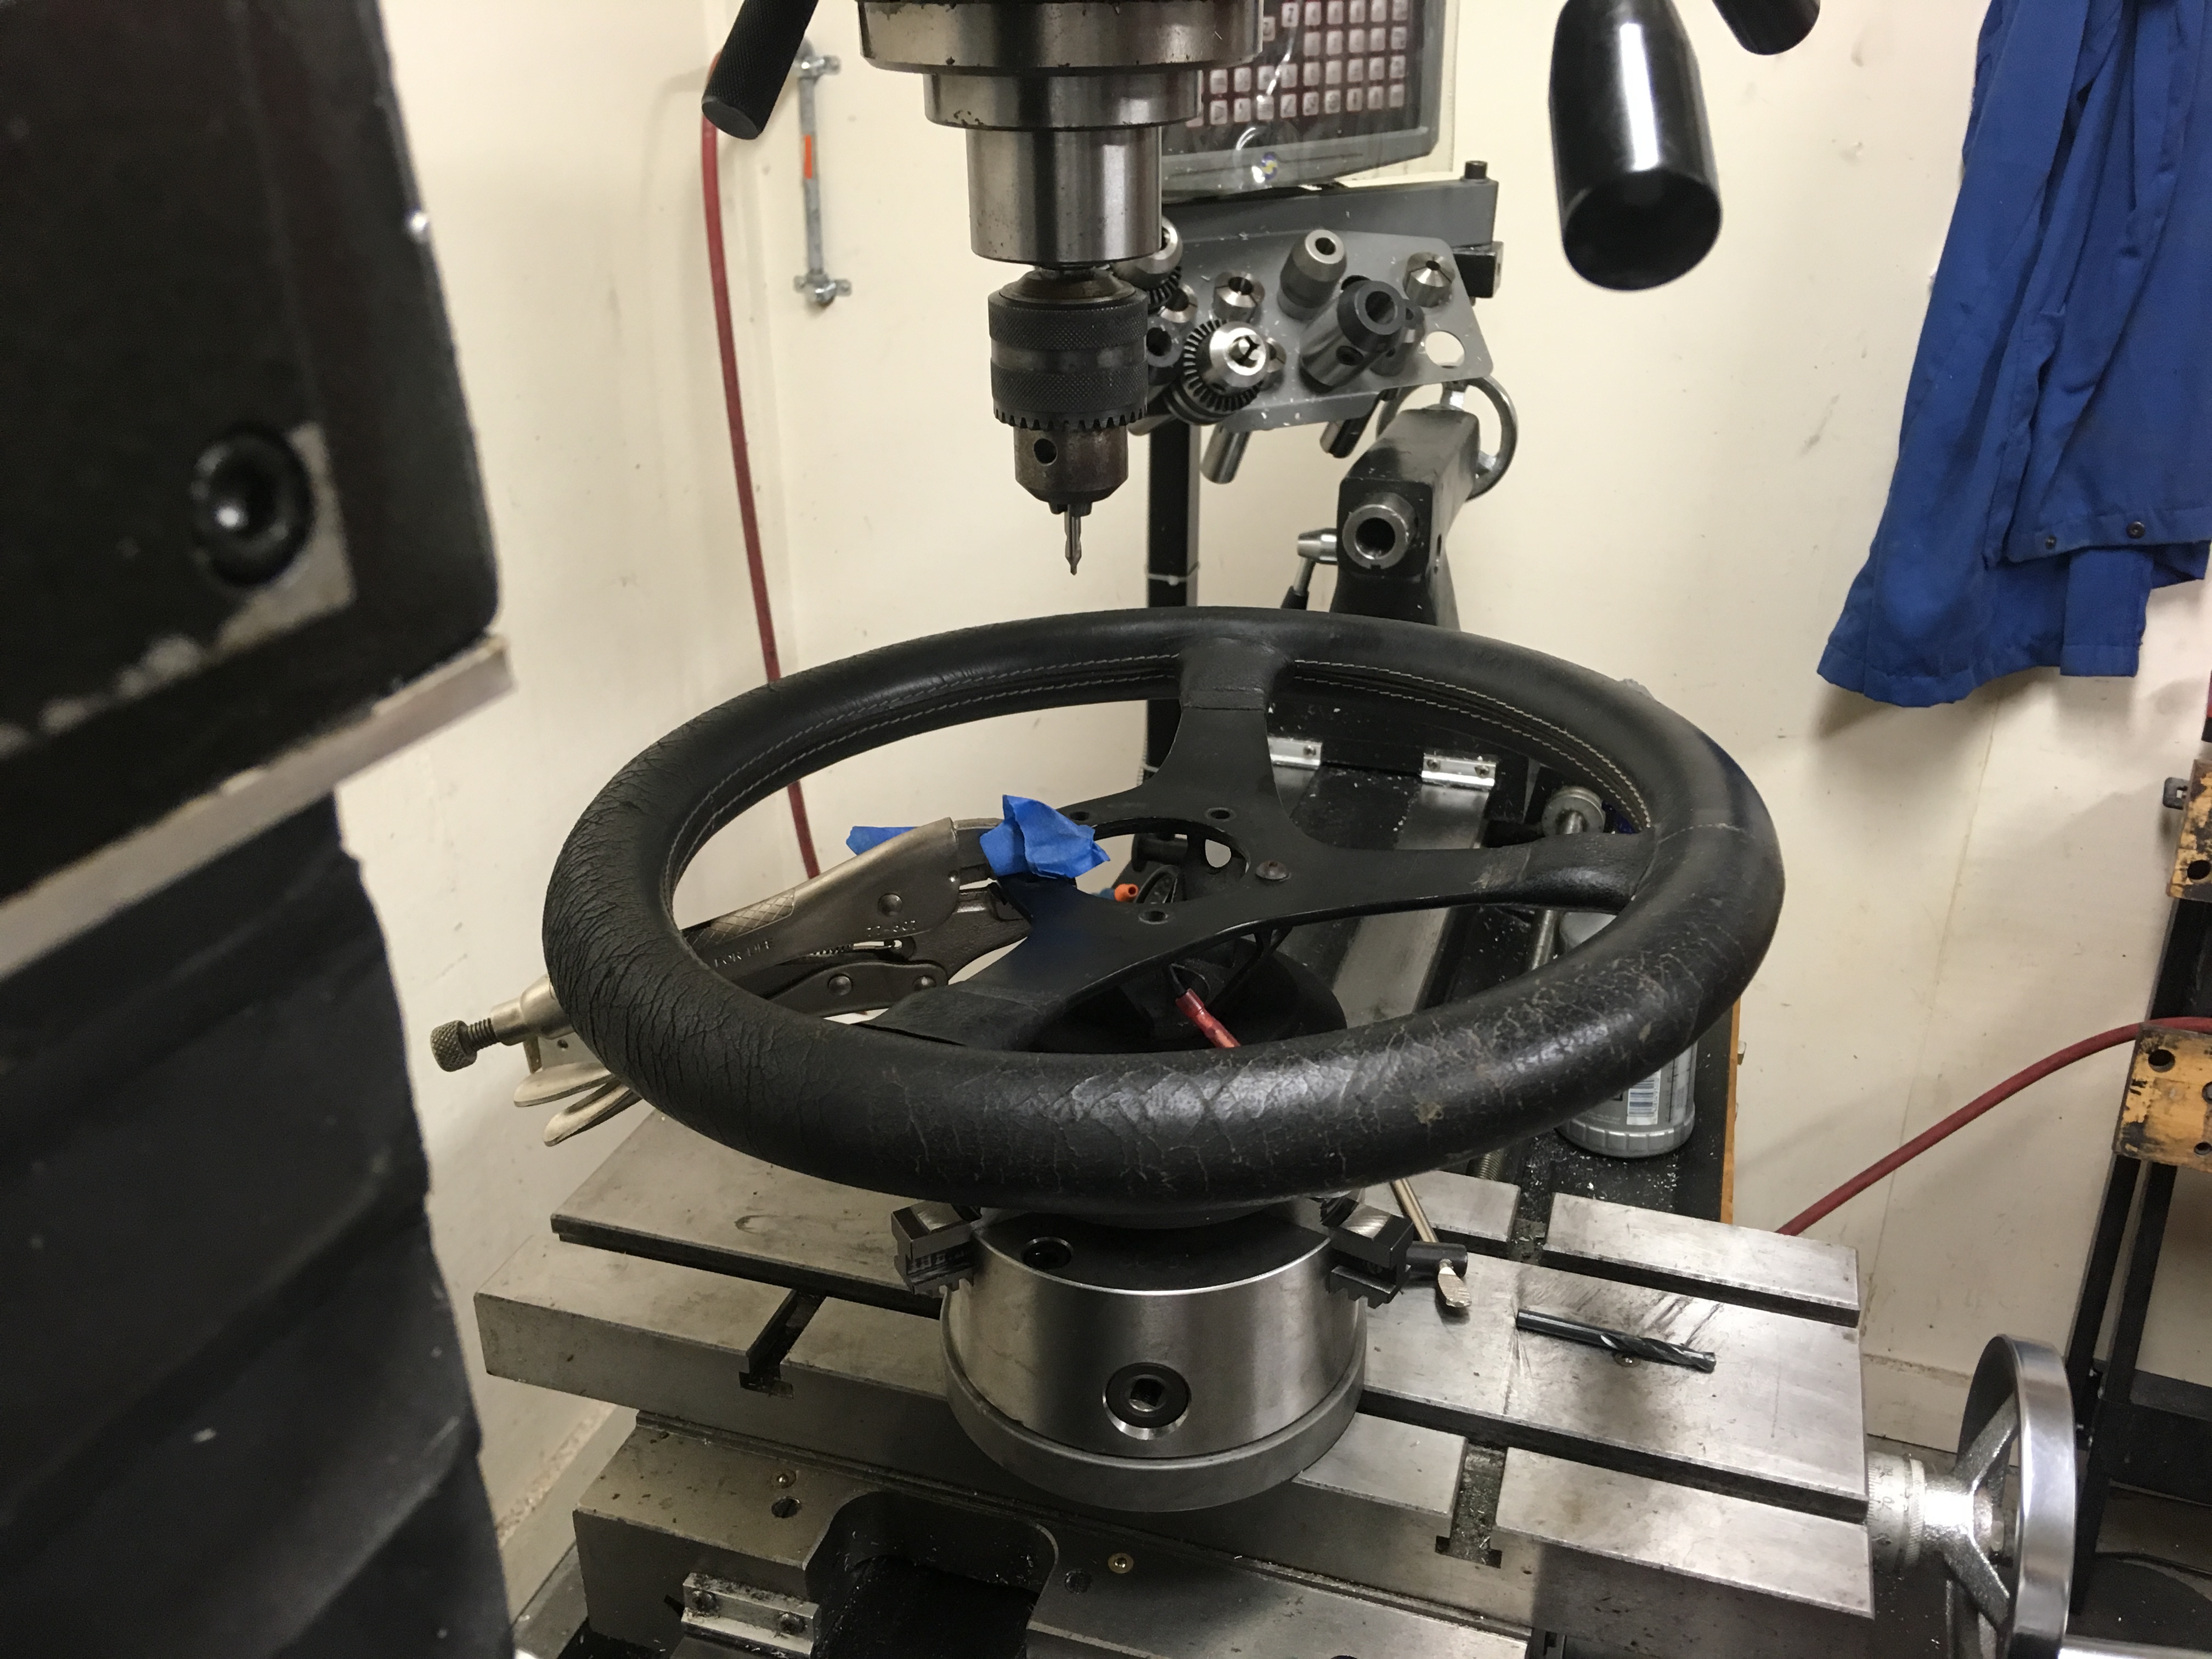 BWA
BWA by
samleisey, on Flickr
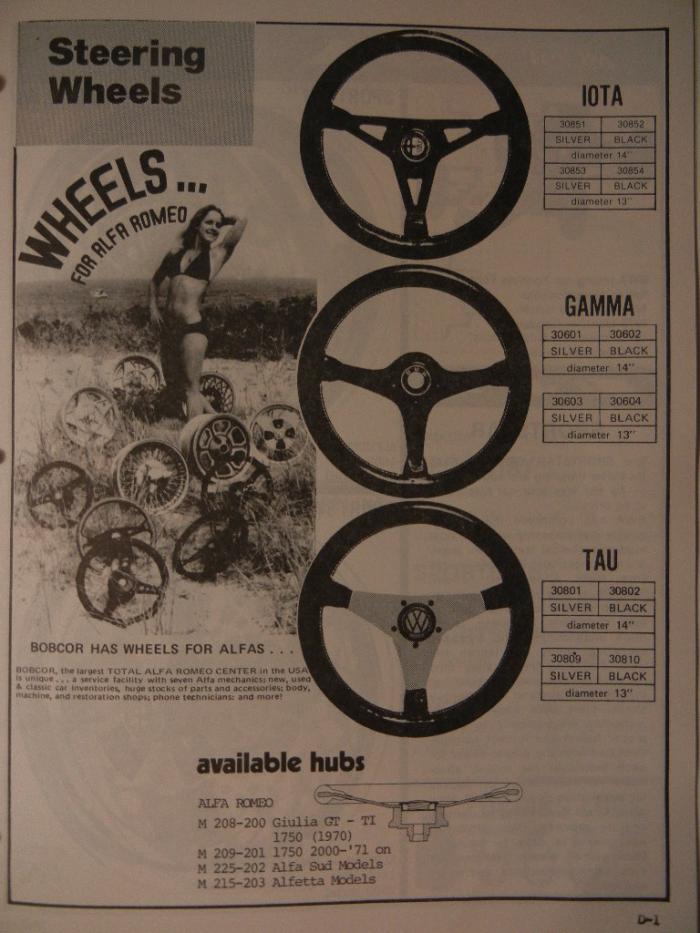
I posted on some Facebook Groups and found out this thing was ancient, it's at least 1980ish, maybe older. BWA is the make of the steering wheel, and it is their Gamma model. Which was verified by some old ads I found. They came in a 13" and 14" size, which is bascially 330mm or 350mm, I would like 350 because 330mm just blocks every single gauge. I know this because I got stock with a 13" one, overall though I love how thick the wheel is. It is a little bendy at the top but due to age and I don't know what life it lived before me it's understandable. It does block my speedo but the smaller wheel makes it a lot easier for me personally to drive.
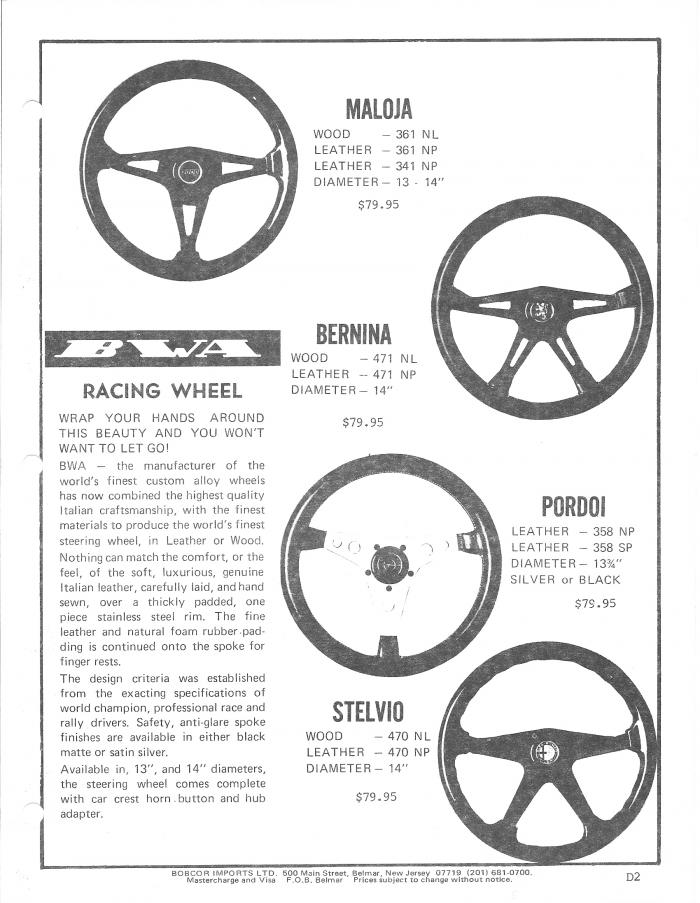 BWA
BWA by
samleisey, on Flickr
 BWA
BWA by
samleisey, on Flickr
https://www.flickr.com/photos/132920043 ... datetaken/
The wheel is beat up, but it is amazing the horn button, original hub and bolts which came with it when purchased new a long time ago has stayed with it. I think it was a cool find, and I will make sure it lives on. I will restore it once I am sure it will be in there a long time. I will most likely look for a 14 inch though. This piece of shit car will never be done, next post will probably be converting fronts to coilovers just so I can get camber and lower front 1/2 inch. Stay tuned!
Re: FUBAR 535e"s" Build 9/4/18 Budget Euro Front?
Posted: Sep 11, 2018 12:42 PM
by LeiseyJr
I still have never liked the 535is front, so this will be an attempt to do the front end how I've always envisioned. First you have to rip a perfectly good car apart.
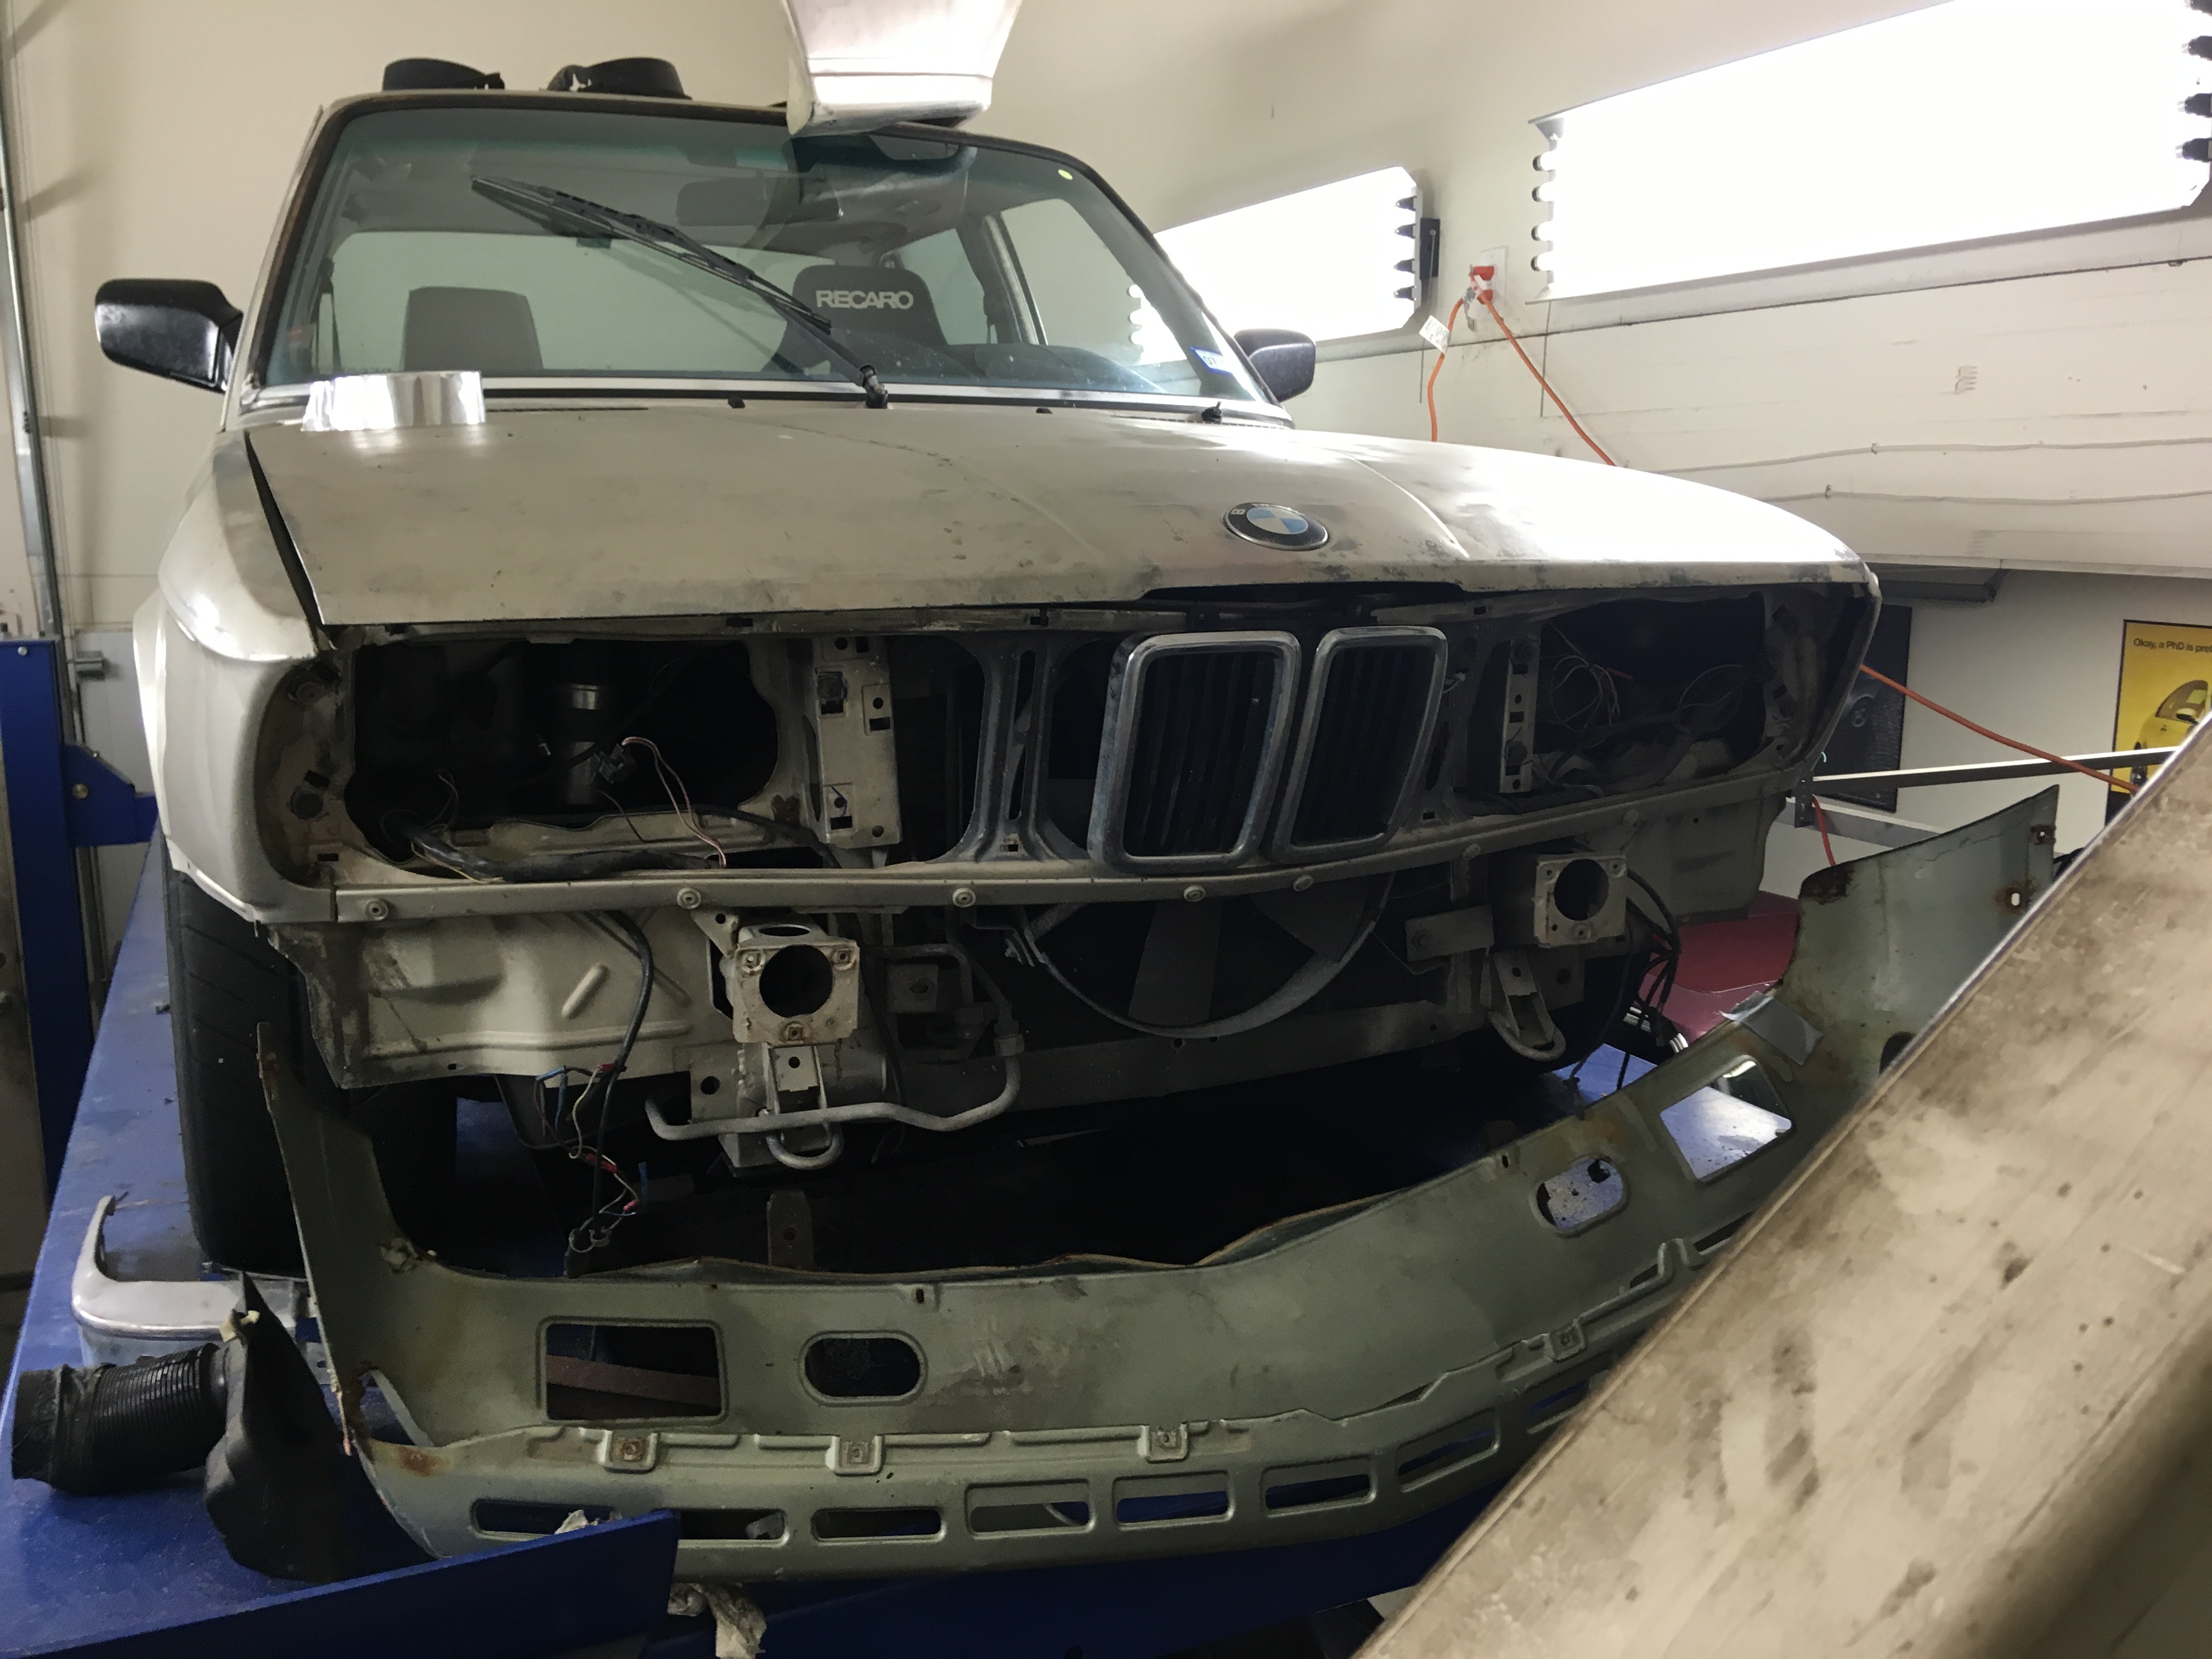 Boredom
 by
samleisey, on Flickr
Next you find a style youre kindve going for
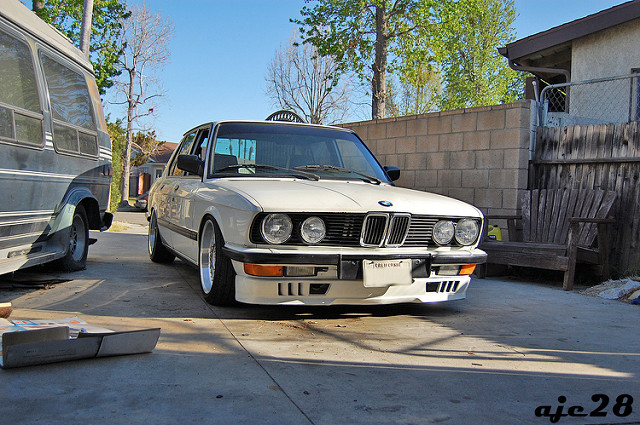 Boredom
 by
samleisey, on Flickr
A forum member here luckily has the Pfeba spoiler thing/airdam whatchamacall it I am looking for. Which will be on the way soon enough, and cheaper then the $600 Classic Euro parts wants. I then needed a early front valance, and Sherman gave me rusted out one for free which is not only early but it's euro. I am also lucky enough to have a father that will repair all the rust, as I probably would've hacked it together as is.
My plan for the front bumper is I have a mangled E23 front bumper and I have the chrome pieces and will cut and trim to fit, but I am missing a corner. Still unsure what to do about that, but I will figure that out. This will go over another thing from Shermans scrap pile which is an E28 Federalization bar. If the E23 doesn't work, I can get a plastic bumper from Classic Euro Parts.
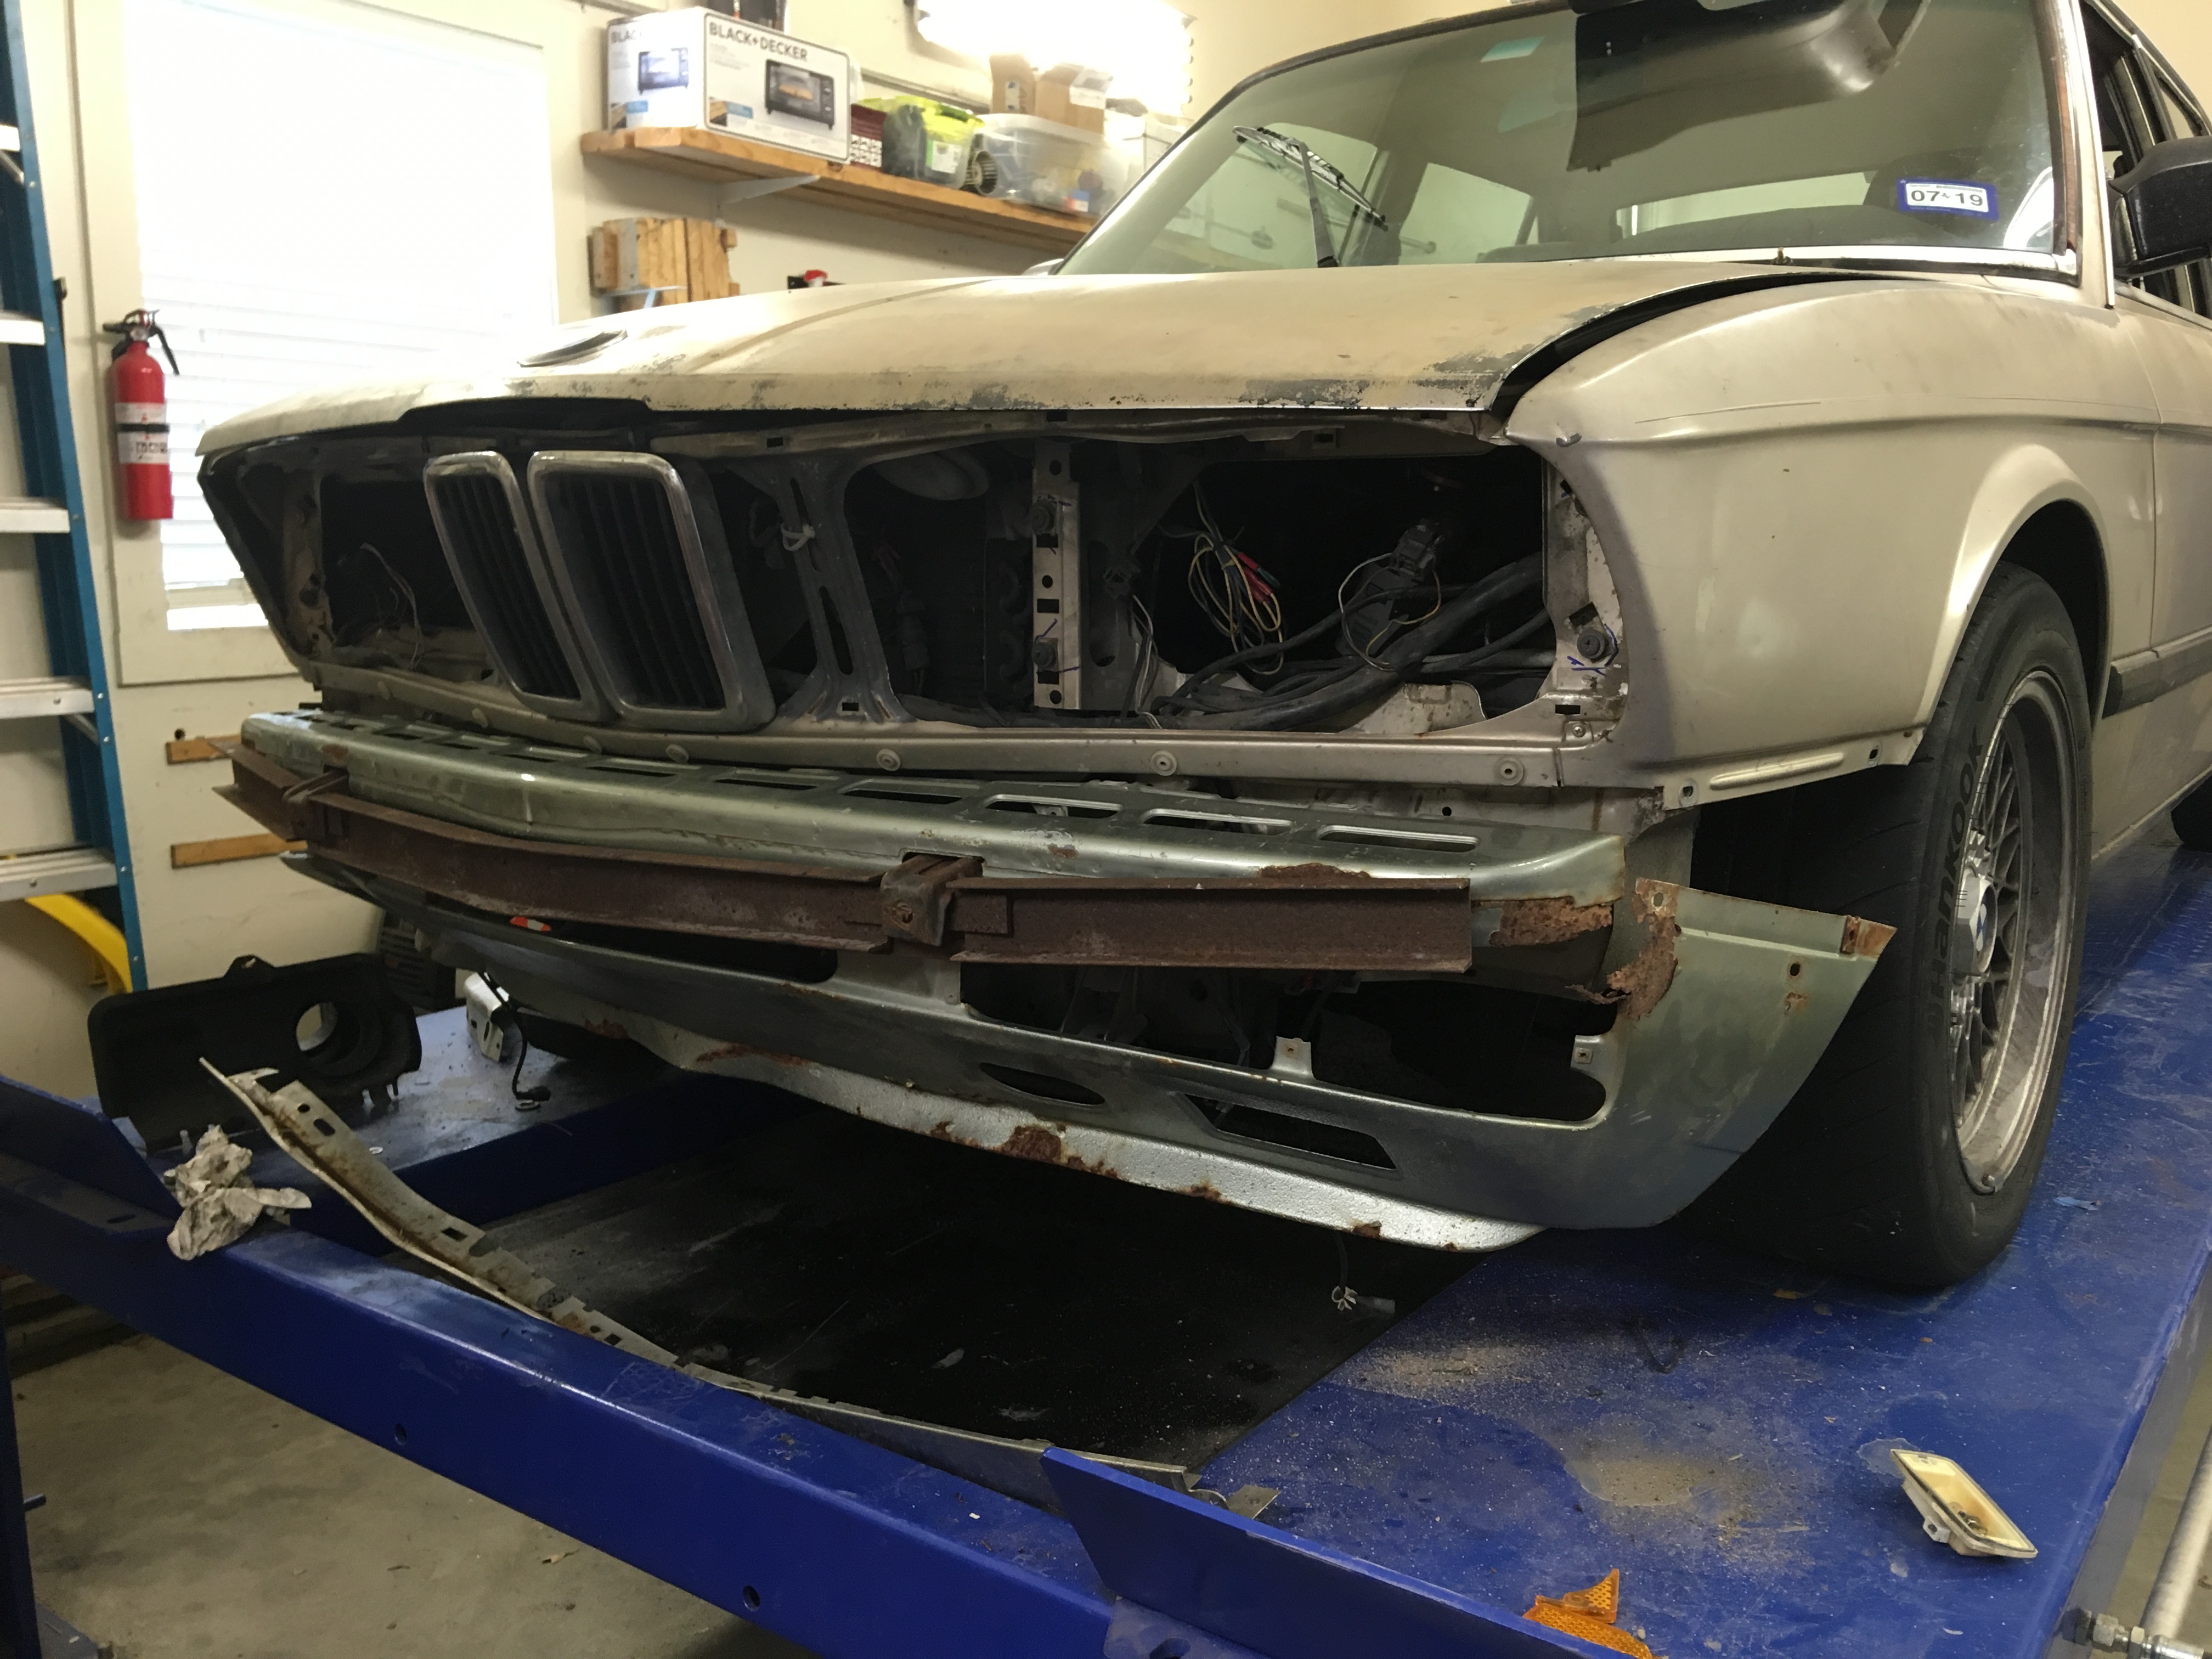 Boredom
 by
samleisey, on Flickr
I also sourced Euro Turns for $40
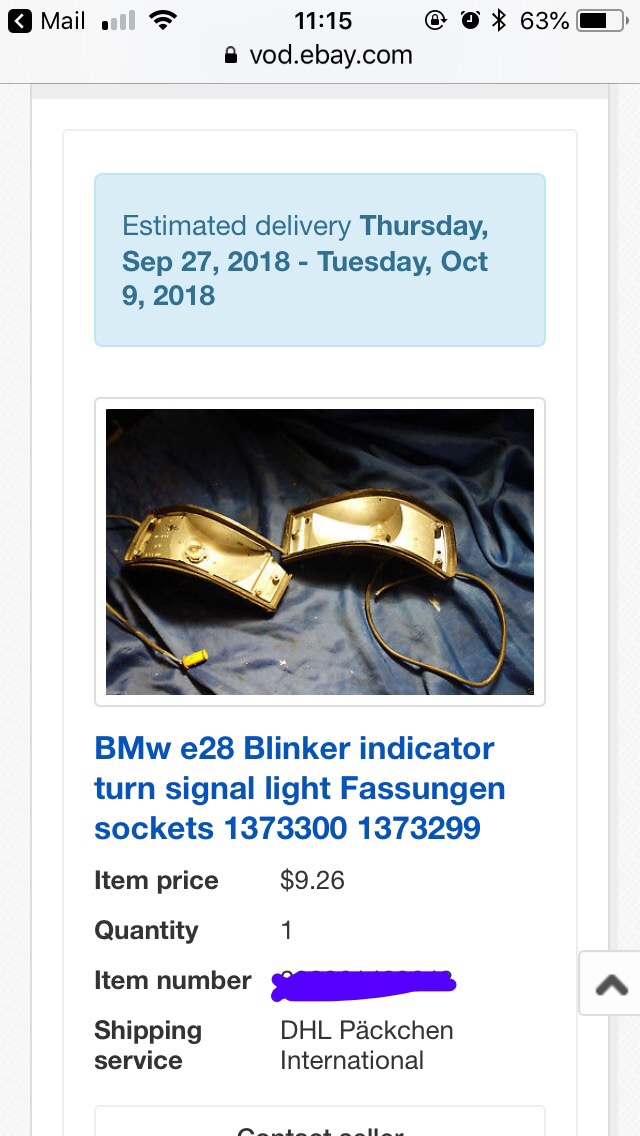 Blink 182
 by
samleisey, on Flickr
I have a left on the way as well with a lens for $50, so I need to buy the right lens. At least now I have fairly junked housing that I wont feel bad cutting up.
Hopefully this goes okay
Classes are going fairly okay, and I'm in the process of being rehired on Saturdays for Discount.
Re: FUBAR 535e"s" Build 9/11/18 Budget Euro Front?
Posted: Sep 11, 2018 9:58 PM
by tschultz
Curious to see how this comes a long. I have seen a lot of budget versions that end up never being completed. I have often wondered about e24 bits on E28, and I supposed E23 could fit similarly well if shortened and customized slightly. Worth a try with the price you got those parts for.
Personally, I think the 535is/M5 spoiler set up is pretty good looking. It's the non-spoiler US cars that bug me, mainly with the front bumper sticking out so far...
Re: FUBAR 535e"s" Build 9/11/18 Budget Euro Front?
Posted: Sep 11, 2018 10:18 PM
by LeiseyJr
tschultz wrote:Curious to see how this comes a long. I have seen a lot of budget versions that end up never being completed. I have often wondered about e24 bits on E28, and I supposed E23 could fit similarly well if shortened and customized slightly. Worth a try with the price you got those parts for.
Personally, I think the 535is/M5 spoiler set up is pretty good looking. It's the non-spoiler US cars that bug me, mainly with the front bumper sticking out so far...
I liked the look but my frame rail is a bit crooked, so bumper was crooked this also meant I could not tuck it because it was all wonky. The E23 center chrome piece is the perfect bend, the side pieces have the right curve, just need to be trimme d. It's a shame I am missing one it'd be way easier with the other side. Hopefully Ebay Saves the day.
Re: FUBAR 535e"s" Build 9/11/18 Budget Euro Front?
Posted: Sep 11, 2018 10:31 PM
by 1st 5er
LeiseyJr wrote: The E23 center chrome piece is the perfect bend, the side pieces have the right curve, just need to be trimme d. It's a shame I am missing one it'd be way easier with the other side. Hopefully Ebay Saves the day.
Which side do you need?
Re: FUBAR 535e"s" Build 9/11/18 Budget Euro Front?
Posted: Sep 12, 2018 12:20 AM
by LeiseyJr
1st 5er wrote:LeiseyJr wrote: The E23 center chrome piece is the perfect bend, the side pieces have the right curve, just need to be trimmed. It's a shame I am missing one it'd be way easier with the other side. Hopefully Ebay Saves the day.
Which side do you need?
The left side, and only a right side on Ebay

Re: FUBAR 535e"s" Build 9/23/18 Getting there..
Posted: Sep 23, 2018 2:20 PM
by LeiseyJr
Found the left side, mocked it up and stuff. Still waiting for Euro Turns from Germany as well as a lens from Schmiedmann , and Pfeba front spoiler. I am also unsure of whether or not I will be using the Federalization bar. It will be a lot easier to mount chrome to valance. However Federalization Bar, will allow for a bumper on the front. So... we will see how that goes. I'm basically waiting on parts when I have everything and can make a full game plan
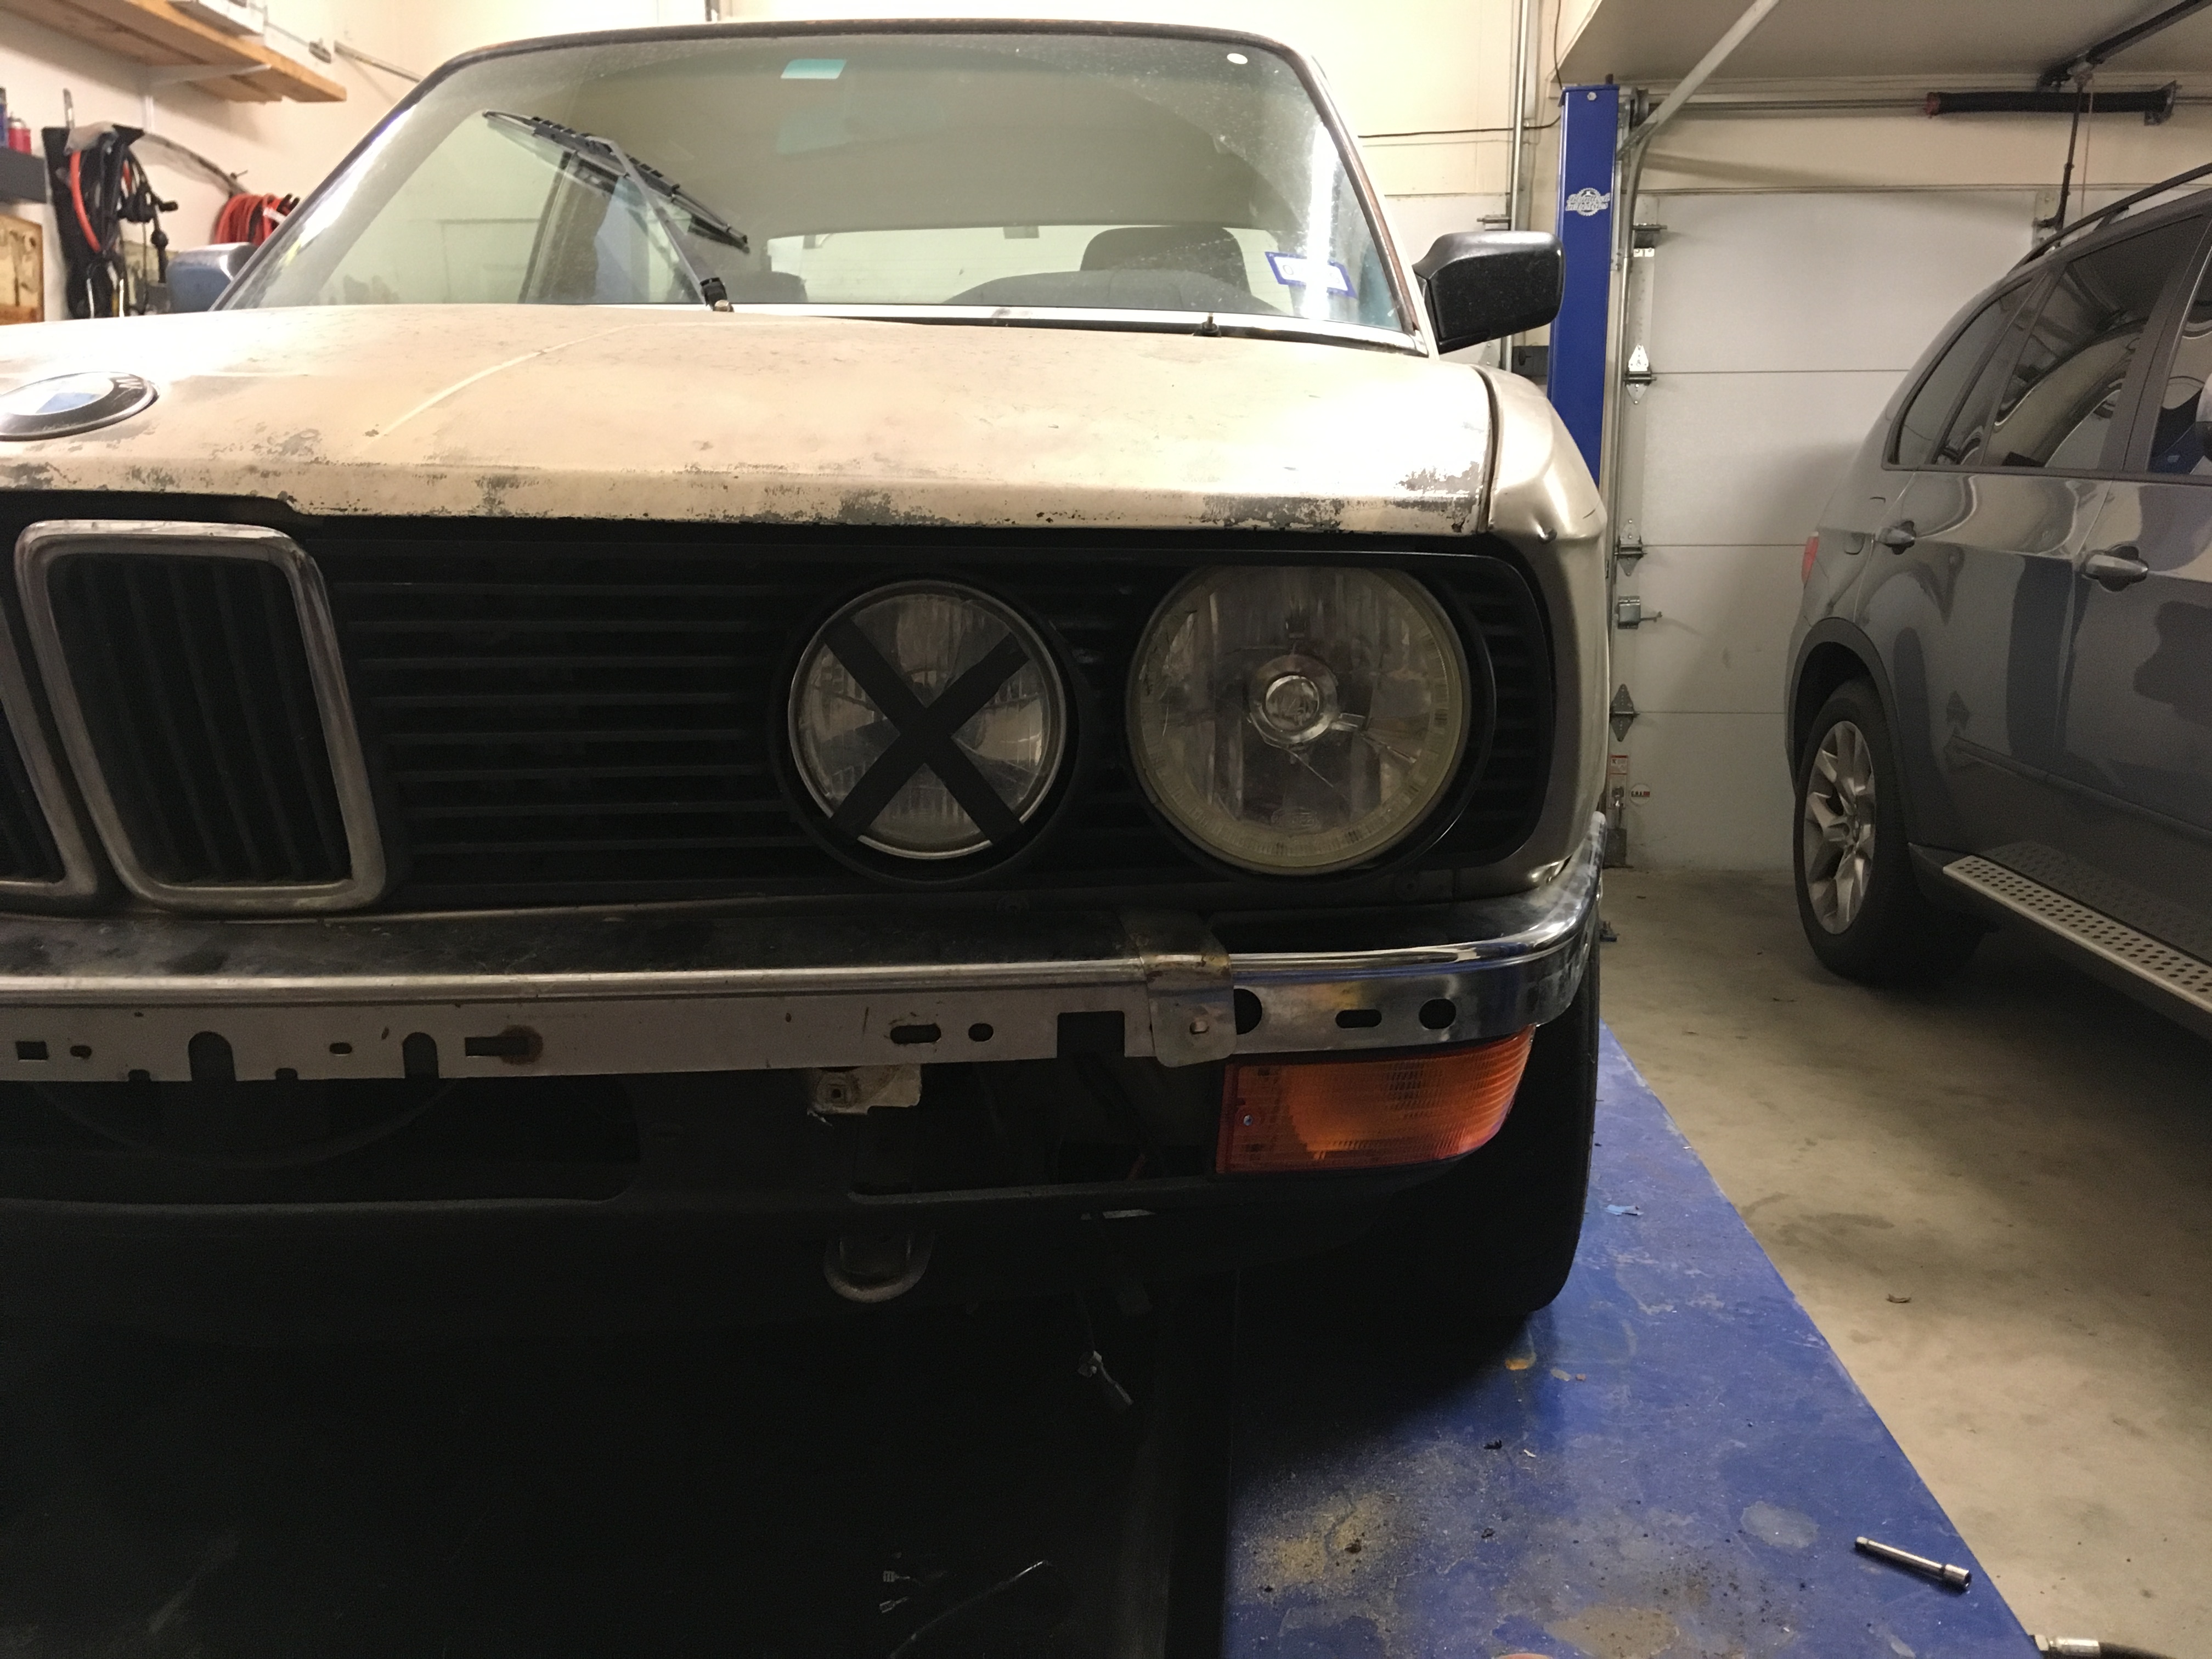 Mock Up
 by
samleisey, on Flickr
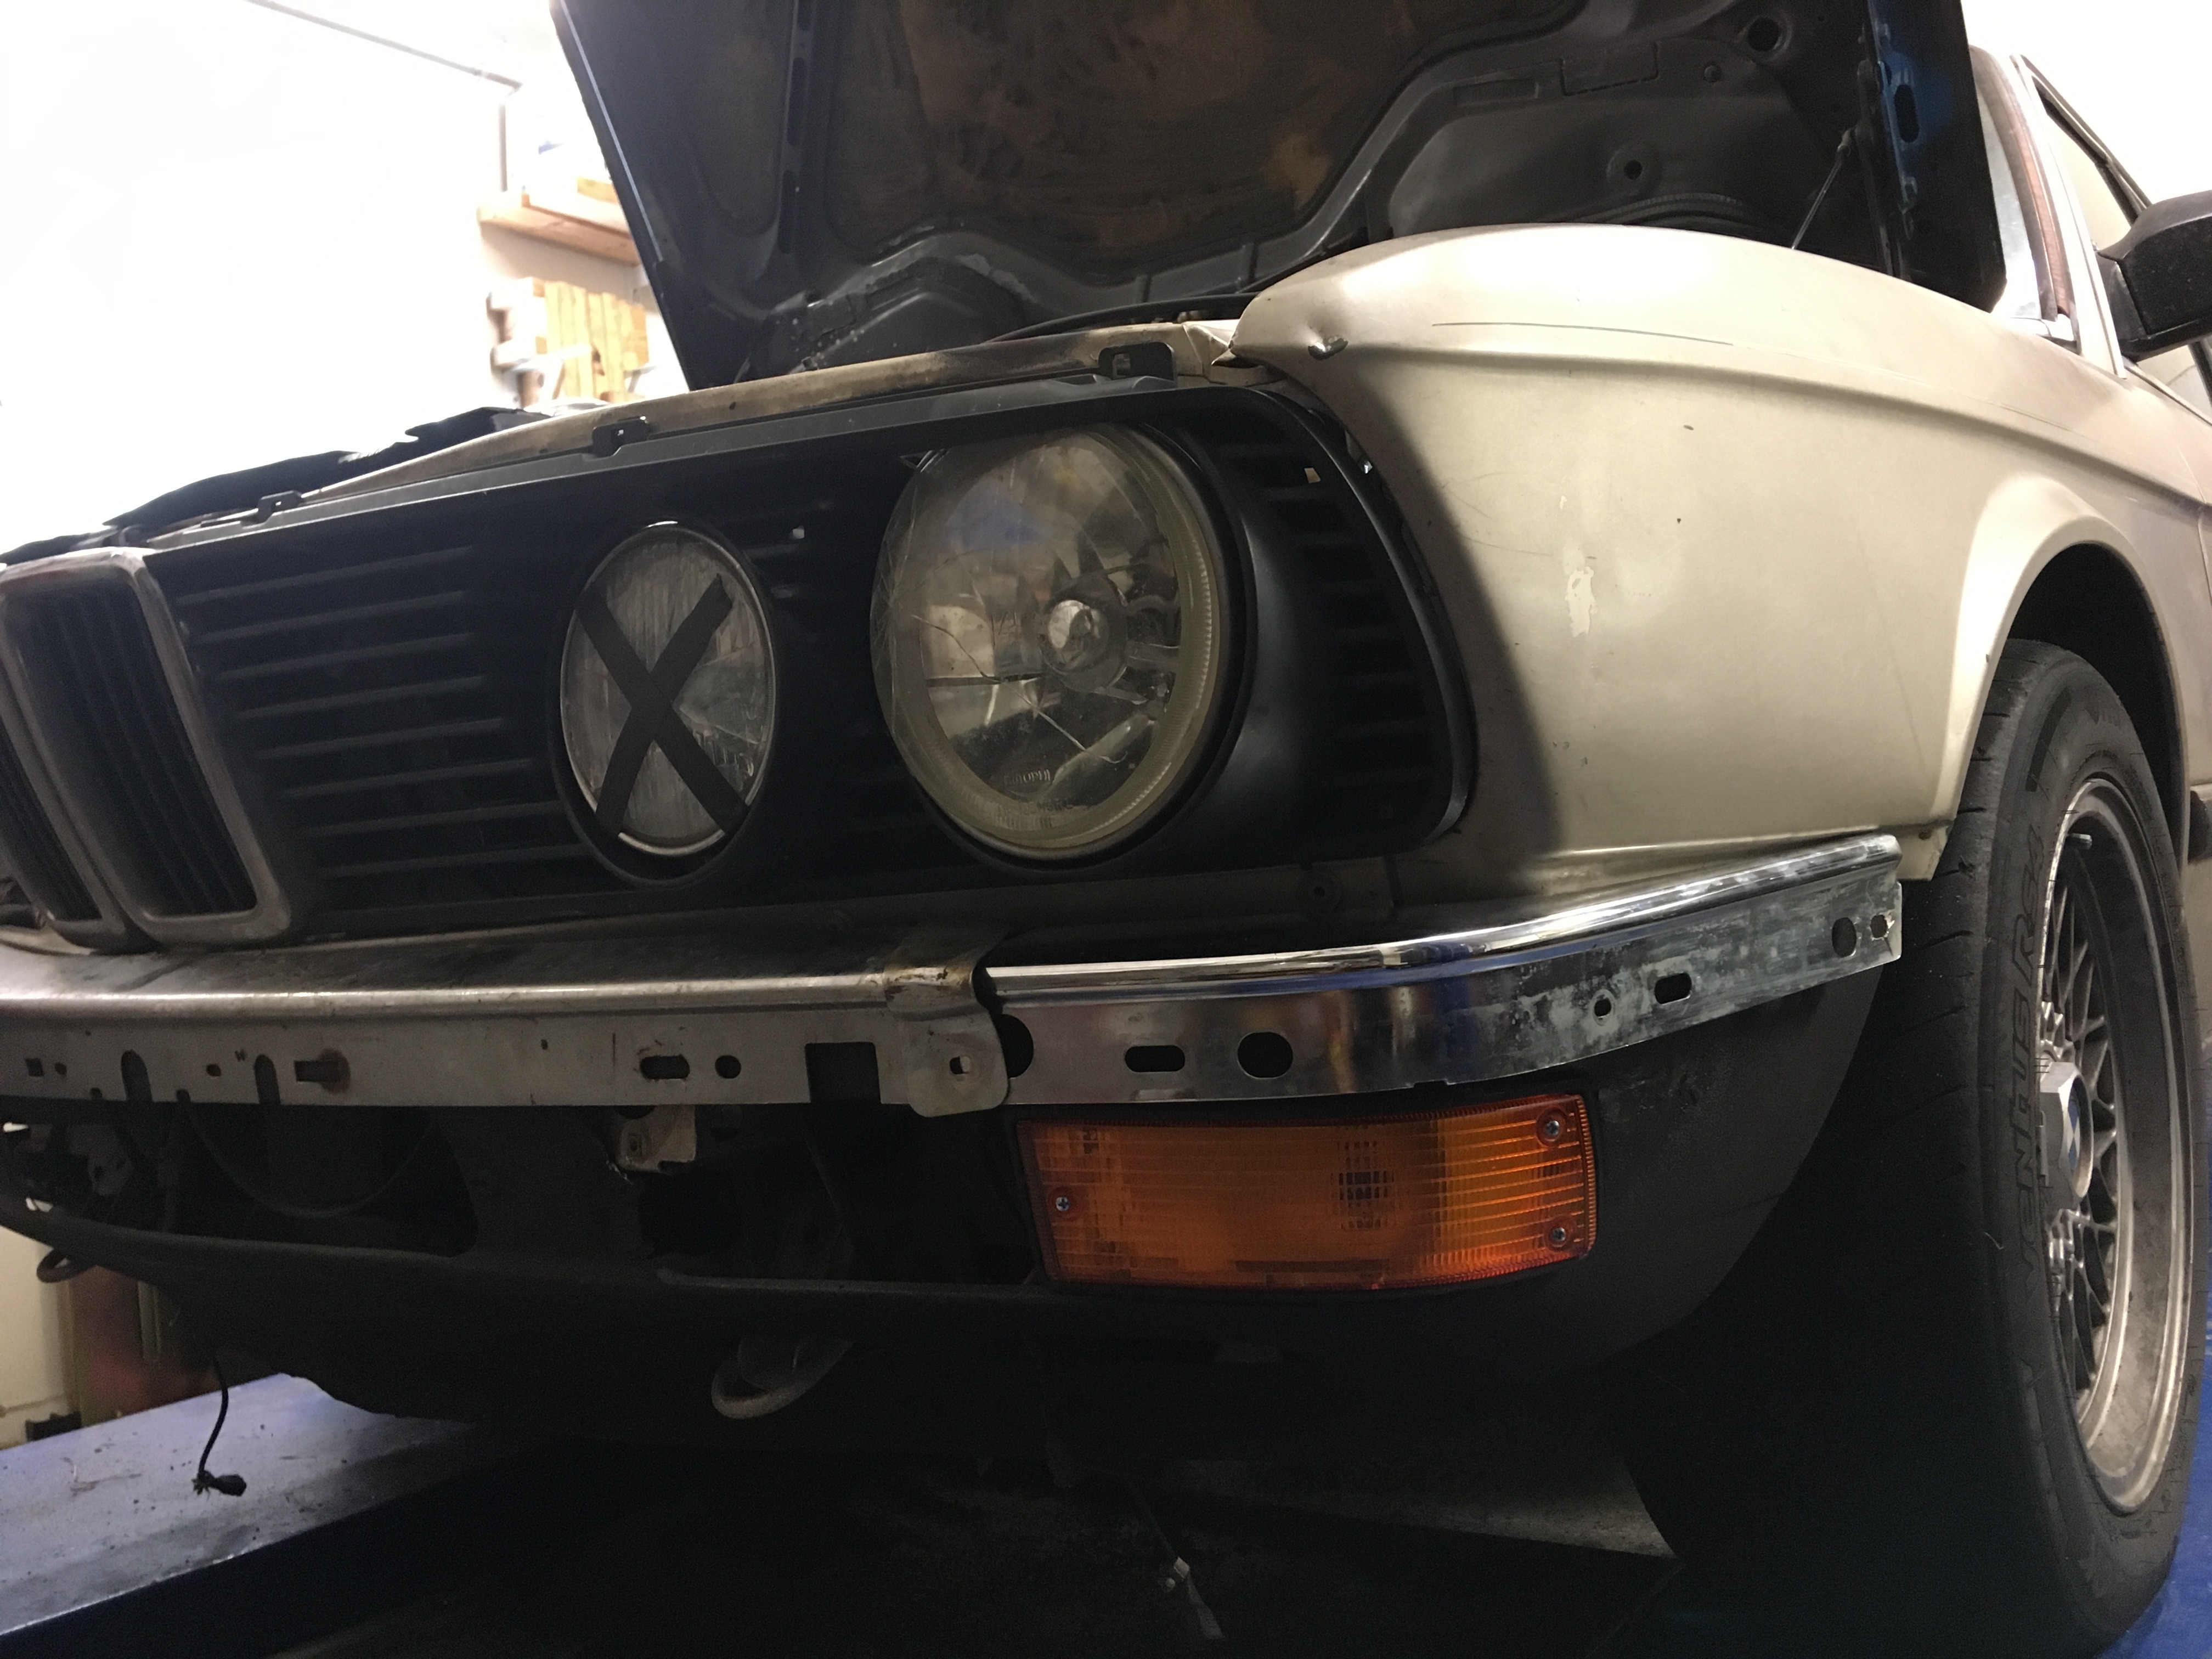 Mock Up
 by
samleisey, on Flickr
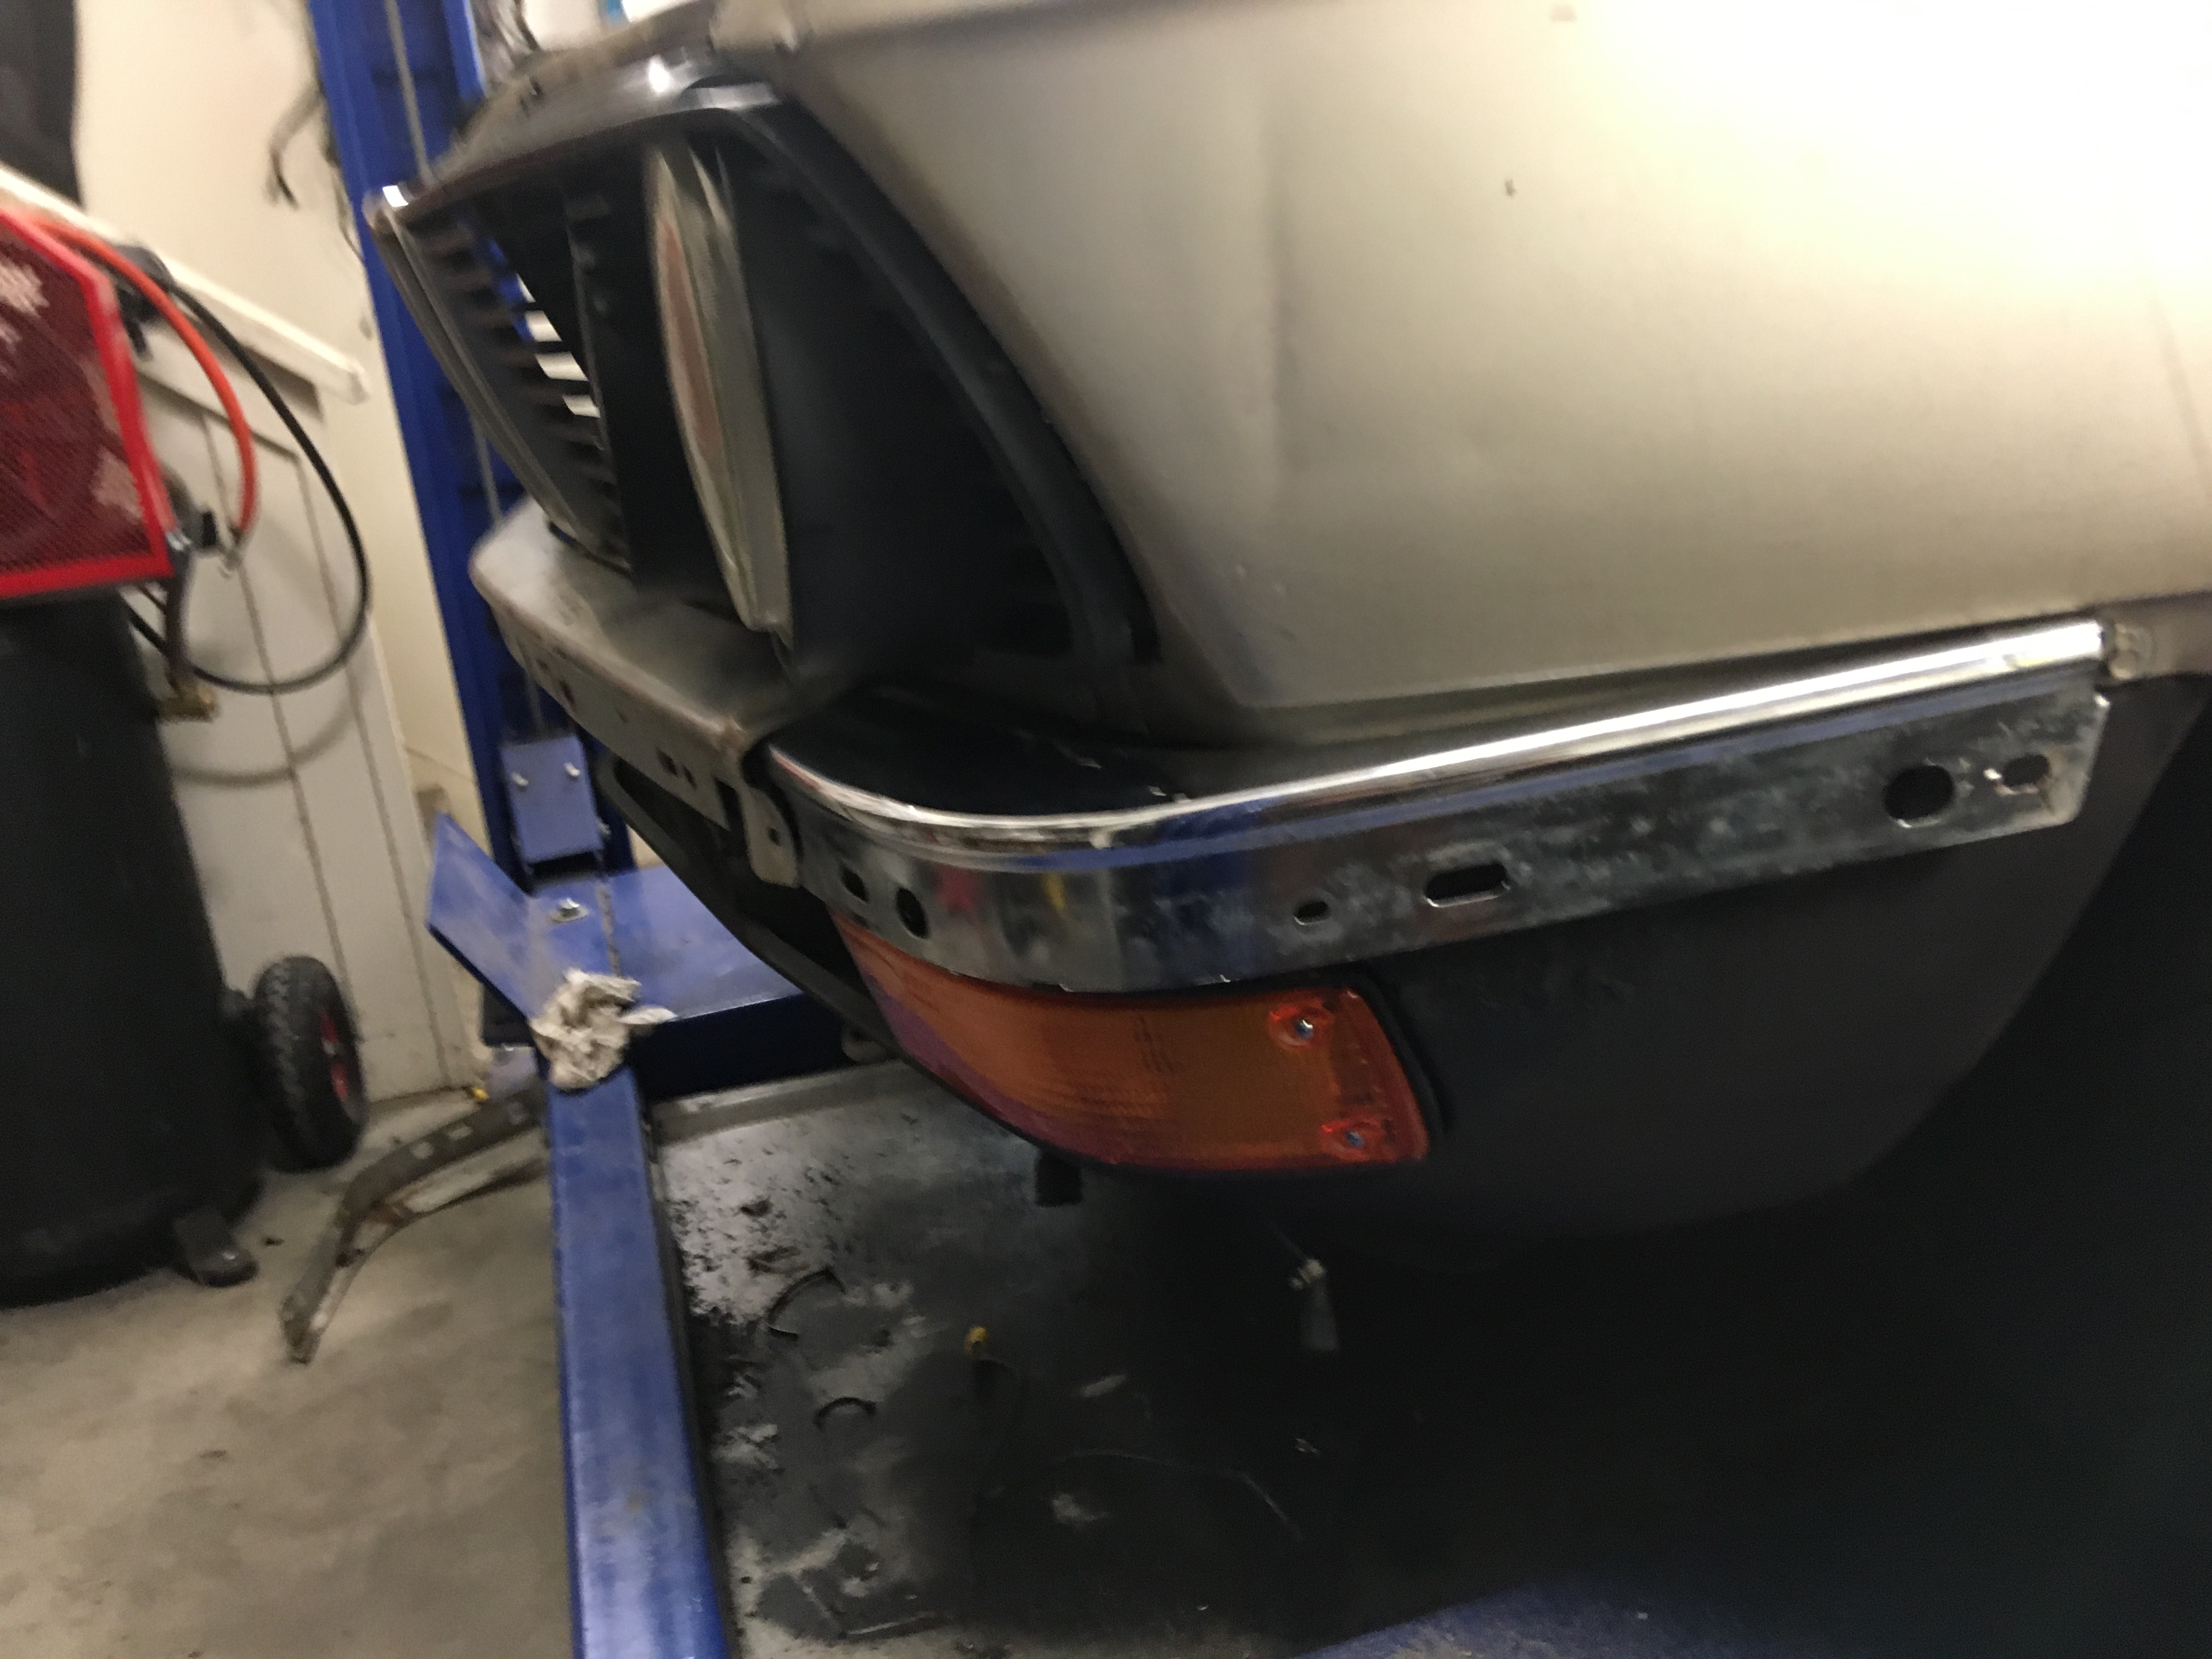 Mock Up
 by
samleisey, on Flickr
 Degleg Adventure by samleisey, on Flickr
 Degleg Adventure by samleisey, on Flickr
 Degleg Adventure by samleisey, on Flickr
 Degleg Adventure by samleisey, on Flickr
 Degleg Adventure by samleisey, on Flickr
 Degleg Adventure by samleisey, on Flickr
 Degleg Rebuild by samleisey, on Flickr
 Degleg Adventure by samleisey, on Flickr
 Degleg Adventure by samleisey, on Flickr
 Degleg Adventure by samleisey, on Flickr
 Degleg Adventure by samleisey, on Flickr
 Degleg Adventure by samleisey, on Flickr
 Degleg Adventure by samleisey, on Flickr
 Degleg Rebuild by samleisey, on Flickr
 Fun stuff by samleisey, on Flickr
 Degleg Rebuild by samleisey, on Flickr
 Degleg Rebuild by samleisey, on Flickr
 Degleg Rebuild by samleisey, on Flickr
 Degleg Rebuild by samleisey, on Flickr
 IMG_0779 by samleisey, on Flickr
 IMG_0828 by samleisey, on Flickr
 IMG_0834 by samleisey, on Flickr
 IMG_1060 by samleisey, on Flickr
 IMG_1061 by samleisey, on Flickr
 IMG_1013 by samleisey, on Flickr
 Camber Plates and Sawybar shit by samleisey, on Flickr
 Camber Plates and Sawybar shit by samleisey, on Flickr
 Camber Plates and Sawybar shit by samleisey, on Flickr
 Airdam Thing by samleisey, on Flickr
 IMG_1699 by samleisey, on Flickr
 IMG_1734 by samleisey, on Flickr
 IMG_1705 by samleisey, on Flickr
 IMG_1950 by samleisey, on Flickr
 IMG_1928 by samleisey, on Flickr
 MSRH 2018 by samleisey, on Flickr
 MSRH 2018 by samleisey, on Flickr
 MSRH 2018 by samleisey, on Flickr
 MSRH 2018 by samleisey, on Flickr
 MSRH 2018 by samleisey, on Flickr
 MSRH 2018 by samleisey, on Flickr
 MSRH 2018 by samleisey, on Flickr
 MSRH 2018 by samleisey, on Flickr
 MSRH 2018 by samleisey, on Flickr
 MSRH 2018 by samleisey, on Flickr
 MSRH 2018 by samleisey, on Flickr
 BWA by samleisey, on Flickr
 BWA by samleisey, on Flickr
 BWA by samleisey, on Flickr
 BWA by samleisey, on Flickr
 Boredom by samleisey, on Flickr
 Boredom by samleisey, on Flickr
 Boredom by samleisey, on Flickr
 Blink 182 by samleisey, on Flickr
 Mock Up by samleisey, on Flickr
 Mock Up by samleisey, on Flickr
 Mock Up by samleisey, on Flickr