Maytag: The Alpine '87 529i
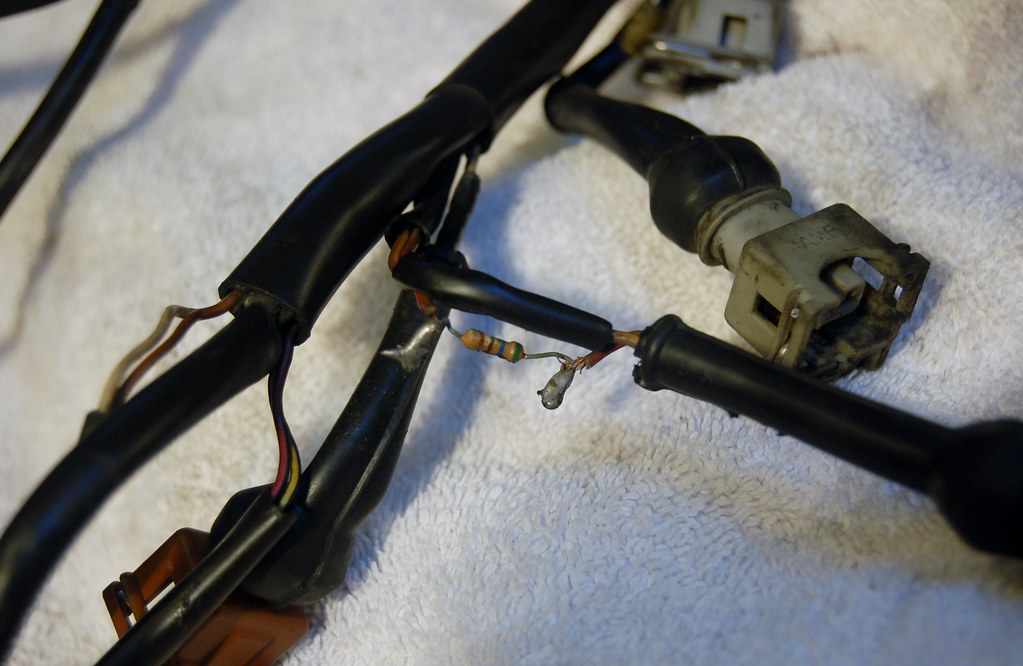
There's this resistor inline for the coolant temp sensor.
I've read that this is a common fix for something, but I've never found anything that describes precisely WHAT.
The solder joint is horrible. It is going to break, likely when I next plug it in. I want to re-do it. However, the wires are super short.
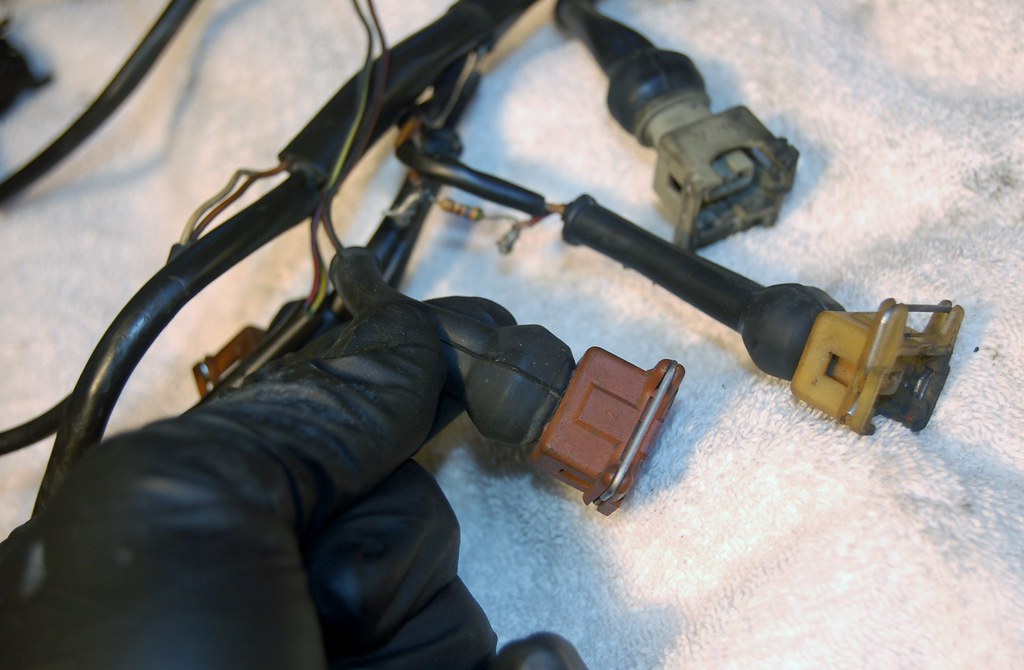
Any downsides, other than some it being the wrong color & future owner being confused, by me using this connector I pulled off a ratty B34 harness I had? I can then do the resistor correctly with shrink wrap and everything.
Last edited by tig on Nov 24, 2013 3:22 PM, edited 1 time in total.
It richens the mixture, which when the engine is cold, improved driveability for the whiners. This was usually performed in conjunction with adjusting the AFM wiper, so if you decide to remove it and find the car runs less than stupendously, look at the AFM. The resistor can very well be a source of a No-start if the solder joints break, as the CTS signal is necessary to operation of the vehicle.
Makes sense. Thanks. Of course this begs the question: in which direction was the afm wiper adjusted. I've been told never to eff with the wiper.wkohler wrote:It richens the mixture, which when the engine is cold, improved driveability for the whiners. This was usually performed in conjunction with adjusting the AFM wiper, so if you decide to remove it and find the car runs less than stupendously, look at the AFM. The resistor can very well be a source of a No-start if the solder joints break, as the CTS signal is necessary to operation of the vehicle.
Instead of using the good brown connector for the CTS I decided to use it to replace the brown connector that was broken for the thermotime switch.
I removed the resistor.
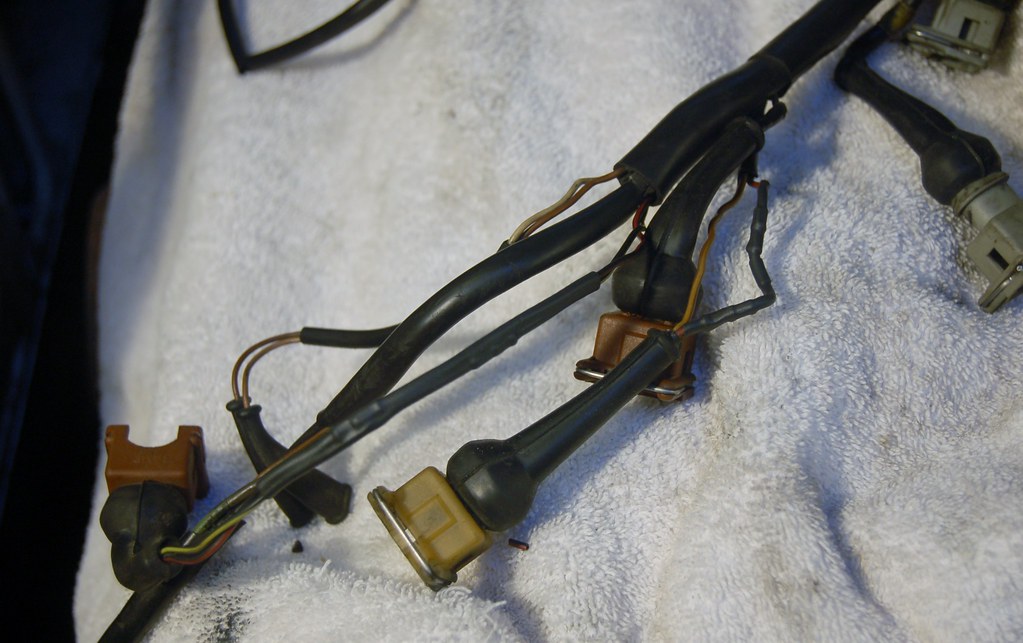
Then I used barrel connectors with a nifty barrel connector tool my buddy let me to splice the wires. Shrink wrapped.
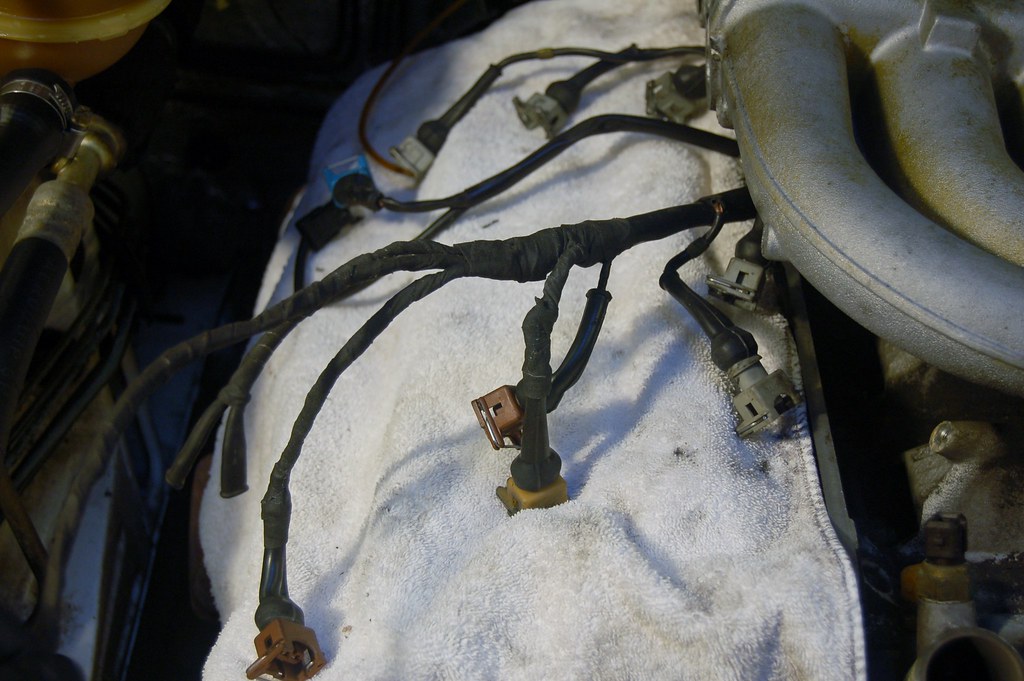
Then I used friction tape to replace all the brittle/shattered sheathing in that area. Looks decent.
This all was probably not needed, but I hated the ideas of those wires bouncing around in all that heat with no protection.
She's starting to go back together now.
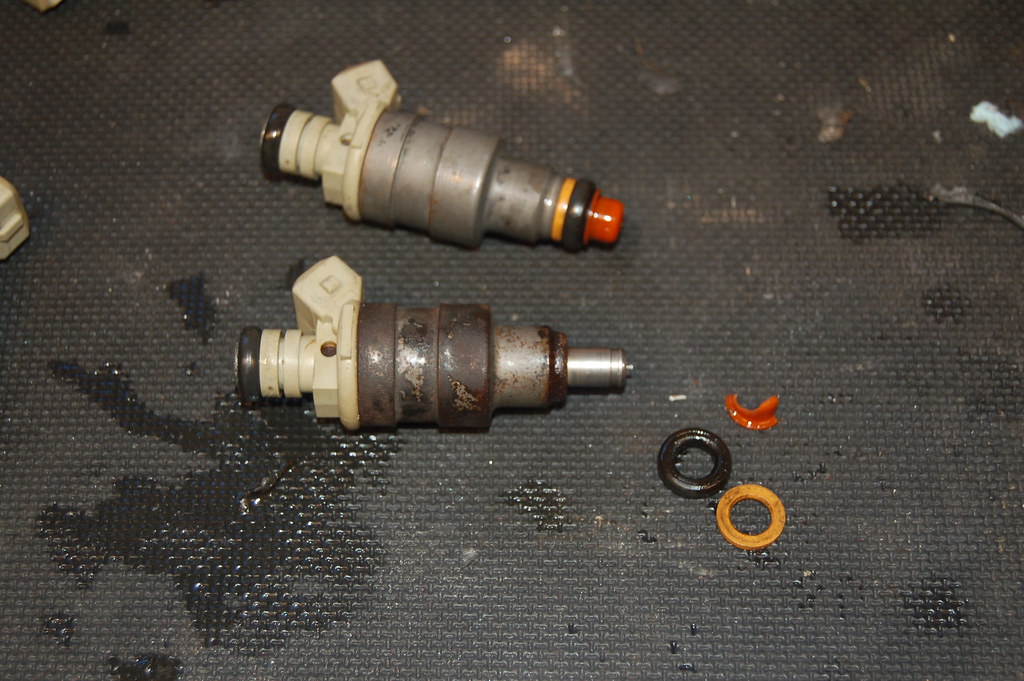
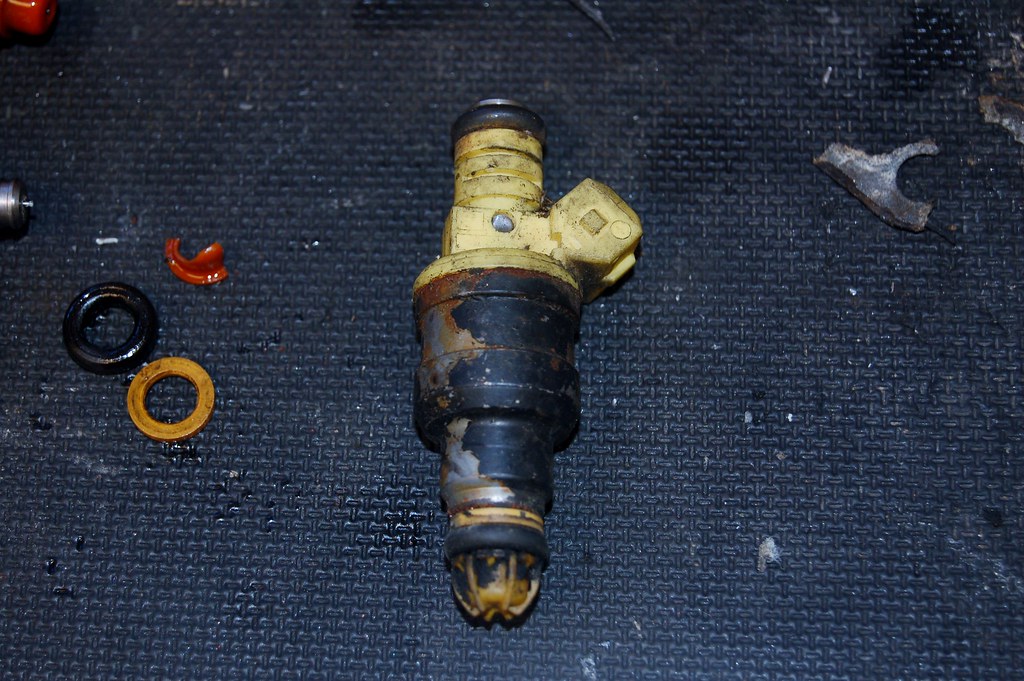
Got a new pintle tip at NAPA.
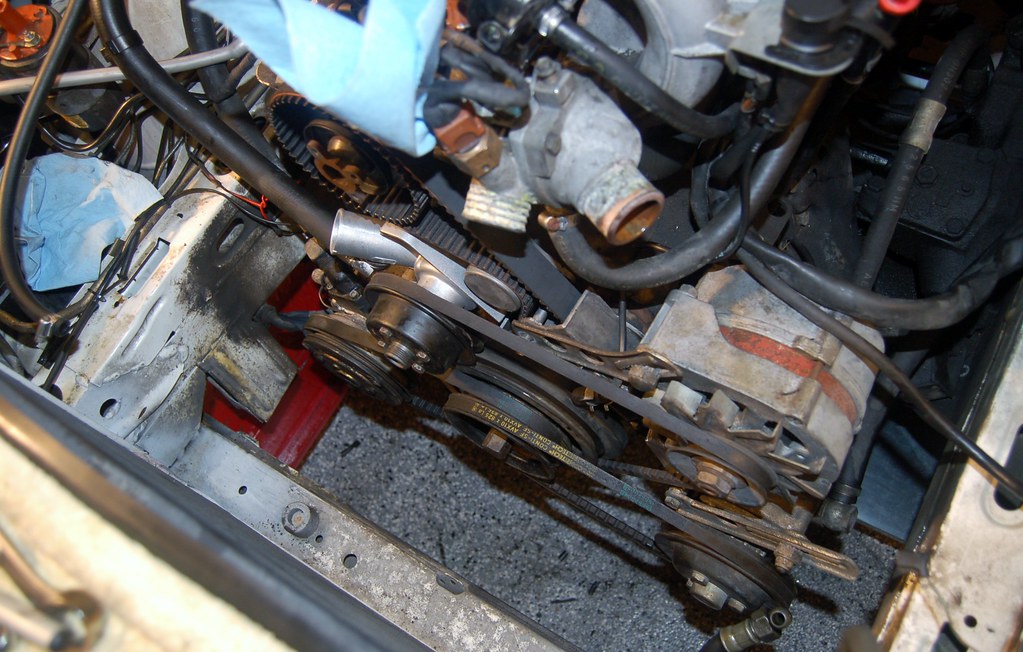
Timing belt on. TDC marks double and triple checked. Pullys and belts on.
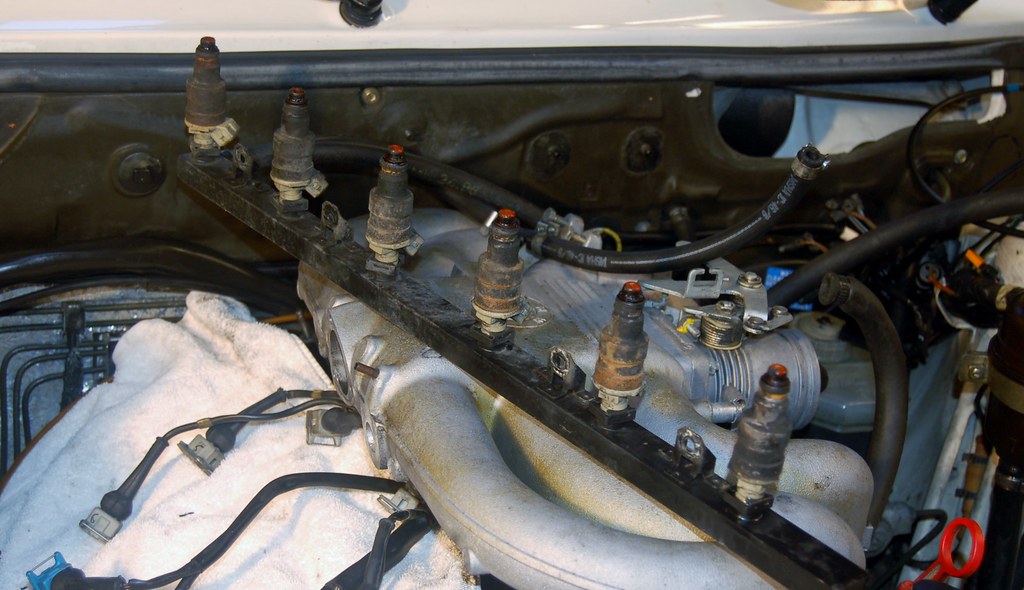
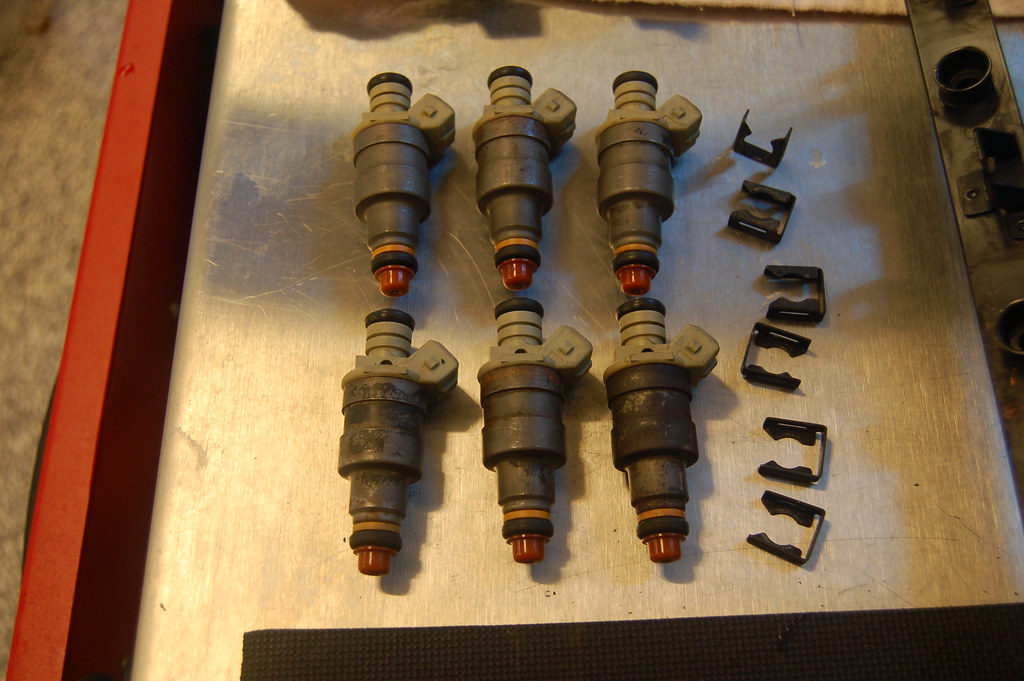
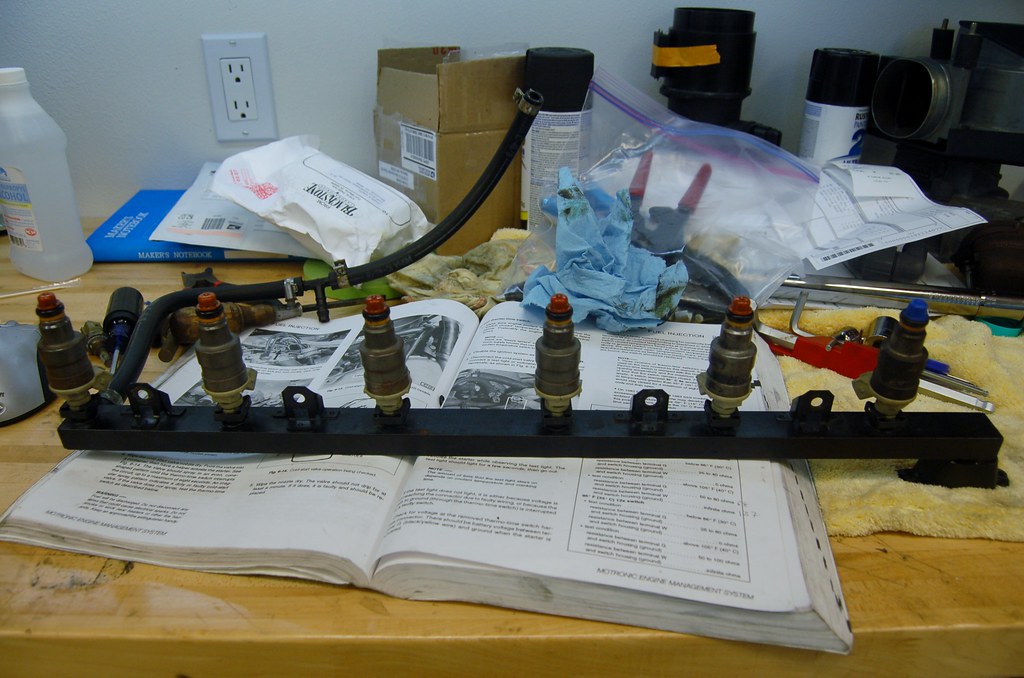
- Fuel rail & injectors are installed
- Heater fan has been R&Rd
- Sensor wiring patched up and re-wrapped. Dialetric grease on all connectors
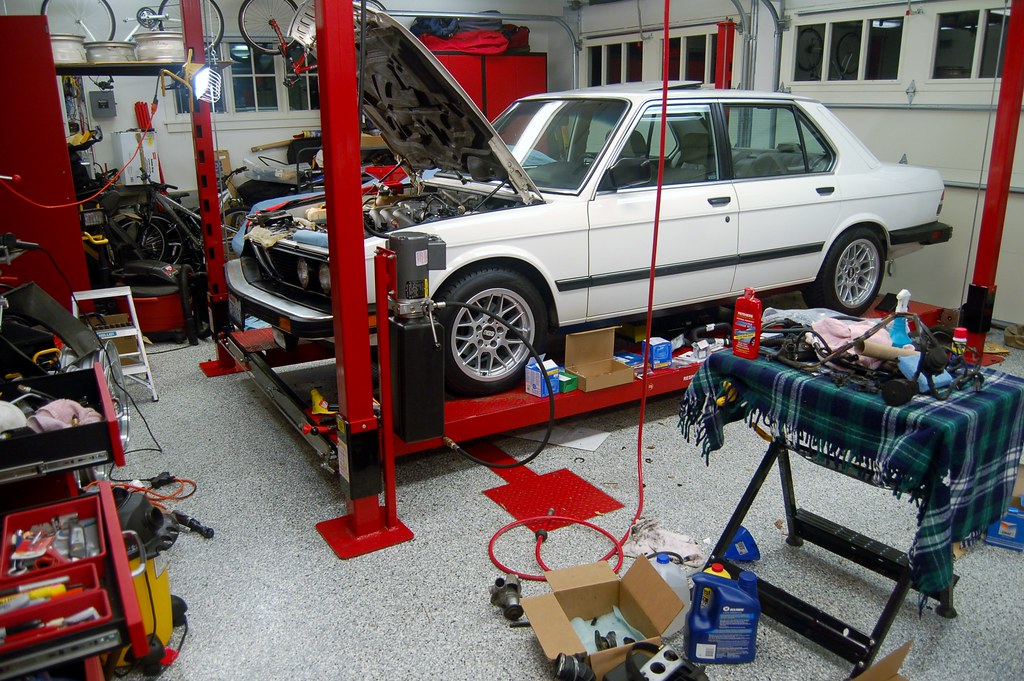
I've made quite a mess of the garage...
I have an indoor soccer game tonight. If I don't get too beat up I may wrench some more after. But alas there's no way I'm getting everything done this weekend as I had hoped.
Here's what's left:
- Adjust valves
- Valve cover w/new gasket on
- Attach all hoses
- Finish putting front of motor together
- Radiator back in
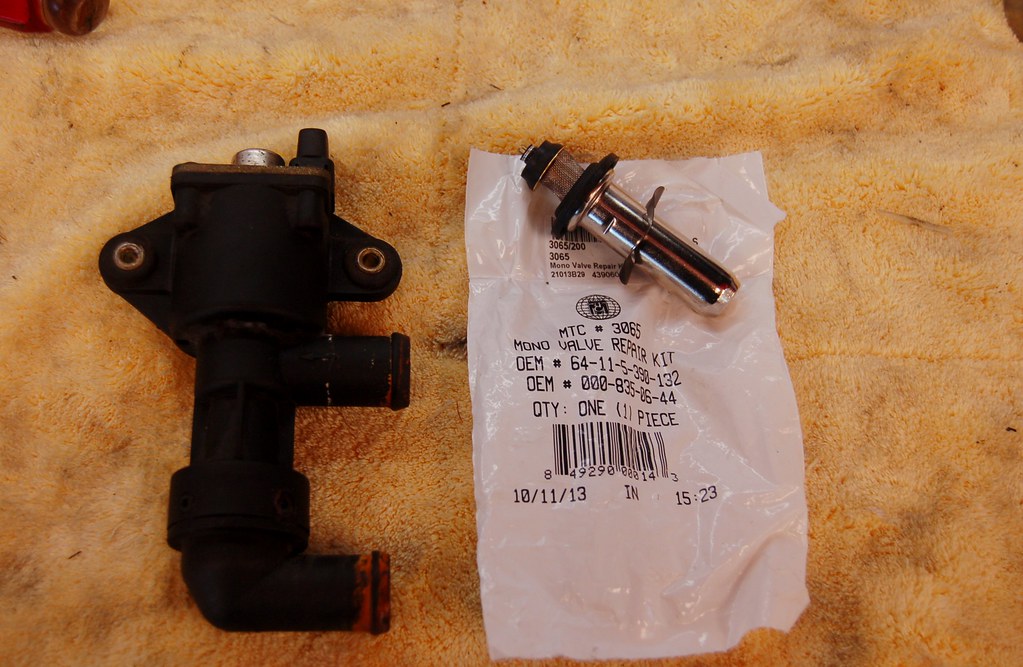
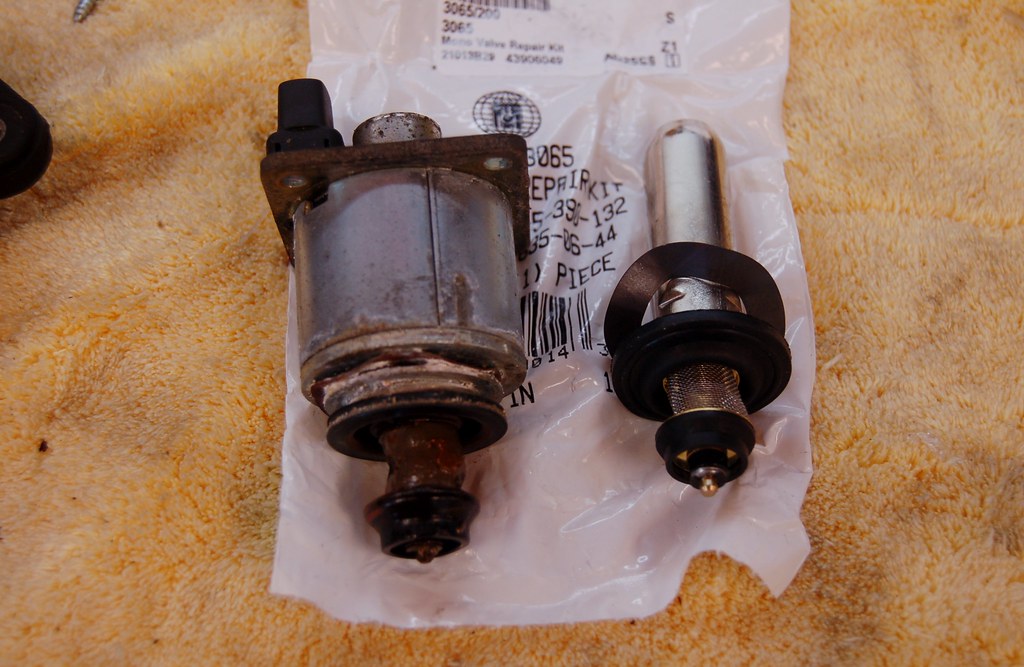
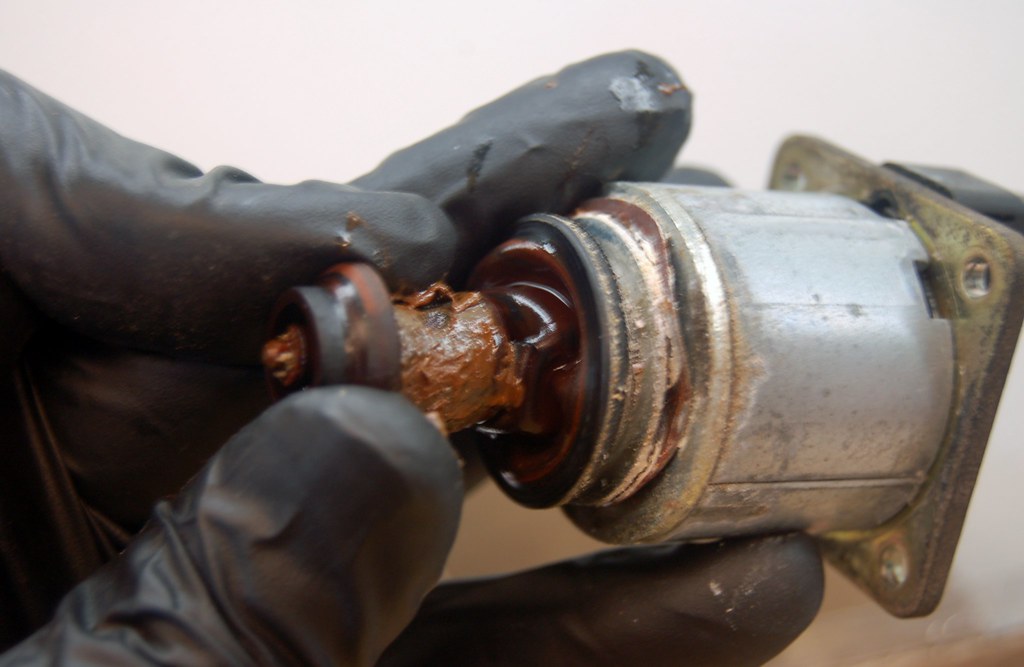
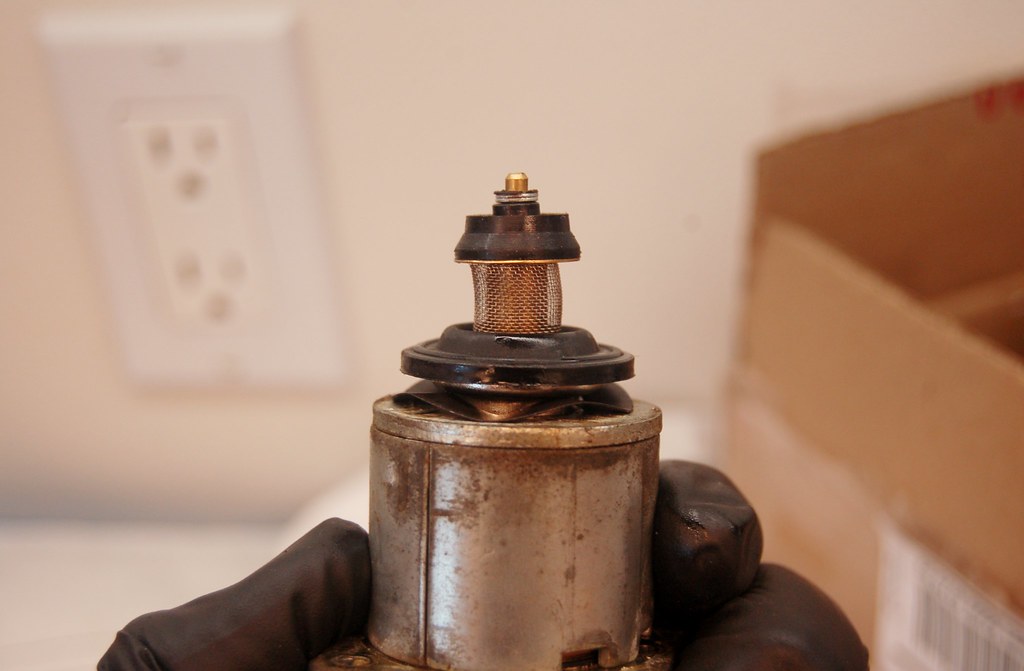
- Since I'm not getting done today, I'll install the rebuild kit in the heater control valve instead of the temporary work around
- AFM, boot, etc.. back on
- Replace wheel bearing
- Replace dogbones
- Finish ripping out alarm
- Fix radio
Something like that.
Never adjusted valves before, so I'm curious.
When valves go out of alignment, do the gaps ever get TIGHTER?
I ask, because as I'm doing it I've found a few where I had to open the adjuster up (could not get the feeler gauge in there at all) and a few where I've had to tighten it (and a few that were just right already).
When valves go out of alignment, do the gaps ever get TIGHTER?
I ask, because as I'm doing it I've found a few where I had to open the adjuster up (could not get the feeler gauge in there at all) and a few where I've had to tighten it (and a few that were just right already).
I've seen plenty where they've been too loose or set just right, but never too tight. The previous person in there would have set them that way. I like to double check the all gaps before I close it up.cek wrote:Never adjusted valves before, so I'm curious.
When valves go out of alignment, do the gaps ever get TIGHTER?
I ask, because as I'm doing it I've found a few where I had to open the adjuster up (could not get the feeler gauge in there at all) and a few where I've had to tighten it (and a few that were just right already).
Thanks. Maybe 2/3 of them were tighter than they should be. I've now checked them twice and they are all good to go.John SCB wrote:I've seen plenty where they've been too loose or set just right, but never too tight. The previous person in there would have set them that way. I like to double check the all gaps before I close it up.cek wrote:Never adjusted valves before, so I'm curious.
When valves go out of alignment, do the gaps ever get TIGHTER?
I ask, because as I'm doing it I've found a few where I had to open the adjuster up (could not get the feeler gauge in there at all) and a few where I've had to tighten it (and a few that were just right already).
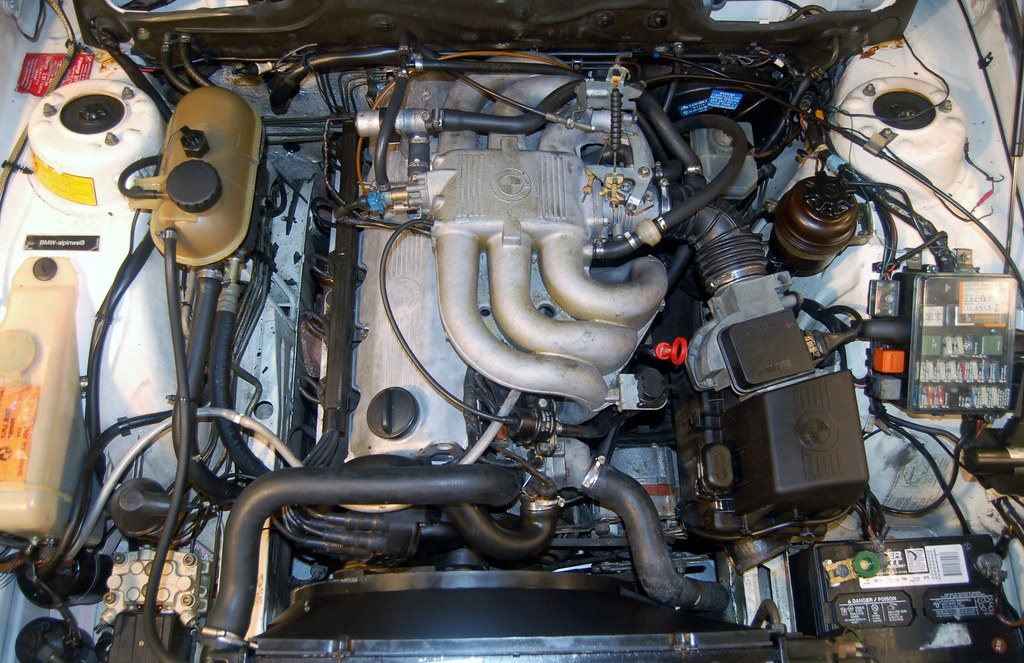
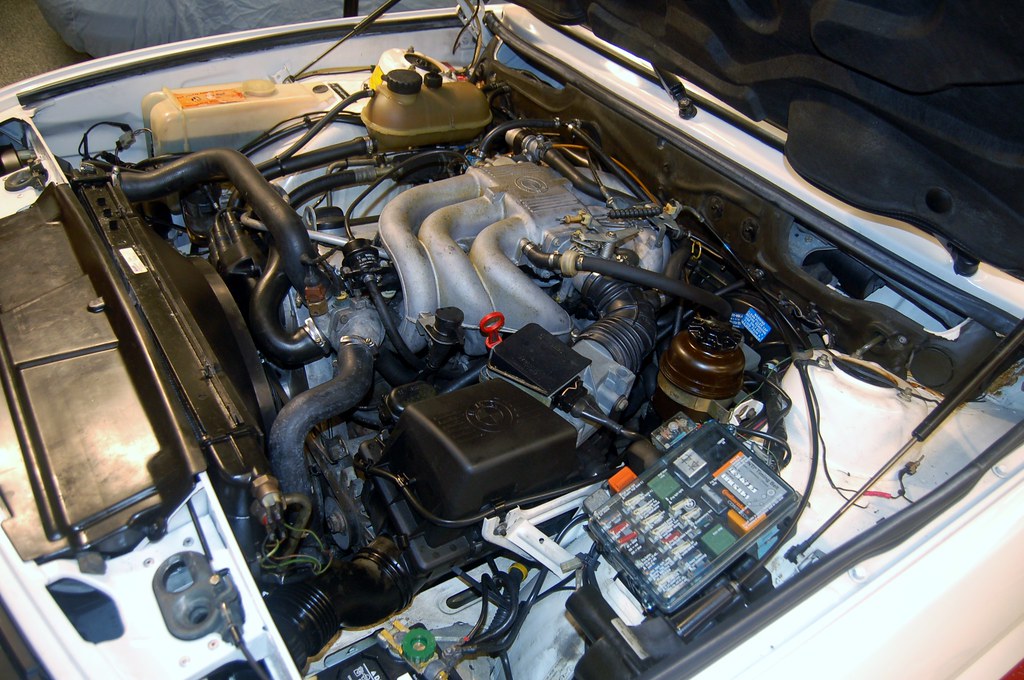
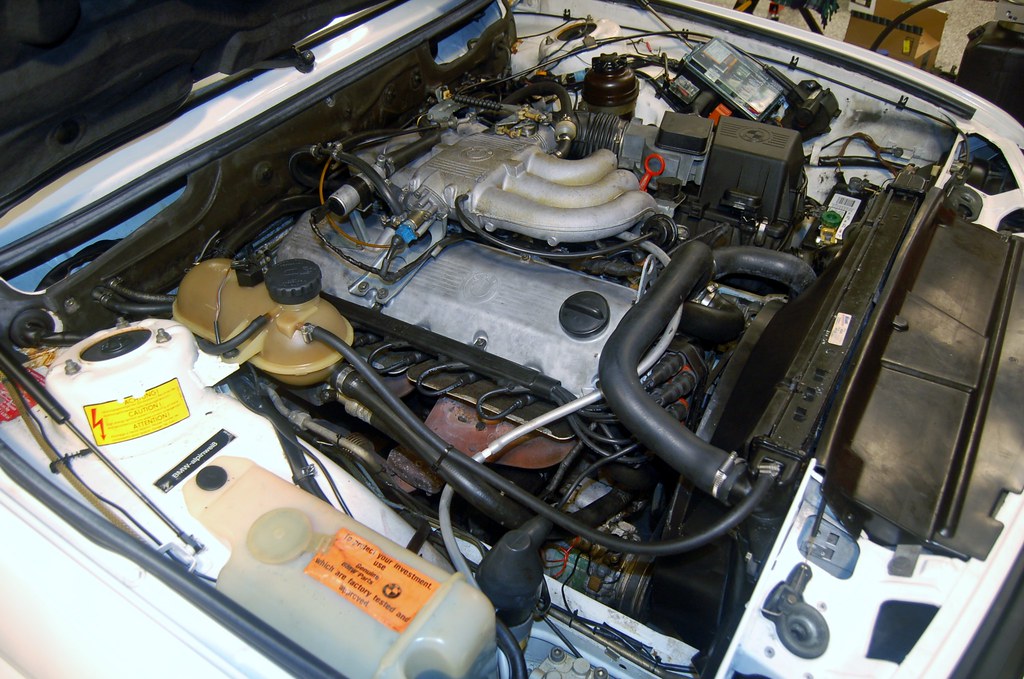
She's all back together.
Started right up. While cold, idled a bit smoother than before.
Then... As soon as she got warn the surging idle was back. However, this time it drops down to almost a stall before racing back up. Previously it dropped down to about 750 rpm before surging each time.
I hadn't put in the 'new' ICM.
So I put it in. No change.
Whacked it, hard. No change.
Frak.
I'm at a loss.
Video of it doing it:
https://www.youtube.com/watch?v=aROpZs- ... e=youtu.be
Last edited by tig on Nov 25, 2013 8:01 PM, edited 1 time in total.
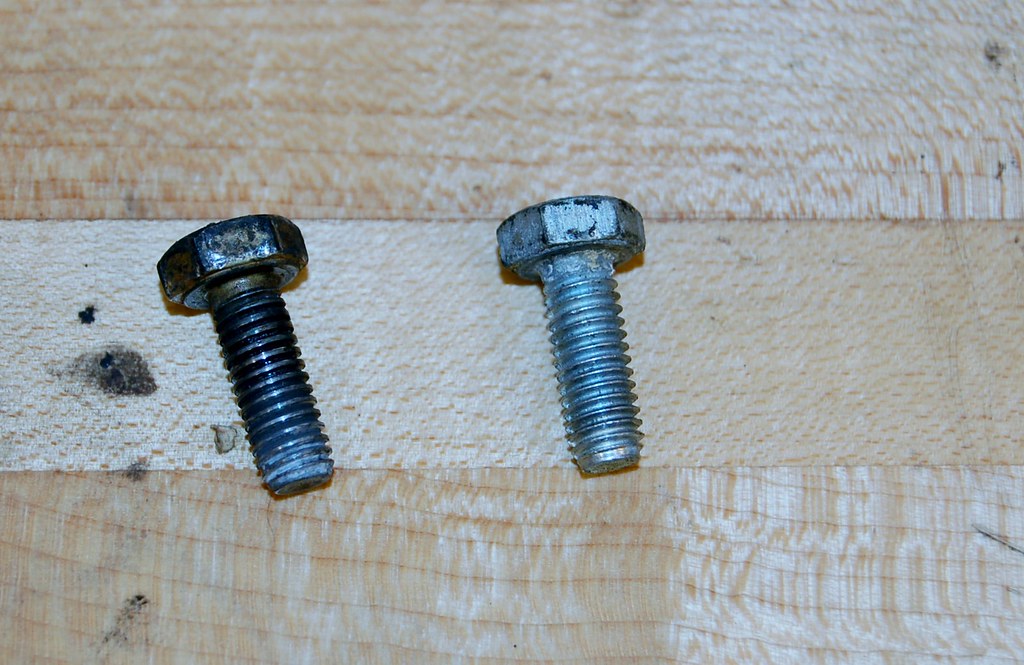
Also, I have two bolts left over. I double checked everything and can't figure out what I missed.
[edit]
Found out where they go
[edit]
Found out where they go
Last edited by tig on Mar 02, 2014 2:09 PM, edited 3 times in total.
Yes, I removed the resistor.waynet1 wrote:Unplug the coolant temp sensor, see if there is a change as to when of if idle problem starts.
I'm assuming you removed the resistor as discussed earlier.
I swear I tried this before. I just tried it again, now I just get a high (way too high) solid idle.
Will a CTS from a M30B34 work, I have one lying around...
That, I can't answer. Sorry.cek wrote:Yes, I removed the resistor.waynet1 wrote:Unplug the coolant temp sensor, see if there is a change as to when of if idle problem starts.
I'm assuming you removed the resistor as discussed earlier.
I swear I tried this before. I just tried it again, now I just get a high (way too high) solid idle.
Will a CTS from a M30B34 work, I have one lying around...
Only thing the resistor is doing is changing the value/temp that ECU sees. I think it was a very small one as well, only 5 ohms, if my color reading skills are correct.
Hopefully Chris will chime in with answers about AFM adjustment he referred to earlier.
Let's review. Performed this weekend and today:
- New timing belt
- New water pump
- Newish spark plugs (when I baselined Vlad, the plugs I pulled out were basically new; I used those).
- Cleaned injectors
- Soda blasted valve cover
- New hoses
- Cleaned up thermostat and ICV wiring
- Cleaned throttle
- R&R'd heater fan
- R&R'd heater control valve (new solenoid kit)
- Replaced headlamps
- Tidied up engine bay with zip-ties etc...
- Fix surging idle (coolant temp sensor?)
- Replace right front wheel bearing
- Finish pulling alarm
- Fix radio
- Fix battery run down
- Find a trunk carpet set
- Fix head rests (in-op)
waynet1 wrote:That, I can't answer. Sorry.cek wrote:Yes, I removed the resistor.waynet1 wrote:Unplug the coolant temp sensor, see if there is a change as to when of if idle problem starts.
I'm assuming you removed the resistor as discussed earlier.
I swear I tried this before. I just tried it again, now I just get a high (way too high) solid idle.
Will a CTS from a M30B34 work, I have one lying around...
Only thing the resistor is doing is changing the value/temp that ECU sees. I think it was a very small one as well, only 5 ohms, if my color reading skills are correct.
Hopefully Chris will chime in with answers about AFM adjustment he referred to earlier.
Does it still hunt when you put in in gear or when you turn on A/C ?
No. When I put it in gear it drops down to a normal (~800 rpm) idle.waynet1 wrote:waynet1 wrote:That, I can't answer. Sorry.cek wrote:Yes, I removed the resistor.waynet1 wrote:Unplug the coolant temp sensor, see if there is a change as to when of if idle problem starts.
I'm assuming you removed the resistor as discussed earlier.
I swear I tried this before. I just tried it again, now I just get a high (way too high) solid idle.
Will a CTS from a M30B34 work, I have one lying around...
Only thing the resistor is doing is changing the value/temp that ECU sees. I think it was a very small one as well, only 5 ohms, if my color reading skills are correct.
Hopefully Chris will chime in with answers about AFM adjustment he referred to earlier.
Does it still hunt when you put in in gear or when you turn on A/C ?
When I put the AC on (in idle) the's no change.
-
- Posts: 17638
- Joined: Feb 12, 2006 12:00 PM
- Location: Nasty Orleans------> Batten-Rooehjch------>More Souther LA
Shit. When I pulled into garage after returning from dinner the surge is back. Blarg.cek wrote:No, don't have one.Kyle in NO wrote:Have you tried another ICV?
i swapped in a cts from a m30.
no real change, but then I tried adjusting the screw on the icv...
JOY! At dinner now, she drove wonderfully here. Idles a bit high. But no surge! When I get a chance I'll turn the screw a bit...
I dug into ripping the alarm out and trying to fix the radio this morning.
The first challenge was figuring out how the automatic console came apart. Took me a minute to find the hex screw on the back of the shift handle...
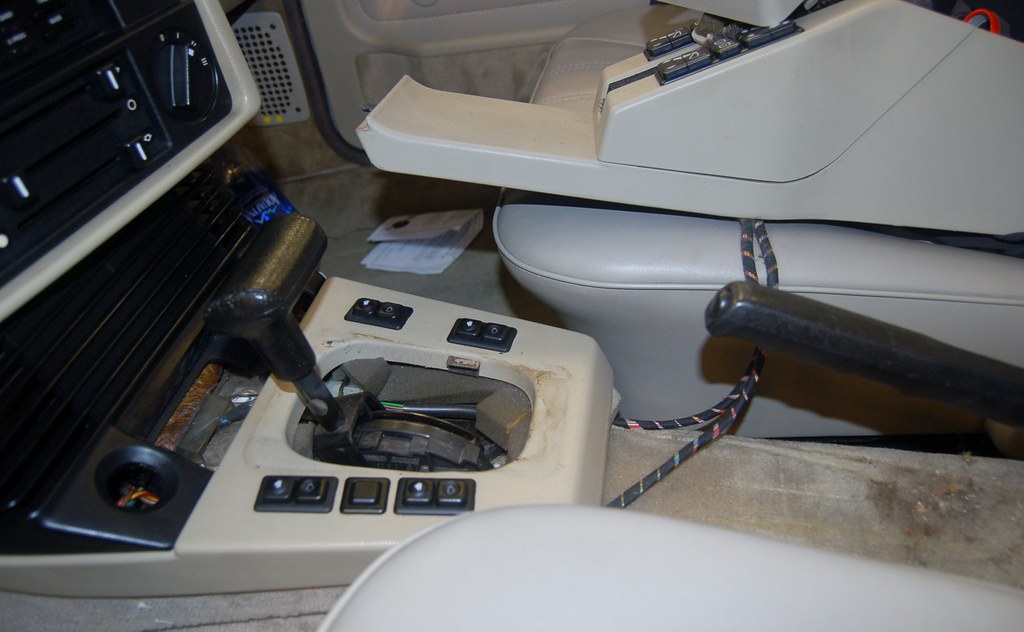
Interestingly several of the interior parts including the center console and the head/fog light switch piece have writing on them that indicate they were inventory at at junkyard (and from a 535). I guess the PO updated the interior at some point. They are all are in great shape. I was worried there might be stripped screws and stuff. The worst was the cig lighter plastic had broken free (and previously been epoxied). The first thing I did was clean it up and make some epoxy and get it setting.
The alarm wiring was not too bad. With a little tugging and prodding I quickly figured out where everything went. Since I may install a remote lock system I left a few key pieces in place but carefully capped the wires.
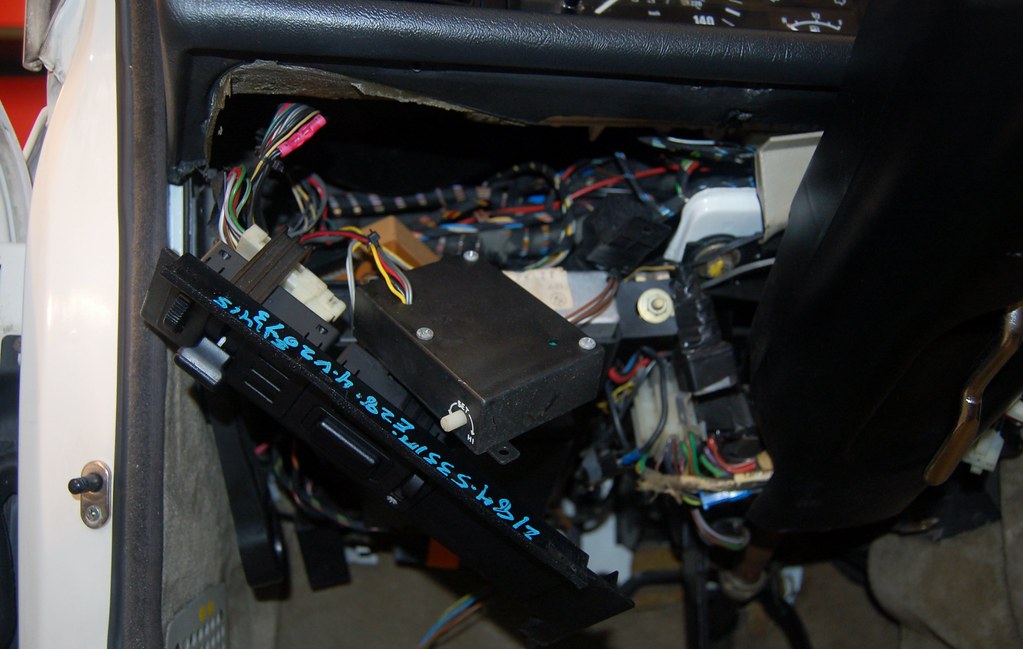
The radio appears to have a short inside of it, associated with the dial. I had it working long enough to know that all 4 speakers work and sound fine. I will probably get an aftermarket unit with bluetooth given this.
In prep for that, and as practice for doing the same thing to Vlad, I ran red and green 12ga wire from the aux fuse box through the firewall to where the radio goes. This way I have both switched and unswitched power independent of the finicky 4, 5, and 12 fuses.
I hate the fact that the cig lighter in these cars is always-on. It's a recipe for disaster and can be a battery drain if something is left plugged in. So I branched off my new green 12ga wire (switched), snipped the red/yellow cig lighter lead, and spliced in my new wire. Now my cig lighter is switched and on the aux fusebox.
I still have the drivers' kick panel off because I need to fix the fact that my seatbelt chime is constantly going (I think I screwed up a wire to that module).
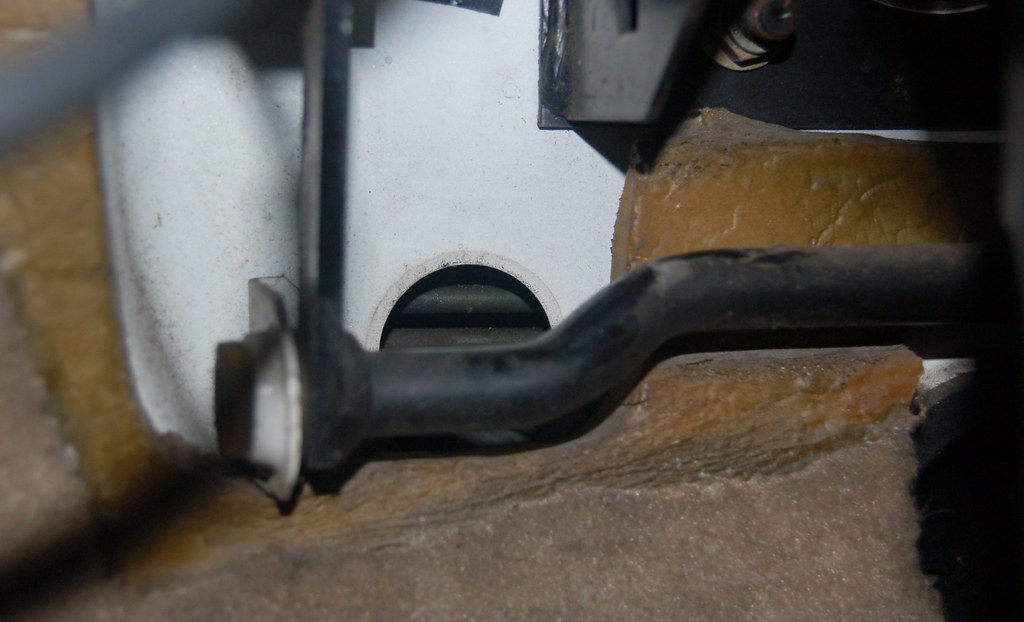
The hole on the firewall behind the brake pedal is open. That is, I can see light through to the engine bay. It's like a 1.5" diameter hole. This explains why the starter is so damn loud when the car is starting. Is there supposed to be a plug there, or some sort of mat?
The first challenge was figuring out how the automatic console came apart. Took me a minute to find the hex screw on the back of the shift handle...
Interestingly several of the interior parts including the center console and the head/fog light switch piece have writing on them that indicate they were inventory at at junkyard (and from a 535). I guess the PO updated the interior at some point. They are all are in great shape. I was worried there might be stripped screws and stuff. The worst was the cig lighter plastic had broken free (and previously been epoxied). The first thing I did was clean it up and make some epoxy and get it setting.
The alarm wiring was not too bad. With a little tugging and prodding I quickly figured out where everything went. Since I may install a remote lock system I left a few key pieces in place but carefully capped the wires.
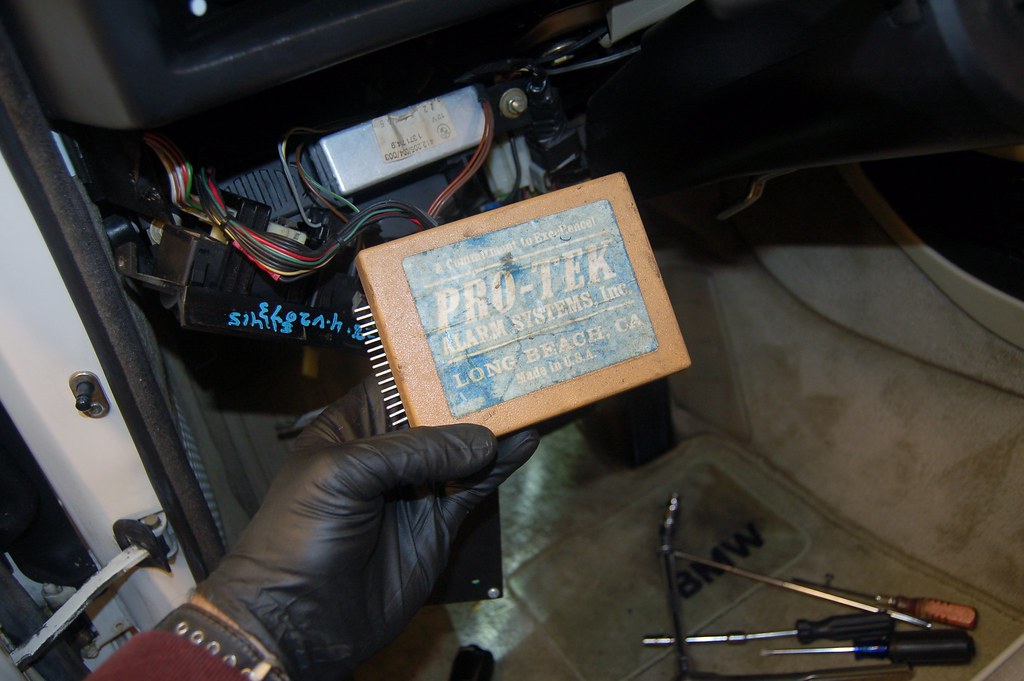
The radio appears to have a short inside of it, associated with the dial. I had it working long enough to know that all 4 speakers work and sound fine. I will probably get an aftermarket unit with bluetooth given this.
In prep for that, and as practice for doing the same thing to Vlad, I ran red and green 12ga wire from the aux fuse box through the firewall to where the radio goes. This way I have both switched and unswitched power independent of the finicky 4, 5, and 12 fuses.
I hate the fact that the cig lighter in these cars is always-on. It's a recipe for disaster and can be a battery drain if something is left plugged in. So I branched off my new green 12ga wire (switched), snipped the red/yellow cig lighter lead, and spliced in my new wire. Now my cig lighter is switched and on the aux fusebox.
I still have the drivers' kick panel off because I need to fix the fact that my seatbelt chime is constantly going (I think I screwed up a wire to that module).
The hole on the firewall behind the brake pedal is open. That is, I can see light through to the engine bay. It's like a 1.5" diameter hole. This explains why the starter is so damn loud when the car is starting. Is there supposed to be a plug there, or some sort of mat?