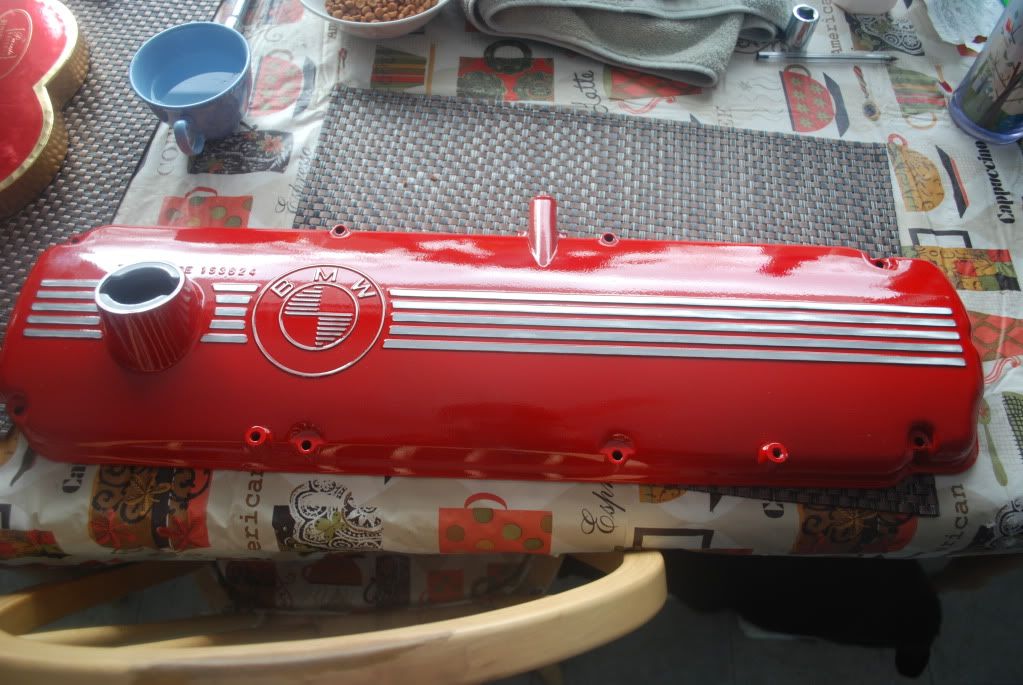
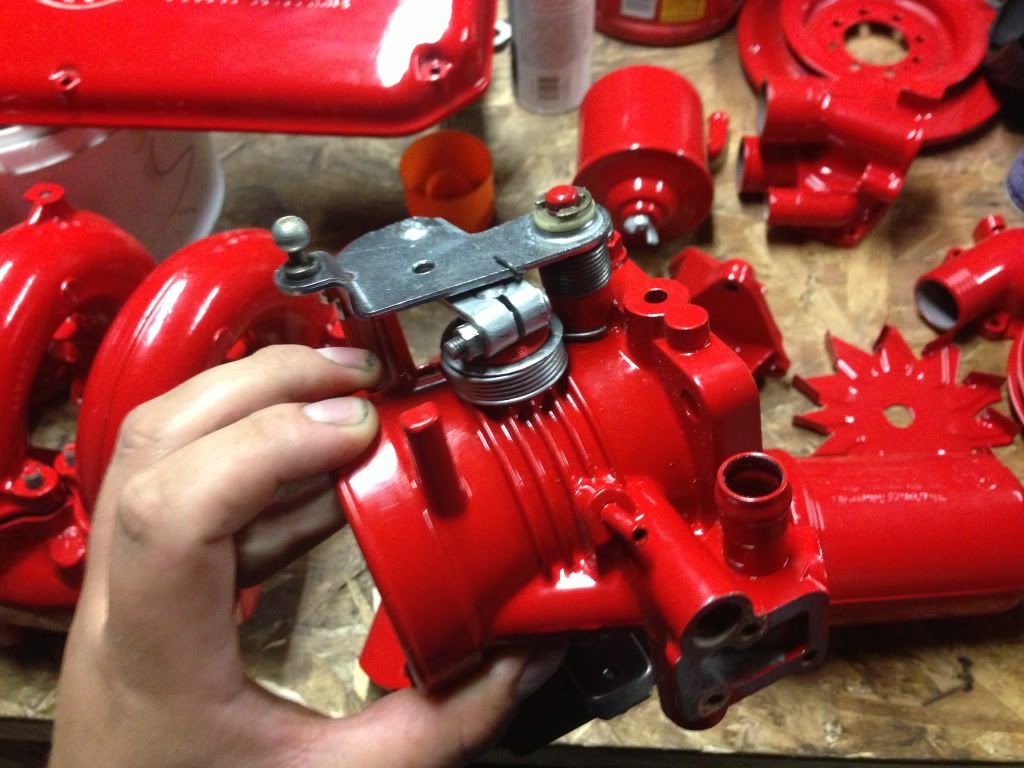
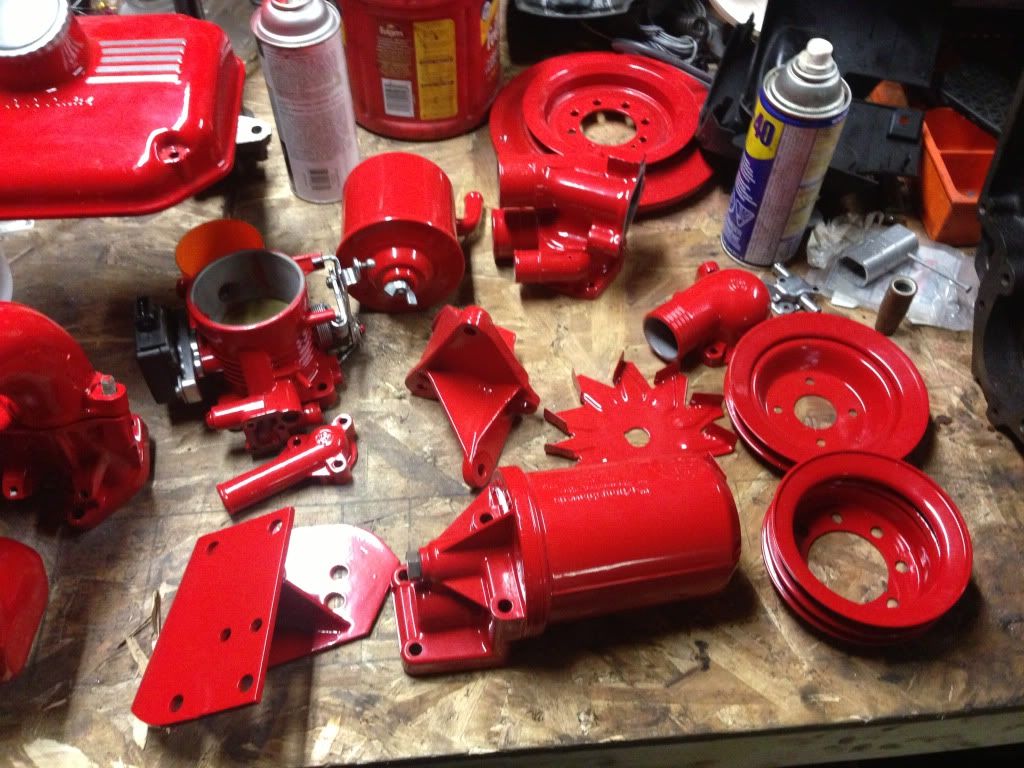
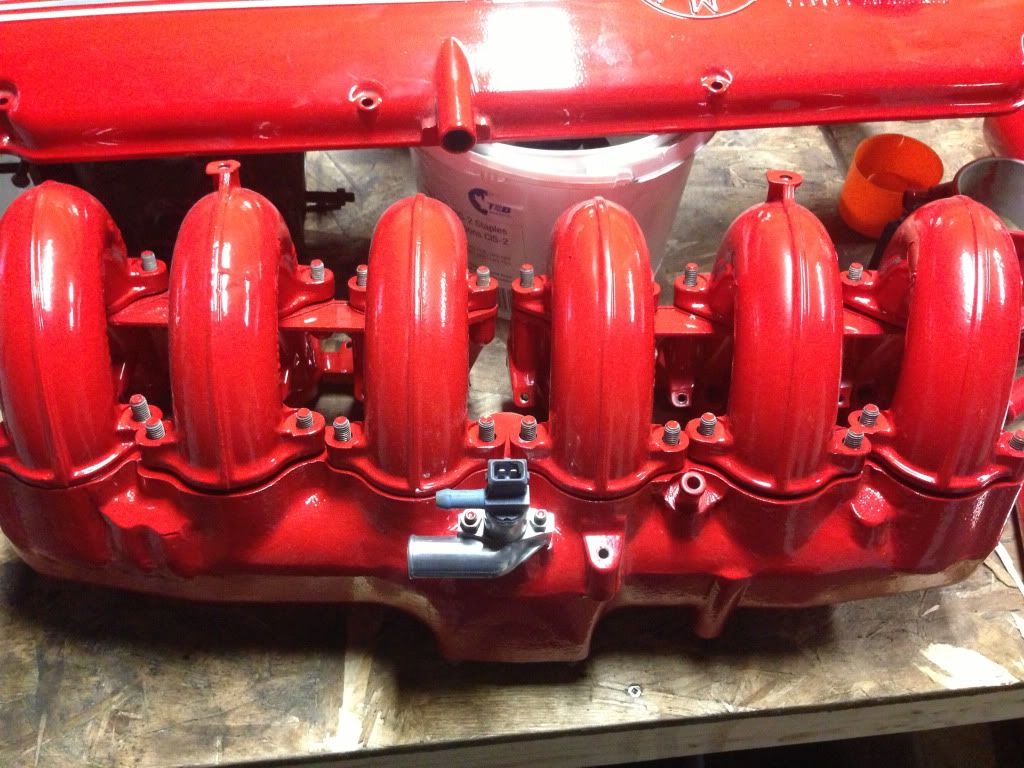
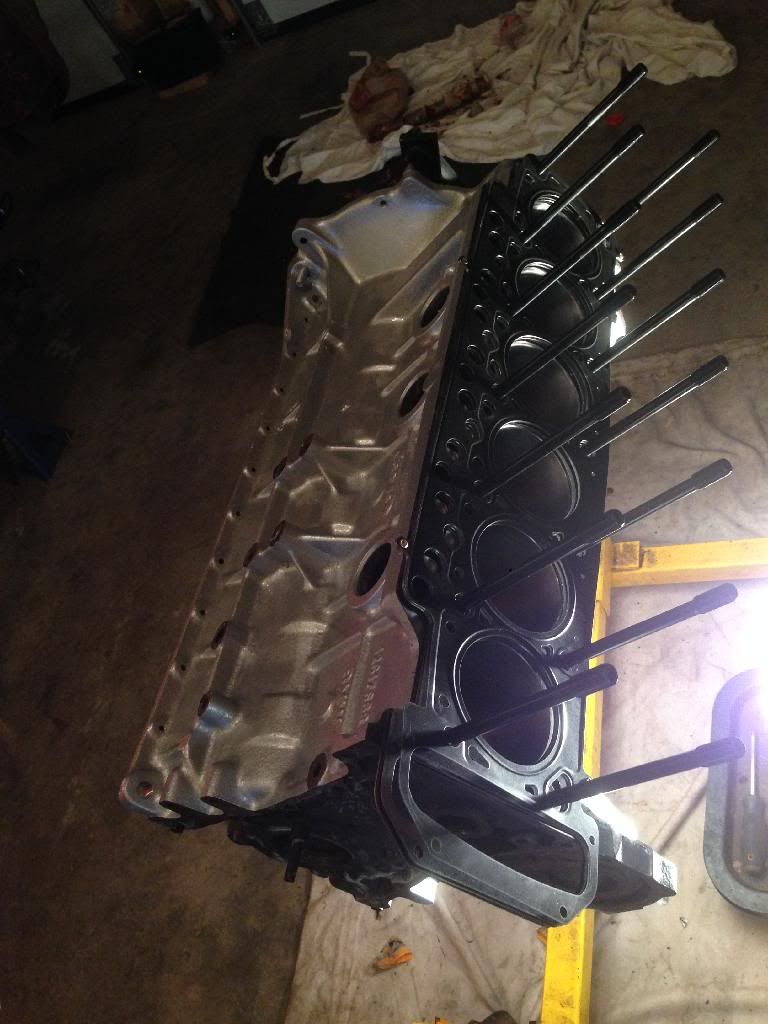
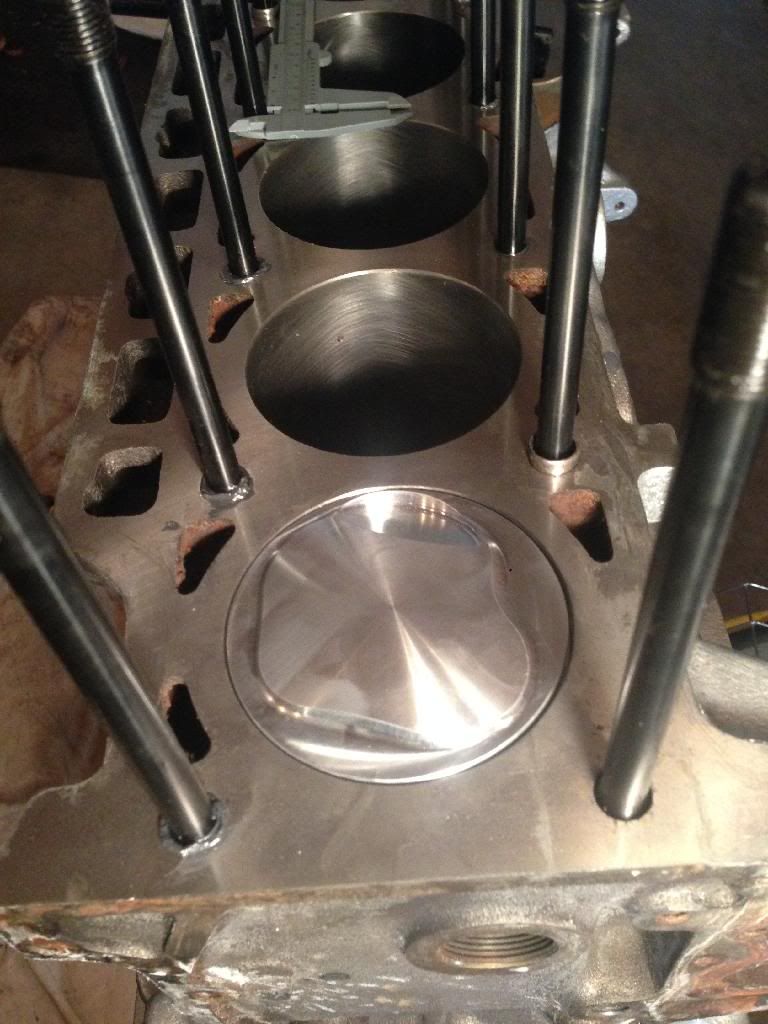
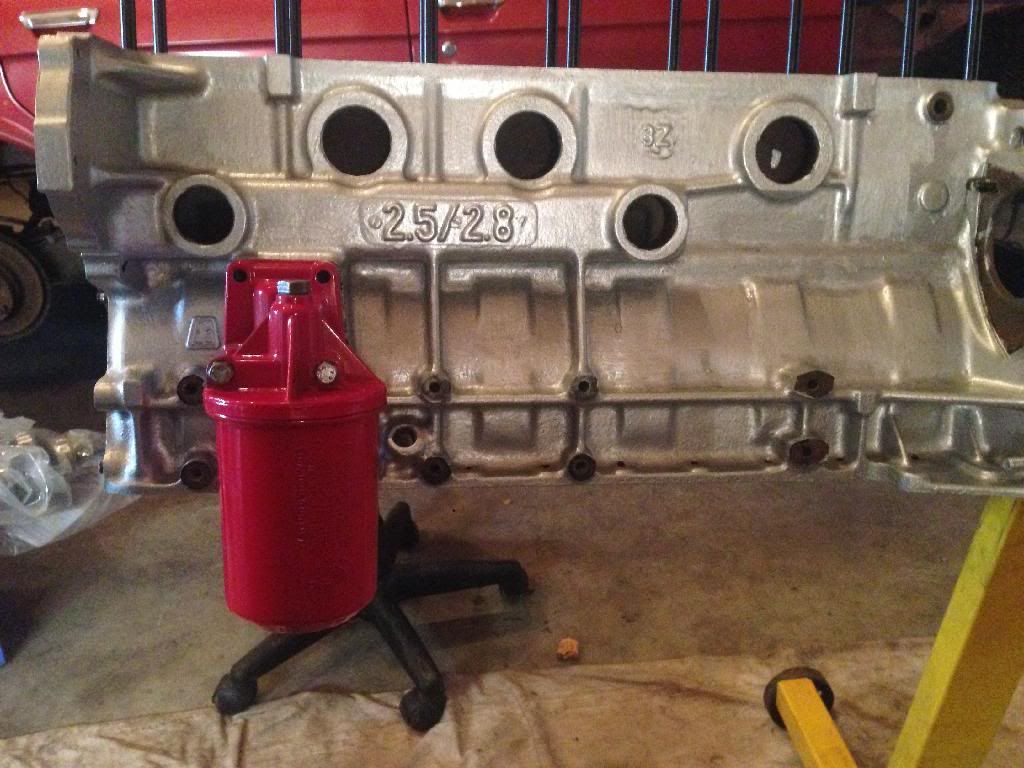
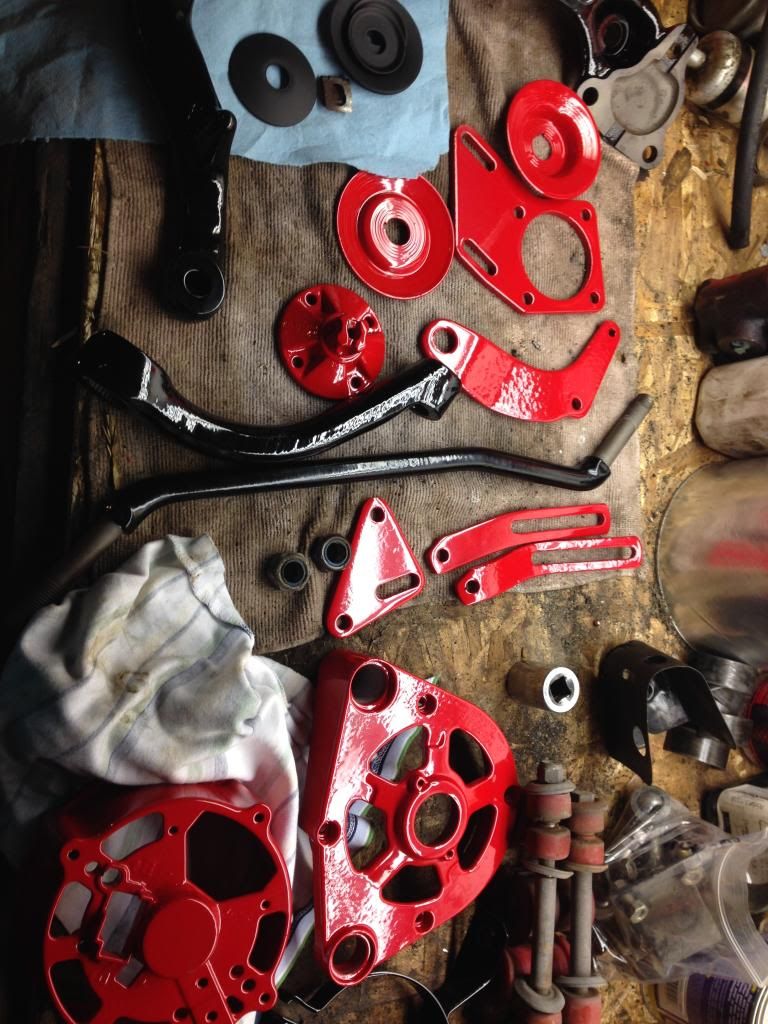
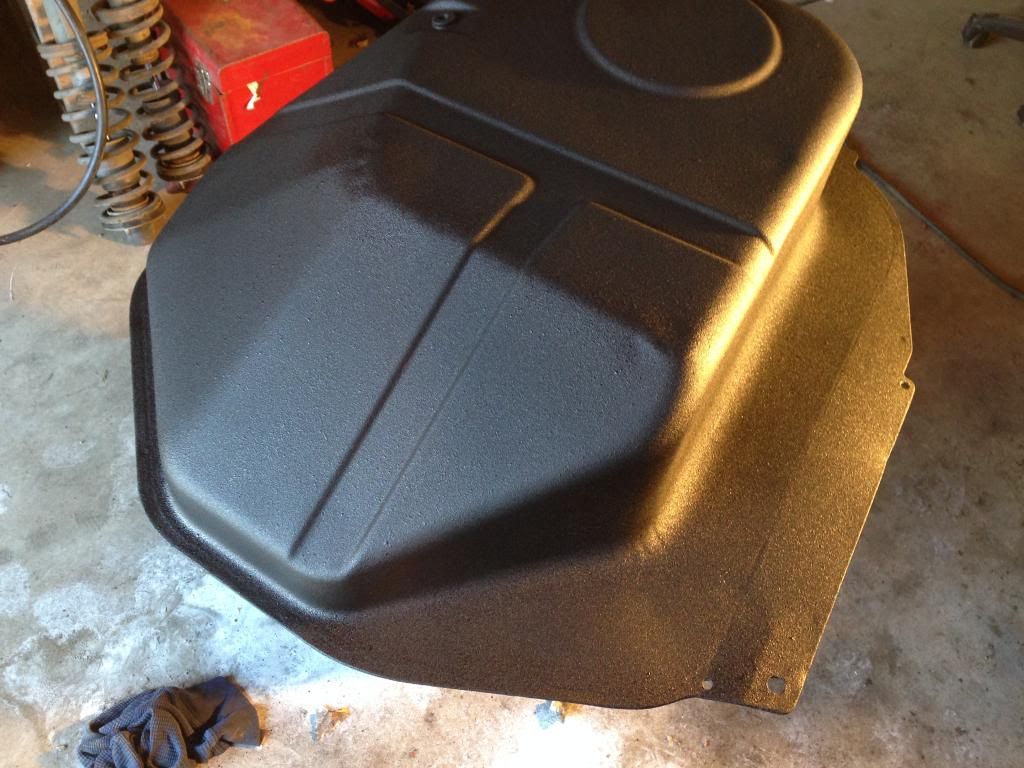
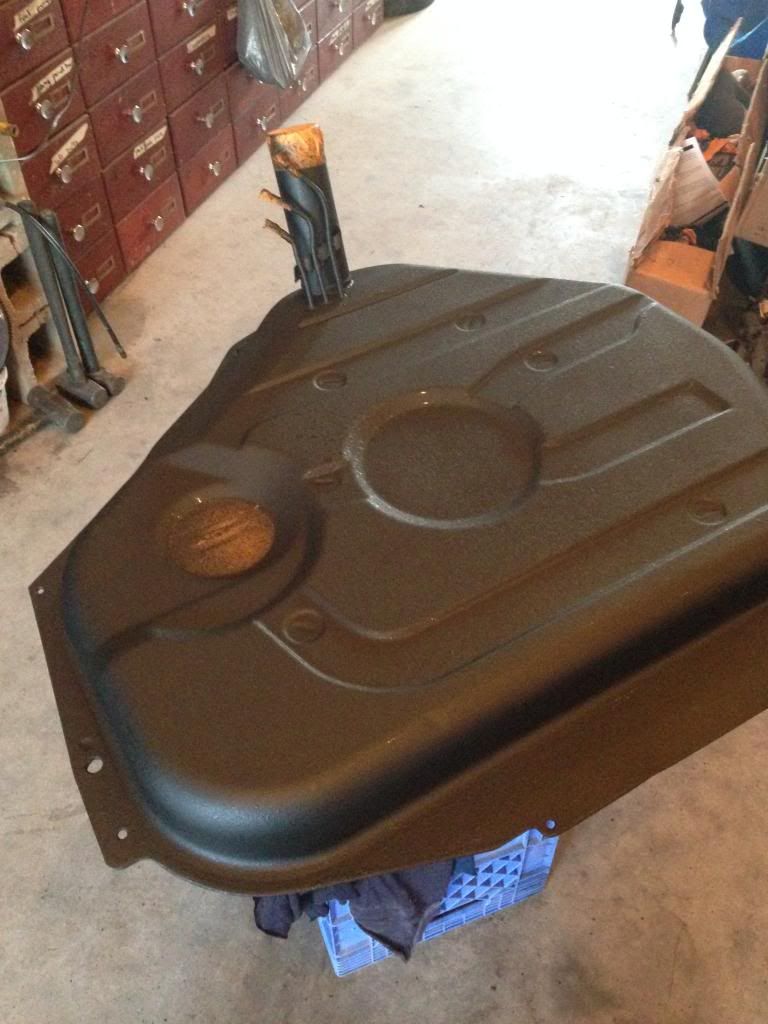
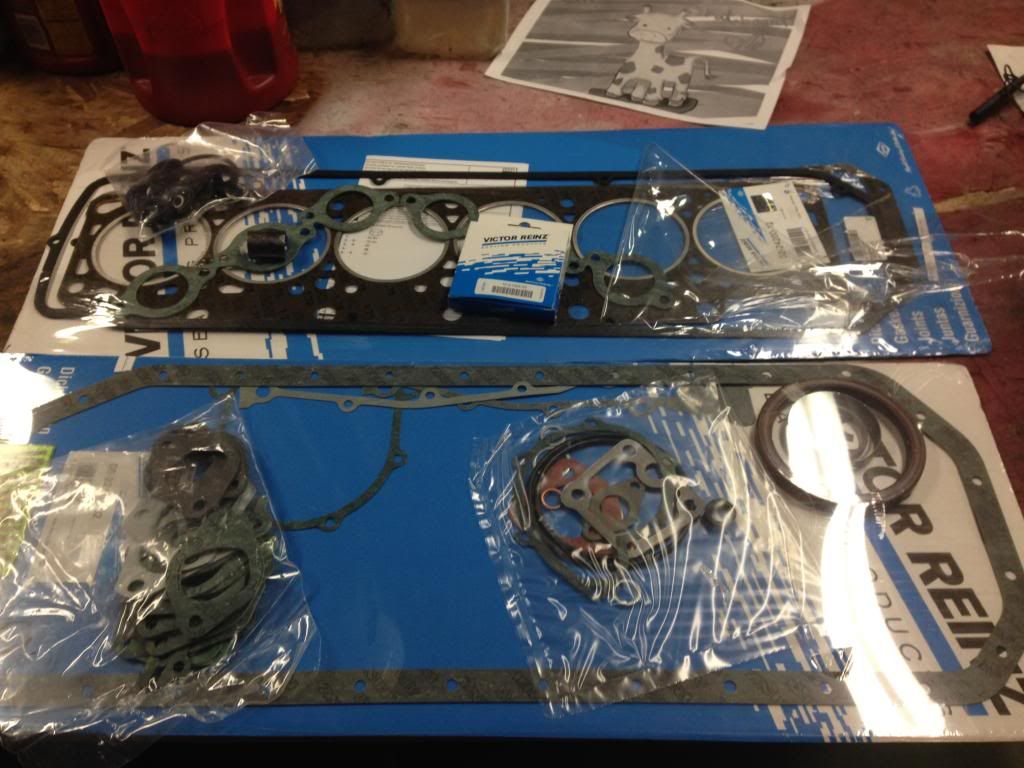
E12 with m30 turbo content!
Posted: Nov 22, 2013 7:29 PM
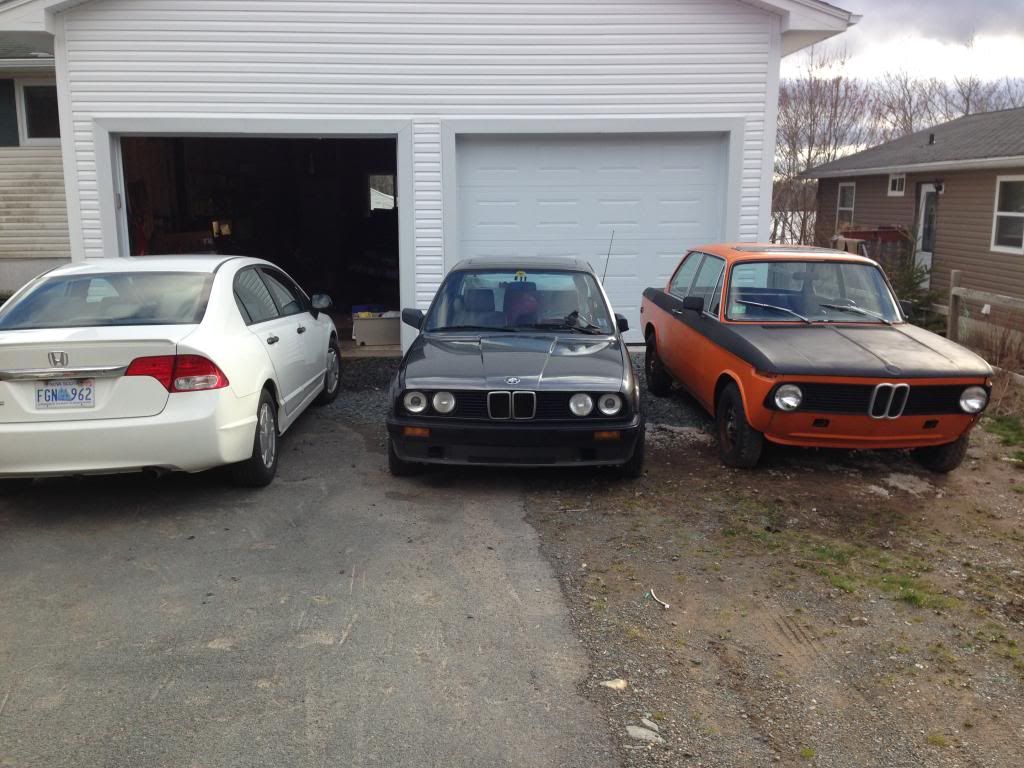
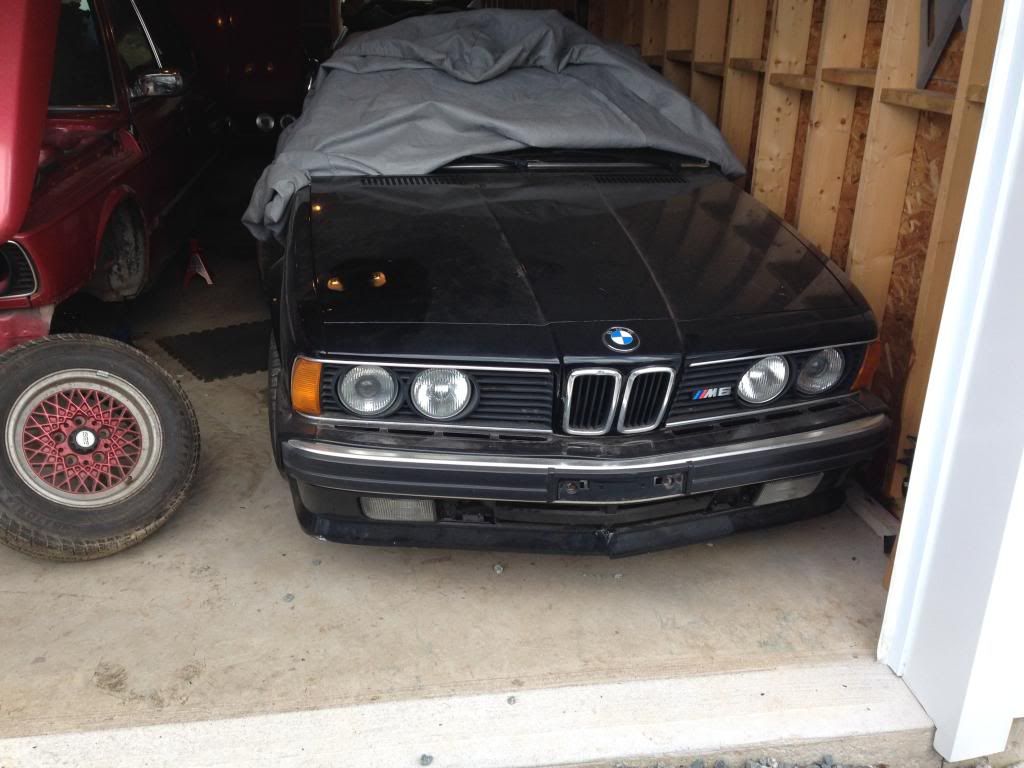
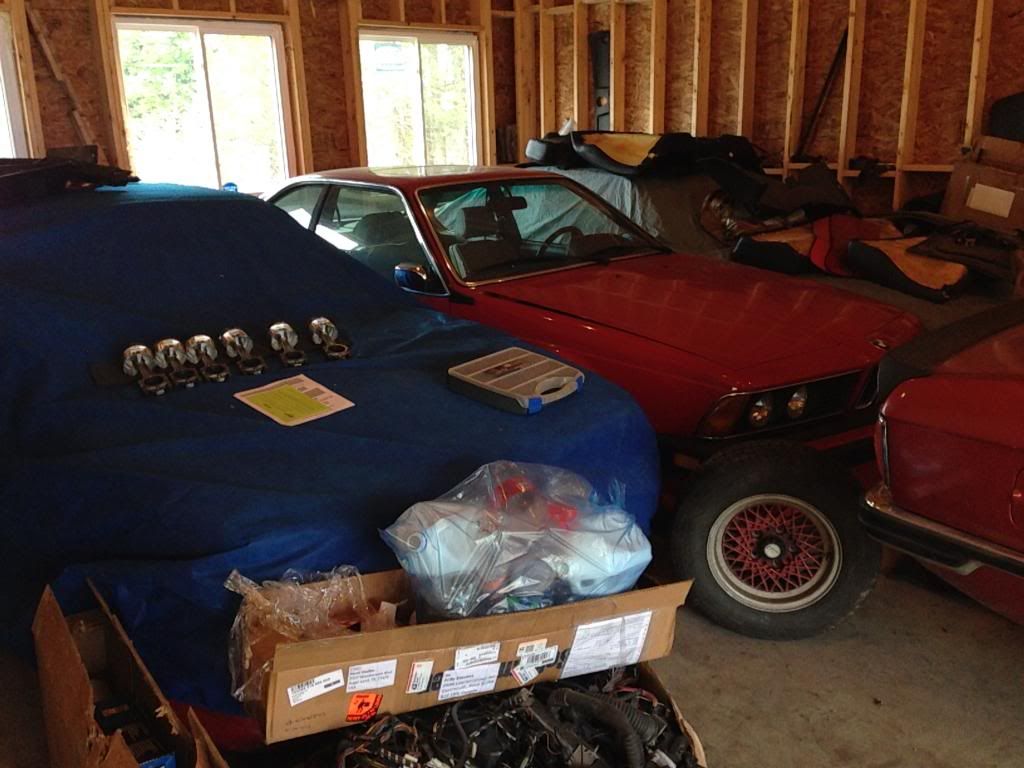
I bought this e12 about a year ago and have slowly been working on it. This is my progress during that time. I have it posted on first fives and bf.c but since mye28 is essentially an m30 based forum I thought it appropriate to assemble my journey here as well.
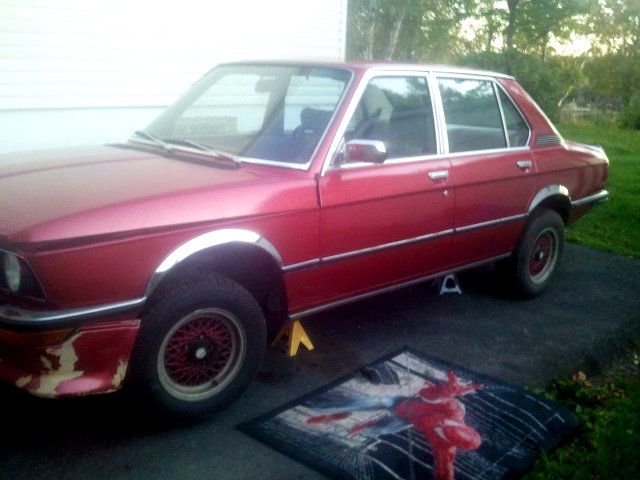
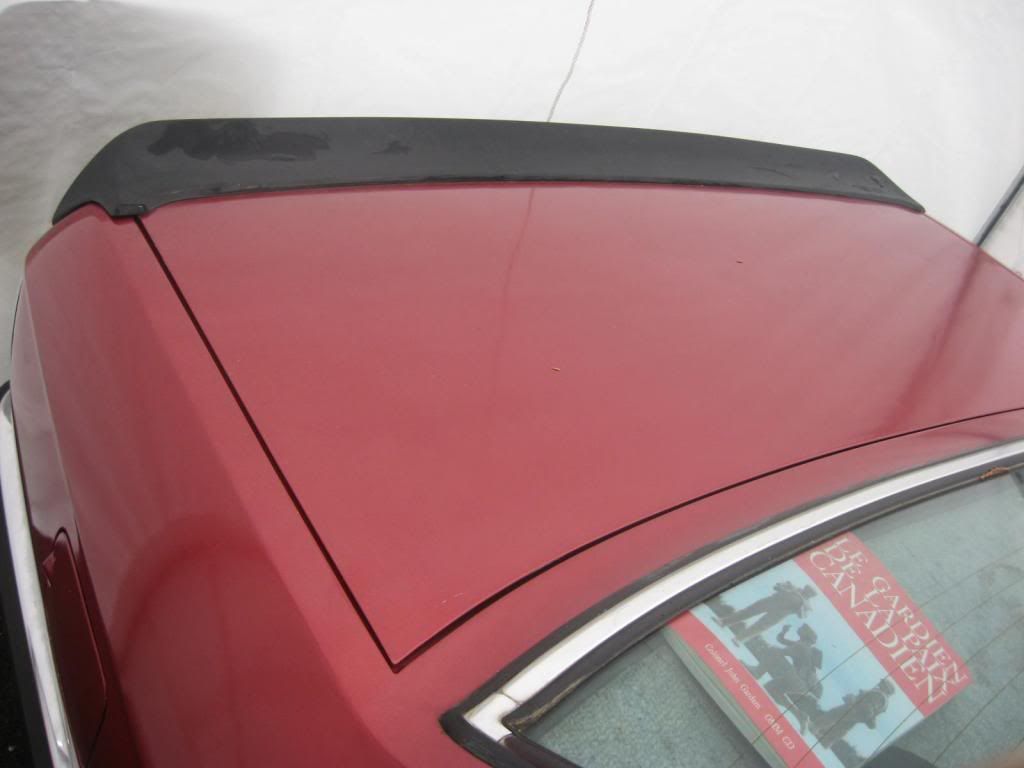
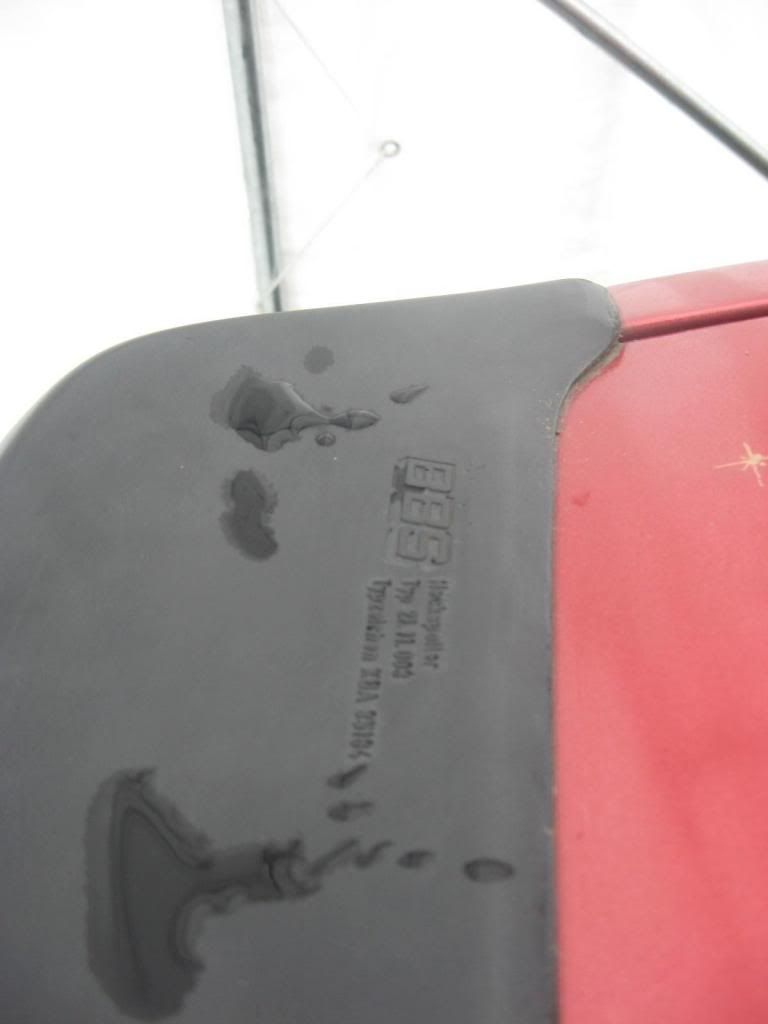
BBS rear spoiler
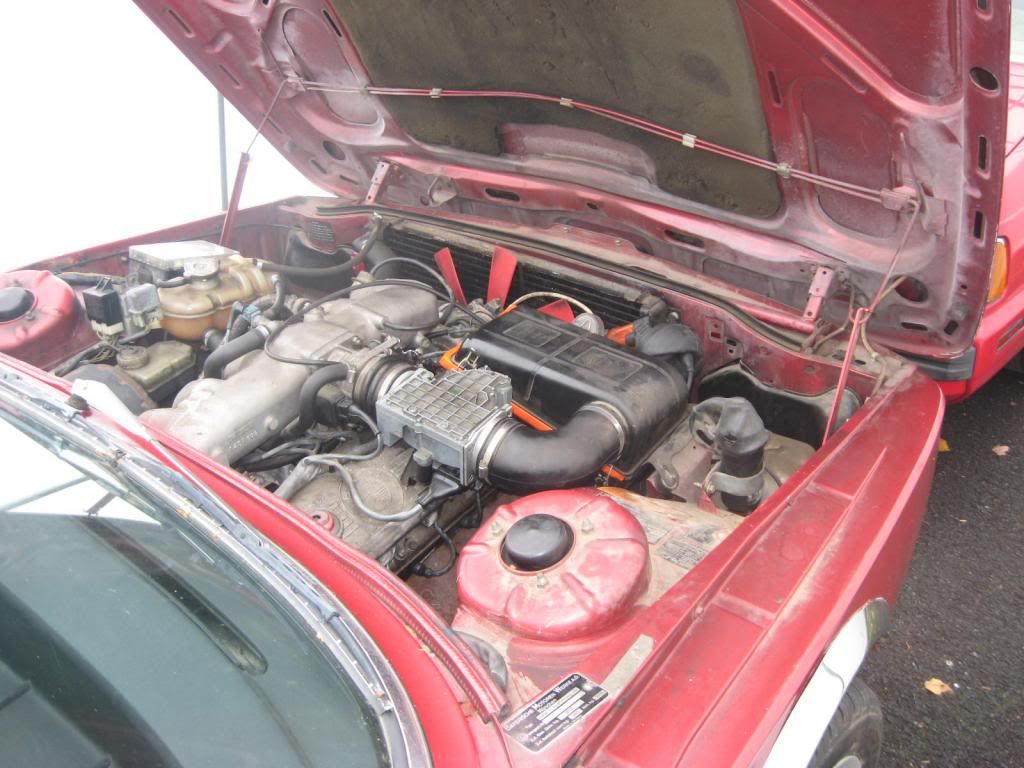
The old m30b28 528i engine. I have a later model 2.8 that will be going in. More on that later.
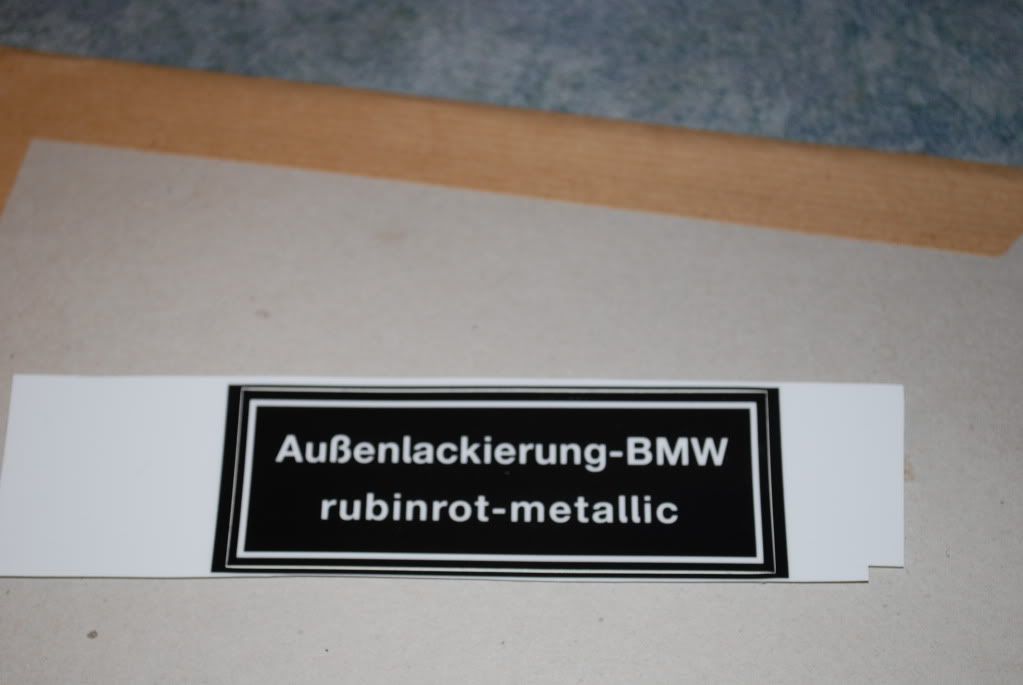
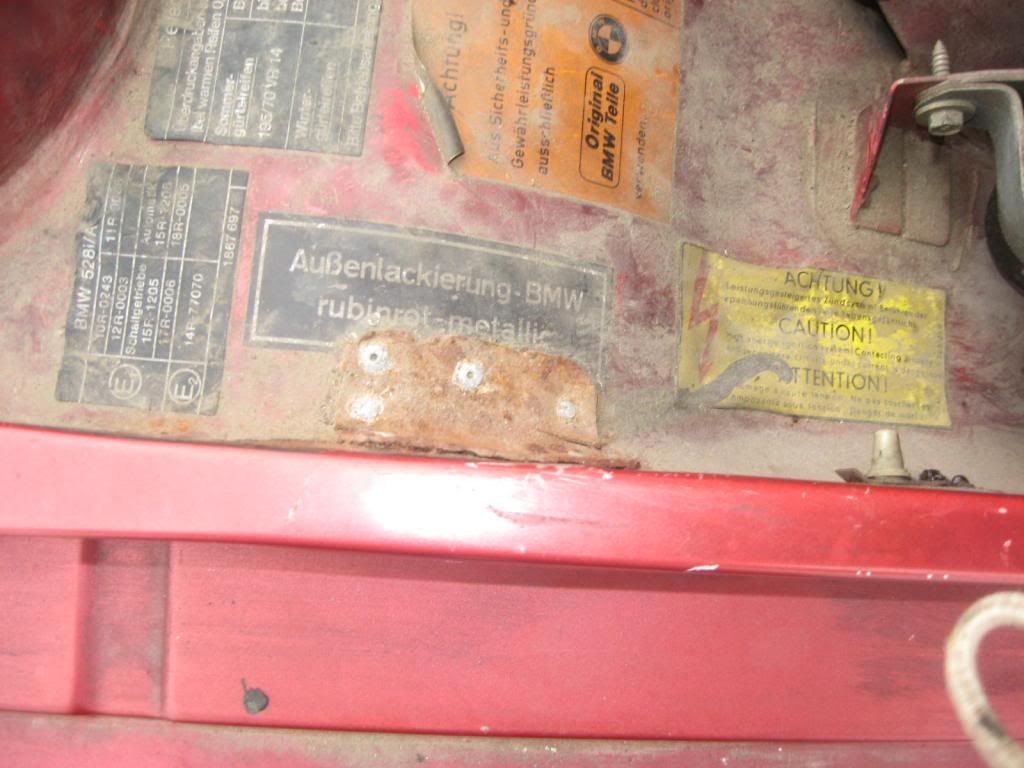
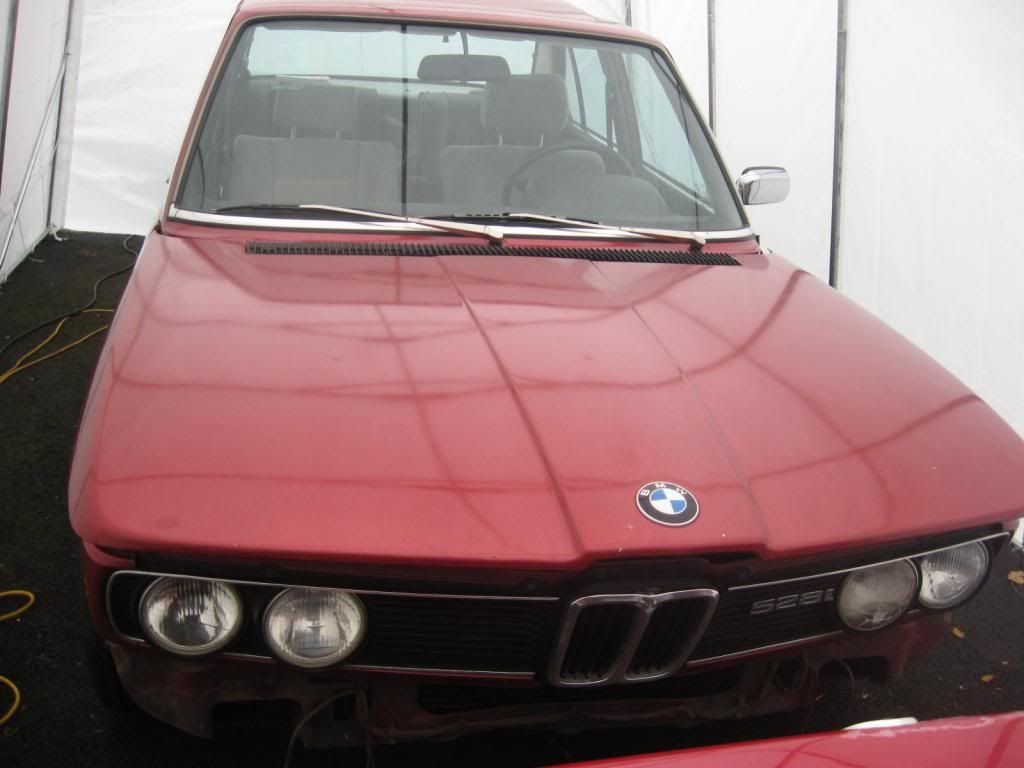
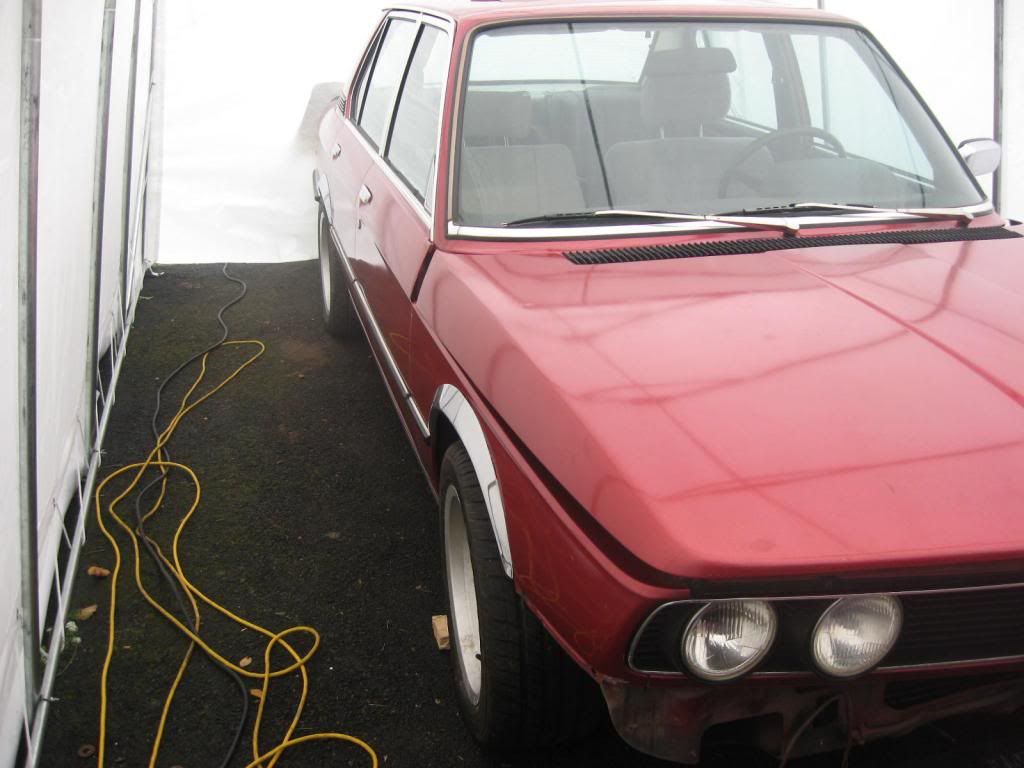
Rubinrot Metallic. I like this color, If I were to change it would be to black. Also the only rust I could find on this car is under that riveted plate, likewise on the other side.
Pulled off the front BBS valance for repairs. It was cracked about 3 times. Found a massive dent in the OEM valance. And in the front frame around the radiator. It will be fixed.
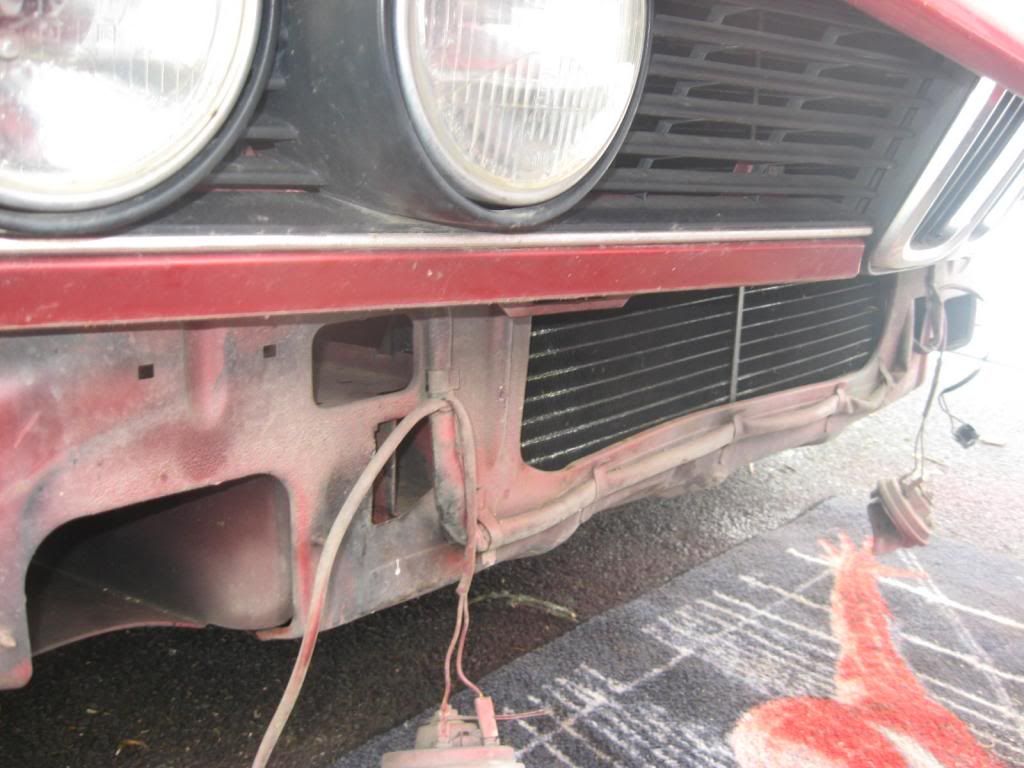
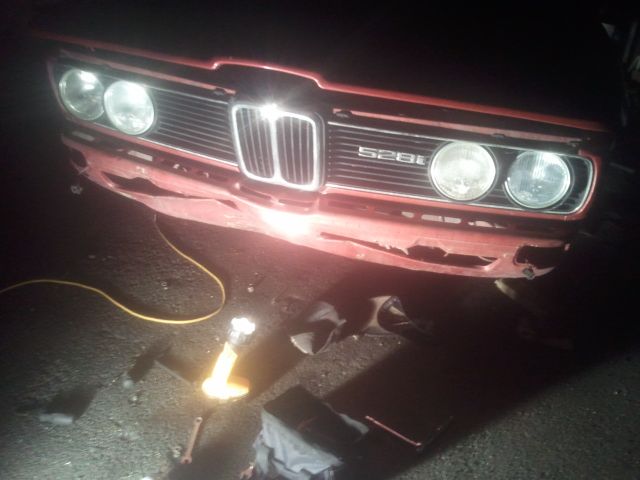
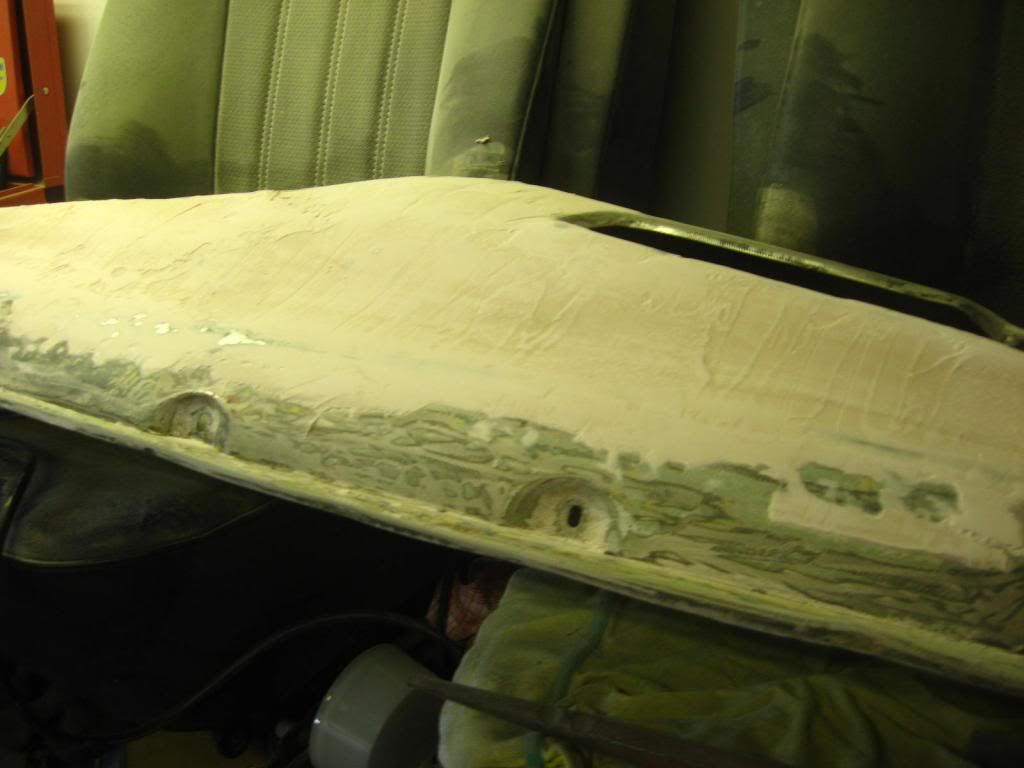
So off comes the valance. Dents were hammered out and smoothed with a bit of filler. Would have like to just find another, but that's not possible in my location.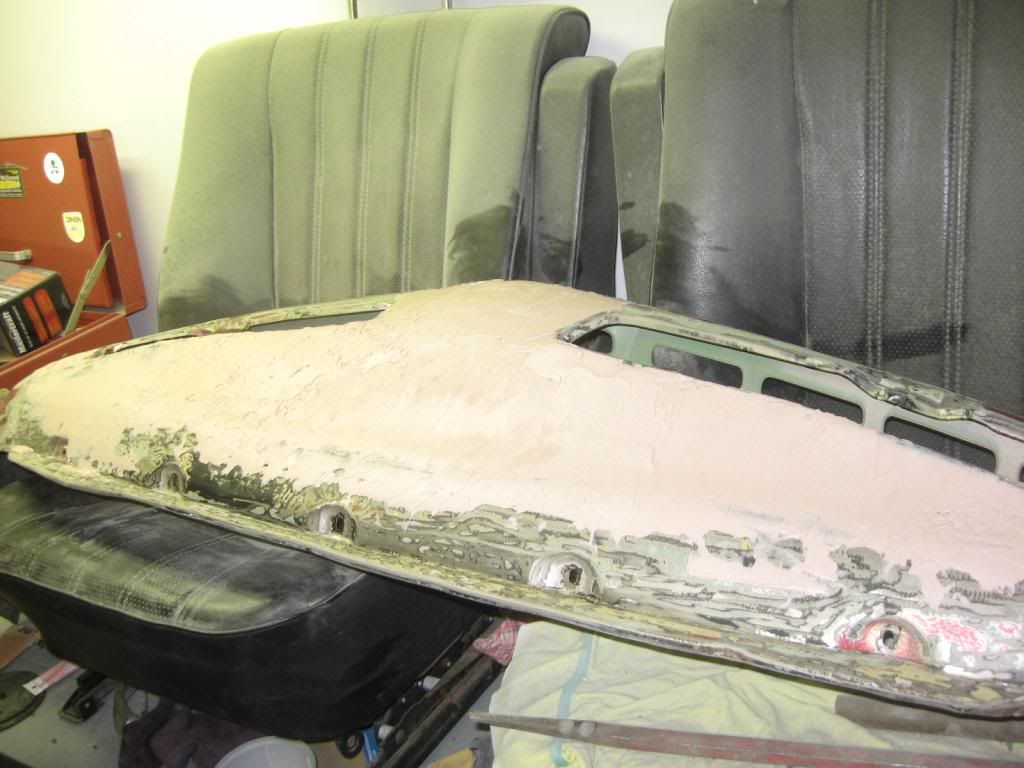
Sneak peak of those wheels I mentioned earlier
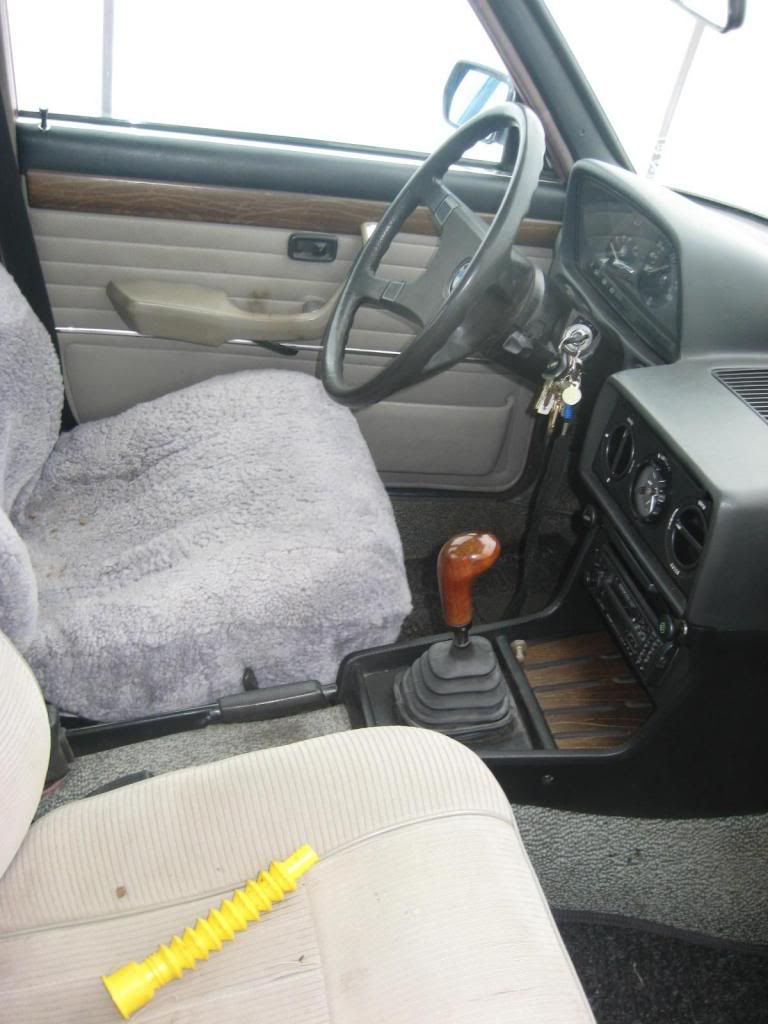
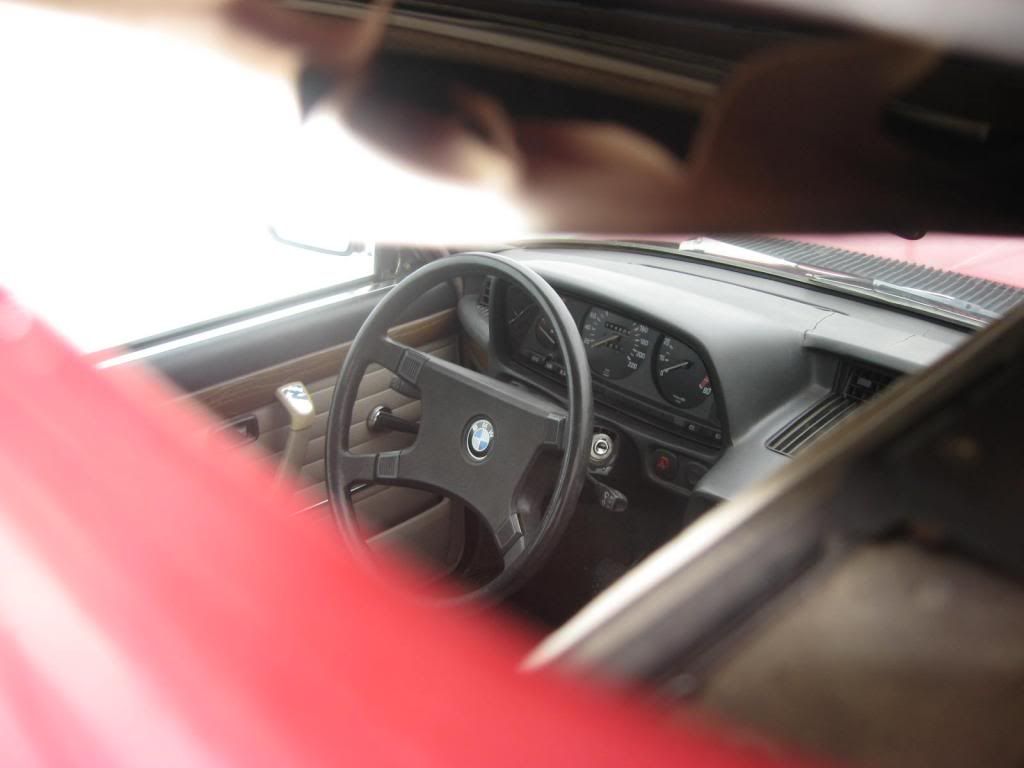
The interior was the original cloth. Which was very rotten. And the front seats had sheepskin covers...Oh yes, its a 4 speed:buttrock haha.
Manual sunroof FTW
So a couple weeks later an advertisement came up for an e28 part out. Went to check it out and he had some good stuff. He didn't know it though. A full leather interior, a full vinyl interior with power seats and windows. It was an eta engine in the car, but he had a spare m30b28 on a stand! Annnnnd a 5 spd close ratio dogleg transmission with a short shift kit. Oh and a spare 5 spd transmission. I picked all that up plus a bunch more engine and exterior parts including a fill set of door for $250. Turns out however it was not a dogleg. Test fitted the rear leather right away:
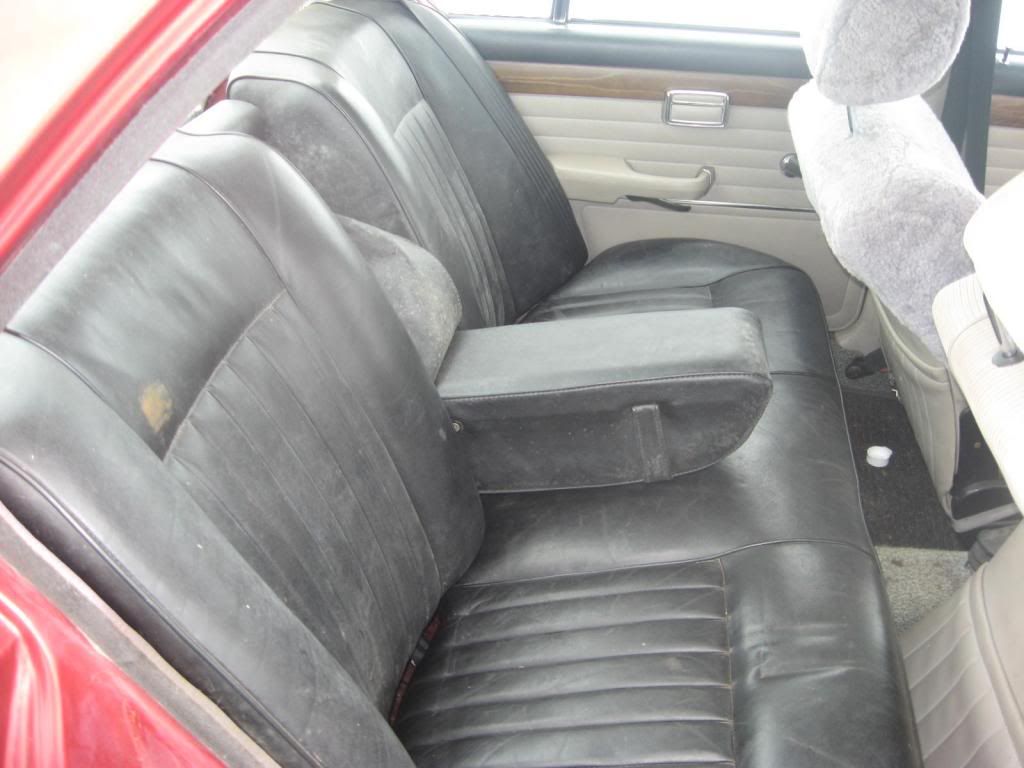
The 5spd. Yea, Im not keeping that knob...
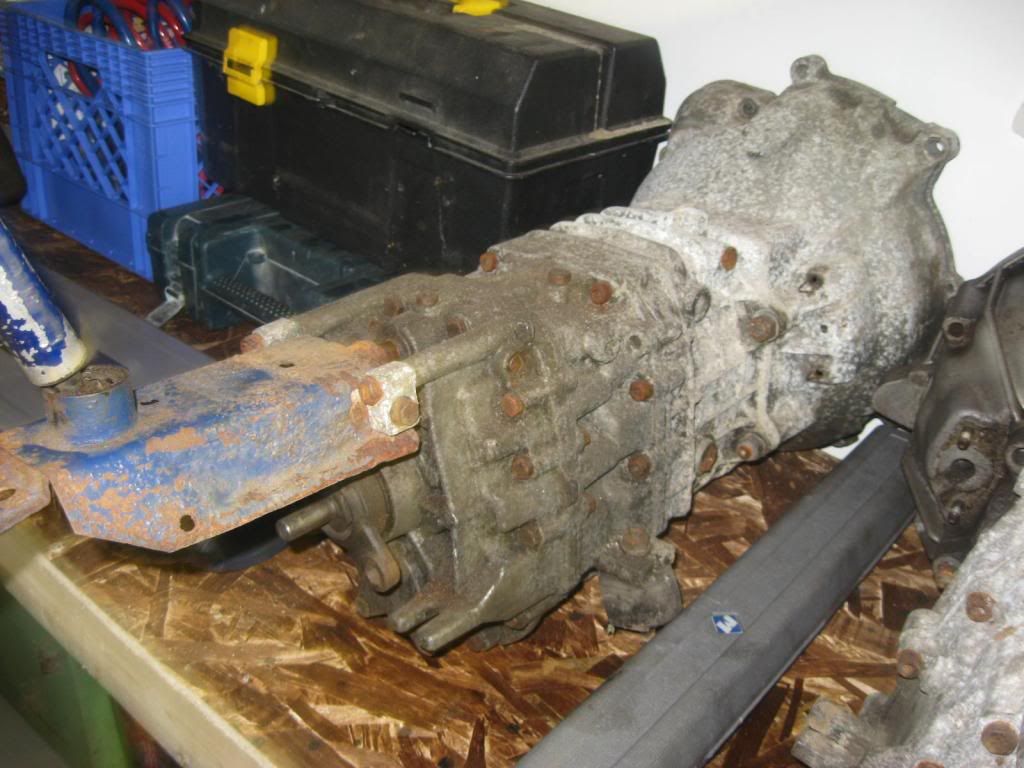
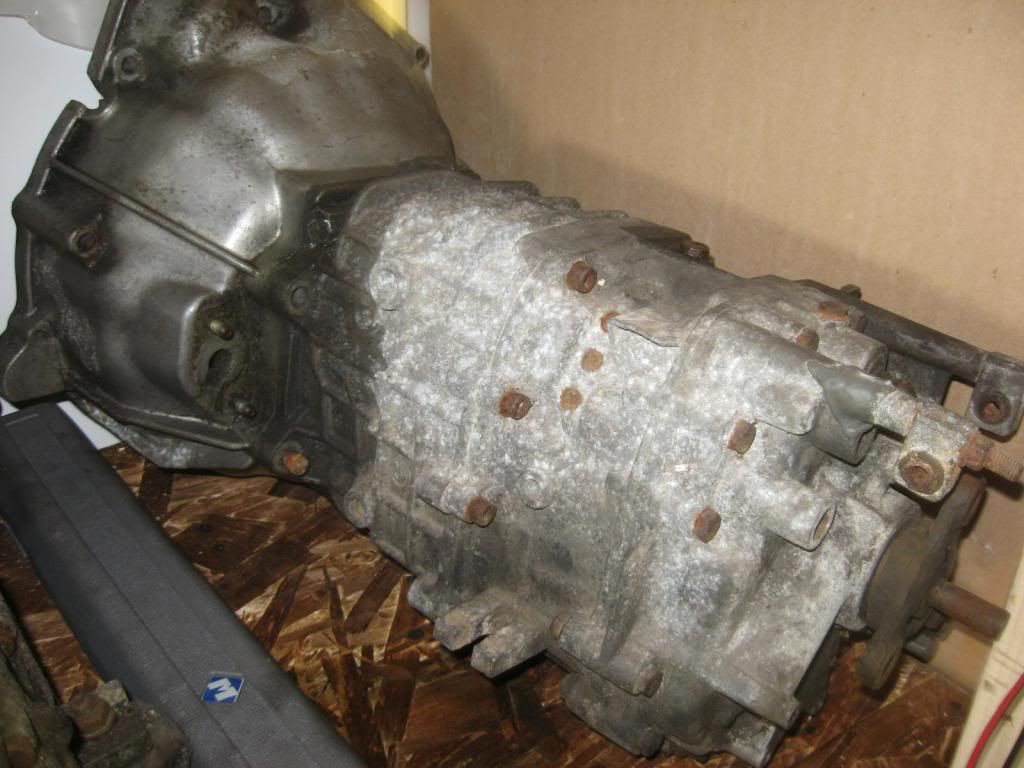
Alright alright, on to the wheels.
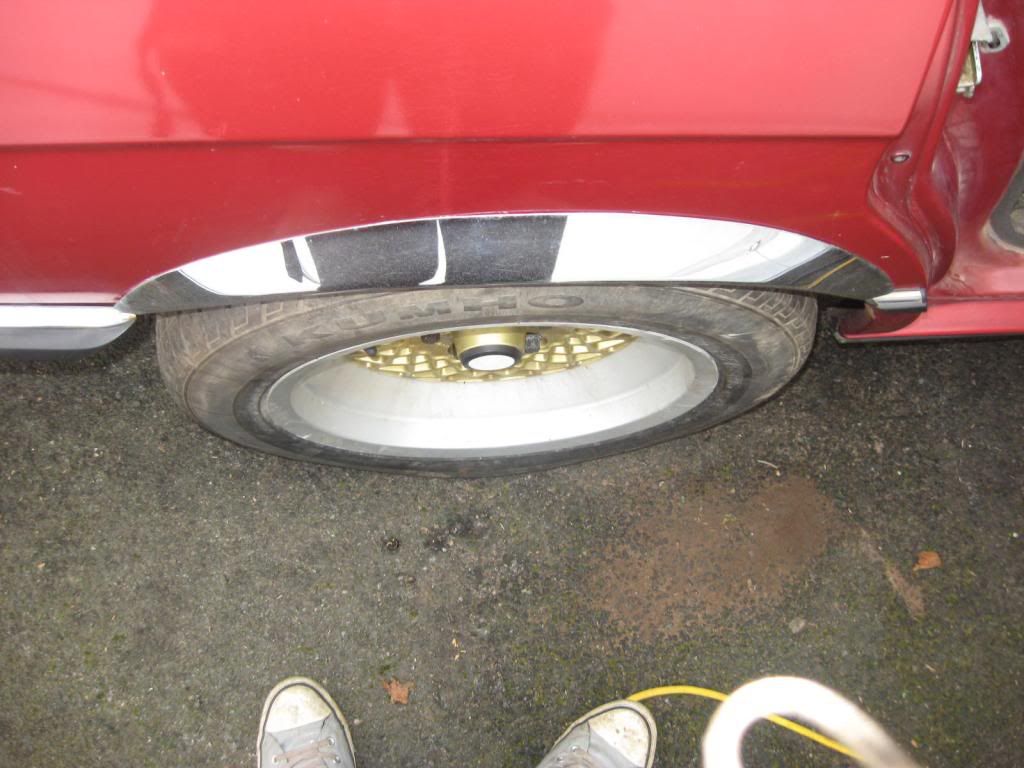
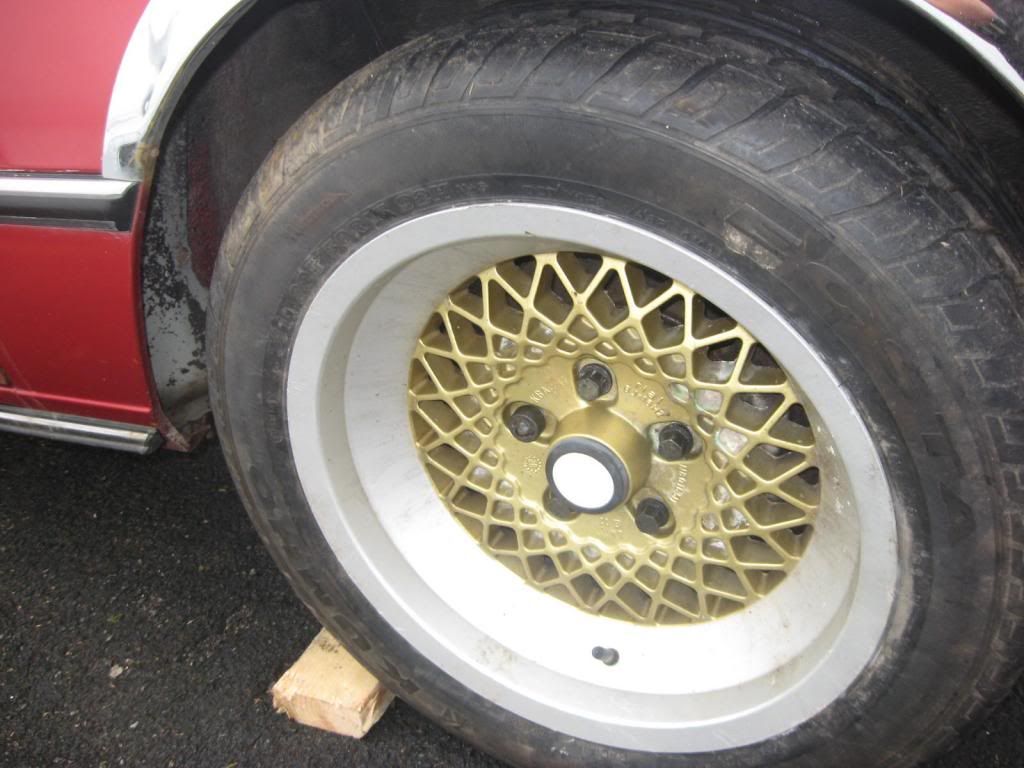
Yep a sweet set of 16x8 et11 Rial Mesh wheels from the 80's. Really nice look on this car. Picked em for $300. Onto the engine, Valve cover off, looks alright.
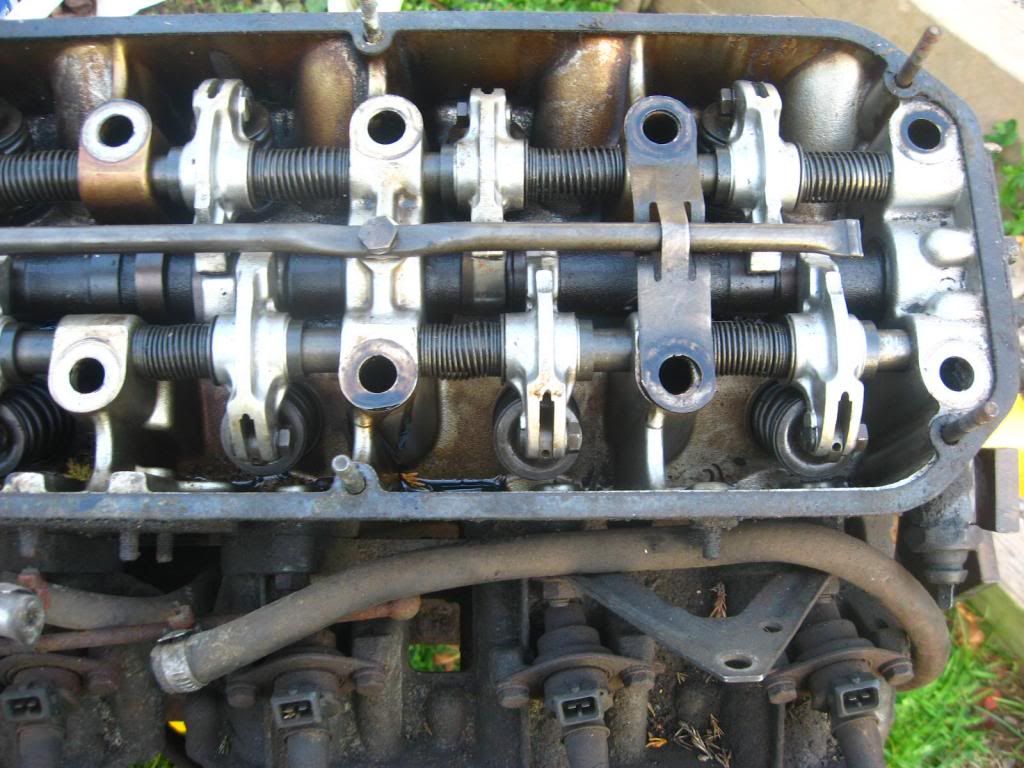
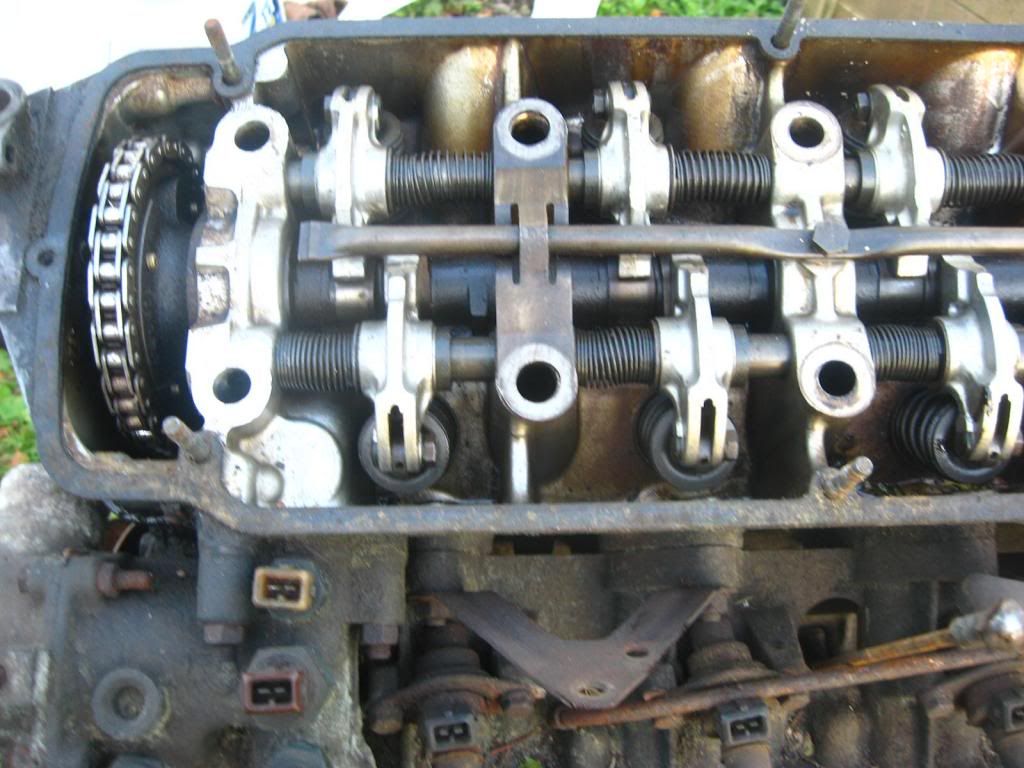
Carbon buildup. Looks like the entire engine was torn down before, because there is RTV on EVERYTHING. Literally every seam has copious amounts of
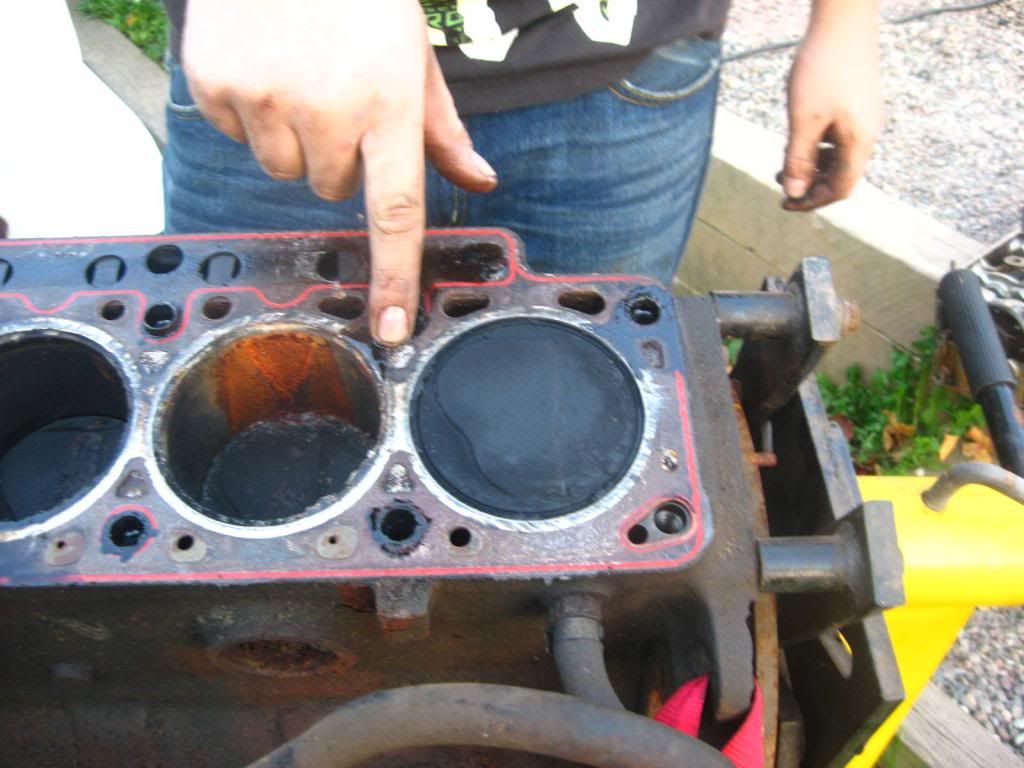
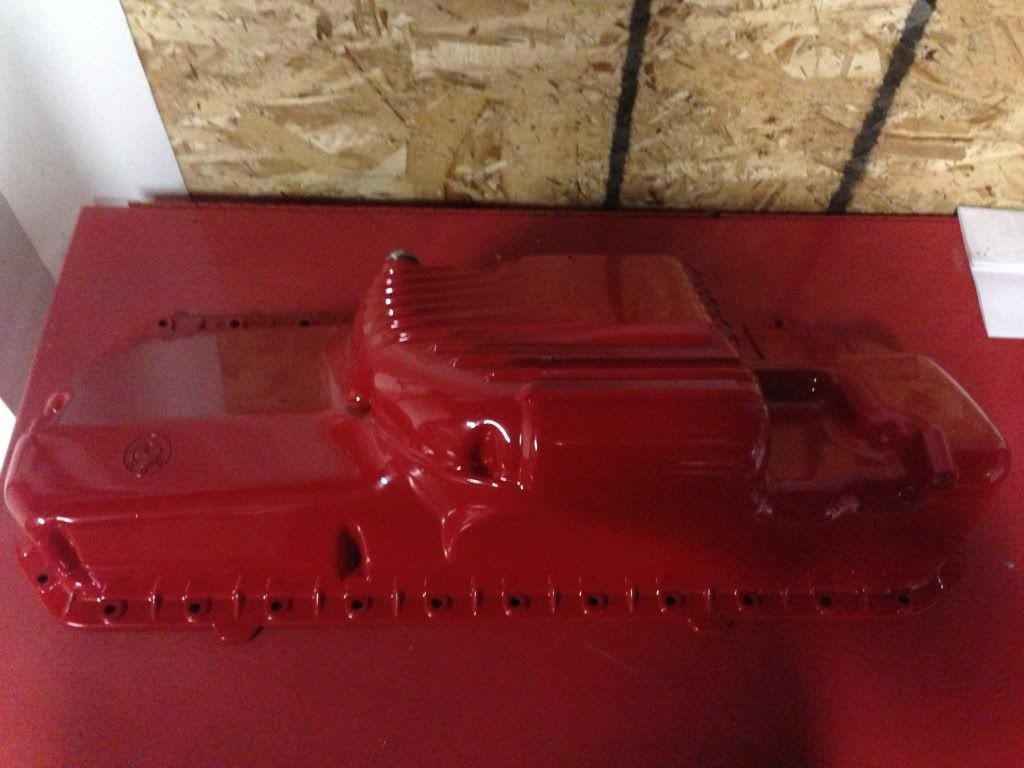
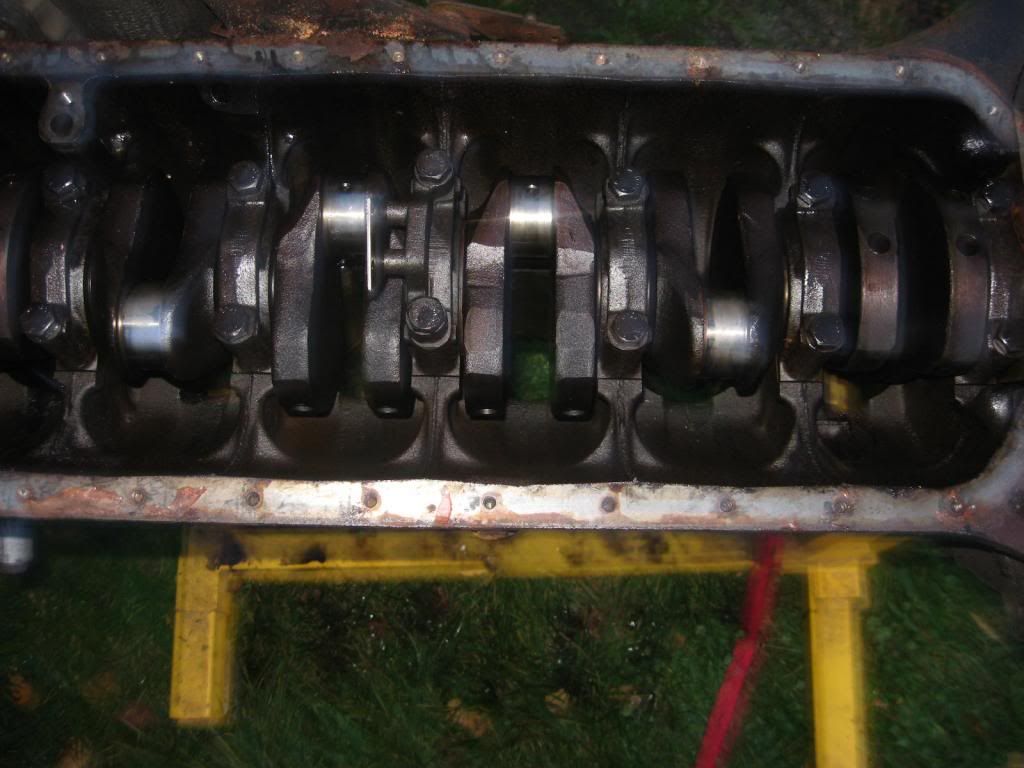
Oil pan off

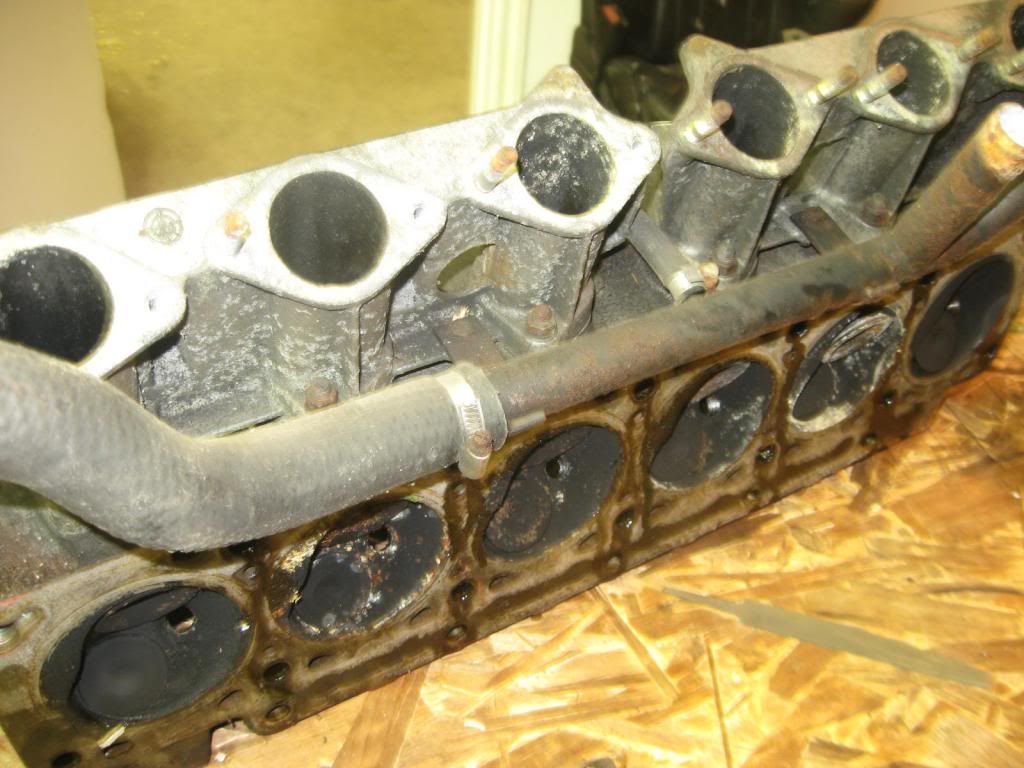
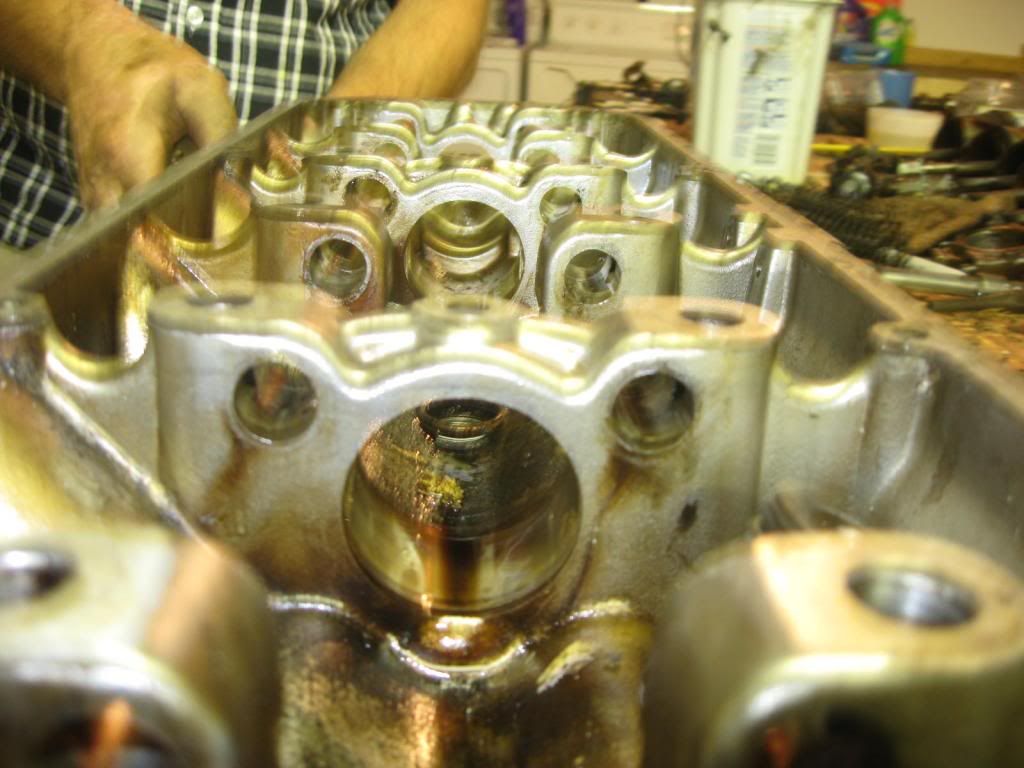
Head on the shop table, ready for being torn down,
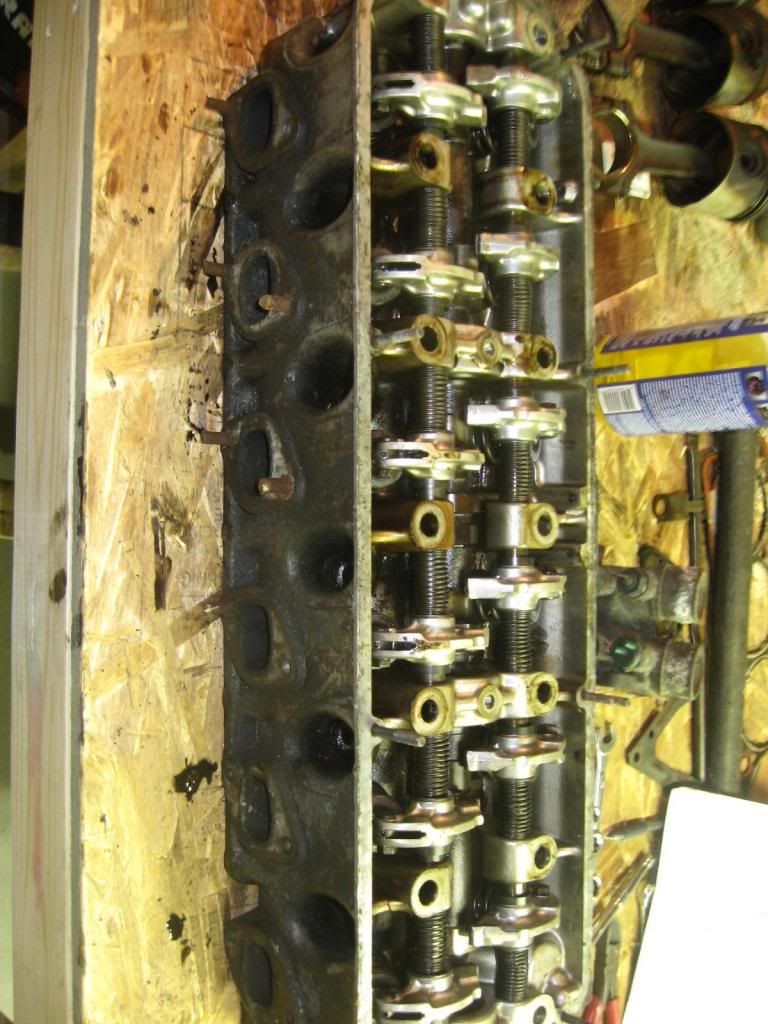
Time to dive in
There they are!
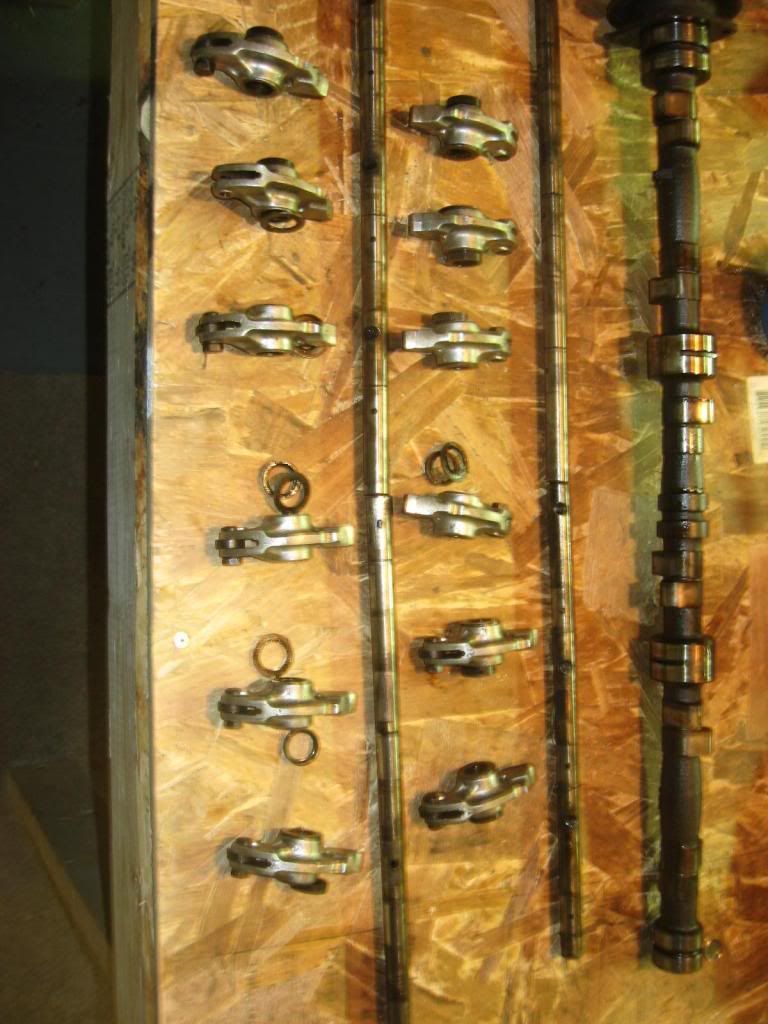
All apart, Ready for the parts cleaner!
 [/list]
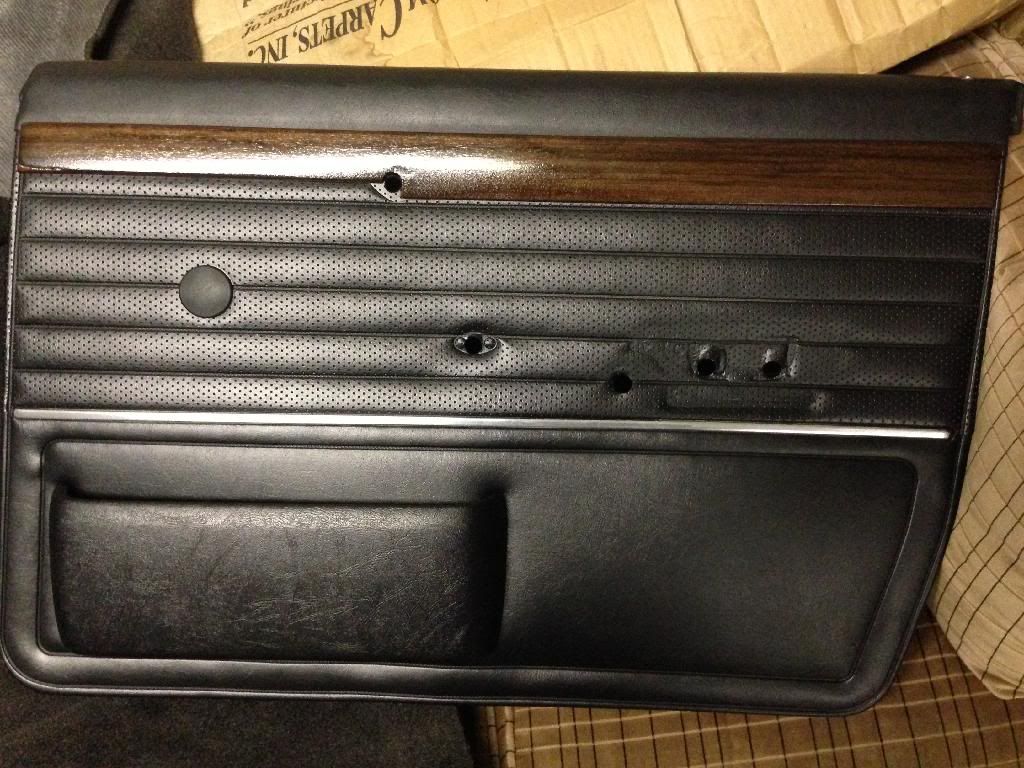
Update. Lots of Update. When I first had the e12, I found an e28(mentioned earlier) with parts I could use for the e12. One of those parts were power windows. Yup, thats right, the e12 has power windows from an e28 now. Pretty straight forward swap, pull e28 windows out and put them in the e12 door, the bolt holes are all the same, no worries. The door needed a bit of working because the electrical connection hole was too small to get the connector through. The other scary part is cutting the door panels for the switches. 1. The first scary part being the purist in me hated cutting 35 year old door panels. 2. If I messed up, good luck on finding door panels in as good a shape. So once that was done, I went ahead and decided to pull all the seats out.
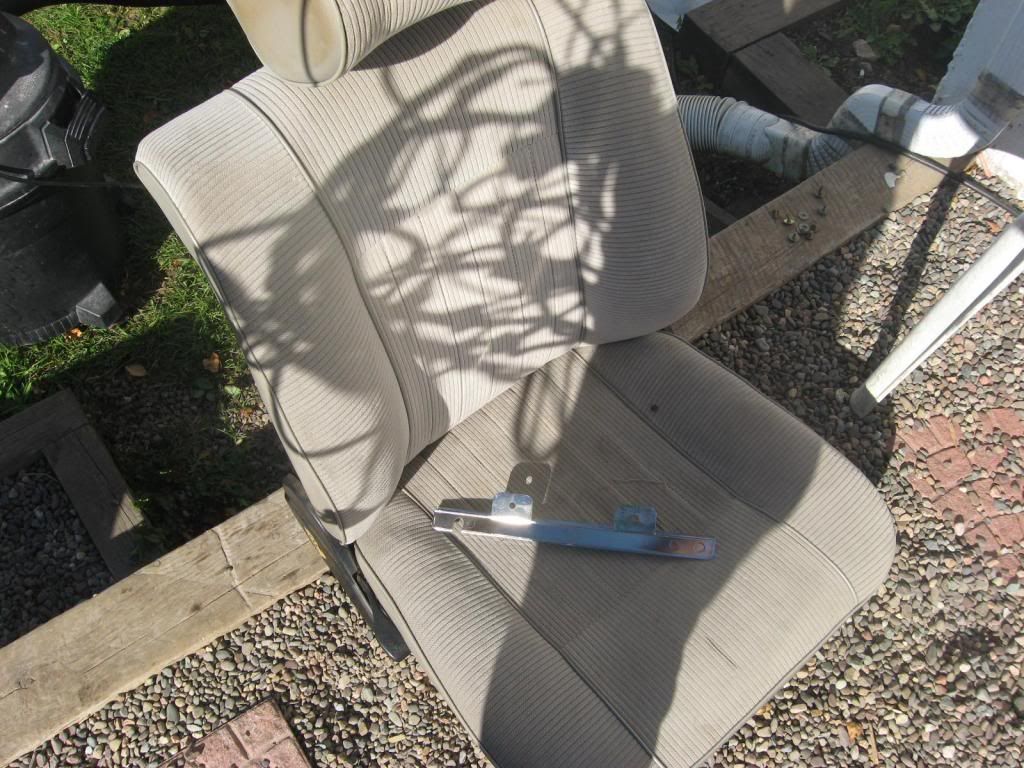
That was relatively easy compared to some I have done. Also found an old Kenwood amp under the passenger seat. I think it was like 260 watts. It matched the after market tape deck. So once the seats were out, naturally the carpet had to come out.
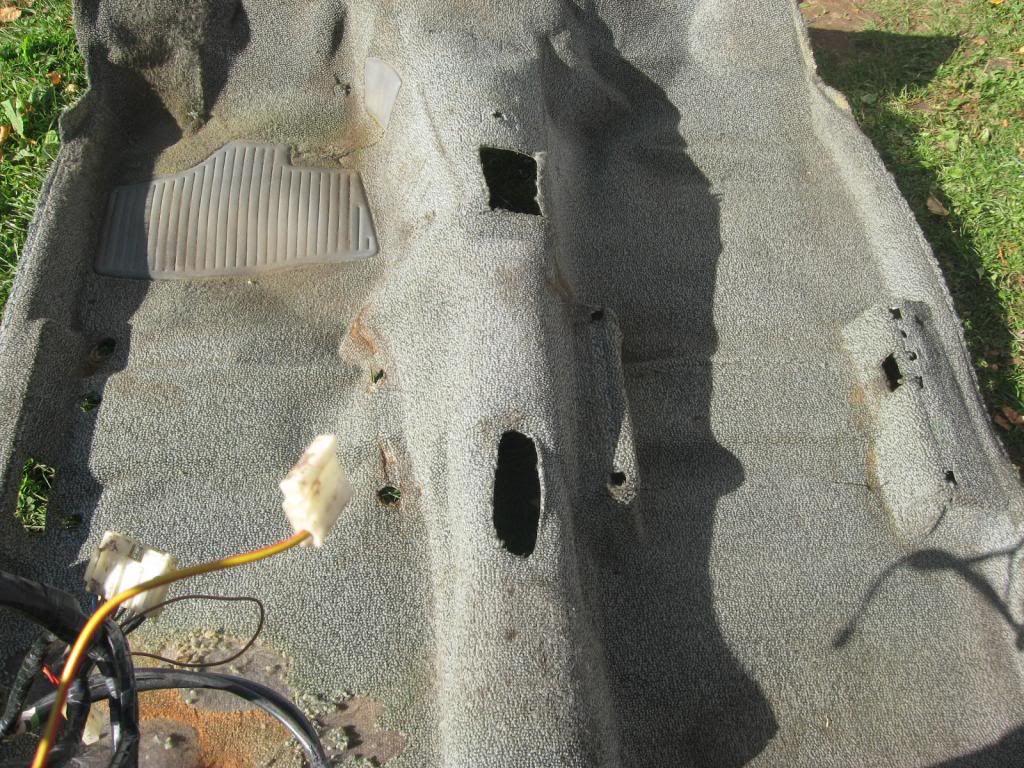
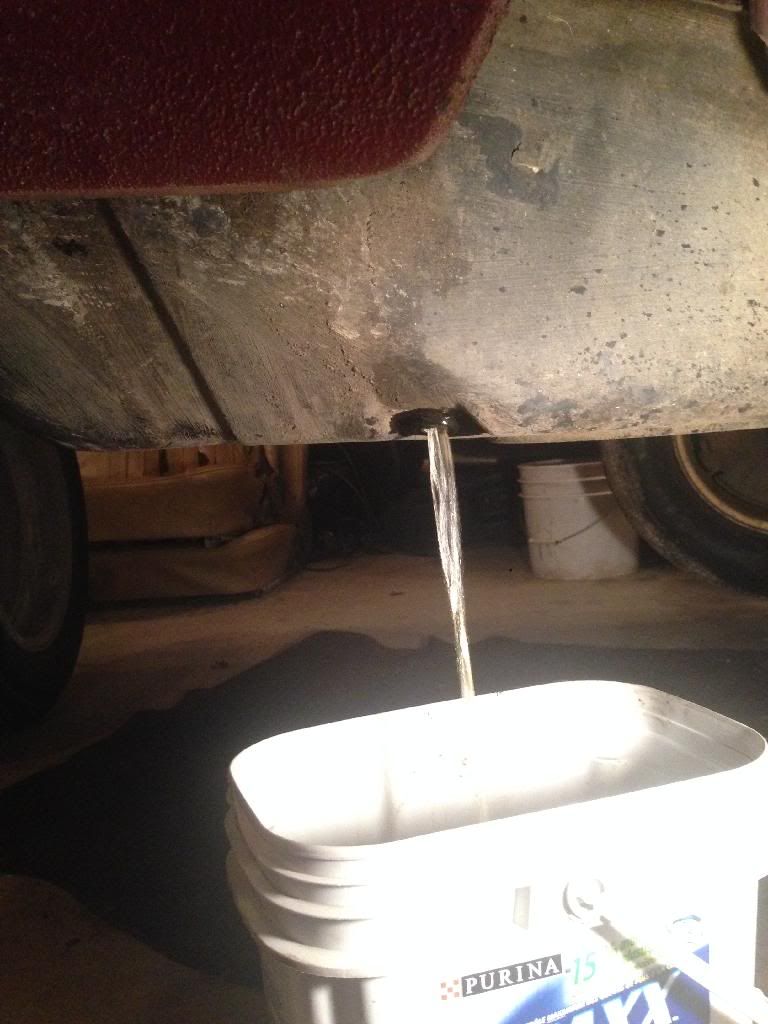
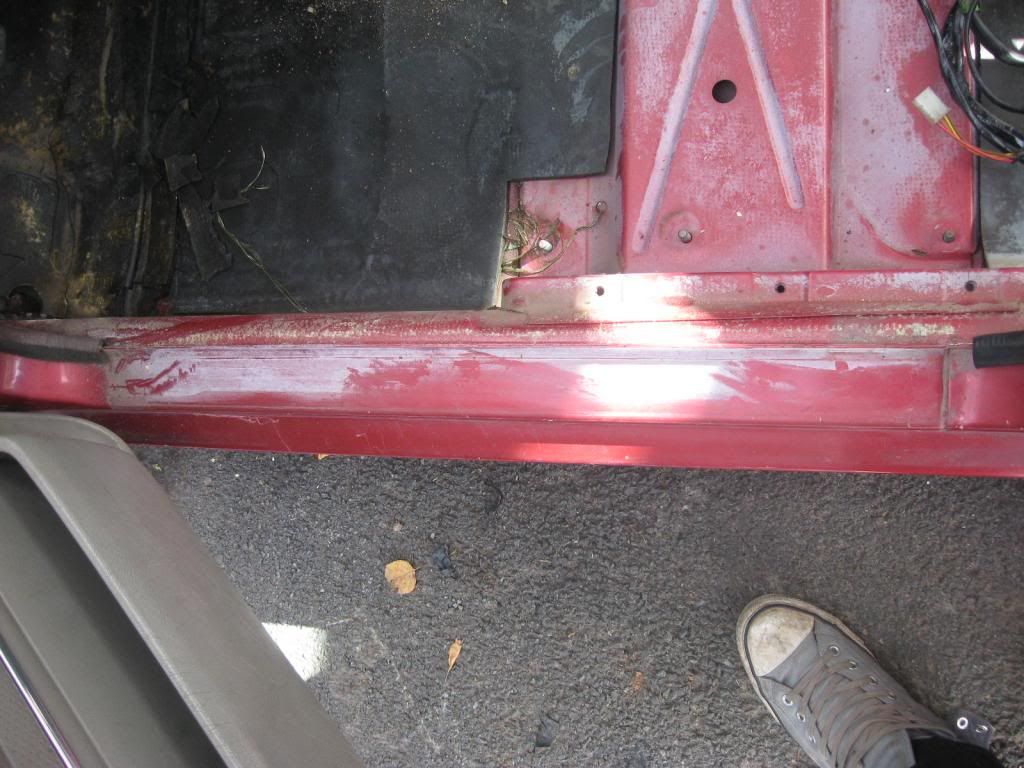
Also wasn't hard. Id like to find a good condition carpet, this one sucks. So if anyone knows of one....PM me. The floor looked good a bit of water underneath, but overall impressive for the age of the car.
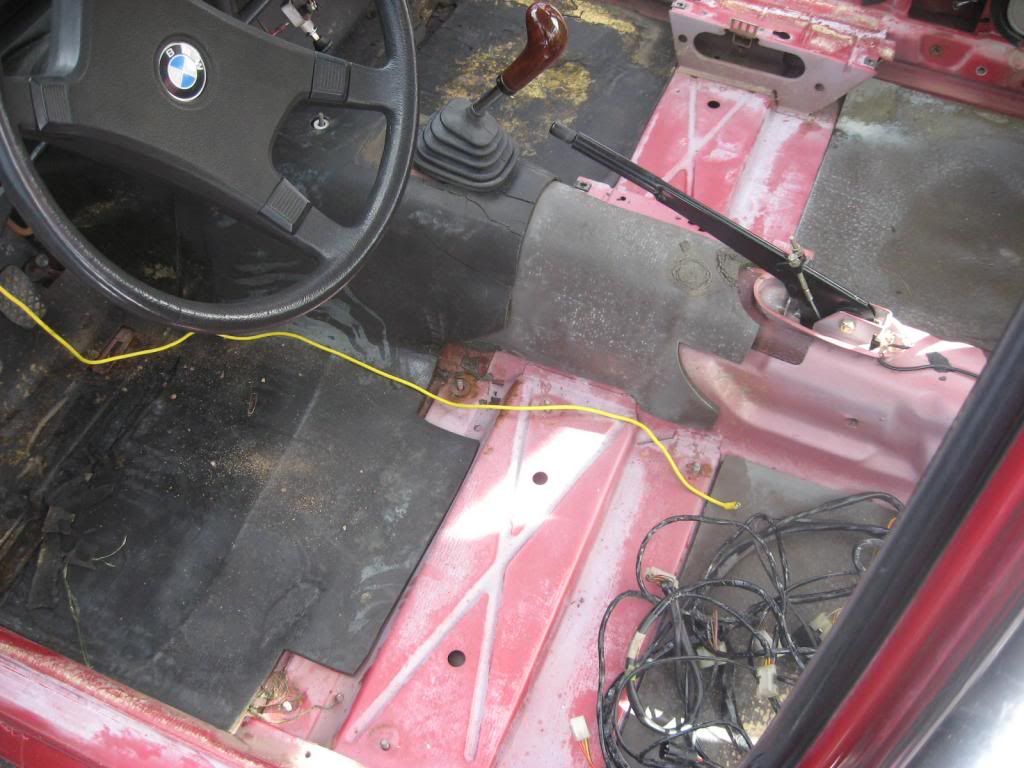
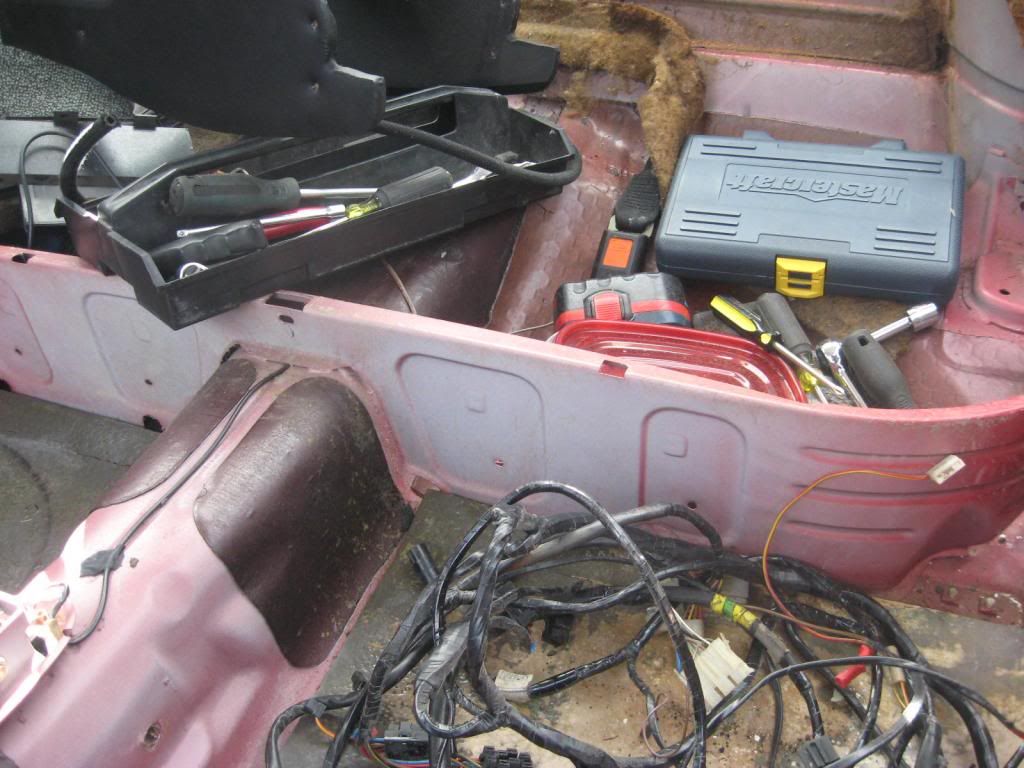
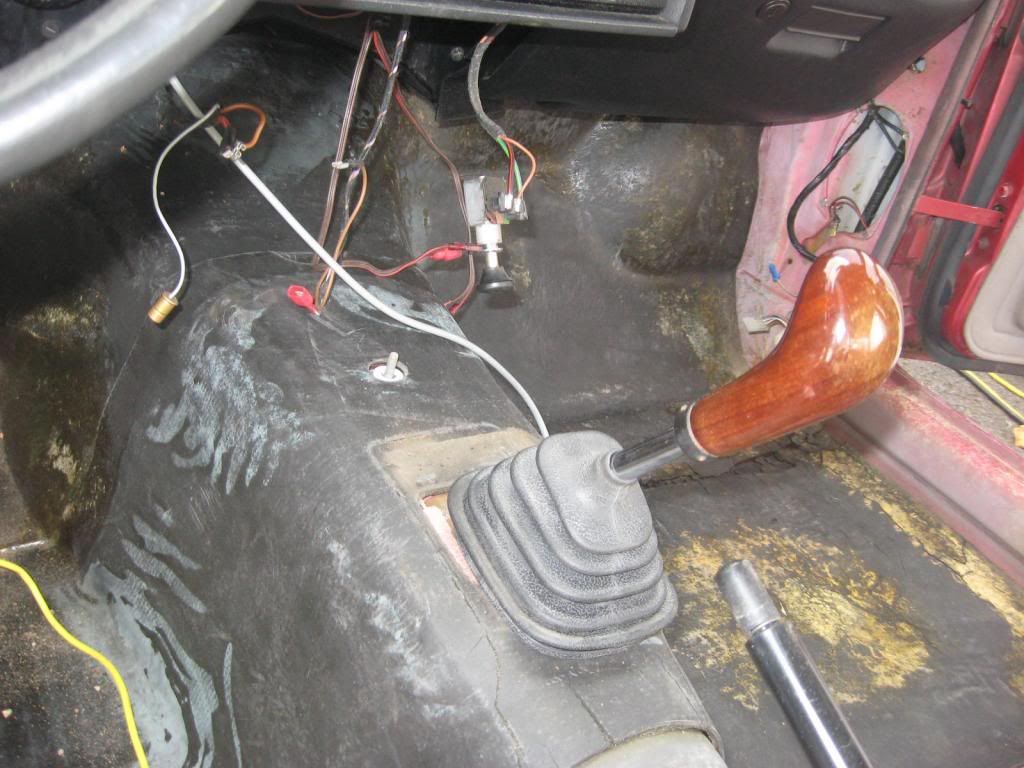
What do people think, should I pull up that foam? Is there a generic type I can cut to fit in if I do? No rust. This never happens here. Ever.
Pouring over the Bentley e28 Manual. Had to figure out where the power window harness should splice into.
http://s1241.beta.photobucket.com/user/ ... 1.jpg.html
Pulled out some more random bits and pieces of trim etc. The dash will be coming out so I can fix the cracks as well. The I decided it was time for the engine to come out. So I prepped it to come out. Some of these are meaningless photos to you I'm sure, but they are more for me to know how to put stuff back together.
http://s1241.beta.photobucket.com/user/ ... 2.jpg.html
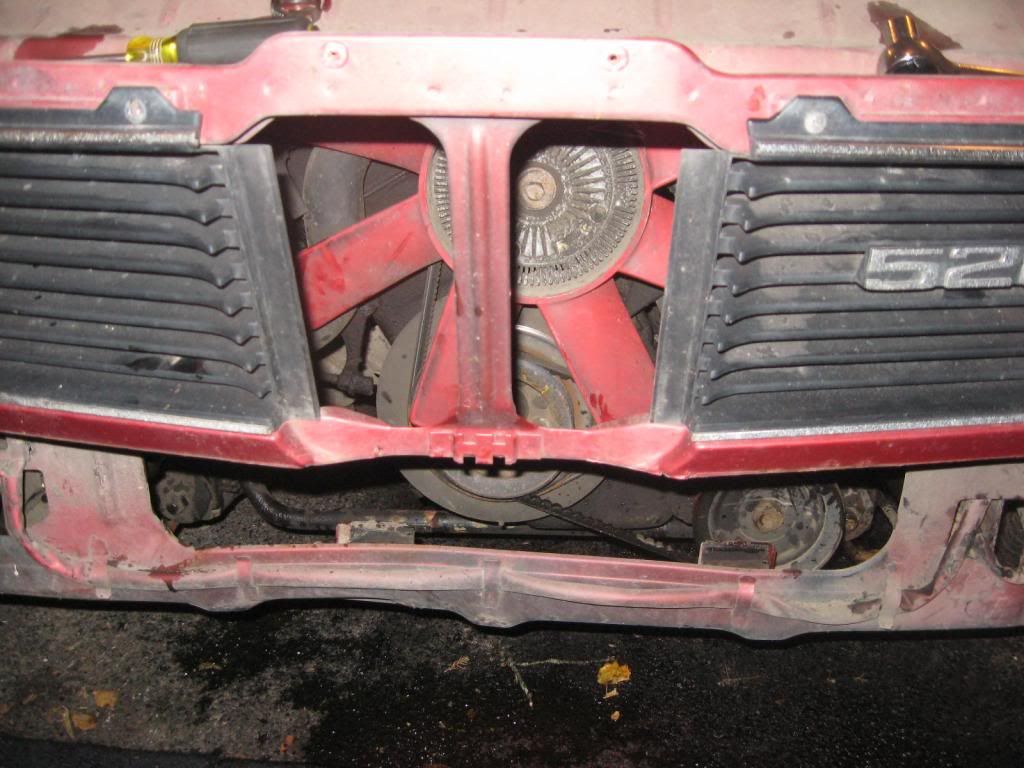
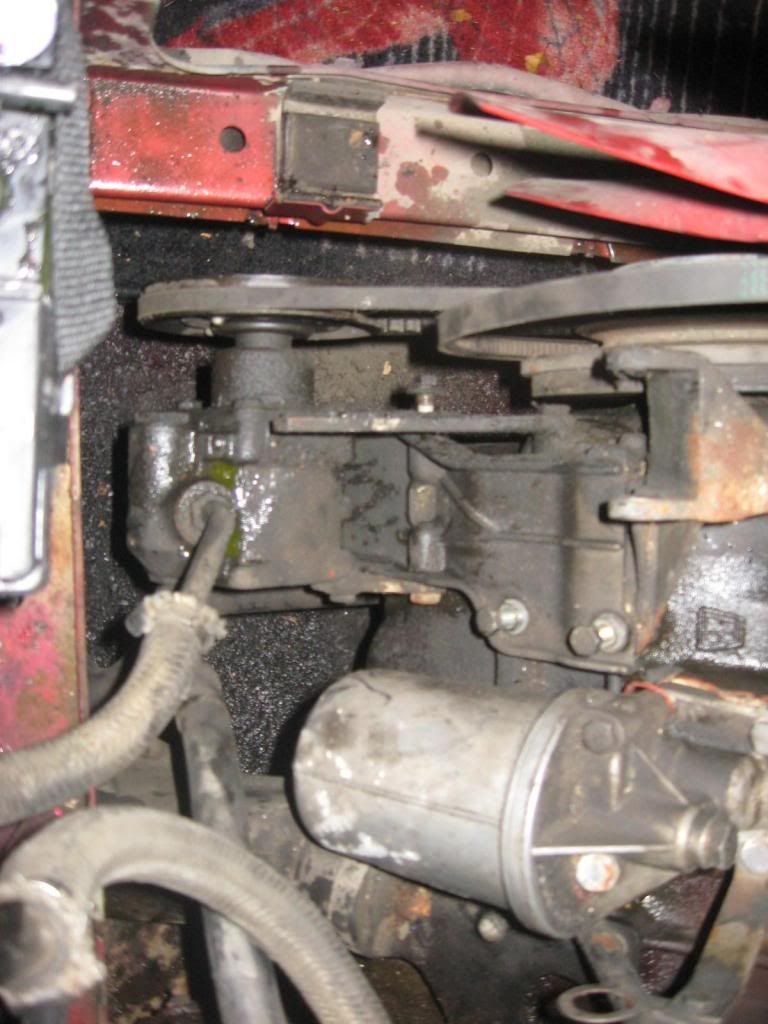
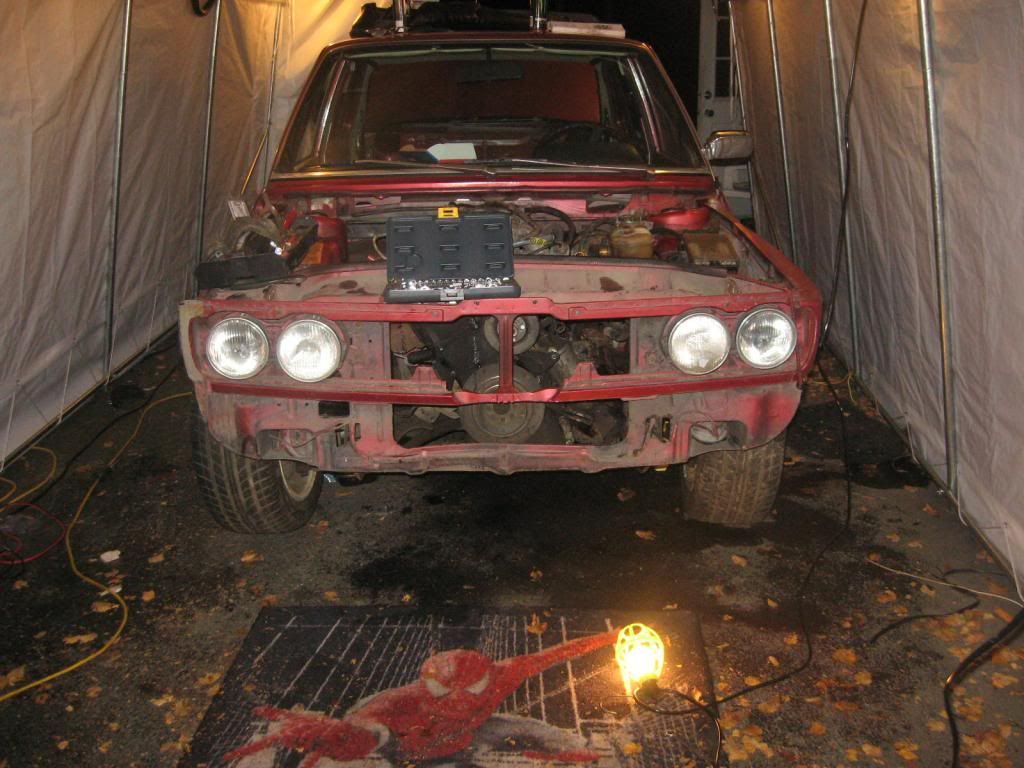
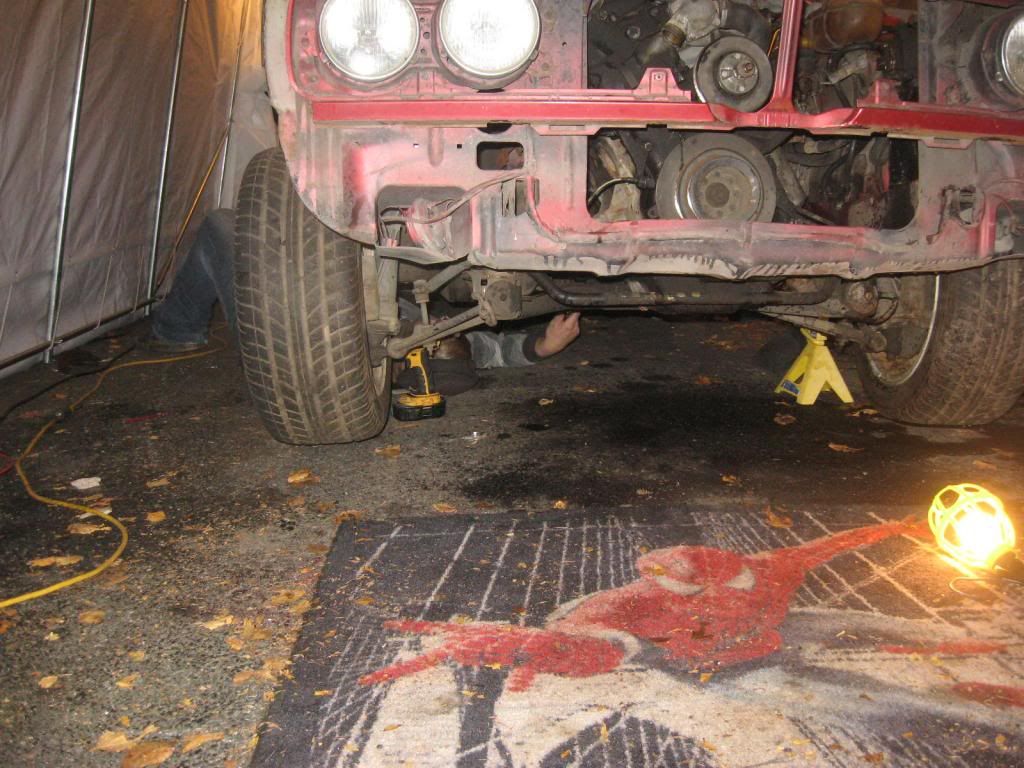
Pulled this hulking mass out. Whats a good alternative to this stock pipe. Straight pipe, but I don't want that much noise...Suggestions?
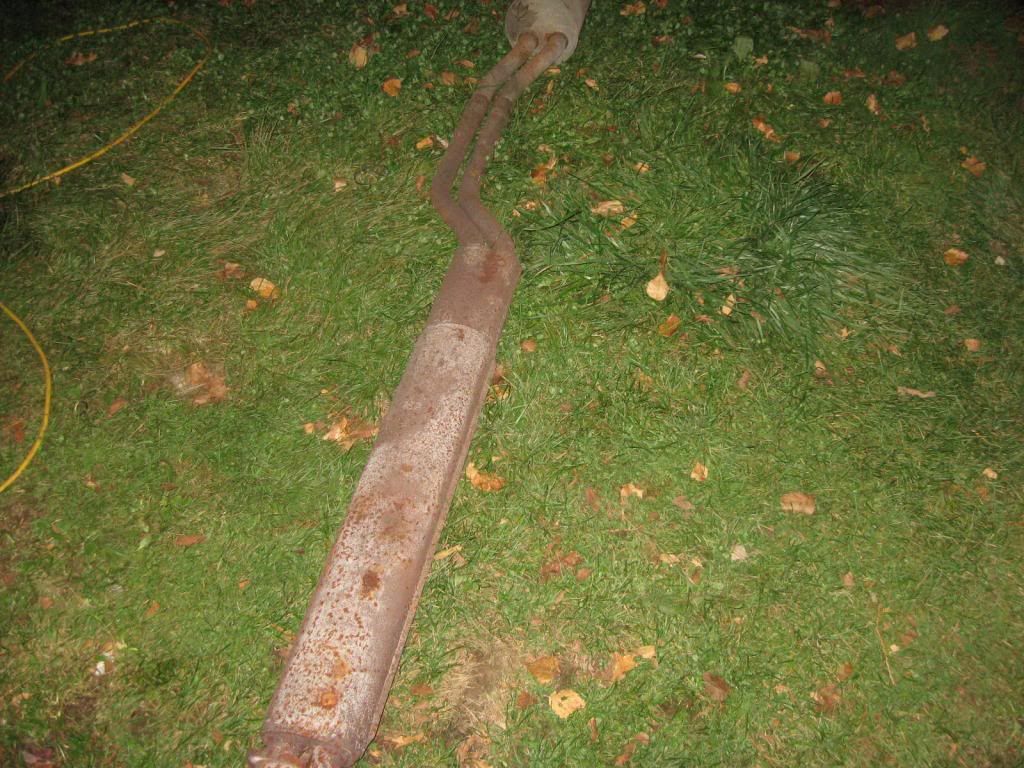
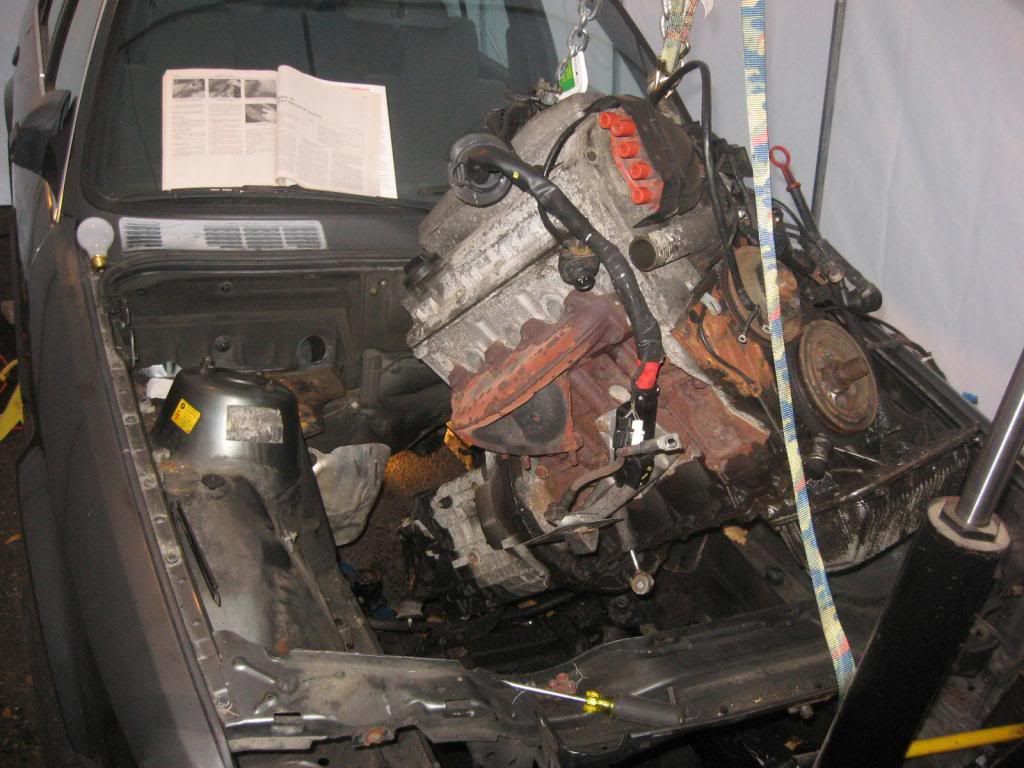
I finally took it out last night. What a horrible pain in the ass. It has to be one of the worst BMW engines to pull out. It has to get about 7 feet in the air to clear the front rad support, you cant have the car on the ground and you cant lower the car down until the engine is almost all the way out, otherwise the car rests on the engine hoist. So the front of the engine is 7ft in the air and the transmission is down on the ground. We were leveling it with ratchet straps, which works 10x better than an engine leveler. Trust me. So it was all the way out, we pretty much had to lift the back end up and push it out. And the engine decide to roll upside down mid air. It was secured enough that it didn't fall on the ground or kill anyone, but it was damn scary. Oh there's no lifting hook on the front of the engine so we had to loop underneath.
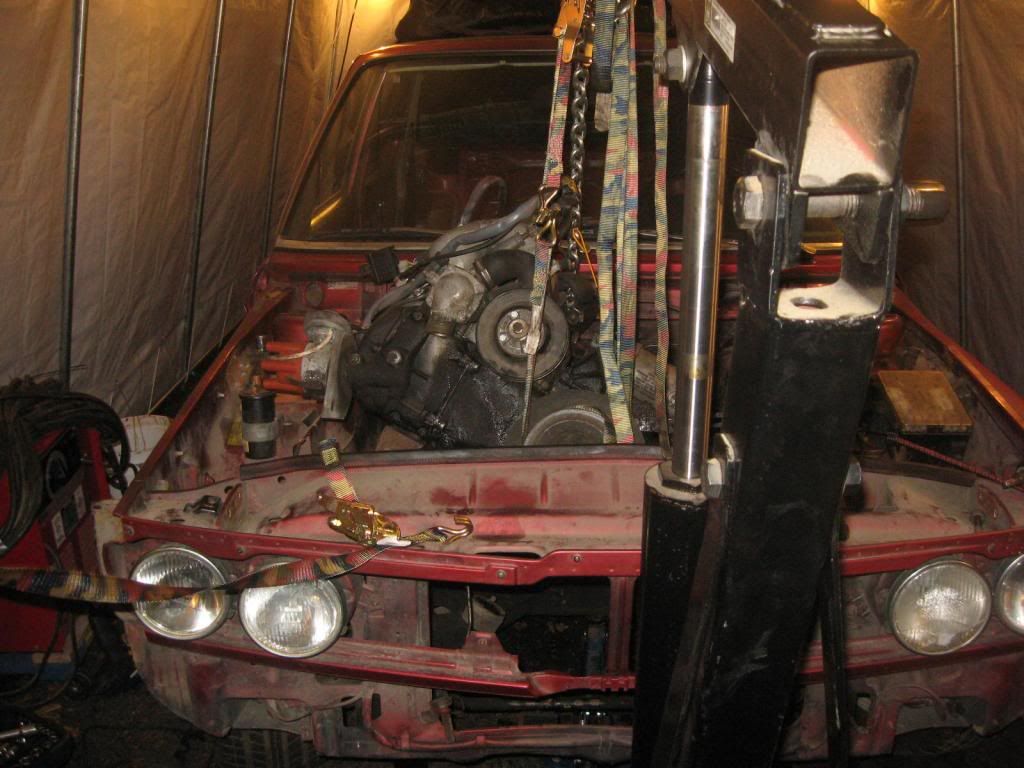
Its as scary as it looks.
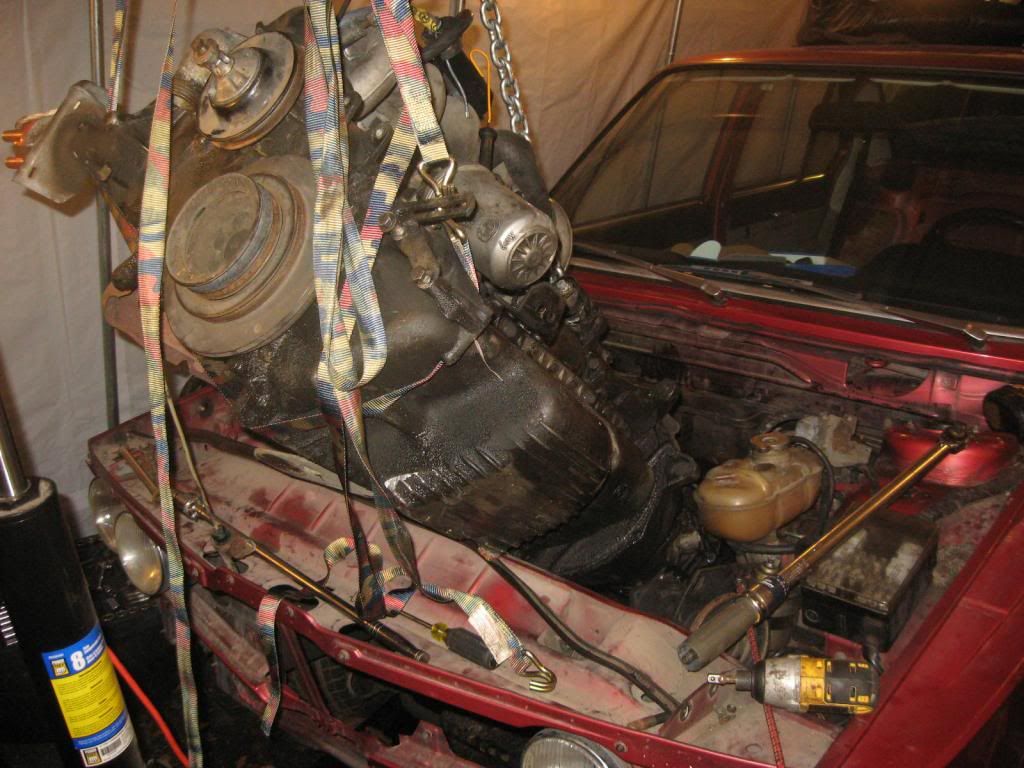
Horror movie style
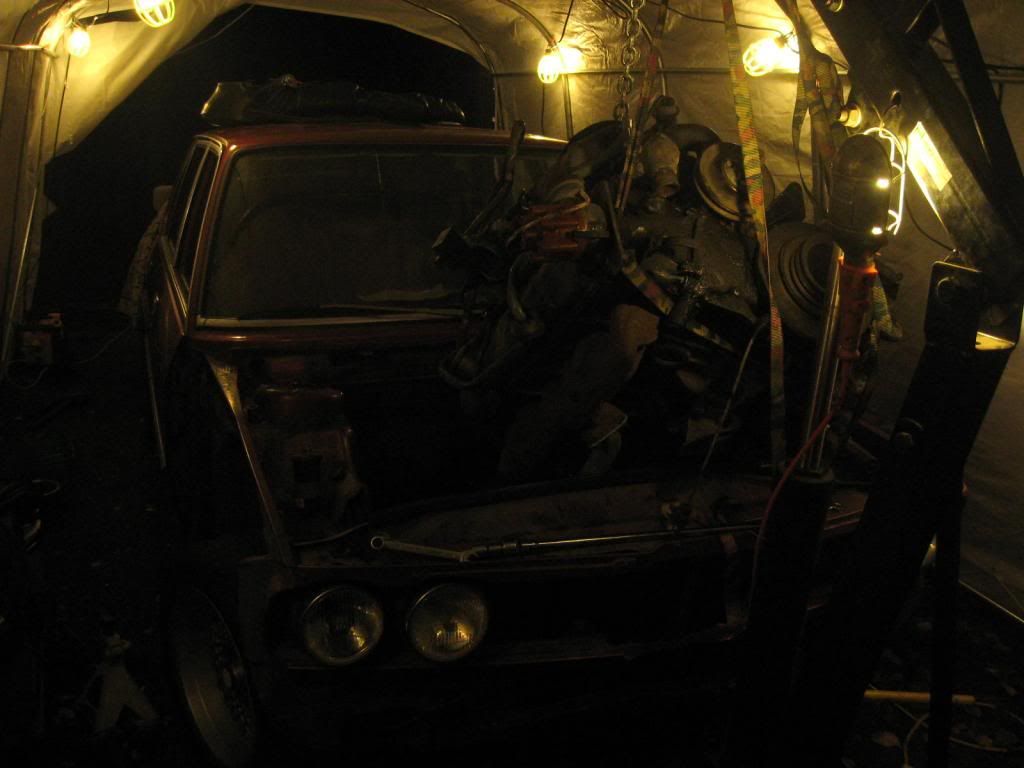
Had to undo the shift lever to clear the tunnel
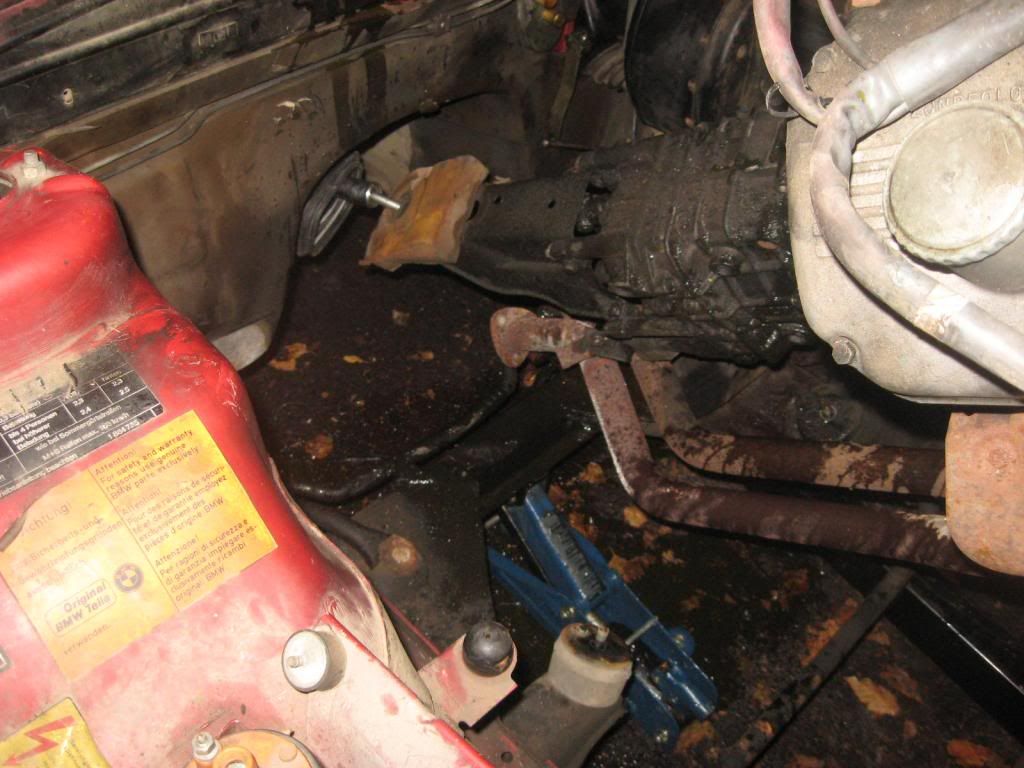
http://s1241.beta.photobucket.com/user/ ... 2.jpg.html
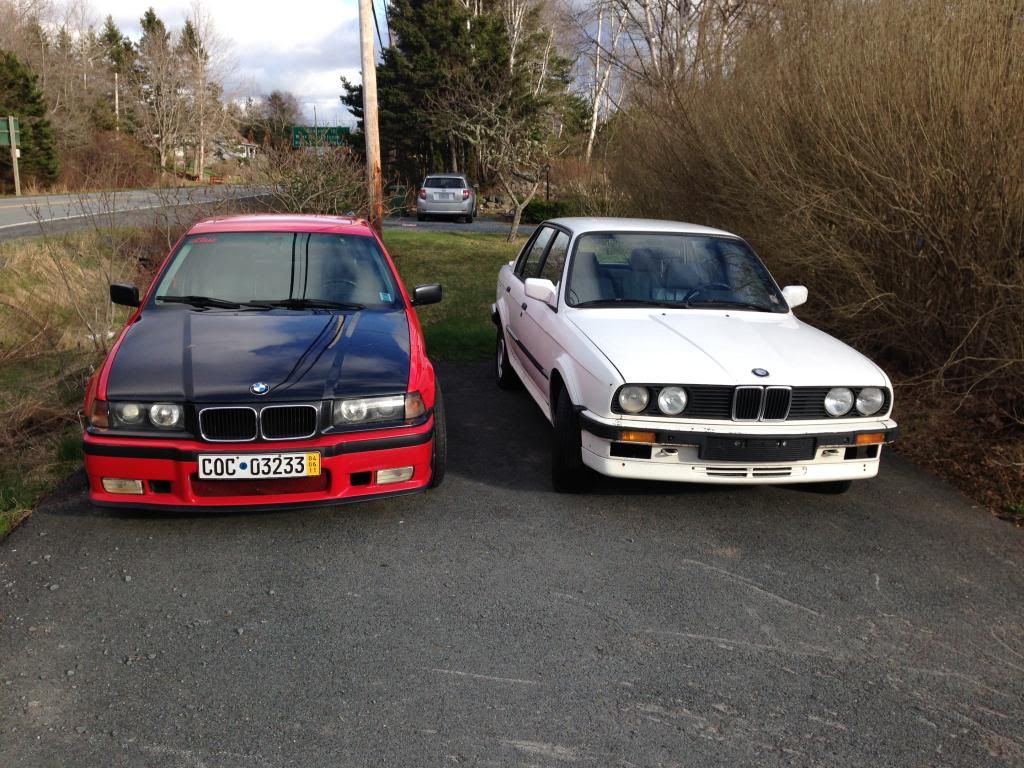
Oh this is my buddies euro e30 Sewing Machine coming out
We pulled that out before I also decided to let my friend have that m30b28 in the original updates and put in his e30...I'm going to rebuild the original and put it back in! (Update the e30 now has an m62 non vanos and 6 speed!)

BBS rear spoiler


The old m30b28 528i engine. I have a later model 2.8 that will be going in. More on that later.

Rubinrot Metallic. I like this color, If I were to change it would be to black. Also the only rust I could find on this car is under that riveted plate, likewise on the other side.

Pulled off the front BBS valance for repairs. It was cracked about 3 times. Found a massive dent in the OEM valance. And in the front frame around the radiator. It will be fixed.


So off comes the valance. Dents were hammered out and smoothed with a bit of filler. Would have like to just find another, but that's not possible in my location.


Sneak peak of those wheels I mentioned earlier

The interior was the original cloth. Which was very rotten. And the front seats had sheepskin covers...Oh yes, its a 4 speed:buttrock haha.

Manual sunroof FTW

So a couple weeks later an advertisement came up for an e28 part out. Went to check it out and he had some good stuff. He didn't know it though. A full leather interior, a full vinyl interior with power seats and windows. It was an eta engine in the car, but he had a spare m30b28 on a stand! Annnnnd a 5 spd close ratio dogleg transmission with a short shift kit. Oh and a spare 5 spd transmission. I picked all that up plus a bunch more engine and exterior parts including a fill set of door for $250. Turns out however it was not a dogleg. Test fitted the rear leather right away:

The 5spd. Yea, Im not keeping that knob...


Alright alright, on to the wheels.


Yep a sweet set of 16x8 et11 Rial Mesh wheels from the 80's. Really nice look on this car. Picked em for $300. Onto the engine, Valve cover off, looks alright.


Carbon buildup. Looks like the entire engine was torn down before, because there is RTV on EVERYTHING. Literally every seam has copious amounts of

Oil pan off


Head on the shop table, ready for being torn down,

Time to dive in

There they are!

All apart, Ready for the parts cleaner!
 [/list]
Update. Lots of Update. When I first had the e12, I found an e28(mentioned earlier) with parts I could use for the e12. One of those parts were power windows. Yup, thats right, the e12 has power windows from an e28 now. Pretty straight forward swap, pull e28 windows out and put them in the e12 door, the bolt holes are all the same, no worries. The door needed a bit of working because the electrical connection hole was too small to get the connector through. The other scary part is cutting the door panels for the switches. 1. The first scary part being the purist in me hated cutting 35 year old door panels. 2. If I messed up, good luck on finding door panels in as good a shape. So once that was done, I went ahead and decided to pull all the seats out.

That was relatively easy compared to some I have done. Also found an old Kenwood amp under the passenger seat. I think it was like 260 watts. It matched the after market tape deck. So once the seats were out, naturally the carpet had to come out.

Also wasn't hard. Id like to find a good condition carpet, this one sucks. So if anyone knows of one....PM me. The floor looked good a bit of water underneath, but overall impressive for the age of the car.


What do people think, should I pull up that foam? Is there a generic type I can cut to fit in if I do? No rust. This never happens here. Ever.

Pouring over the Bentley e28 Manual. Had to figure out where the power window harness should splice into.
http://s1241.beta.photobucket.com/user/ ... 1.jpg.html
Pulled out some more random bits and pieces of trim etc. The dash will be coming out so I can fix the cracks as well. The I decided it was time for the engine to come out. So I prepped it to come out. Some of these are meaningless photos to you I'm sure, but they are more for me to know how to put stuff back together.
http://s1241.beta.photobucket.com/user/ ... 2.jpg.html


Pulled this hulking mass out. Whats a good alternative to this stock pipe. Straight pipe, but I don't want that much noise...Suggestions?

I finally took it out last night. What a horrible pain in the ass. It has to be one of the worst BMW engines to pull out. It has to get about 7 feet in the air to clear the front rad support, you cant have the car on the ground and you cant lower the car down until the engine is almost all the way out, otherwise the car rests on the engine hoist. So the front of the engine is 7ft in the air and the transmission is down on the ground. We were leveling it with ratchet straps, which works 10x better than an engine leveler. Trust me. So it was all the way out, we pretty much had to lift the back end up and push it out. And the engine decide to roll upside down mid air. It was secured enough that it didn't fall on the ground or kill anyone, but it was damn scary. Oh there's no lifting hook on the front of the engine so we had to loop underneath.

Its as scary as it looks.

Horror movie style

Had to undo the shift lever to clear the tunnel

http://s1241.beta.photobucket.com/user/ ... 2.jpg.html
Oh this is my buddies euro e30 Sewing Machine coming out

We pulled that out before I also decided to let my friend have that m30b28 in the original updates and put in his e30...I'm going to rebuild the original and put it back in! (Update the e30 now has an m62 non vanos and 6 speed!)
