I've followed these resources as guides, https://www.1988bmwm5.com/replace-cracked-dashboard/ and http://home.insightbb.com/~todd.kenyon/dash.htm. If you see repeat images on my post from the previous threads, it's because I did this job single handedly and taking pictures fell to the wayside out of frustration.
Tools Needed:
-Small and large Phillips head screw drivers.
-8mm-12mm sockets, 20mm for Steering wheel
-Trim Removal Tools (not necessary, but less likely to damage brittle plastic)
-303 protectant or any other detailing spray
-patience
-Zip Lock bags
-Long Screwdriver/socket extension/anything relatively long and slender.
REMOVAL
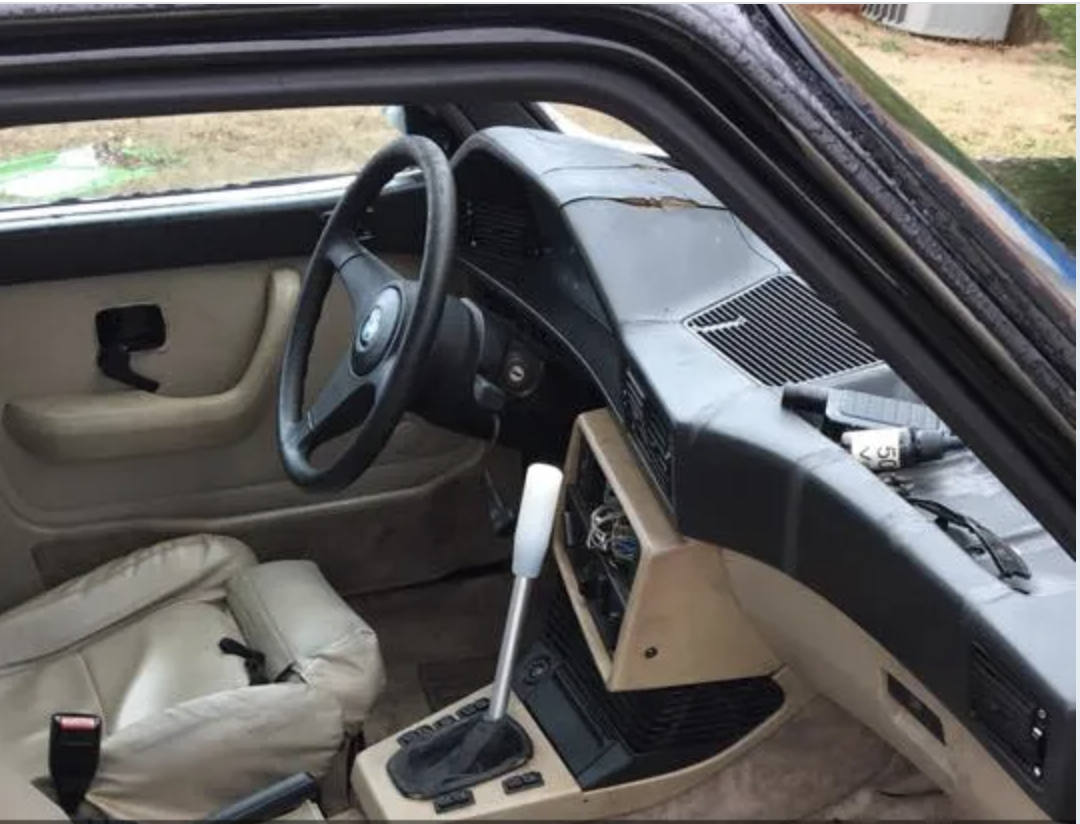
1). Remove Steering Wheel: Remove center steering wheel. It will just slide off, and disconnect horn connections. I know, I know, you dont have to remove the steering wheel. The dash and the speedometer come out with it in. BUT, if you don't take it out, it is more flex and contortion on the new dash which I assume is in better shape than your existing dash. But hey, if you want to ruin a $1k dollar dash because you need to save literally 45 seconds that's on you.
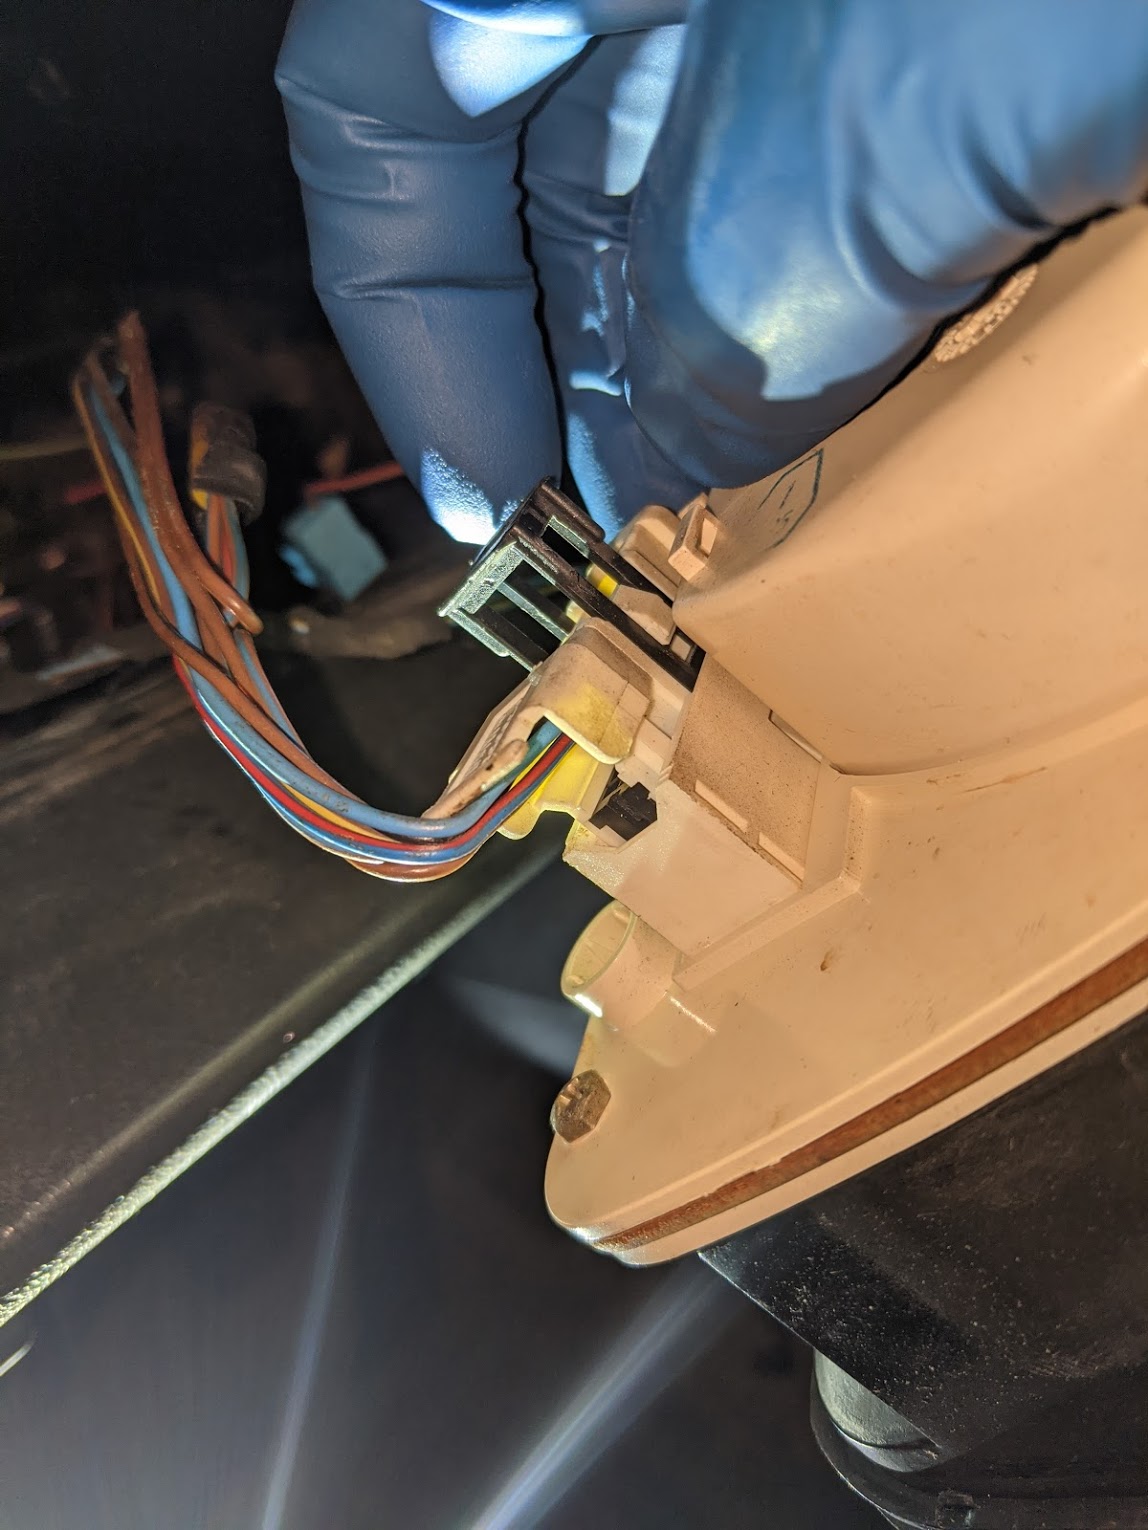
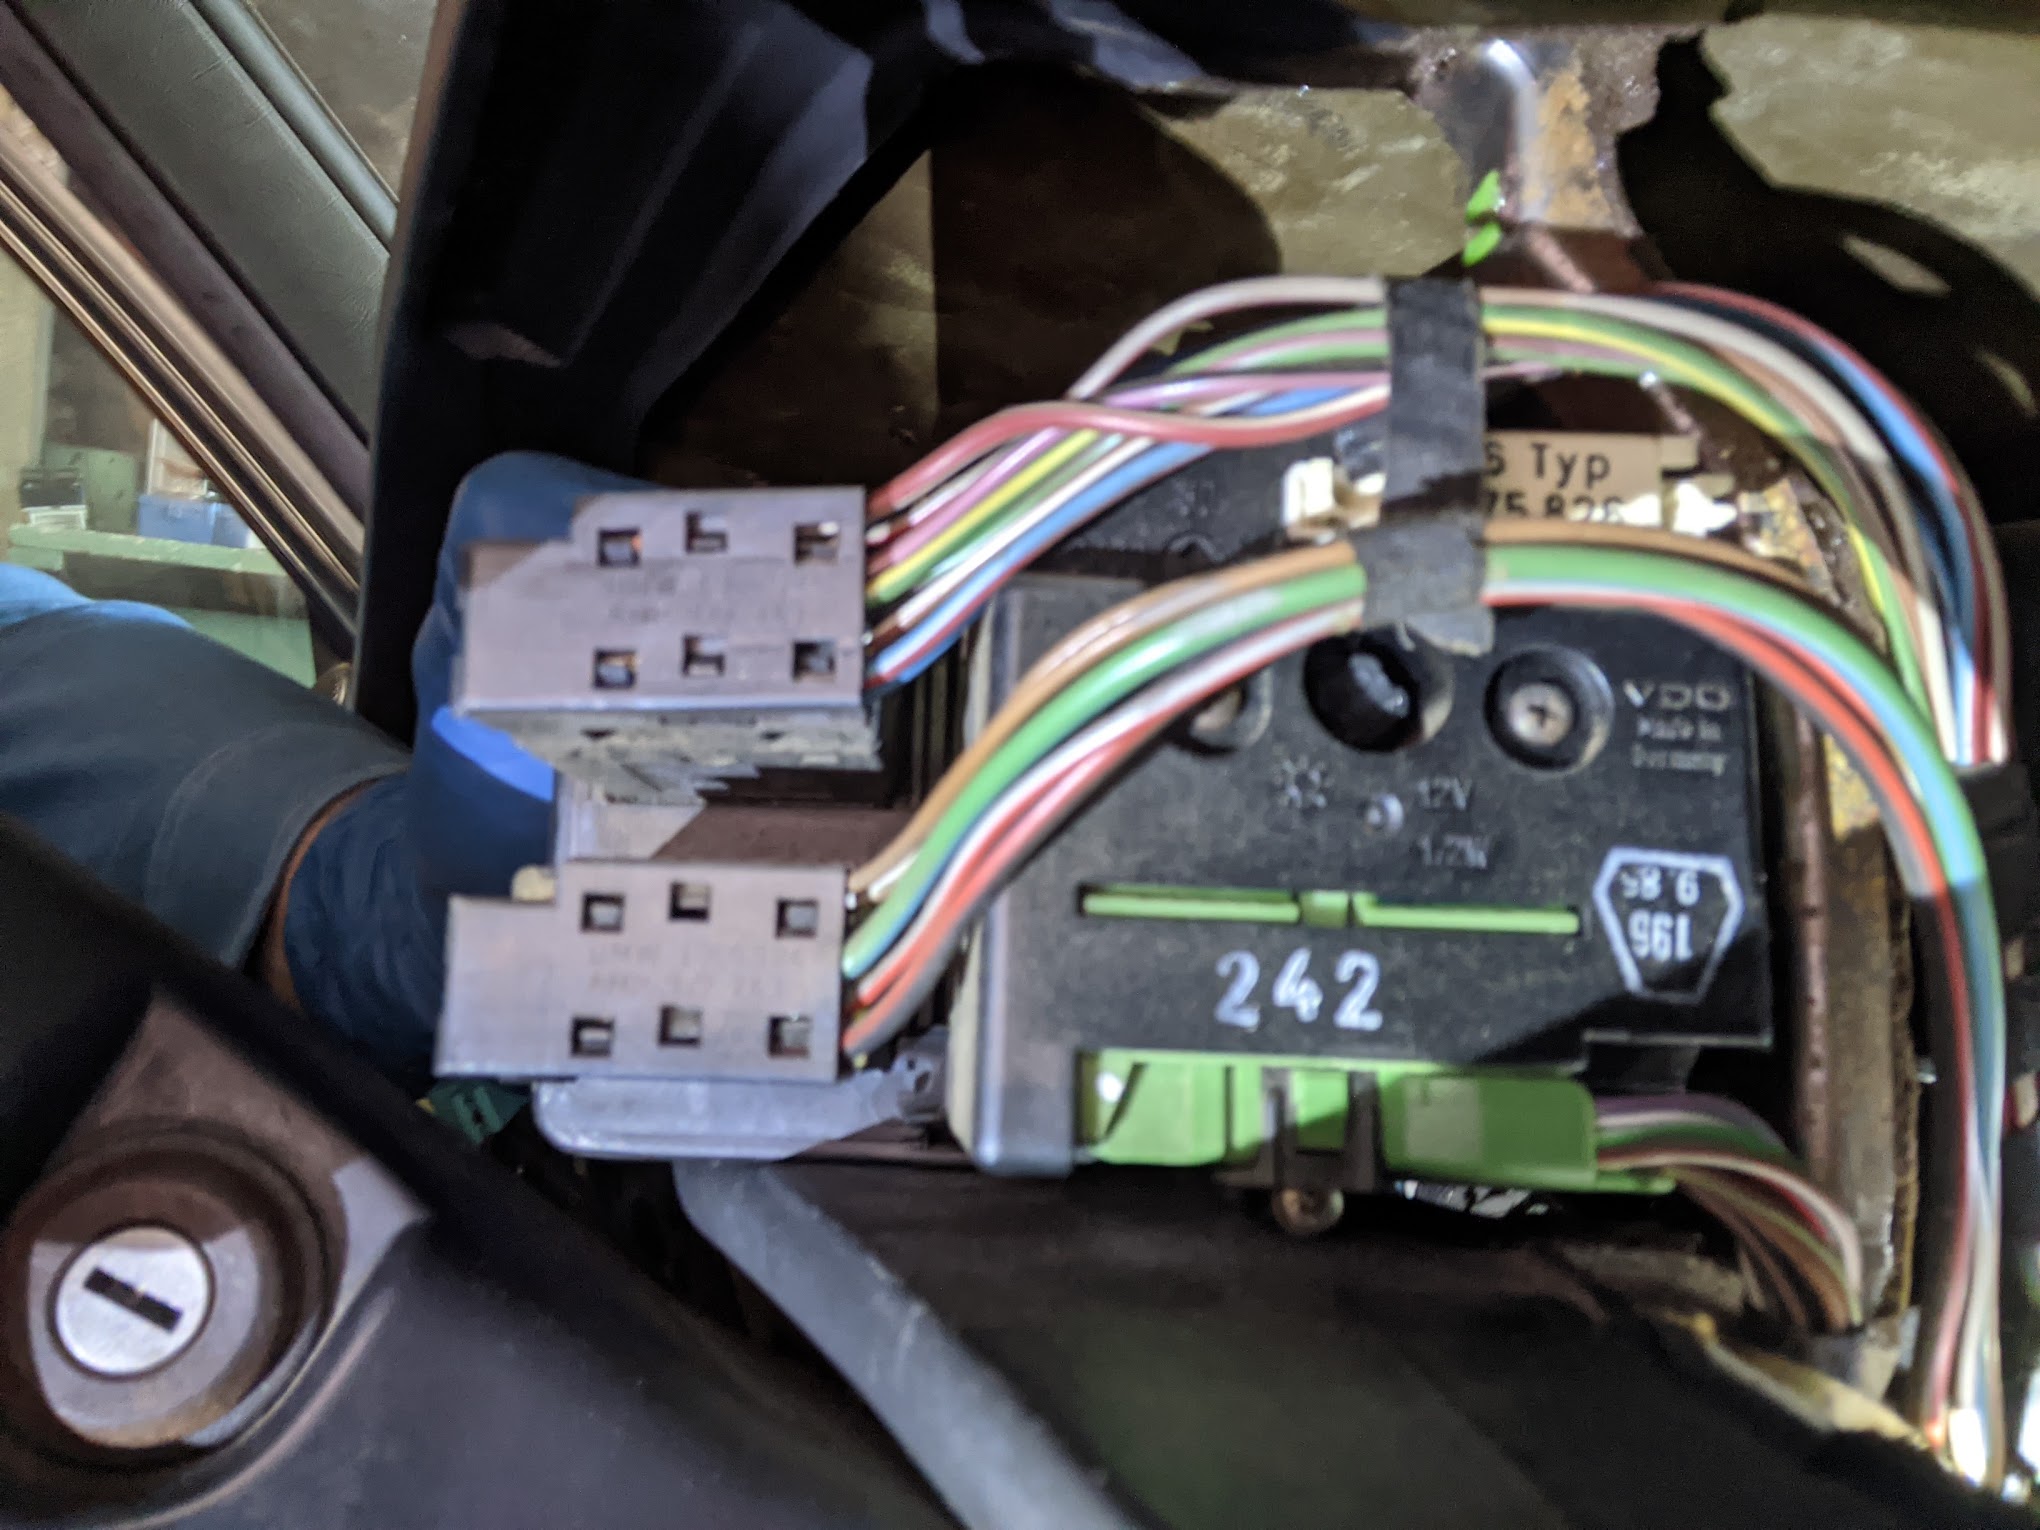
2). Remove Speedometer and OBC: Two screws on the top of the speedometer and gently pry out. Having your steering wheel removed makes this easier #soapbox. Remove the left connector first, gently angle the speedometer into the dash, exposing the left side. Pry the black connector harness up with a flat head screwdriver. GENTLY. Remove the harness and the two small connections. There will be two smaller clips below them which are blue. Remove them as well. Now rotate the speedometer to the left, exposing the two electrical harness on the right side. Same process, raise locking clip and remove. Gently remove all remaining connections for bulbs etc. Next remove the OBC. Two small phillips head screws hold this in. Raise the locking clip on the bottom (green harness) and 2x connectors. Label Ziplock bags with screw locations and place screws inside.
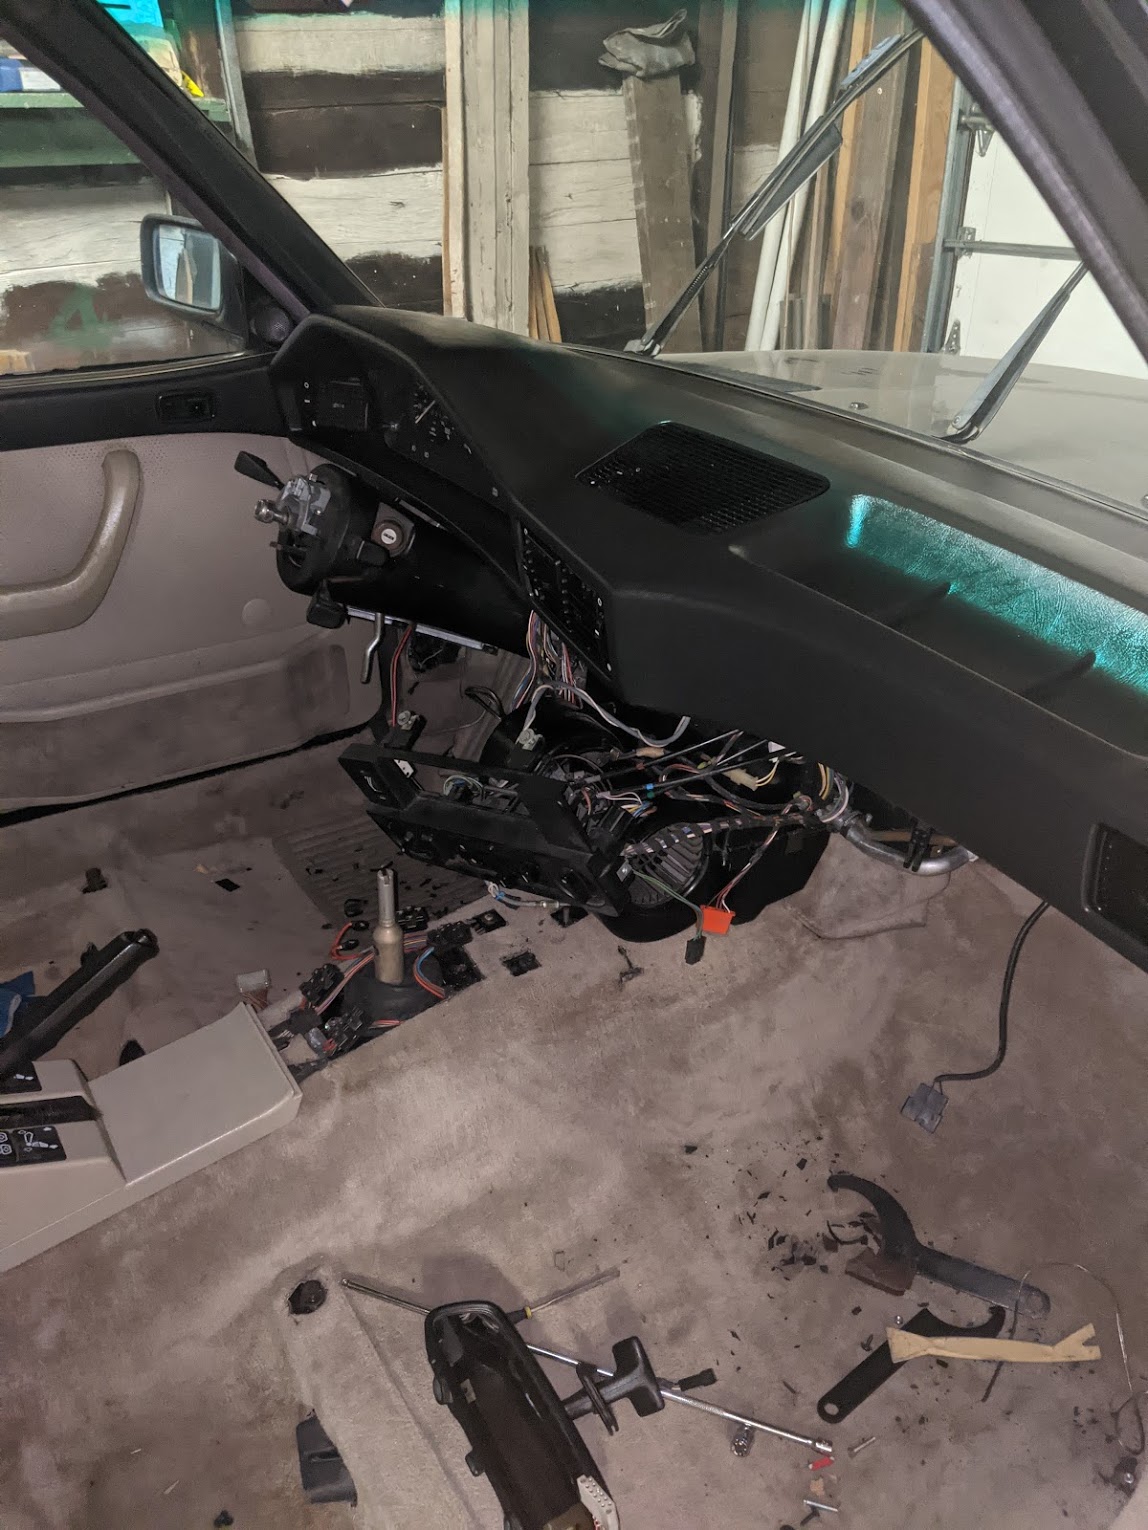
3). Remove Driver side steering wheel kick panel, glove box and radio/HVAC housings: Kick panel- A few screws securing to the dash. Disconnect breaker switch, Temperature module, etc. HVAC- Should be Two phillips head screws on both driver and passenger side as well as 2x 10mm bolts securing them to the dash. I opted to remove my housing totally for a deep clean and crack repair. This is optional but I'm a firm believer in the more operating room the better. Your call. Set aside all bots in a labeled zip lock bag. Glove box- Step 1) Open the box. Step 2) Remove your junk from the box. Step 3). Unclip the box. Step 4). That's how you remove the box. Step 5). unbolt the dash from the upper glove box securing latch. 2x phillips head screws.
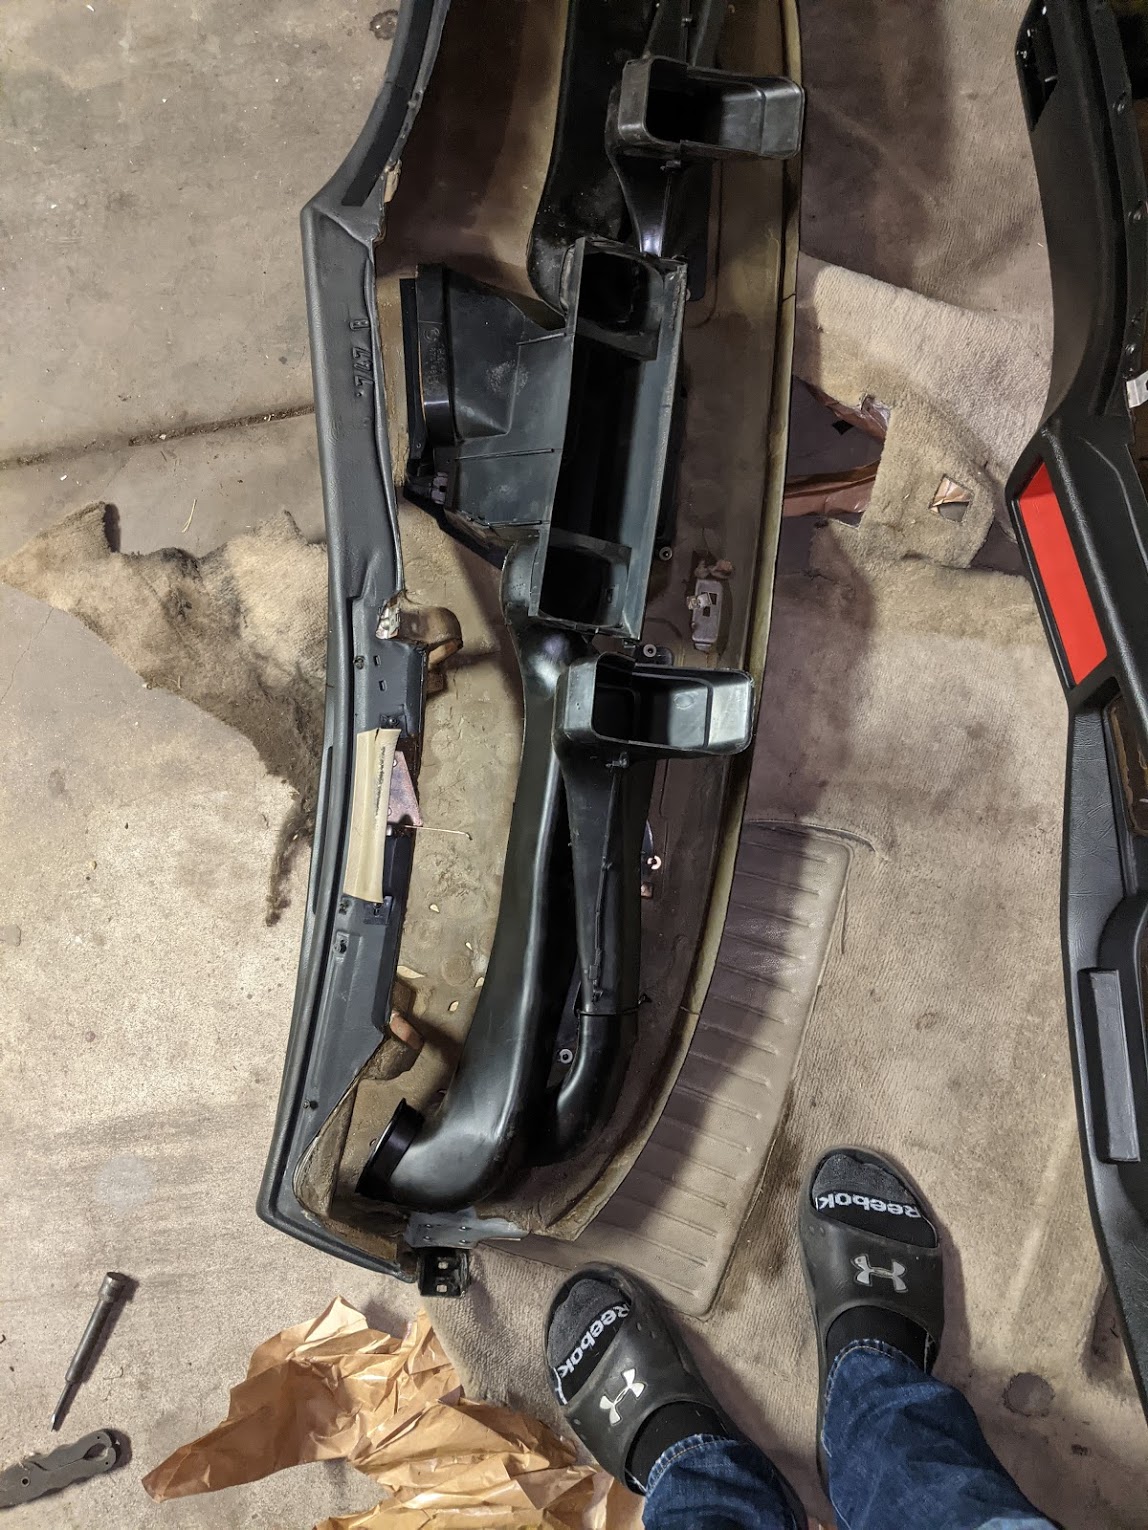
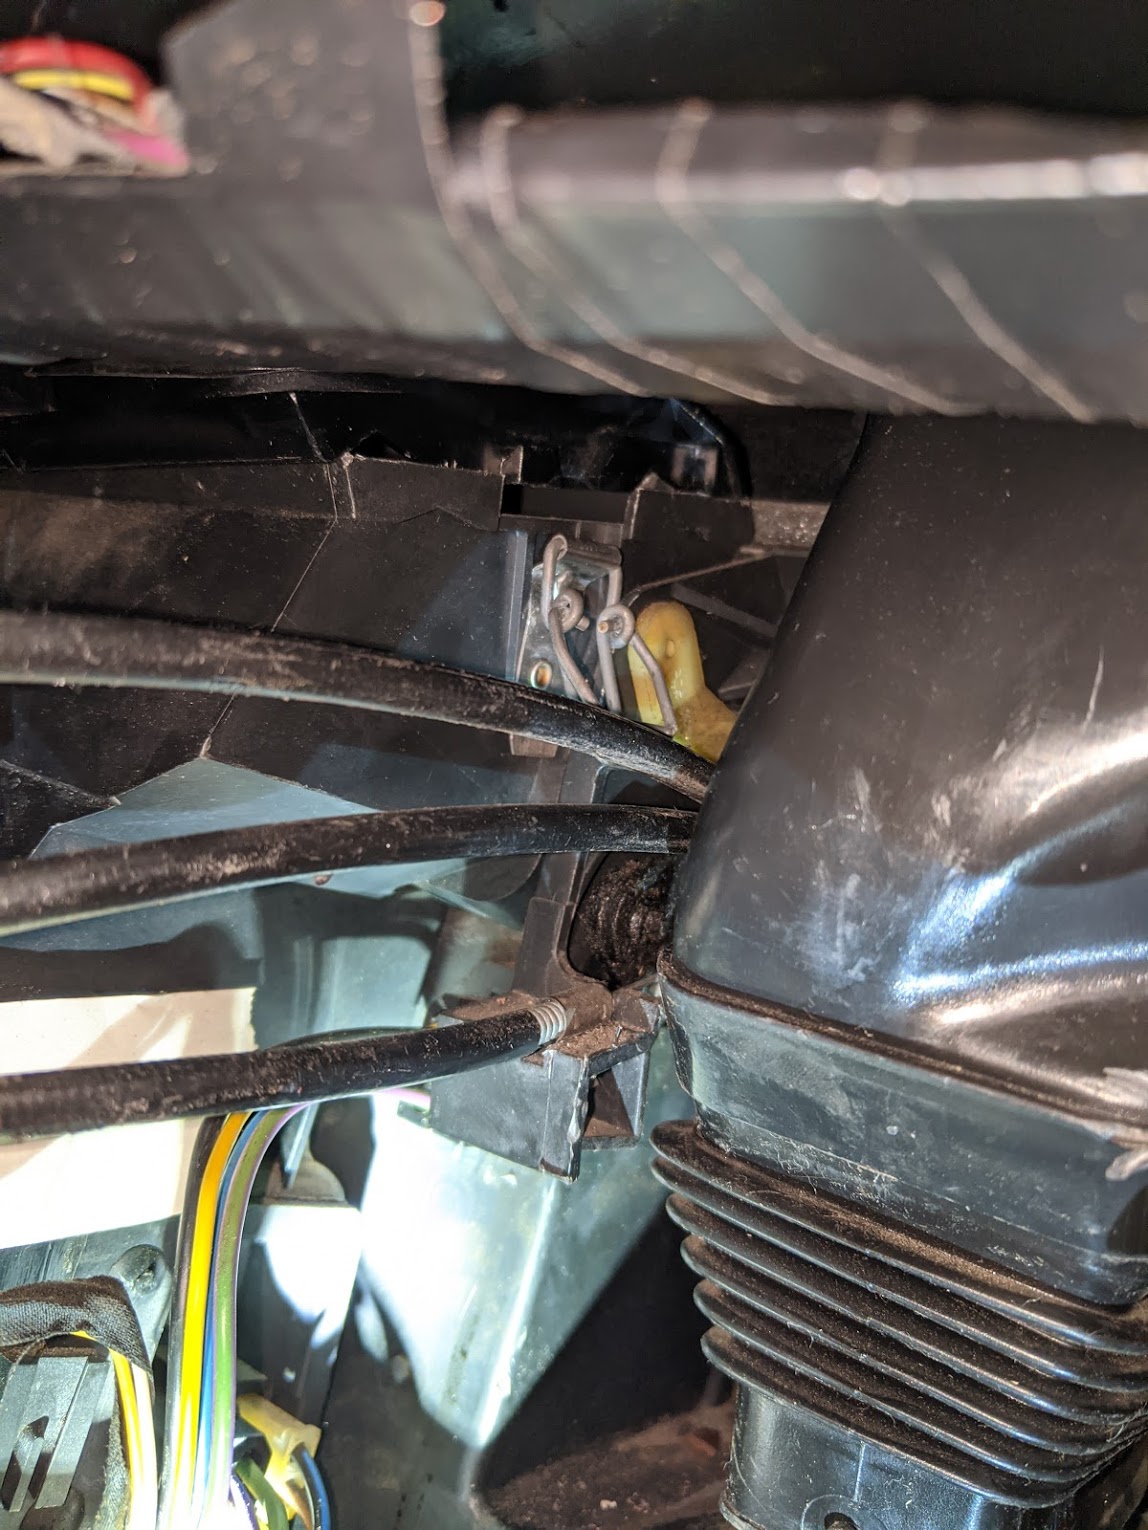
4). Now with the drivers kick panel and glove box removed, you should have access to the blower motor area and air box. There will be 2x metal locking clips. Unsecure these. Separate ducting from blower to dash.
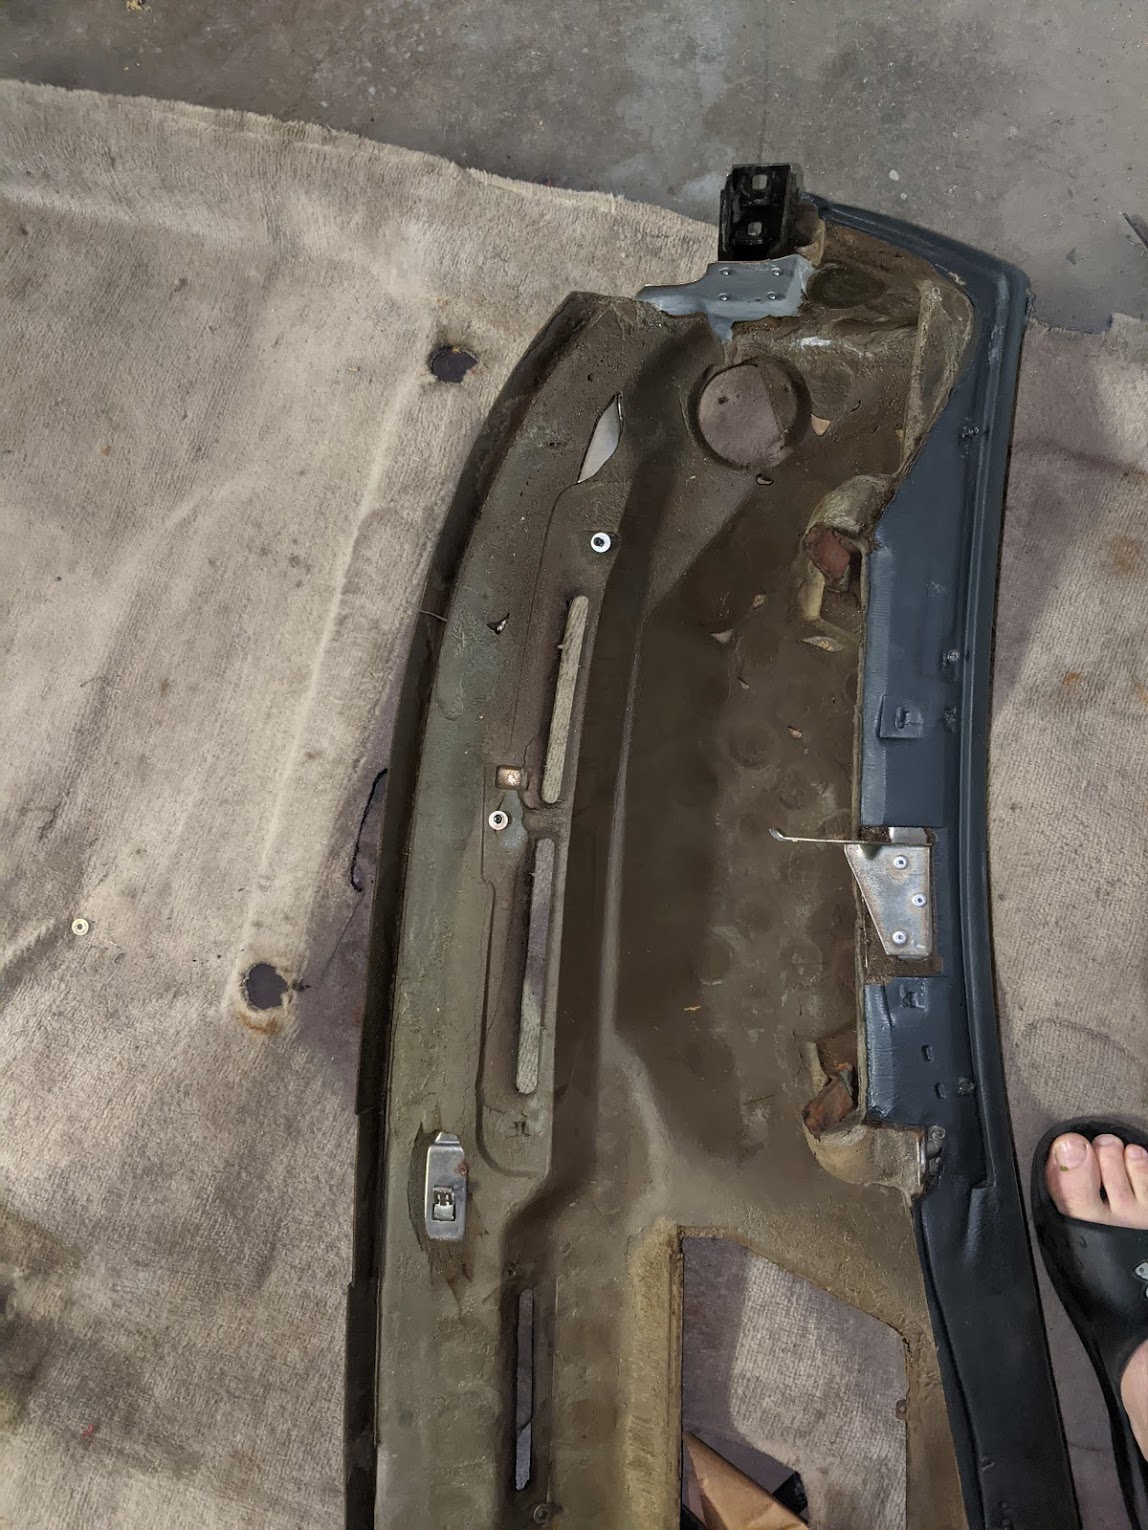
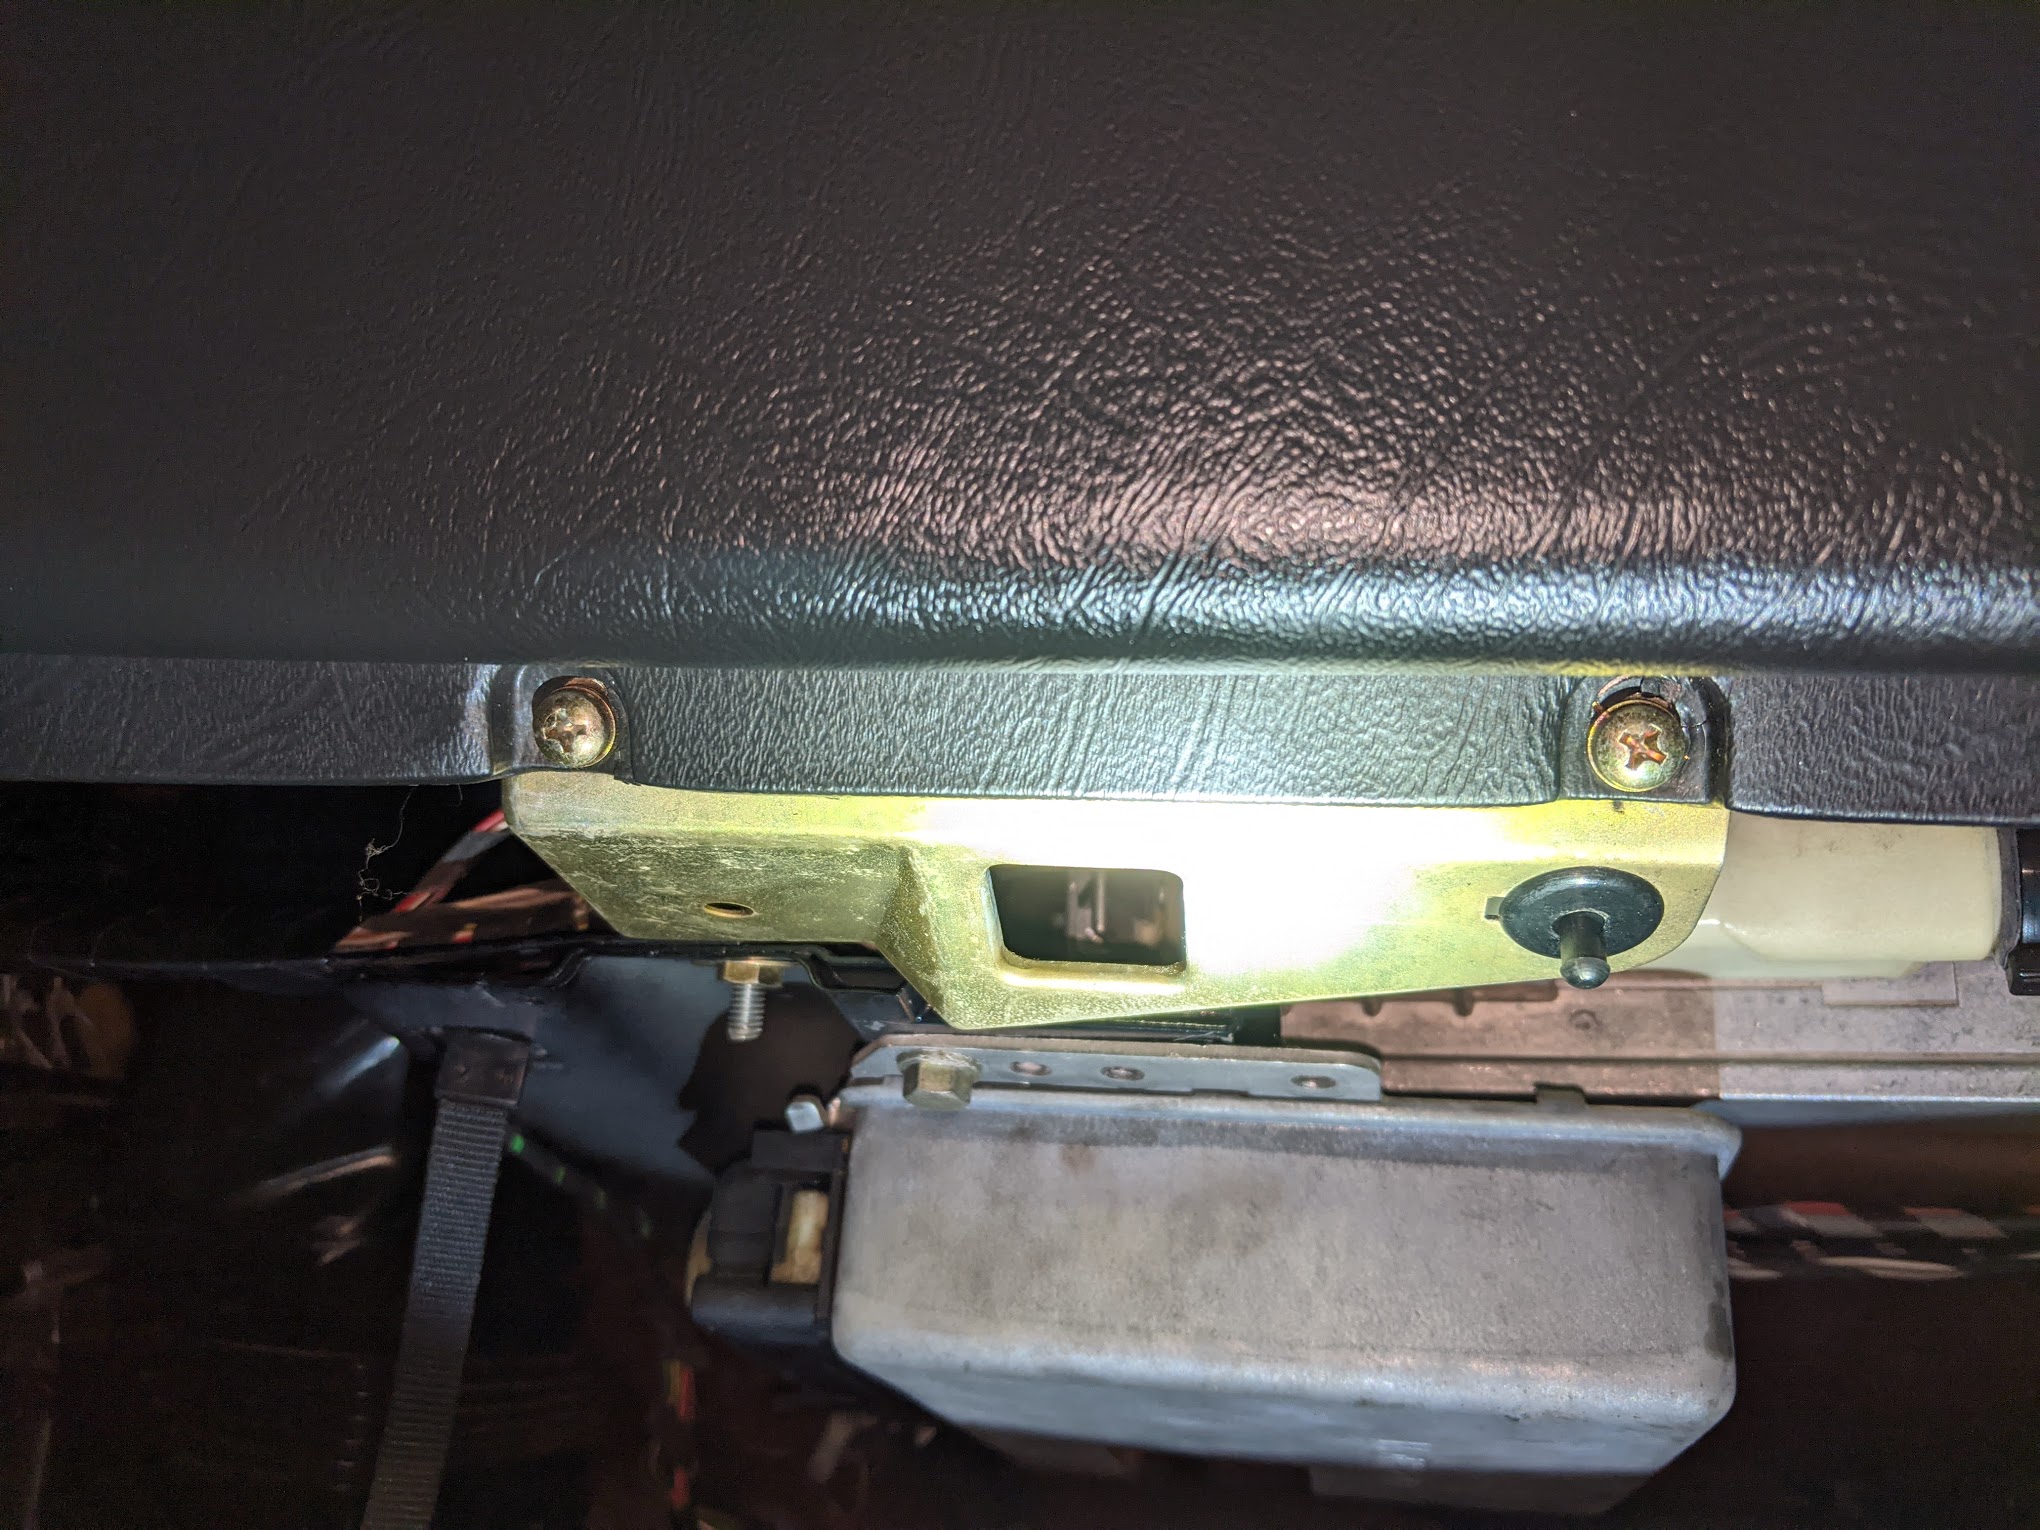
5). Unbolt dash securing brackets on either side of the car. 2x per side. Place bolts in ziplock bag, set aside.
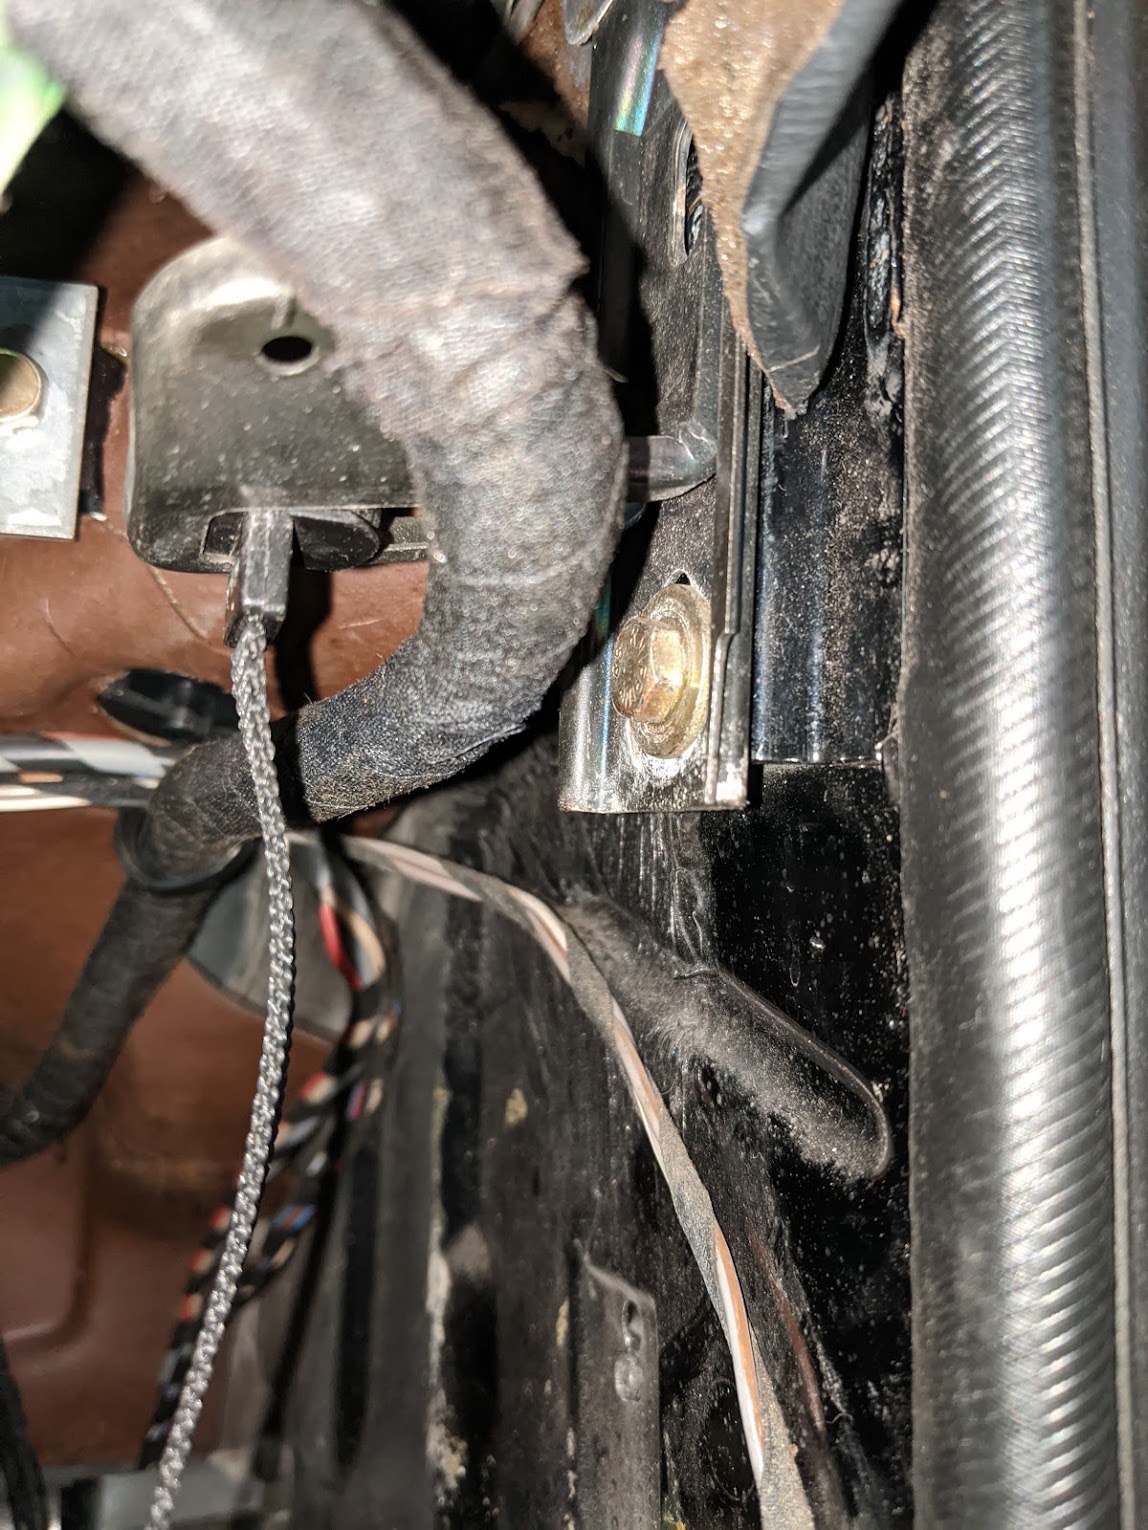
6). In your speedometer area, there is 1x bolt securing the dash to the bulkhead. Remove, label, bag, set aside.
6). Remove A-Pillar trim. Gently use a trim tool (no screwdriver, you animal), and pry away from the A Pillar. This is a great time to epoxy any cracks on the inside of the trim as well as a nice generous coat of 303 protectant or whatever you use to protect your 30 year old trim.
7). Remove vents. Place screws into labeled bags and set aside.
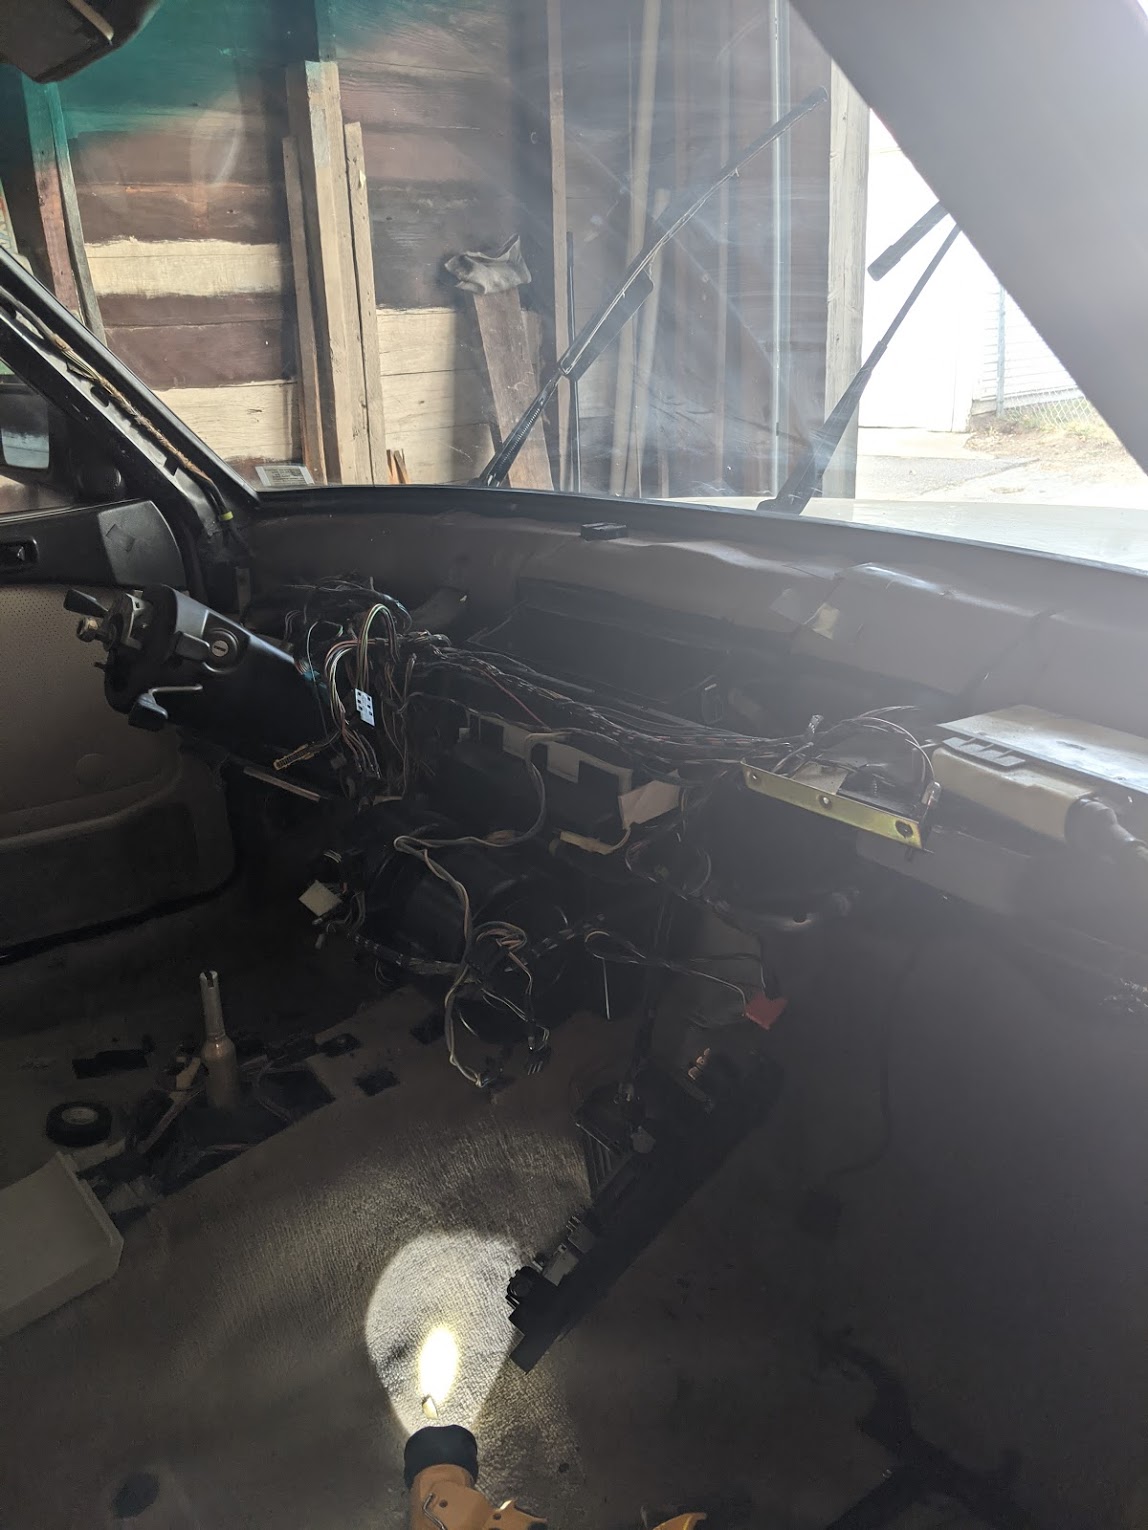
Now you're ready to start tugging. At this point it should be pretty loose. There is a clip, unseen when dash is installed, in the middle of the rear of the dash (At the windscreen). Pull towards the back of the car, and it should come free. Set the dash aside and cool off. Installation is far more difficult than removal.
At this point, I placed my new dash on saw horses and sprayed a liberal amount of vinyl dash protectant and cleaned it up. I removed all the dash vents and placed them into plastic bin and sprayed them with air to remove 30 years of dust and then soaked them in degreaser, rinsed them off, dried overnight and sprayed them down with vinyl protectant. They look brand new after this point.
By now you're probably riding a high and you're probably going to want to push forward to reinstall. I'd recommend otherwise. Take few minutes and clean your work area. Vacuum the floor boards because it is going to be dusty as hell. CLEAN YOUR WINDSCREEN. That area hasn't seen any love since ...well...ever. Set both your new dash and old dash (with ducting attached) and look at how its all attached.
In the areas with exposed wiring and the degraded electrical fabric tape, I went through and reapplied tape to secure unbundled wires to prevent any unnecessary cuts during reinstallation.