Page 1 of 1
Fix for slop in front drivers seat frame and motor?
Posted: Oct 19, 2011 9:52 AM
by GaAlpinaOwner
Yea I know, they all do it eventually. Mine moves about a 1/8 inch to 1/4 inch back and forth and the right side even more, and it is irritating to say the least.
I have determined the gear in the motor and the gear in the frame both have wear and I may need to find a replacement pin for the right side of the frame. Problem - no new replacement parts. Lots of used motors and other parts but the chance of wear on these is about 90%.
Seems to me there was some fix a while back using shims or ?
What have you experts done to remedy the slop in these power seats? Can they be fixed? Who is the Seat Meister?
thanks
David
Posted: Oct 19, 2011 1:32 PM
by Mab1957
Posted: Oct 19, 2011 2:48 PM
by GaAlpinaOwner
Thanks Matt I have this - but because most ,if not all of this is NLA, it does little to help.
Posted: Oct 19, 2011 8:37 PM
by Mab1957
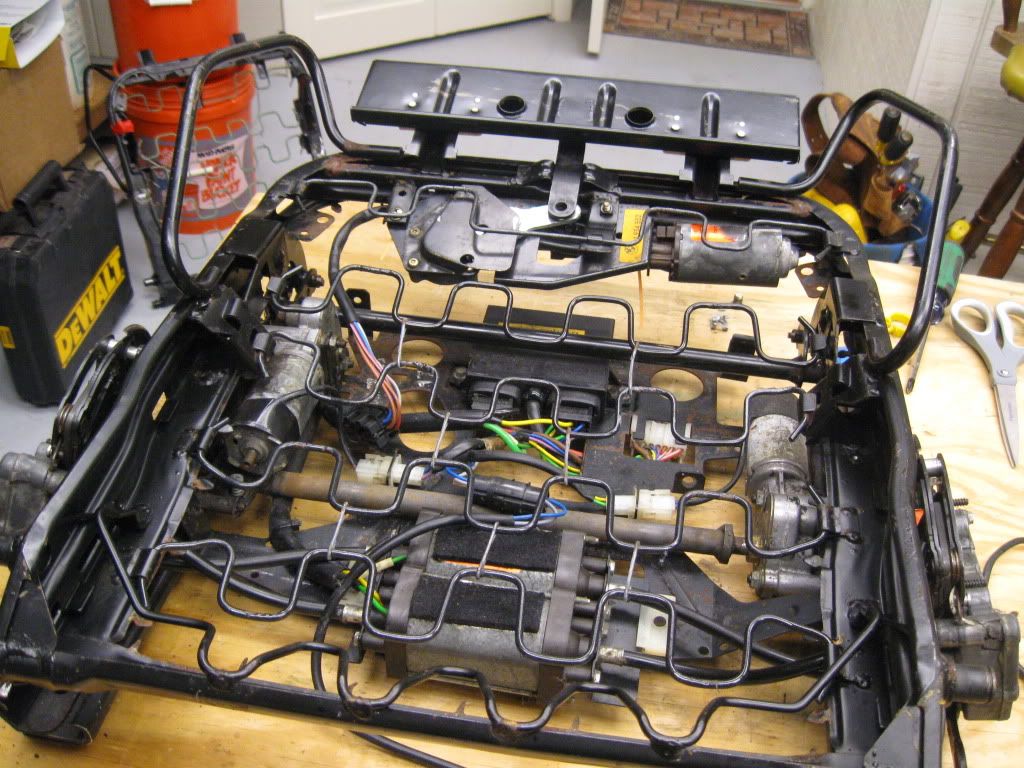
I've got two seats apart right now and am watching to see what we learn from those who've gone before. Mine are completely uncovered, apart, so I can inspect these individual parts to look for areas of wear or breakage. Is the "shim" #15 possibly the culprit with the sloppy movement?
Posted: Oct 19, 2011 10:03 PM
by Kyle in NO
From my experience, if the setback and gearboxes are attached properly, most of the movement is due to wear at the pivot points for the height adjustment. If you will notice, nearly ALL of the slop goes away when the seat is as high or as low as it will go and binds the mechanism.
Posted: Oct 24, 2011 4:06 PM
by M5BB
Mine wobbles some too David.
I took it (the seat) out one day and tightened up some bolts and checked everything and it is better.
I remember tightening something in the hinge area where the back and bottom connect.
Not much help am I............
Gary
Posted: Oct 27, 2011 9:24 PM
by Mab1957
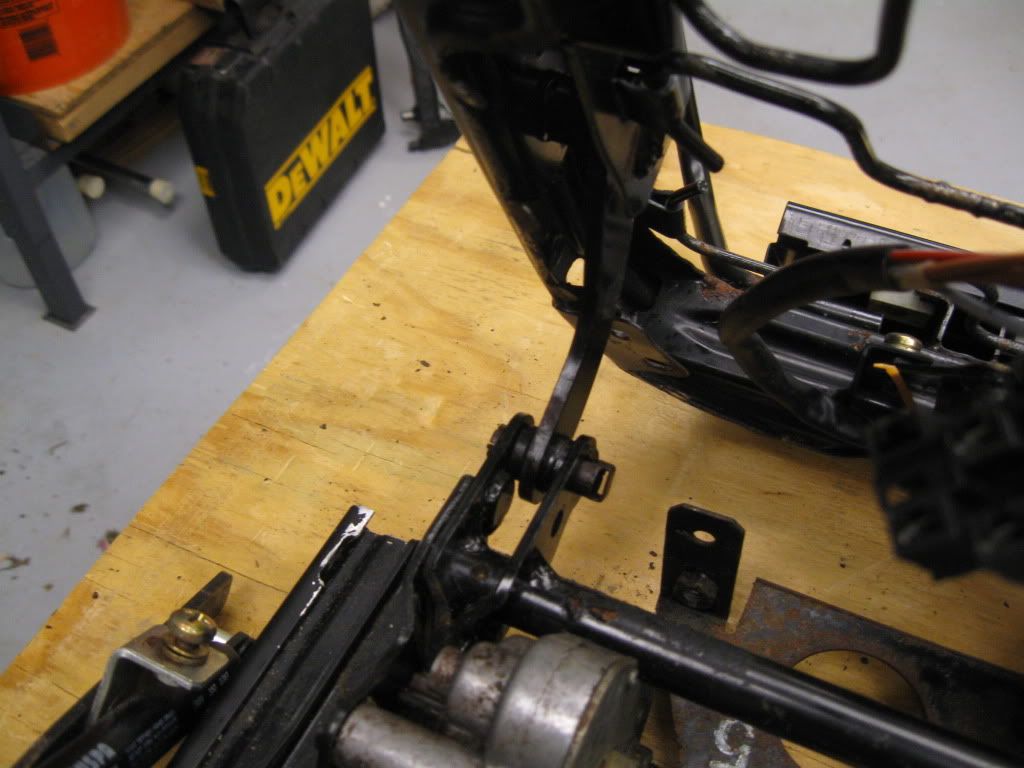
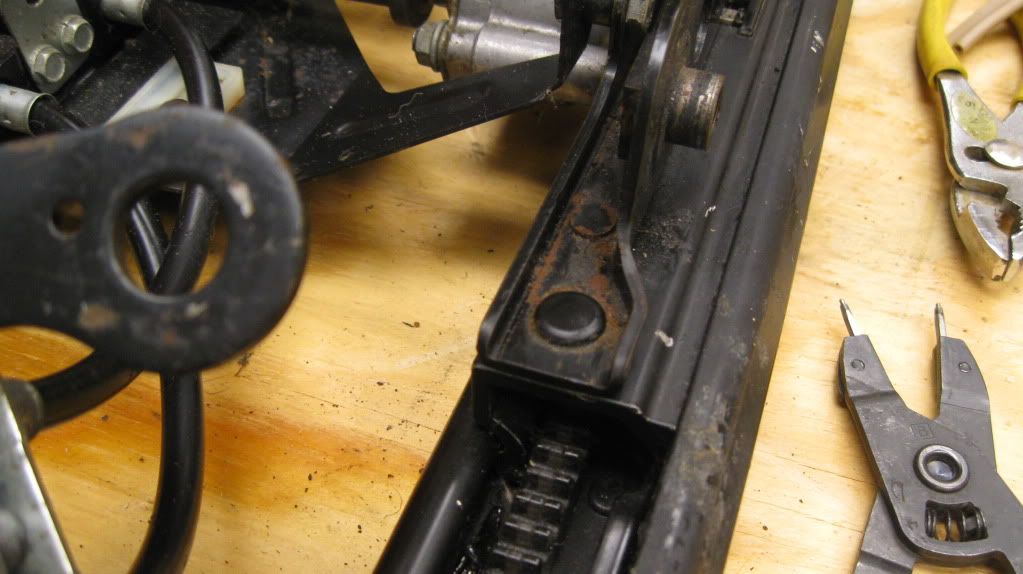
I looked at my seats while disassembled for upholstery. The hinges don't appear to have the capacity for the play you describe. I think the weak point in this sport seat assembly is the forward hinge and bearing pins on the seat. That'd explain in part the scenario Kyle describes (full down and full up the hinges are out of play, but in between the bearing pins need to have strength). Here's a picture of the forward lower bearing pins and points.
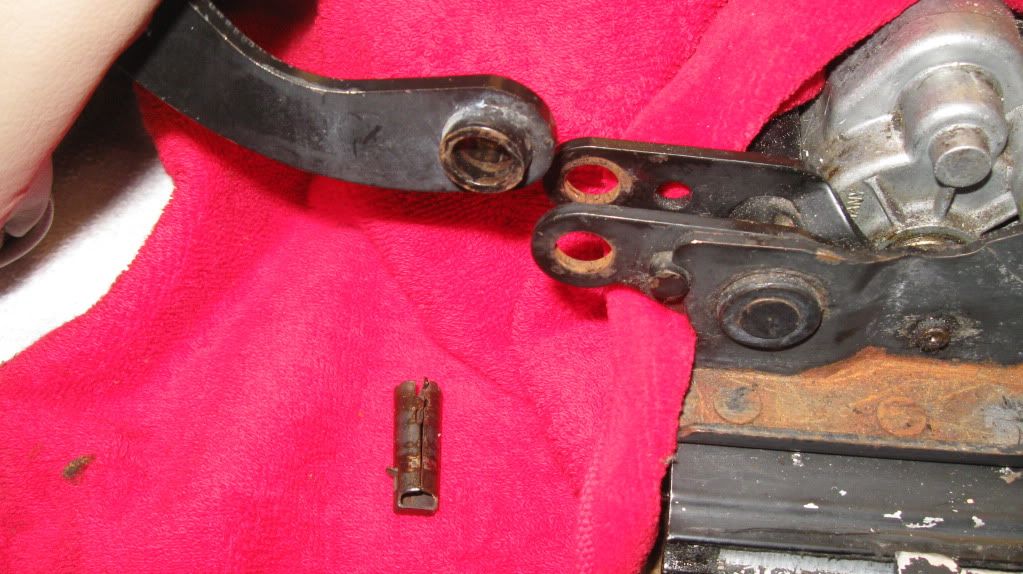
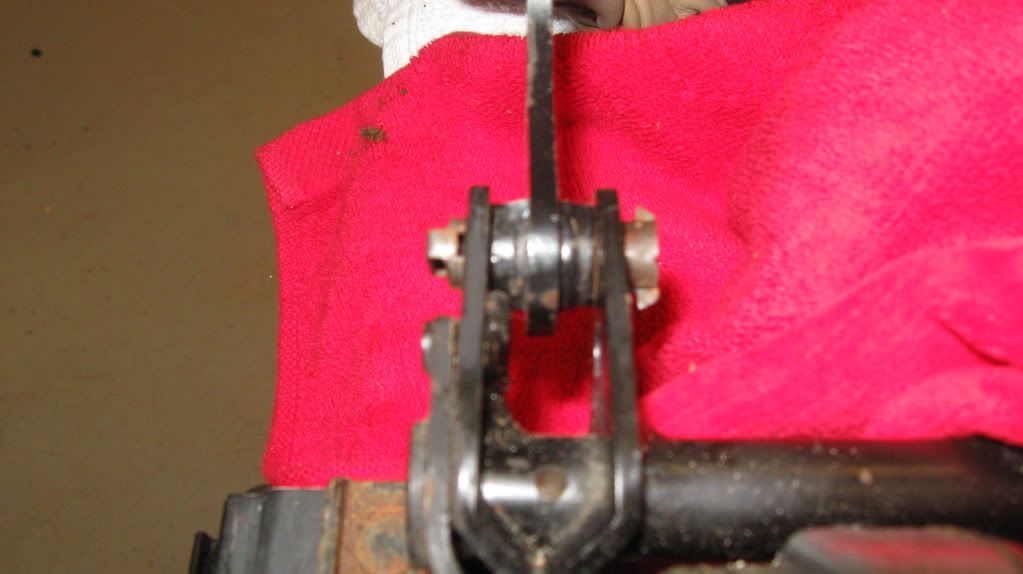
These steel pins and their bearing surfaces seem the logical point of failure to me.
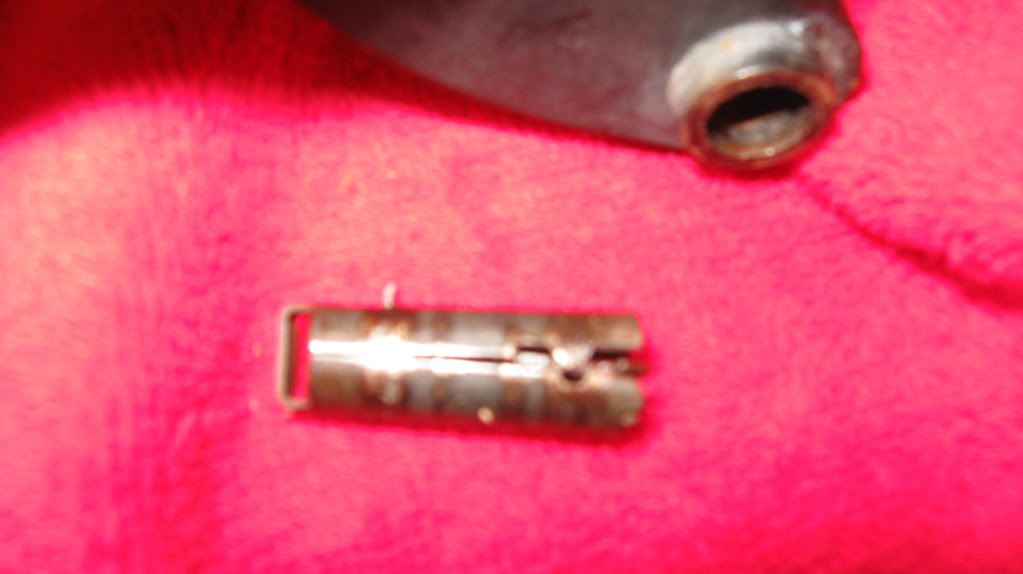
If you remove your seat from the car then disassemble the back from the base (see Chris' description
here it is relatively easy to pull off the hinges then raise the seat bottom/tilt it forward to see if these forward bearing pins or surfaces are damaged.
The hinge (rear on the seat frame) mounting points appear to be quite strong, and the only hardware holding them in place is the seat belt bolt and circlip.
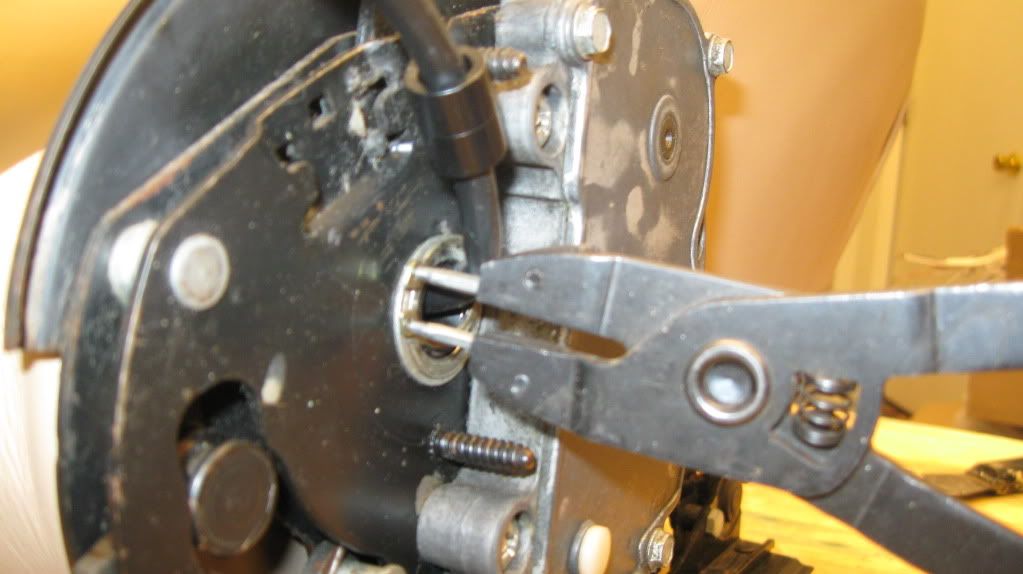
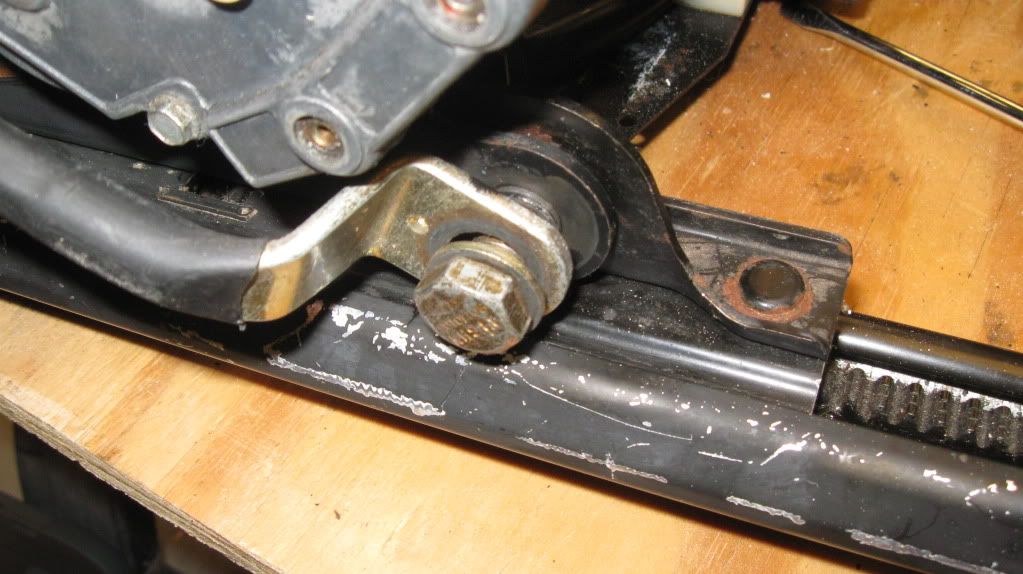
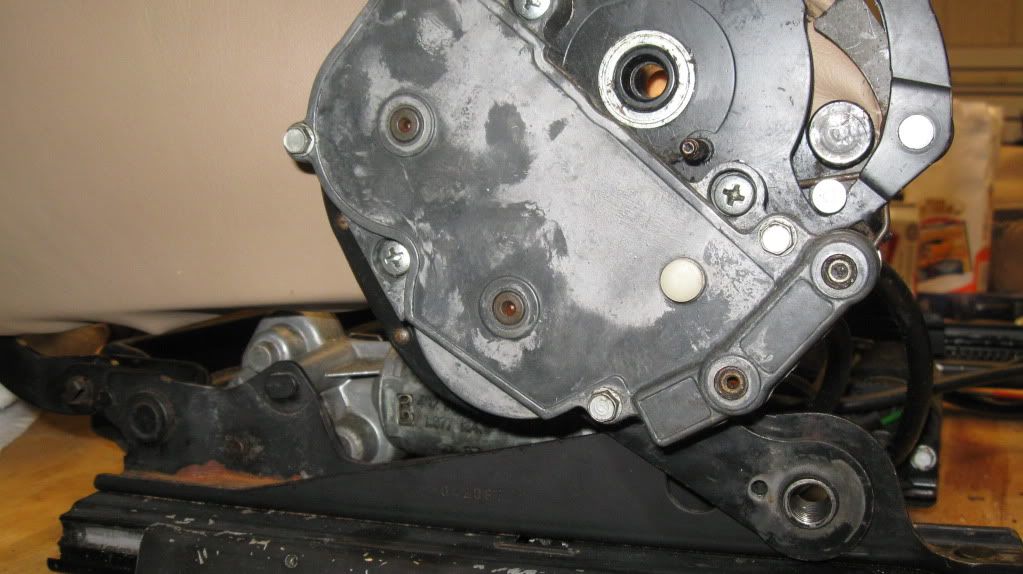
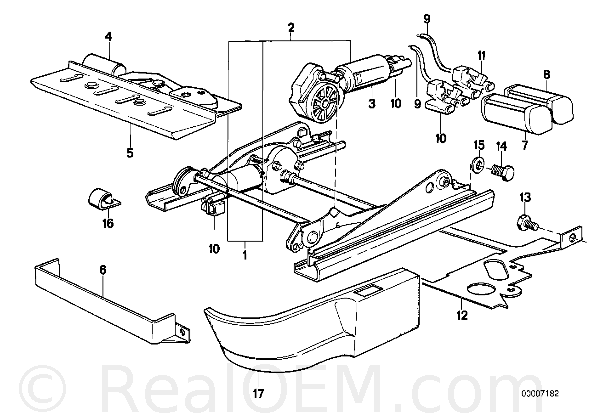
The support frame bolts with the shim I see in the diagram #14, 15 won't cause the movement you describe.
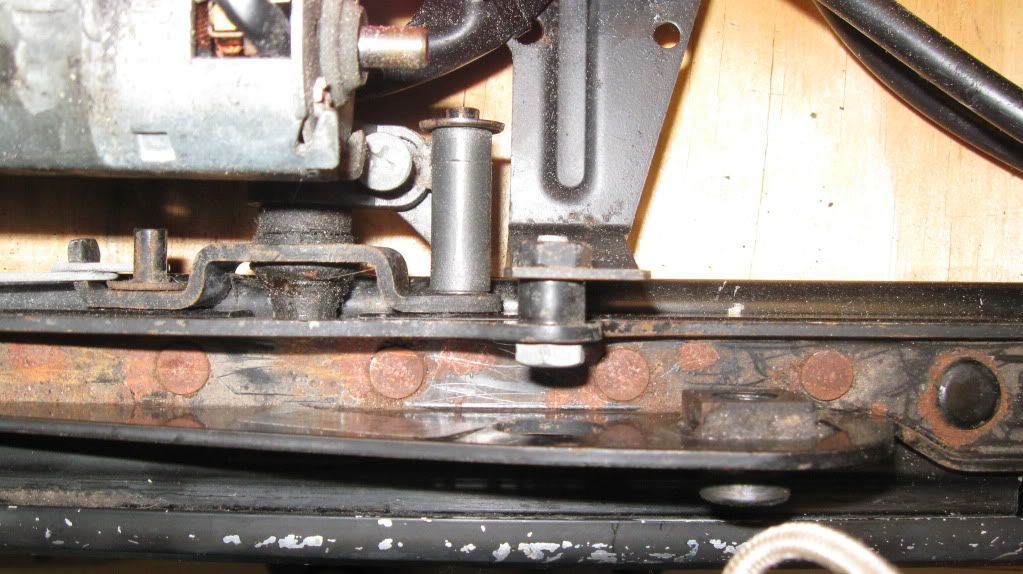
The vertical seat adjuster and shaft #2 are really quite solid.
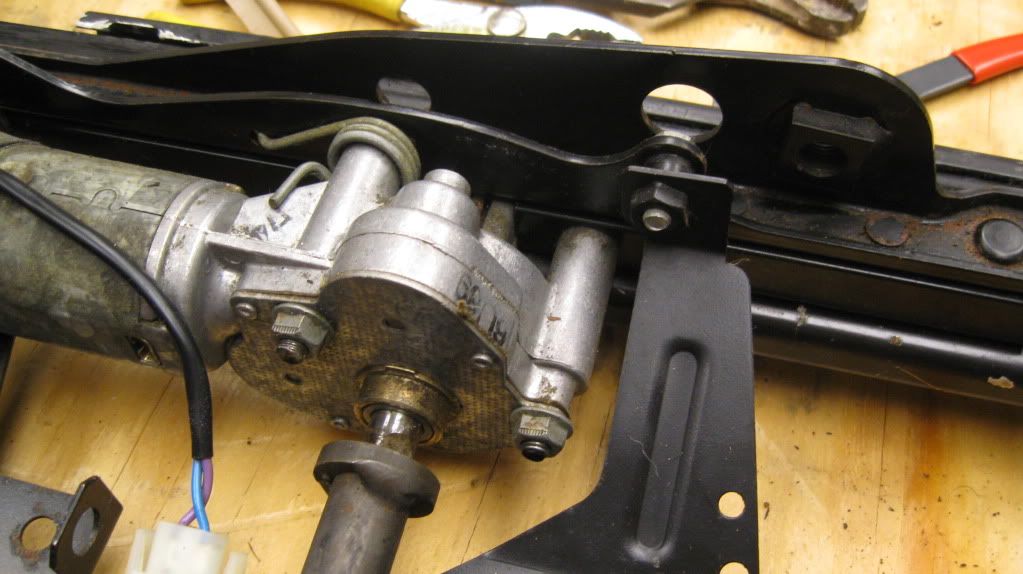
I don't see these steel bearing pins in one of the RealOEM diagrams. We may need assistance from Bryan to identify them for replacements. Could be that it is #8 in this diagram, but these have an integrated spring, not a circlip or ering fastener.
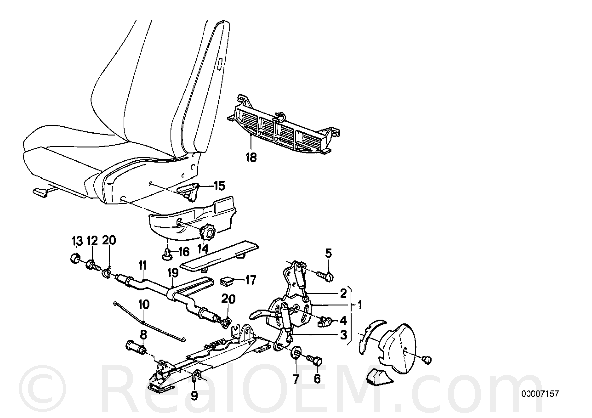
I hope this helps, don't know what else it could be unless your frames are cracked/broken. Len and I both had to resolve that by disassembling the entire seat and doing some welding. Let us know what you learn.
Posted: Oct 28, 2011 7:35 AM
by MicahO
Excellent detail pictures Matt. Thanks very much. I'll be taking my seats apart soon (at least, I will if my materials ever make an appearance

) and I'm hoping to resolve some slop at that time. This whole discussion will be invaluable.
Posted: Oct 28, 2011 1:44 PM
by GaAlpinaOwner
Me to - thanks for posting this-
looks like time to find replacement pins
Posted: Oct 28, 2011 5:14 PM
by mooseheadm5
If you can't find replacement pins that tighten it up, let me know and maybe we can order a bulk box of shouldered bolts and a reamer and just pass the kit around.
Posted: Oct 29, 2011 10:05 AM
by Mab1957
I will take you up on your offer. As you already probably know there at Moosehead Engineering, the forward upper mounting pins are shoulder bolts. That is where the slop is really evident in my driver seat frame.
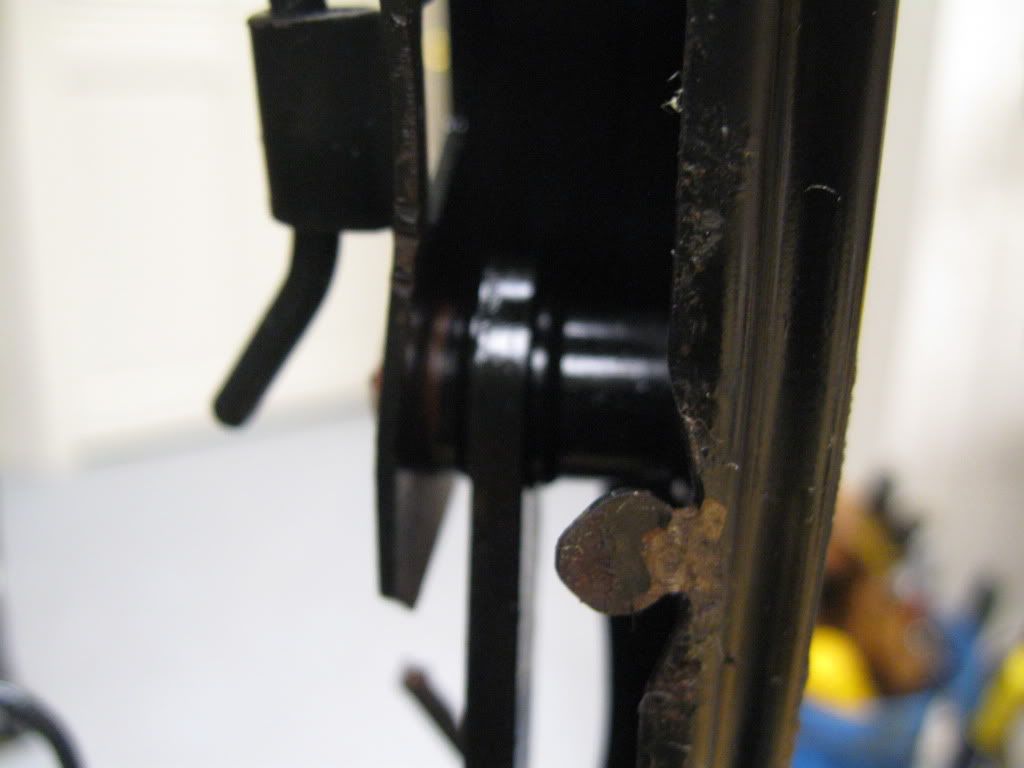
The upper forward hinge point
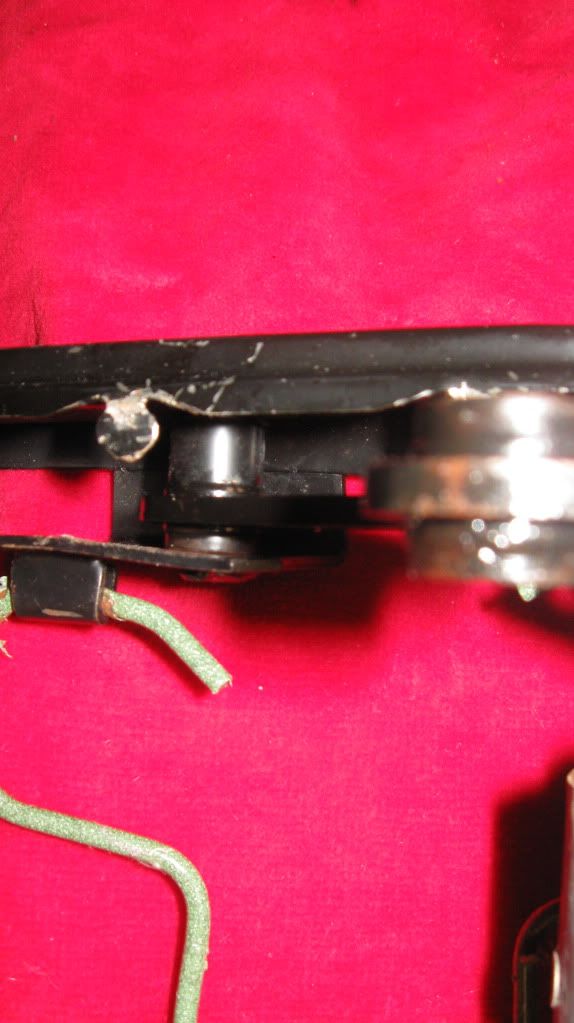
is a shoulder bolt that is welded to the frame after running through the hinge bearing point
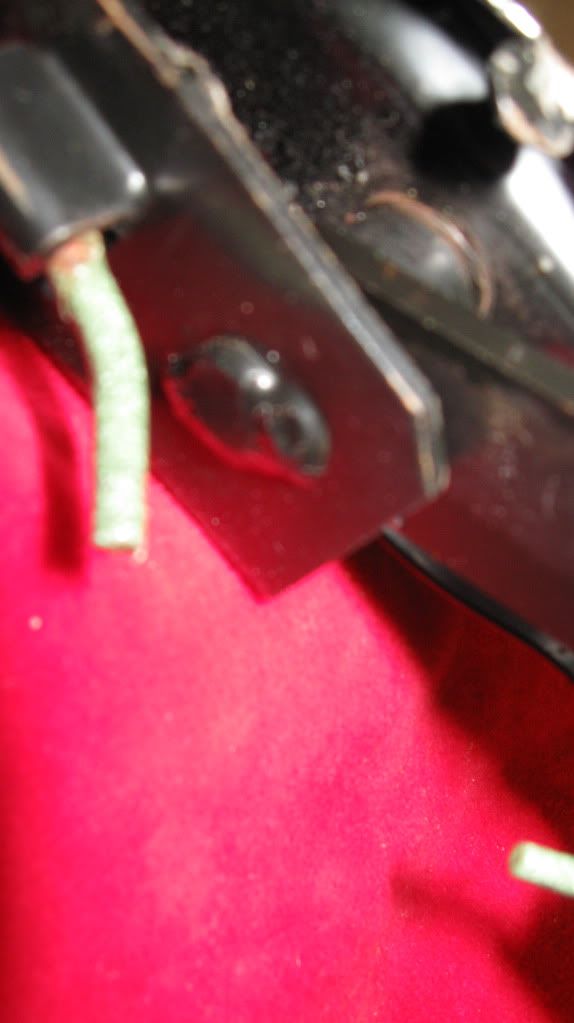
The type of sloppy movement GAAlpina Owner describes is clearly evident here. No doubt the same fat ass driver (FAD) that broke the frame put a lot of stress on this hinge point.
Not a great pair of pictures but look at the gap between the hinge and the frame. I hold the hinge outward
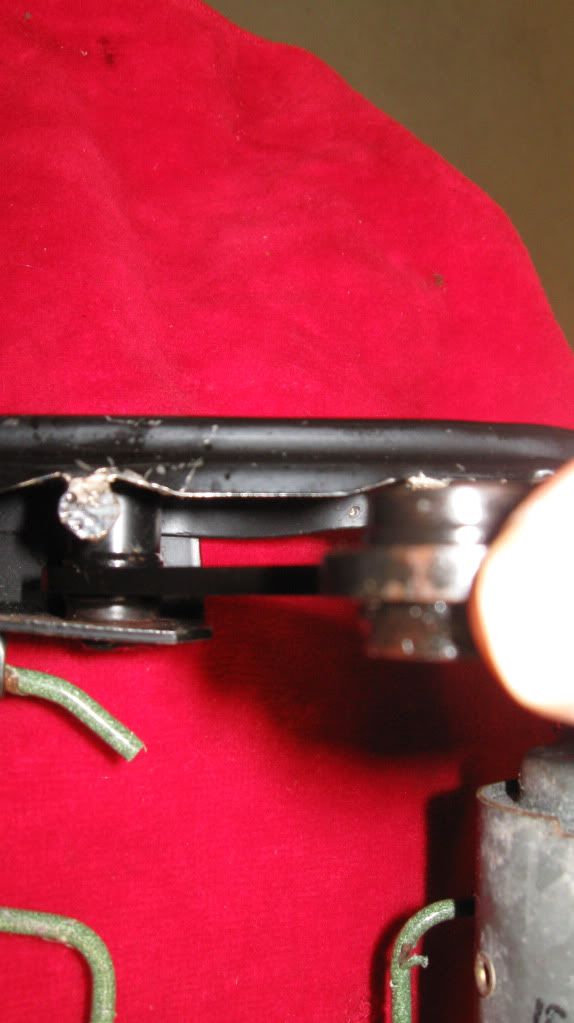
and inward
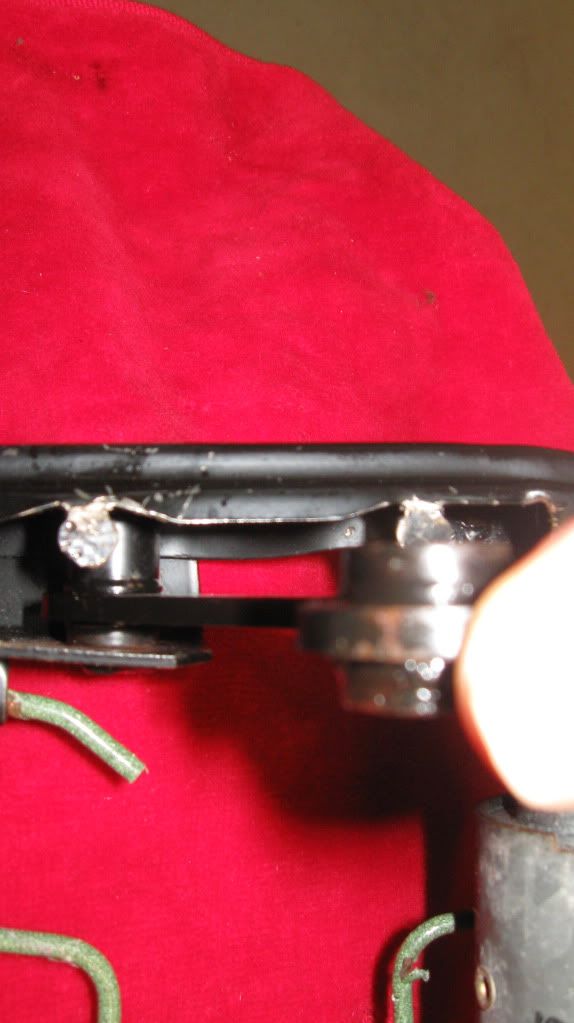
becomes at least 1/4" in AM (ass measure) up at seat level.
I looked at the passenger seat again and they're pretty sturdy. Comparing the frames I see its upper mounting points are similarly stamped with no obvious bends that would indicate a source for the driver seat sloppy movement. So, no simple fix is evident. I did notice that FAD had put so much pressure on these that they pushed the seat frame tabs ahead of them up and forward
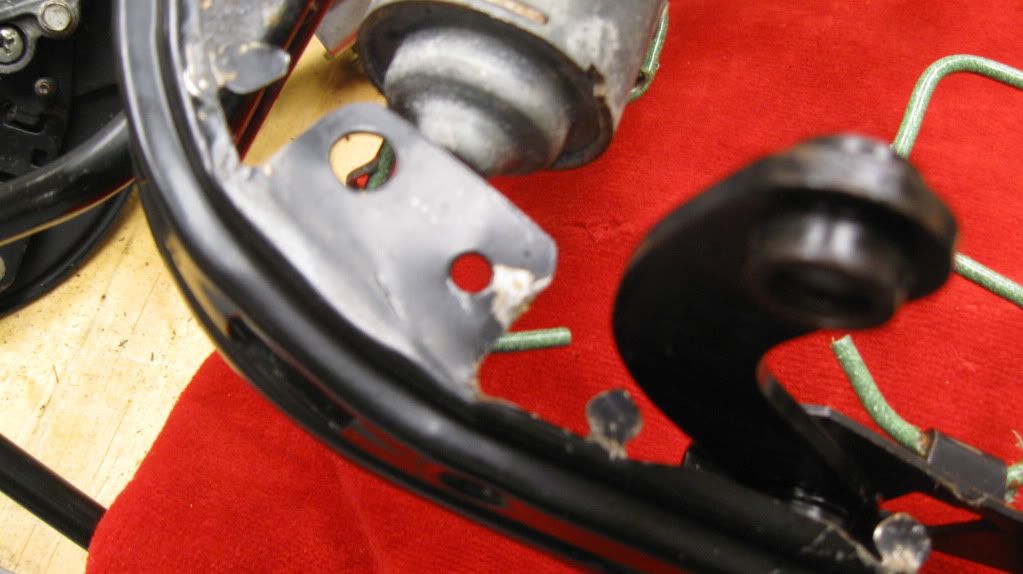
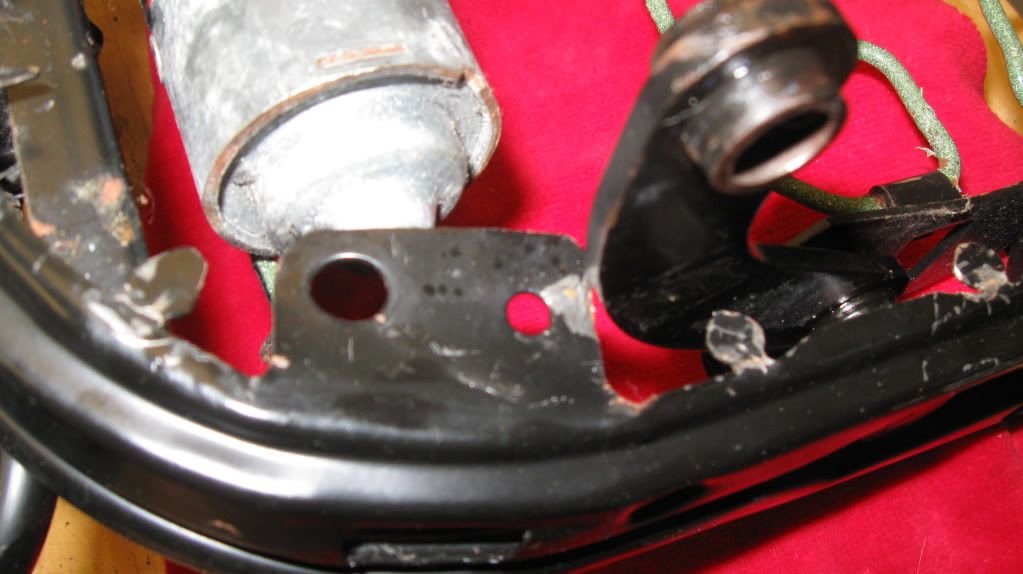
so I bent them back out, unnecessarily.

EDIT: - Turns out this hole receives the fastener that helps hold the side cover in place. It needs to be in proper position to function!
Only one thing to do, grind it out and evaluate the bearing surfaces.
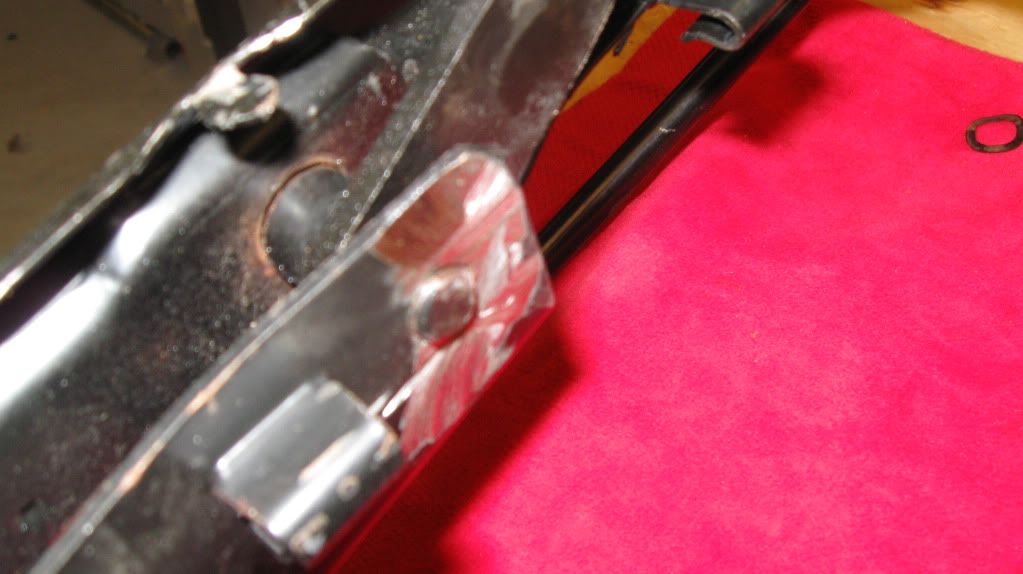
There's only the shoulder bolt through the hinge point (tube). Mine are rusty, dirty and way too much clearance. Note there is a spring on the shoulder bolt which I suppose helps to maintain a right angle position on the hinge arm during operation.
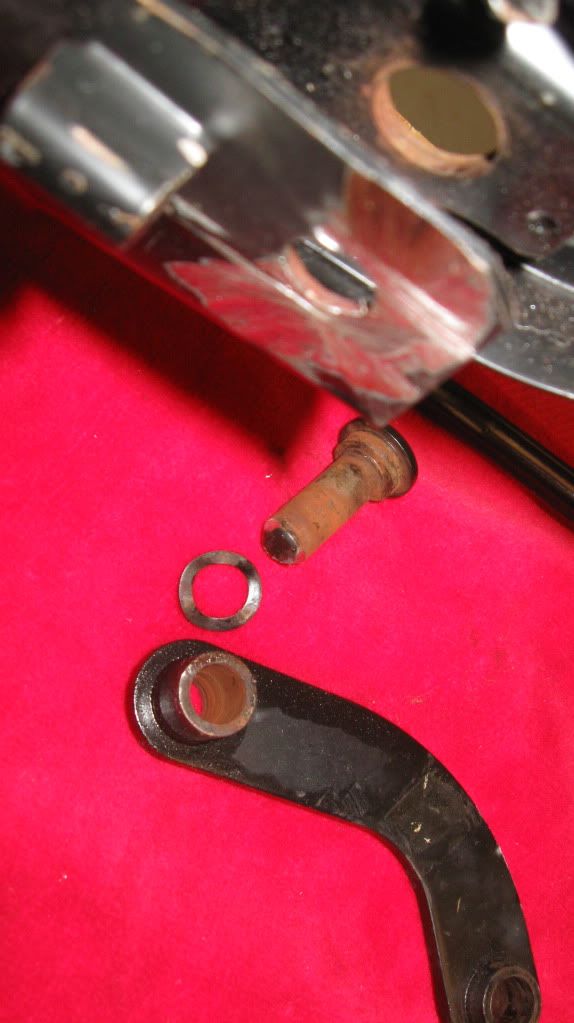
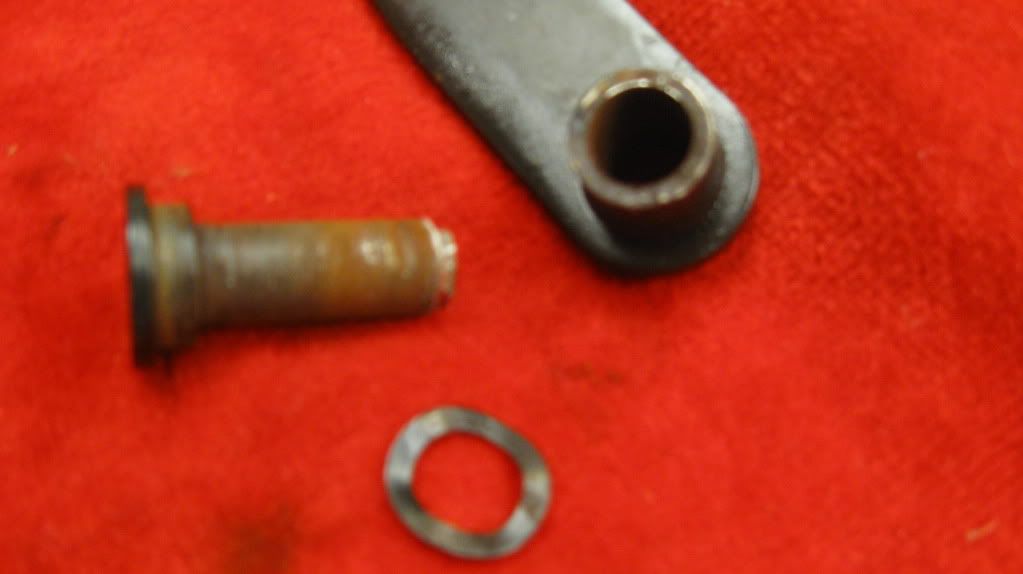
Now here we are with a seat frame that needs rebushed front upper hinge points. Can MHE provide a solution? It'd be ideal to install reinstall a shoulder bolt that doesn't require welding.
Posted: Oct 31, 2011 7:36 PM
by jlucas
Are power seat bases the same for both driver & passenger? Just wondering if finding a low usage passenger seat base might be easier than rebuilding the driver's base.
Posted: Nov 01, 2011 5:19 PM
by Mab1957
Yes, they're the same. Some guys switch them from side to side to share the stress.
Posted: Jan 01, 2012 8:53 AM
by Mab1957
Posted: Jan 01, 2012 9:50 AM
by John in VA
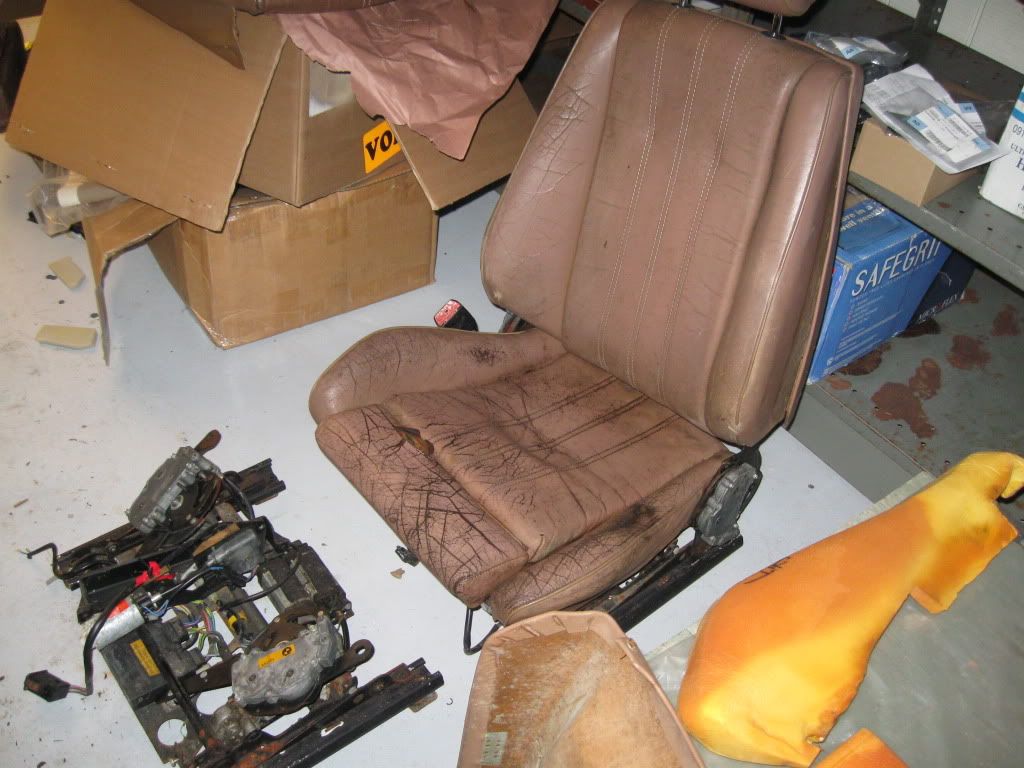
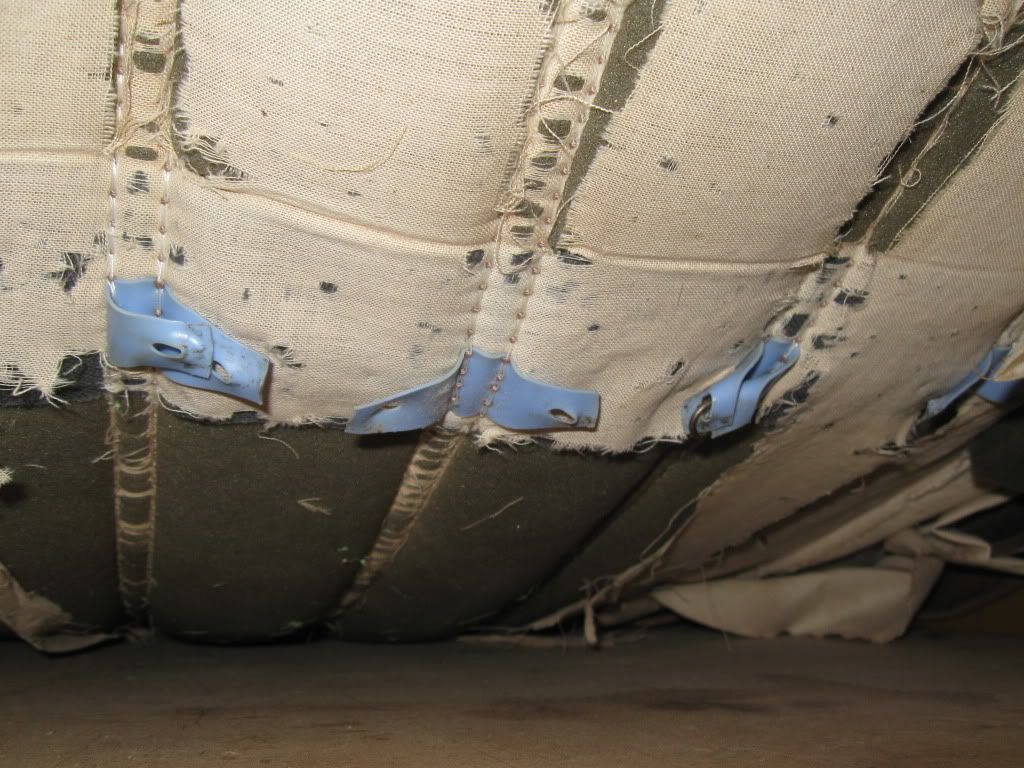
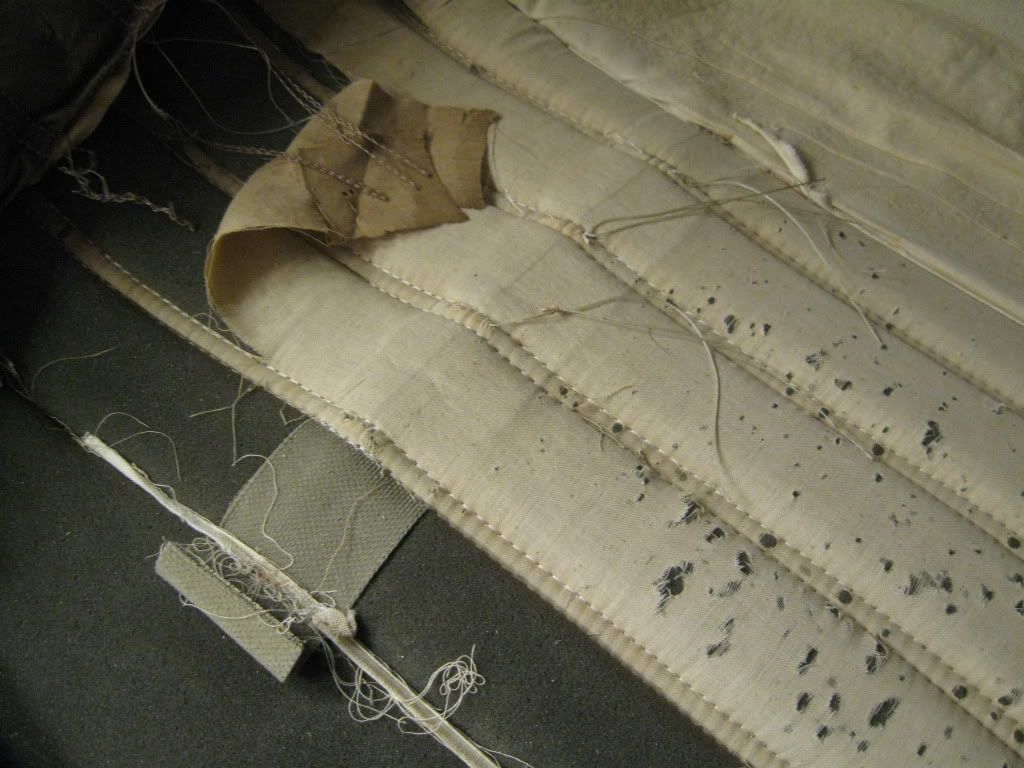
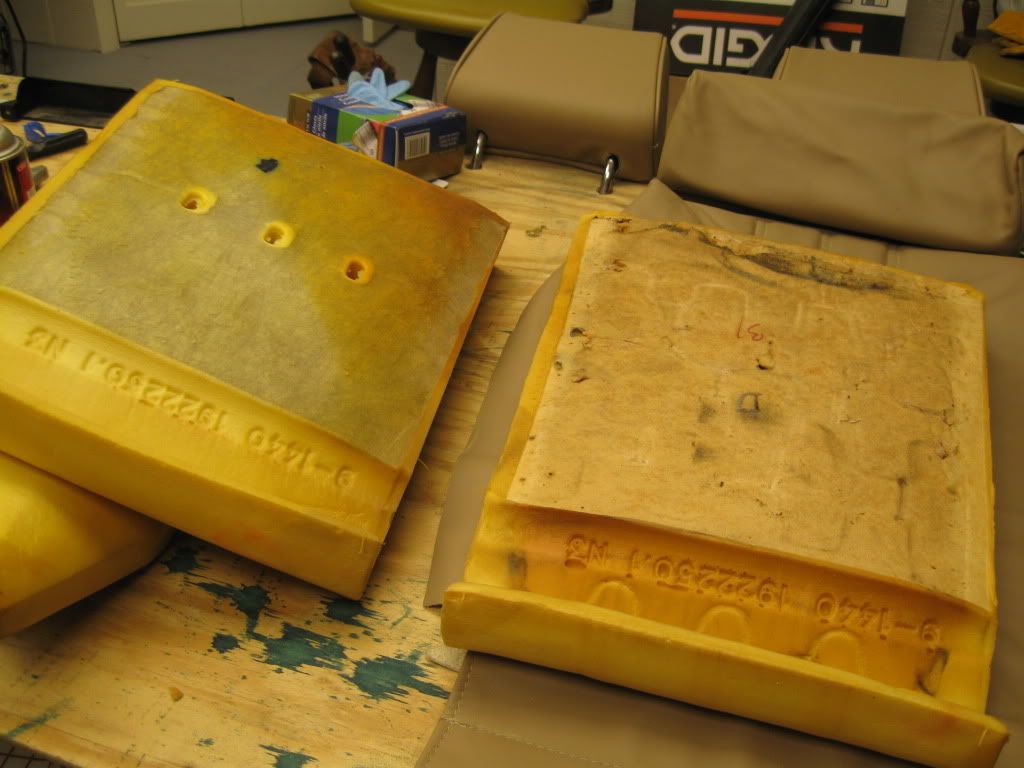
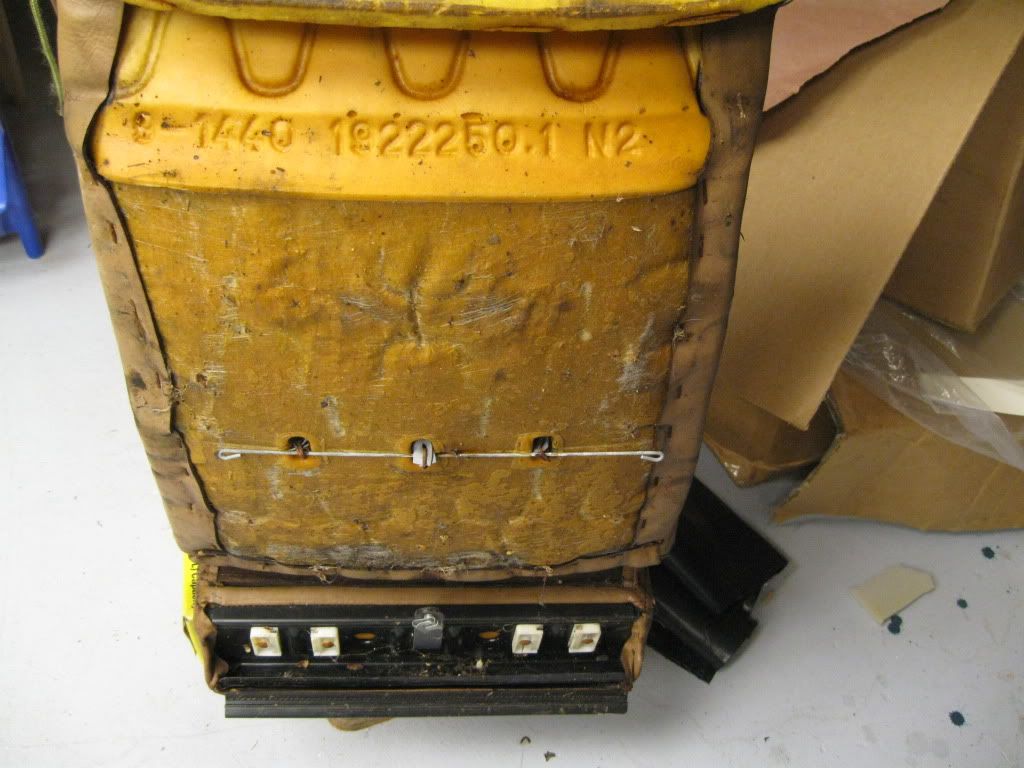
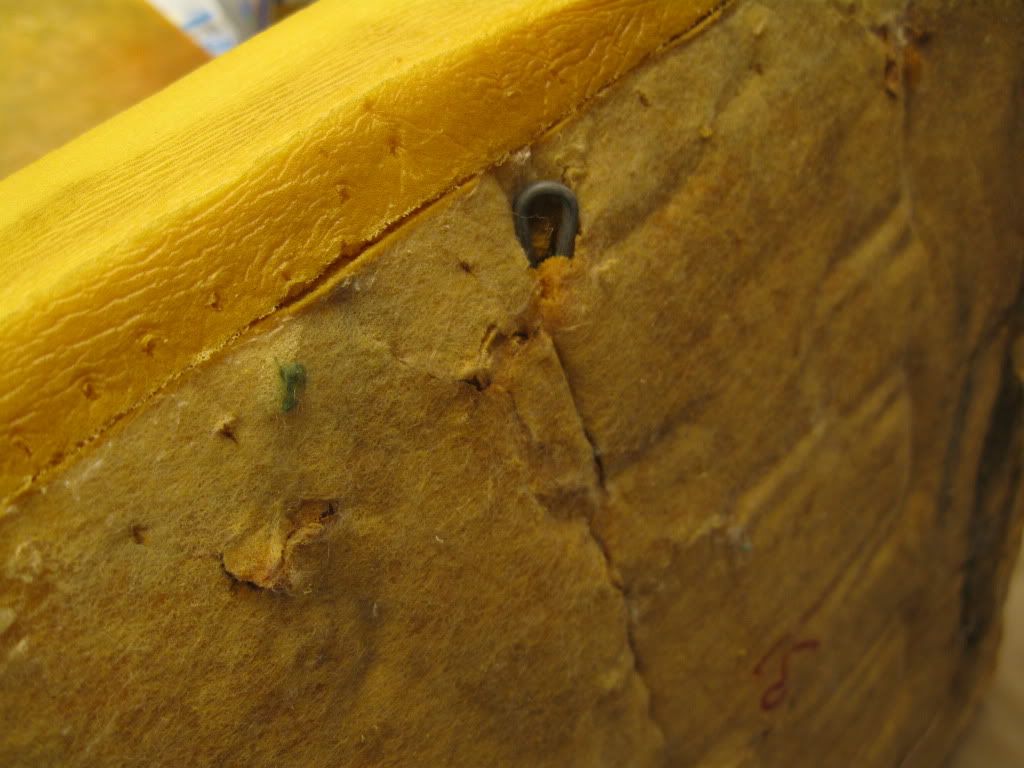
Mab1957 wrote:I bought one set of foam before I knew I'd have to obtain another pair of parts seats. The foam was made in '86. Why do you suppose this cut out was in the side bolster?
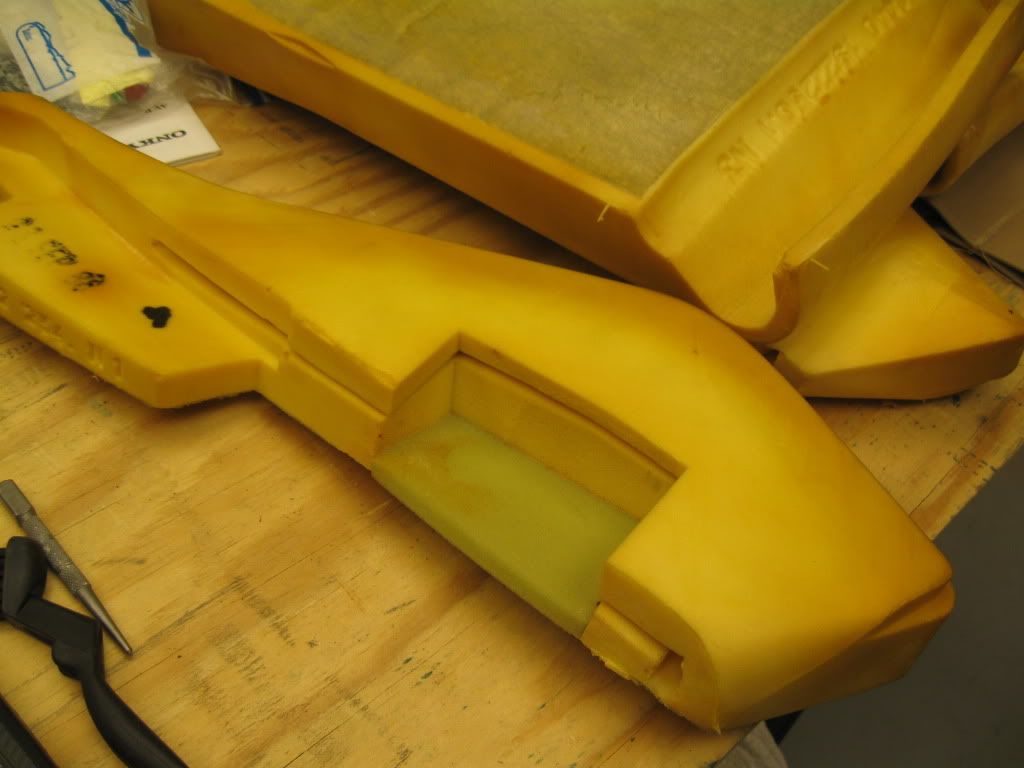
From a seat with the seat memory module?
Posted: Jan 02, 2012 1:06 PM
by GaAlpinaOwner
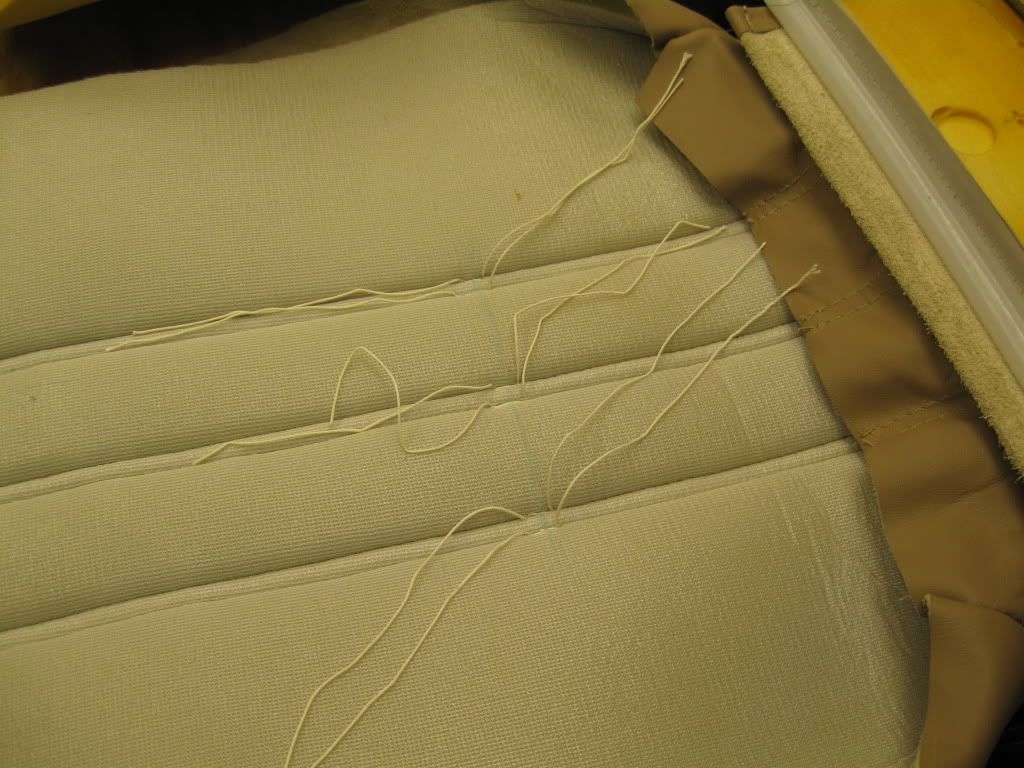
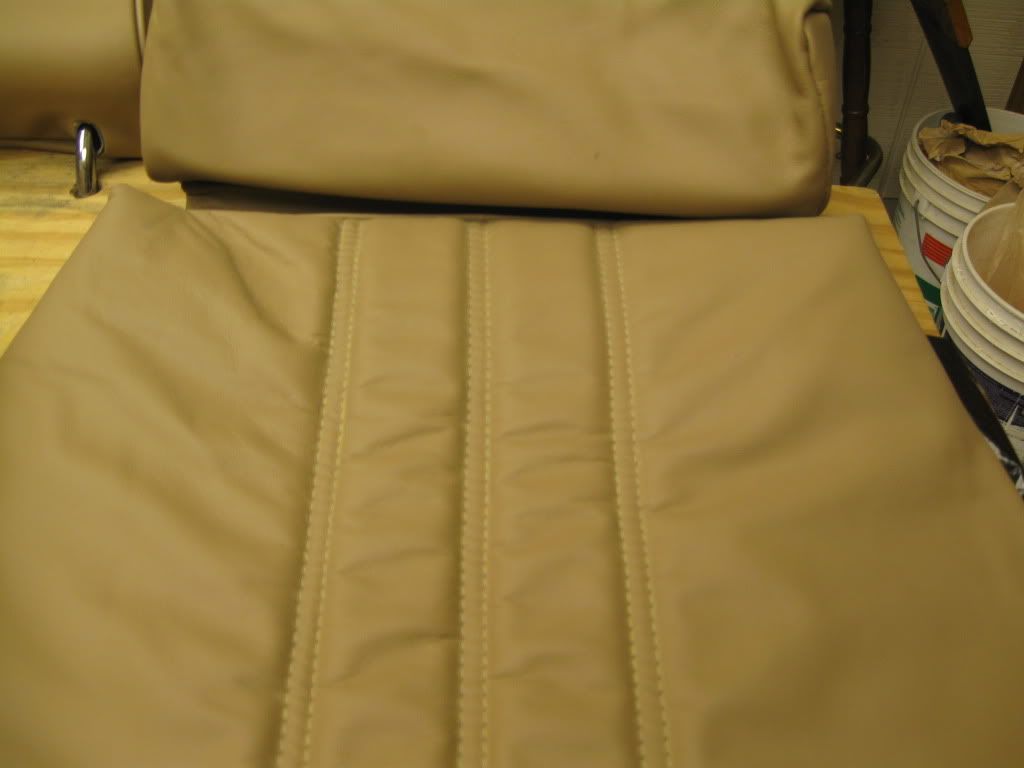
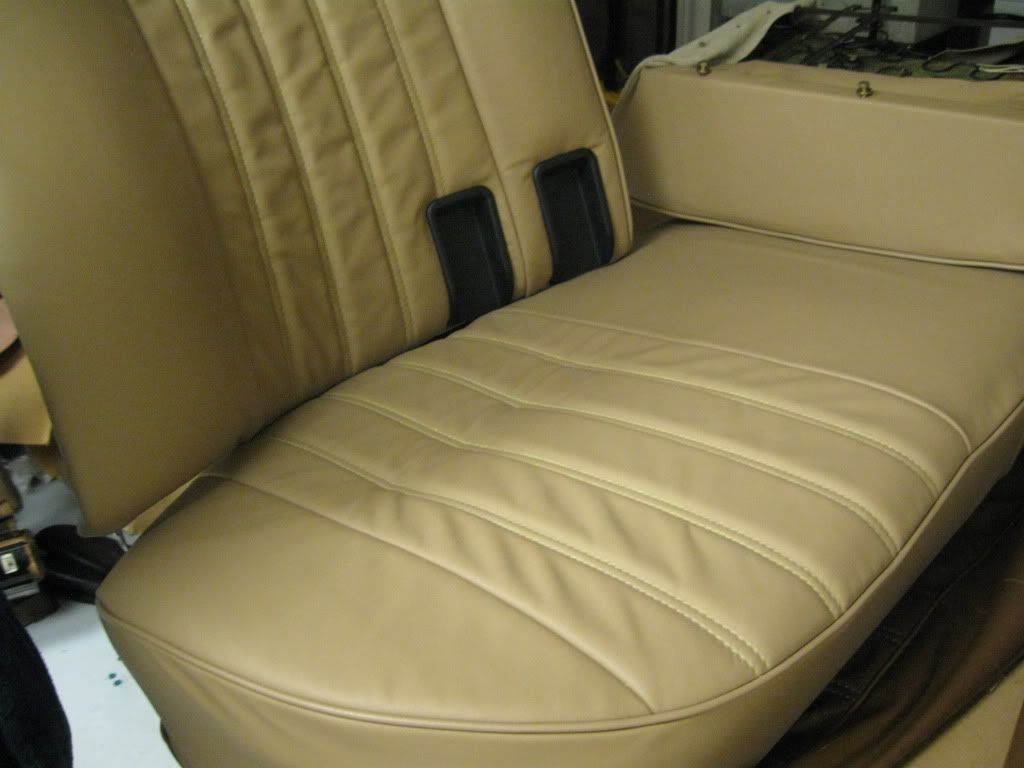
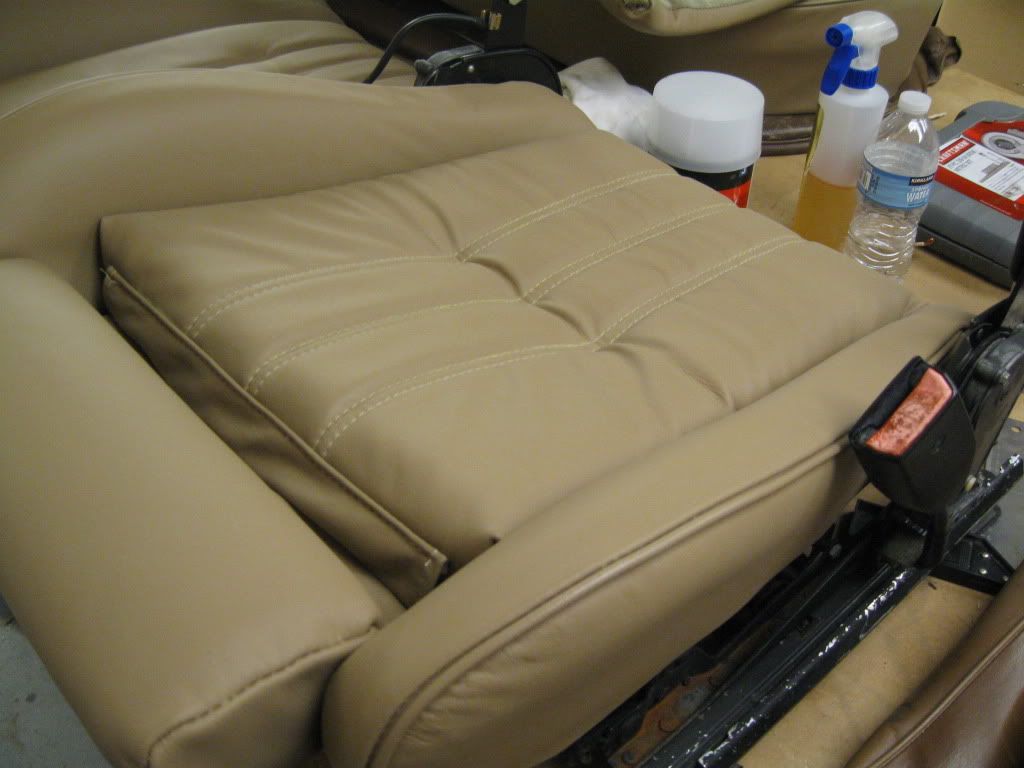
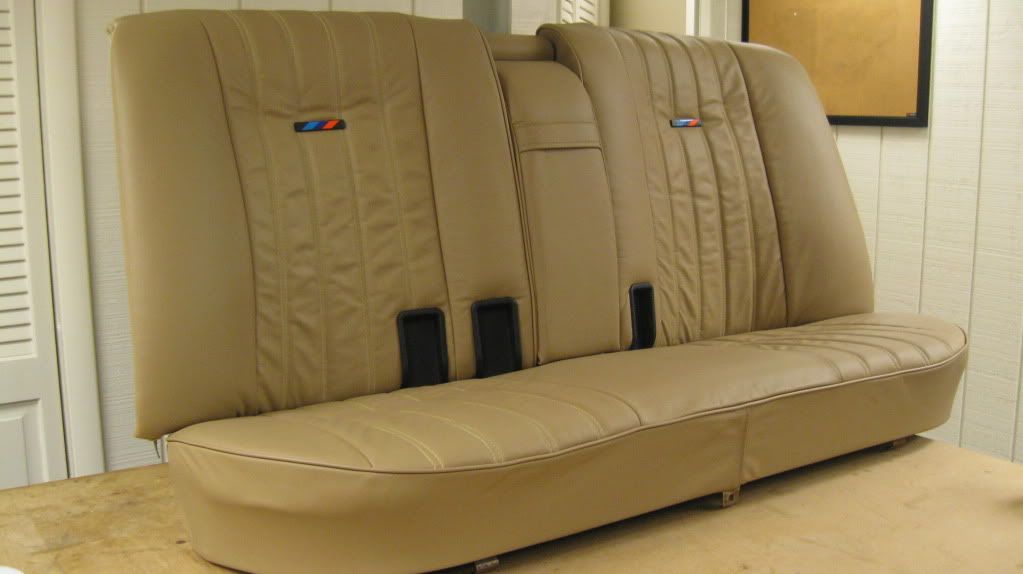
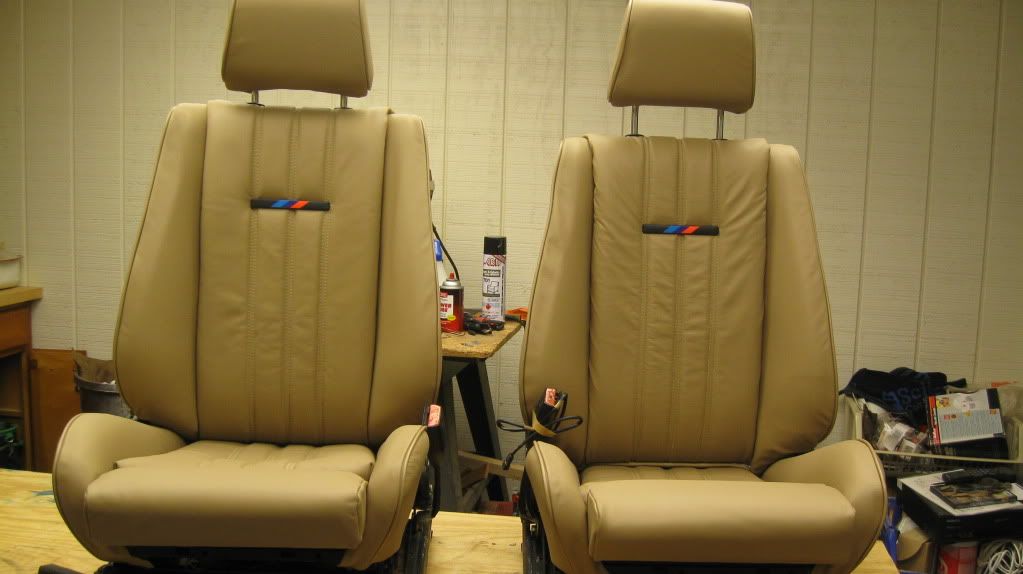
Mab1957 / Matt those seats are looking great. Mine turned out the same
David
Posted: Jan 02, 2012 10:49 PM
by Mab1957
Posted: Jan 03, 2012 10:54 AM
by GaAlpinaOwner
The wrinkles will go away - try putting them in the sun.
David
Posted: Jan 08, 2012 1:26 PM
by BuzzBomb
Sorry if I missed it but can you provide a link for info on ordering a upholstery set like you bought? Can you get it in cardinal red?
Posted: Jan 08, 2012 8:15 PM
by John in VA
BuzzBomb wrote:Sorry if I missed it but can you provide a link for info on ordering a upholstery set like you bought?
http://www.jimsautoupholstery.com/
Posted: Jan 09, 2012 7:06 AM
by Mab1957
Yes. This set was made for Ron P & GAAlpinaOwner by Jim's in San Diego. Other suppliers include your local upholsterer and
http://www.worlduph.com/
http://www.gahh.com/store.php?cPath=28_ ... amily_id=2
and Creative Options near Atlanta (email here)
kchinn@creativeoptions.info <
kchinn@creativeoptions.info>
Here's a related post
http://www.mye28.com/viewtopic.php?t=81660
Posted: Feb 11, 2012 8:48 PM
by jlucas
Follow up seat base question. What's different between a sport seat base and a comfort seat base?
Posted: Feb 11, 2012 11:02 PM
by BuzzBomb
jlucas wrote:Follow up seat base question. What's different between a sport seat base and a comfort seat base?
How wide is the ocean? How deep is the sea?
Posted: Feb 12, 2012 12:53 AM
by wkohler
BuzzBomb wrote:jlucas wrote:Follow up seat base question. What's different between a sport seat base and a comfort seat base?
How wide is the ocean? How deep is the sea?
9
Posted: Feb 12, 2012 6:56 AM
by jlucas
???
Posted: Feb 12, 2012 9:54 PM
by Mab1957
JLucas, the M5 has sport seats, so I haven't had any experience with the others. I think they ^^ (Buzzbomb & WKohler) mean that the seats are very different.
Posted: Feb 12, 2012 10:43 PM
by Mab1957
So, my driver seat still had slop!

Only one place left to look - the hinges. Out comes the seat again.

Back on the work bench I remove both hinges and see what I should've noticed before I chose to use these POSs - broken gear case.
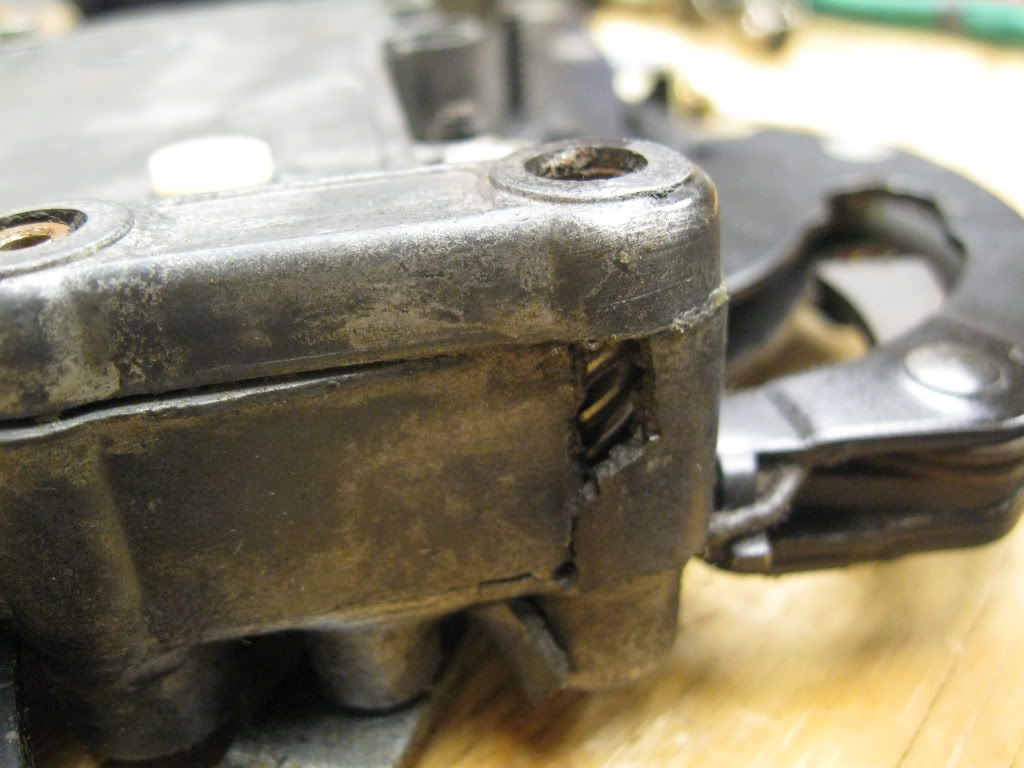
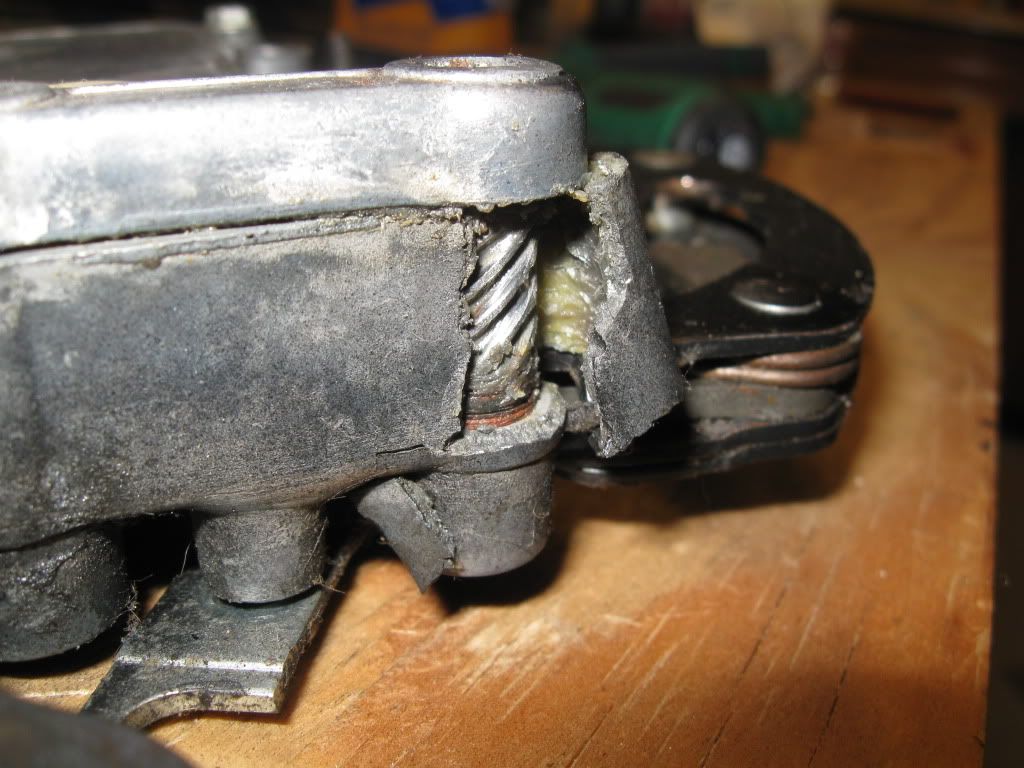
The FAD had put a lot of stress on this seat. The gear still functions but there was a lot of slop in the seat back, at the hinge and when the seatback-forward/aft tilt gear reached about 80 degrees it fell back. WTF! Opening the hinges I see the teeth are worn and broken, and the lever is loose = SLOP.
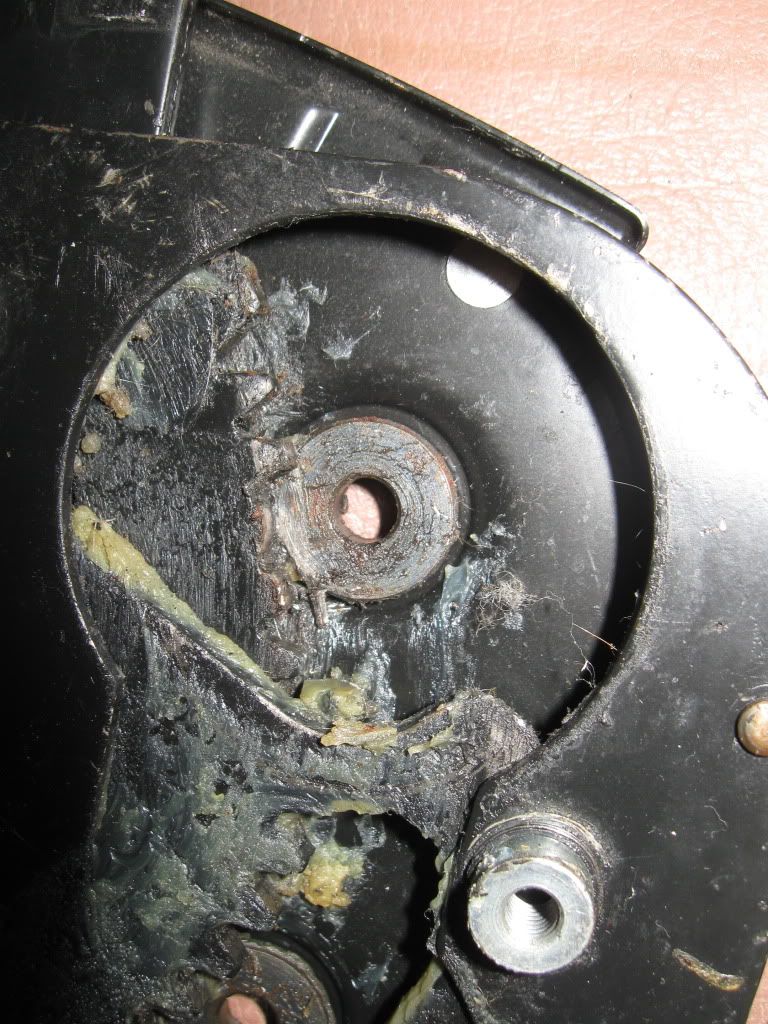
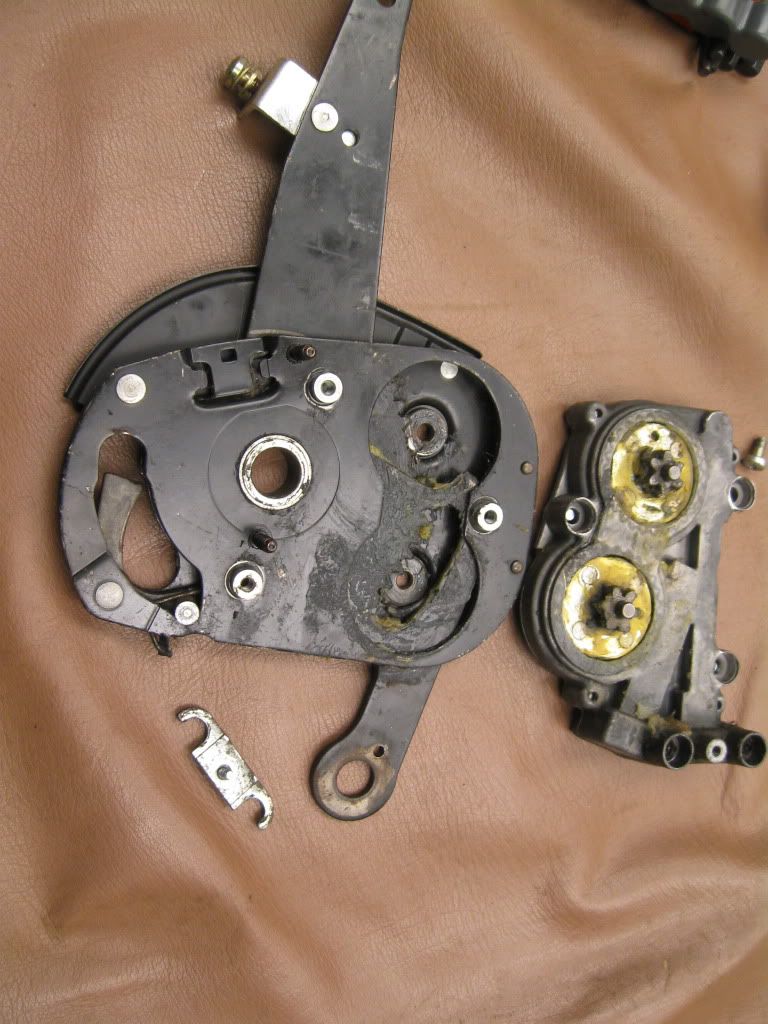
I was also able to move the gear drive in the housing = MORE SLOP!
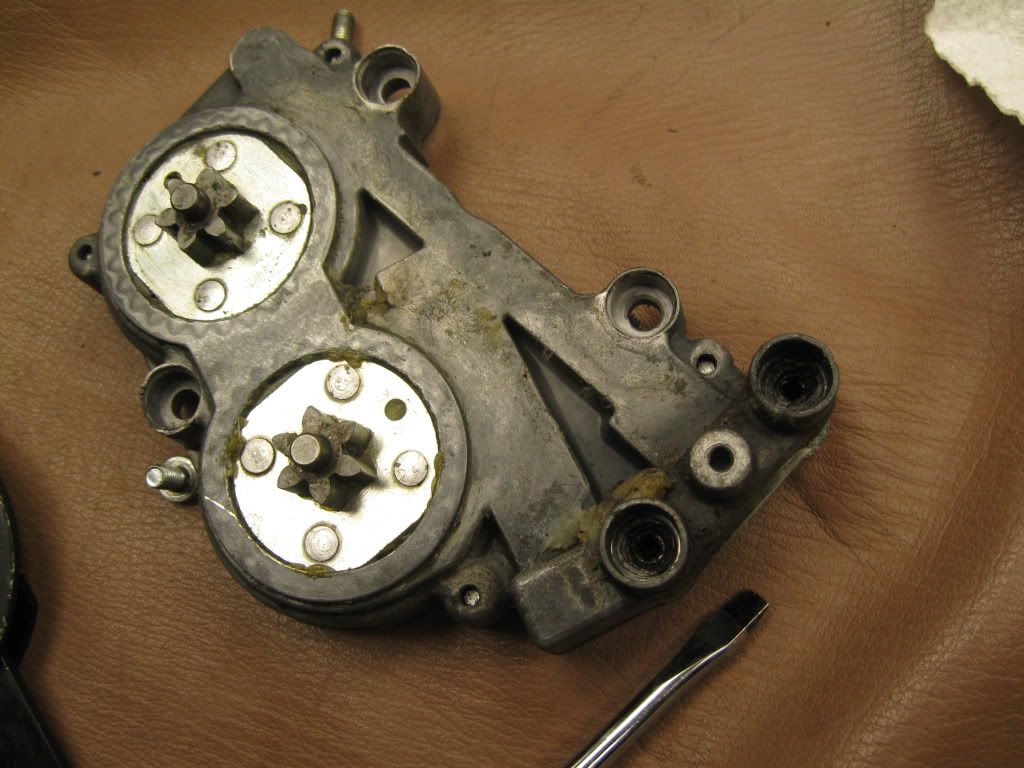
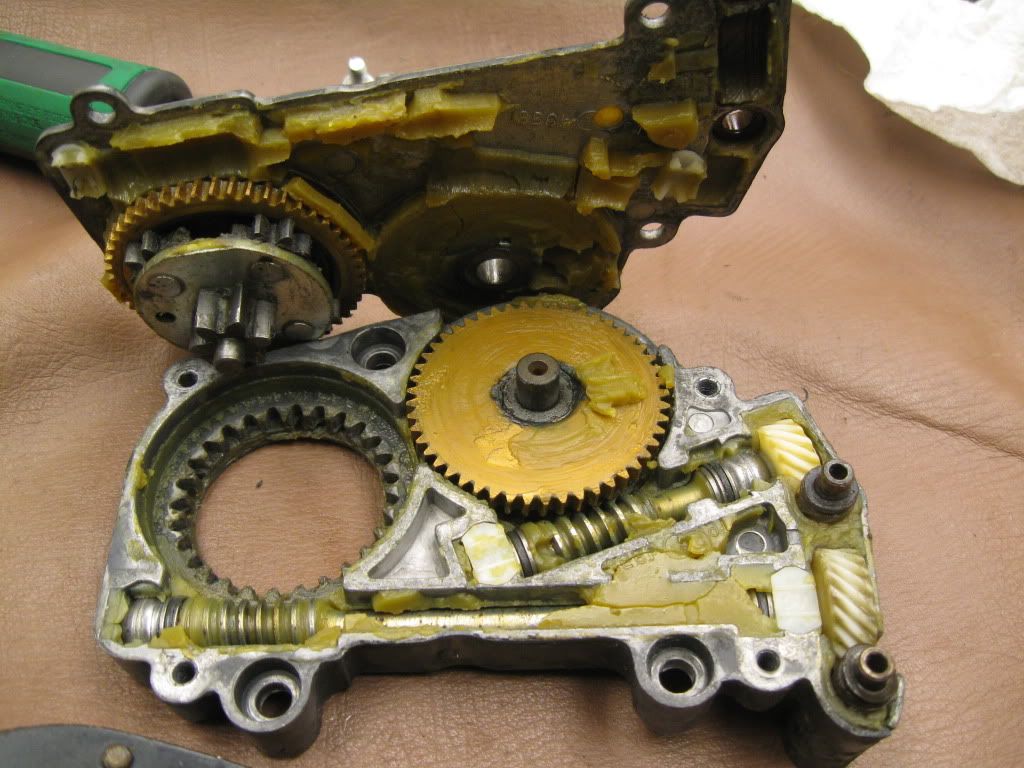
So, let's see what is in one of these.
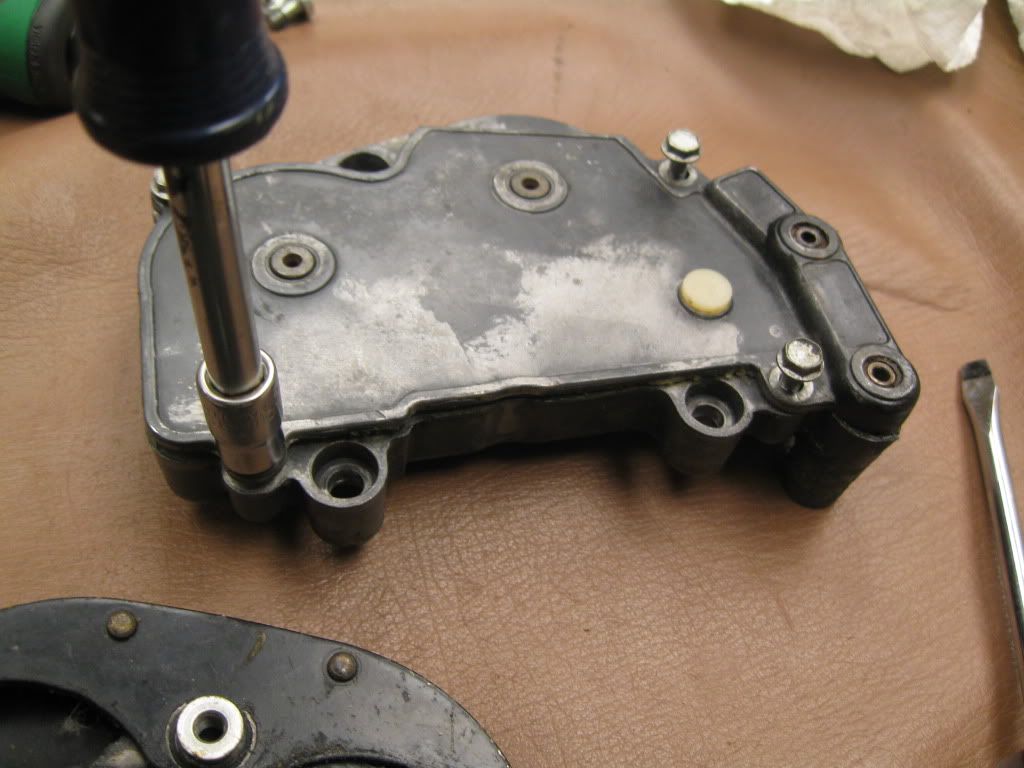
More gears, but there's plenty of them to share the load, and well lubricated.
There is some wear on the drive gear that engaged the teeth (expected considering some were broken).
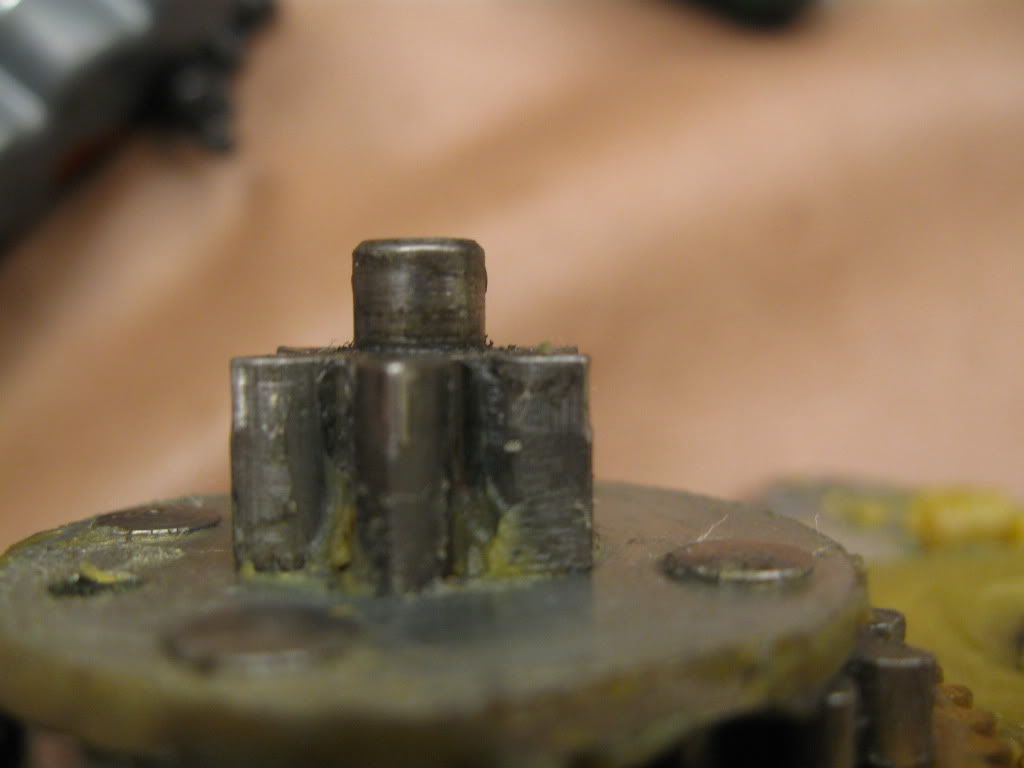
The internal gears don't look so bad though.
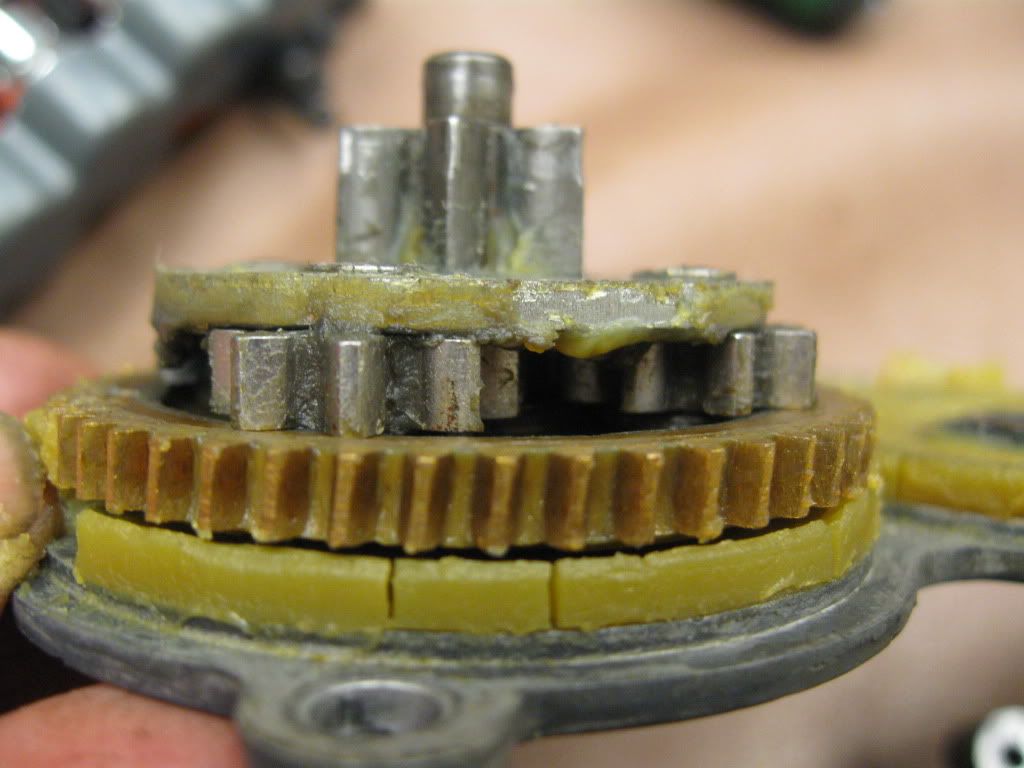
I used the hinges off the extra seat I bought. If you choose to do this, thoroughly inspect your seat frame and all the components. I'd have saved myself a lot of time and effort by starting with a better core (that passenger seat that had been sitting outside for a year). I used the hinges from that parts seat after cleaning and squirting some loose juice in the drive gear ports. The motor drive cables are square and fit into ports on the bottom of the hinge. One for forward/aft and one for up/down. They're the two motors at the back of the seat base.
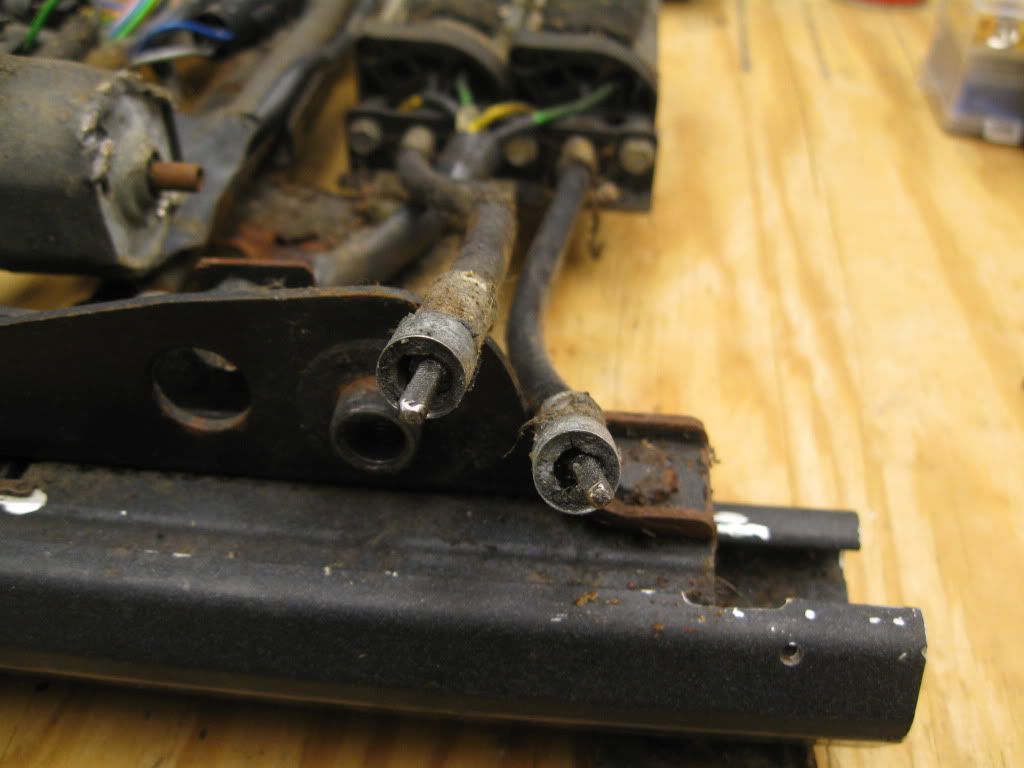
What I didn't do was operate them on the bench.

So after putting the seat back in the car I wasn't able to bump start the seatback-forward/aft tilt motor or the seatback-up/down motor (the two new hinges were seized). I rigged up a square bit on 1/4 extension and wobble, put it in my drill.
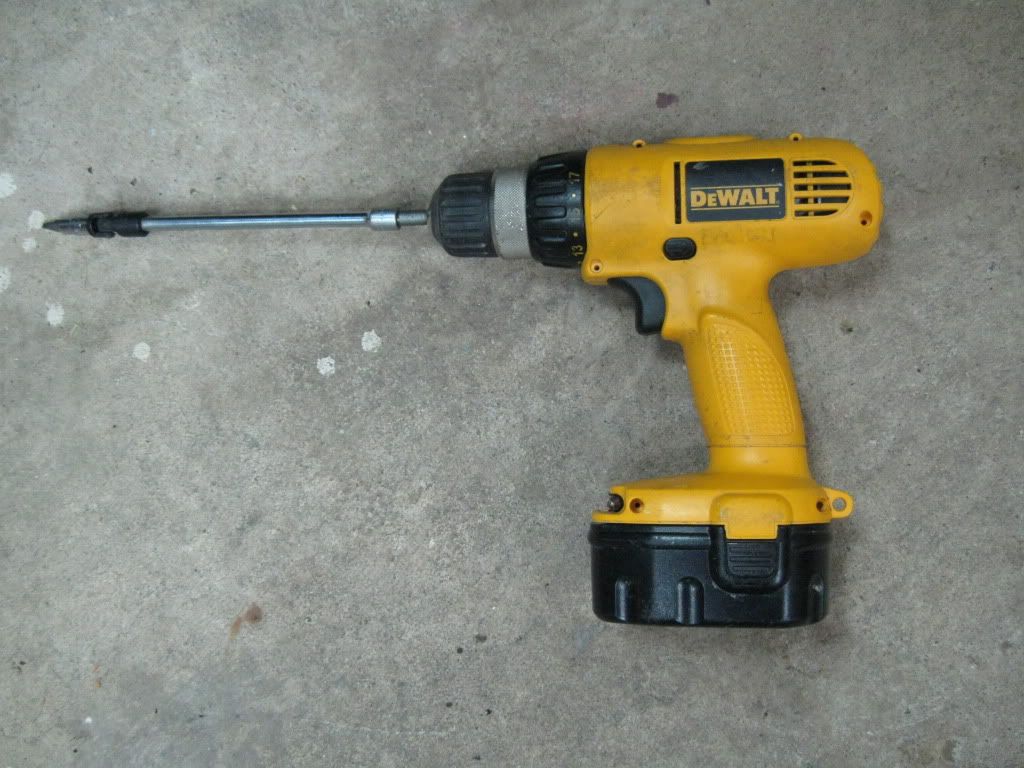
I was able to tilt the seat forward in the car to access the motor drive cables. I disconnected the drive cables and used the drill to spin the hinges full range for both functions. I learned to reverse the drill for left and right so I could position the hinges at approximately the same place when I finished. After that the motors would operate the seat hinges on their own and I was able to reassemble install and test.

Now the driver seat feels pretty solid and is fully functional. I confess though that I'll now wonder if the other components are stressed from FAD abuse. When the weather improves I intend to thoroughly test it.

So I'm sorry for the long drawn out answer to your original question GAAlpinaOwner. I recommend that you get a passenger side sports seat for parts. Pull your seat disassemble it and swap the good plastics covers/foam/heaters/leather to a good seat frame. The seat frame may need bolsters welded and confirm it has tight front upper/lower pivot points. Then install the hinges from the parts frame on your base (your motors are known working) after bench operating and lubrication. It is a big PITA to put these seats in and out of the car so give yourself the best shot at doing it only one time. Good luck! I hope this is helpful to you and others who want to put another 20 years on their M5's heated sports seats.

Posted: Feb 13, 2012 11:31 AM
by GaAlpinaOwner
Mab thanks for the detail. I will try to get another seat base for spare parts. This is a project that is on the back burner but never the less one I want to resolve.
Posted: Aug 02, 2013 8:12 AM
by JeffW
That's the one - thanks!


 The vertical seat adjuster and shaft #2 are really quite solid.


