

A few weeks back I scored a complete set of brakes from a 95 530i, which if you check the brake swap faq, is one of the larger options on the list to use. At first it doesn't seem like that much of a difference looking at the numbers, but I assure you, the extra bite you get is substantial. The rotors, pads and wear sensors came in today. I bought them as a set out of Chicago and although it took them 3 days to process my order, it only took 2 days for them to arrive to Houston which was nice since I wanted to tackle this over the weekend.
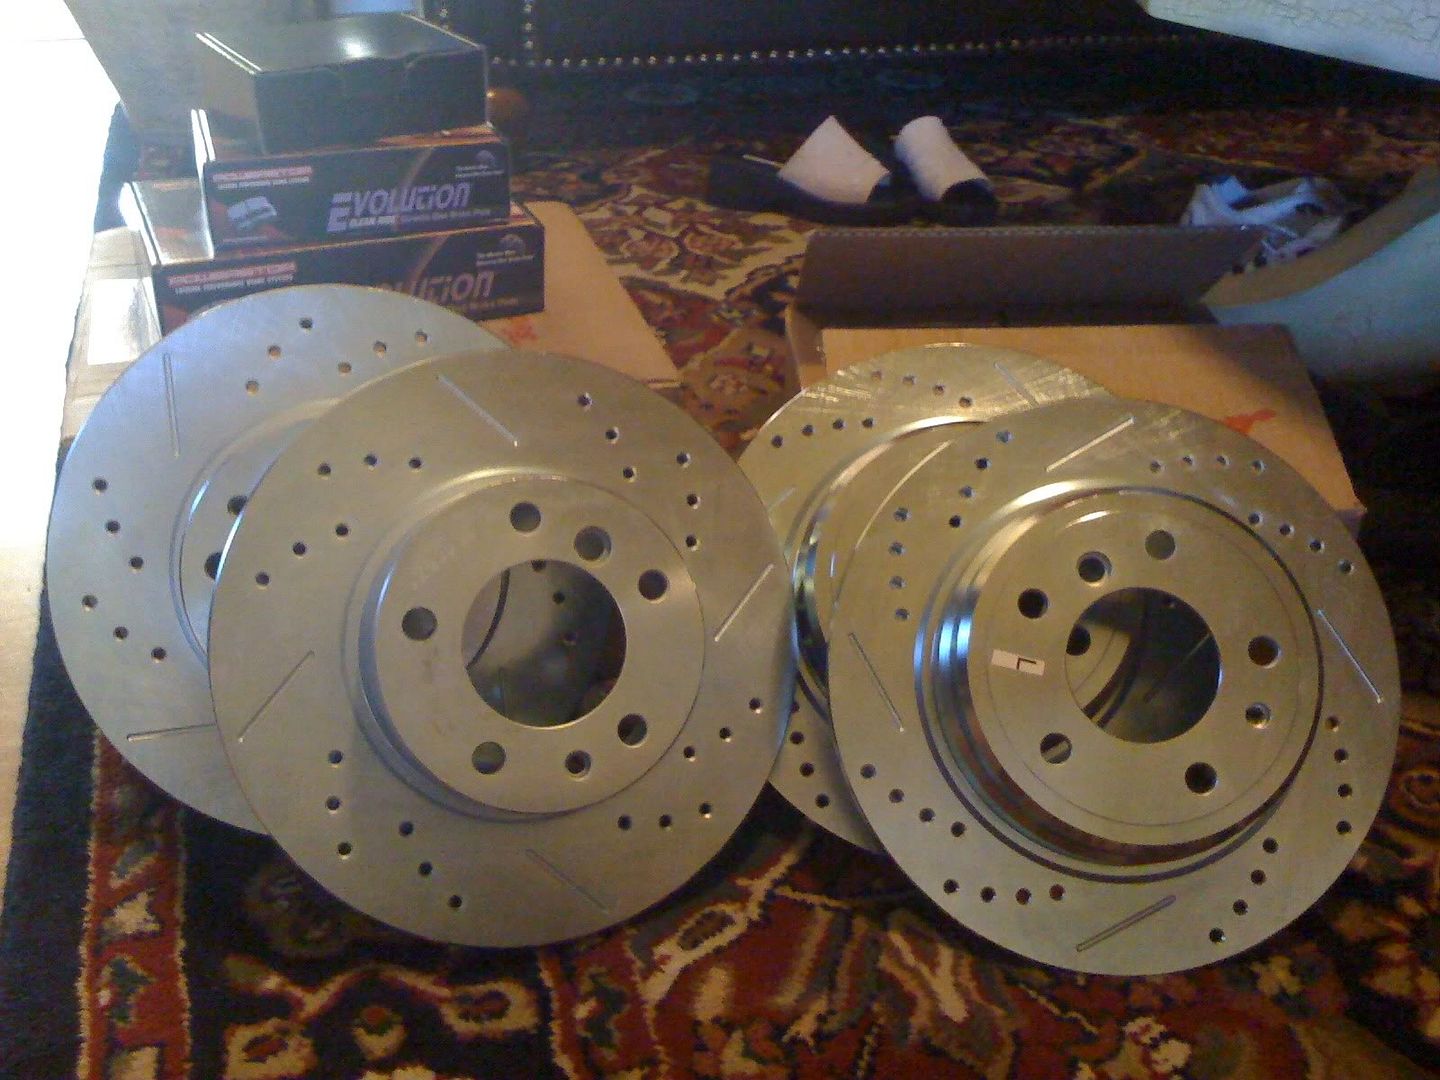
Here's basically how the package came after unpacking. I've had a set similar to this on my E34 and they performed very well for what they cost (actually cheaper than OE parts!). 67 pounds, two boxes.
Spent the early part of the evening cleaning up and prepping the calipers and mounting brackets. Originally I wanted to do them in Red caliper paint, but thought against it. I ended up using Anthracite metallic wheel paint on both. The overall appearance is clean, and pretty discreet. Basically if someone were to look down there, they'd see someone gave a crap to paint them, but didn't want something so flash to say "hey! look over here at these bright stock calipers!" Since cleaning calipers and paint is nothing special, I didn't take pics of that process. Basically just removed the bleeders, capped the holes for those and the brake lines off, cleaned up the calipers and laid the paint down.
Front Brakes
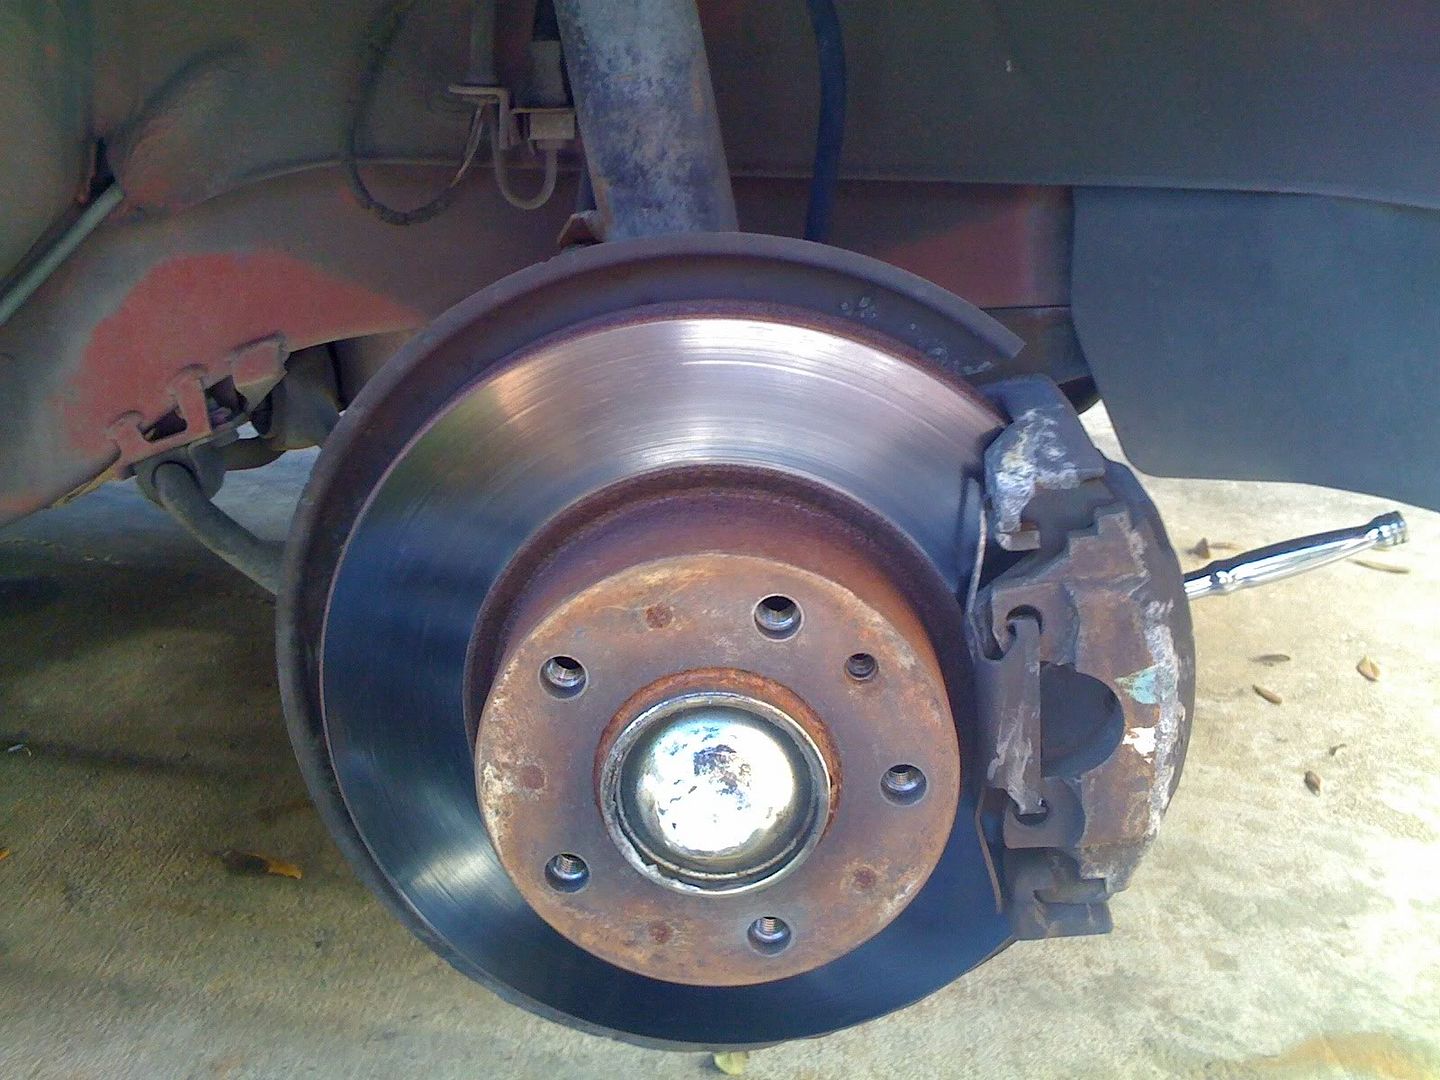
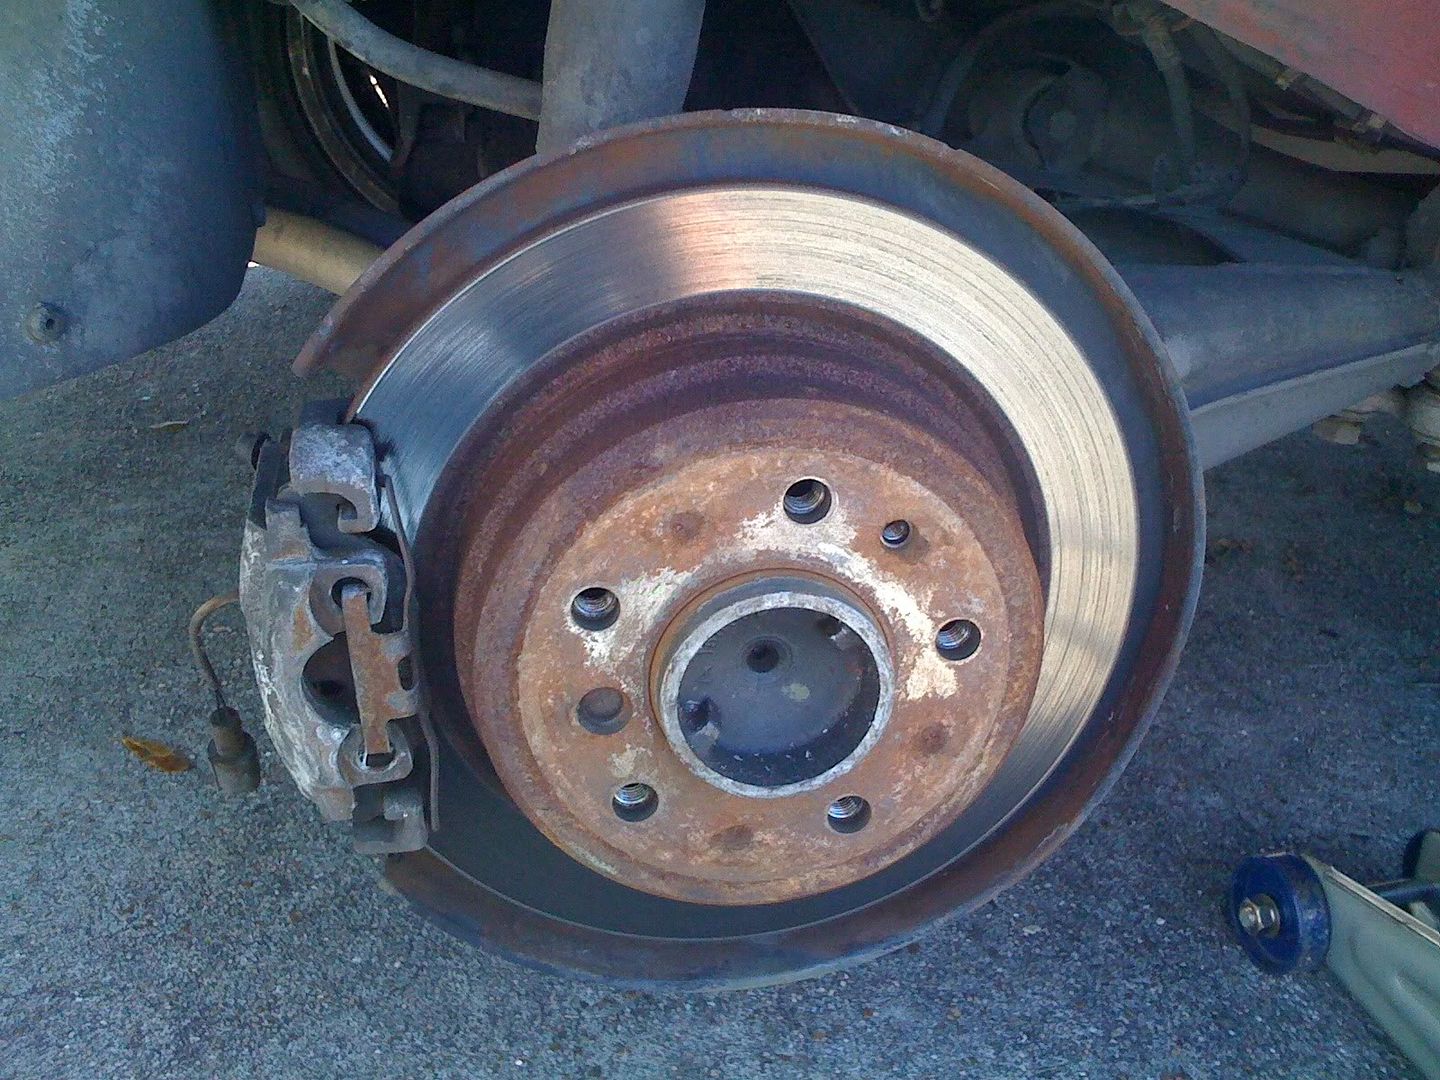
Here's the front end, passenger side, all original, miniscule, and god-aweful fugly from years of PO neglect. Why they used such small brakes and such large backplates, I'll never know (maybe they knew we'd all upgrade like this some day!).
Only a few things to note on the teardown. The caliper bolt-pins are a 7mm hex (you can get these by themselves at Oreilly's in a Lisle part in the tool section. The caliper bracket bolts are 19mm and put up a bit of a fight. The allen bolt holding the rotor to the hub I believe was a 3/16ths allen (that's what fit for me).
The removal order for me was like this :
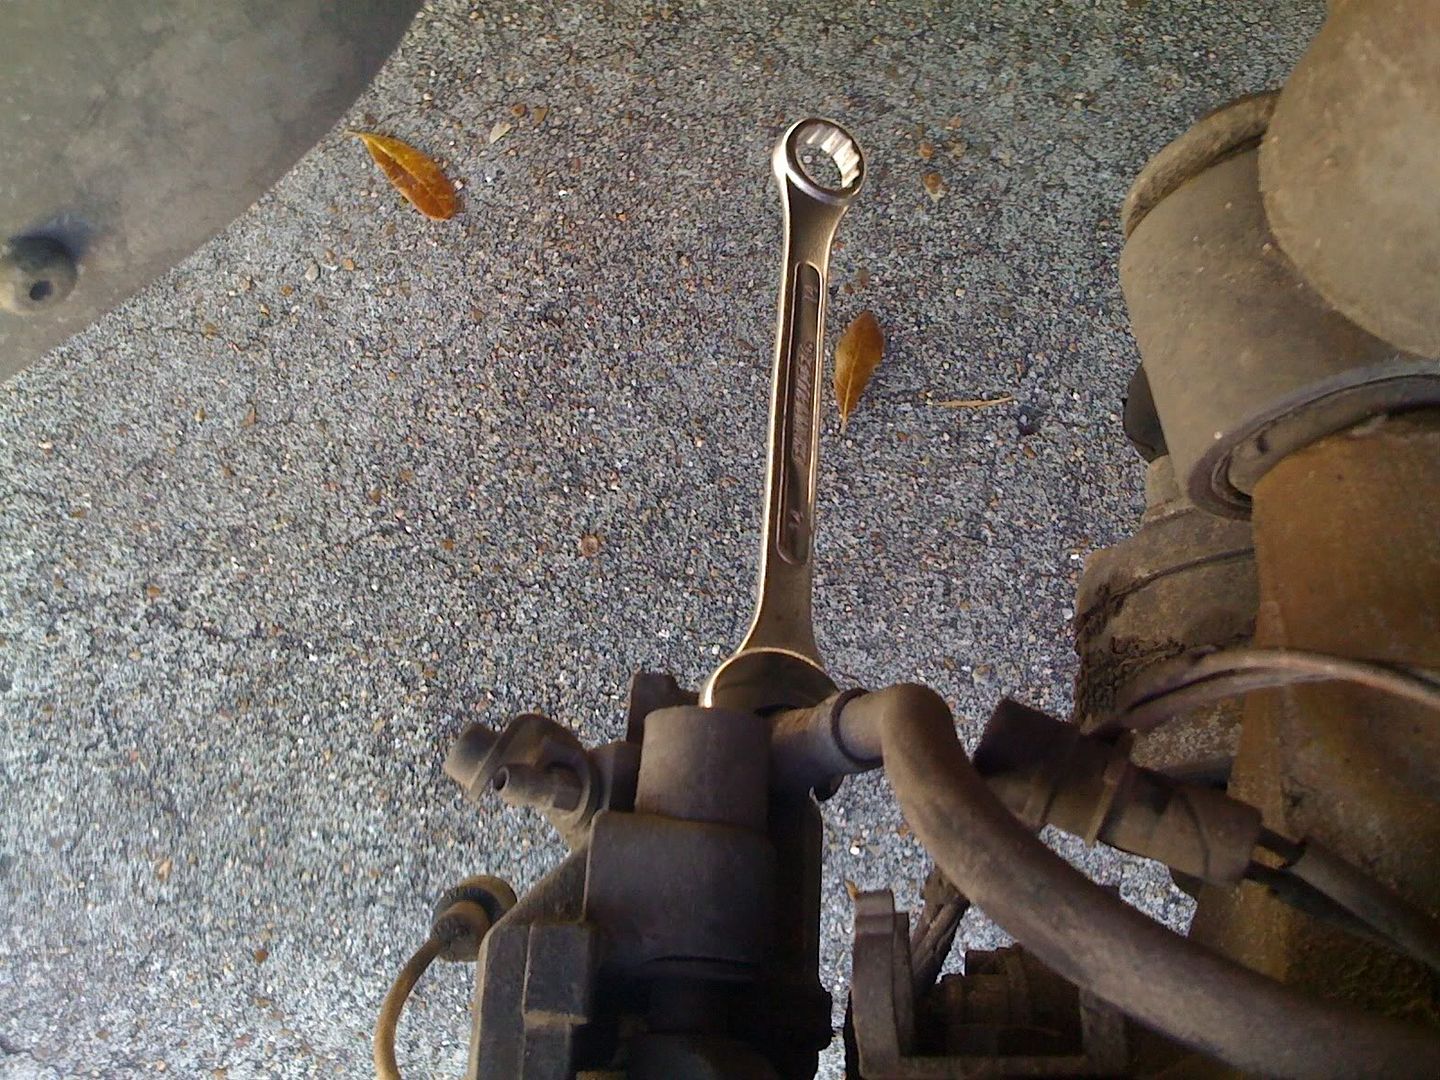
* Take a 14mm wrench and break the brake line loose from the caliper FIRST. After you take the caliper off, you can't get any leverage. Just crack it loose, don't take it off.
* Remove the rattle clip on the front of the caliper, take the caliper bolt pins off and pull that caliper aside. I went ahead and compressed the piston in the caliper to push some fluid back into the master cylinder so I wouldn't have to top off so much. Set the caliper behind the back plate safely away.
* Remove two 19mm bolts holding the caliper bracket to the backplate. Remove bracket, set aside, you're not reusing it.
* Remove the 3/16ths (I bet it's metric really, but the 3/16's fits well enough), allen bolt holding the rotor to the hub. I took my 3 lb sledge to dislodge the rotor away from the hub. It was stuck on there pretty good with a little rust and crud around the hub flange.
Now you should staring at a rotor backplate and hub. Now's a good time to clean that ABS reluctor (if you have one).
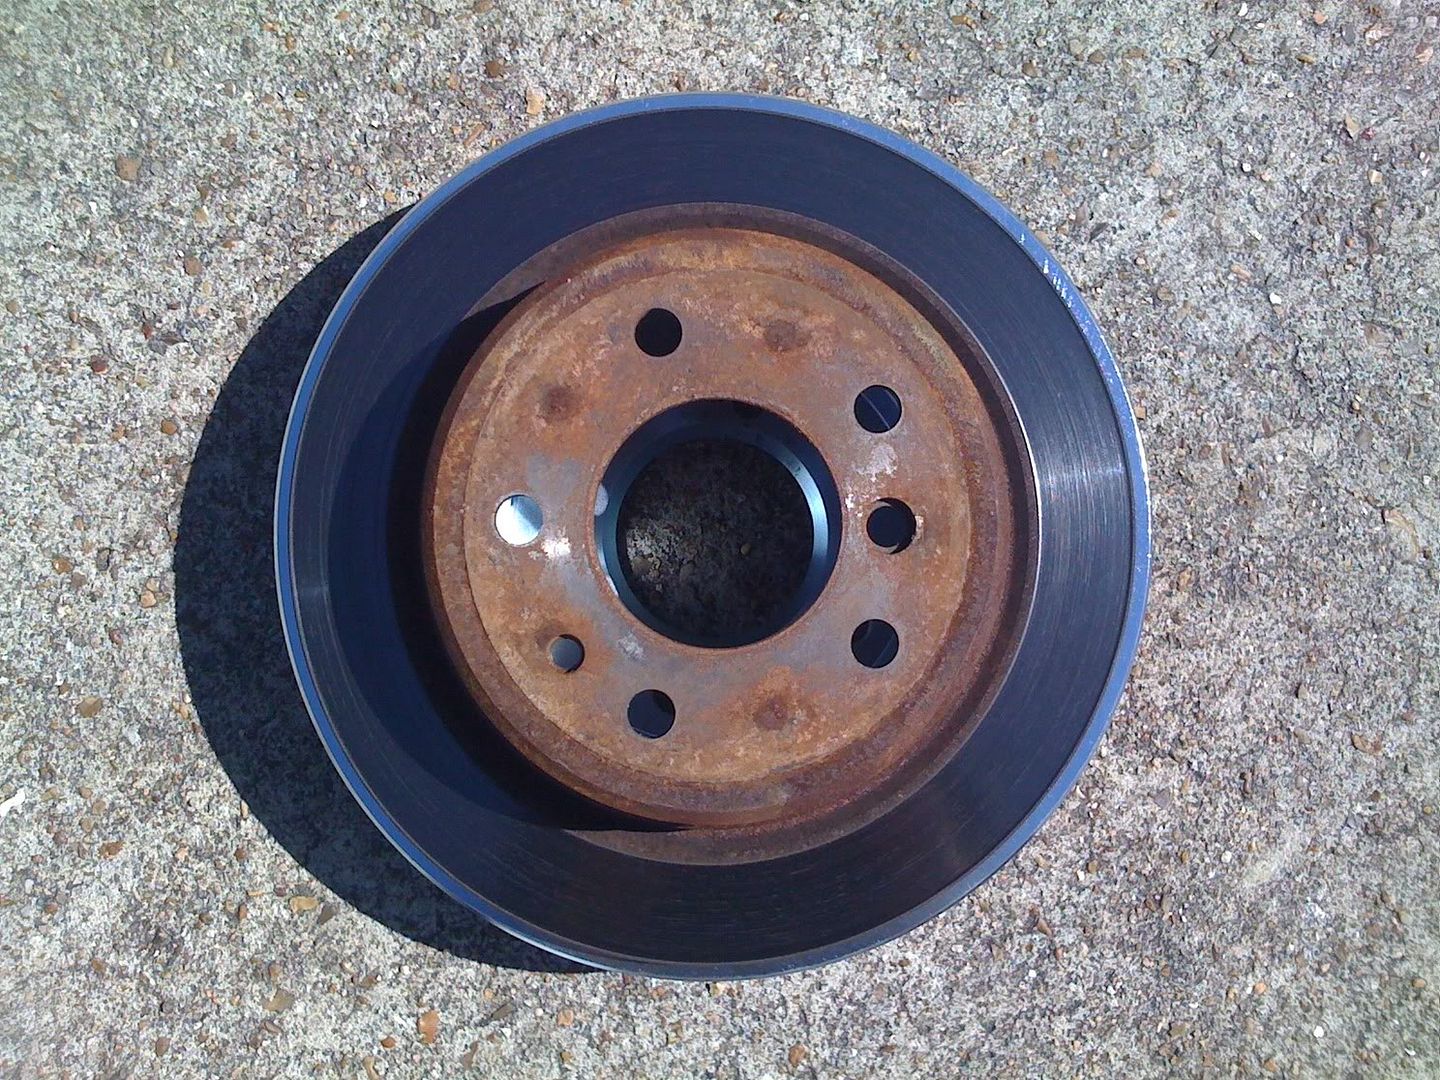
Here's the old rotor vs the new one in a side by side :
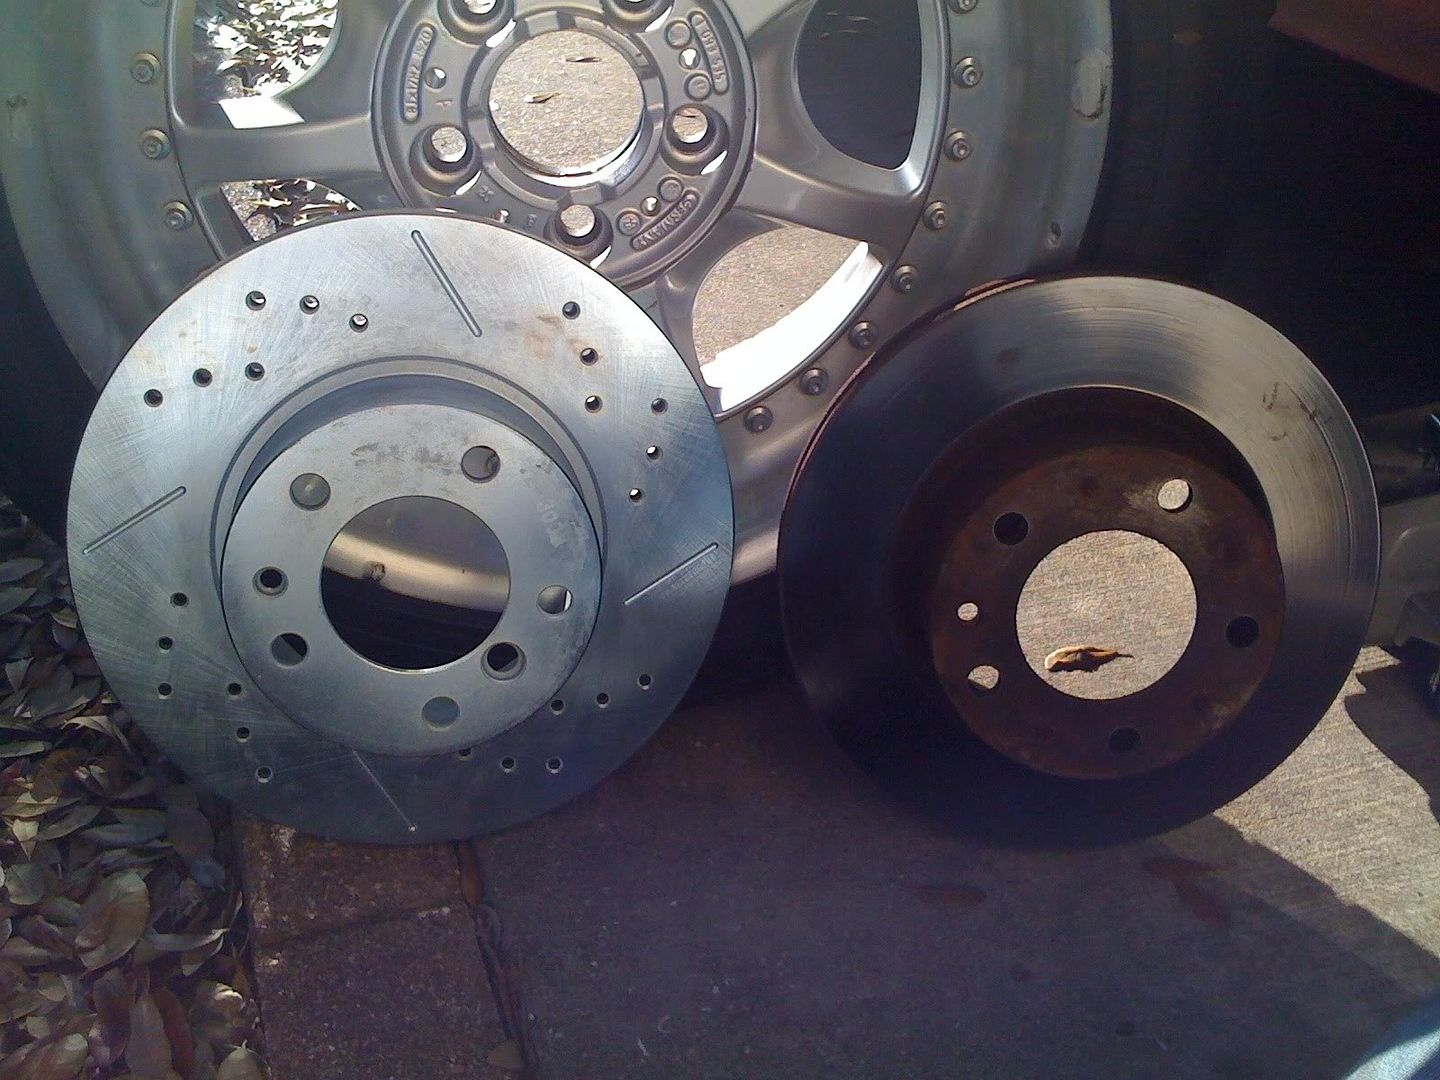
Here's a visual of the physical size difference. It may not seem like much, but keep in mind this is the outside diameter that increased. It's actually quite a substantial surface area you're gaining :
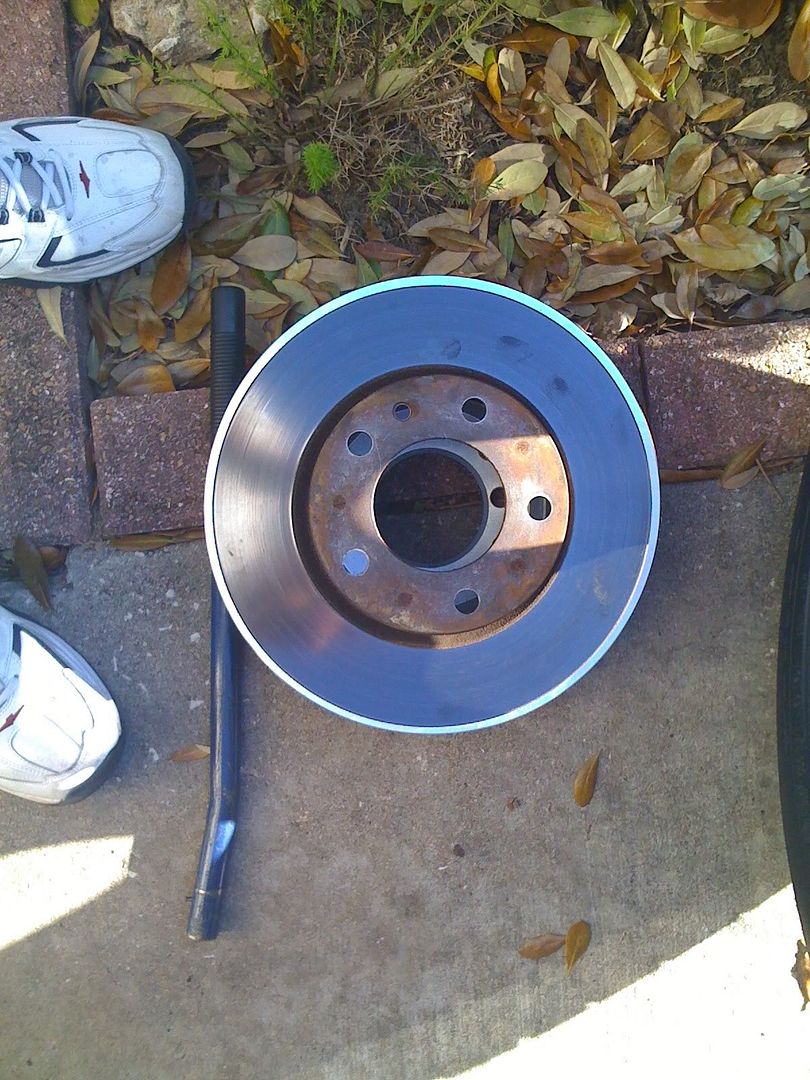
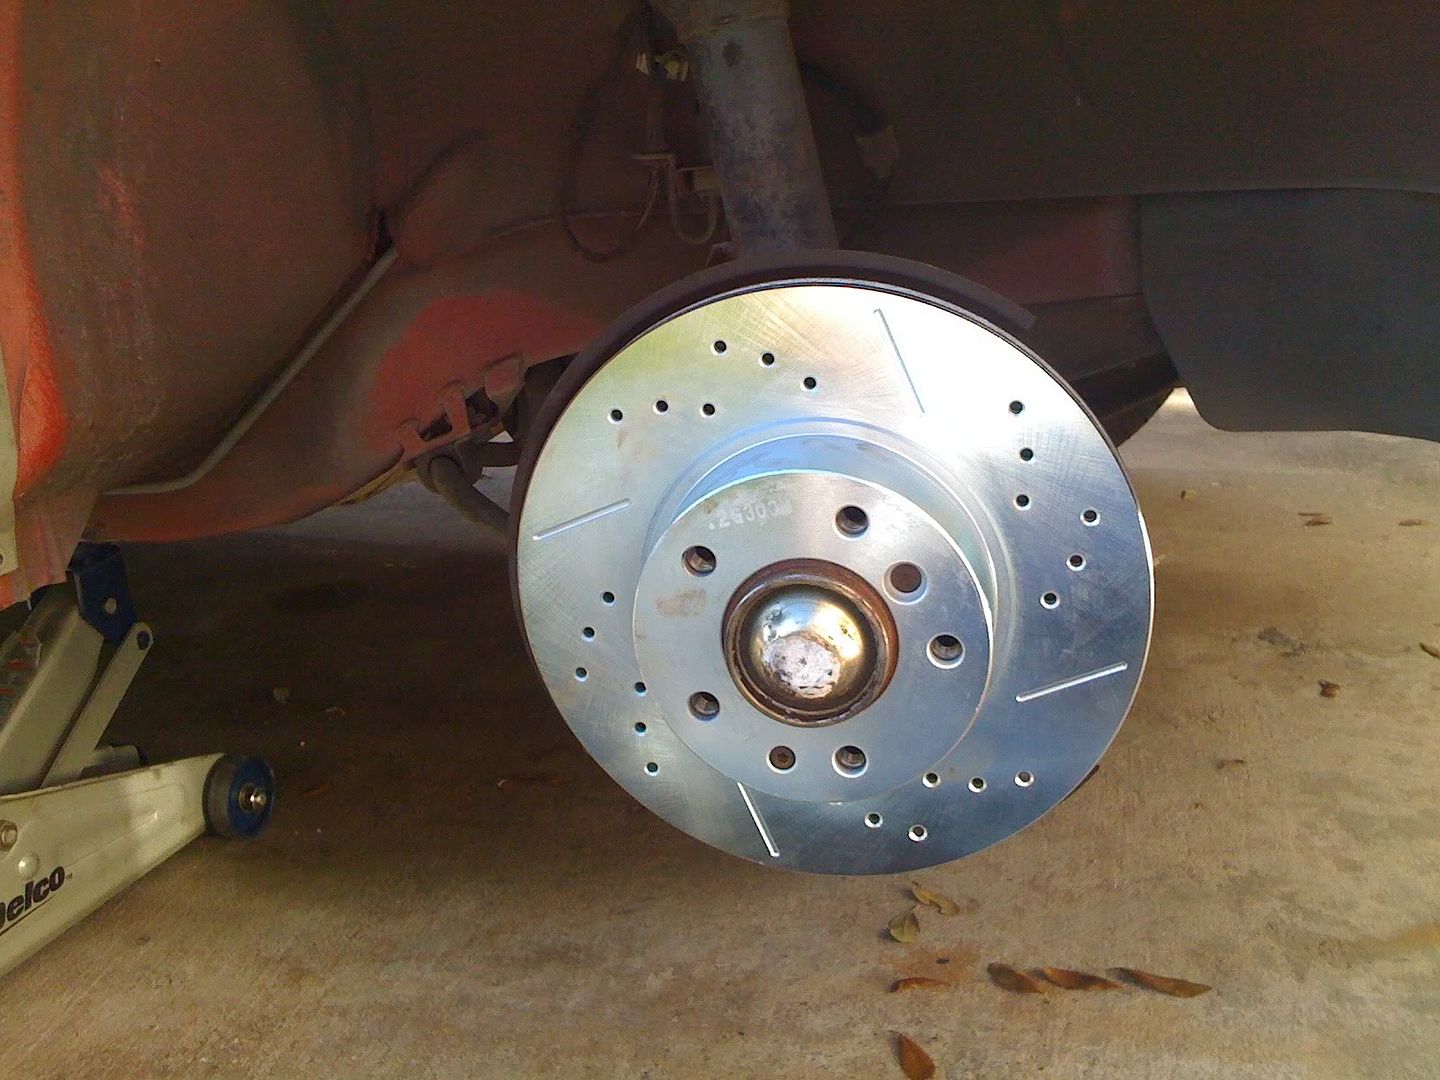
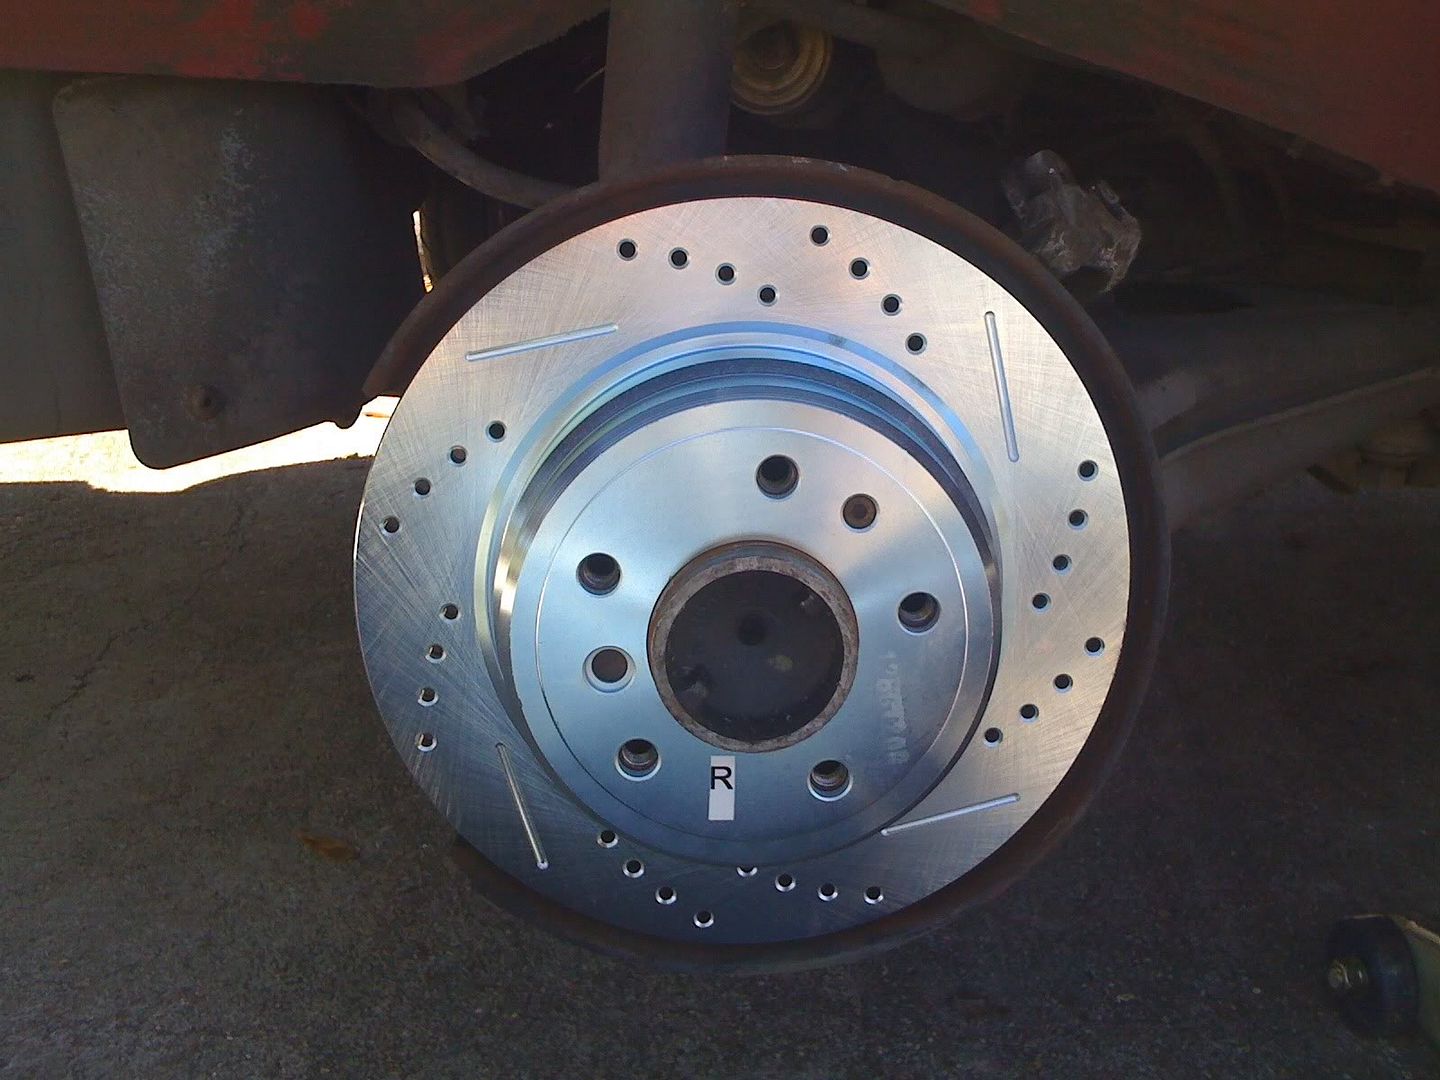
Here's the rotor bolted down to the hub. You can see how much less of the backplate you can see now behind it.
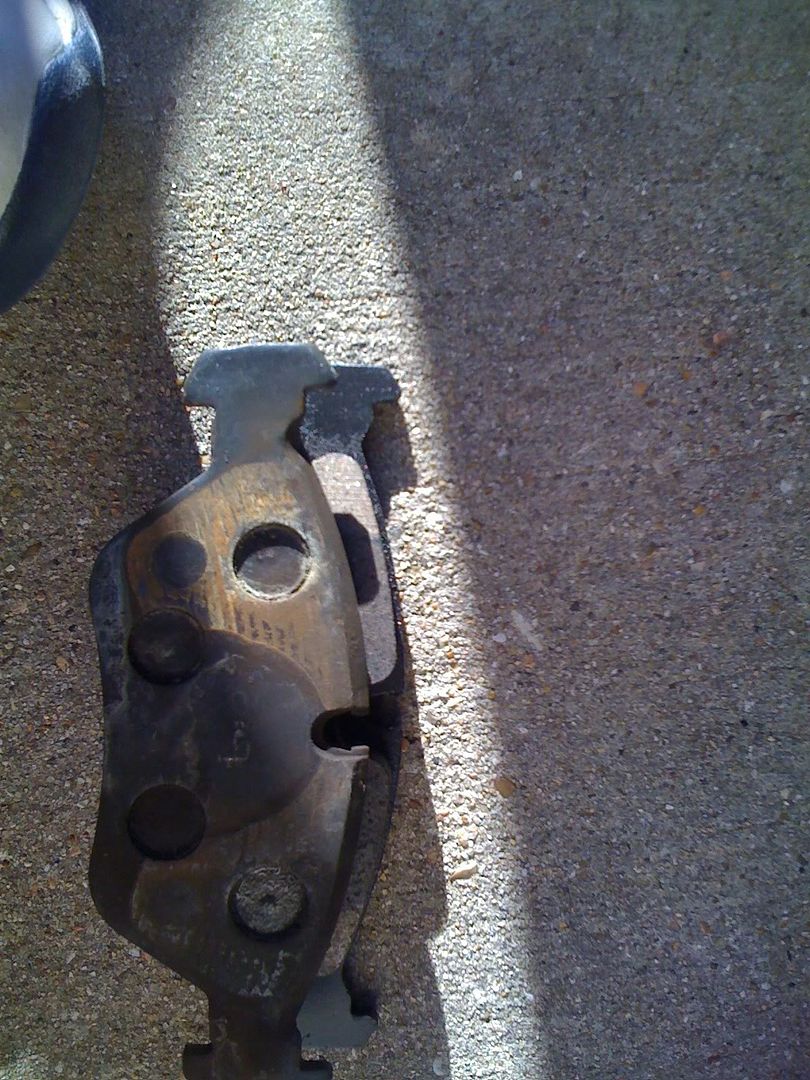
Also, if the rotor surface area didn't look like it was that much, look at the difference in how much extra pad you get! I lined up the bottom of the pad to the bottom of the new pad All the overhang is the "extra" you get :
Now, I could just say installation is reverse of removal, but it's never that easy is it? Here's the procedure :
* Bolt the rotor to the hub with the original allen bolt.
* Bolt your new Caliper mounting bracket to the original rotor backplate. When you buy your big brake upgrade, you have to have both the caliper AND the mounting bracket. If you're getting them out of a yard, take them off, put them back together off the car and take them to the counter. Usually they just charge you for a caliper without realizing you've got the bracket still attached. Also keep the 19mm bolts from the parts car (why not?) and attach them to the bracket. Keep everything from the same car if you can. I kept the bolt pins and pin covers too.
* Now, remove the brake line from the old caliper which should be tucked away on your control arm somewhere behind the back plate. If you broke it loose earlier, then this should unscrew fairly easily. I basically spun the caliper until it was free of the line. Unfortunately, you've got to spin the new caliper on the line as well which could be a little tricky if you have freshly painted calipers and a line that wants to pee brake fluid.
* Once you've got that done, pop the back brake pad in (if you're on the driver's side, put the wear sensor on the pad, then feed the wire through the caliper, then pop the pad on.
* slide the outer pad into the caliper bracket then put your caliper on and bolt it down (the 2 - 7mm bolt pins) and replace the covers on the bolt pins to keep the grime out.
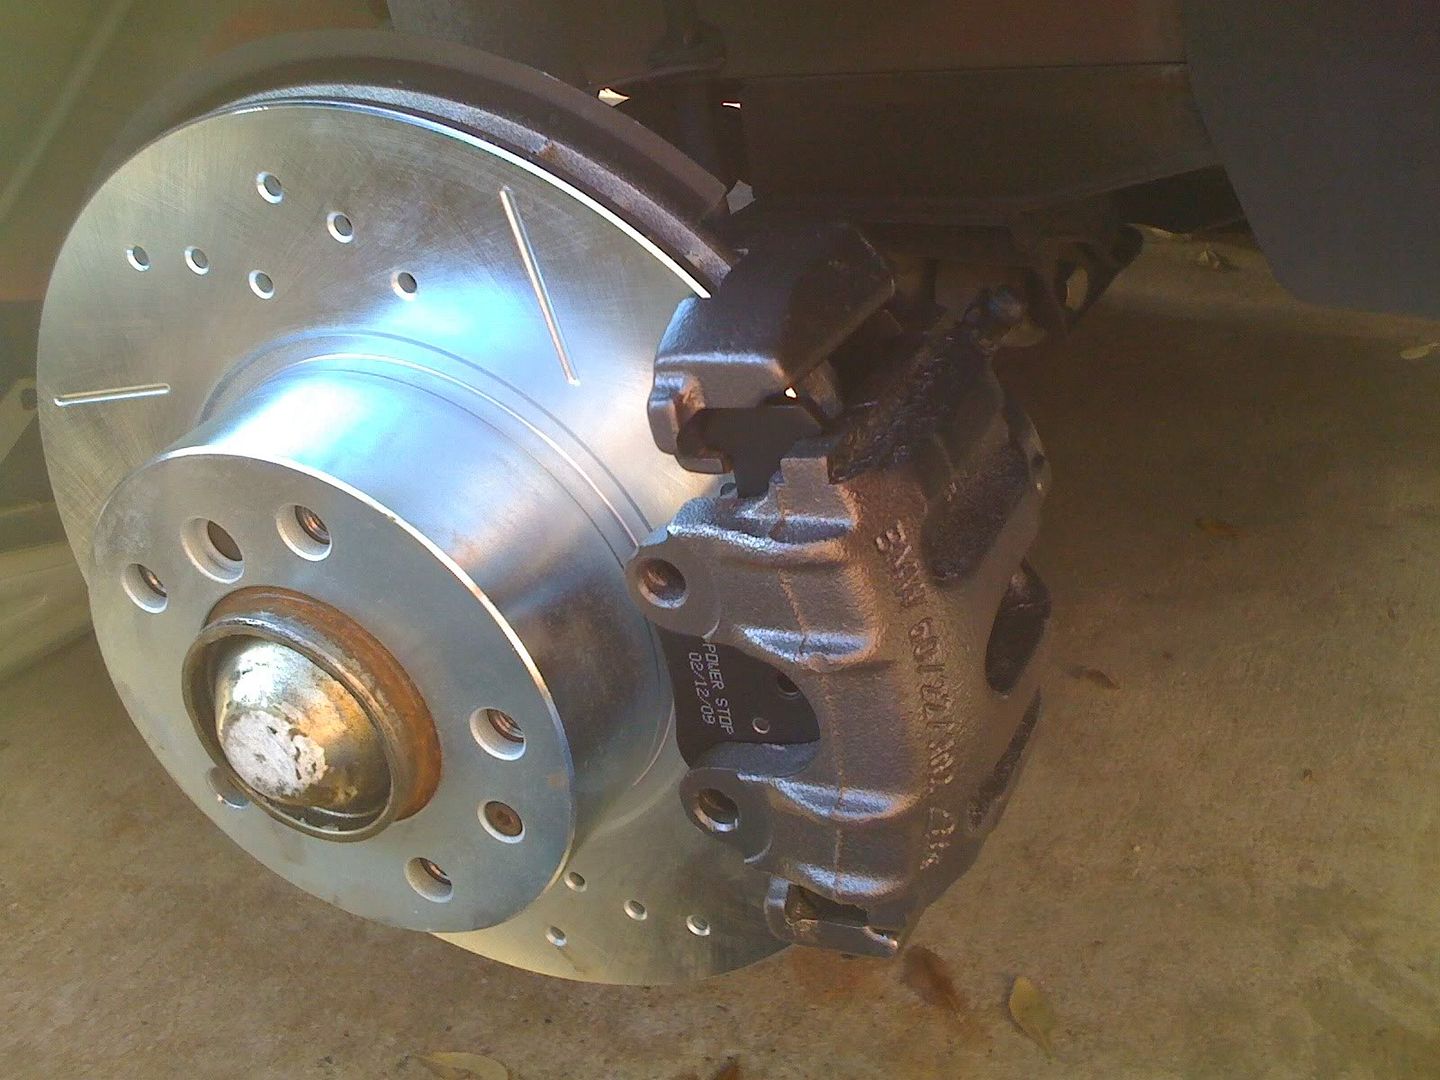
Here's what it should look like once you're through this point :
* Time to bleed the brakes. Open the Master Cylinder resevoir if you haven't already and make sure you're topped off. Remove the cover on the bleeder and attach a clear 3/16's ID hose to it. Feed the other end of your line into a bottle of brake fluid or a jar. Have a buddy pump the pedal about 5 times and hold it. With a 9/32" wrench crack the bleeder loose and let the bubbles fly. (If you painted your calipers, you should have used a 9/32" socket to take the bleeder off before you painted so the wrench shouldn't have been too hard to break it loose here). Tighten the bleeder before your buddy takes their foot off. Repeat this process 3 or 4 times until there's no bubbles in your clear line, and lock down that bleeder for the last time. Thank your buddy and ask them to come back in 25 minutes when you're ready to bleed the other side.
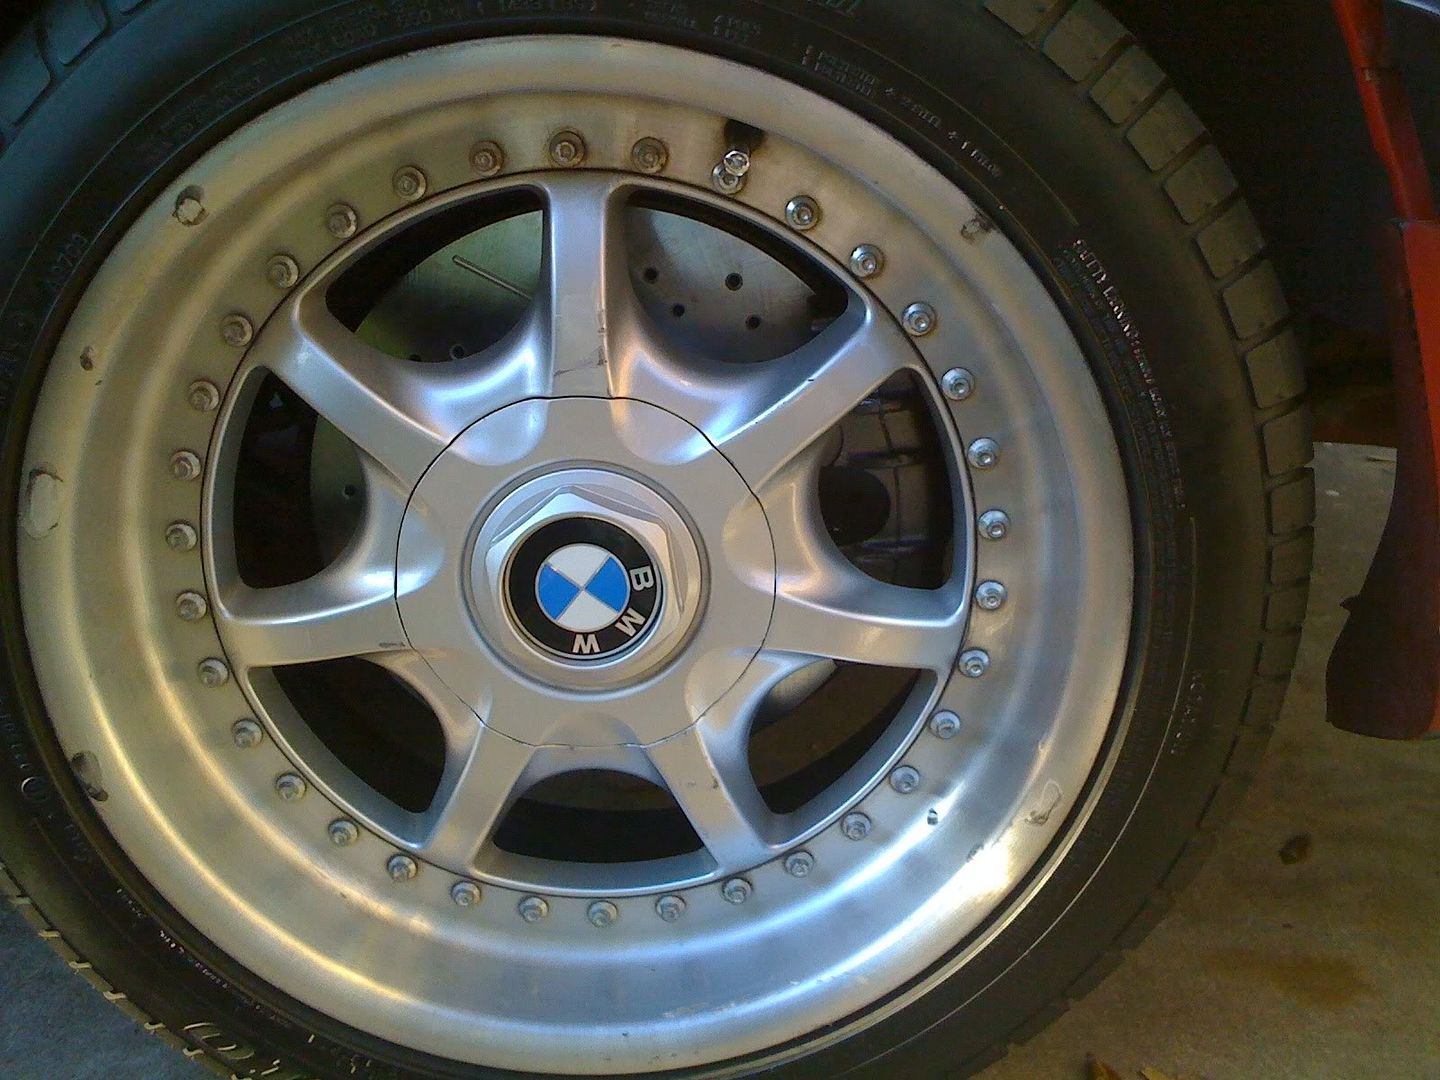
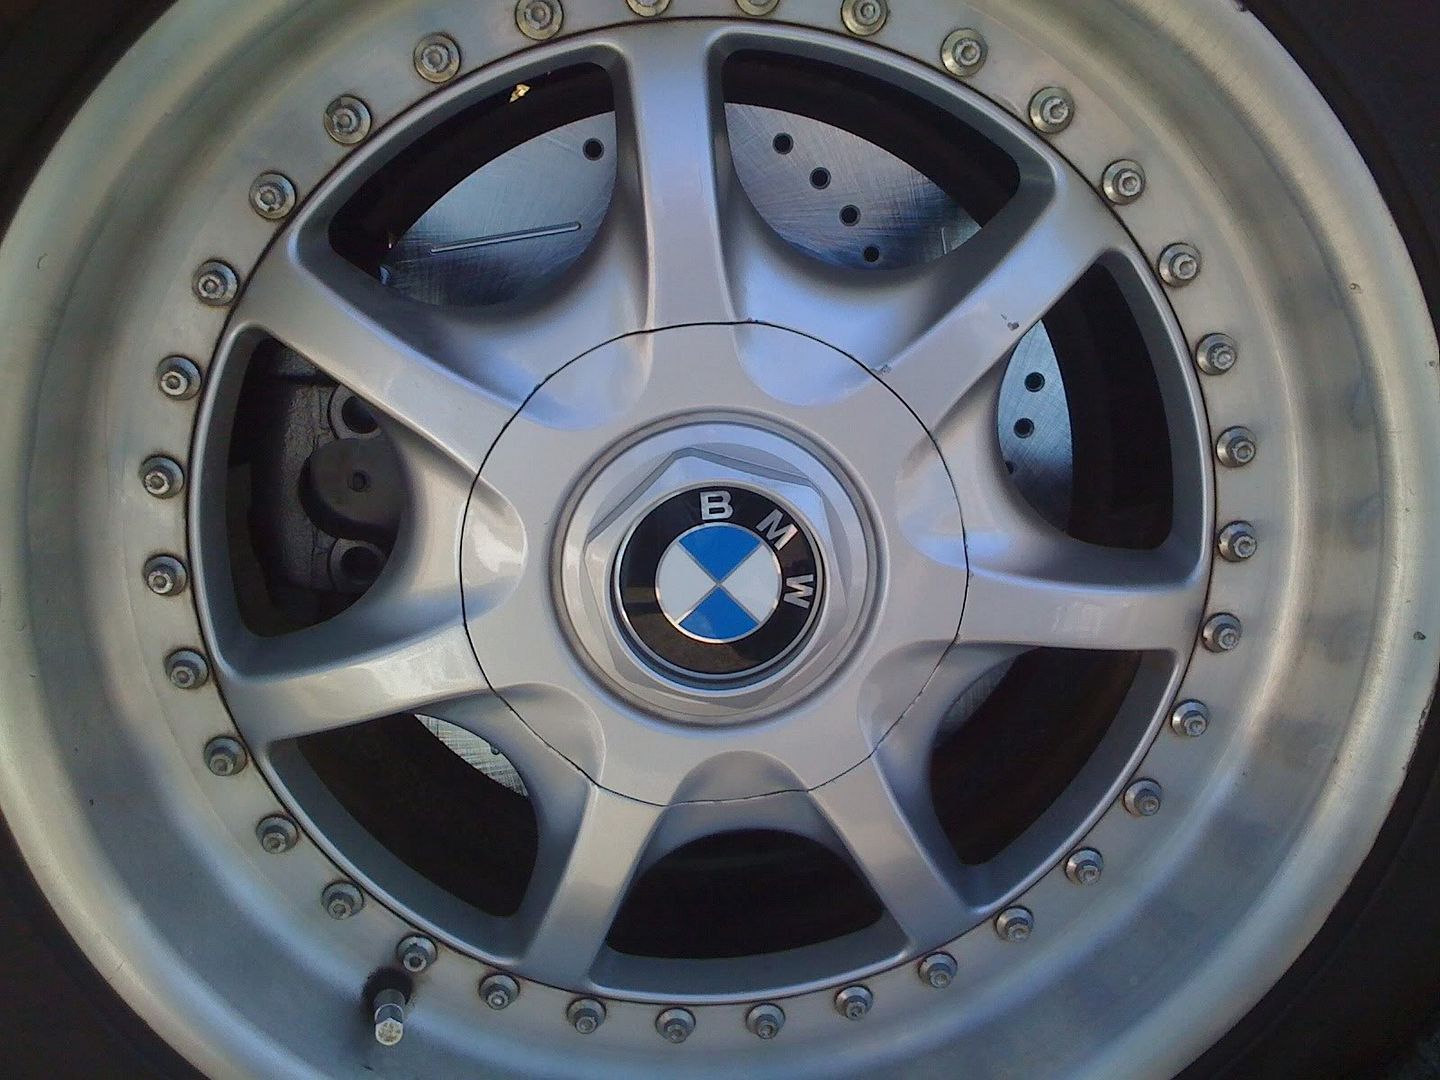
Put your sexy style 19 wheel back on (or whichever sexy set of wheels you're running), snug the lugs a bit, lower your car, and torque the 17mm lugs down good and tight, and replace your center caps (if you have them).
Rear Brakes
The rears were a lot like the front procedurally.
Here's the rear in it's sad, small, stock, and PO neglected form :
* Again, break the brake line loose from the caliper before doing anything. It's the same 14mm size as the fronts and shouldn't put up too much of a fight. The lines are very accessible.
* Remove the spring clip on the outer pad against the caliper bracket.
* Remove the allen bolt holding the rotor to the hub flange. Again, I'm sure it's a metric, but a 3/16's allen will work if your bolt isn't miracled on there with the force of god.
* Remove the two caliper bolt pin covers, then the bolt pins (7mm allen socket like the fronts)
* Remove the caliper away from the bracket and compress the cylinder to recover some fluid into your master cylinder. Set aside on the rear controller arm behind the backplate for now.
* Remove the caliper bracket from the backplate. This is slightly different than the front. The Front uses 19mm bolts, the rears use 17mm's which are the same size as your lug nuts. (will re-address this a little later below)
* Break the rotor loose of the hub flange. A moderate tap with a 3lb sledge works just fine. Don't go nuclear on it and potentially damage the parking brake pads. A little tap goes a long way.
You should now be looking at your parking brake shoes, a naked hub flange and rotor backplate. Clean the area as necessary of brake dust and grime.
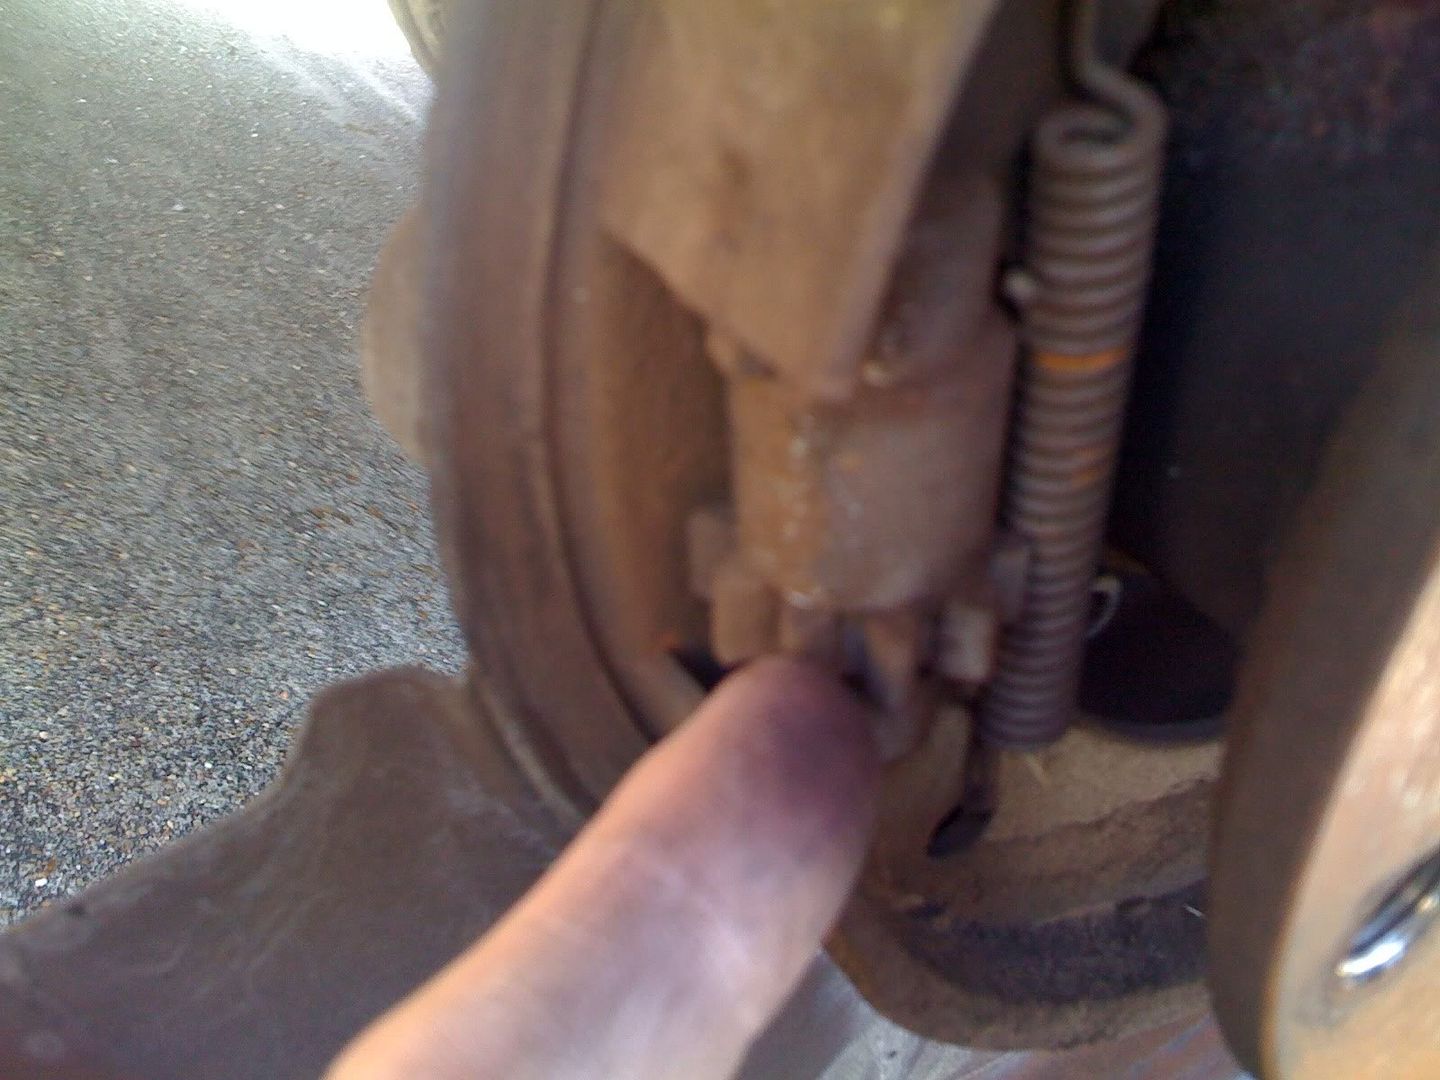
* Now, I didn't have to do this because my parking brake is delightfully tight and well-adjusted, but if you've noticed that you've got to pull the handbrake lever quite a ways upward before you get any effect, then now's the time to adjust them.
* Here's the adjuster wheel you need to turn to push the shoes out. Remember, just turn it enough to cause a minute (seriously) amount of drag. Once you're there, stop! The handbrake handle will pull it plenty tight from there afterwards. Obviously you'll need to put the rotor (old, or new, doesn't matter) back on and turn it with the transmission in neutral to see if it has a hair of drag to it. Keep trying until you get the desired effect.
Here's a few comparison shots of old vs. new.
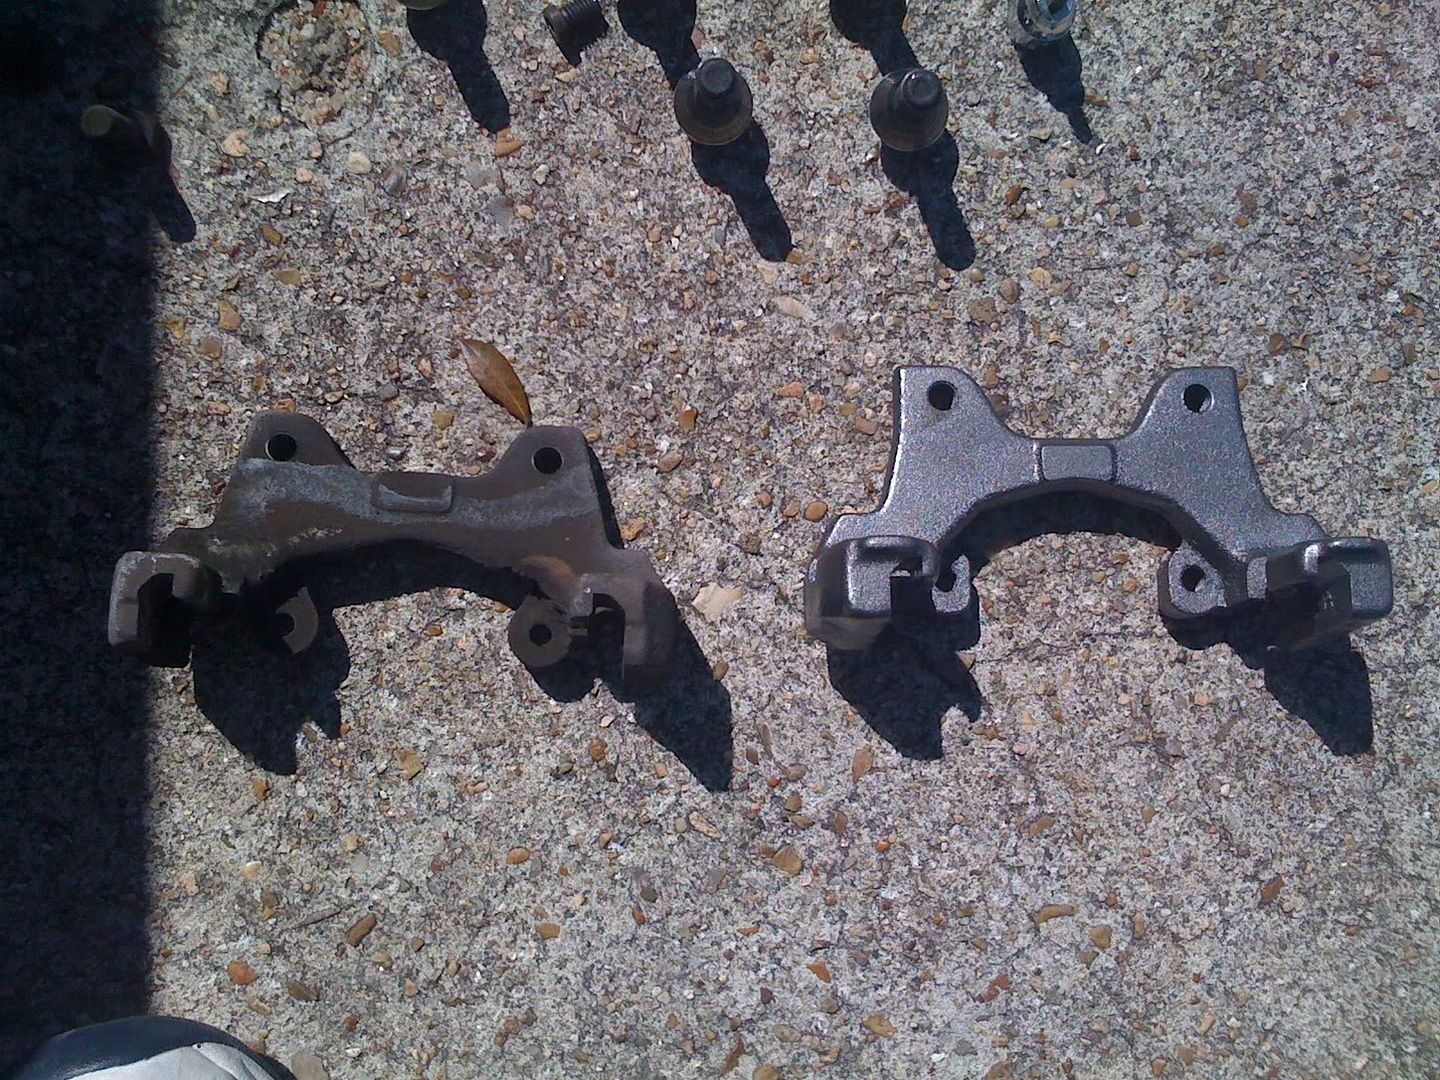
Caliper brackets (rear) illustrating the size difference and the necessity of having these to complete the swap :
Rotor diameter difference (rear). Again, it doesn't look like much, but you're gaining outer diameter surface area, which adds up substantially.
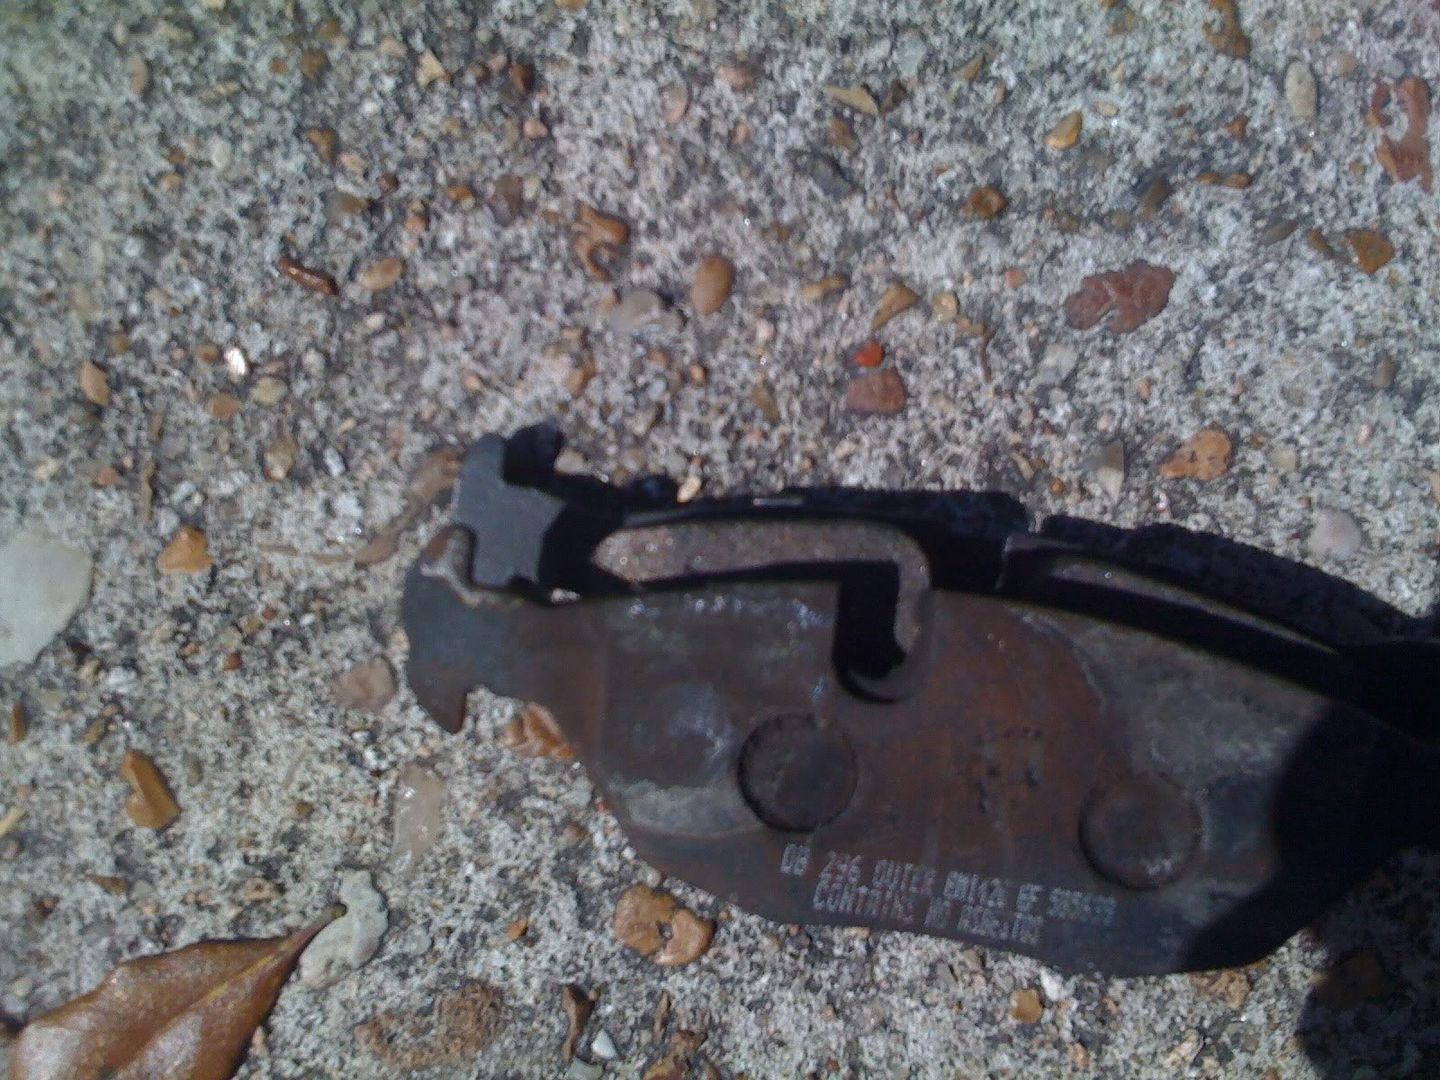
Brake pads (rear). In person you can really see the difference in pad surface area.
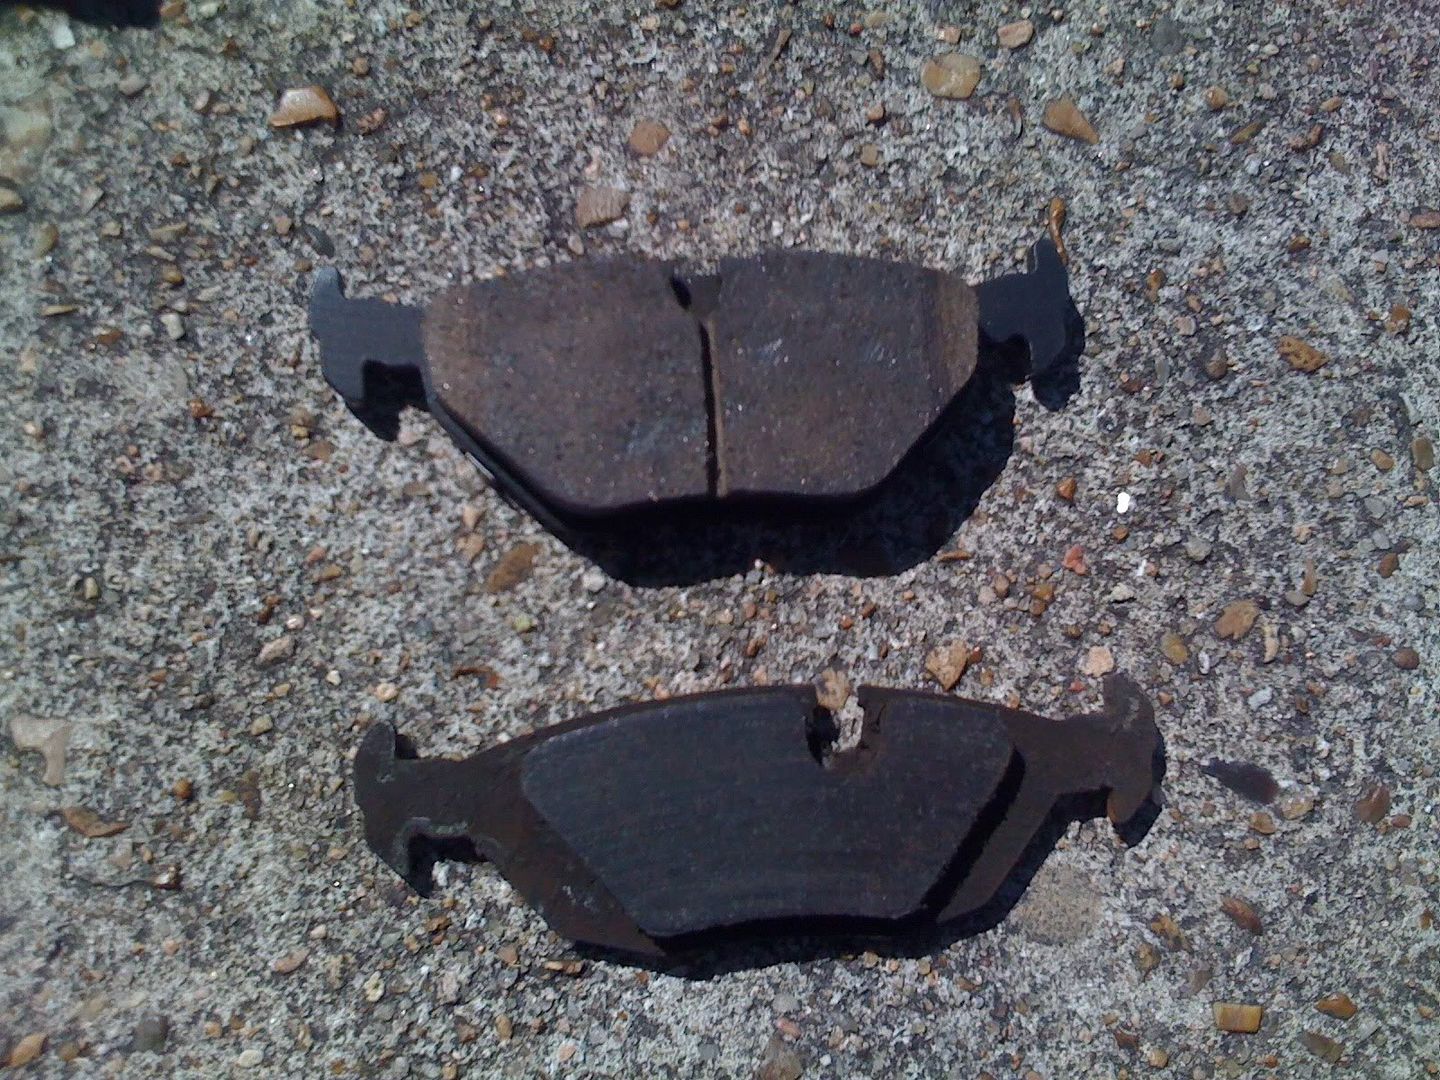
Old pad on top of the new one. Again, I've lined up the bottom of the pads together and the overhang is all the surface area gained.
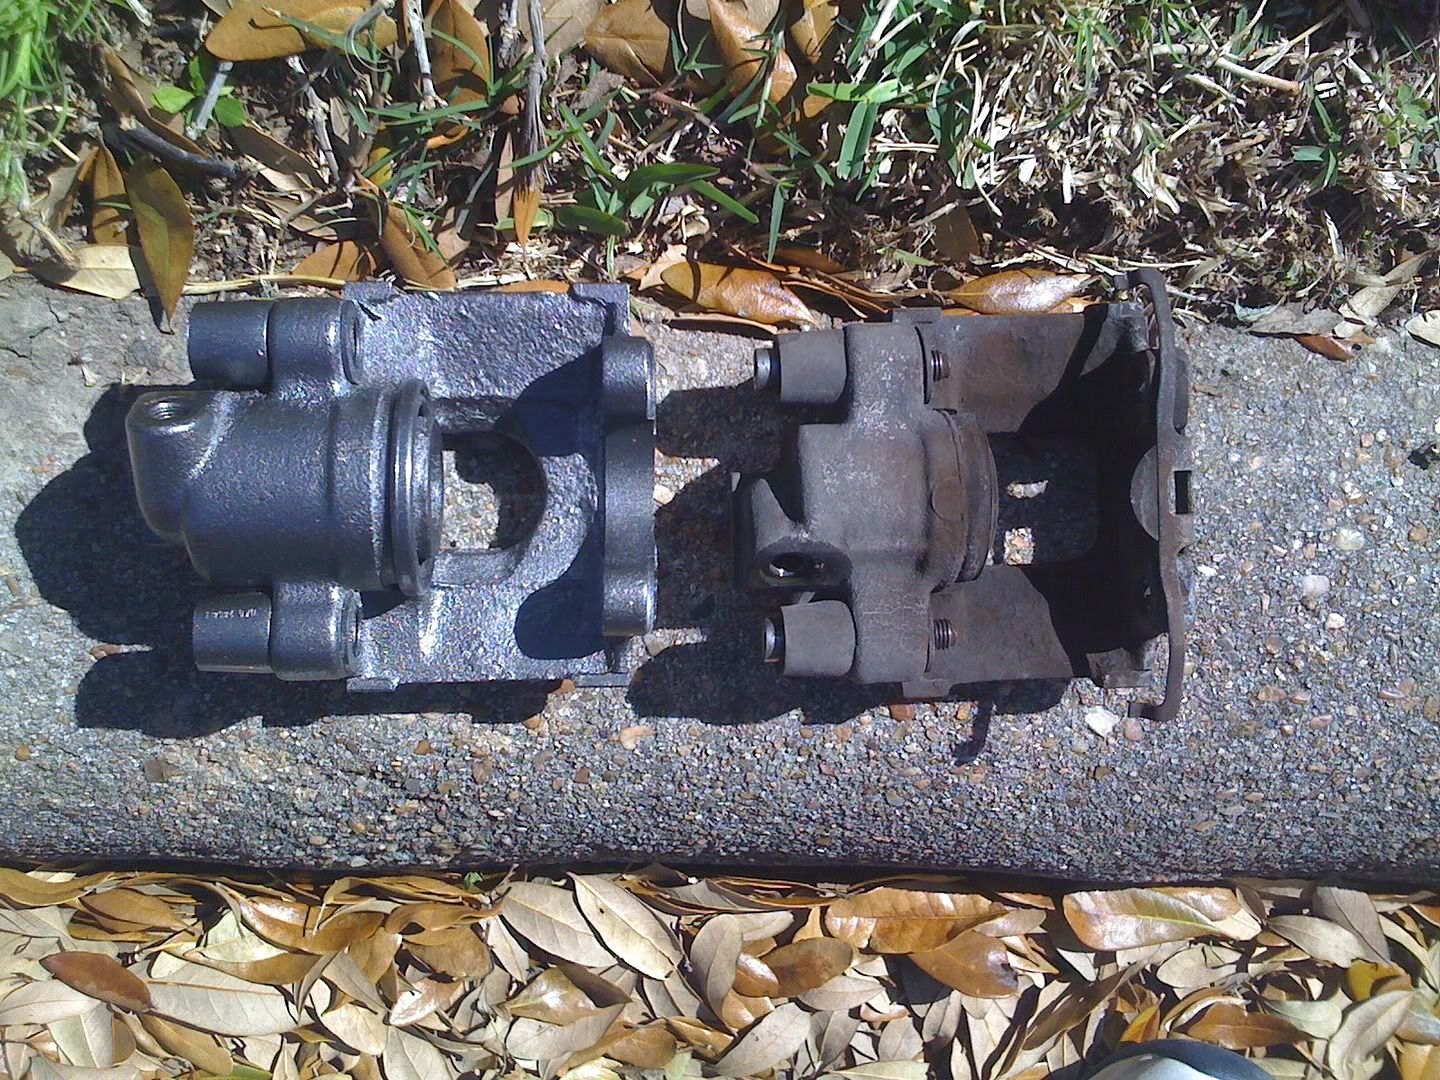
Calipers (rear) old vs. new. A little bigger than original. I could see why the E34 M5 rear brake would be a better option here, but I stuck with the same donor to buy the rotors/pads/sensors as a complete set :
Now, bolting everything back together :
* Bolt the rotor to the hub flange. There's been debates about which direction the slots should go. I think by the marking on my rear rotor, it's obvious (and the way I've been doing them for years beforehand). Re-install the original 3/16's allen bolt to the hub. Snug it, don't burn it in there, and don't forget the anti-seize.
* Now to the caliper bracket. Remember that note about the 17mm bolts in the rear? Re-use those. I took the rear bolts from the donor car (95 530i), however the thread pitch was identical, the heads were not. The donor had 15mm shouldered heads, where as the originals were 17mm unshouldered. Bigger is better in my book, so I re-used the originals in the rear. Here's a comparison shot of the new on the left and originals on the right.

* Unscrew the brake hose on the original caliper. Again, I had to turn the caliper loose of the hose (the hose has no rotational give). Quickly screw the new caliper into the hose. Take a GOOD look at the old caliper's hose-to-caliper orientation before screwing one on there. The line input should face upward toward the rear door arch. If your input is facing down, you've got the wrong side caliper in your hand. Snug the line by hand as best you can.
* Be sure you re-install (or install a new one if you needed to) your pad wear sensor if you're working on the rear passenger side. Clip the sensor into the new pad, thread the connector and wire through the middle of the caliper, and clip the pad into the piston.
* Place the outer pad into the bracket (it'll dangle a bit, but stay in place). Then install the new caliper with the 7mm allen bolts. Tighten them down. Re-install the caliper bolt pin covers!
* Tighten the brake line on the new caliper with your 14mm wrench. Don't burn this line on with the power of a thousand suns. Just snug is all you need. Overtightening will cause you more agony and disdain that even flare nut wrenches are rounding off your line the next time you have to take it apart!
* If you're doing this all on the same day, your hood should still be open, as well as the master cylinder reservoir. Top it off. Place the 3/16" inner diameter clear hose on the bleeder nipple, and the other end into a bottle of brake fluid or jar. Have your 9/32" wrench very close by. Have your buddy pump the pedal 5 times and hold it. Break the 9/32" bleeder screw loose and watch the bubbles fly. Tighten the bleeder and tell your buddy he can let off the pedal. Repeat 3 or 4 more times until you're satisfied. Re-check the master cylinder reservoir and top off as necessary. Re-install the cap, close the hood; You're done up there.
* Replace your sexy style 19 (or whichever sexy wheels you're running) and hand tighten the lugs. Lower the car, torque the lugs down with your 17mm socket and breaker bar or torque wrench. Re-install your center cap (if you have them). Admire your handywork.
Clean up your tools, toss your old rotors if you don't want them any more. Set your old calipers aside and ask the question here on the board "Anyone interested in OE 535is calipers?"
Thank your retired dad, your son, or buddy for doing the pedal work and ask them to come back in 25 minutes when you have to do the other side. Repeat all these afformentioned steps on the other side. Thank them again, and crack open a beer, wash your hands and get ready for the test drive.
I took mine on a 10 mile trip, lightly braking, and taking longer than normal to stop (basically braking early and lightly all the way to the stop). You might smell some burning brakes or see a little smoke come off the rotor (mine are zinc coated and a little goo from my hands might have brushed against the surface). Don't be alarmed if you get out and see a band where the pad contacted the rotor not nearly as wide as the pad is. You've got to break them in and it takes a while before the entire pad surface area is touching the rotor face.
And there you have it. A Complete pictorial how-to on an OE "big brake upgrade." I've taken the car on a test drive and broke the pads and rotors in and I've got to say, it stops just as well as my E39 now. Very much worth every single penny spent on this upgrade. Safety upgrades pay themselves off with peace of mind. If you decide to use E34 540 or M5 brakes, the procedure should be identical to this one.
Enjoy!