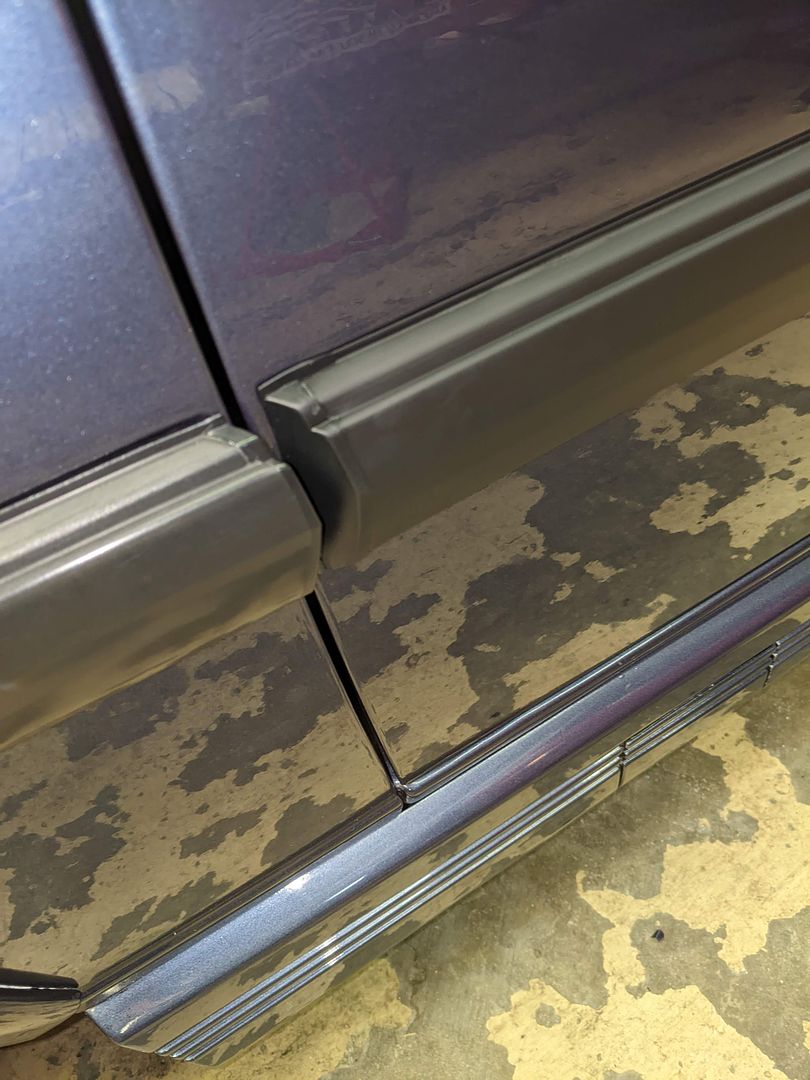
UPDATE
Wow, has it really been almost a year since my last update? Yikes, apologies for not keeping up. I went back and realized that I had drafted one to follow last March's but I never completed it and posted it.
Not much happened during 2023 but for some small projects, both troubleshooting/repairs and some upgrades. The first part of the below list took place back in 2022 with the remainder up until just recently. I have to promise myself to make this more of a regular thing since waiting a year or so to update is daunting and time consuming (I'm just as soon to skip updating altogether, but I said to myself I wouldn't do that).
Okay so here we go:
2022:
BBS Wheel Refinishing:
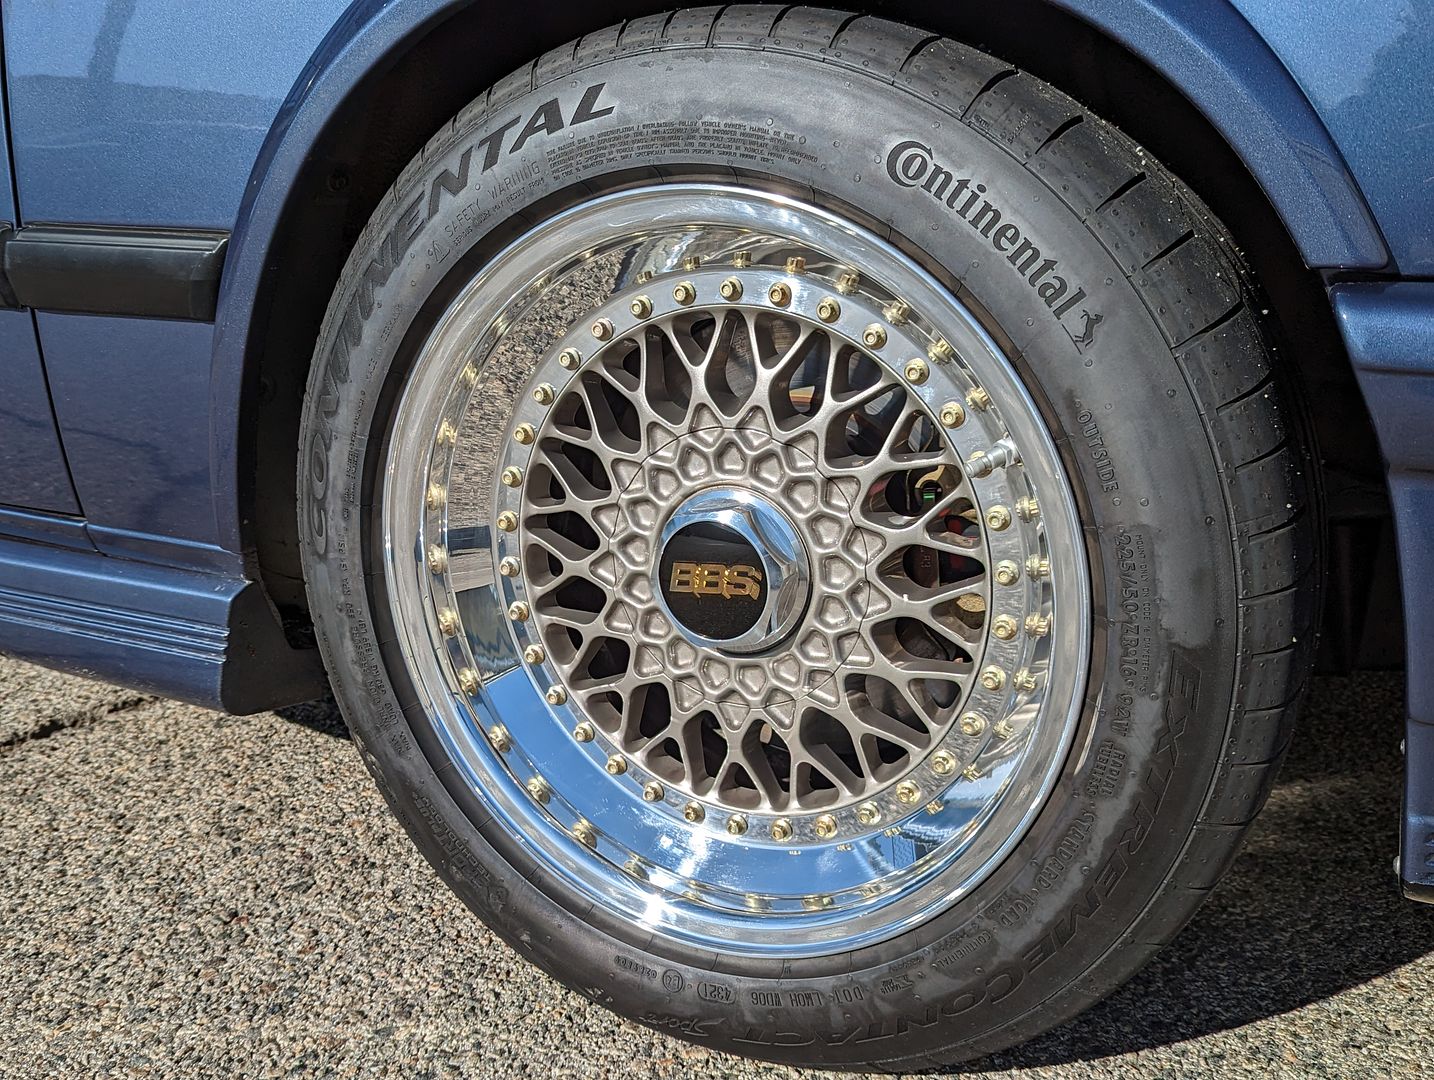
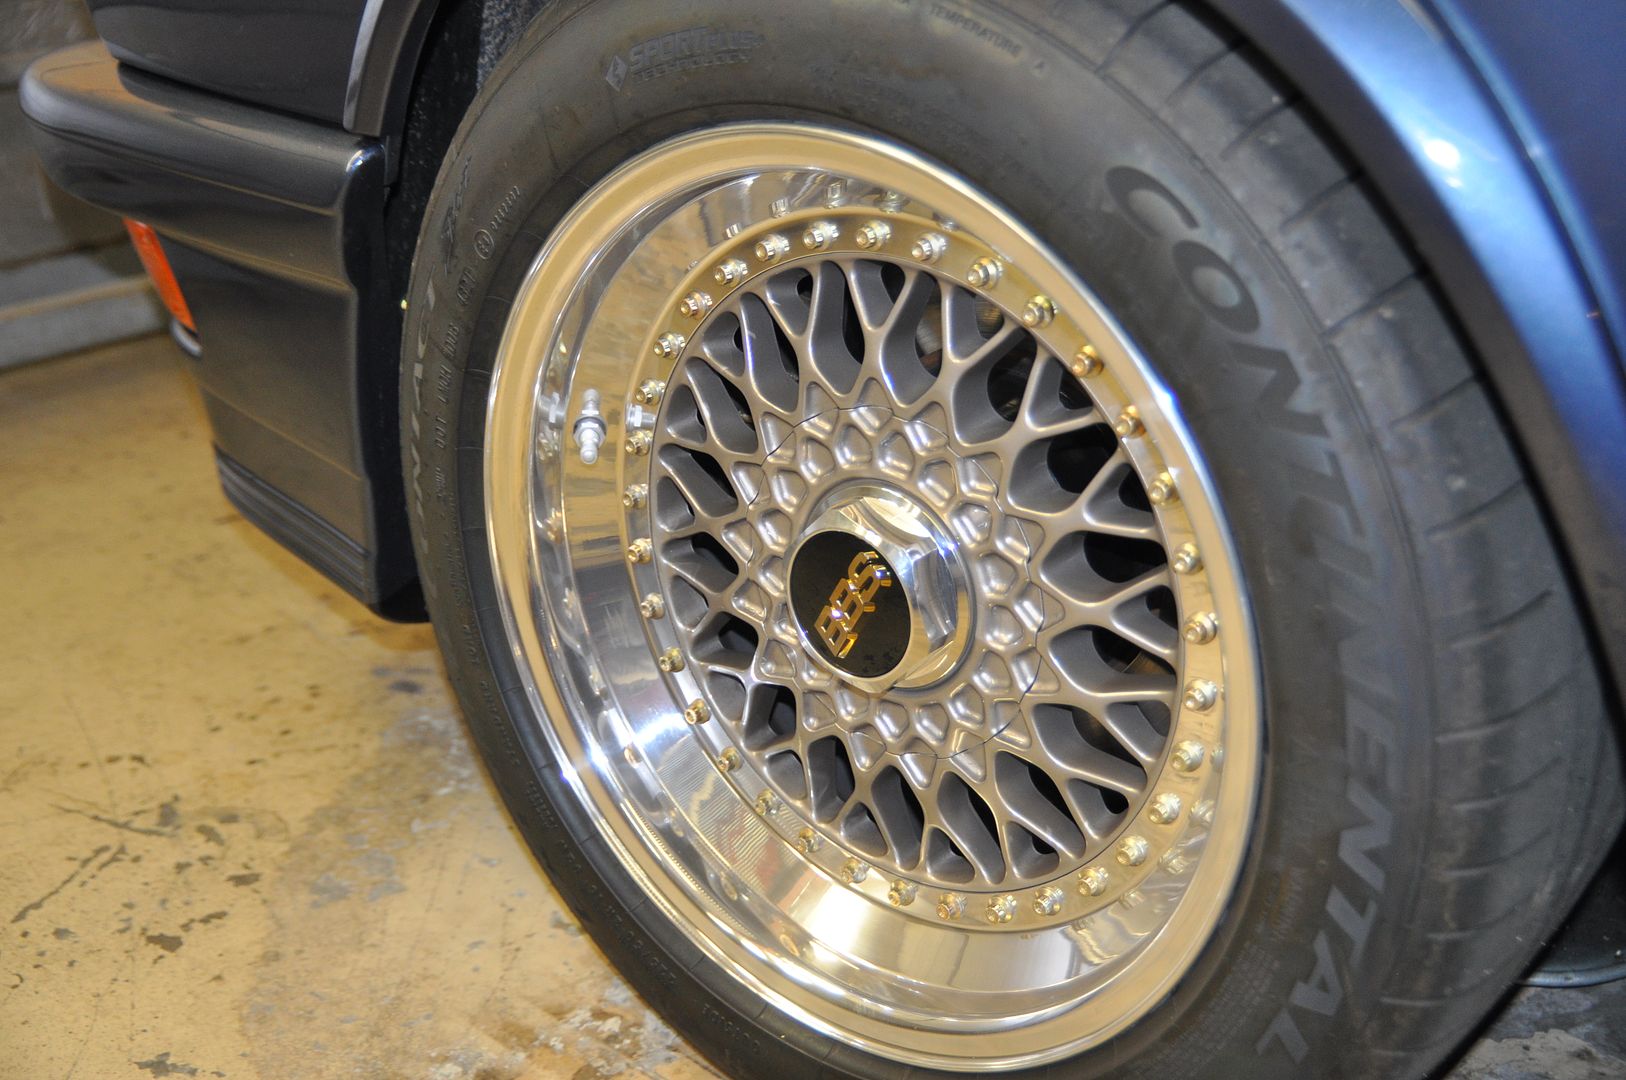
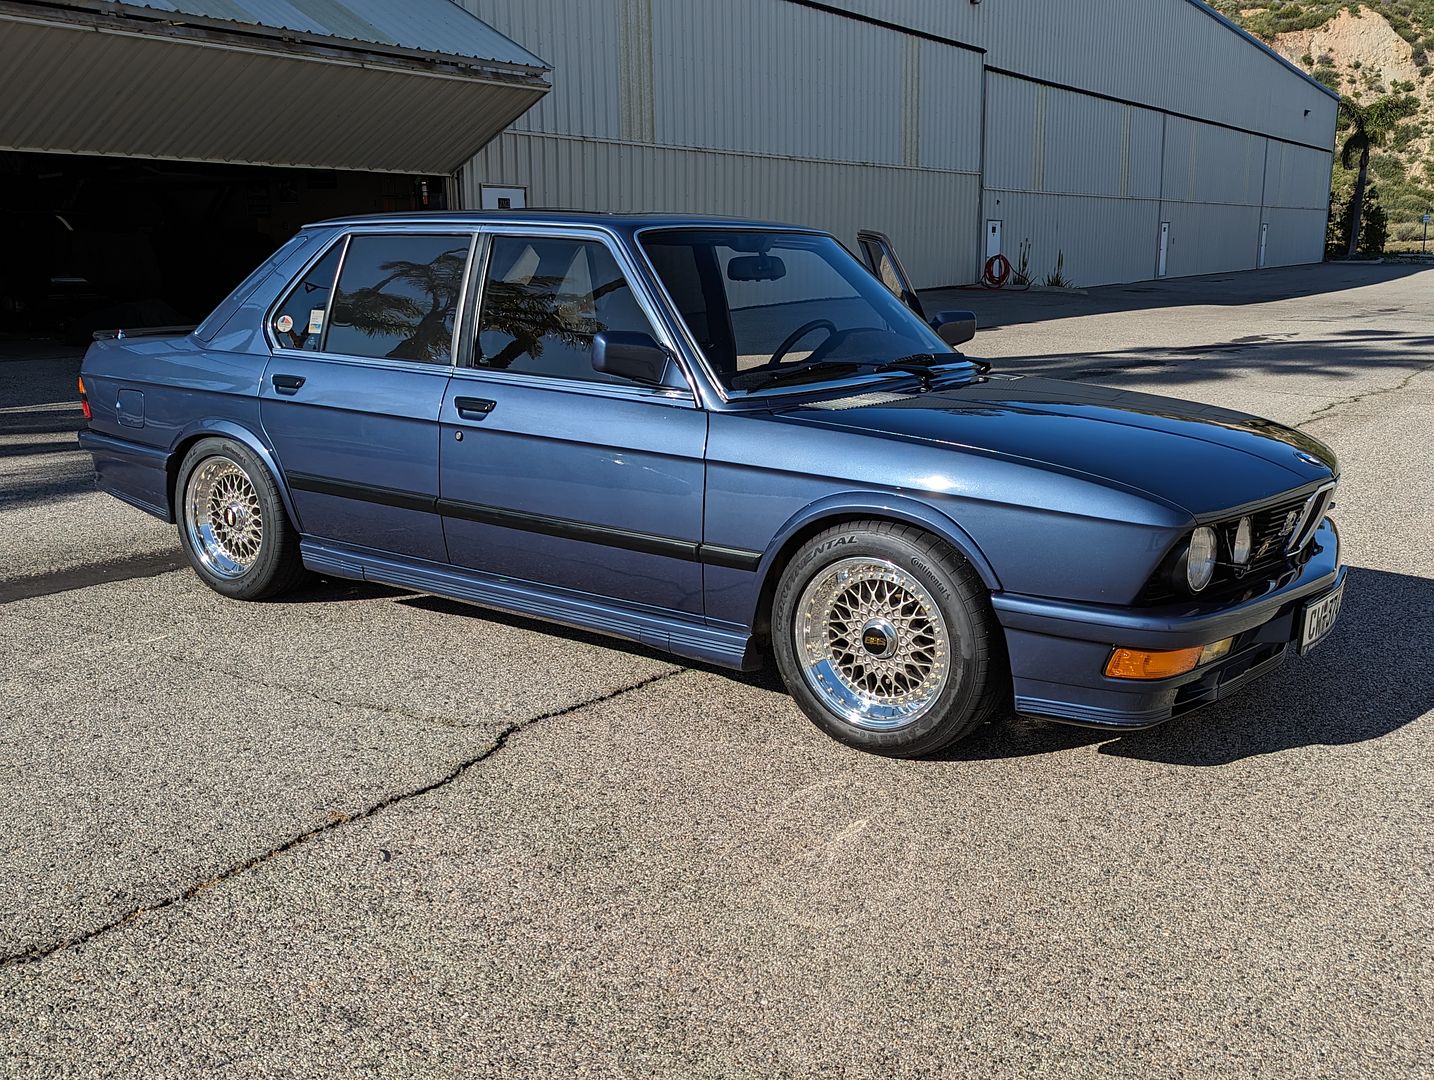
This was one of those items that should have been a low priority items since my BBS RS211’s were still in relatively good condition. There were some blemishes that I couldn’t get out and the wheel bolts were corroded or at least were losing their sharpness. So, I set out on what I thought would and should have been a straightforward task. I had done this exercise for my spare wheel the previous summer, so it should have been simple. On the spare wheel it was a combined effort between the wheel refinishing shop and the plating shop for the bolts.
Through a bit of bad luck on timing & schedules between the two shops and my own, sourcing a replacement set of BBS wheel rim bolts and the wheel refinisher going out of business in the middle of the whole thing, the task turned complicated and took waaay longer than anticipated. A mistake by the first wheel refinisher (the wrong center color and not finding out until the day they closed their doors) forced me to find another shop and more or less start all over again. The only thing they really didn’t have to do was polish the lips again, but they had to do everything else which included dismantling the three piece BBS system, remove the glue, strip the paint on the centers, find the matching paint (a sort of bronze/pewter), then reassemble them all. So, in the end I paid a lot of money to effectively have my lips polished. Add in a new set of Continental’s since the old set was aging out (certainly not by tread wear) and this turned into a major investment, more than I was anticipating for something that was more or less optional.
On and on it went from there. But in the end, they came out good looking much better than they were before.
 Windshield Wiper System:
My wiper motor has been progressively slowing down for years now and all the stuff under the cowling was showing its’ age (not that I ever drive this car in the rain, but hey, it’s about the principle, right?) This was a splurge and maybe in getting older I made an executive decision to use the hardest working tool in my toolbox: my credit card. I opted to buy all new parts rather than trying to refinish/rebuild the motor and other parts since it was all still available (except a few hardware pieces). Given BMW’s penchant to discontinue parts at will, there was no telling if they would be available in the near/far future. So, an order was placed and I waiting for the Norwegian express to deliver a box.
First up: Removal:
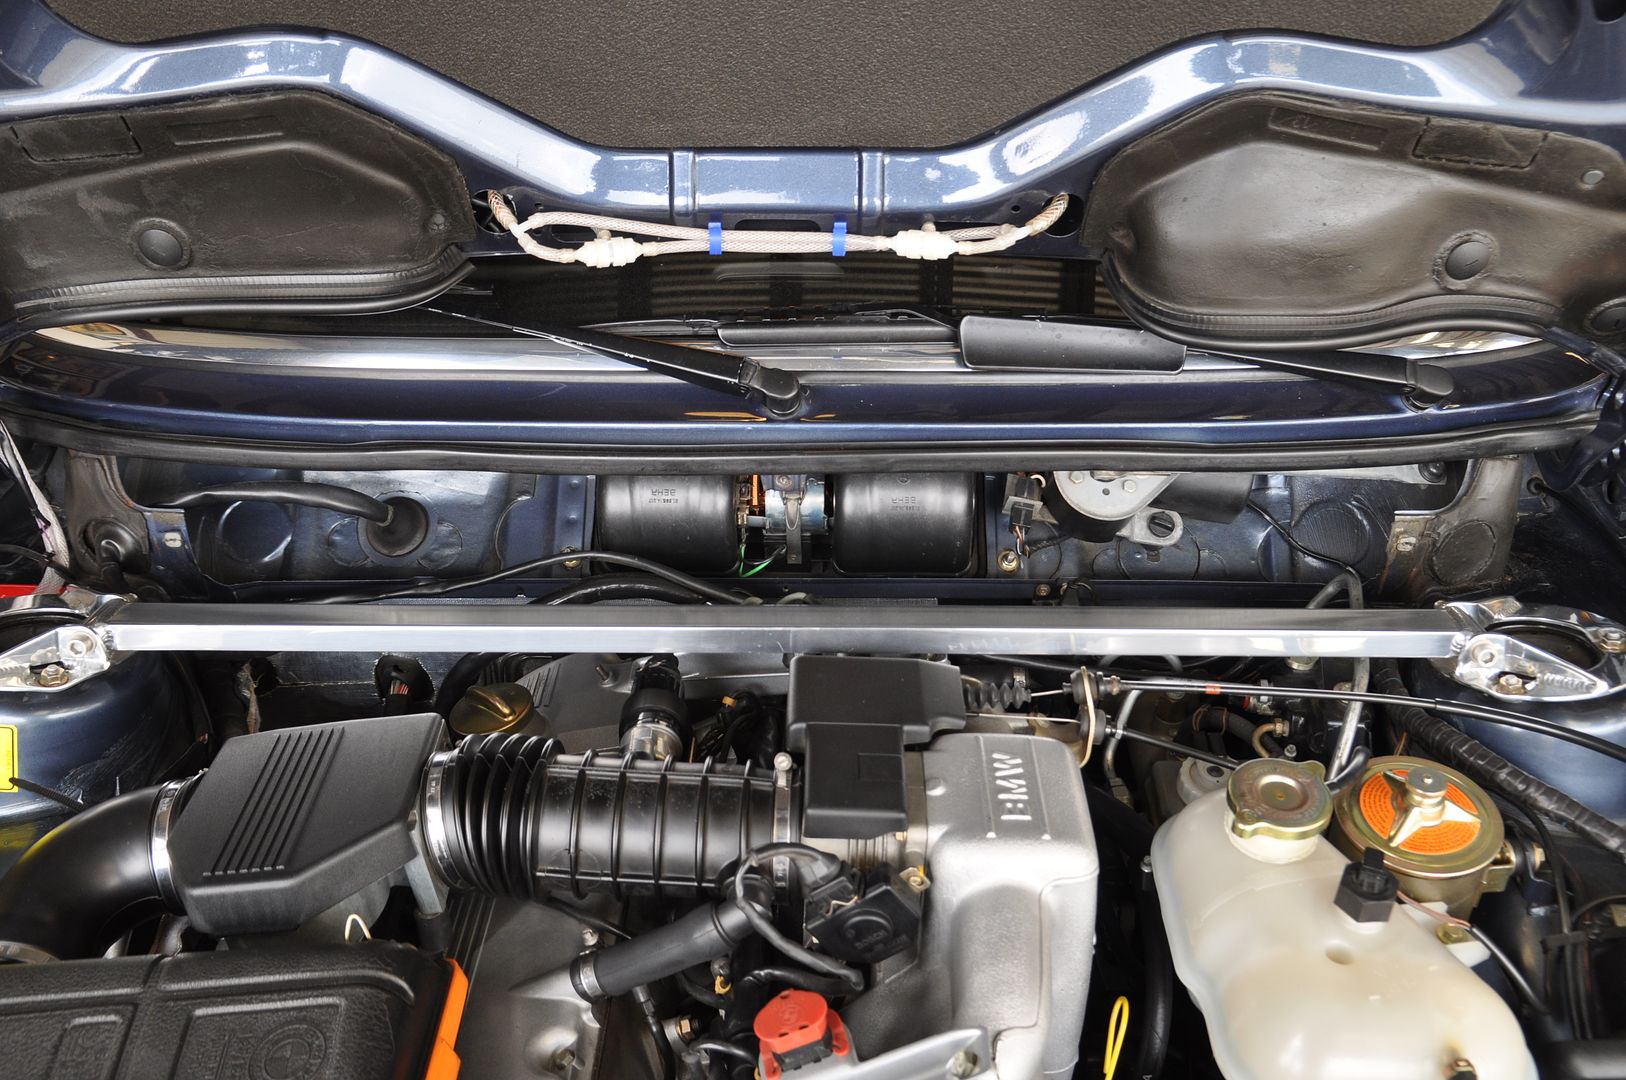
1) Remove the firewall panel in the engine bay to access the system
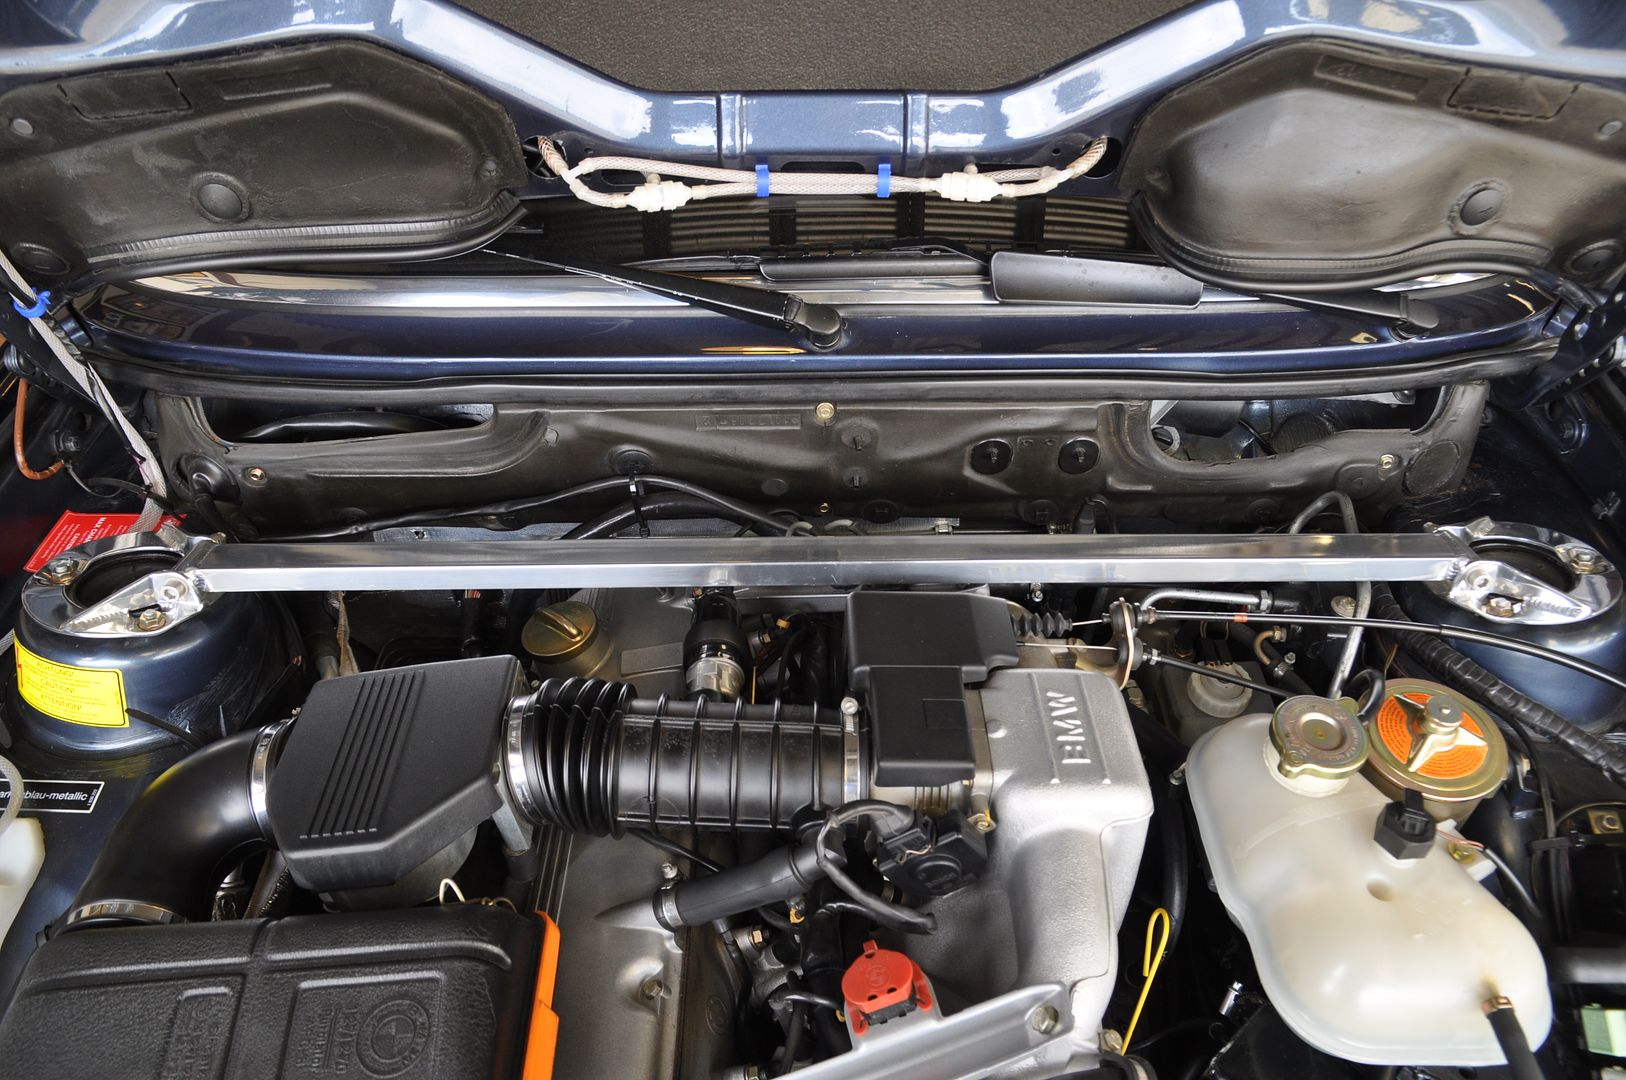
2) Next, remove the Wiper Arms but first pulling up the plastic covering cap on the Wiper Arm
3) Then pull up the plastic covering over to expose the Retaining Nut
4) Next unbolt the thin Retaining Nuts & washers. Important to note here: these two Retaining Nuts actually secure the whole Wiper Arm and motor to the body. There is a small rubber adjuster ‘foot’ behind the motor that braces it to the inner well firewall, but otherwise, that’s it.
5) The rubber gasket ring that goes around the hole in the outer body cowling has likely decomposed over time (mine had) so you may have to carefully pick and pull it out of the hole. Clean up with some cleaner (Goof-Off or a little lacquer thinner) to get the residue off.
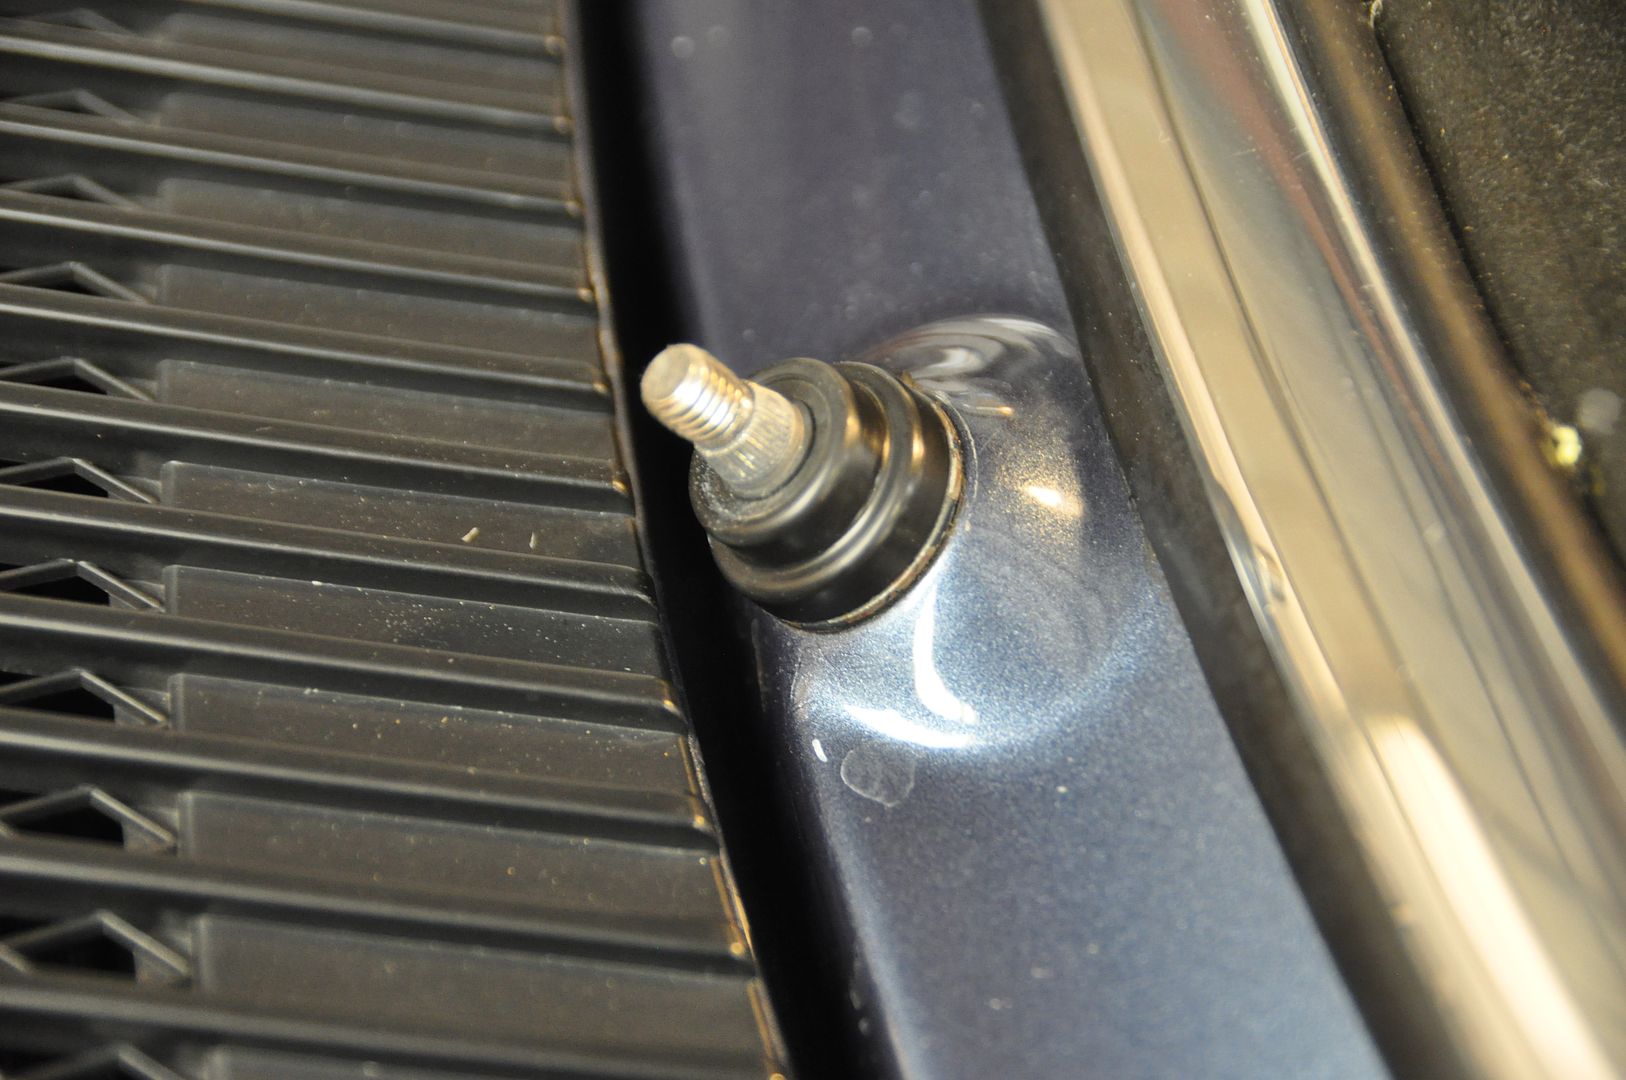
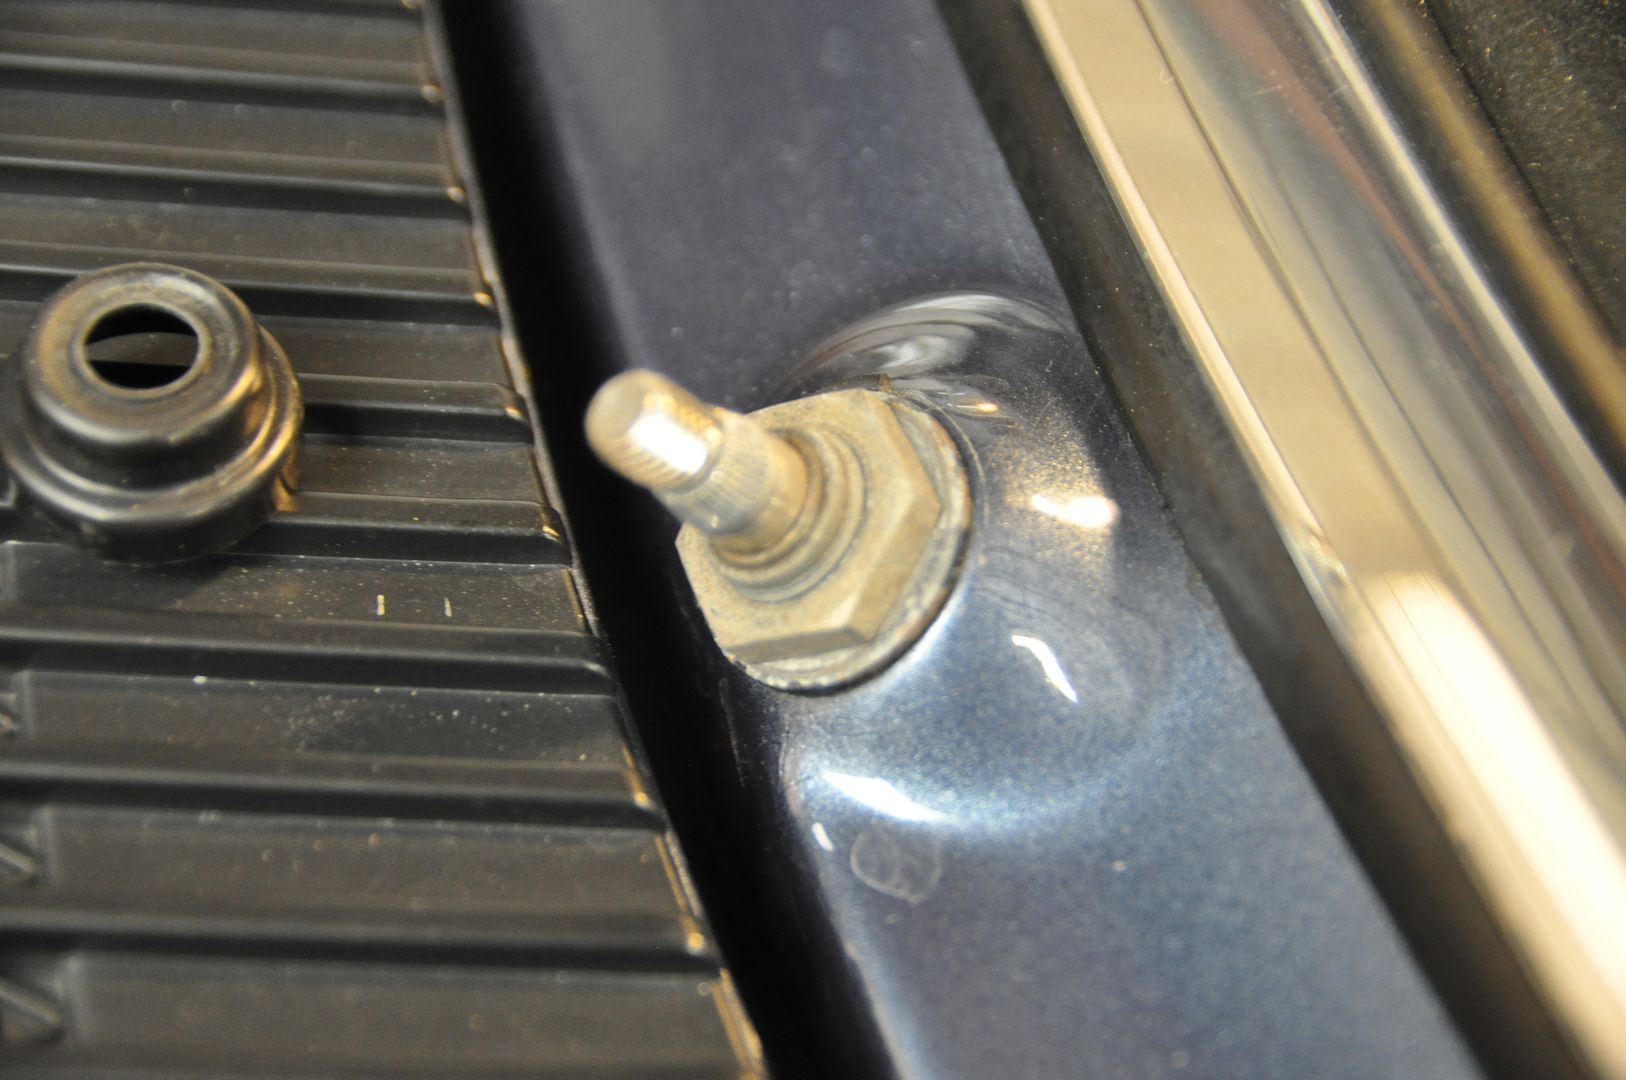
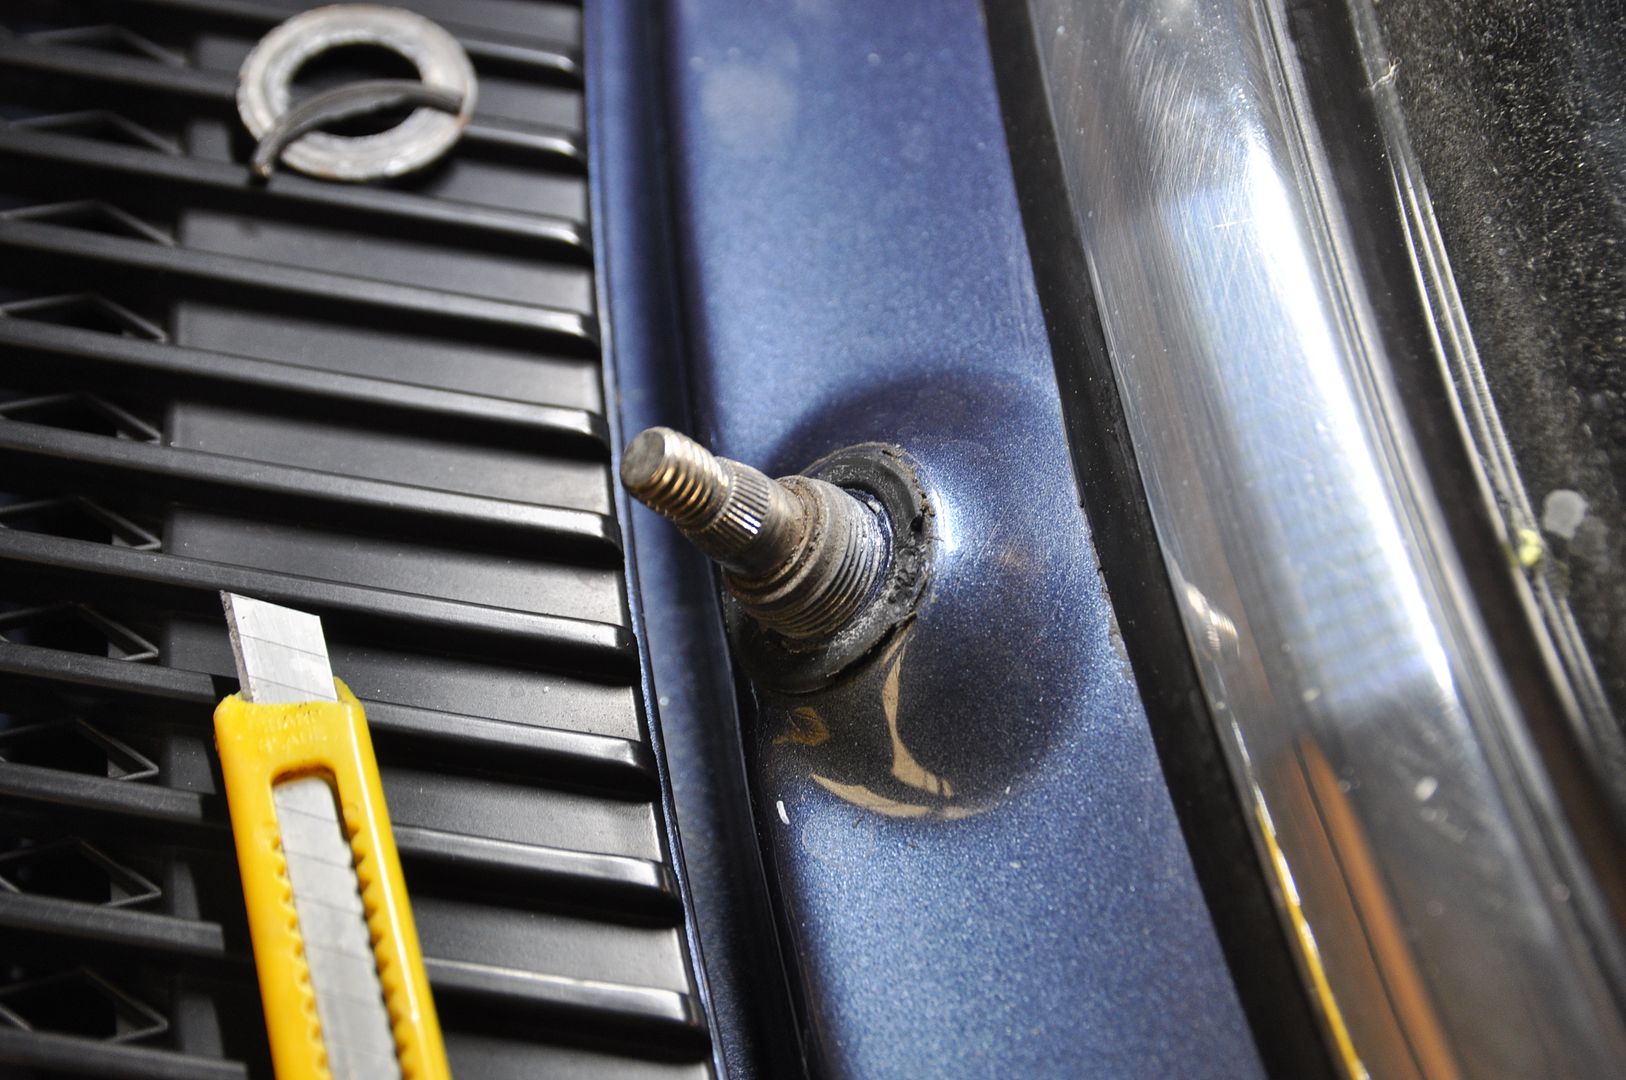
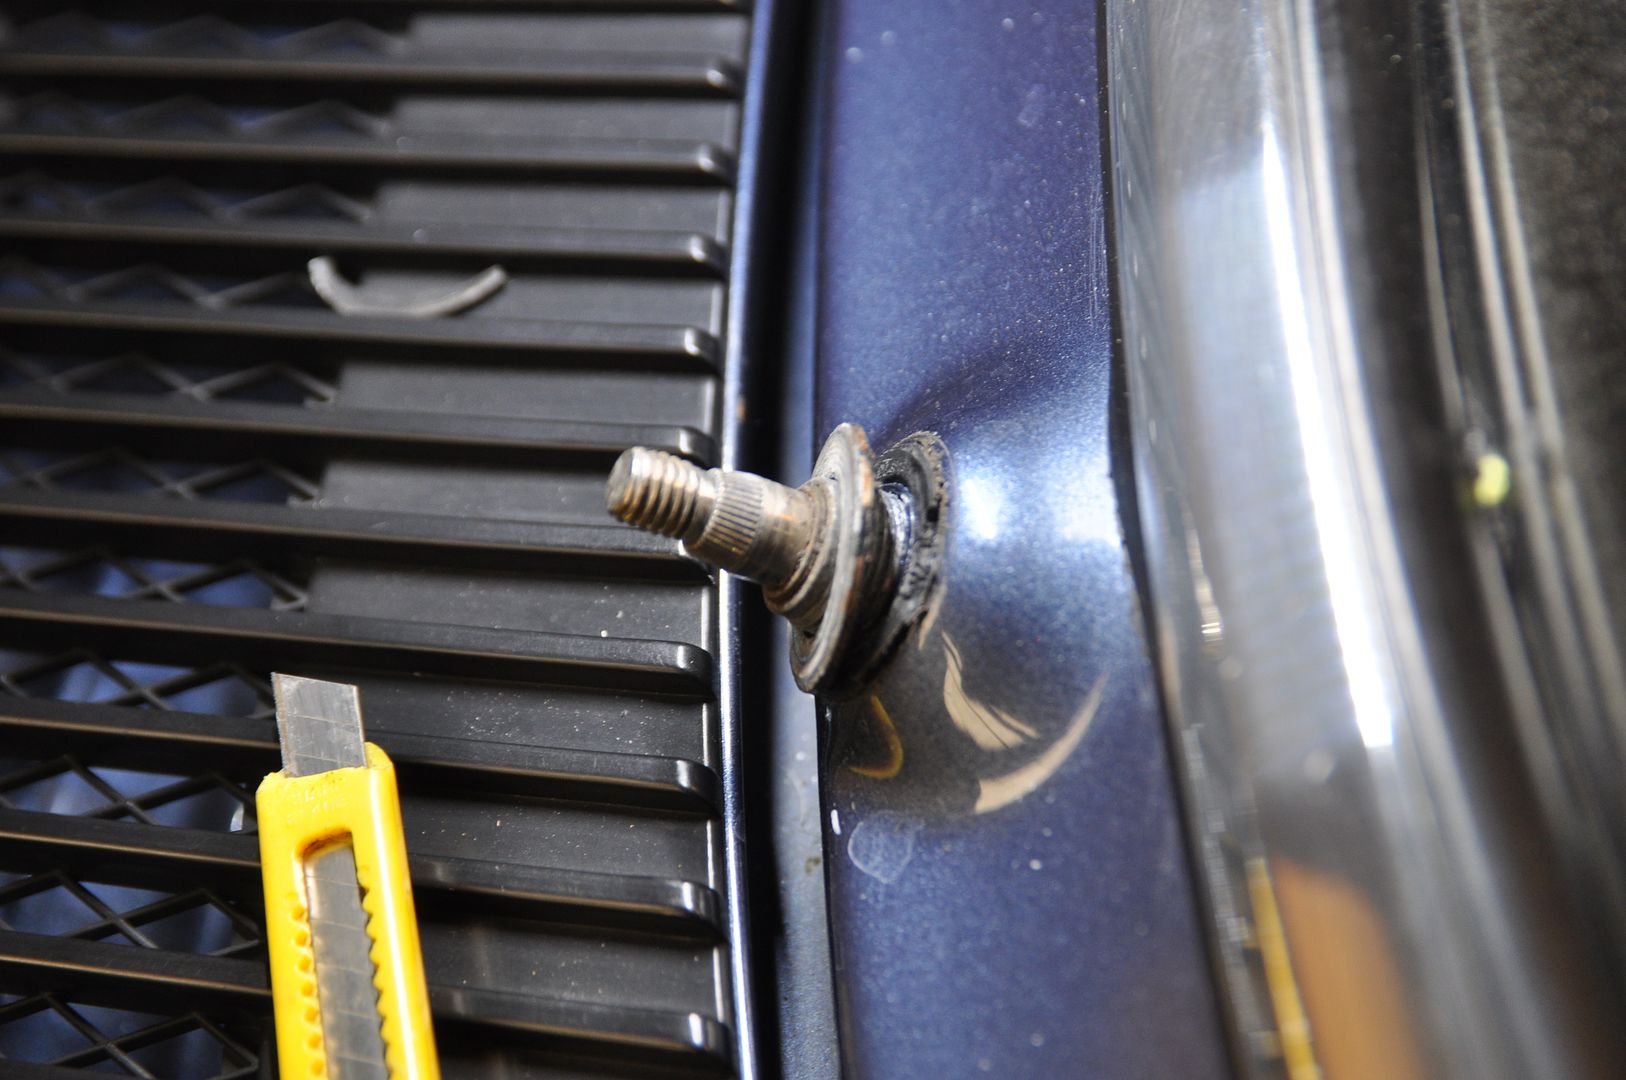
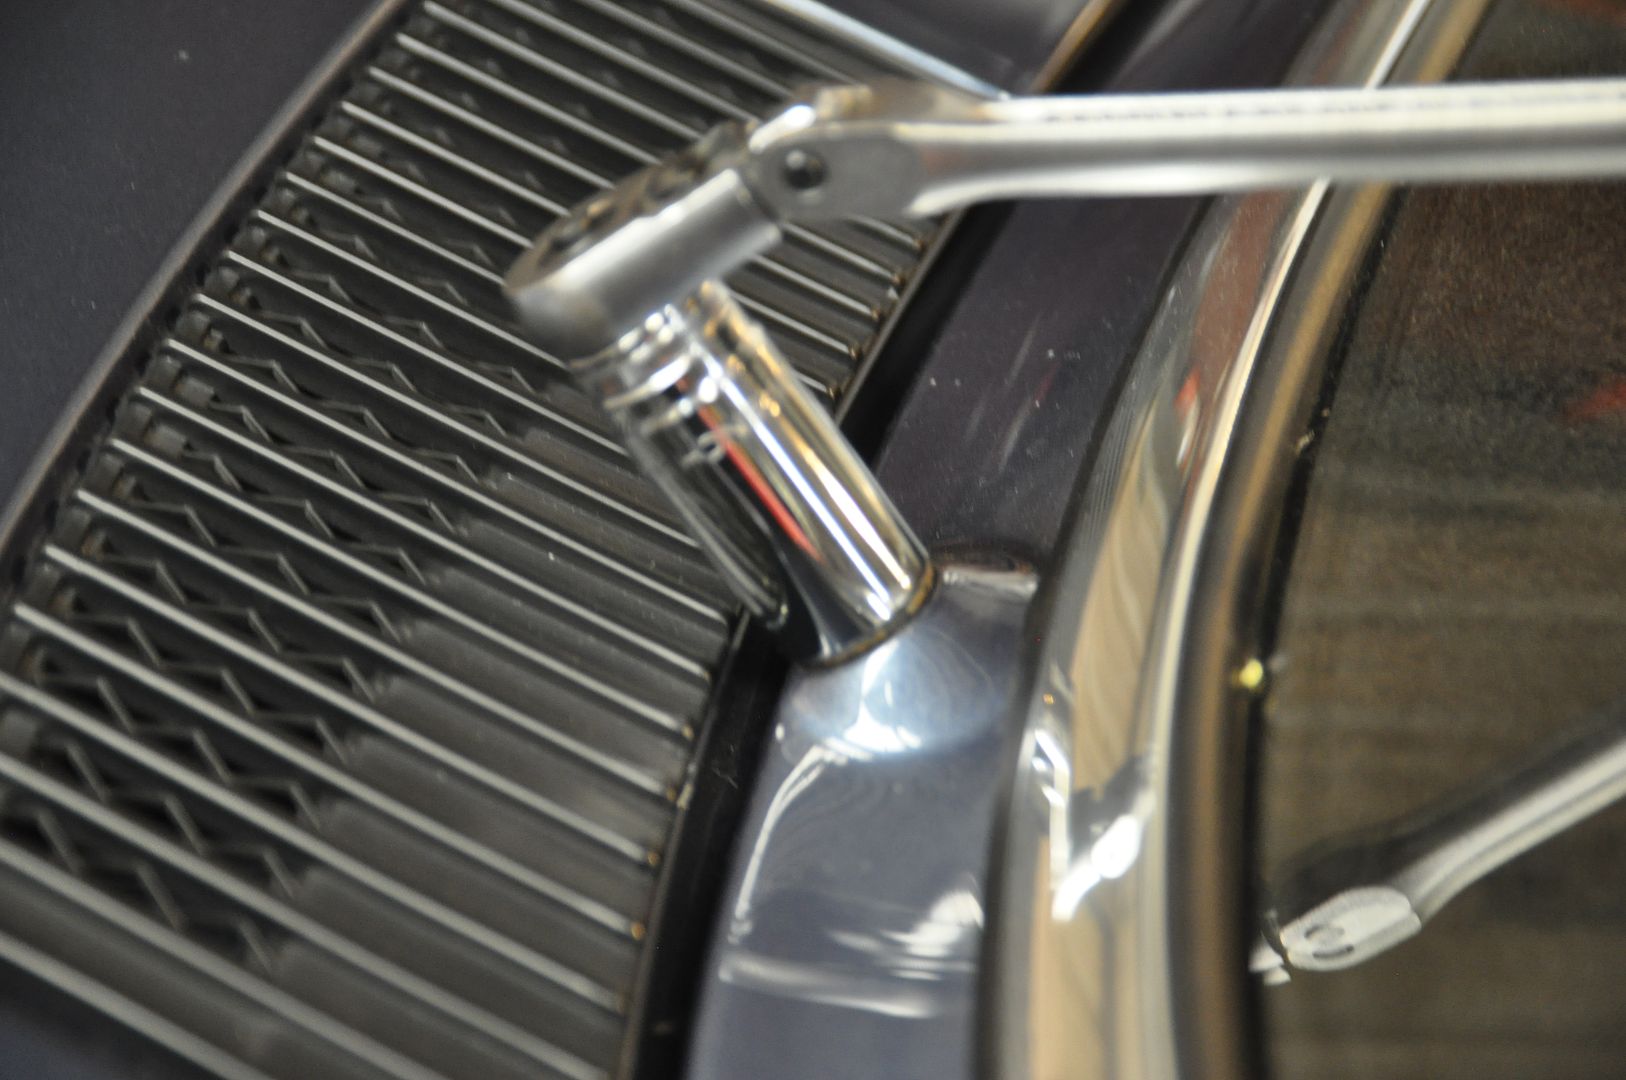
6) Remove the Fresh Air Blower Fan Covers and Fan itself (now’s the time to replace it if it needs it)
7) Disconnect the Wiper Motor power plug
8) Unbolt & remove the Wiper Motor from the Wiper Arm: there are three smaller nuts holding the Motor to the underside of the Arm and the one nut that connects the Motor to the rotating Arm joint in the center
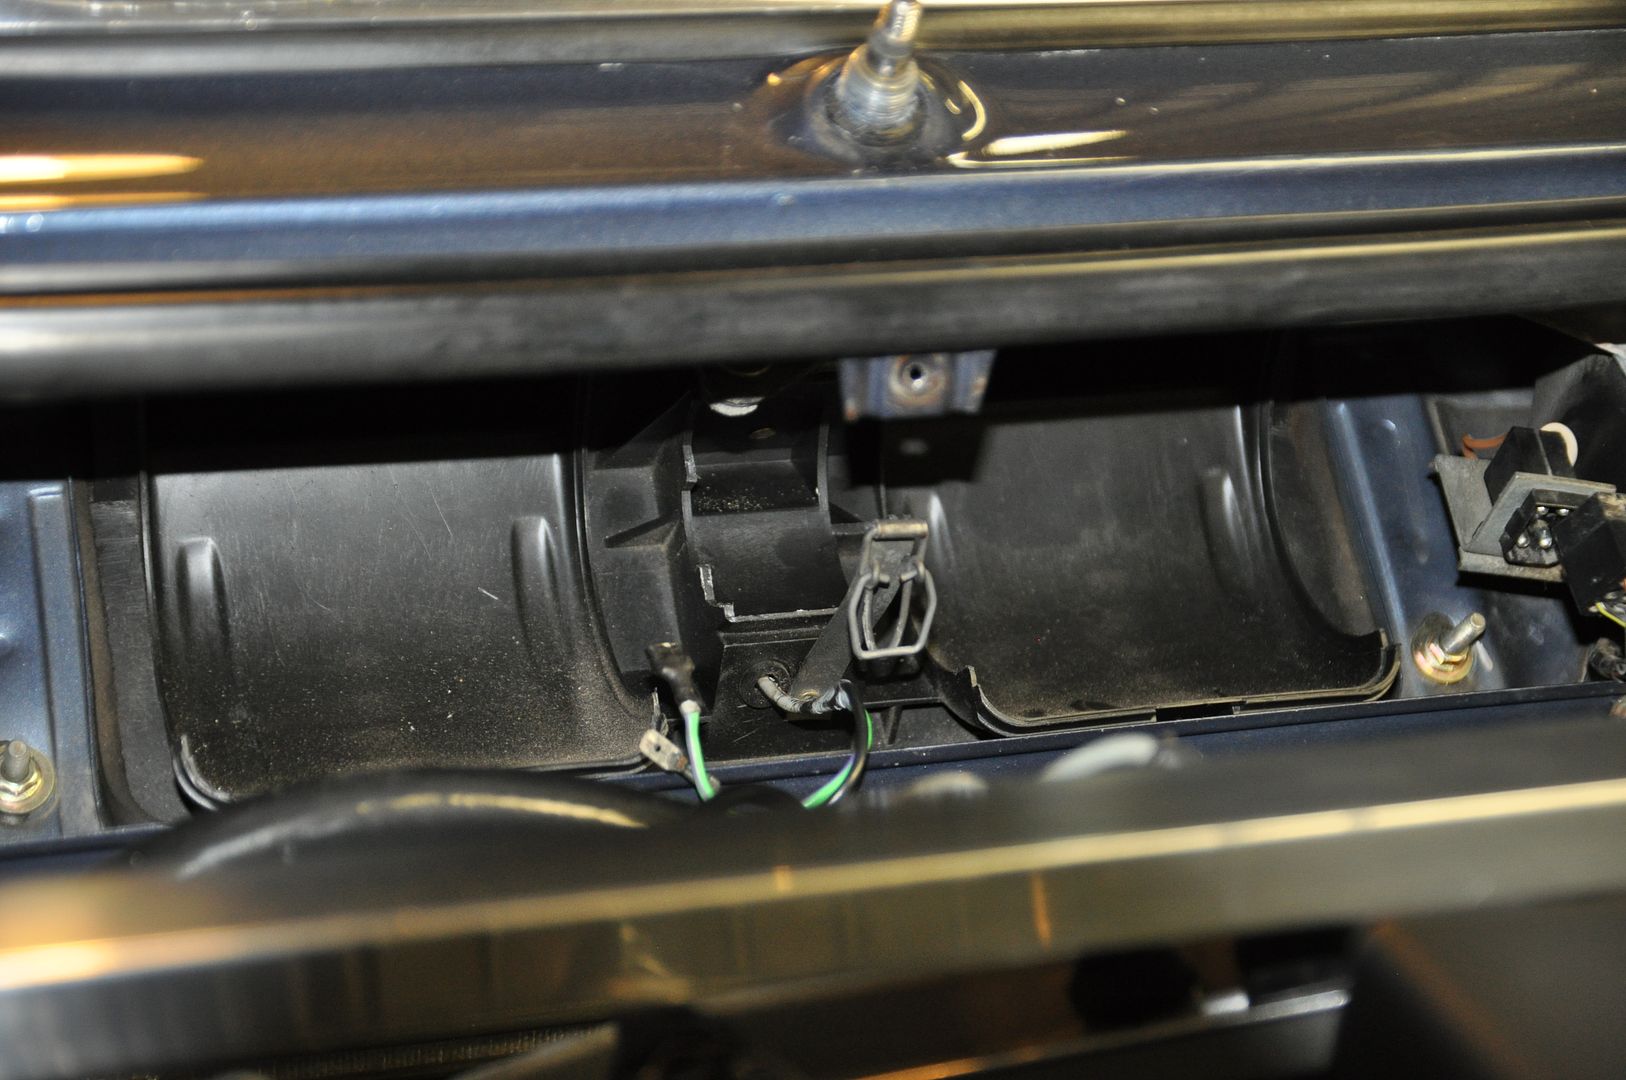
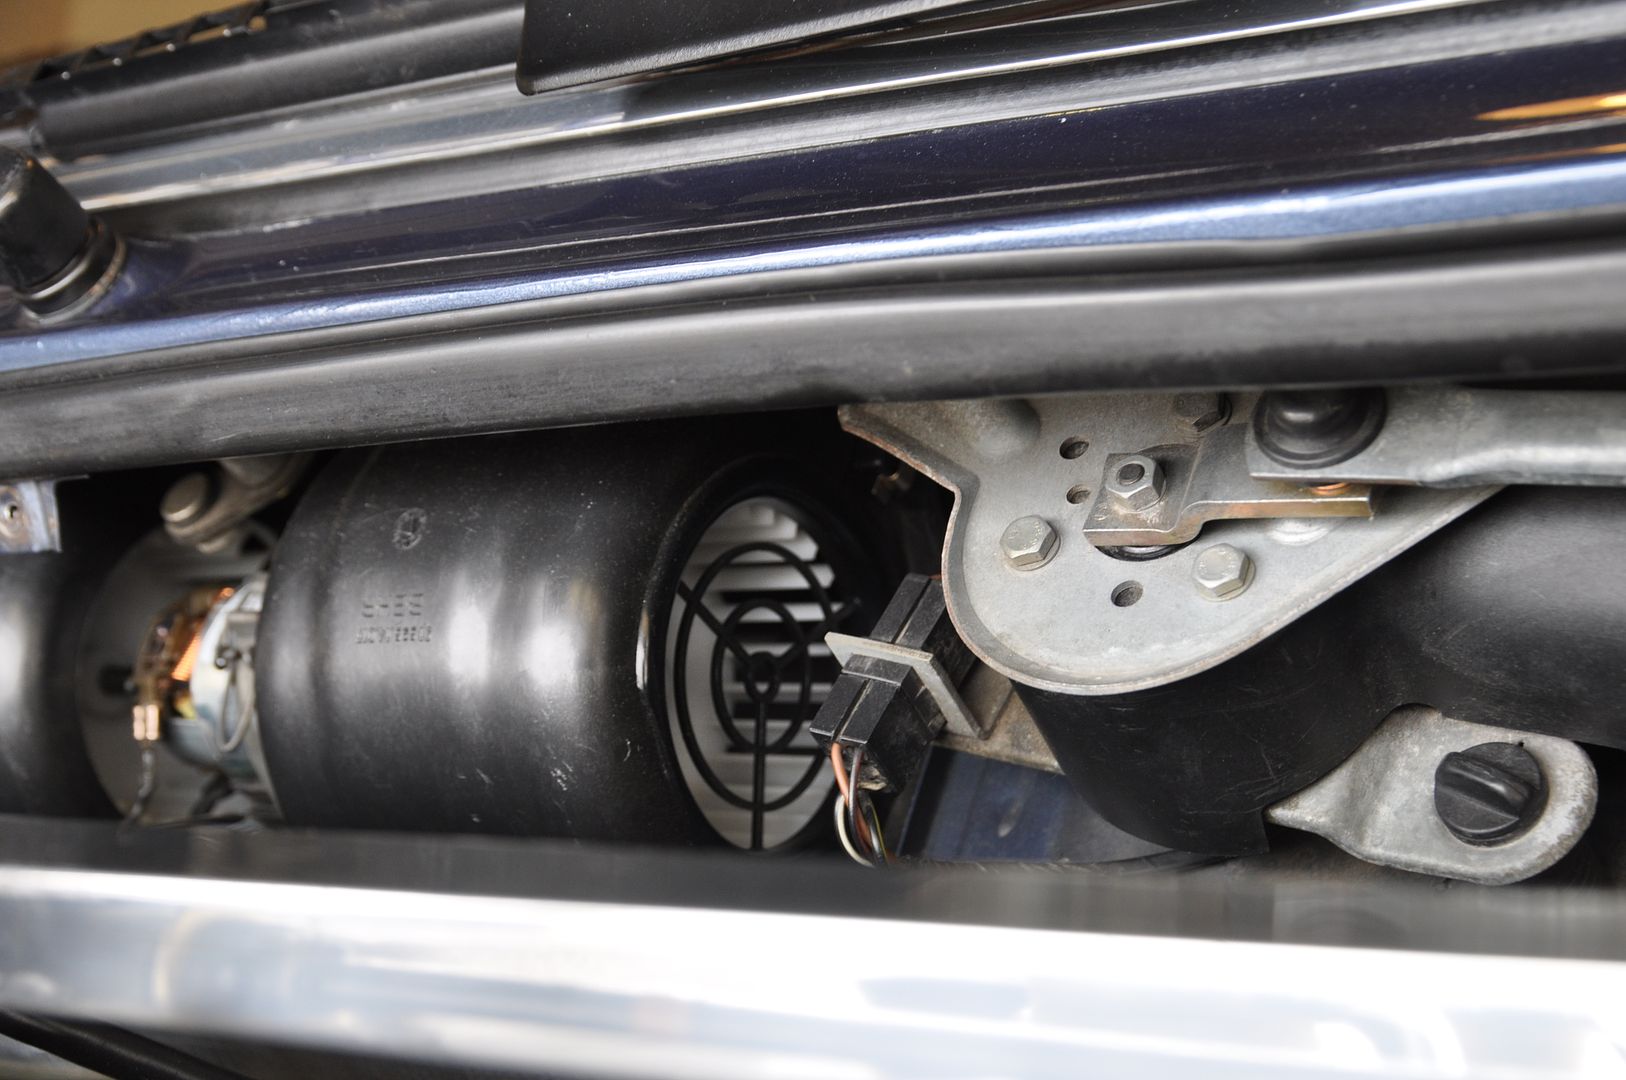
9) Now comes the tricky part: Pull the Motor out from below while keeping the Arm secure in place (it might help to reinstall the two Retaining Nuts to hold it to the cowling). With the Motor out of the way, you can drop the Wiper Arm down into the well as the Wiper Arm connections drop through the cowling holes. From there, you have to rotate the armature flat to clear the firewall well. Don’t mar your paint.
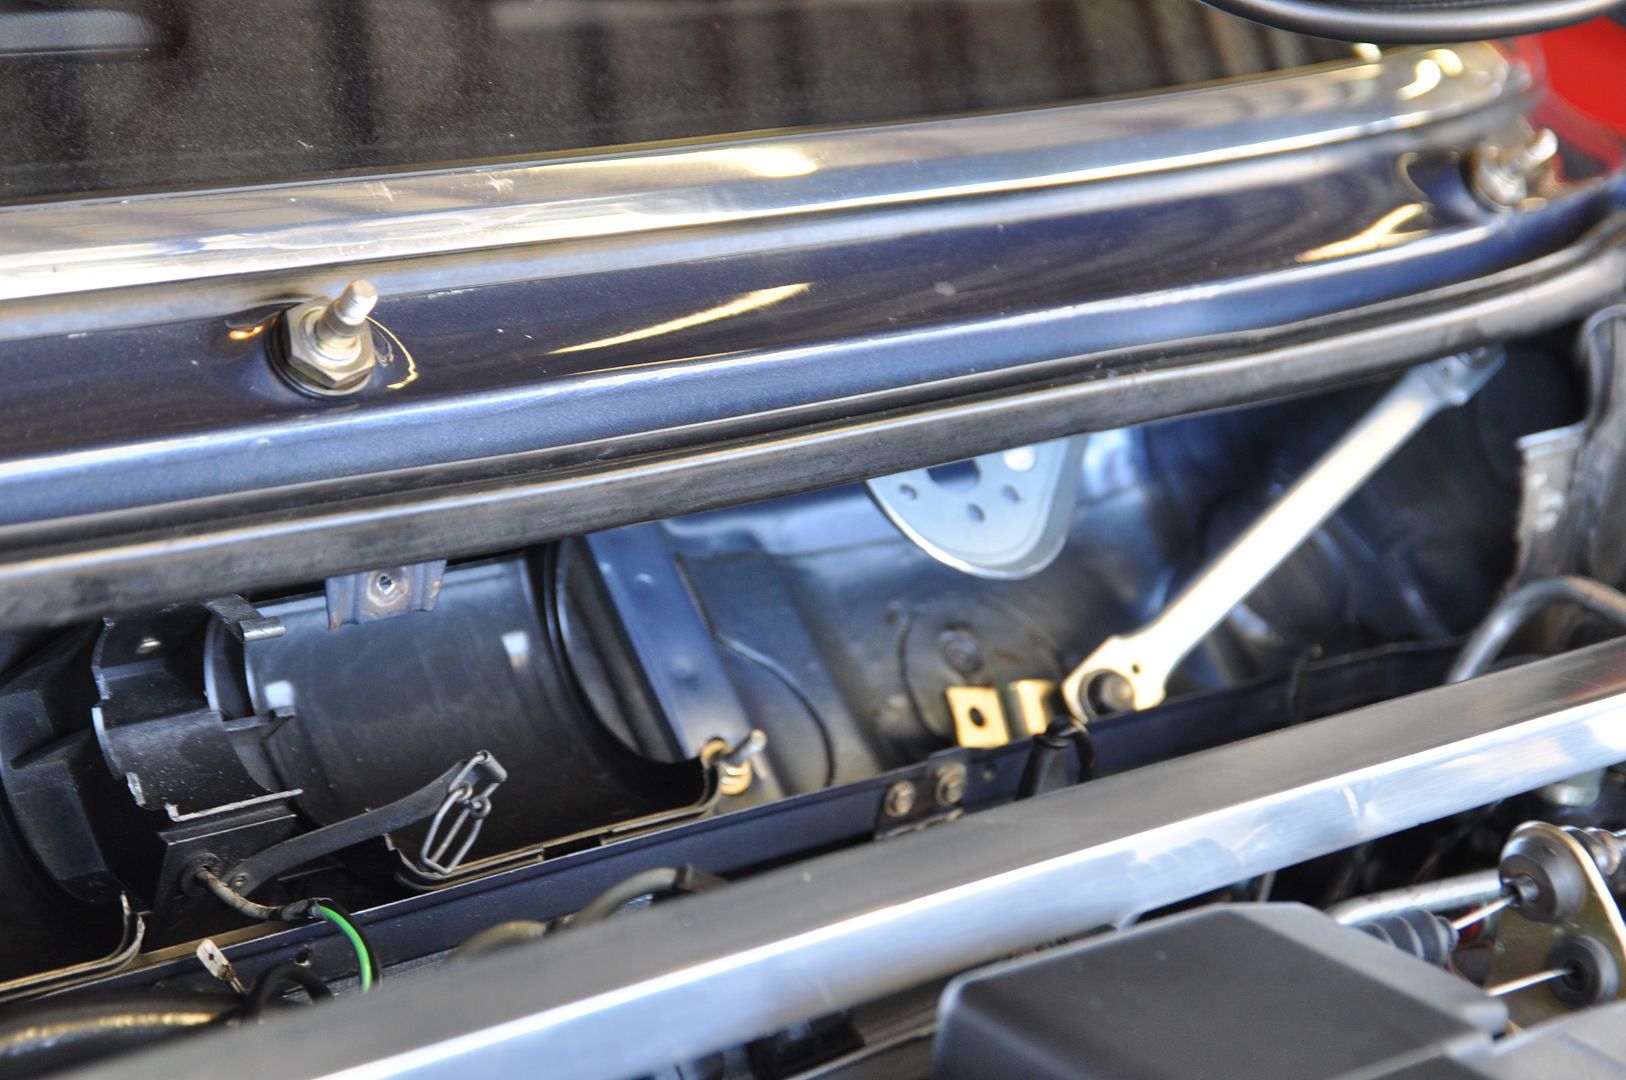
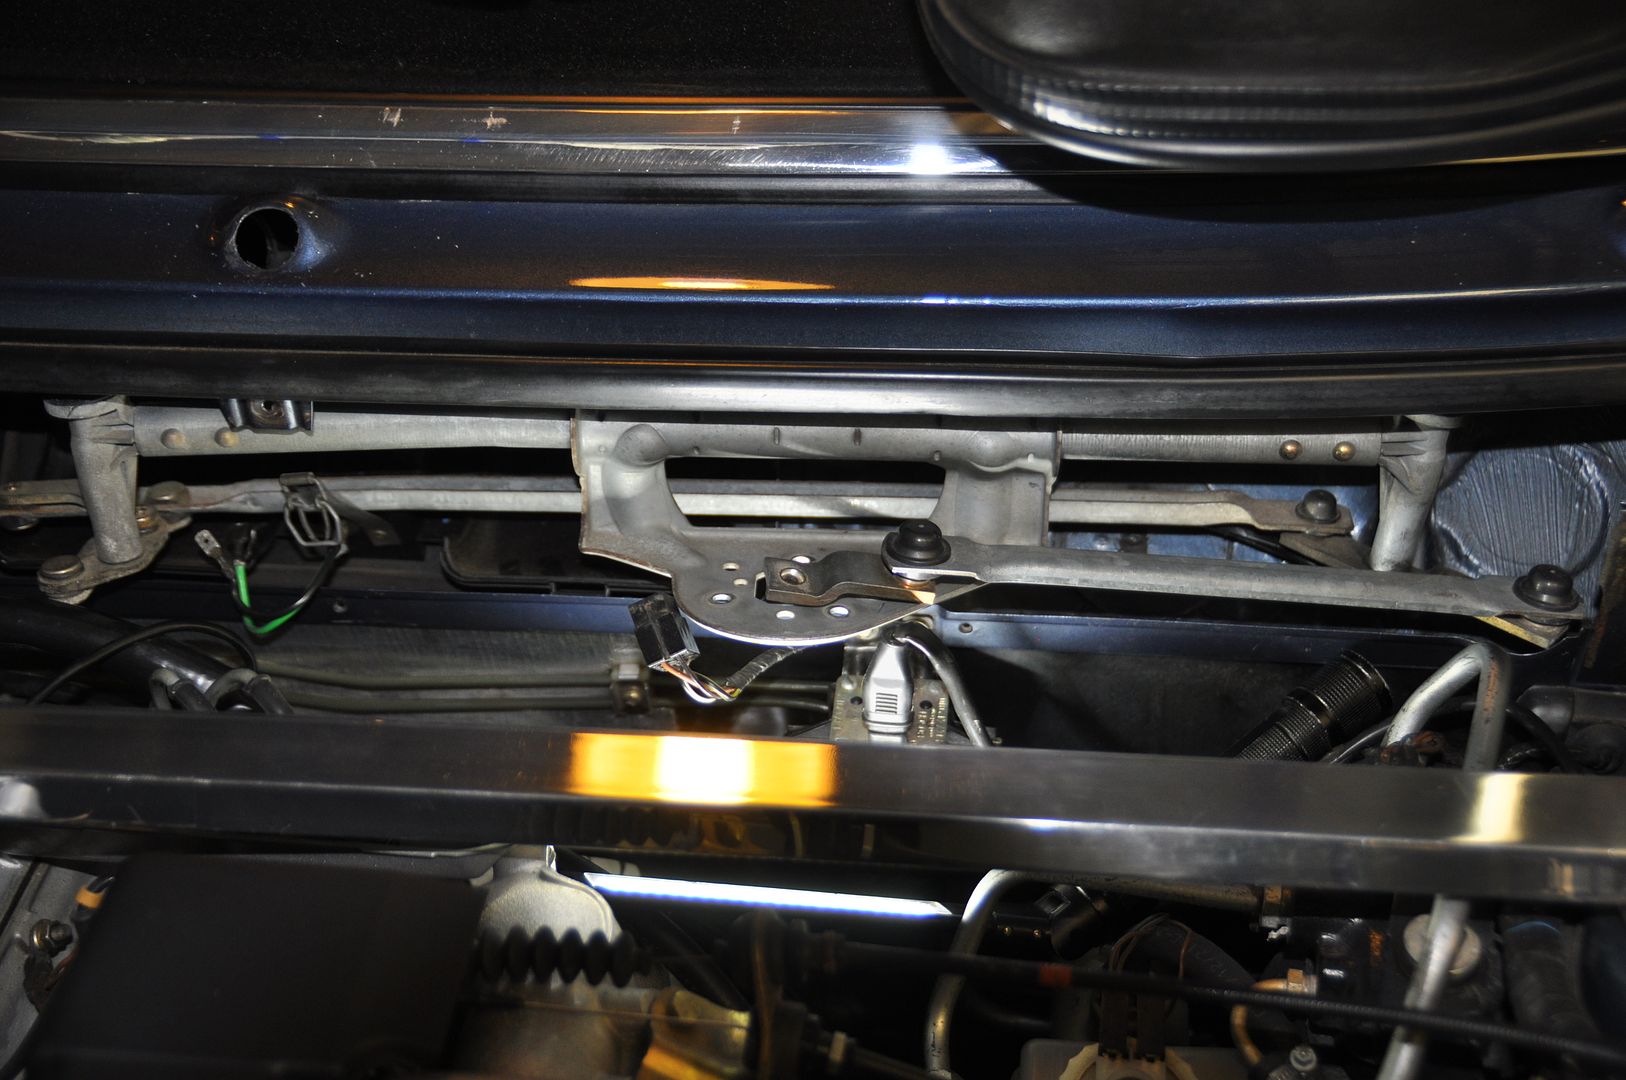
Now is a great time to clean the whole well thoroughly. Vacuum, wash, dry. Clean out the drain holes and inspect for any rust. If all is good, liberally apply some wax and treat the Fresh Air Fan holder and cover as well as the Wipe Motor plastic cover.
Next: Prep & Install the New Parts:
1) Sort out the mounting hardware. The one item that is NLA is the thin Retaining Nut that holds the Wiper Arm securely to the cowling; keep your existing and/or source some new (I found what I thought was a thin replacement nut, but it was too thick and that matters since you can’t fit the covers back on. So, stick with the original part)
2) I opted to spray the Wiper Arm assembly with a clear spray lacquer to help keep the aluminum looking fresh and from oxidizing
3) Install the new rubber gasket/grommets in the cowling holes
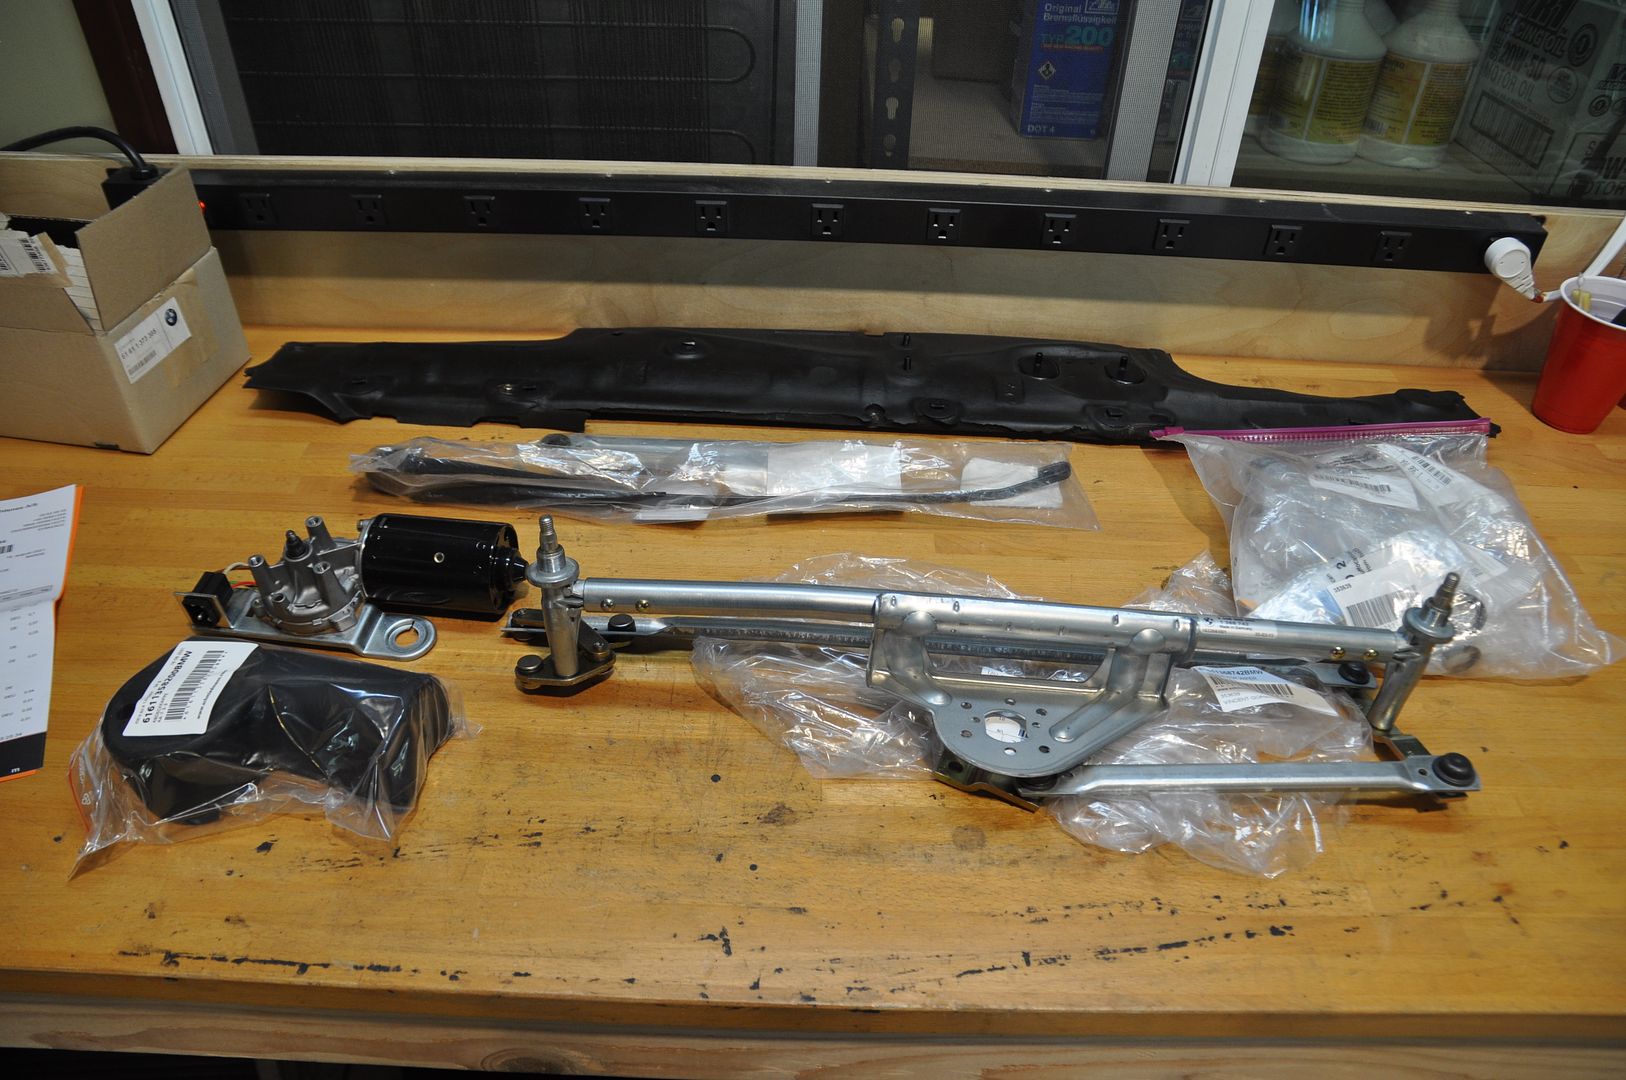
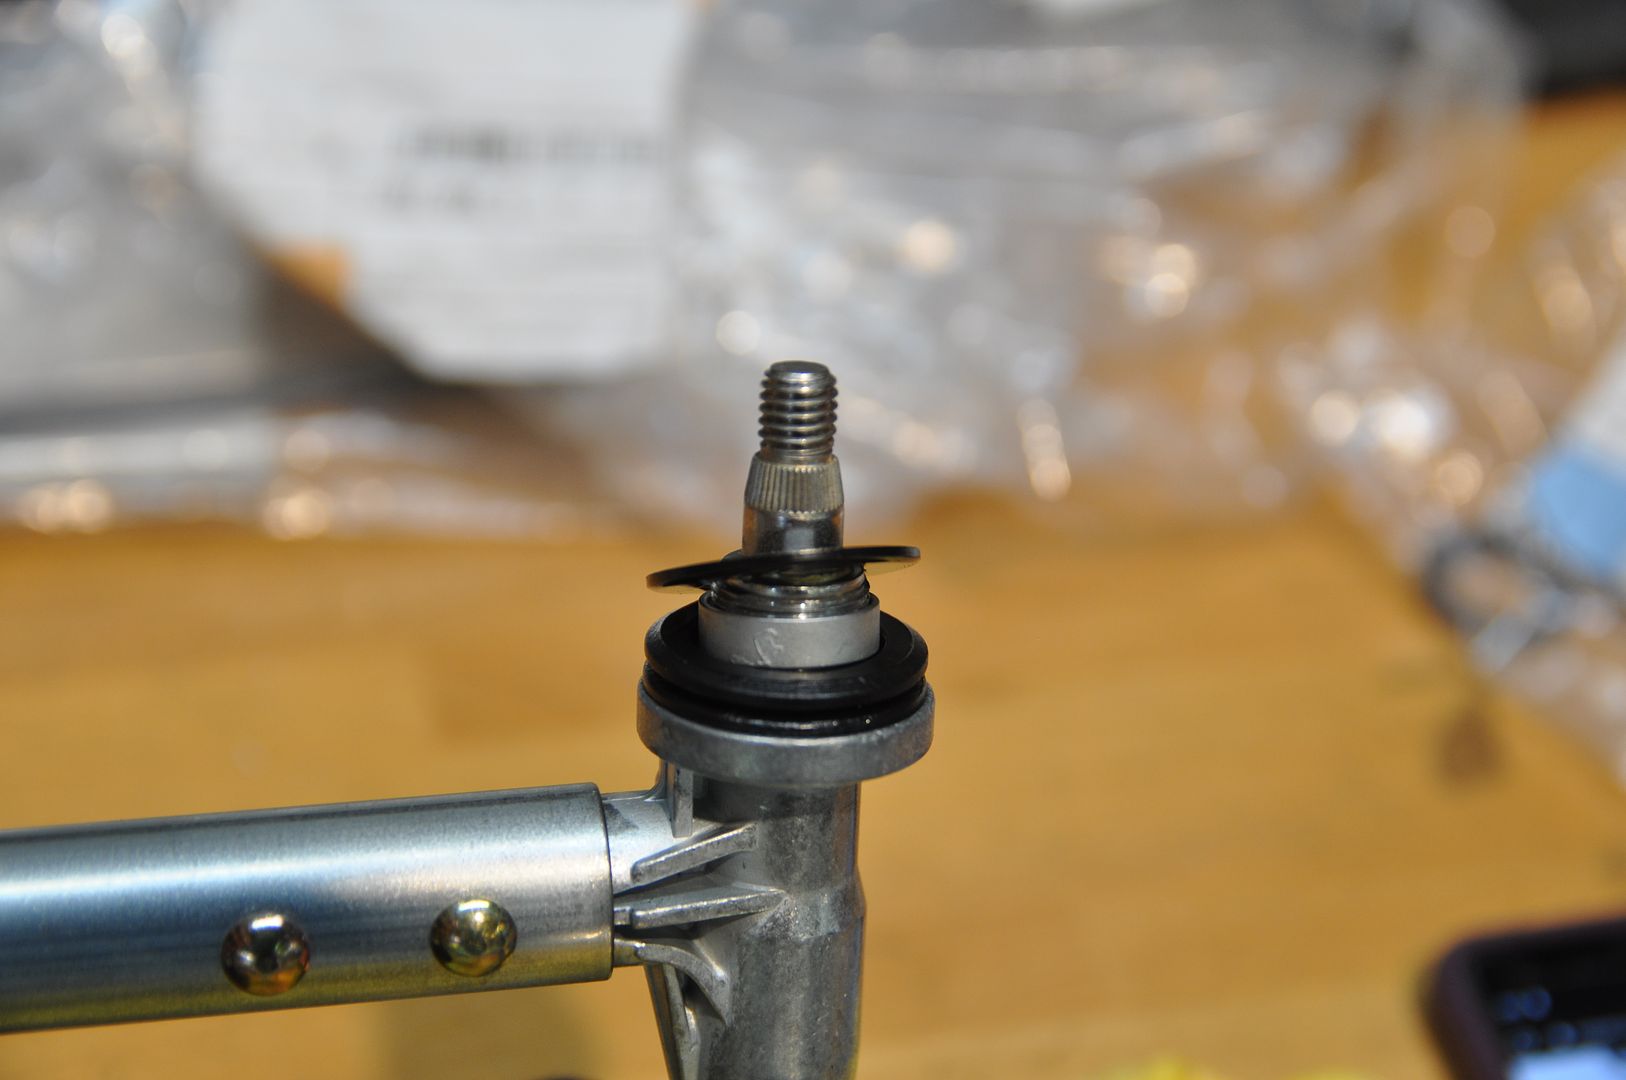
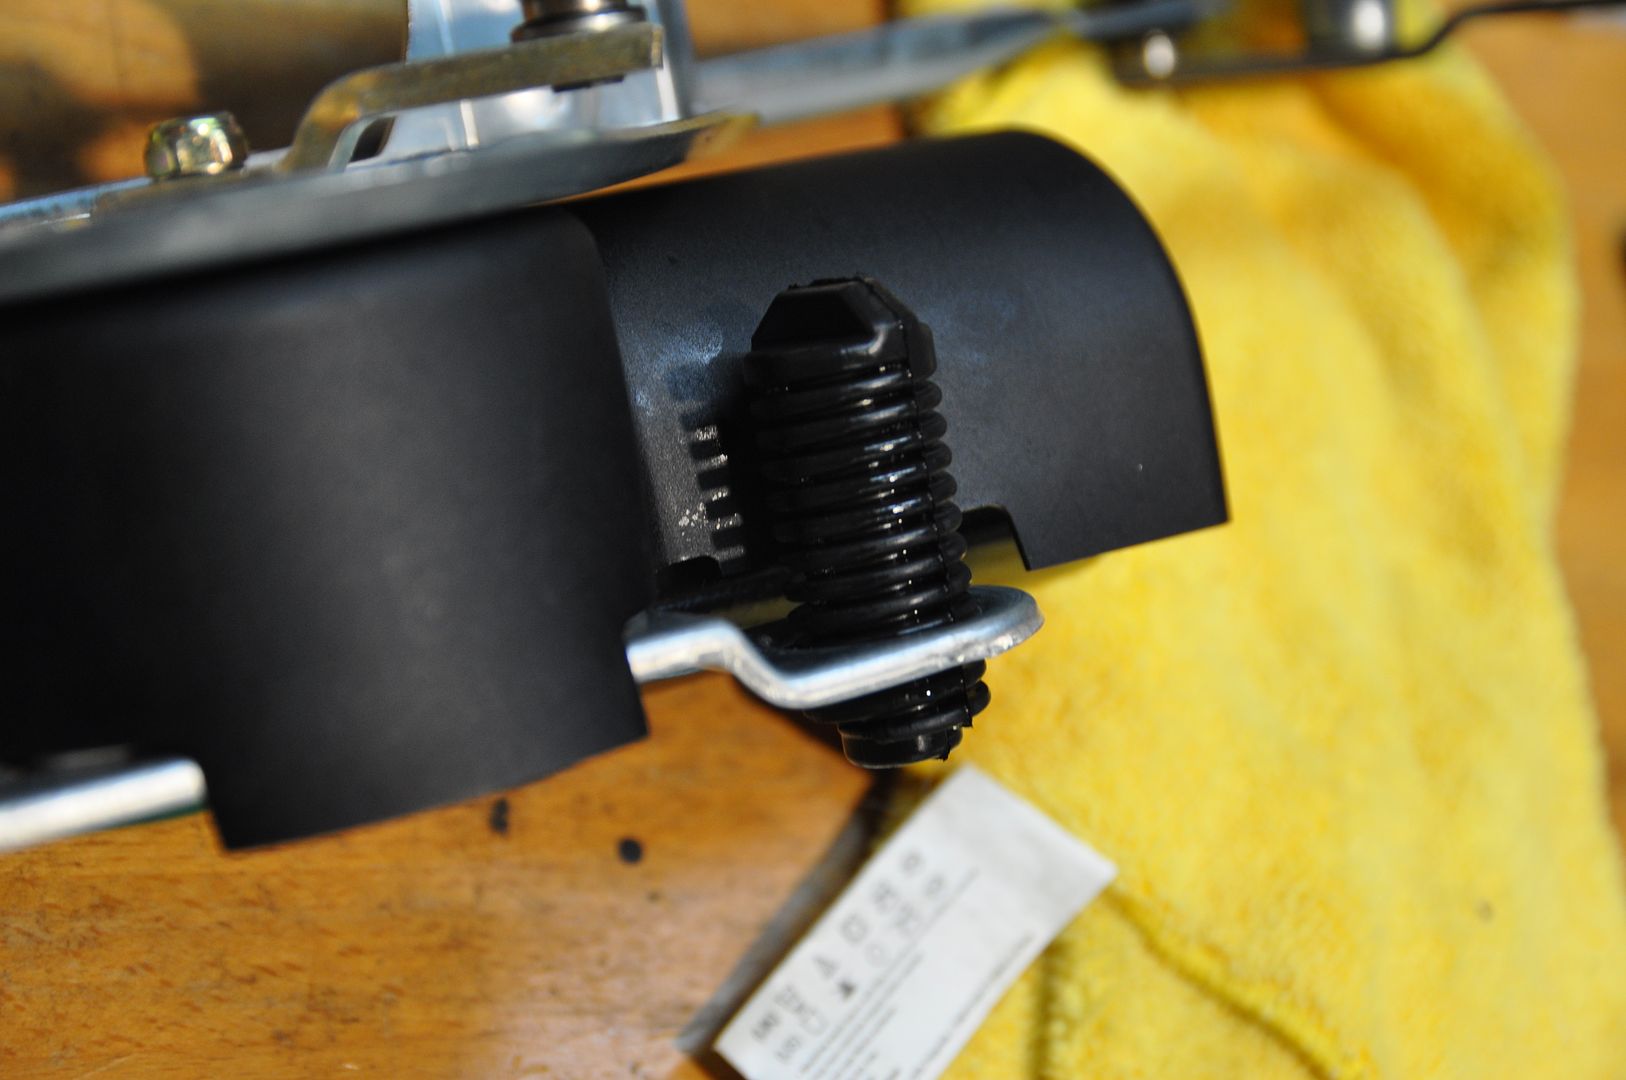
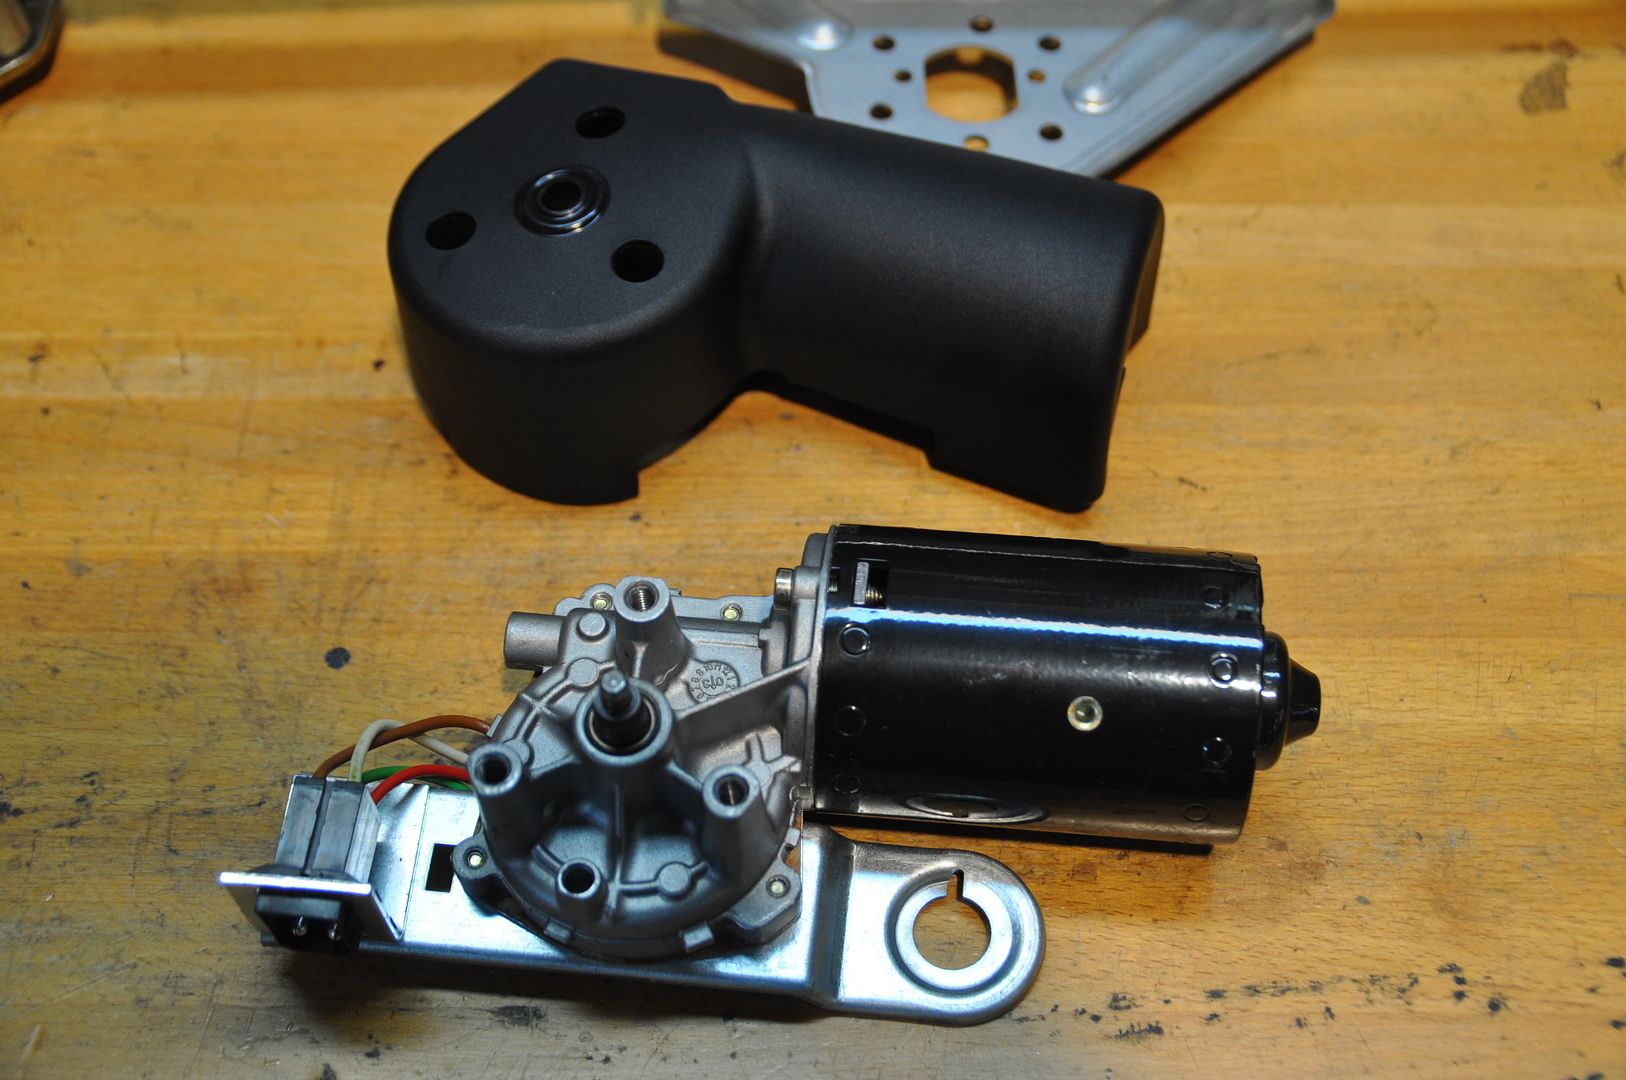
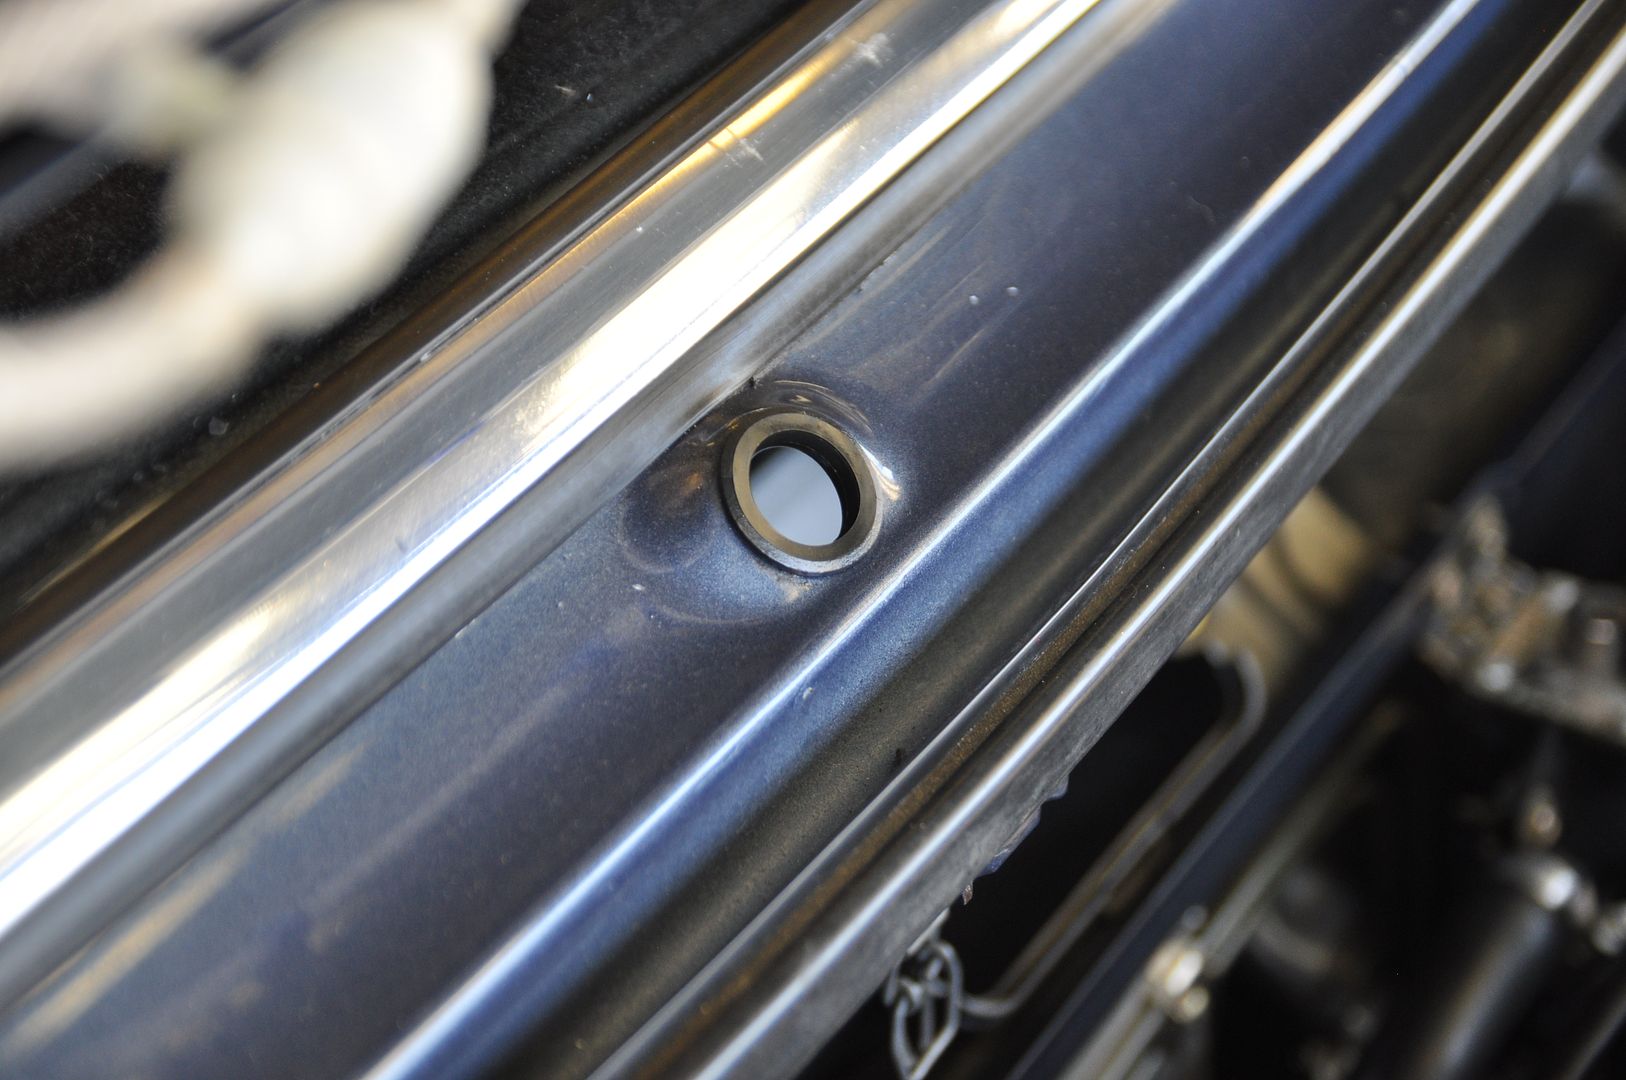
Installation is the reverse of disassembly. Careful to slide the New Wiper Motor into the well first, then install the Wiper Arm. It’s best to secure the Wiper Arm up into the cowling holes first before trying to mount the Wiper Motor; this way one of the items is stable. With them in place, adjust the rubber leveling ‘foot’ so it makes contact with the back of the firewall. Secure the Retaining Nuts to the cowling, reconnect the power plug and you’re ready to move onto Wiper Arms. Remember to reinstall the Fresh Air Fan and its’ cover.
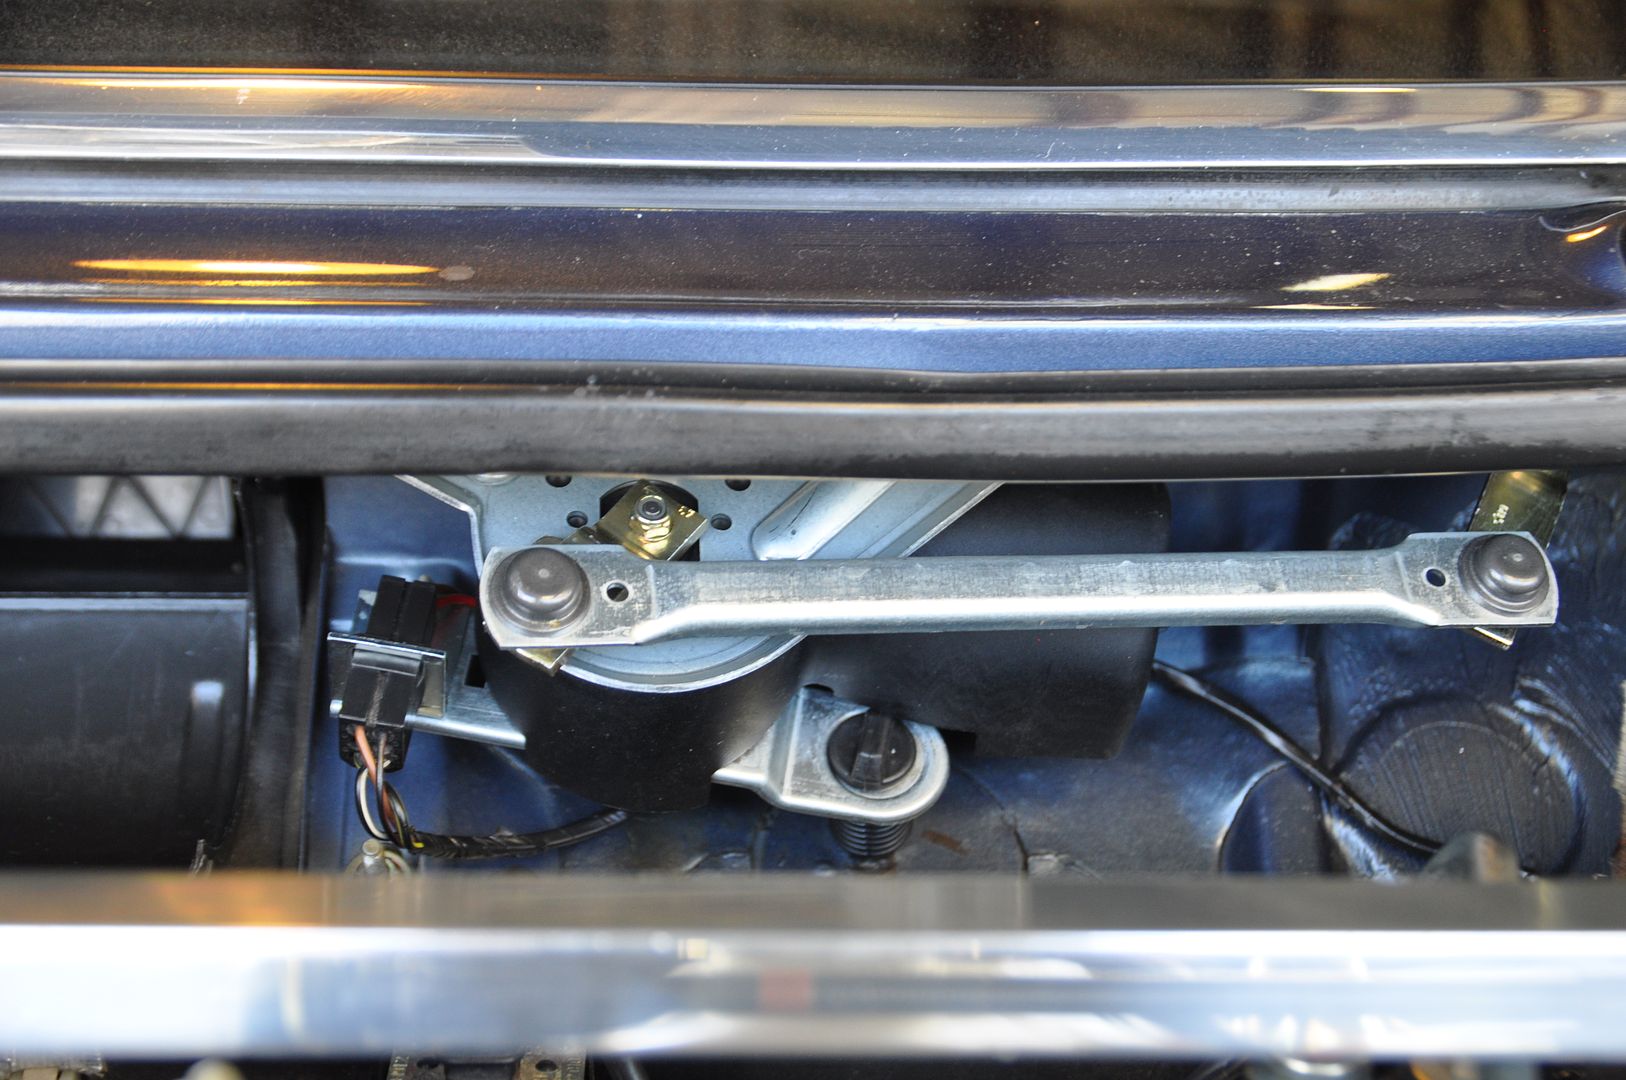
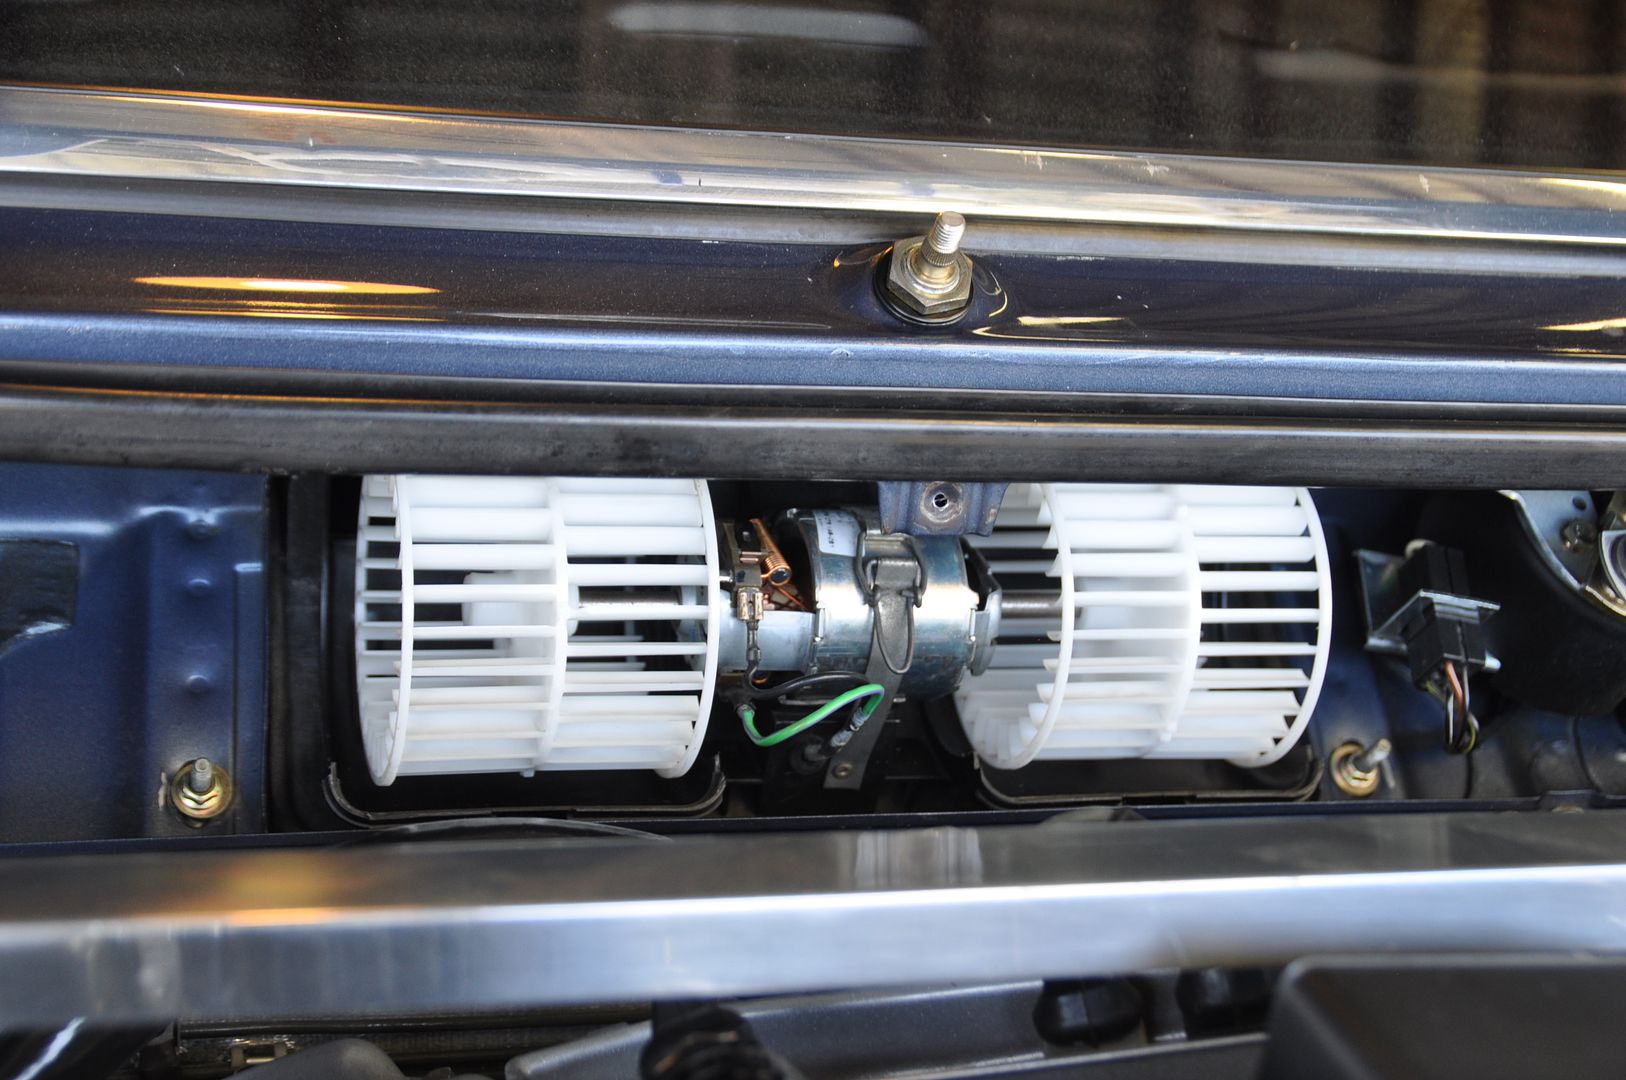
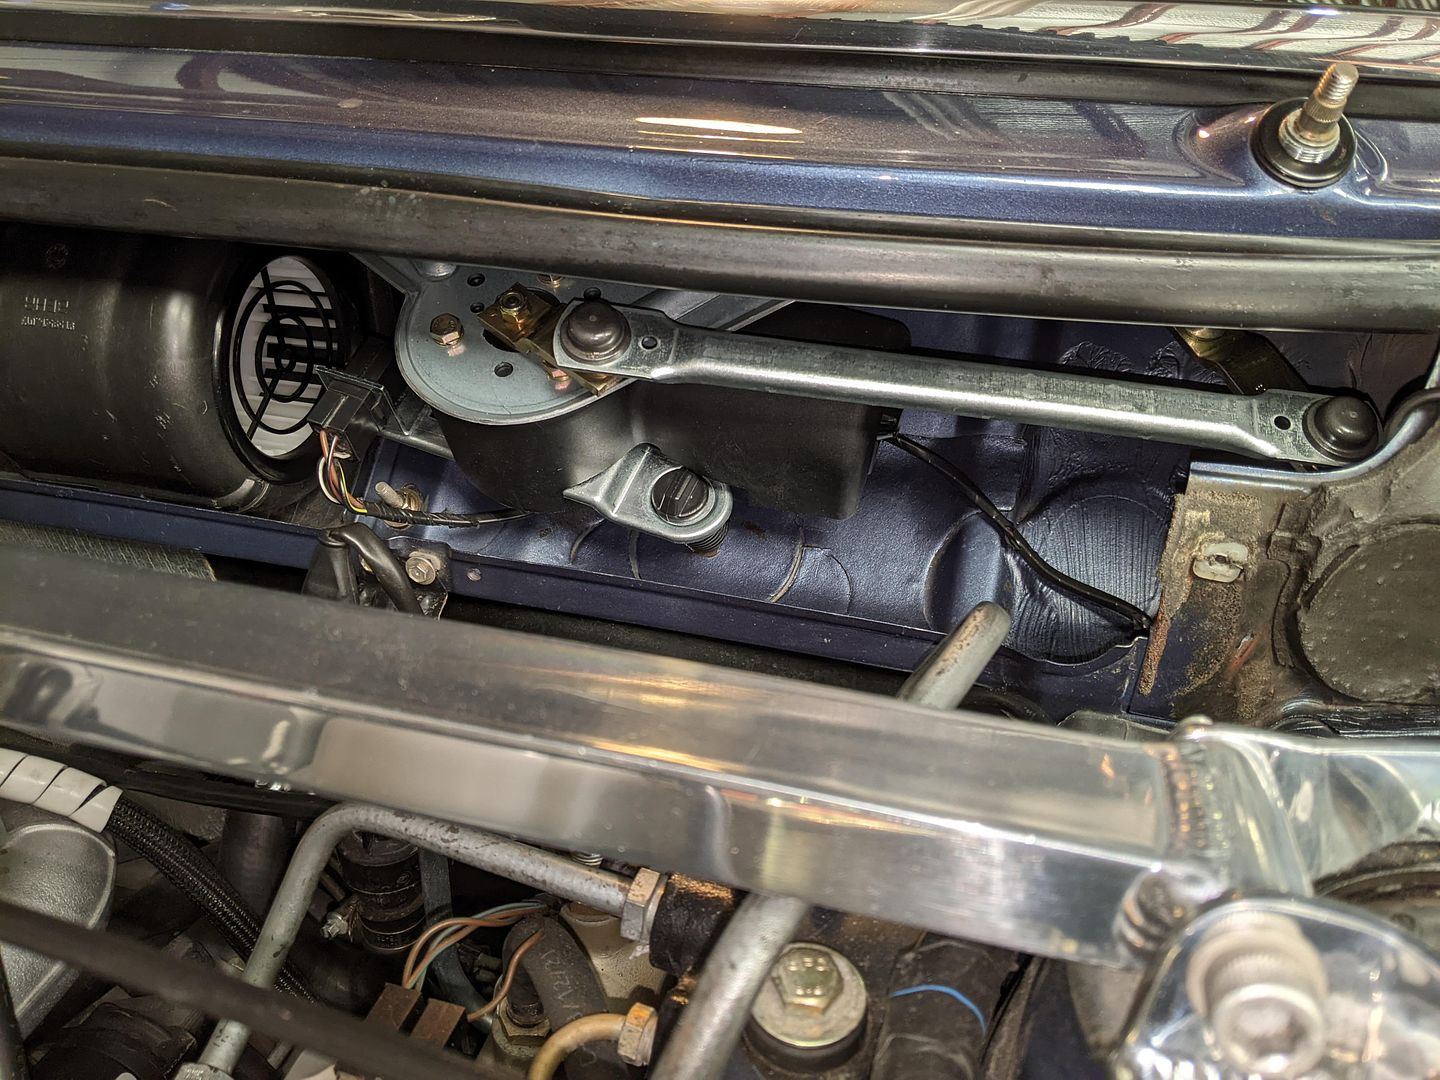
This is where most everyone will just reinstall the arms and covers, but not me. Not willing to let well enough alone, I just had to address the next two components to serve my anal nature.
Firewall Cover Panel:
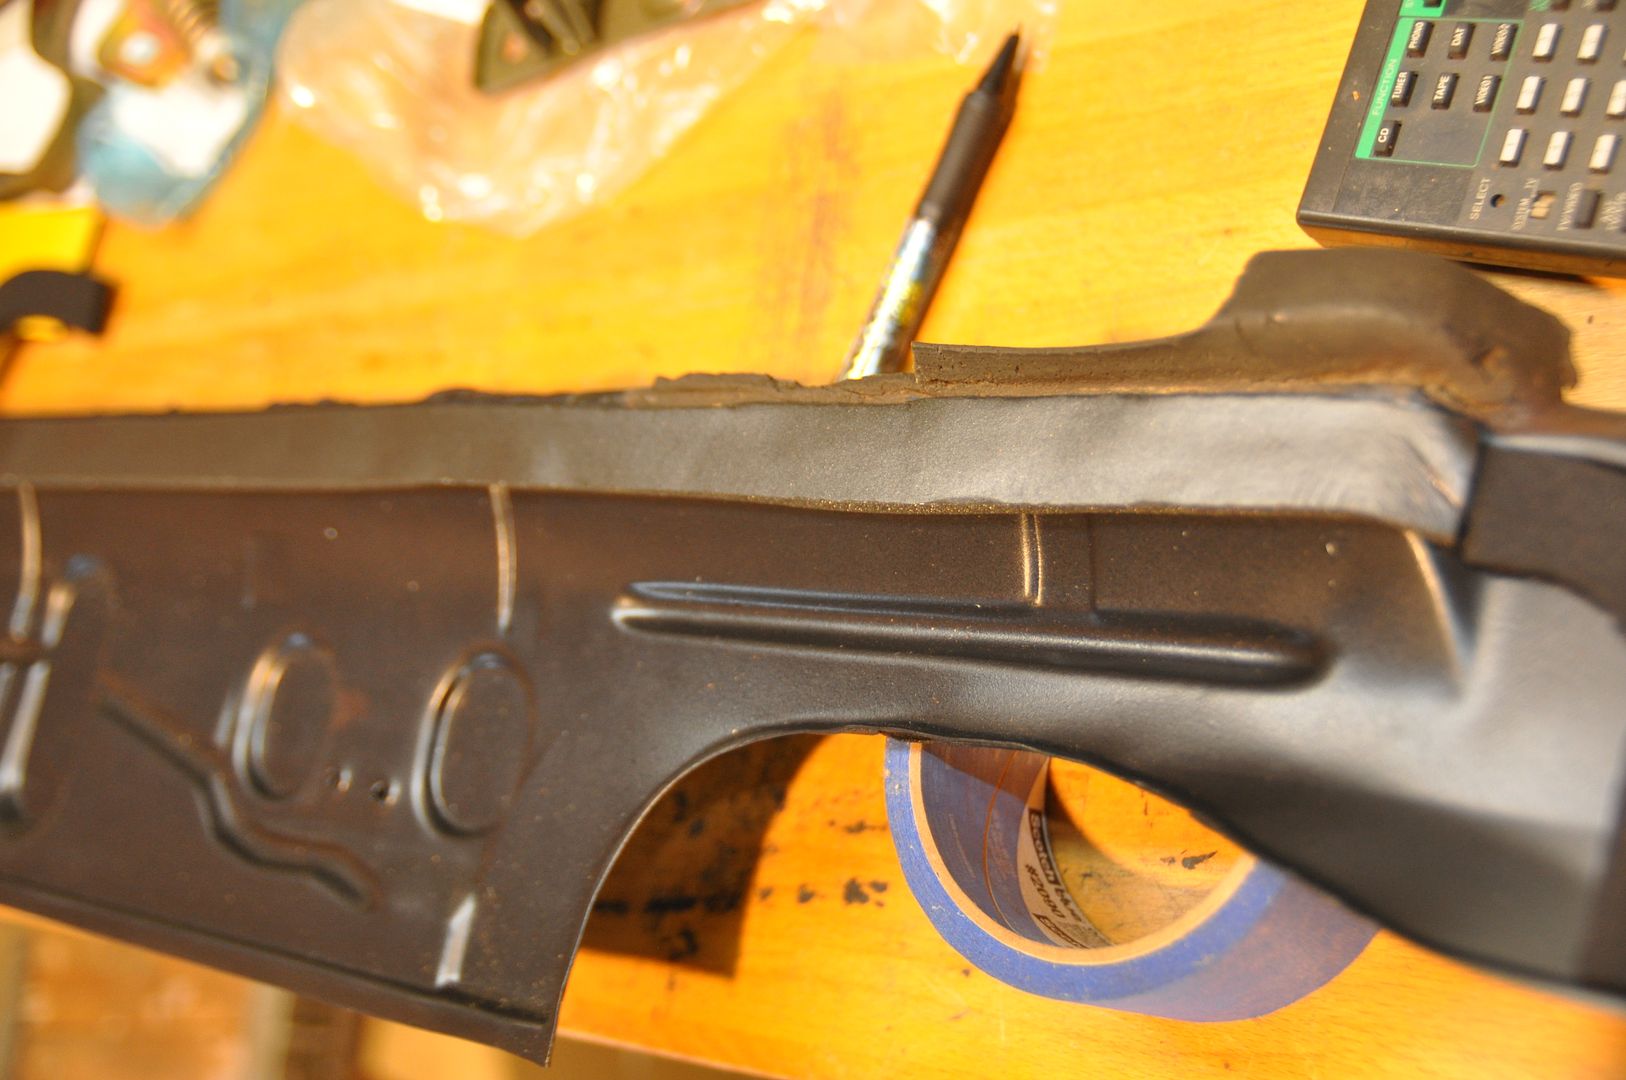
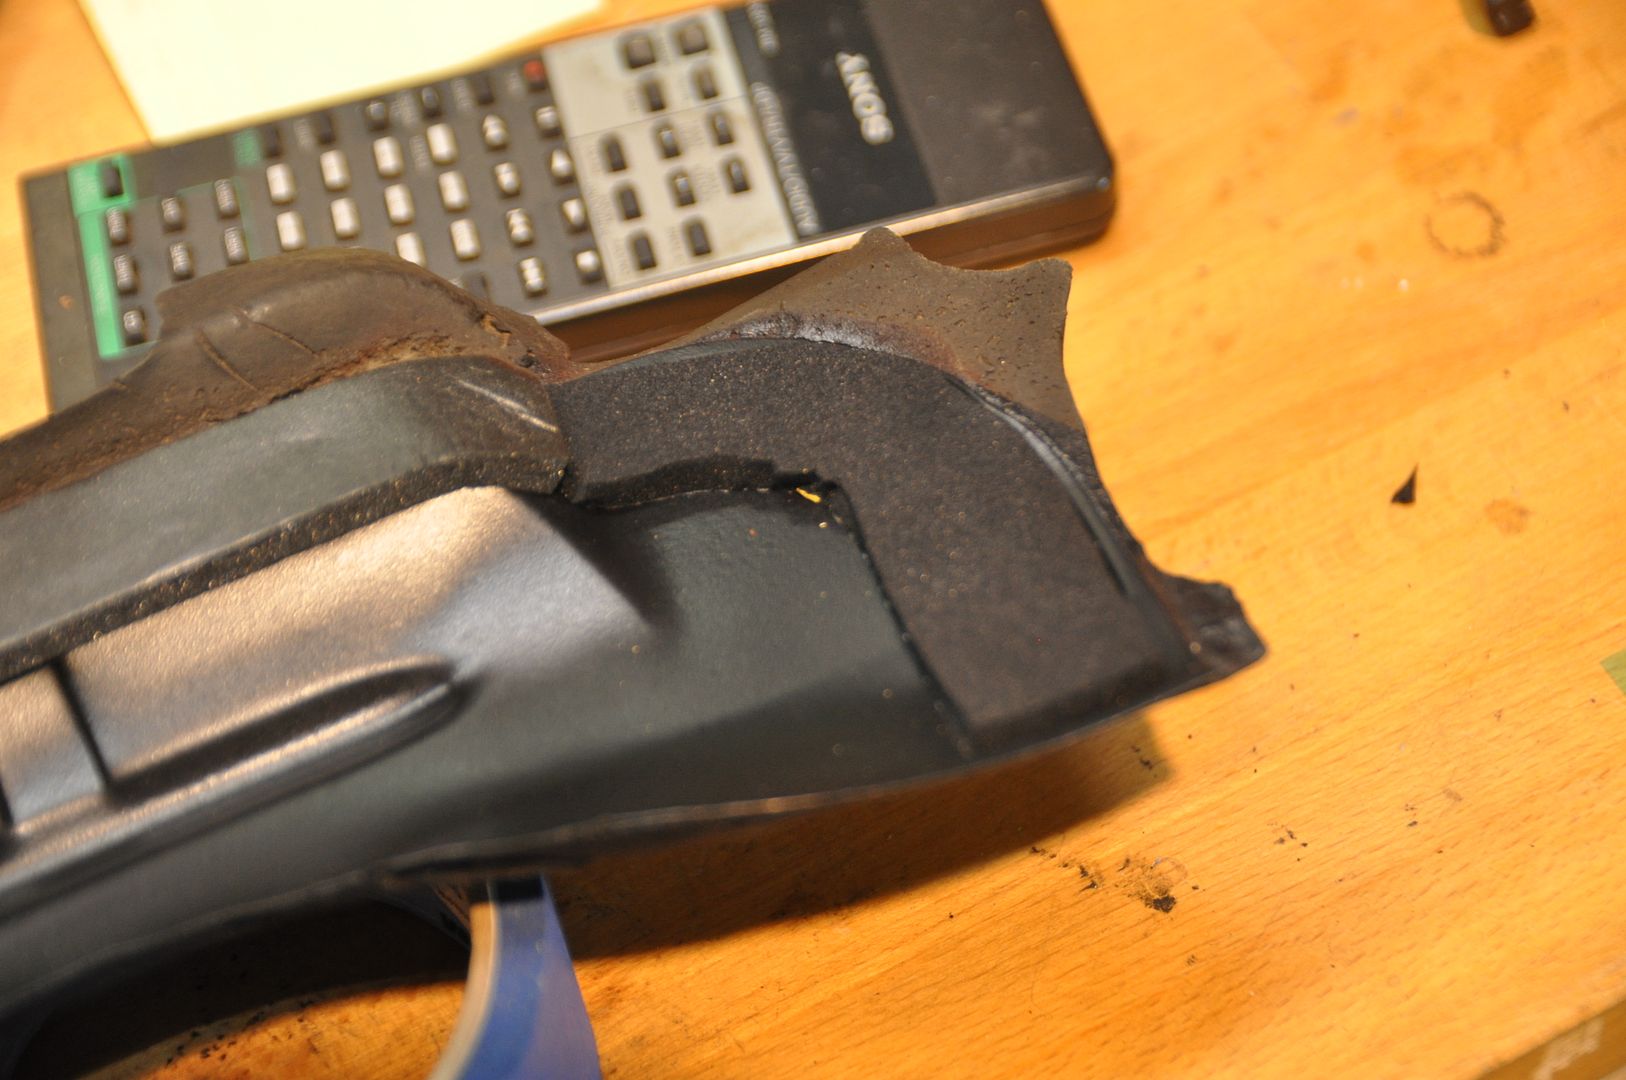
Mine was in remarkably good condition for being original, and seeing as how these are also NLA, I had to work with what I had. The engine side rubber/neoprene coating was mostly intact so there wasn’t much to do to that side except treat it thoroughly with a rubber preservative. What did need addressing was new foam gasketing on the backside facing the Wiper Arm well.
1) Remove the old existing deteriorating gasket, scrape off the residue, and clean
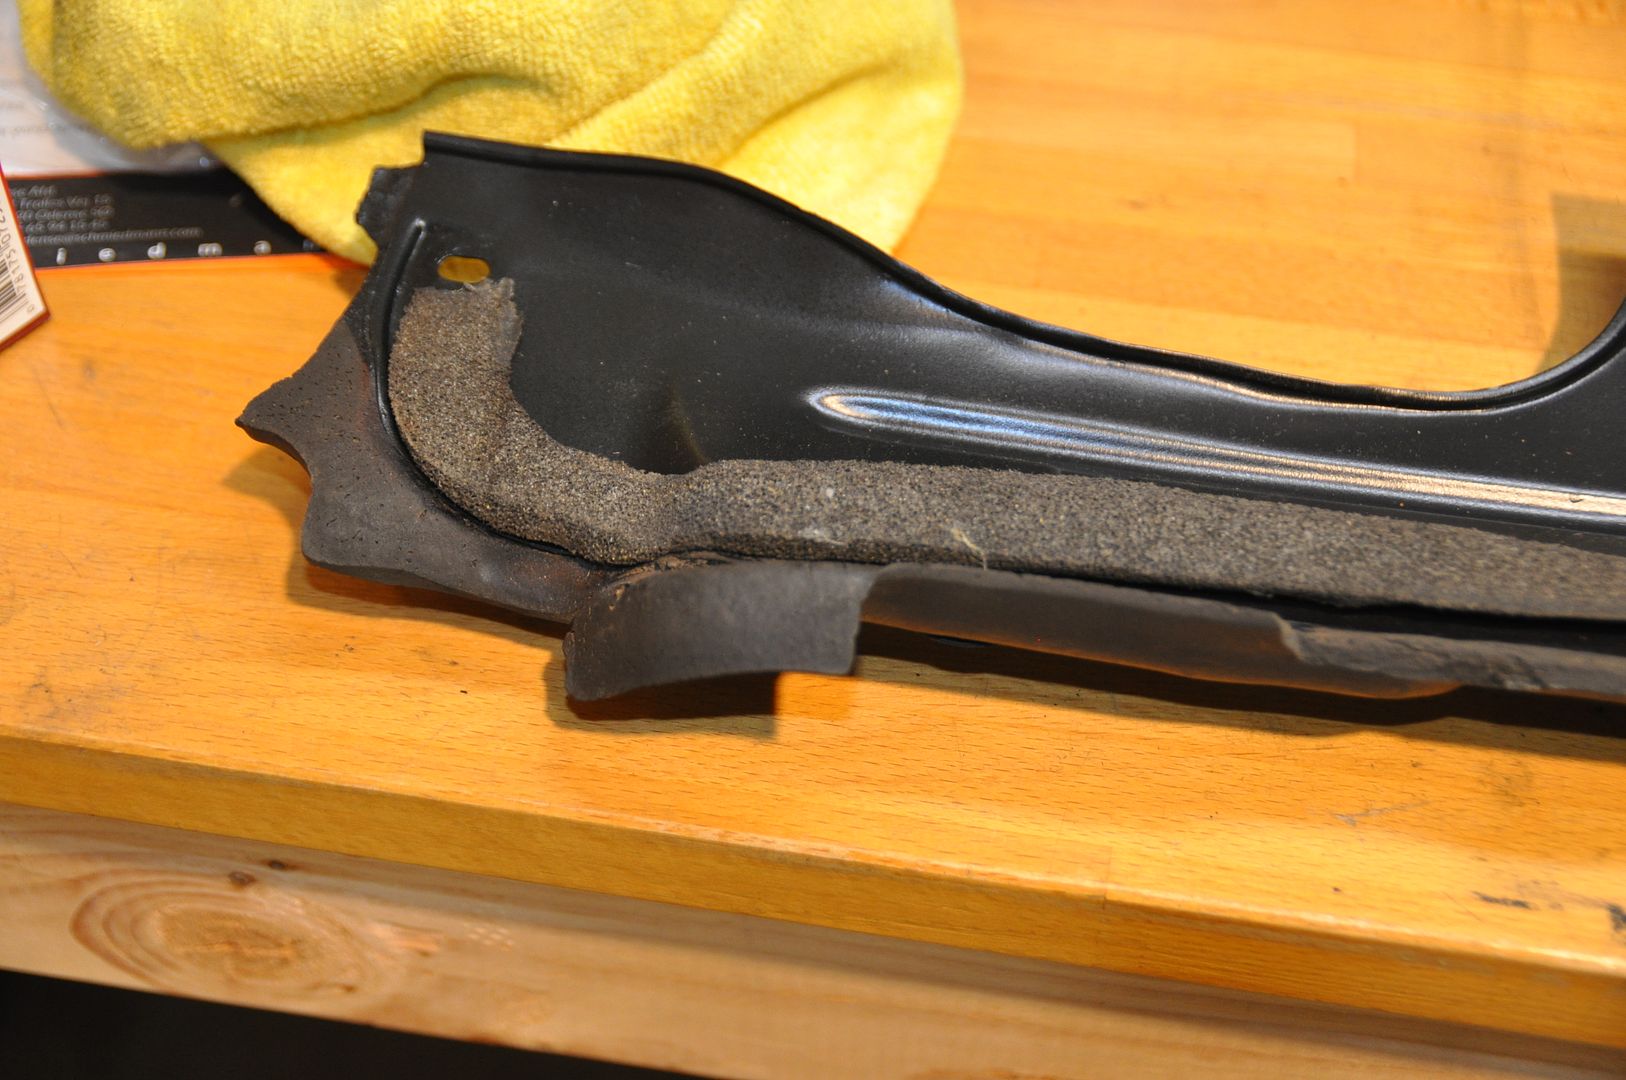
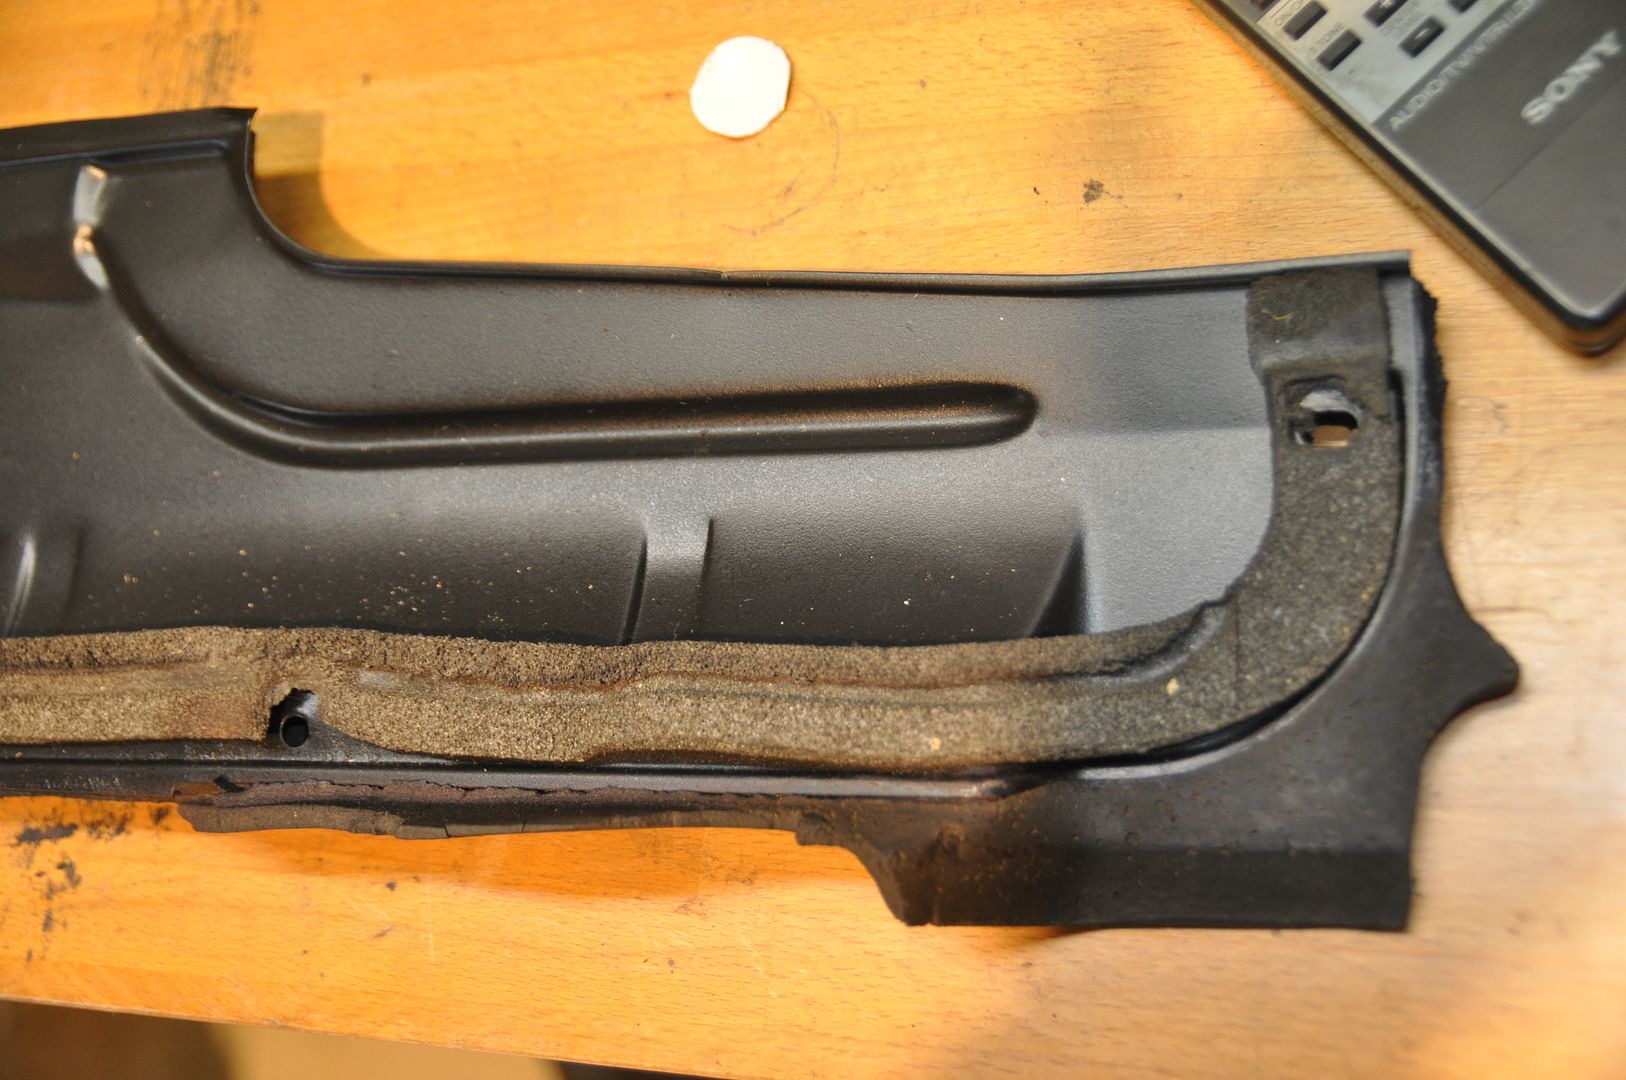
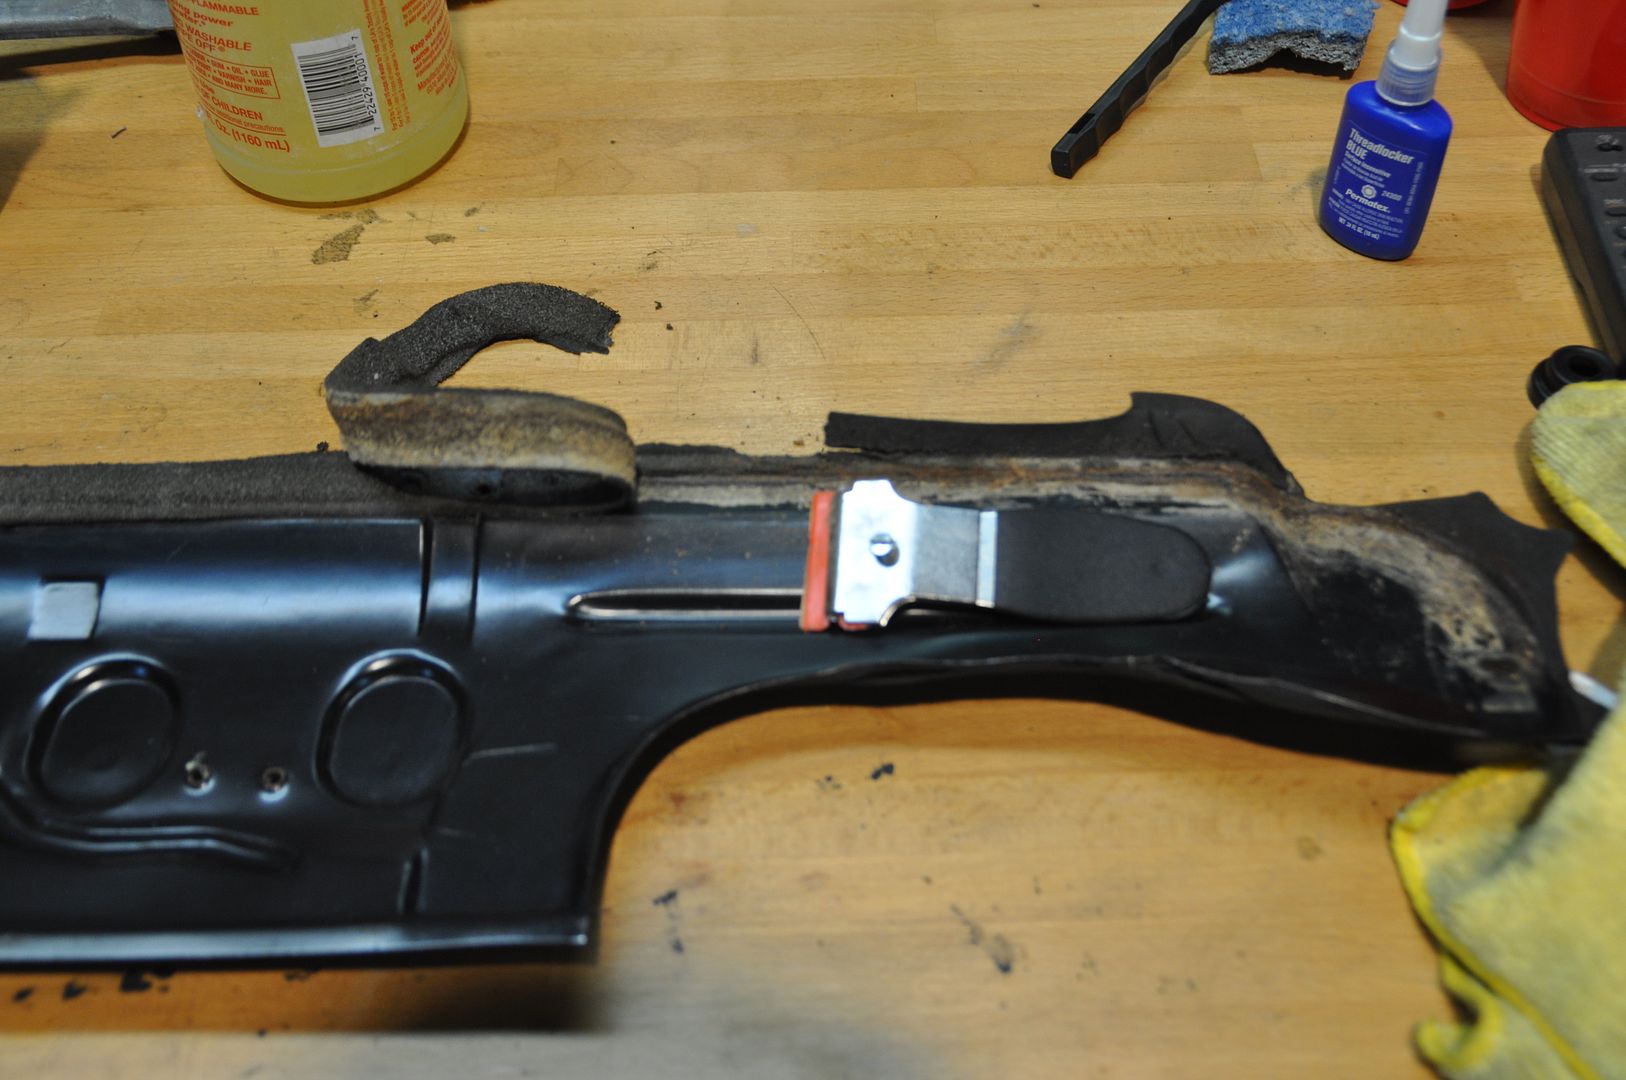
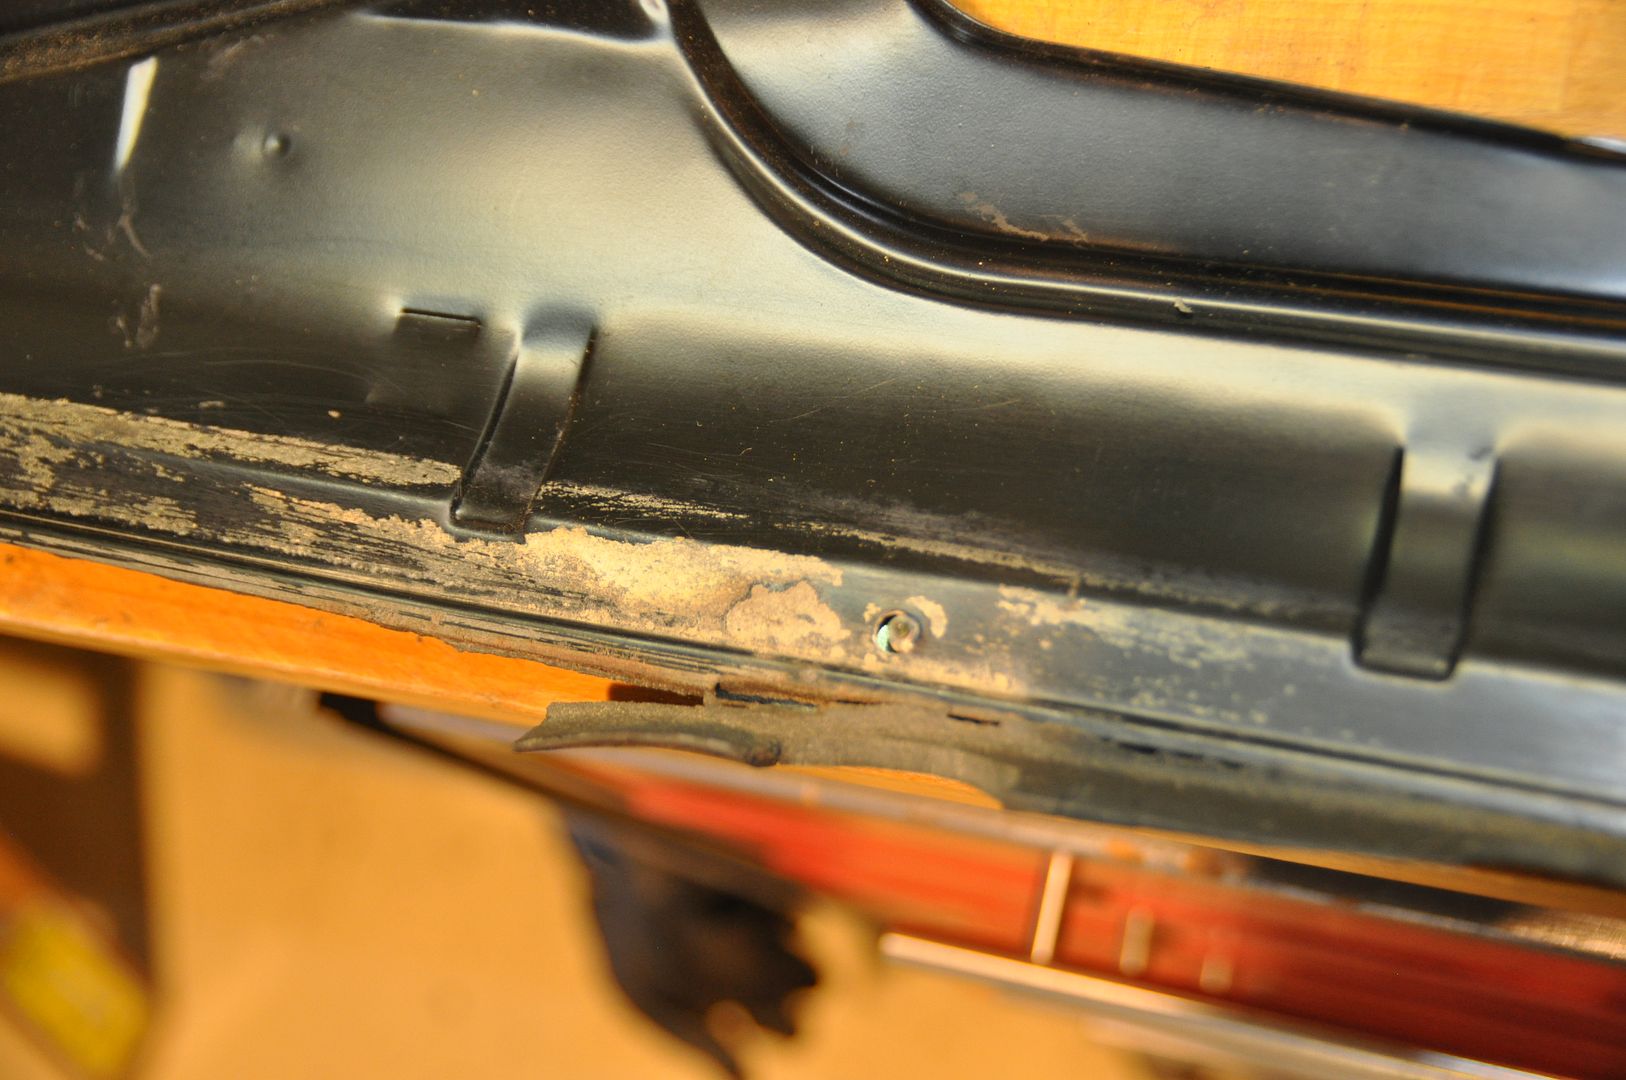
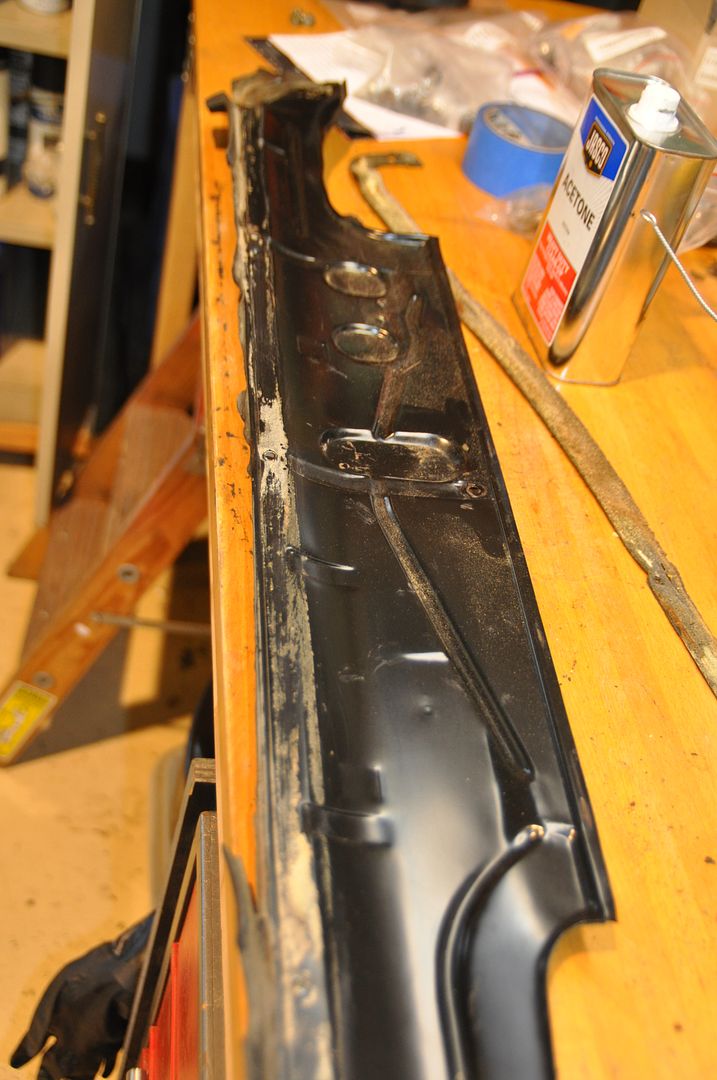
2) When done, the whole back side needed repainting, so I sanded it all down and prepped for new paint
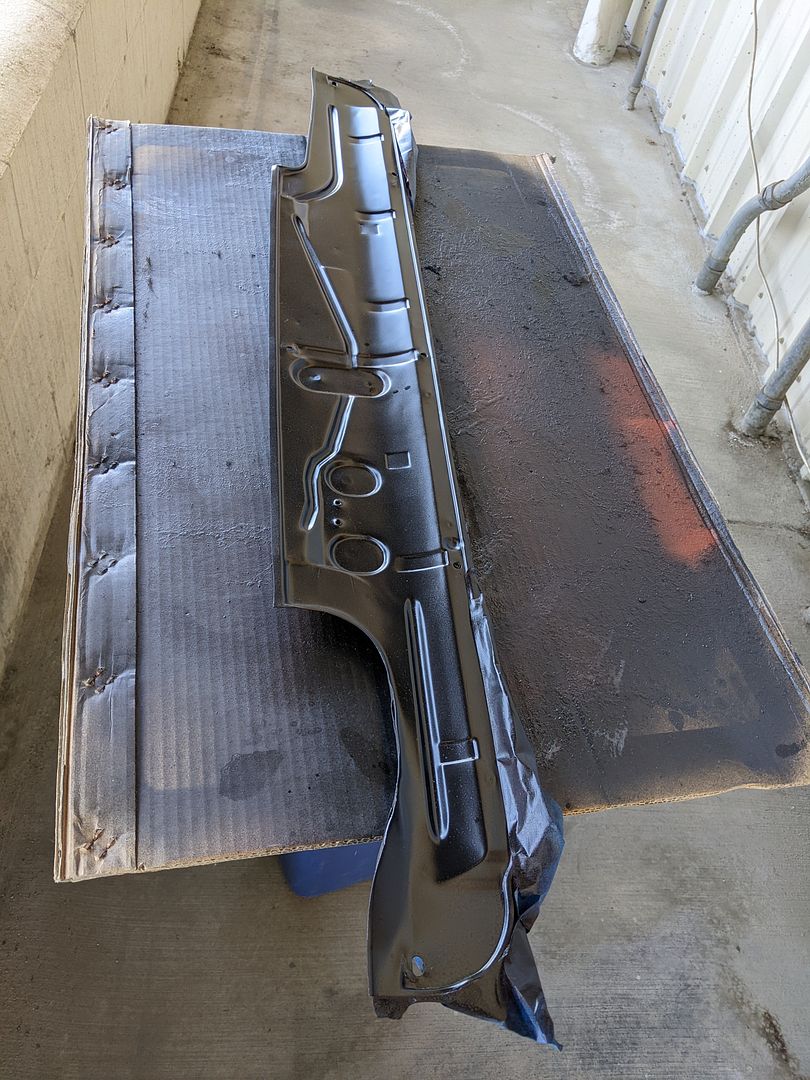
3) Applied a few coats of Rustoleum Satin Black (since there was some surface rust and didn’t want that coming back)
4) I sourced some replacement foam gasket tape in the right thickness and width and set out to template the pieces. This is closed-cell vs. the open cell foam BMW used. I prefer the closed-cell for its' compressiblity and its' ability to seal better
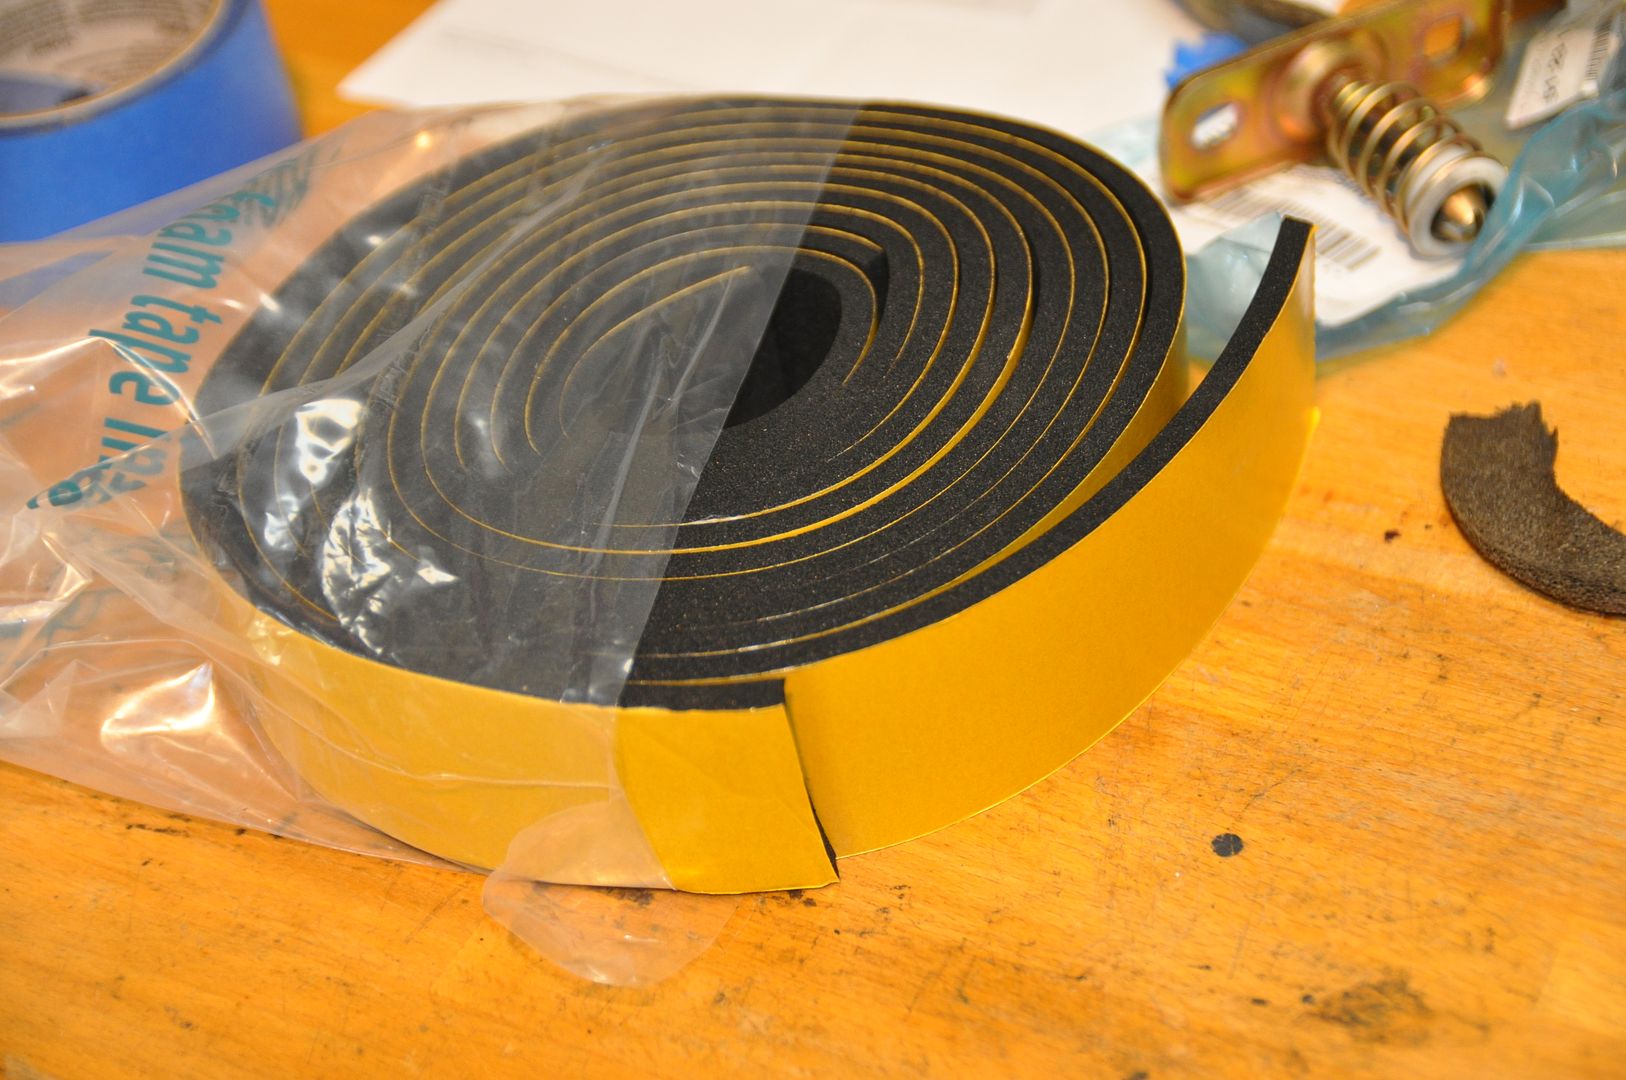
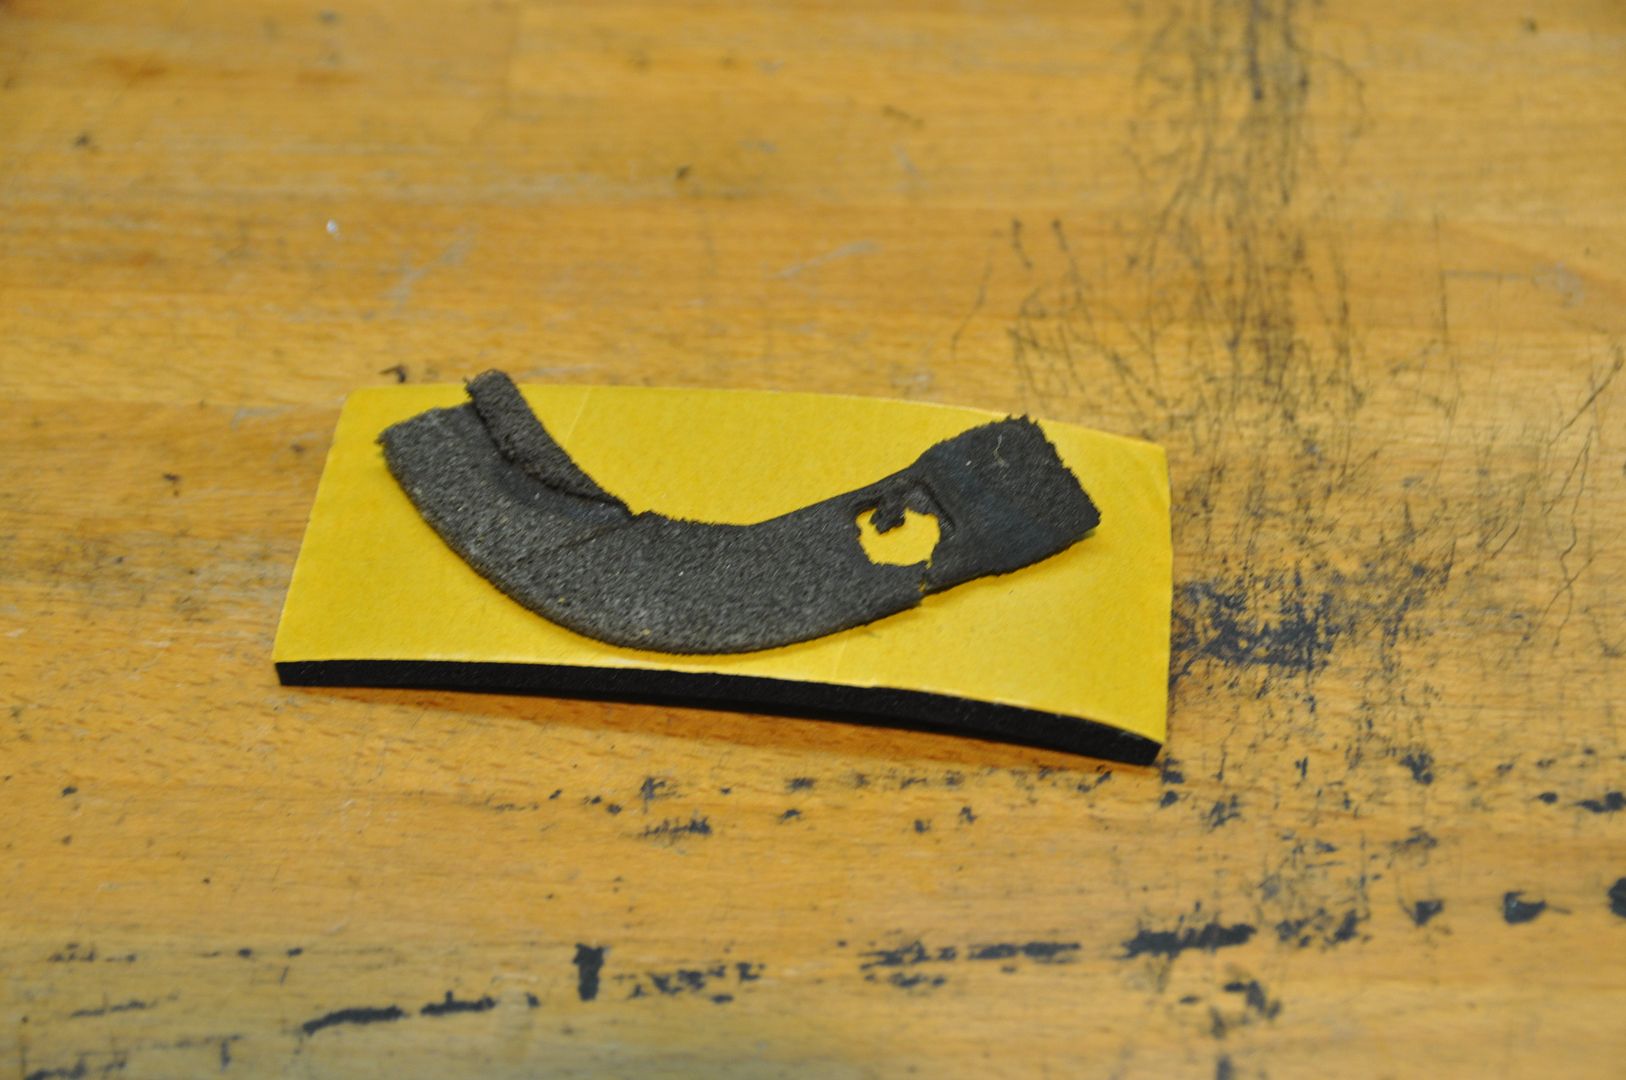
5) Installed the new foam gasketing. Final fitting and re-installation (after testing and final Wiper Arms adjustments)
 Wiper Arms:
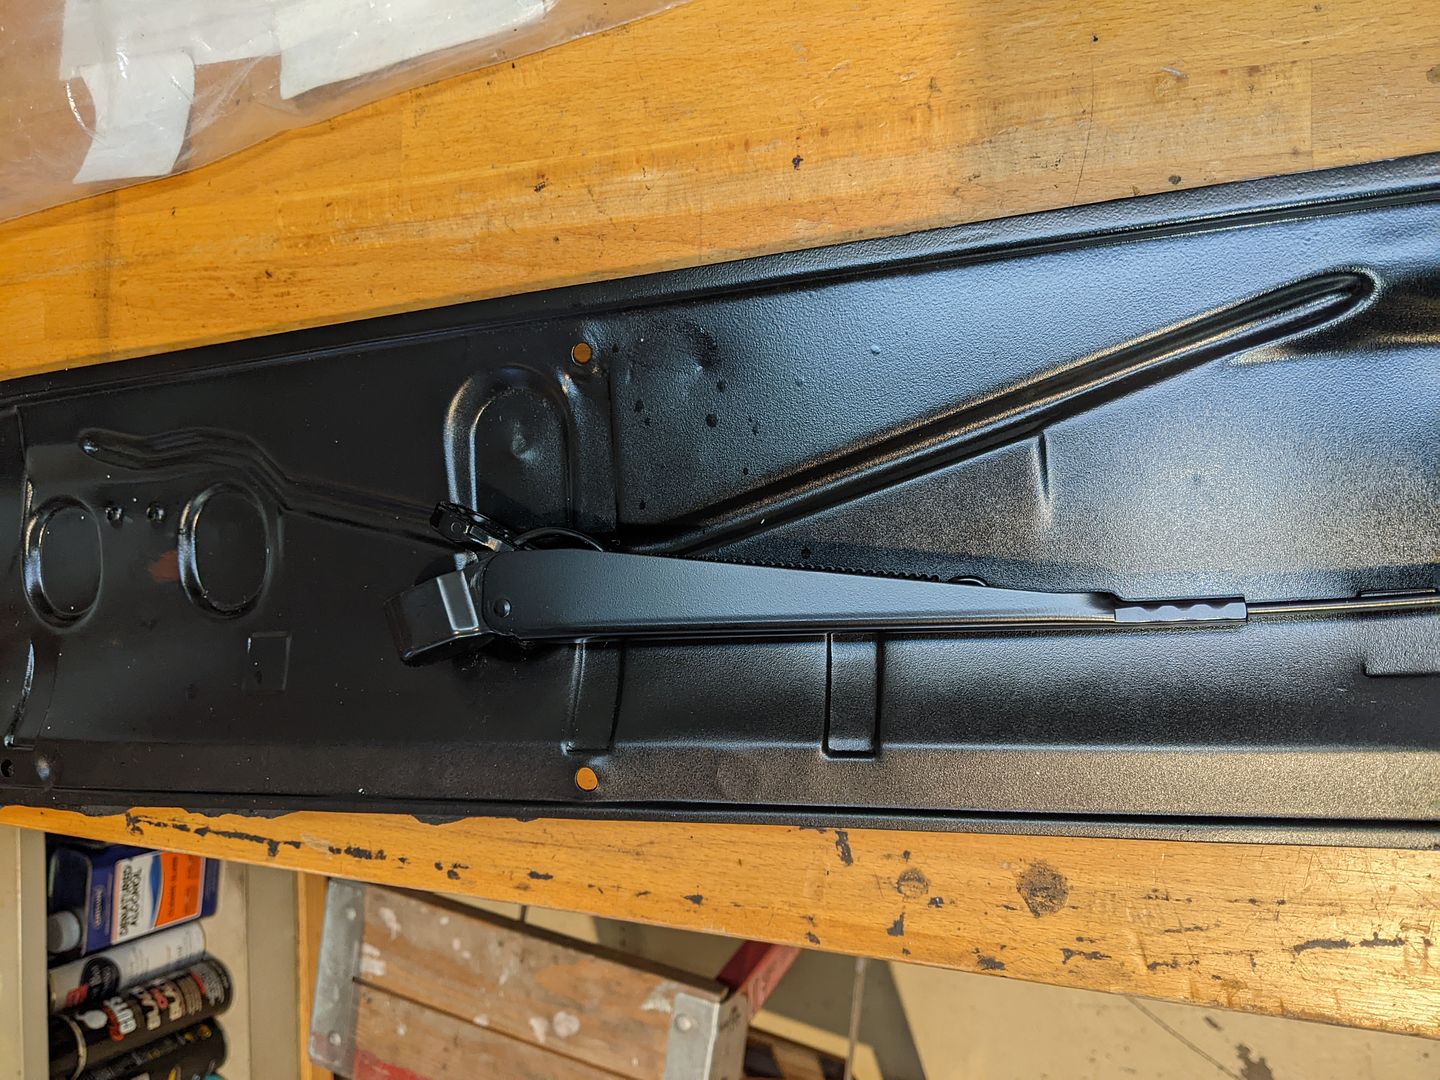
Here again E28 Wiper Arms are now all NLA, so we all have to work with what we’ve got. Finding replacements (the correct ones) in decent condition is very hard these days. I was lucky in that I had one NIB US E28 (late) Passenger Arm in a box, but I had to refinish my Driver’s side with the high-speed wing (I think it is actually either an E24 or E32 version, but I don’t know). What’s worse is repainting old ones is actually hard (especially if you’re relying on spray can paints); I imagine if you’re using a spray gun it might yield better results. I did several spare arms at the same time. First up:
Prep & Paint:
The old ones were pitted and scratched from road wear with a little bit of rust. So I bench wire-wheeled them all down to as much bare metal as possible. Then I sanded these as smooth as I could.
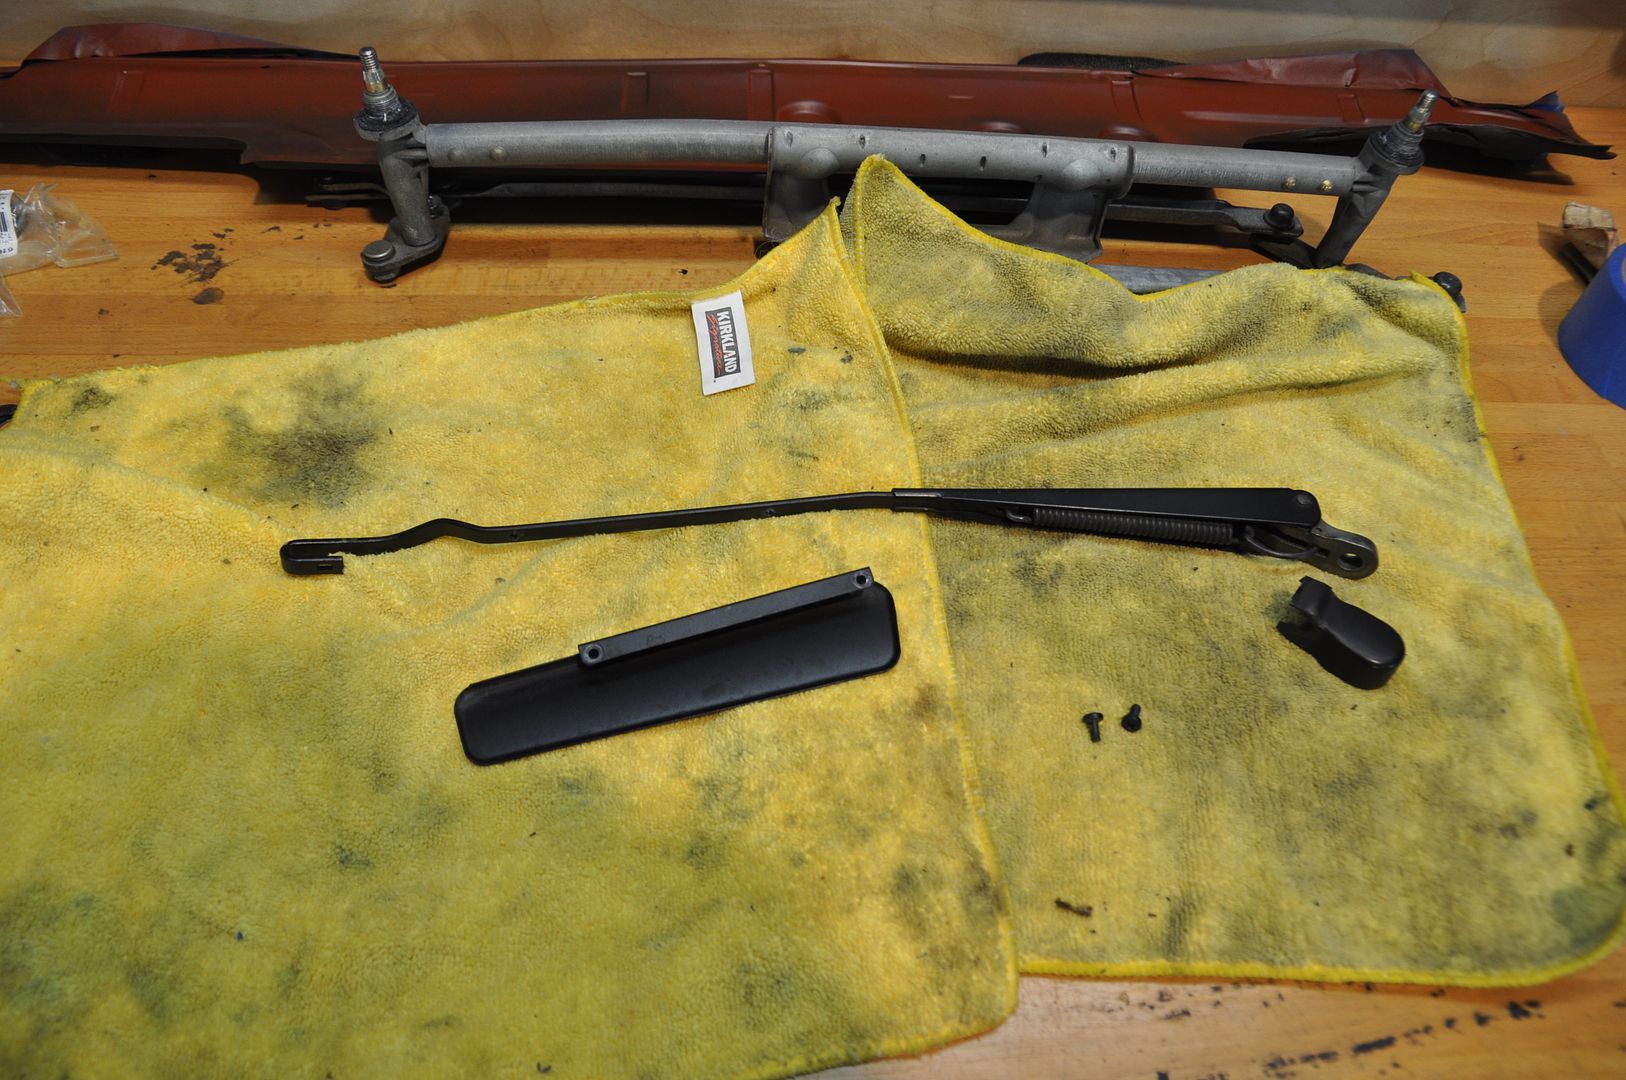
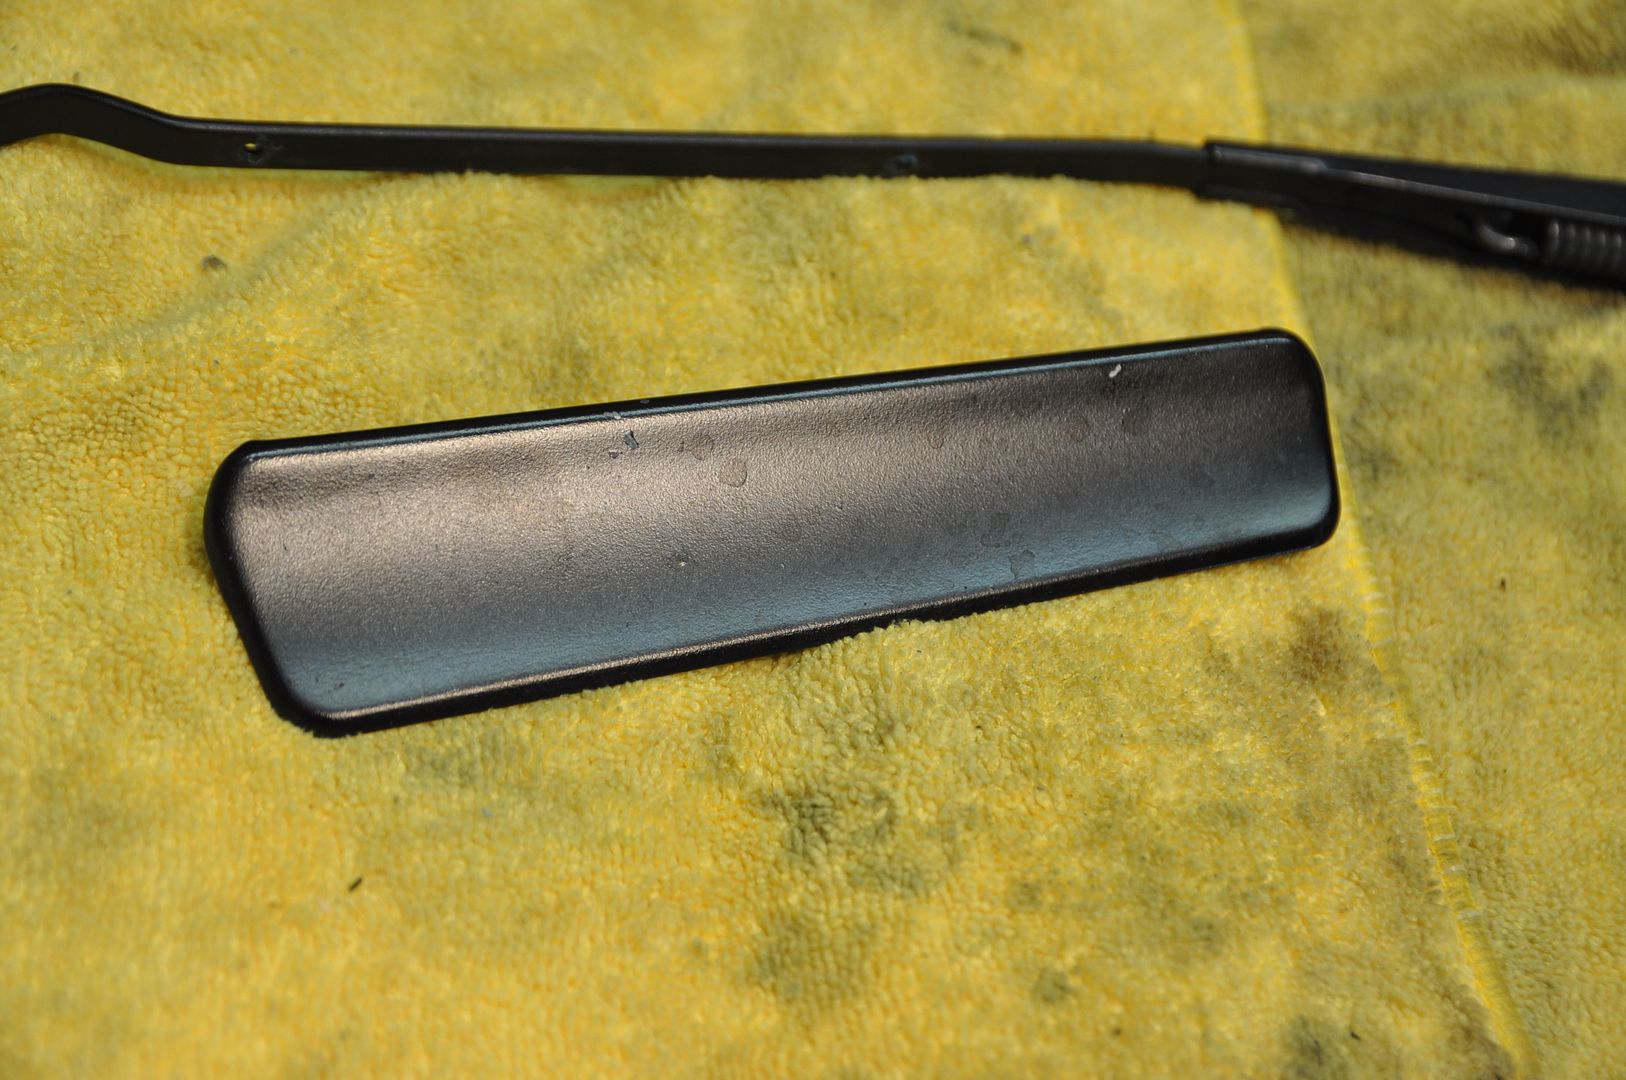
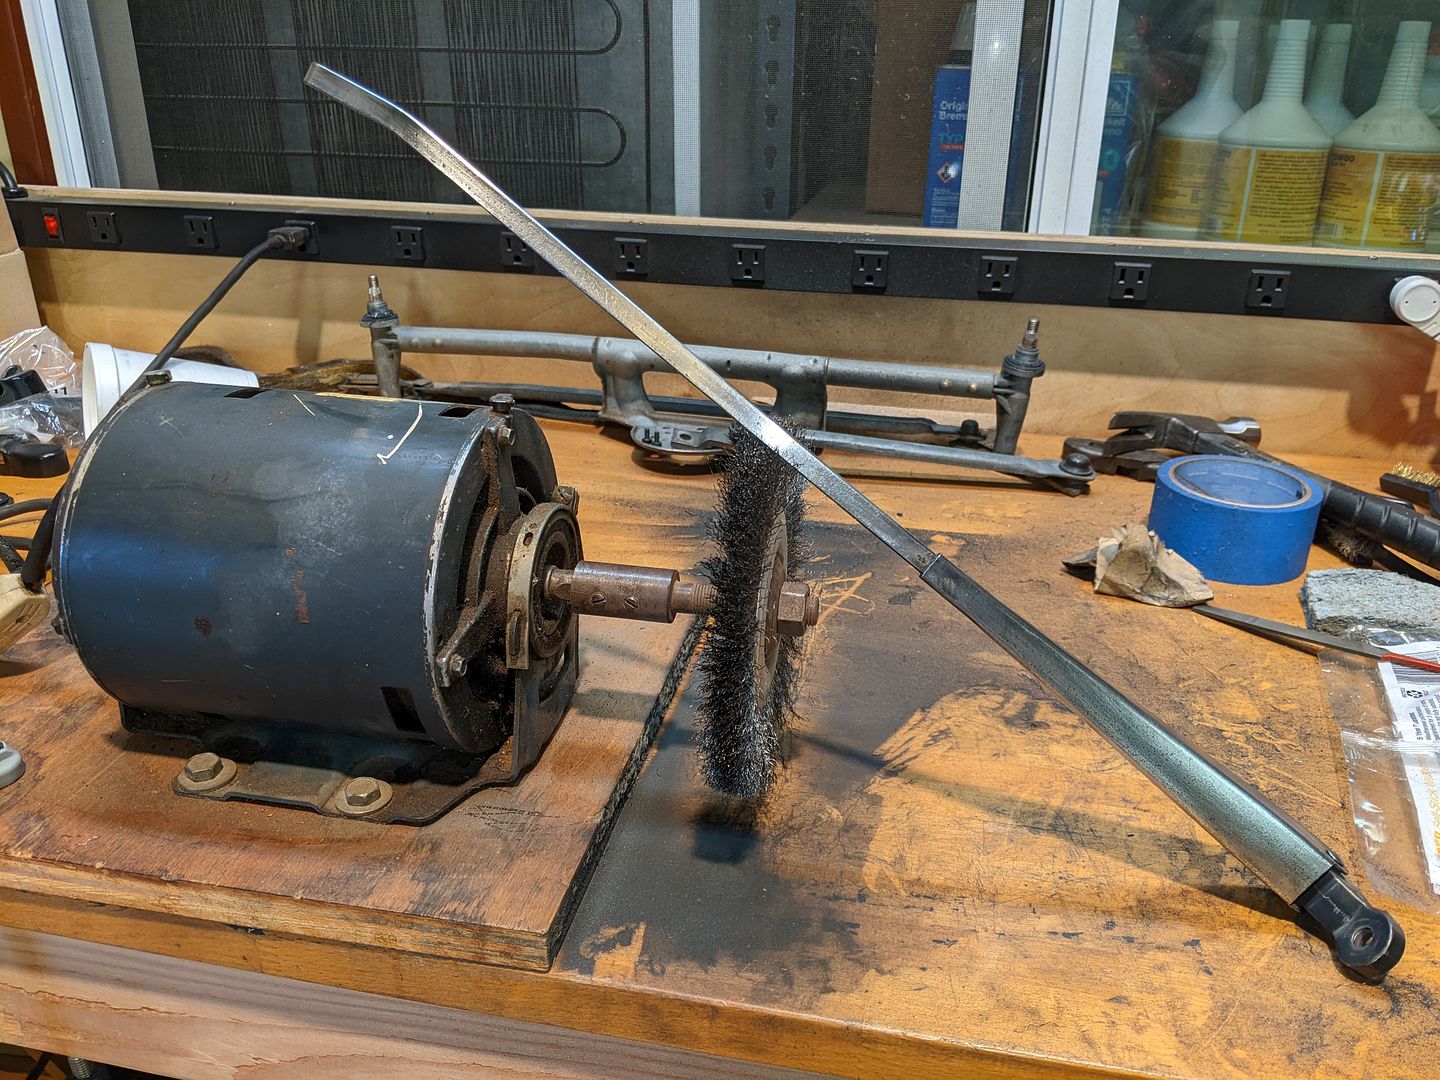
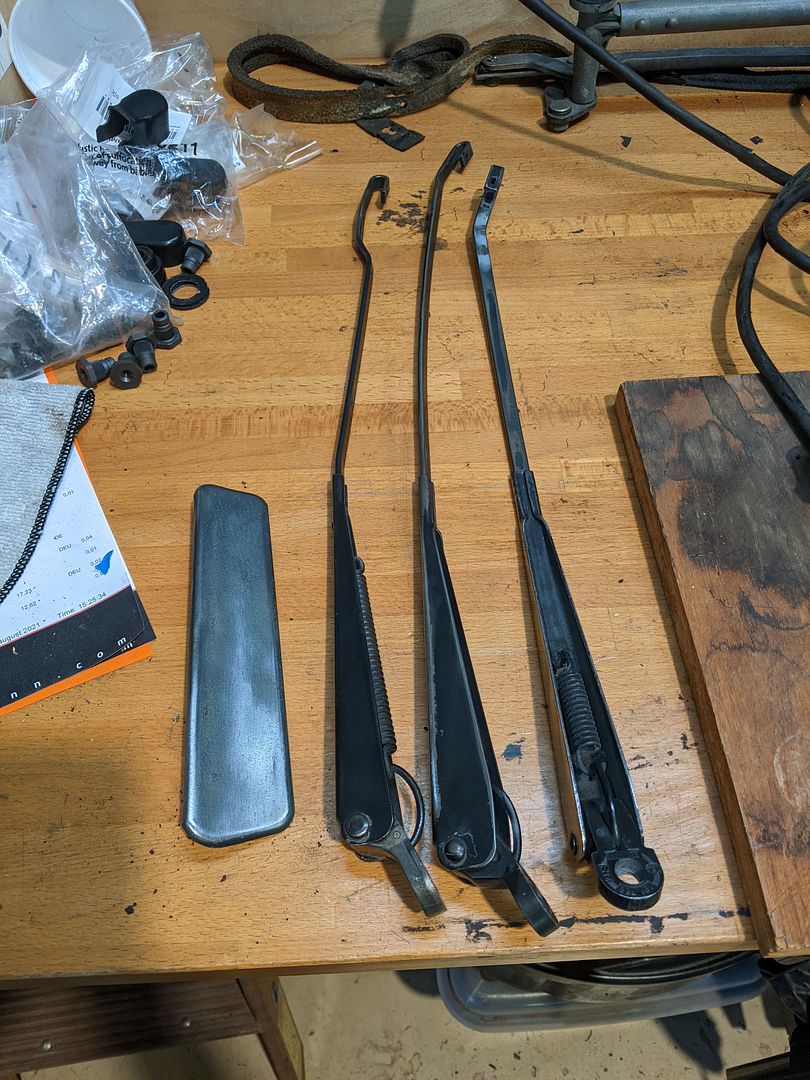
2) I applied a few coats of self-leveling automotive primer to even out the surface as much as possible; wait for this to thoroughly set up and dry (like a week if possible)
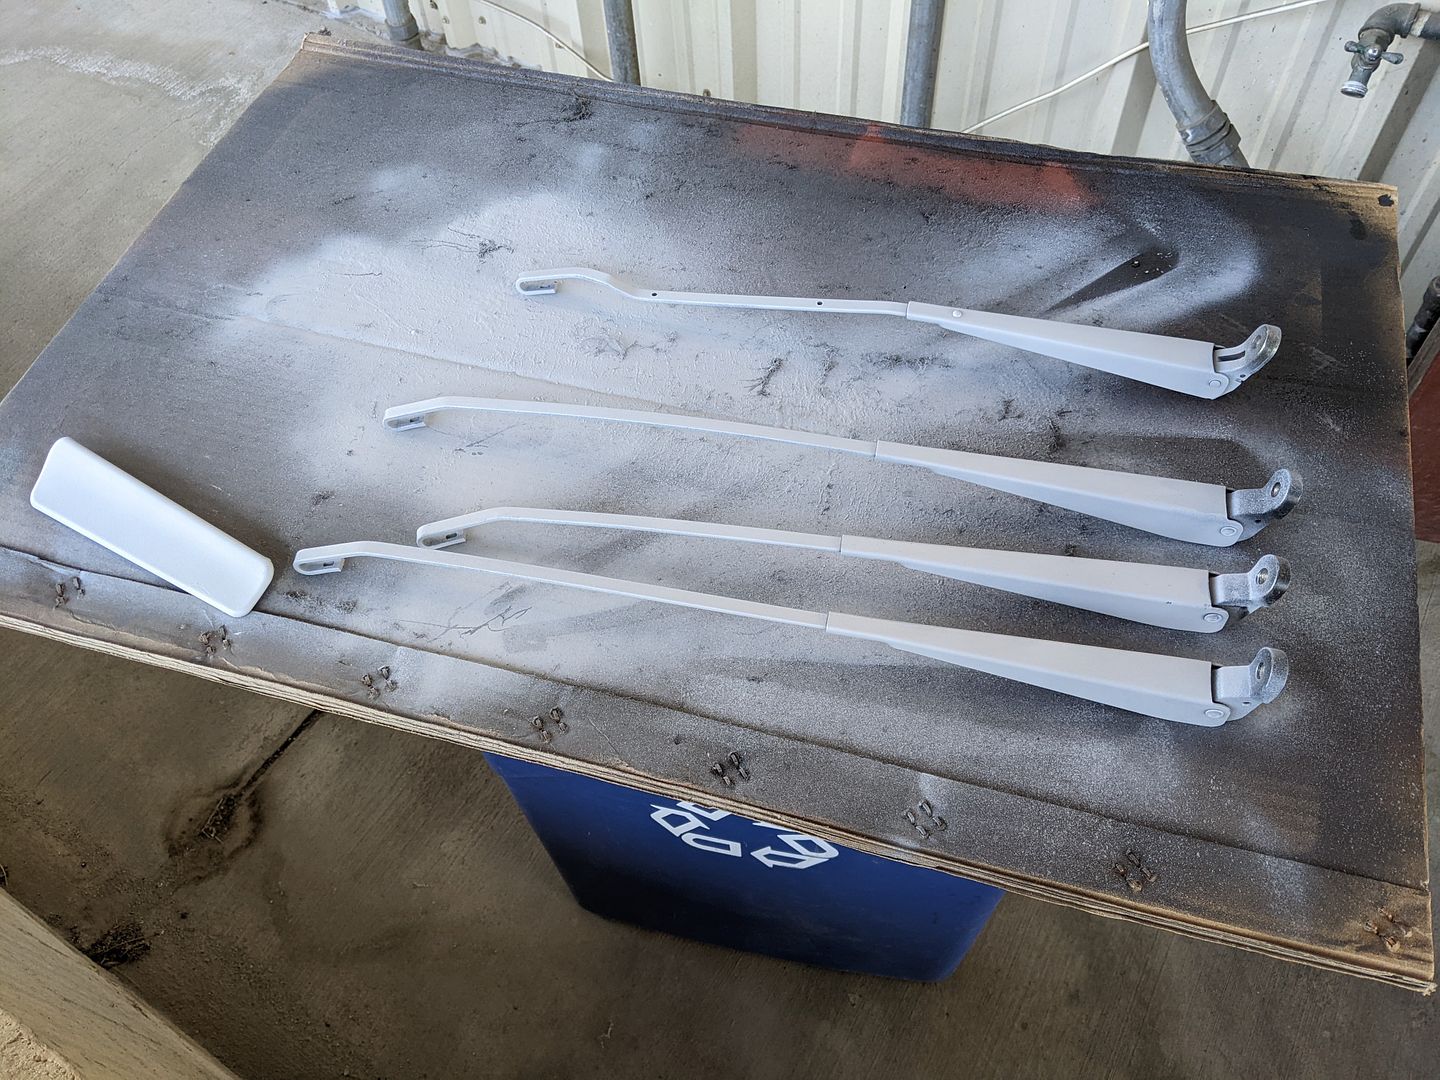
3) Start applying fine,light coats of SEM Black Trim paint (although that doesn’t completely match the finish of the original Wiper Arms as they are glossier). Be careful with the paint and make it go on evenly; I kept having to go back and remove paint and re-apply as it kept splattering or running (here a paint sprayer would have helped). Again, set them up to thoroughly cure and dry (a week)
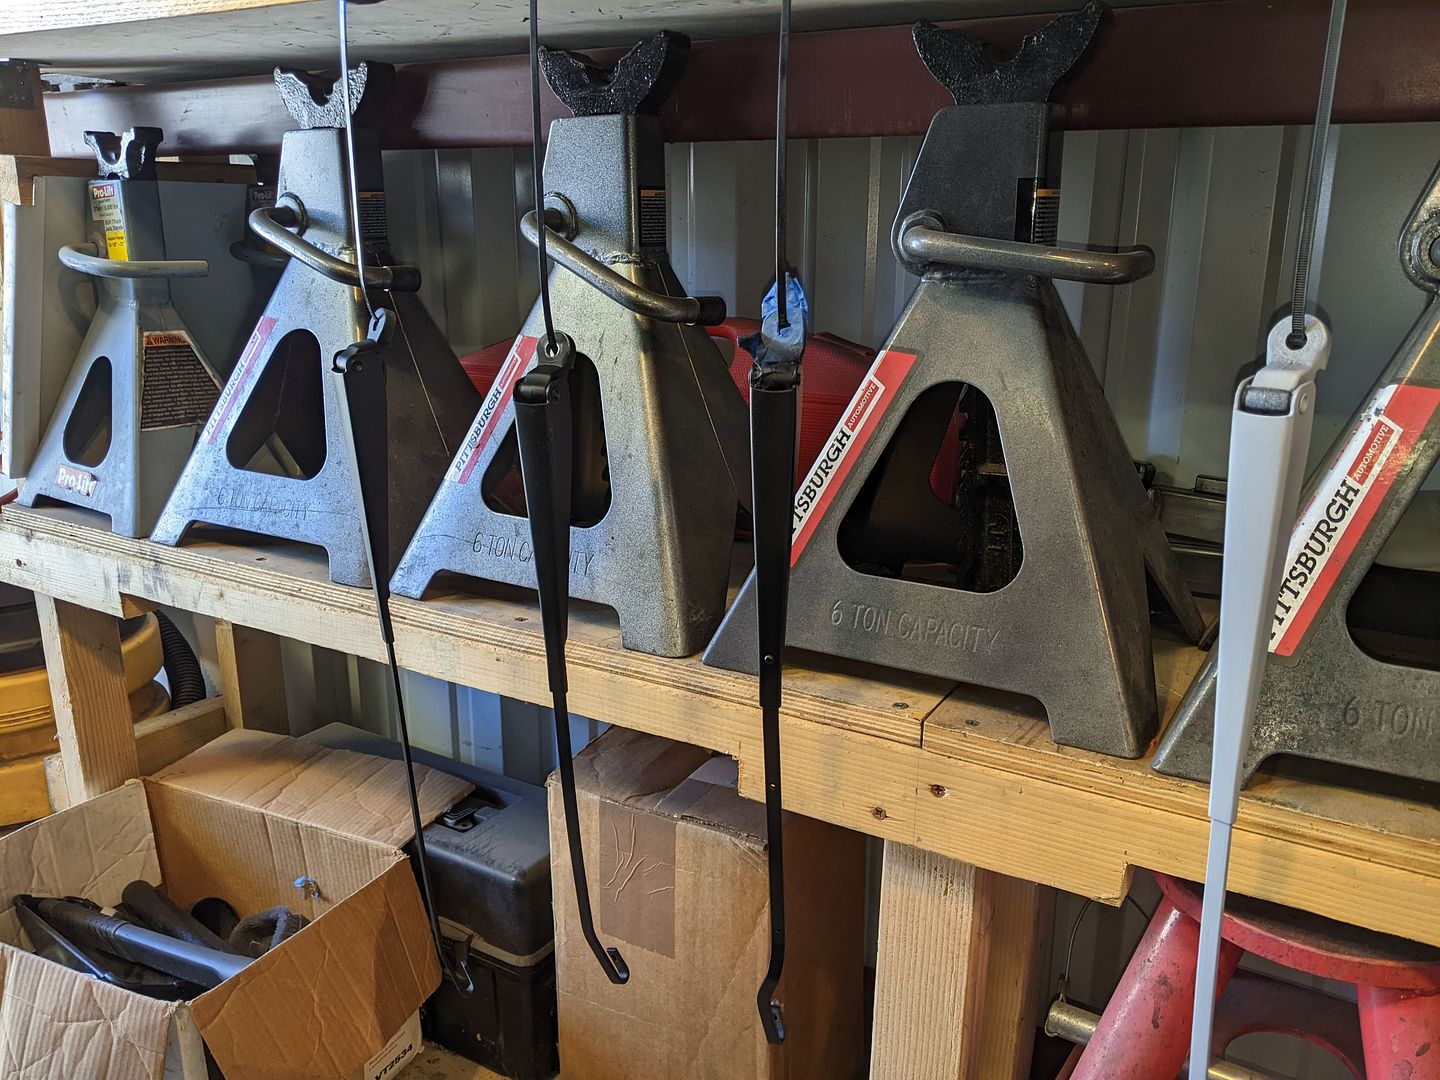
4) To address the finish issues, I applied a very light coat of clear spray lacquer to both try to match the OEM finish as well give them some protection. And again, let them cure completely (yes, another week)
 Wiper Arm Installation:
Install your favorite flavor of blades and mount them to Wiper Arm bolts with the small nuts & washers. Pretty straight-forward but follow instincts and the Bentley manual for aligning & adjusting. Once you have them set, lock in the top nuts, install the covers and close everything up.
